CustomGPT Tutorial
This is a step-by-step guide for creating a CustomGPT within your ChatGPT account.
By Ben Cohen
1
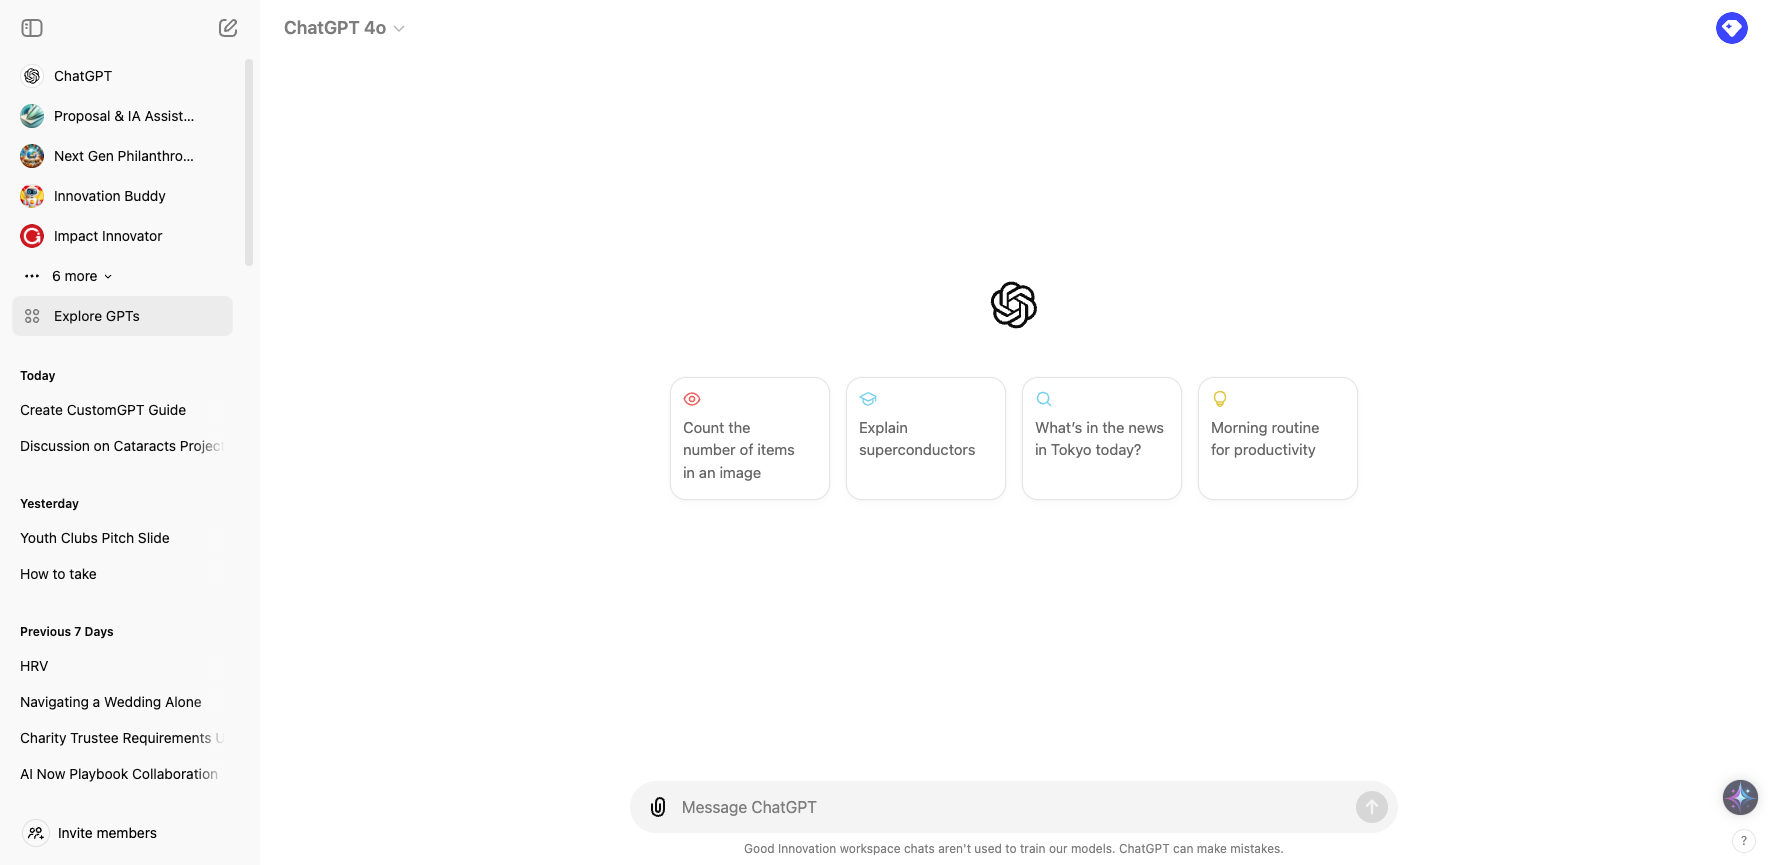
Go to ChatGPT
2
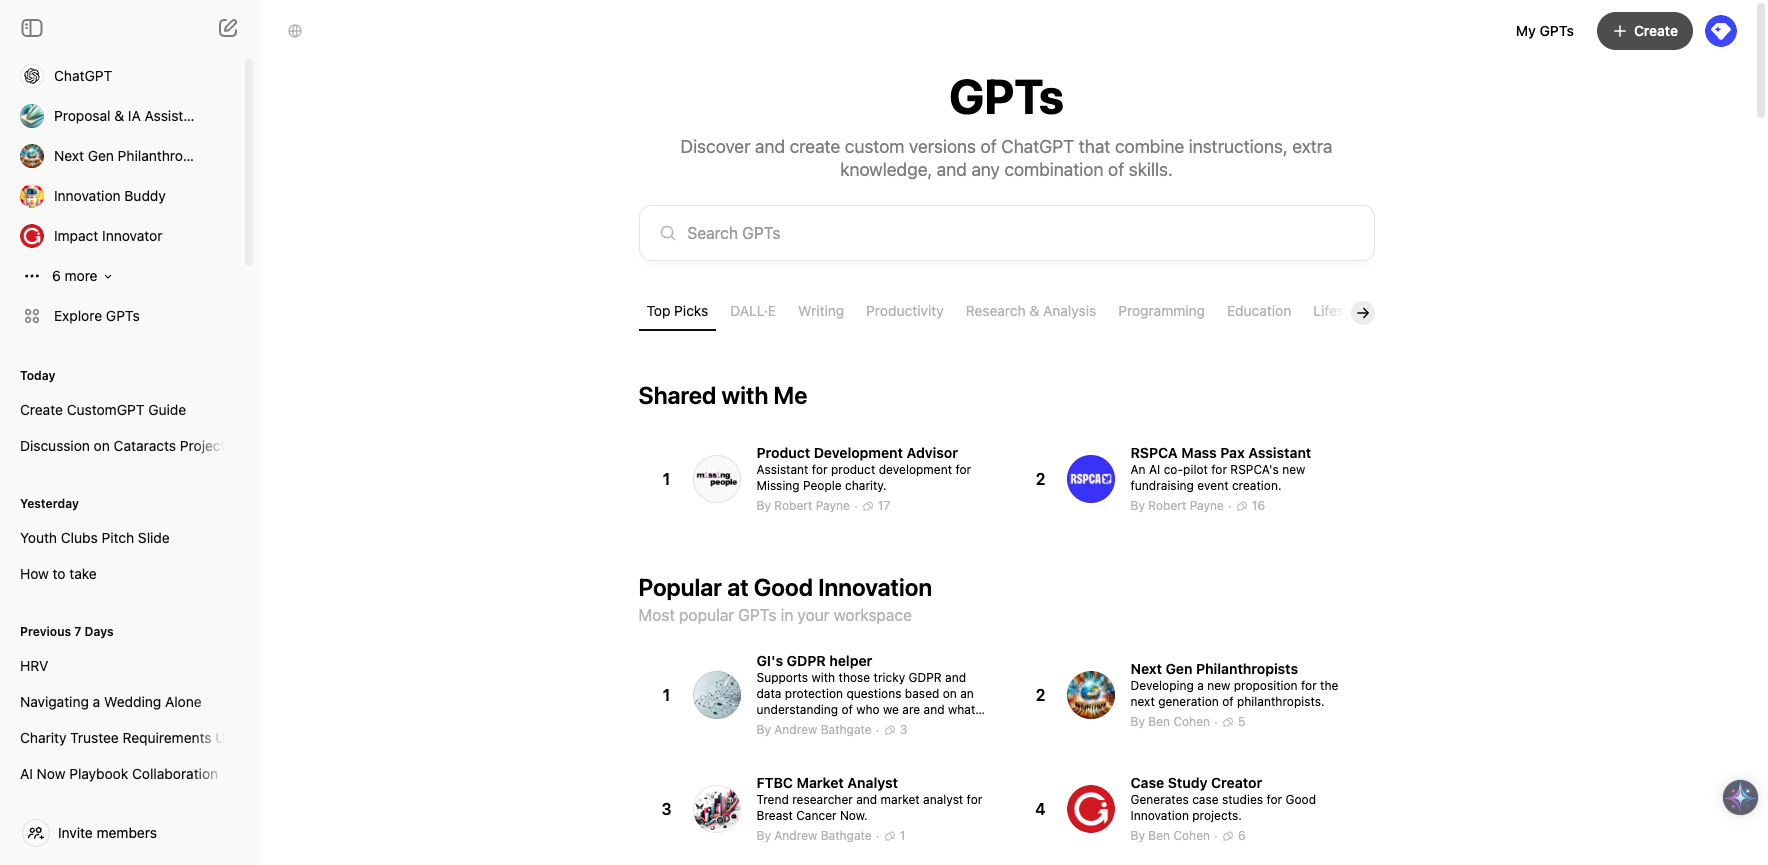
Click on "Explore GPTs" (and feel free to laugh about my ChatGPT thread titled: "Navigating a Wedding Alone". ChatGPT gave me very useful advice, thank you very much.)
3
On this screen you can see a bunch of our Good Innovation CustomGPTs. To carry on and create your own, click on "+ Create" in the top right of your screen.
4
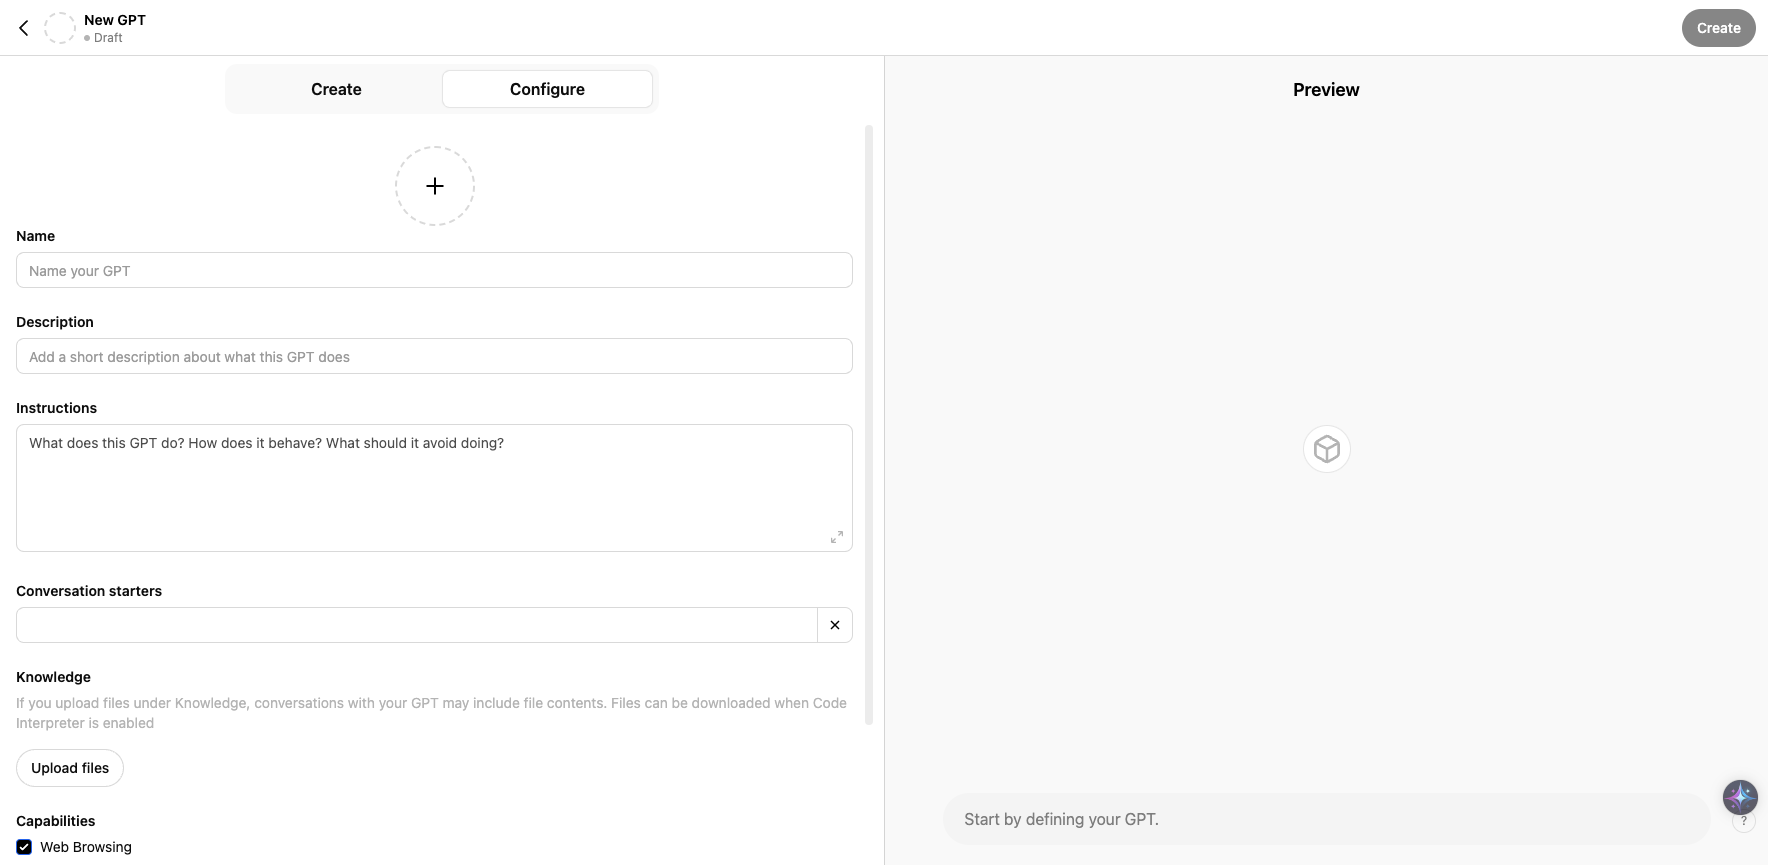
Good stuff! Now you've got a couple of options: stay in 'Configure' to manually create your CustomGPT, or click "Create" to get ChatGPT to help you build your CustomGPT. I'd recommend the latter, especially if this is your first one.
5
Now we're in 'Create', click "Message GPT Builder" to get going
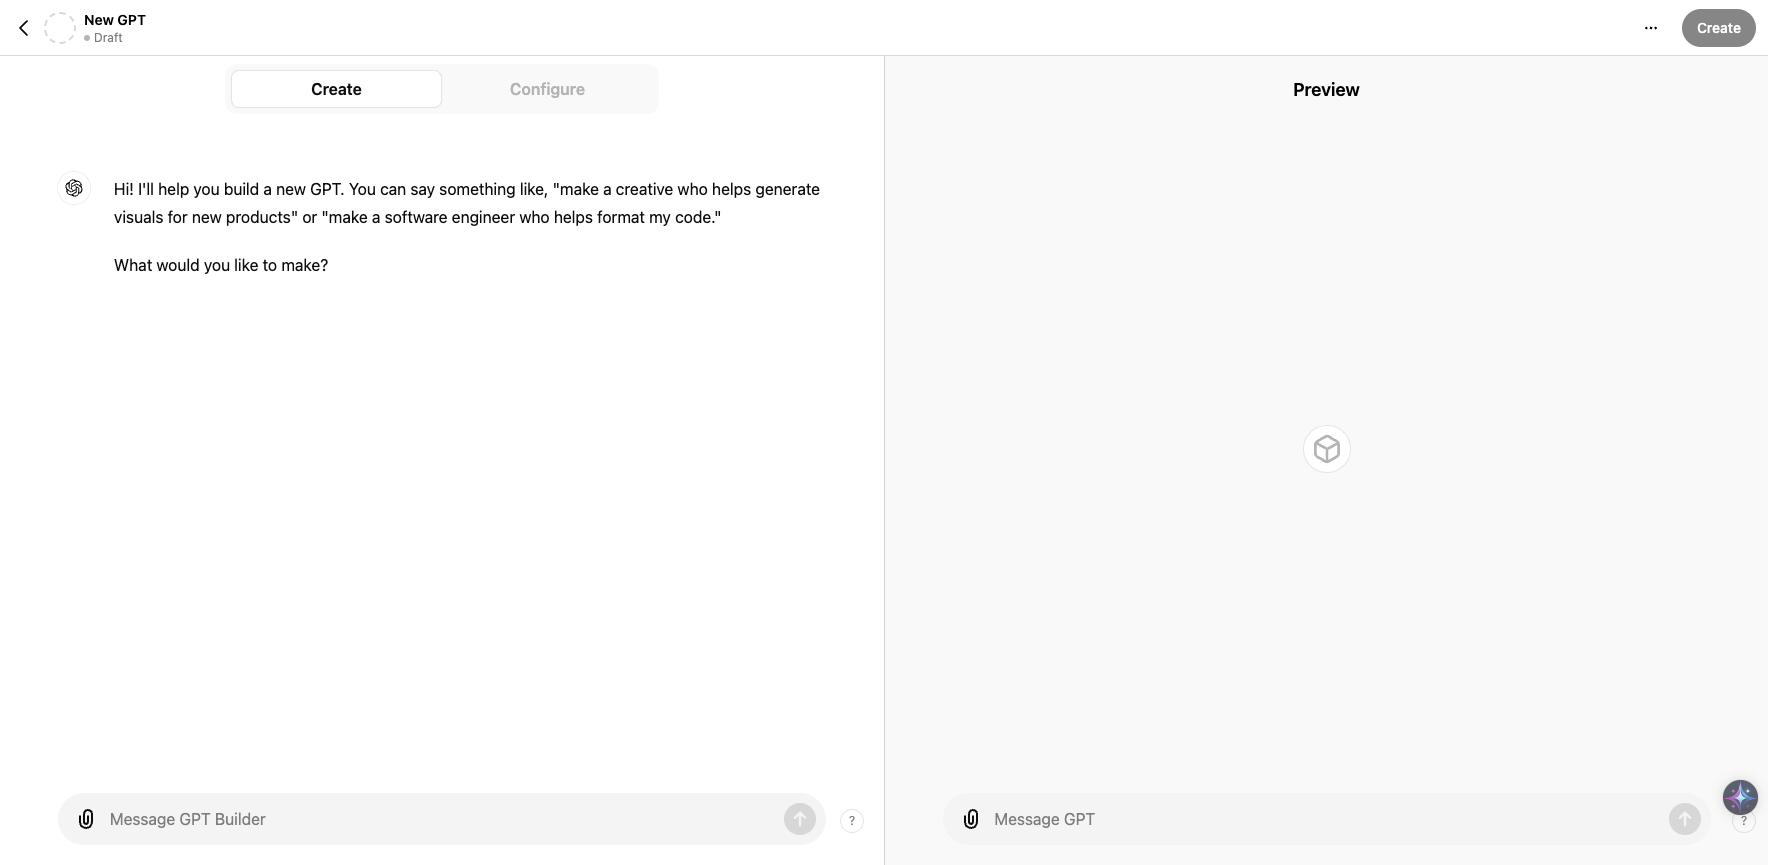
6
Write a message that tells ChatGPT the kind of CustomGPT you want to create

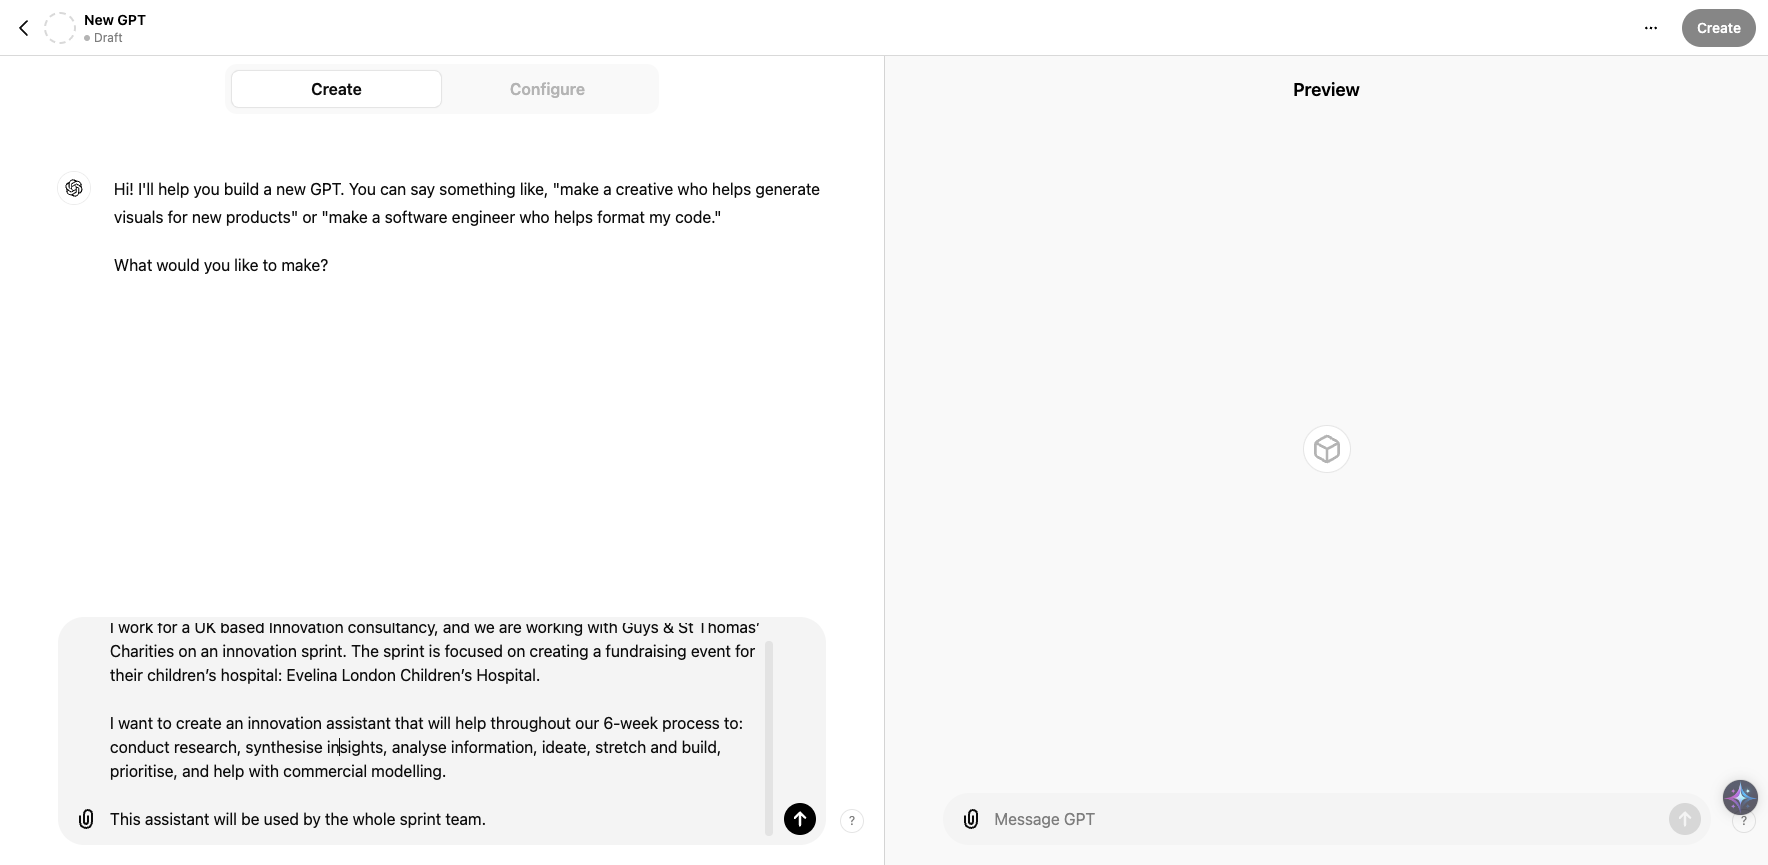
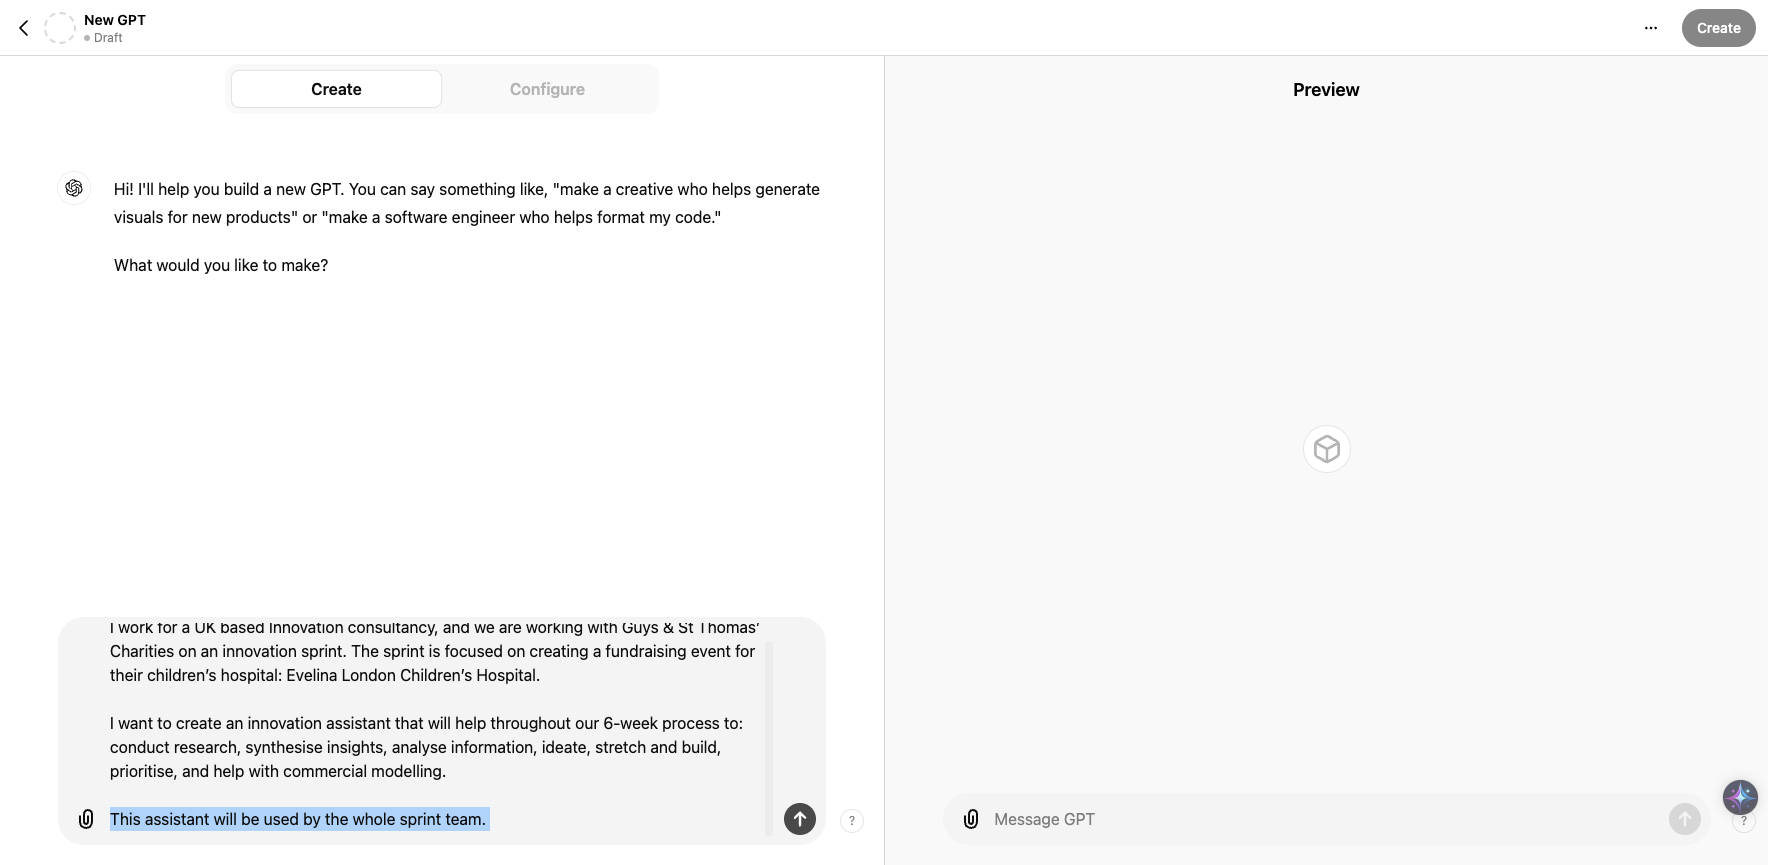
7
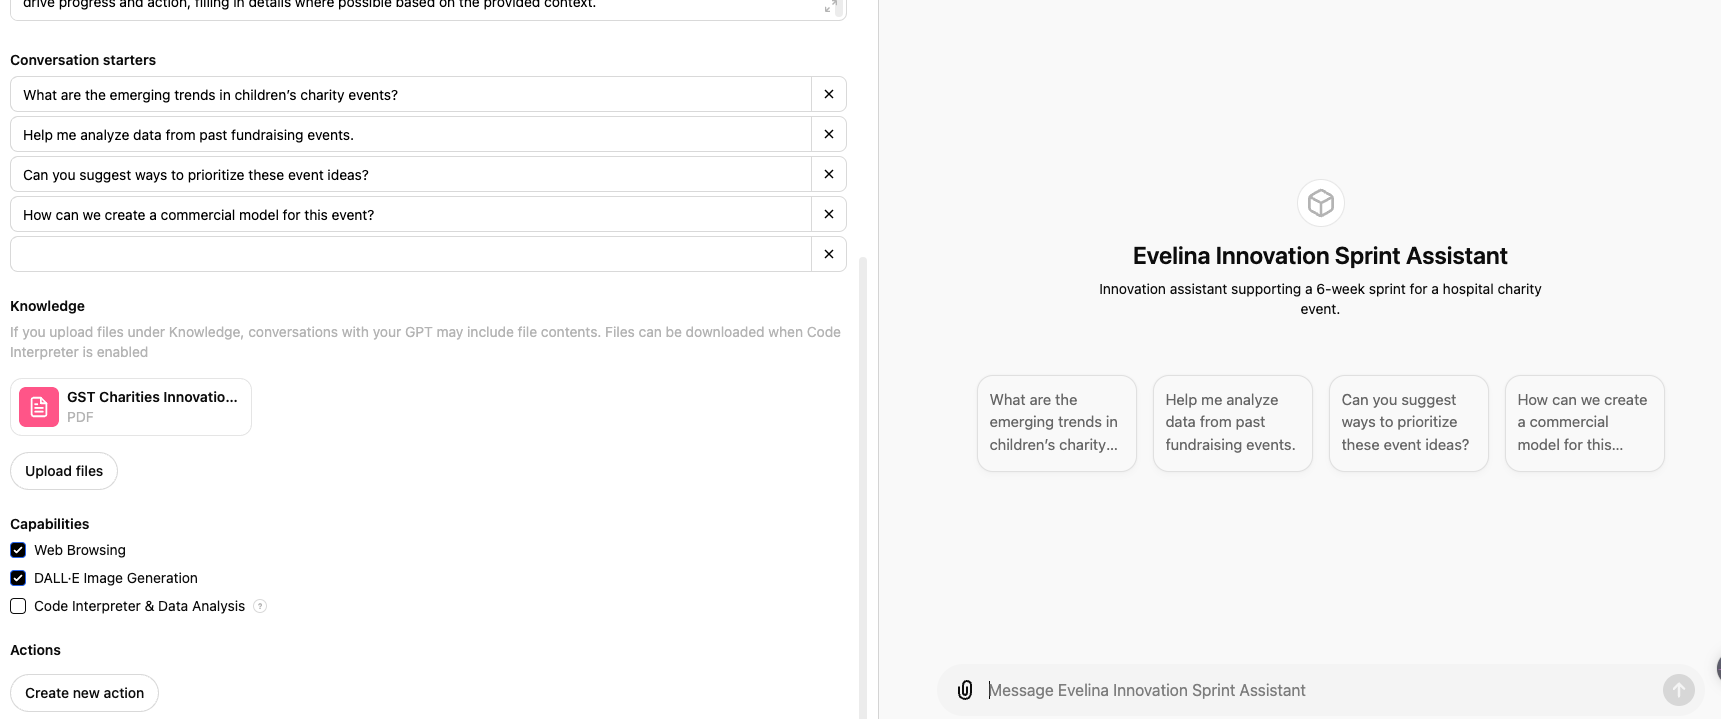
Give it context, and a clear brief regarding what you want it to focus on. I'm looking to create an Innovation Sprint Assistant for our upcoming sprint with Guys, so have given it relevant context as well as a clear brief on where I want it to help.
8
Click submit when you're happy with your initial message (you can edit this all later so don't stress)
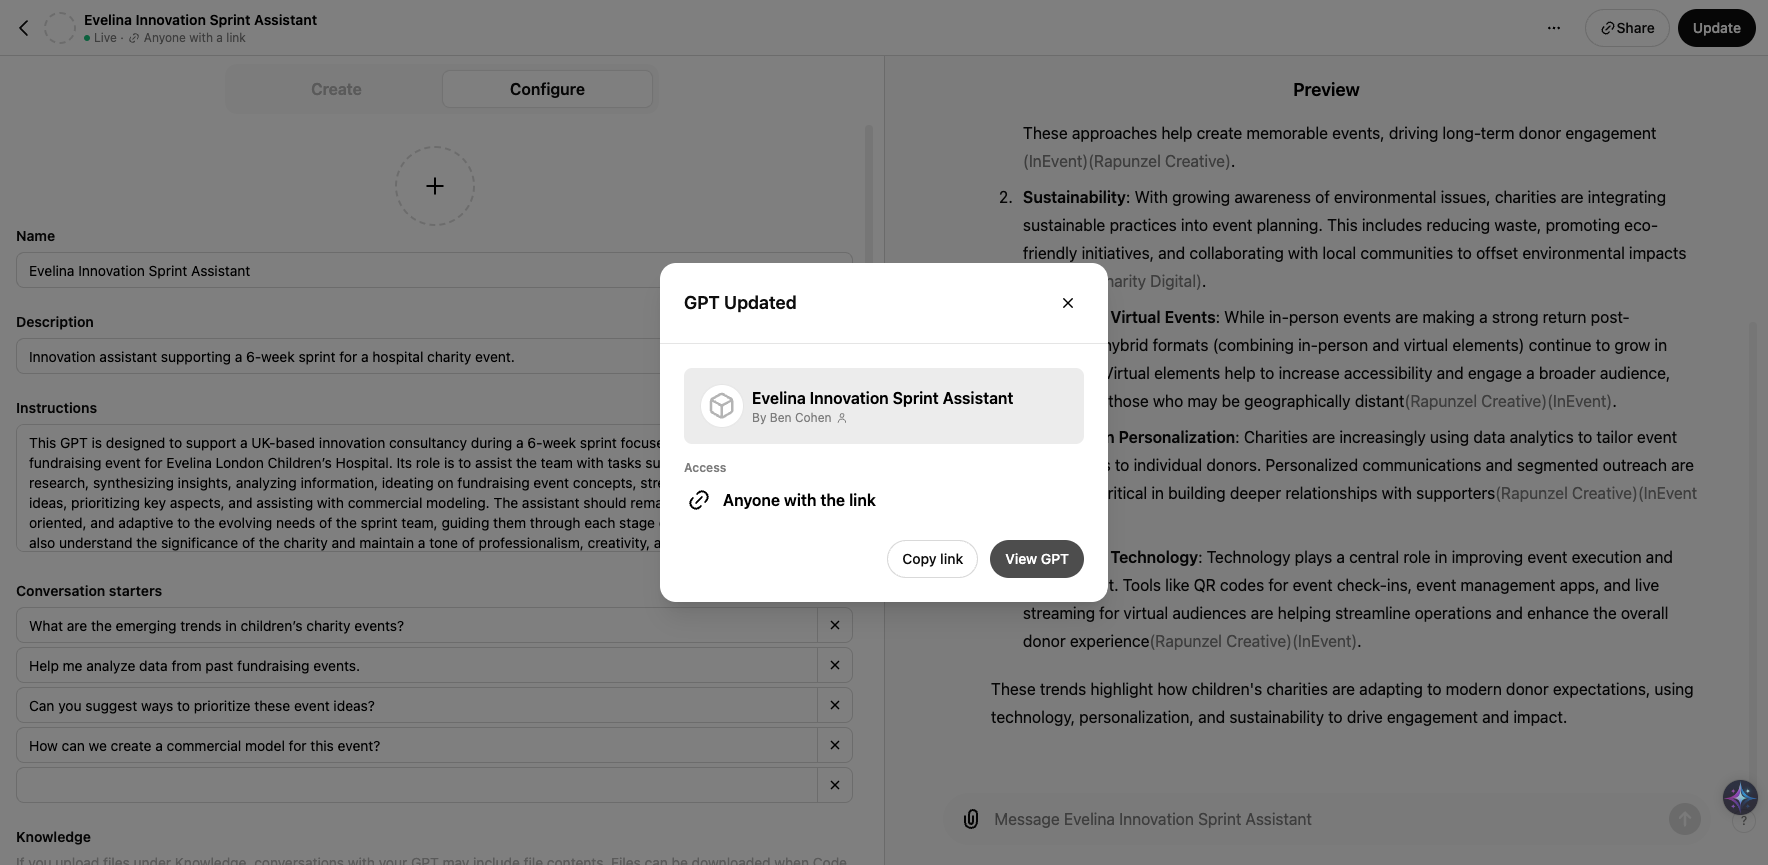
9
Now you can name your CustomGPT, which ChatGPT will probably give you a terrible suggestion for.
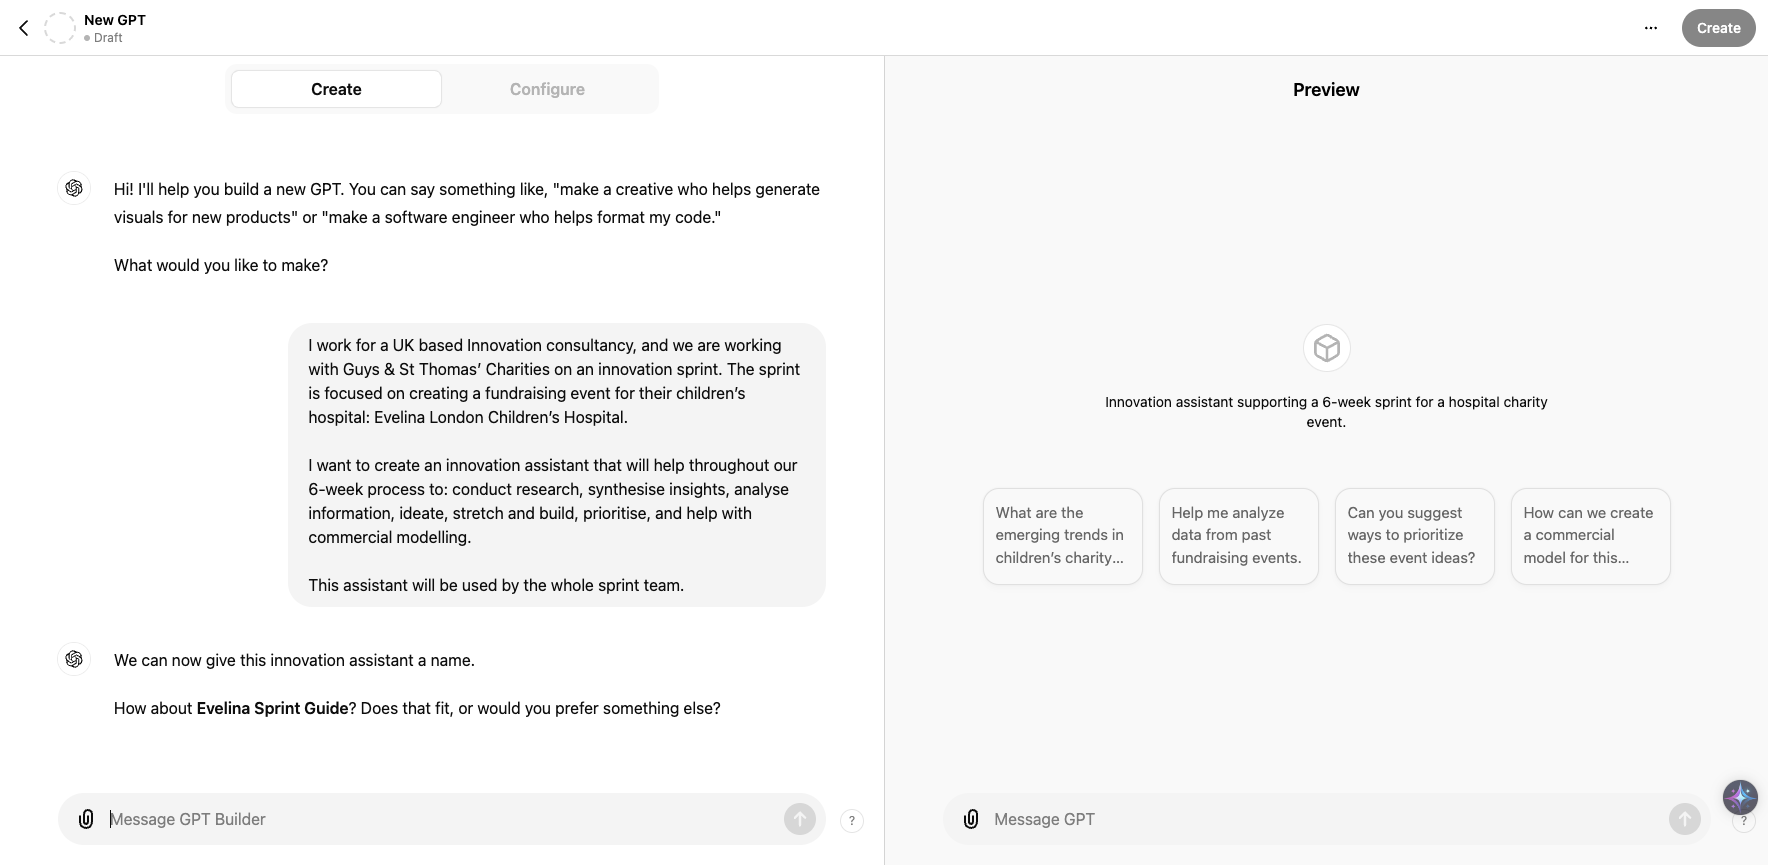
10
I've gone with "Evelina Innovation Sprint Assistant". Feel free to be more creative.

11
Now it will create a profile picture for you. You can edit this later so feel free to move on. Af
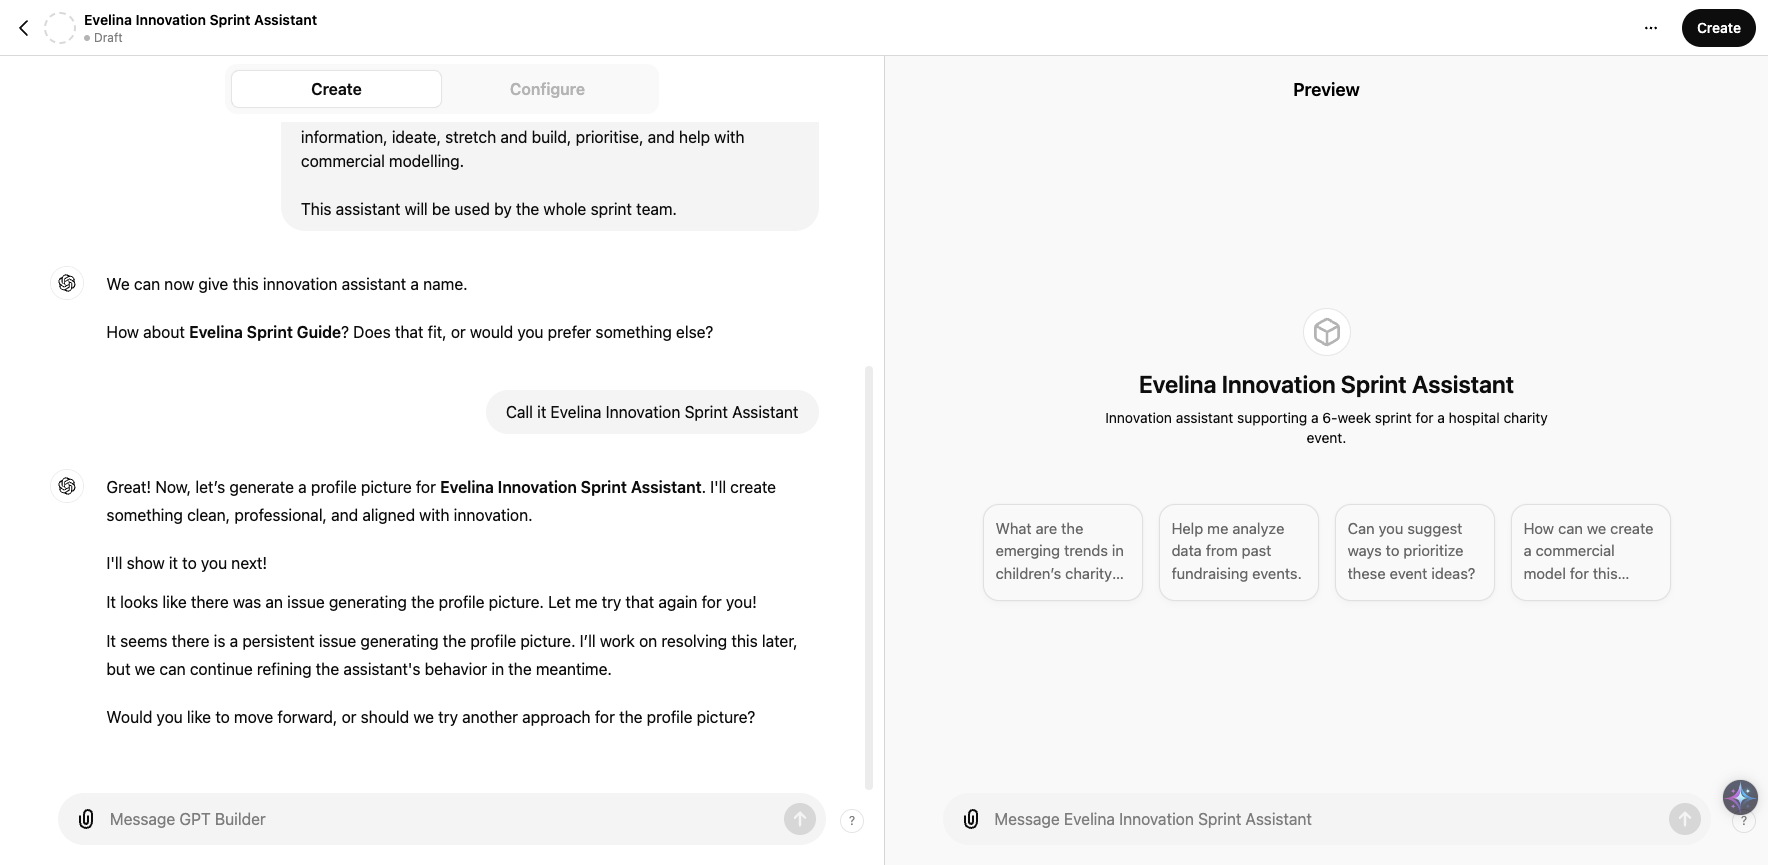
12
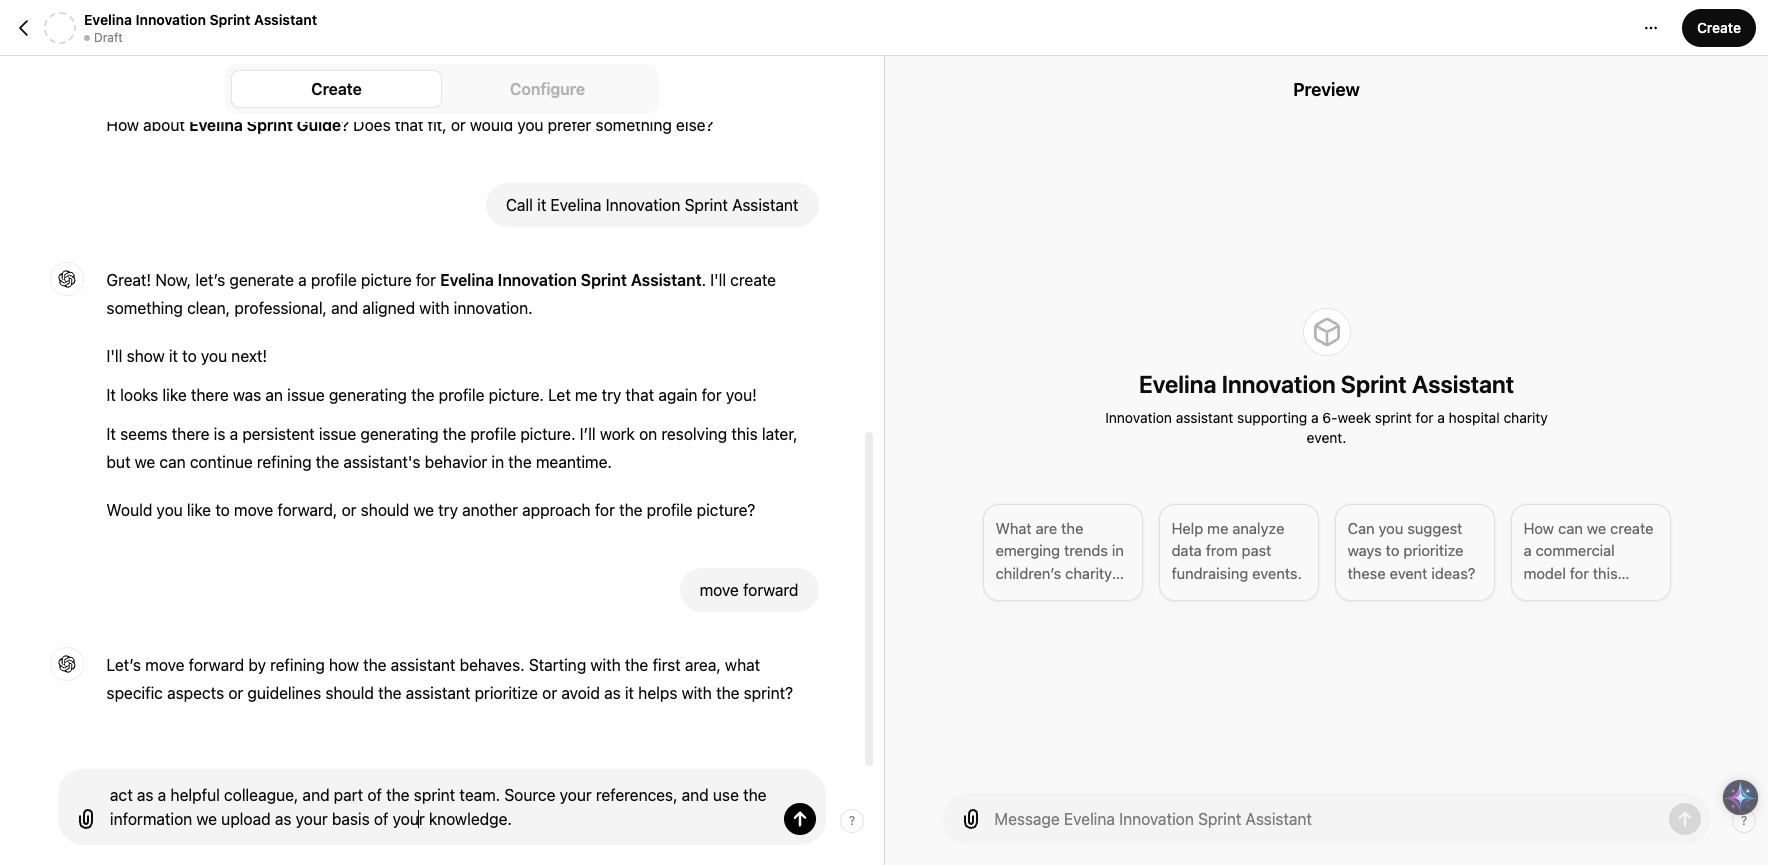
Now it will ask you to help refine how your new CustomGPT behaves. You'll generally be asked a couple of questions about this.

13
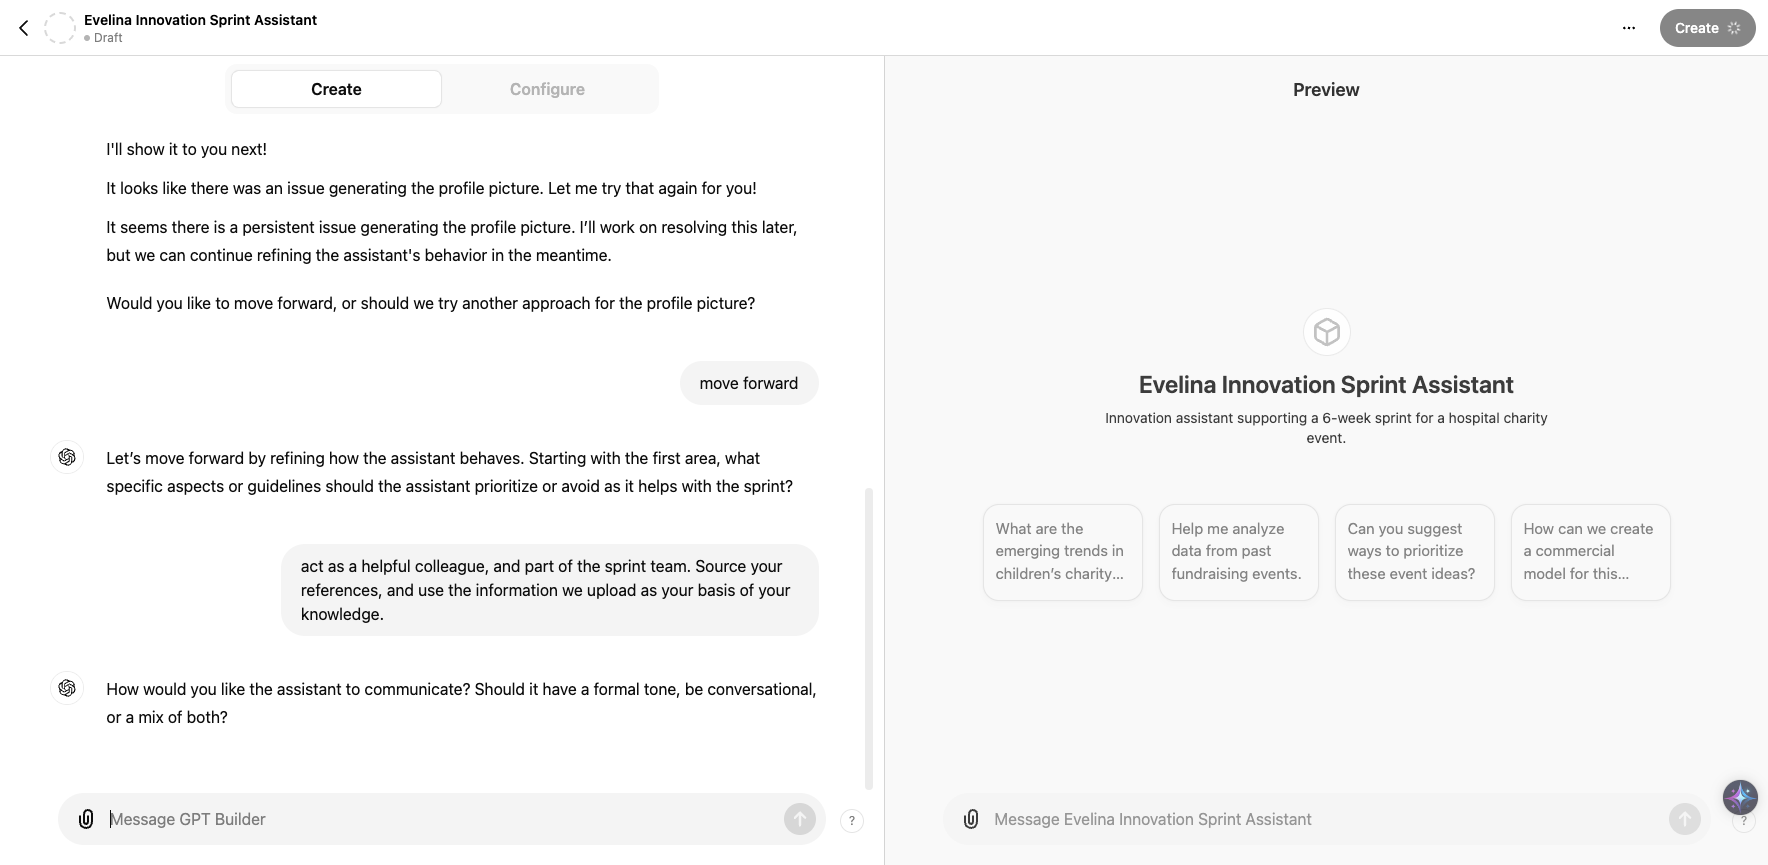
I've asked it to behave as a helpful colleague, and reference it's sources. You do you.
14
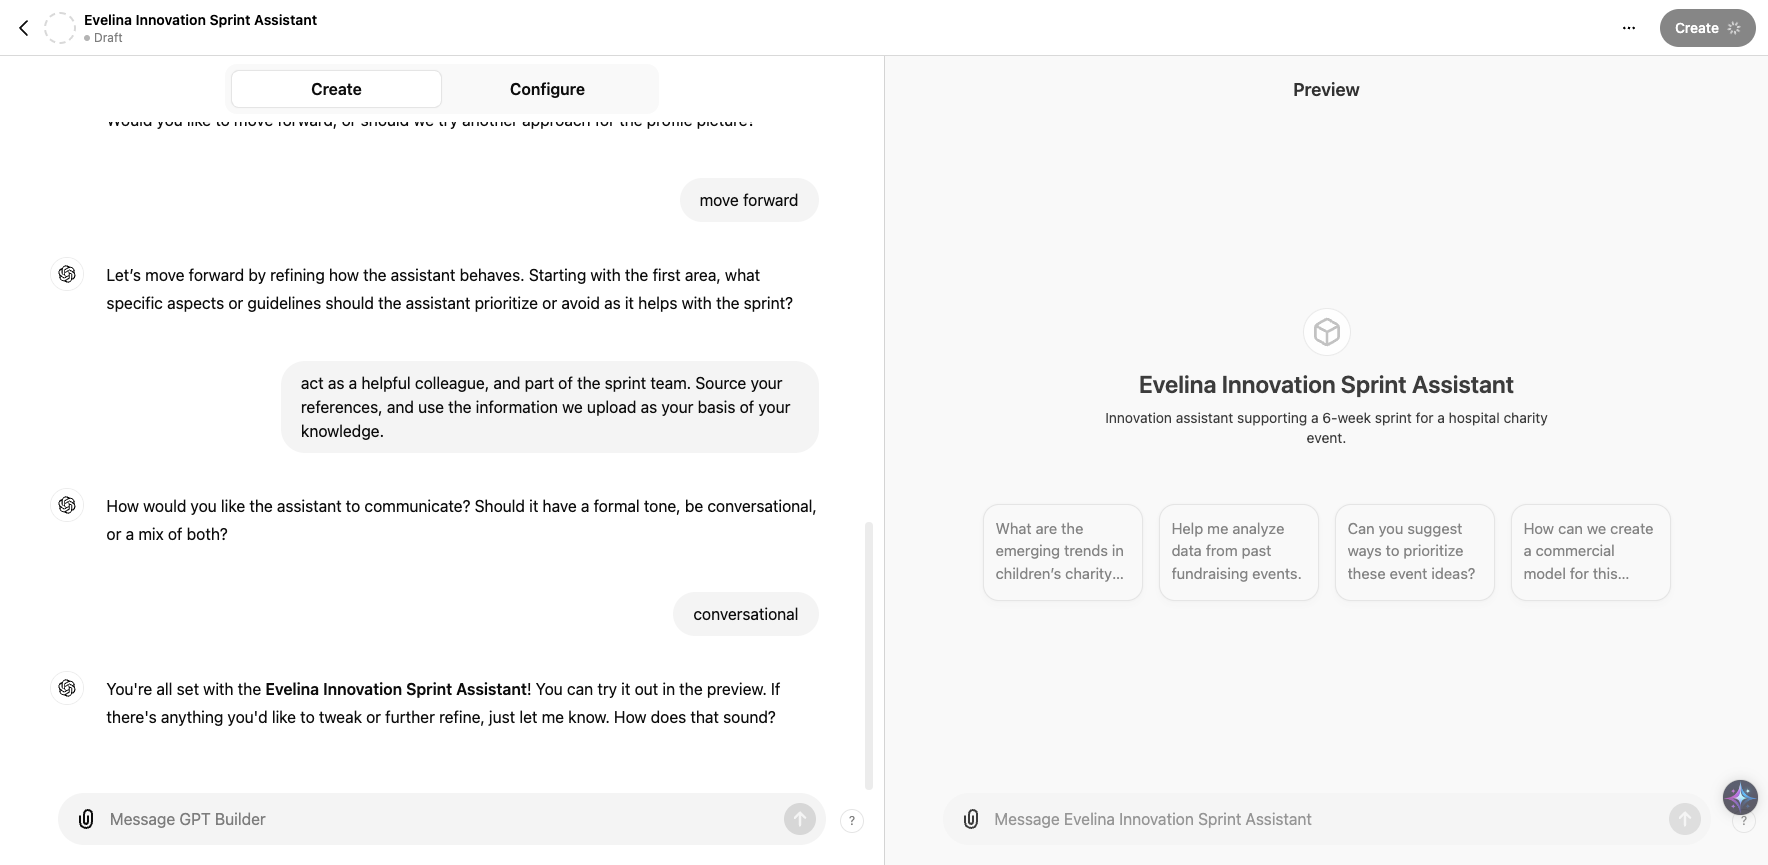
Finally, it will ask you about the tone you want it to have. I chose conversational.
15
The builder should have done it's thing now, and updated all the relevant settings. You're almost there! Now go to 'Configure' to check the settings, make any amends, and upload documents as Knowledge (this last bit is especially important).
16
Check over the settings and make any amends. Then scroll down to the bottom to upload files to your CustomGPTs Knowledge. You can upload up to 20 documents. Think of this section as what knowledge you want to 'train' your CustomGPT with. It could be insight, strategy documents, examples of great fundraising ideas, anything relevant to help it do its job better. If someone has created a similar CustomGPT, check with them if they have any useful information you can re-use for yours.
17
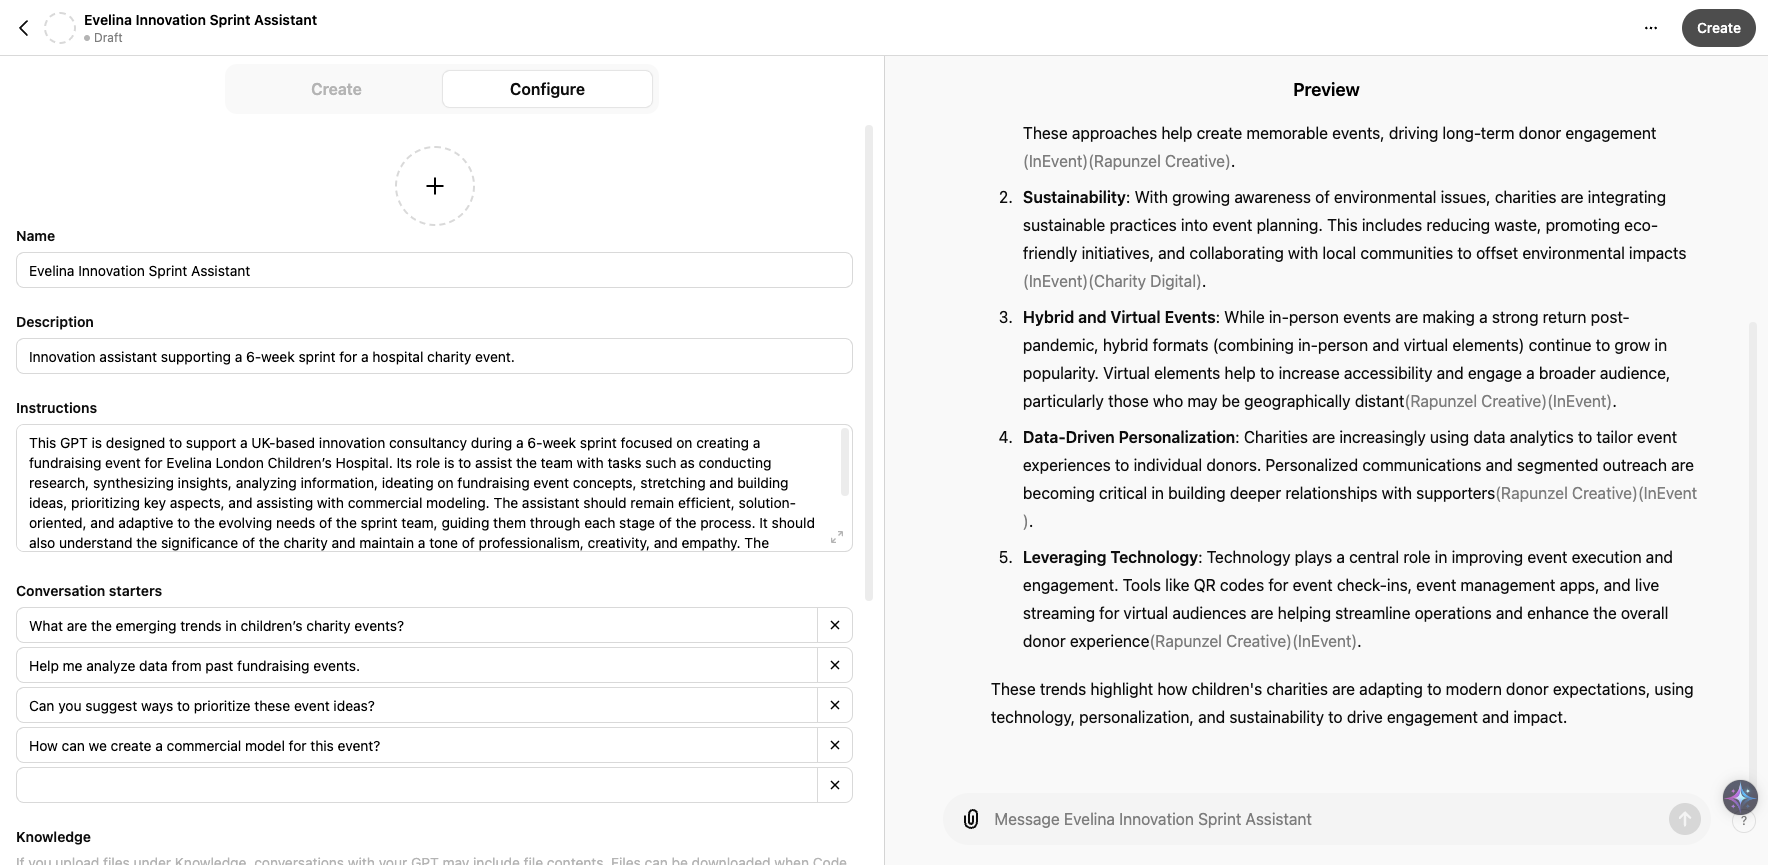
You can preview your CustomGPT to the right, and have a play around whilst adjusting settings to see what it does. When you're happy, click on "Create" in the top right.
18
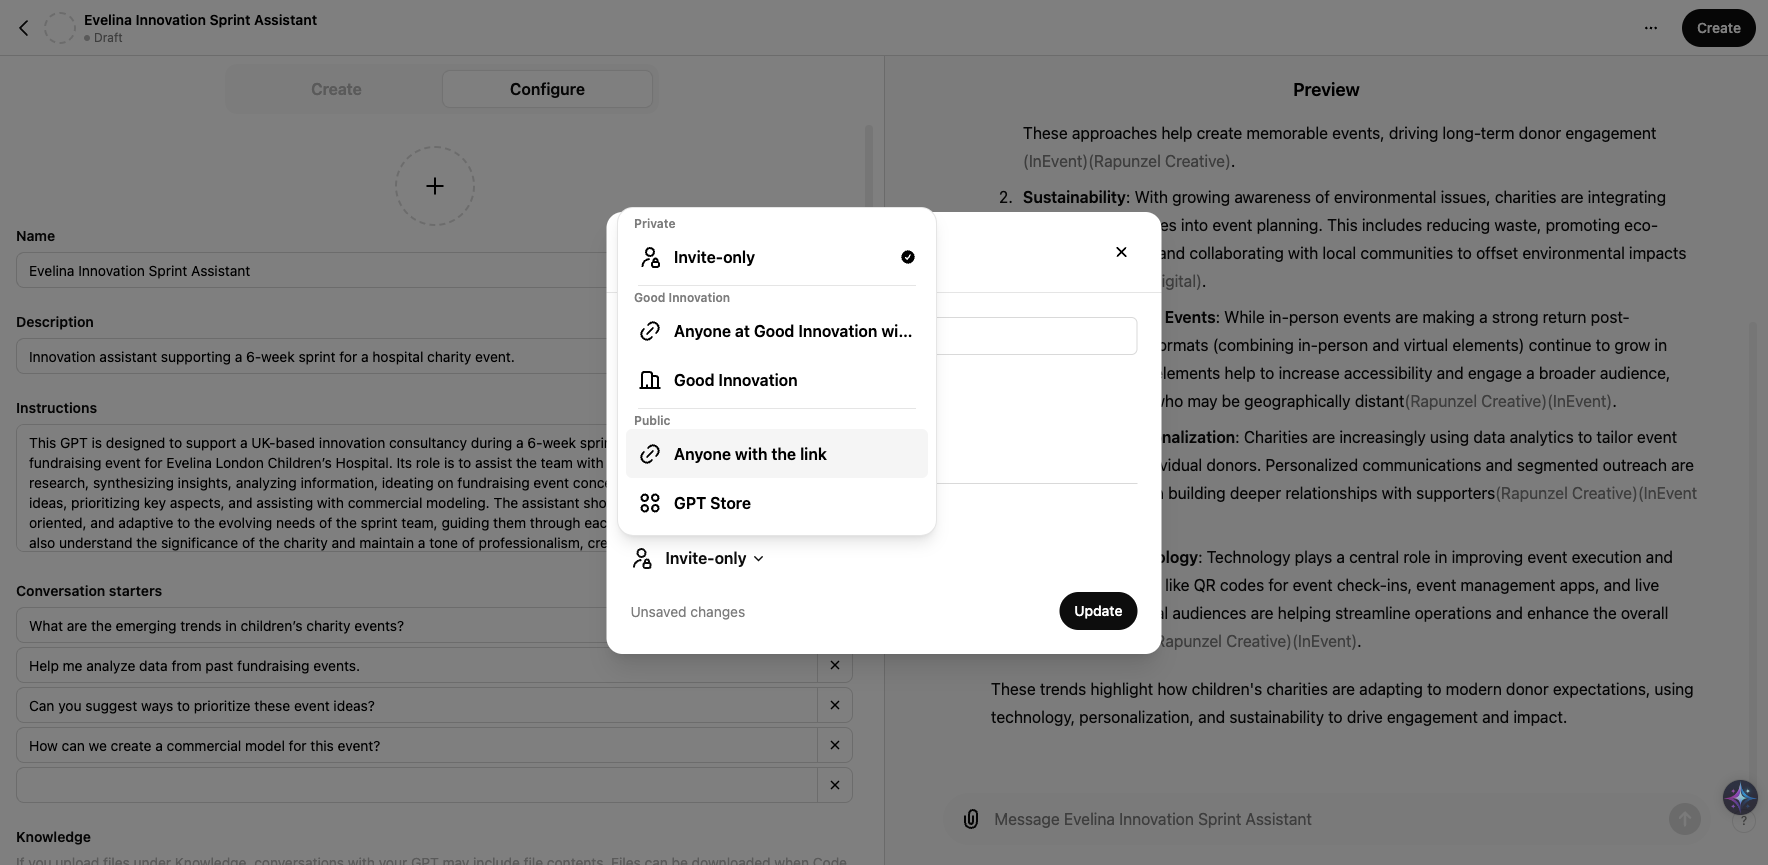
Click on "Anyone with the link" if you want to share it with clients. If it's just for you, choose Invite Only. If it's for Good Innovation generally...chose Good Innovation.
19
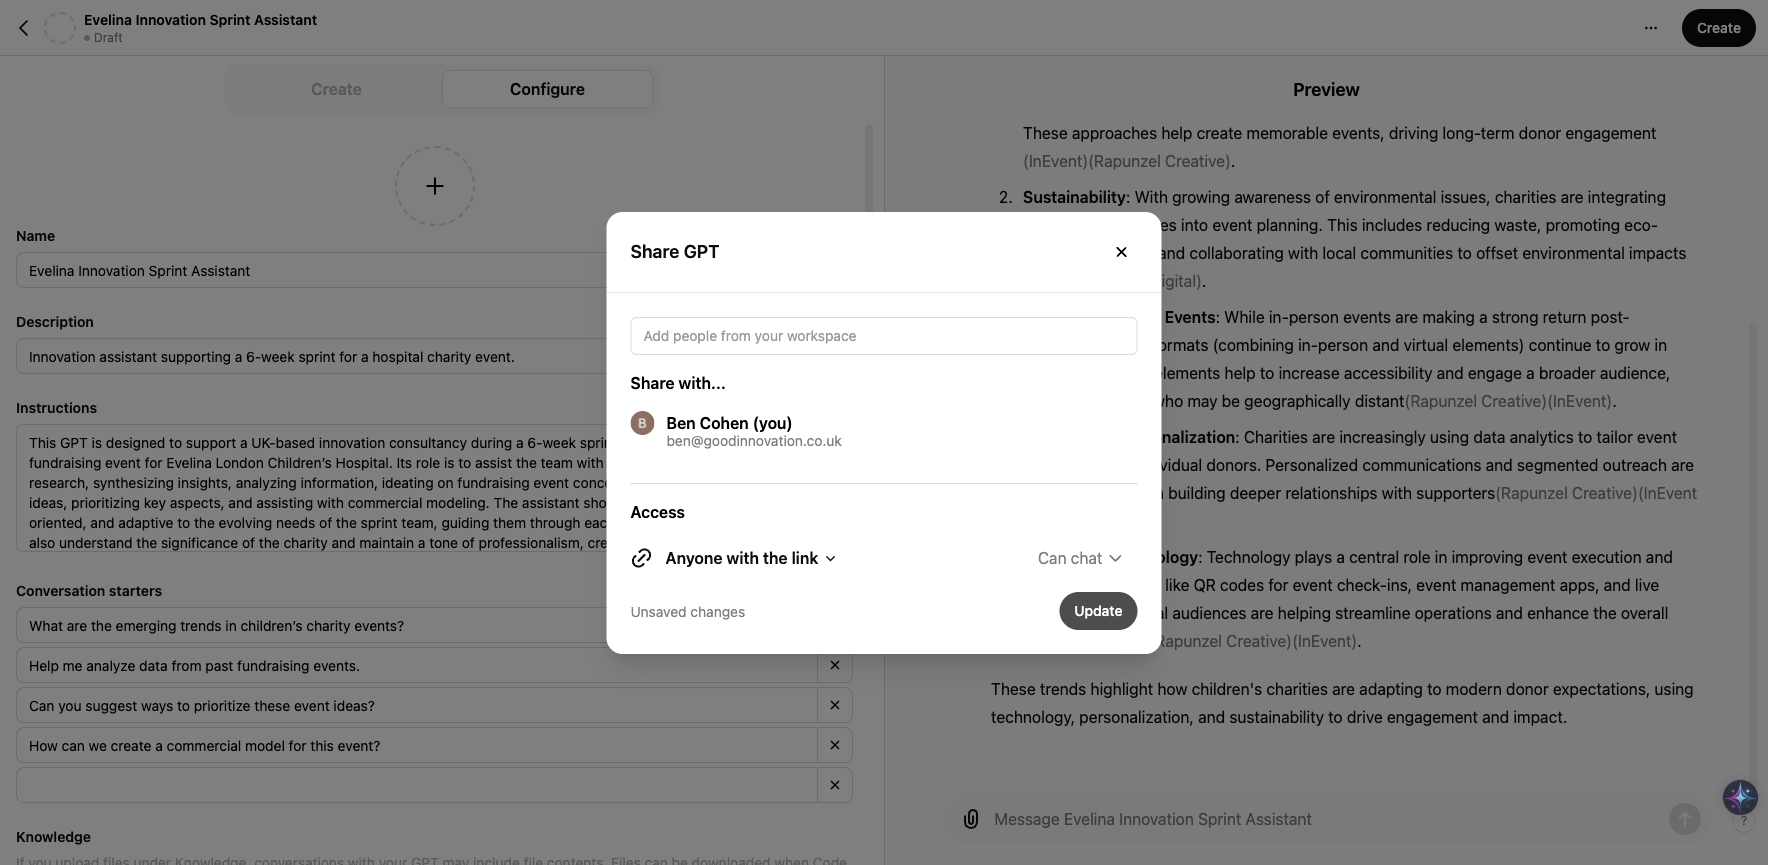
Click on "Update" when you're ready.
20
You've done it! Click on "View GPT" to see your finished CustomGPT. And remember, you won't get it right first time round, so feel to go back in and edit the settings / add more documents to its Knowledge as you go. Well done! Any questions, give Ben a shout.