Icon

Splitting Packing Slips for Indexing

Learn how to efficiently manage packing slips and invoices by scanning, organizing, and processing them with ease. Follow our step-by-step guide to streamline your accounting workflow.

By Rose Gomez

In this guide, we'll learn how to efficiently manage and organize packing slips and invoices for accounting purposes. The process involves scanning packing slips, separating them by vendor, and saving them in the accounting drive. We'll also cover how to use tools to remove unnecessary pages and organize documents for easy access. Additionally, we'll explore how to handle invoice entries and ensure they are correctly matched and filed. This guide aims to streamline your document management workflow, ensuring accuracy and efficiency in your accounting tasks.

Let's get started

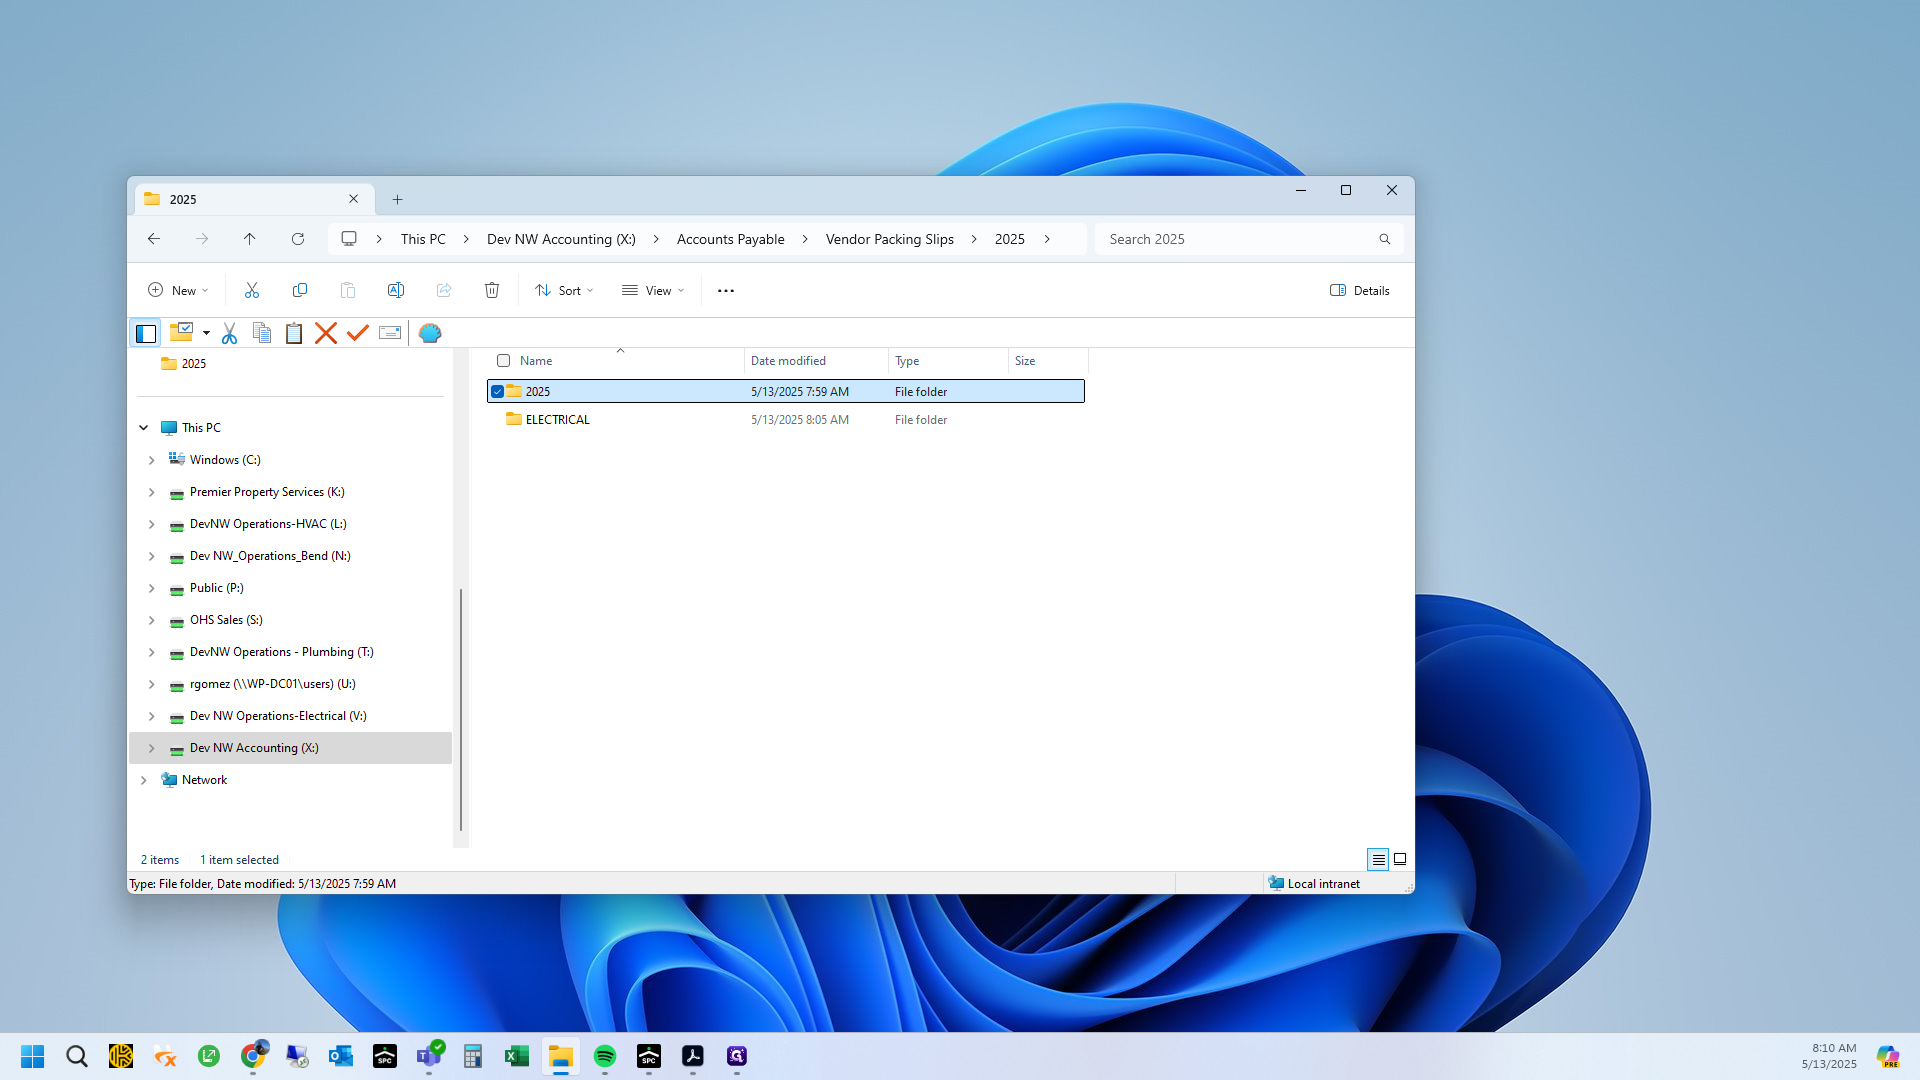
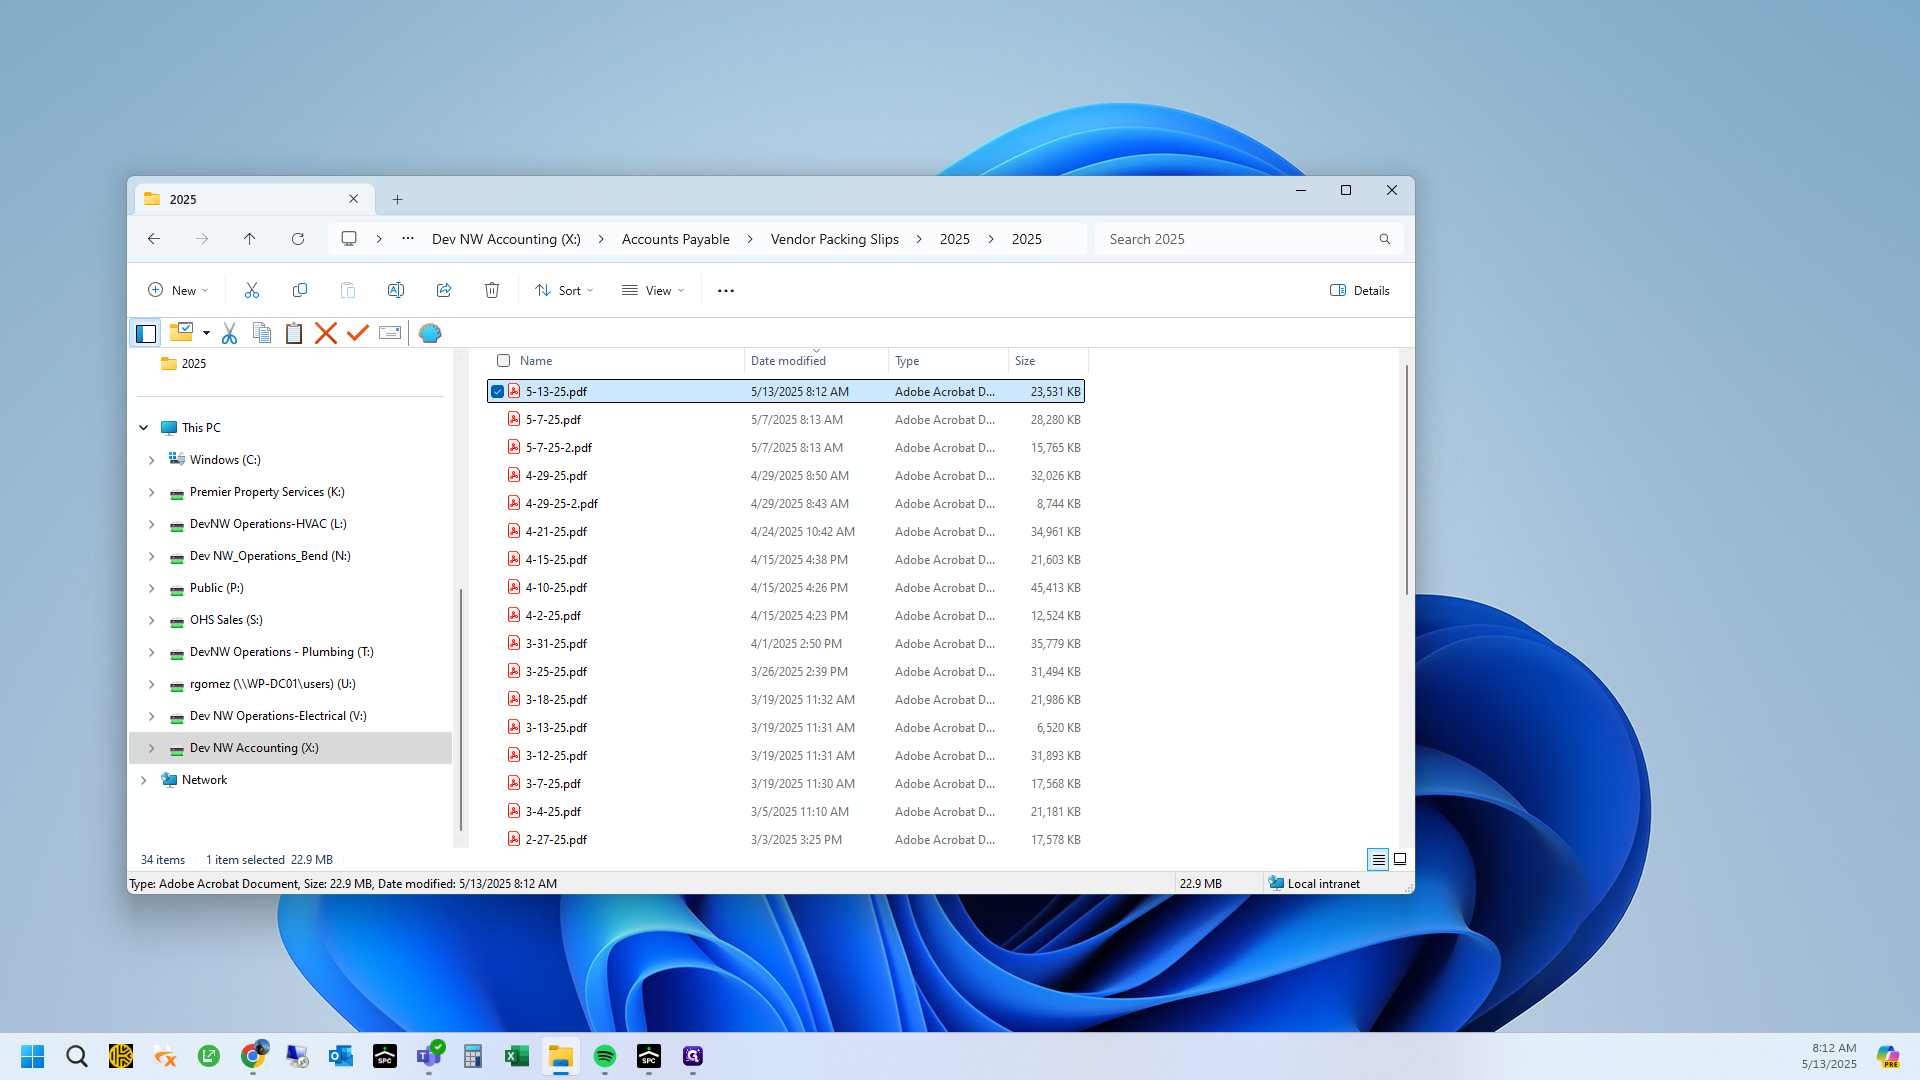
First, scan the packing slips. Separate the documents by vendor, remove any staples, and then scan them. Save these in the accounting drive X:\Accounts Payable\Vendor Packing Slips\2025\2025 file name is the current date (5-13-25 in this tutorial)

1
Click on "( X :)"
Step #1: Click on "( X :)"
2
Double-click on "Accounts Payable"
Step #2: Double-click on "Accounts Payable"
3
Double-click on "2025"
Step #3: Double-click on "2025"
4
Double-click on "2025"
Step #4: Double-click on "2025"
5
Double-click on "5-13-25.pdf"
Step #5: Double-click on "5-13-25.pdf"

Use the organize pages feature to remove any back pages or unwanted content.

6
After you've scanned and saved the packing slips, open the file and remove unwanted pages. Use "Organize Pages" and select all unwanted pages.
Step #6: After you've scanned and saved the packing slips, open the file and remove unwanted pages. Use "Organize Pages" and select all unwanted pages.
7
Hold CTRL to highlight pages to delete.
Step #7: Hold CTRL to highlight pages to delete.
8
Continue selecting until all unwanted pages are highlighted.
Step #8: Continue selecting until all unwanted pages are highlighted.

9
Use the "Delete" button on the keyboard to remove pages. Once finished, save and close the file and return to Sage paperless.
Step #9: Use the "Delete" button on the keyboard to remove pages. Once finished, save and close the file and return to Sage paperless.

10
Once finished, save and close the file and return to Sage paperless.
Step #10: Once finished, save and close the file and return to Sage paperless.

Save.

11
Click on "×"
Step #11: Click on "×"

Open Paperless.

12
Click on "APFlow"
Step #12: Click on "APFlow"
13
Click on "Invoice Entry"
Step #13: Click on "Invoice Entry"

Ensure you are not in OCR mode for invoice entry. Then, simply drag these over.

14
Click on "5-13-25.pdf"
Step #14: Click on "5-13-25.pdf"
15
Drag "5-13-25.pdf"
Step #15: Drag "5-13-25.pdf"

You should not delete these.

16
Click on "No"
Step #16: Click on "No"

Then, find them here and go to your splitter.

17
Click on "5-13-25.pdf"
Step #17: Click on "5-13-25.pdf"
18
Click on "Rose"
Step #18: Click on "Rose"
19
Click on "Splitter"
Step #19: Click on "Splitter"
20
Click on "Rose Gomez's Queue" you can change the processor by clicking on the name shown
Step #20: Click on "Rose Gomez's Queue" you can change the processor by clicking on the name shown
21
Type "k + Enter"
22
Type " "
23
Click on "Kent Manila's Queue" Kent processes most of the Packing Slips
Step #23: Click on "Kent Manila's Queue" Kent processes most of the Packing Slips
24
Click on "Kent Manila's Queue"
Step #24: Click on "Kent Manila's Queue"
25
Use Spacebar to separate Packing slips paying attention to how many pages each slip contains
26
Click on "Kent Manila's Queue"
Step #26: Click on "Kent Manila's Queue"
27
Type " "
28
Click on "Kent Manila's Queue" Kent does not process Gensco since their packing slips do not contain the Invoice number. I process those so you can change the processor to "Rose"
Step #28: Click on "Kent Manila's Queue" Kent does not process Gensco since their packing slips do not contain the Invoice number. I process those so you can change the processor to "Rose"

29
Use the down arrow or the mouse to navigate multi-page Packing Slips
Step #29: Use the down arrow or the mouse to navigate multi-page Packing Slips

If you have a two-page document, use the arrow keys on your keyboard to navigate.

30
Click on "1 of 2"
Step #30: Click on "1 of 2"

31
Each vendor has a different spot for their page information, usually upper right or bottom left of the page.
Step #31: Each vendor has a different spot for their page information, usually upper right or bottom left of the page.
32
Once all Packing Slips have been separated, click on "Split"
Step #32: Once all Packing Slips have been separated, click on "Split"