
Efficiently Sending Multiple Emails with Macros: A Step-by-Step Guide
Learn how to streamline the process of sending multiple emails using macros, with a focus on sending emergency special assessment invoices to members.
In this guide, we'll learn how to efficiently send out multiple emails using a template and macros, specifically for distributing emergency special assessment invoices. The process involves preparing your email template, using QuickBooks to verify invoice details, and employing Microsoft Outlook to schedule and send emails. We'll explore how to use macros to automate repetitive tasks, such as typing subject lines and pasting email content, to streamline the process. This method ensures accuracy and saves time, allowing you to manage communications effectively.
Let's get started
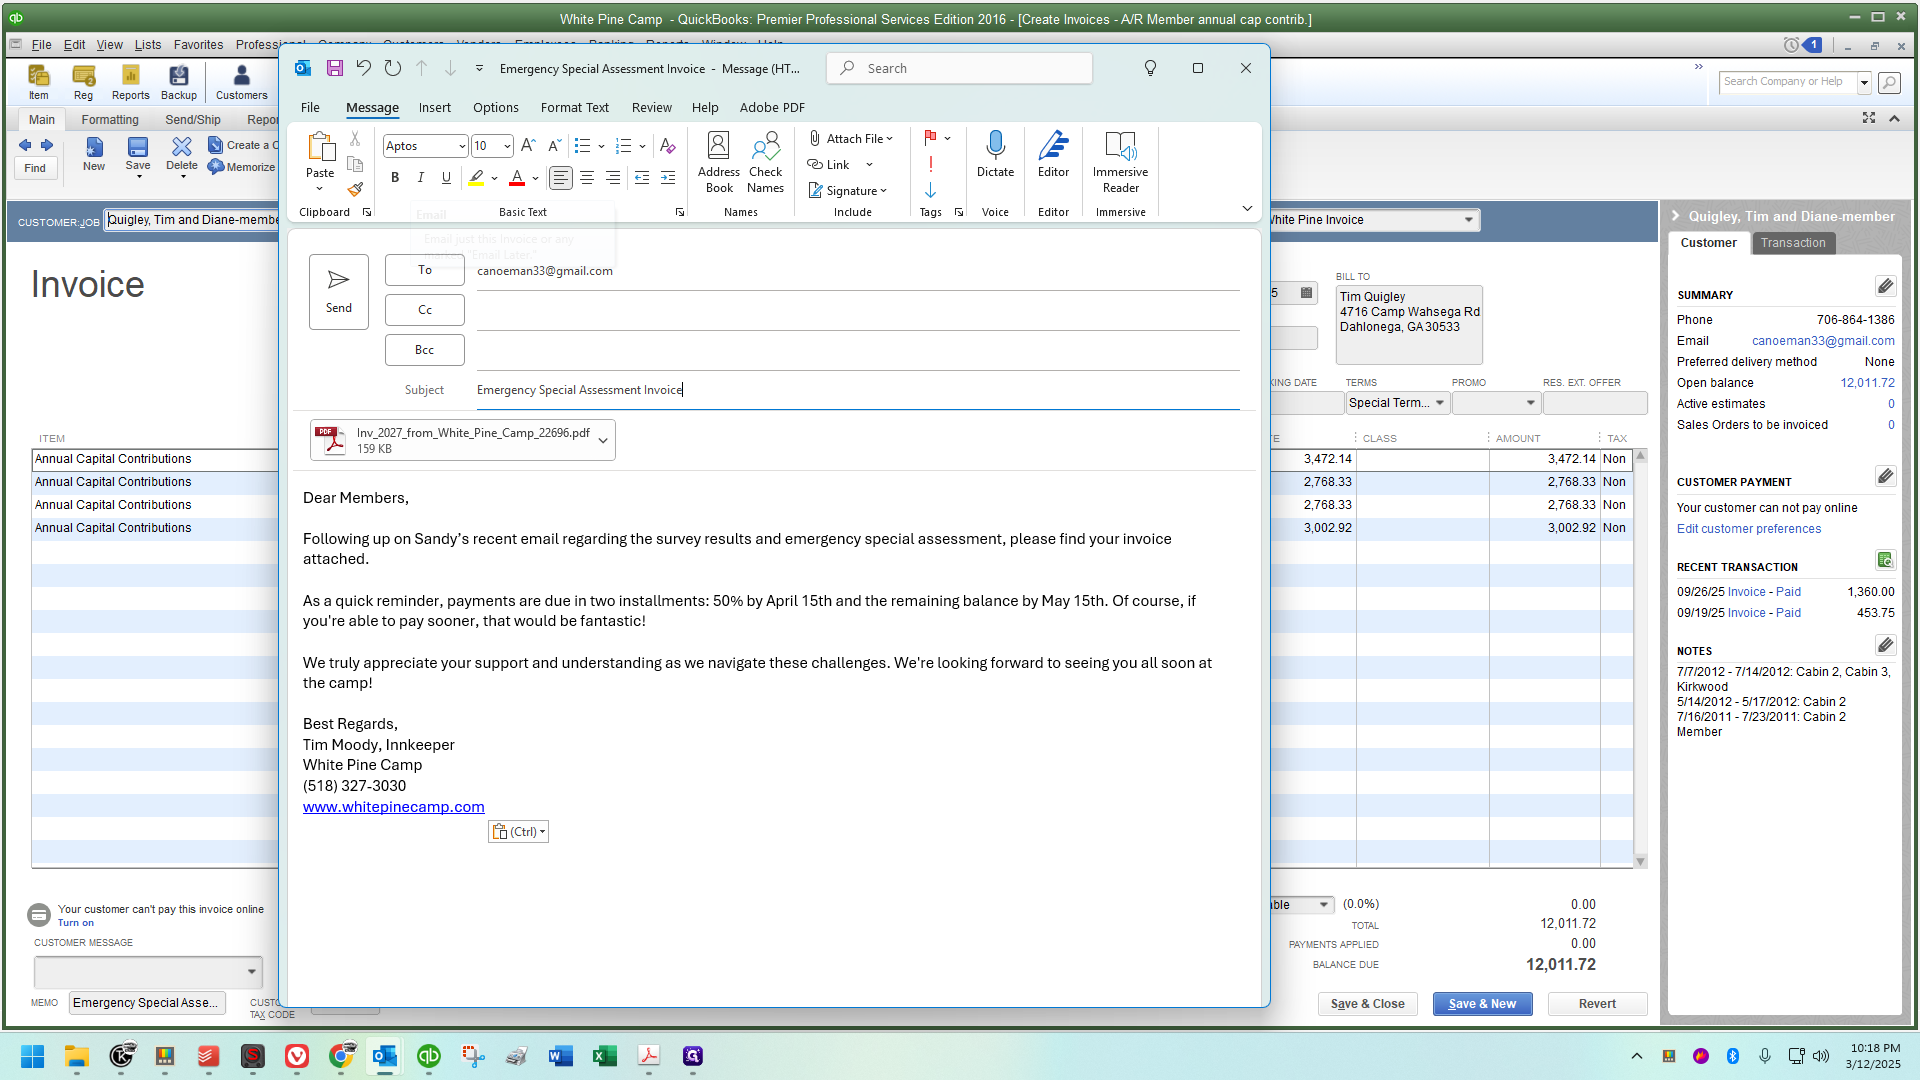
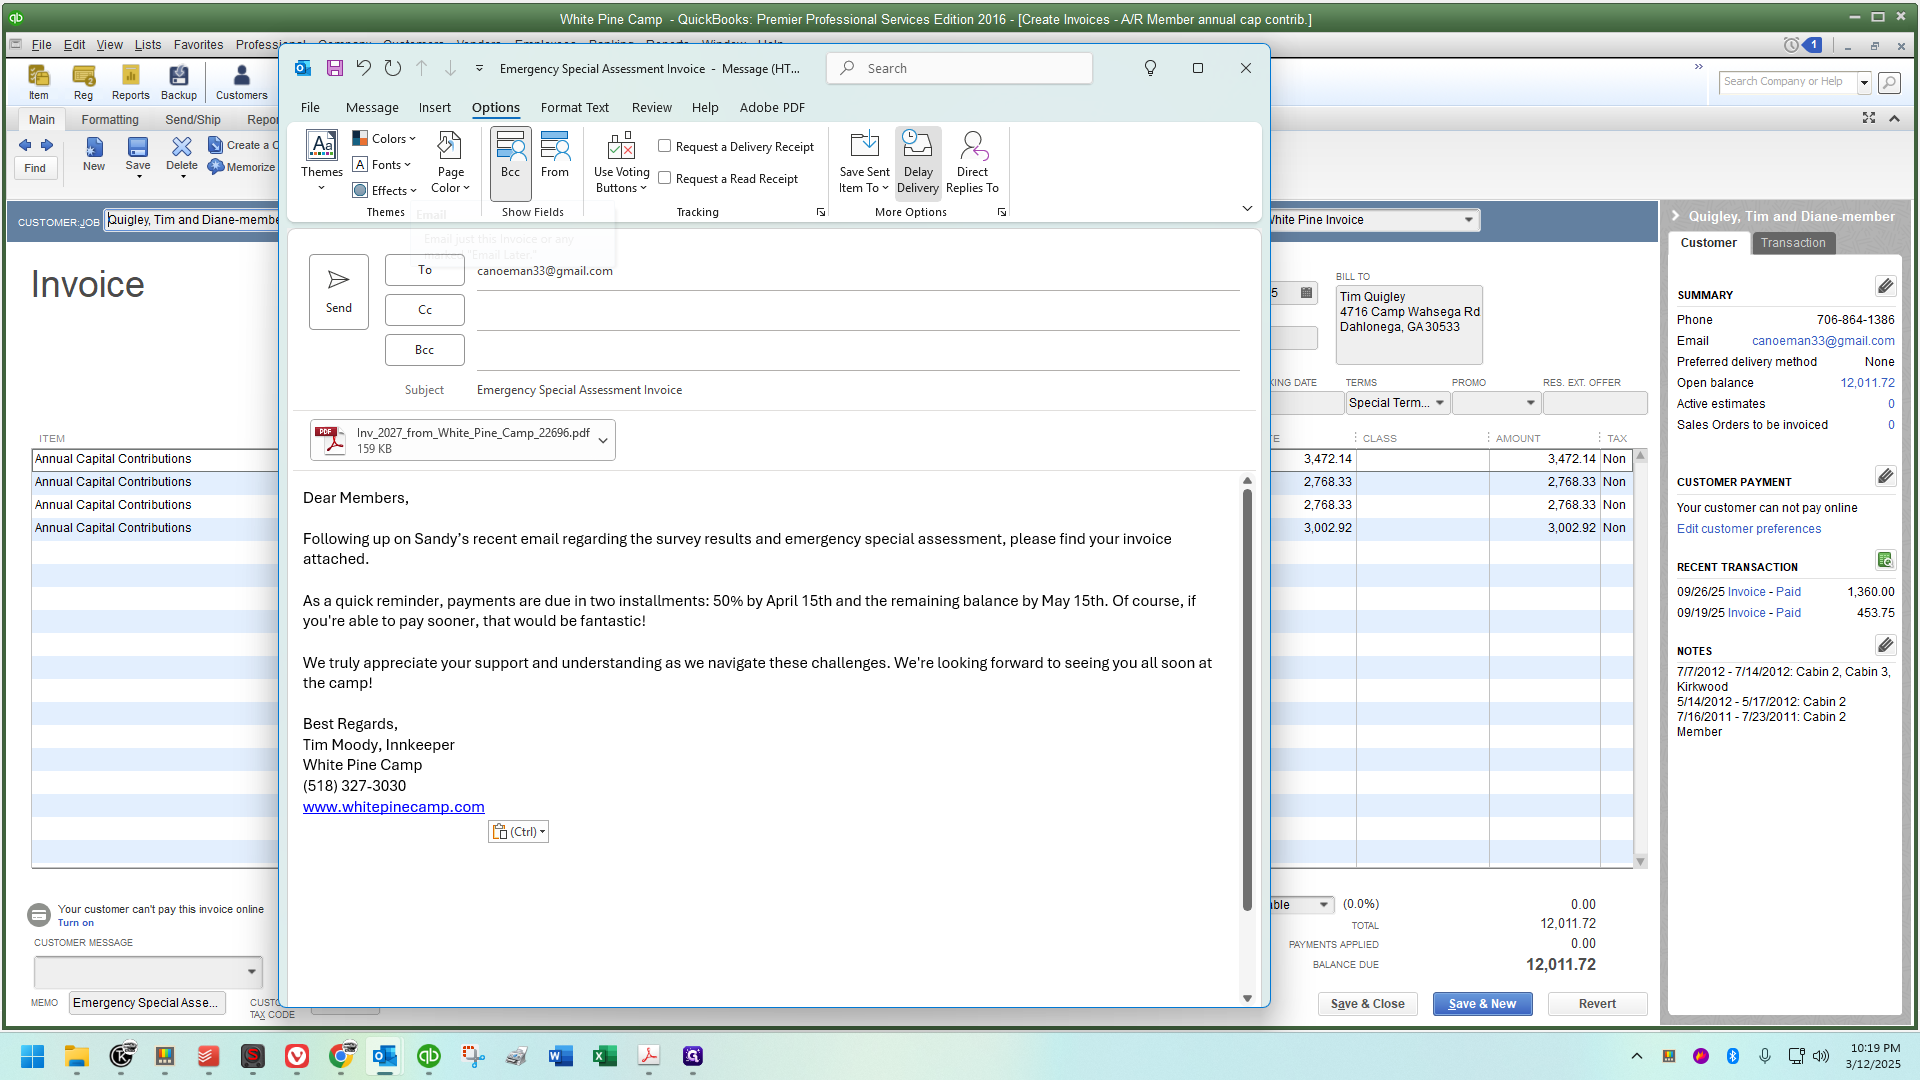
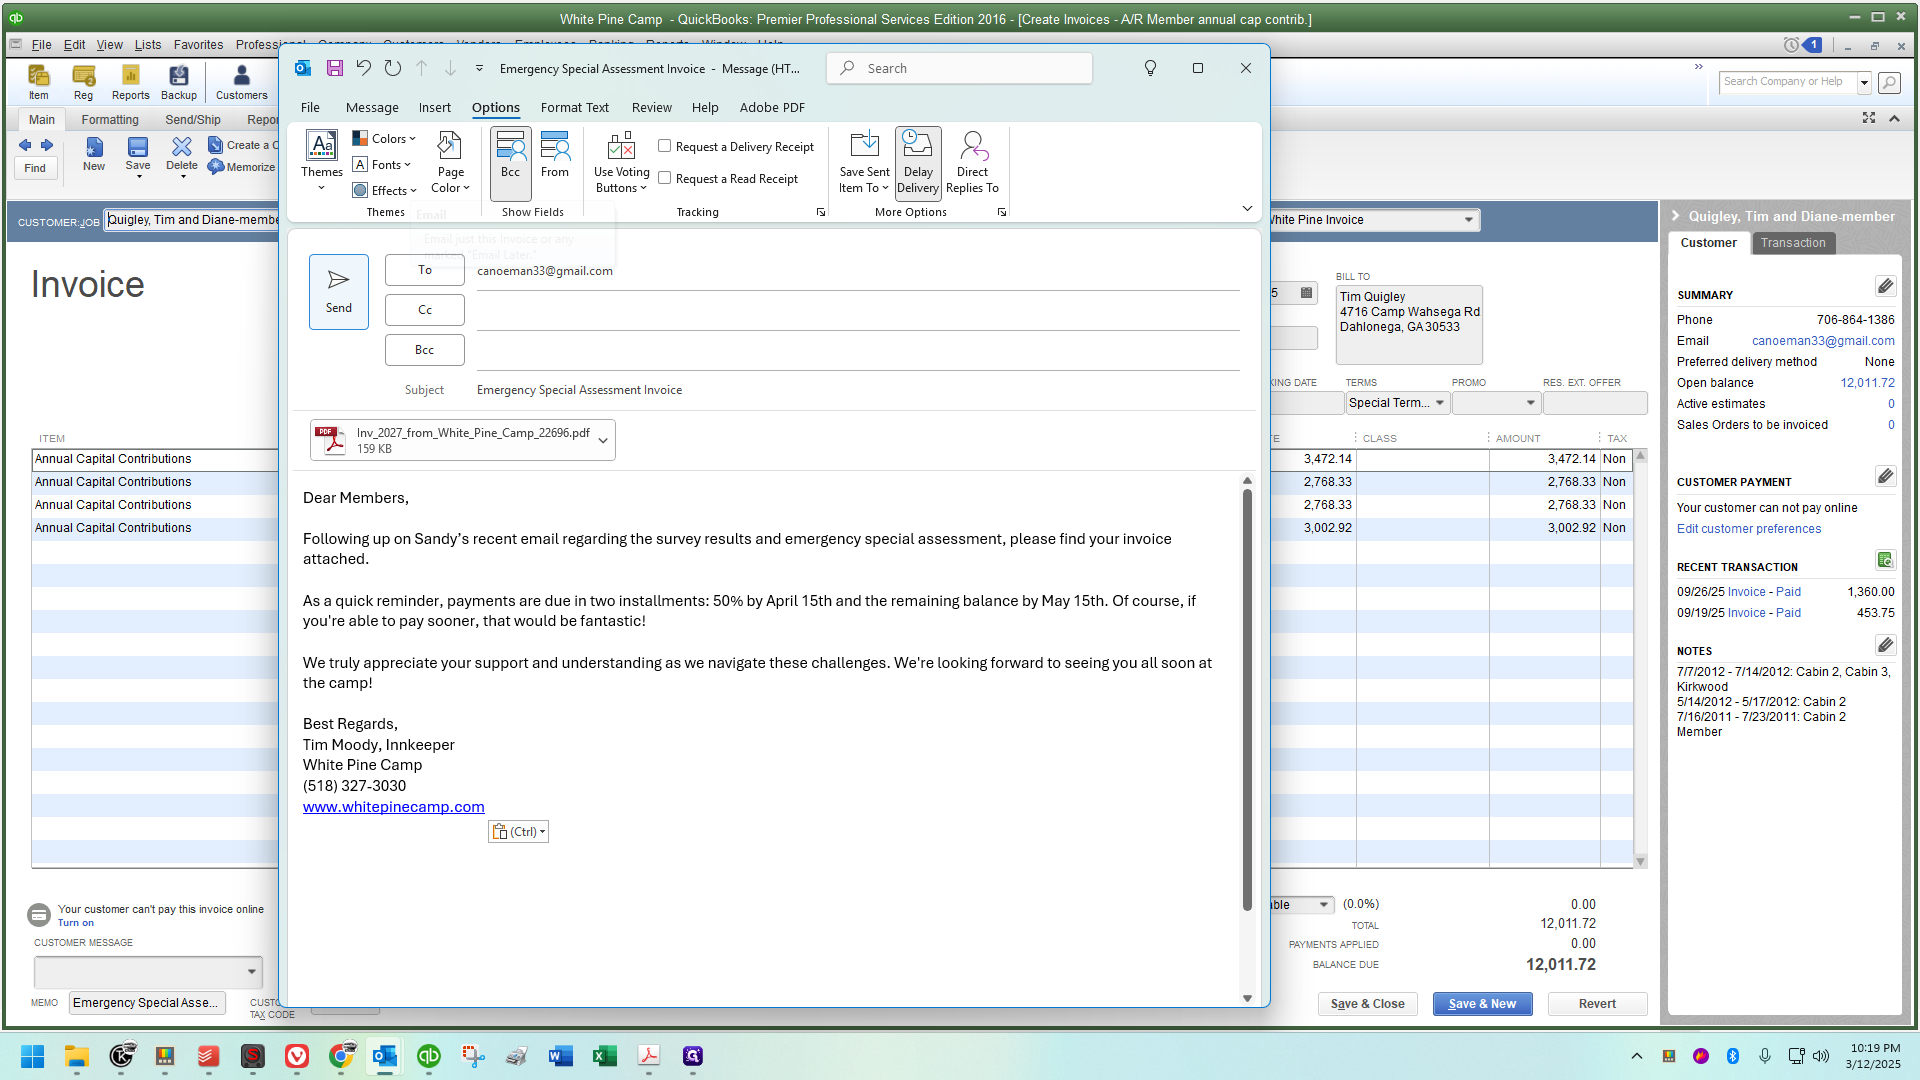
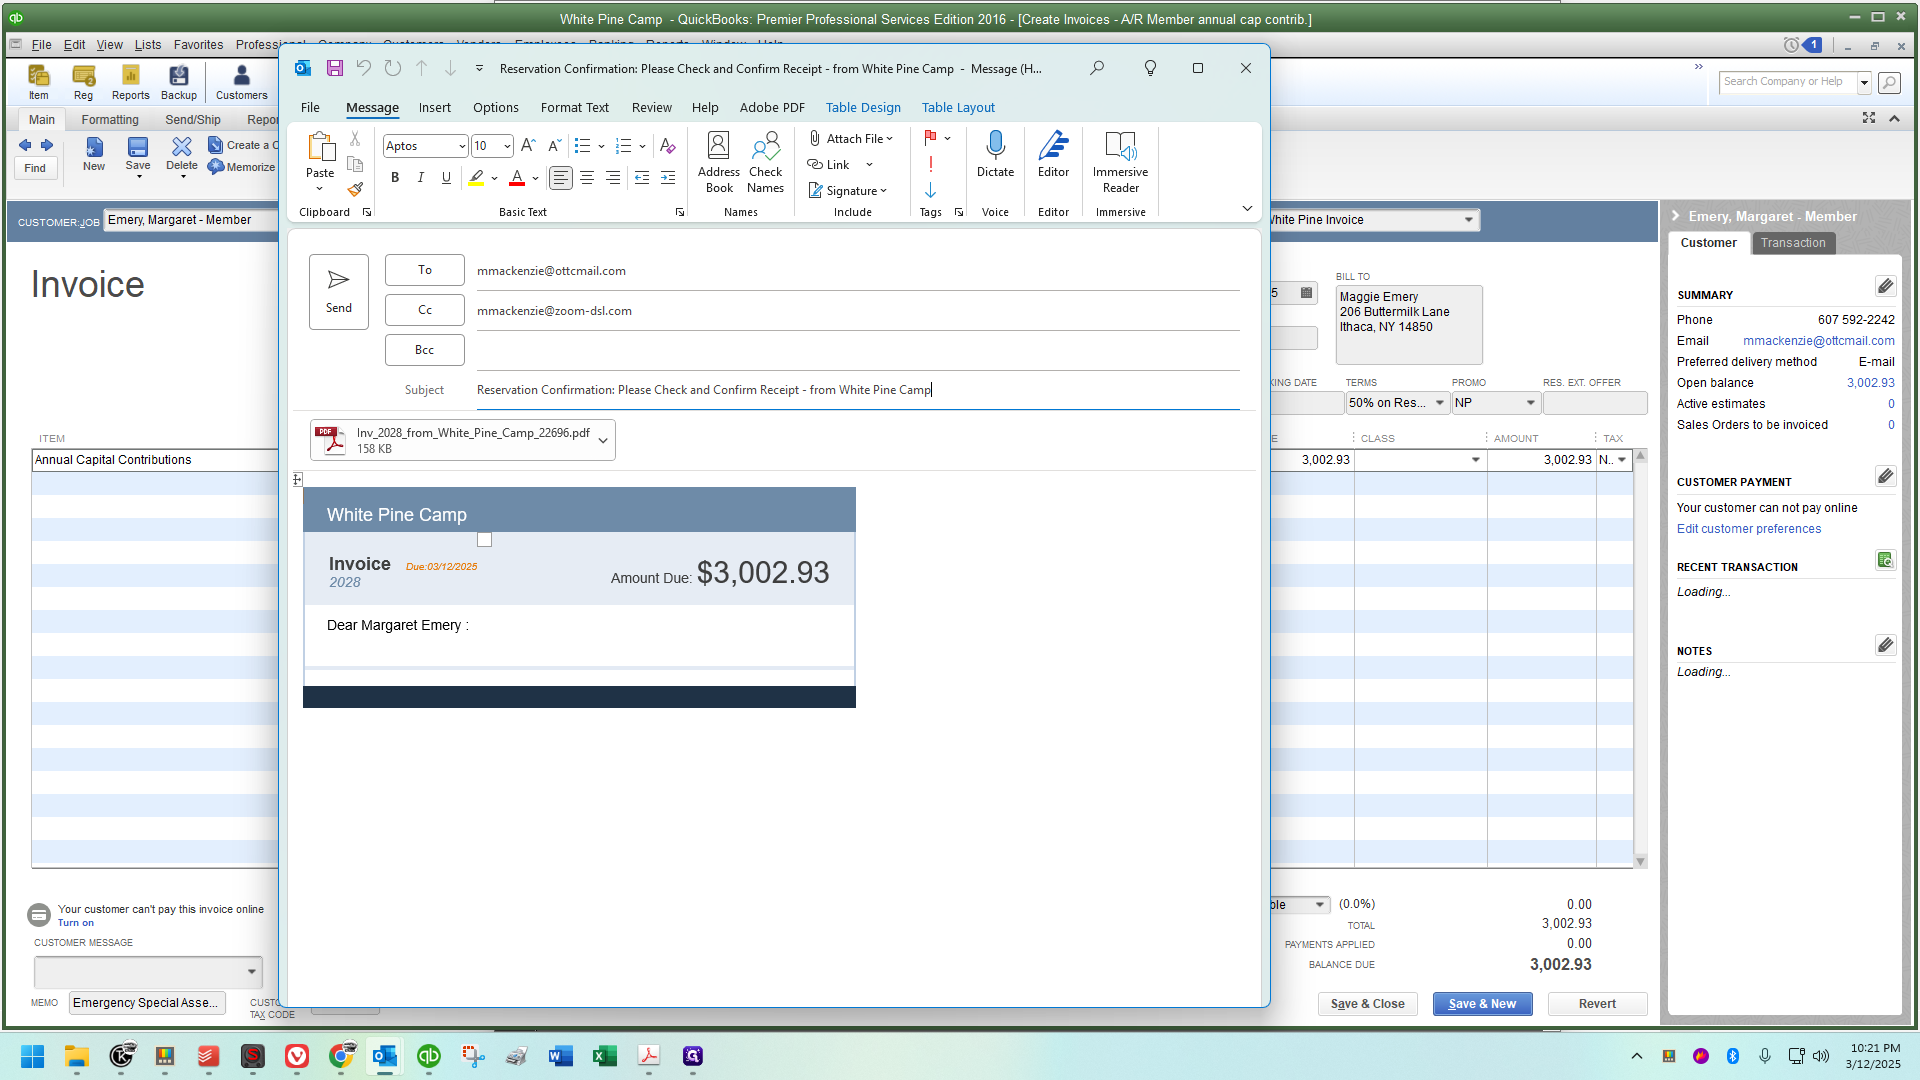
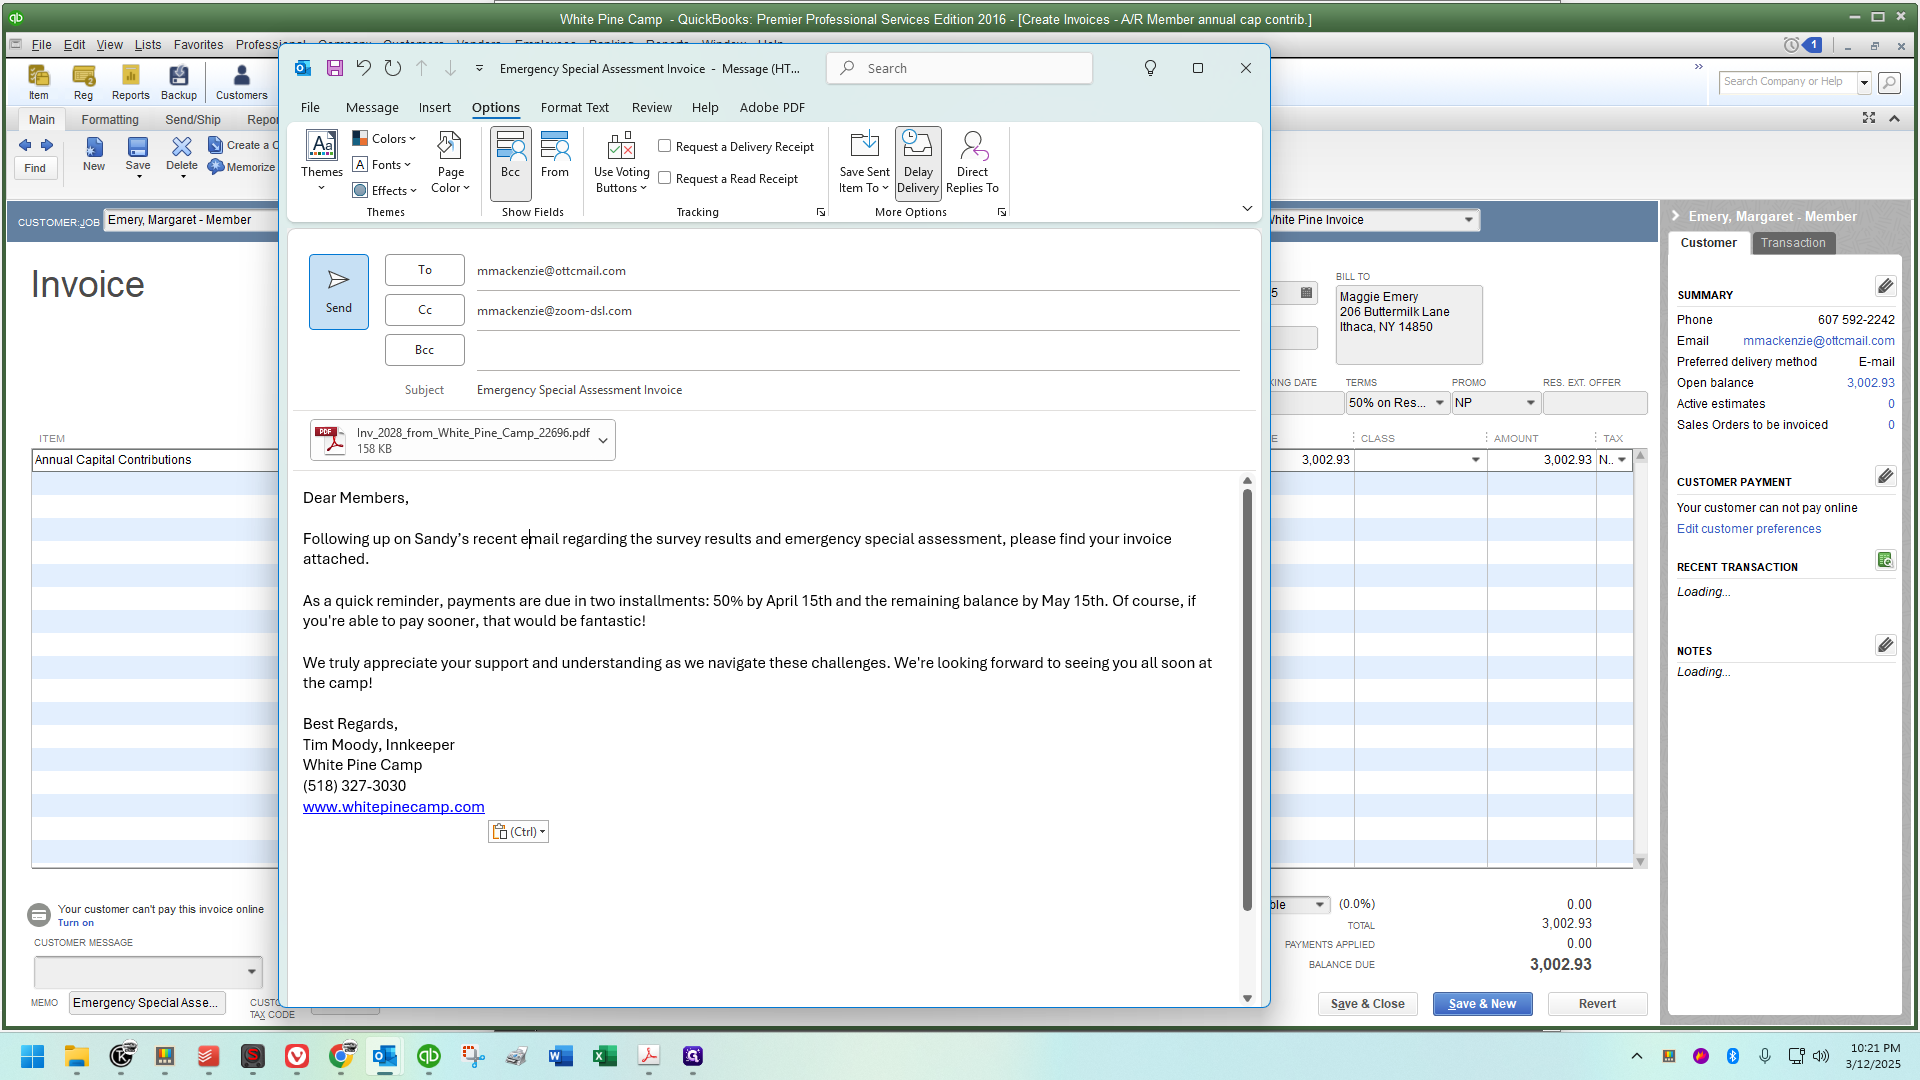
I will demonstrate my method for sending multiple, identical emails consecutively when sending invoices for things like a special assessment. In this instance, I'm sending emergency special assessment invoices to members. I've created an email template and sent it to myself.
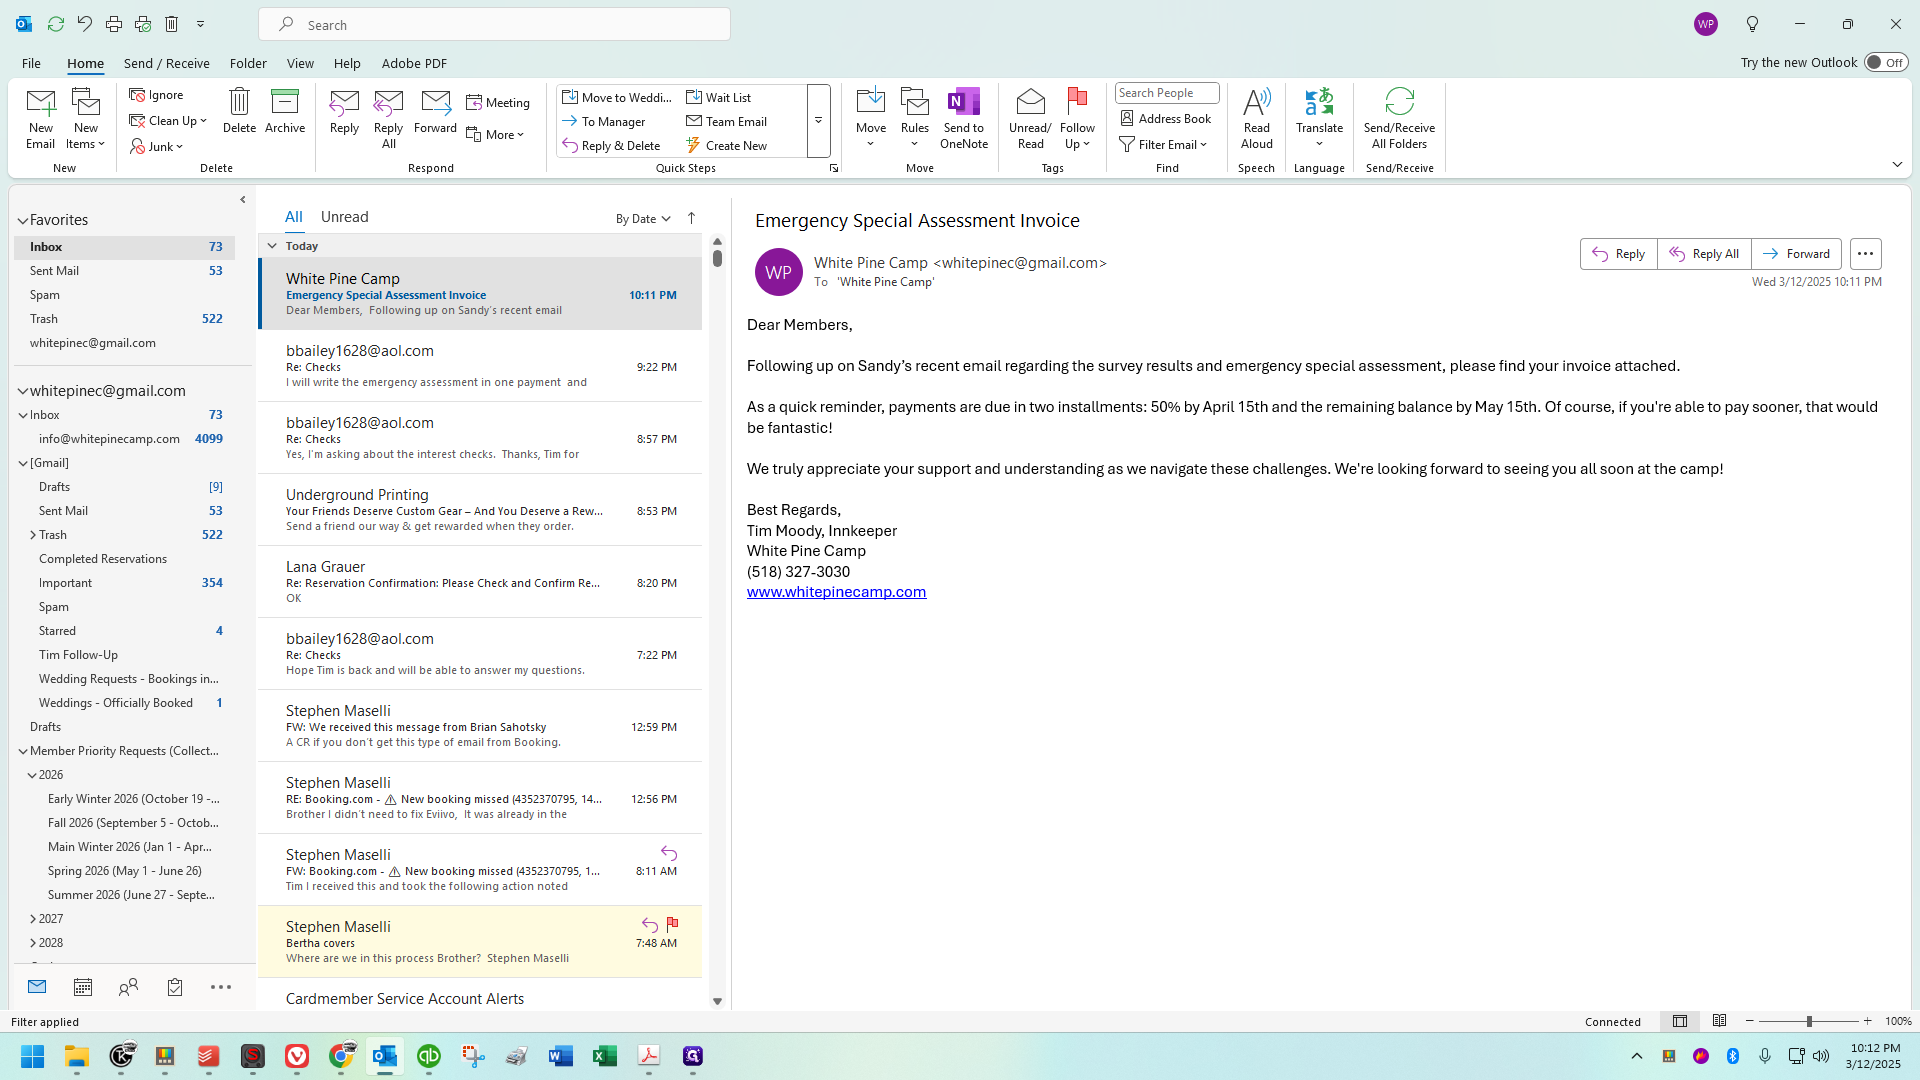
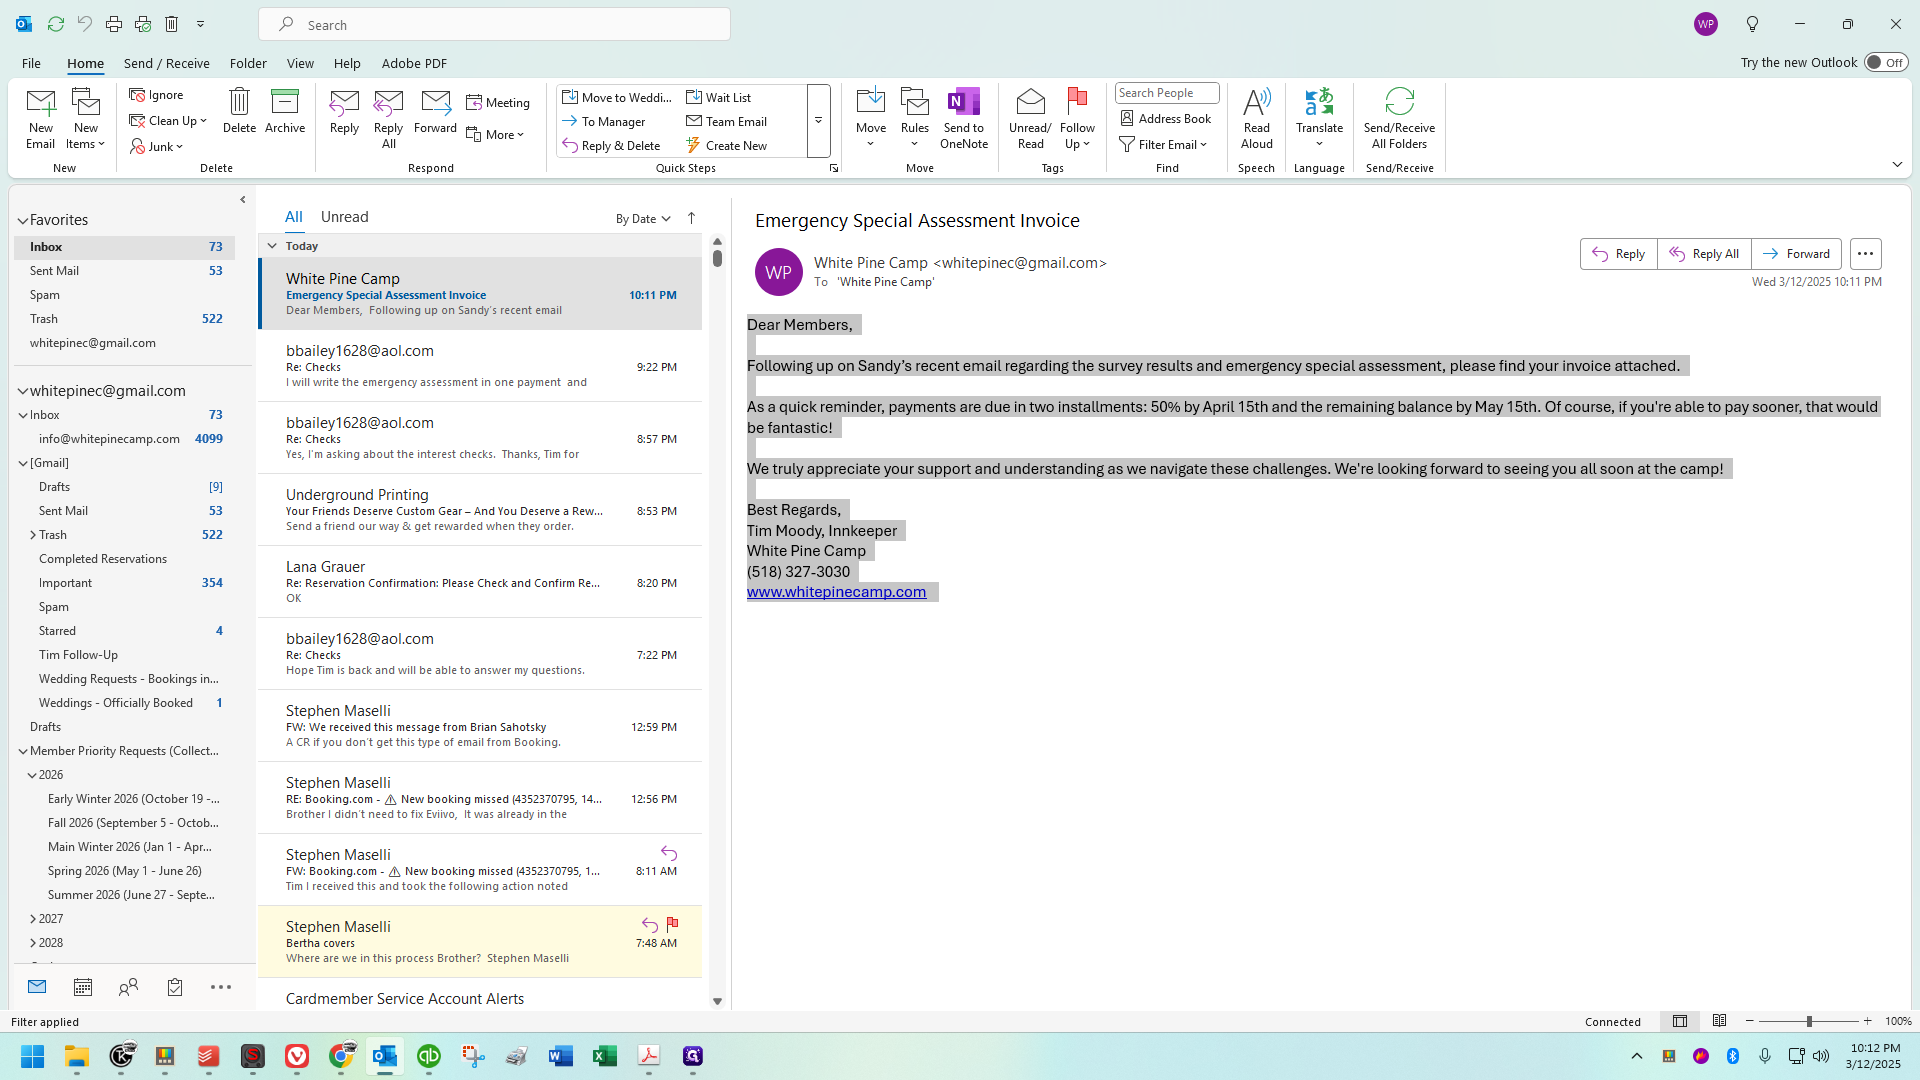
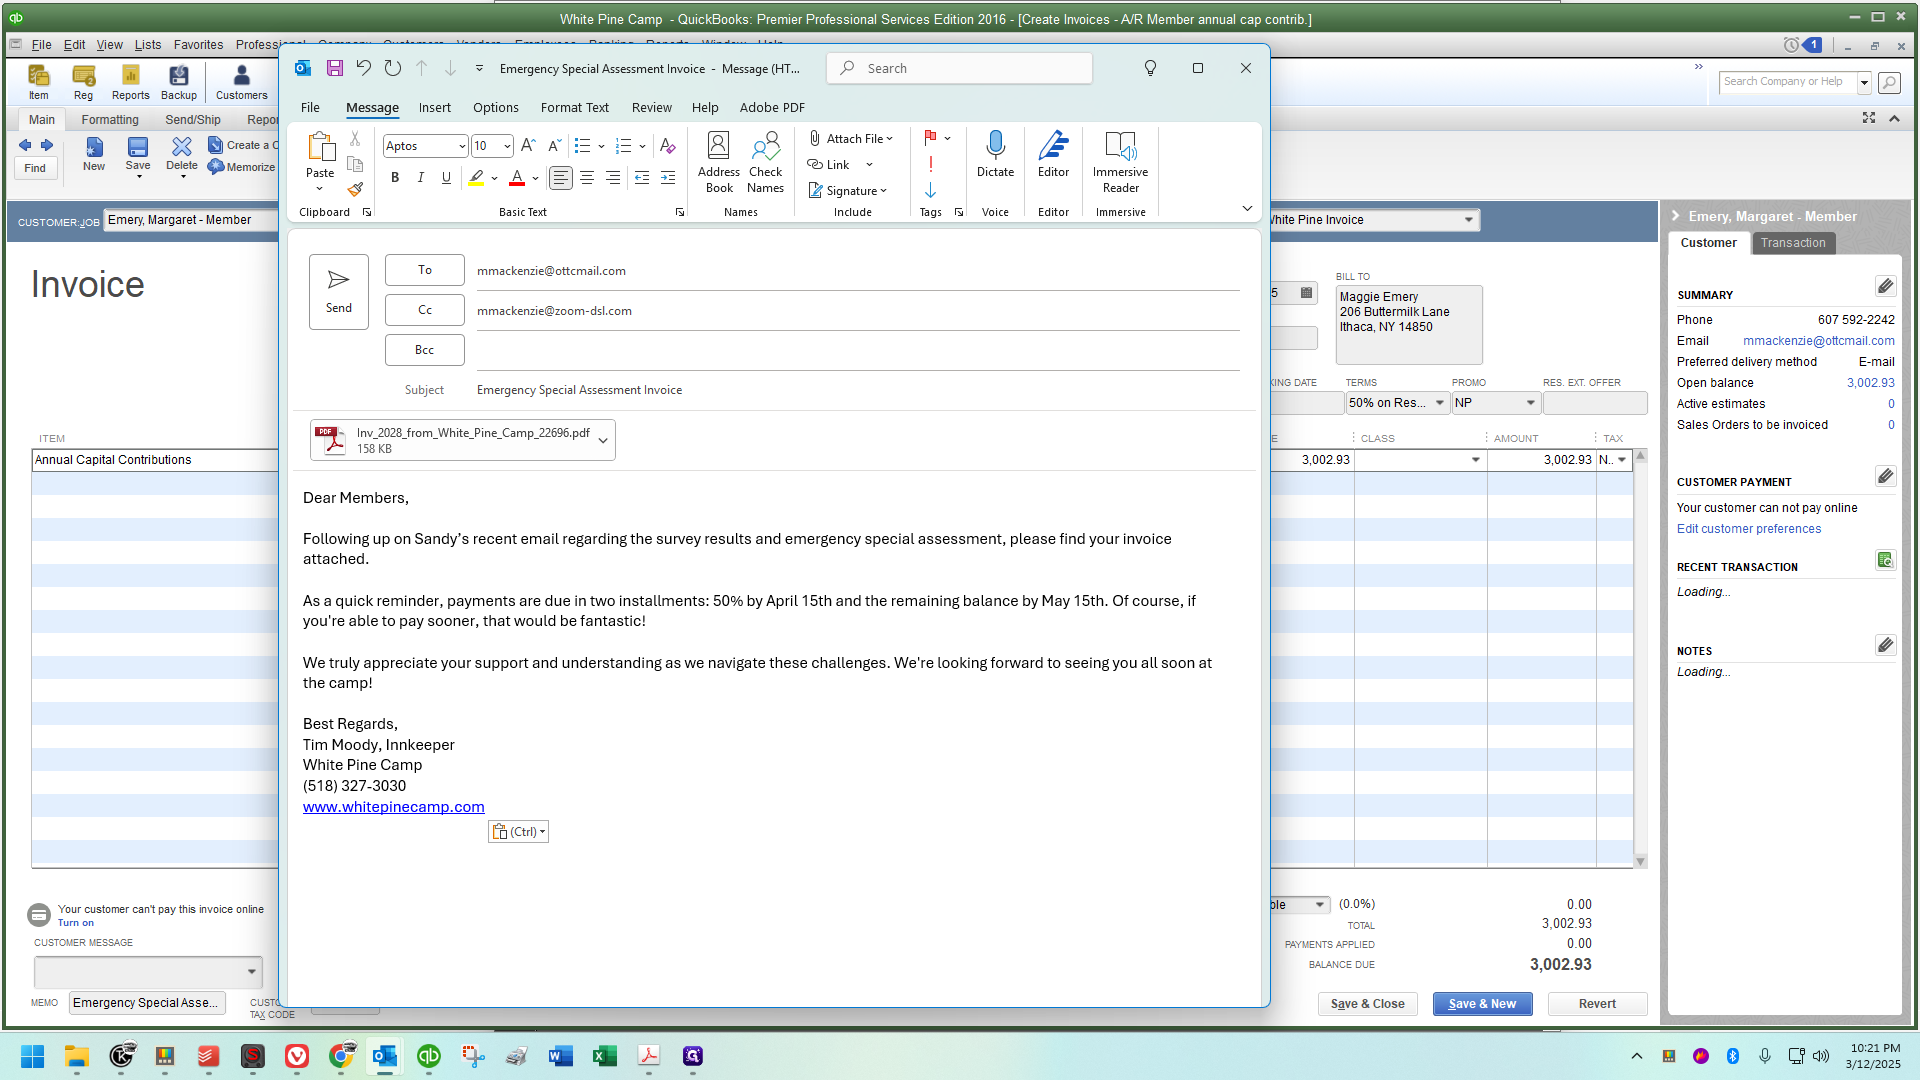
That way, I don't lose it. I could also save it in a Word document, but this is how I handled it. I'm going to copy the entire message.

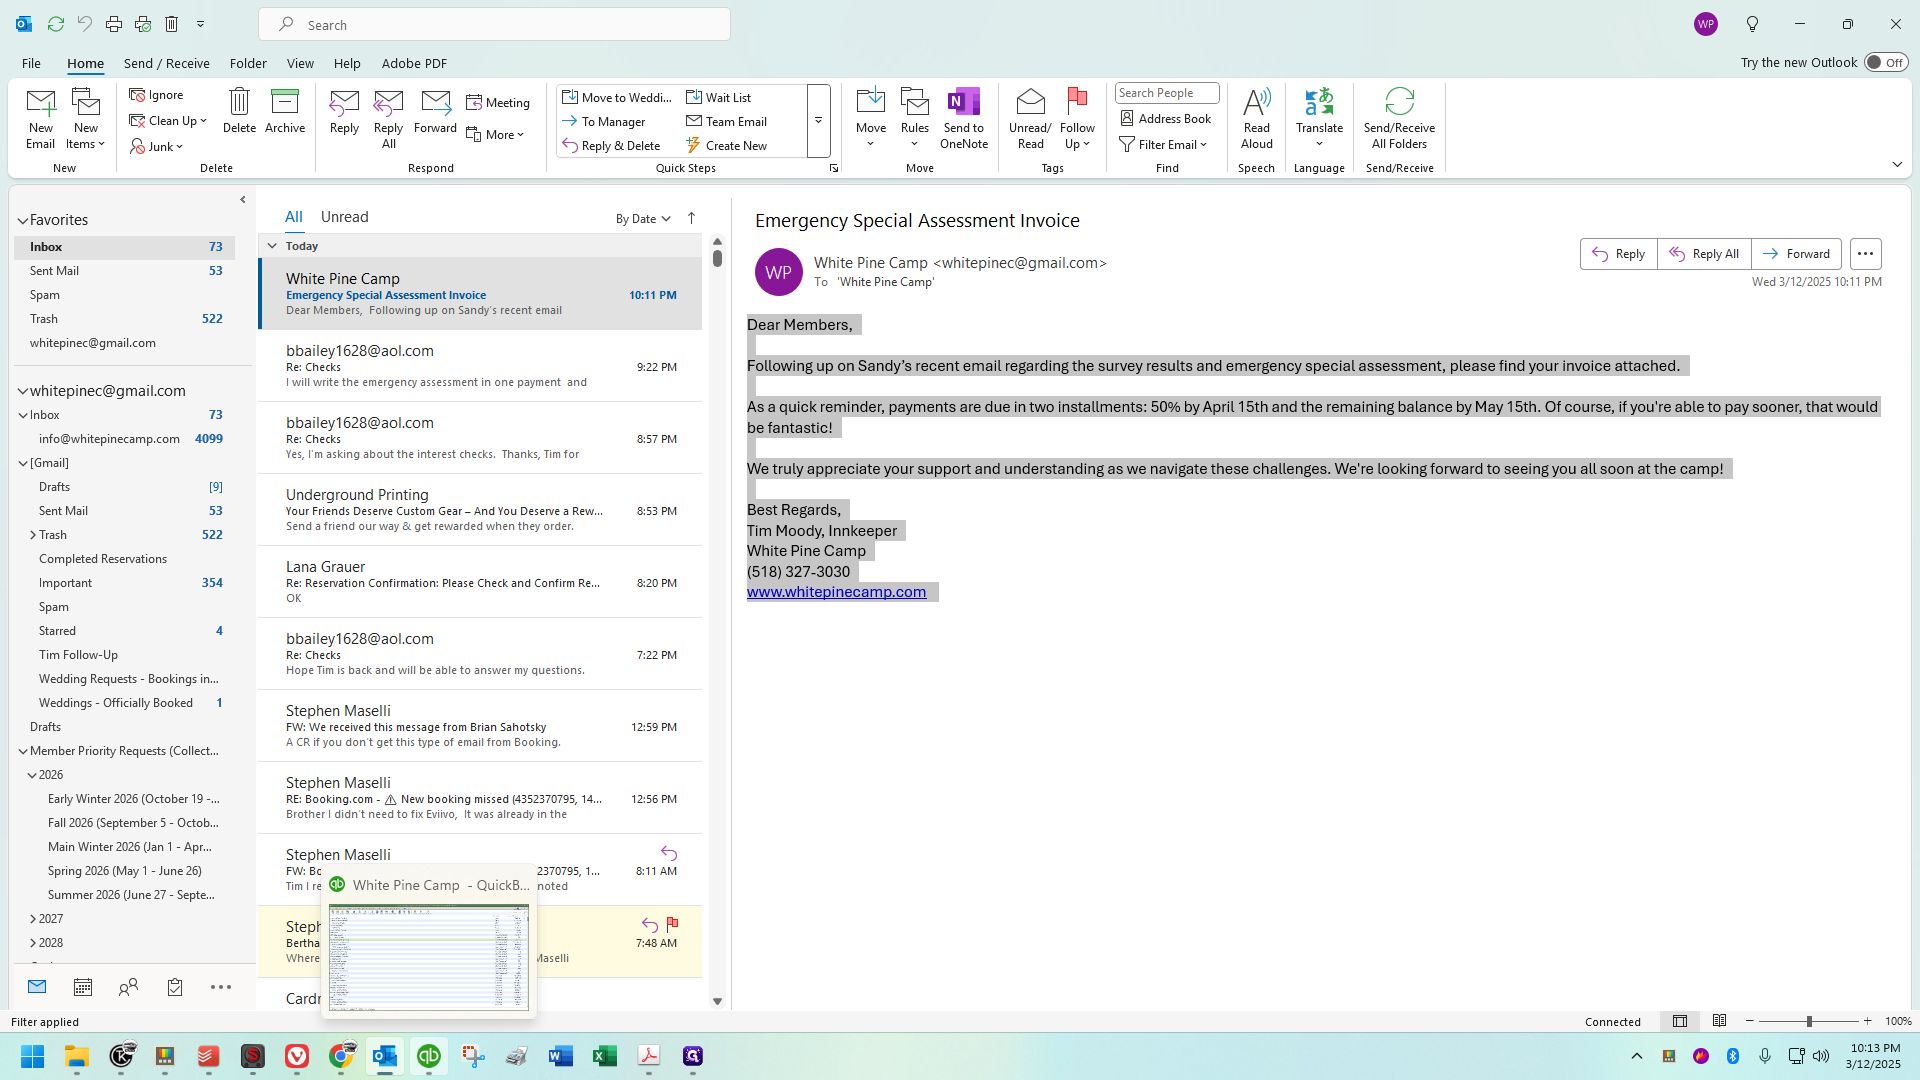
I'm going to copy it. I've created a macro key to type the subject line and paste this into the email body. Next, I'll go into QuickBooks, click on Account.
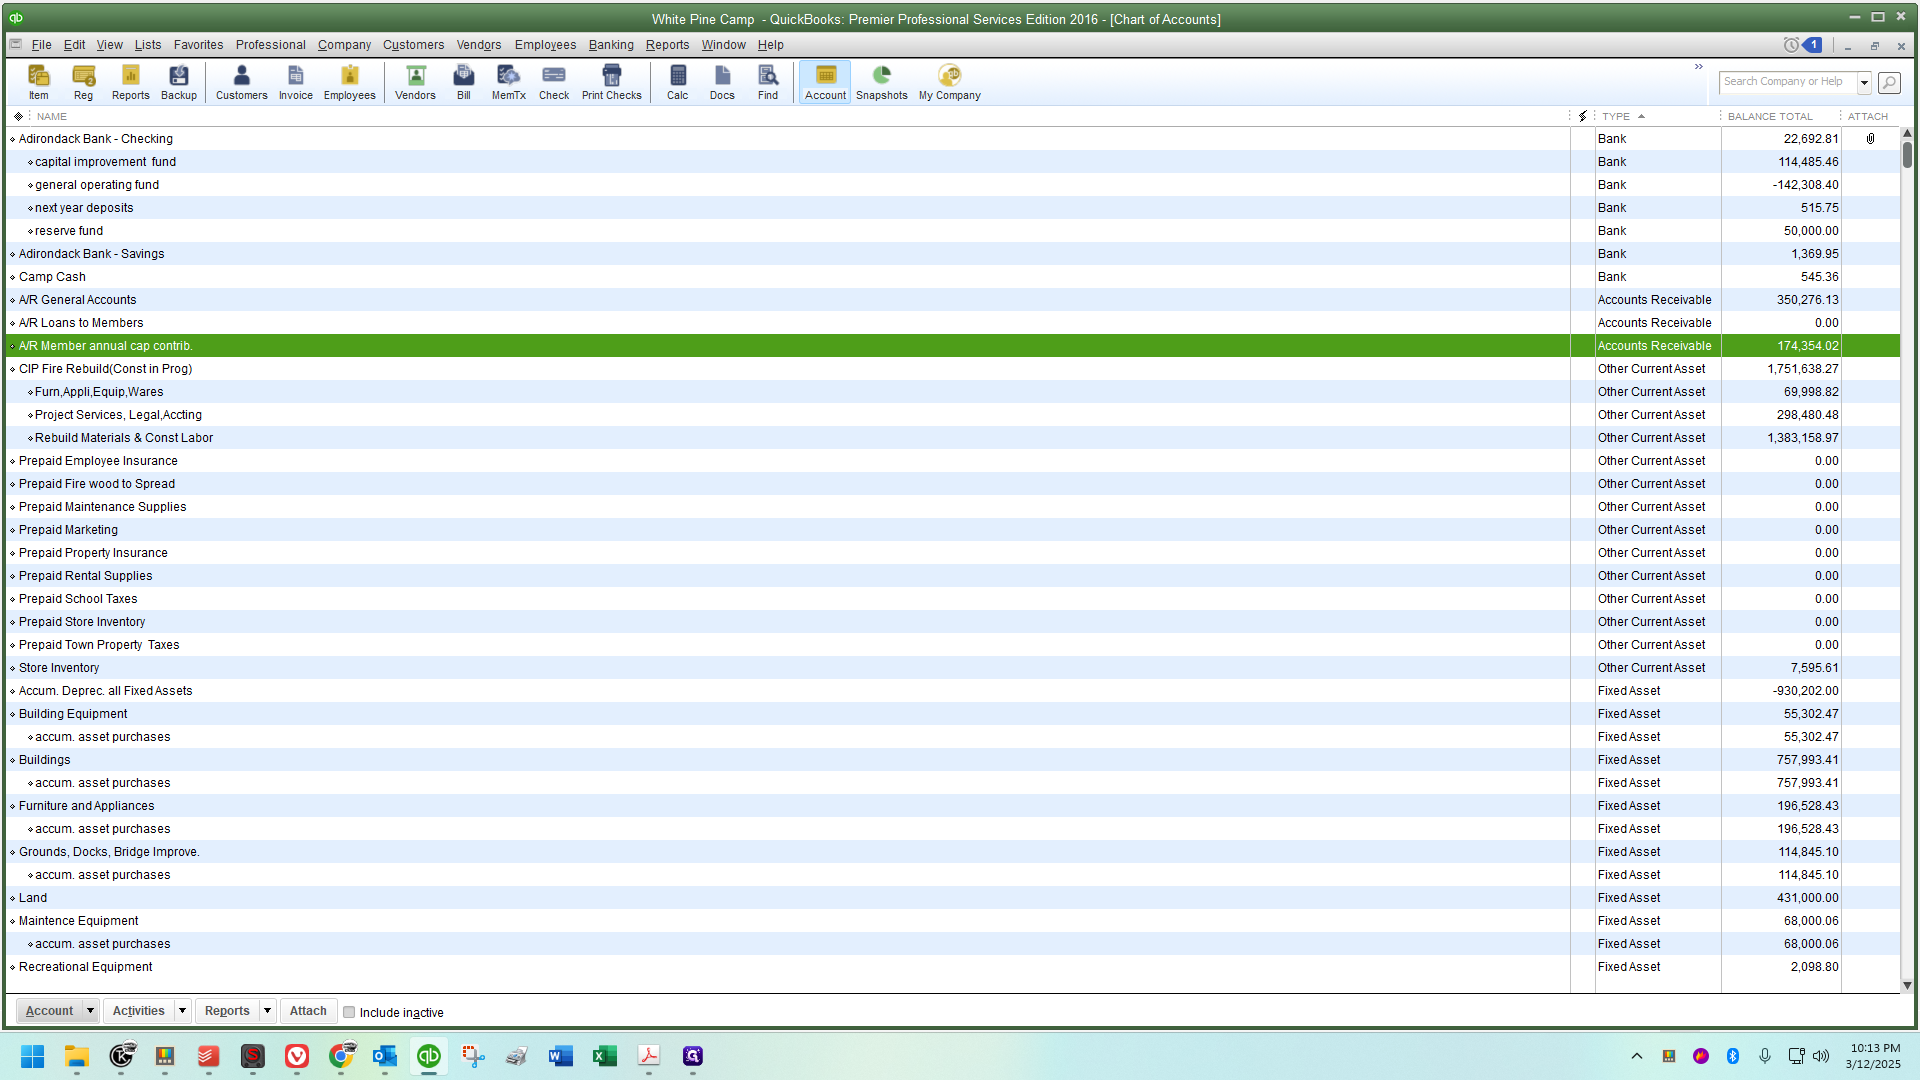
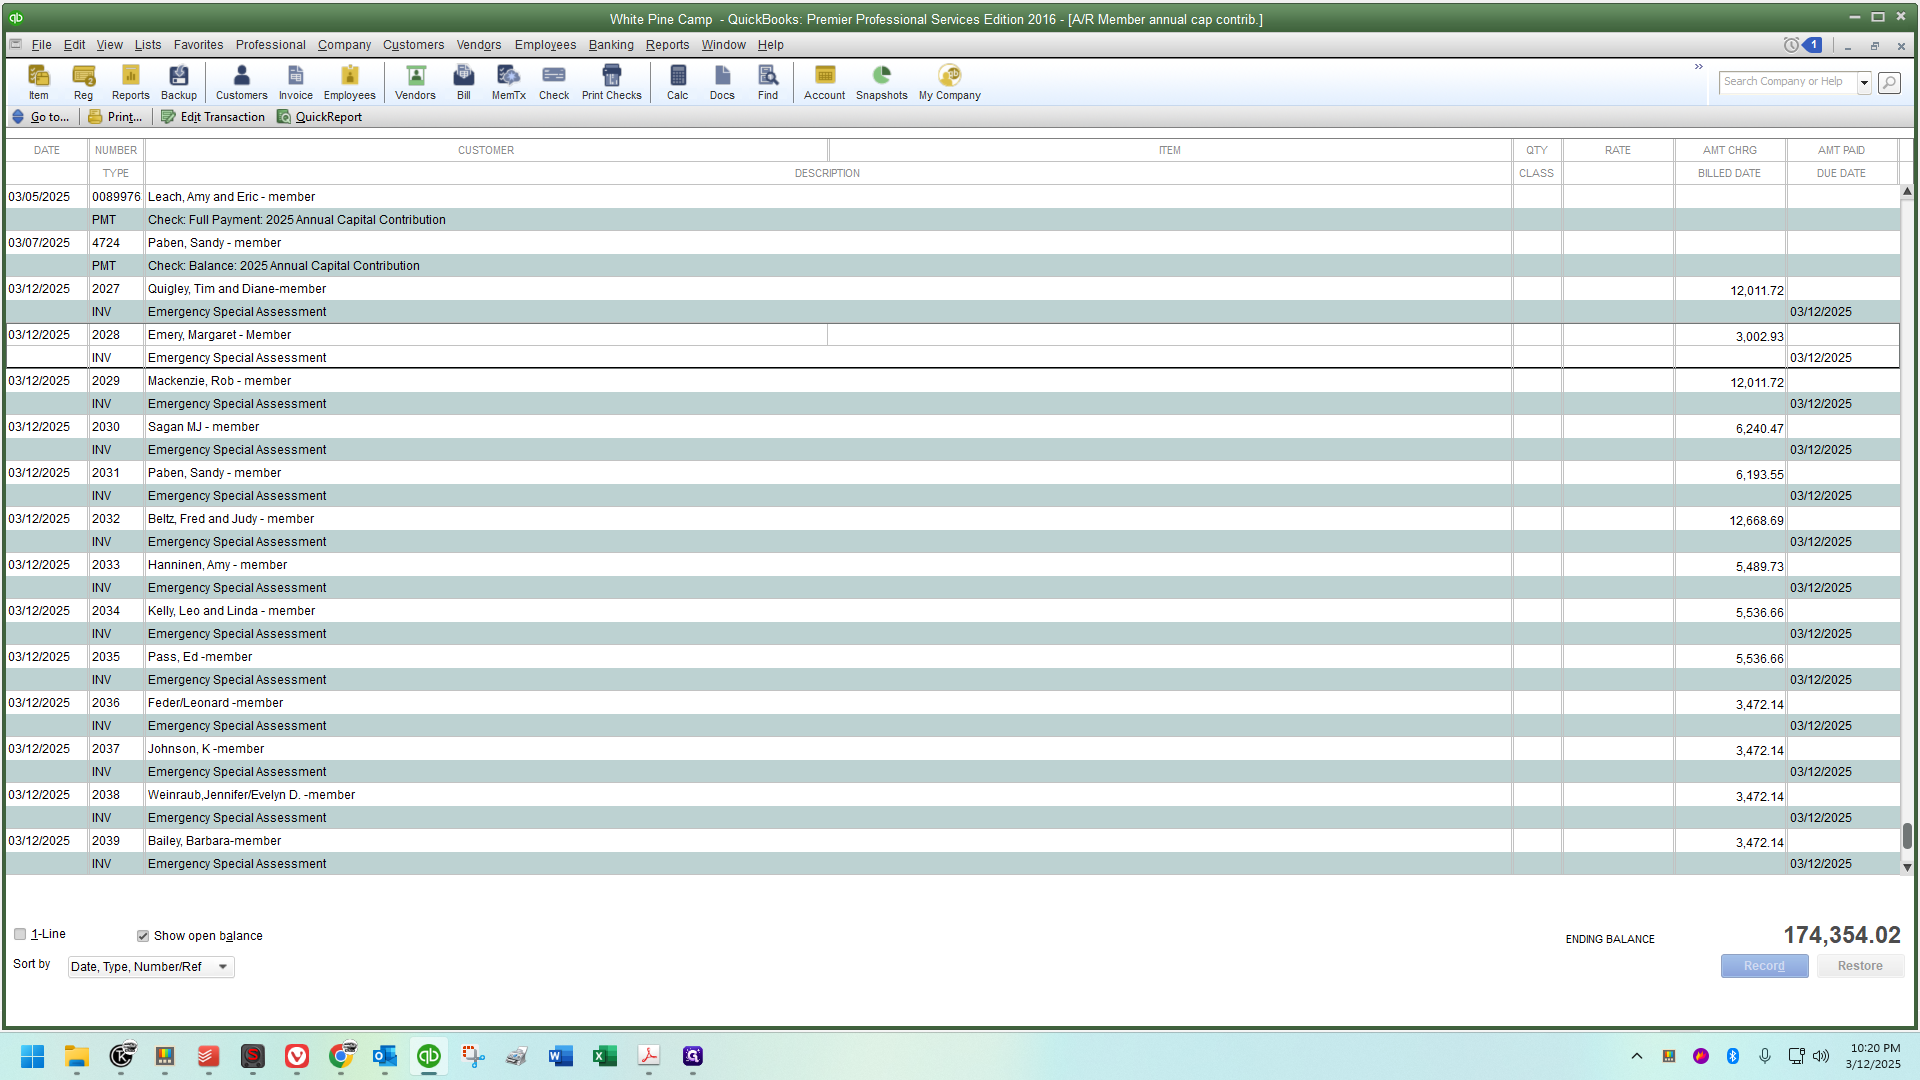
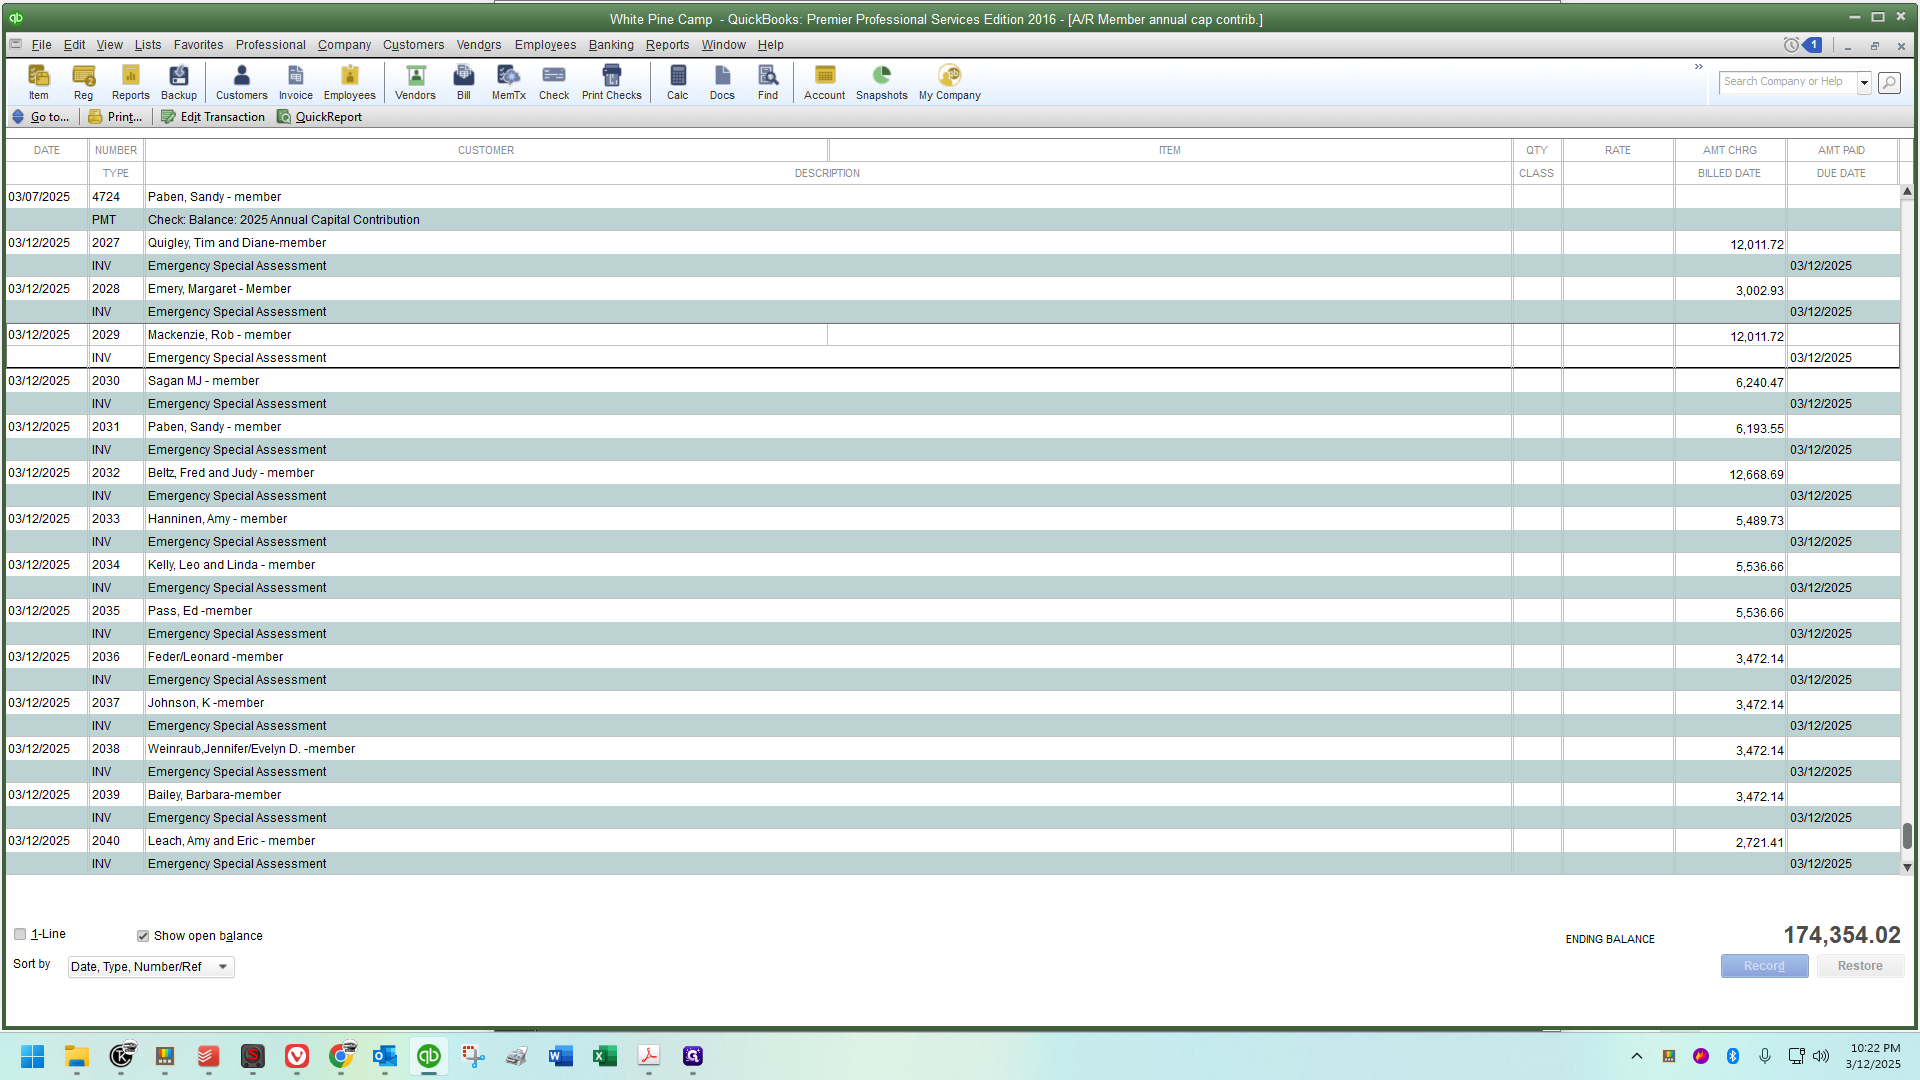
Near the top, where the Accounts Receivable accounts are, you'll find the Member Annual Capital Contribution account.

Double-click to open it.
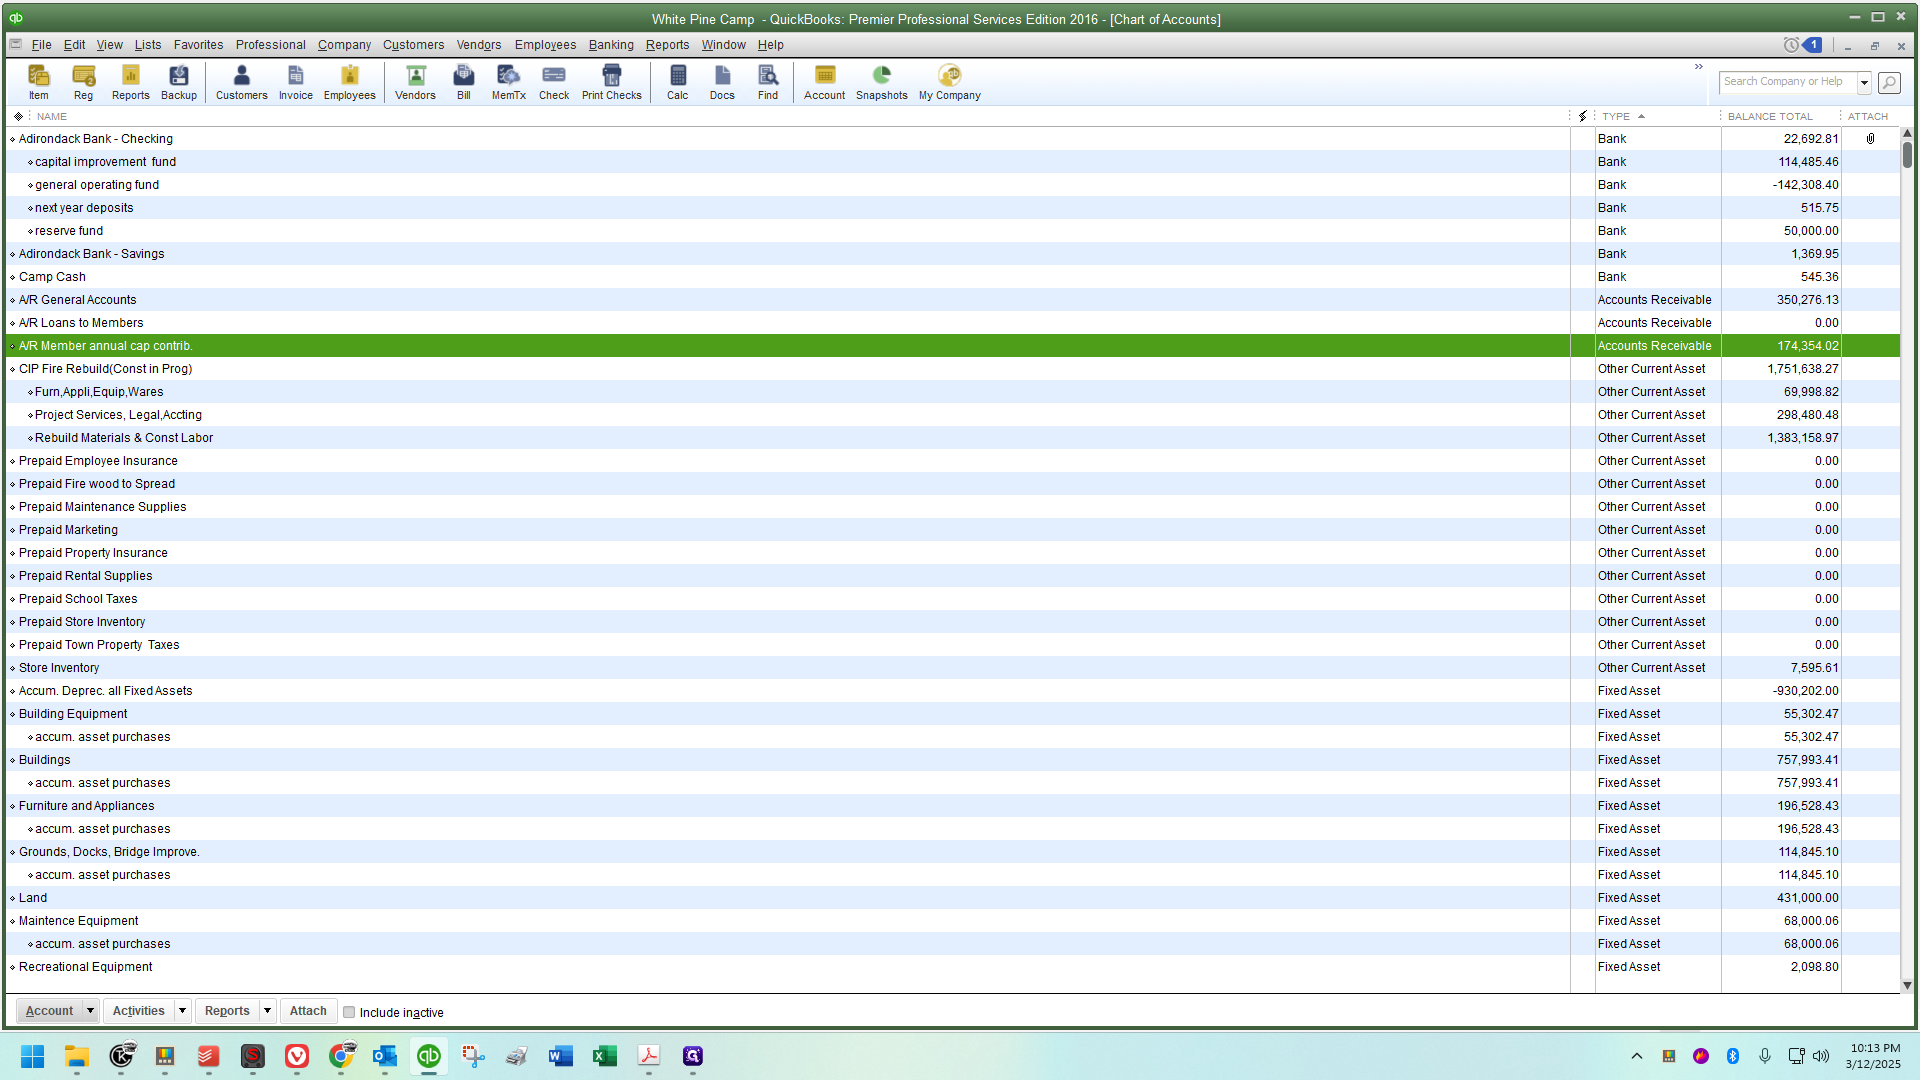
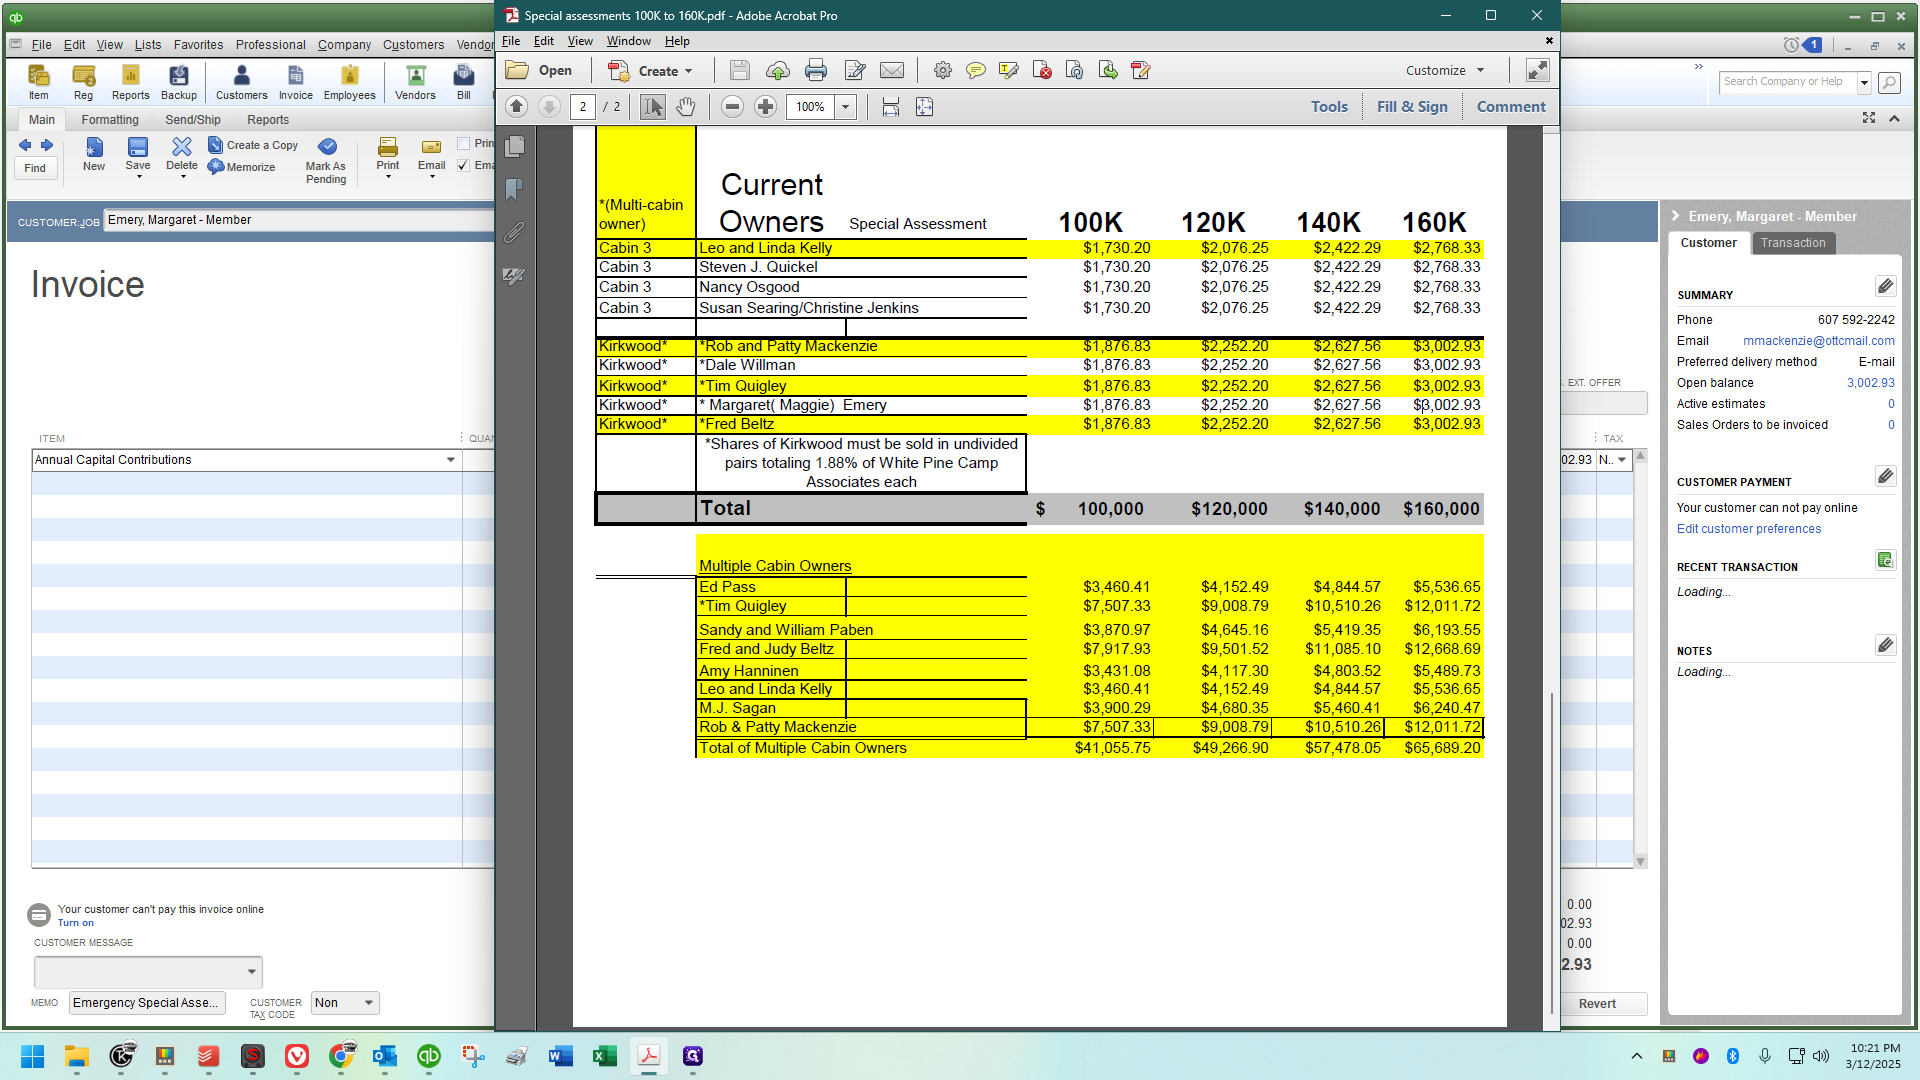
Ensure you have thoroughly checked your invoices against the materials used to determine each amount. Verify that your totals and ending balance align with the previous account activity.
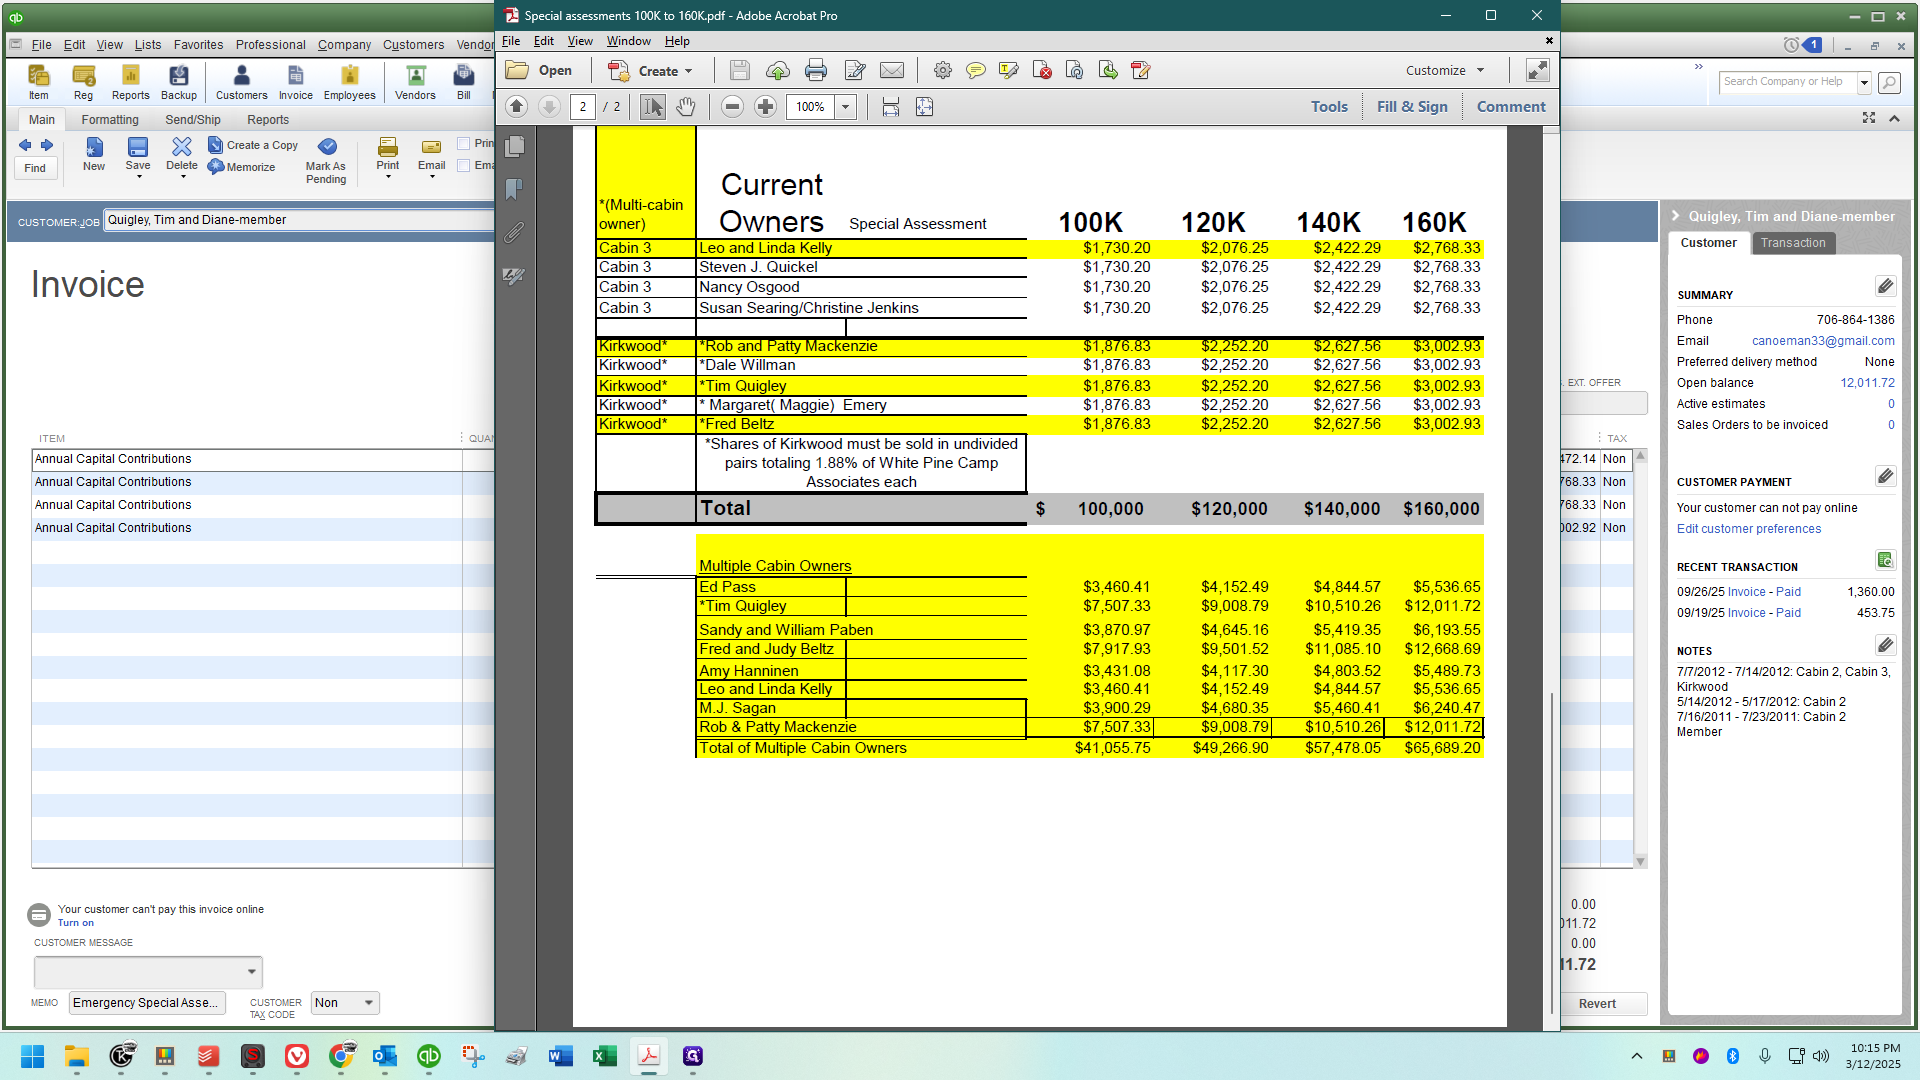
For example, this was a $160,000 special assessment, but I already had an ending balance.

I need to verify that I've correctly entered $160,000 for the special assessment and ensure every member is accounted for accurately before sending any emails. This guide assumes you have done this.
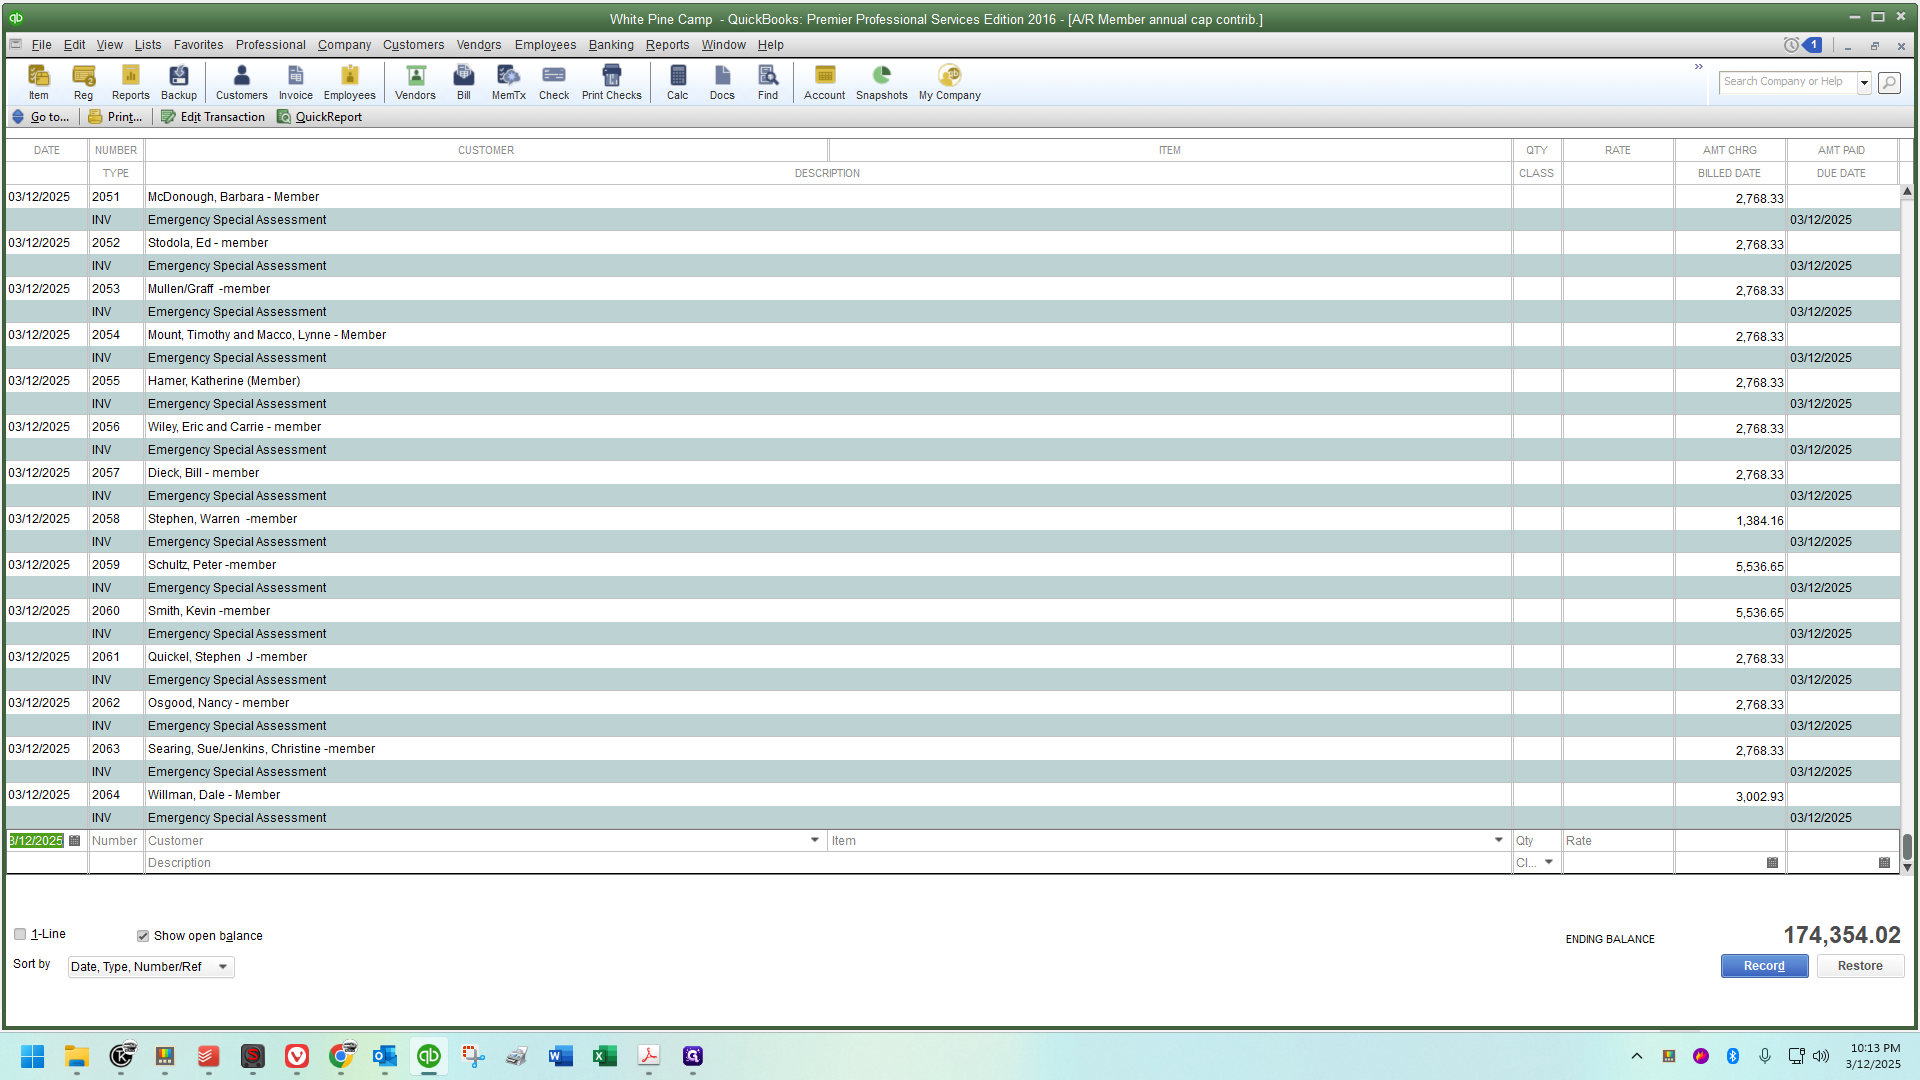
This account is organized by date, with the most recent or furthest dates at the bottom.
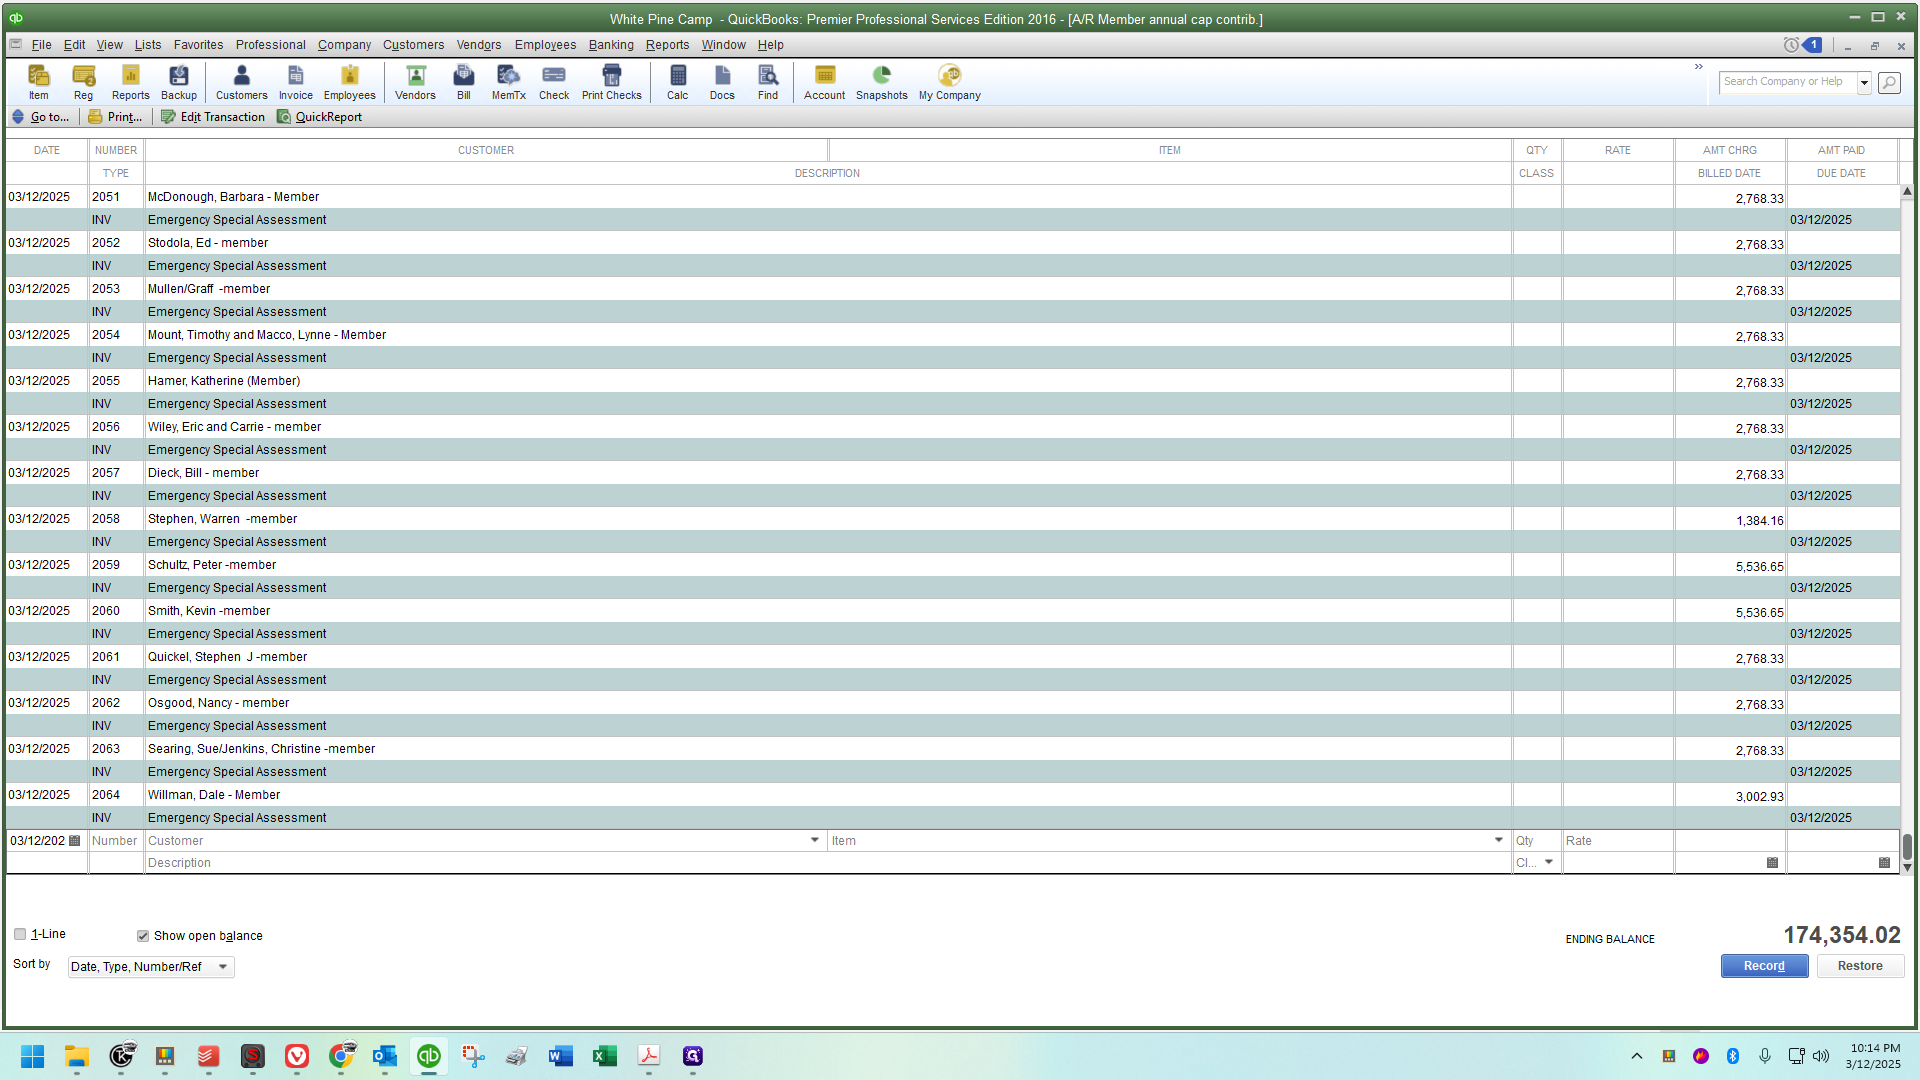
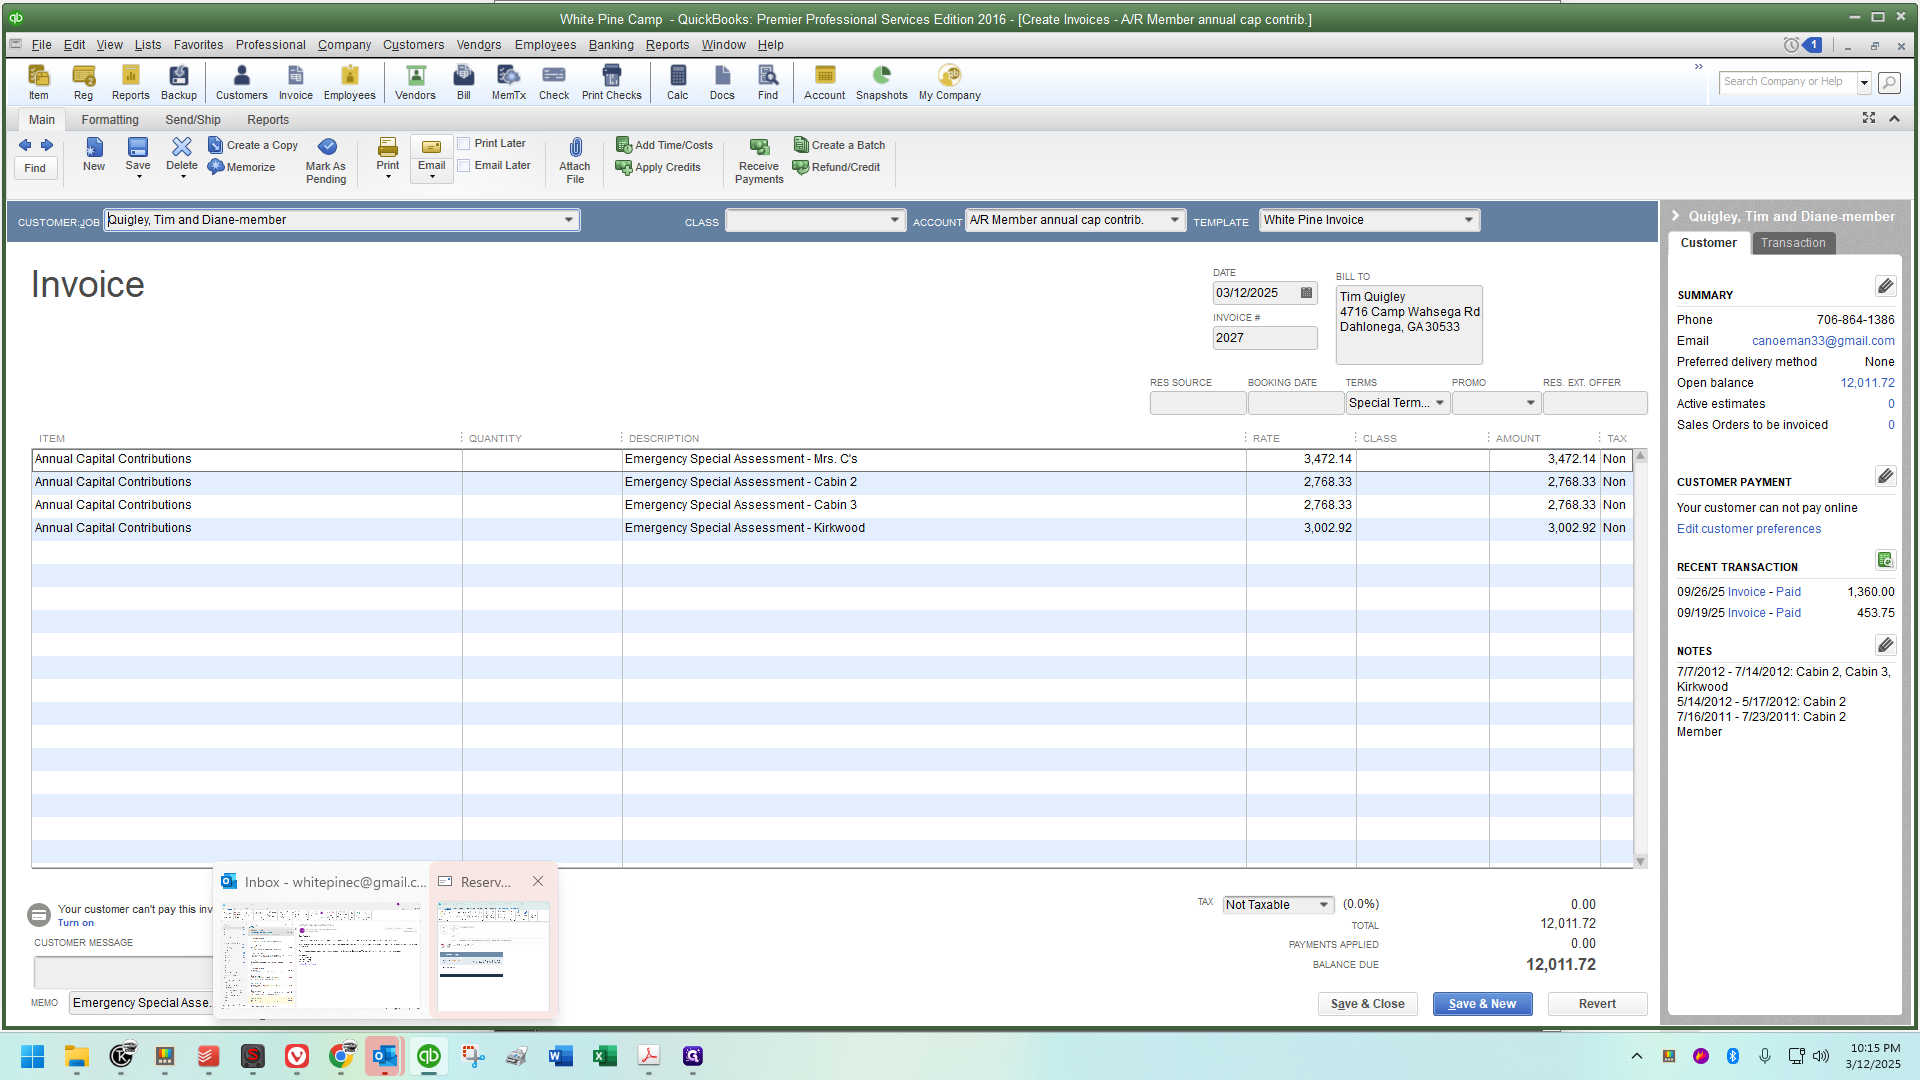
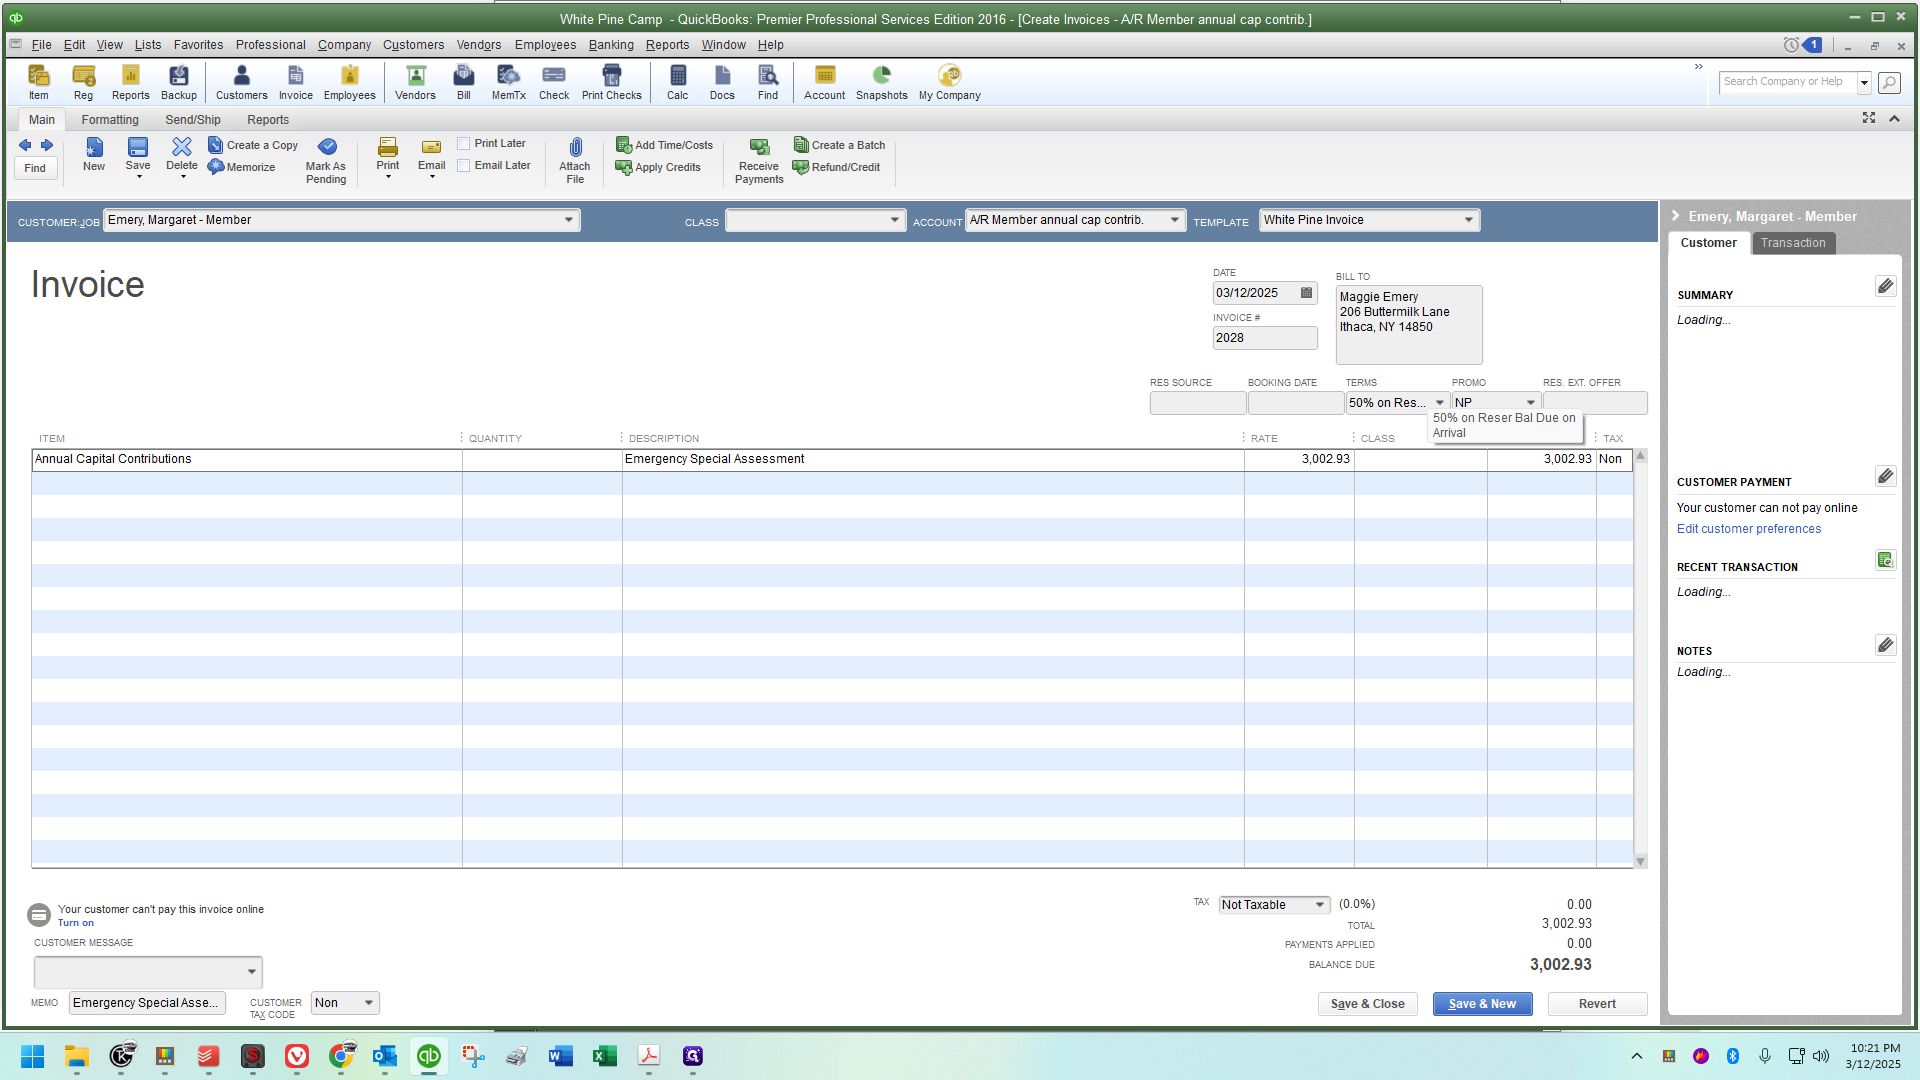
I will scroll to the top where the invoices start. They begin on March 12, 2025, which is today.
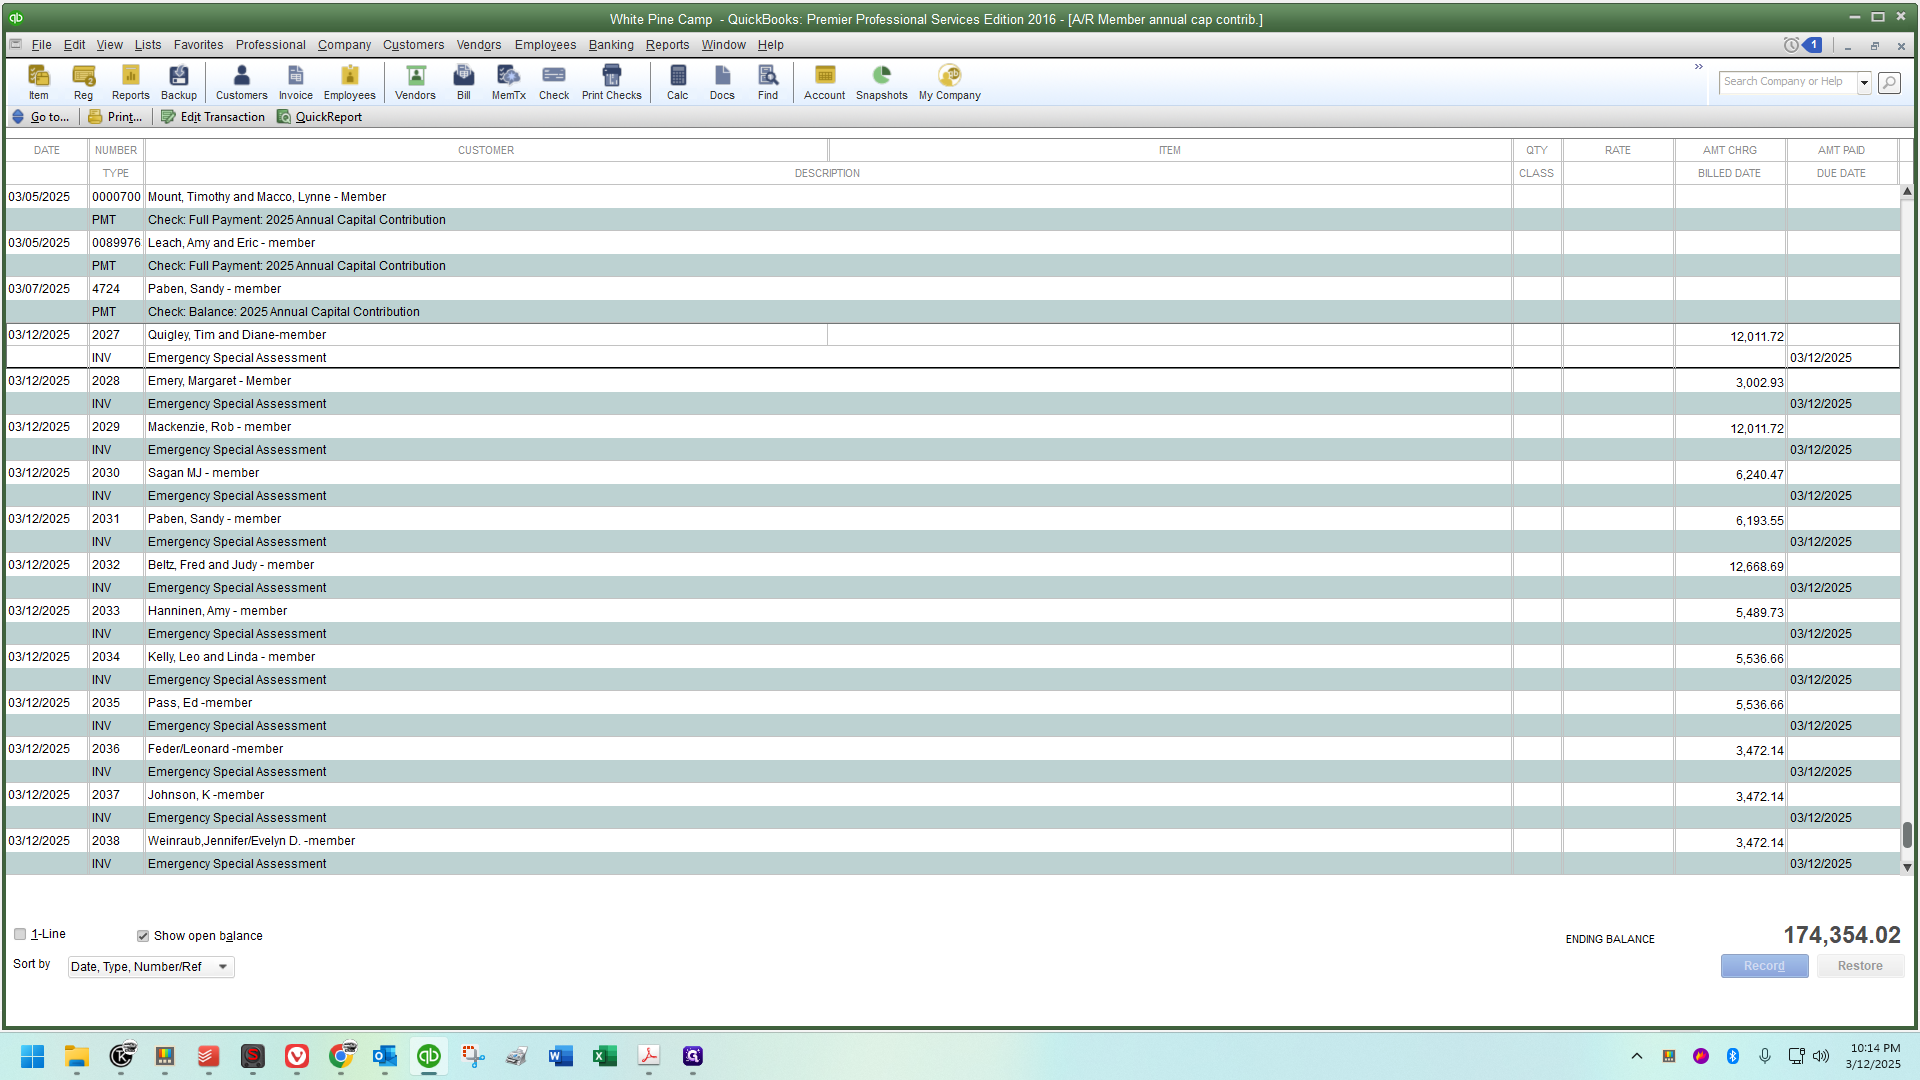
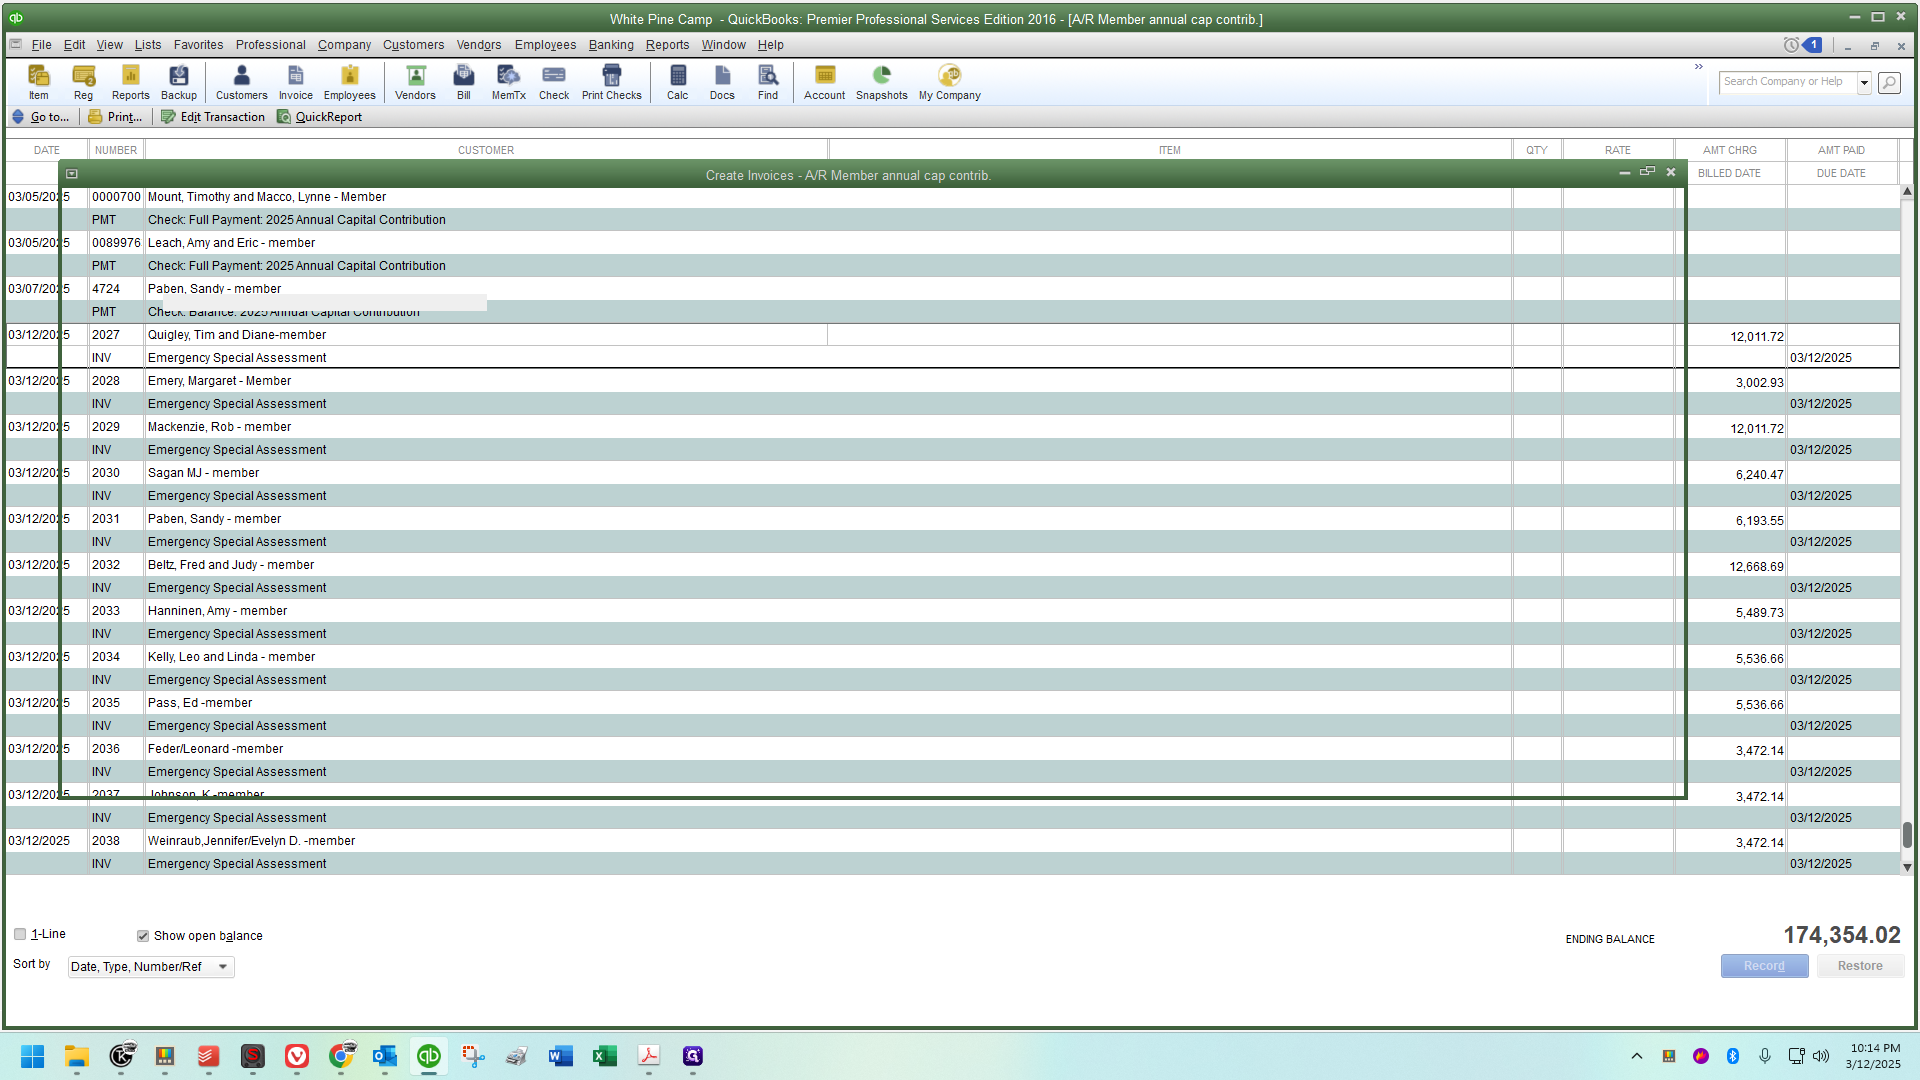
Sandy sent out the email notifying everyone about the assessment today. I also created these invoices today. Now, I can go through the list and email each person. By double-clicking on one, the invoice will open.
I recommend doing a final check. Consider pulling up the document you were using and double-checking the amount. Please be careful :)
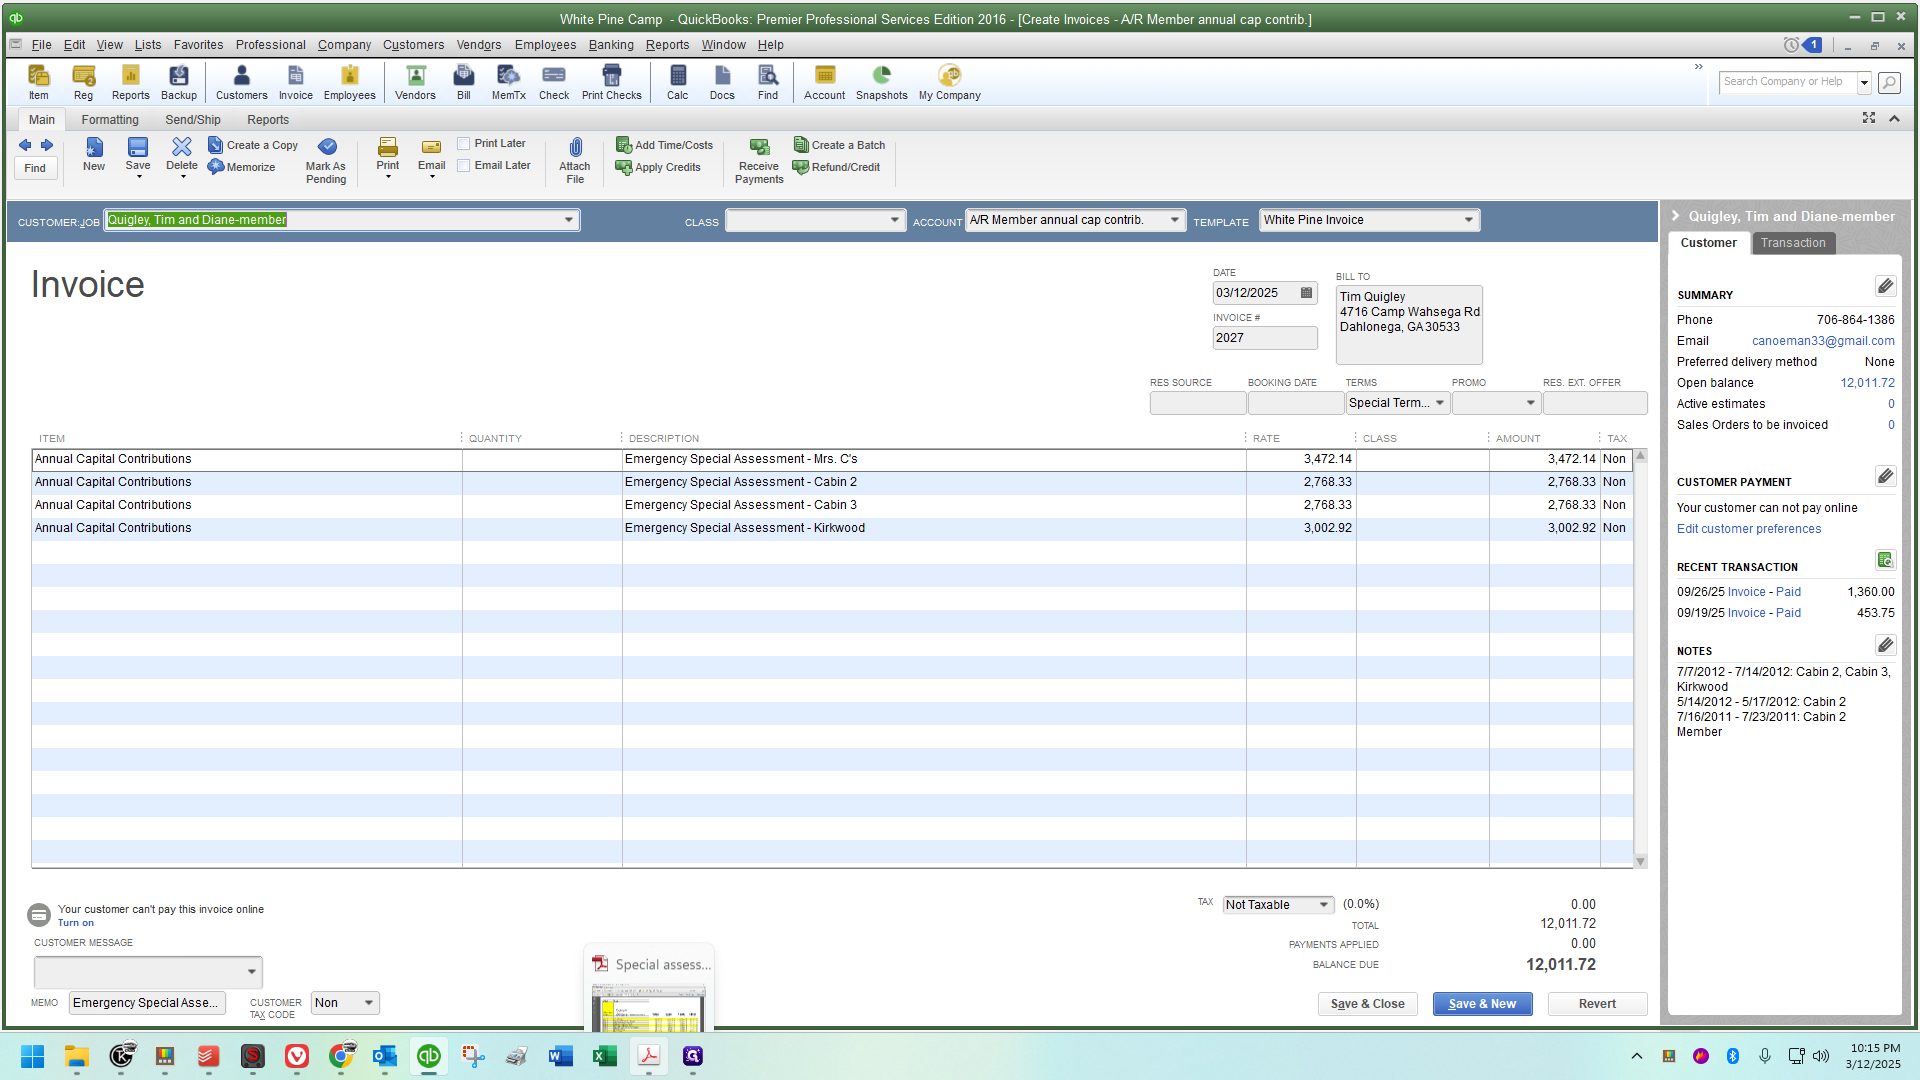
This is Tim Quigley. He's a multiple cabin shareholder, so his totals are highlighted in yellow at the bottom.

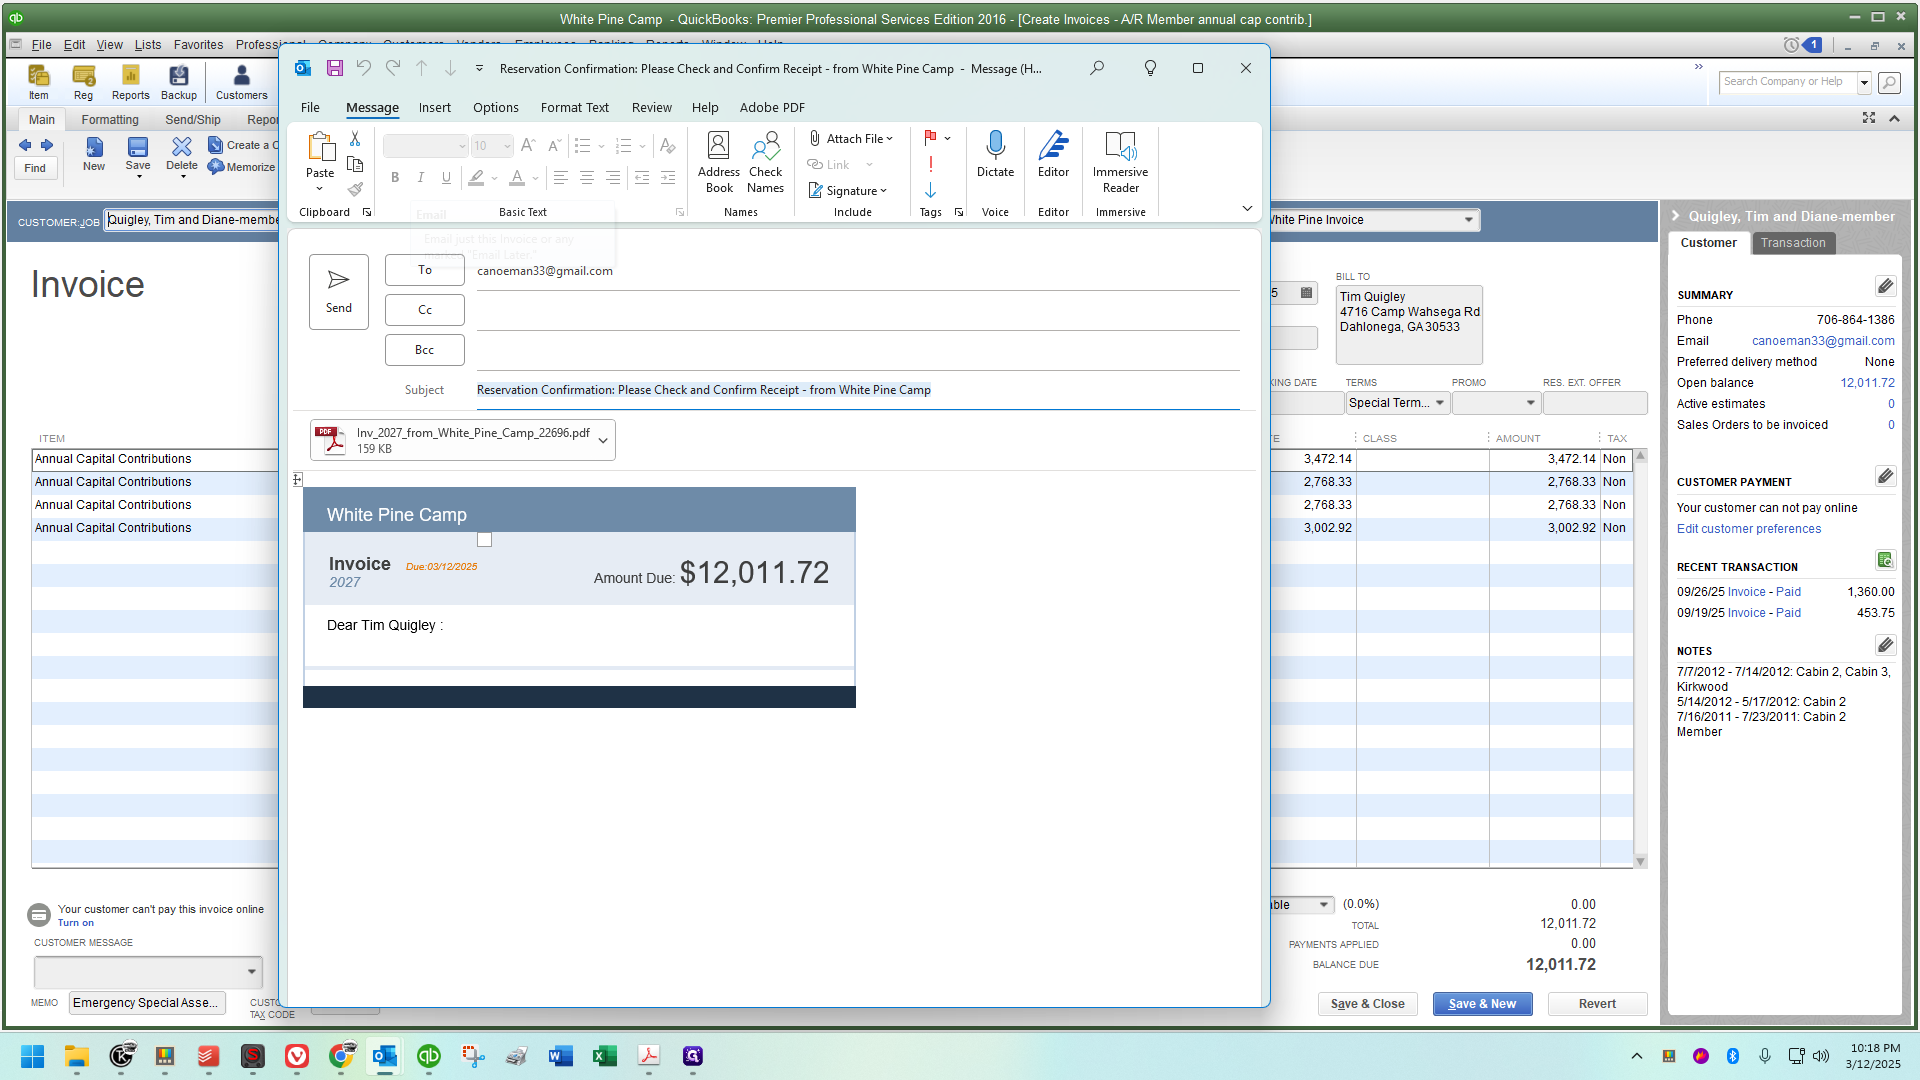
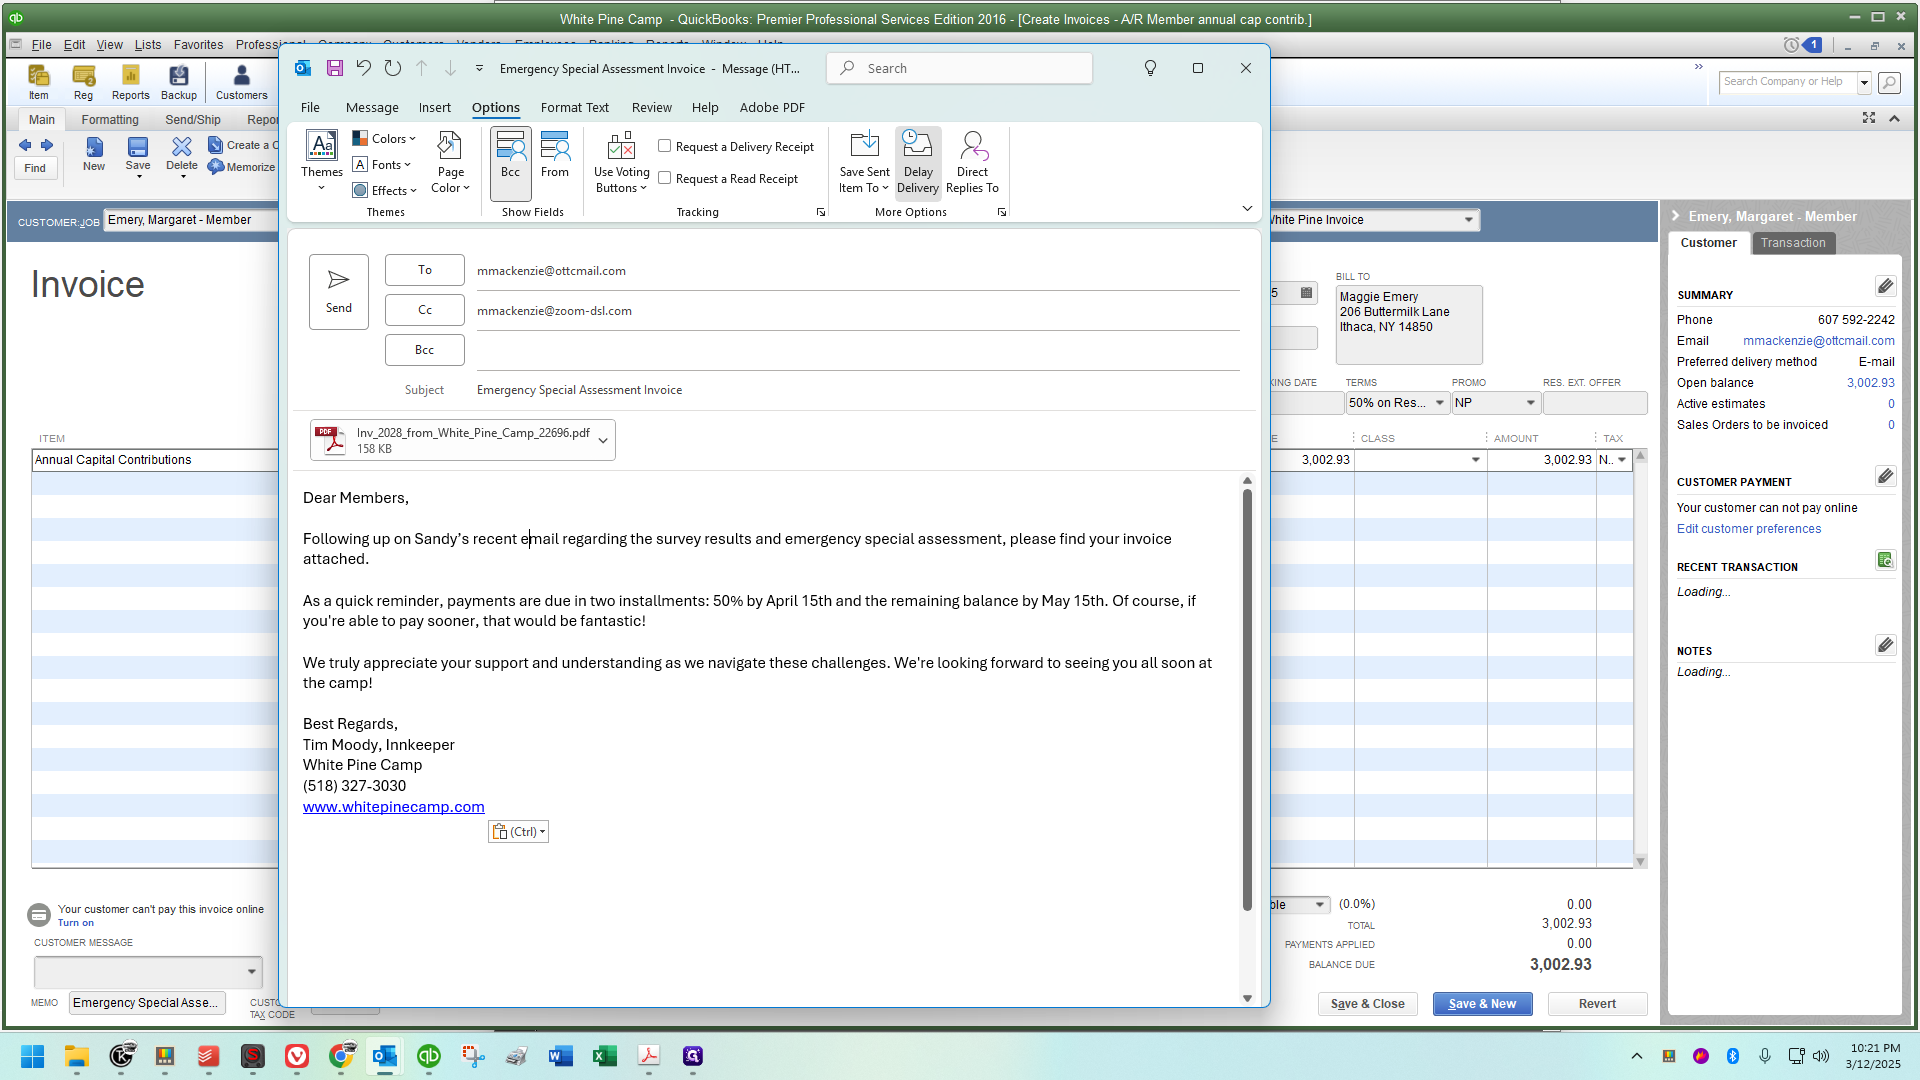
Now, I'll click on email.

Sometimes Outlook doesn't immediately display new emails. You can hover over the icon and click on the new window that appears.
(Soon, I'll have a new keyboard in the office for everyone. I'm currently using my own. I'll type up a guide on creating your own macros for tasks like this. It's incredible.)
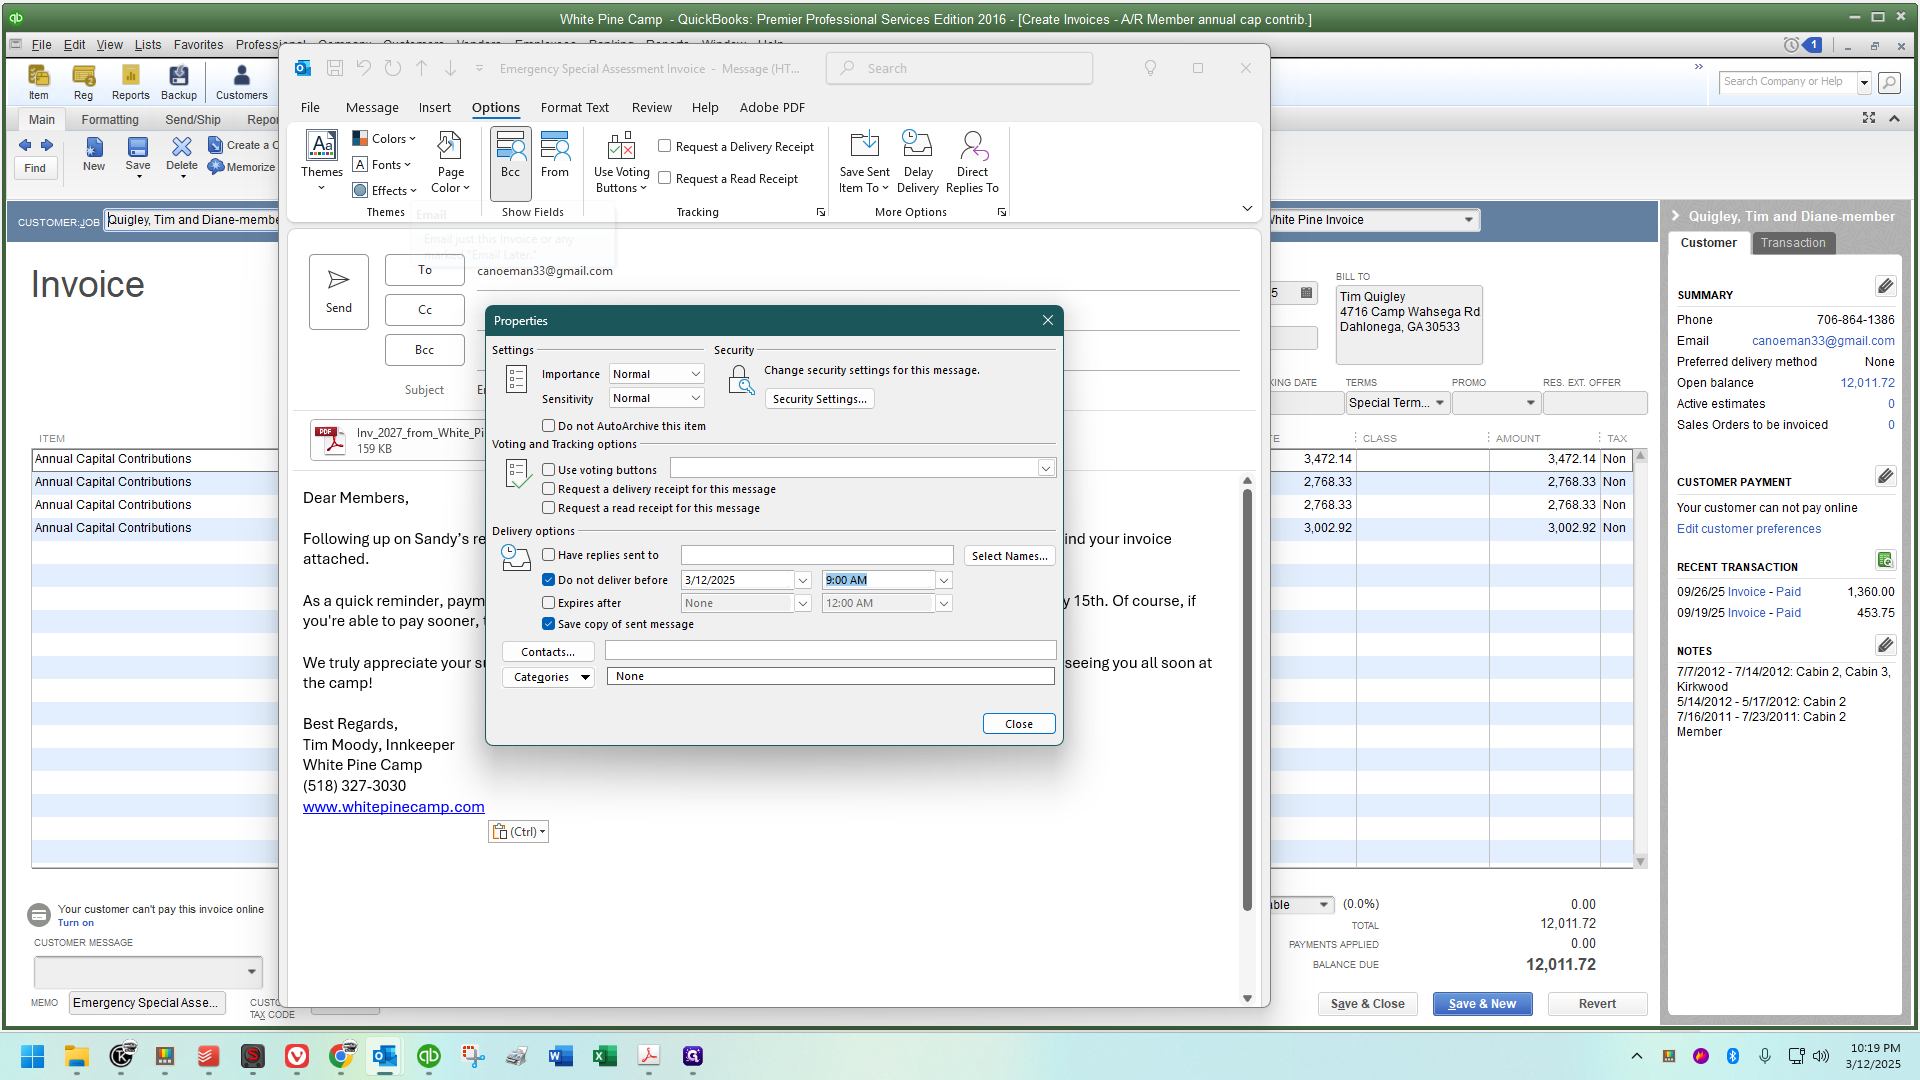
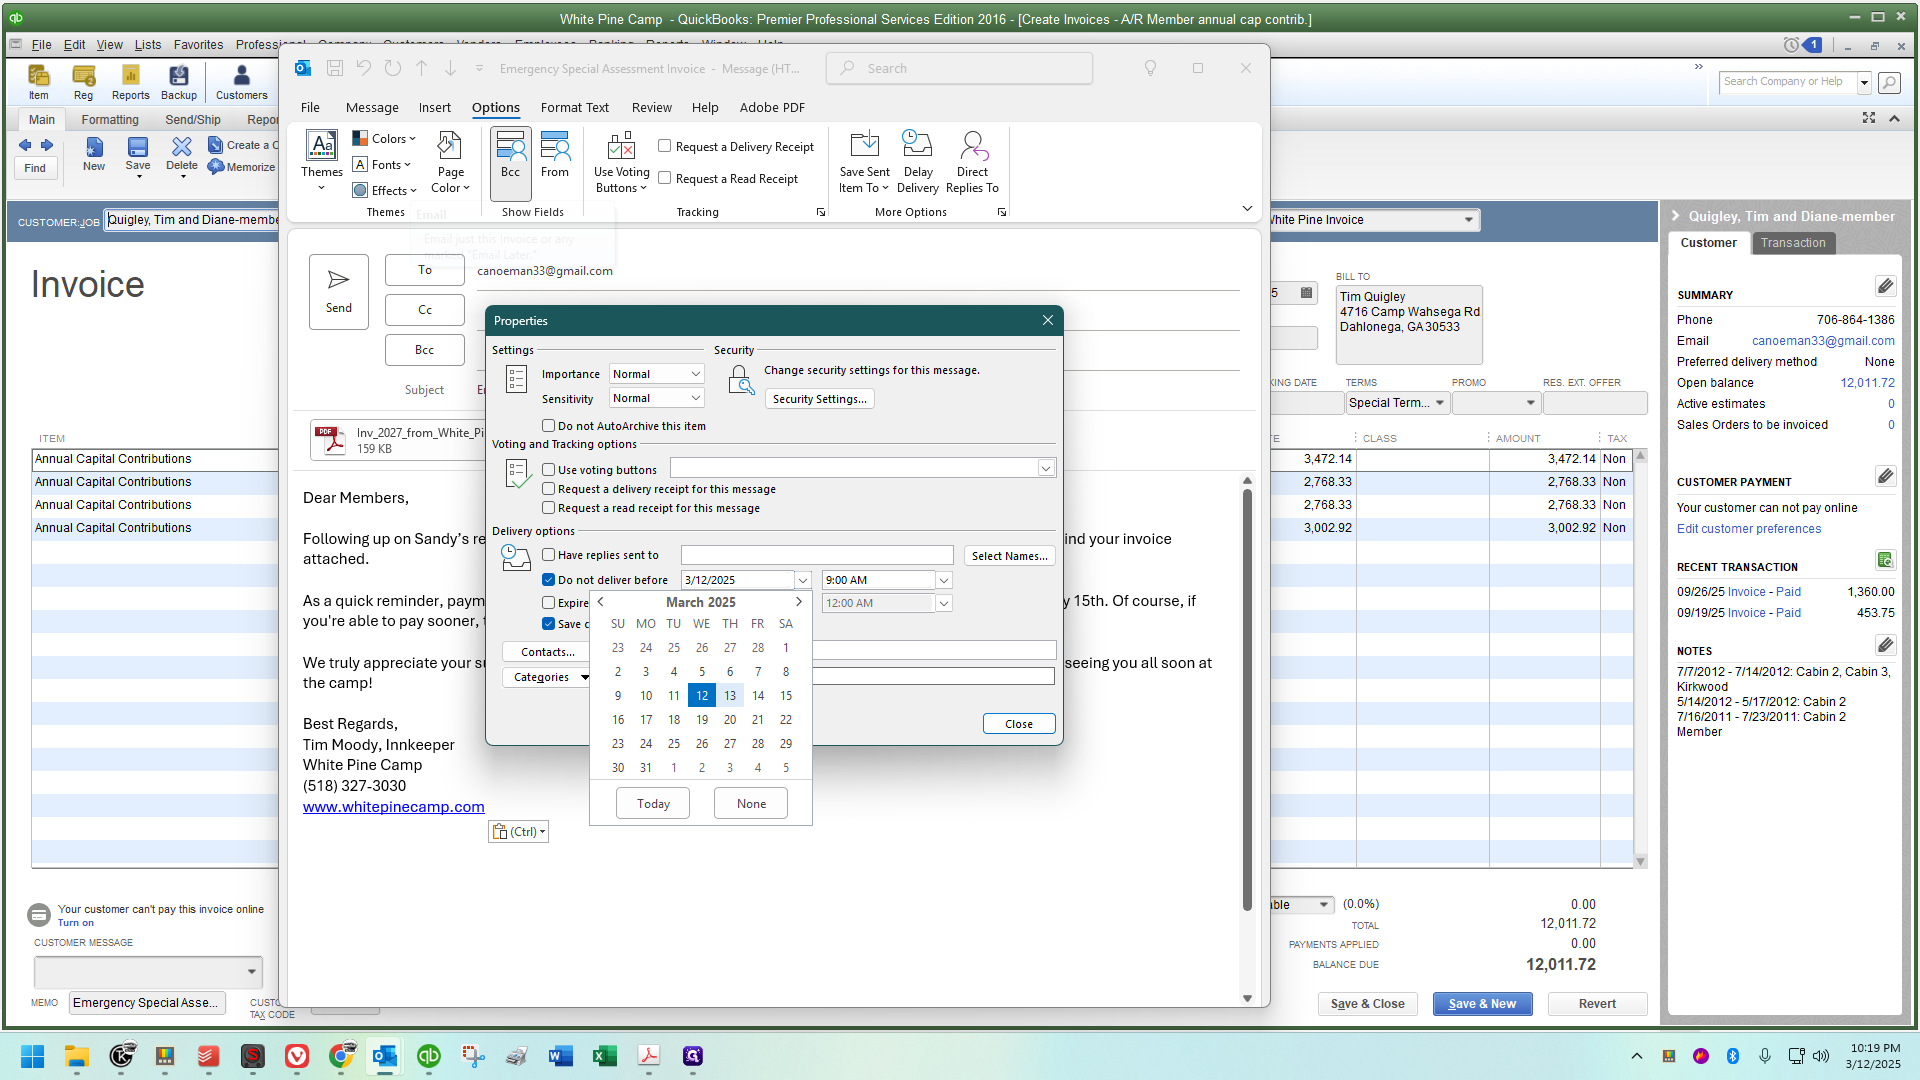
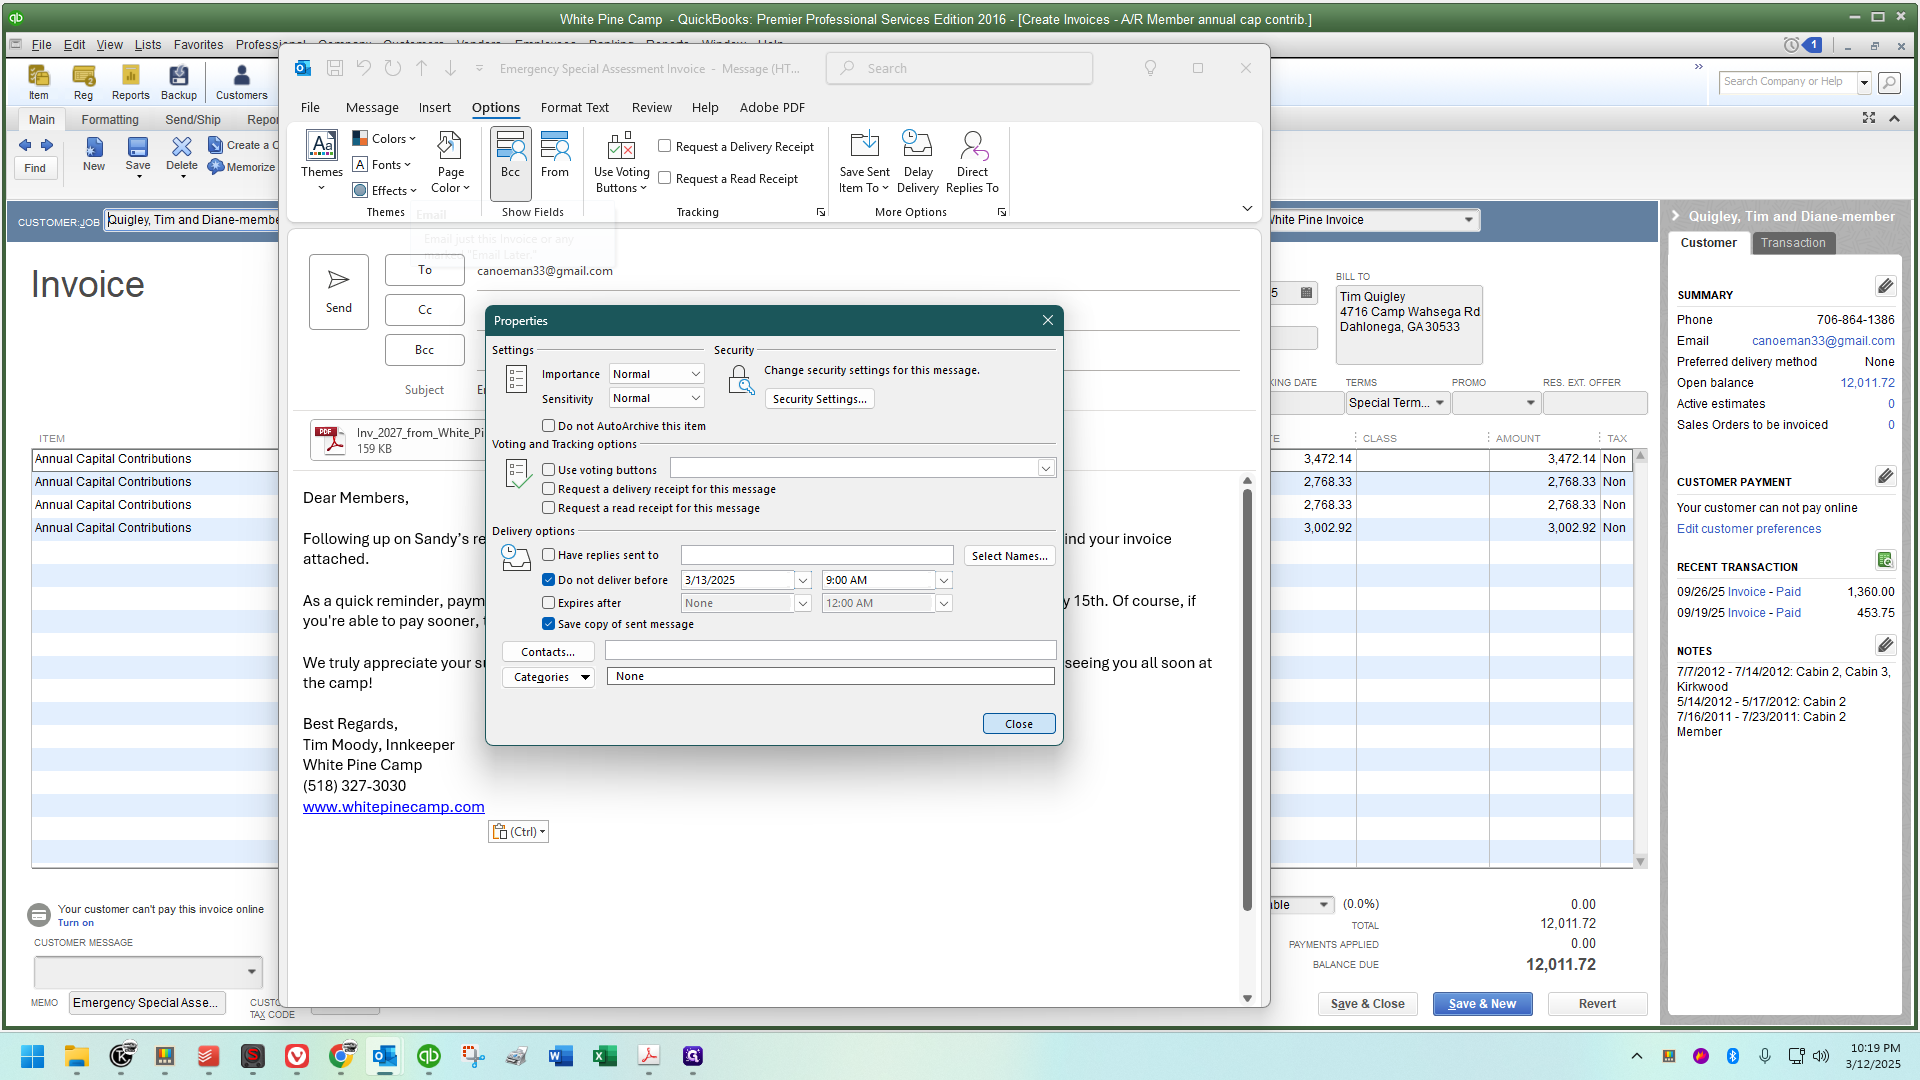
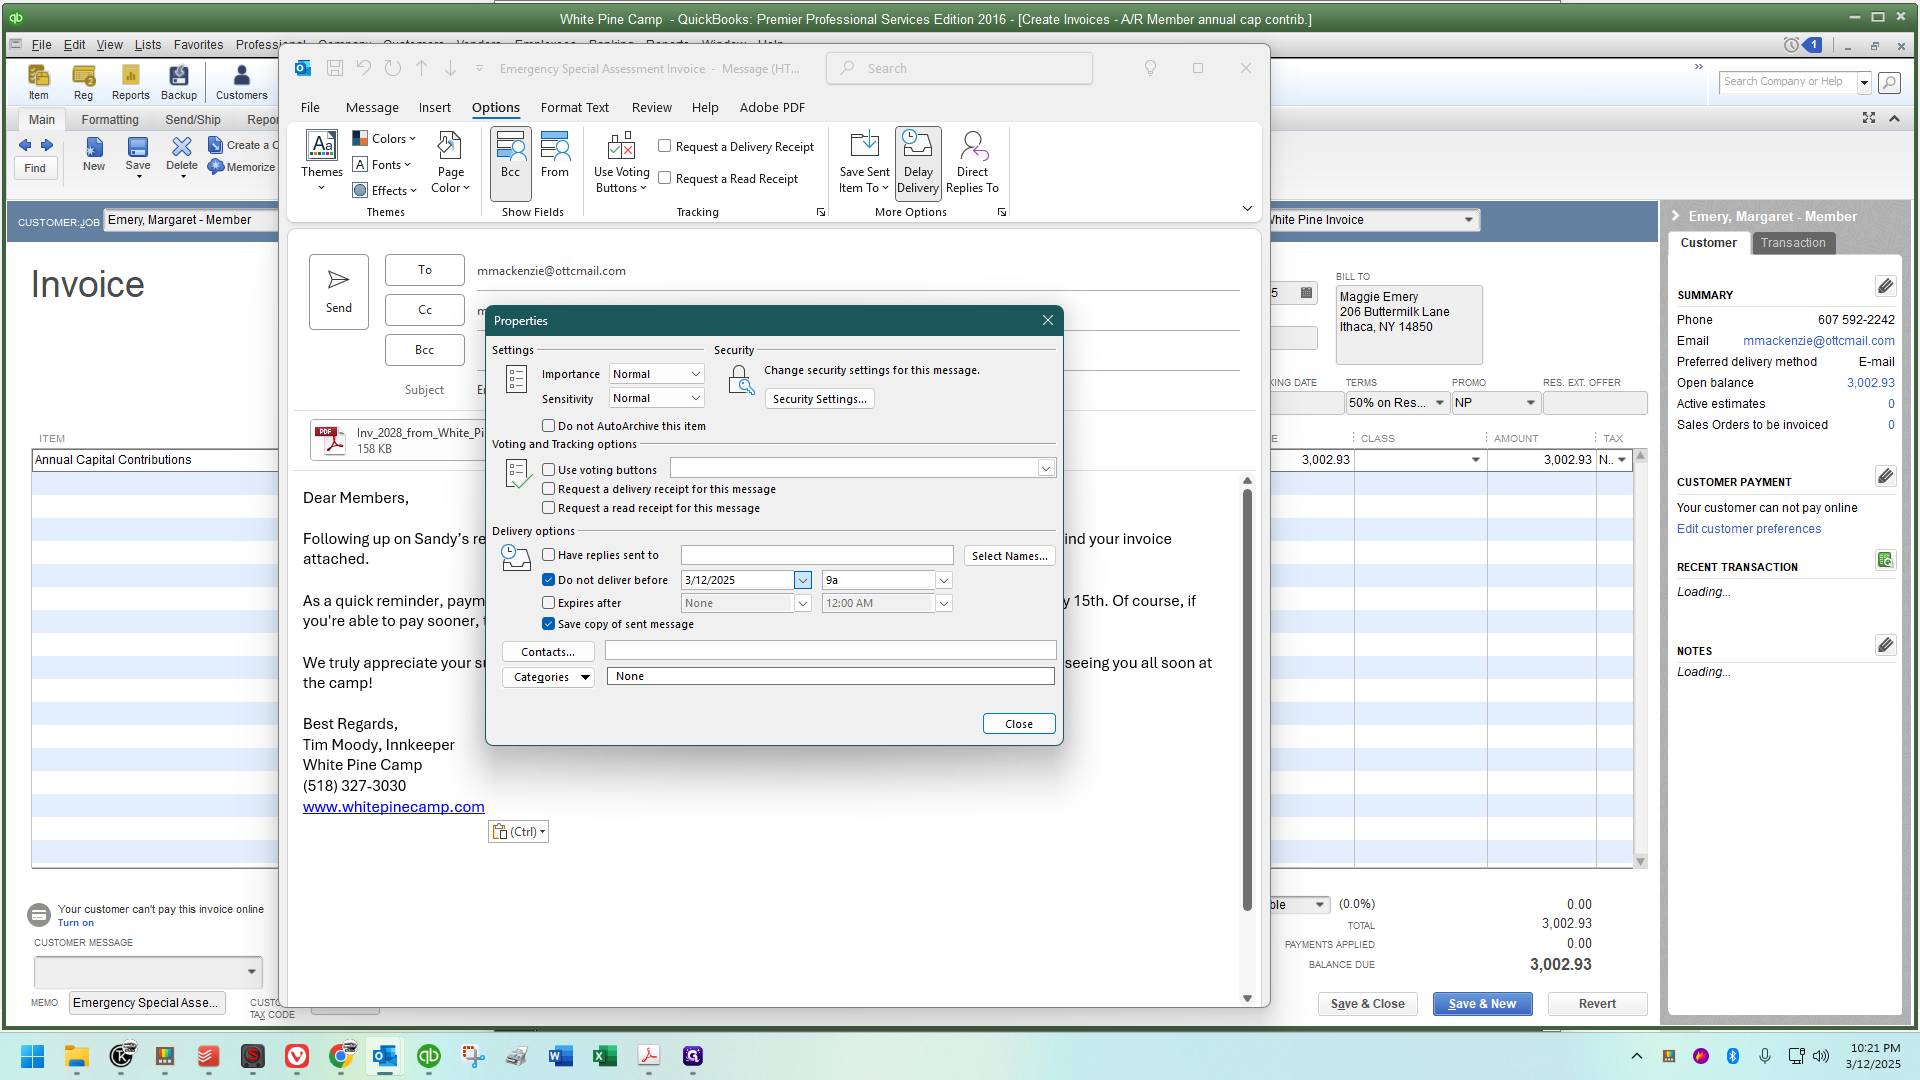
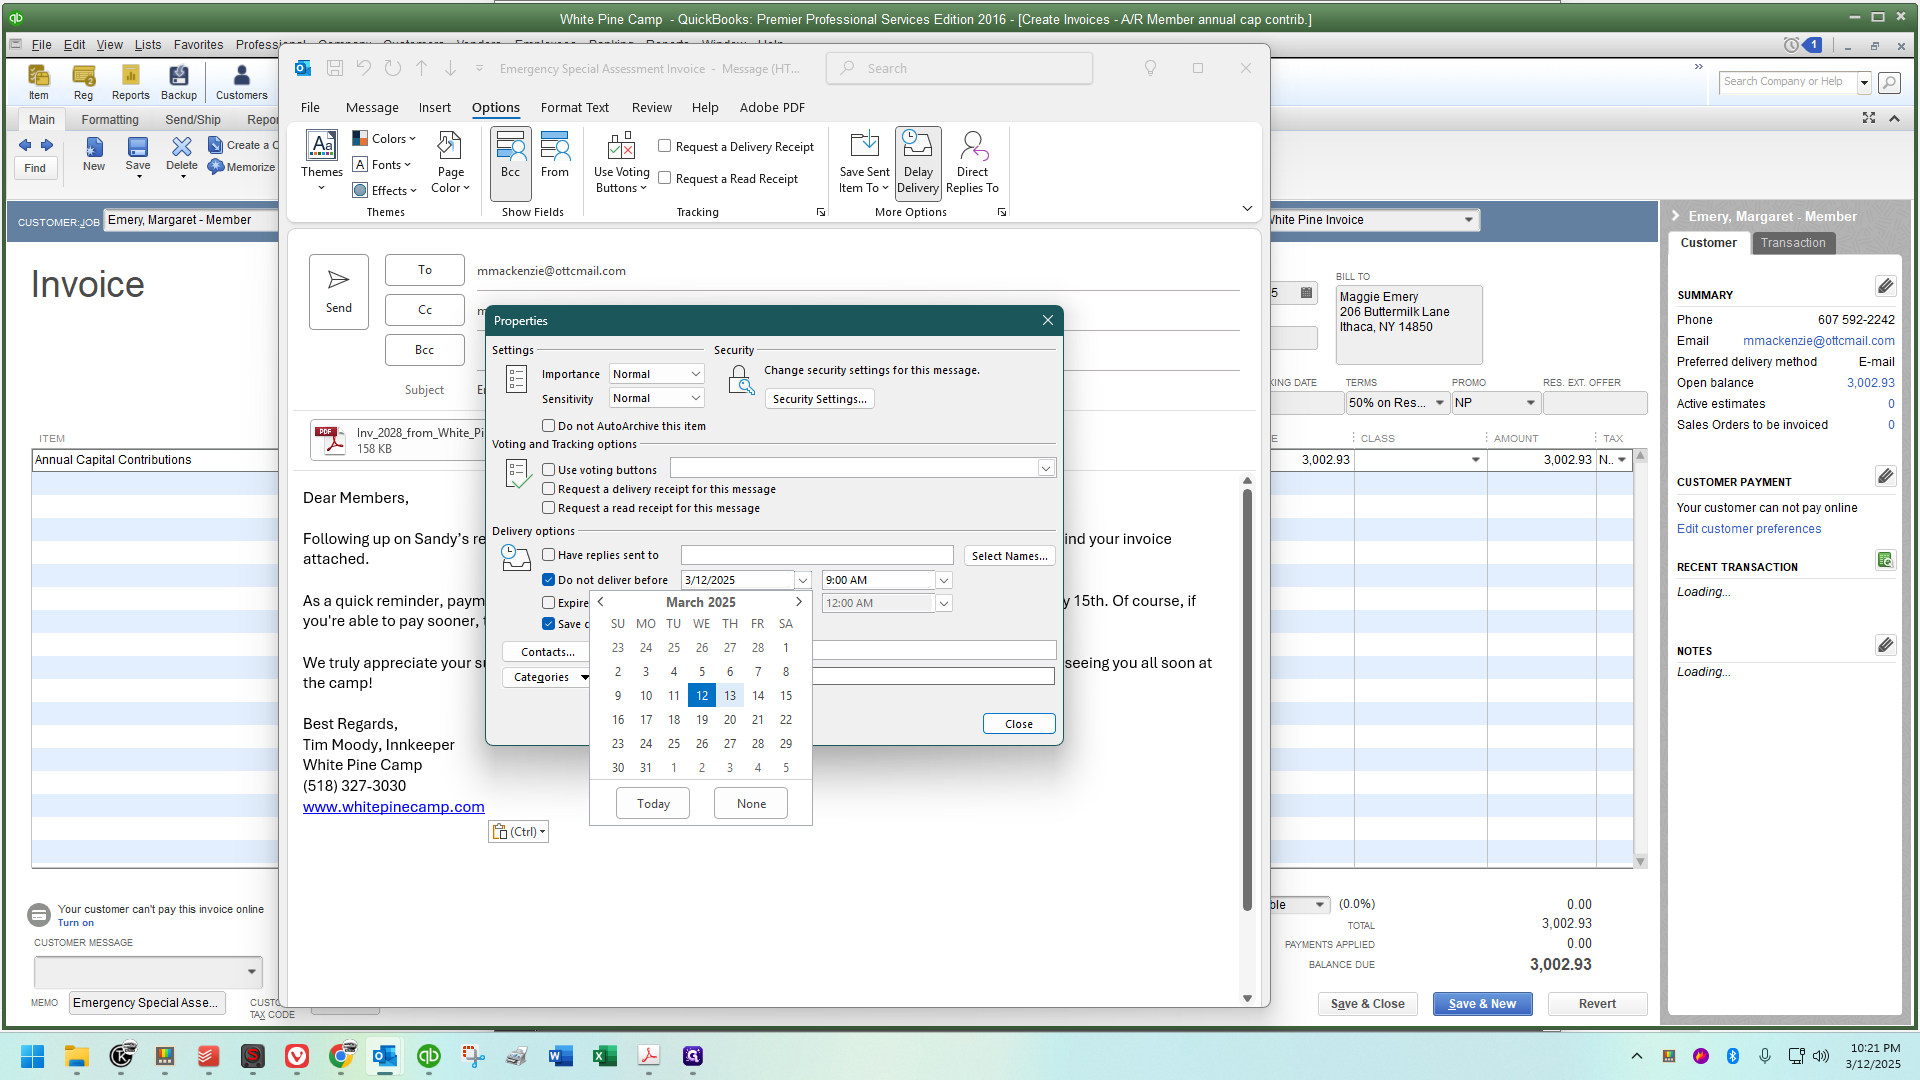
I'm not going to send this tonight. Instead, I'll schedule it to go out tomorrow since it's a little after 10 p.m. now. I'm unsure if it will ping people's phones when I send it. I will schedule it to send tomorrow during business hours.
Select the date and time that you want it to send, then close the window.


And that's it!
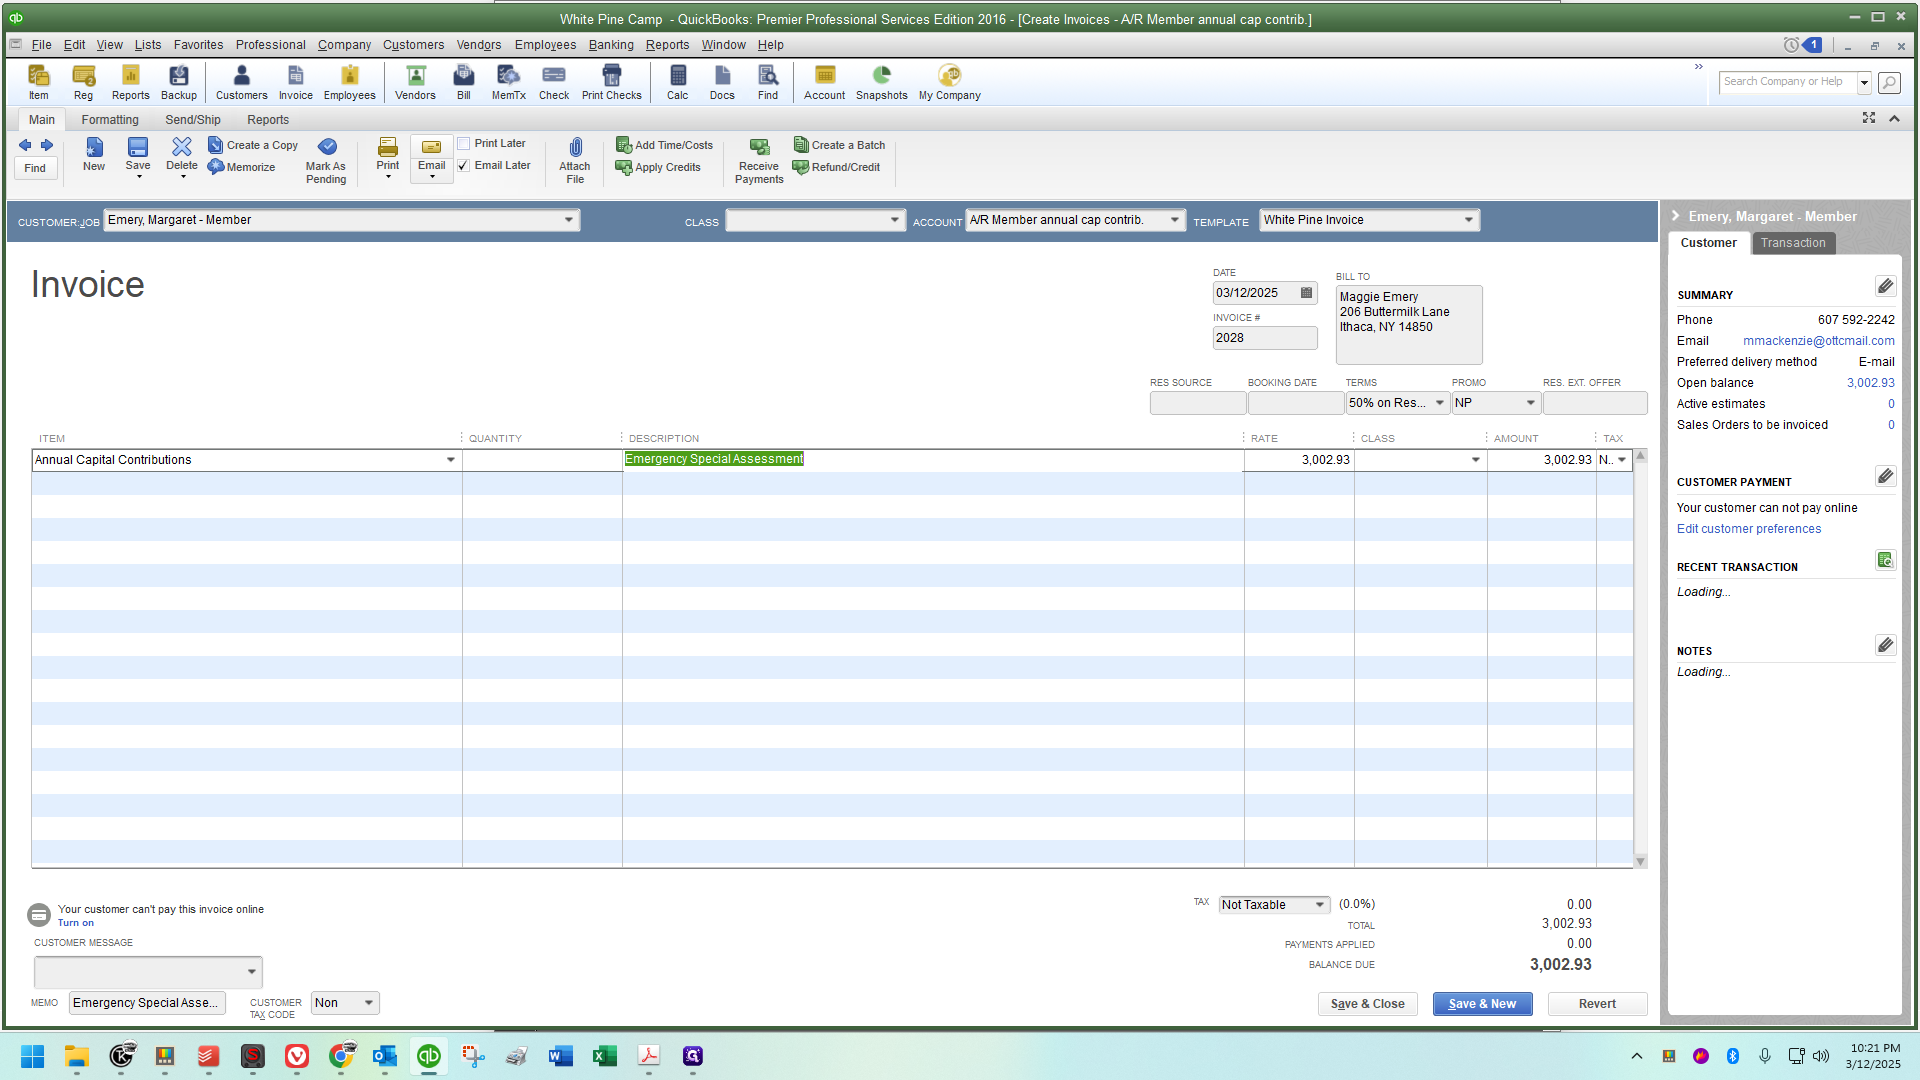
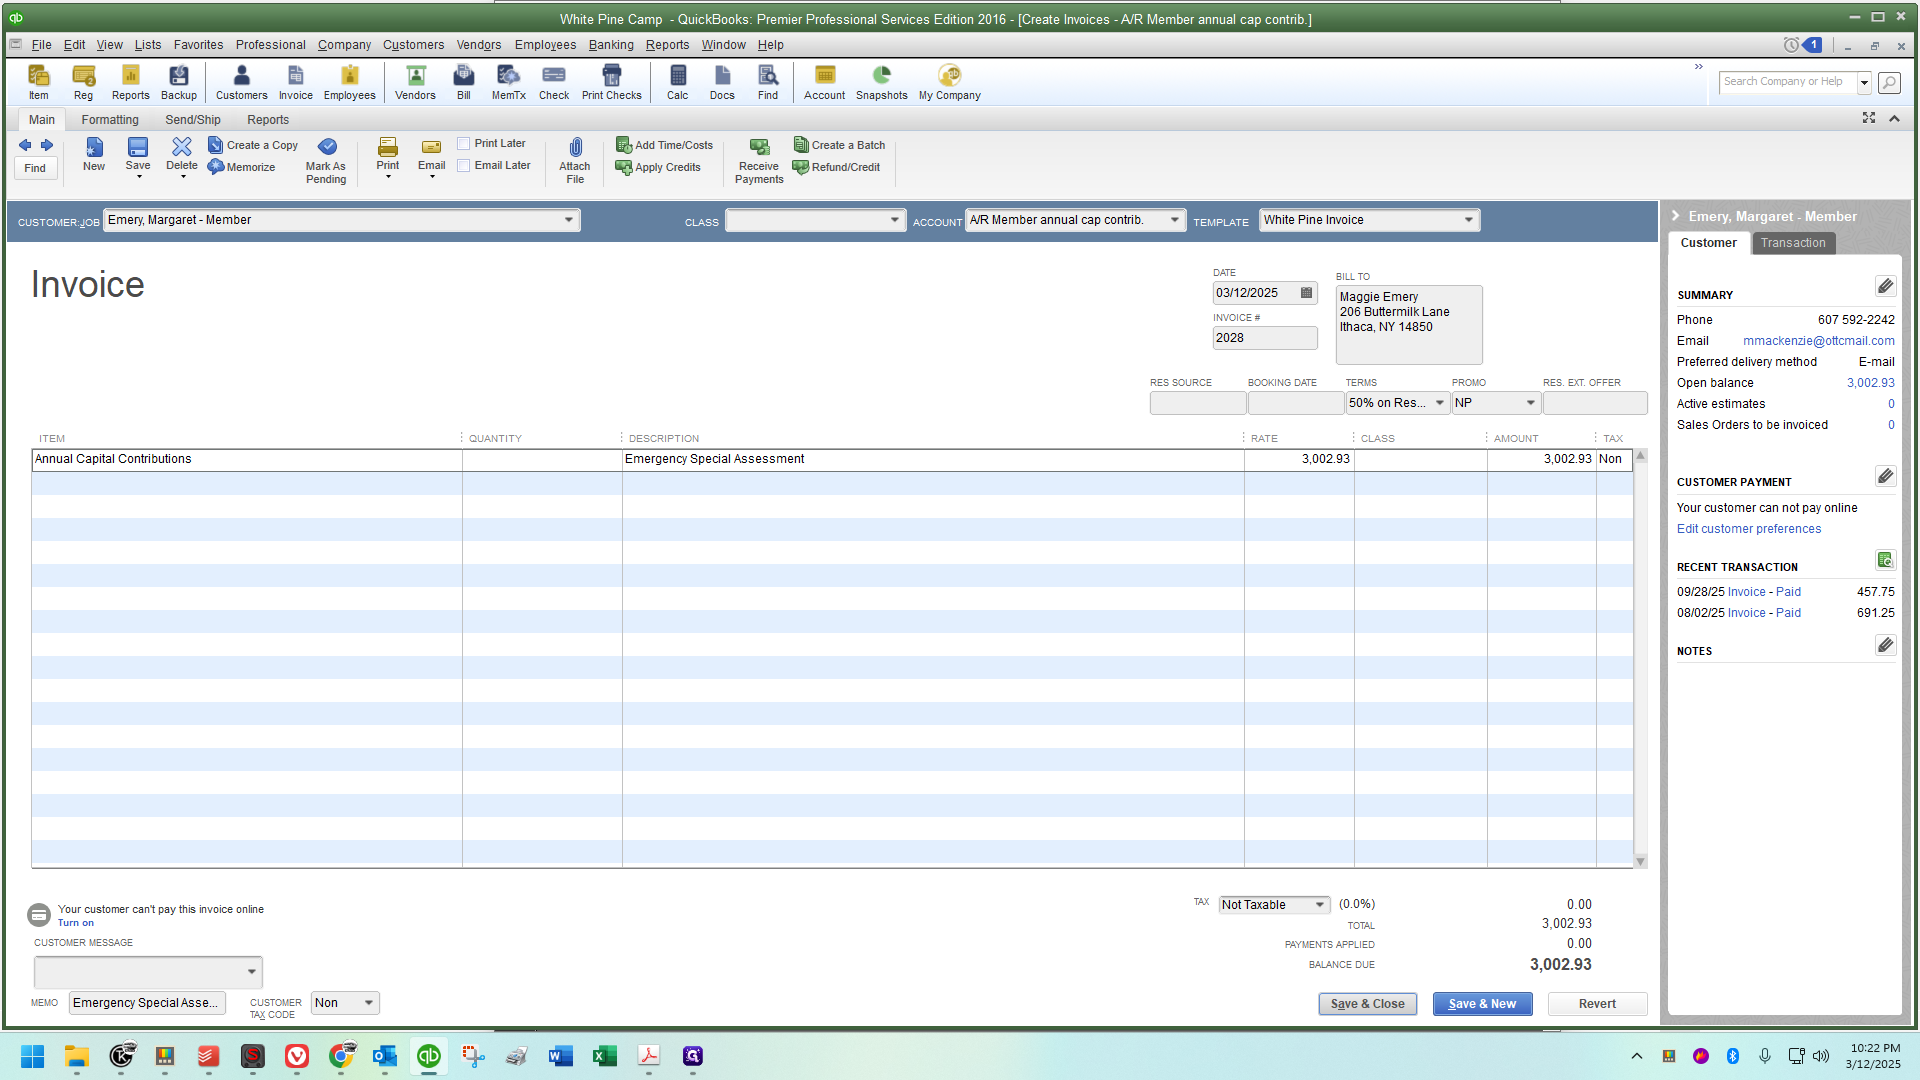
We'll do one more. Close that invoice and go to the next person, Margaret Emery.
Once more, ensure your notations and amounts are correct. You can verify them against the PDF. Ensure that her amount is correct, then click email.
Go to Options, select Delay Delivery, choose 9 a.m., then click the dropdown next to it and select Tomorrow.


Anyway, that's how I'm sending these.
It goes quickly, especially with the macro. Without it, I would either copy-paste the email while typing the subject line or create a signature with the email template and copy-paste the subject line.
That's probably what I would do if I didn't have my macro key. 👍
You can do it any way you like, as long as the members receive their invoices.
Also - be relatively lighthearted about it.
I believe it's part of the innkeeper's role, especially during challenging times like these. Just be friendly.
We are asking a lot from these people. Keep that in mind.