
Enhancing Image Backgrounds with Generative Expand in Adobe Photoshop
Learn how to utilize Generative Expand in Adobe Photoshop to enhance the background of an image by increasing its width without simply adding empty space.
In this guide, we'll learn how to expand the background of an image using Generative Expand in Adobe Photoshop. When working on an image that needs additional width without just adding empty space, utilizing the Crop tool and Generative Expand feature can be a game-changer. By expanding the sides of the image and clicking Generate, Photoshop intelligently fills the open spaces, saving you the hassle of manually creating background elements. Let's explore this process further to enhance your images effortlessly.
Let's get started.
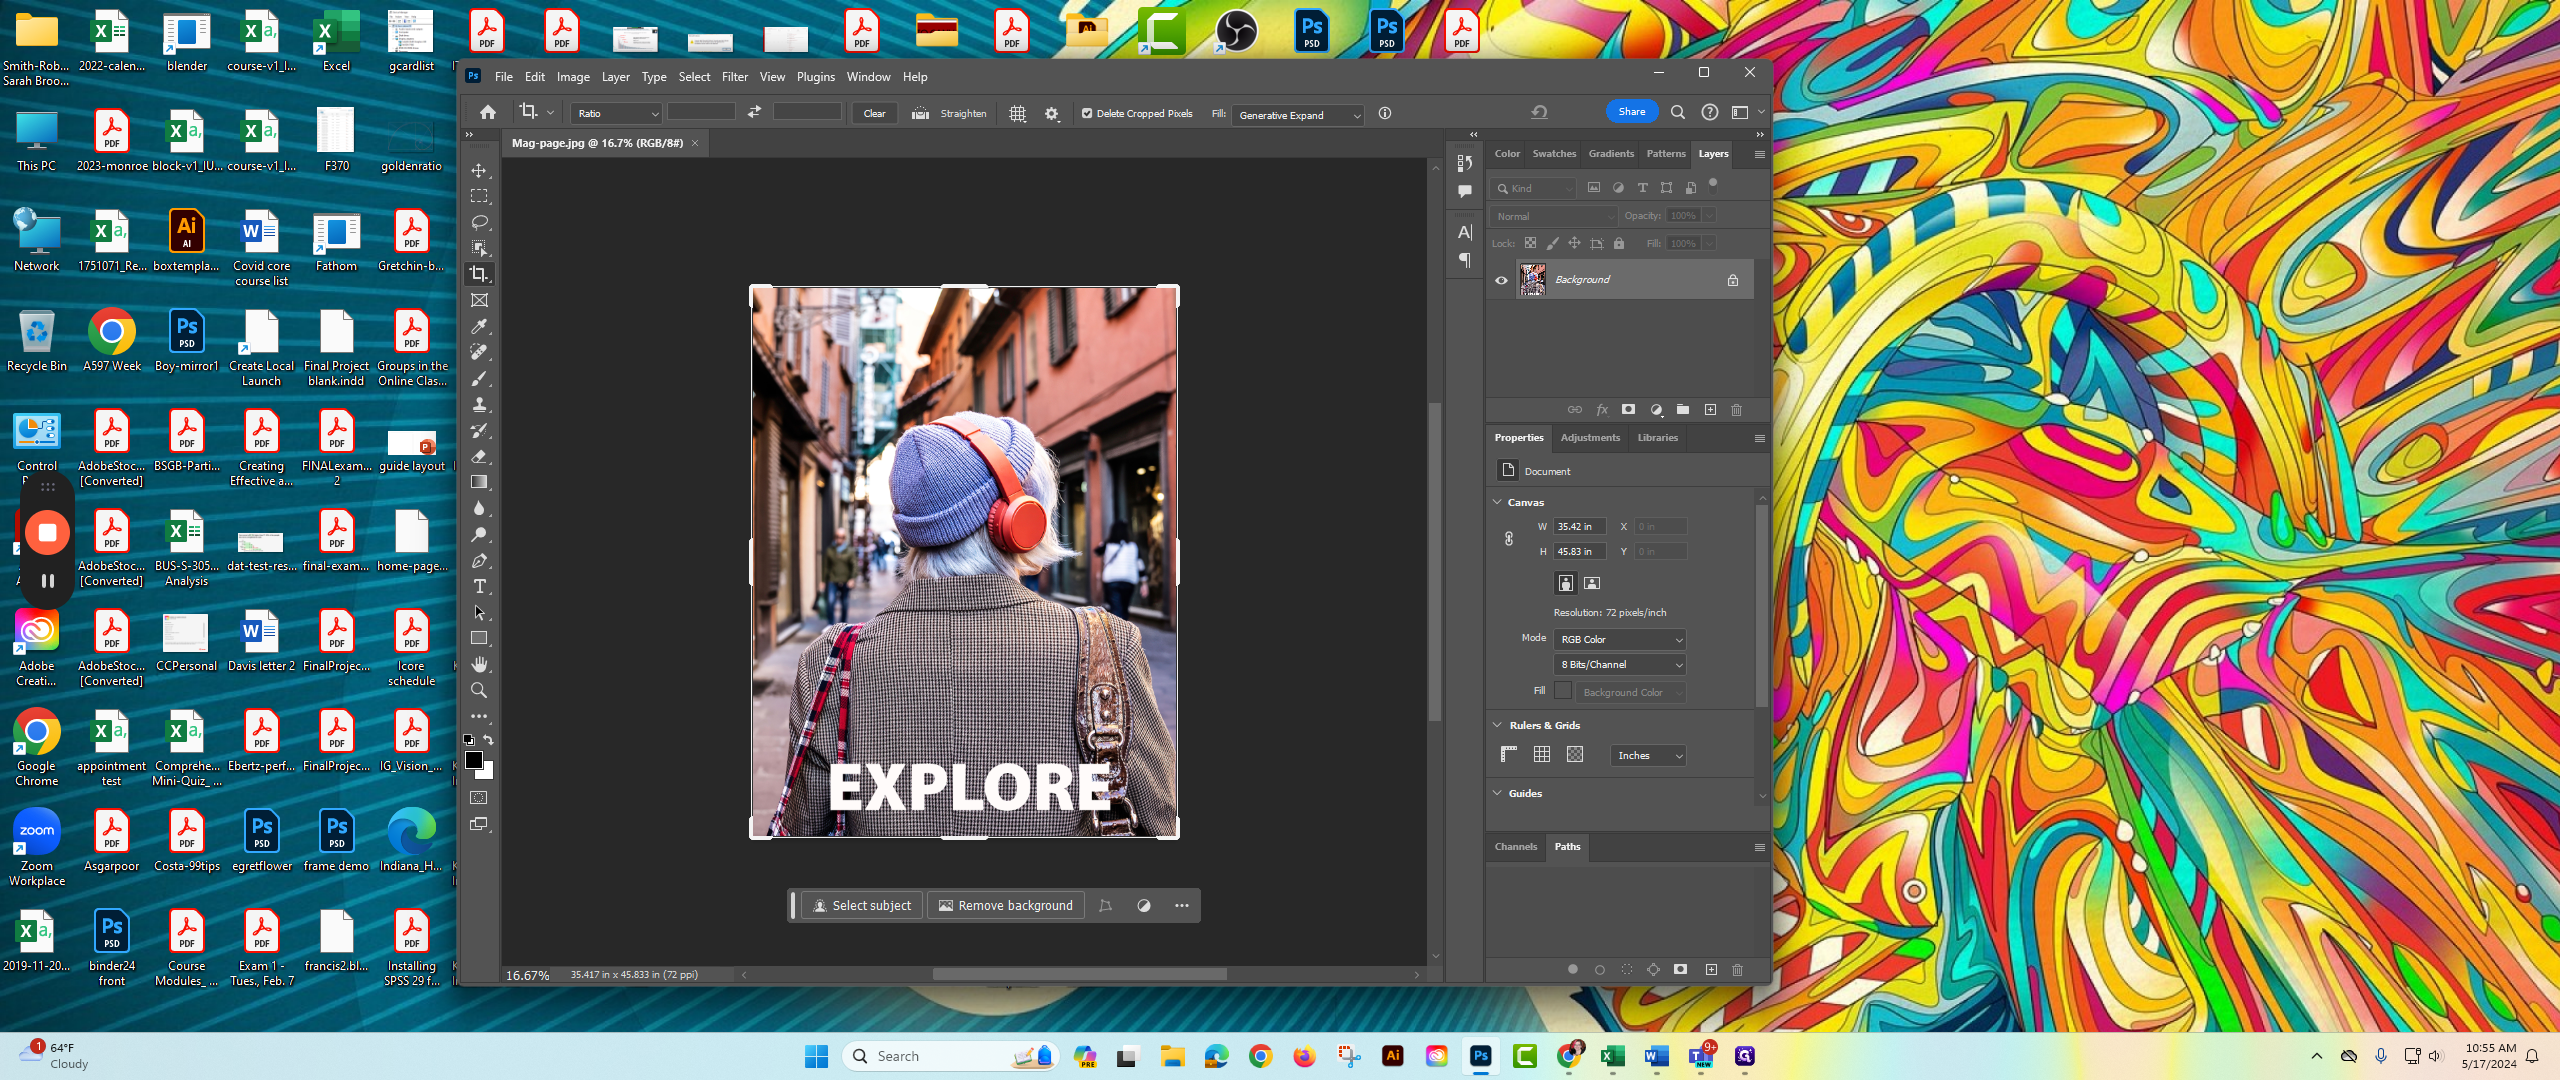
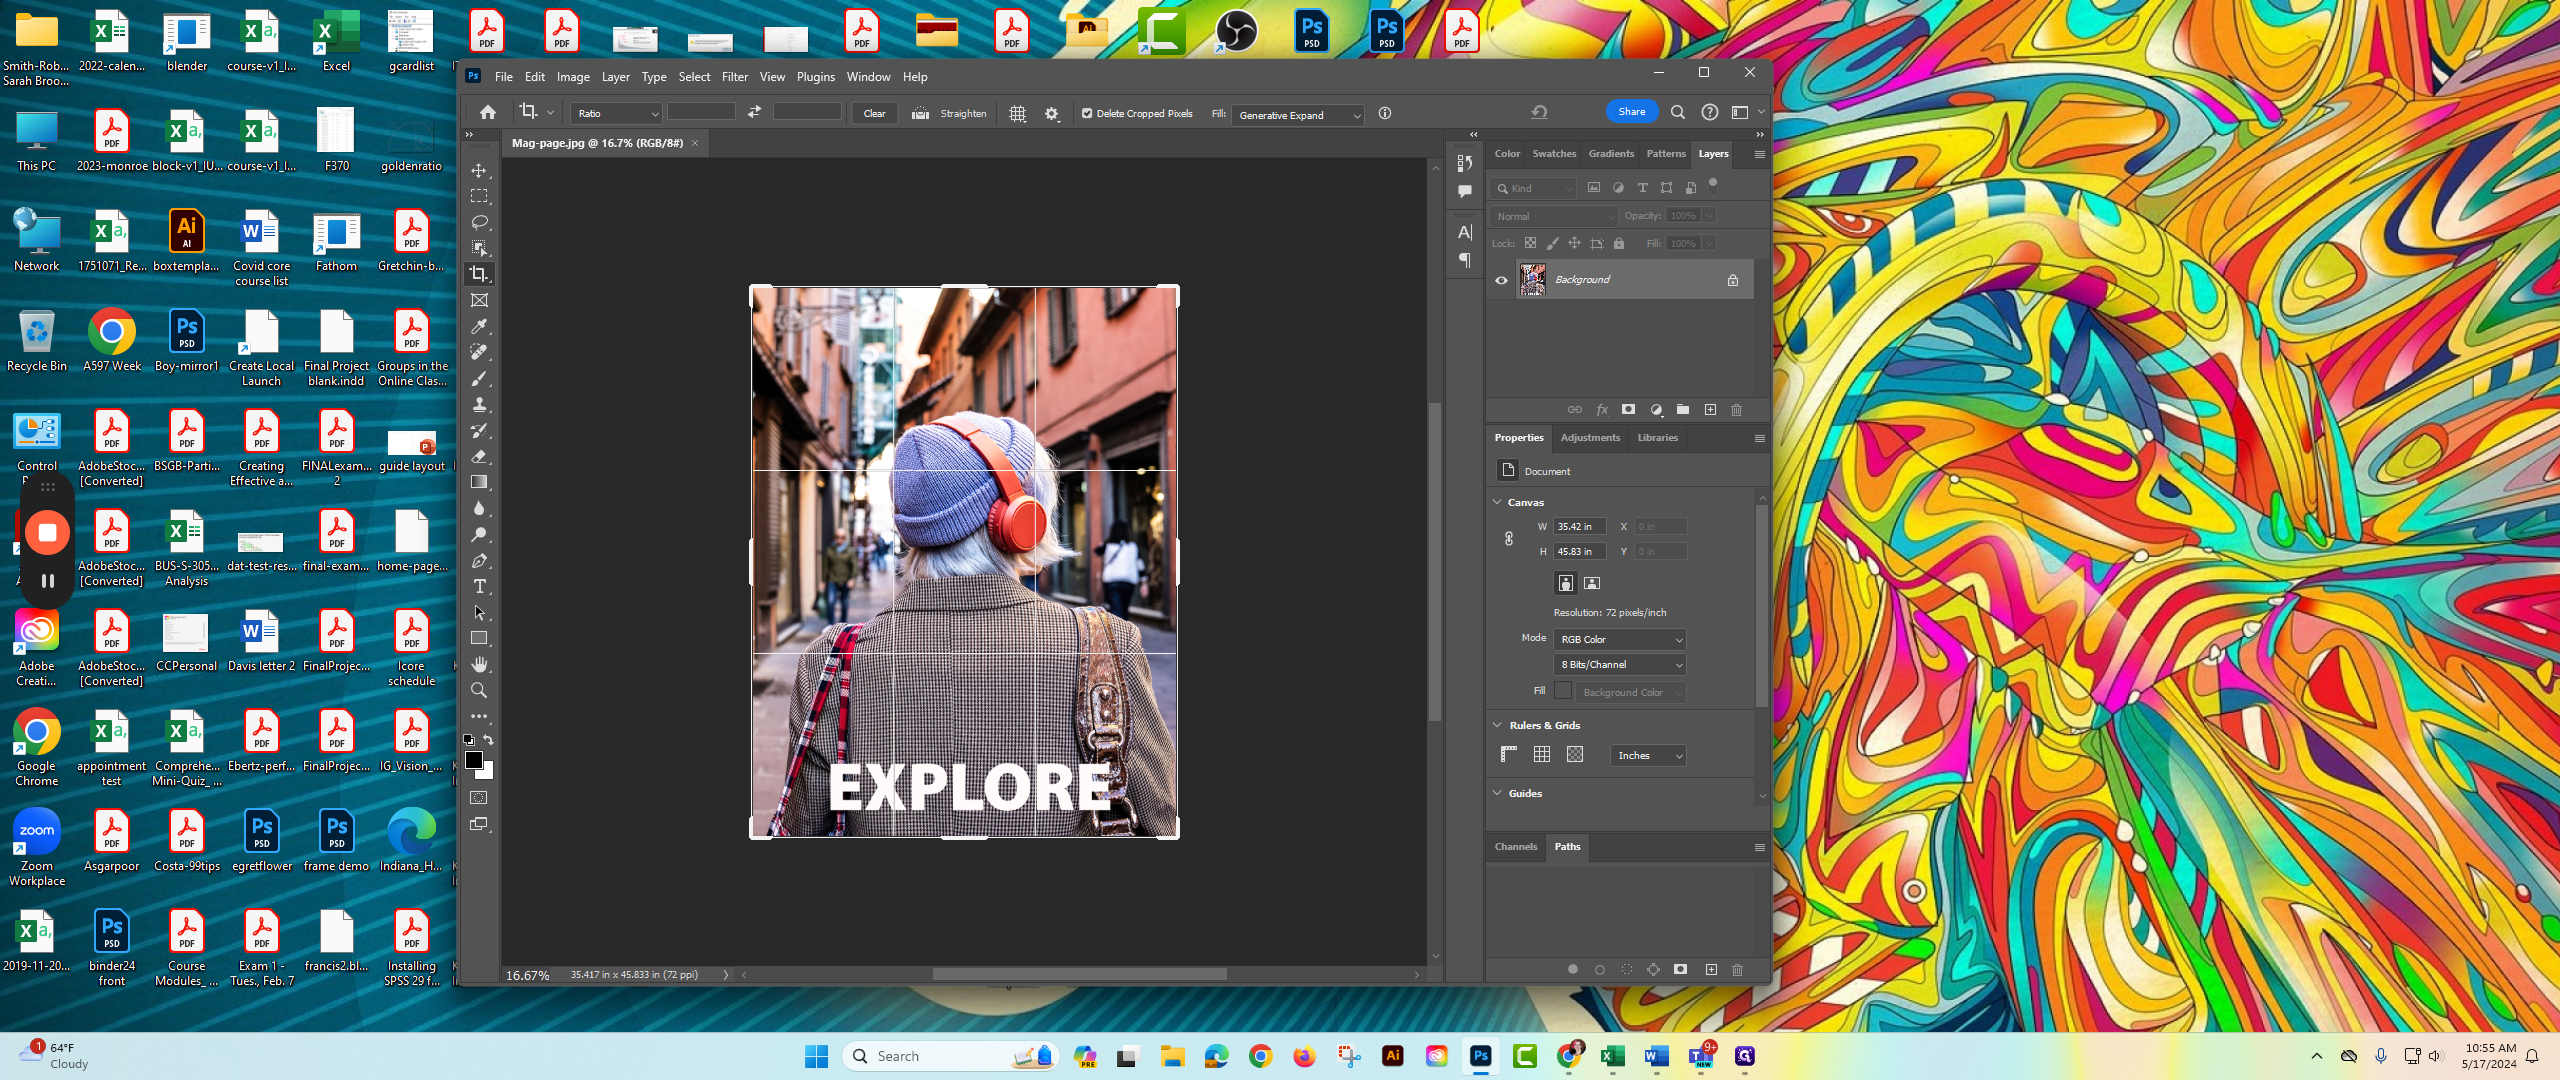
Let's utilize Generative Expand in Adobe Photoshop to enhance the background of an image. I have opened a file and wish to increase its width without simply adding empty space. With the image open, navigate to Crop and expand the sides to create the desired additional space.
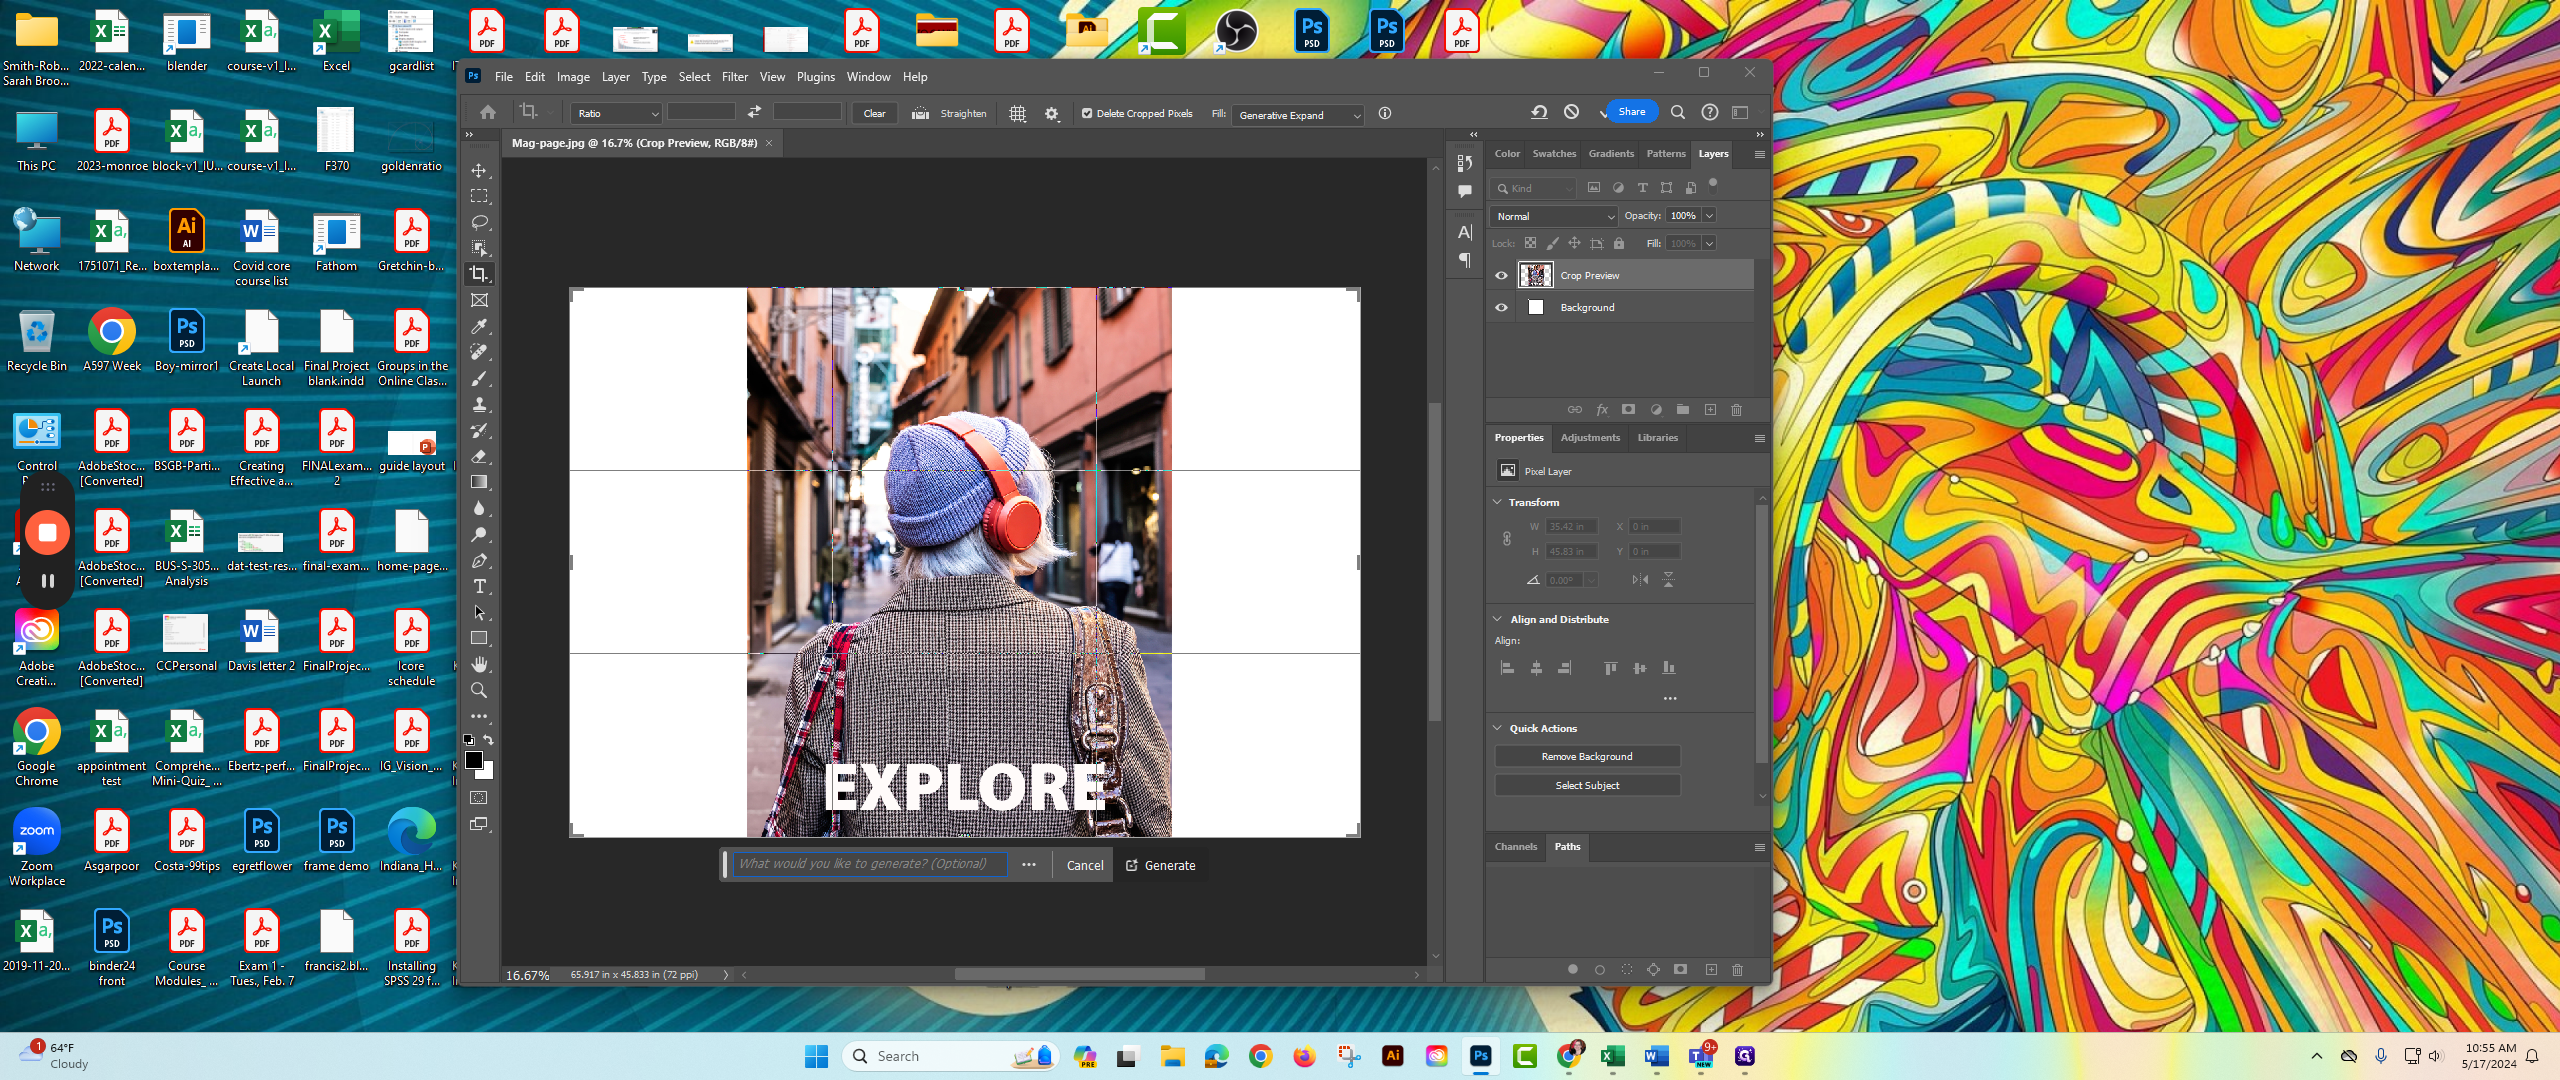
And then you'll see the contextual toolbar open up down here. I'm not even going to type anything in. I'm just going to click Generate, and Photoshop will know to add something to those open spaces on each side.
You may have to wait a moment for the background to generate.
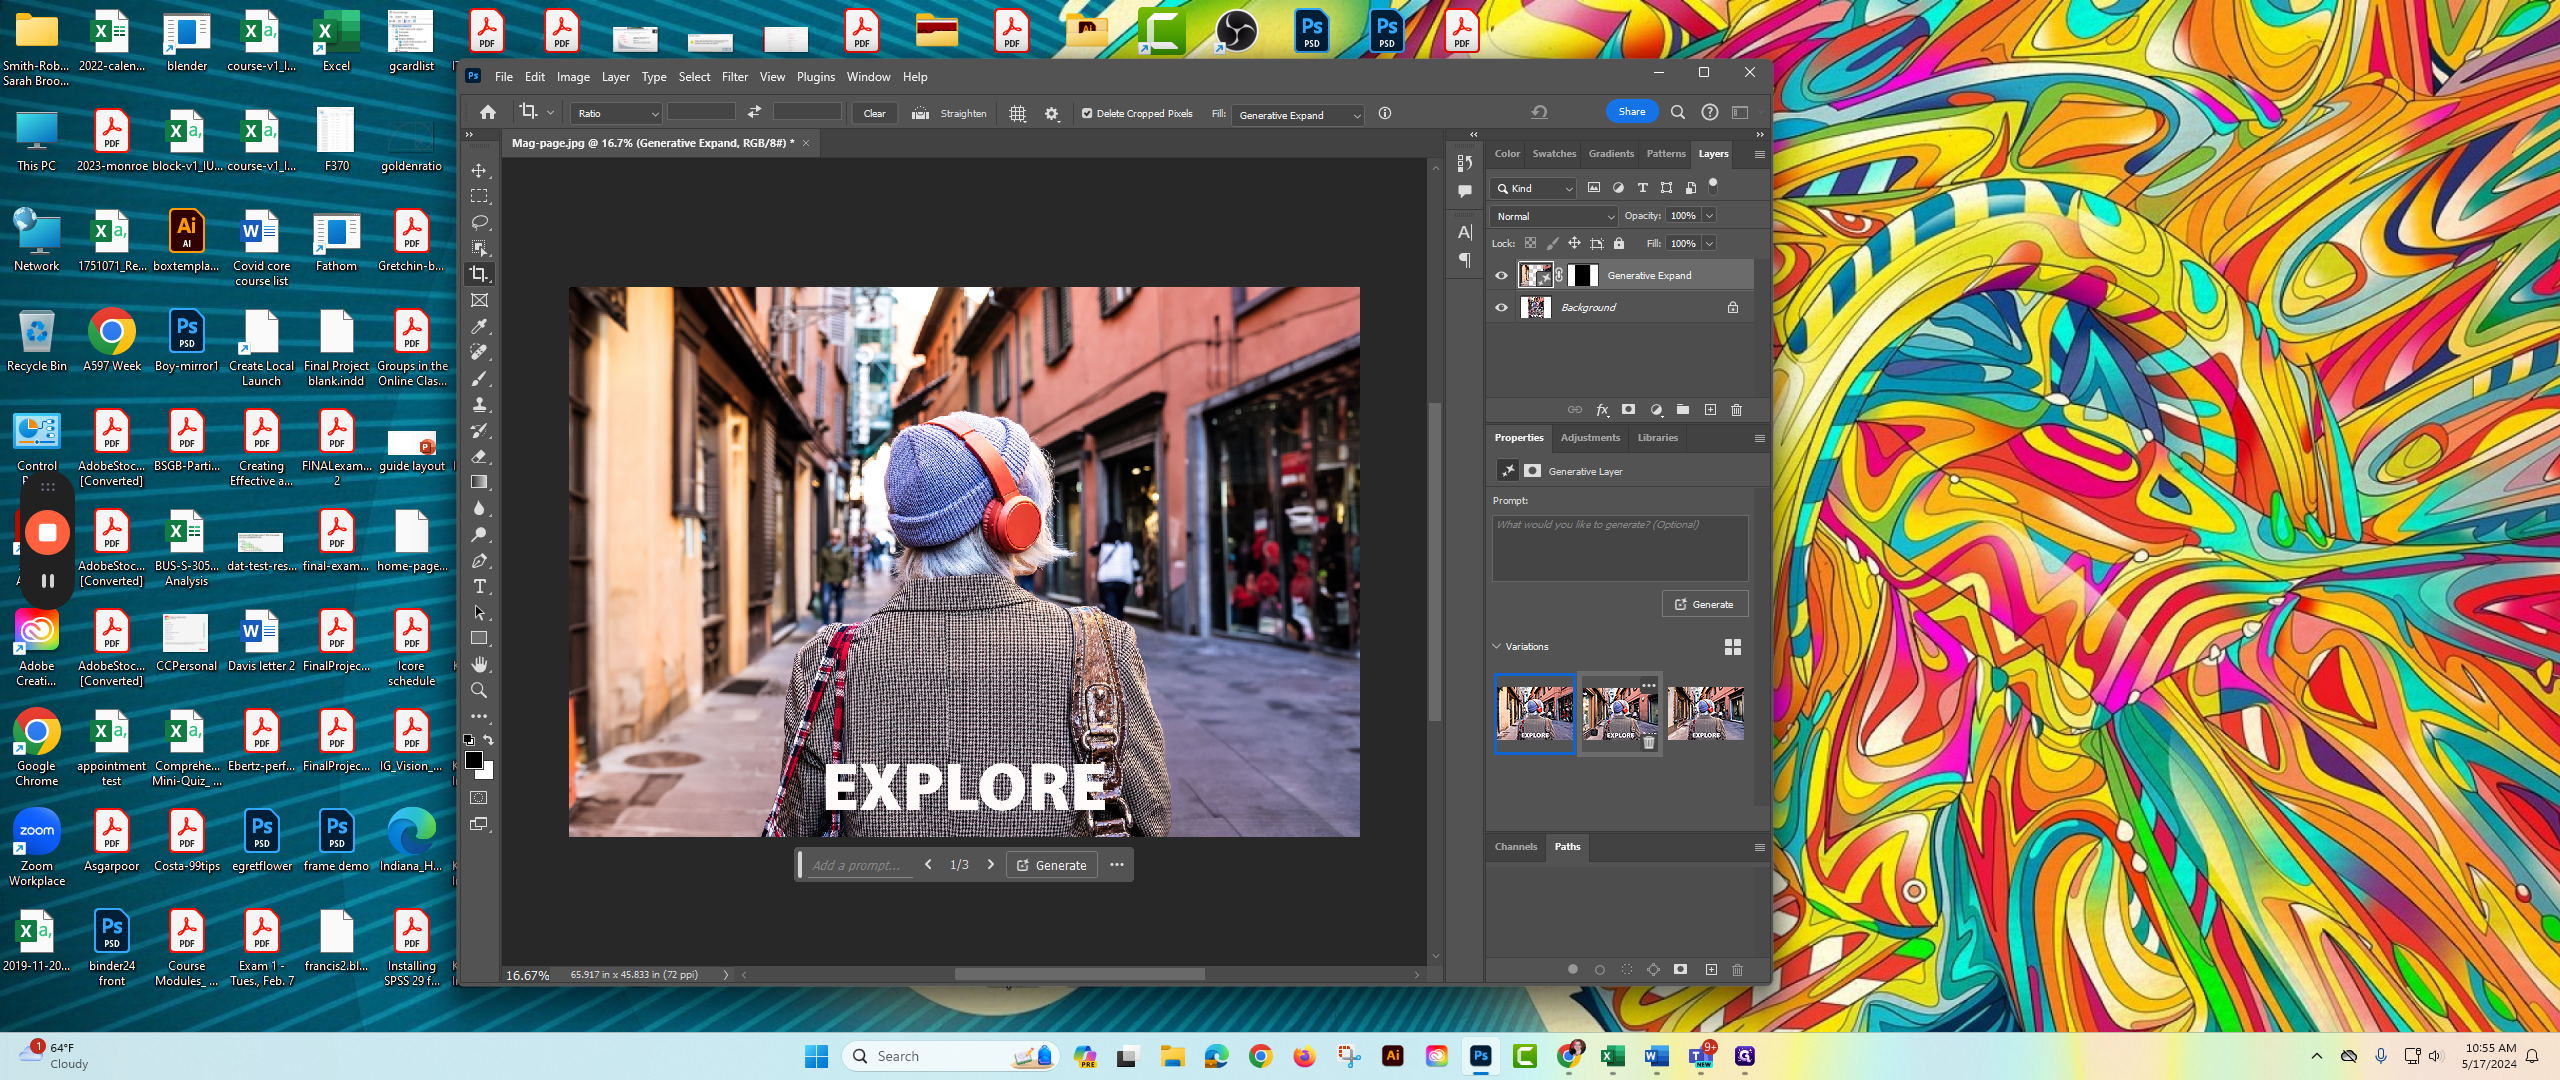

That's how it's done.