
Exporting Black and White Photos in Lightroom Classic
Learn how to batch convert virtual copies to black and white and safely export them for deluxe galleries using Adobe Lightroom Classic.
By Johannes
Here is how to batch process and export black and white photos from Adobe Lightroom Classic for your client galleries.
1. Create Virtual Copies
1
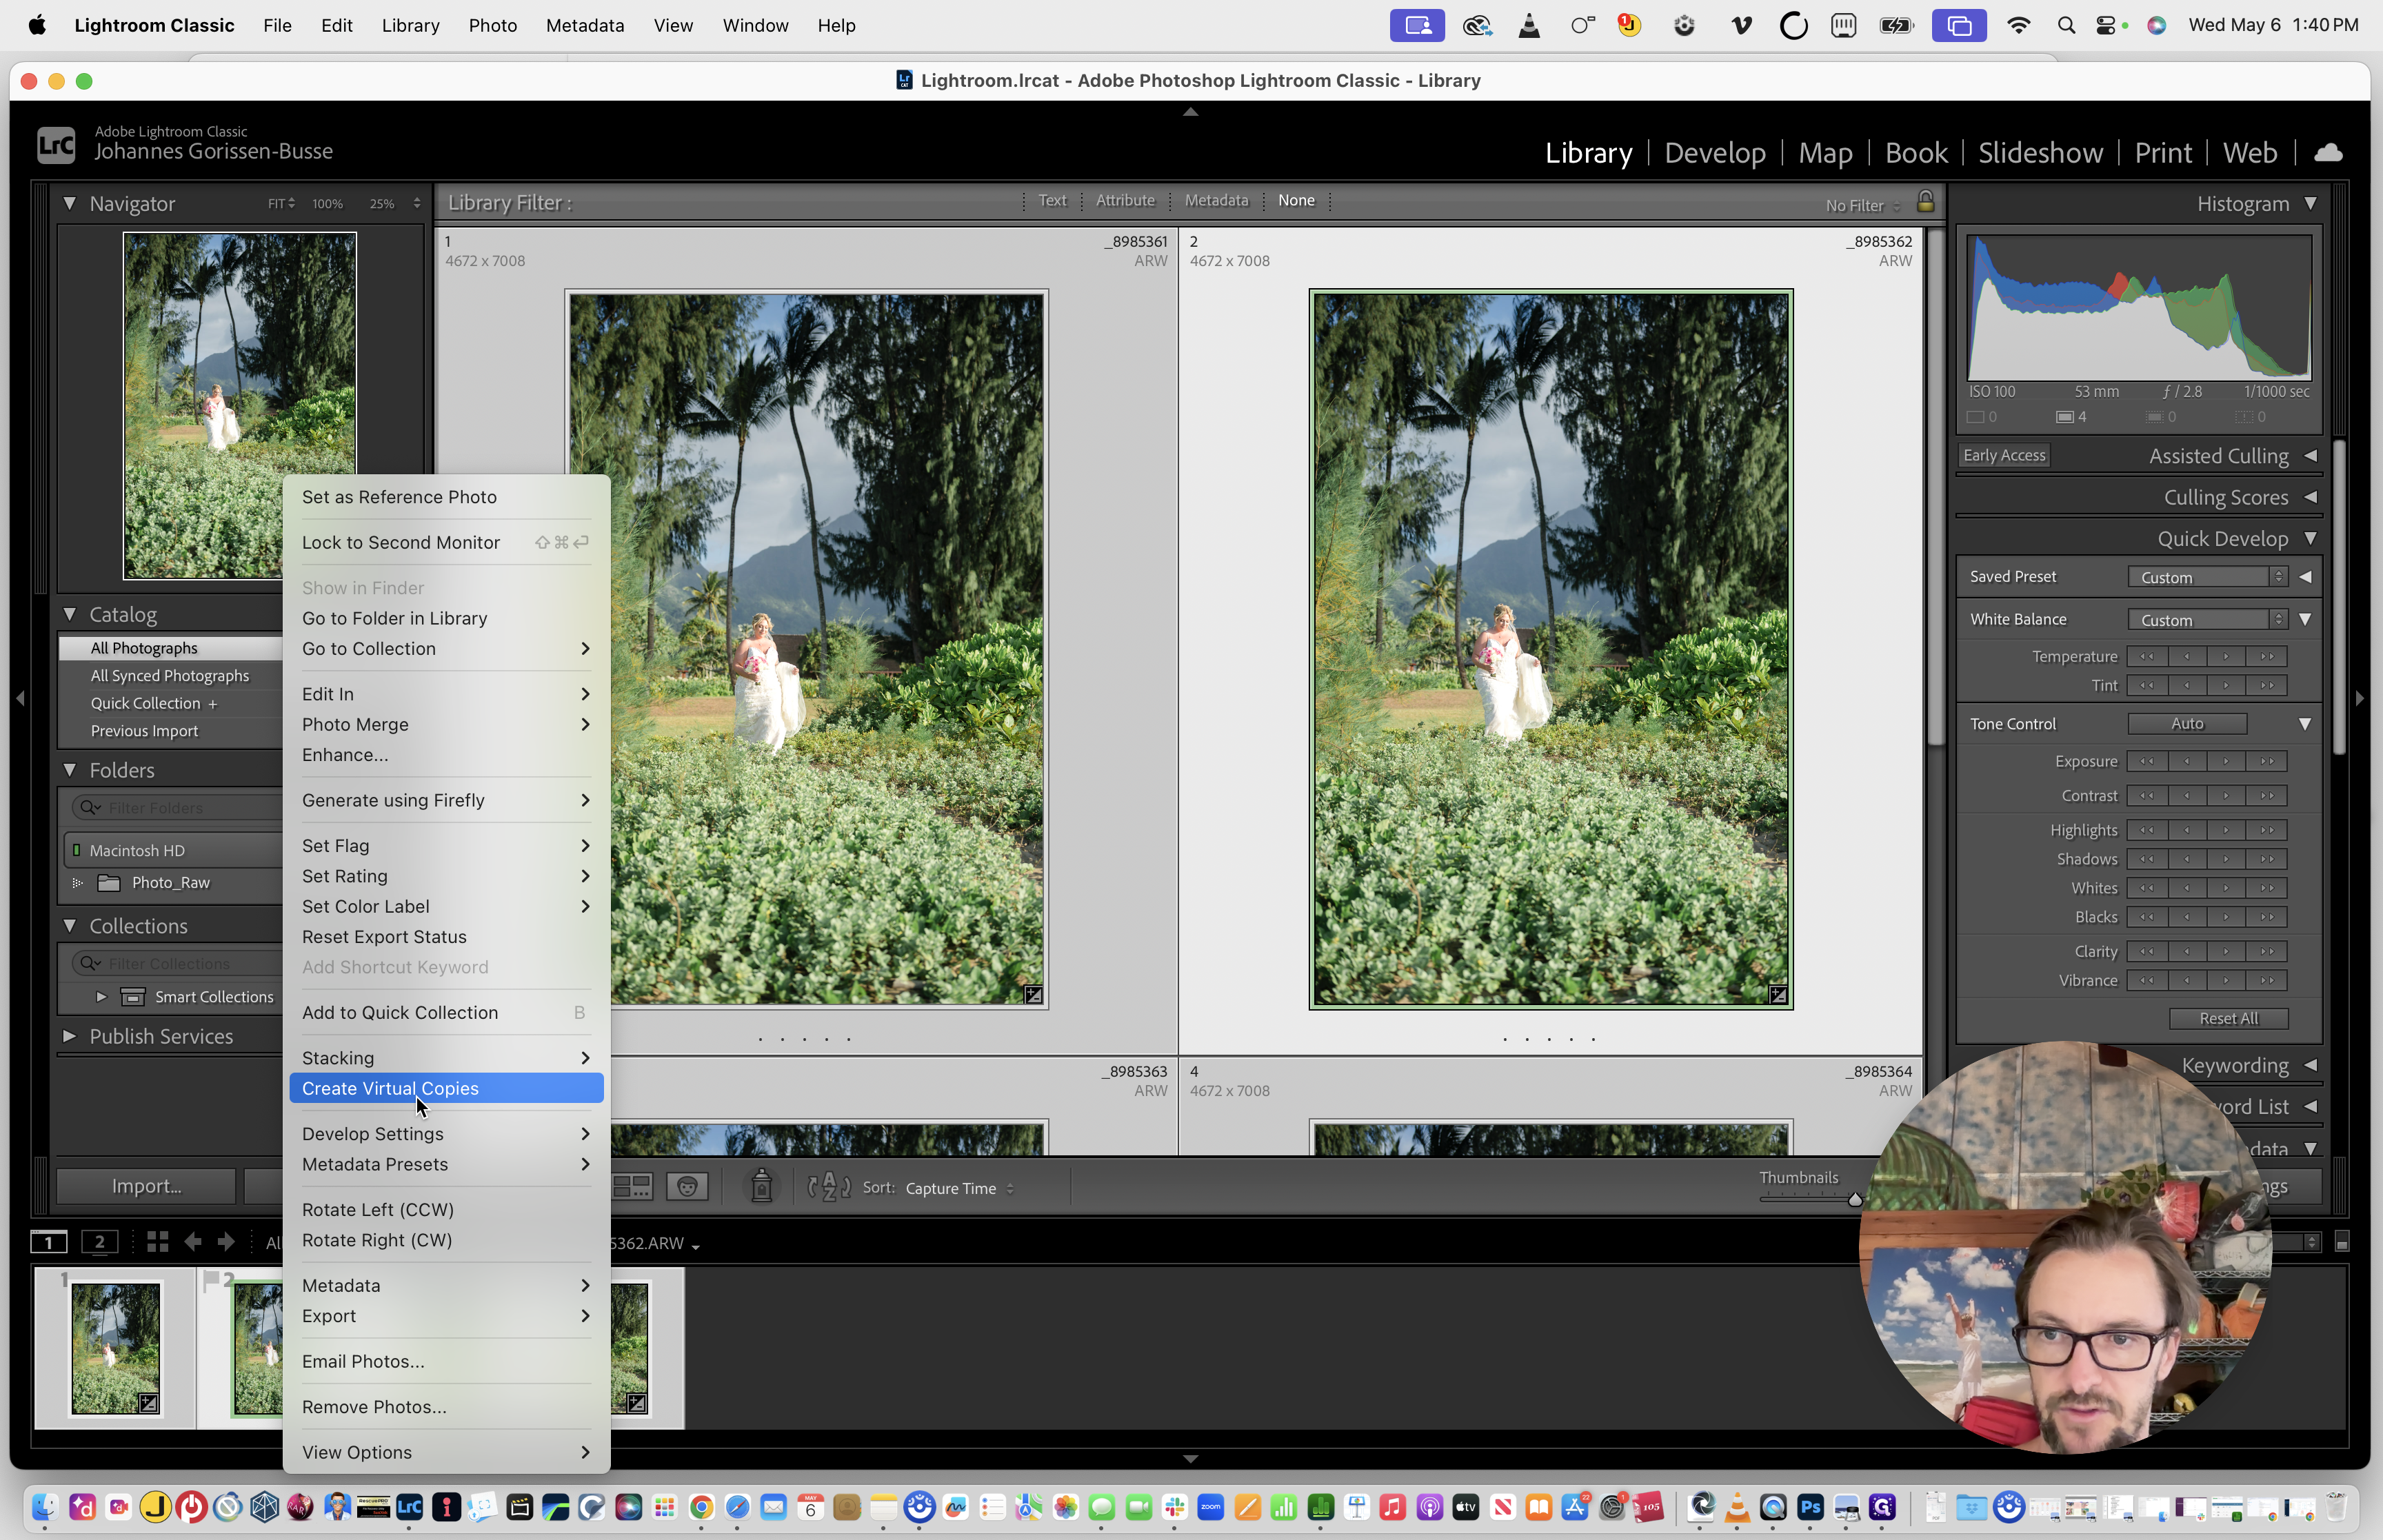
In the Library module, select all the photos you want to export by pressing
Cmd + A (Mac) or Ctrl + A (Windows).2
Right-click (or Control-click) a selected photo and choose Create Virtual Copies.
2. Convert to Black and White
3
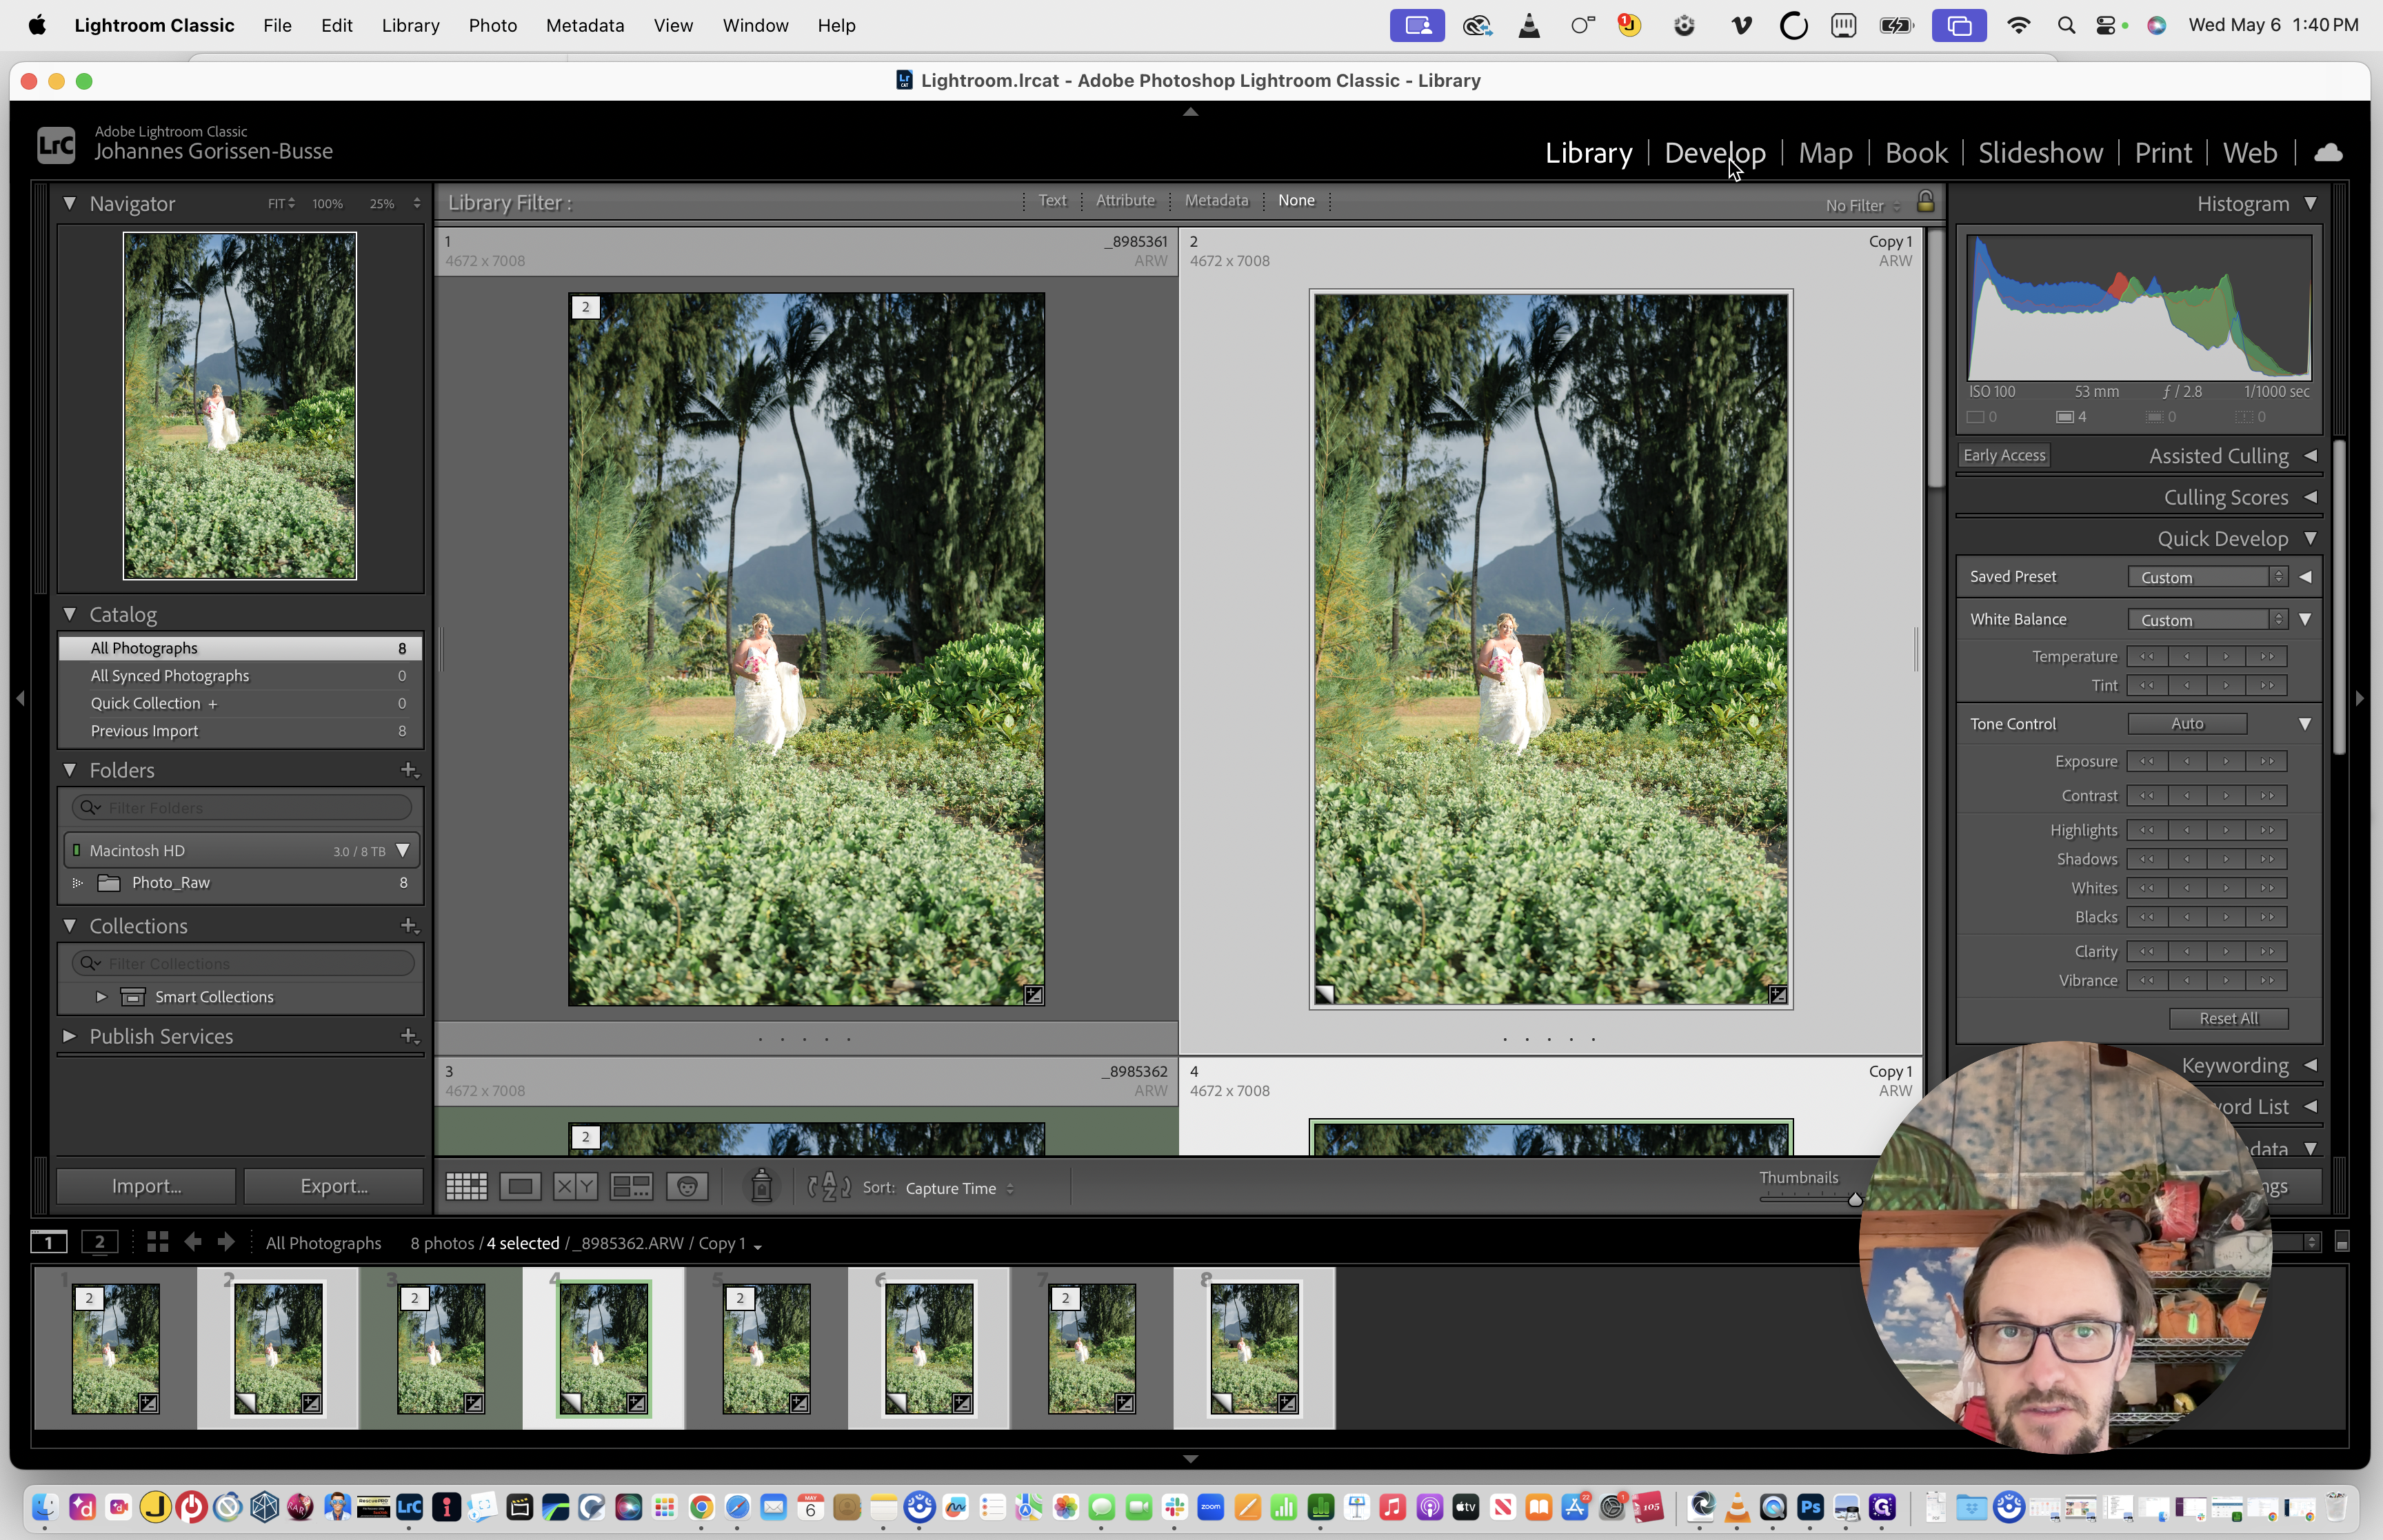
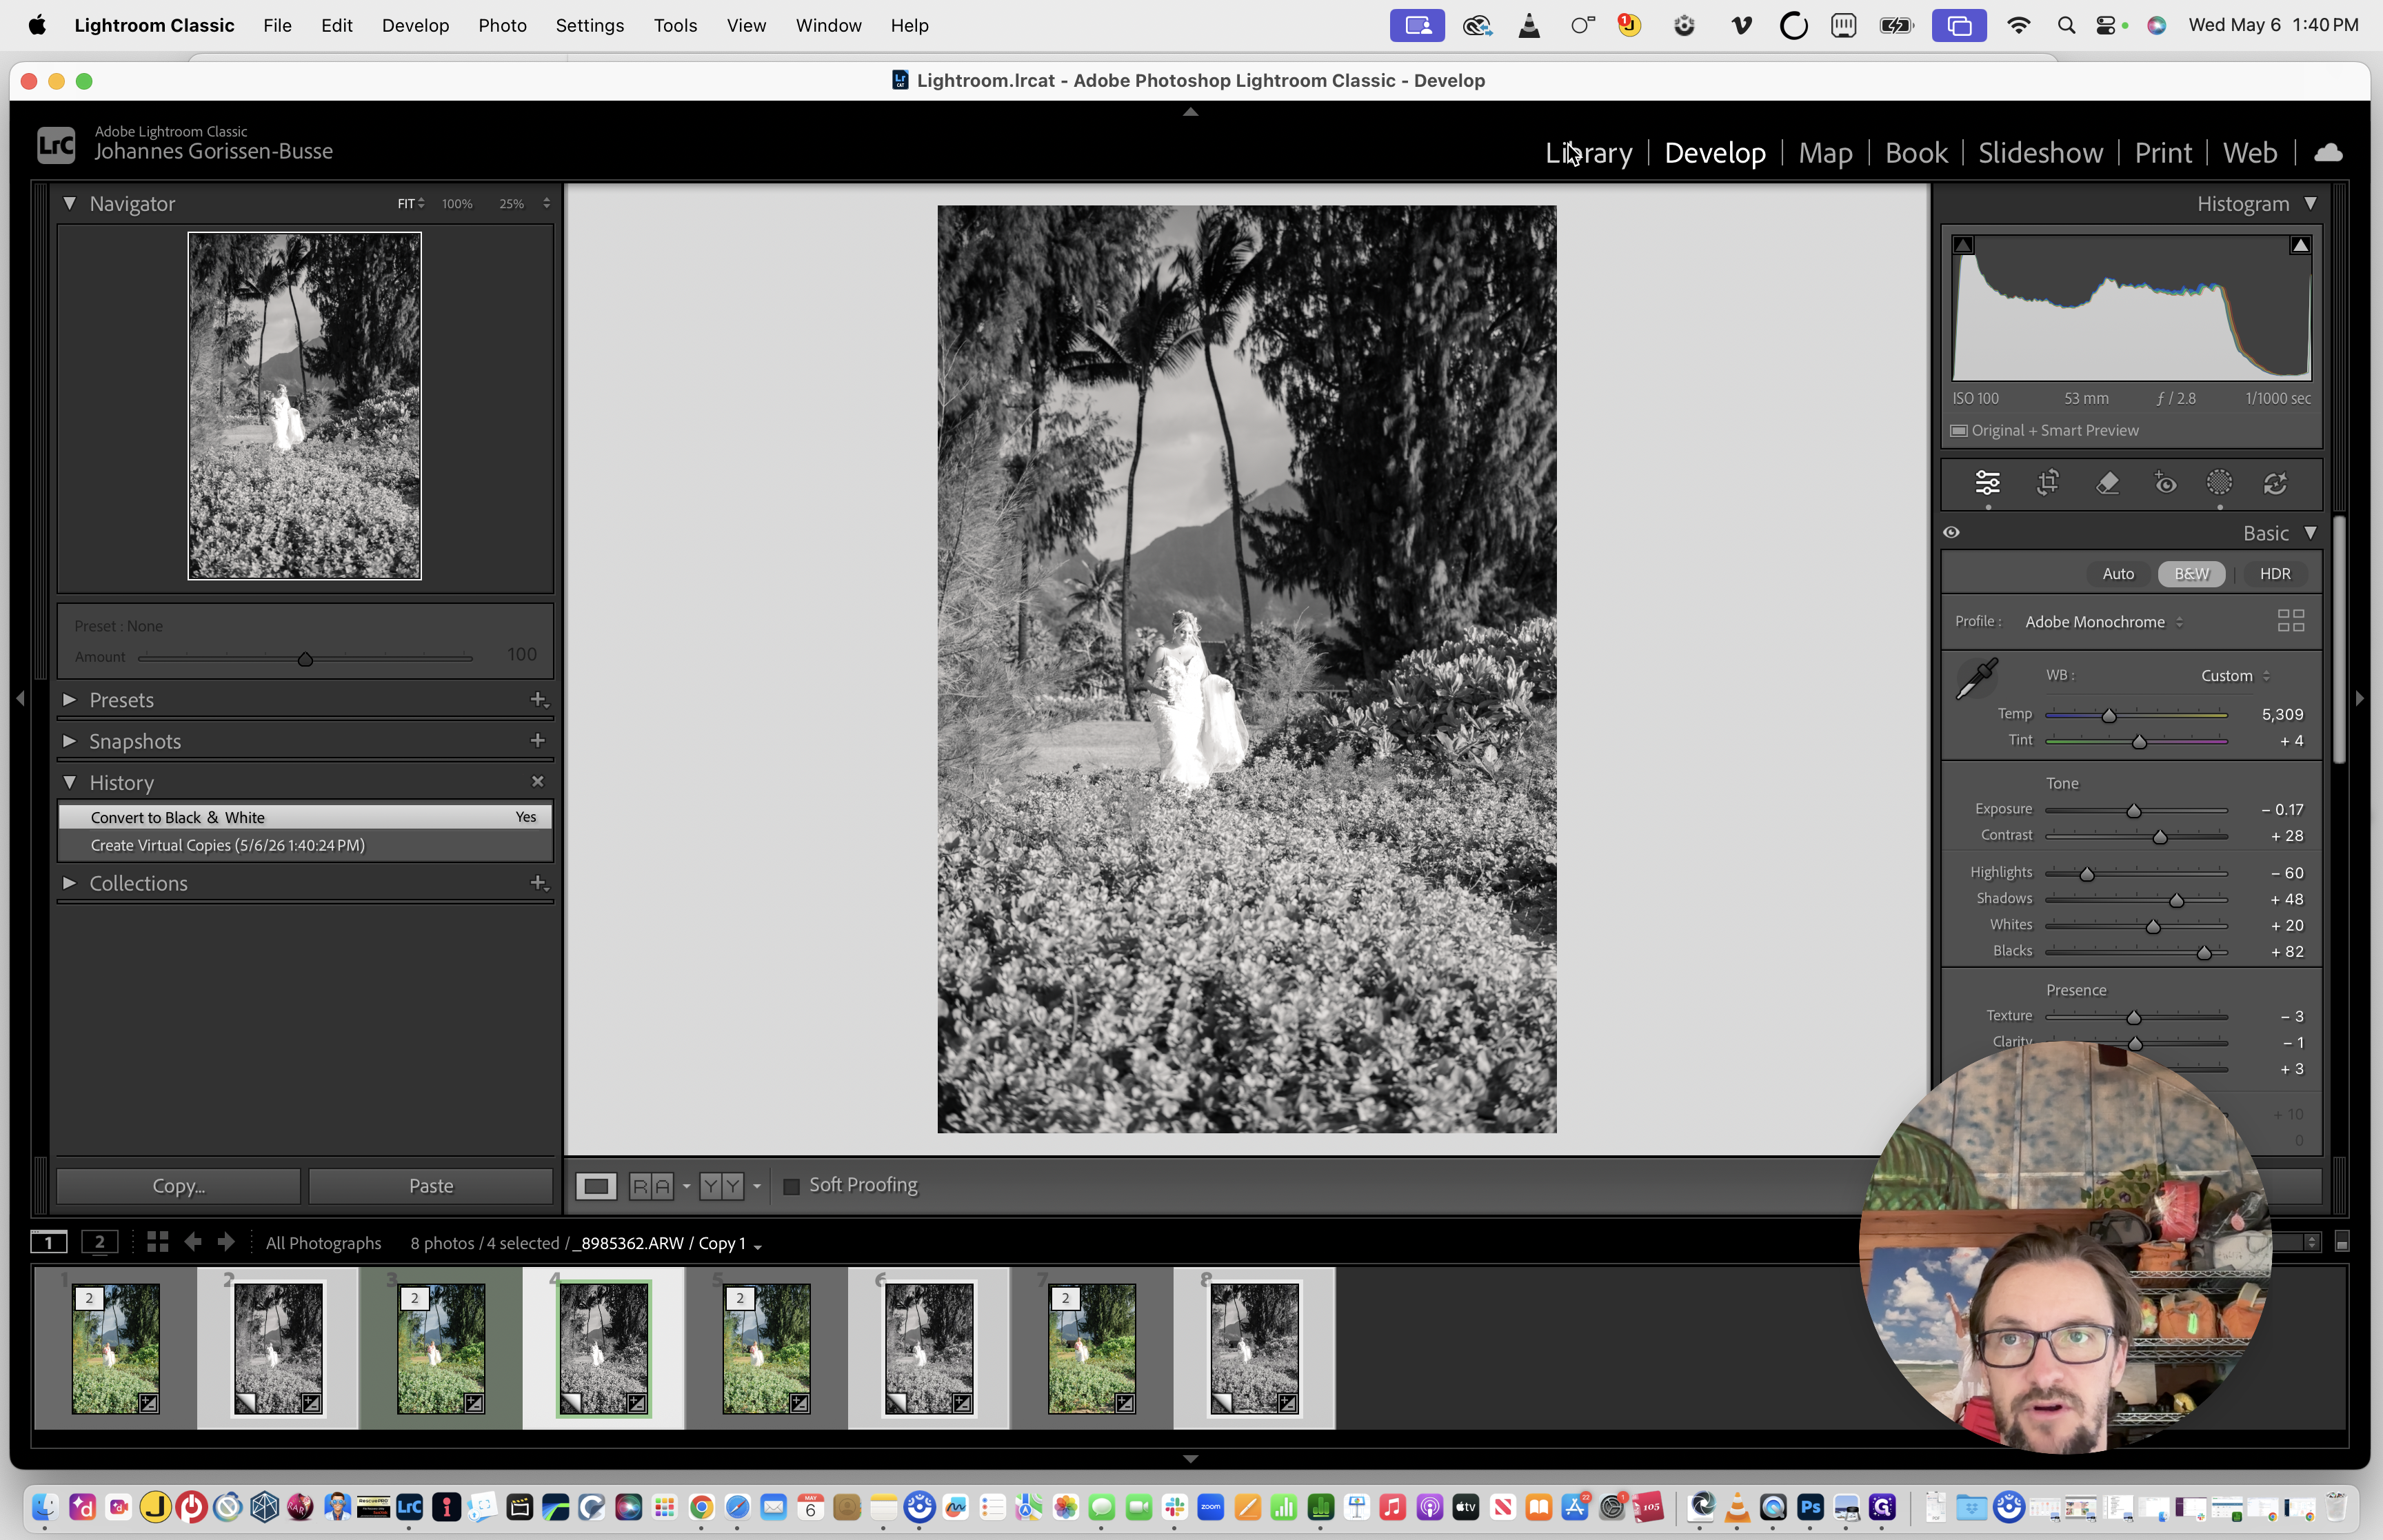
Click the Develop tab in the top navigation menu.
4
In the Basic panel on the right sidebar, click B&W to apply the black and white treatment to your selected virtual copies.

3. Rebuild Previews (Recommended)
5
Click the Library tab to return to the grid view.
6
From the top menu bar, go to Library > Previews and select Build Standard-Sized Previews.

7
If a confirmation dialog box appears, click OK.

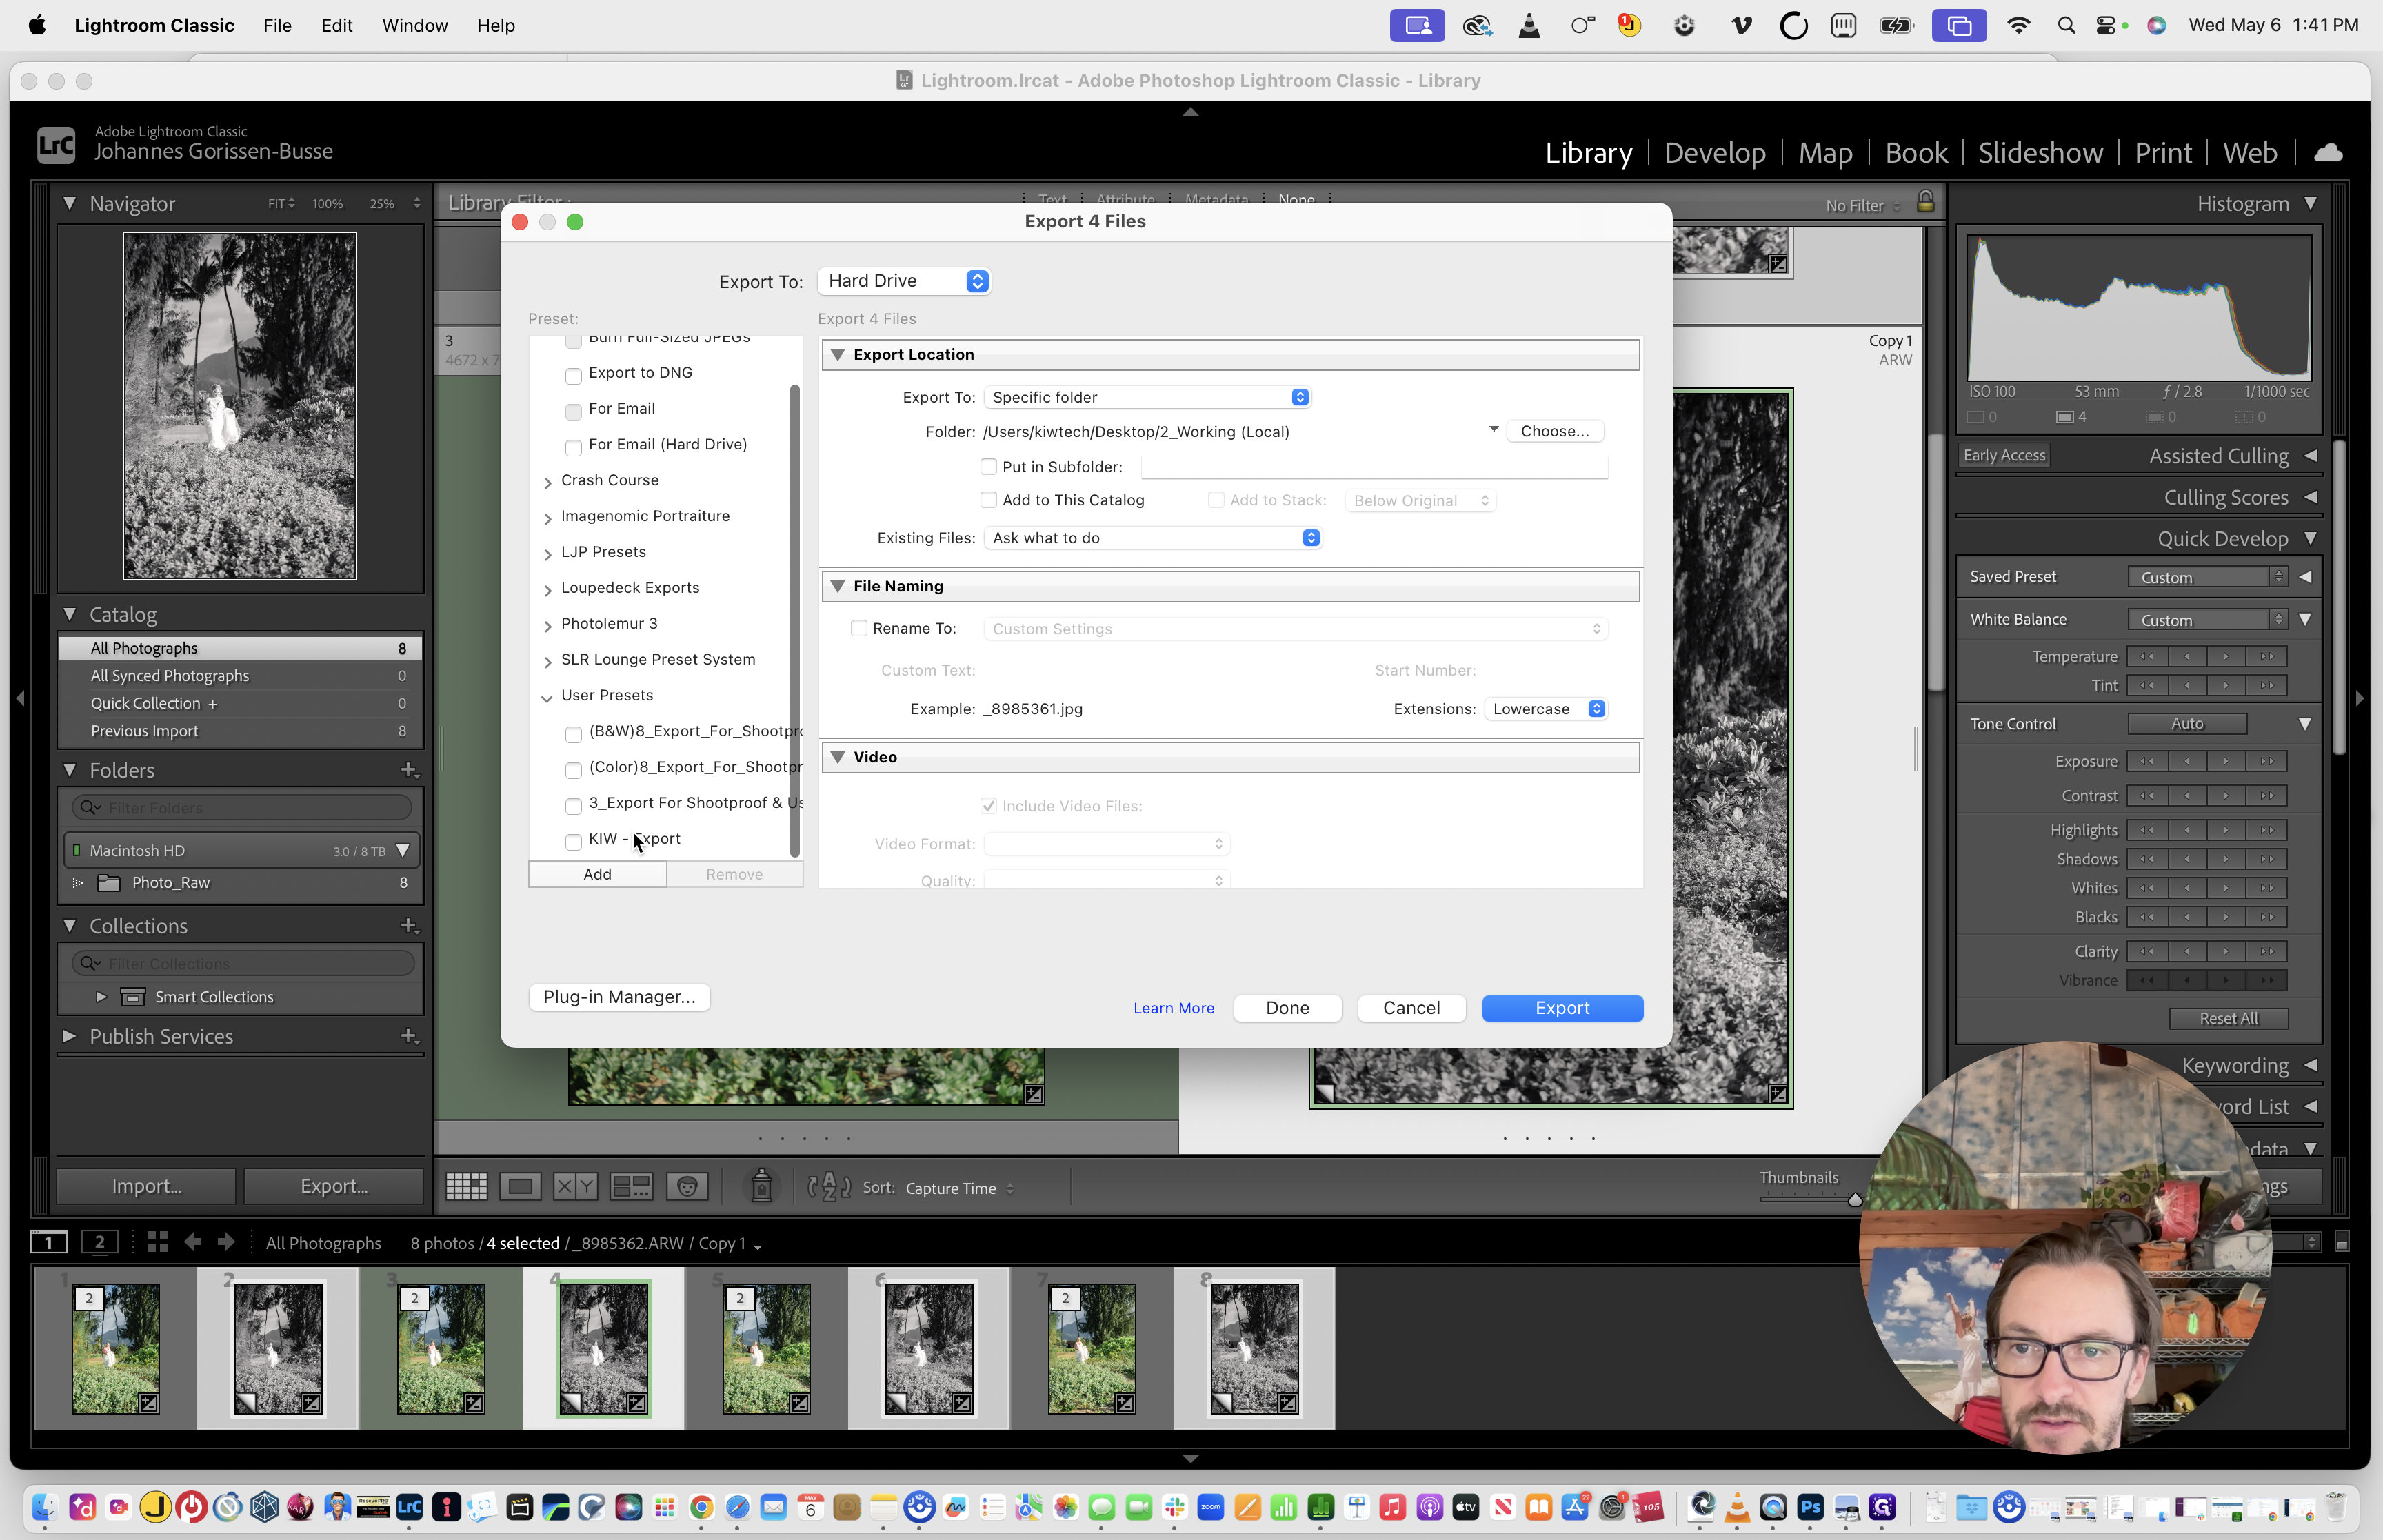
4. Export the Photos
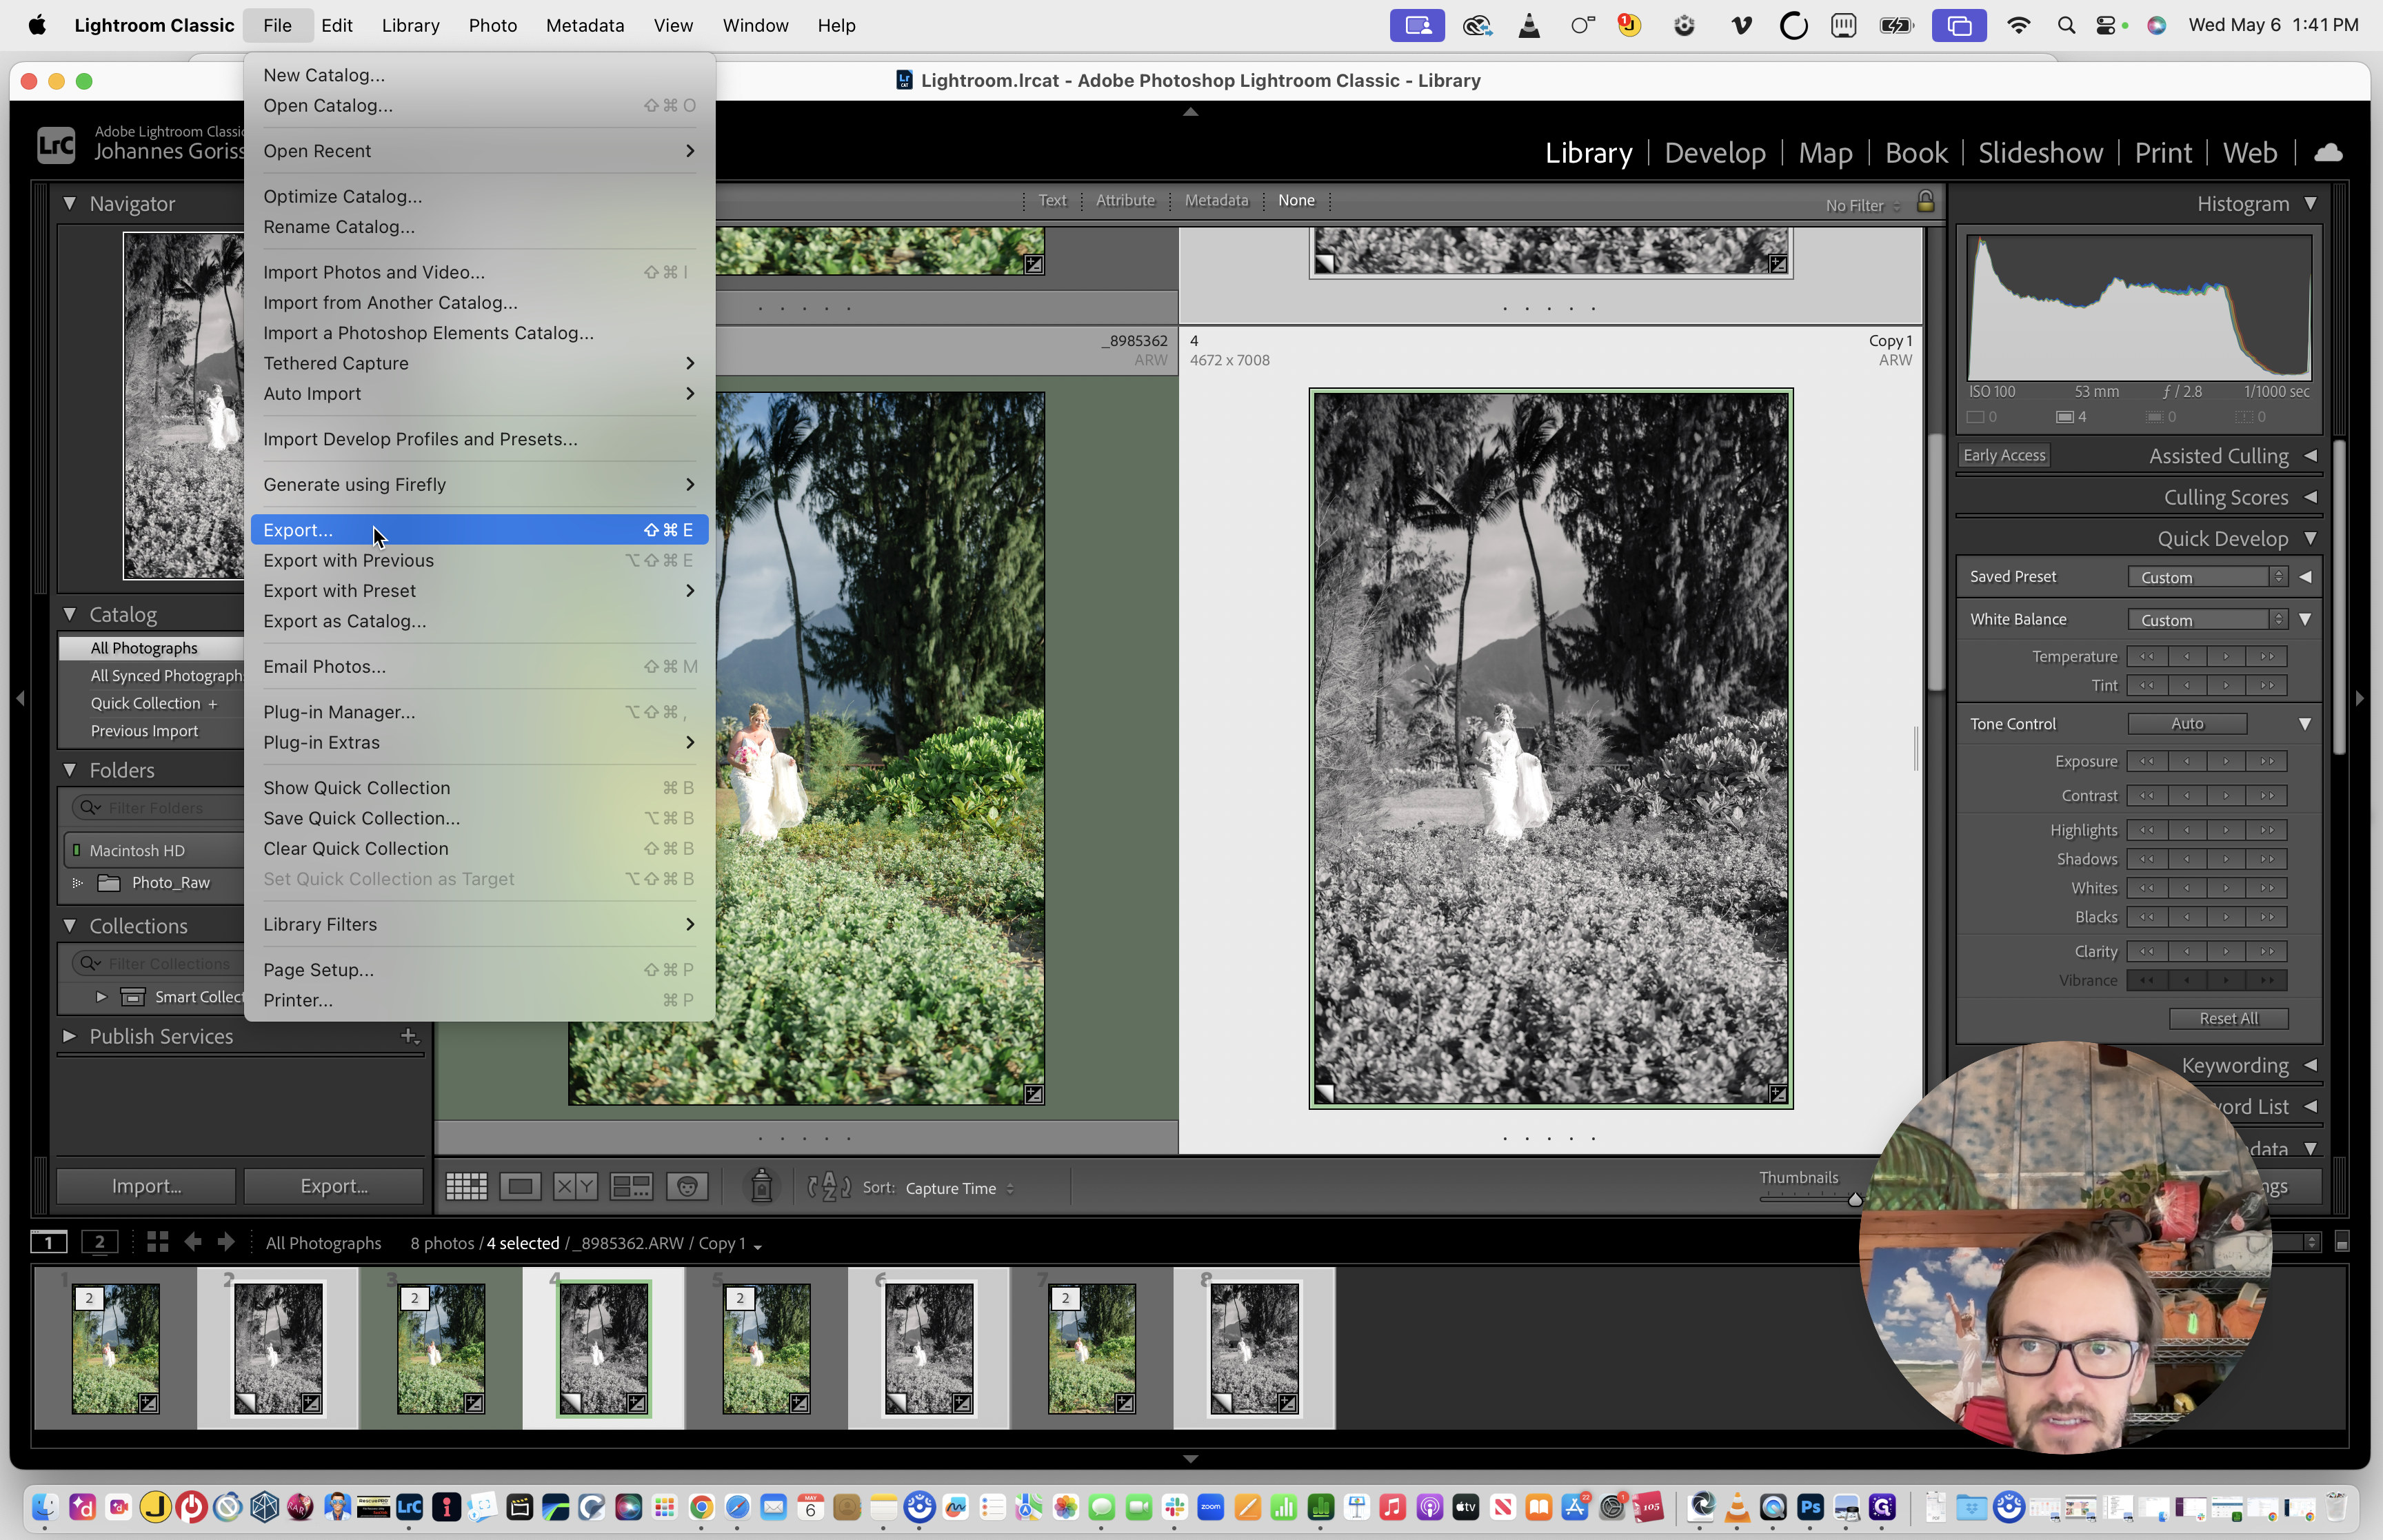
8
Go to the top menu and select File > Export.
9
In the Export window, select your preferred export preset (e.g., KIW - Export) from the User Presets list in the left-hand column.
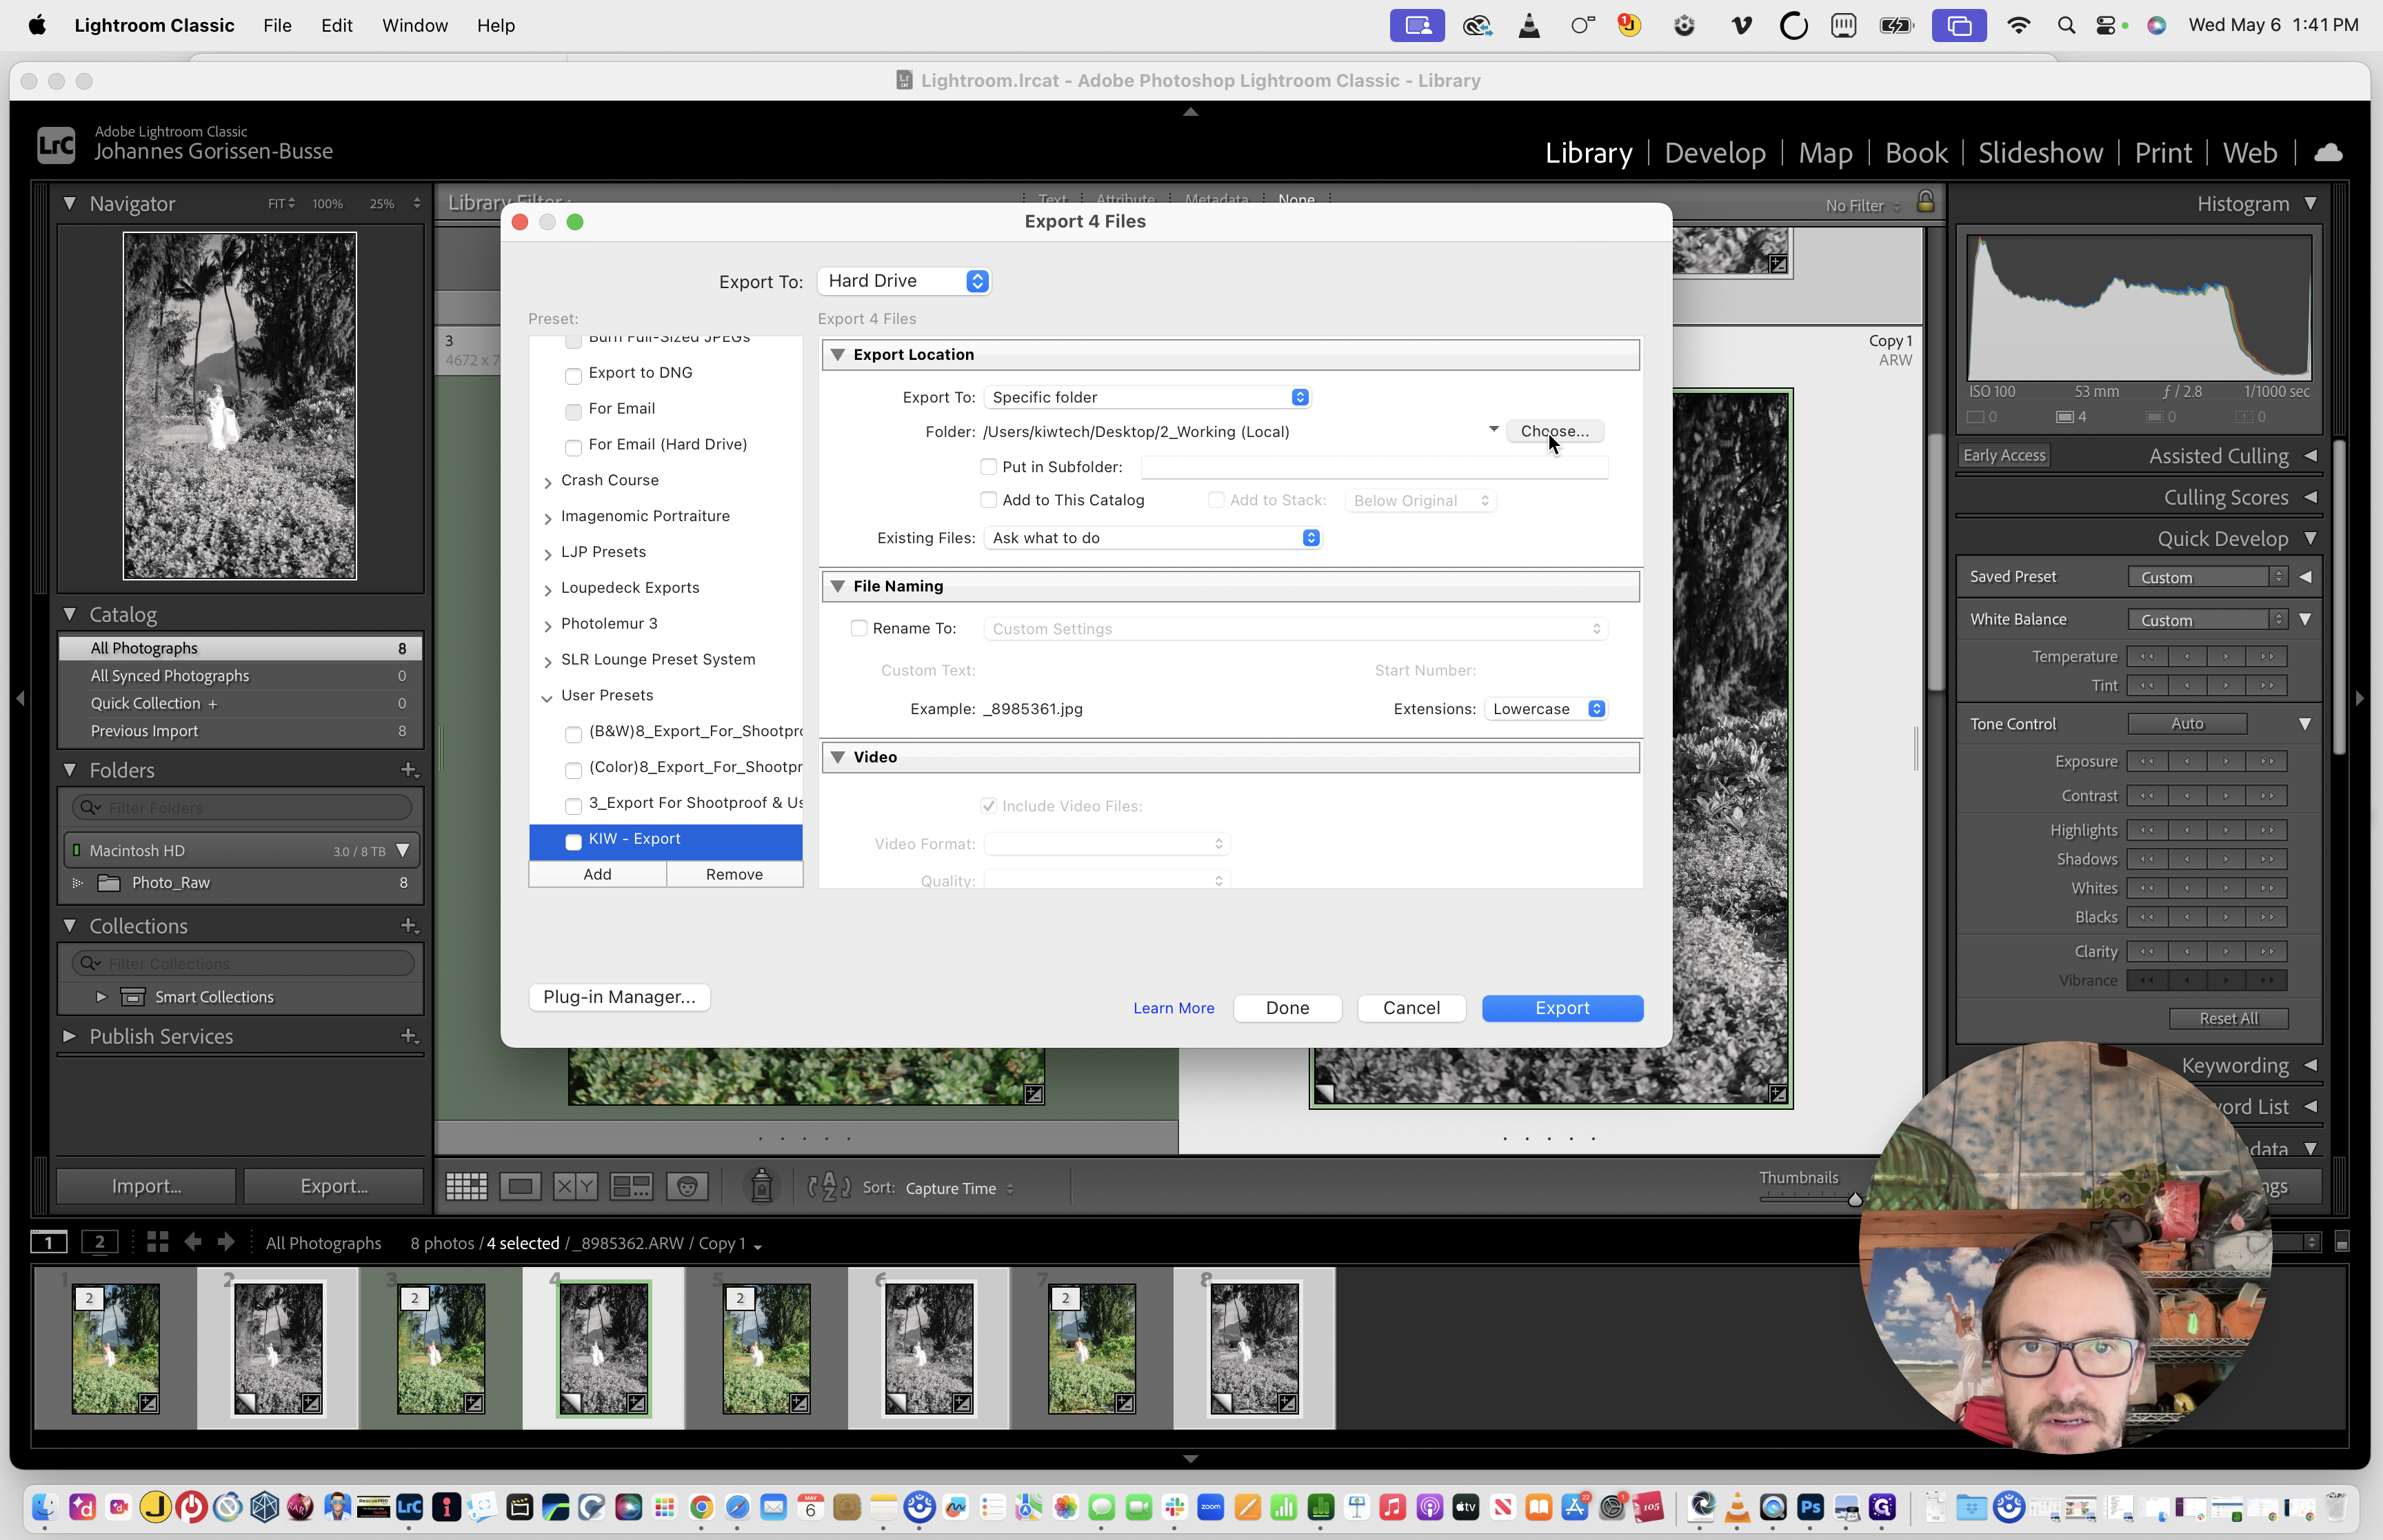
10
Under the Export Location section, click Choose....
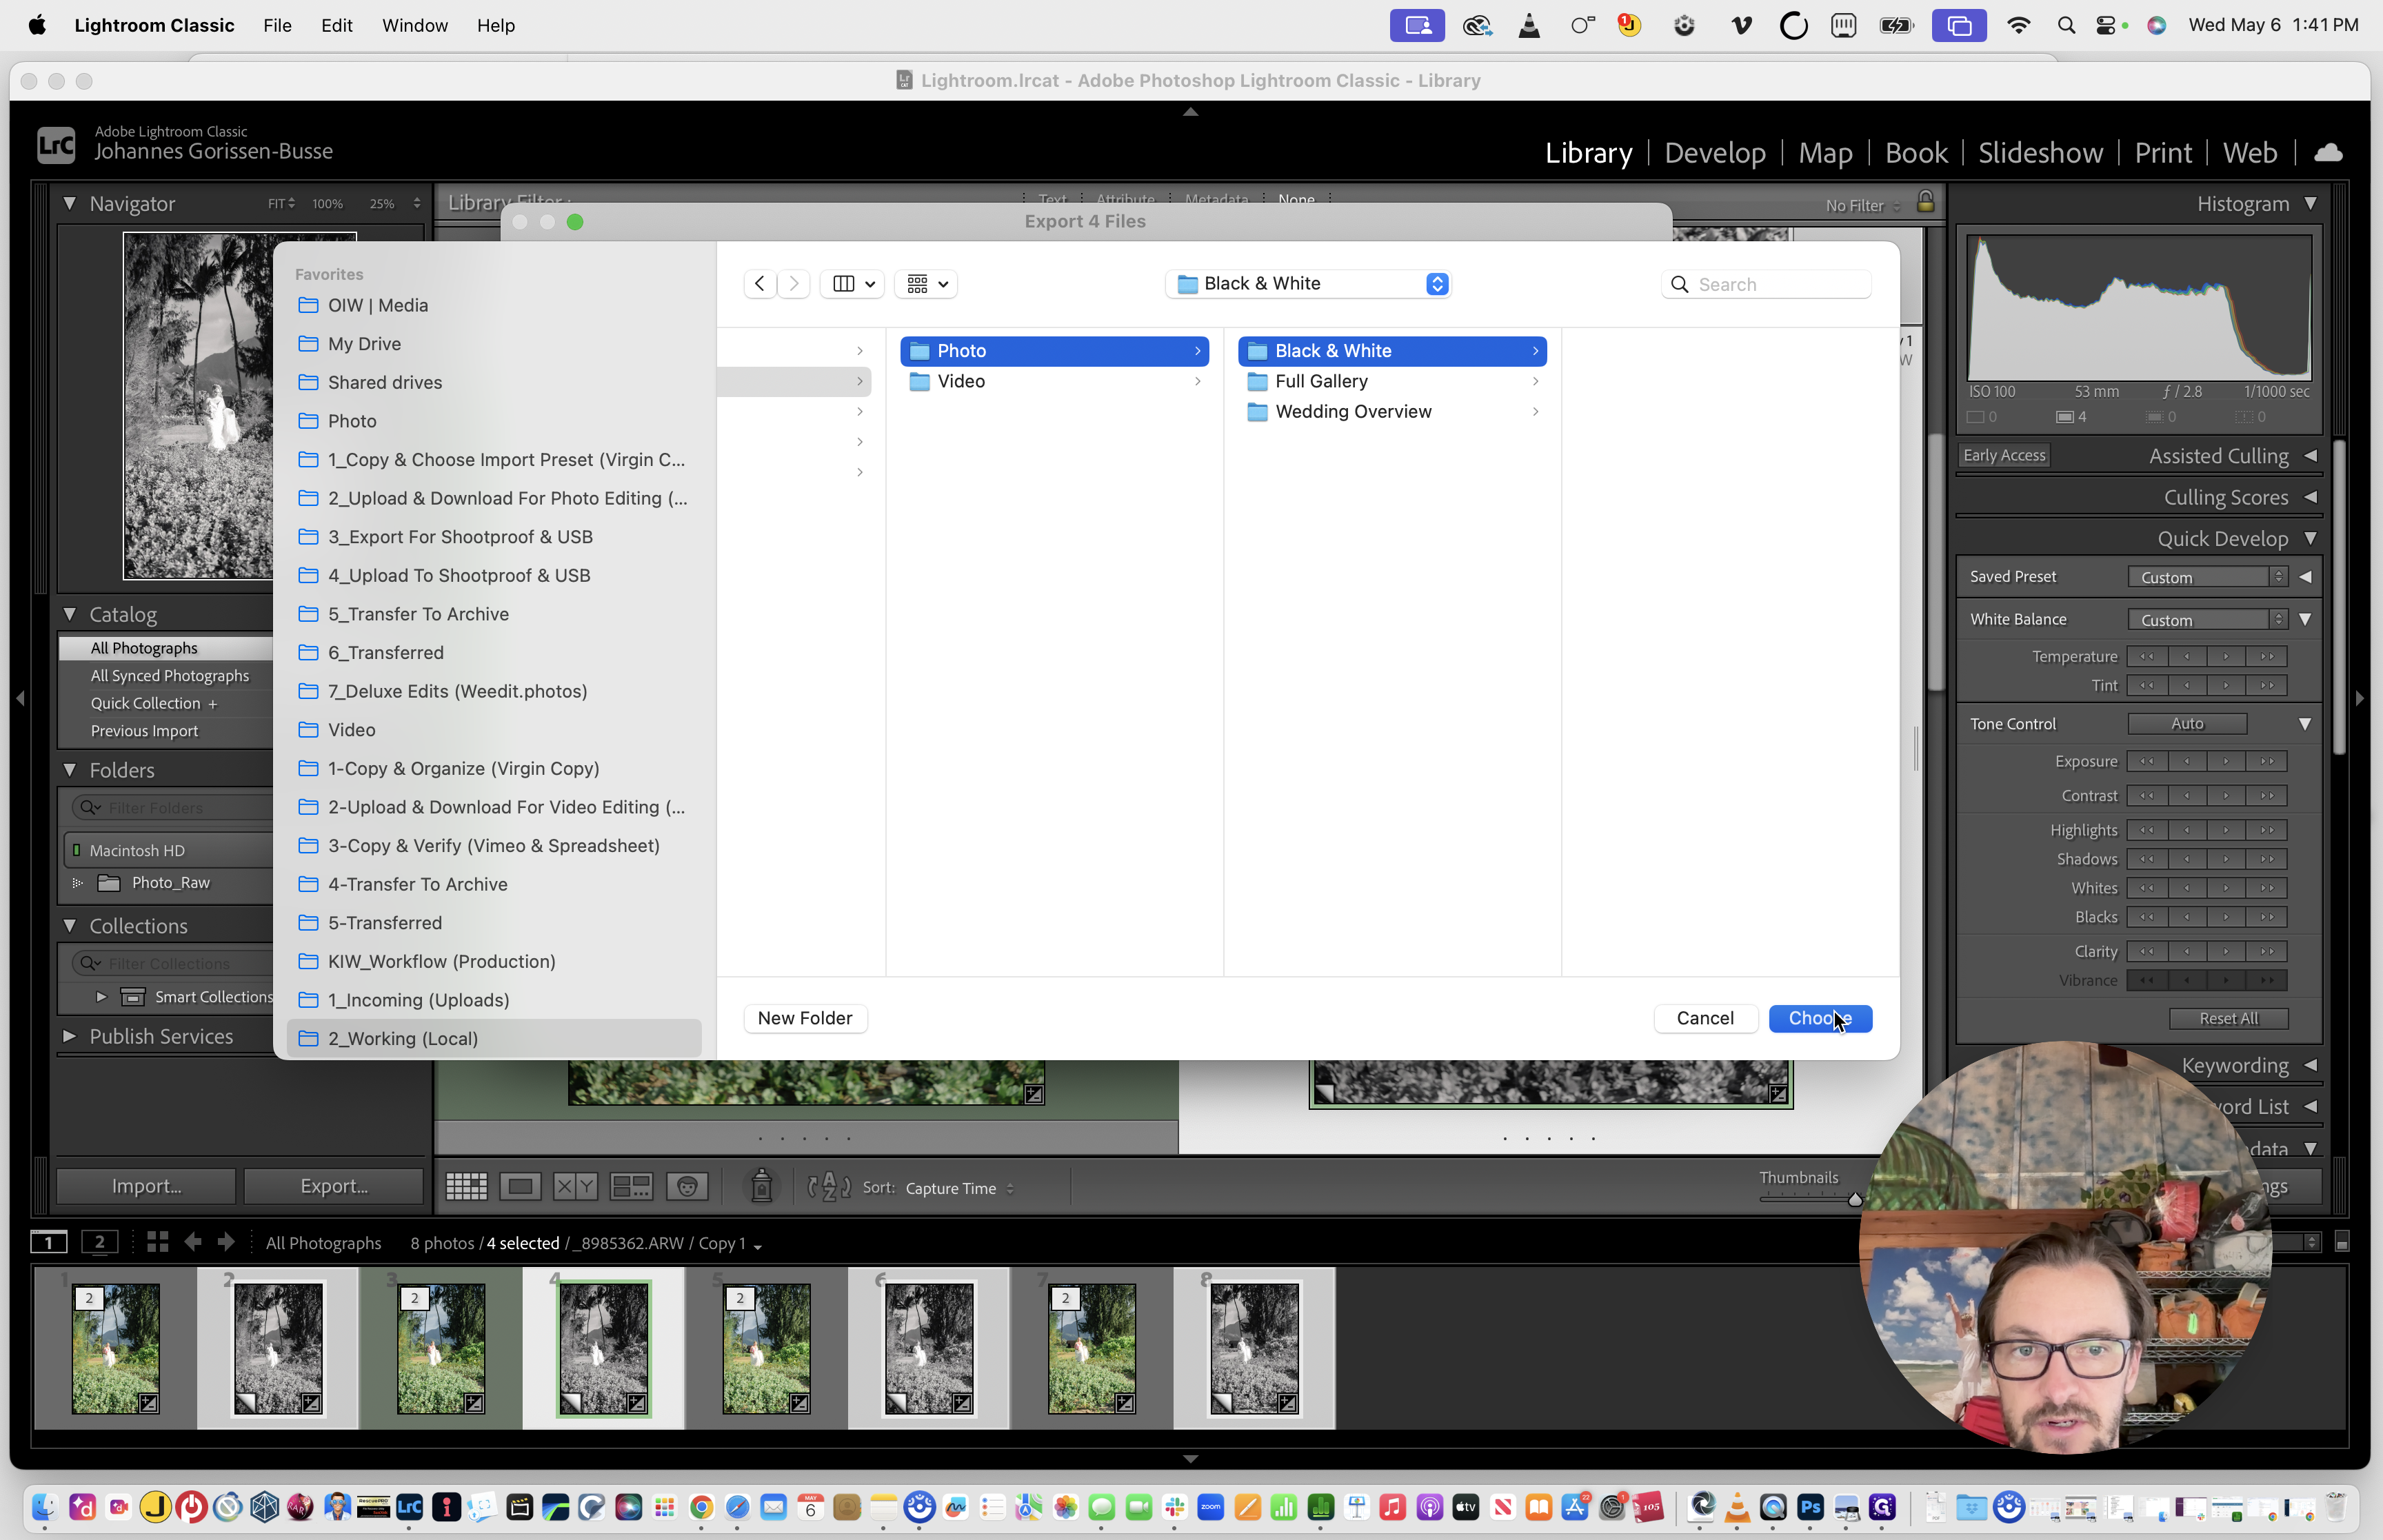
11
Navigate to your project's directory, select the appropriate destination folder (such as Exports > Photo > Black & White), and click Choose.
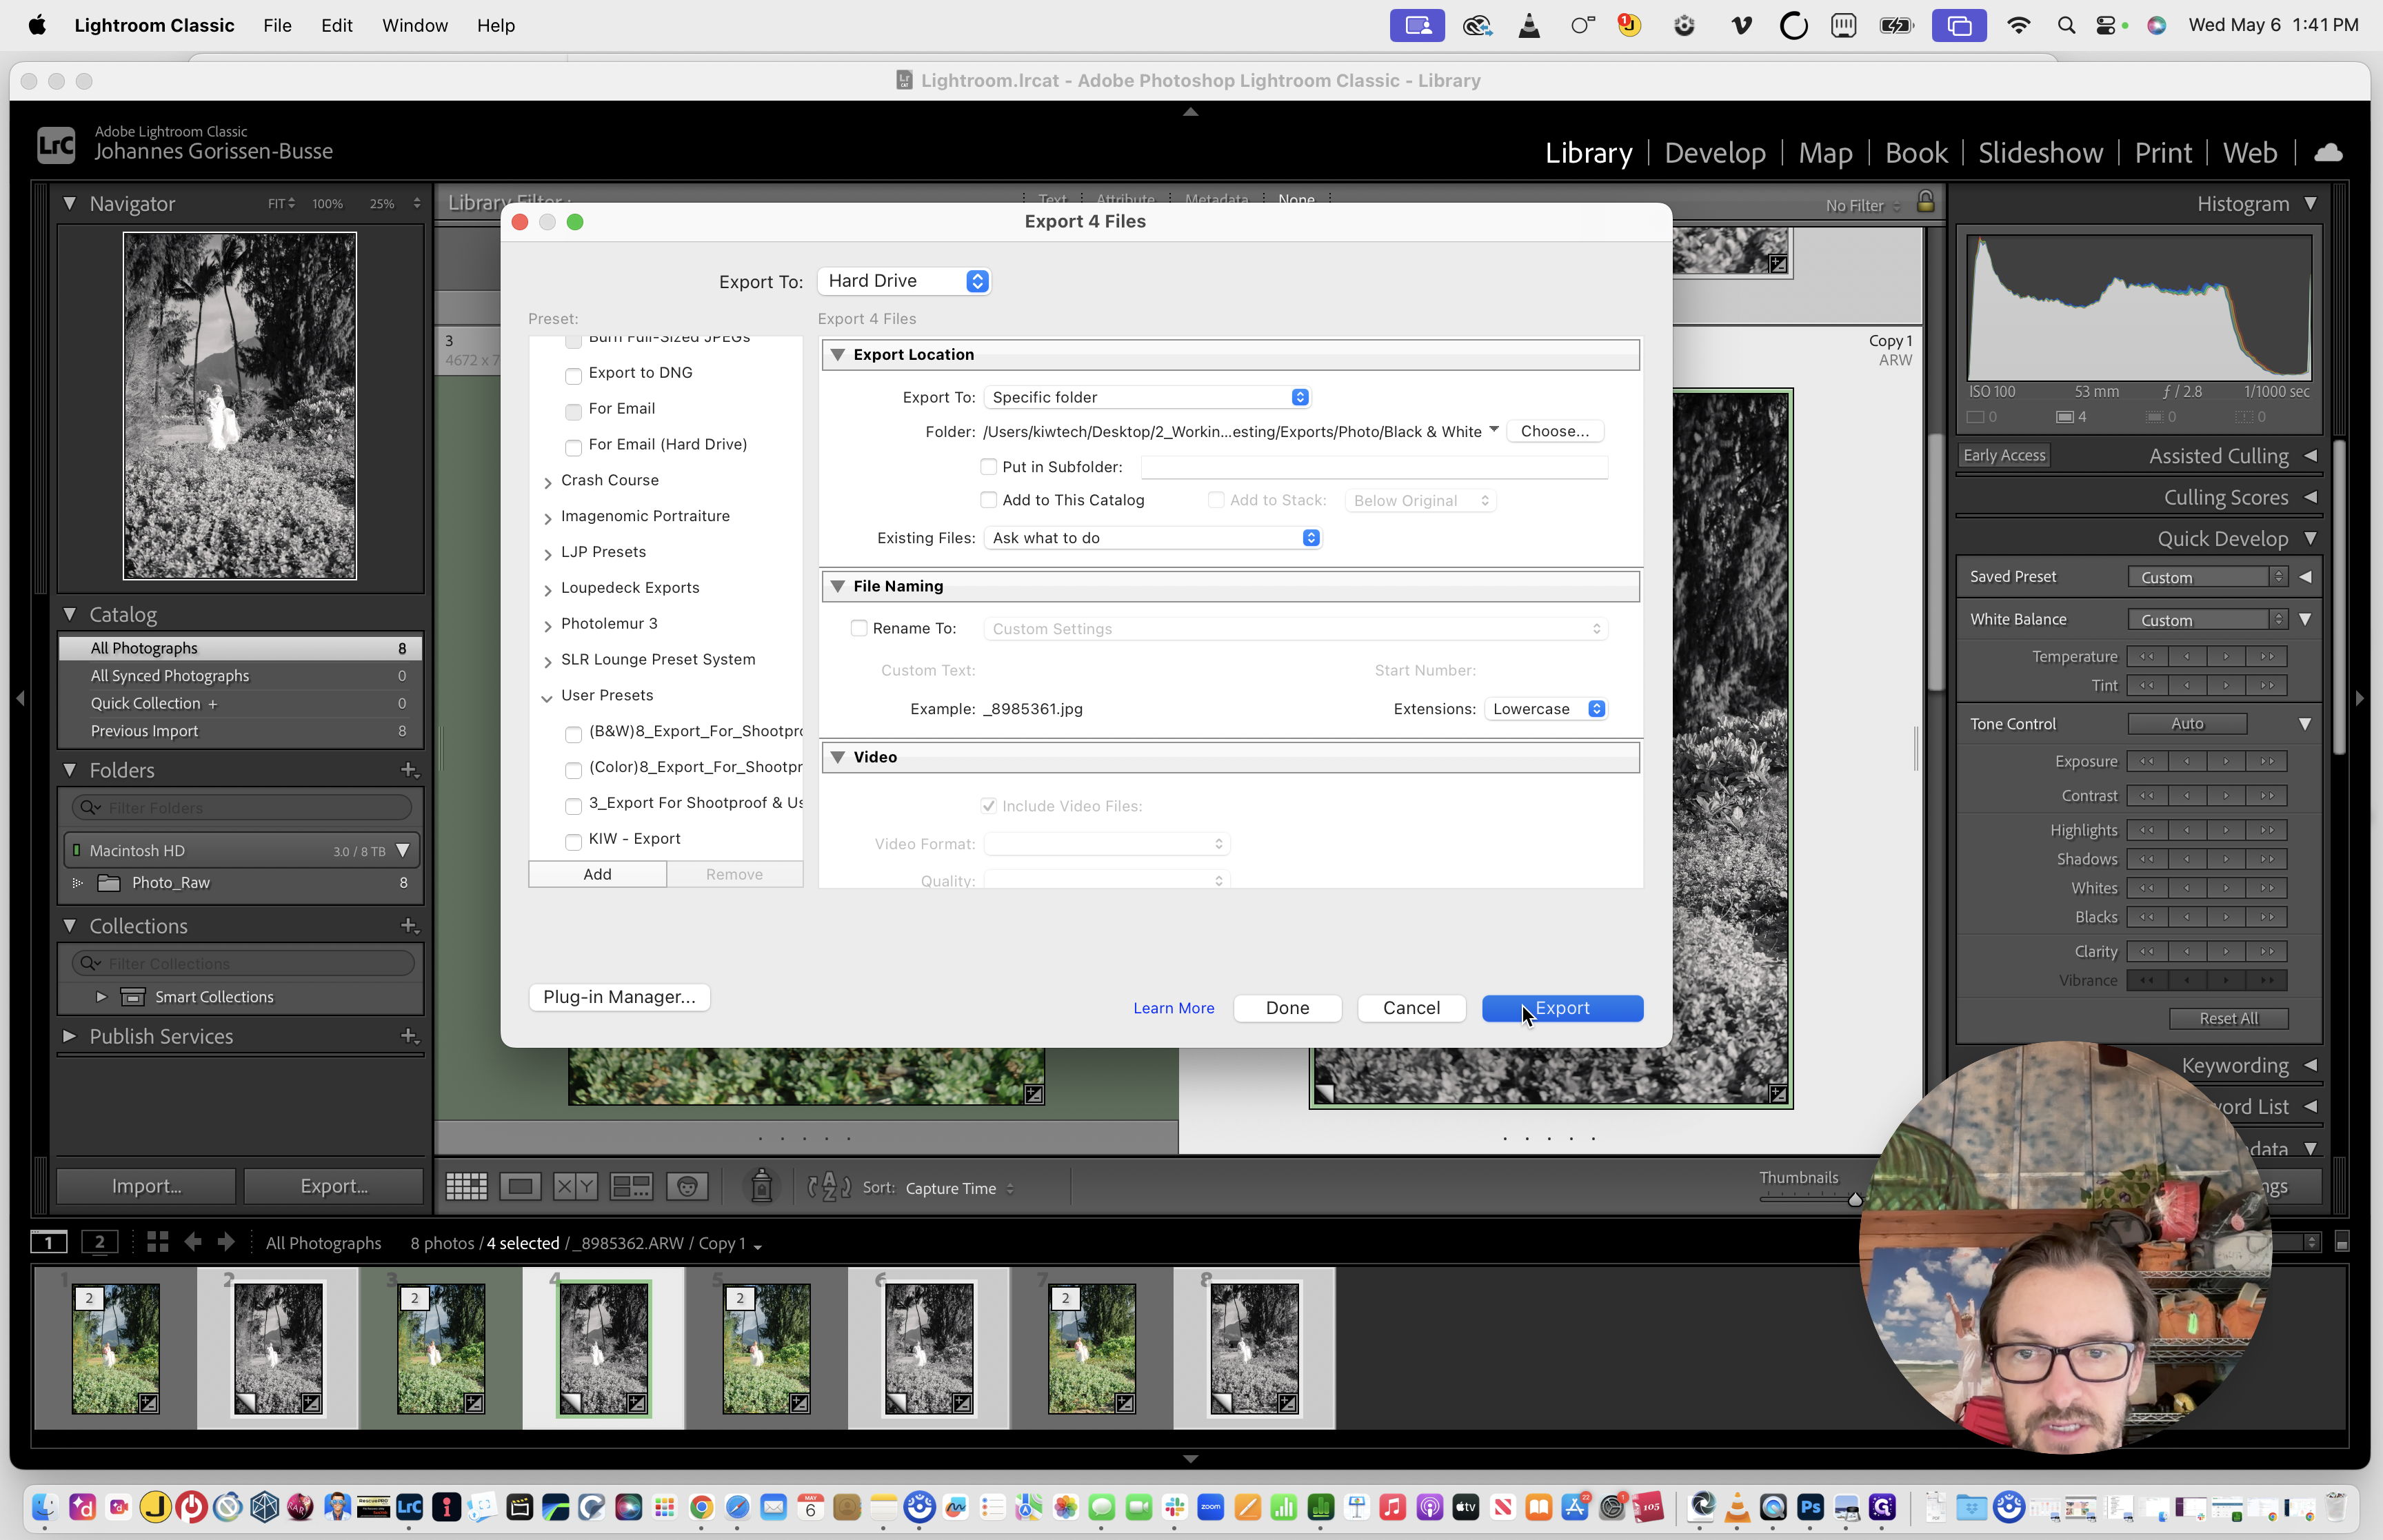
12
Click the Export button in the bottom right corner to begin exporting your photos.
Once the export is complete, you can continue with your normal procedure for uploading the files to ShootProof or your preferred gallery platform.