
Exporting SurveyMonkey Data by Date (+ TMOM Canva Graphics)
Learn how to filter, export, and review Team Member of the Month survey data in SurveyMonkey and prepare winner graphics in Canva.
This guide demonstrates how to filter and export survey data via date range, usually for Team Member of the Month (TMOM) or for recruitments quarterly review surveys. This process is intended for HR representatives, employee relations staff, or managers tasked with analyzing monthly surveys and preparing internal communications.
I've also included how to create the TMOM graphics in Canva, usually done once winners are confirmed by GMs and ADOs after receiving the survey data. This process is intended for employee engagement/comms or relations staff to prepare internal communications for TMOM.
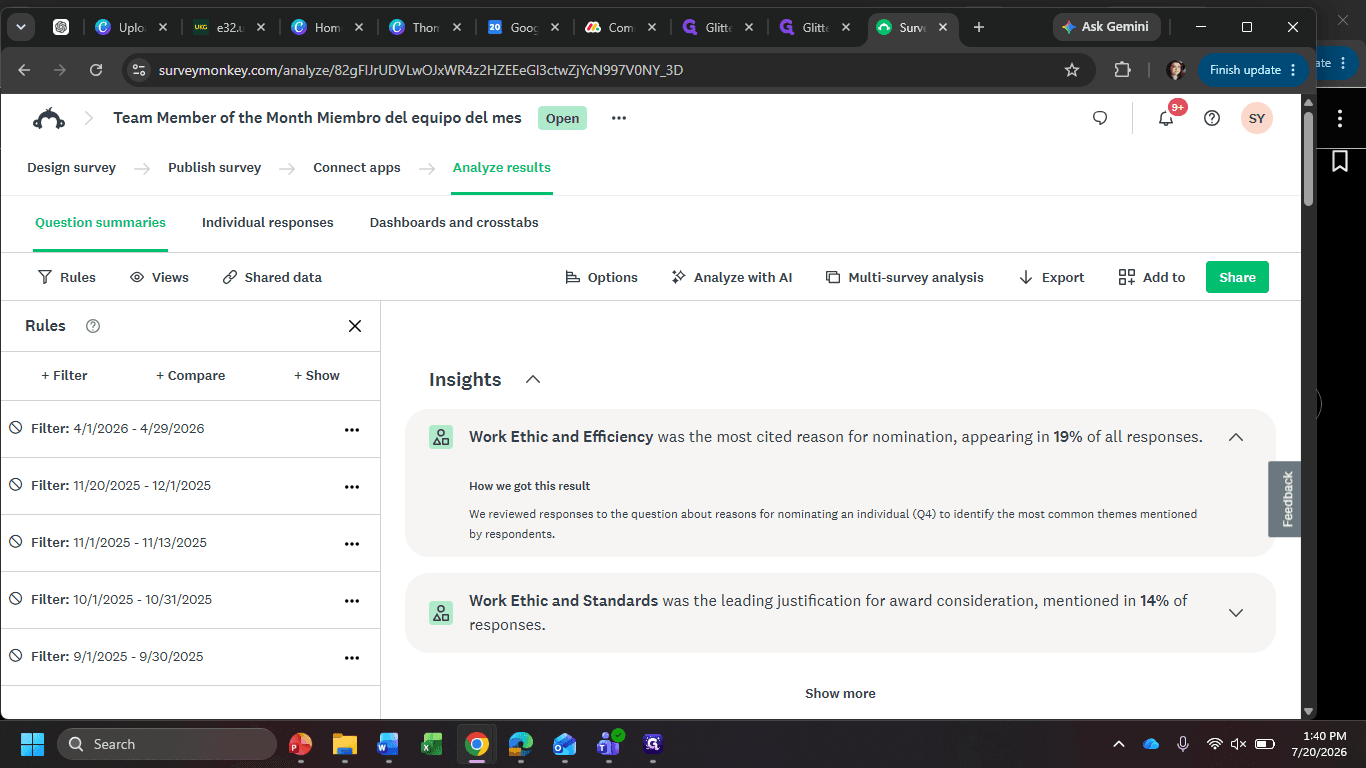
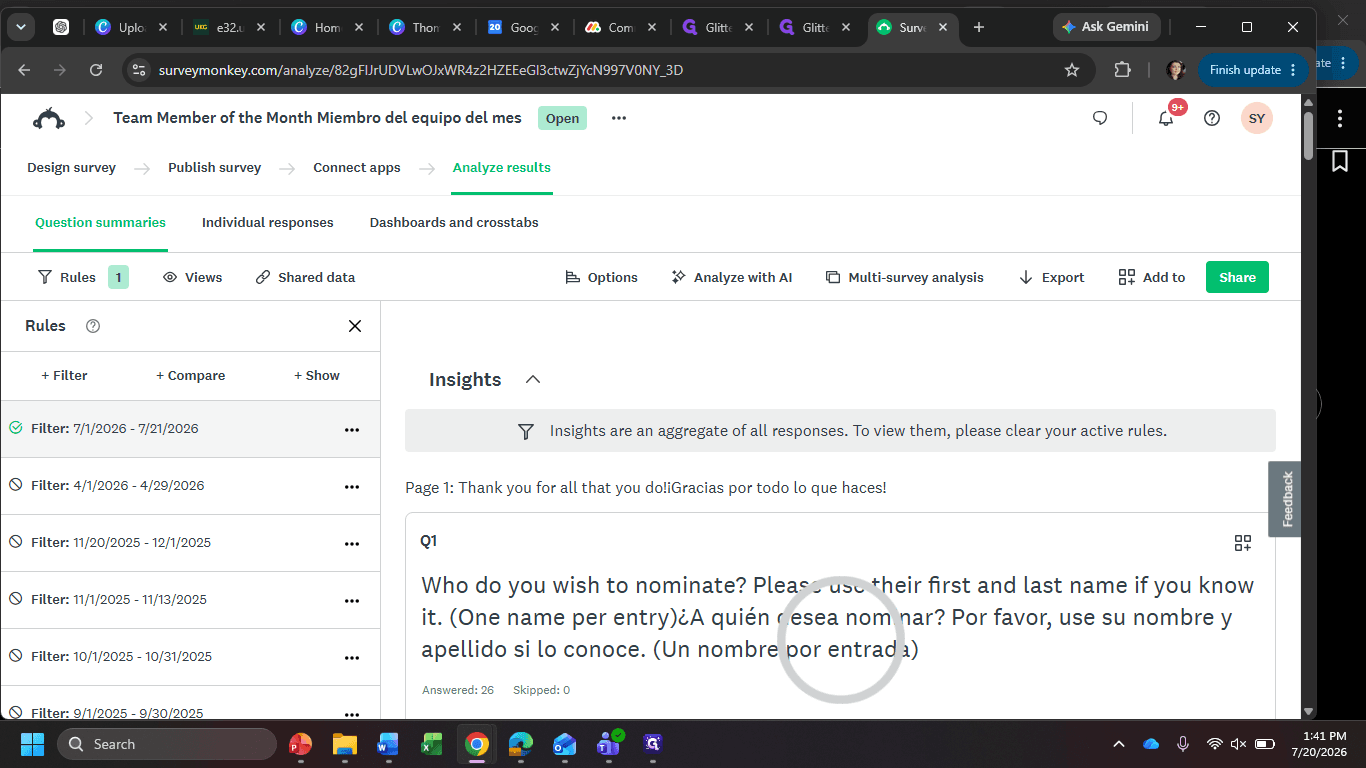
Clear Previous Filters
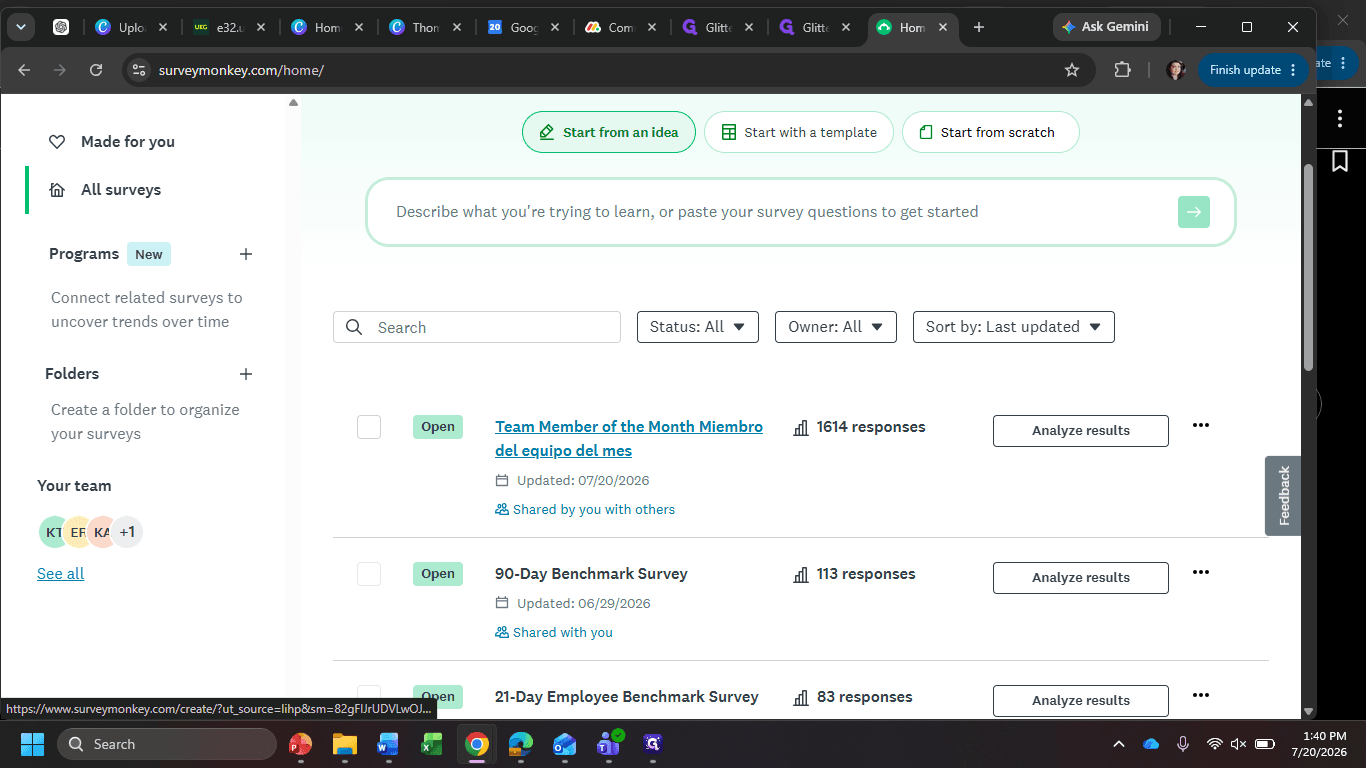
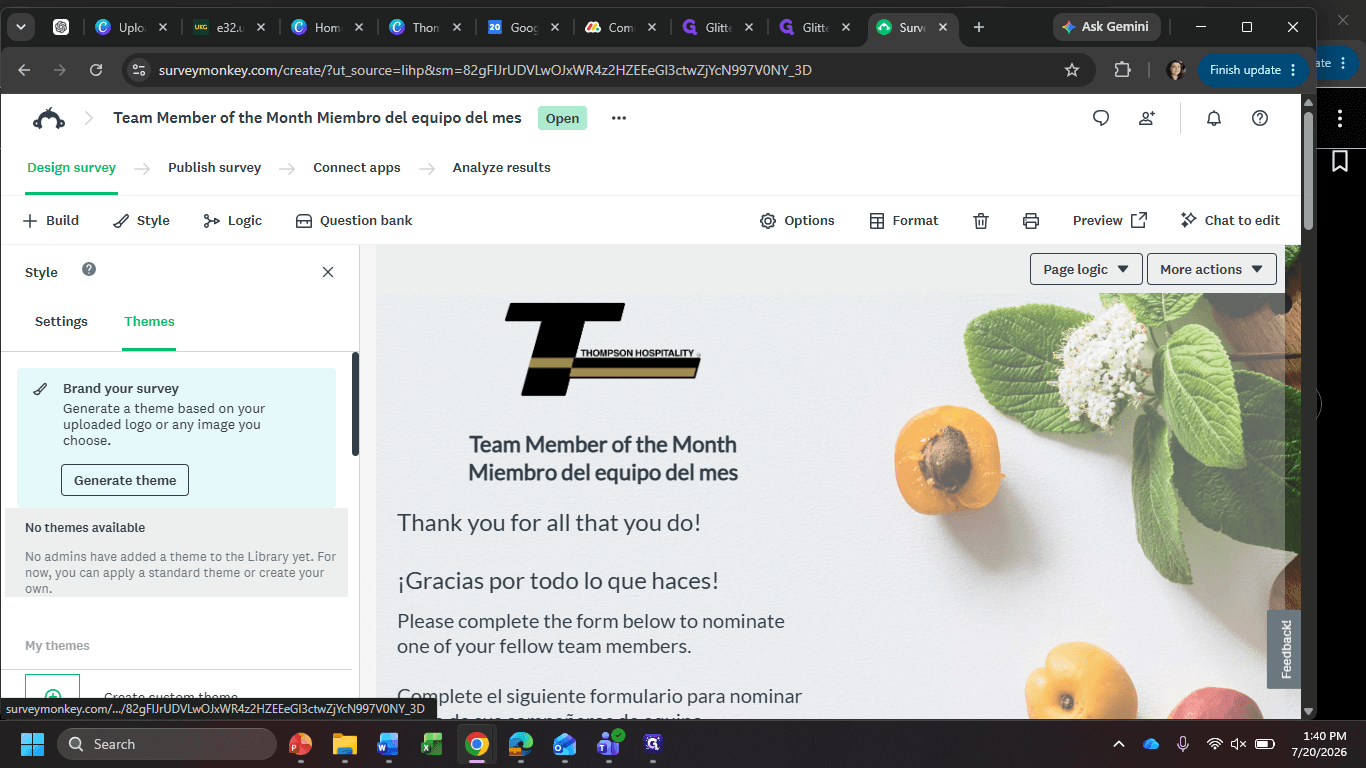
Begin by accessing the correct survey and removing any filters carried over from the previous reporting period.
***) next to the current active rule.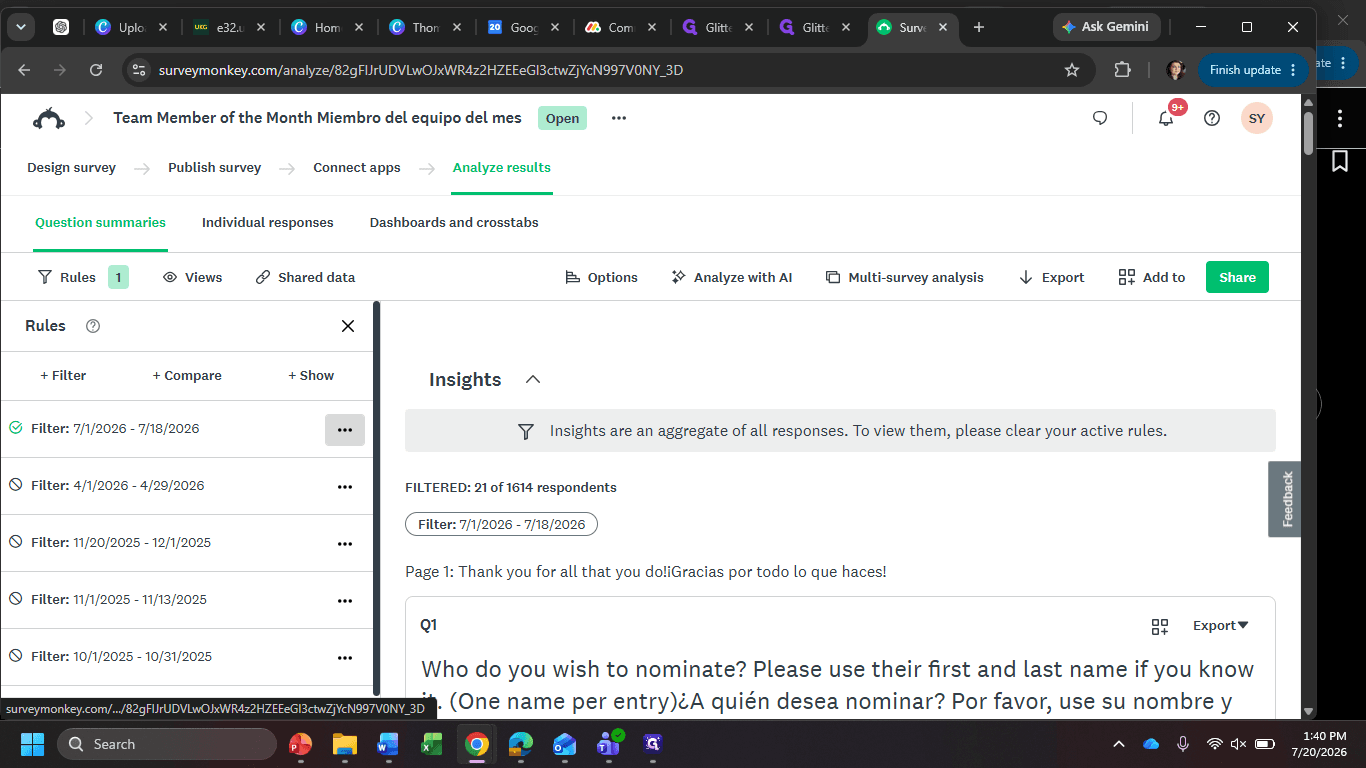
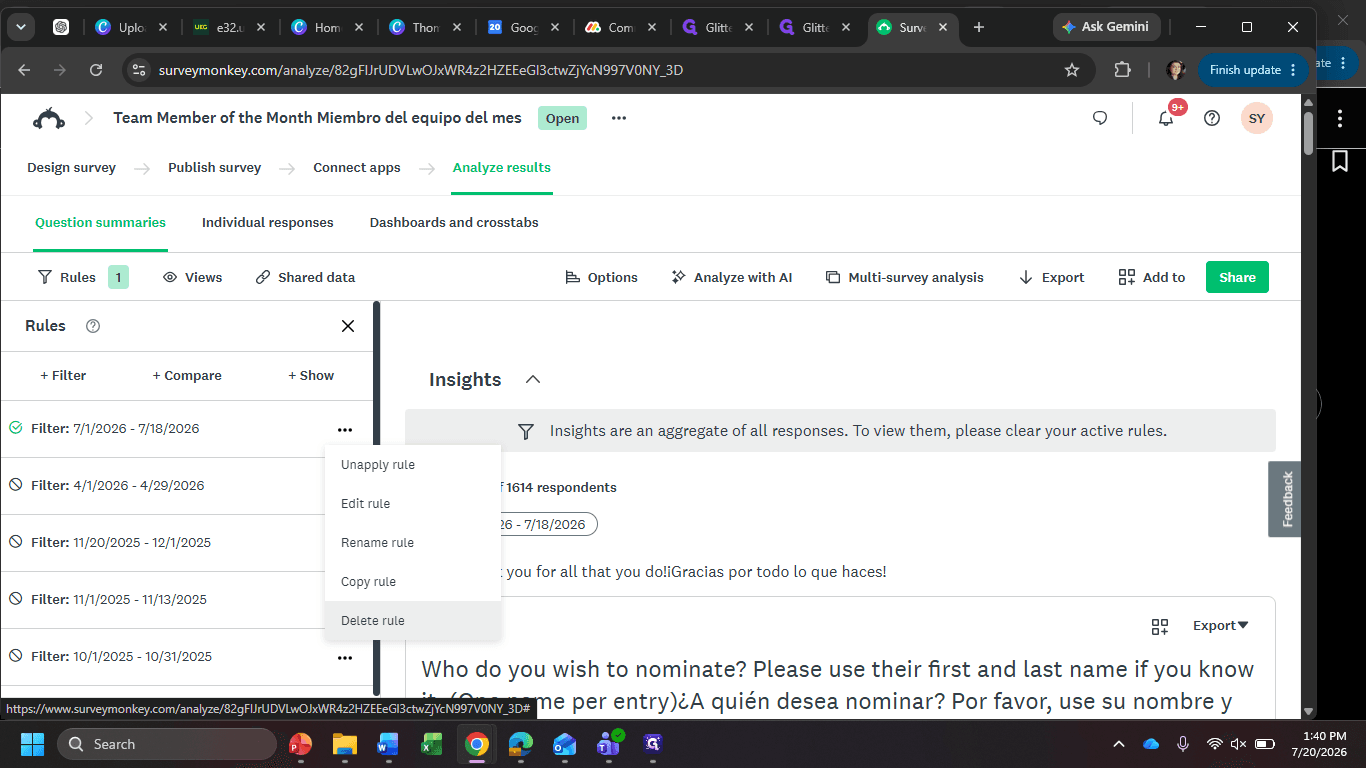
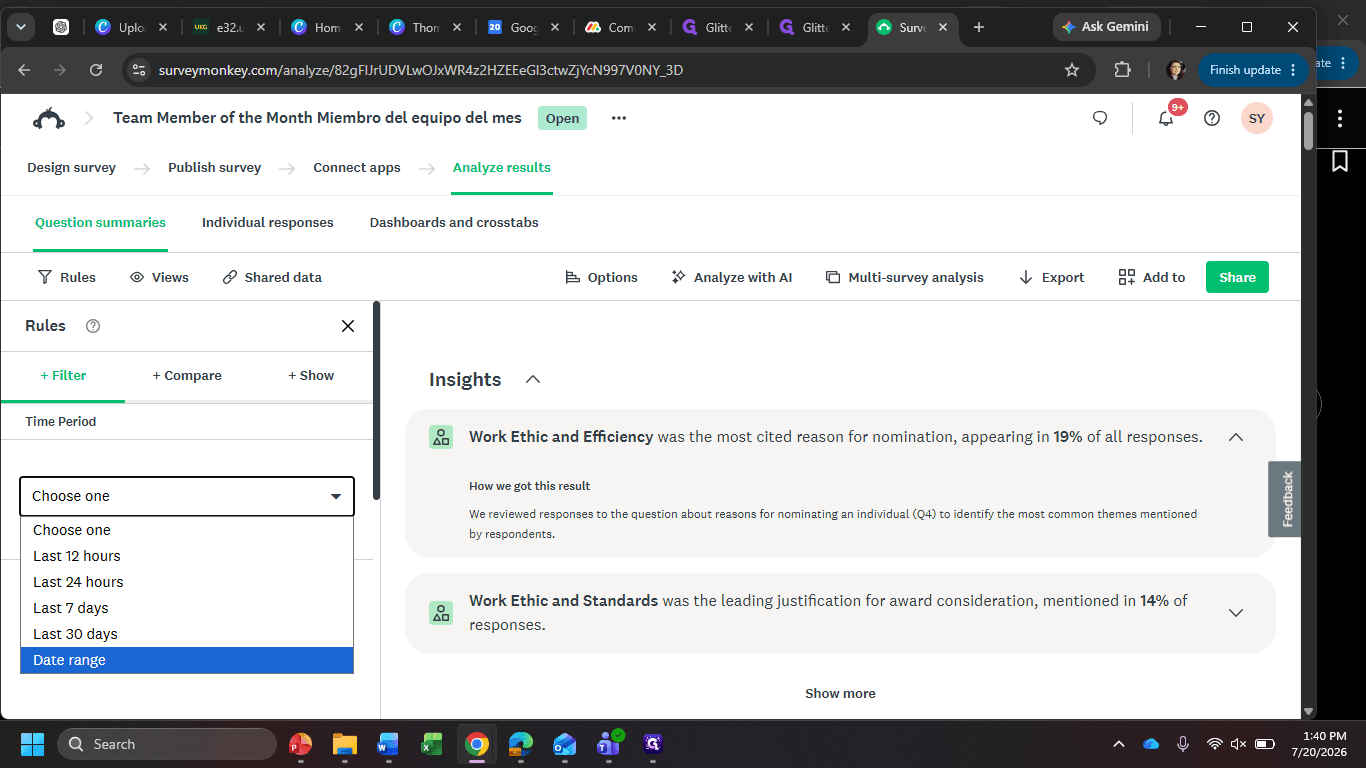
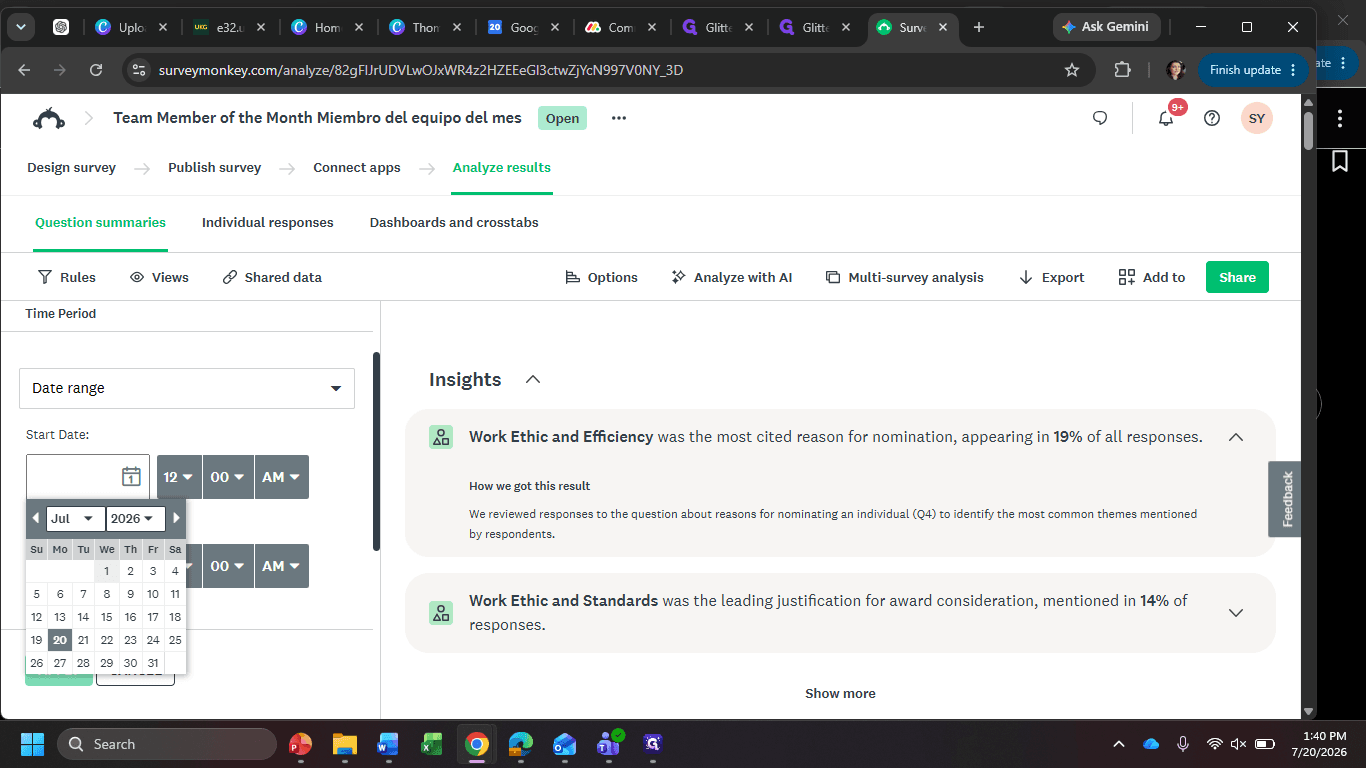
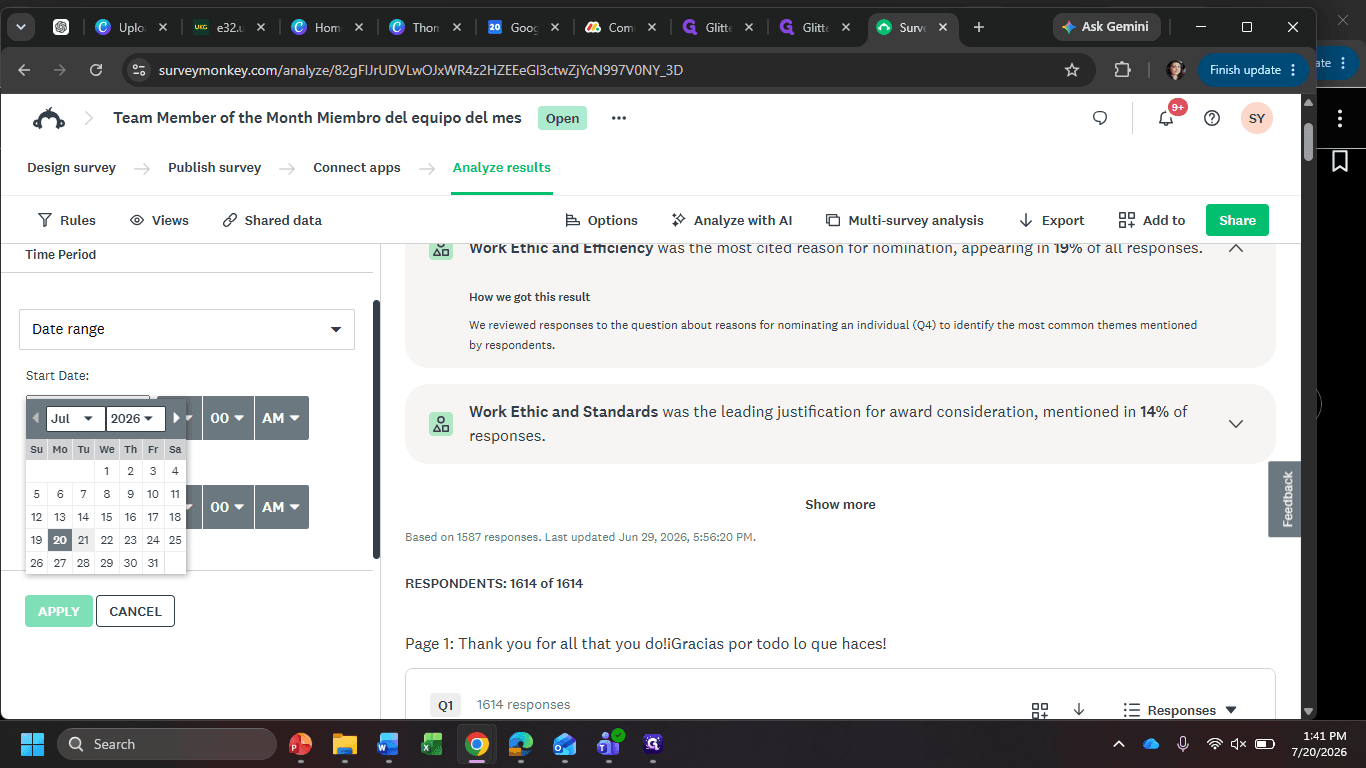
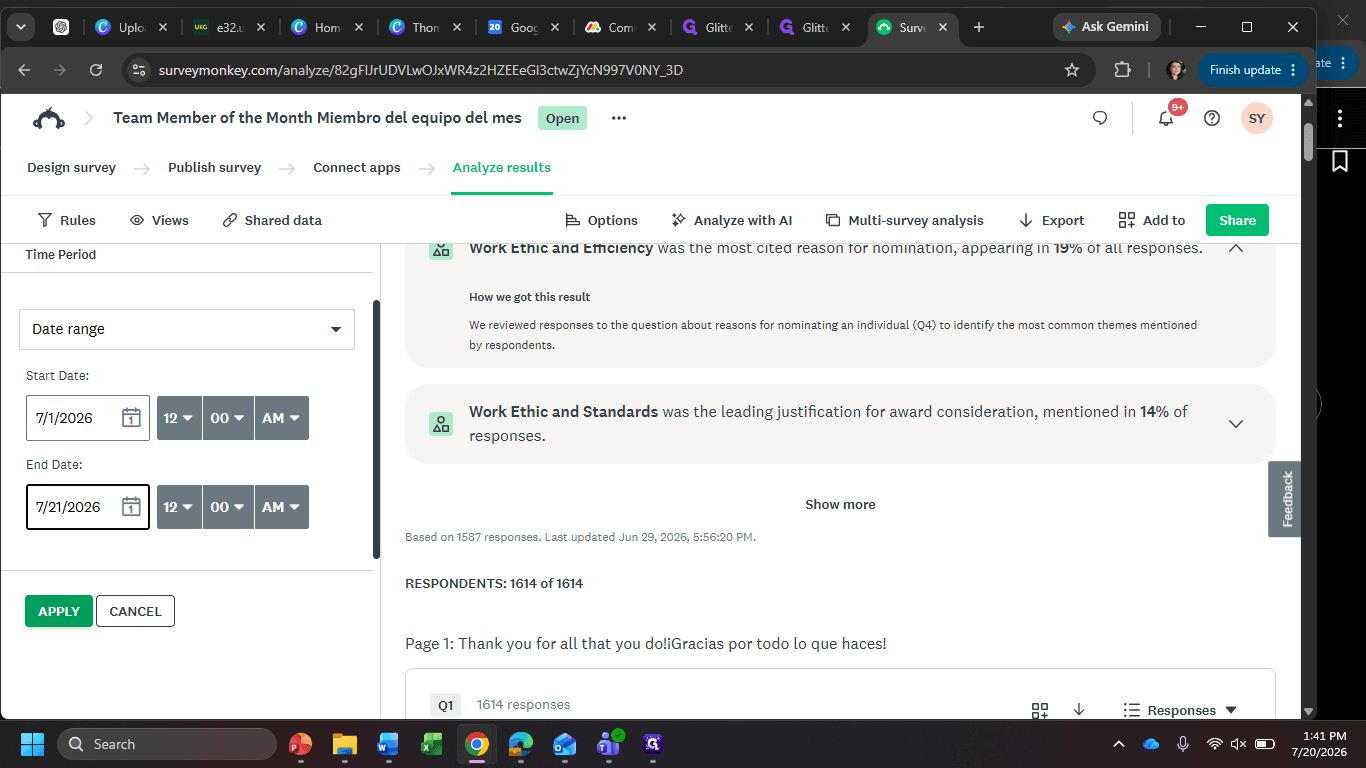
Apply the Current Date Range Filter
Set a new filter to capture only the votes submitted for the current reporting month.
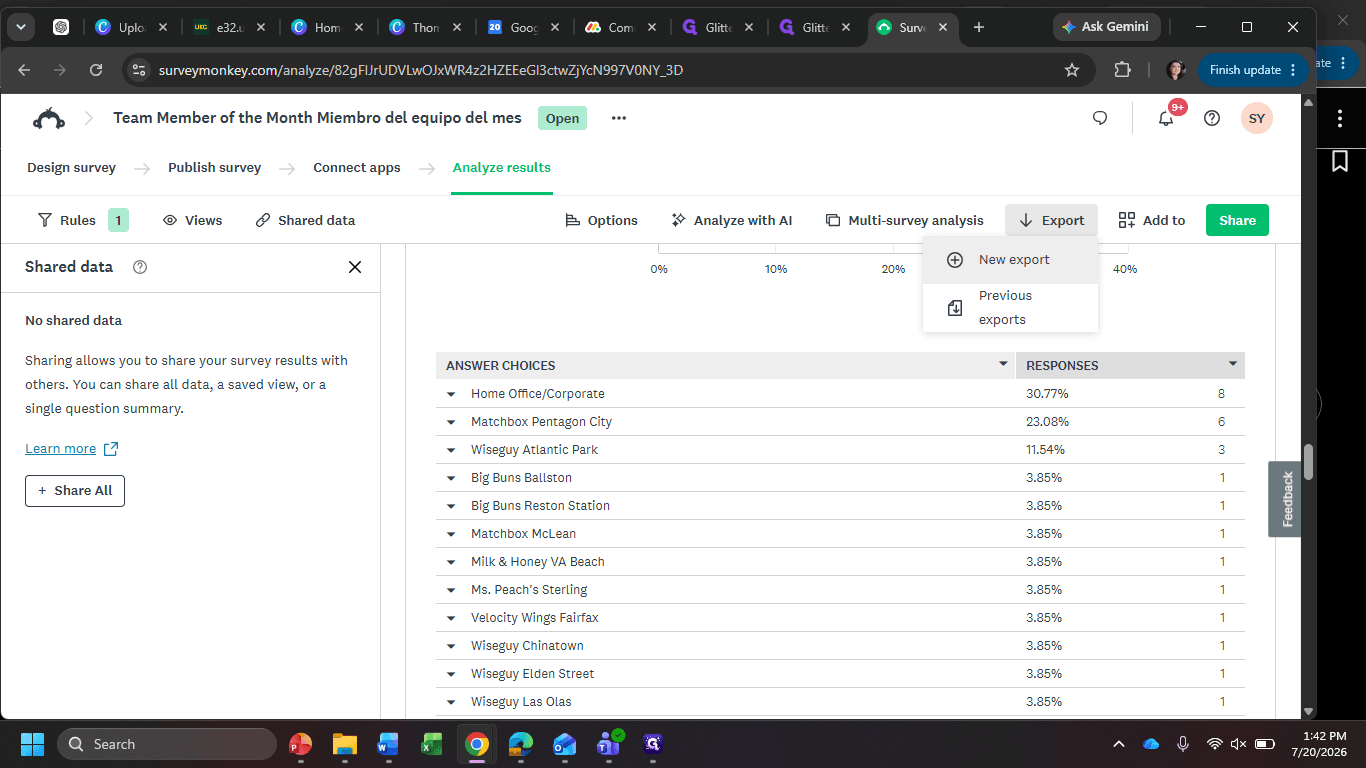
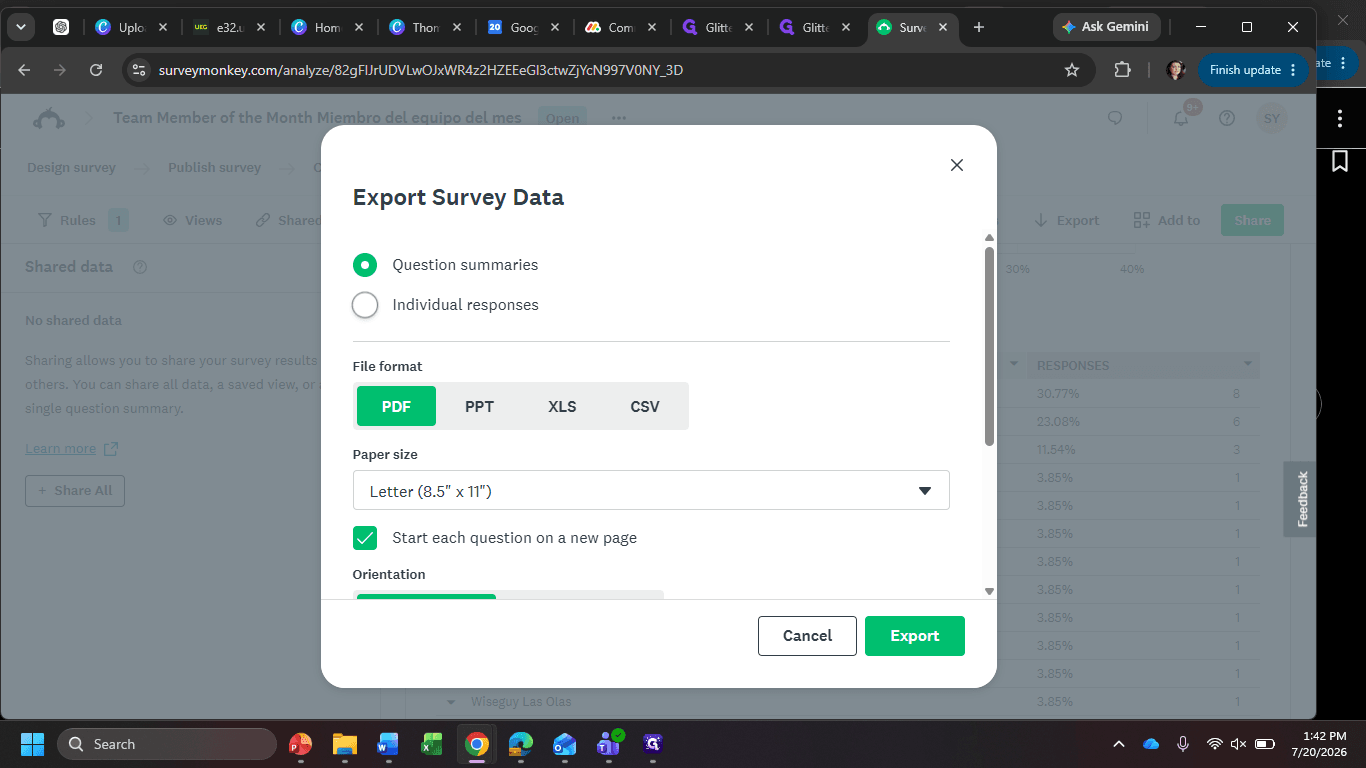
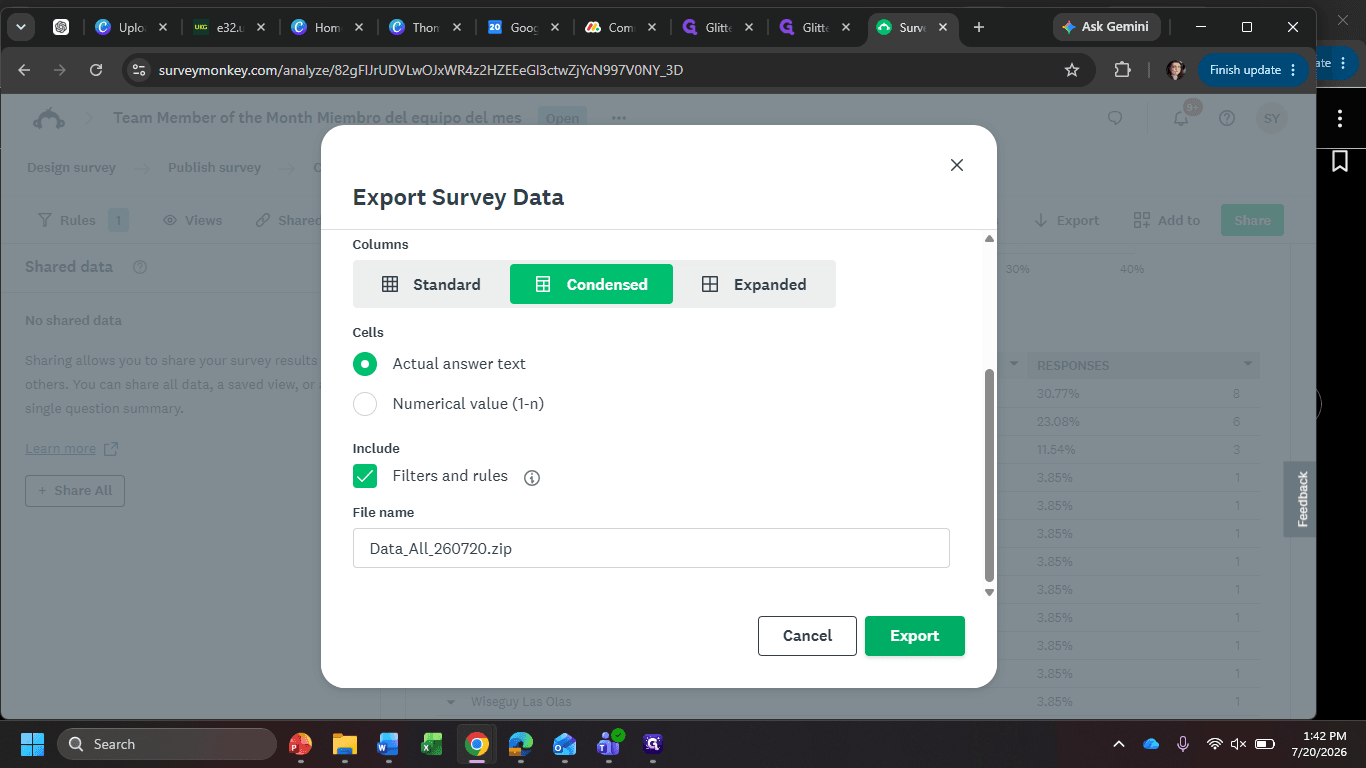
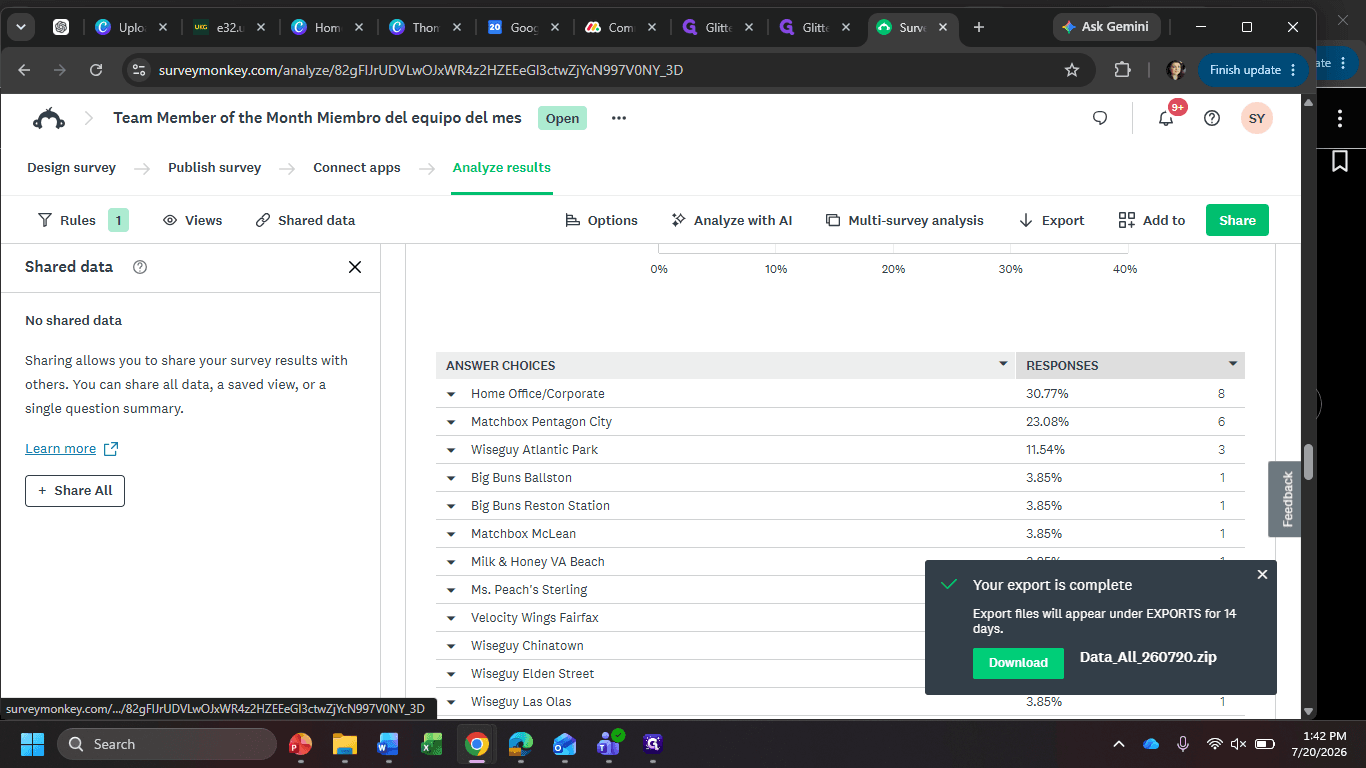
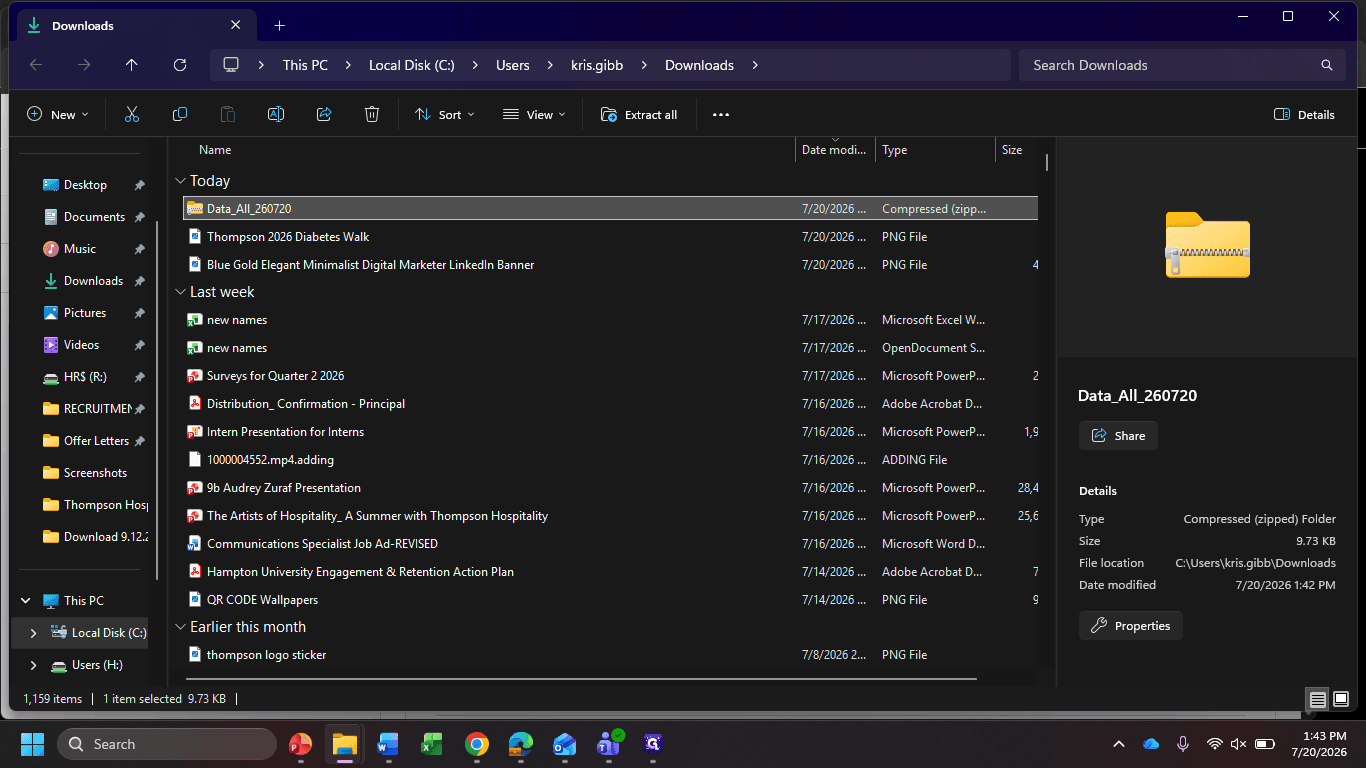
Review and Export Individual Responses
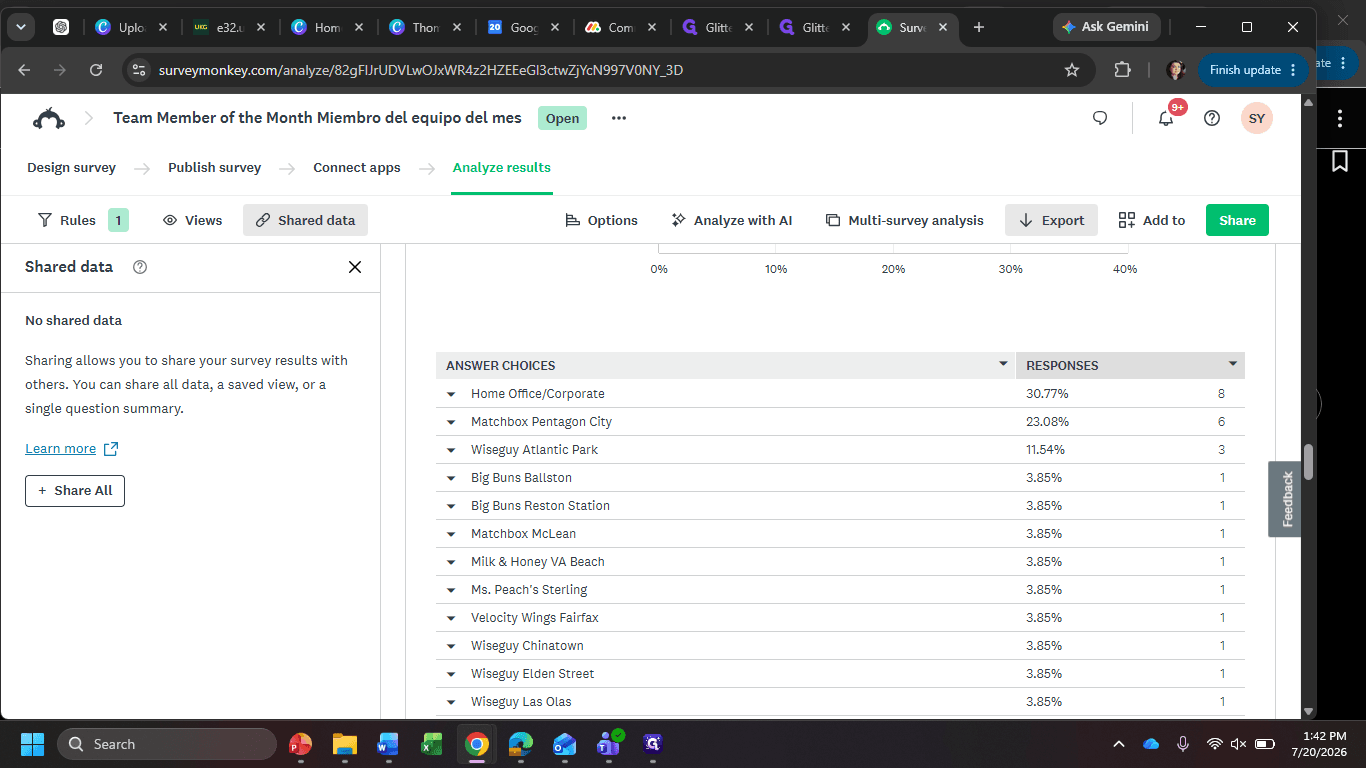
Reviewing the individual responses lets you read nomination comments in full.
Create Recognition Graphics
Once you have verified the winners with the General Managers and ADOs, use Canva to generate their recognition assets.
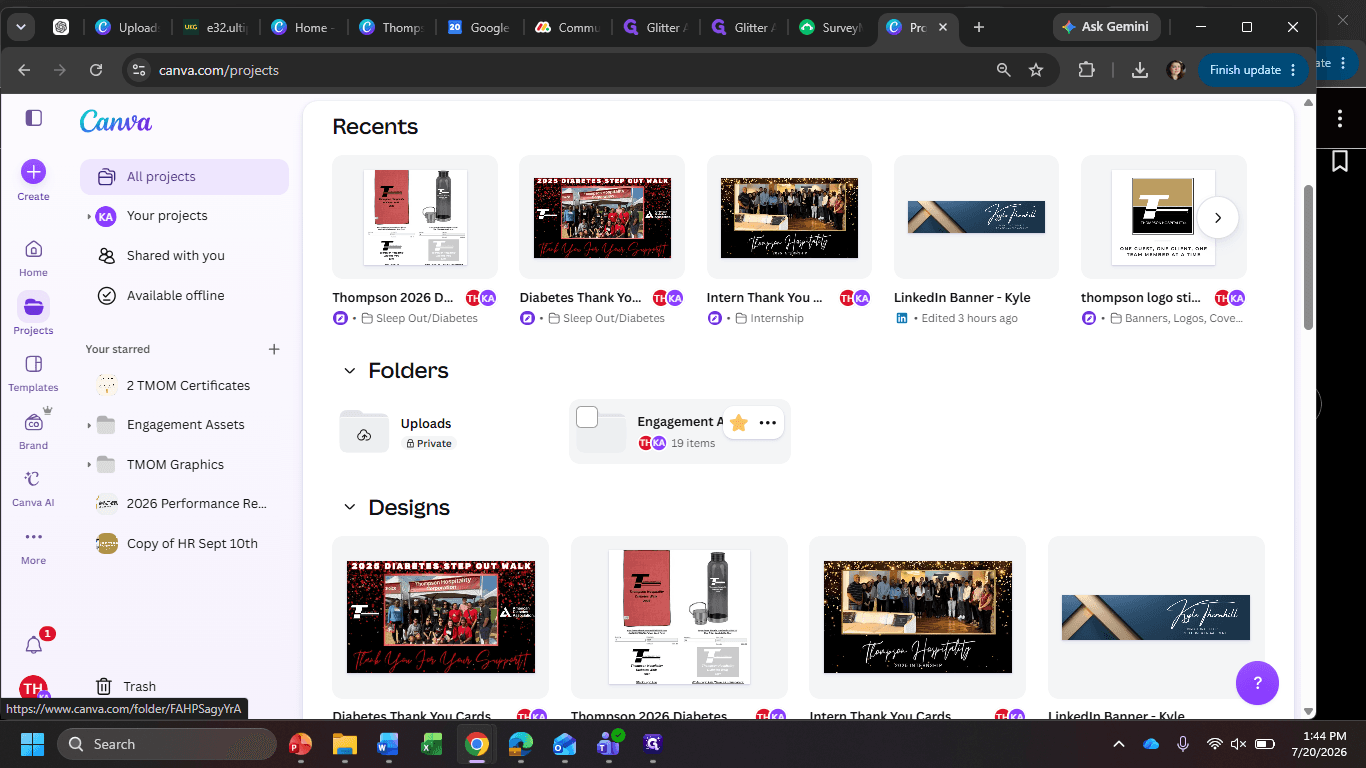
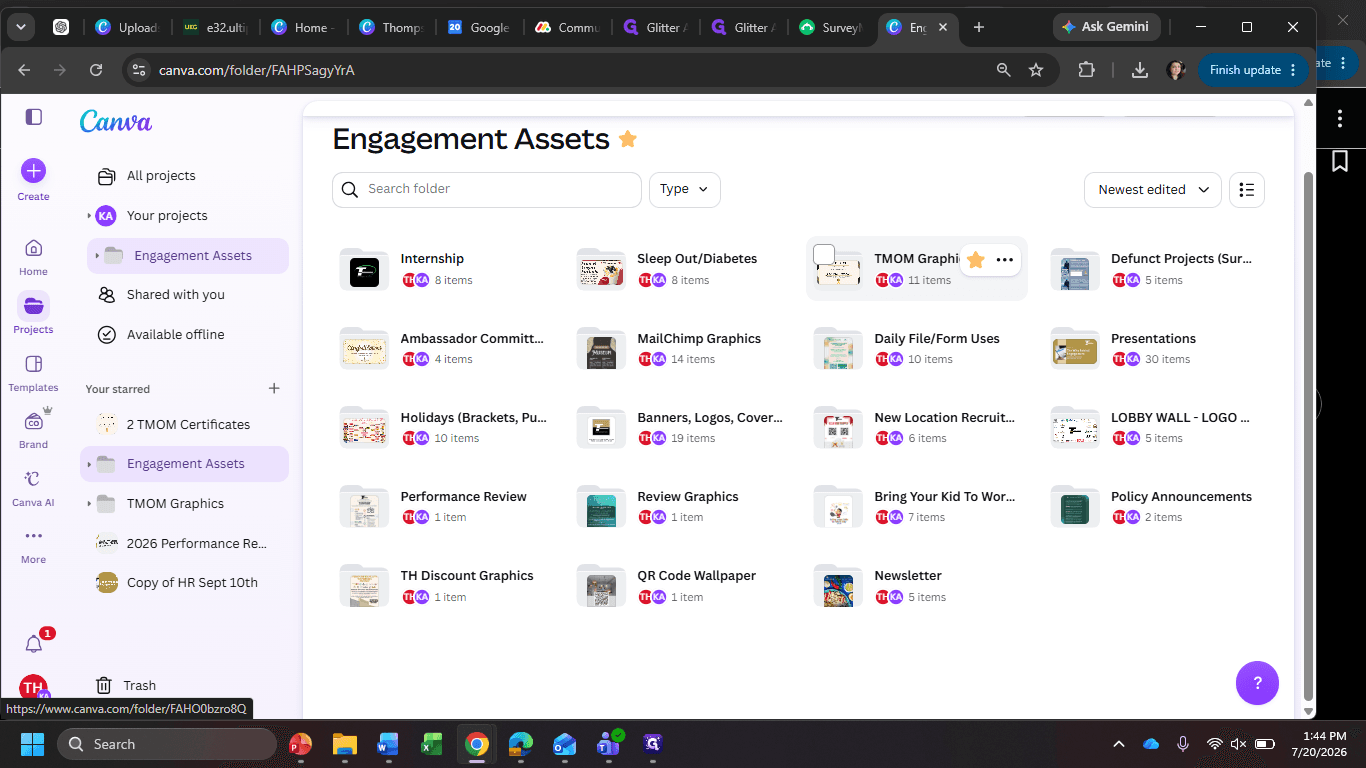
Create the following assets depending on the winner's location:
Graphic Type | Creation Instructions |
|---|---|
TRFG Winner Email | Update the template for the specific locations by swapping in the winner's name and details. Send this to TRFG (Restaurant) GMs and ADOs via Outlook, along with the Certificate PDF. |
TRFG Winner Certificates | Export a single PDF containing all winner names on individual certificate pages, allowing GMs to print just the page they need. |
Home Office Email and Poster Portrait | Take/get a photo of the winner for Home Office and use the designated Home Office poster portrait template and add the photo; then download it as a PDF from Canva and print from your computer files instead of doing so right away from the browser download file - this ensures it prints with the right ratio to be put on the poster (no idea why). Also, the Home Office announcement email template is in the same Canva folder - update with their photo and a short blurb and send to Home Office only via MailChimp. |
Term | Definition |
|---|---|
TMOM | An acronym for "Team Member of the Month." |
GM | General Manager, typically responsible for overseeing a specific location. |
ADO | Area Director of Operations, involved in validating the monthly nominees for locations in their region. |
TRFG | Thompson Restaurant Food Group |