
Part 1: Extract and Upload Trial Balance Data for Adaptive Planning - Part 1
Learn how to extract trial balance data from SAP BI, prepare your load file in Excel, and safely erase old data before importing to Adaptive Planning.
This guide details the process of extracting the trial balance from SAP Business Intelligence (Coates BI), preparing the data in Excel, and clearing the old records in Workday Adaptive Planning so you can successfully upload new actuals.
Connect to SAP Business Intelligence
First, you need to securely connect to the SAP BI environment to retrieve the latest data.
Ensure you are connected to the corporate VPN.

for the CG Prod VPN. 2. Open Remote Desktop Connection.
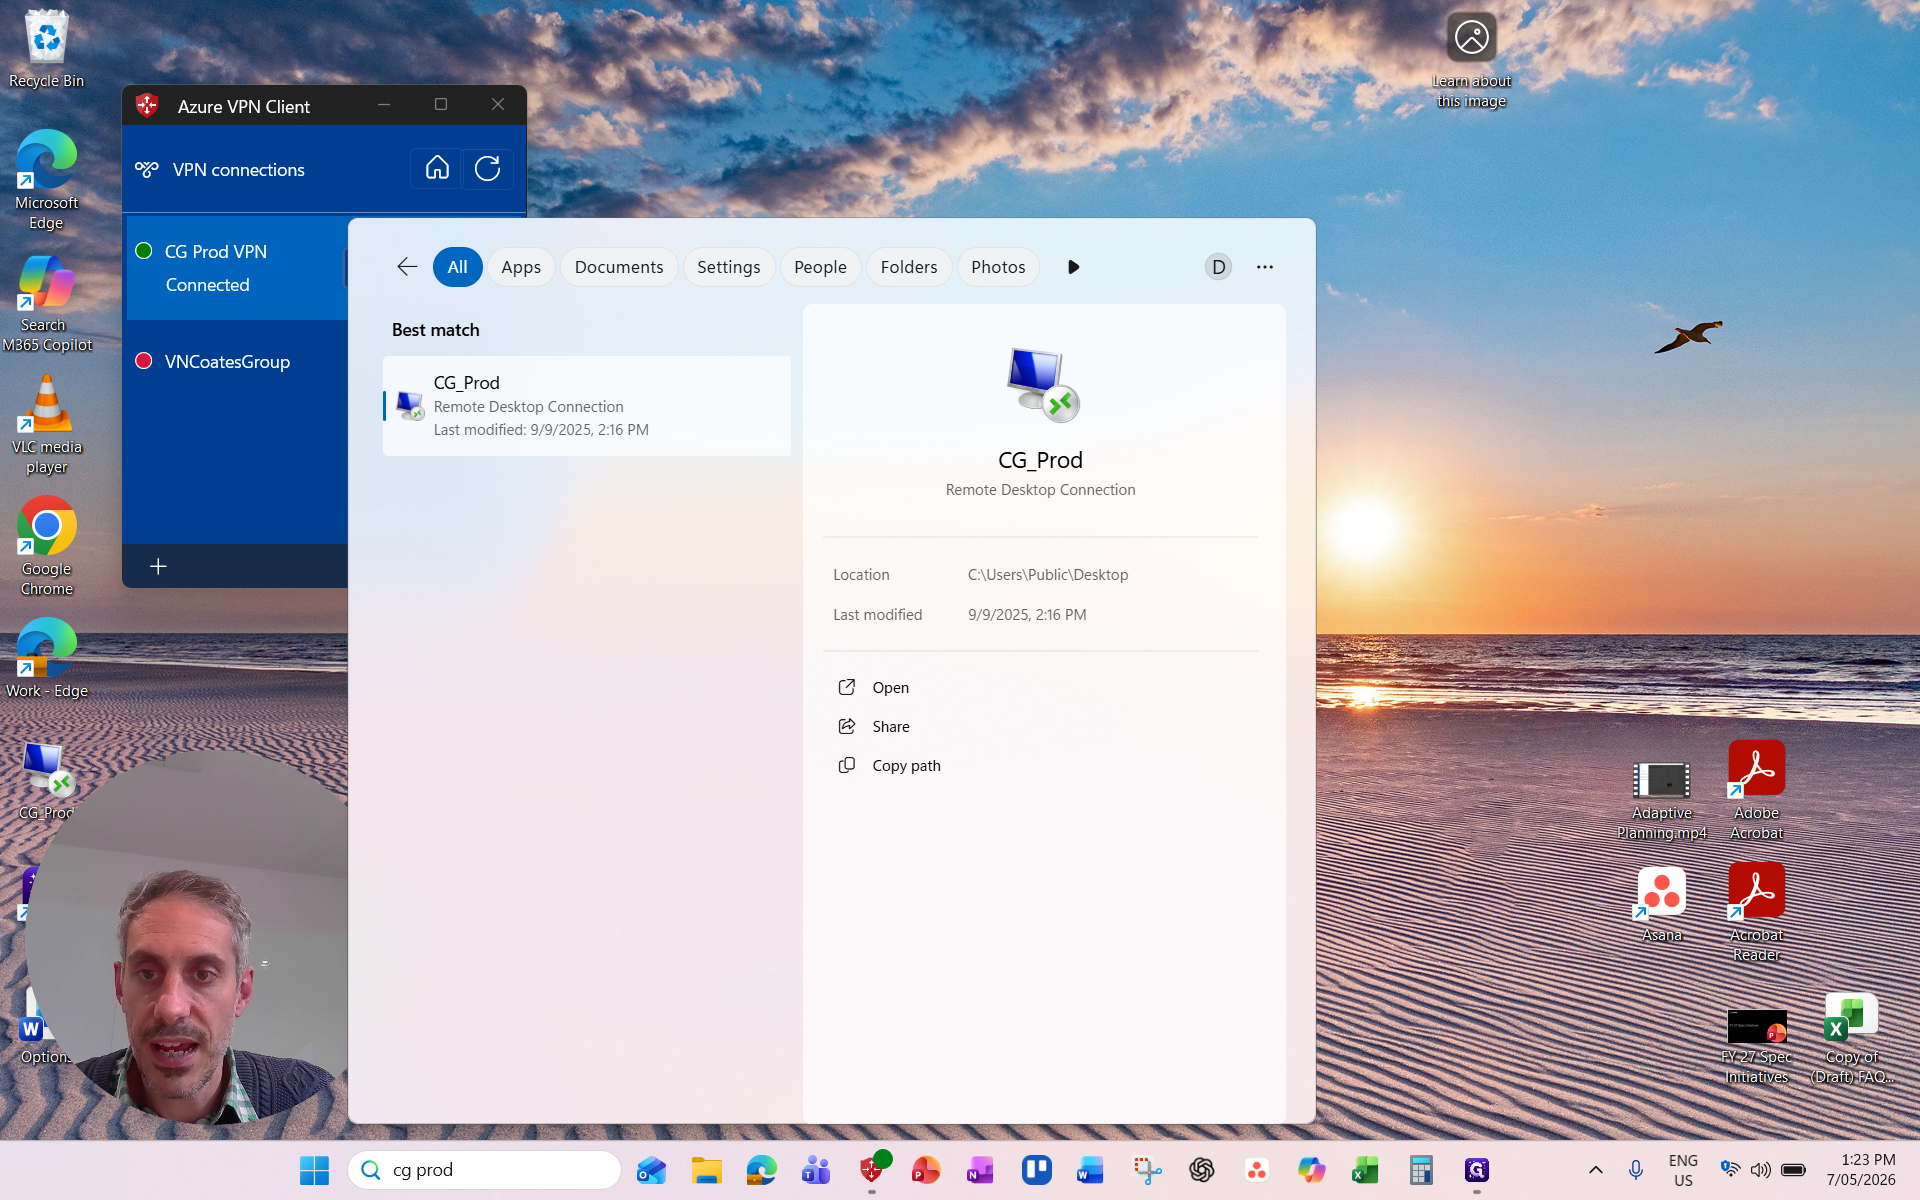
, then

. 3. Open your browser to the SAP BI (Satbio) dashboard.
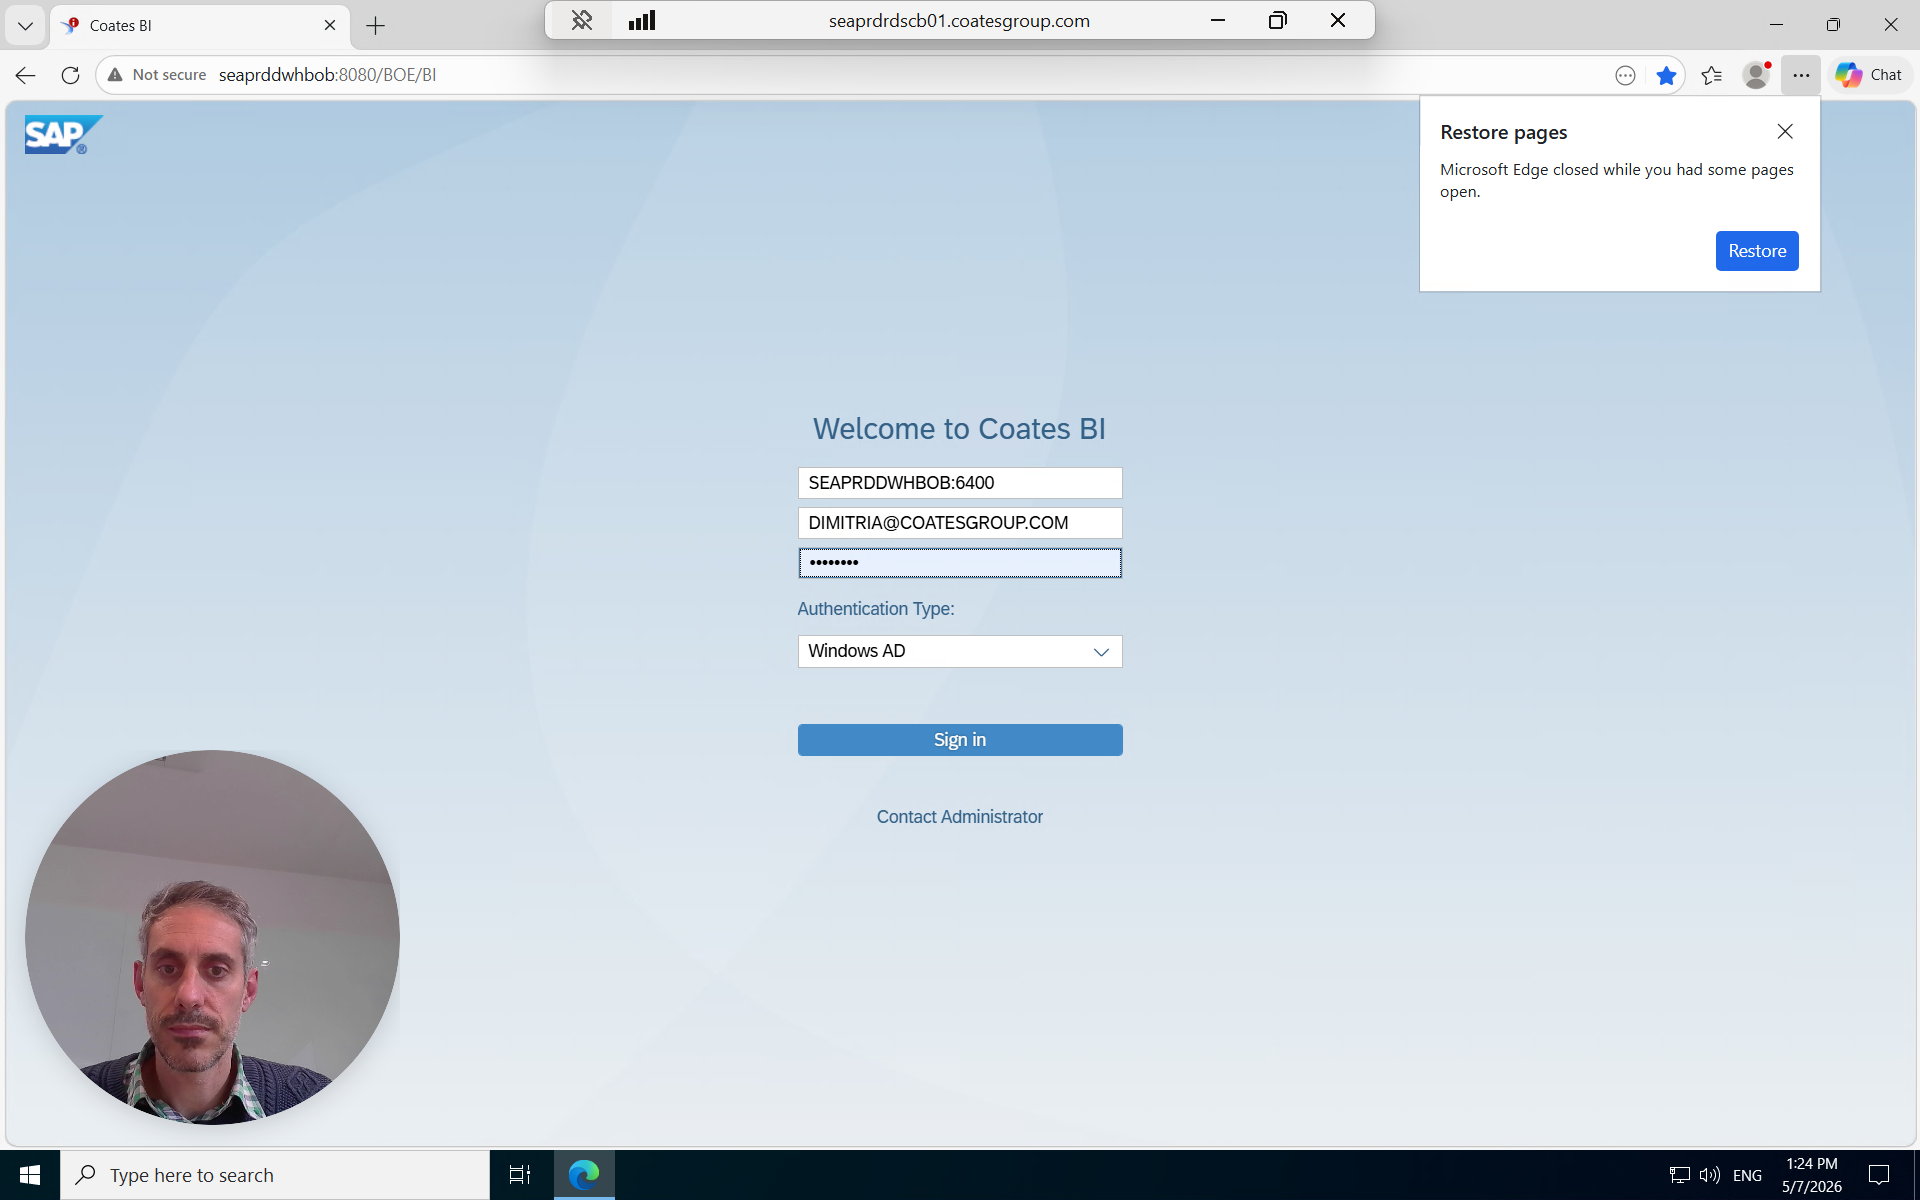
.
Extract the Trial Balance Data
From your documents list,

. 2. When prompted to configure your query variables, leave the start date at the beginning of the fiscal year and update the end date to the current month. 3.
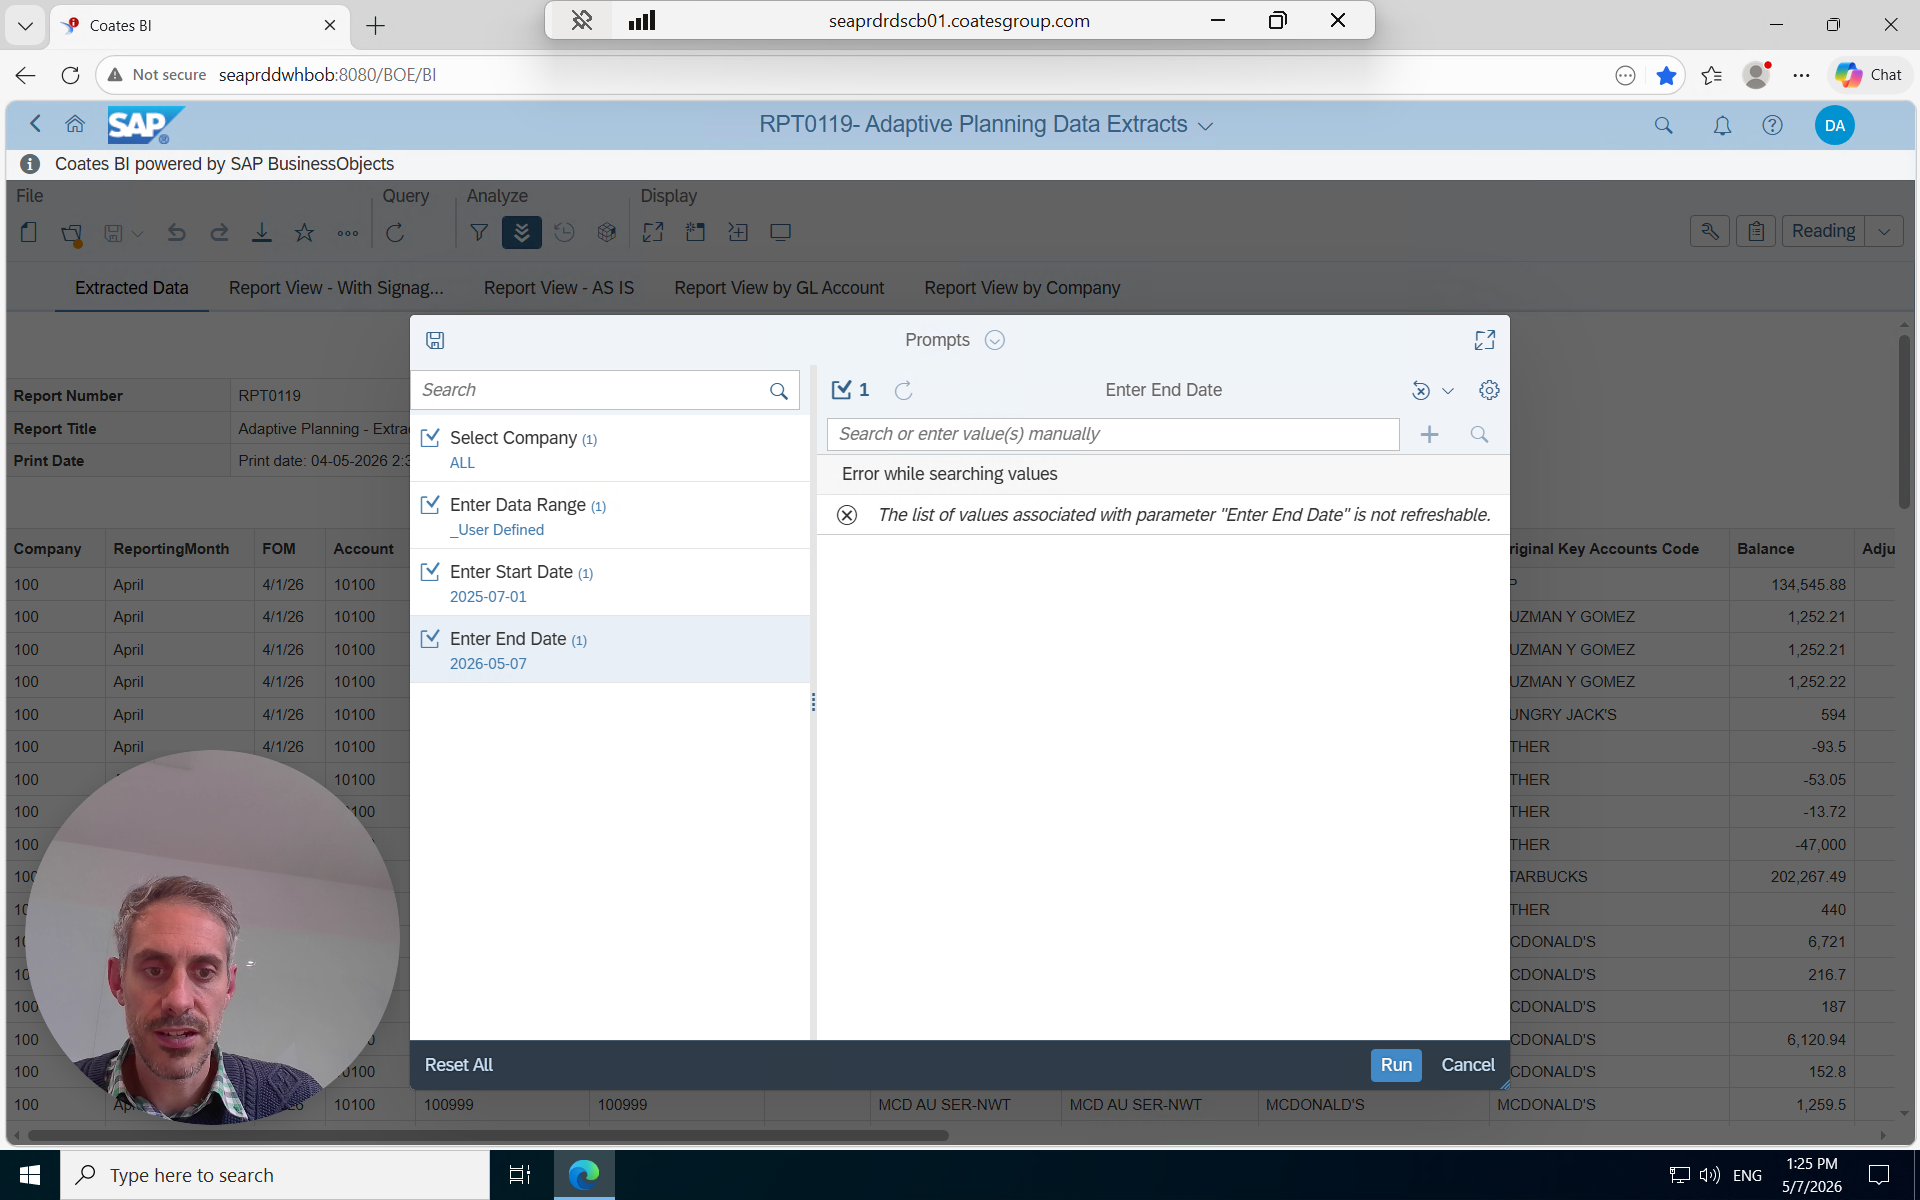
to generate the updated report.
For your upload, you need correctly formatted values.
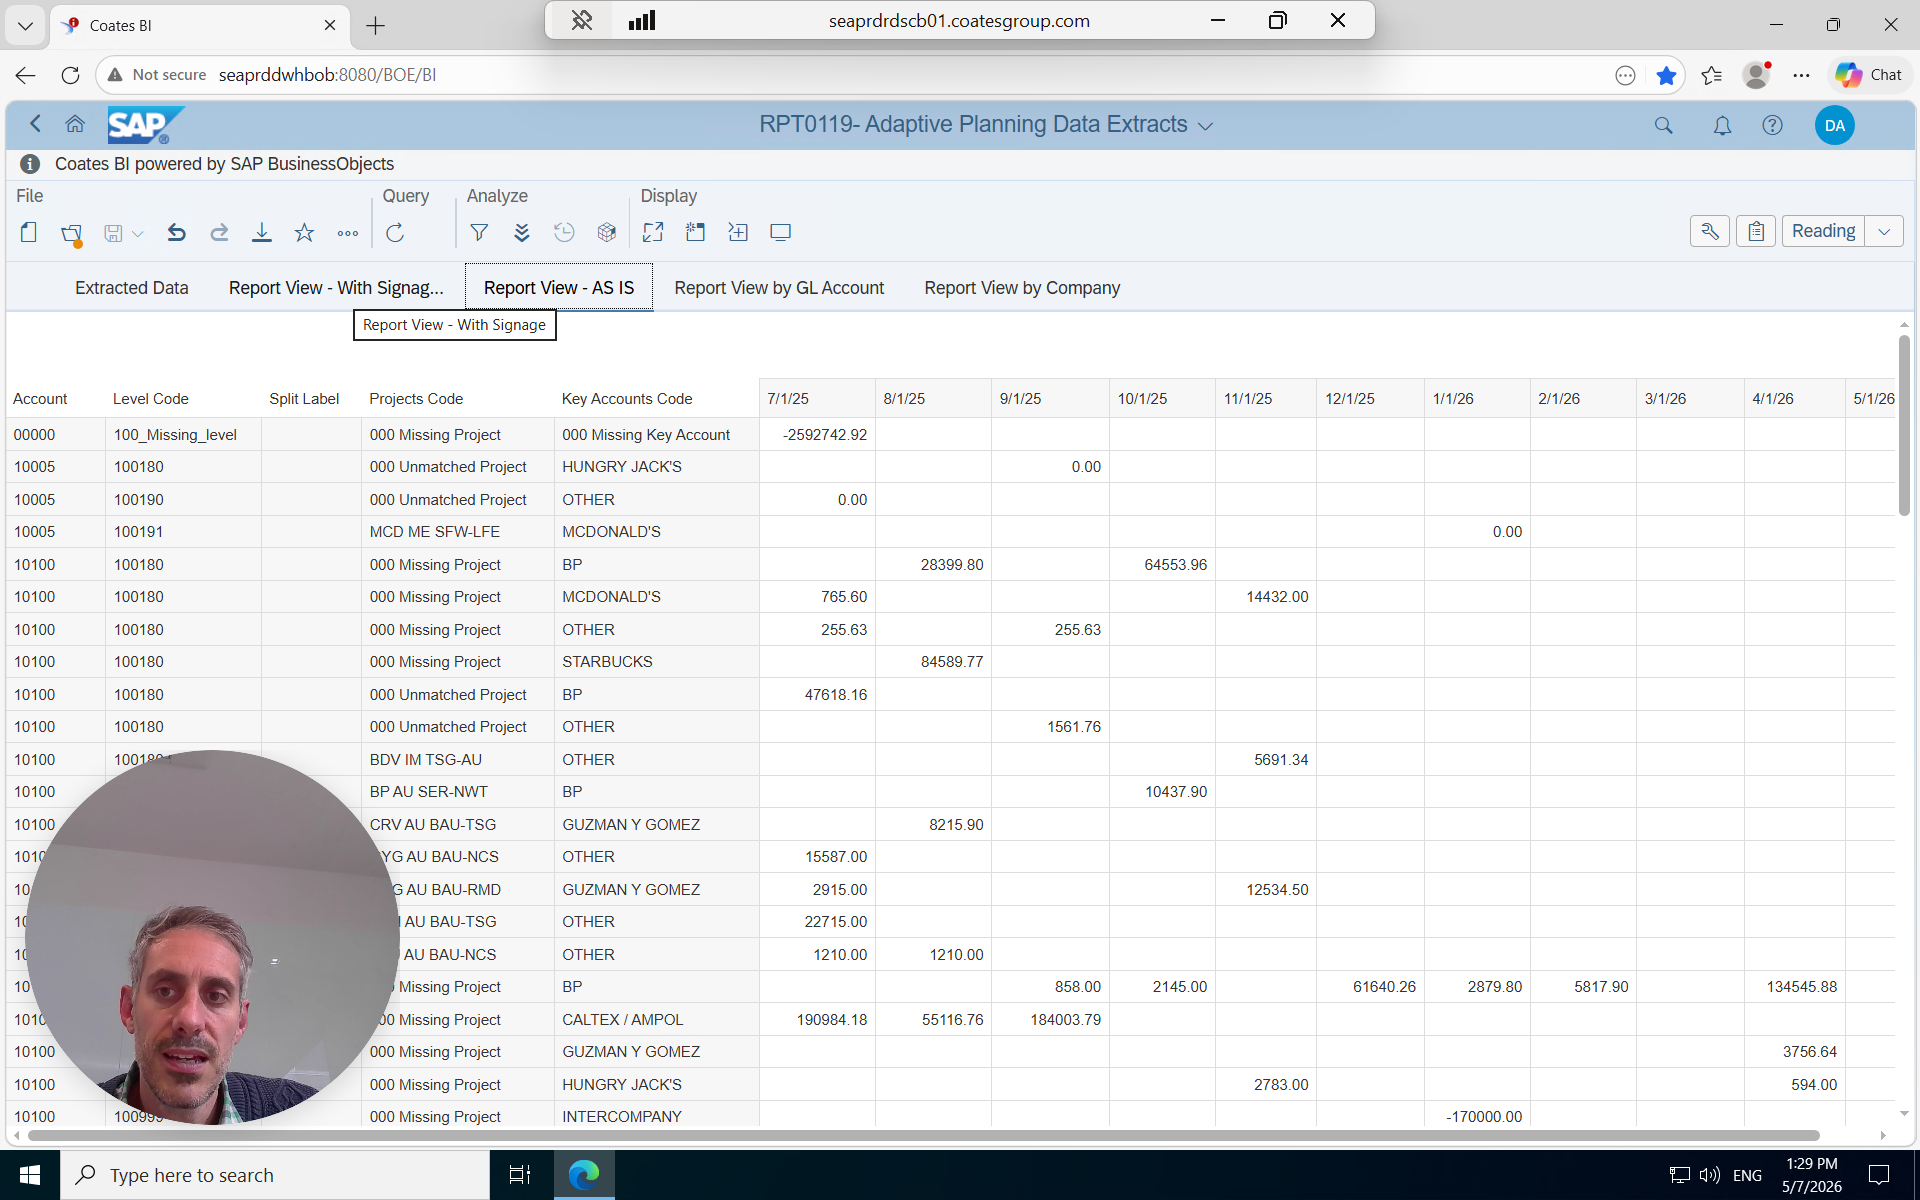
. Adaptive Planning requires positive values, so this specific tab handles reversing signage on contra accounts for you. 5.

in the toolbar. 6. Make sure the current report tab is selected and
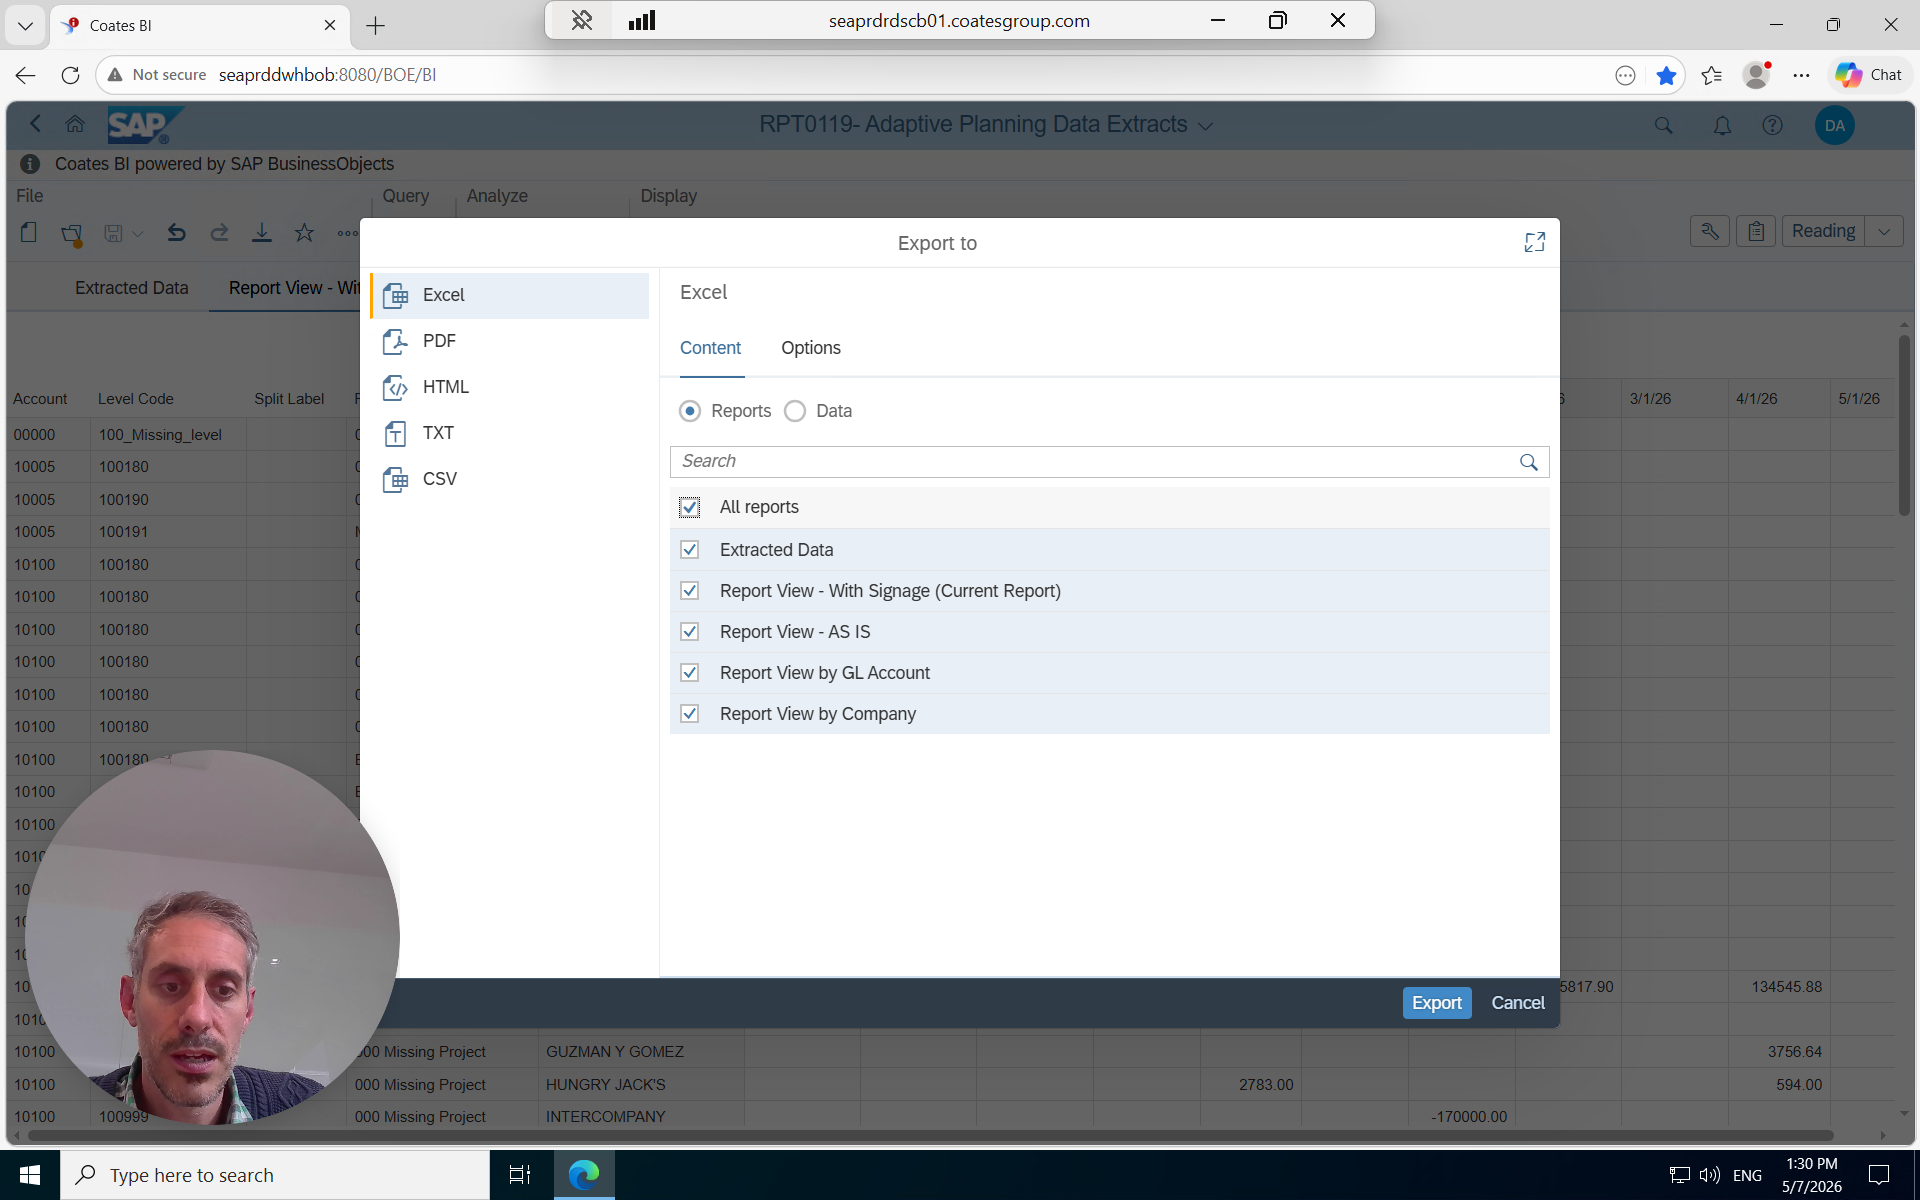
to download the Excel file. Move the downloaded file to your working directory.
Prepare the Upload File
Your extracted data needs to be cleaned and pasted into your standard Adaptive Planning import template.
Open your downloaded report, and copy the data from the "Report View - With Signage" tab into a fresh working sheet.
You must remove all rows that have zero balances or blank values. You can filter the data column to uncheck blanks/zeros, or sum the absolute values to easily identify inactive rows.
Highlight the inactive rows and
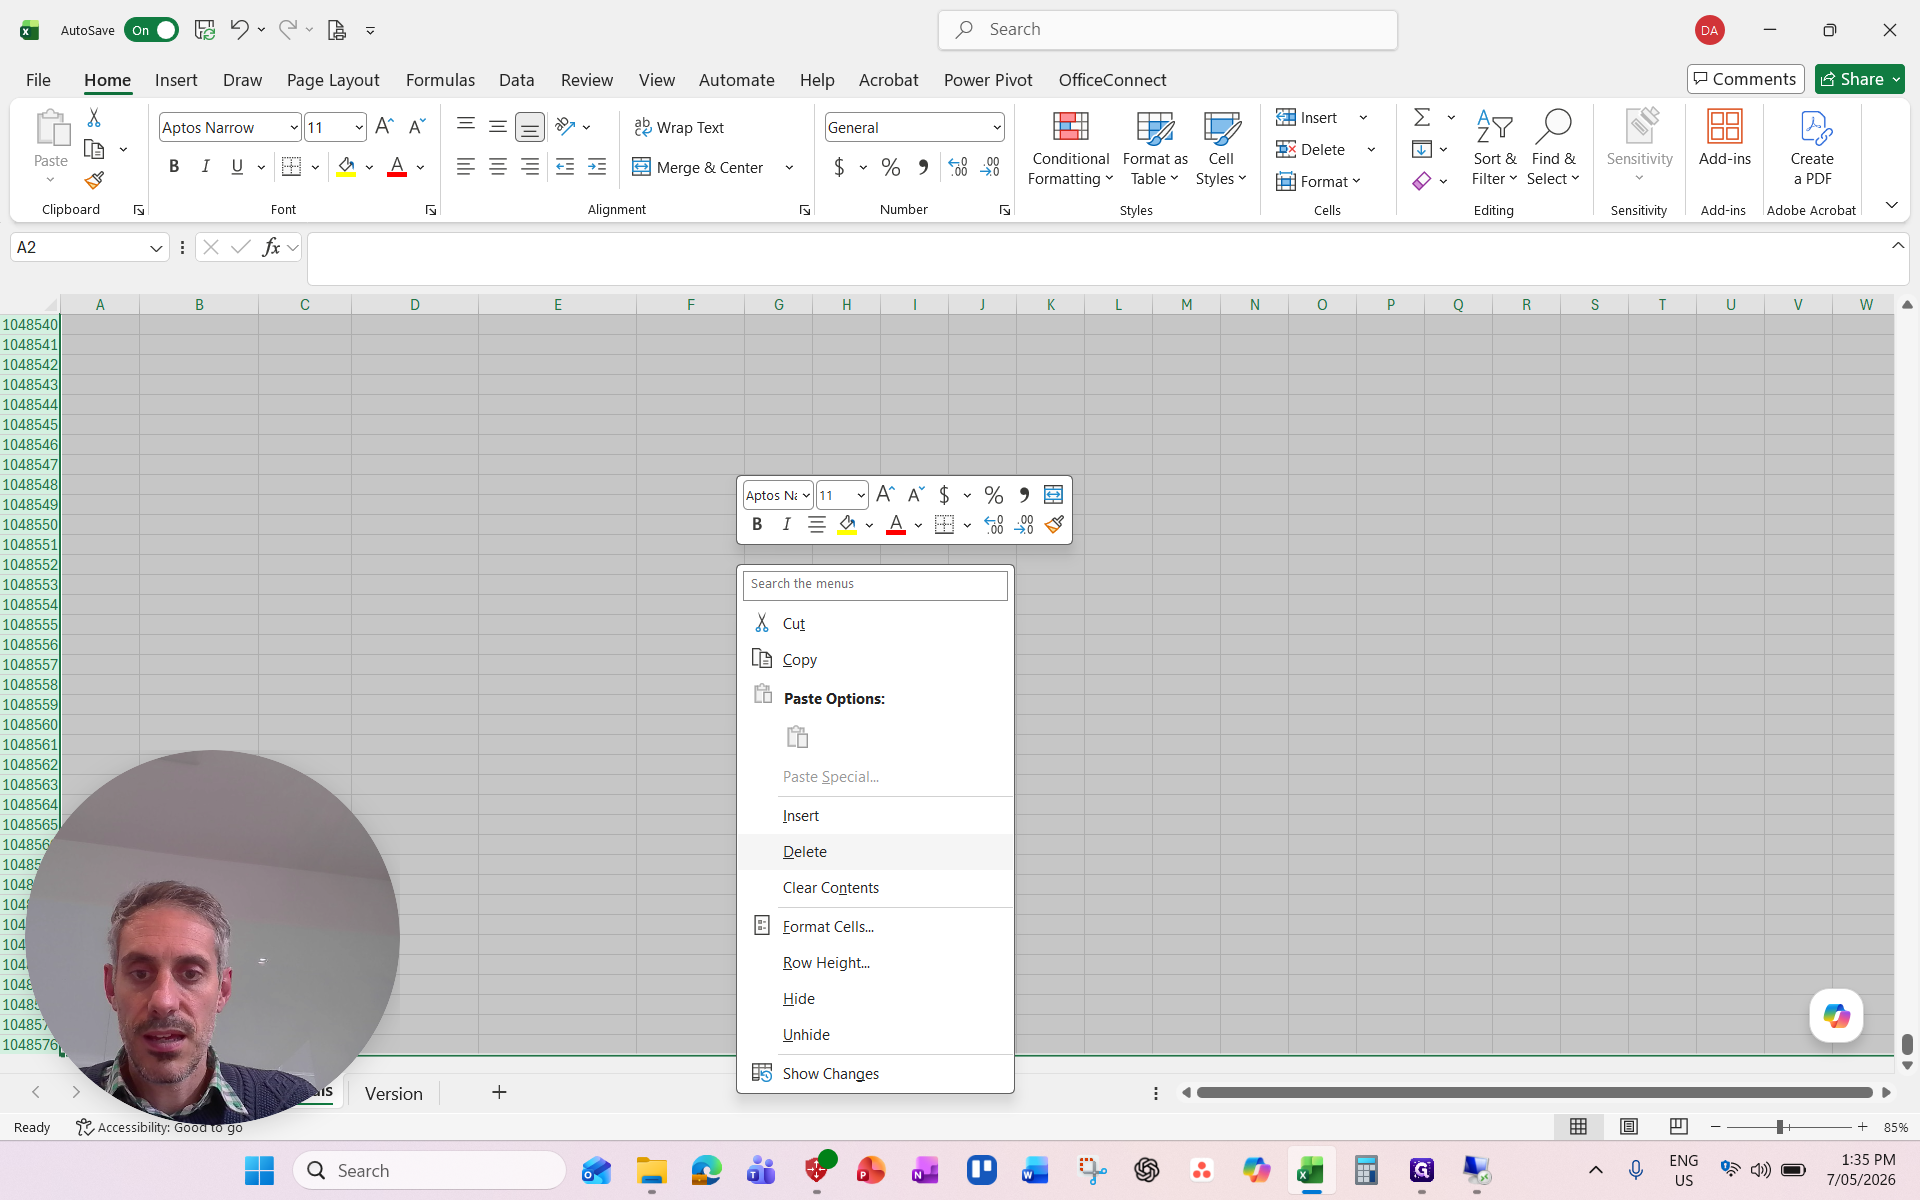
to remove them entirely.
Copy the cleaned data and paste it into your import template file as Values.
Verify your column date headers.
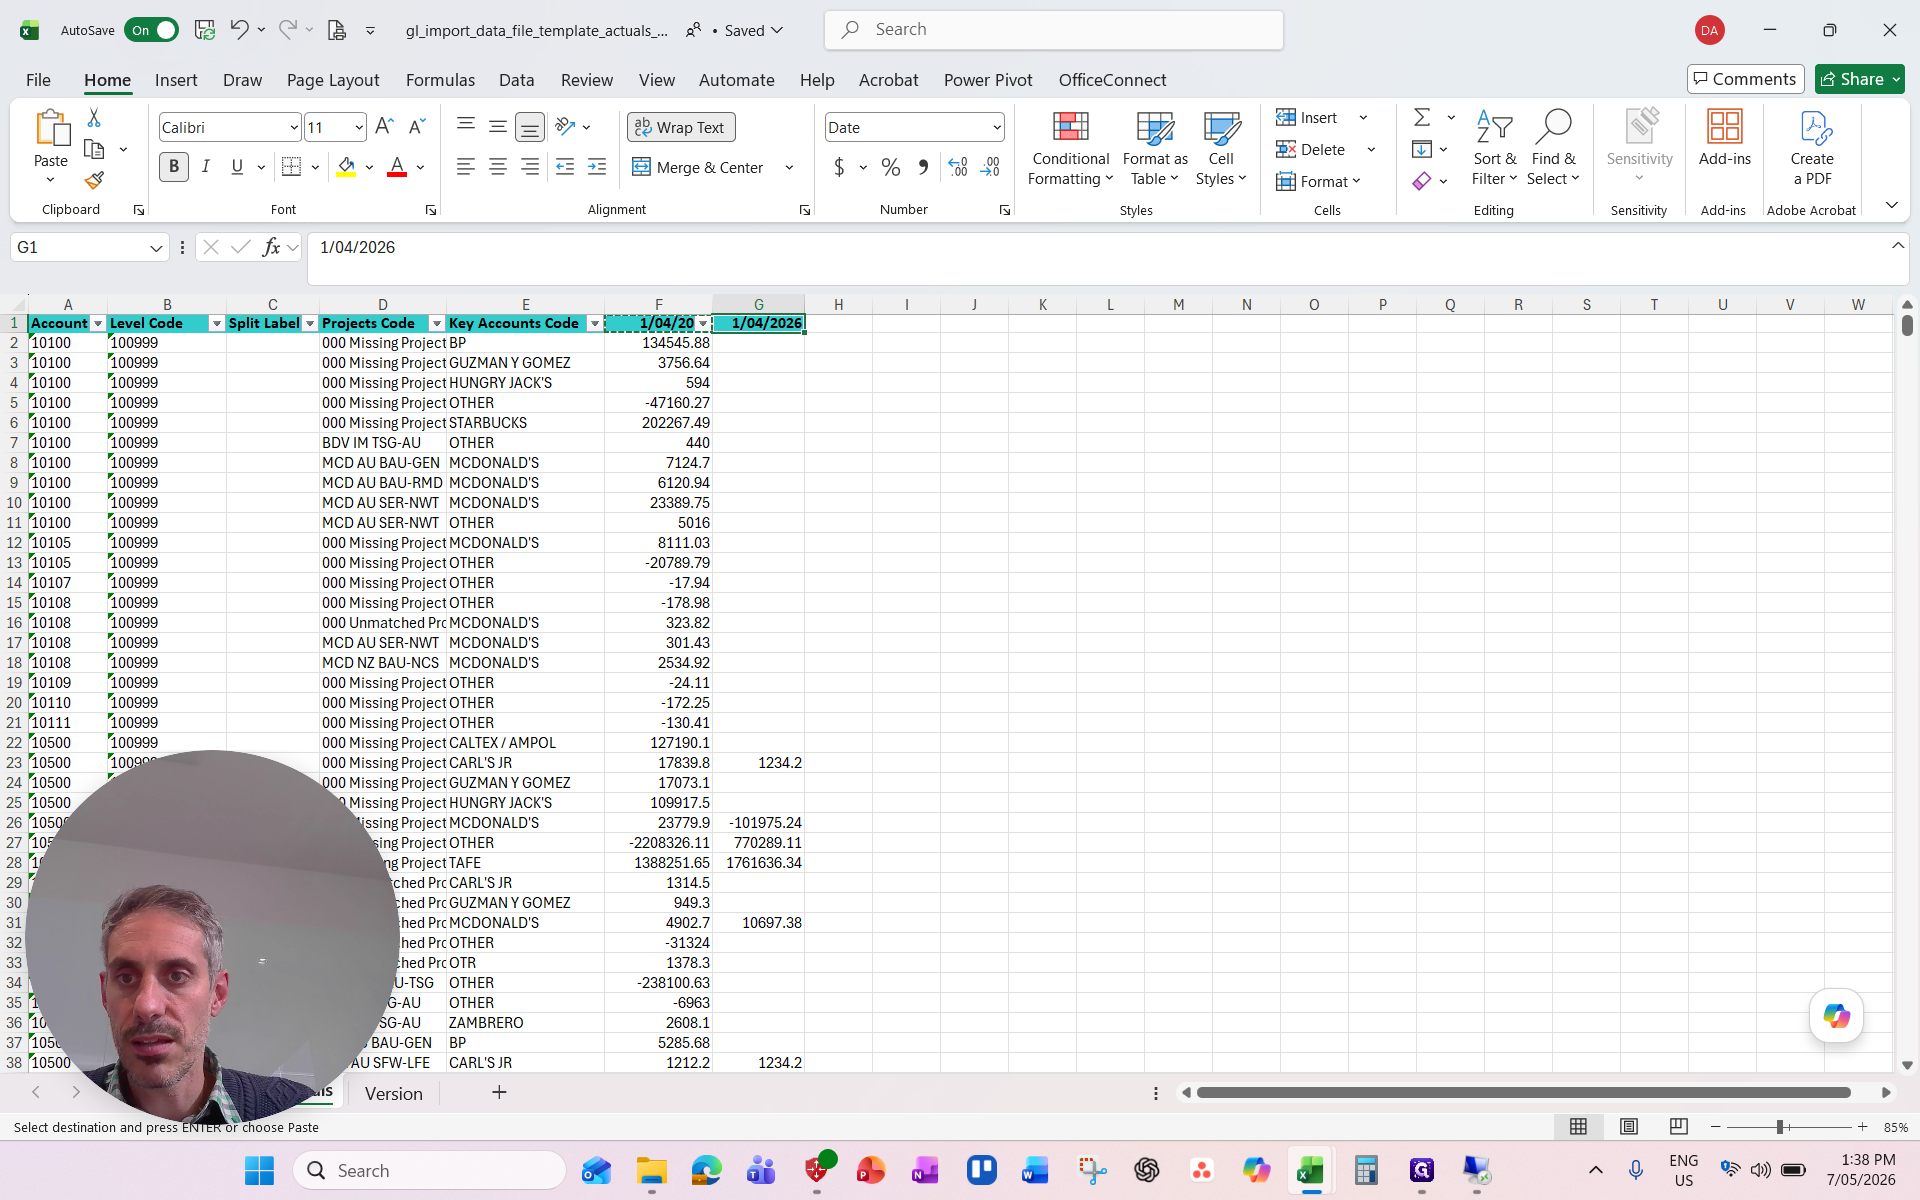
are formatted as true dates representing the first day of the month (e.g., 1/04/2026). Save the template.
Erase Old Data in Adaptive Planning
Open Workday Adaptive Planning and
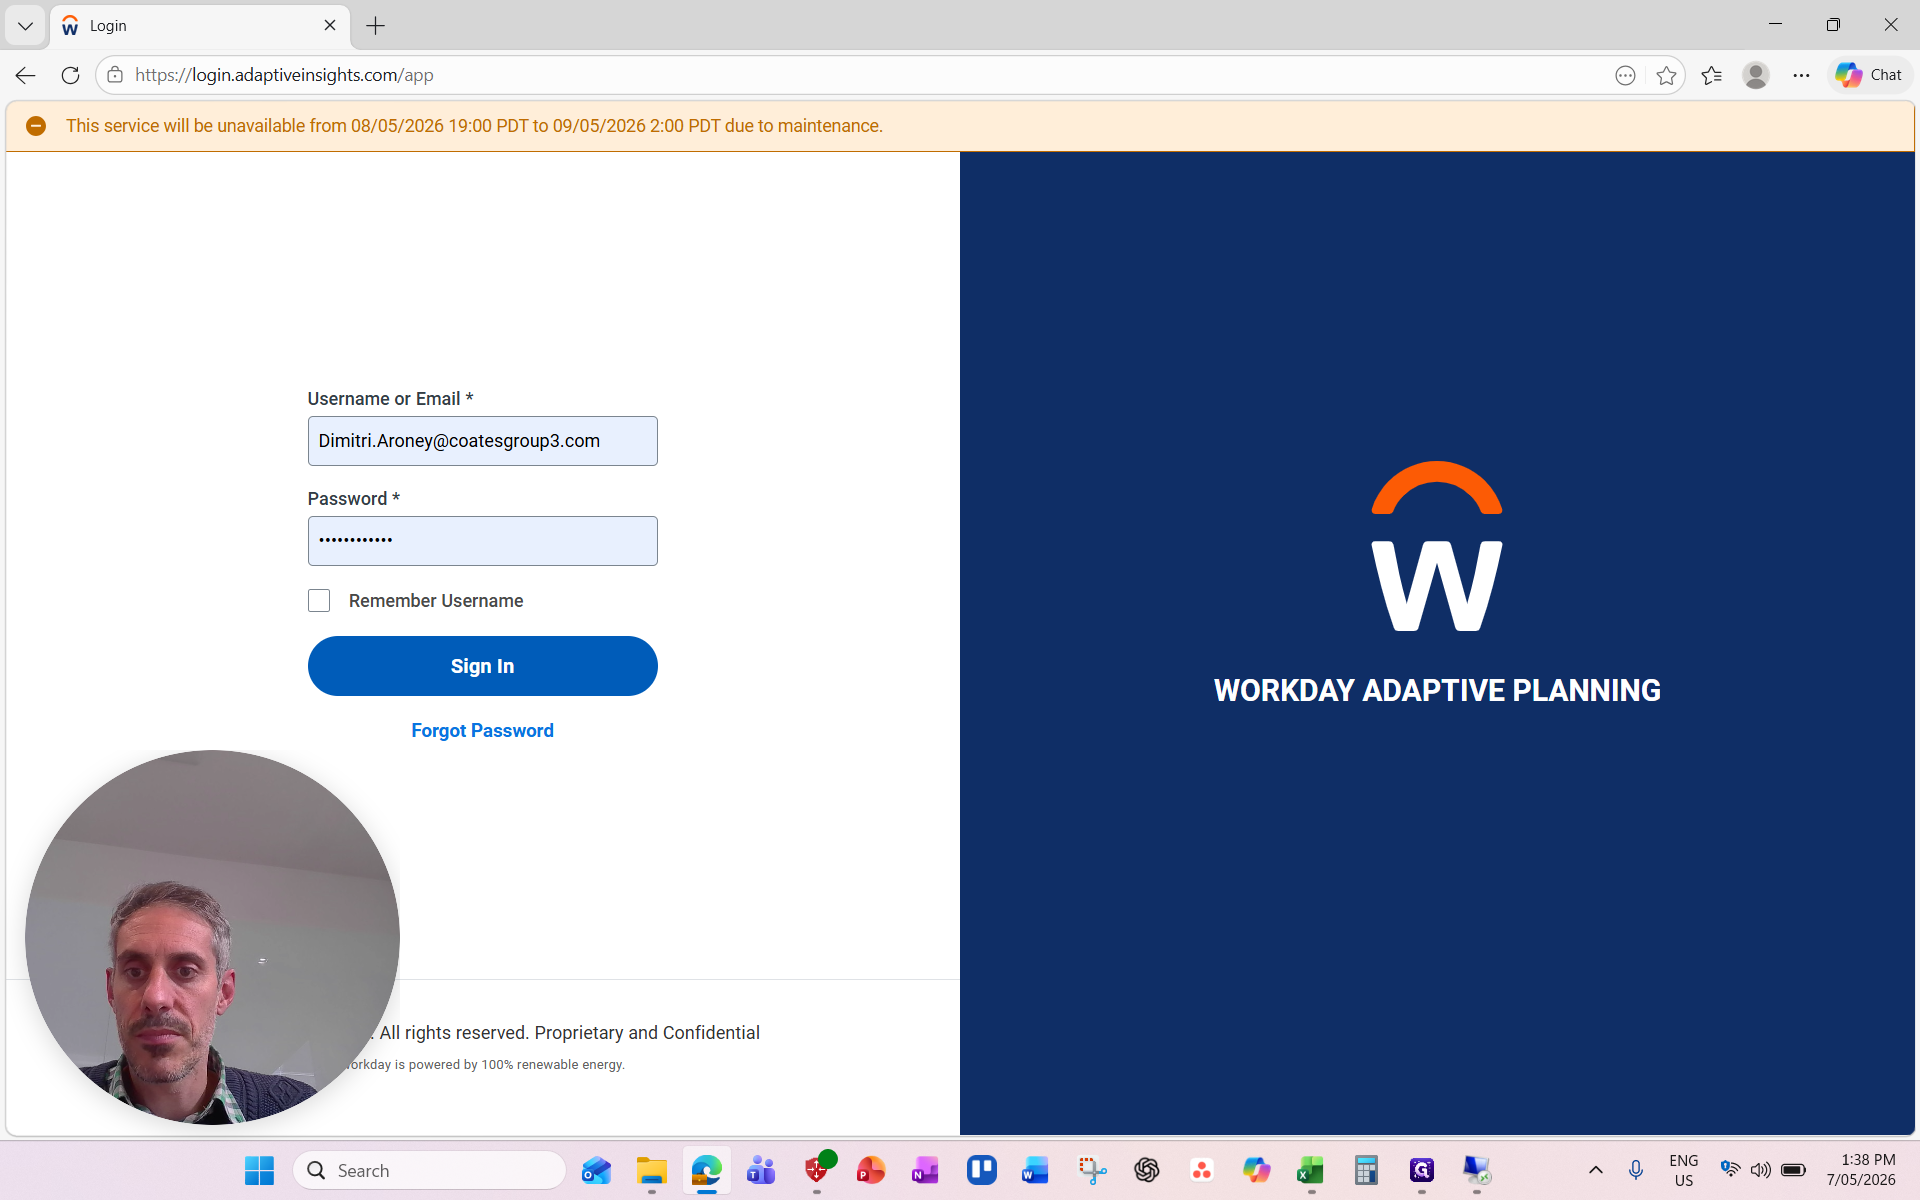
. 2. In the main navigation sidebar,

. 3. Locate the Manual Import section and
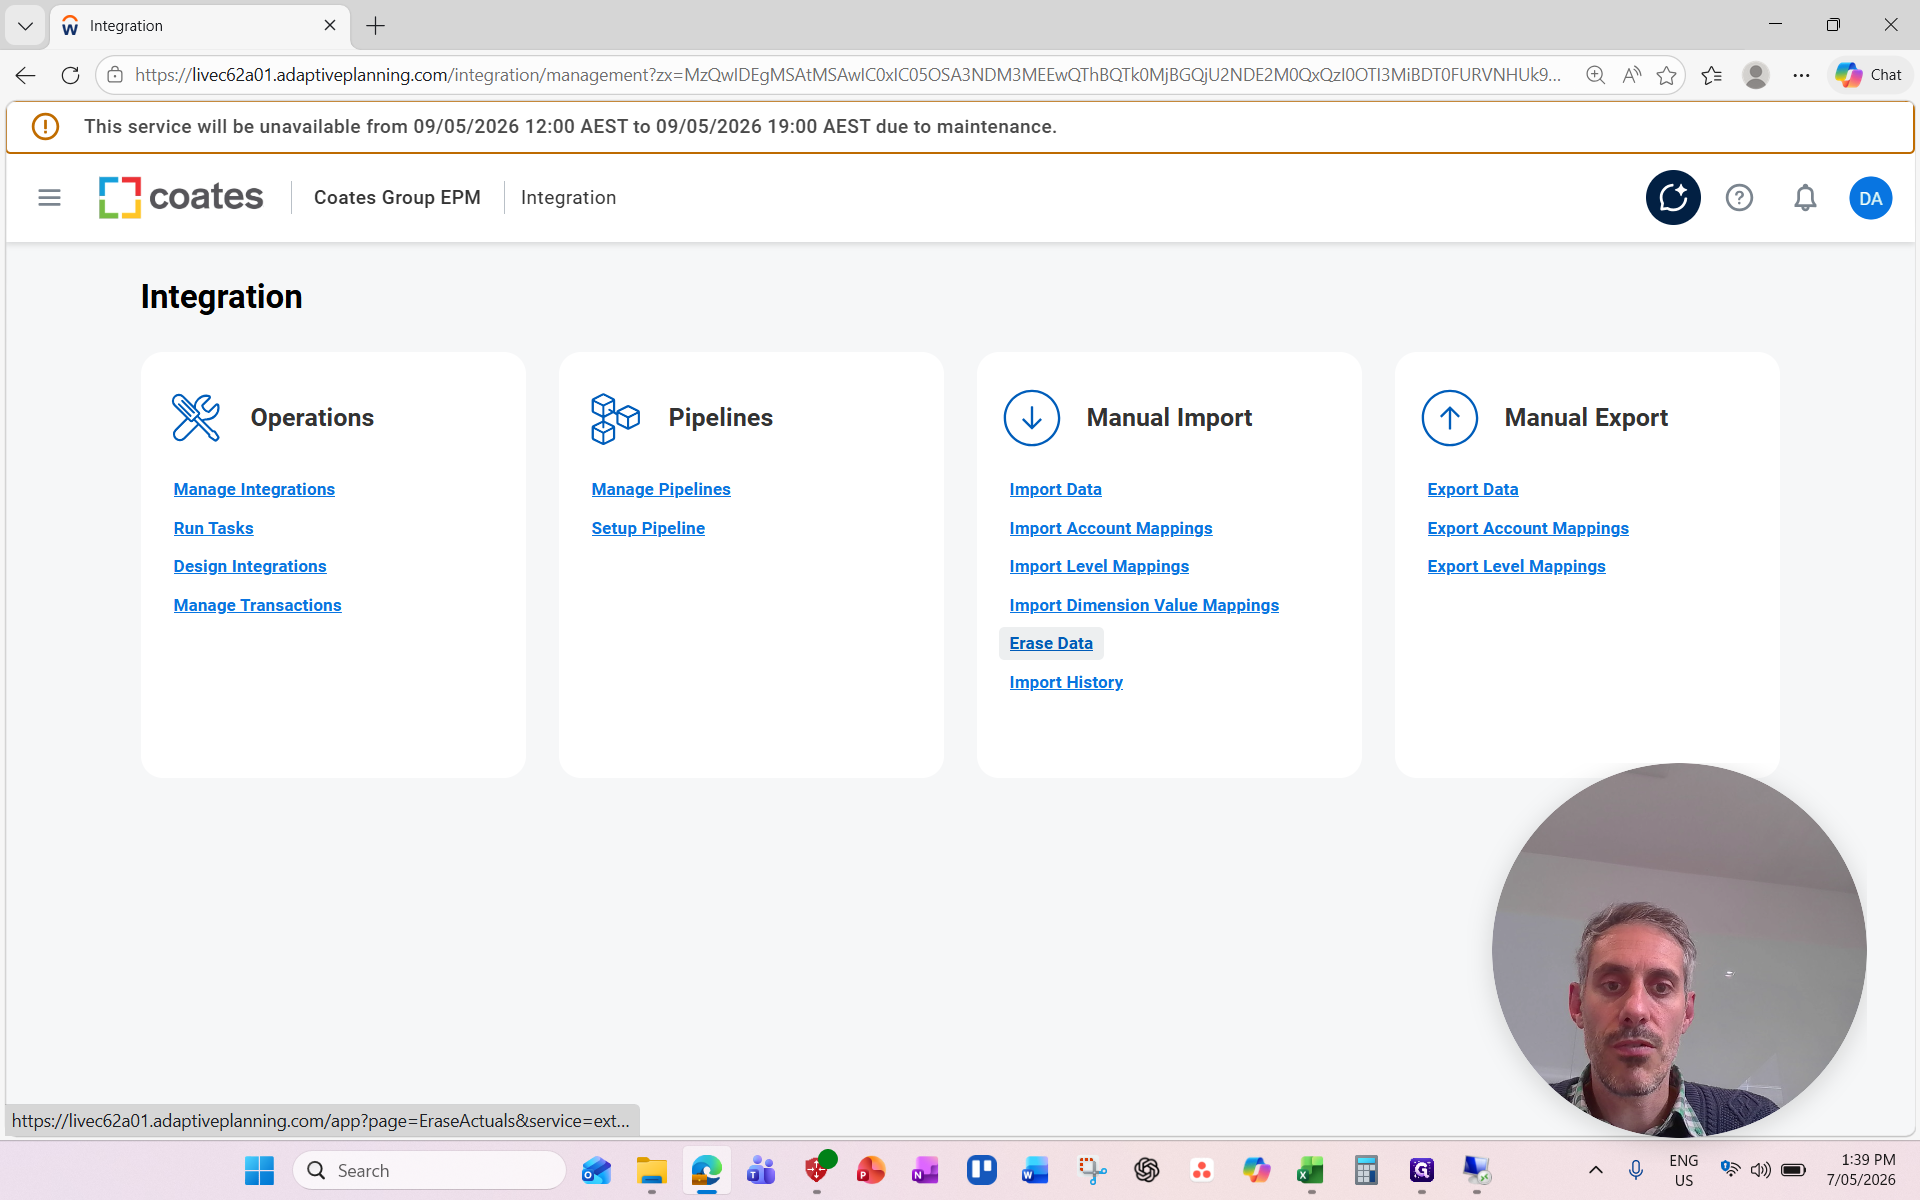
. 4. Set the parameters for what you want to clear:
Version: Actuals
Accounts: GL Accounts
Time: Select the specific month you are preparing to update (e.g., April).
Levels:
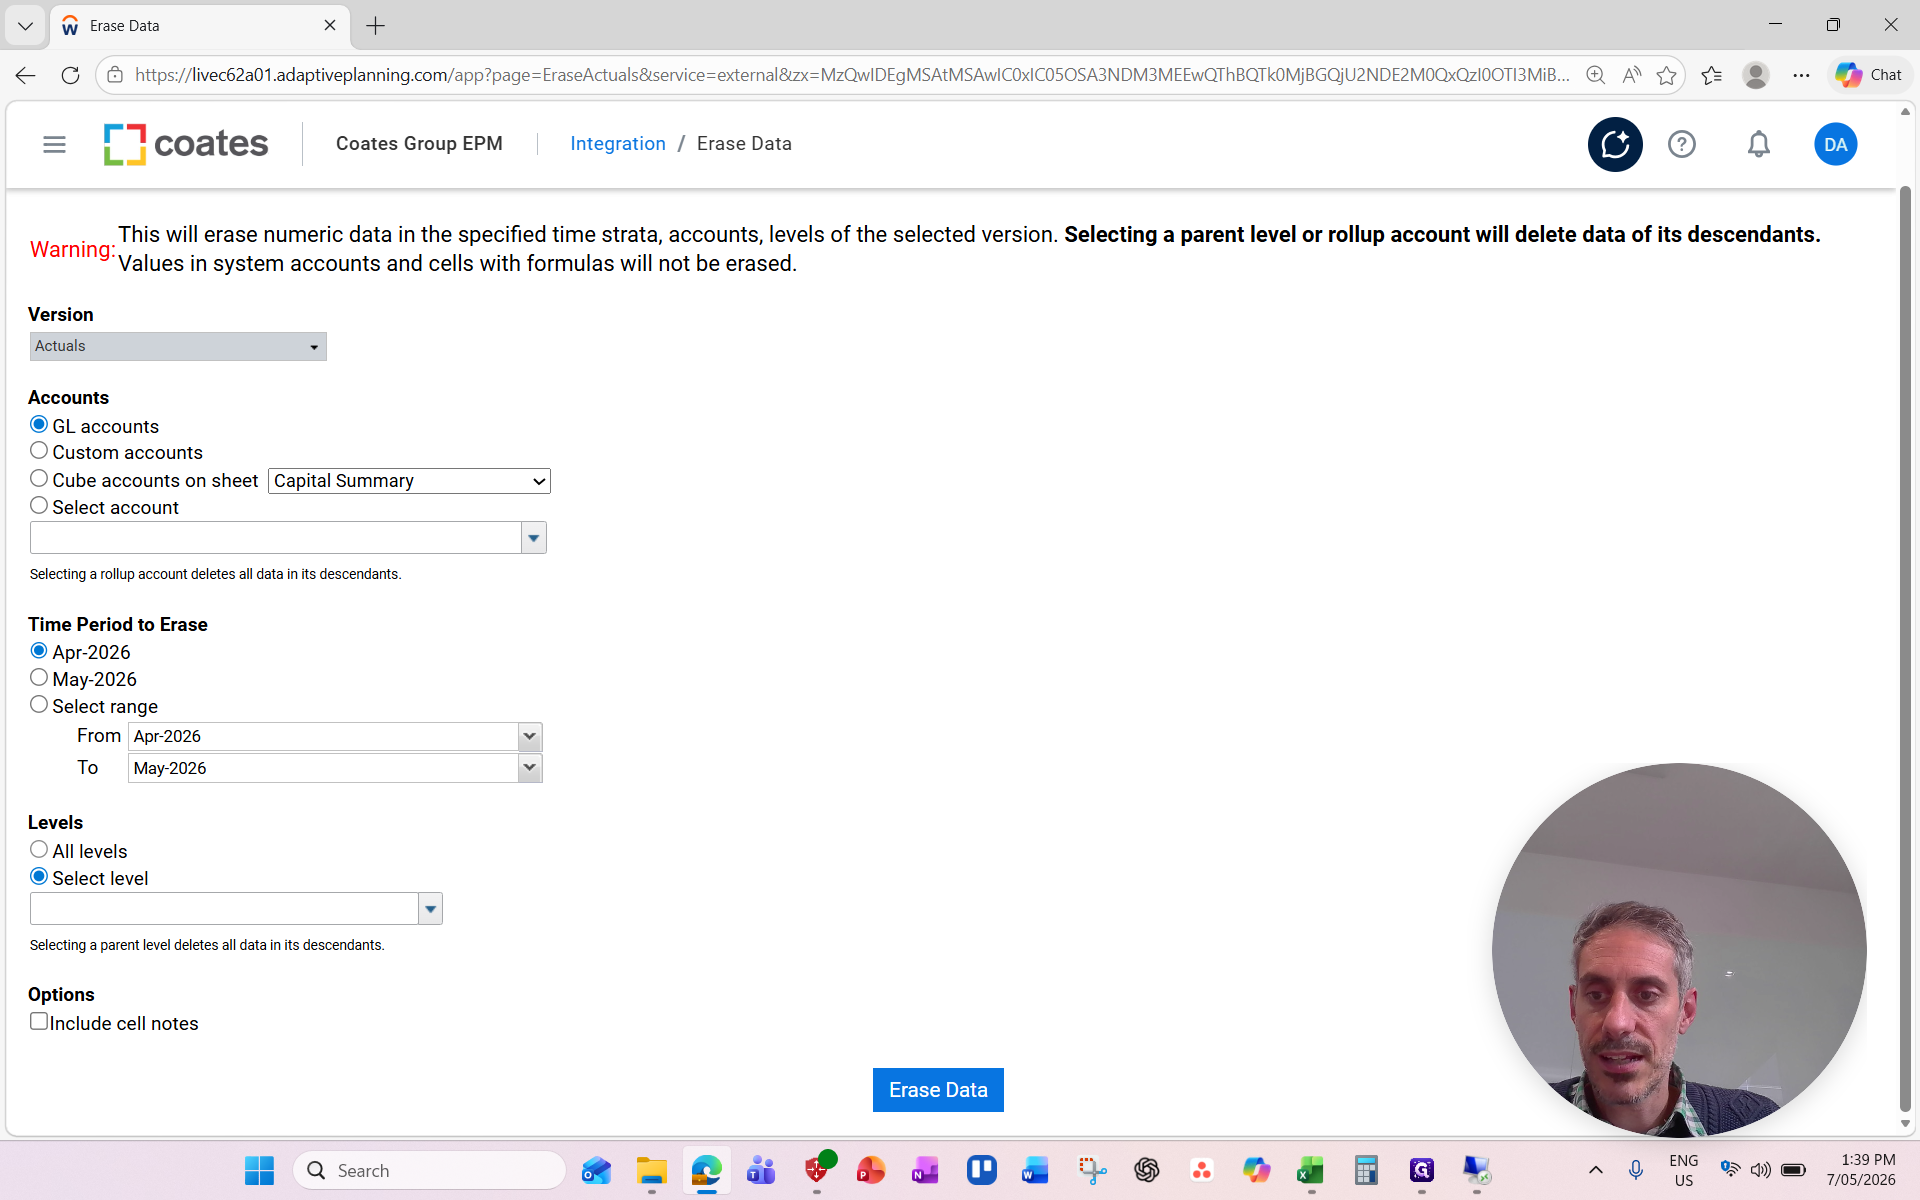
. 5. Run the erasure. Once the period is cleared, your workspace is clean and ready to process the new import template.