WEB allocation.
This is a step-by-step guide for how to run an allocation for web orders as well as printing the pick sheets and manifests.
By Josh Robinson
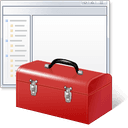
1
Click on "19. Direct Menu"
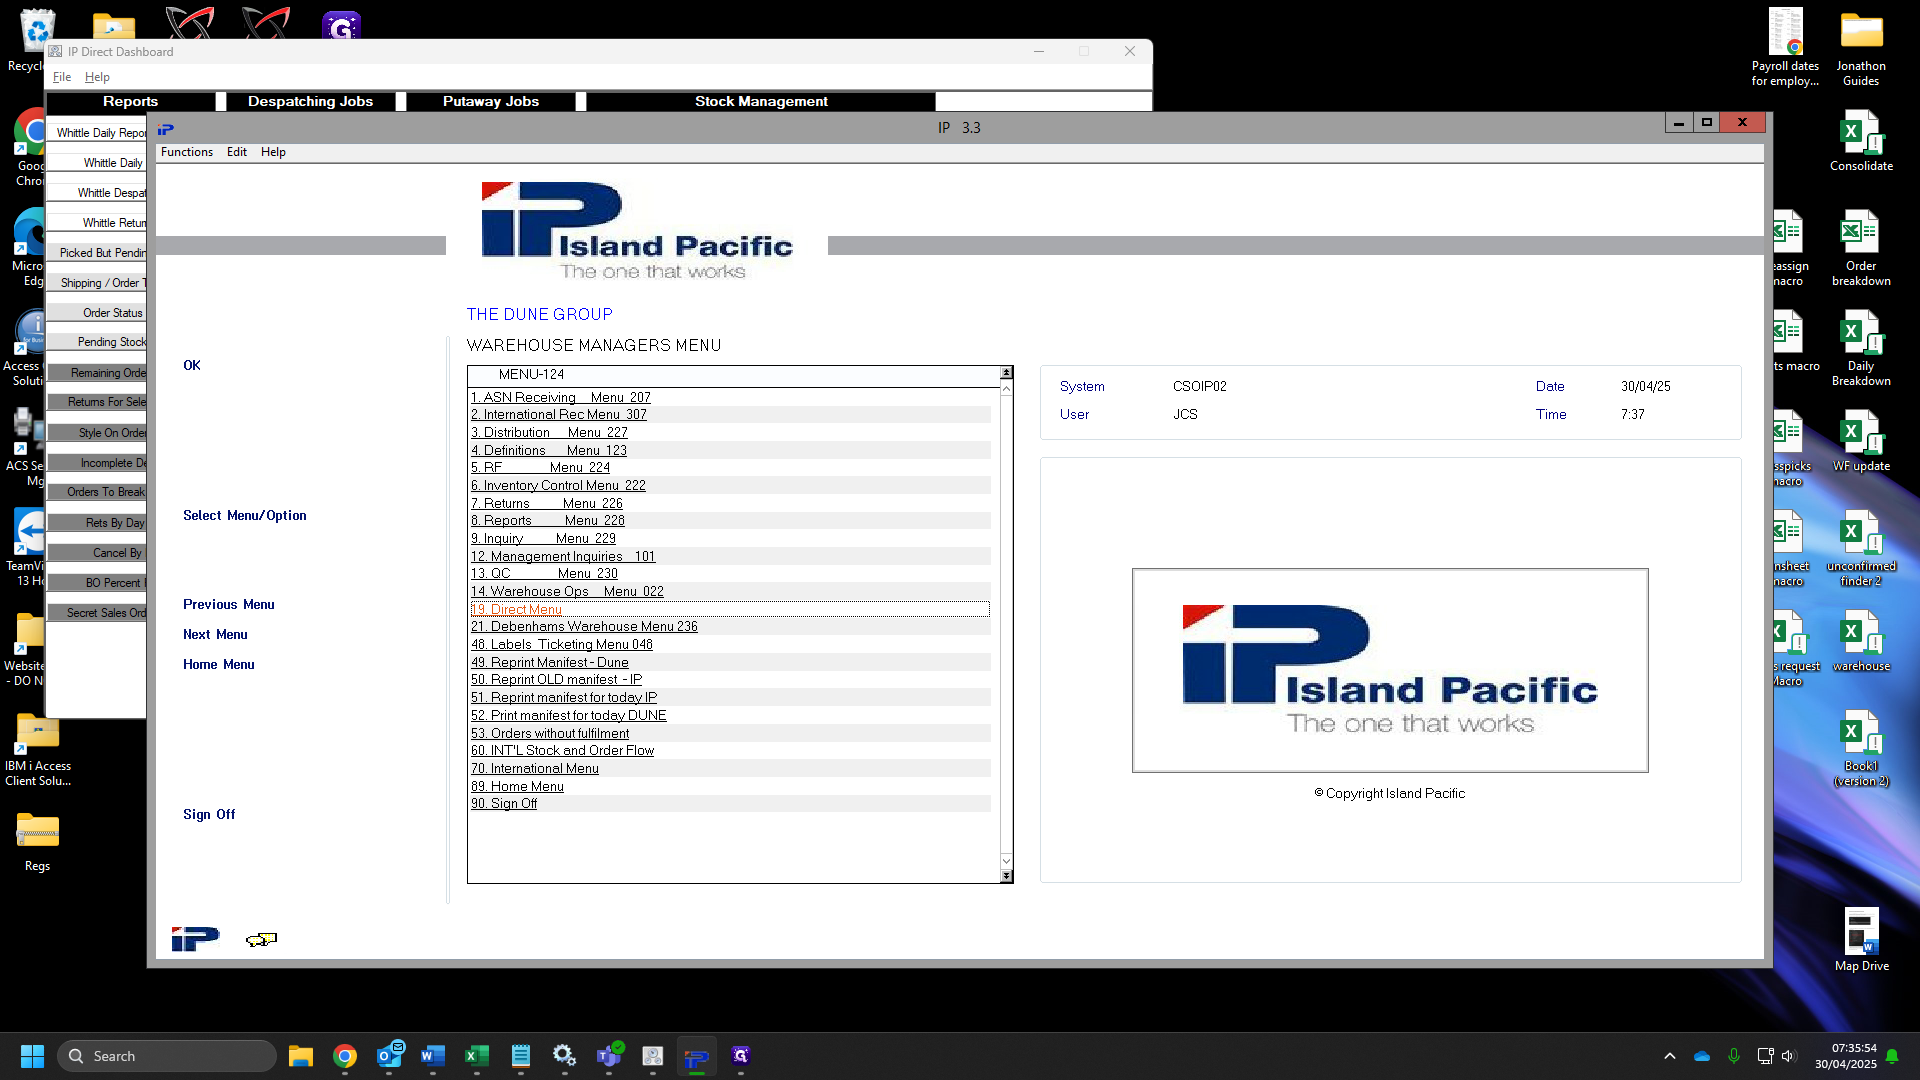
2
Click on "13. Whittle Flow Menu"
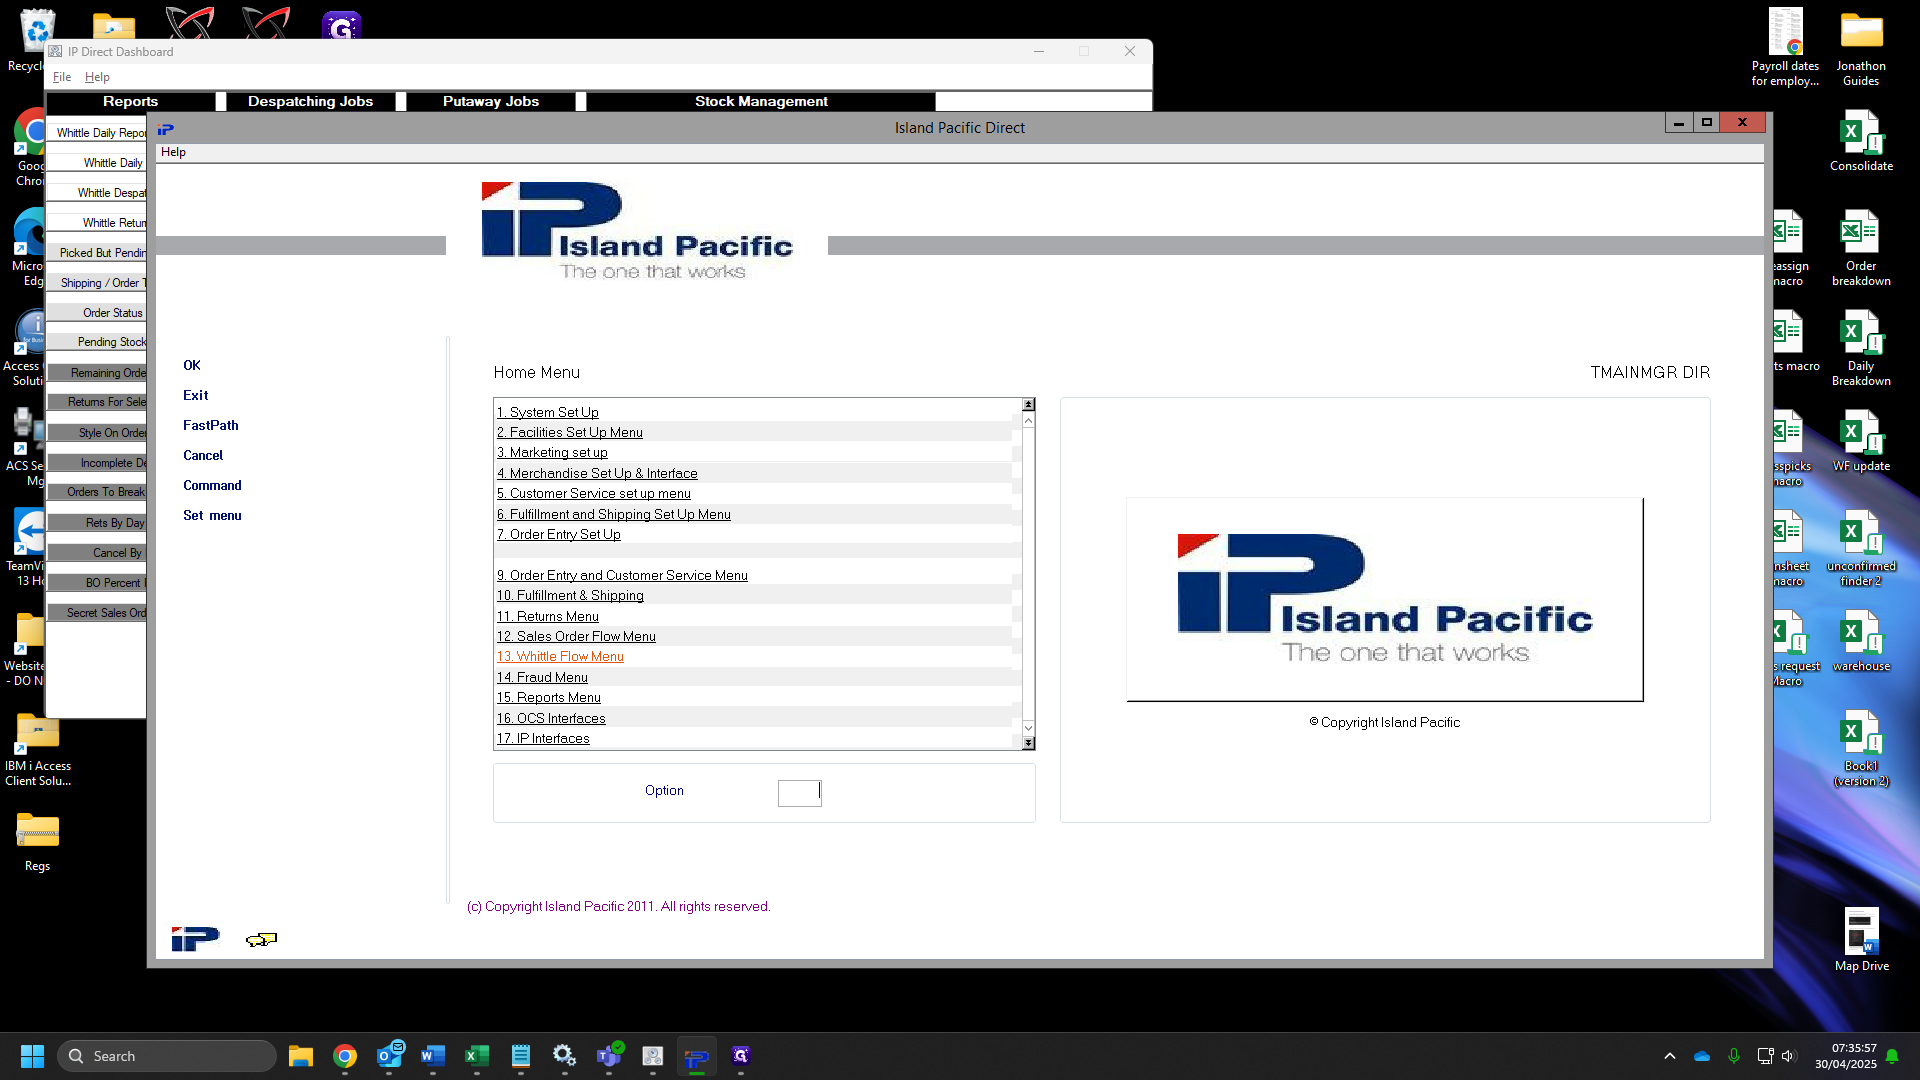
3
Click on 4. "Allocate Customer Orders"
4
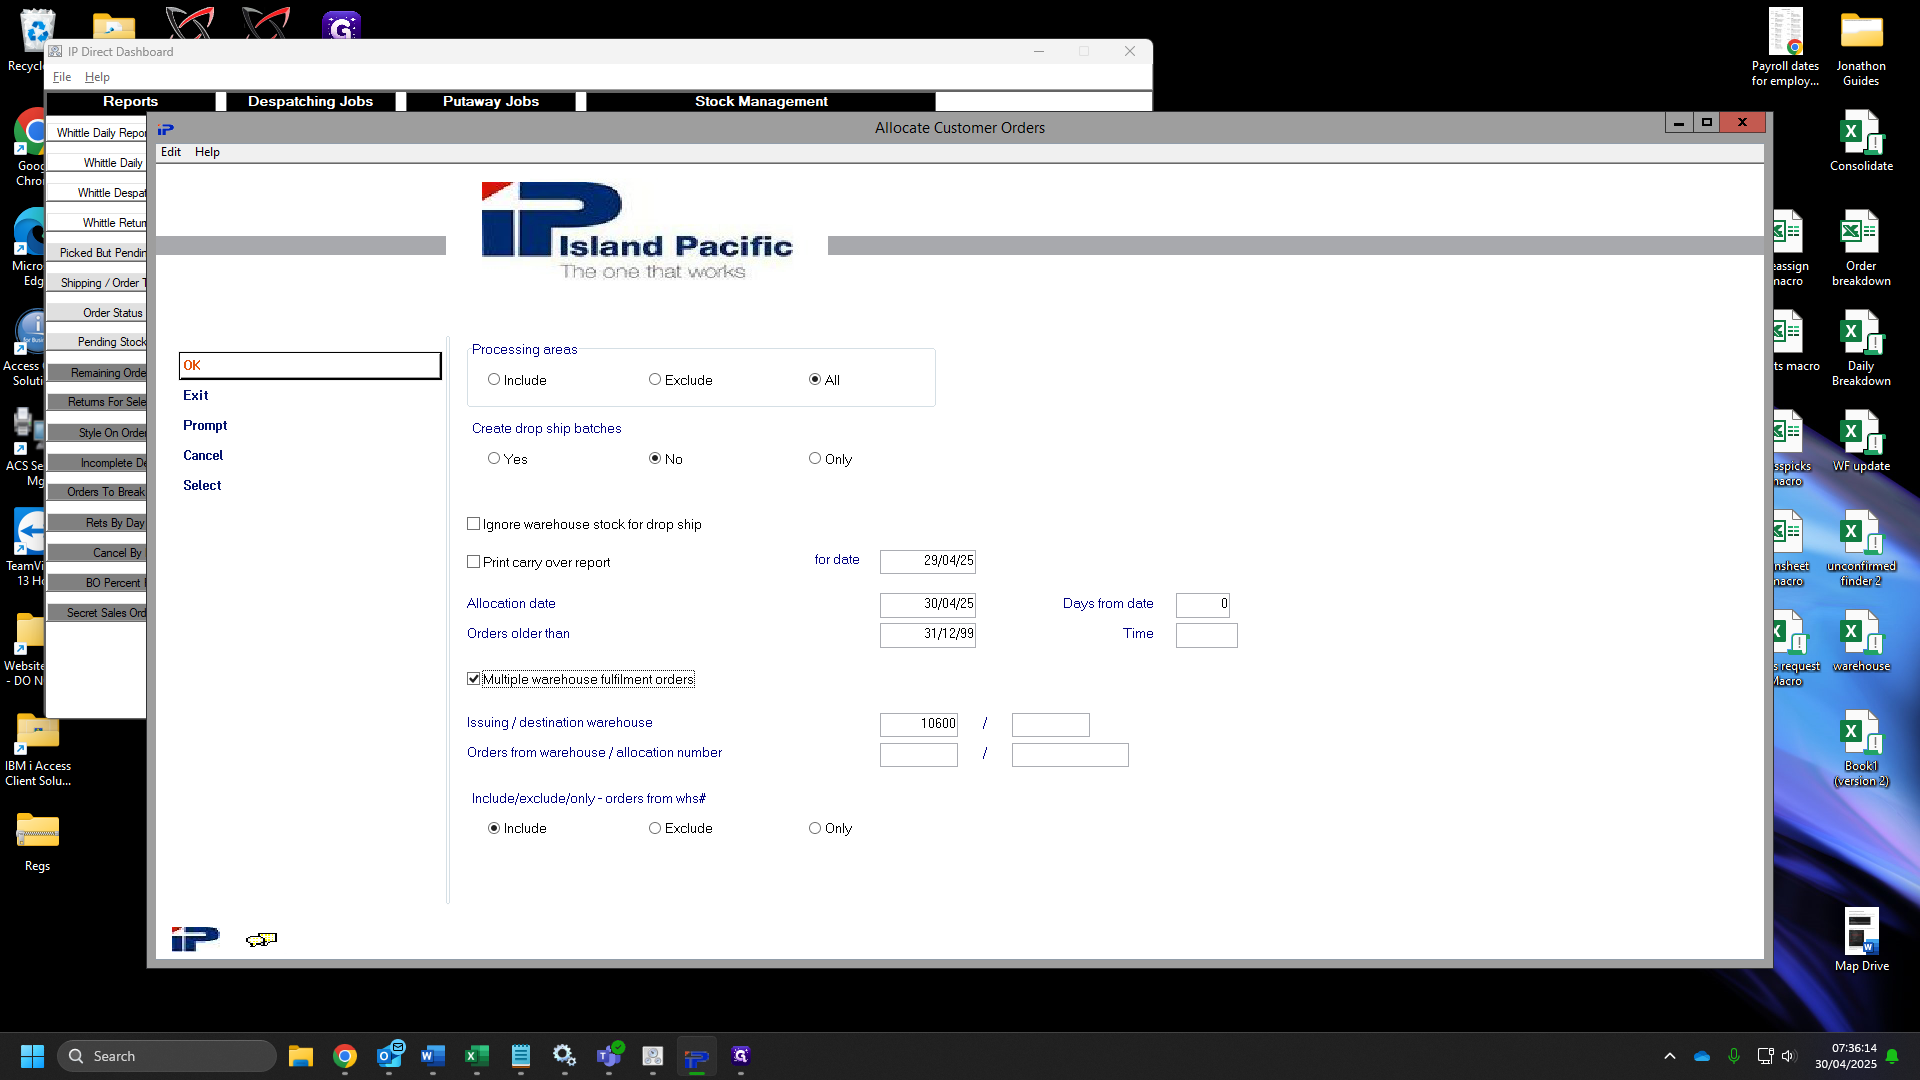
Make sure the box "process same day shipping orders" has a "Y"

5
Click "OK"

6
Tick "Multiple warehouse fulfilment orders" ensure your Issuing warehouse is 10600. If you wanted to run an allocation for WEB orders in 00999 you would instead change this to 00999

7
Click "OK"
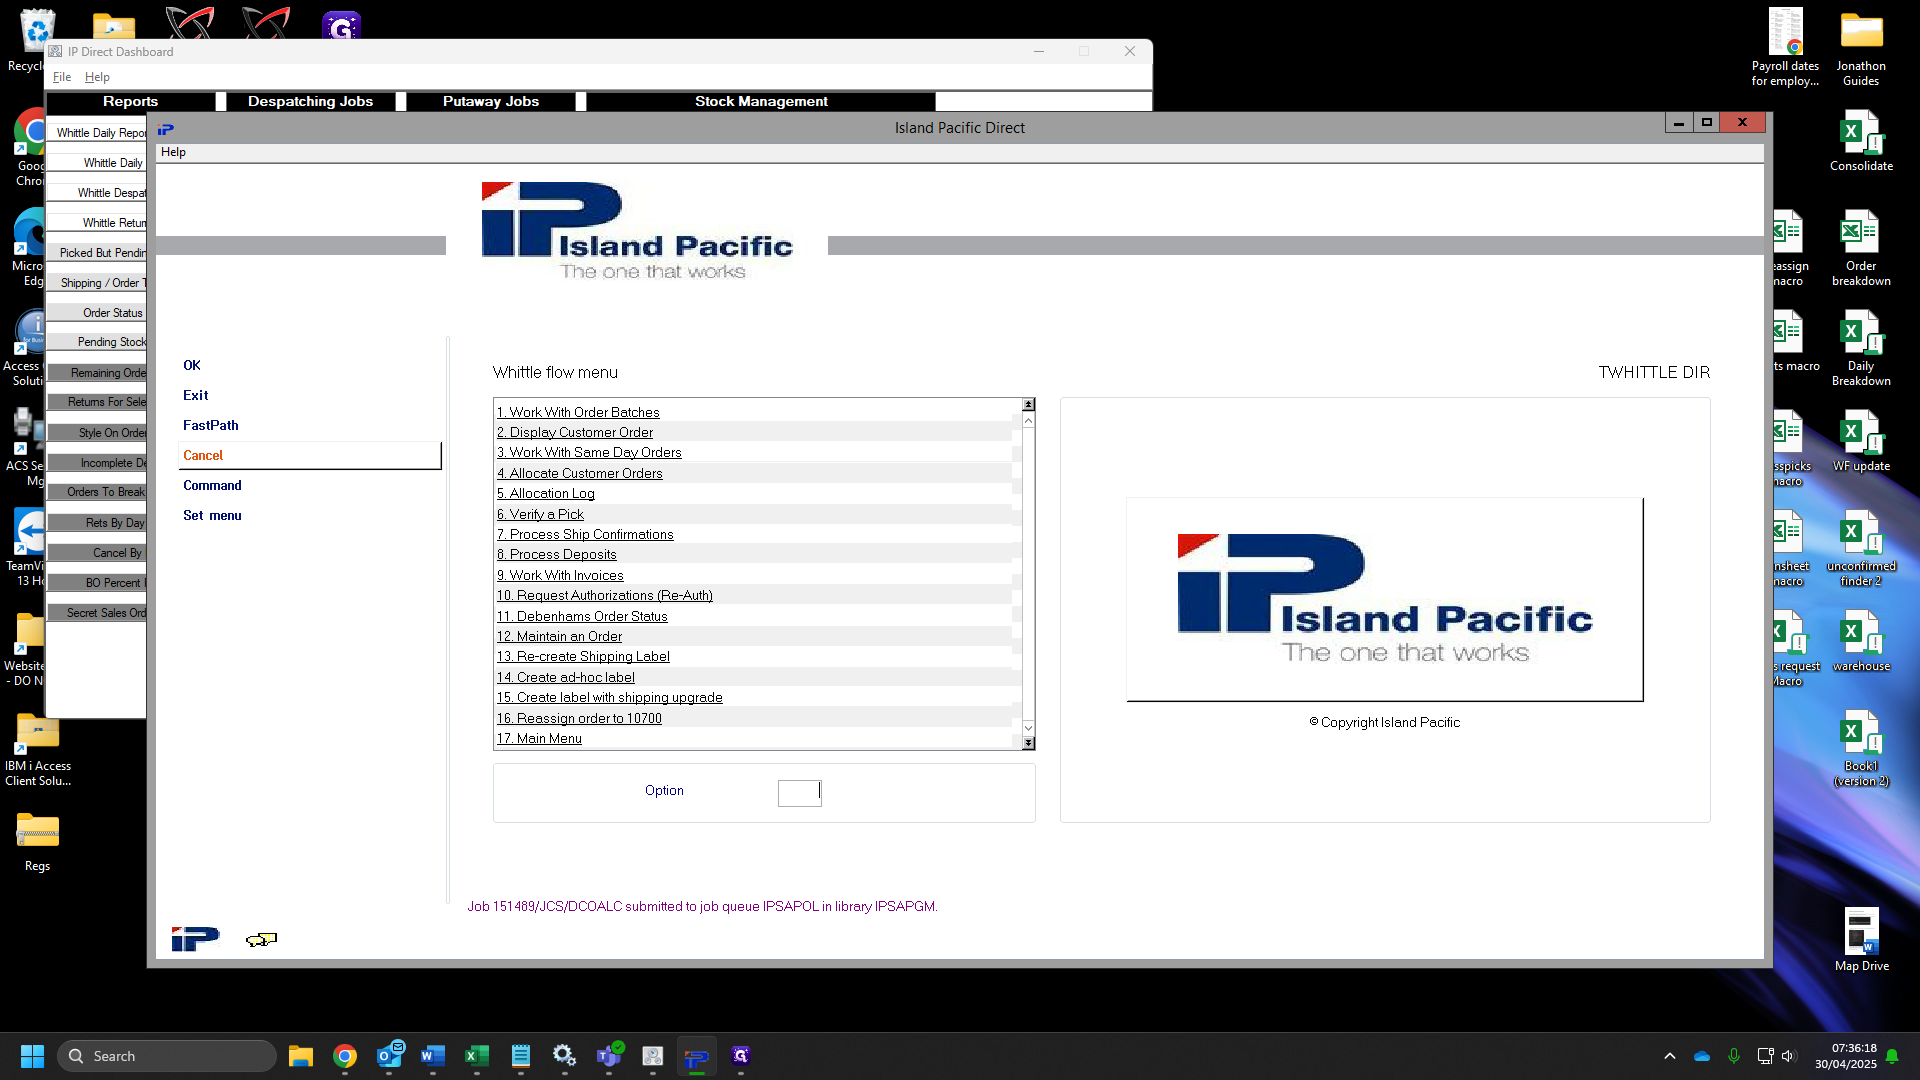
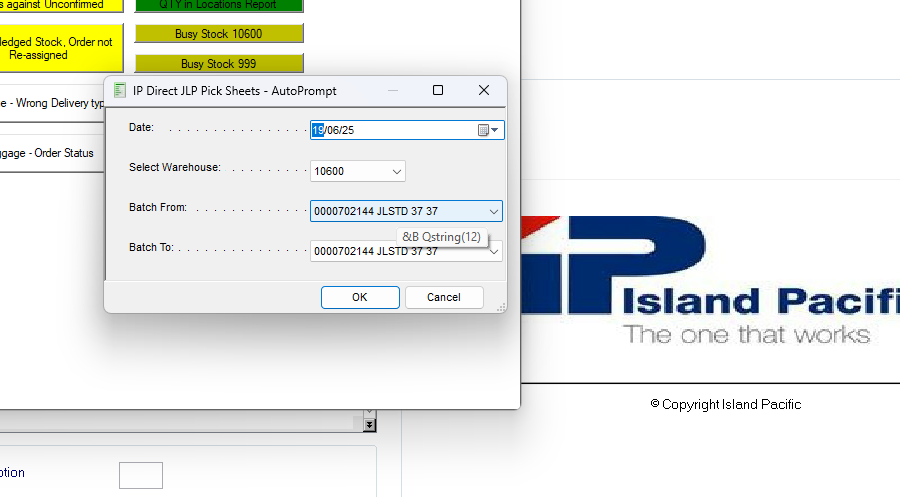
8
Click on "OK" again.

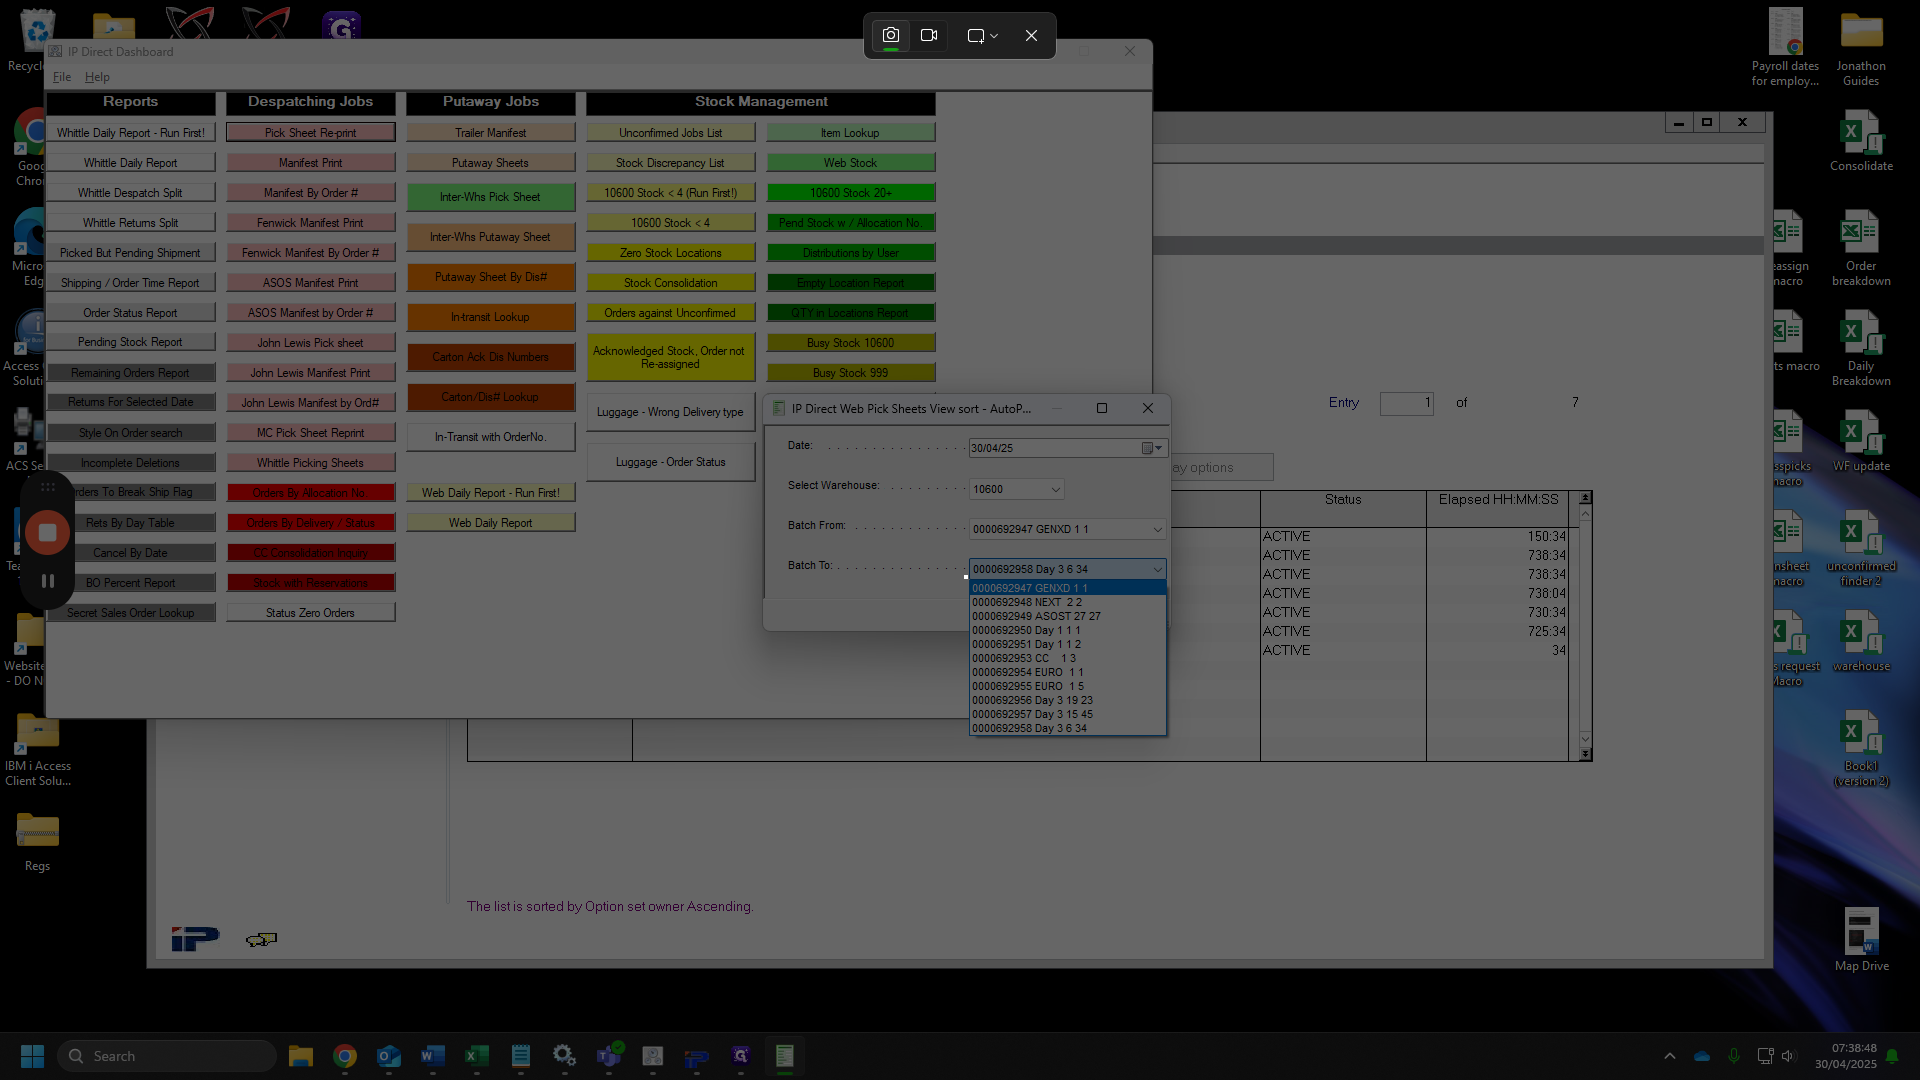
9
Click on "Cancel"
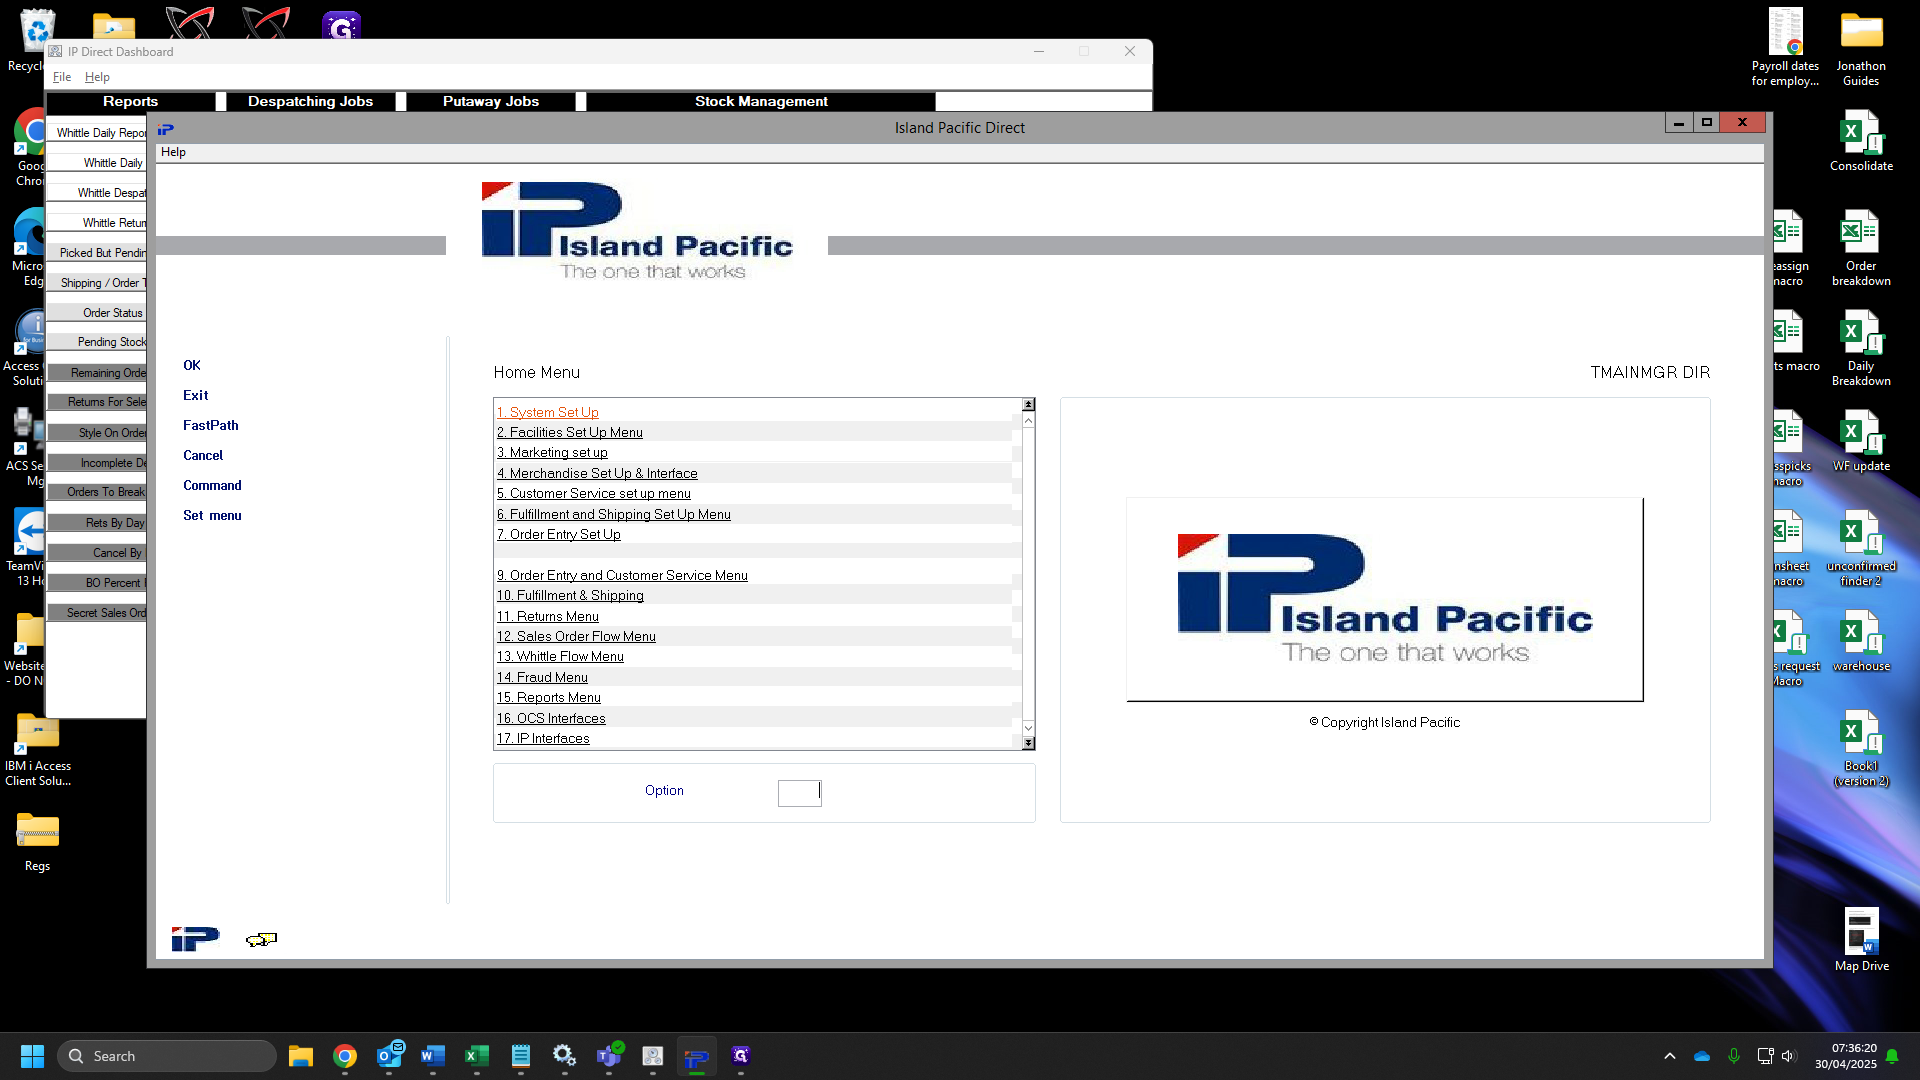
10
Click on "1. System Set Up"
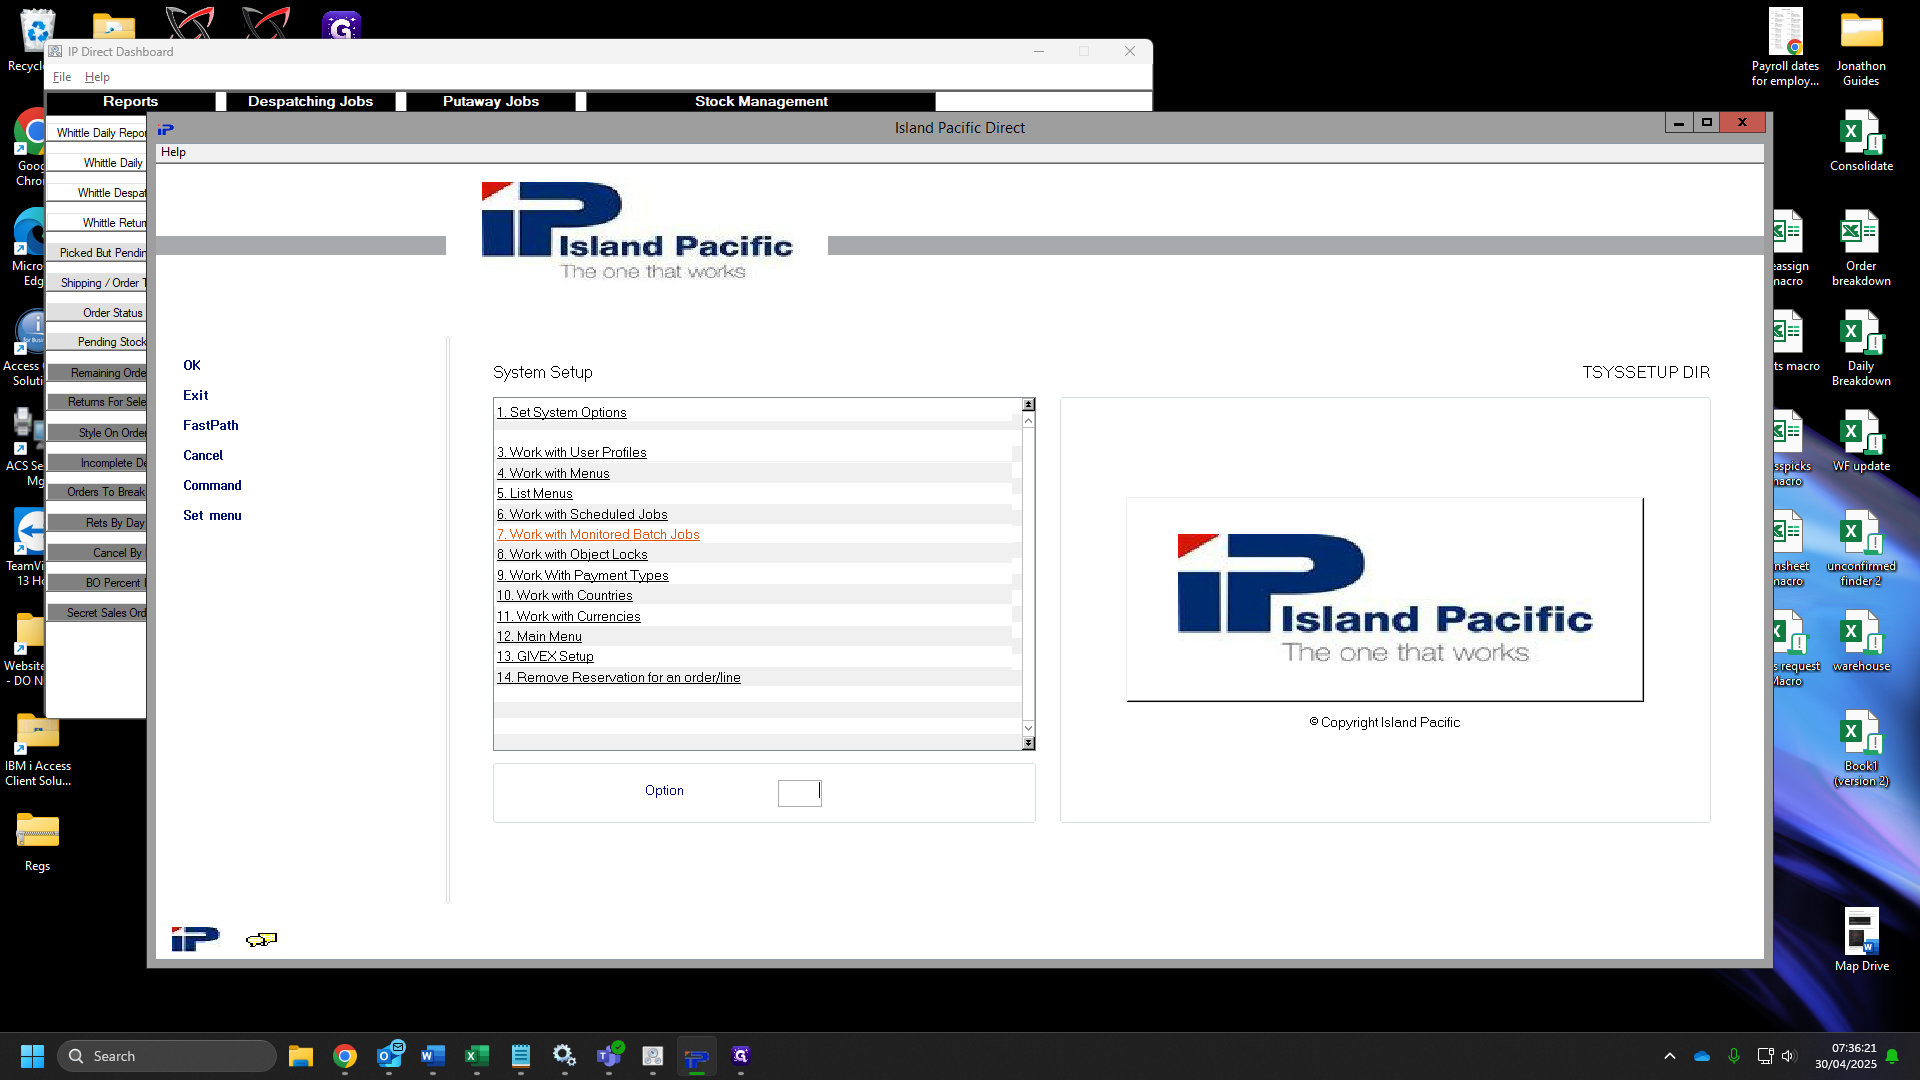
11
Click on 7. "Work with monitored batch jobs"
12
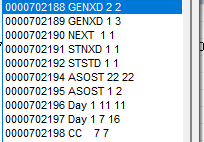
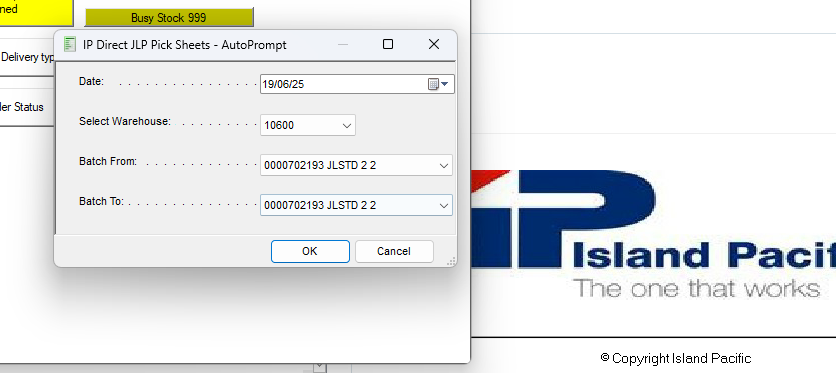
Find your username.

13
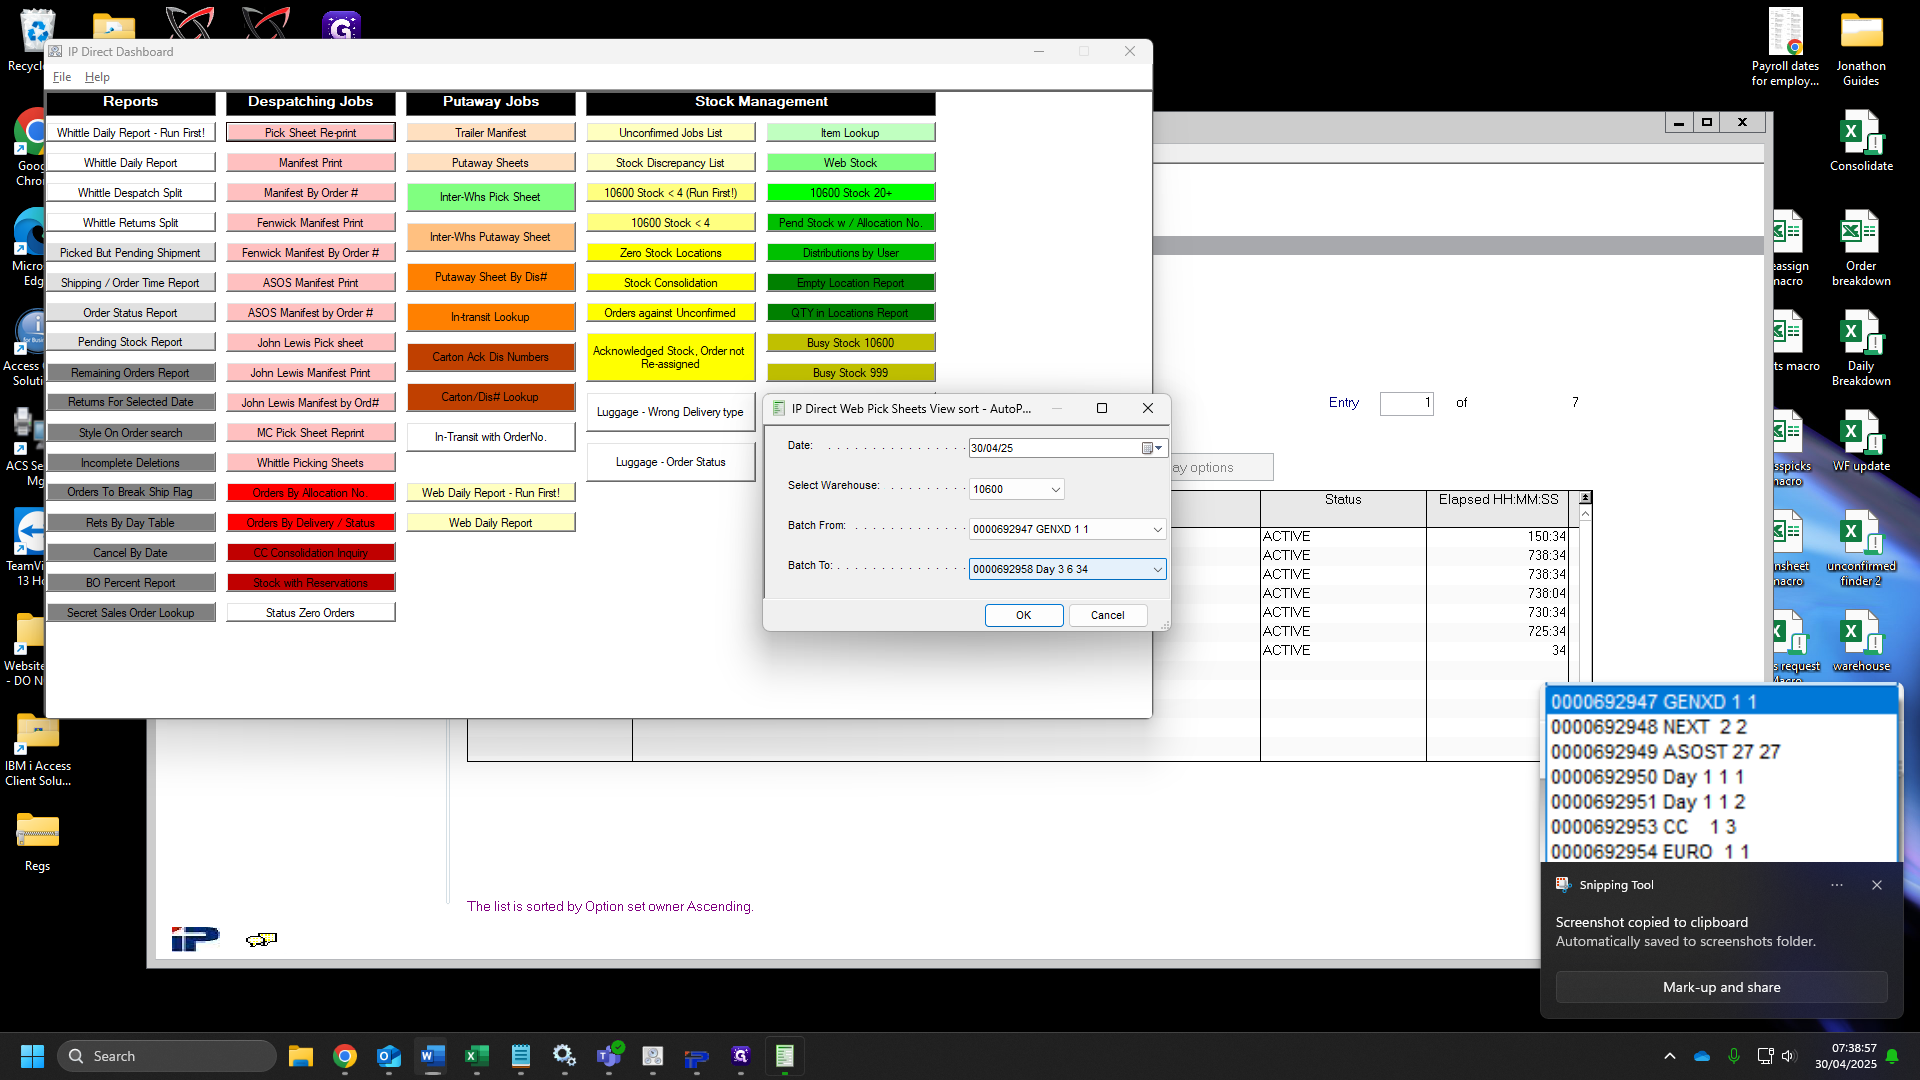
Click Refresh to find when your job has finished.
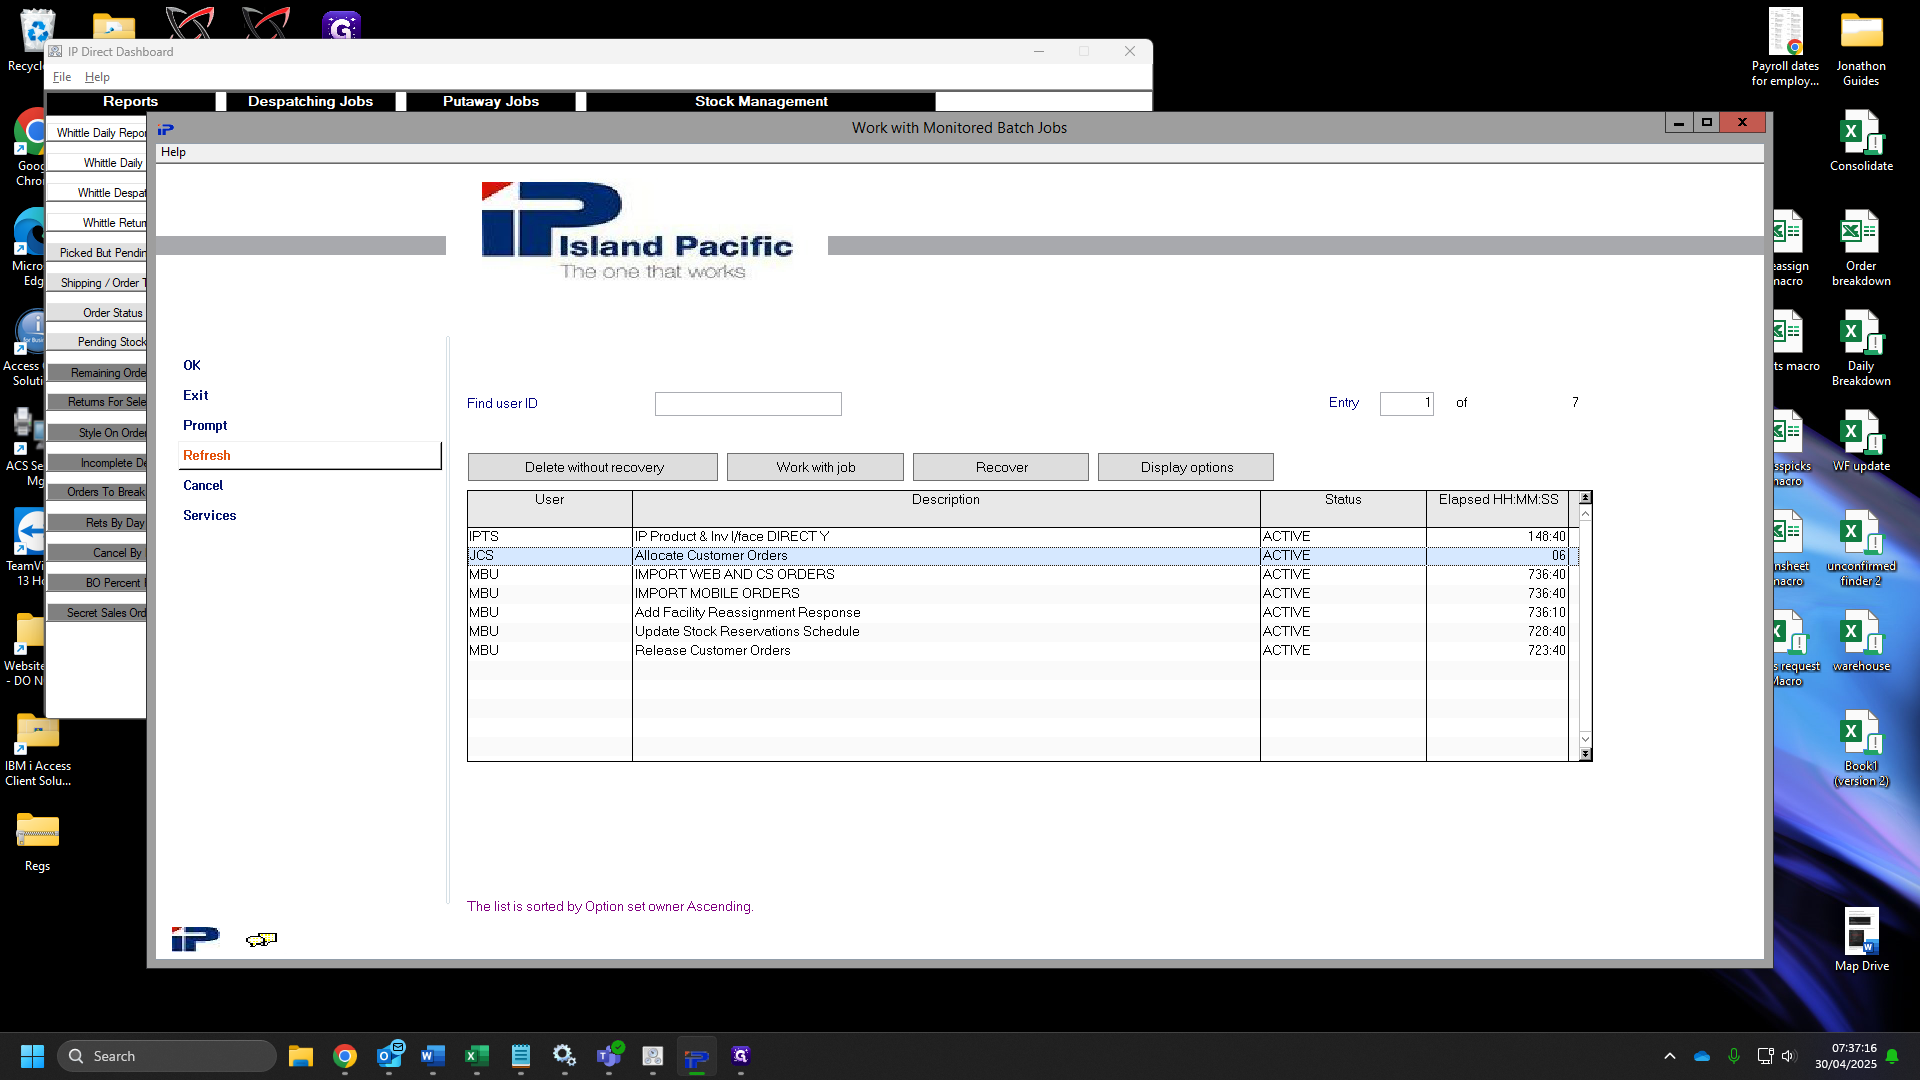
14
Once the job has finished, your user will be gone.

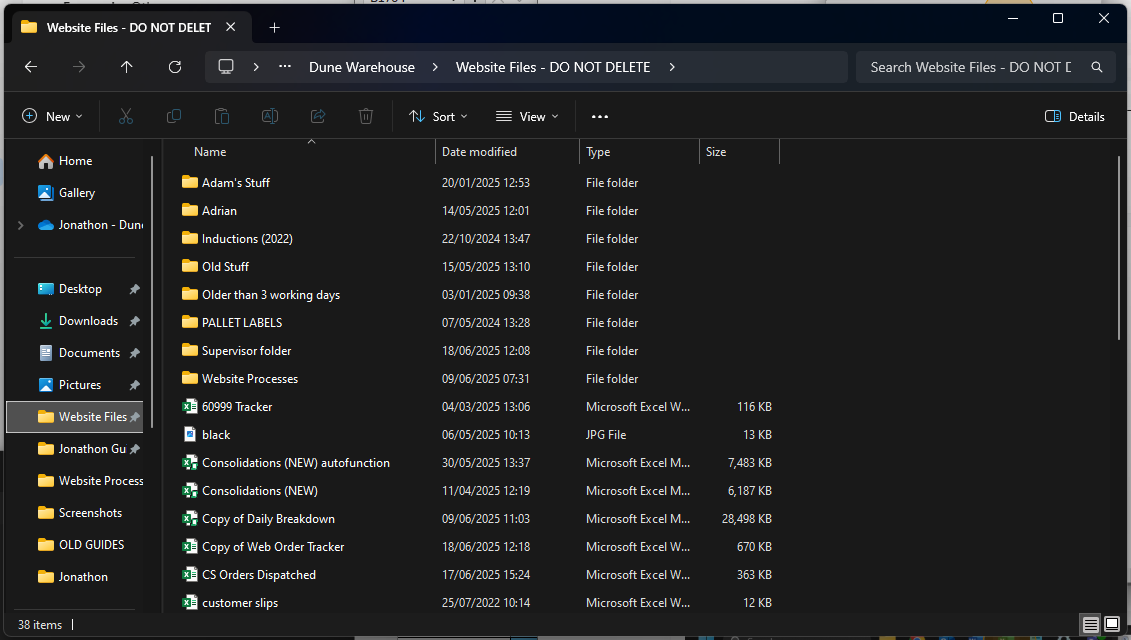
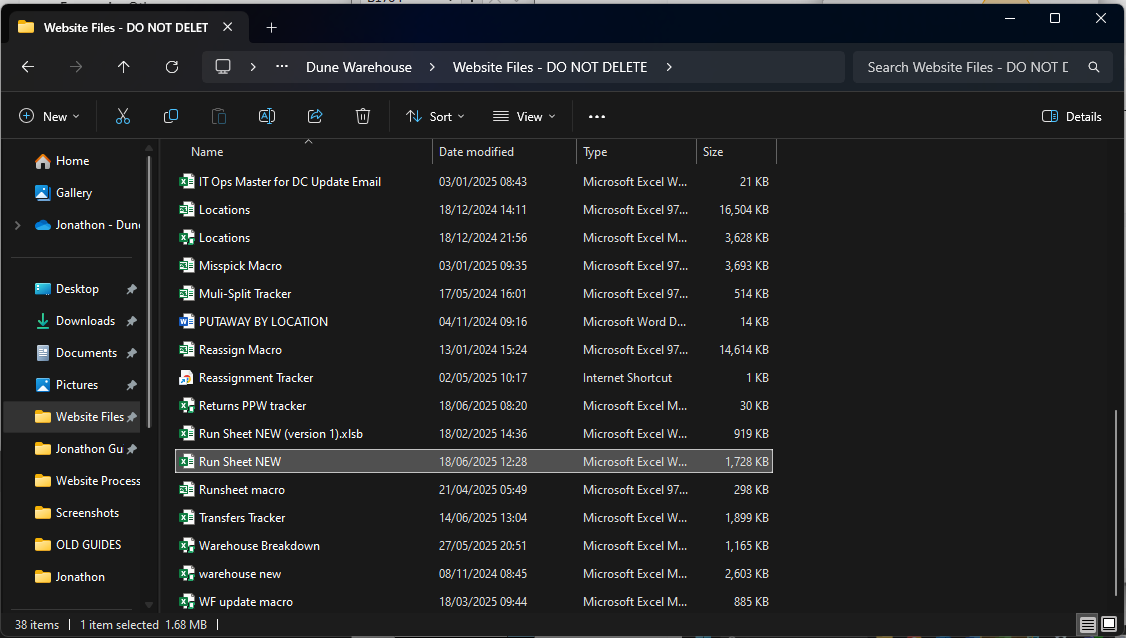
15
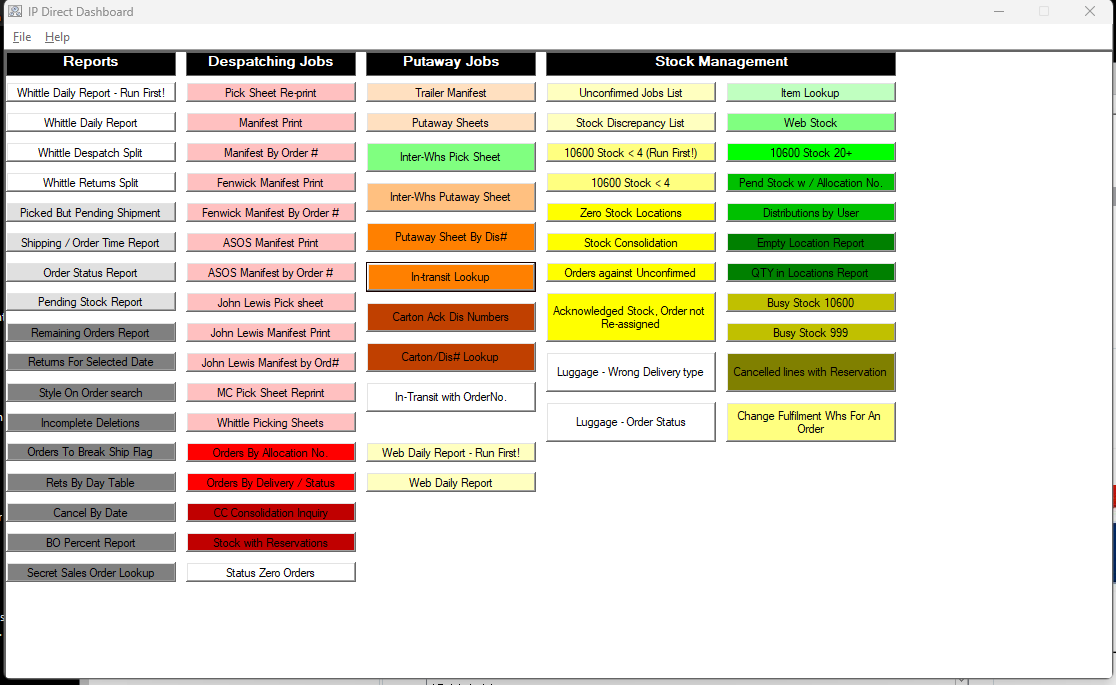
Open IP Direct Dashboard.

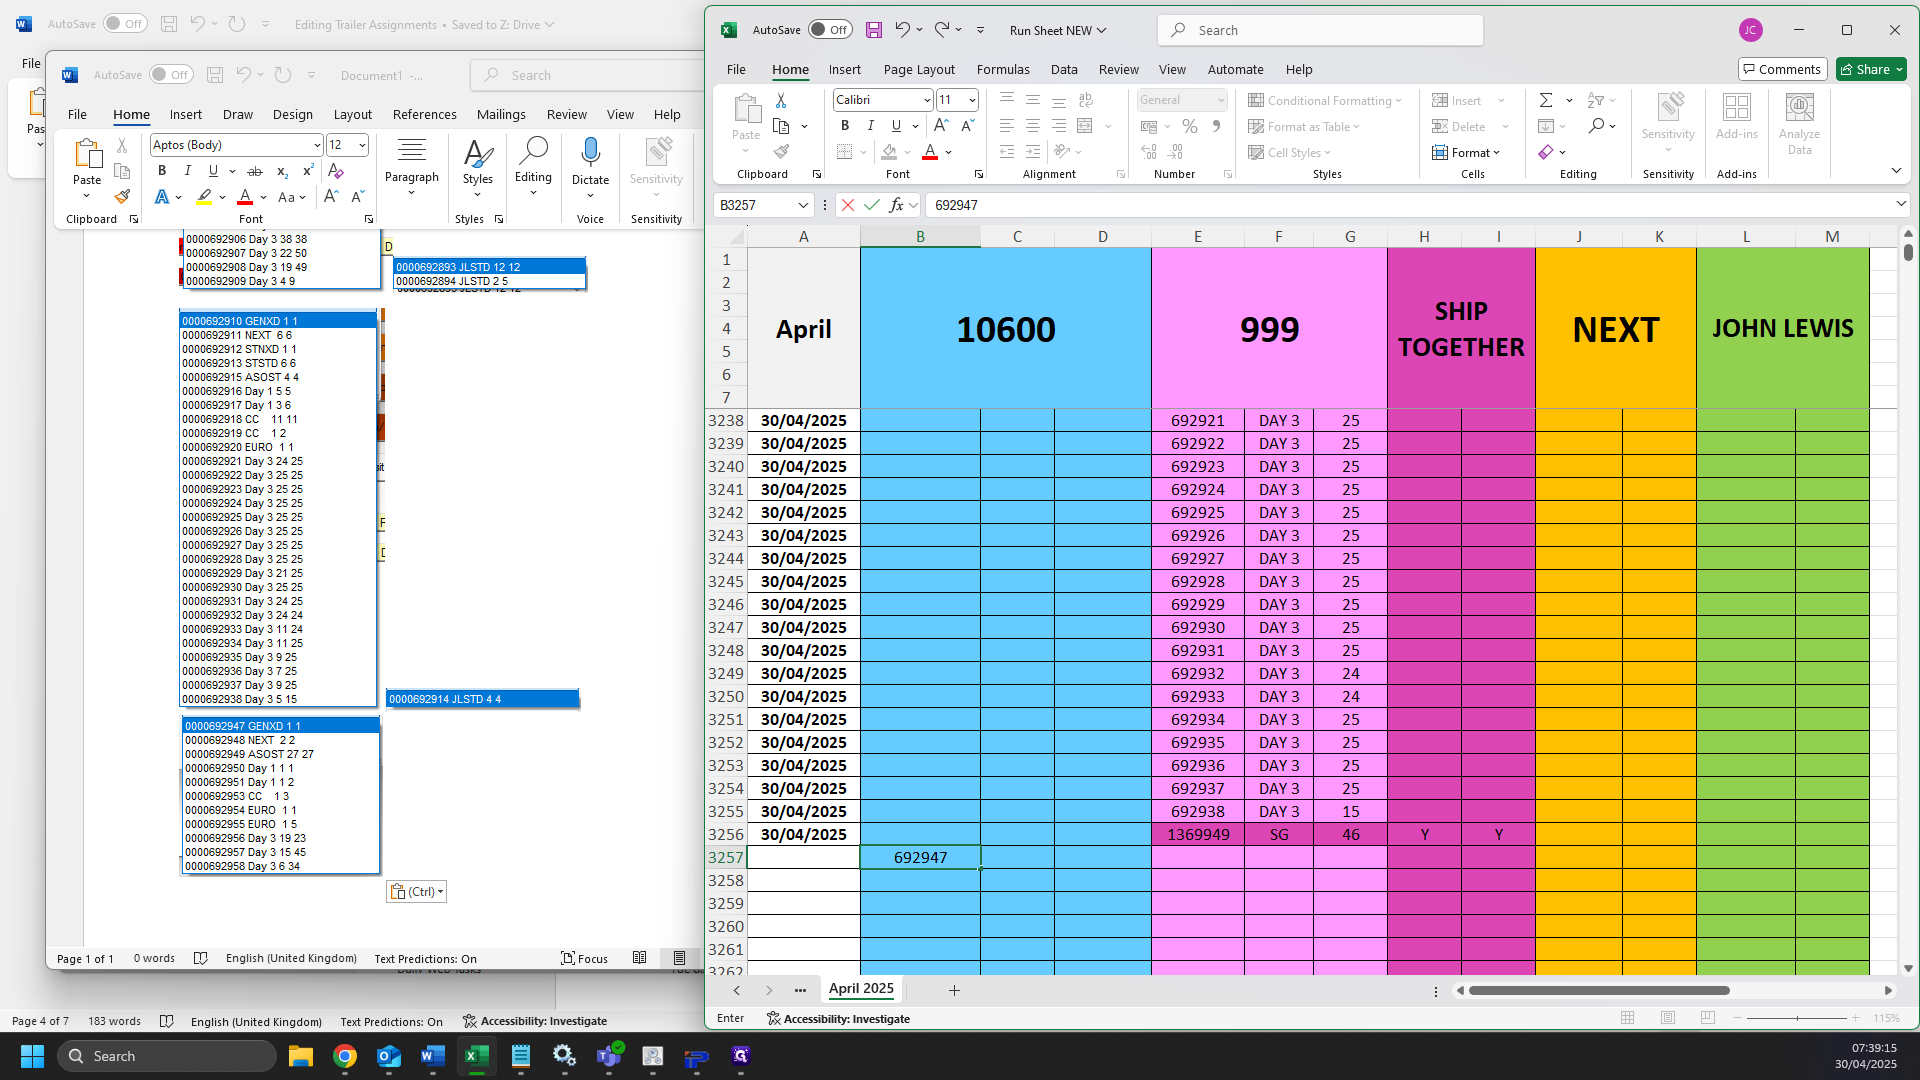
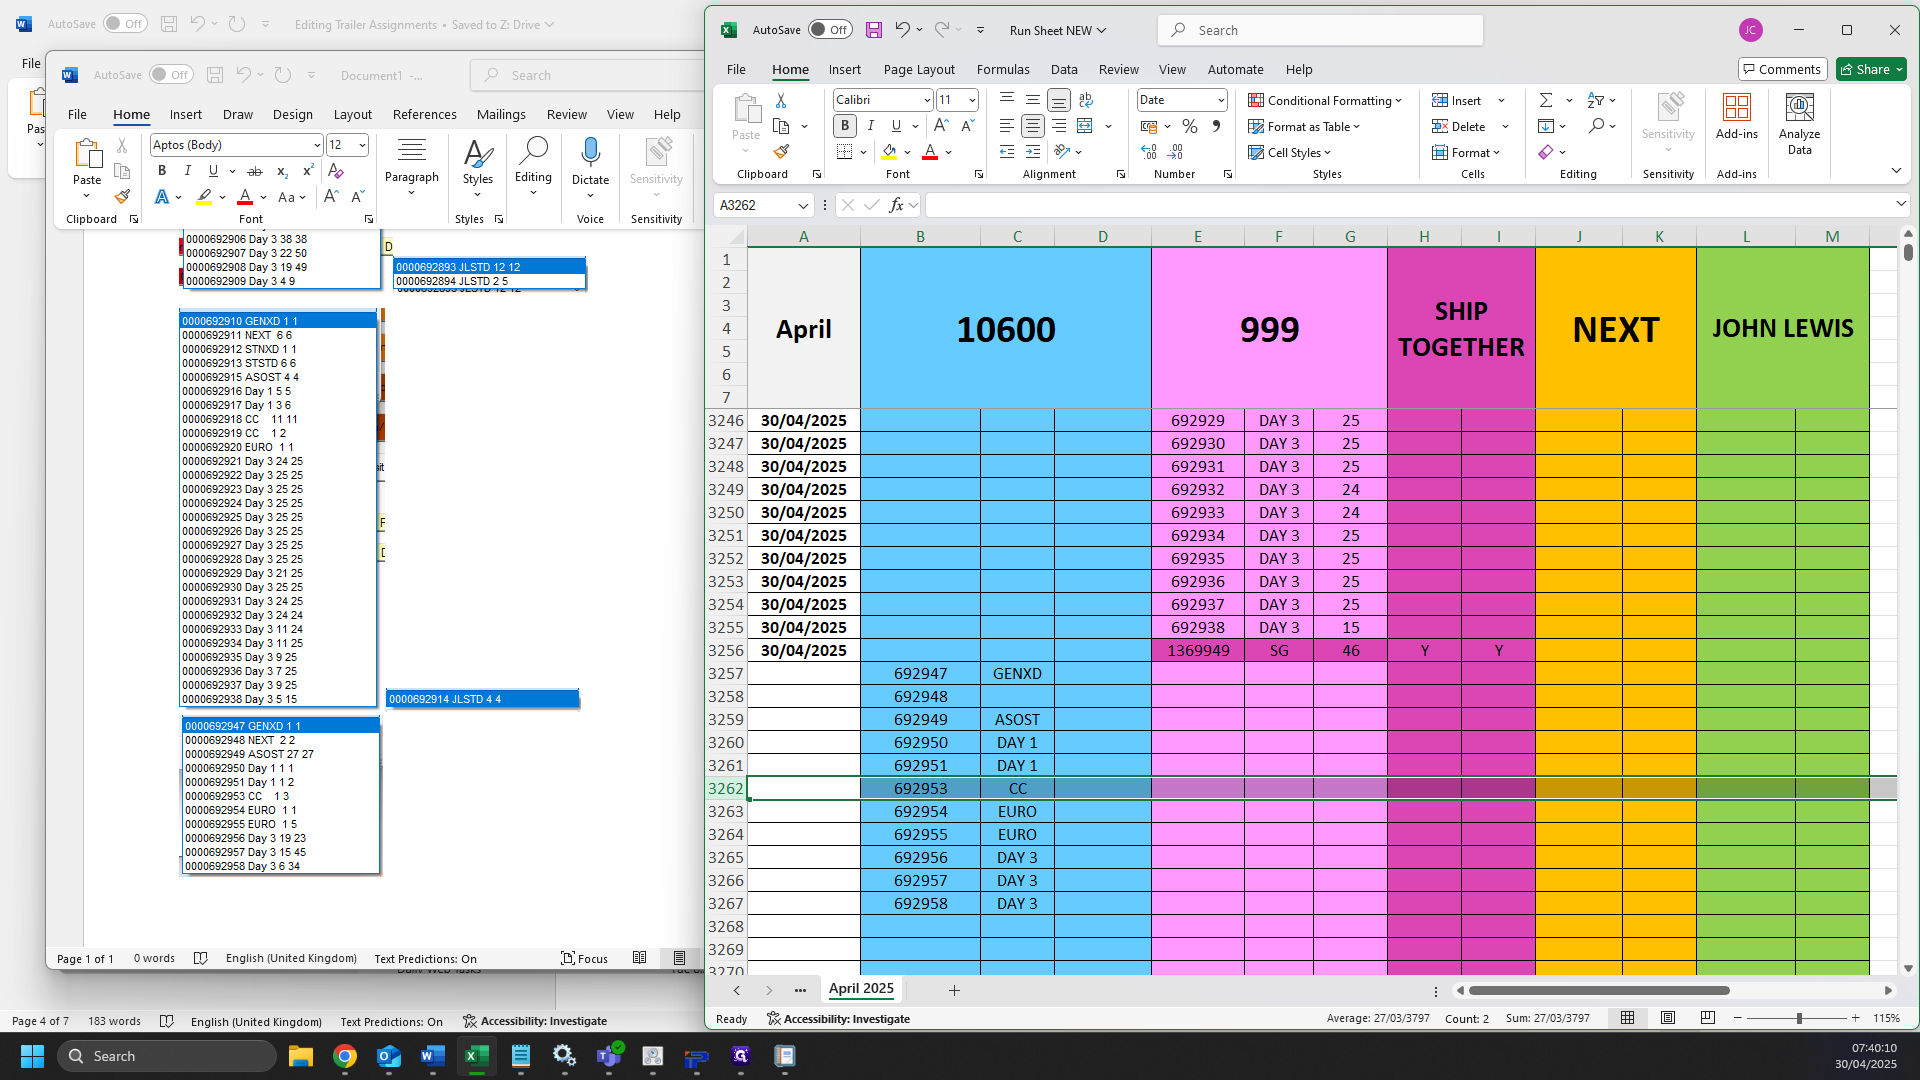
16
Click on "Pick sheet reprint"
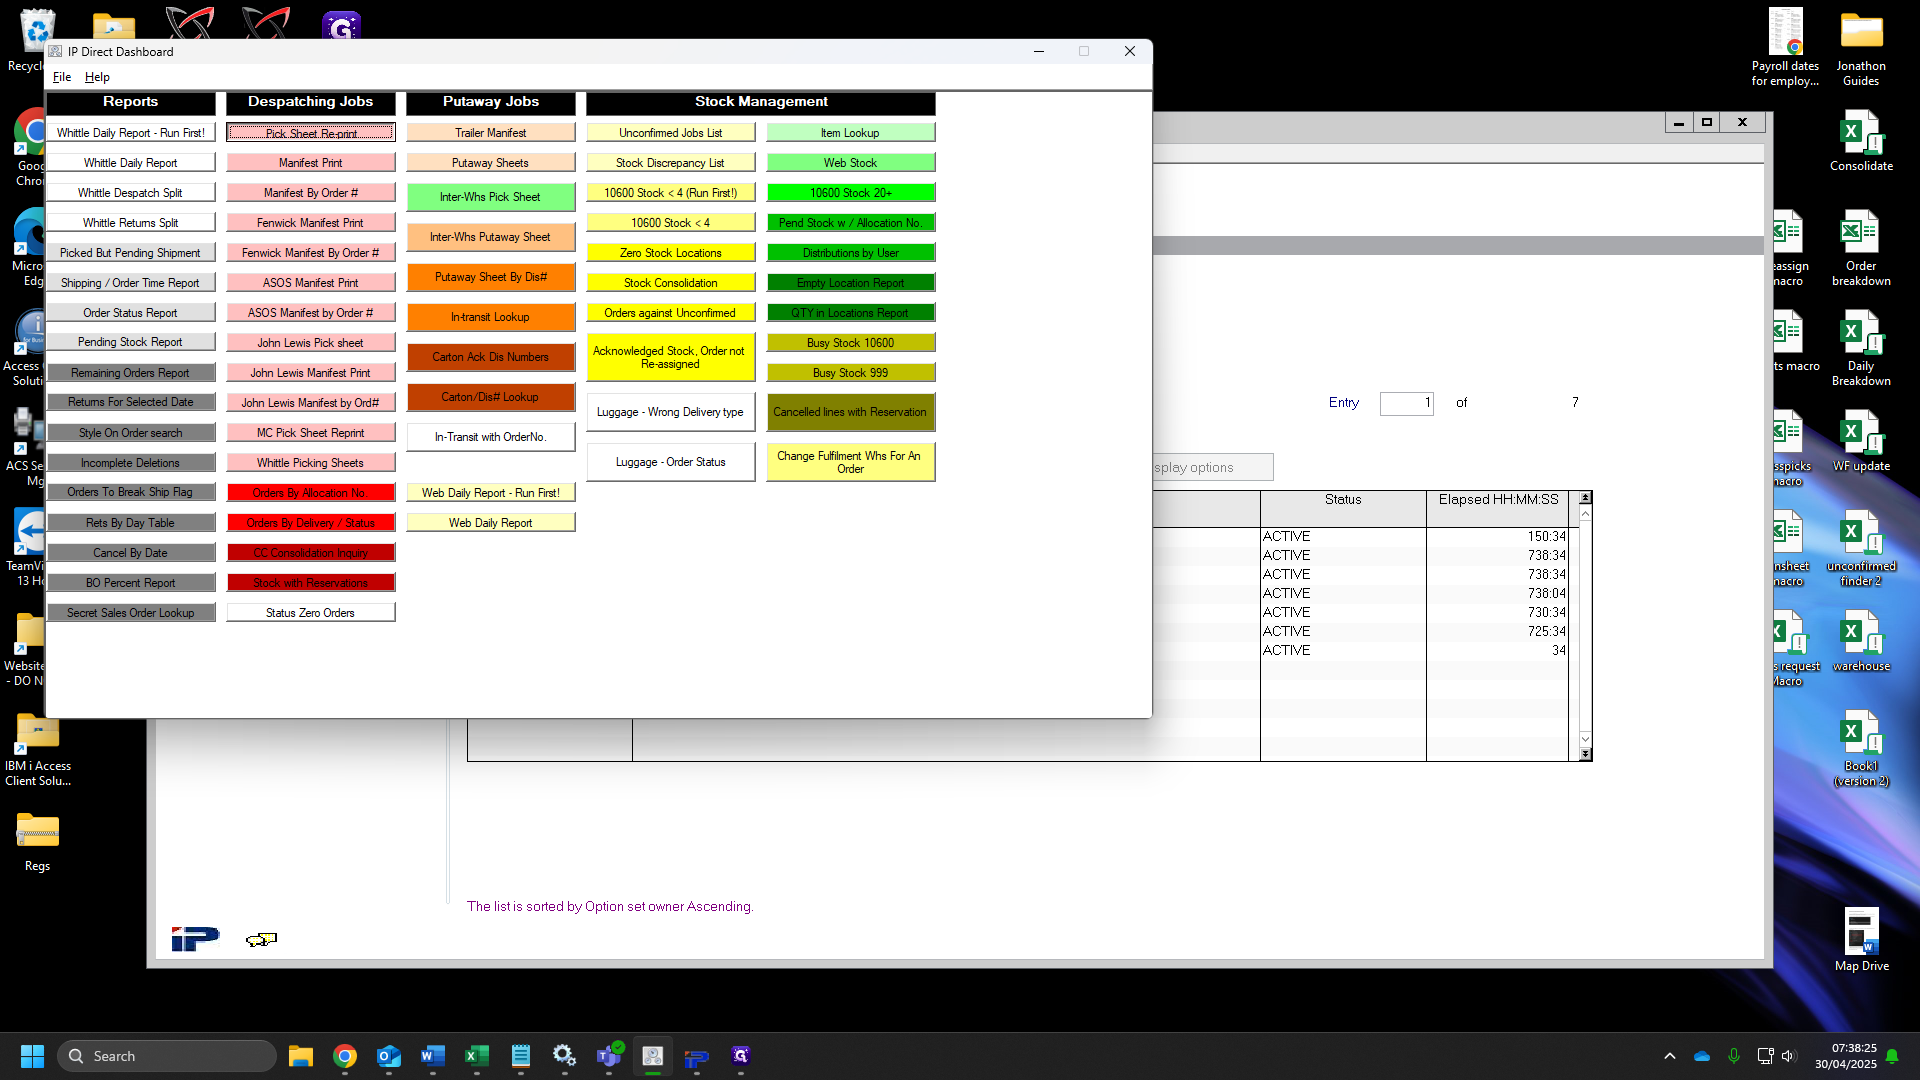
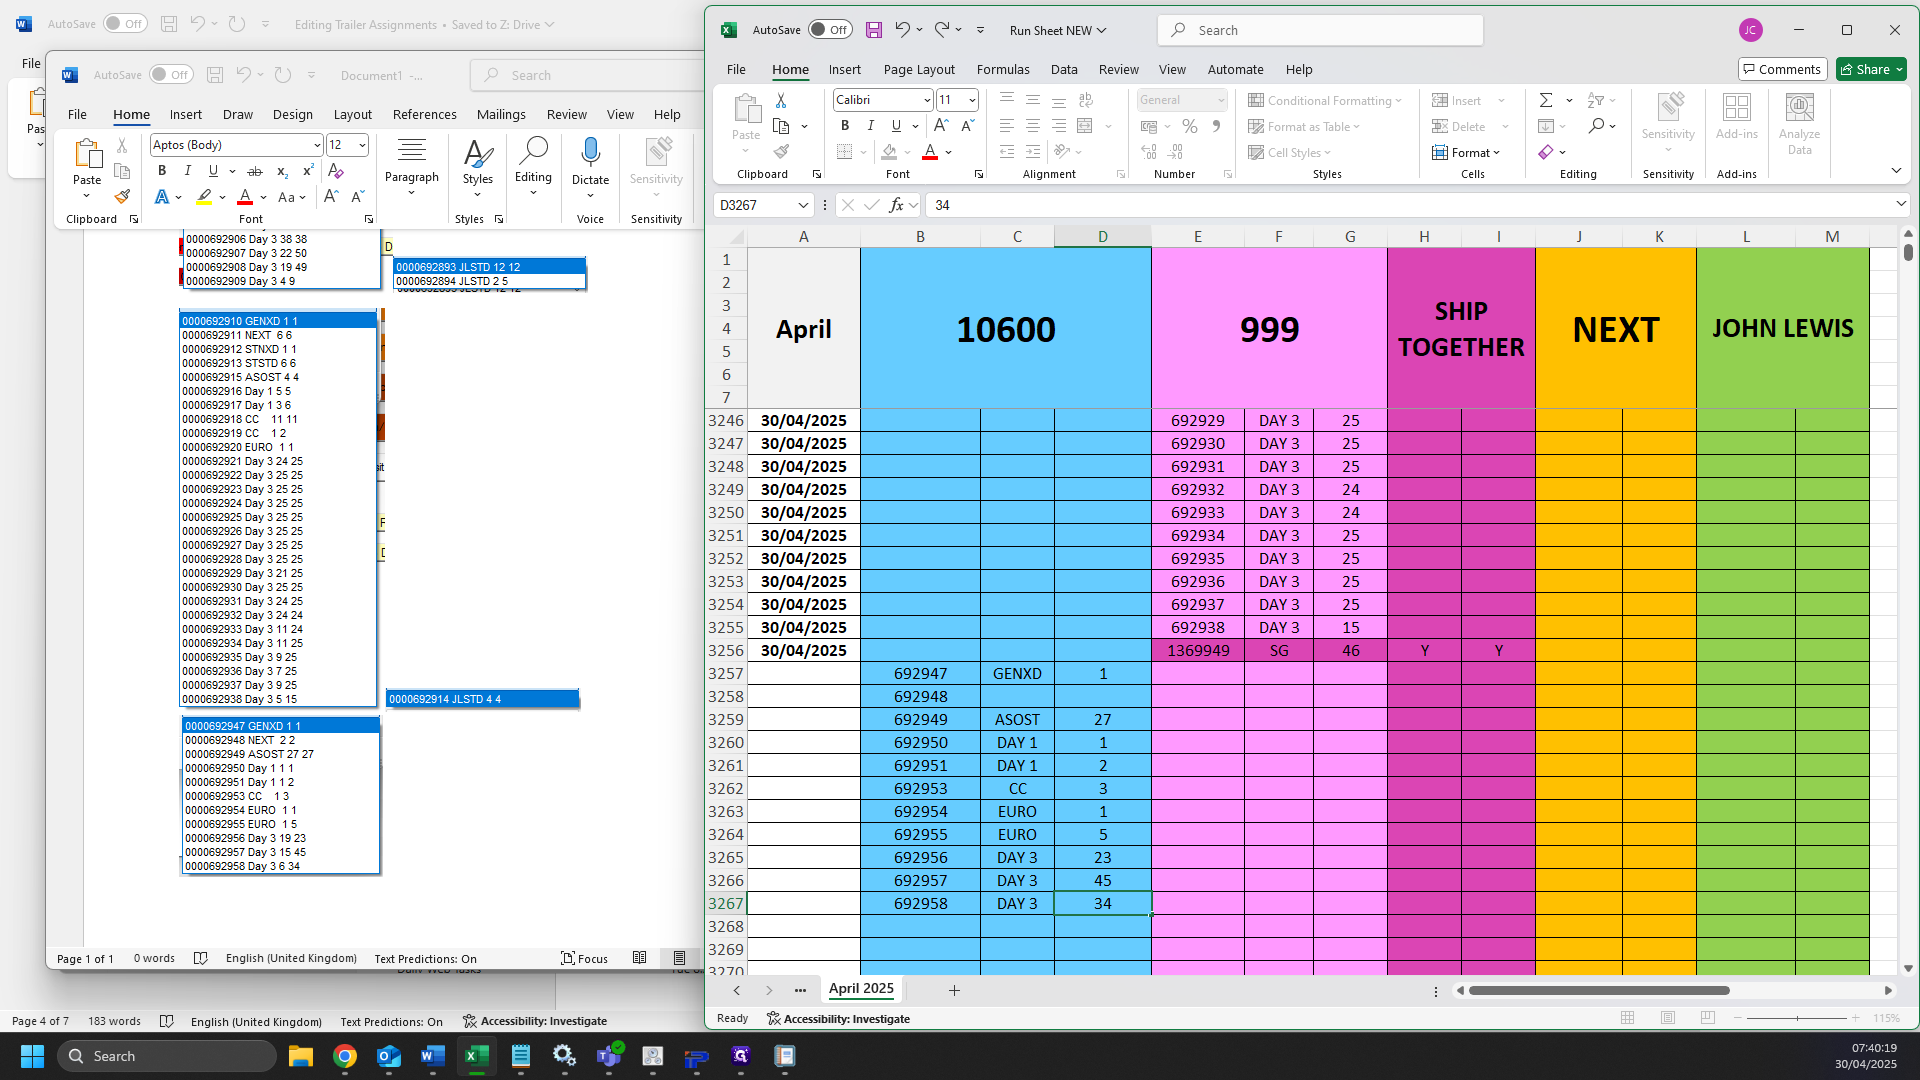
17
Click on "Select warehouse box"
18
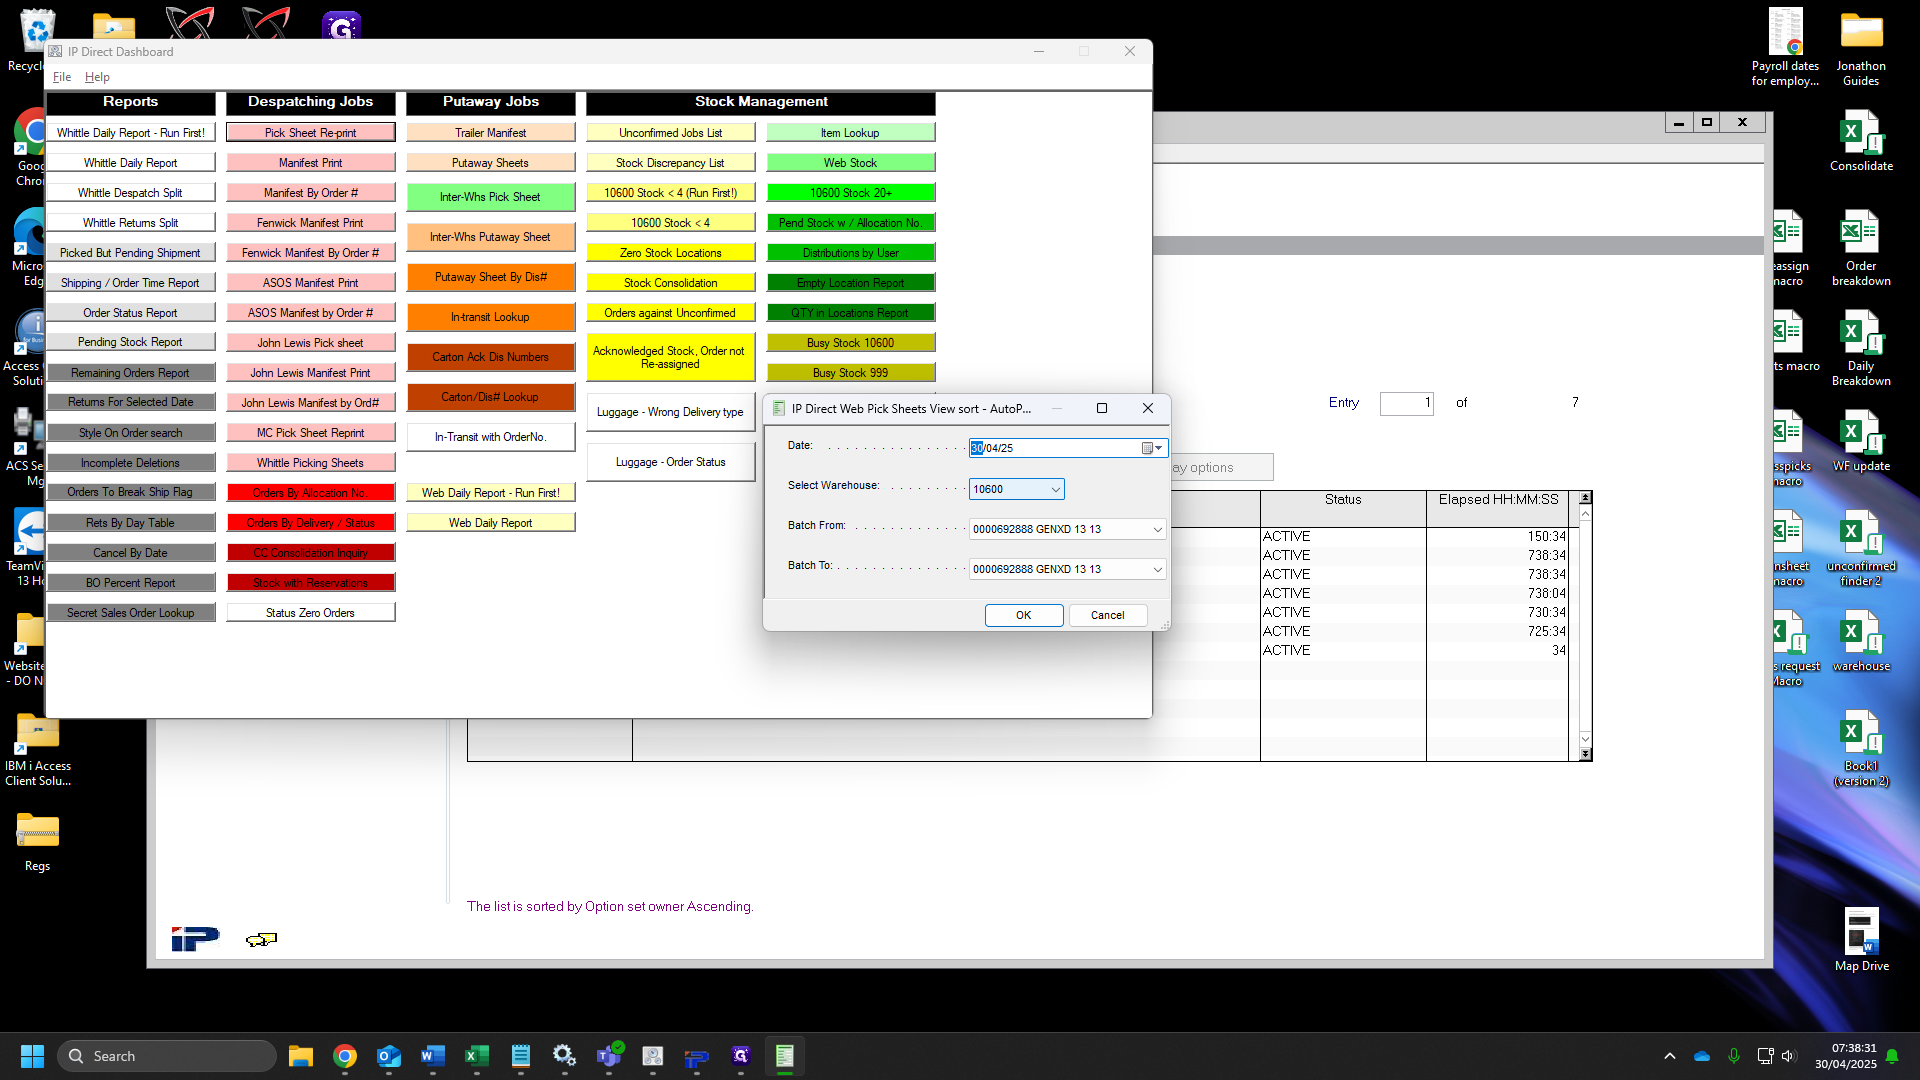
Click on "10600" This can change depending on which warehouse you have ran the allocation for

19
Click on "Batch from"

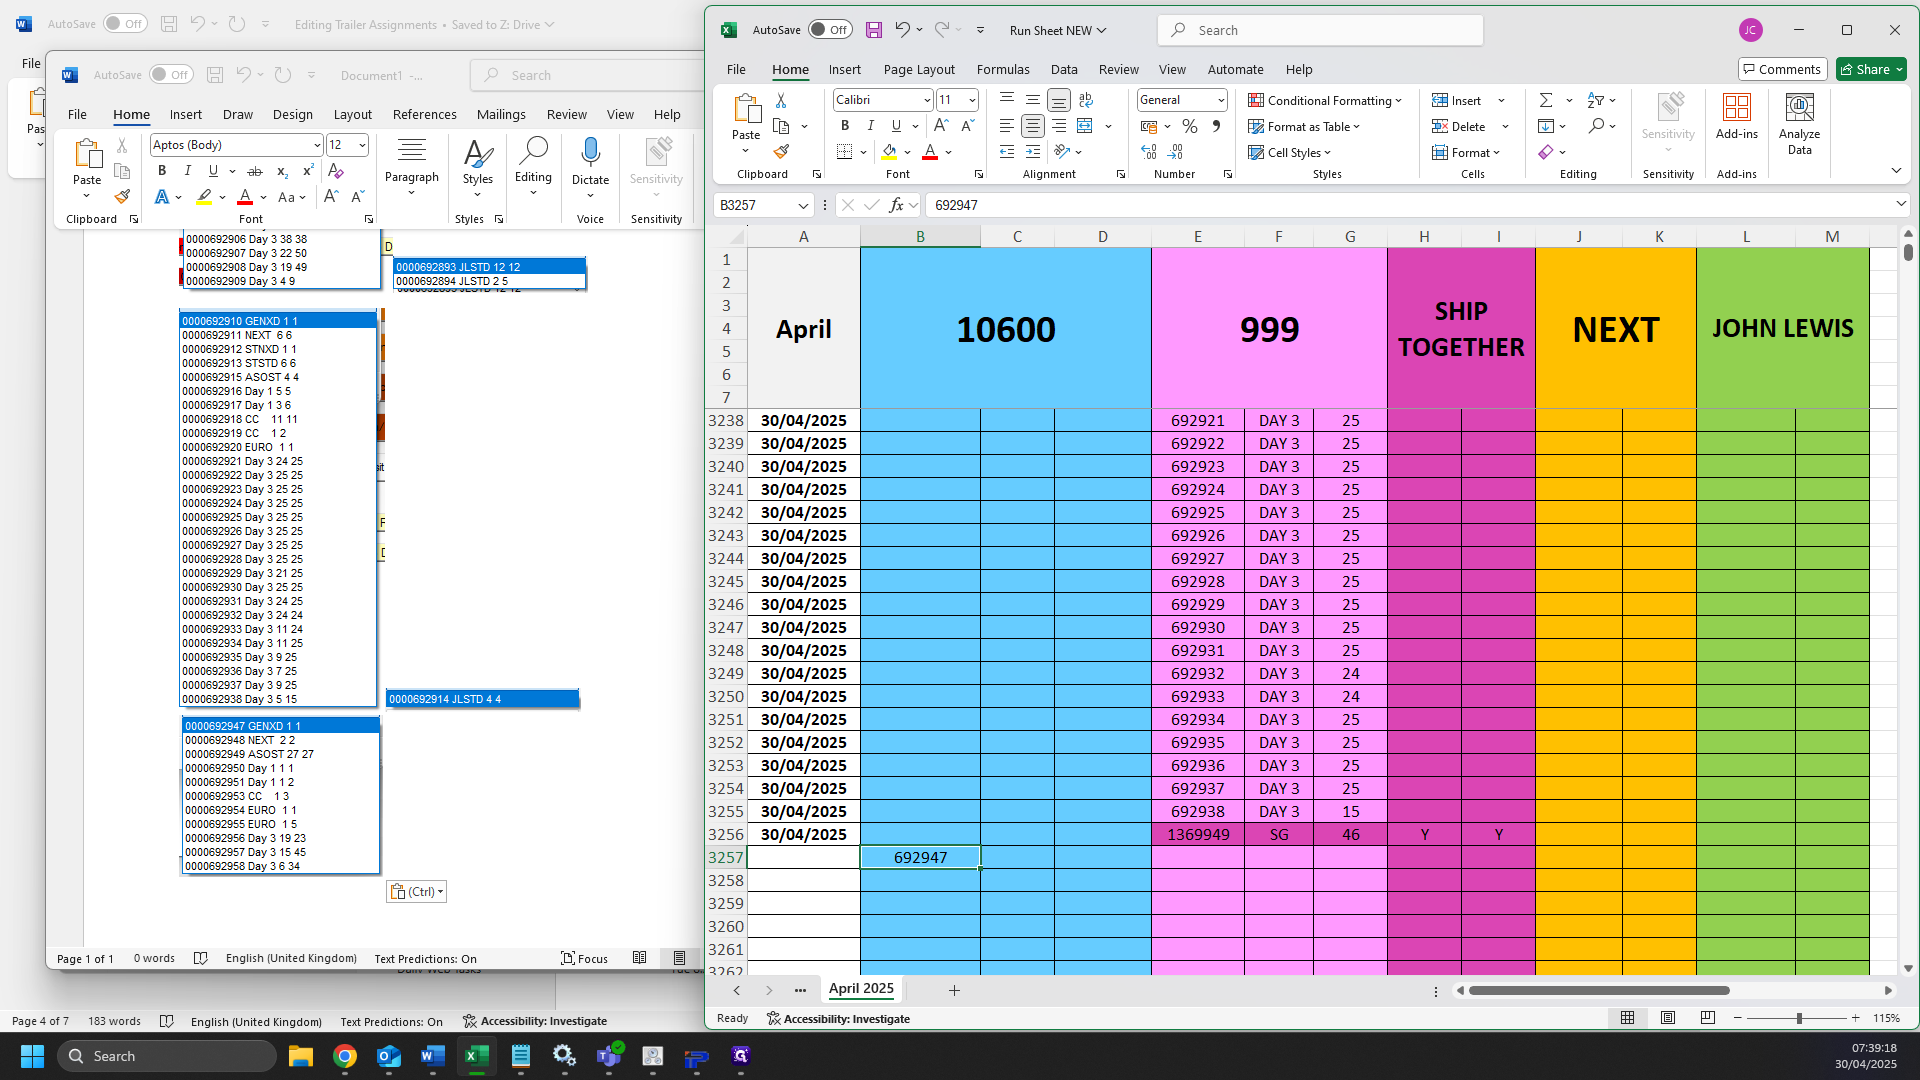
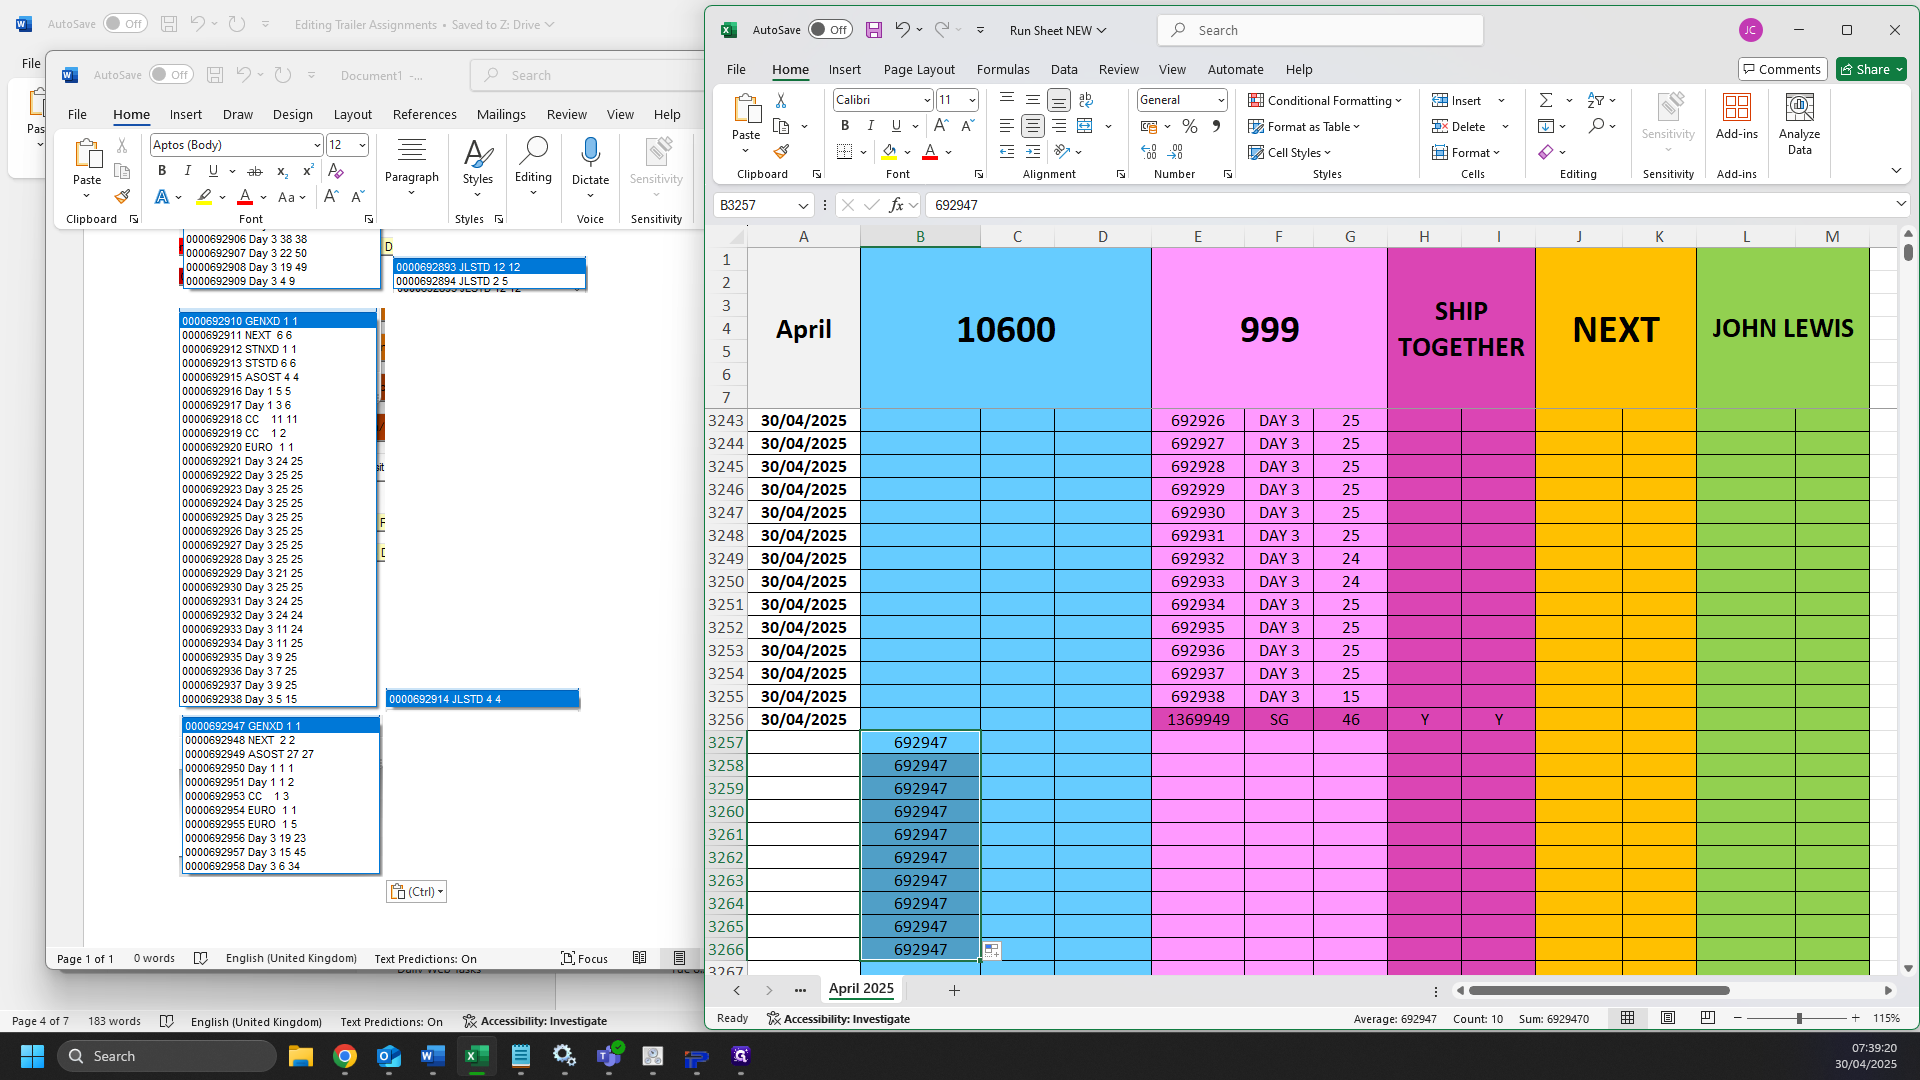
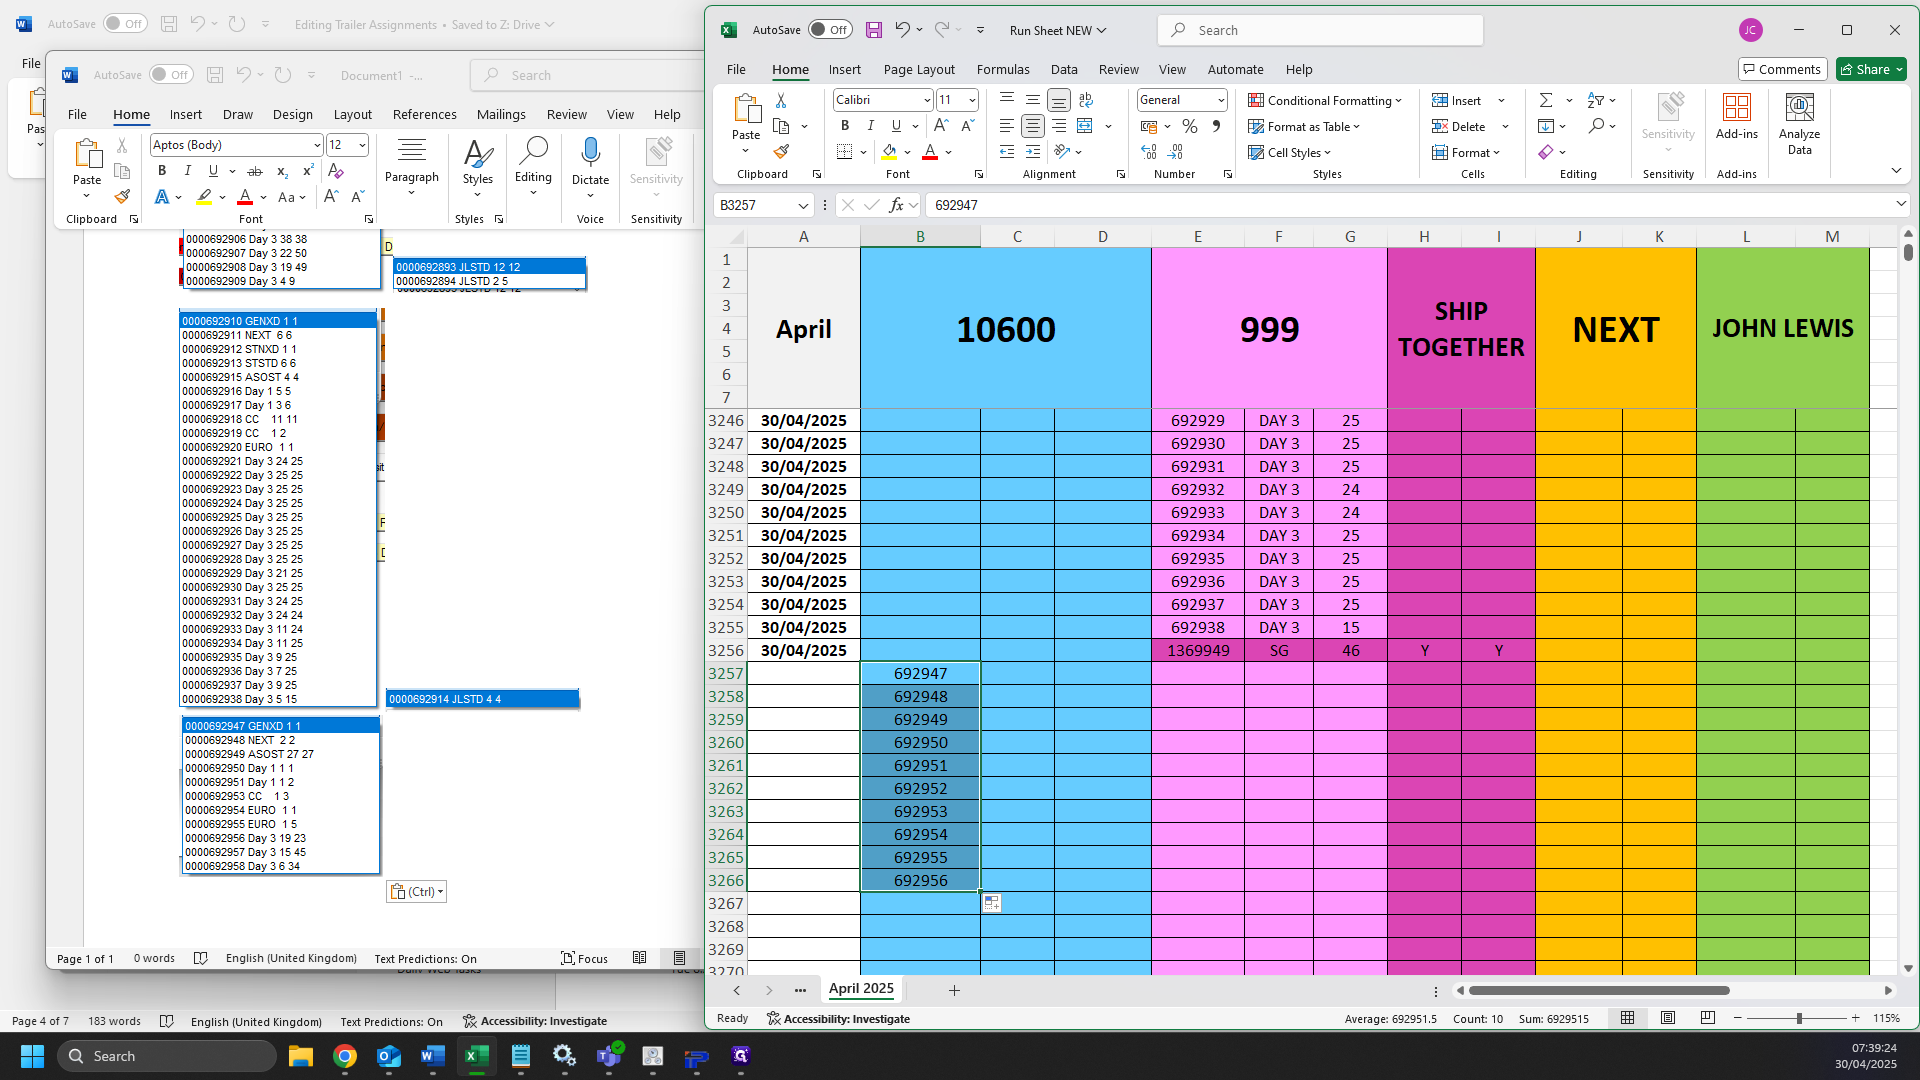
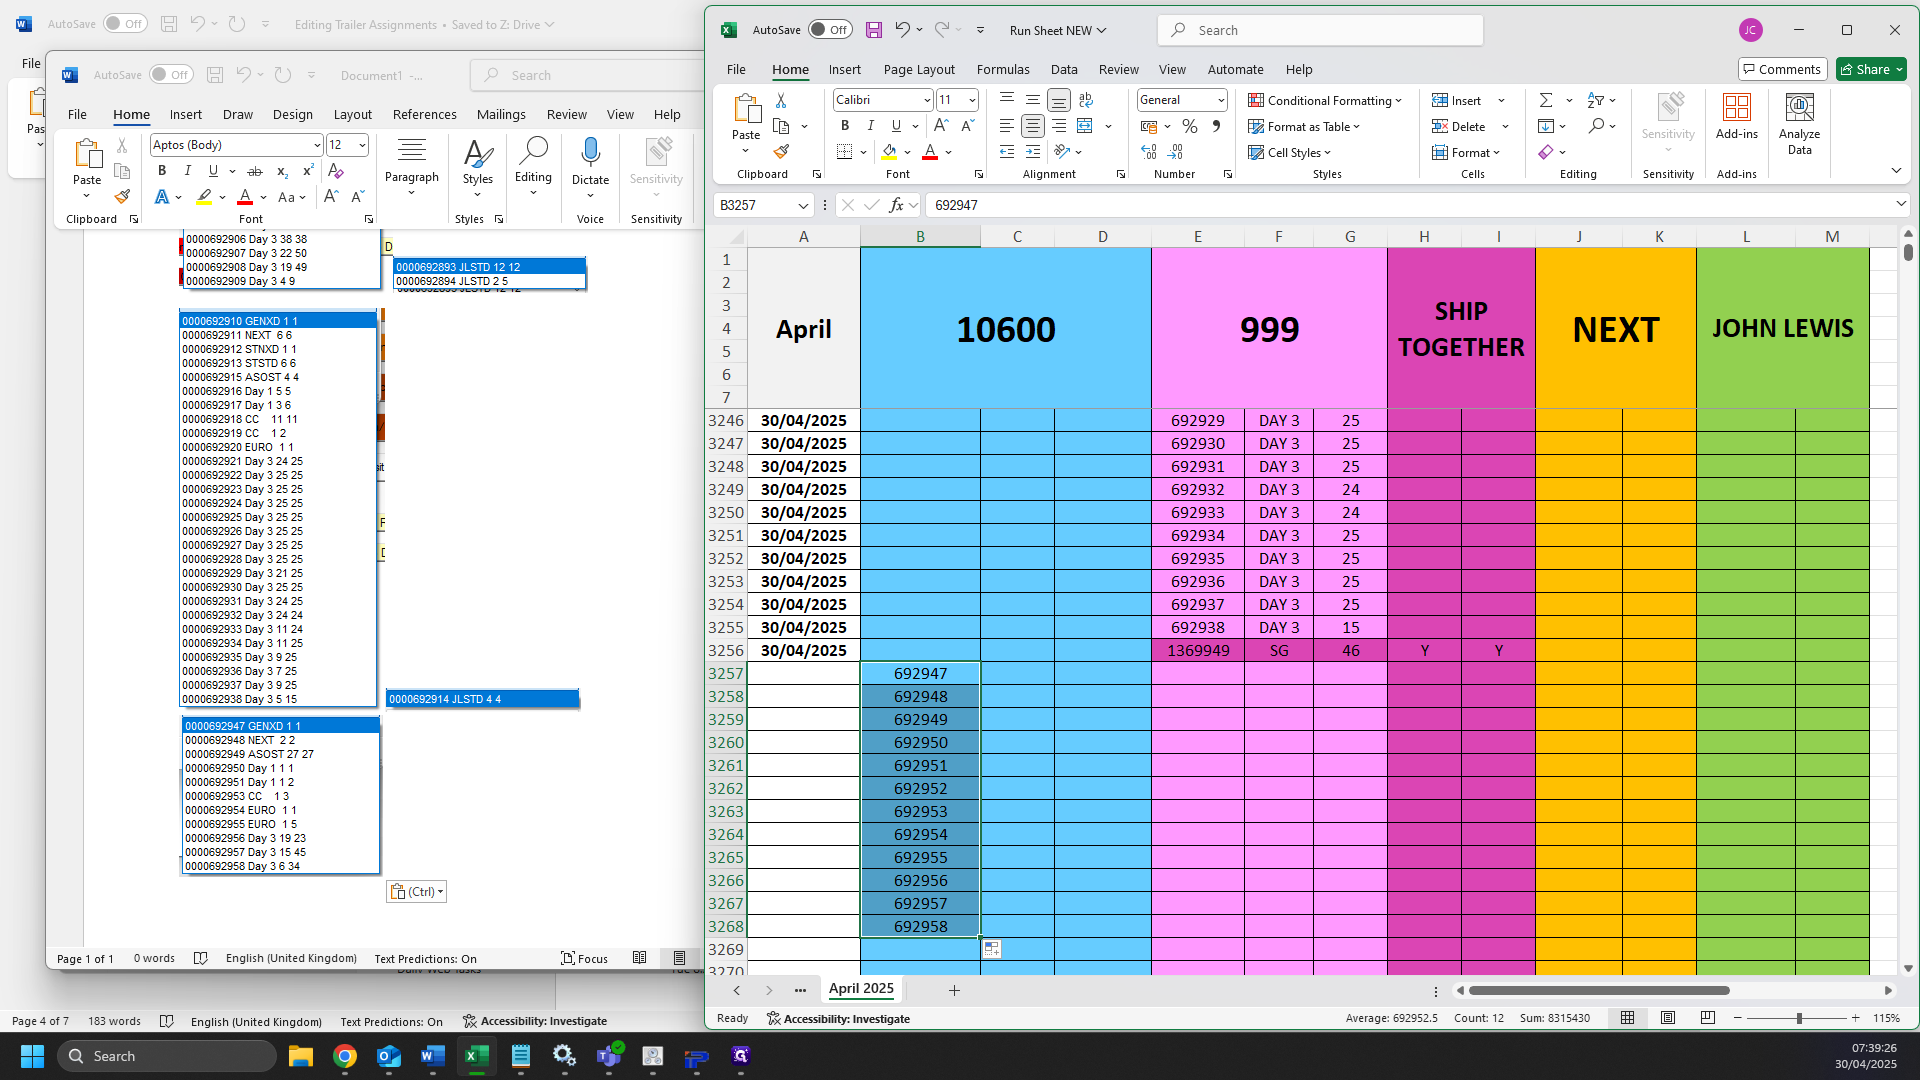
20
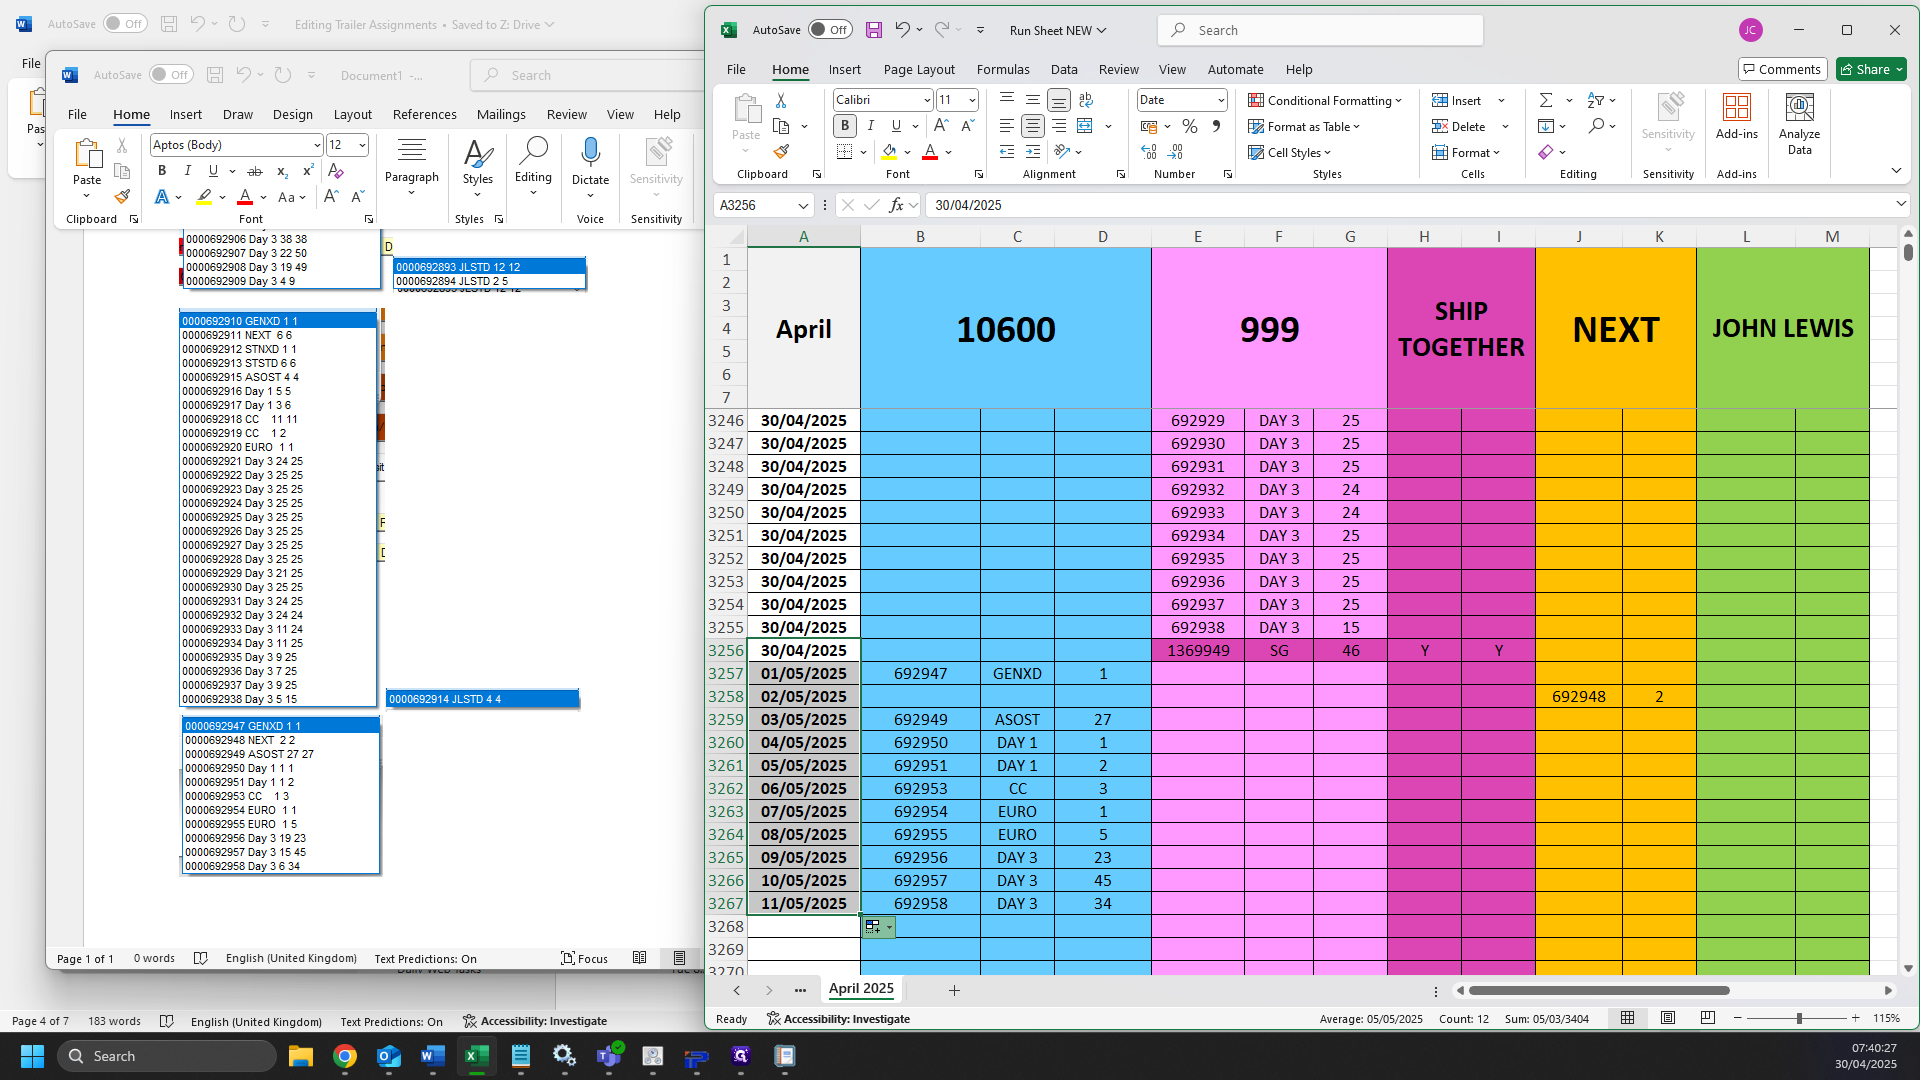
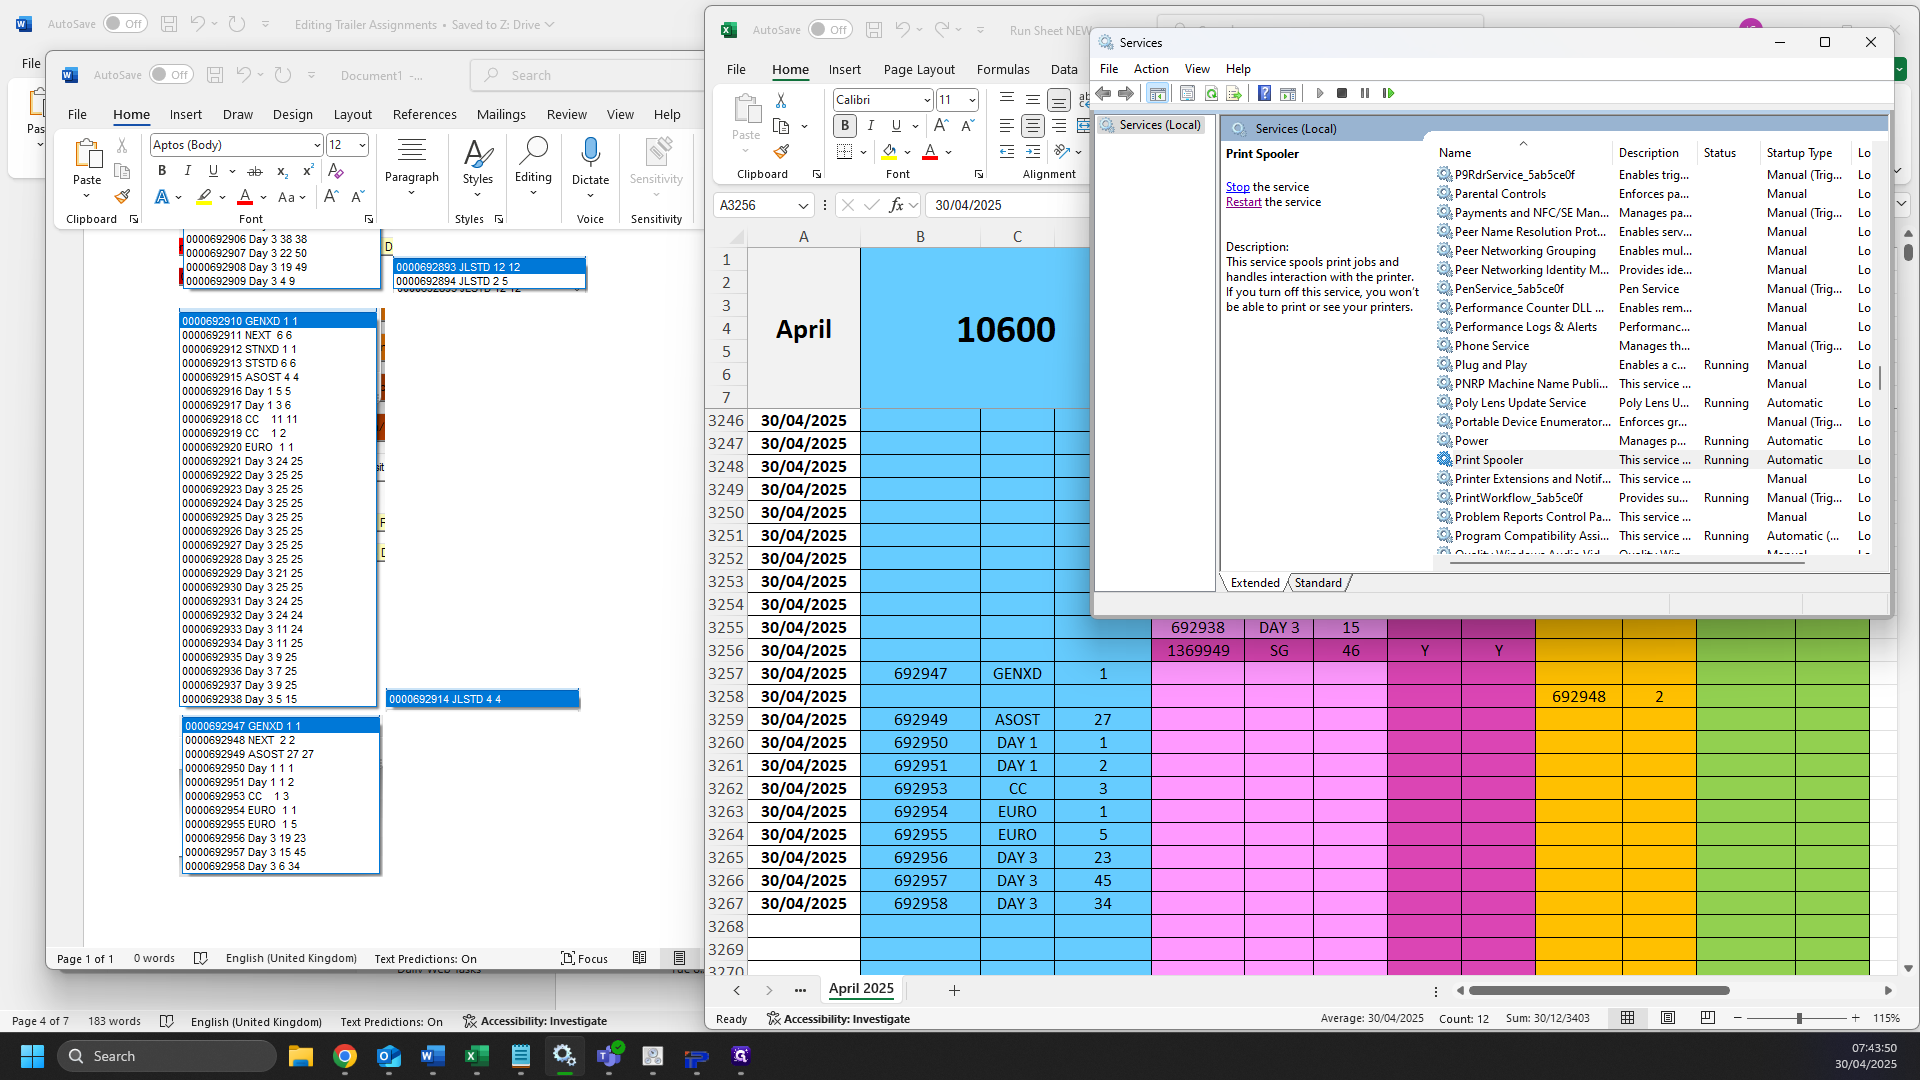
Find where the allocation numbers change, as you can see below it goes from "692909" to "692947", select the first number of the changes.
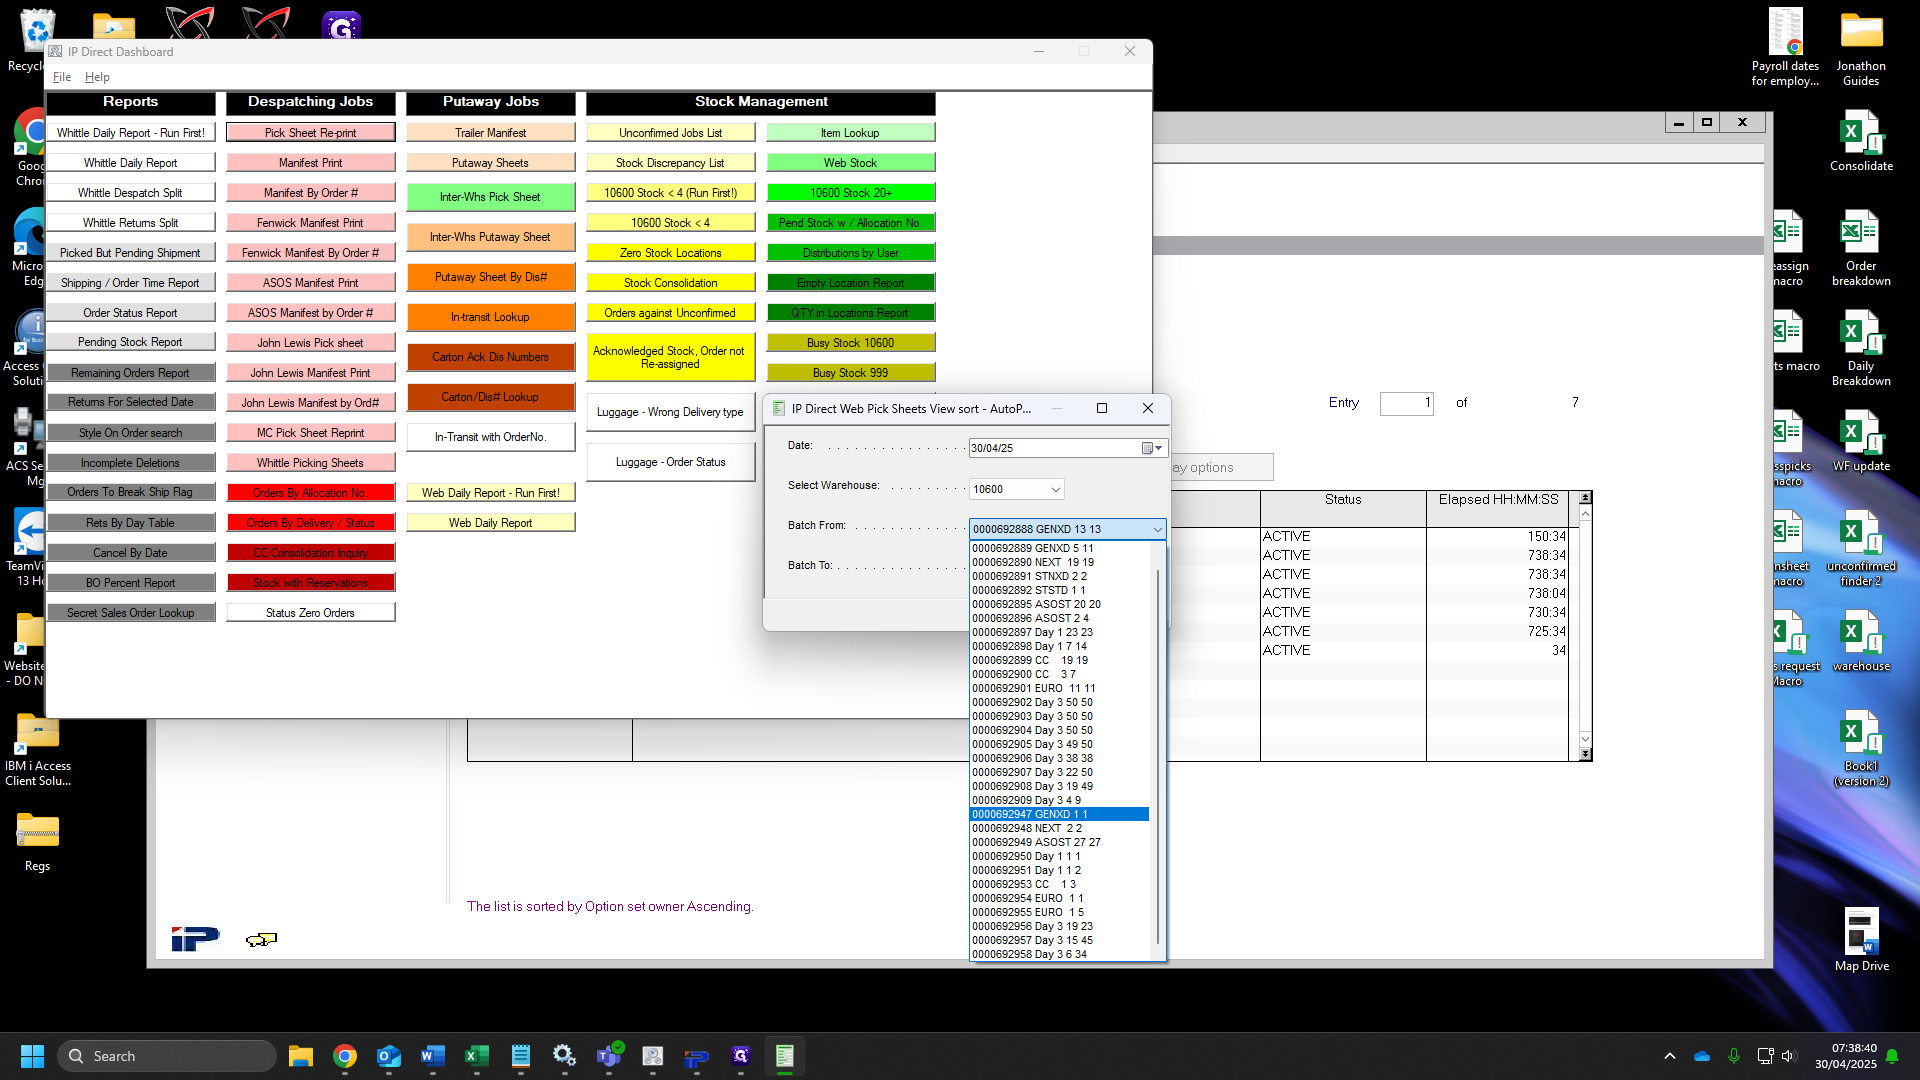
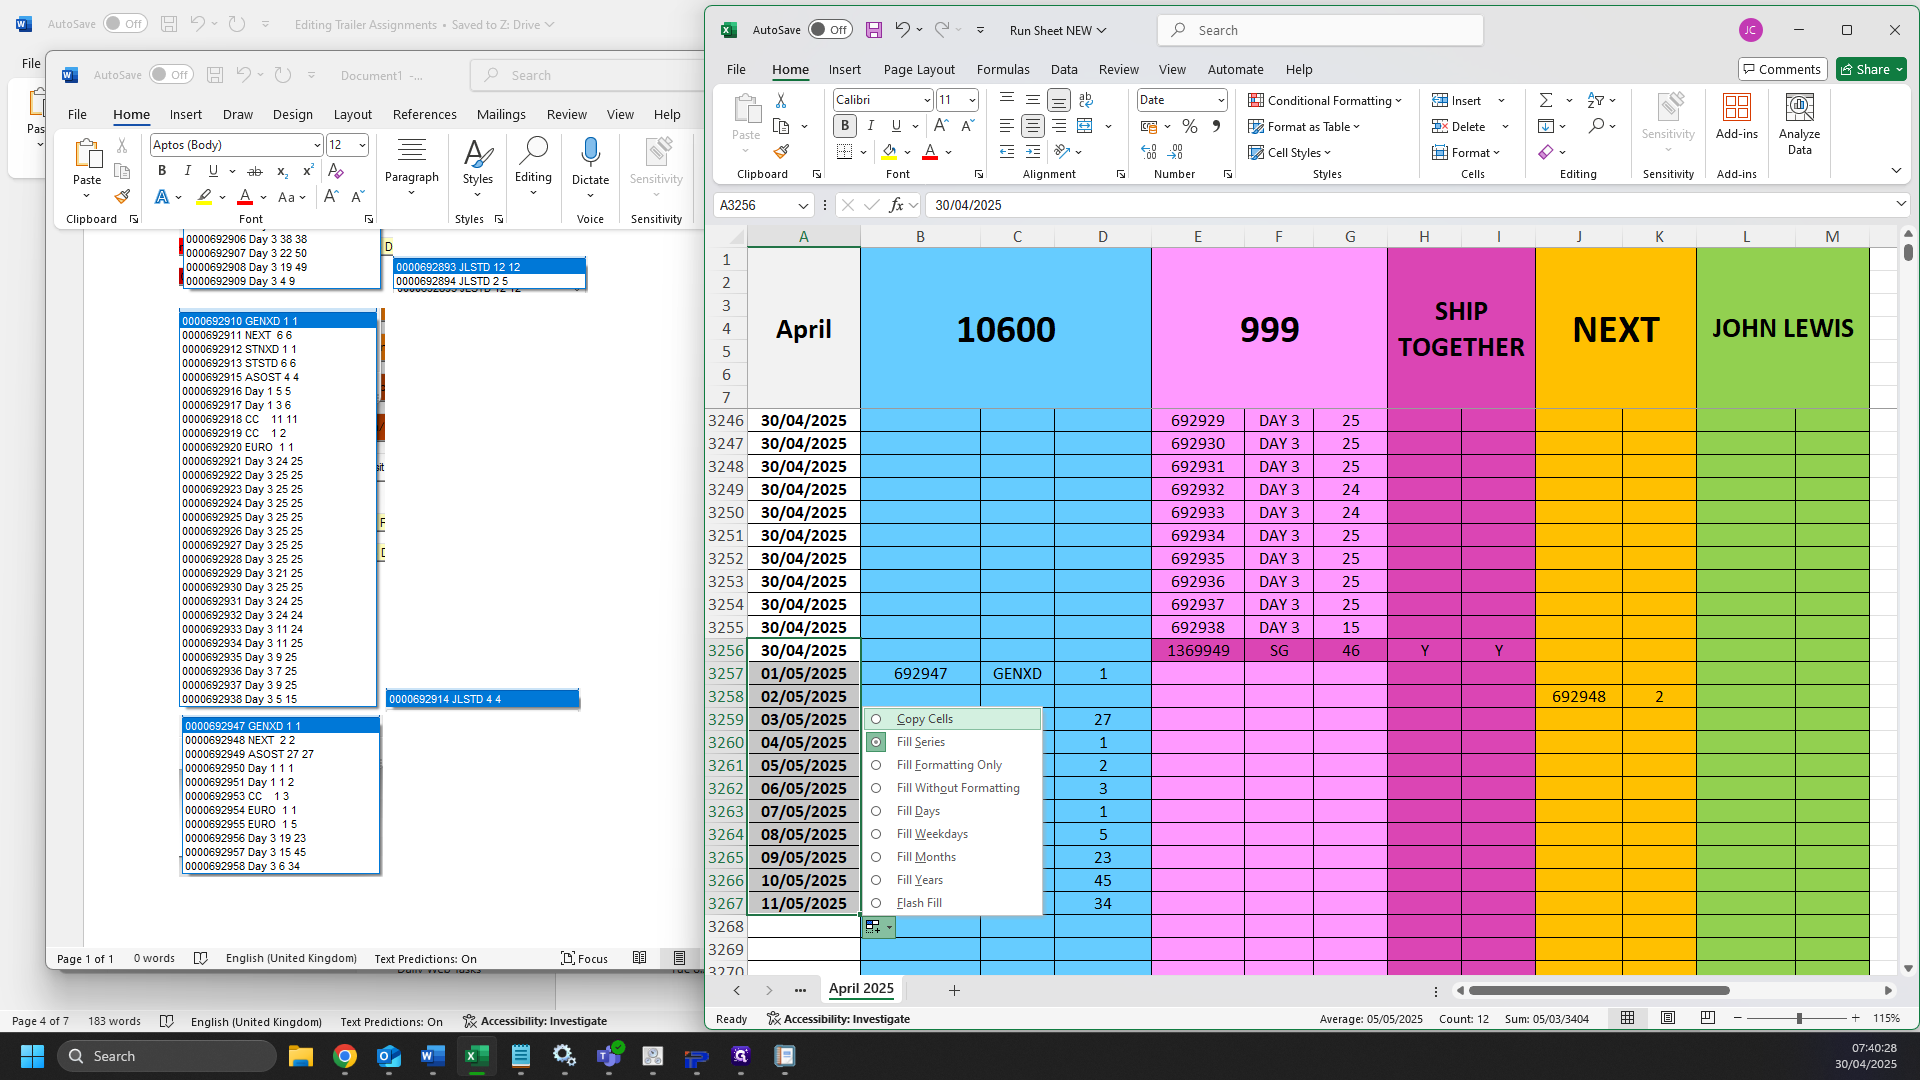
21
Click "Batch to"

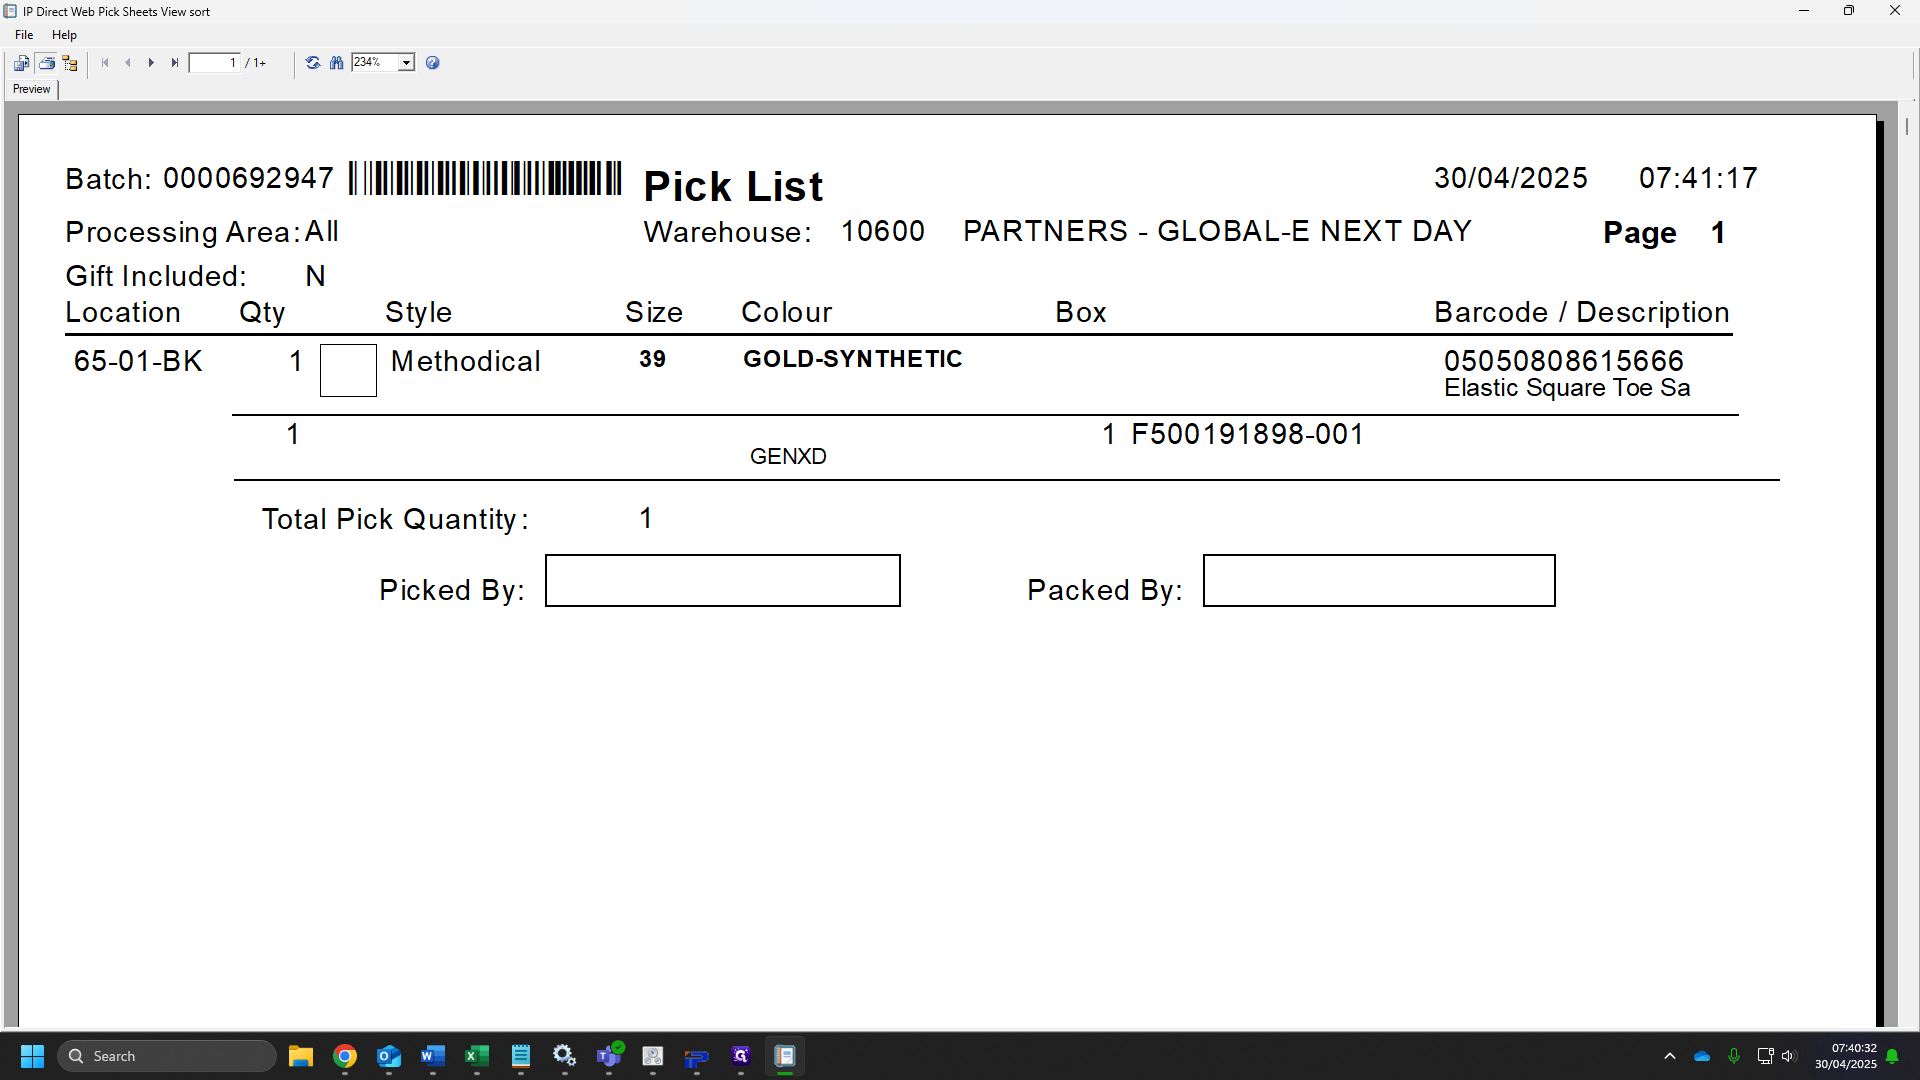
22
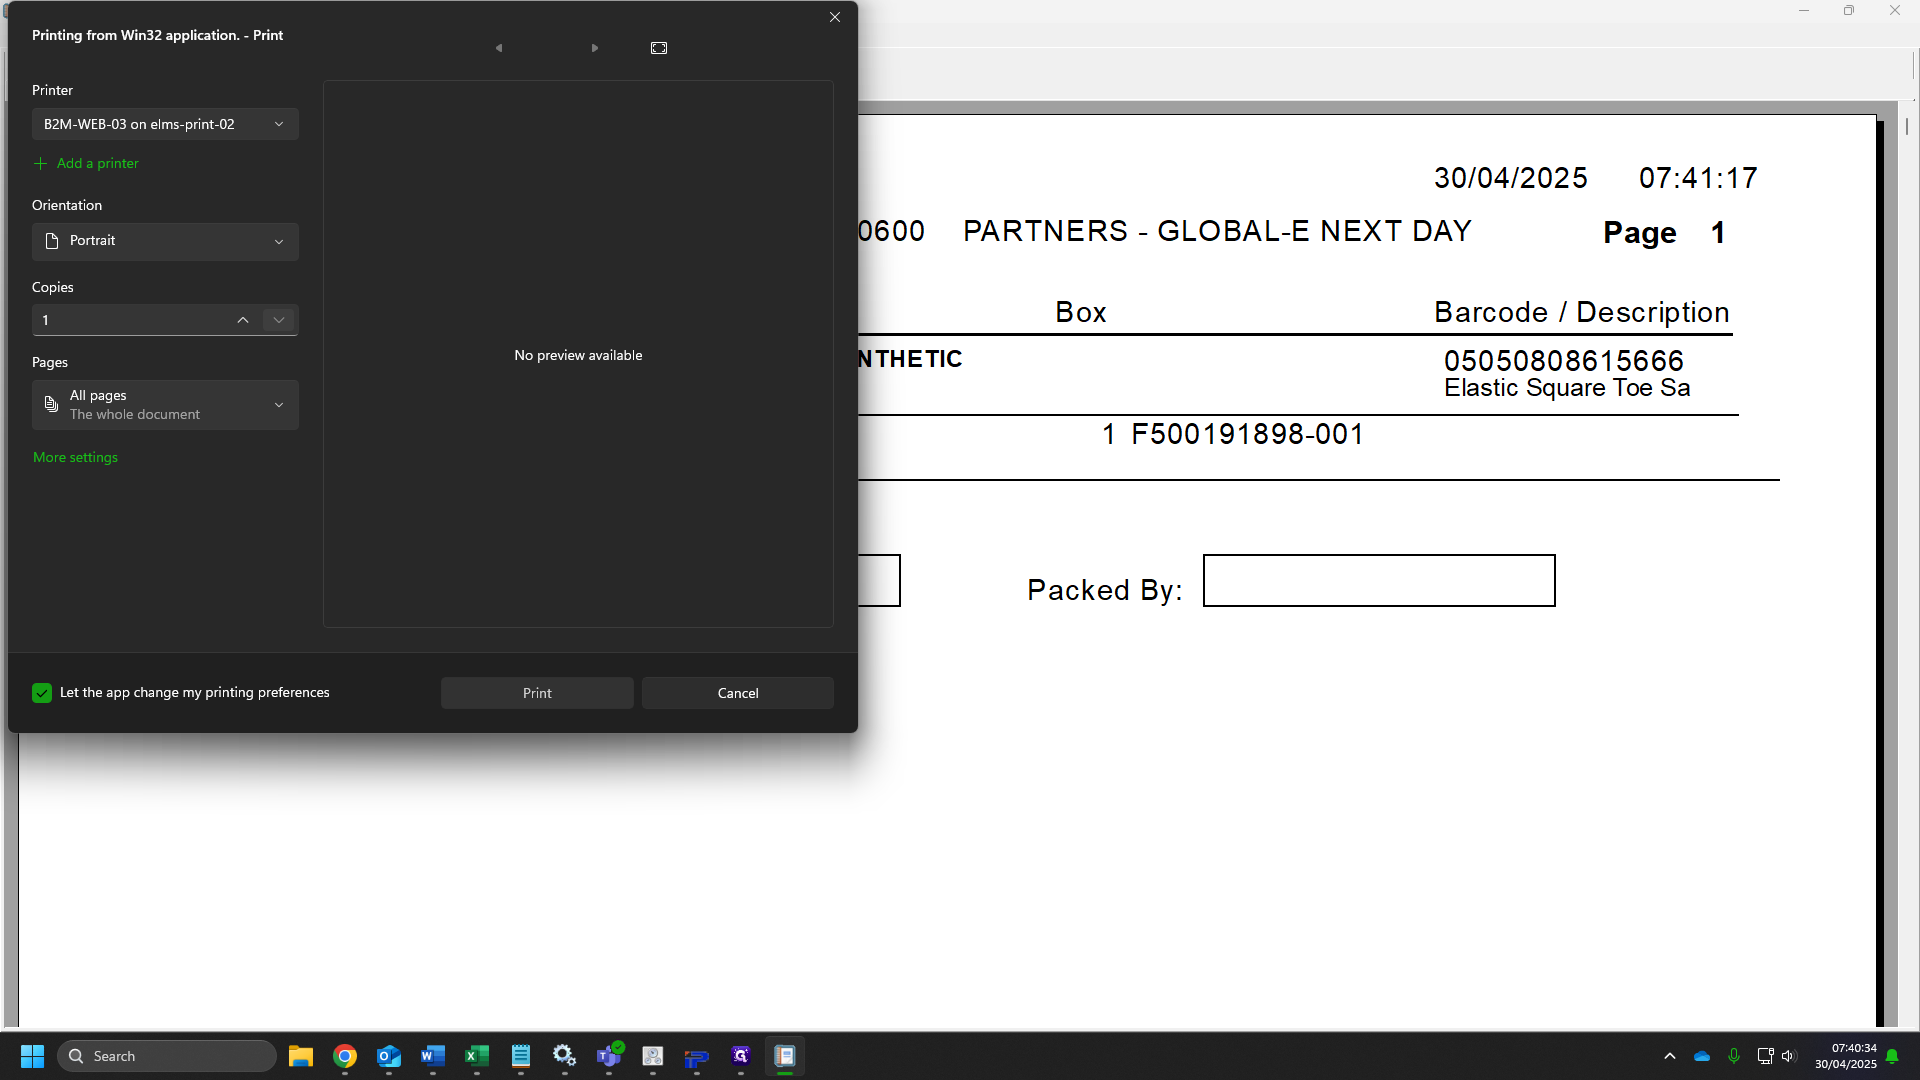
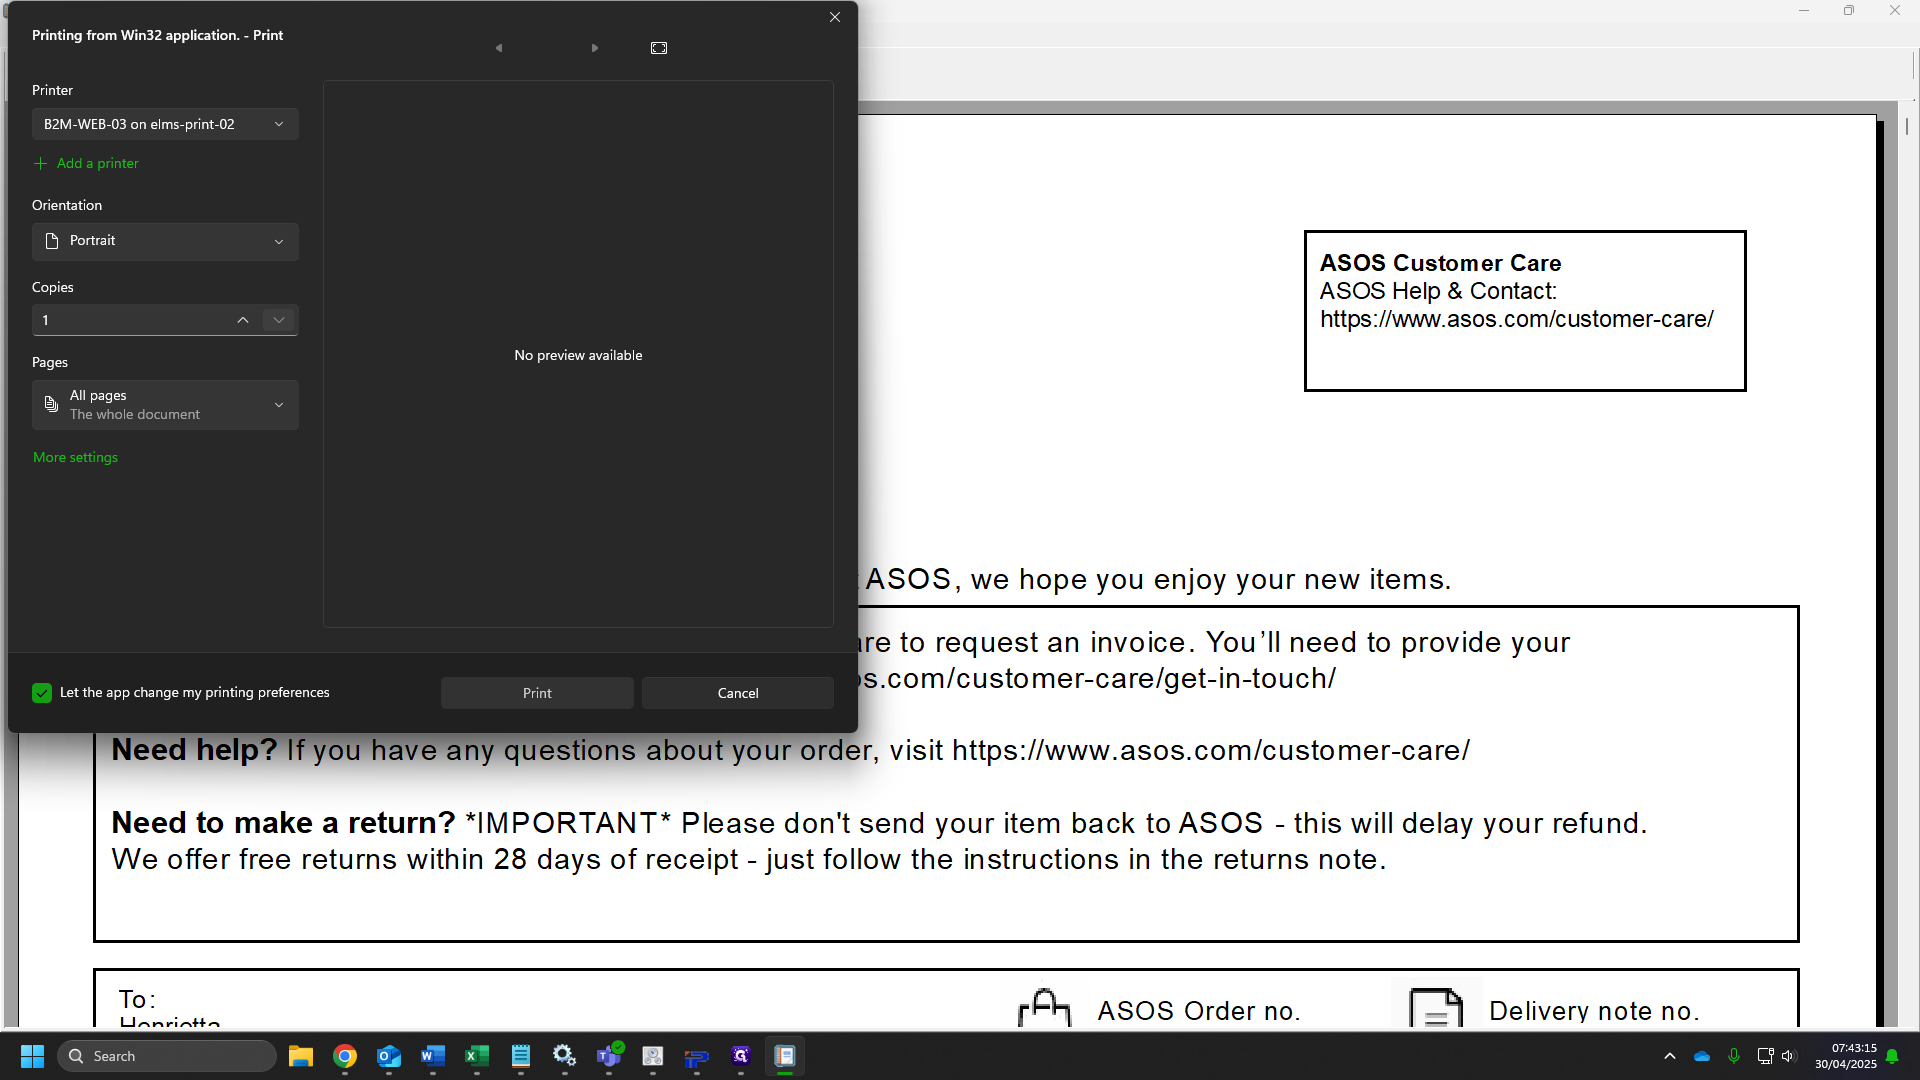
Here you will see all the new orders from the allocation you have just ran.

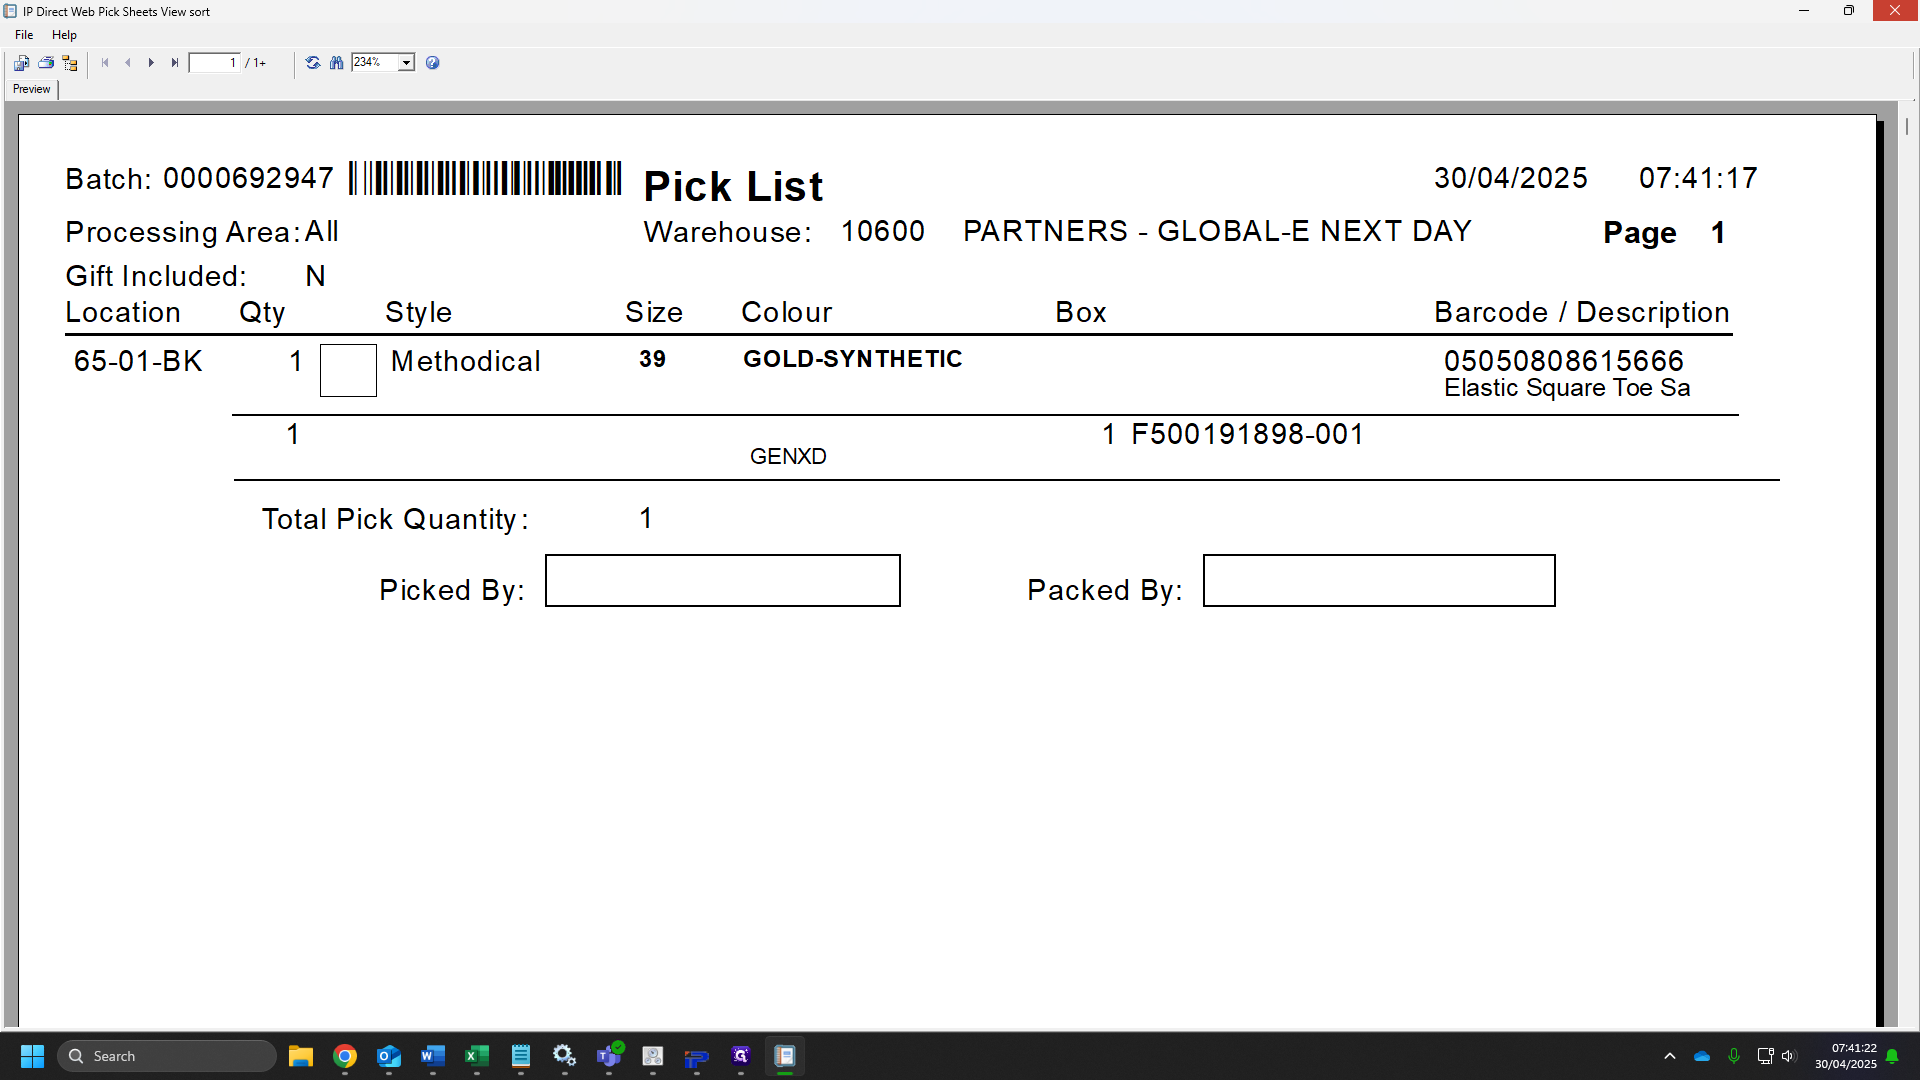
23
Take a screen shot of the orders to need to add to the run sheet.
24
Go to your Word document or open a new sheet.
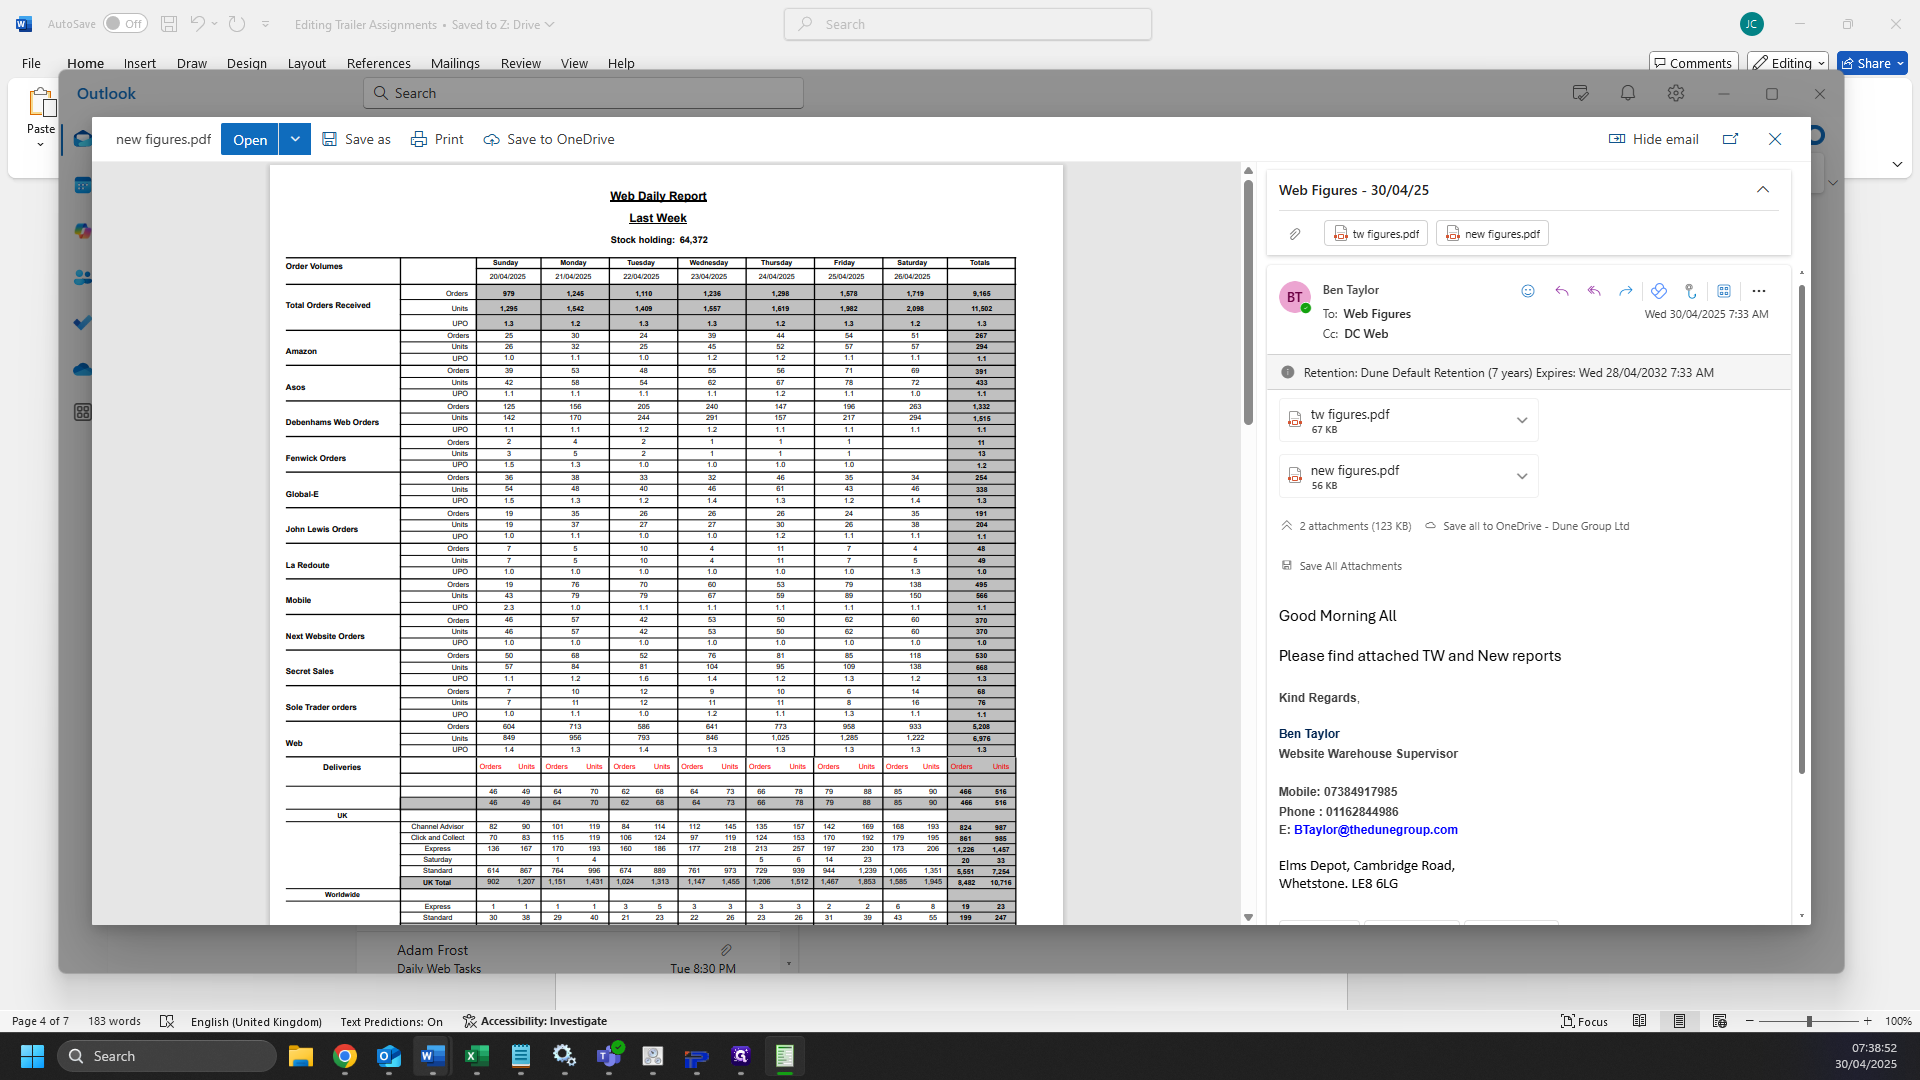
25
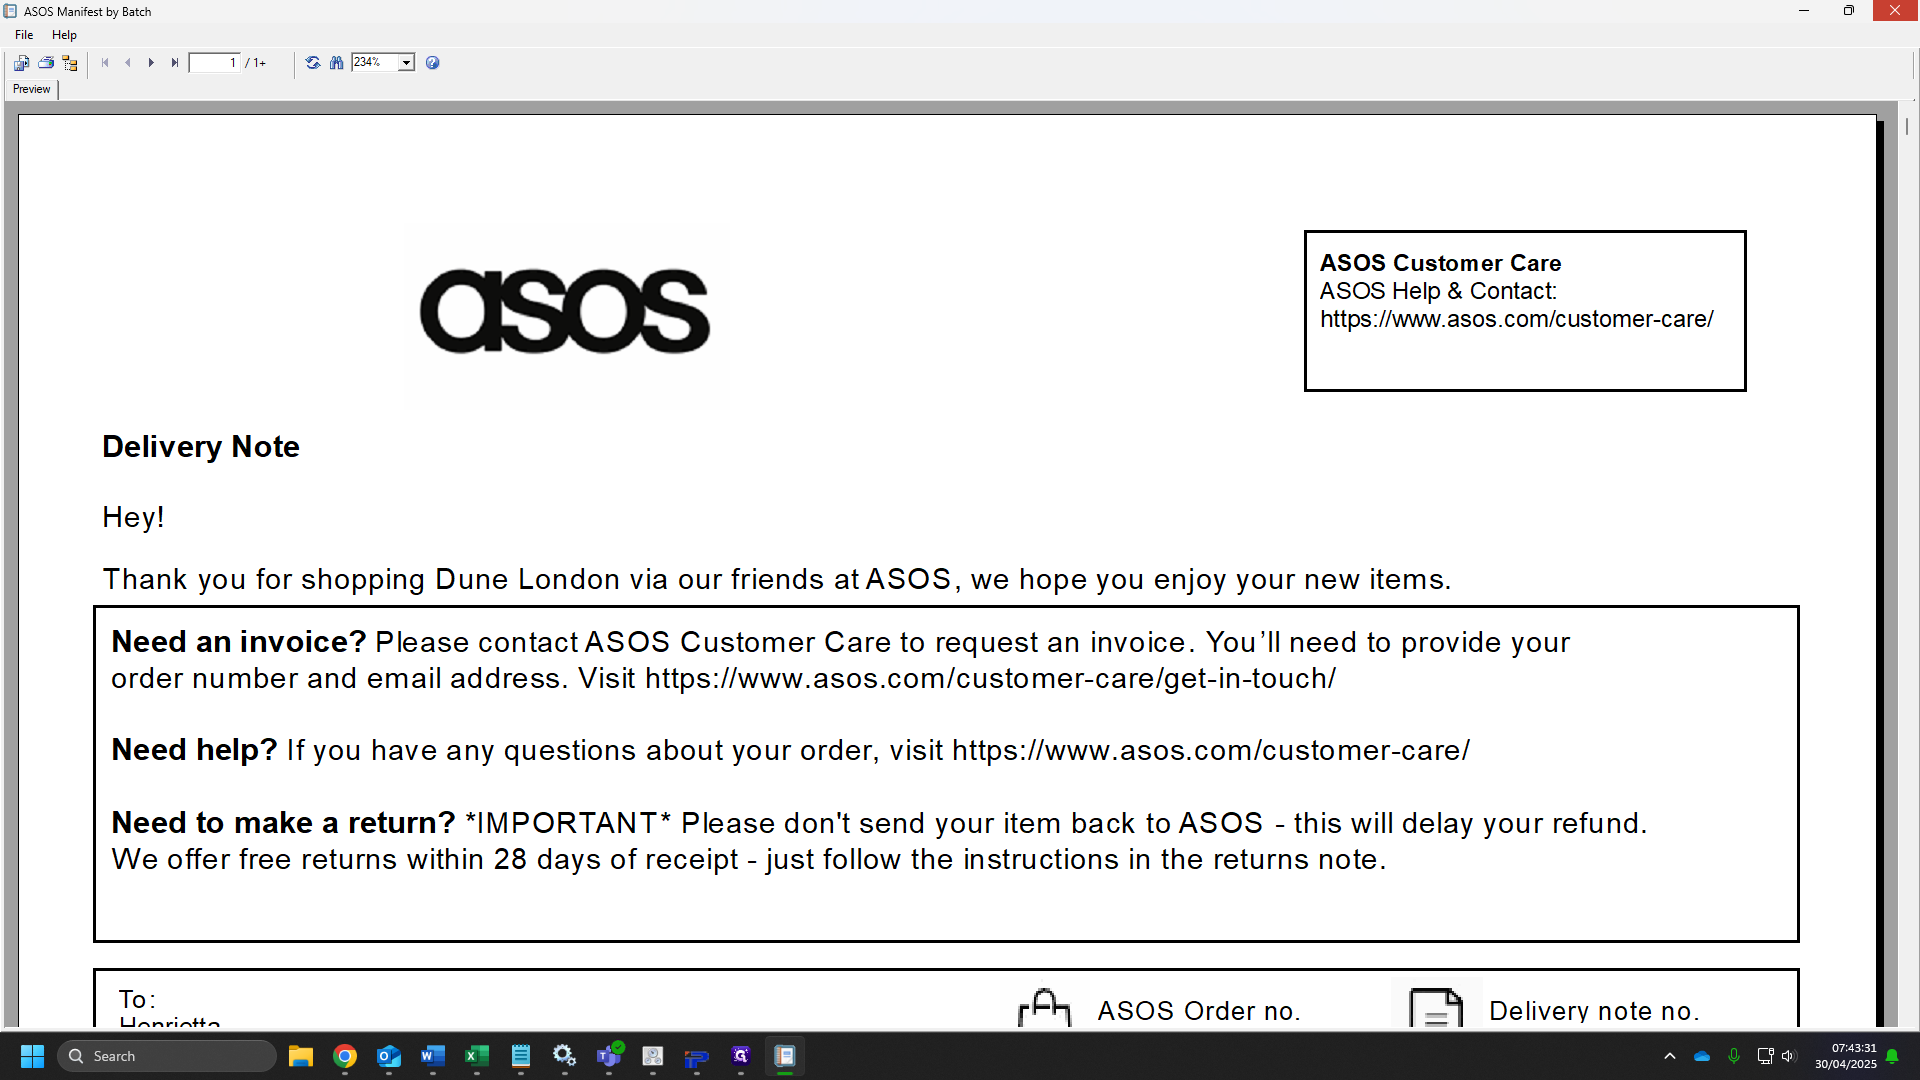
Paste the screenshot into word.
26
Check your batches, if you see a gap (see below) this will mean you have a John Lewis order.
27
Go back to IP Direct Dashboard.
28
Select "Batch to" and click the bottom order.

29
Click on "OK"

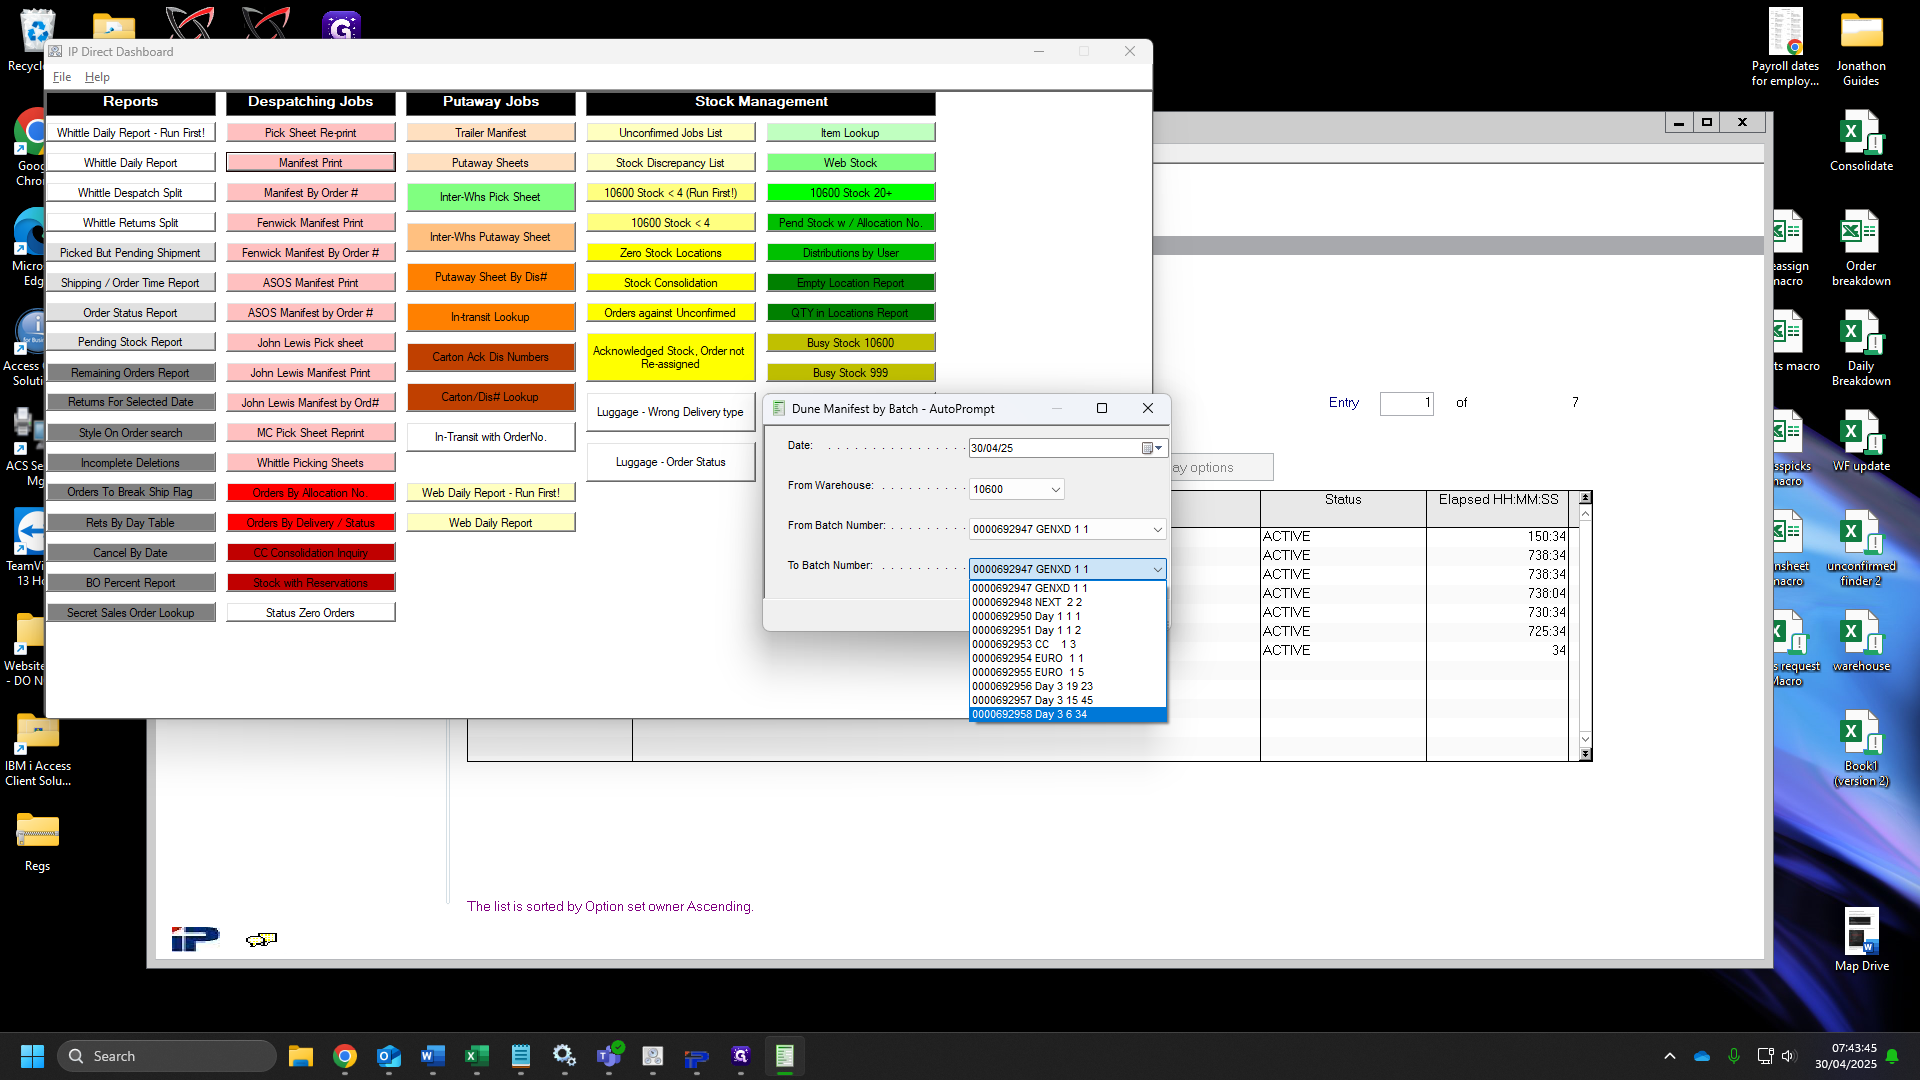
30
Open your Run-sheet whilst you wait for your picks to load. Start by heading to the files icon.
31
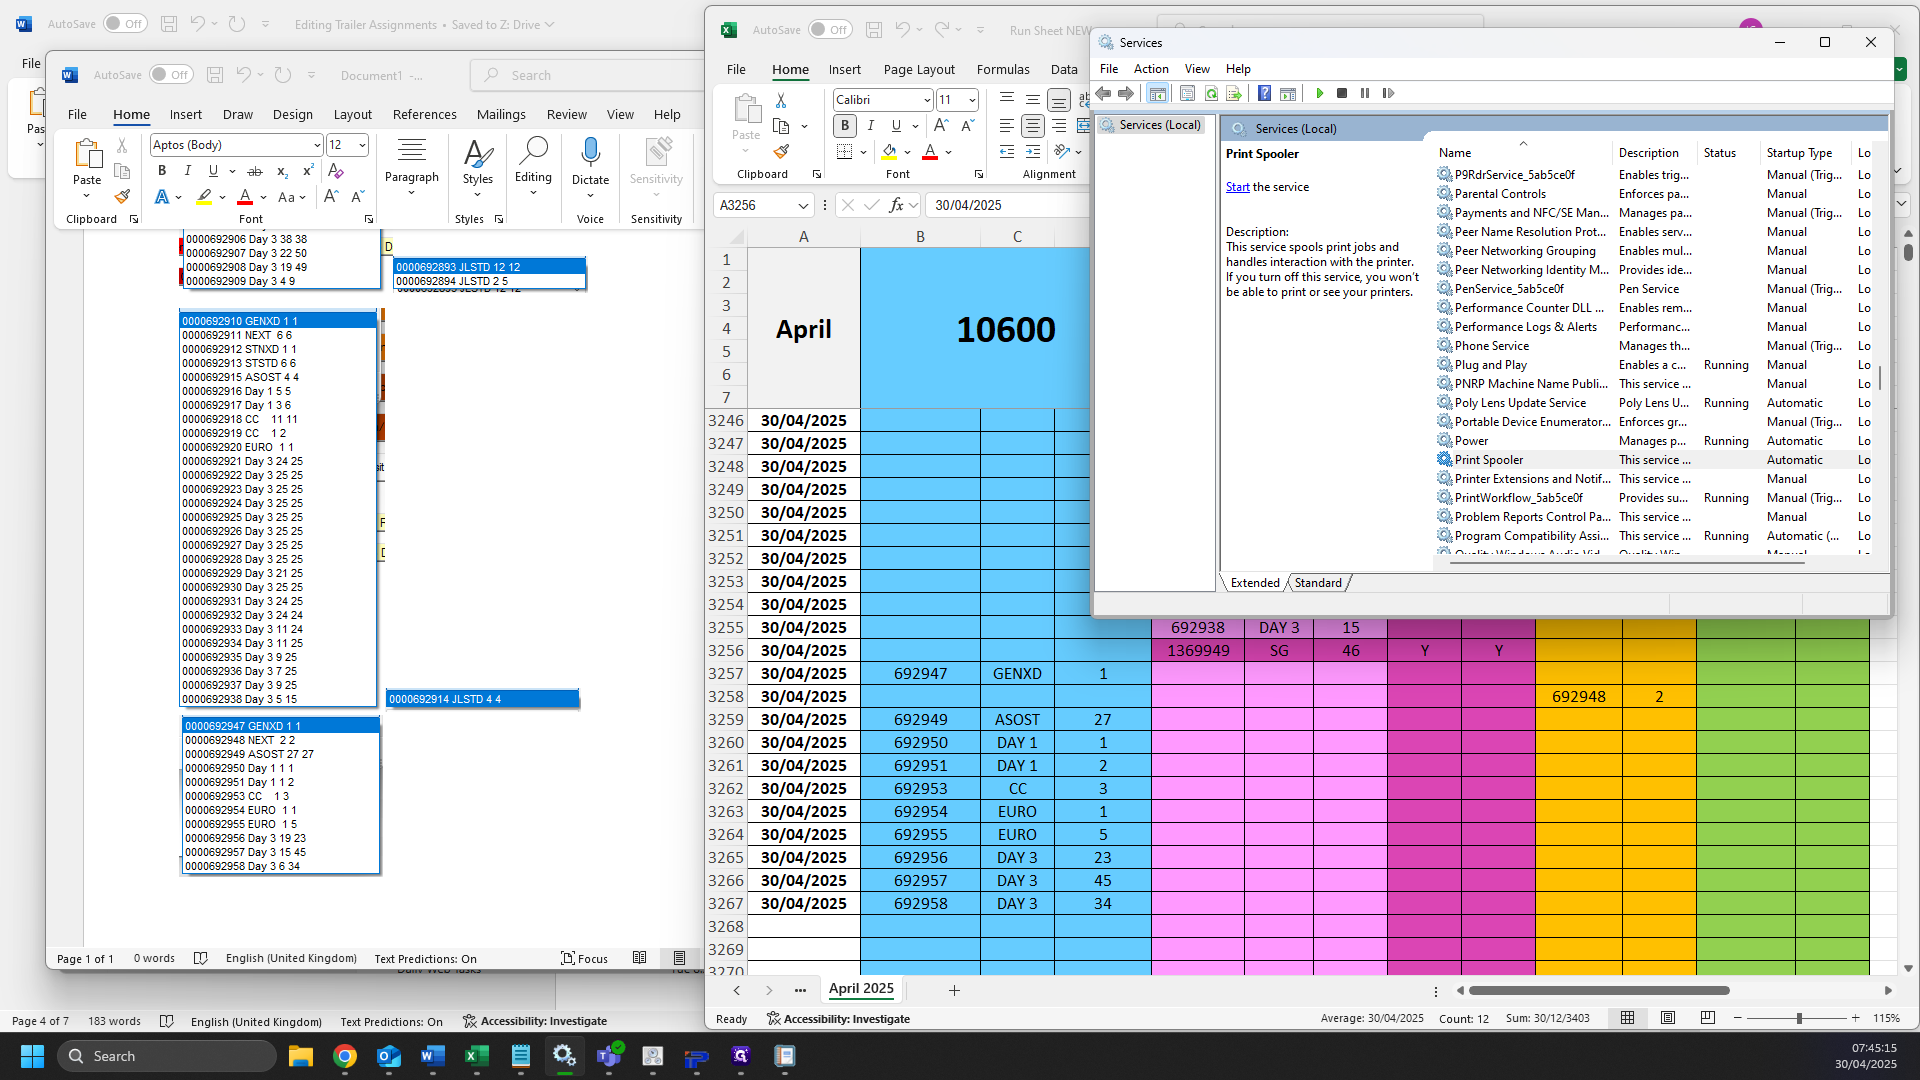
Click Website files.
32
Click "Run sheet NEW"
33
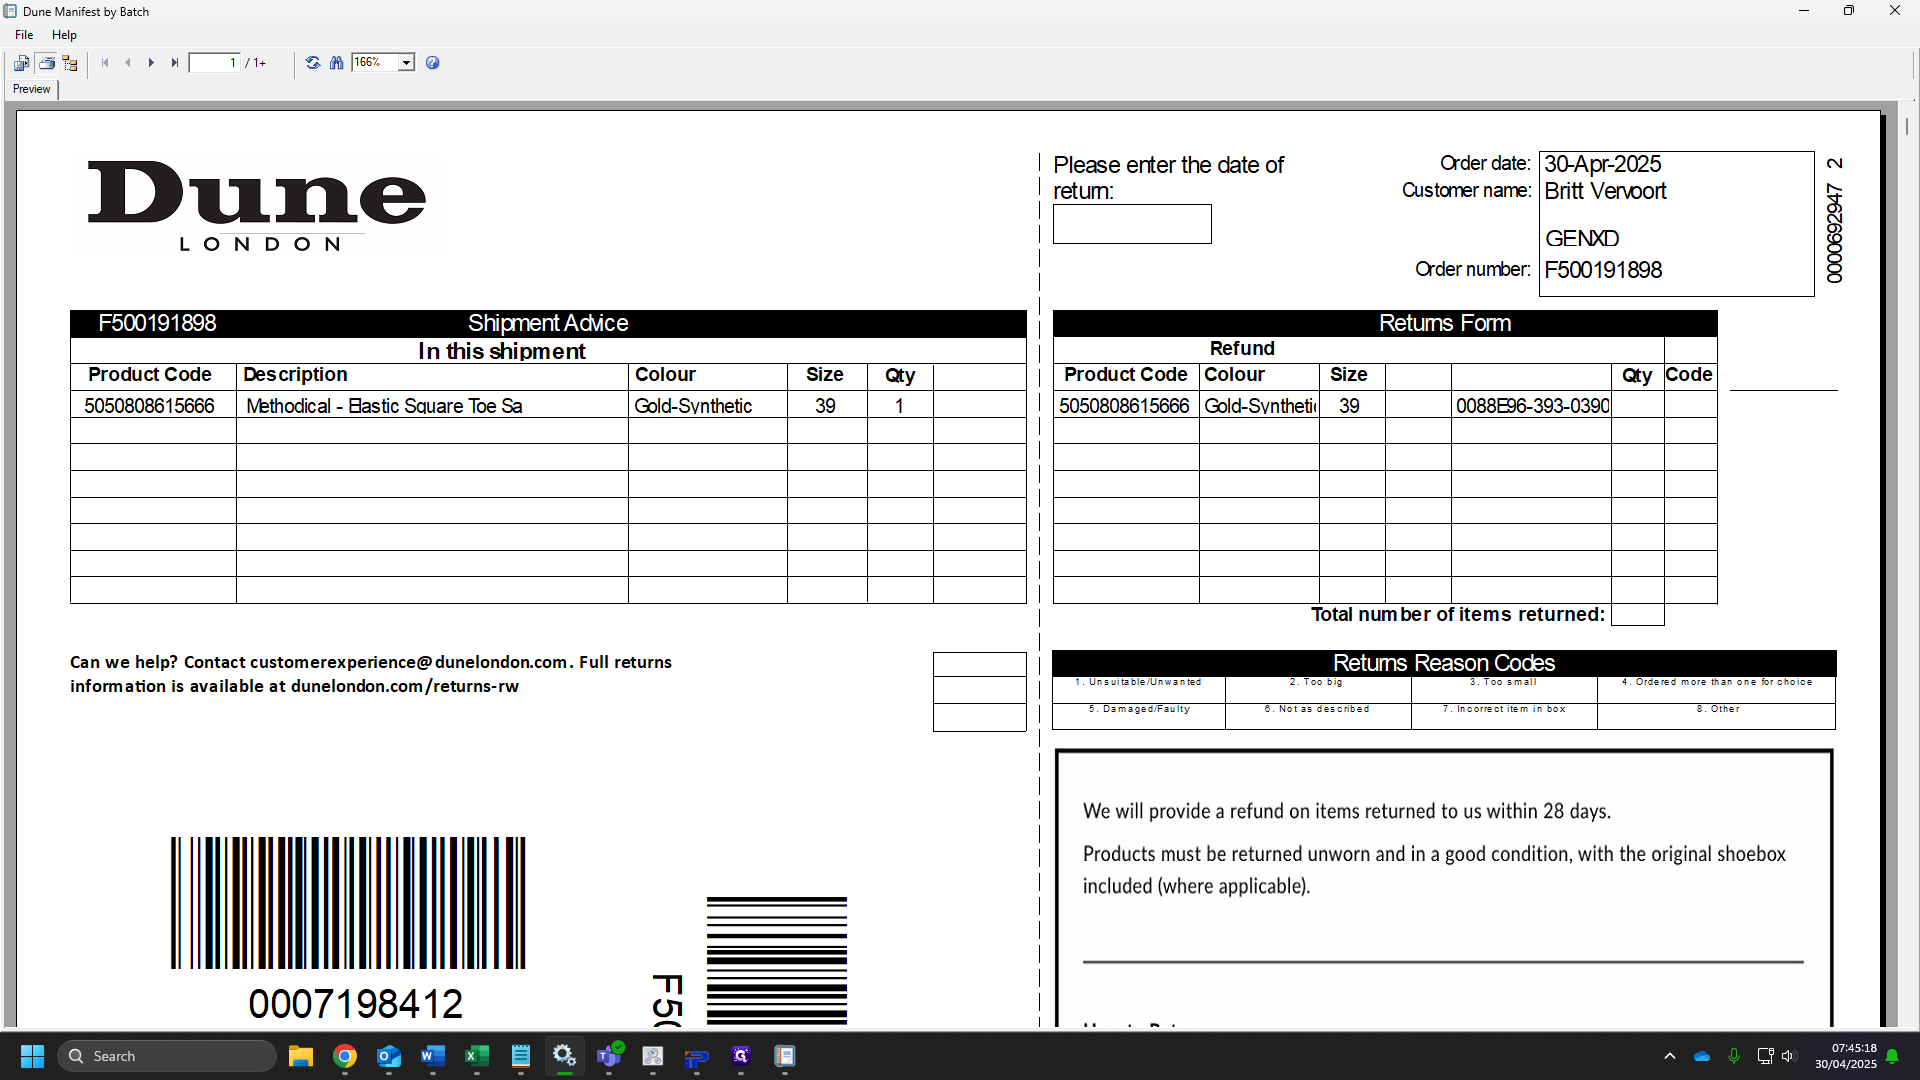
Click on the line after your ship together and add your first batch number EG: "692947"
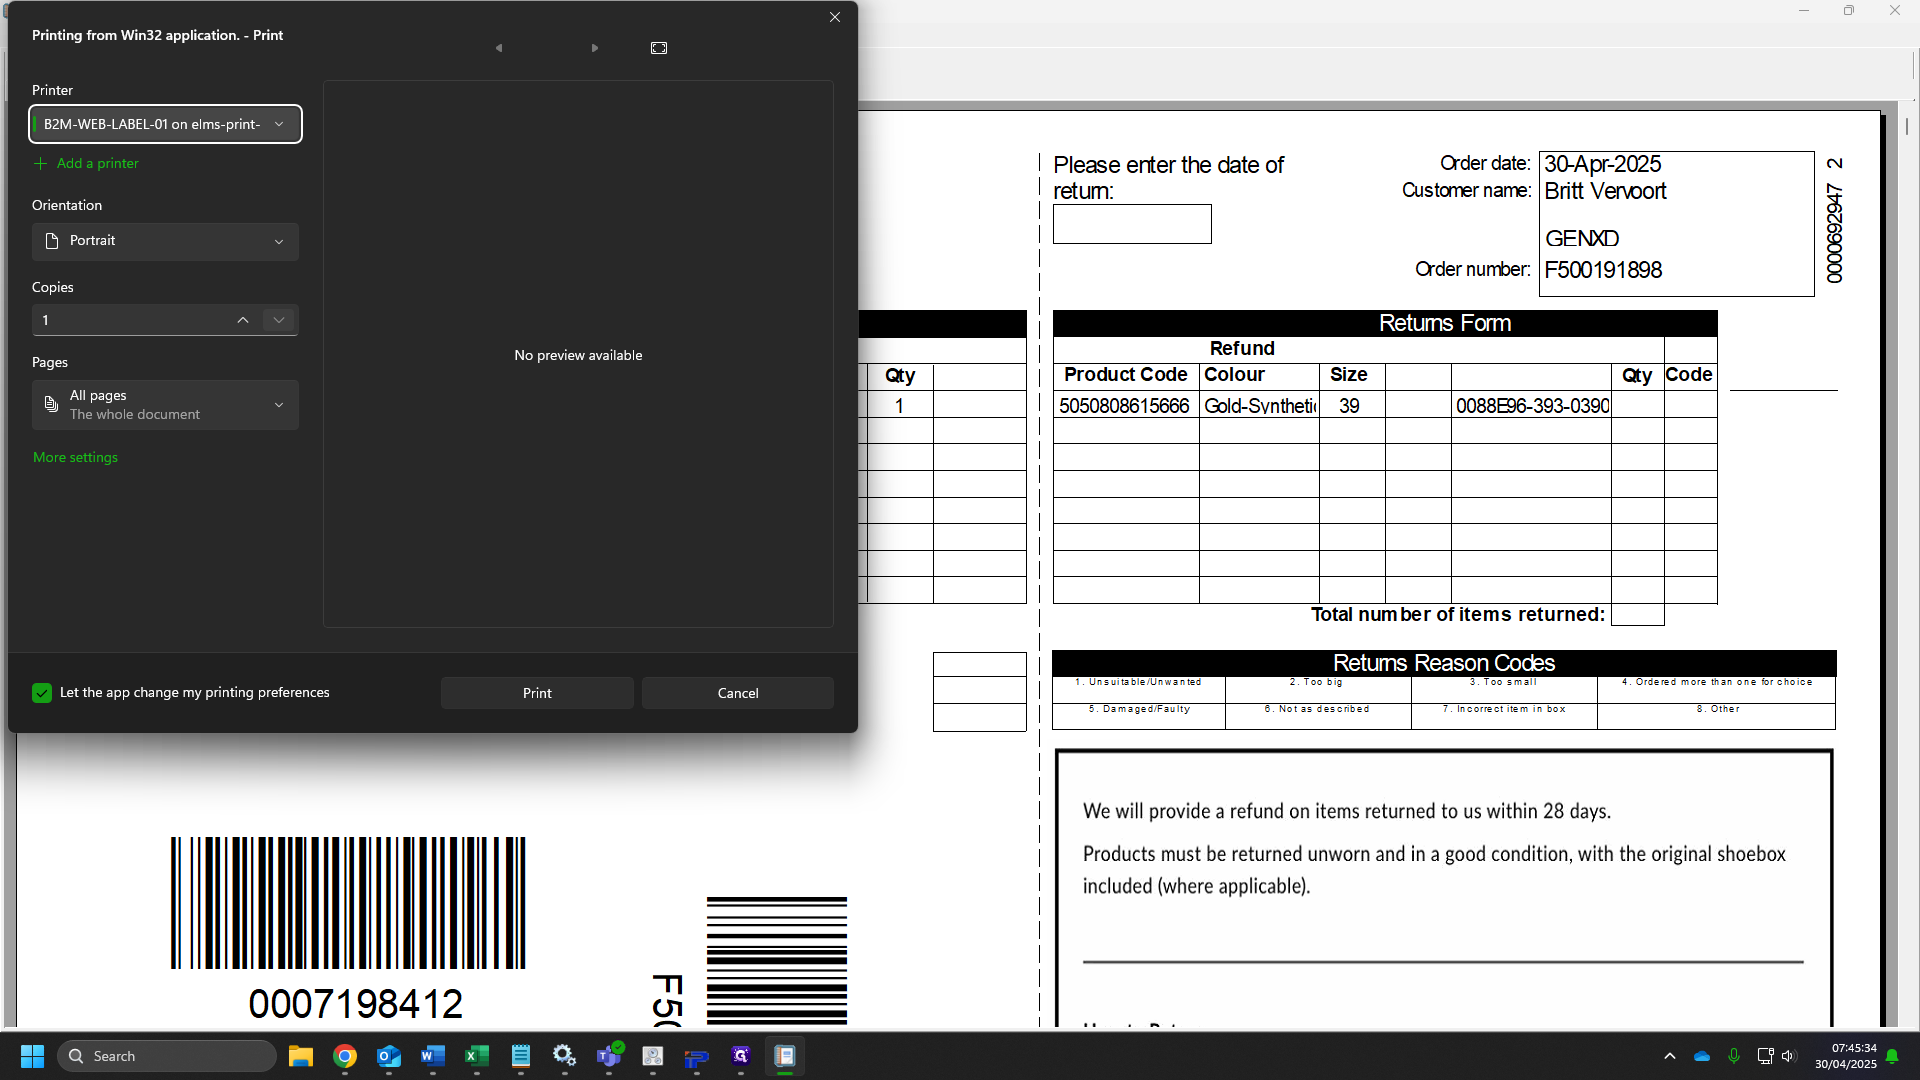
34
Click this cell

35
In the corner of this cell is a box, click and drag down for a few cells.
36
Click Auto fill options.
37
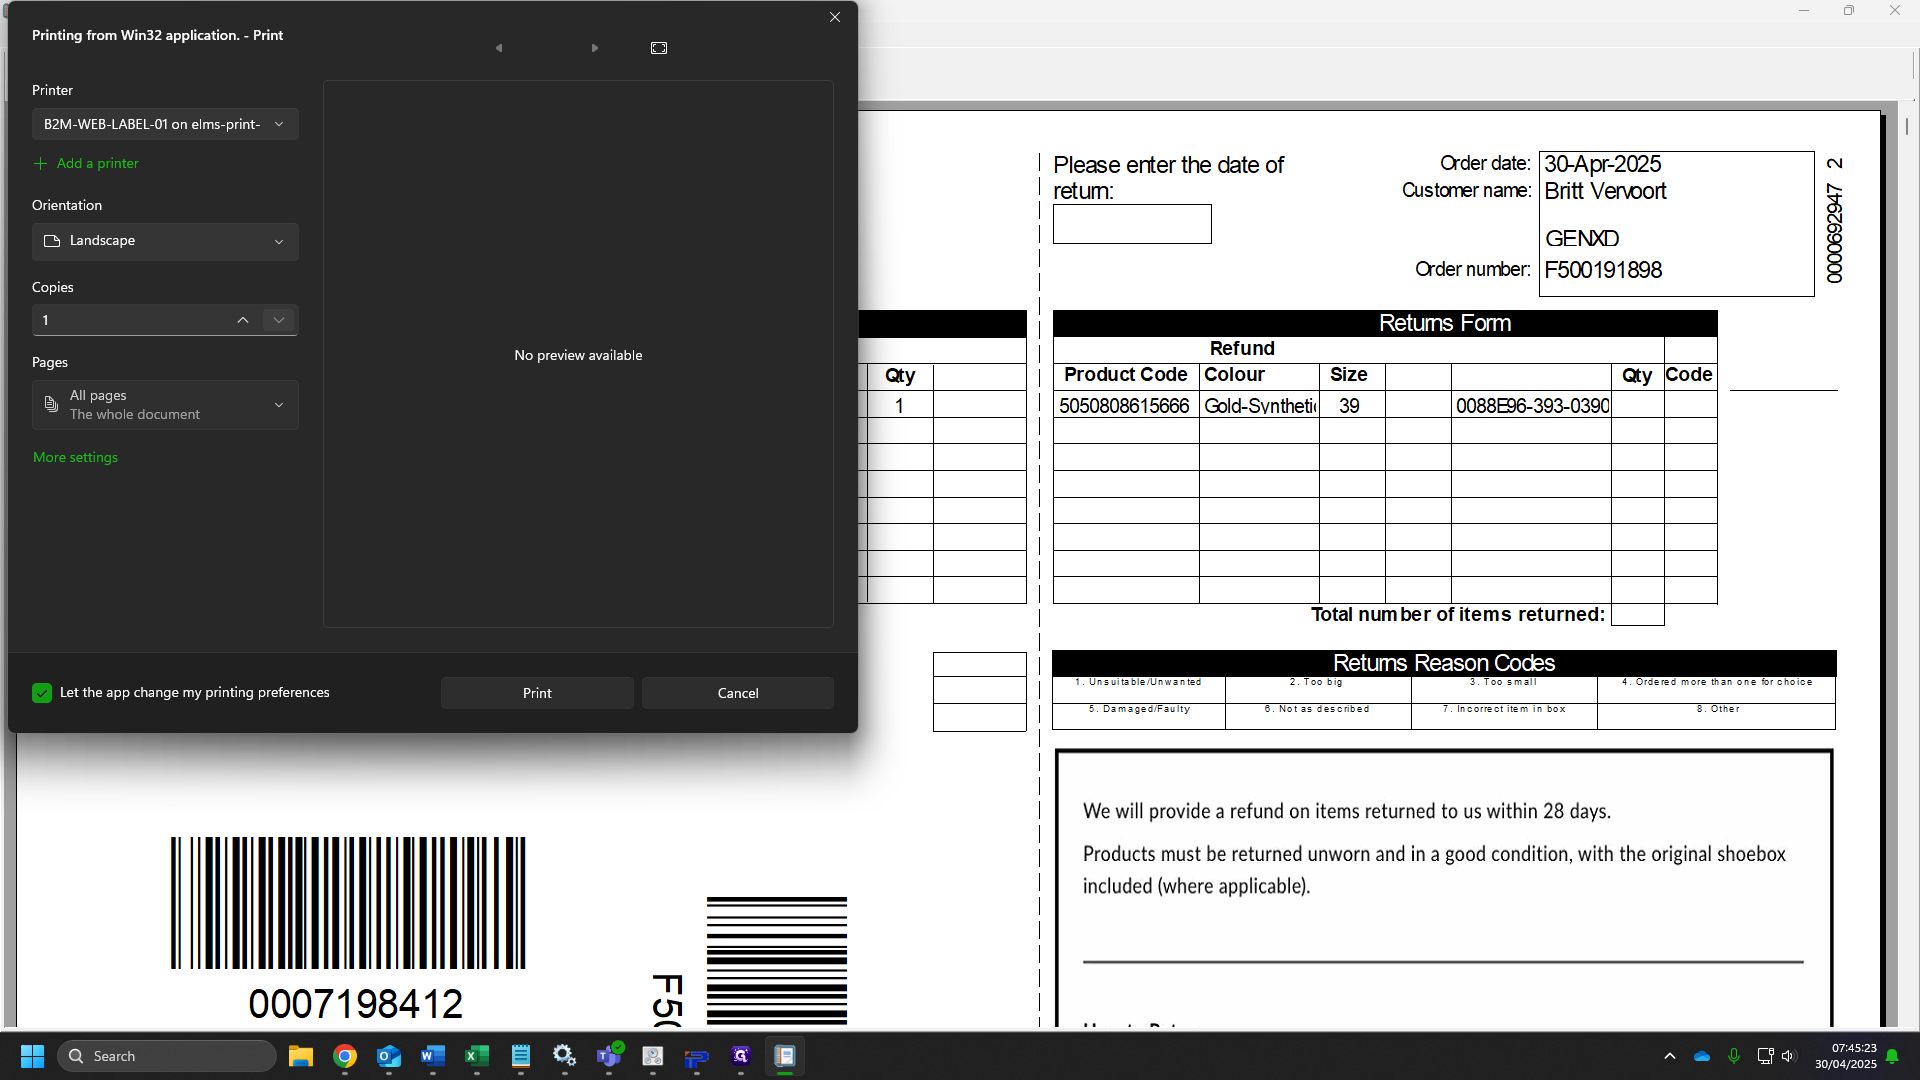
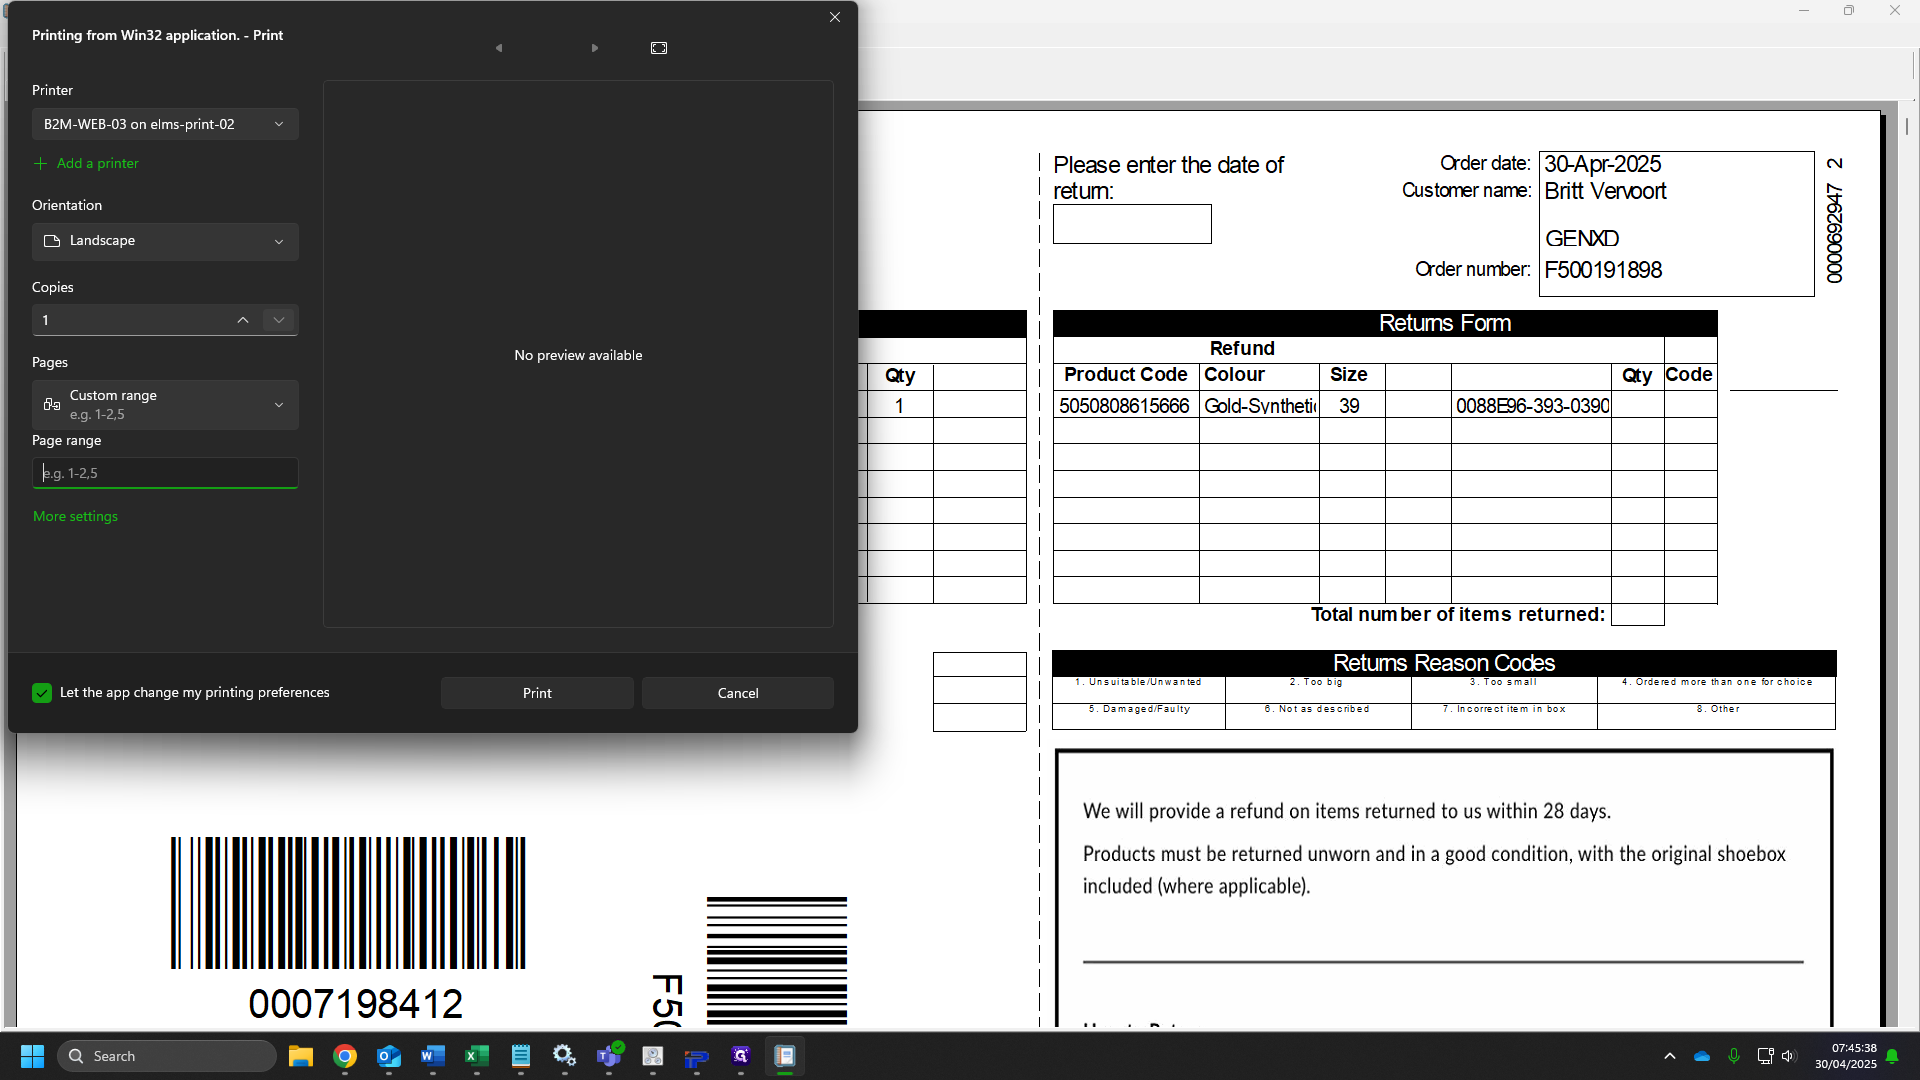
Click on "Fill Series"

38
Drag down further if you need to, this will automatically fill.
39
Click the cell next to your batches and add your delivery methods .
40
Once your delivery methods have been added, go the next cell and add your quantities.
41
Be sure to add any NEXT and John Lewis orders in the own columns.
42
Drag your date down to your last row added.

43
Click the Auto fill options.
44
Click on "Copy Cells"
45
By this point your Pick sheets should have loaded, Click on the print option.
46
Make sure you have the correct printer and orientation, click on "Print"
47
Close this once printed.
48
Click John Lewis Pick sheet. Skip this step if you have none.
49
Select the bow "batch from" and select the missing batch from your screenshot.
50
Once you have your batches selected, click OK. Once loaded, print these off.
51
If your Batches have any ASOS/John Lewis or Fenwick orders, select the manifest print option on the IP Direct Dashboard.

52
Click "Batch from".

53
Click the batch from the screenshot you took earlier.

54
If you have more than on batch click to batch number, then select the bottom batch. Once you have your batches selected, click on "OK"

55
Once your Manifest has loaded, click print.
56
Click on "Print"
57
Close once you have printed this.
58
Now we have printed our external batches, we will click "Manifest Print".

59
Click the "From batch number box"

60
Find your first batch number from your screenshot earlier and click it.

61
Click the "To batch number box"

62
Select the bottom batch.
63
Click on "OK"

64
Open the "Services" app.
65
Click on "Stop the service" on the print spooler.
66
Click on "Start the service" once your manifests have loaded.
67
Click the print button.
68
First we will print the GENXD orders as they use different paper.

69
Click printers and select the printer "B2M-WEB-LABEL-01 on elms-print 02".

70
Make sure Manifest orientation for Dune manifests is landscape

71
Click "All pages"
72
Change to "Custom range".

73
Add the pages from the screenshot.

74
Click Print once you are happy with your settings.

75
Once the GENXD orders have printed, we will click print again.
76
Click on the "Printers" box
77
Click on the printer you want to print to.

78
Click the "Orientation" box

79
Click on "Landscape"

80
In the Pages box, select Custom range and add the pages you want to print EG: 2-500
81
Click on "Print" once you are happy with your choices.
