
Feature Overview: Export Recommendations from the Clinic App
A detailed overview of the 'export recommendations' feature from the clinic app, which allows users to view and export patient data including personal ID, name, risk level, date of birth, and recommendations.
In this guide, we'll learn how to export recommendations from the clinic app efficiently. The process allows users to extract vital information such as personal IDs, names, risk levels, dates of birth, and recommendations from the patient grid effortlessly. By following these steps, users can streamline the data extraction process and access the necessary details promptly.
Understanding the Export Feature
To begin, we'll delve into the functionality of the export feature within the clinic app. This feature enables users to generate Excel sheets containing essential patient information with just a few clicks.
Filtering and Customizing Data
Next, we'll explore how users can leverage filters to refine the exported data. By customizing the export based on specific criteria, users can obtain tailored information to meet their requirements effectively.
Optimizing Data Retrieval
Lastly, we'll discuss strategies for optimizing the export process to ensure seamless and accurate data retrieval. By following these guidelines, users can enhance their workflow efficiency and maximize the benefits of the export recommendations feature.
Let's get started.
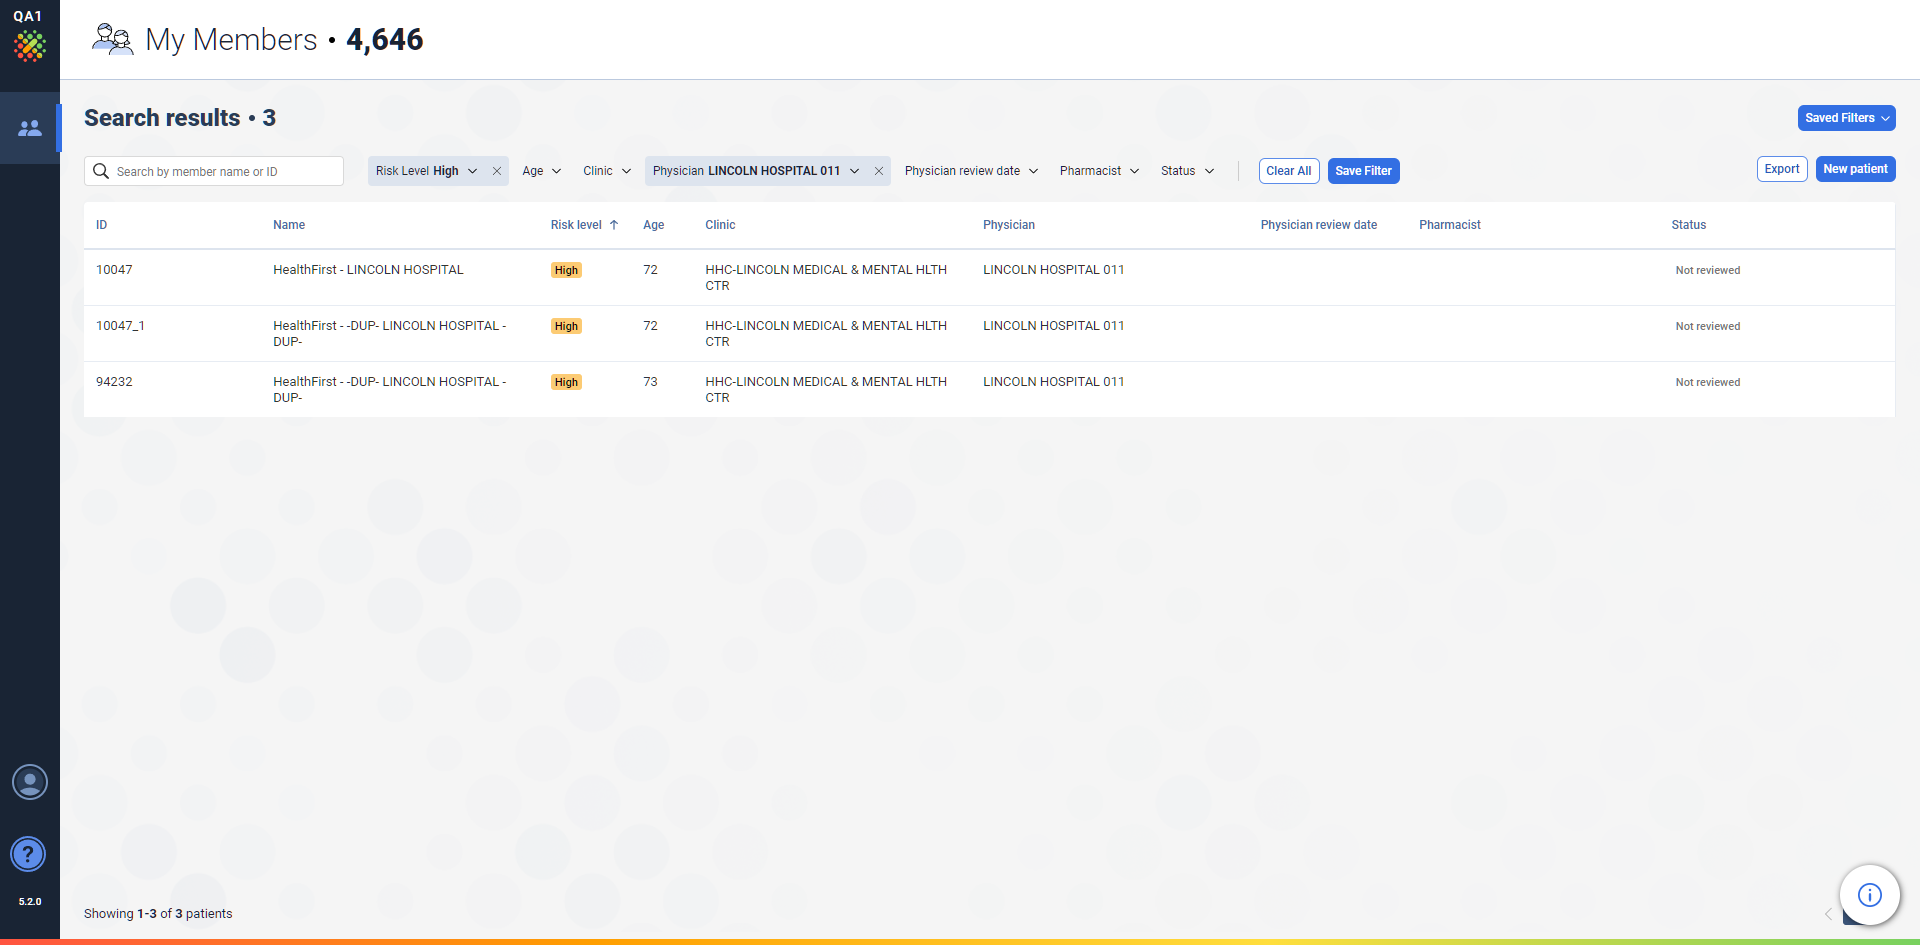
All right, this is a quick recording of a feature before Yoni deprecates it. We want to remember this feature called export recommendations from the clinic app. It was developed for my care at the time. Now, when I look at the patient's grid on the clinic app, I can see 4,000 members and use filters.


I could have 1,000; it doesn't
I can click the export button, and that's what it does.

I open the Excel file that downloaded instantly. Here, I see the personal ID, name, risk level, date of birth, and recommendations. If I want to view all automatic recommendations for patients at very high risk, I simply click export.


And there you go. You know, one, two, three, four, oh, it's 2,000 members. And it's failed. Yoni, go ahead, kill