
User's flow through the YSIP Reimbursement Journey for New Applicants
A comprehensive flow which details out the steps in which the user takes and where the communications get triggered along the way.
In this flow, we'll learn how to navigate the platform as a new applicant. We'll cover the steps from creating an account to uploading necessary documents and completing forms. This flow will also explain the on-screen prompts and email communications you will receive throughout the process. By the end, you will understand how this all comes together.
Let's get started
Okay, let's get started. There are a few entry points from the Cyberport side to allow users to access the platform. For new applicants, let's assume I'm a new applicant today, and we're proceeding. This is a link you might embed in your email.

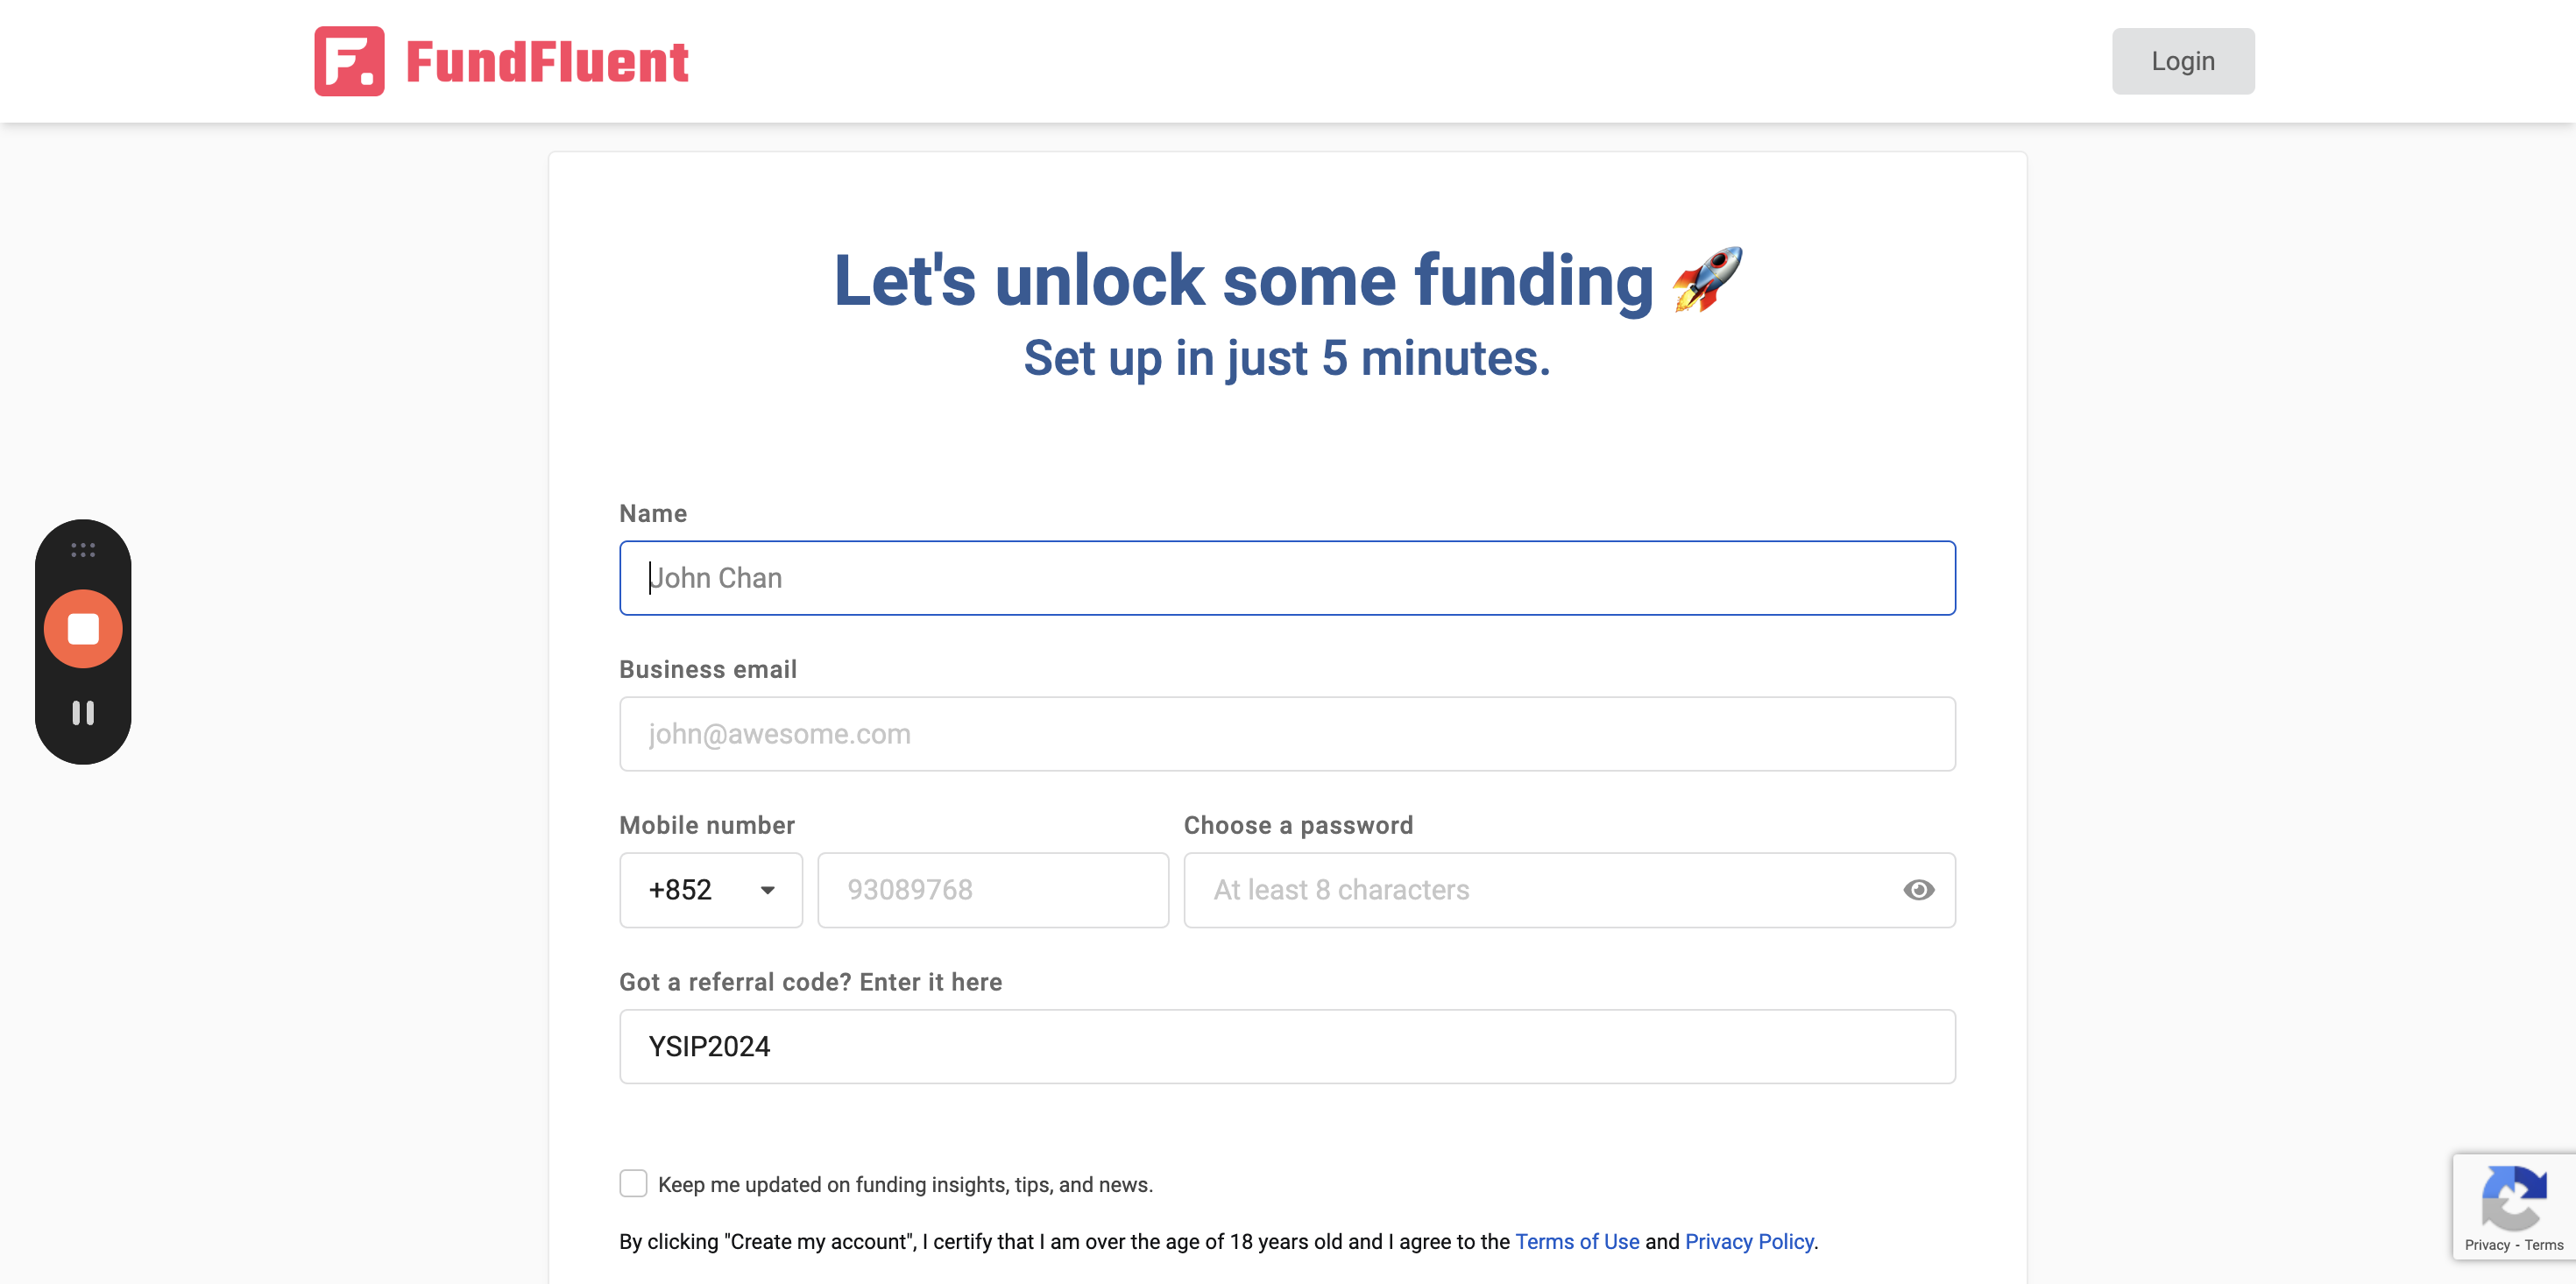
As you can see, the code has already been copied here. Let's go ahead and create the account.
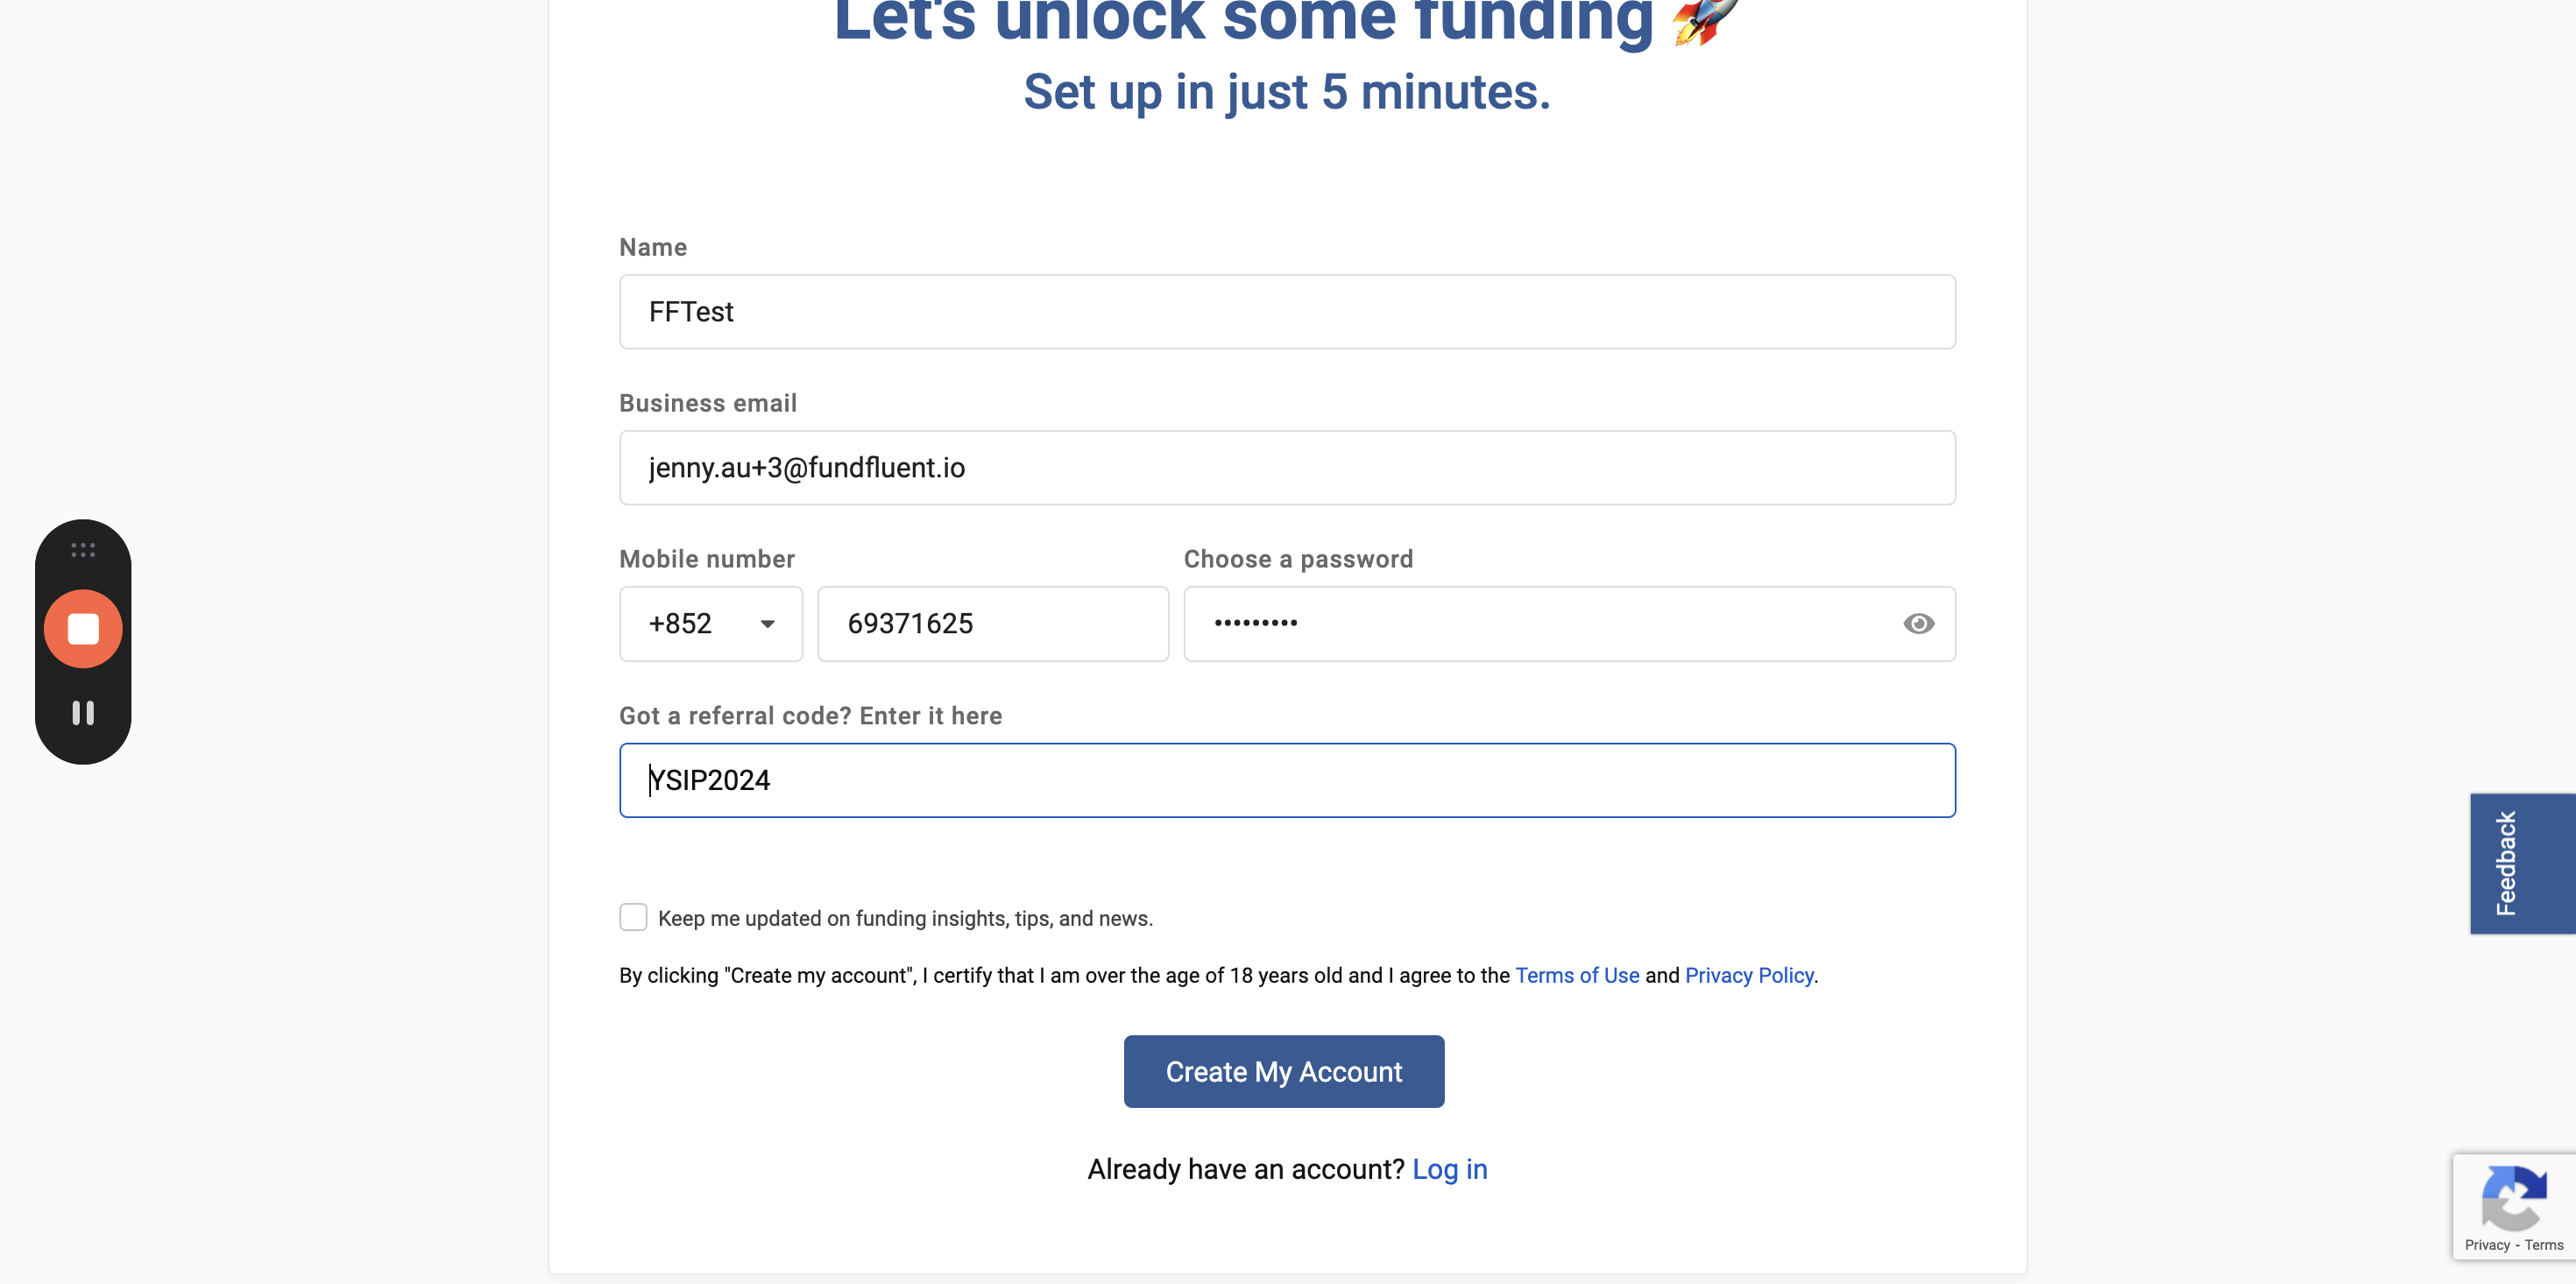


Let's proceed. The user will land here.
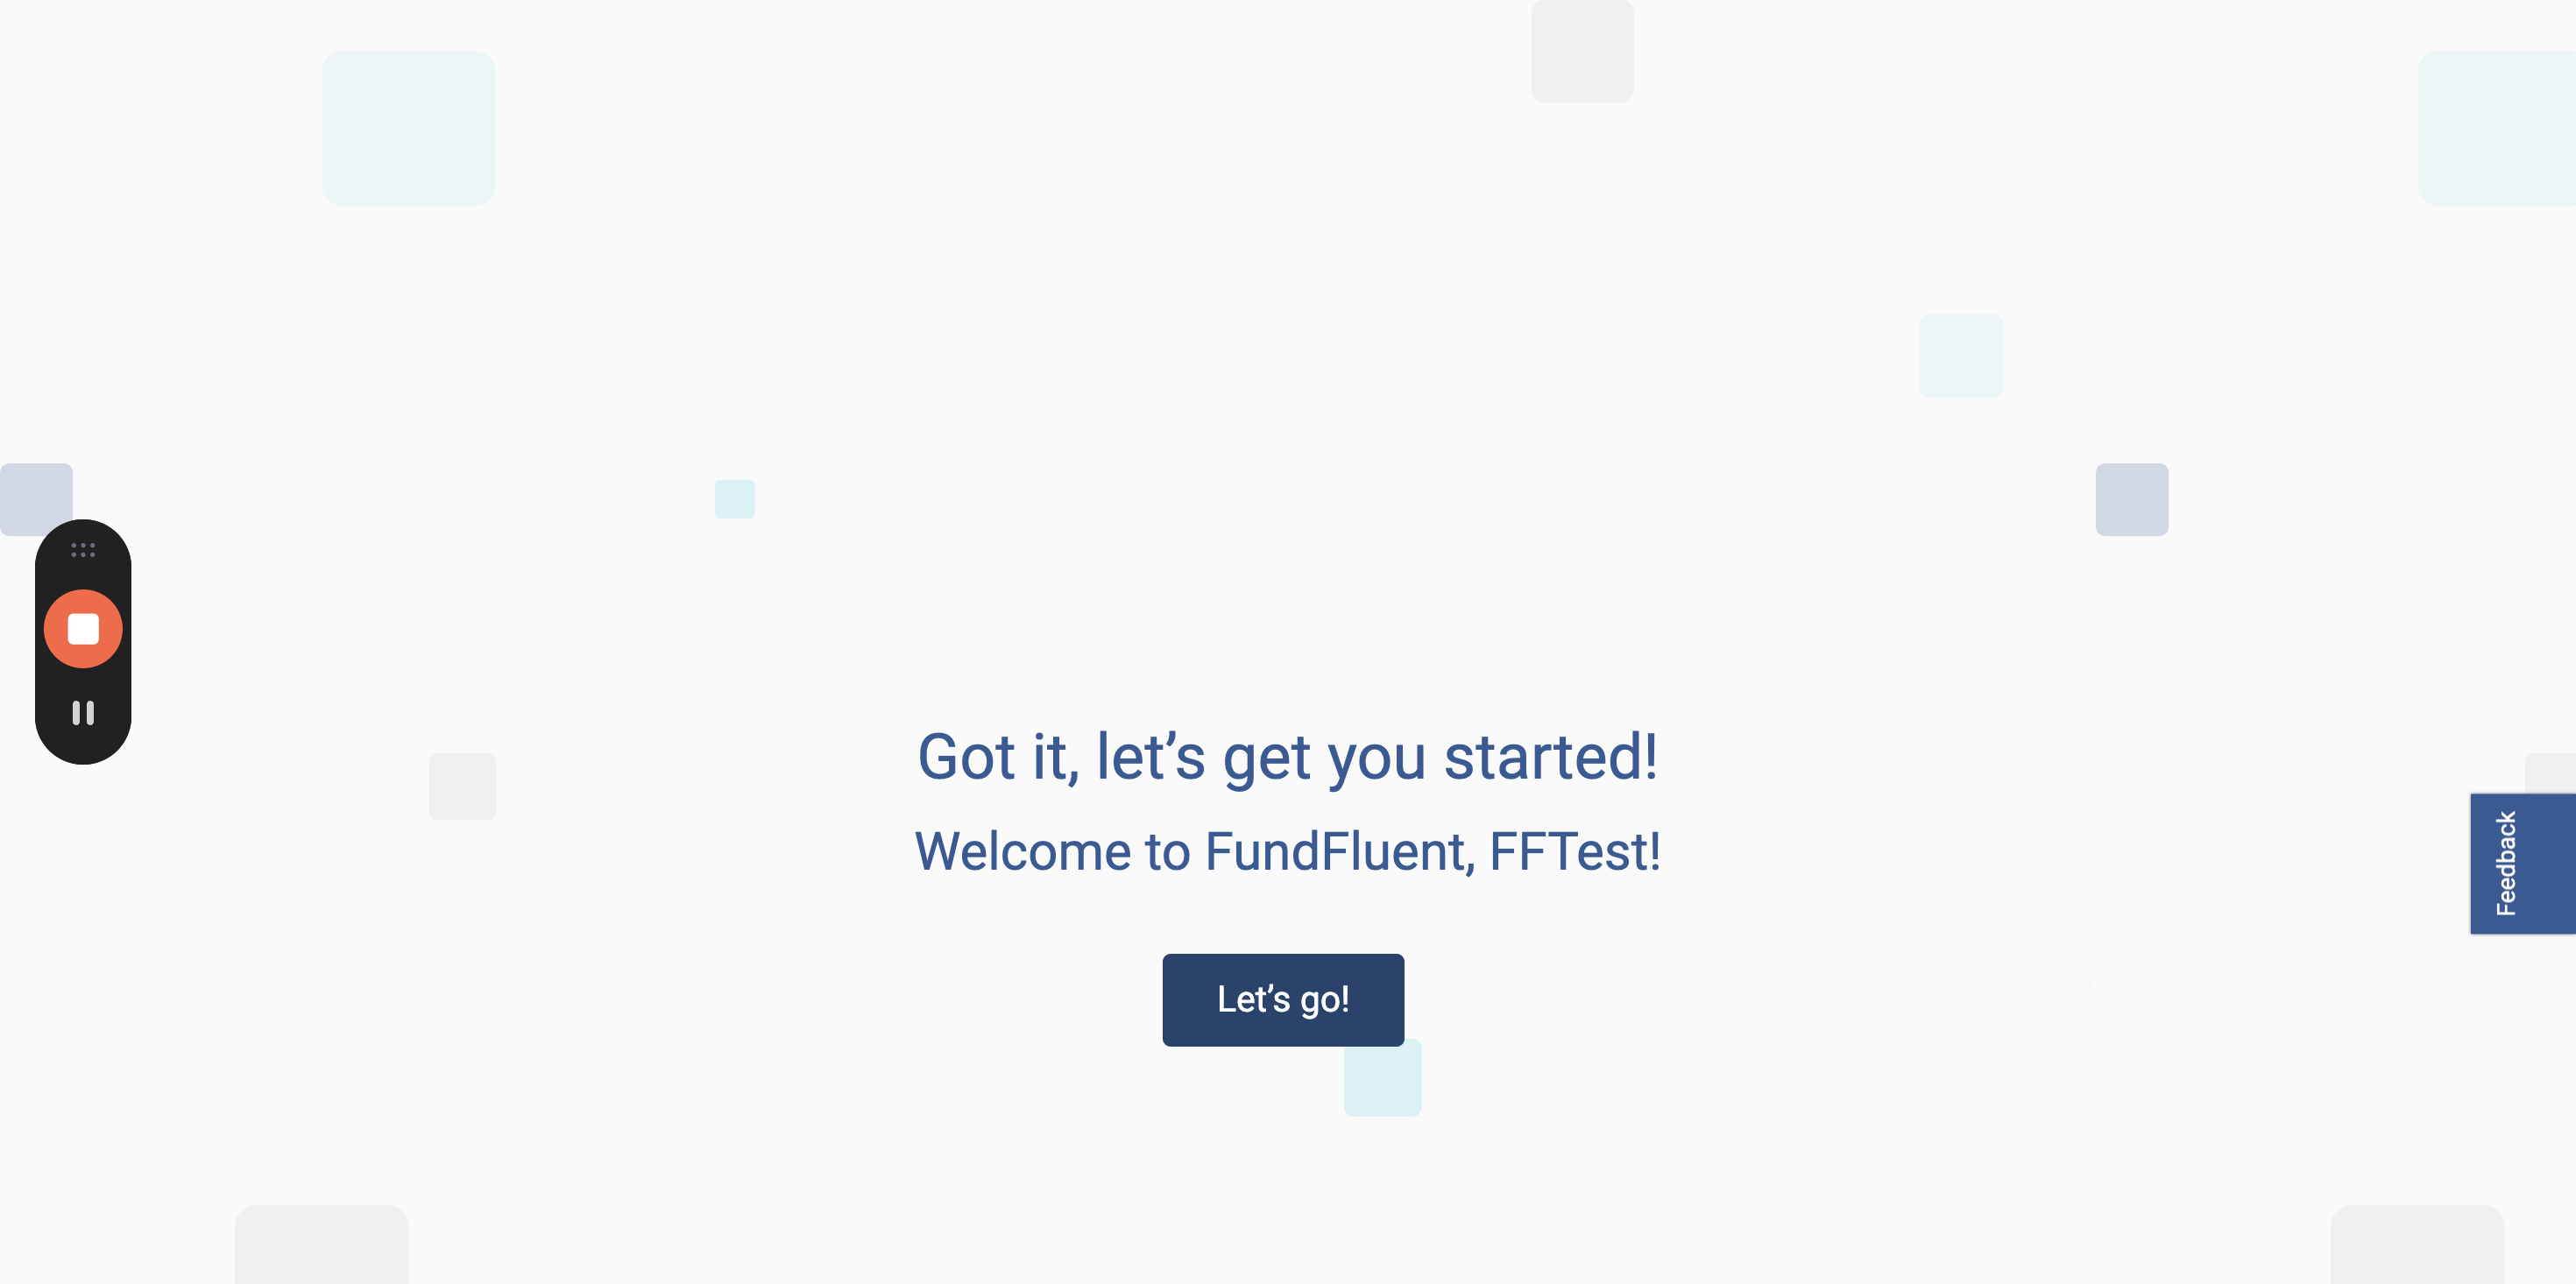
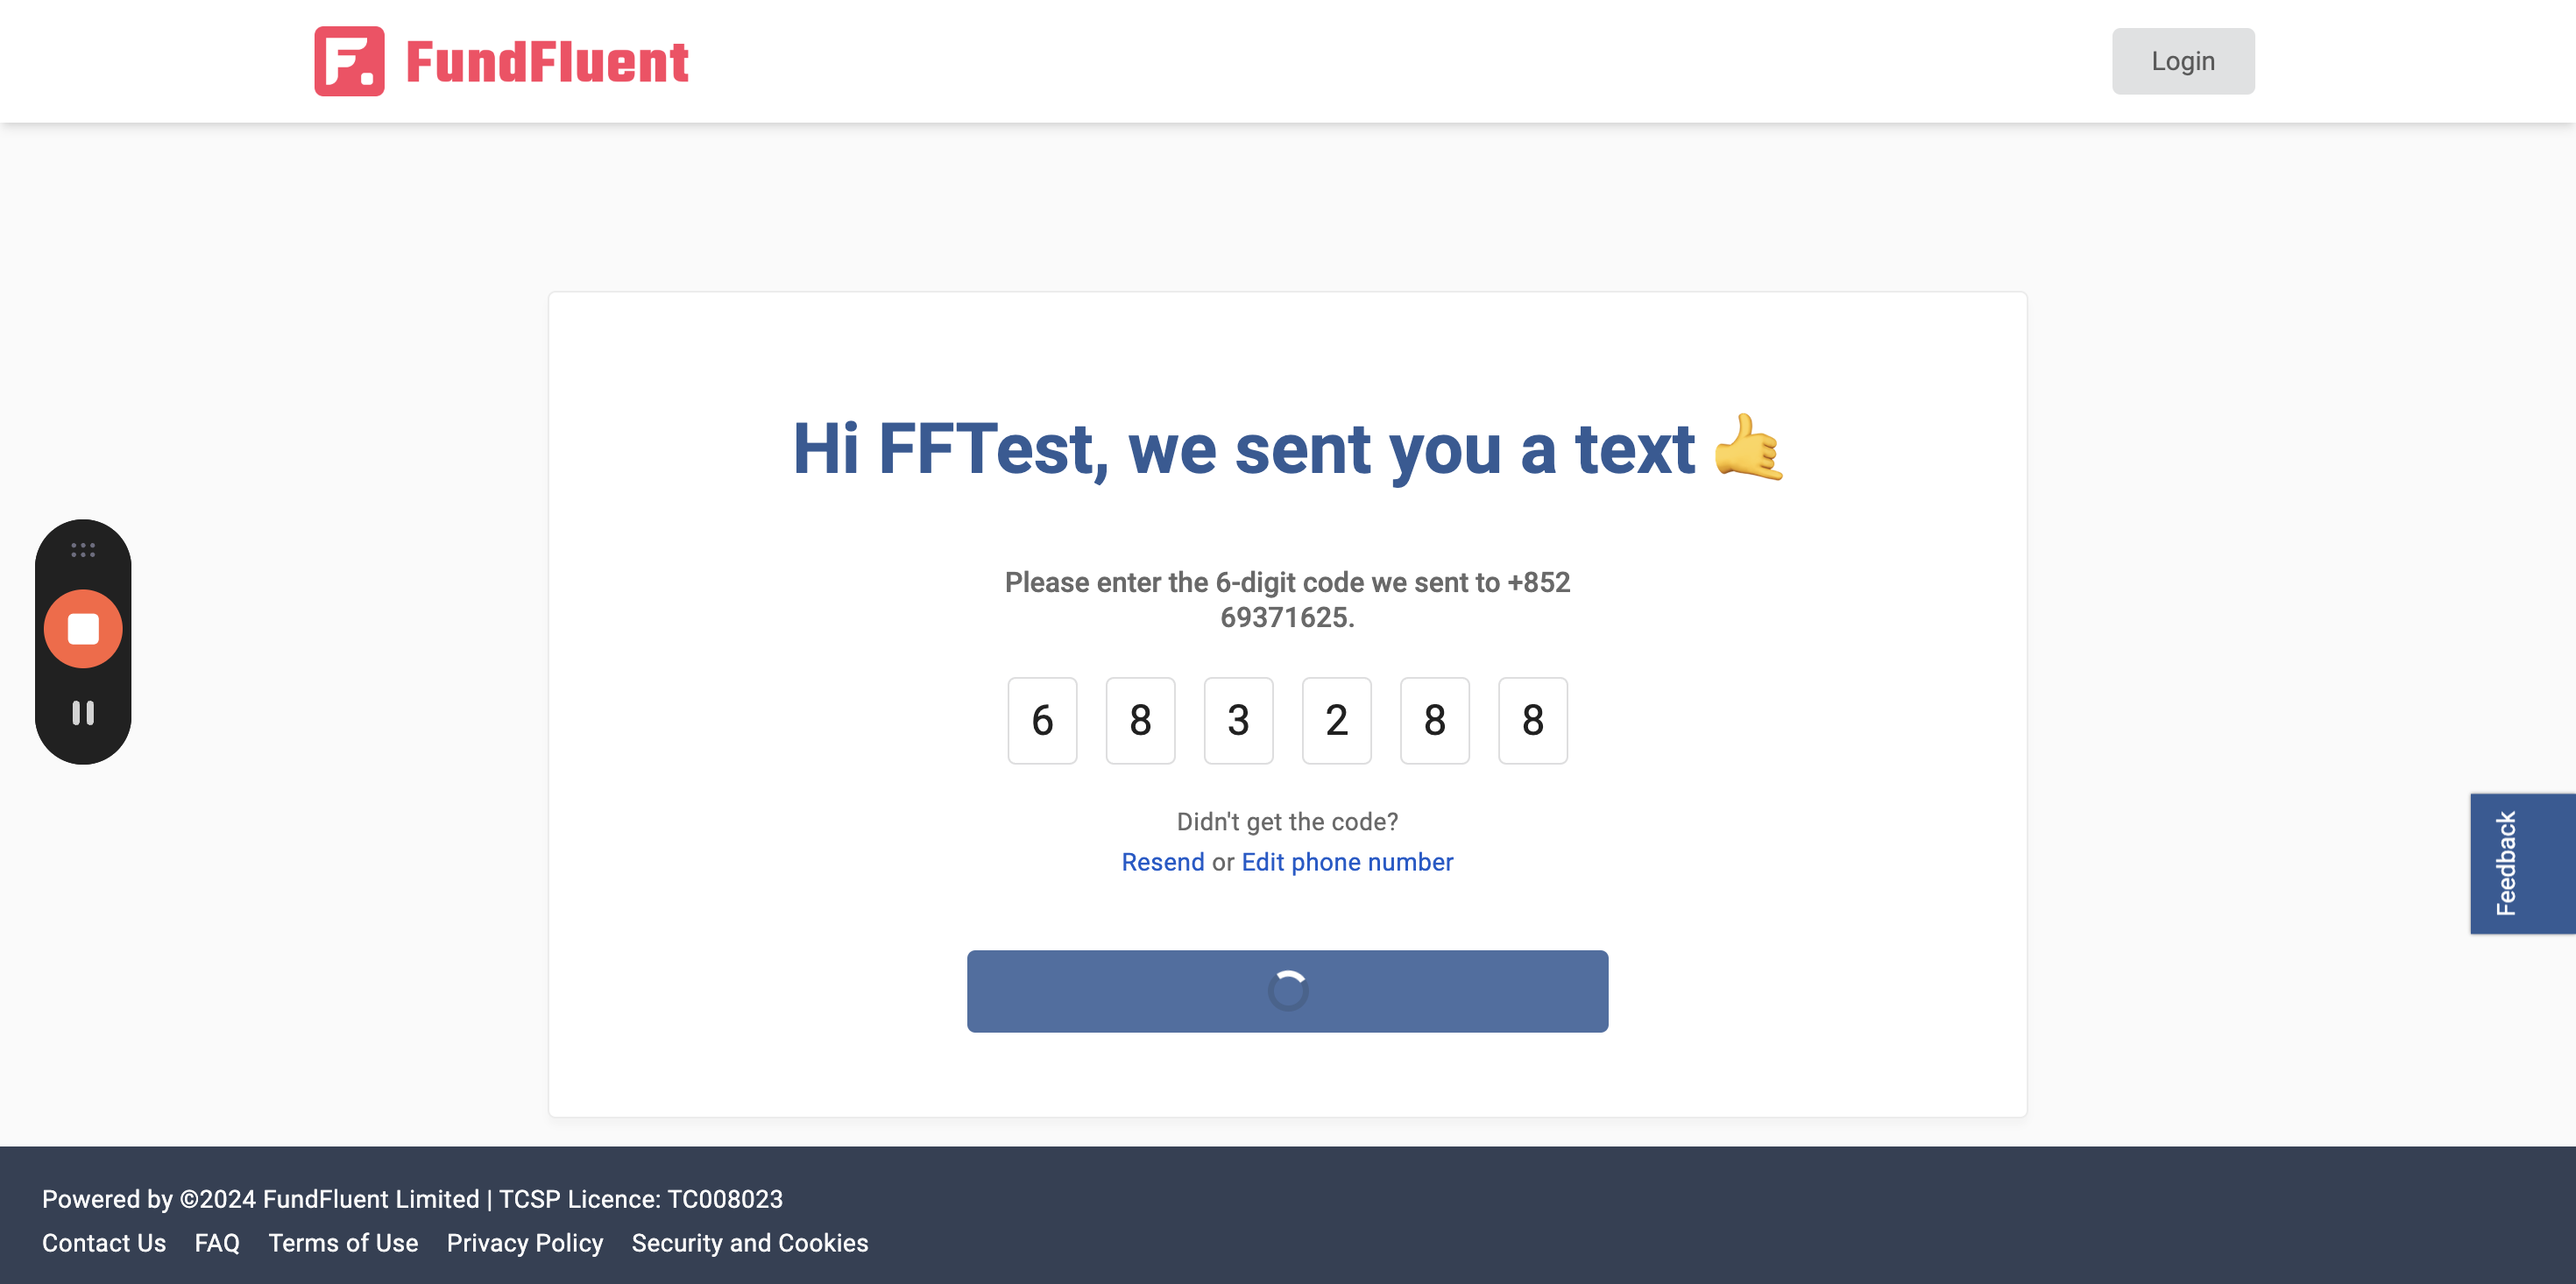
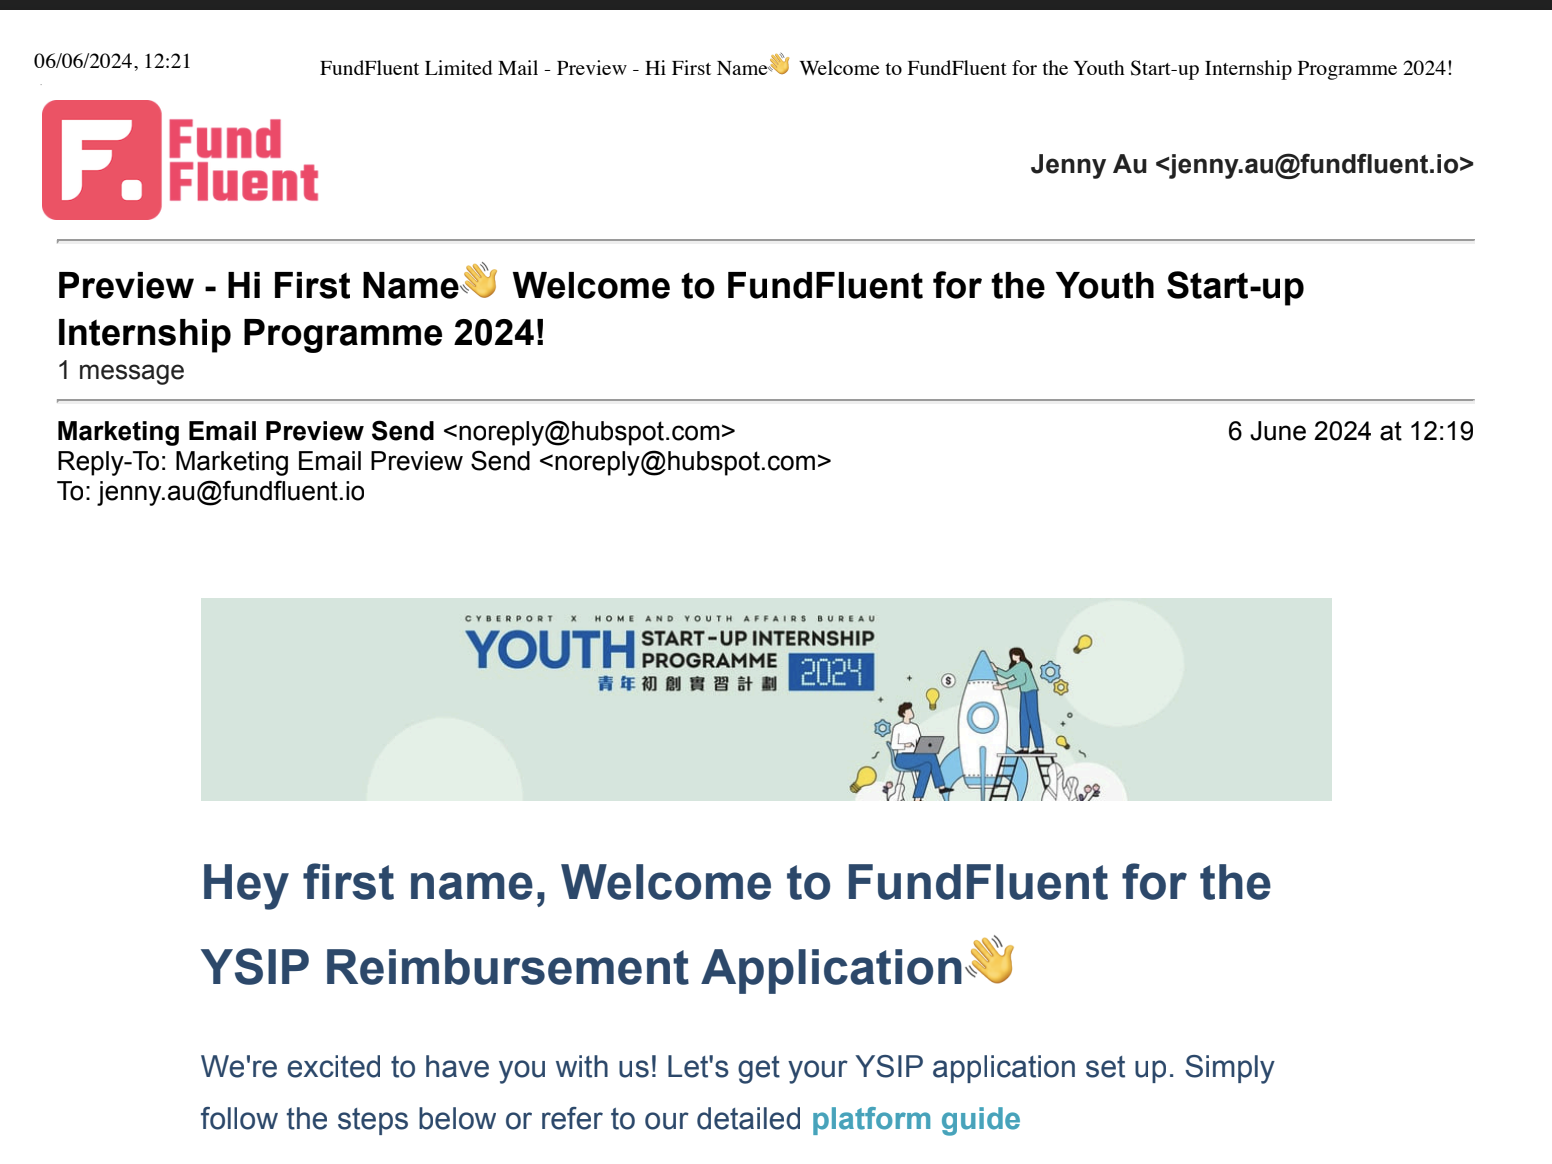
It's important to note that when the user reaches this step or has already accessed the platform, they will have received a welcome email from us.
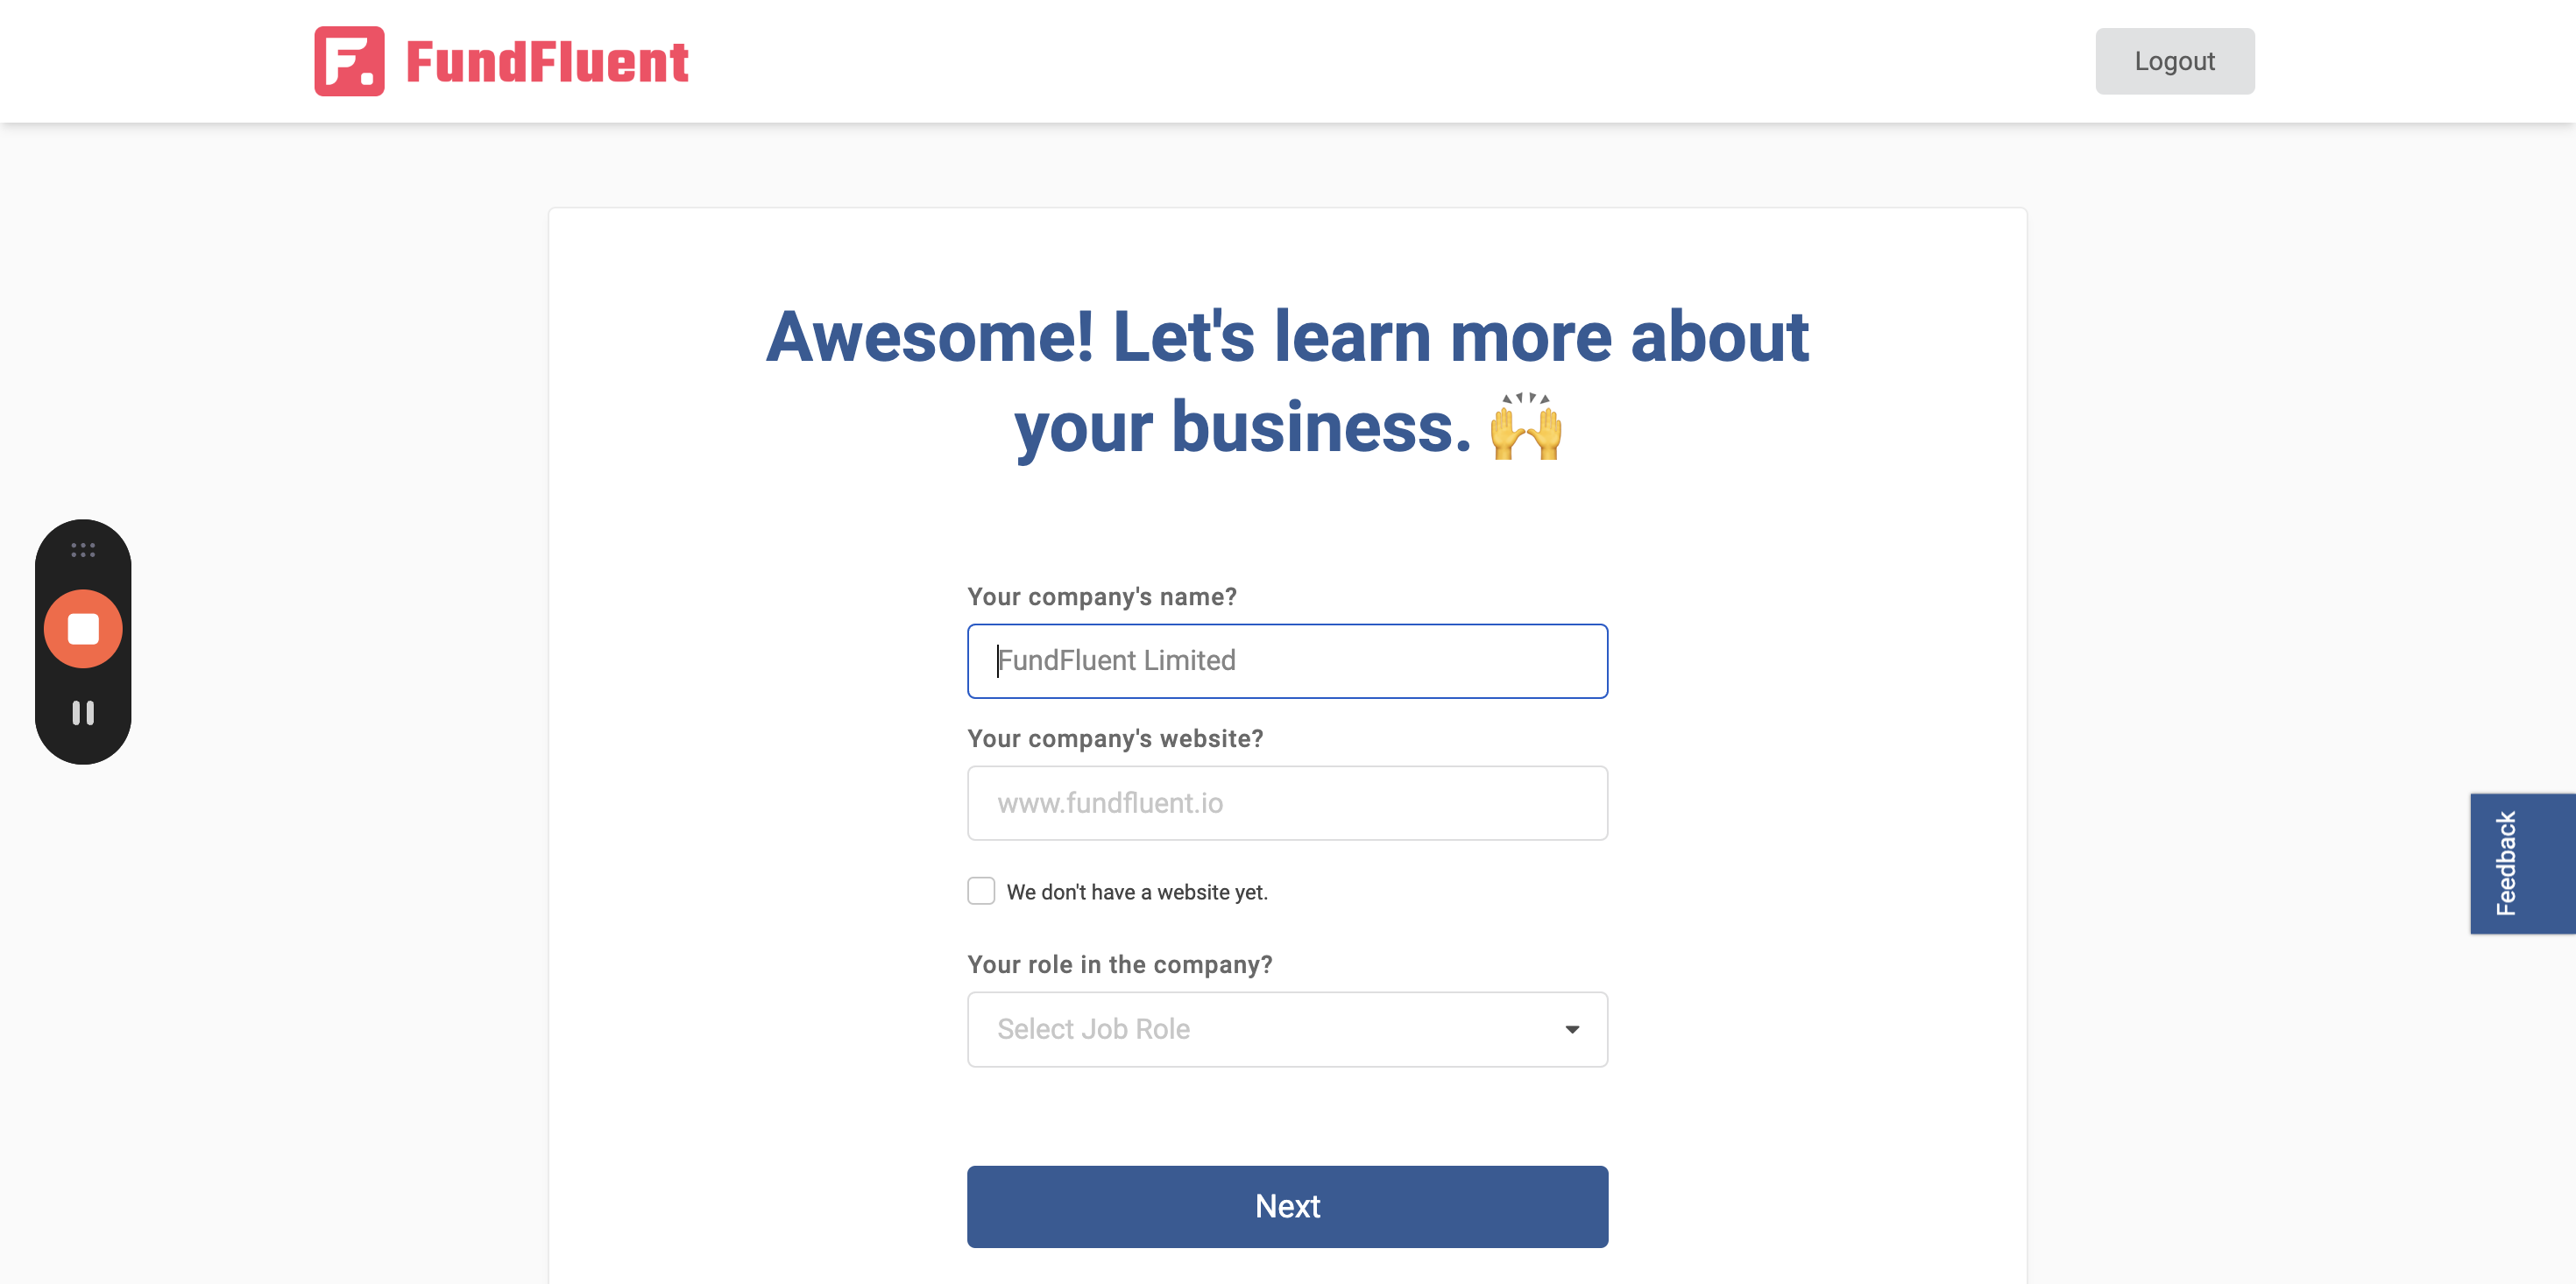
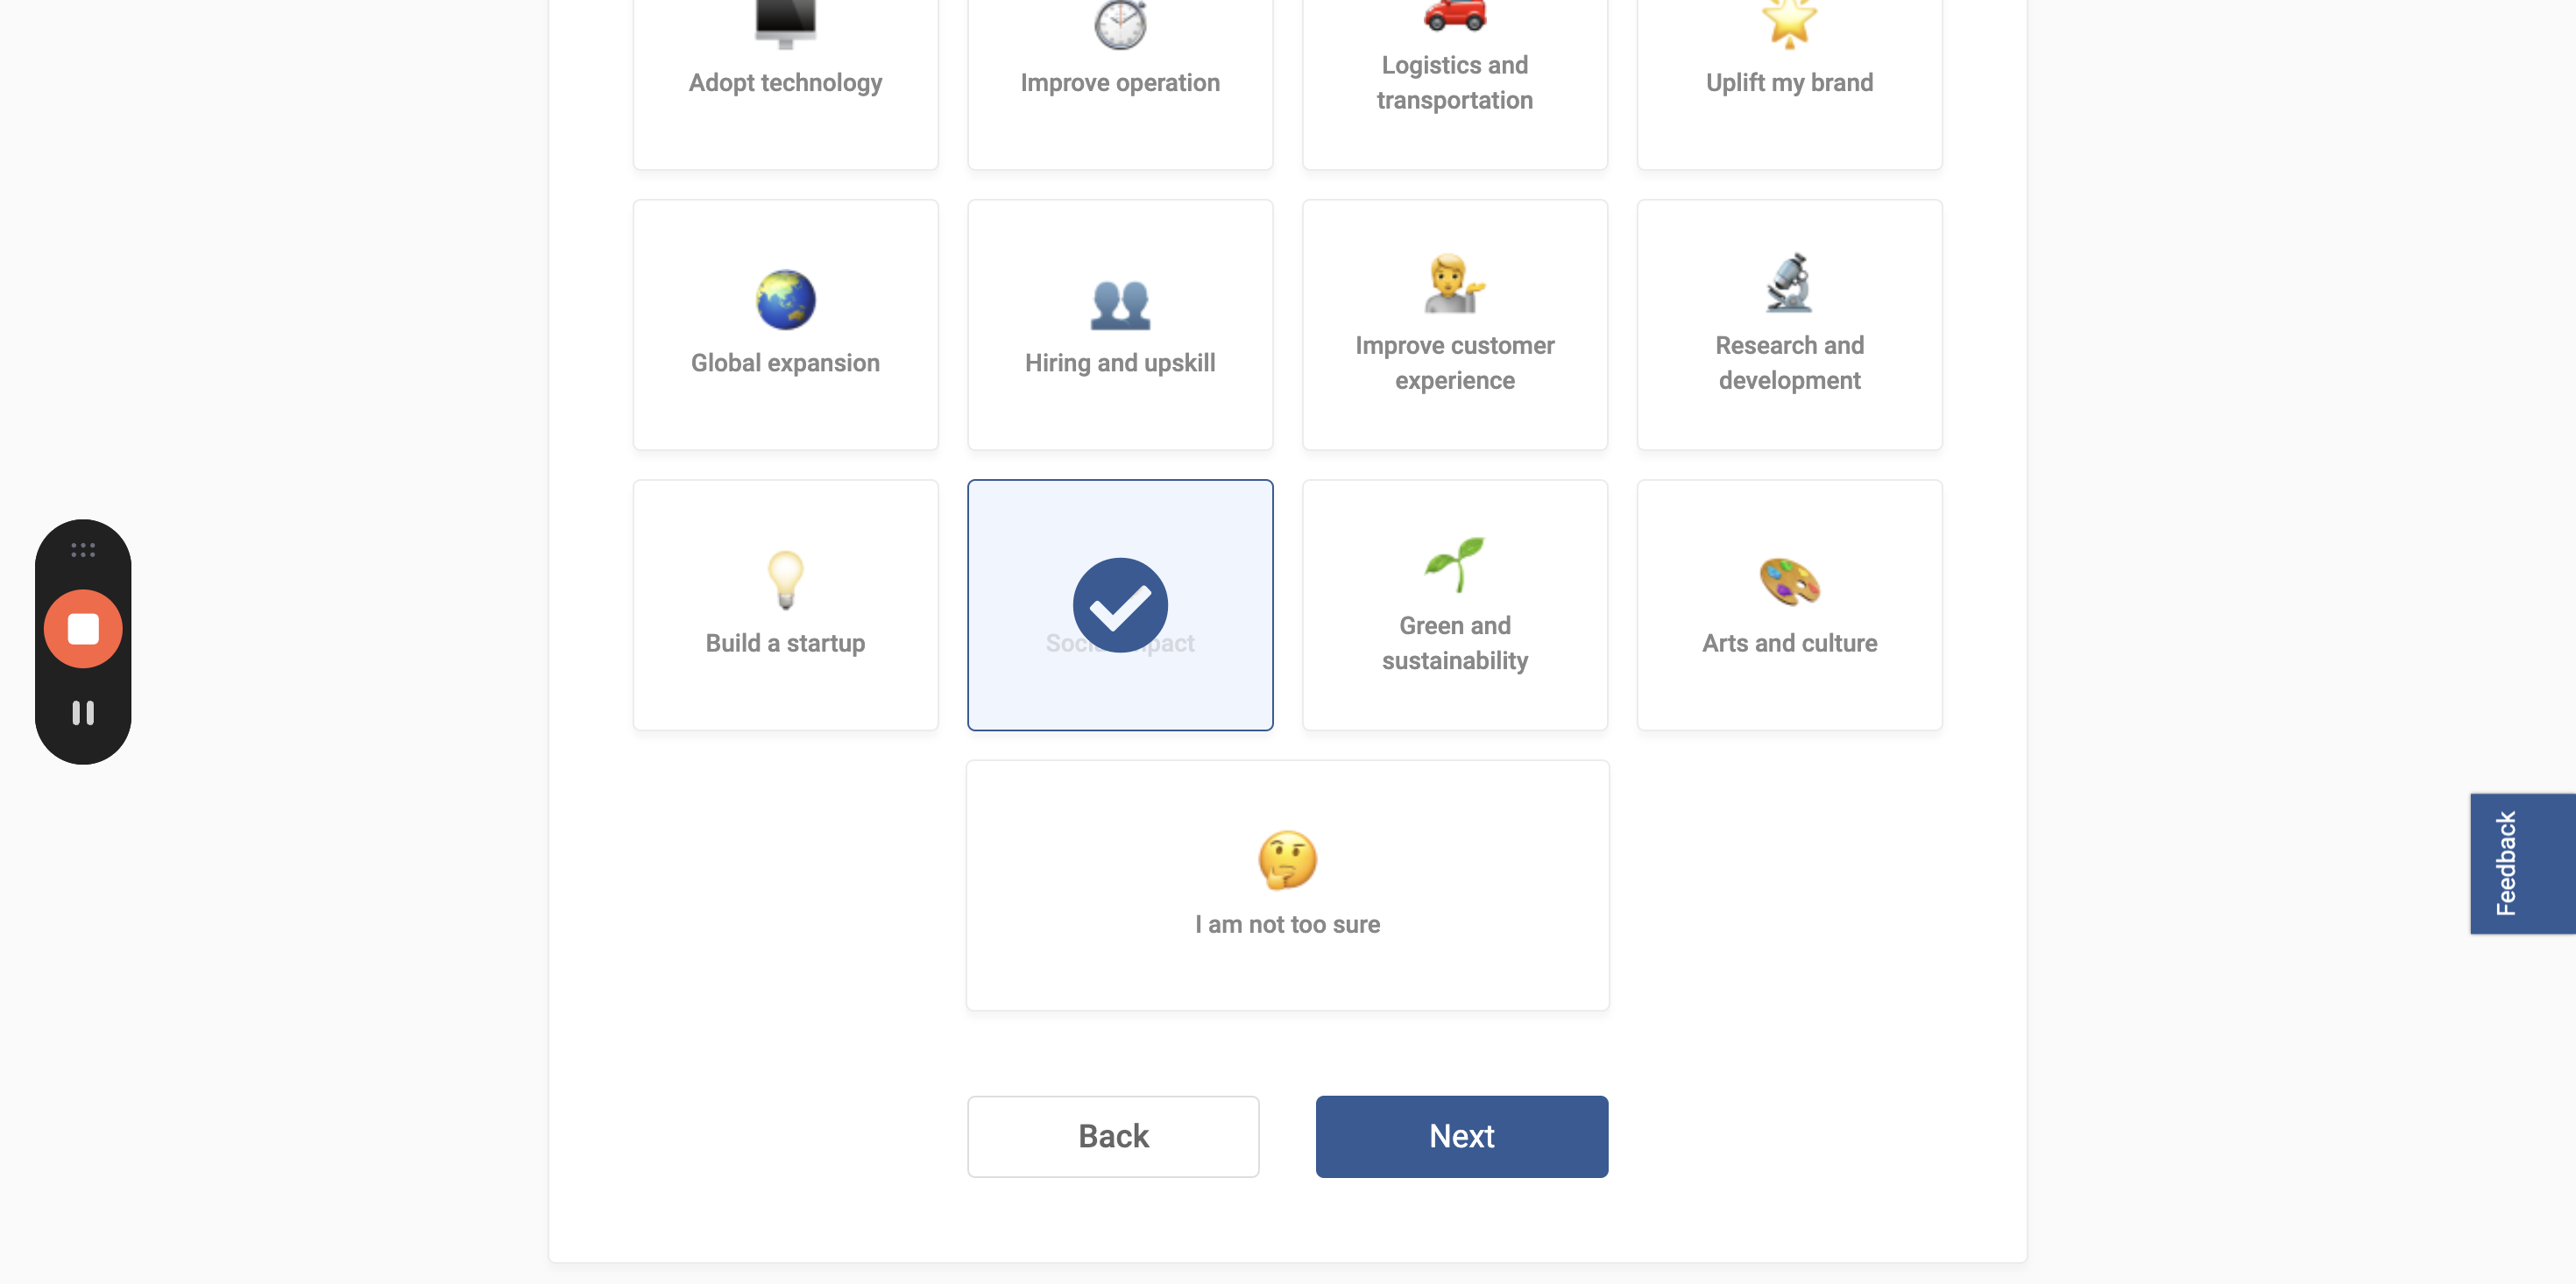
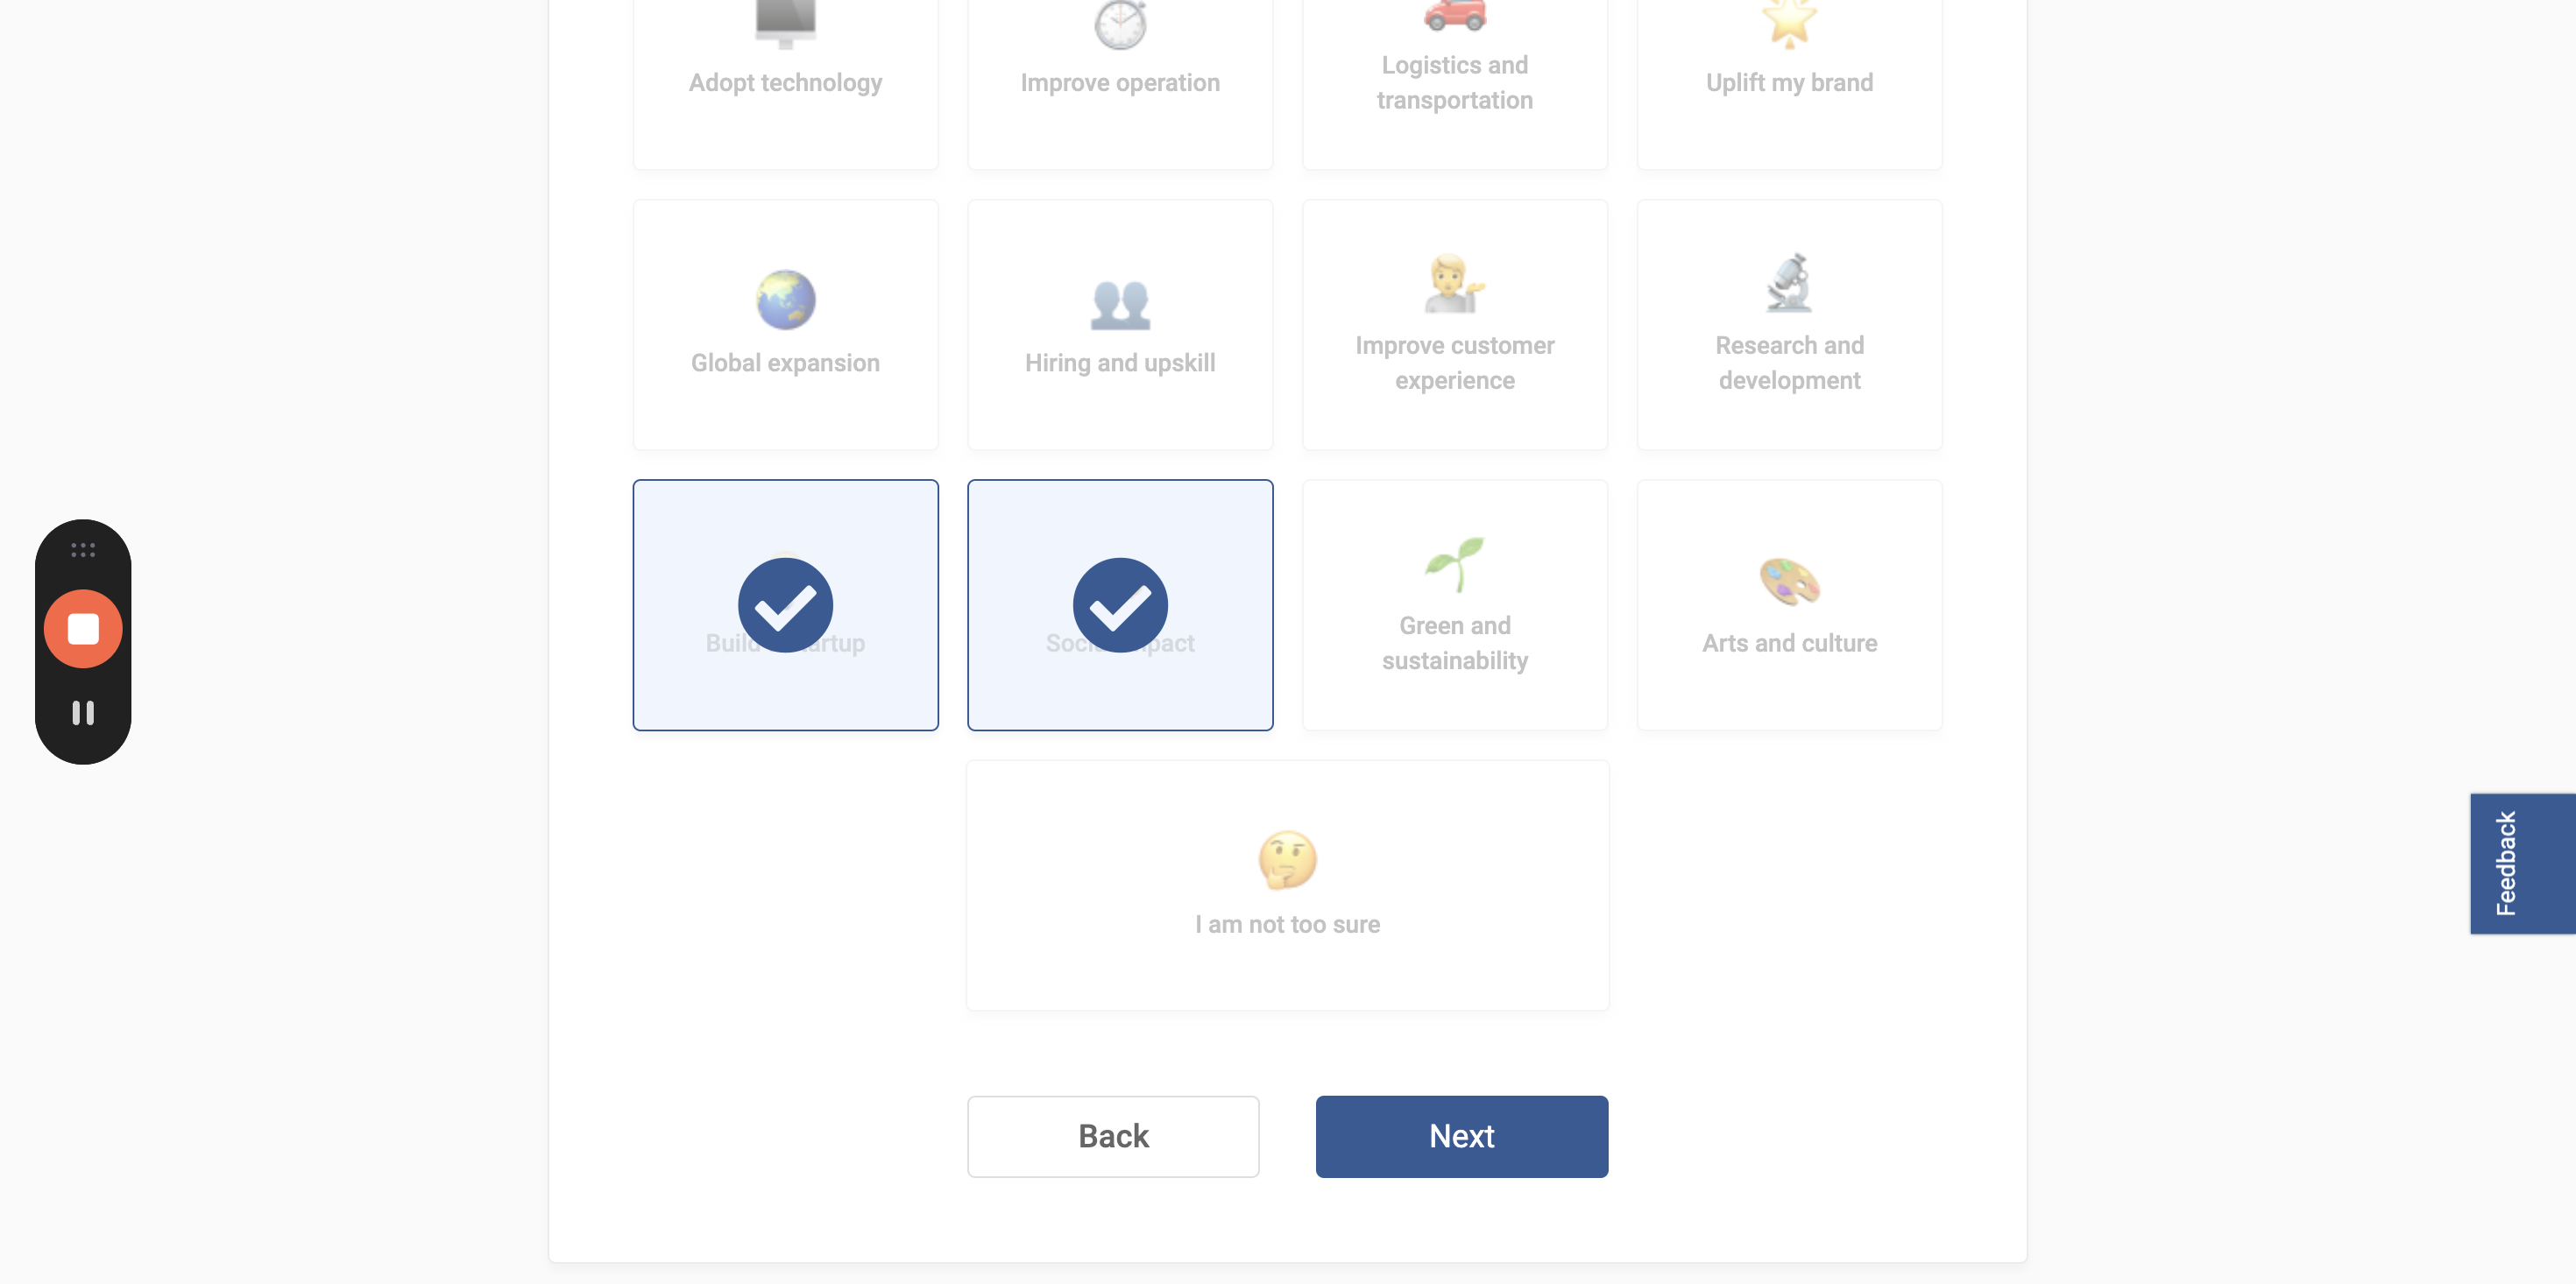
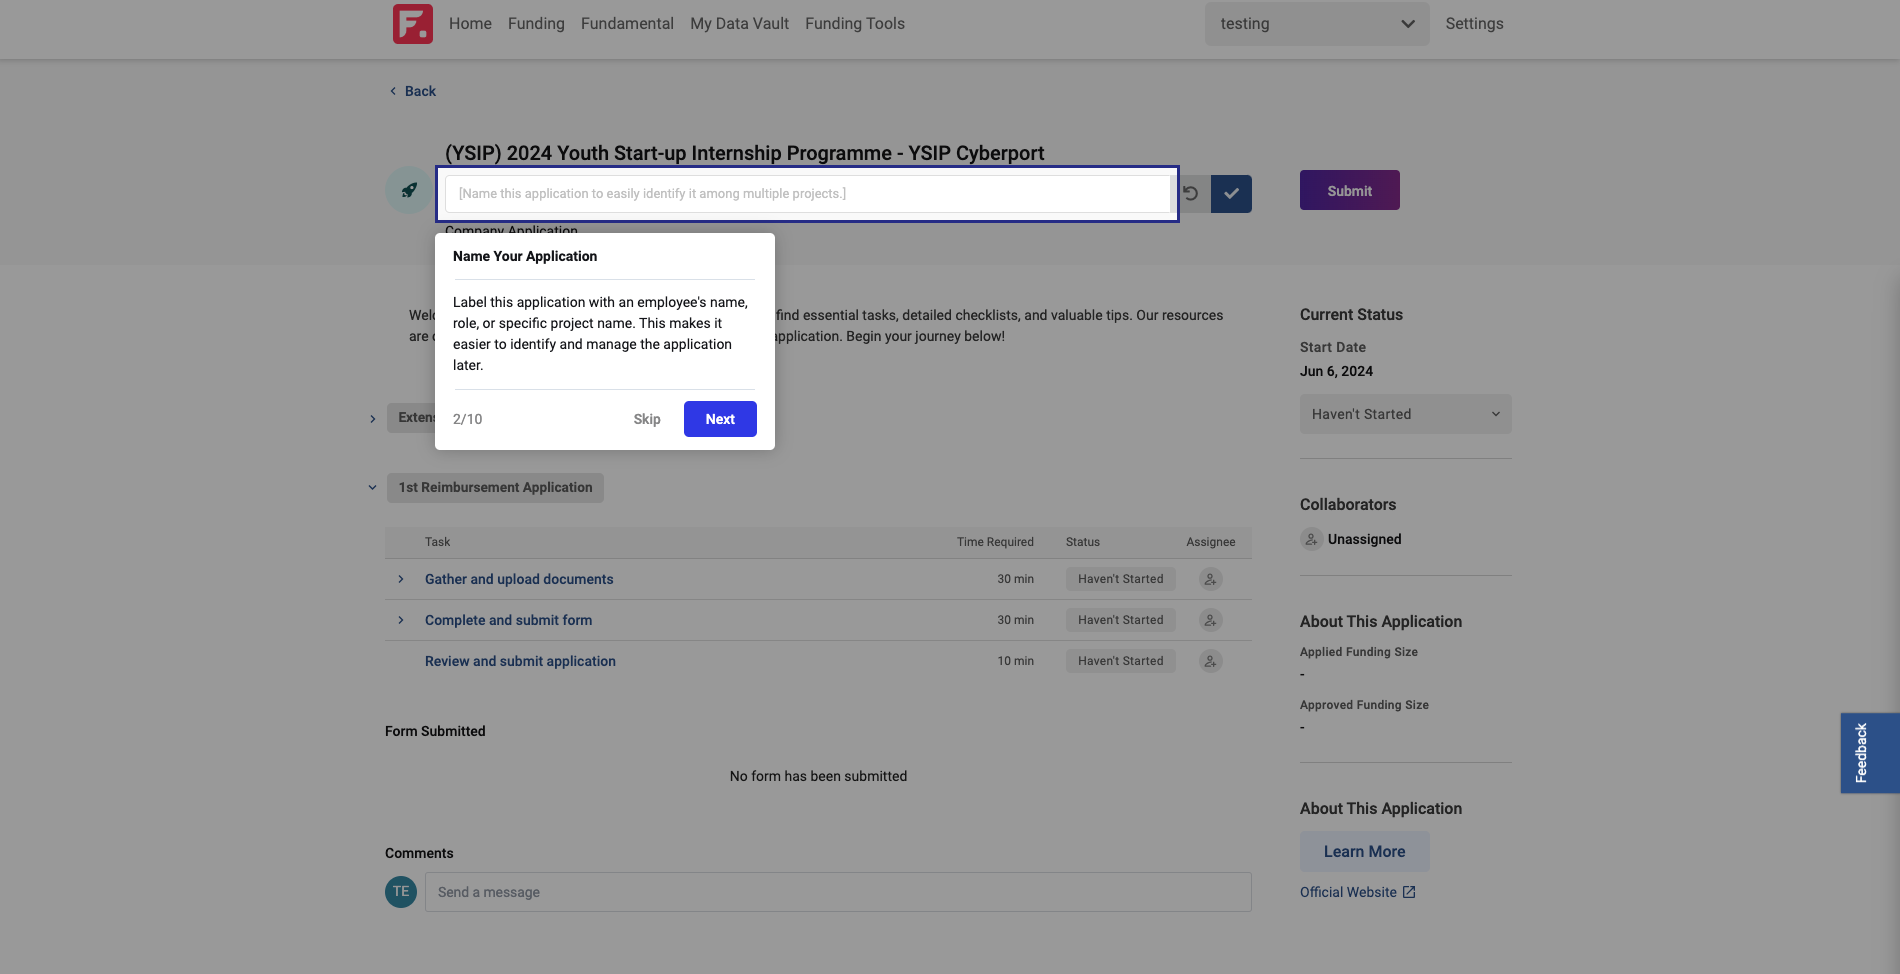
For the first time, because they have the code YSIP 2024, they will see on-screen prompts to provide more context.
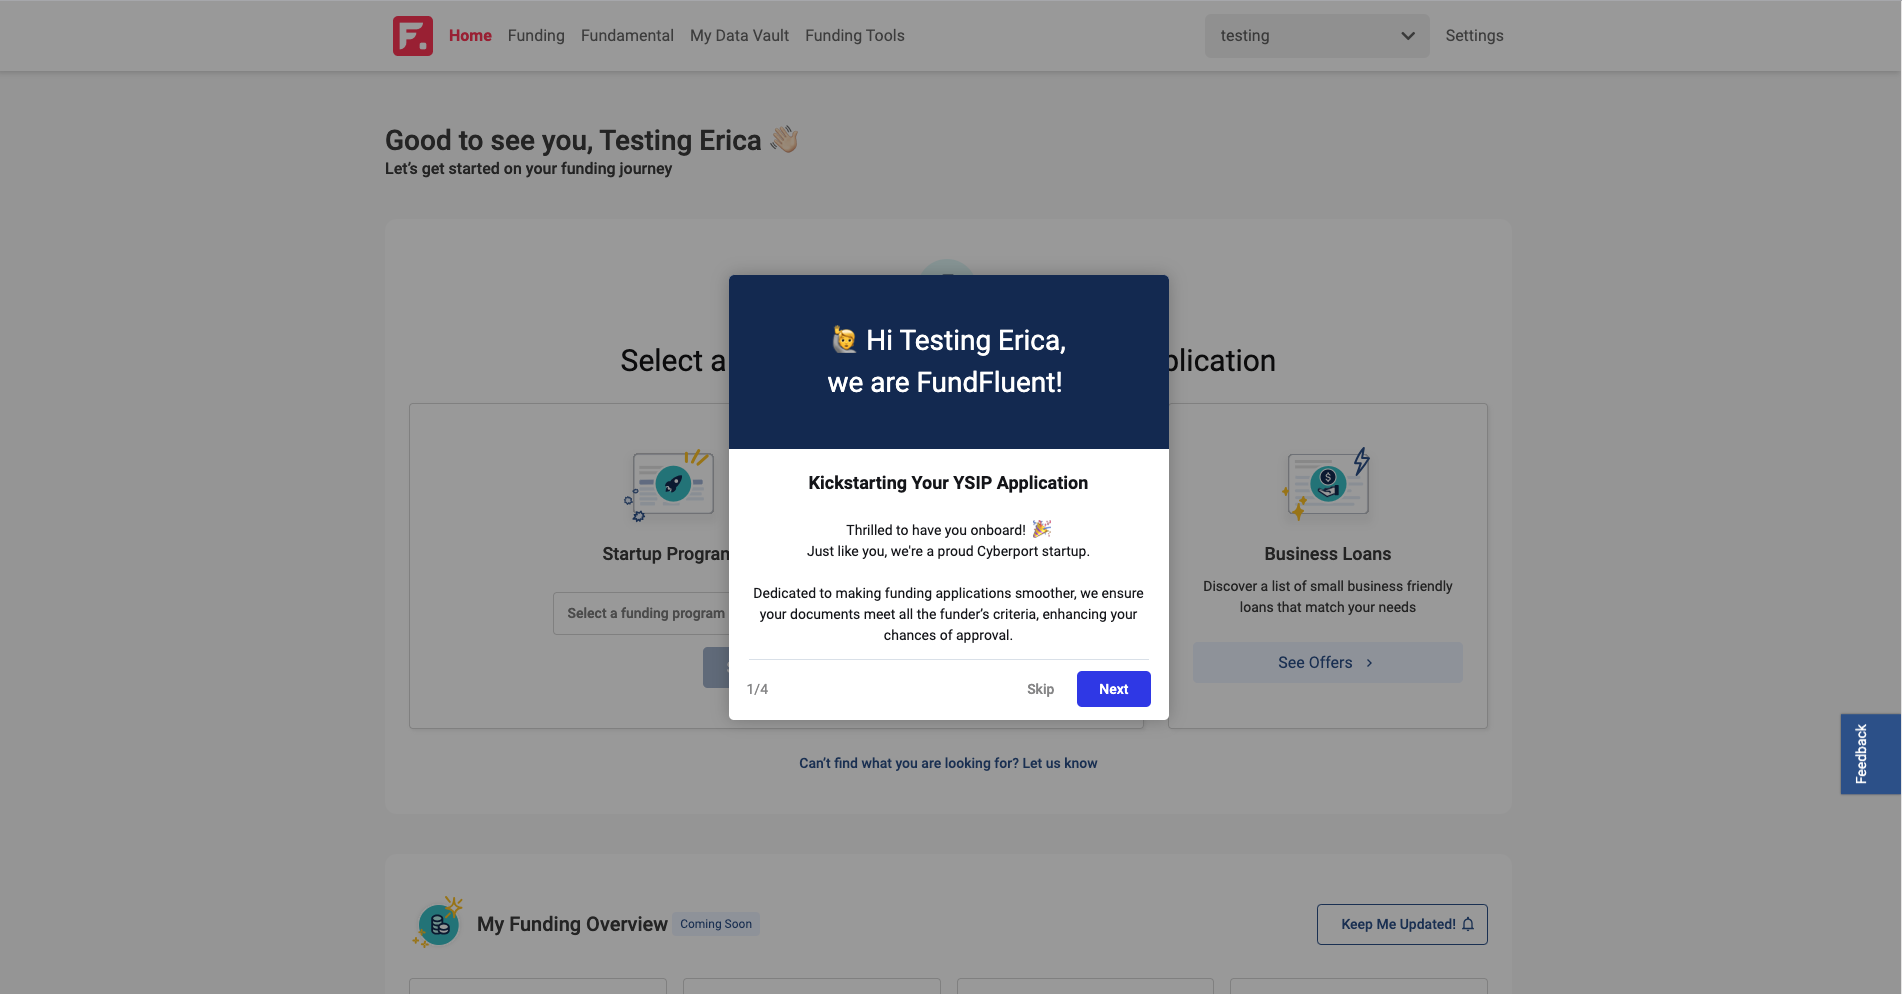
All of this on-screen messages are also provided to you in a separate folder for you to review any copy changes.
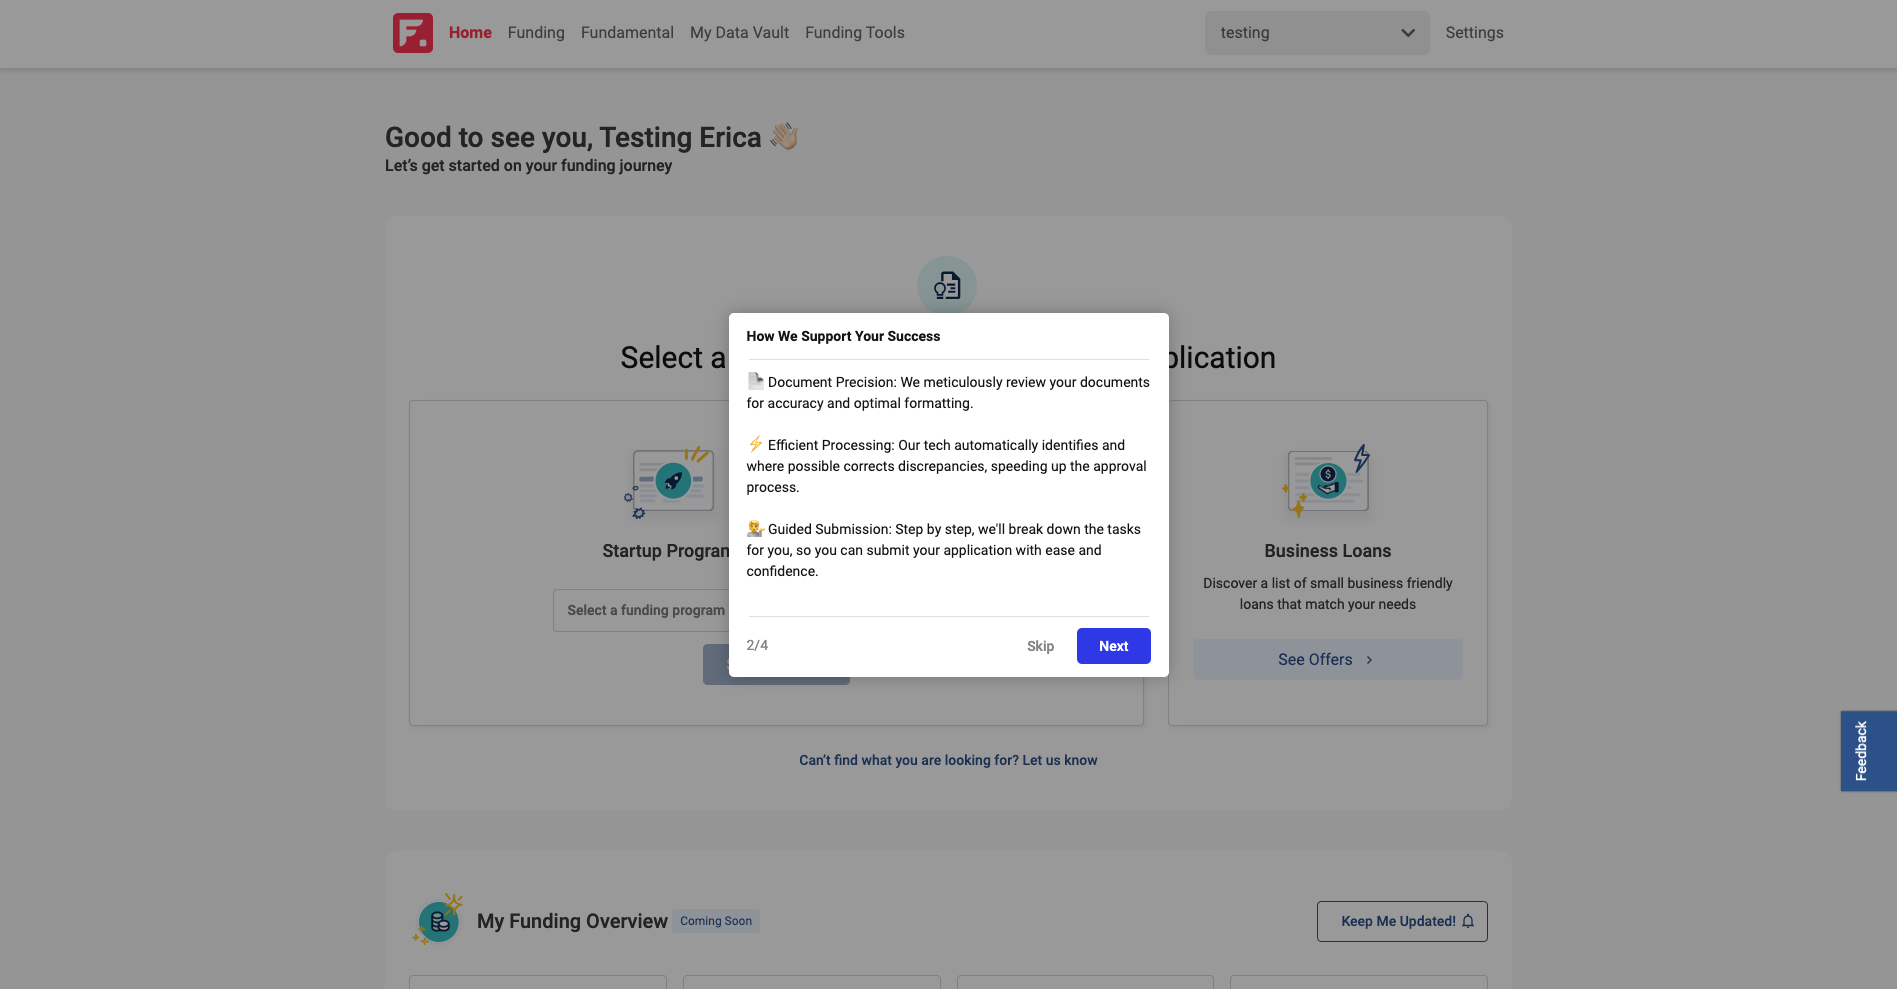
Since this is my first time on Funfluent, it is instructing me to enter "start YSIP" here.
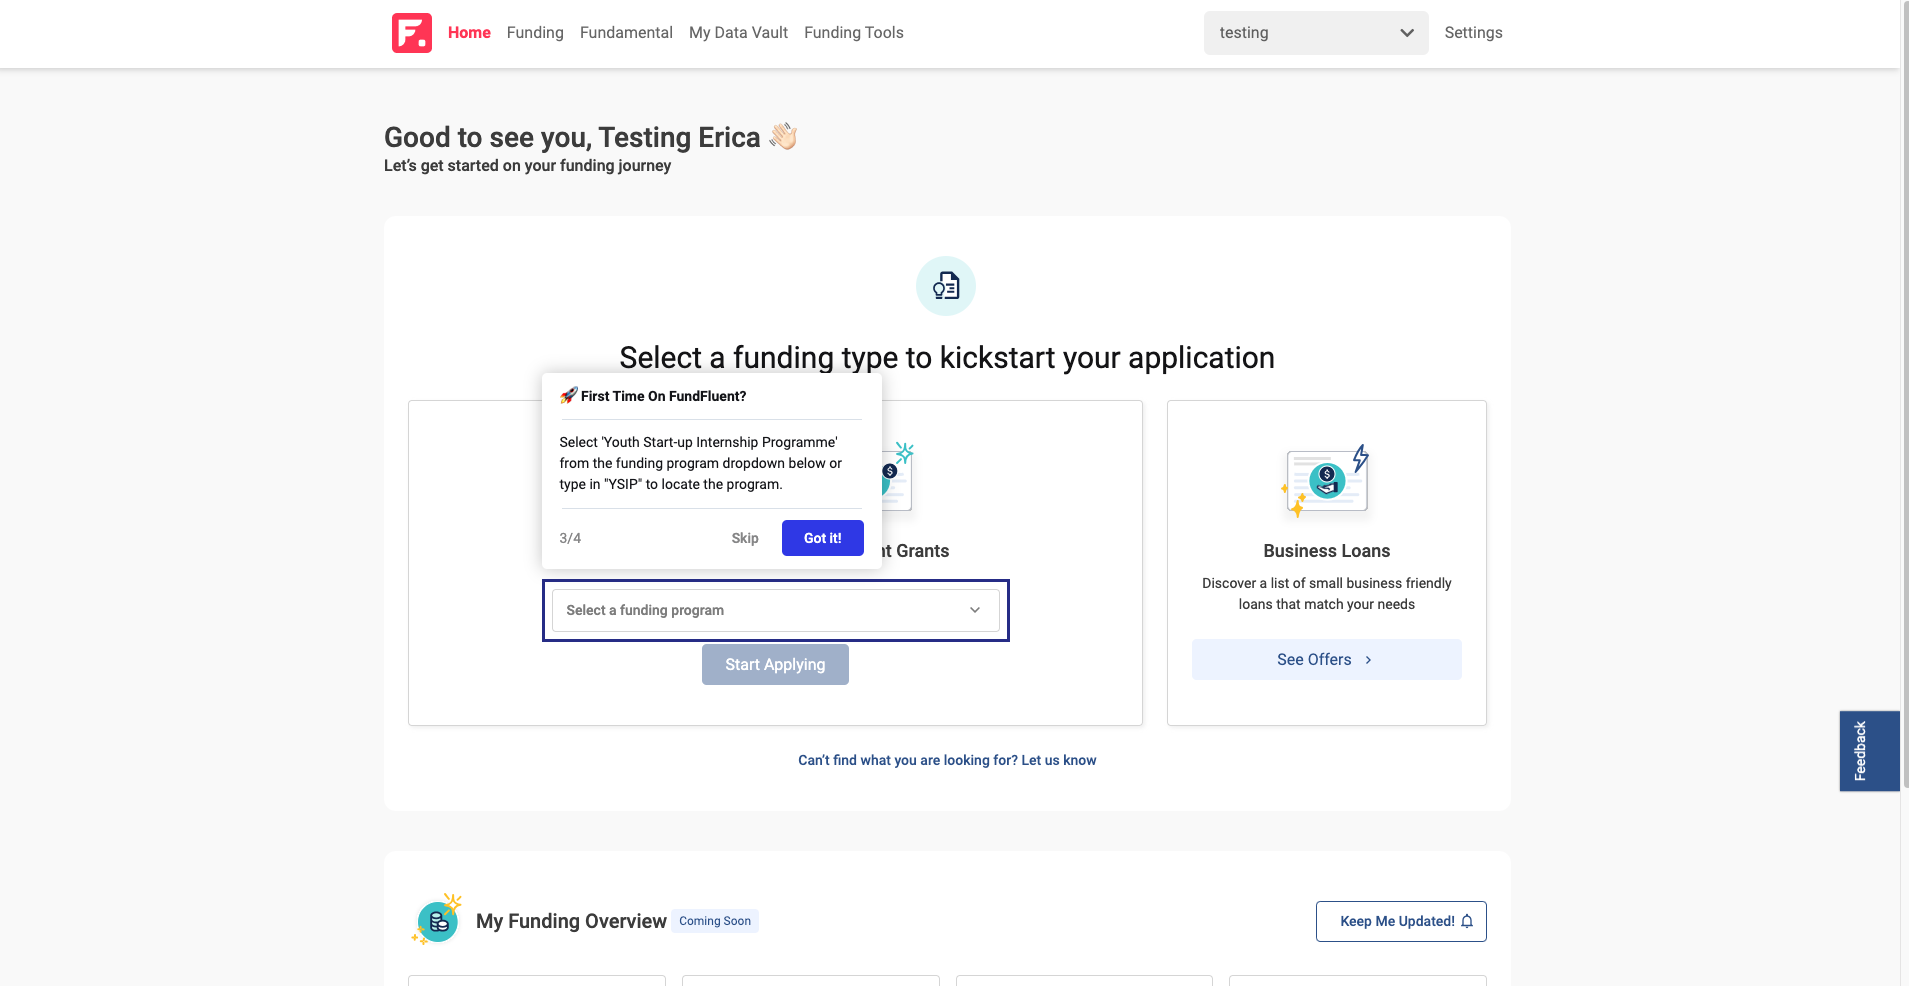
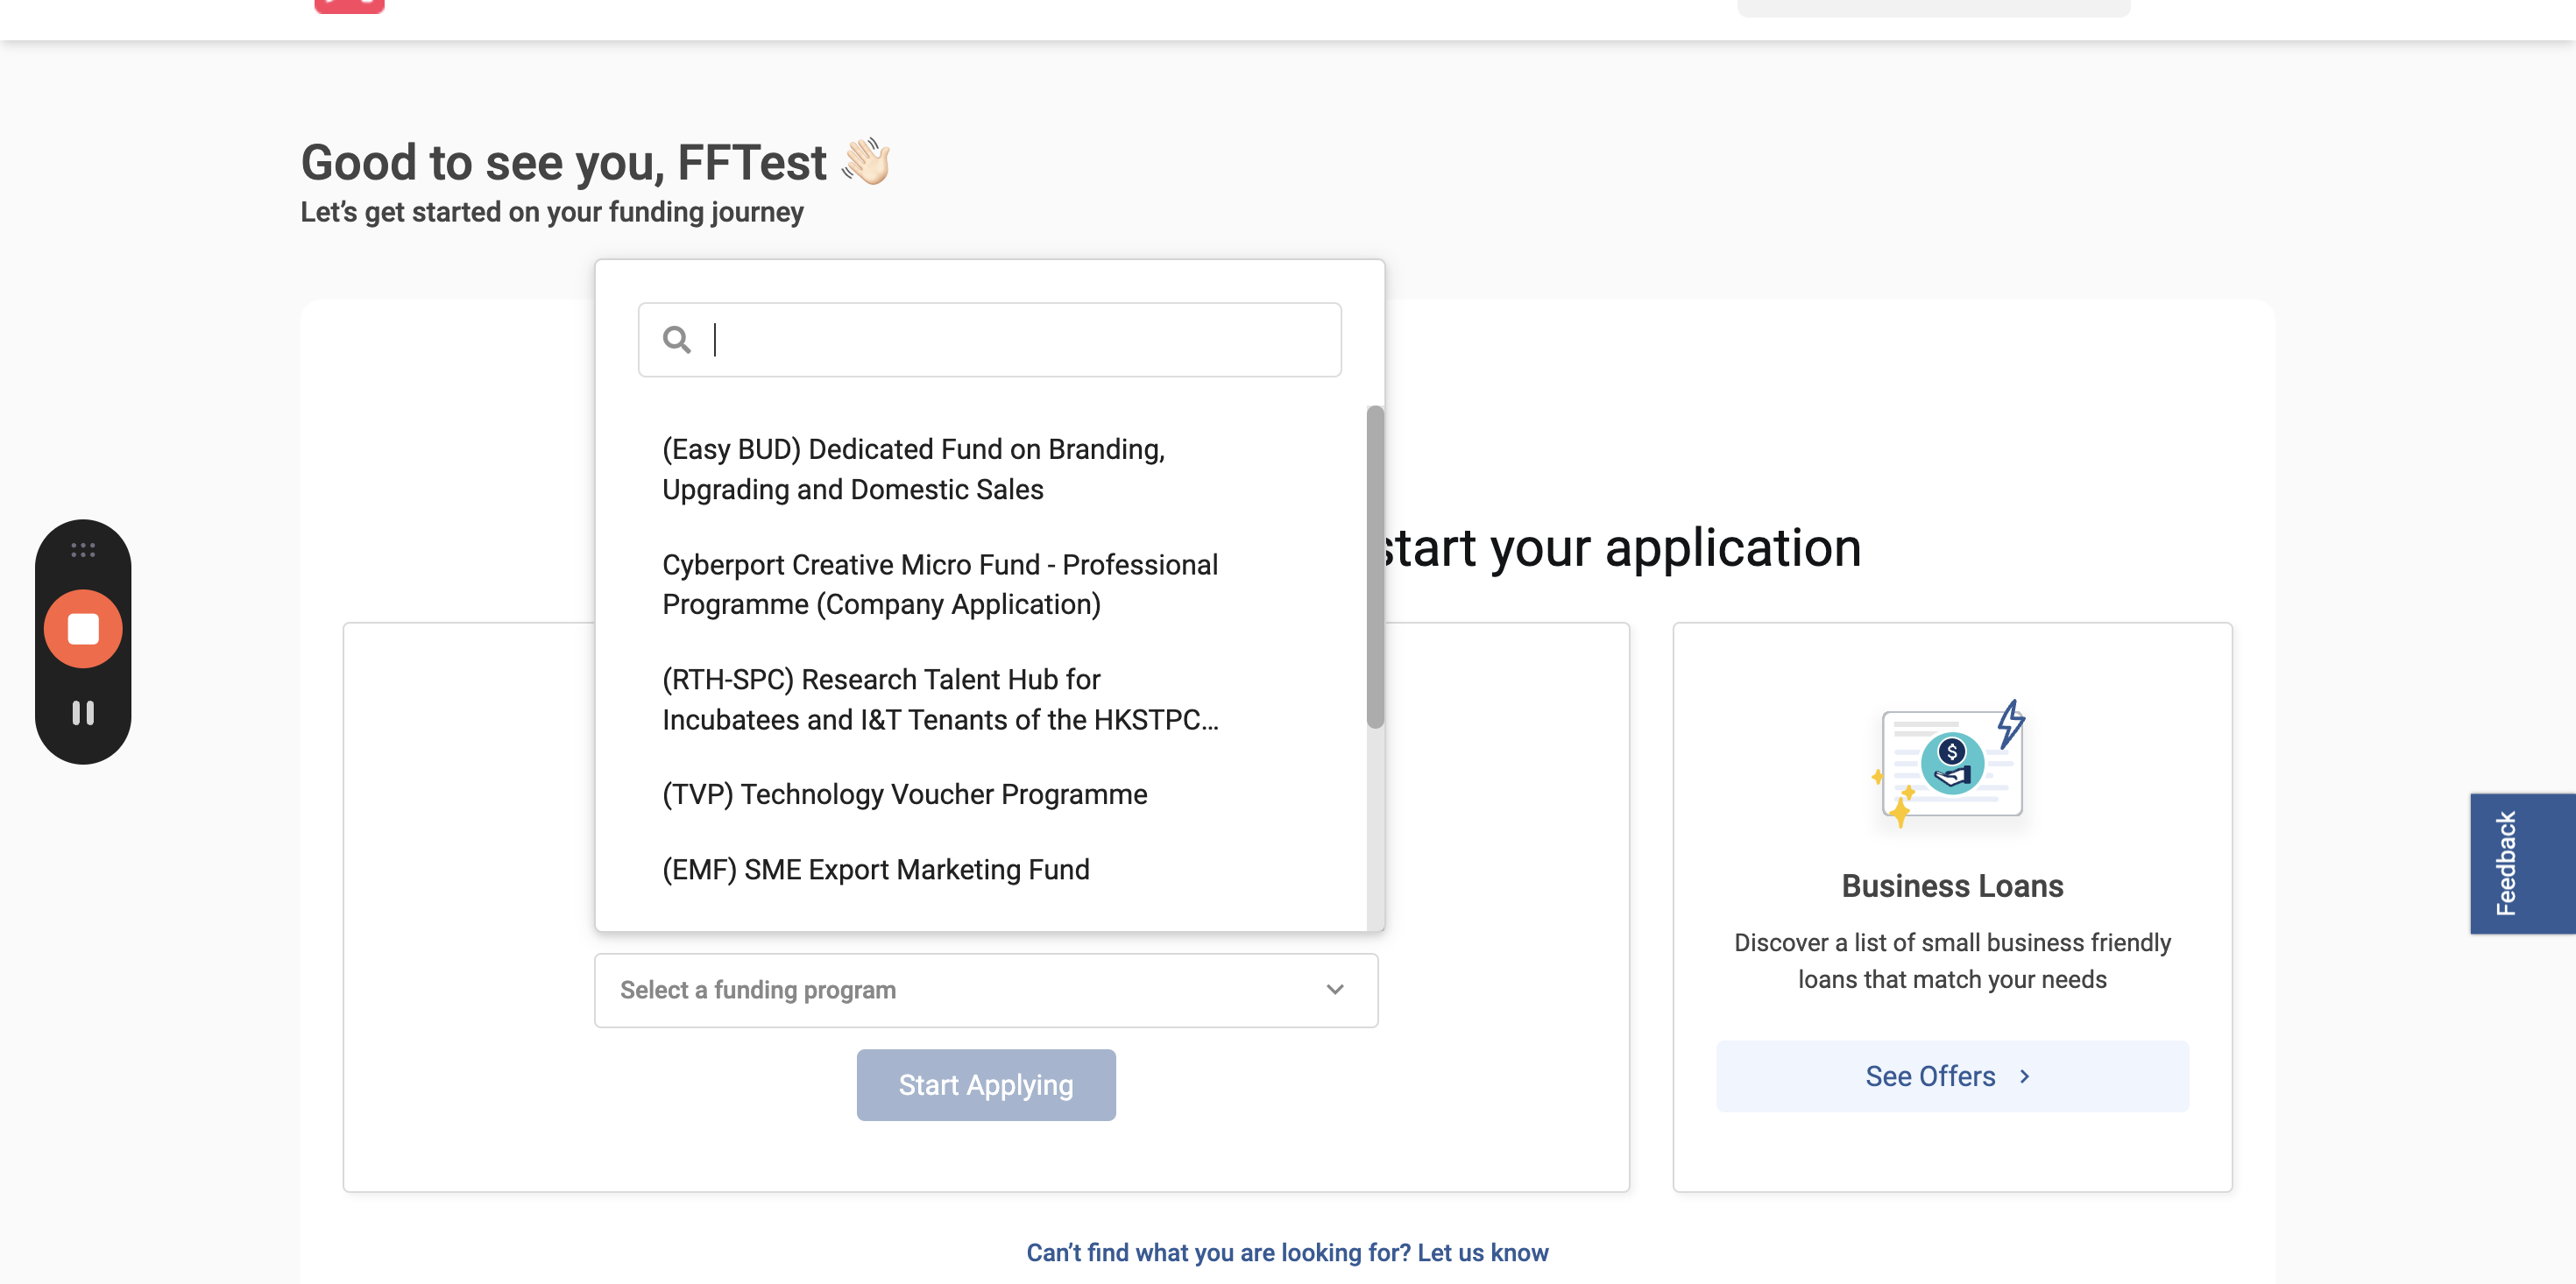
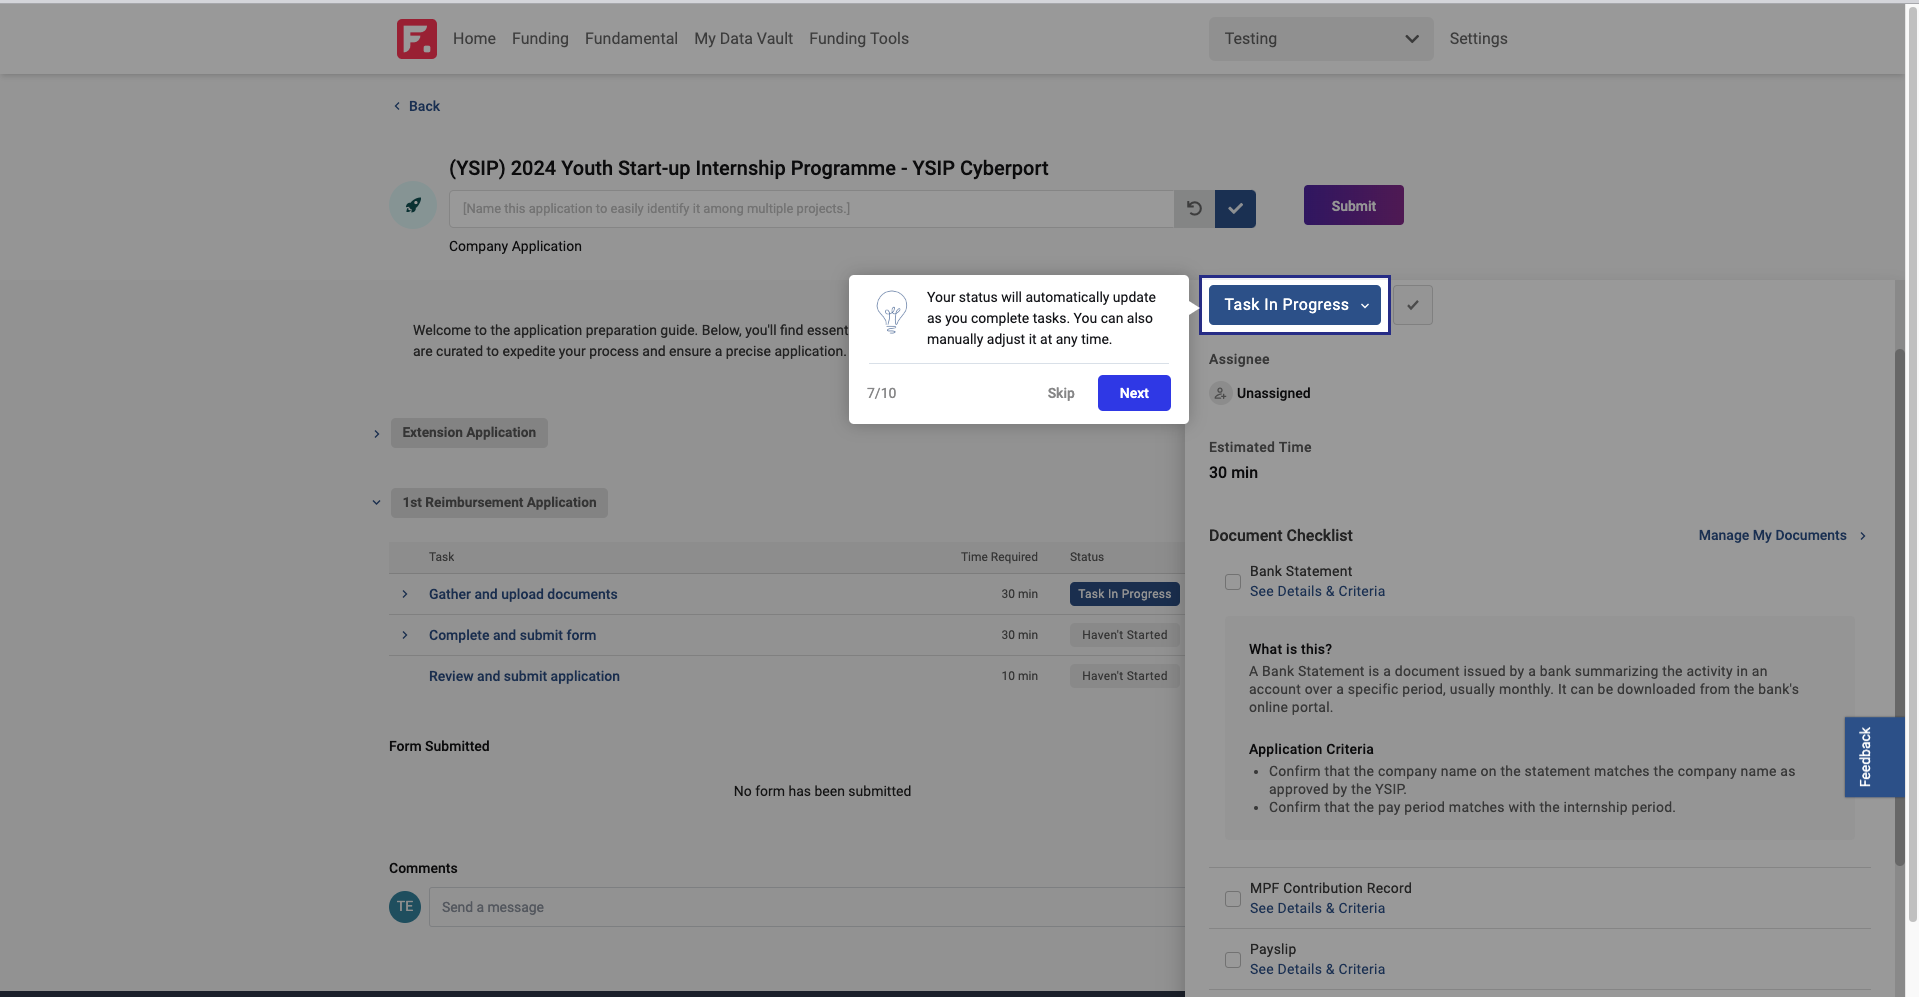
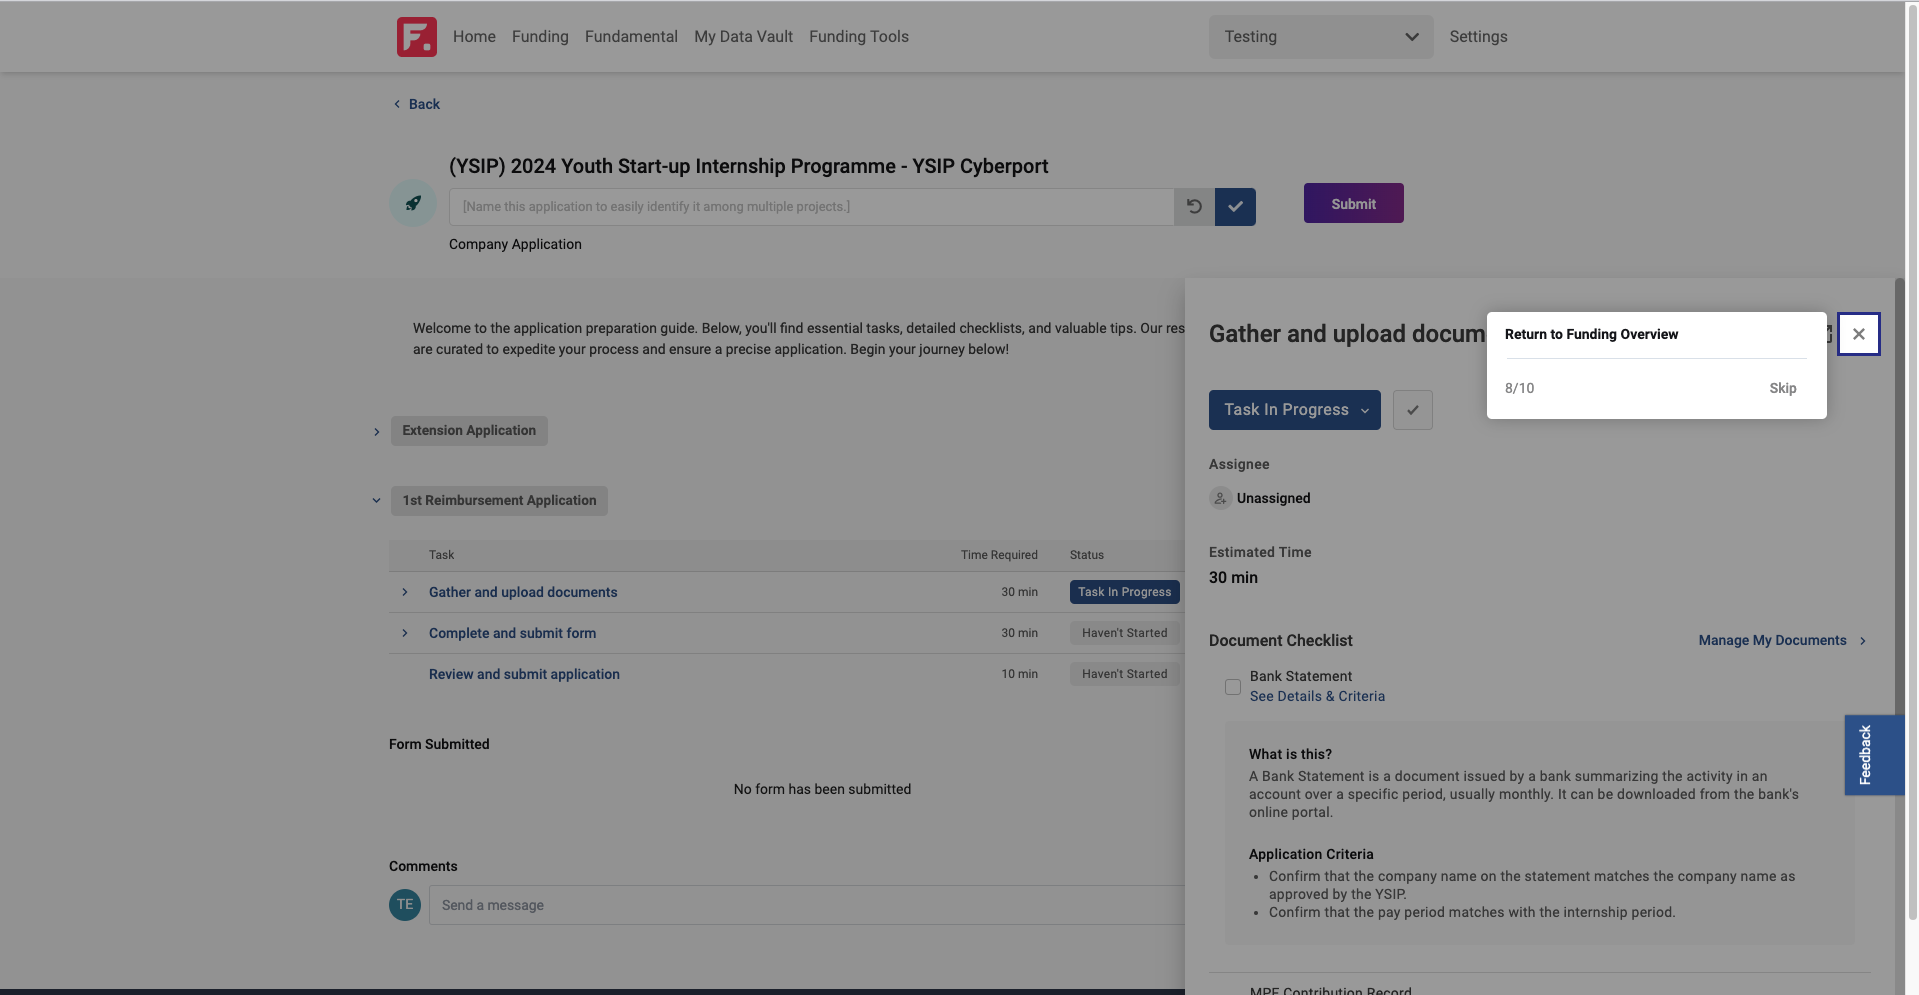
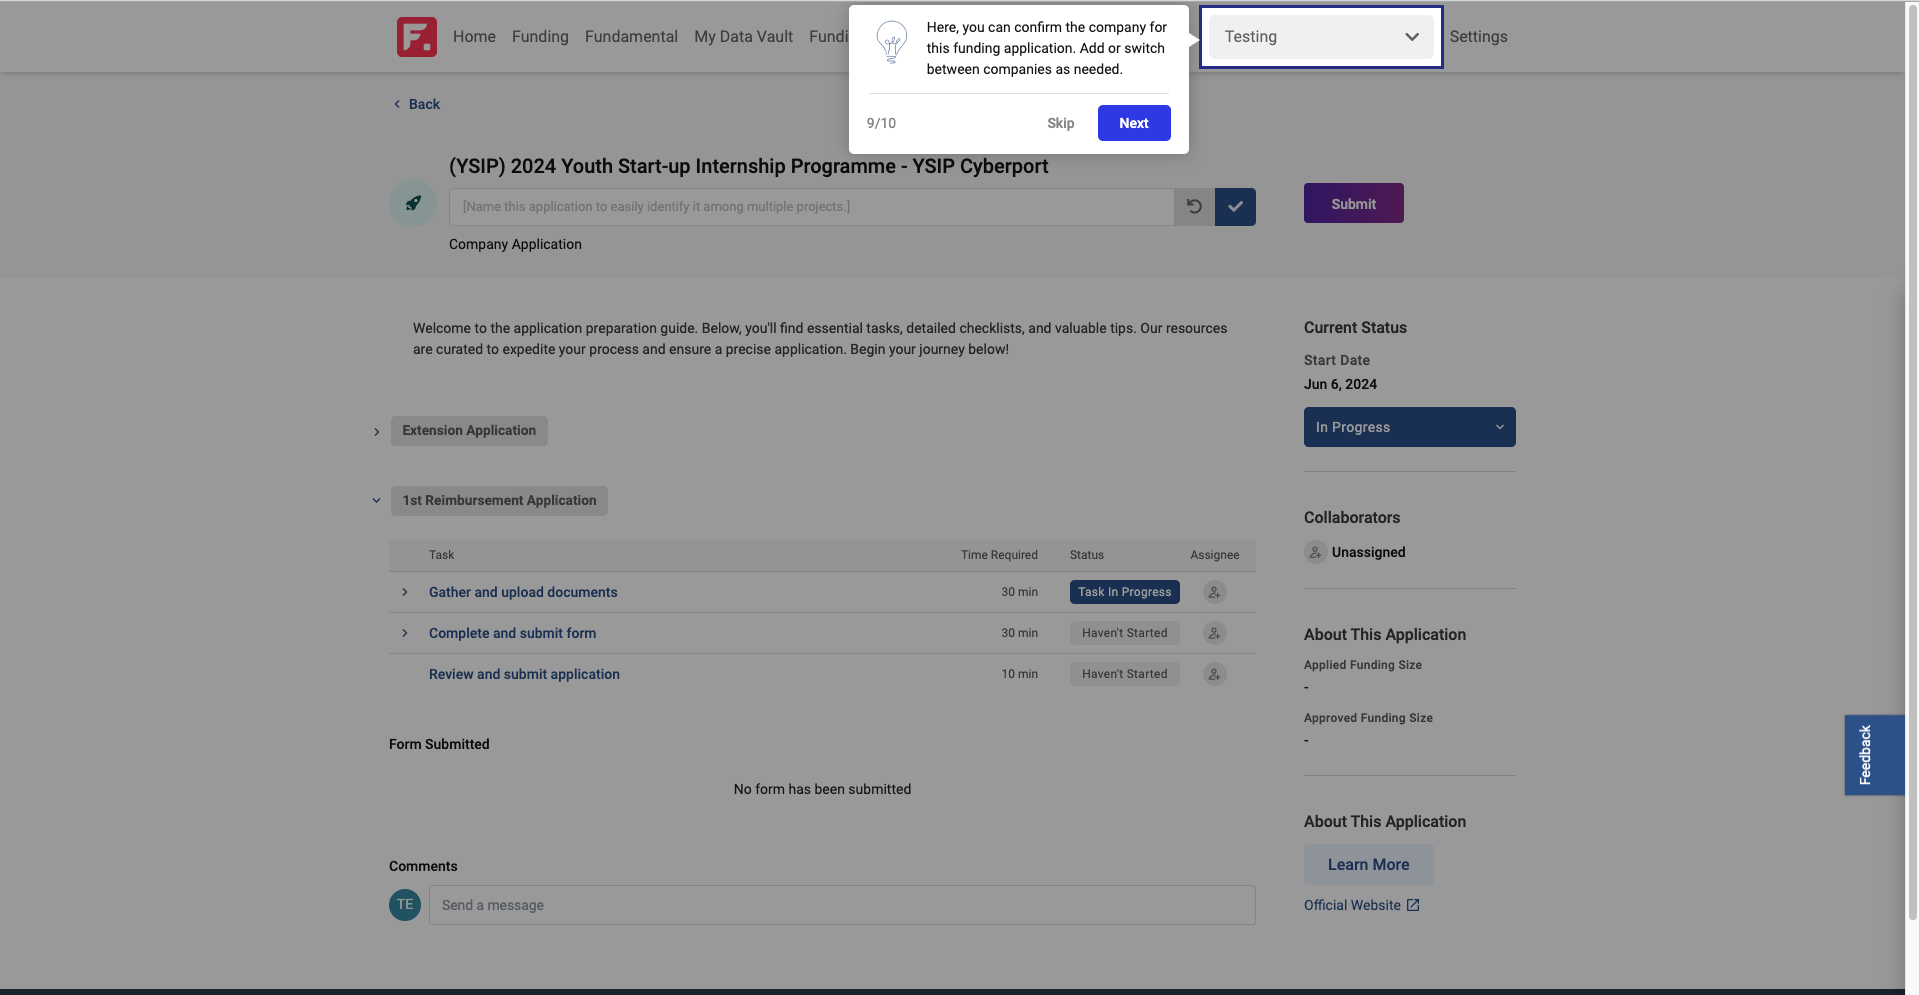
There are on-screen prompts to help the user understand exactly what they need to do.
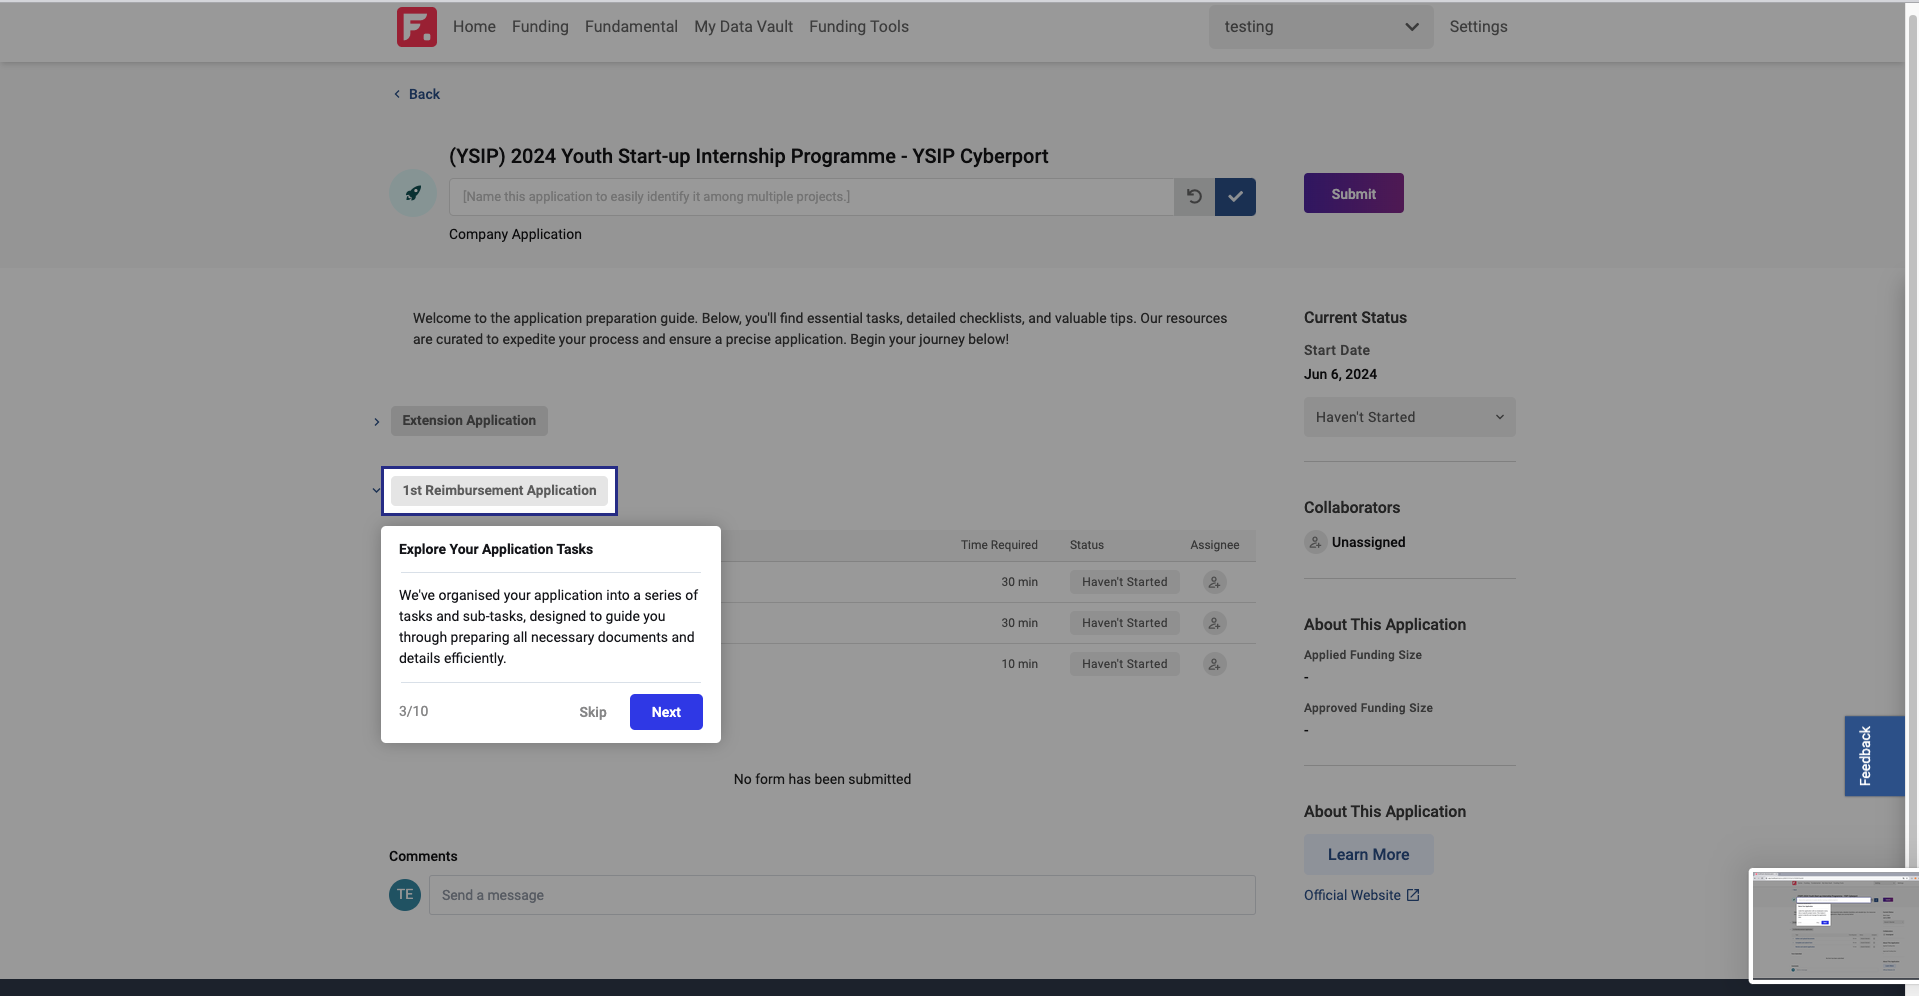
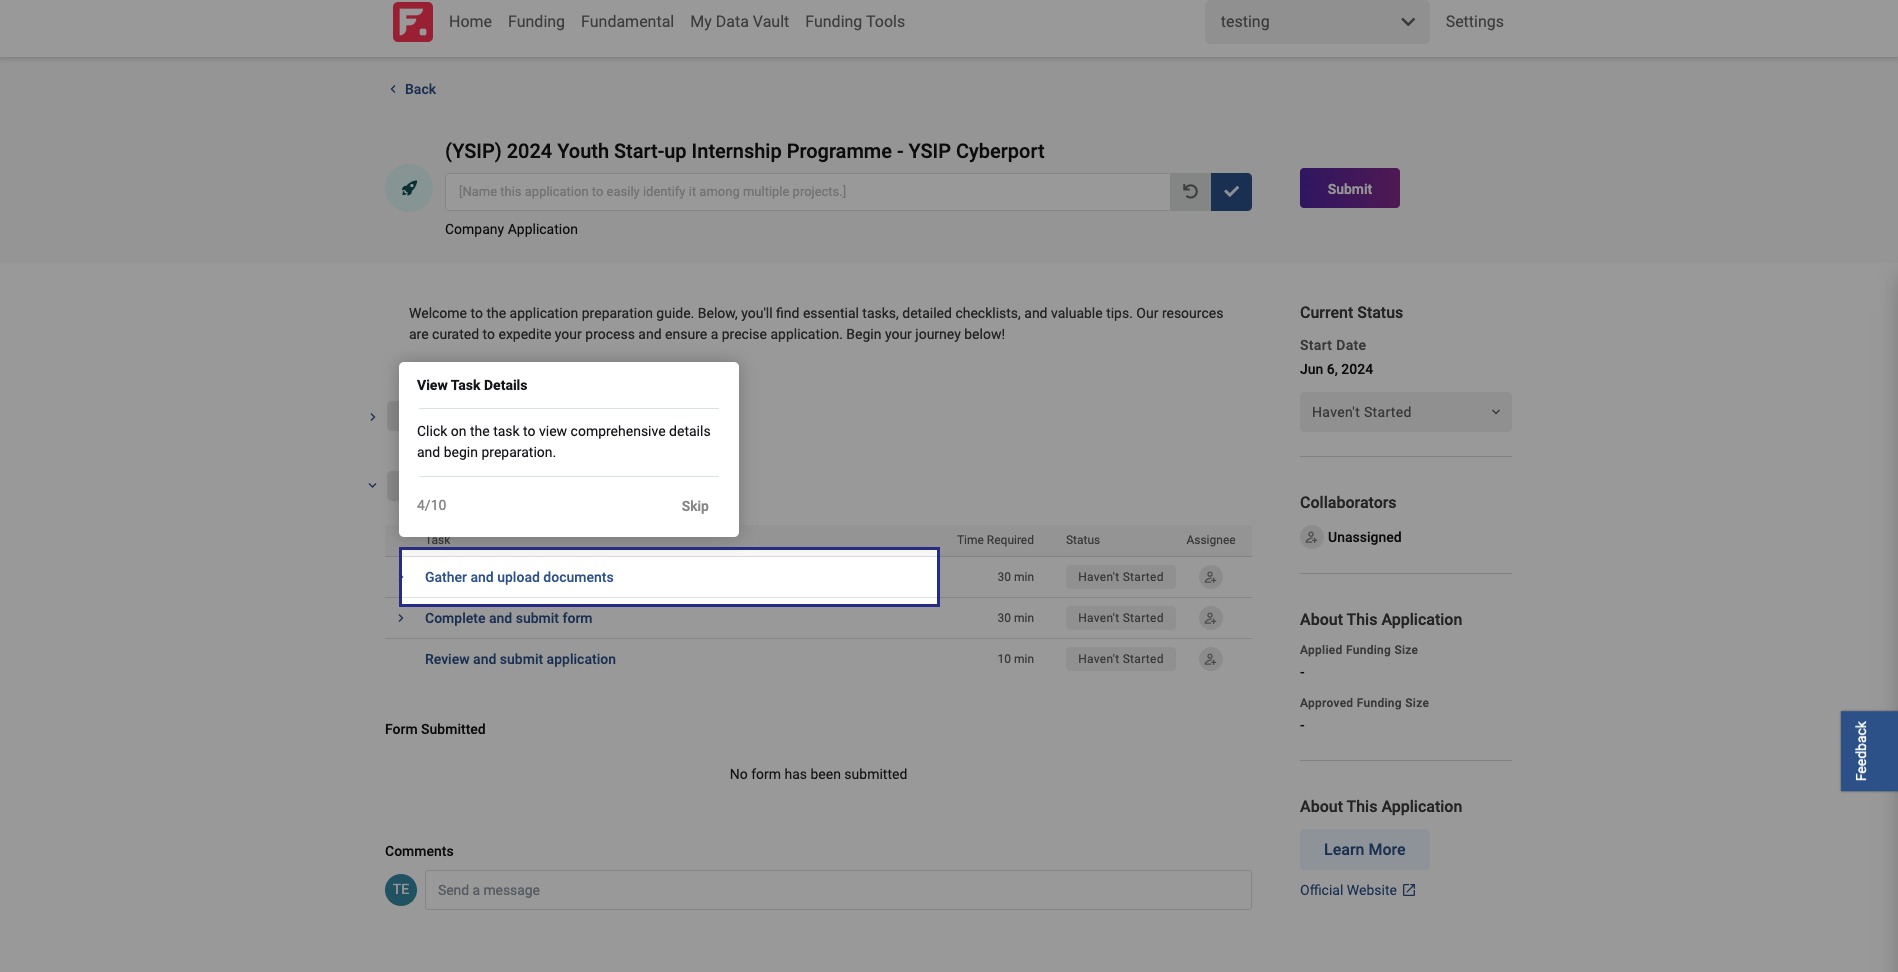
All of these on-screen prompts are screenshotted and placed into the folder for you to review.
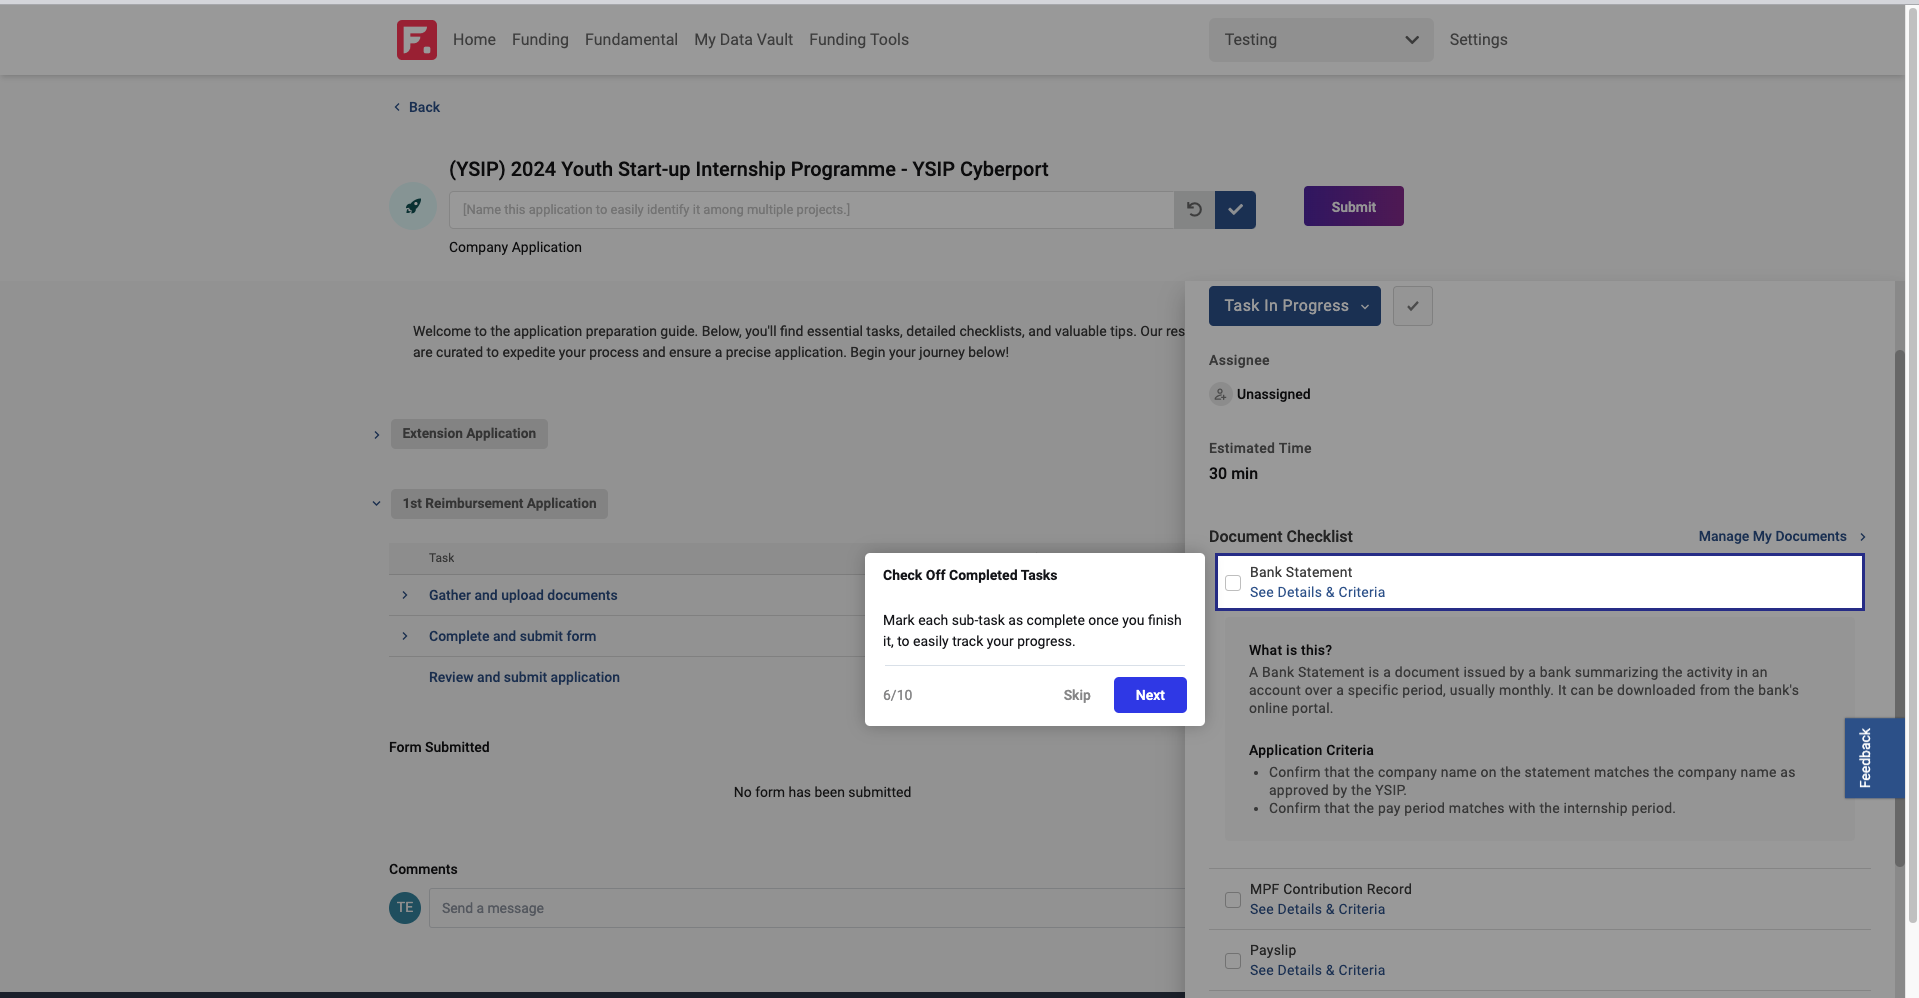
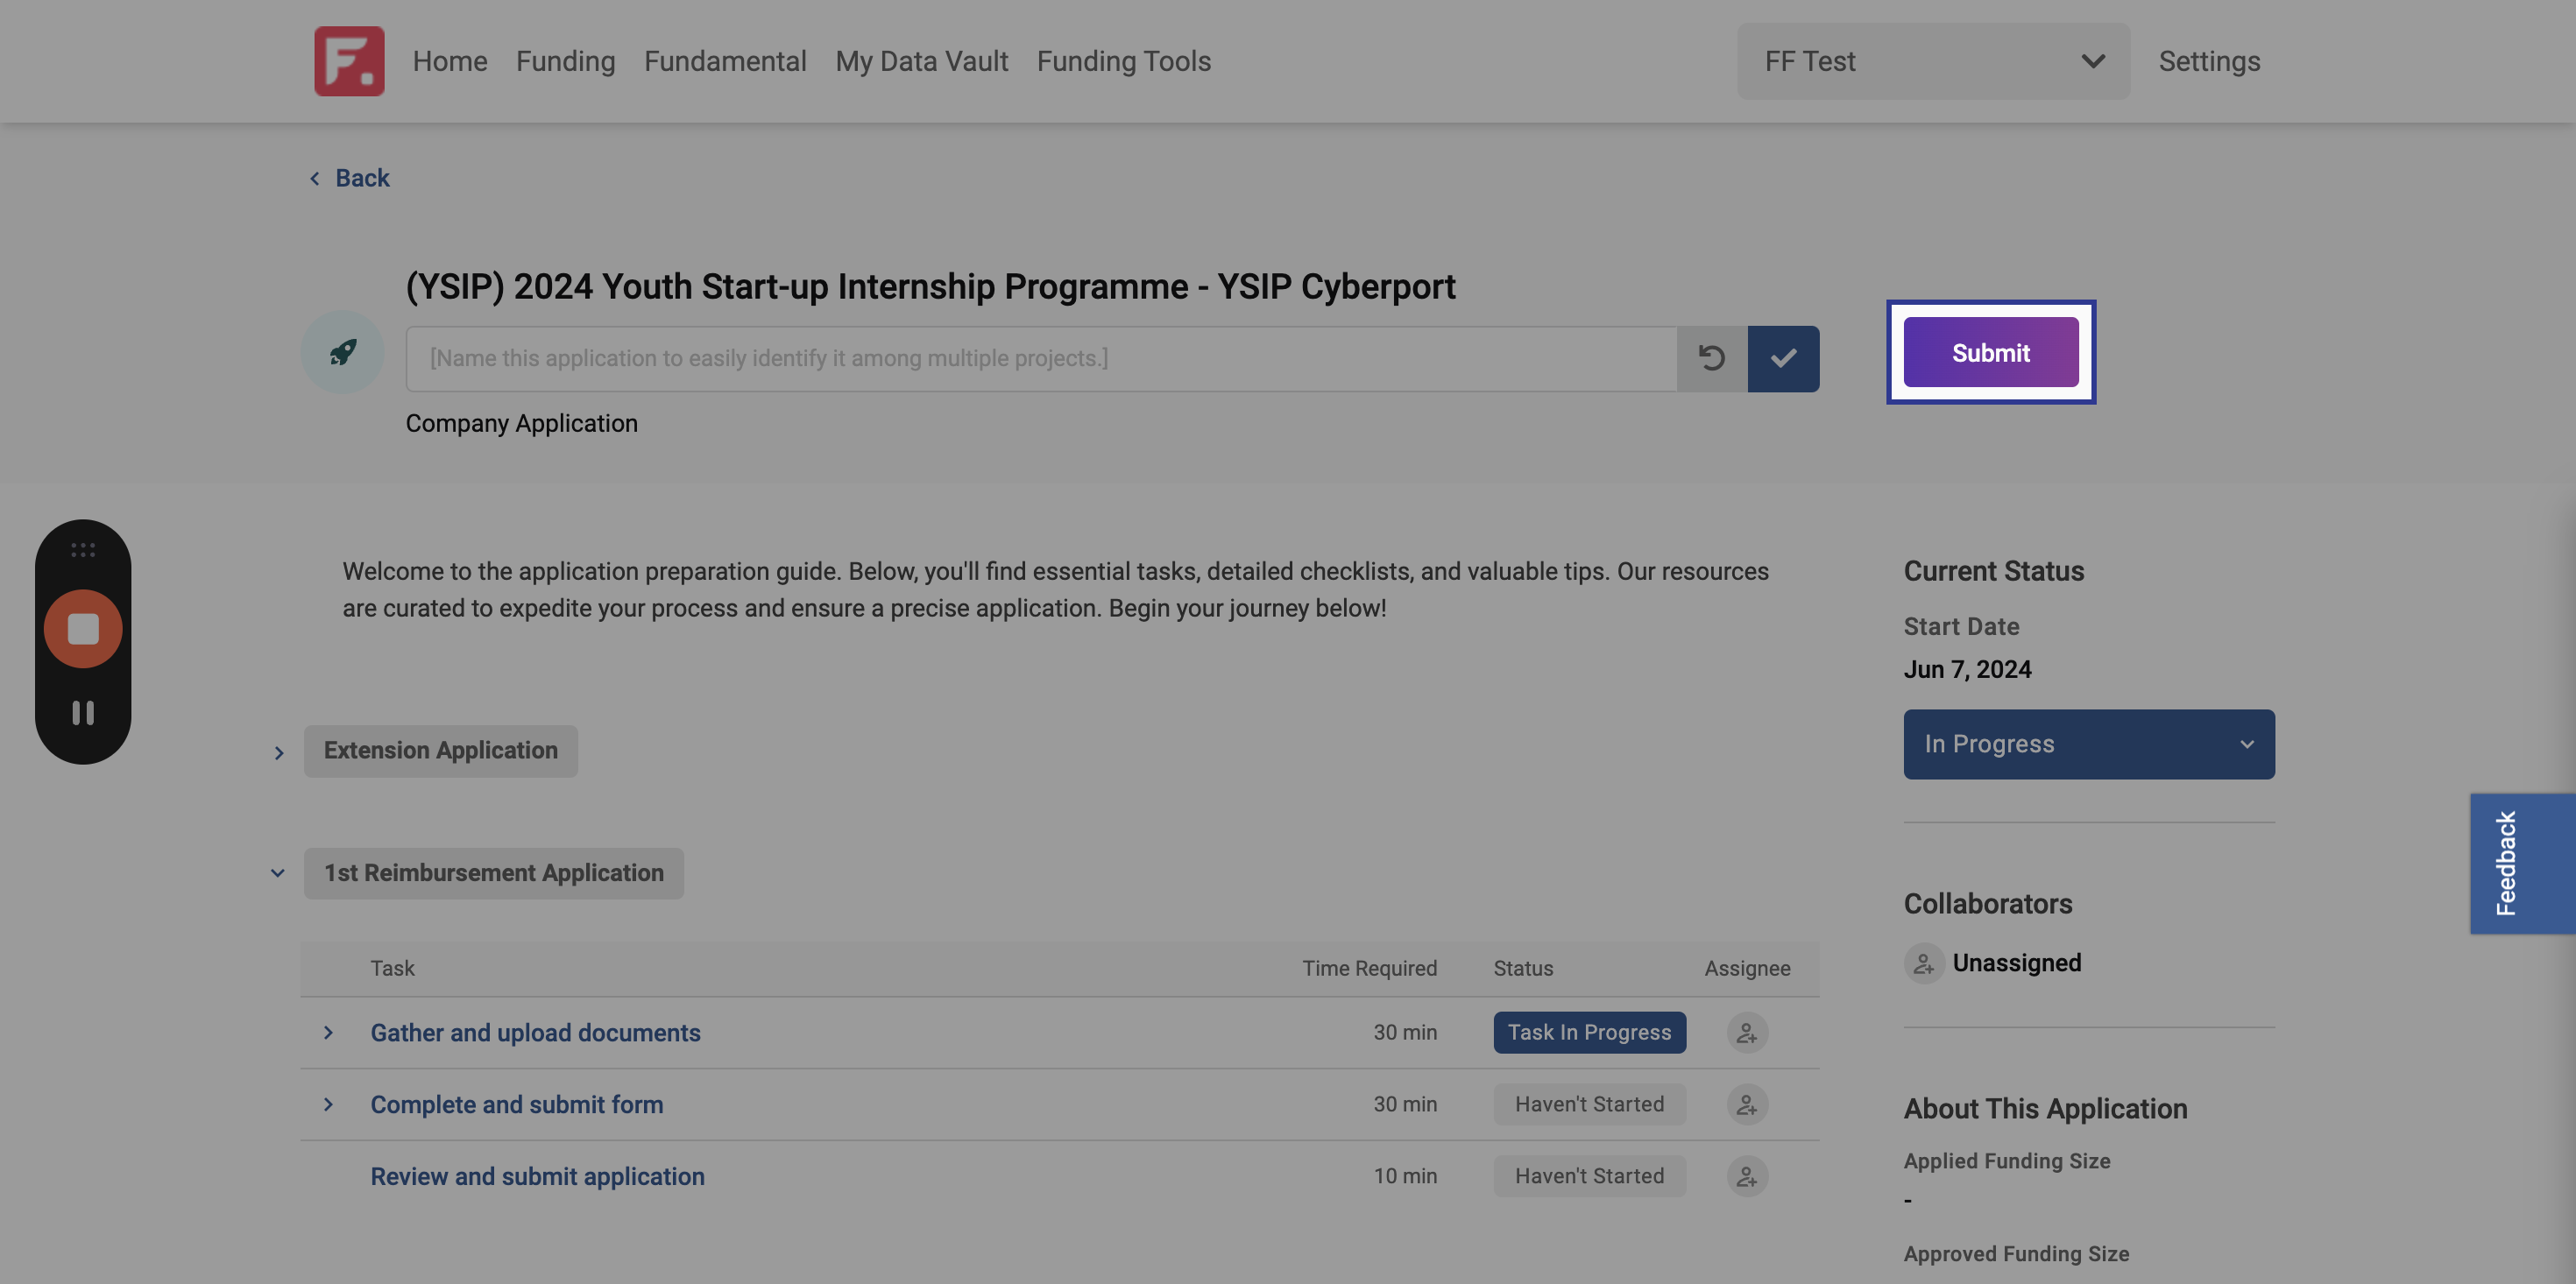
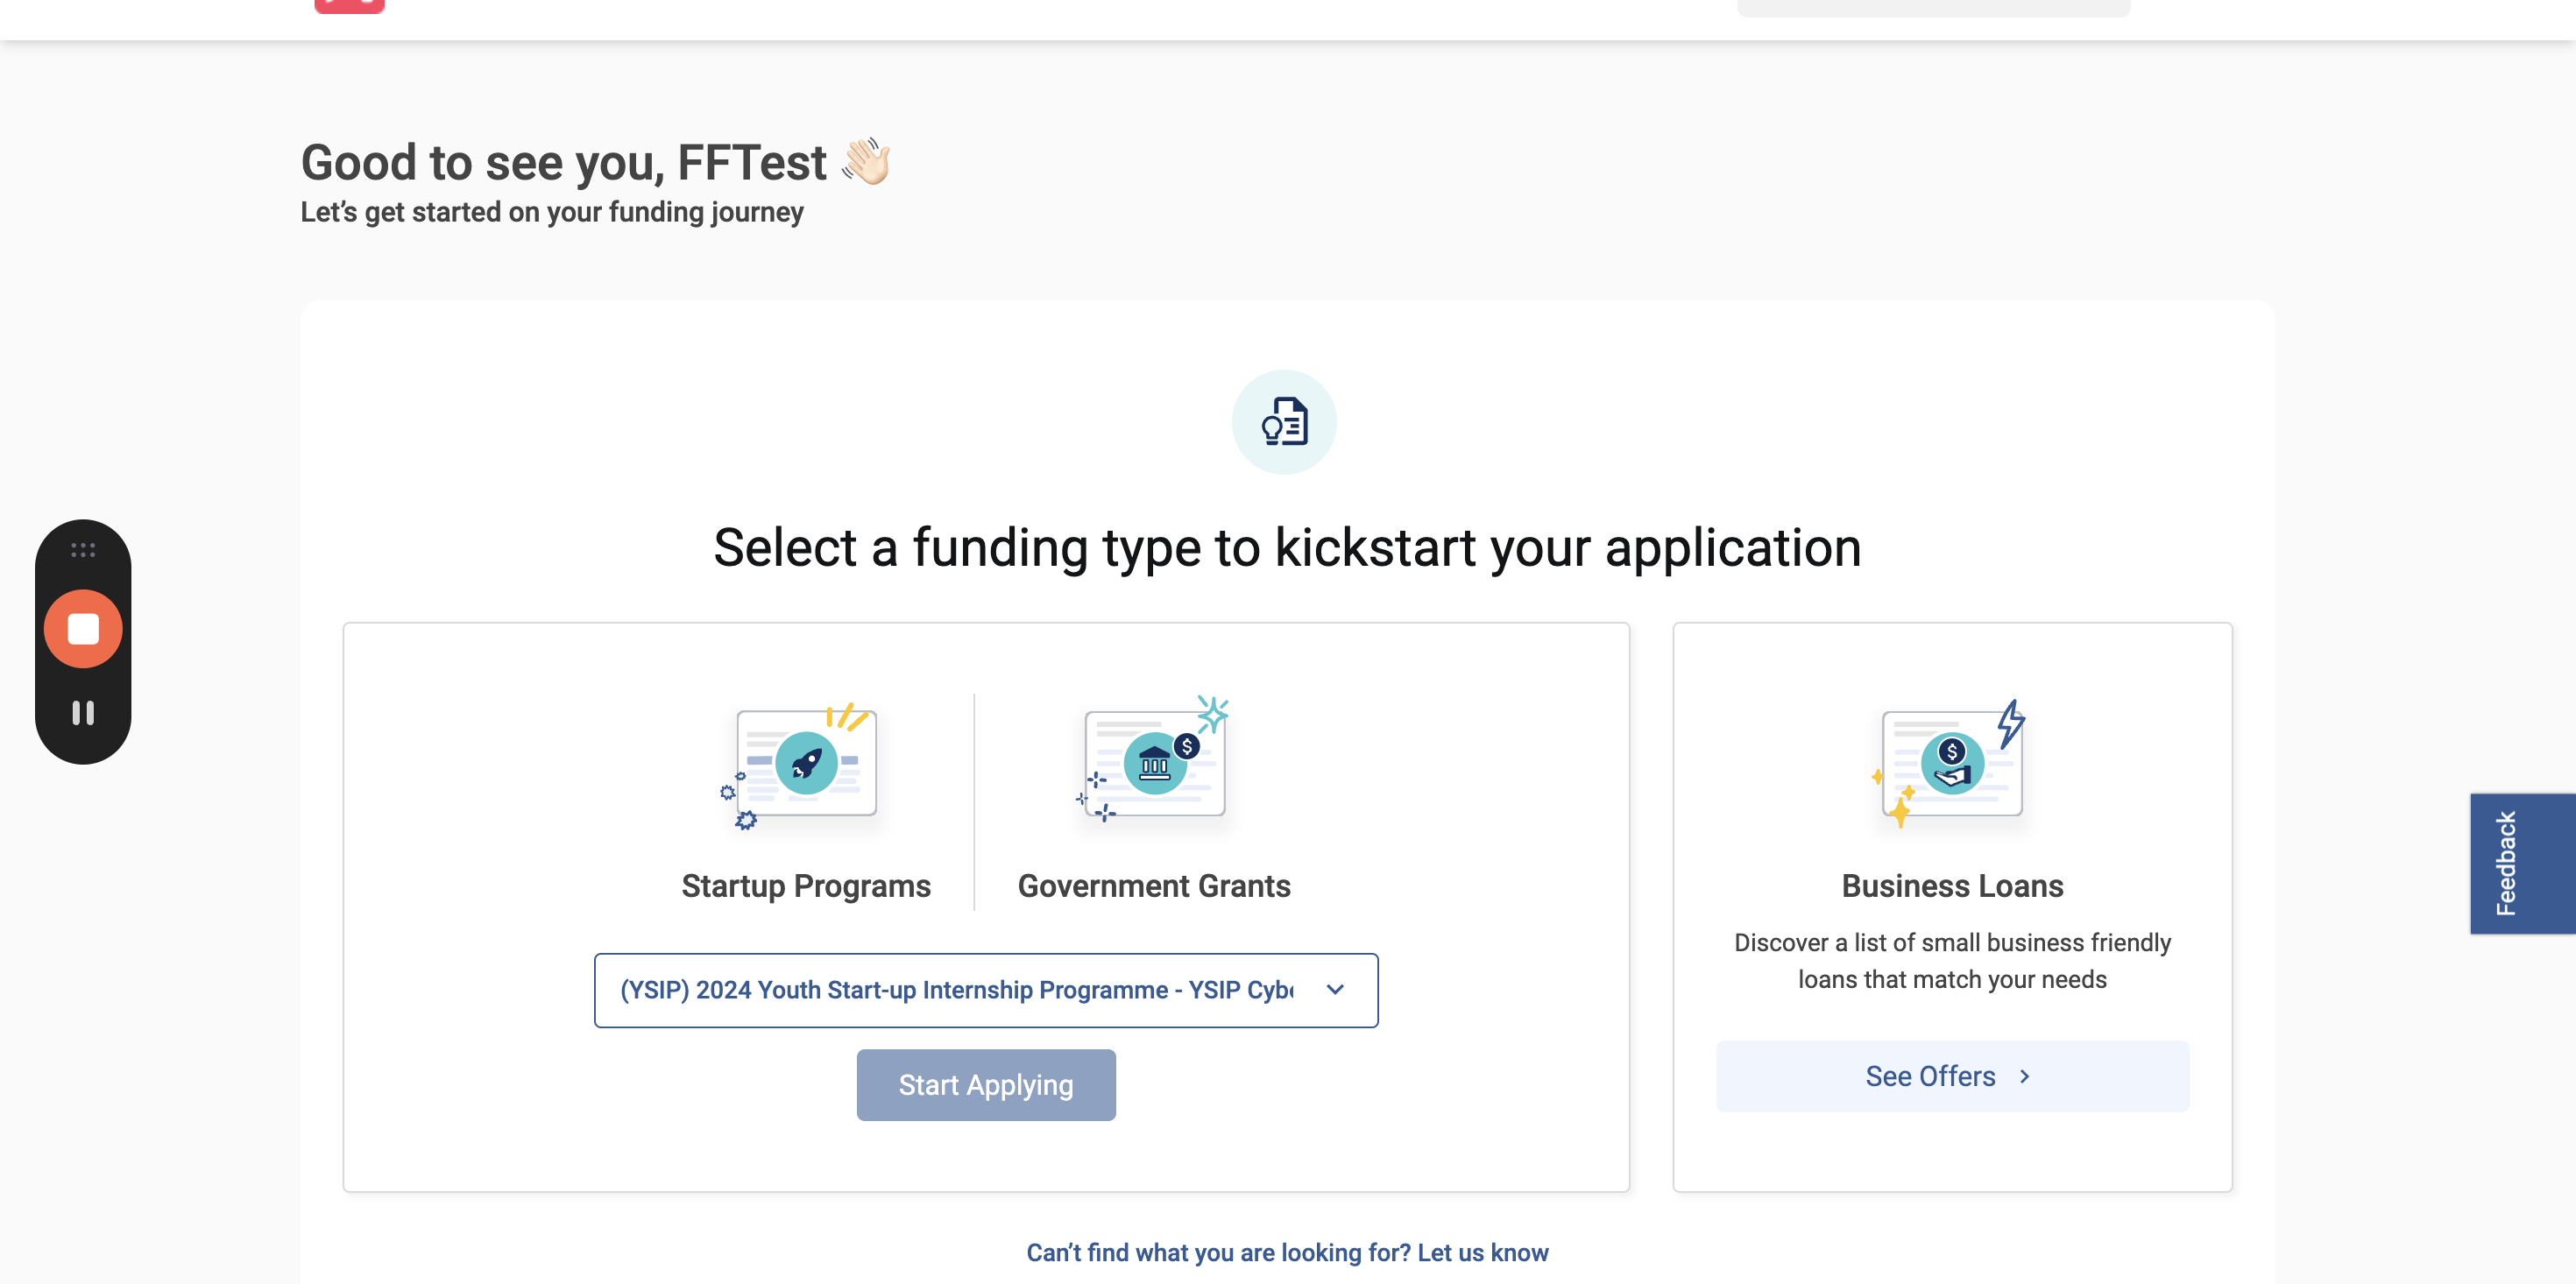
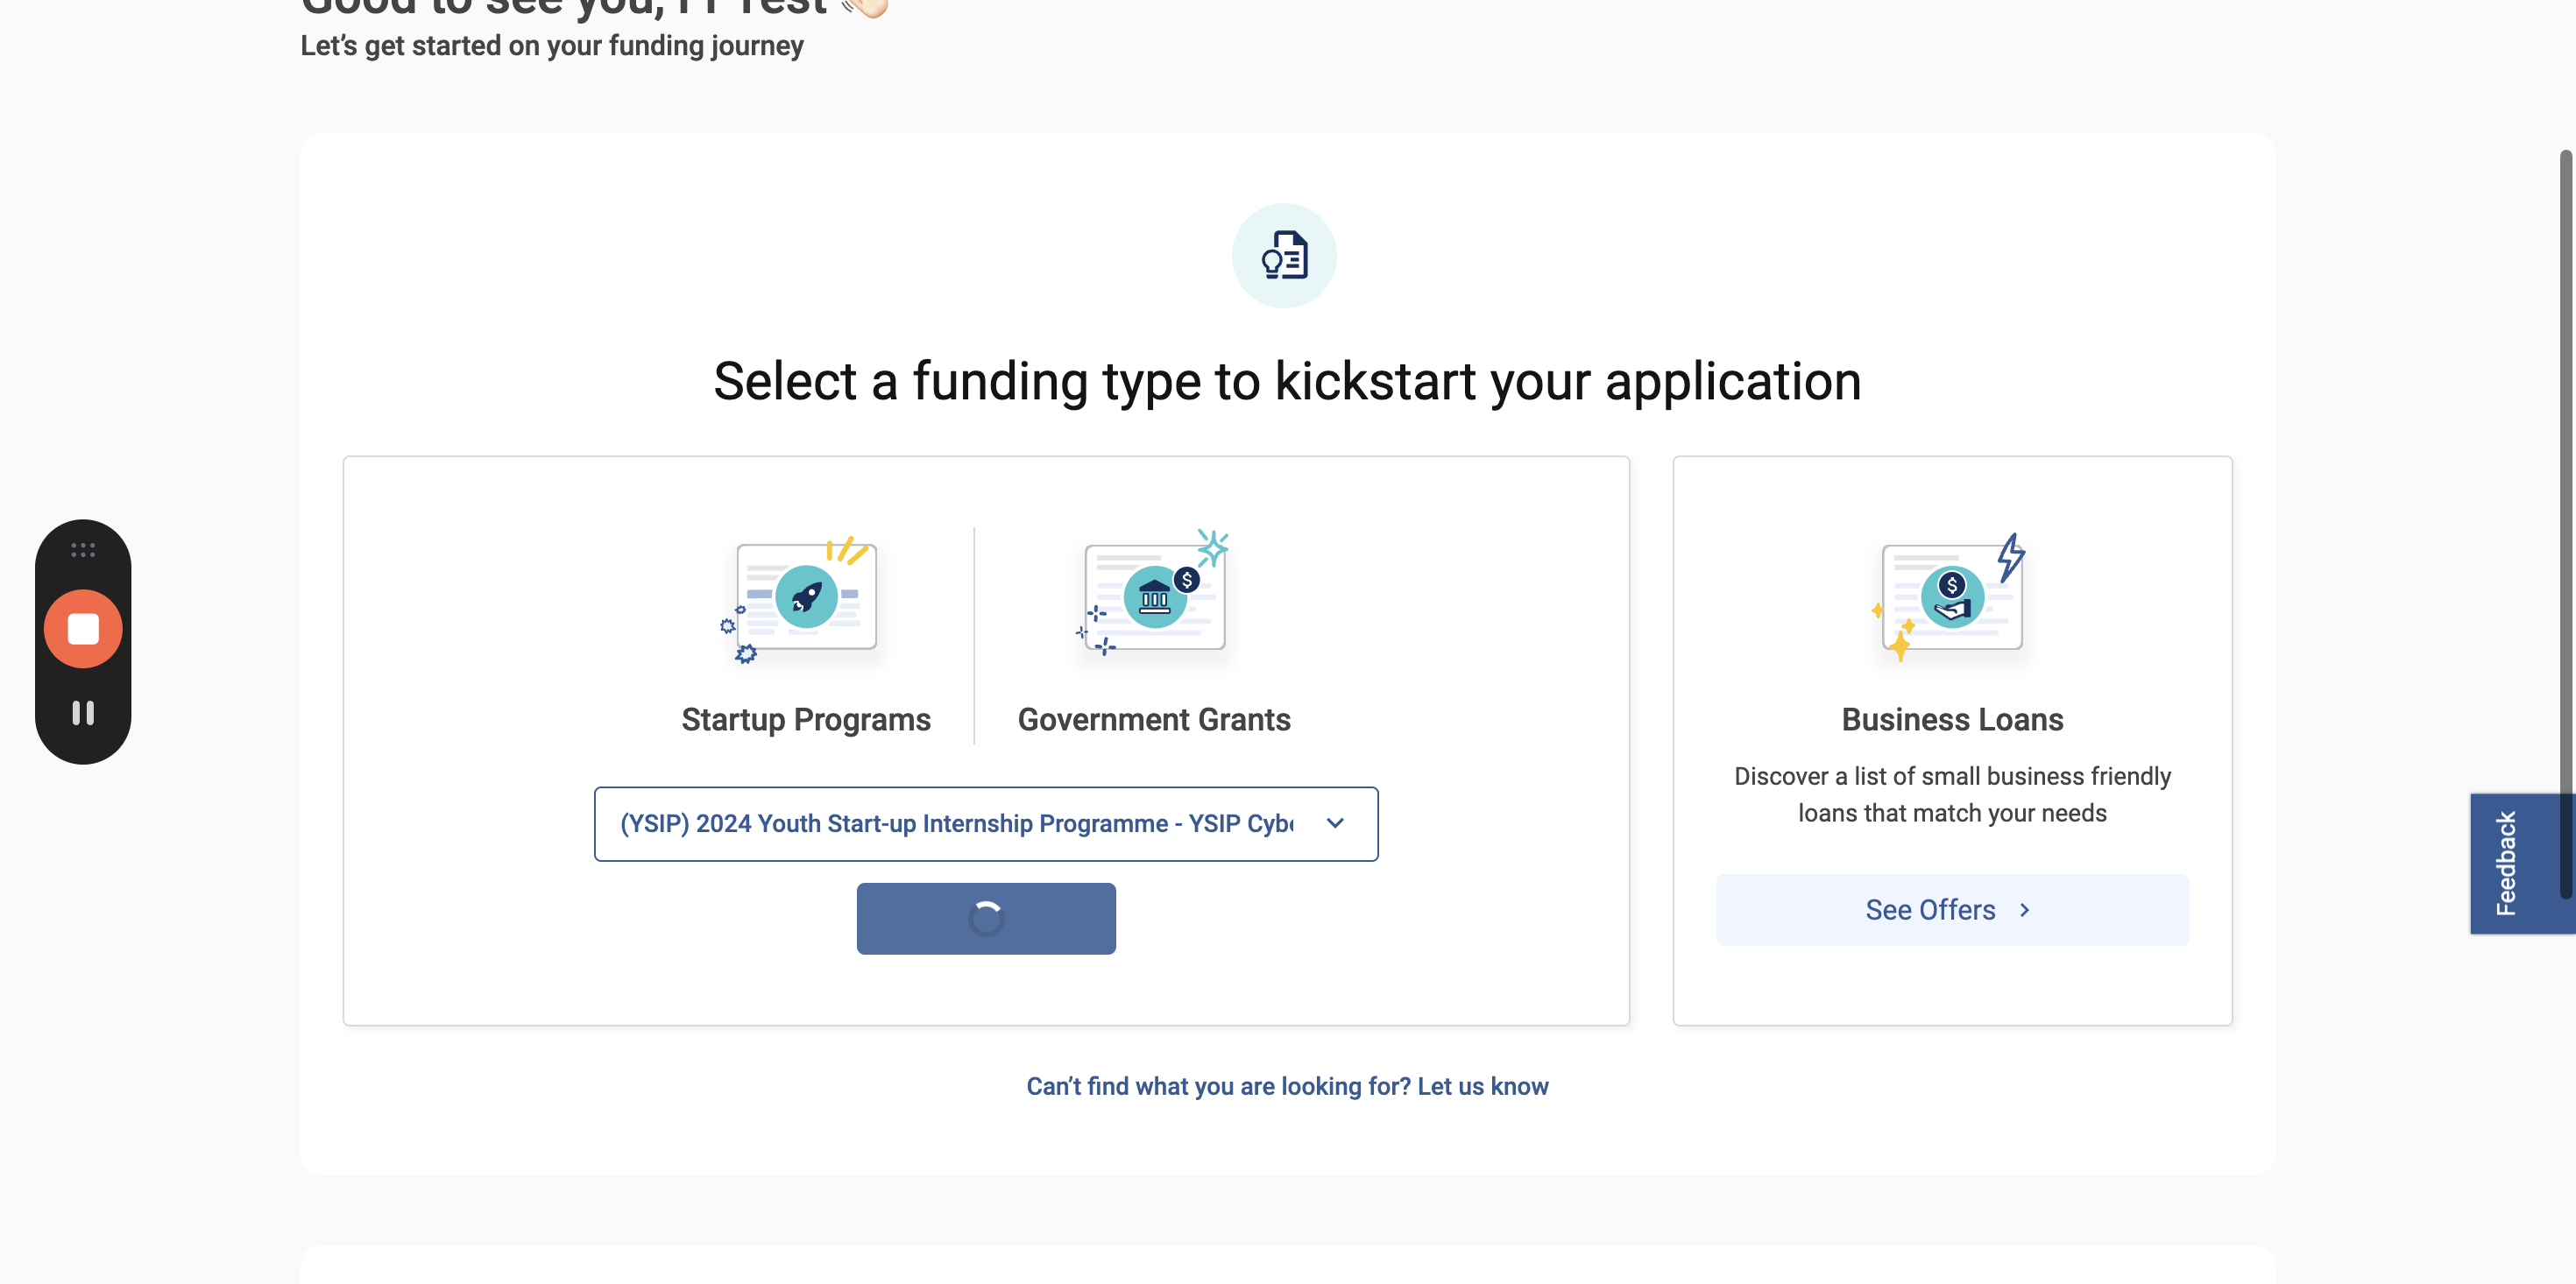
The user is now ready to complete their first task.
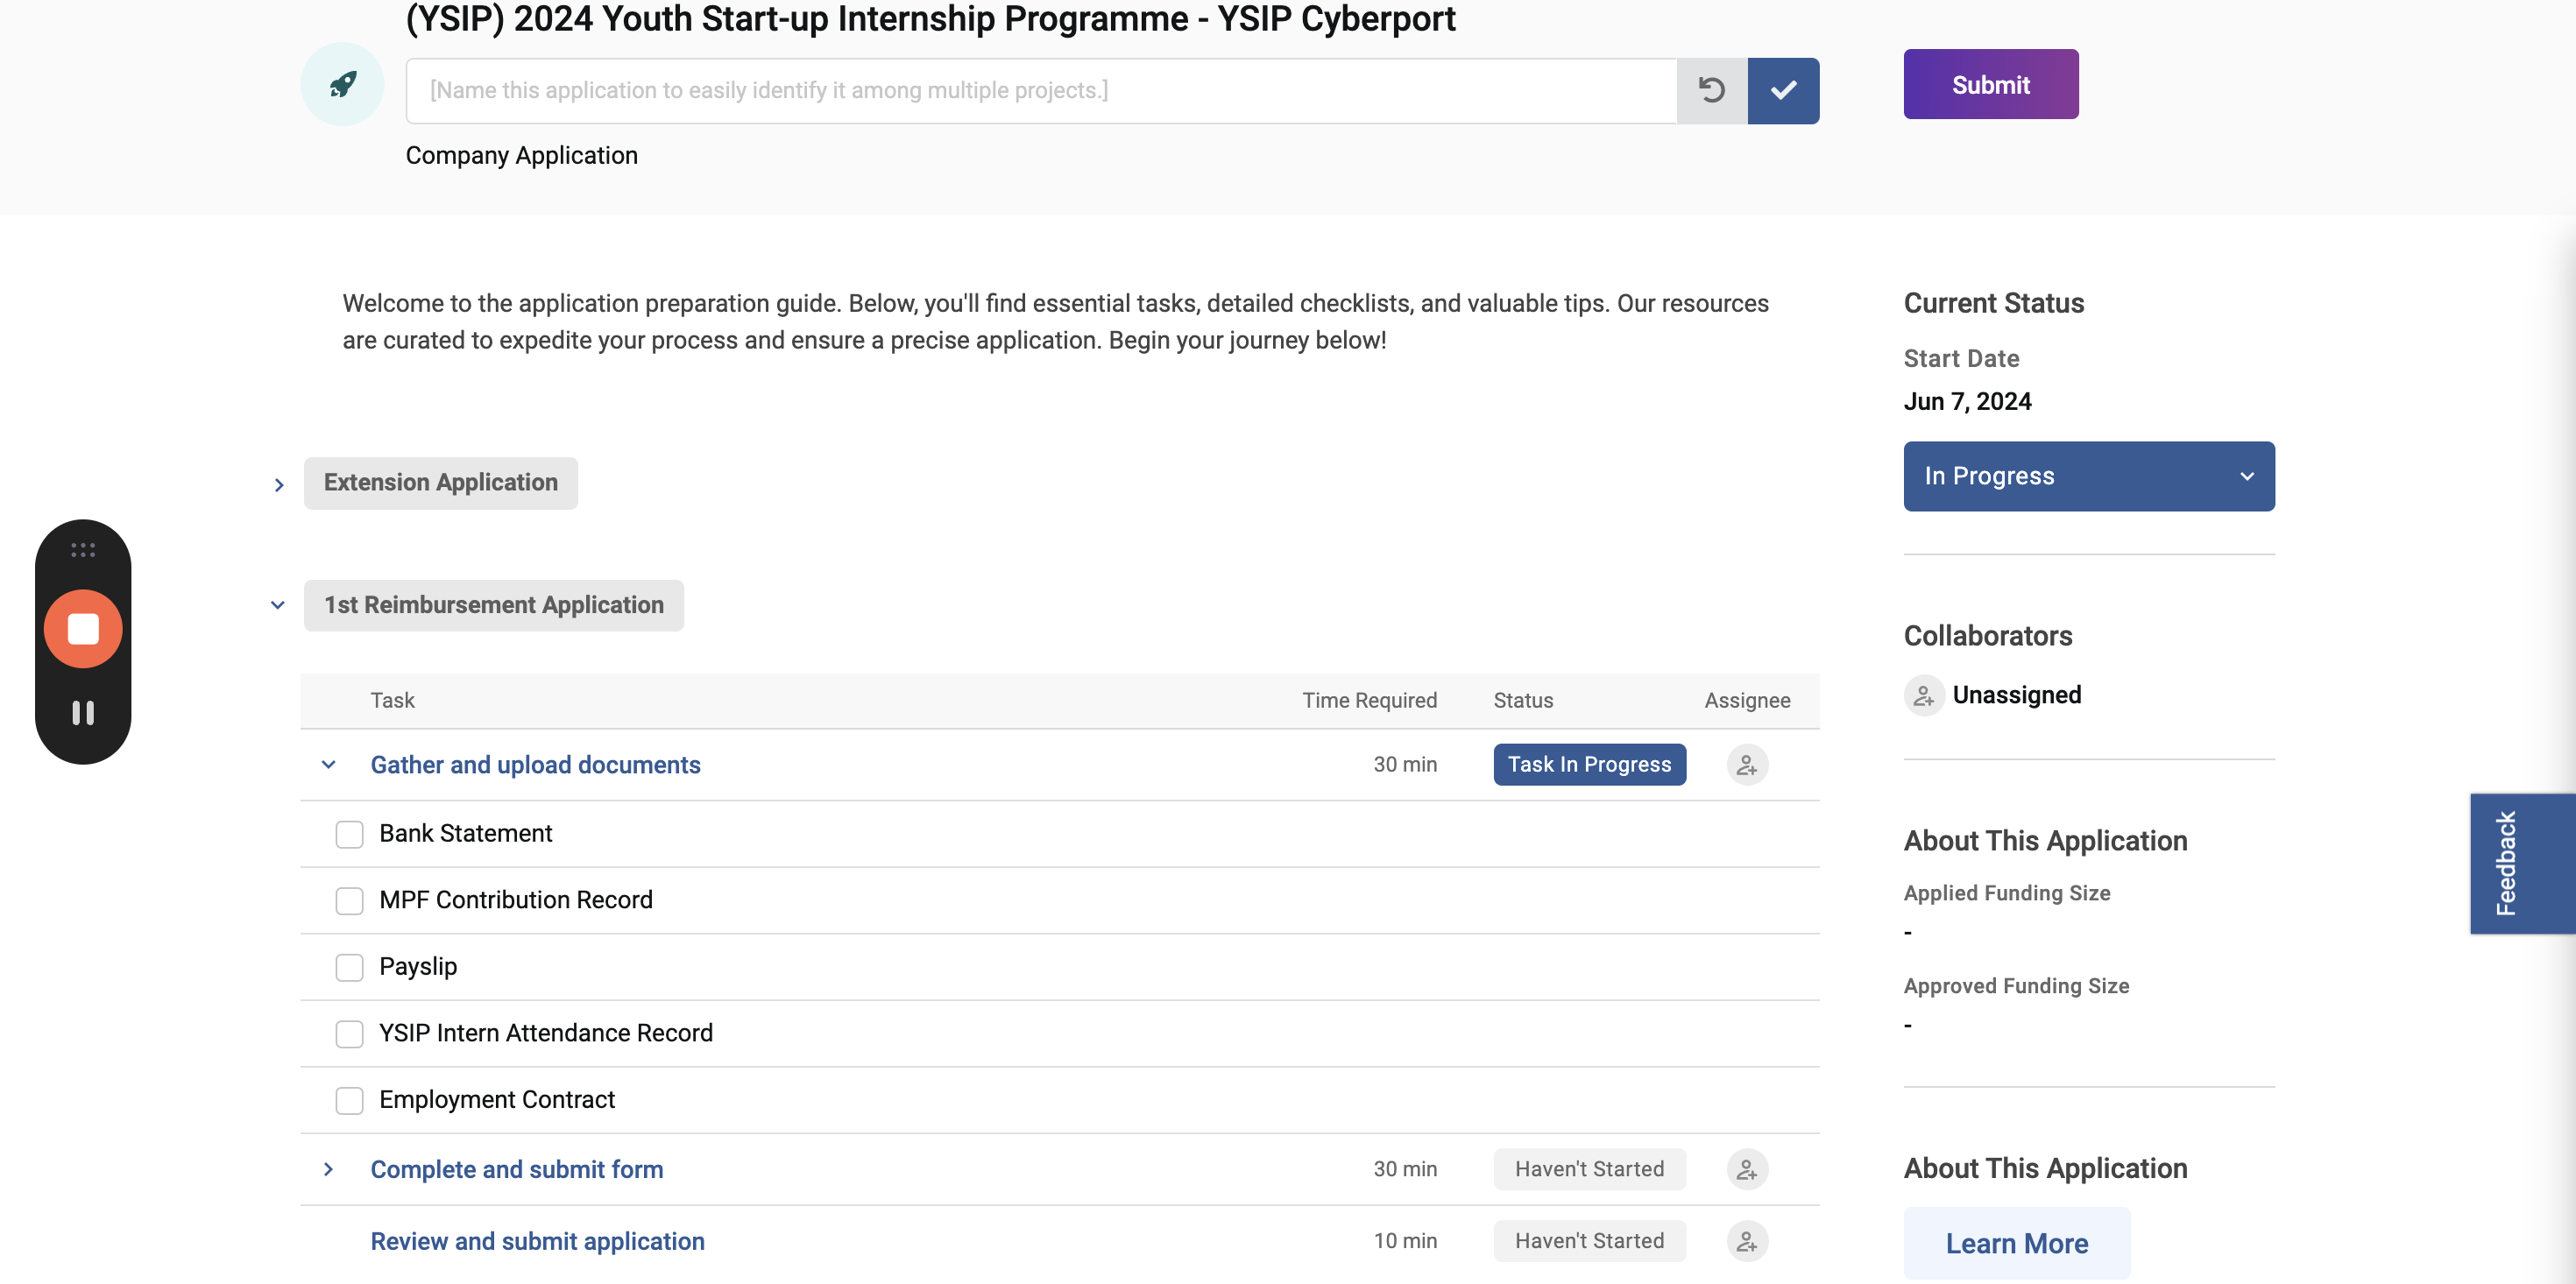
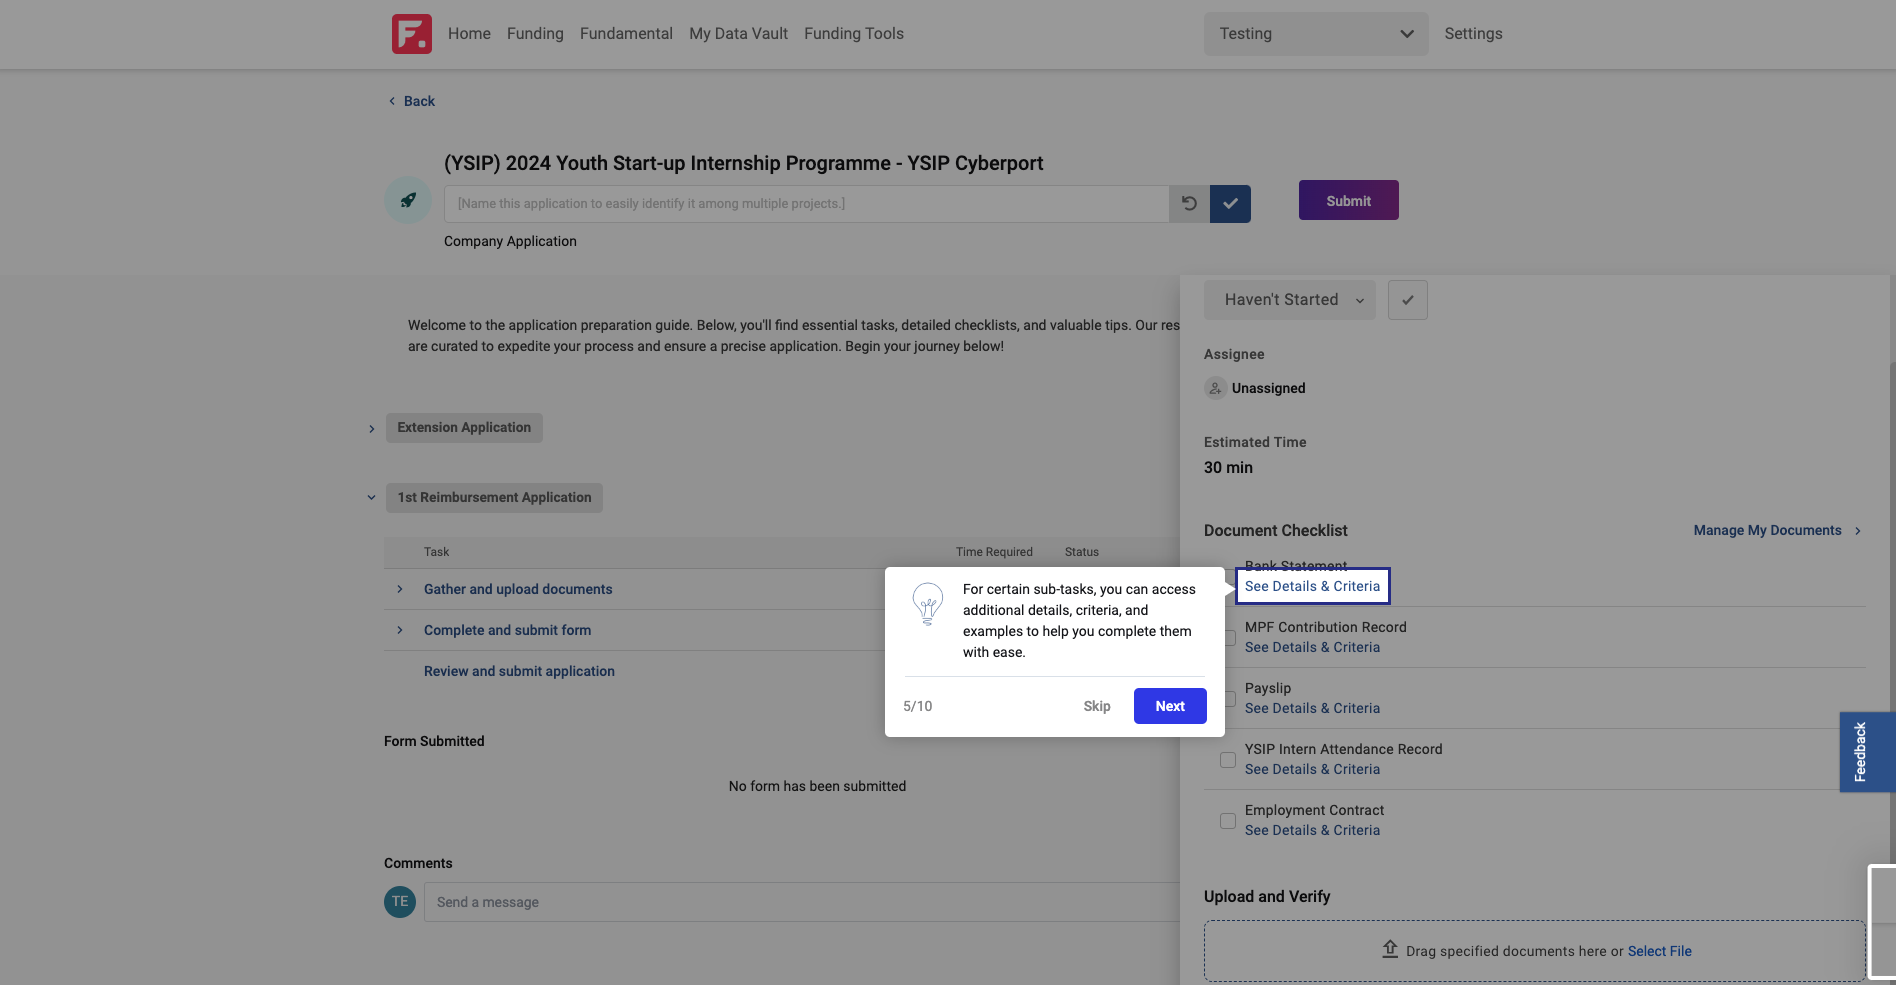
Let's say they have reviewed every document and requirement. Now, they are ready to upload.
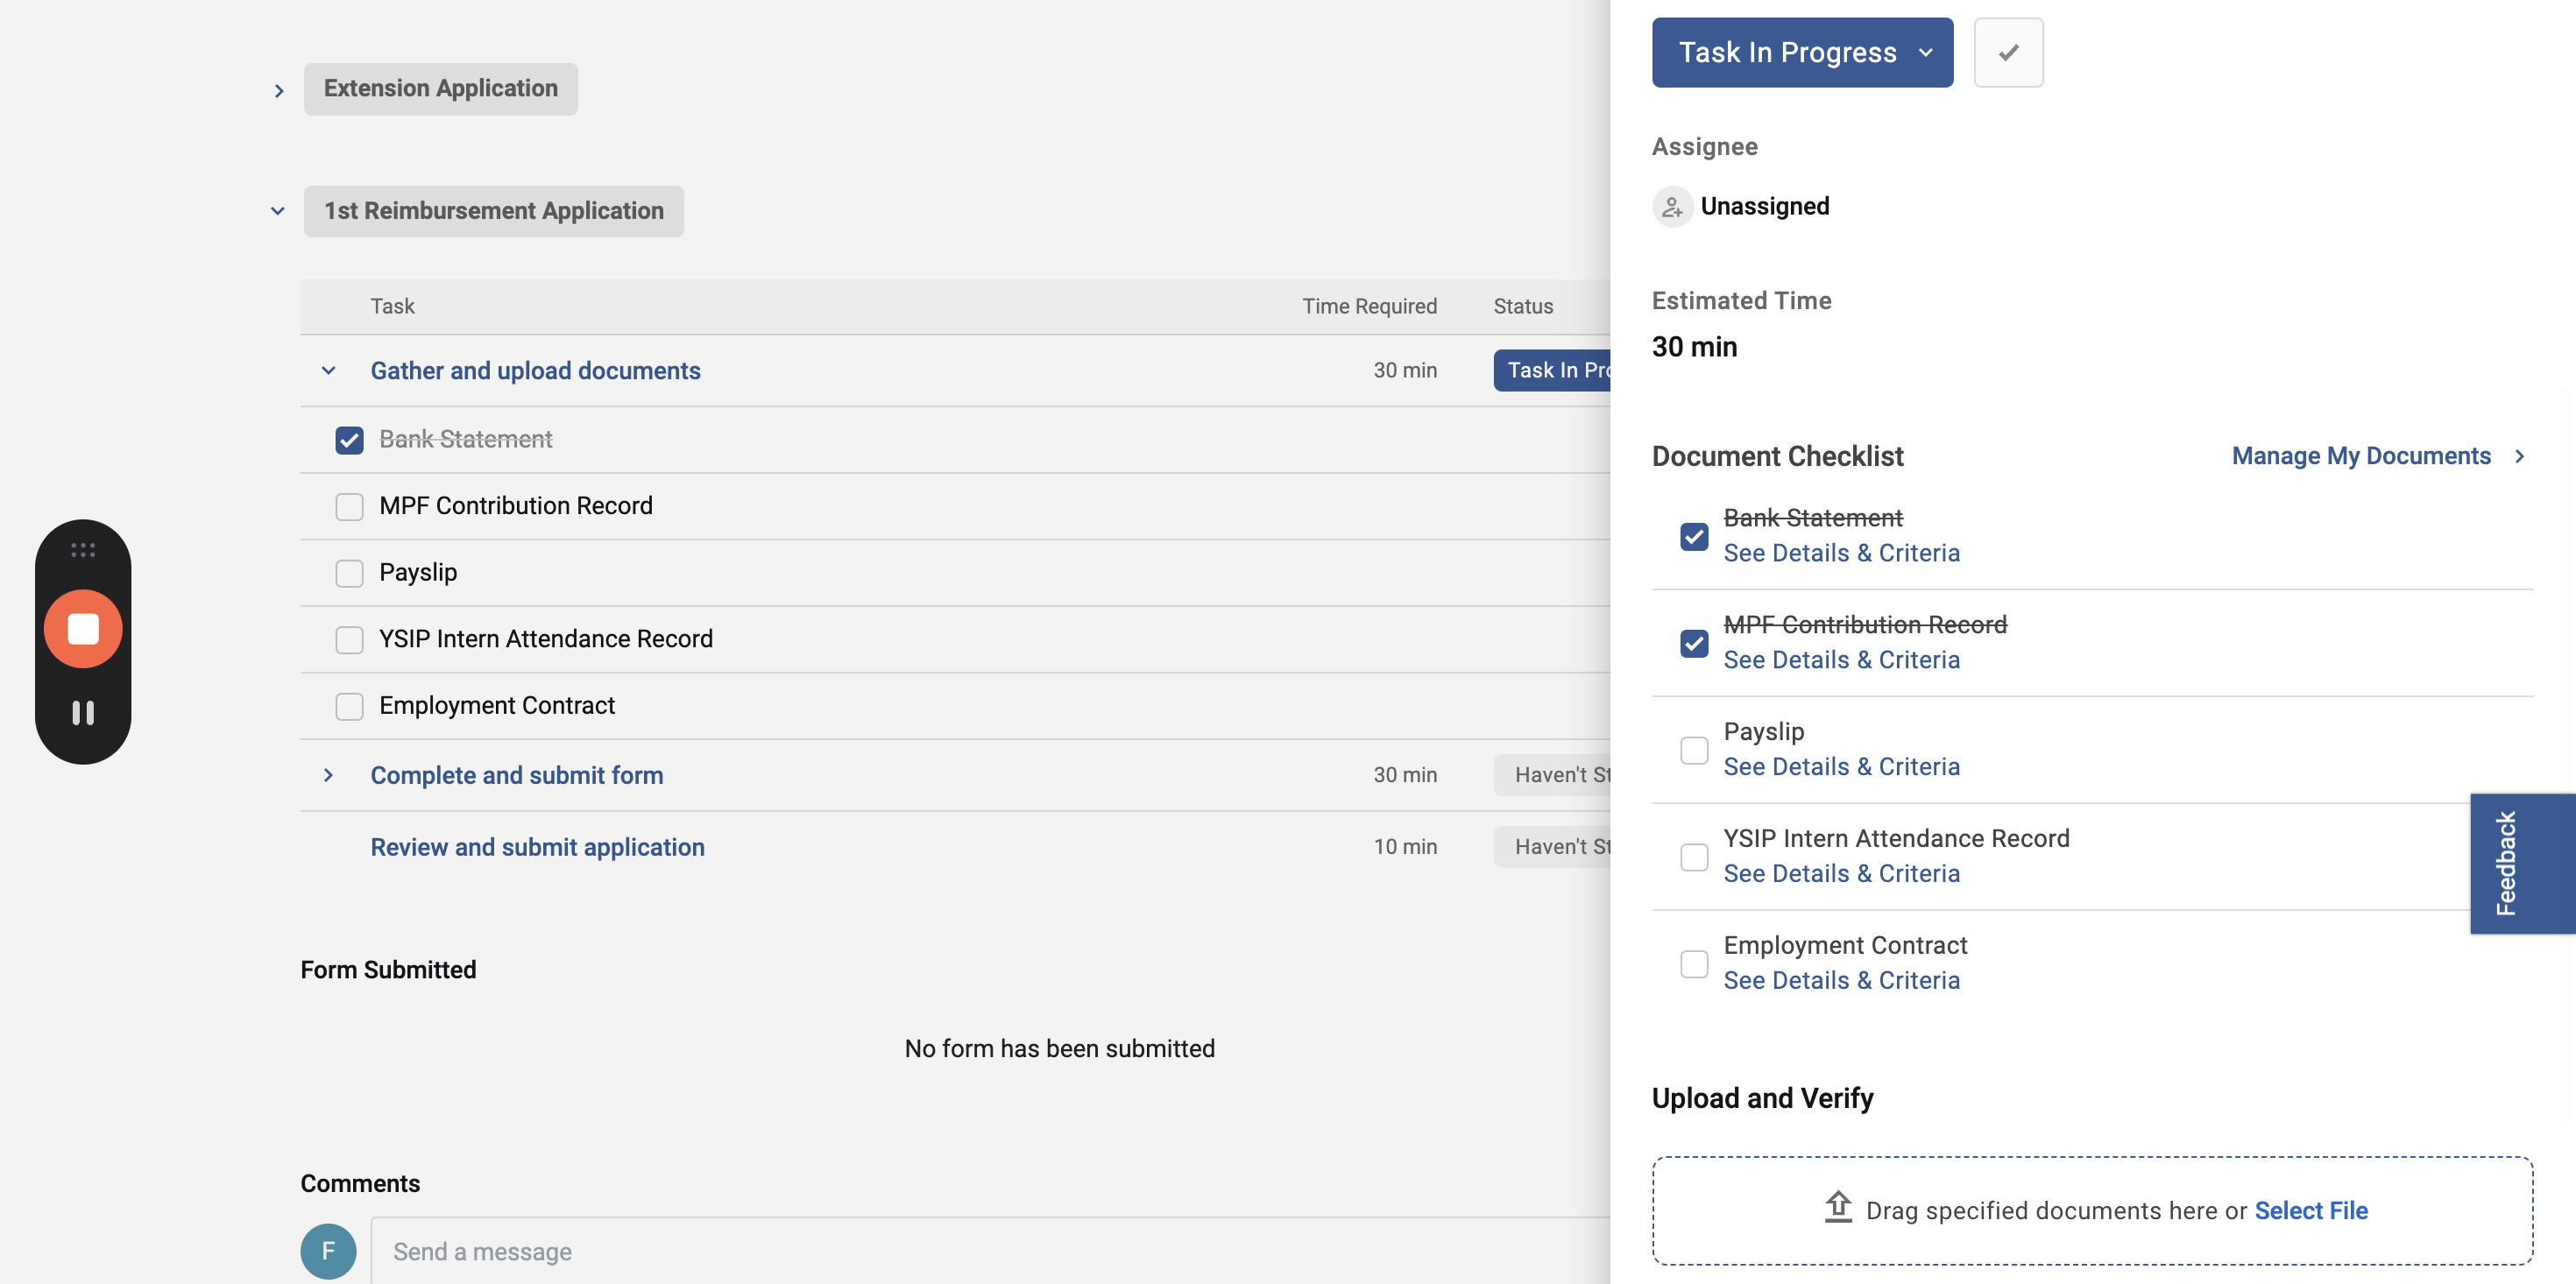
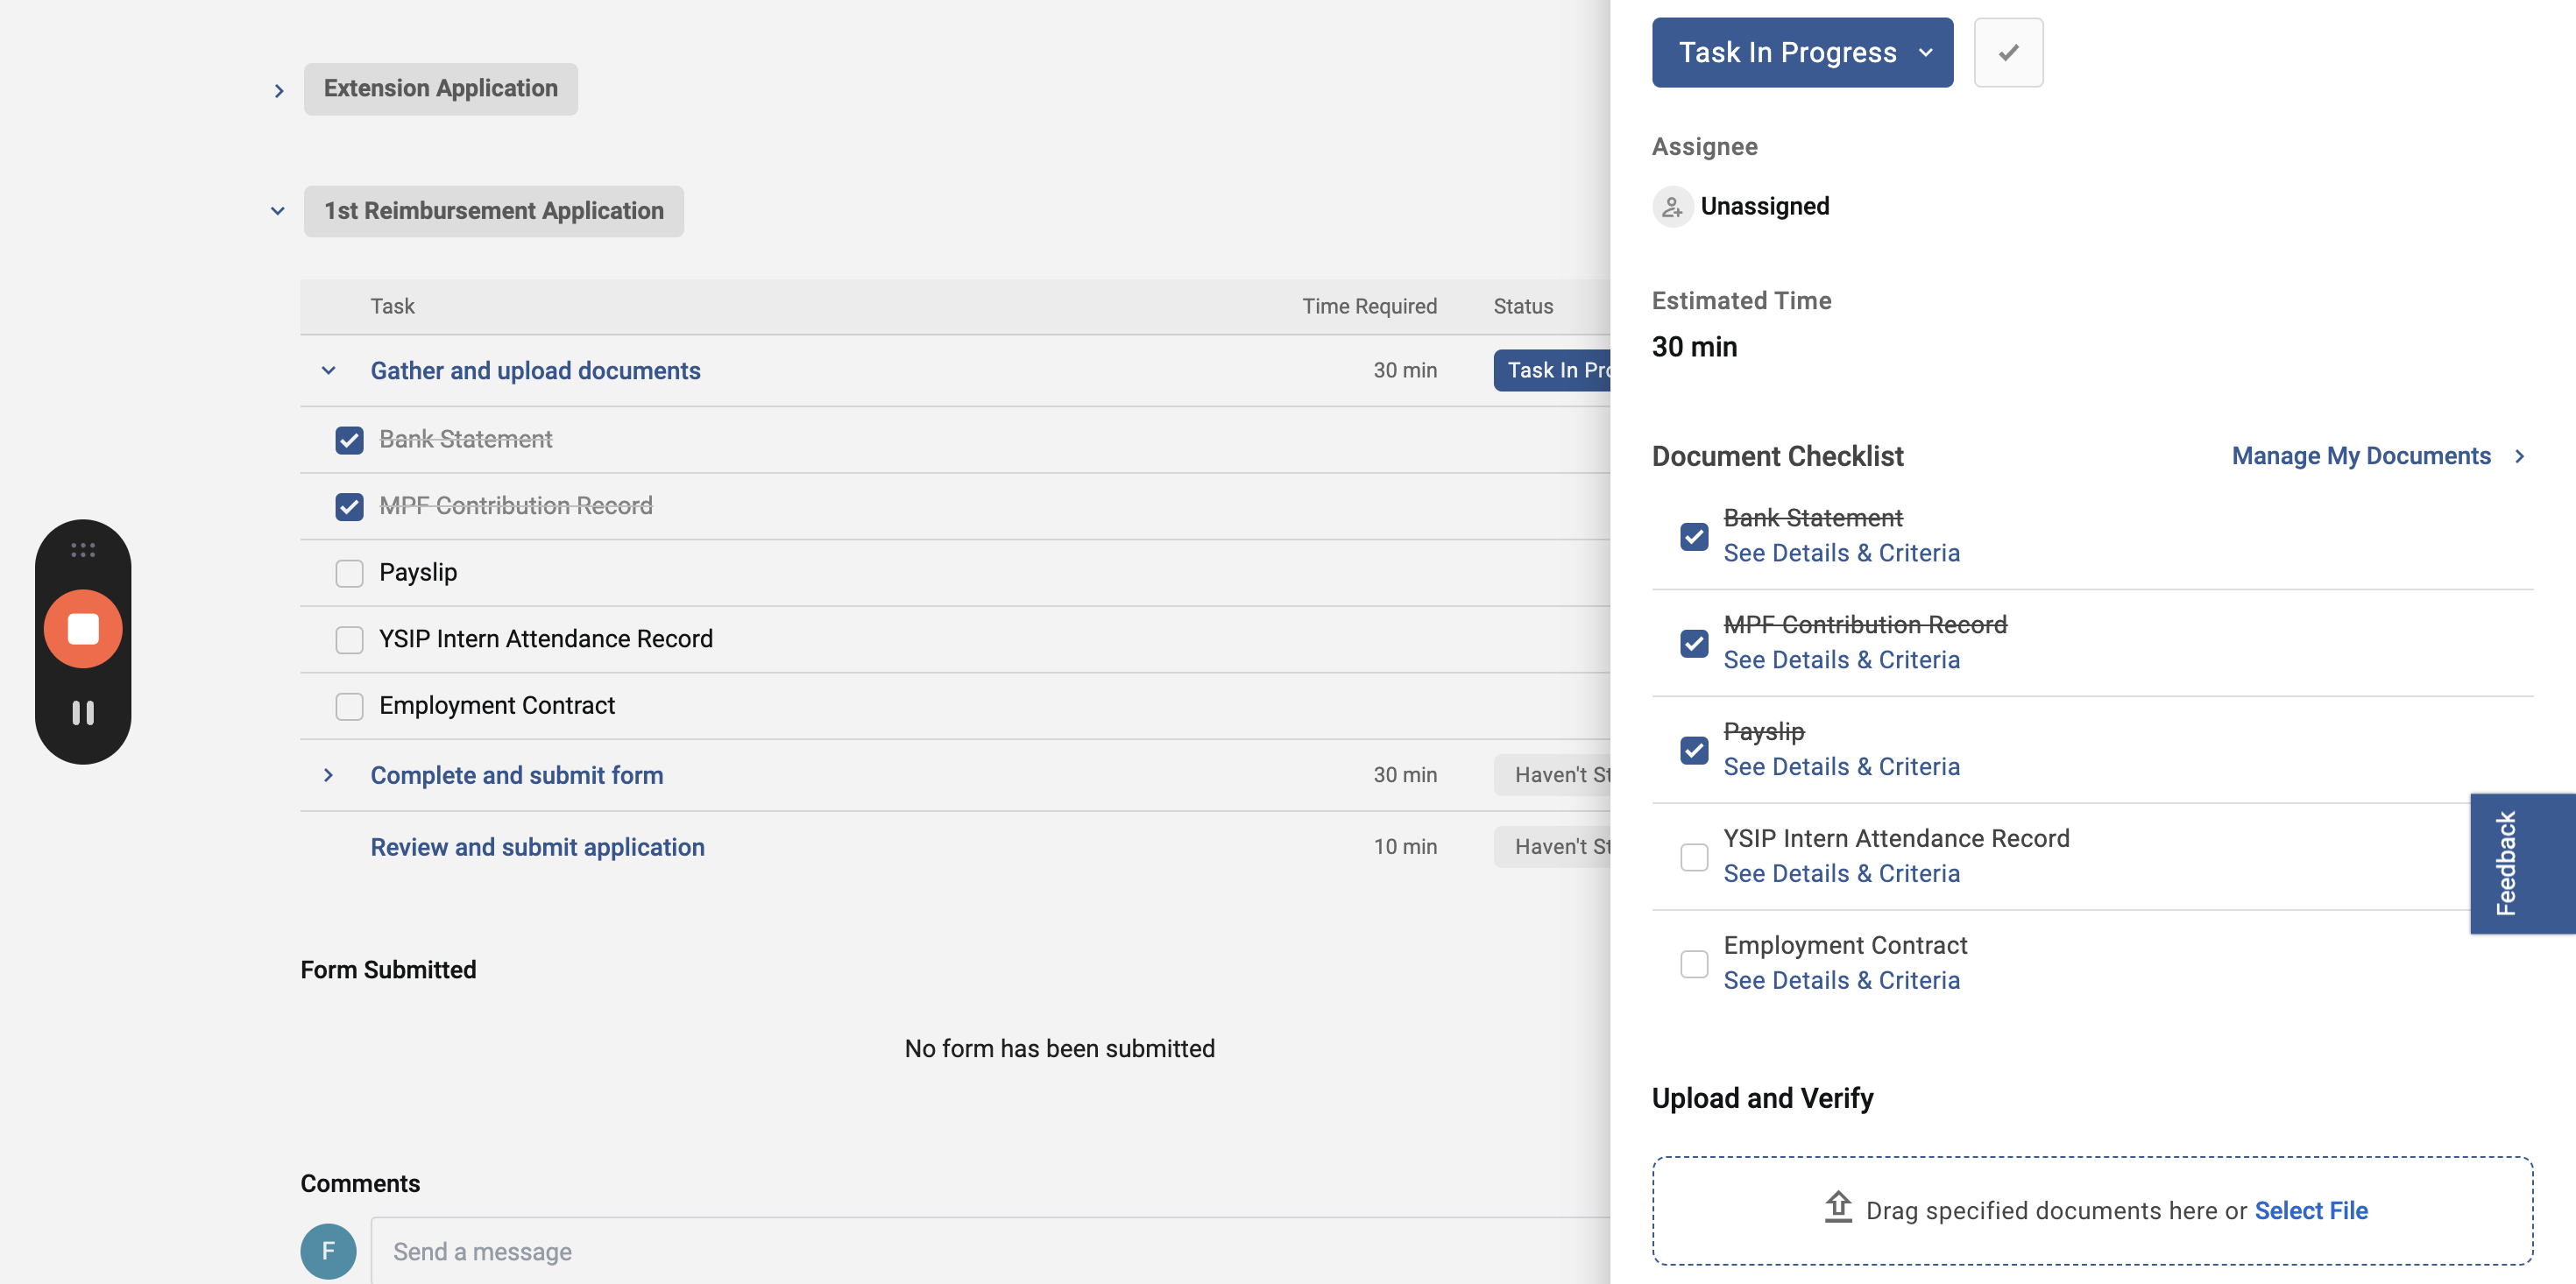
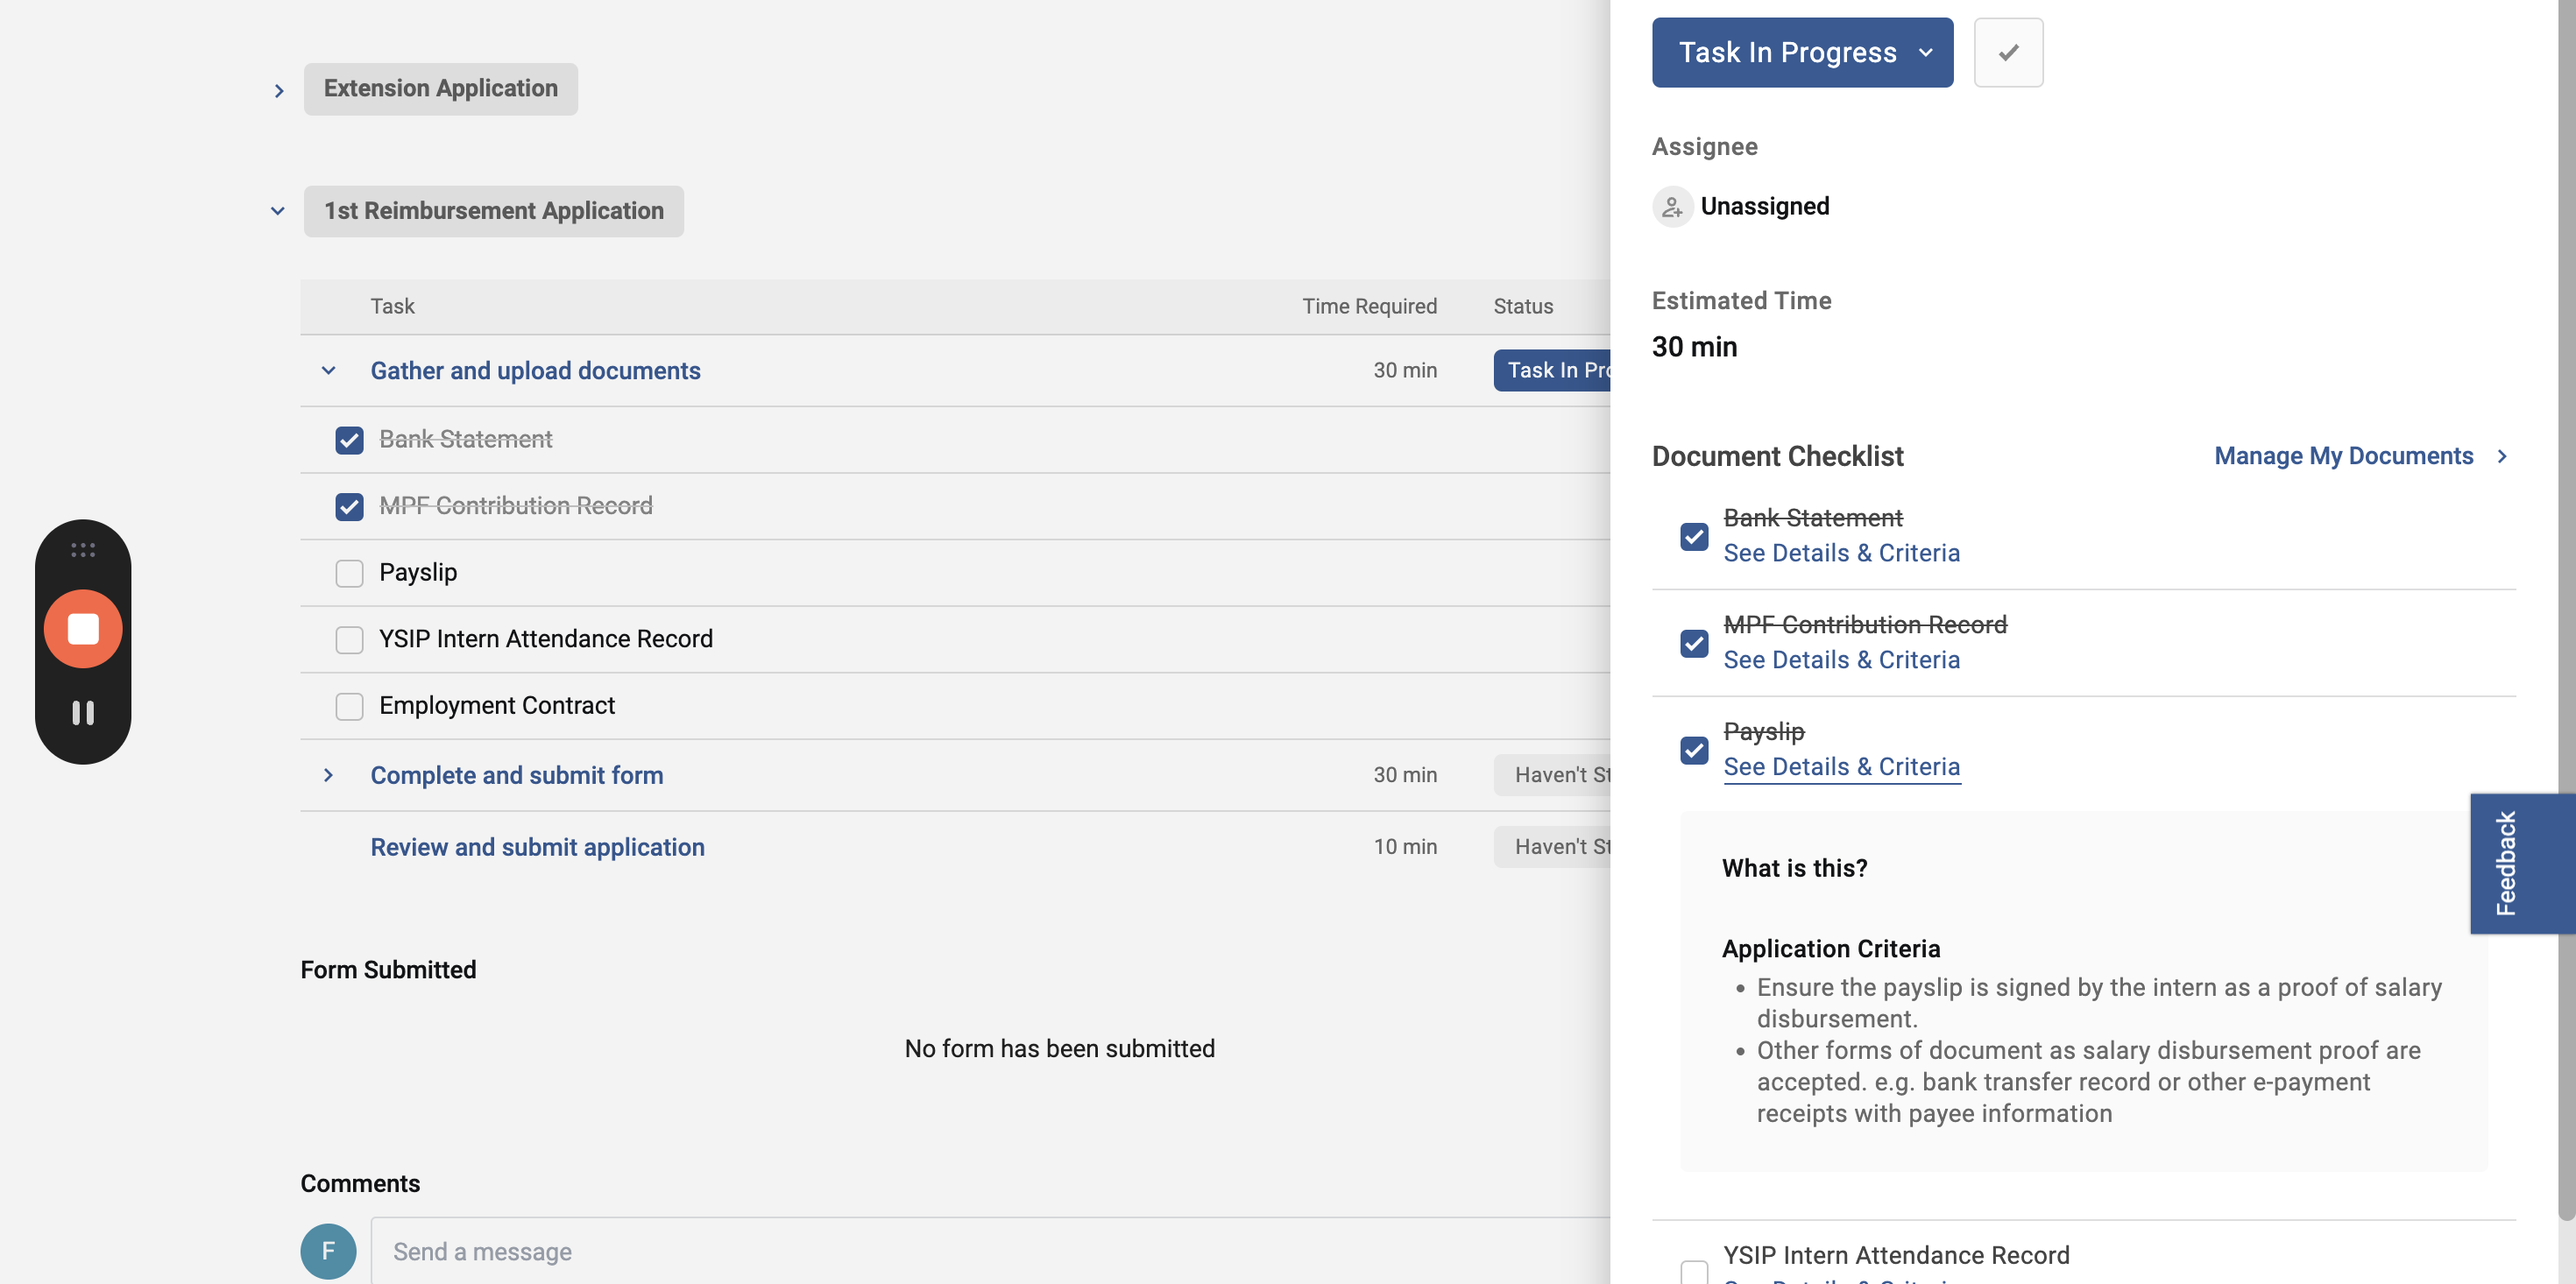
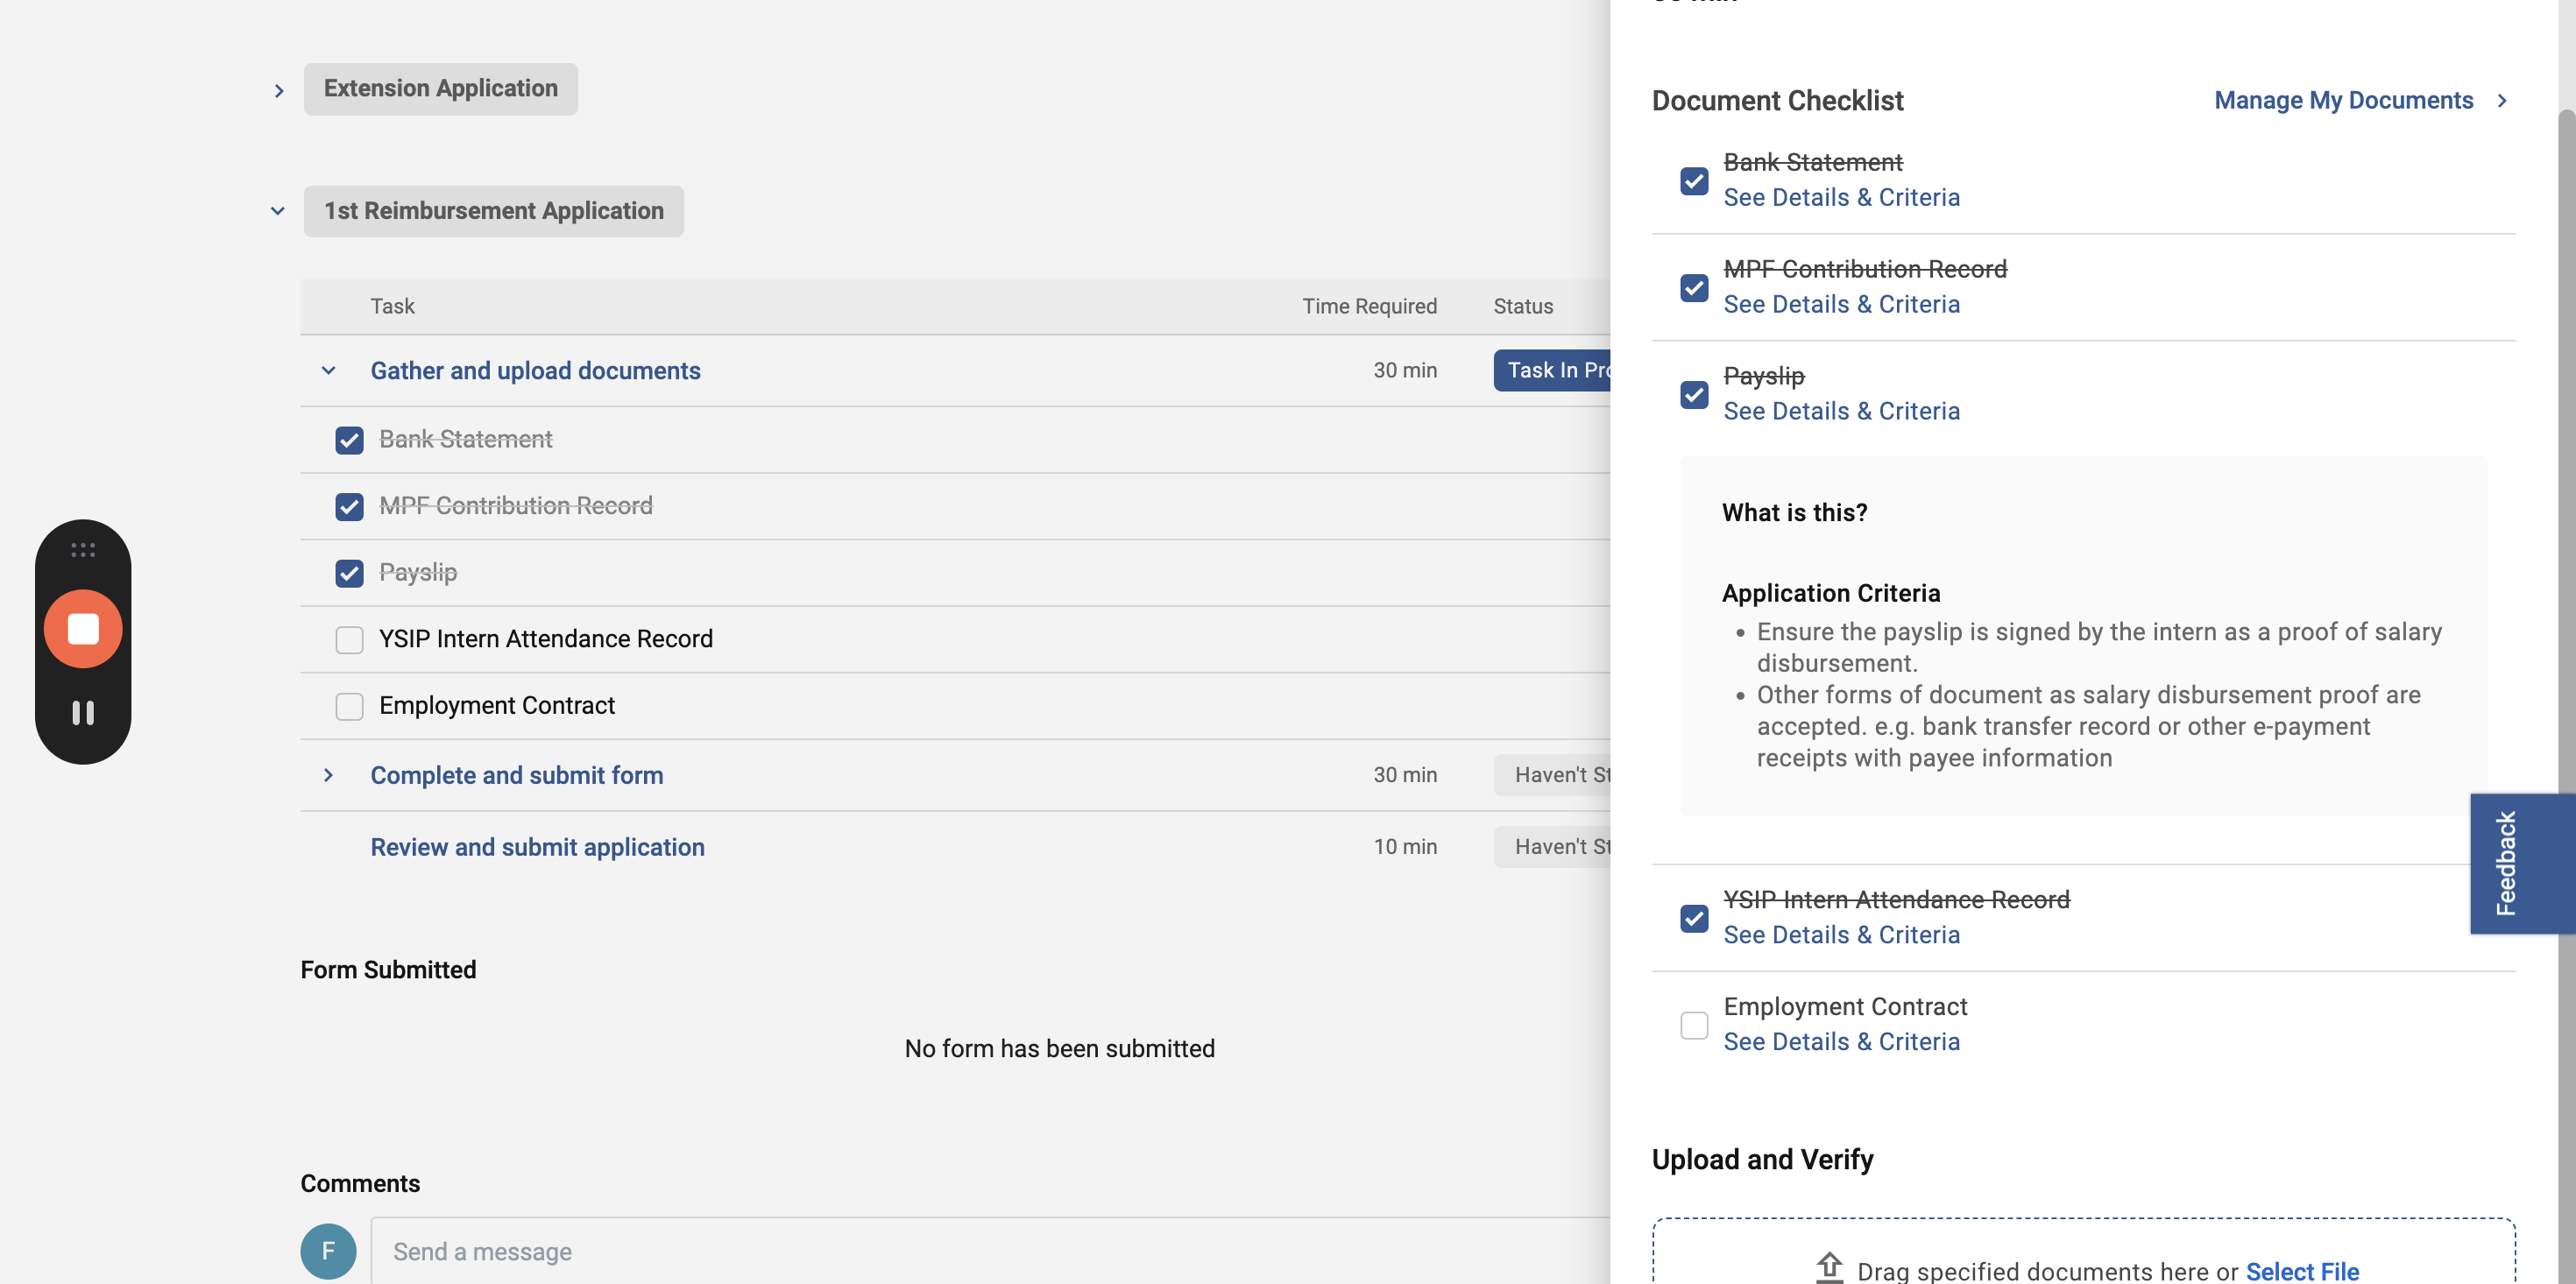
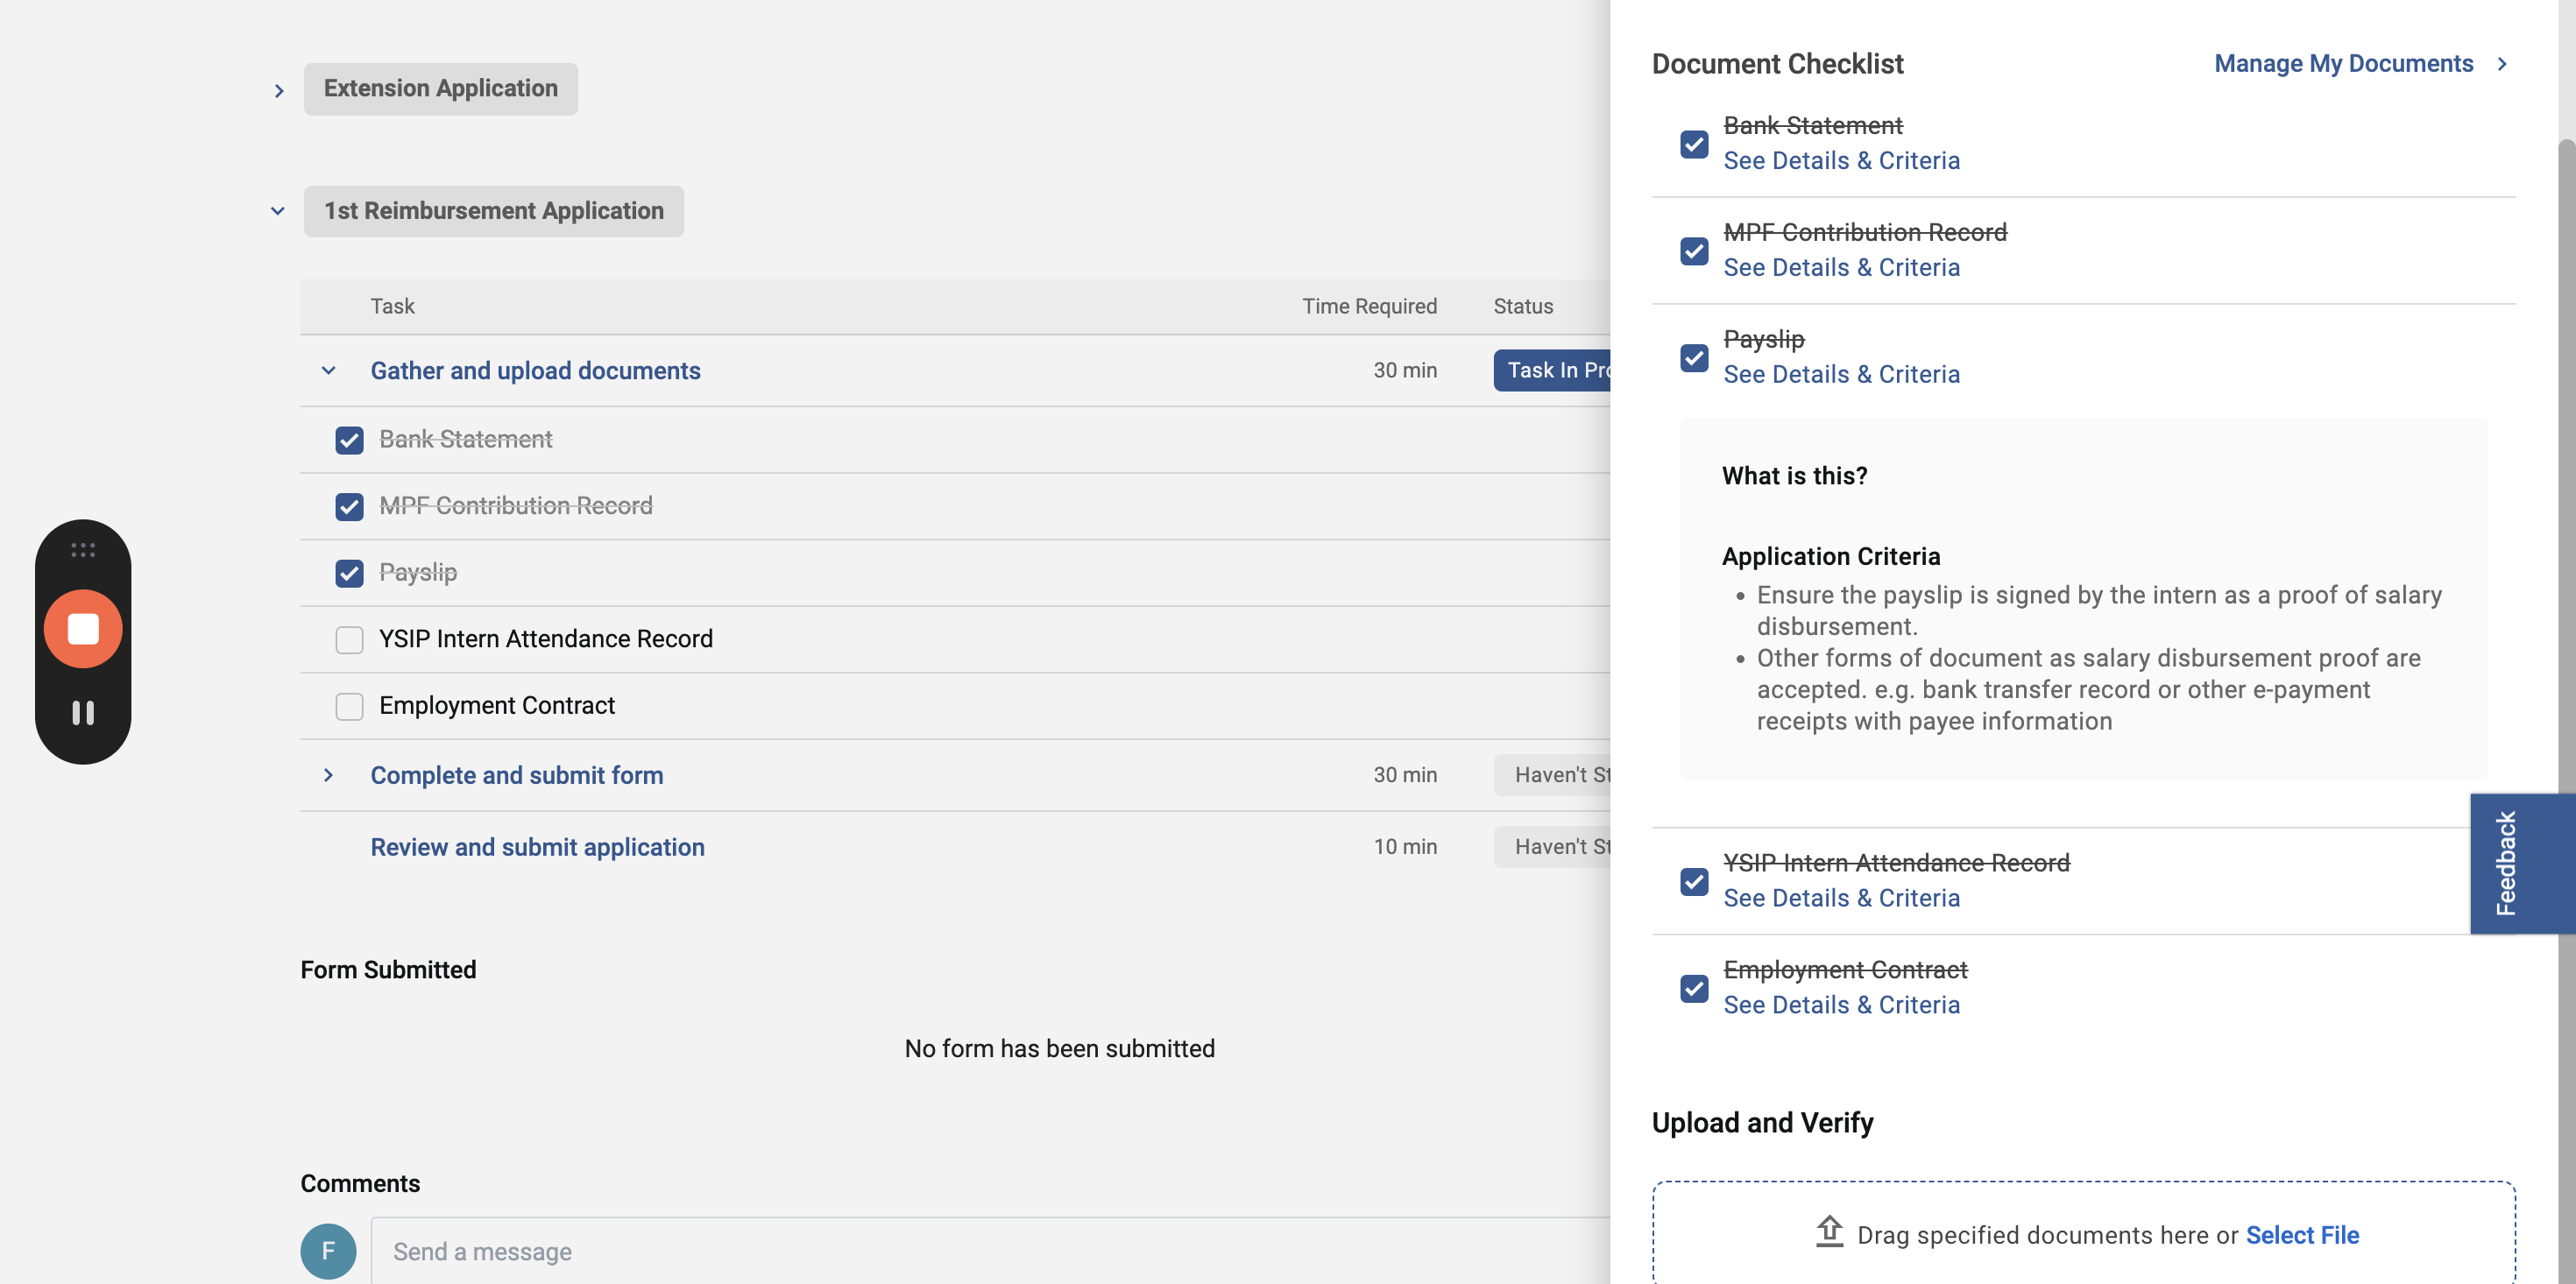
They are ready to upload all these documents. Okay, let's go and upload.
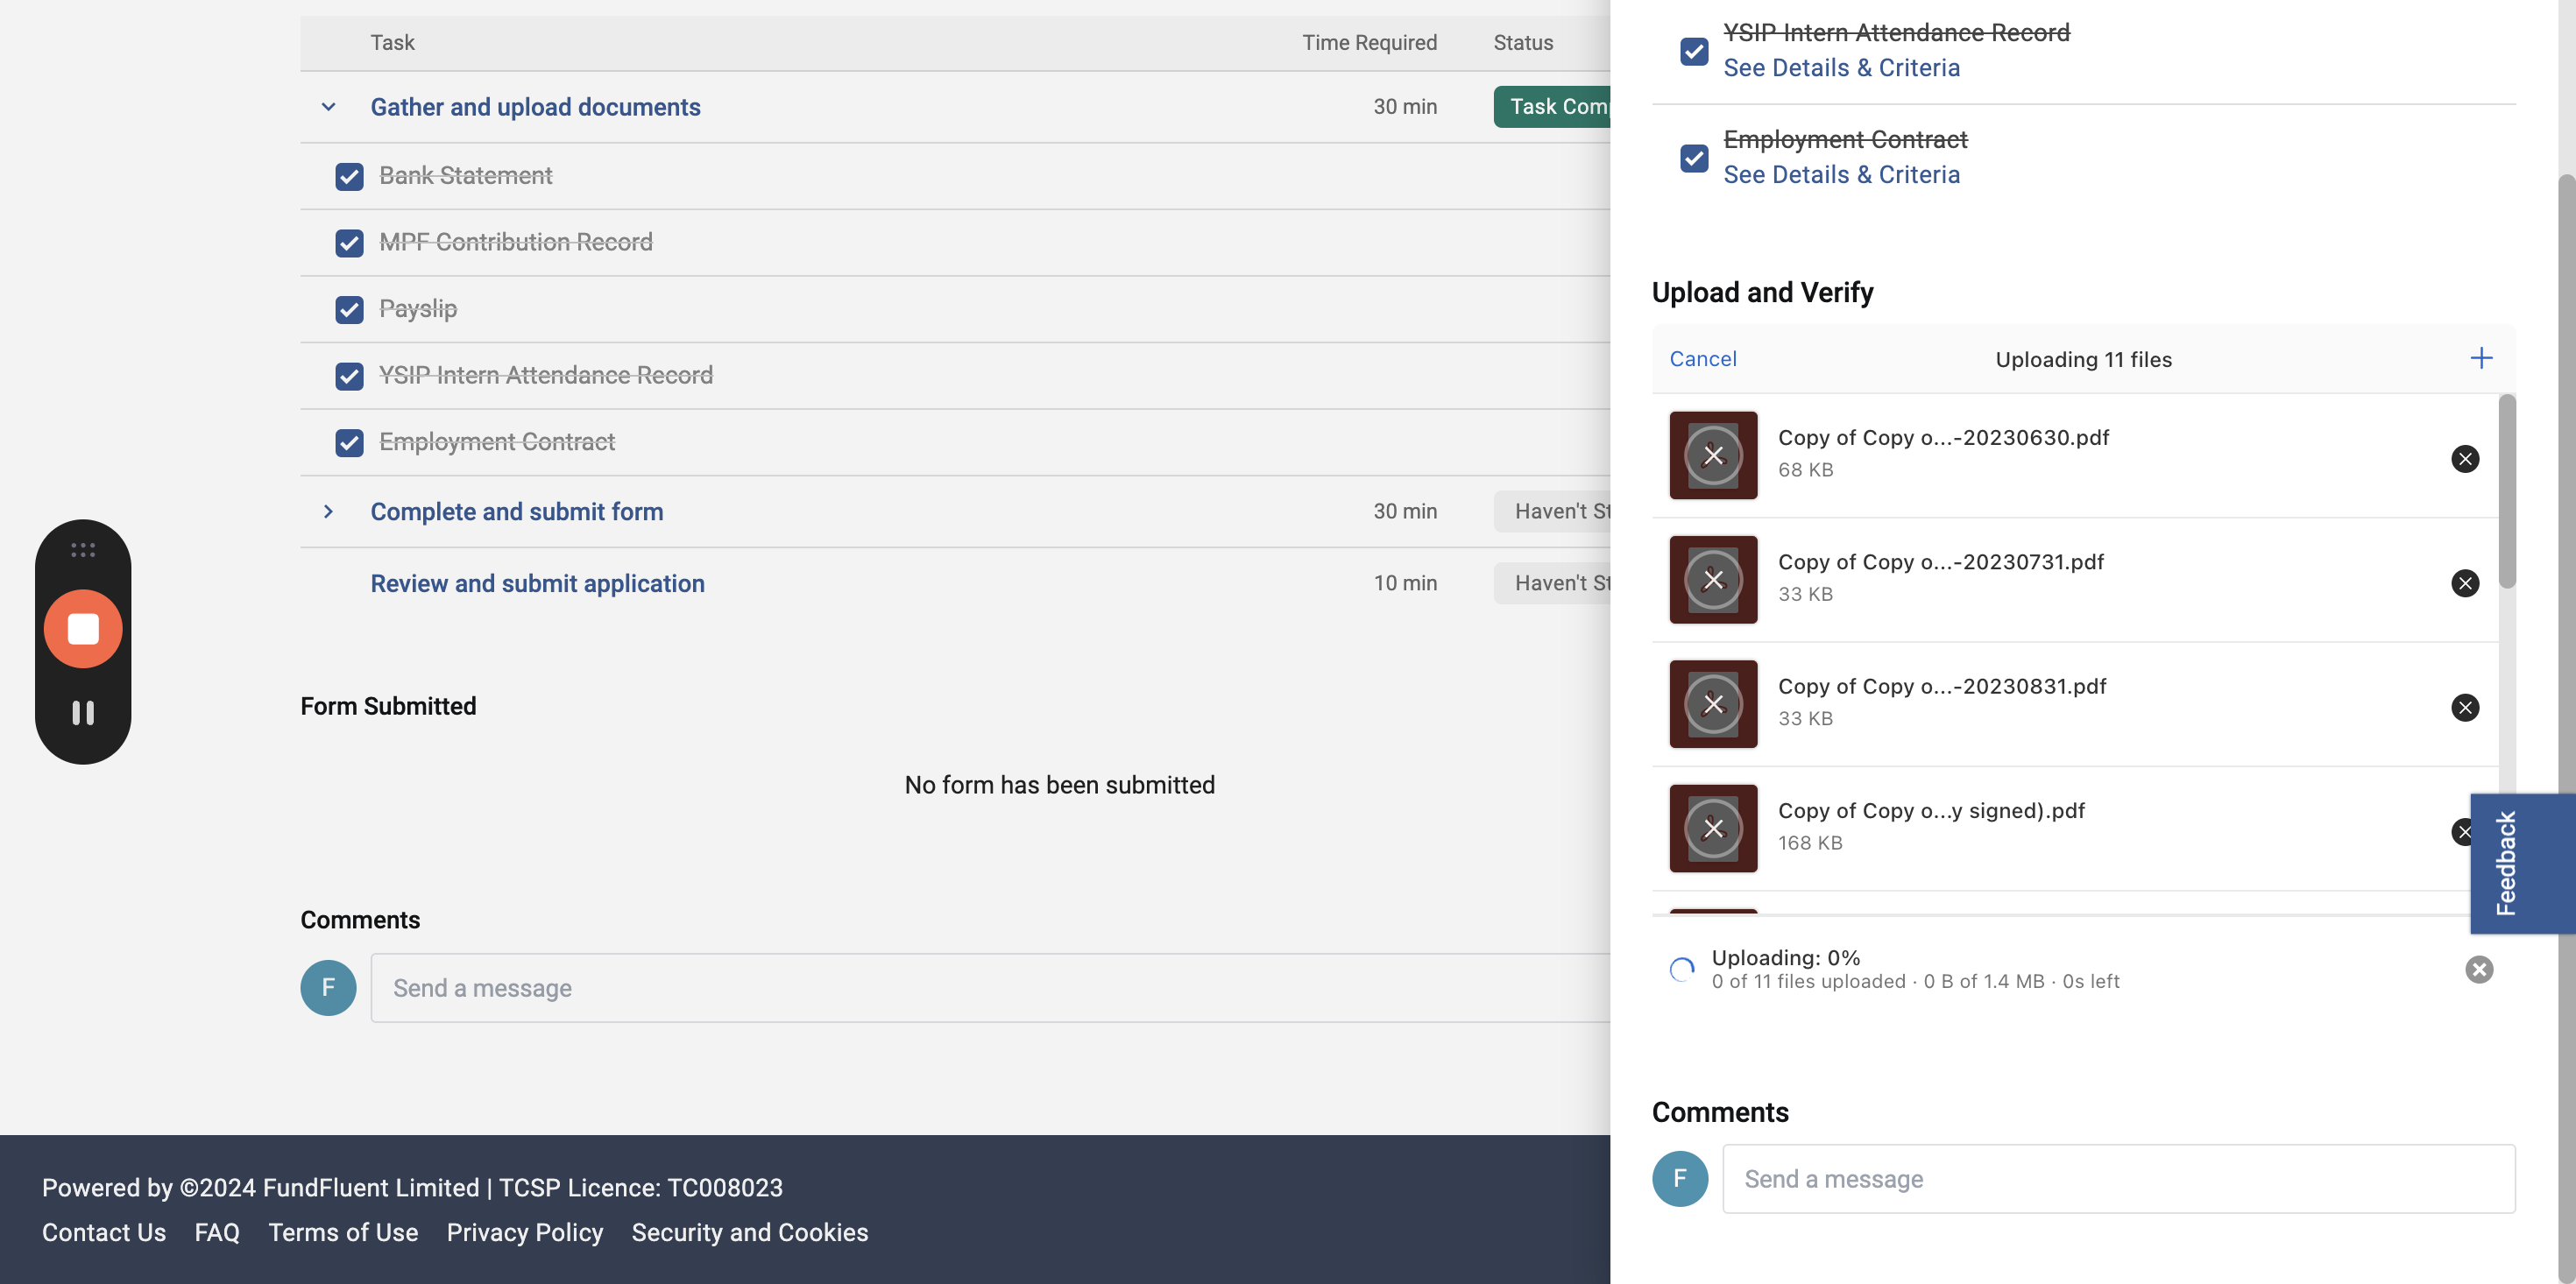
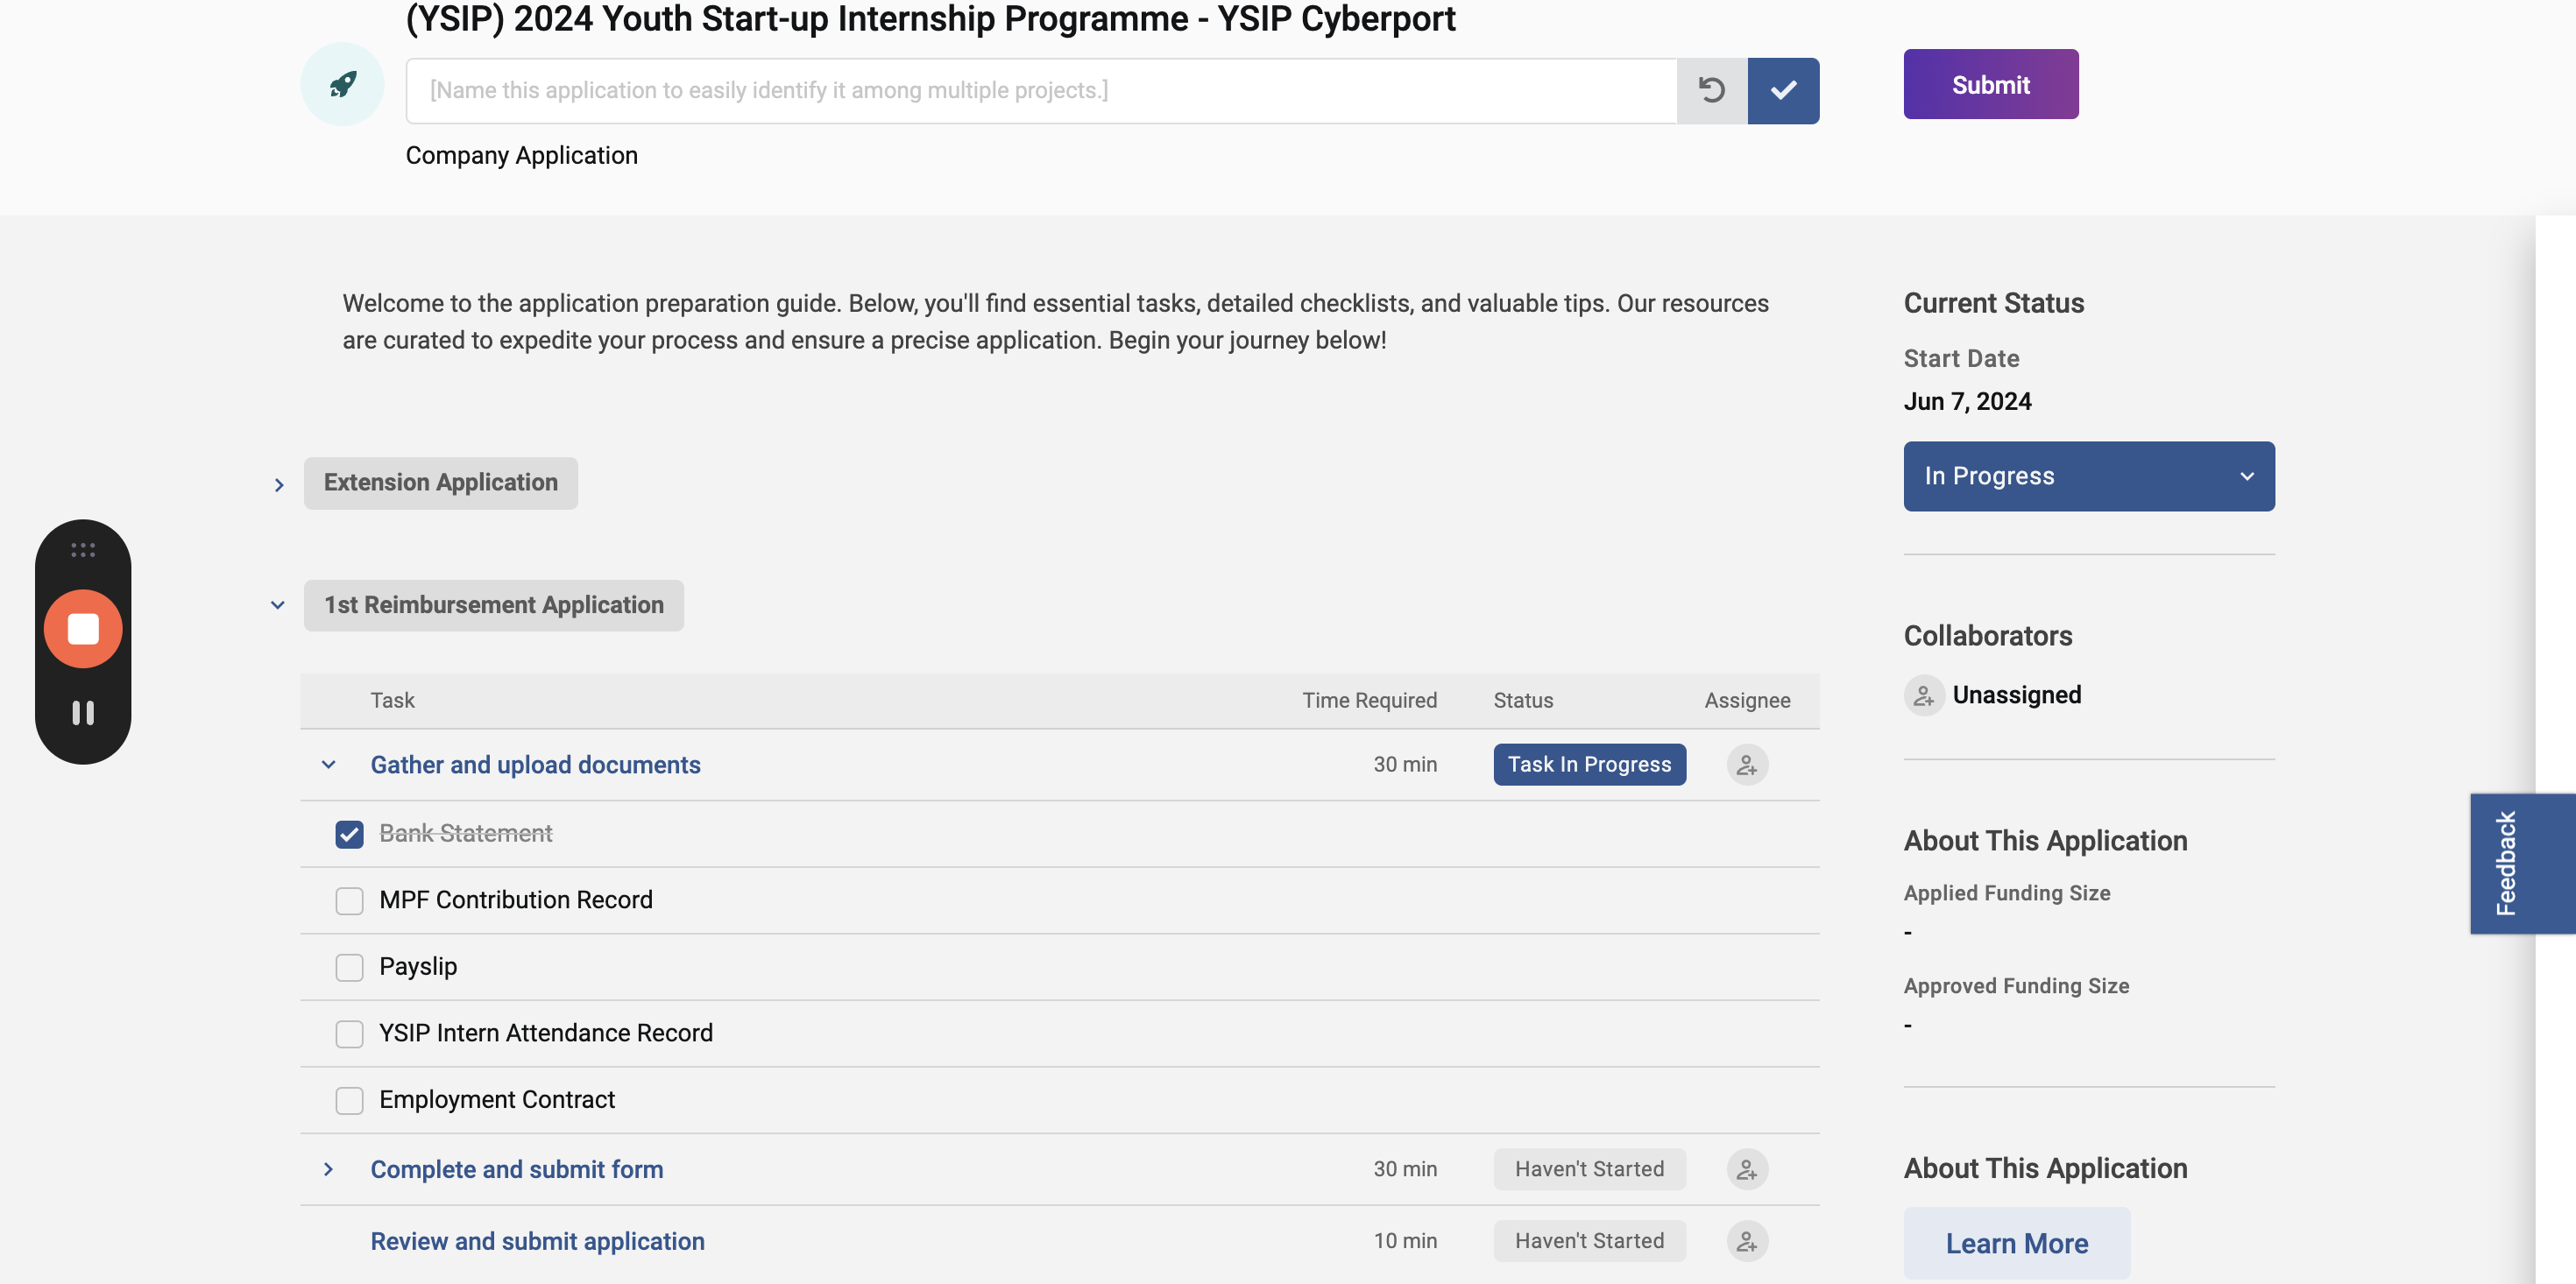
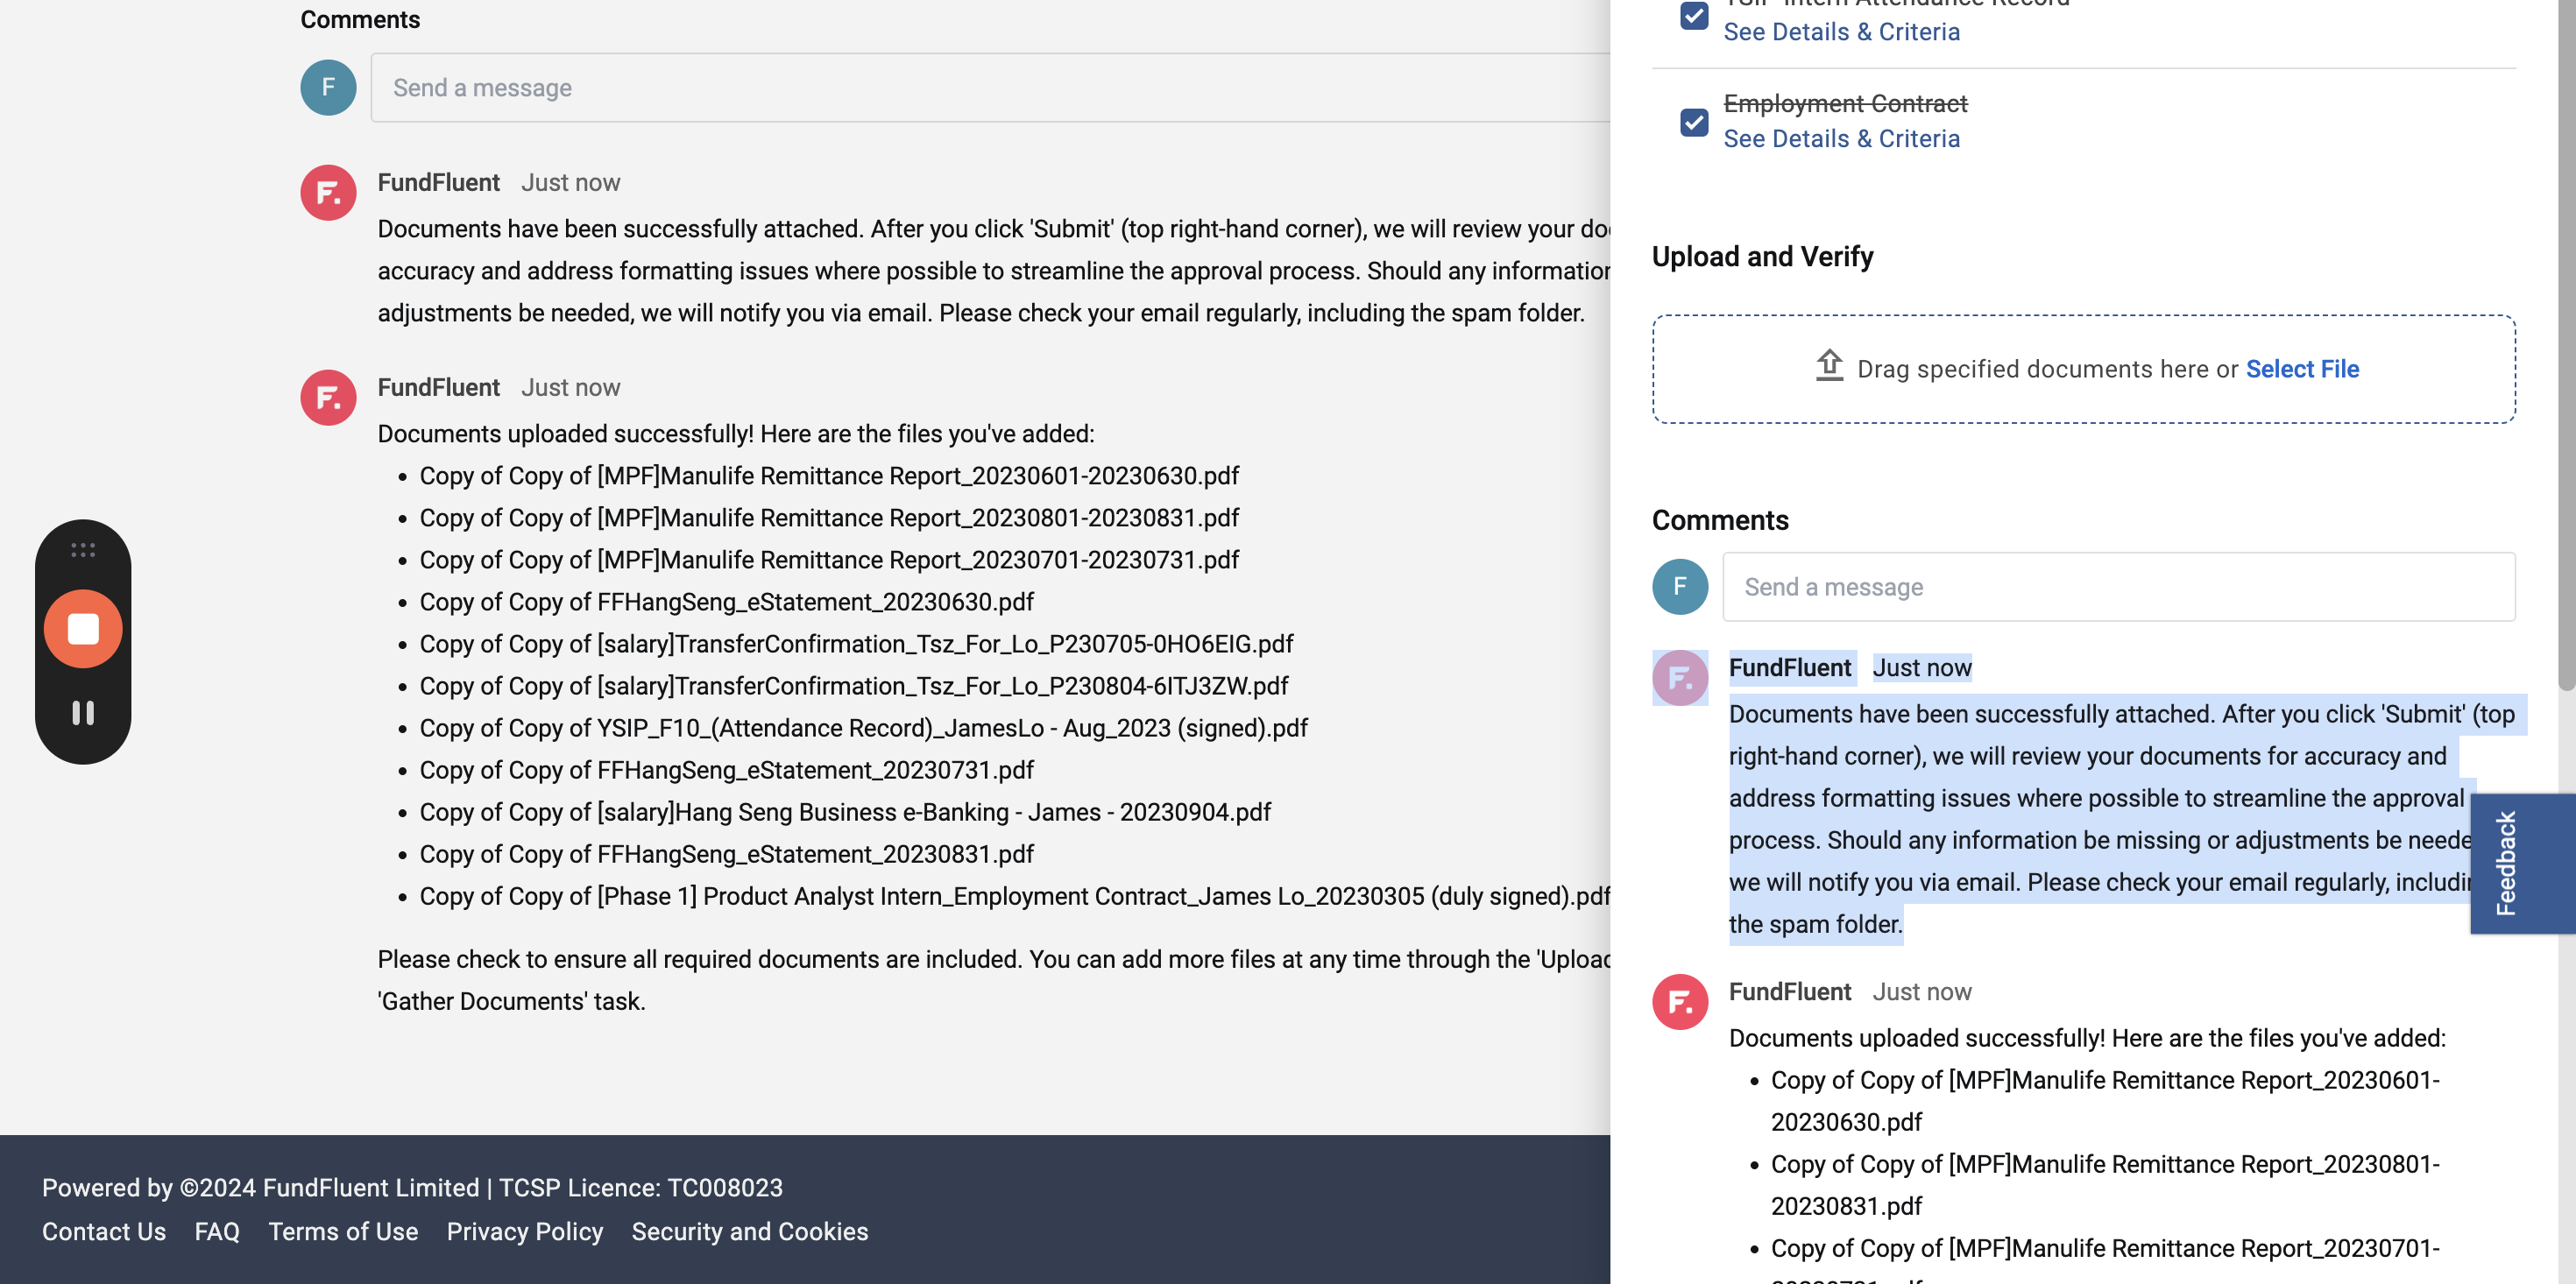
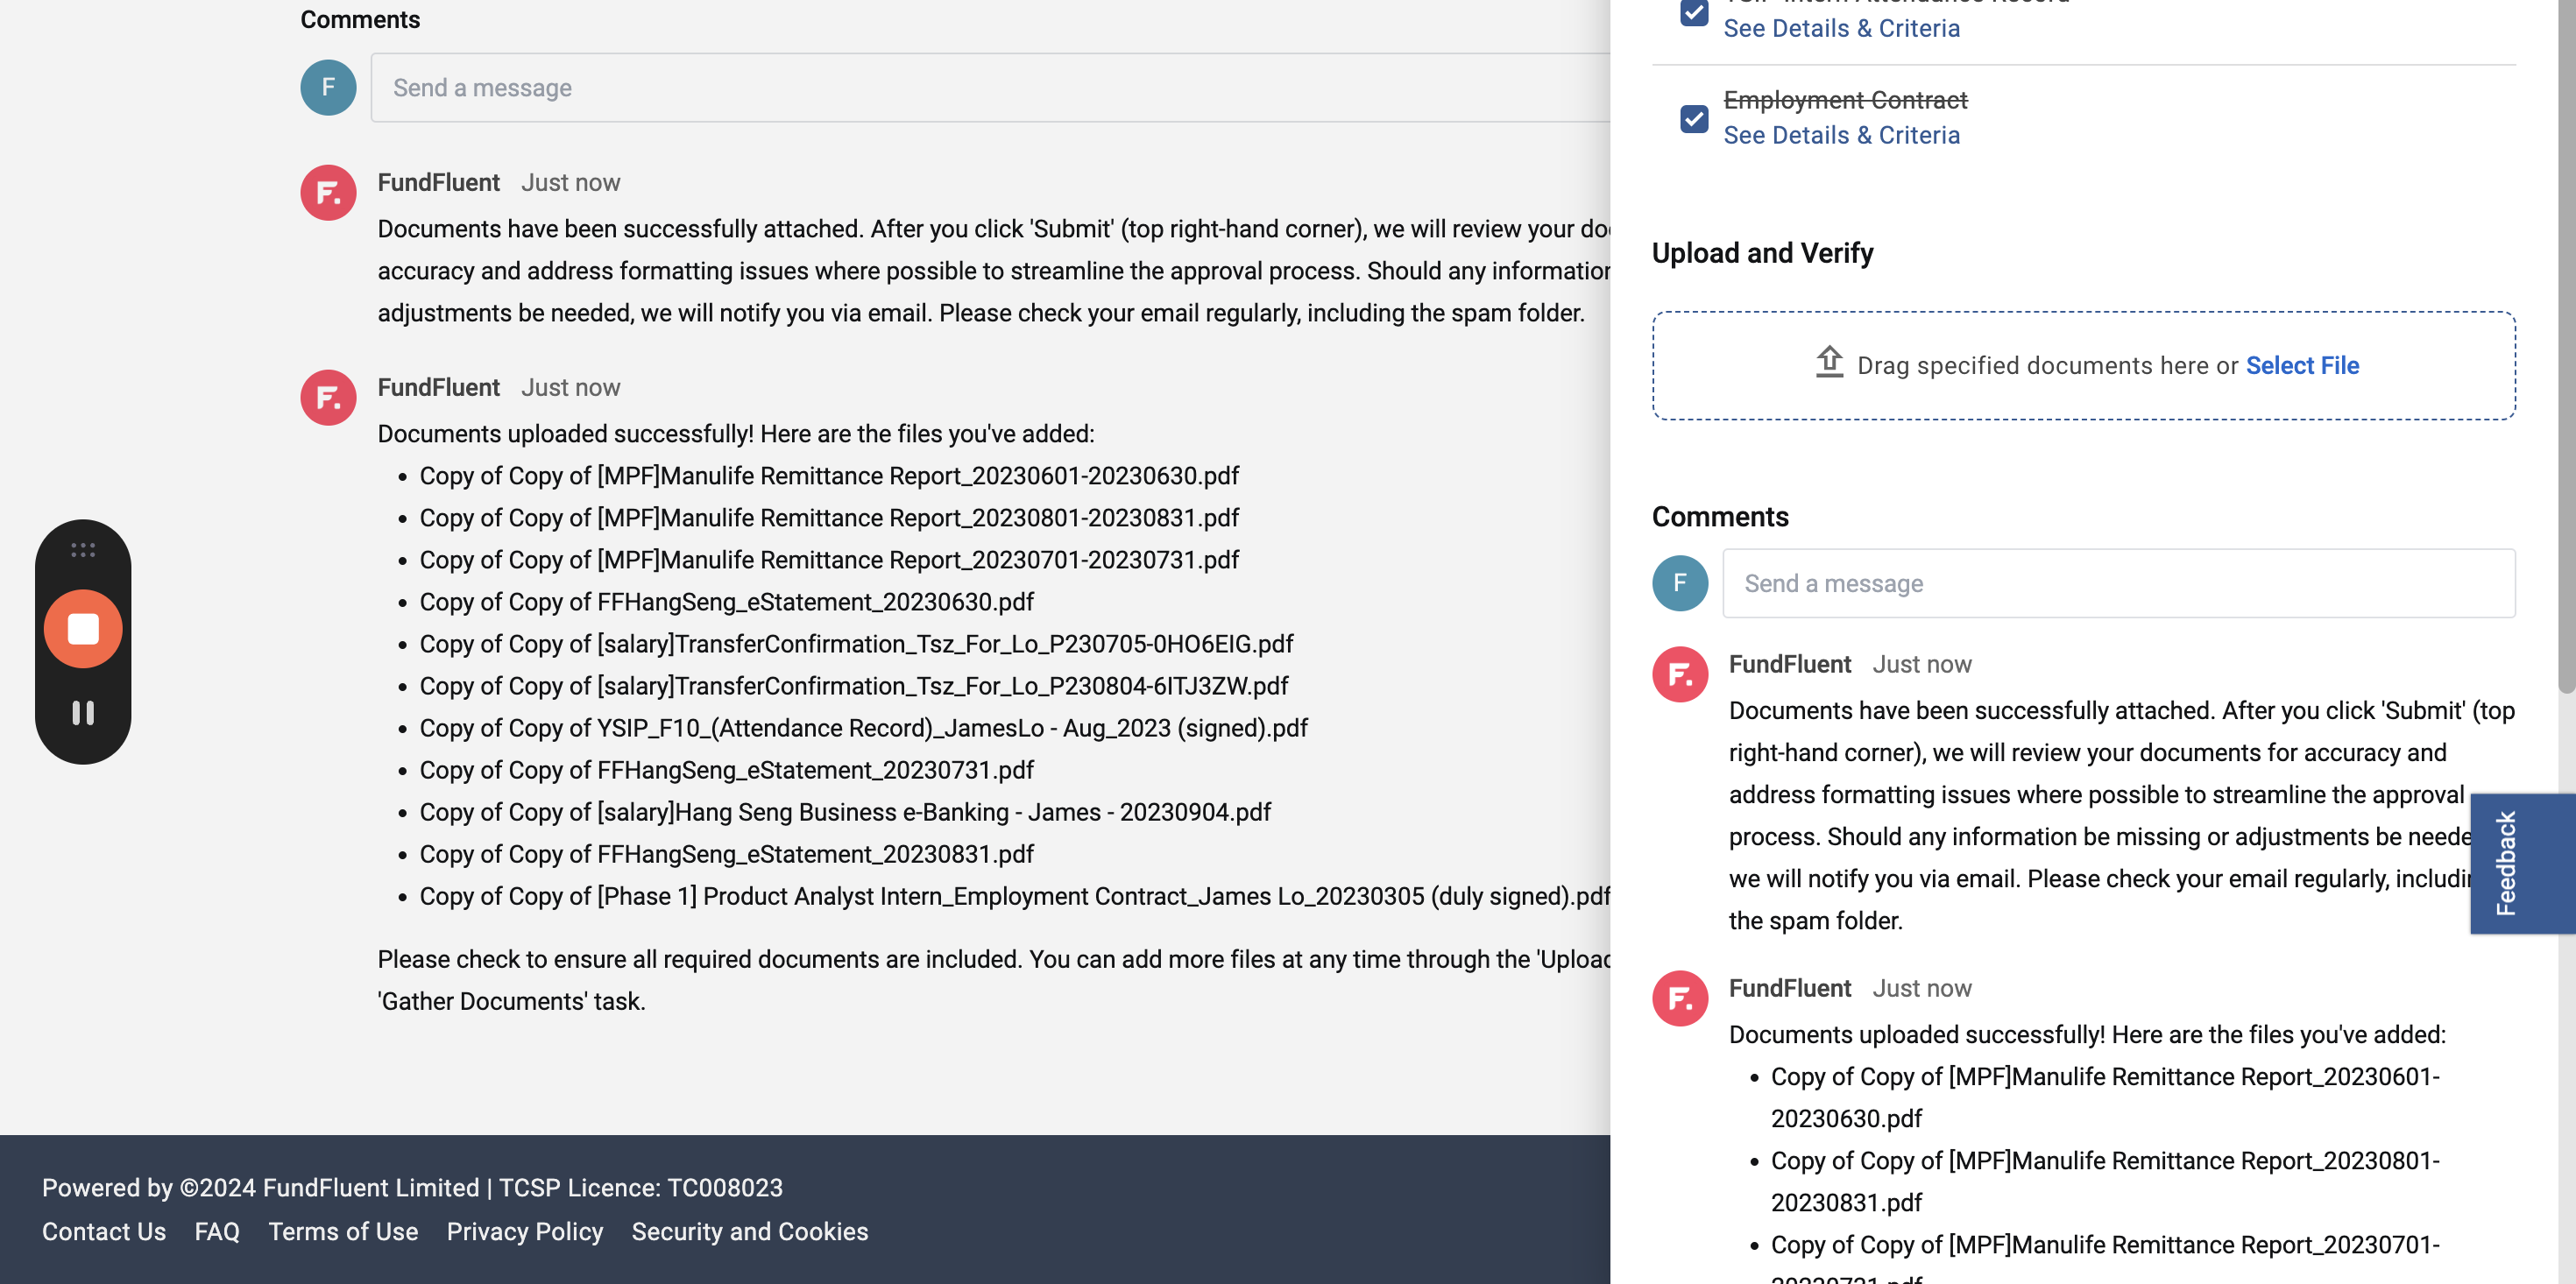
When the document upload is successful, a few things happen. Firstly, the user receives an on-screen prompt about the files that were just uploaded. We remind the user to ensure all required documents are uploaded.
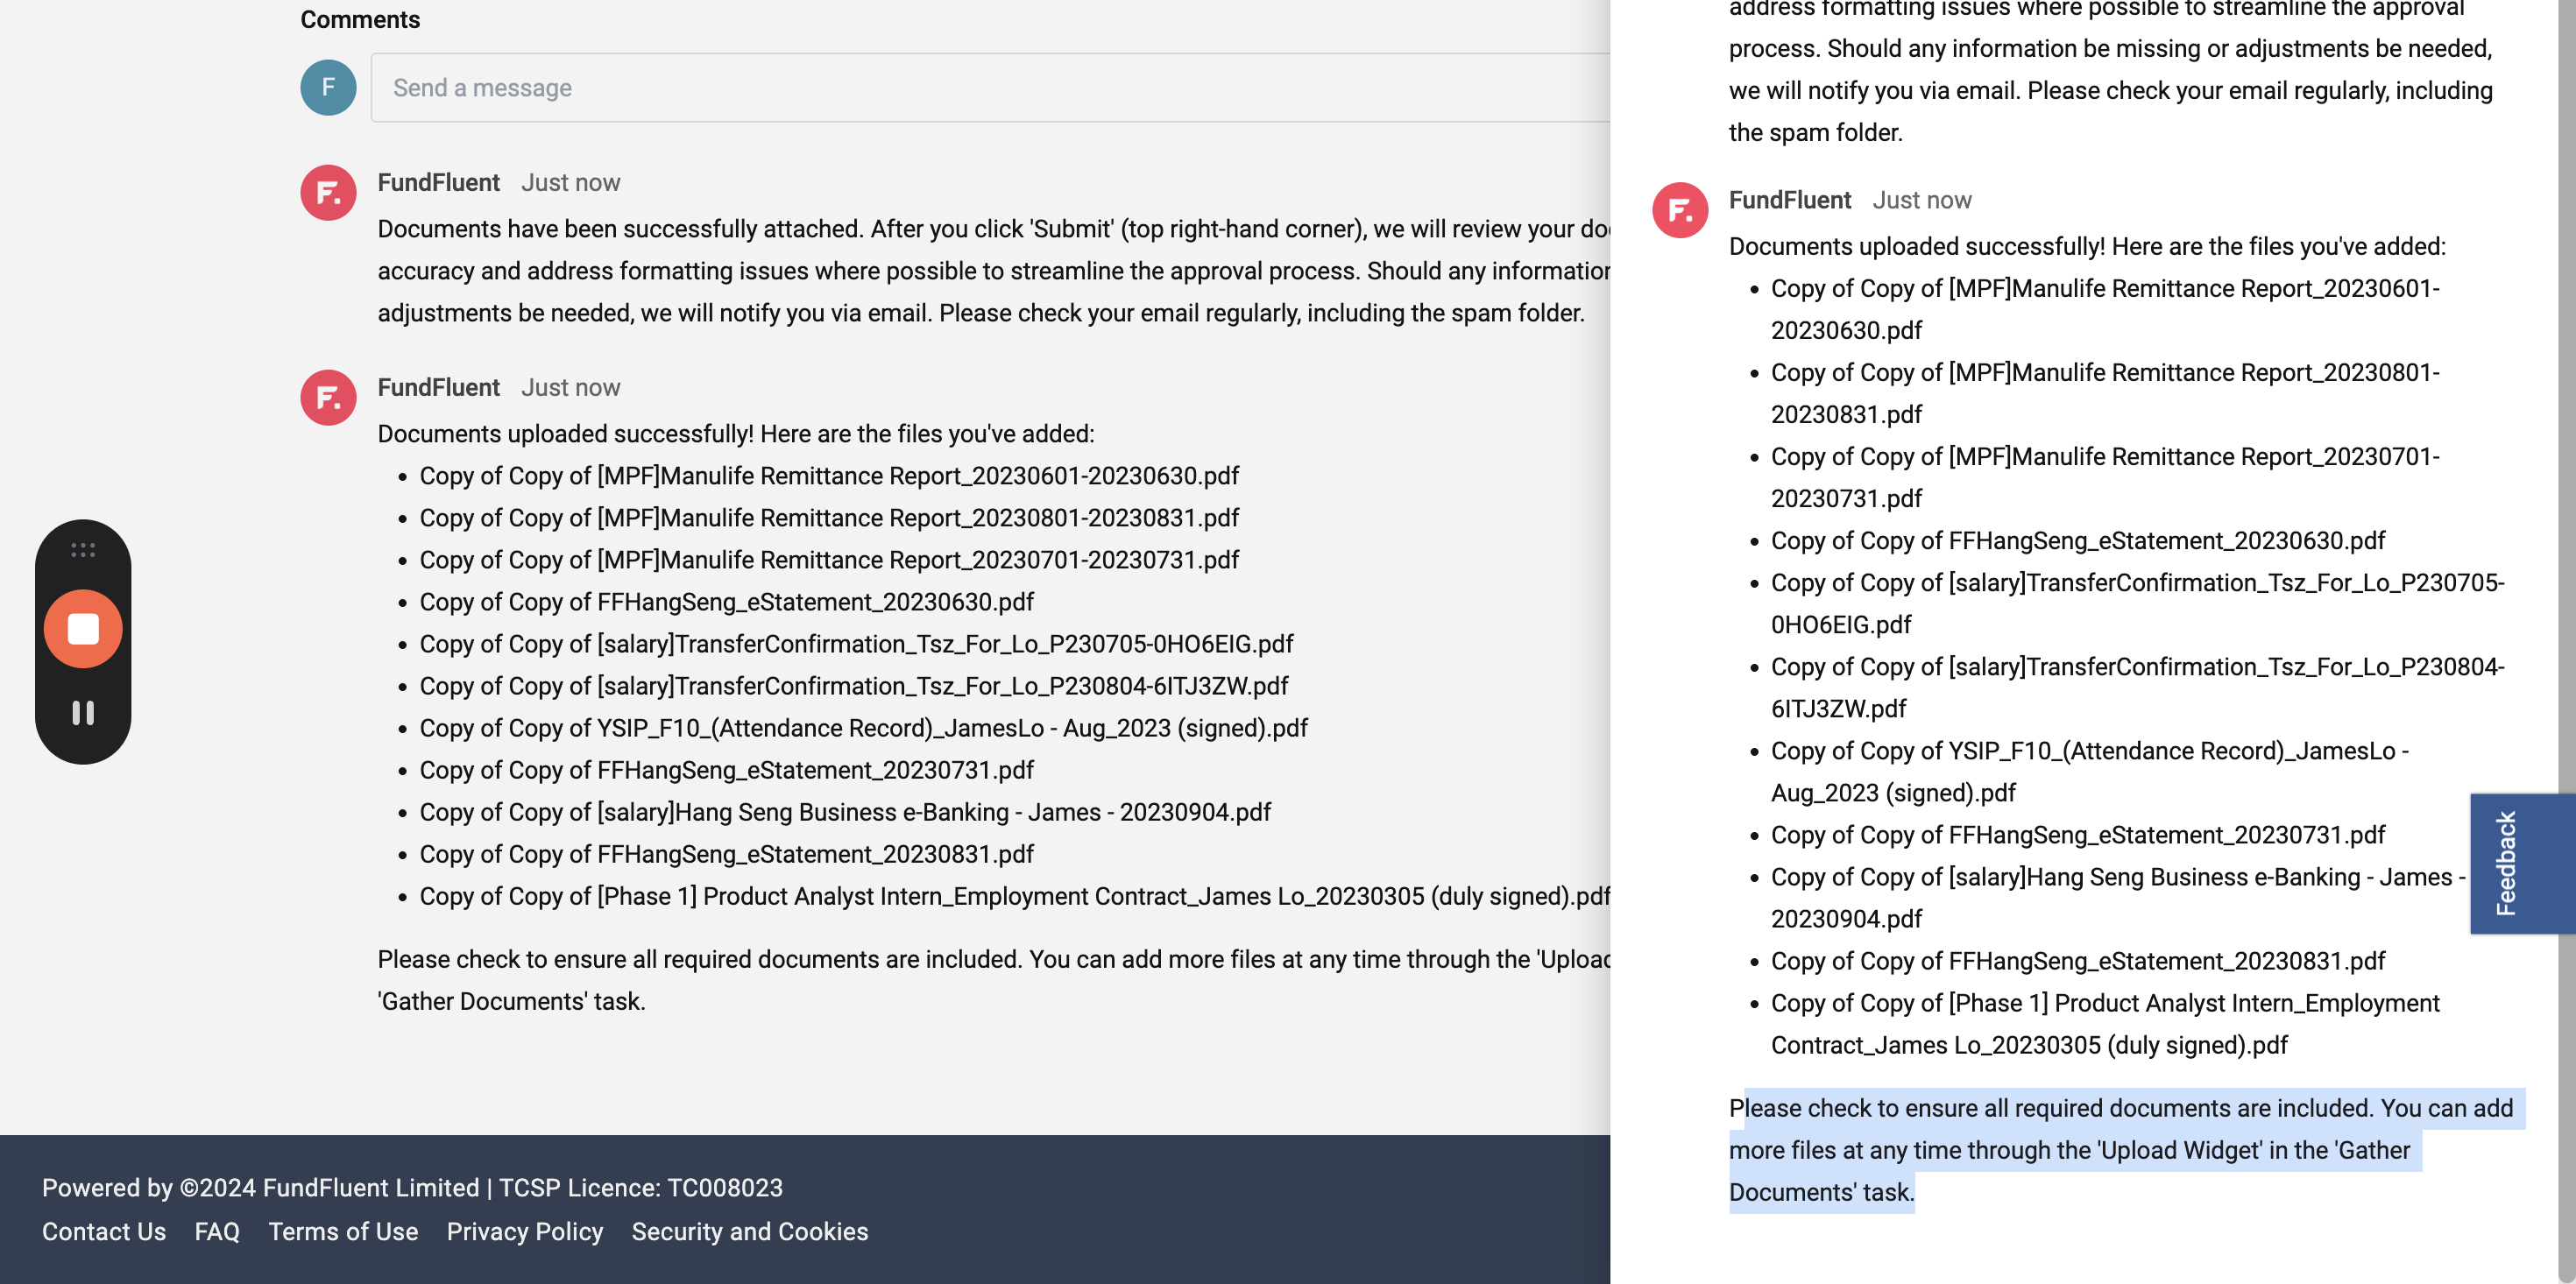
You can go back and add more if needed. We also see that your documents have been successfully attached.
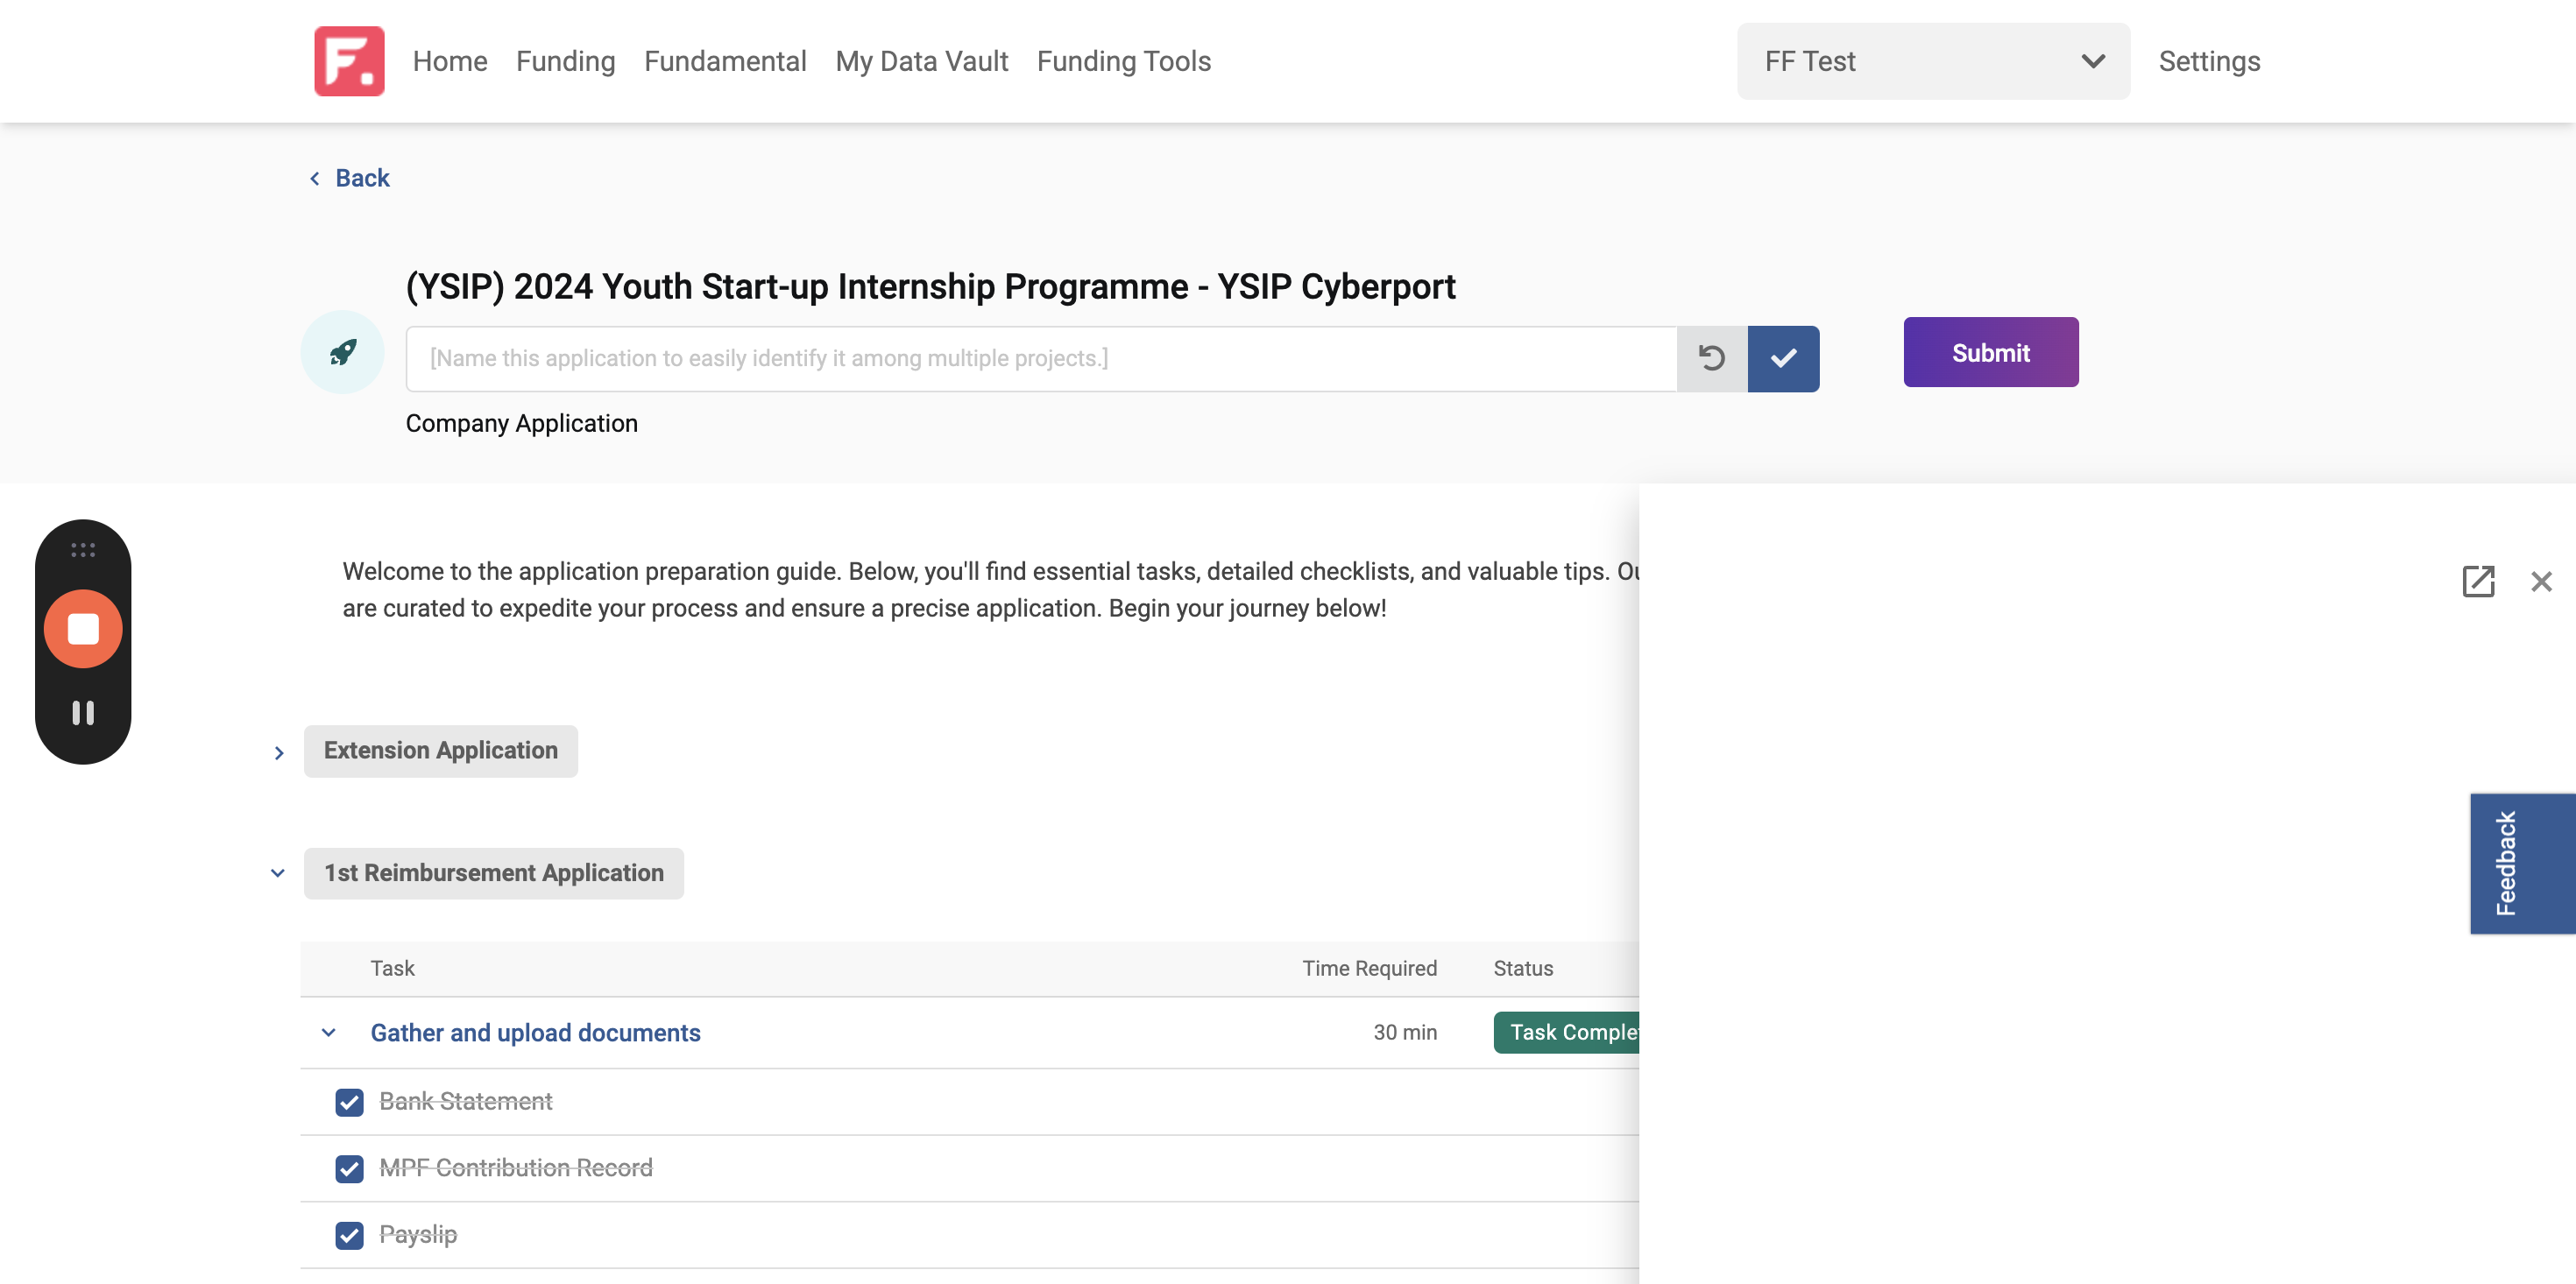
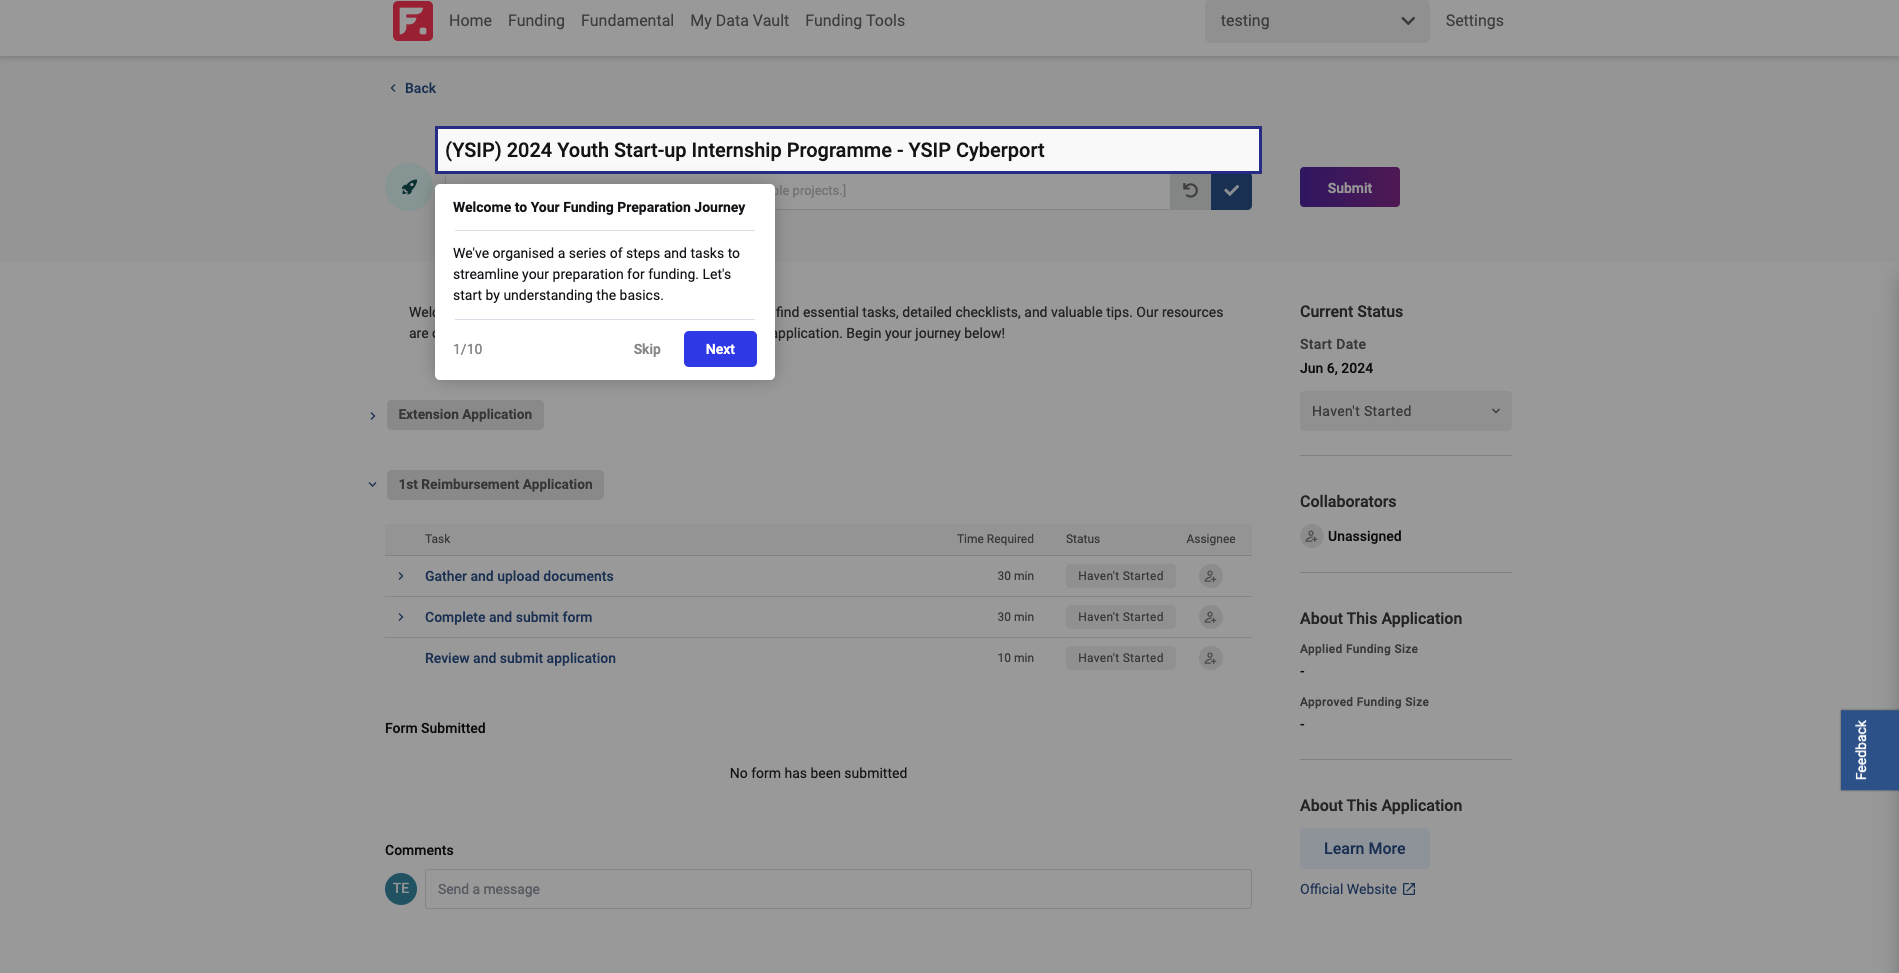
There are a few more tasks to be done.
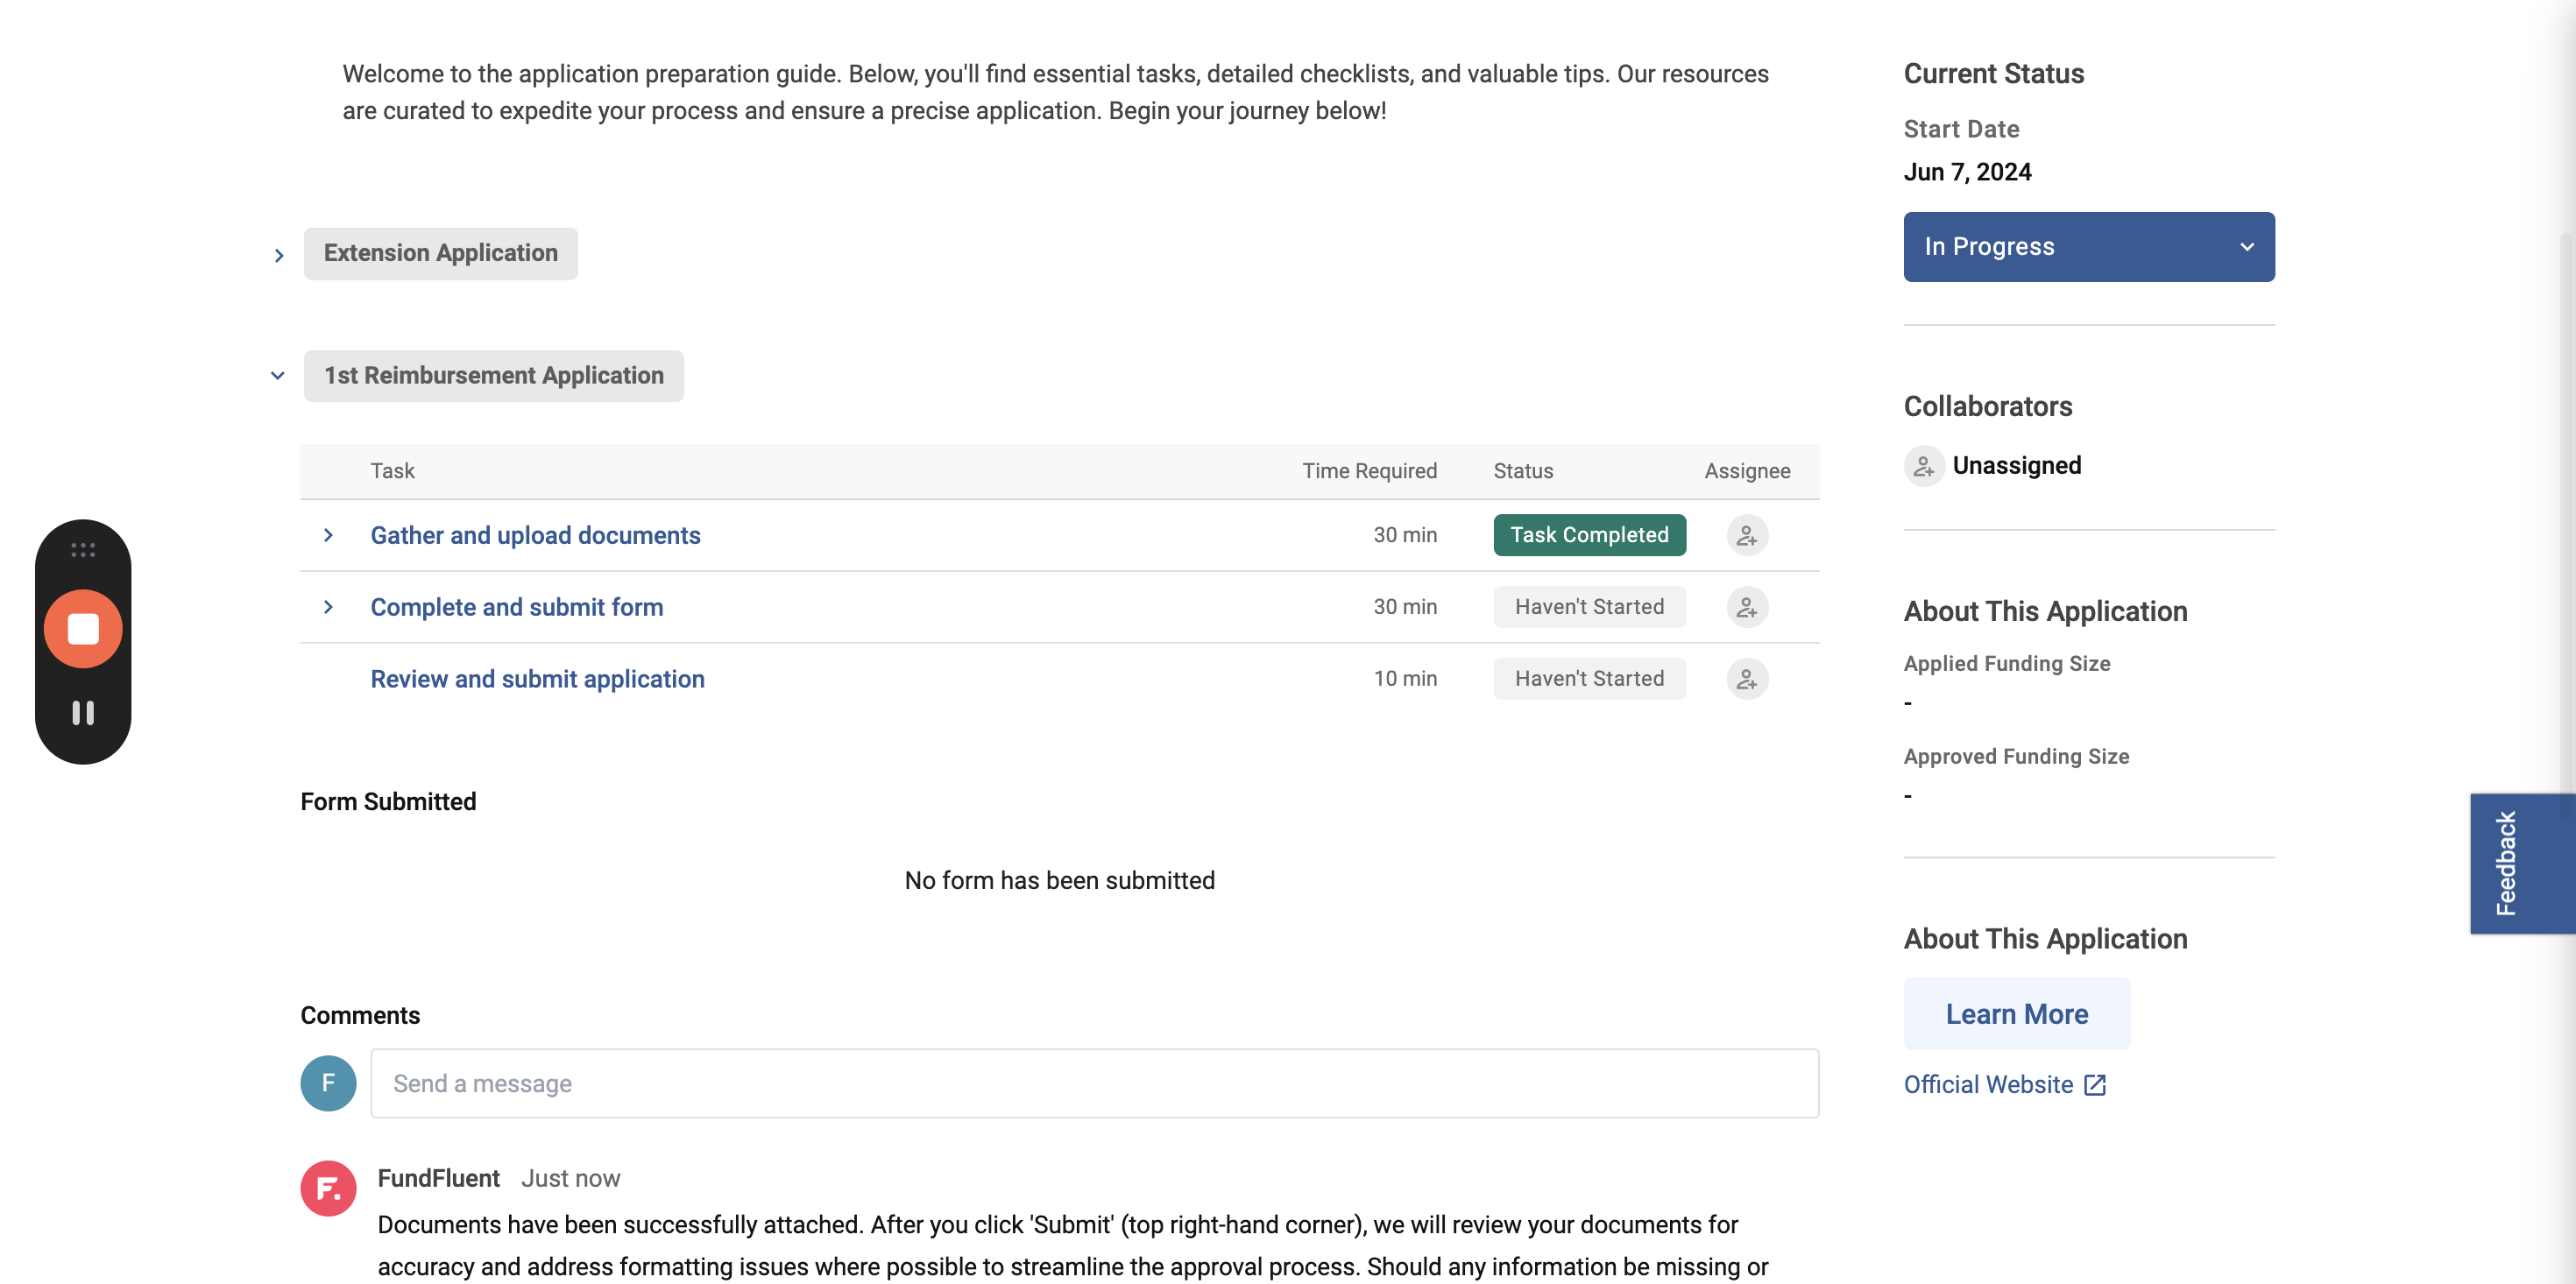

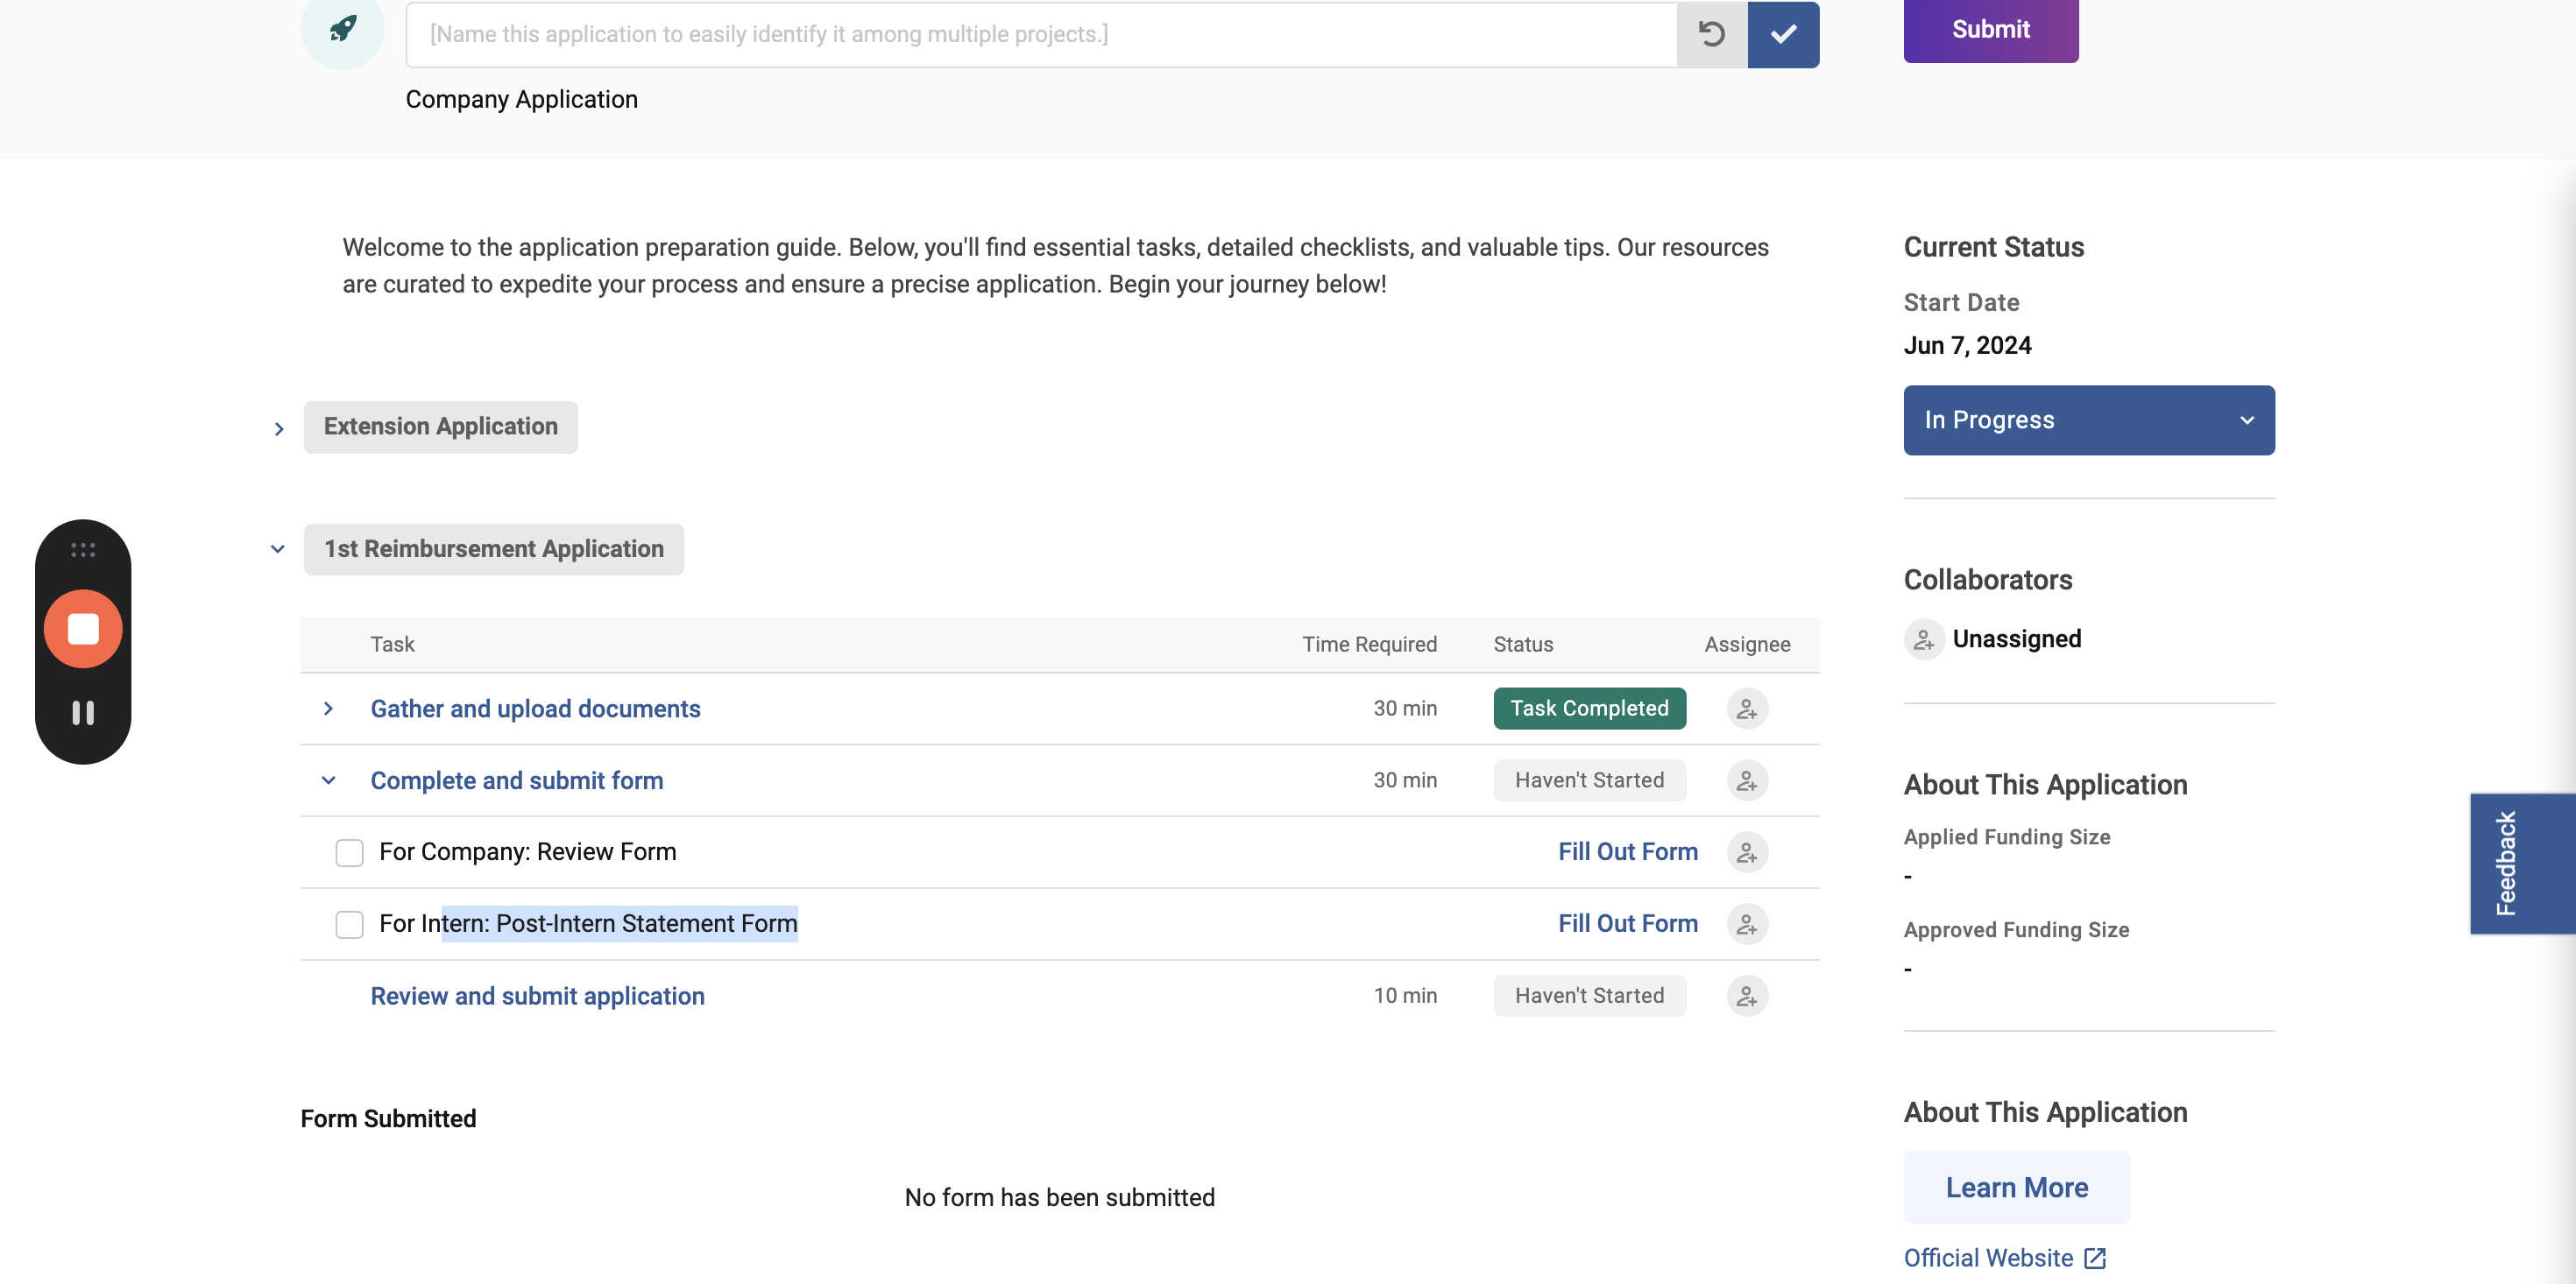
First, fill out the form.
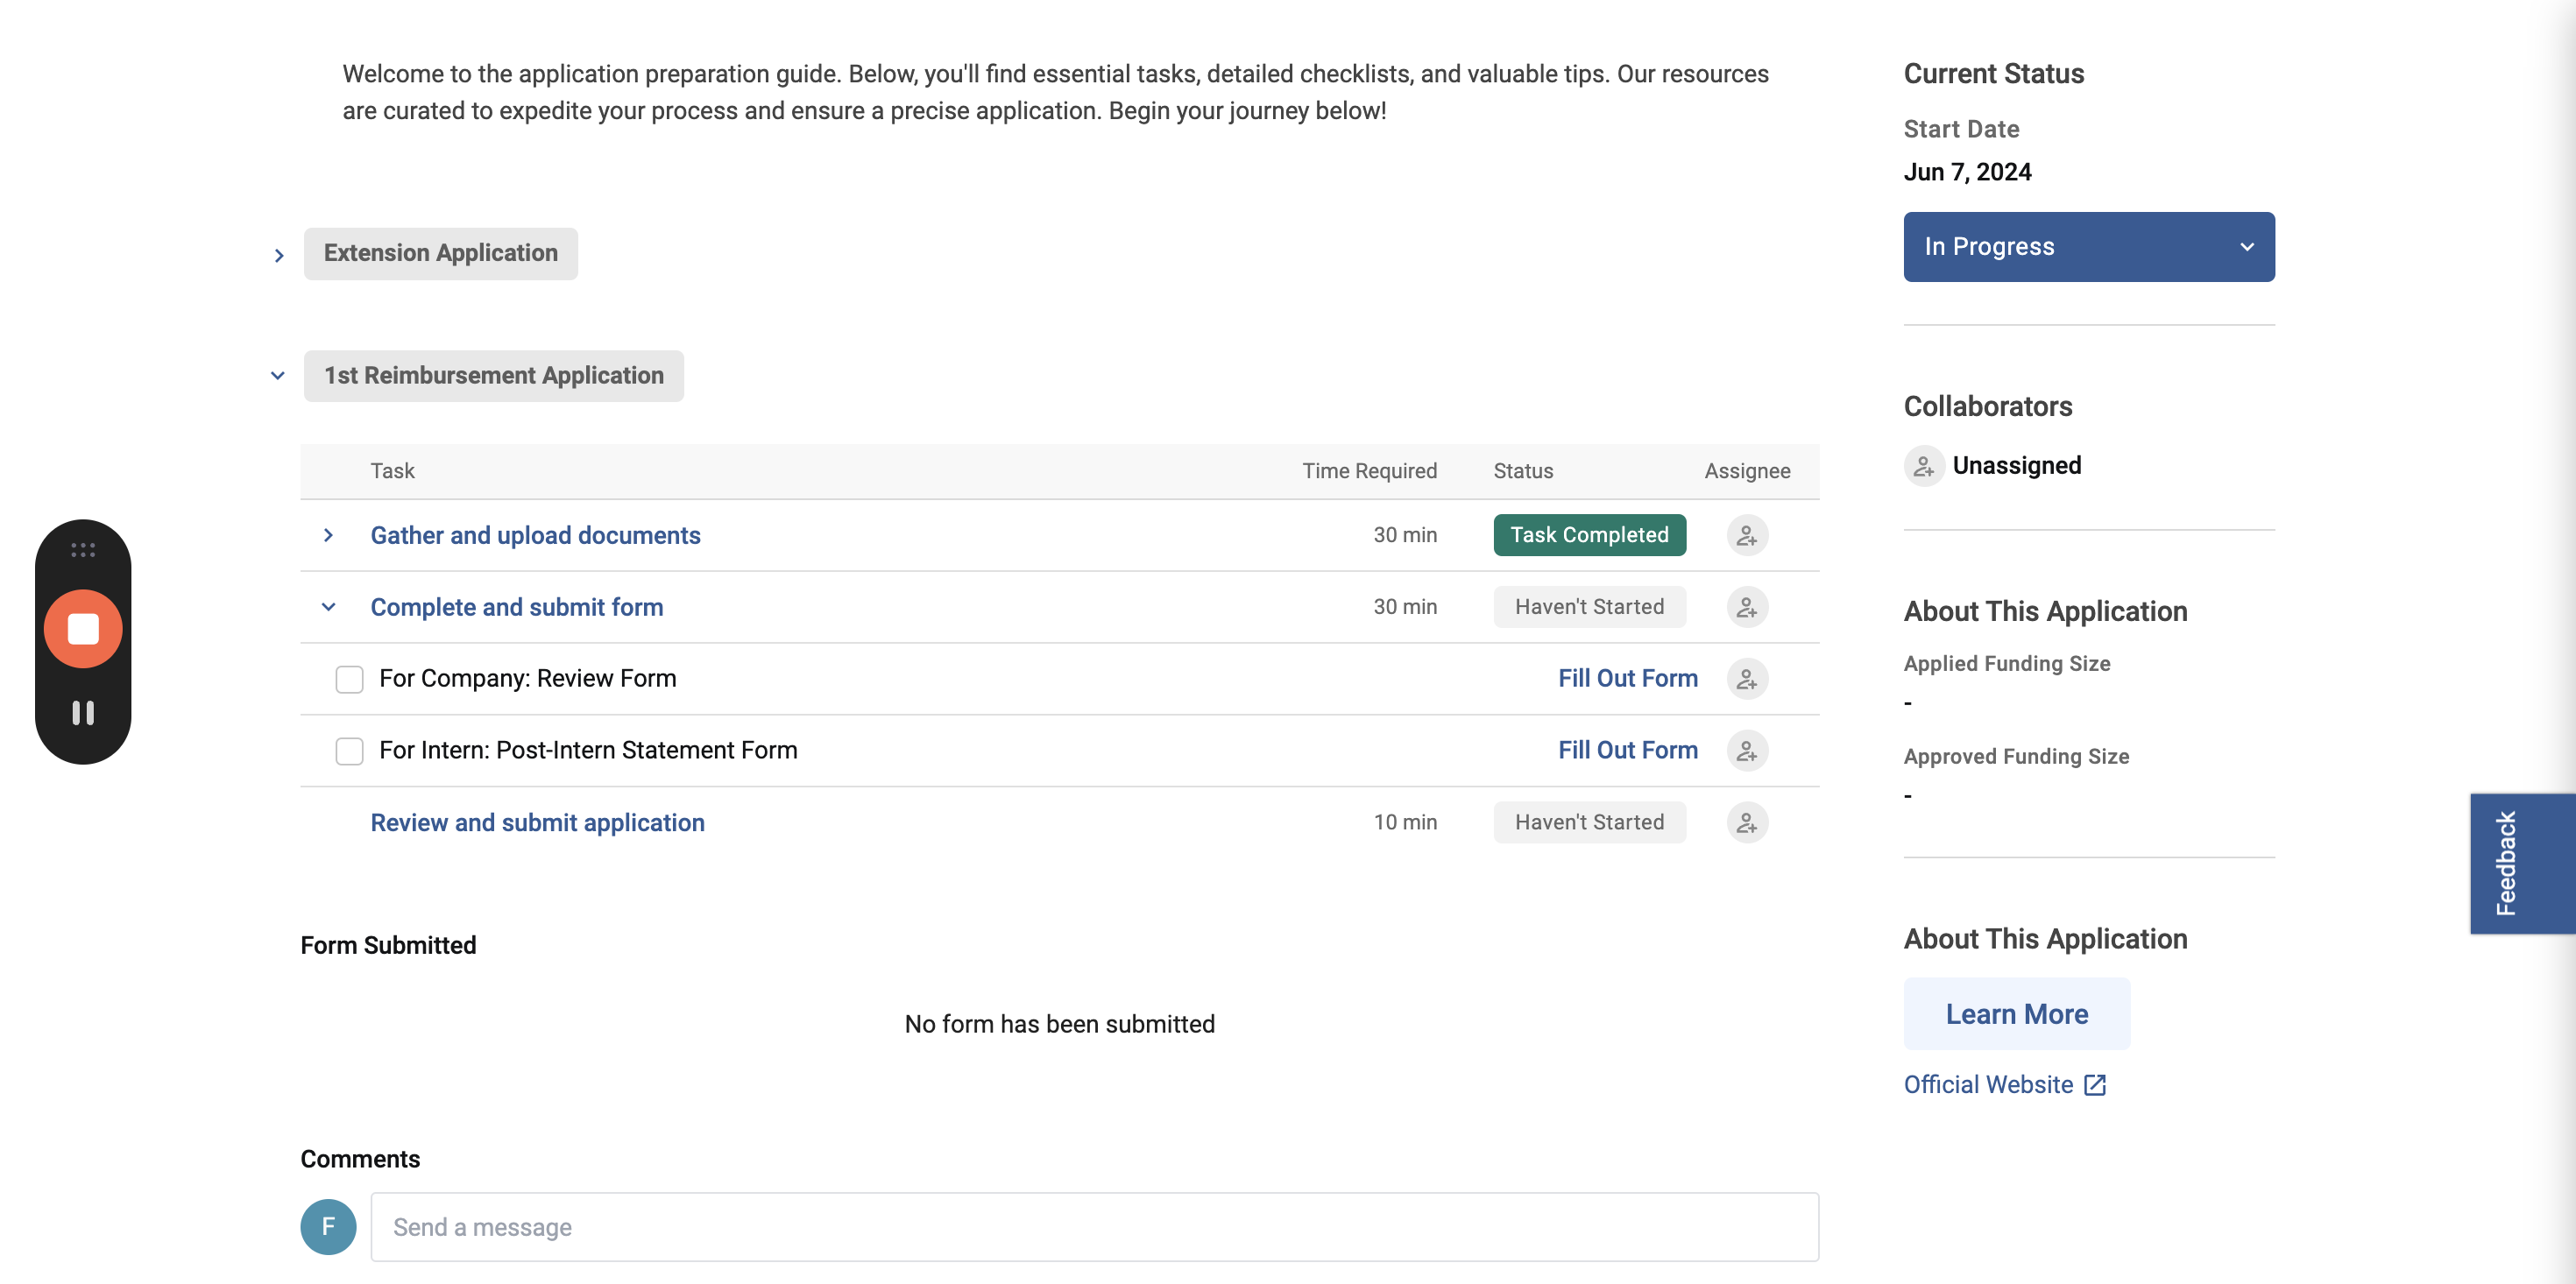
Next, when they fill out this form, they should complete all sections and follow the steps.
Once they finish filling out this form, they will receive an email with the Successful Submission Company form.

Once they finish filling out the post-intern statement form and sign it, they will receive a Successful Submission notification.
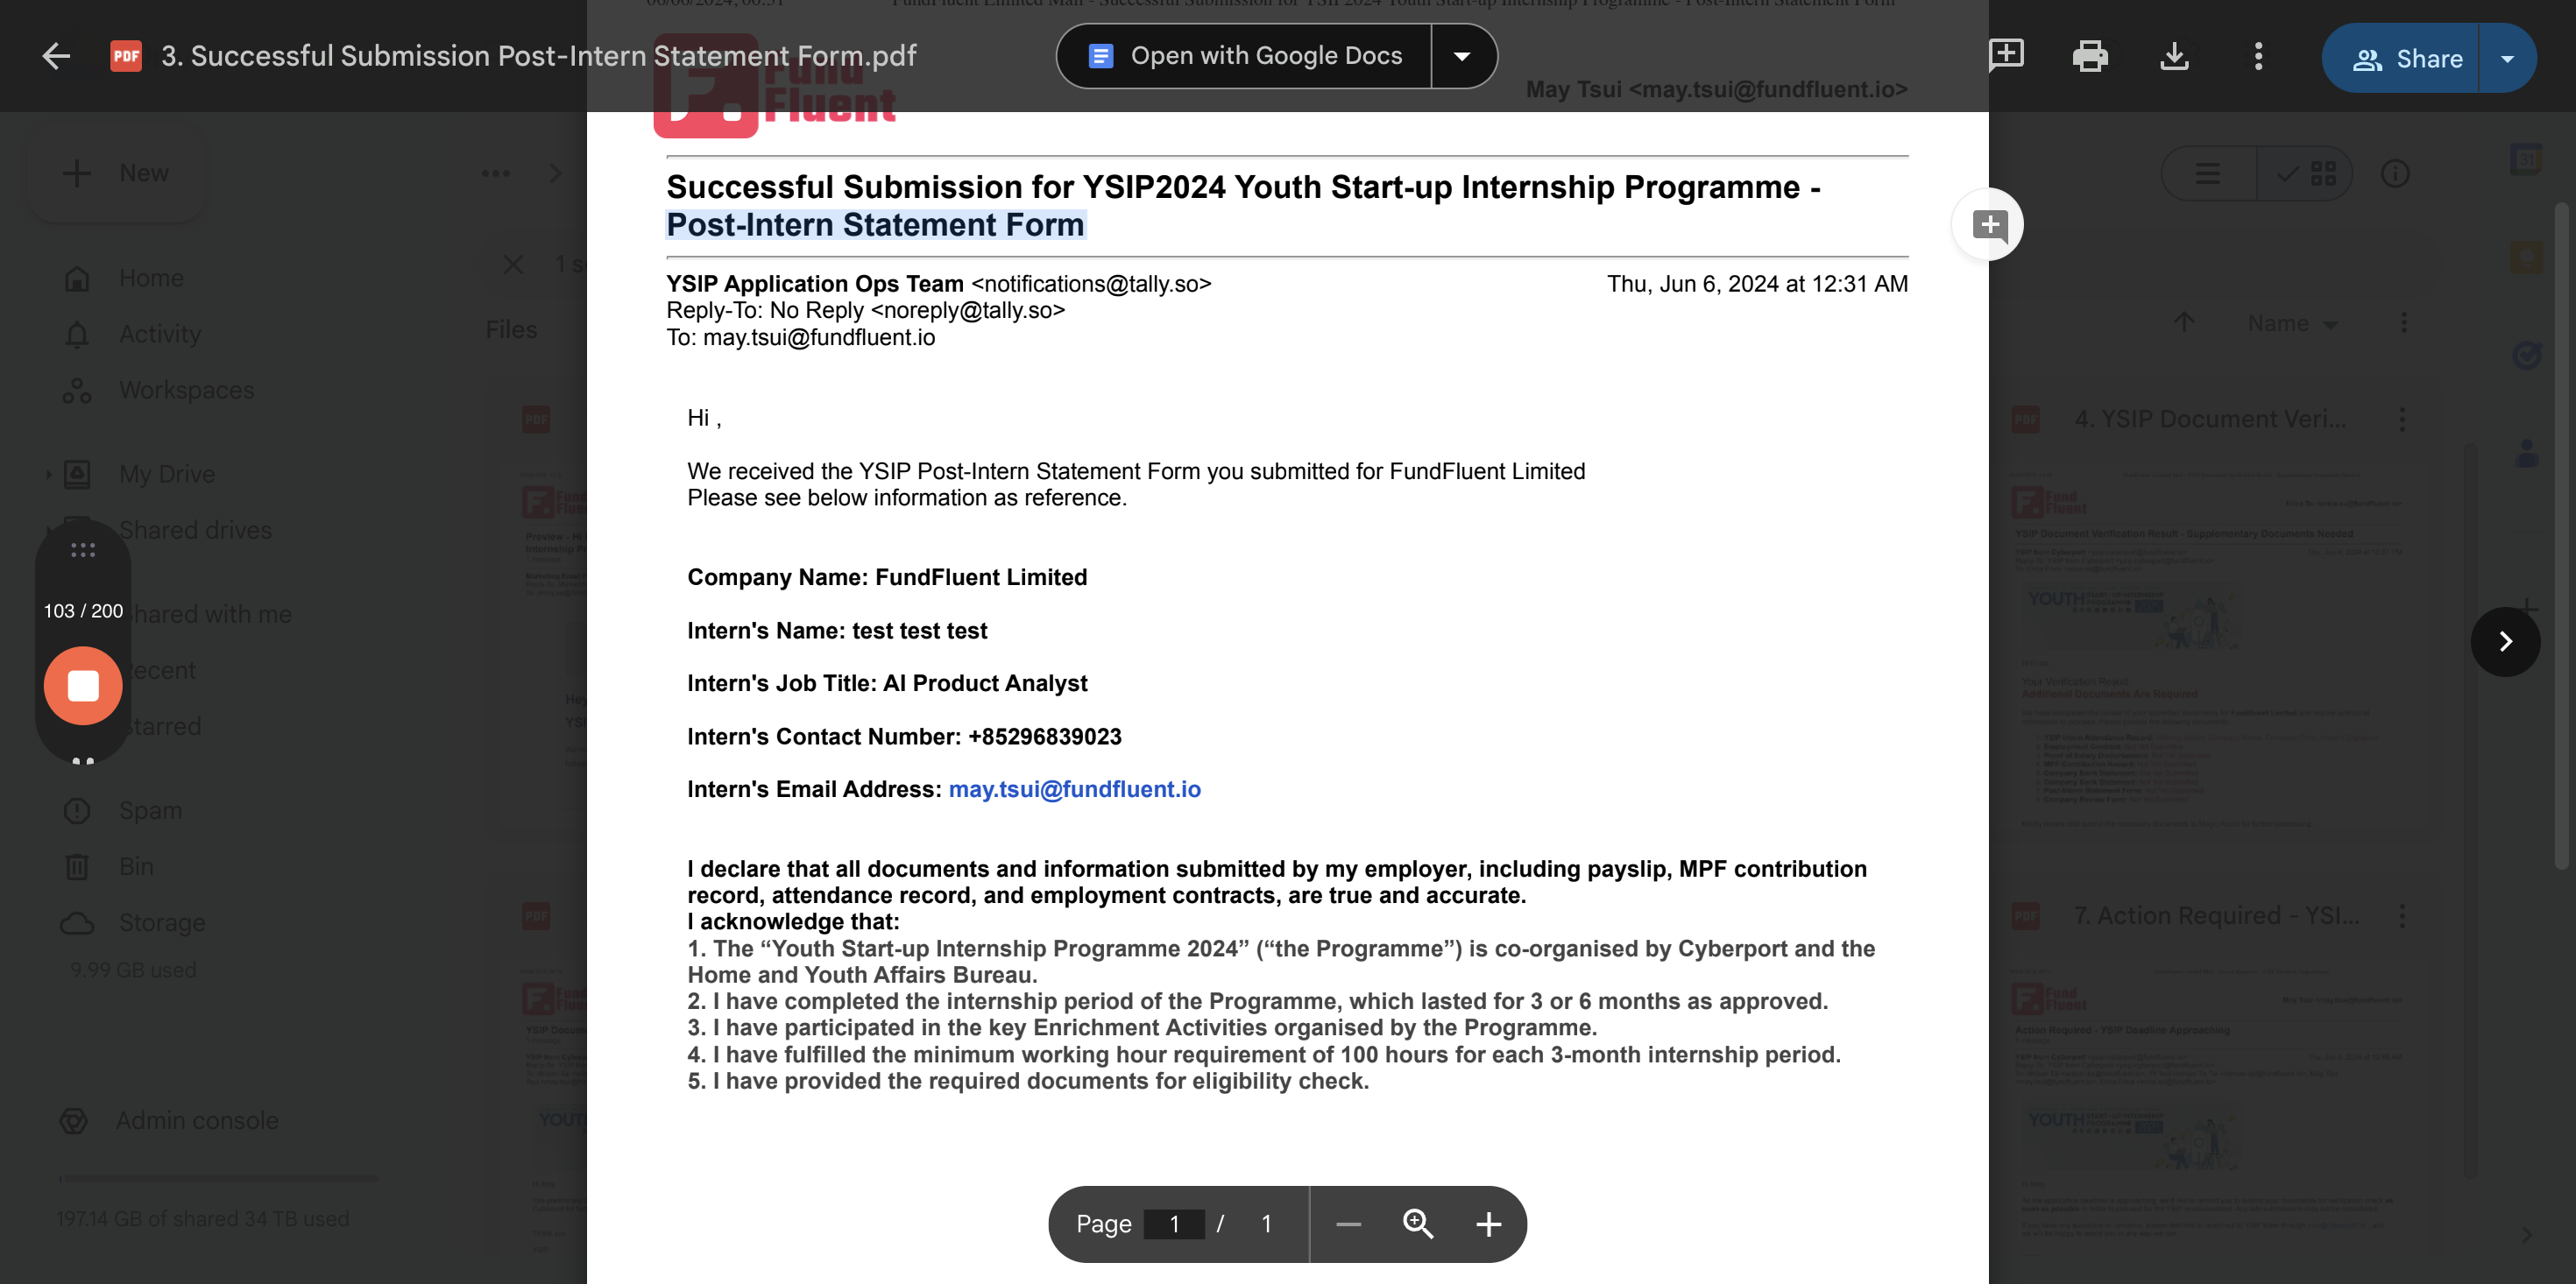
Both of these emails confirm the information received through the form.
And then that's it. Review everything.
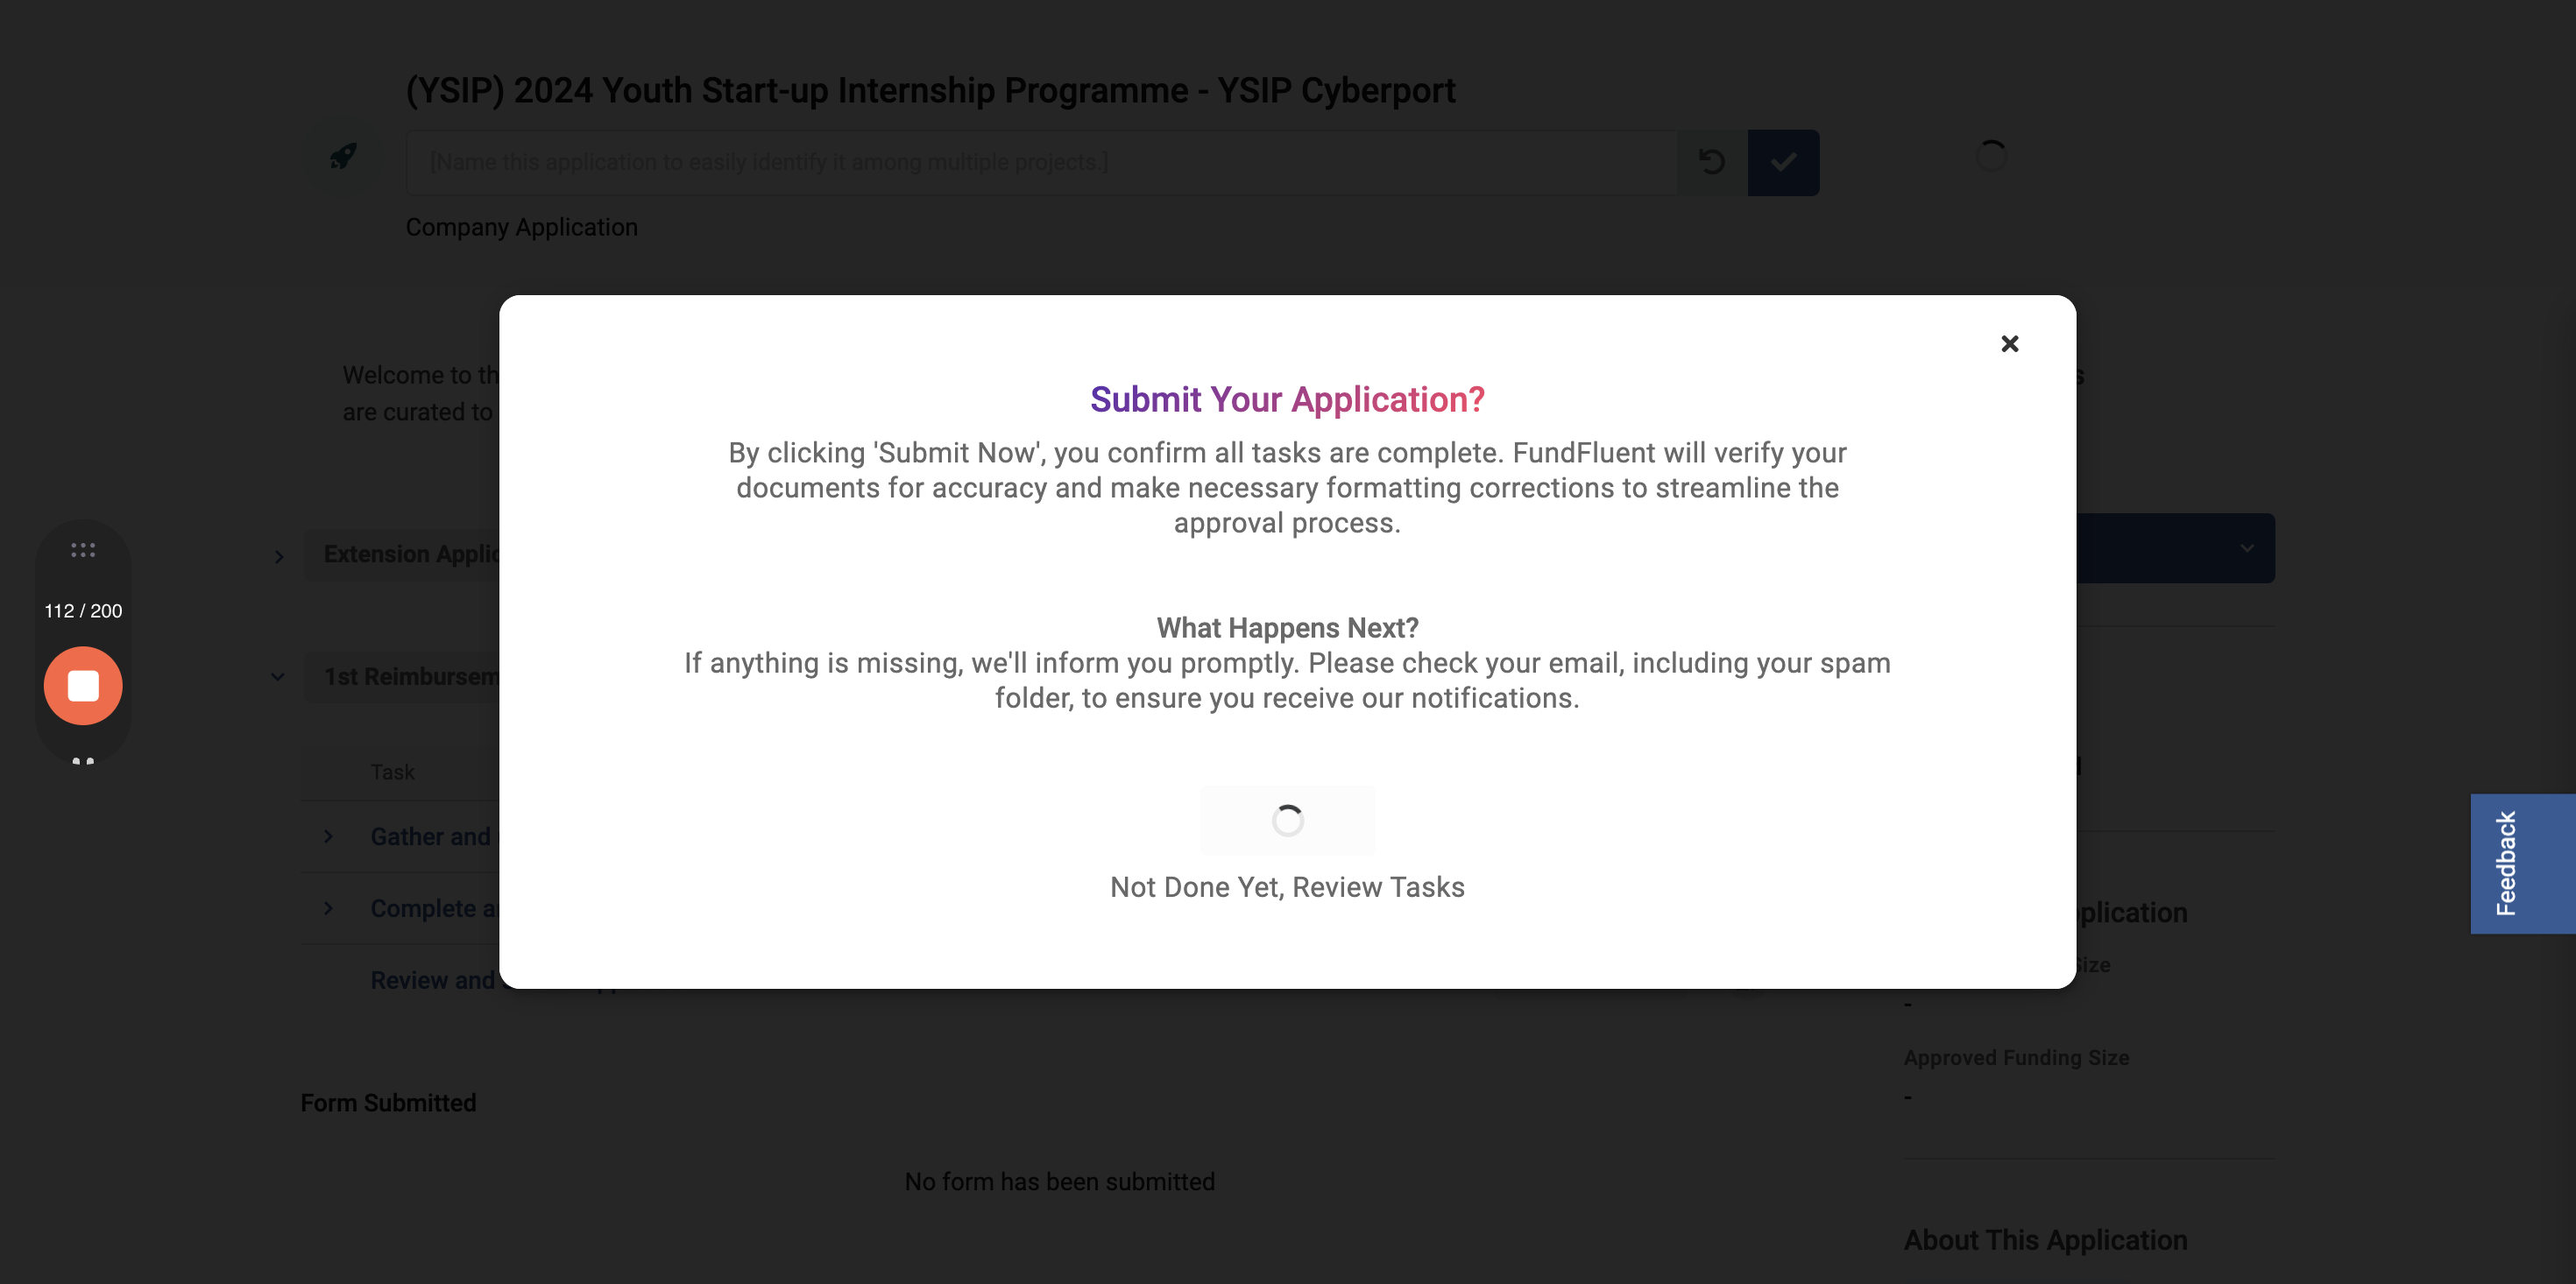
I am now ready to submit.
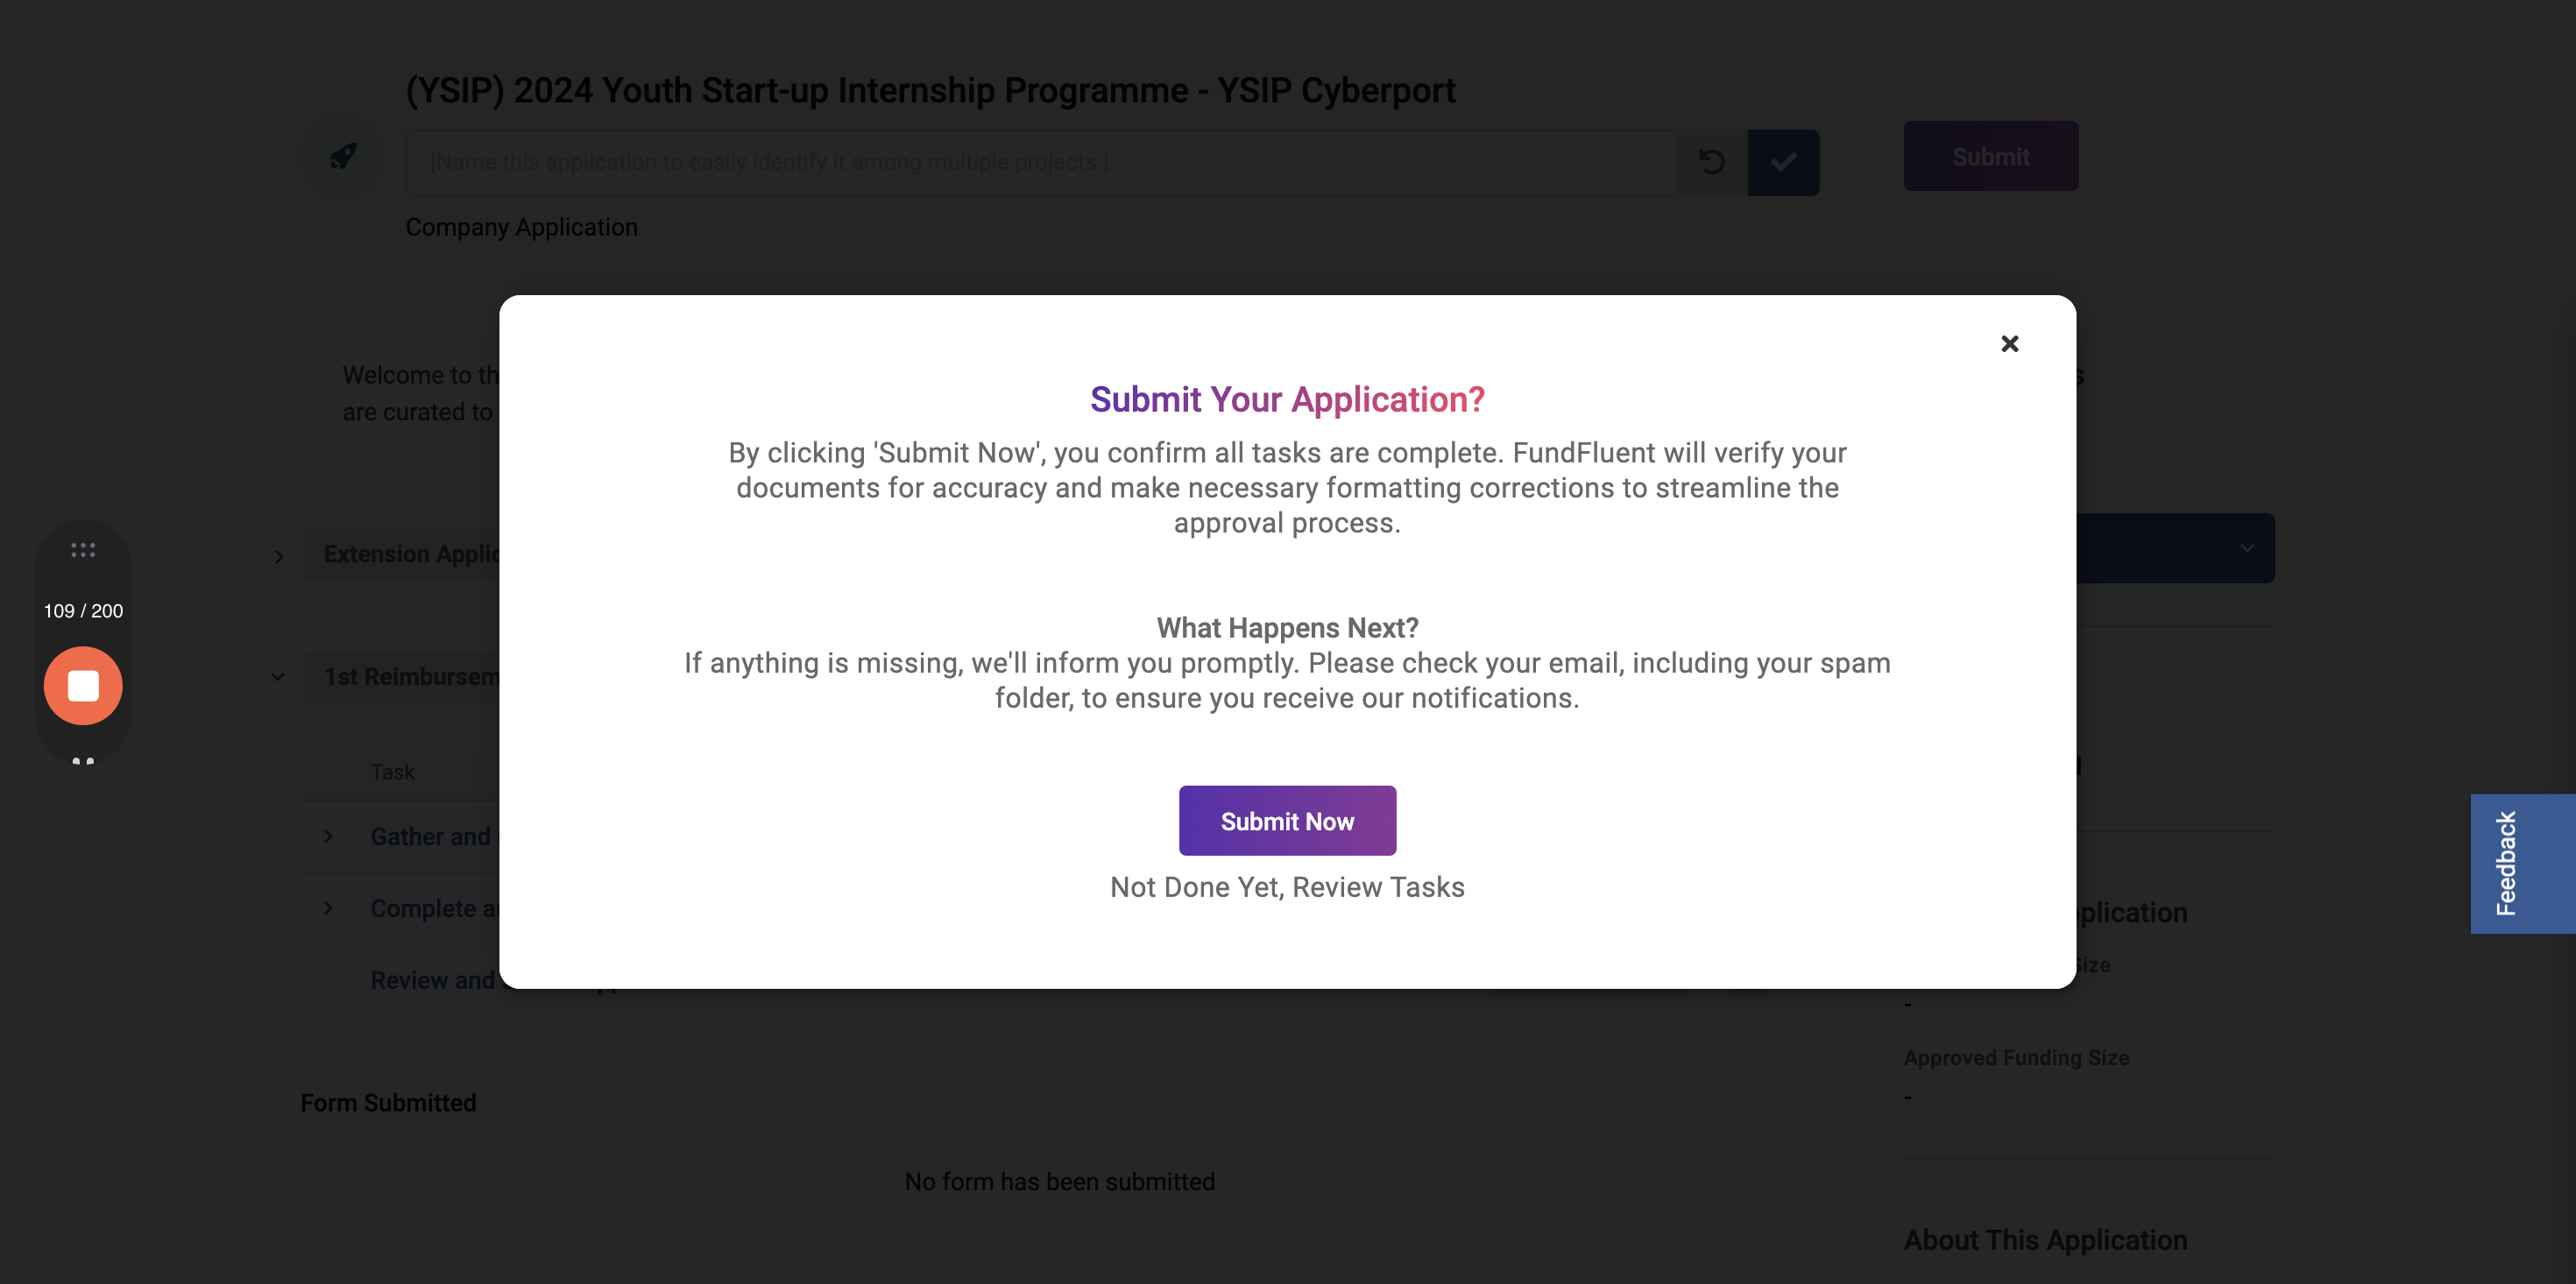
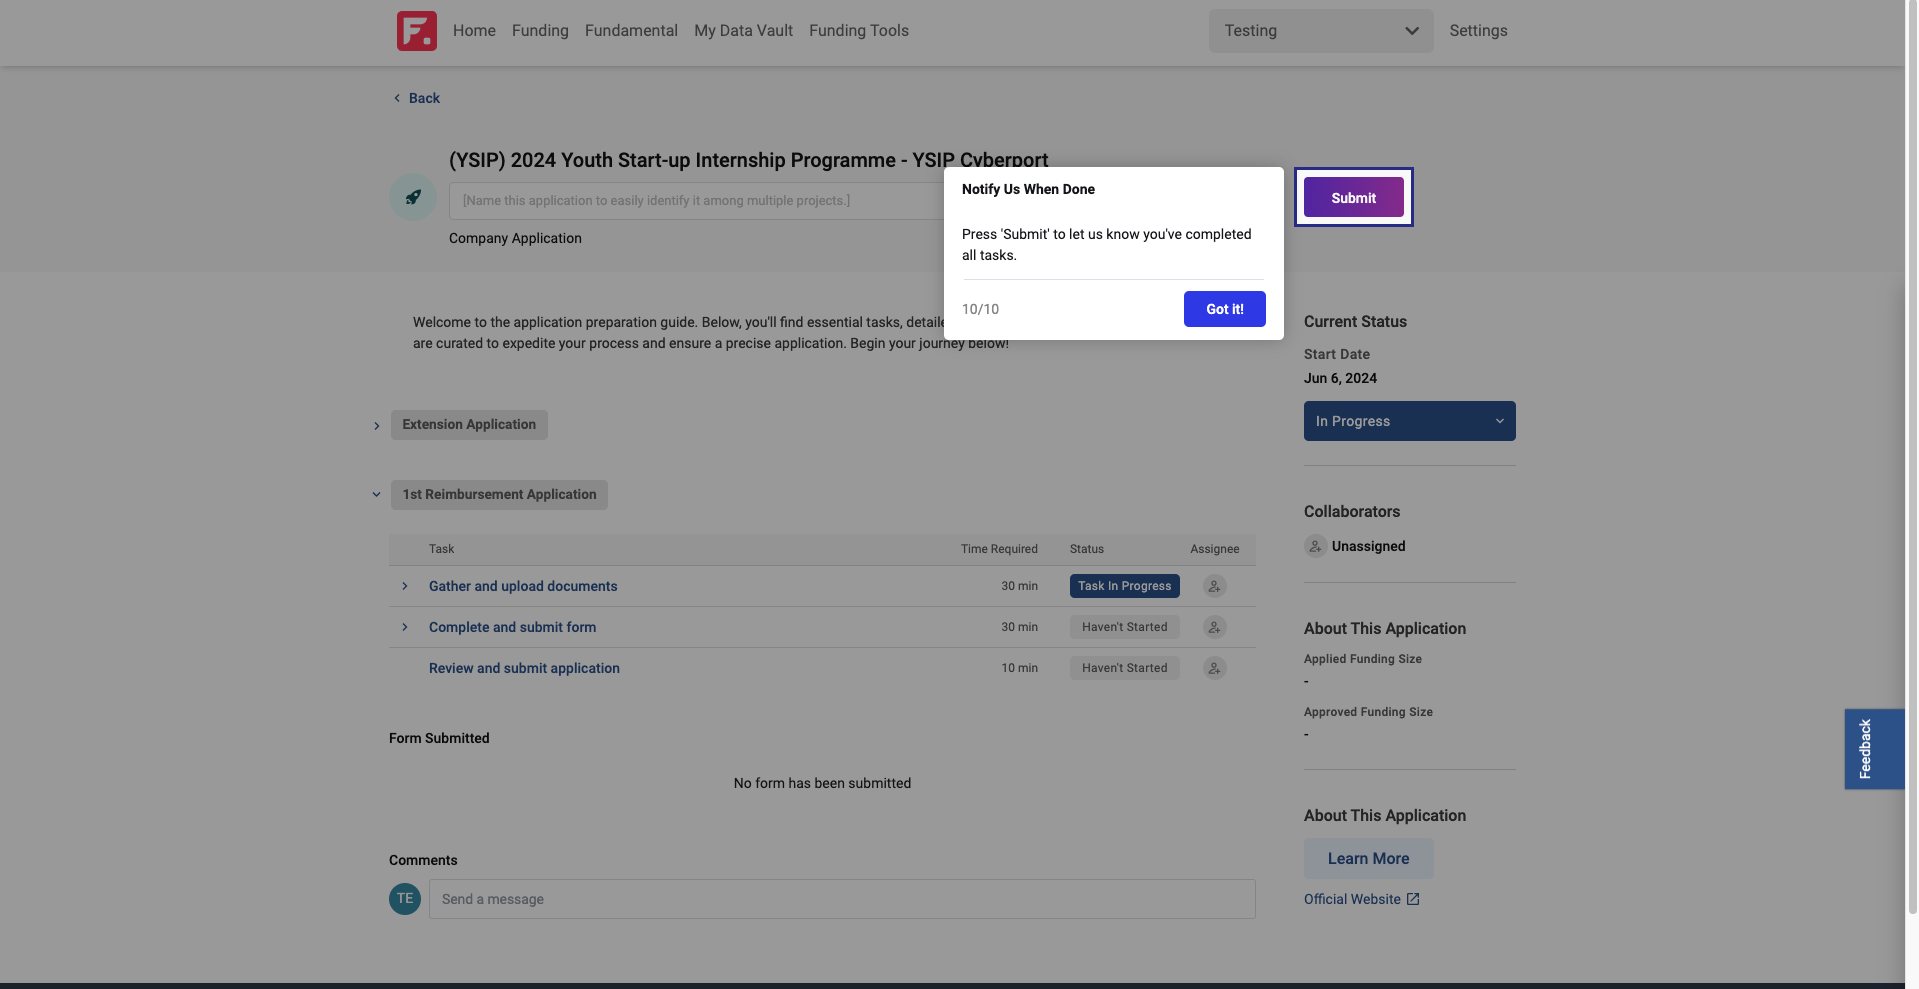
I have confirmed that all my tasks are complete.
User is now letting us know that they have uploaded all my documents, completed and submitted all the forms, and it's ready to go. The on-screen prompt says, "Got it, thanks for letting us know that you've completed all the tasks."
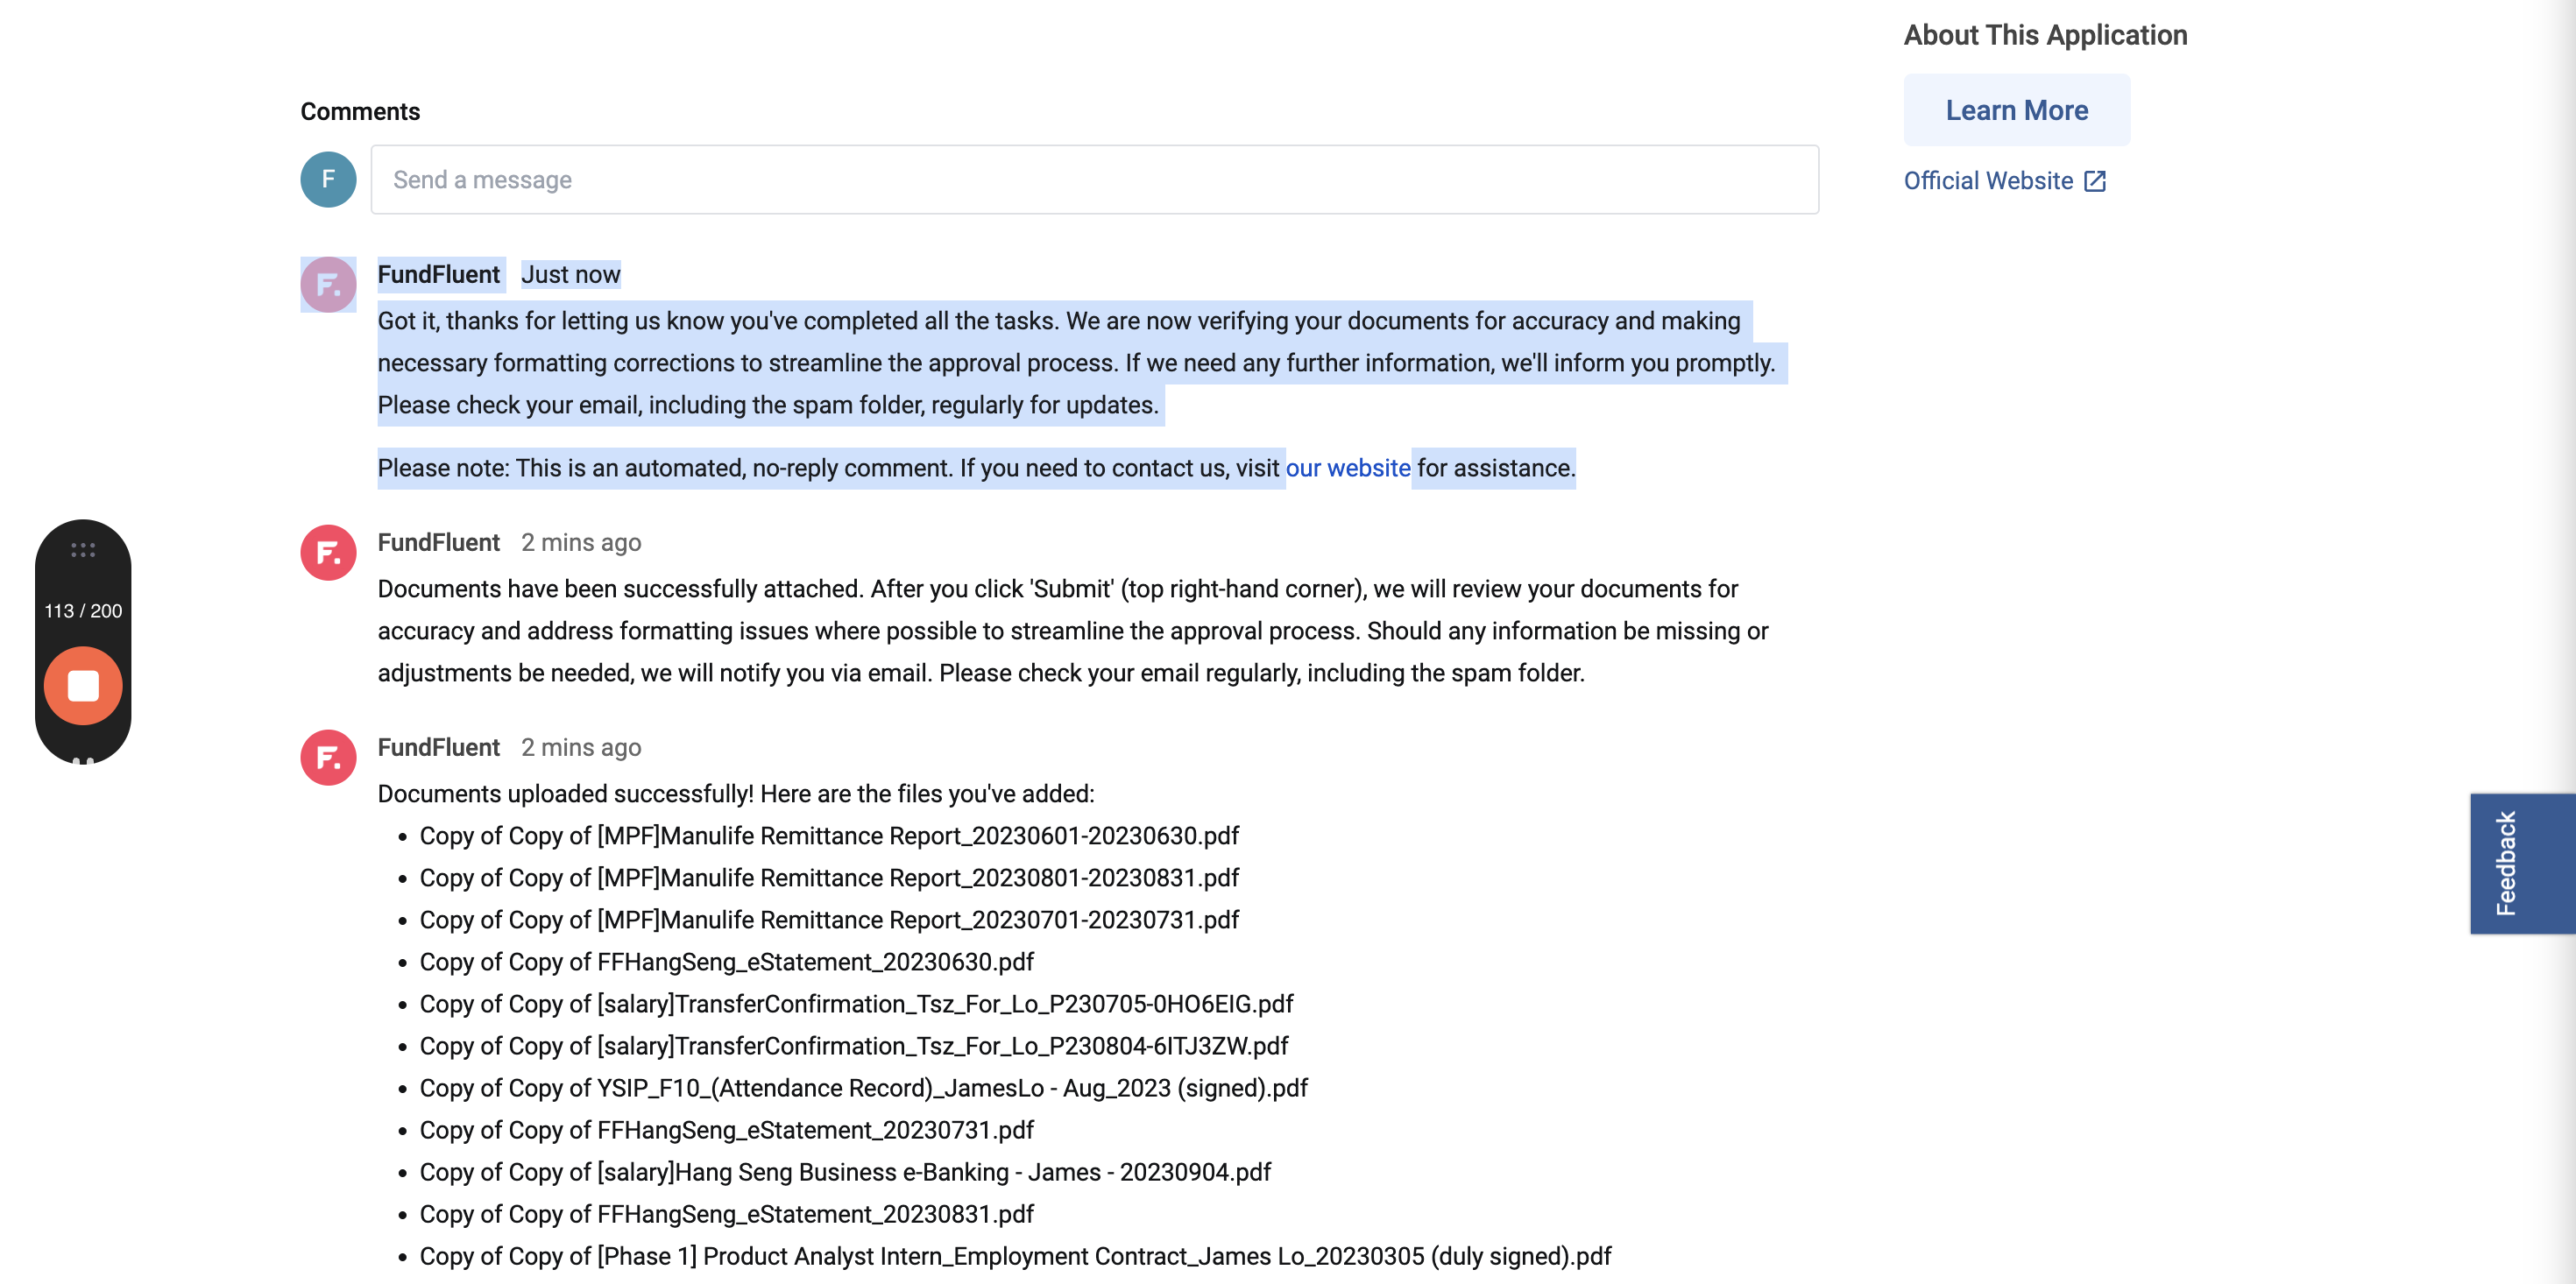
We are now checking their documents
Now, a few emails get triggered.
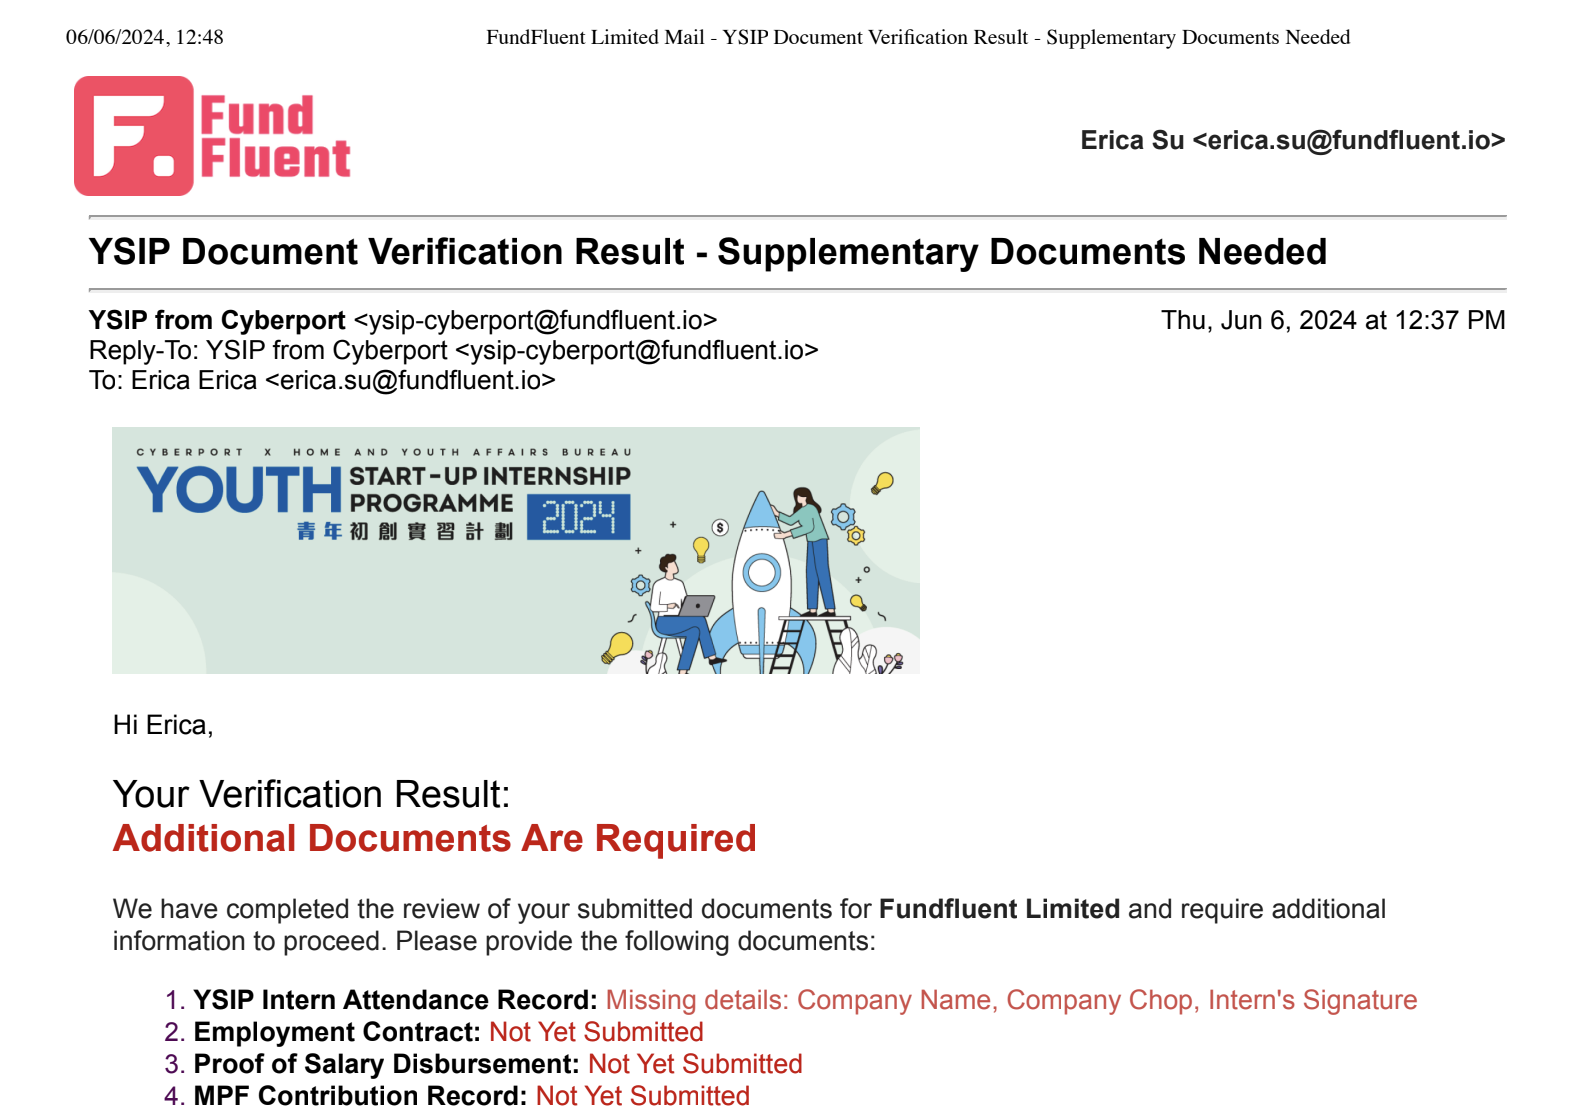
If supplementary documents are needed, an email will be sent to the end user specifying which ones are required.
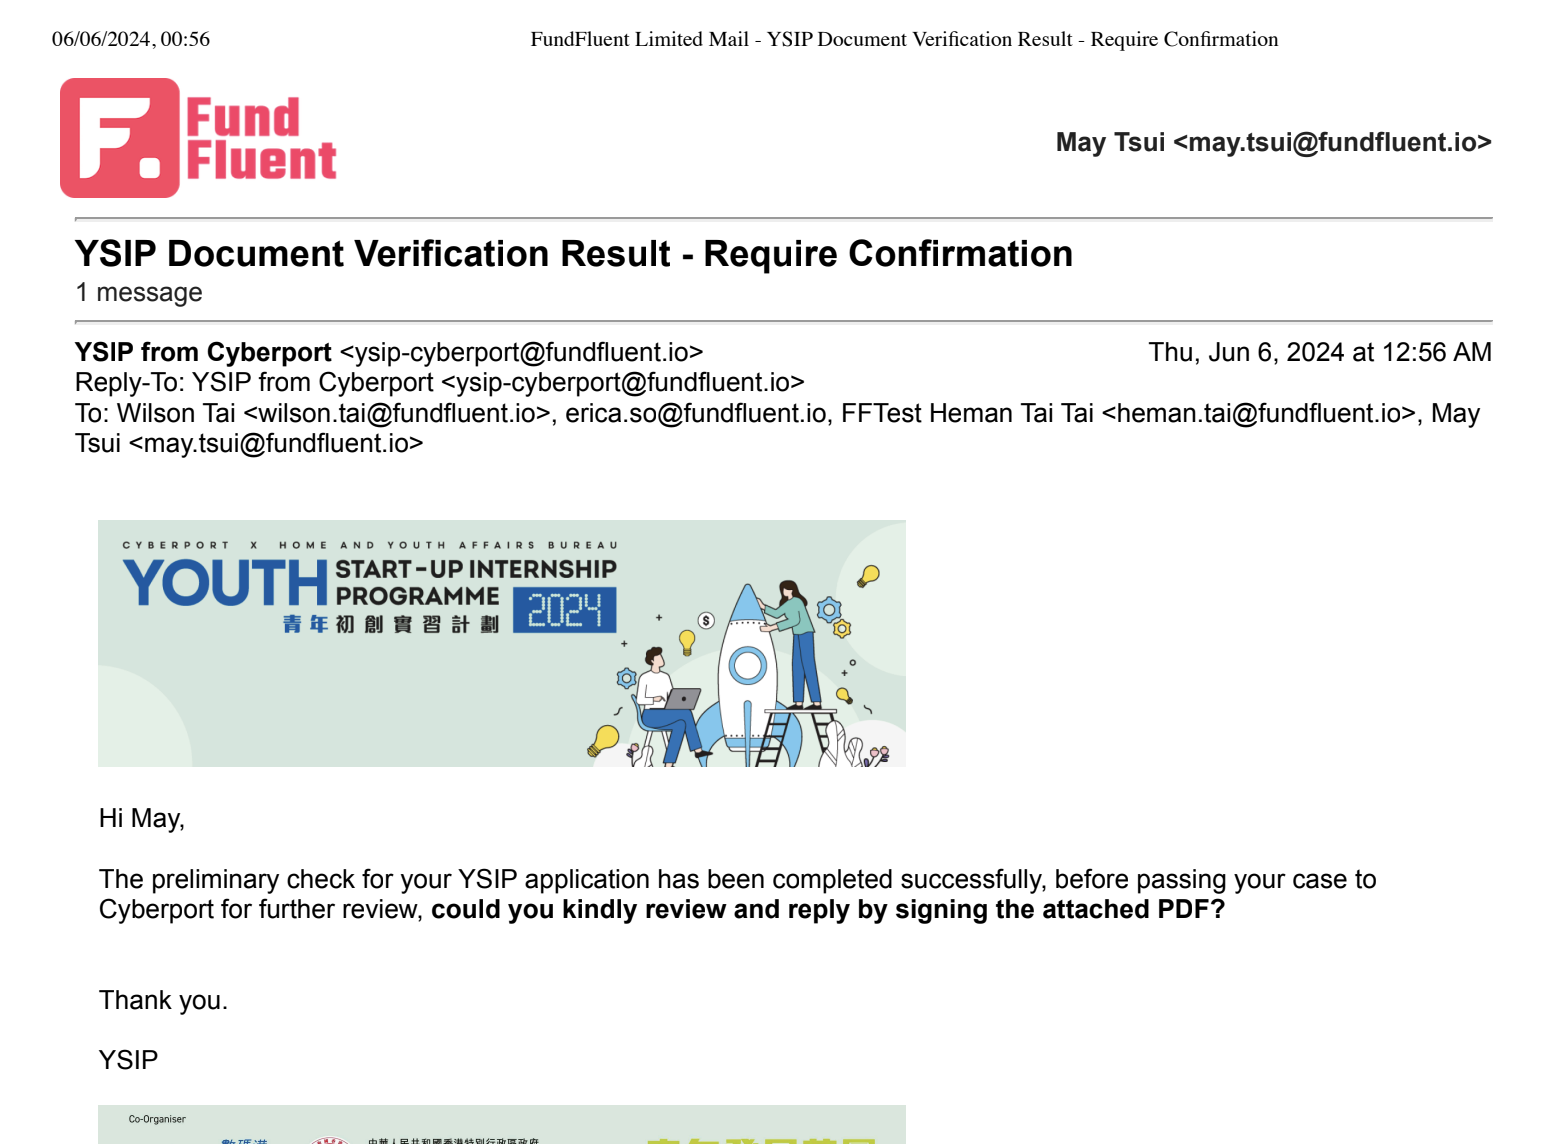
After reviewing all the documents, we will send an email requesting confirmation. This email will ask them to verify that the extracted and calculated data is correct. We need their confirmation via this email.
This is email 5A, and this will be an attachment to email 5A.
![Step #60: 5b. [Attachment to email 5a] Reimbursement_1st_Phase_Report_testSample.pdf- see shared files for full email](https://di8mn0rali2ic.cloudfront.net/uploads/d1e36ca7-474b-489a-b66a-fcef93635b38/39ab1a24-48a7-4131-a88c-da18fa725eca.png)
The user will now reply to this email with this signature and then return it to us.
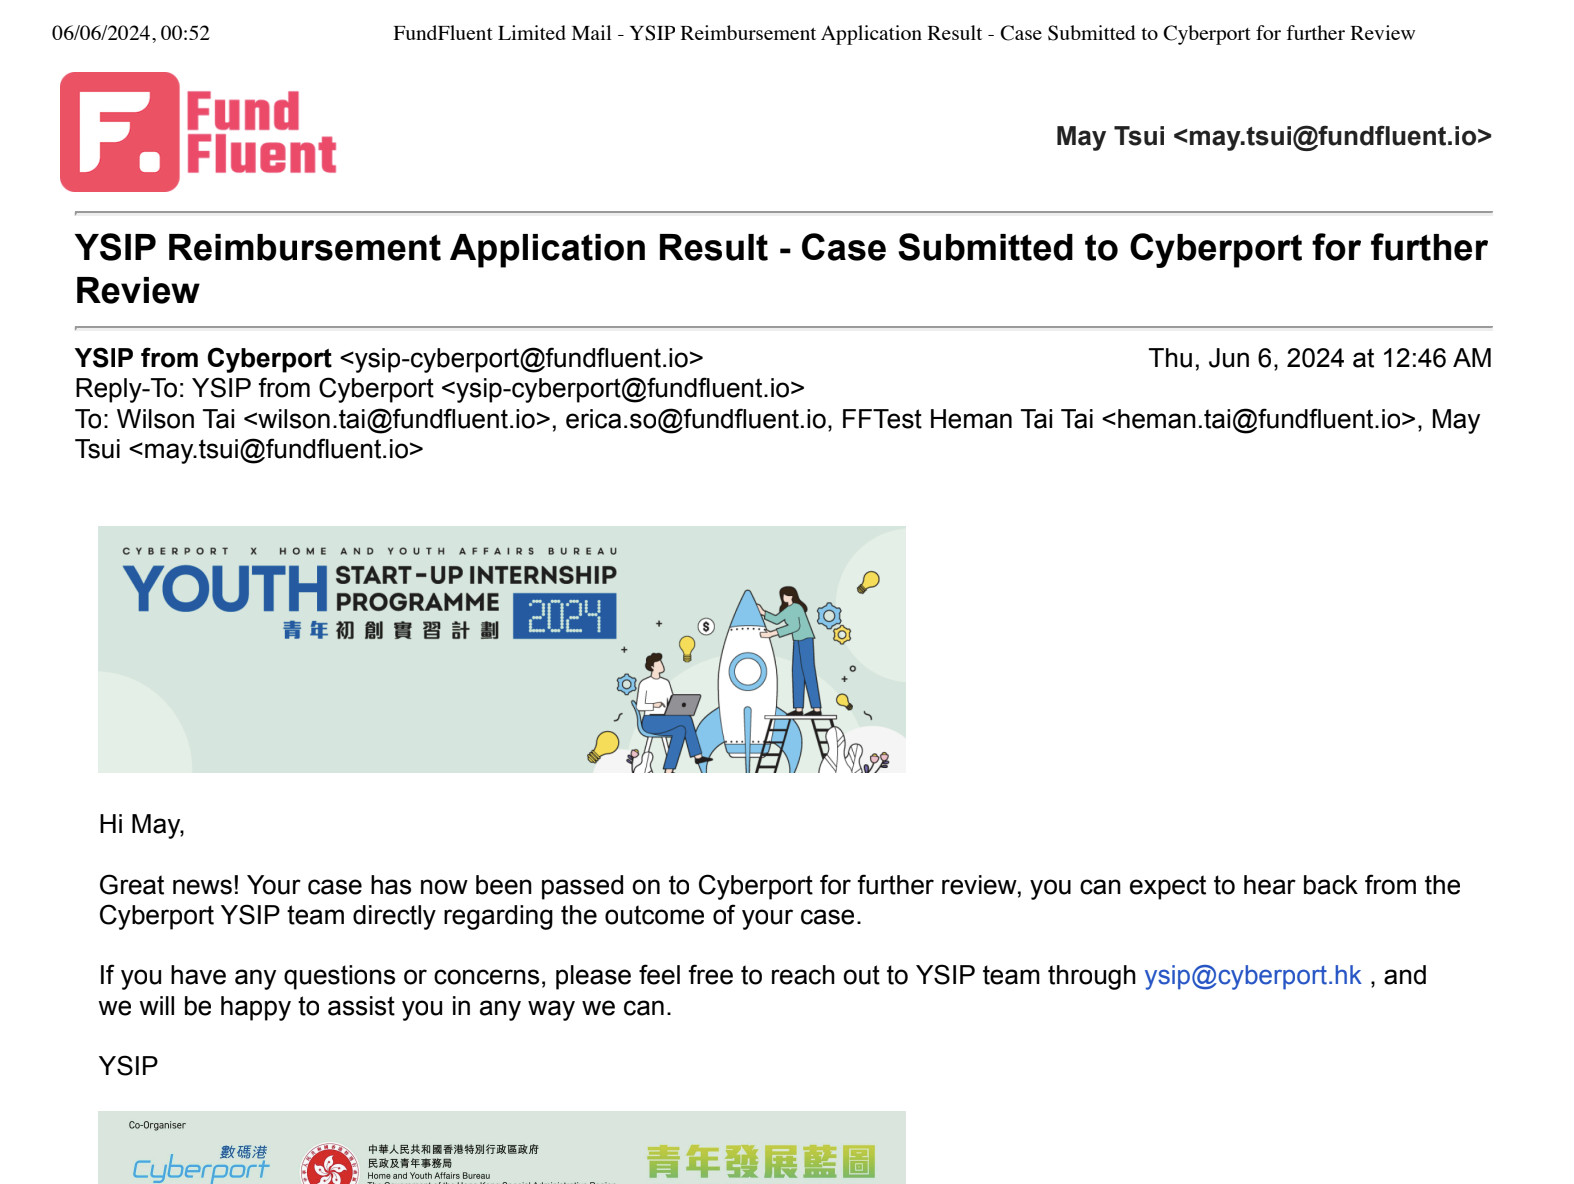
Once they've done that, we send them an email informing them that the case has been passed to Cyberport for further review.
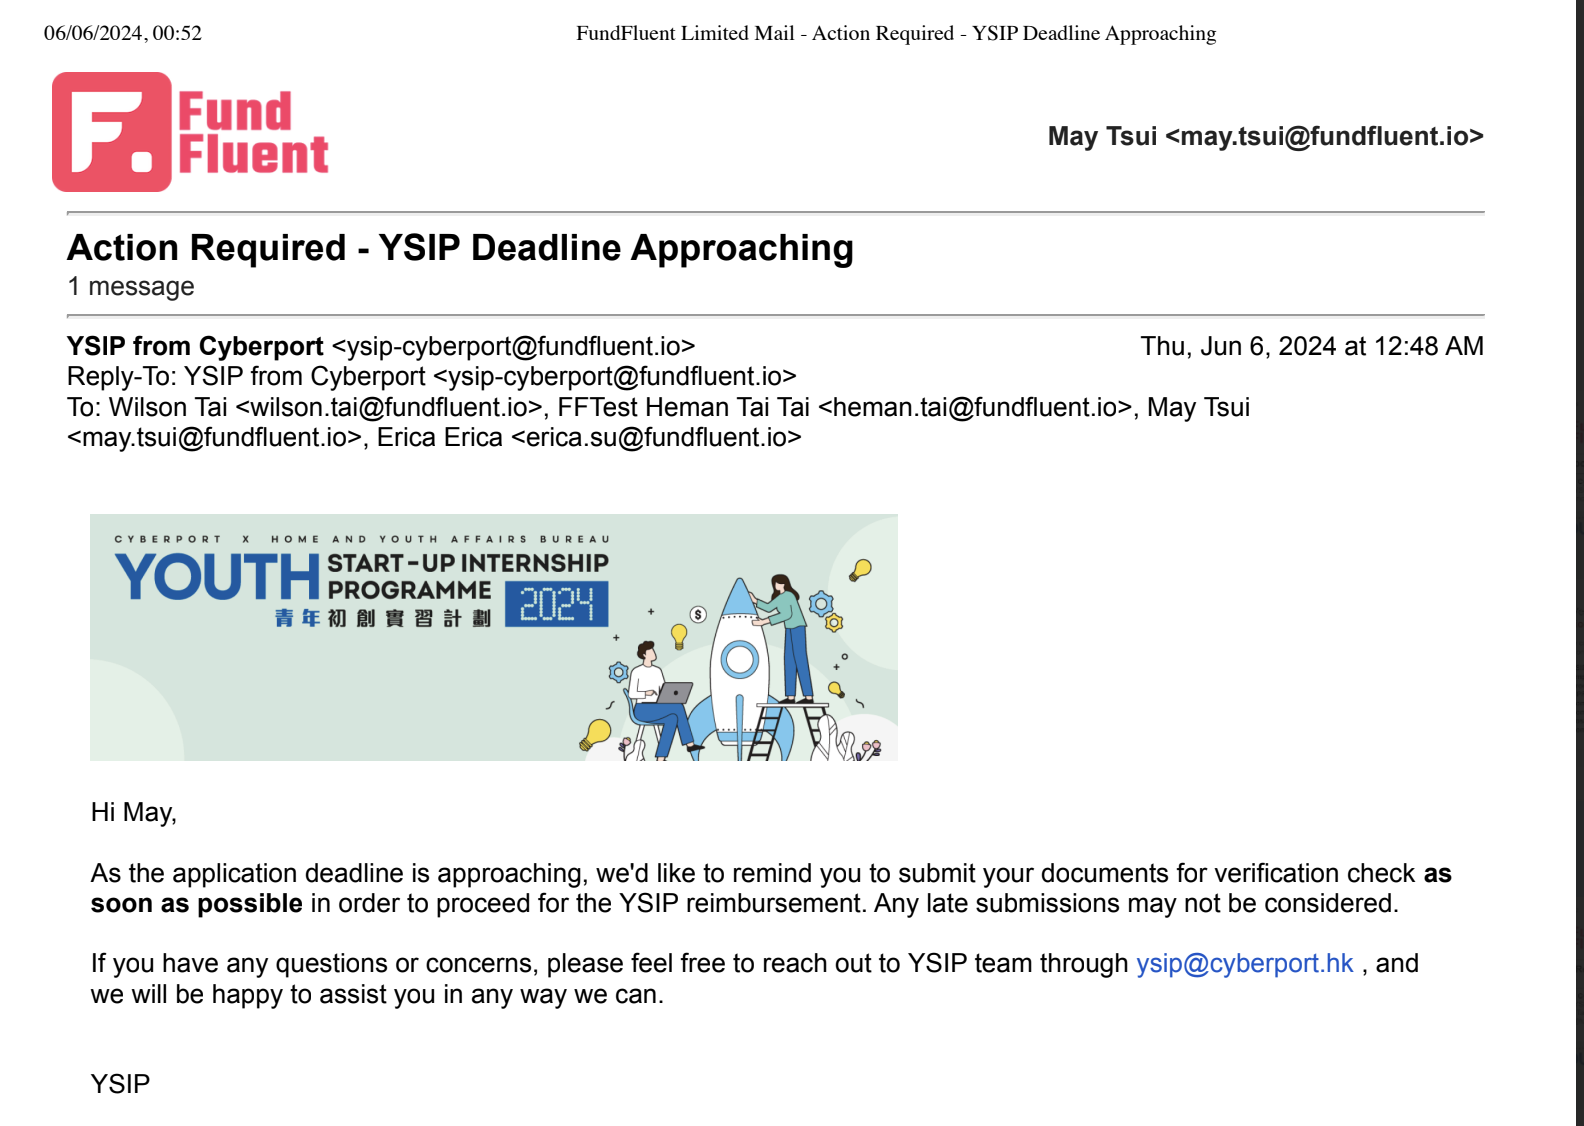
Lastly, as the deadline approaches, we will send a reminder to those who have not yet submitted all their documents and any supplementary materials.
And that's basically the whole flow with the email comms and in-platform comms as the user goes through the journey.