General: Add a Team Member in RPIS Software
Step-by-step guide to managing your team and adding a new team member.
By Marion Lasfargues
This guide explains how to add a new team member in RPIS.
First, the Company Administrator enters the employee's contact details and role, then assigns them a licence. The employee then receives an email to set up their account.
When this is done, the new team member can start using the software.
1
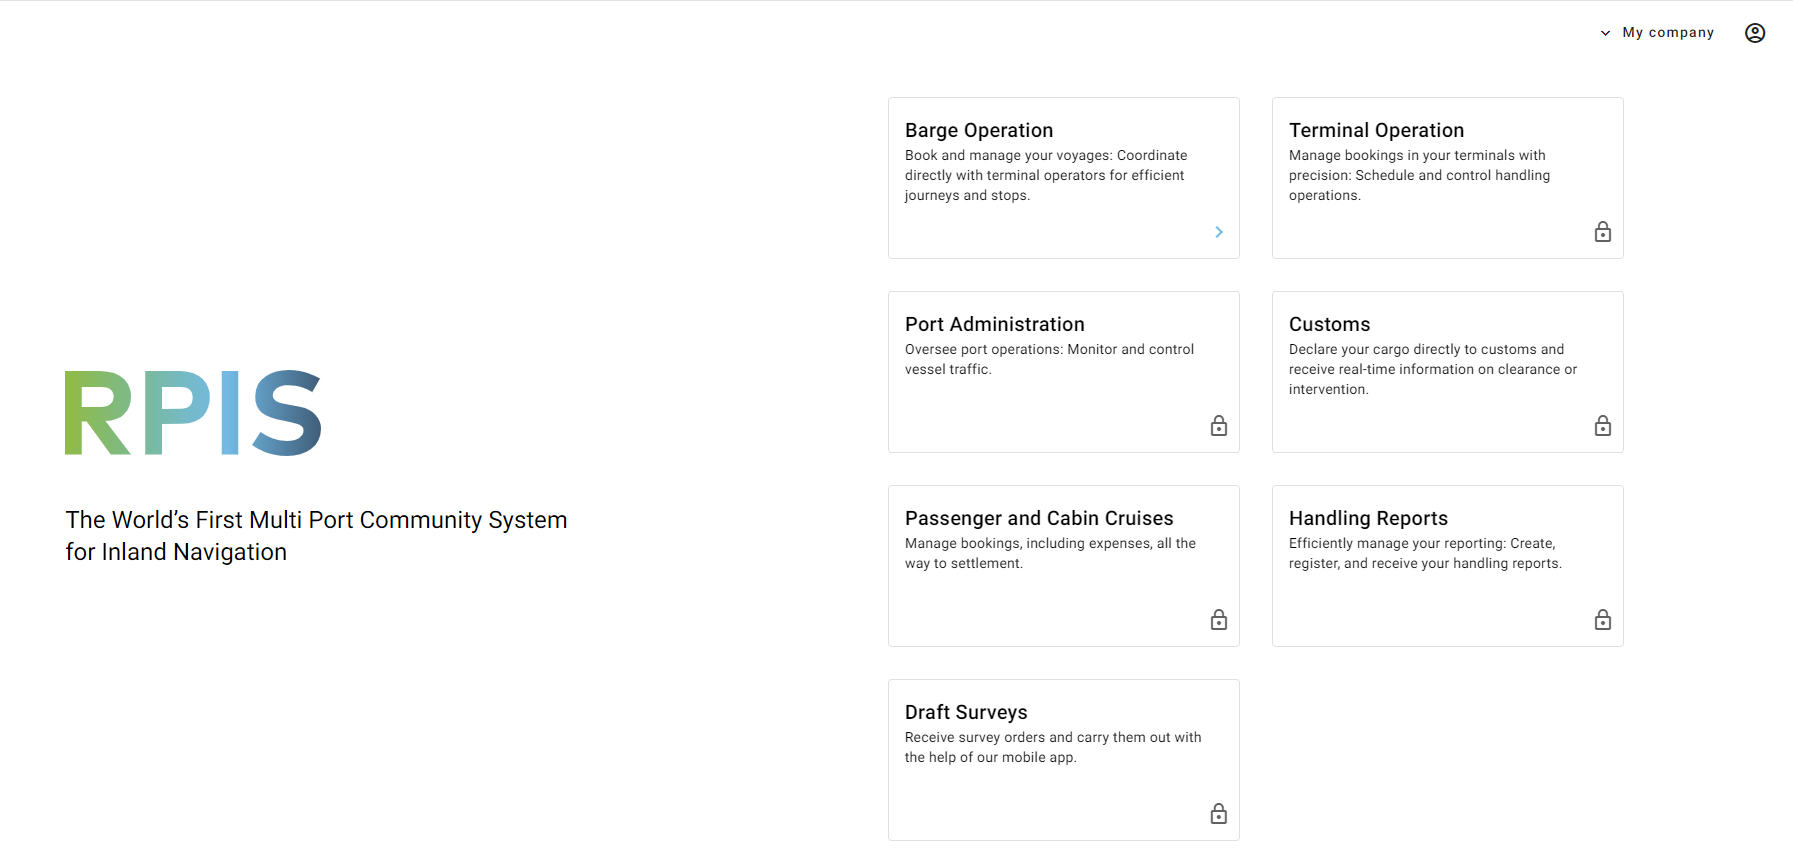
Once logged in on the RPIS website, click "My company" in the top navigation menu.
2
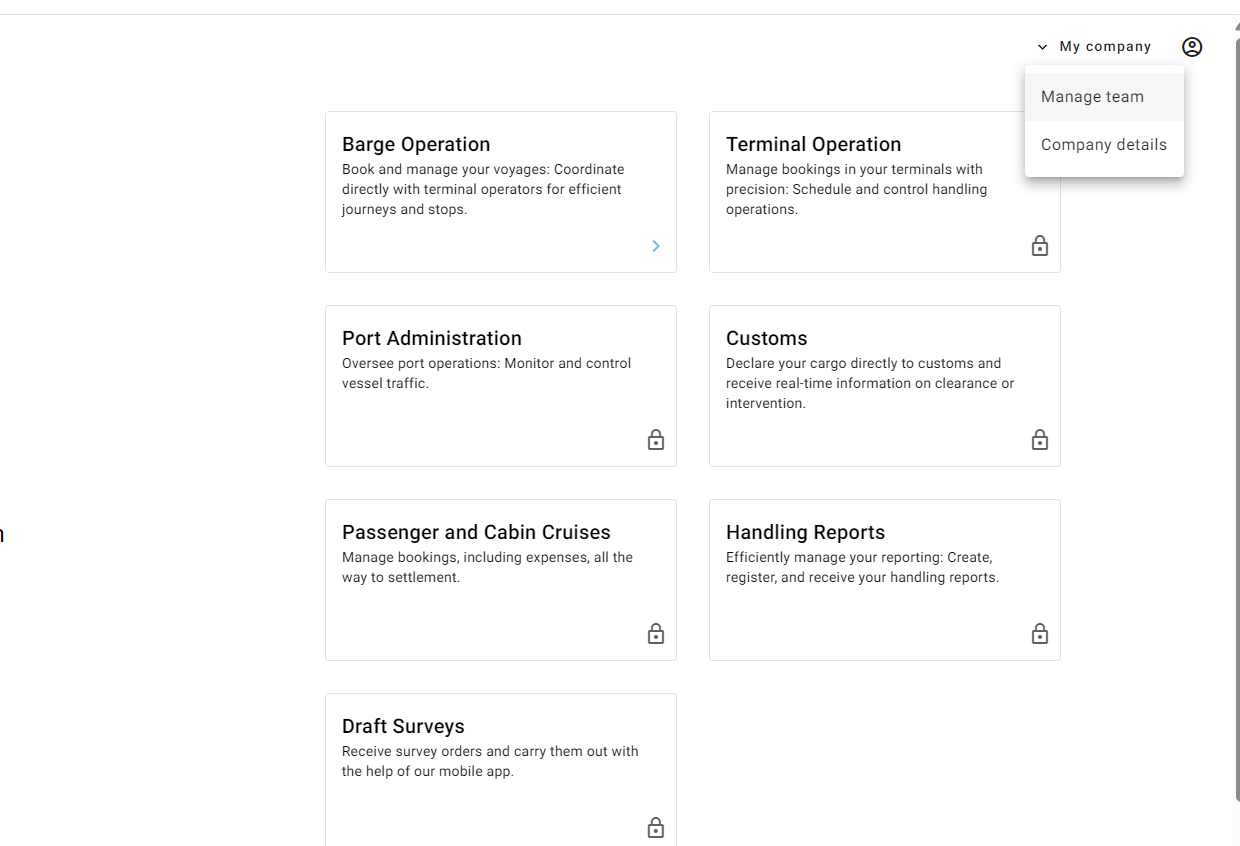
Select "Manage team" from the dropdown menu.
3
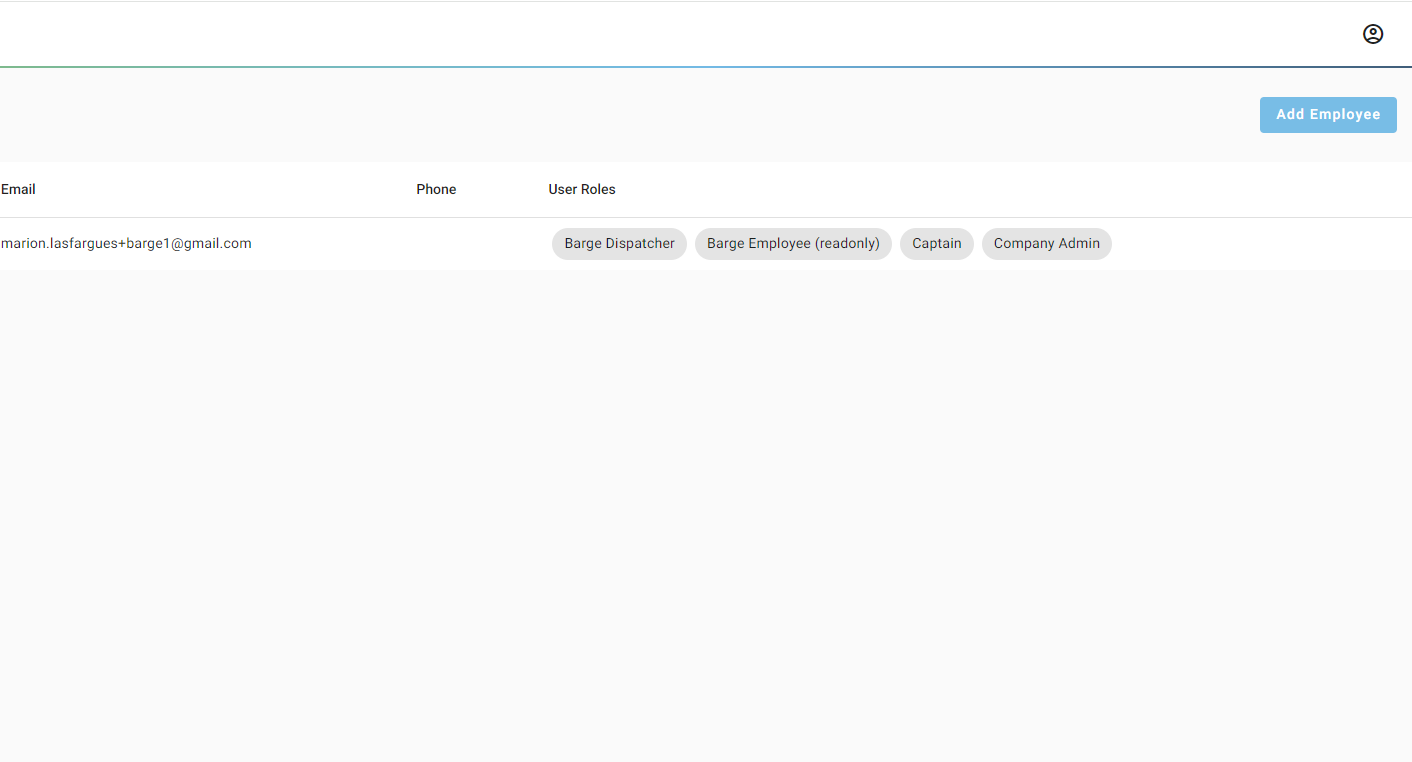
Click "Add Employee" in the upper right corner.
4
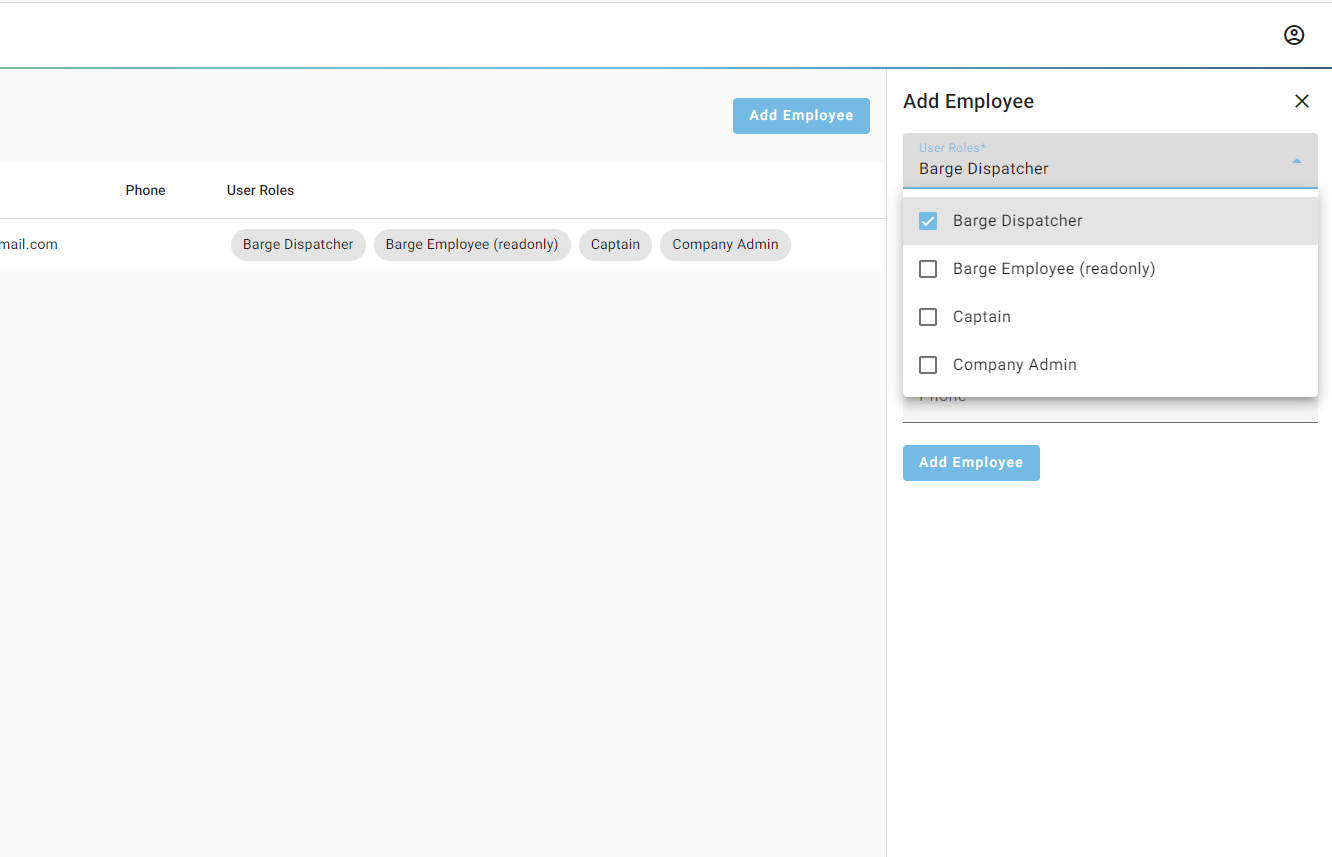
Select the desired permission level from the User Roles dropdown menu.
5
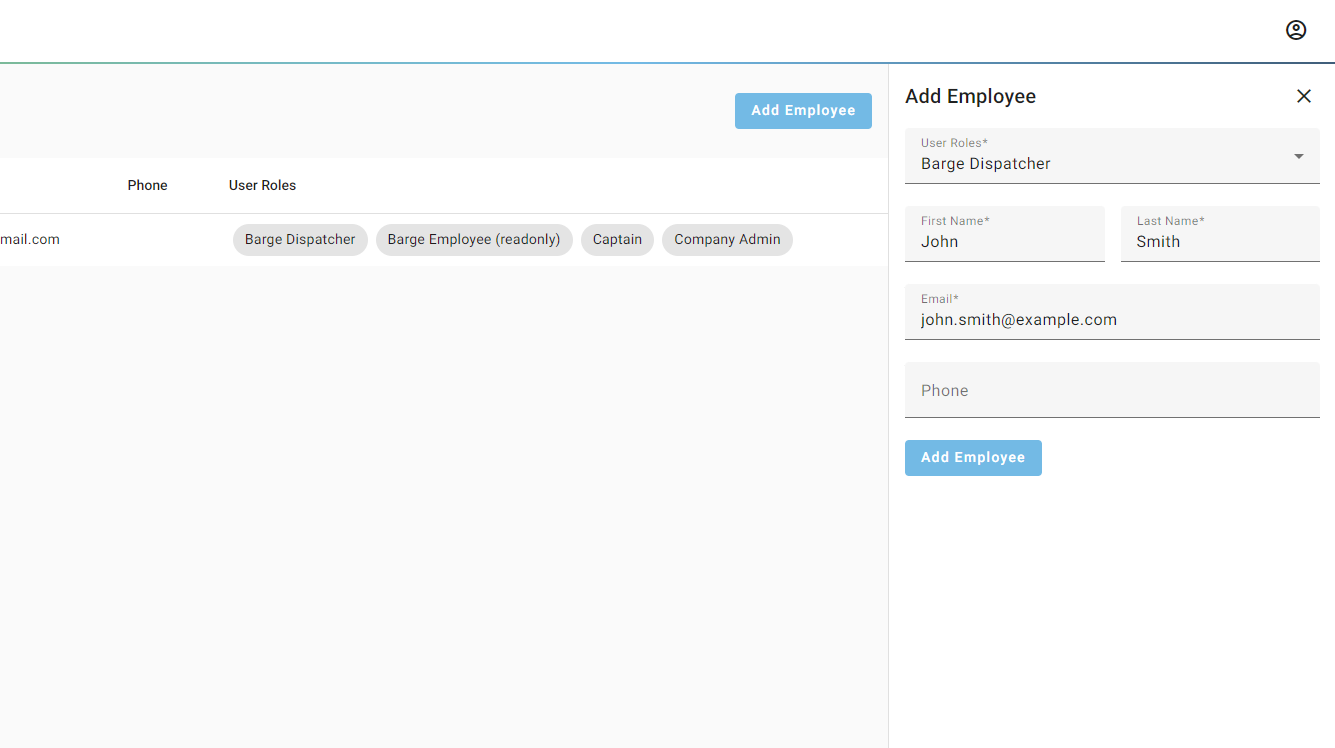
Enter the new employee's First Name, Last Name and Email address, then click "Add Employee".
6
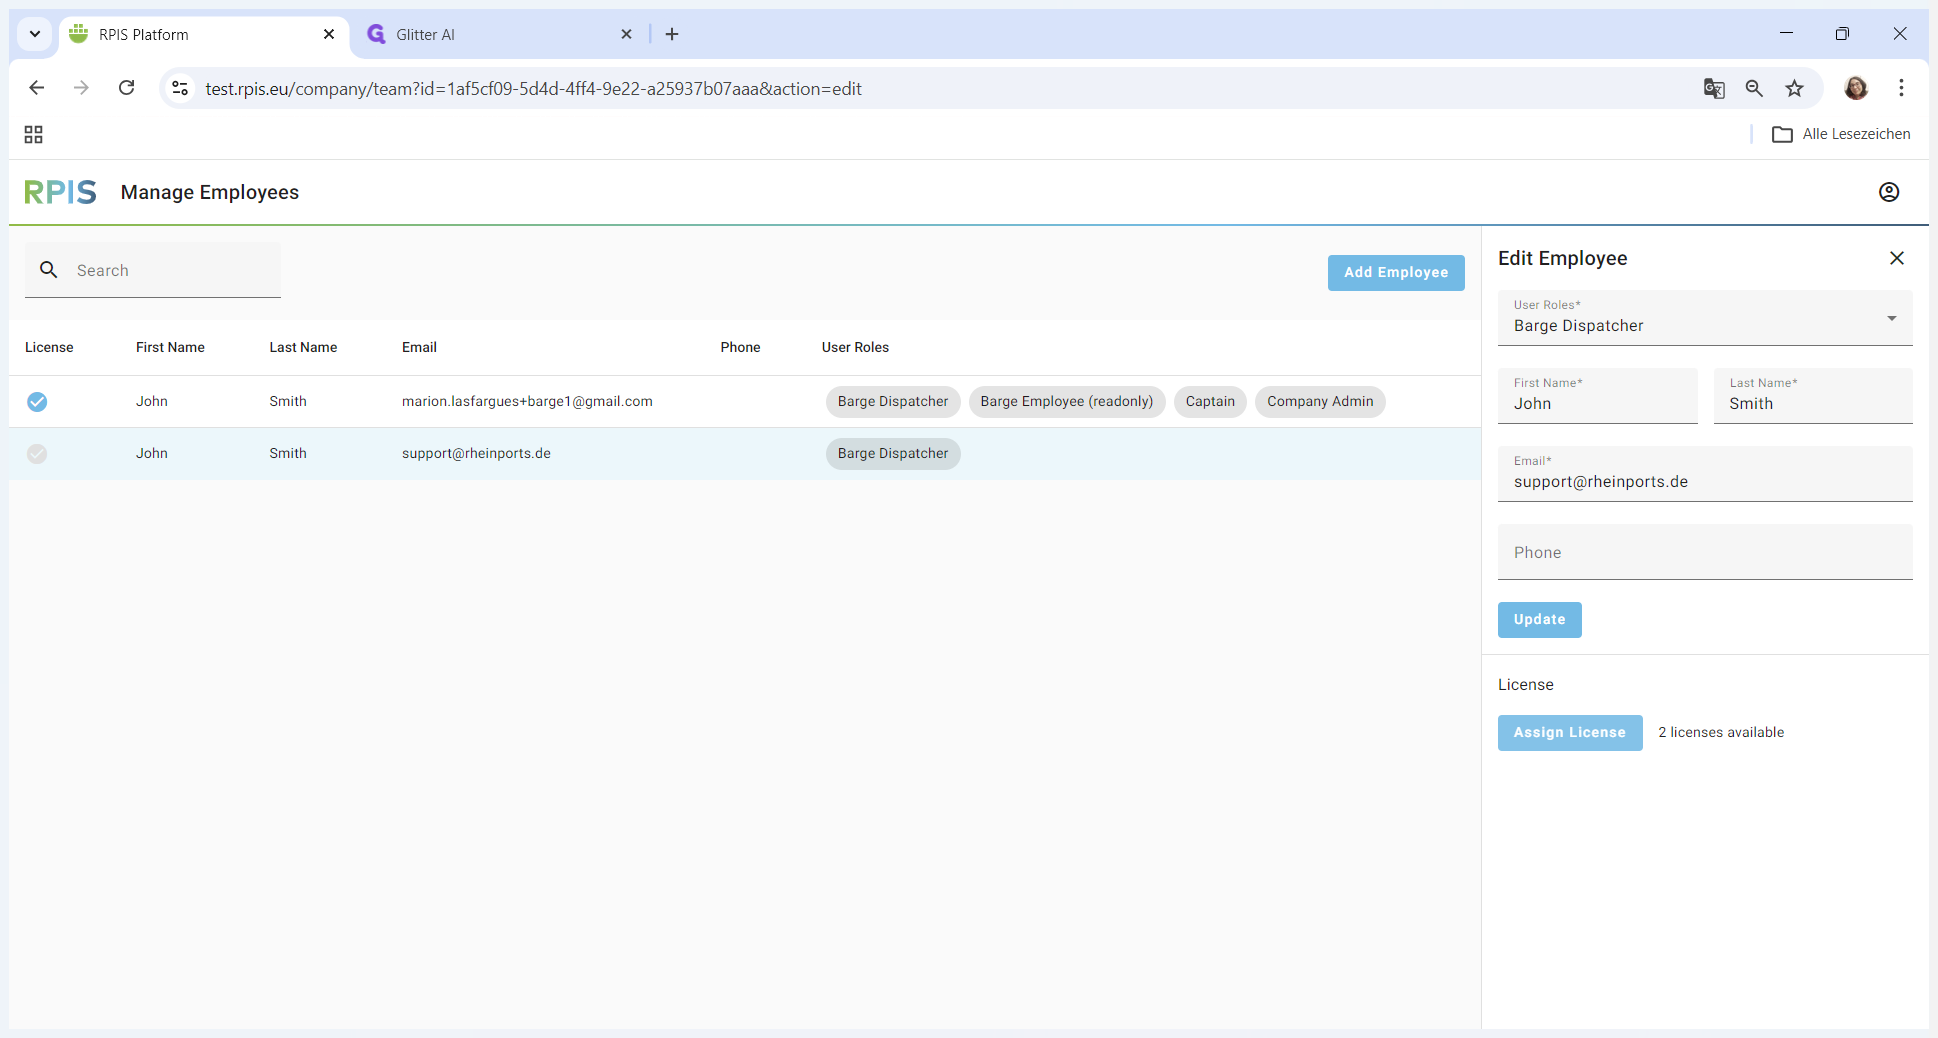
In the side panel, click "Assign License".
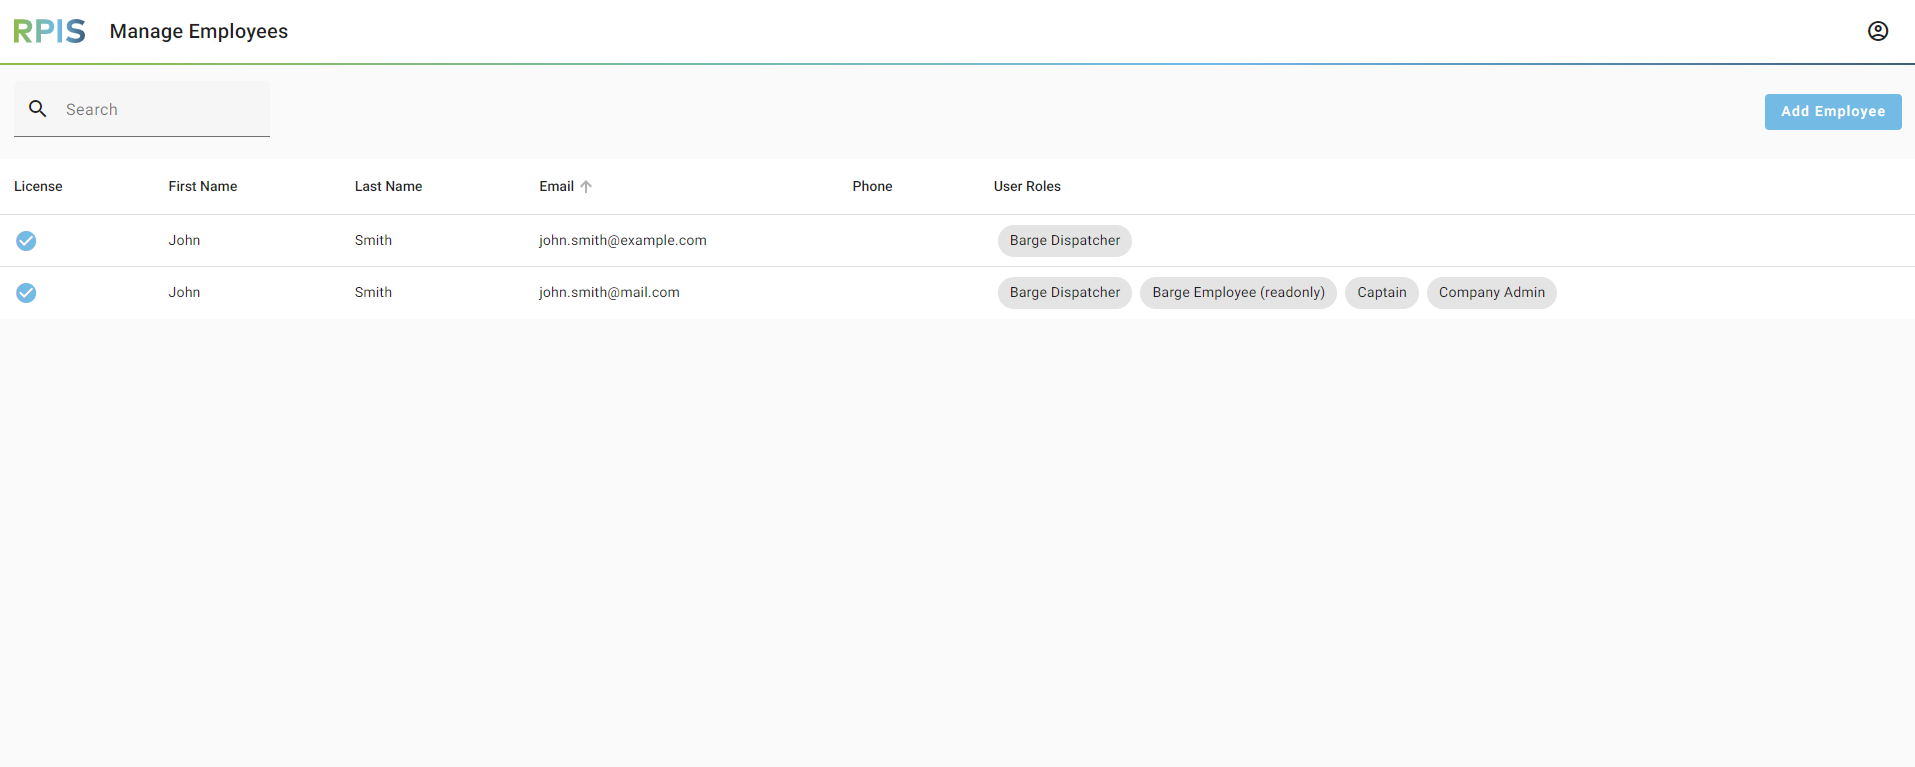
7
Done :)