How to Generate and Compile Weekly Retainer Balance Reports
Learn how to export retainer balance reports from Sage Timeslips by attorney, compile them into a master Excel workbook, and carry over historical data.
By Helen Hill
Compiling weekly retainer balances across multiple attorneys involves exporting reports from Sage Timeslips, consolidating them into a single Excel workbook, and migrating important formulas and notes from the previous week. Follow this guide to streamline the process.
Part 1: Generate the Initial Retainer Balances Report
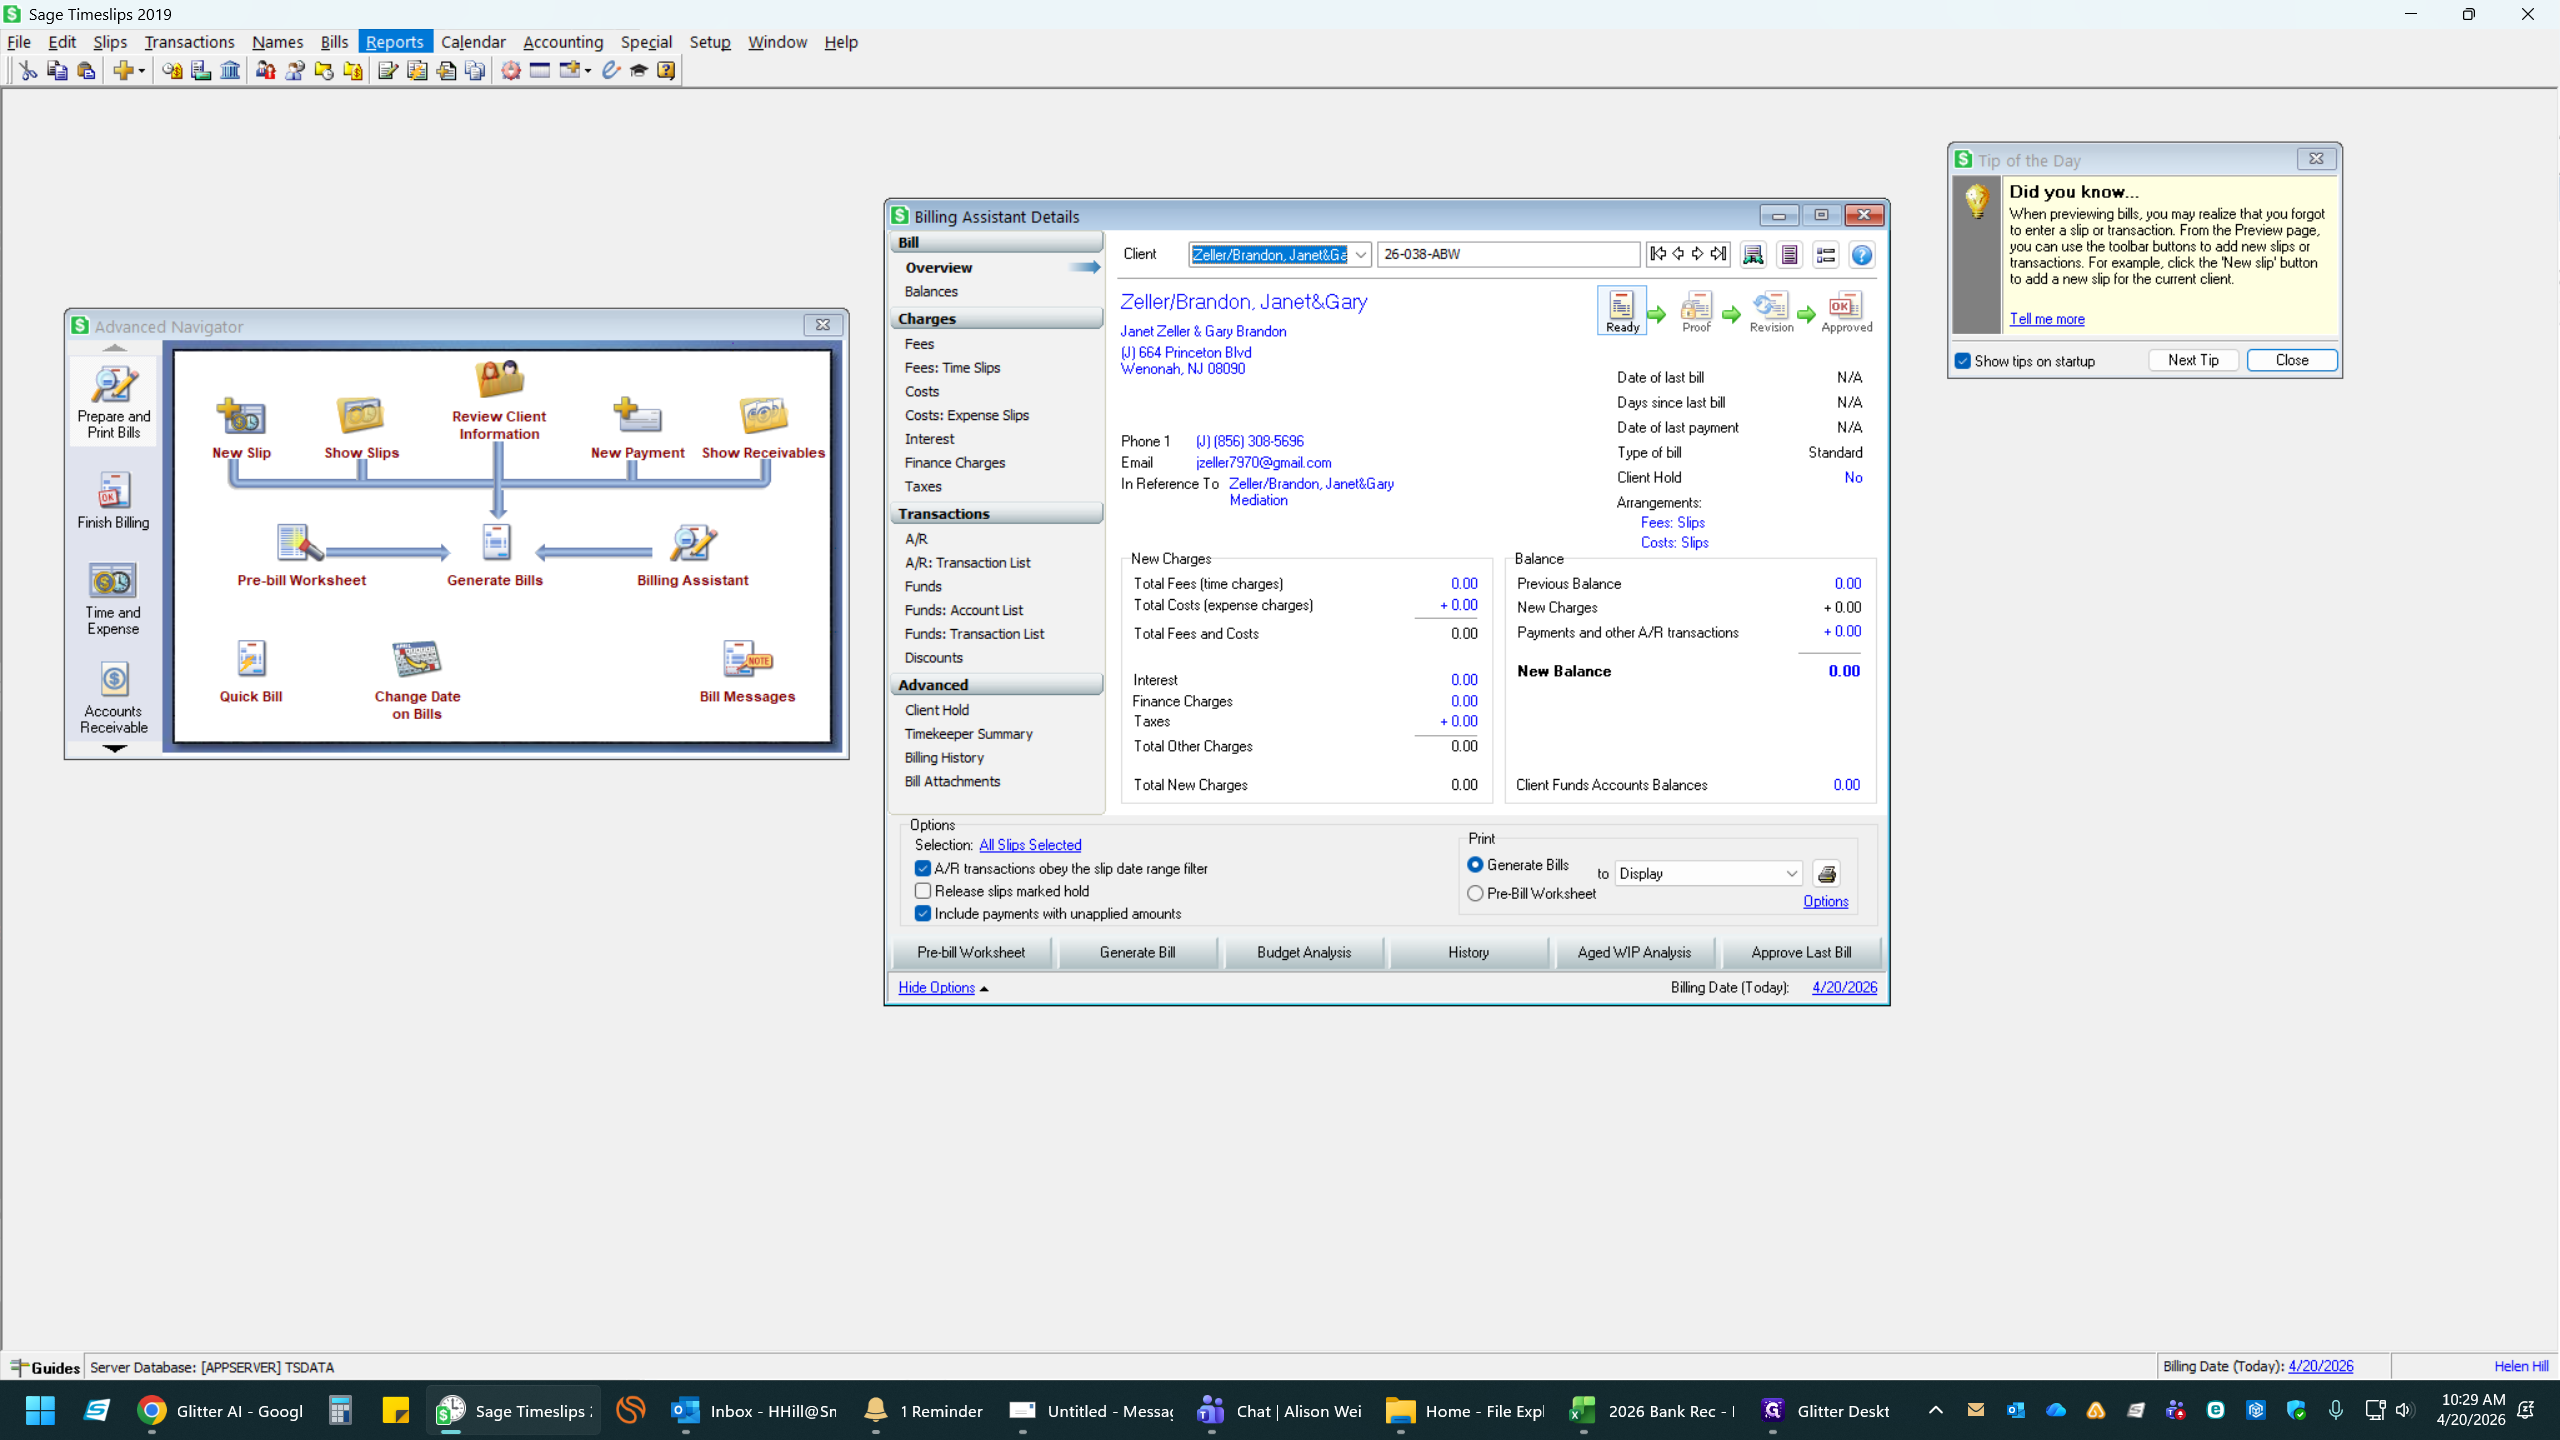
Begin by generating the report for your first attorney inside Sage Timeslips.
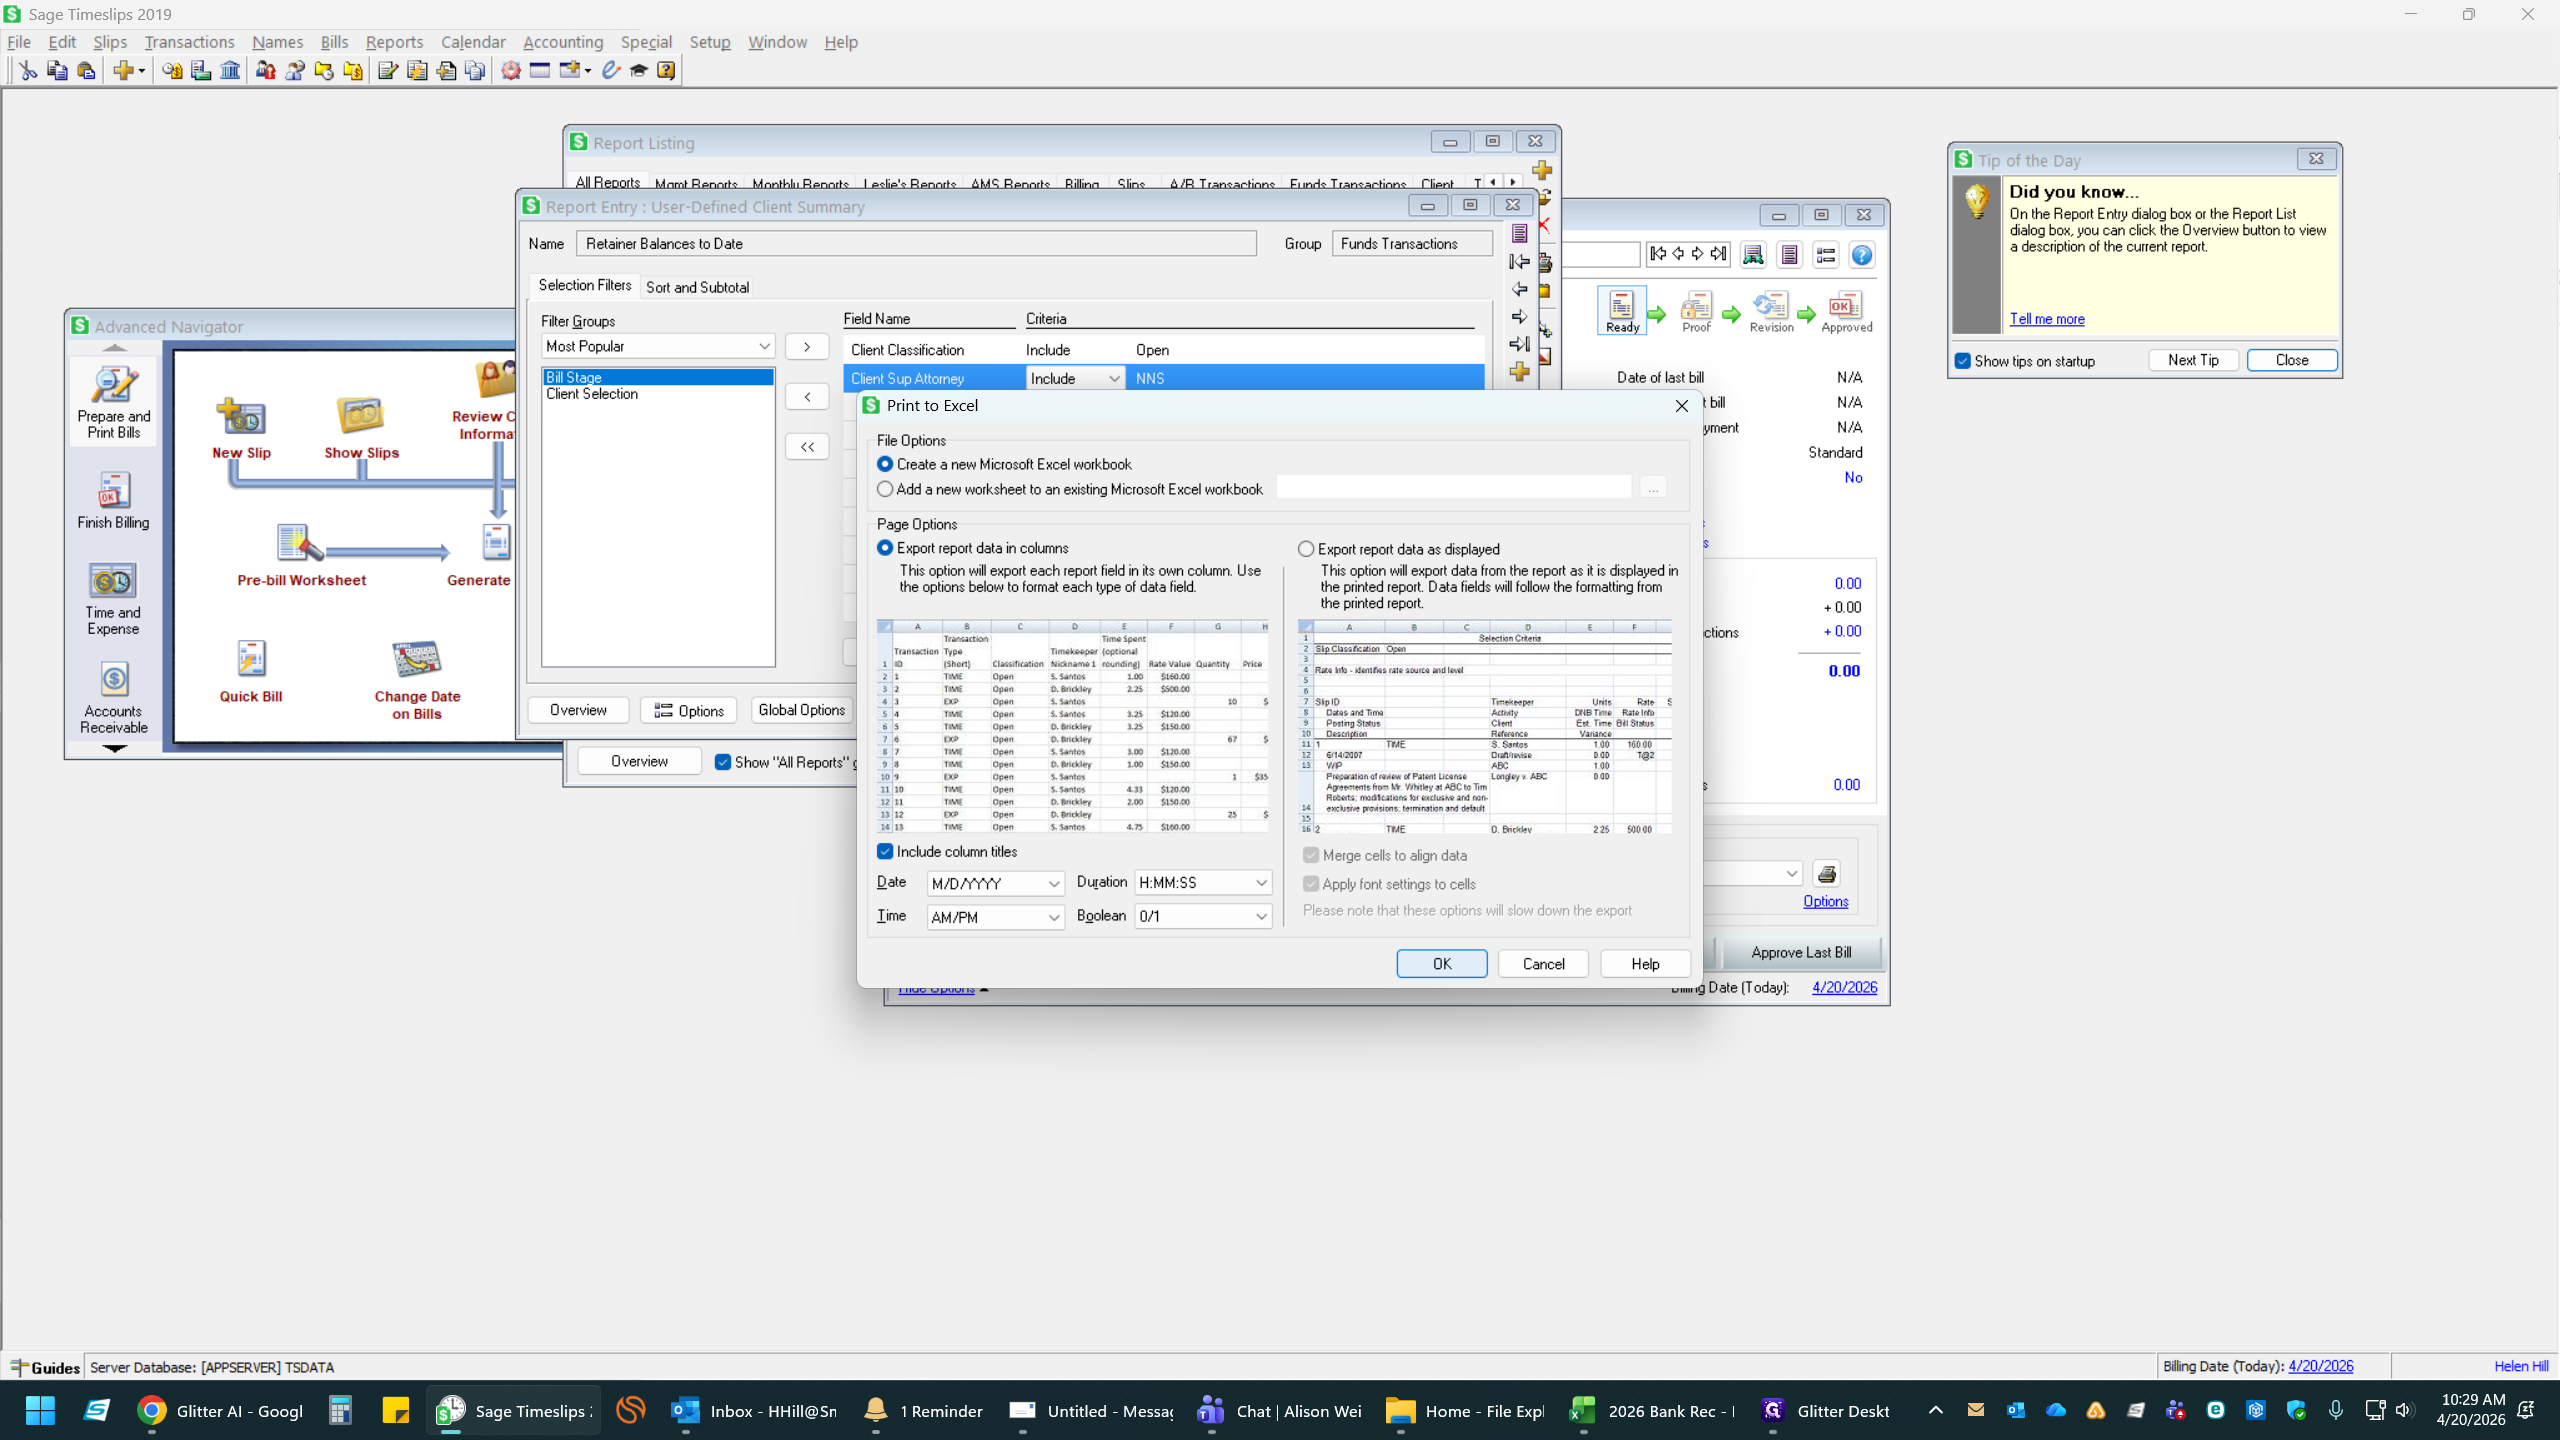
1
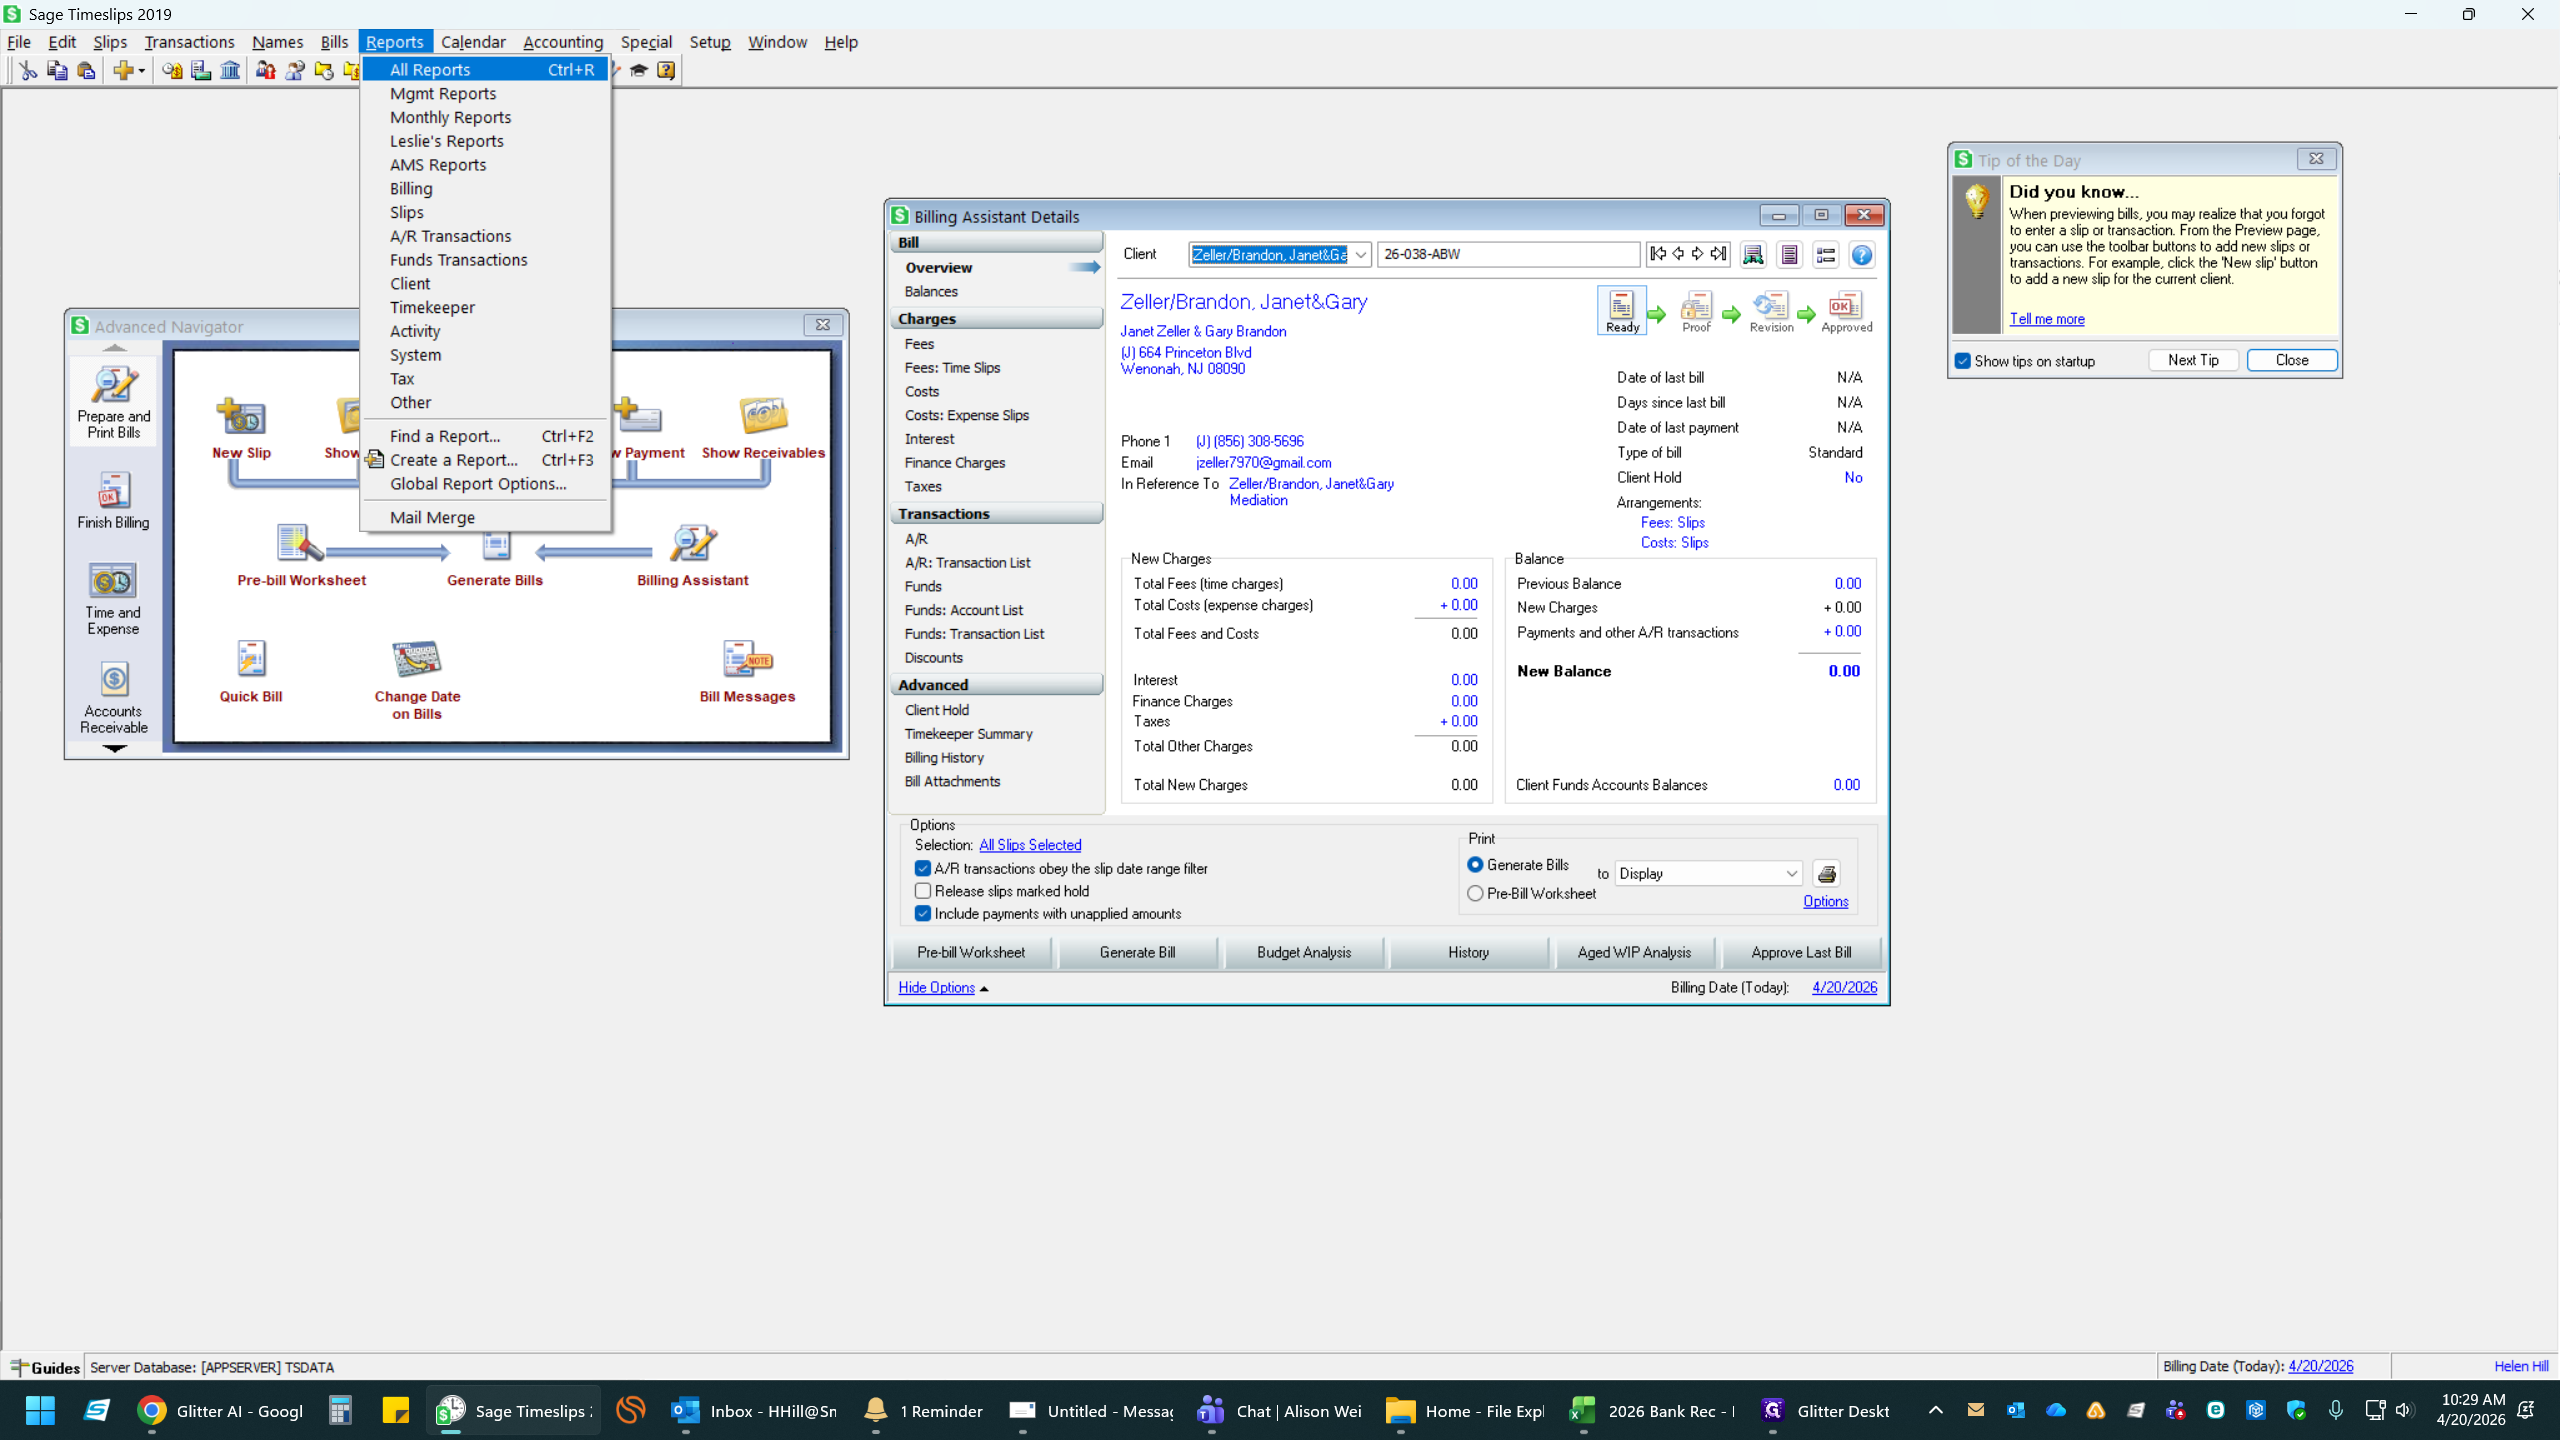
Click on Reports in the top menu.
2
Select All Reports.
3
In the search bar, type retainer balan.
4
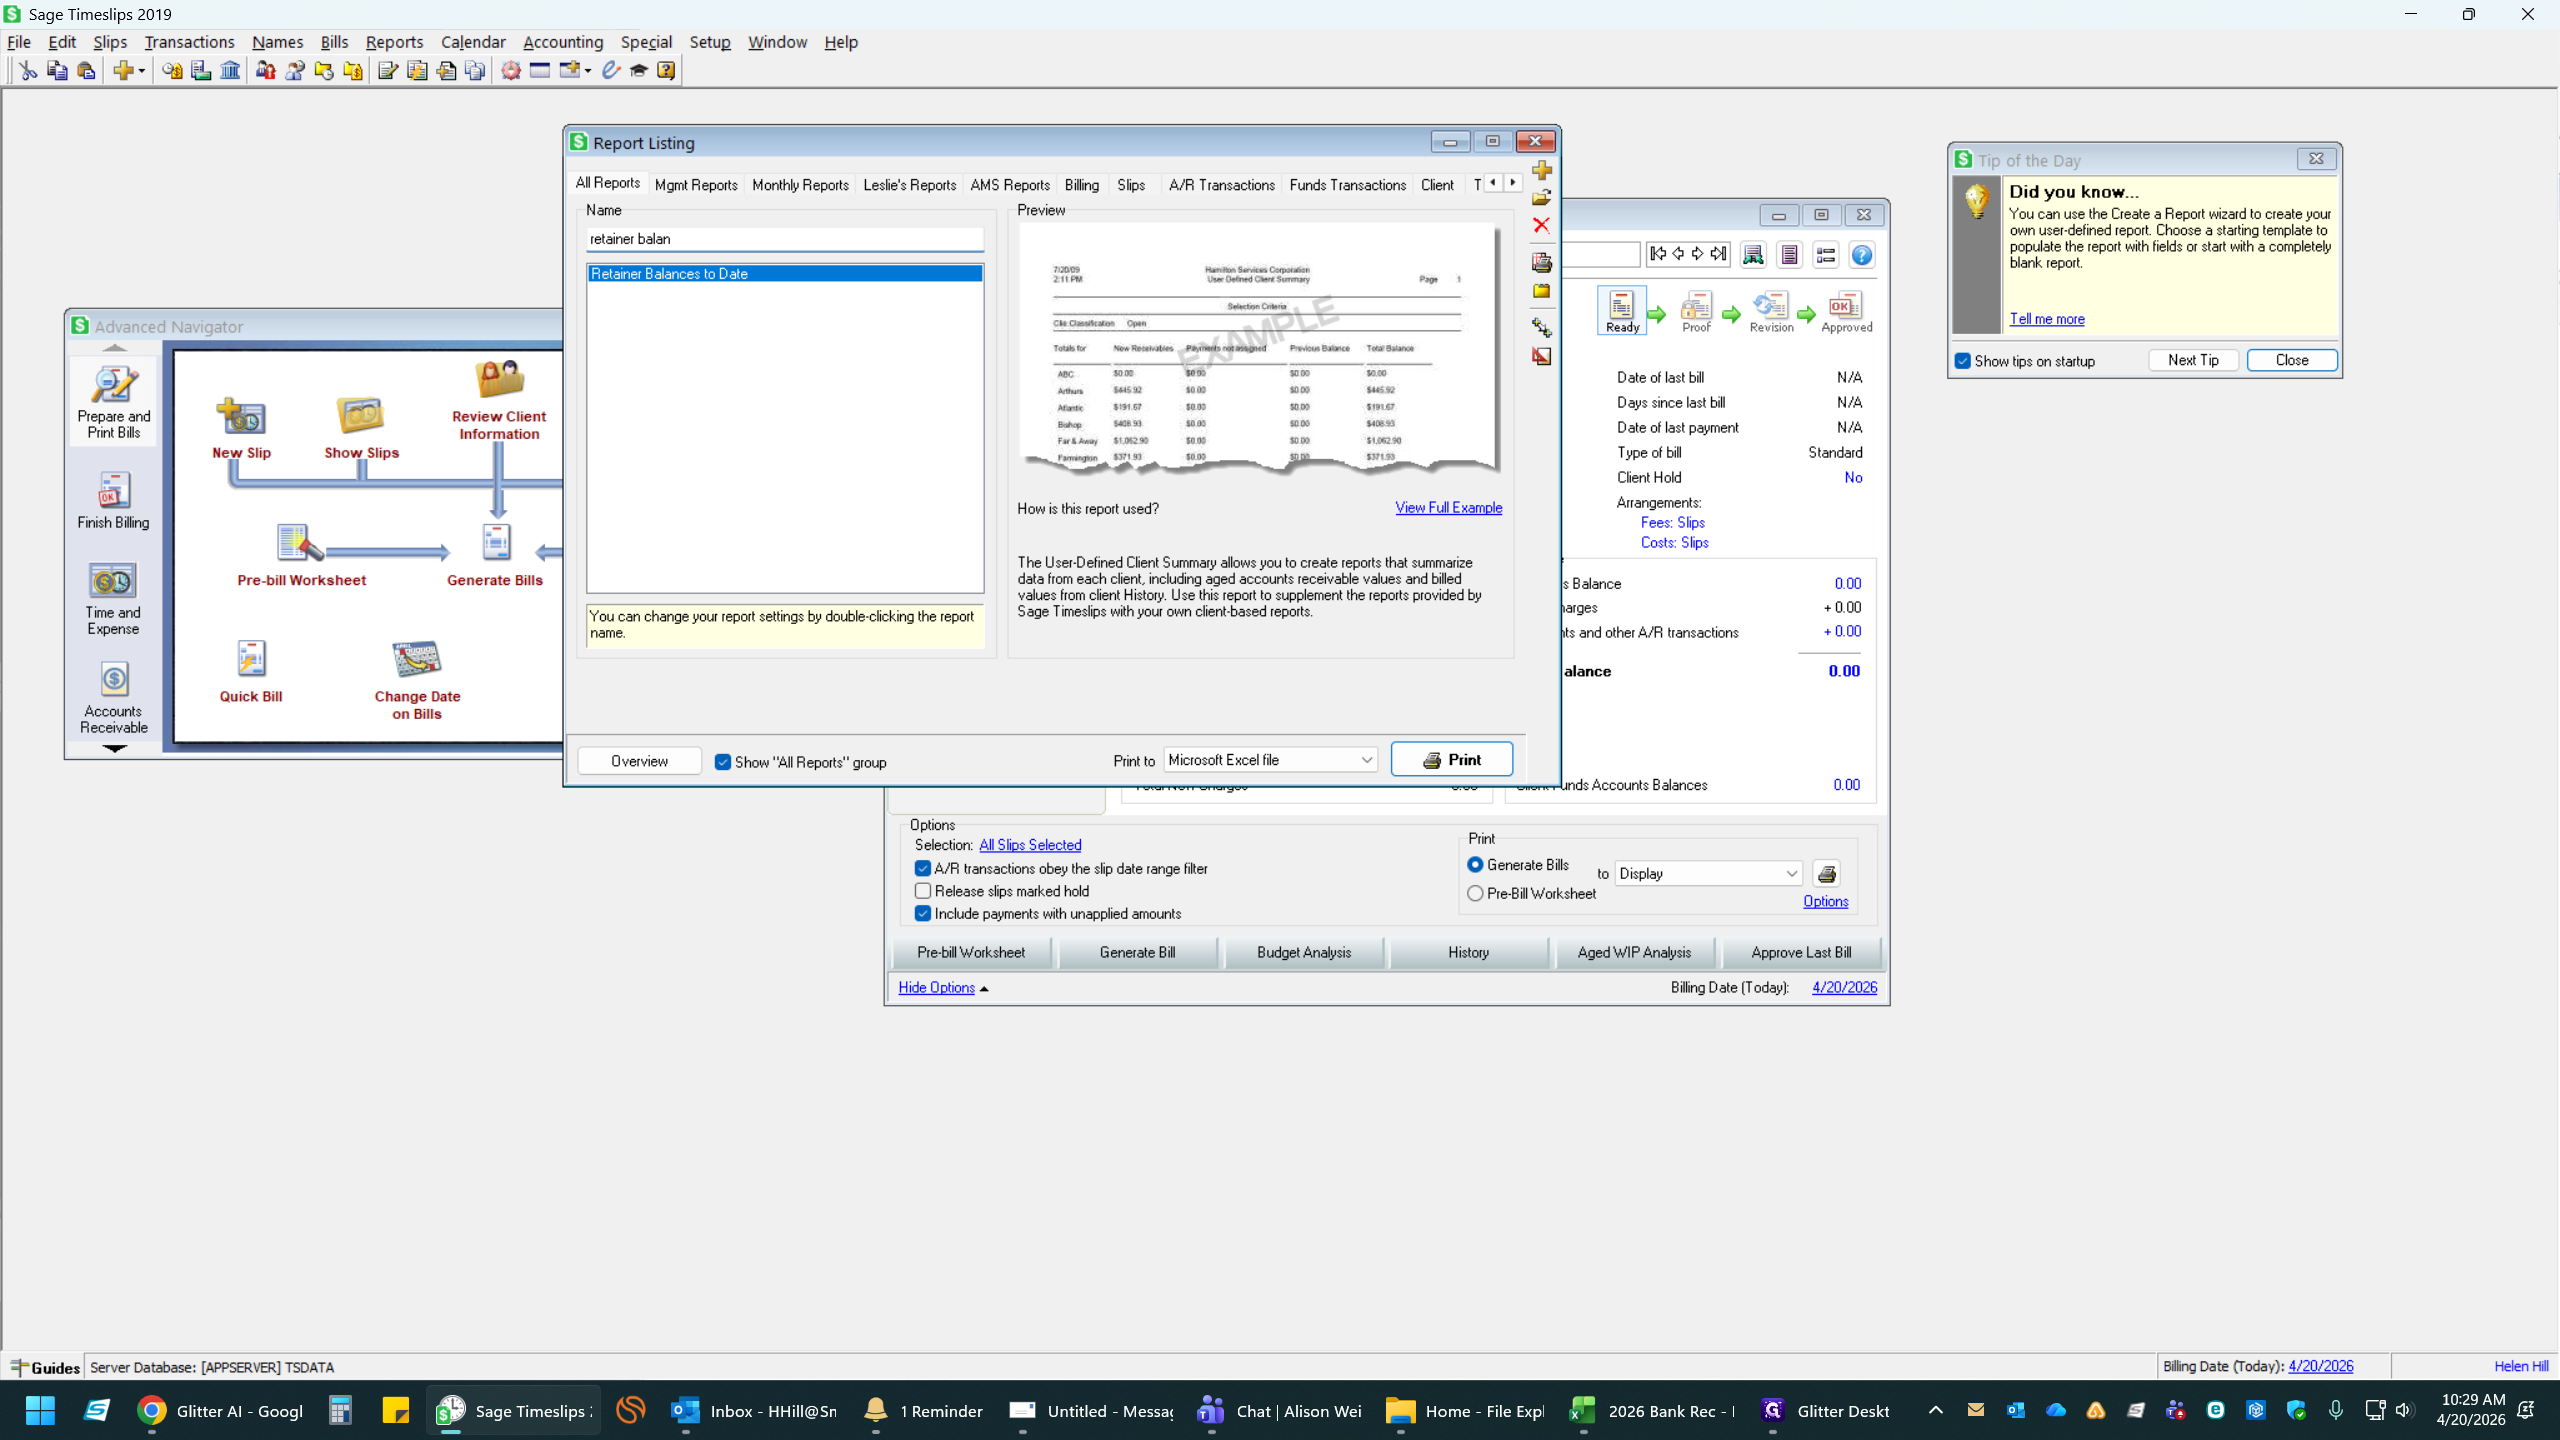
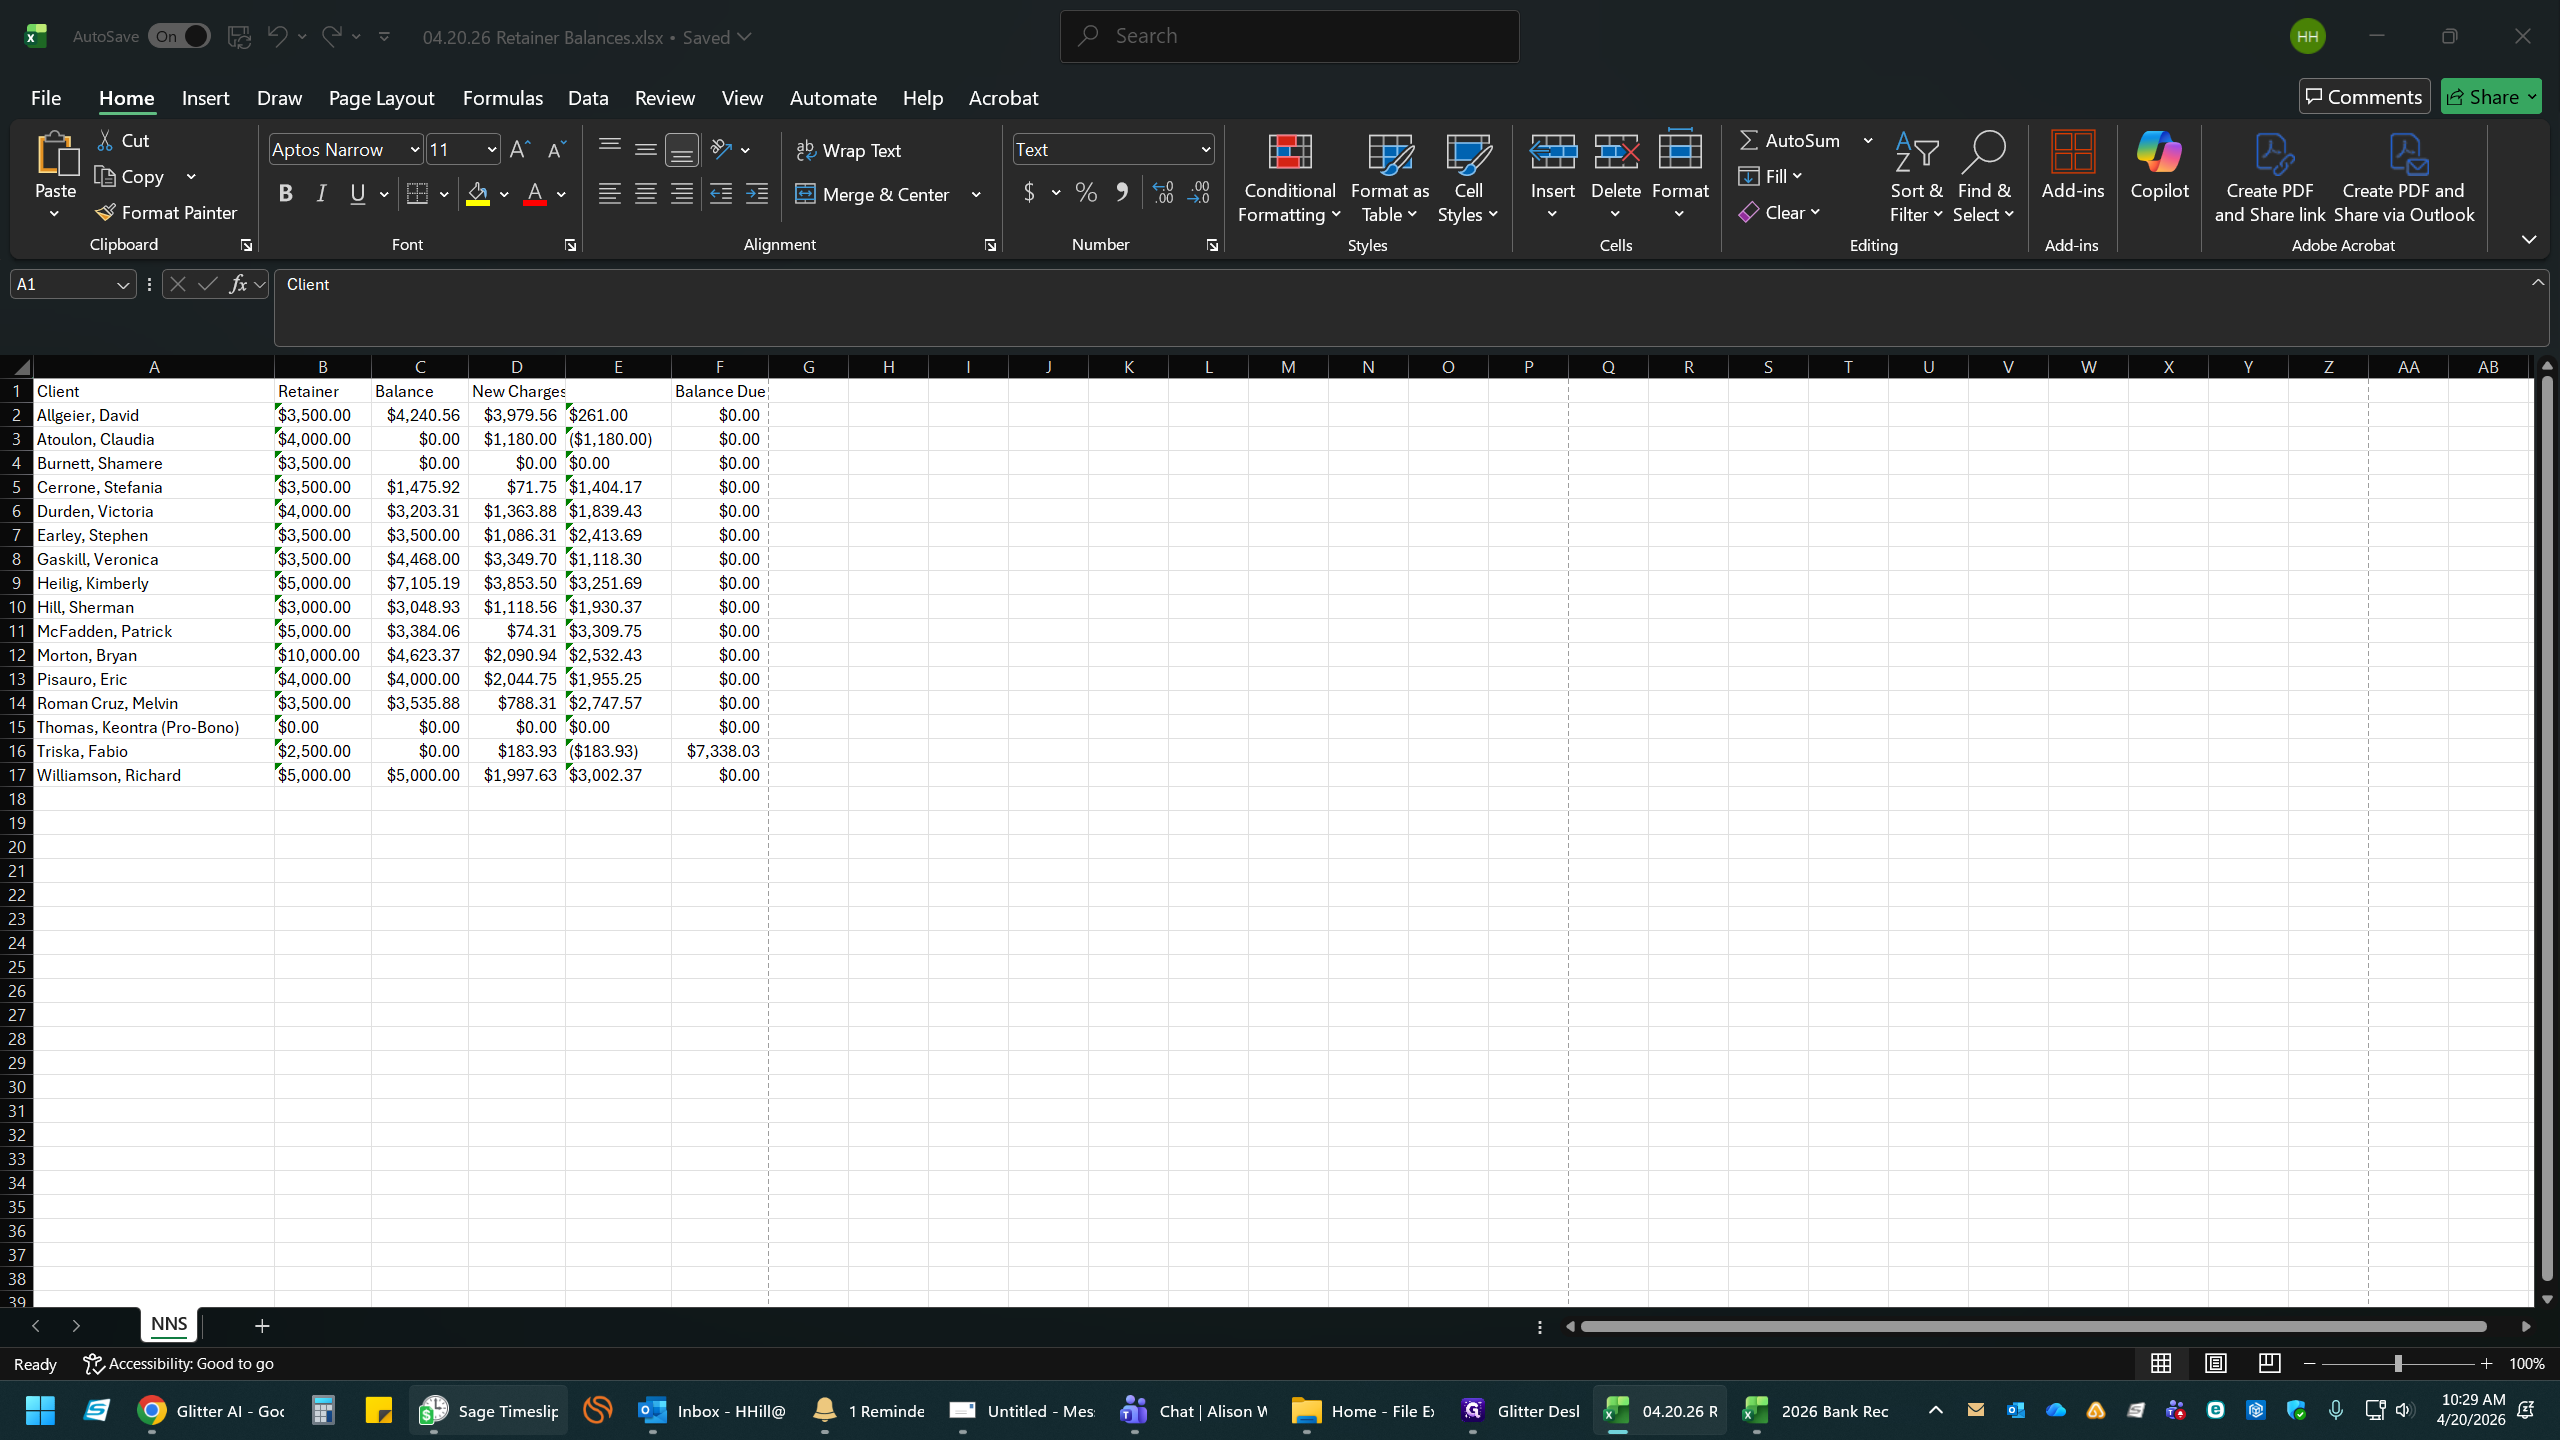
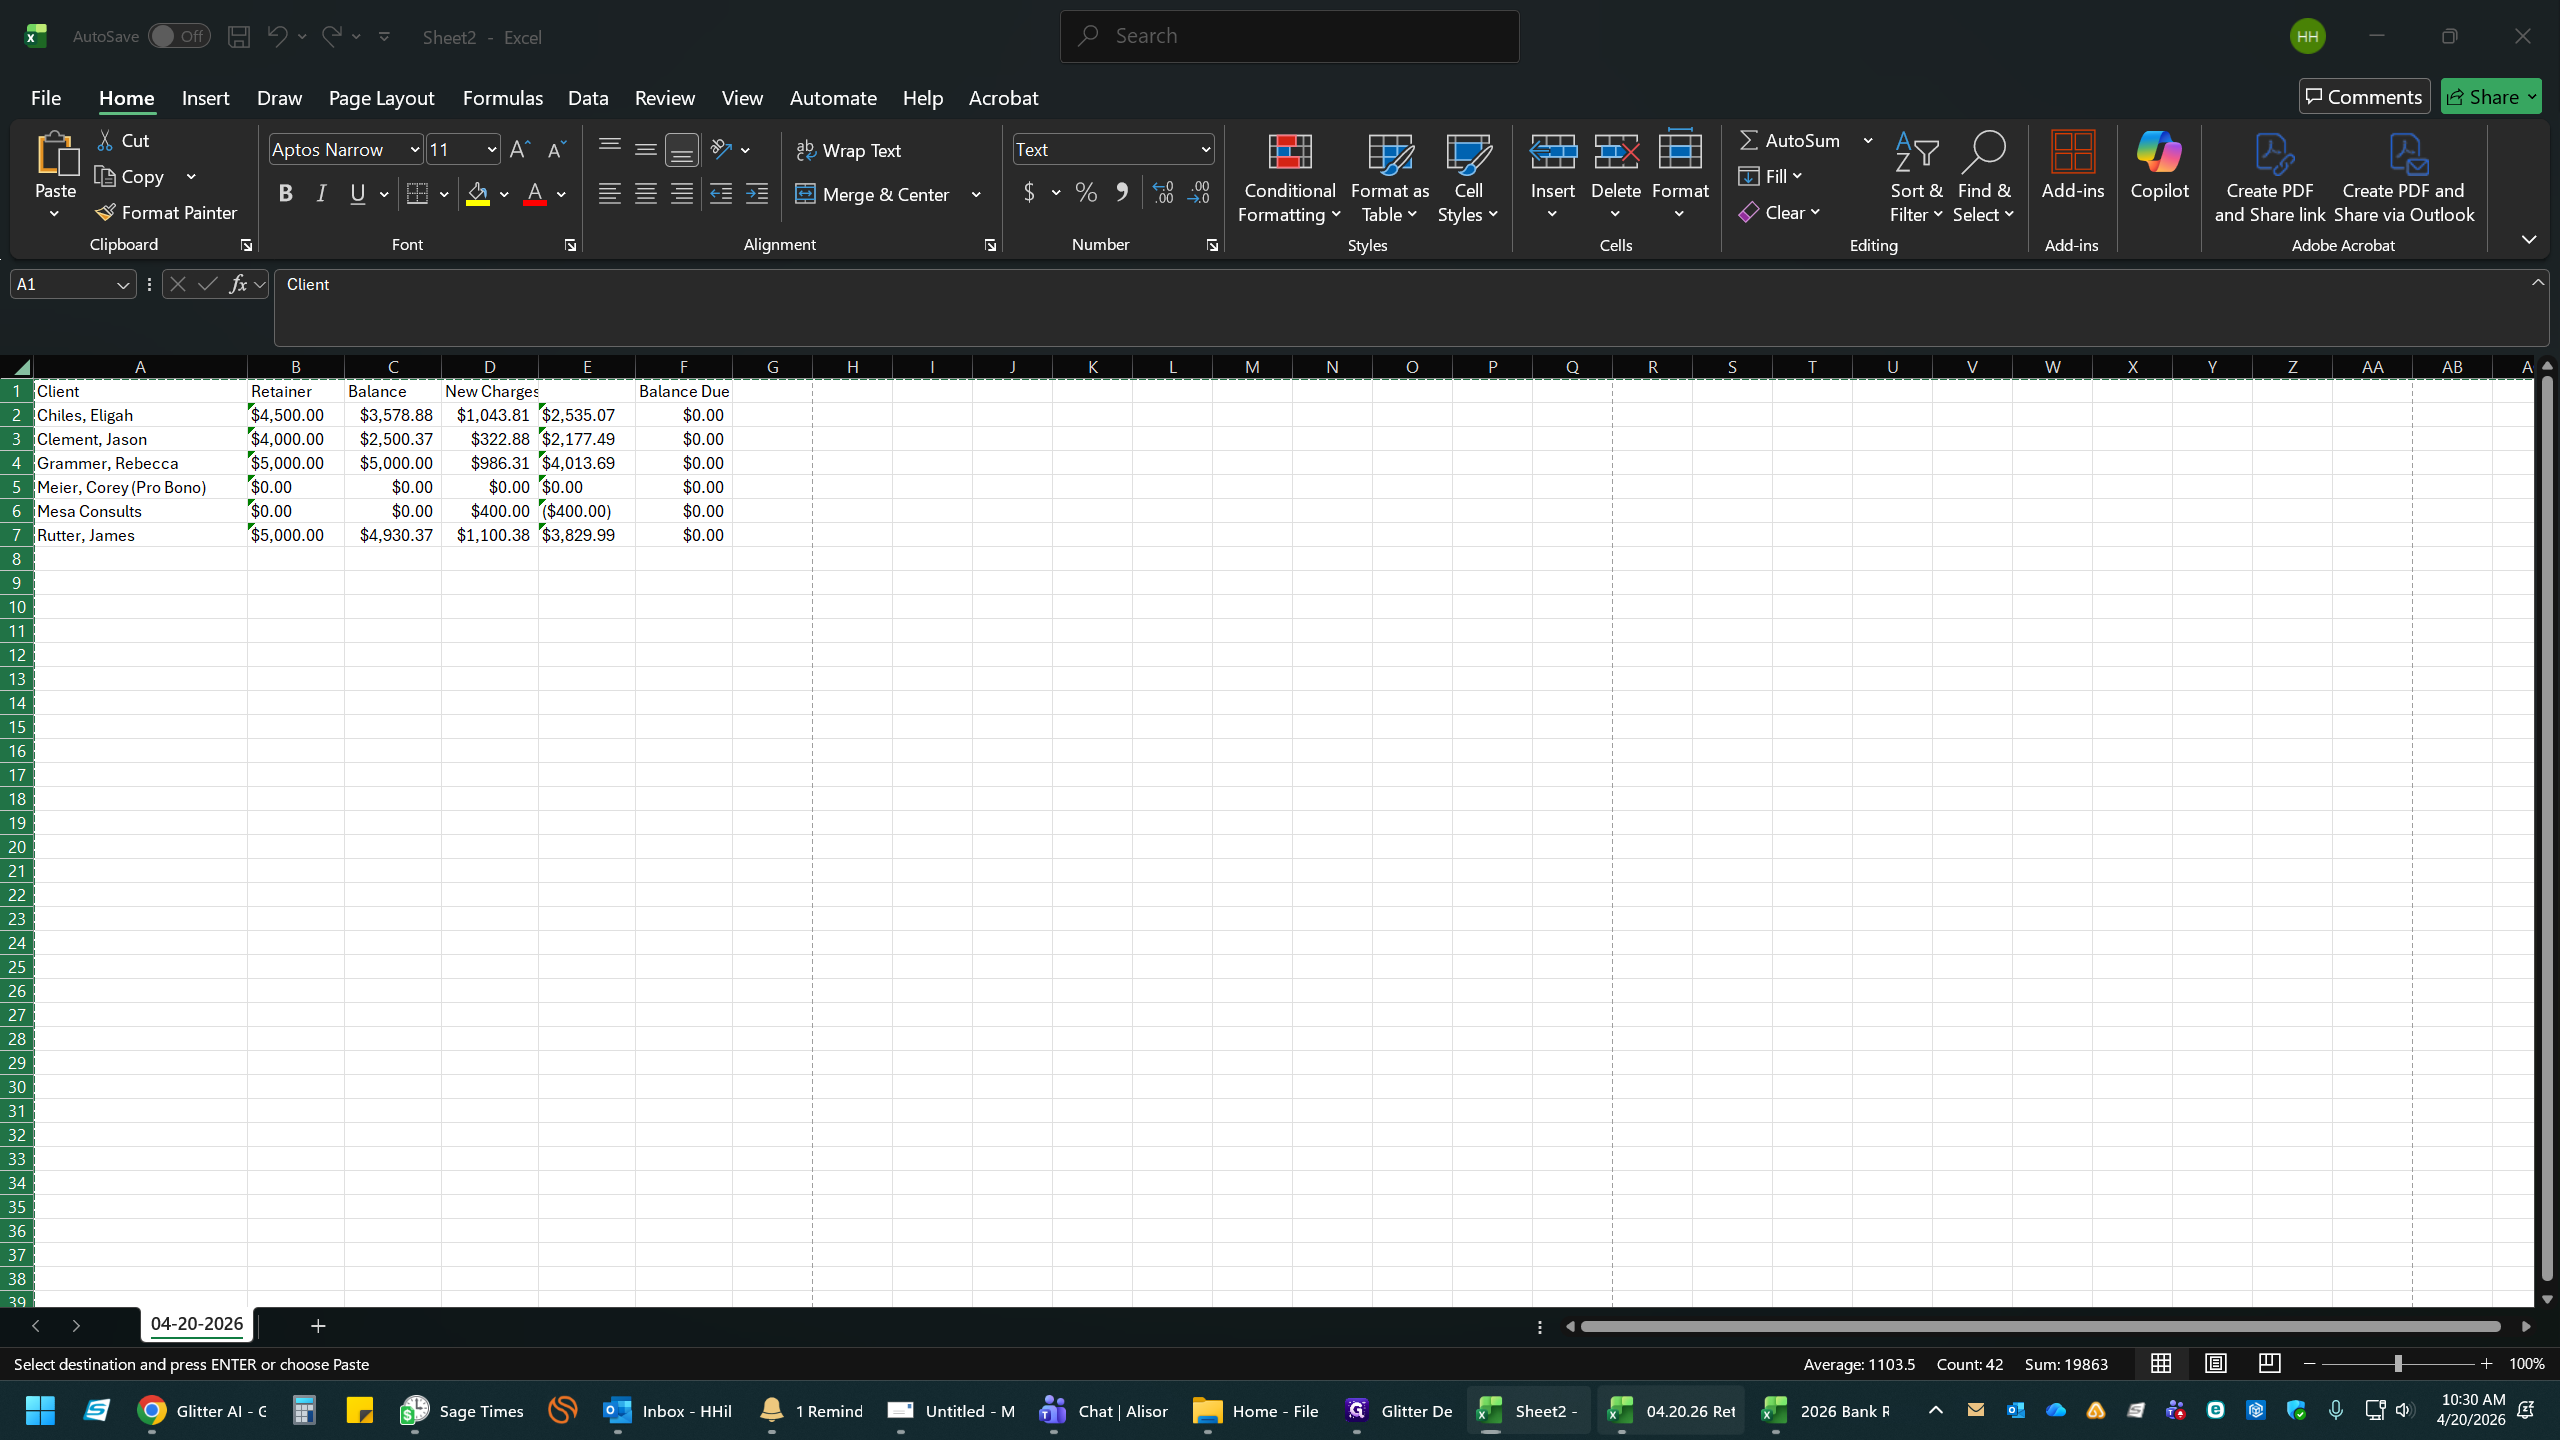
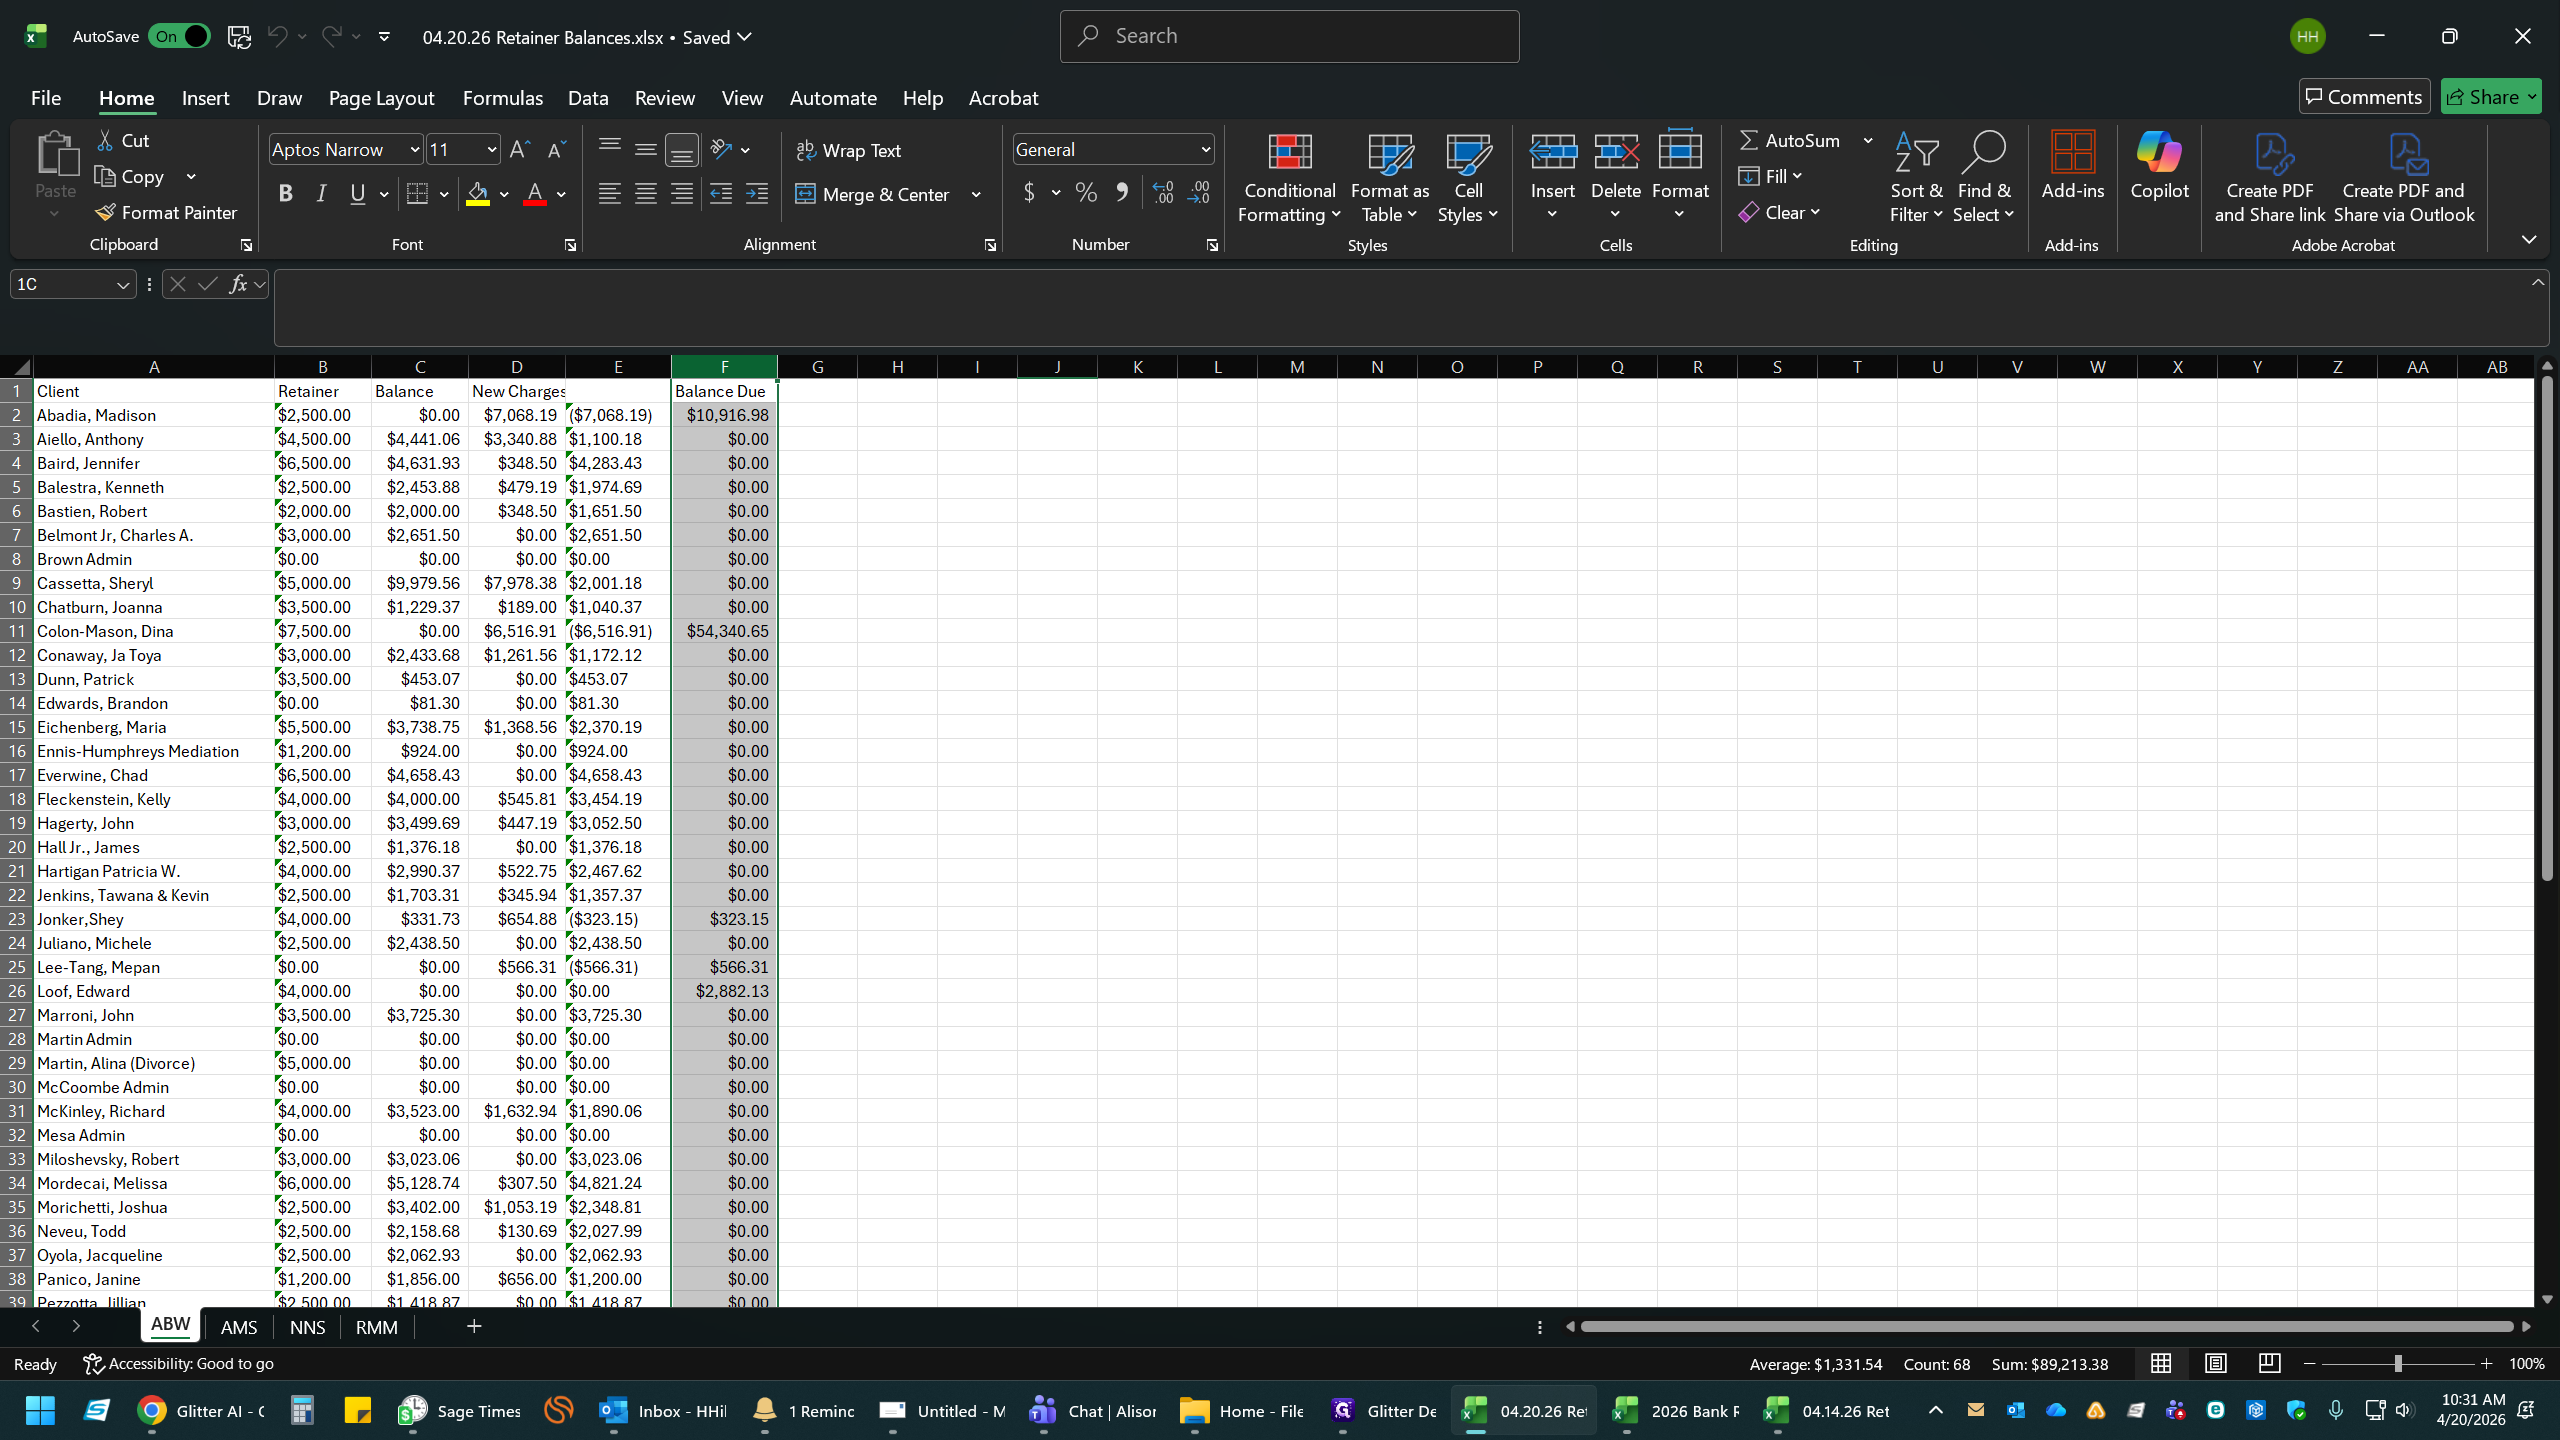
Double-click on Retainer Balances to Date.
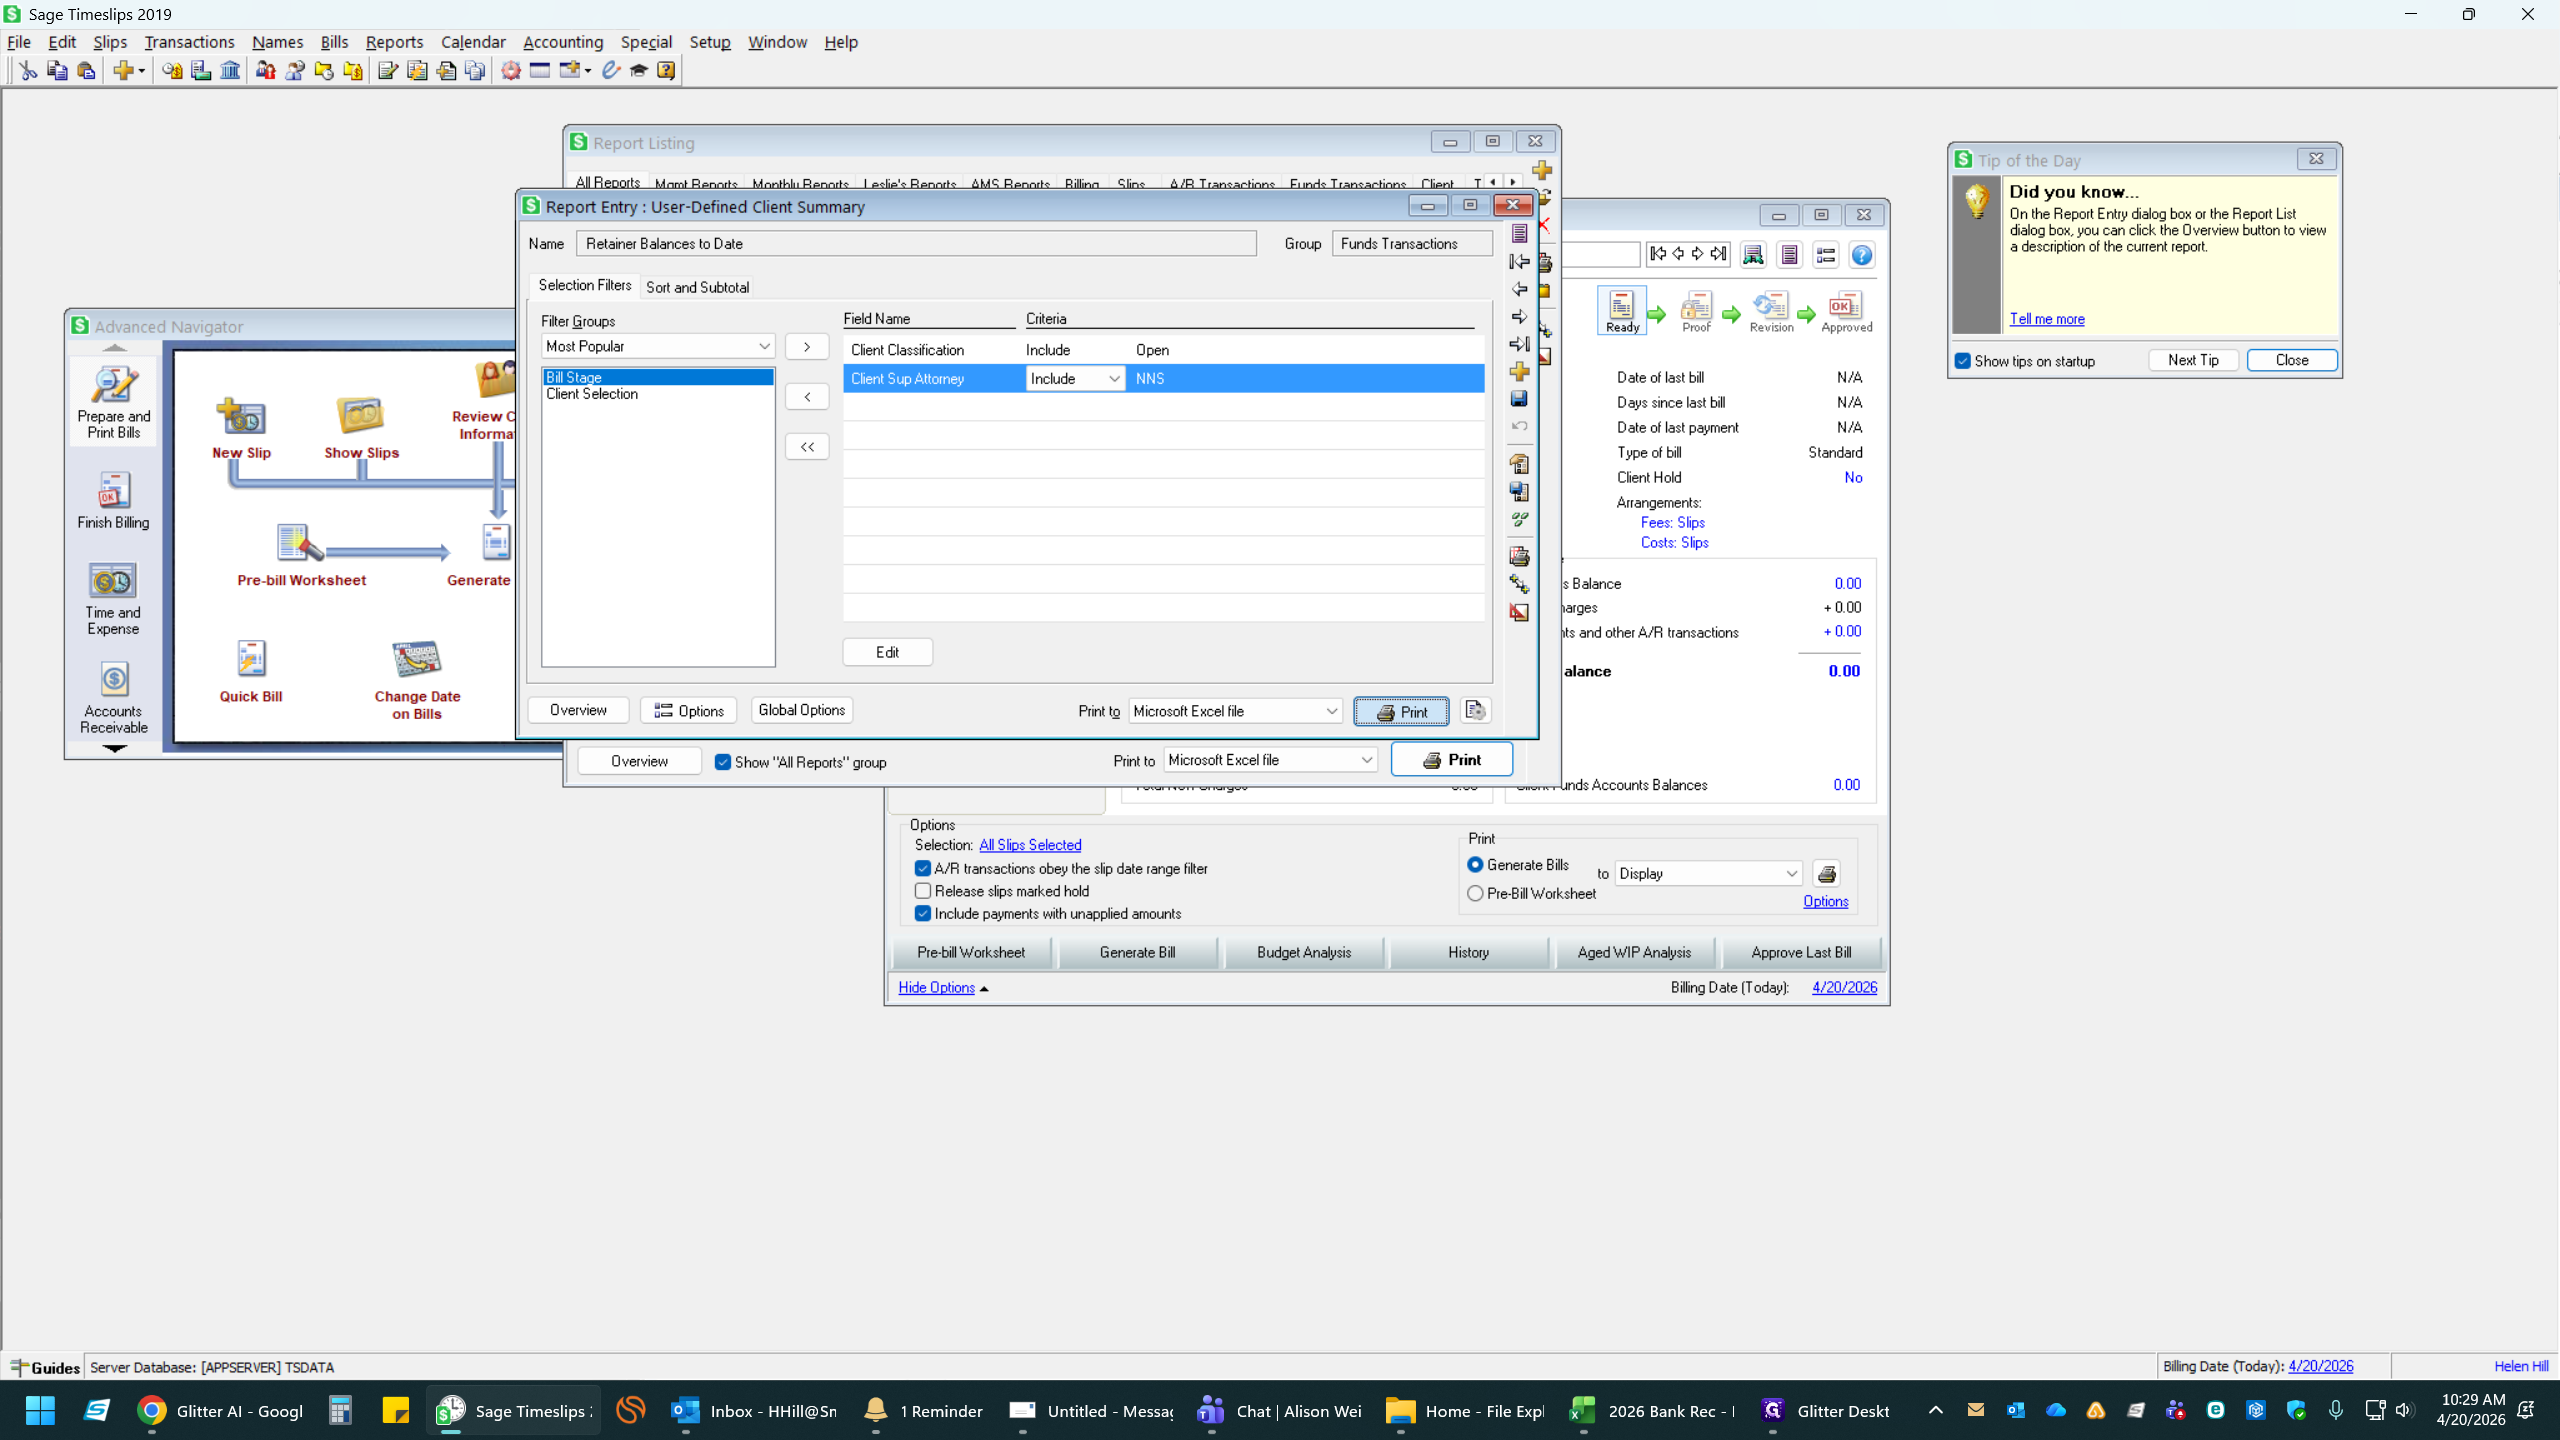
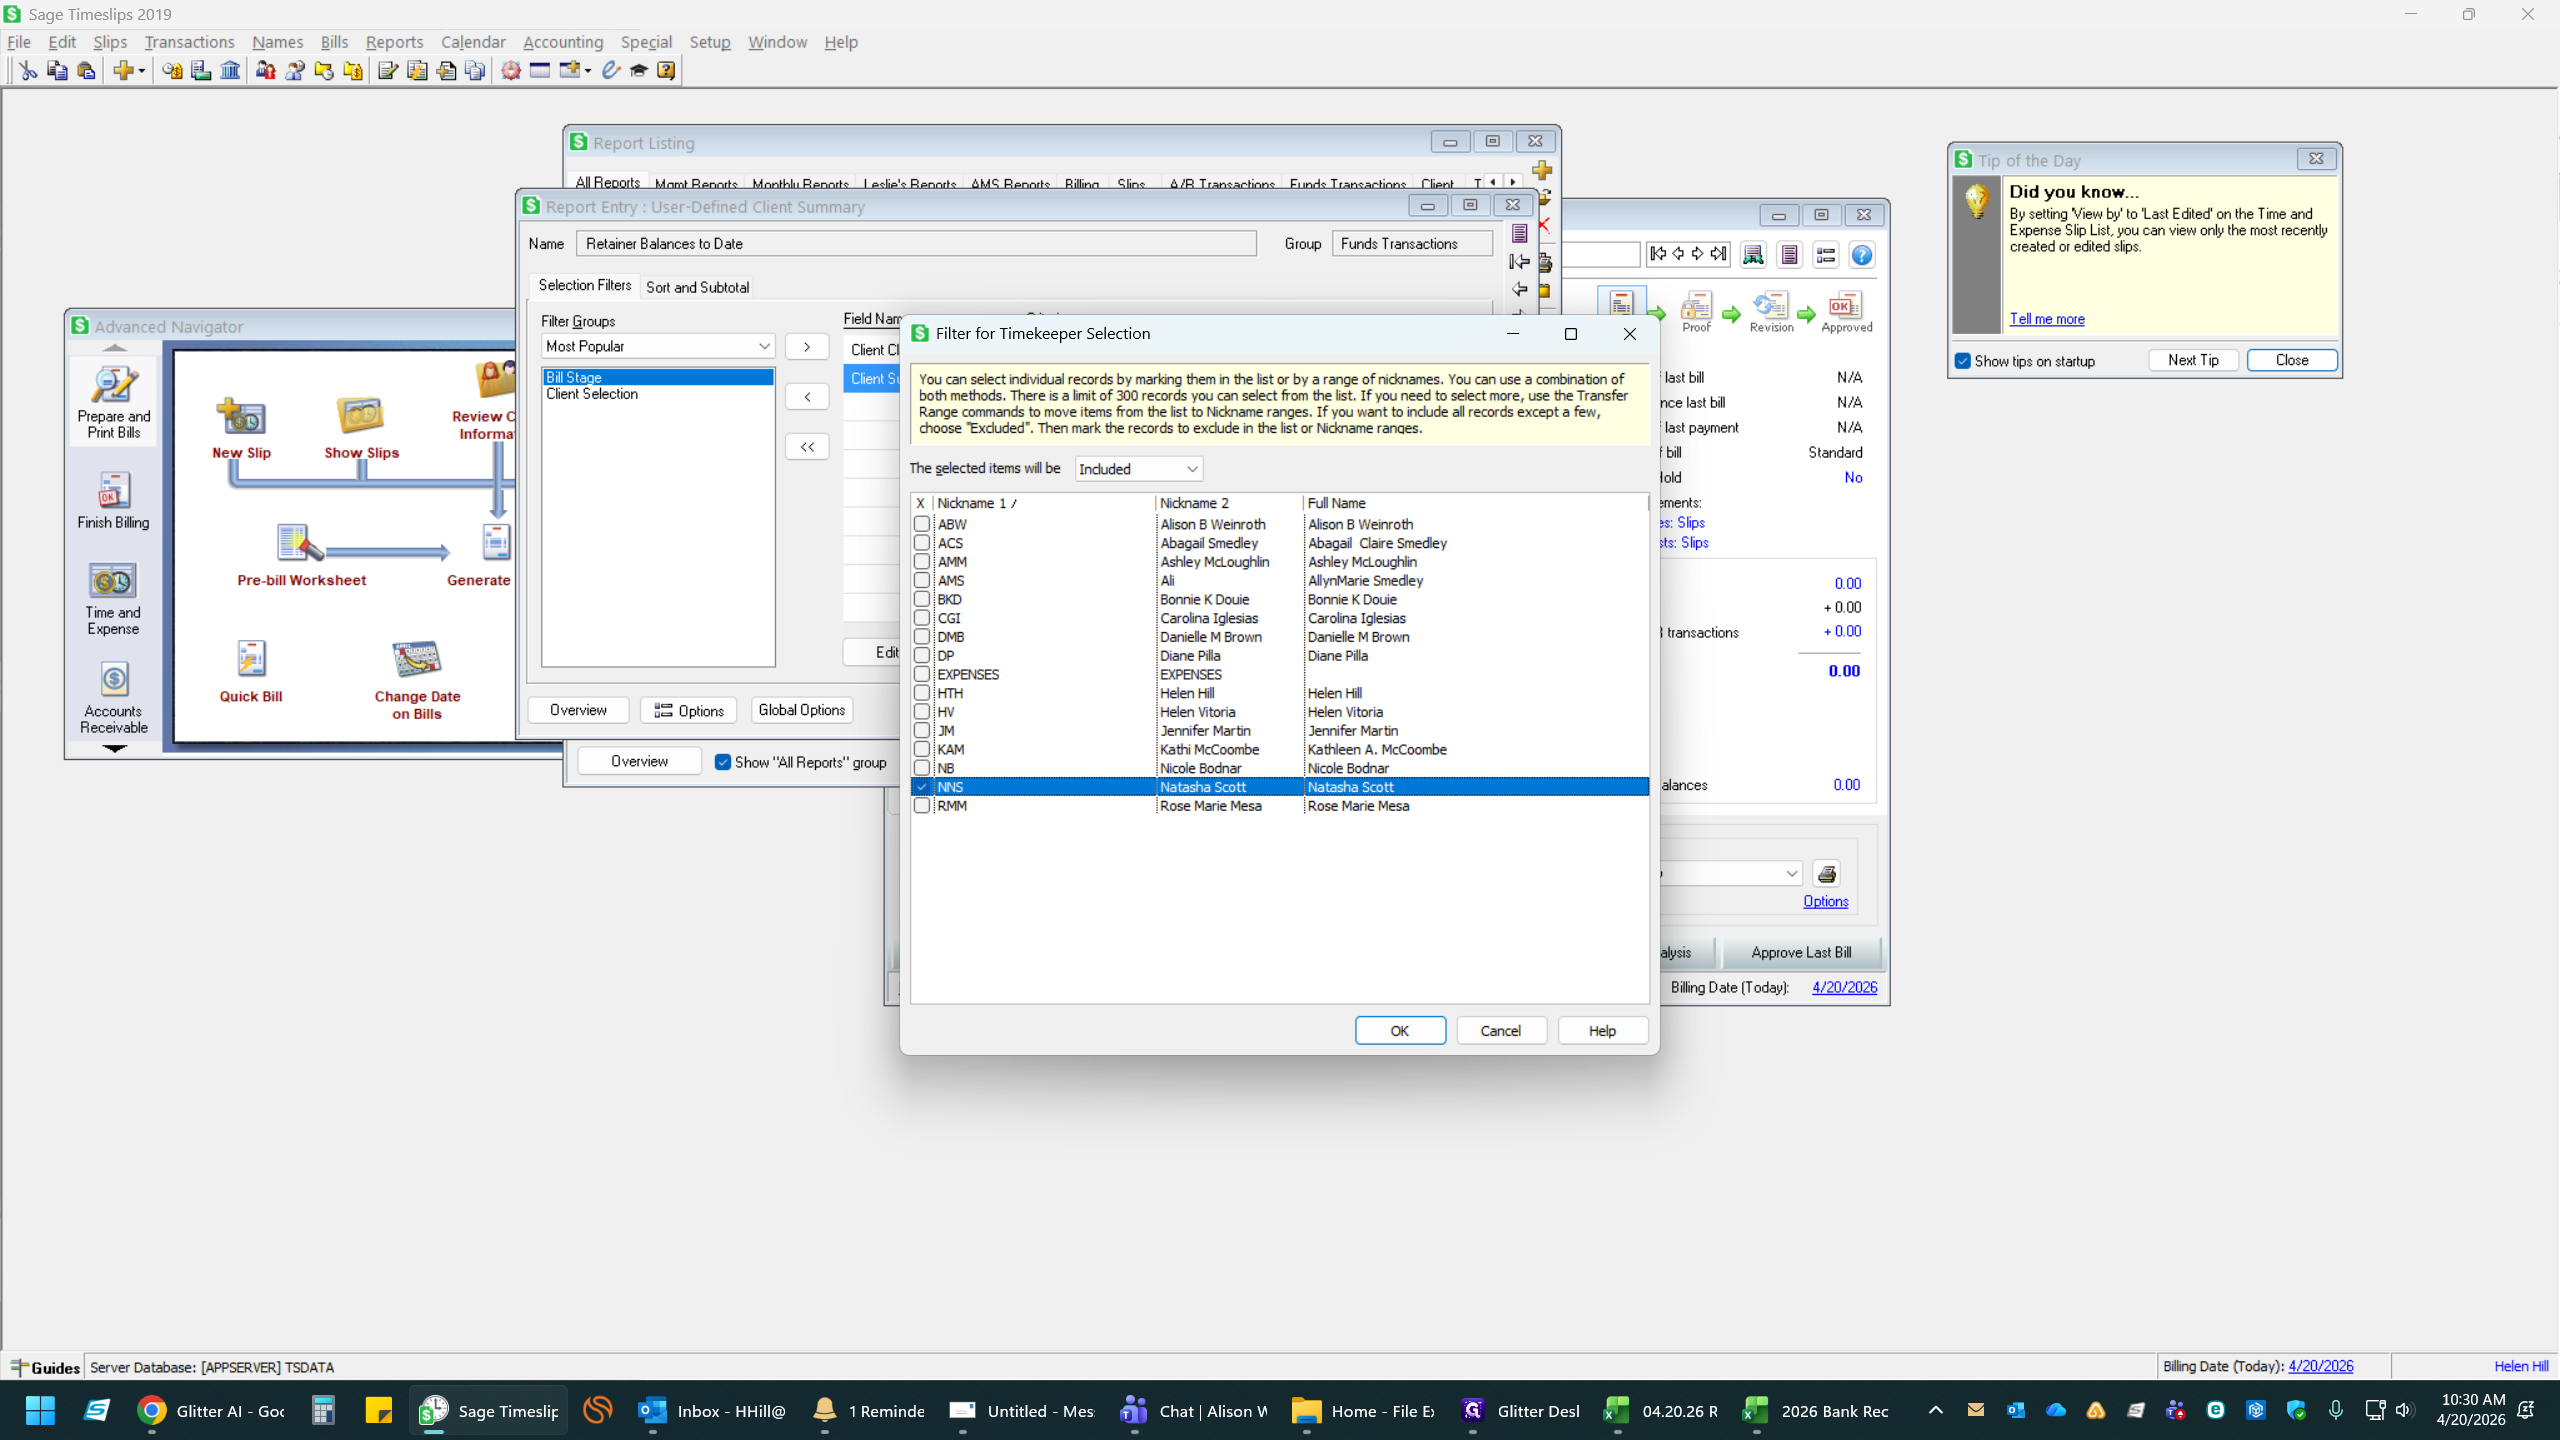
5
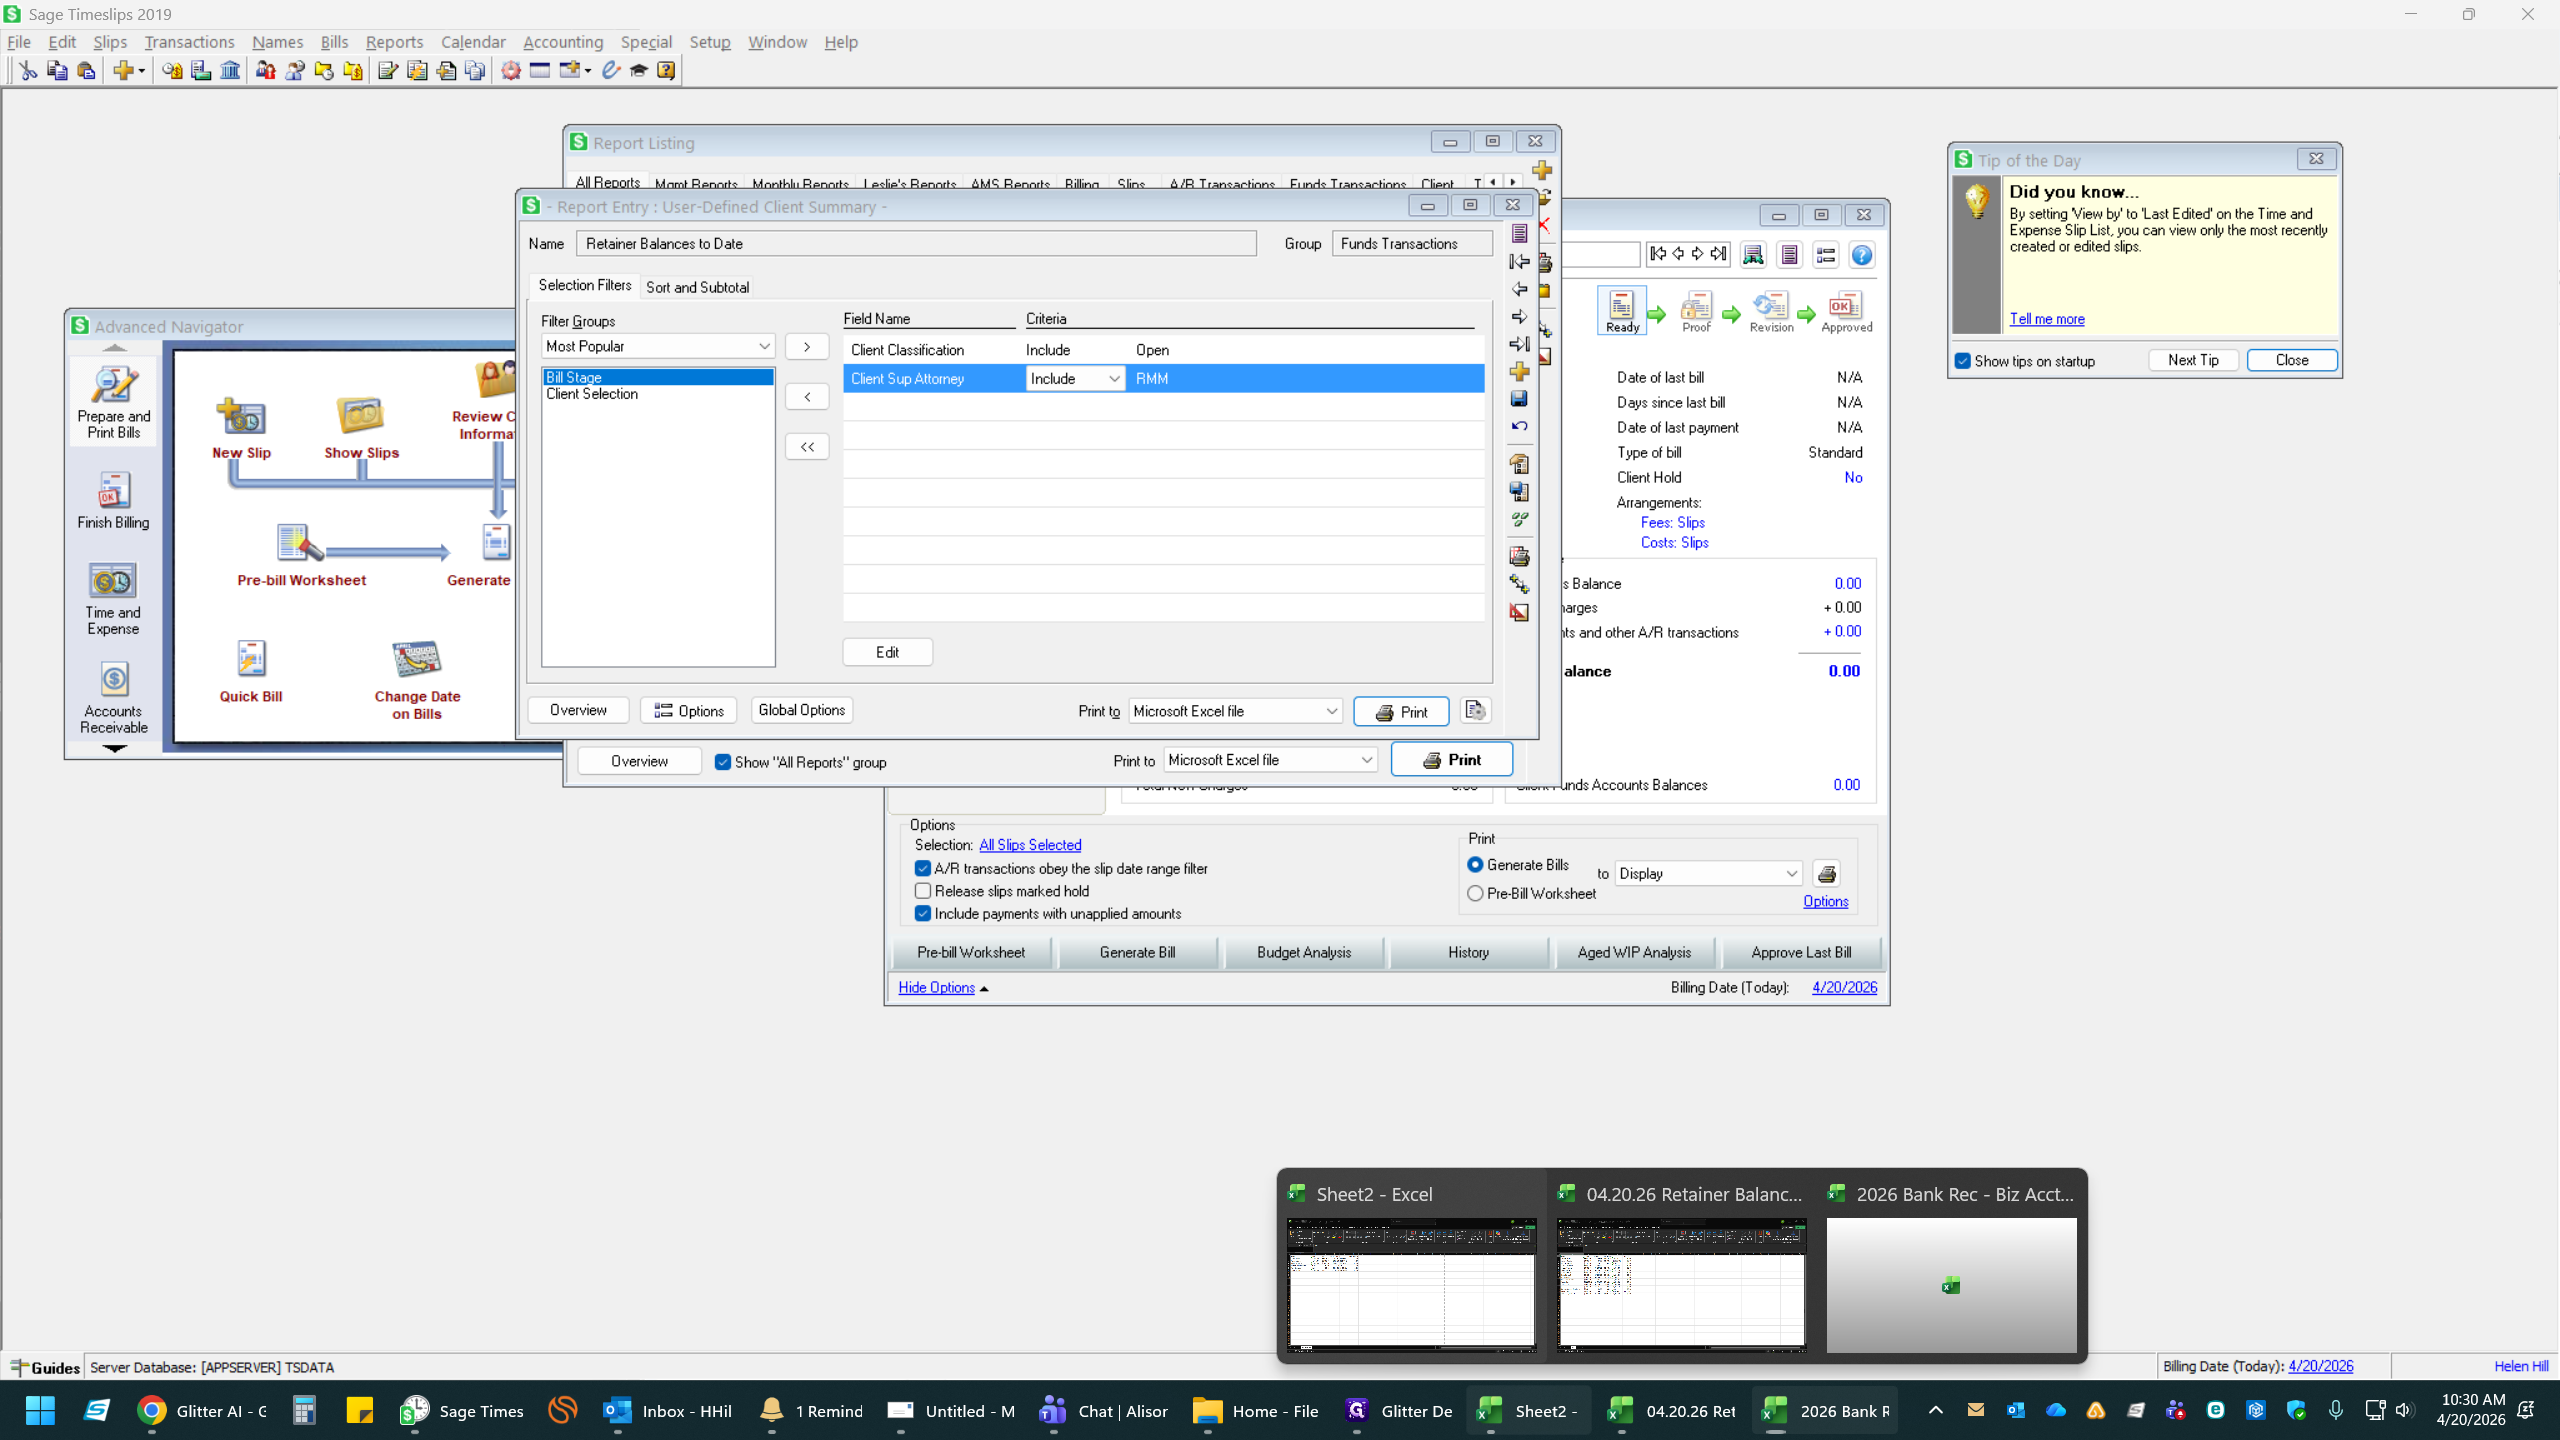
Click on the edit button for the Client Sup Attorney filter (e.g., NNS).
6
Select the first attorney to run the report for.
7
Click Print.
8
Ensure the output is set to Excel and click OK.
Part 2: Set Up the Master Excel Workbook
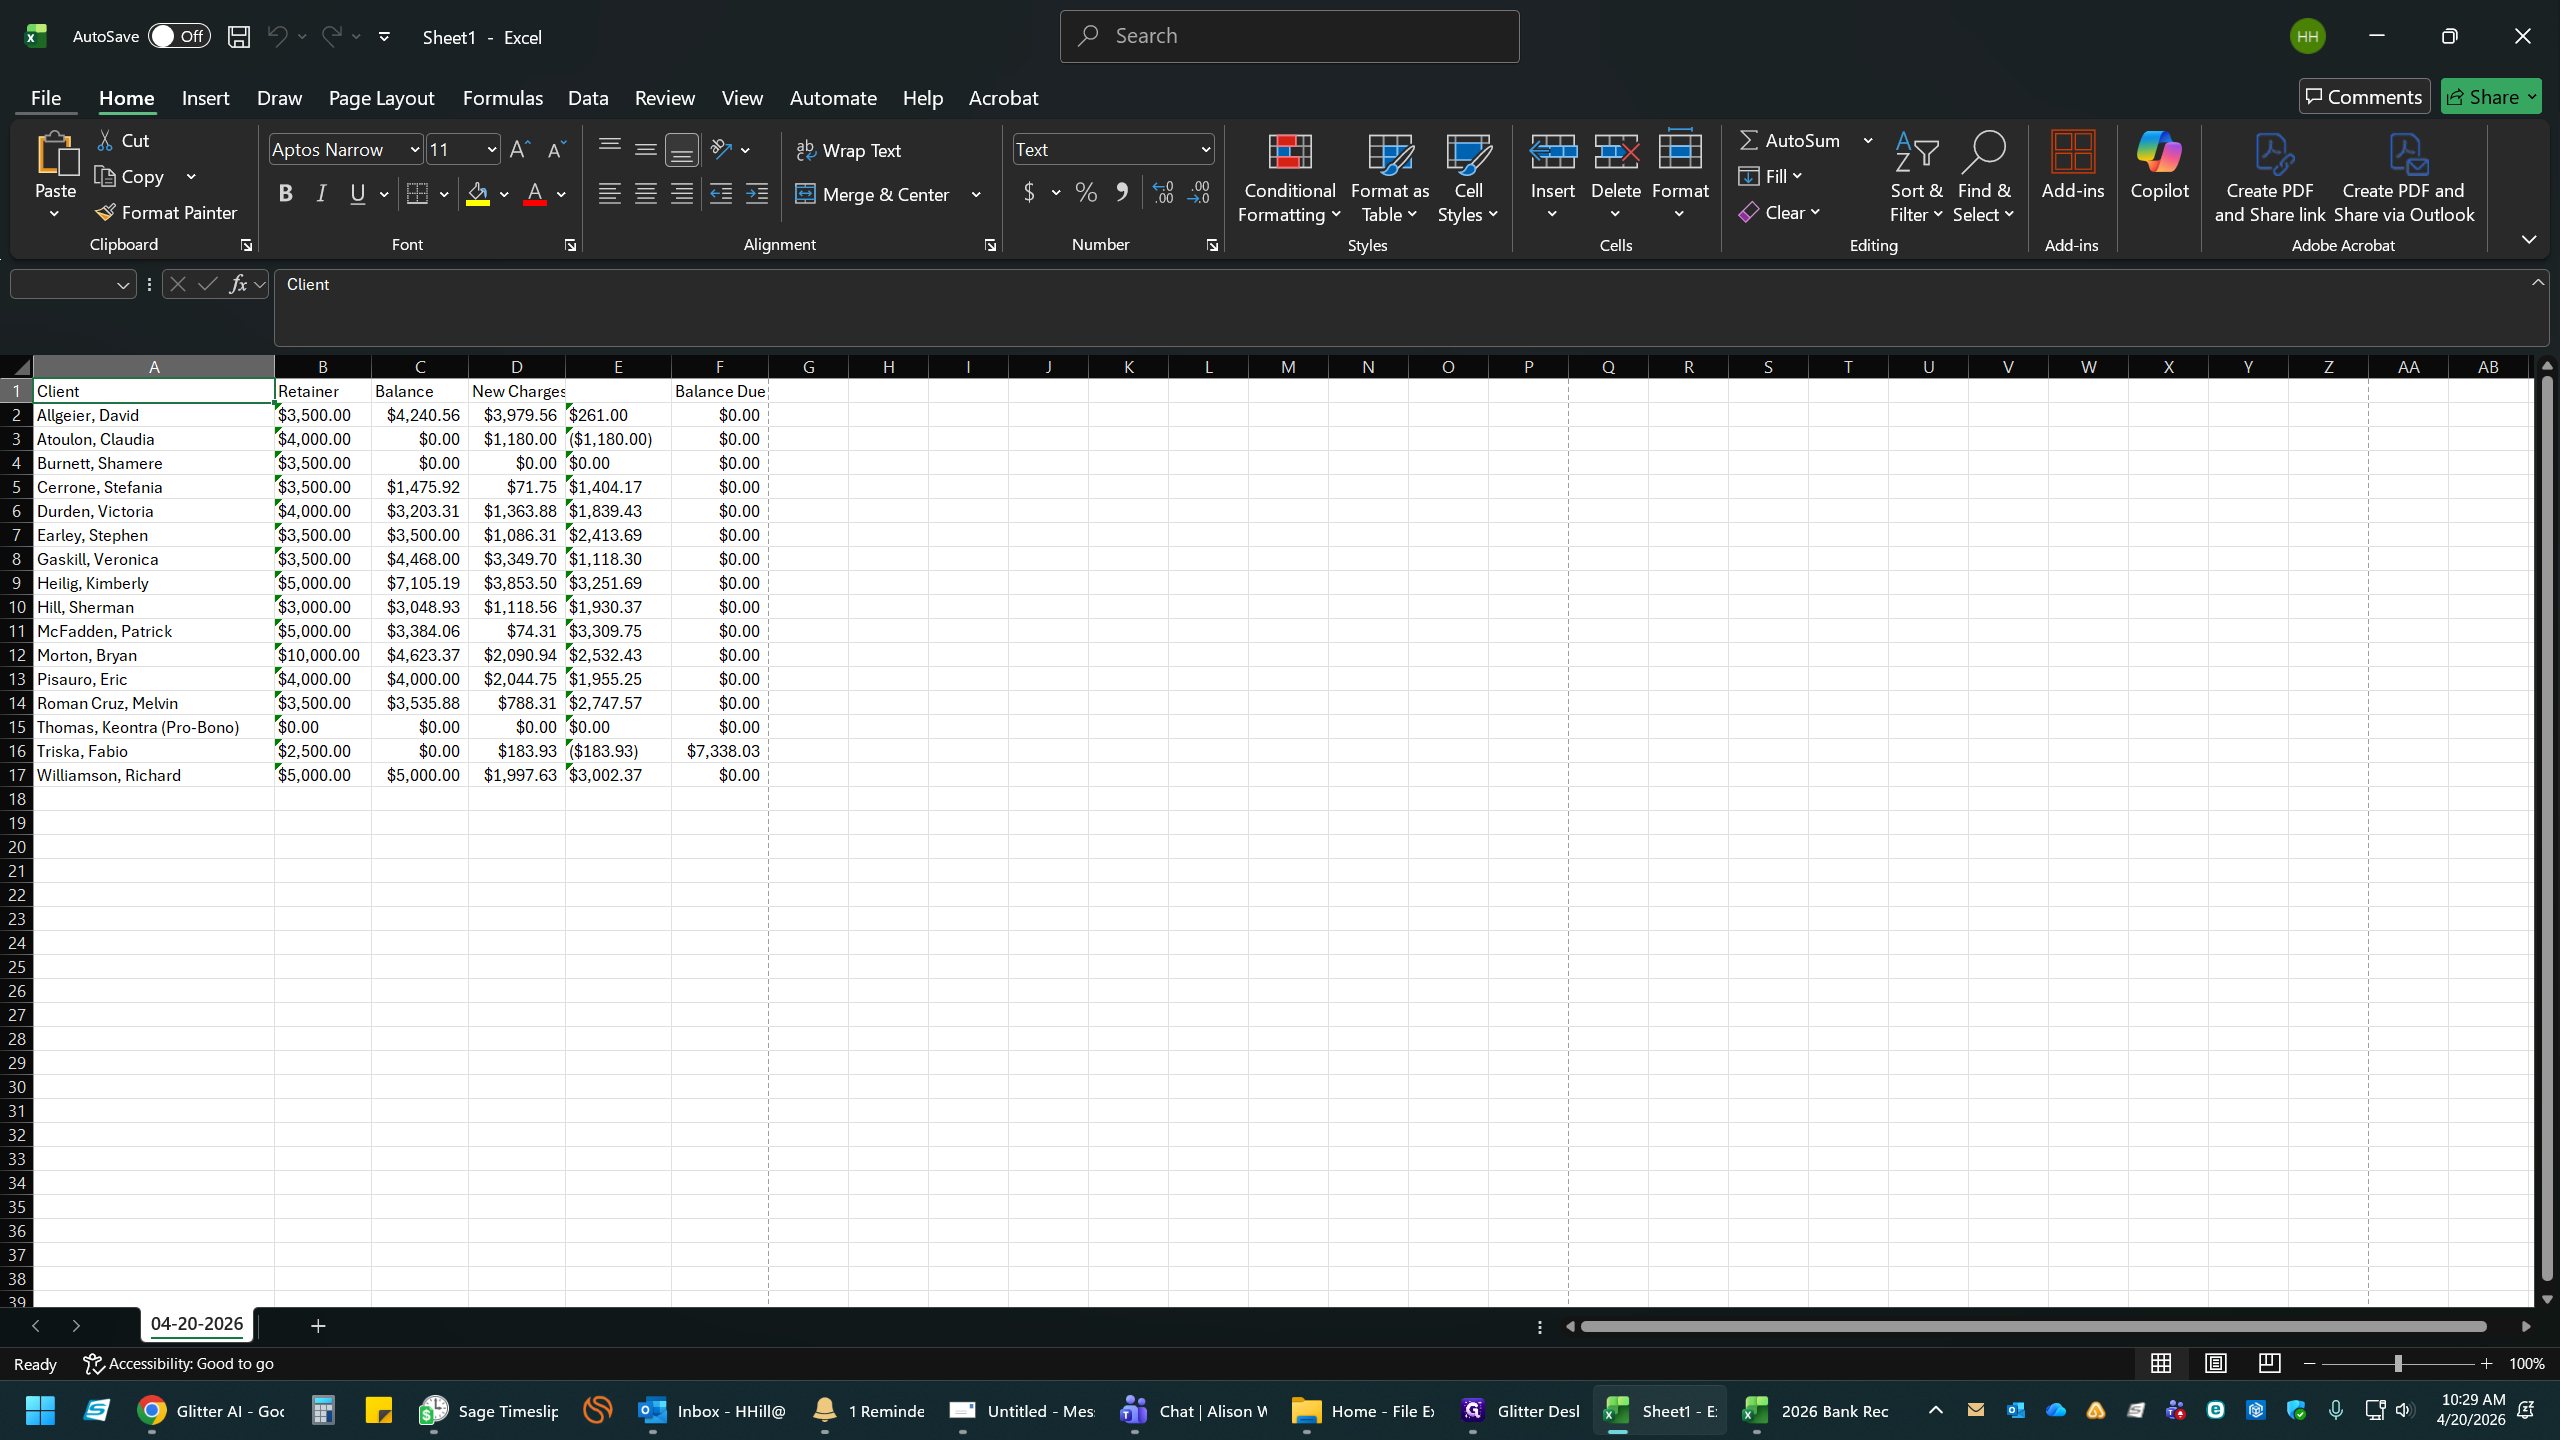
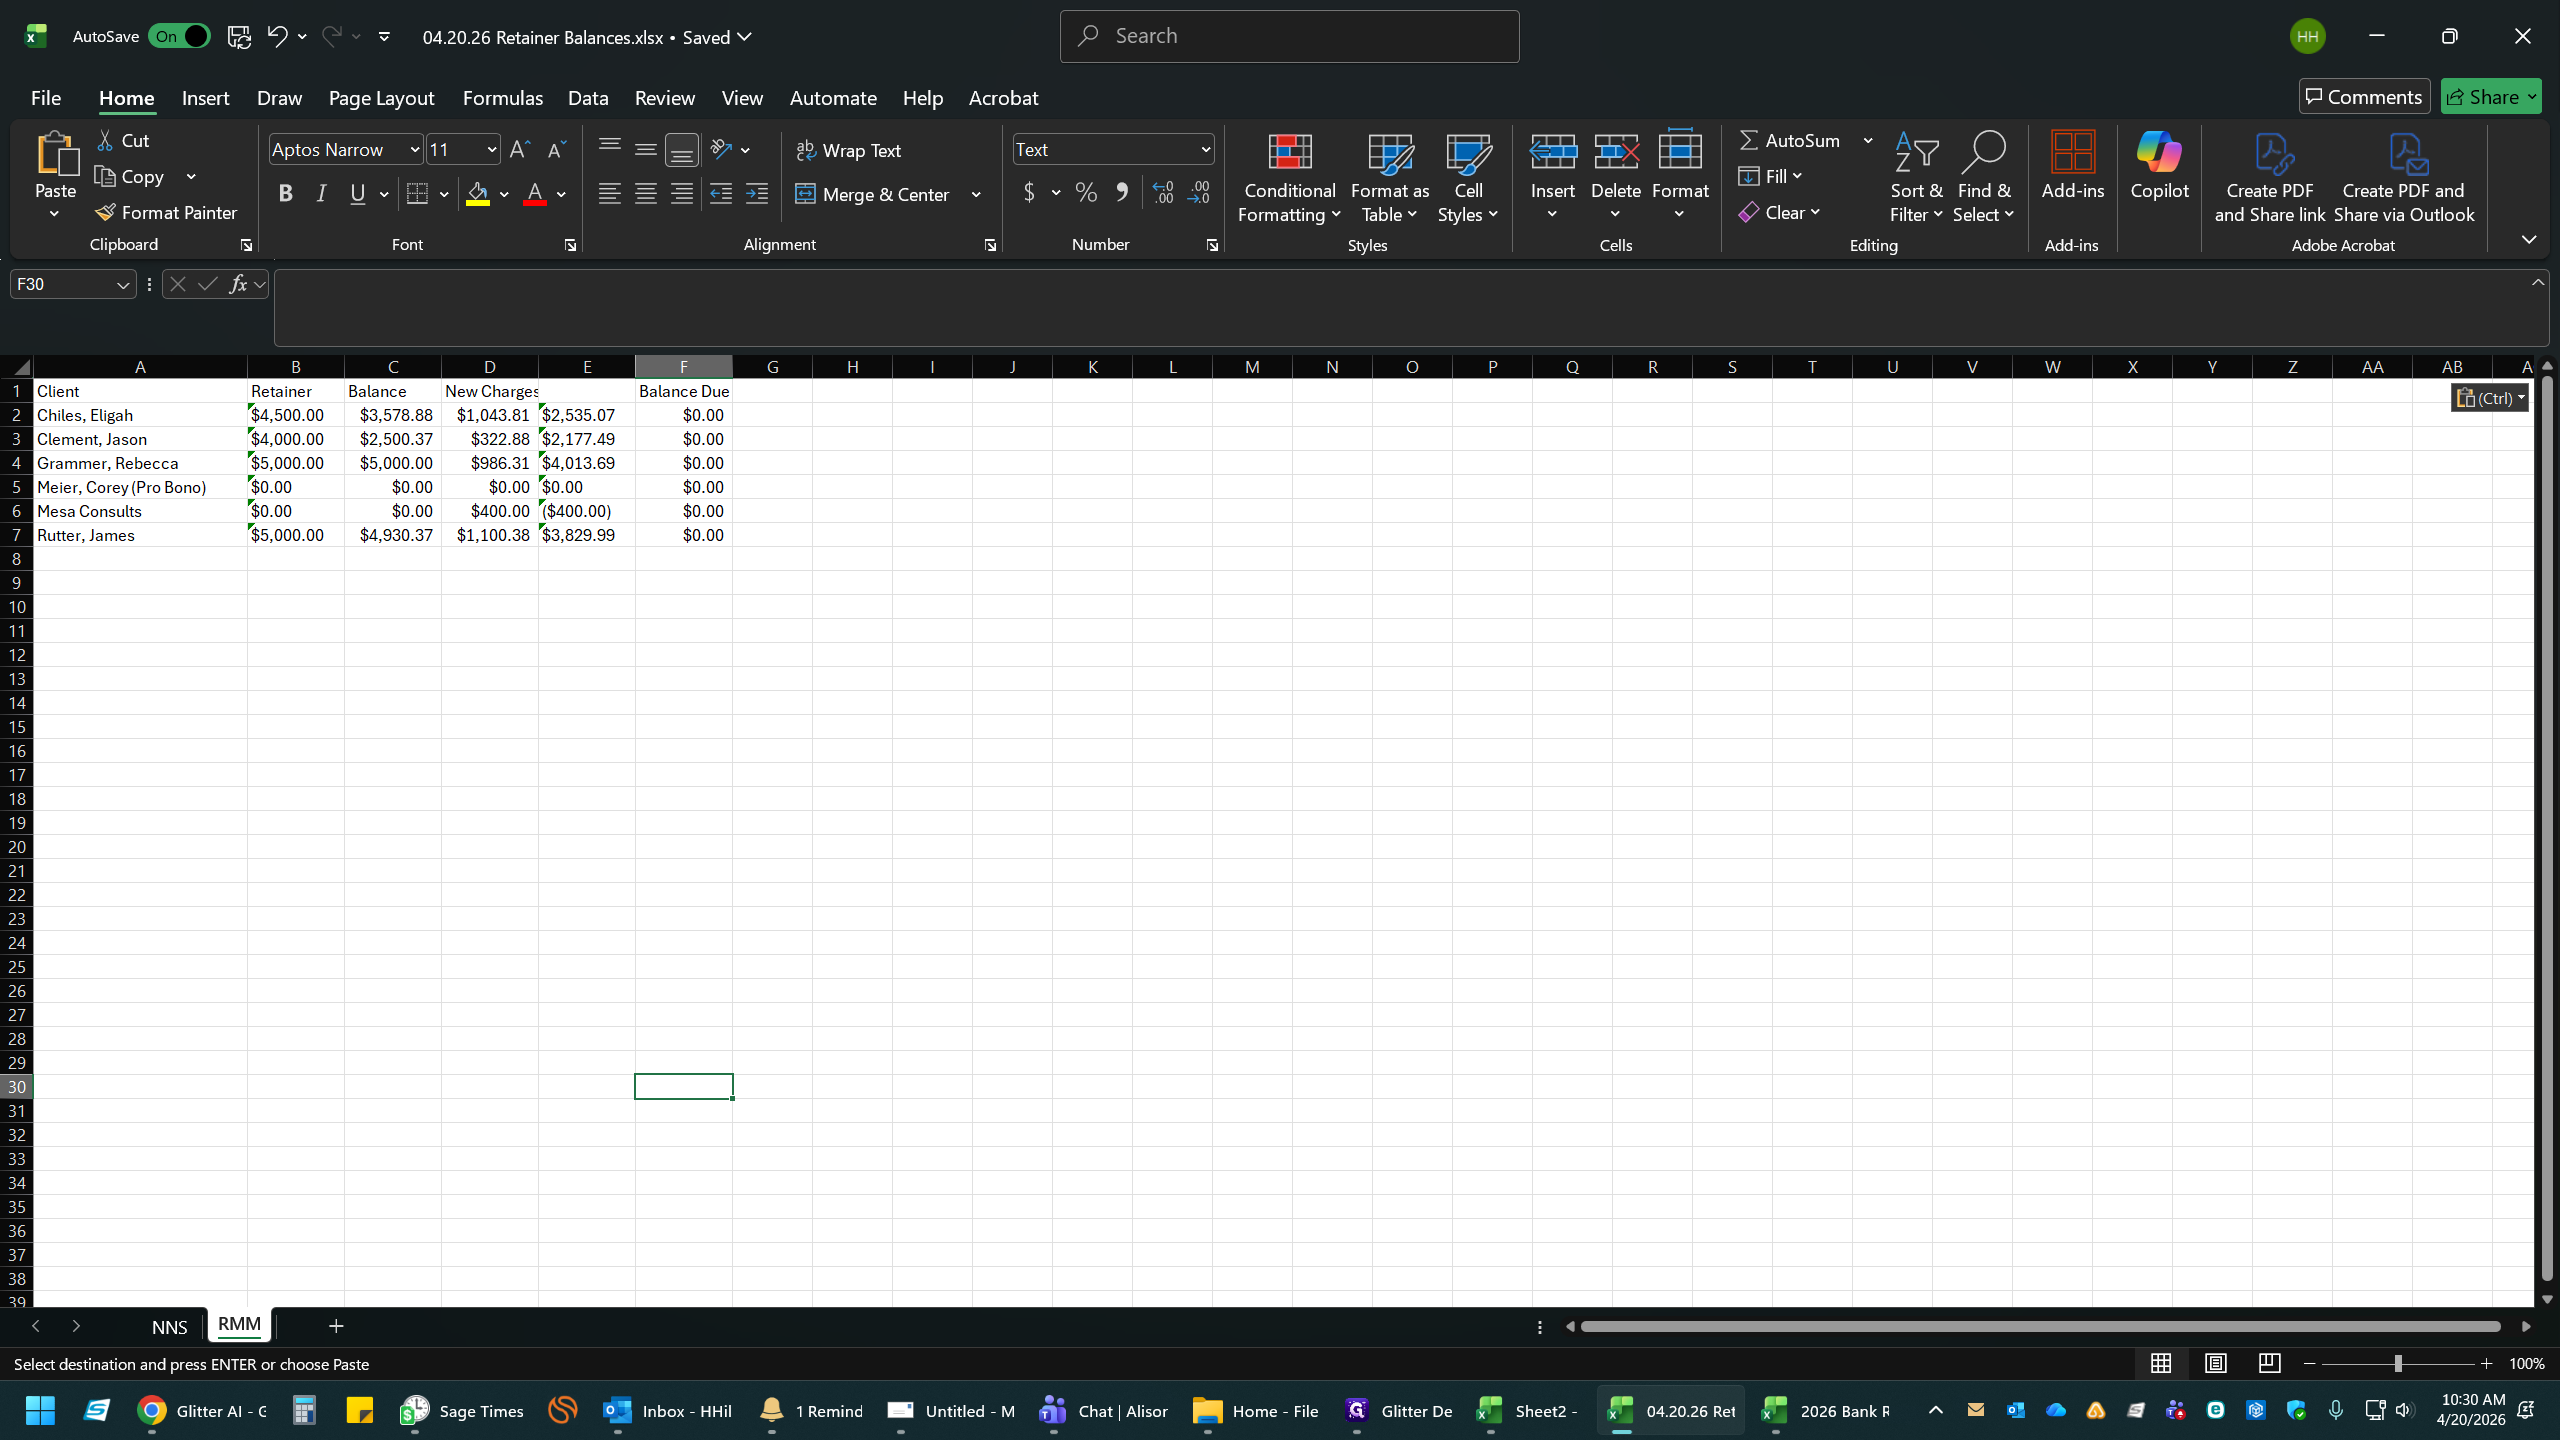
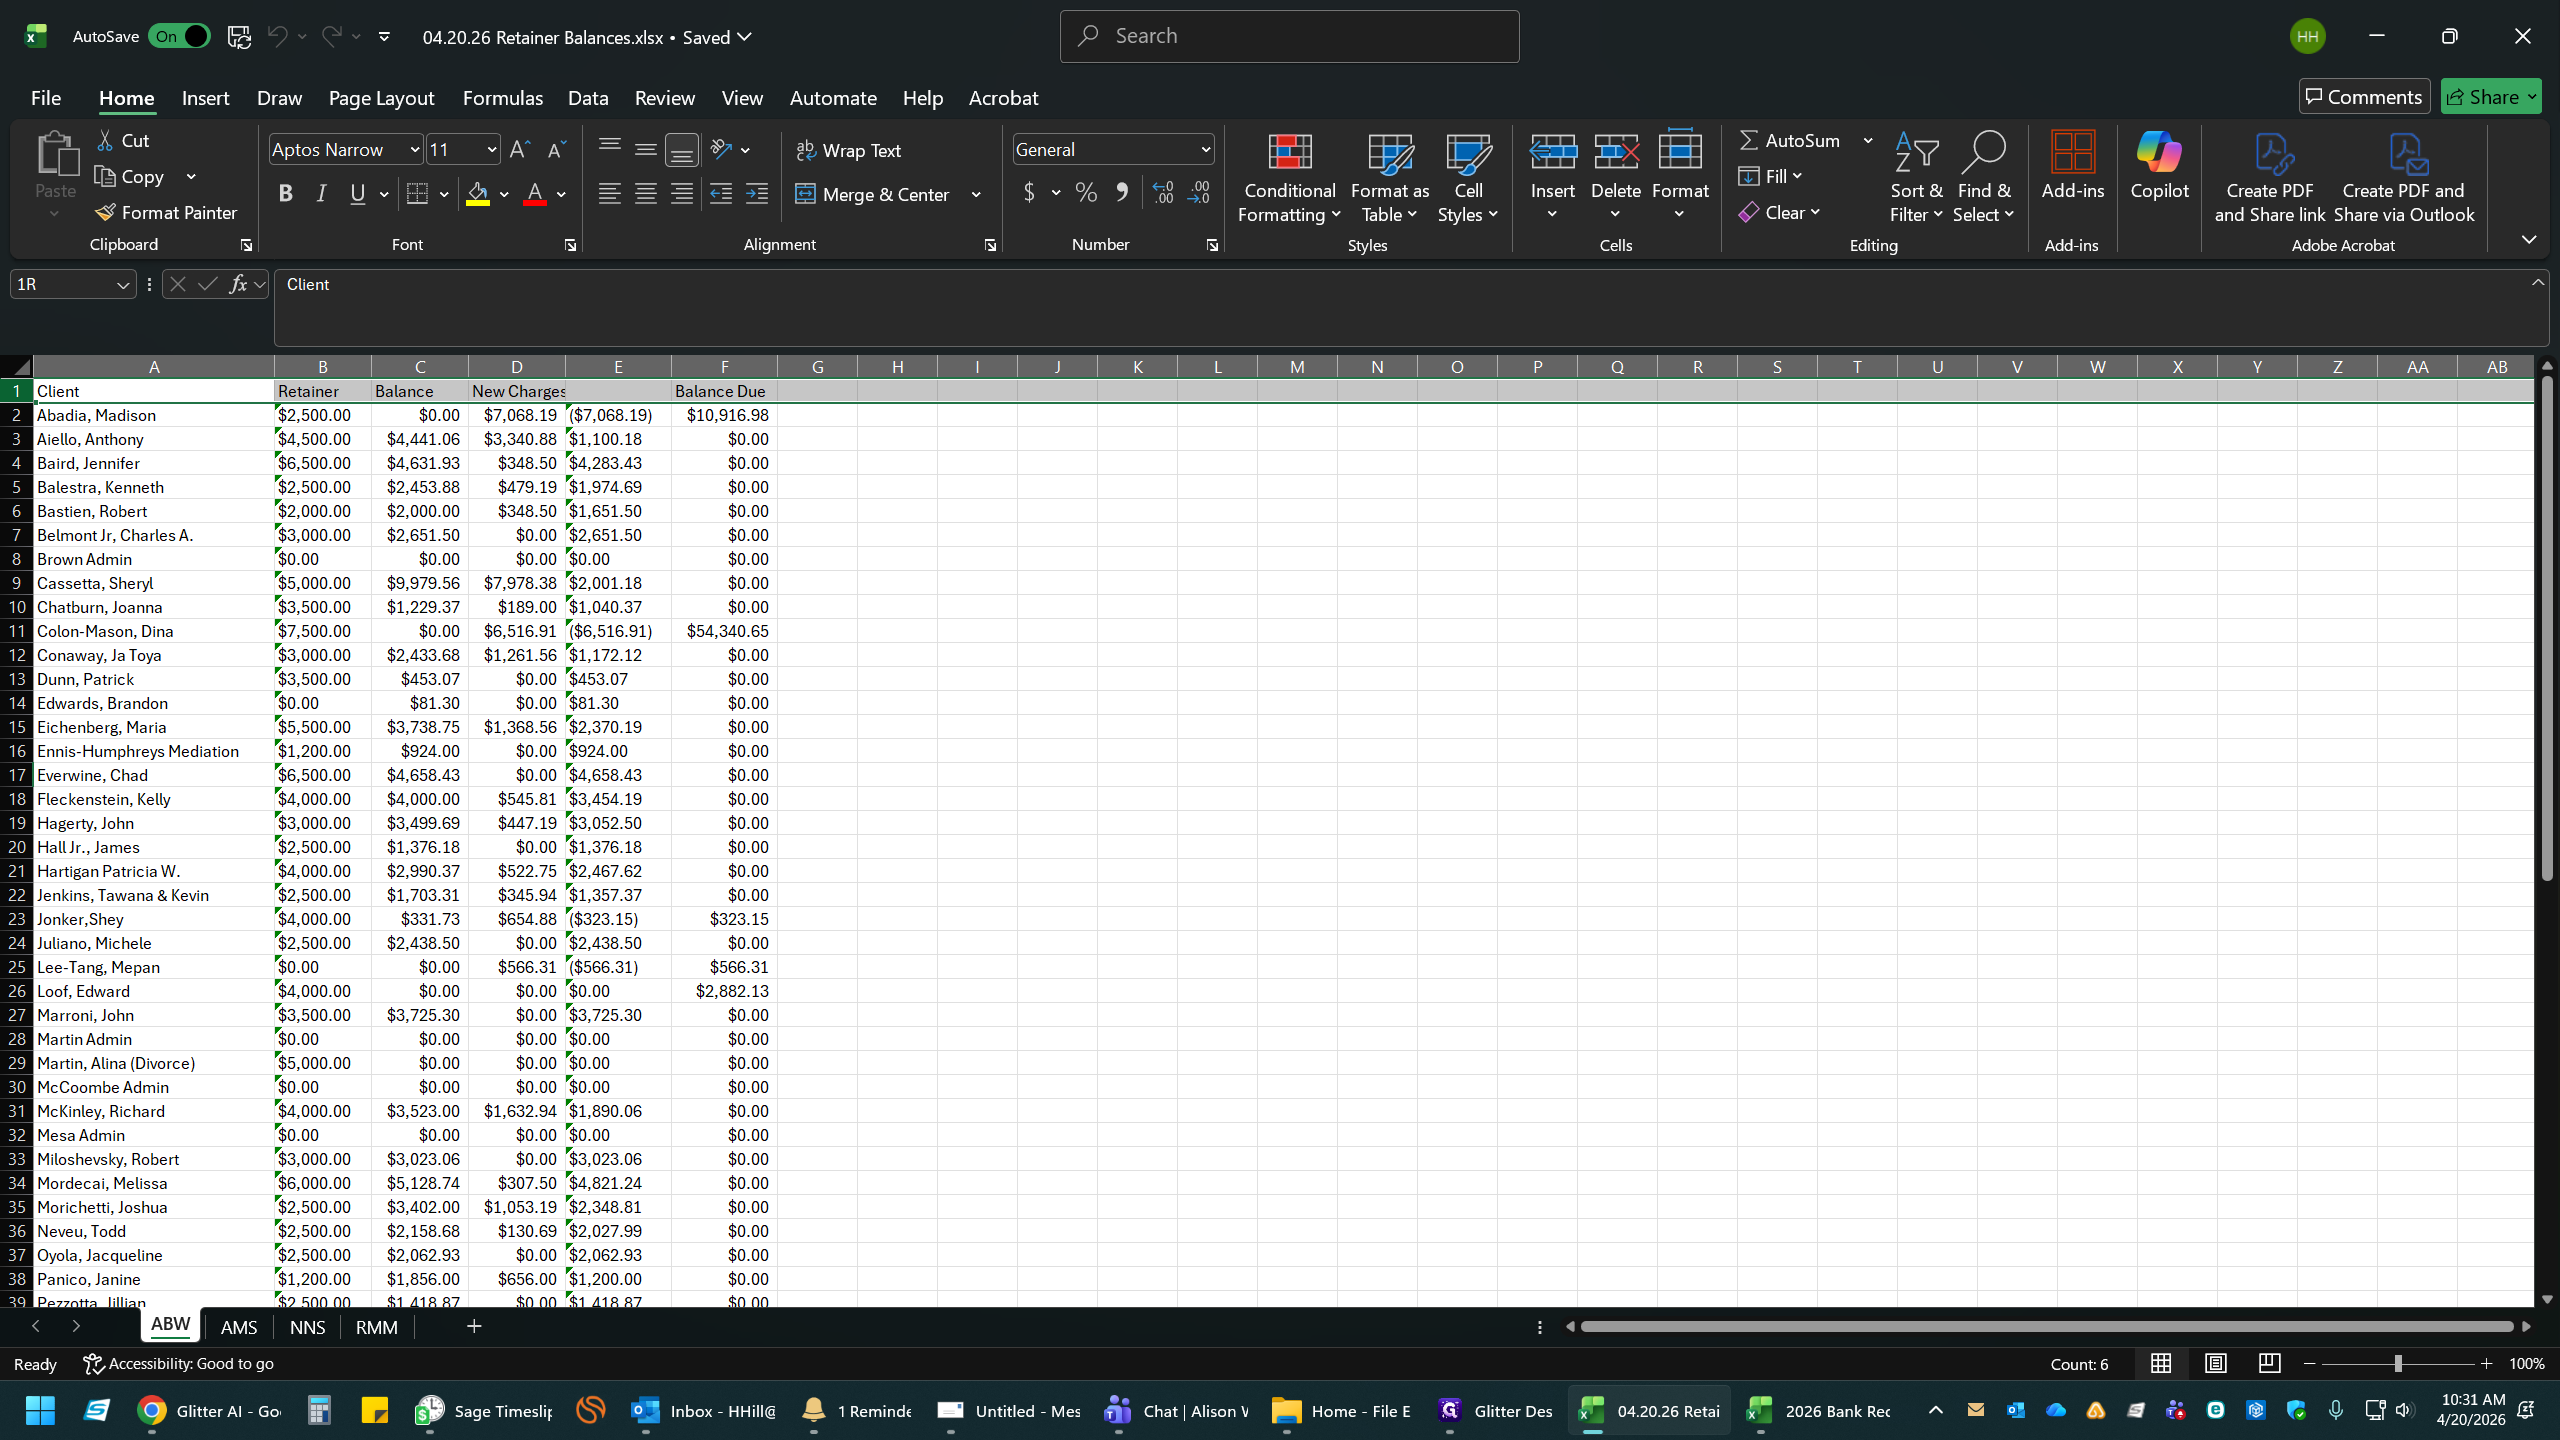
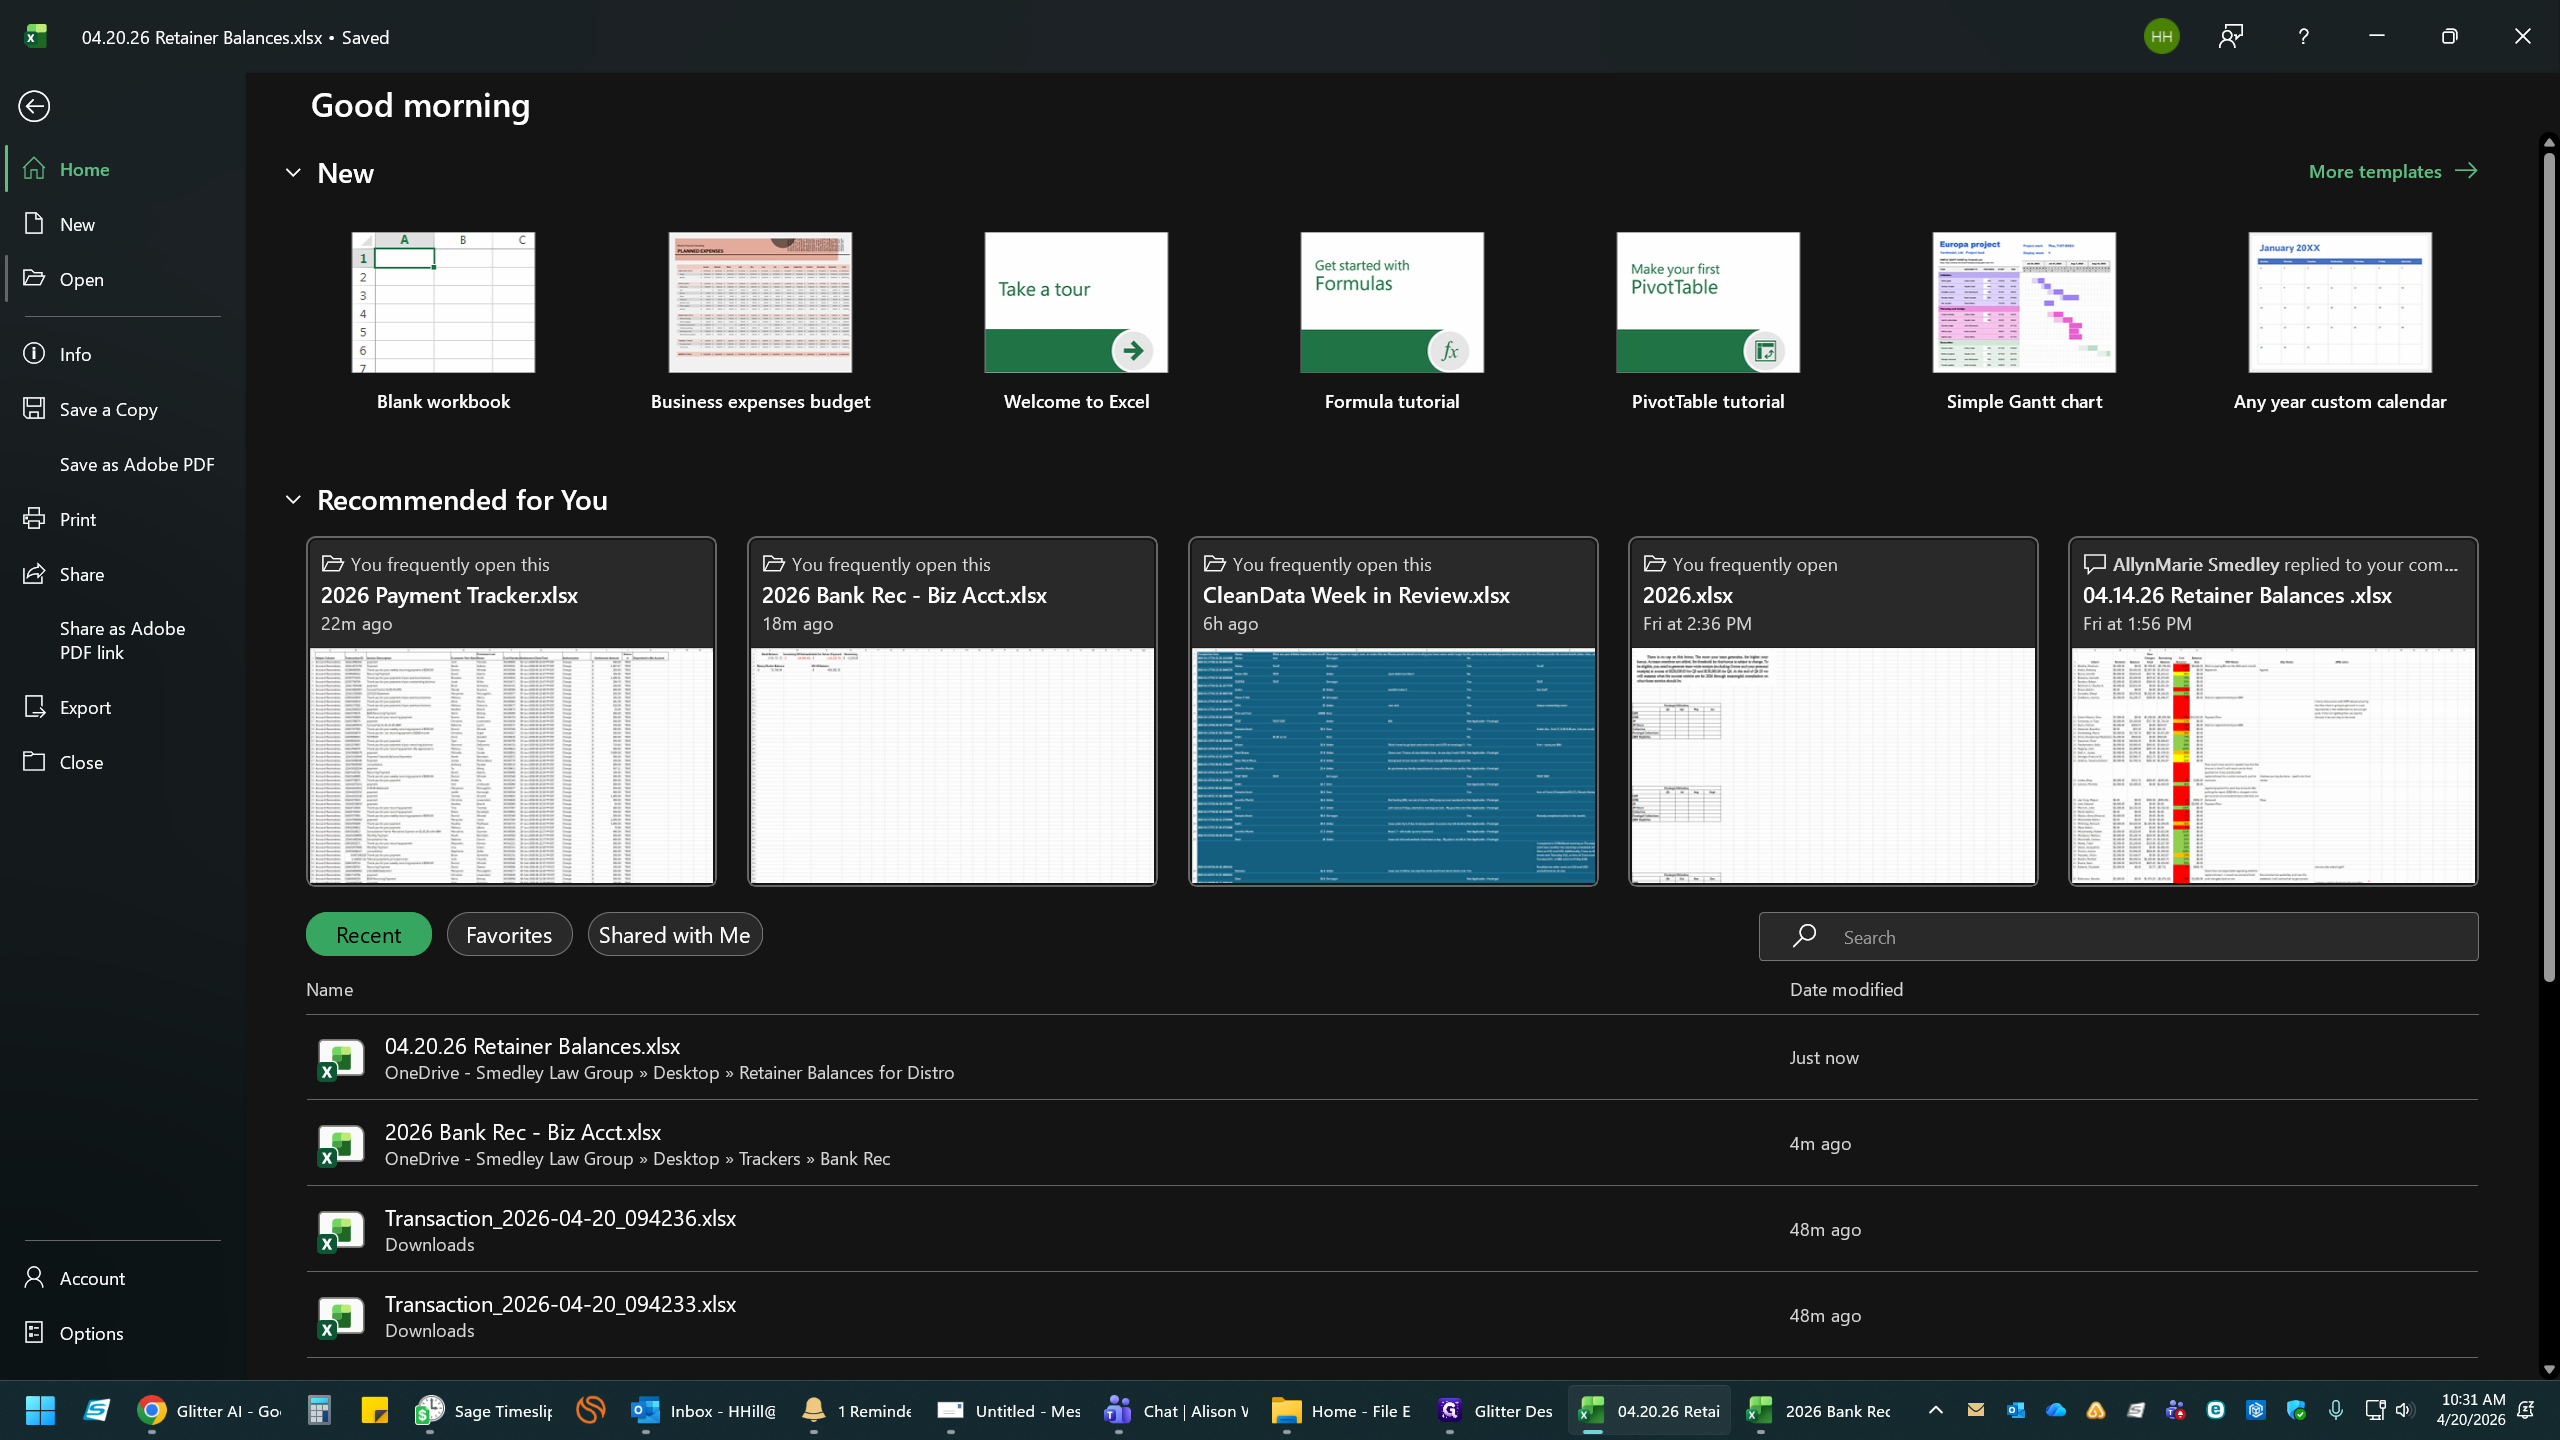
The exported report will open in a temporary Excel file. You need to save this as your master workbook for the week.
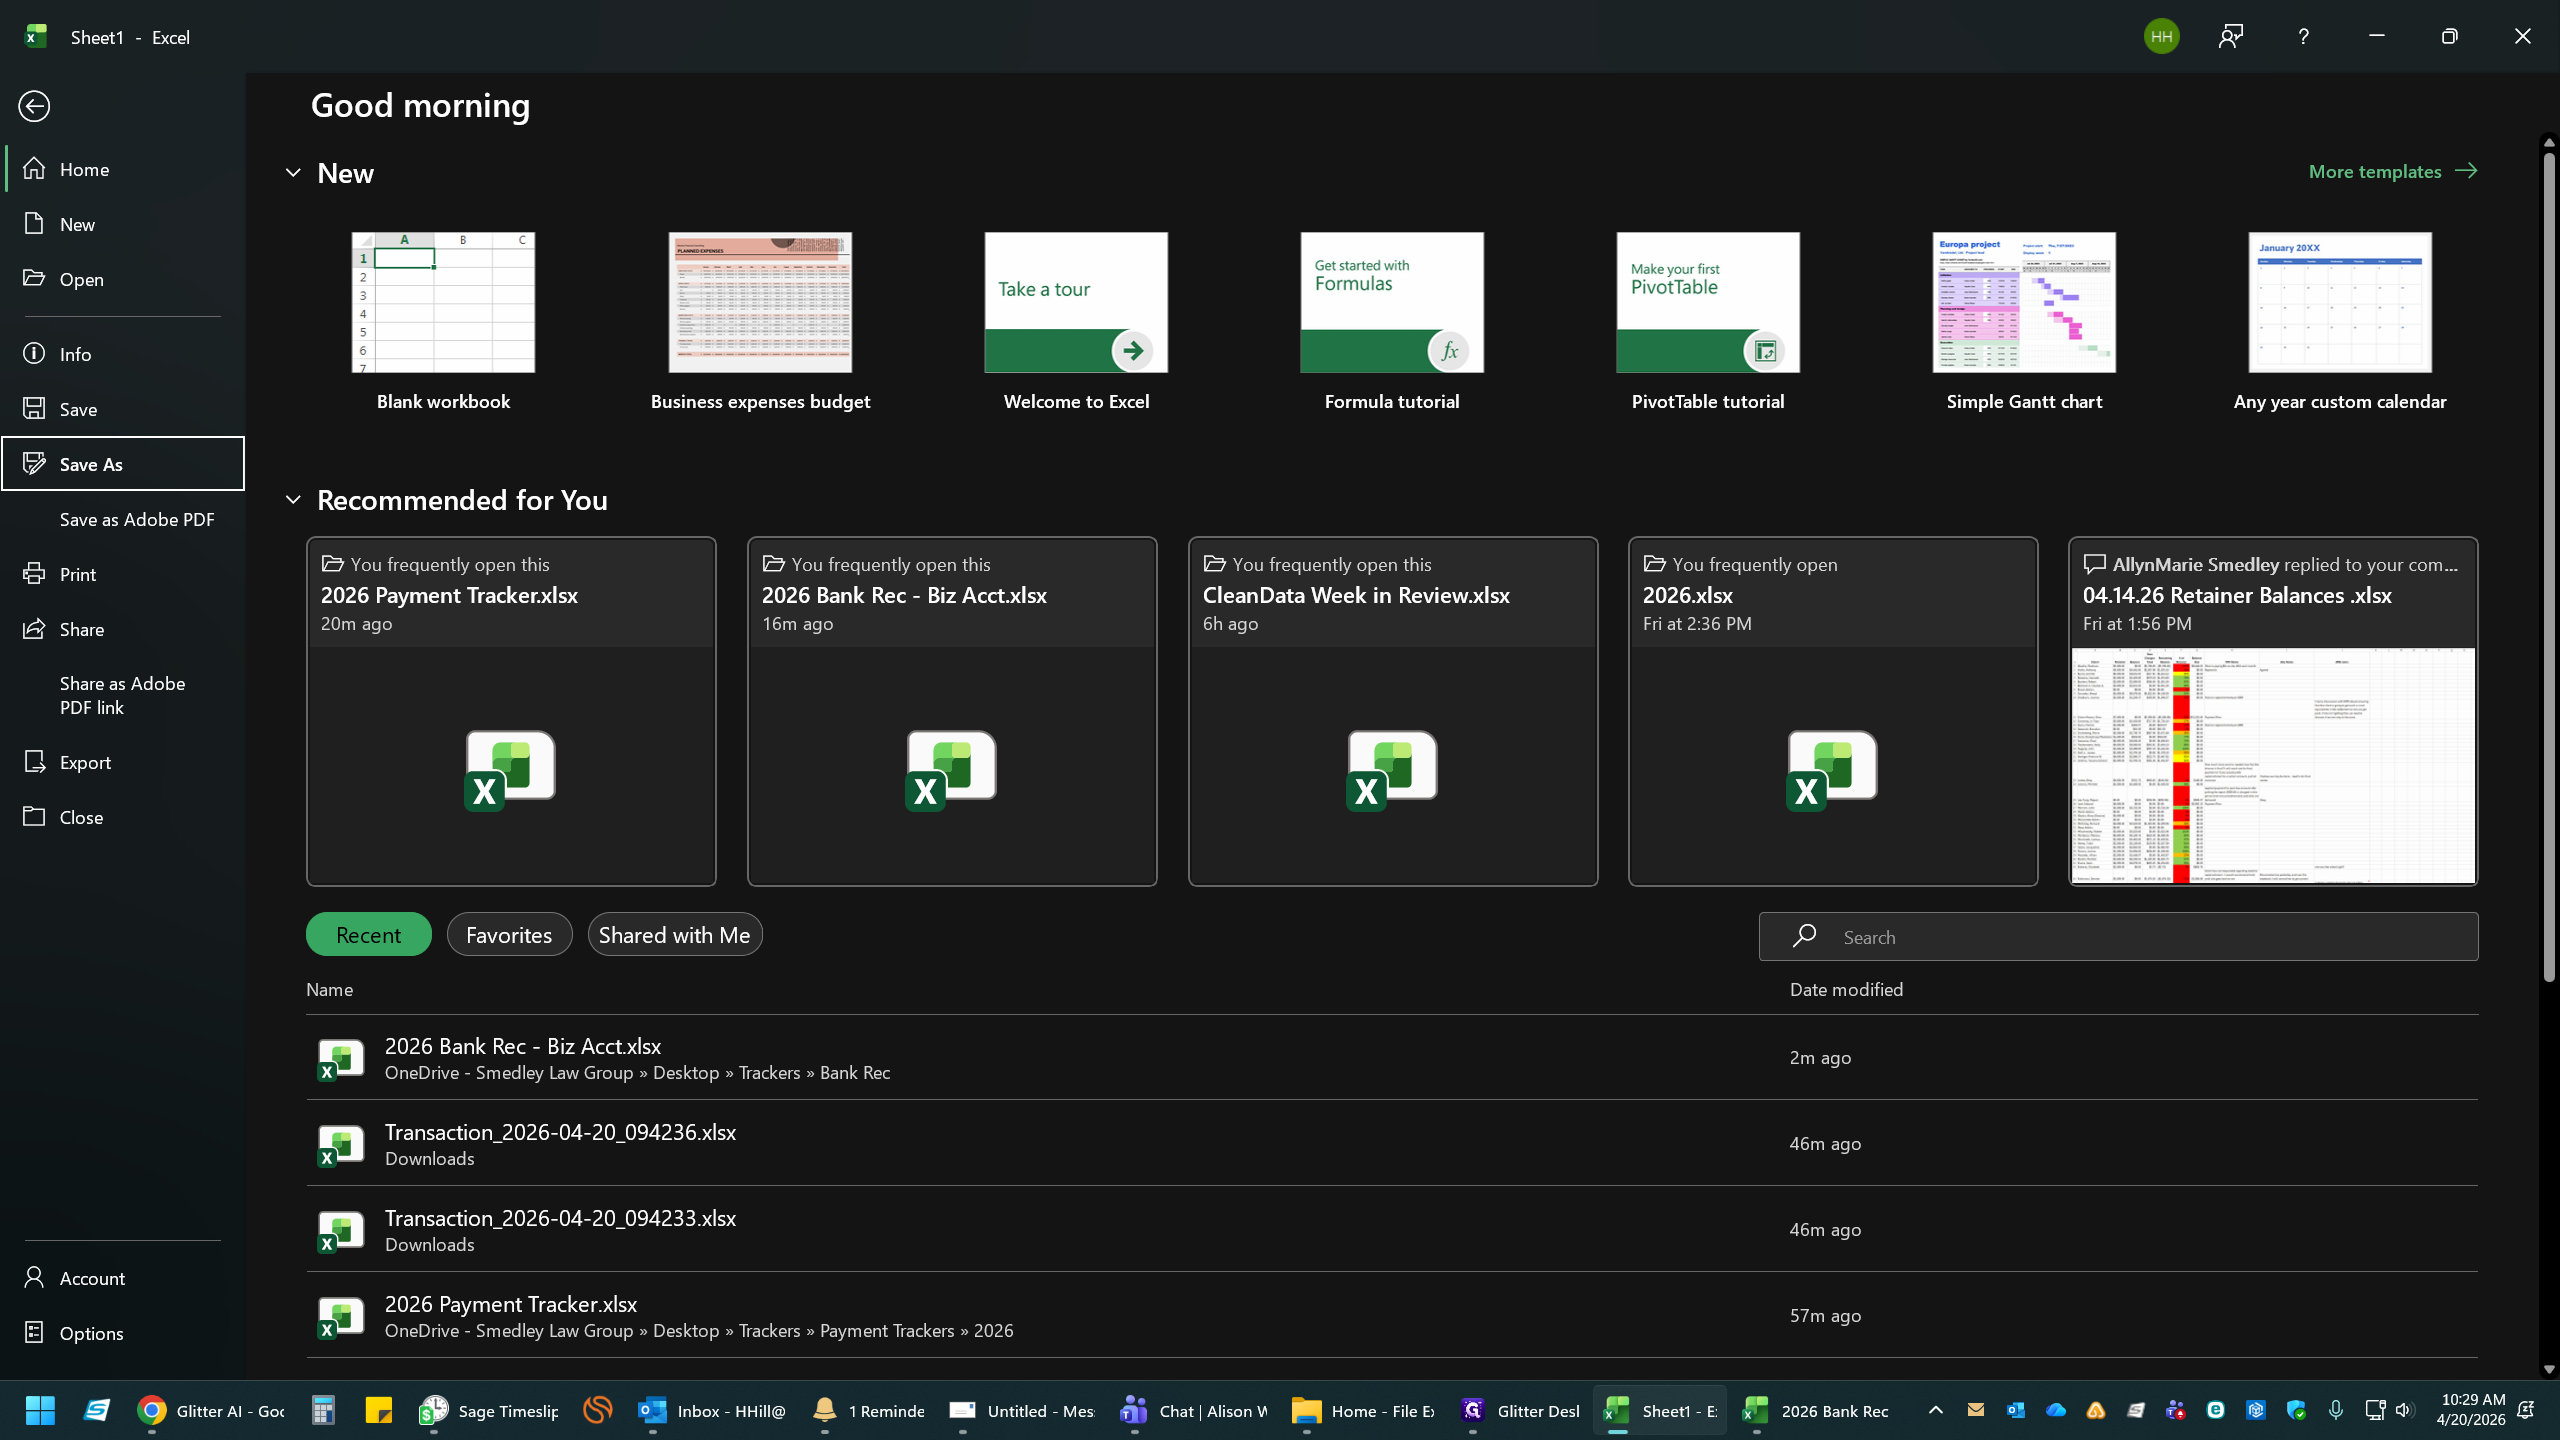
9
In the generated Excel file, click File.
10
Click Save As.
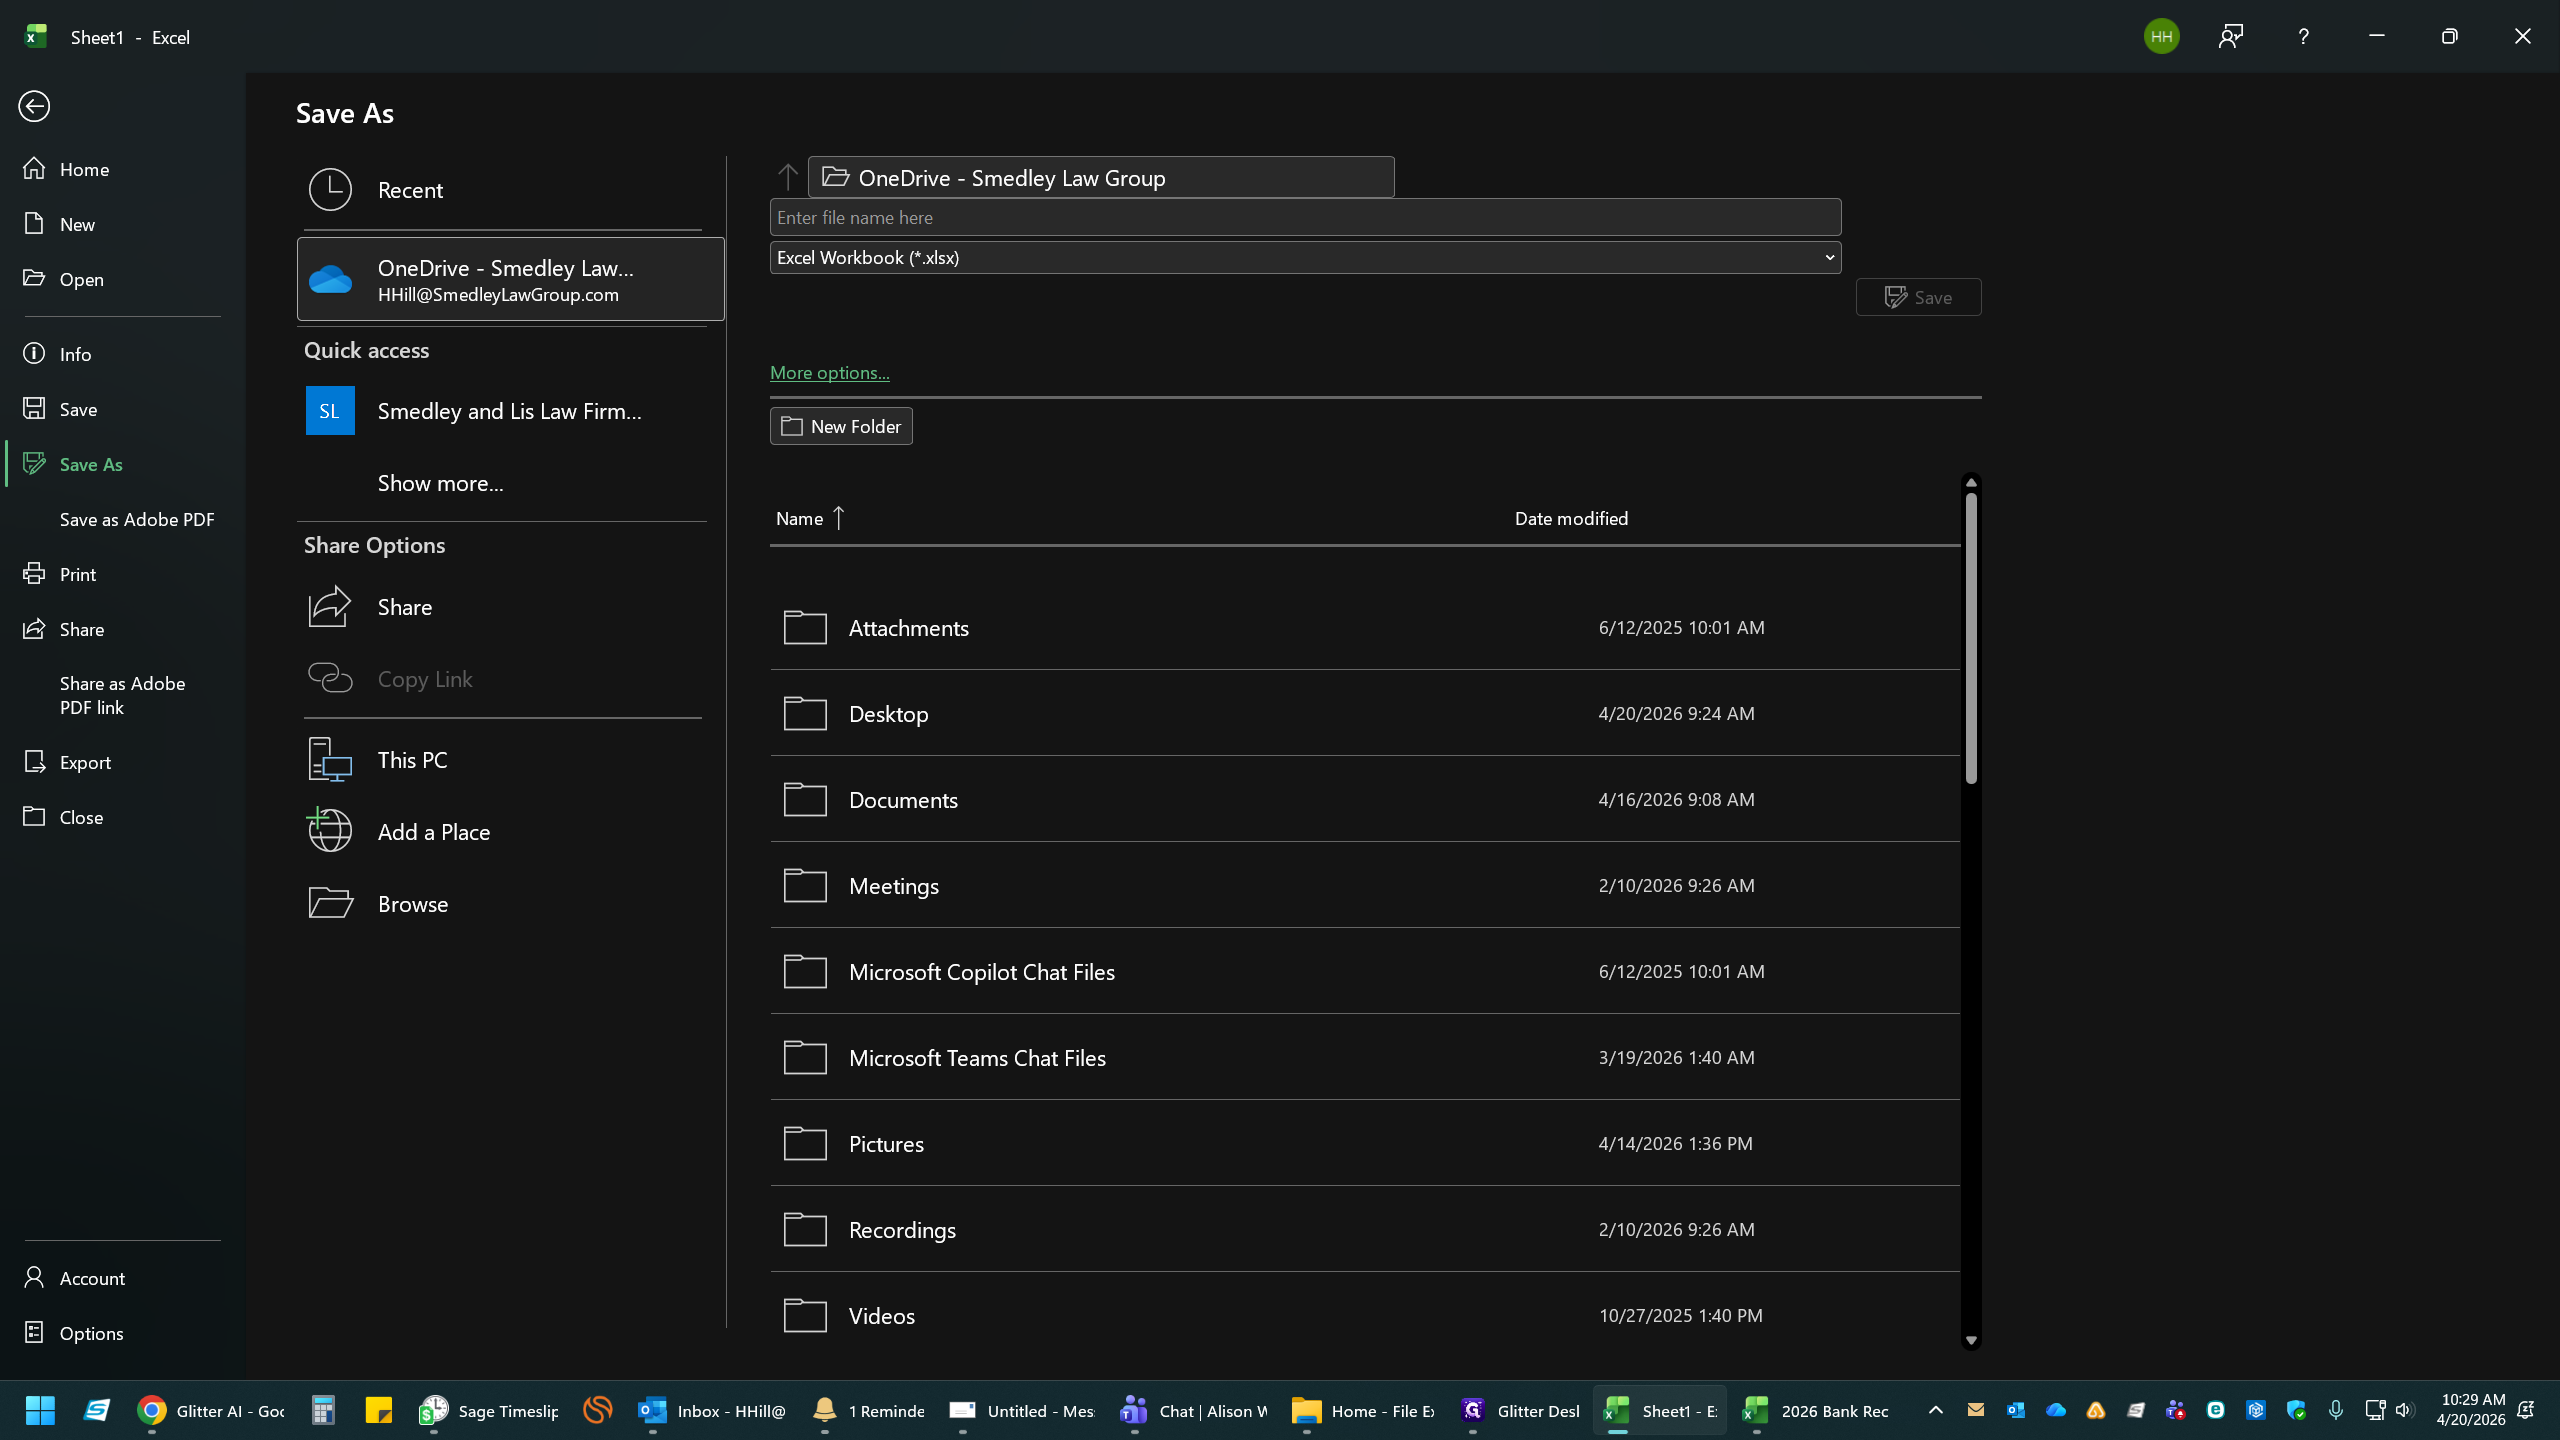
11
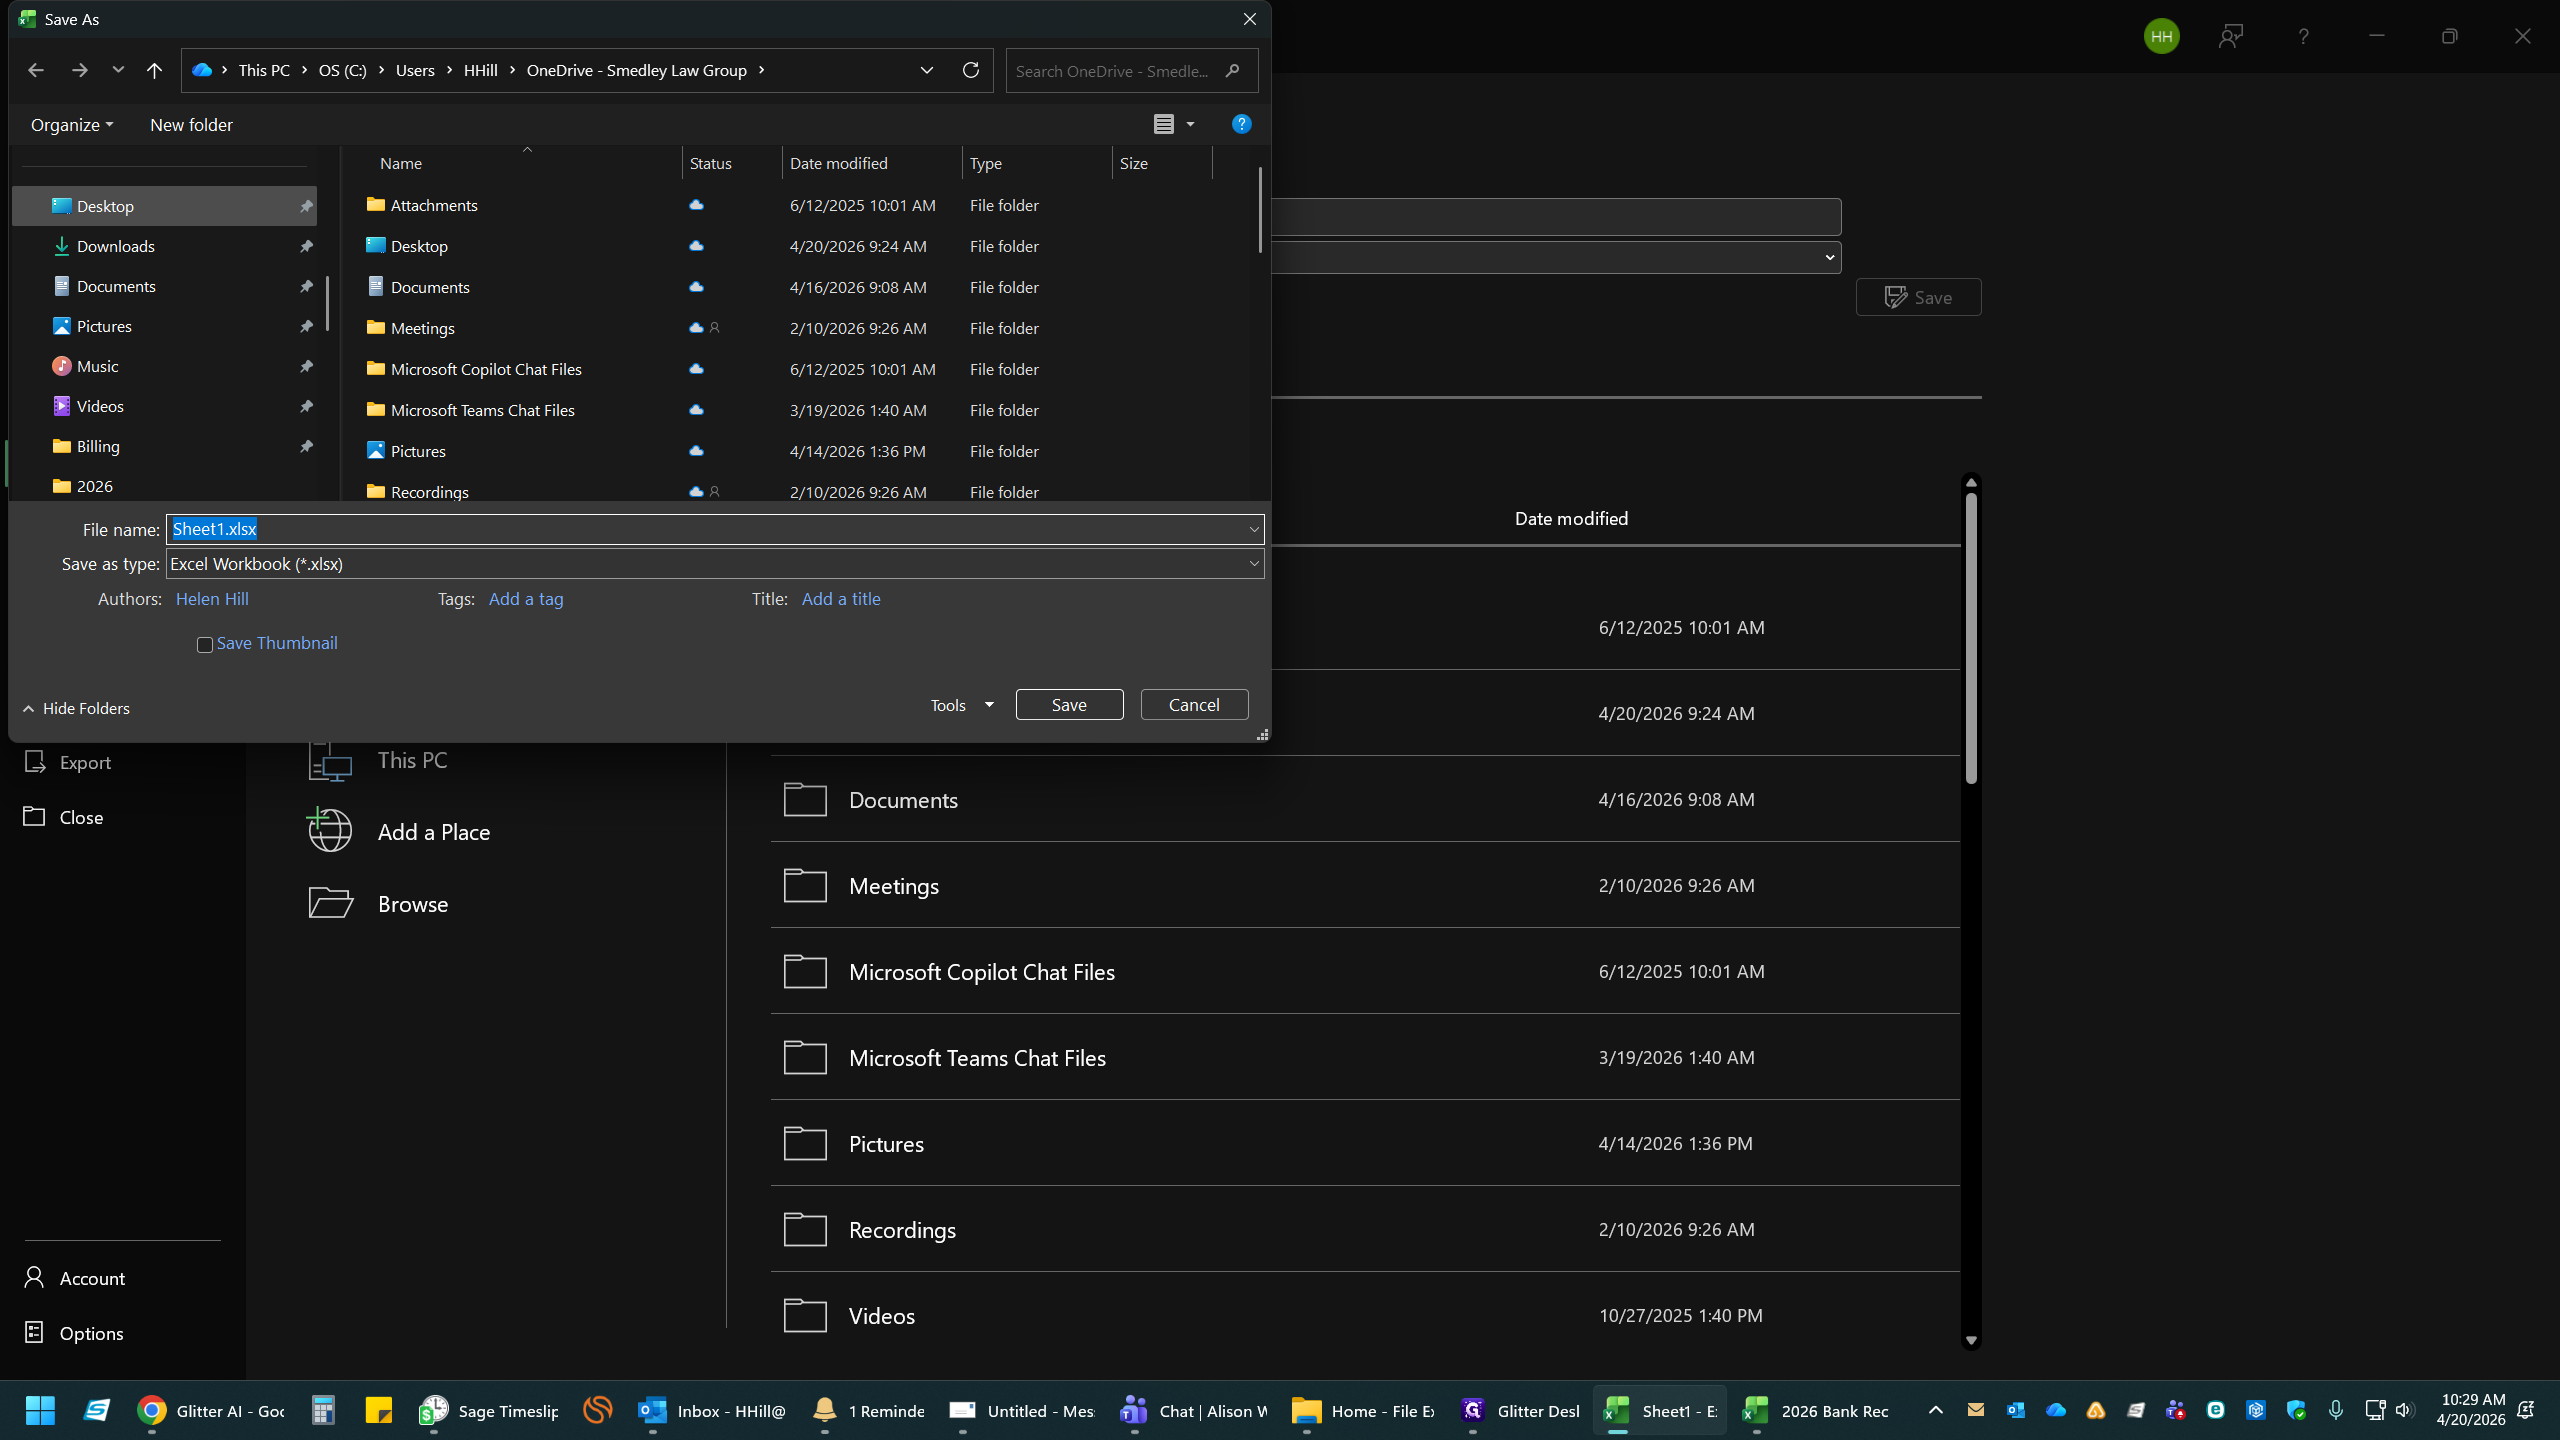
Select your designated save location (e.g., OneDrive).
12
Navigate to your target folder, such as Desktop.
13
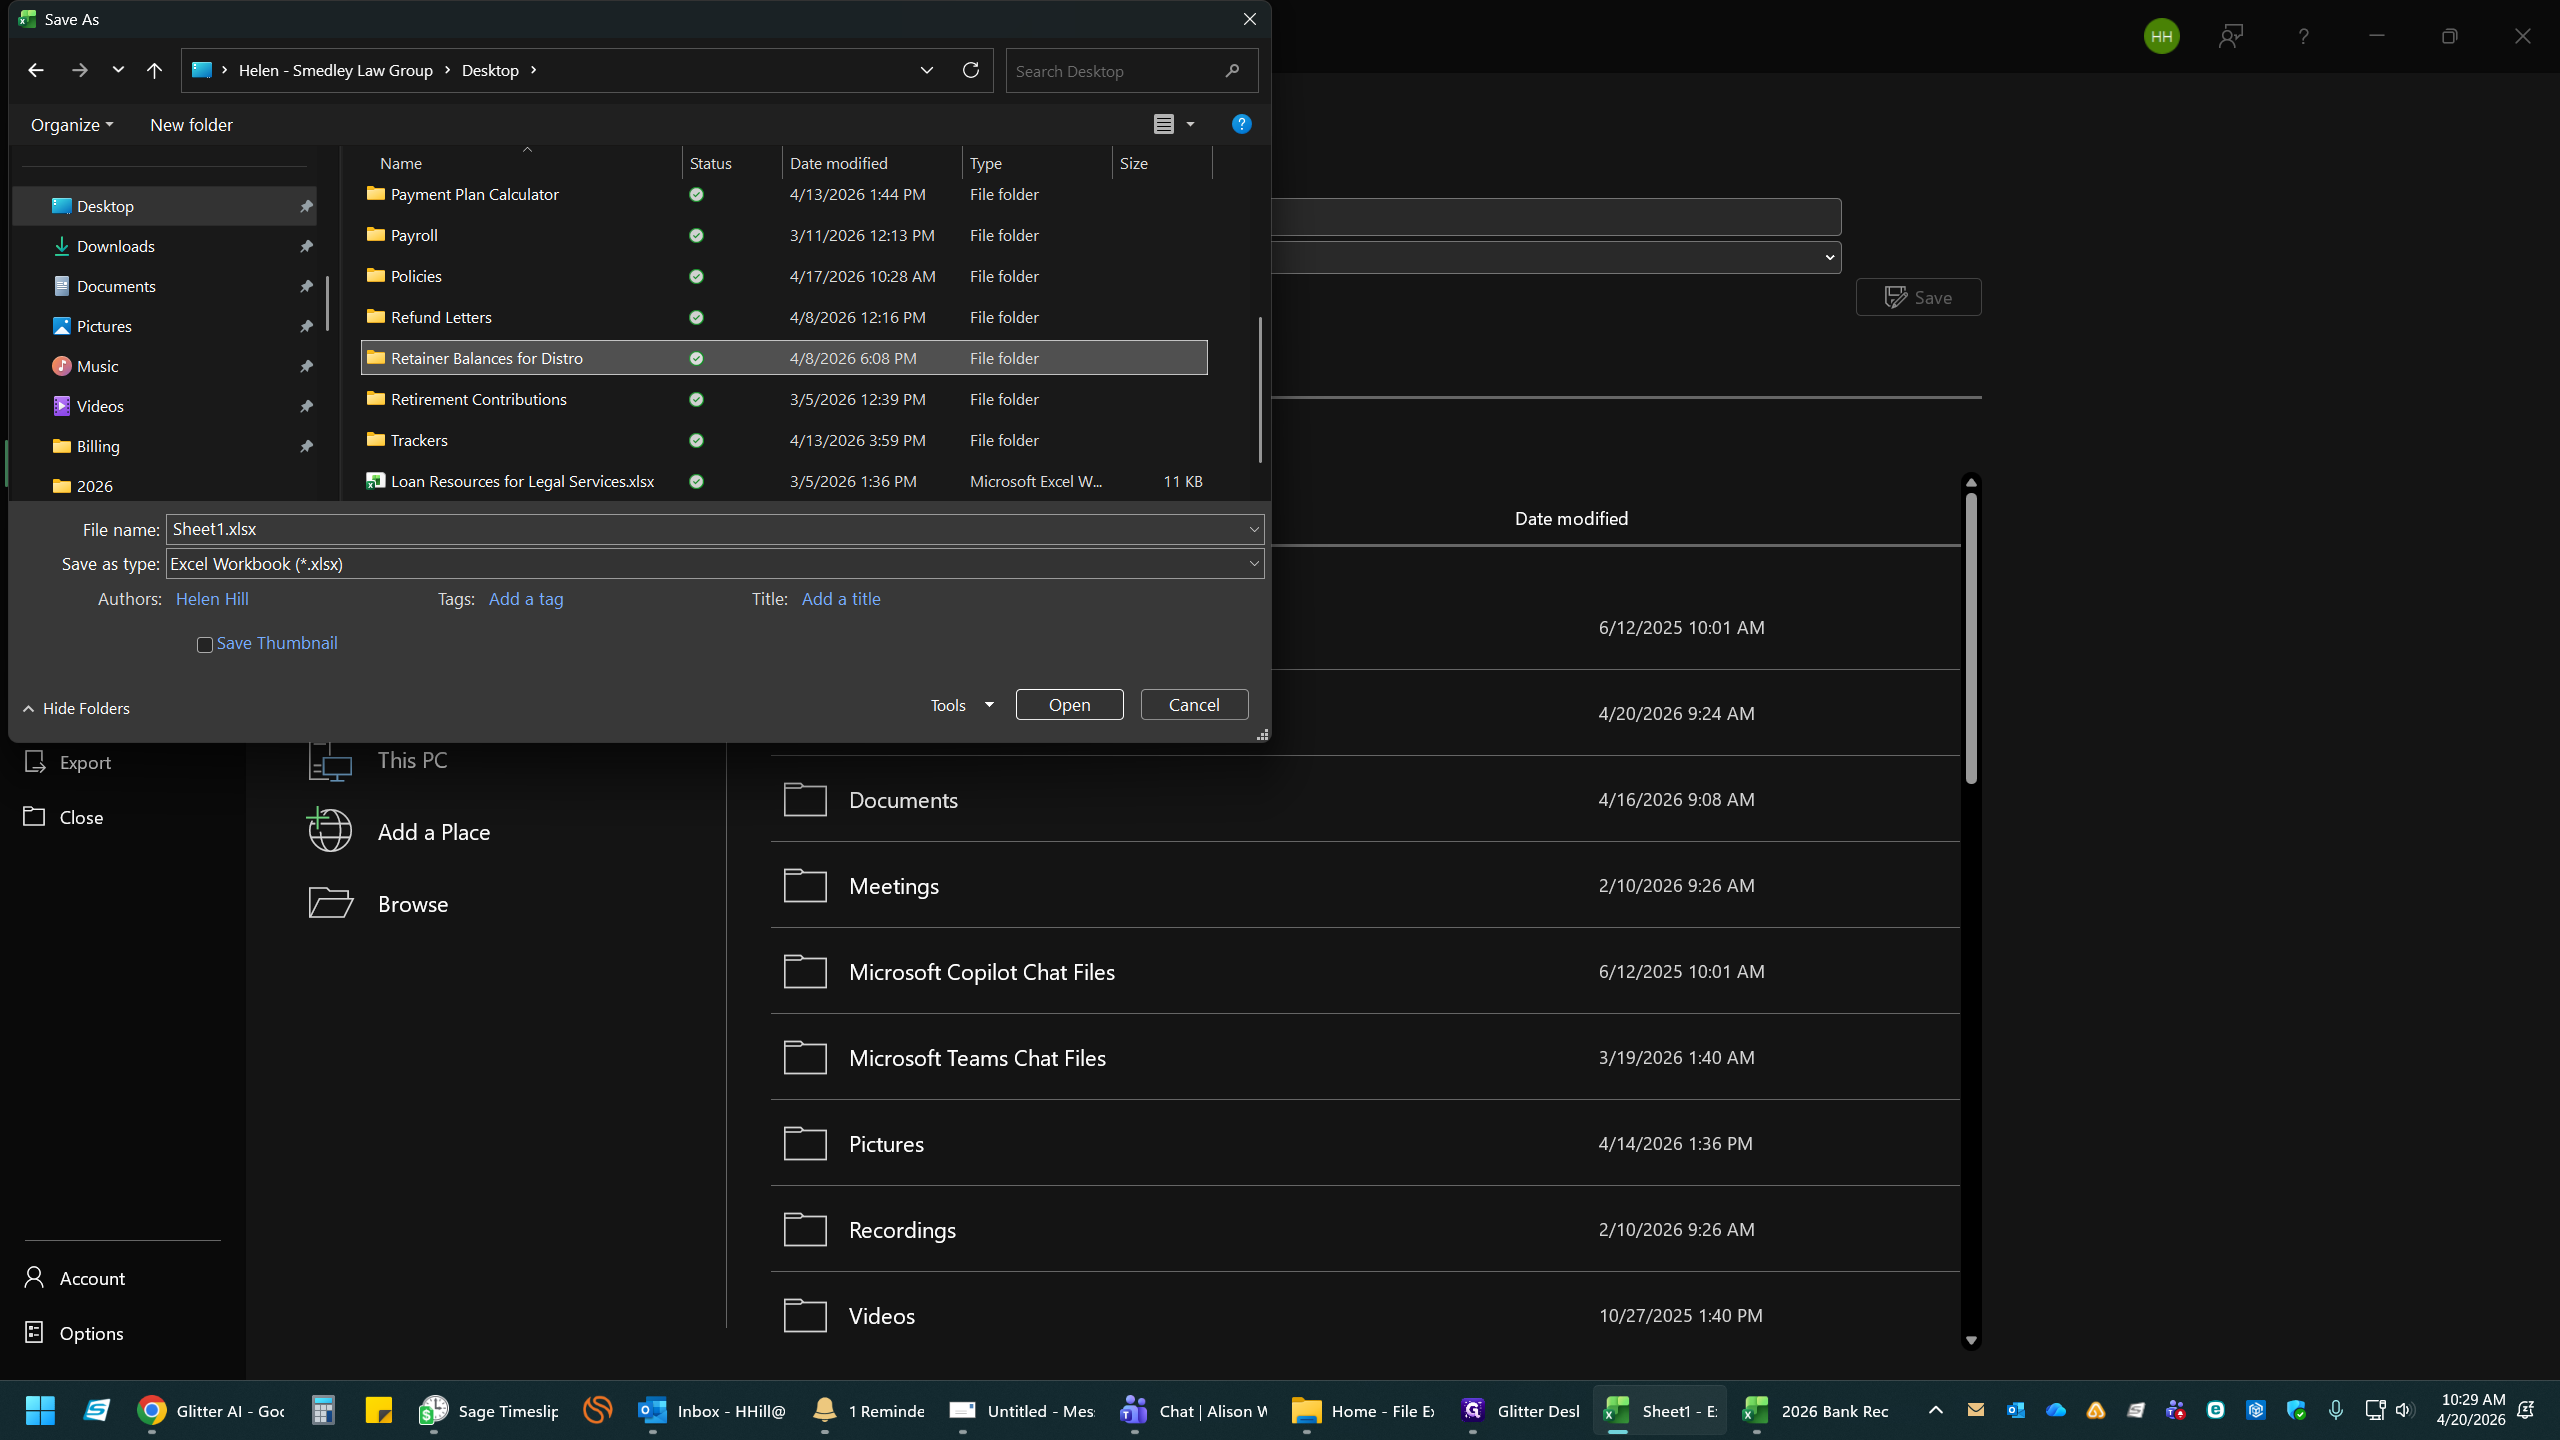
Double-click the Retainer Balances for Distro folder.
14
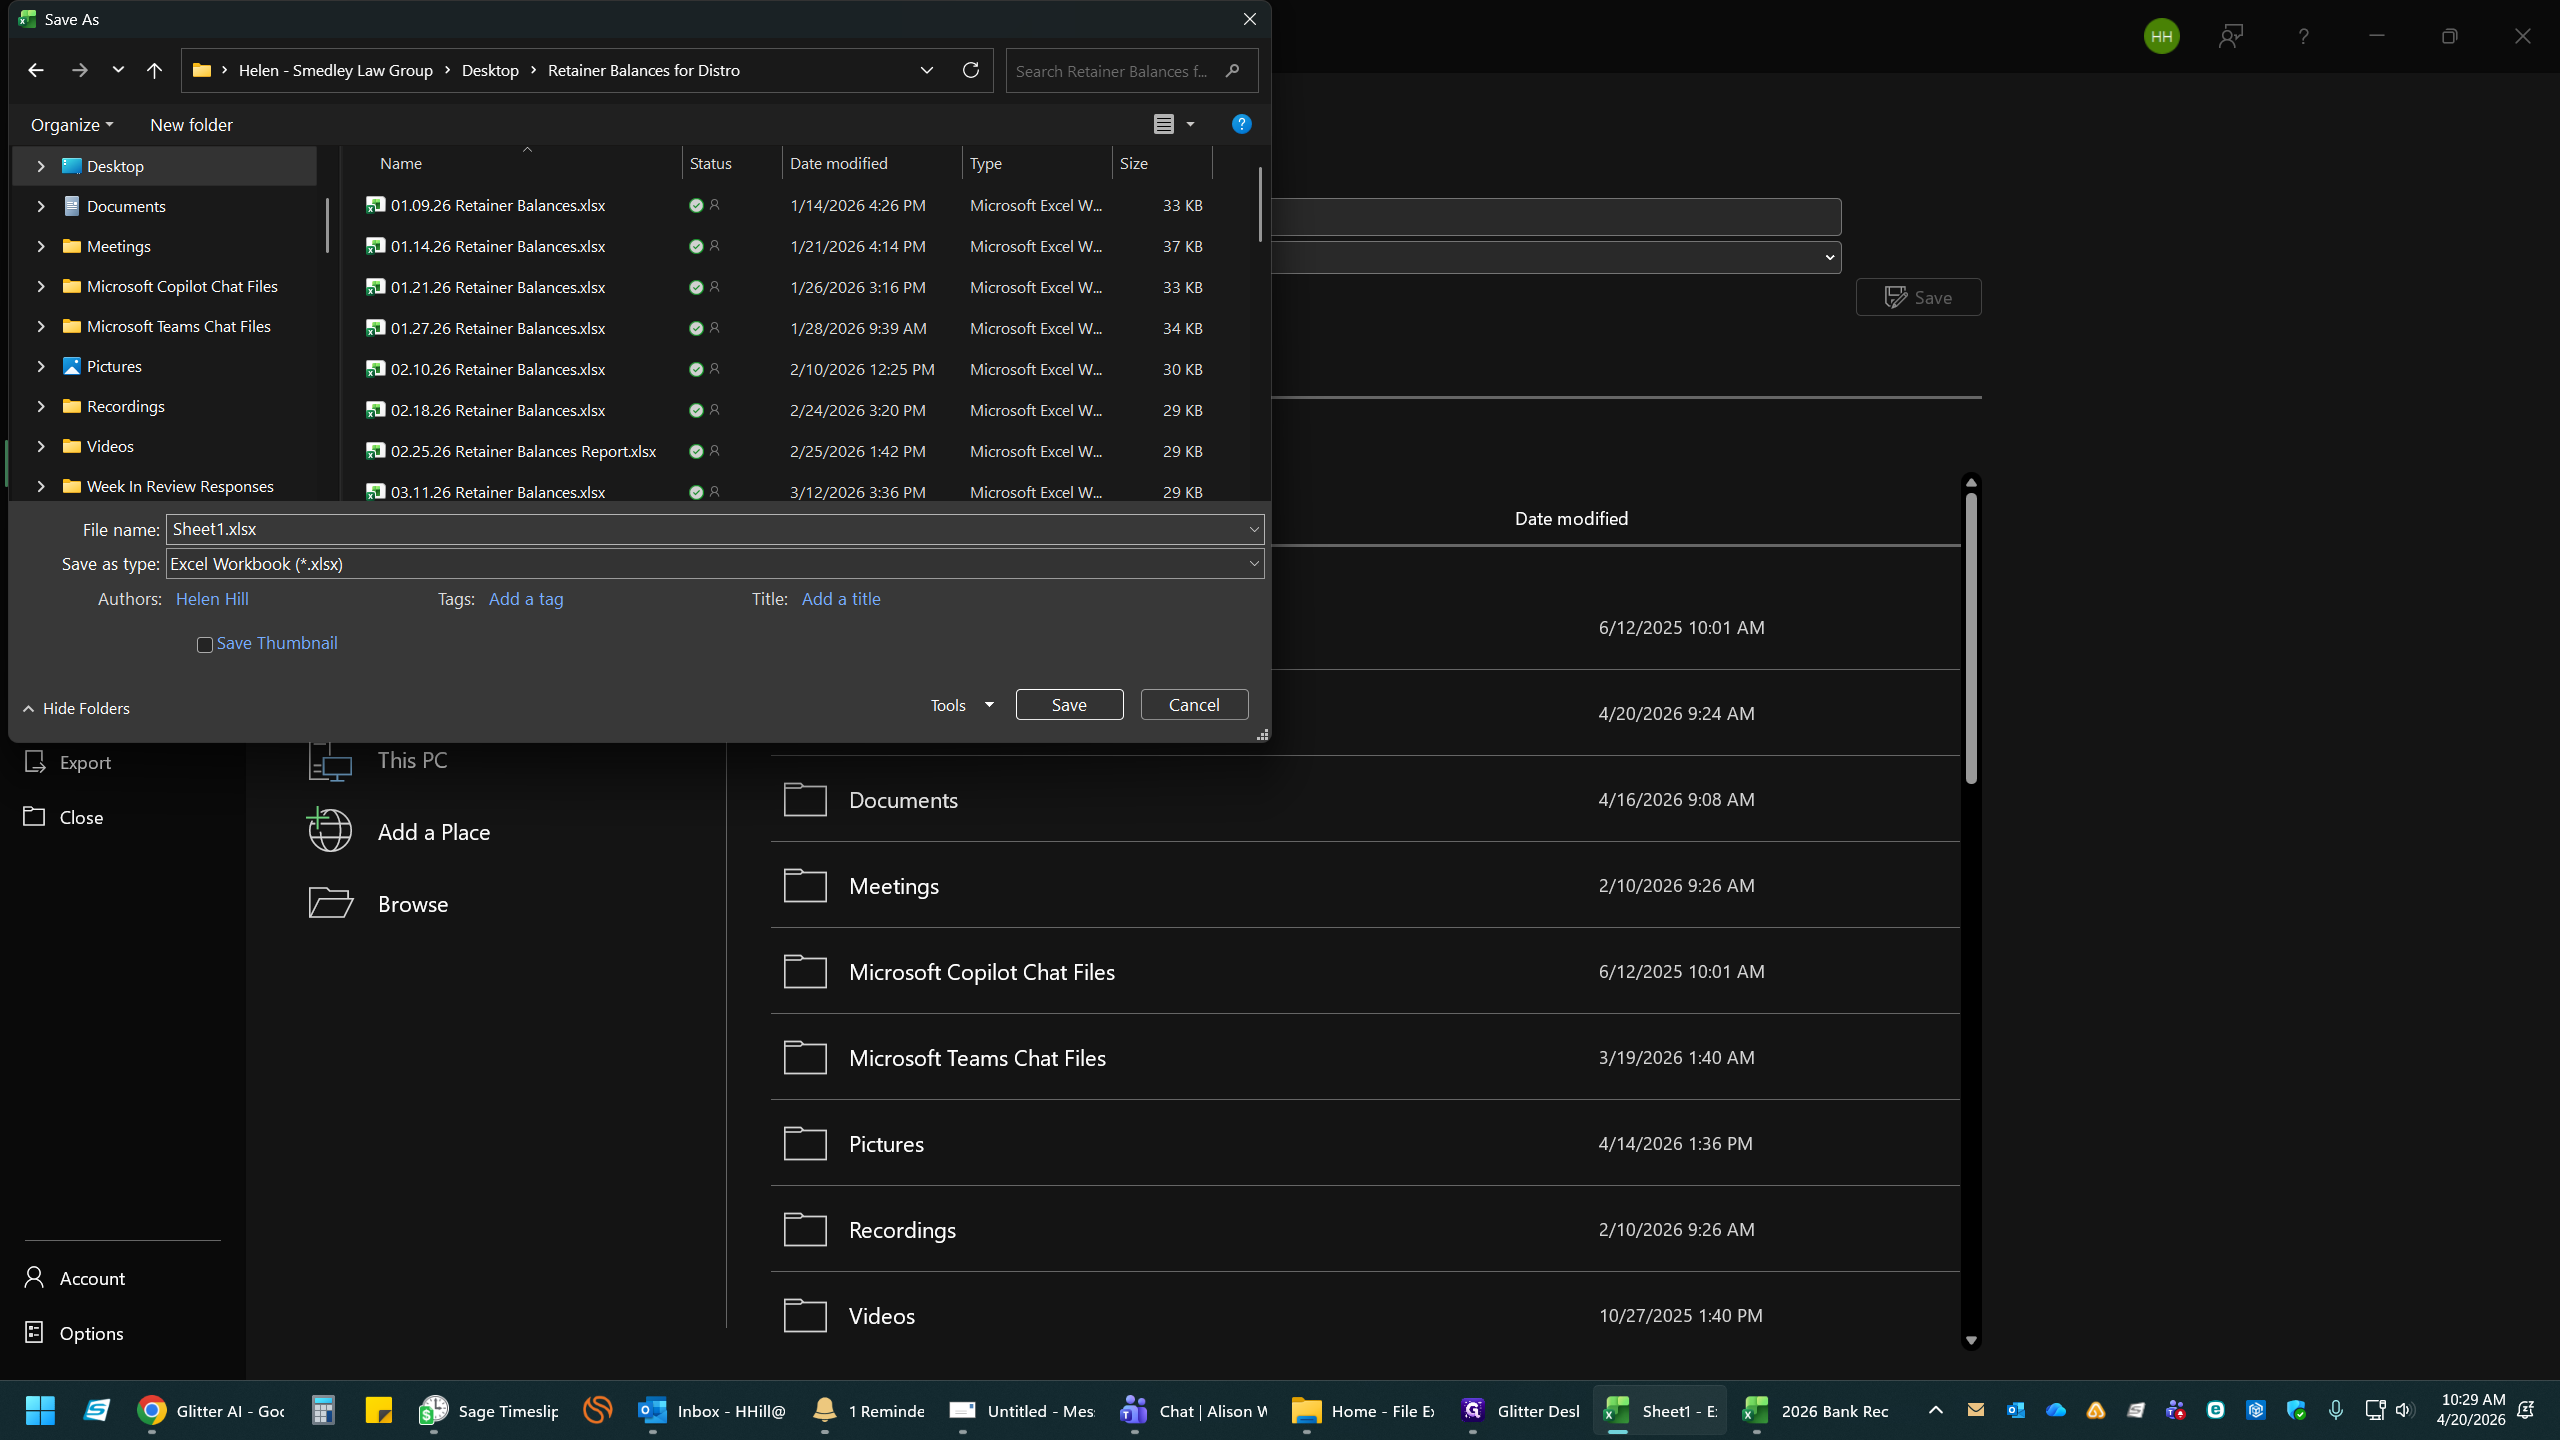
Click the file name input field.
15
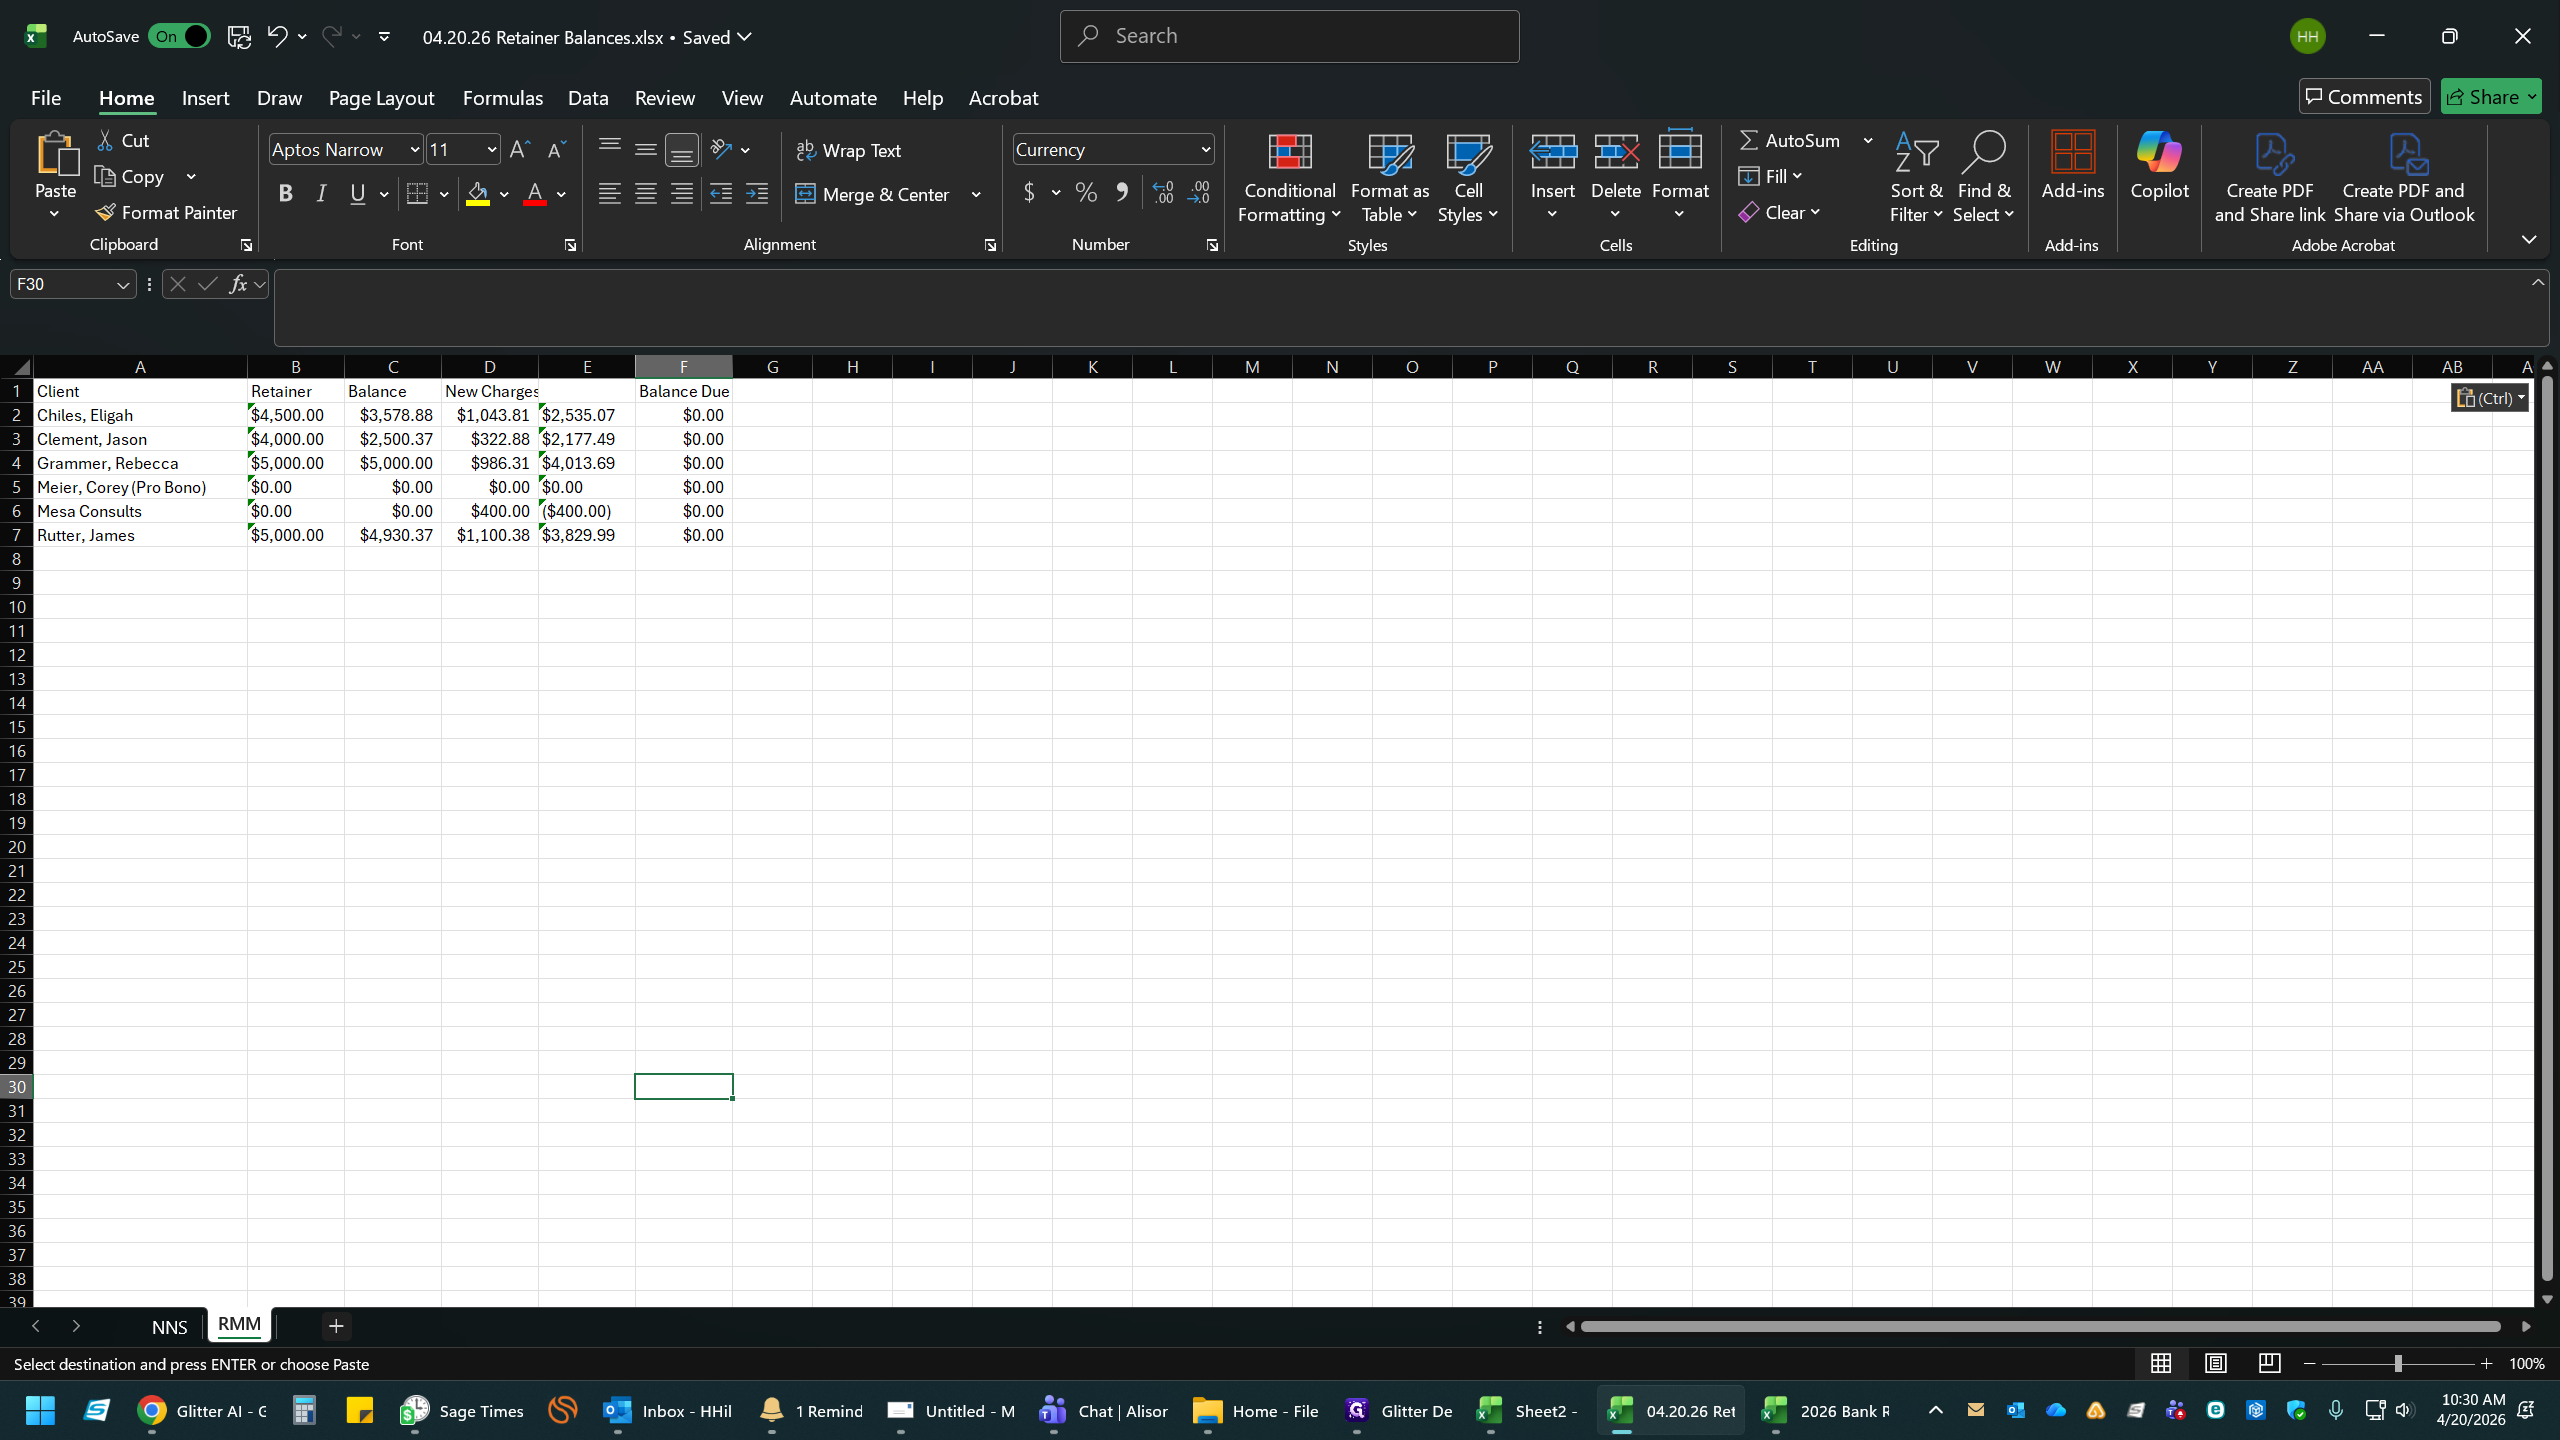
Type the new file name using the current date (e.g., 04.20.26 Retainer Balances) and press Enter.
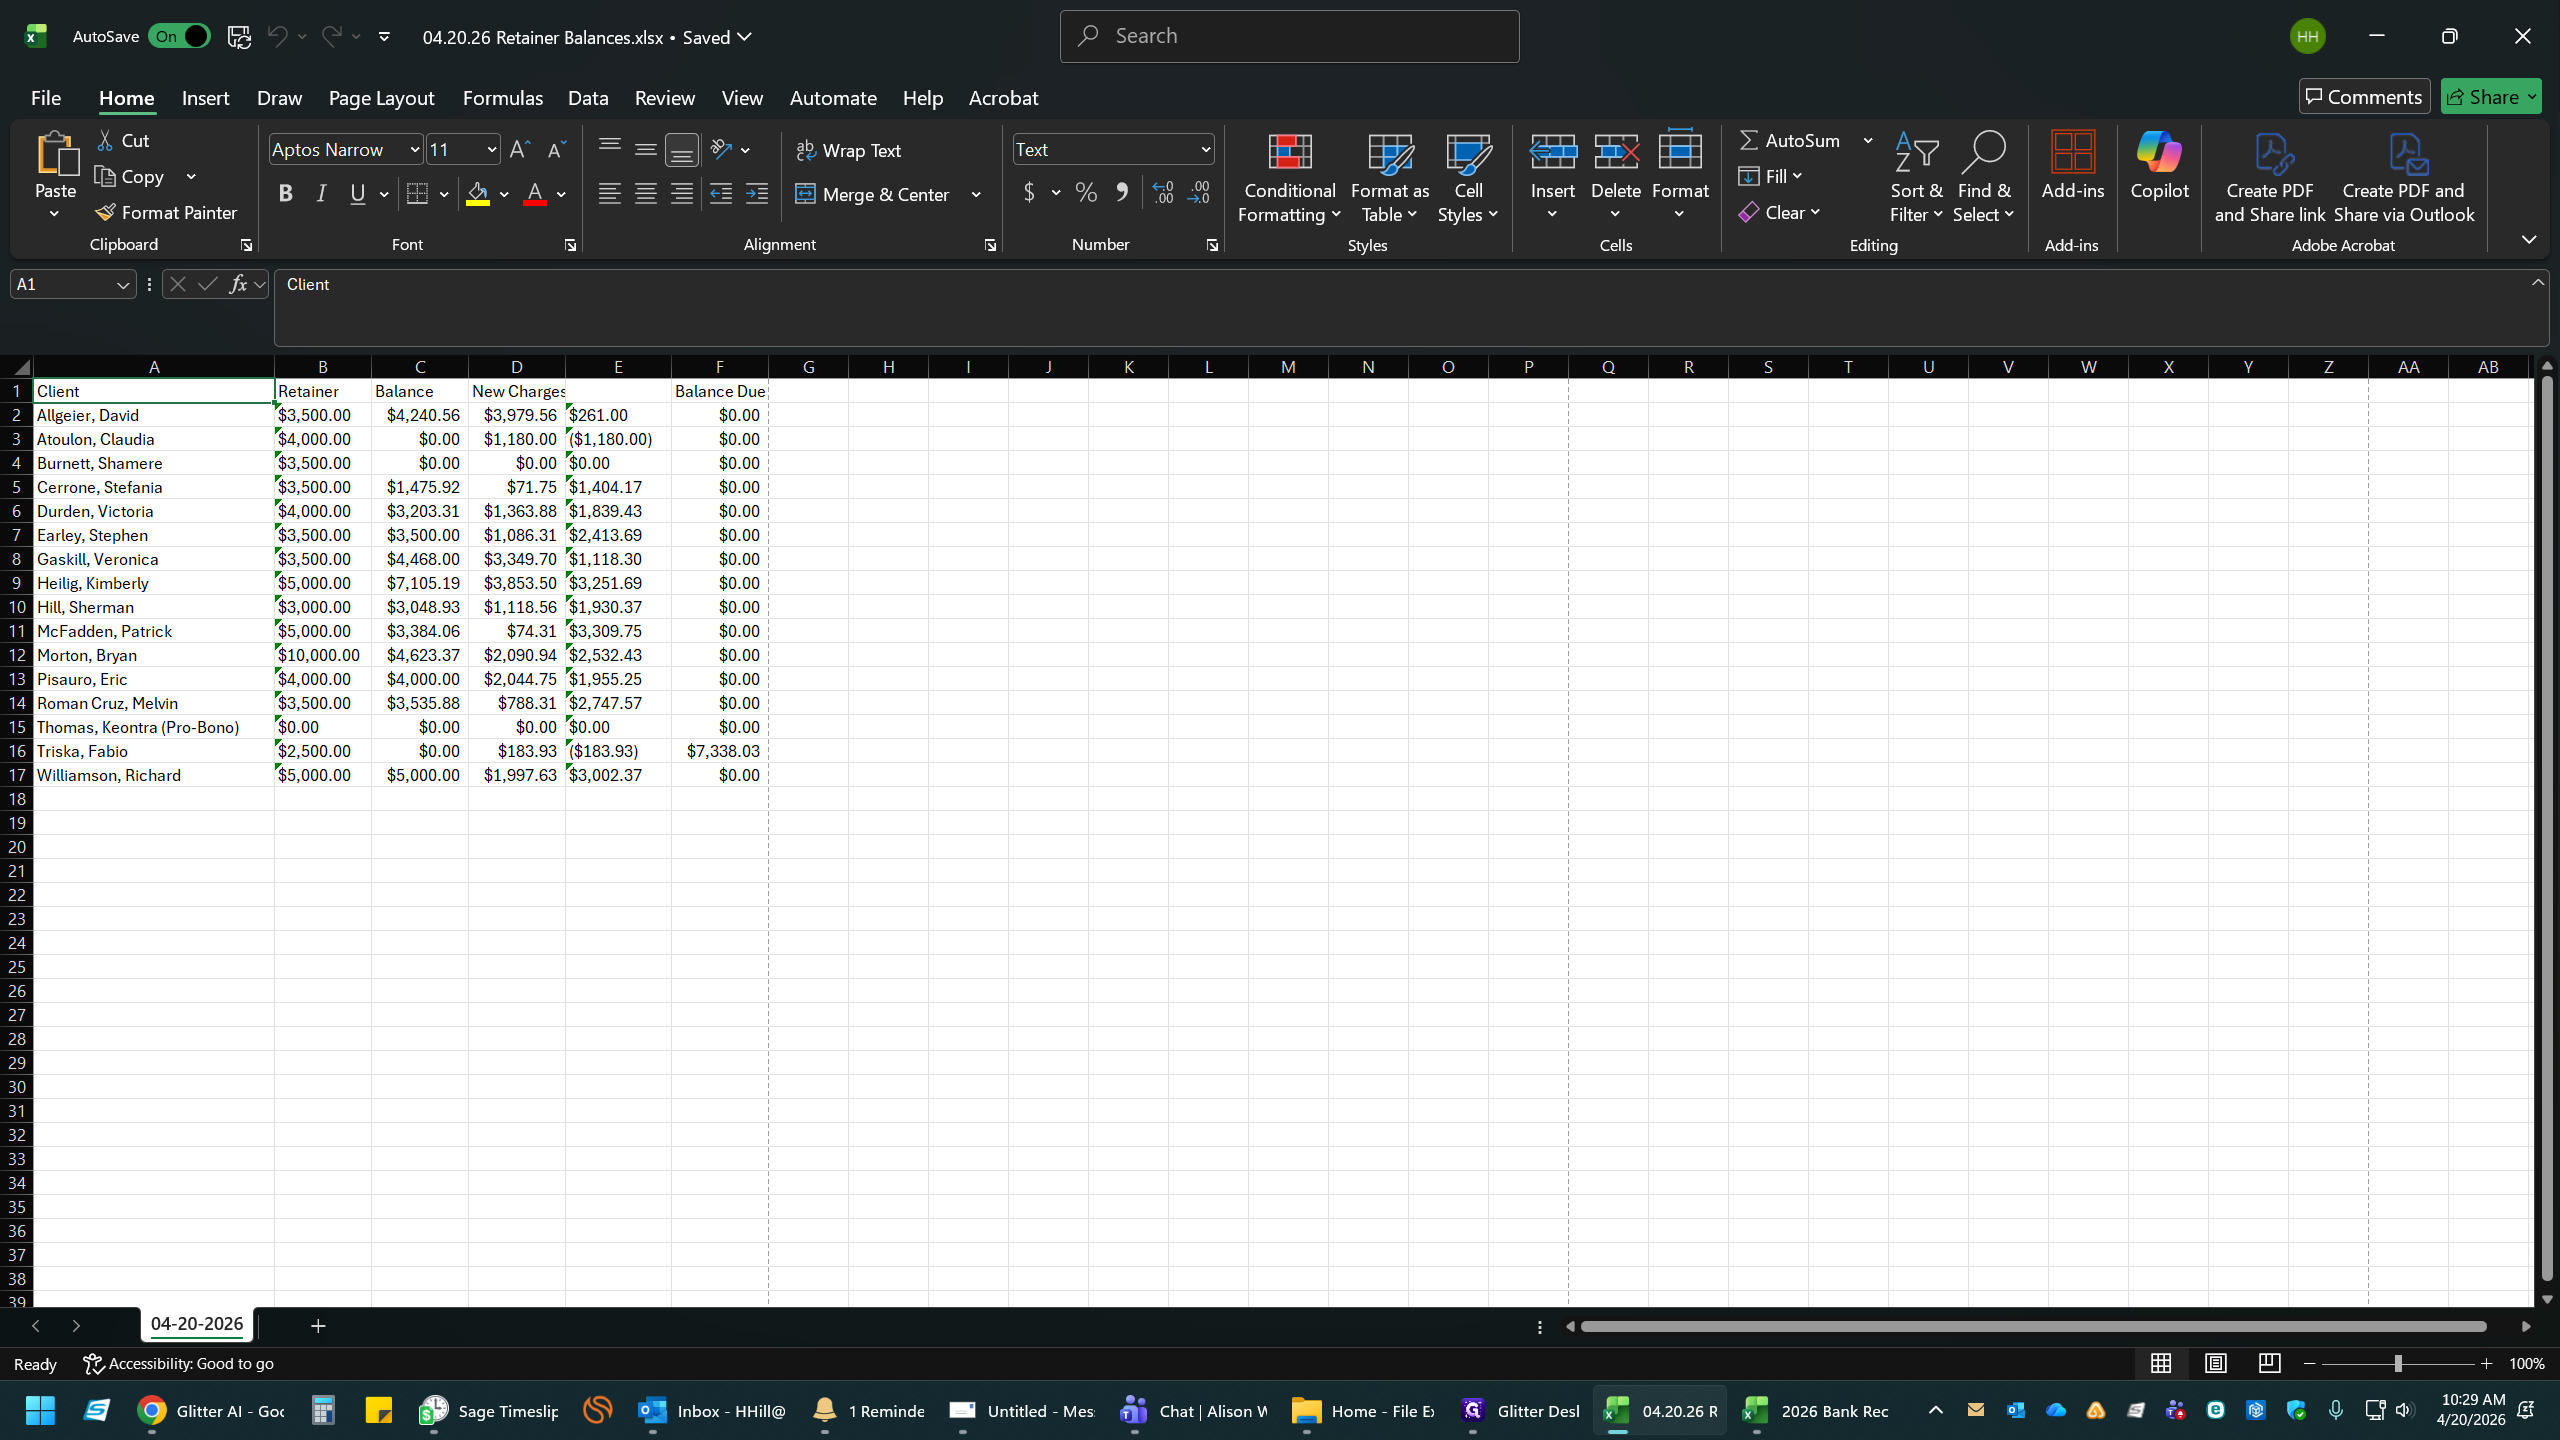
16
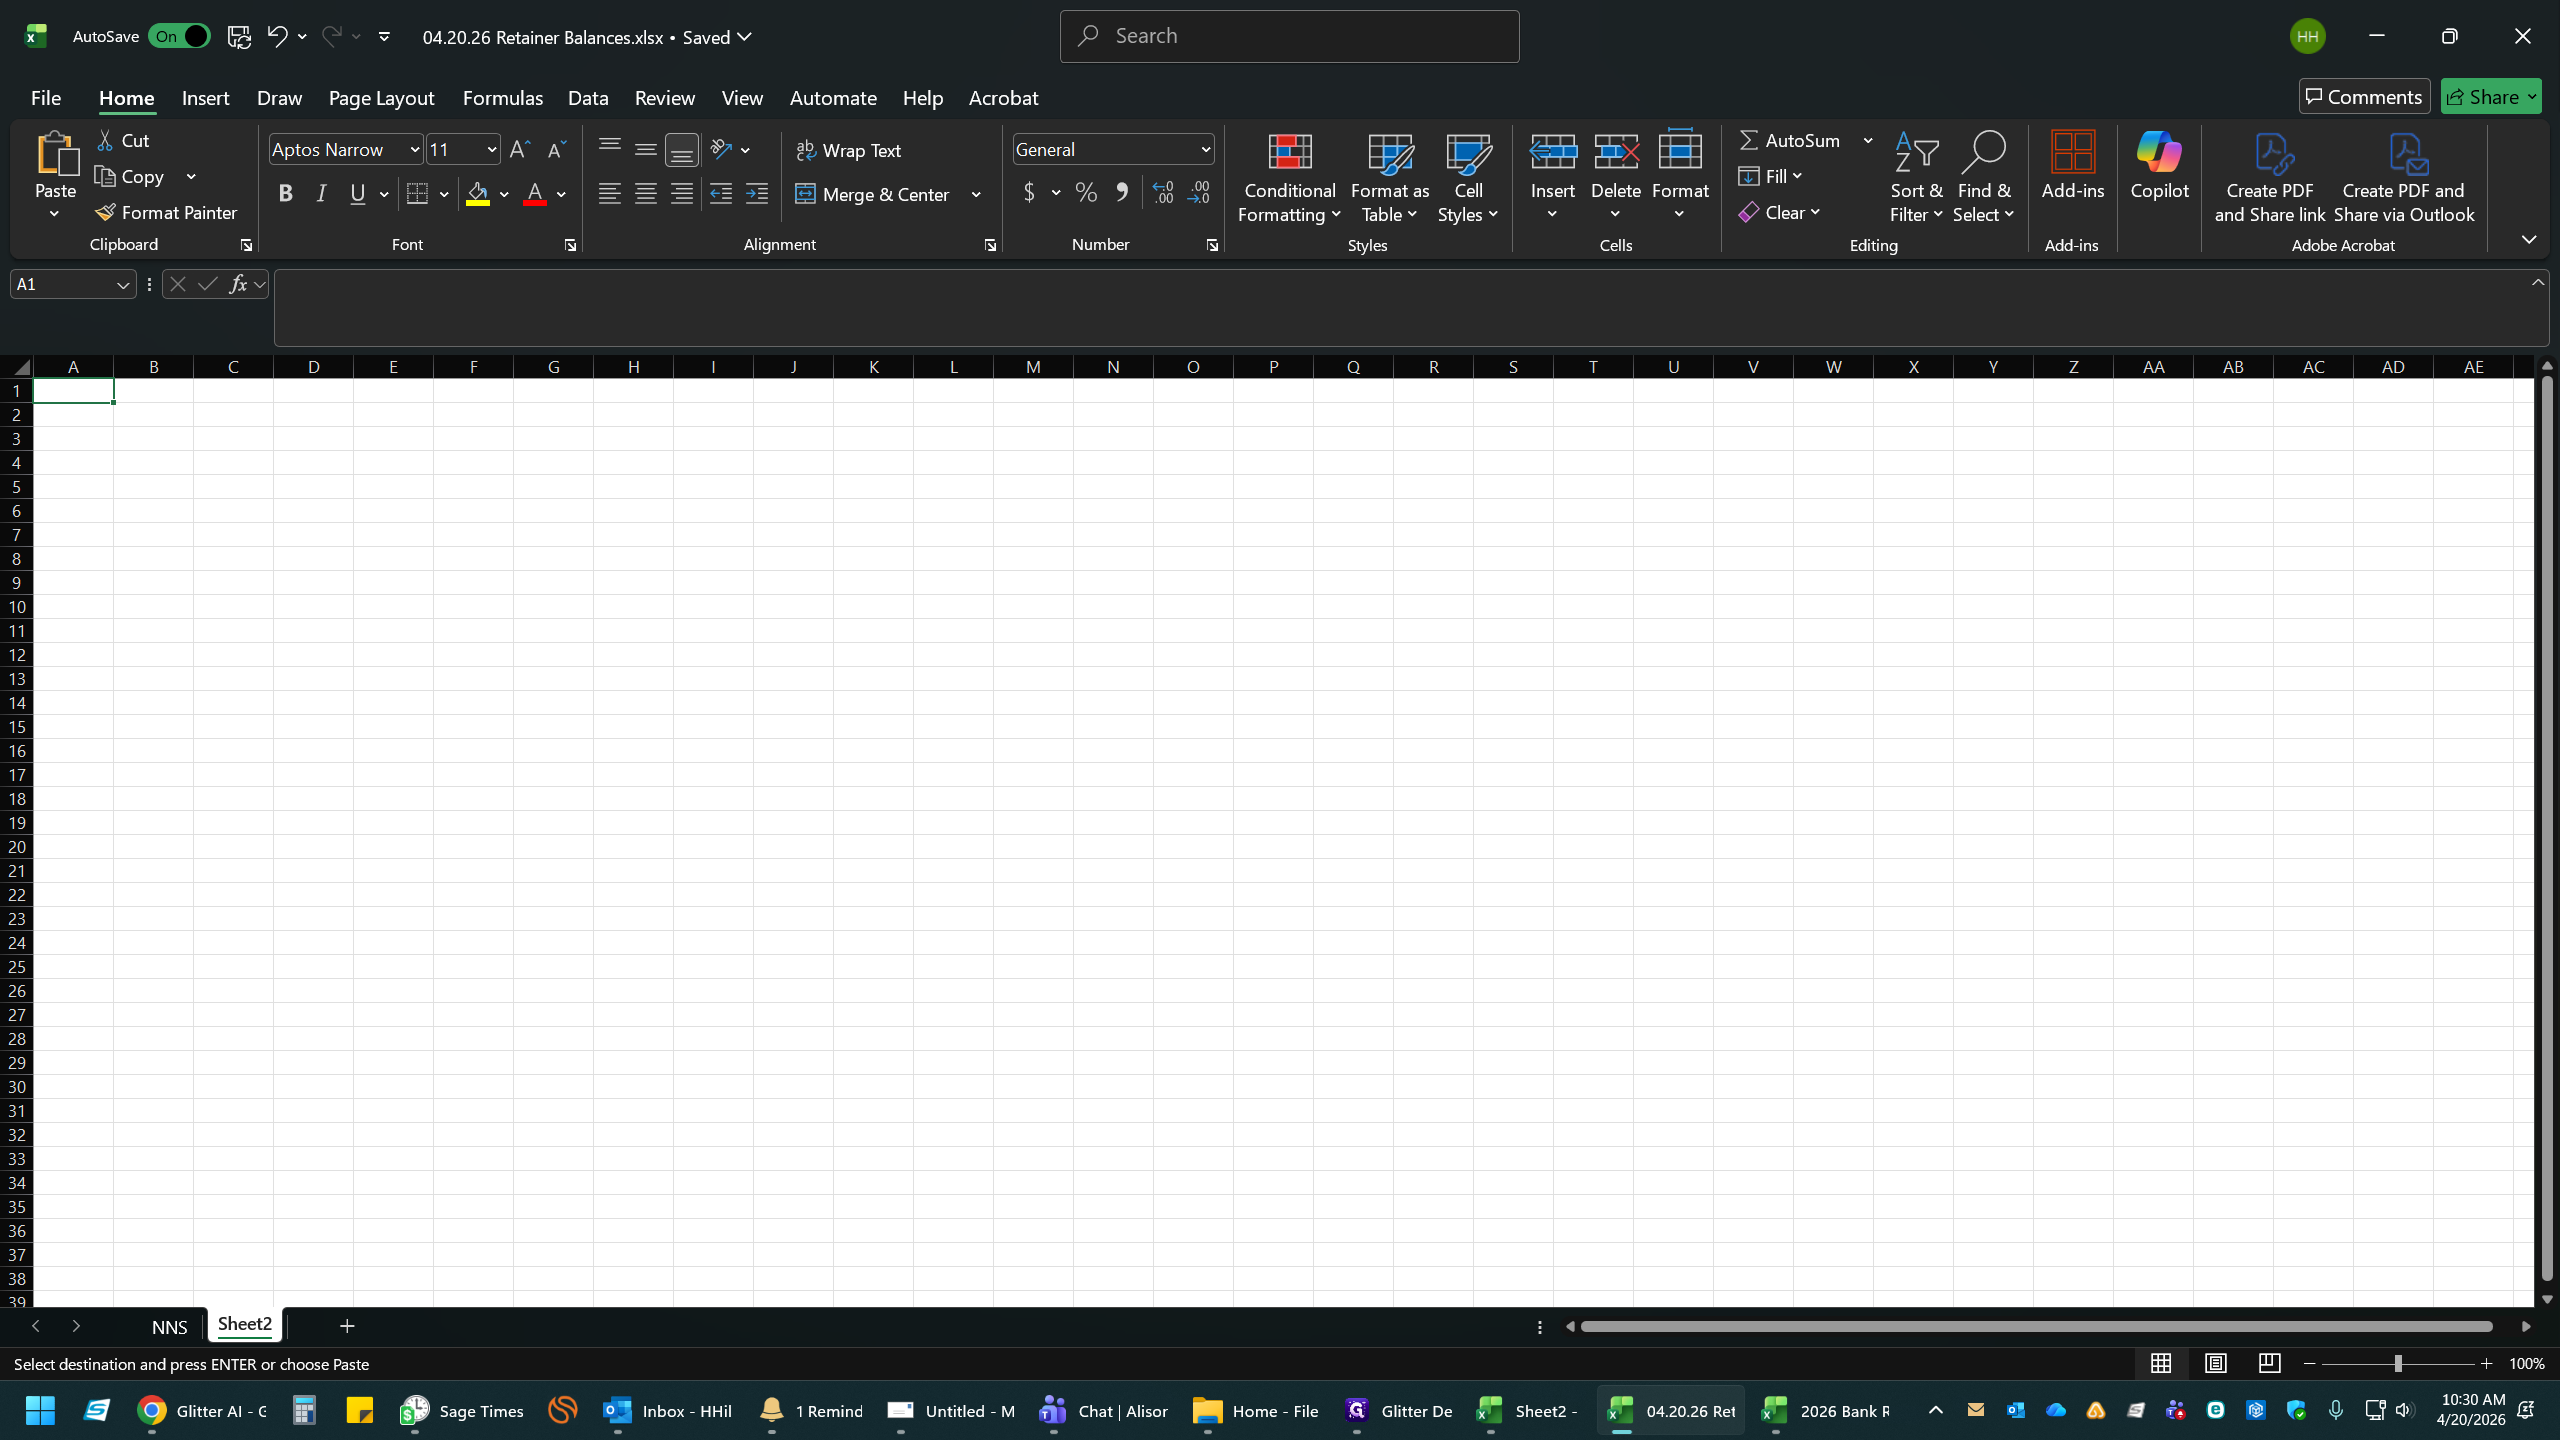
Double-click the default sheet tab at the bottom.
17
Type the initials of the attorney (e.g., NNS) and press Enter.
18
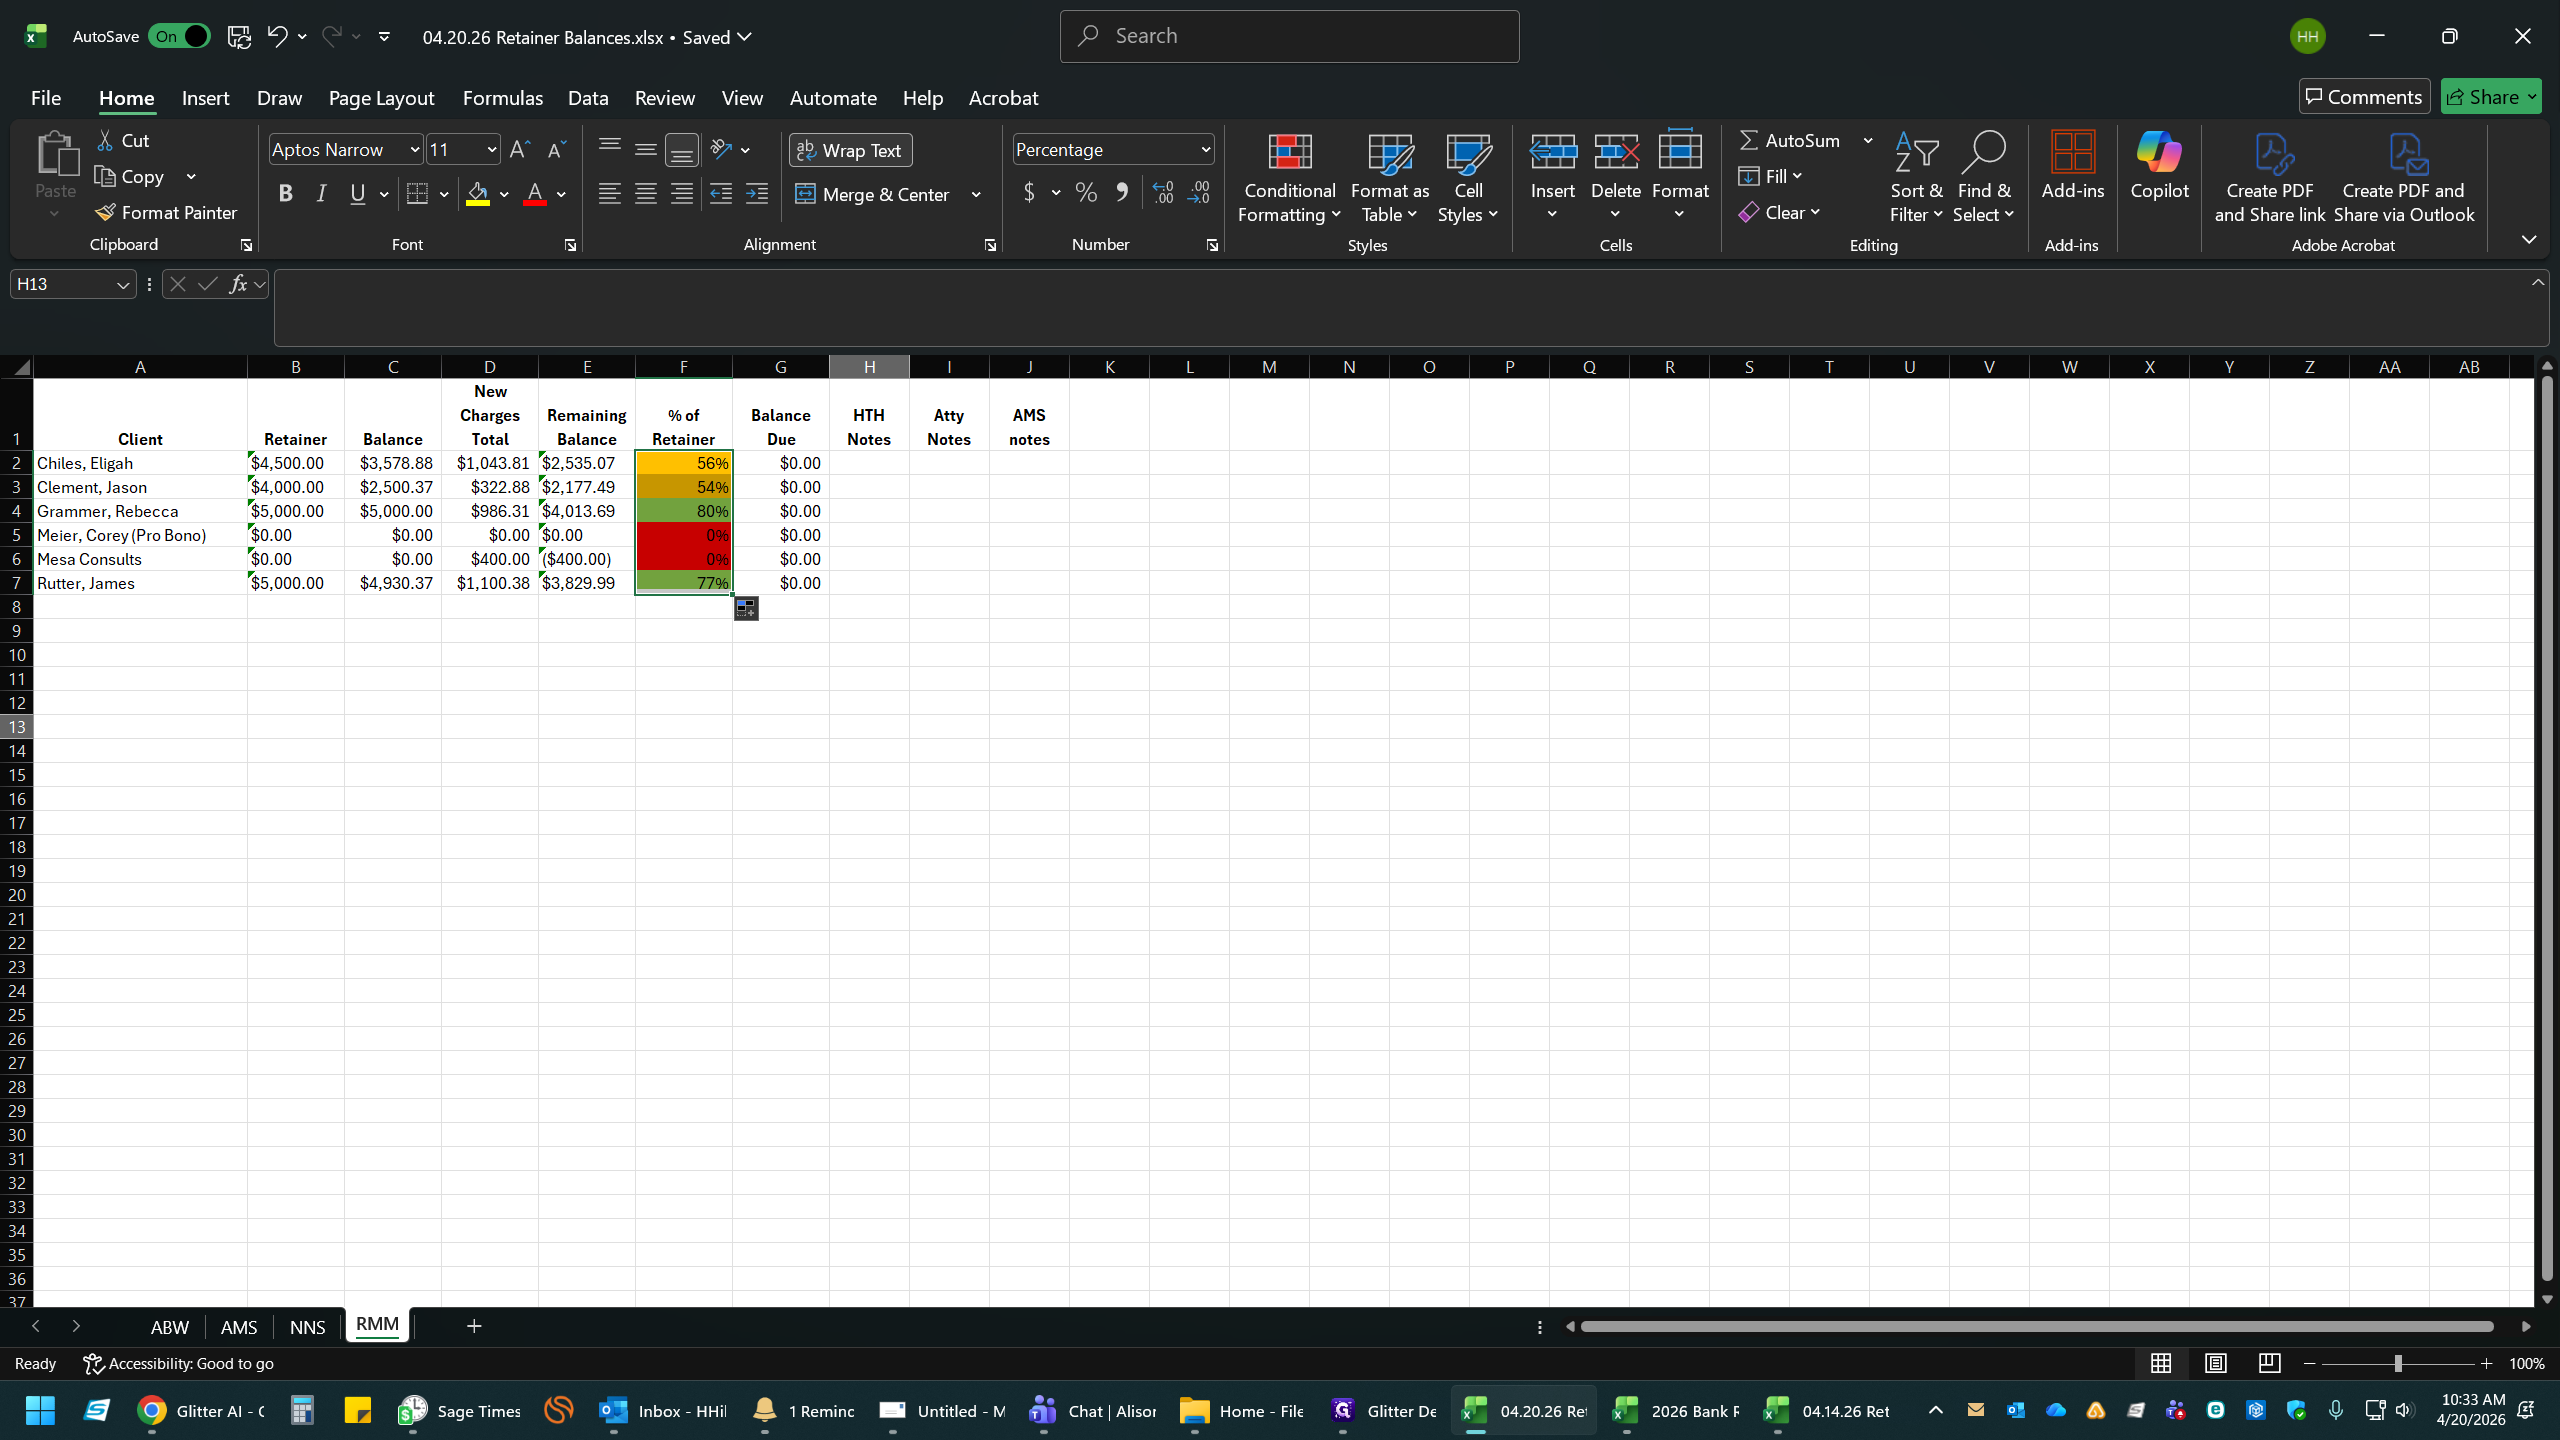
Click anywhere in the sheet to confirm the new name.
Part 3: Export and Compile Data for Additional Attorneys
Now, generate reports for the remaining attorneys, copying the data from their temporary exports into your new master workbook.
19
Return to Sage Timeslips and double-click the attorney filter you just used.
20
Deselect the previous attorney.
21
Select the next attorney from the list.
22
Click OK.
23
Click Print.
24
Click OK to print to Excel.
25
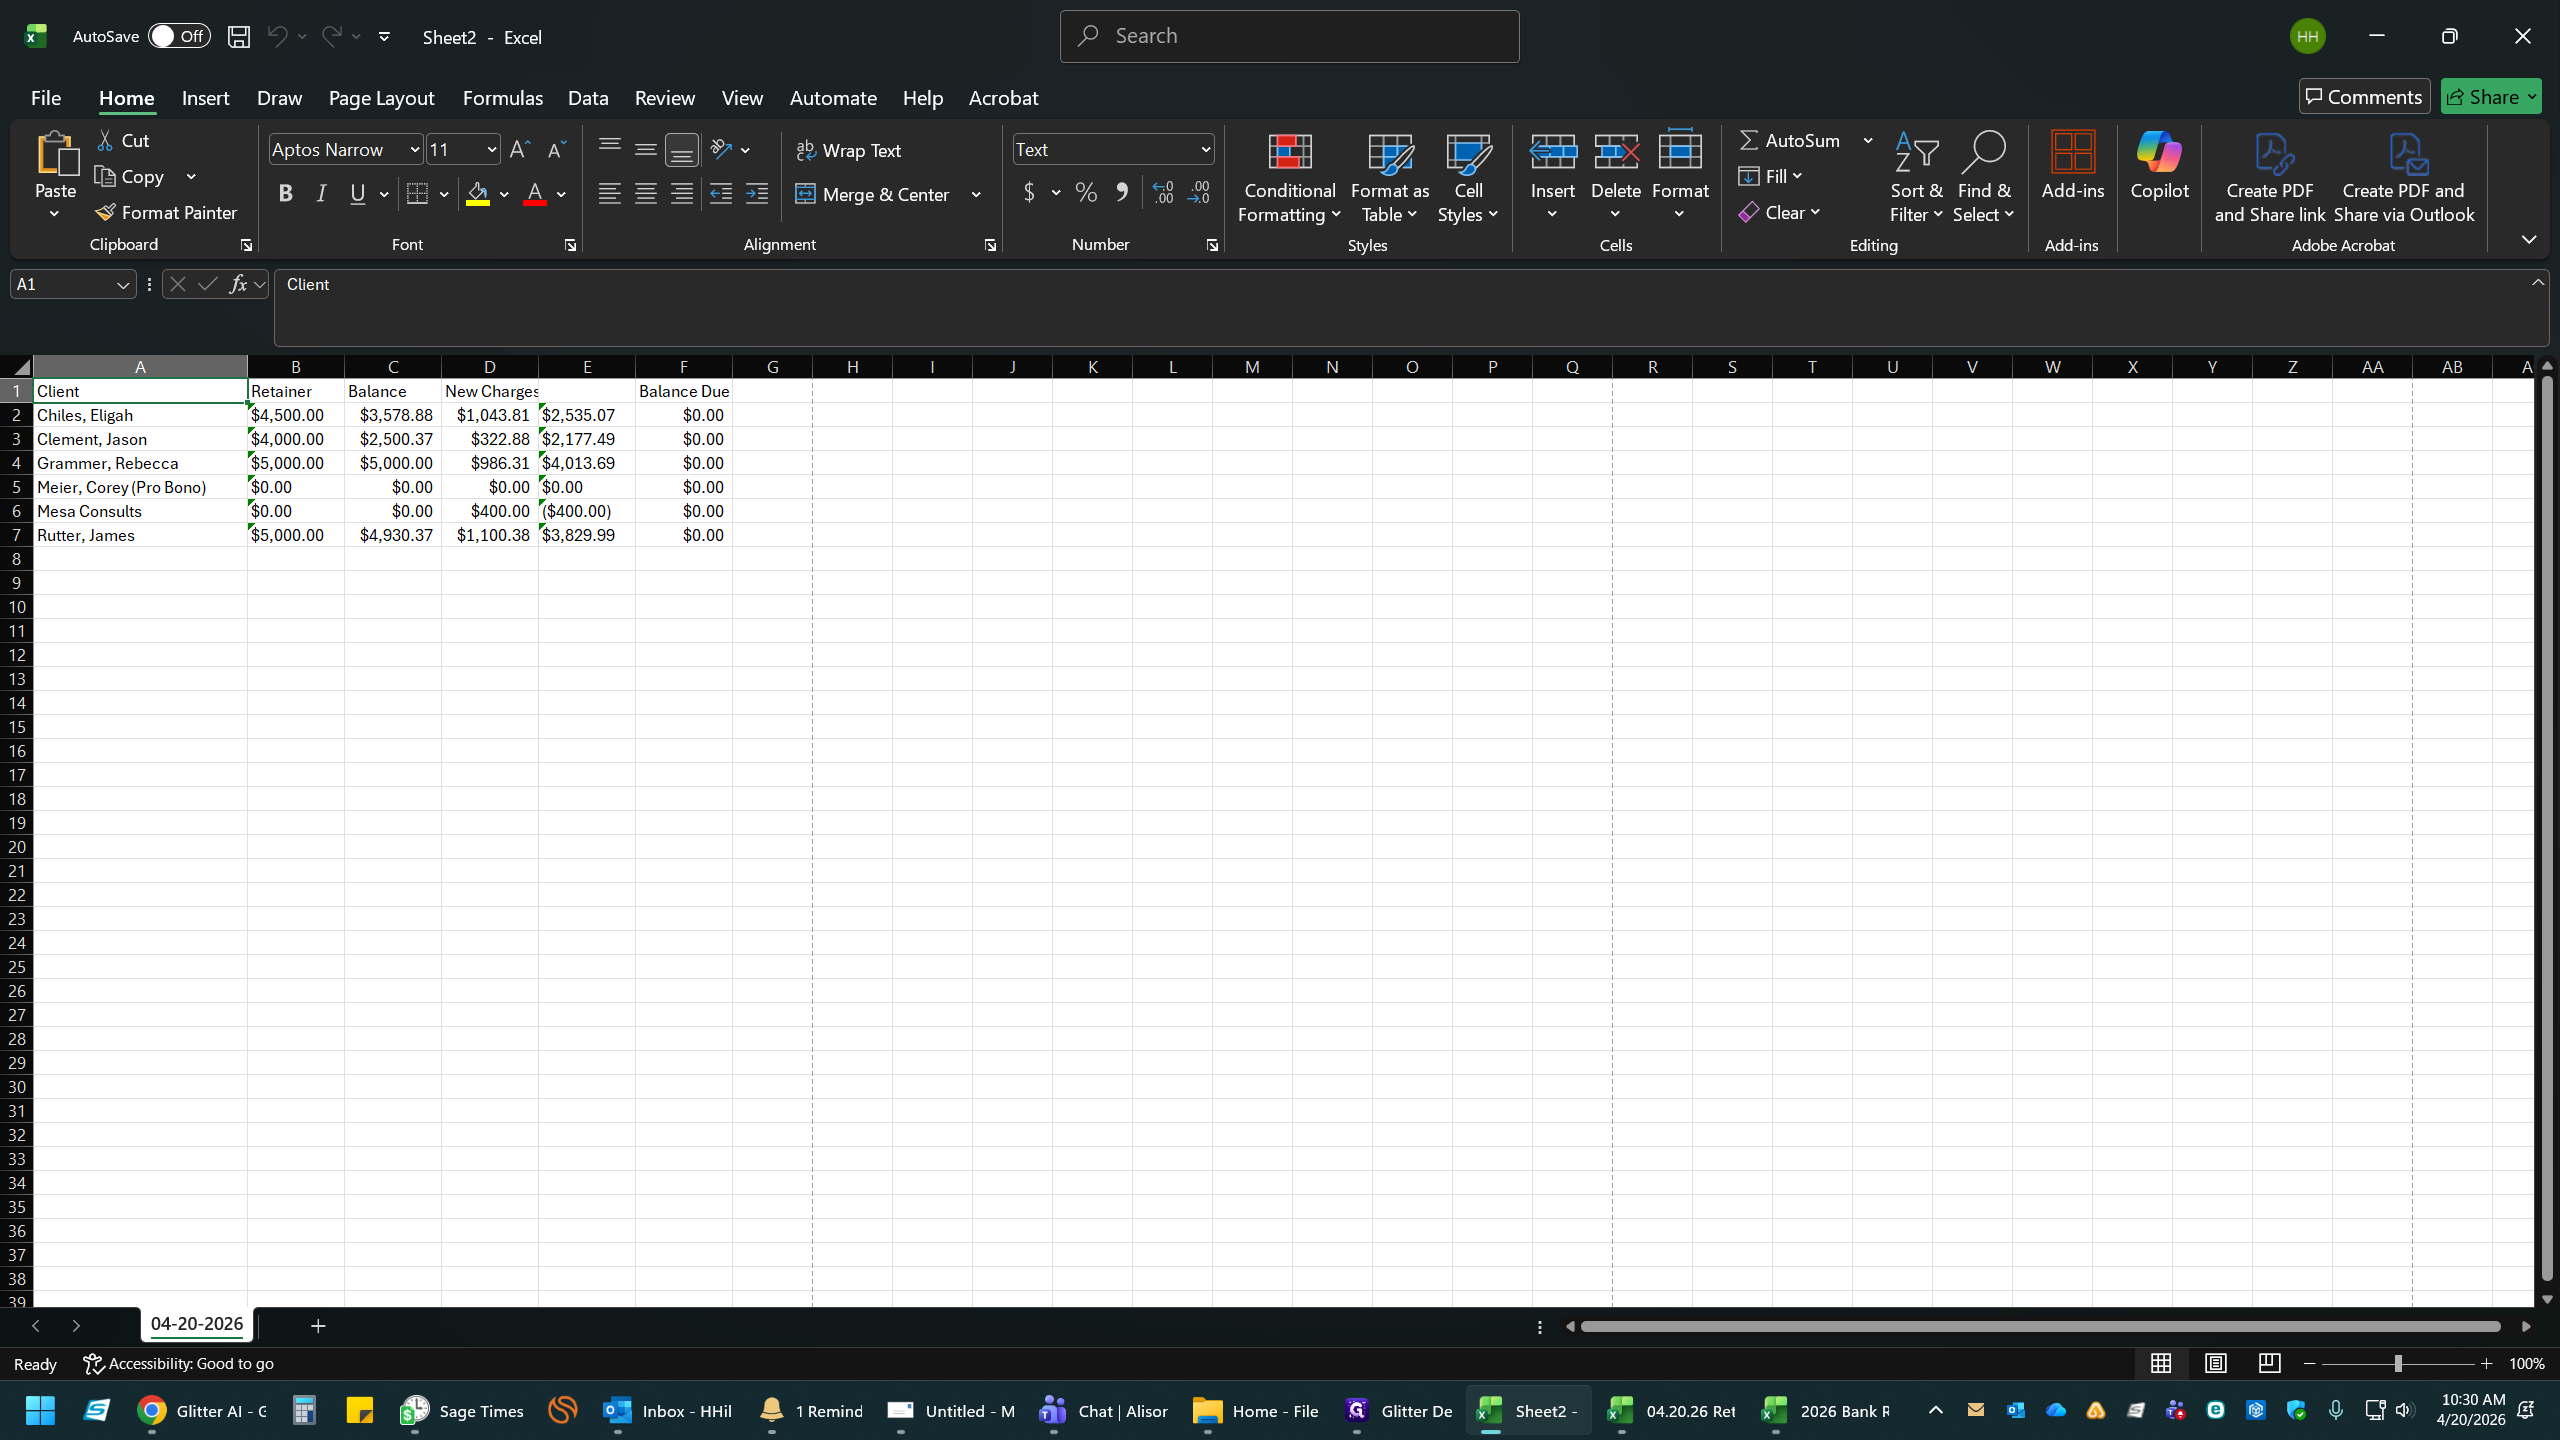
Wait for the new temporary Excel file to generate.
26
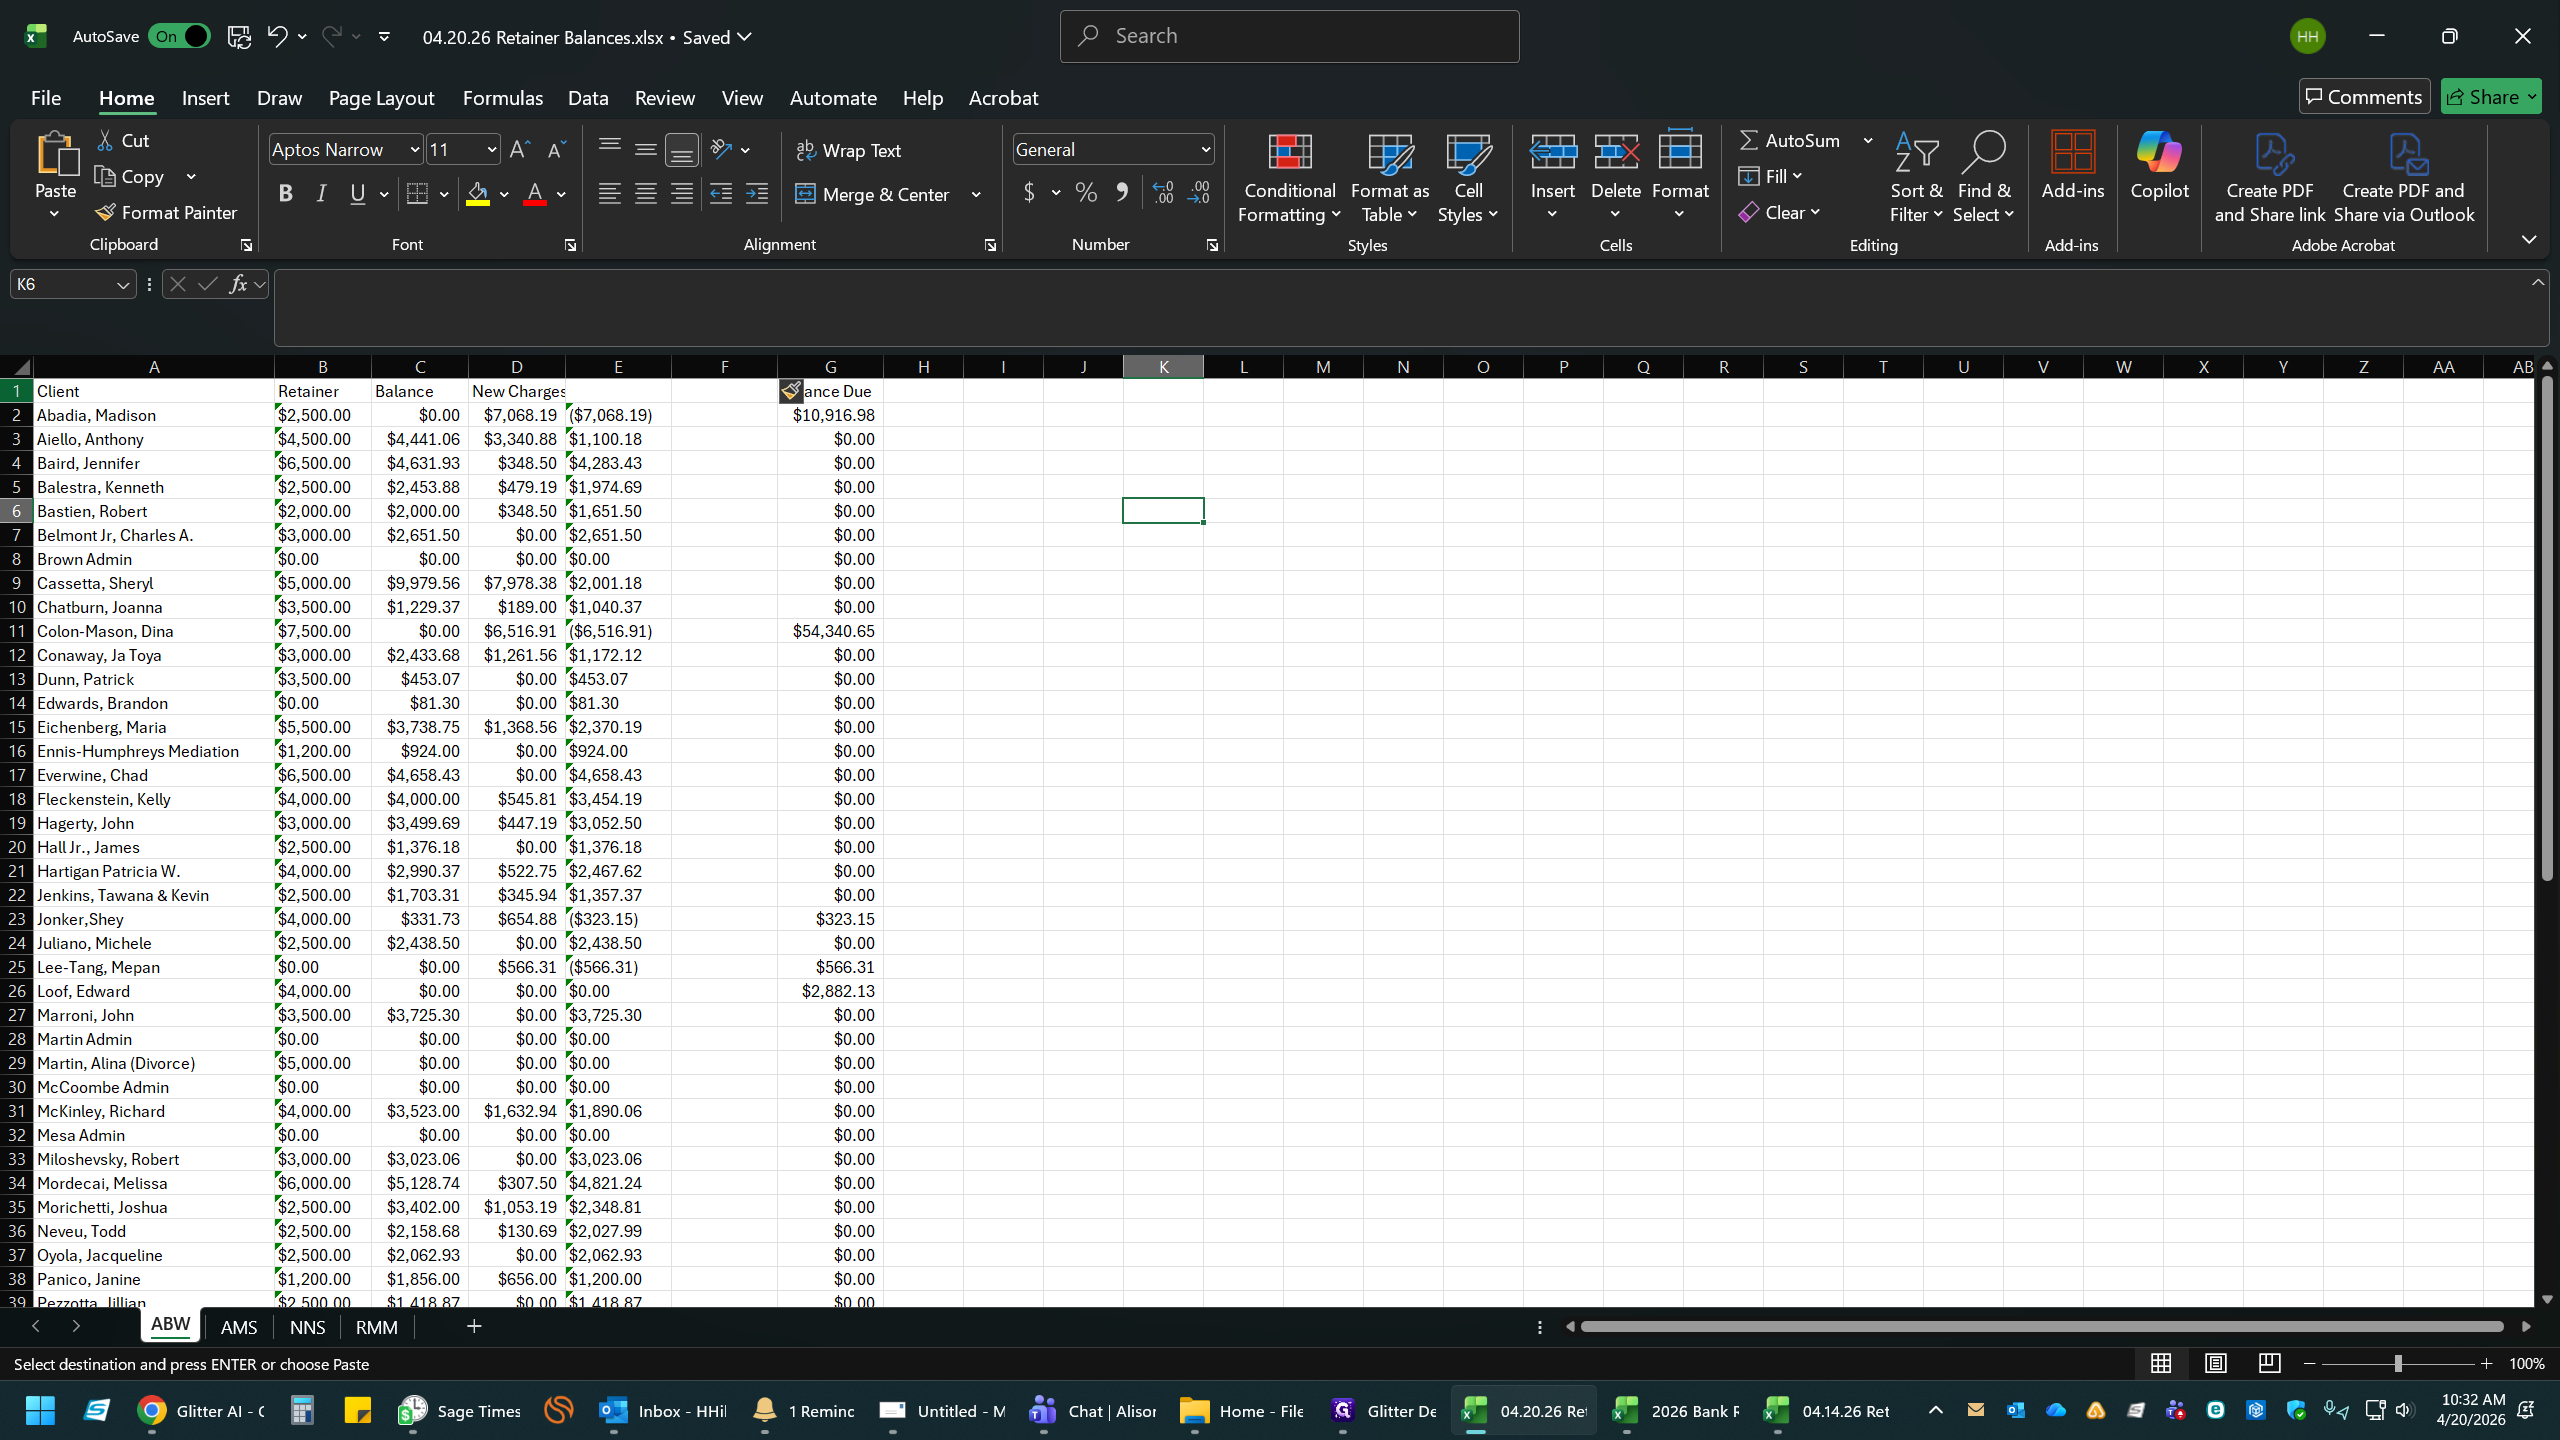
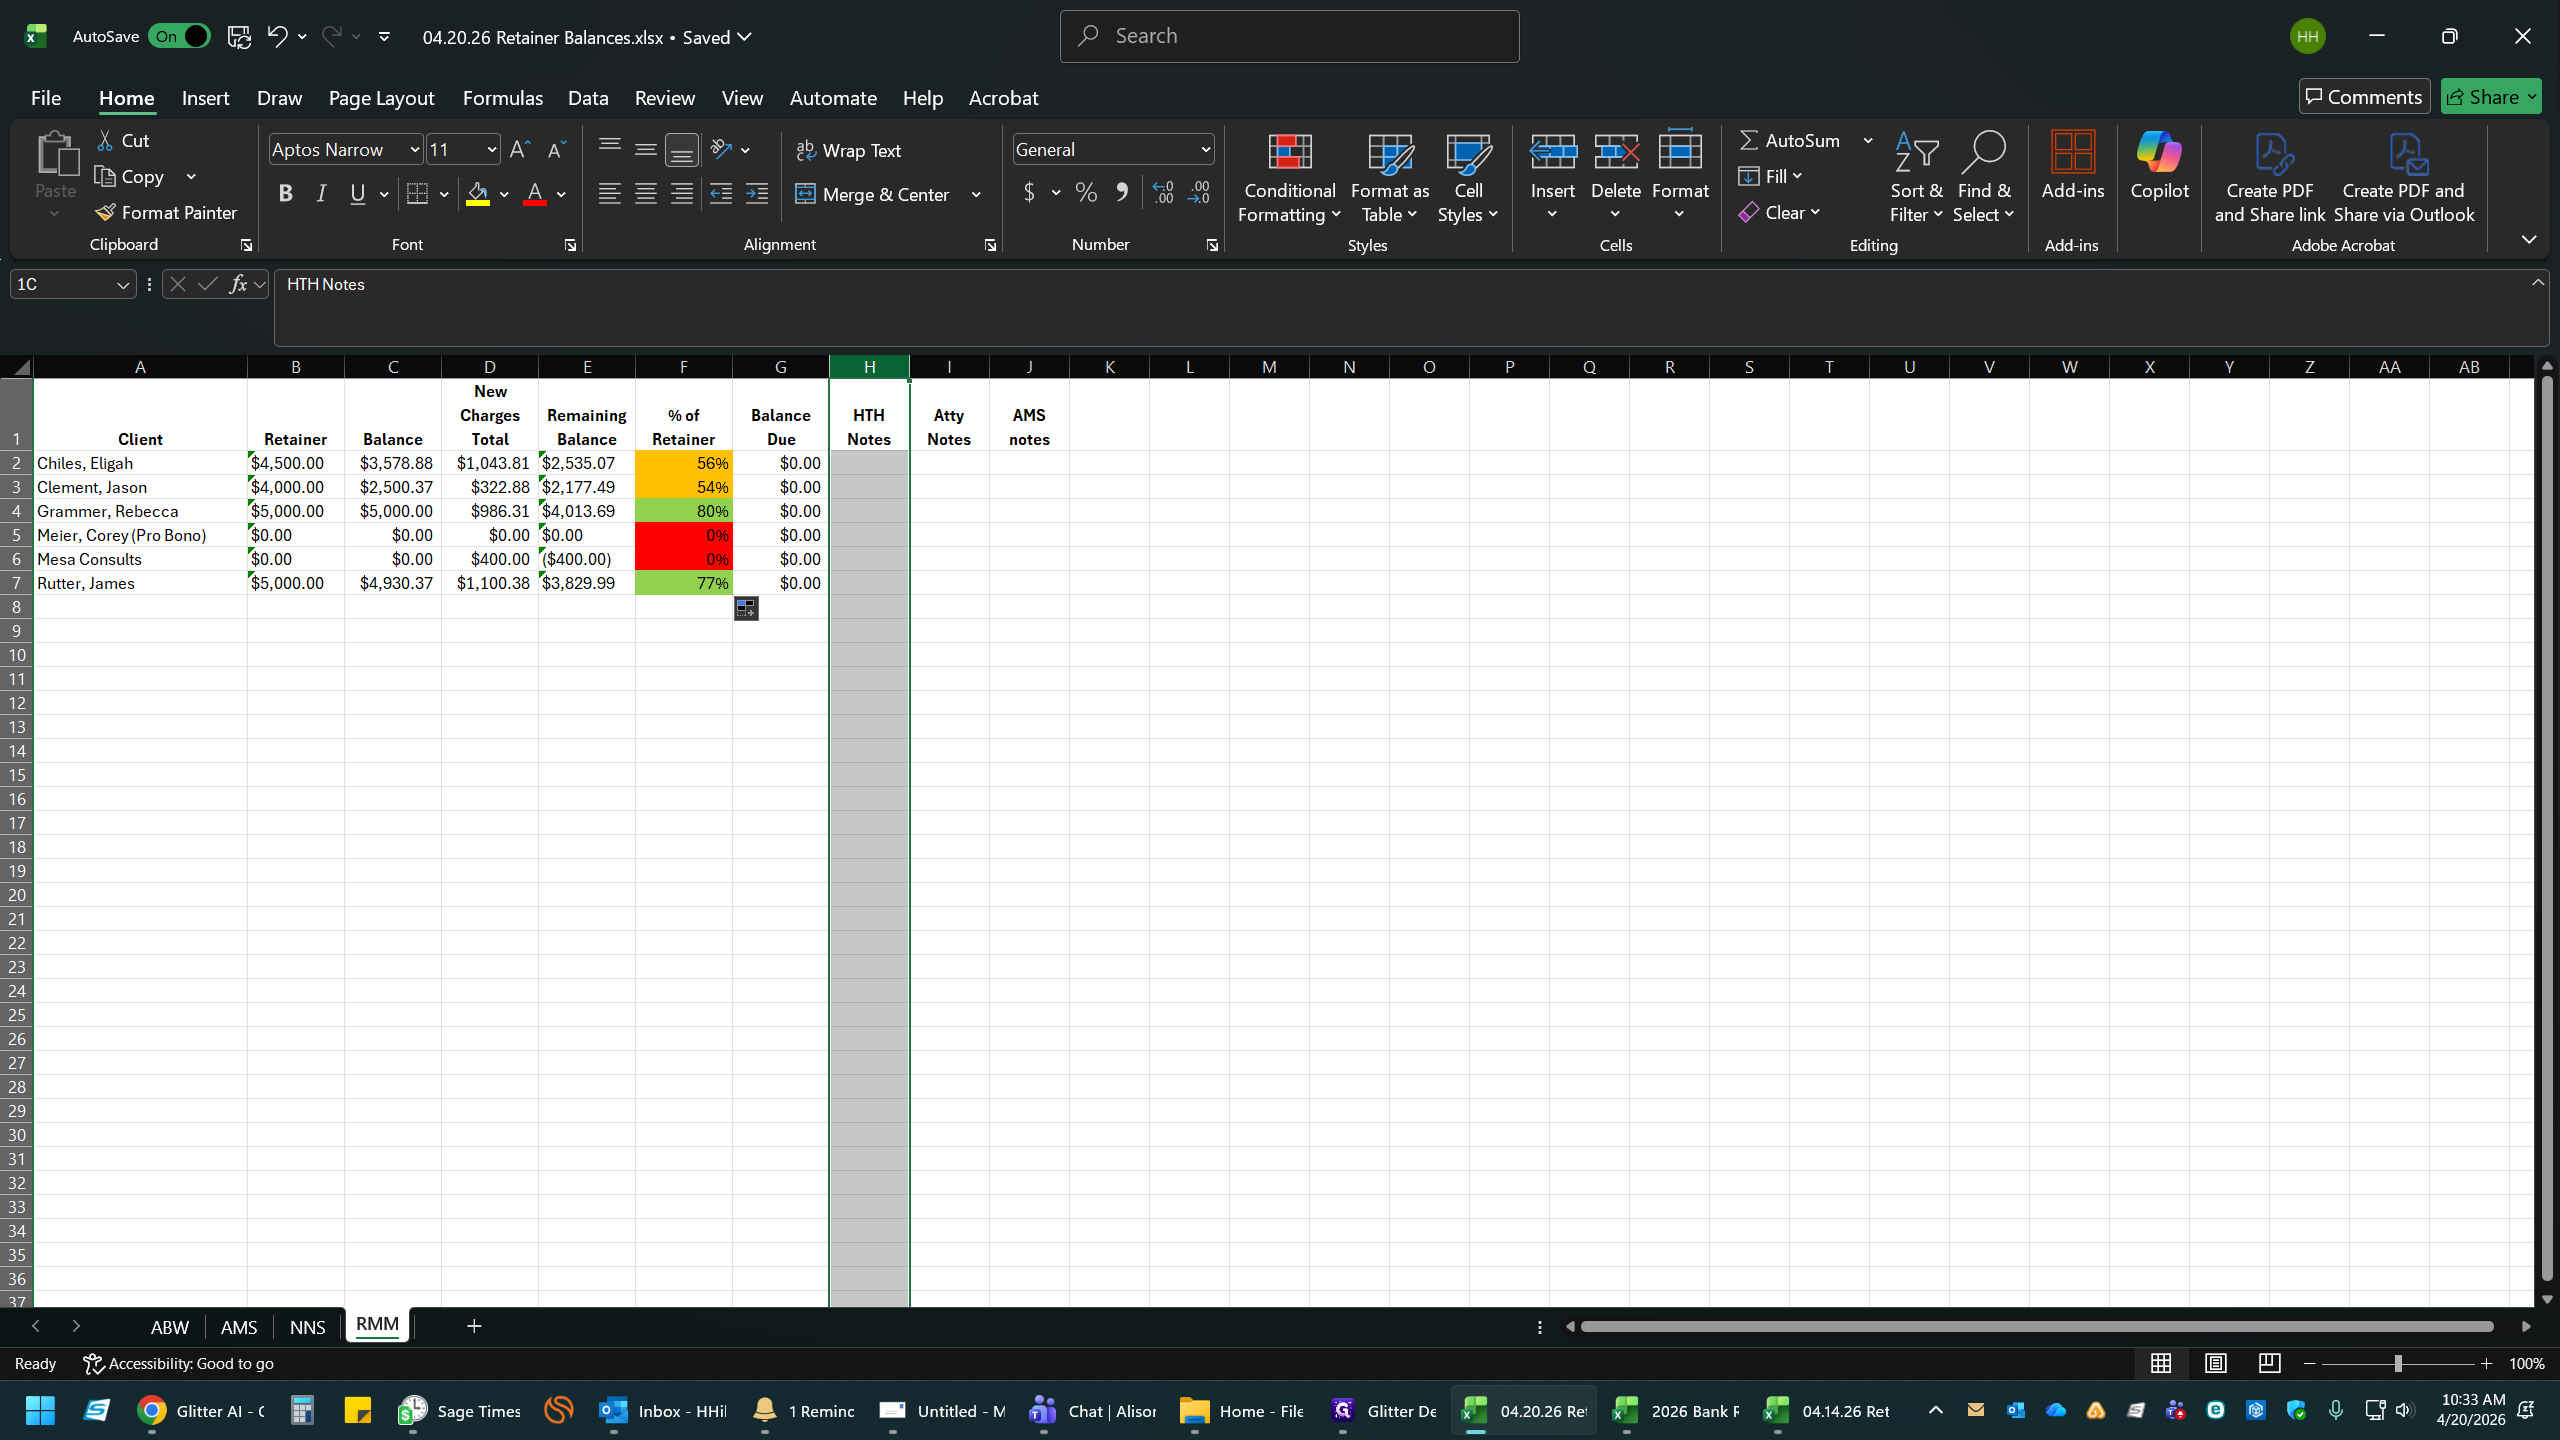
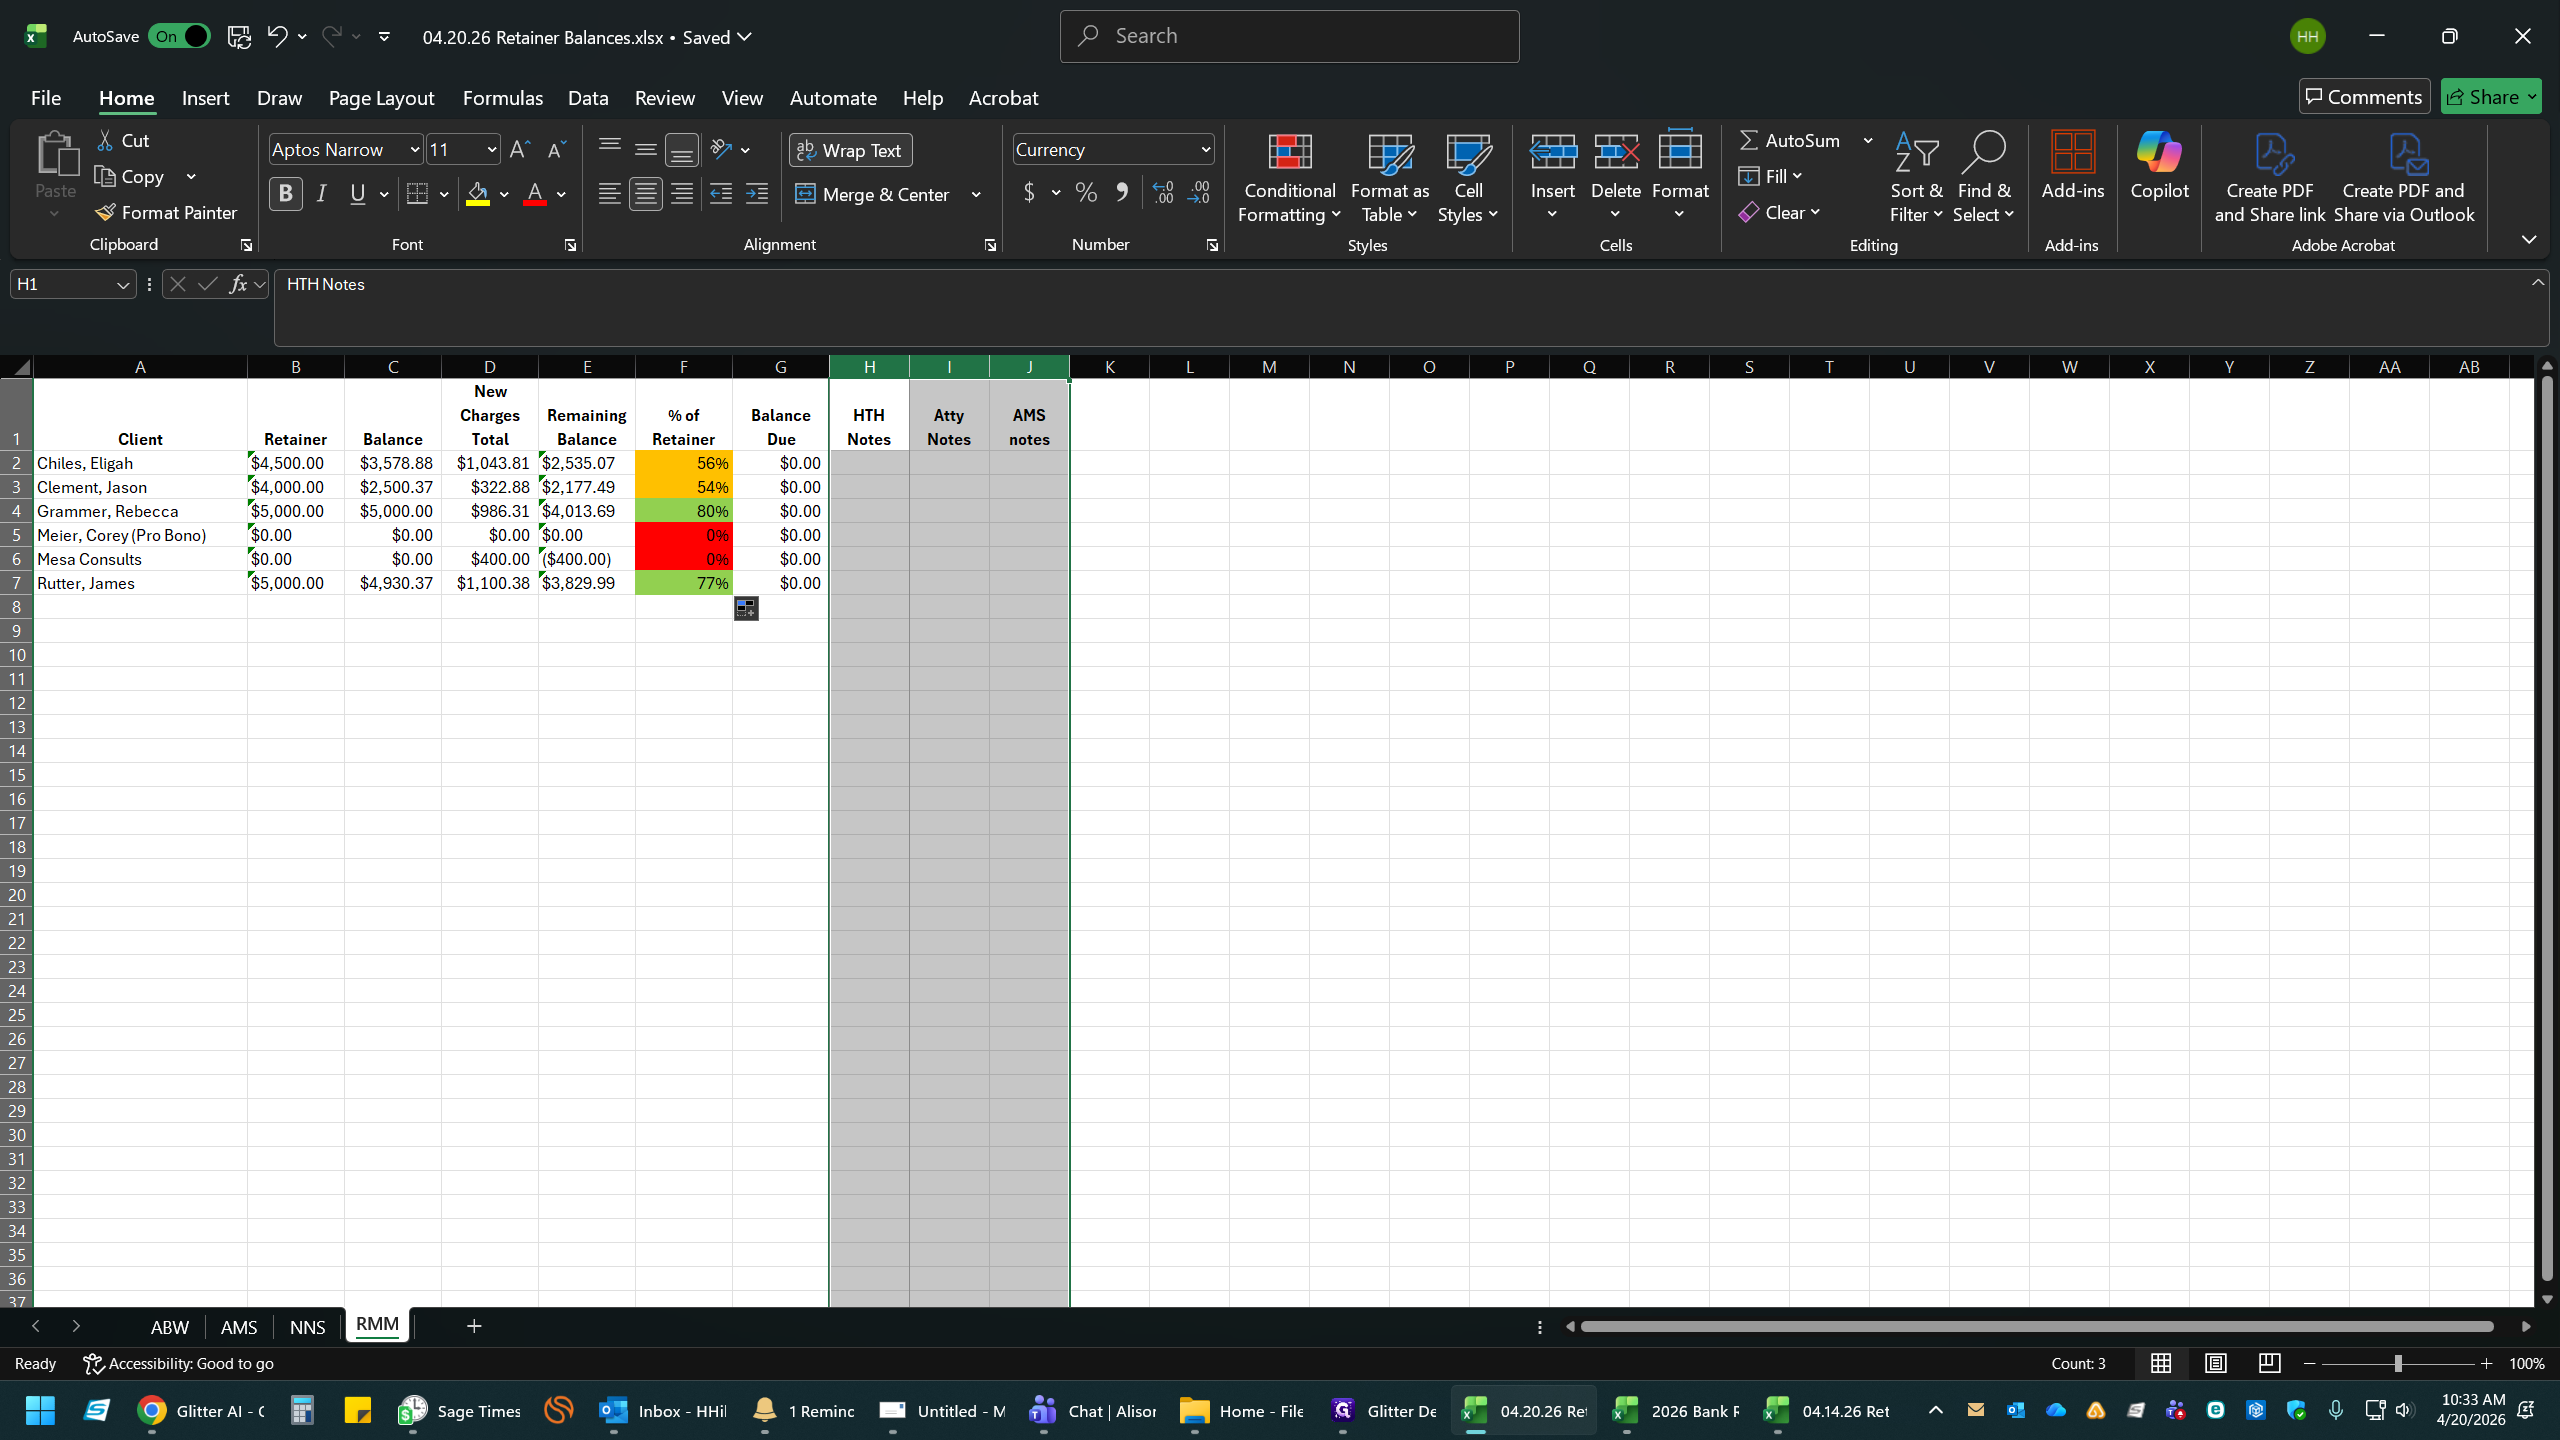
In the new Excel file, click the top-left corner above row 1 to select all data.
27
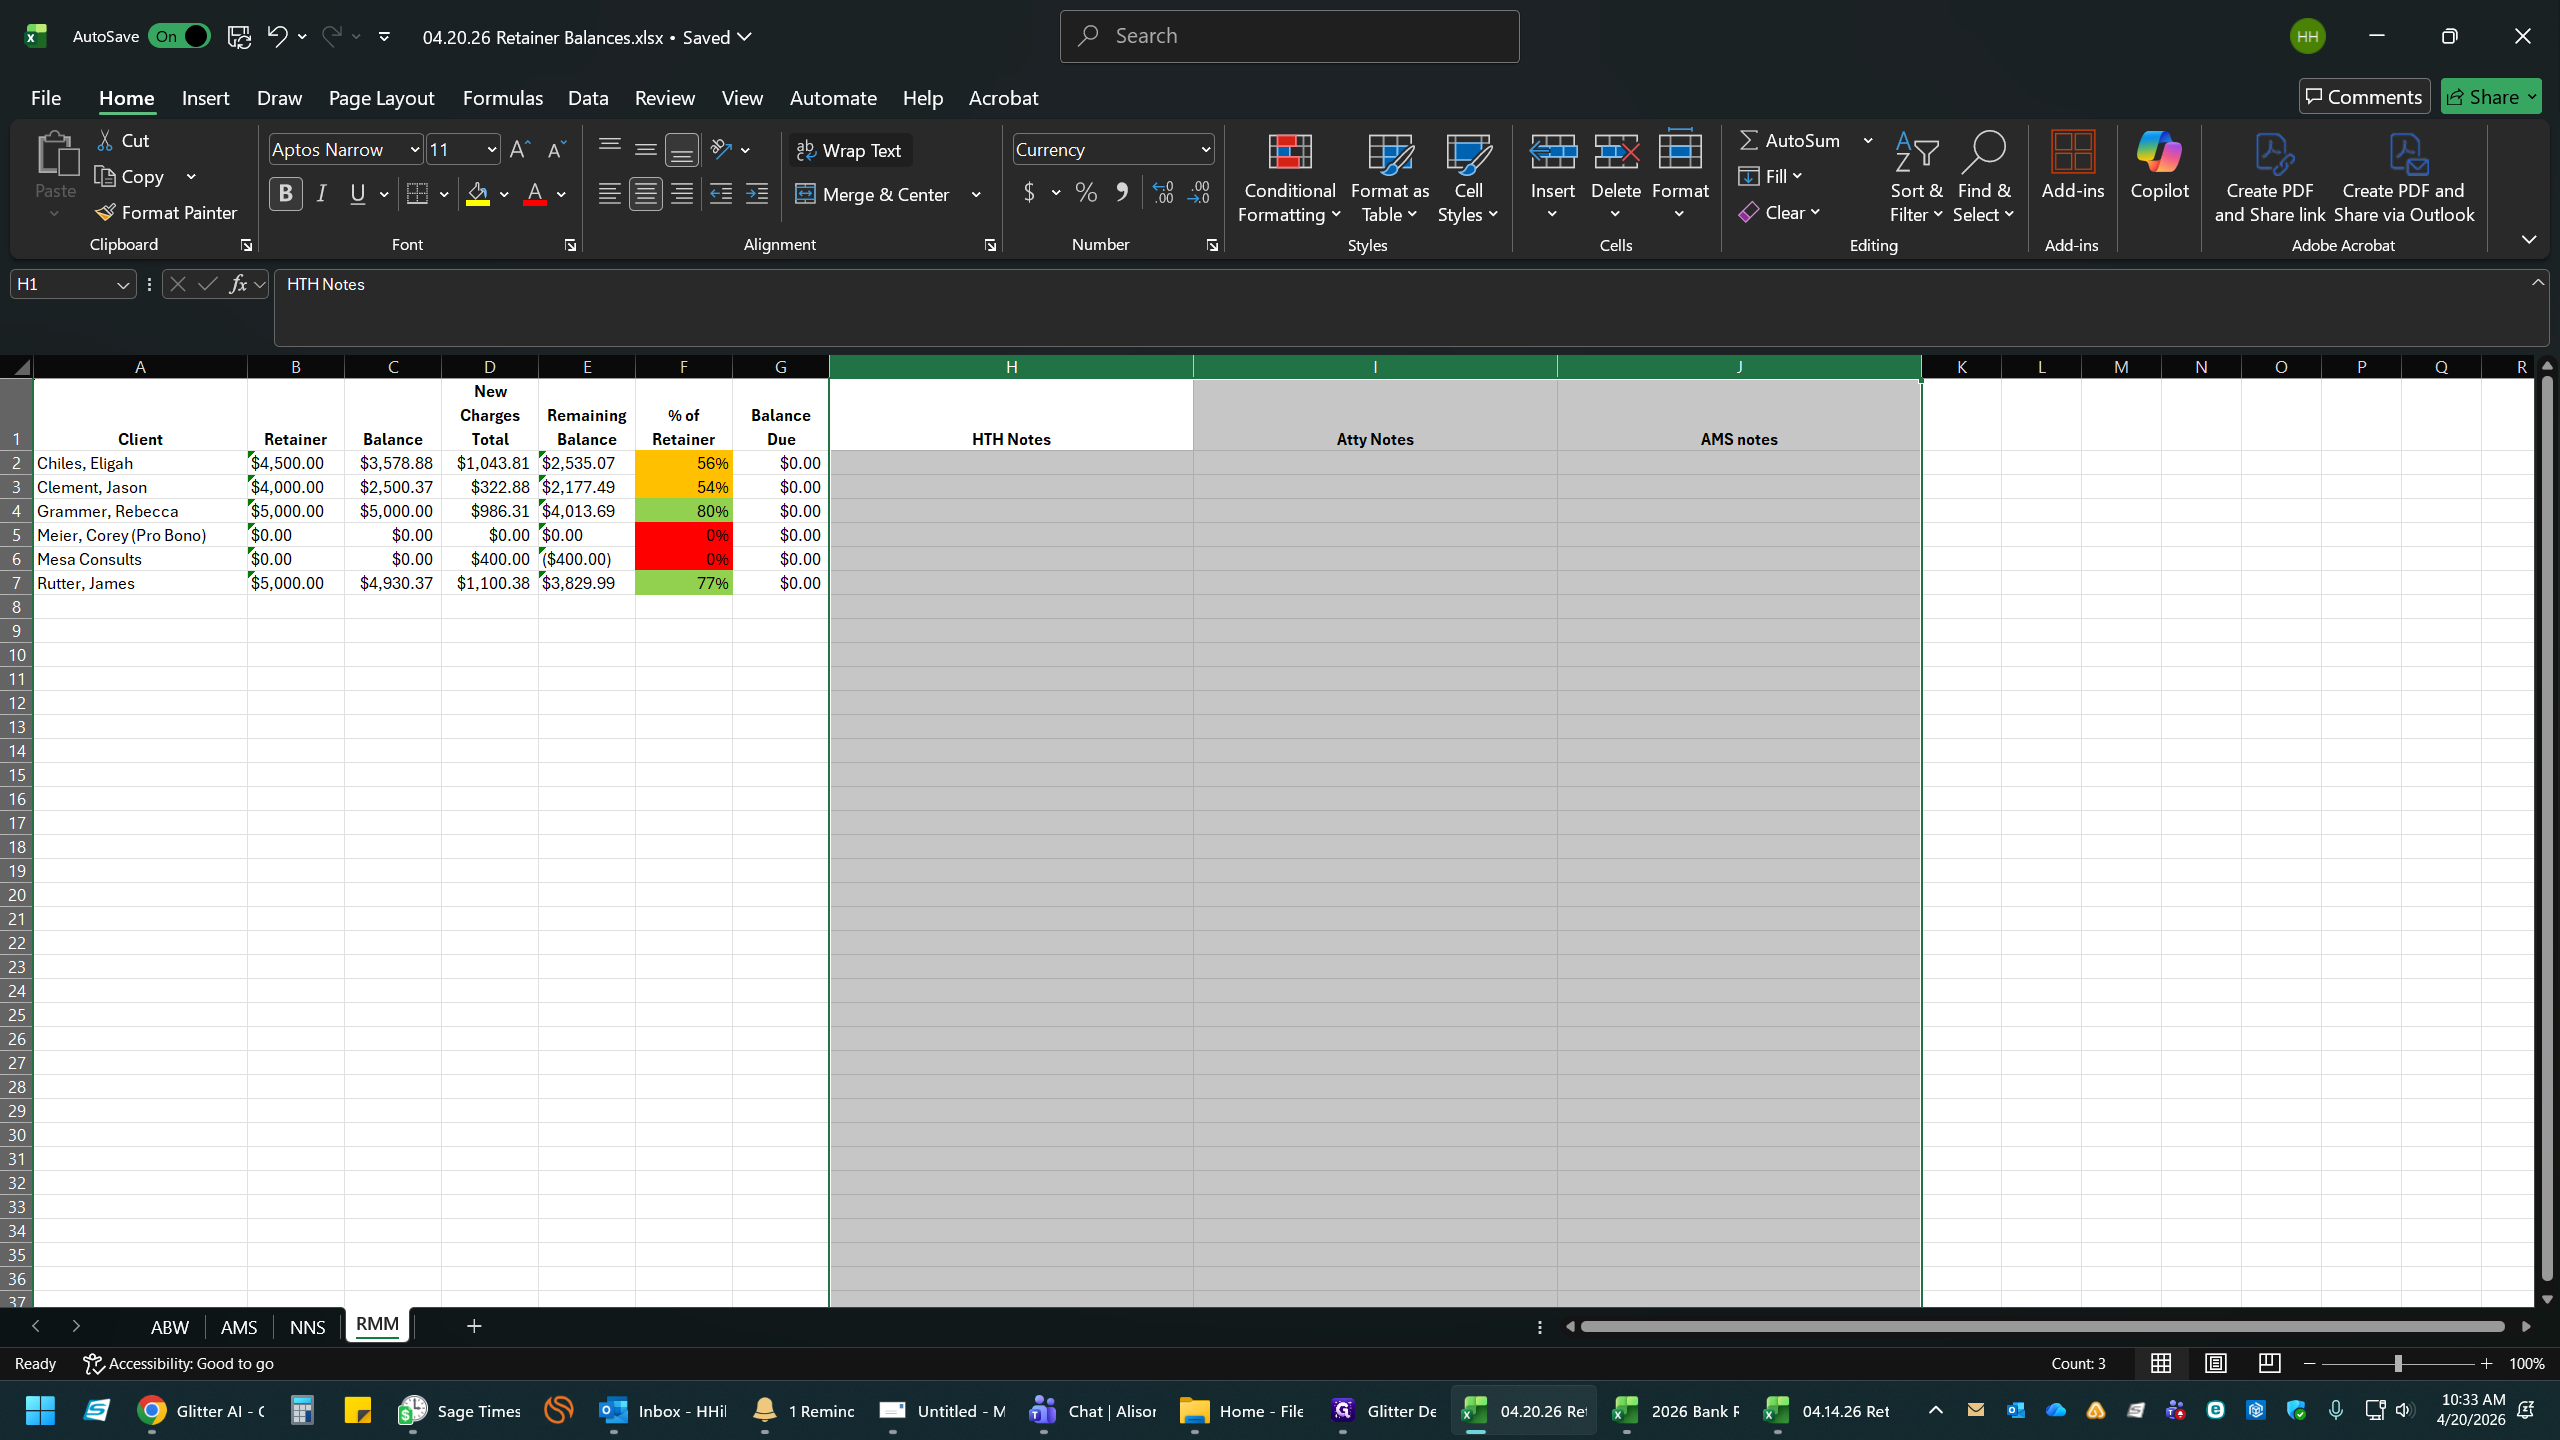
Press Ctrl + C to copy the data.
28
Switch back to your master workbook.
29
Click the + icon to add a new sheet.
30
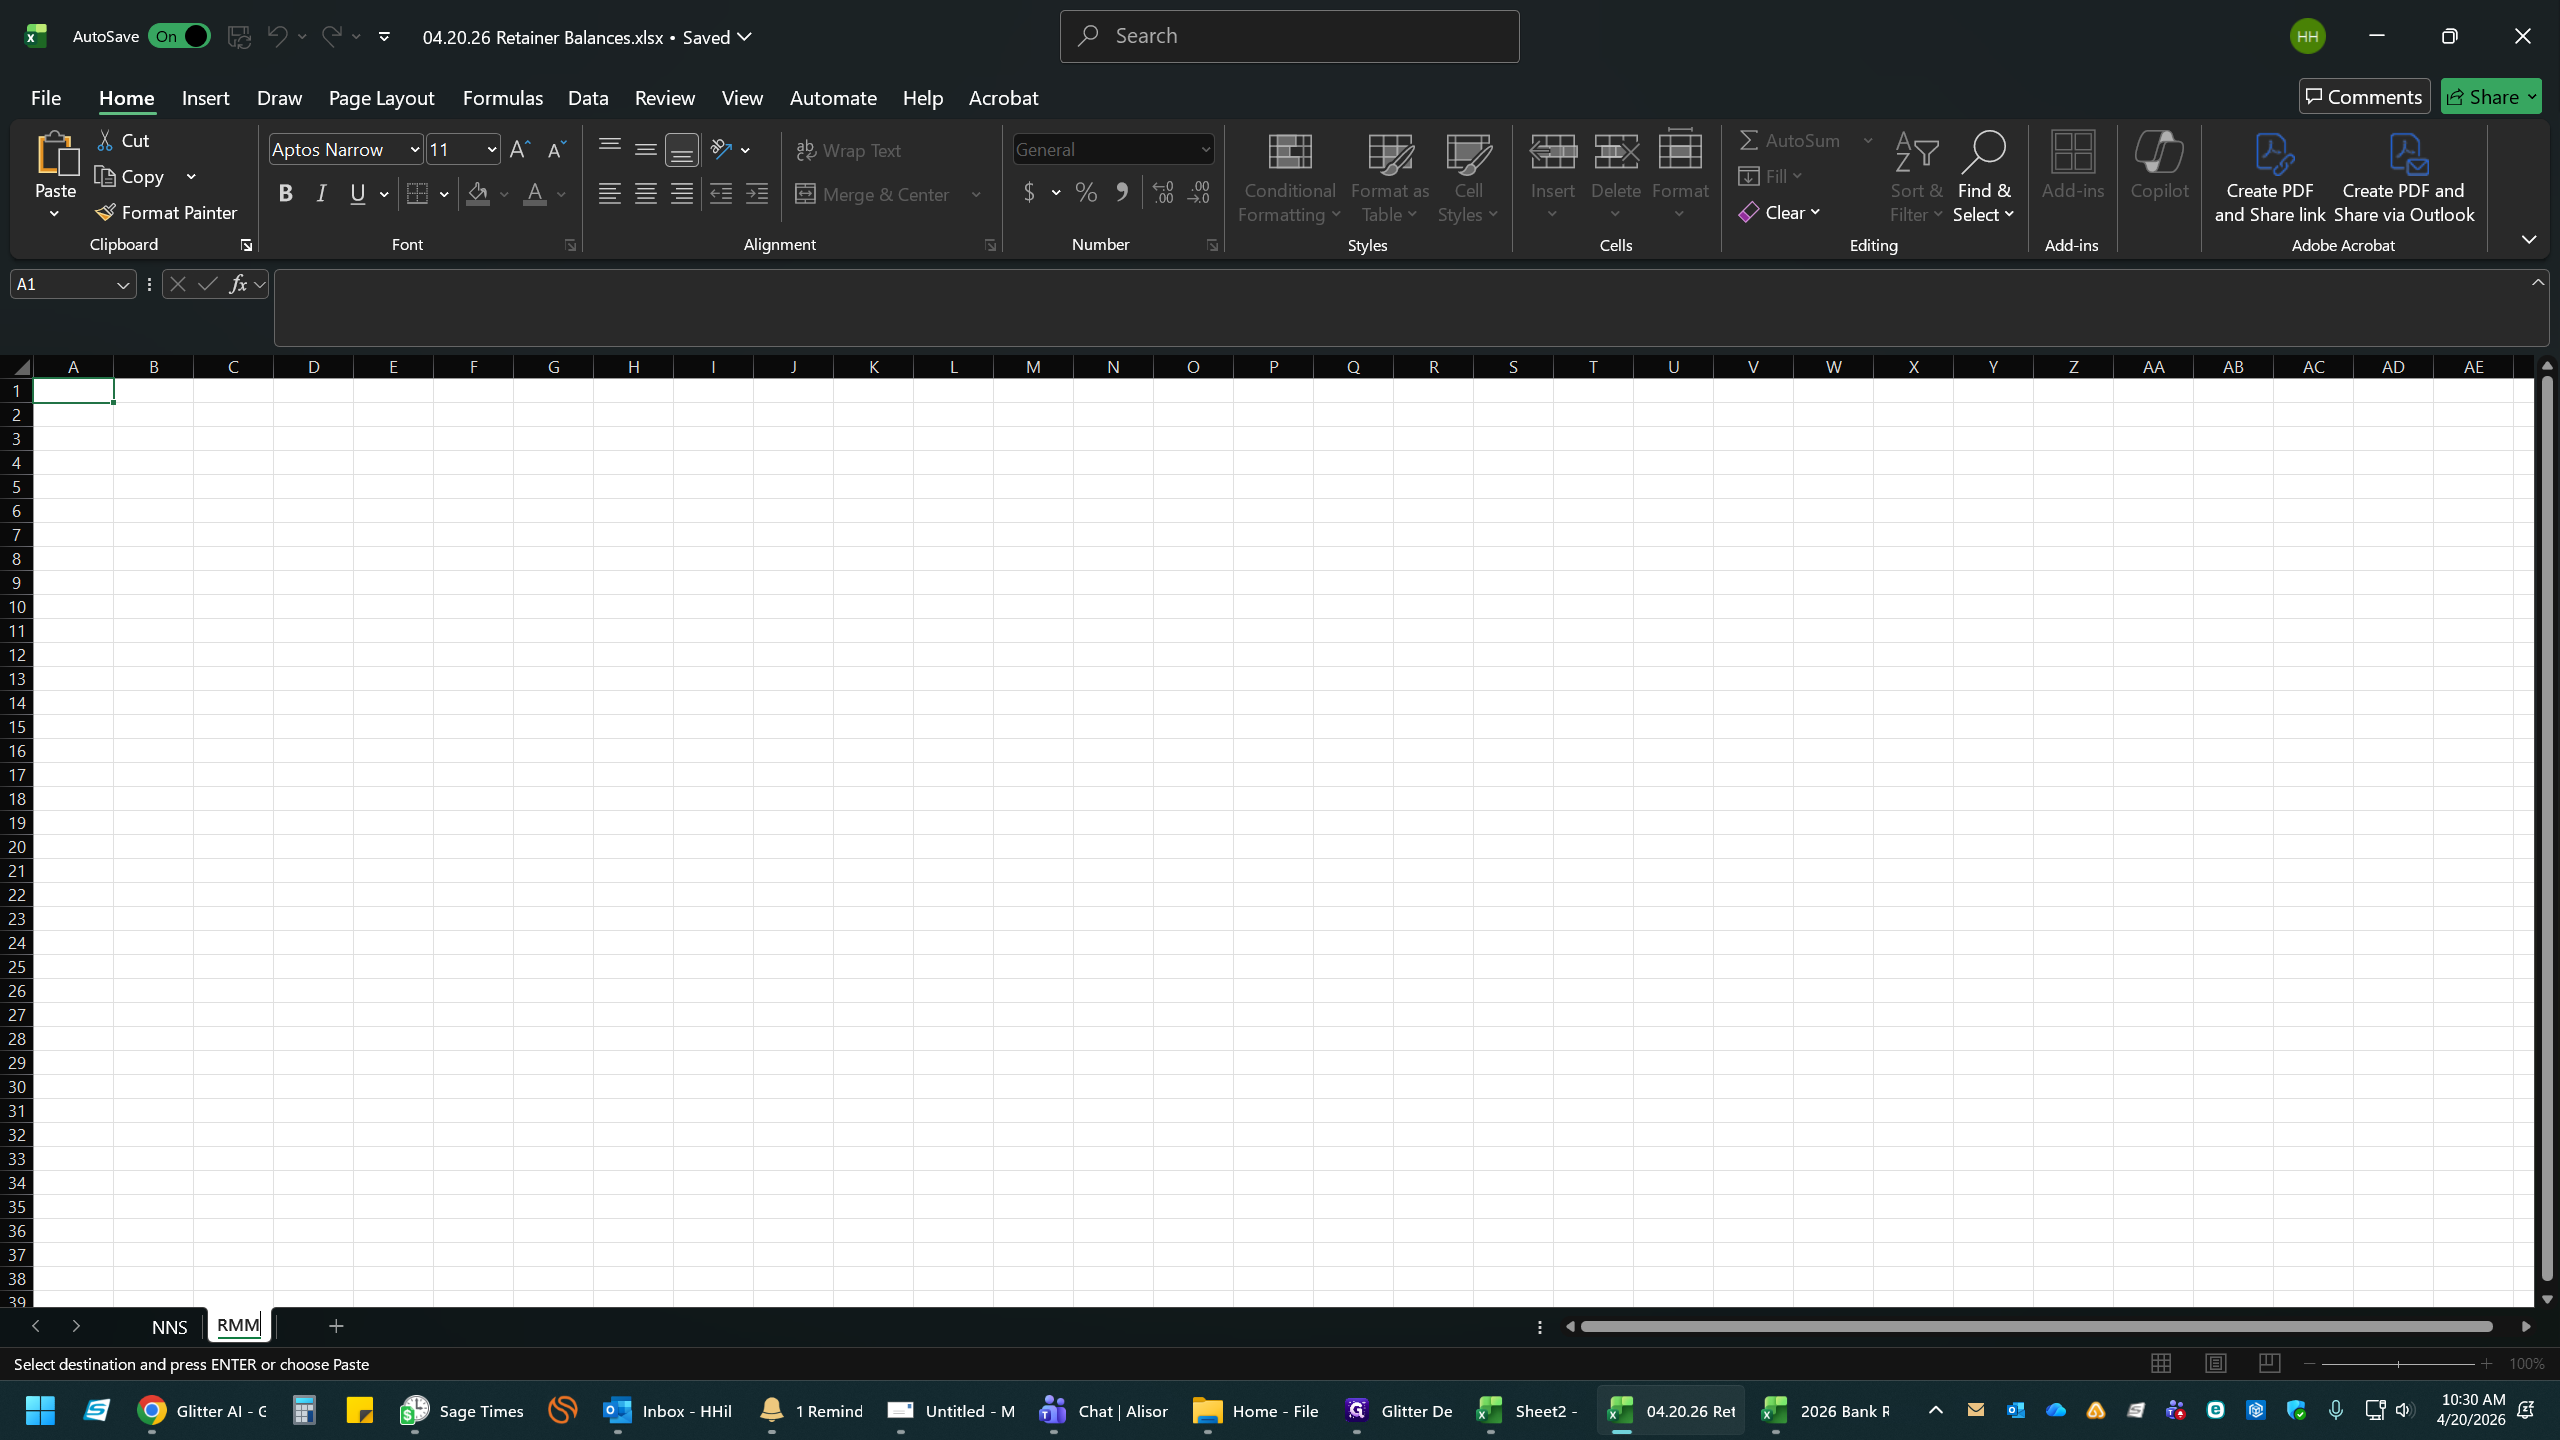
Double-click the new sheet tab.
31
Type the new attorney's initials (e.g., RMM).
32
Click in the sheet to confirm.
33
Select cell A1.
34
Press Ctrl + V to paste the copied data.
35
Click anywhere to deselect.
36
Repeat for All Attorneys.
37
Click and drag the tabs to reorder them as desired.
38
Continue dragging to organize the attorneys alphabetically.
Part 4: Apply Formulas and Formatting from the Previous Week
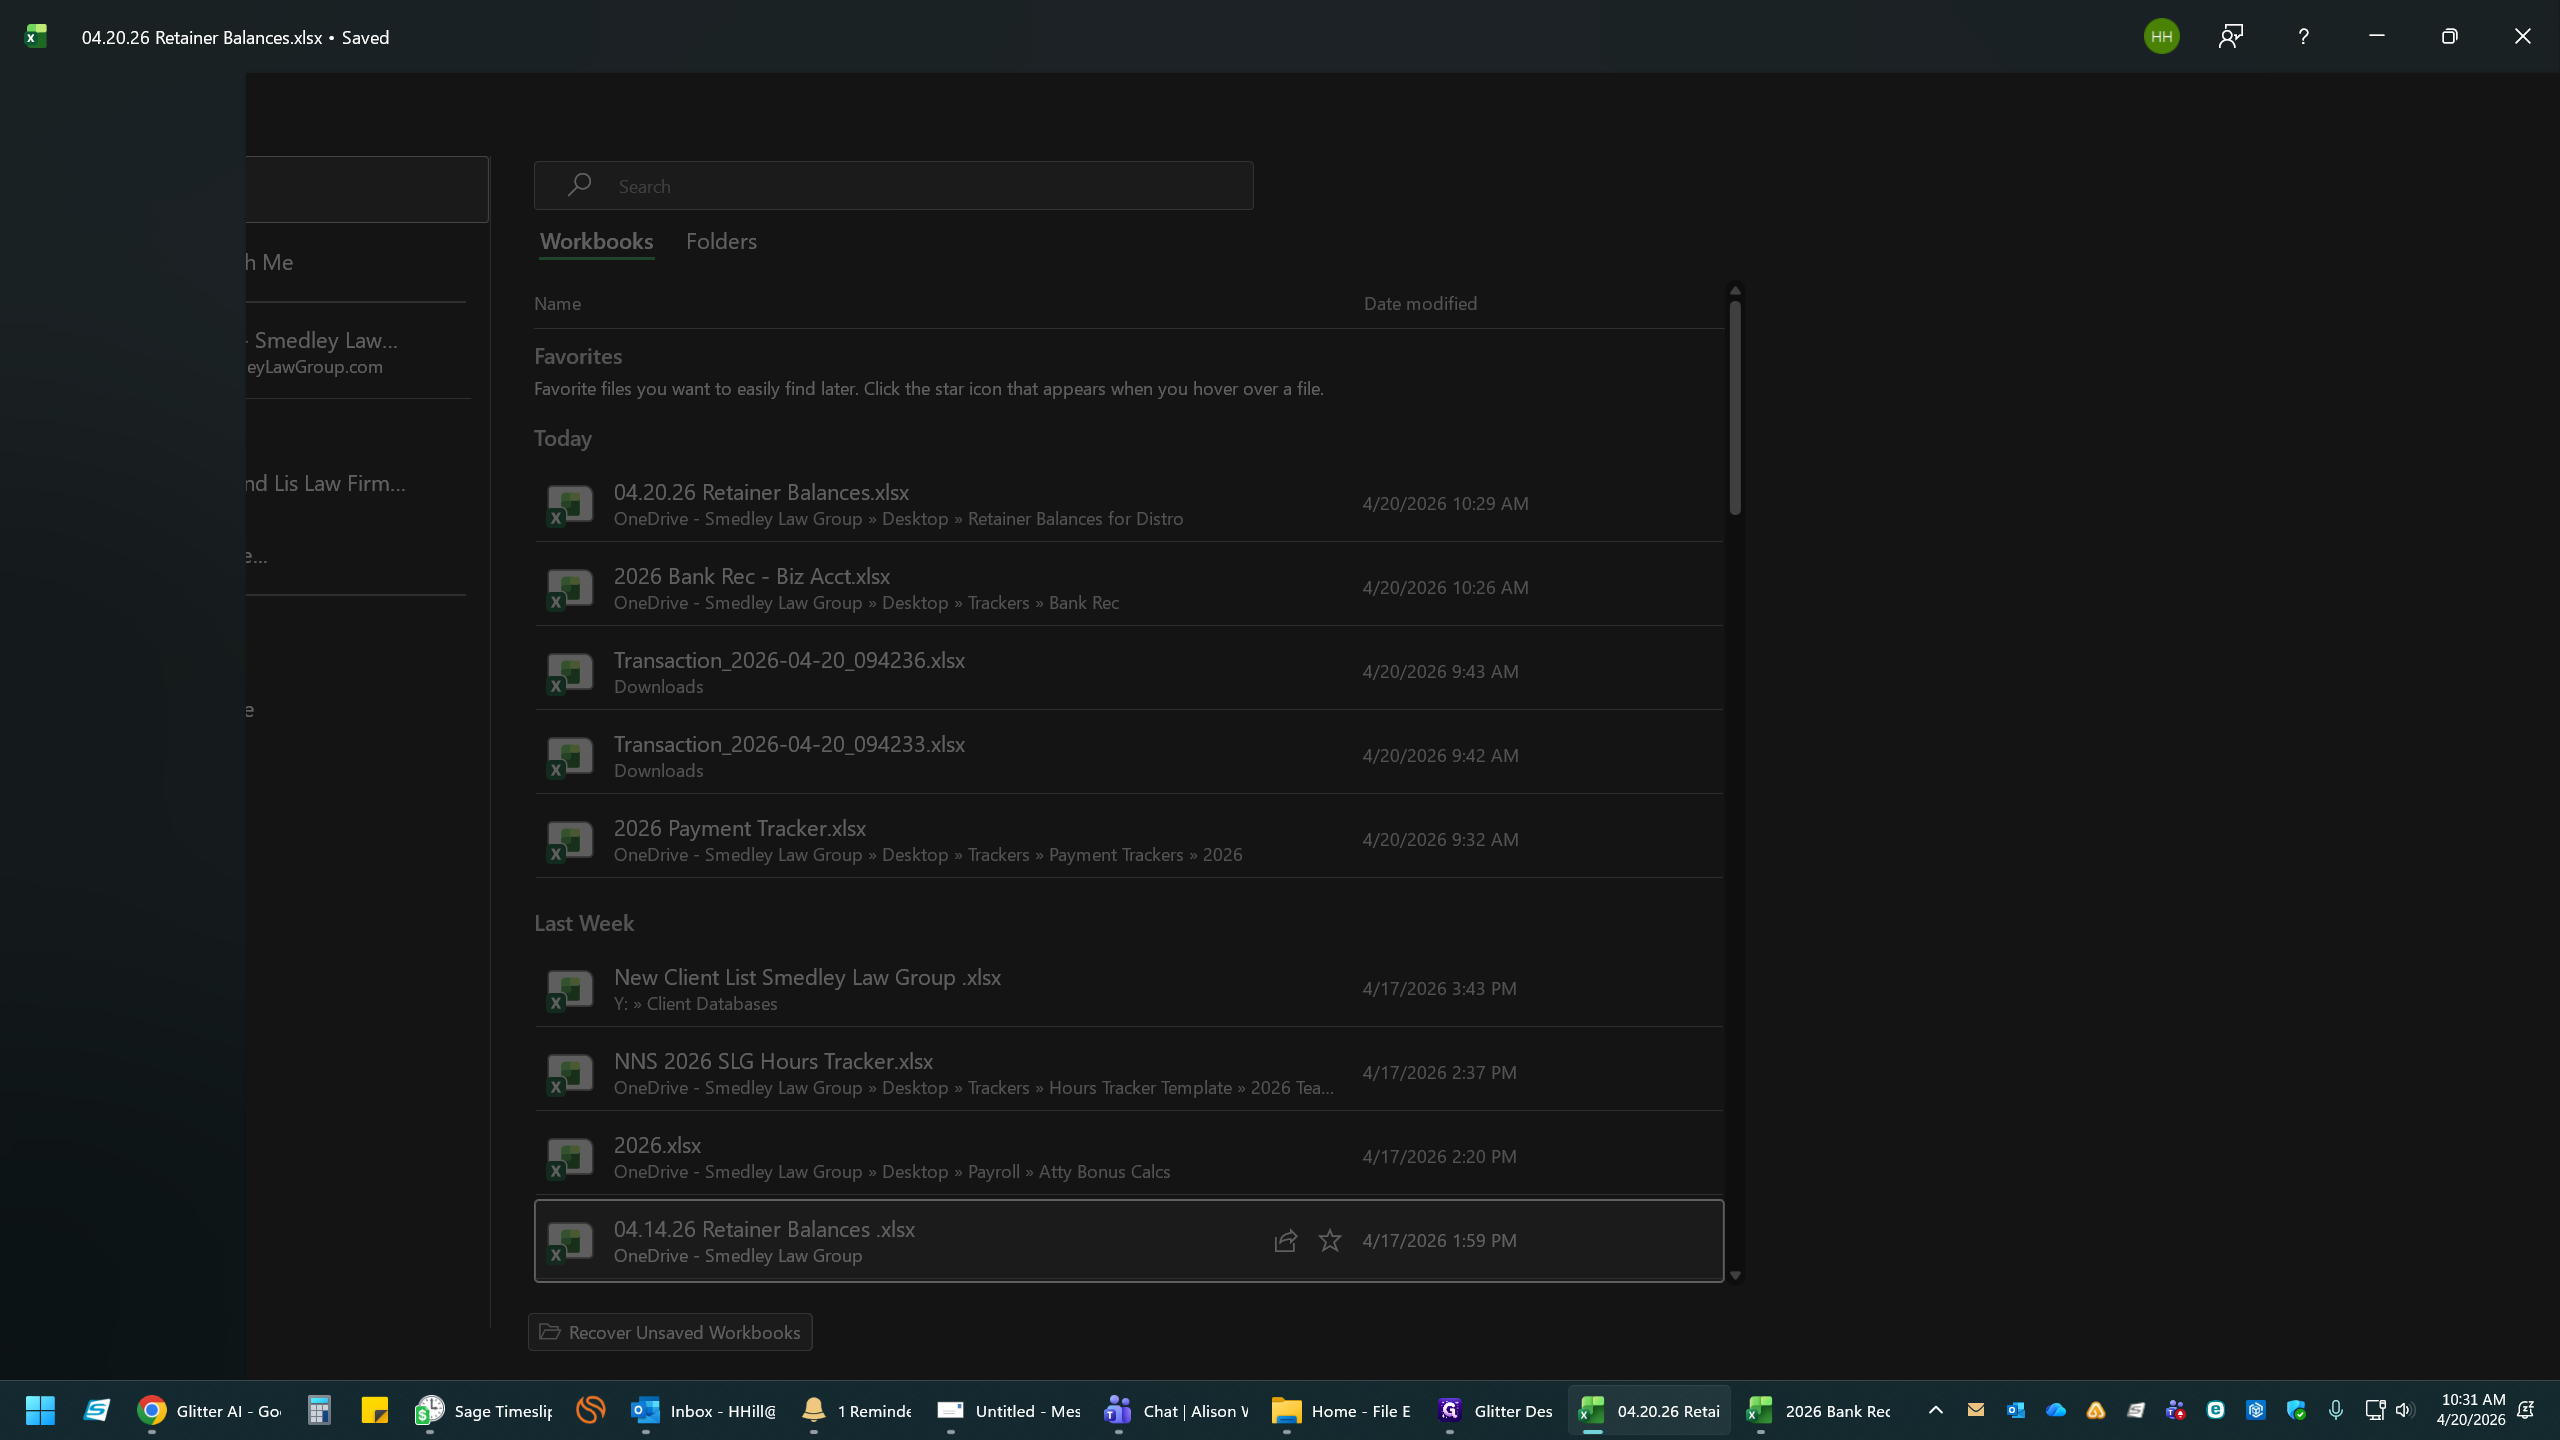
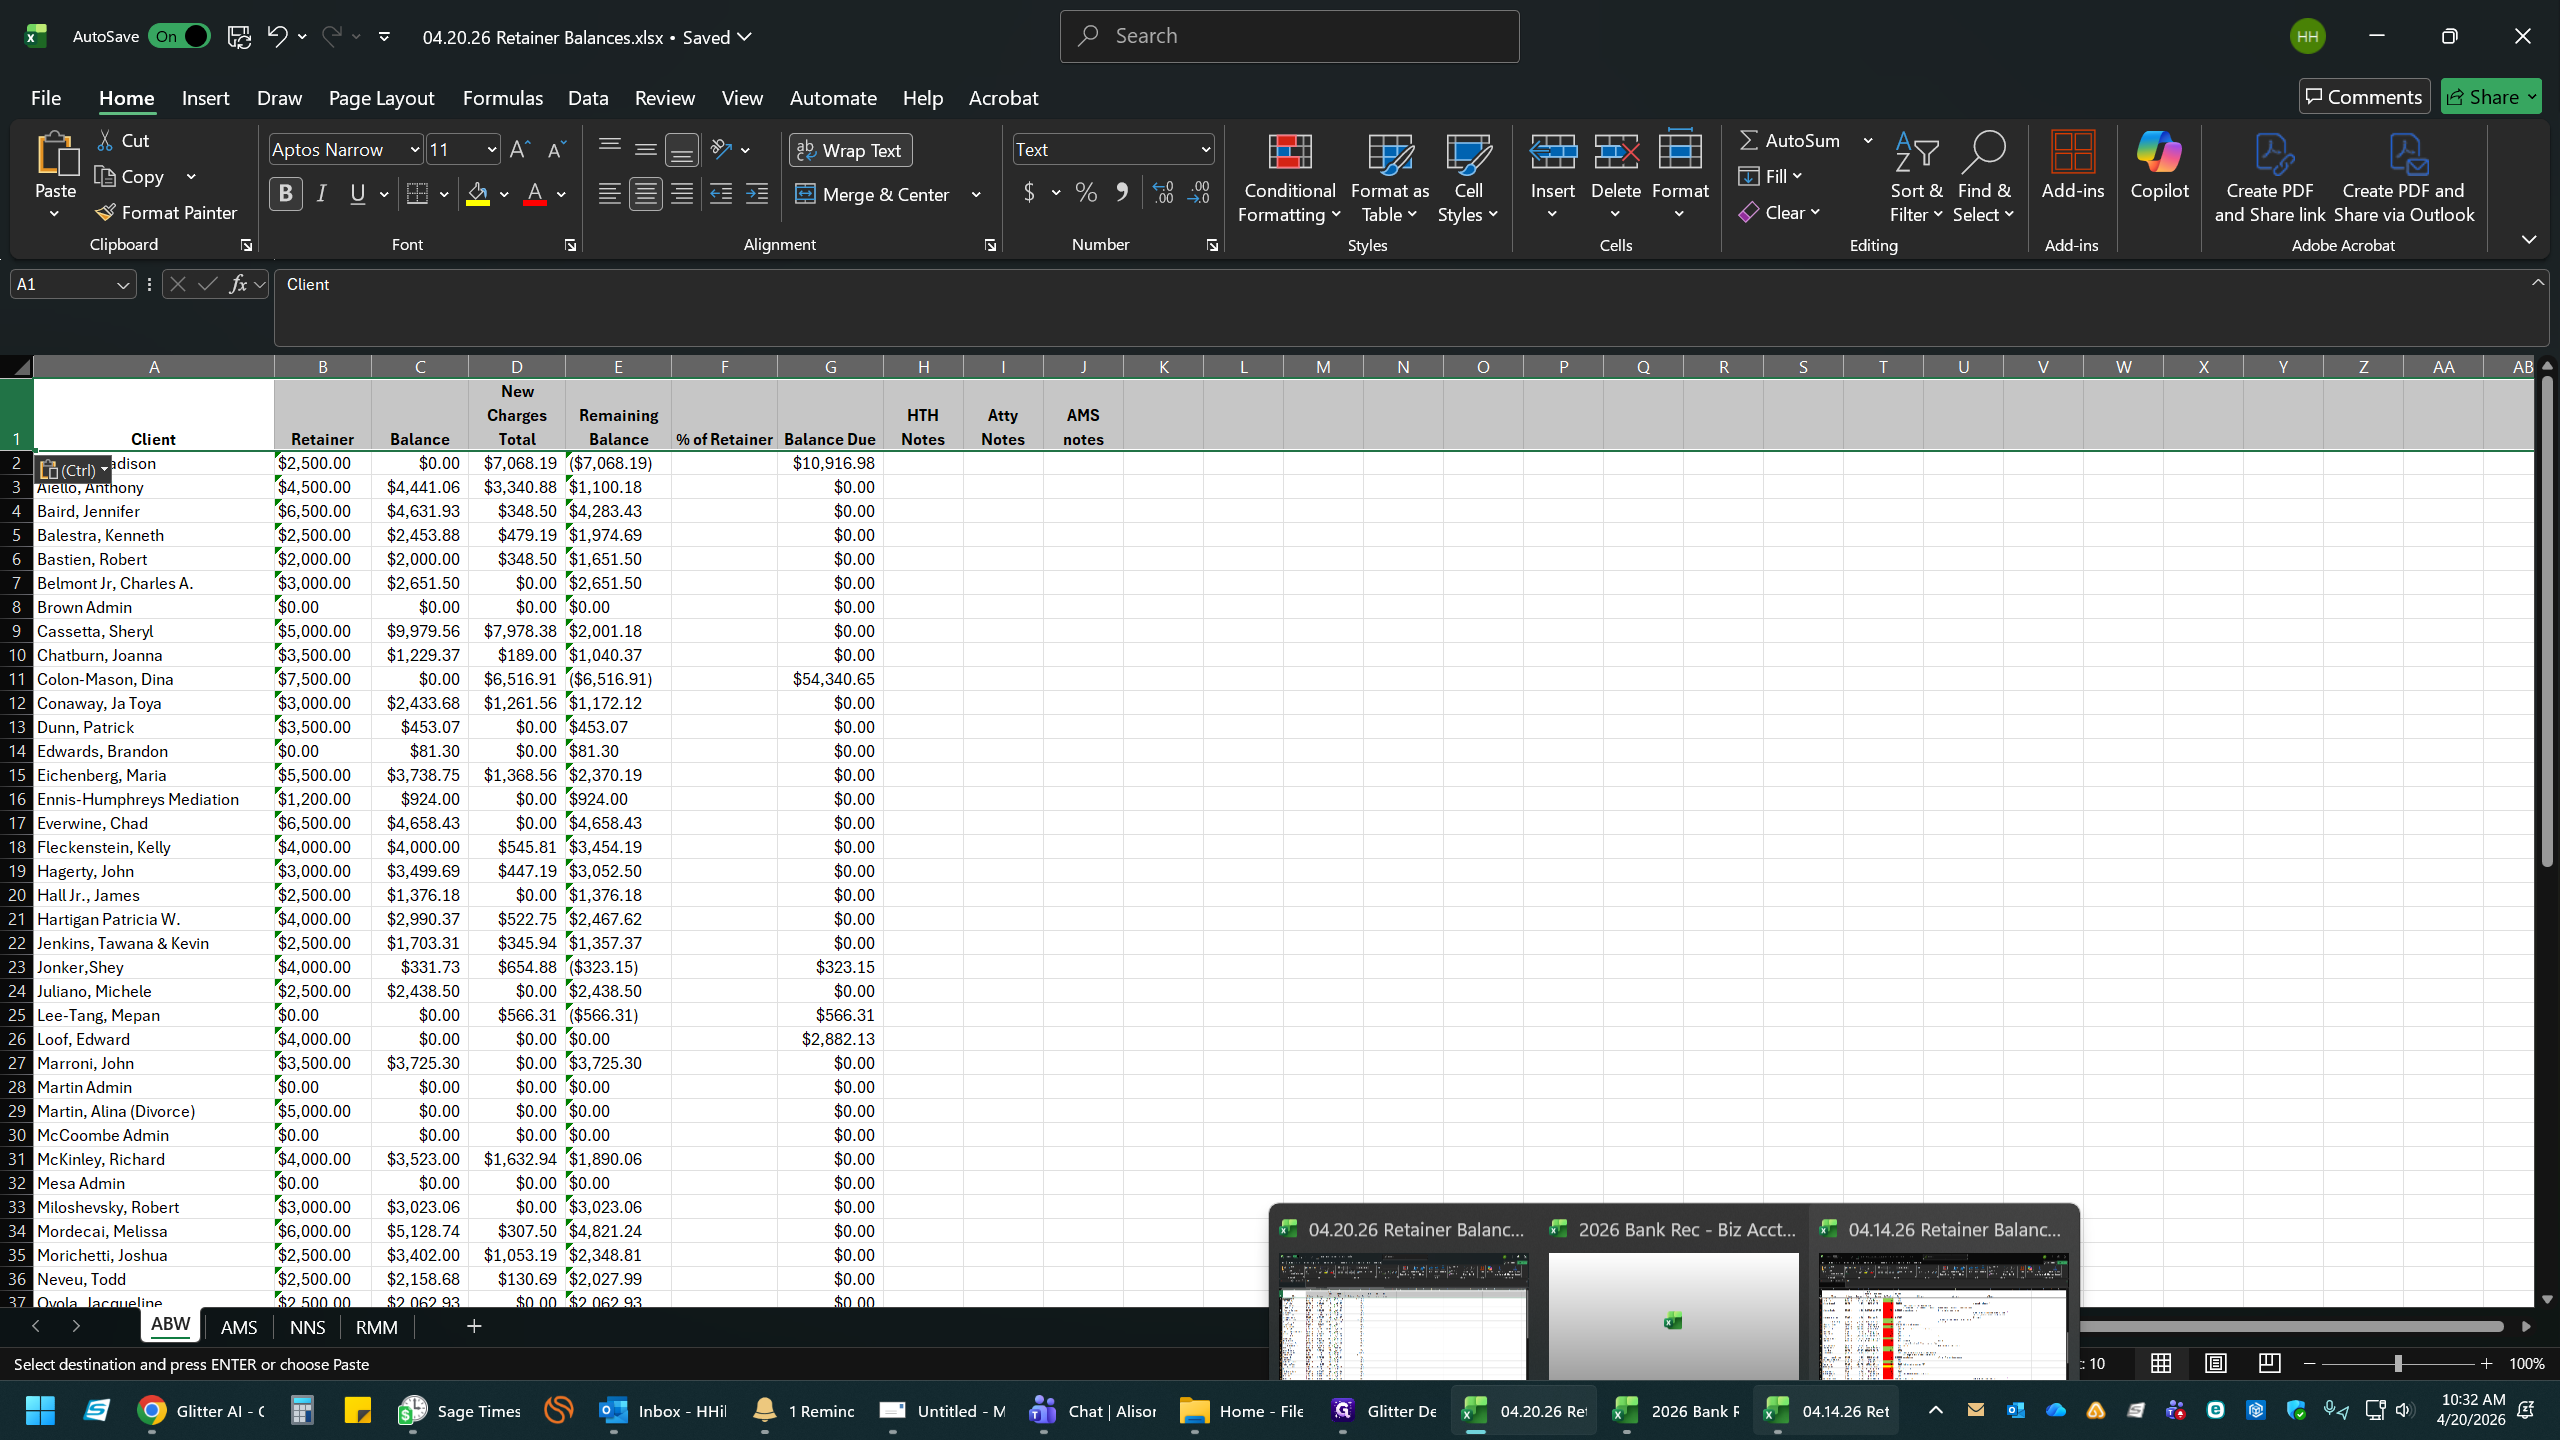
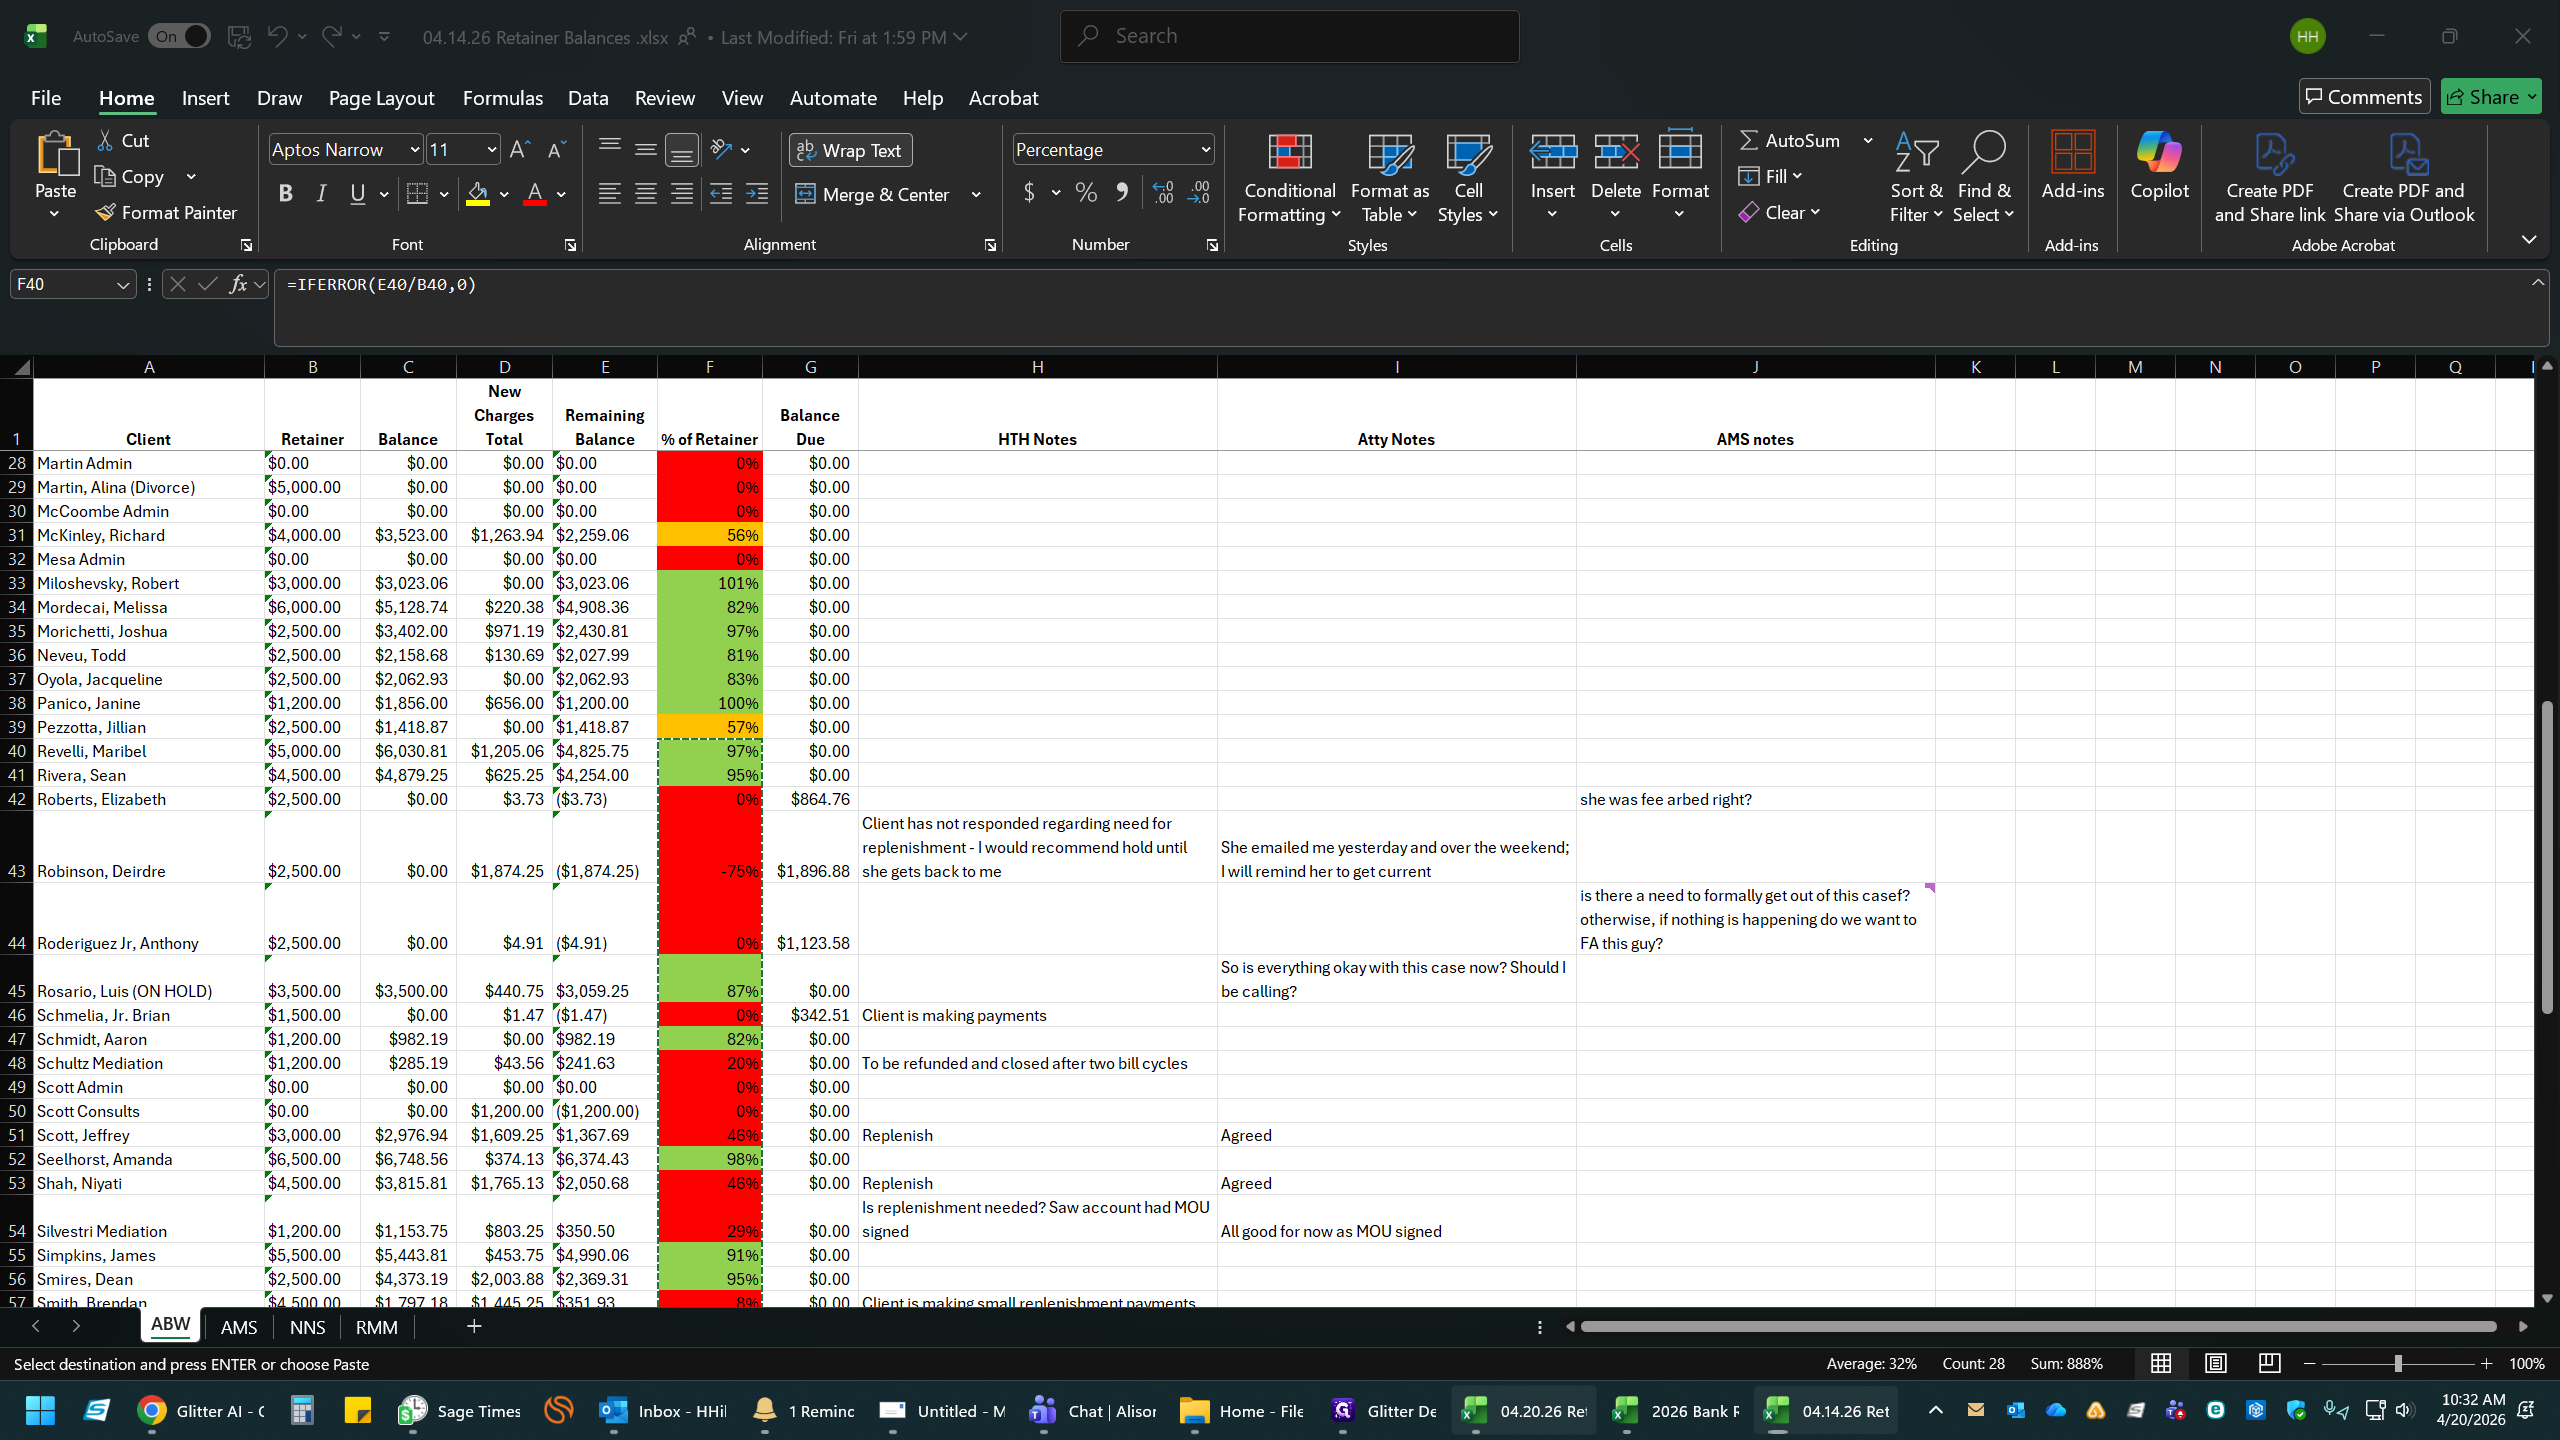
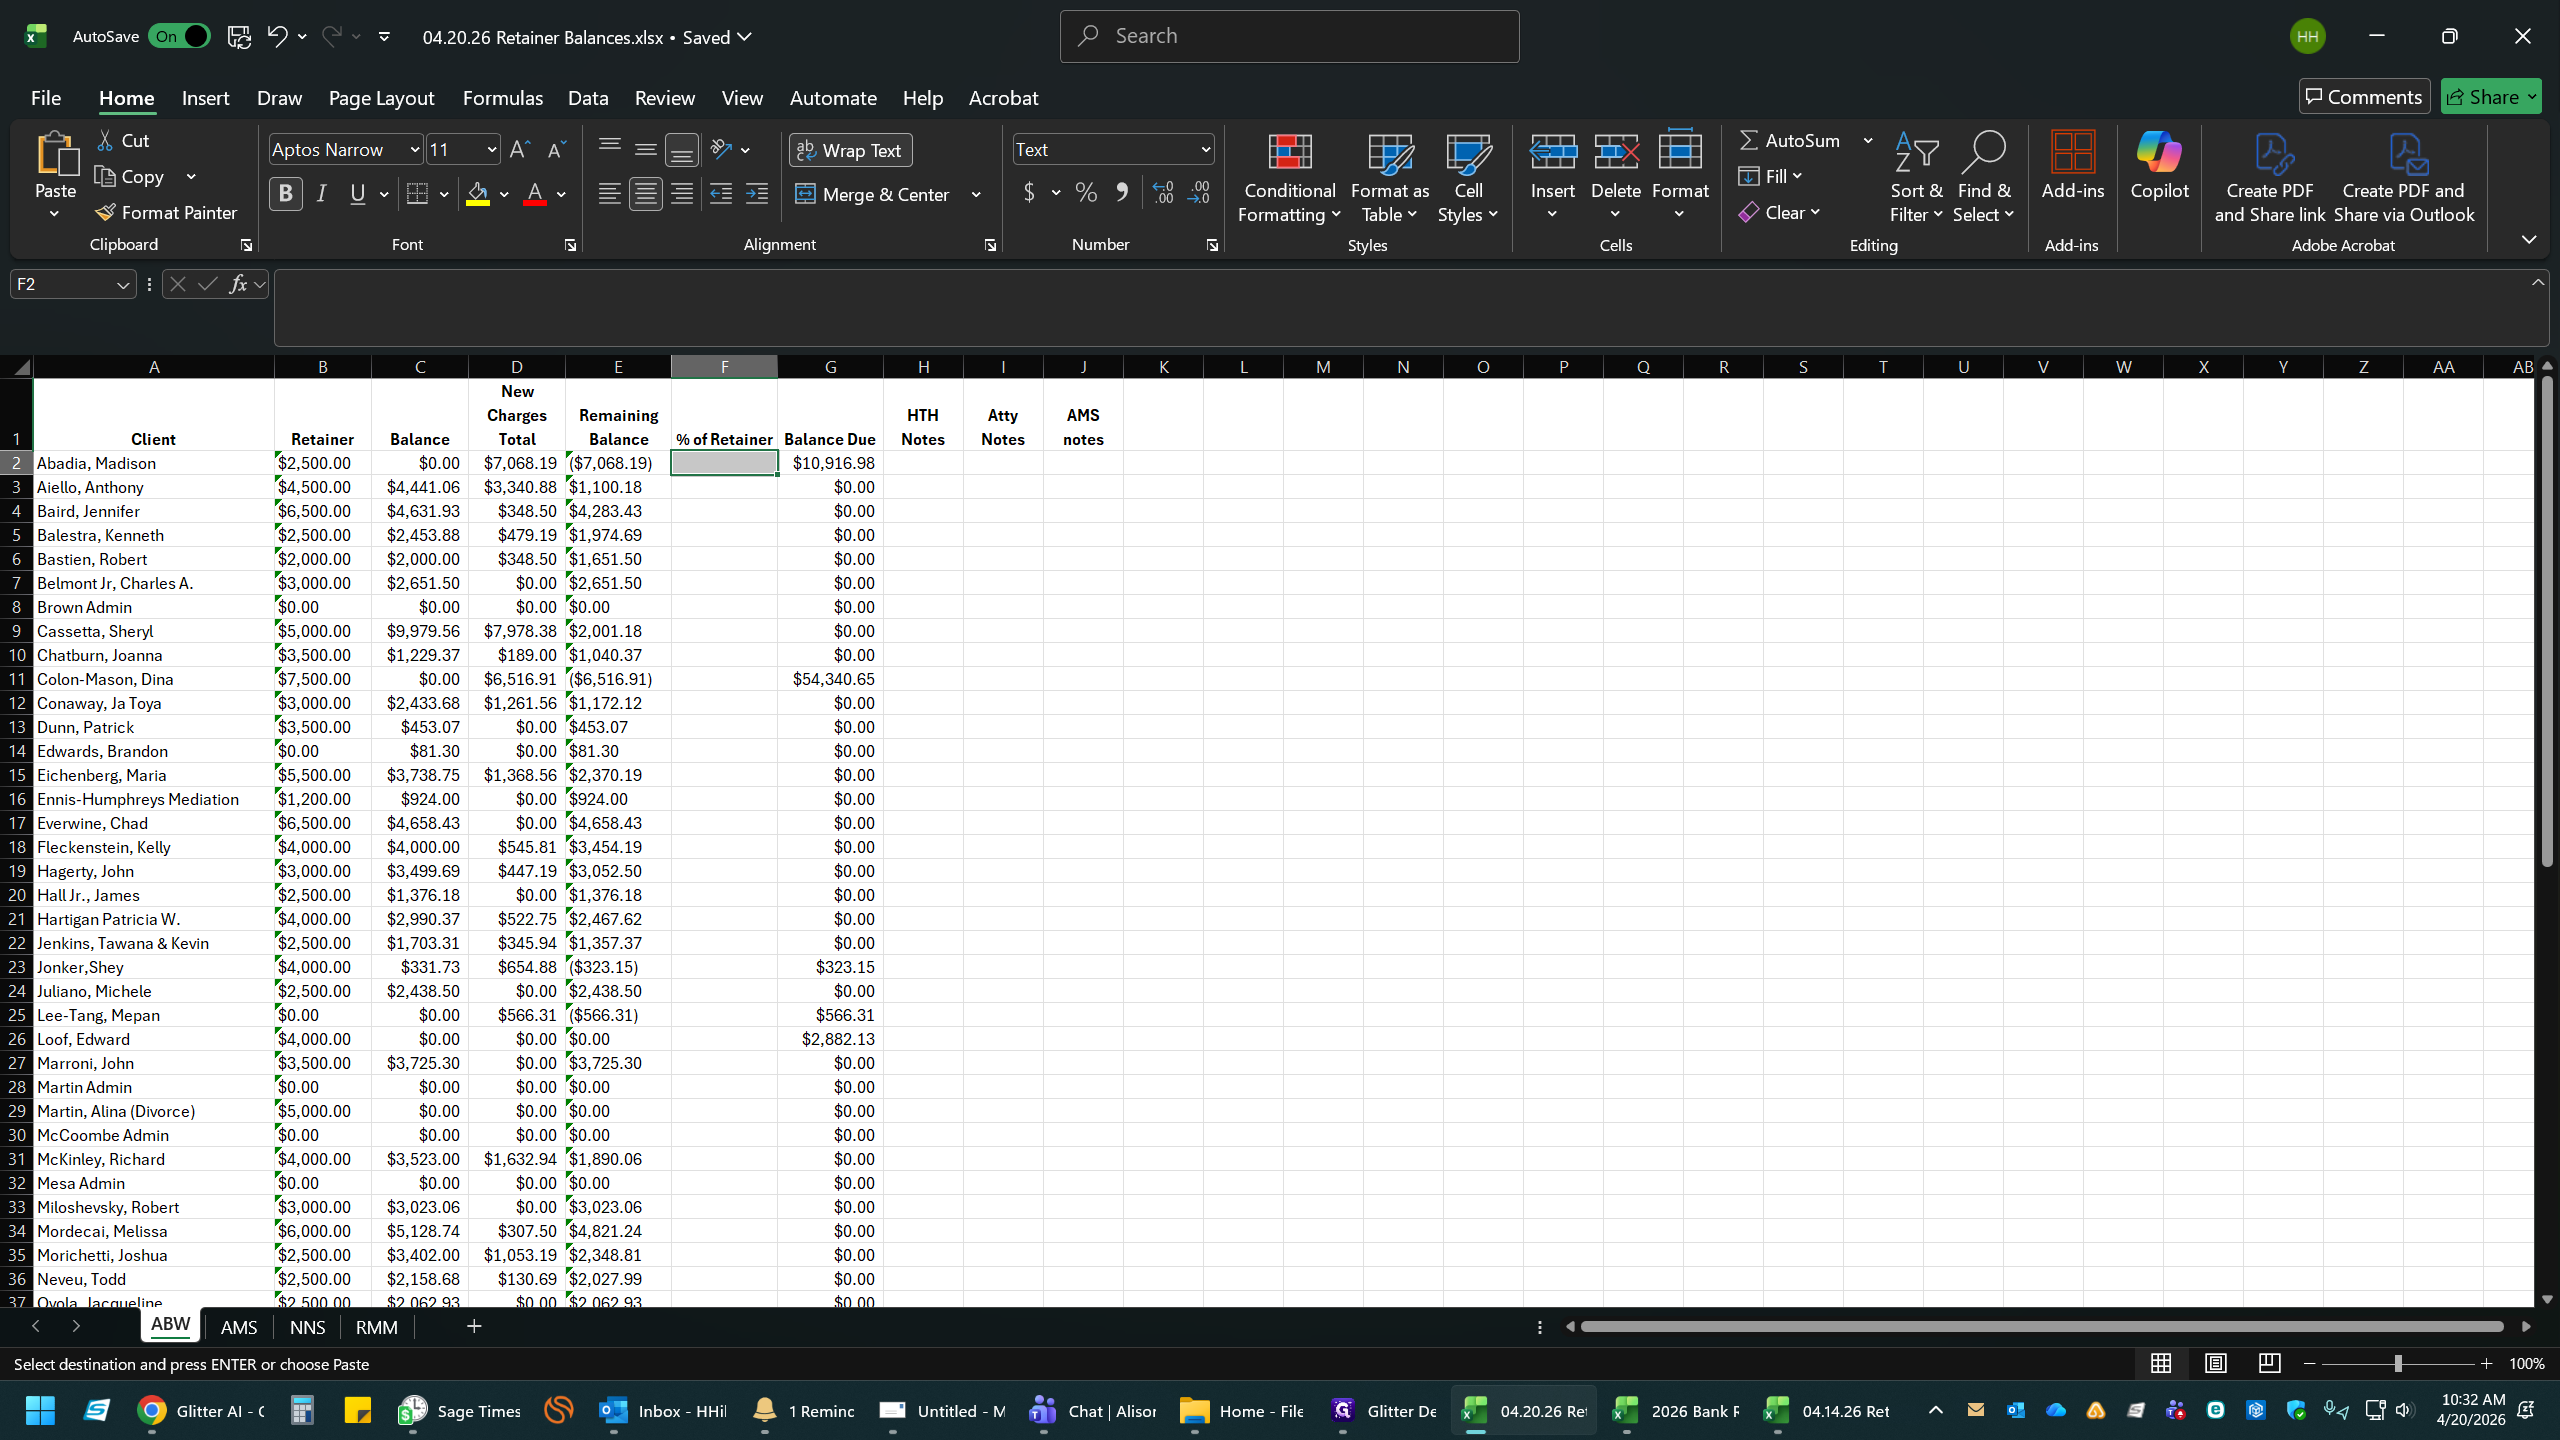
To ensure your new master file has all the necessary calculation columns (like % of Retainer) and client notes, open the previous week's file and copy them over. To copy the % of Retainer formula and formatting, you must open the previous week's file from the same excel window. File > Open > select last week's report.
39
Select the first tab to begin formatting.
40
Click File in Excel.
41
Click Open.
42
Double-click last week's Retainer Balances file from your recent files list.
43
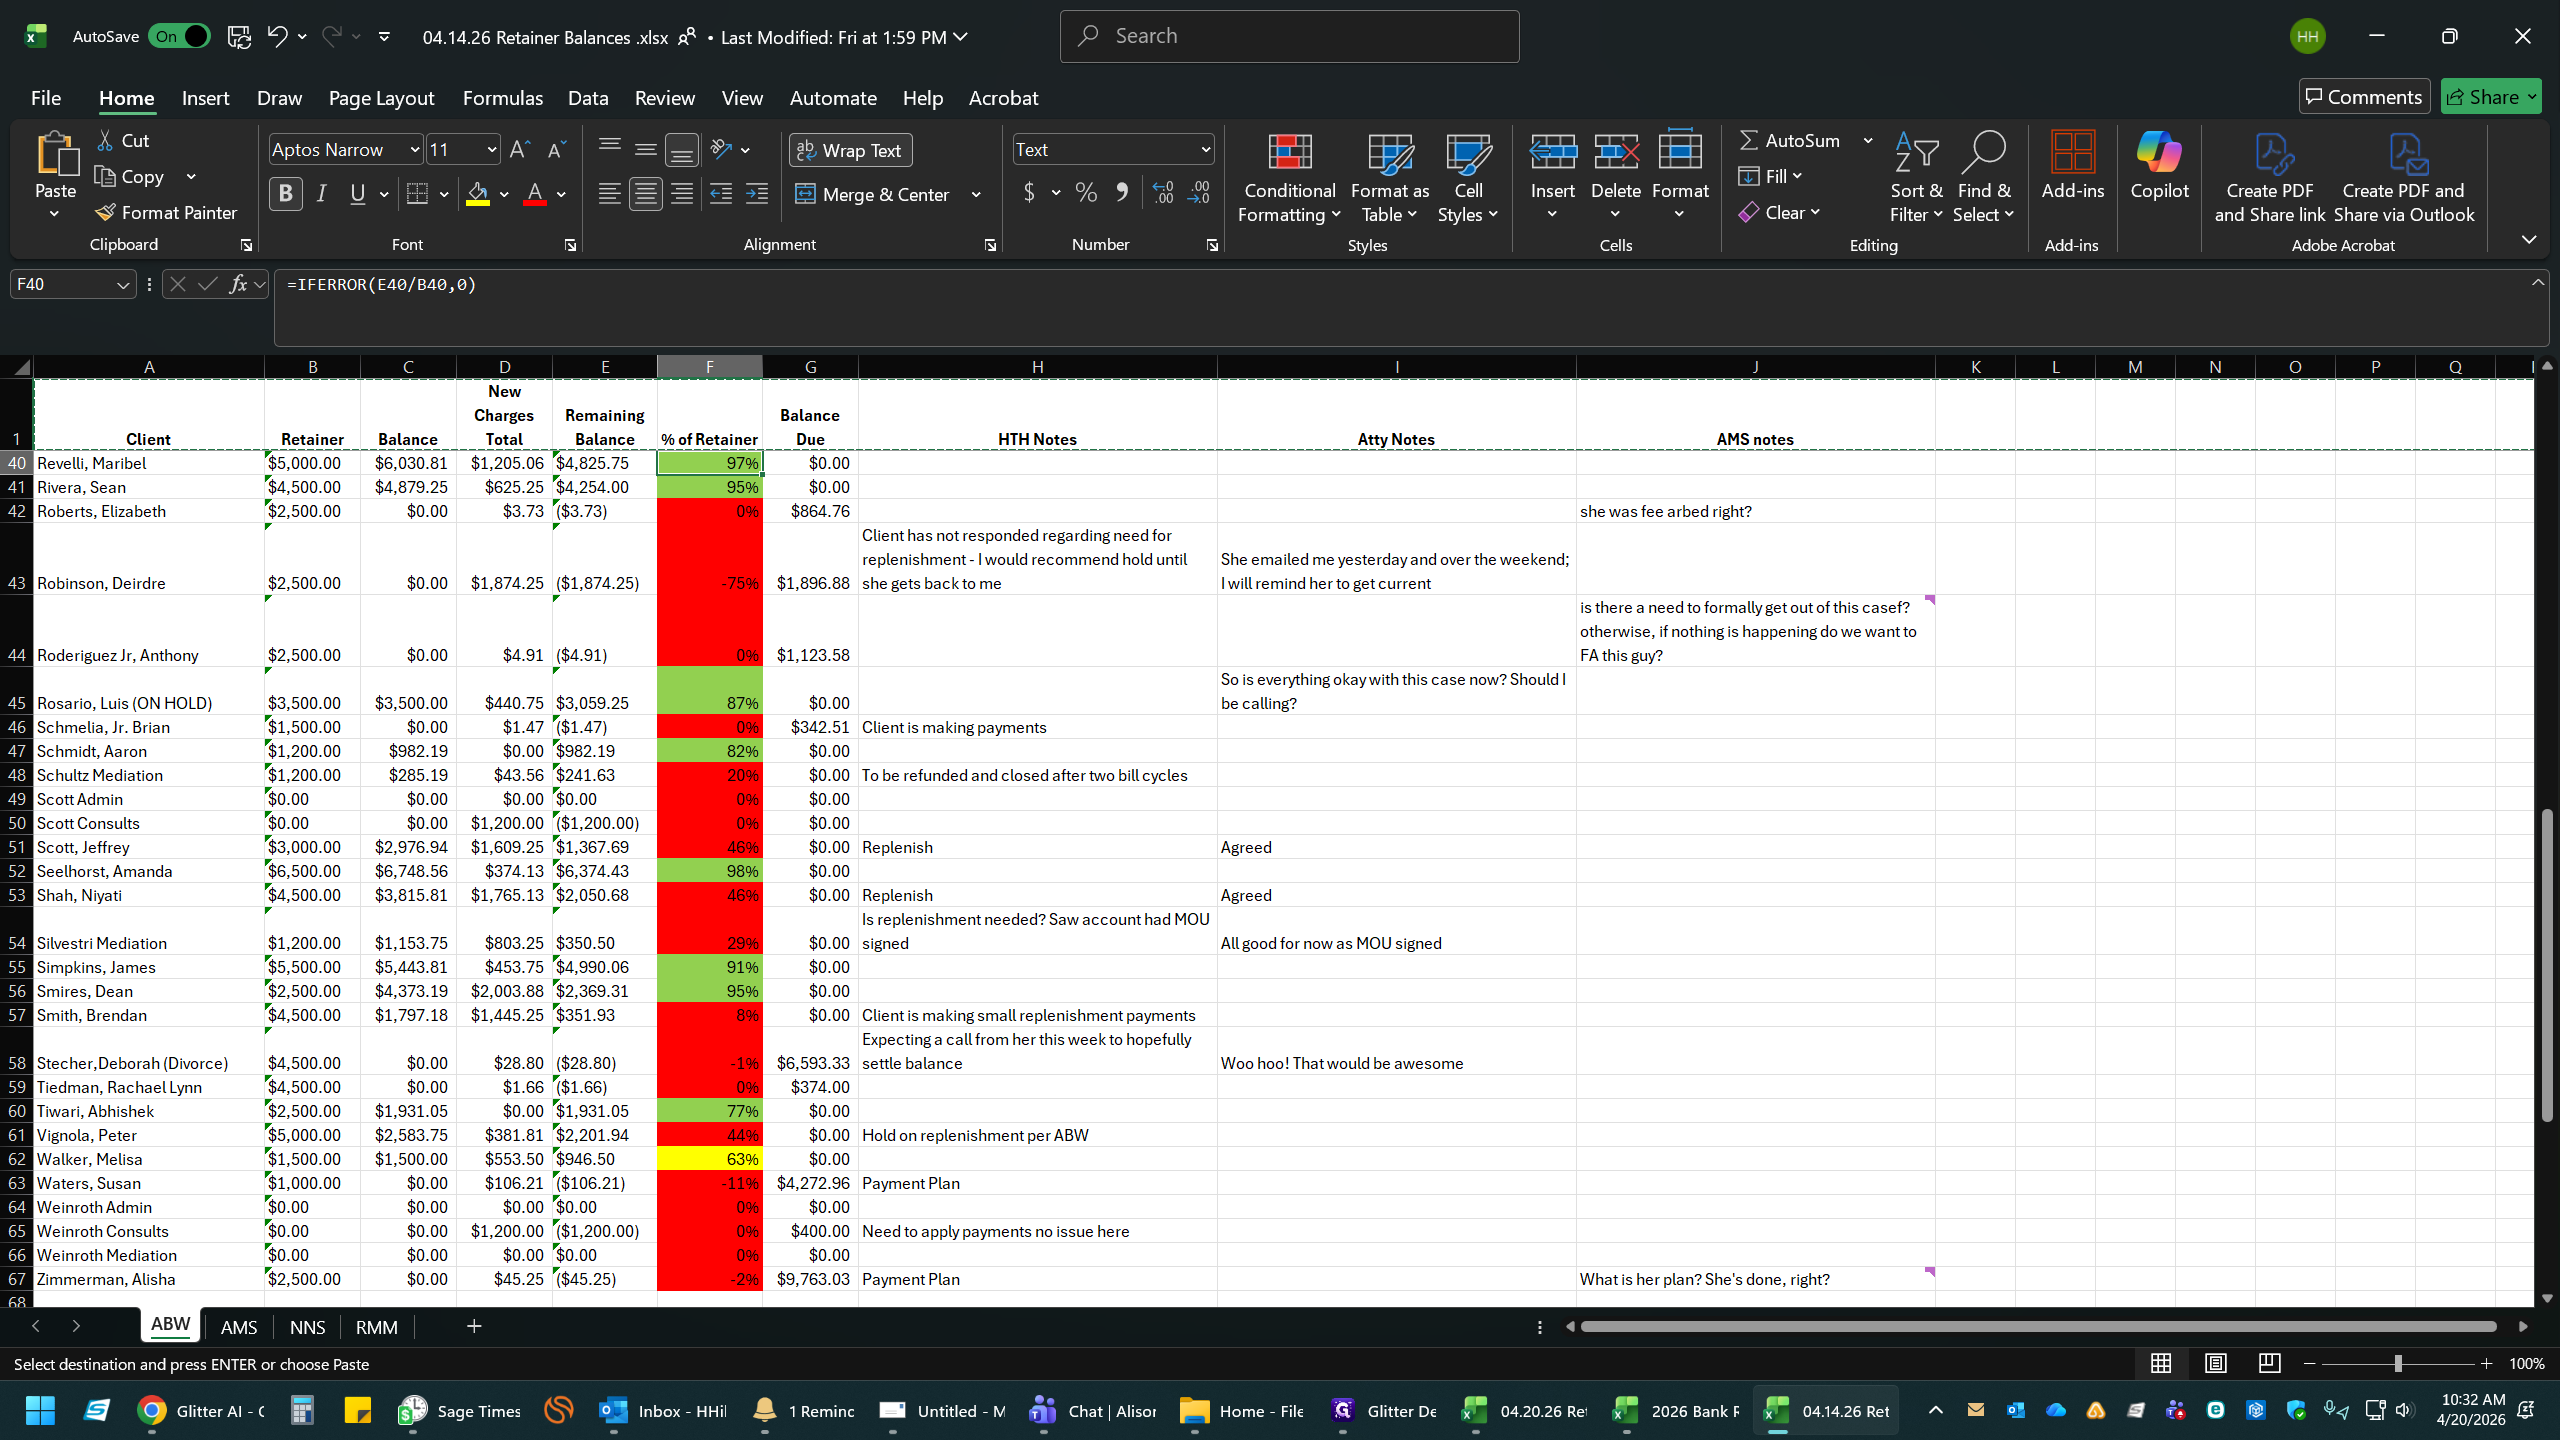
Locate the columns containing calculations (like % of Retainer or Balance Due).
44
Click the first cell containing the formula (e.g., =IFERROR(...)).
45
Press Ctrl + C to copy it.
46
Press Esc to release the active copy selection if needed.
47
Switch to your new master workbook.
You will need to repeat this copy, paste, and drag process for all relevant formula columns across every attorney sheet.
48
Insert a new Column between Columns E and F.
49
Copy the Headers from the previous week's report and paste it in the new report for all attorney tabs.
50
Select the header or top cell in your new report.
51
Press Ctrl + V to paste the formula and formatting.
52
Switch back to the previous week's file.
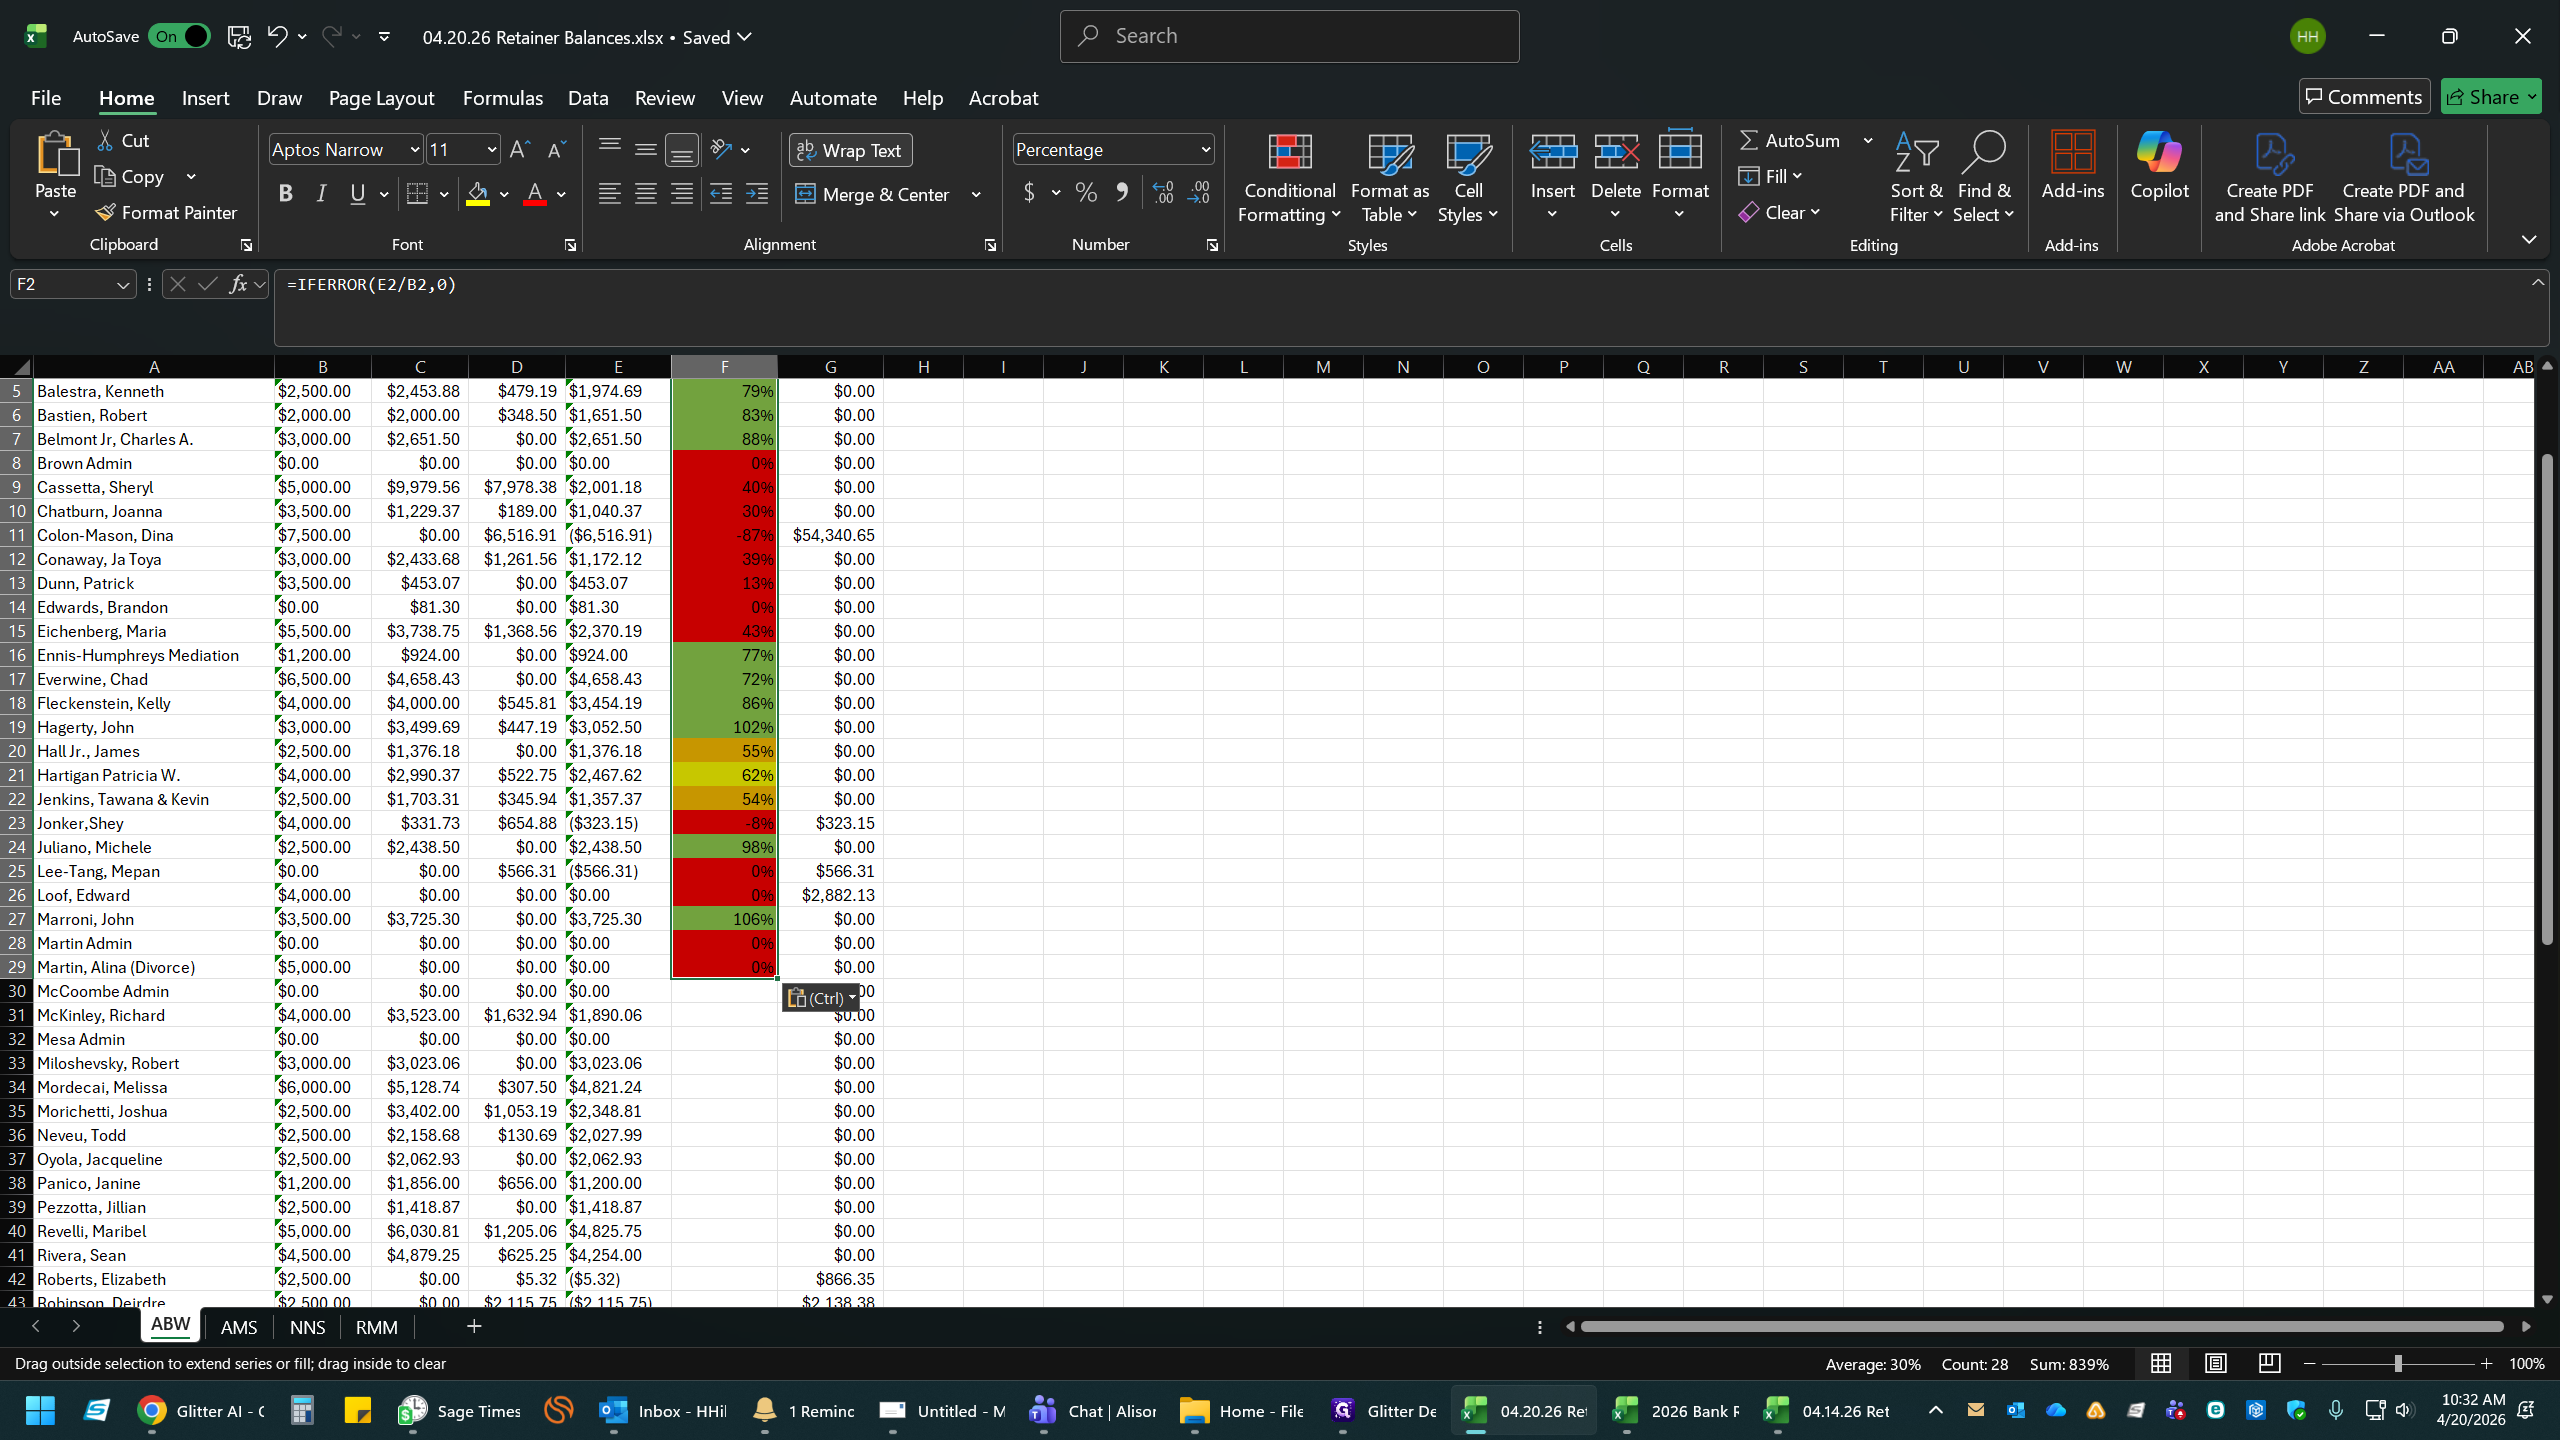
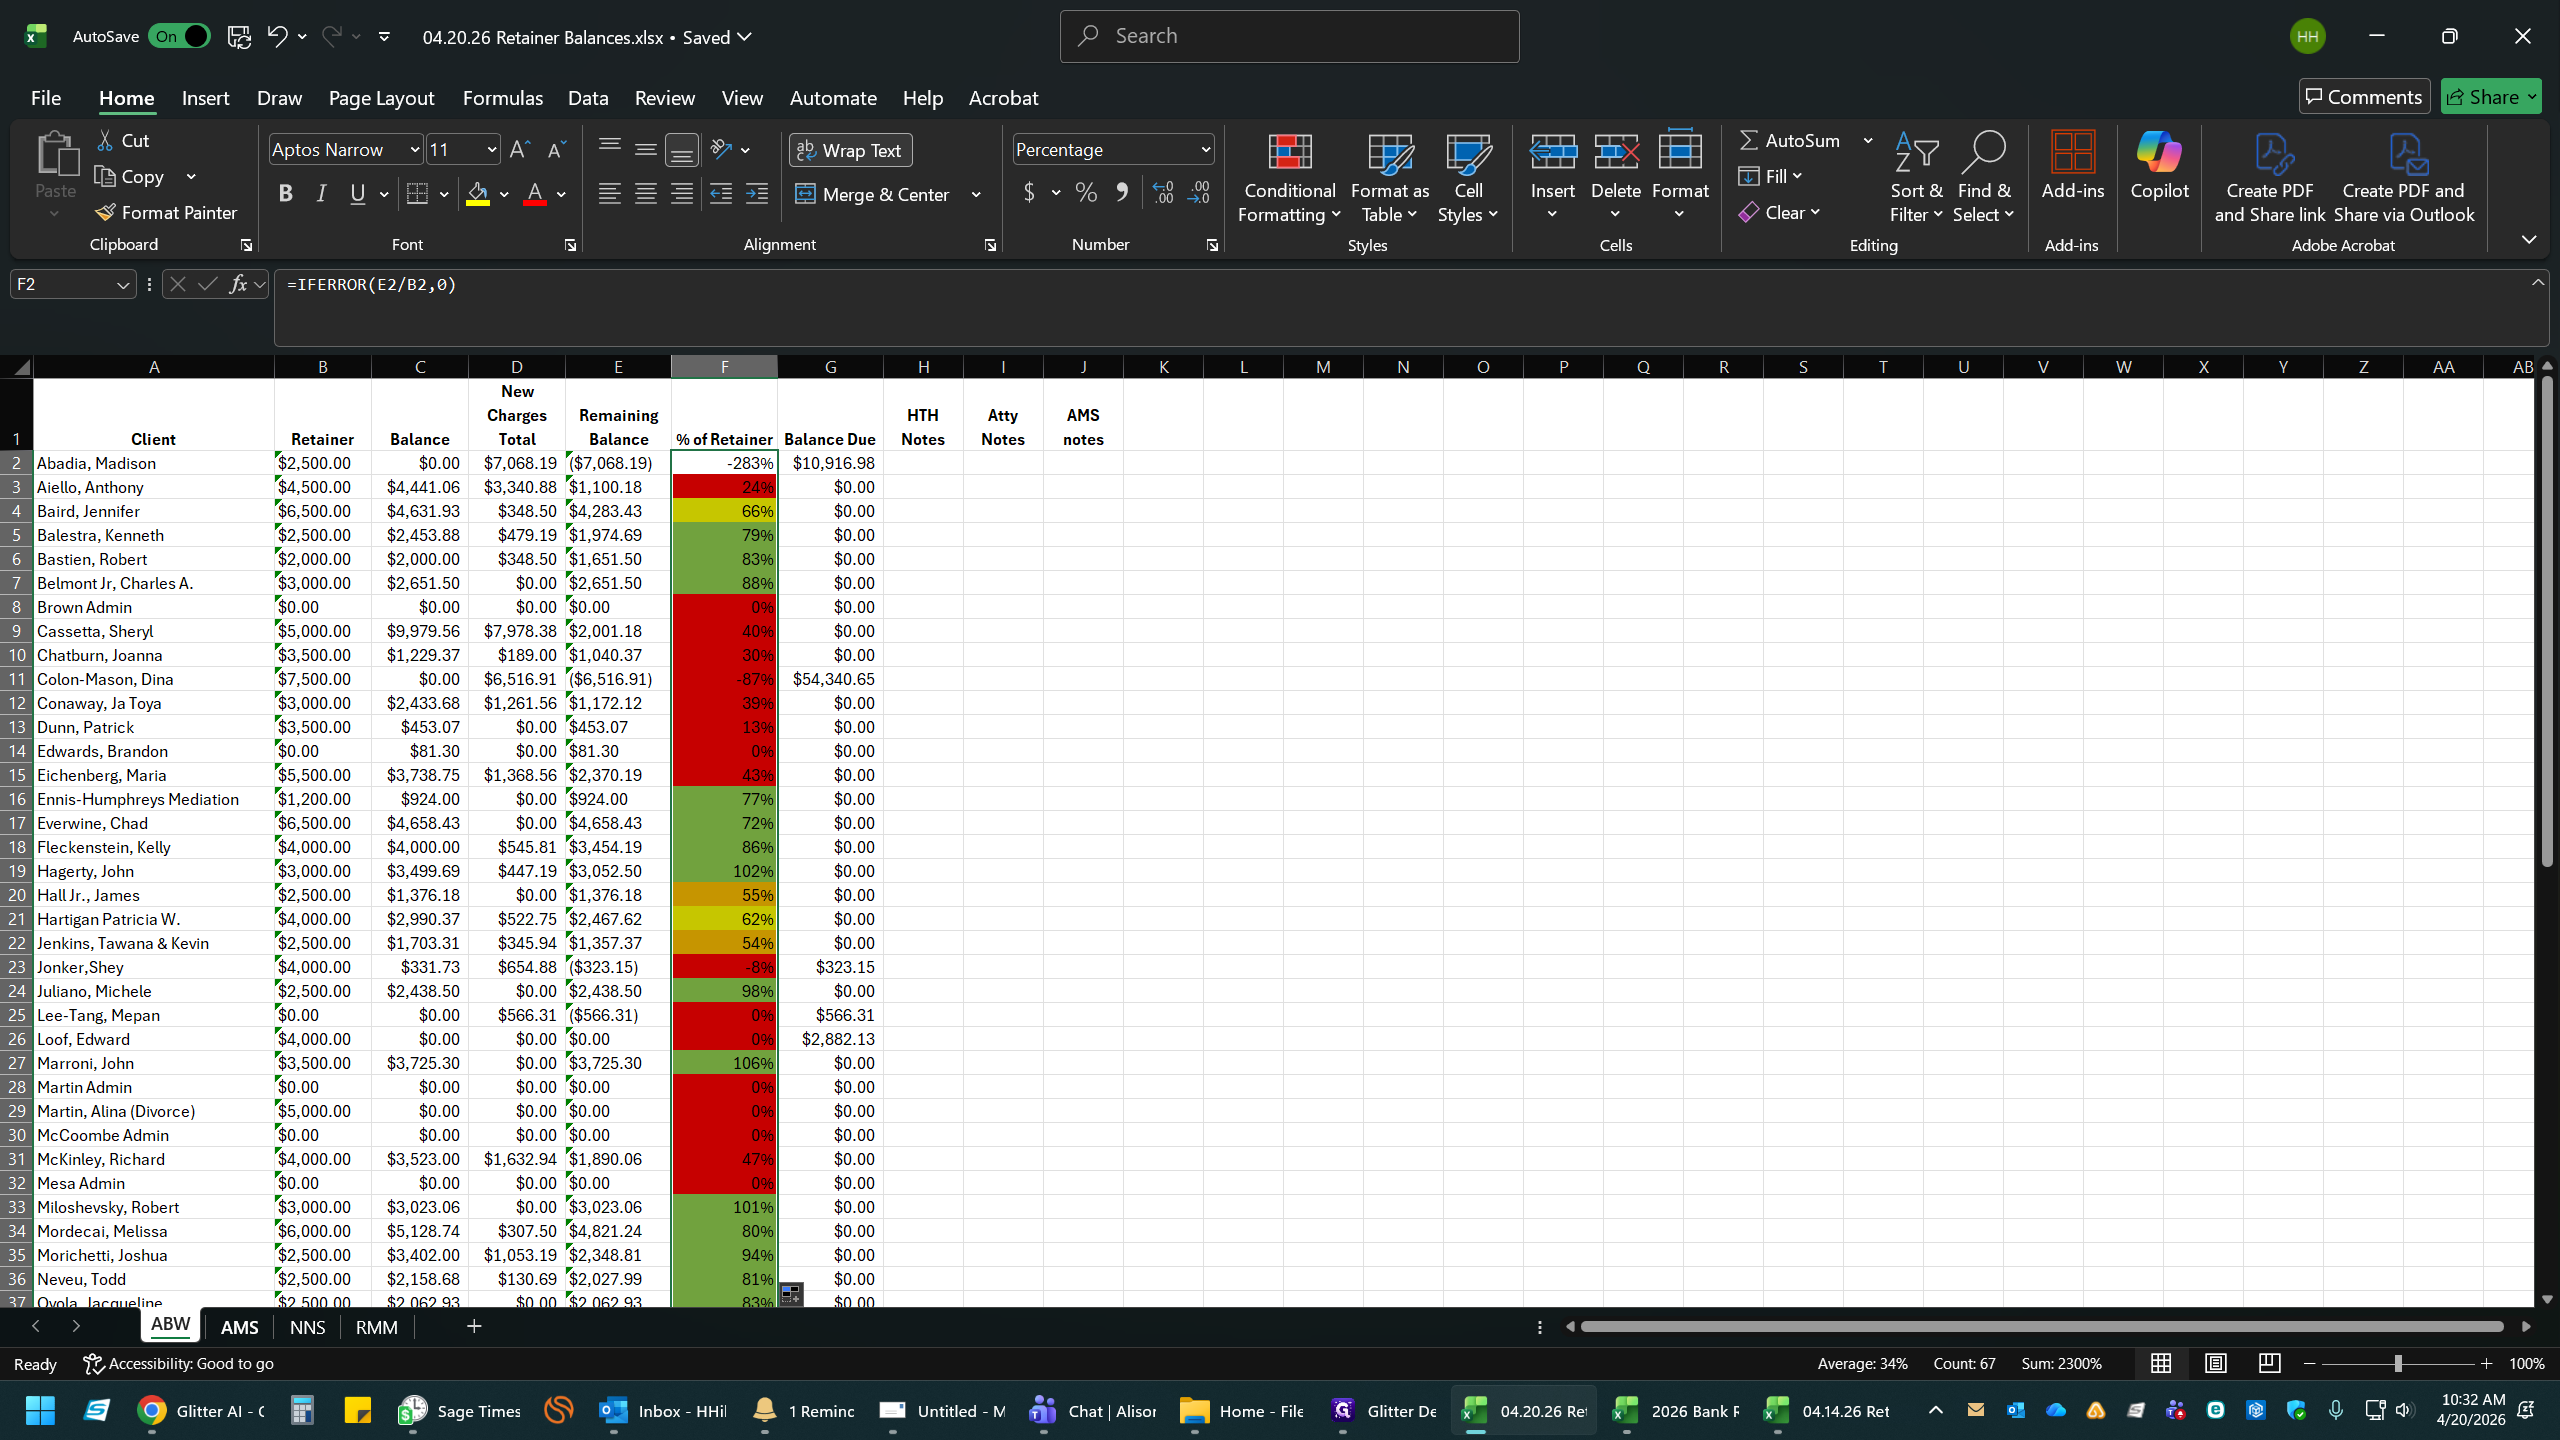
53
Select the % of Retainer column data.
54
Press Ctrl + C.
55
Return to the new master file.
56
Select the corresponding cell in the new sheet.
57
Press Ctrl + V.
58
Click and drag the bottom-right corner (fill handle) of the pasted cell down to apply the formula to all rows.
59
Select the next attorney's tab.
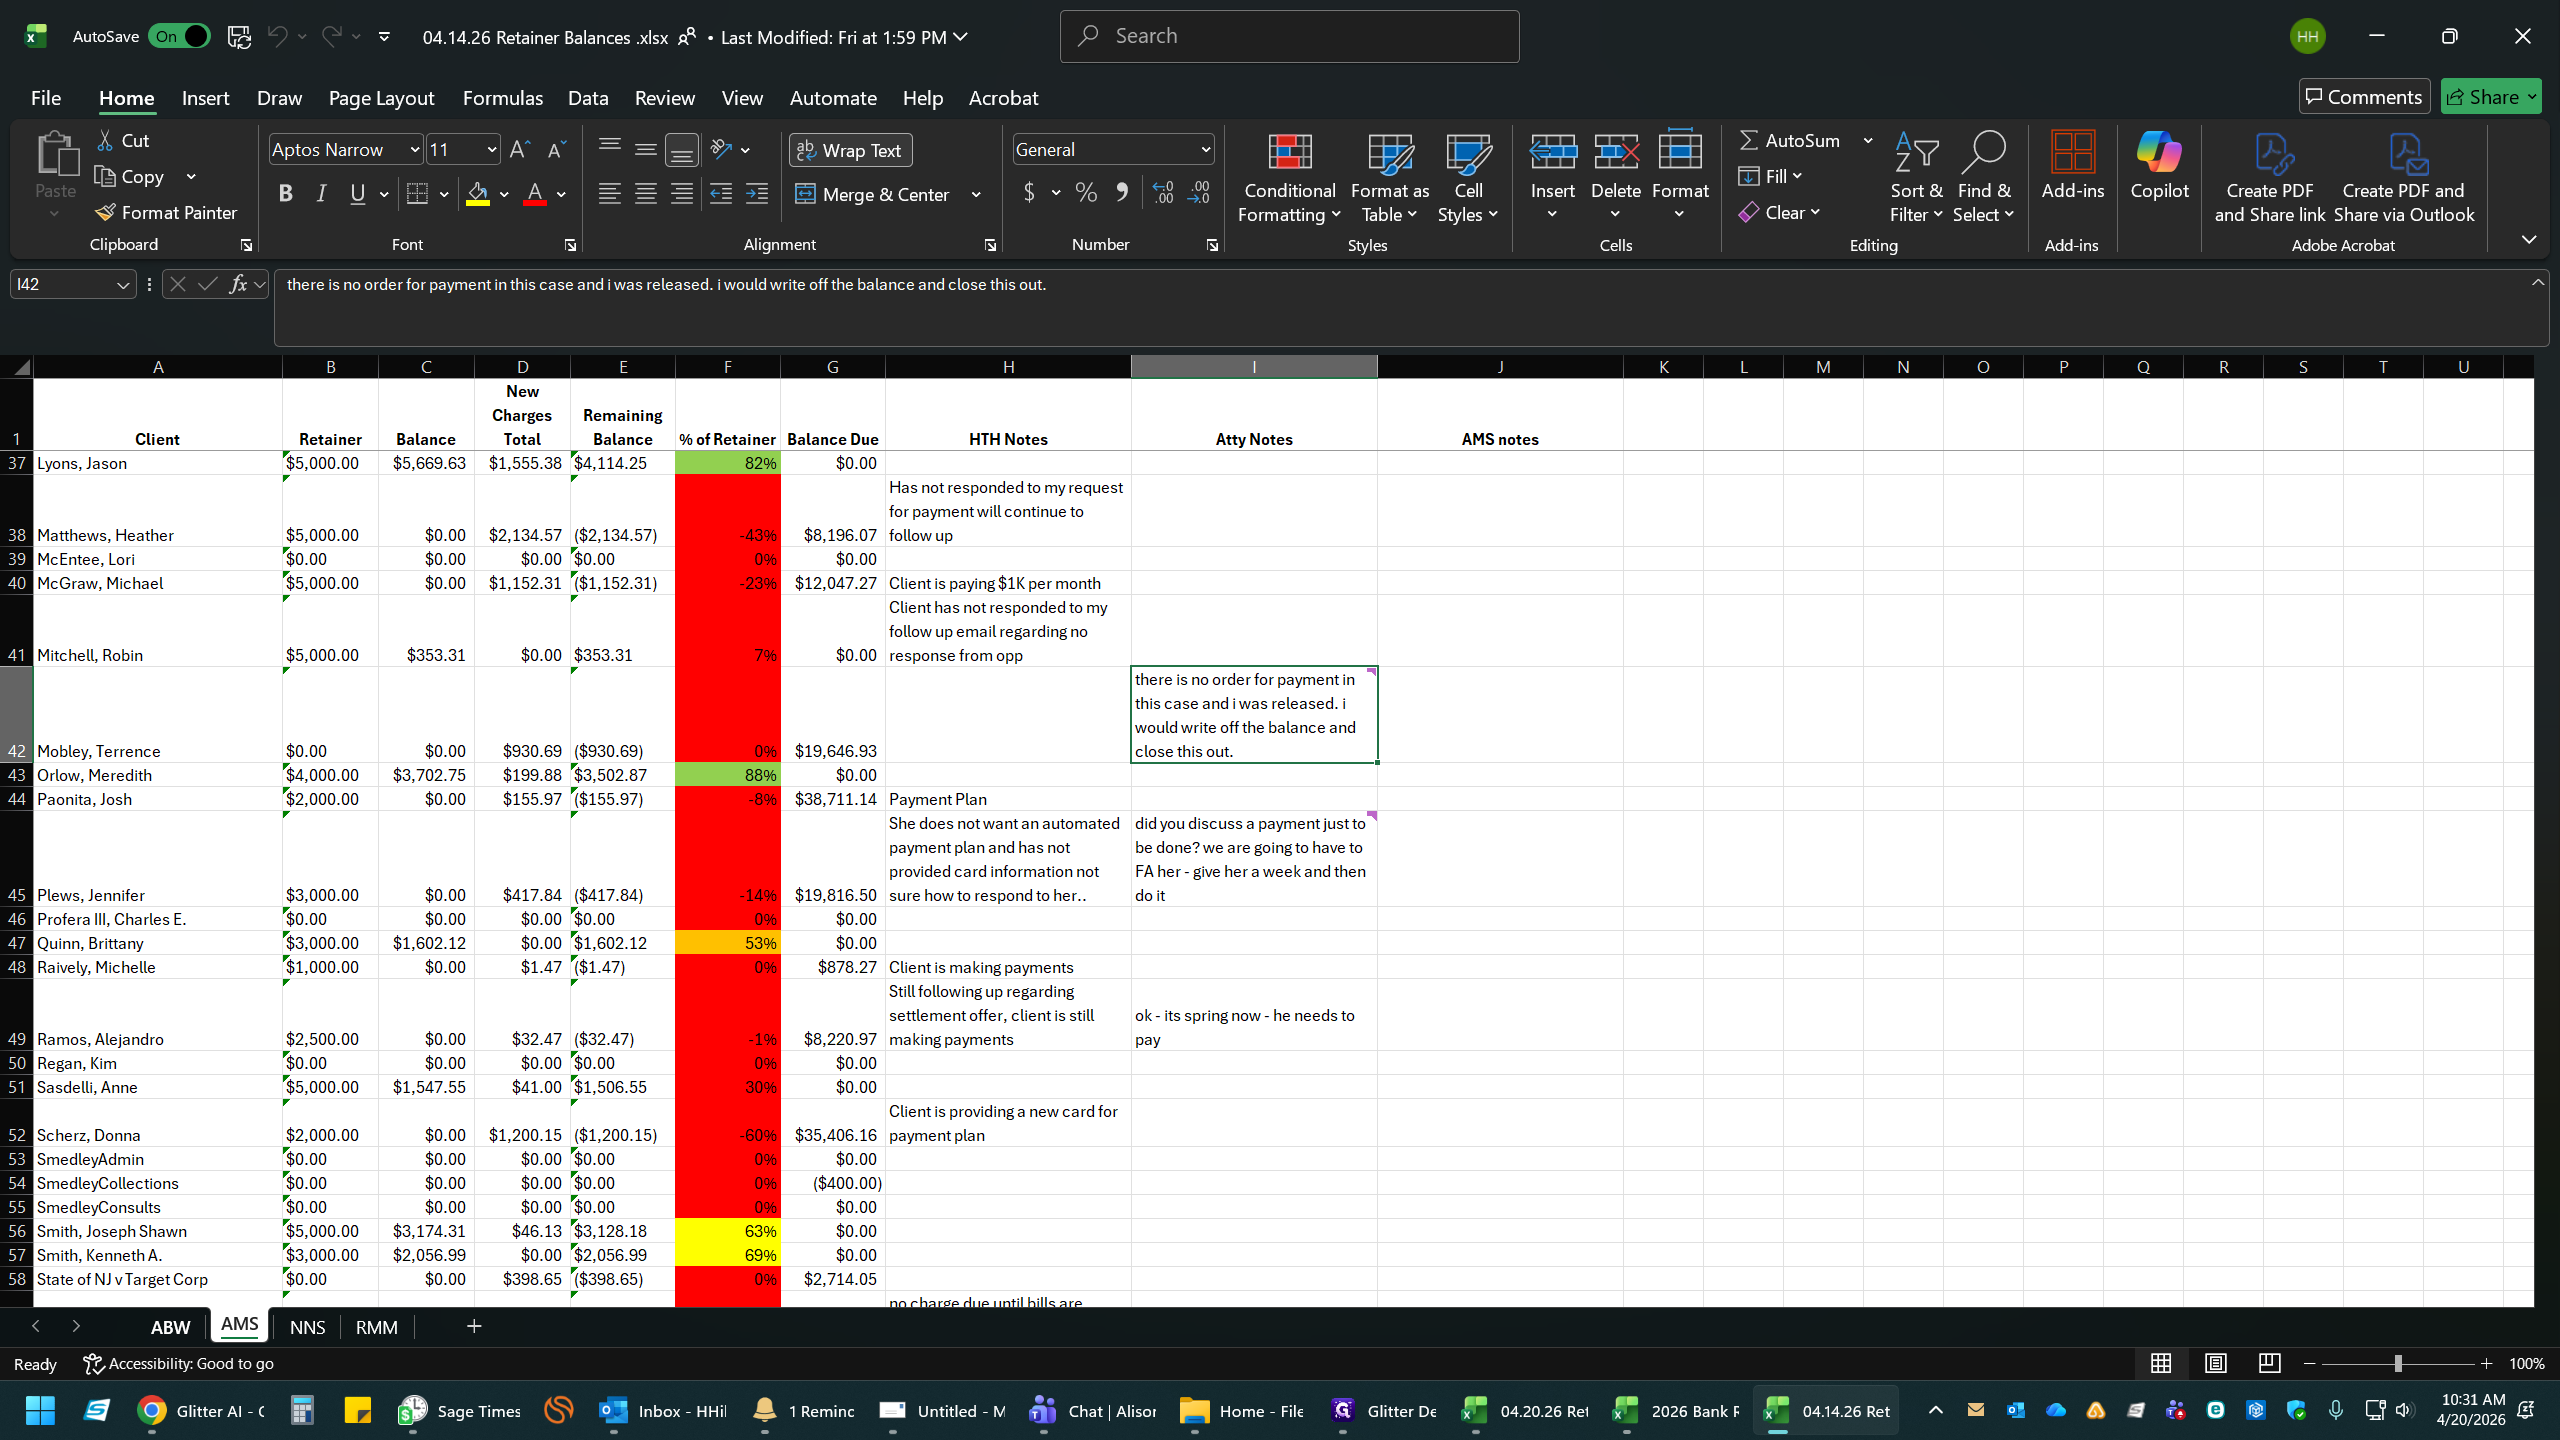
Formatting the Notes Column
Finally, format the HTH Notes column to ensure long text is easily readable and record any necessary updates.
60
Ensure your formulas are correctly populated.
61
Click and drag the boundary of column H (or your Notes column) to expand its width.
62
Drag until the column is wide enough to view notes.
63
Double-click Wrap Text in the Excel ribbon to ensure all text fits nicely inside the cells. Repeat process for all attorney tabs.
64
Type your note for the attorneys if needed (e.g., Mom is paying on the 18th of each month $1K) and press Enter. Use this to indicate replenishment needs or any barriers.
65
Save the file to One Drive to be able to share. Click Share in the top right of the workbook and copy the link. Email all attorneys to make notes ahead of your processing replenishments.