How to Generate and Email Bills in Sage Timeslips 2019
A comprehensive guide to locking the database, performing backups, generating bills, sending email statements, and organizing Sent Items in Outlook.
By Helen Hill
Generating and emailing billing statements in Sage Timeslips 2019 requires safely putting the database into exclusive mode, creating a backup, configuring your billing date range, sending out the digital statements, and finally releasing the database lock.
This guide will walk you through the end-to-end process, including organizing your Sent Items in Outlook.
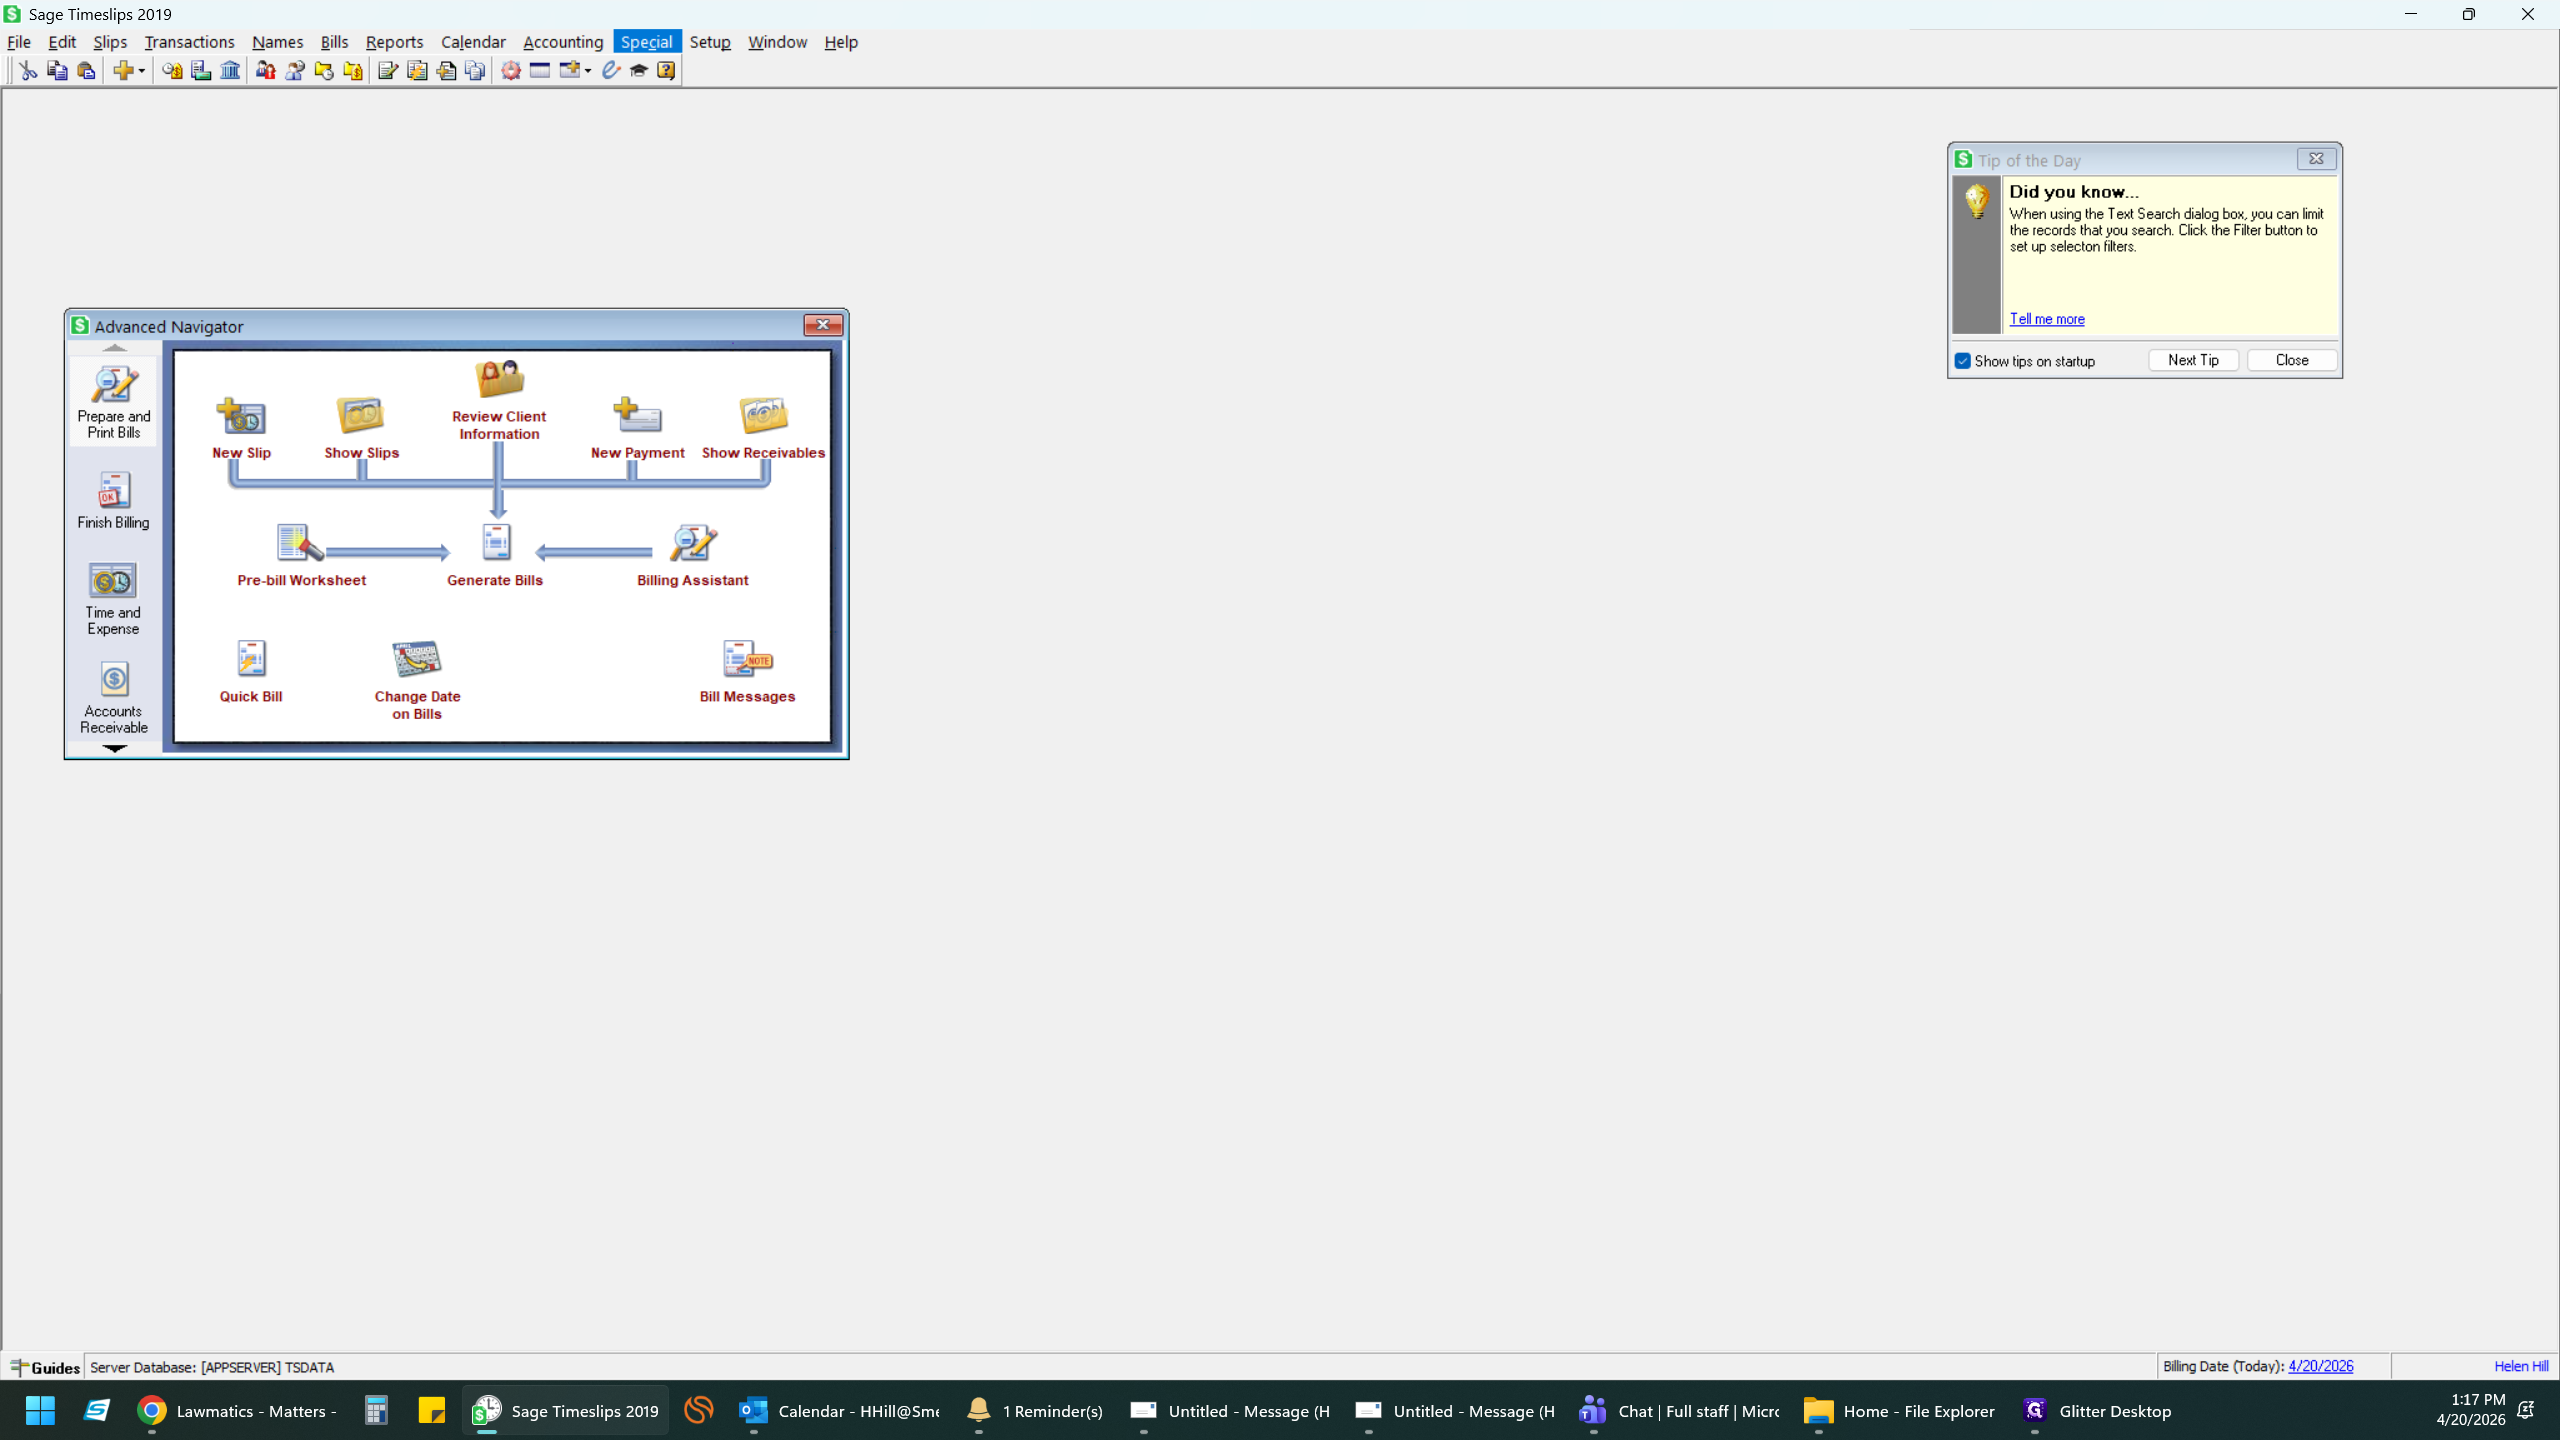
1. Enter Exclusive Mode
Before generating a full billing run or backing up your data, you should lock the database to prevent other workstations from making modifications.
1
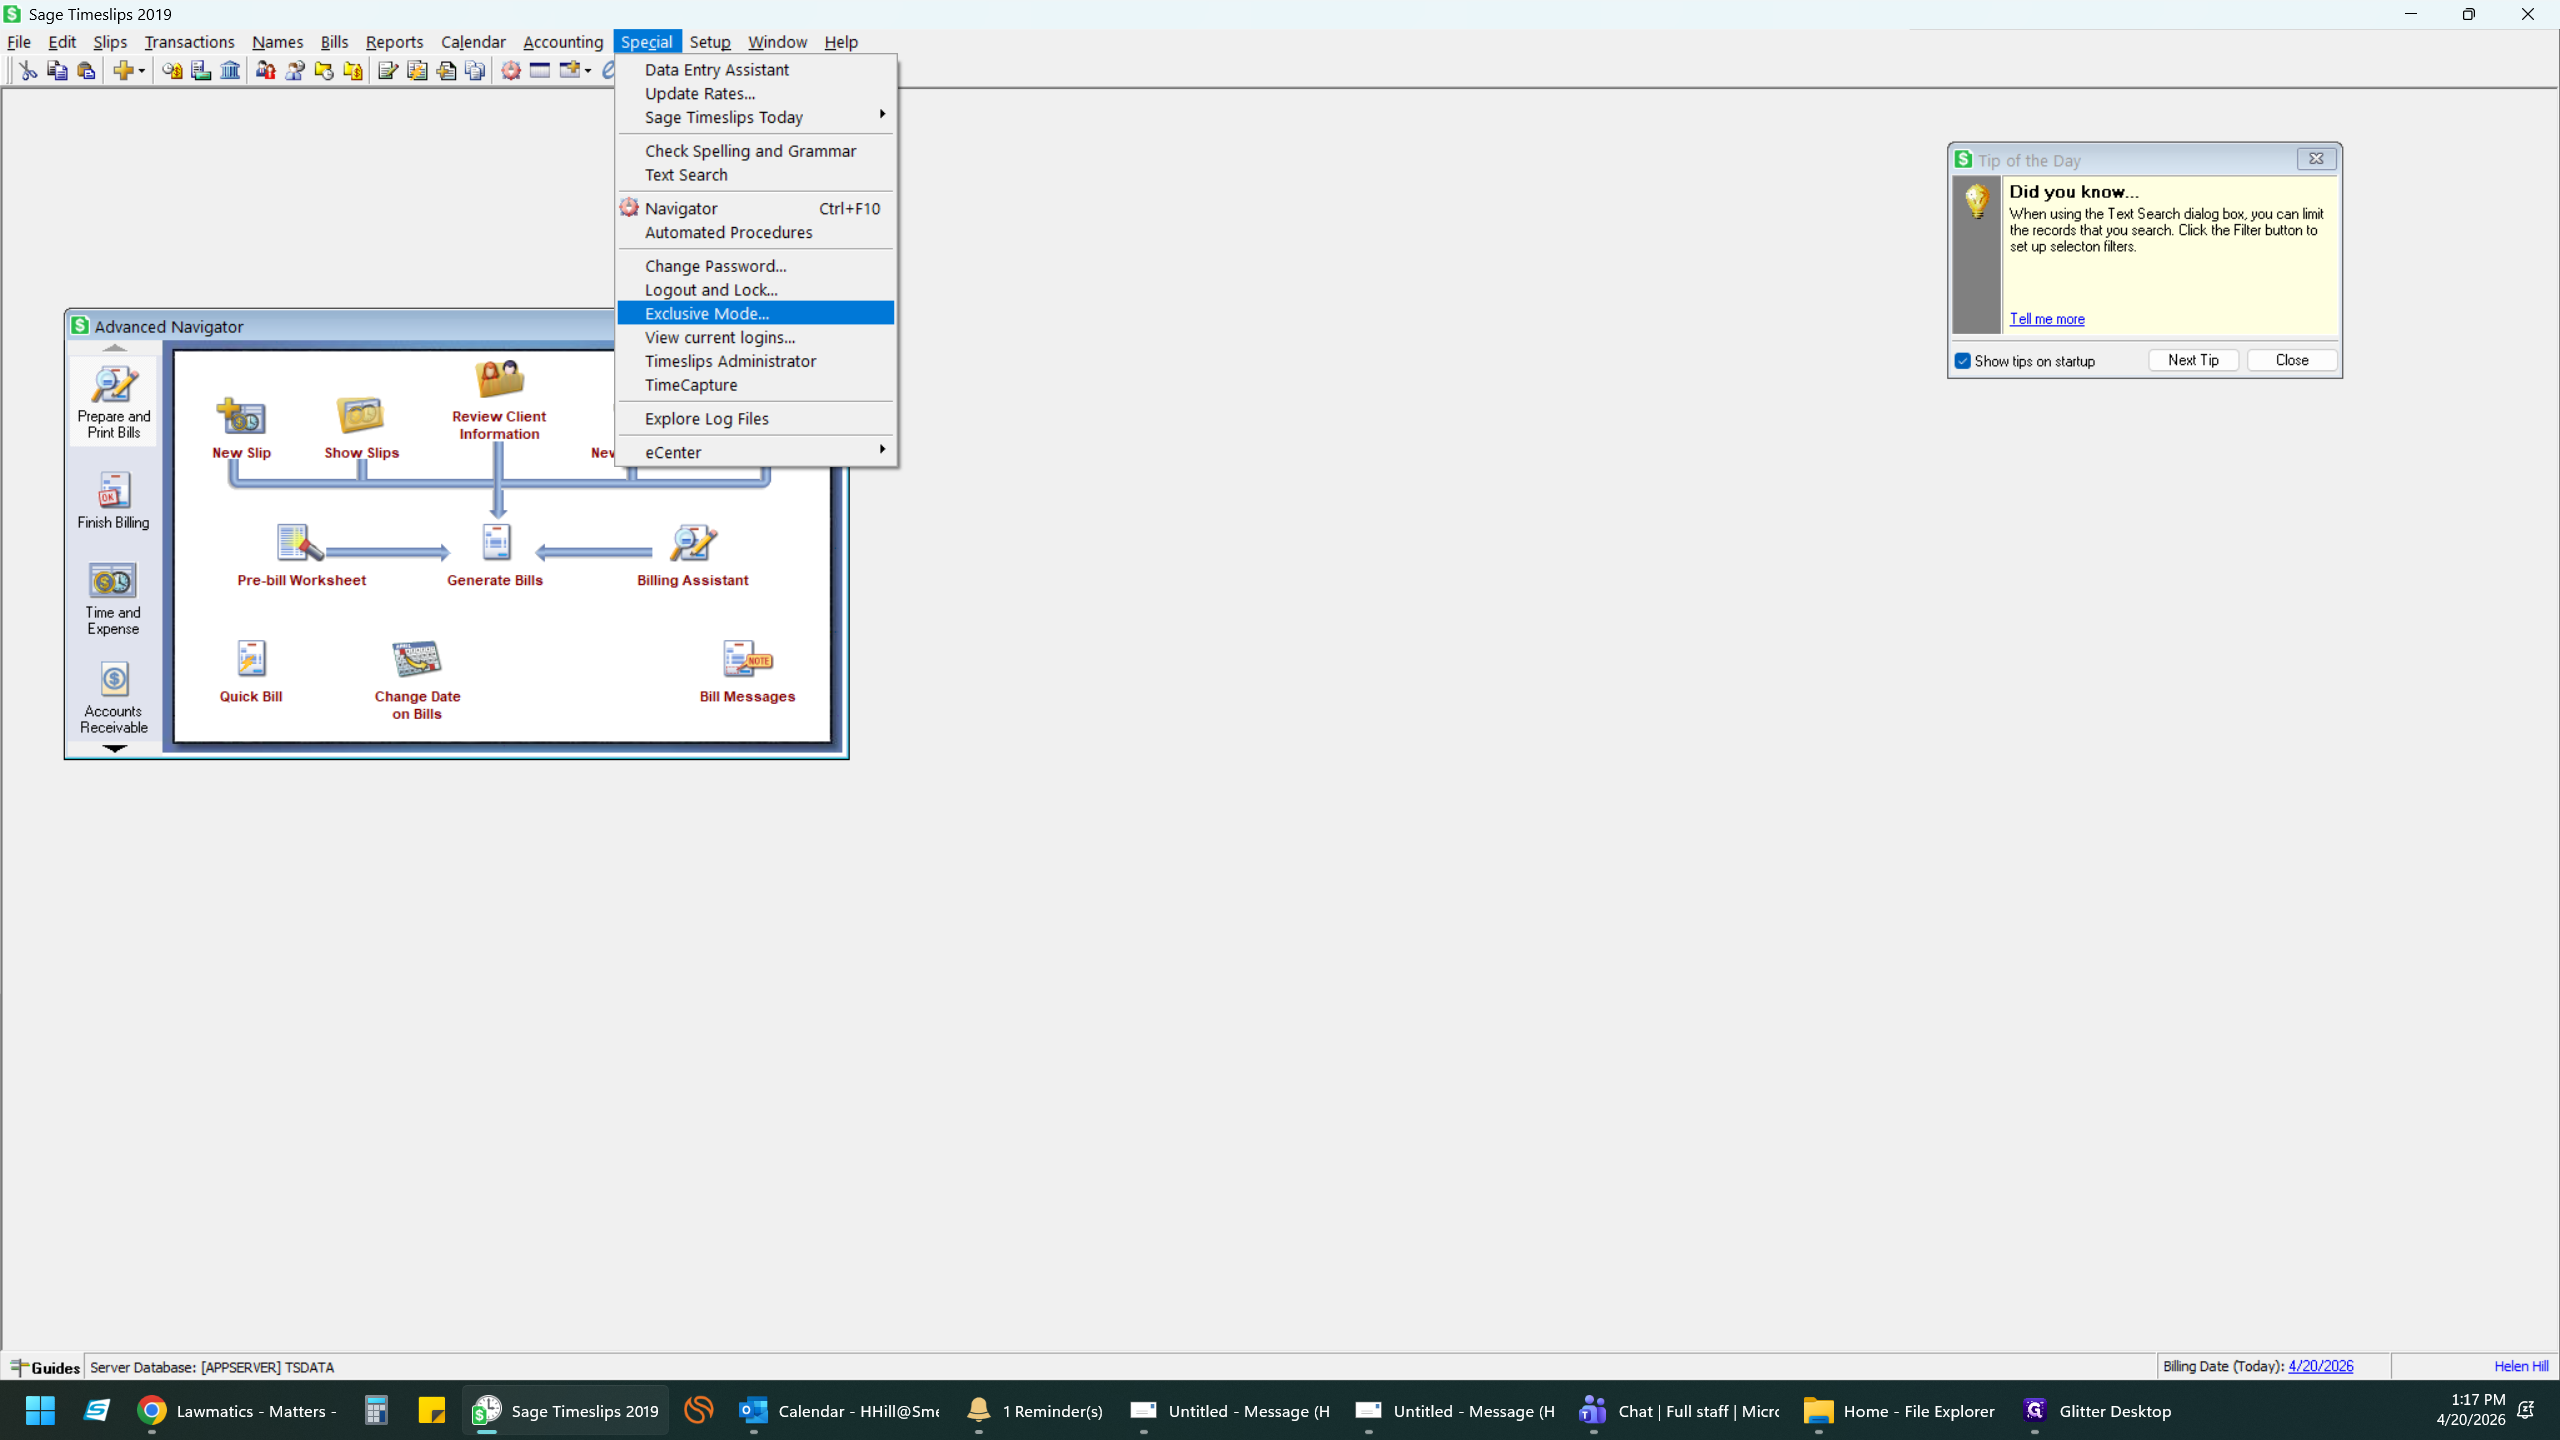
Open the Special menu in the top navigation bar.
2
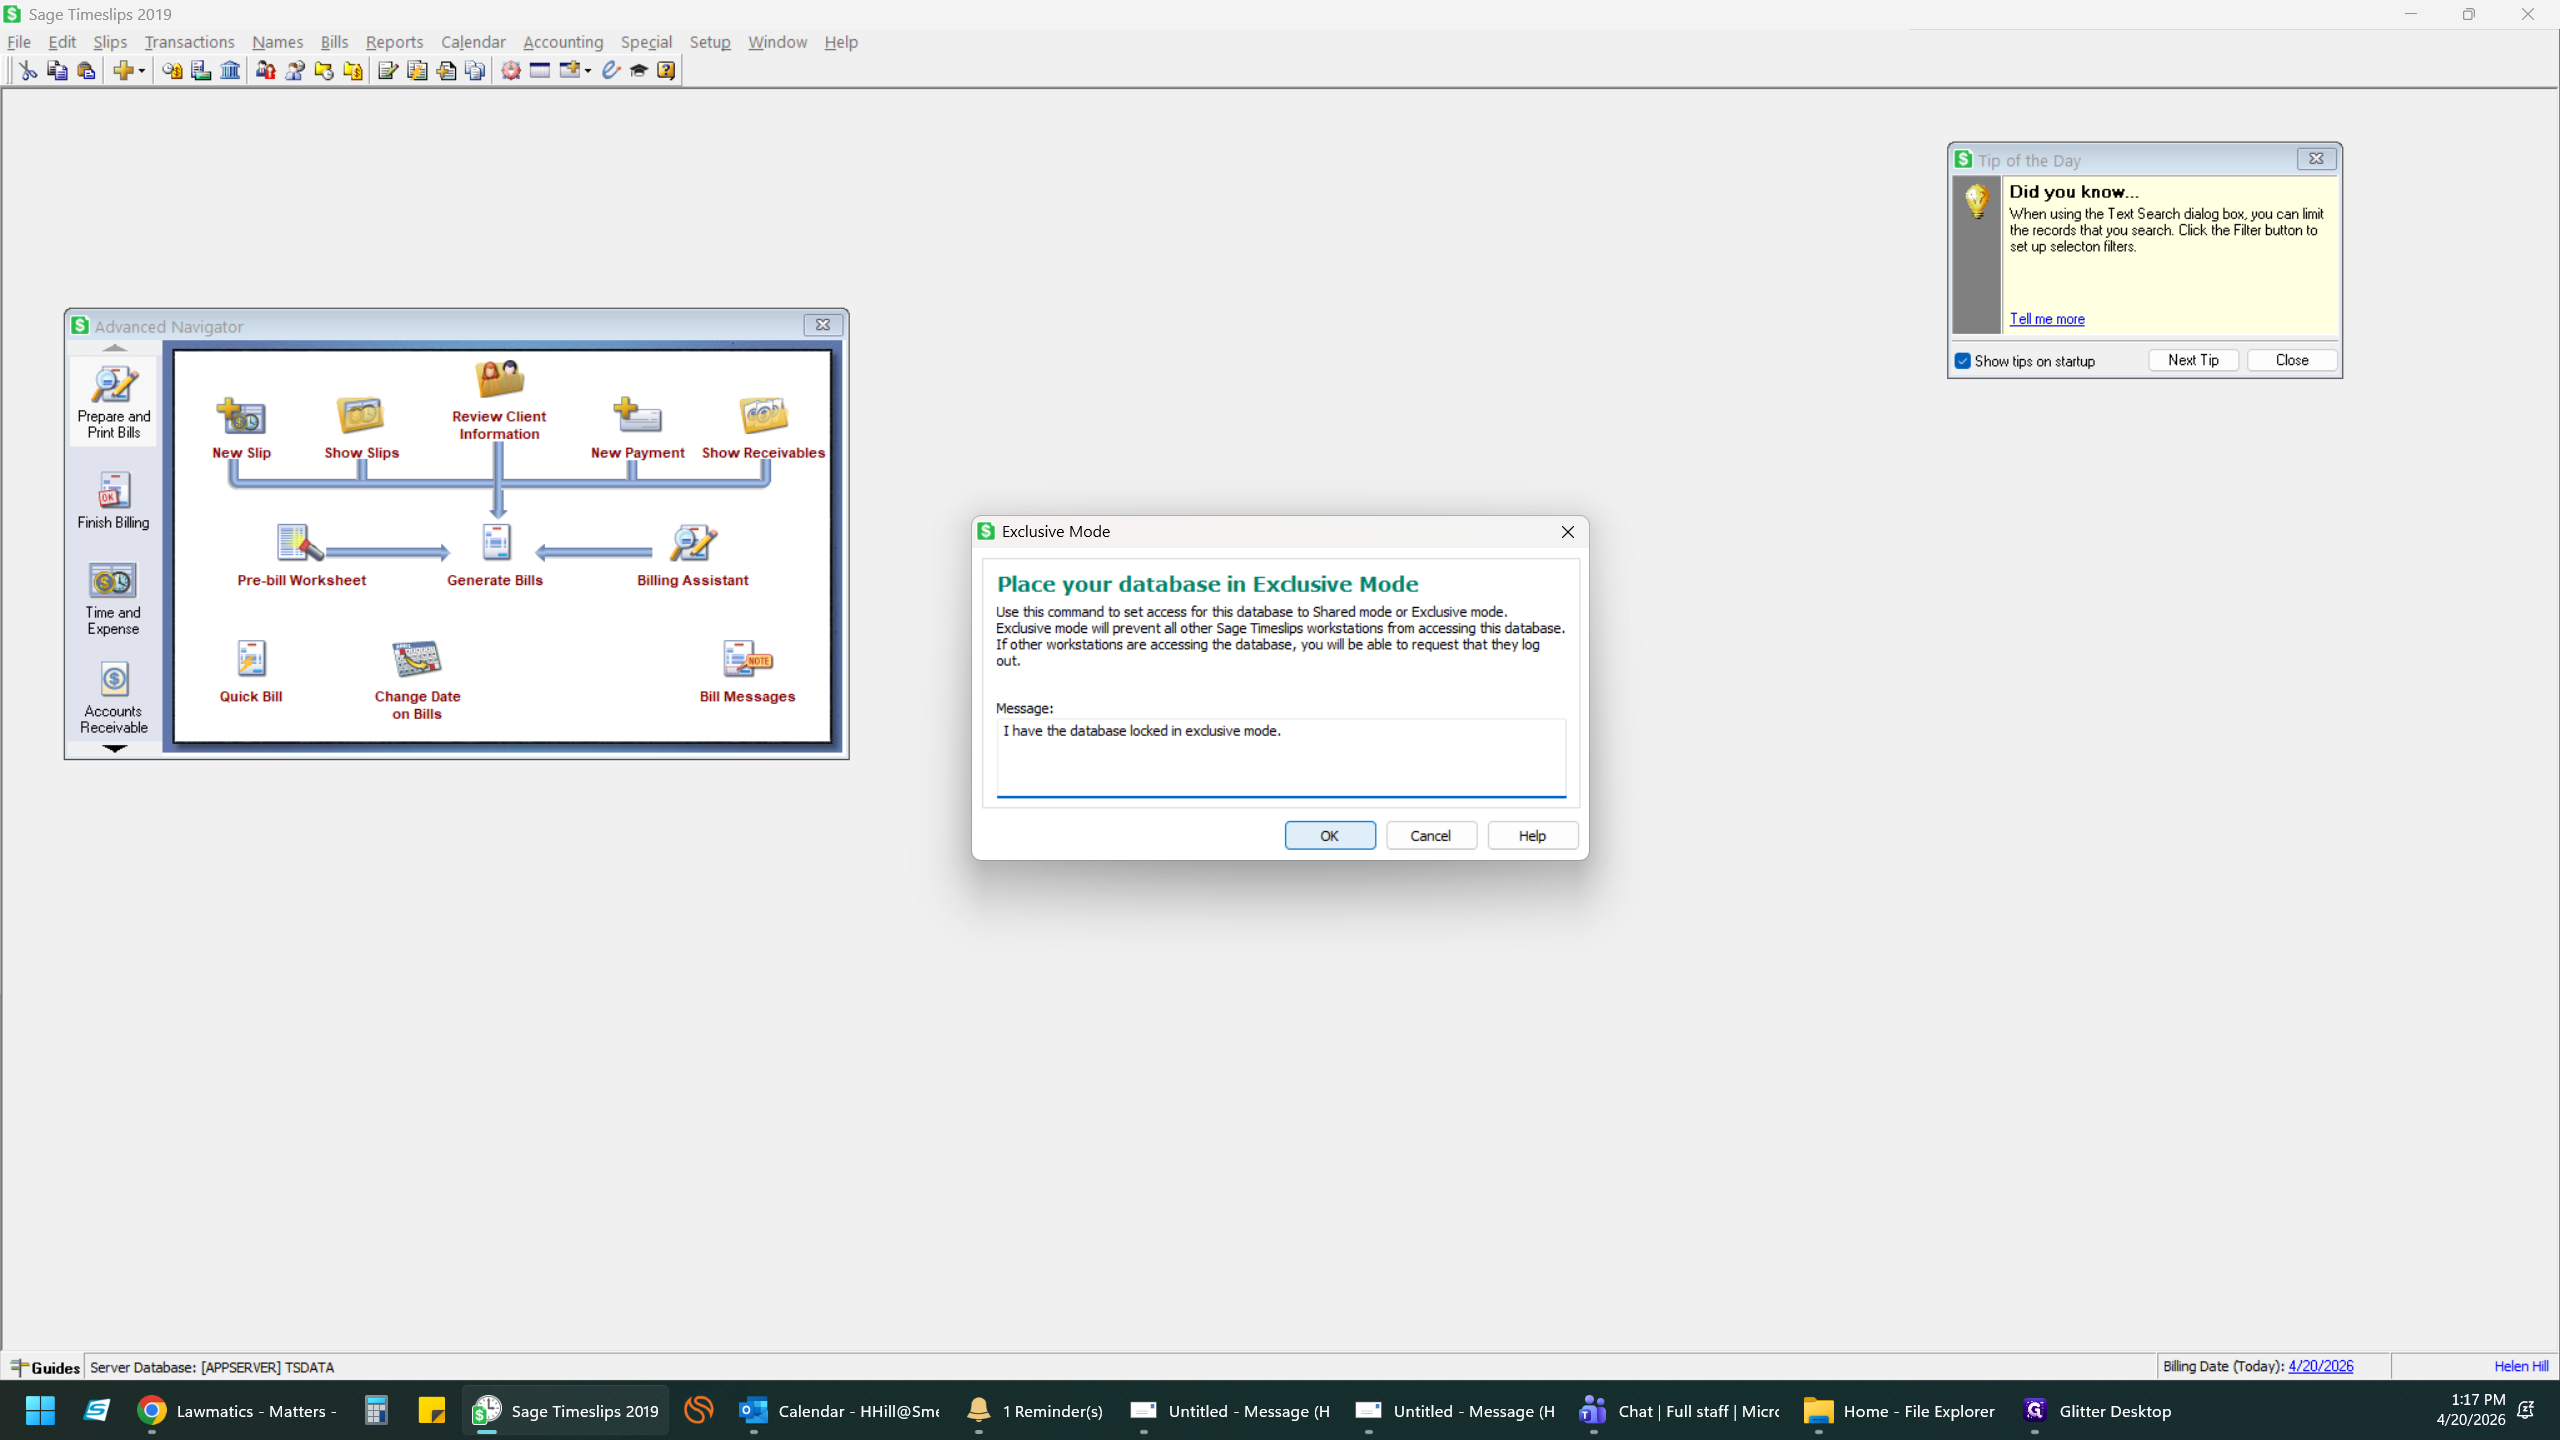
Select Exclusive Mode.
3
Click OK to confirm placing the database into exclusive mode.
If other workstations are currently accessing the database, you will be prompted to set a countdown to close them out before the lock can be established.
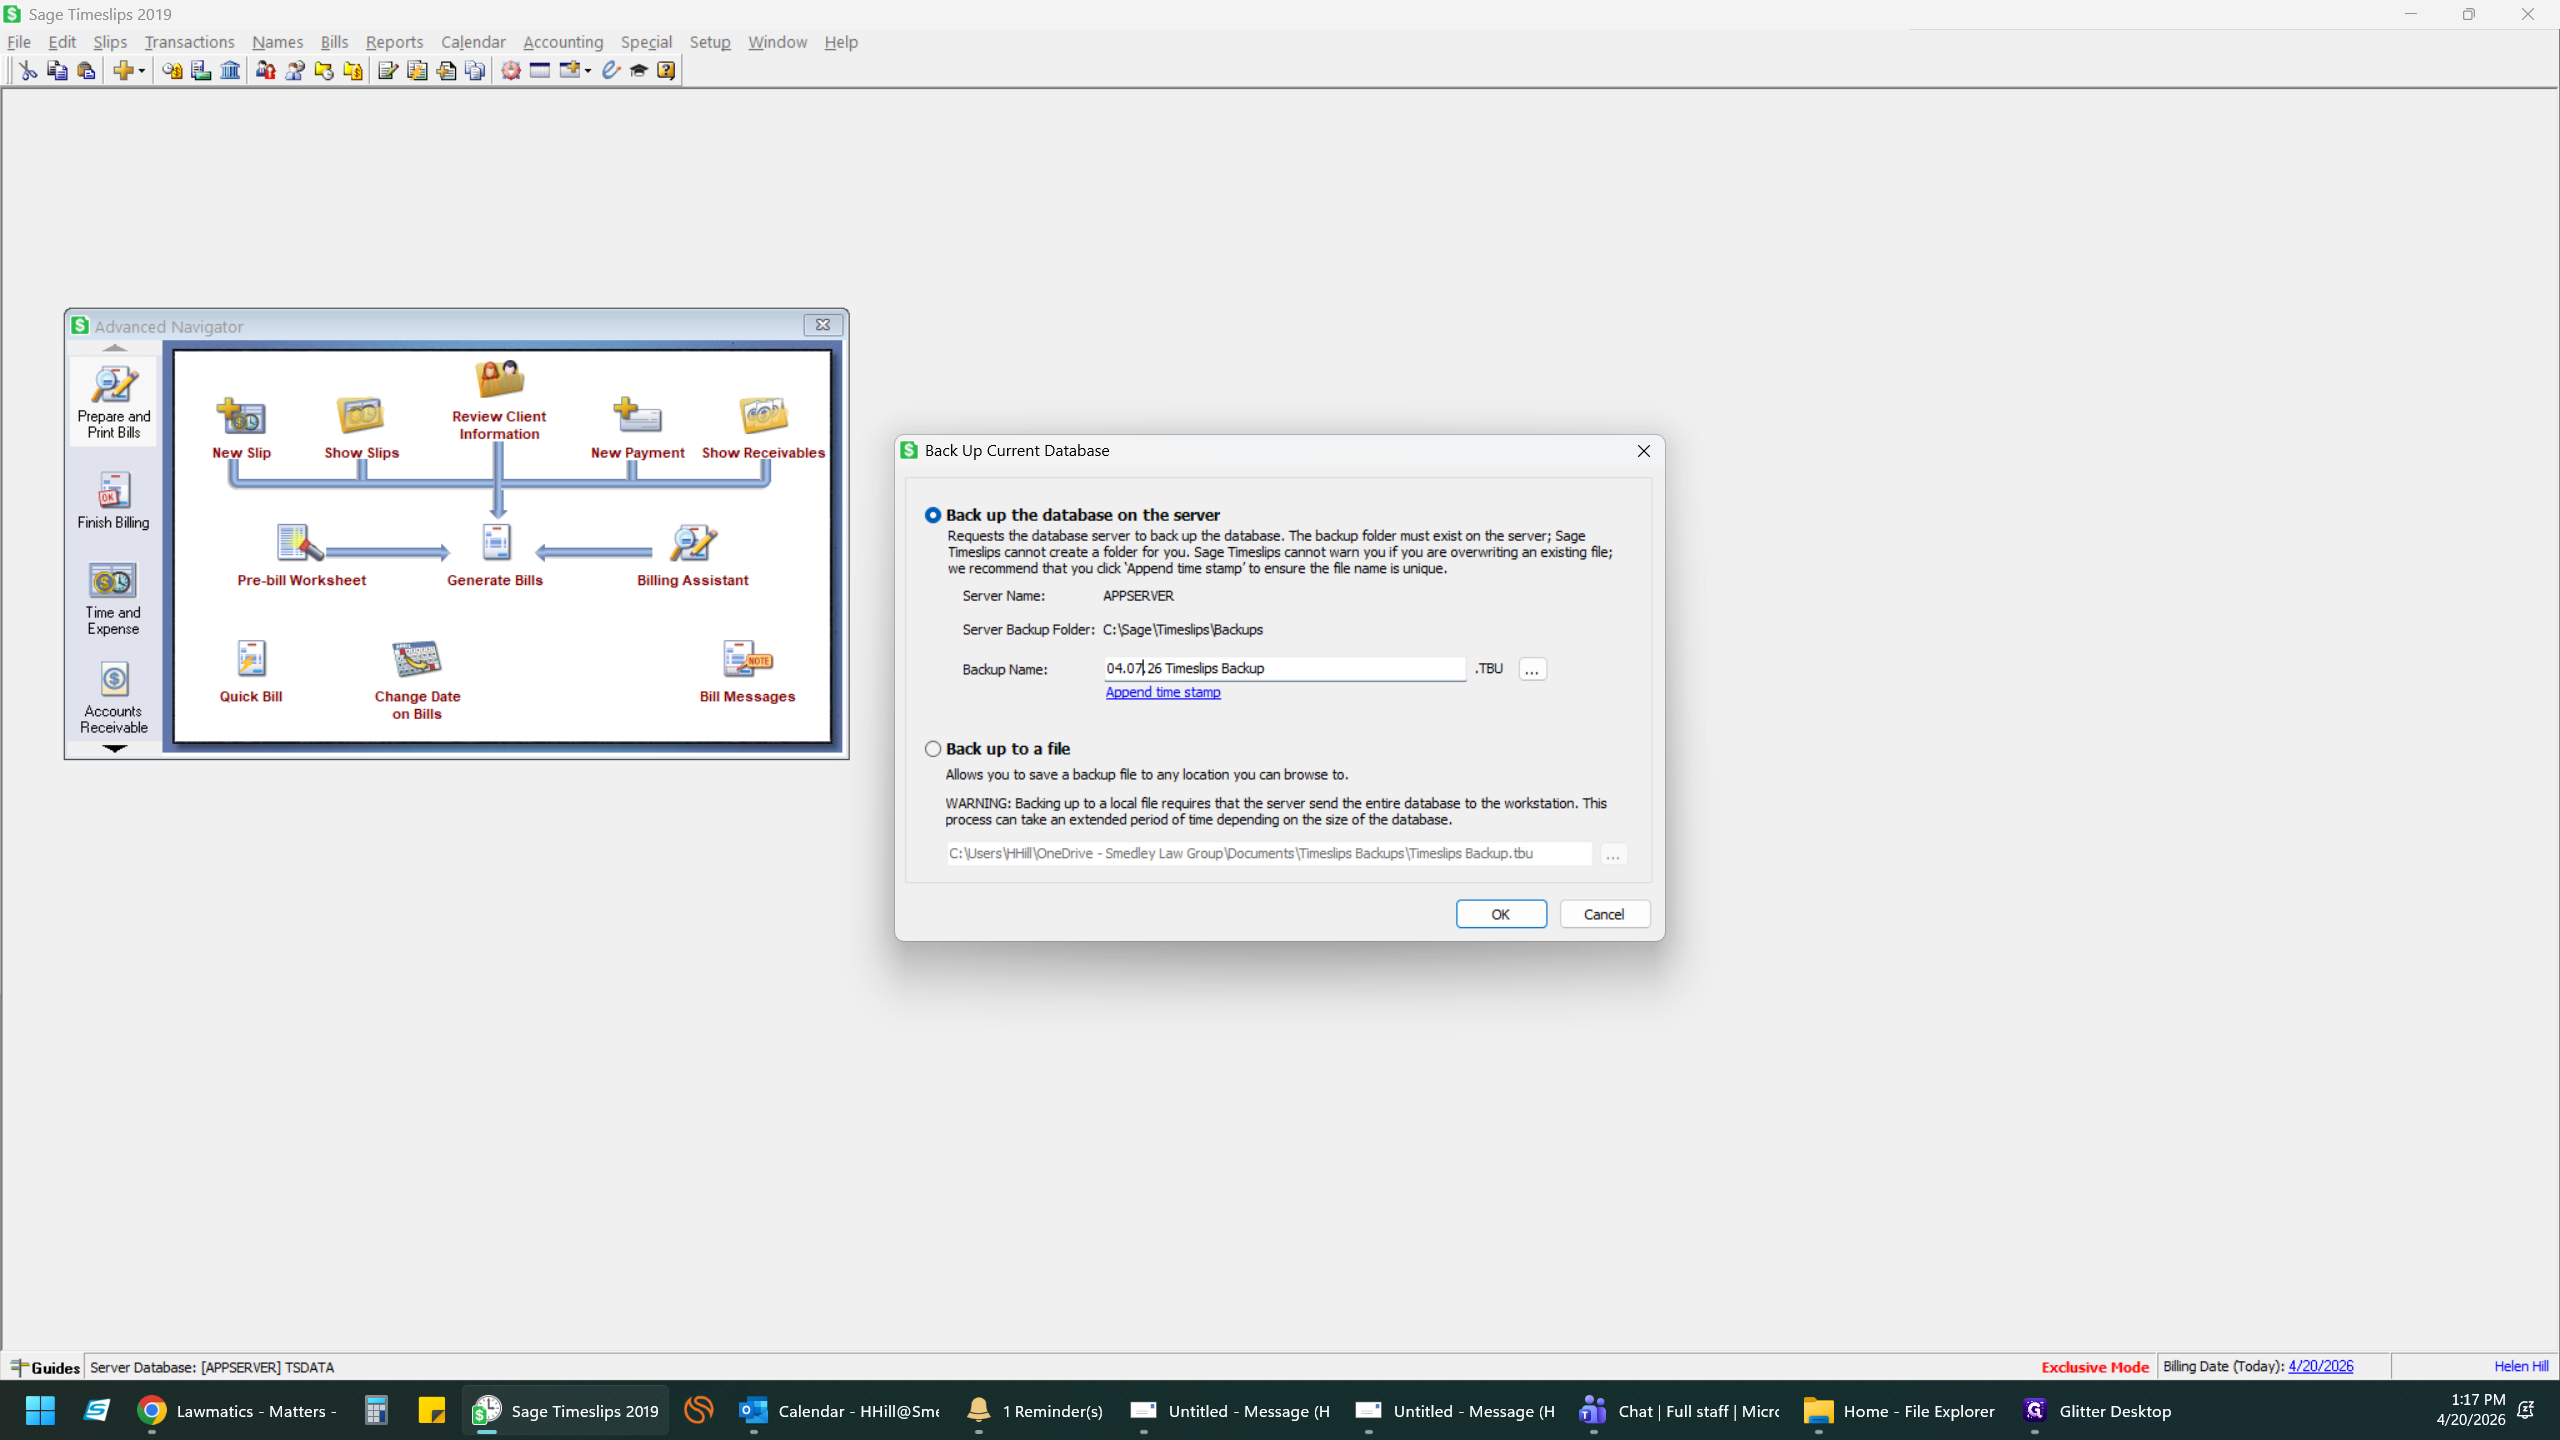
2. Back Up Your Database
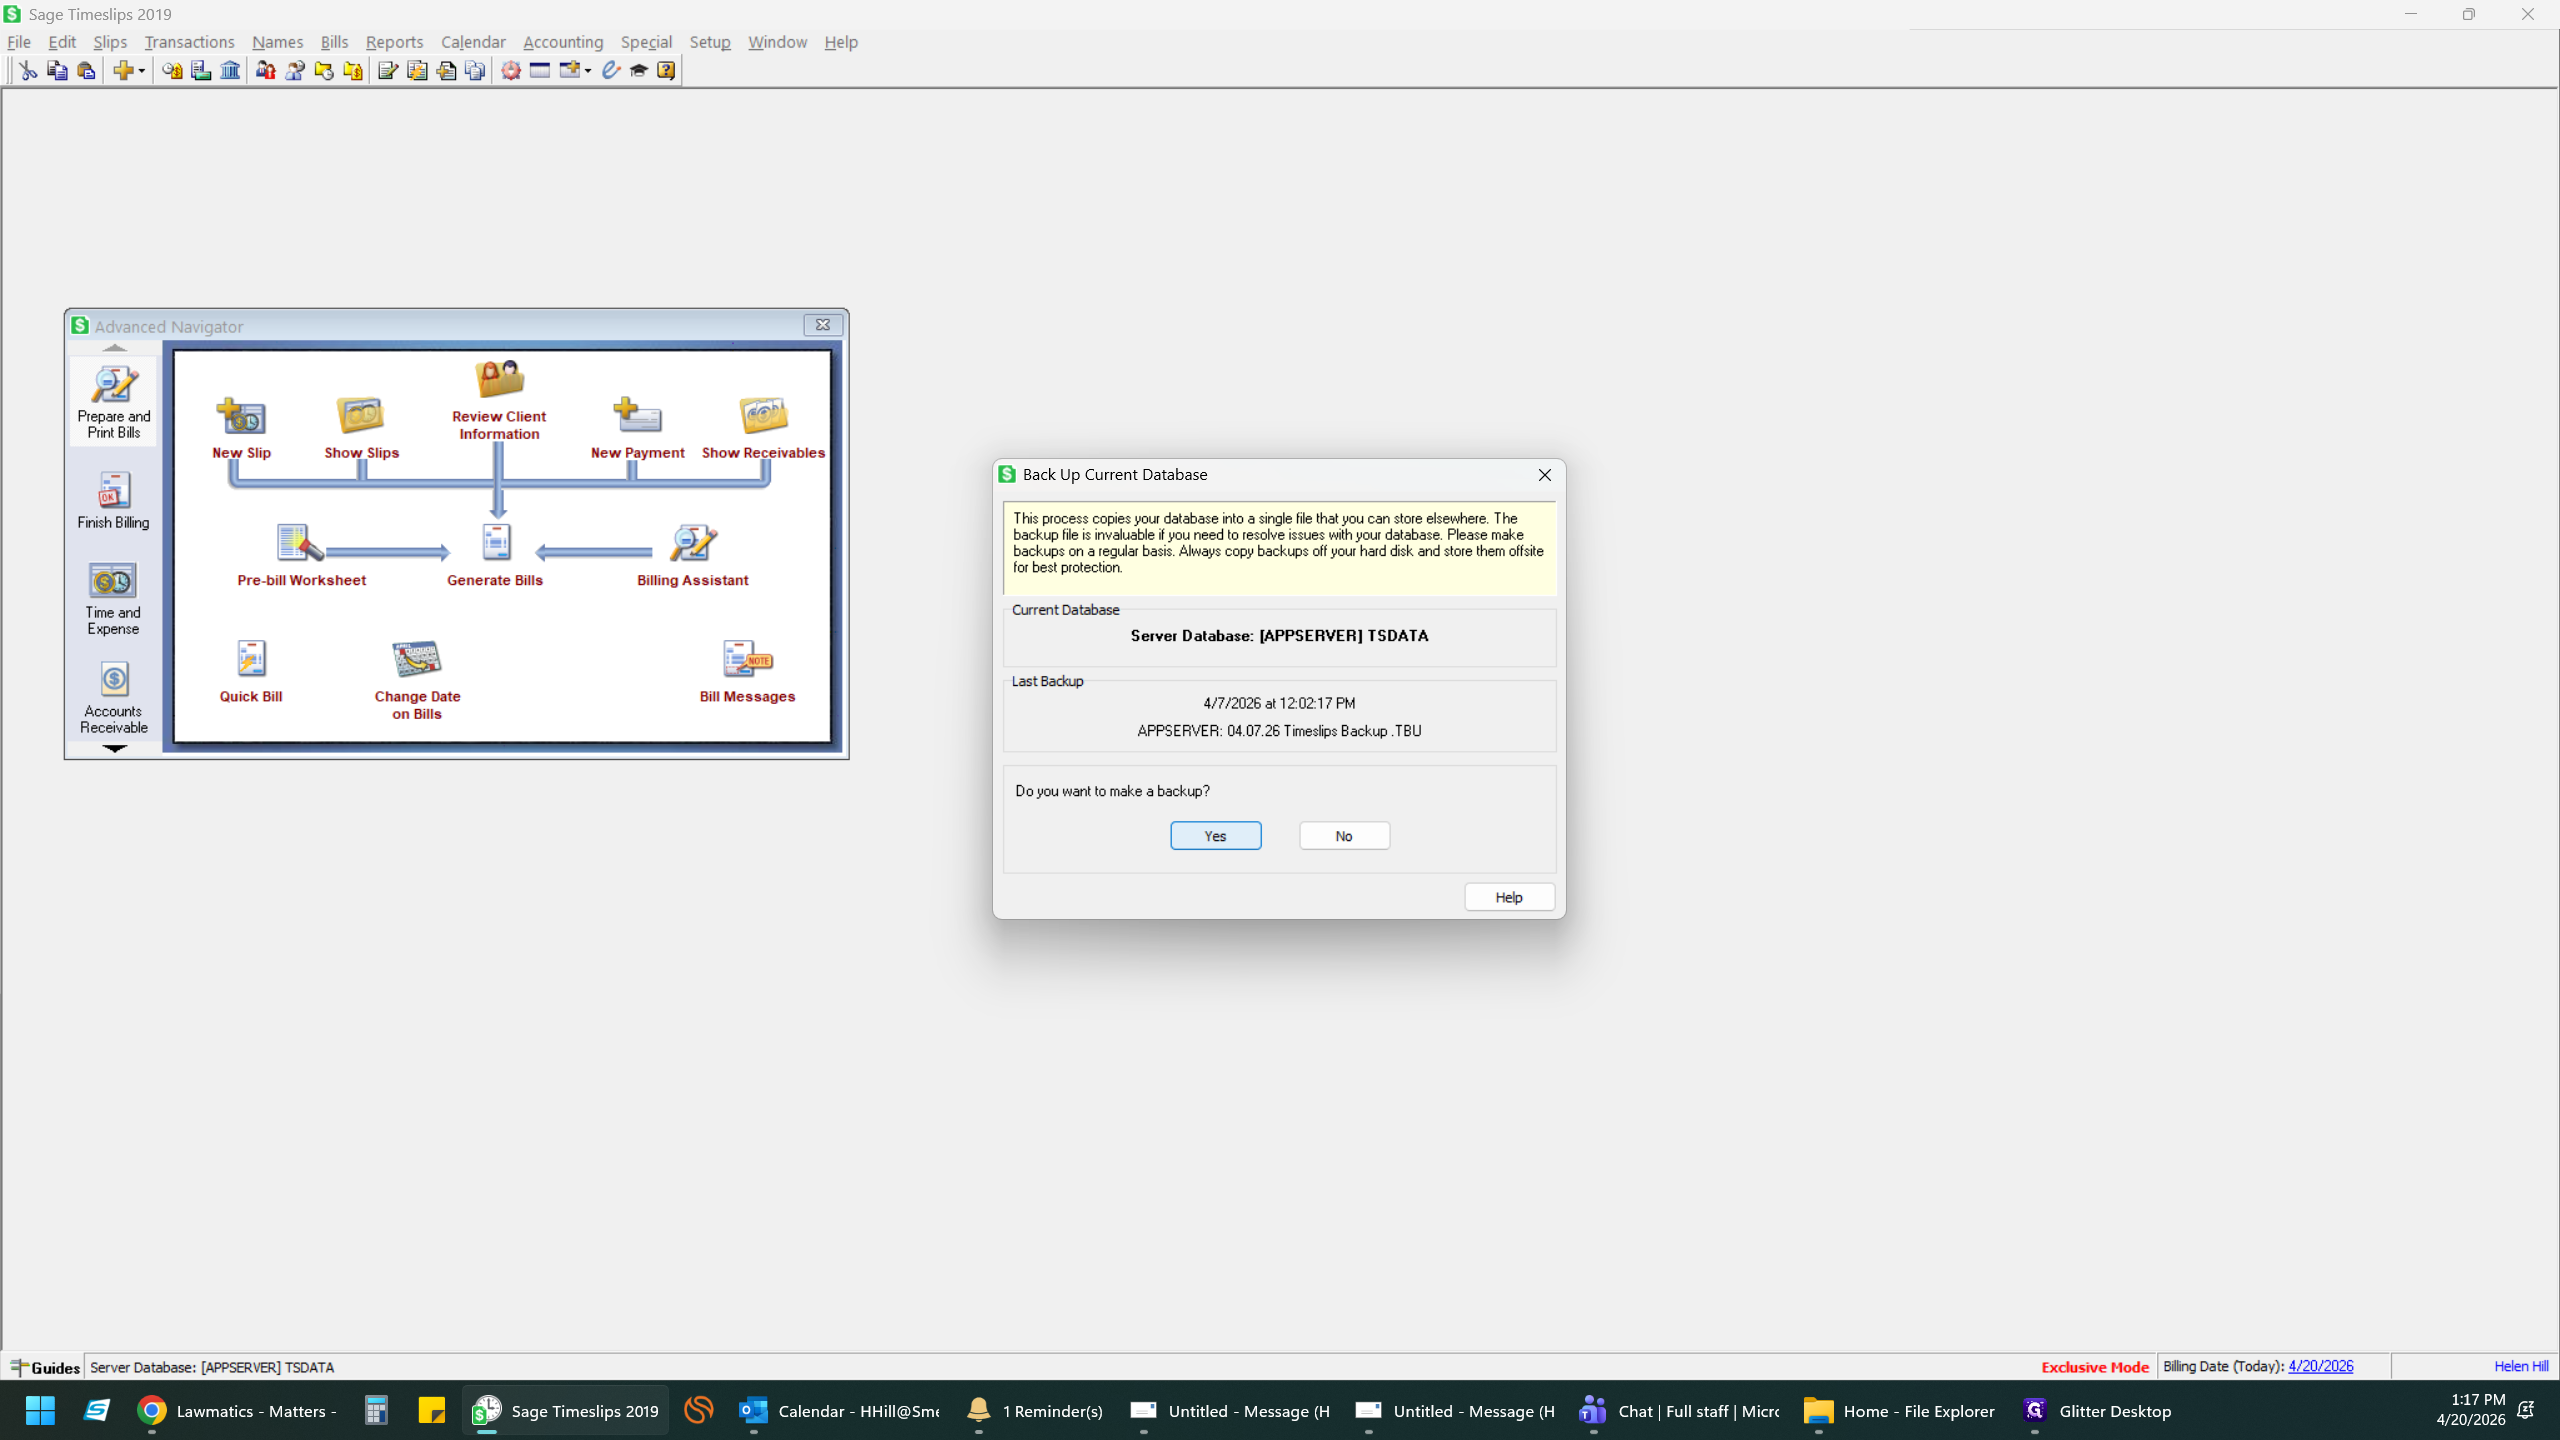
It is strongly recommended to back up your database before generating bills.
4
Navigate to the File menu and select Backup.
5
Click Yes when prompted to back up the current database.
6
Review the default backup folder and file name.
7
Update the file name to reflect the current date.
8
Click OK to begin the backup.
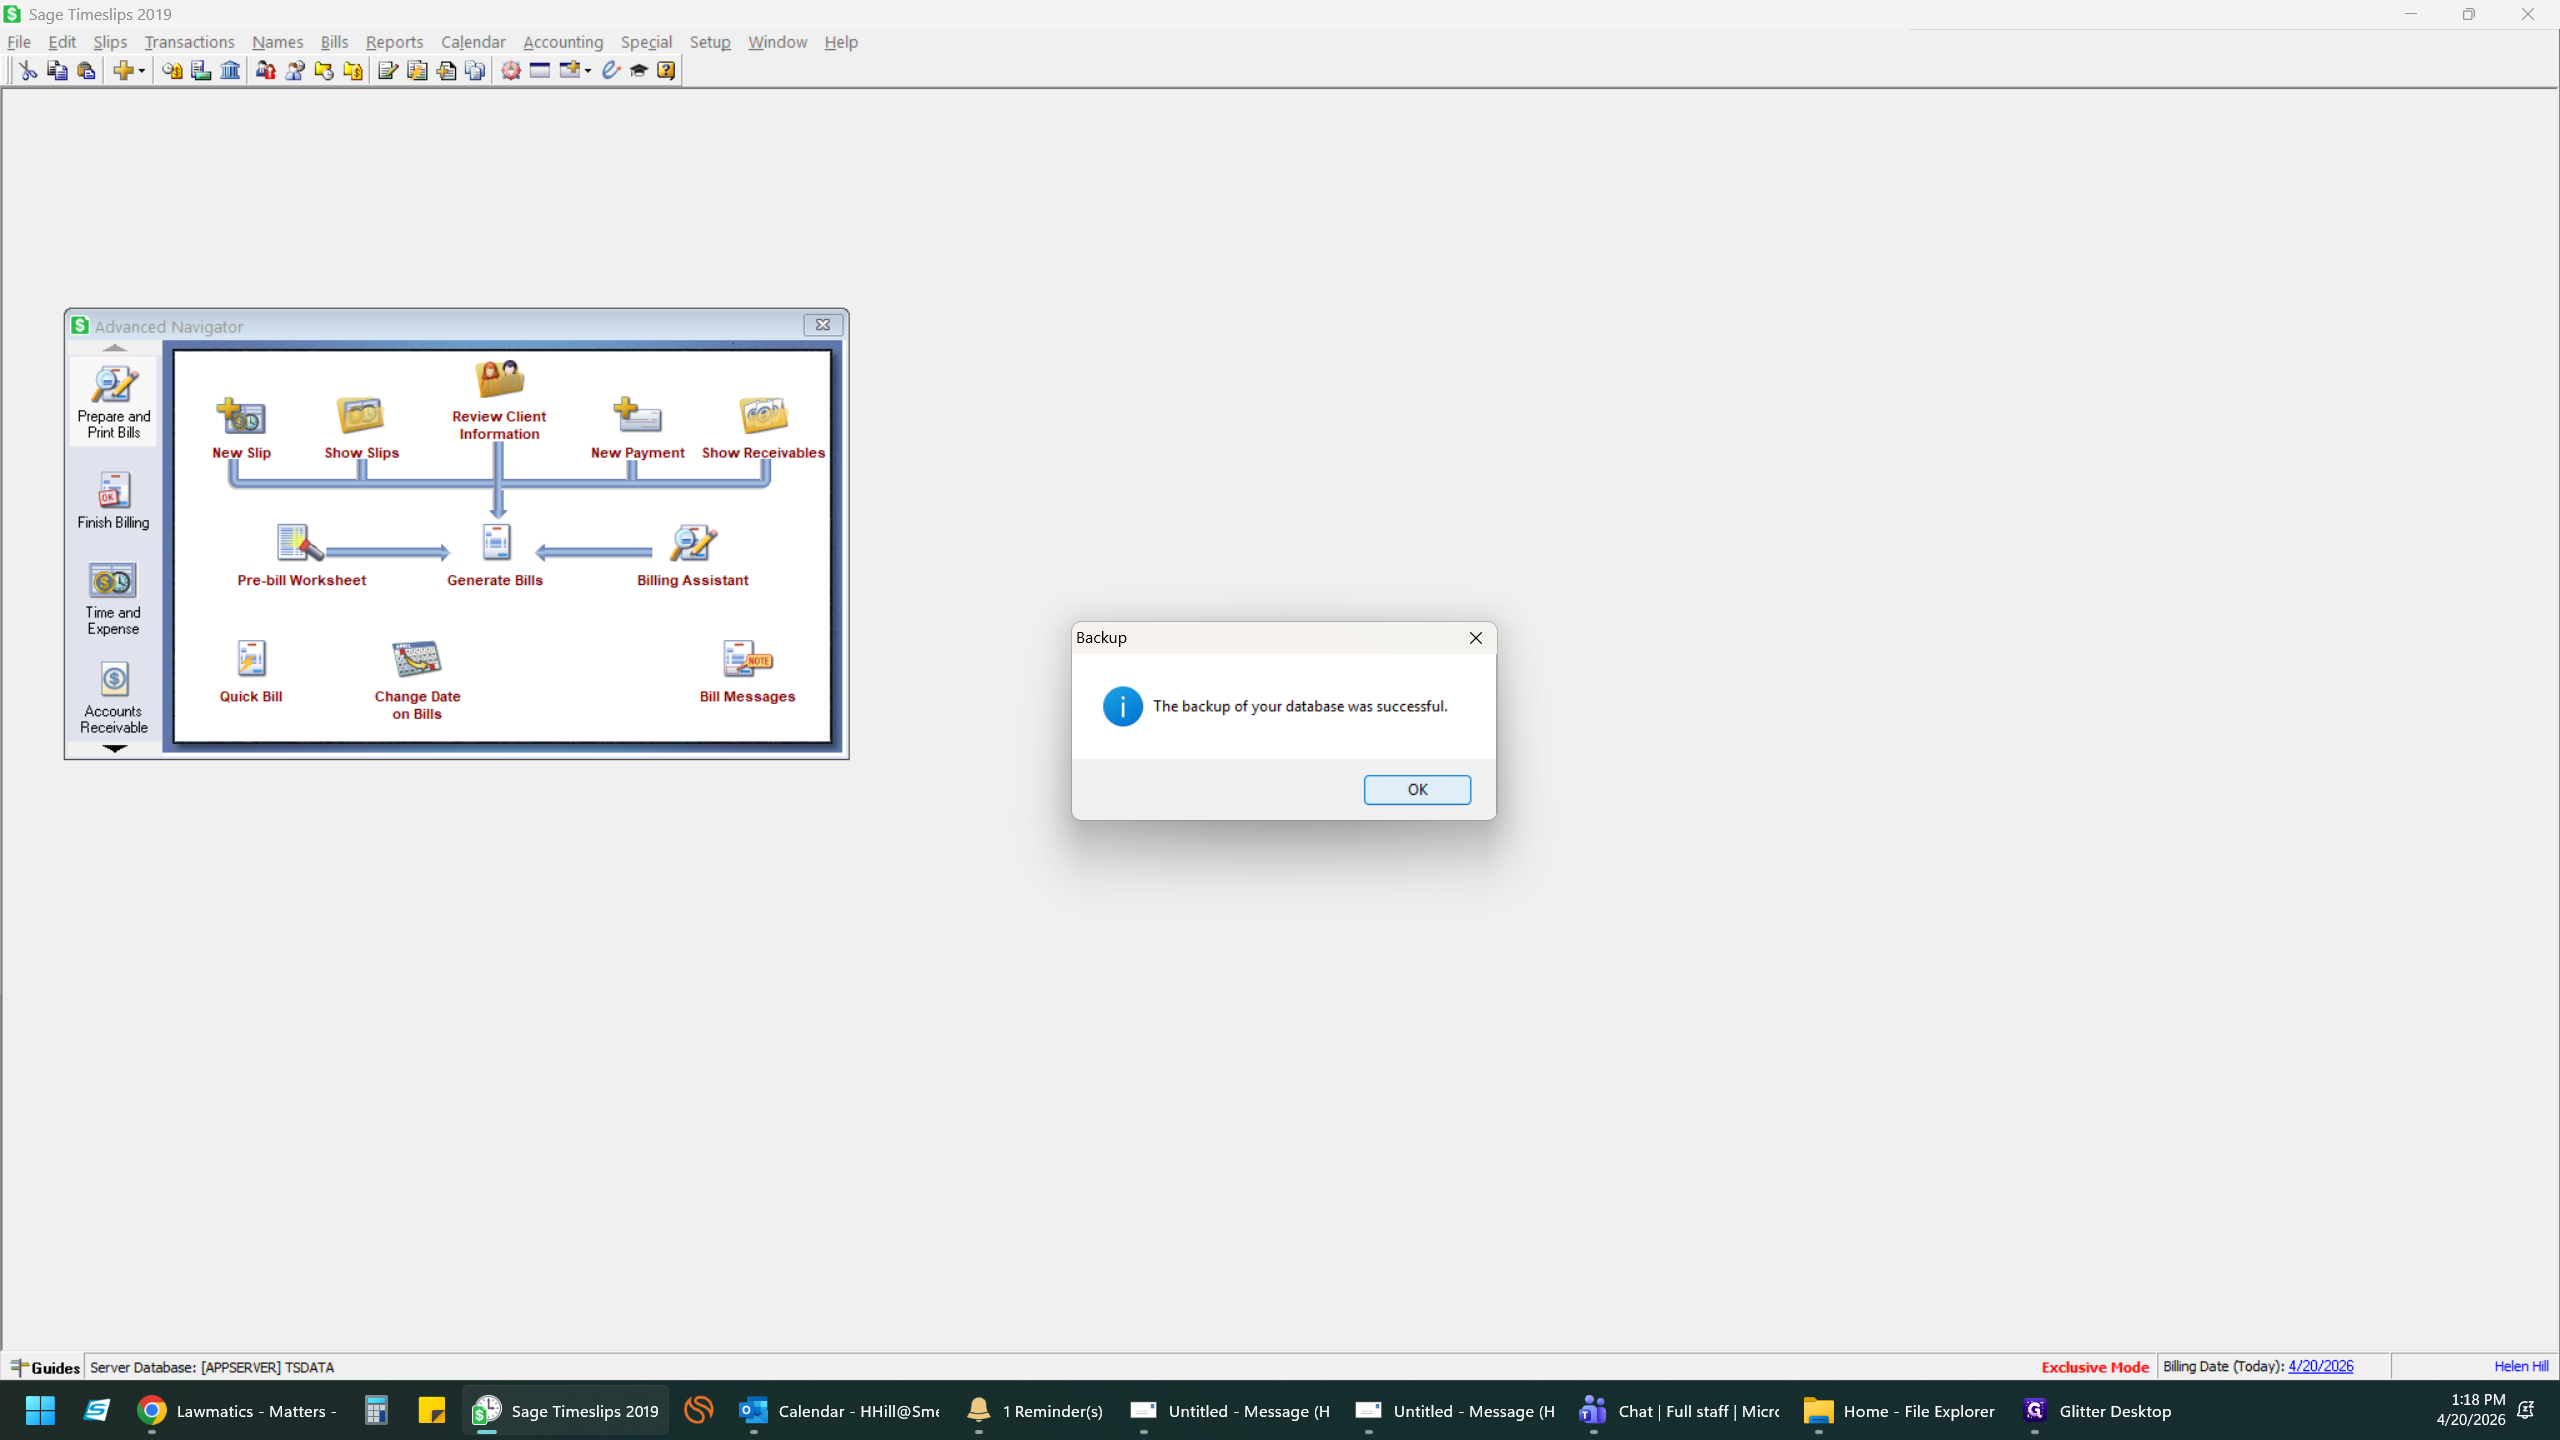
9
Click OK on the dialog box confirming the backup was successful.
3. Configure and Generate Bills
Once backed up, you can safely generate your billing statements.
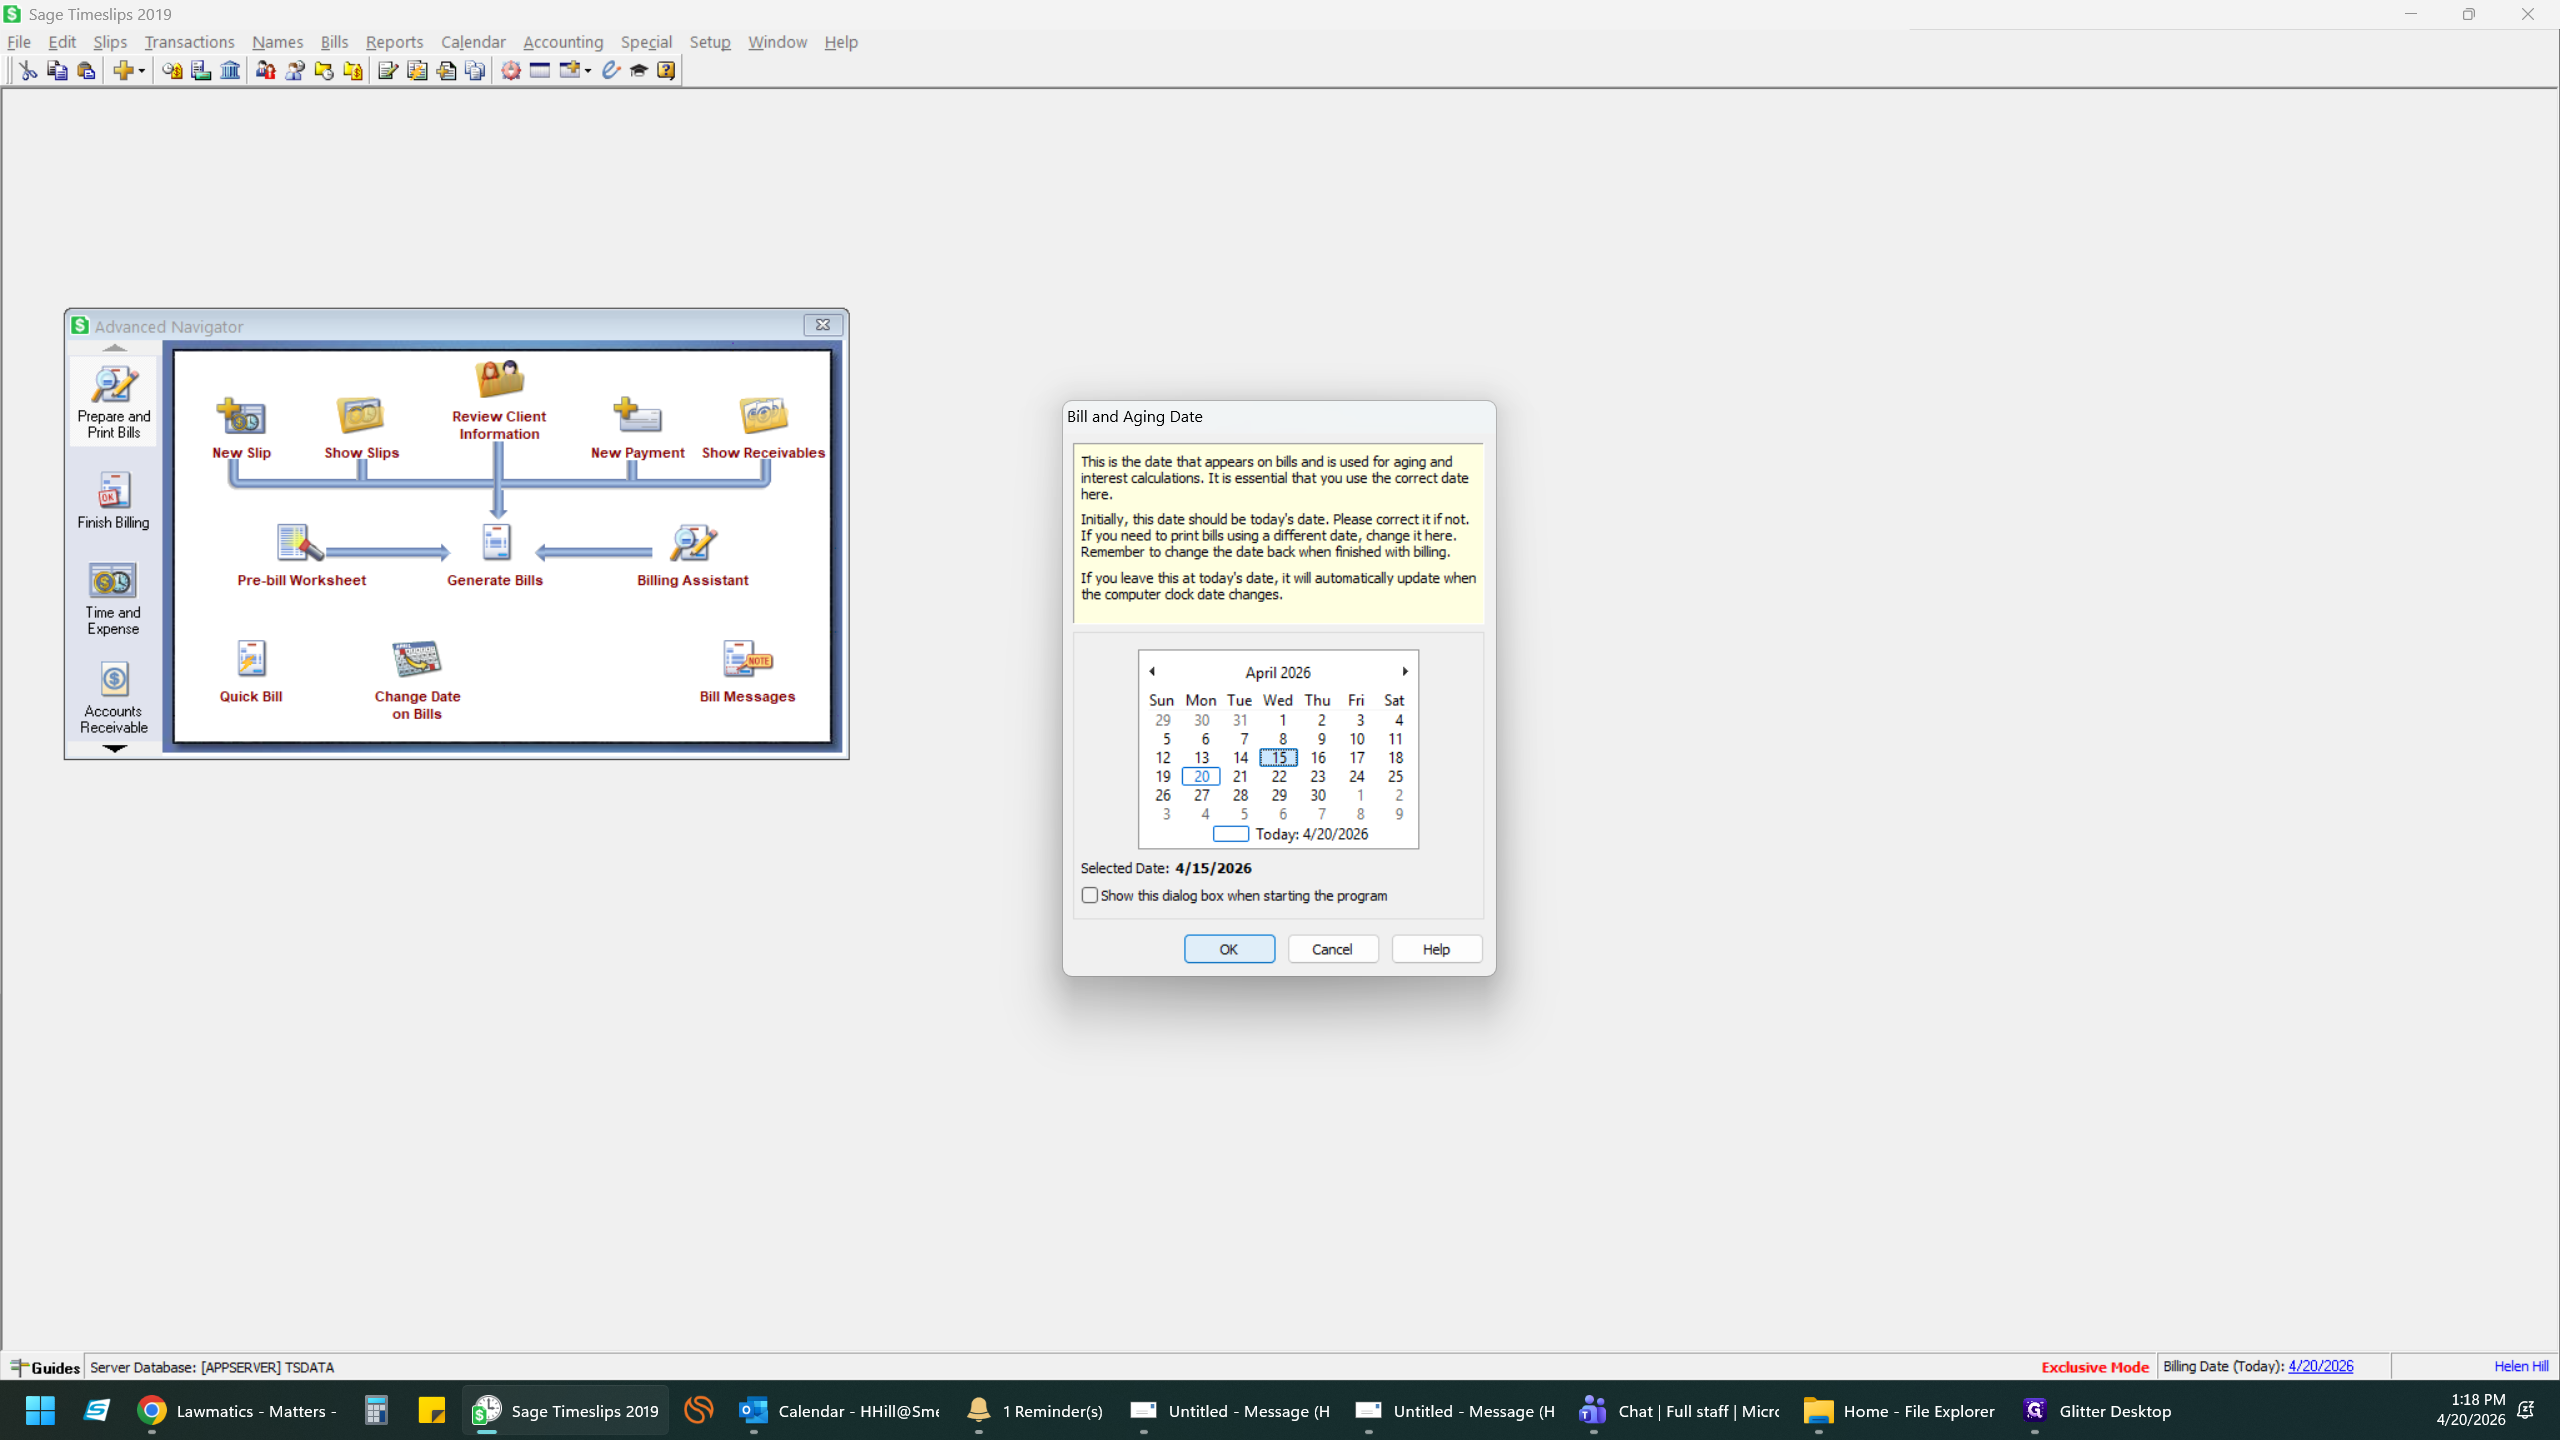
10
Adjust the billing date in the lower right corner.
11
Select the end date for your billing period from the calendar.
12
Click OK on the Date prompt.
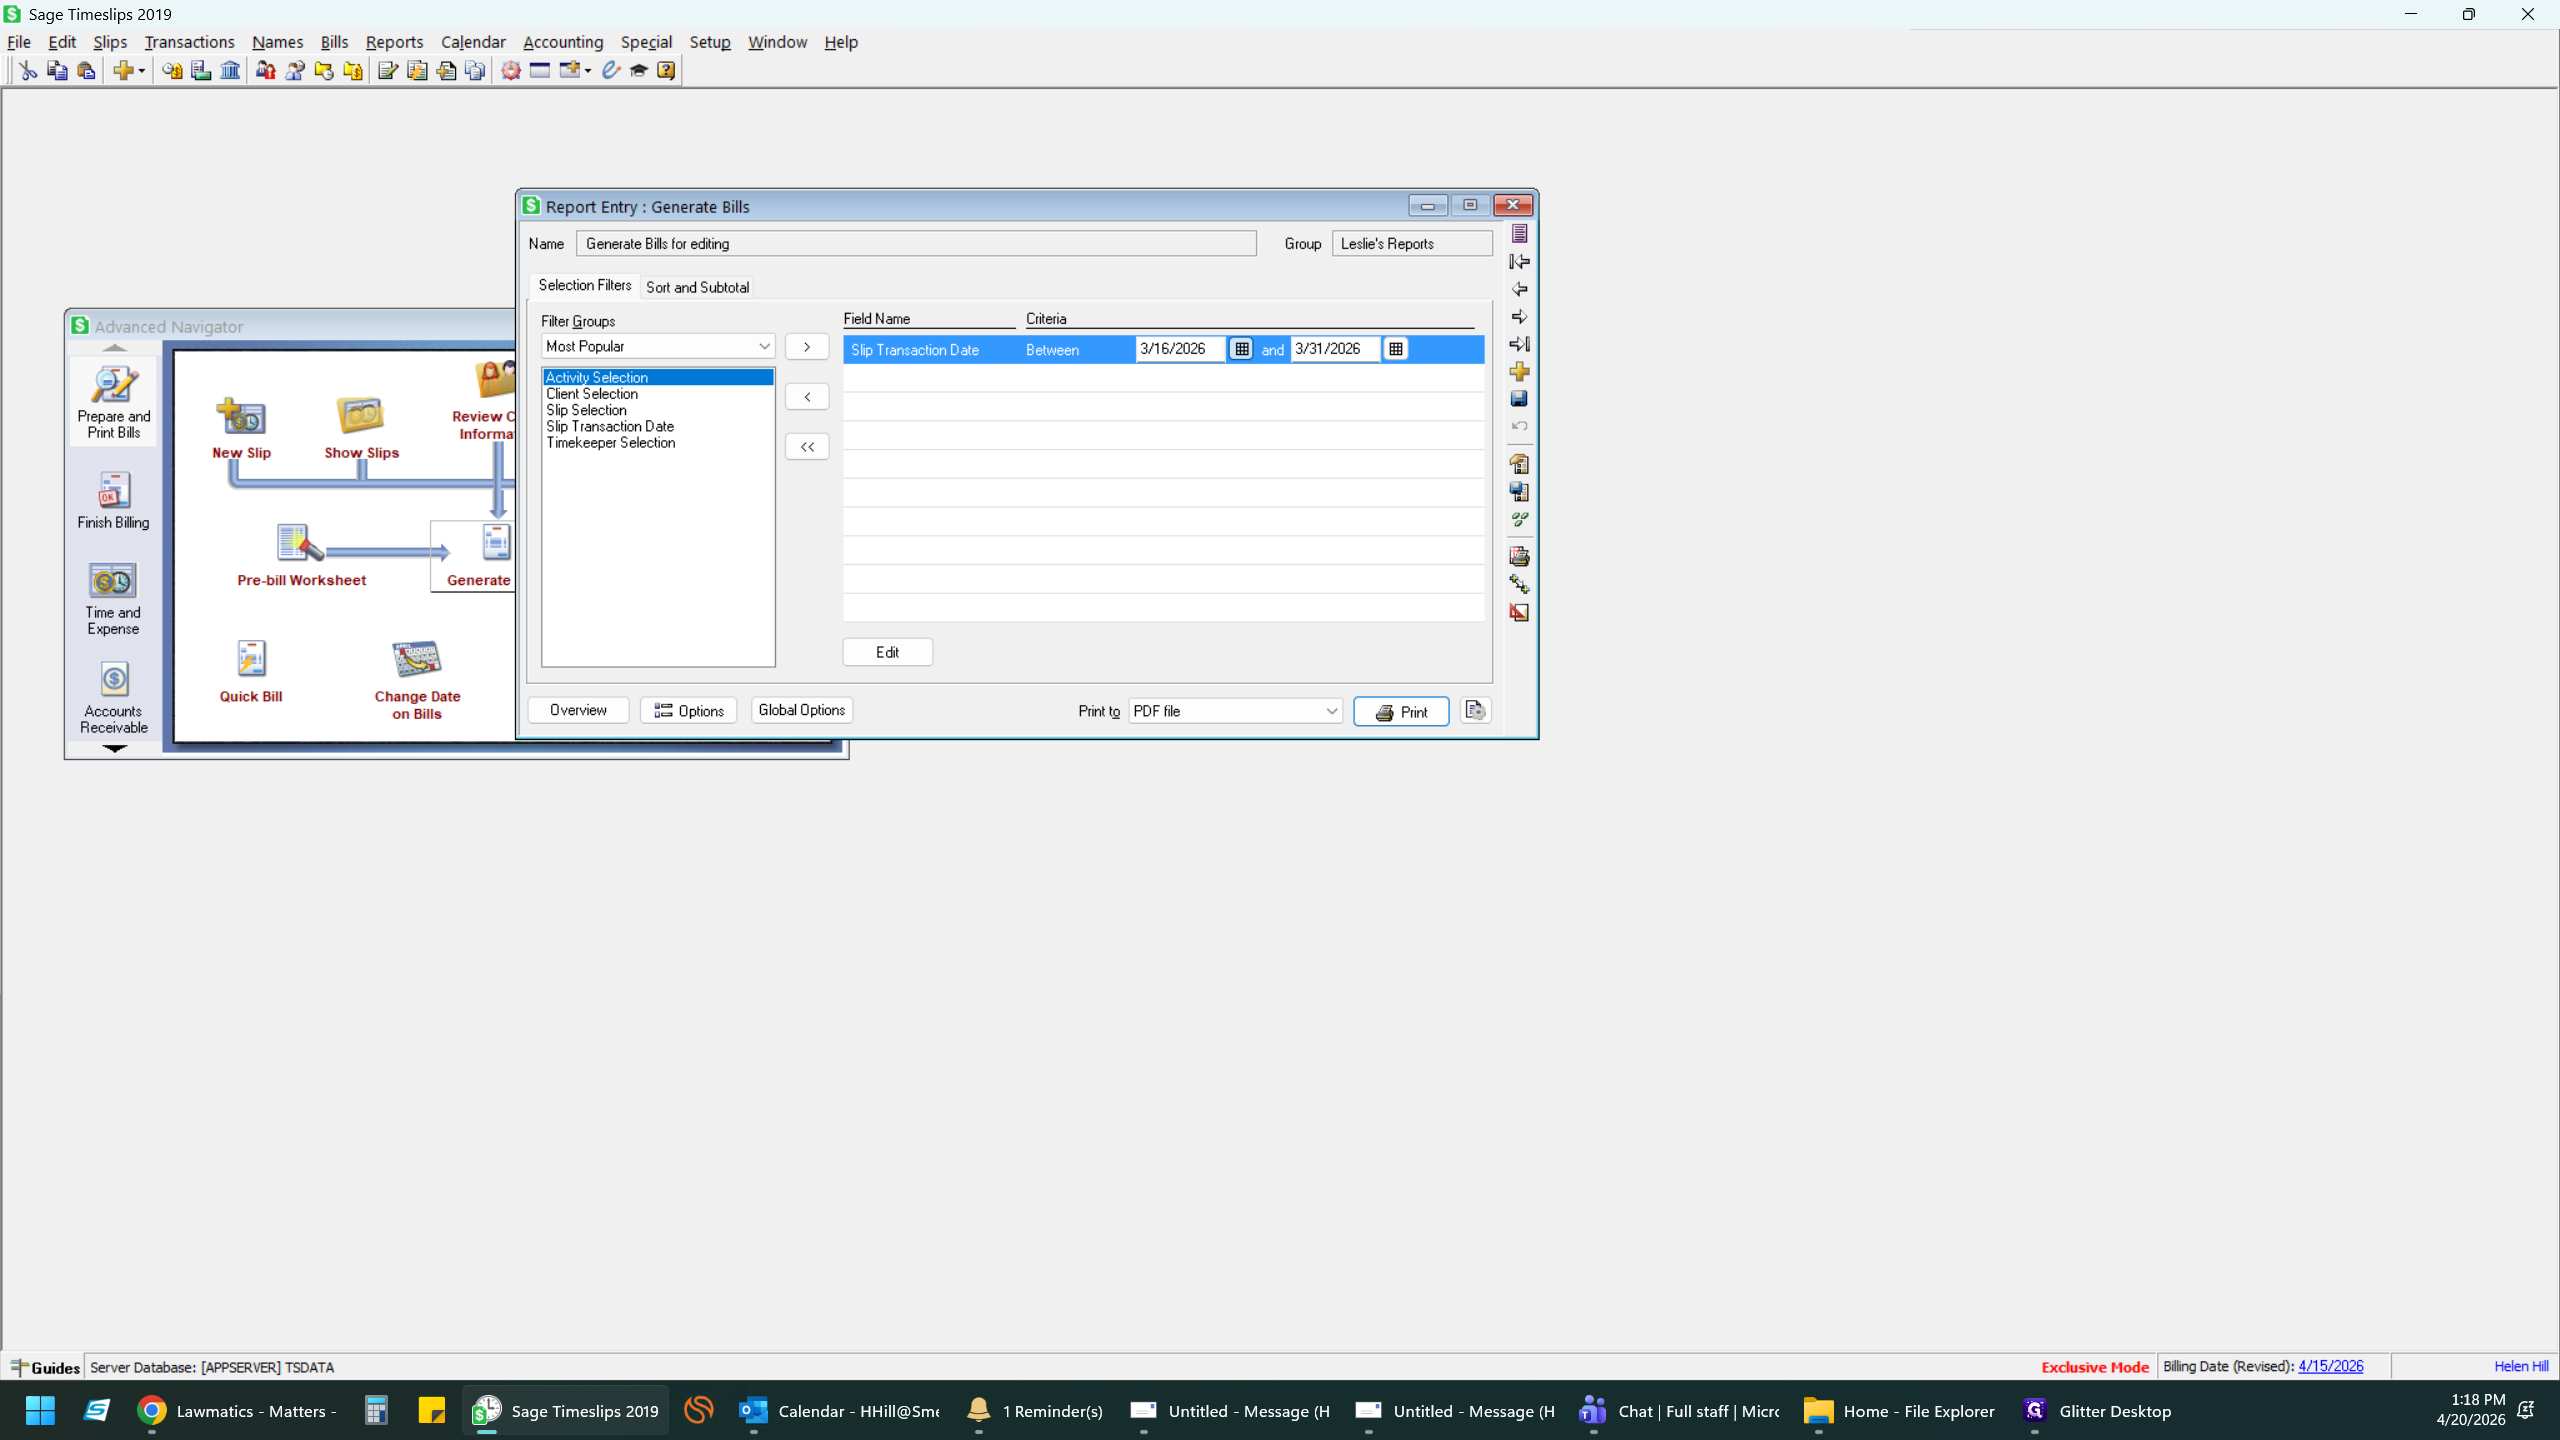
13
In the Navigator click Generate Bills. In the Report Entry window, Edit the dates in the Slip Transaction Date filter criteria.
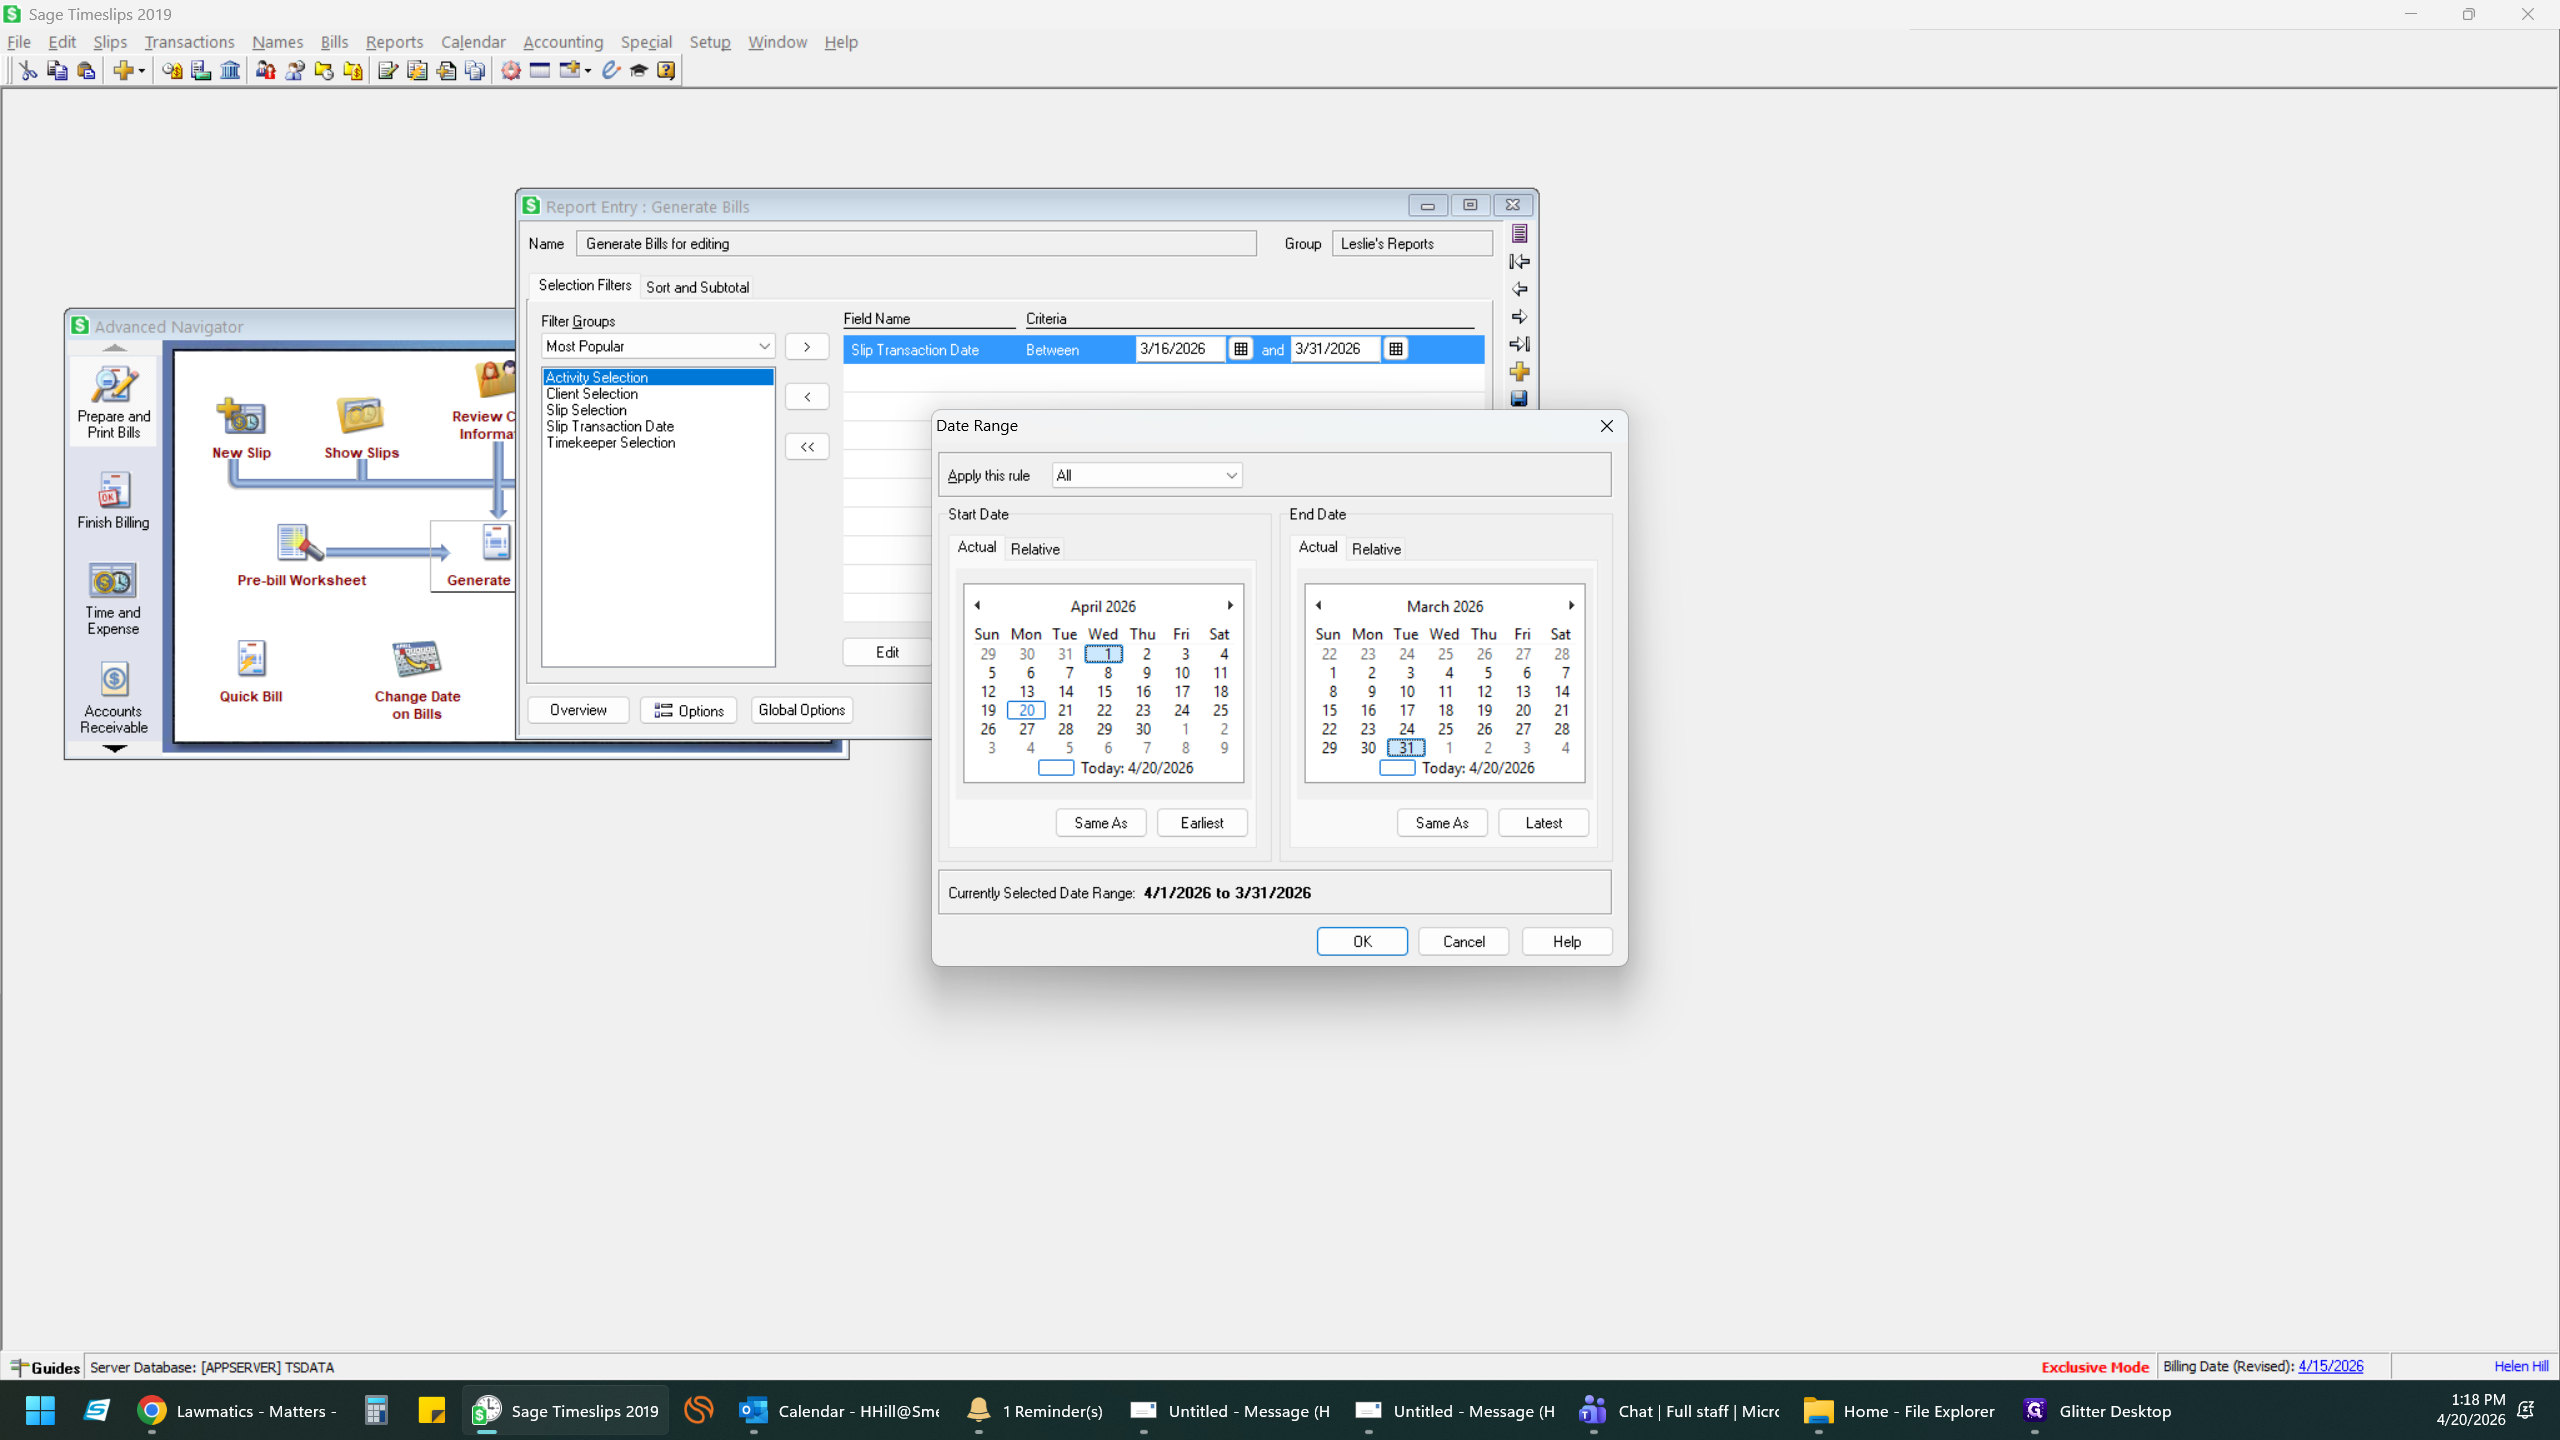
14
Adjust the Start and End dates to capture the correct billing period.
15
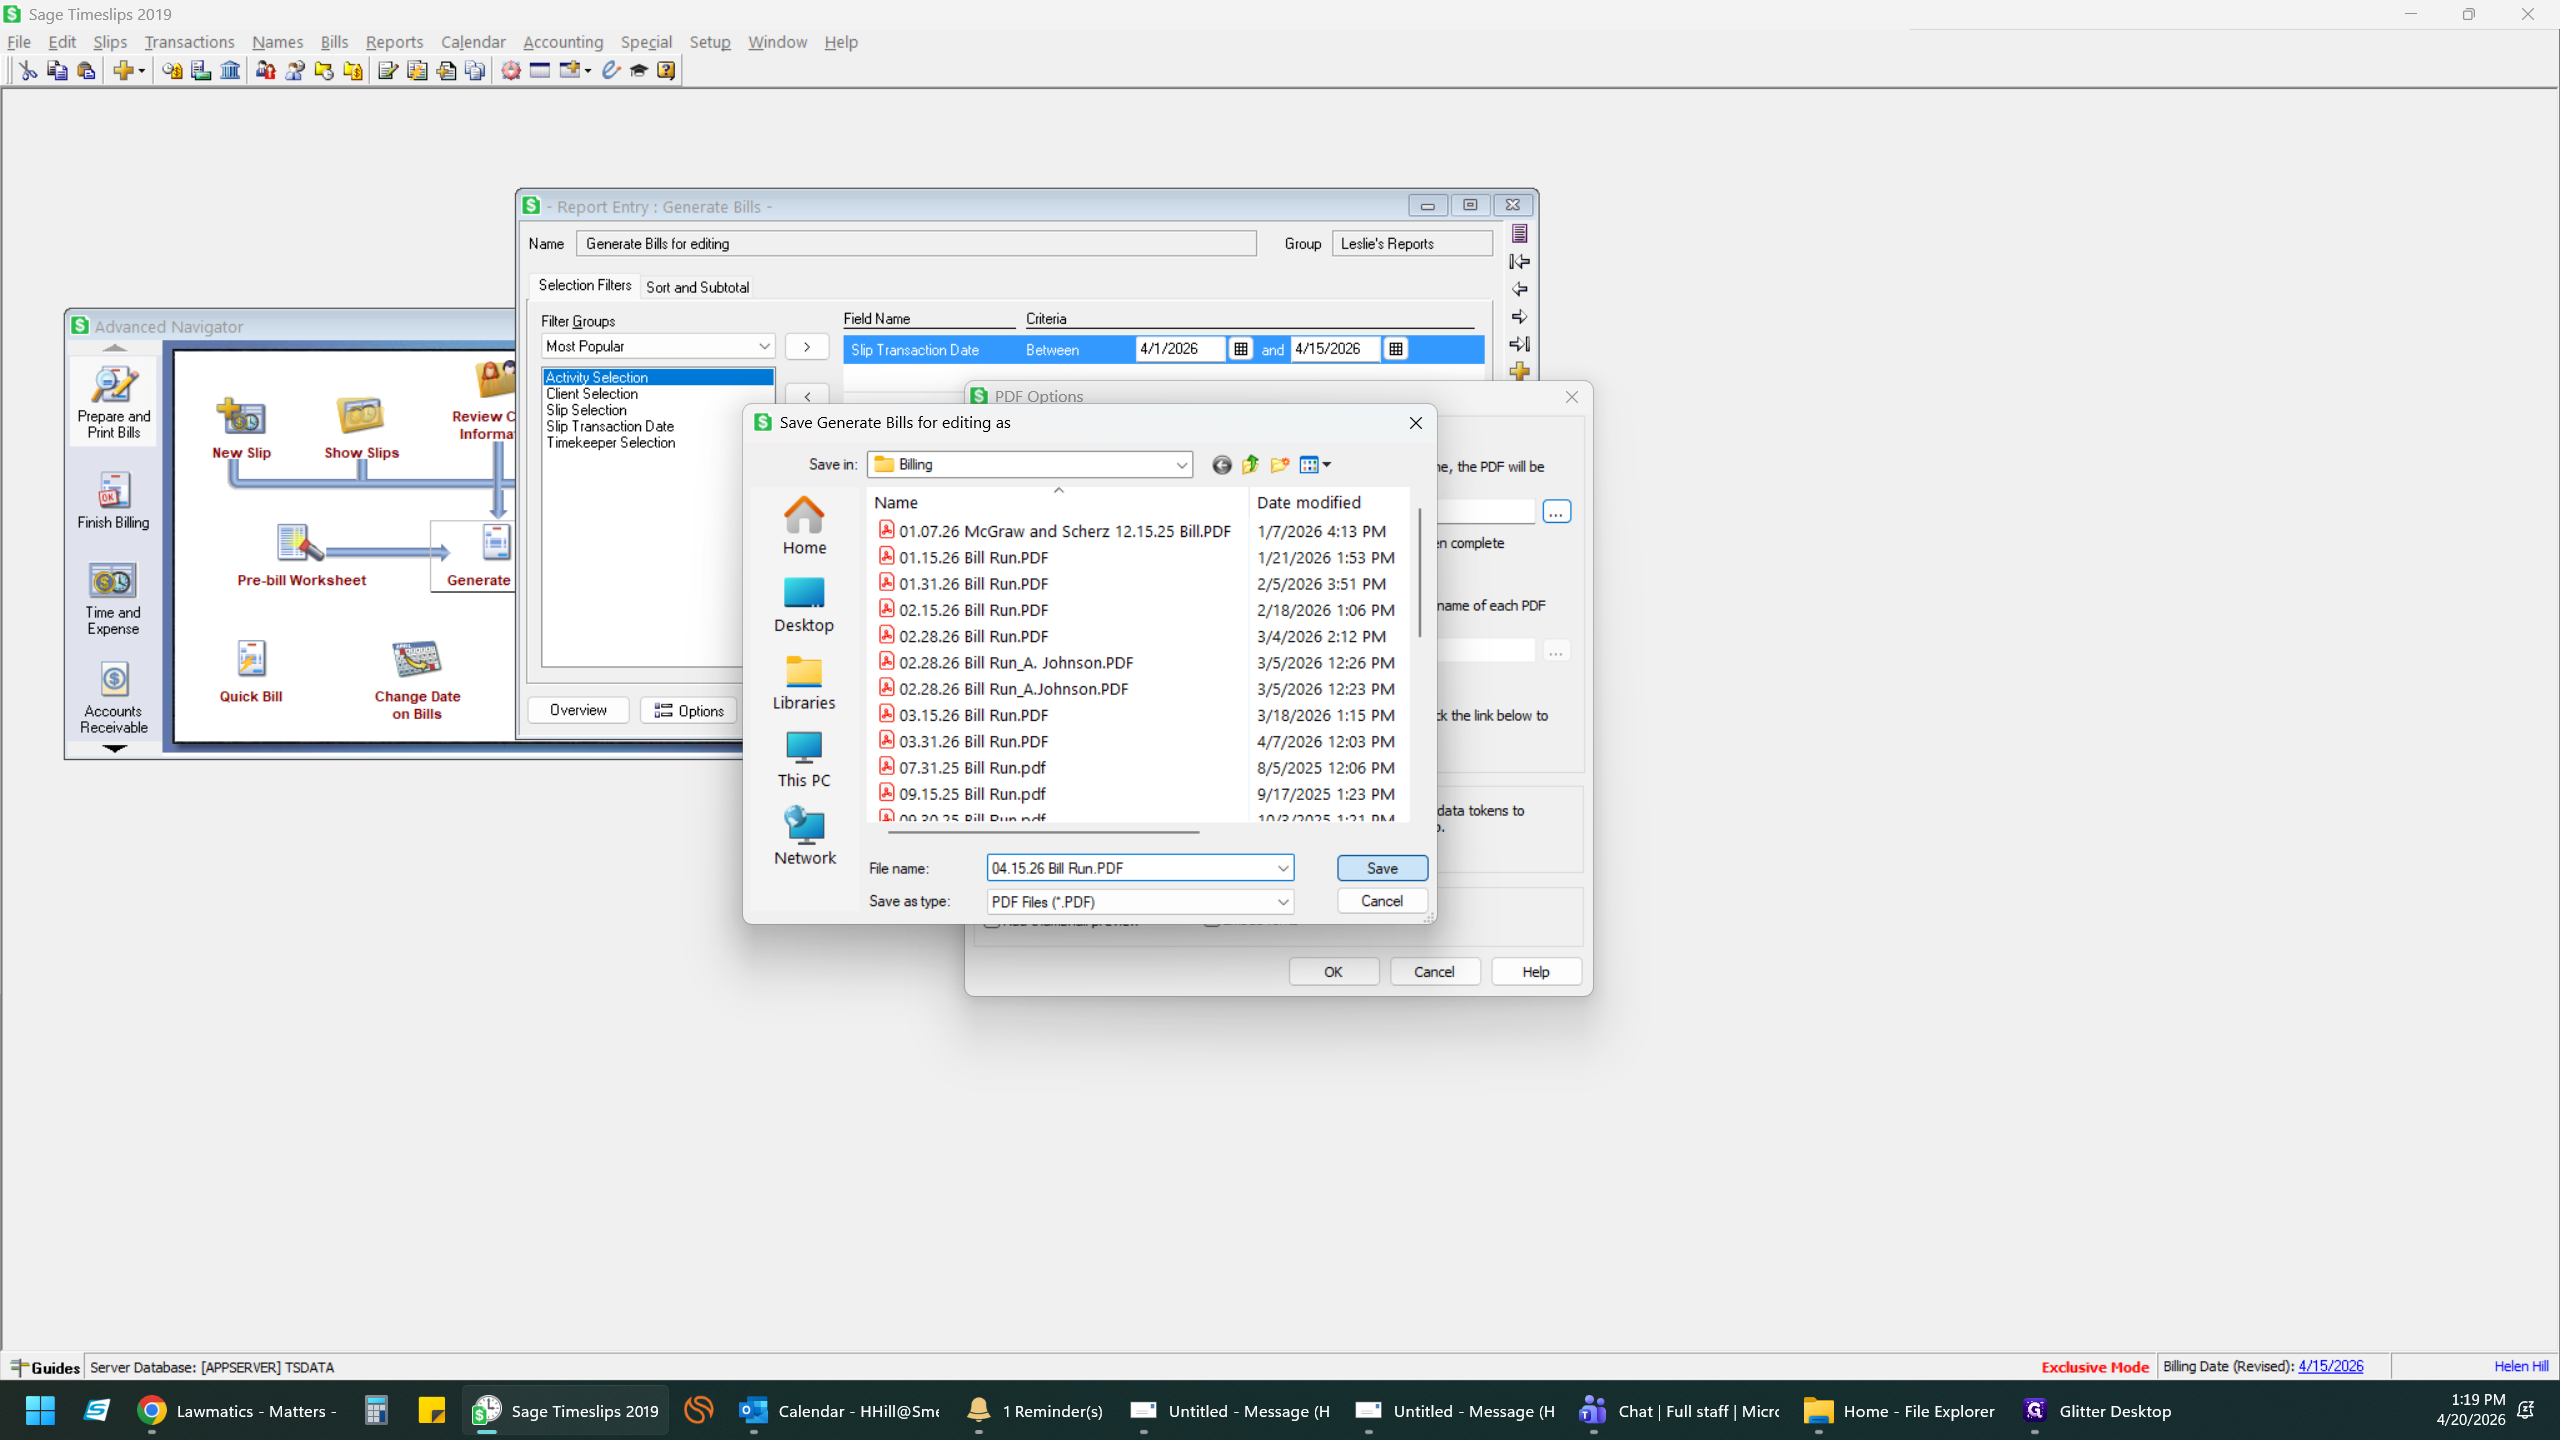
Click Print at the bottom right corner of the report configuration window.
16
In the PDF Options dialog box, select your preferred document structure and click ... to choose a save destination.
17
Type a file name for the generated bills, typically the current billing date.
18
Click Save.
19
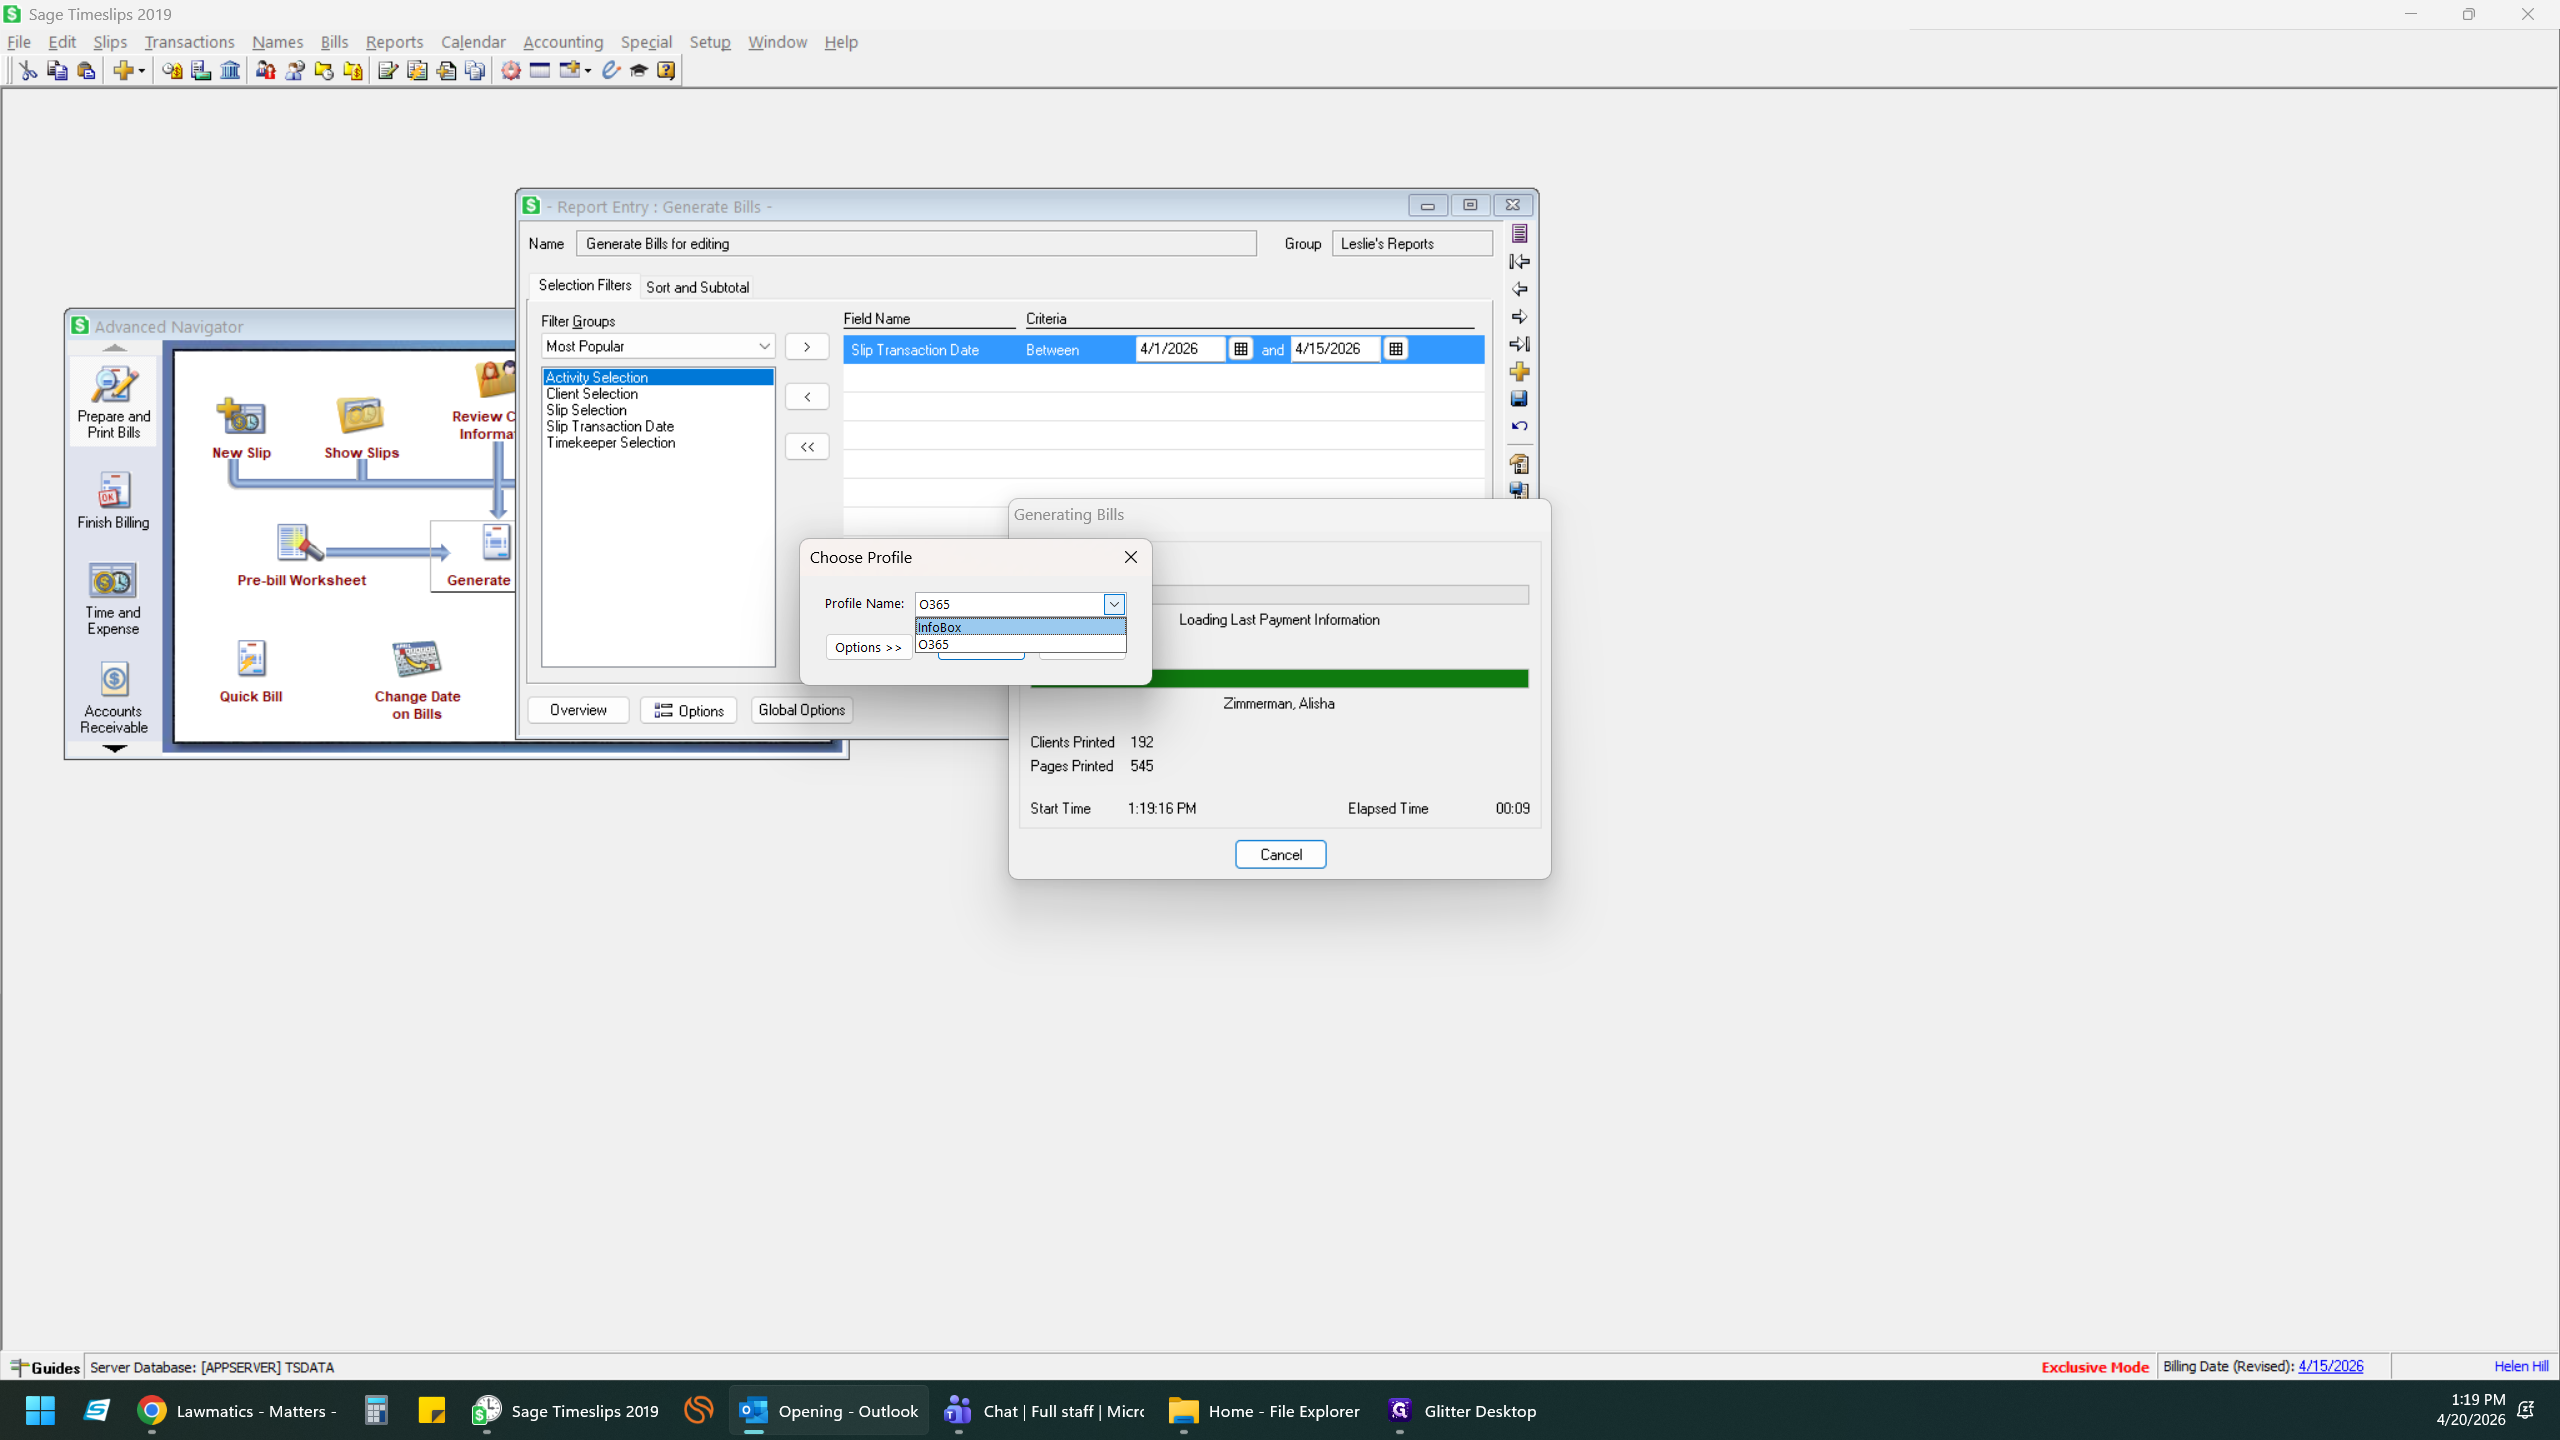
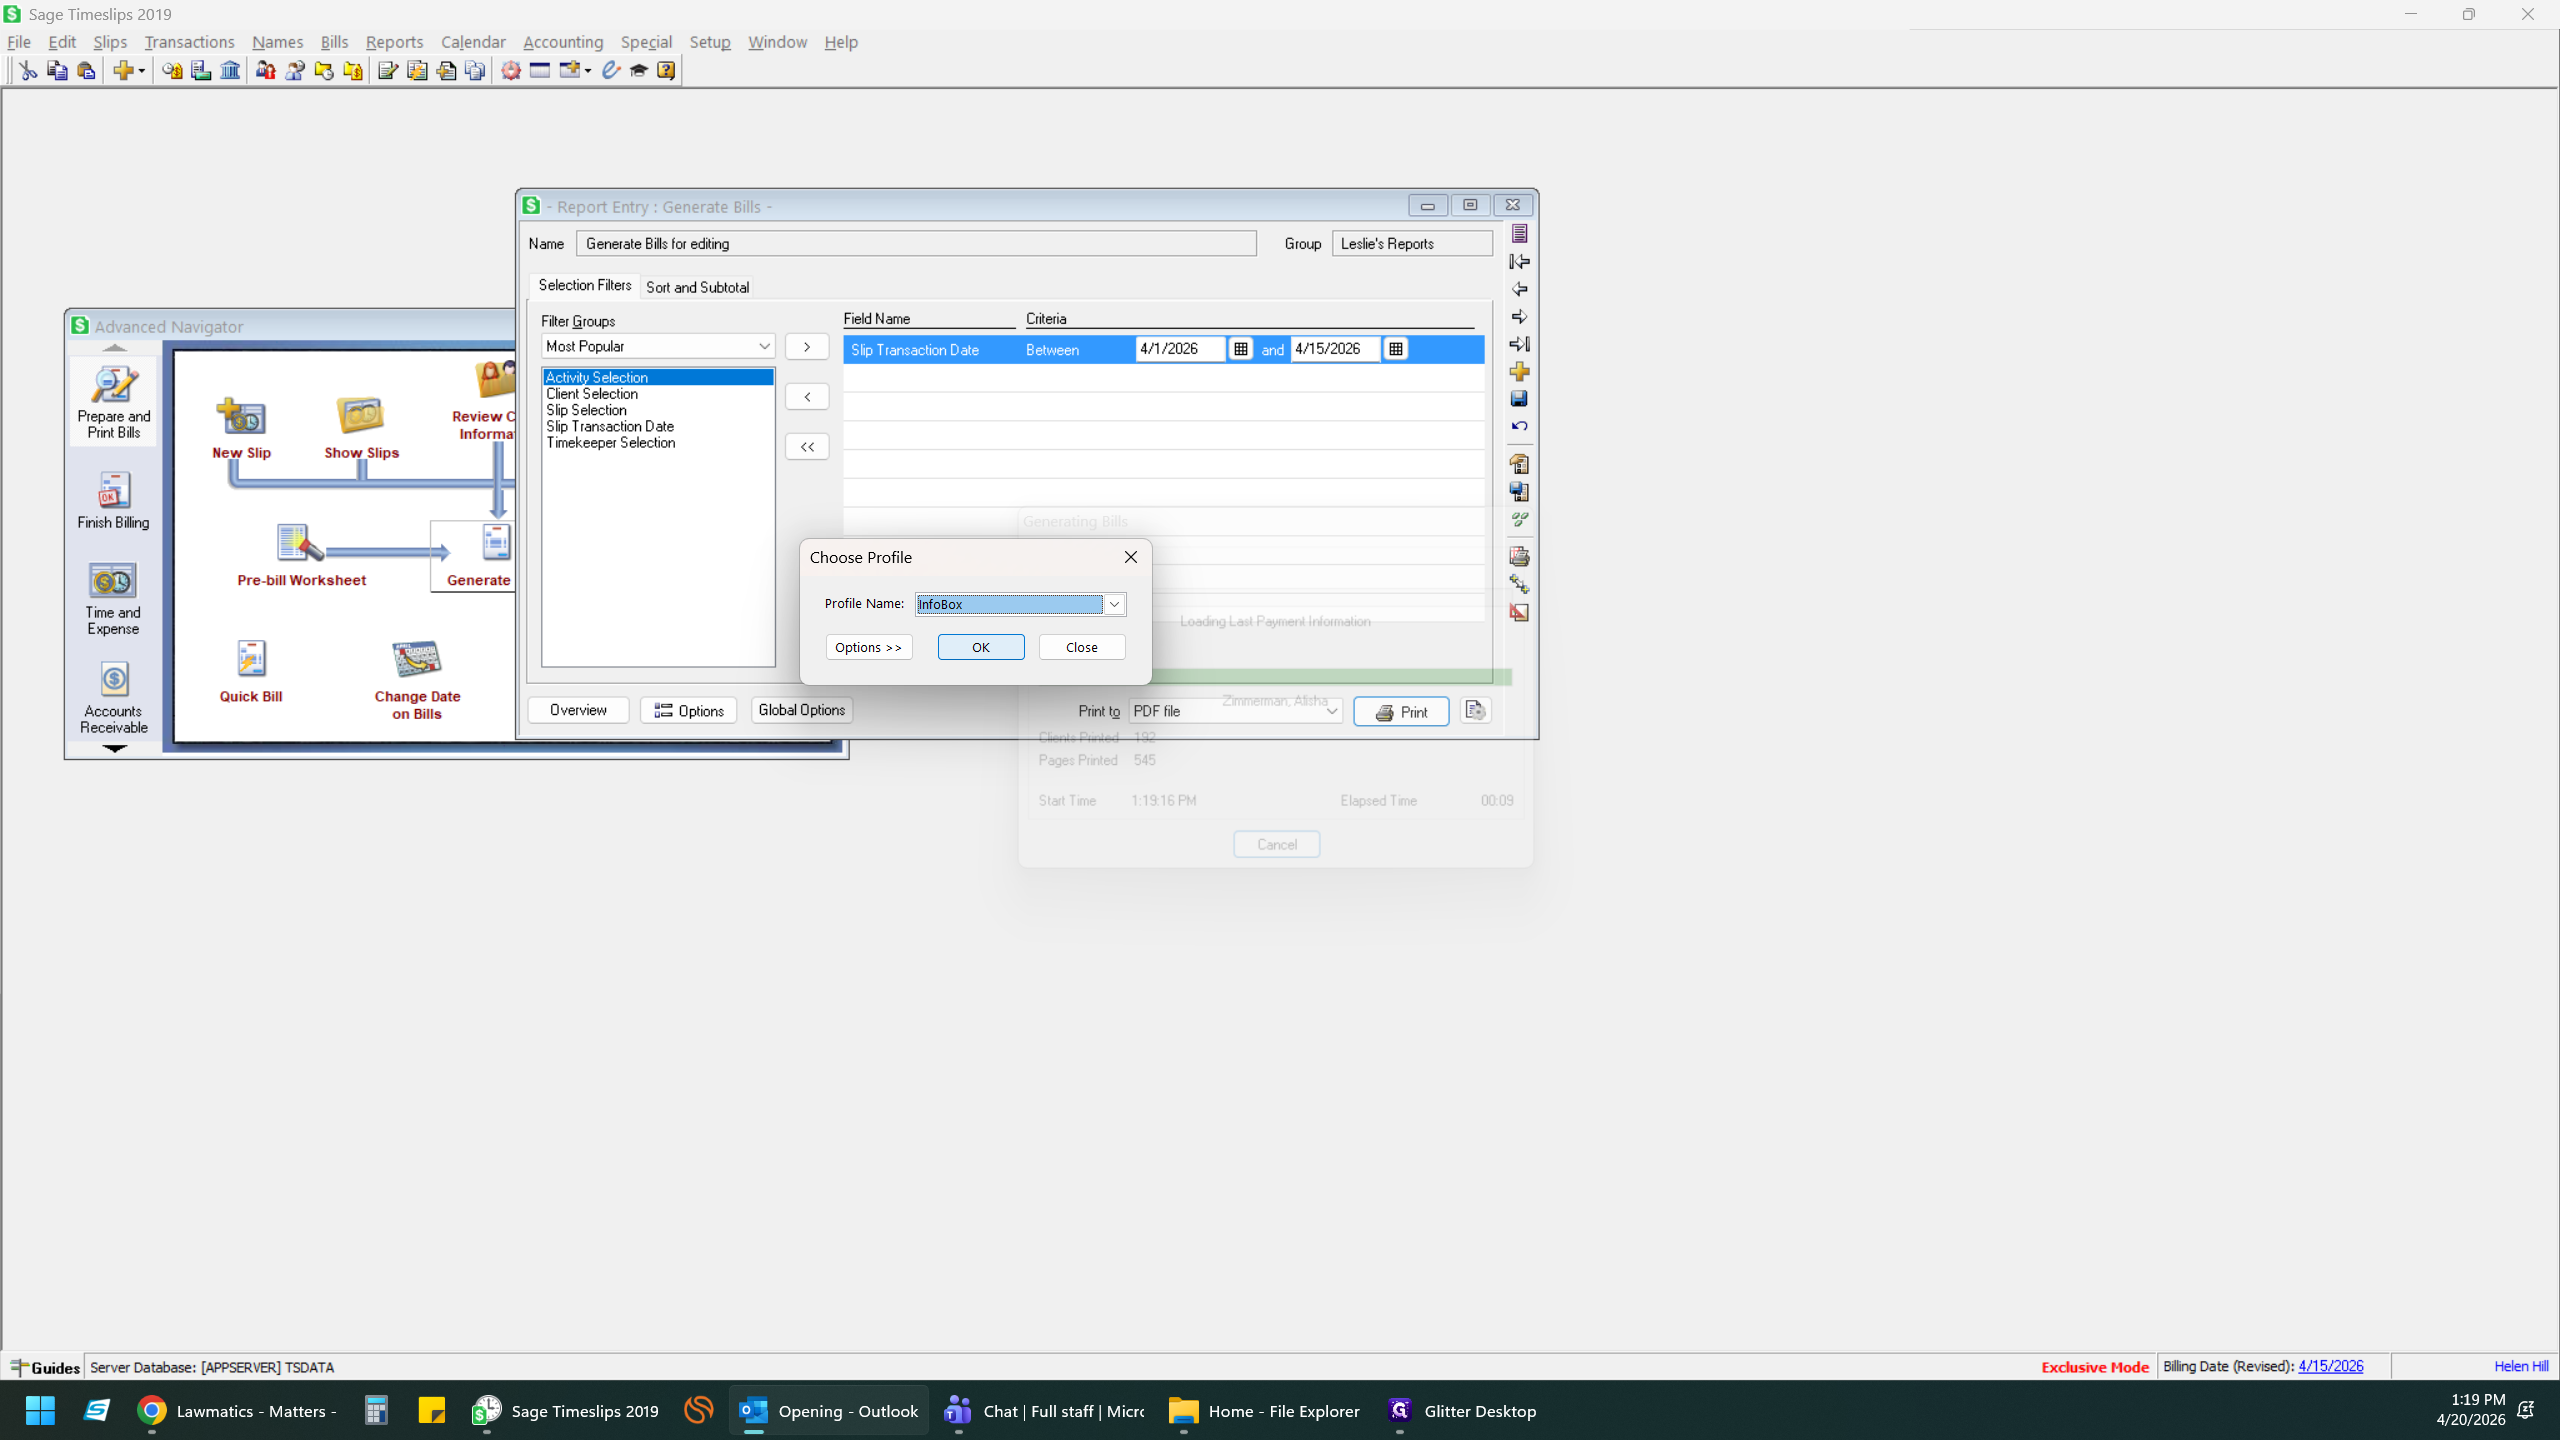
Close out of Outlook and restart. When prompted, verify or select your Microsoft Outlook email profile from the dropdown menu. Bills are sent from the Infobox. You must be running the 32-bit version of Microsoft Office for Timeslips to communicate with Outlook.
20
Click OK.
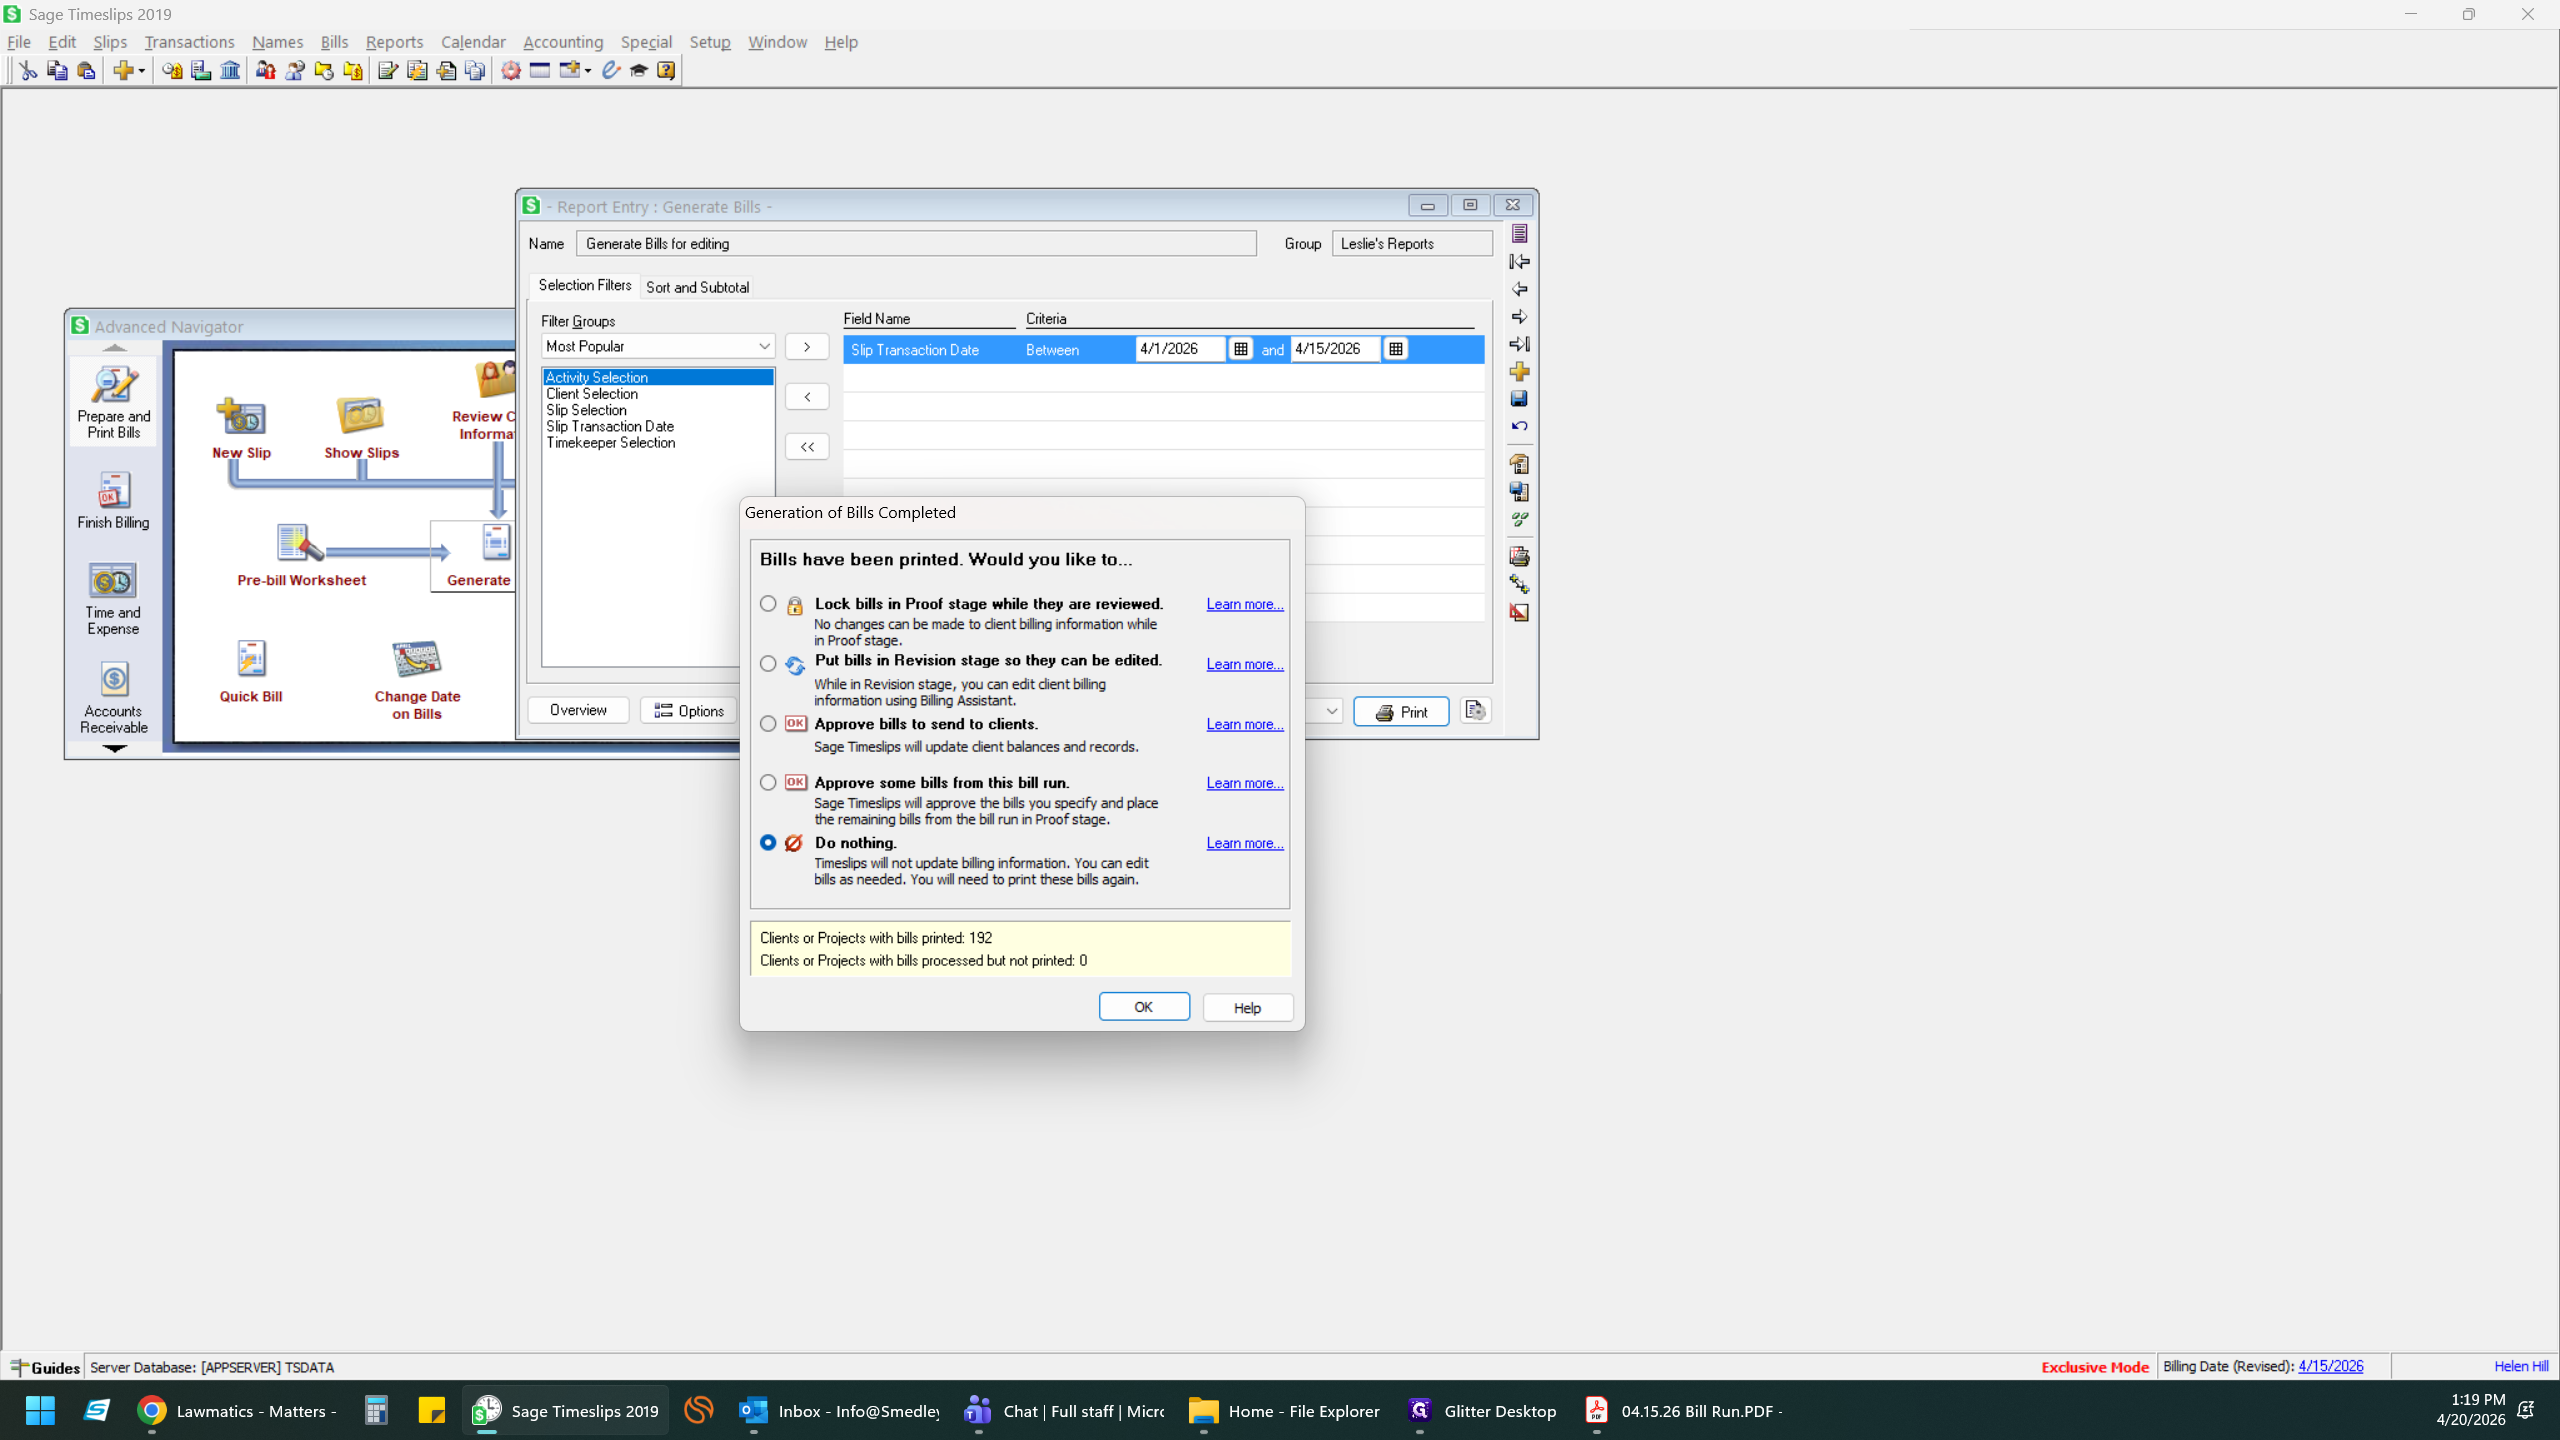
21
Once bill generation completes, select the option to Approve bills to send to clients.
22
Click OK.
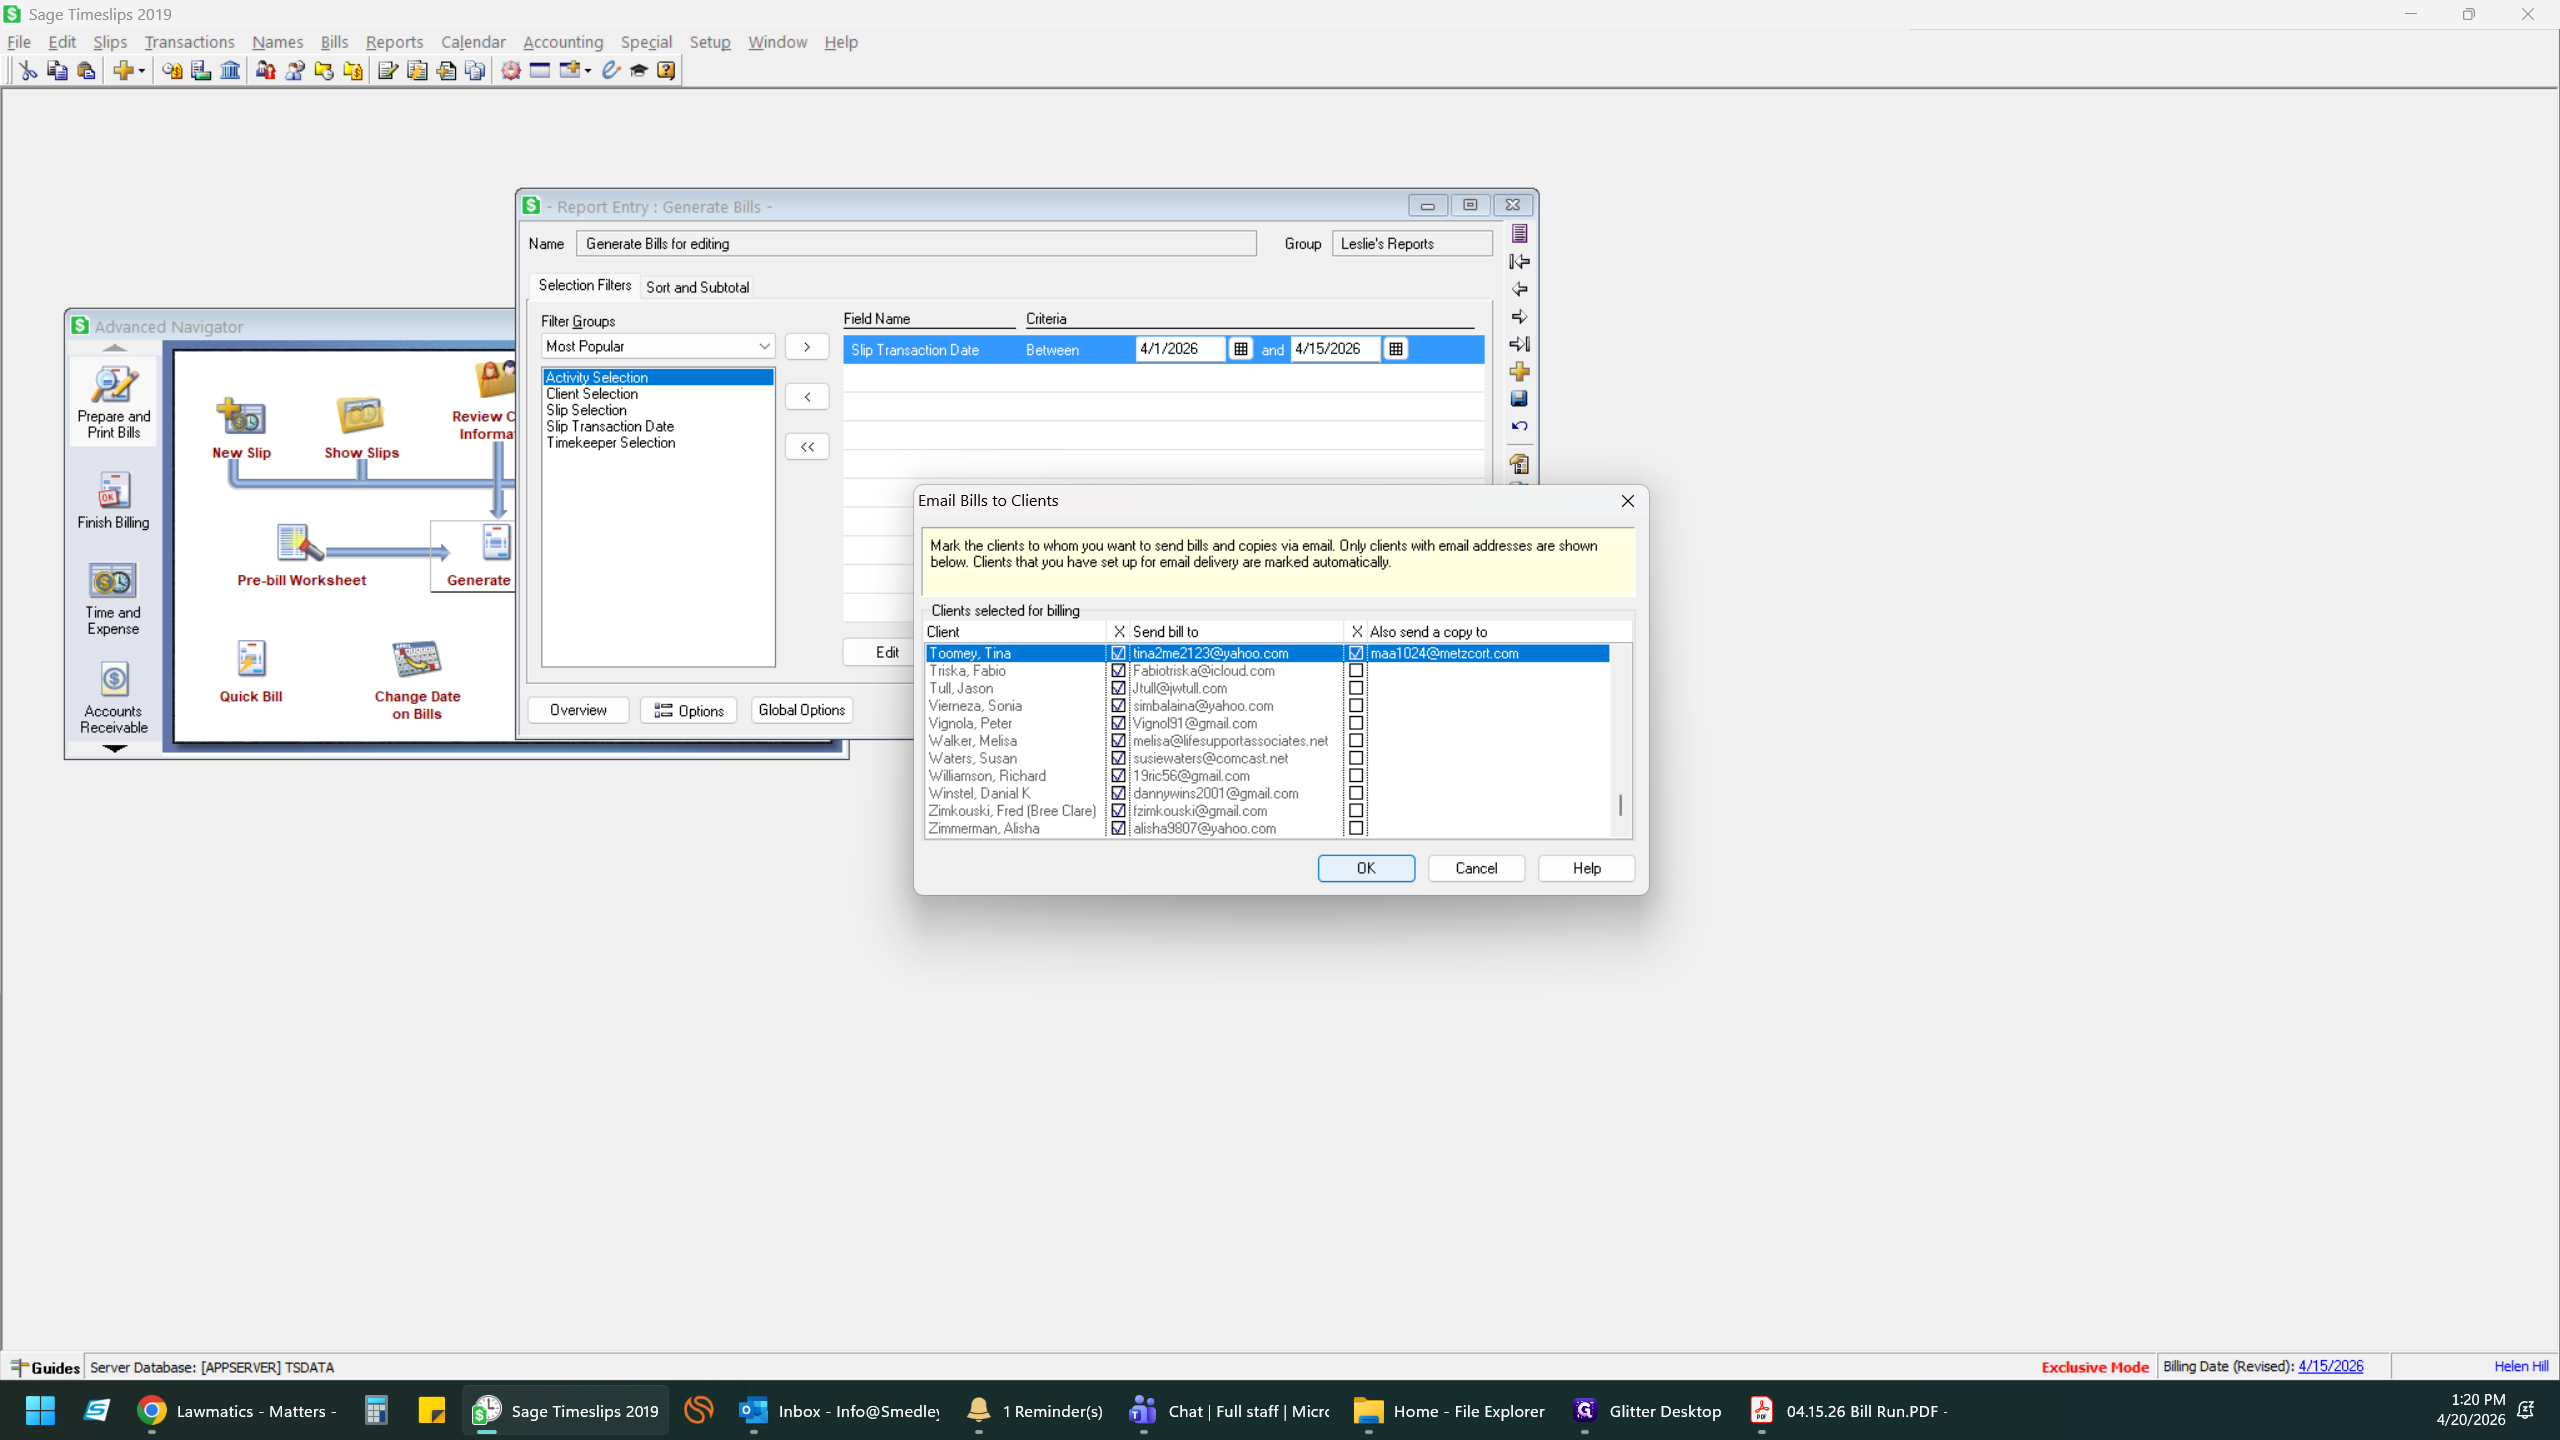
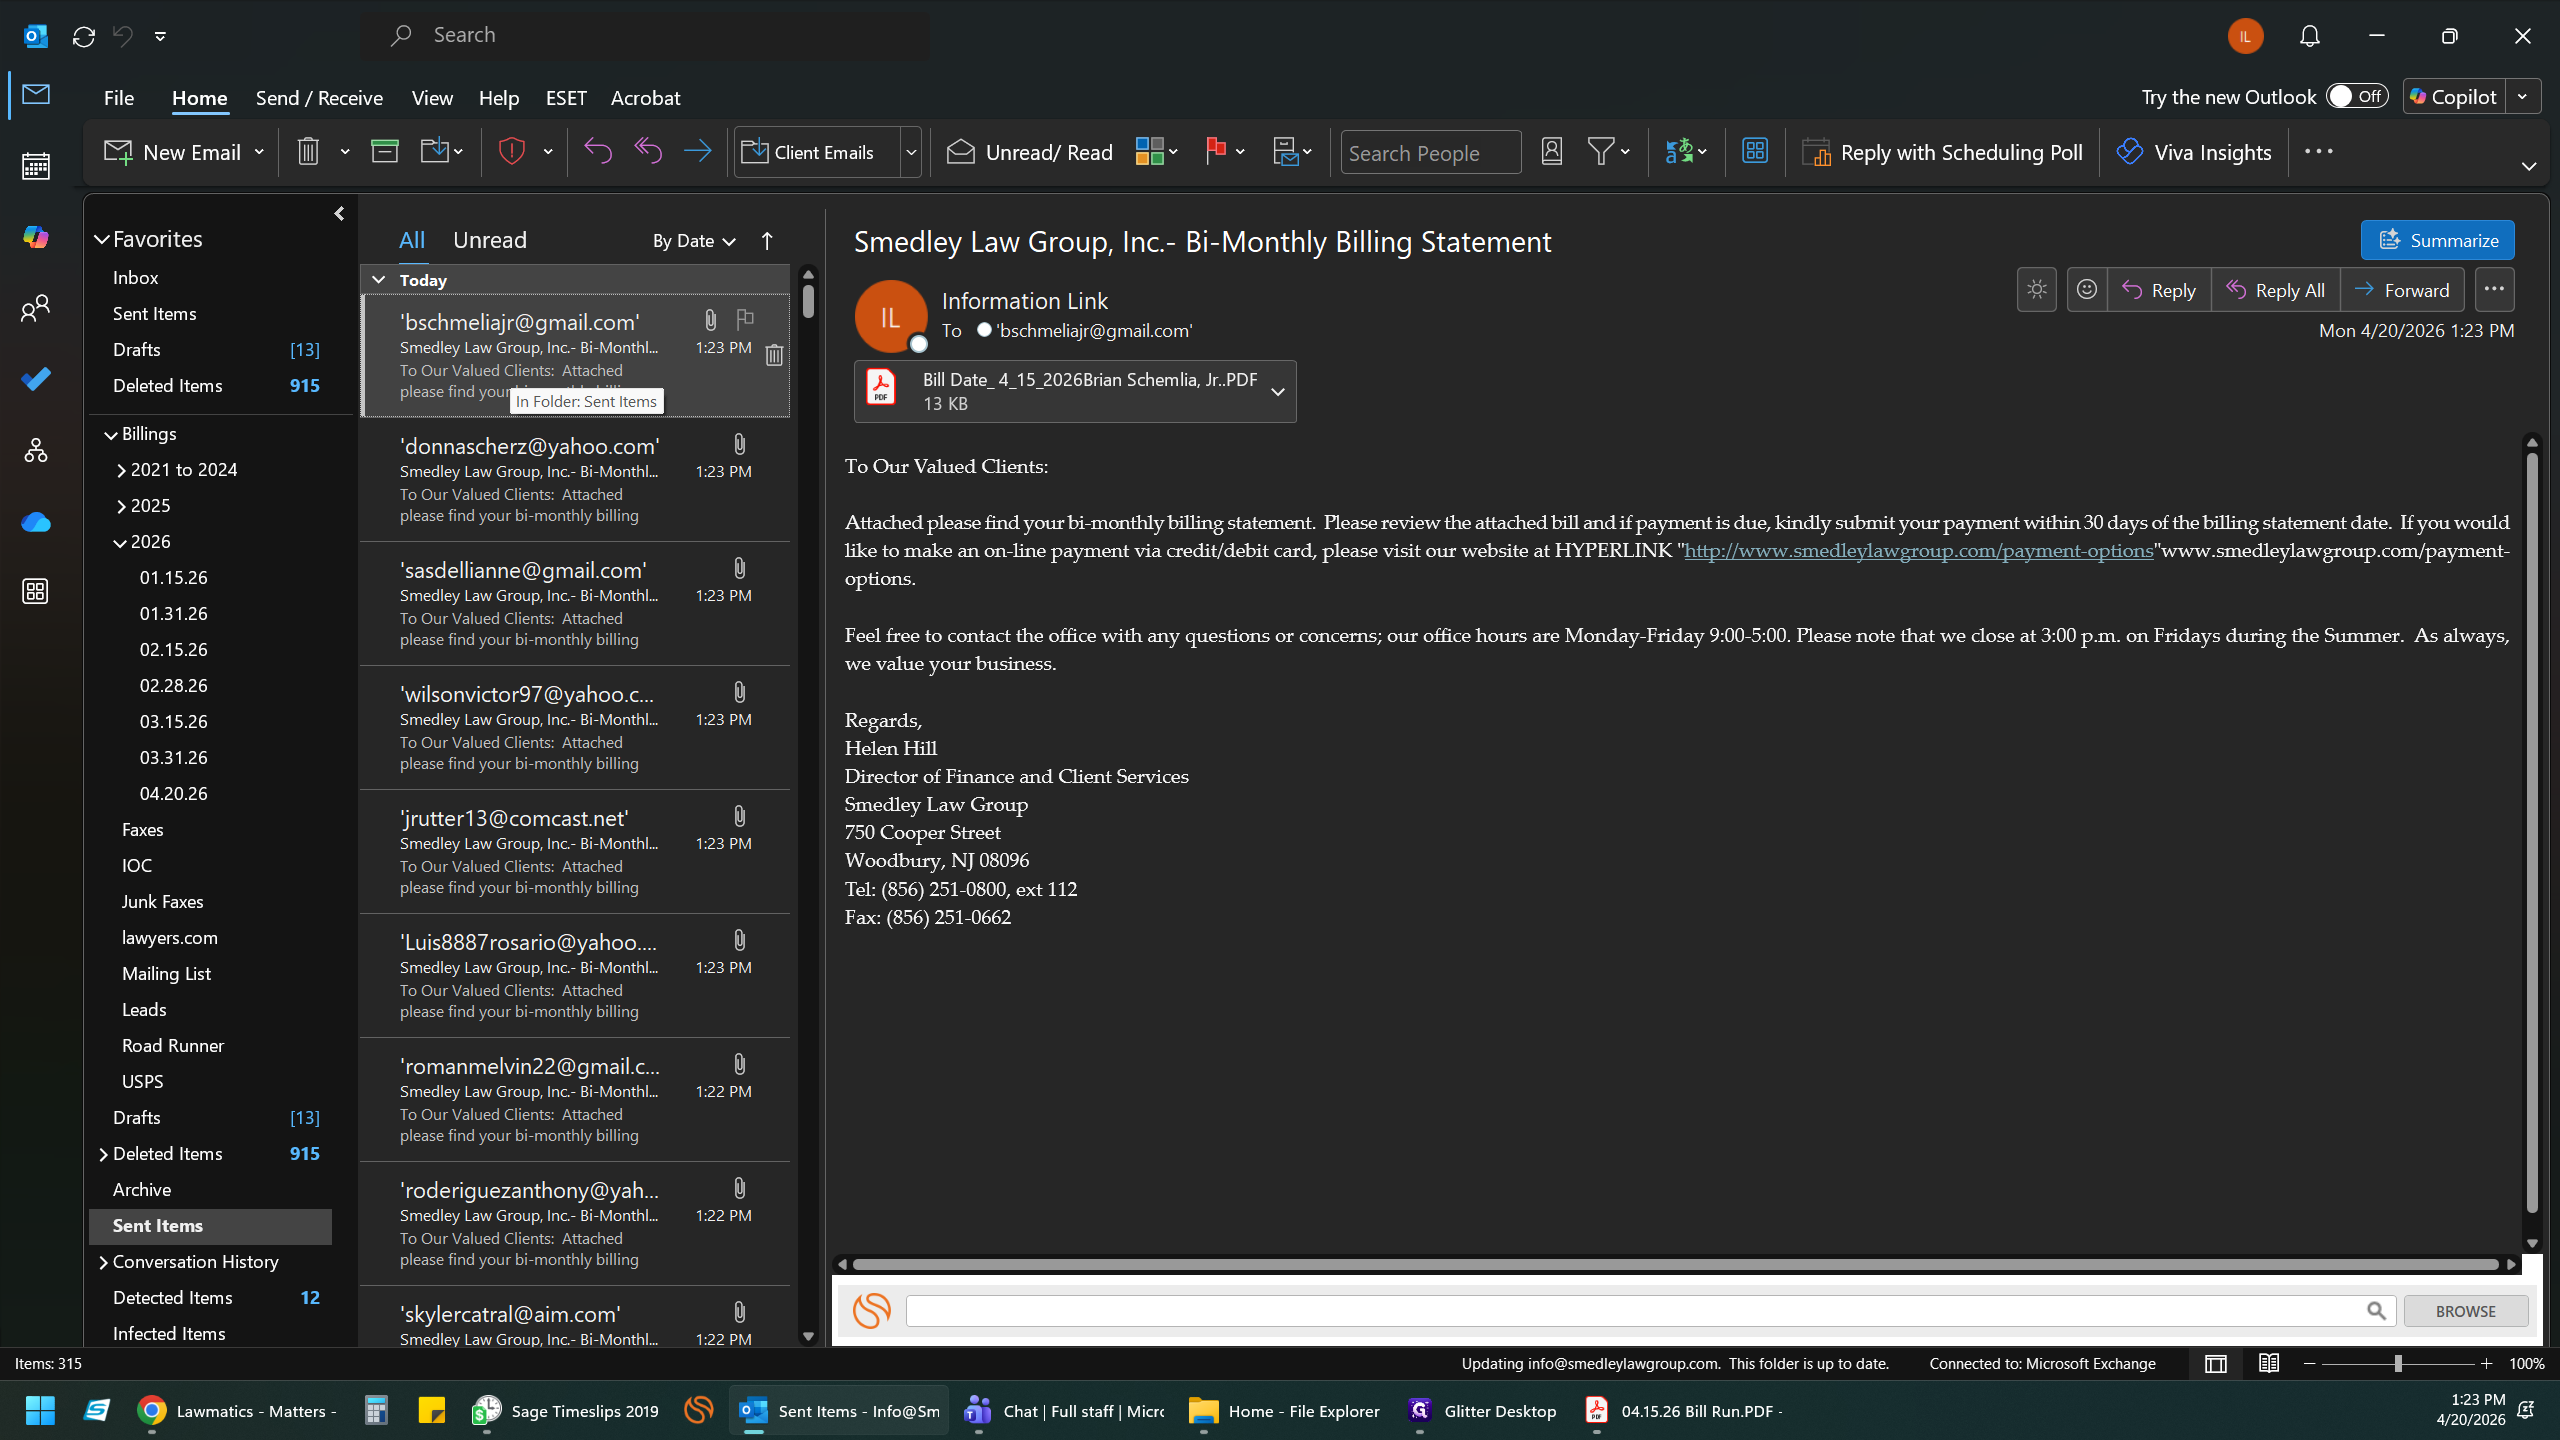
4. Email Bills to Clients
Next, finalize the email distribution list to dispatch the generated invoices.
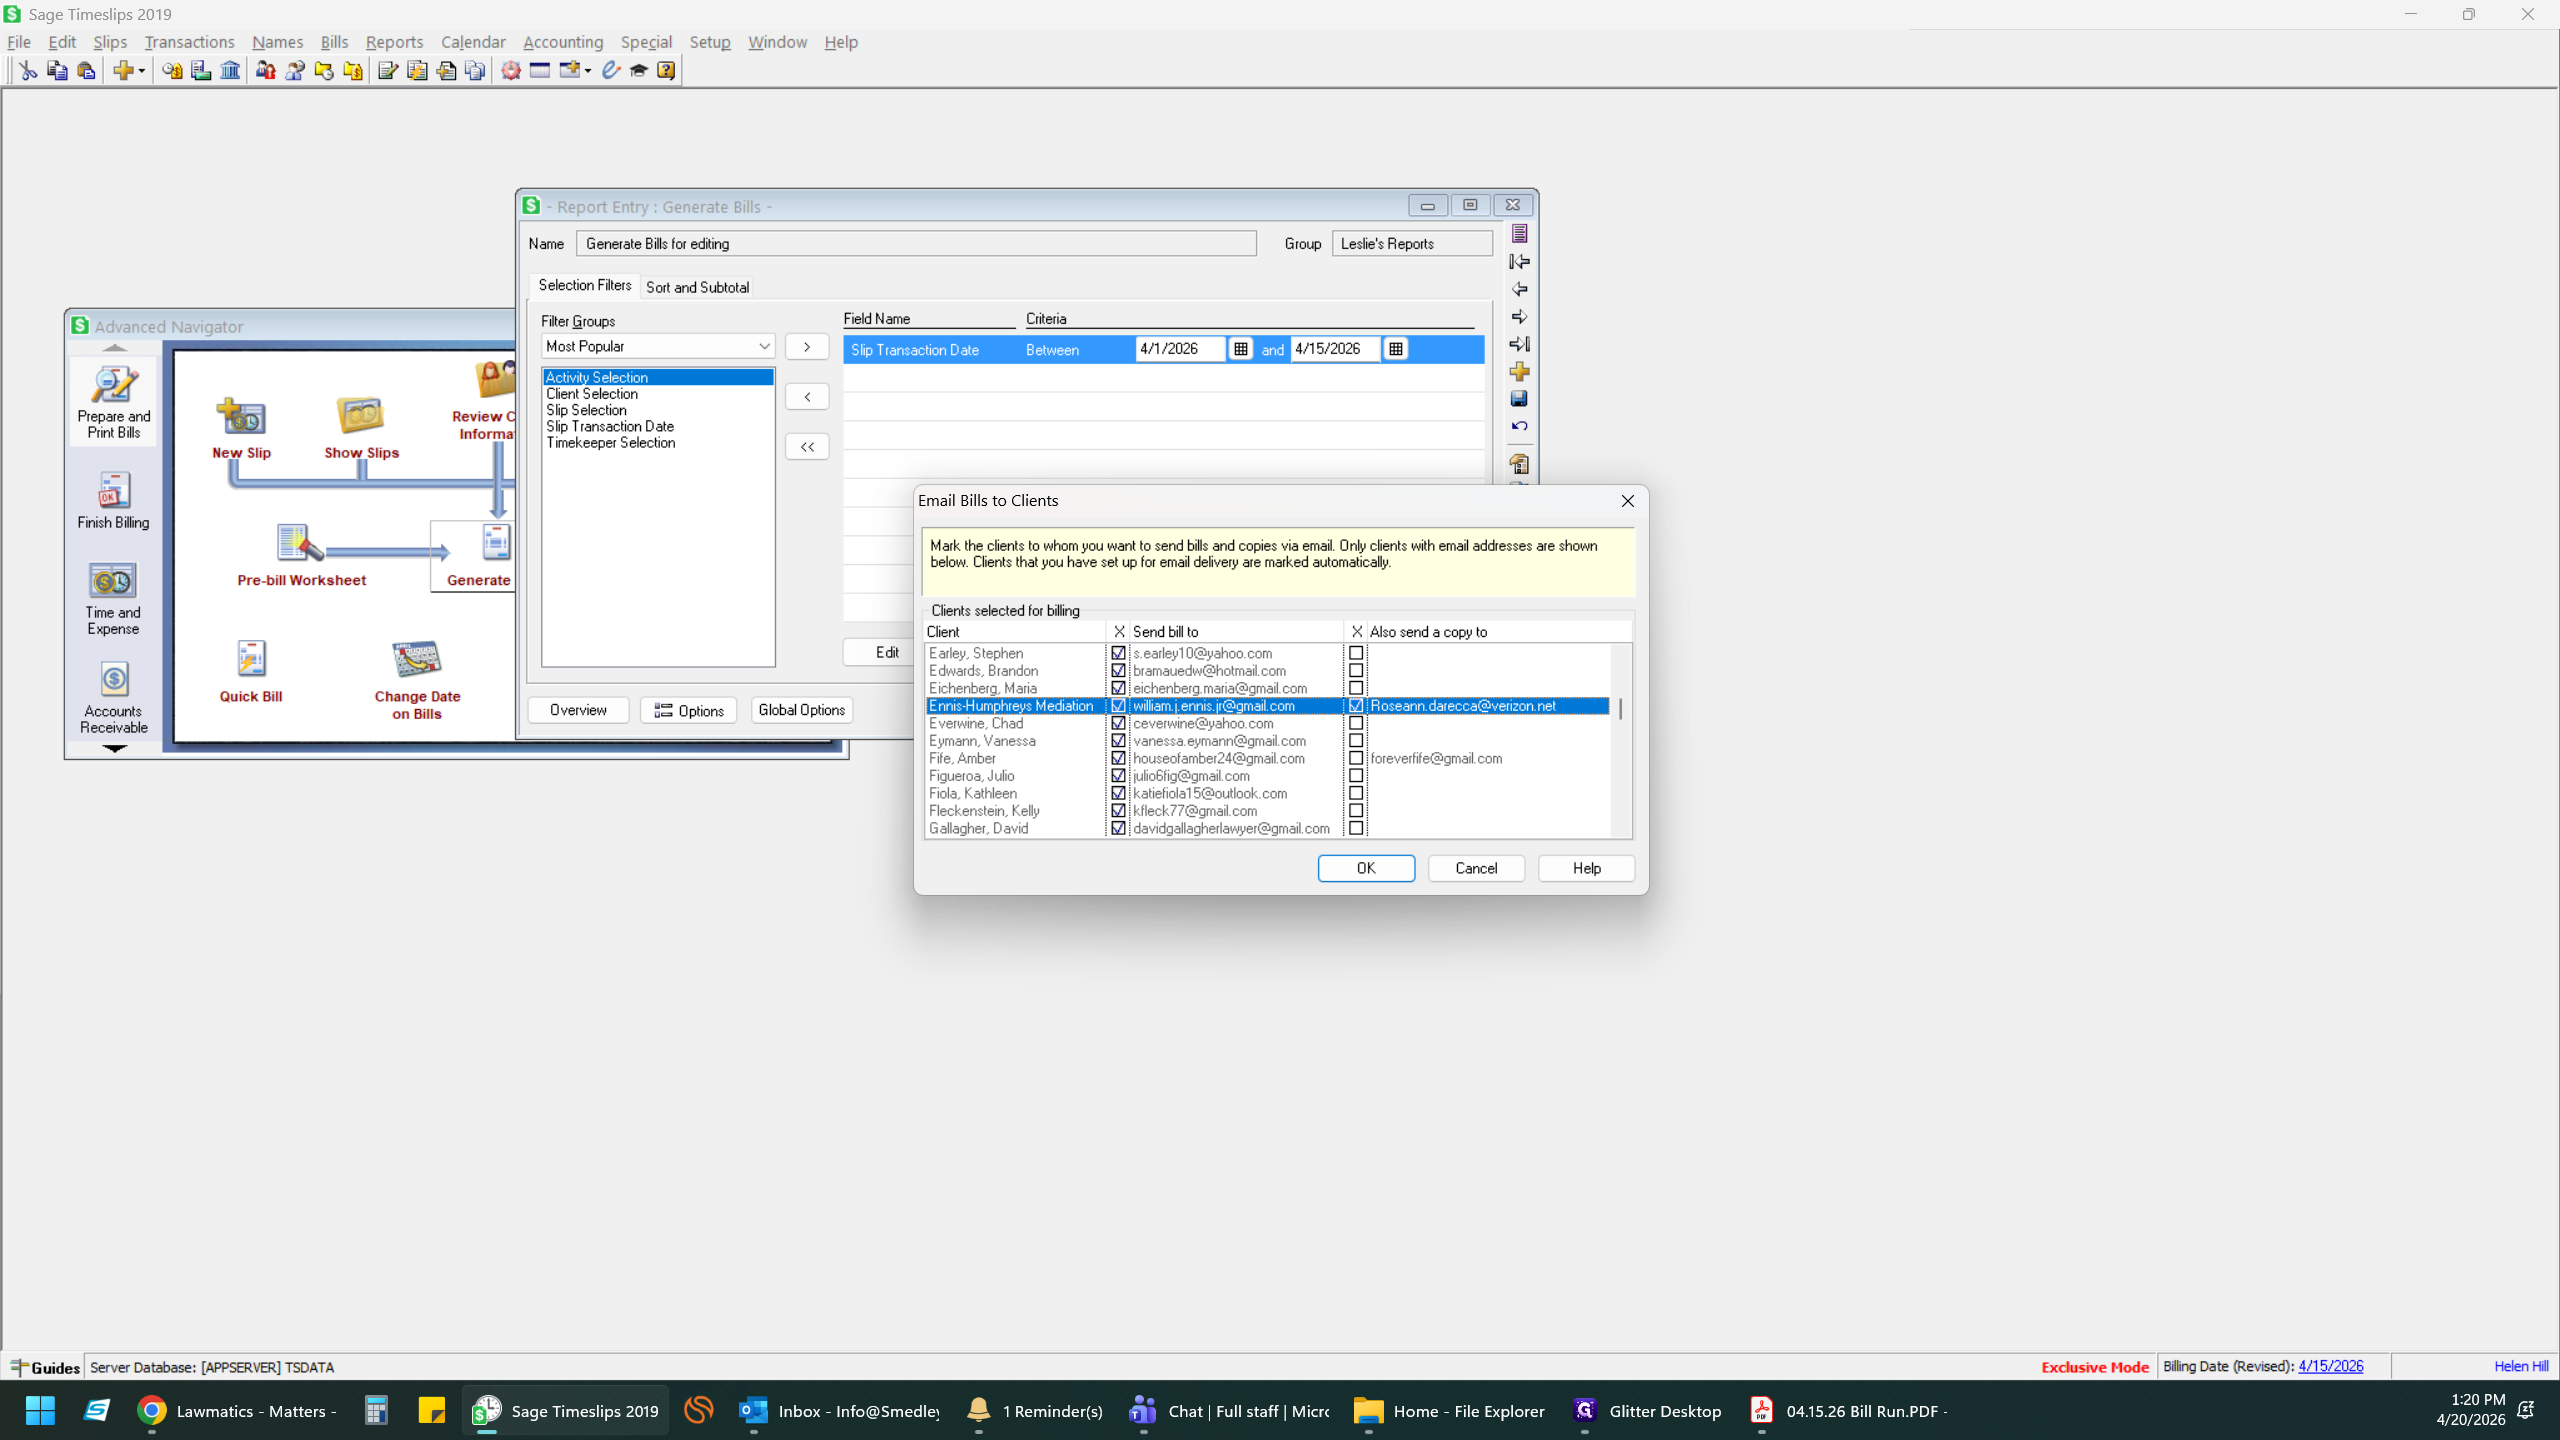
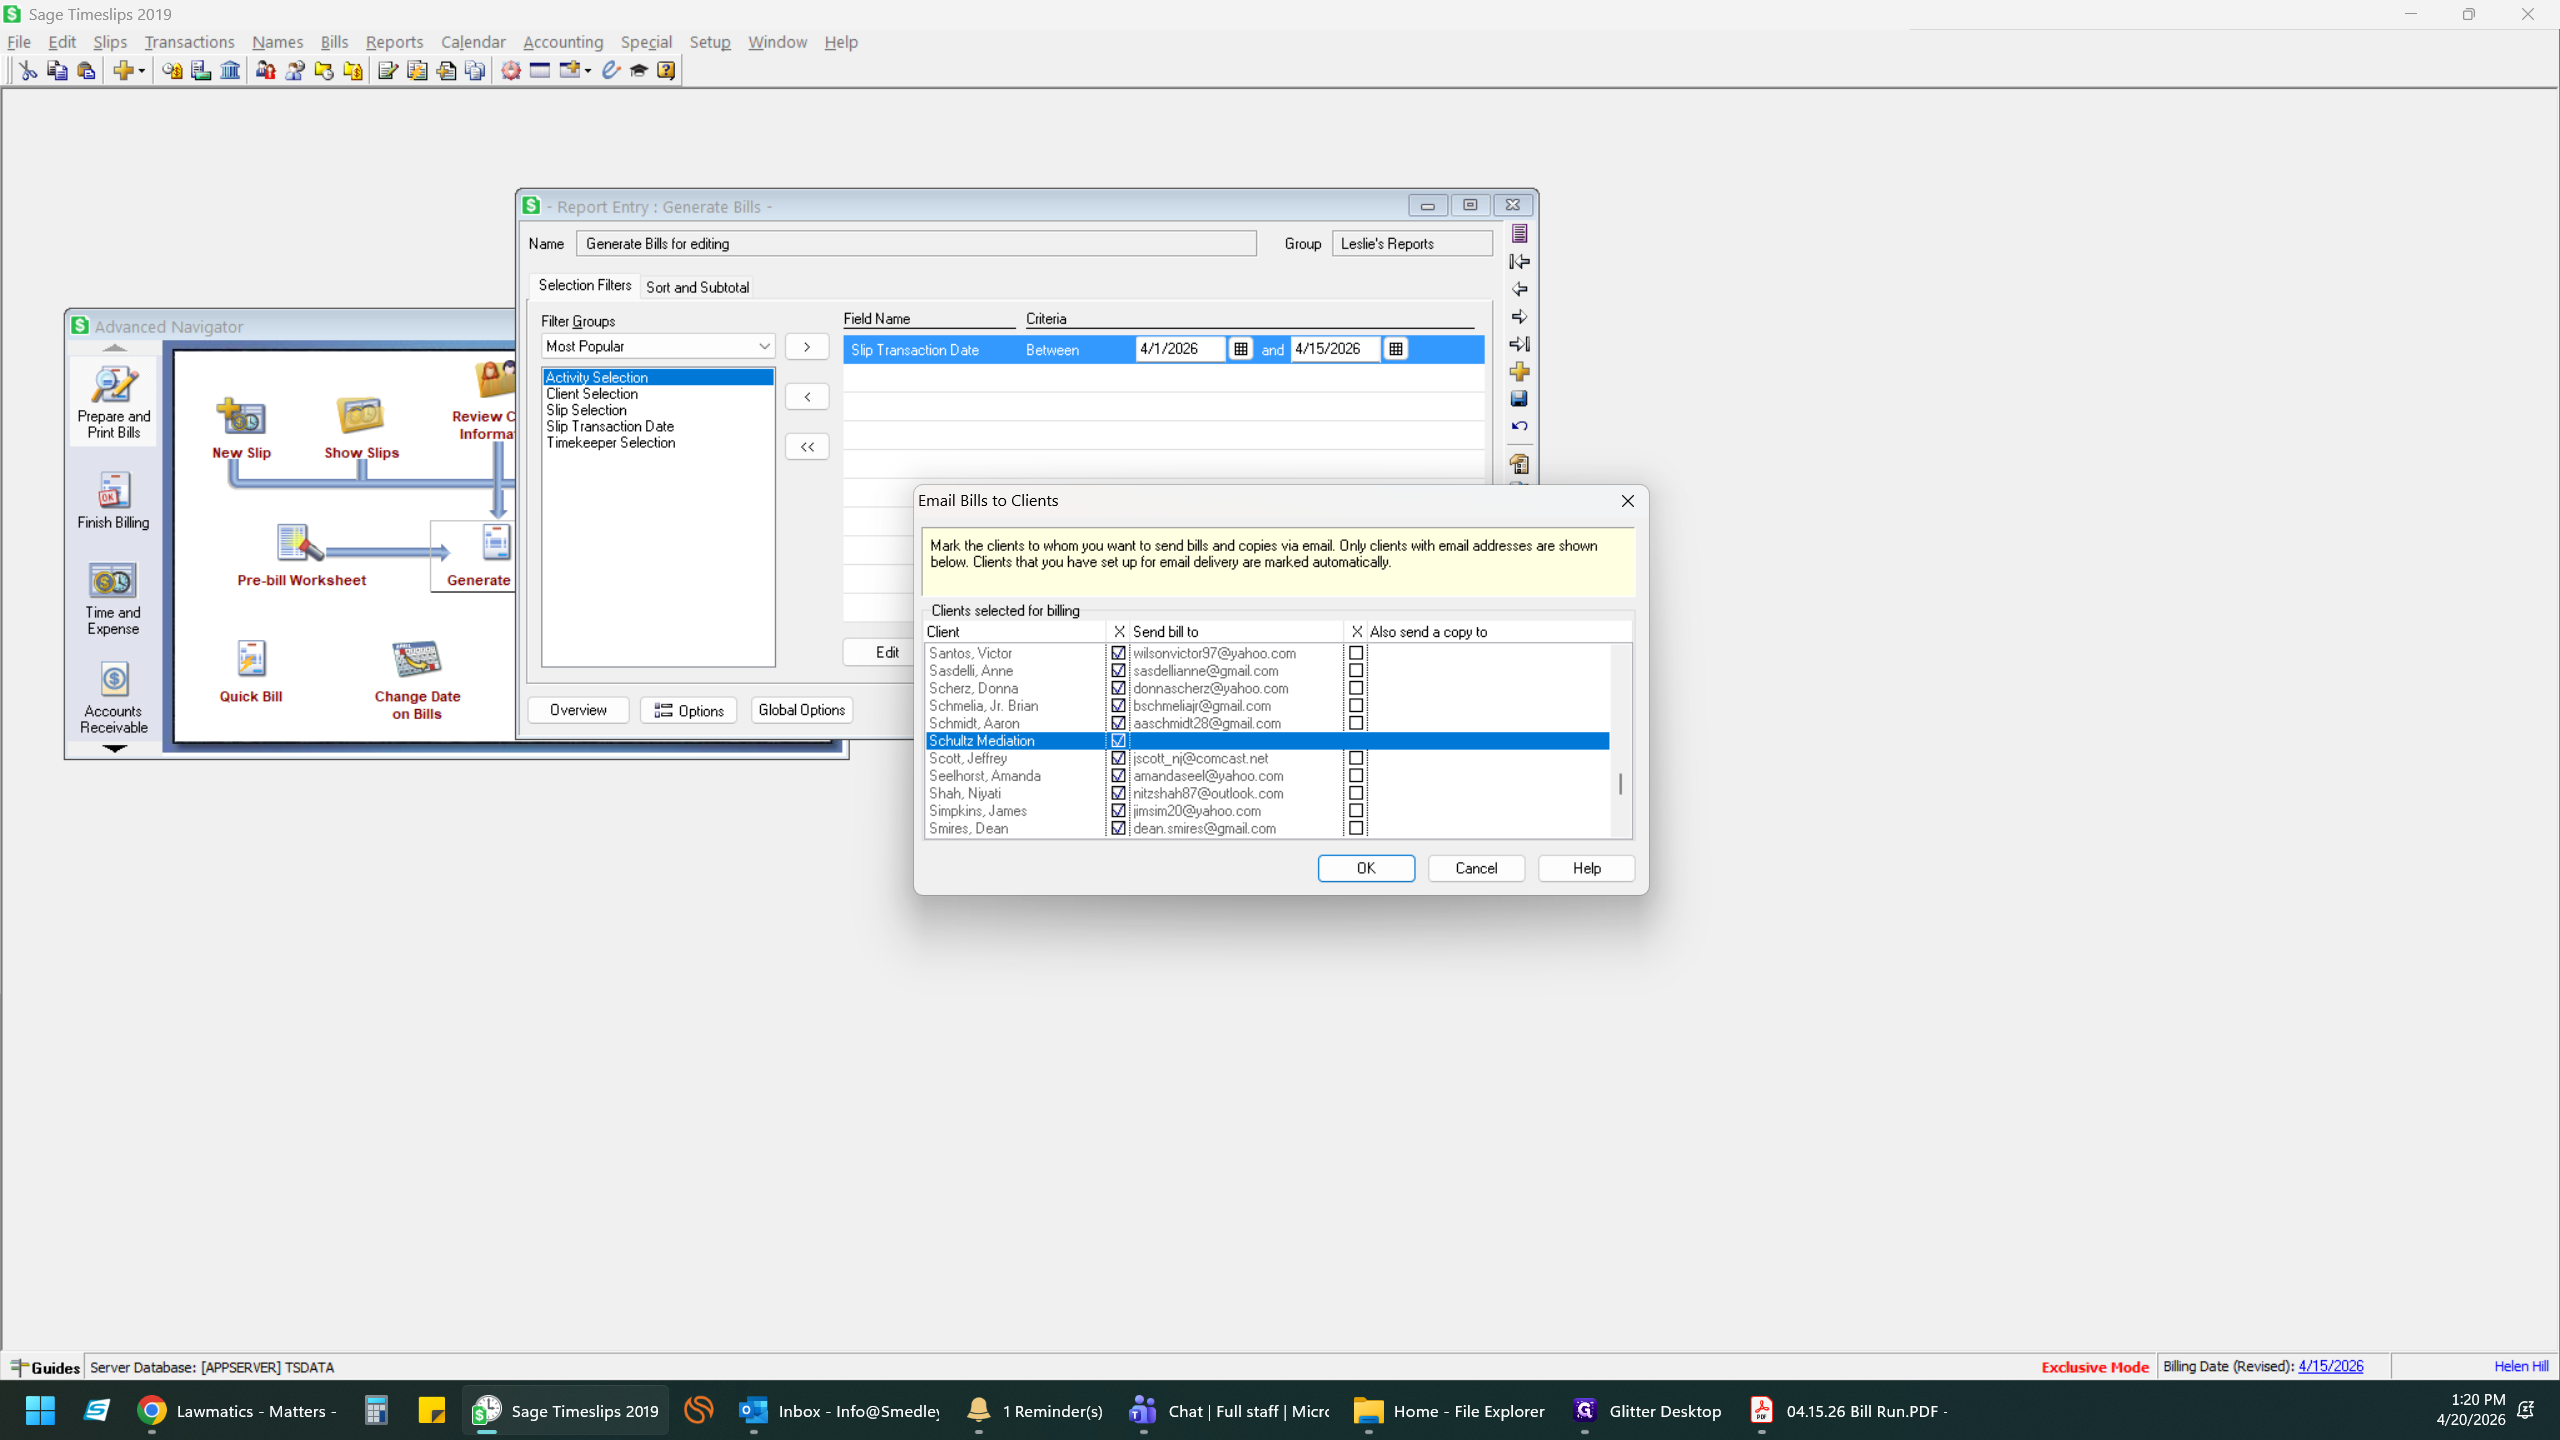
23
Review the client list. You can manually enter or verify secondary email addresses in the Also send a copy to column.
24
Toggle the checkboxes on the left side to select which clients should receive their bill via email.
25
Click OK to send the emails.
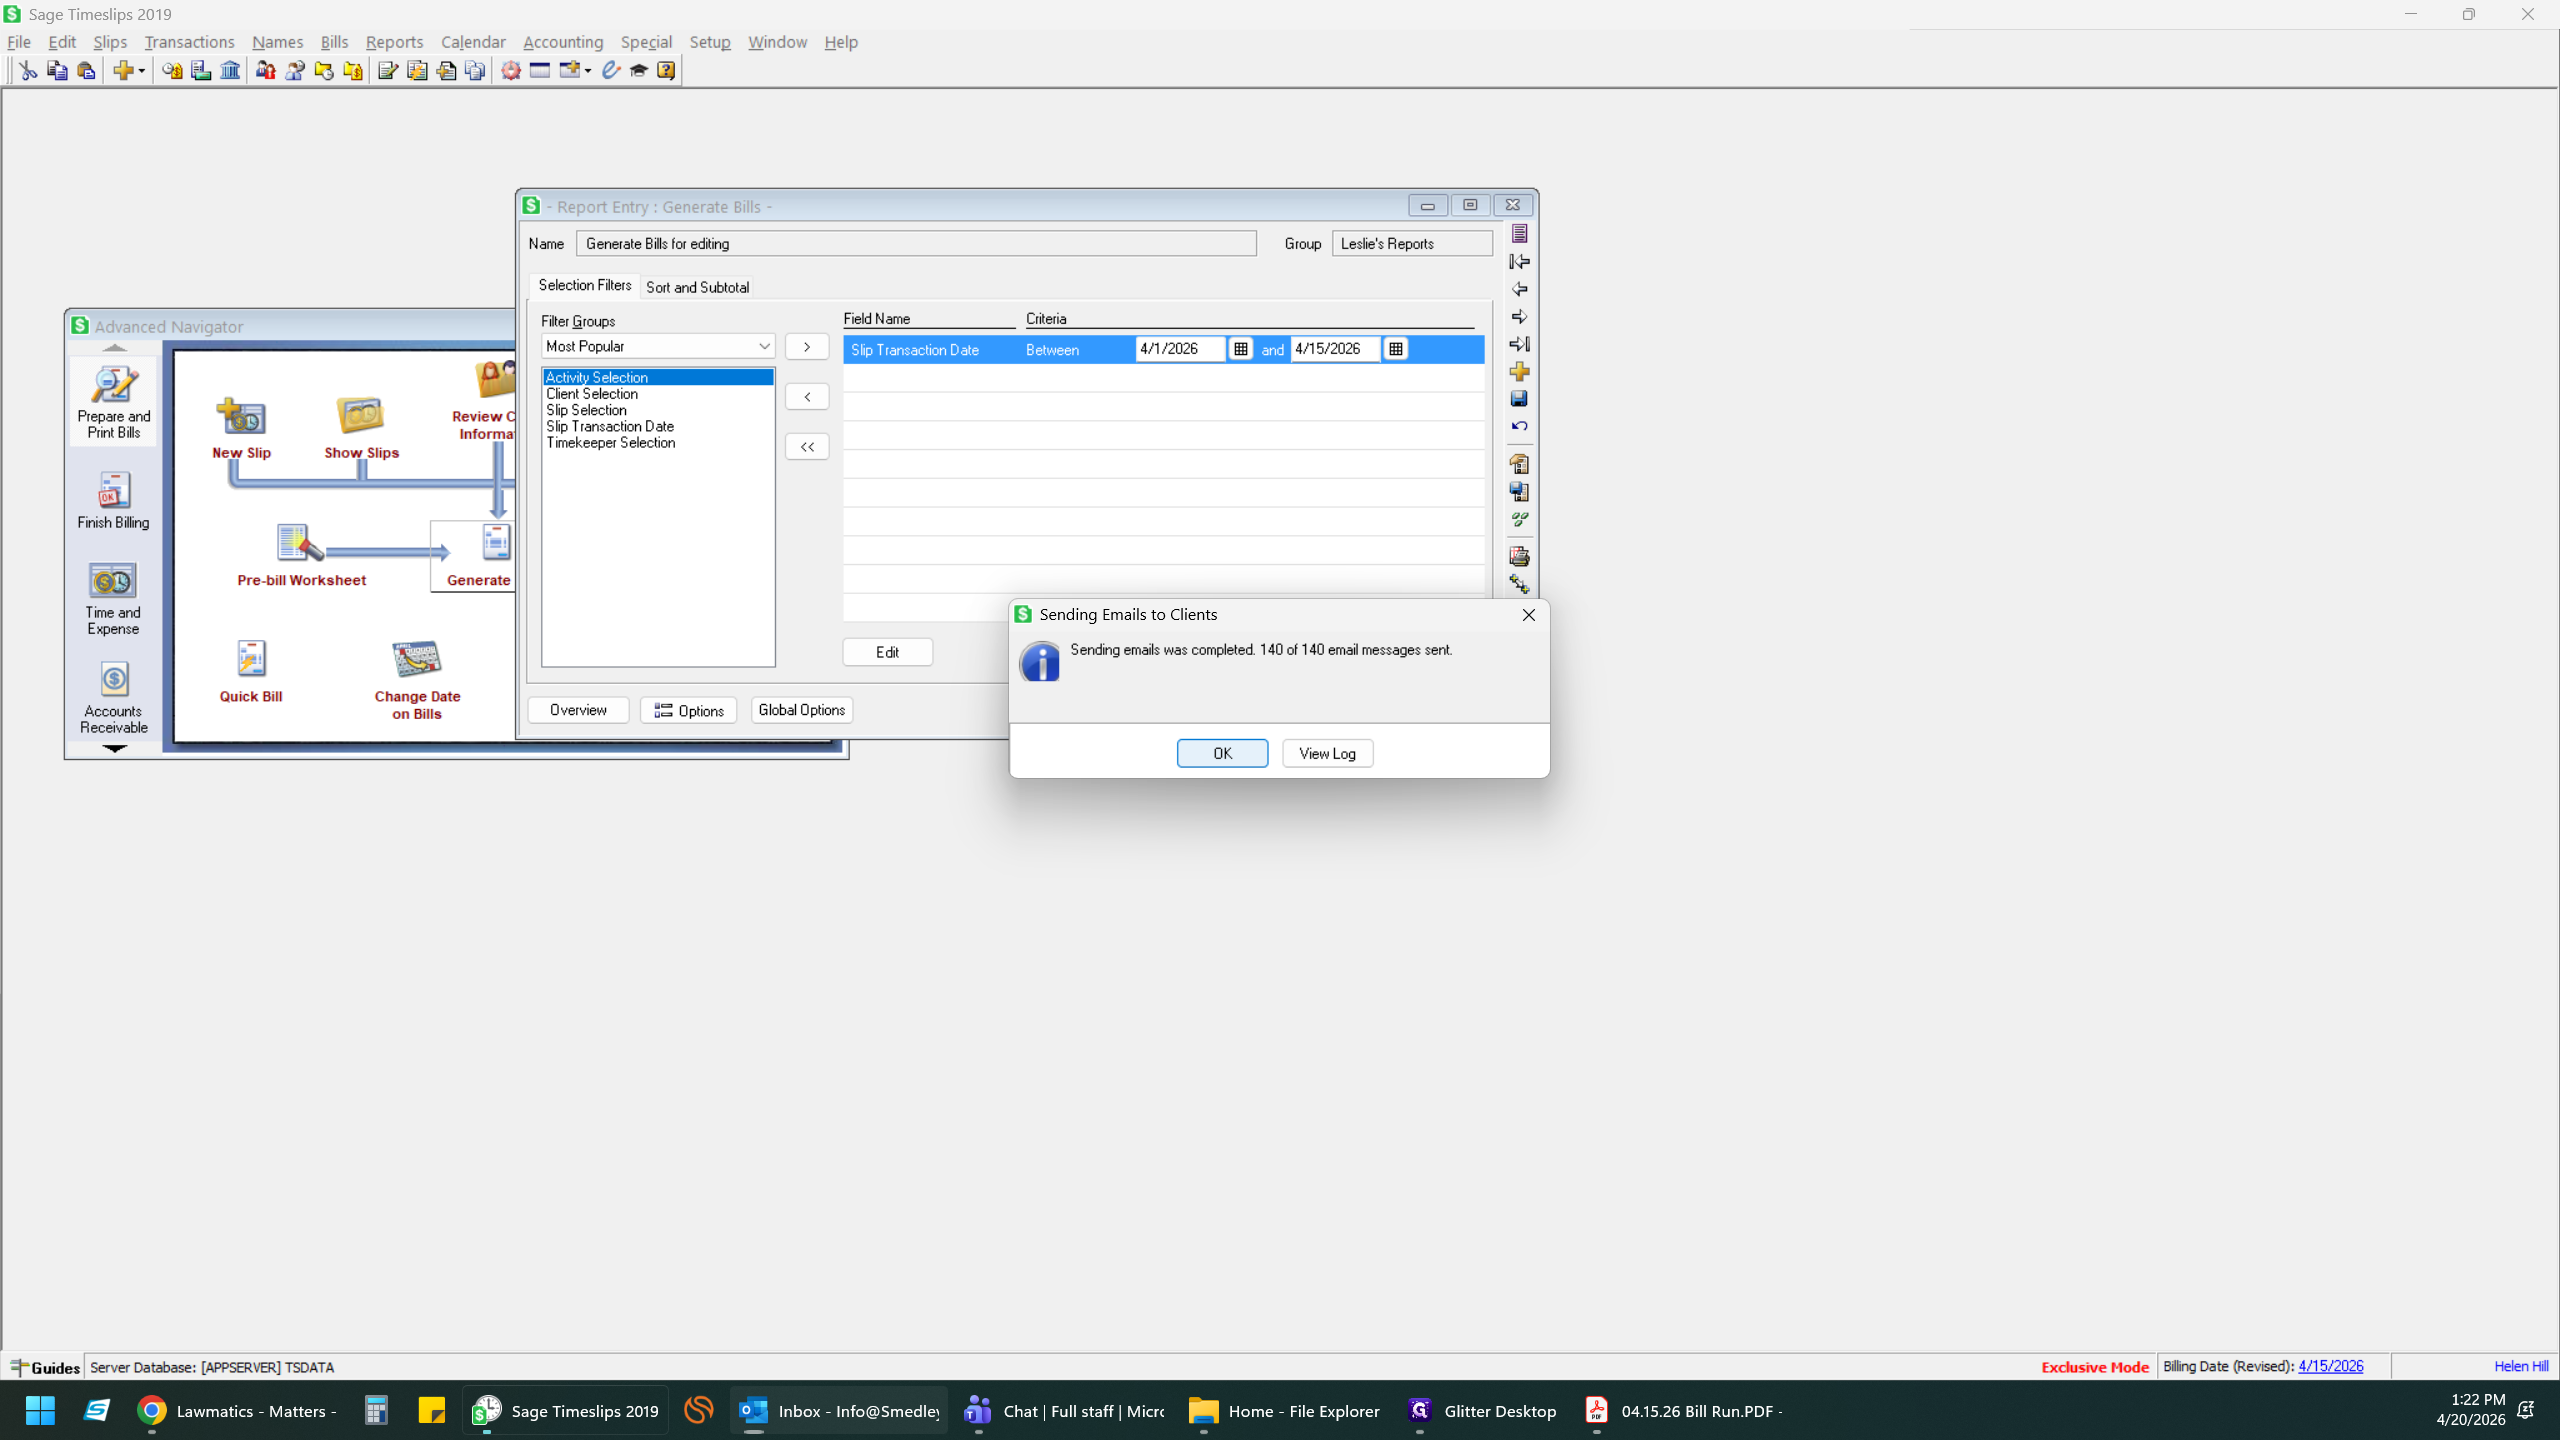
26
Click OK on the confirmation dialog stating that all messages have successfully been sent.
Sage Timeslips will hand these messages over to your Microsoft Outlook outbox for actual delivery.
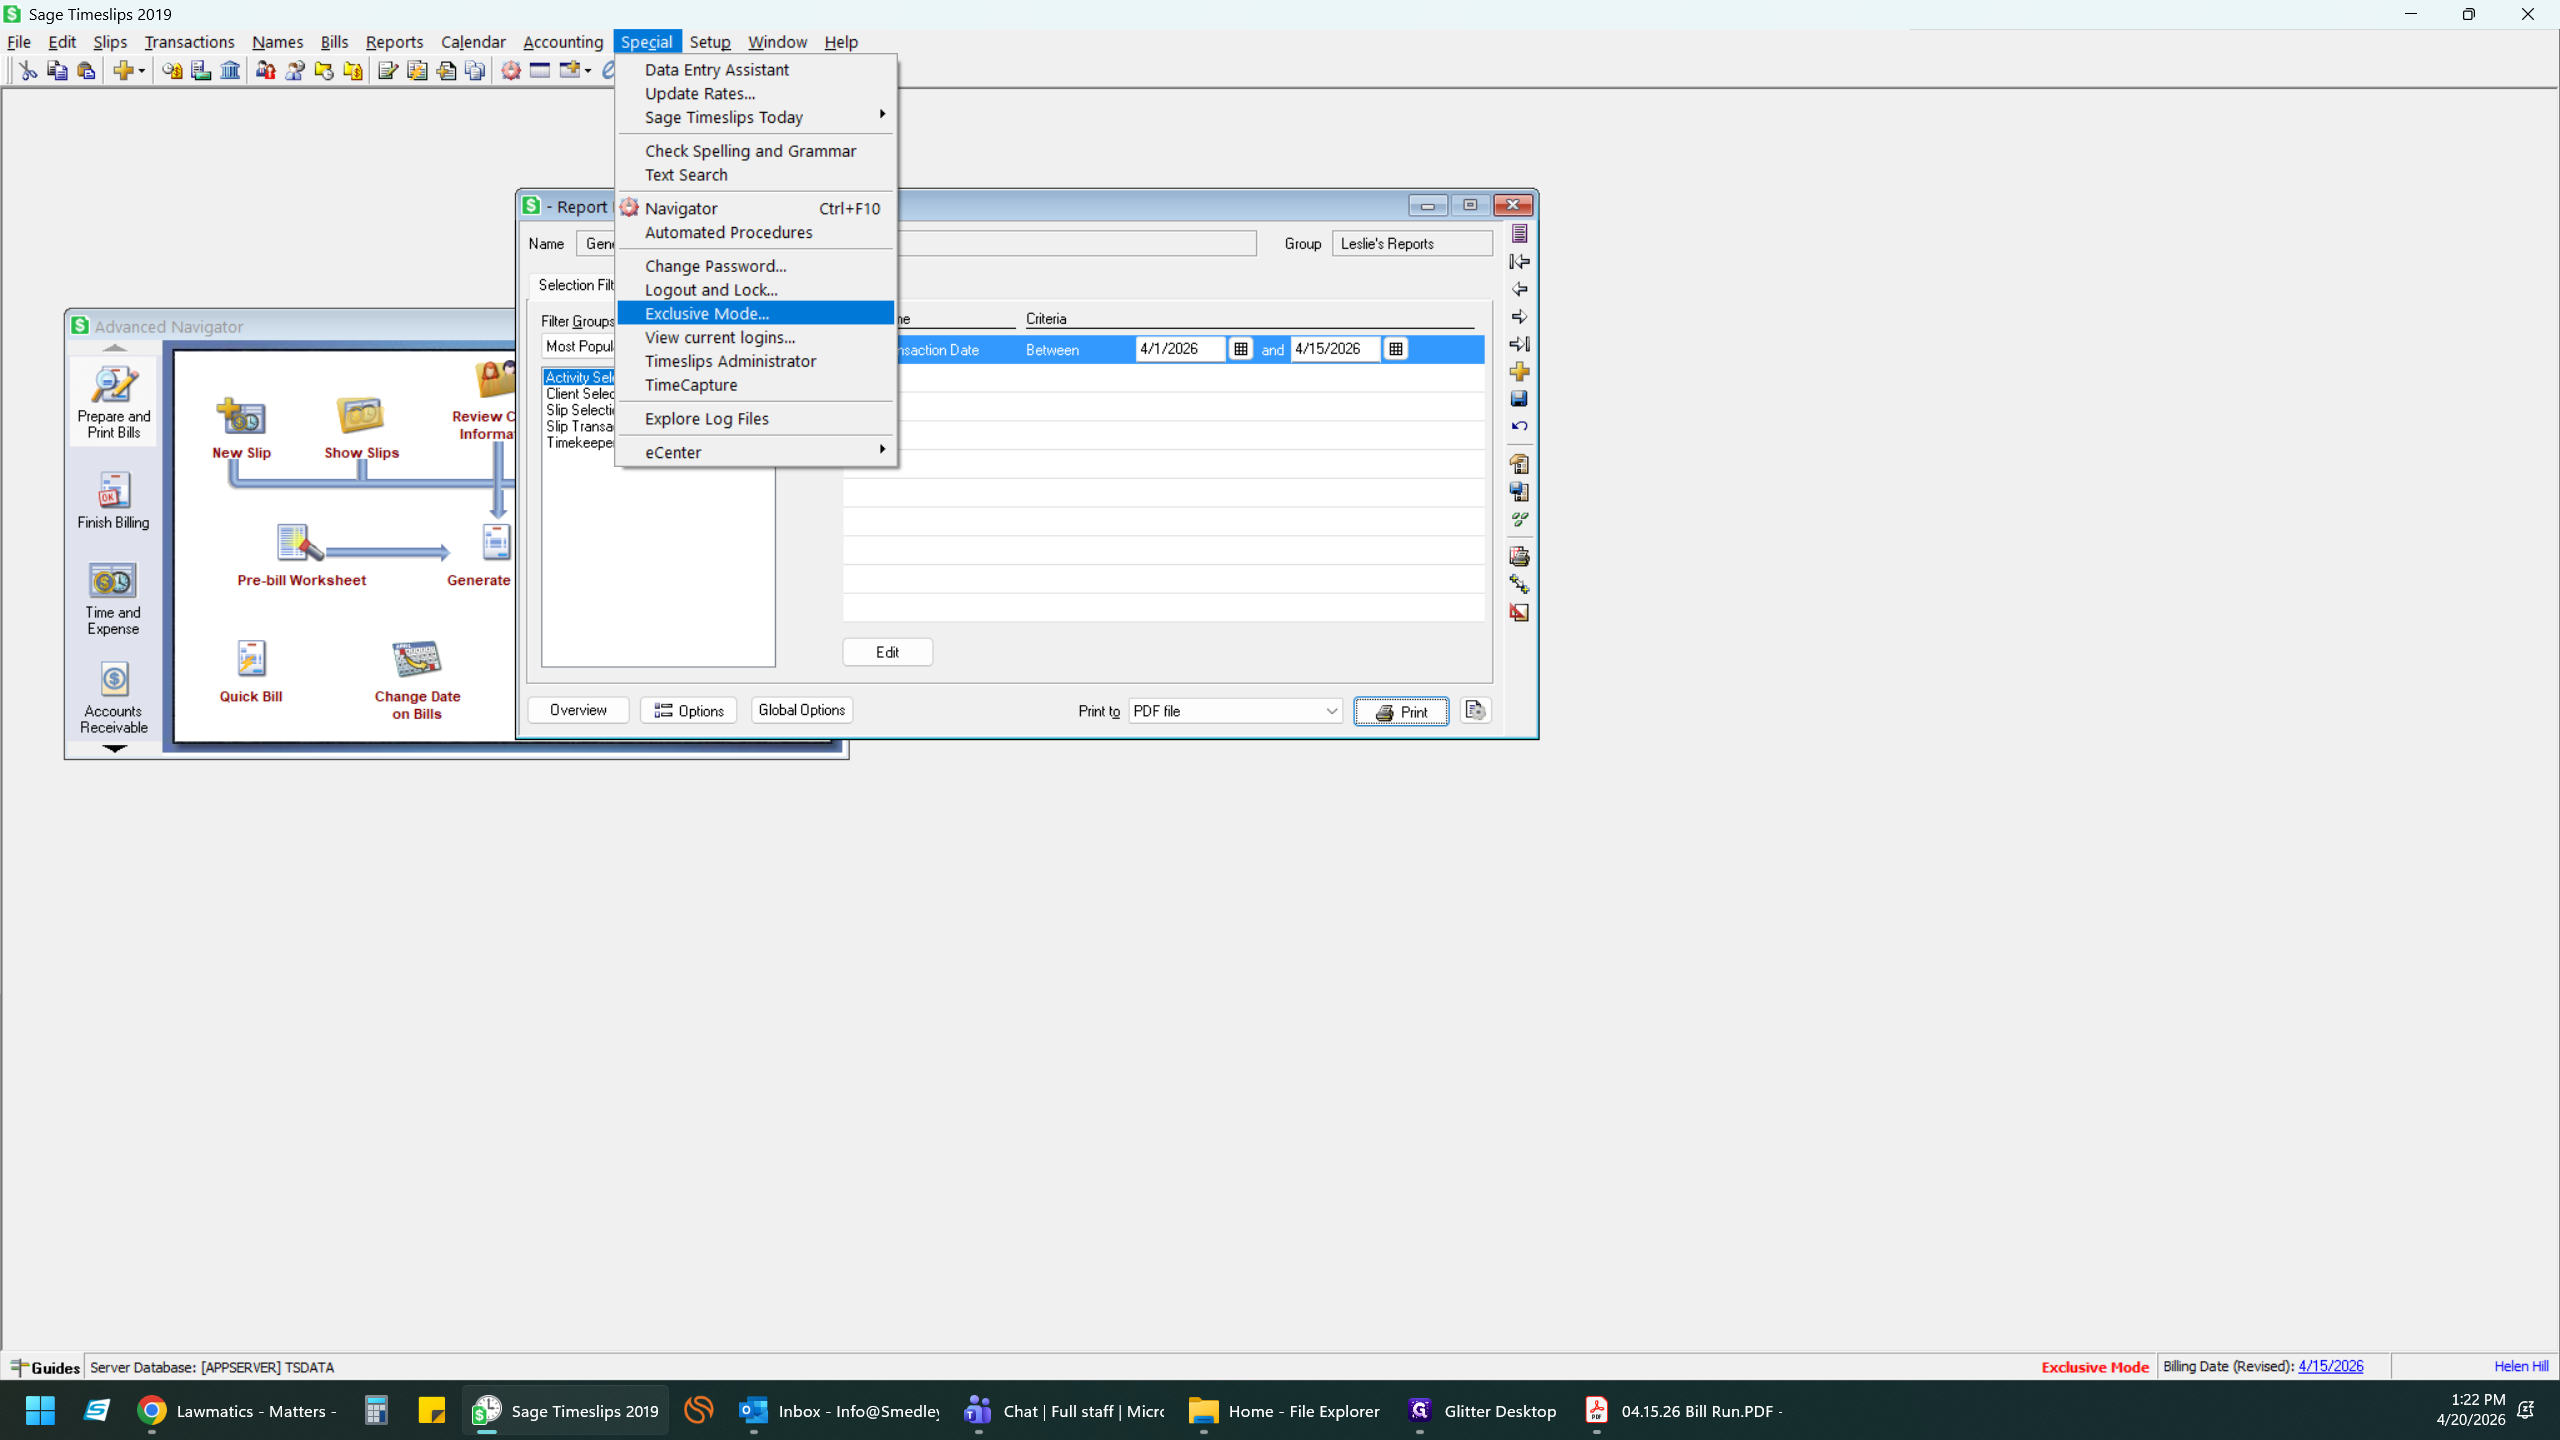
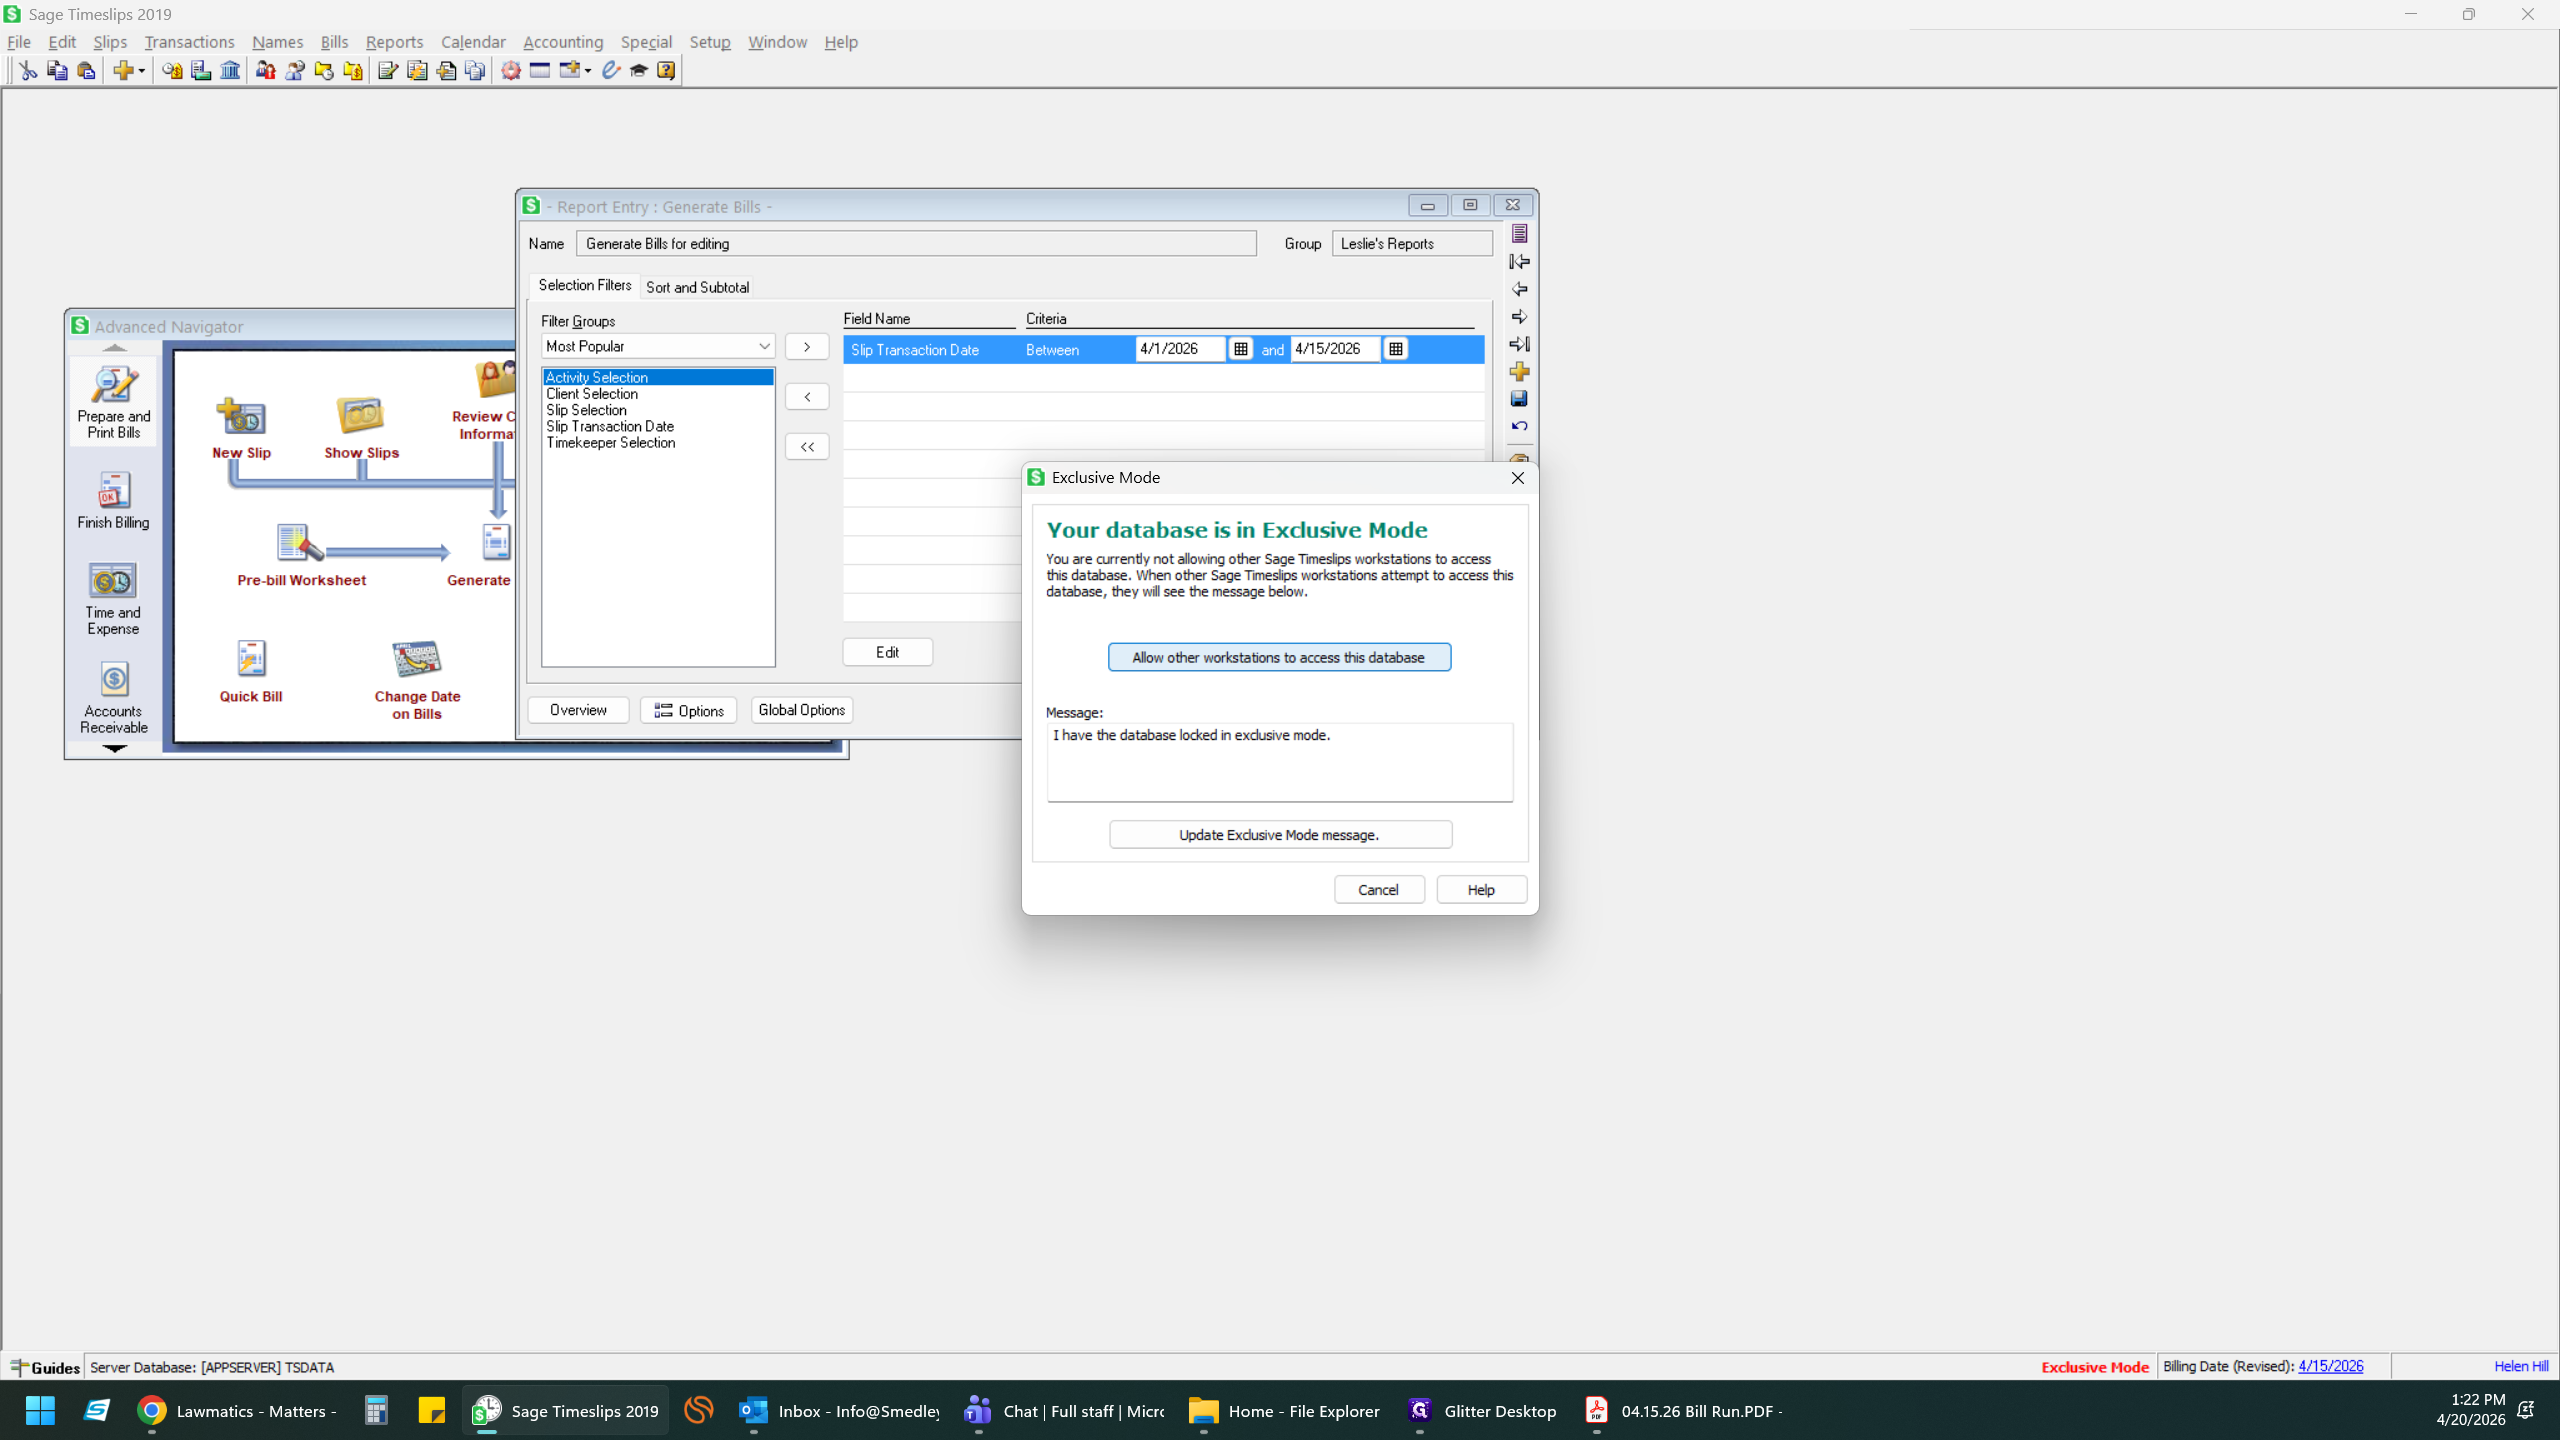
5. Exit Exclusive Mode
Once you are finished generating and sending bills, remember to unlock the database so other staff can resume work.
27
Open the Special menu.
28
Click on Allow other workstations to access this database to clear the exclusive lock.
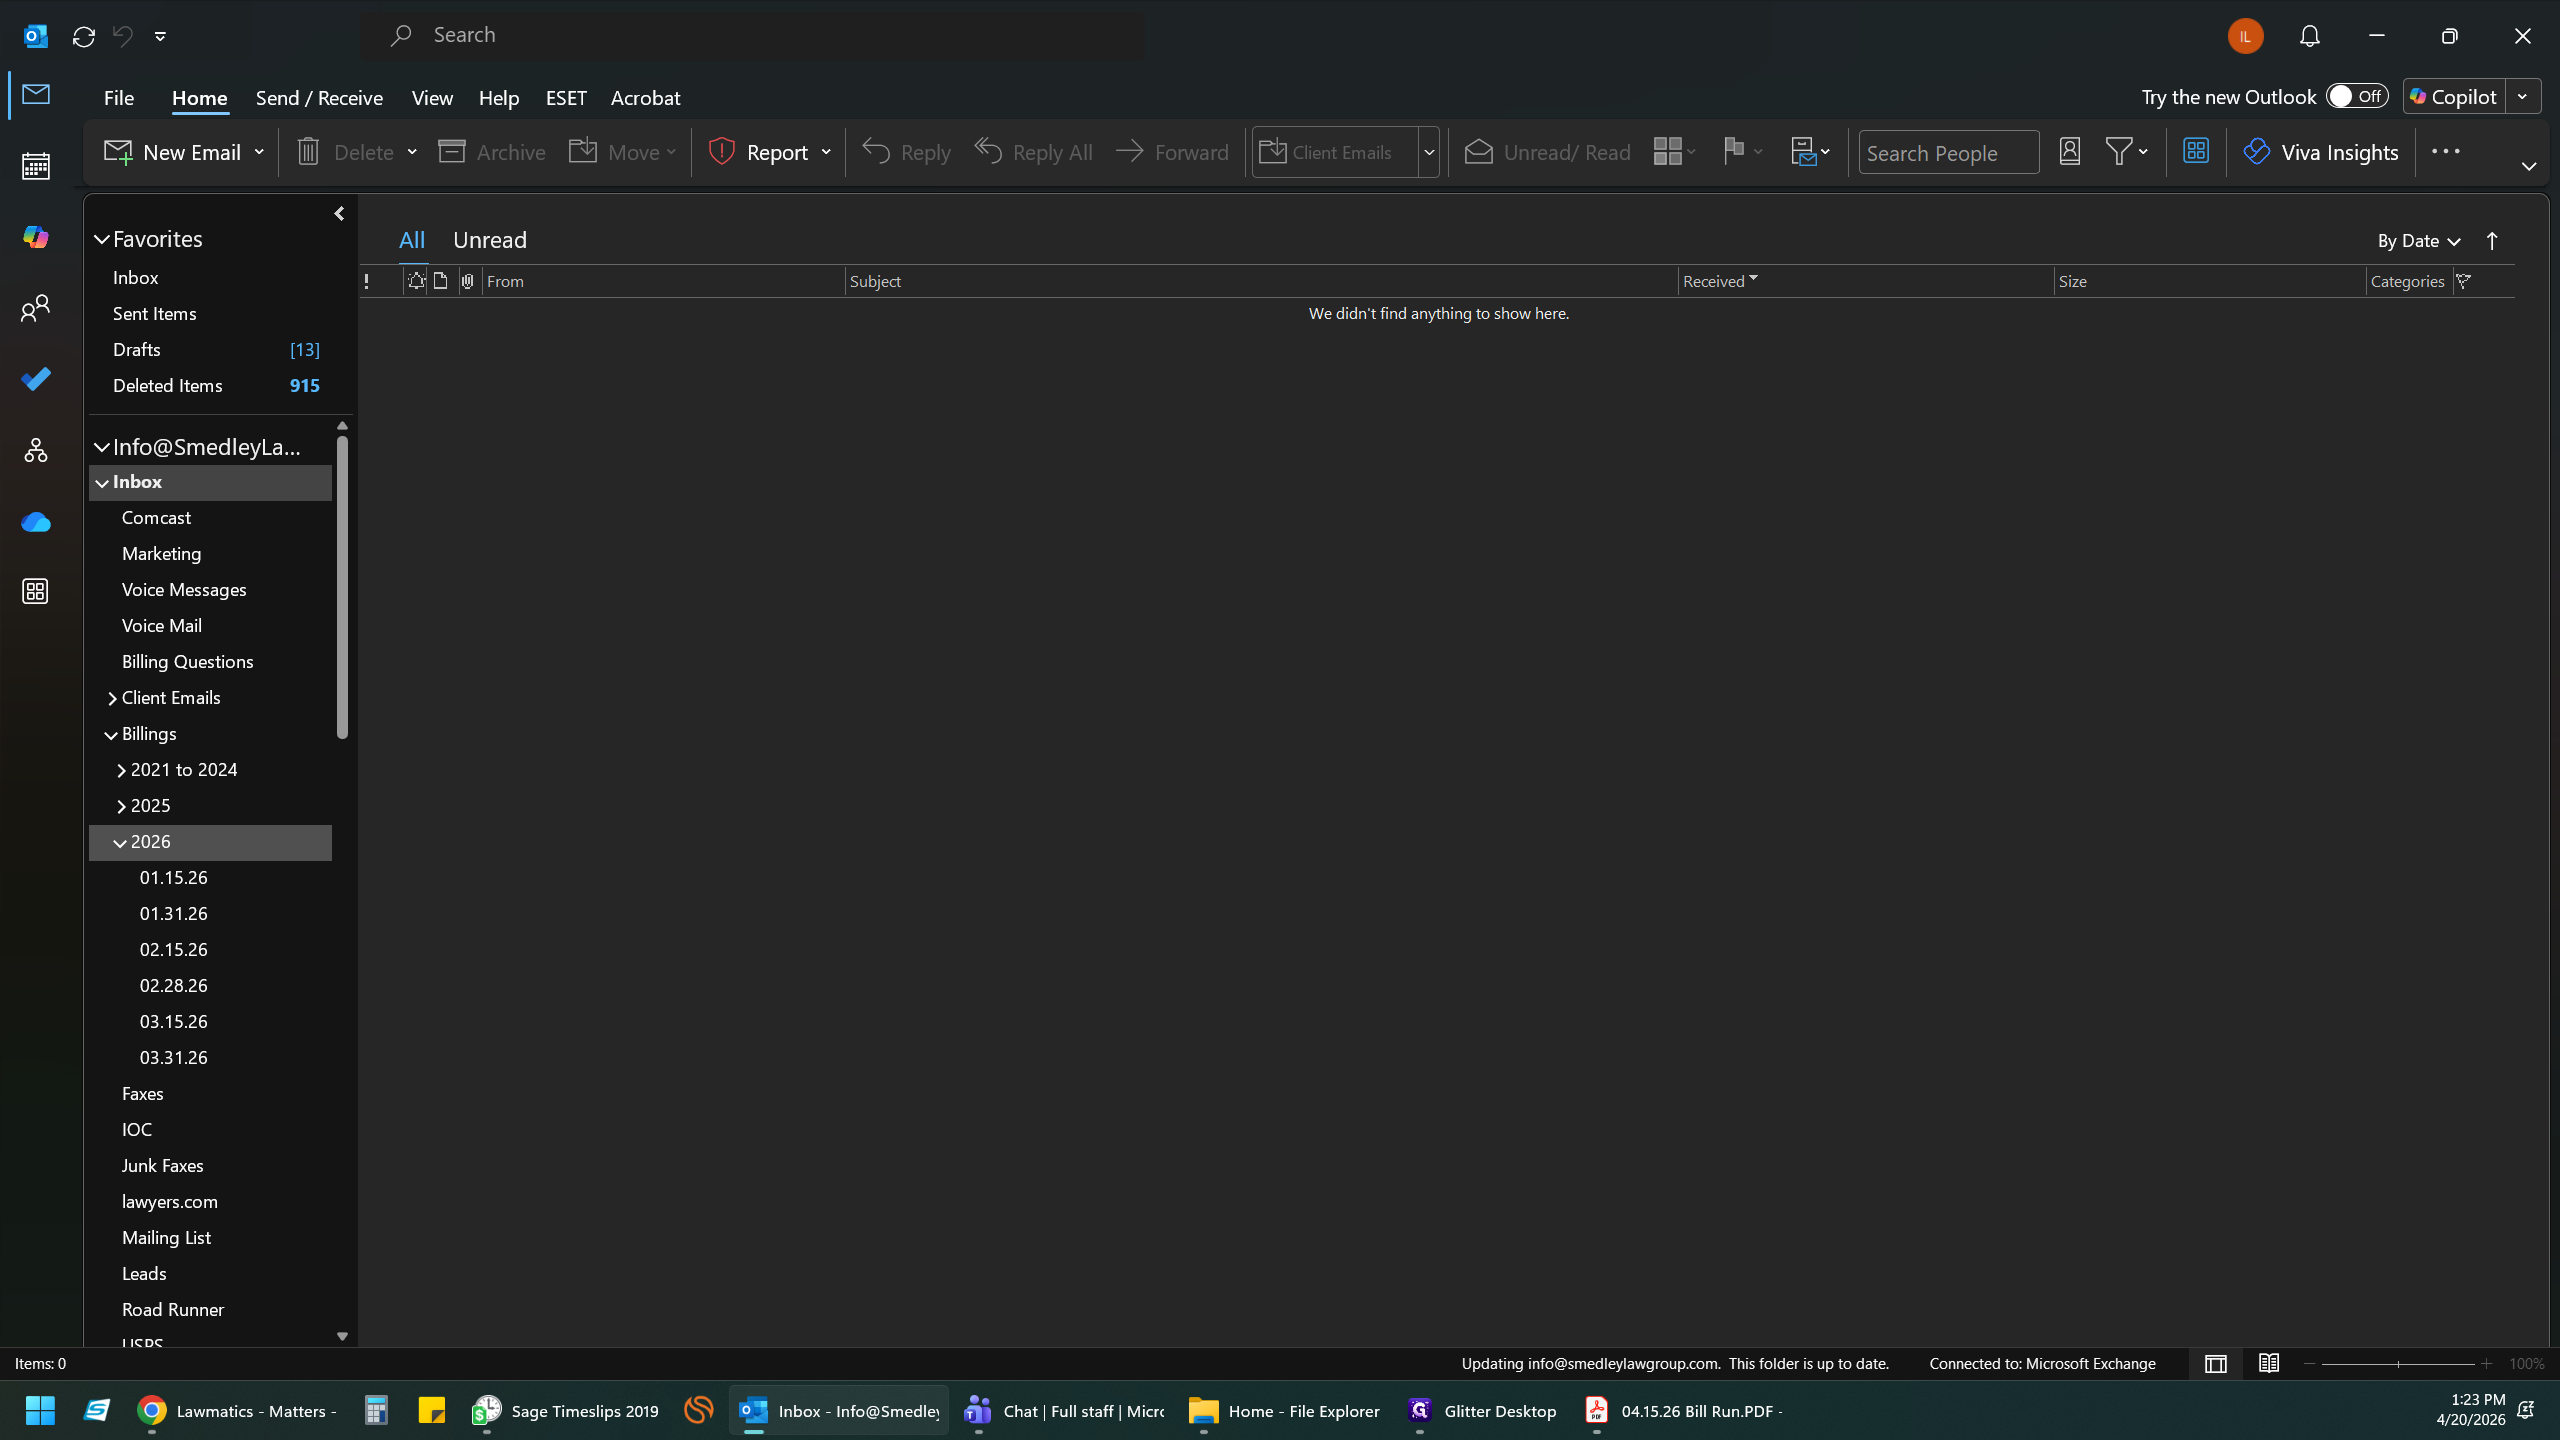
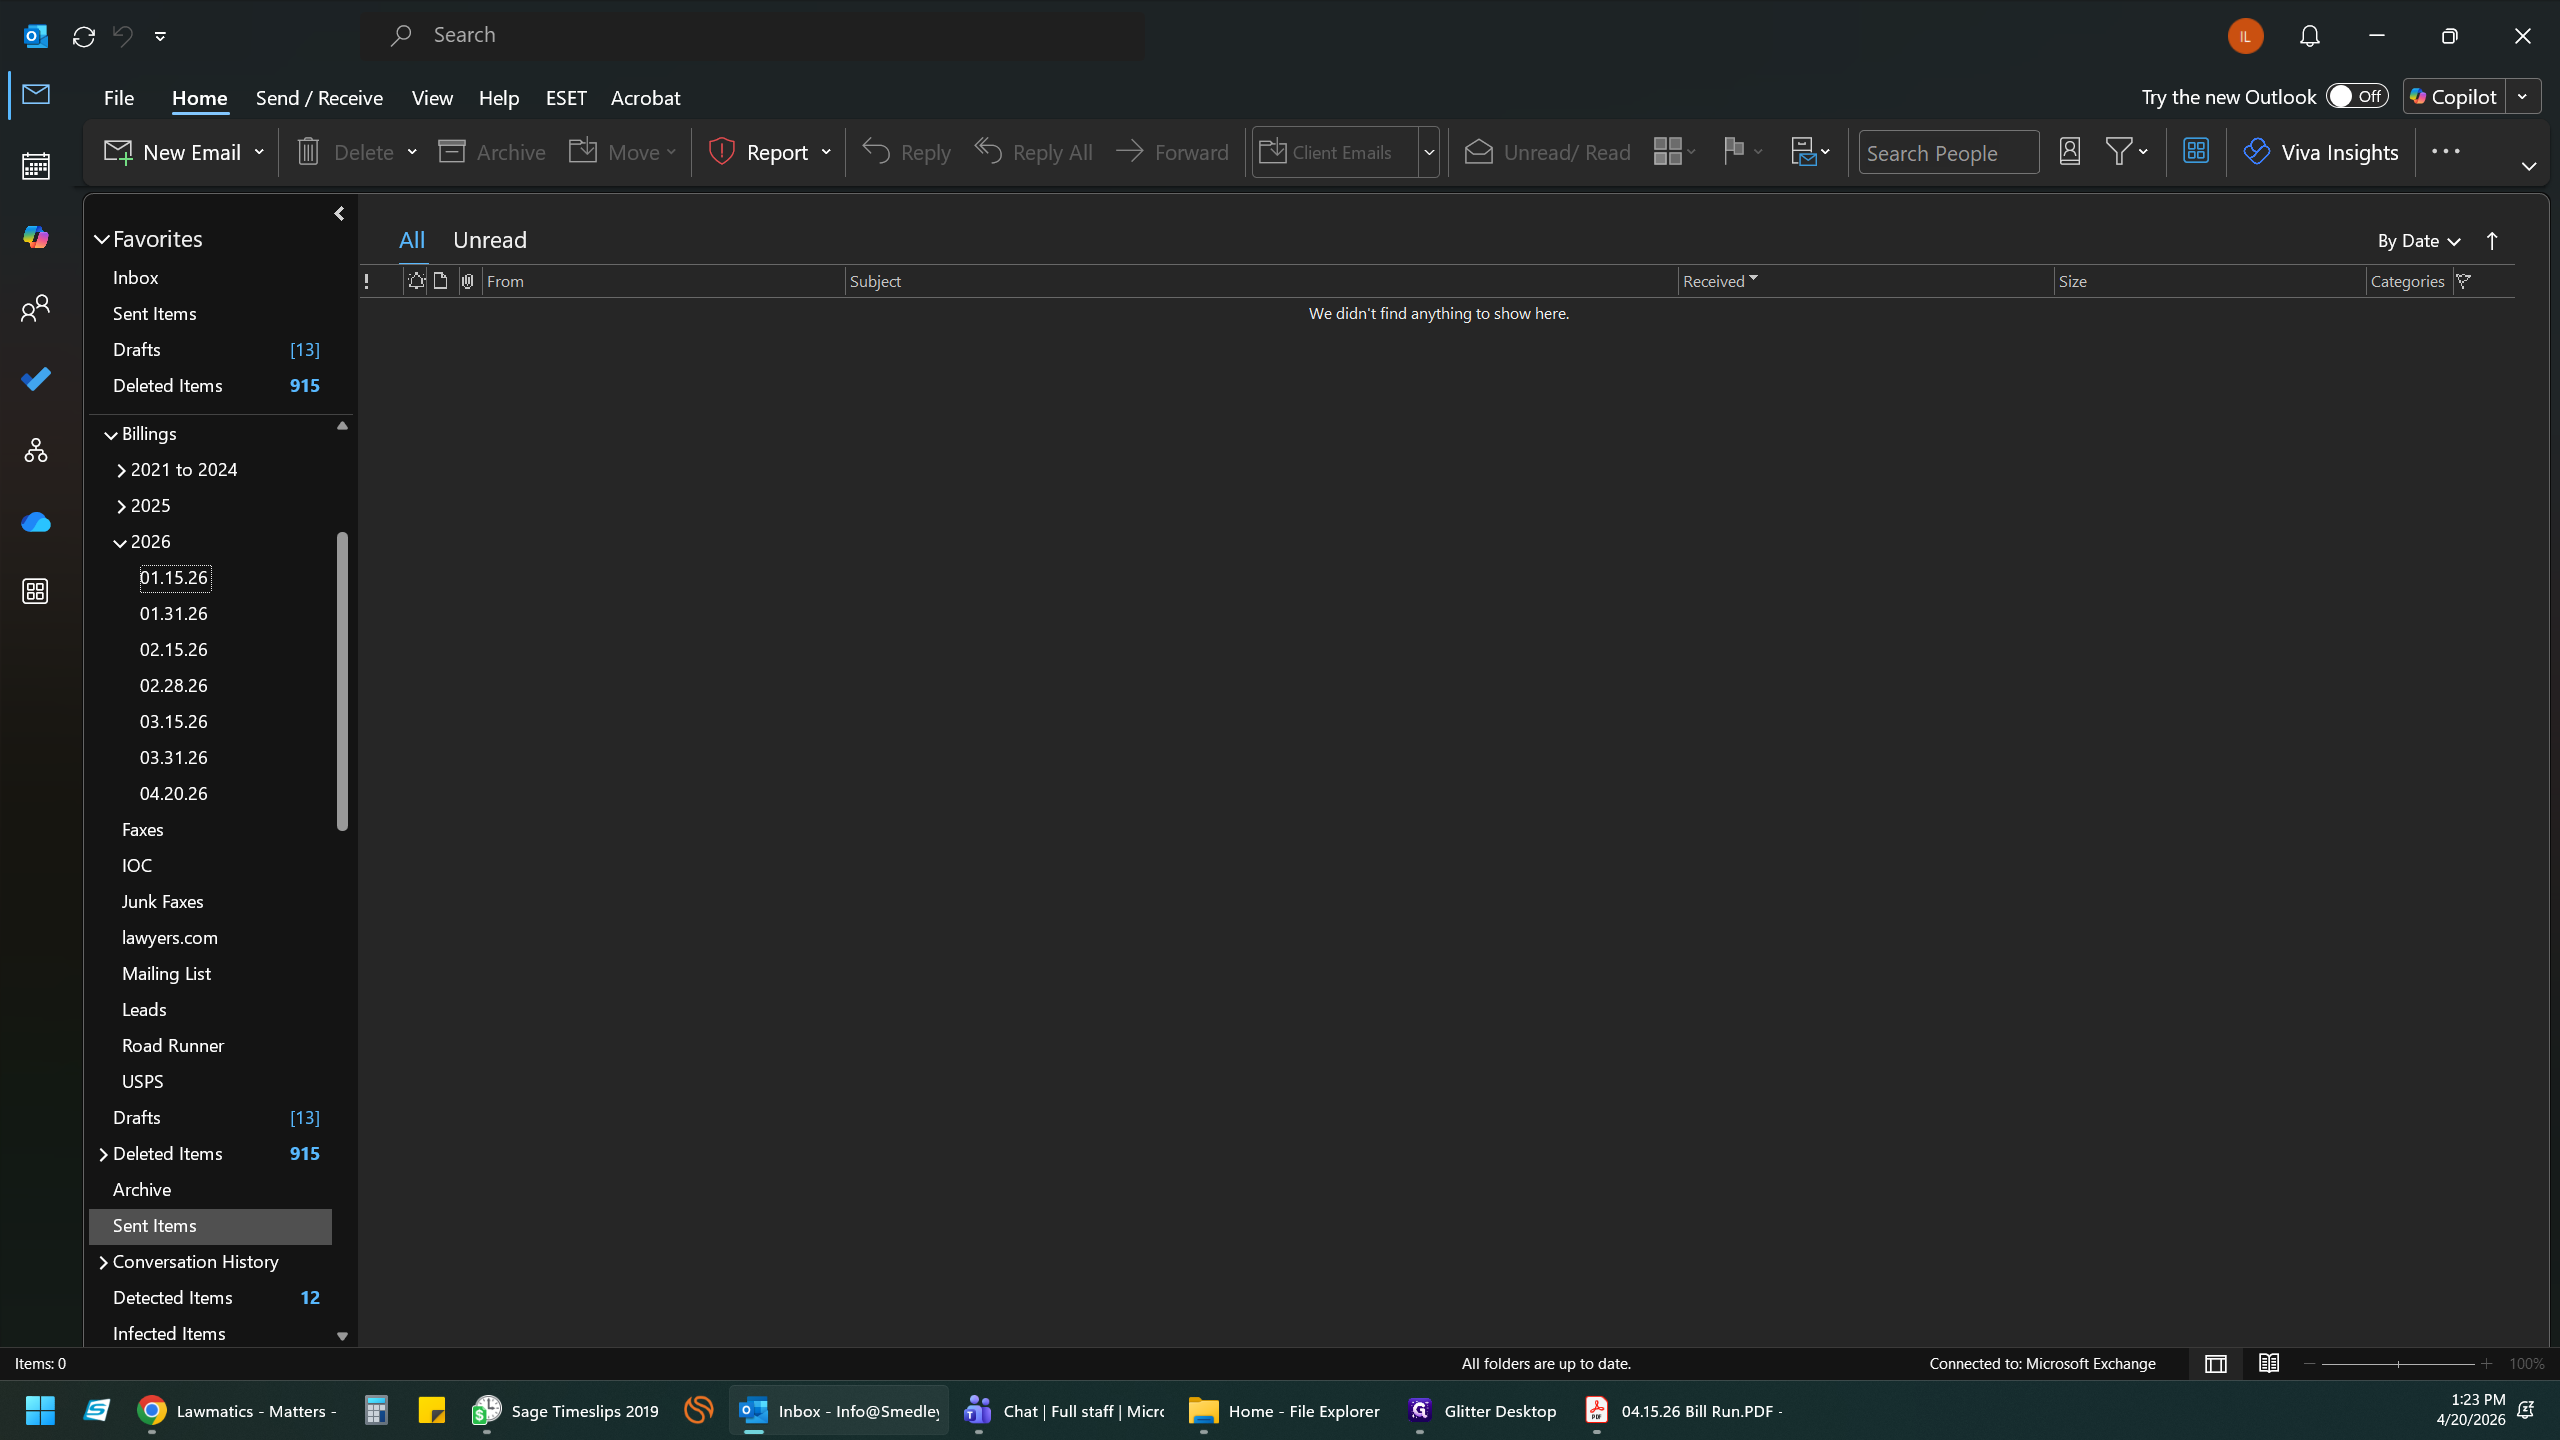
6. Organize Your Outlook Sent Items
To keep your records tidy, you must move the newly sent statements into an organized archive folder in Outlook.
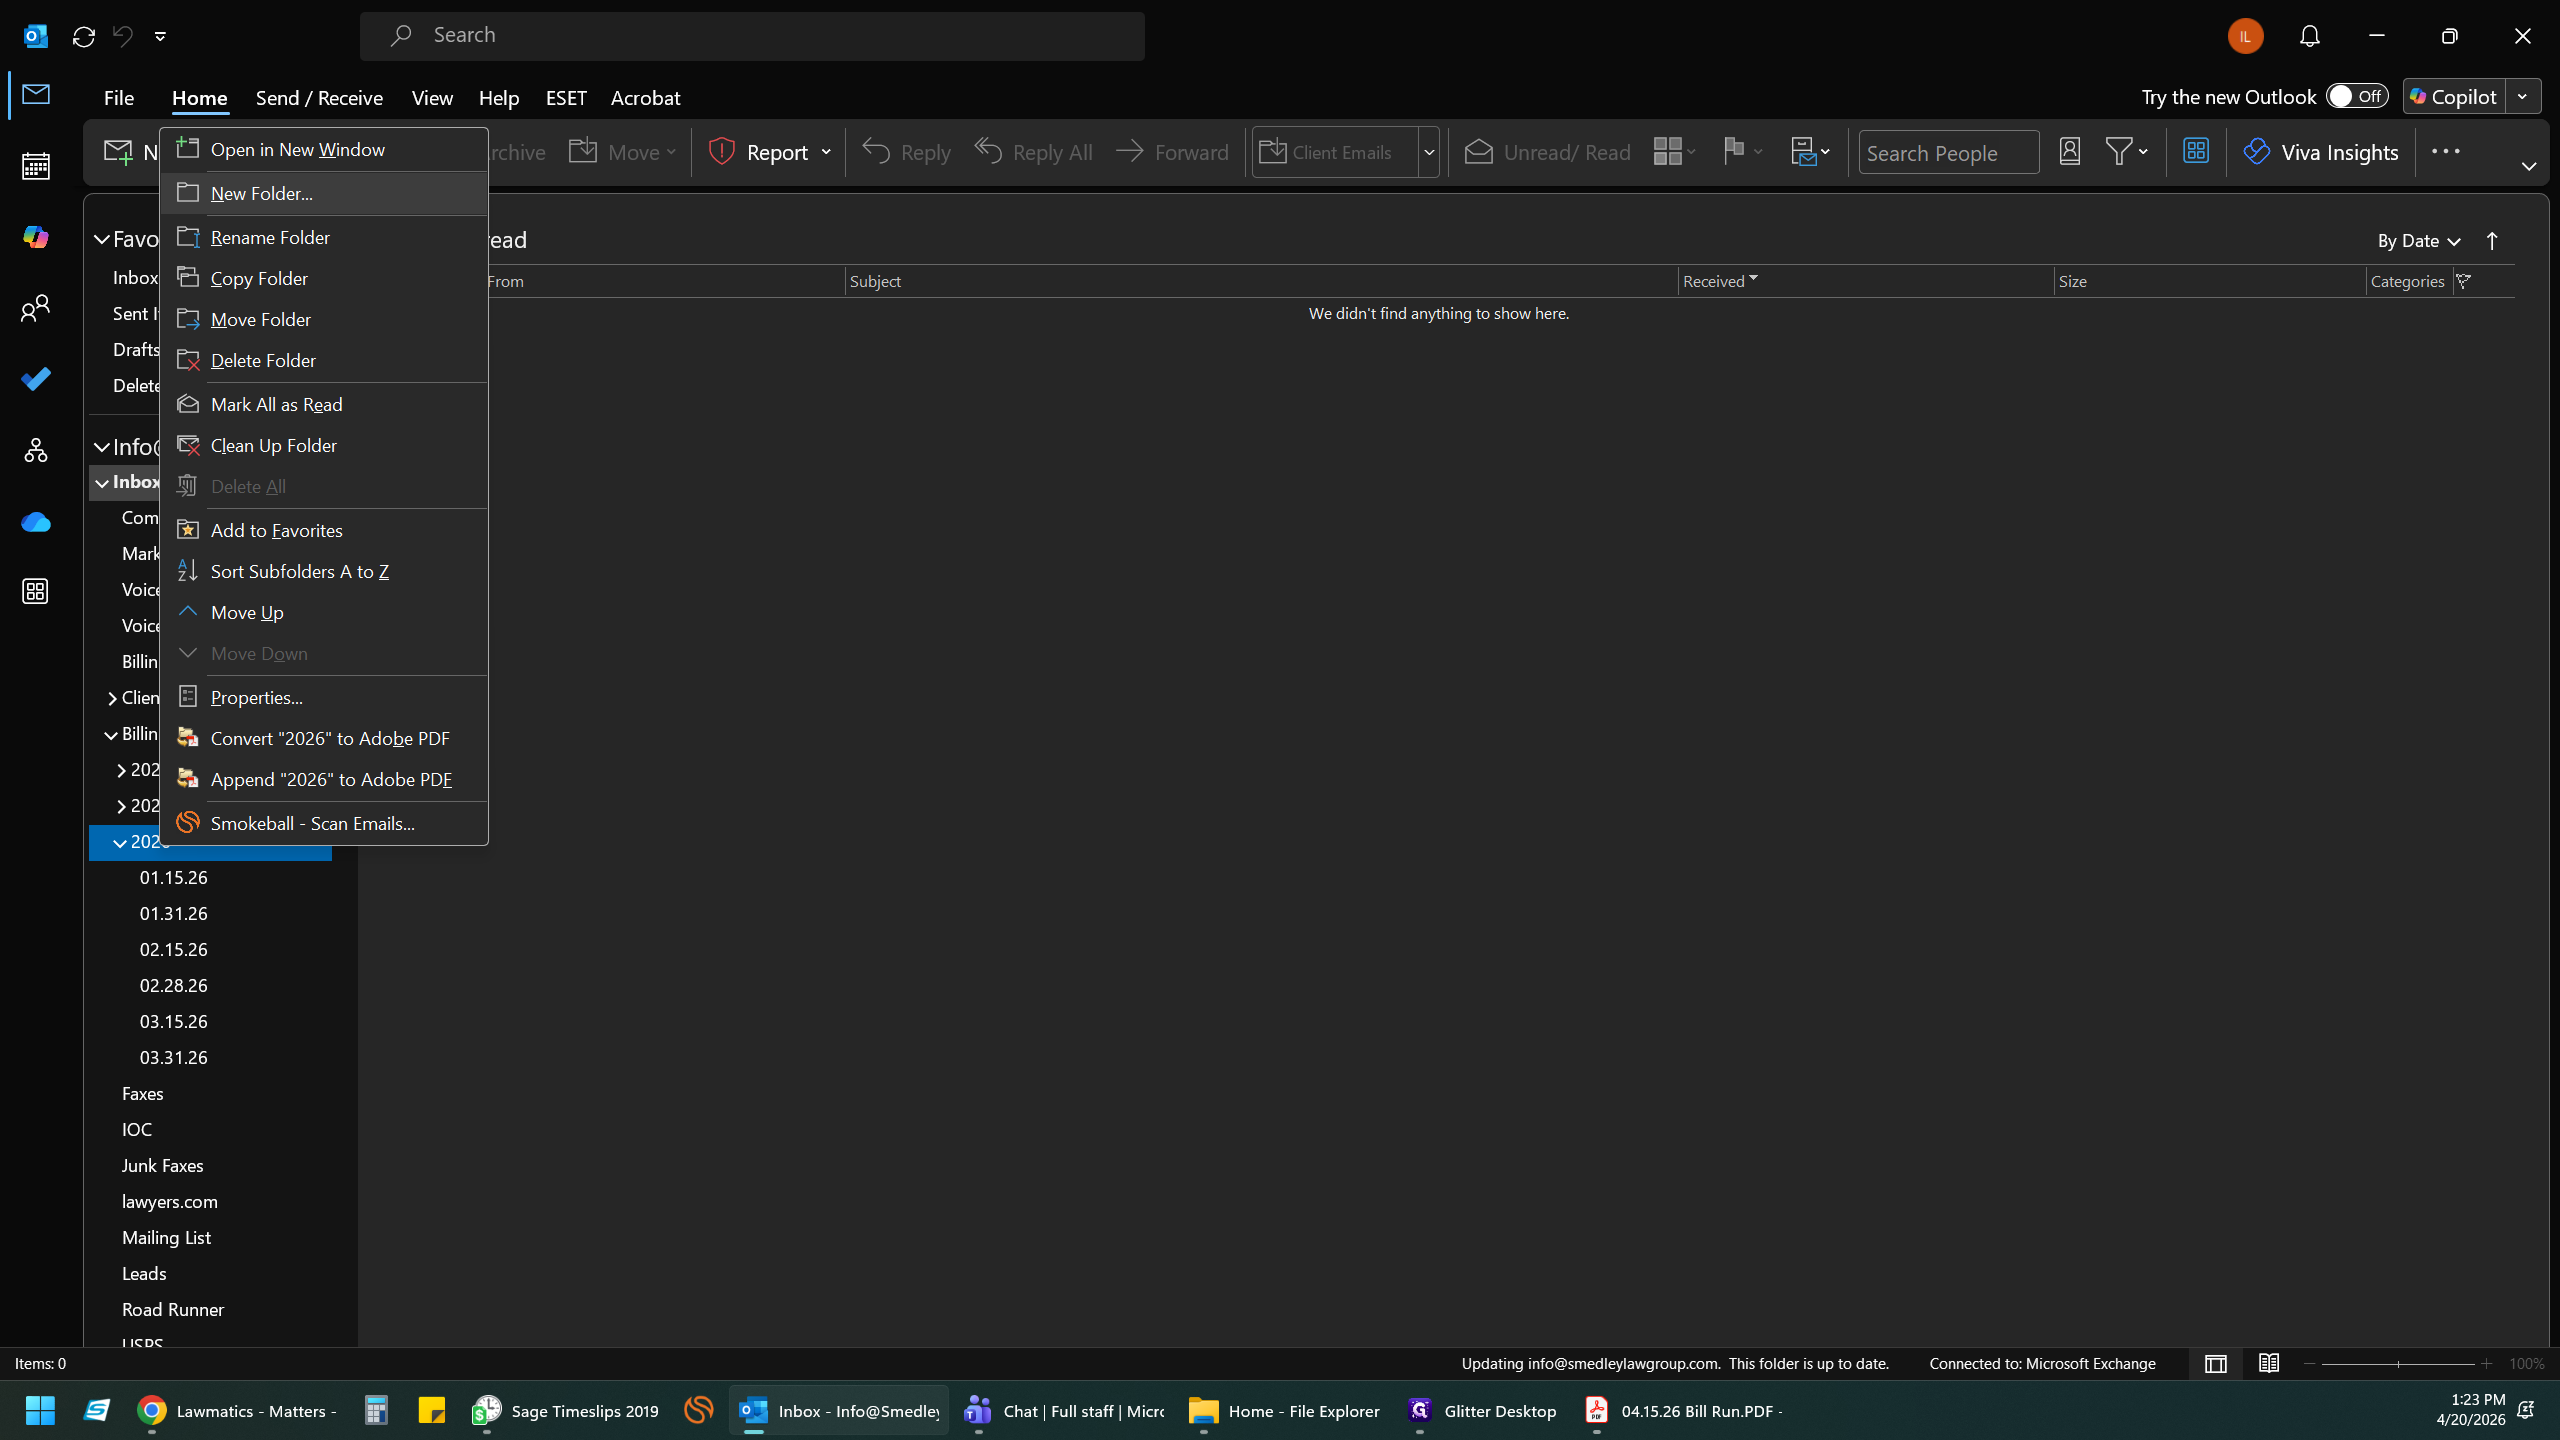
29
Right-click the 2026 billing folder in your Outlook navigation pane.
30
Select New Folder from the context menu.
31
Name the folder using the current billing date (e.g., 04.15.26) and press Enter.
32
Navigate to your Sent Items folder.
33
Select all of the billing emails that were just dispatched.
34
Drag and drop the selected emails into your newly created archive folder.
How to Generate and Email Bills in Sage Timeslips 2019