Getting Started with the District's New Moodle Training Platform
Learn how to navigate the district's new Moodle-based online training platform, enroll in courses, track your progress, and earn digital certificates. This guide covers everything you need to get started with digital certification and training for school staff.
In this guide, we'll learn how to get started with the district's new Moodle platform for online training. The goal is to help you log in, enroll in courses, and track your progress so you can complete required trainings and earn certificates. This process is designed to fit your schedule and make it easier to manage your professional development.
Click to access the new learning platform.
Let's get started
If you are not logged in, simply use your Microsoft account to sign in.
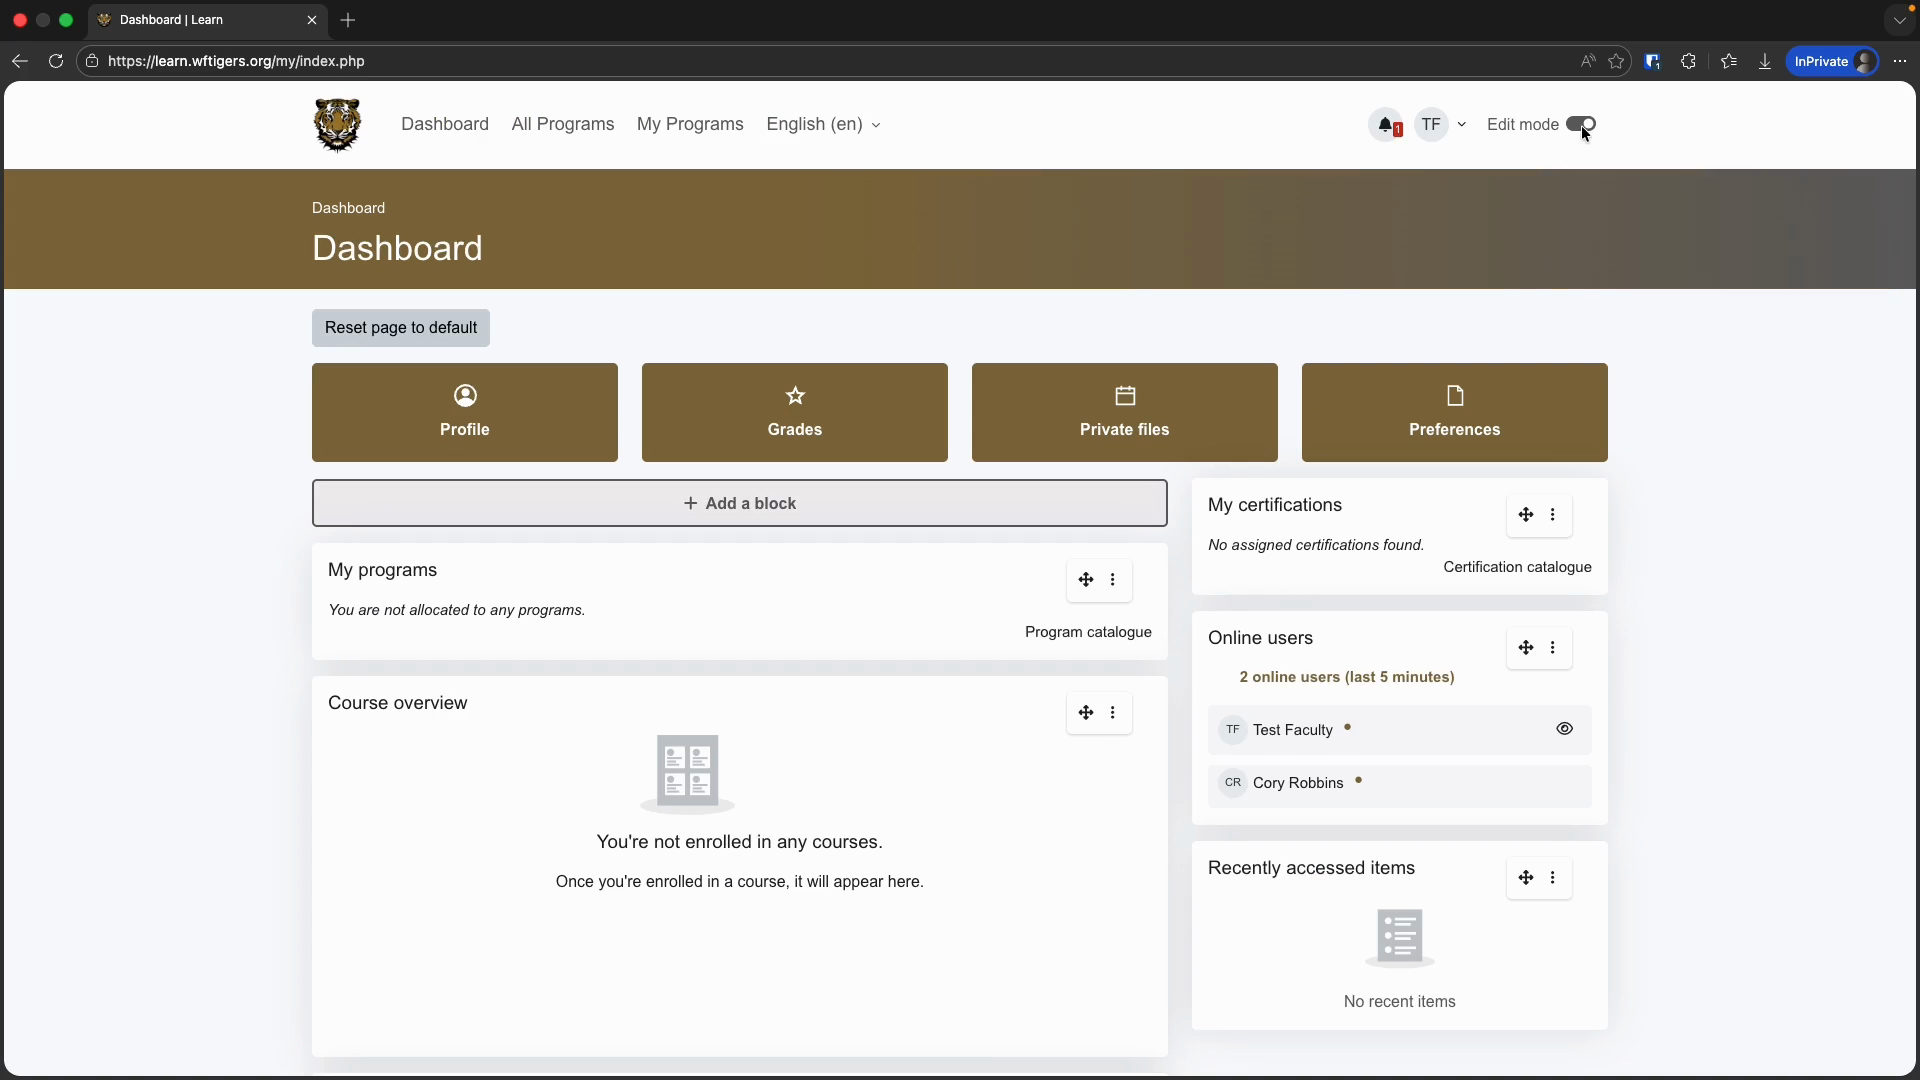
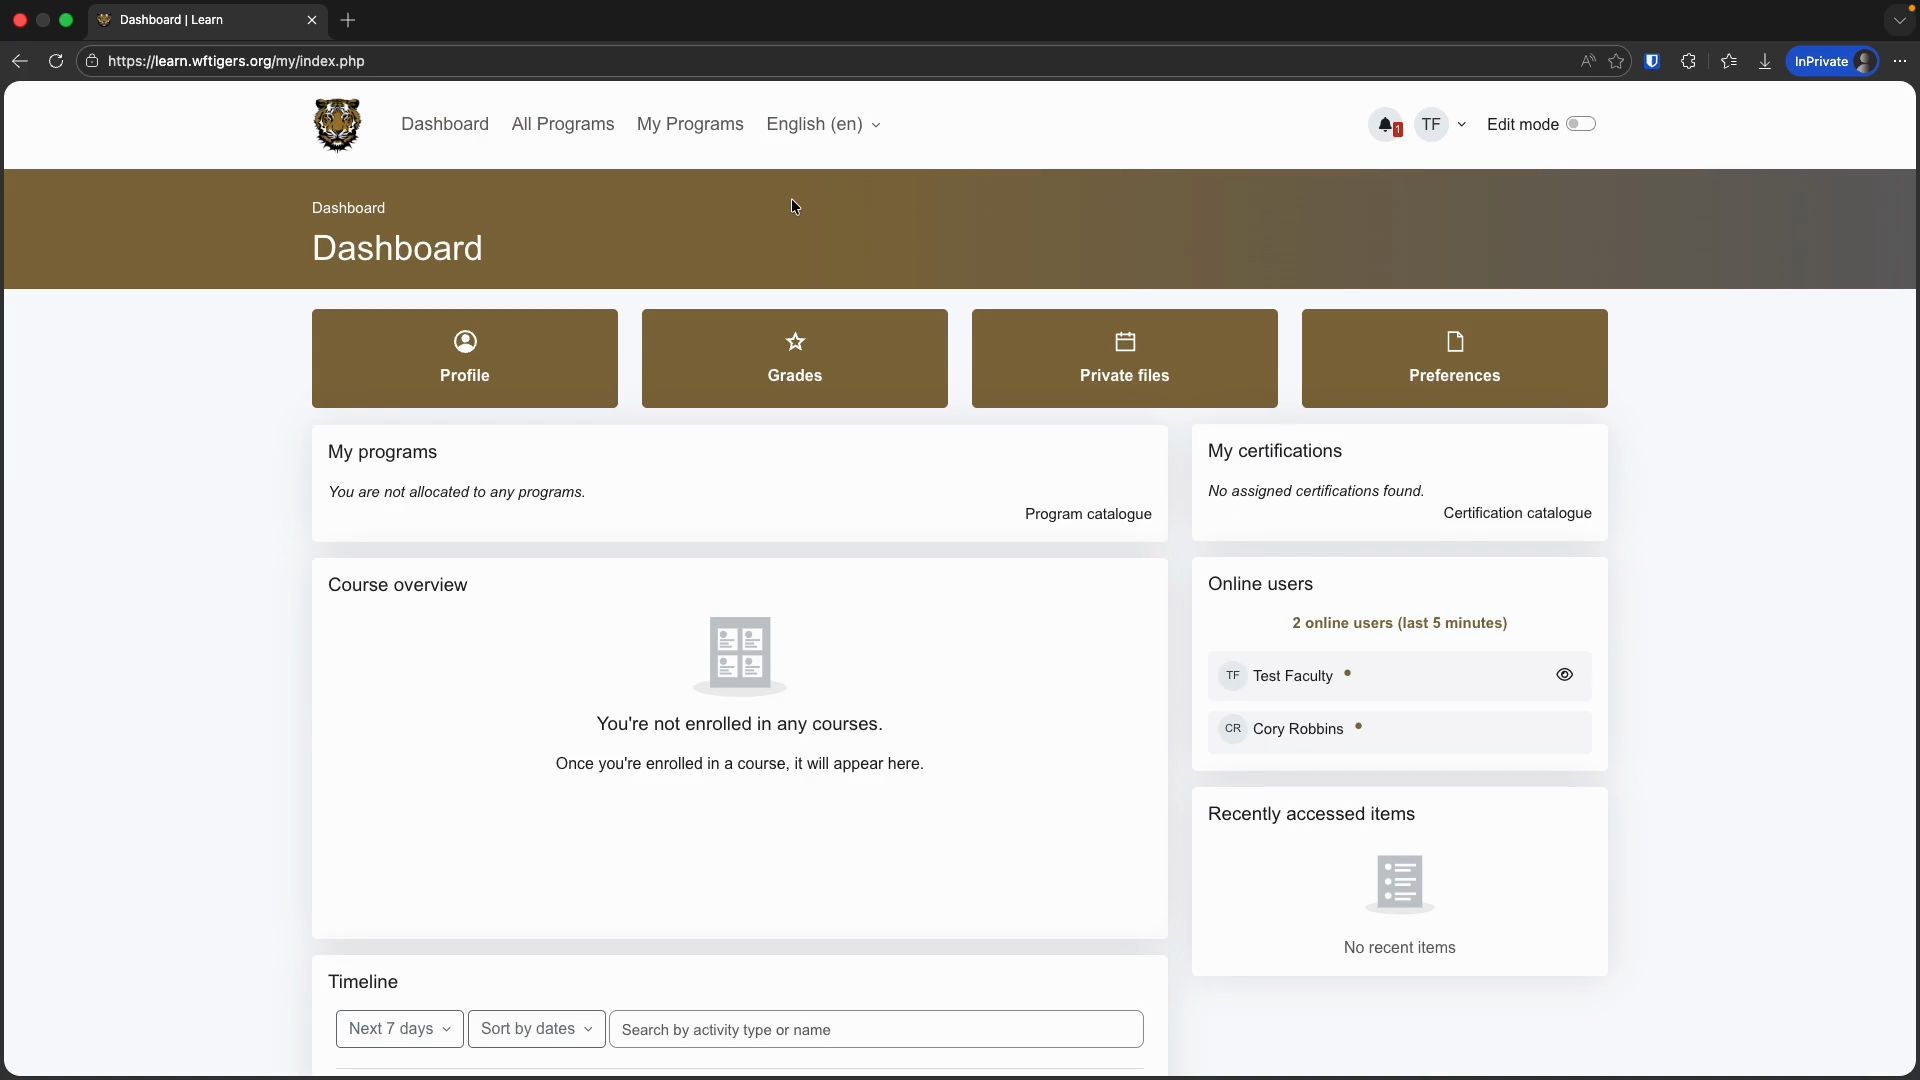
Currently, your dashboard is quite plain. As you enroll in trainings, you will see a list of your current courses, program enrollments, and any relevant timelines.
By default, you can see which users are online. You can also view a list of recently accessed items. Toggle the edit mode button in the top right to add custom blocks to your dashboard for more information.
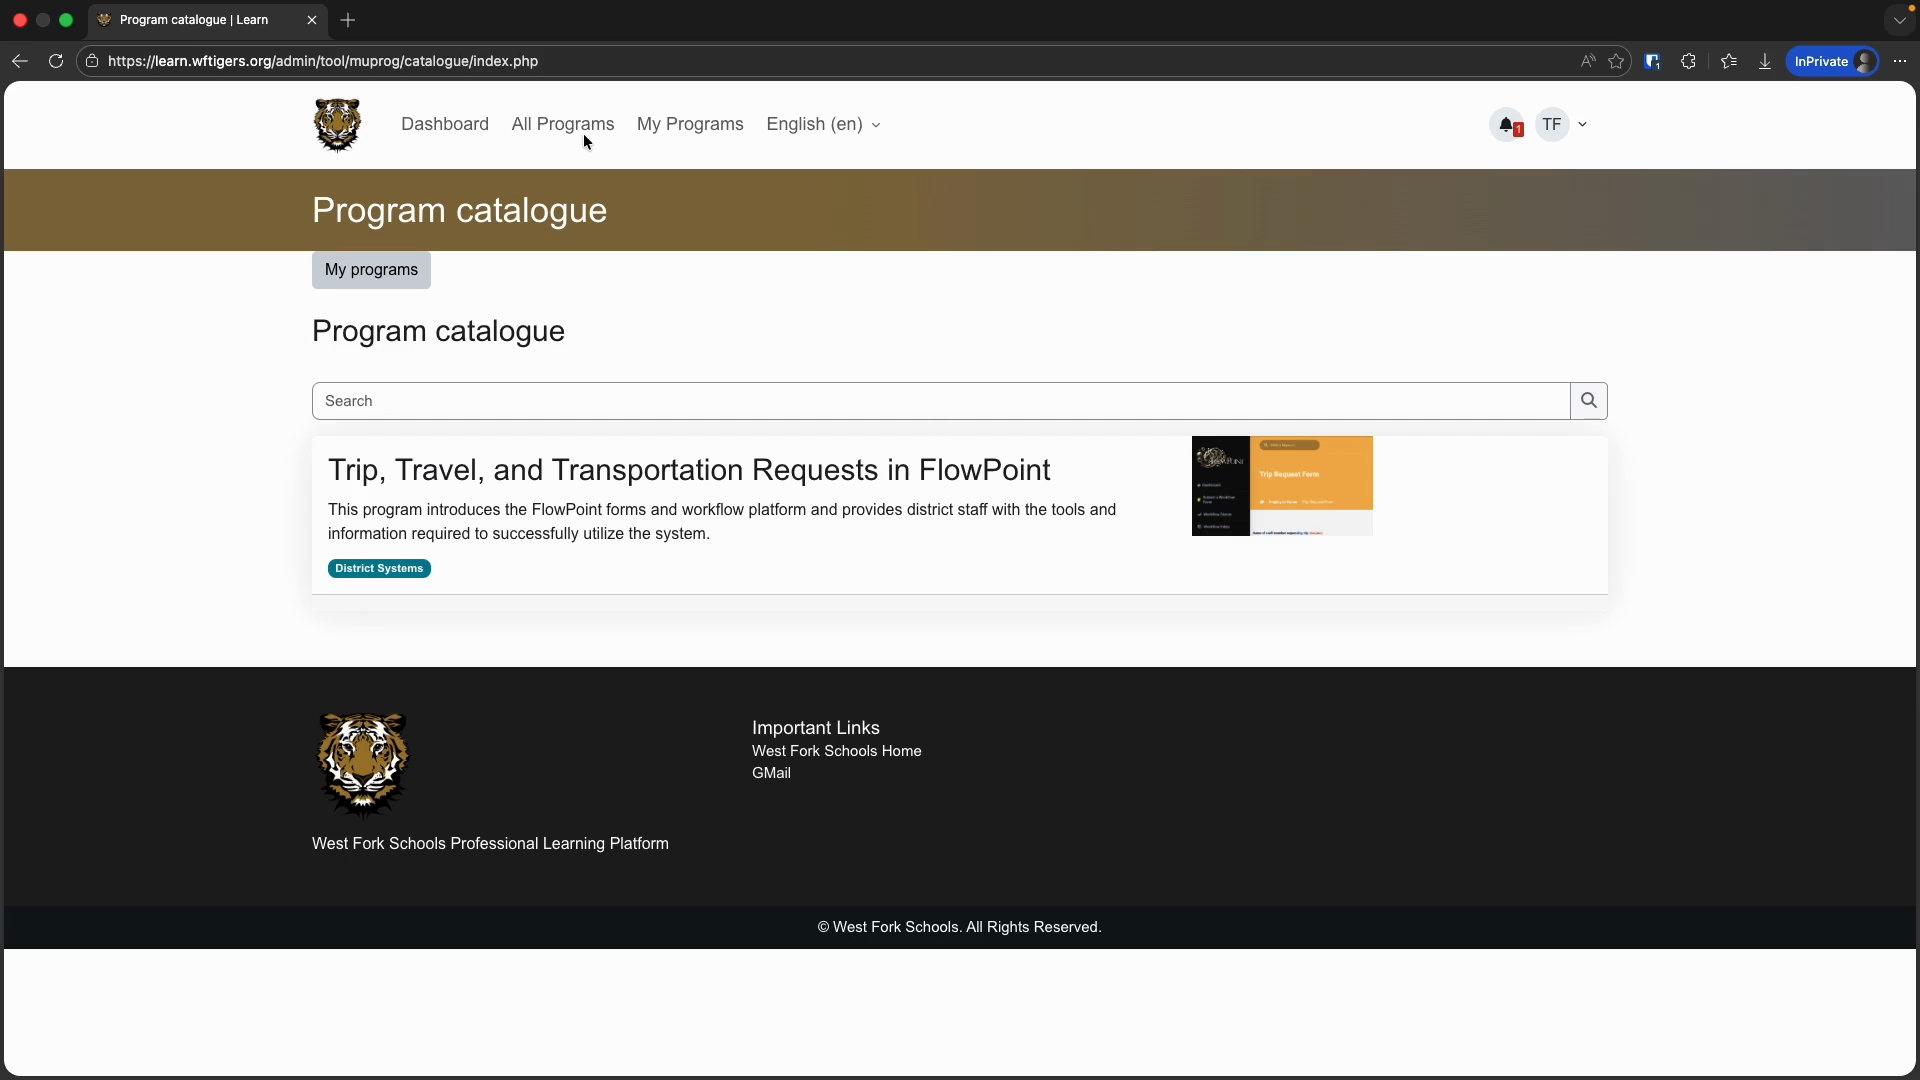
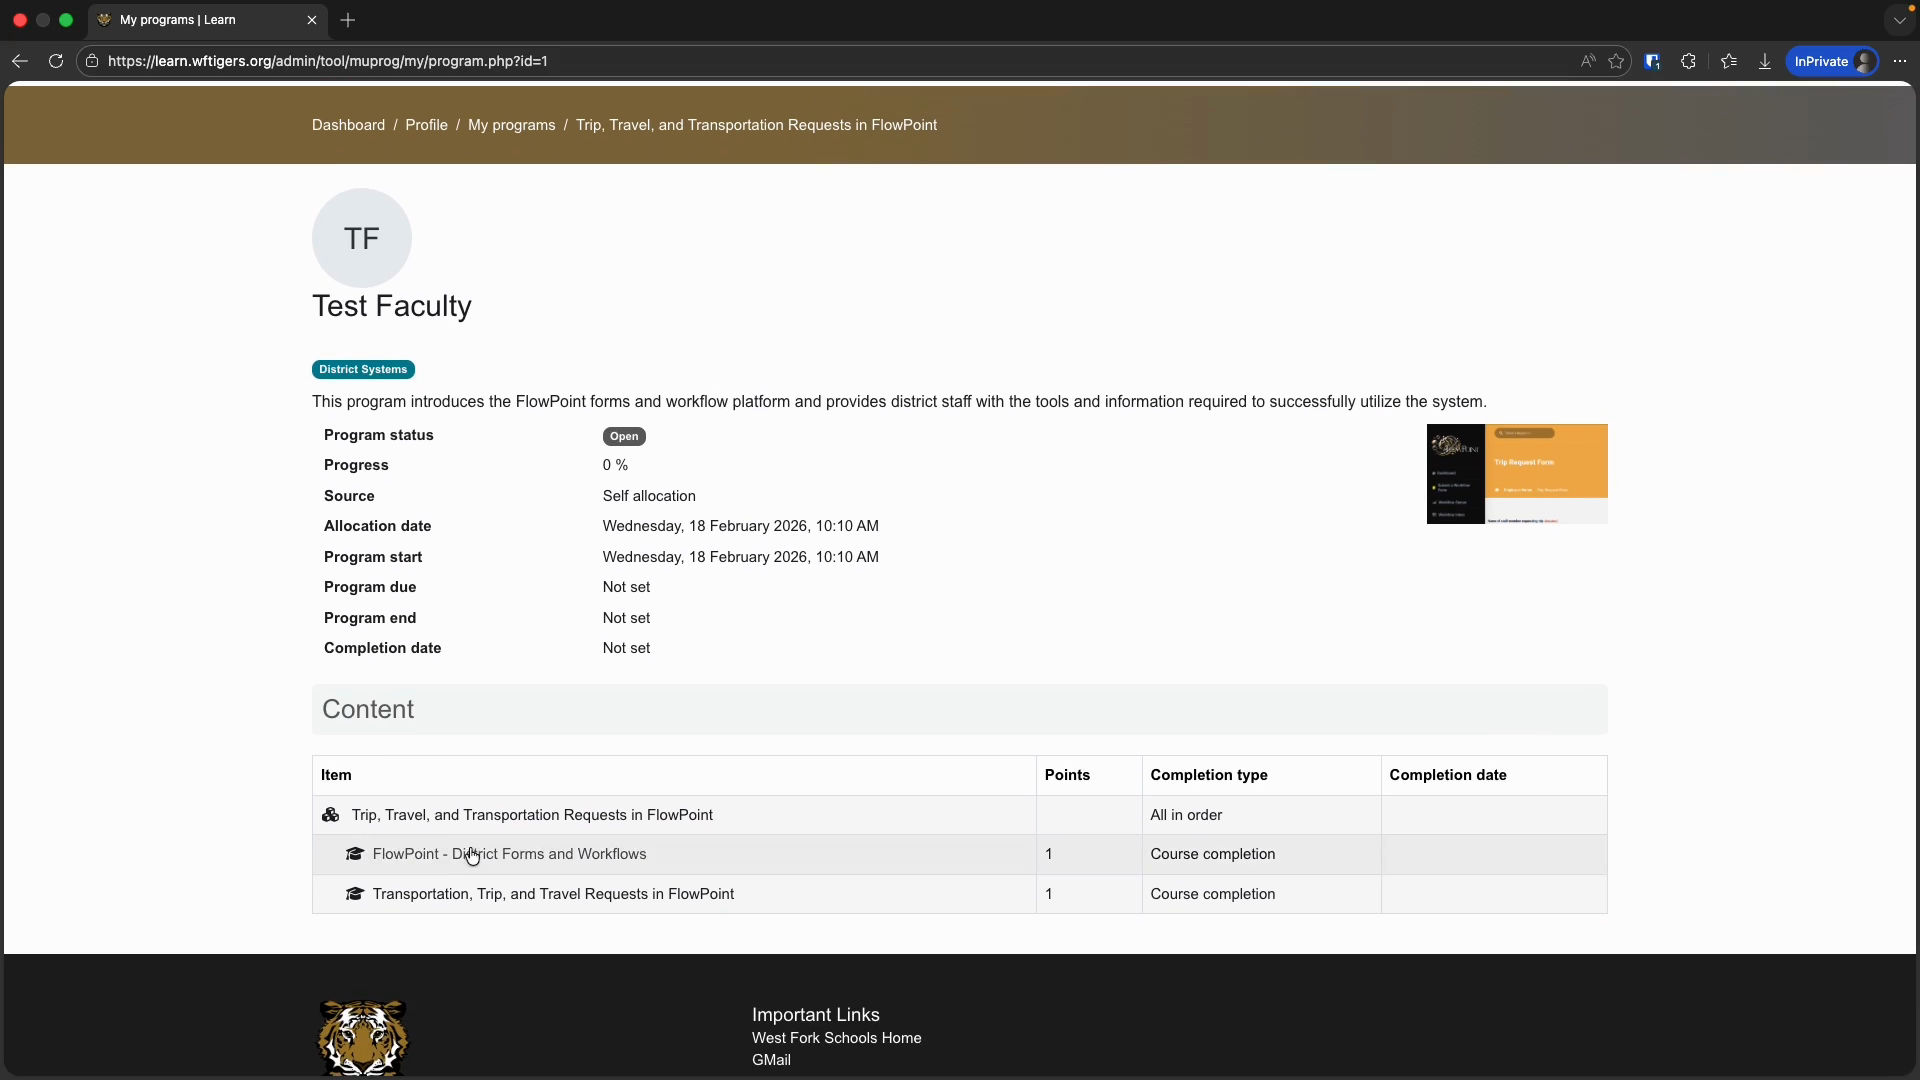
This page lists all the training you currently have access to. Training availability depends on several factors. Your listing may differ from your neighbors'. For the rest of this session, we will use the Trip, Travel, and Transportation Requests in the Flowpoint program. This program consists of two parts, or courses. The first training will teach you how to use the new forms platform that the district will adopt for most or all district forms and processes.
The second training focuses on how to use the new transportation request workflow. Click on the name of this program.
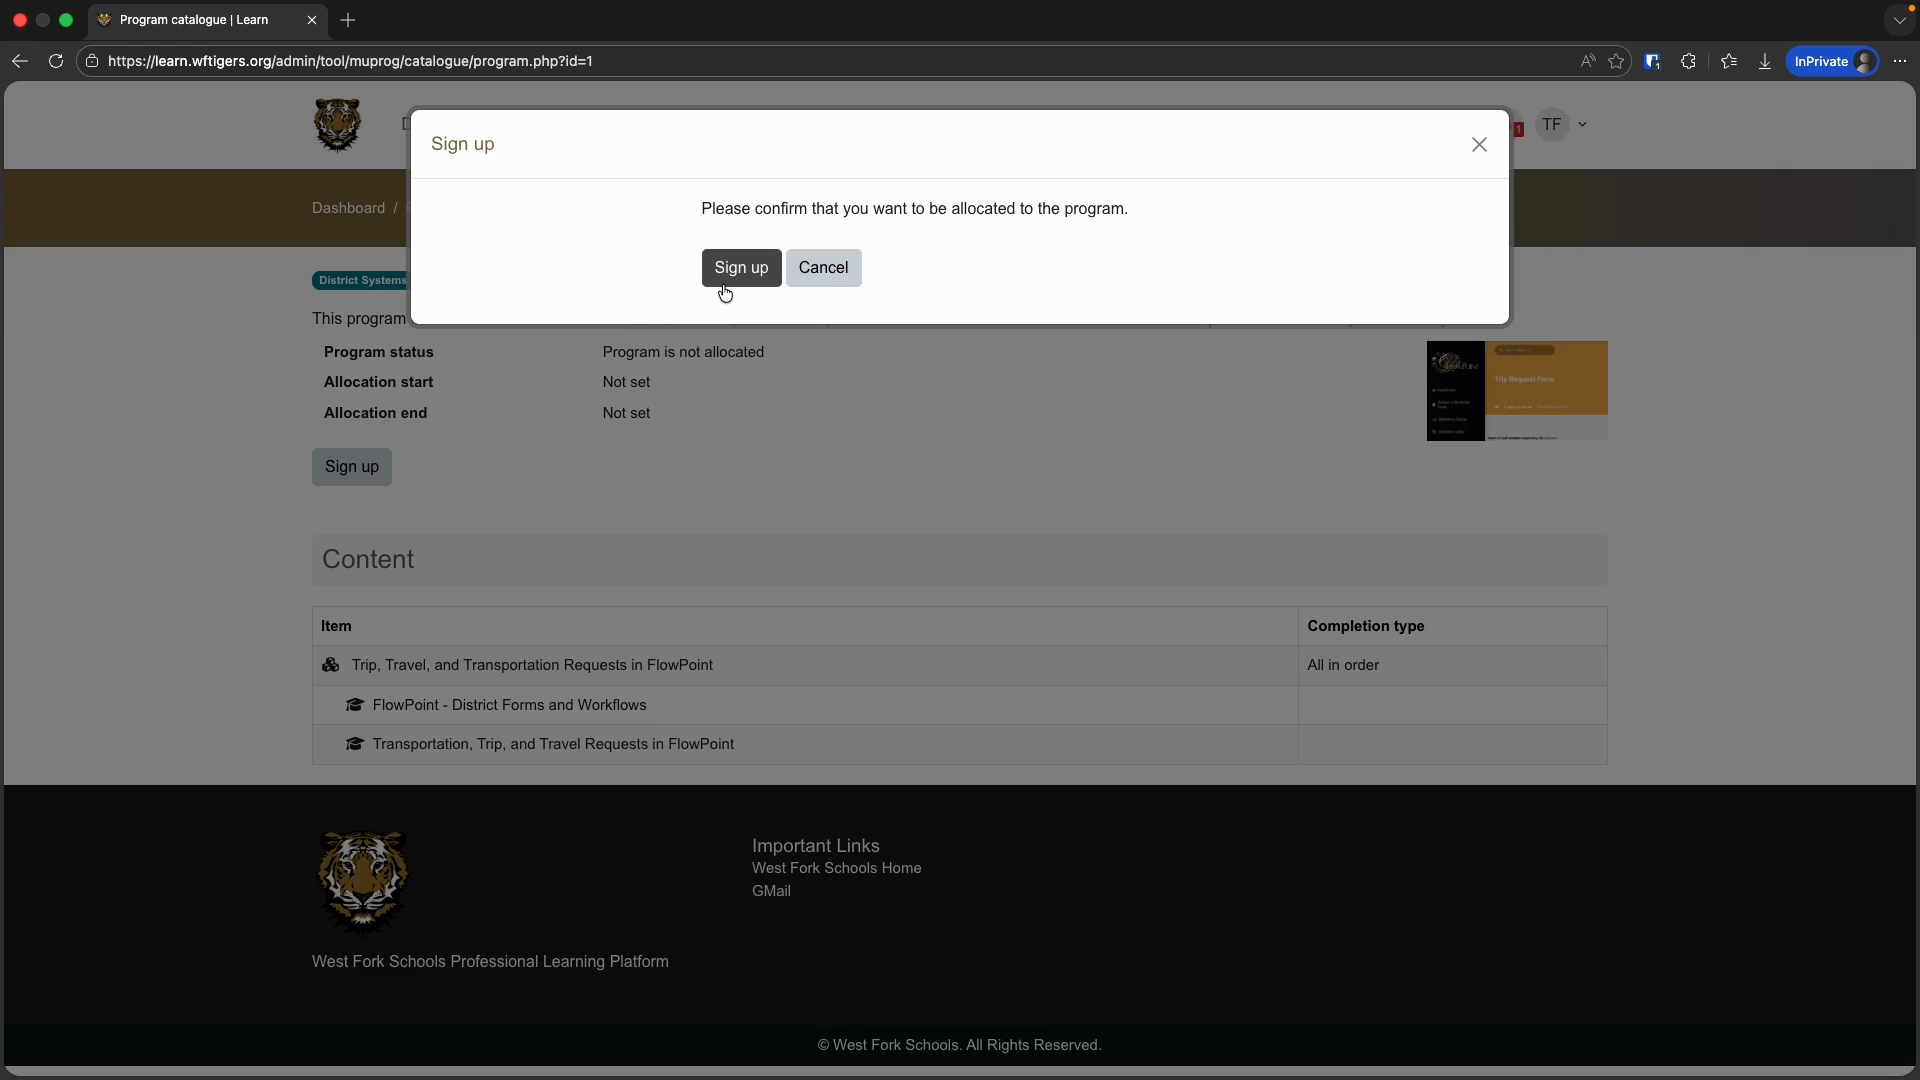
On the next page, you will see the program description, a list of courses included in the program, and an option to sign up. Click the Sign Up button.
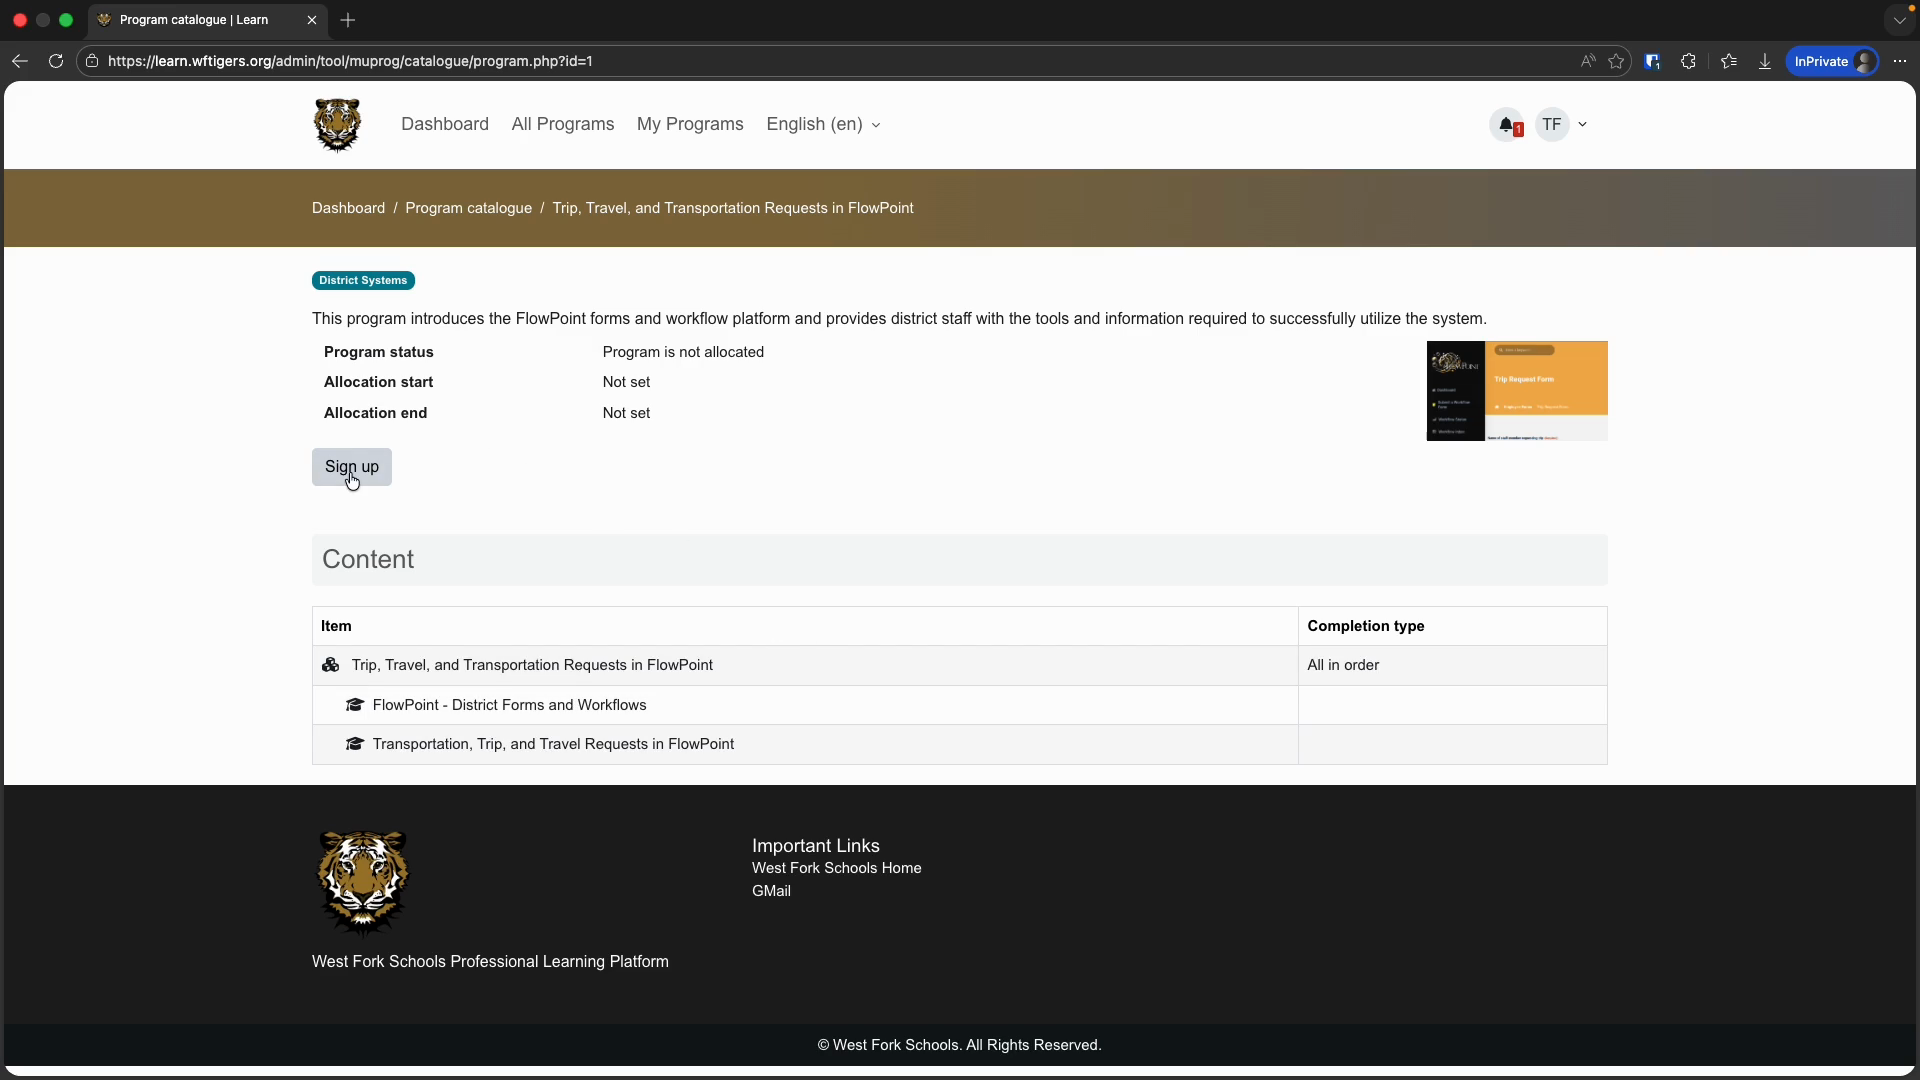
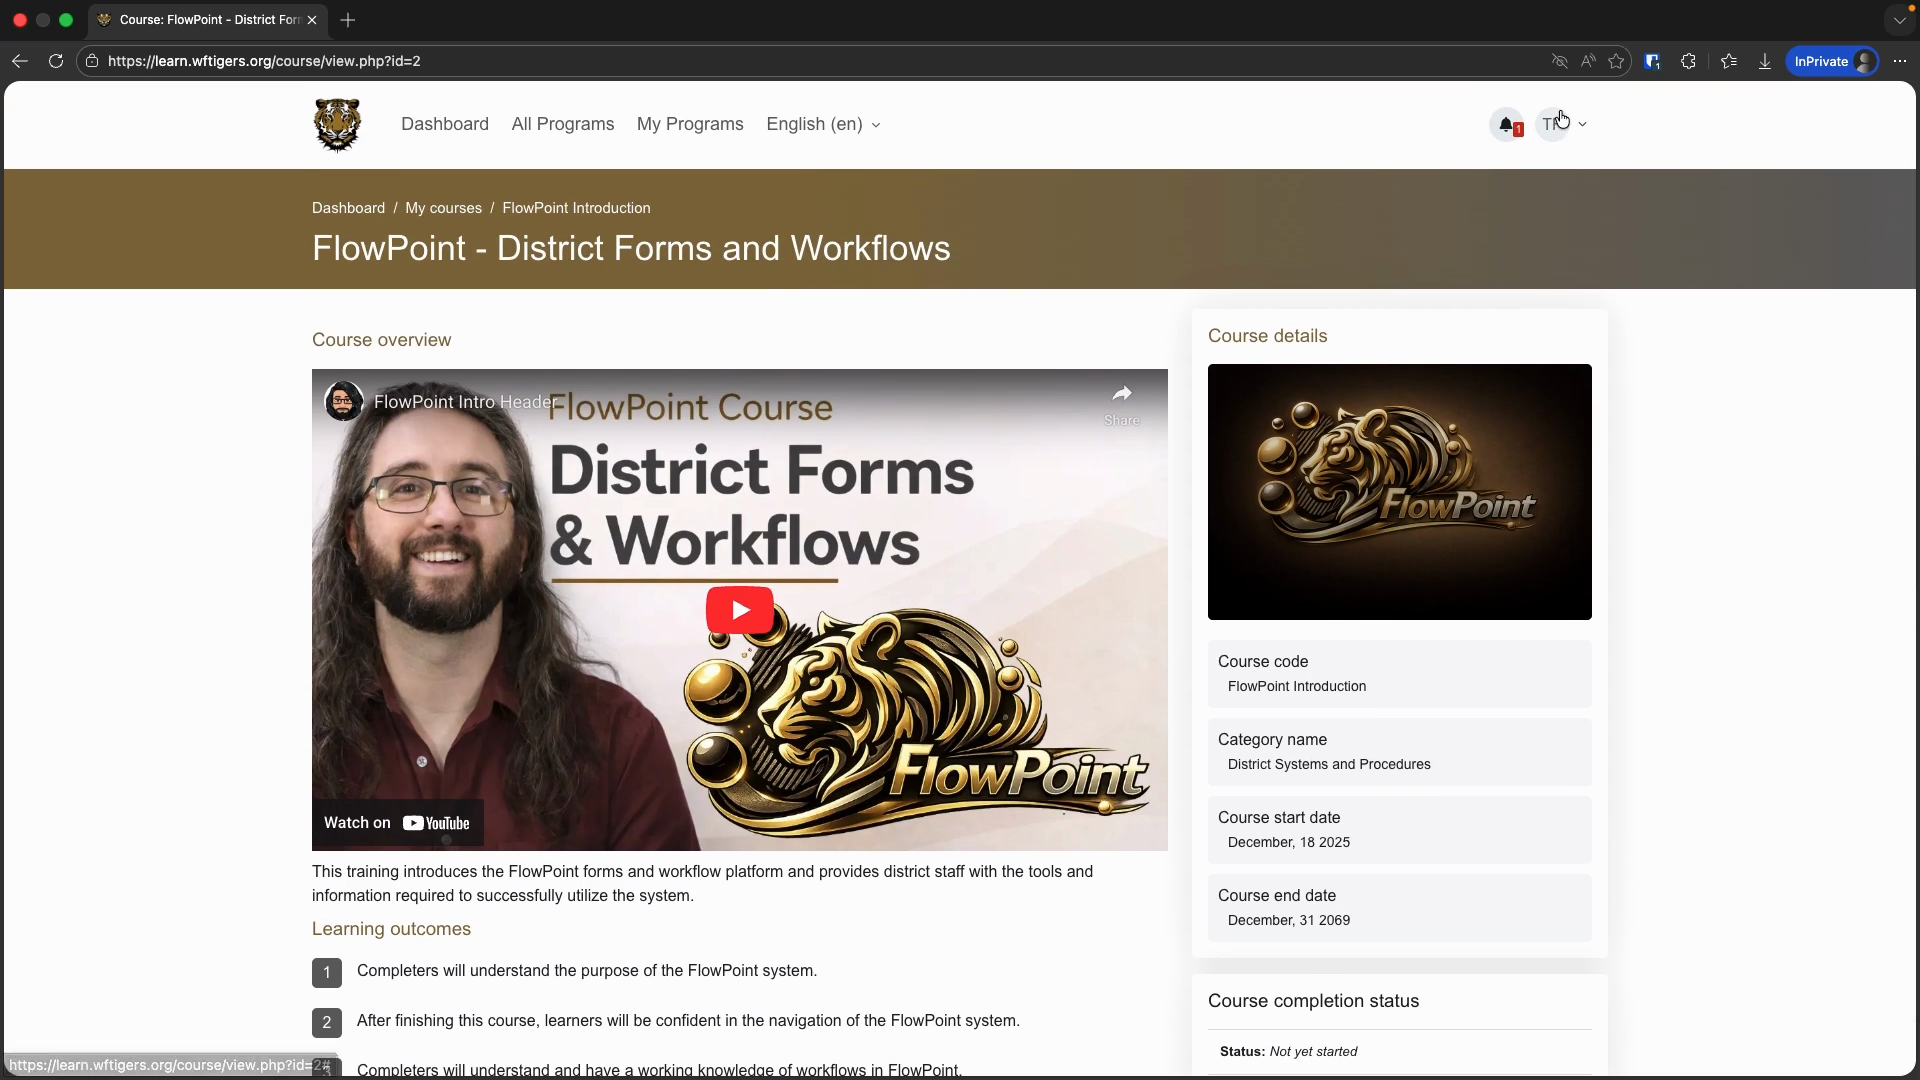
You will now be taken to the main page of the first course in your program.
Although the content sections for each area may vary depending on the course, the overall structure will stay the same. Courses are usually designed to be top-down. You start at the top of the page and work your way to the bottom. At the top of each course page, you will find a course description. There may also be an overview video and a list of learning outcomes. The right side of the page displays various course information. In the main course area, there is a course navigation bar. In most cases, you won't need to use this. The options you see will vary based on your role in the course.
Directly below this menu is the course content. You will see several sections, each of which is collapsible. This layout encourages a linear progression through the course. Whether the content is organized by topic, chapter, or combined into one section, the goal is to start at the top and work your way down to reach your objectives.
Earlier, I mentioned that Moodle tracks completion. There are a few ways to view this information. First, on the right side of the page, you will see a course completion status block. This gives you a quick overview of what is left in the course for it to be considered complete. You can choose to view more details. You will then see all of the conditions listed in detail.
Next to each item with completion tracking, you will see its completion status and can view any remaining to-do items needed to finish it. Now, all that's left is to start the course. We will start at the top of the page and open the first activity or resource in the course. Depending on the type of activity or resource, you may be asked to watch a video, answer questions, or interact with the page in other ways. I won't cover every interaction type, but I'm confident you can navigate this process.
If you encounter any issues, open a ticket and we will help you. When you are in an activity or resource, use the breadcrumb menu at the top of the page to return to the course homepage. If you want to move quickly through the course, use the forward and backward navigation buttons at the bottom of the page.
It's a good idea to view the full list of sections on the course homepage, rather than relying only on the bottom navigation buttons.
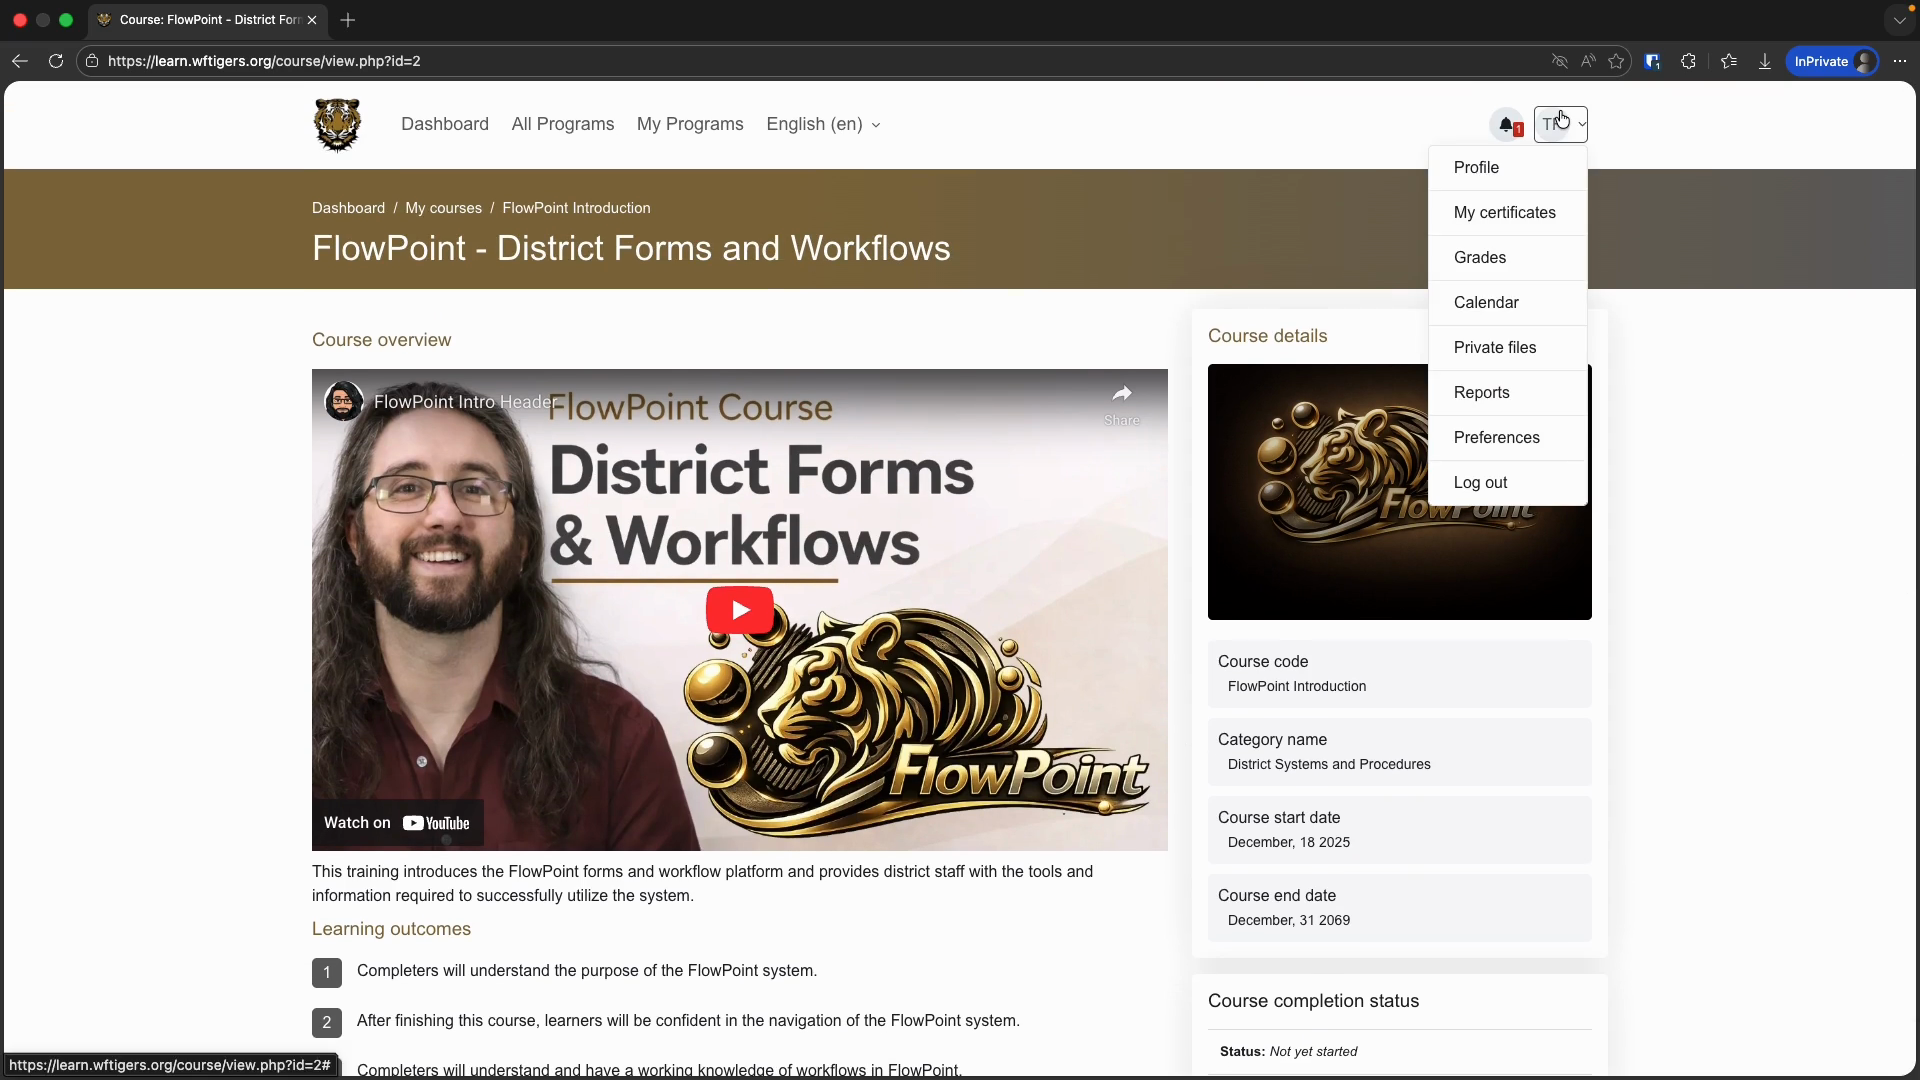
There may be alerts or similar guides that are only visible when you view that specific page. This isn't very common, but it is possible. After completing a course, you will earn a certificate. You need to be able to view your certificates and present them to administrators. To view your earned certificates, click your user badge at the top of the page.
This will take you to a page displaying all the certificates you have earned. You can also download a PDF copy to share. Your building principals can also access these certificates. Okay. This concludes our introduction to Moodle, the district's new digital certification and training platform. At this point, you should be able to sign up for training programs. You should also be able to navigate through a training and view or present your certificates.