Getting Started with the FlowPoint Platform Dashboard: Navigation and Features
Learn how to navigate the FlowPoint platform dashboard, including main menu options, employee forms, workflow tools, and public-facing workflows. Discover tips for using the dashboard efficiently.
In this guide, we'll learn how to navigate the FlowPoint platform dashboard and understand its main features. You will see how to use the navigation menu, access different workflows, and use tools like the breadcrumb menu. This overview will help you become comfortable moving through the platform and finding the resources you need.
Let's get started
In this section, we begin exploring the details of the Flowpoint platform. Exciting, right? If you have followed along, you should now be on the homepage, also known as the dashboard. A website dashboard is a page that displays information specific to each visitor.
This page may change over time, but you will always have access to the quick links section. More on that later. On the left side of the page, you will see your main navigation menu. If it's hidden because of screen size, look for a hamburger menu on the right side. Click it to open the menu.
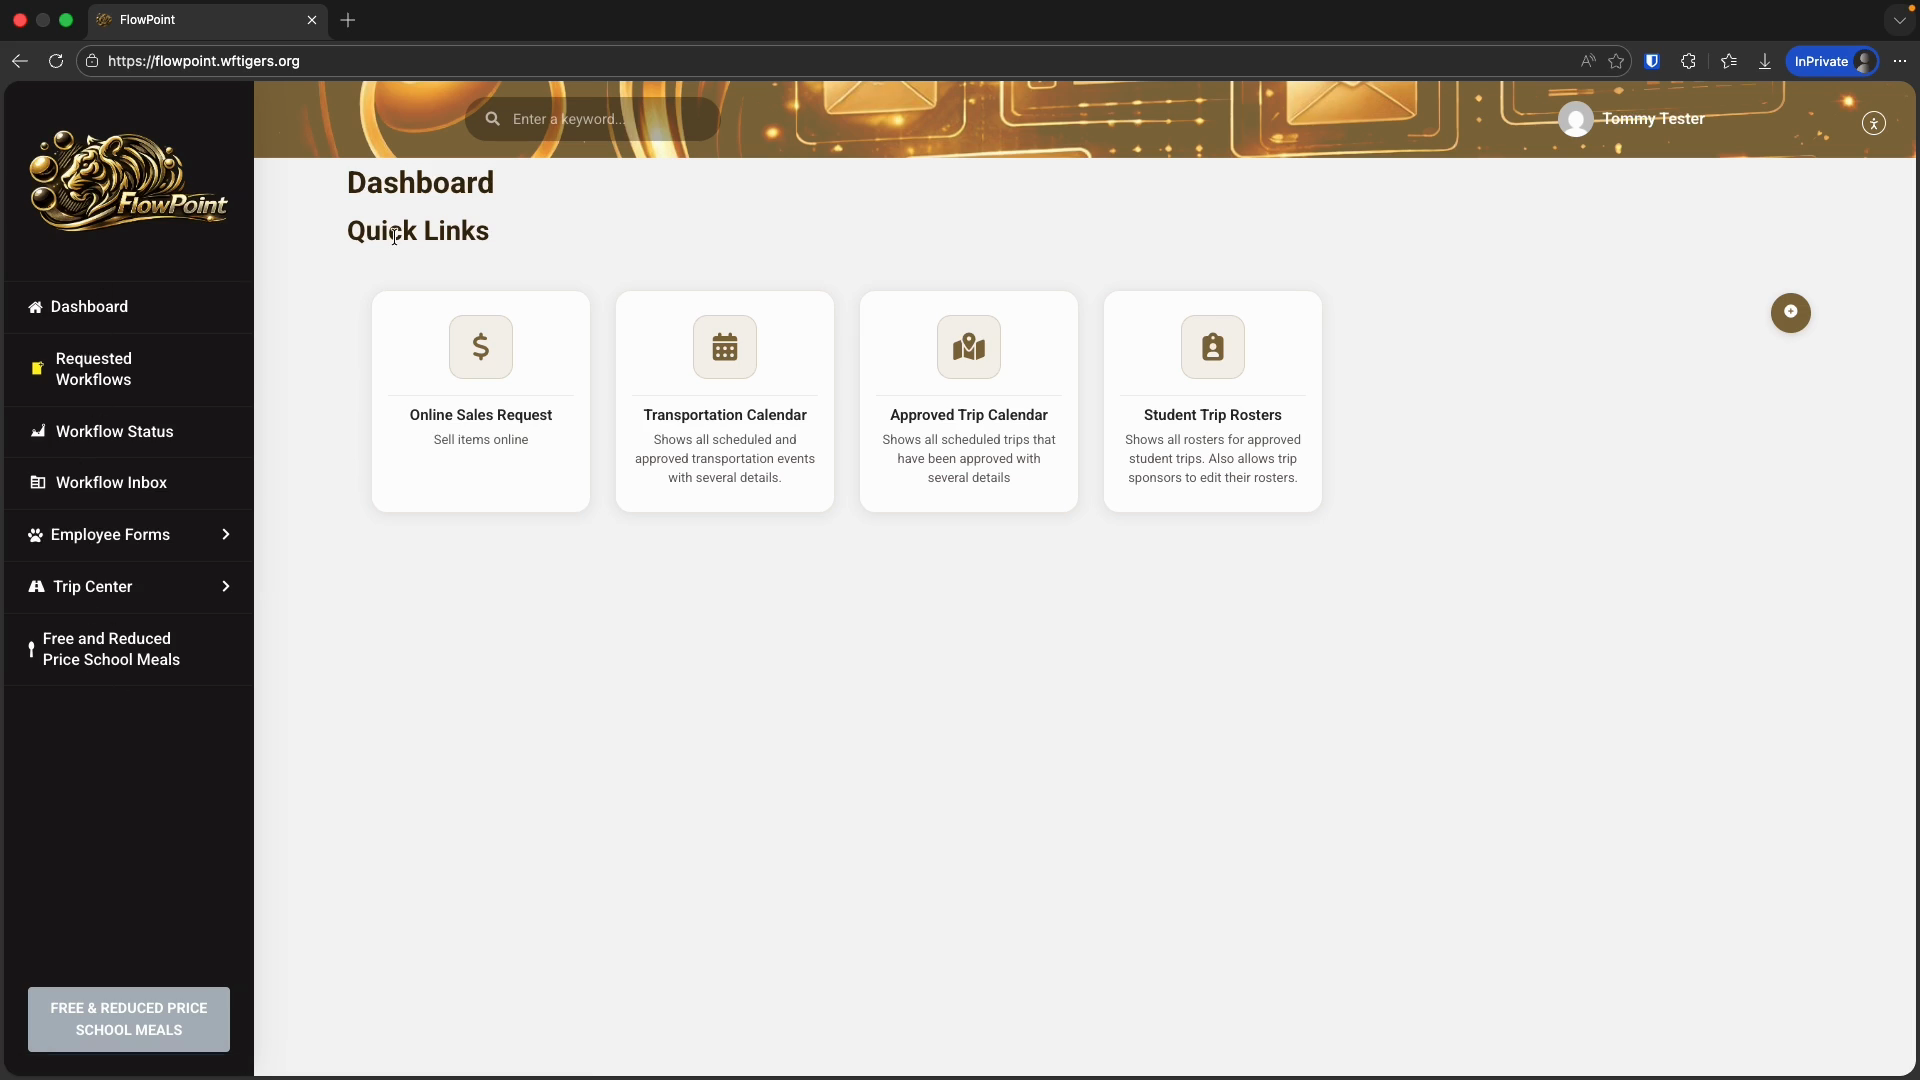

Clicking this menu item does not navigate anywhere. It simply expands to show multiple options. We know this will happen because of the small arrow to the right of the menu items. In this menu, you should see a list with at least a few workflows.
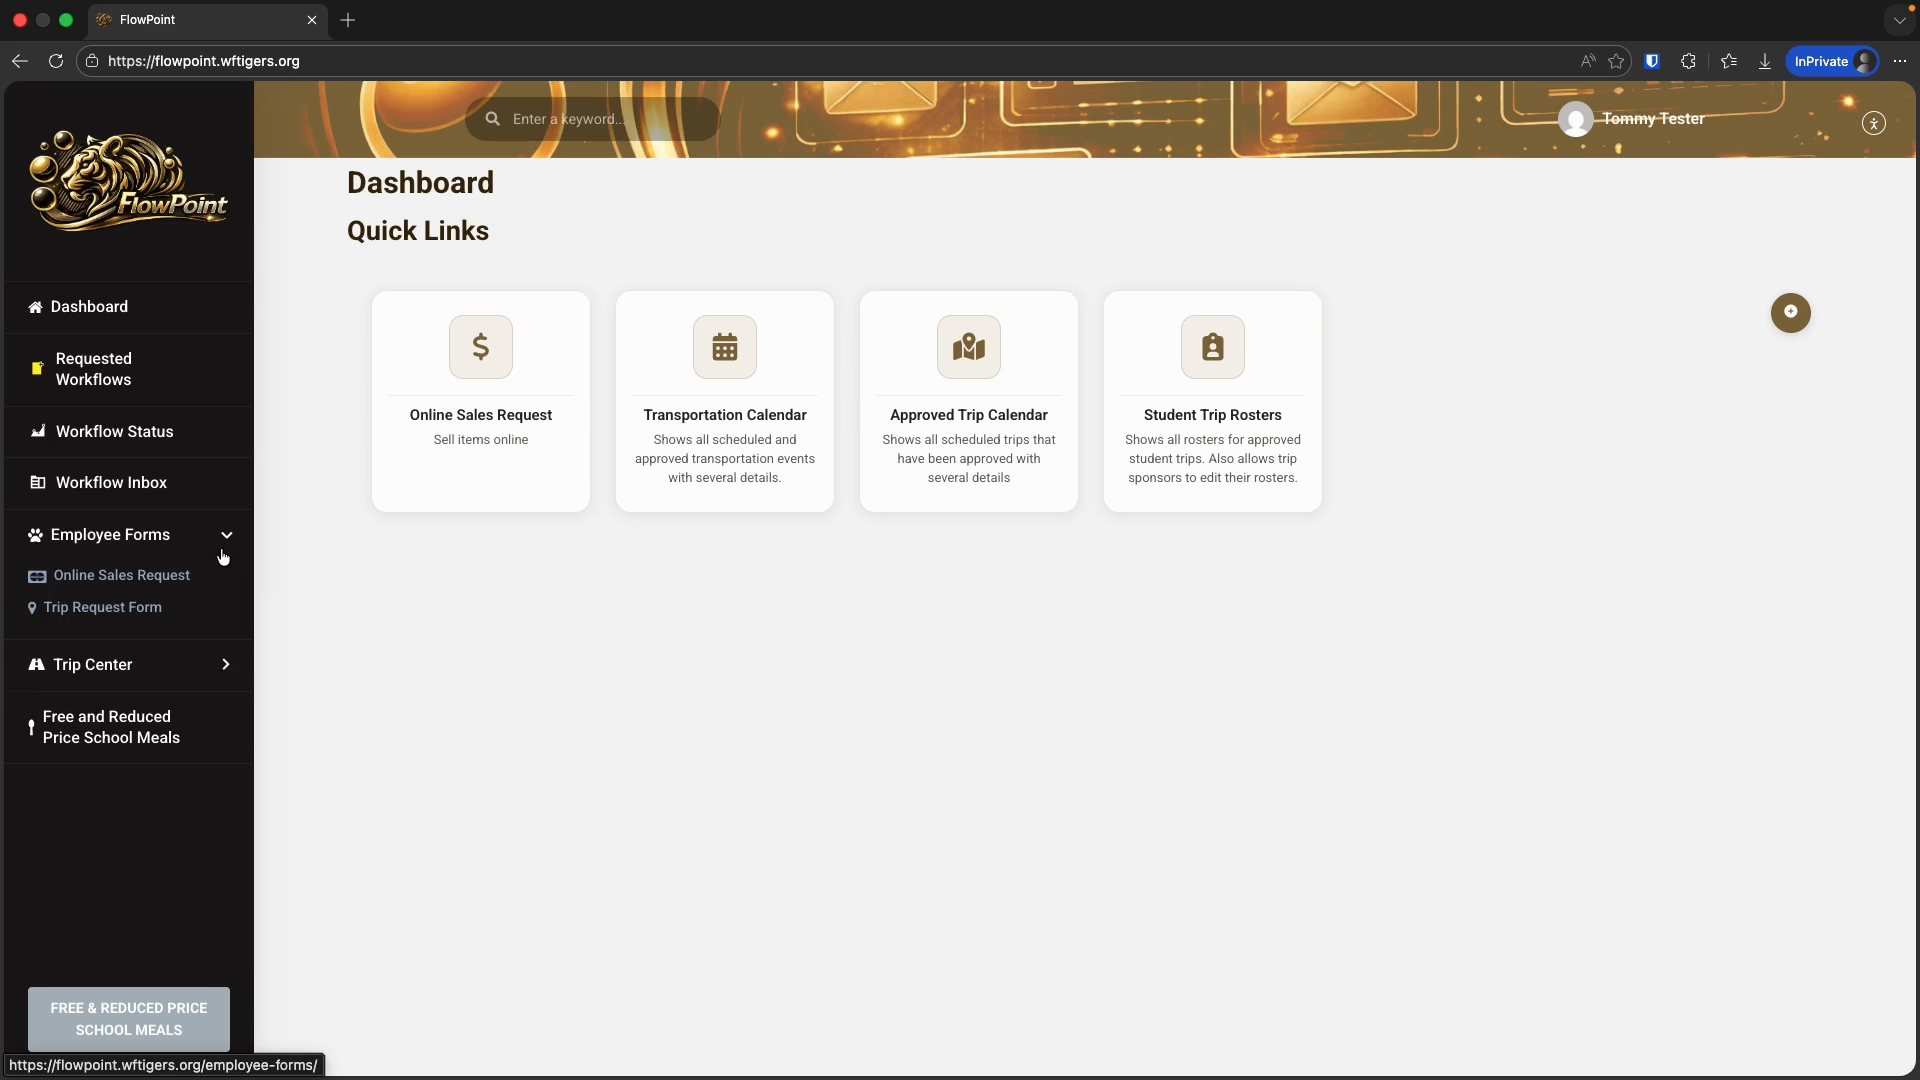
I’ll click the trip request form as an example. It begins like most workflows, without going into specifics. There will be a form that asks for your information. At the bottom of each form, you will see either a submit button or a next button that takes you to a new page.
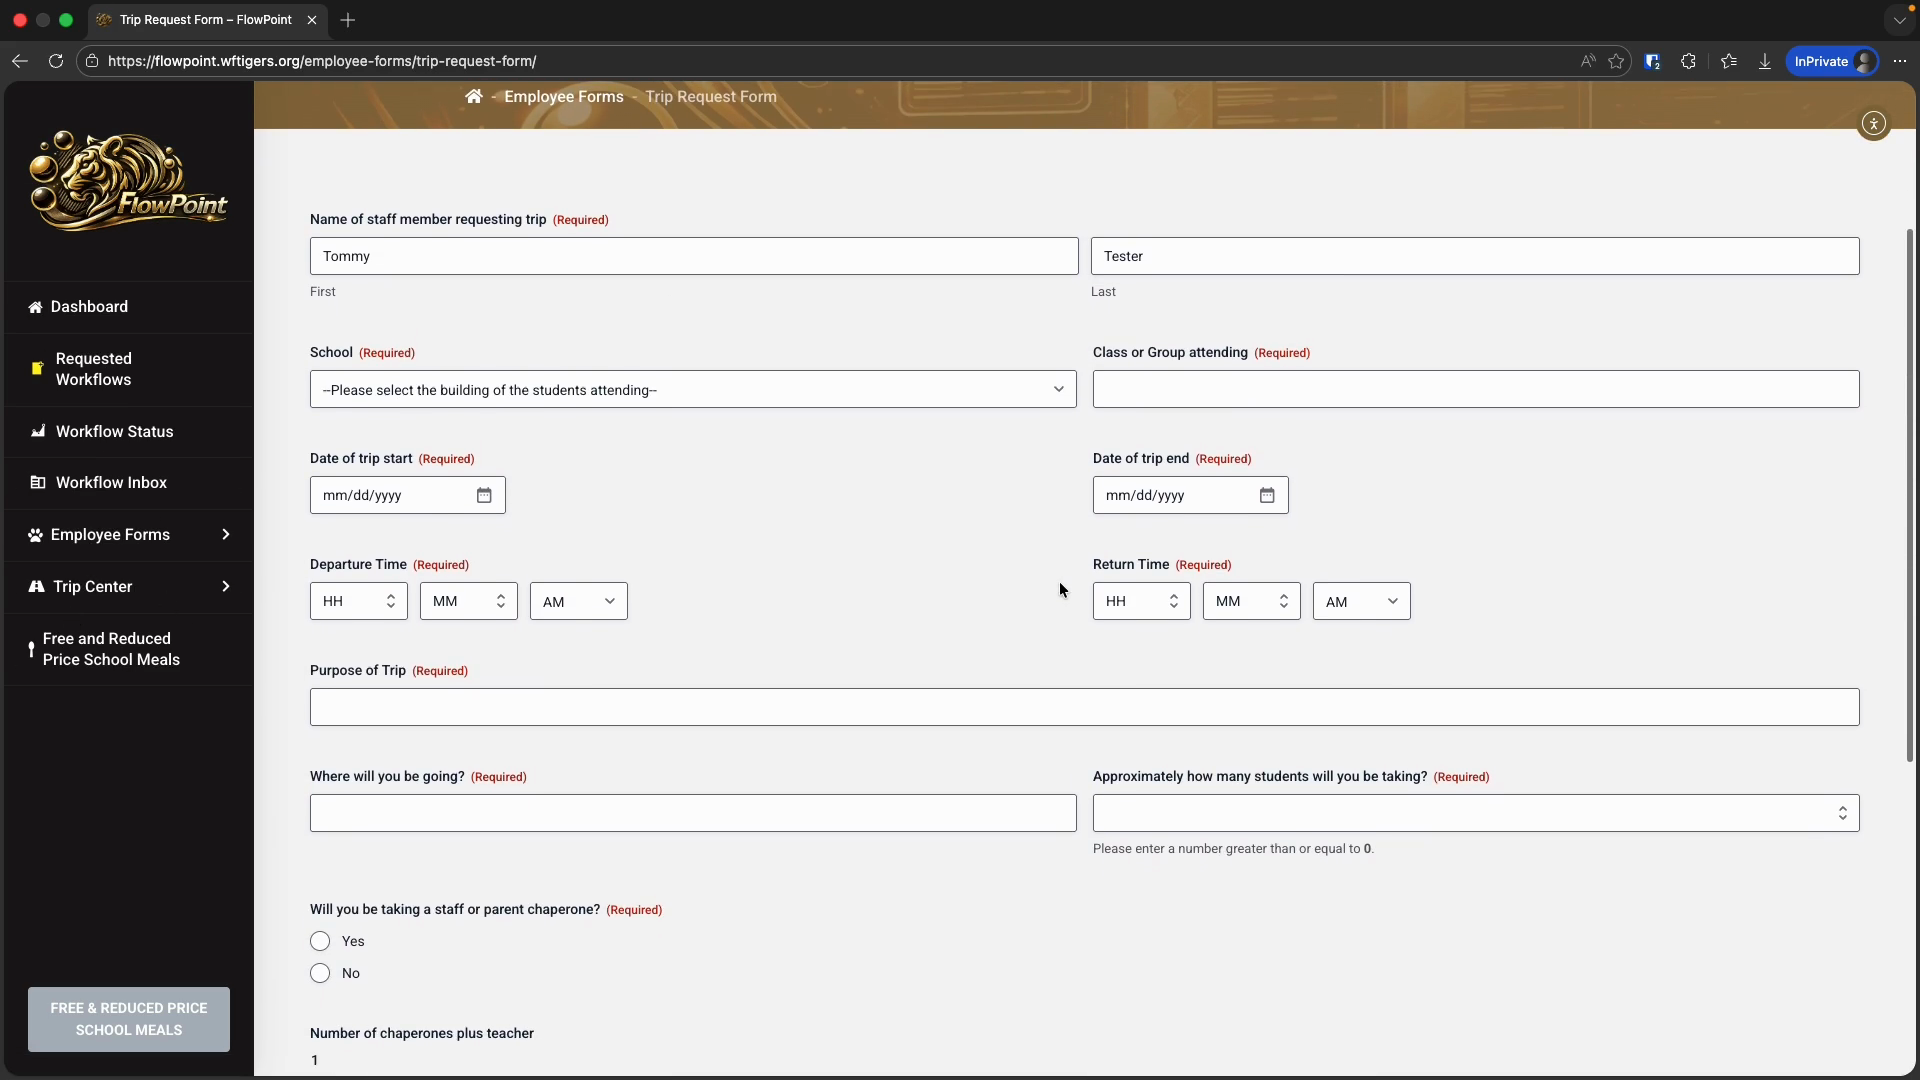
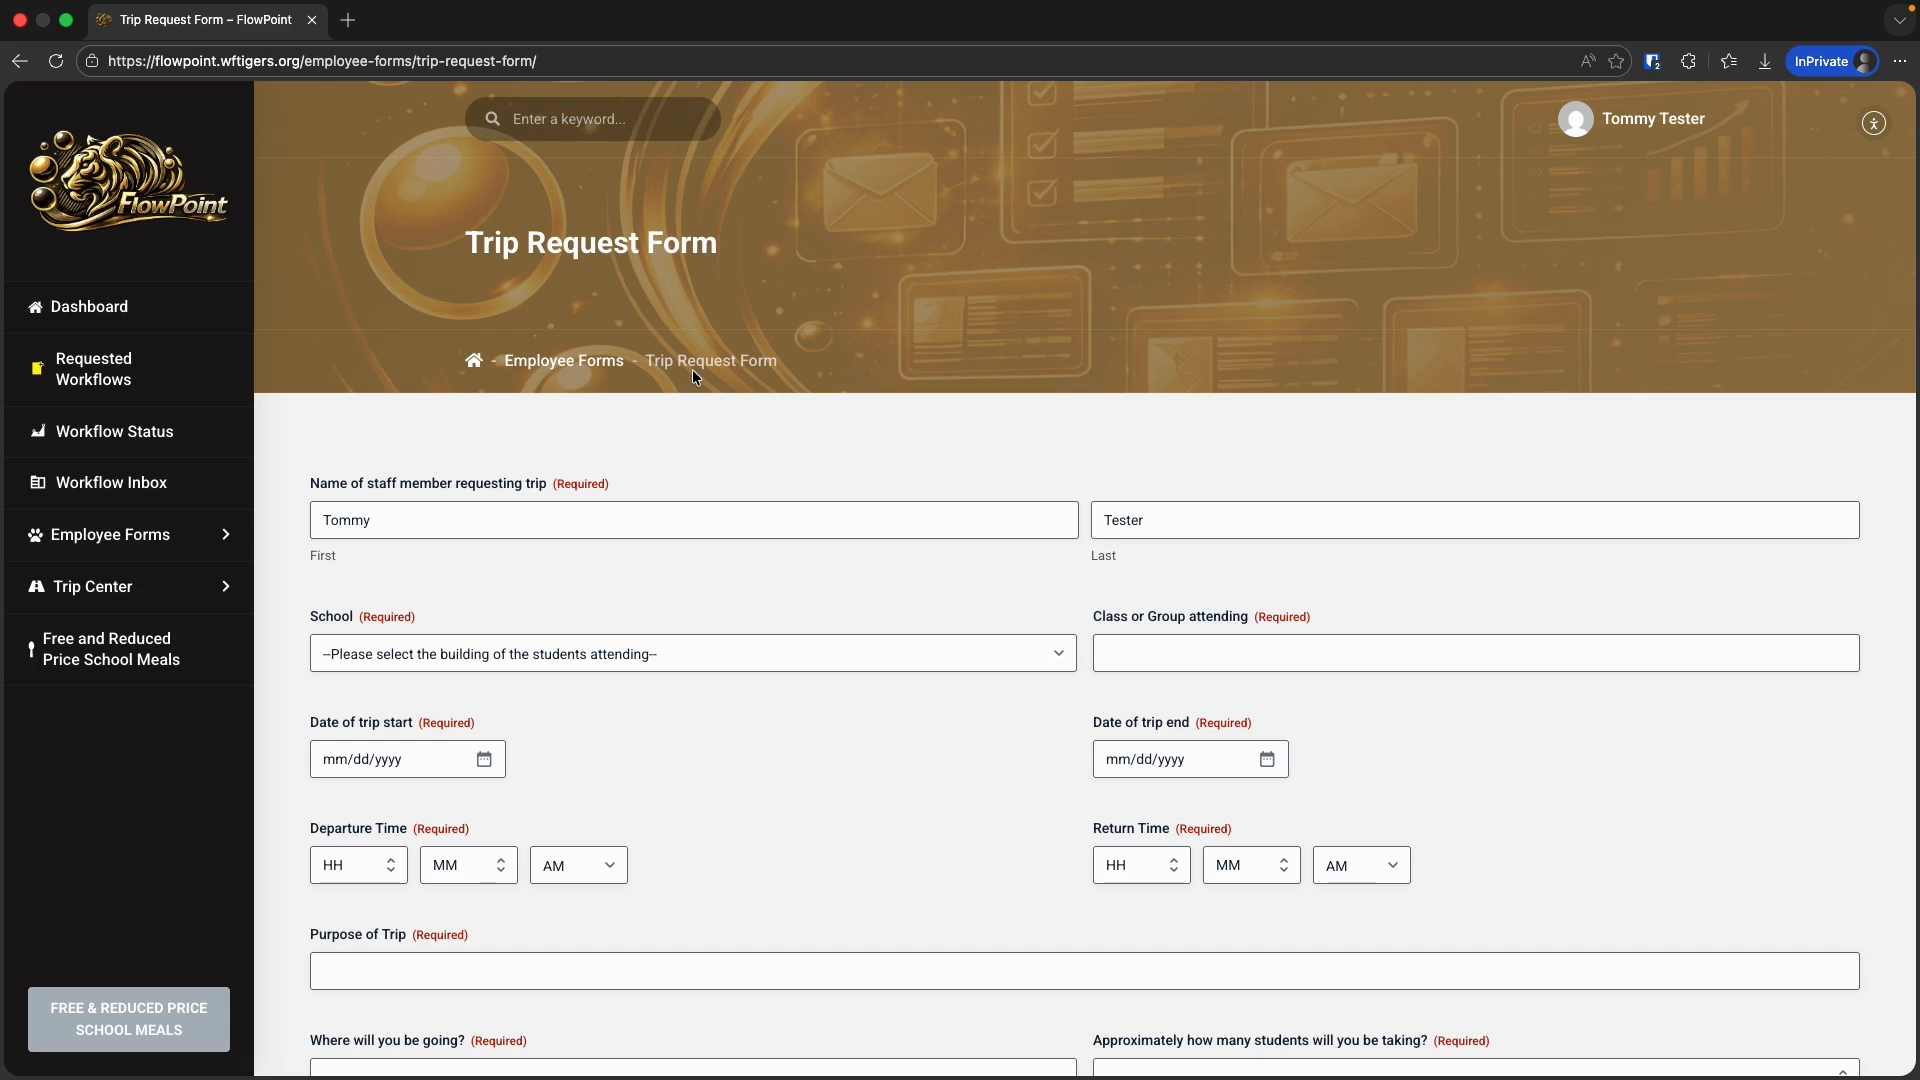
Simple enough, just like any other form you have filled out before. Scroll to the top of the page to see the breadcrumb menu. This is a quick way to navigate between pages. I don't use it often, but you might. I’ll click the employee forms link to open the employee forms landing page.
I don't usually use this unless there are multiple levels of nested pages, but it is an option. In the sidebar menu, you will see Trip Center. This menu is designed for a specific workflow and its related tools.
As workflows become more complex over time, you may see more of this type of menu. There is specific training for the trip request workflow and the trip center. I will leave that for now.
Be aware that more workflow-specific menu items may be added in the future. FlowPoint is also used for public-facing workflows, such as the free and reduced meals application, employment opportunities, and the Christmas benevolence program. In many cases, these menu items appear because you may need access to them, even as an authenticated district employee. There is no harm in visiting any link available in the menu. Feel free to click around without worry. Here are the basics of how FlowPoint is organized and how to navigate it.