
Getting Started with TutorLMS: A Beginner’s Guide for Companion Paws Courses
This overview covers what TutorLMS is and how to navigate the plugin on WordPress to build and manage Companion Paws Courses.
In this guide, you'll get an overview on what TutorLMS is and how to use it within WordPress to build and manage online courses for Companion Paws. You will see the sections used to create and organize course content, enroll students, and track their progress using reports and the grade book.
We will also cover how to preview courses as both an admin and a student, so you can understand the different views and ensure your course is set up correctly.
Let's get started
Hello, and welcome to this tutorial. This guide will help you get started with TutorLMS, the platform Companion Paws uses for its online courses. By the end of this series, you will know how to build and edit courses, manage student enrollments, and track progress using reports.
TutorLMS is a plugin for WordPress that transforms your website into a learning management system. It manages all aspects of courses: creating them, organizing content, enrolling students, tracking completion, and generating reports.
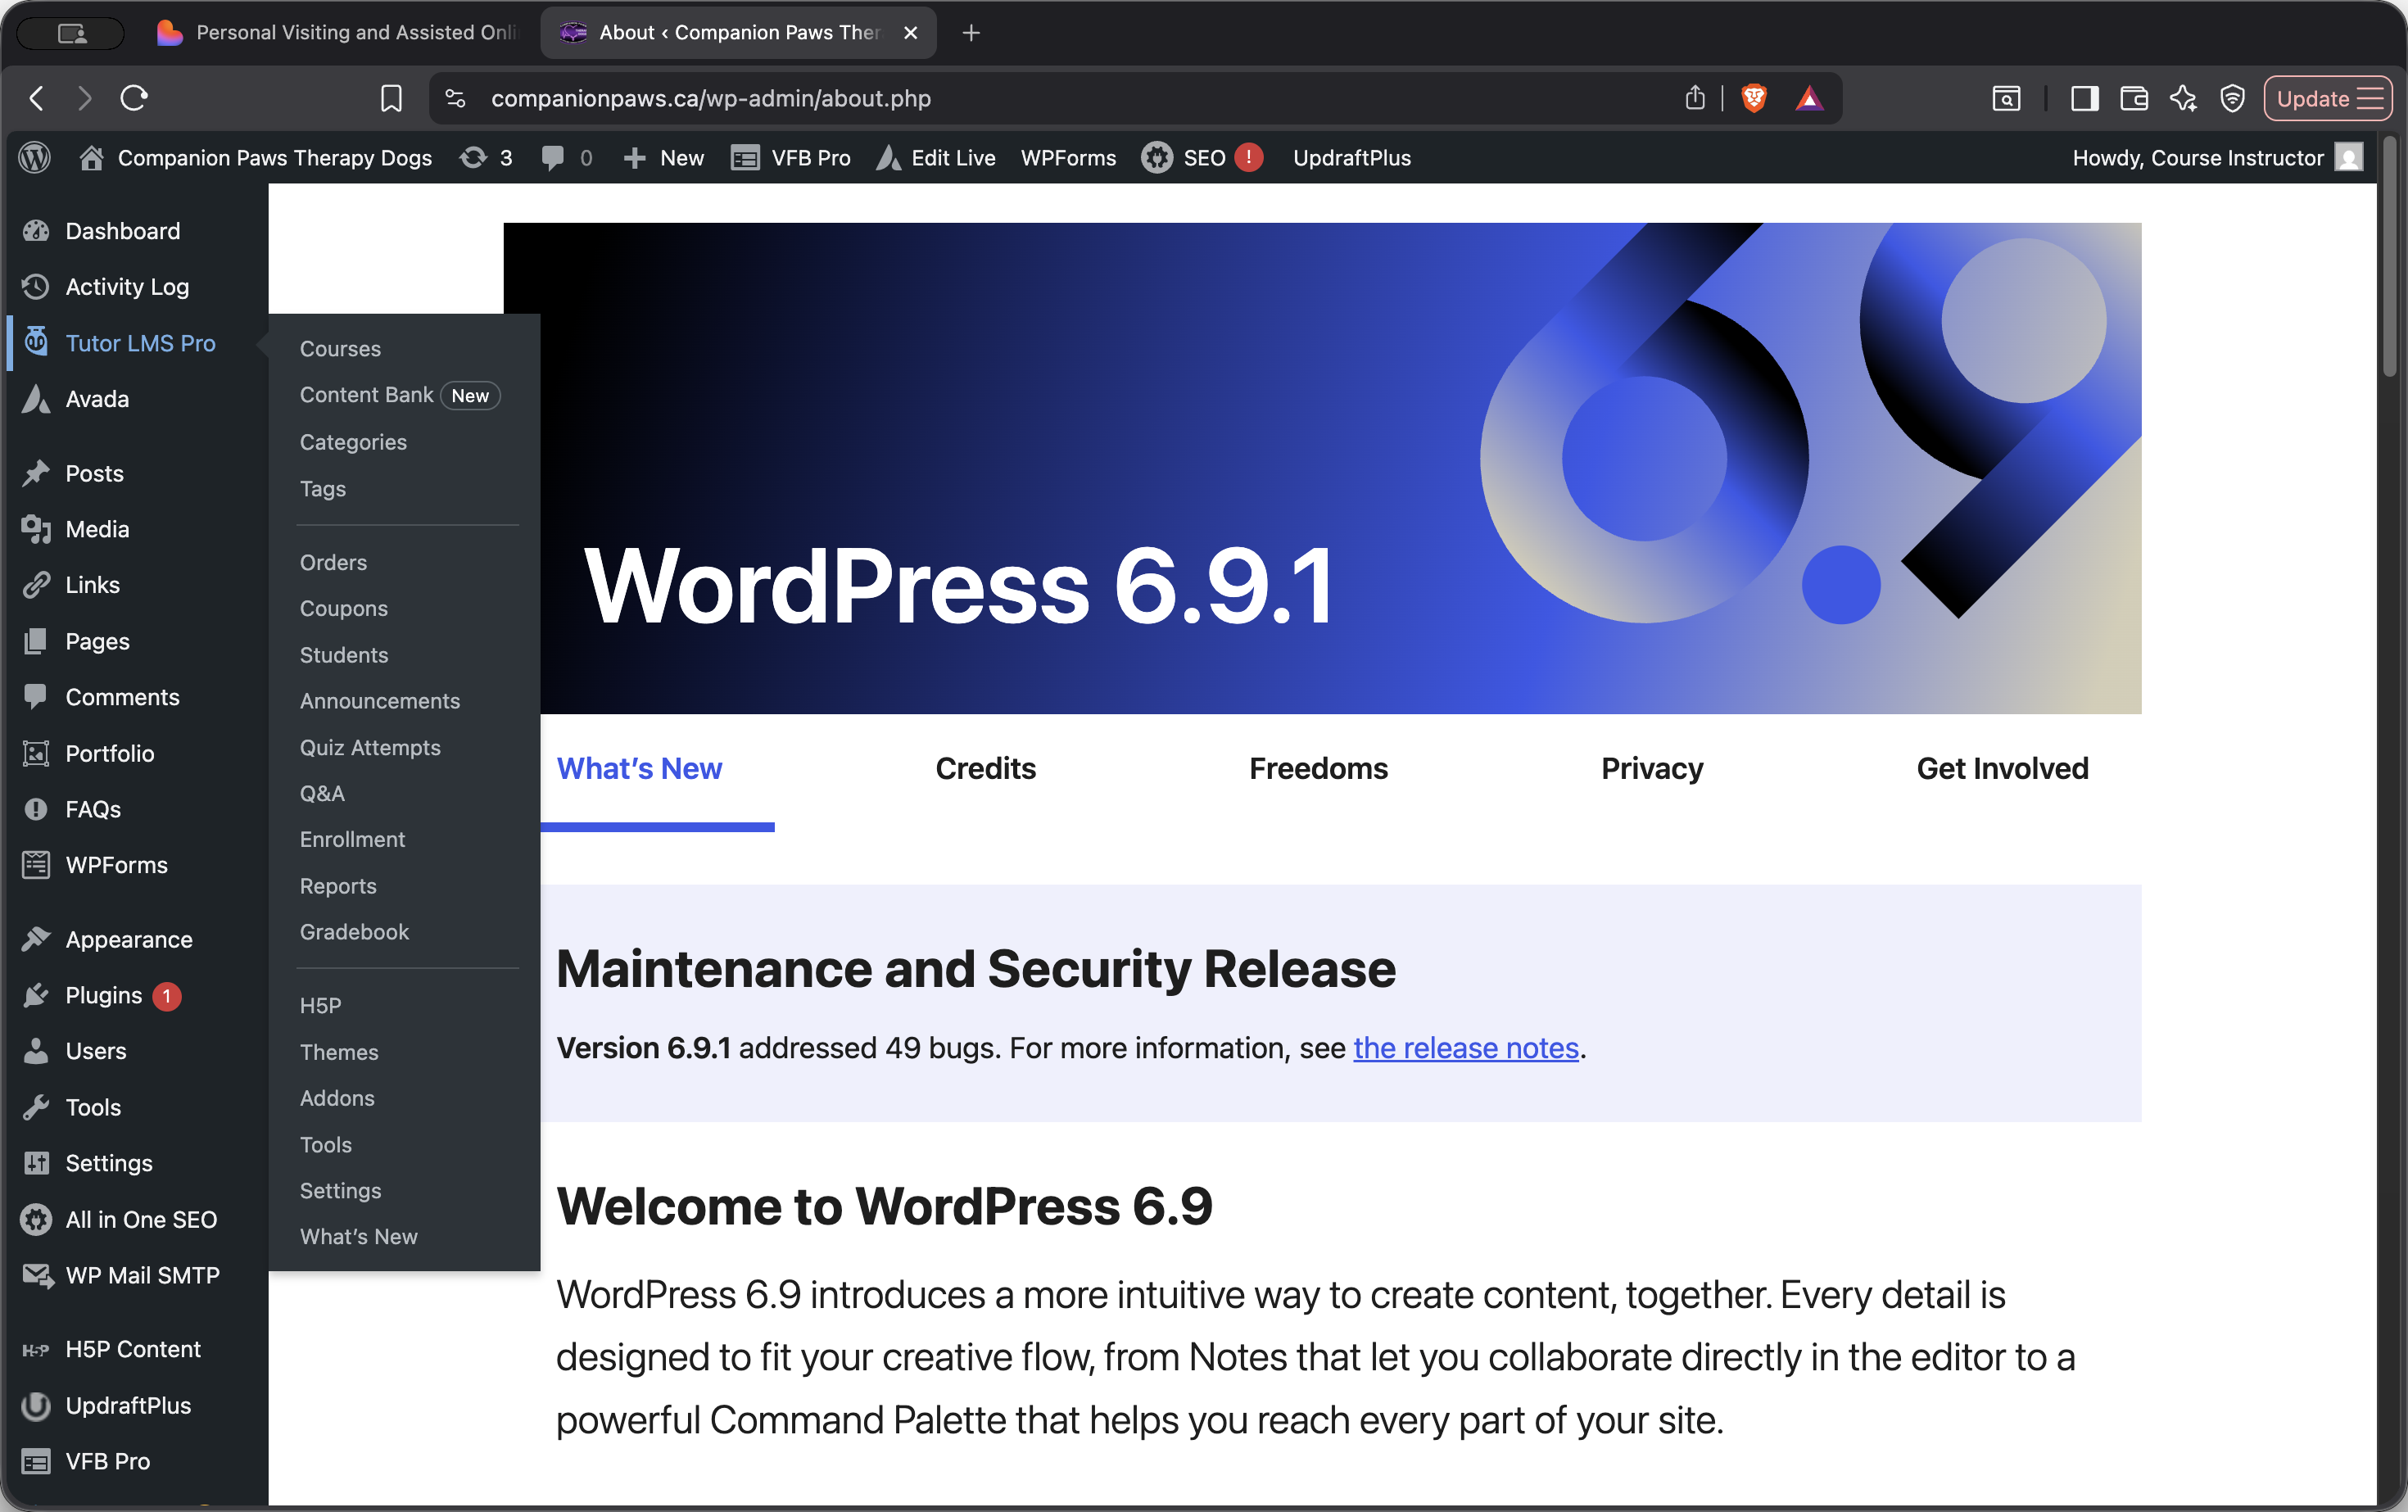
First, log into the WordPress dashboard. Then, find TutorLMS in the left-hand menu. Once you click on this, you will see the main sections you will be working in.
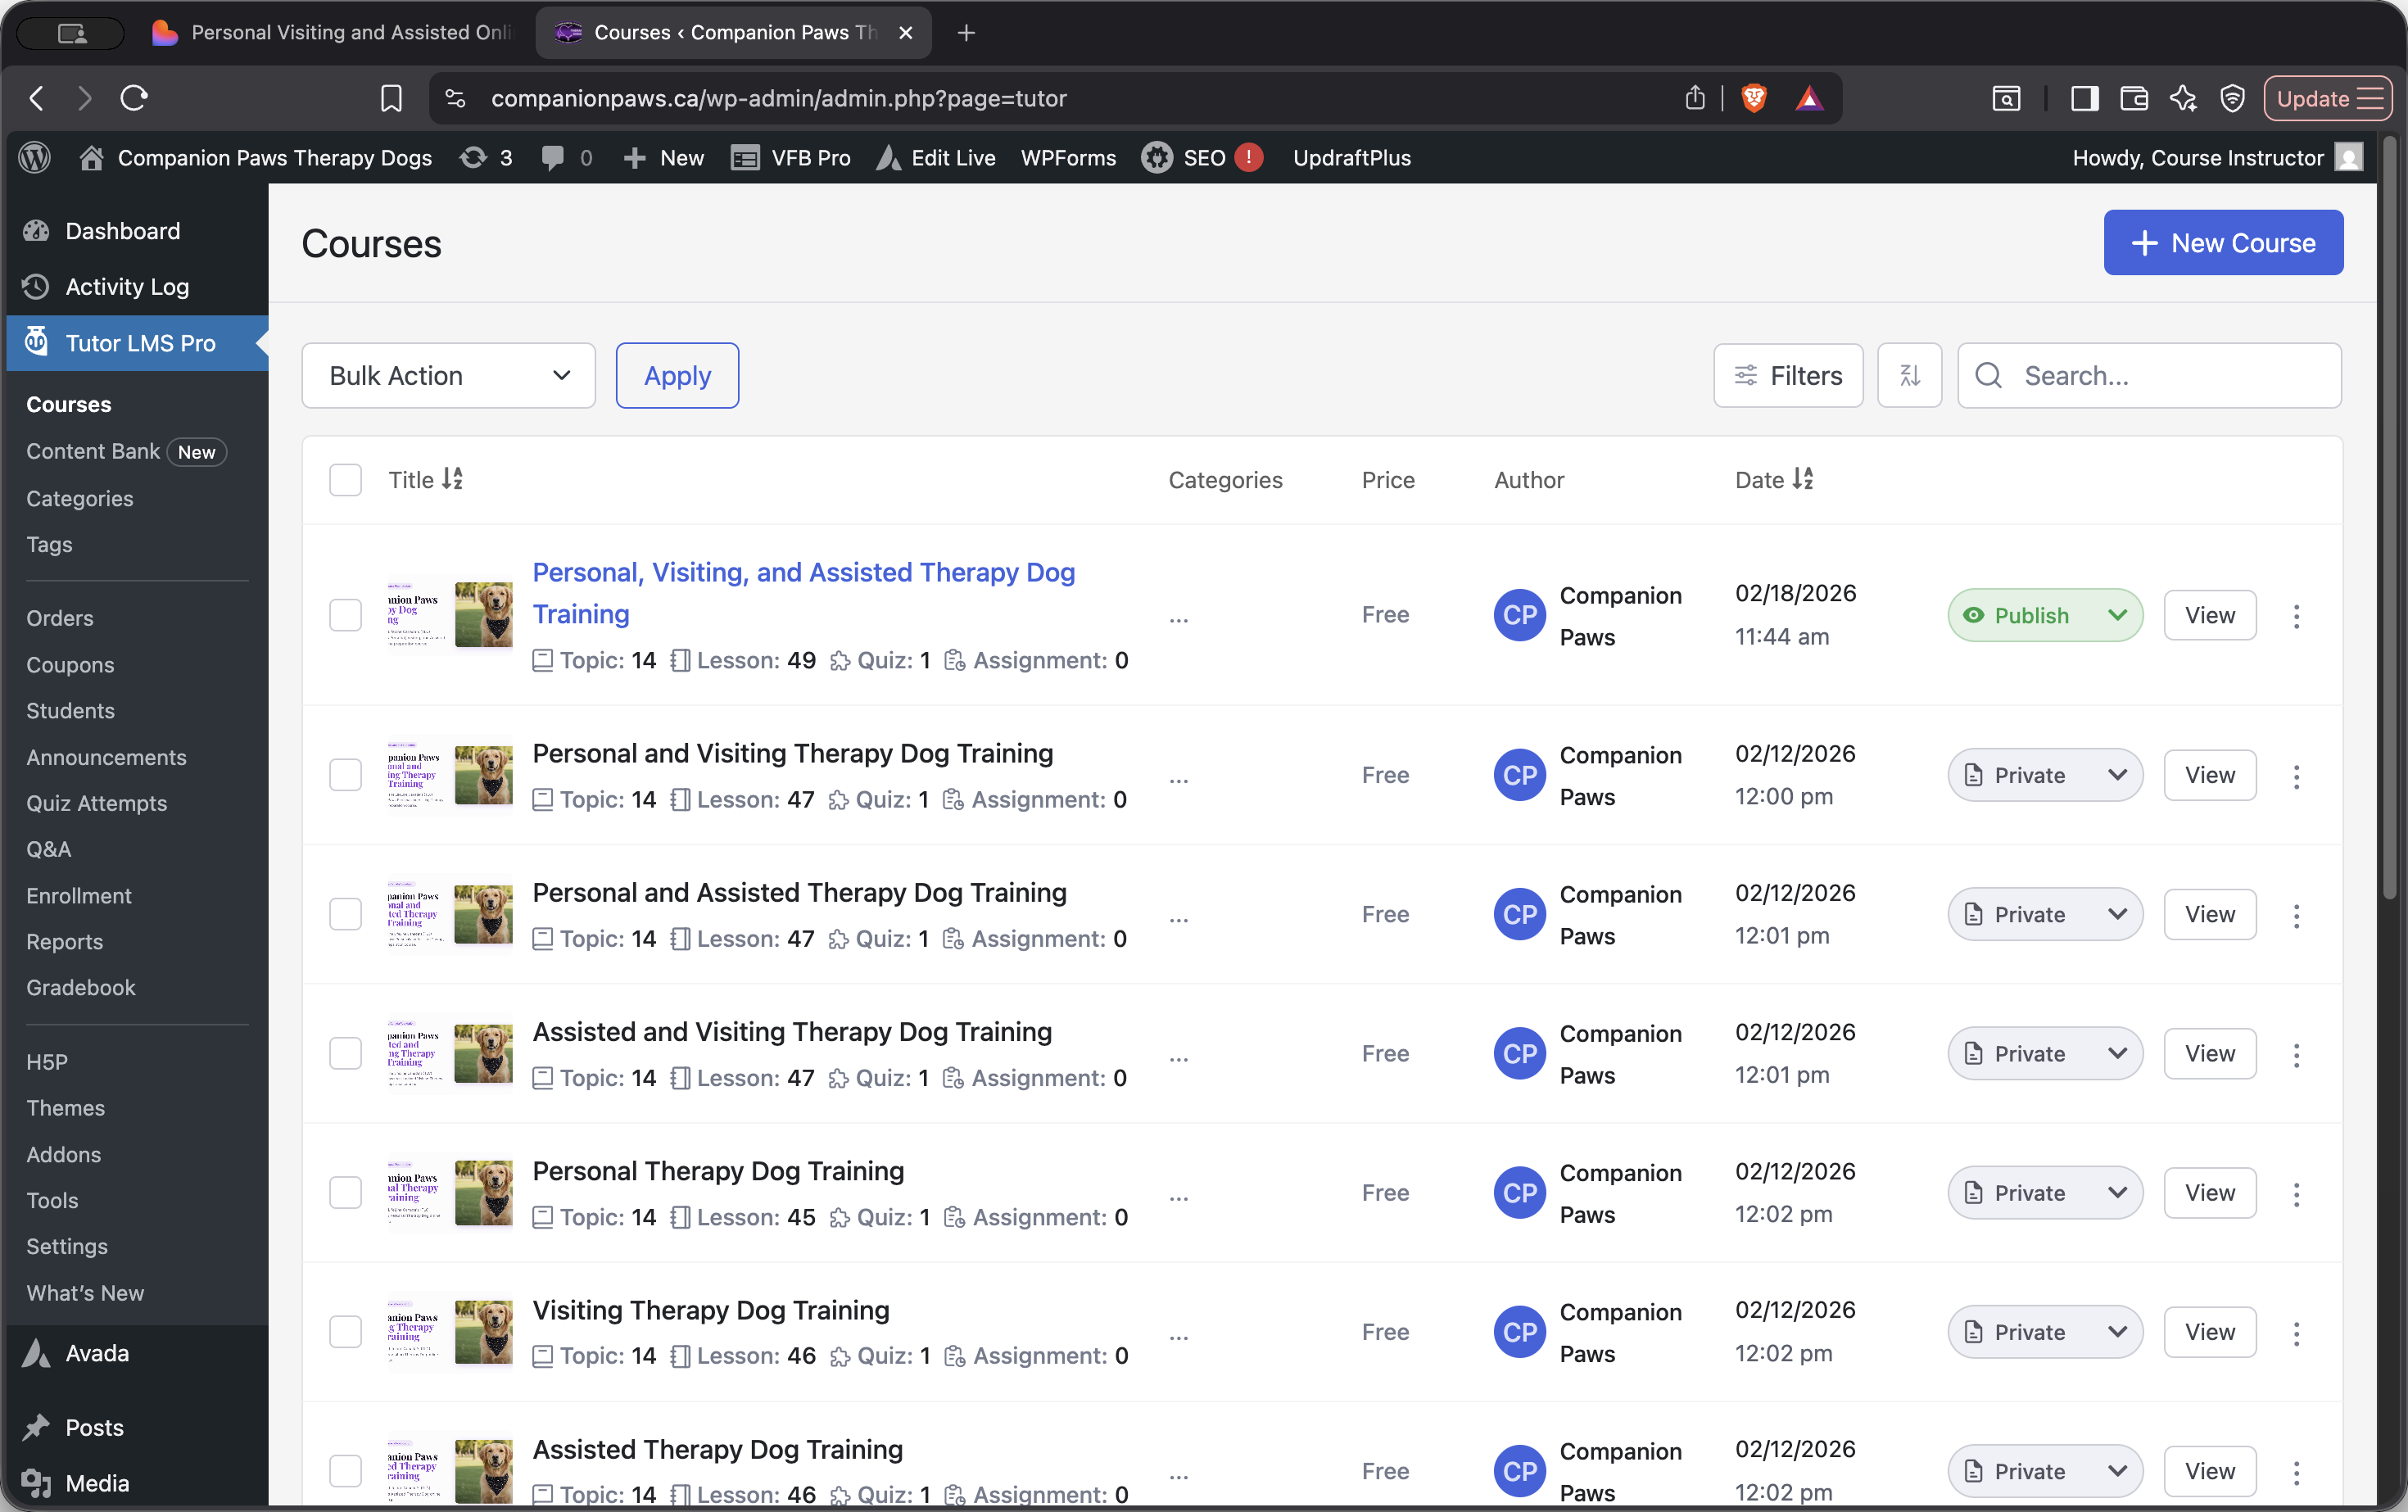
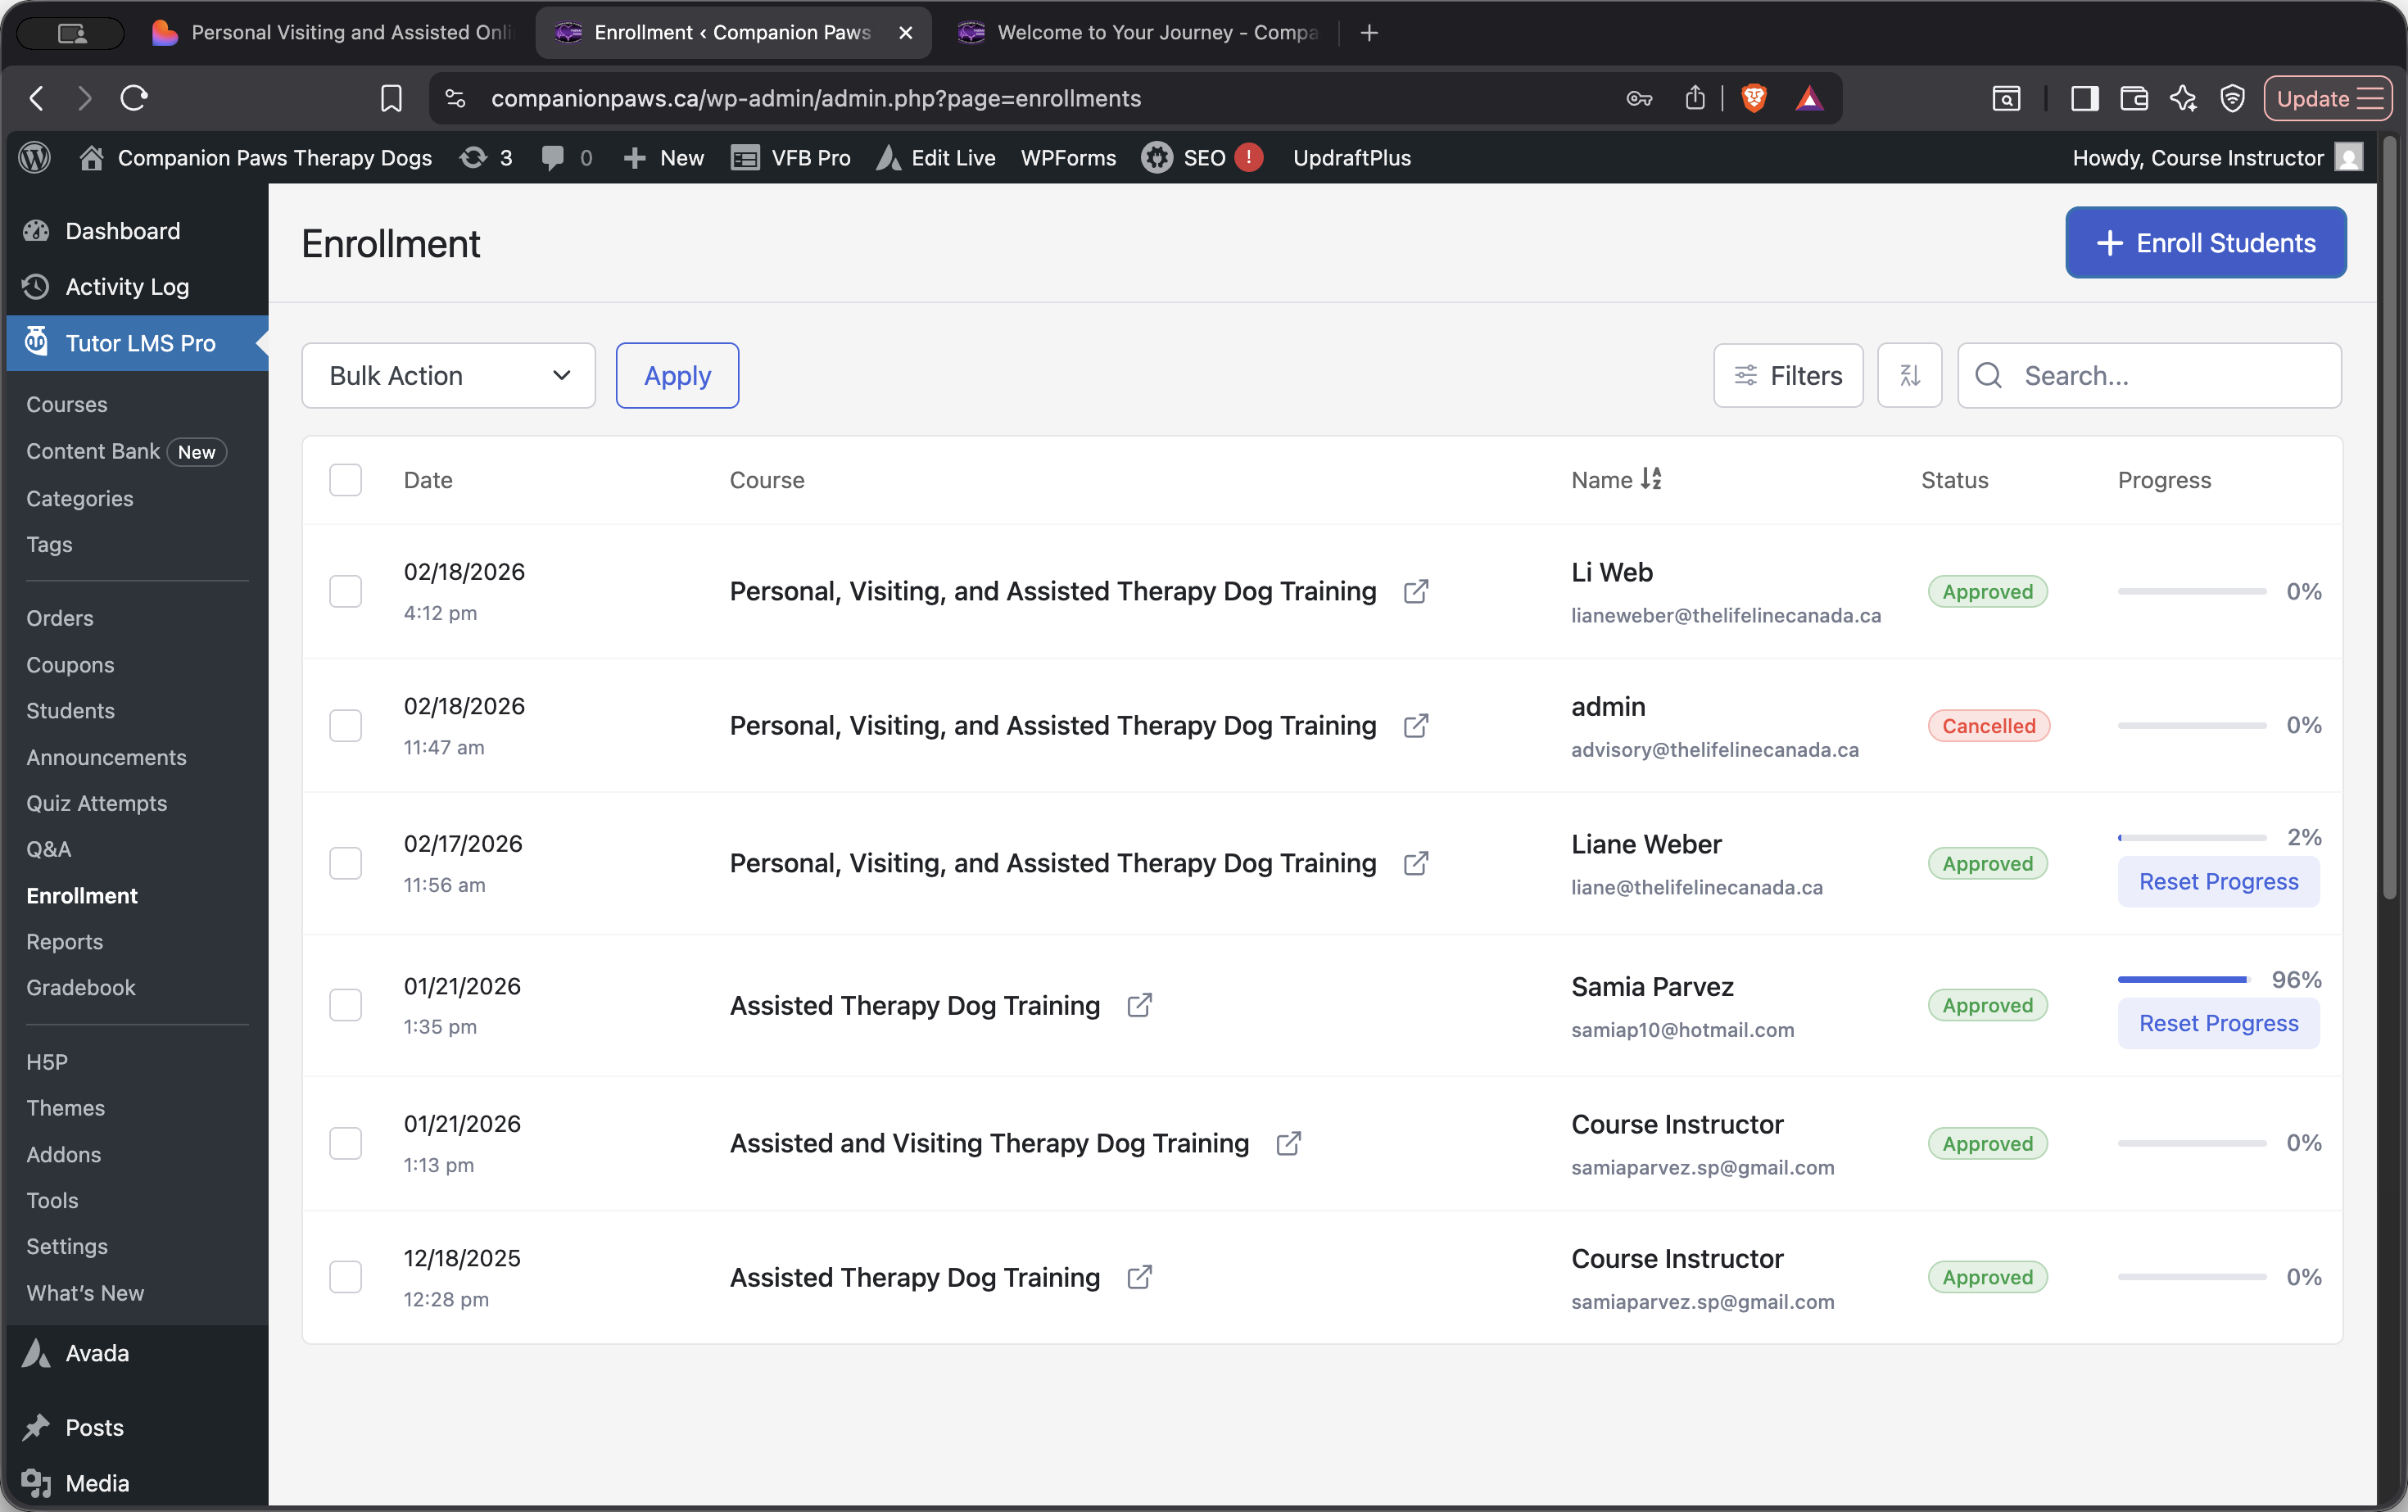
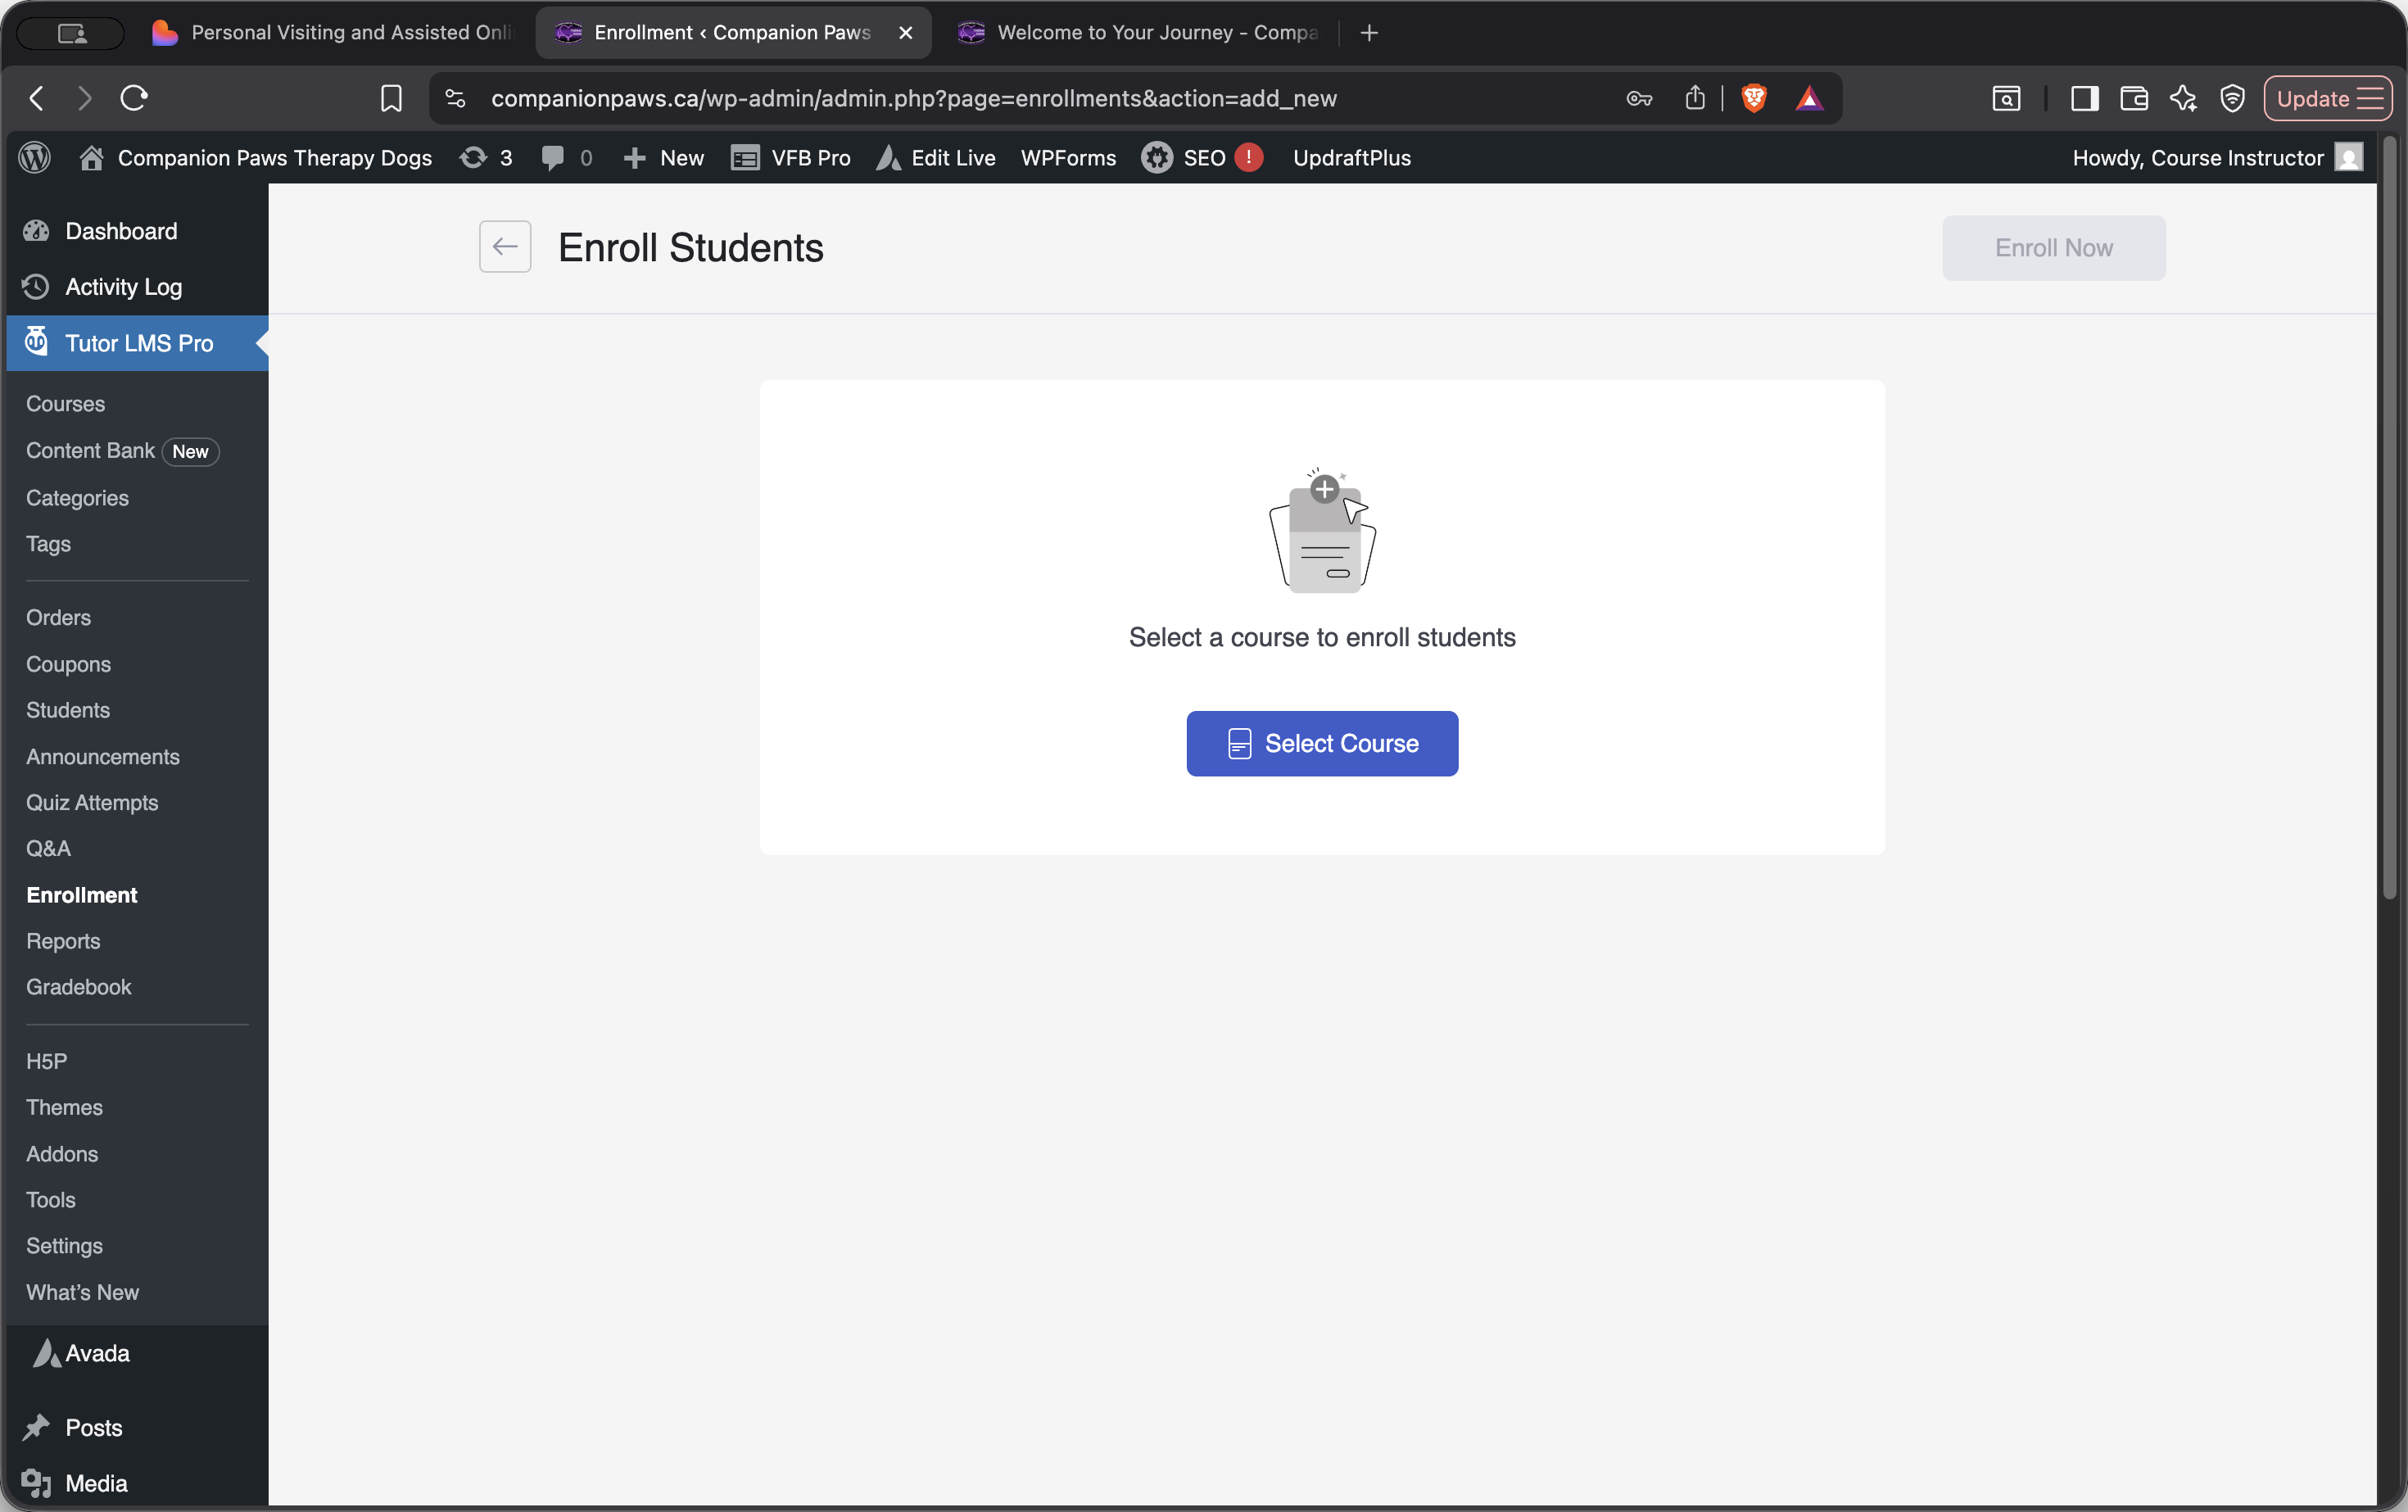
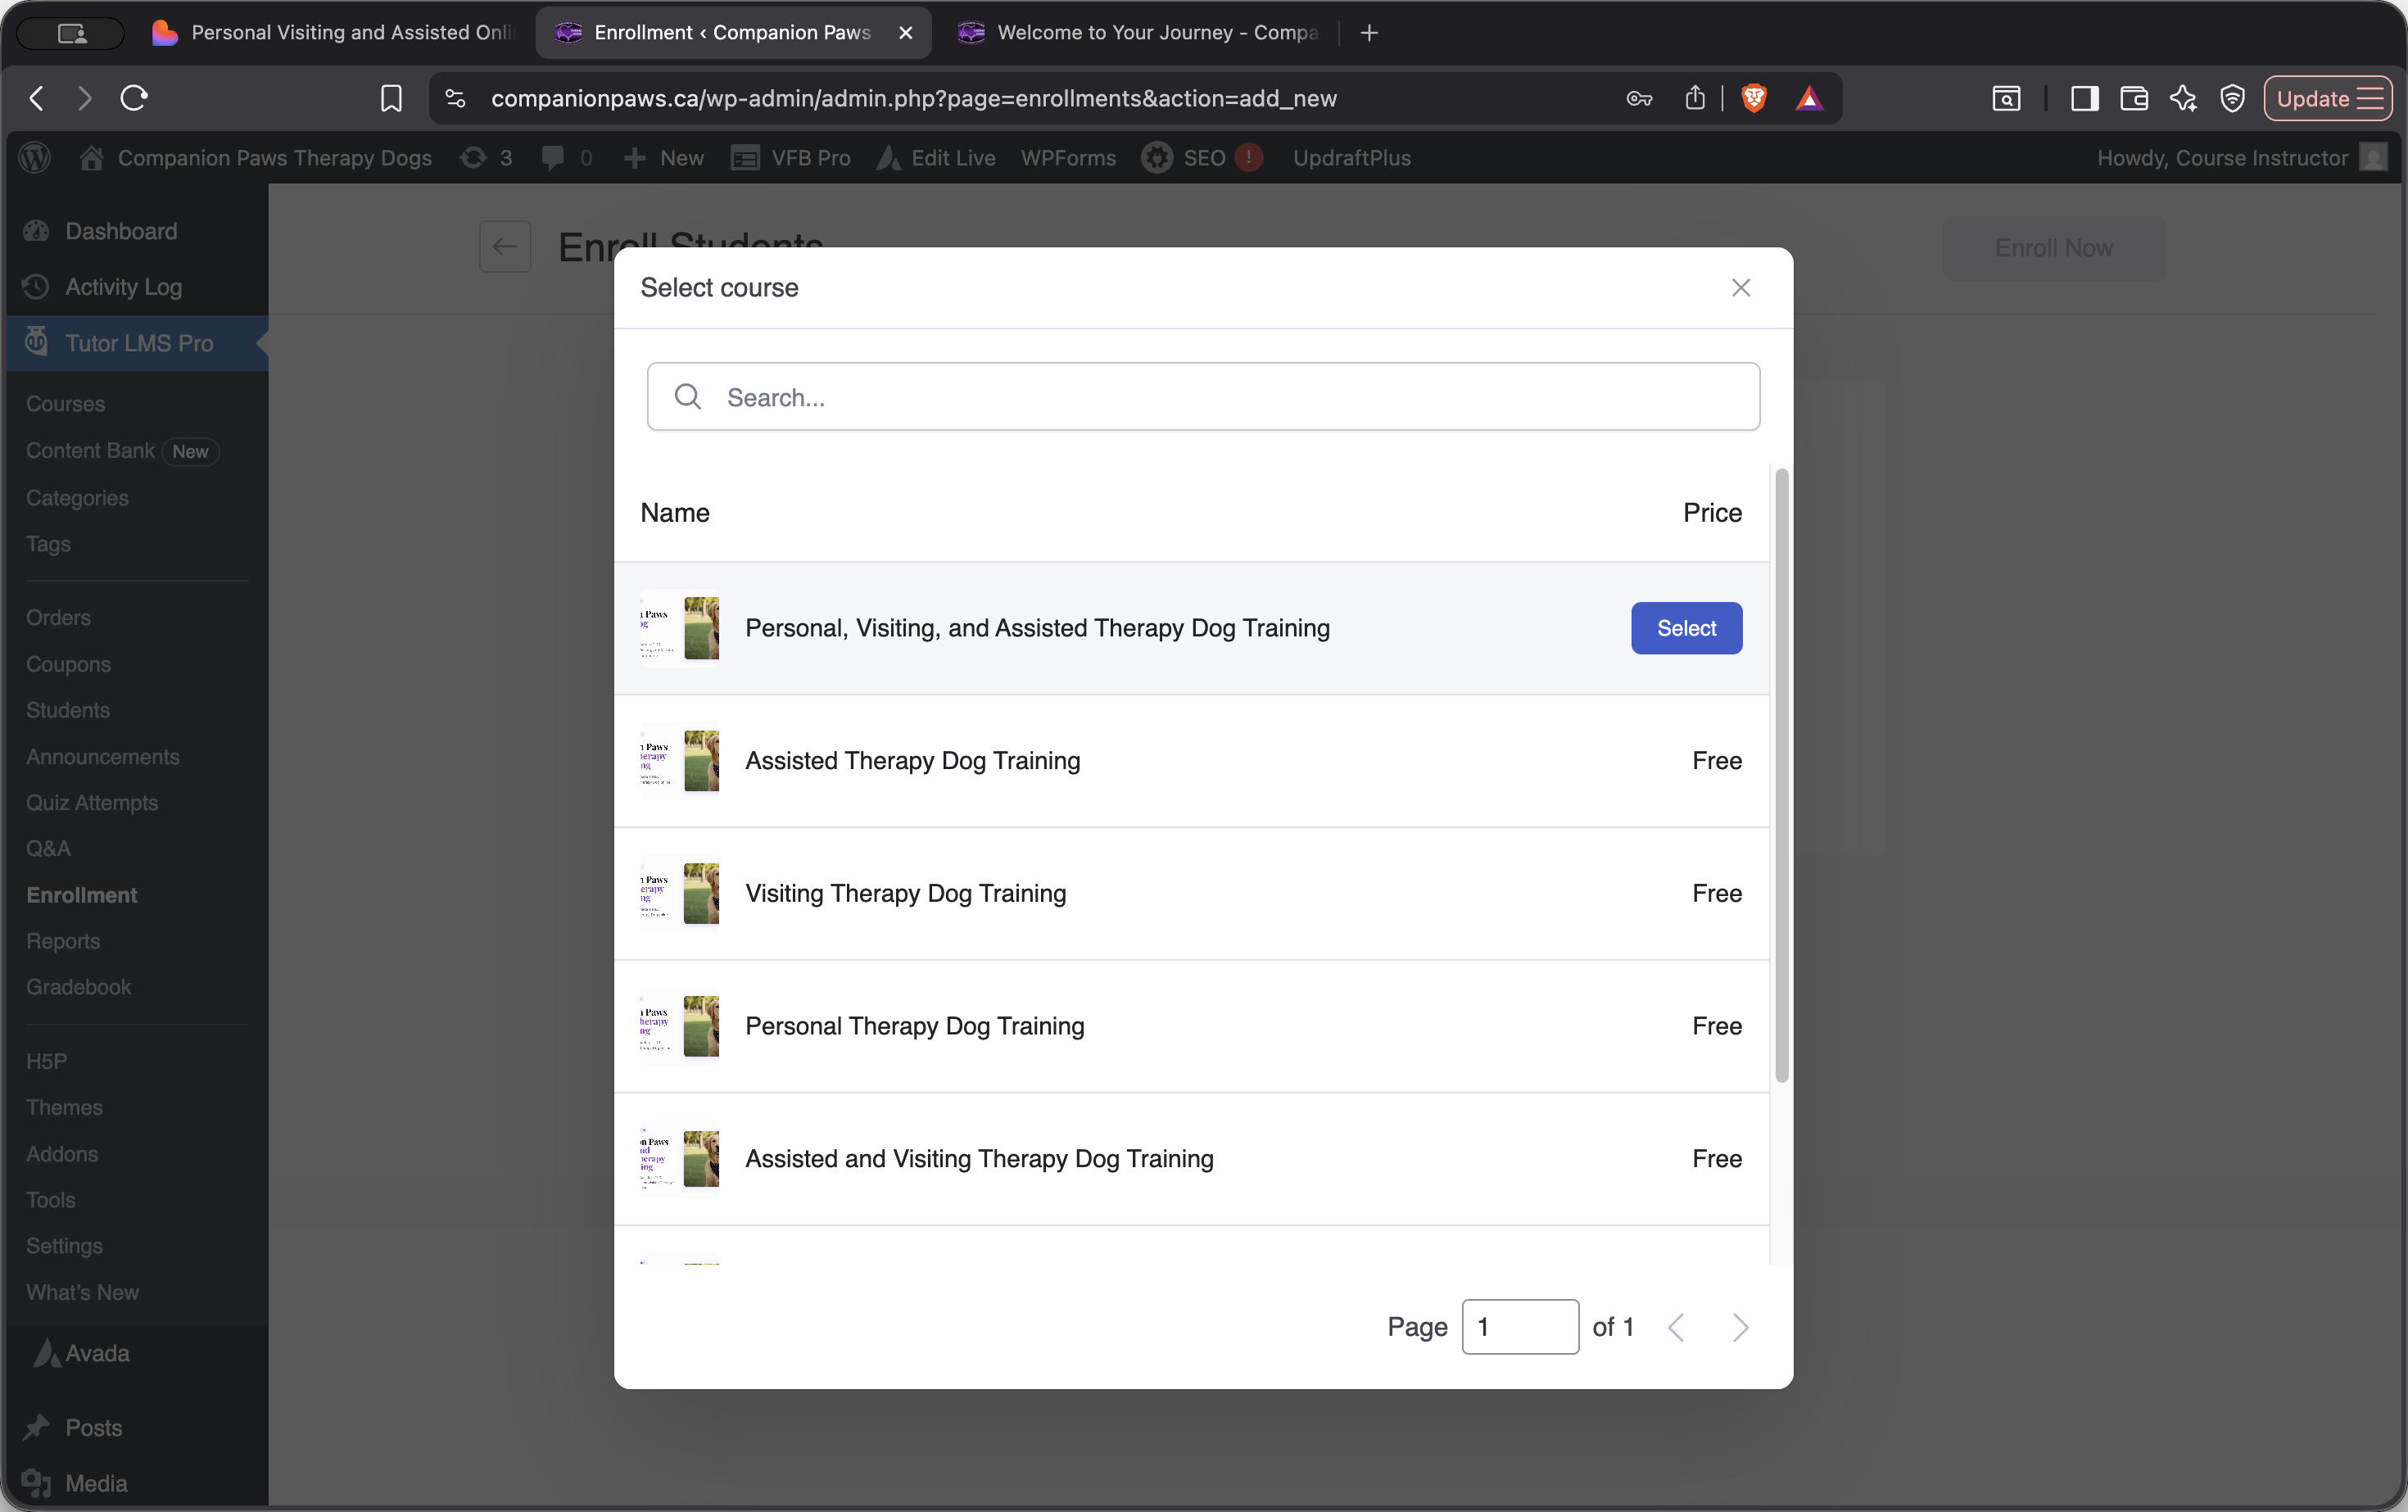
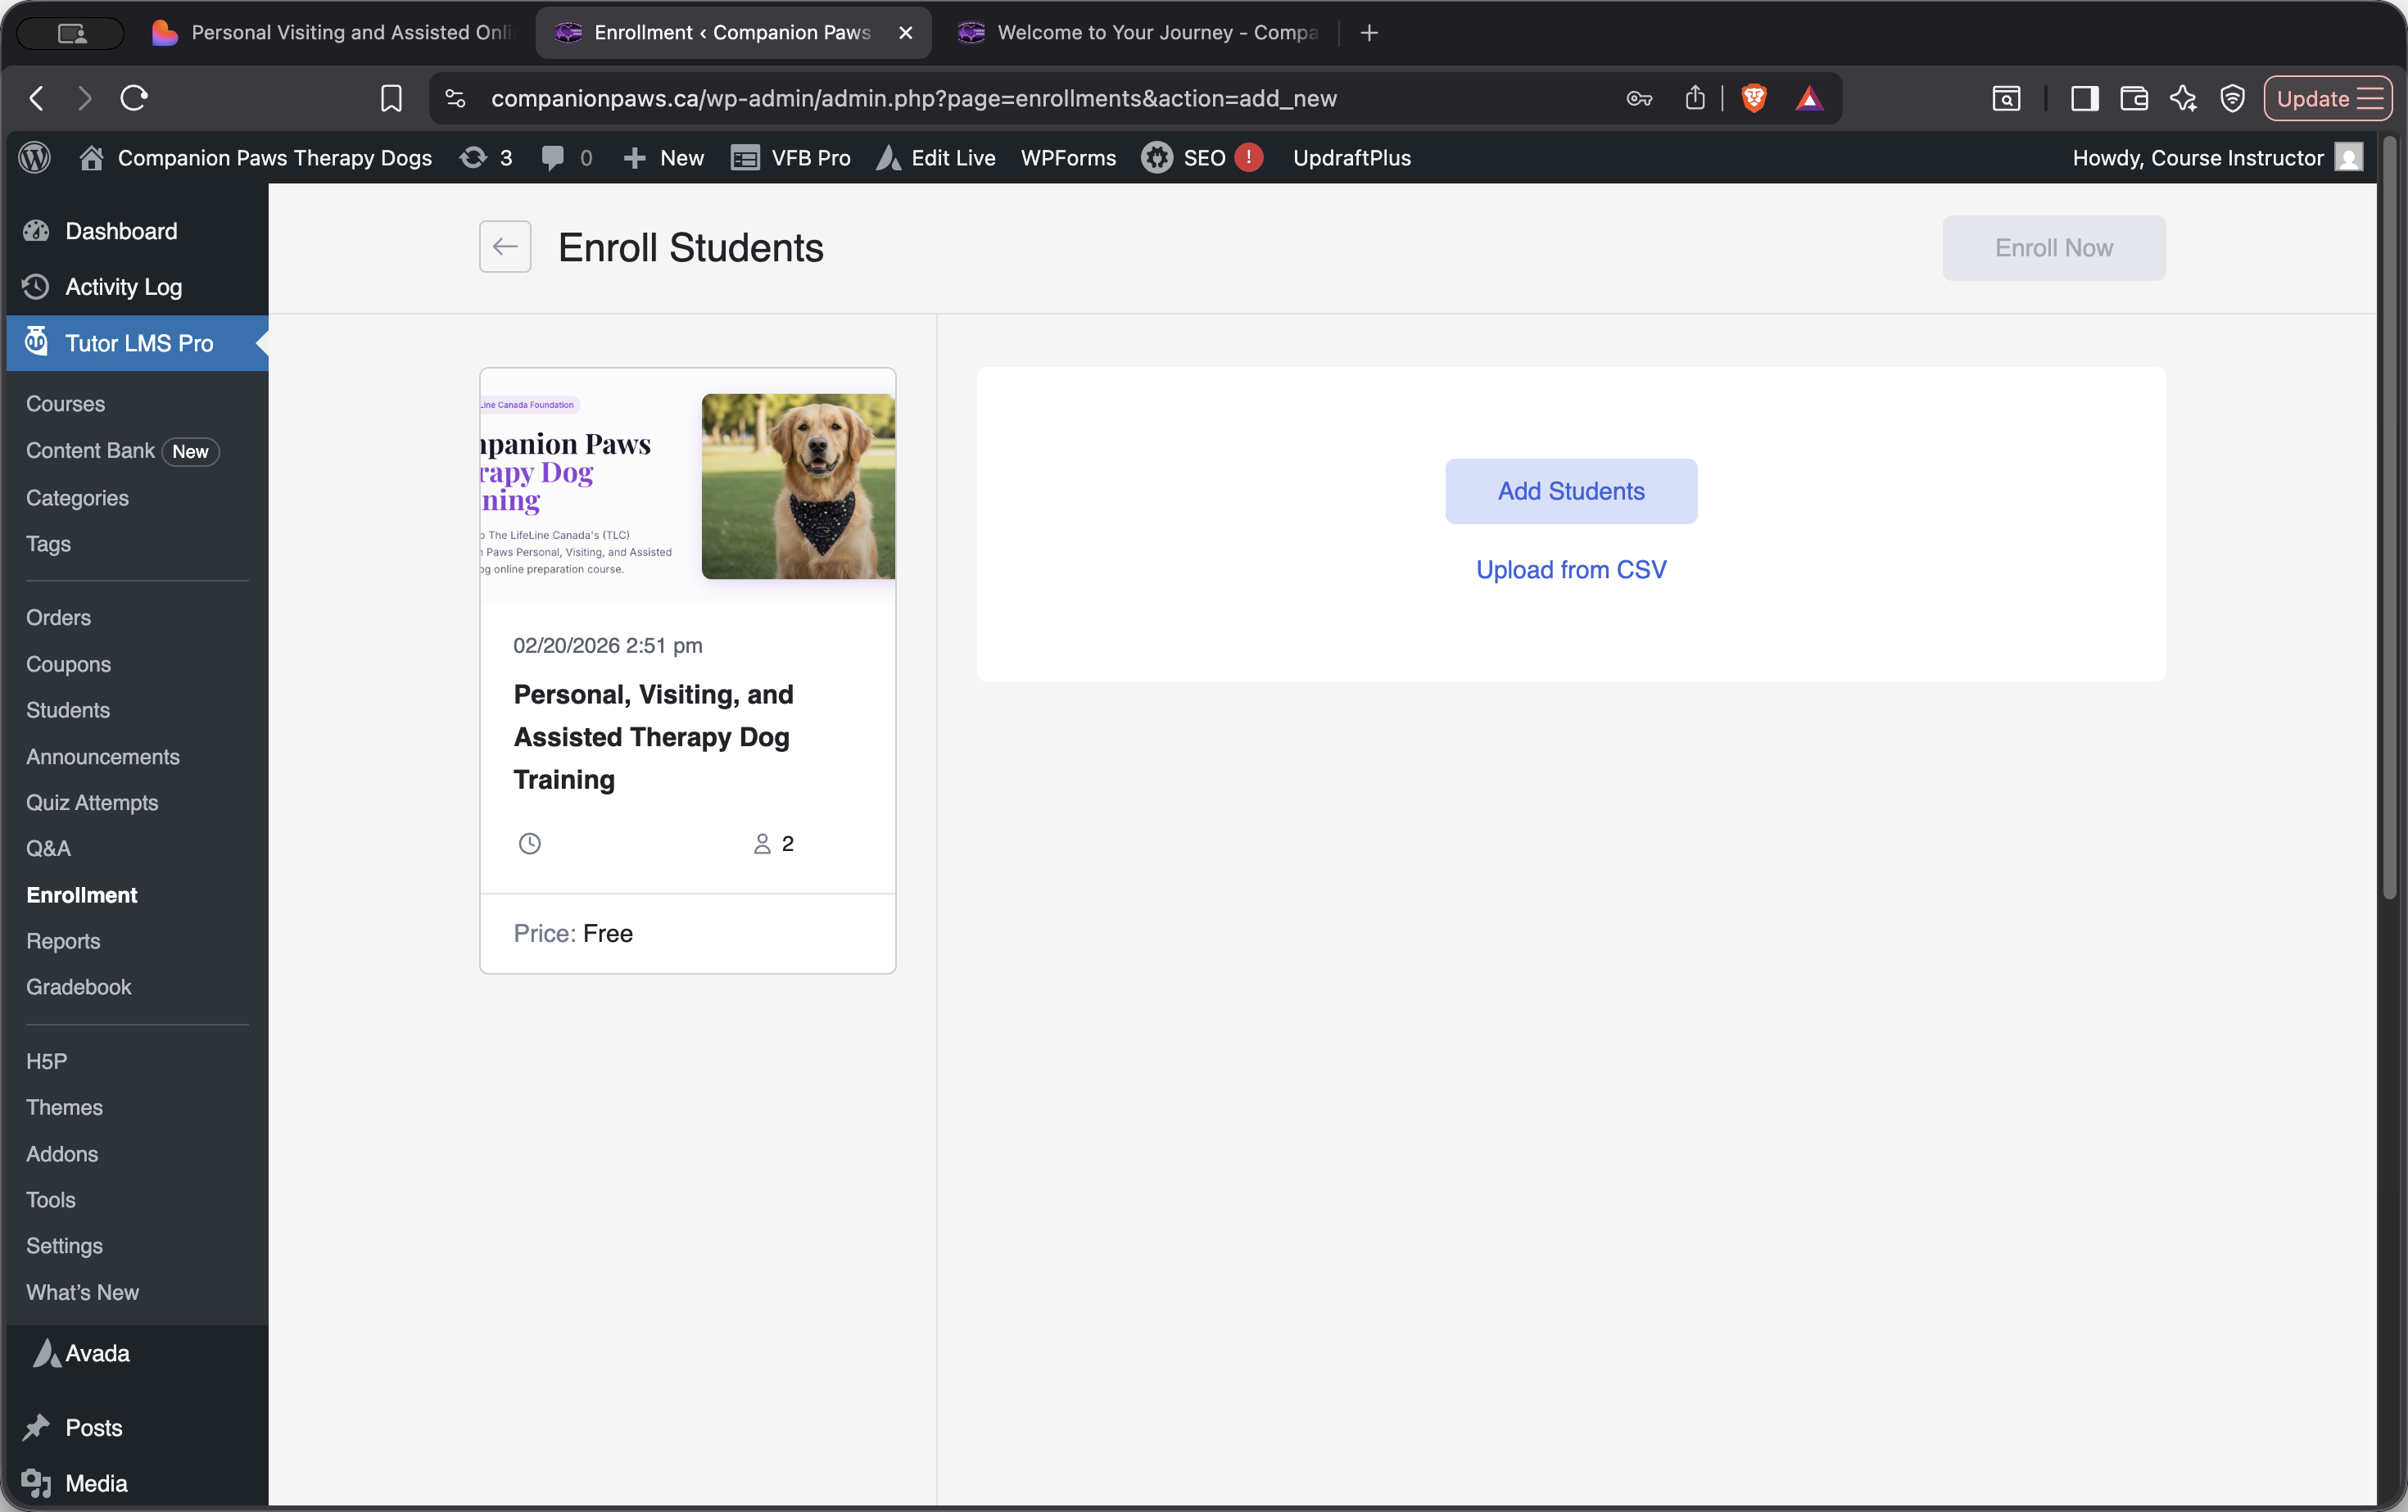
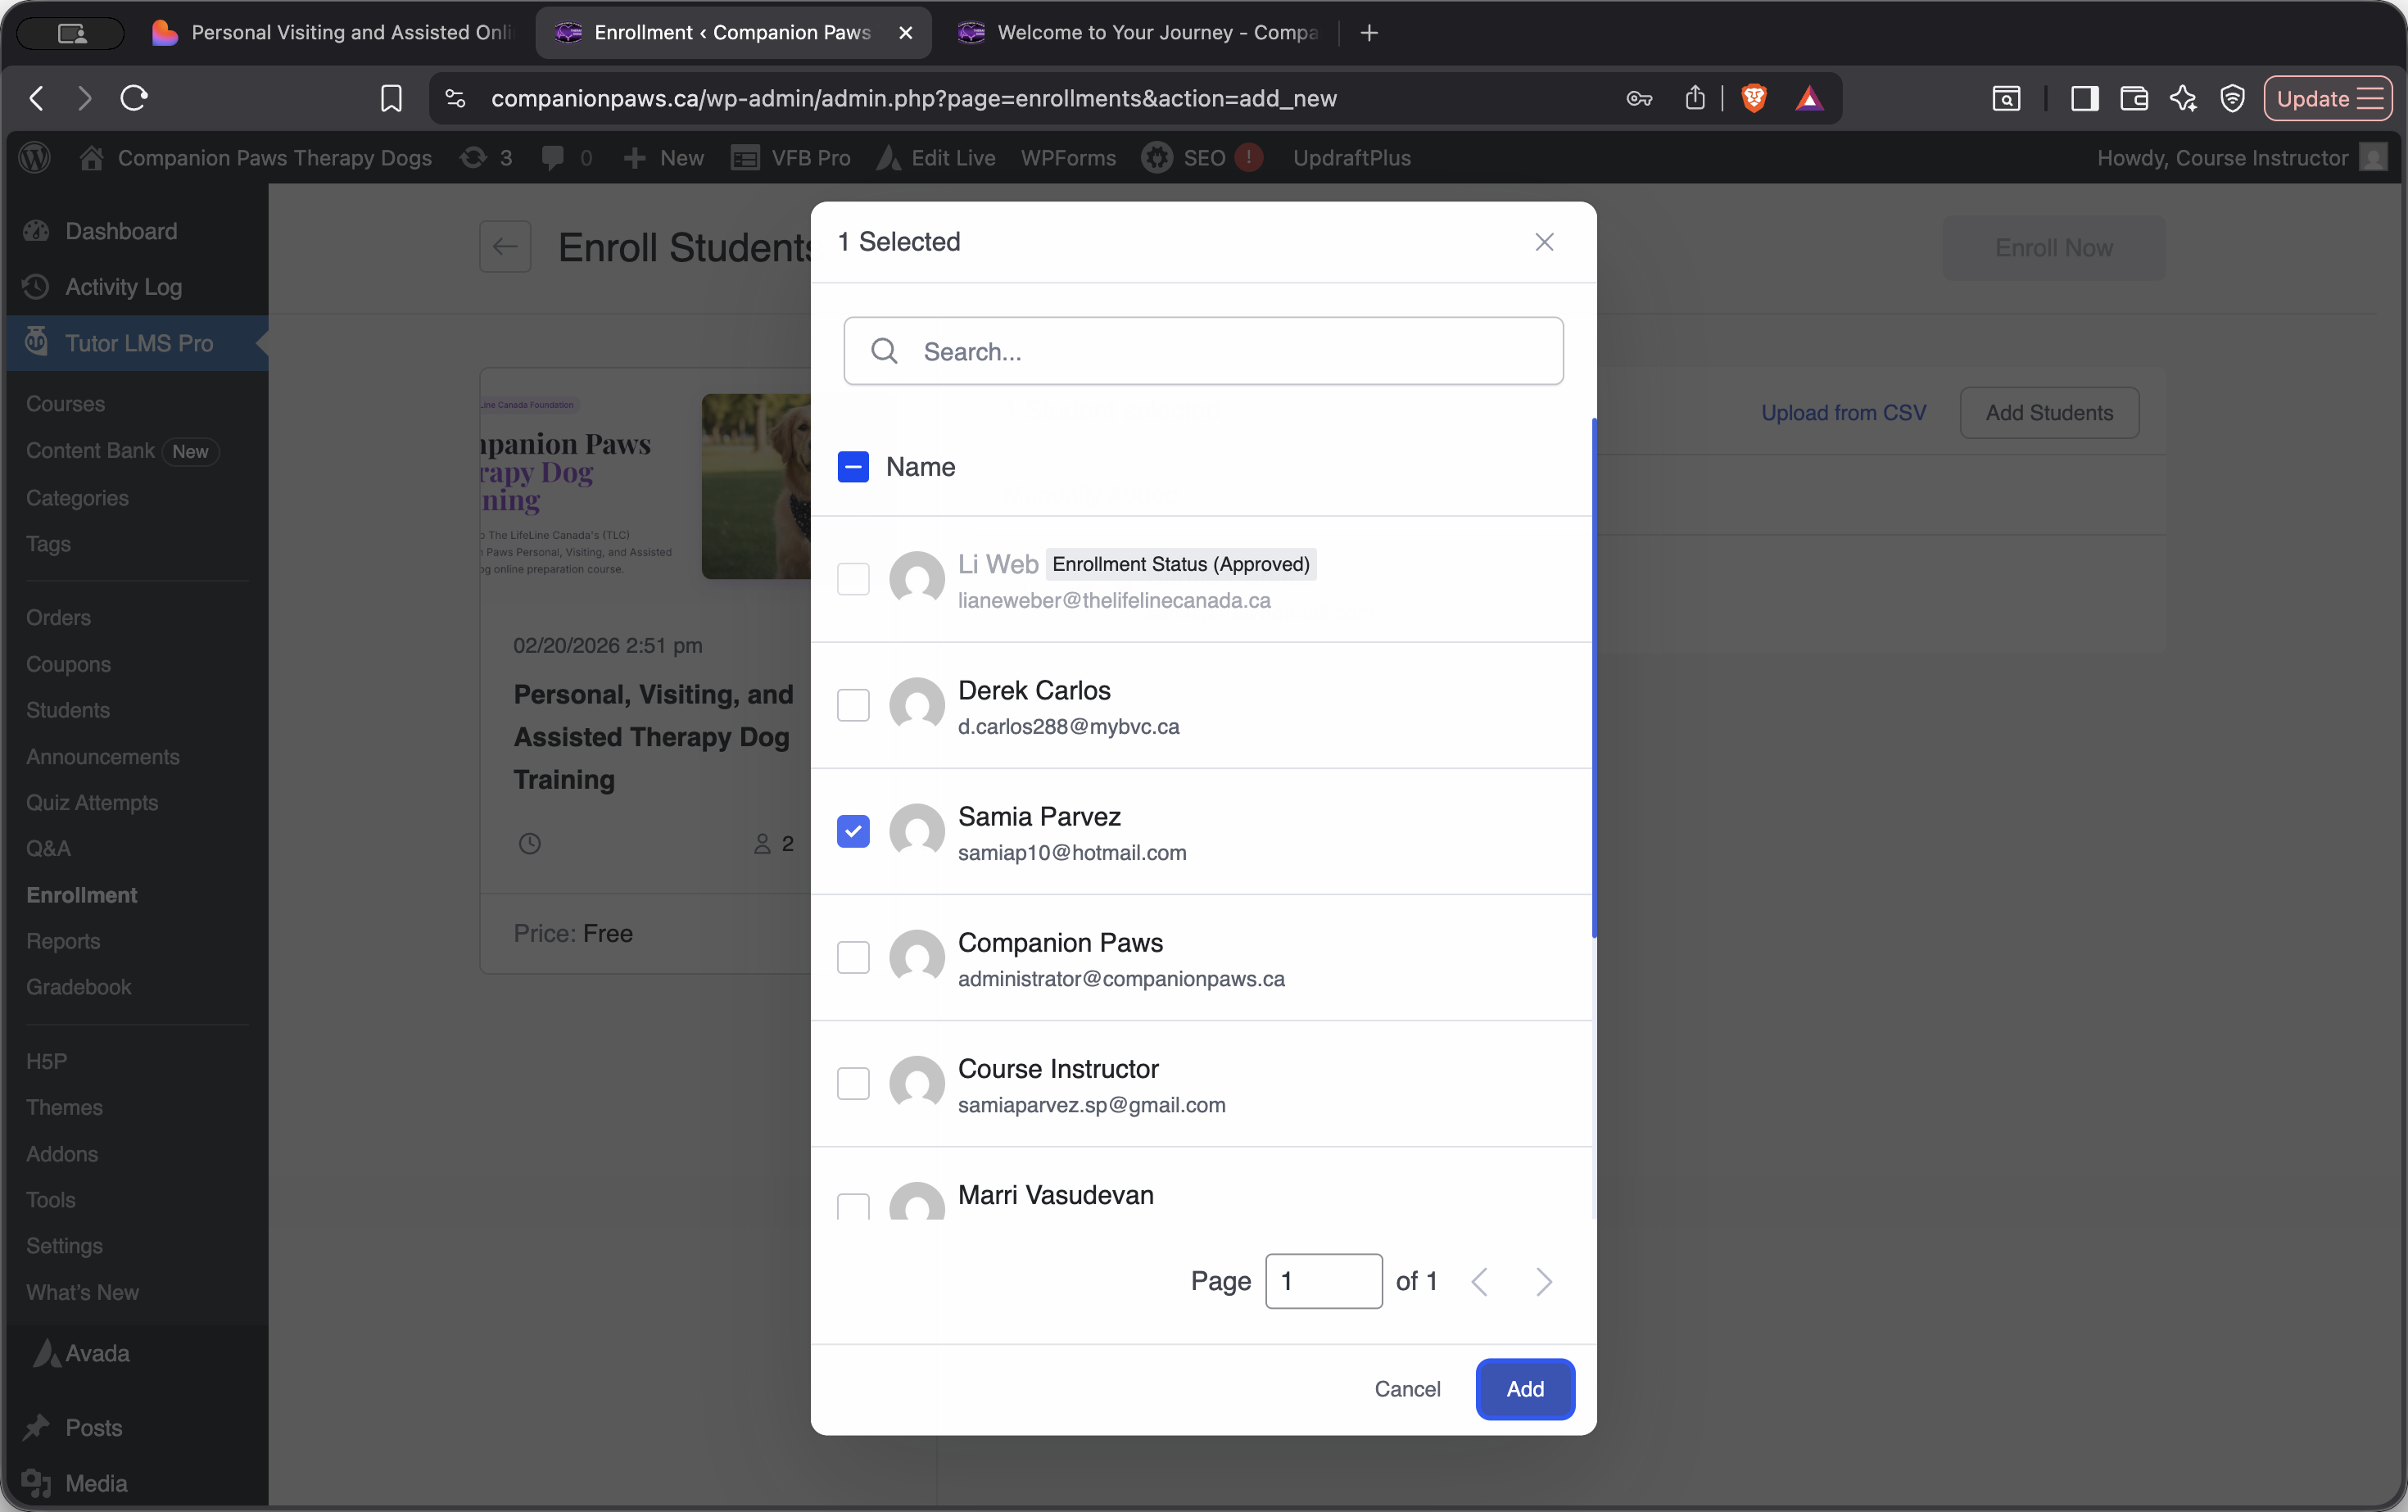
Courses is where you create new courses or edit existing ones. Students is where you can see who is currently enrolled in the course. Enrollment is where you can add new students. Reports and Gradebook show how students are performing. Settings is where you configure email notifications, permissions, and general content design.
Before we continue, it's important to understand how TutorLMS organizes course content.
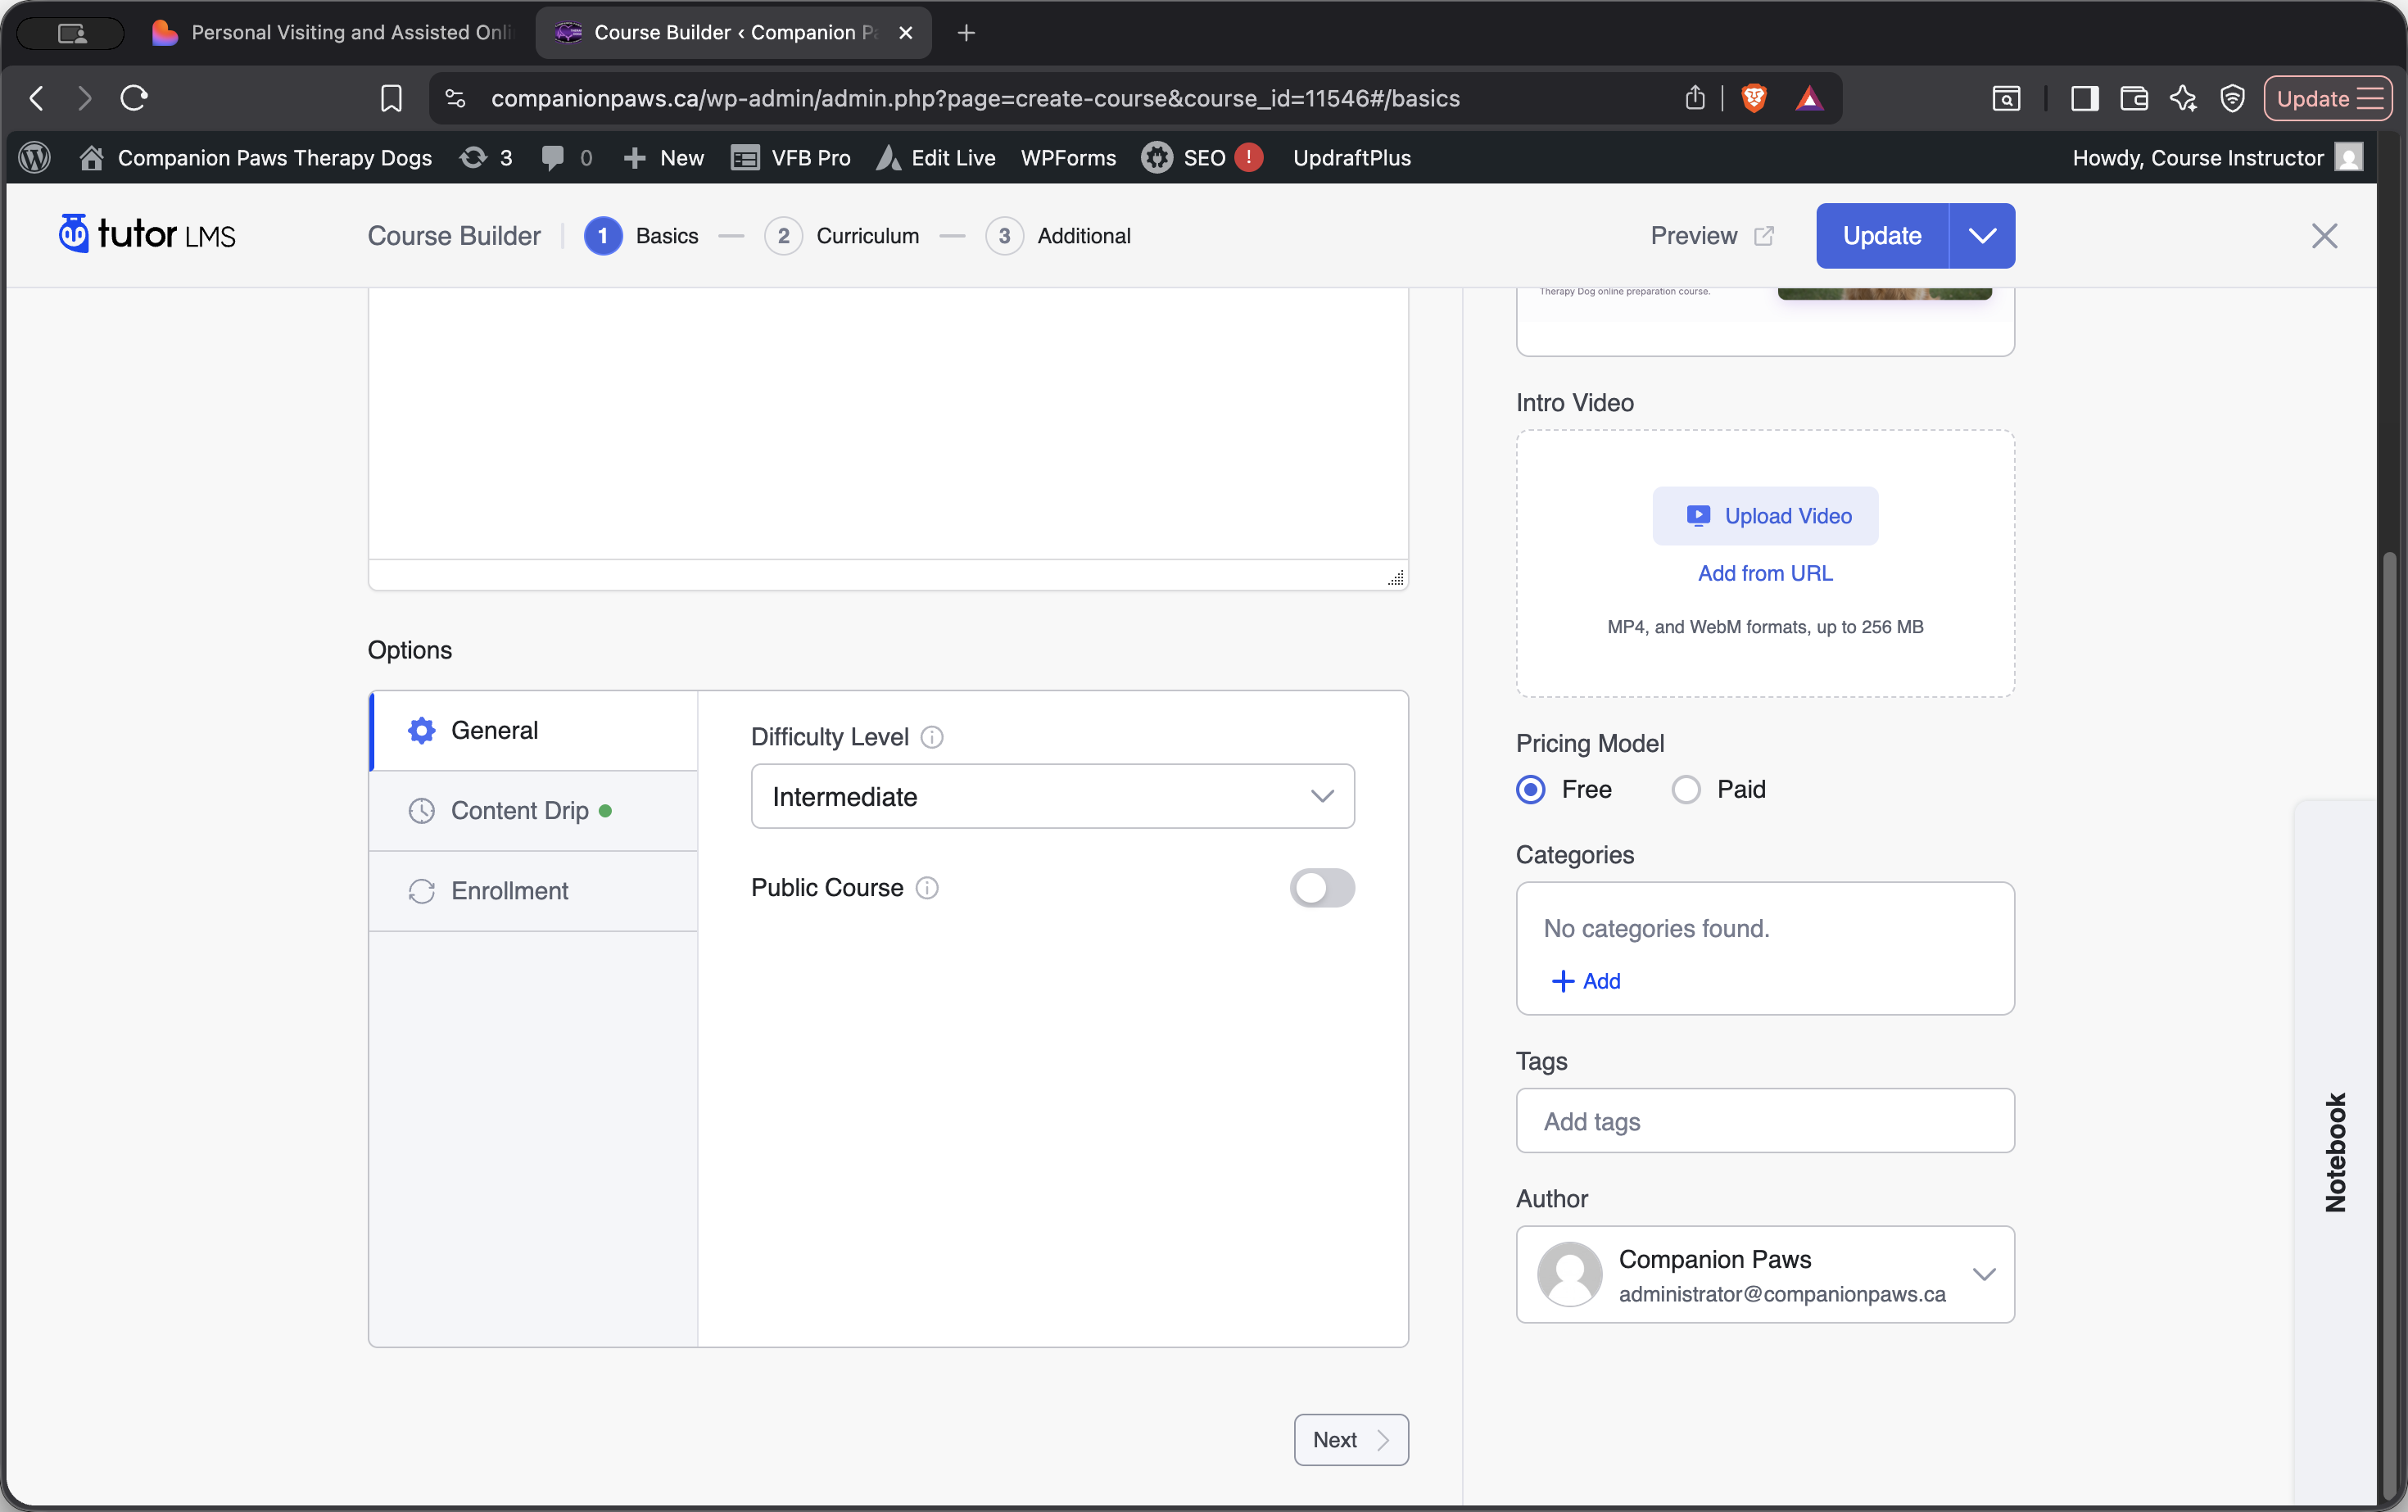
Everything follows a four-level hierarchy. At the top is the course, which serves as the main container. Inside, you create topics—sections that group related content. Inside each topic, add lessons or quizzes. Lessons are the individual pieces of content that students work through. They may include videos, written material, or a combination of both. Quizzes are used to assess what students have learned so far.
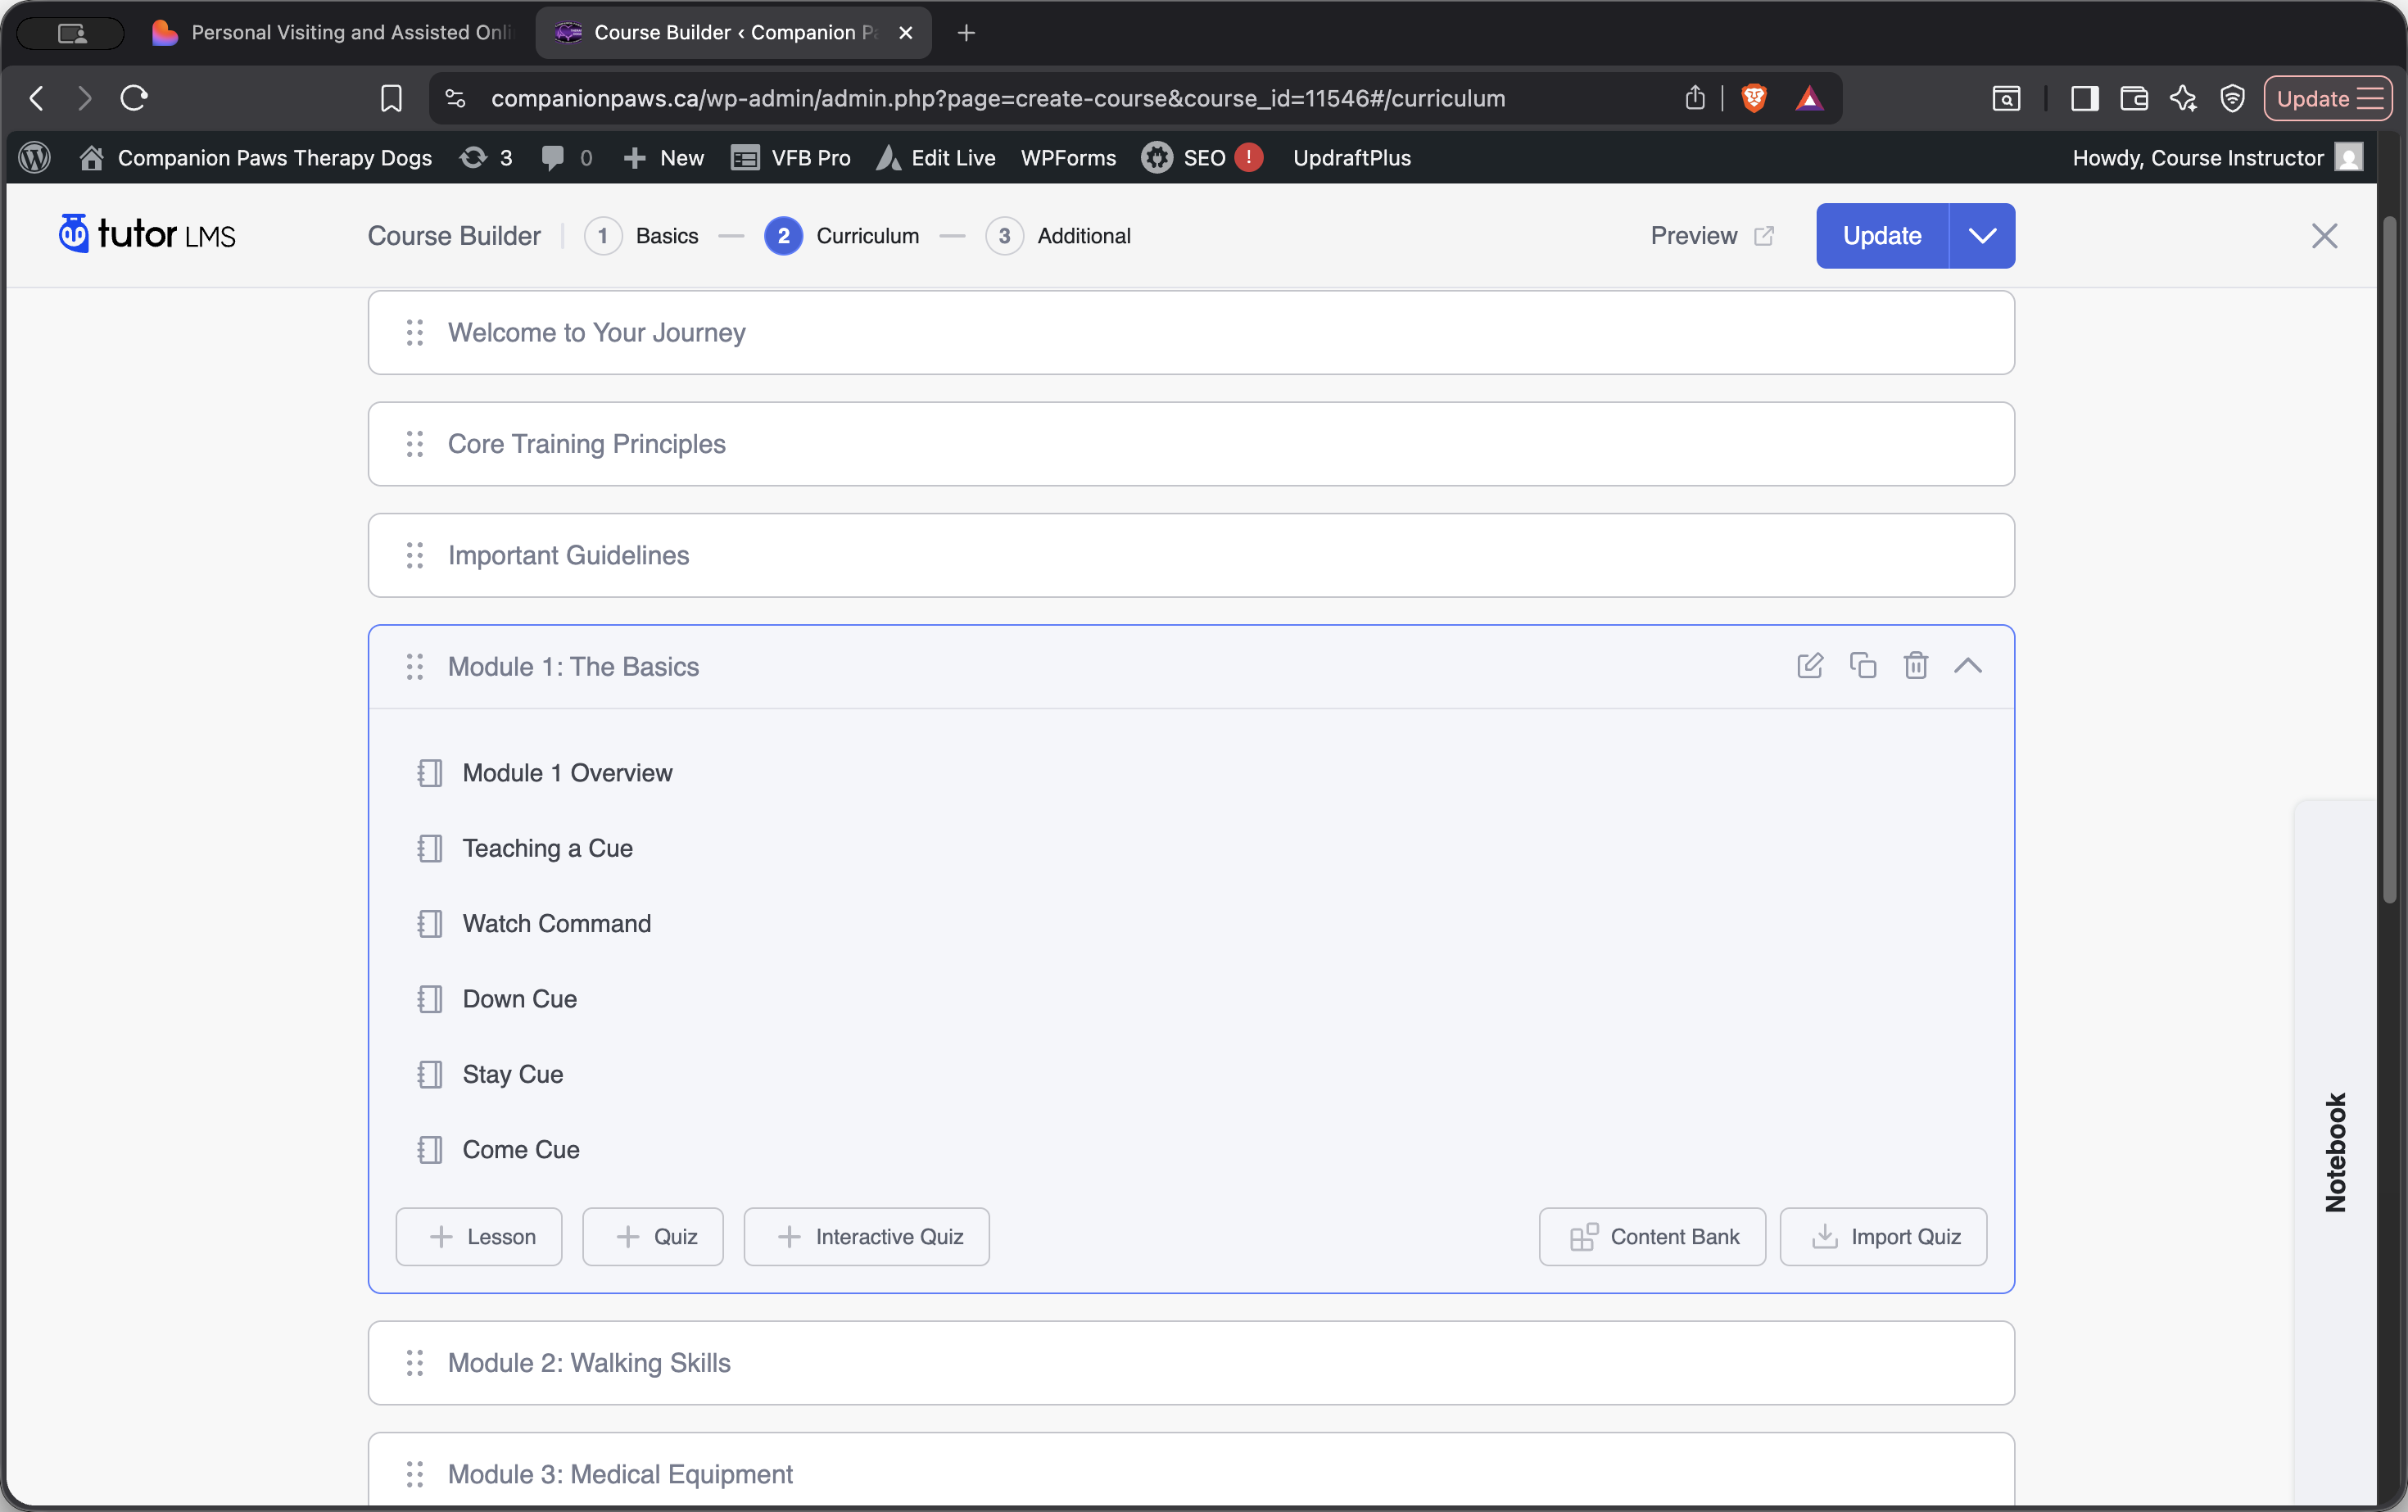
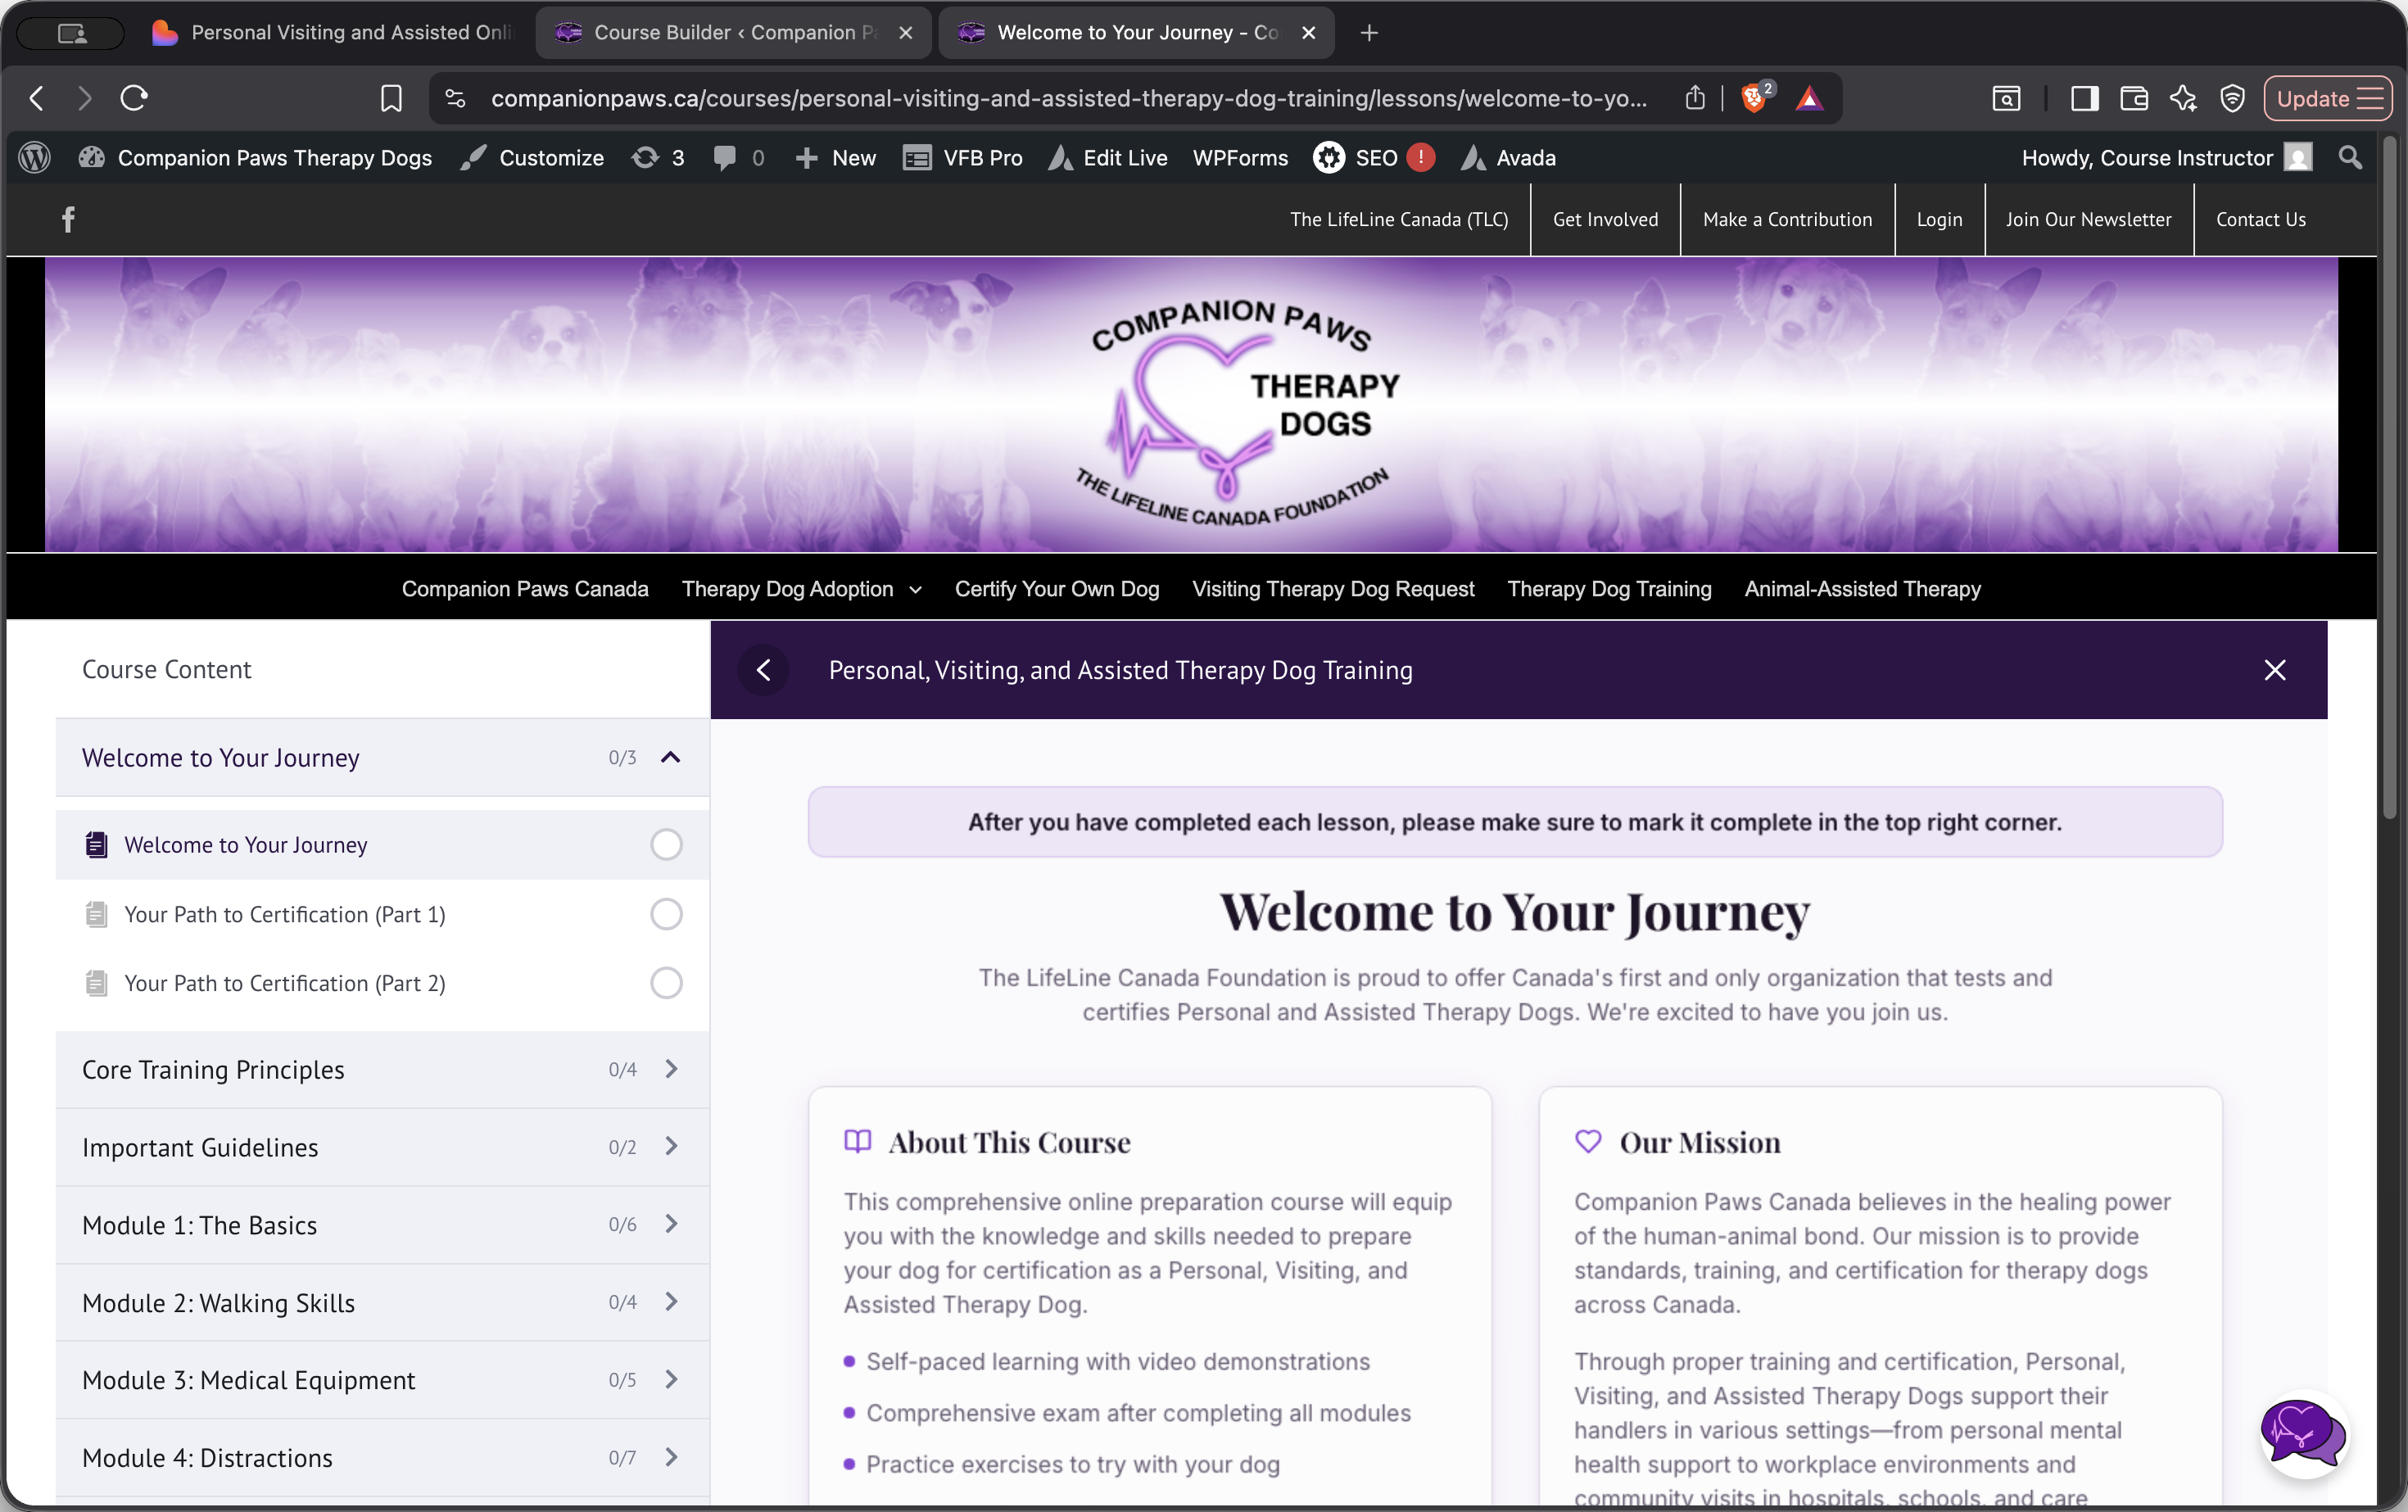
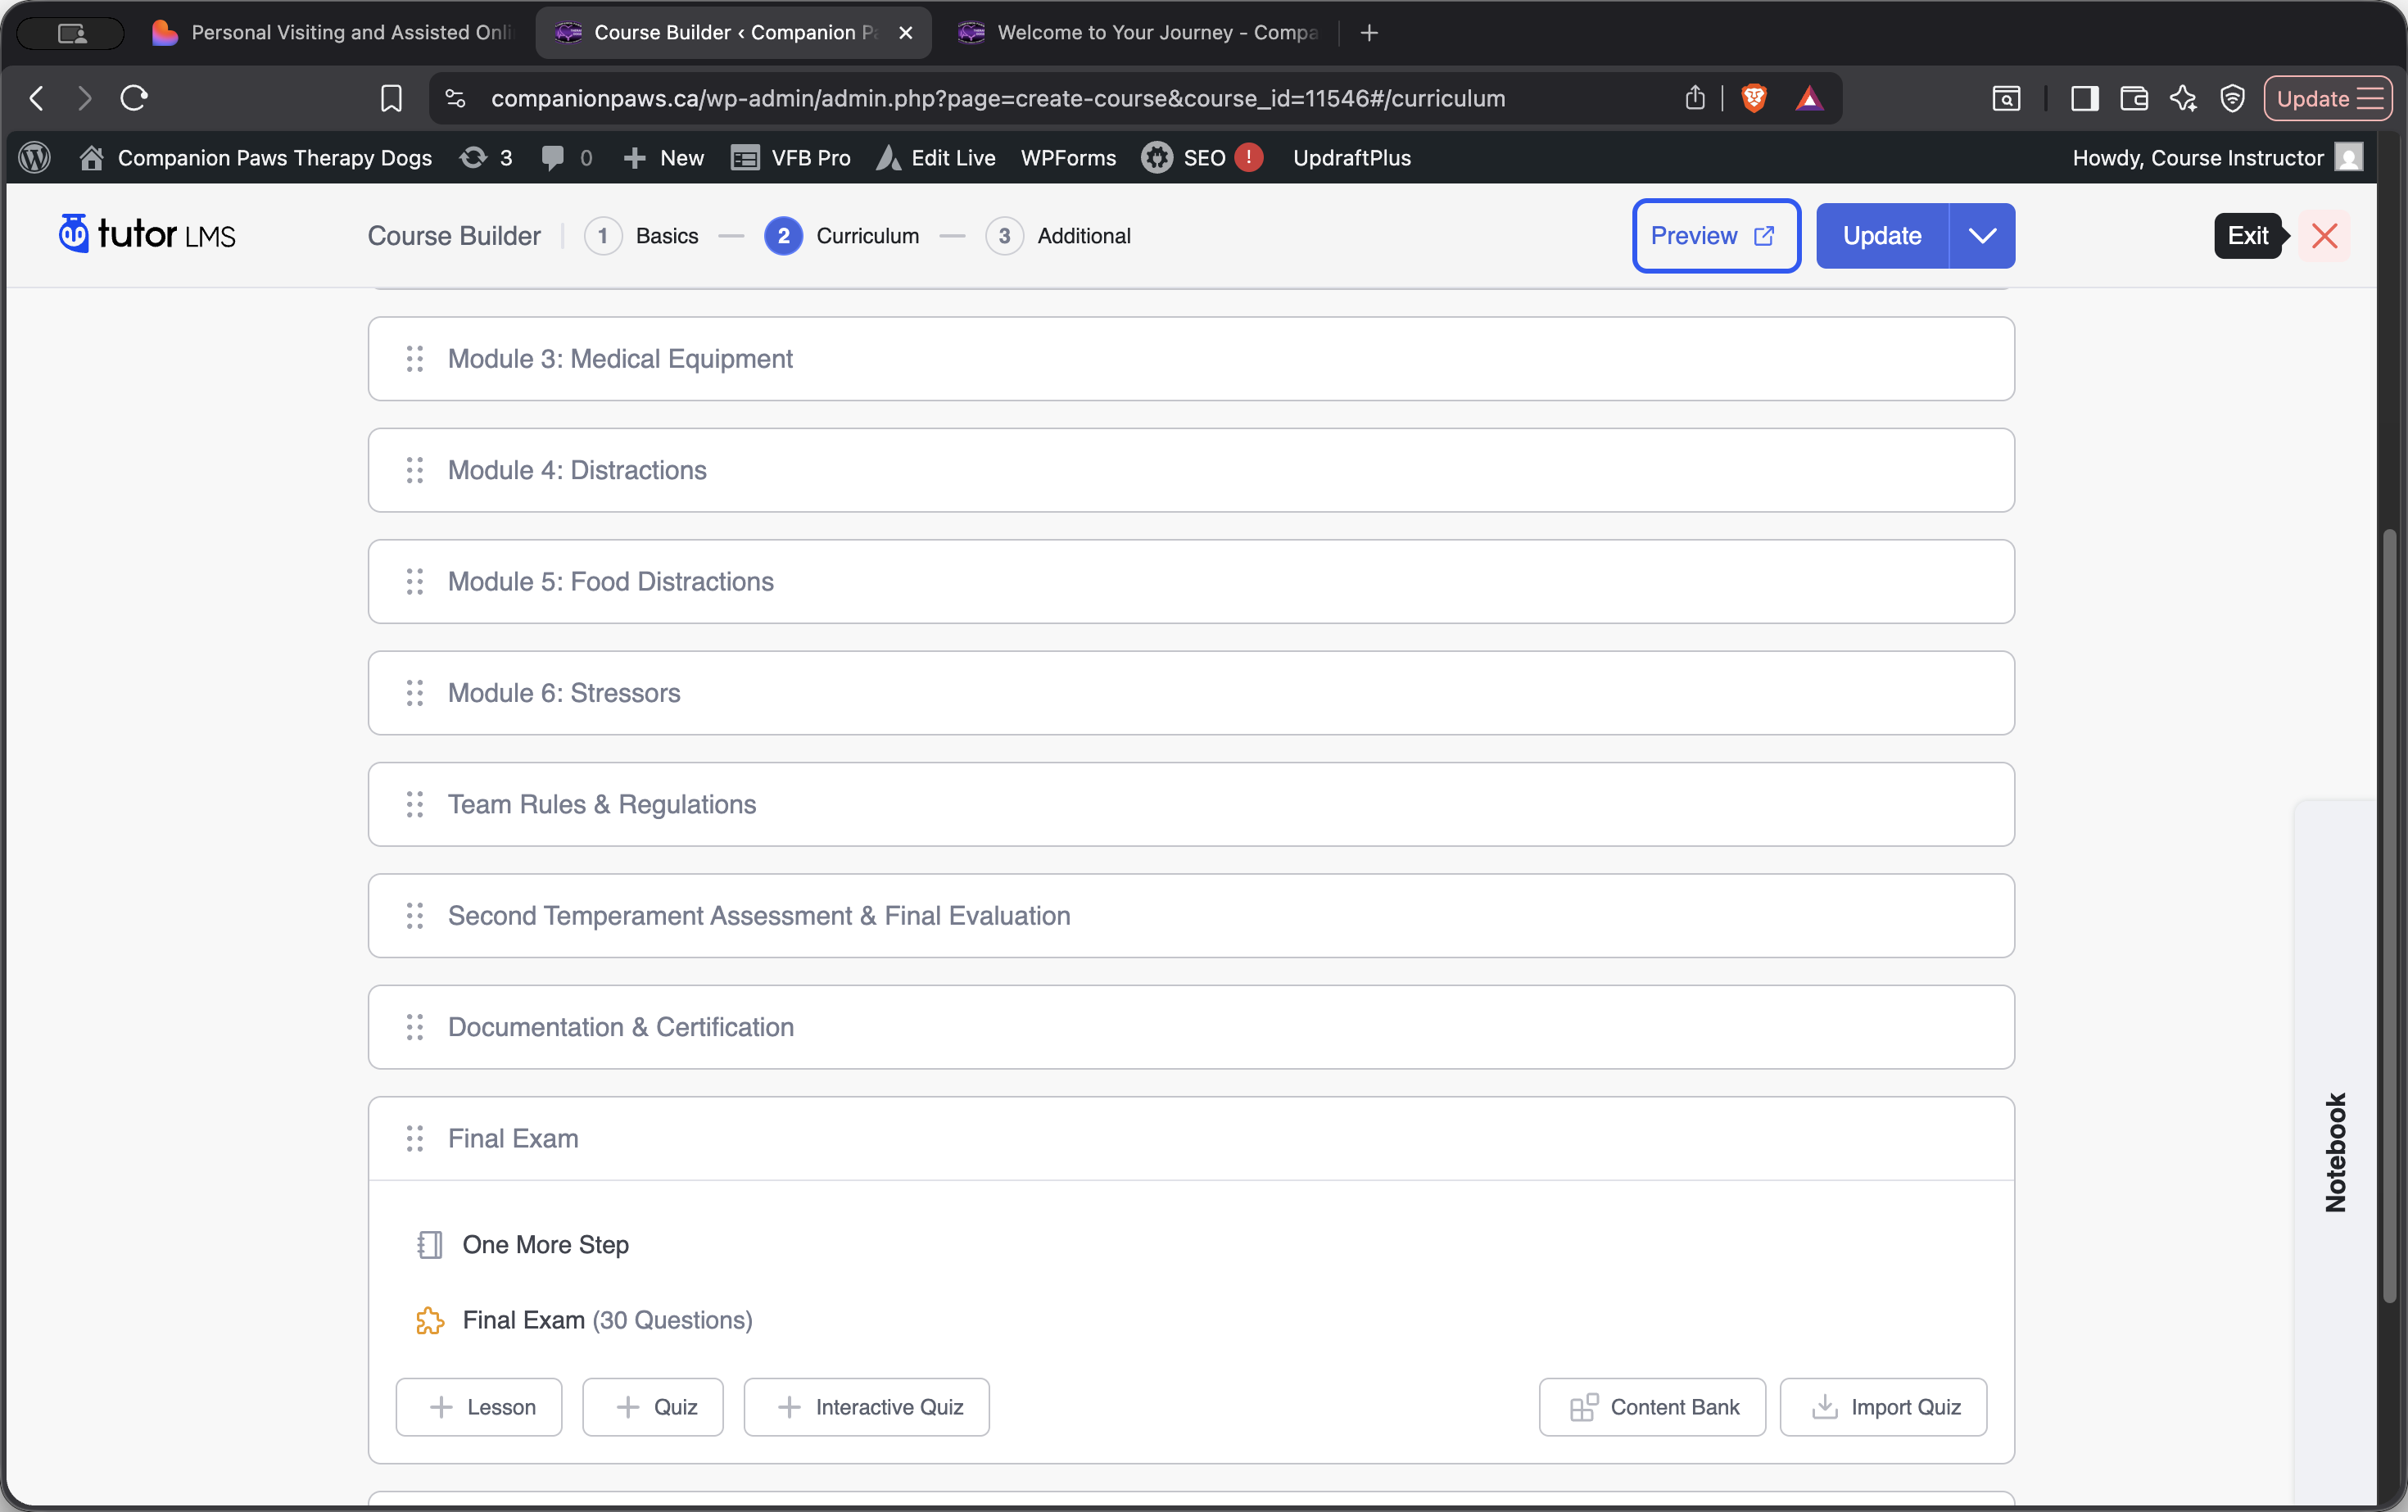
The full structure is: course, topics, lessons, and quizzes. I'll show you what this looks like in a course that's already set up. We have the Personal Visiting and Assisted Therapy Dog Training course. Once we click on it, we can see the topics inside: Welcome to Your Journey, Core Training Principles, Important Guidelines, All the Video Modules, Team Rules and Regulations, Temperament Assessment and Final Evaluation, Documentation and Certification, Final Exam, and Congratulations.
If we click on a topic, we can view the lessons it contains. Inside Module 1: The Basics, you'll find all the basic command videos. Inside Medical Equipment, you'll find all the videos related to medical equipment. Inside the Final Exam topic, there is a quiz to test students on what they have learned in the course.
One more important point: what you see as an admin is very different from what a student sees.
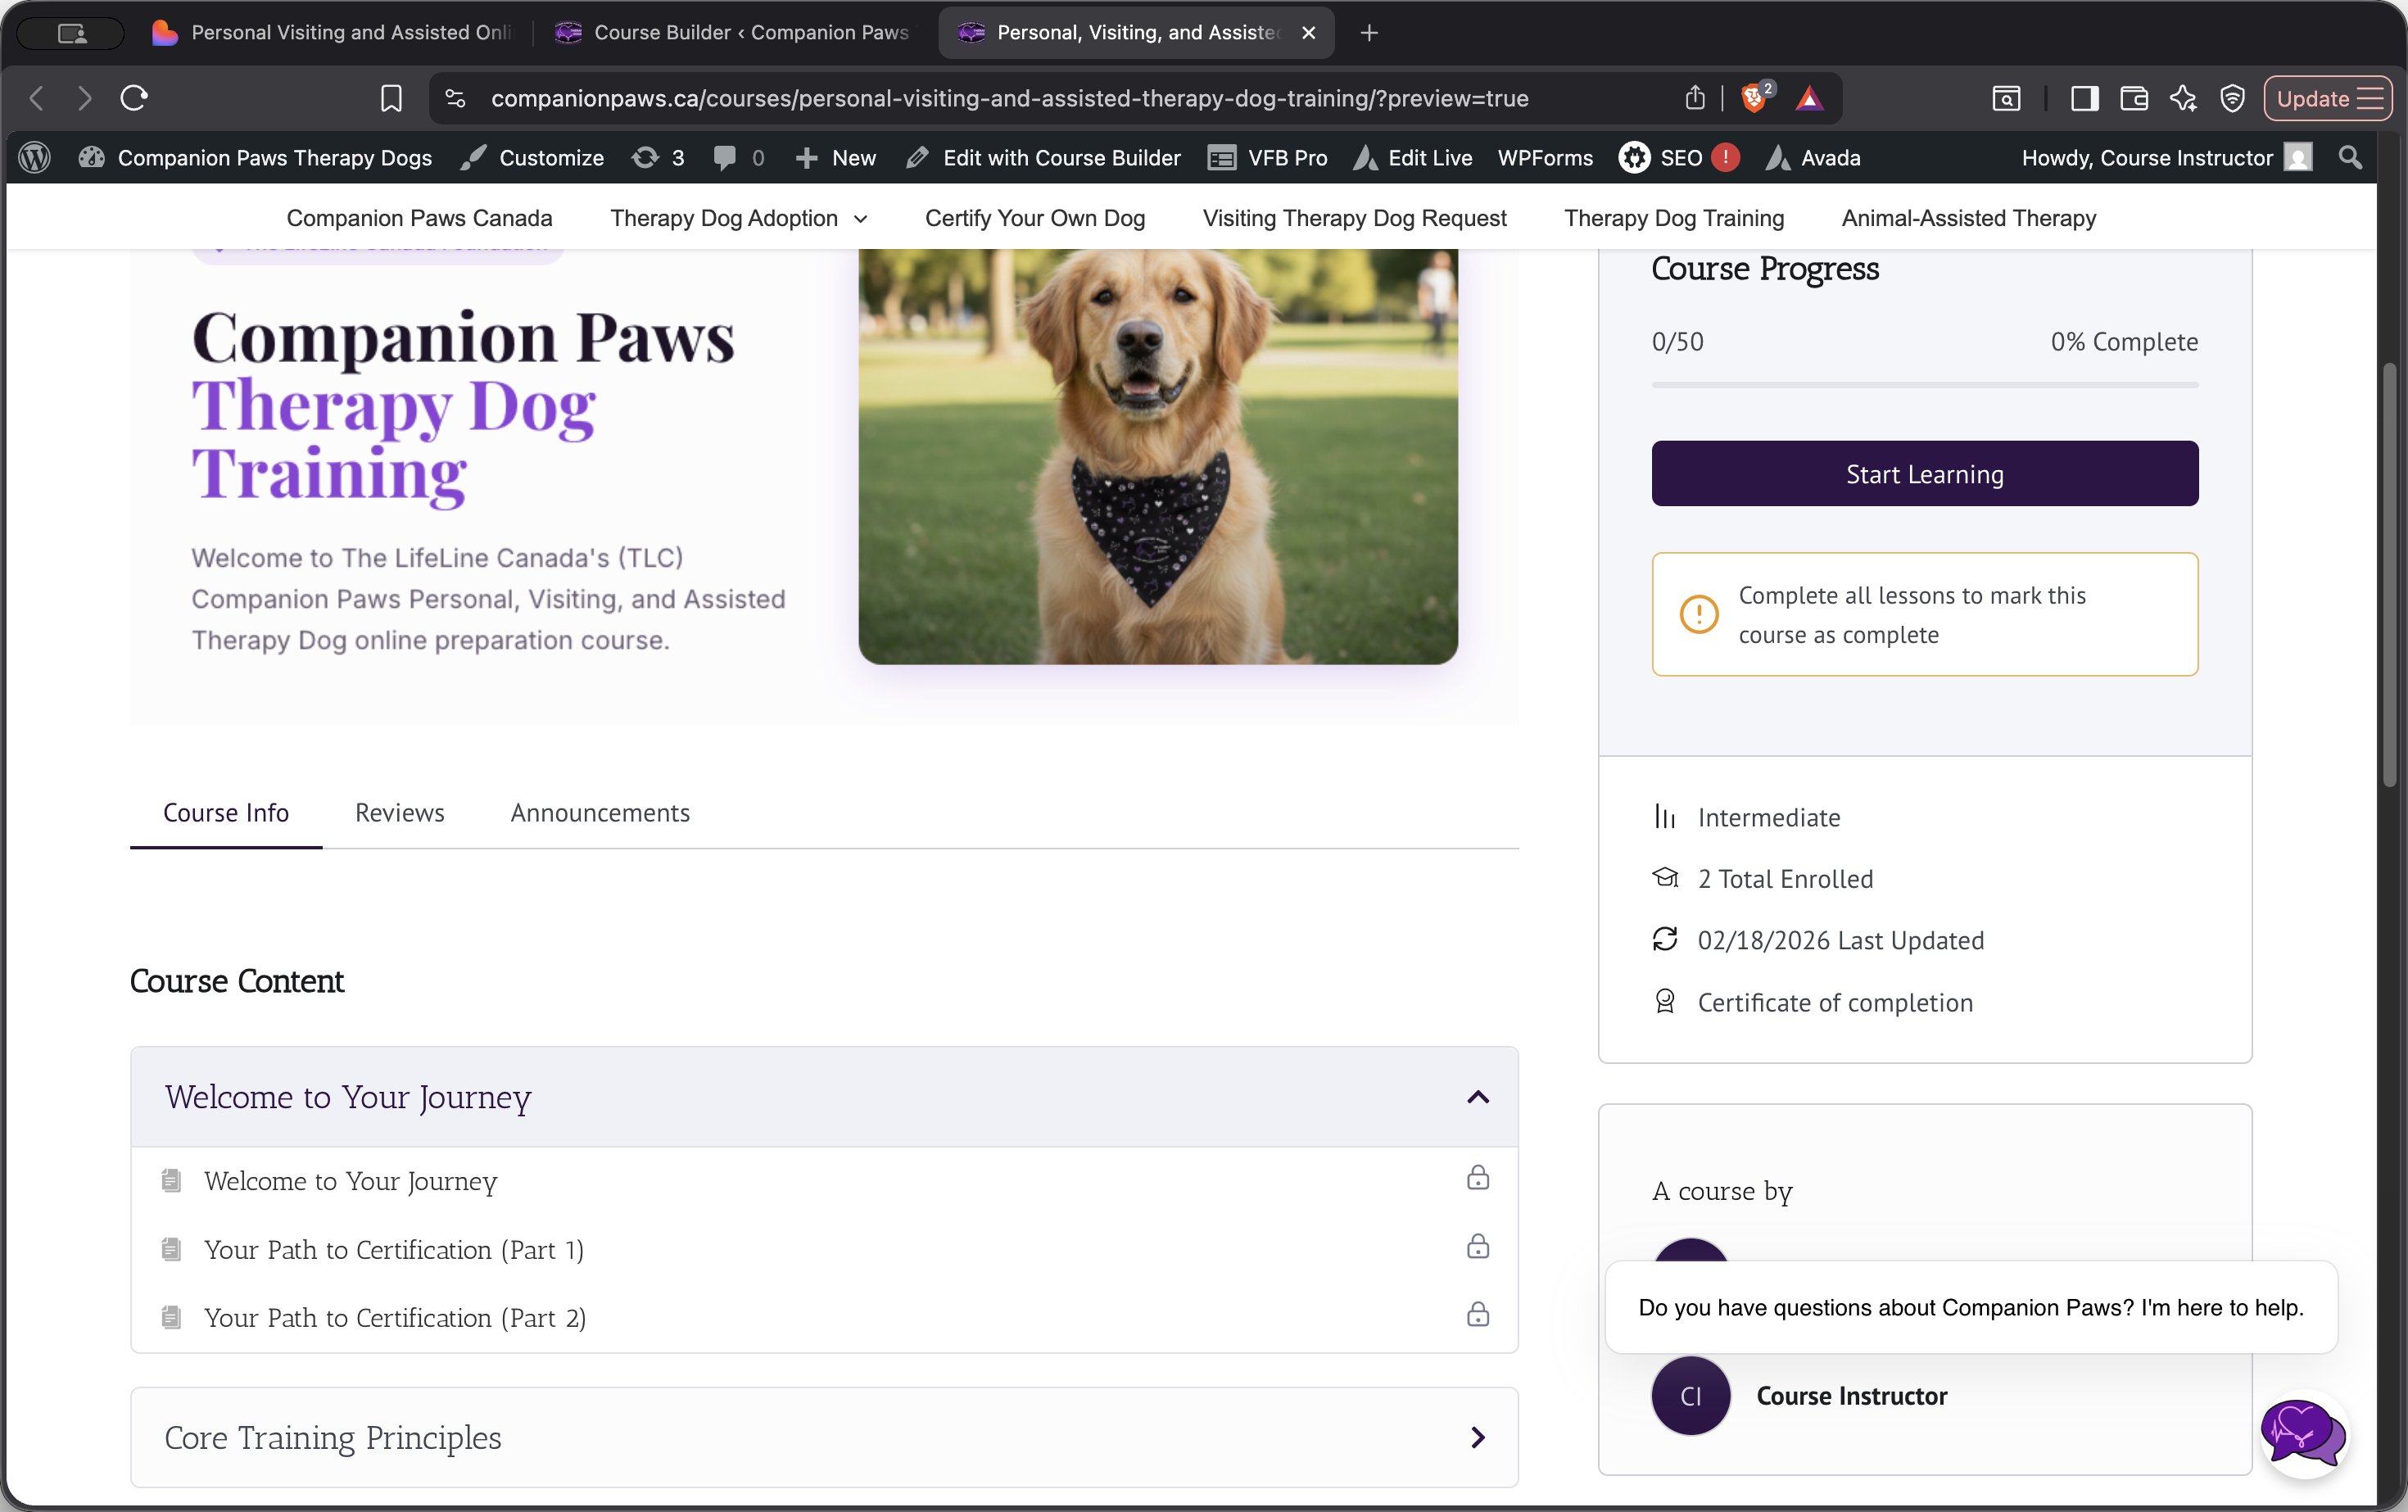
TutorLMS includes a built-in preview option for each course. This feature is useful for quickly checking how a course page appears.
If I click on Preview, I can see the thumbnail, course content, and slides.

For a more thorough check, create a test user account. I'll show you how to do that.
Scroll down to the Users section in WordPress and click Add Users.
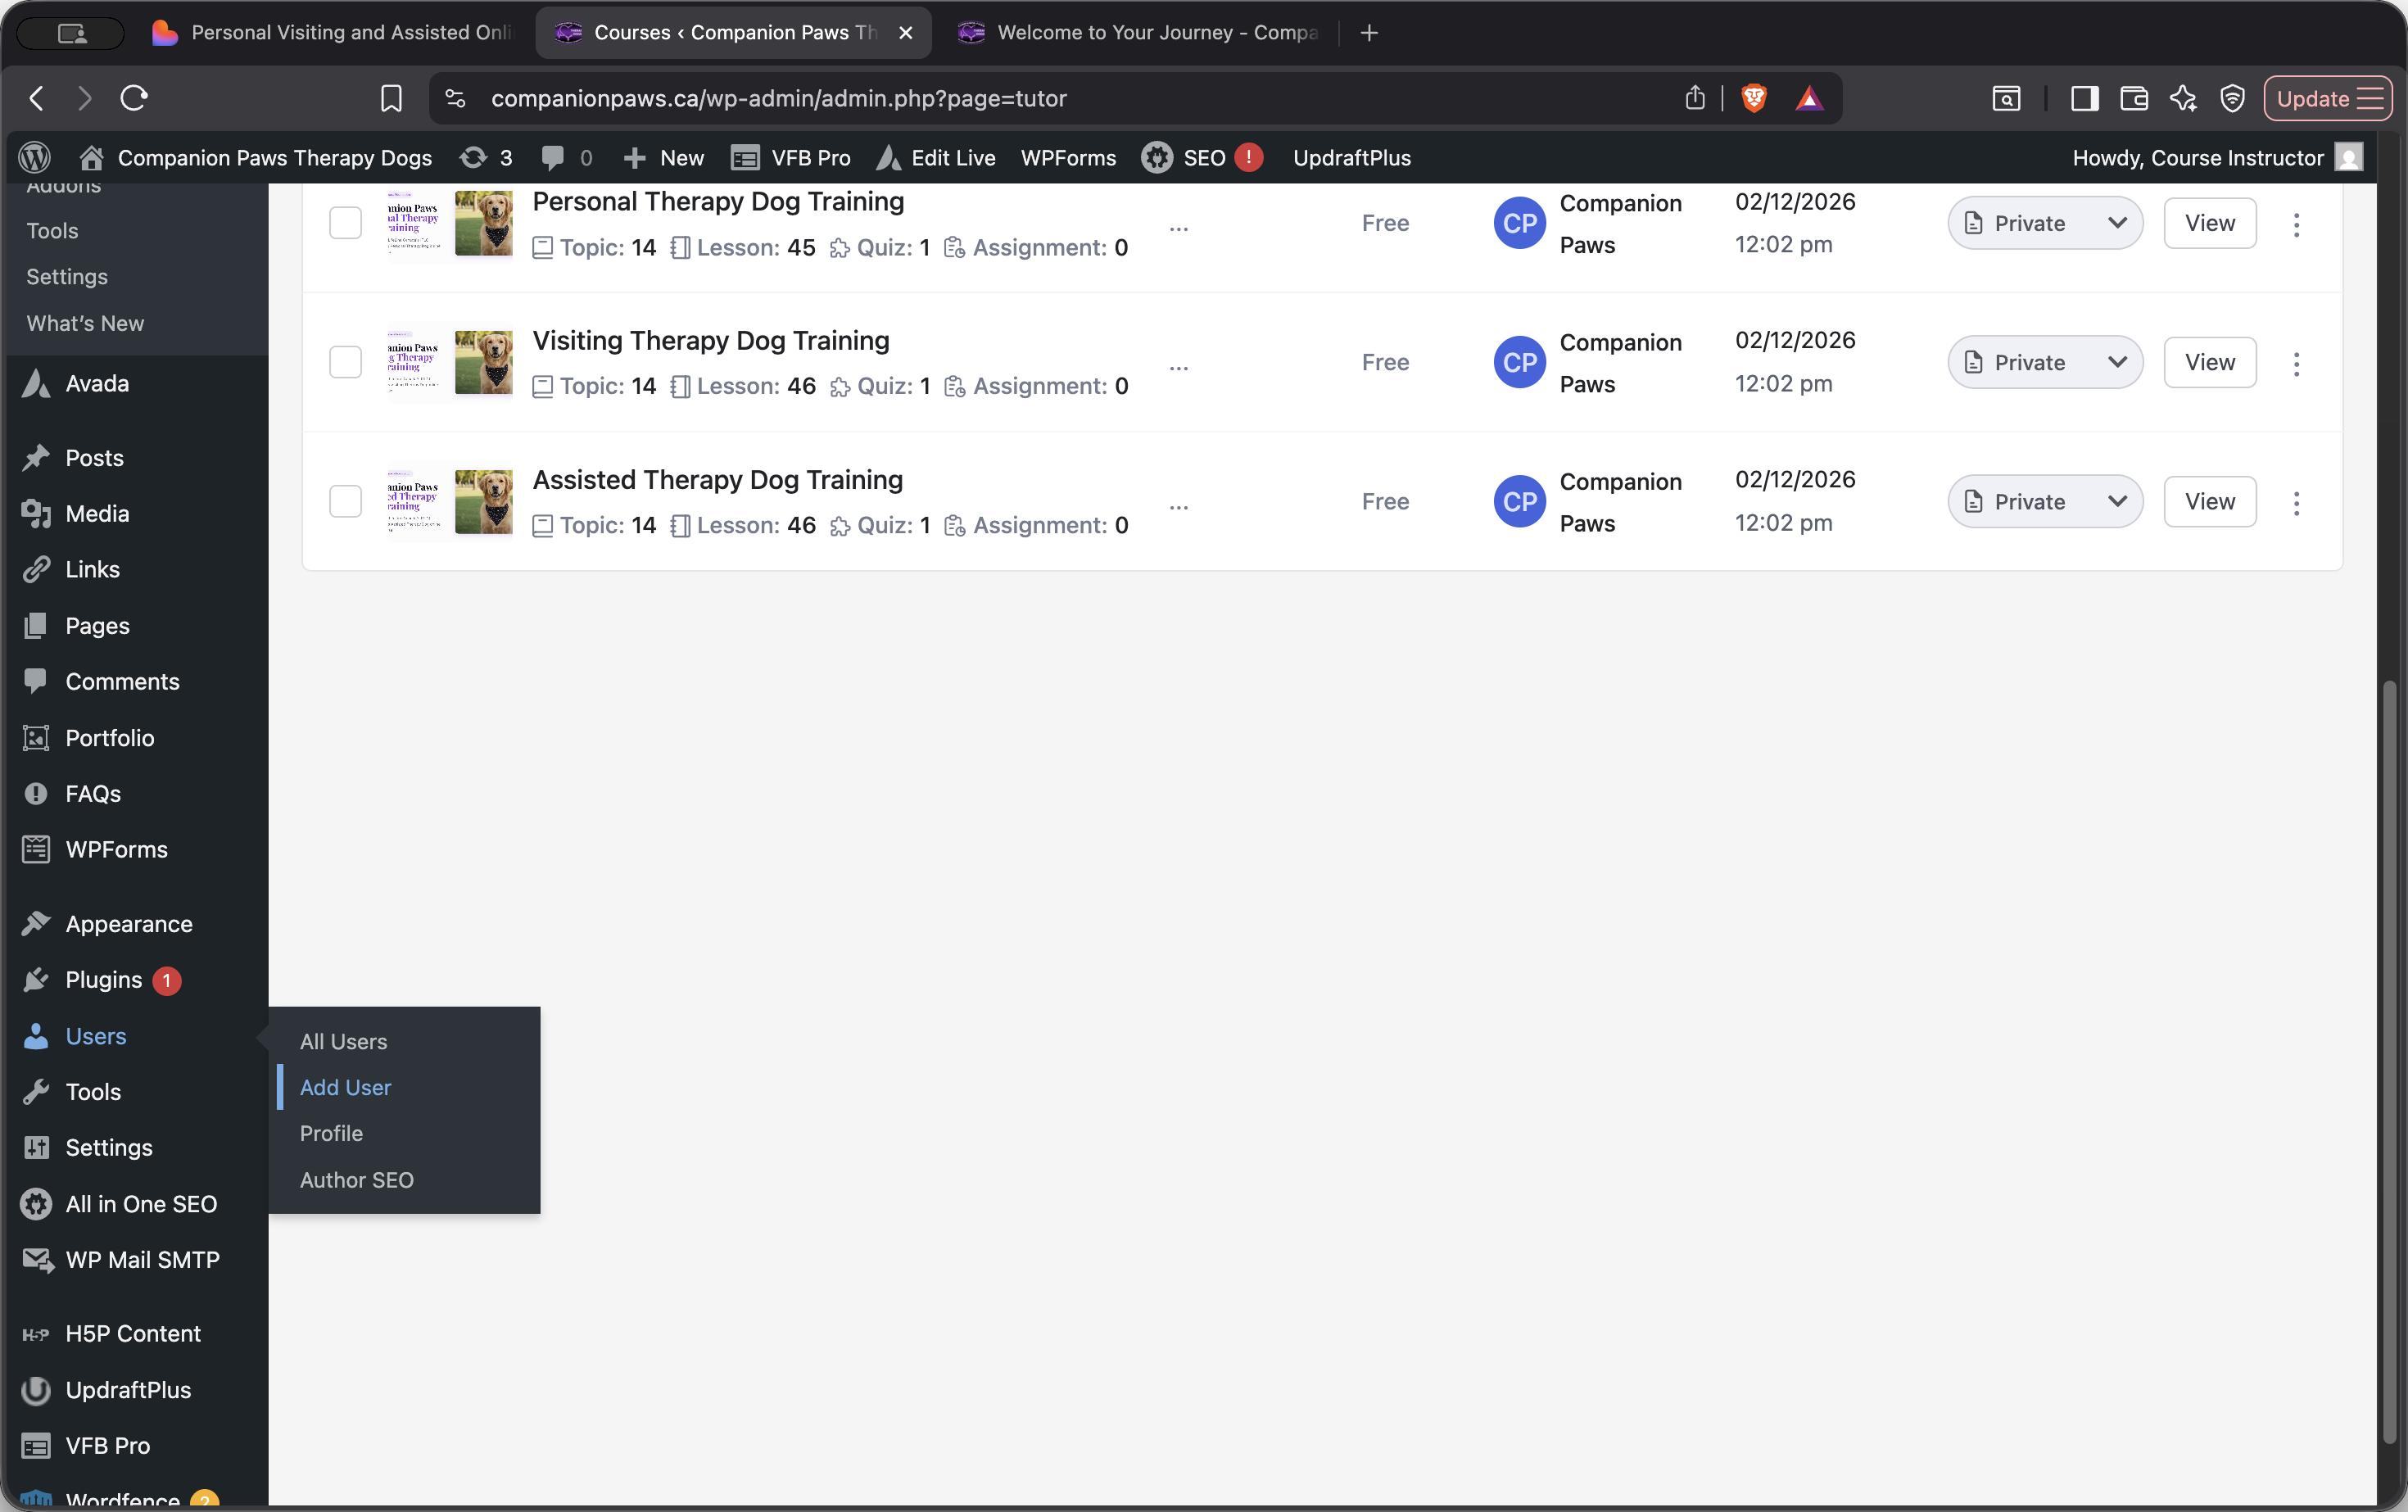
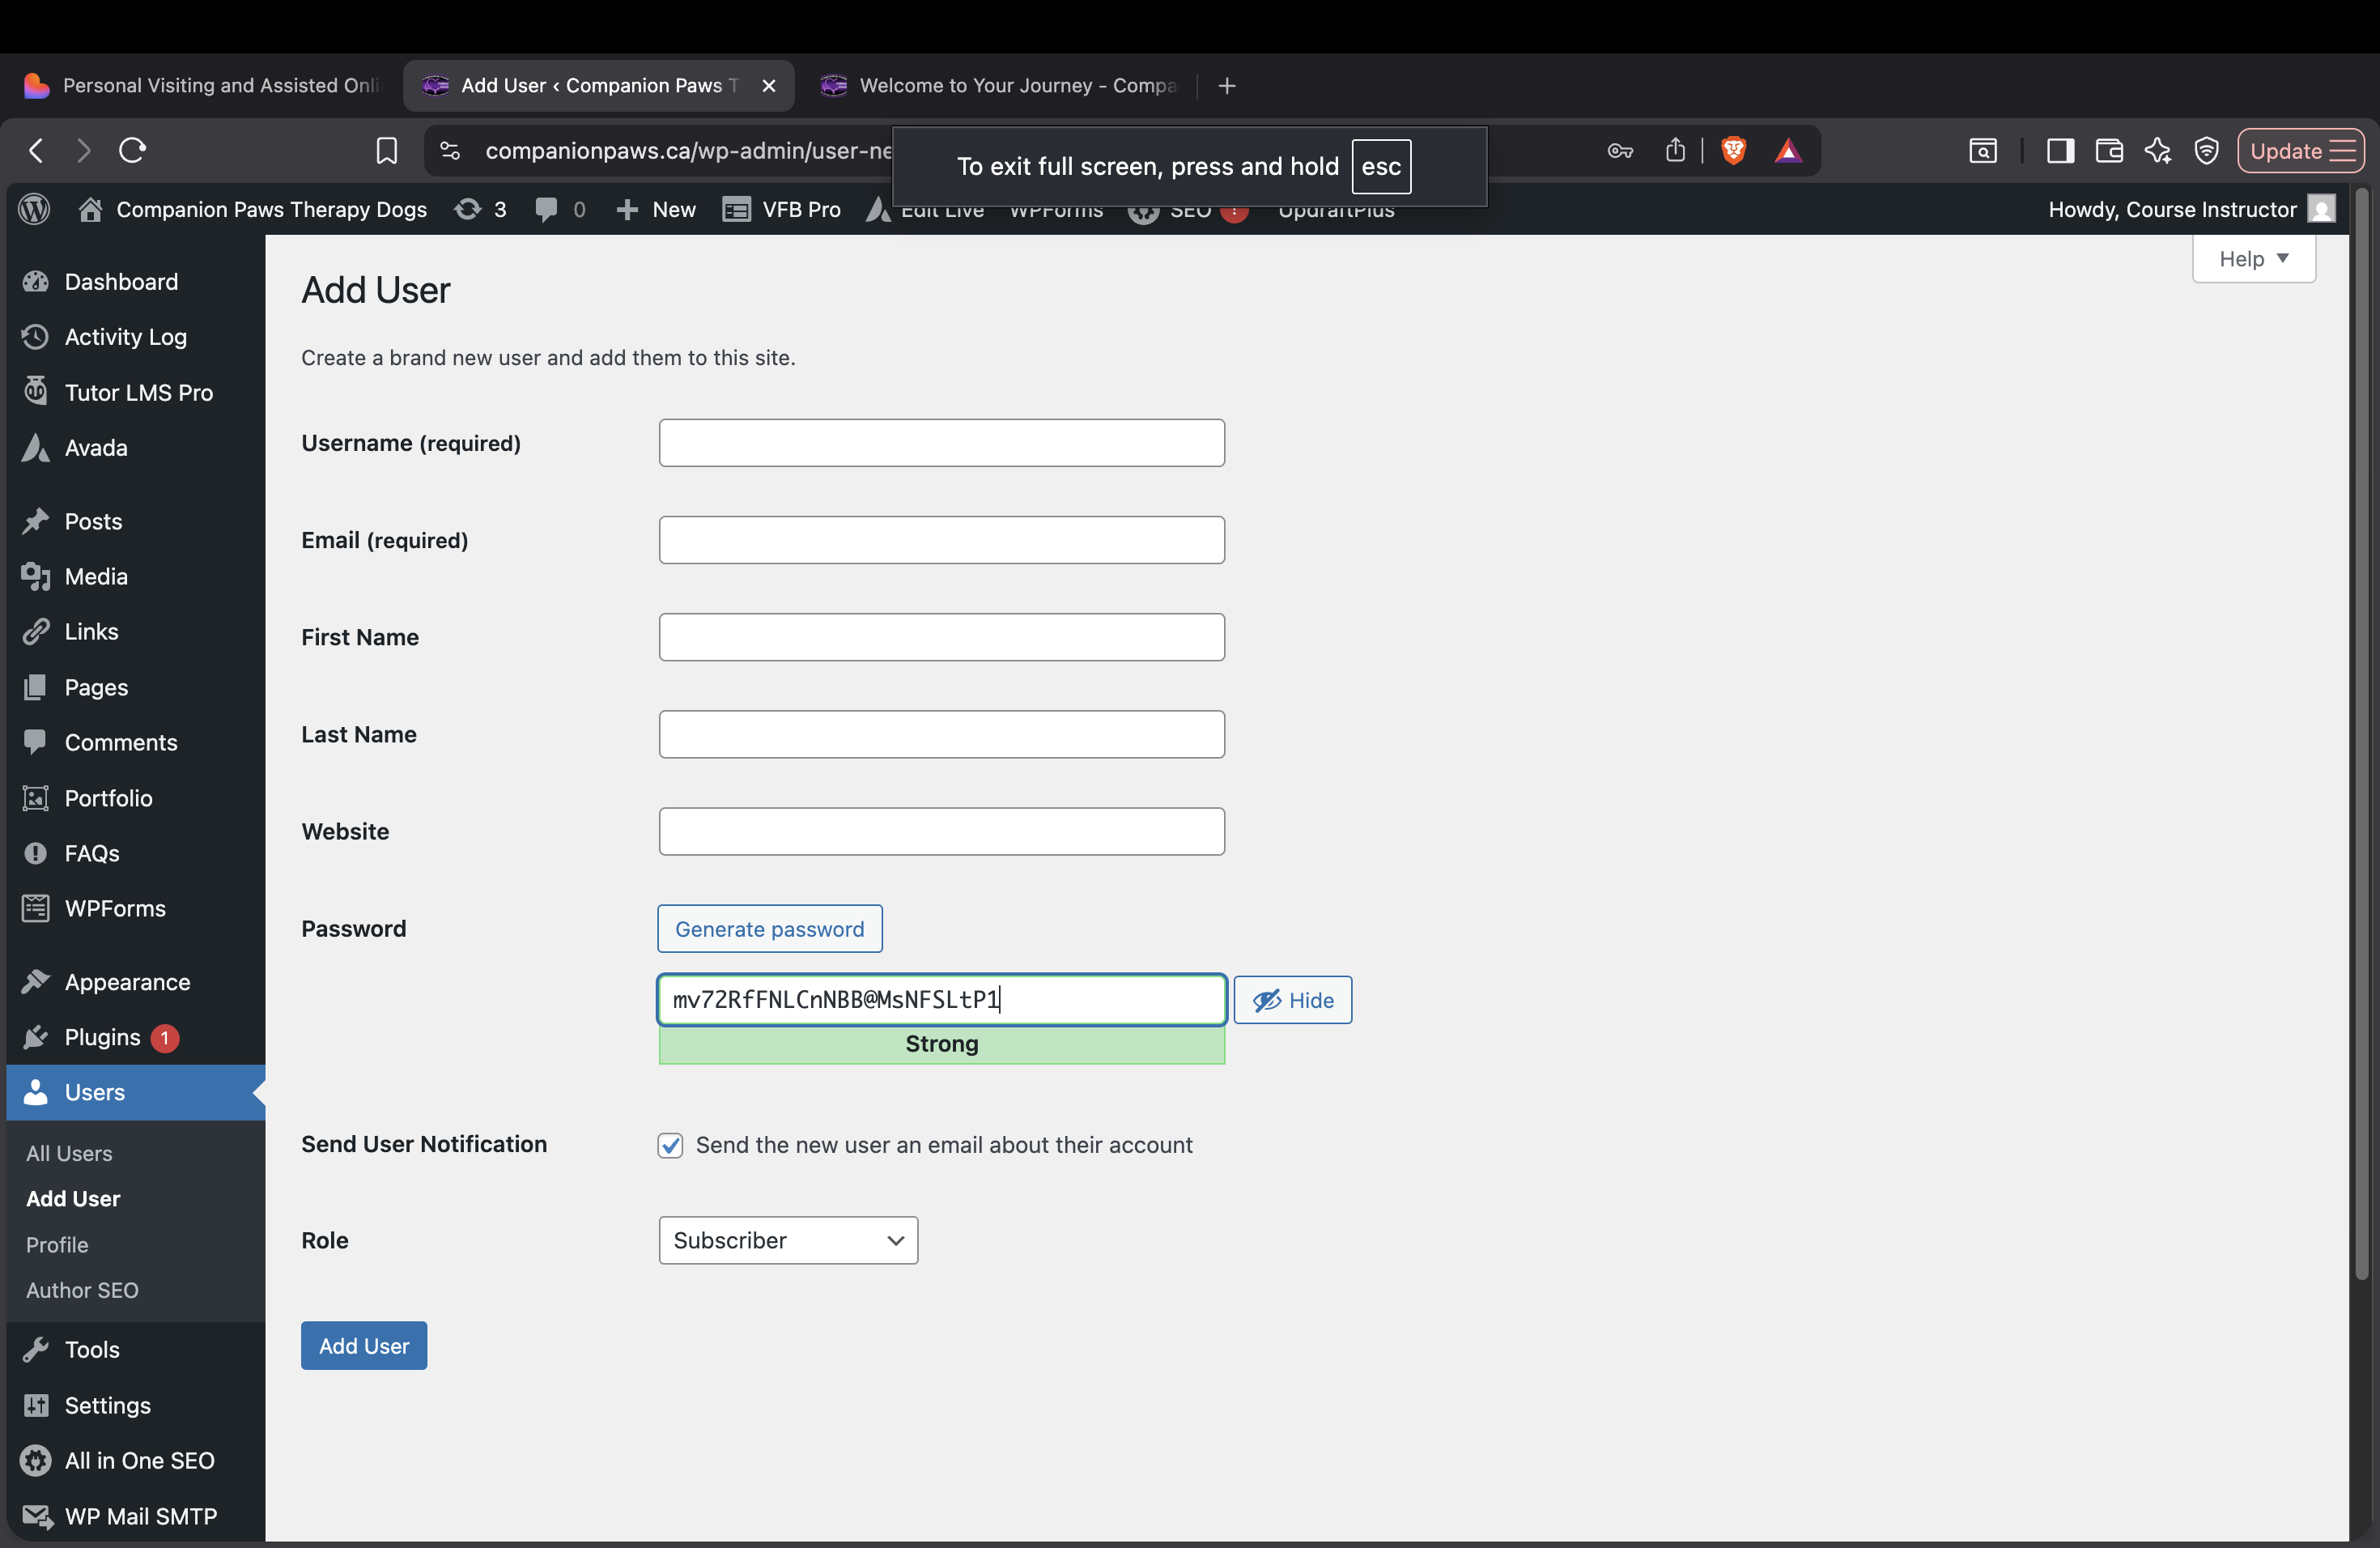
Make sure your email is not affiliated with your current account.

Once you log into this new account you will see the course exactly how a student will see it.
Your orientation is now complete. In the next video, we will build a new course from scratch.