
Glitter.io - Record, Edit, and Share a Visual Guide on Glitter.io
Learn how to use the desktop application to capture your workflow, annotate screenshots with the built-in editor, and share the finalized document.
This guide shows how to record, edit, and share a step-by-step how-to guide using the desktop application. You will learn to capture your workflow, use markup tools to annotate screenshots, format your steps, and distribute the finalized document to your audience.
This workflow applies to content creators, technical writers, and support agents who need to generate clear visual documentation efficiently from their computer.
Record a New Guide
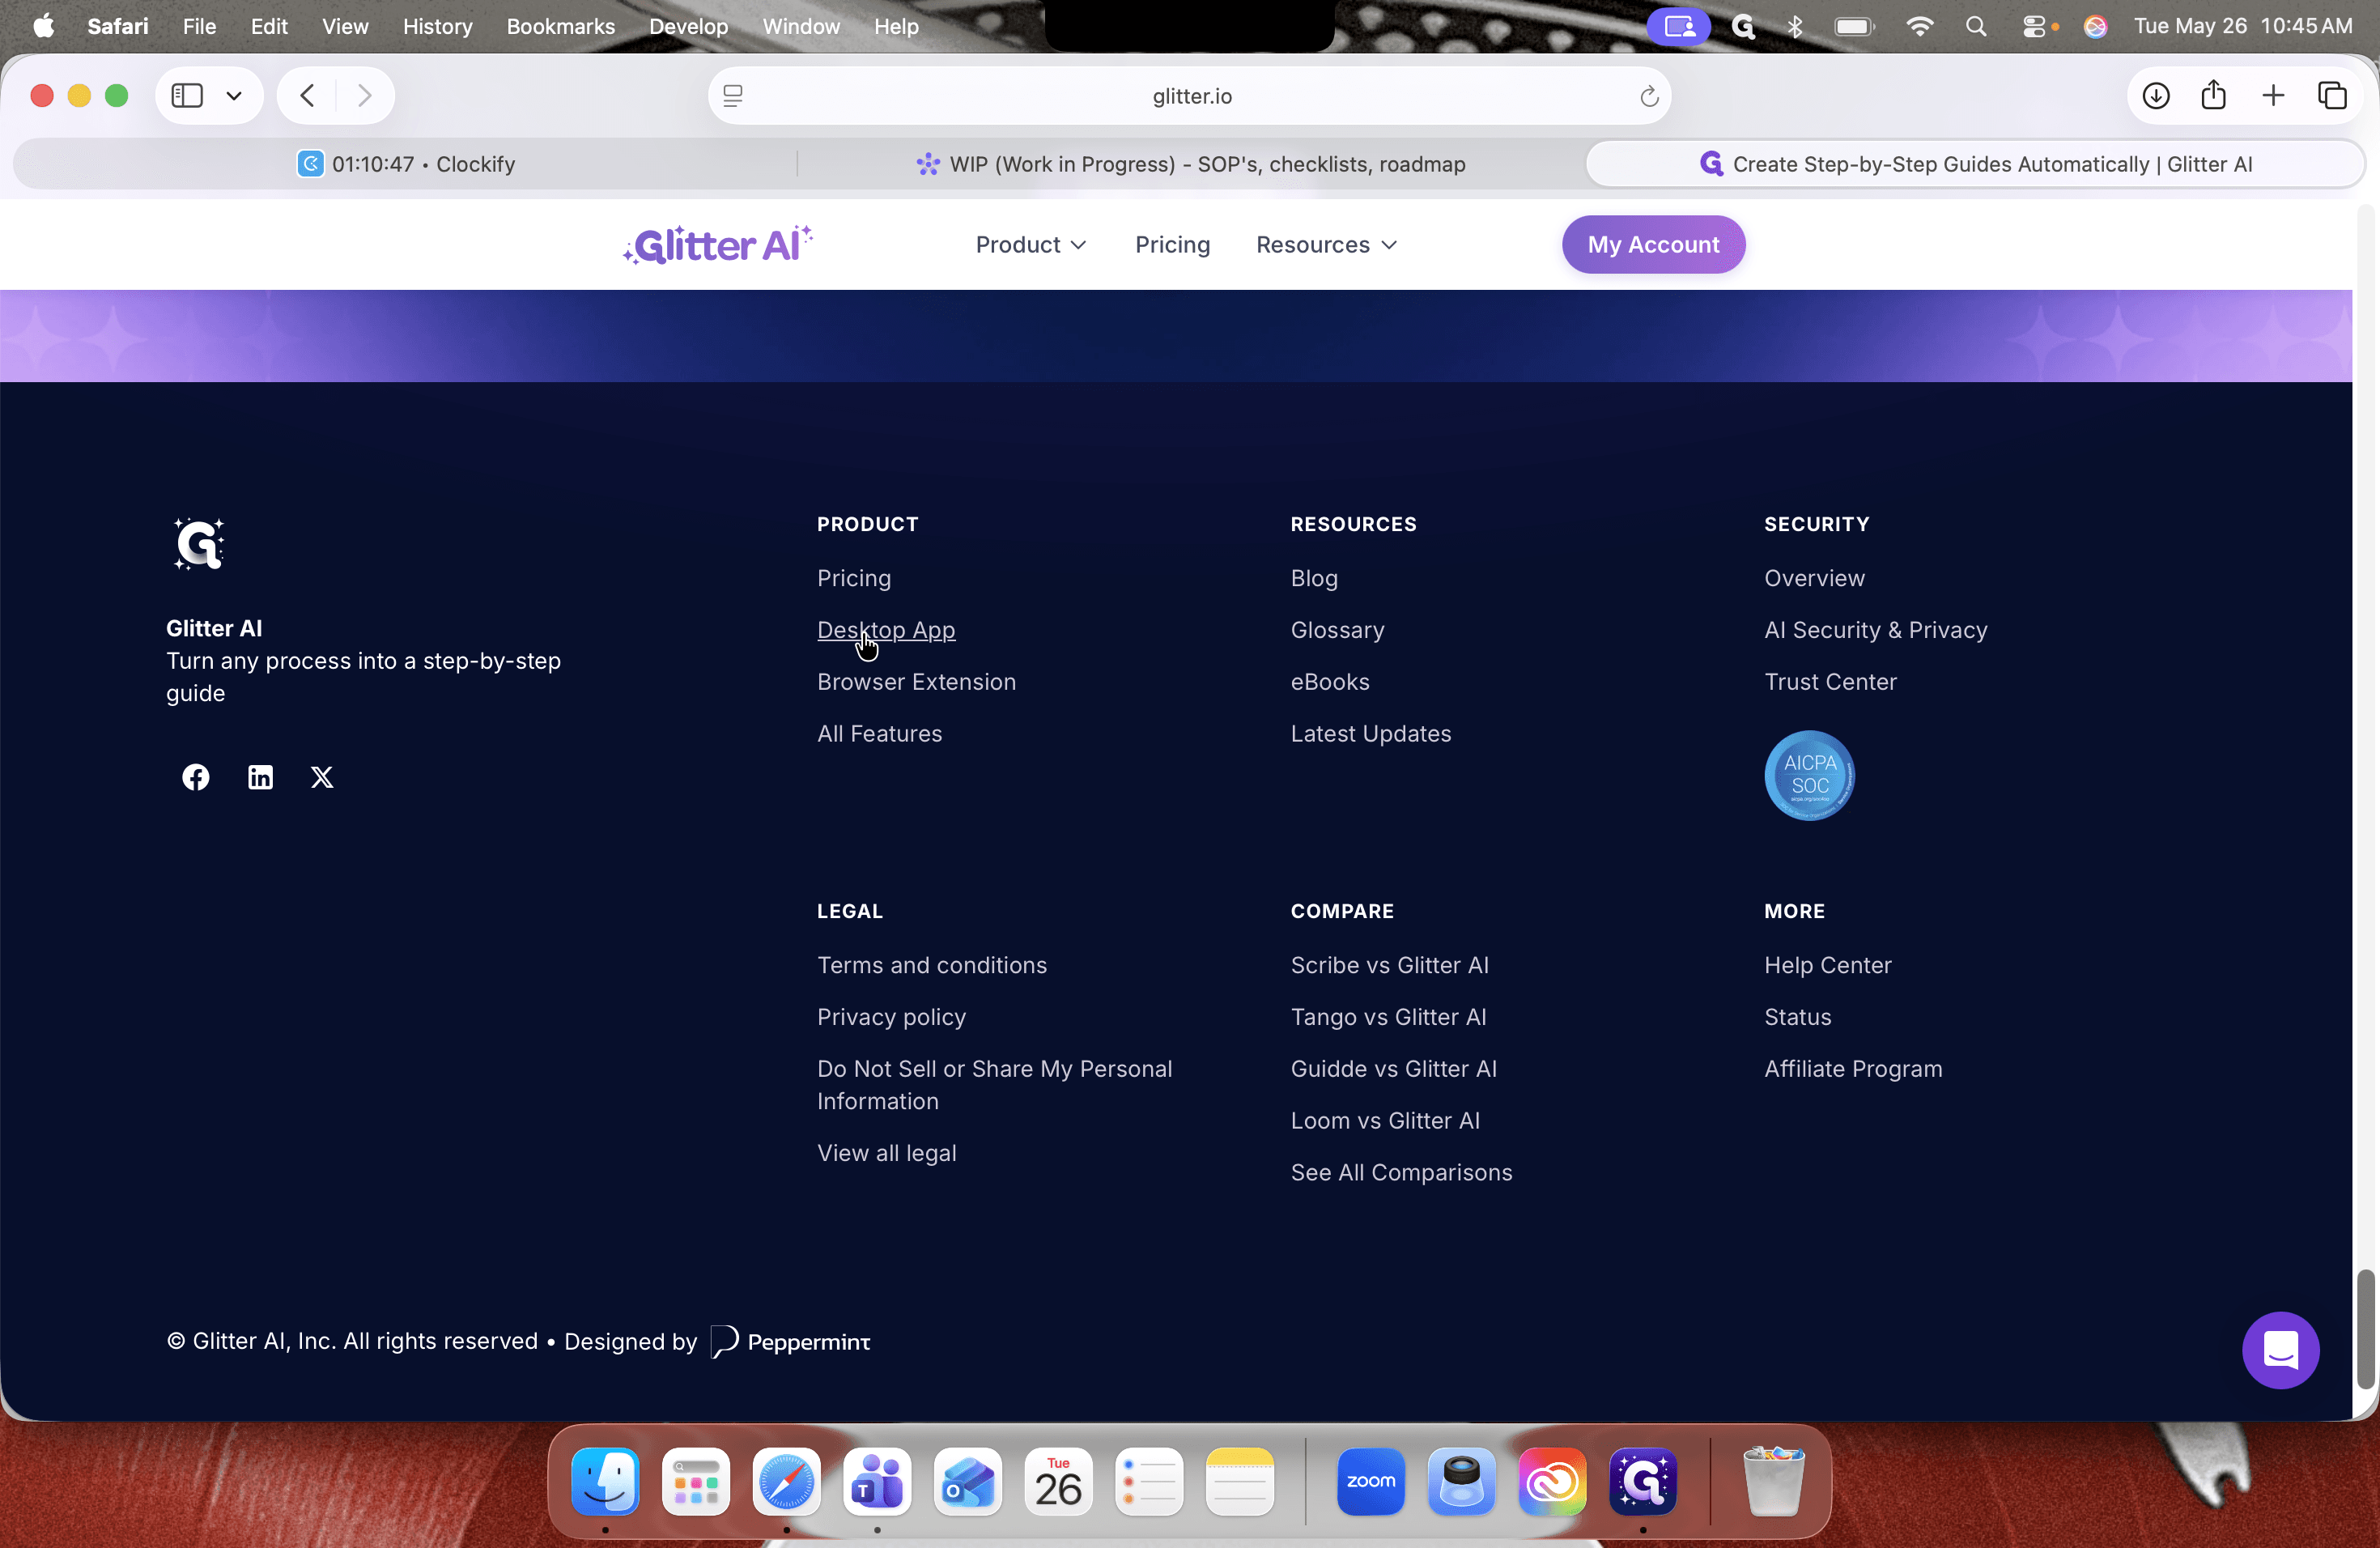
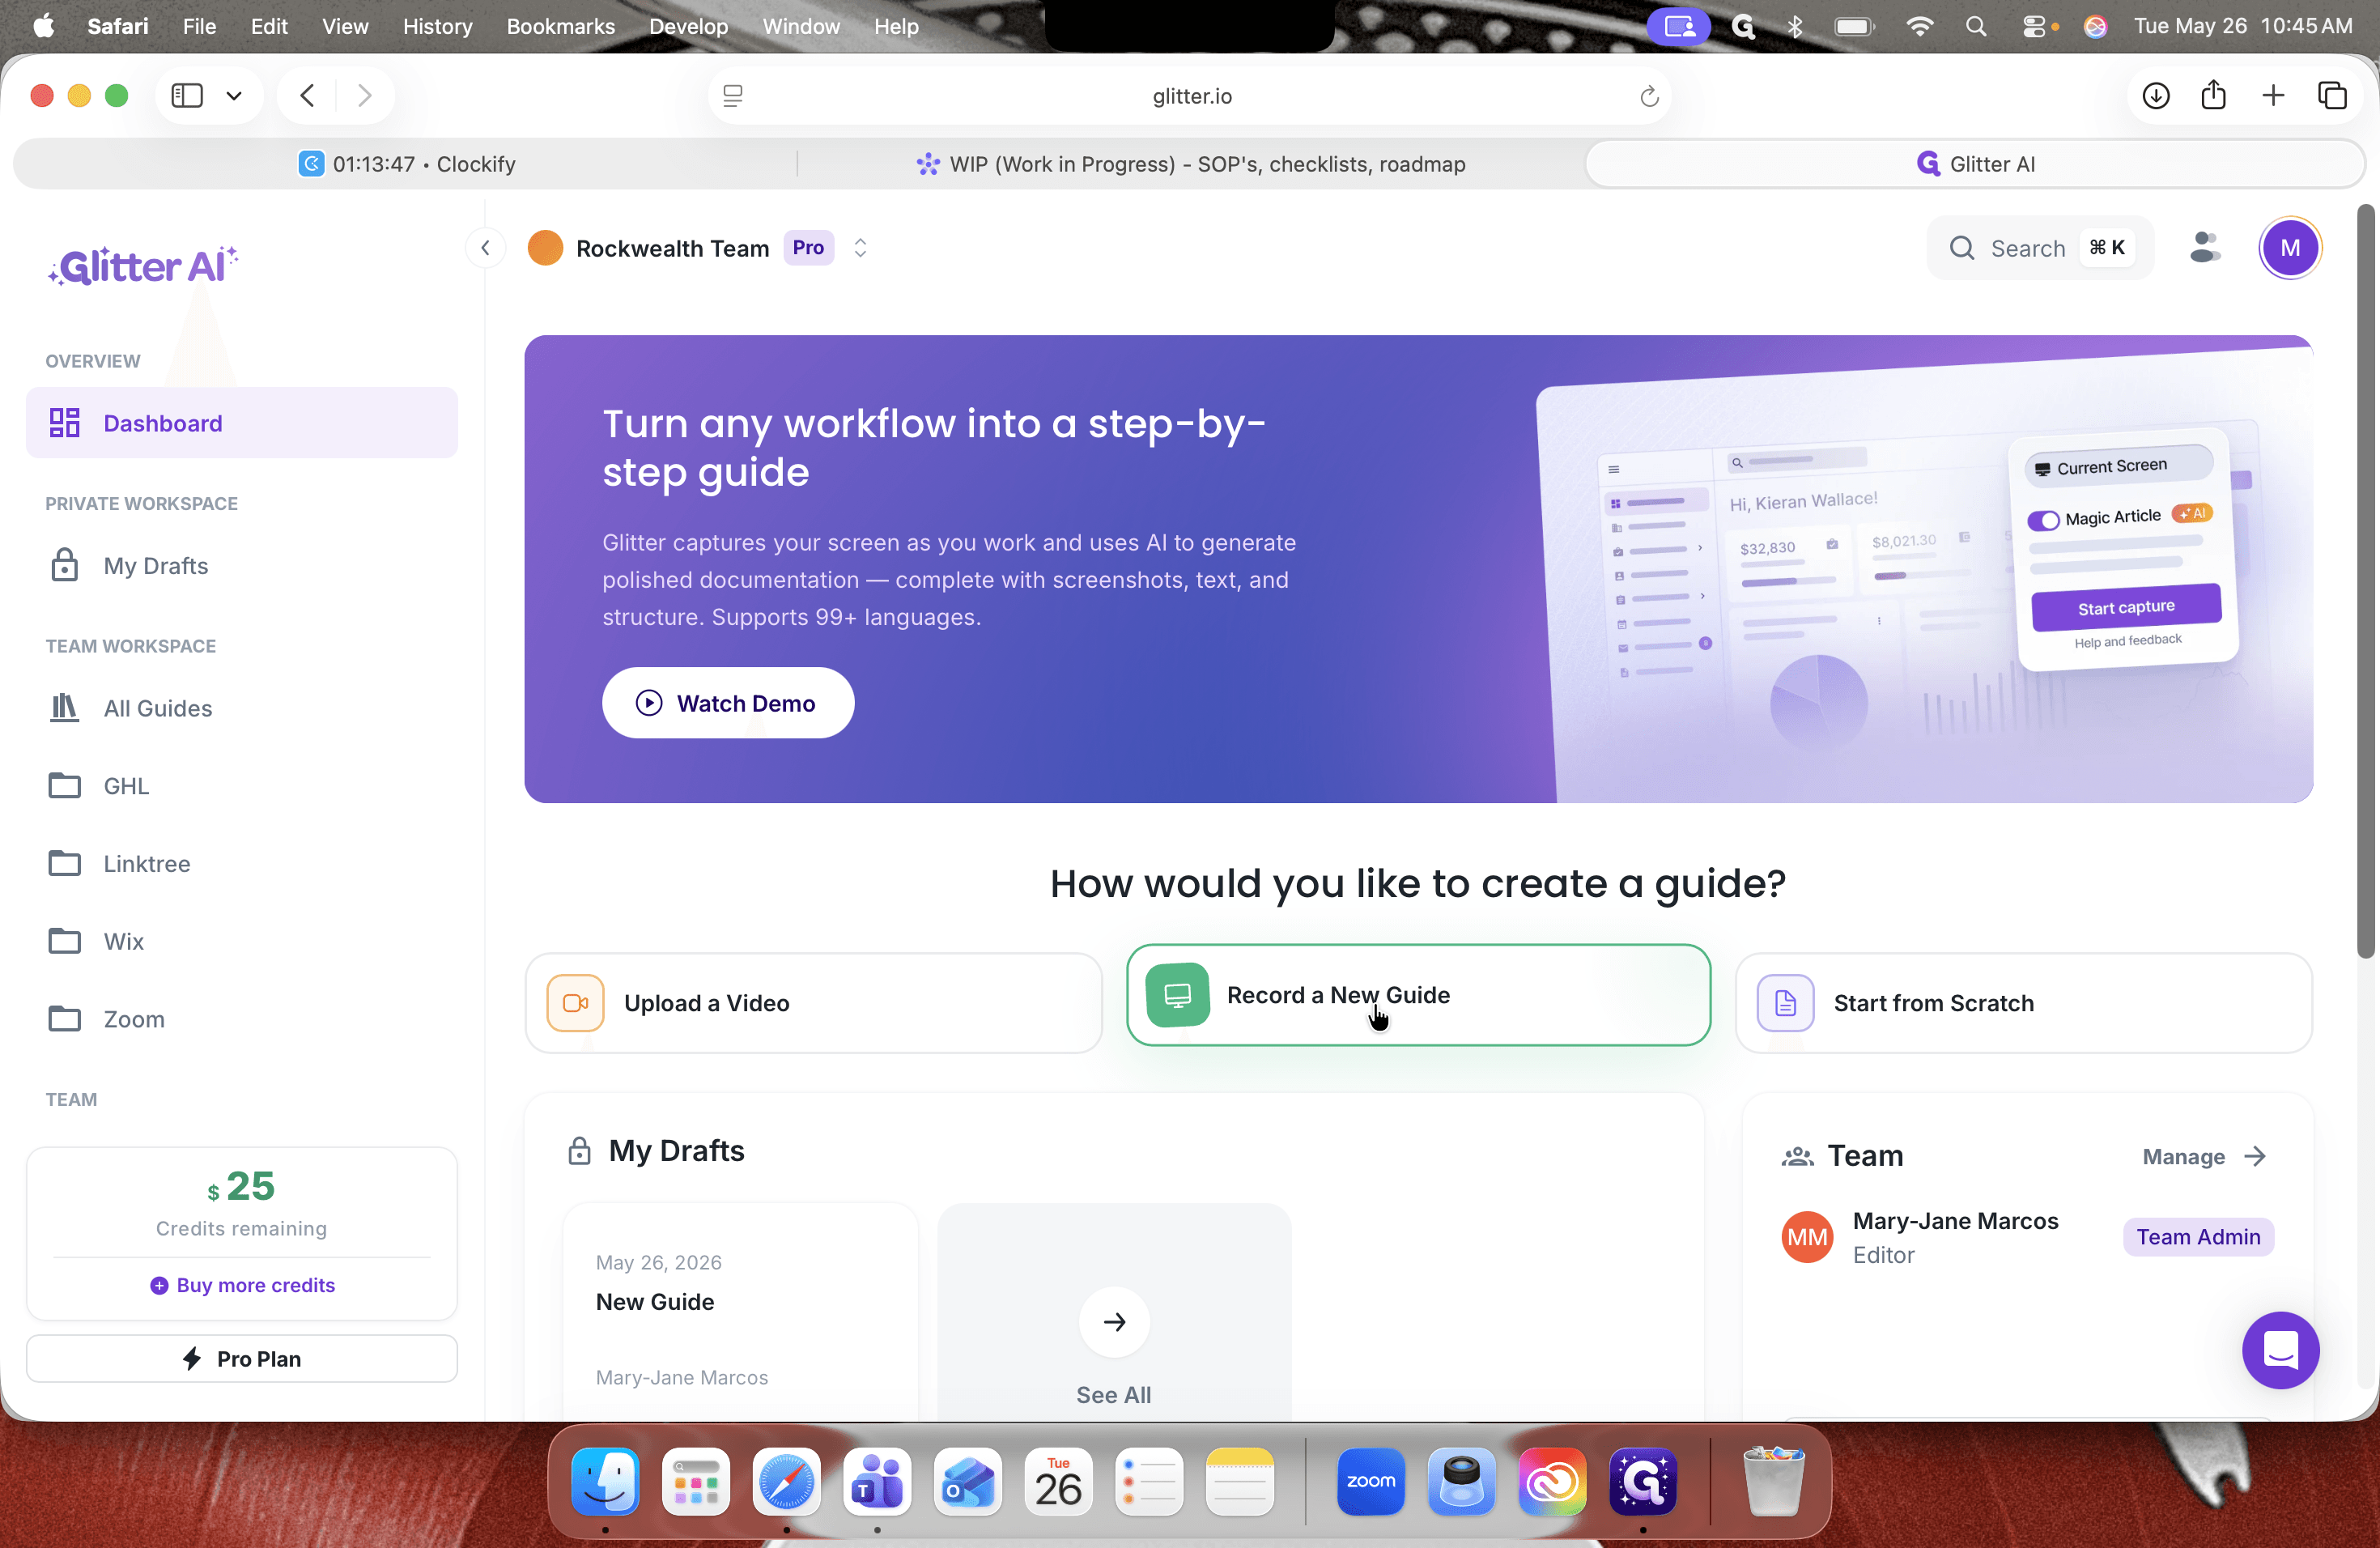
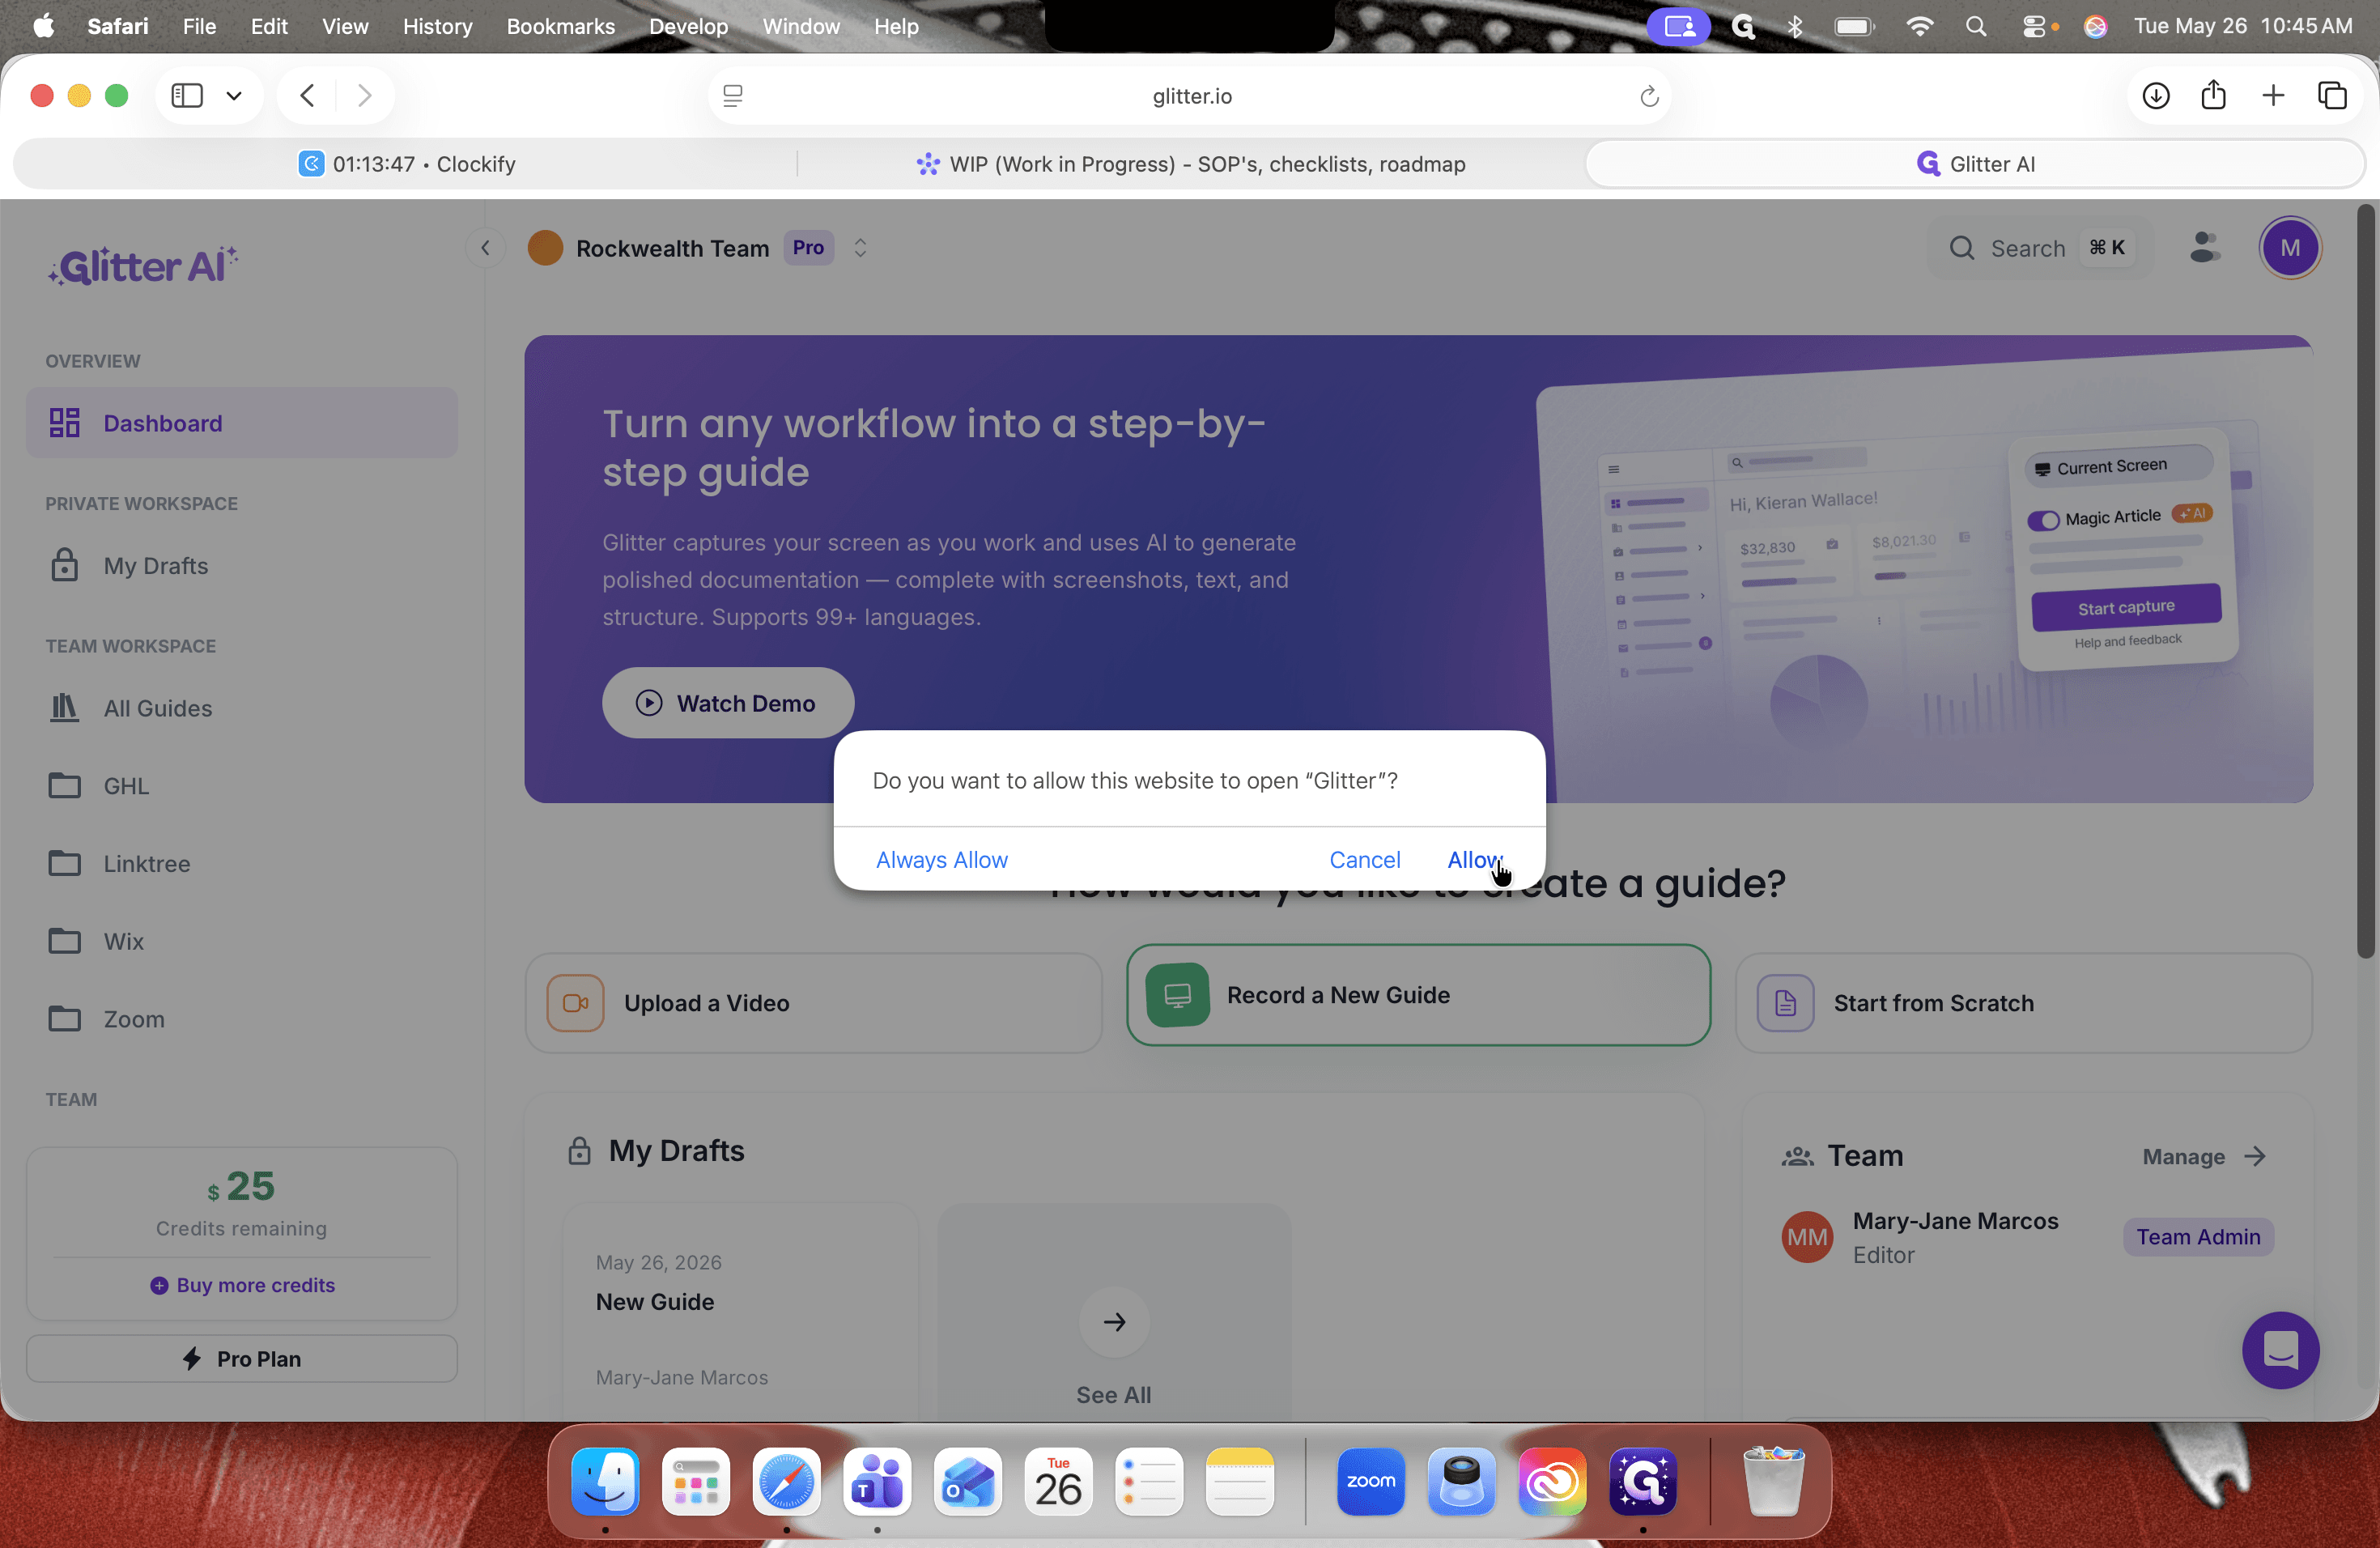
Annotate Guide Screenshots
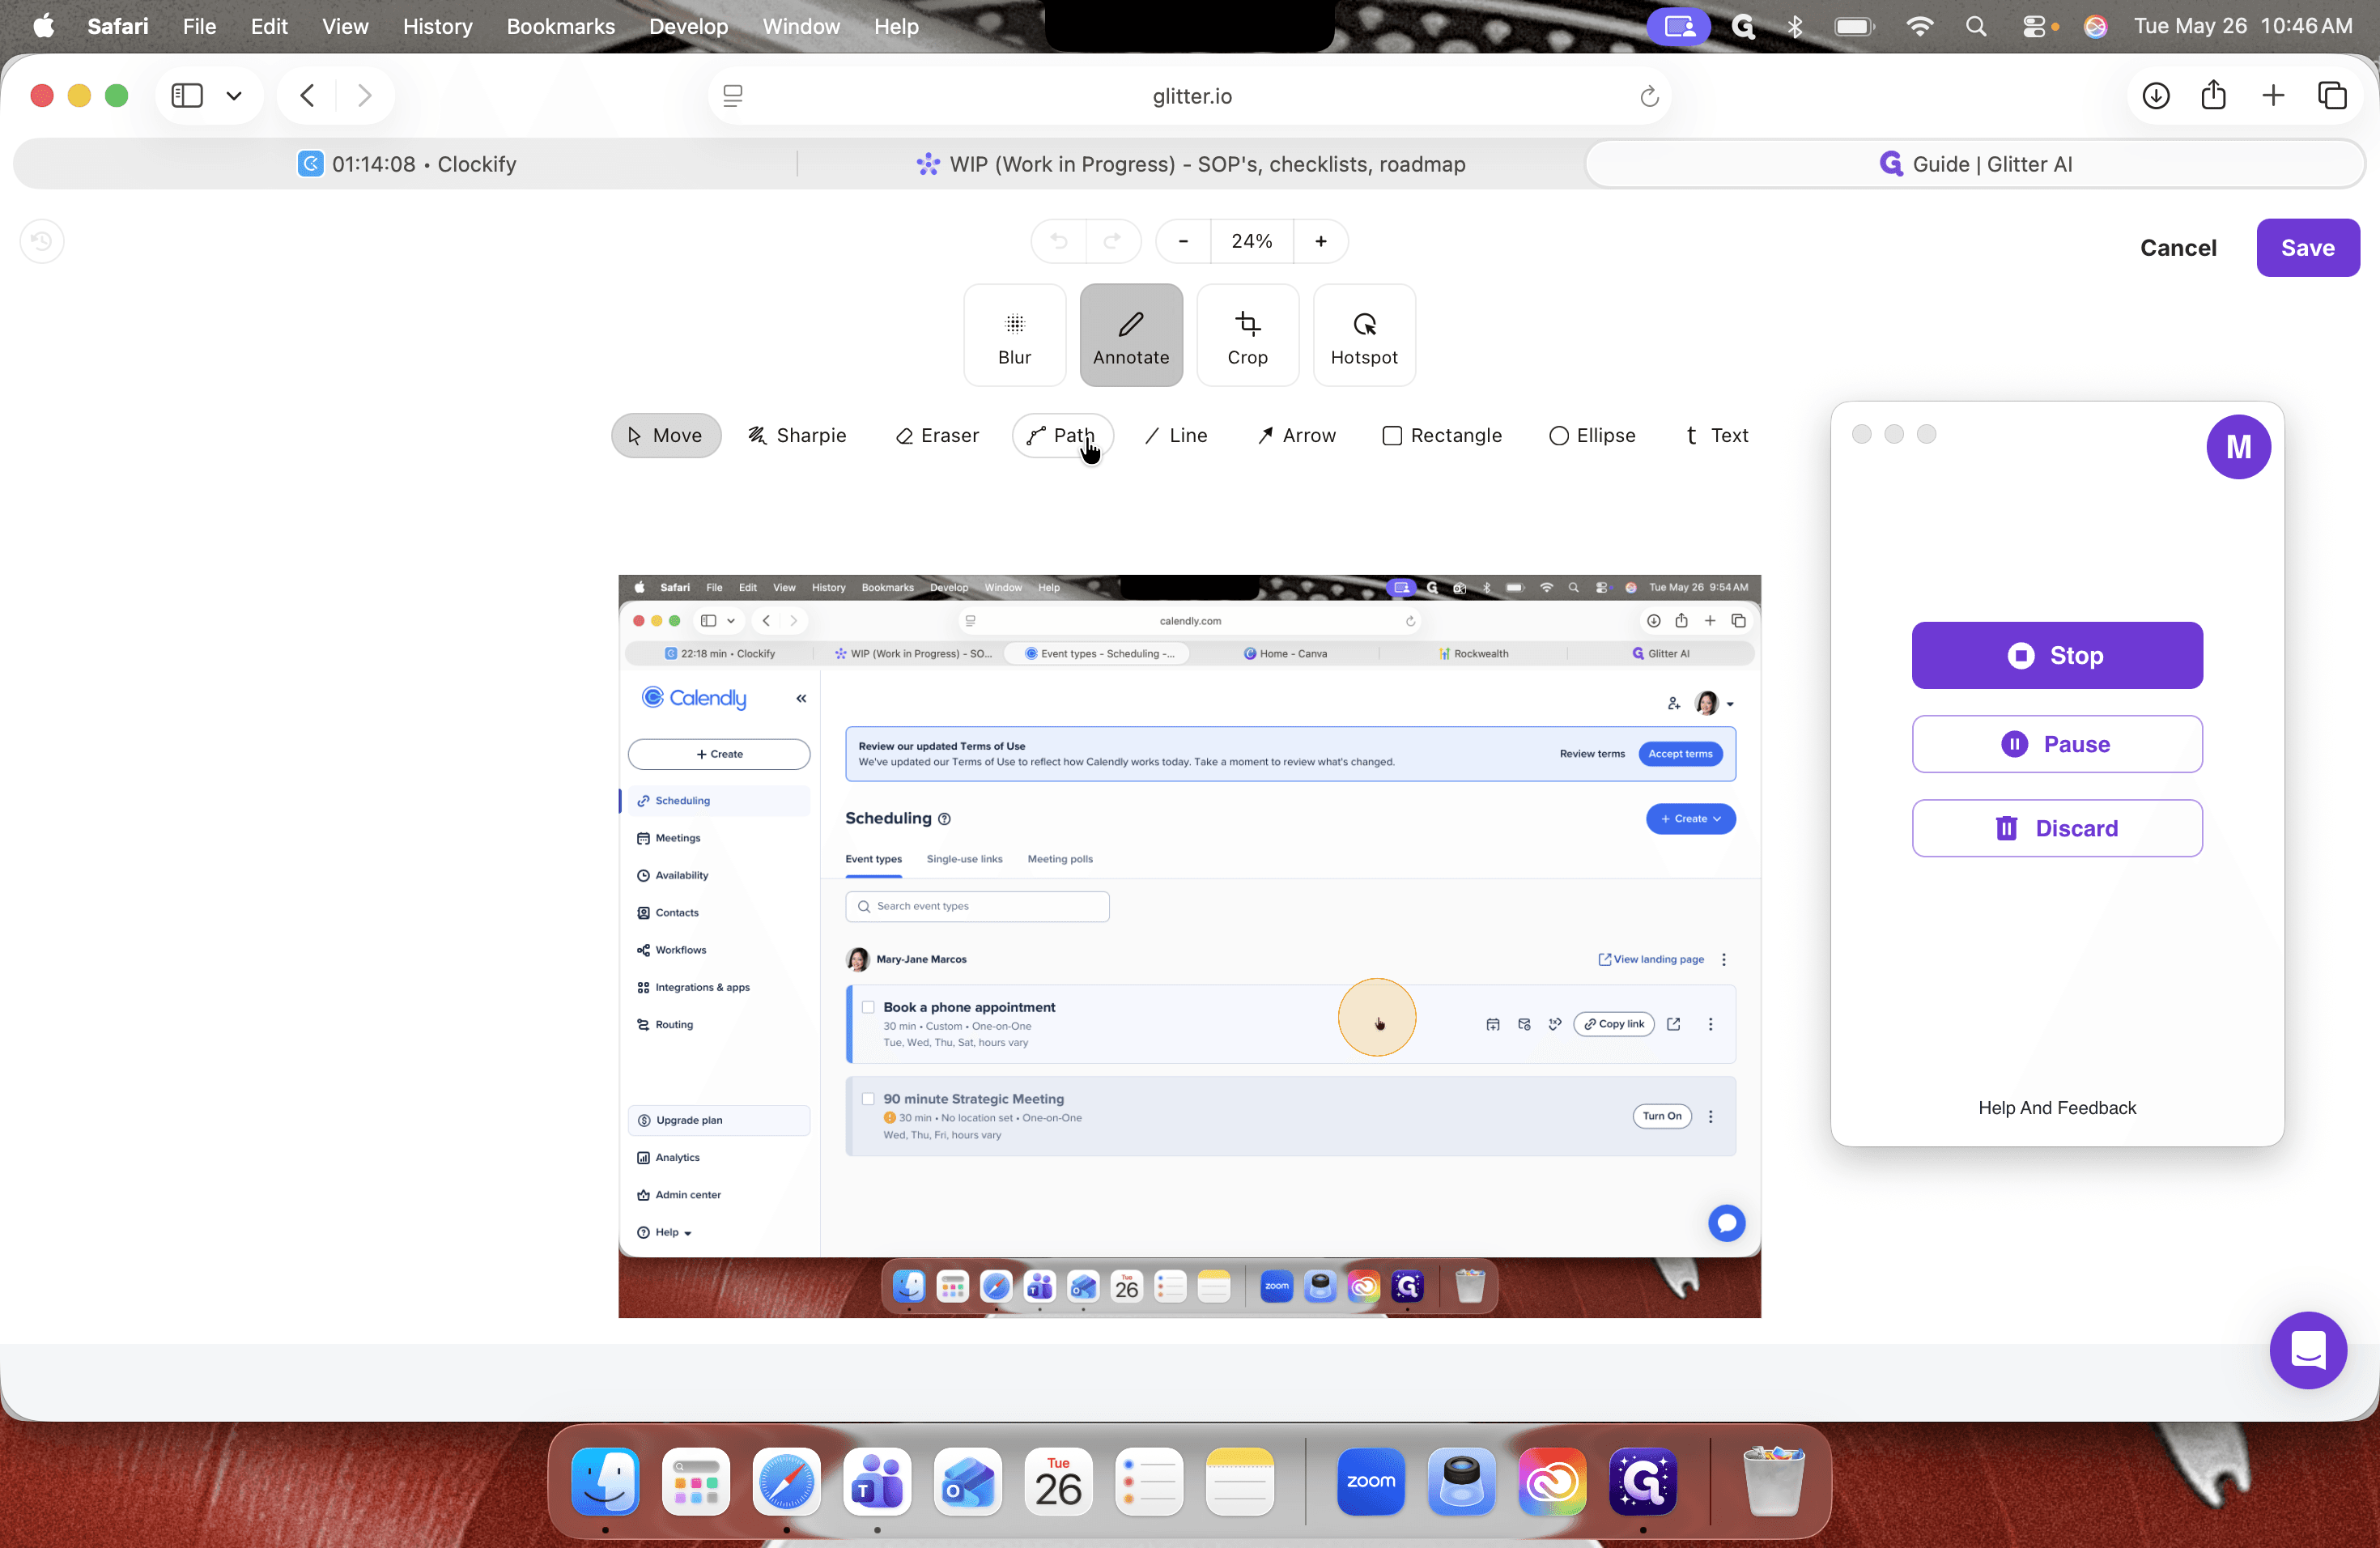
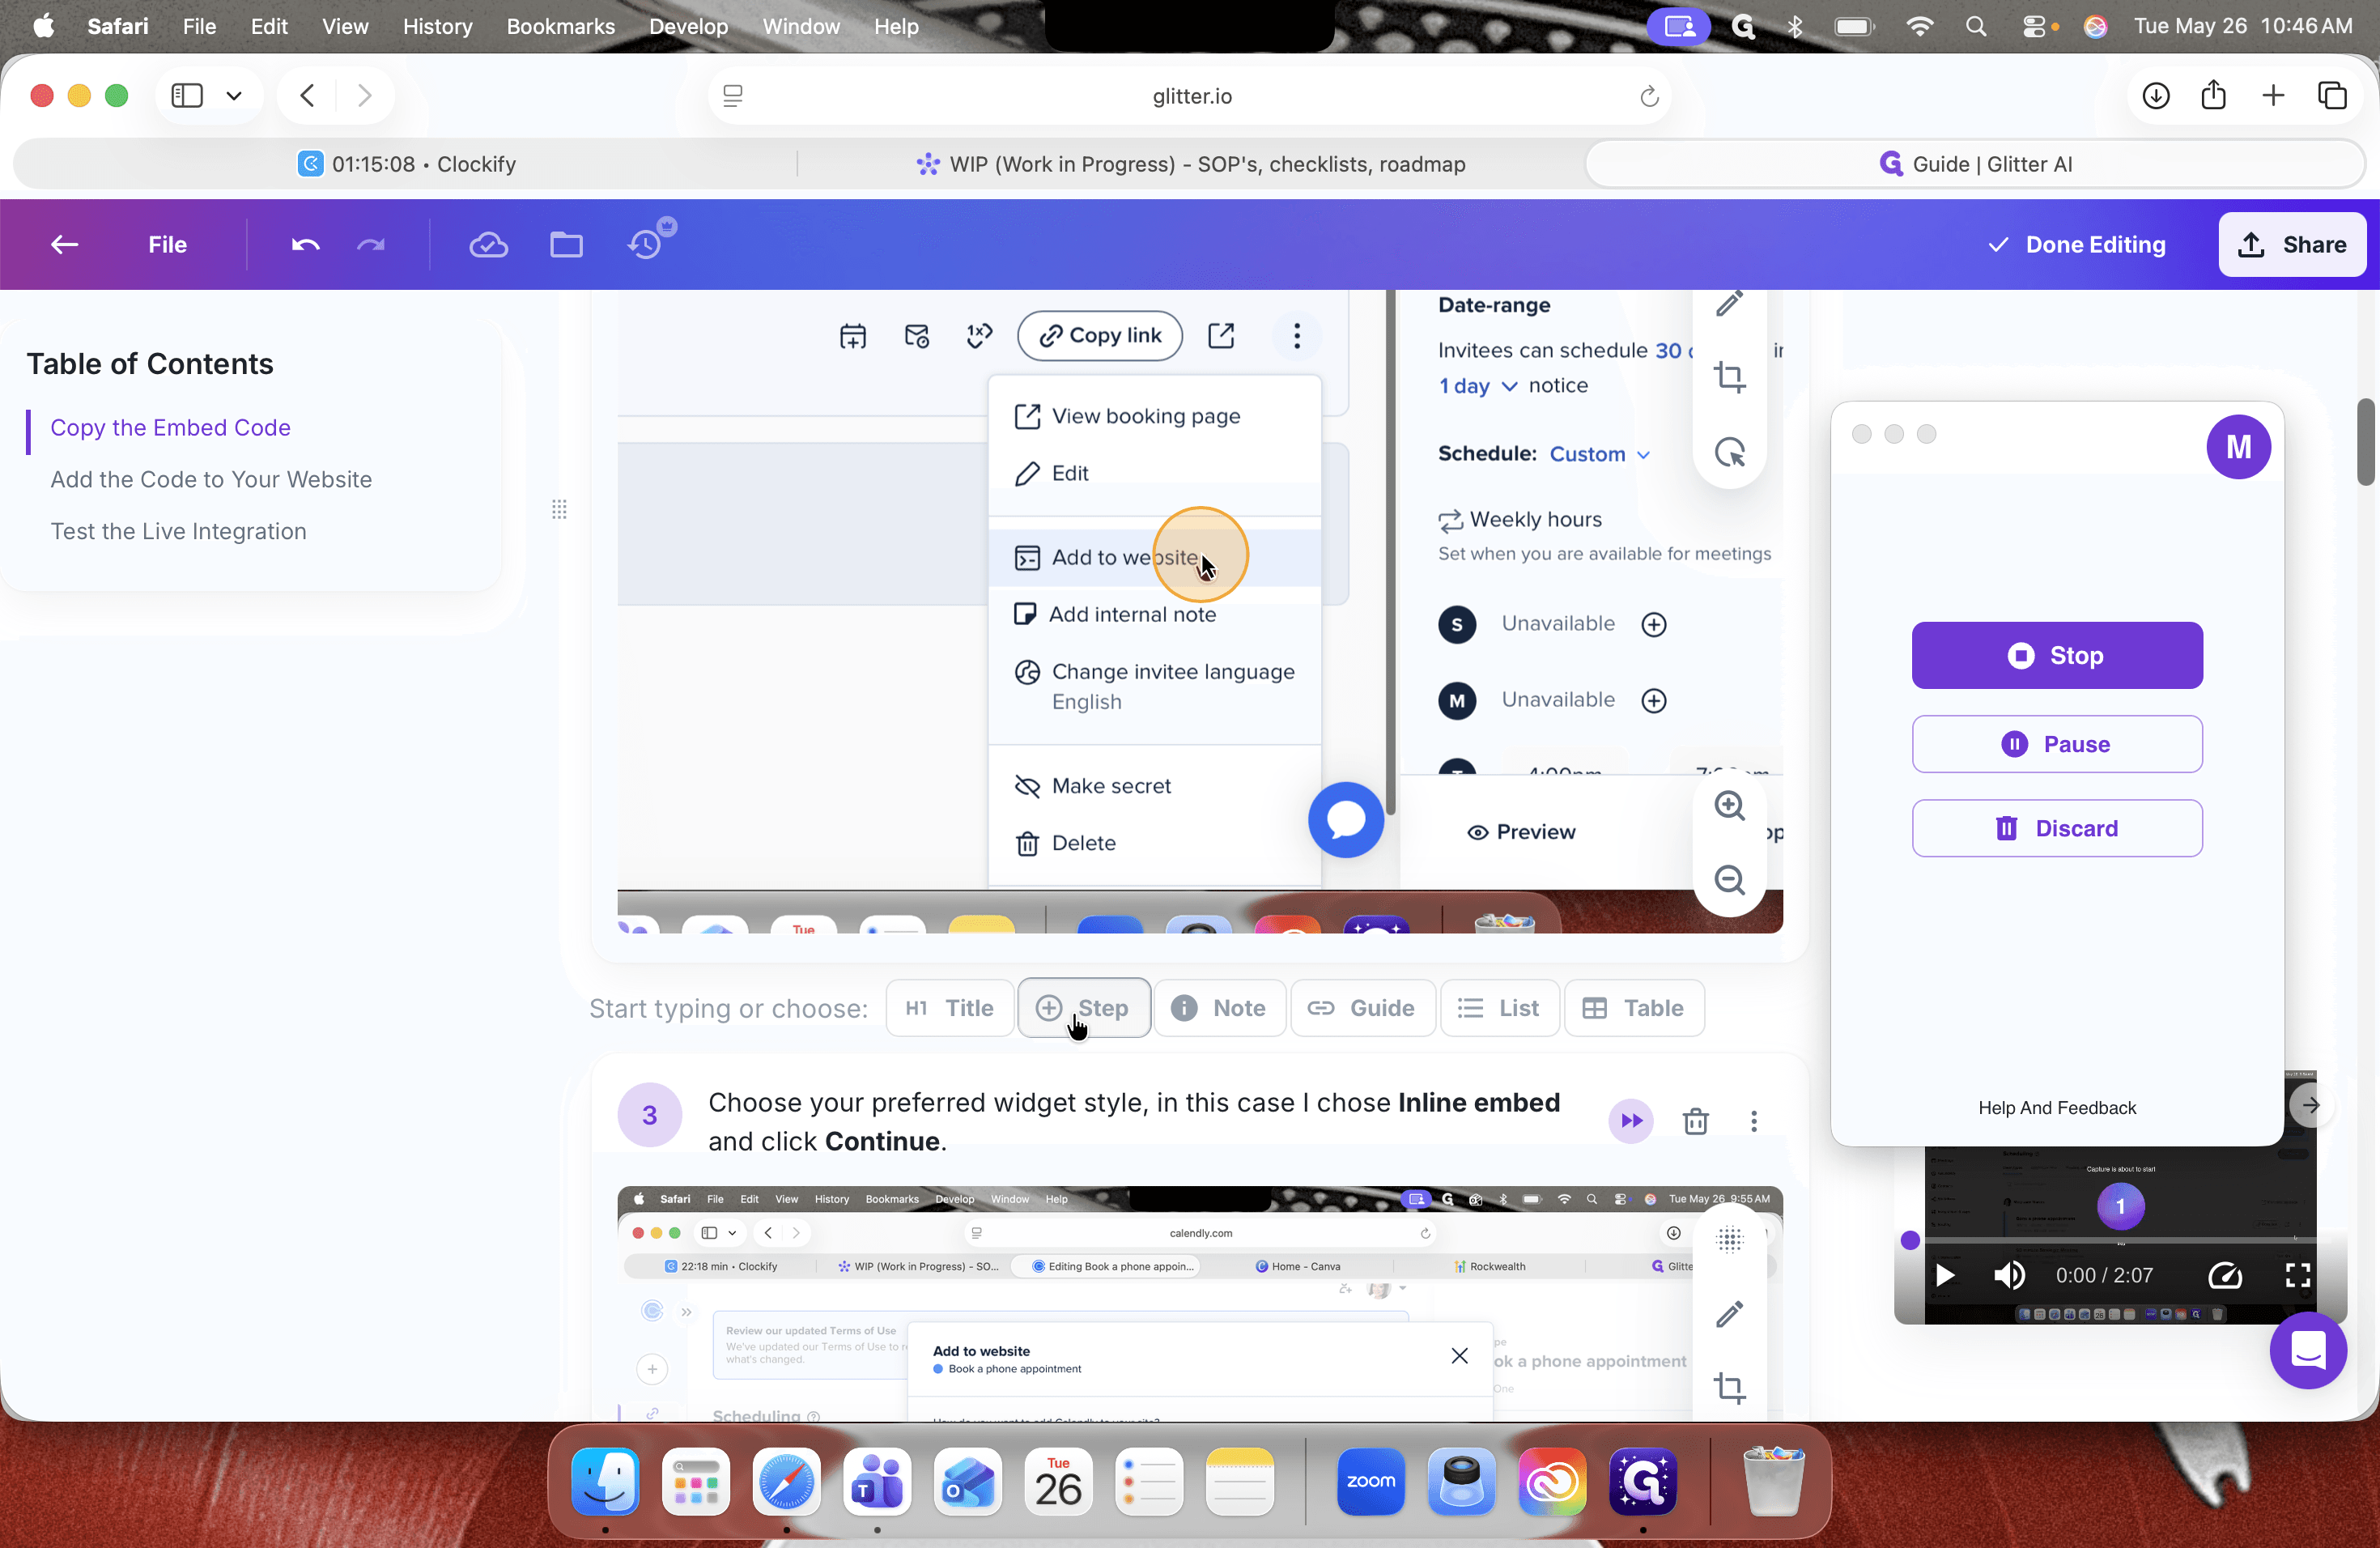
Once the capture is complete, you will be taken to the editor. Use the annotation toolbar to highlight important information in your screenshots.
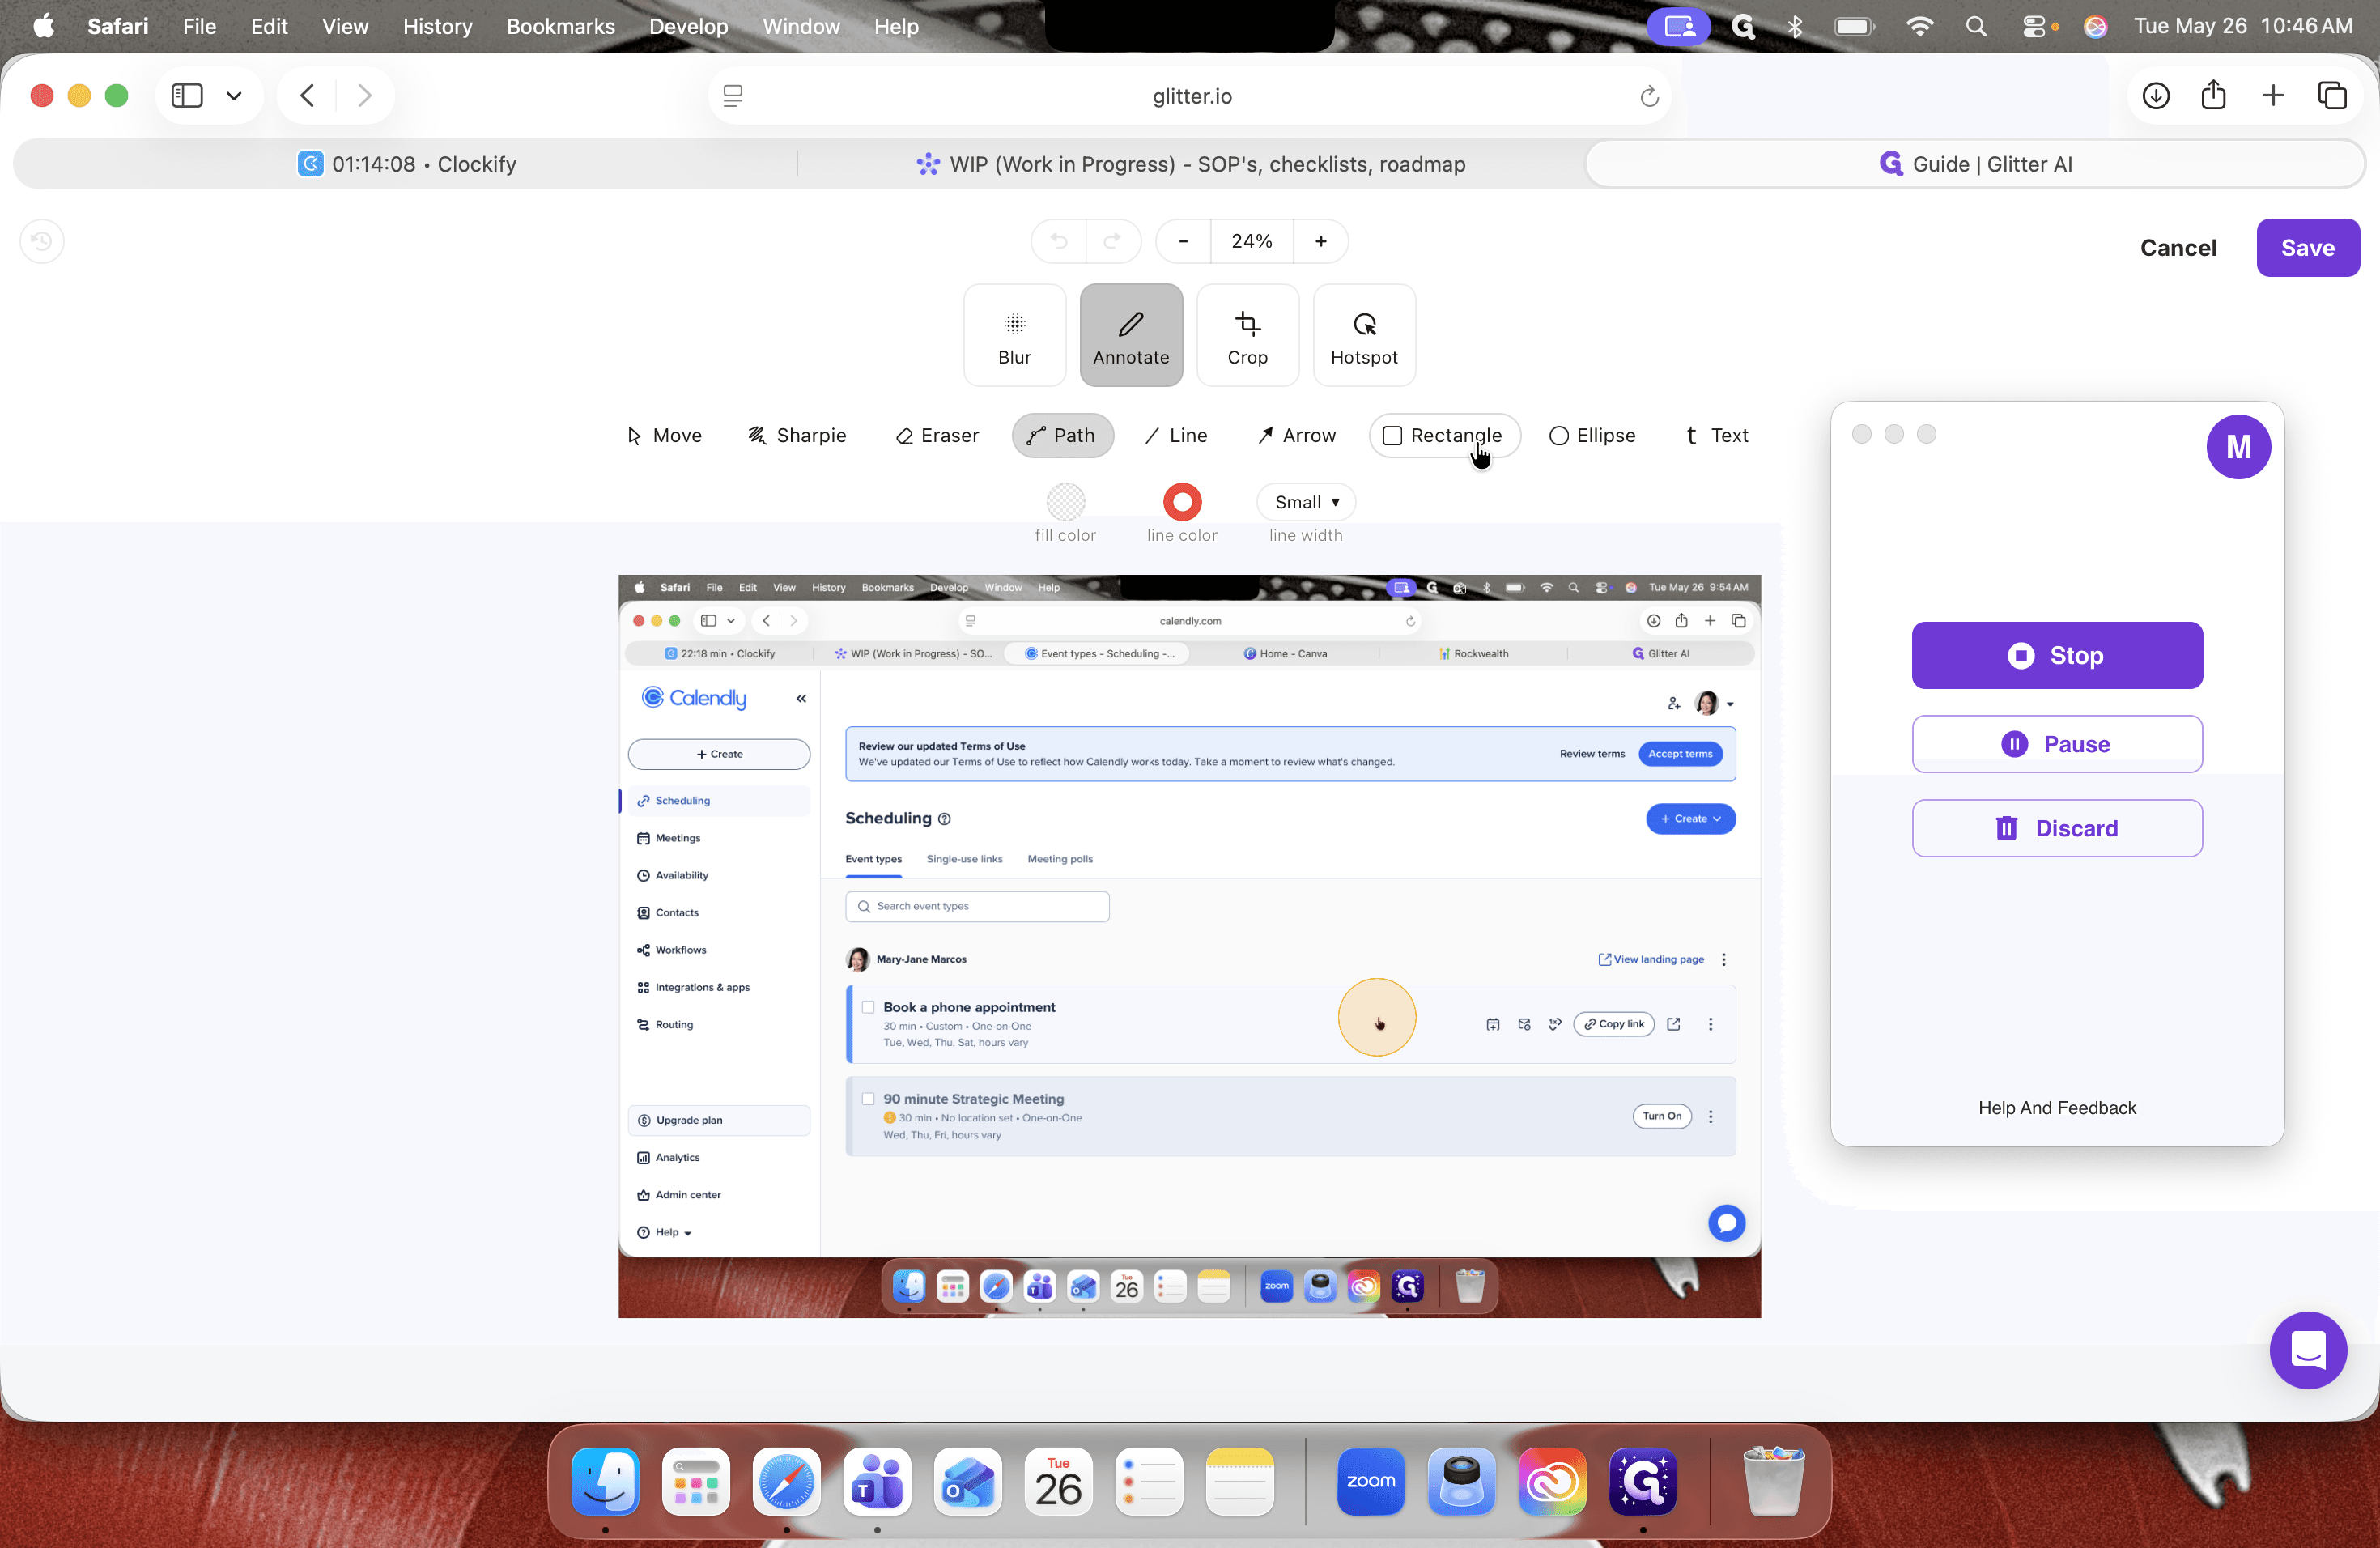
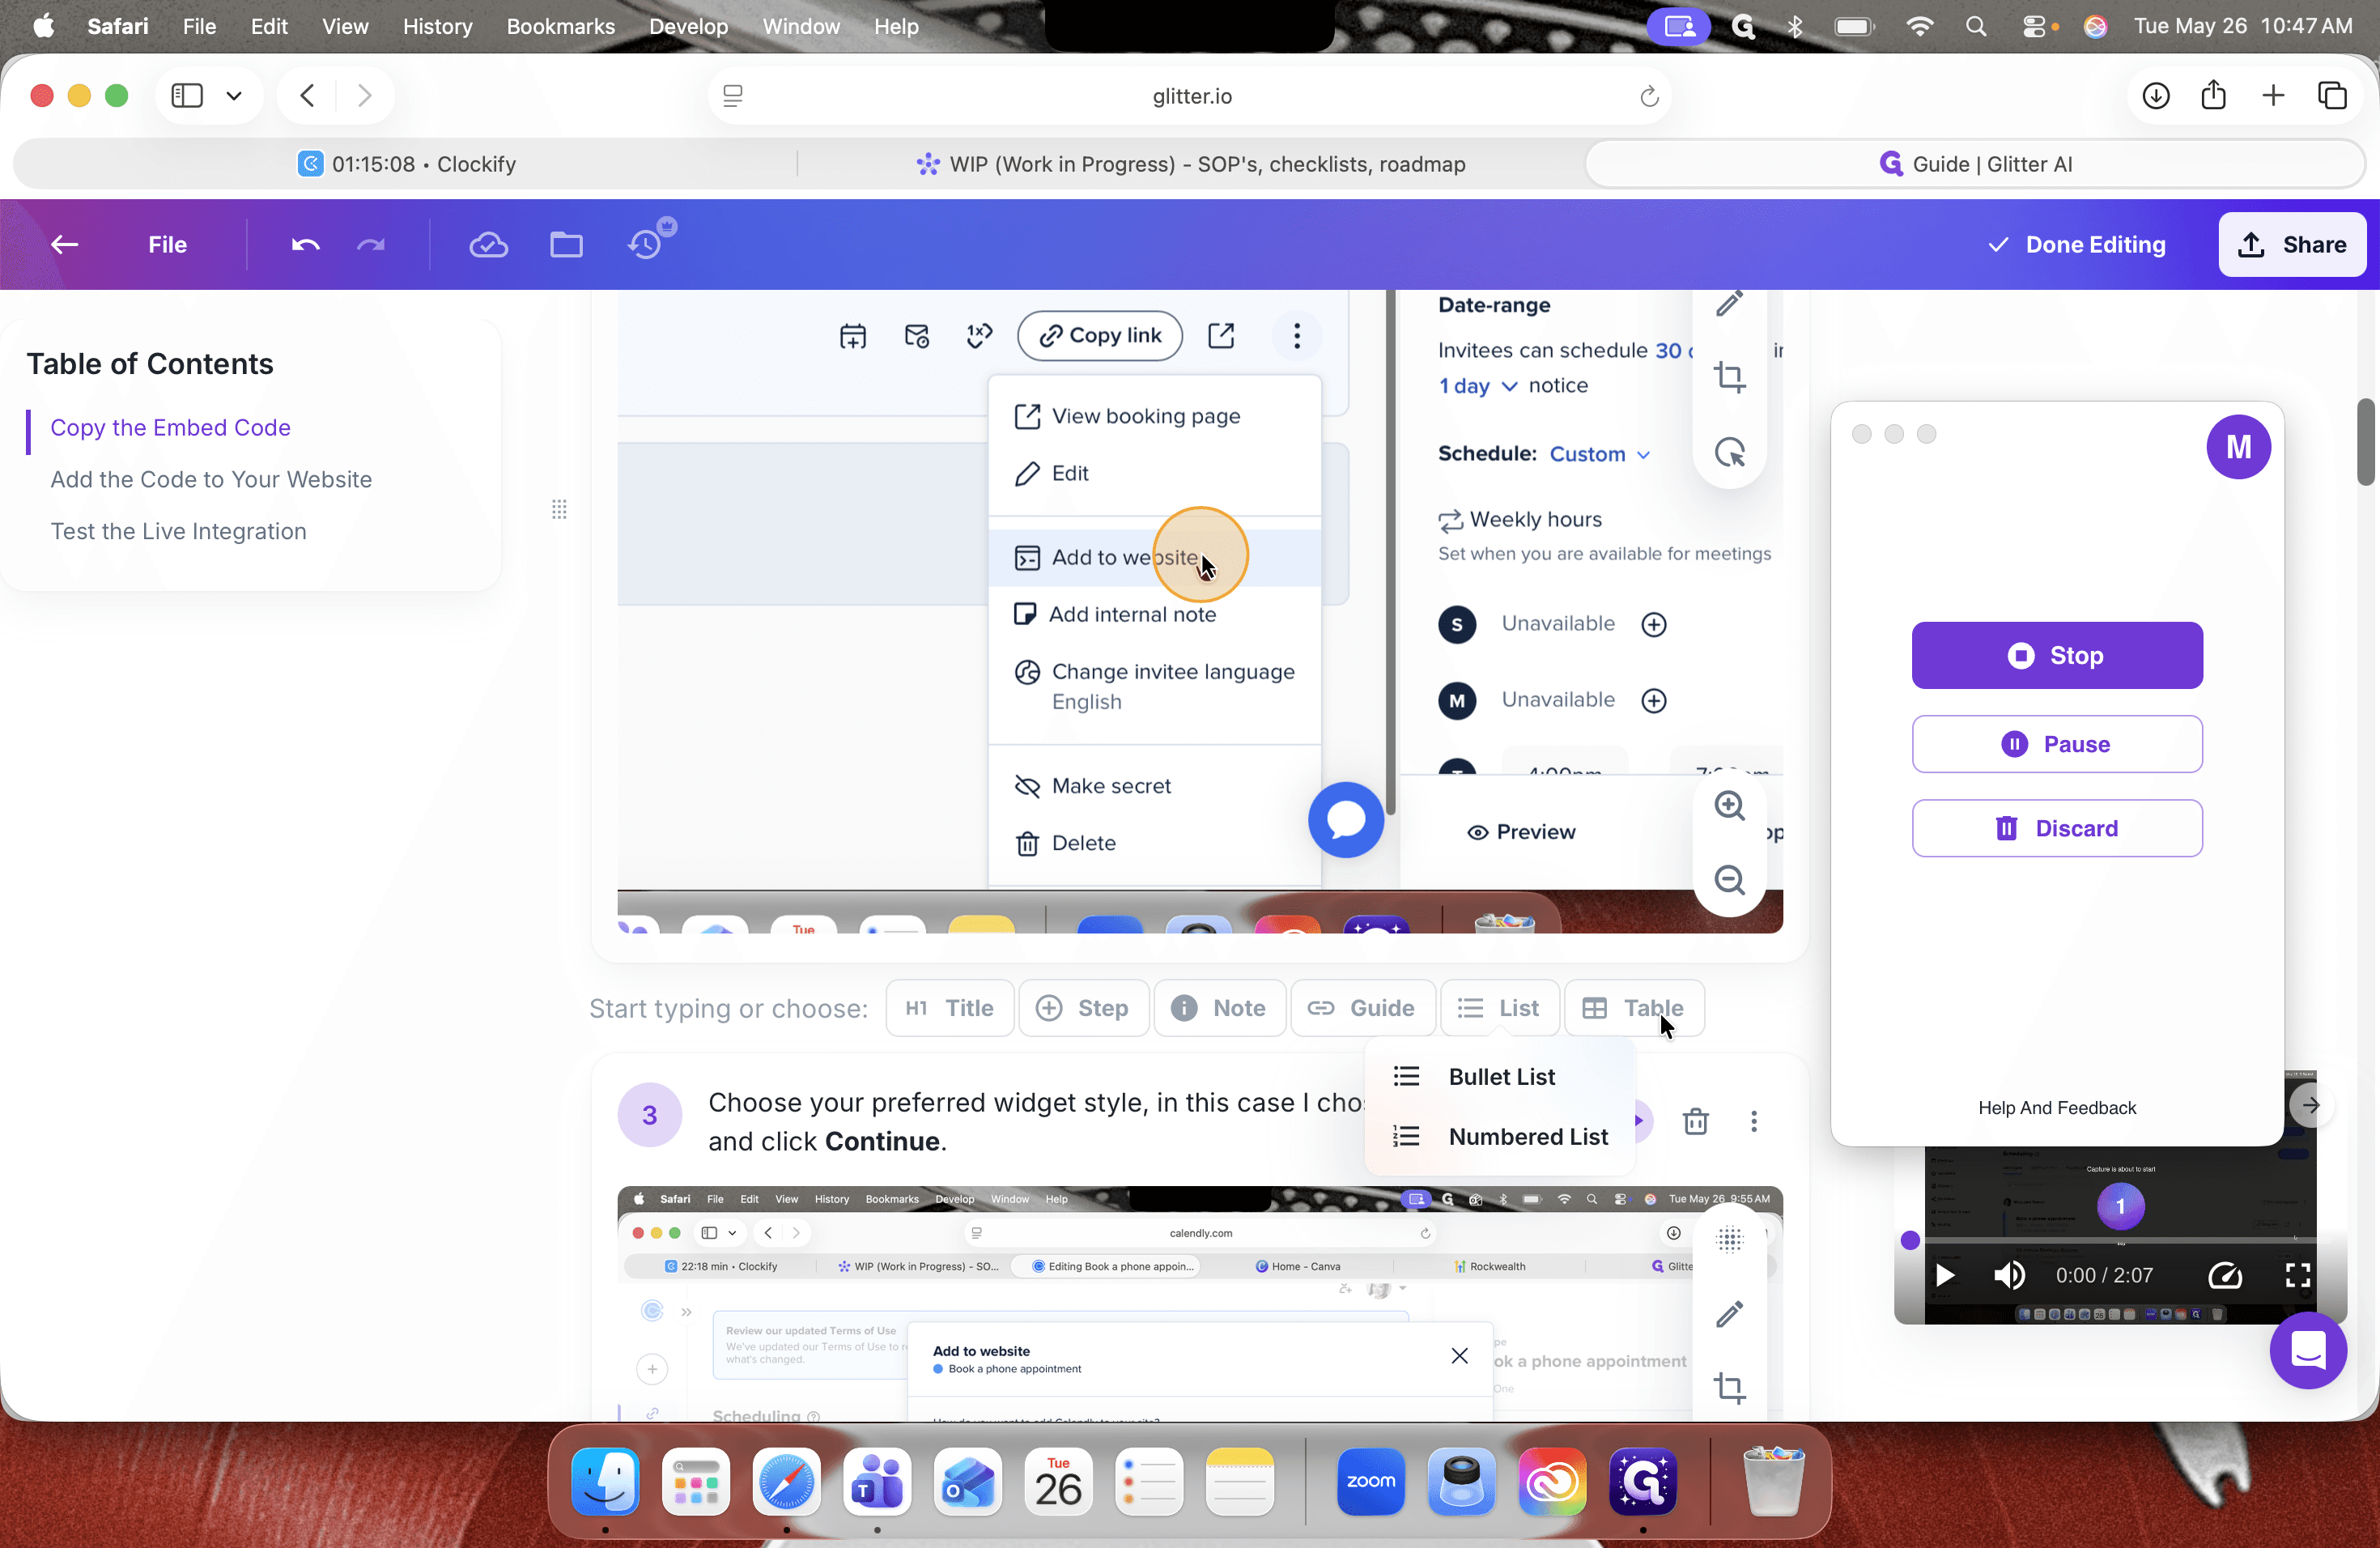
Format Your Guide Content
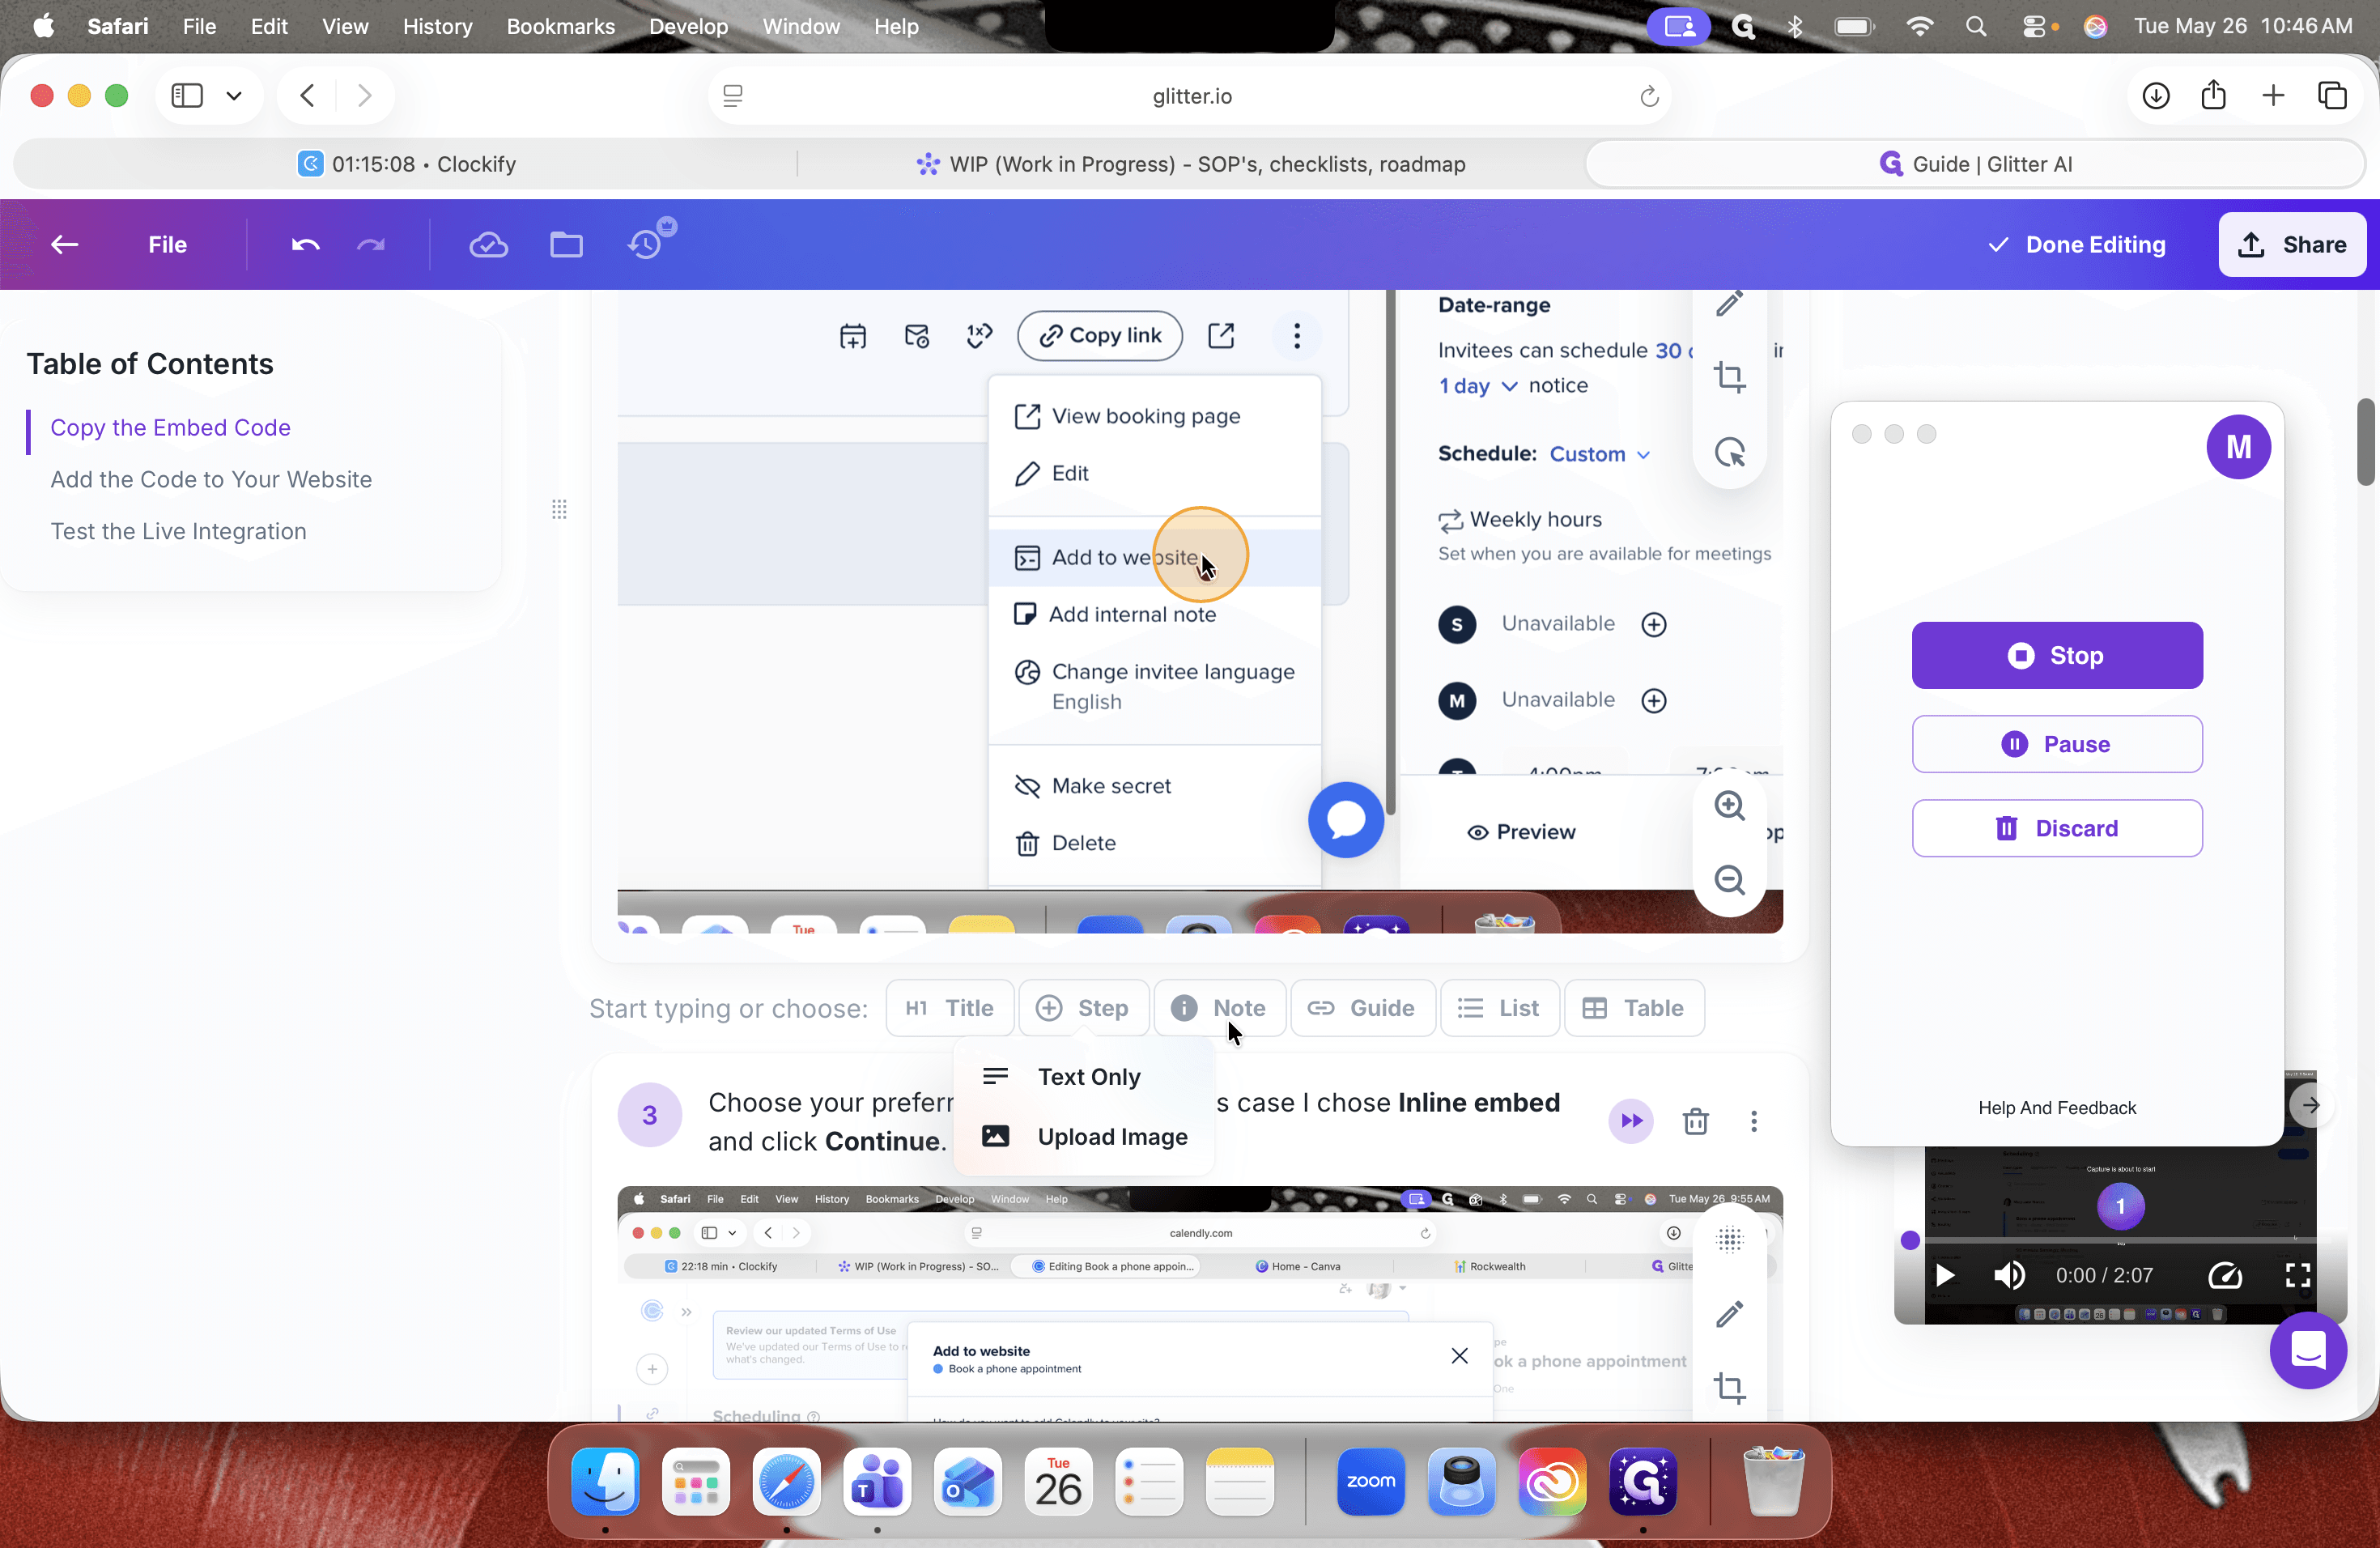
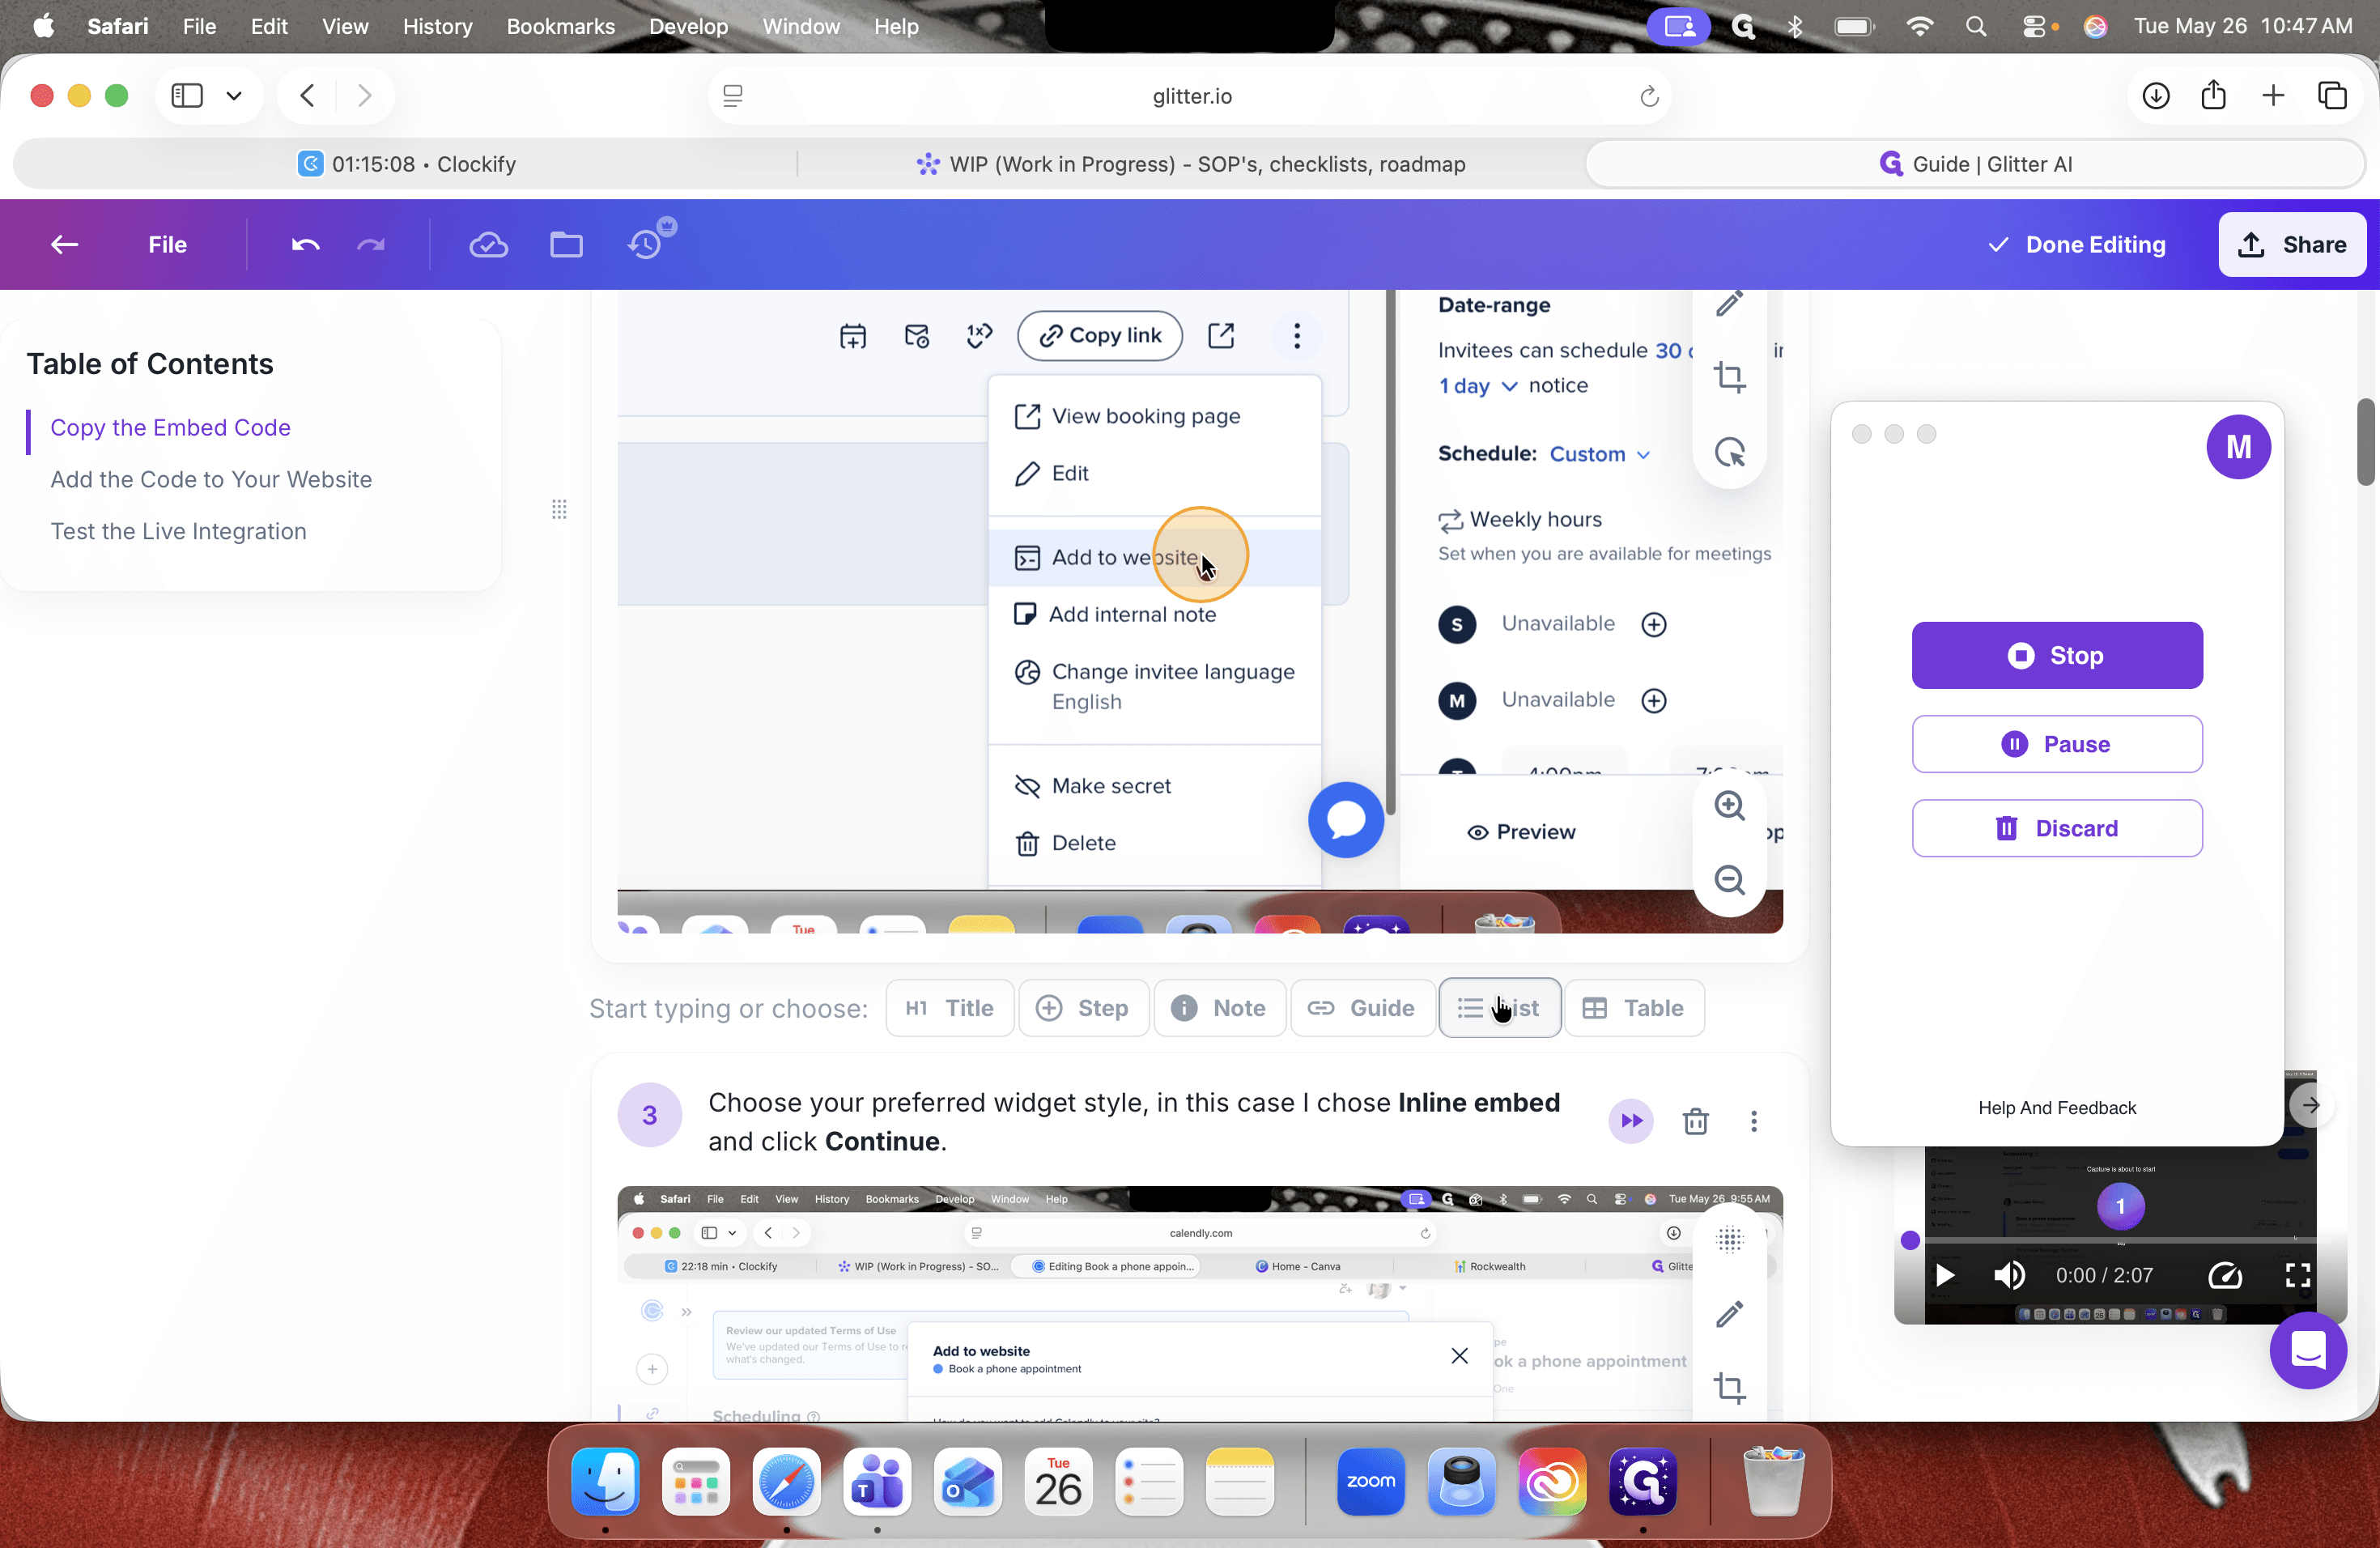
Beyond images, you can structure the text of your instructions to ensure they are easy to read and understand.
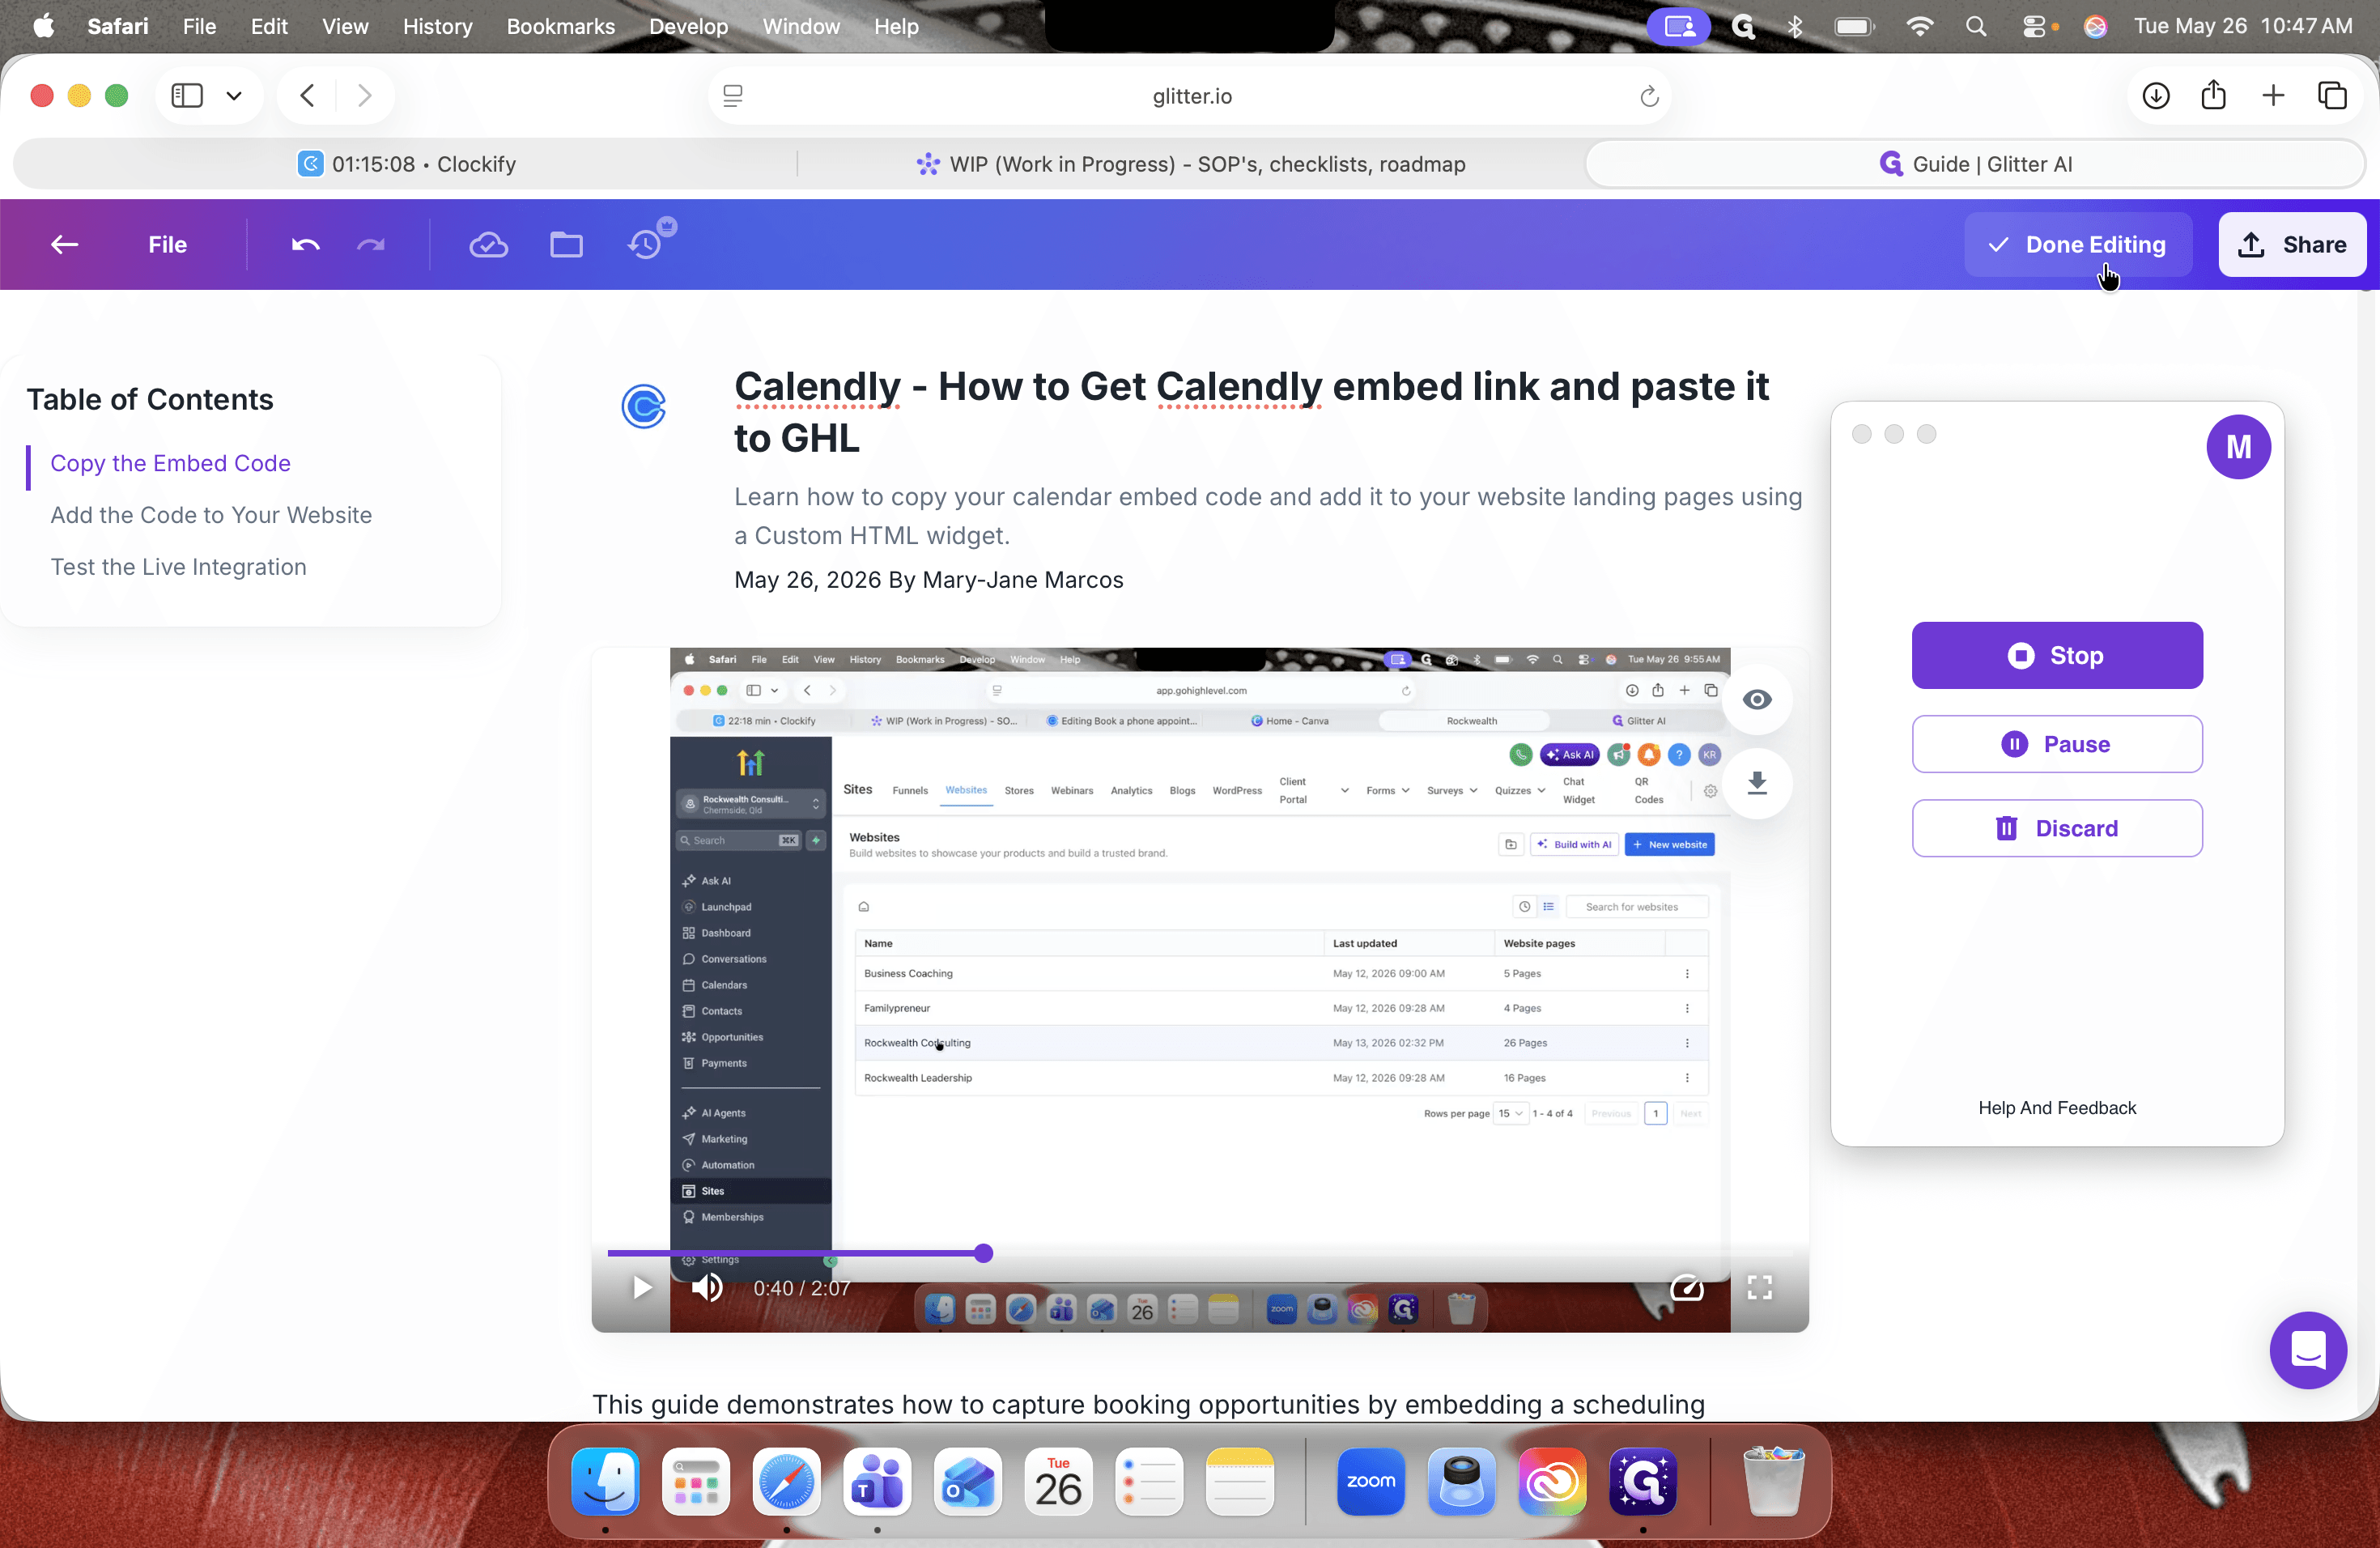
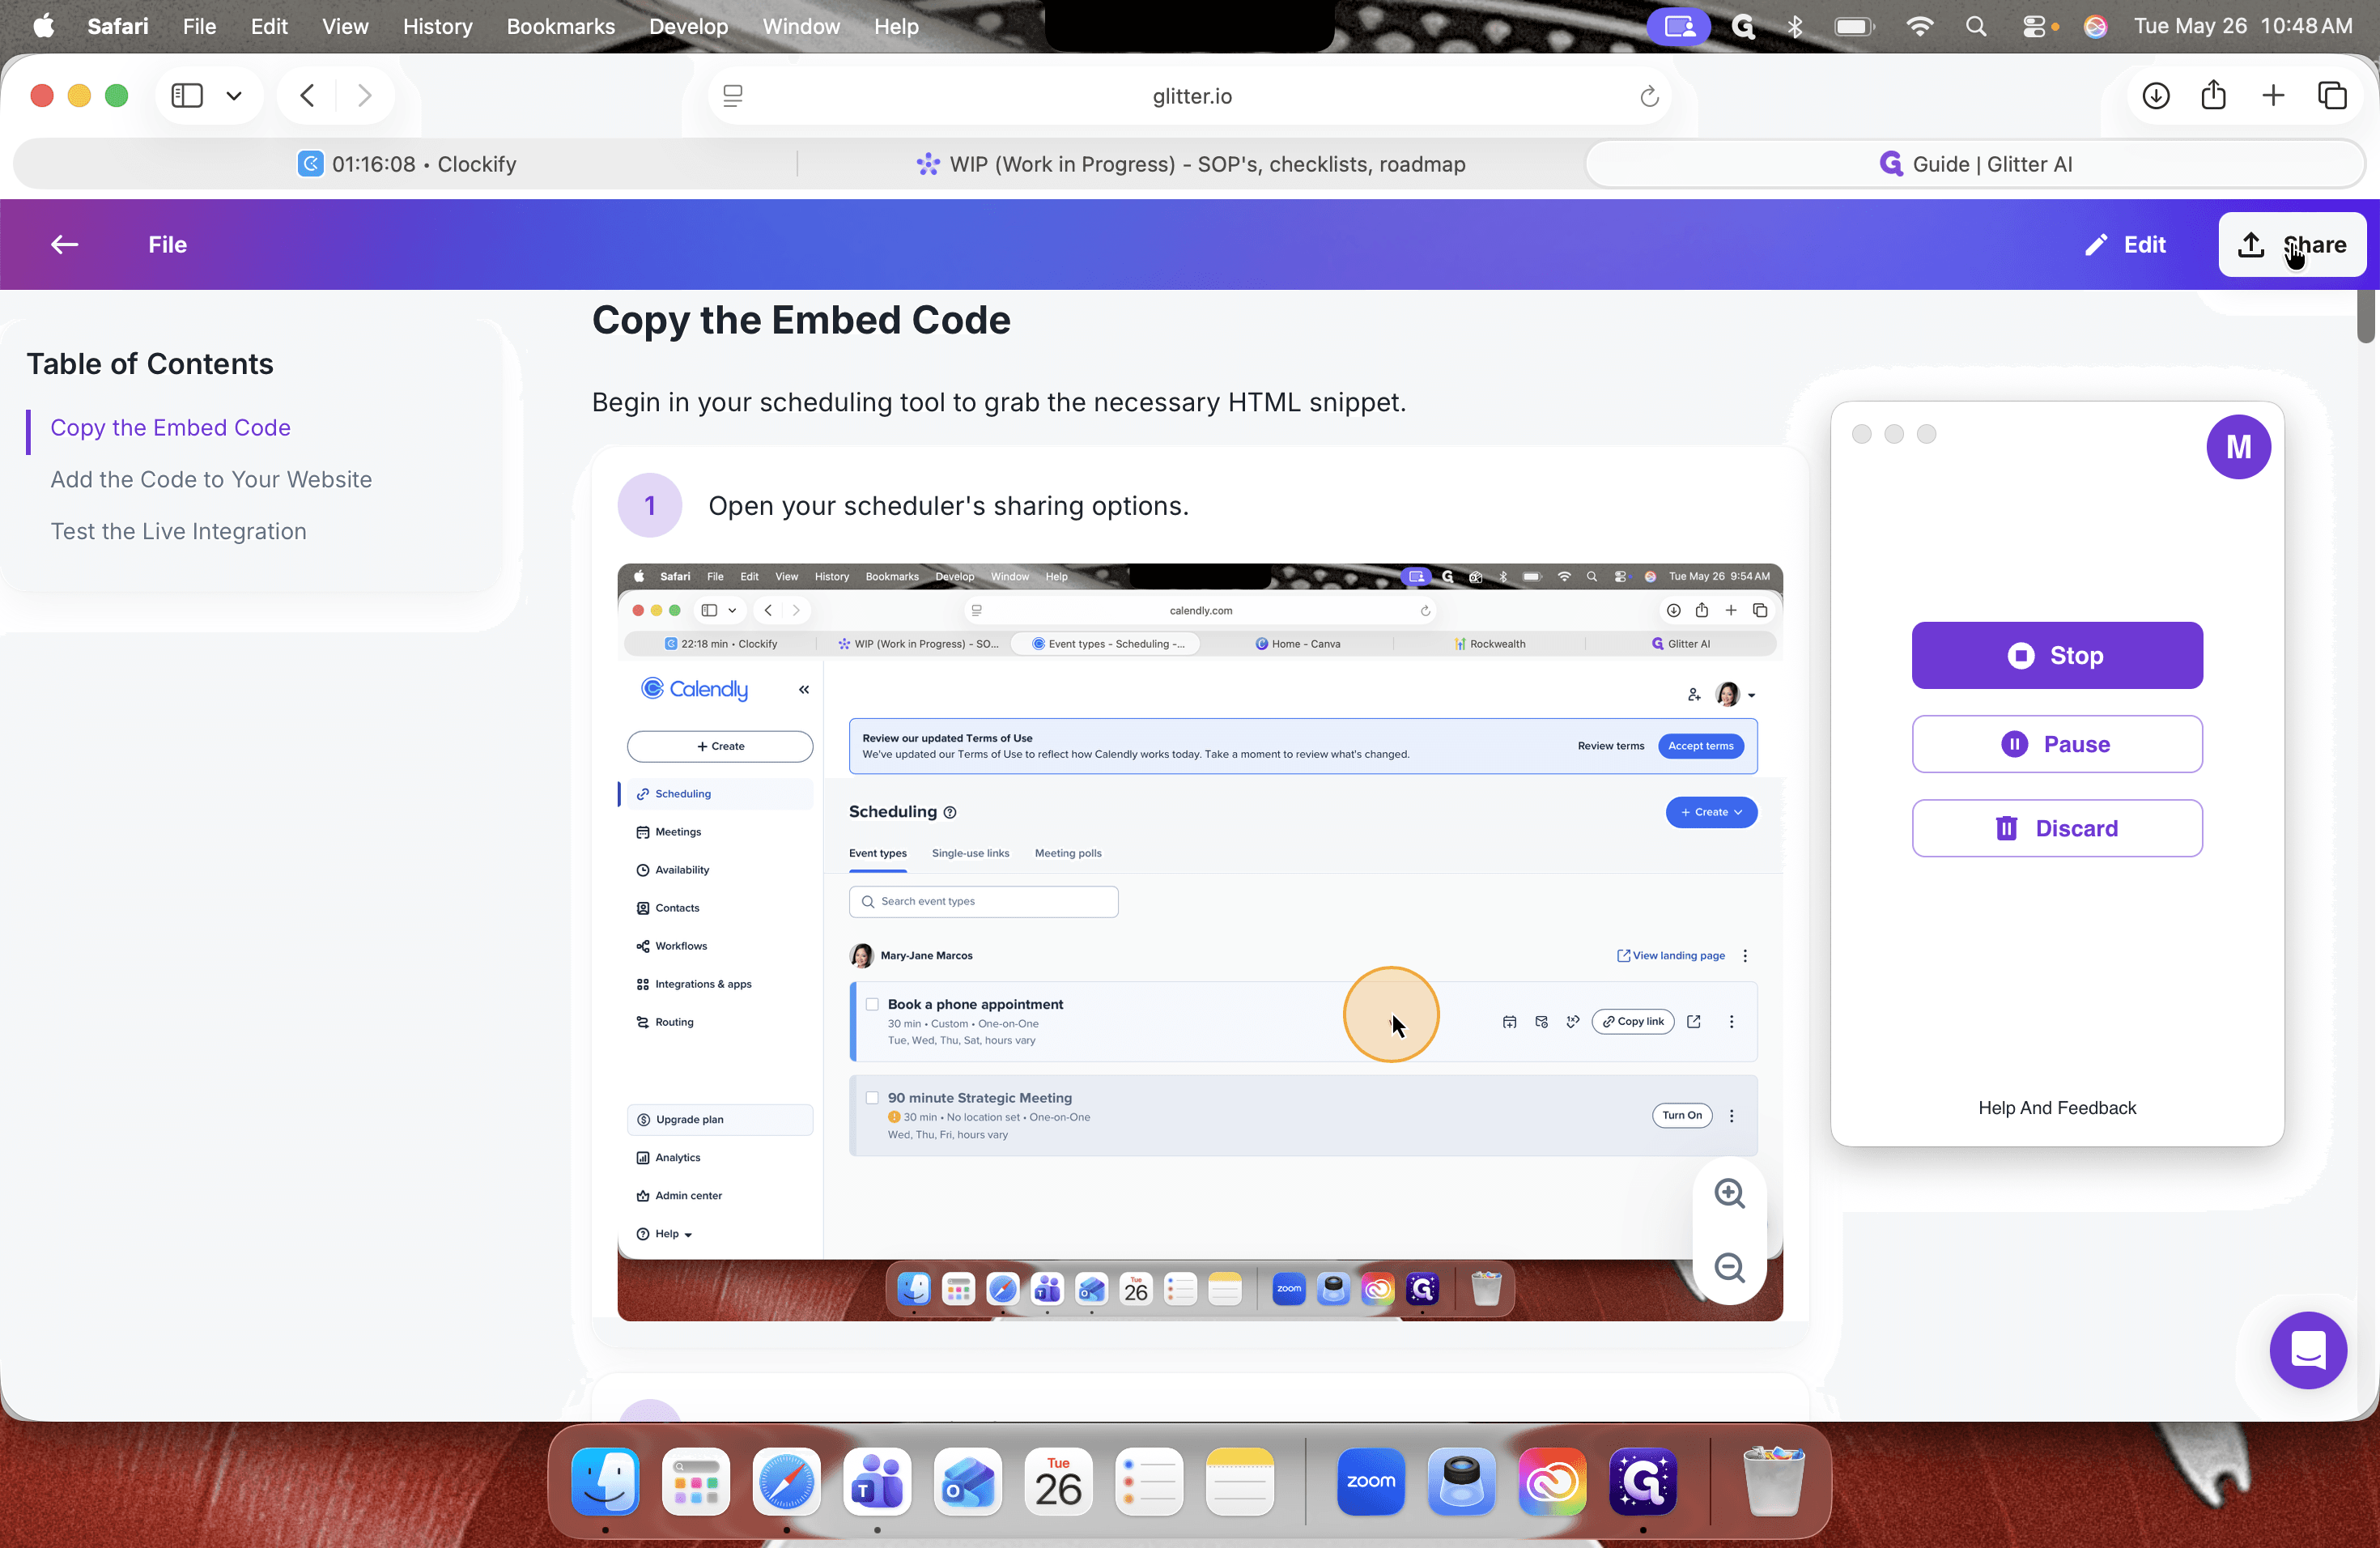
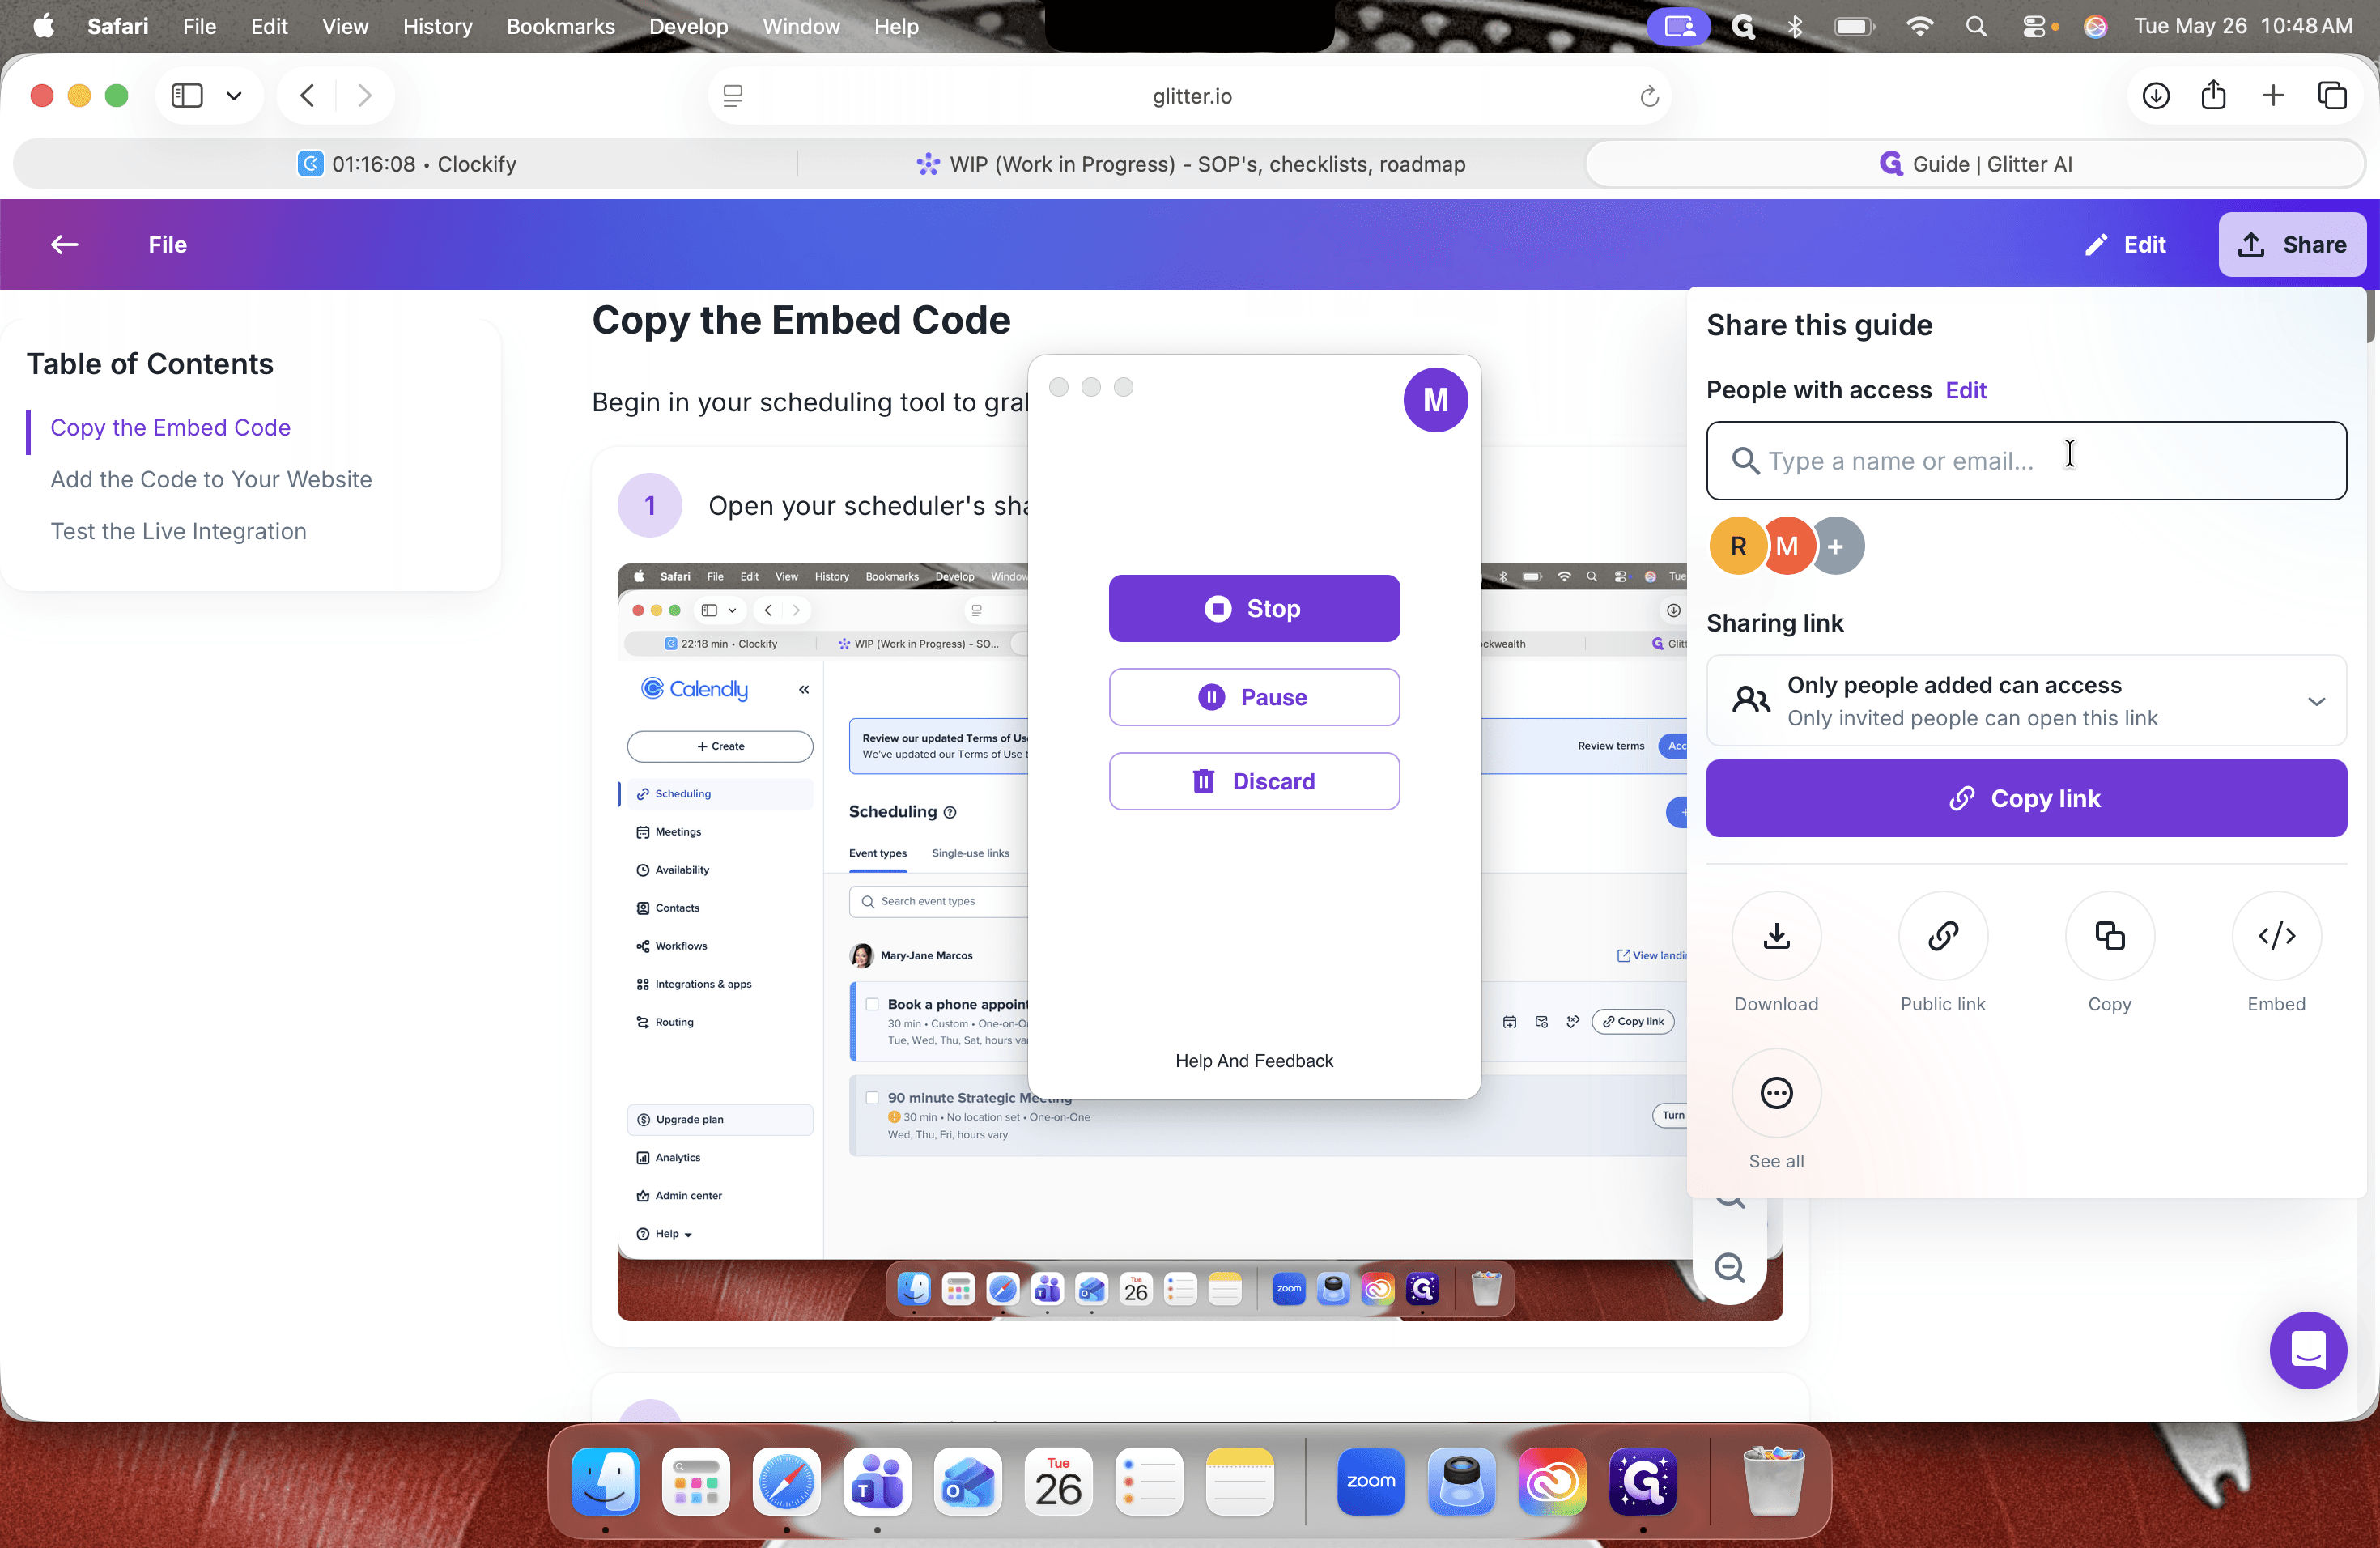
Finalize and Share
FAQ
Q: Can I edit the step titles after recording?
A: Yes, you can click into any text block or step title in the editor to rename it, add context, or fix any typos captured during the recording.
Q: What should I do if I captured a mistake during my recording?
A: You can delete any unnecessary step directly from the editor's sidebar. It will seamlessly renumber the rest of your guide.
Glossary
Term | Definition |
|---|---|
Desktop App | The standalone application installed on your computer used to capture screen recordings across different windows and local software. |
Annotation Toolbar | The menu in the editor containing visual markup tools (like rectangles, arrows, and text notes) applied over screenshots. |
Click Target | The specific visual marker (often a numbered dot) indicating exactly where a user should click in a screenshot. |