Guide on Sending a Collaborate Request to LOOX Customers
Learn how to send a Collaborate Request to LOOX customers, a crucial process for businesses that want to manage their relationships with their customers effectively.
In this guide, we'll learn how to send a Collaborate Request to LOOX customers. This process is crucial for businesses that want to manage their relationships with their customers effectively. It's a way to gain access to the necessary permissions to interact with the customer's store on the LOOX platform.
Understanding the Collaborate Request
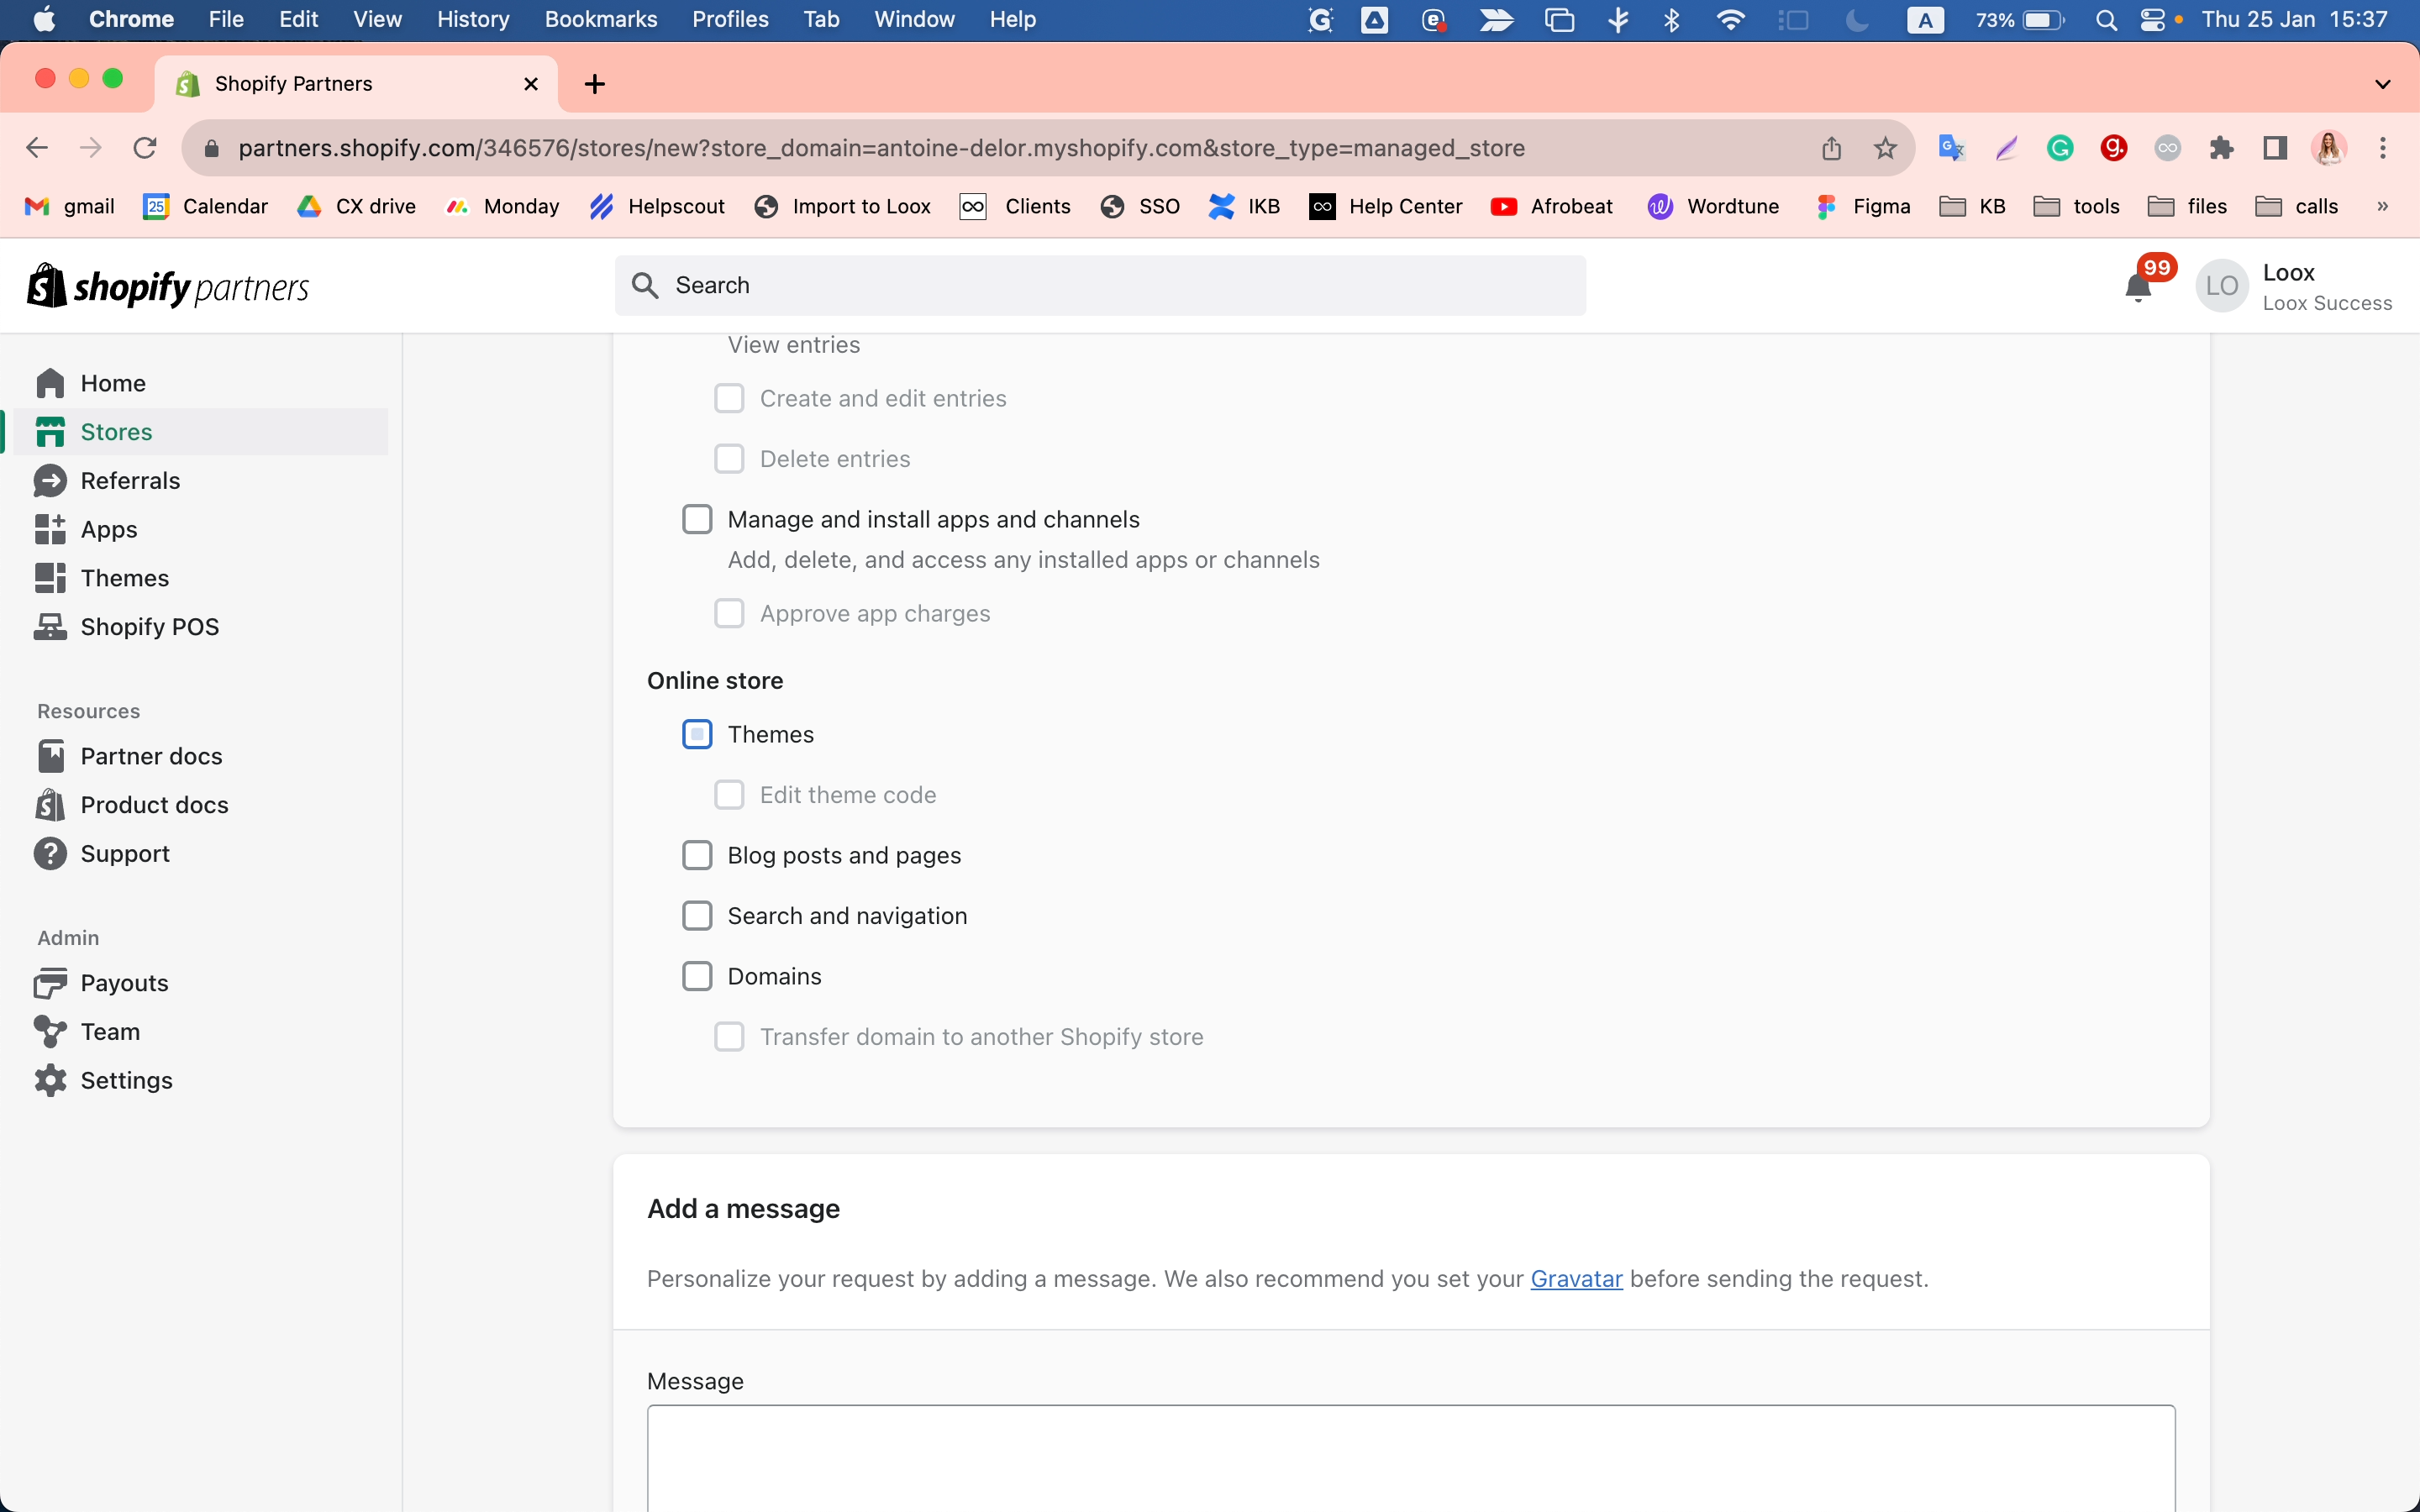
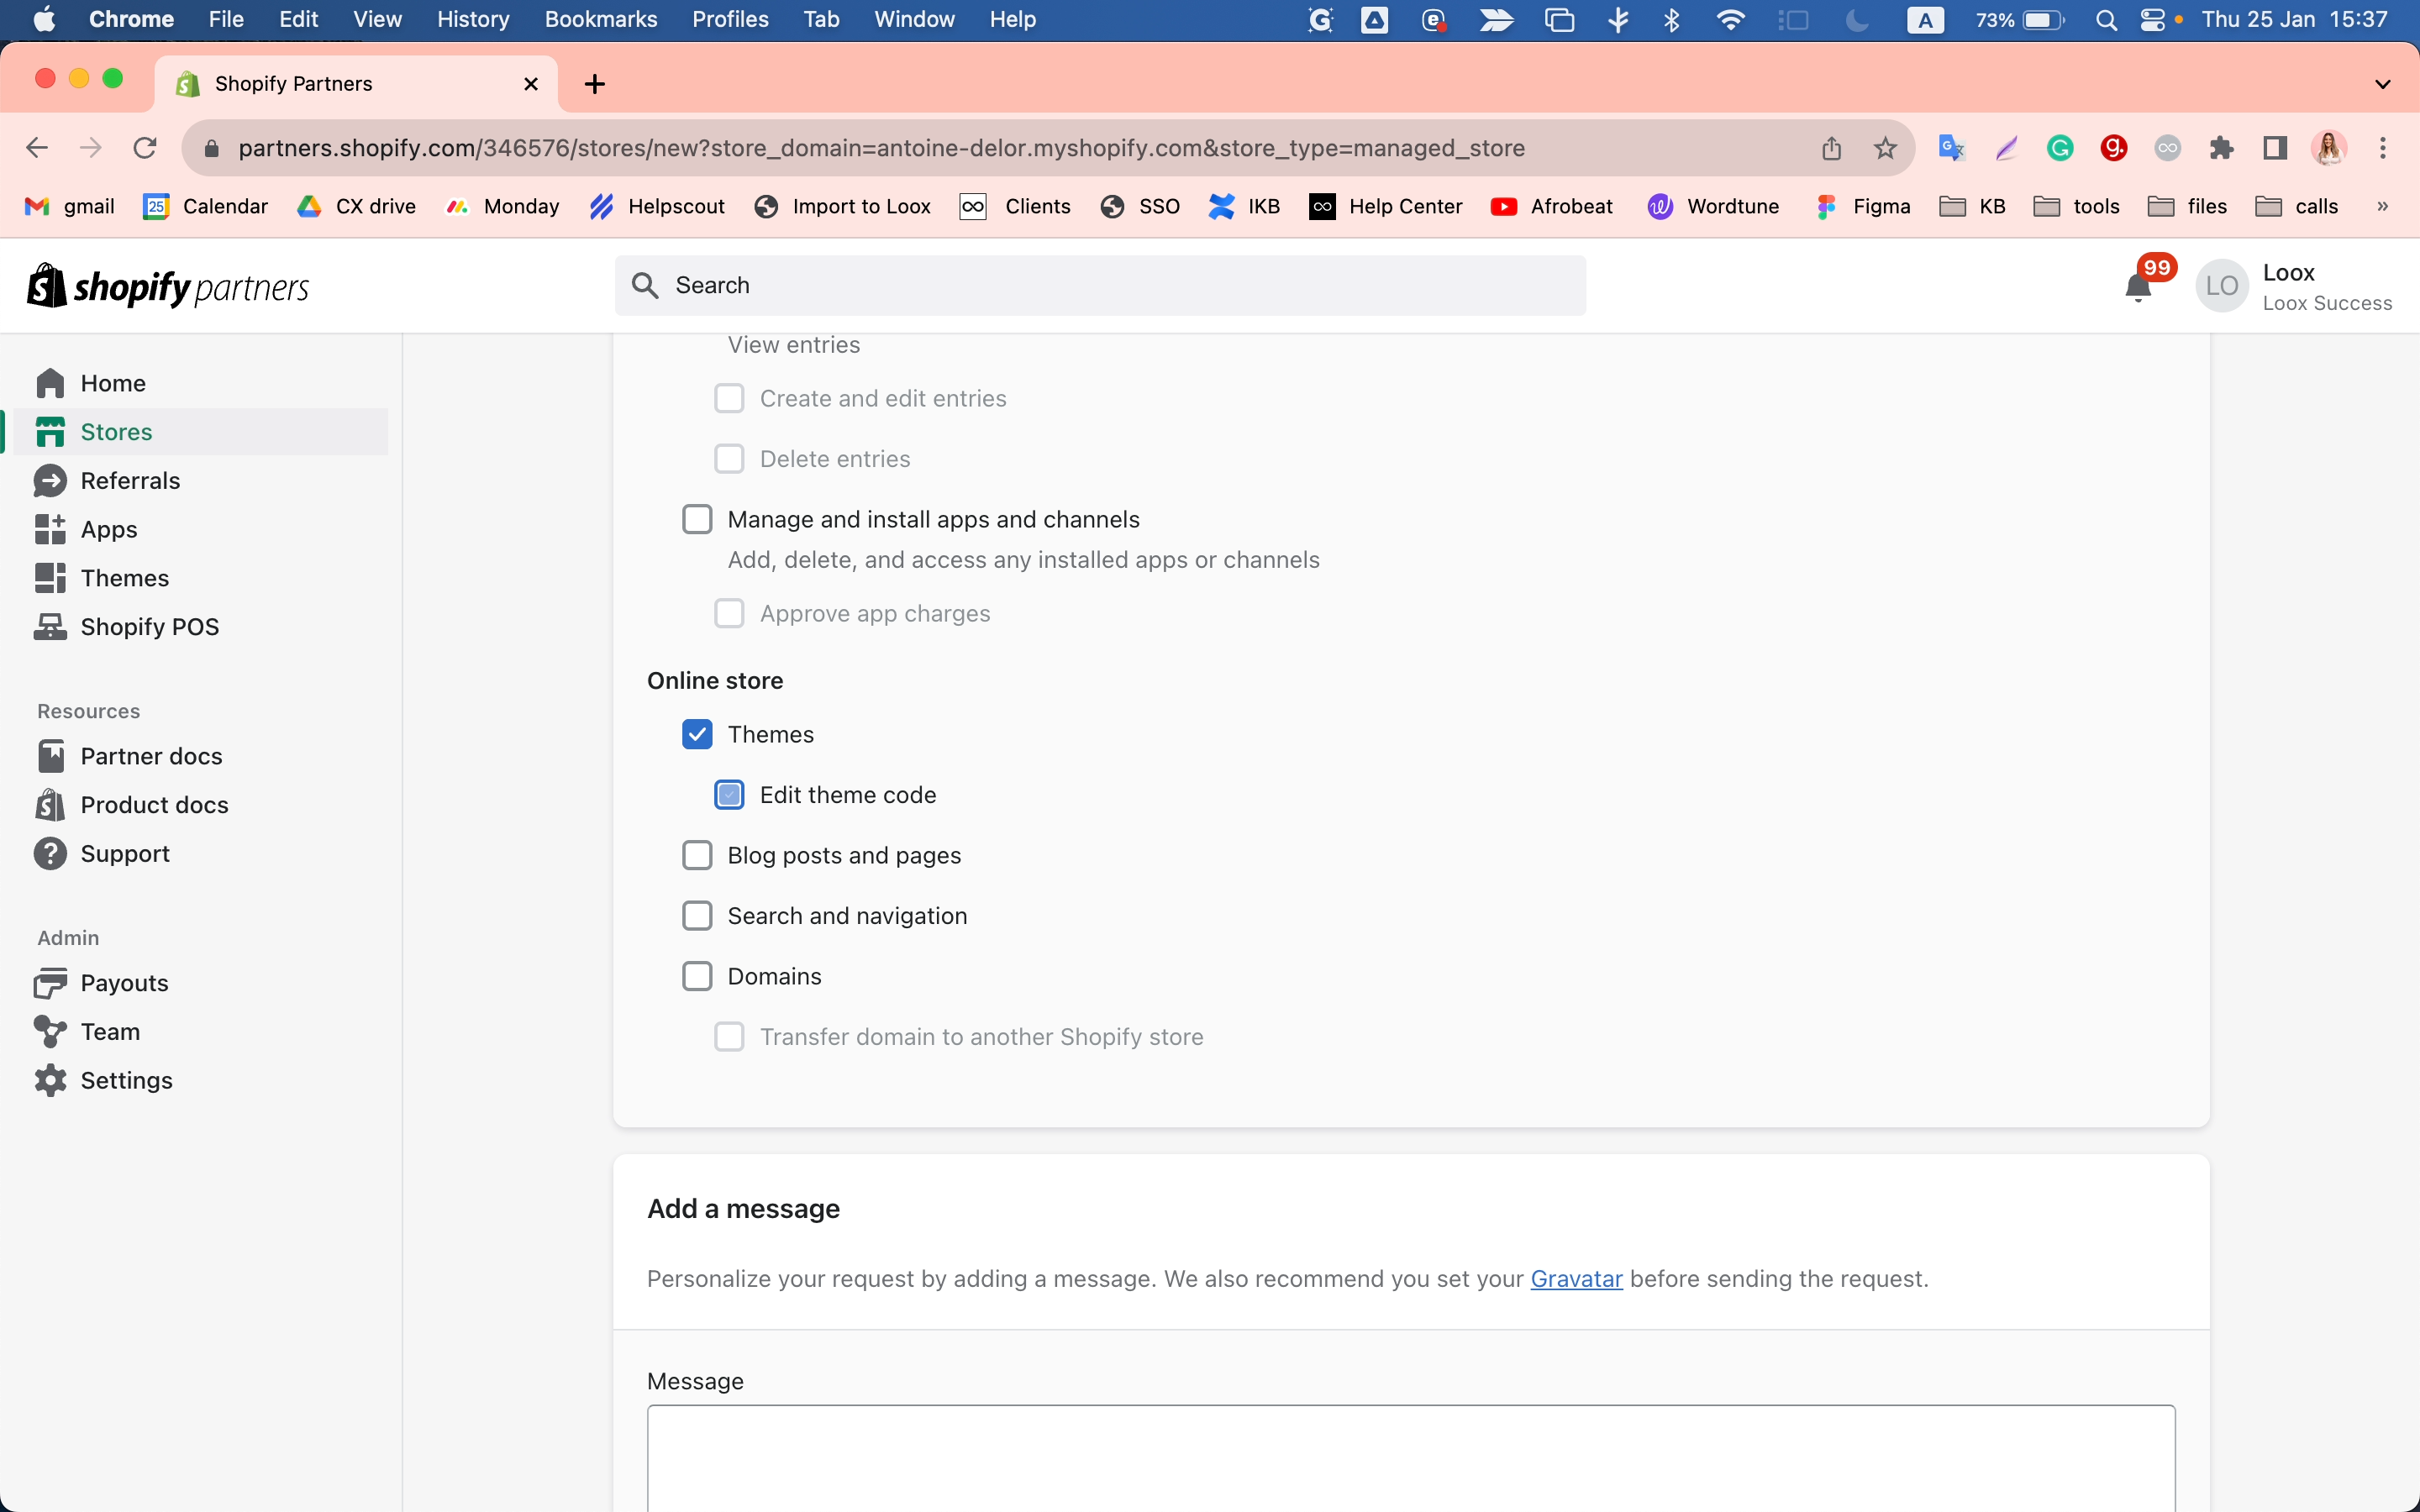
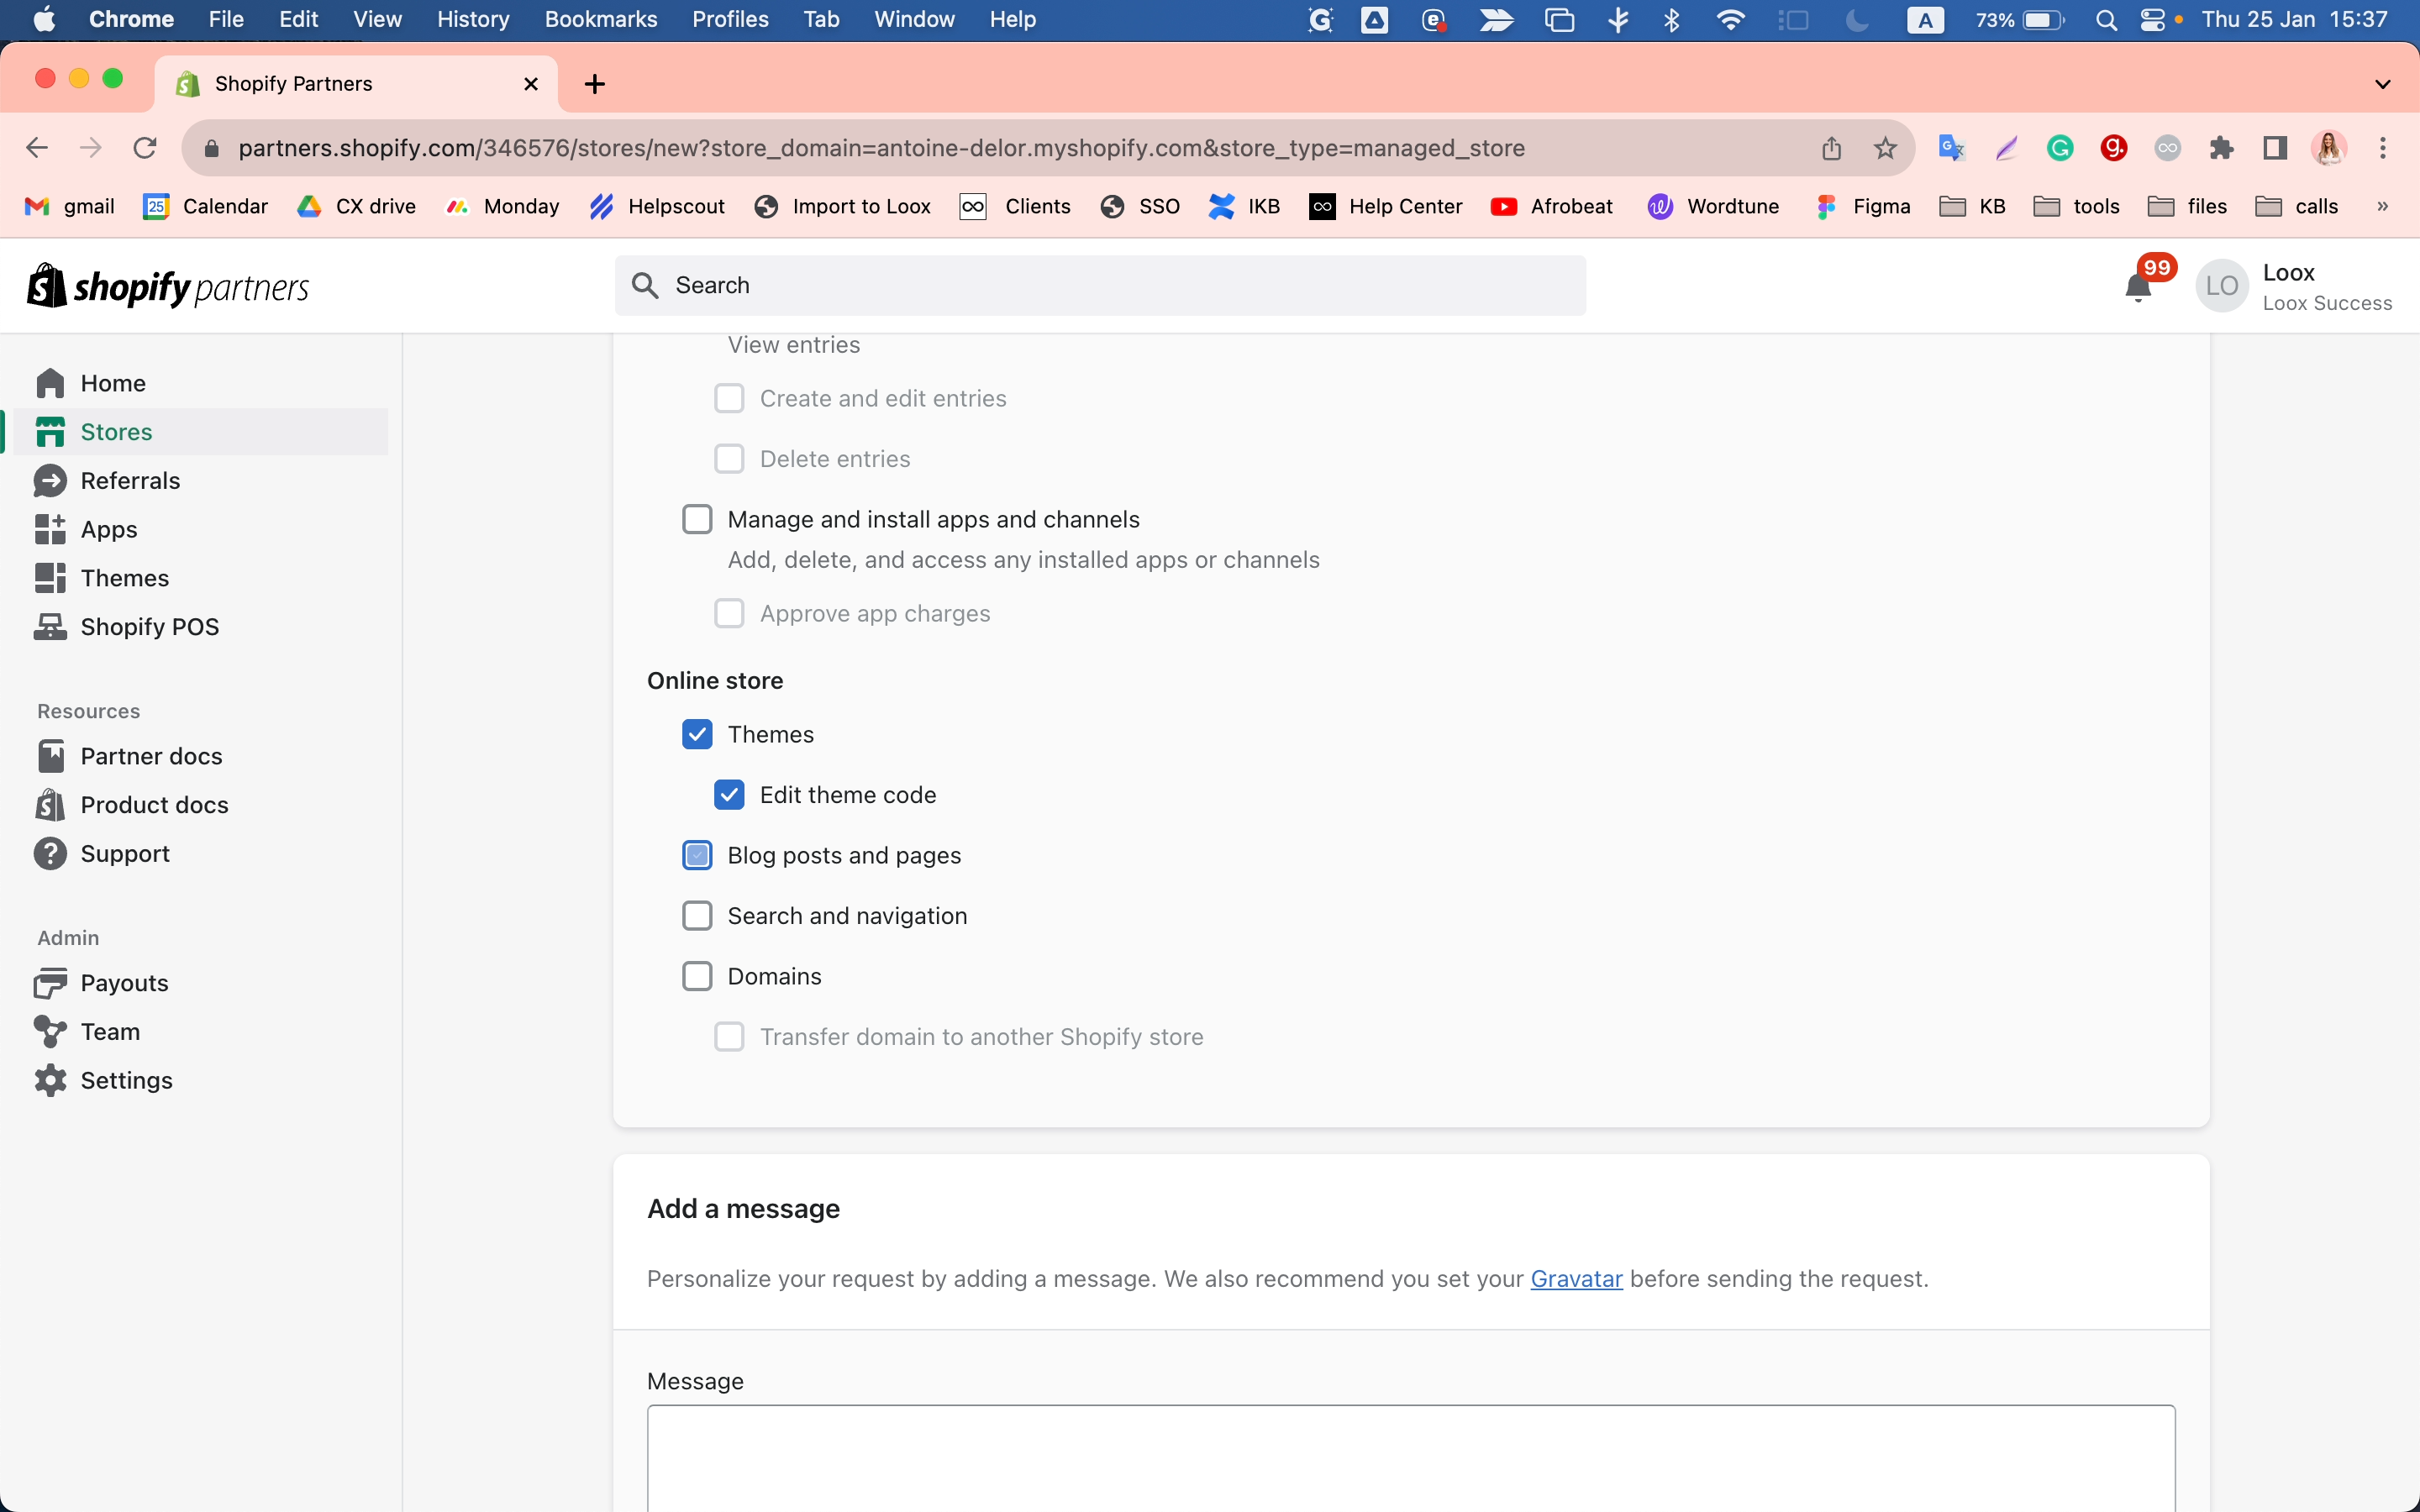
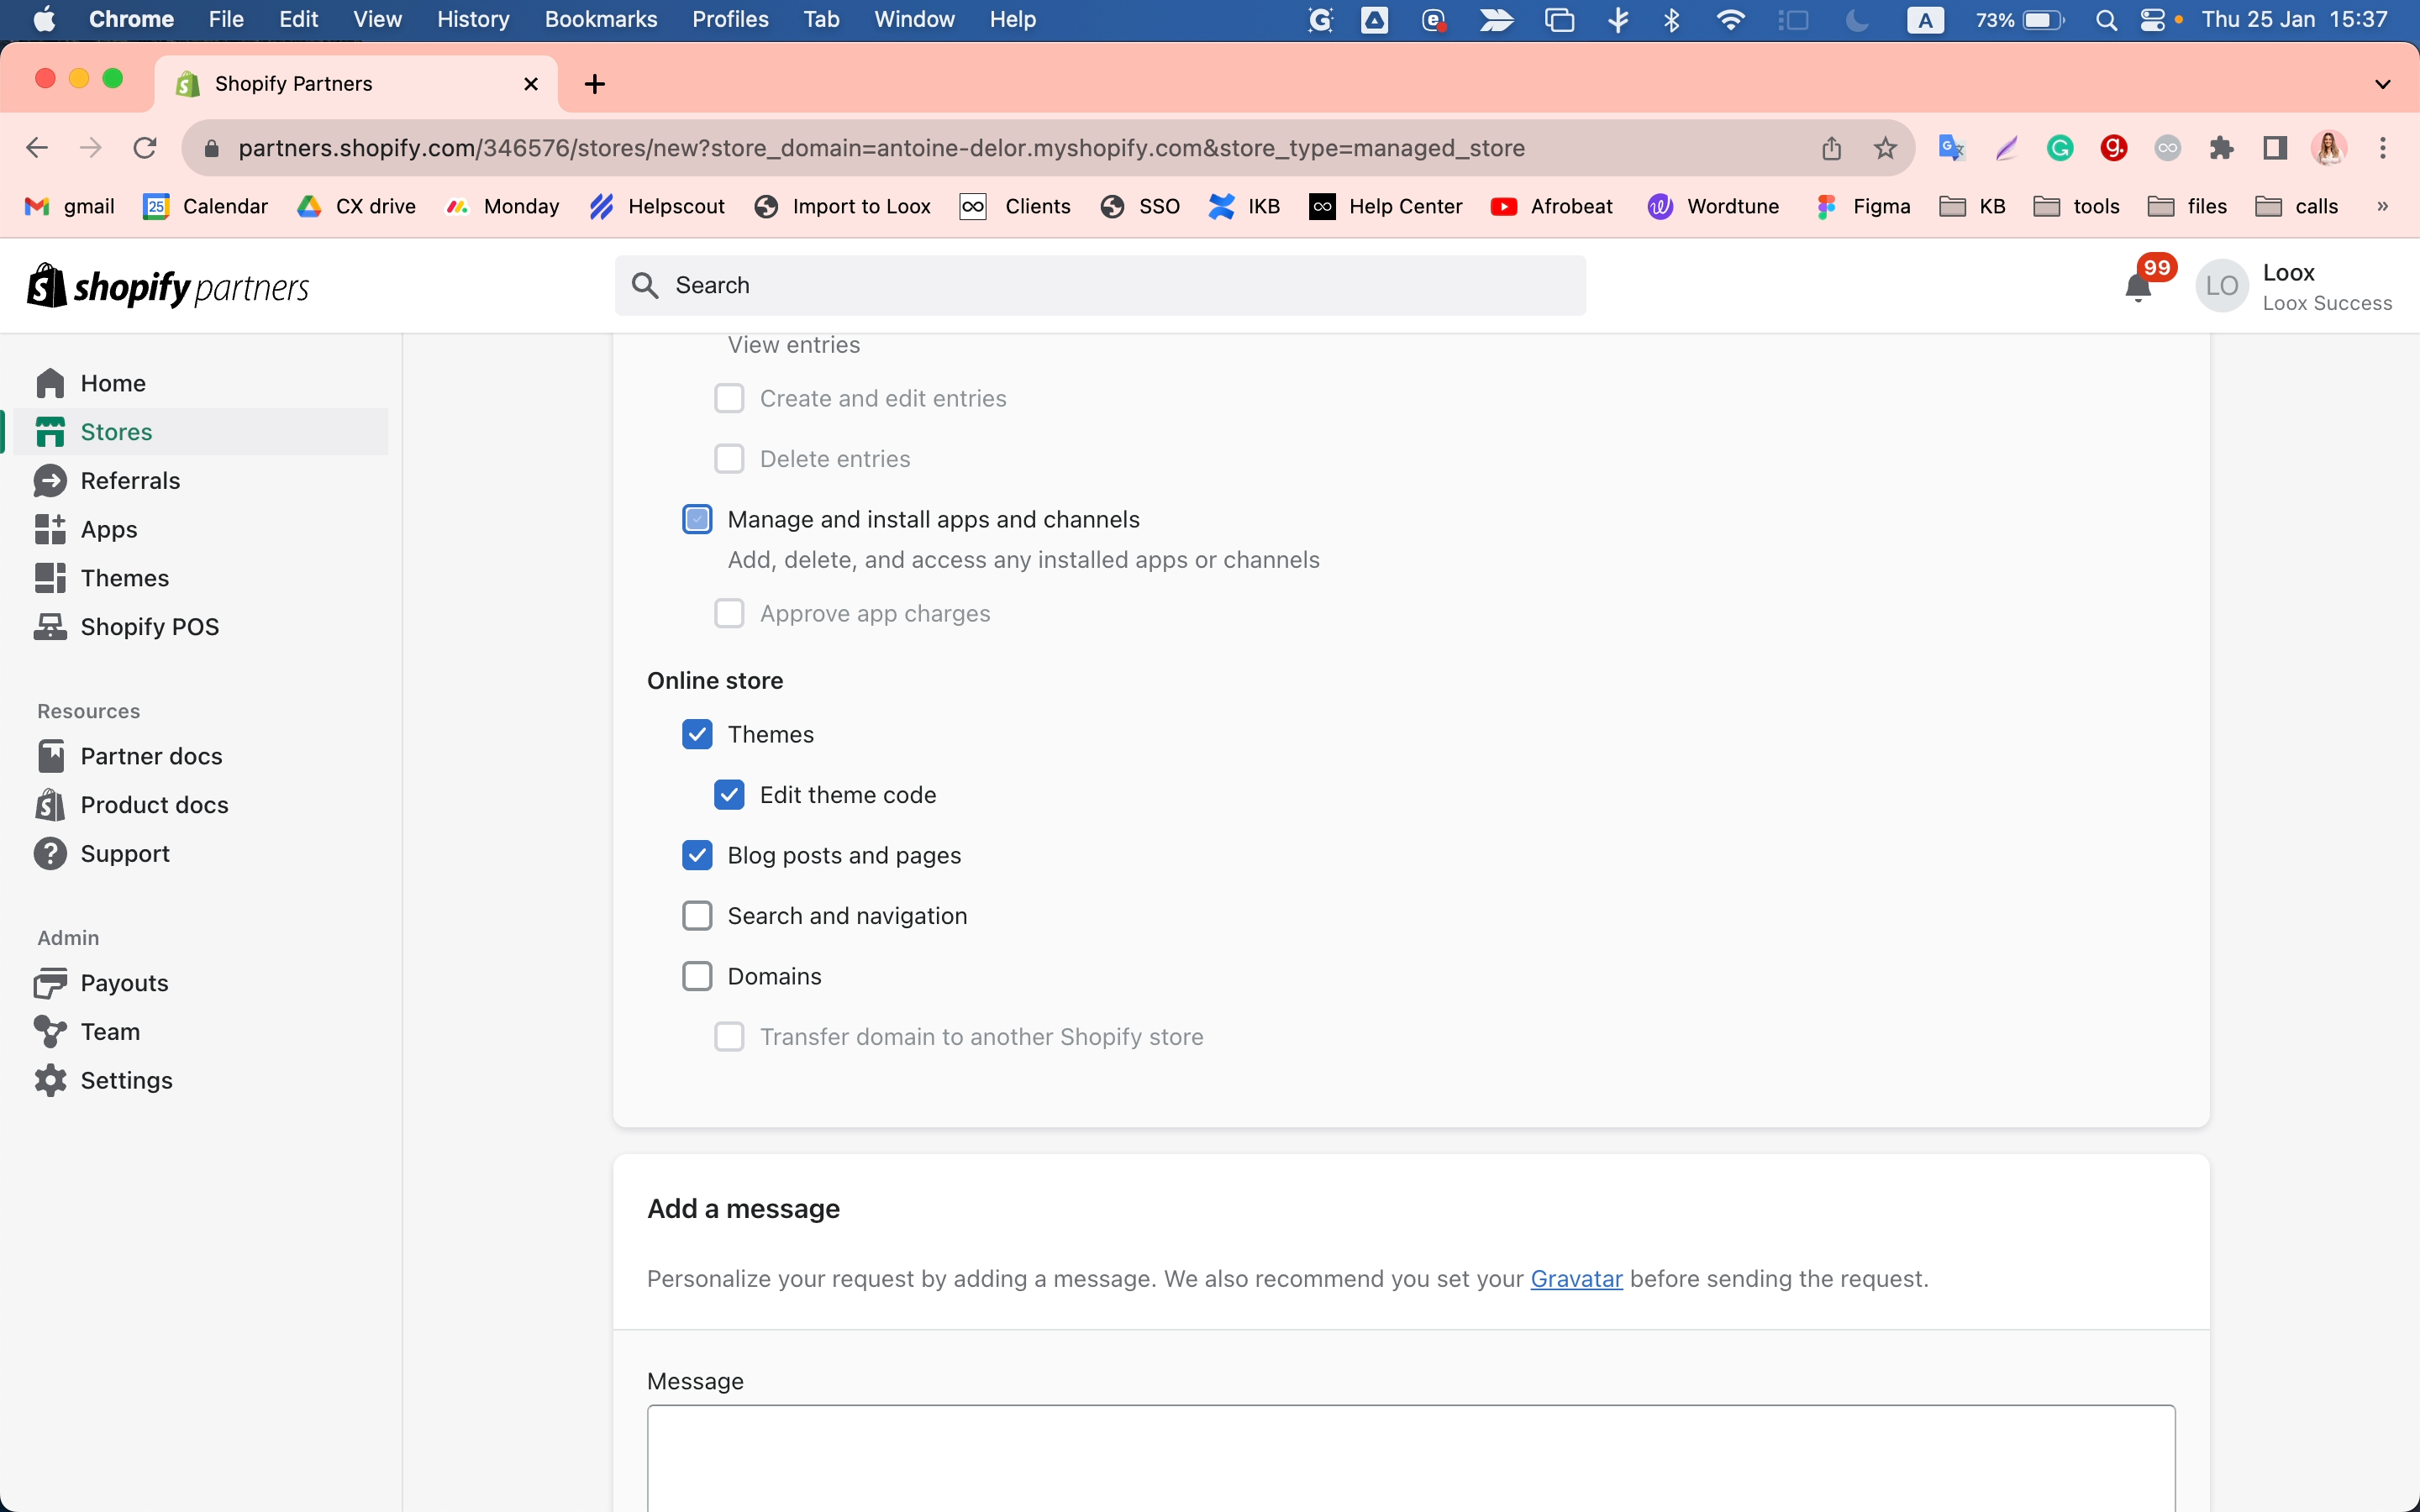
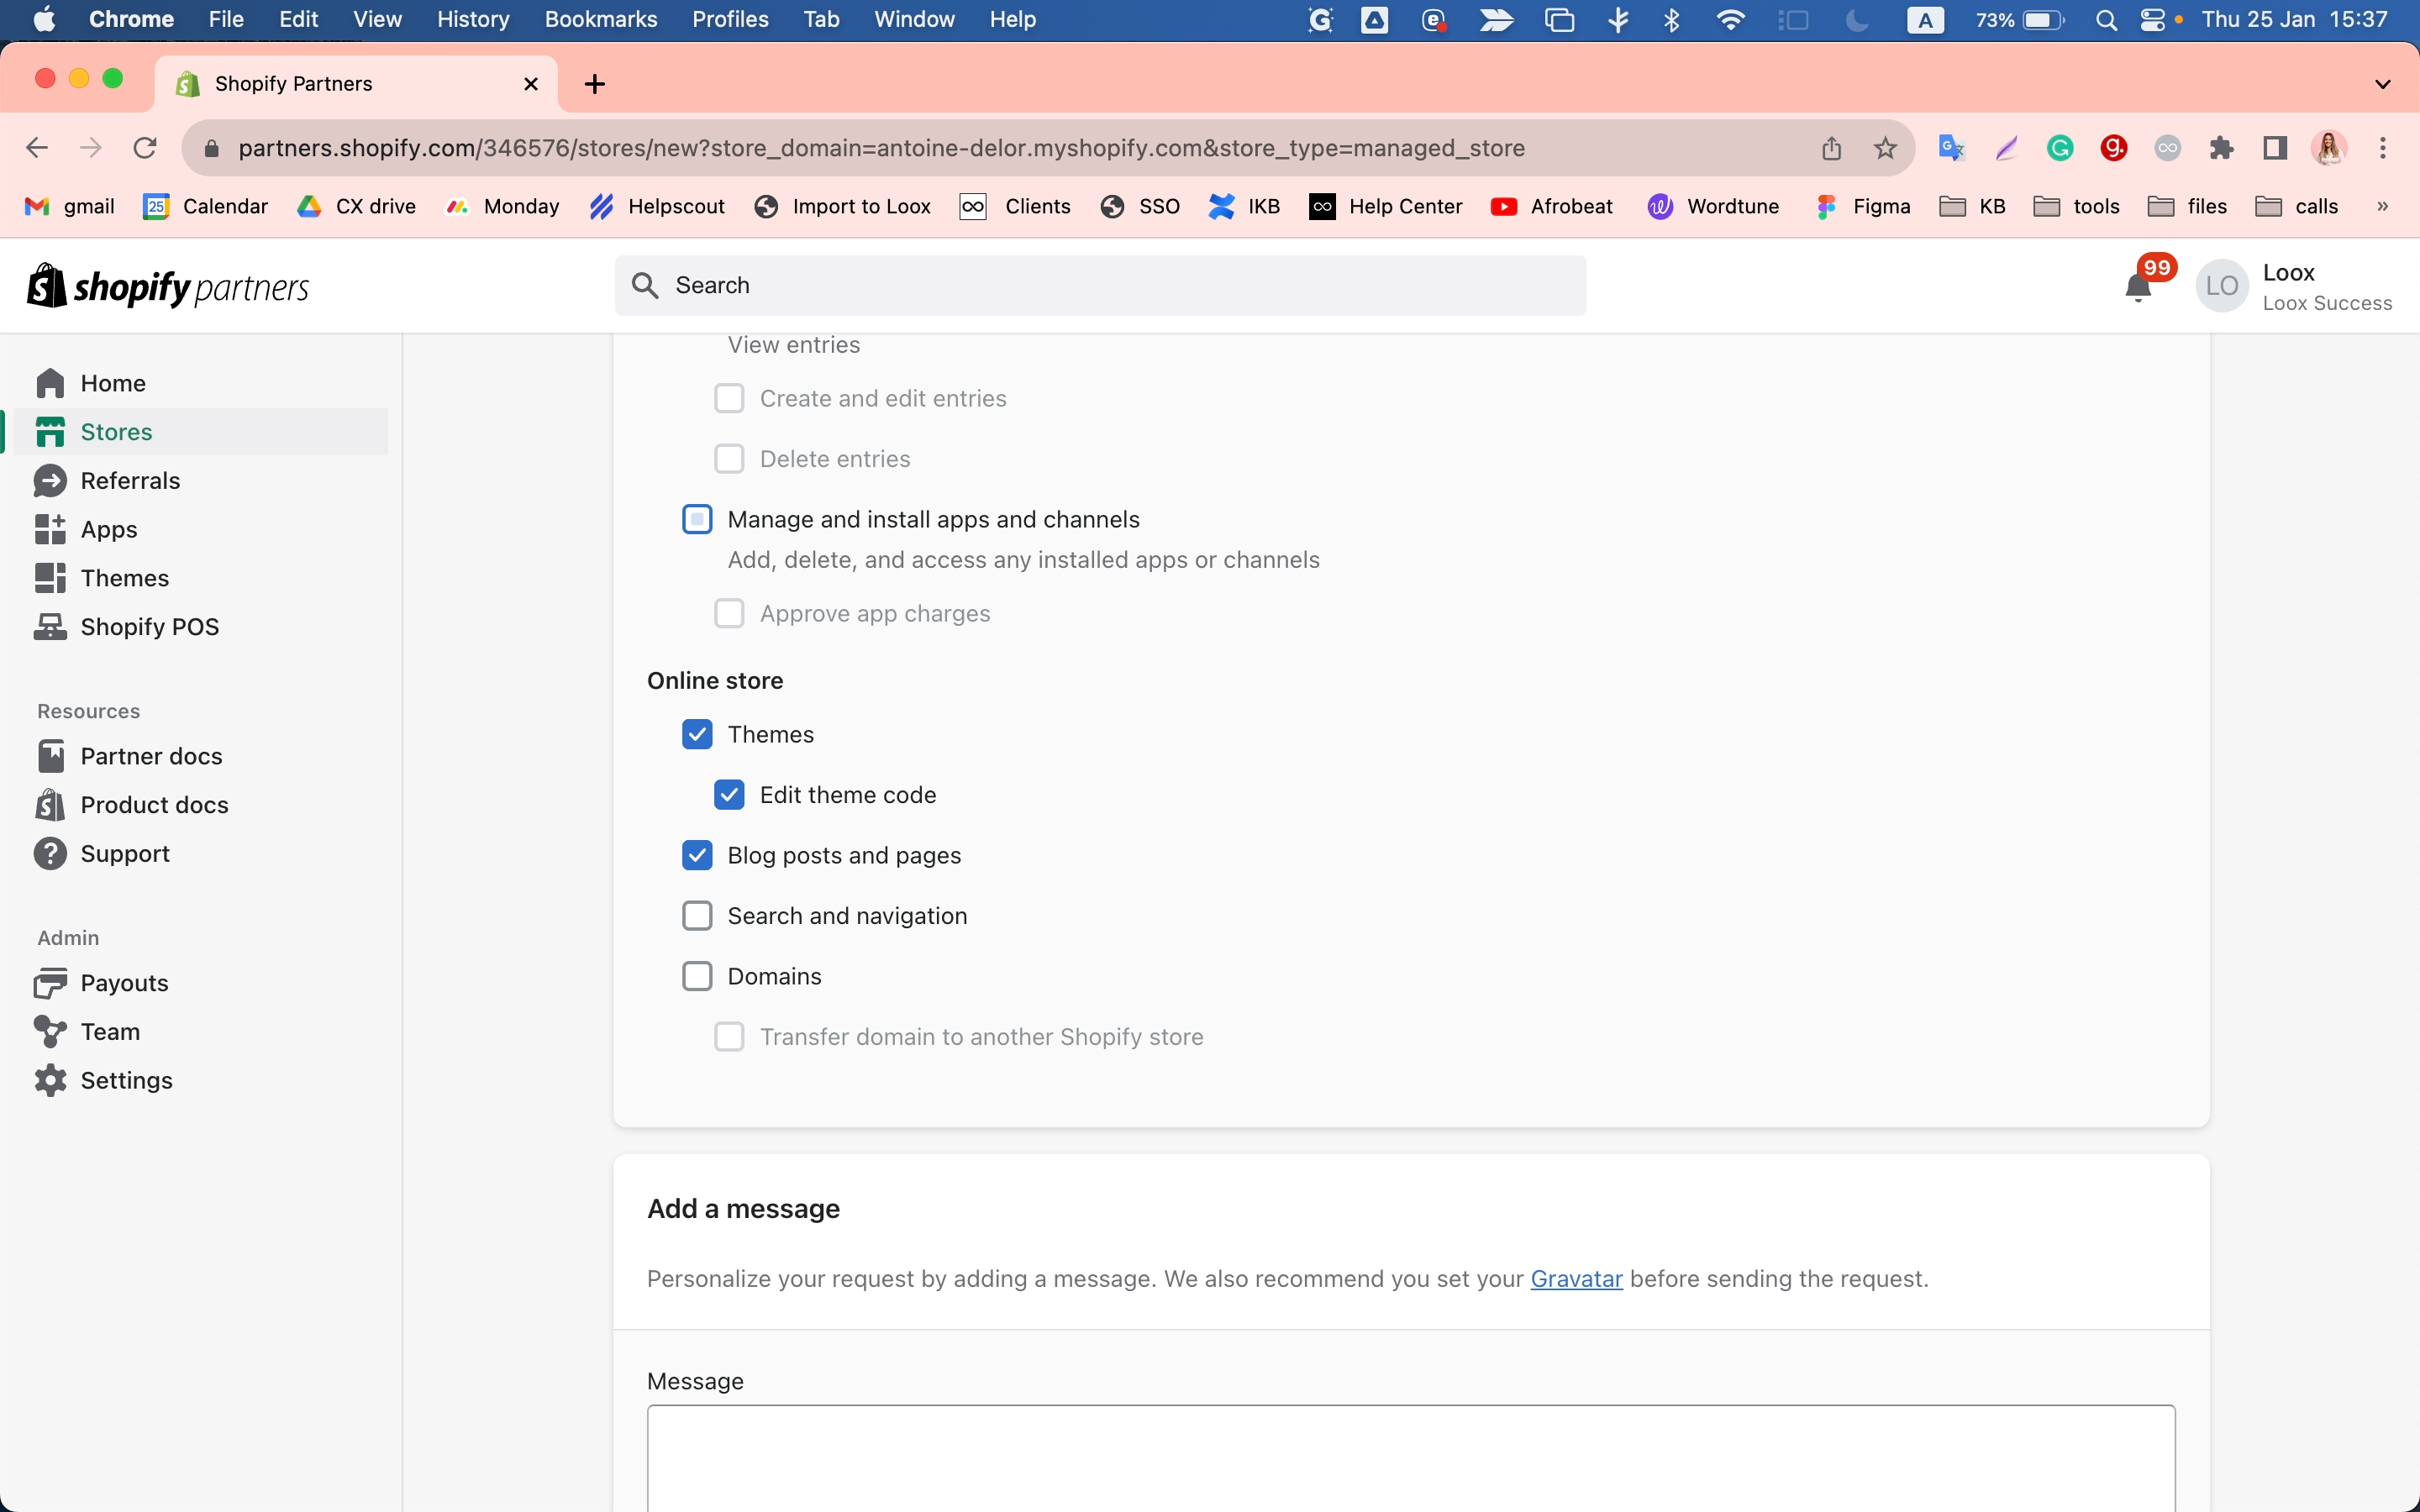
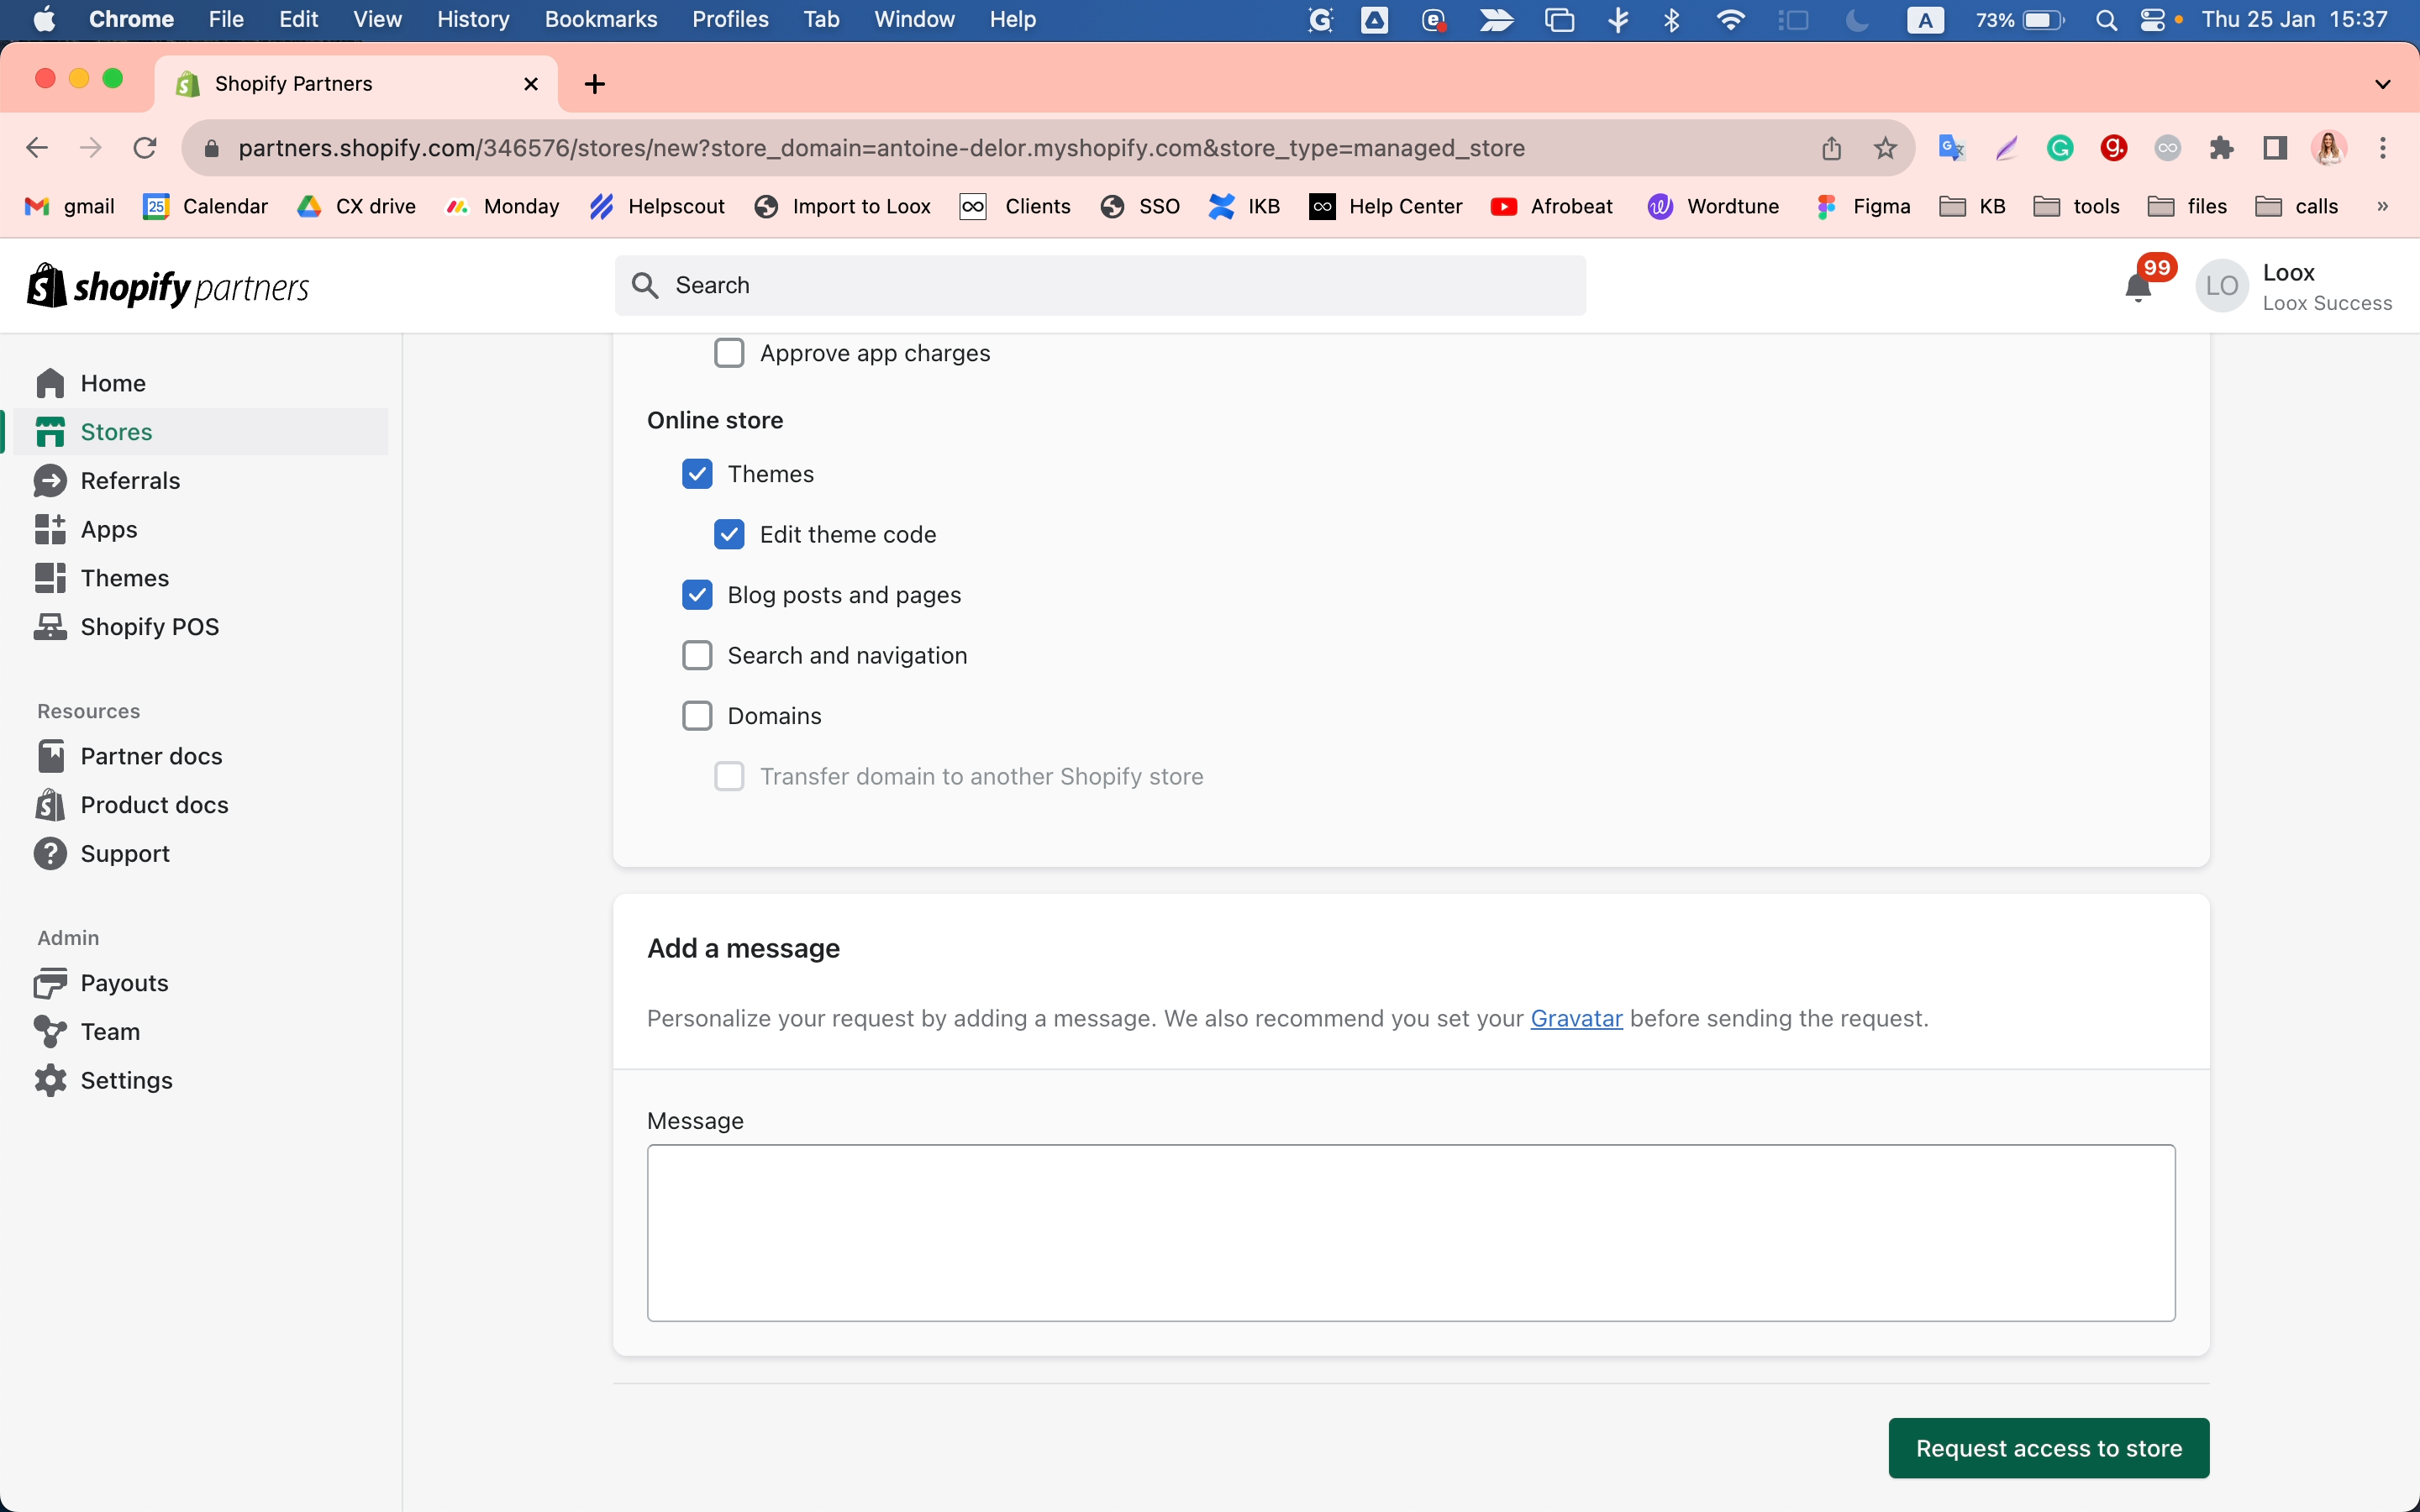
A Collaborate Request is a formal request sent to a customer to gain access to their store on the LOOX platform. This access allows you to perform various tasks such as editing code, blocking posts, and managing any installers.
Importance of Sending a Collaborate Request
Sending a Collaborate Request is a crucial step in establishing a working relationship with your LOOX customers. It allows you to gain the necessary permissions to interact with their store, which can help you provide better service and support.
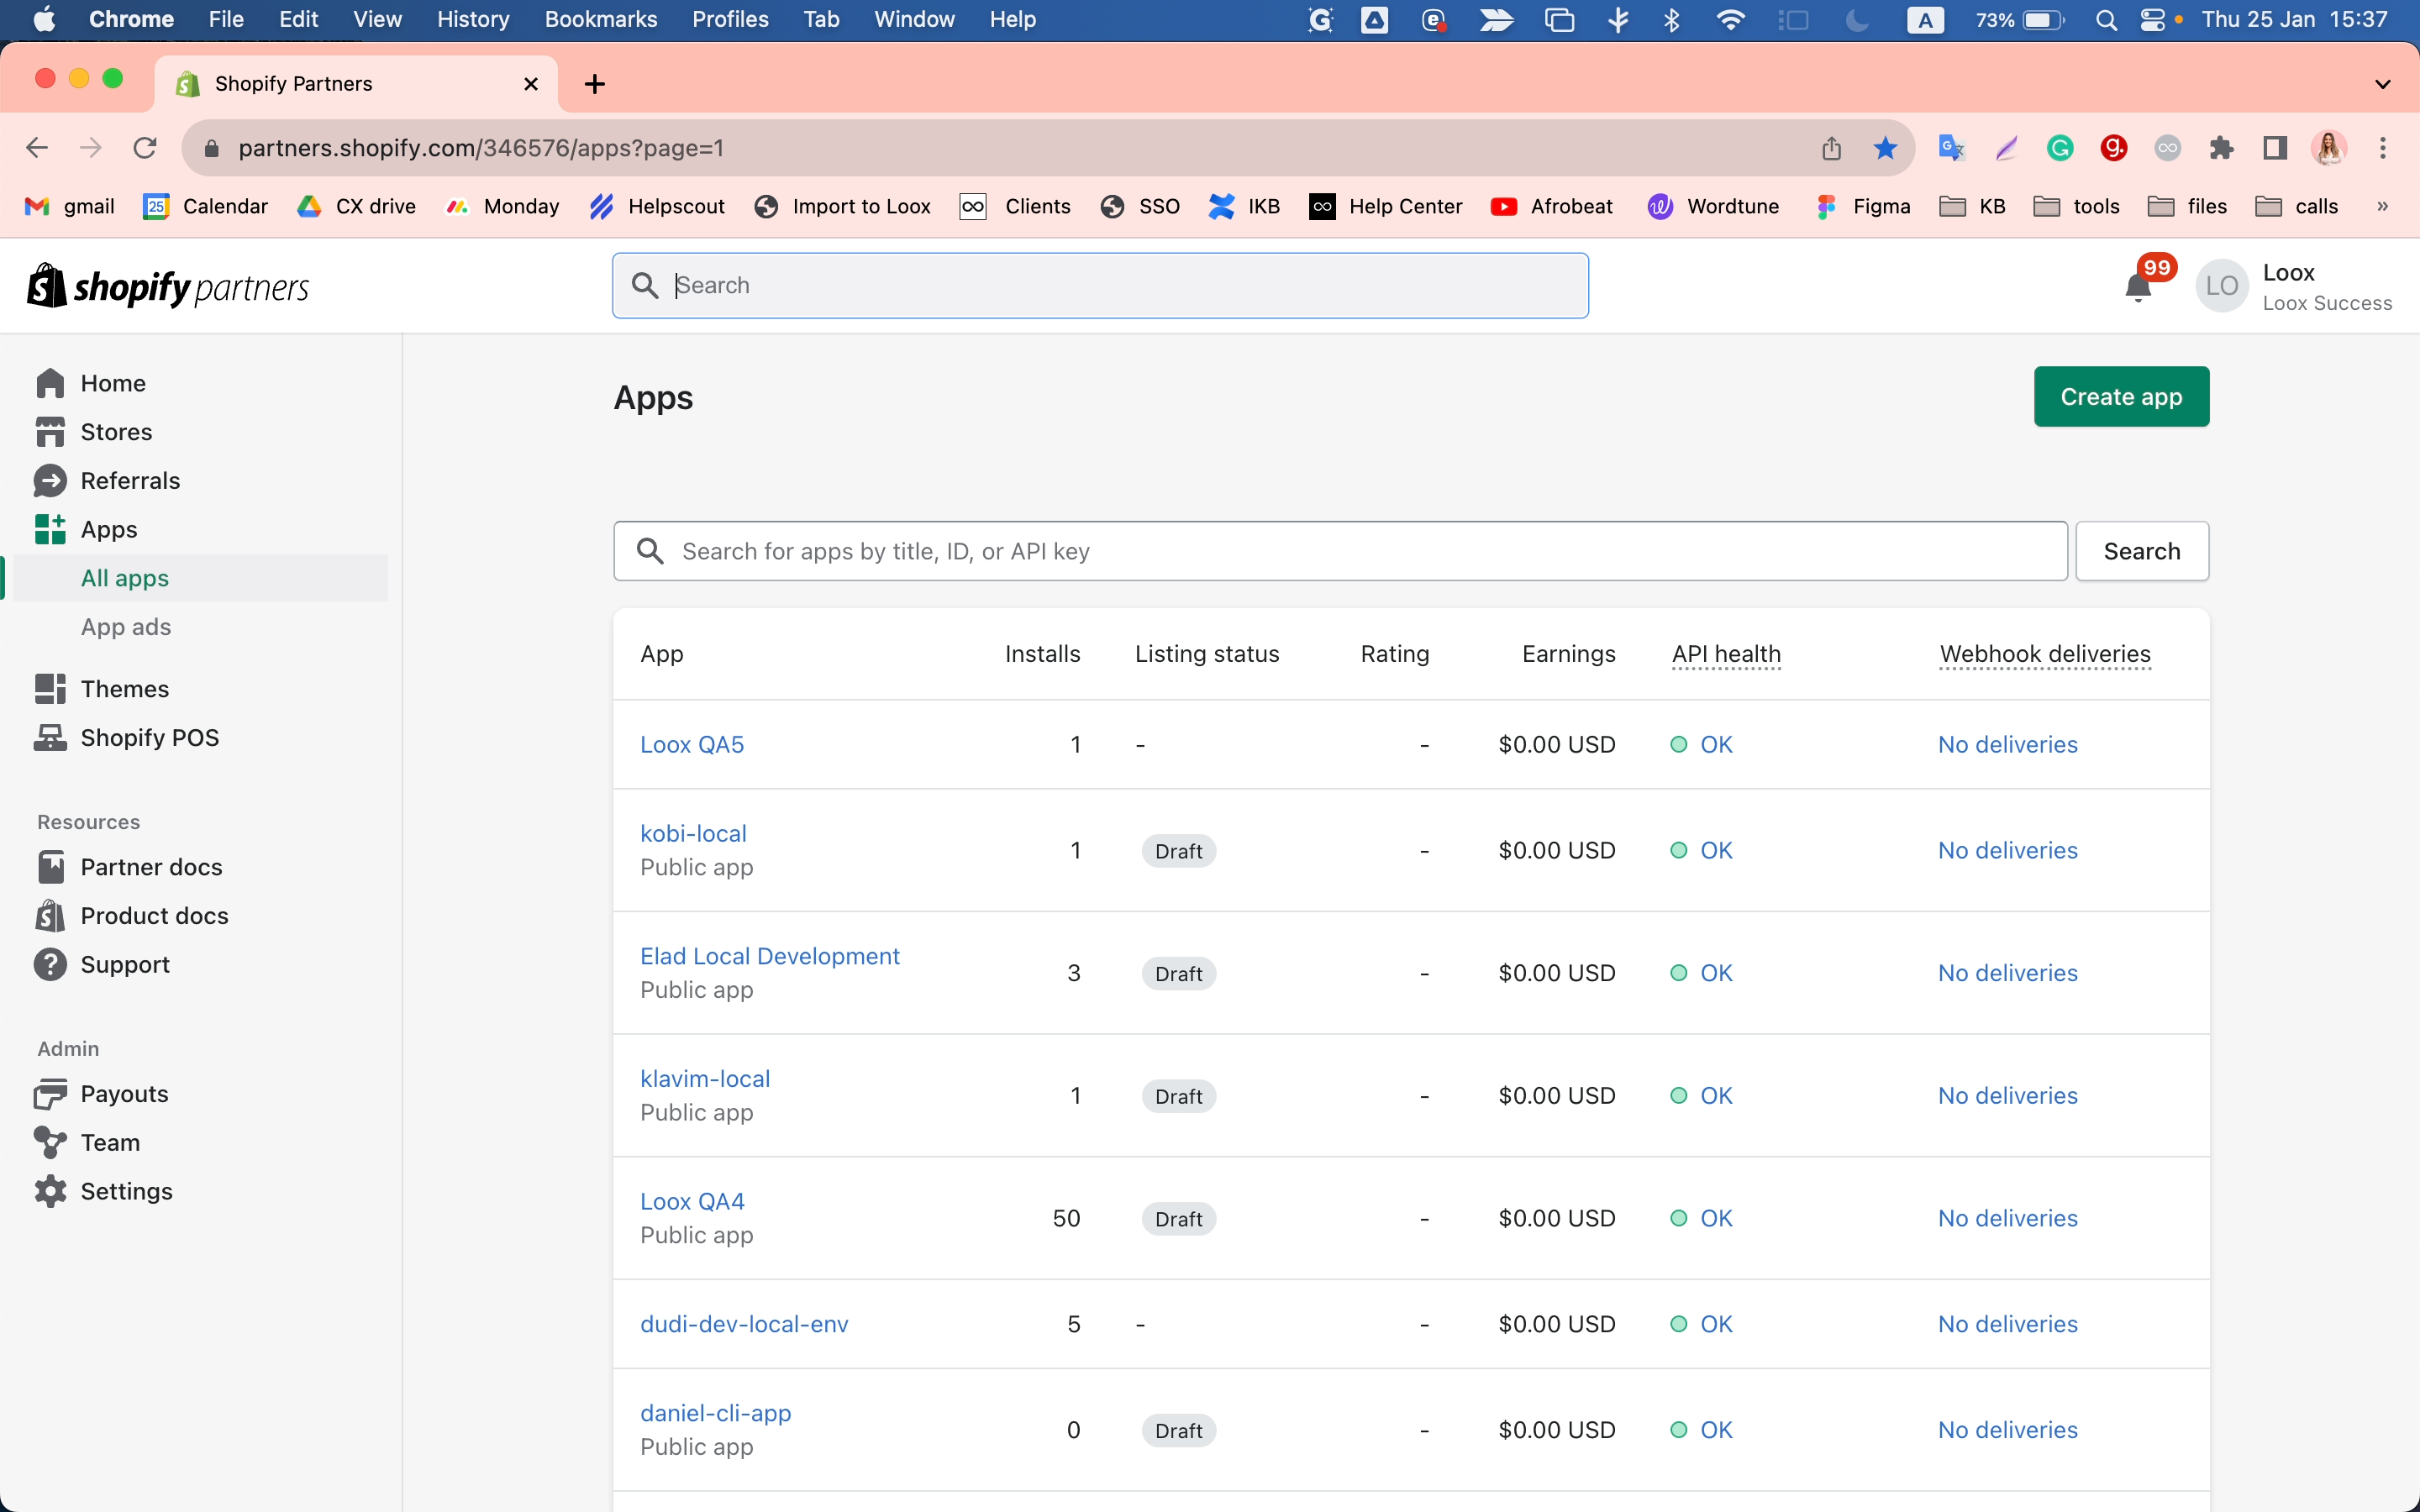
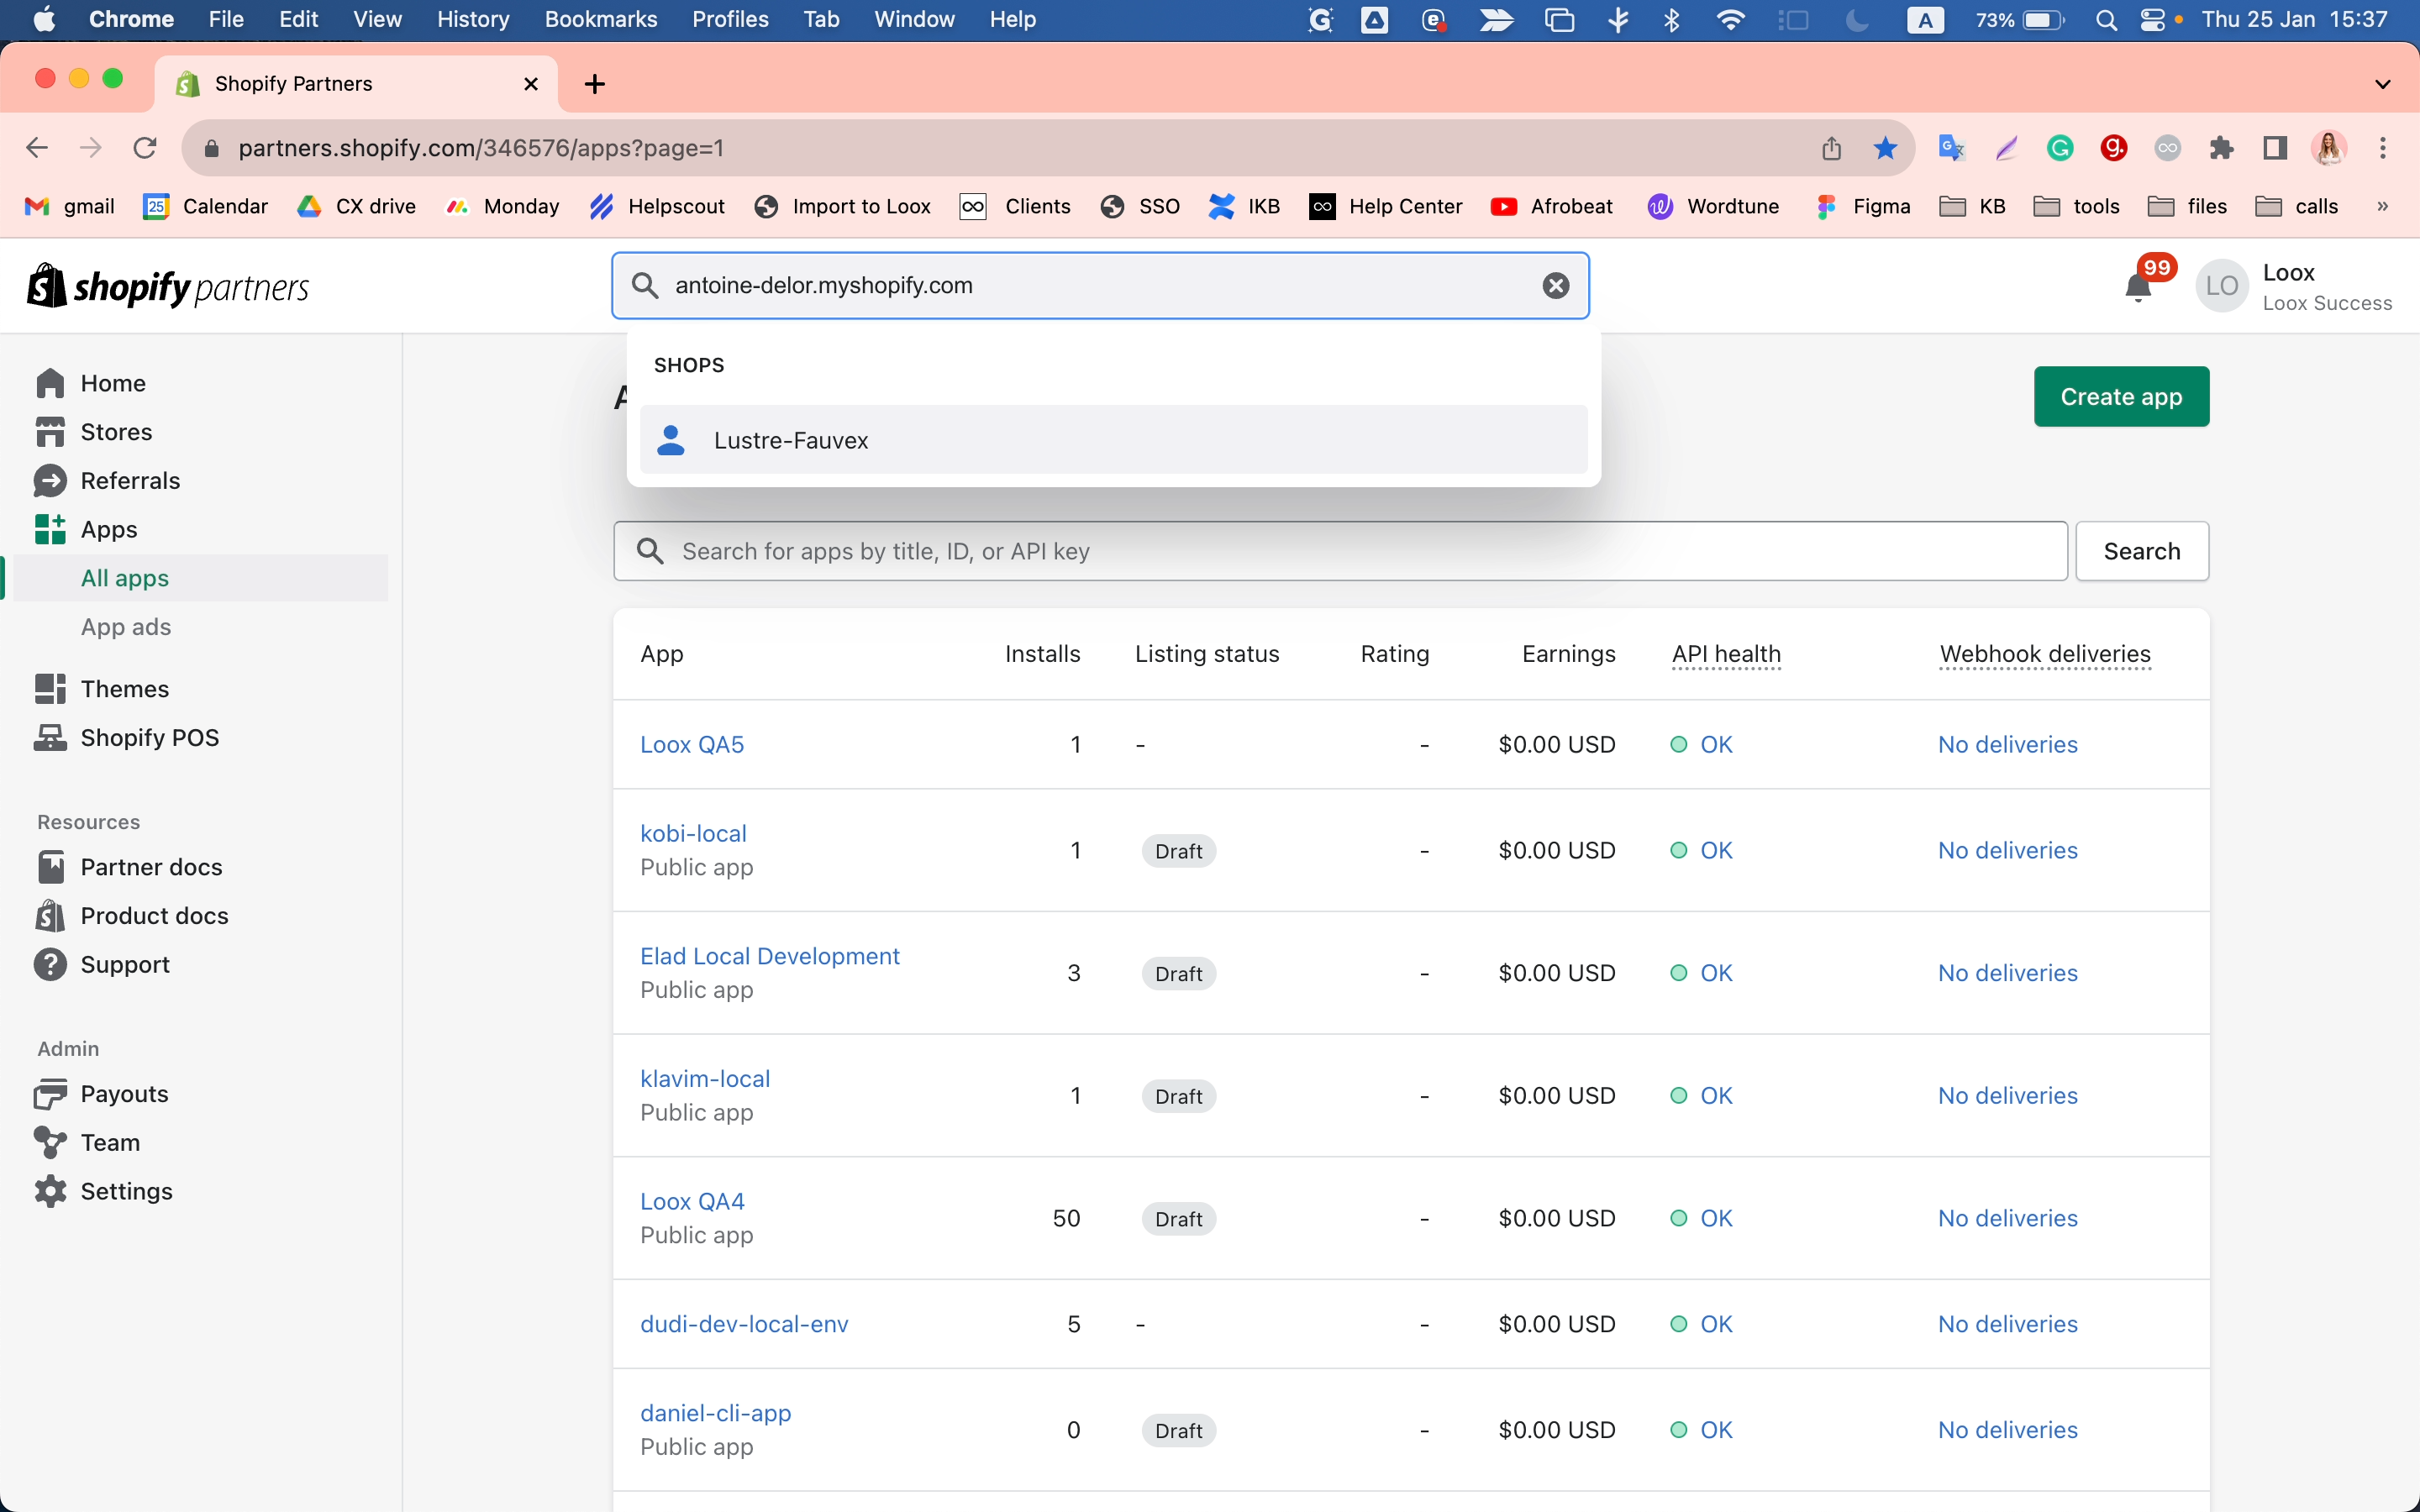
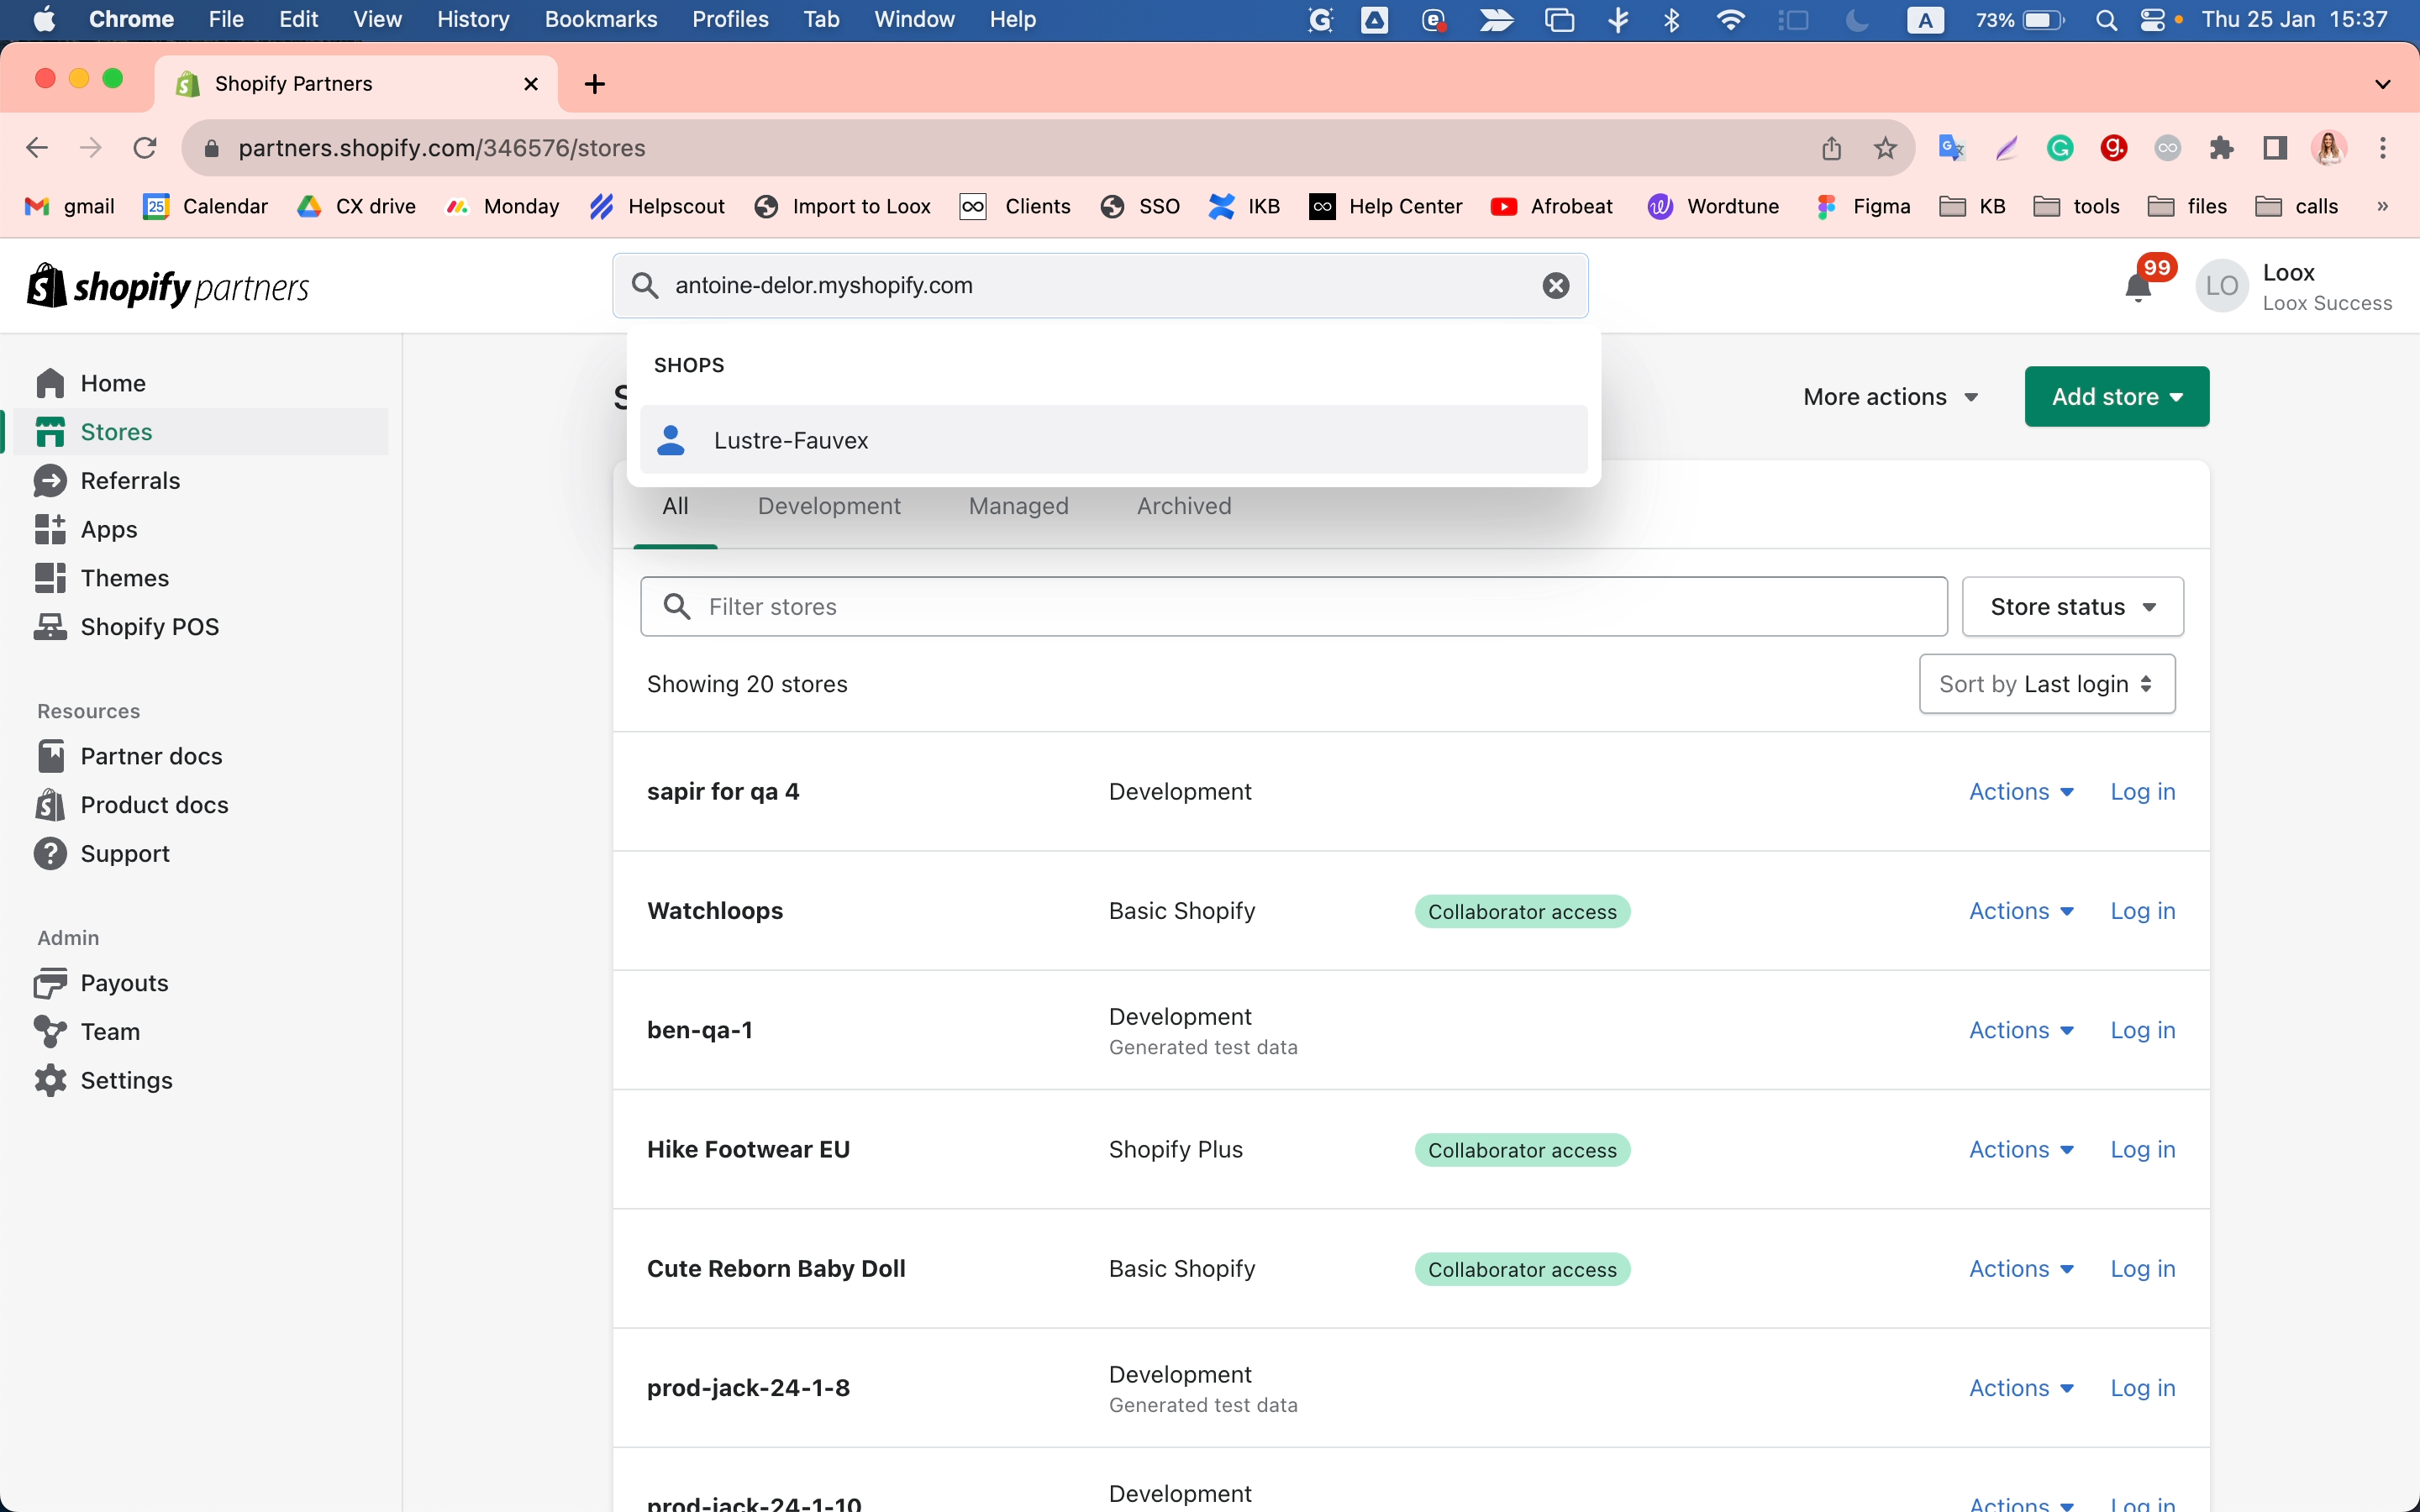
Accessing the Partner Dashboard
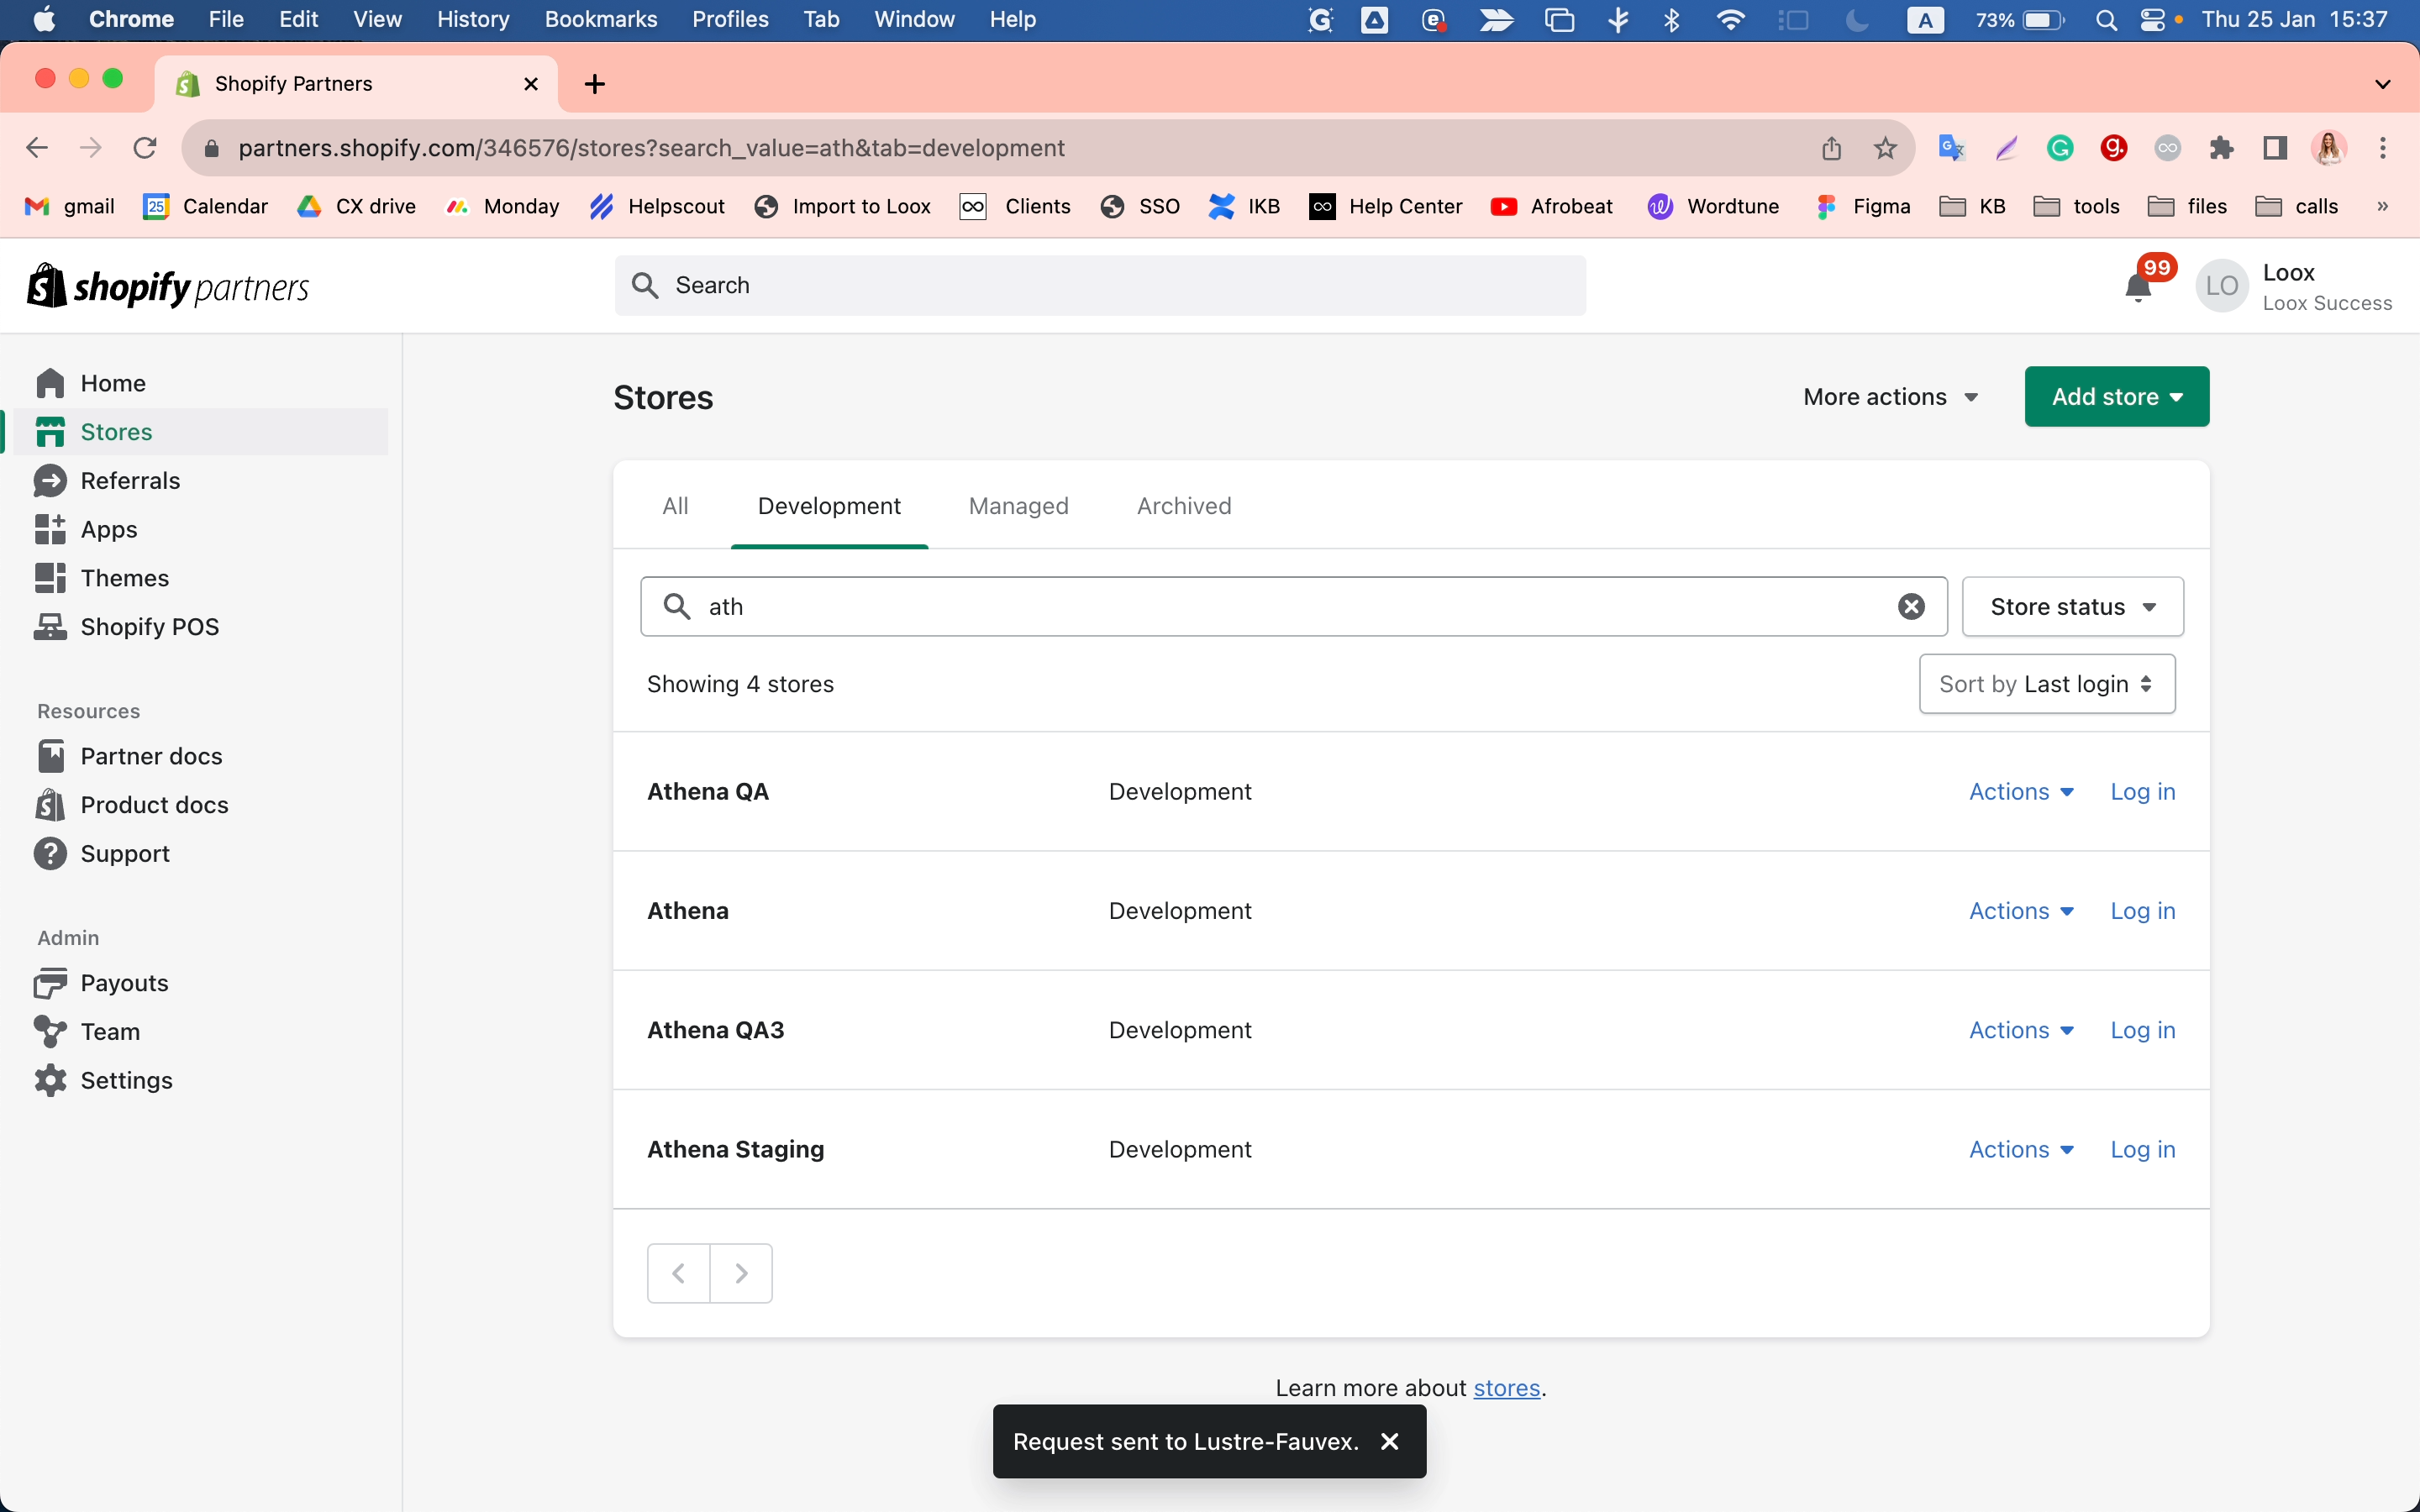
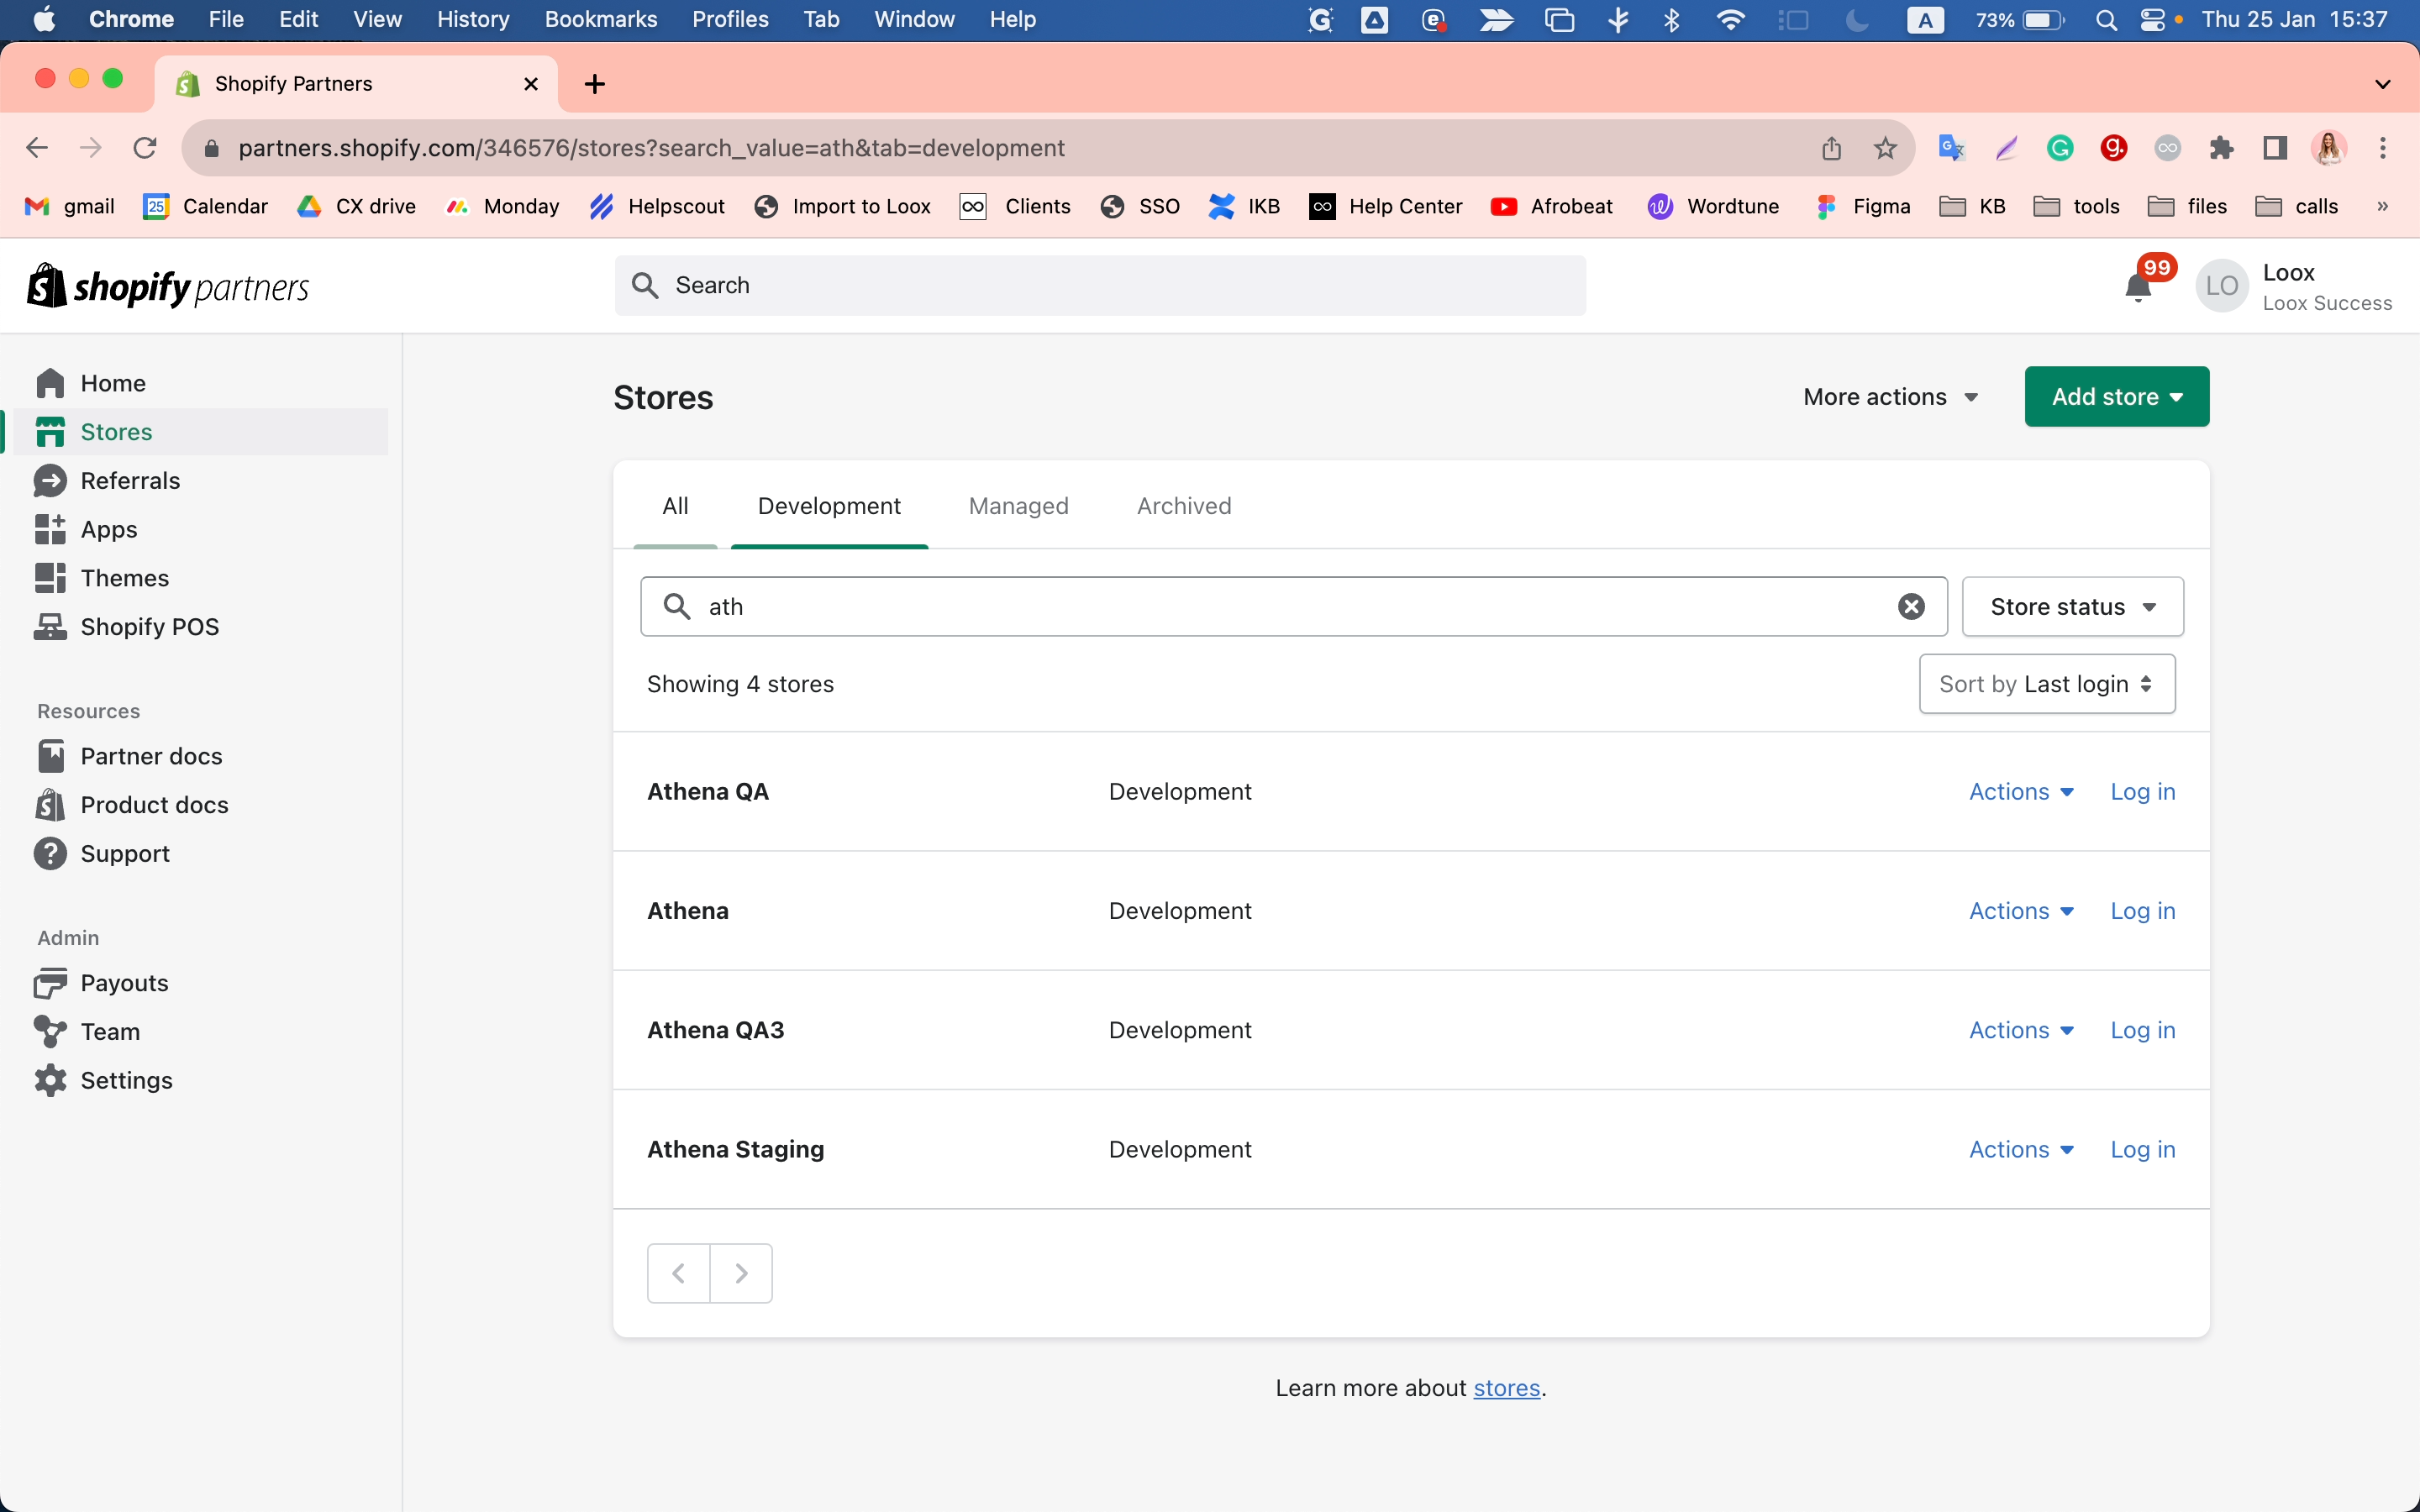
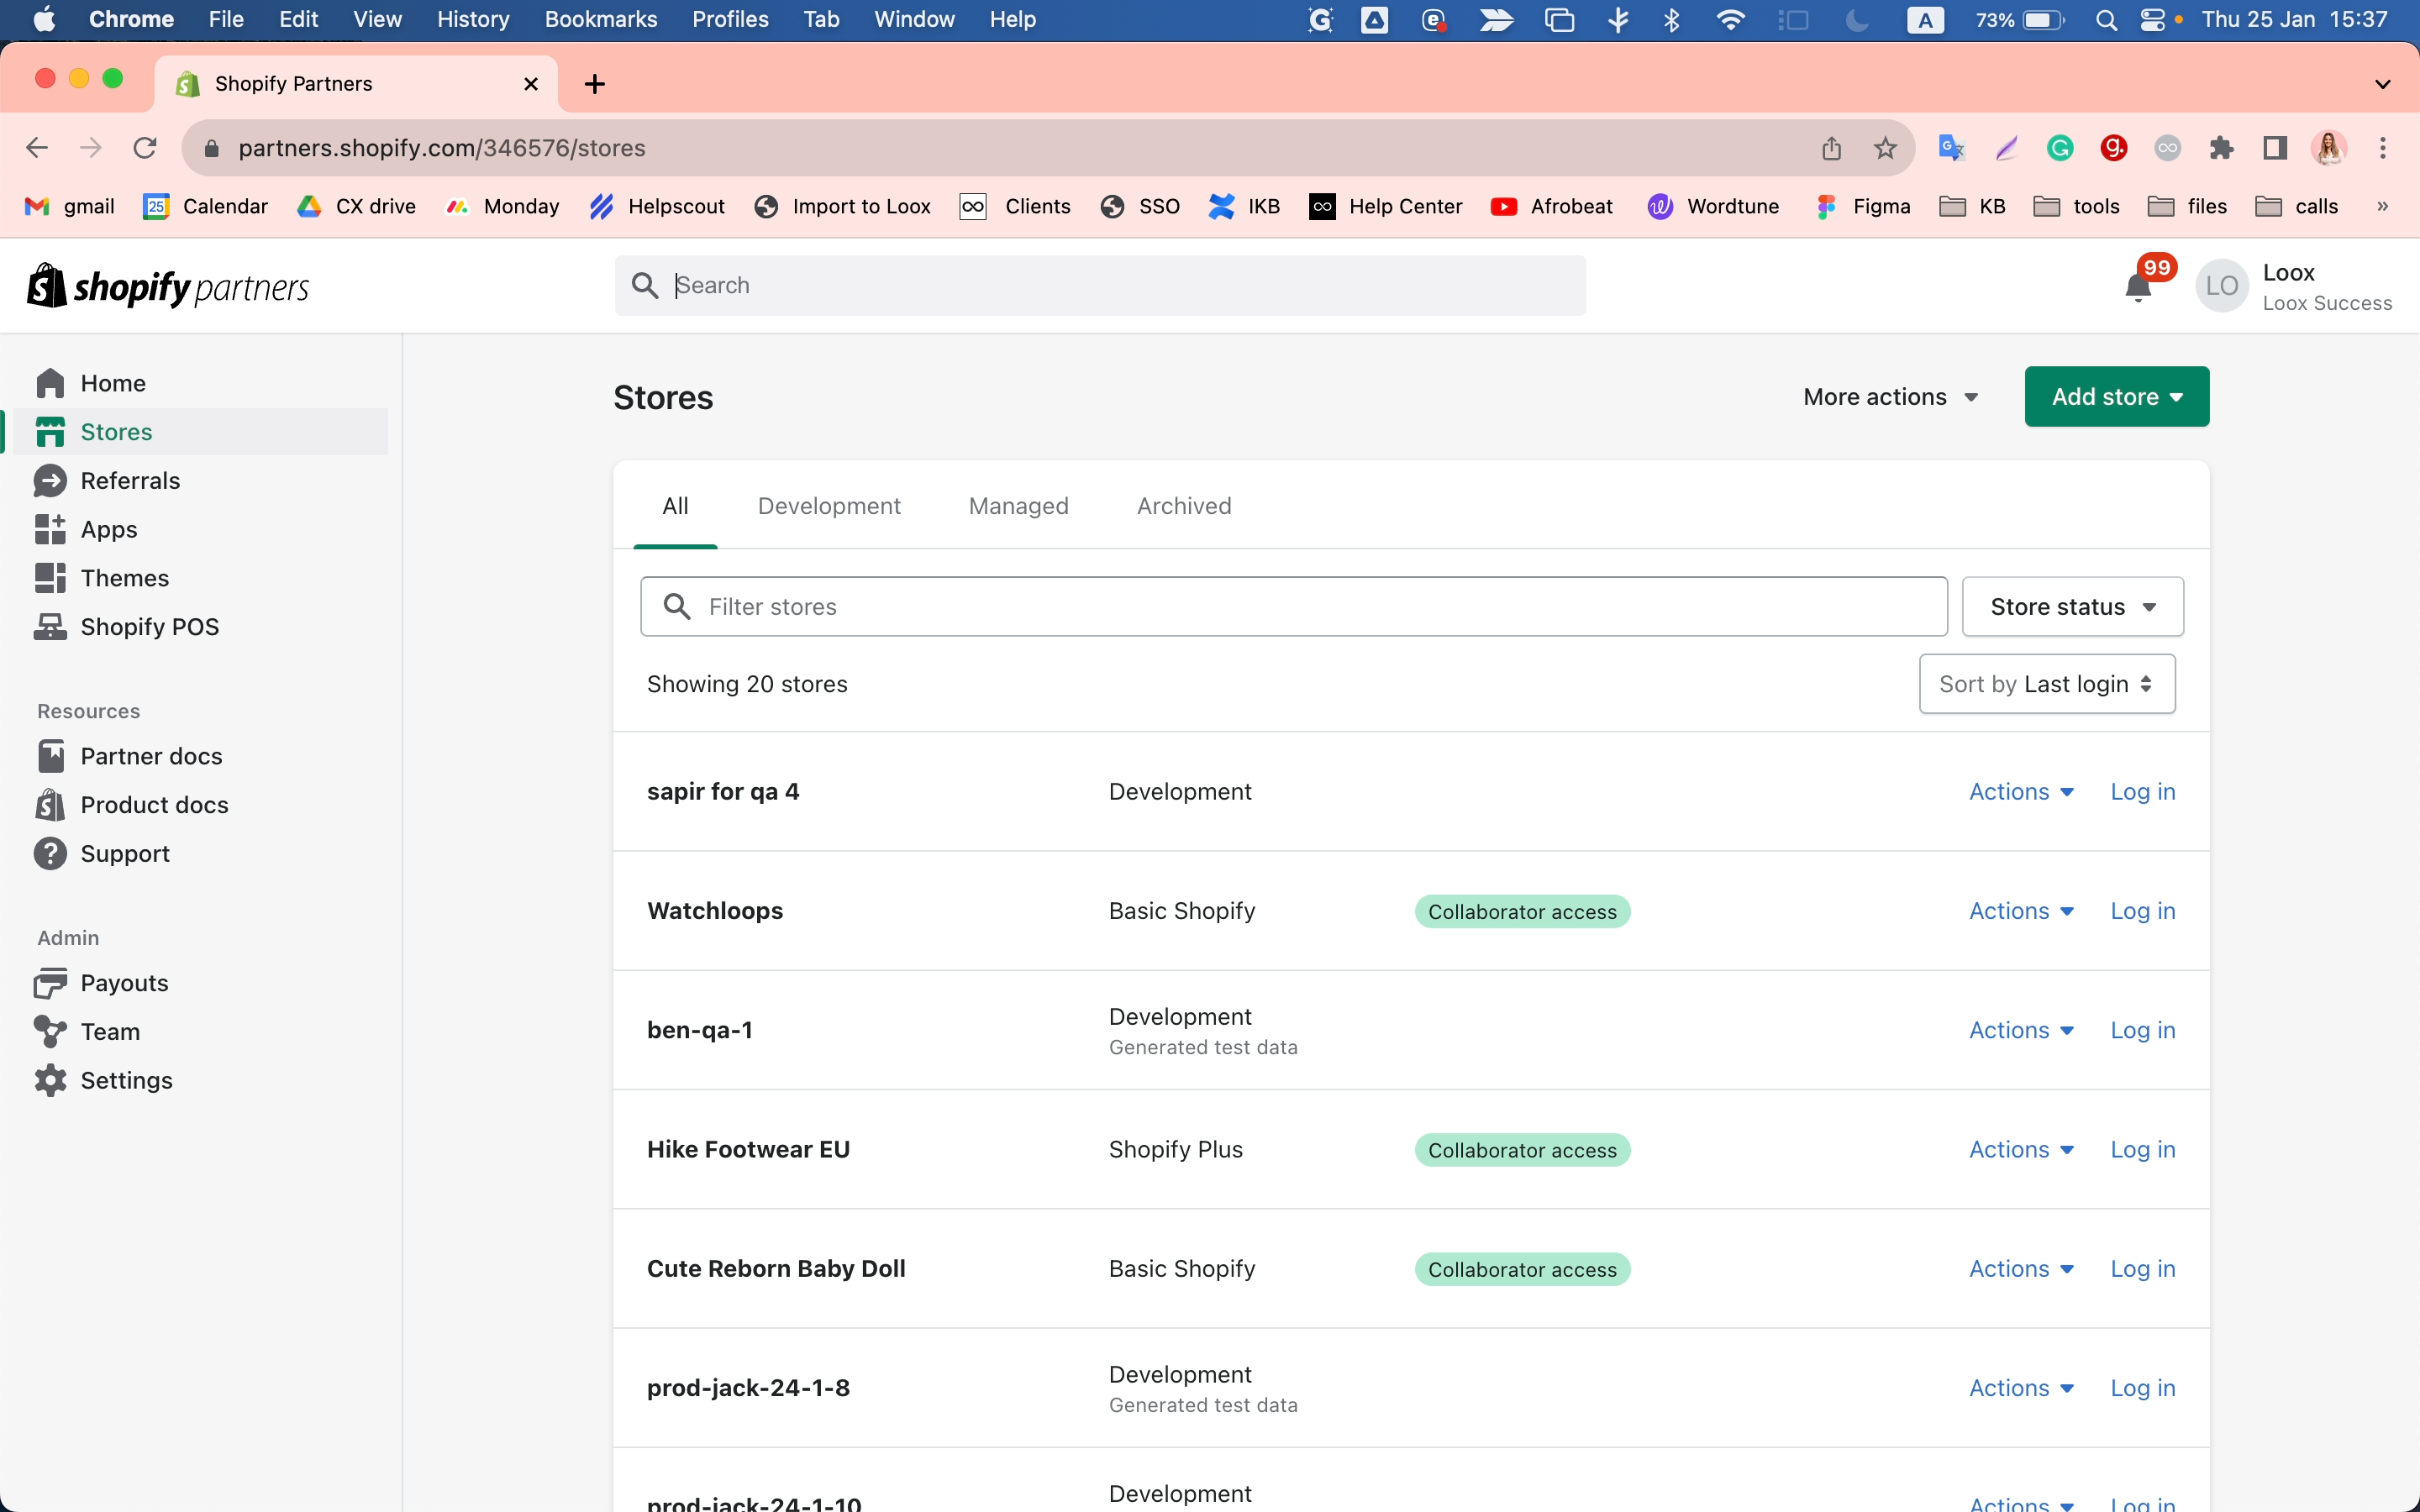
The process of sending a Collaborate Request begins with accessing the Partner Dashboard. This is where you can search for the store you want to send the invite to.
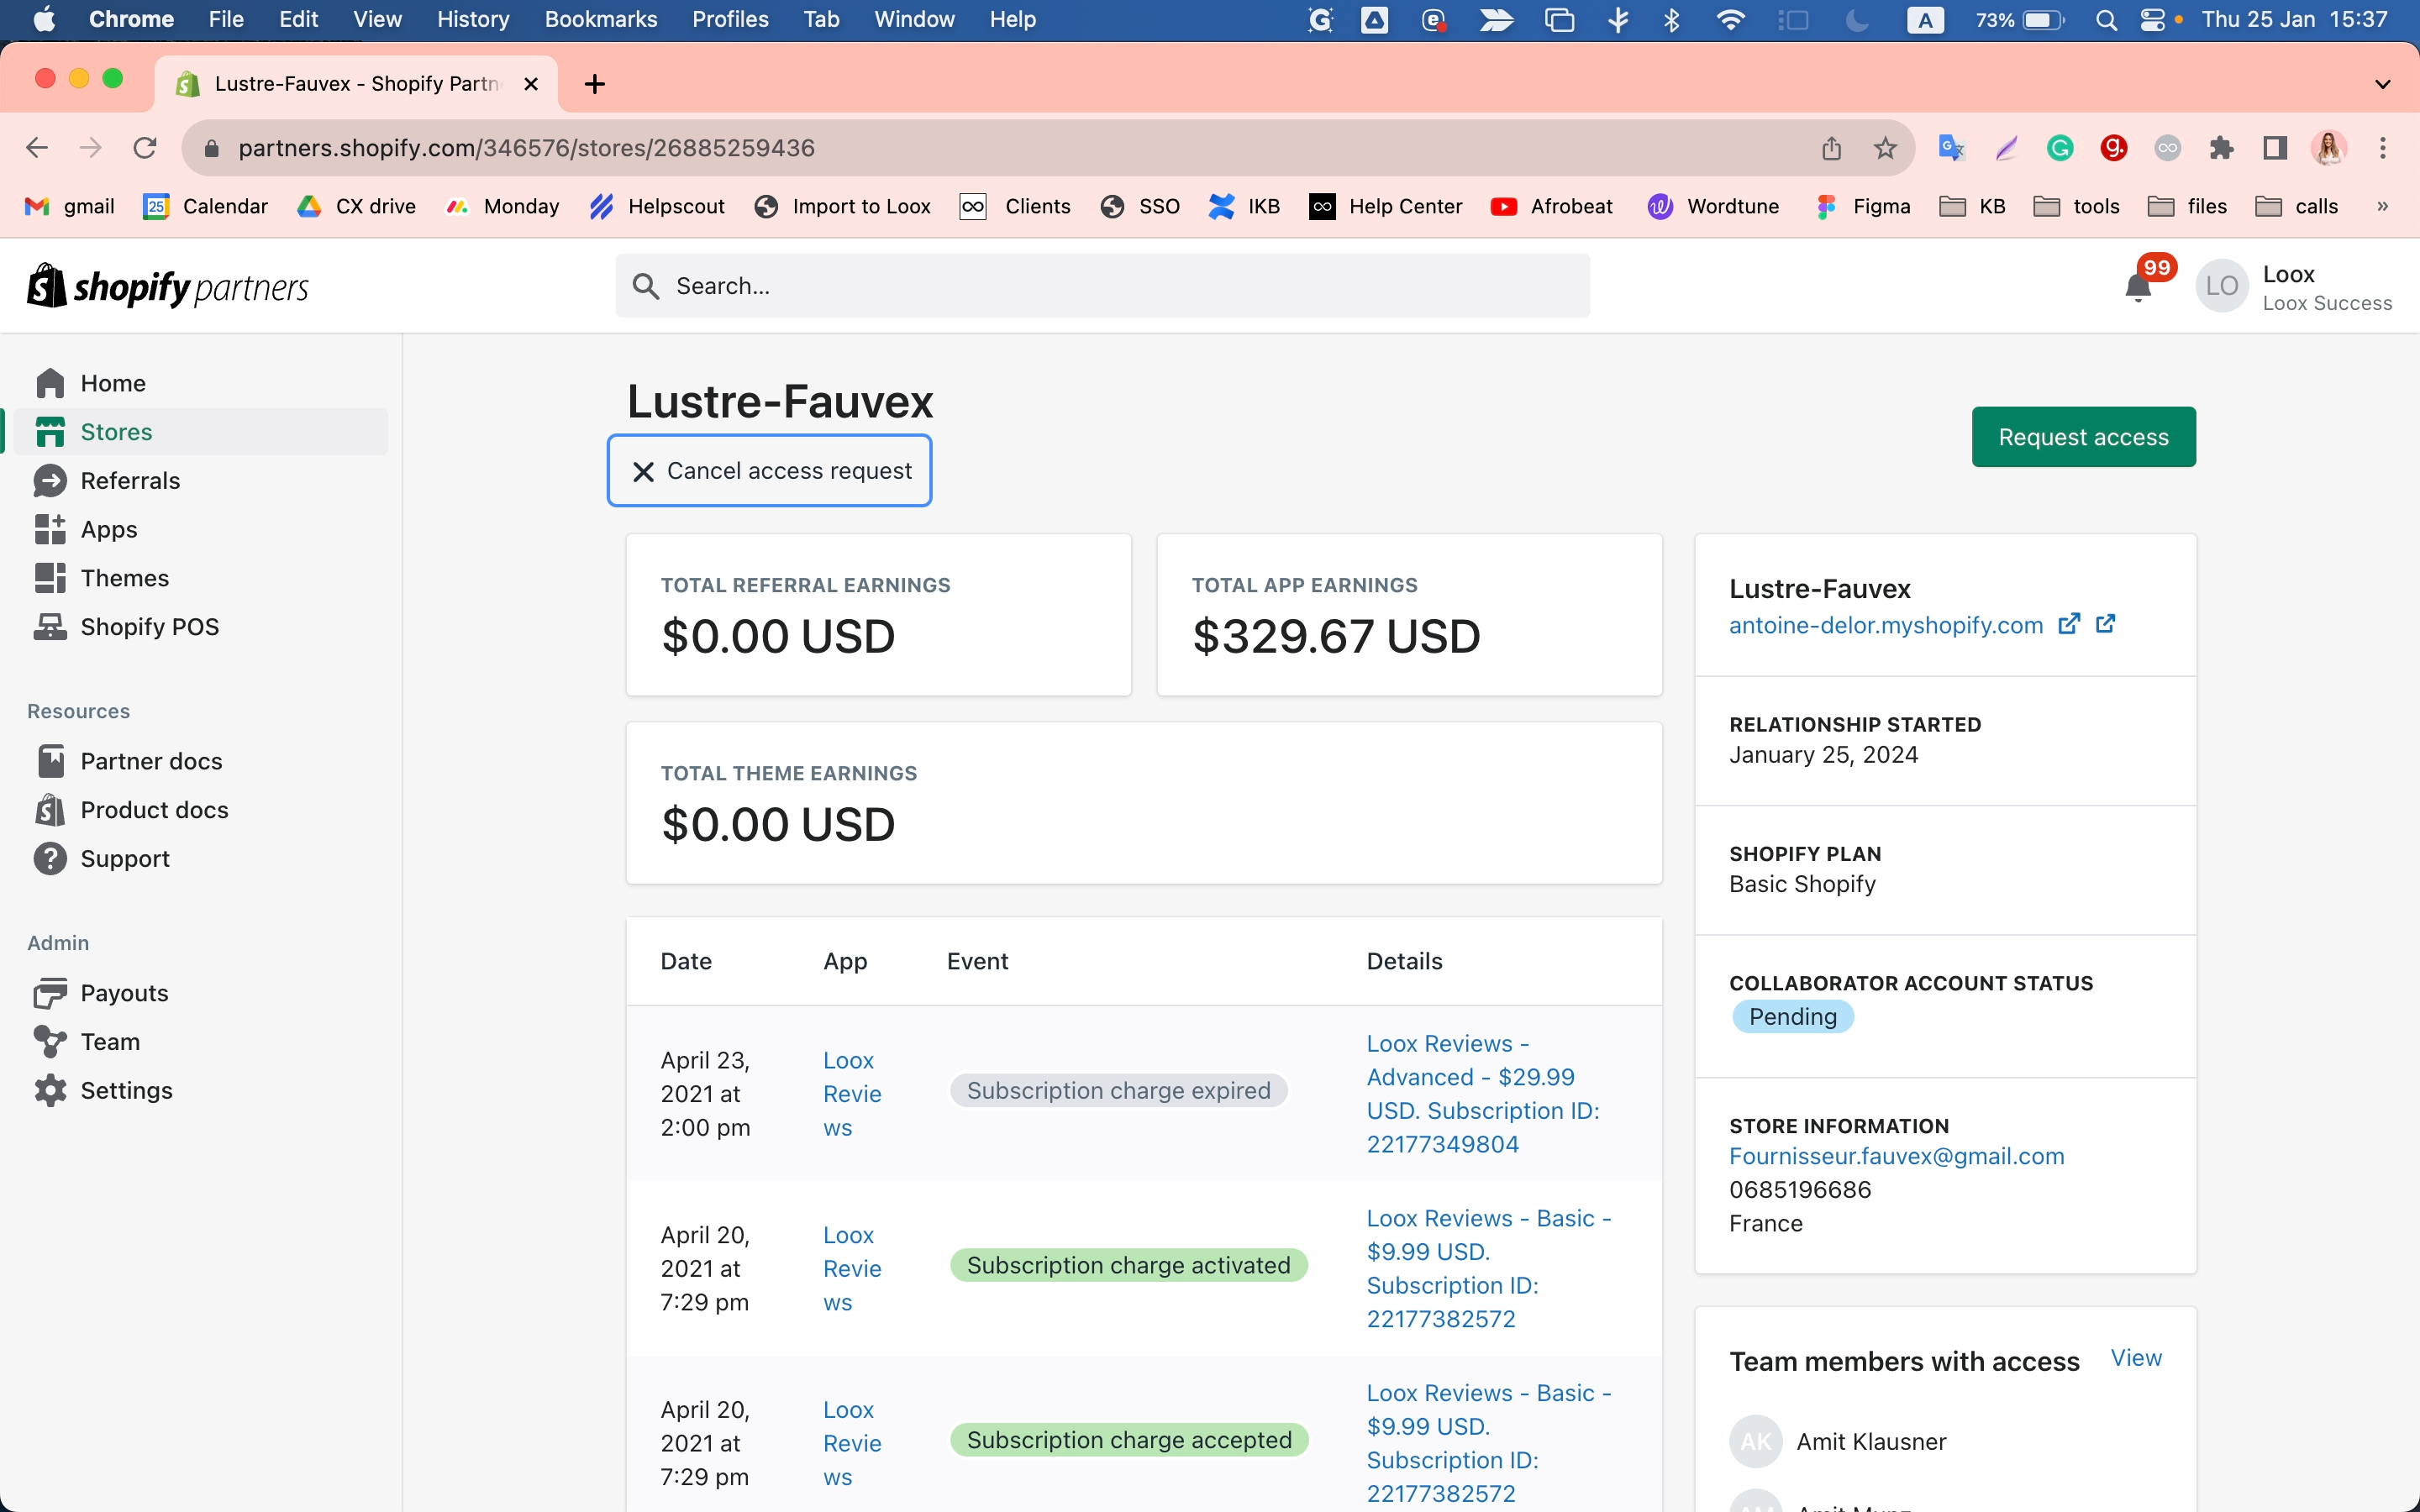
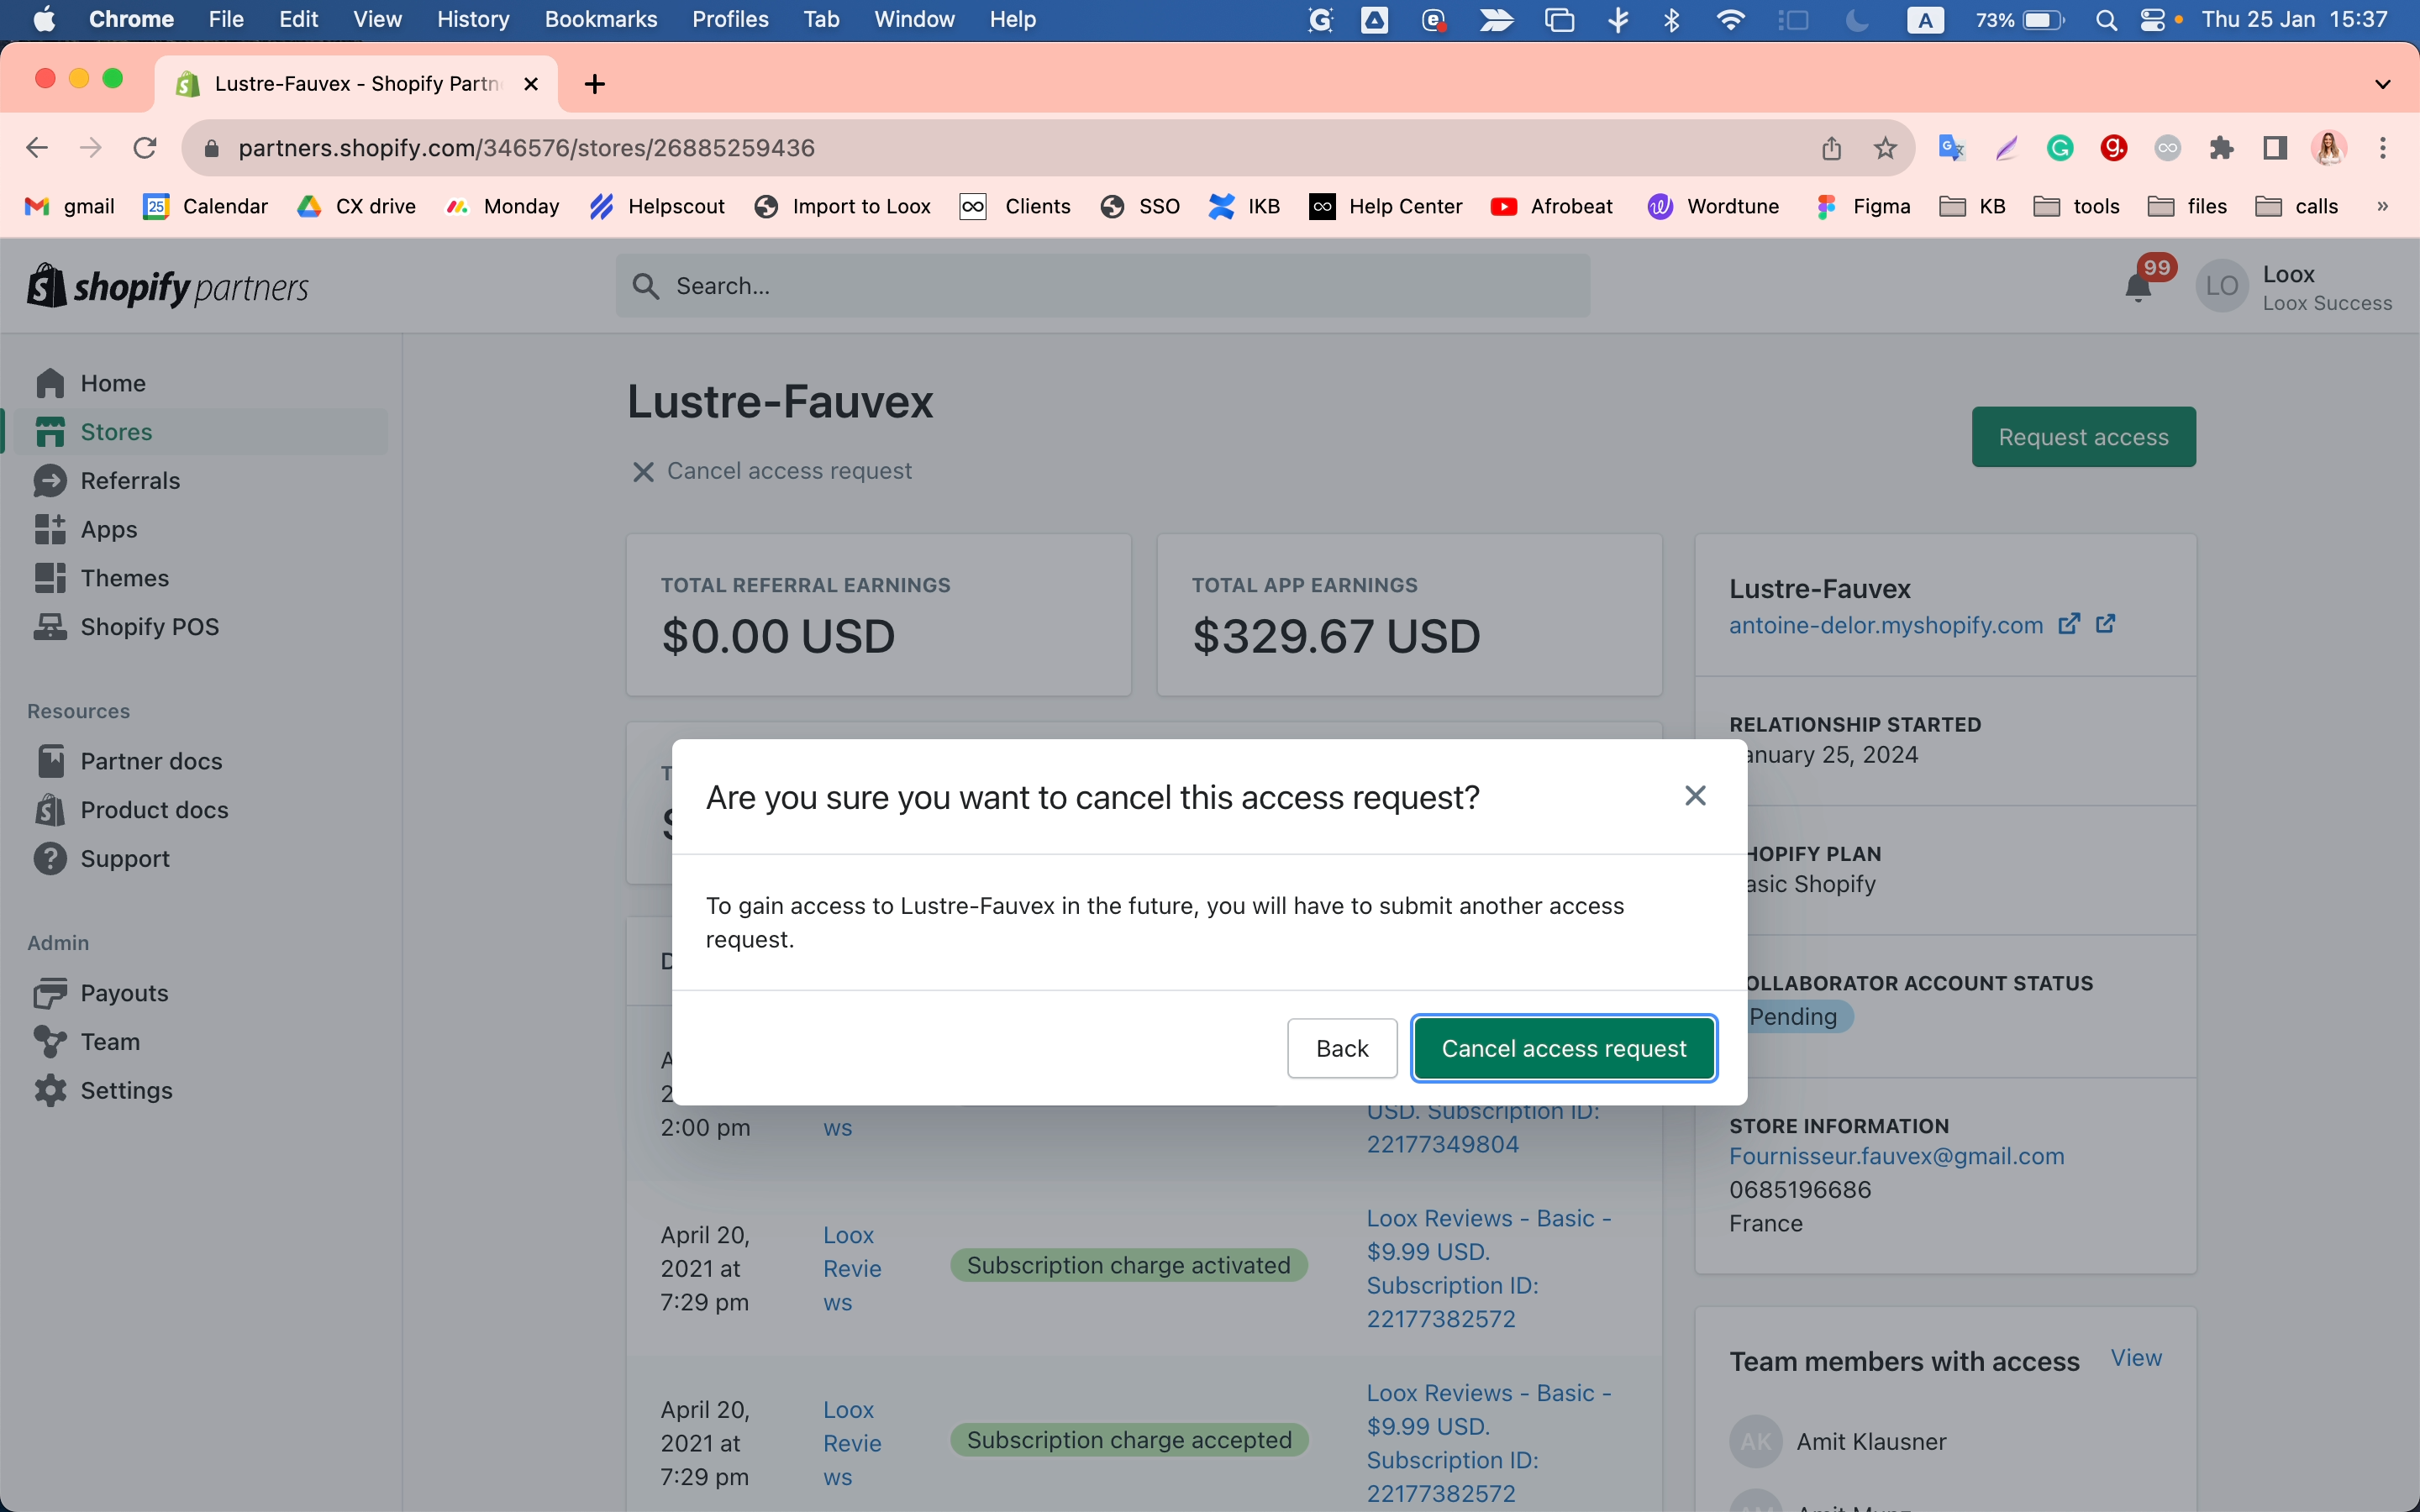
Requesting Access
Once you've found the store, you can send a Collaborate Request by clicking on the 'request access' button. This will allow you to request the necessary permissions to interact with the store.
In the following sections, we will delve into the step-by-step process of sending a Collaborate Request to your LOOX customers.