Guide on Sending Bonus Emails Using Google Chrome
Learn how to send bonus emails using Google Chrome. This guide is particularly useful for administrators managing their store's range and tracking relevant activities.
In this guide, we'll learn how to send bonus emails using Google Chrome. This process is particularly useful for administrators who want to manage their store's range and keep track of relevant activities.
Understanding the Purpose of Bonus Emails
Bonus emails are a great way to engage with your customers, provide them with special offers, and keep them updated about your store's activities. They can be used to reward loyal customers, encourage repeat purchases, and even attract new customers.
Preparing for the Process
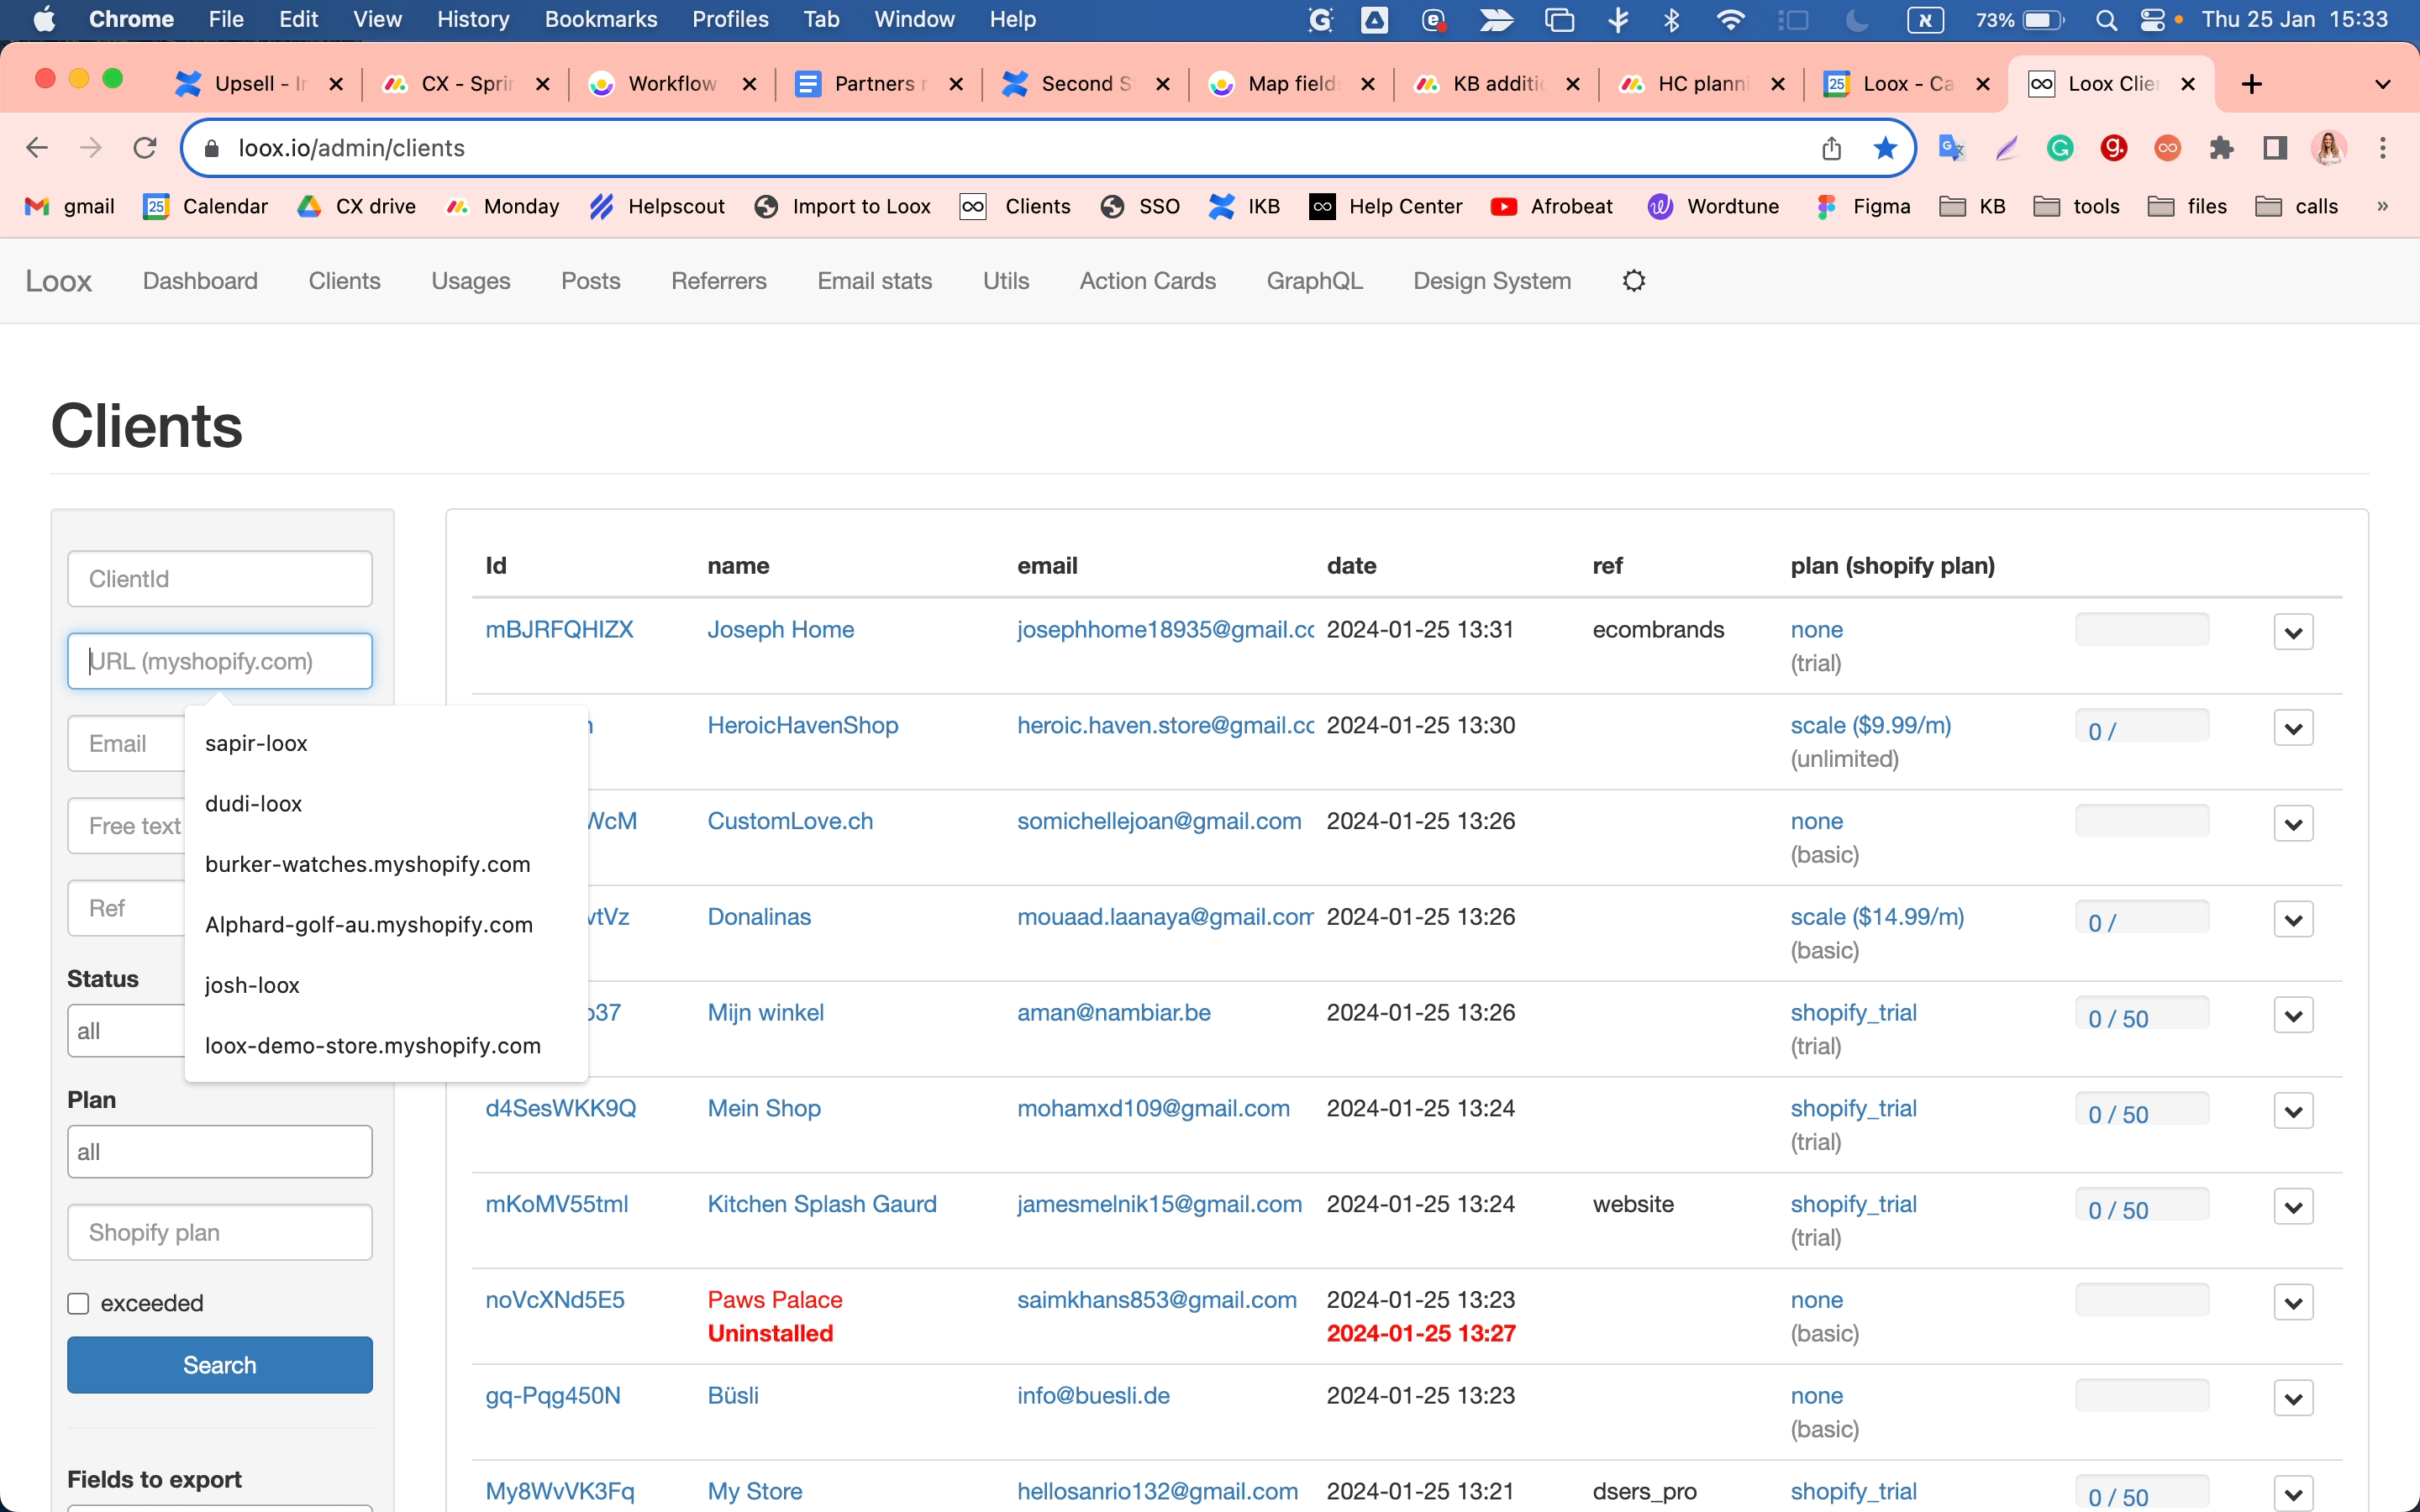
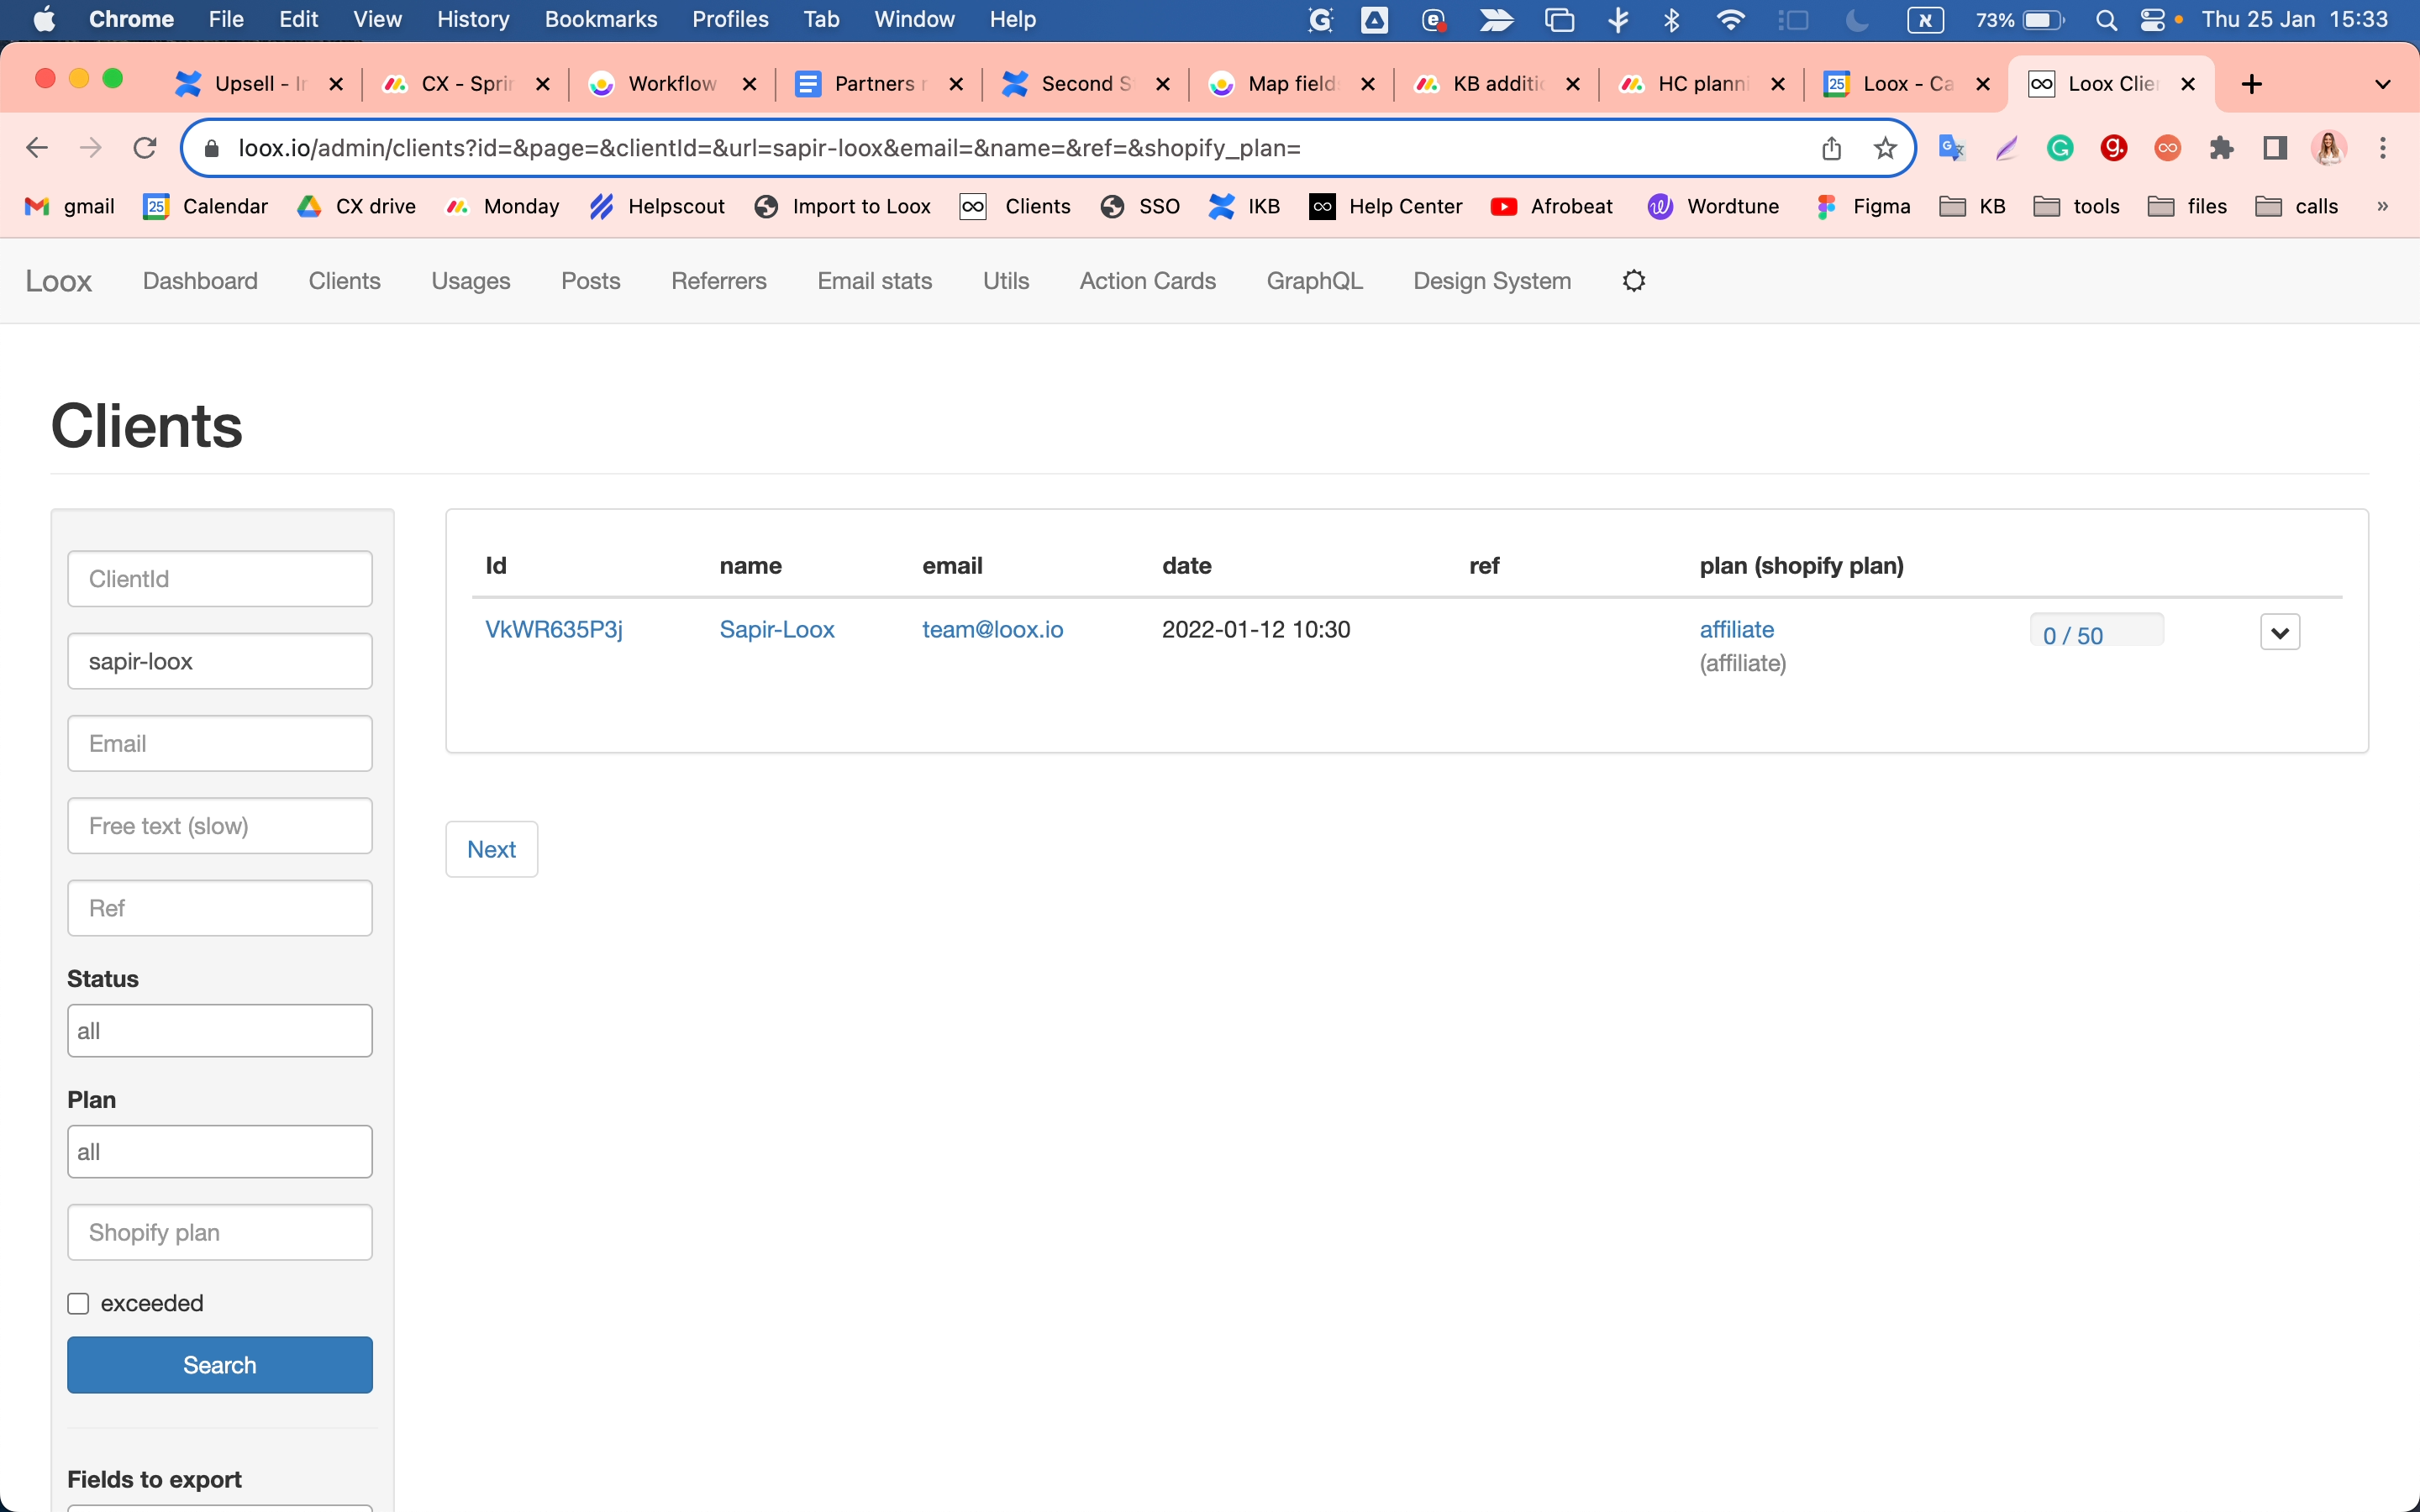
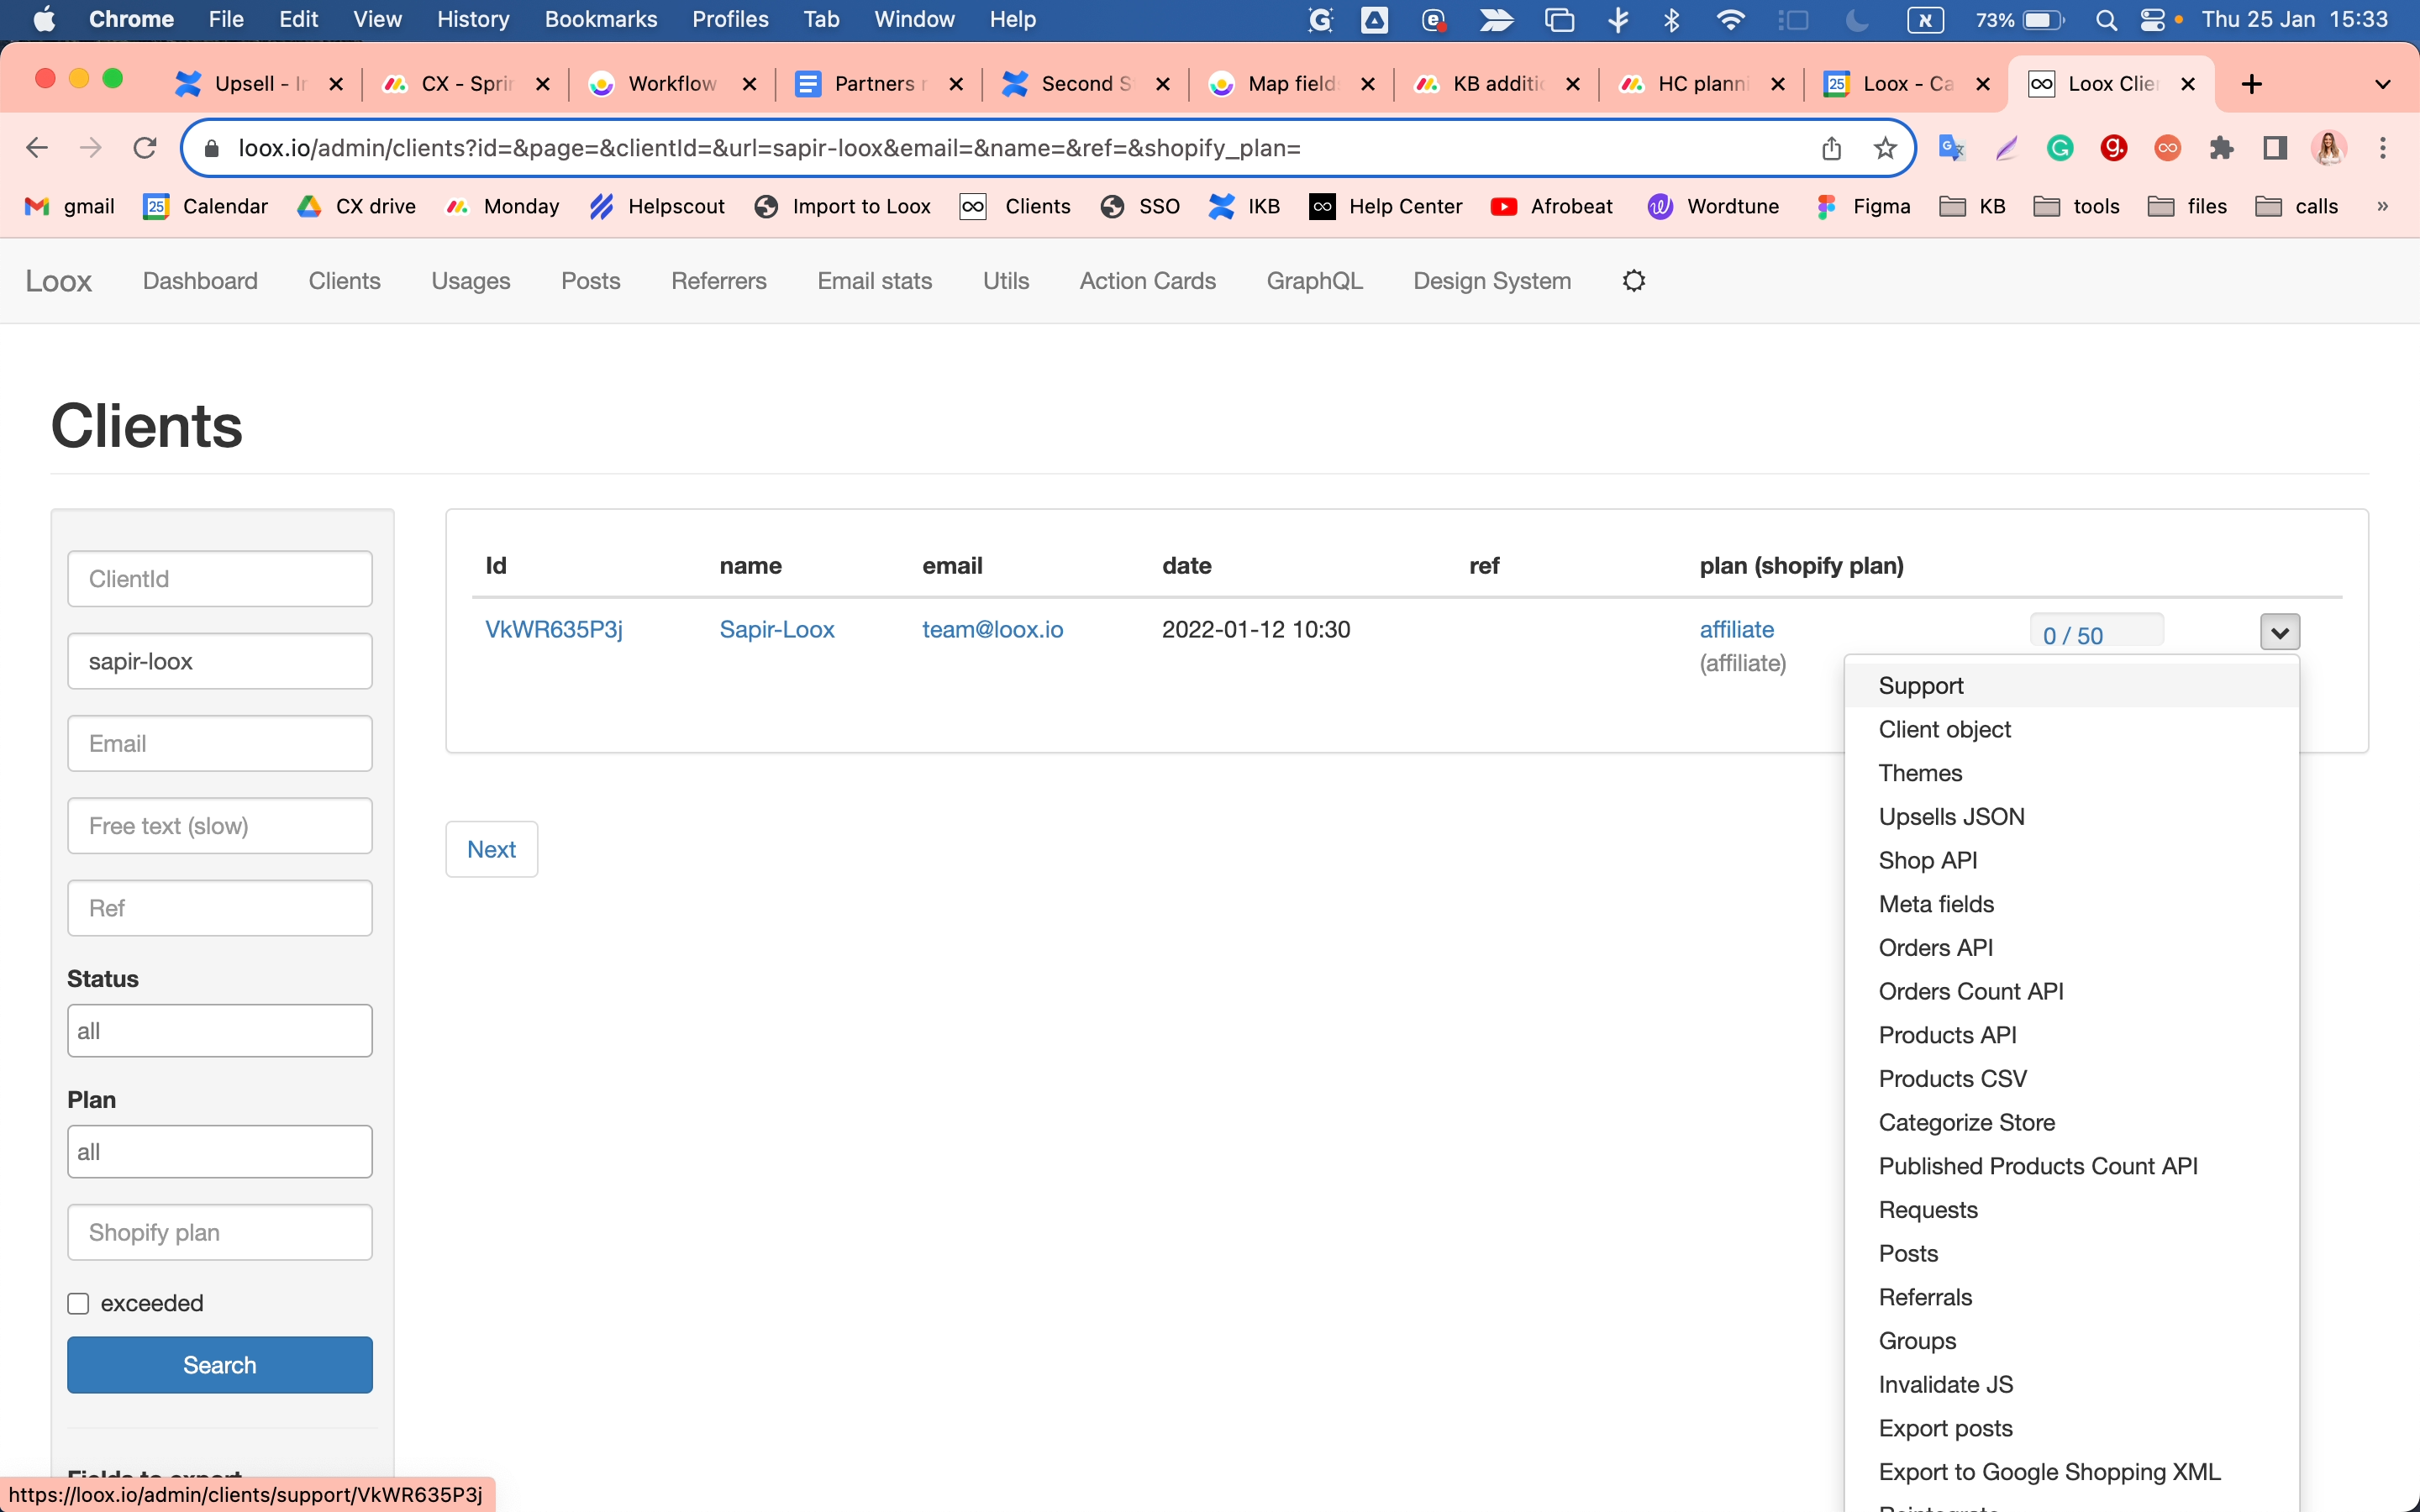
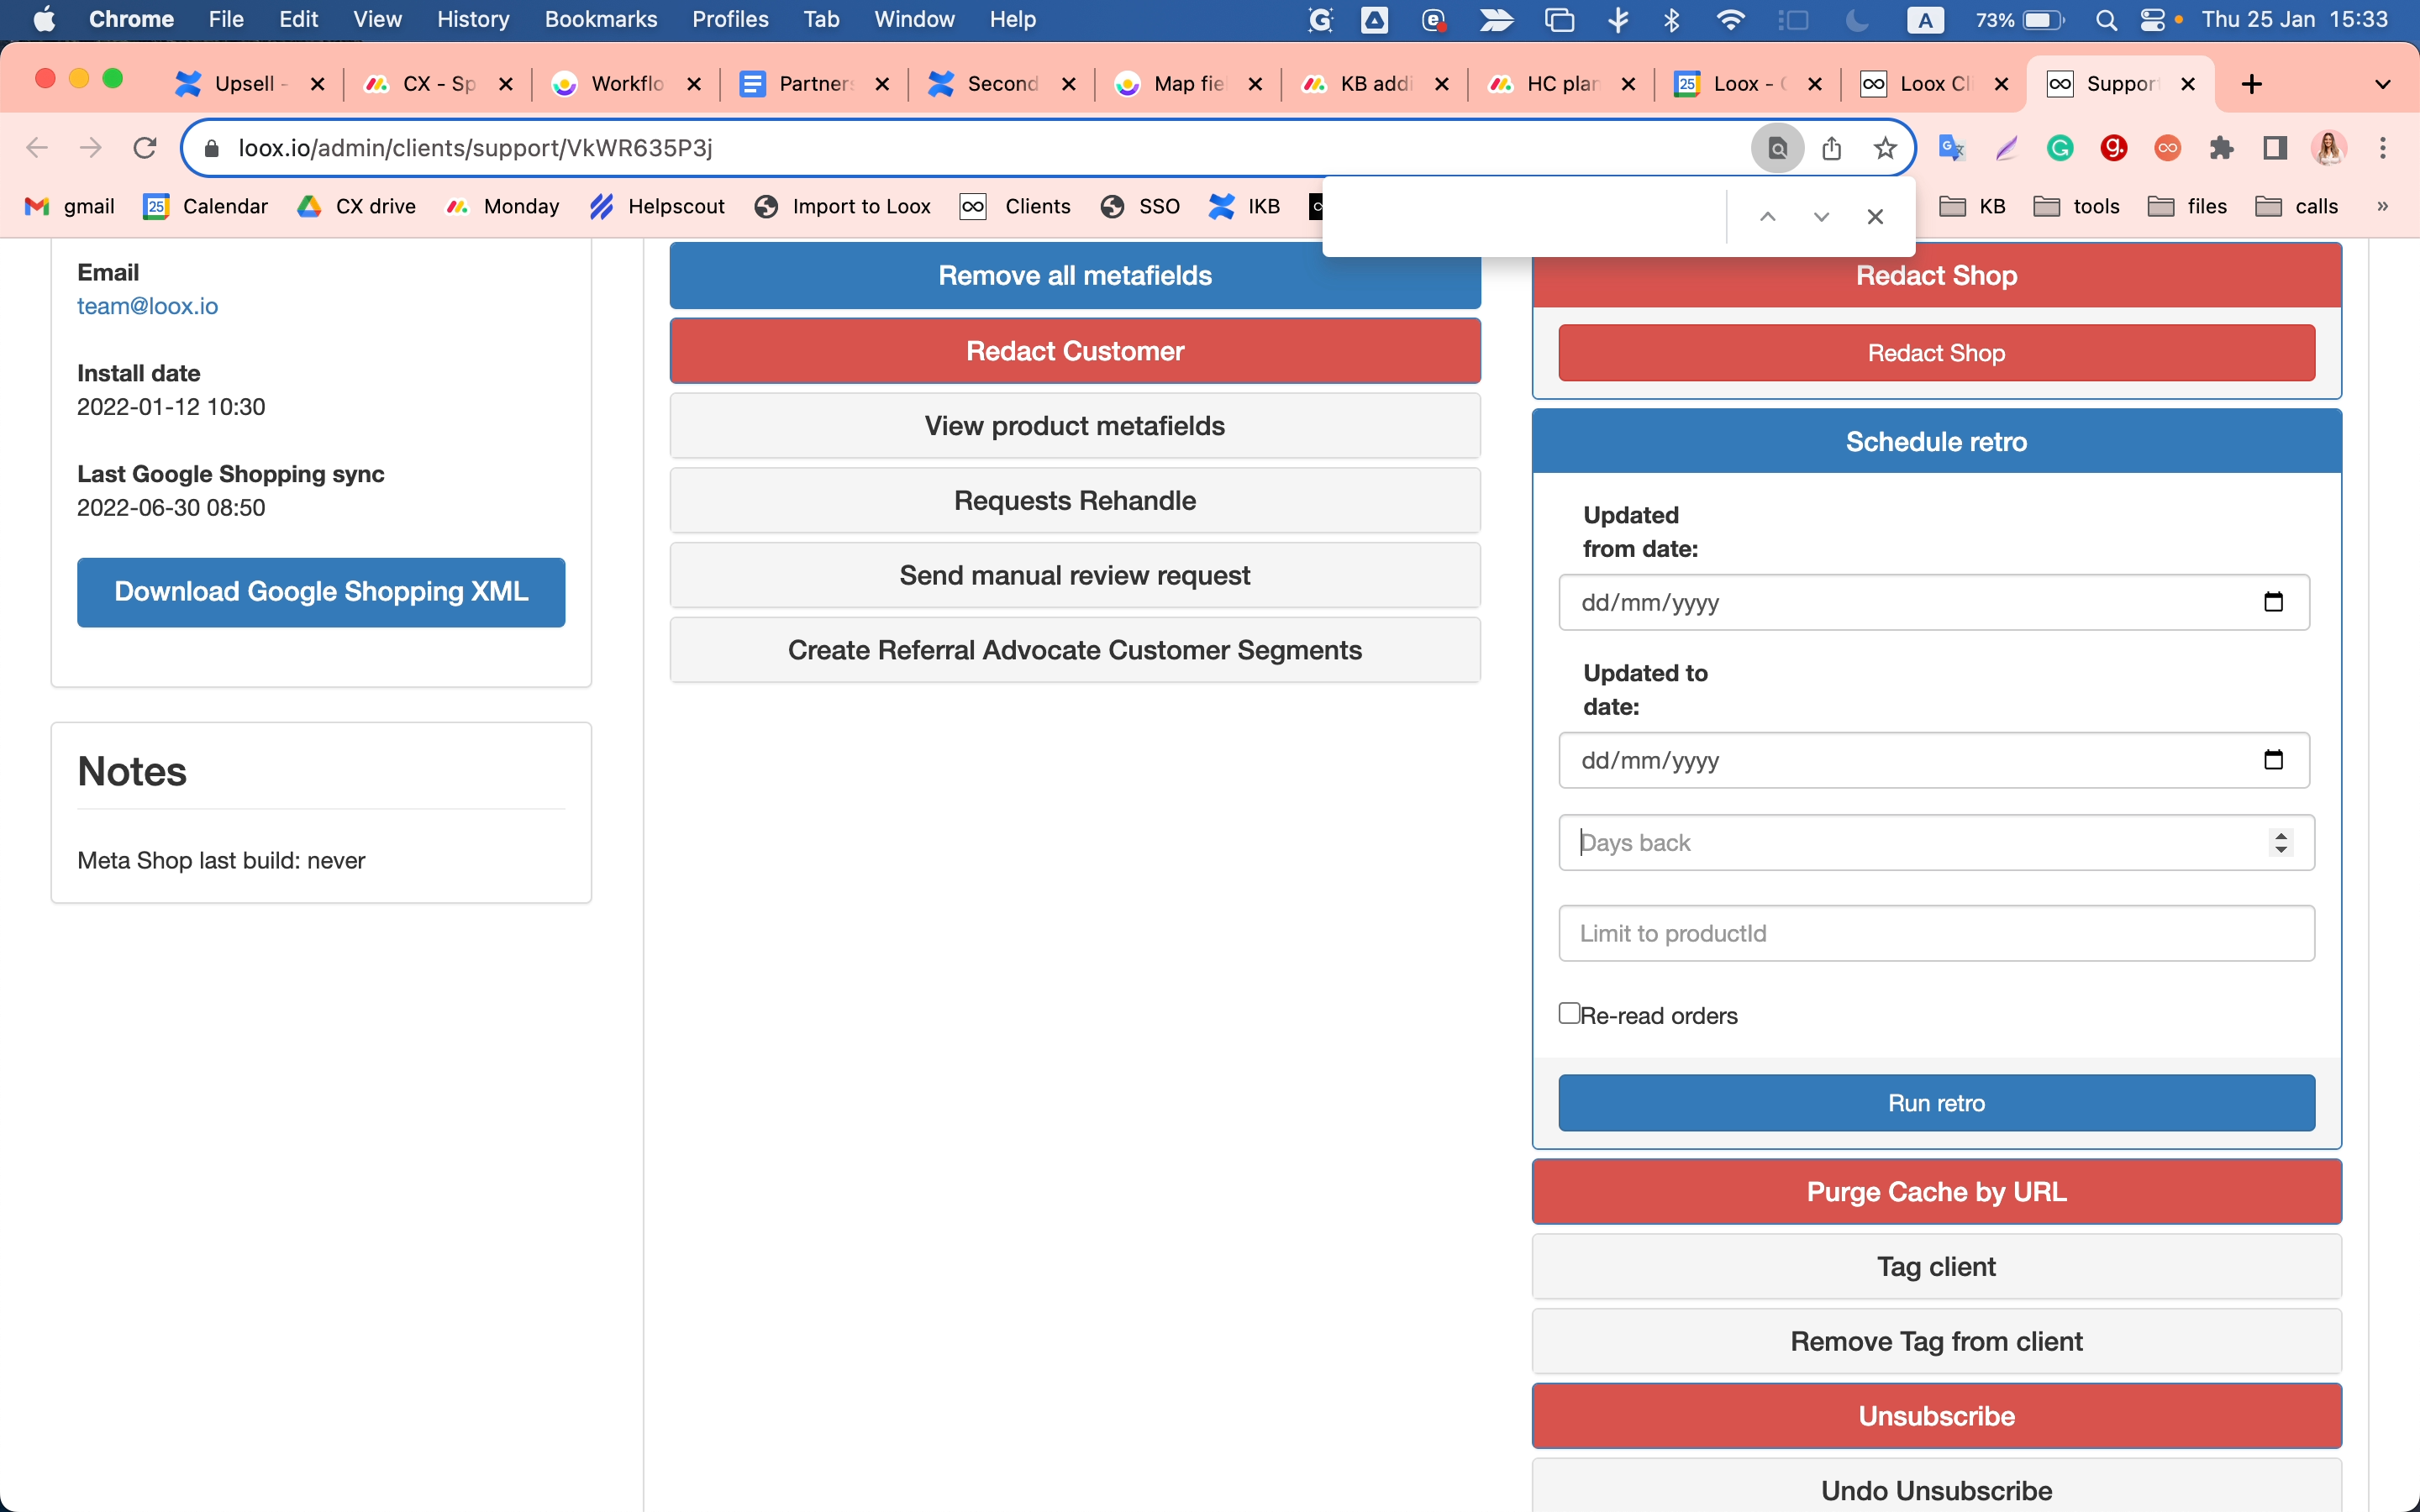
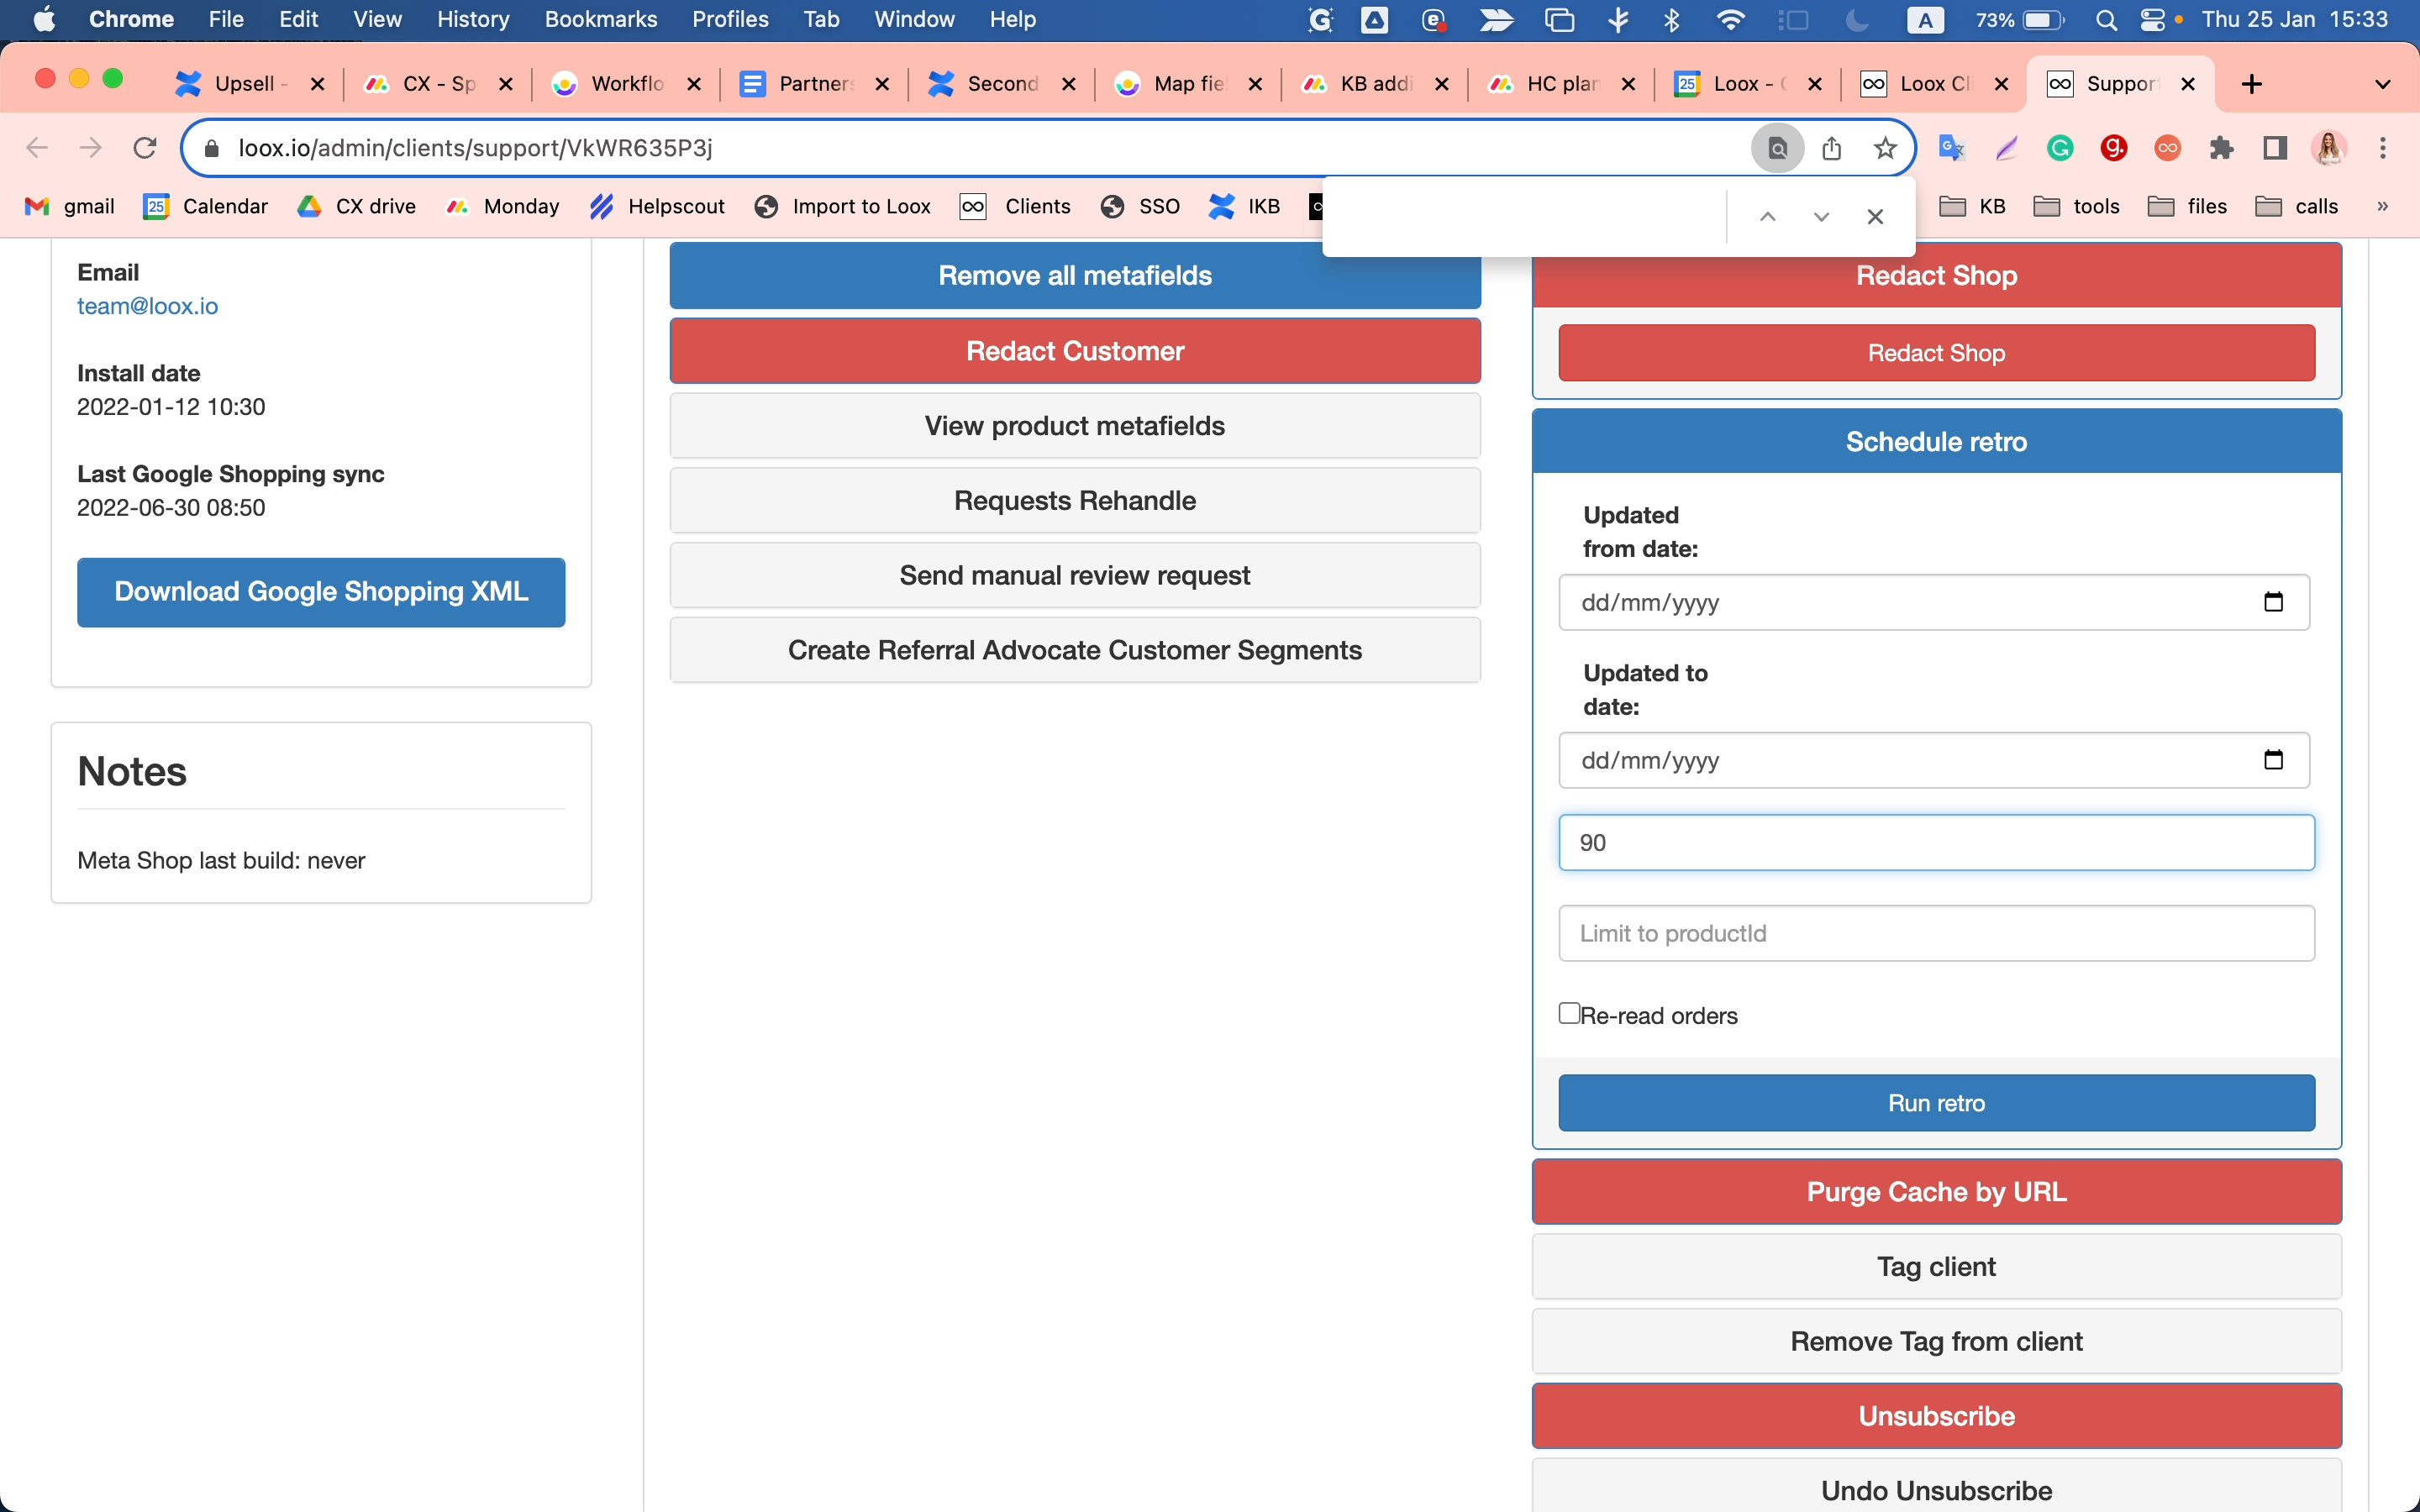
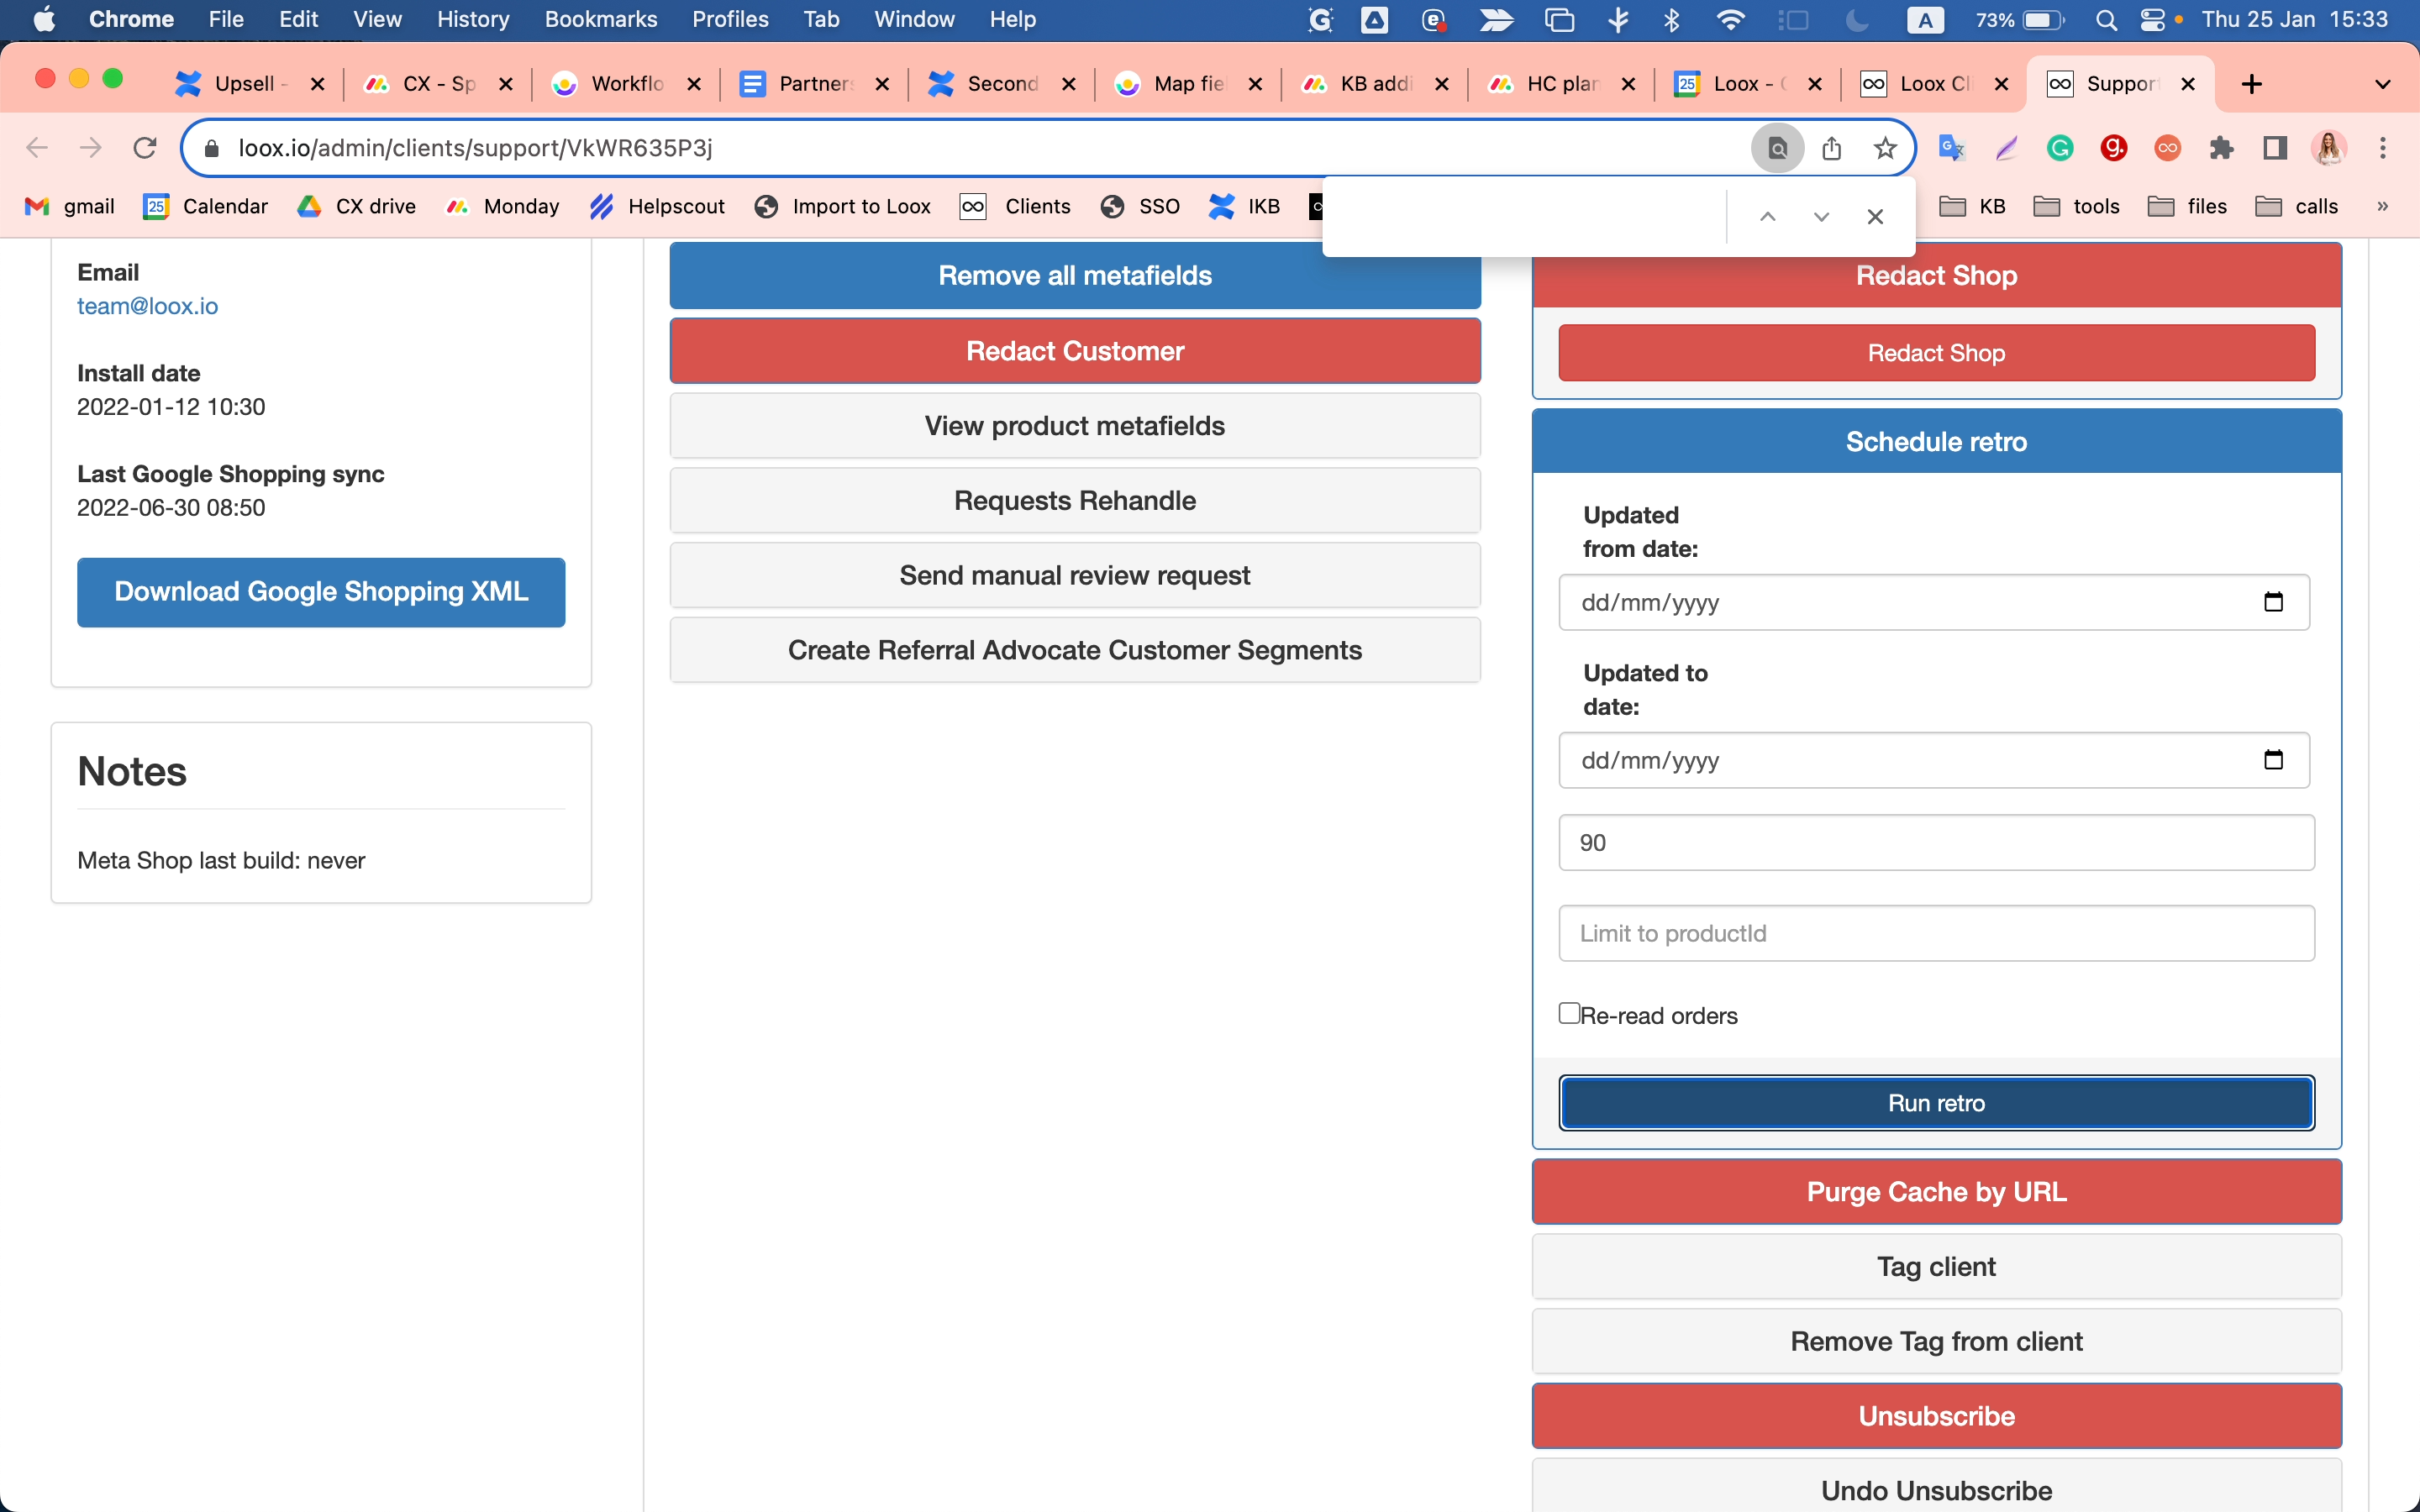
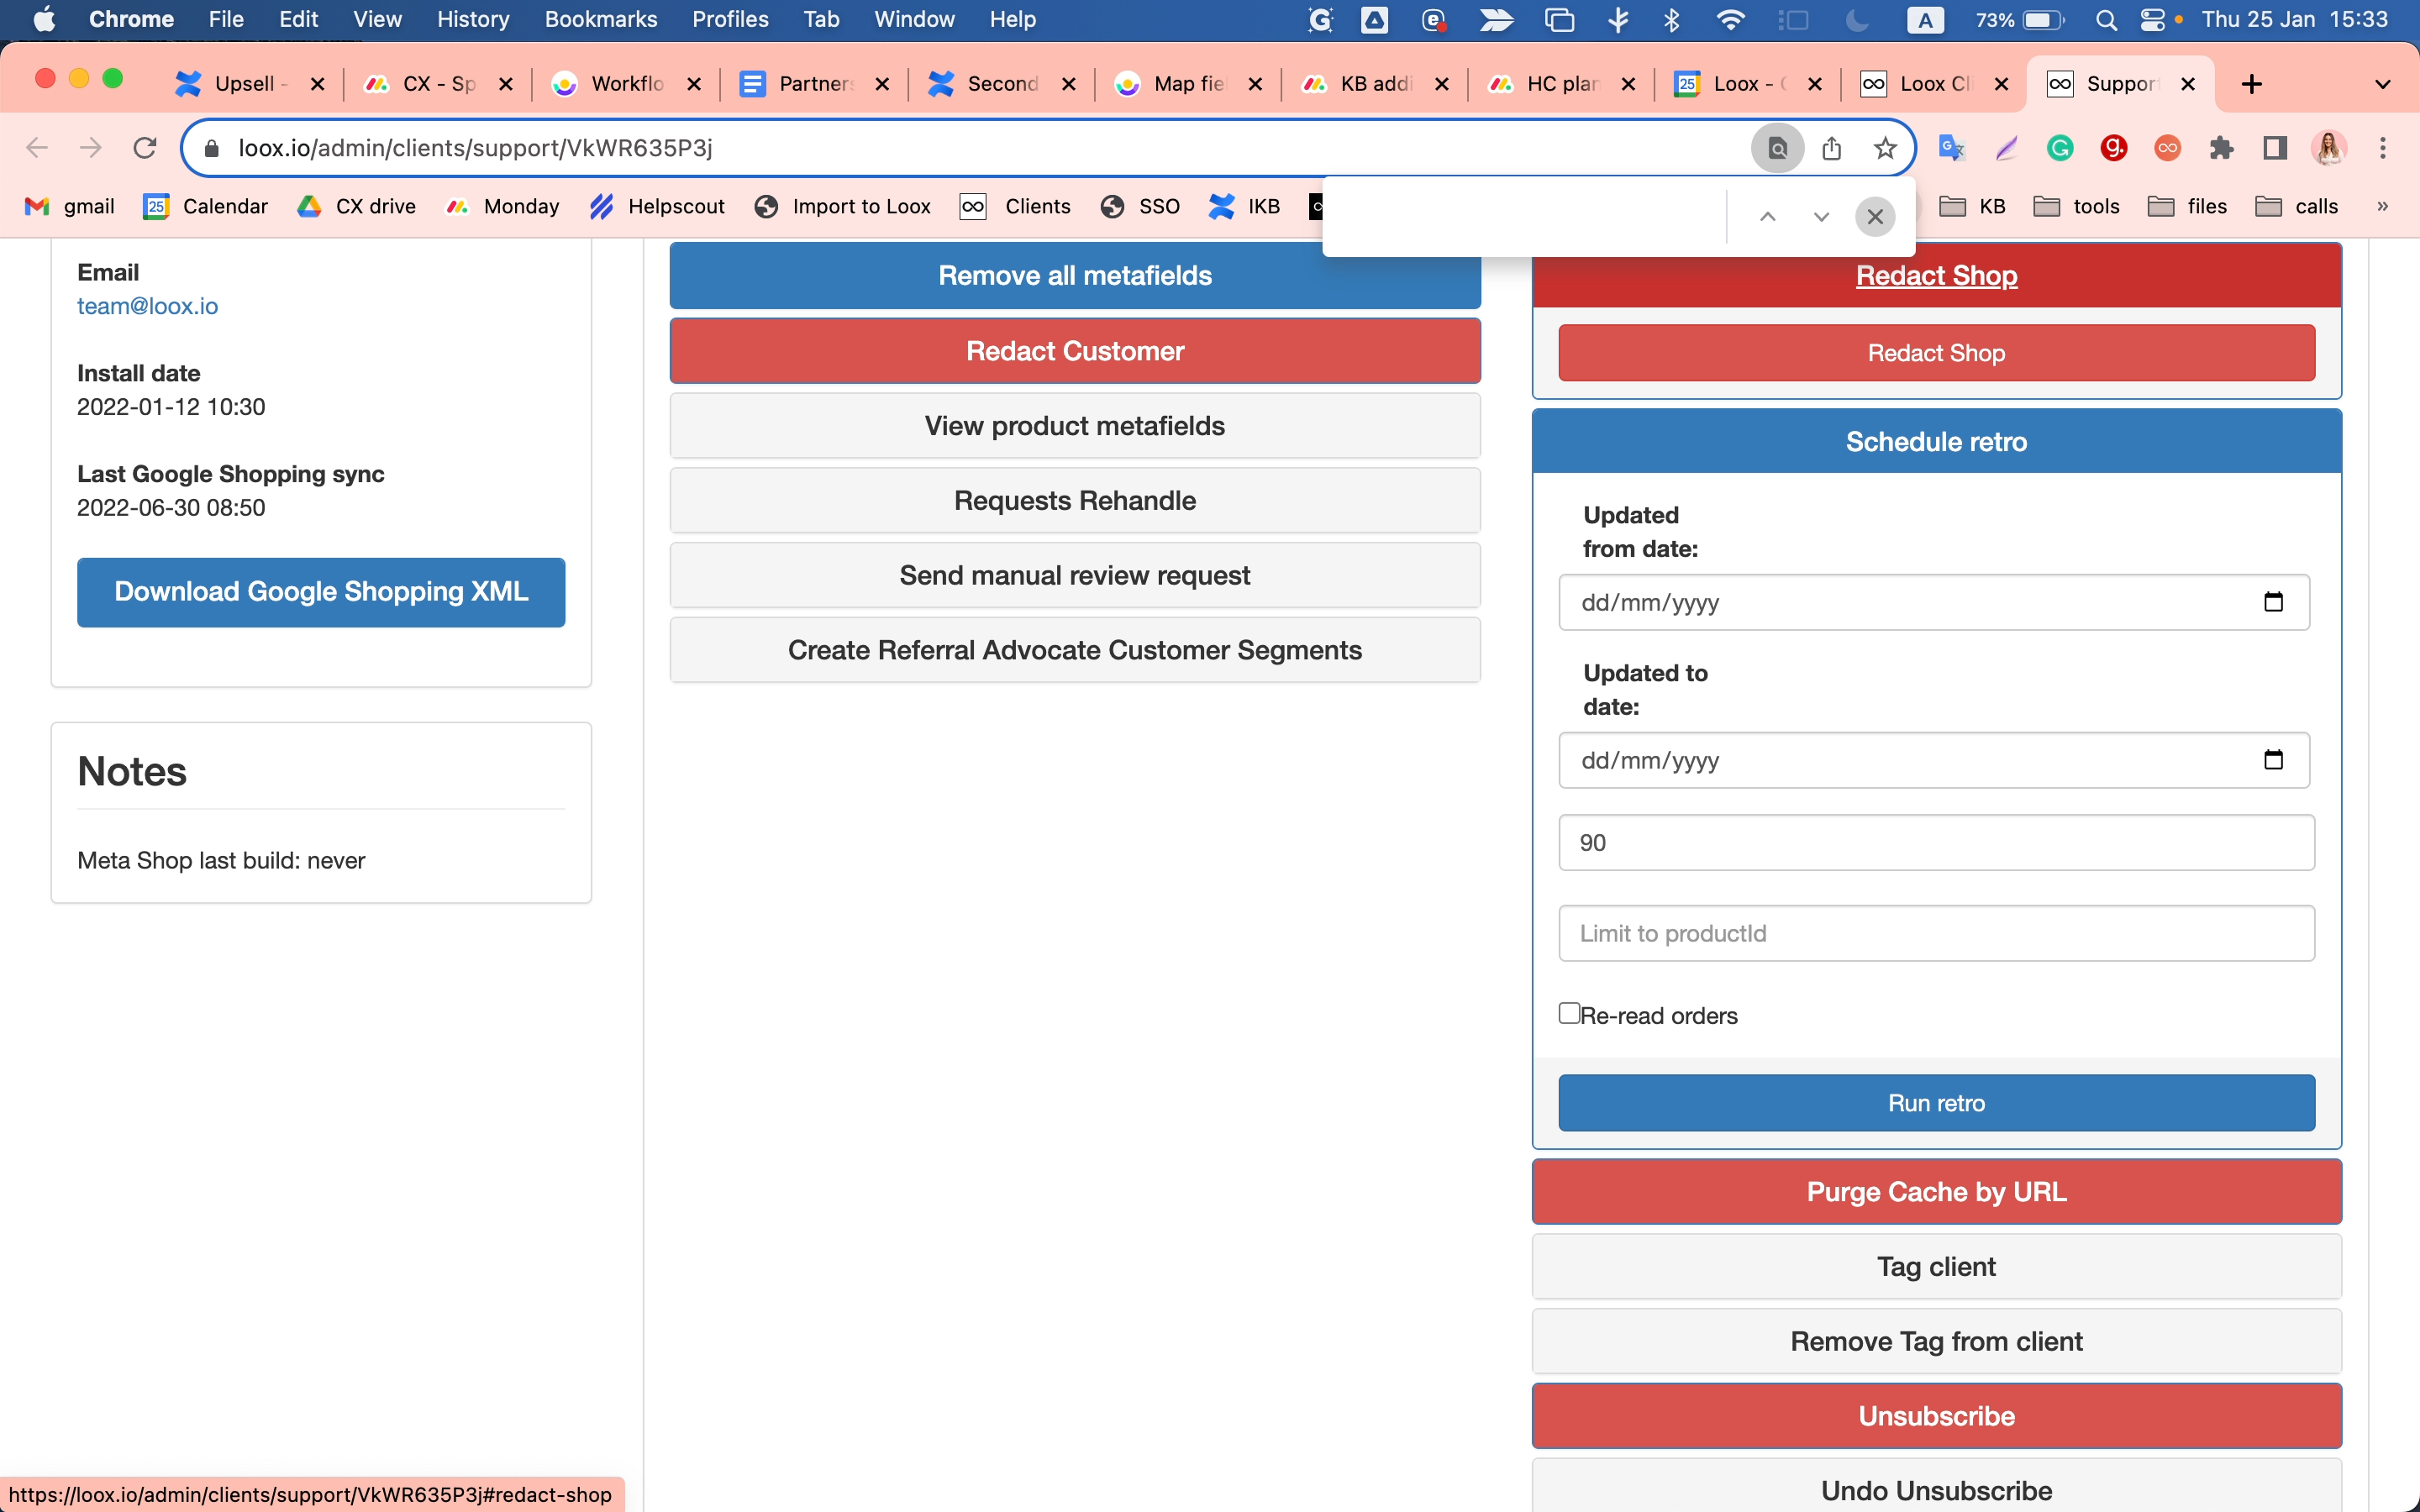
Before we delve into the process, it's important to understand that you'll need to have access to the admin section of your store. This is where you'll be able to set the range for your store and navigate to the admin support to begin the process.
Setting the Date Range
One of the key aspects of sending bonus emails is setting the date range. This is the period during which the bonus emails will be sent out. You can choose any range you want, for example, the past 90 days.
Please note that this guide does not provide step-by-step instructions, but rather gives you an overview of what the process entails. The actual steps may vary depending on the specific platform or software you're using.