Guide to Code 9: Managing Materials and Measurements
Learn how to effectively manage code 9 with tips on handling materials, dimensions, and image references.
In this guide, we'll learn how to manage and document measurements and data entries effectively. The process involves entering specific codes, adjusting entries, and handling physical measurements with tools like calipers. We'll also cover how to manage images related to these entries, ensuring accurate documentation. This guide aims to streamline your workflow and improve data accuracy.
Let's get started
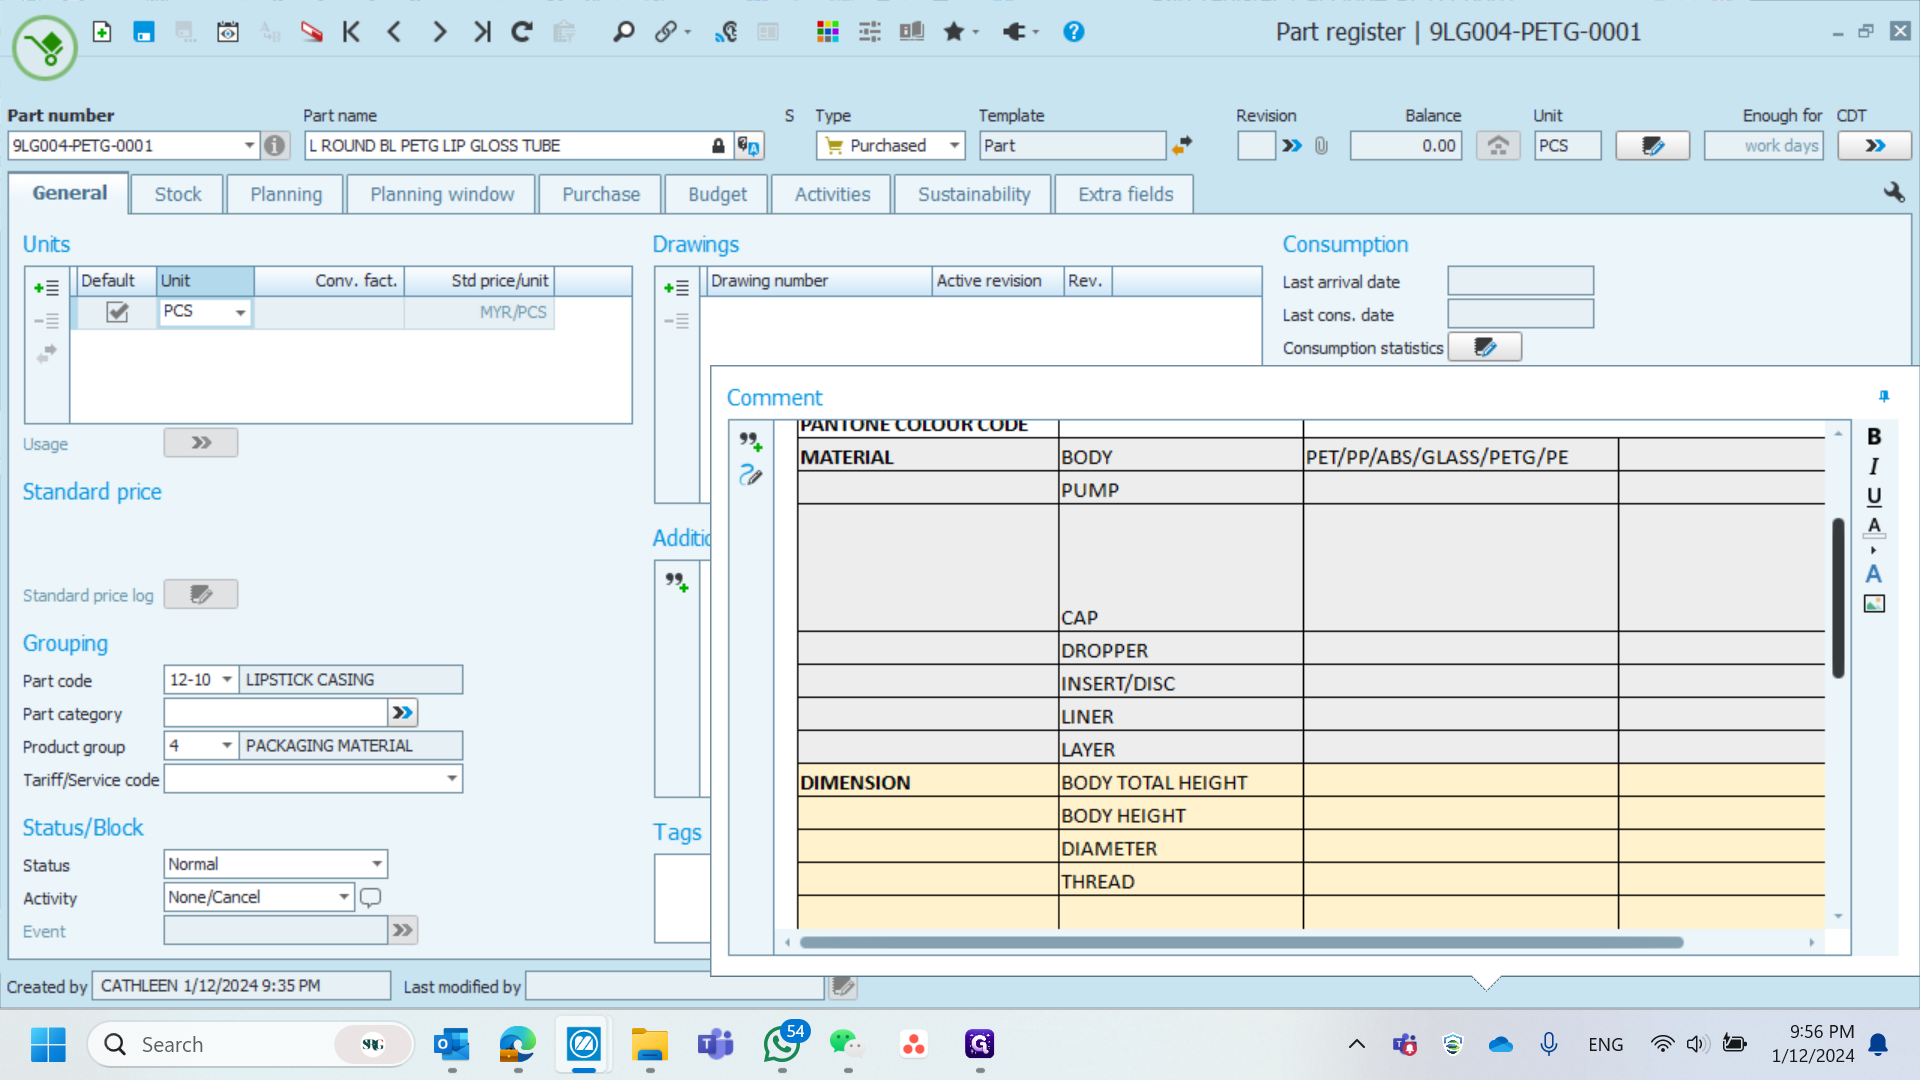
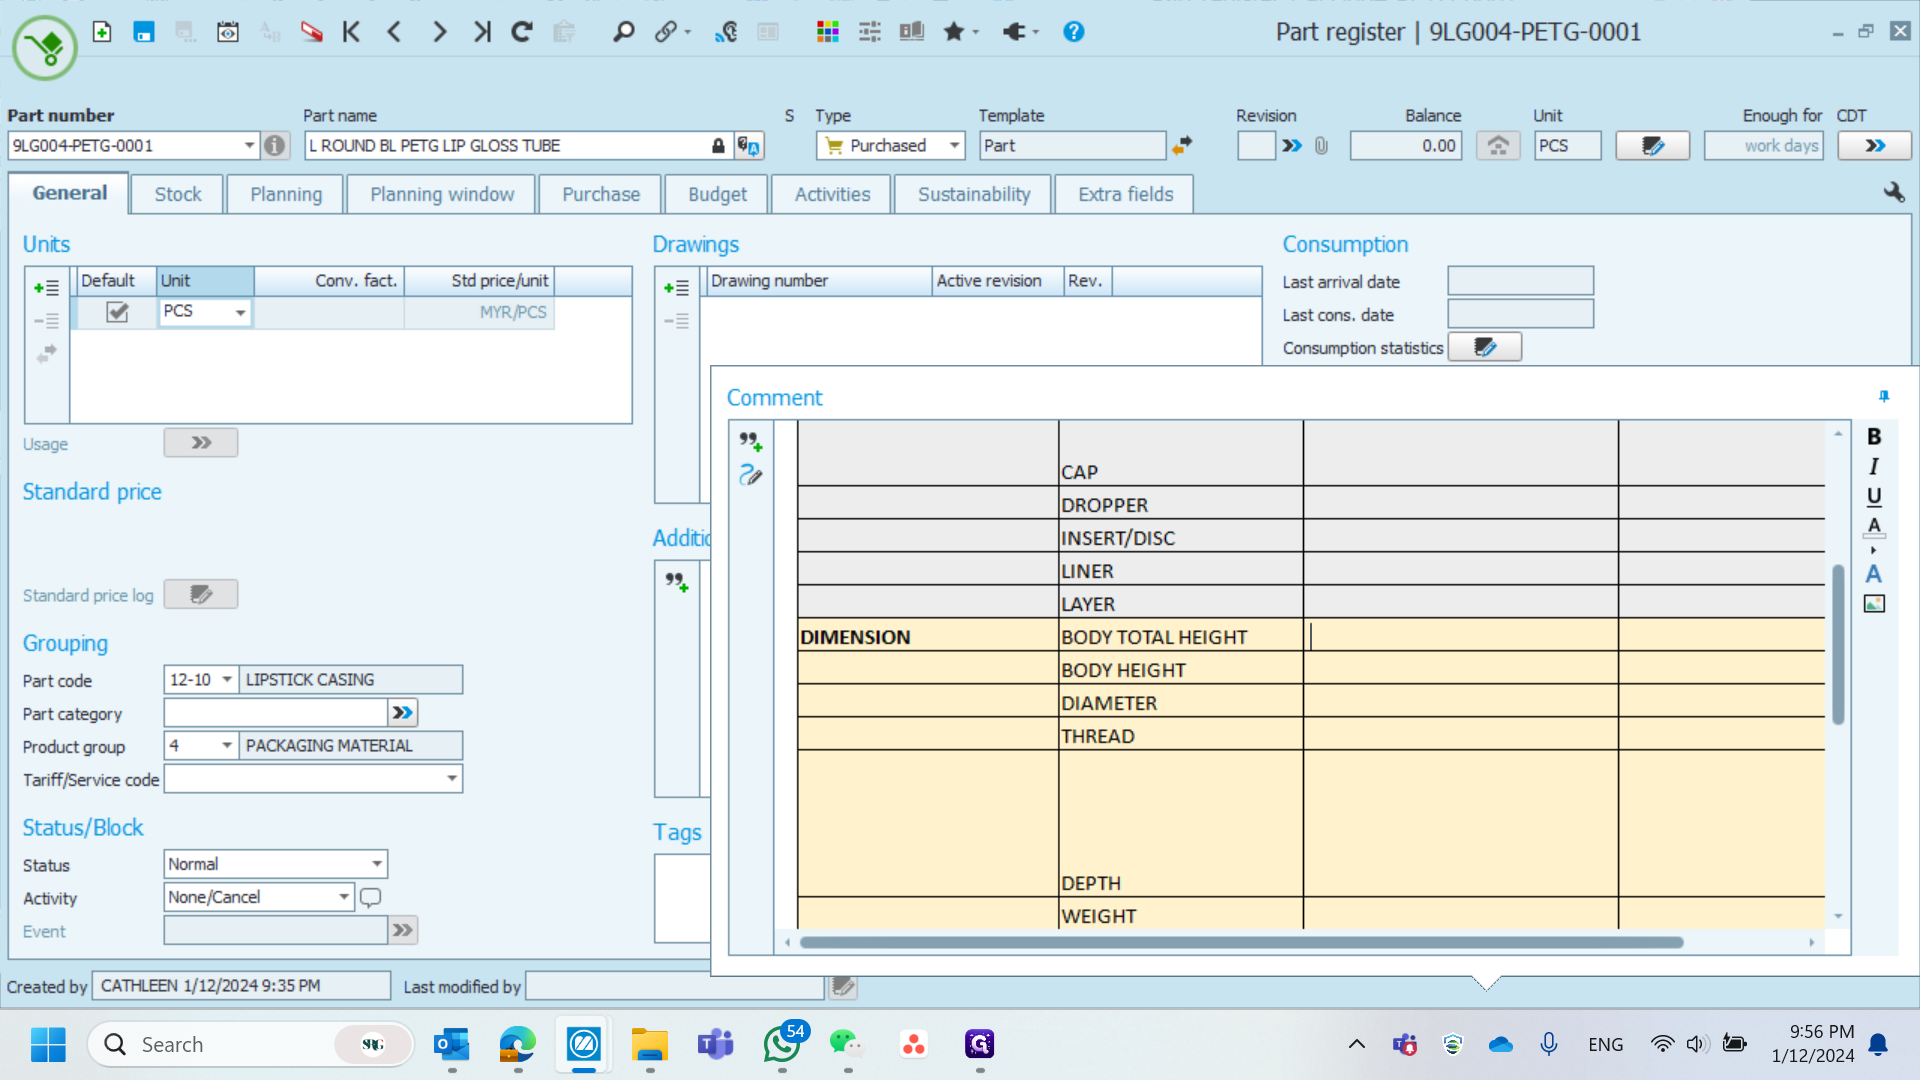
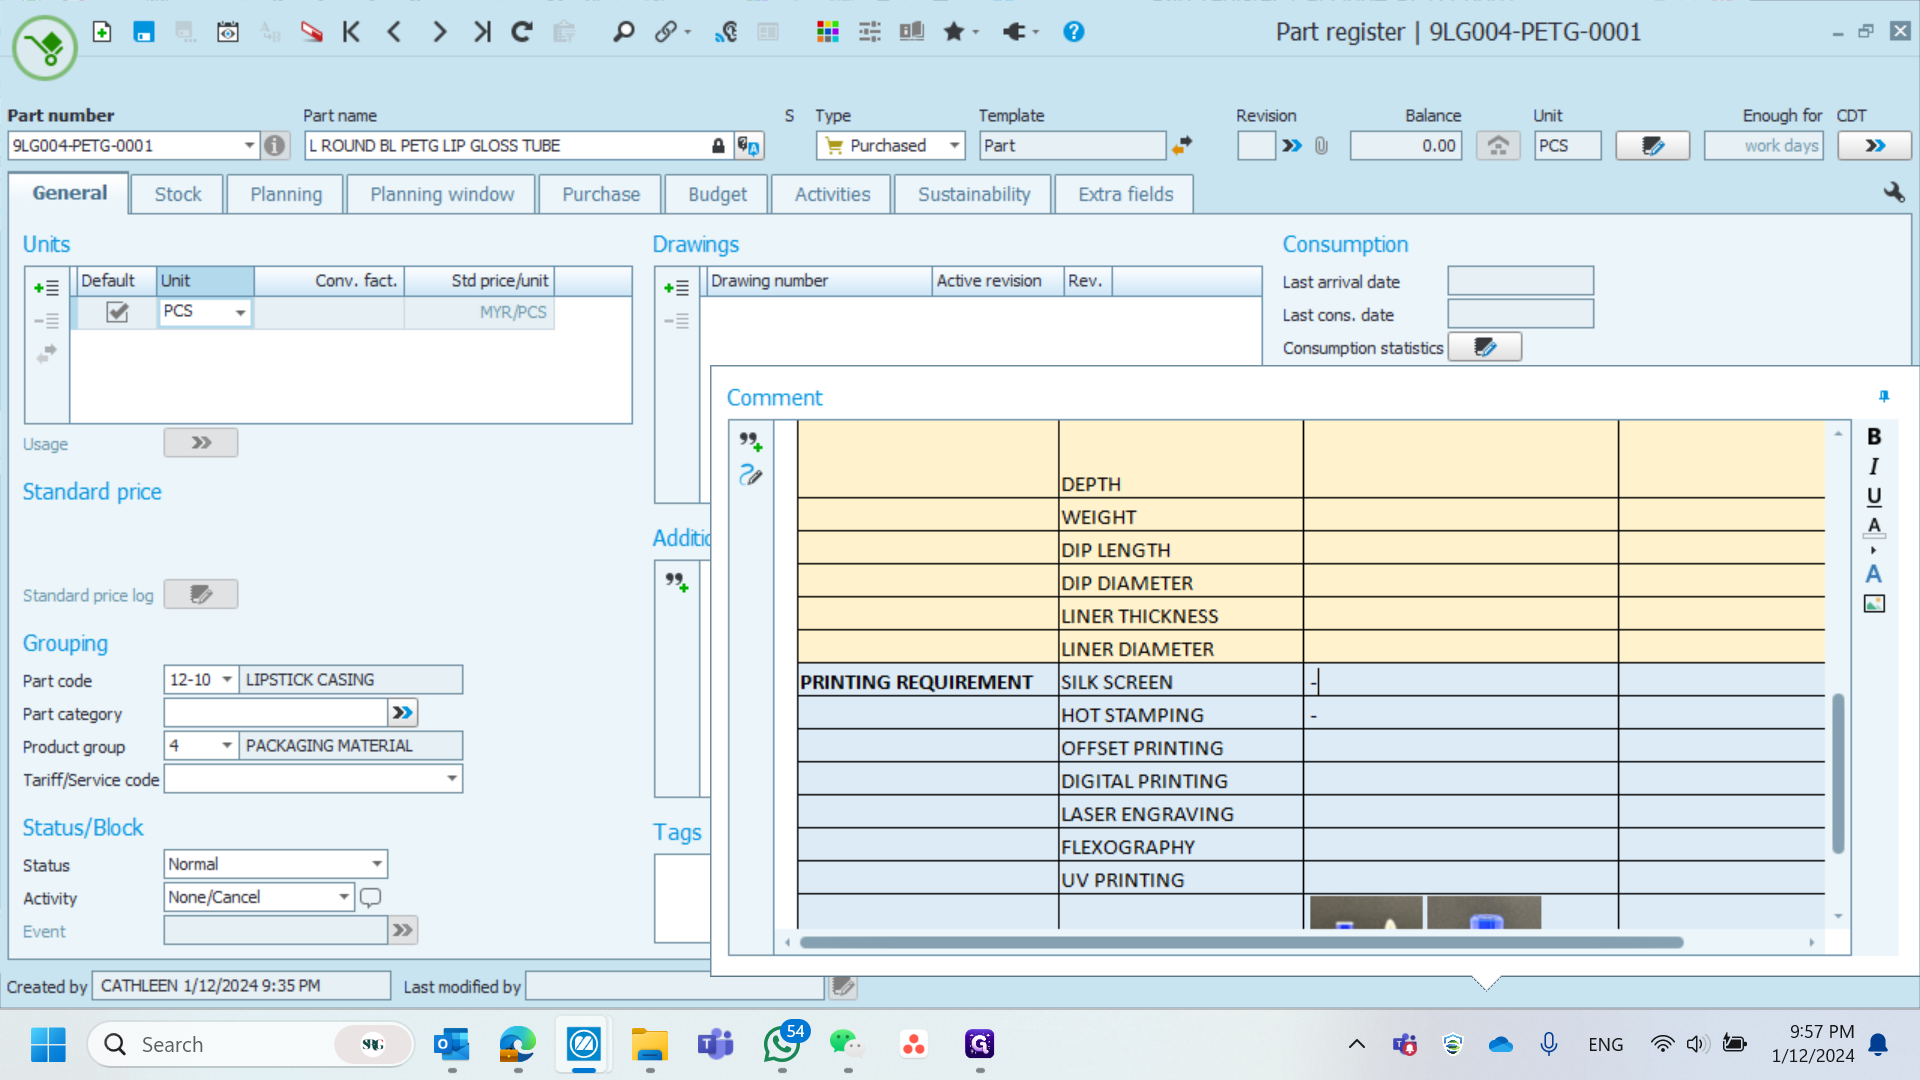
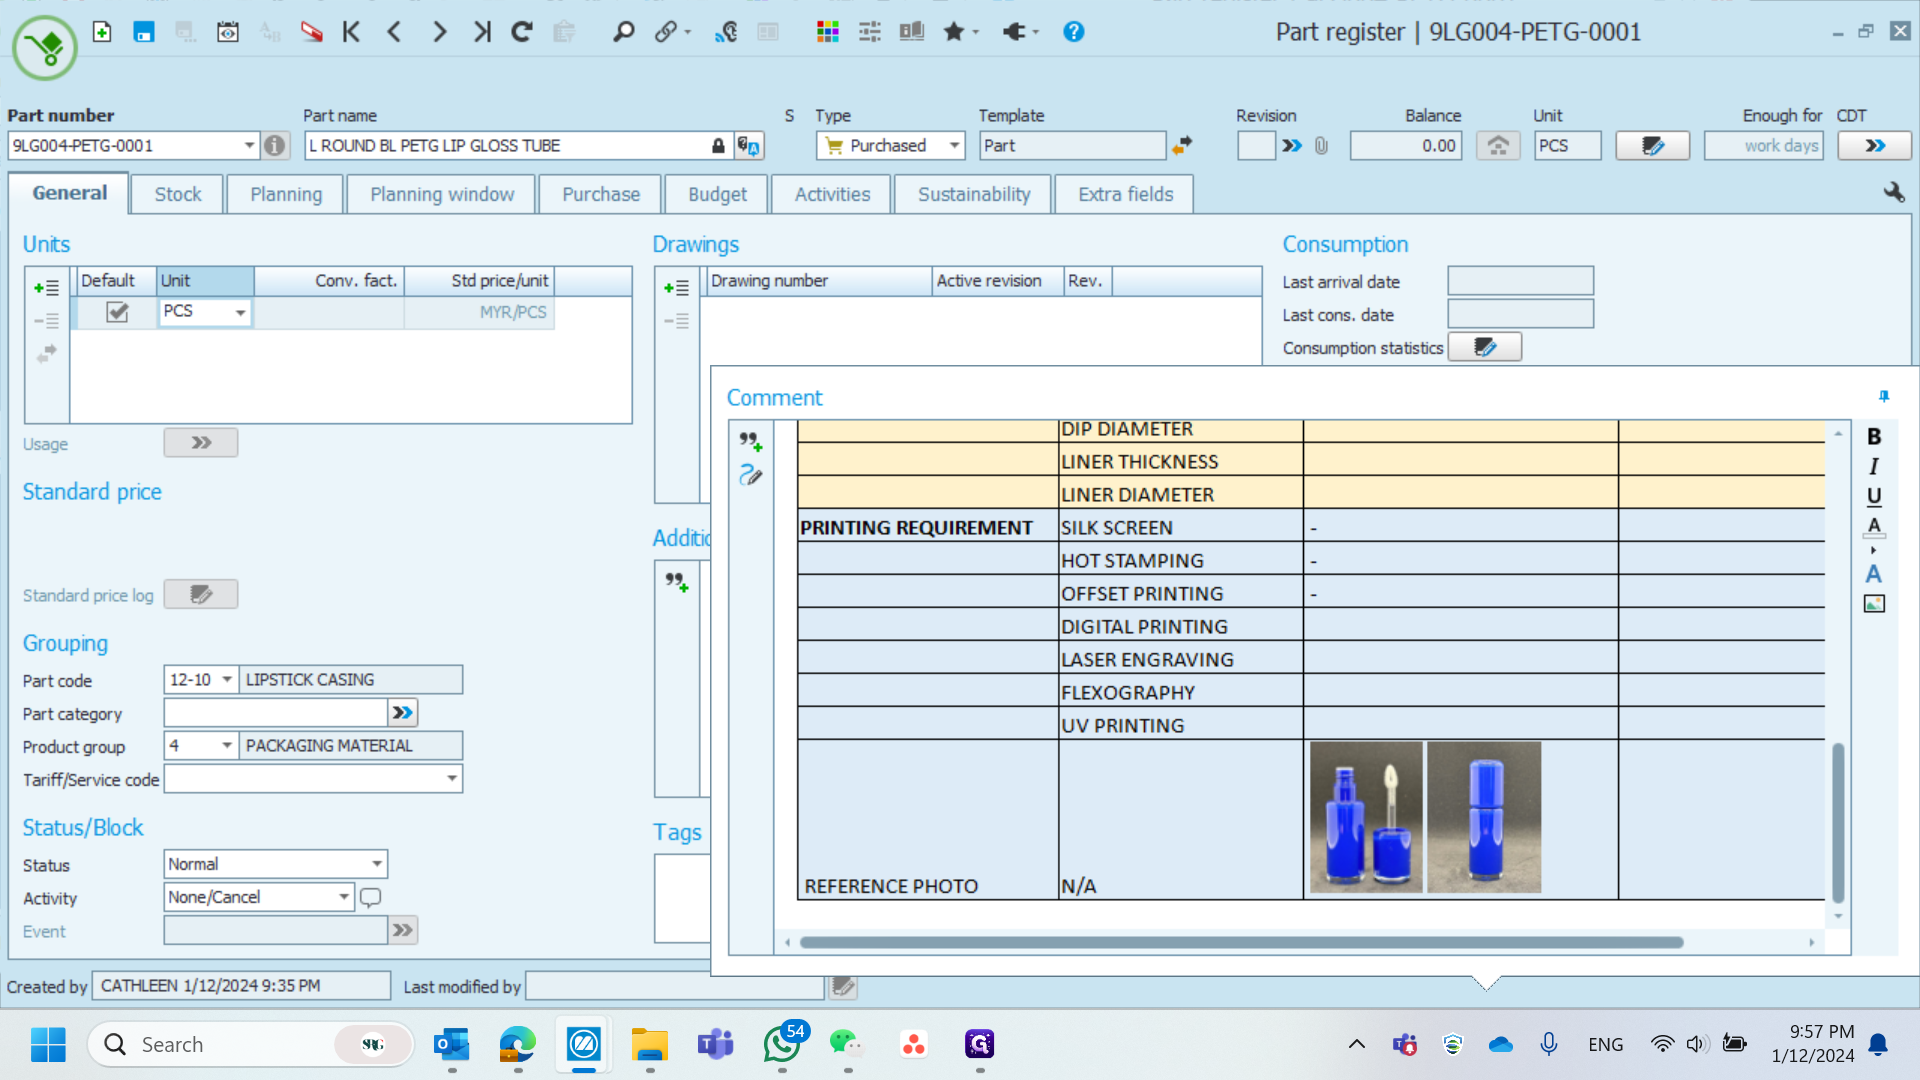
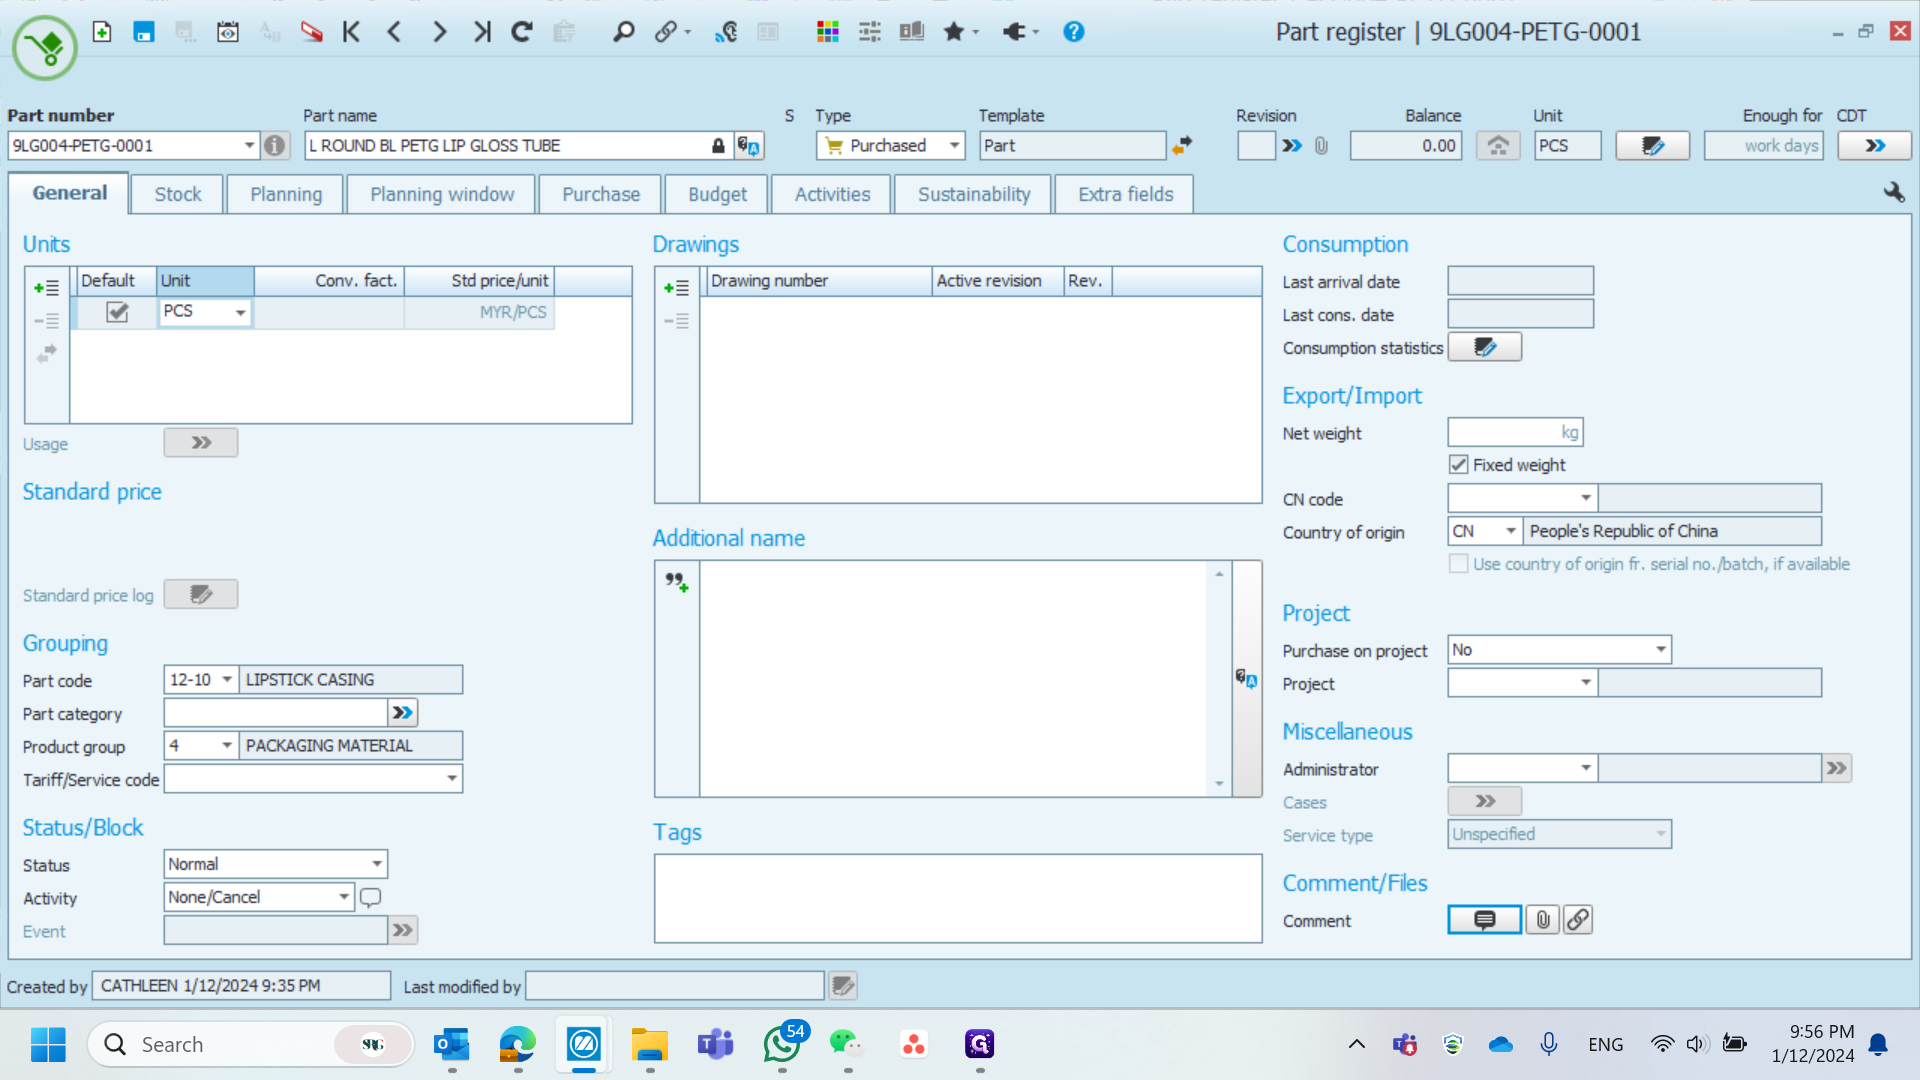
When you enter code 9 on the fingers, go to the comments, and you will see the fingers. Then, remove and add an "A" for the unnecessary ones. For materials, I will insert them. For dimensions, you need physical packaging, measure with calipers, and record the measurements in mm. For writing requests, just mark "na" or a dash. For image references, if there is an image, remove it. If there isn't, write and insert the image. After that, simply save it.

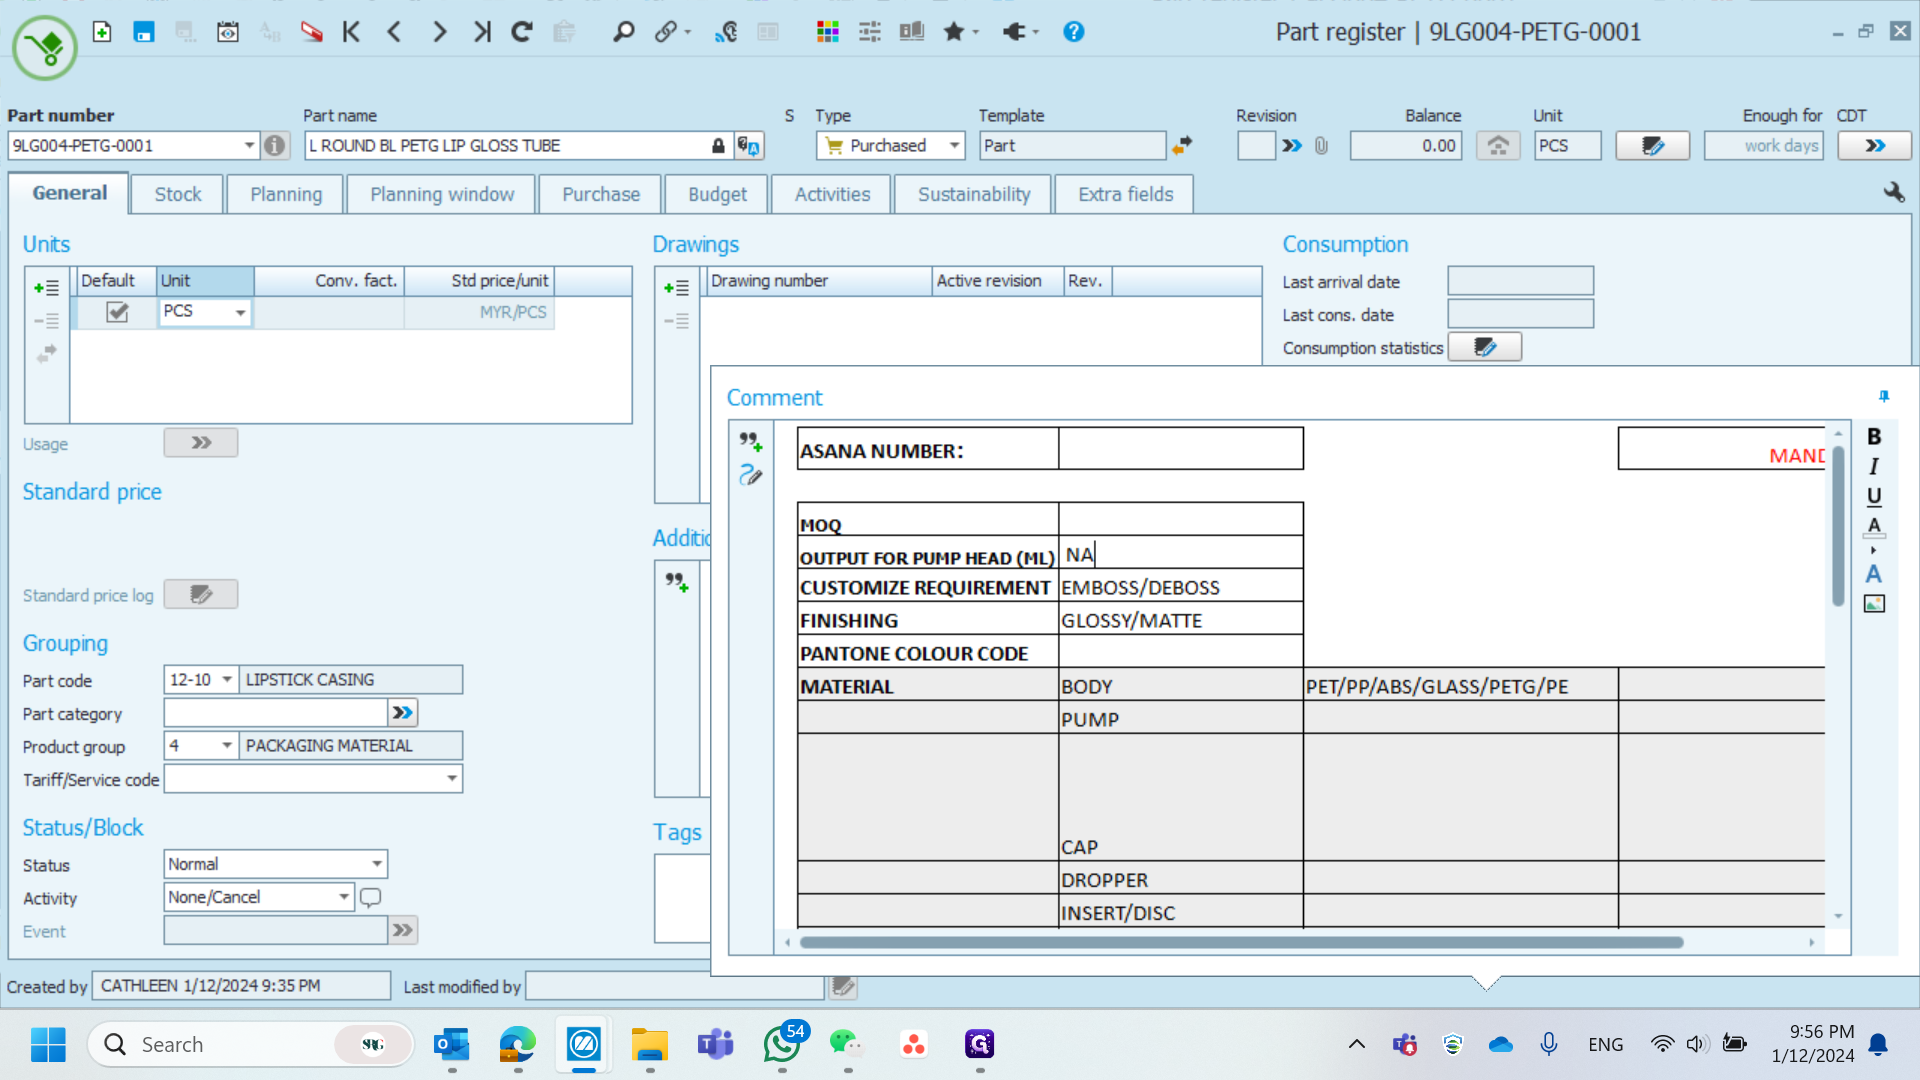
• Customized Requirements
• Finishing
• Pantone Color Code
• Output for Pump Head (if applicable).