Guide to Launching and Navigating the NCB Flash Station
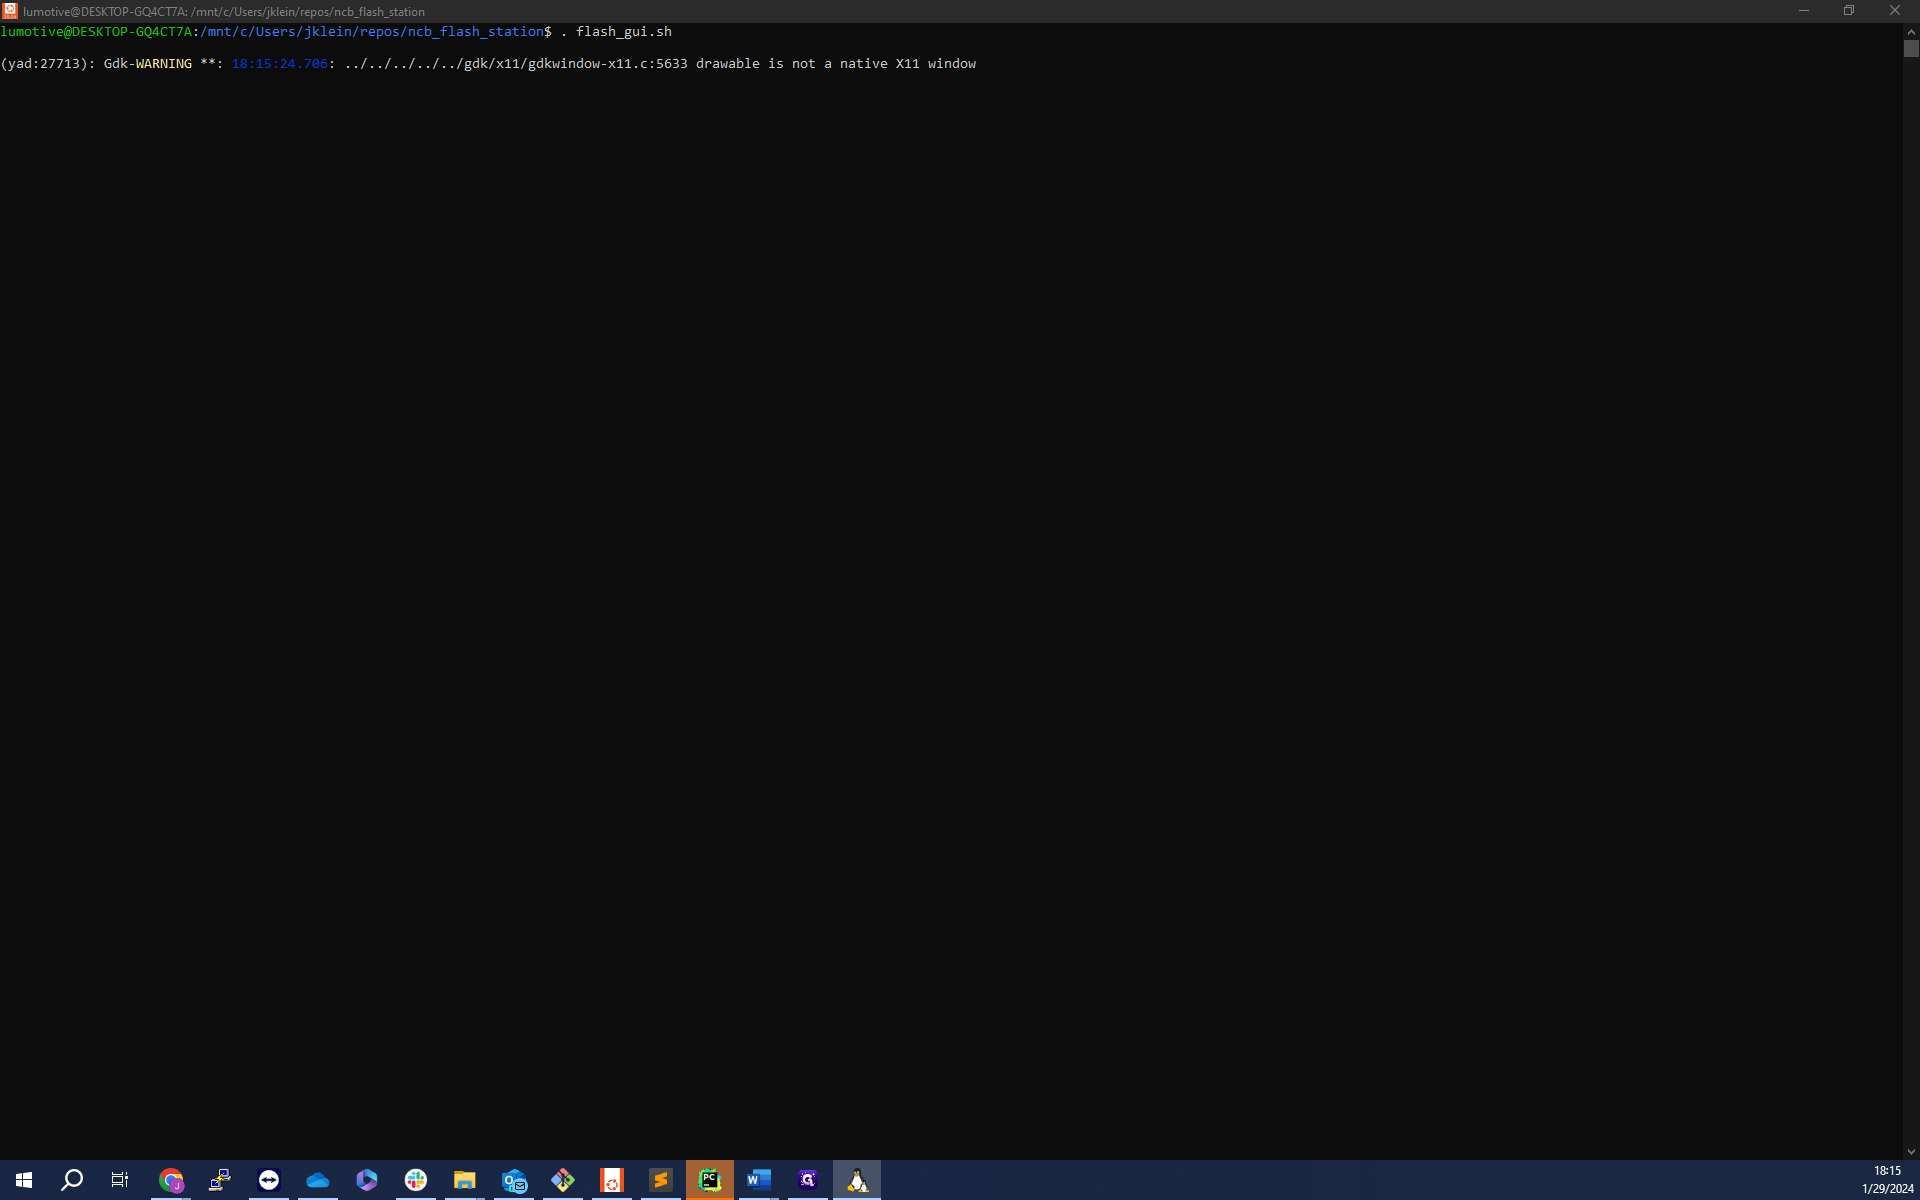
Learn how to launch the NCB flash station and navigate through its various options. This guide provides a step-by-step process that can be initiated from the command line.
In this guide, we'll learn how to launch the NCB flash station and navigate through its various options. This process can be initiated from the command line and involves a series of steps that allow you to either flash a new NCB or upgrade the firmware of an existing one.
Understanding the NCB Flash Station
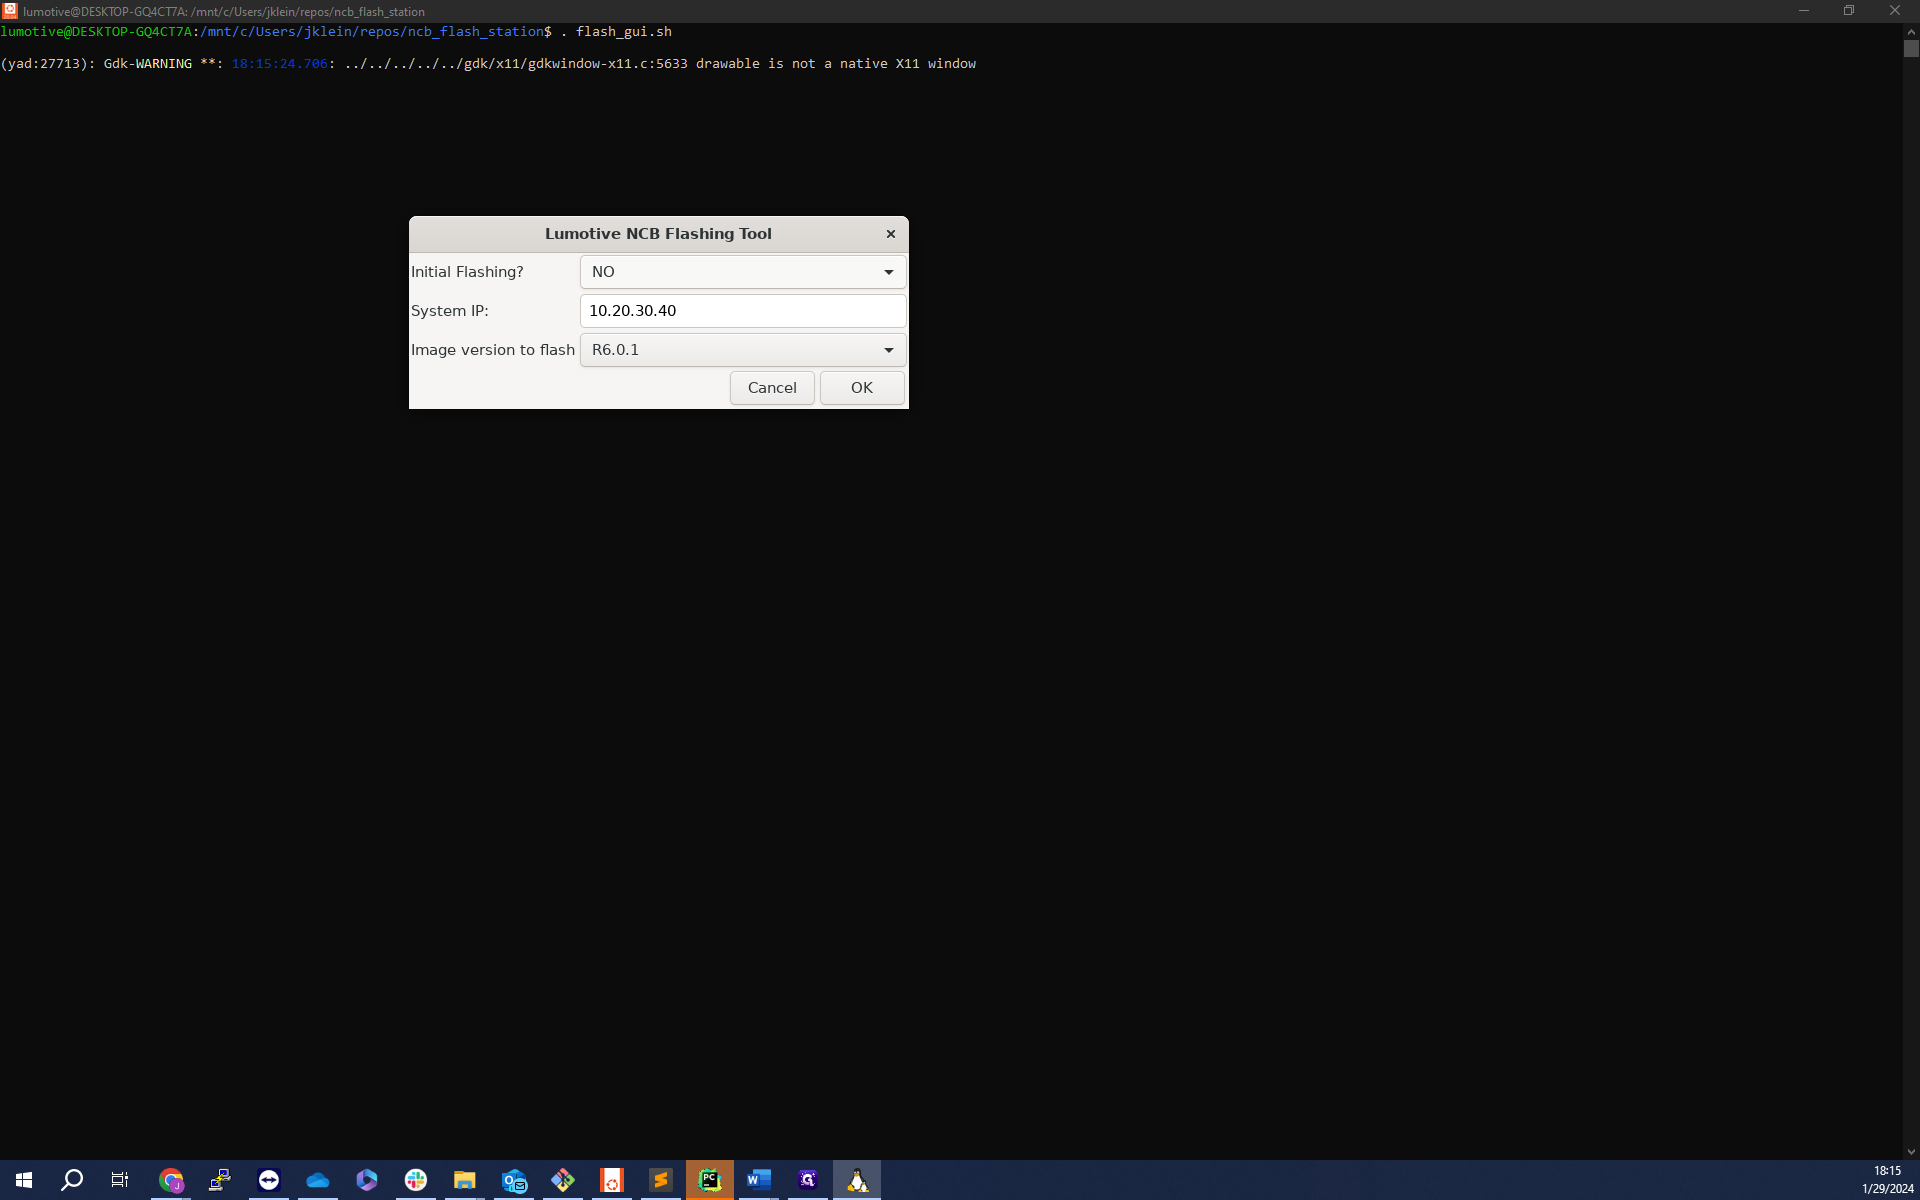
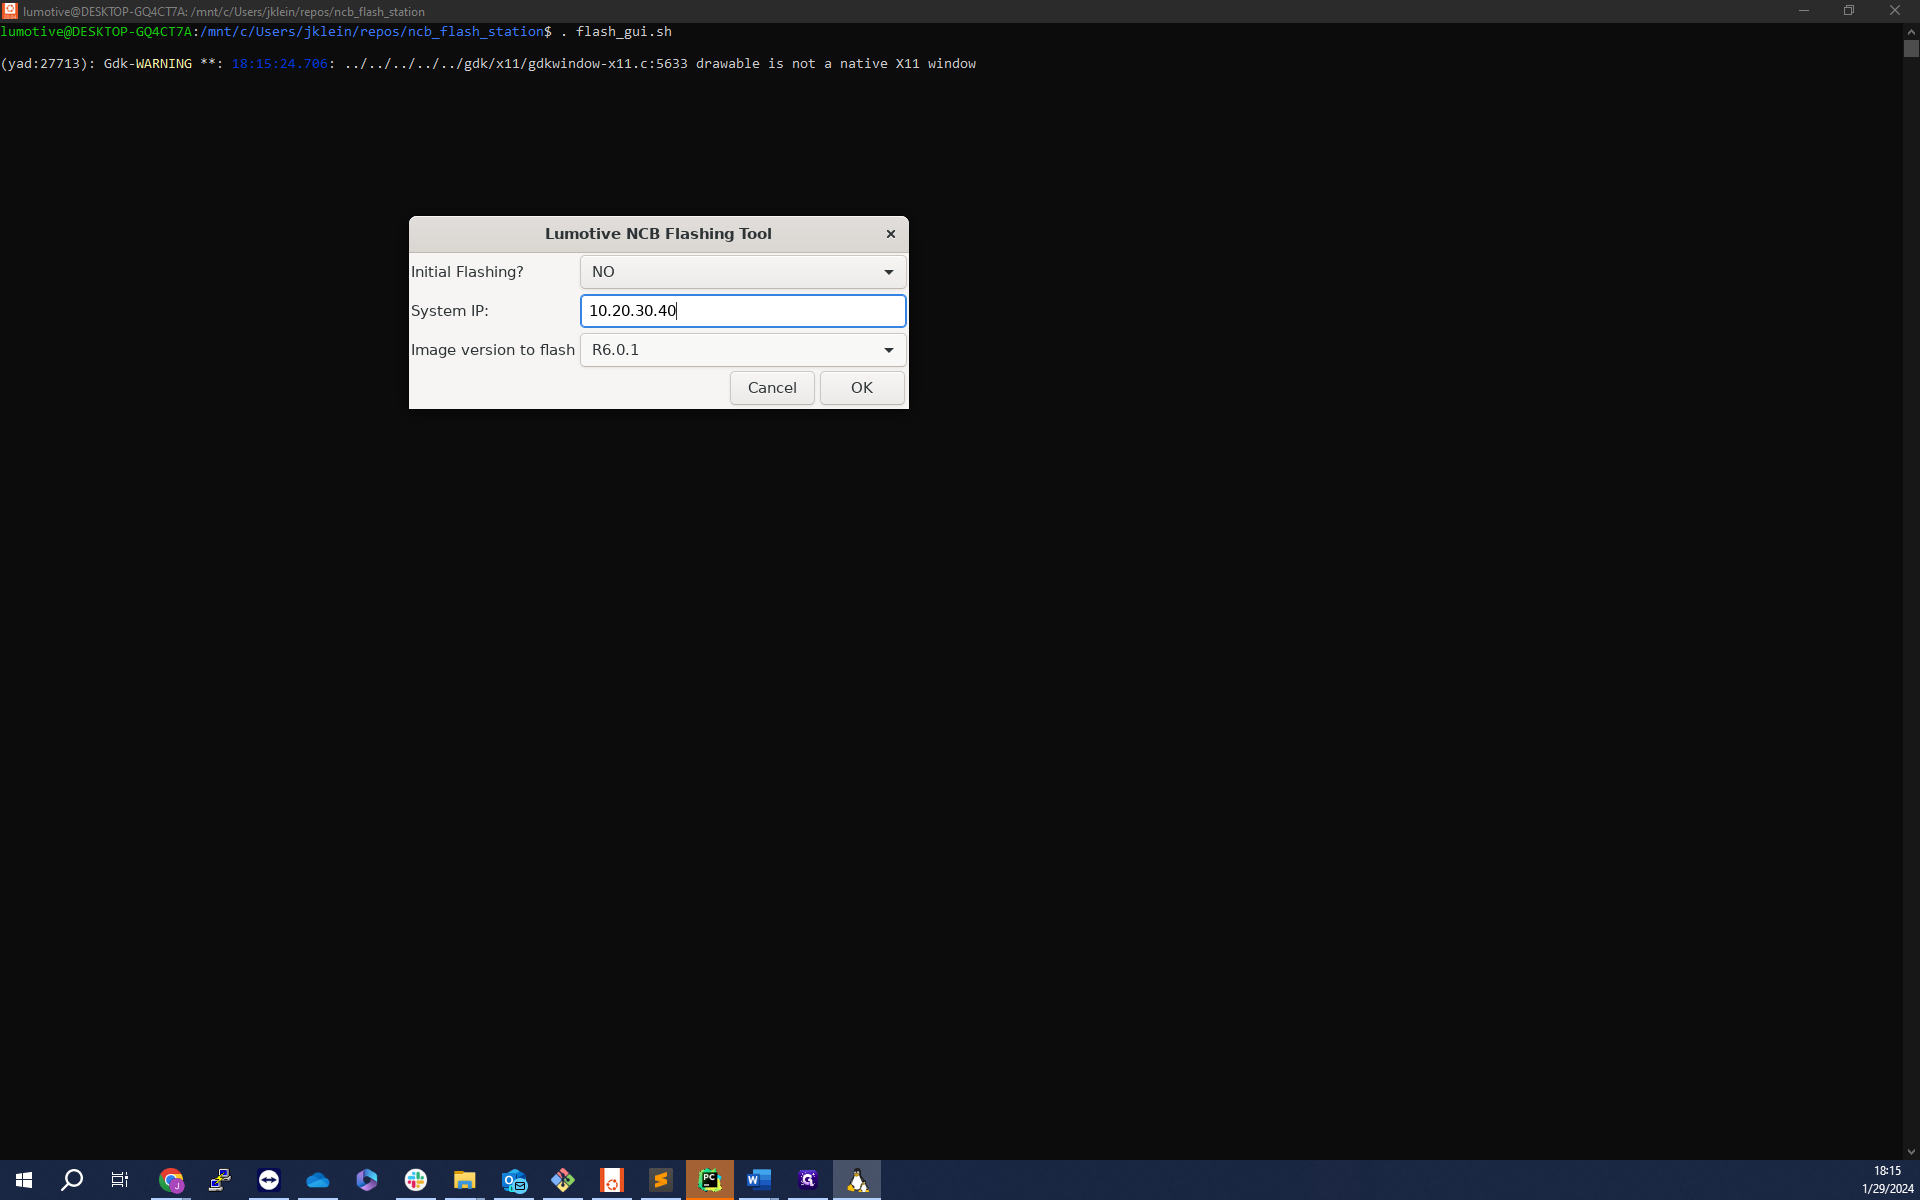
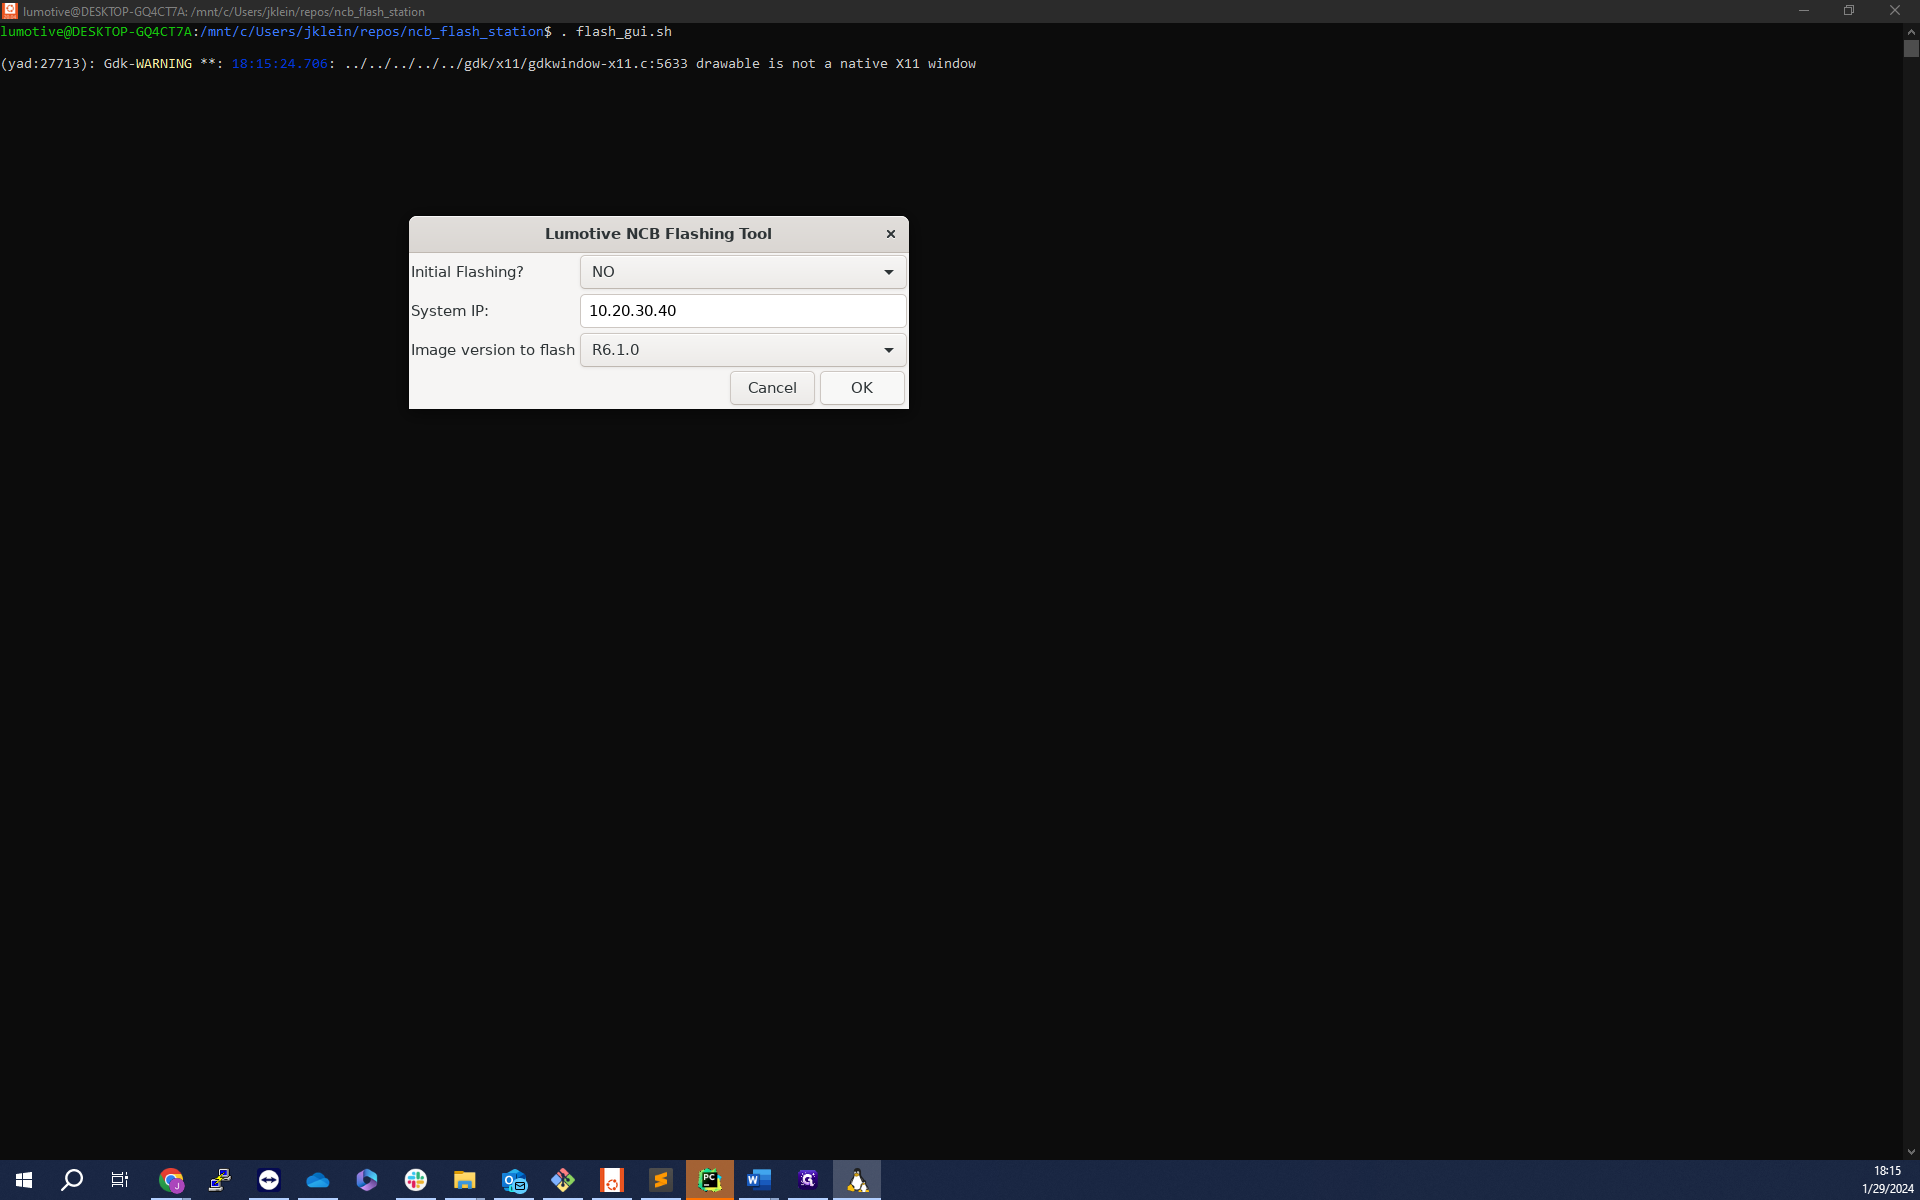
The NCB flash station is a tool that allows you to flash or upgrade the firmware of an NCB. It presents a pop-up box with three options upon launch, each catering to different needs.
Initial Flashing
This option is for NCBs that have never been flashed before. If you're working with a new NCB, this is the option you would select.
Firmware Upgrade
If you're simply looking to upgrade the firmware of an existing NCB, this is the option for you. It's also the default option, making it easy to select if you're in a hurry.
System IP and Image Version Selection
This part of the process involves inputting the IP of the device to be flashed and selecting the image version to be flashed onto it.
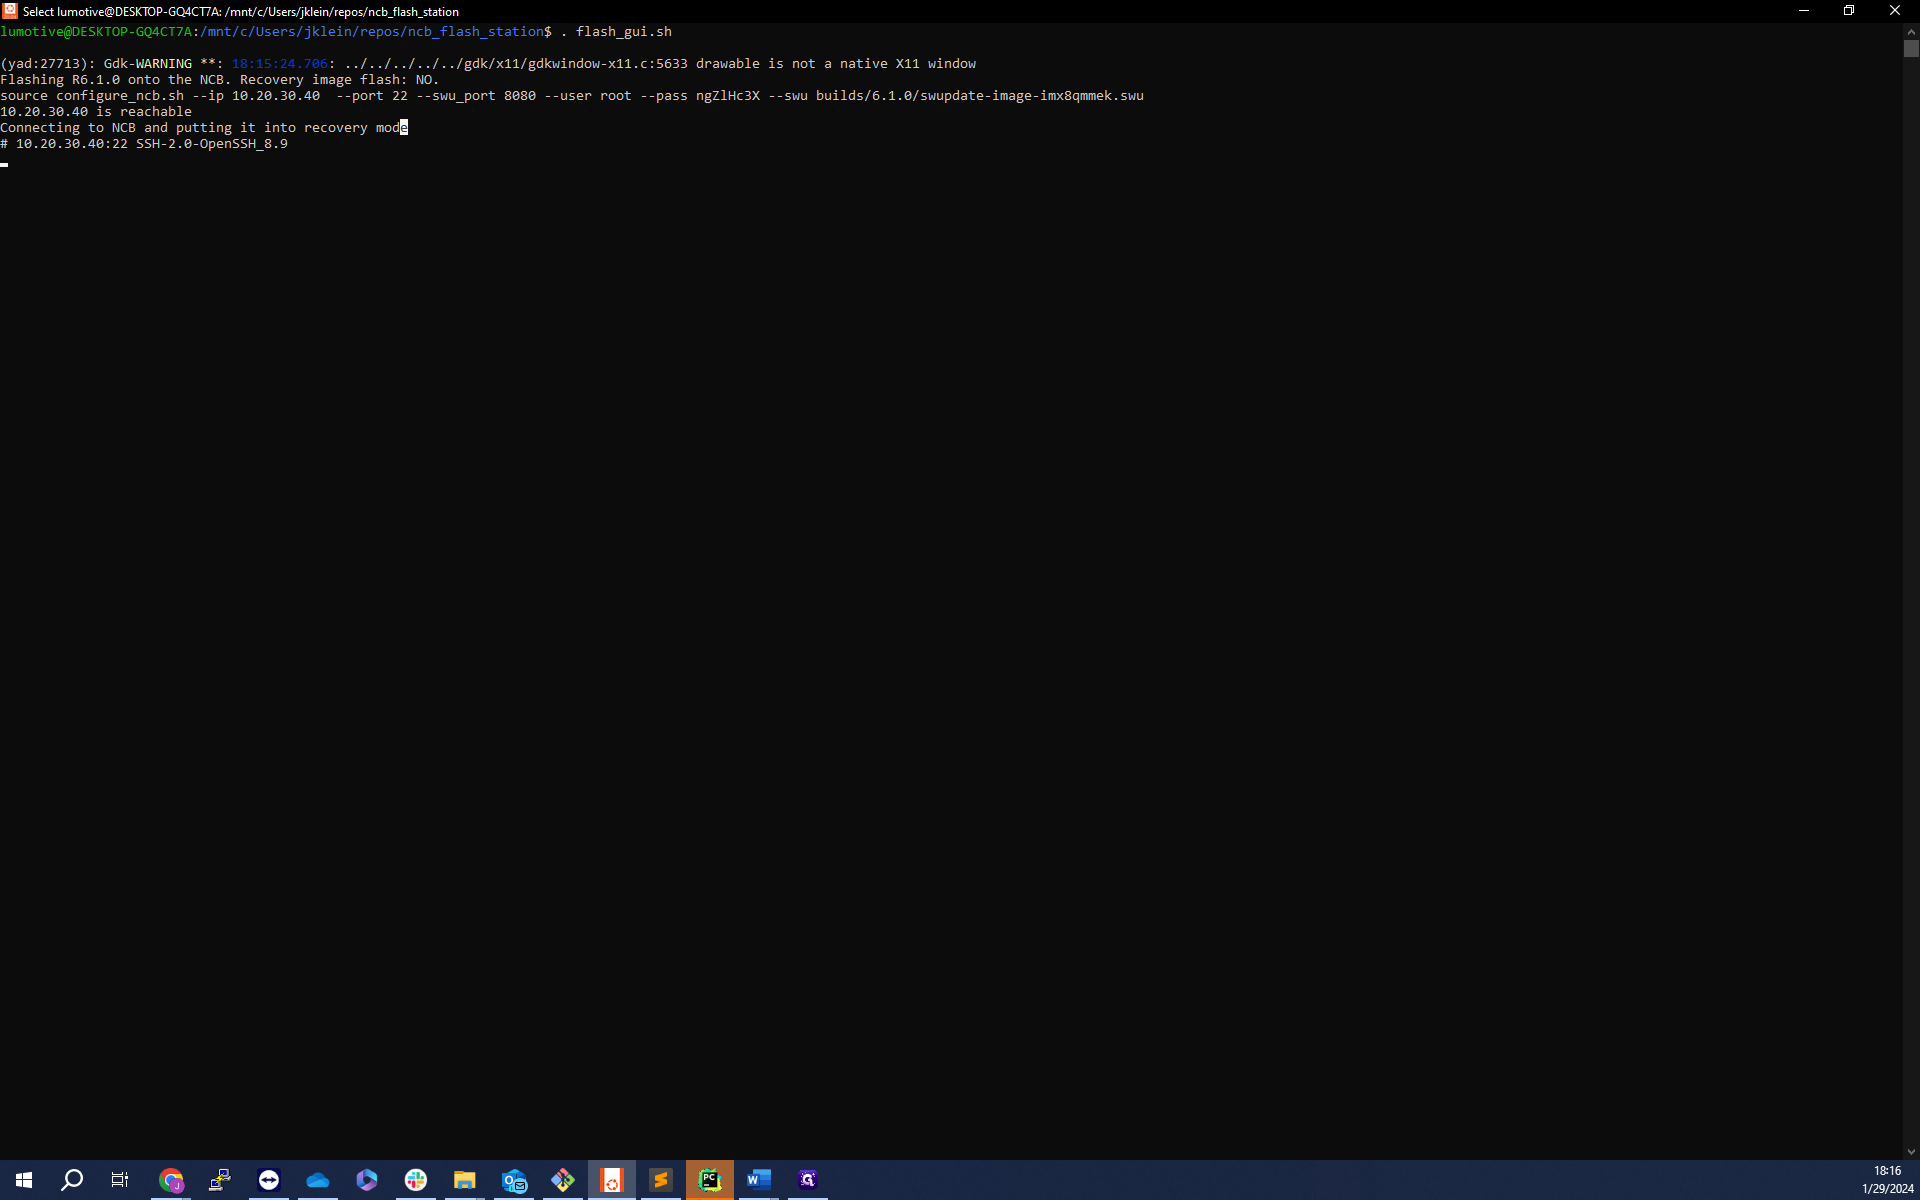
The Flashing Process
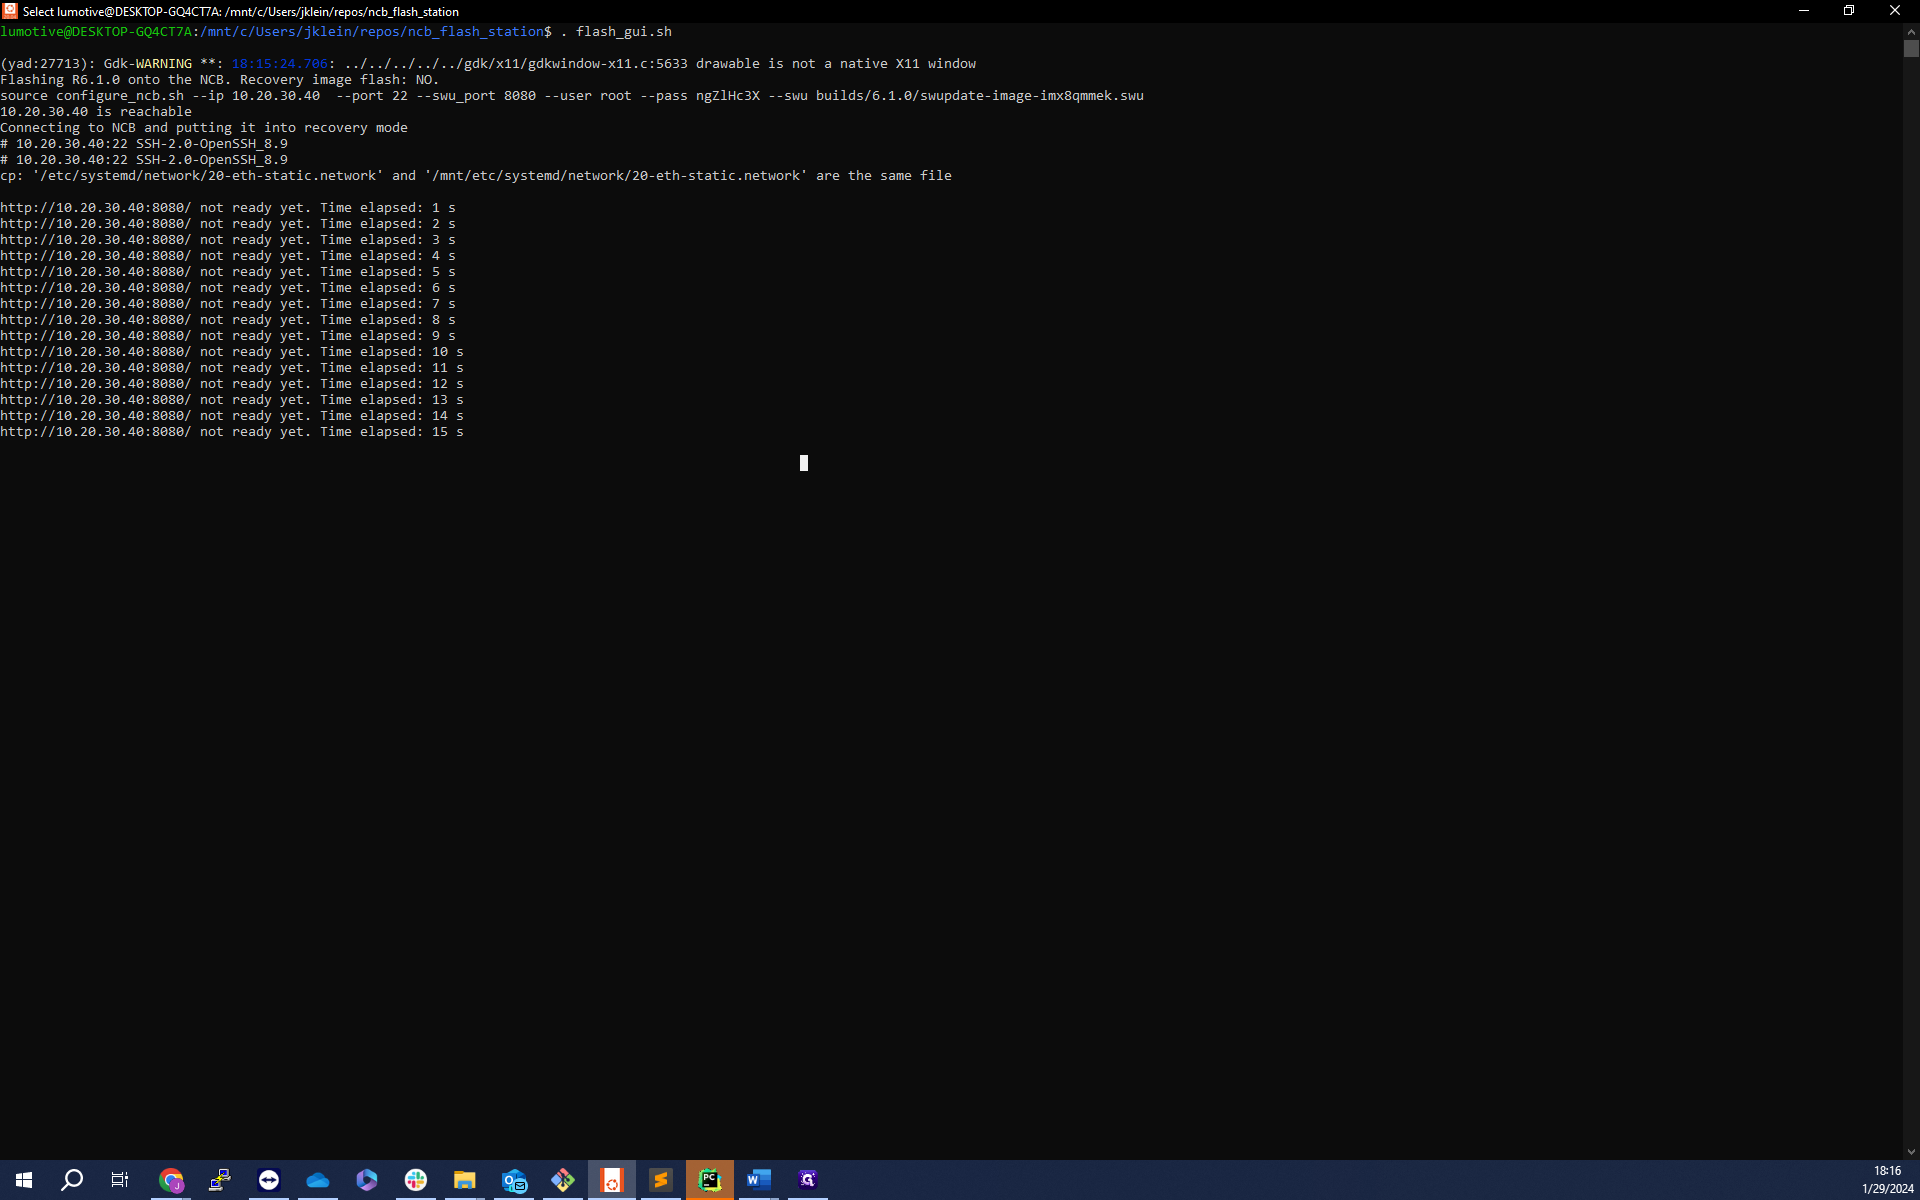
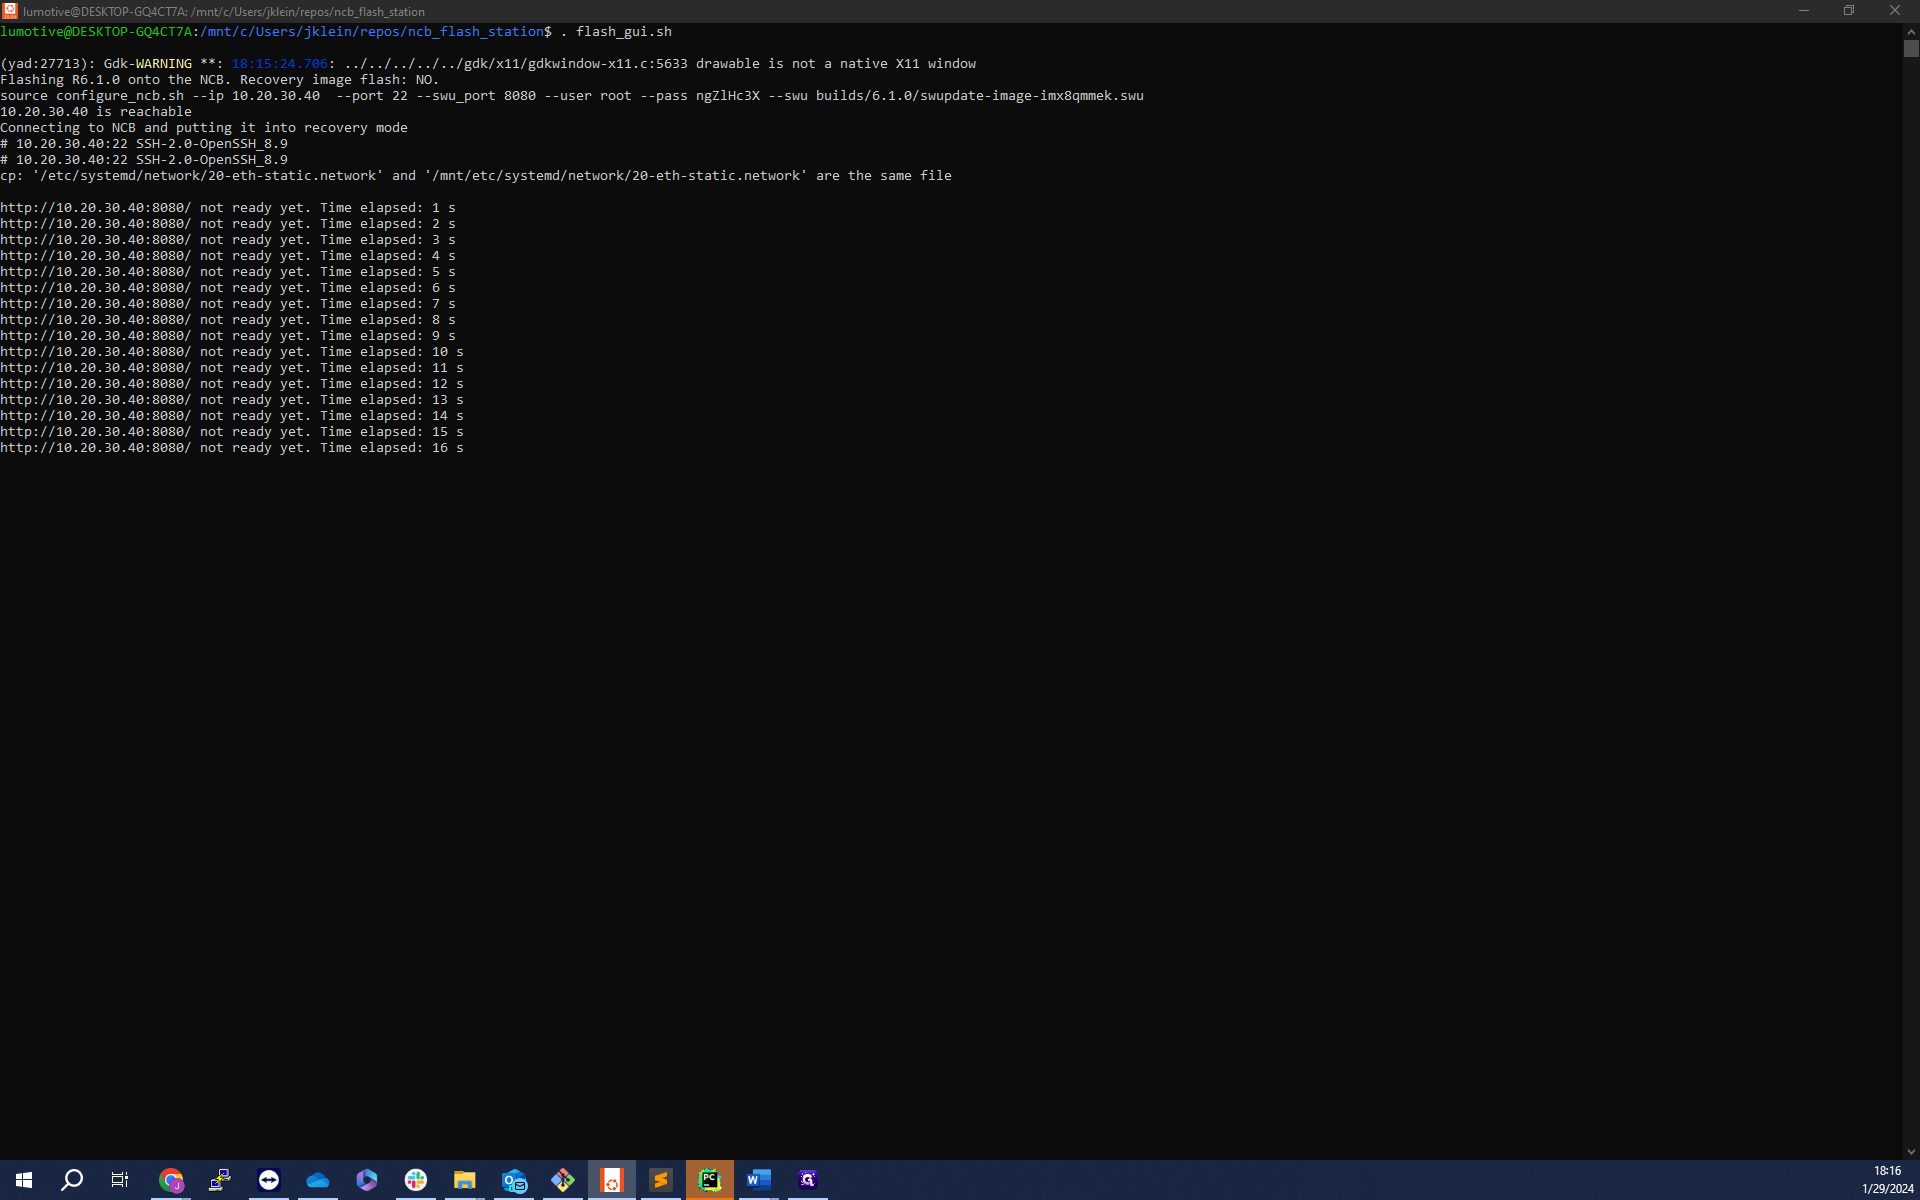
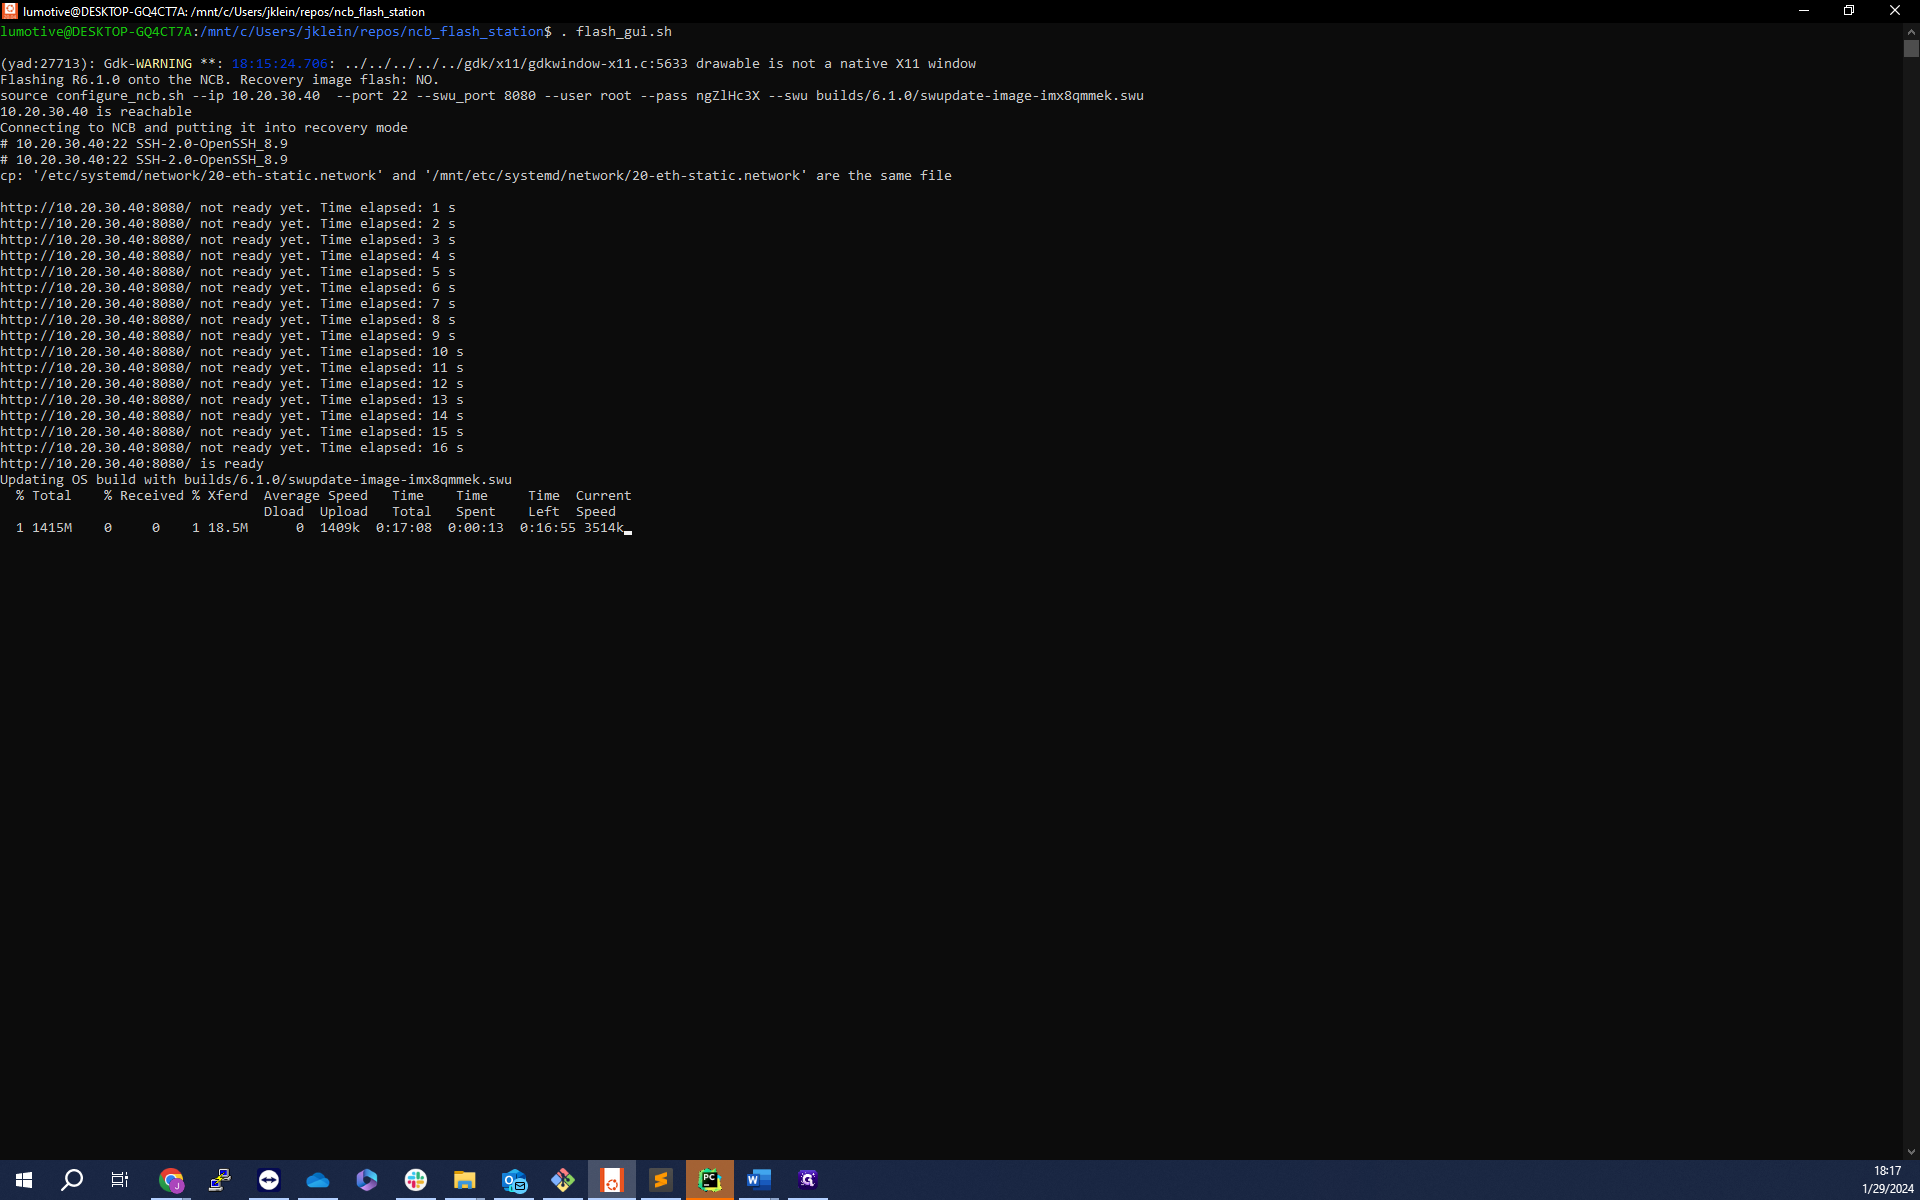
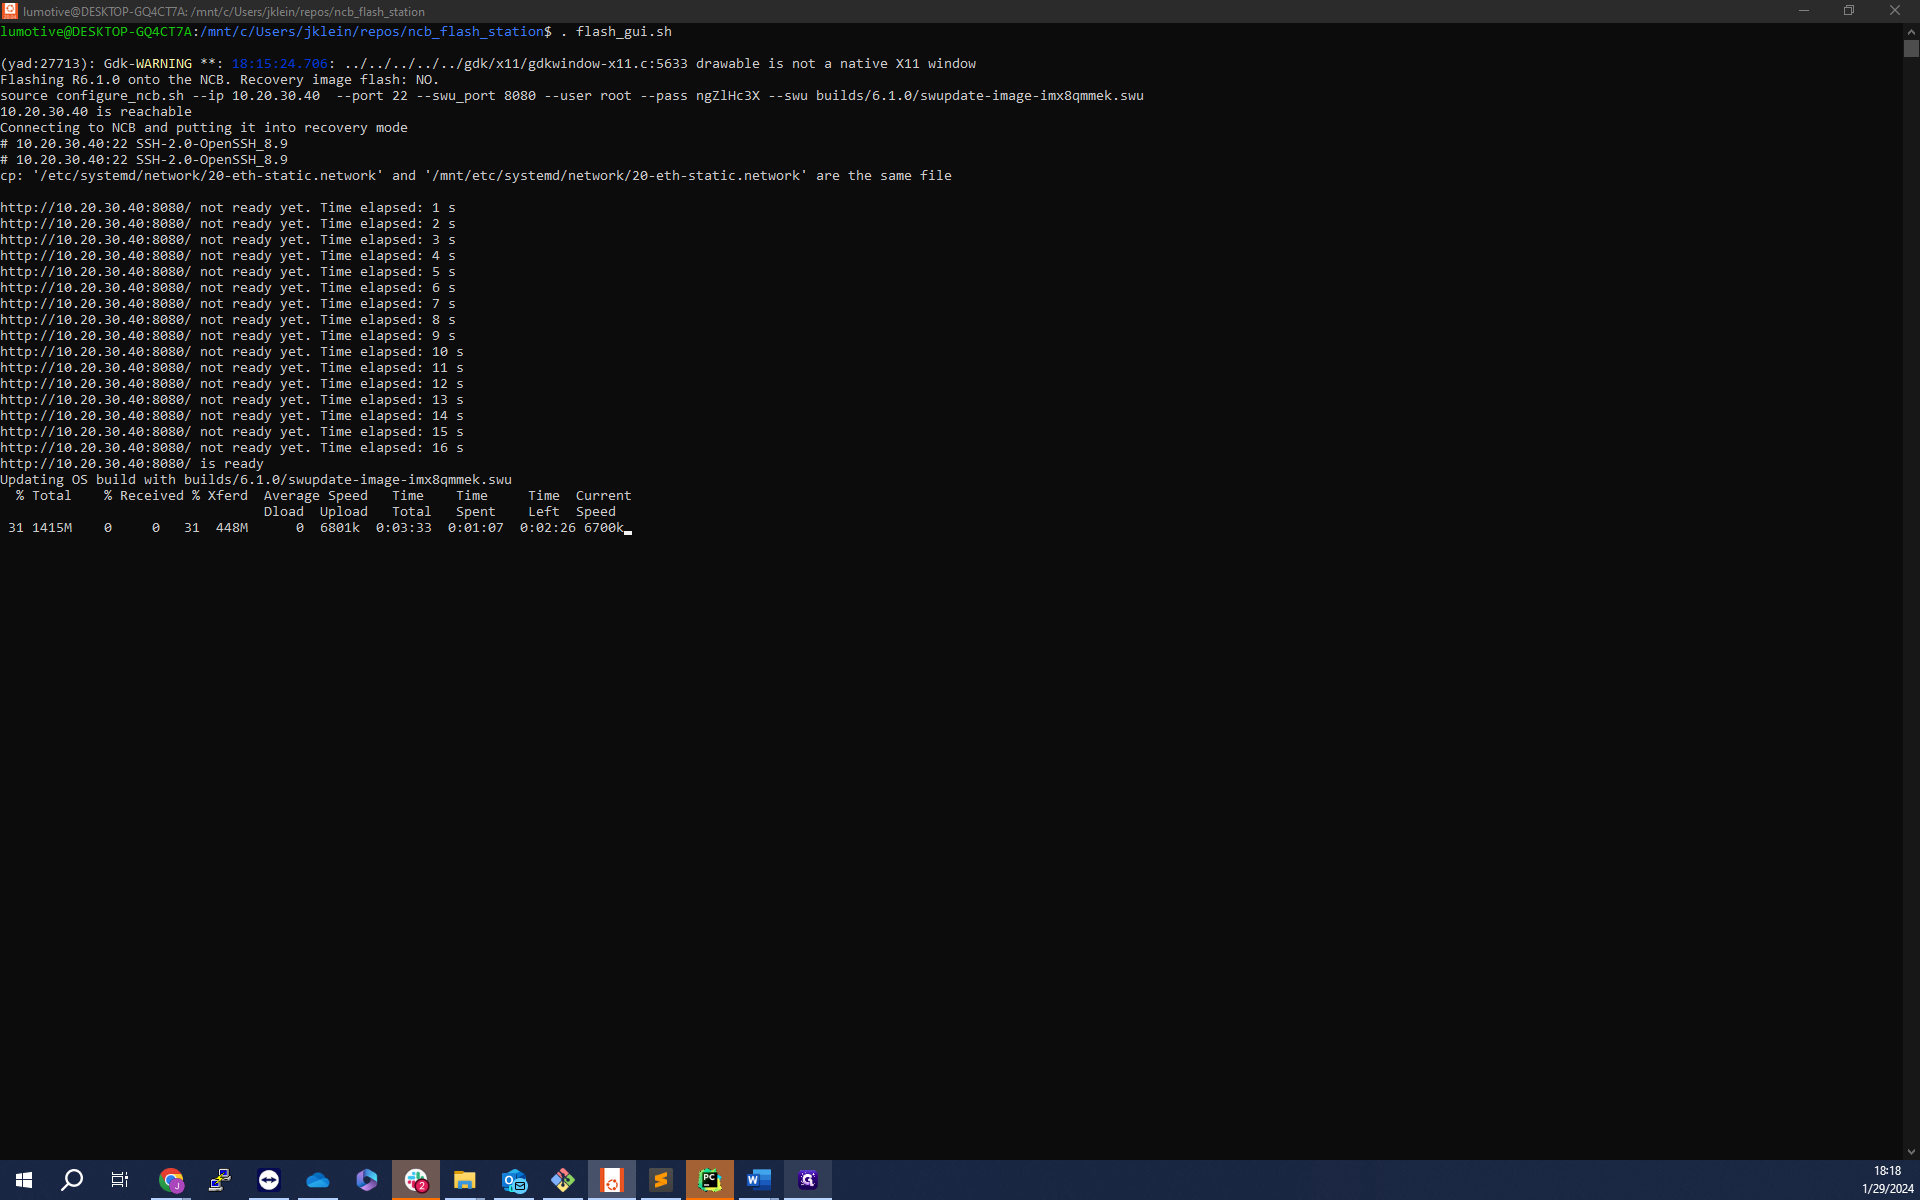
Once you've made your selections and initiated the process, the flash station will connect to the device and put it into recovery mode. This status will be reported in the terminal. The software then waits for the software update interface to appear, checking periodically and providing a countdown.
File Upload and Completion
You'll see a cURL transfer box that shows the file upload. Once the file is uploaded, which usually takes about a minute, the process is complete.
In the following sections, we'll delve into the specifics of each step, ensuring you have a comprehensive understanding of how to use the NCB flash station.