
How Matching Works: A Step-by-Step Guide
Learn how the matching process works for transactions. This guide explains how to view, select, save, and post matched bills.
In this guide, we'll learn how to match transactions with bills and post them to the transactions table.
You will see how to select the correct bill, save your changes, and complete the posting.
Let's get started
Matching allows you to link a bank transaction (usually a payment) to one or more outstanding bills for a customer/vendor.
This ensures accurate bookkeeping and keeps your payables up to date.
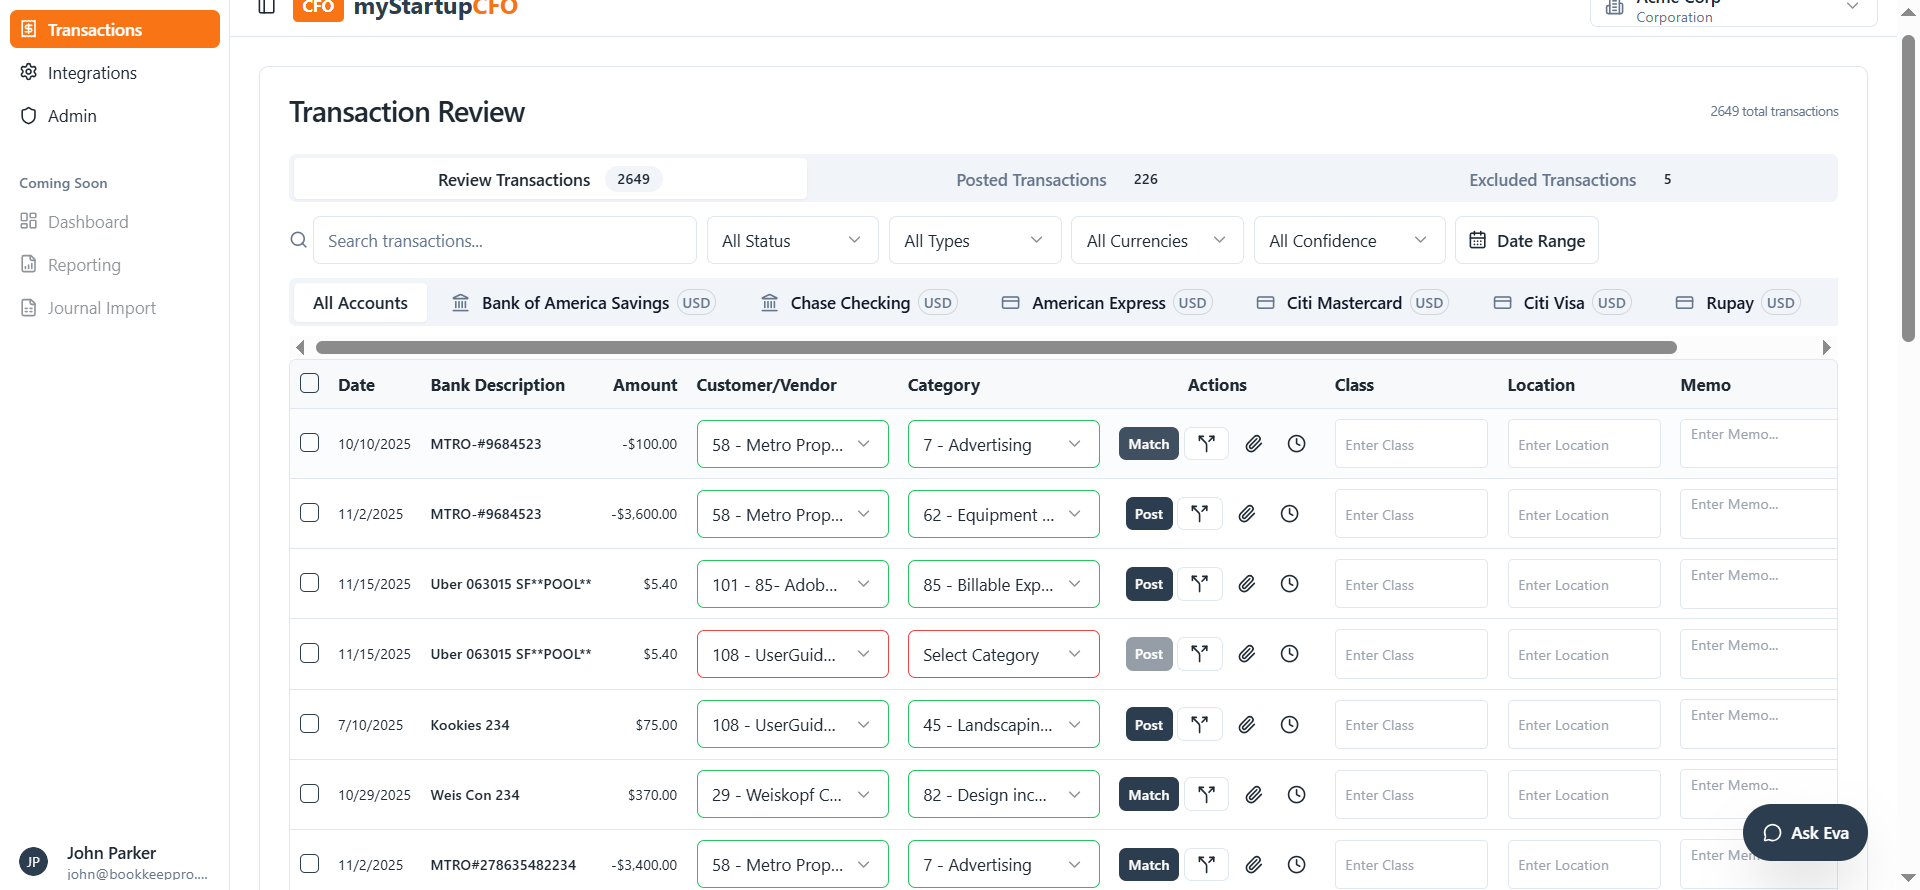
When Does the Match Button Appear?
If there are open/unpaid bills for that customer/vendor
→ The system automatically shows the Match button.
If no open bills exist, the system will show the Post button instead.
A popup will open showing all unpaid bills for that customer/vendor.
The list includes: Bill number, Bill date, Due date, Balance remaining, Amount to be applied.
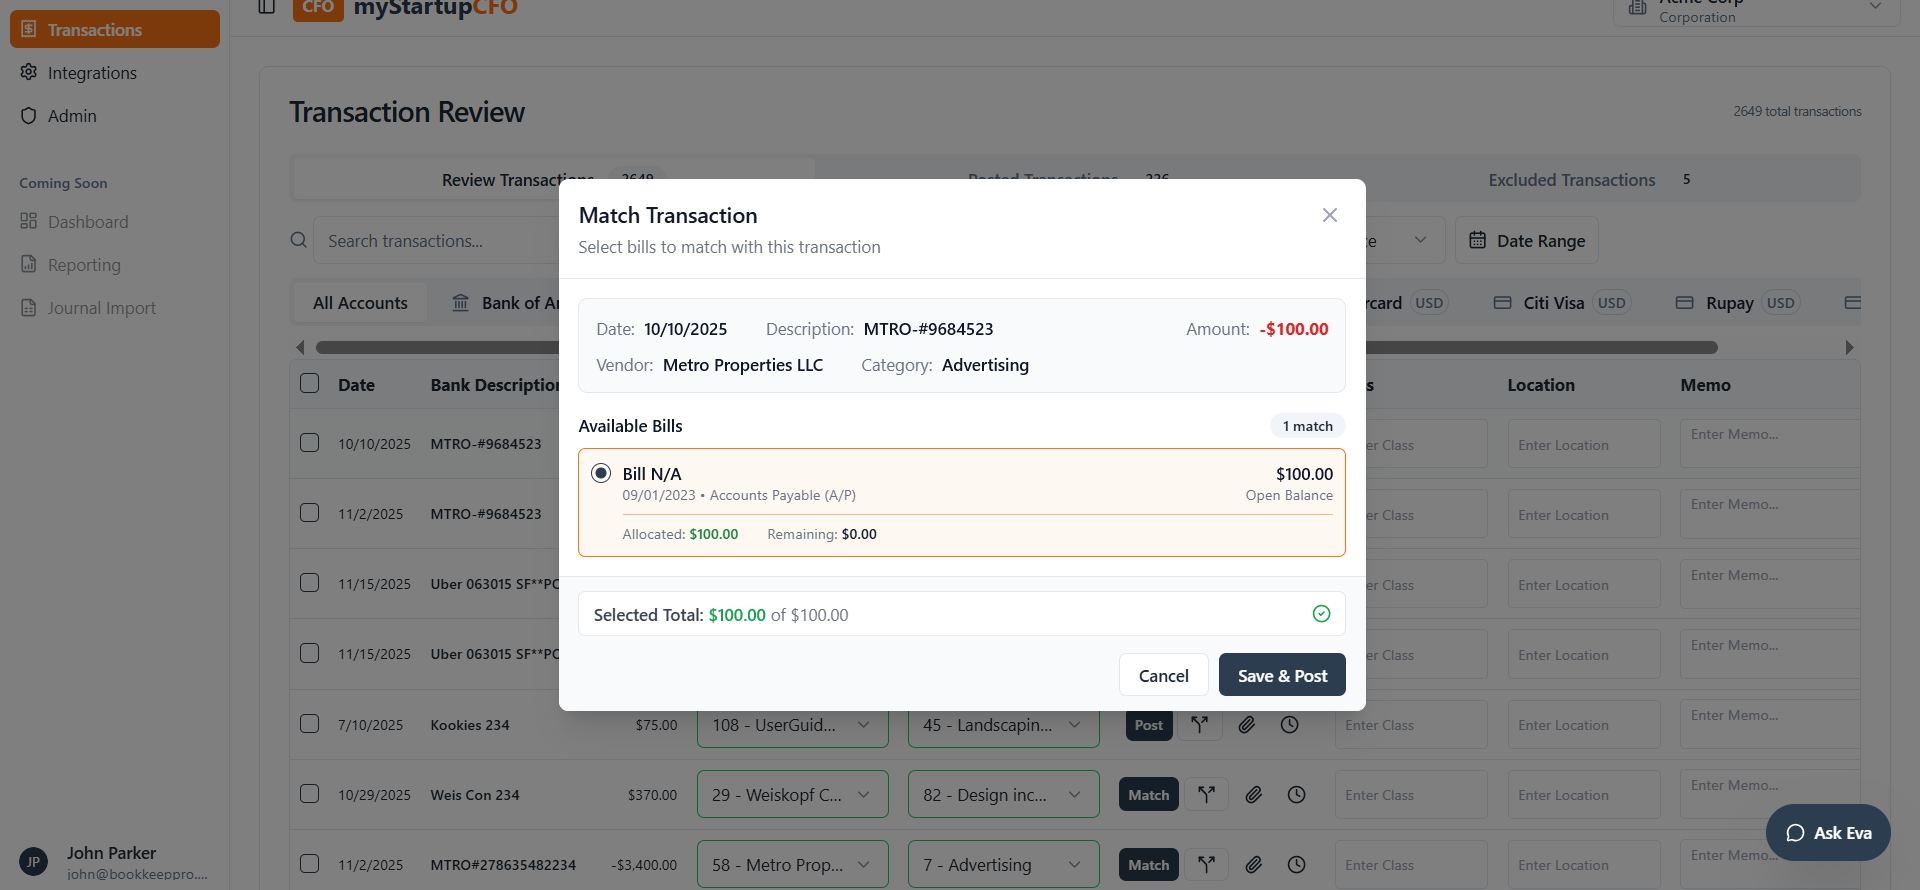

If a payment covers multiple bills:
- Select multiple bills using the checkboxes
- The system distributes the payment starting from the oldest bill
- If the final bill is larger than the remaining payment → Partial payment is created
- Remaining bill balance stays open

Once the matching is complete, the transaction will automatically move to the Posted tab.
This means the payment has been successfully recorded and linked to the selected bills.
In the Posted tab, you can review all completed transactions along with their matched details.If you want to see more information about what happened during the matching process, you can use the Audit Trail option.
The Audit Trail provides a clear breakdown of how the payment was applied, which bills were matched, and any remaining balances.
This helps you track every change and maintain accurate bookkeeping.