Managing Client Attachments
Learn how to access, download, add, rename, and delete client attachments efficiently. Follow this step-by-step guide to manage client documents in your system.
By Emilie Peloquin
In this guide, we'll learn how to access and manage attachments for a client in your system. You will see how to search for a client, view their shared documents, add new files, download all attachments, rename files, and delete files as needed.
Let's get started
Here is how to access a client's attachments.
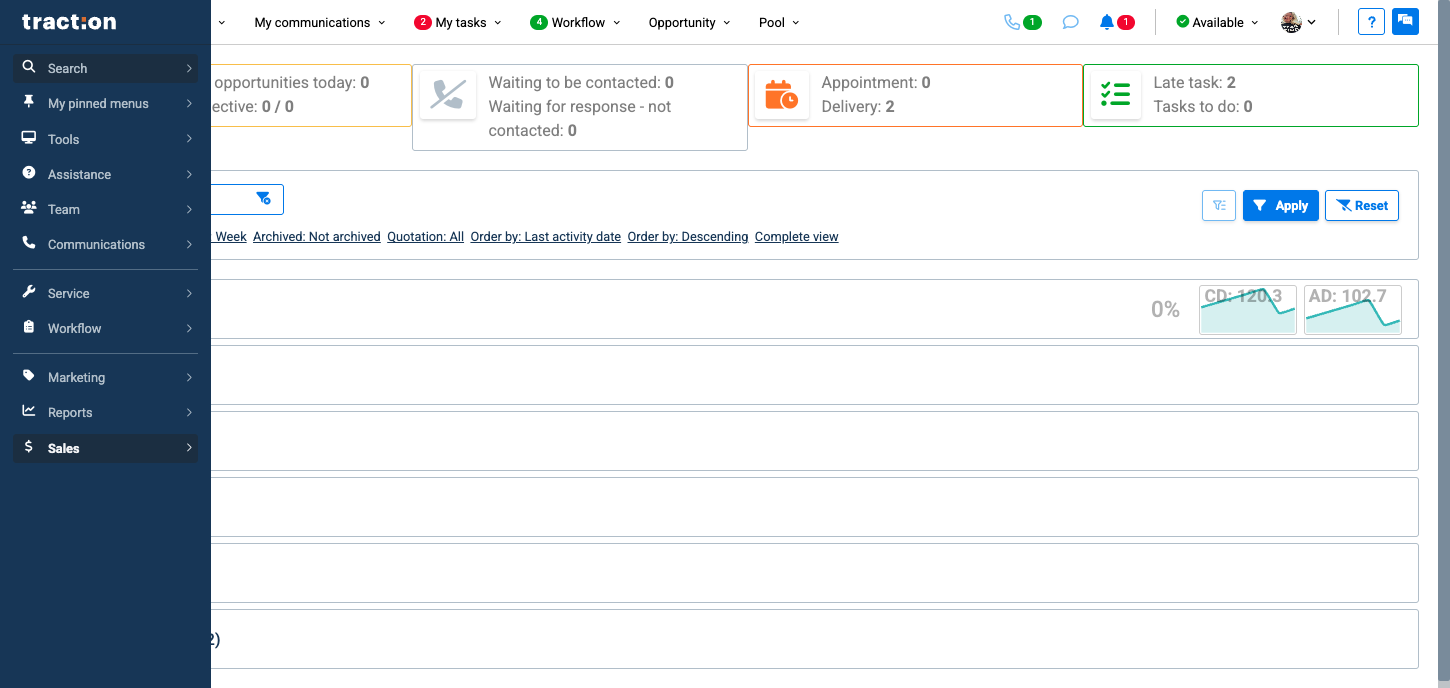
1
In the left menu, clic the Search tab.
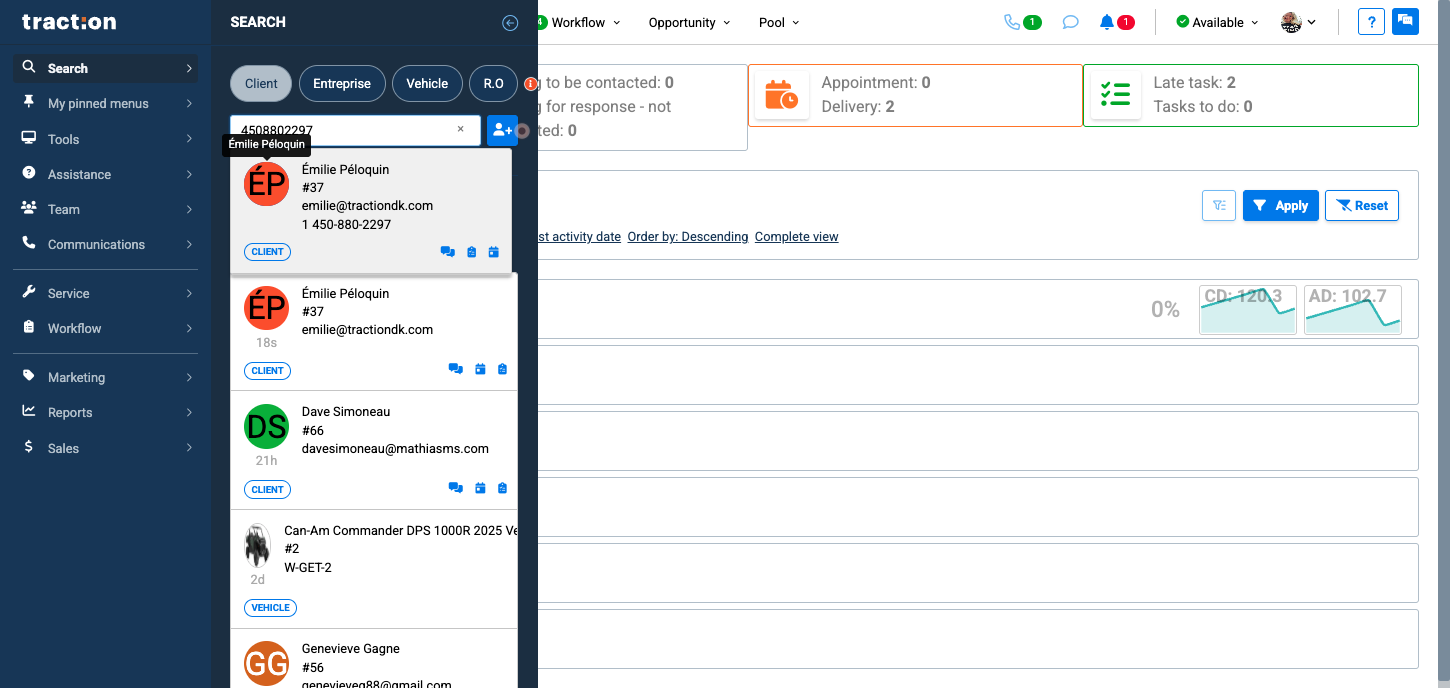
2
Look for your client by name, phone number, or client number.
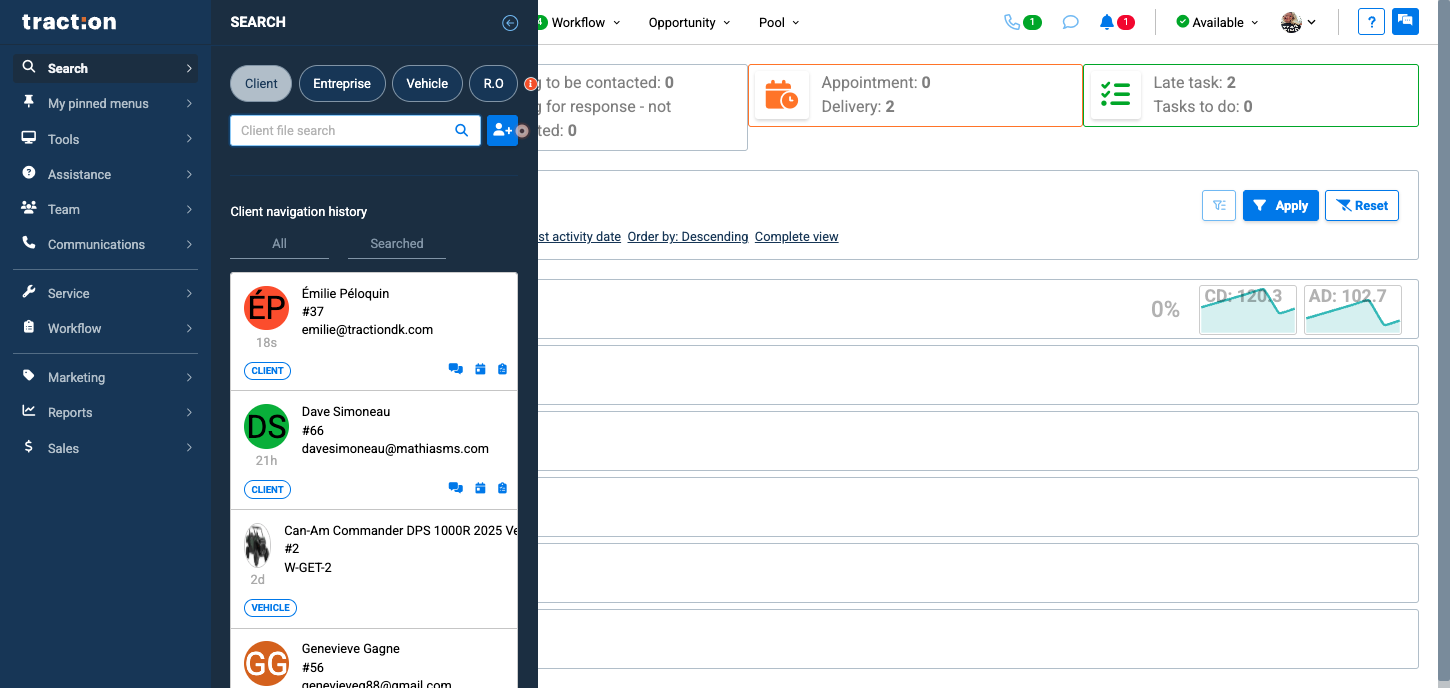
3
Click on the client to access their profile.
4
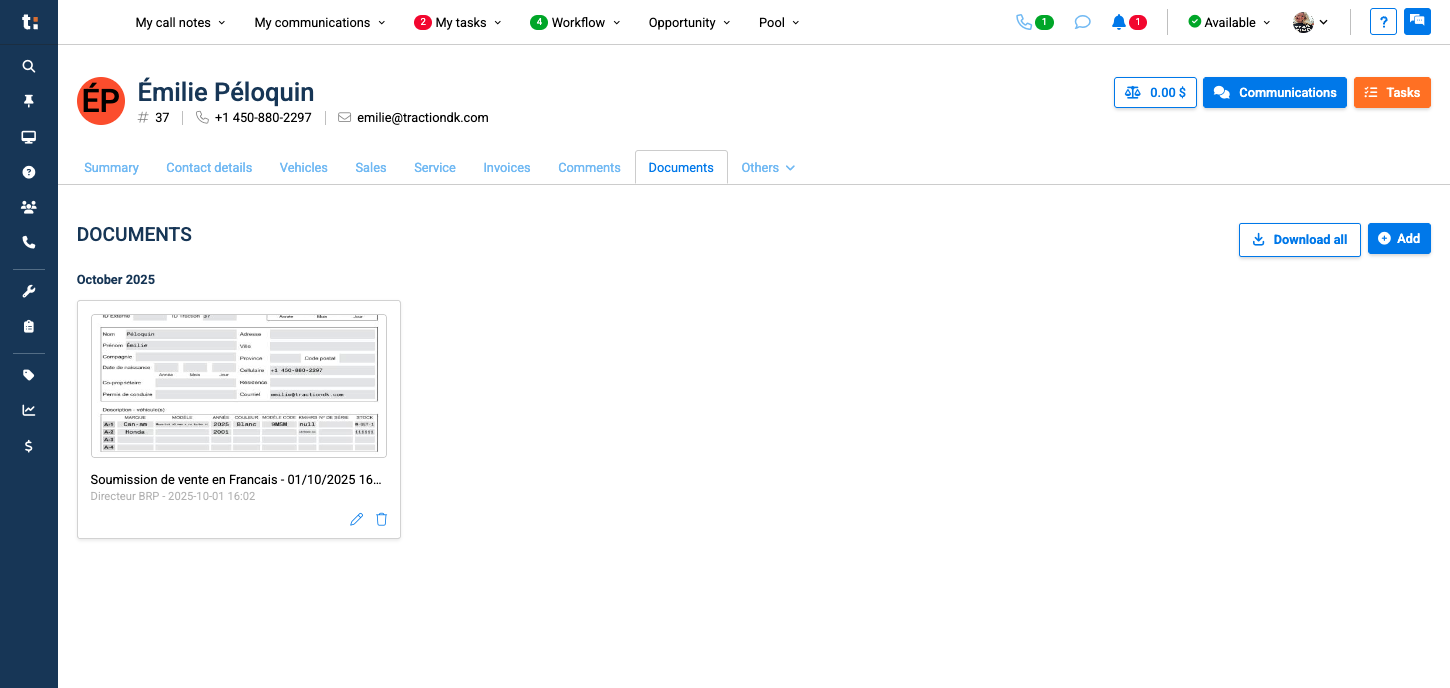
Once in the client's file, go to the Documents tab.
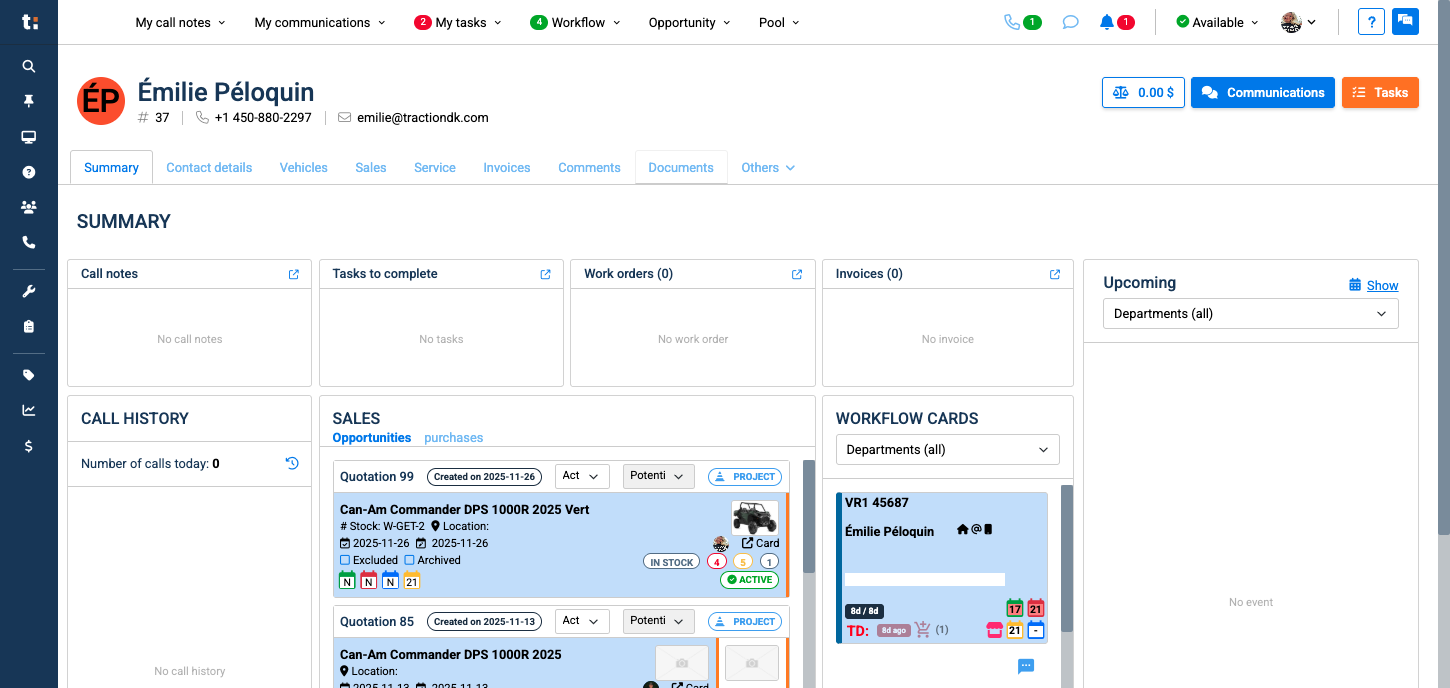
5
Here you will find all the documents that have been shared with the client or that the client has shared with you. They will be sorted by date.
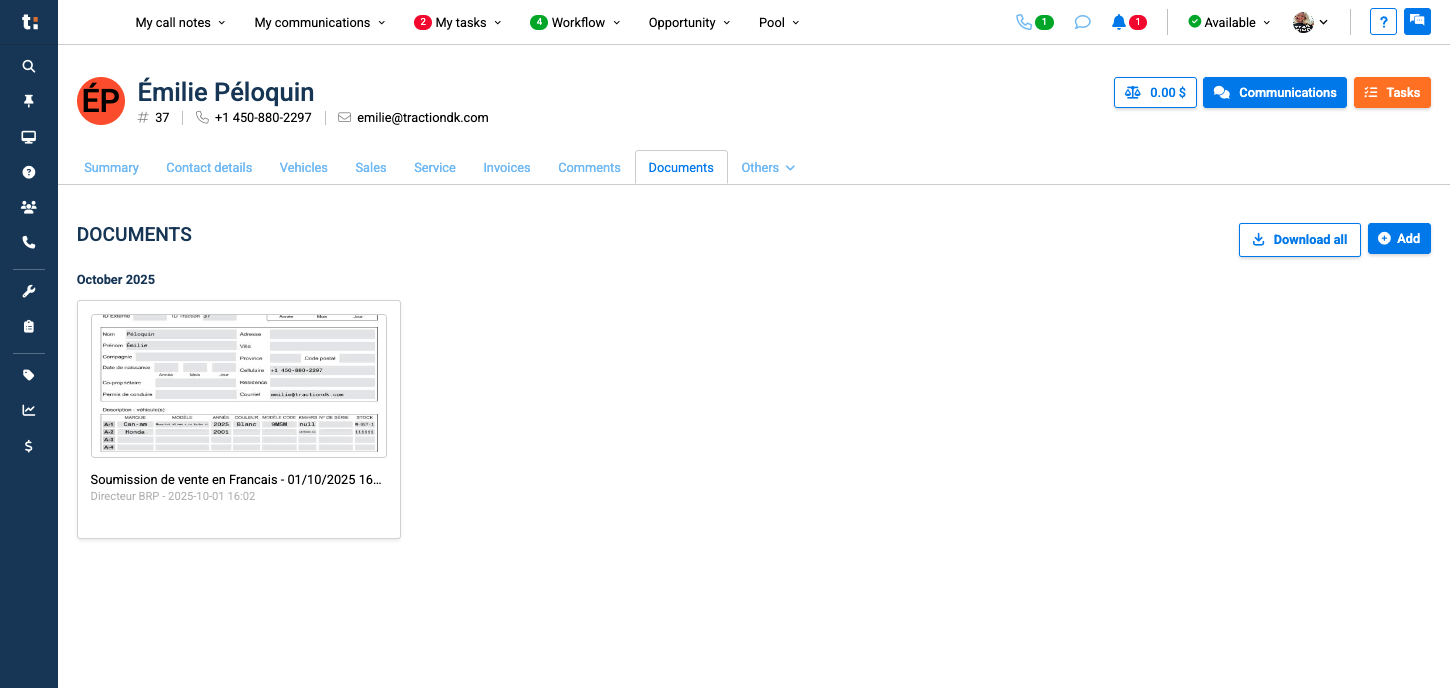
6
You can also add files from you computer by clicking the Add tab.
7
You can download them by clicking on "Download all."

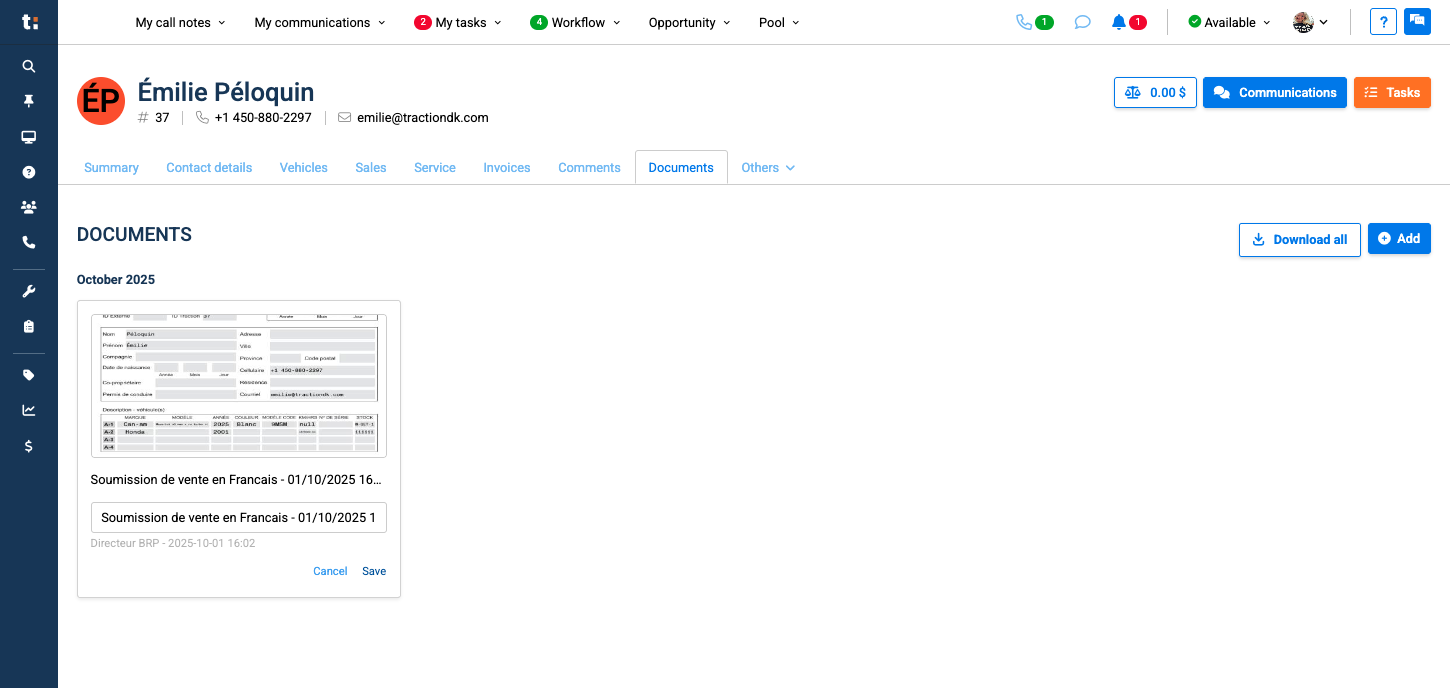
8
You can also rename a file by clicking the pencil icon.

9
Click save once you are done renaming the file.
10
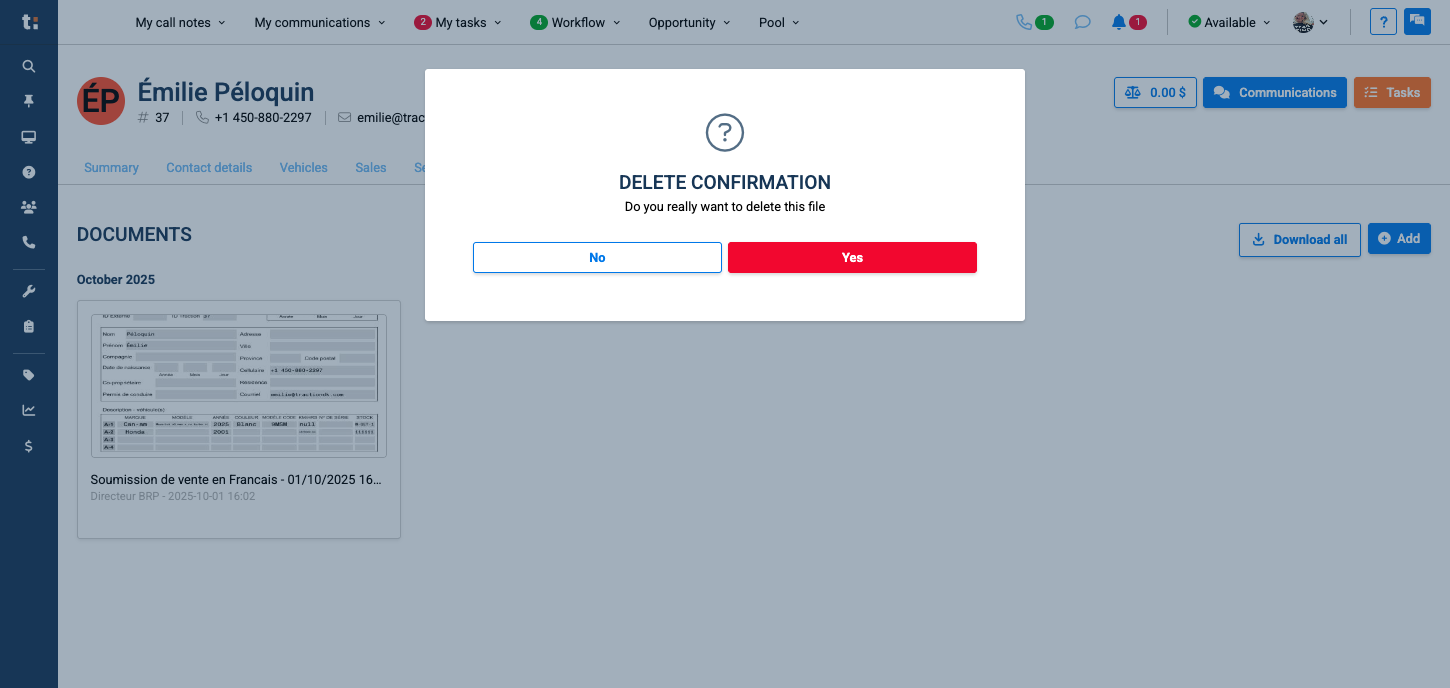
You can delete it by clicking the trash can.
11
Click Yes to confirm