Learn how to add a card to a workflow with this easy step-by-step guide. Discover how to create a quote, select a status, choose workflow columns, set key dates, assign users, and more for efficient workflow management.
By Dominik Black
In this guide, we'll learn how to add a card to a workflow. This process helps you organize and track units as they move through different stages.
To begin, you need to create a quote and select its status. Once these steps are complete, you can access the Workflow Data tab and add your card to the workflow, choose its position, set dates, assign users, and add details.
Let's get started
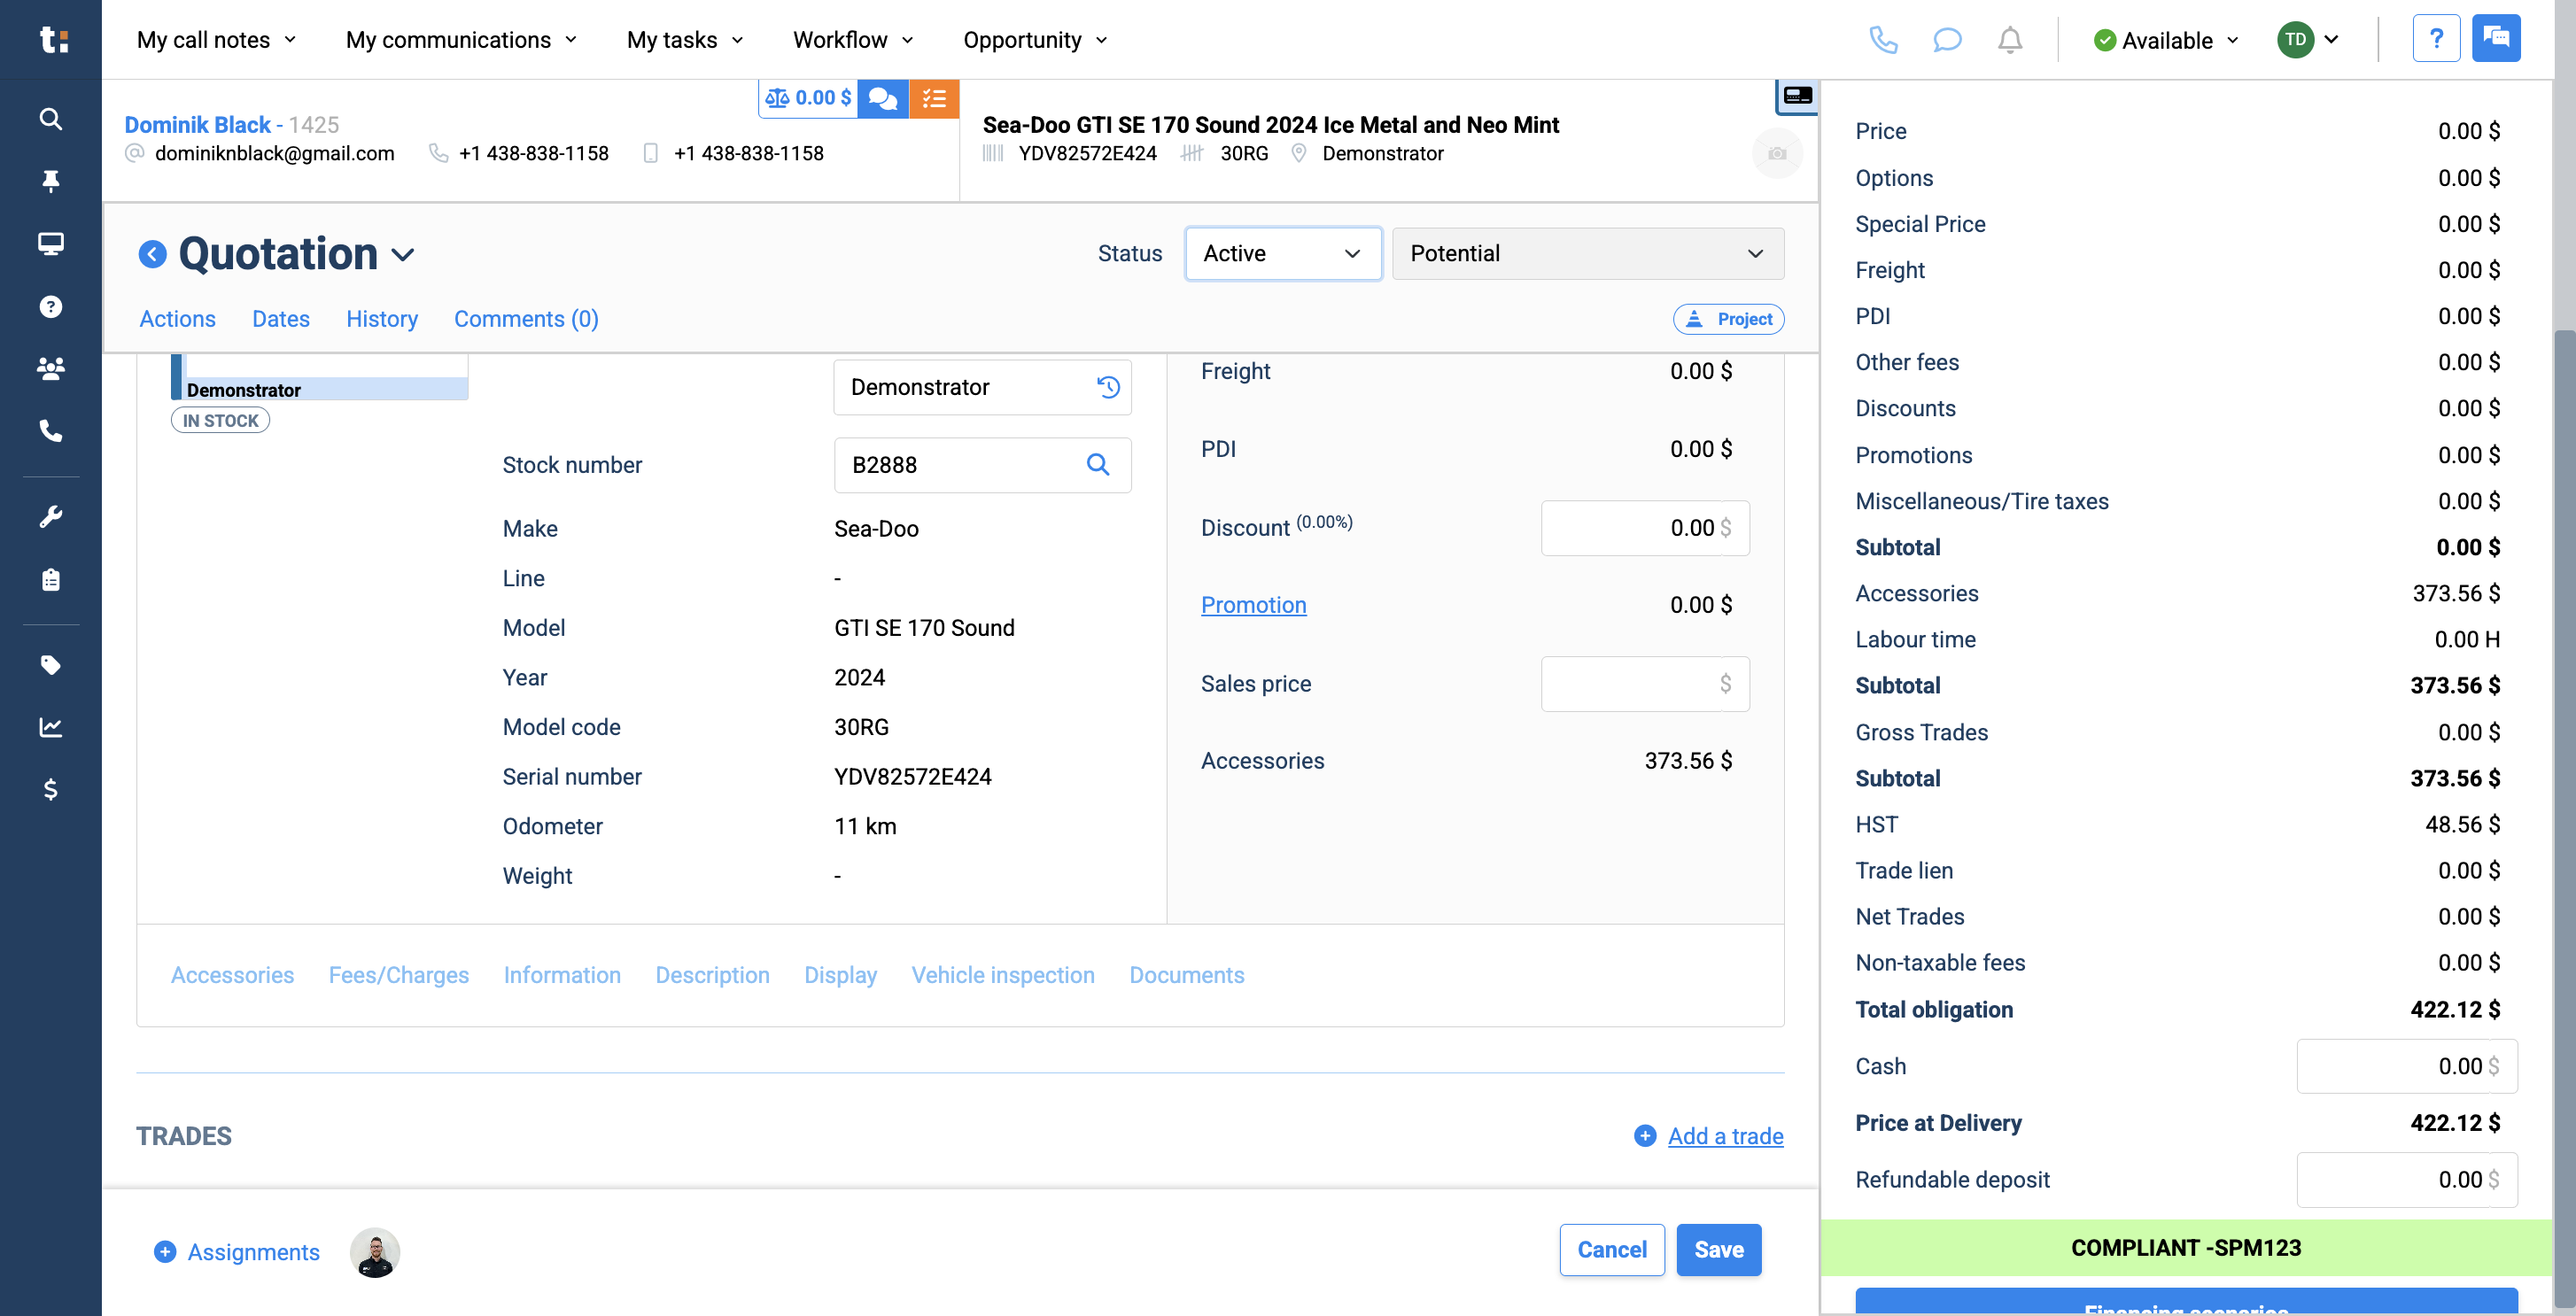
In this guide, we will explain how to add a card to a workflow.To add a card to the workflow,Two steps are required to do this.A quote needs to be created.The second step is to select a quote status.
1
If you do not complete these two steps, you will not see the workflow data tab shown below.
2
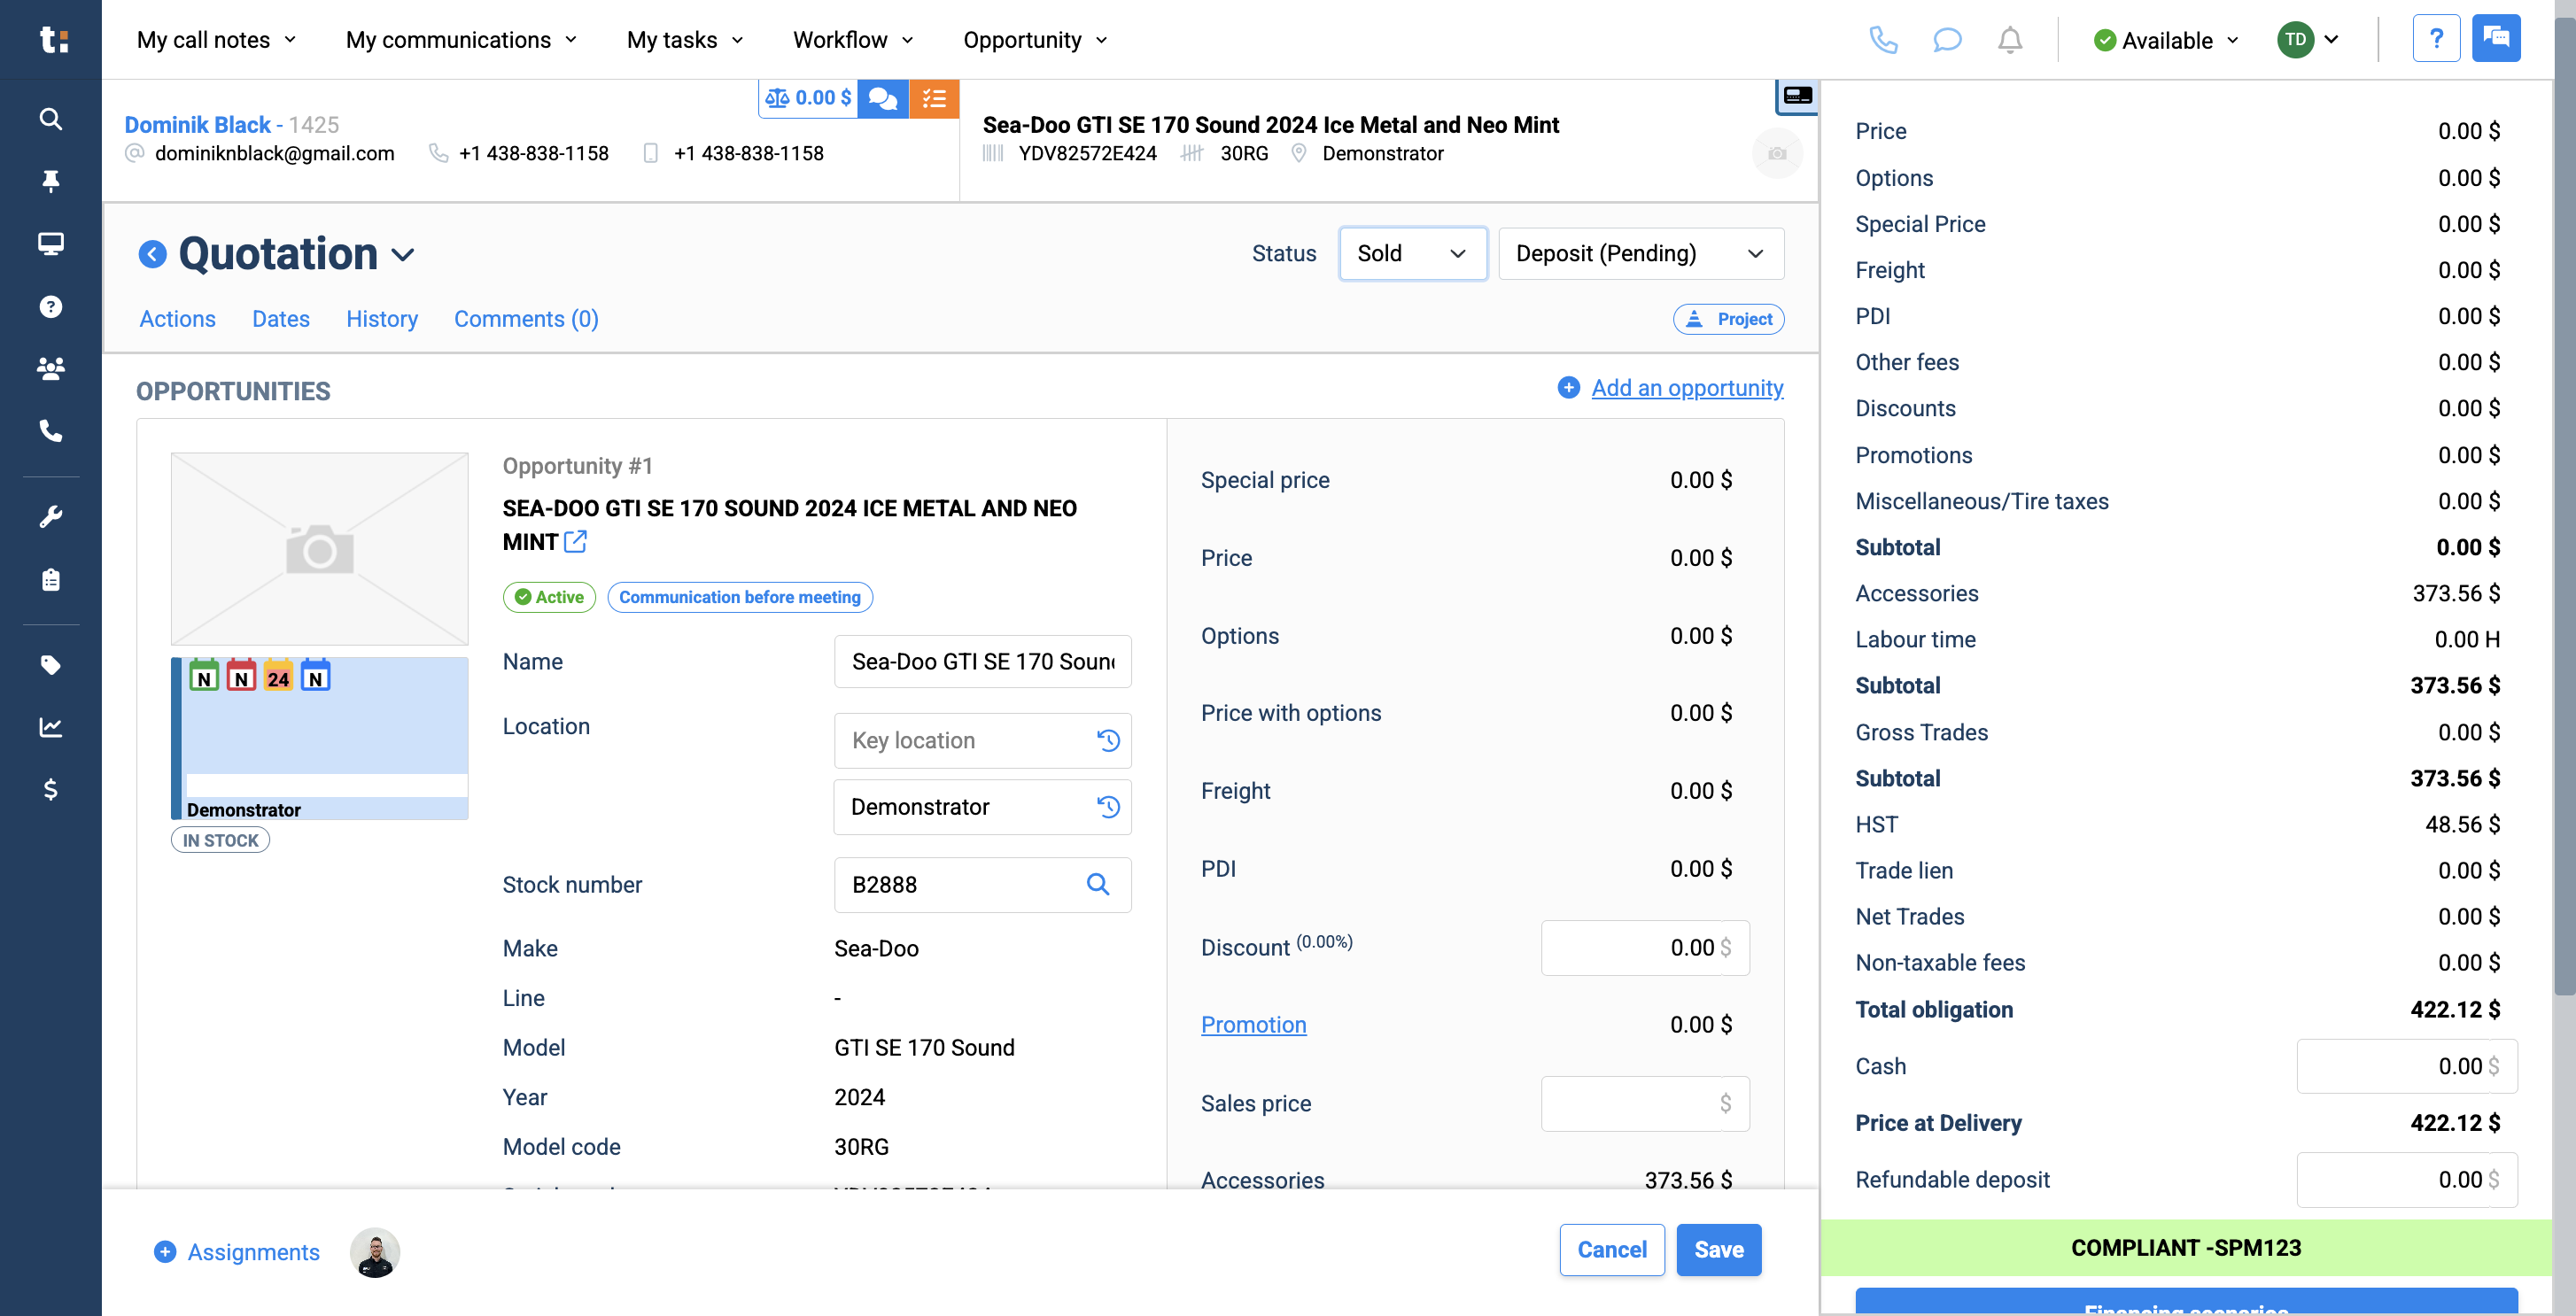
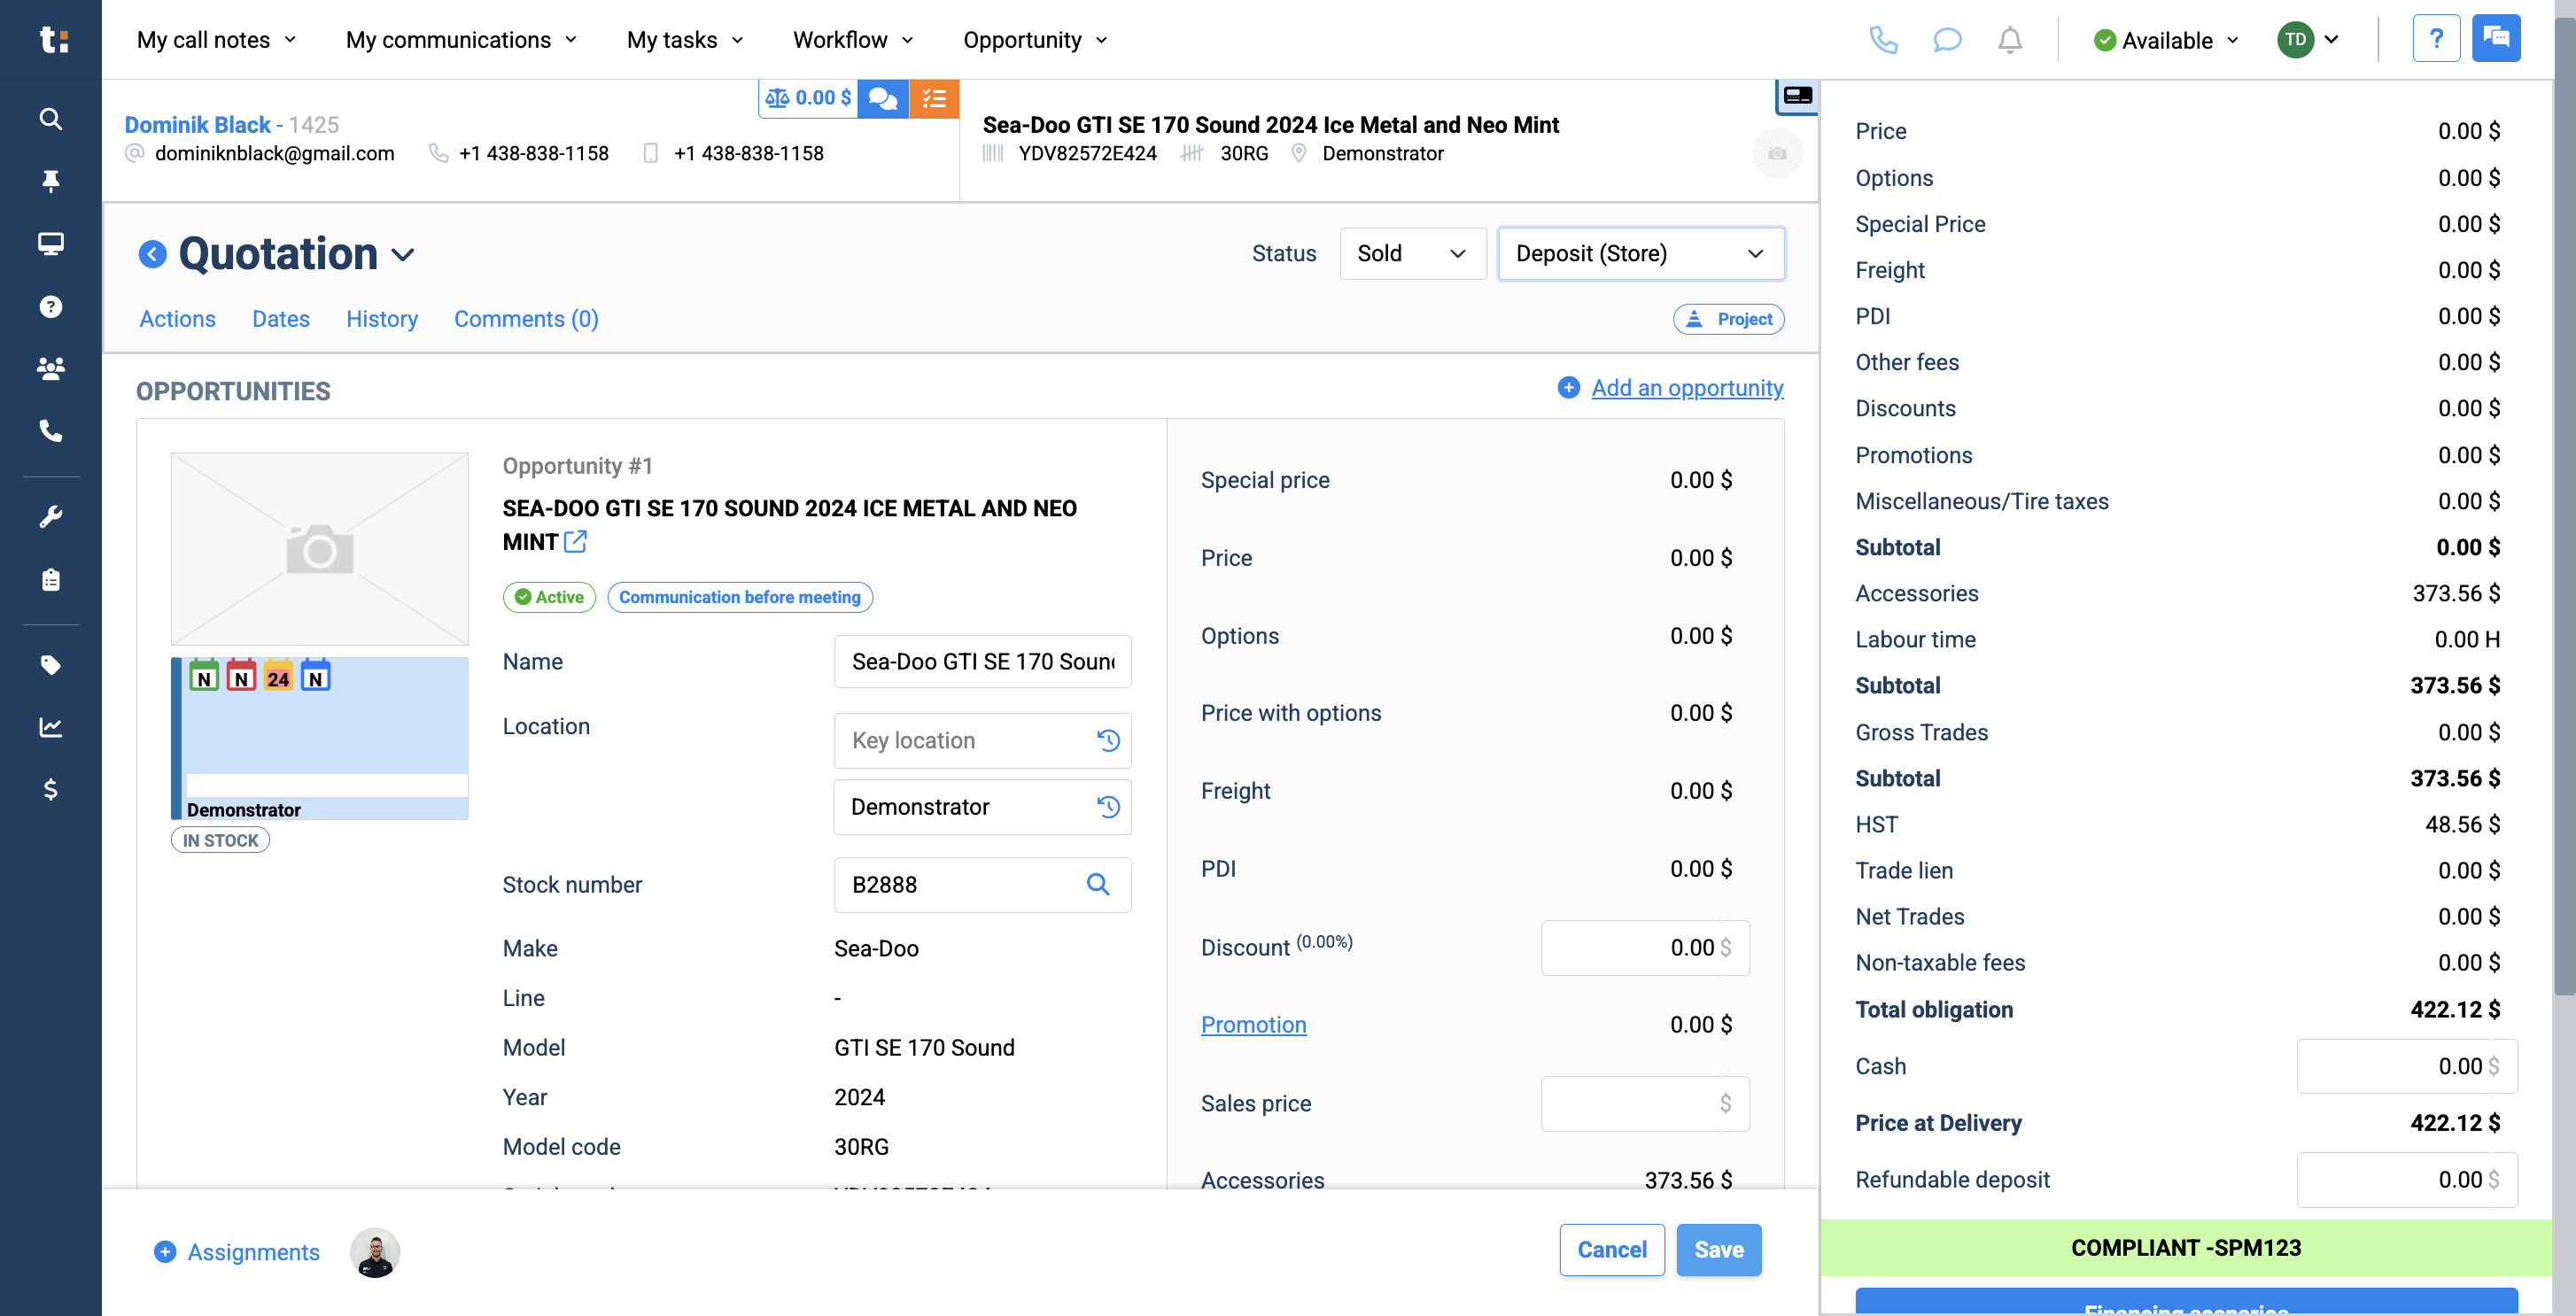
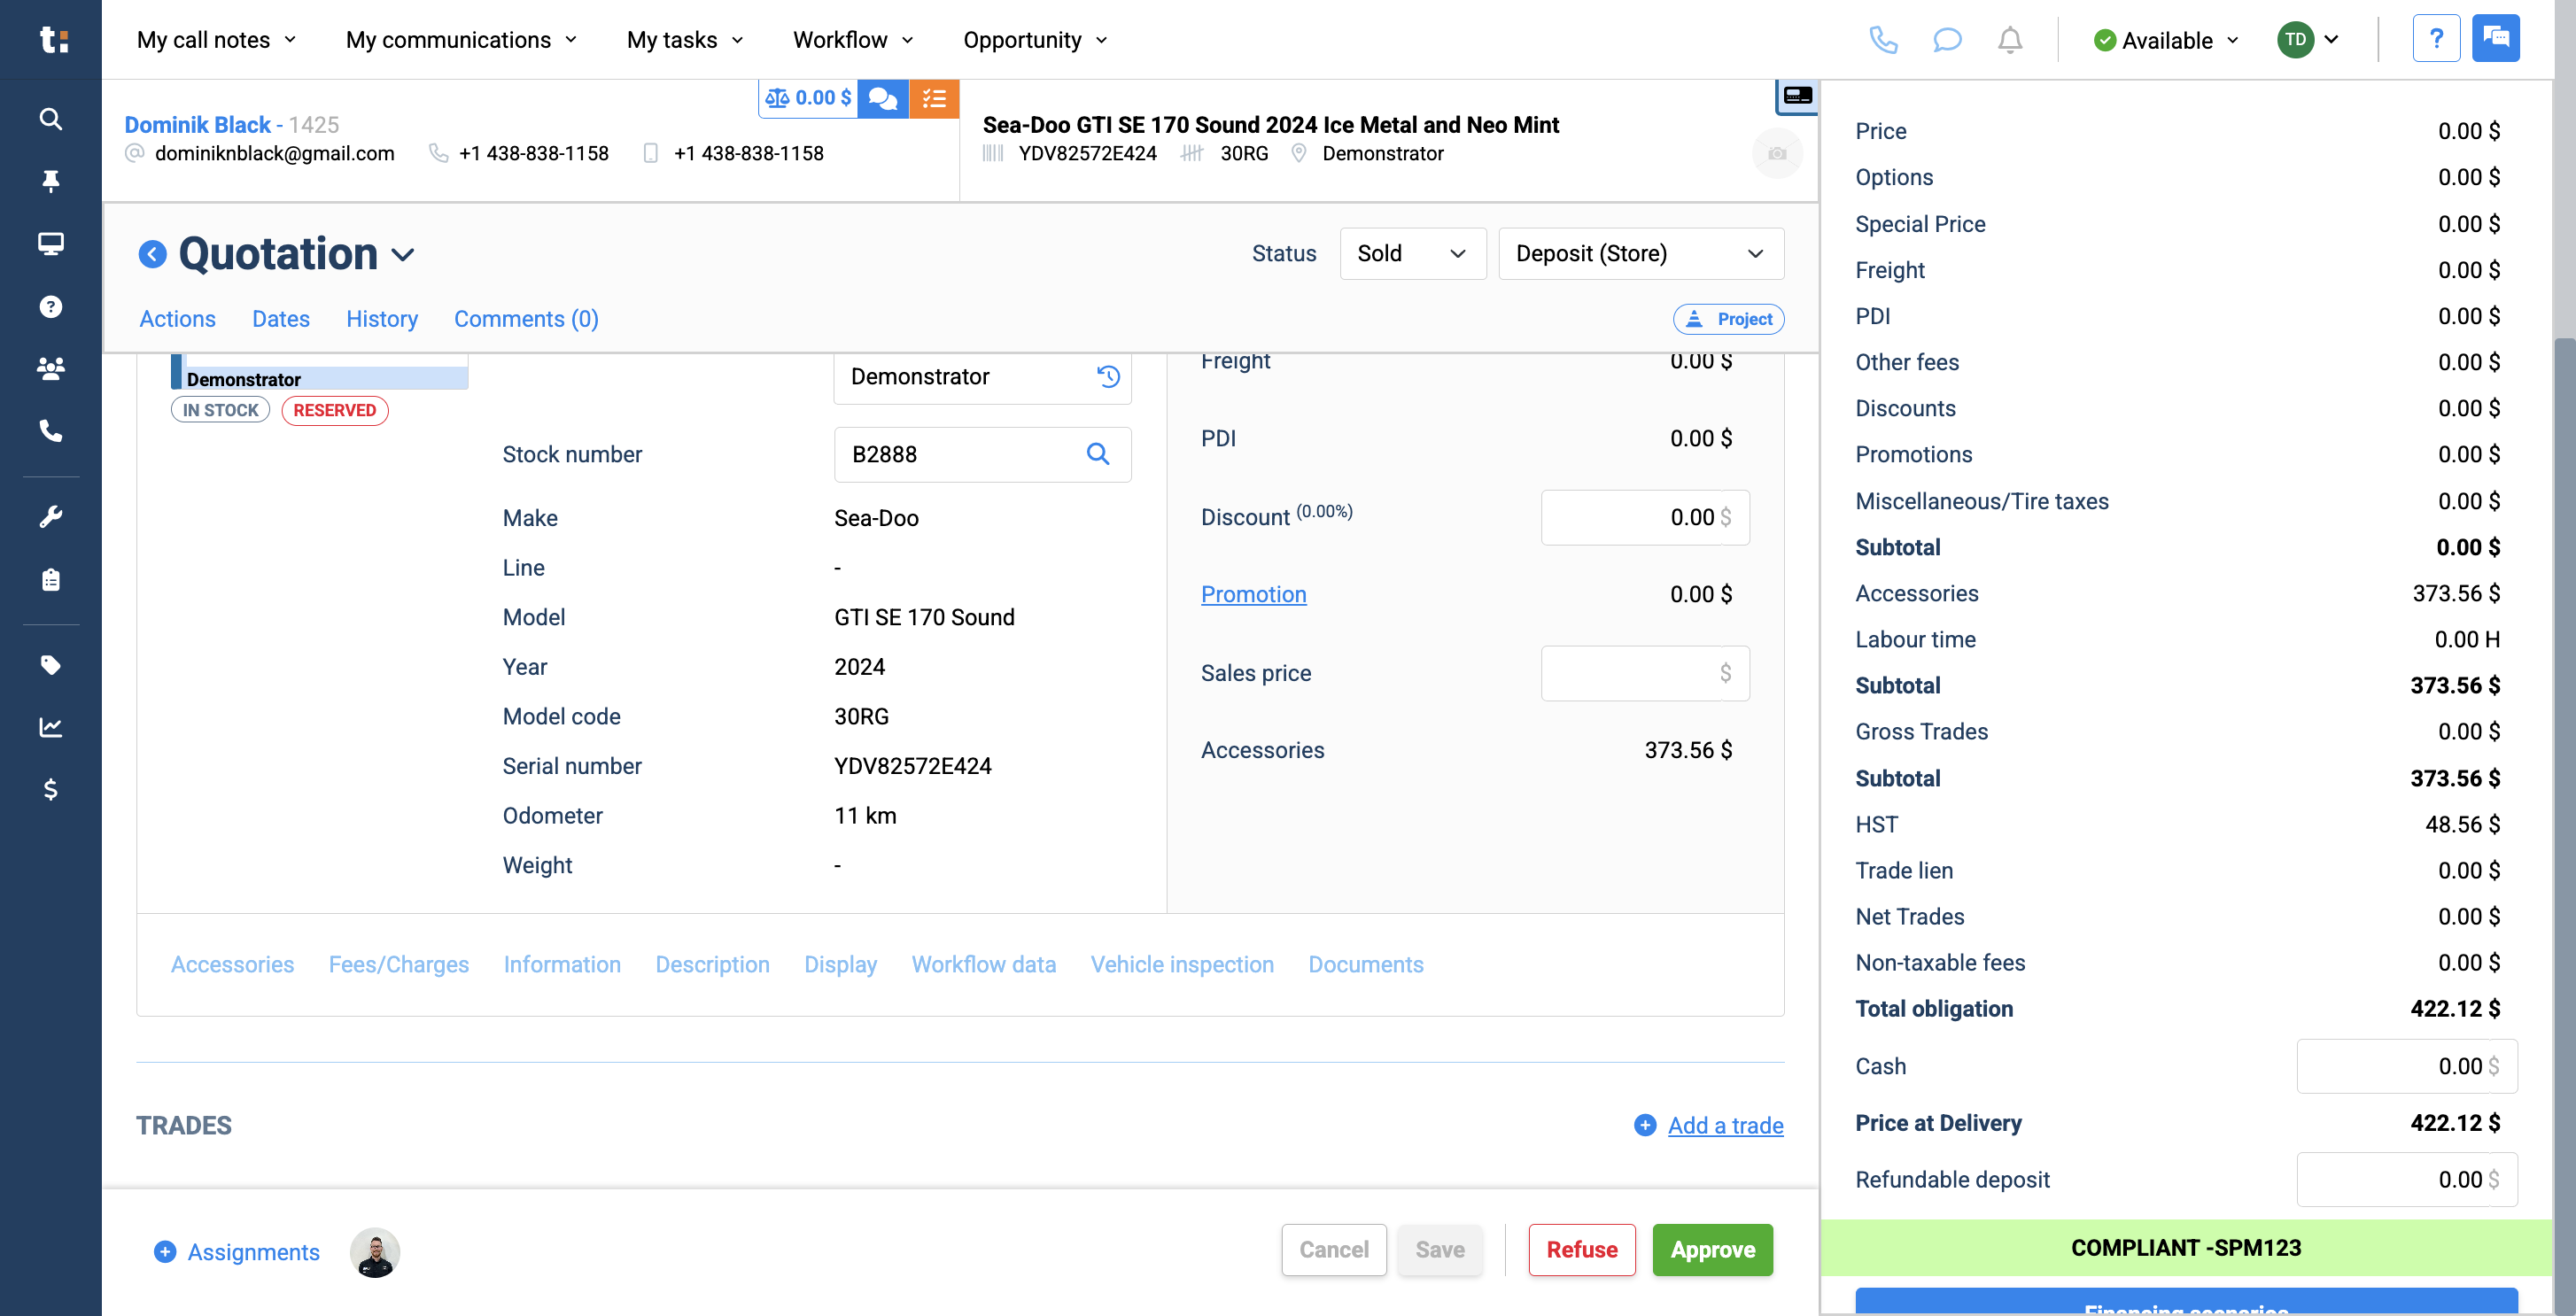
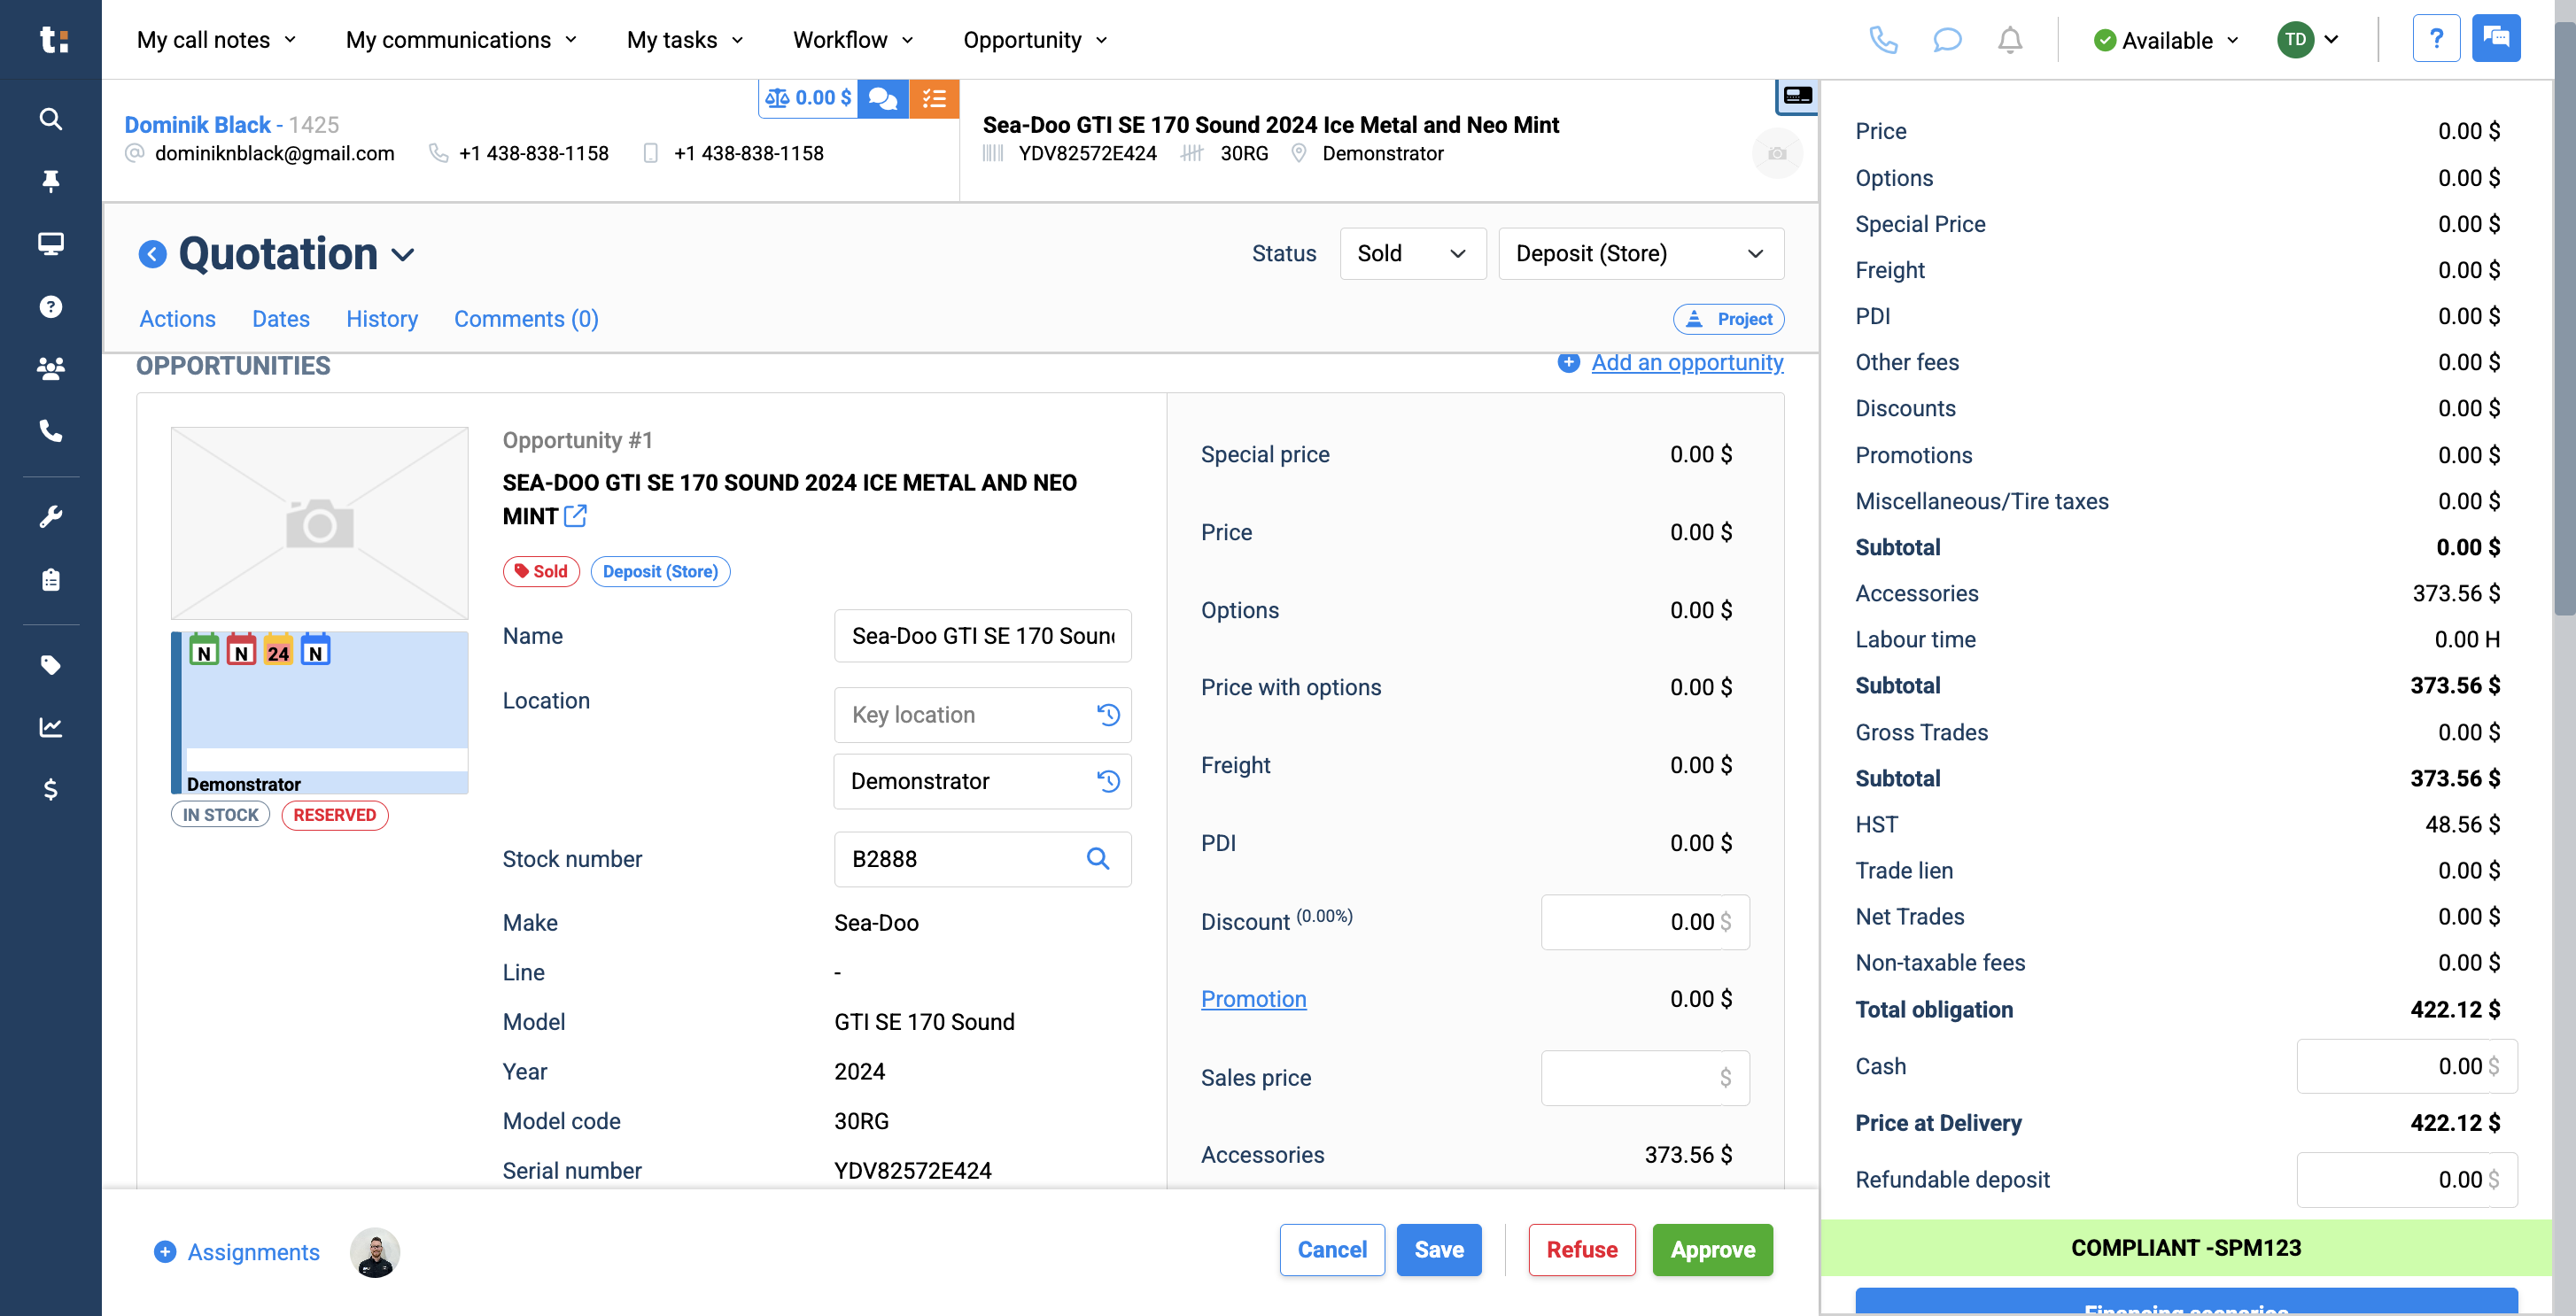
I will start by selling my unit and updating the status to "sold" and "in-store deposit."
3
Click save
4
Once I’ve done this, if I scroll down below my opportunity, I can see that the Workflow Data tab has appeared.
5
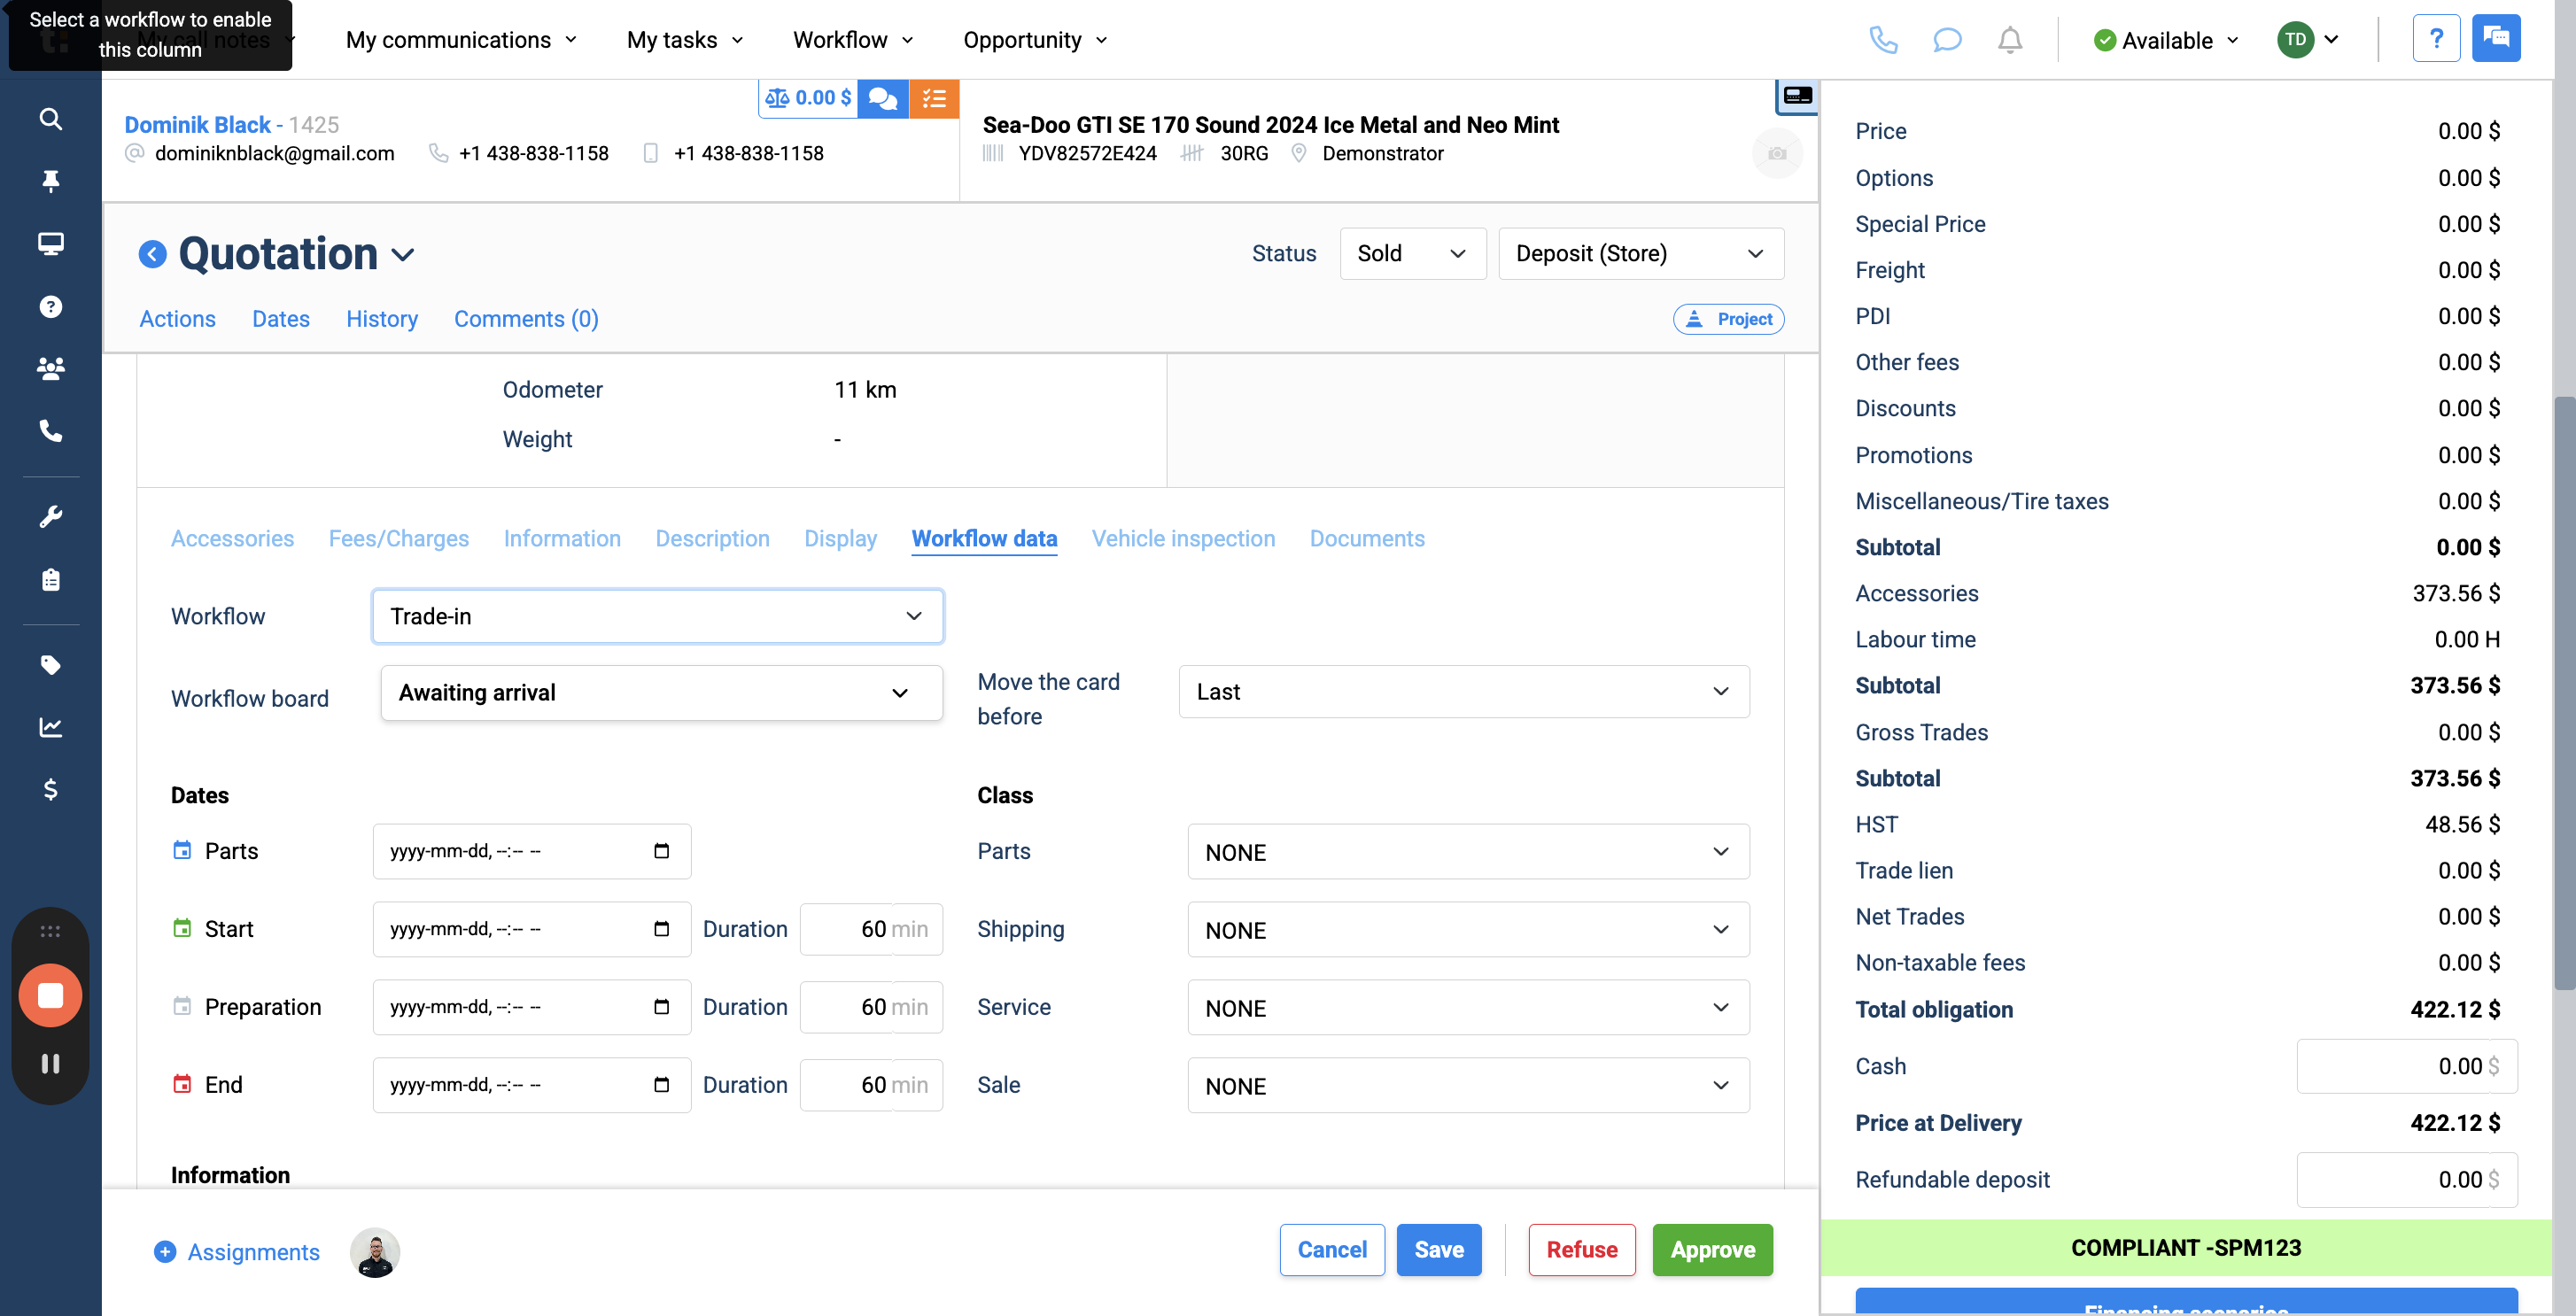
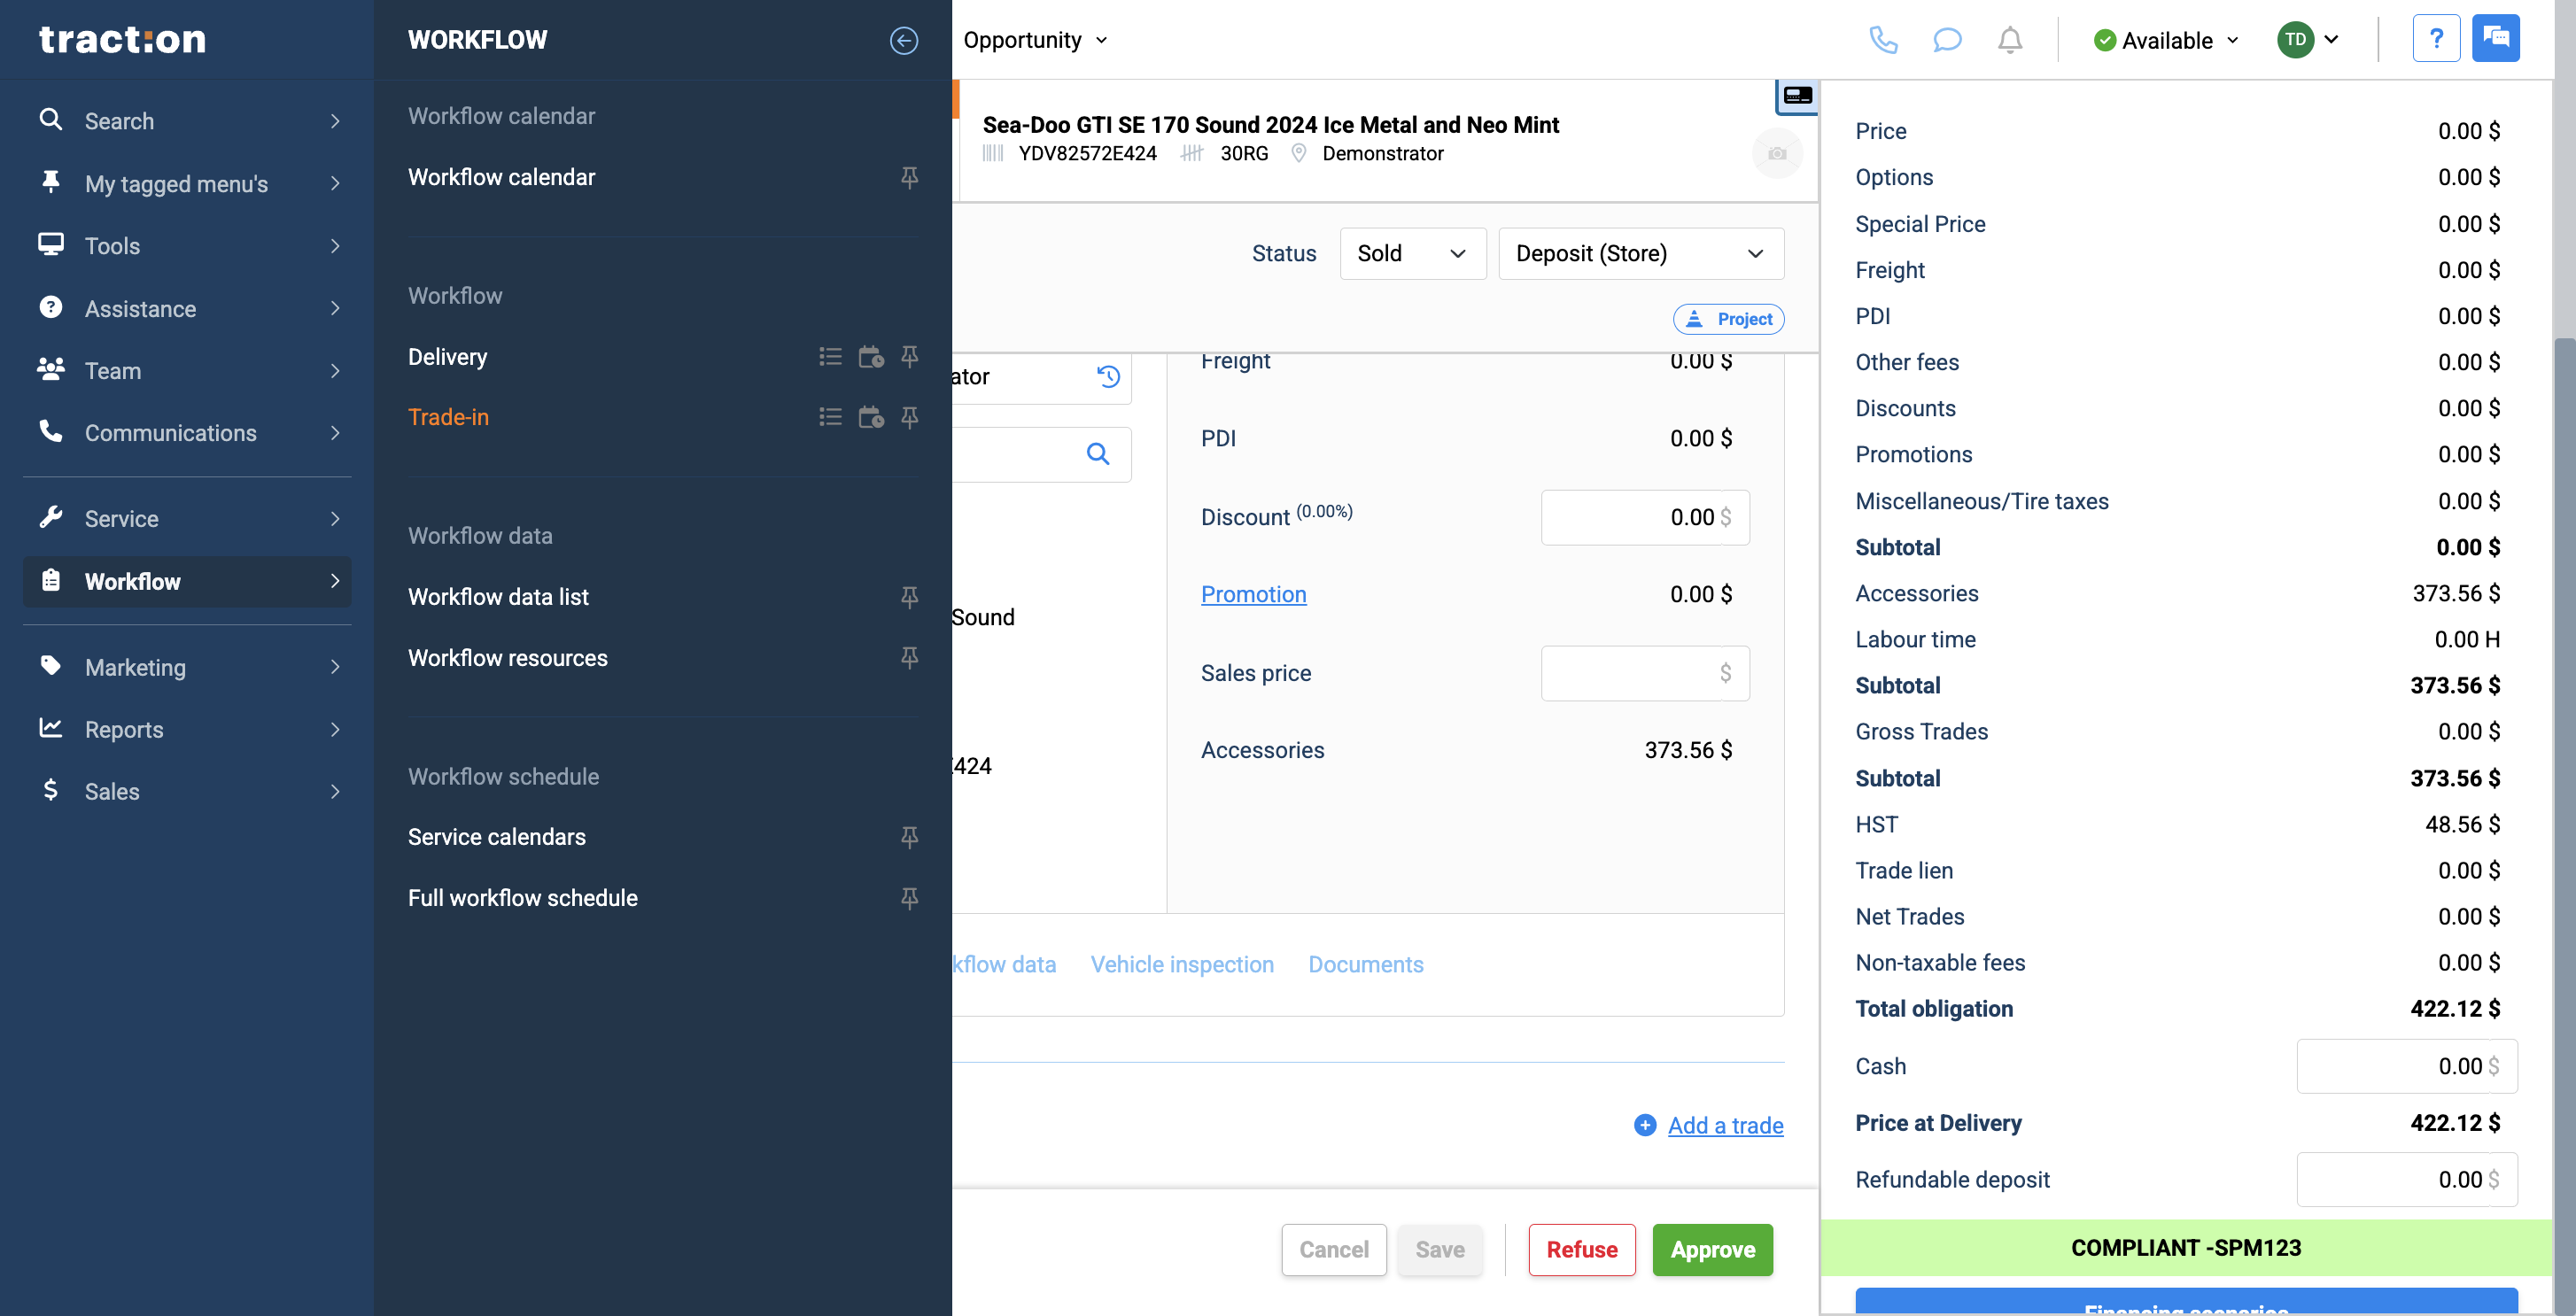
Click on Workflow Data.
6
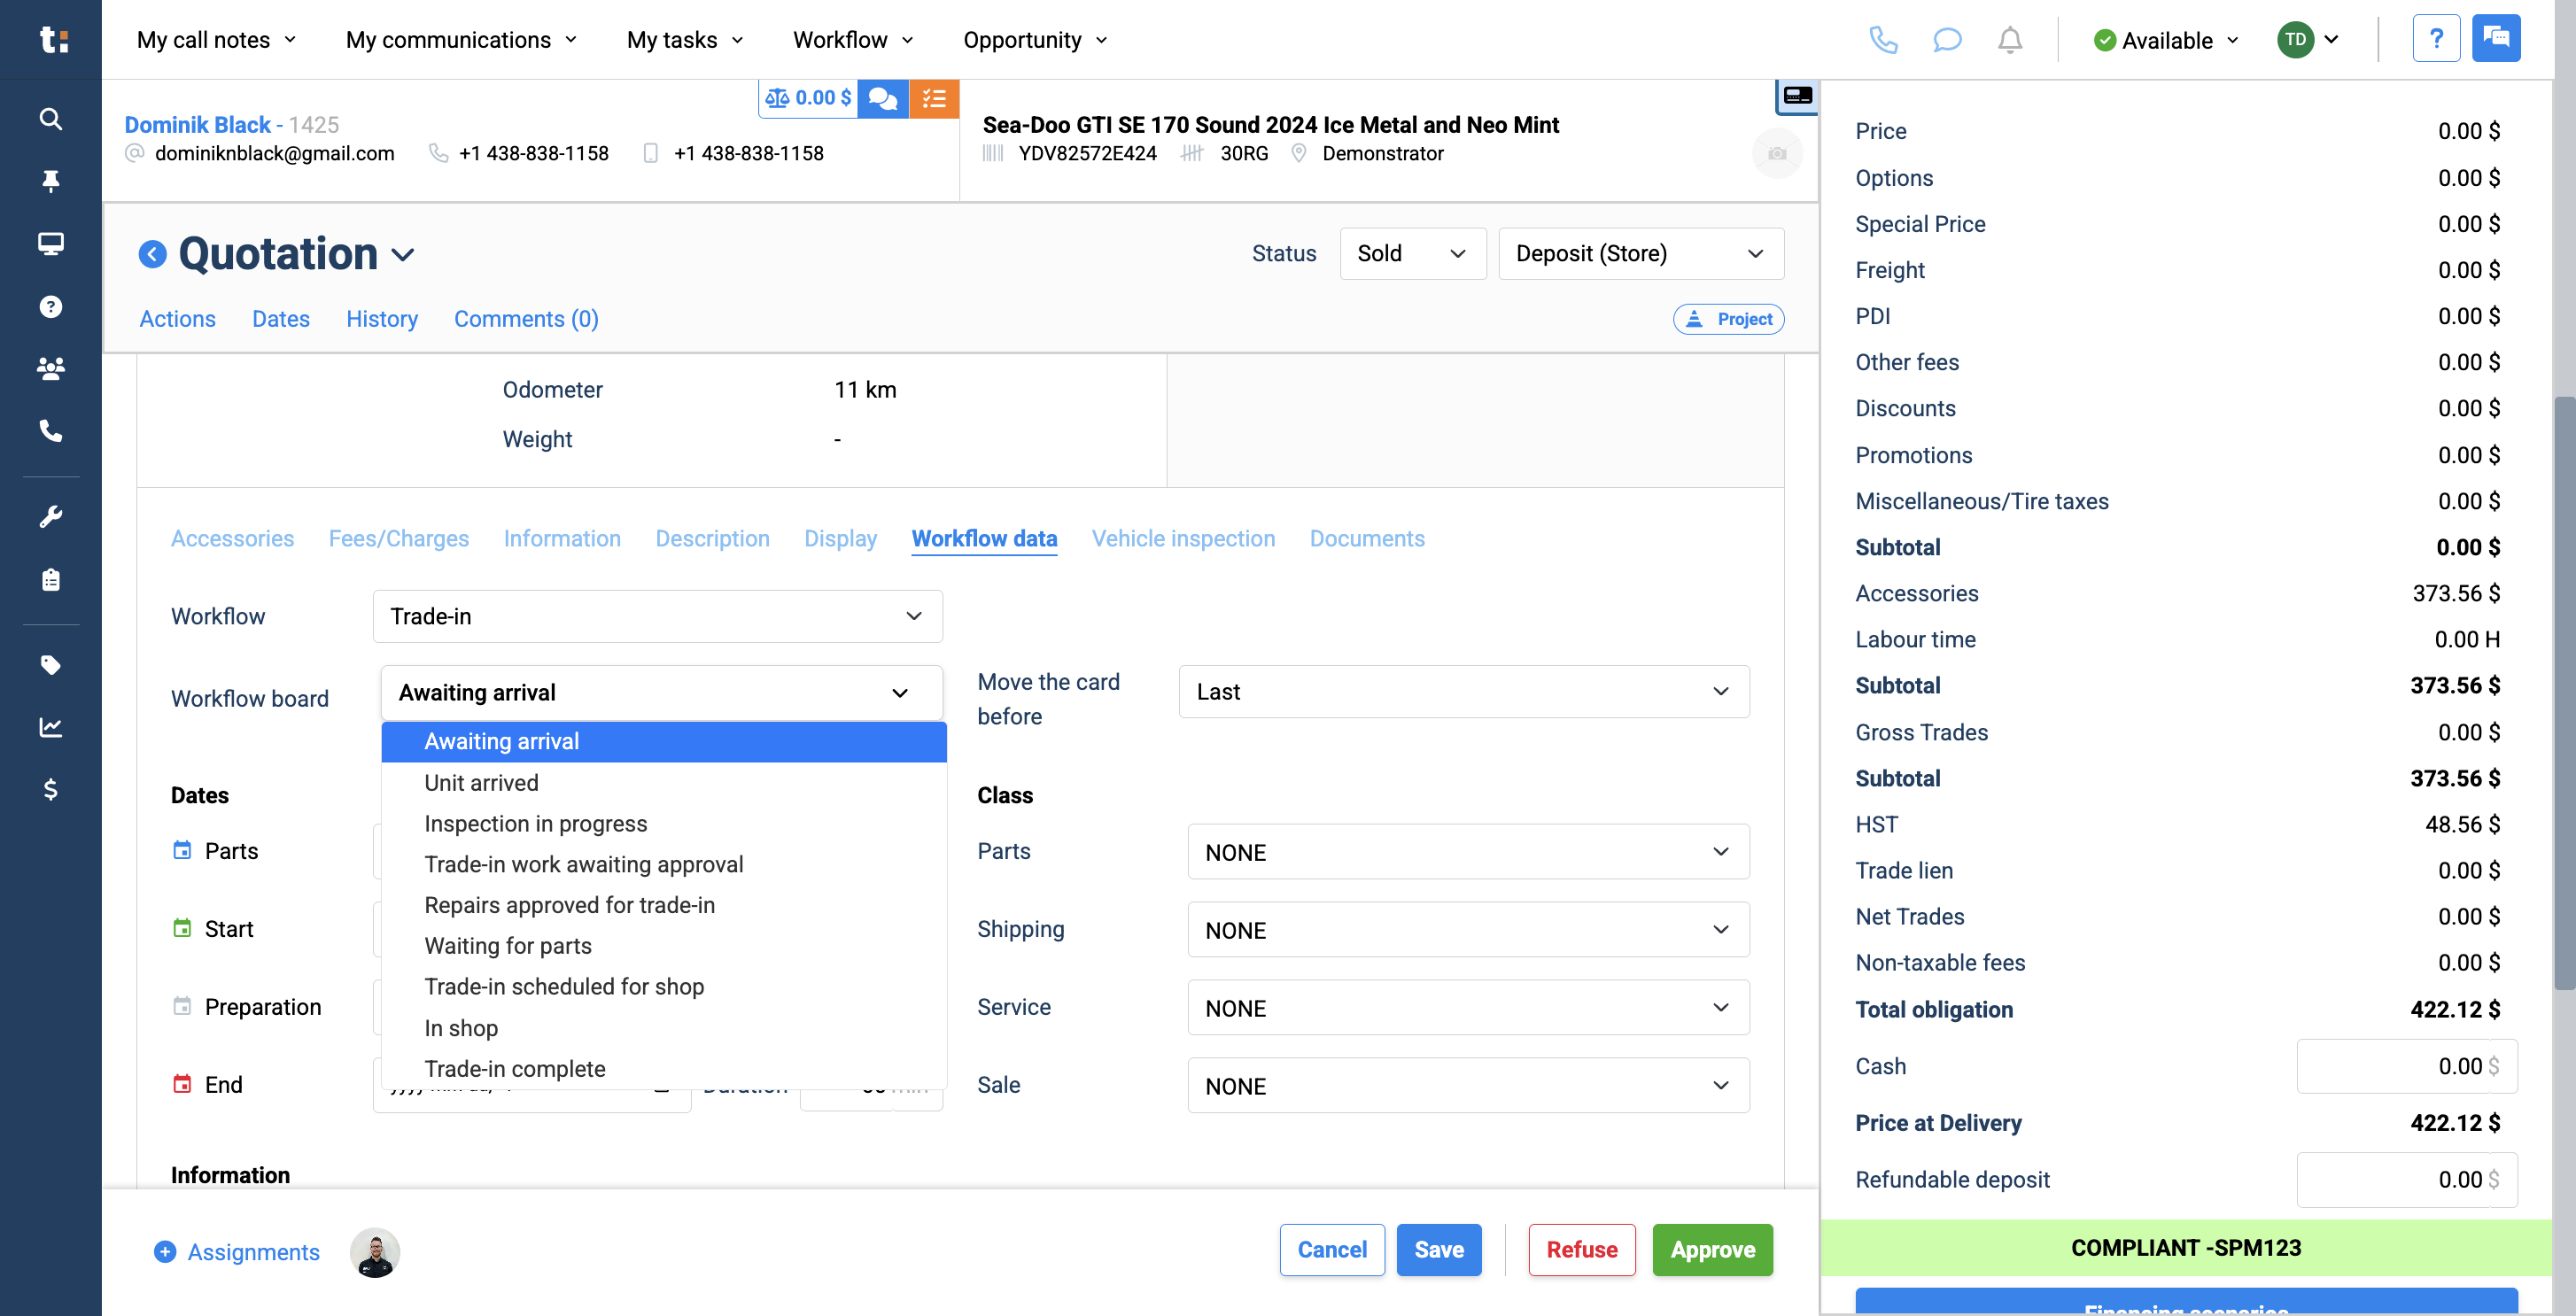
The first step is to choose the workflow where you want to move your card.
7
By default, the column it selects is...The defaulted column is the first column in the workflow.
8
If you do not want your card to move to the first column, you can choose any of the other columns.
9
You also have the option to choose the order of your card within the column.
By default, it appears as the last card in the column. If you prefer, you can move it to the top by selecting "First."
10
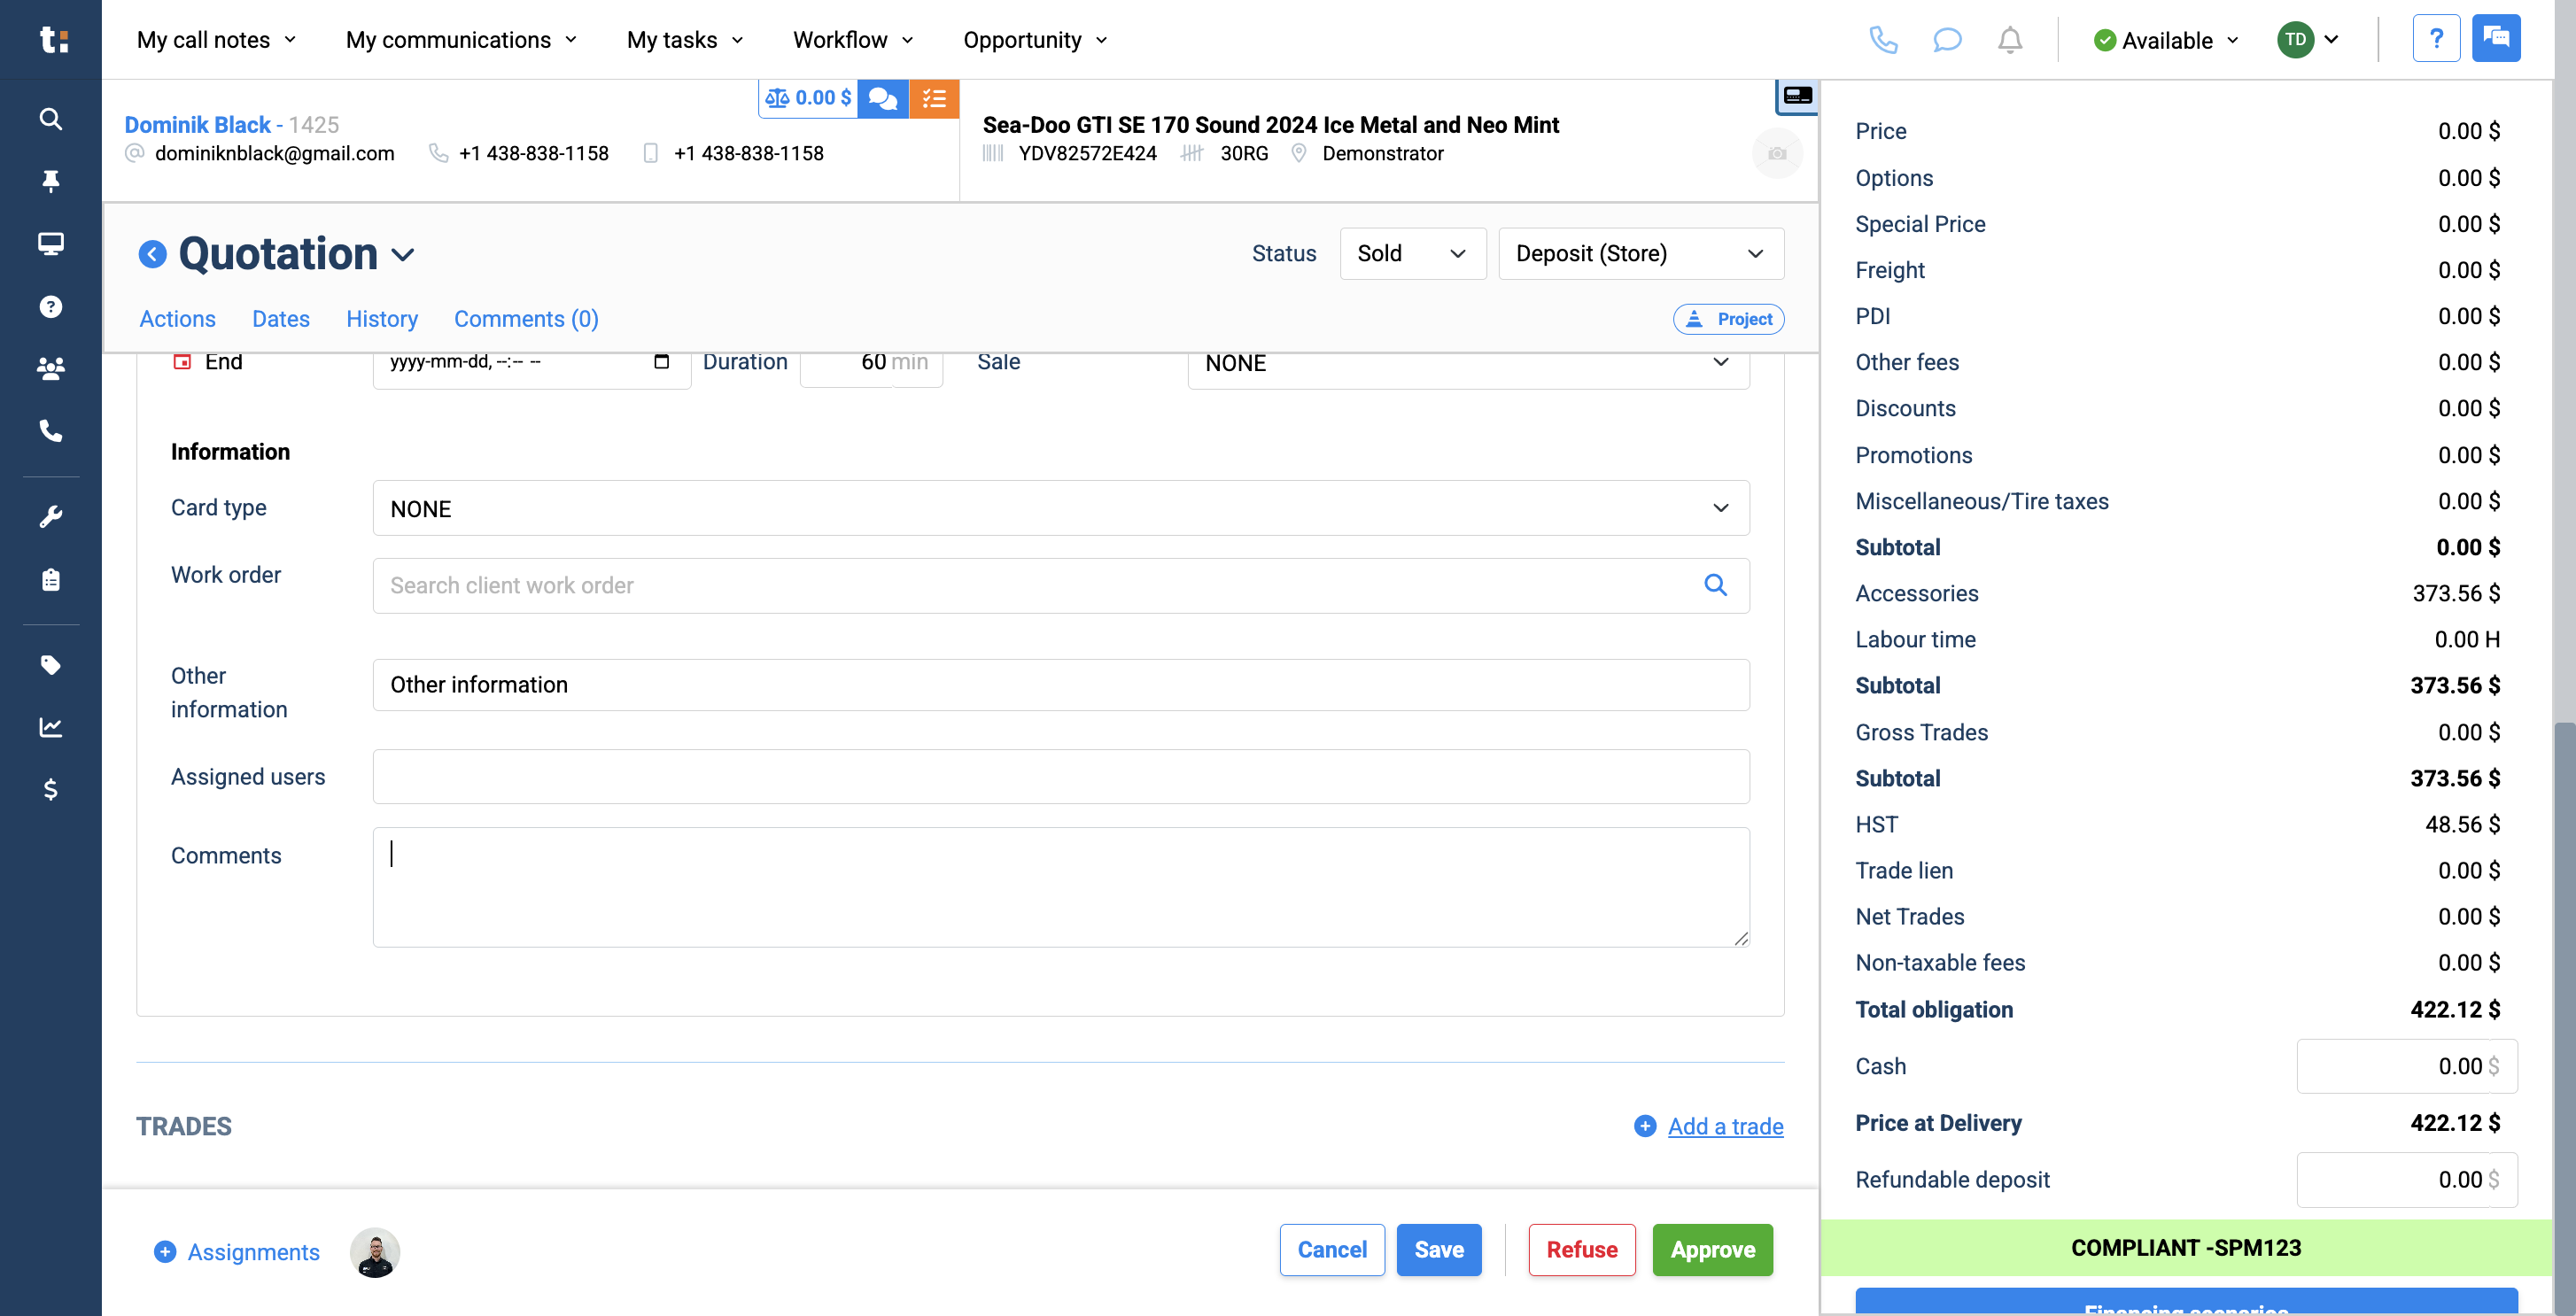
You can also add any calendar dates you want in this section.There are four key dates: the parts date, the start date, the preparation date, and the end date, which is your delivery date.
11
Next, we have our class section.We have already set different icons for each class type in every department.This will add various icons to your card, allowing for more status options. This helps everyone communicate more smoothly throughout the dealership.
12
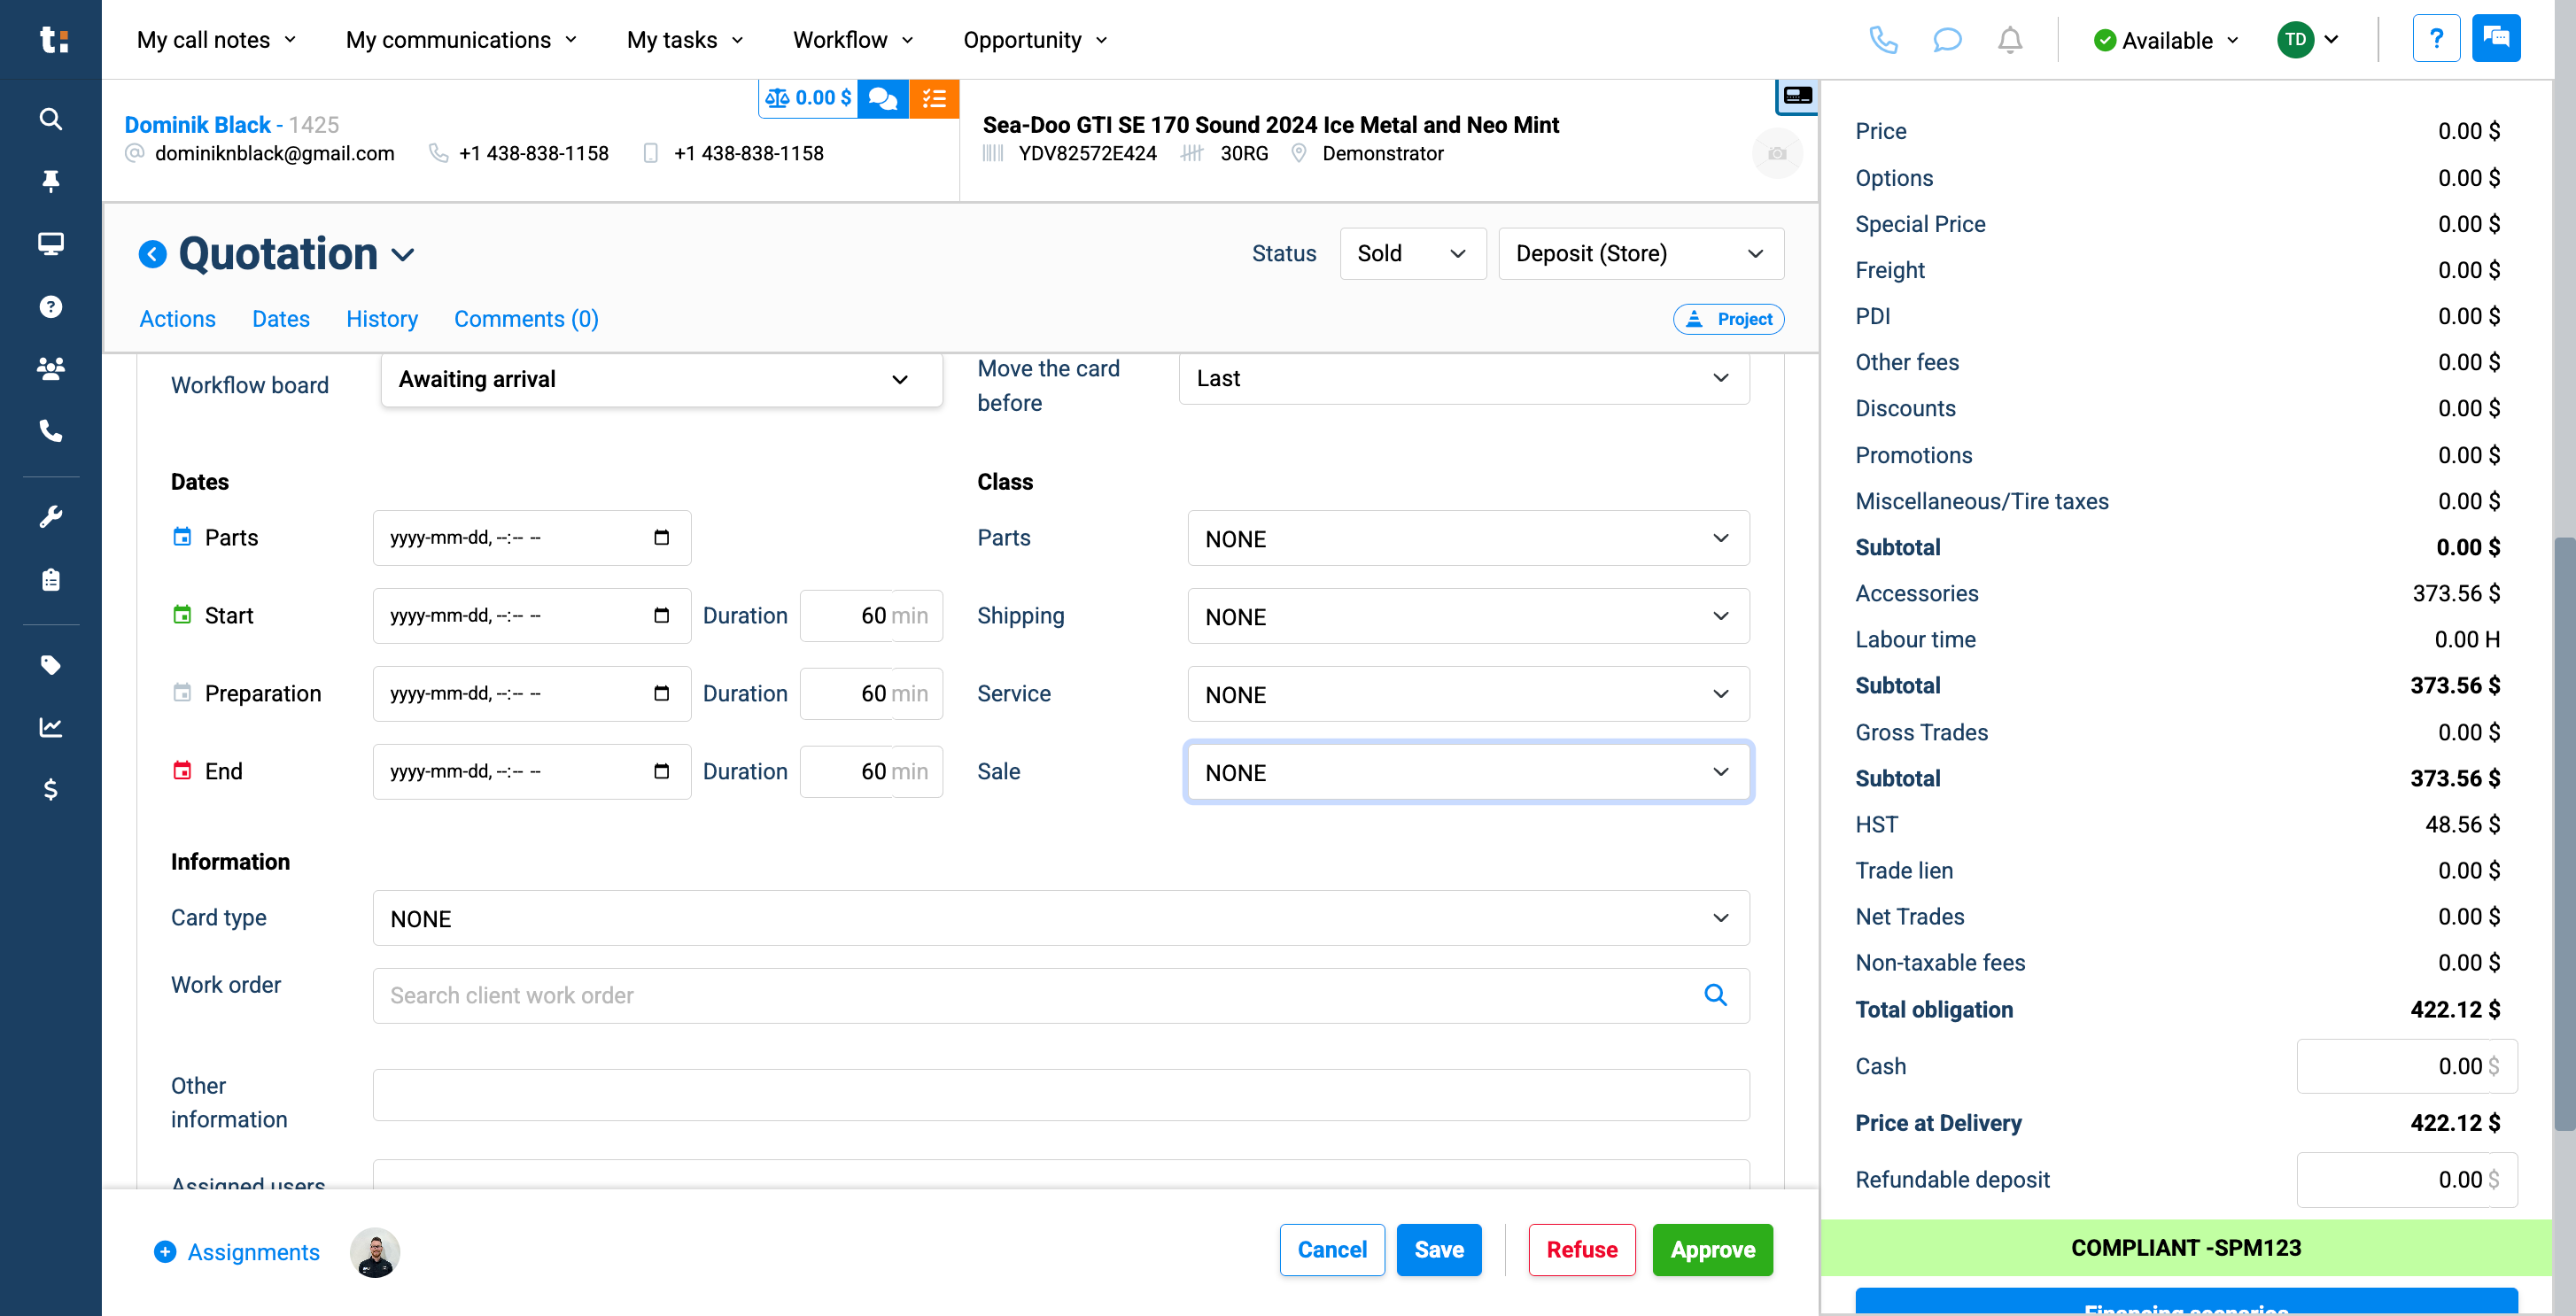
In the information section, you can select a card type, which determines the card's color.
13
You can also assign a work order to it.
14
Additionally, you can include other information.
15
This will appear in the small white field of your card.
16
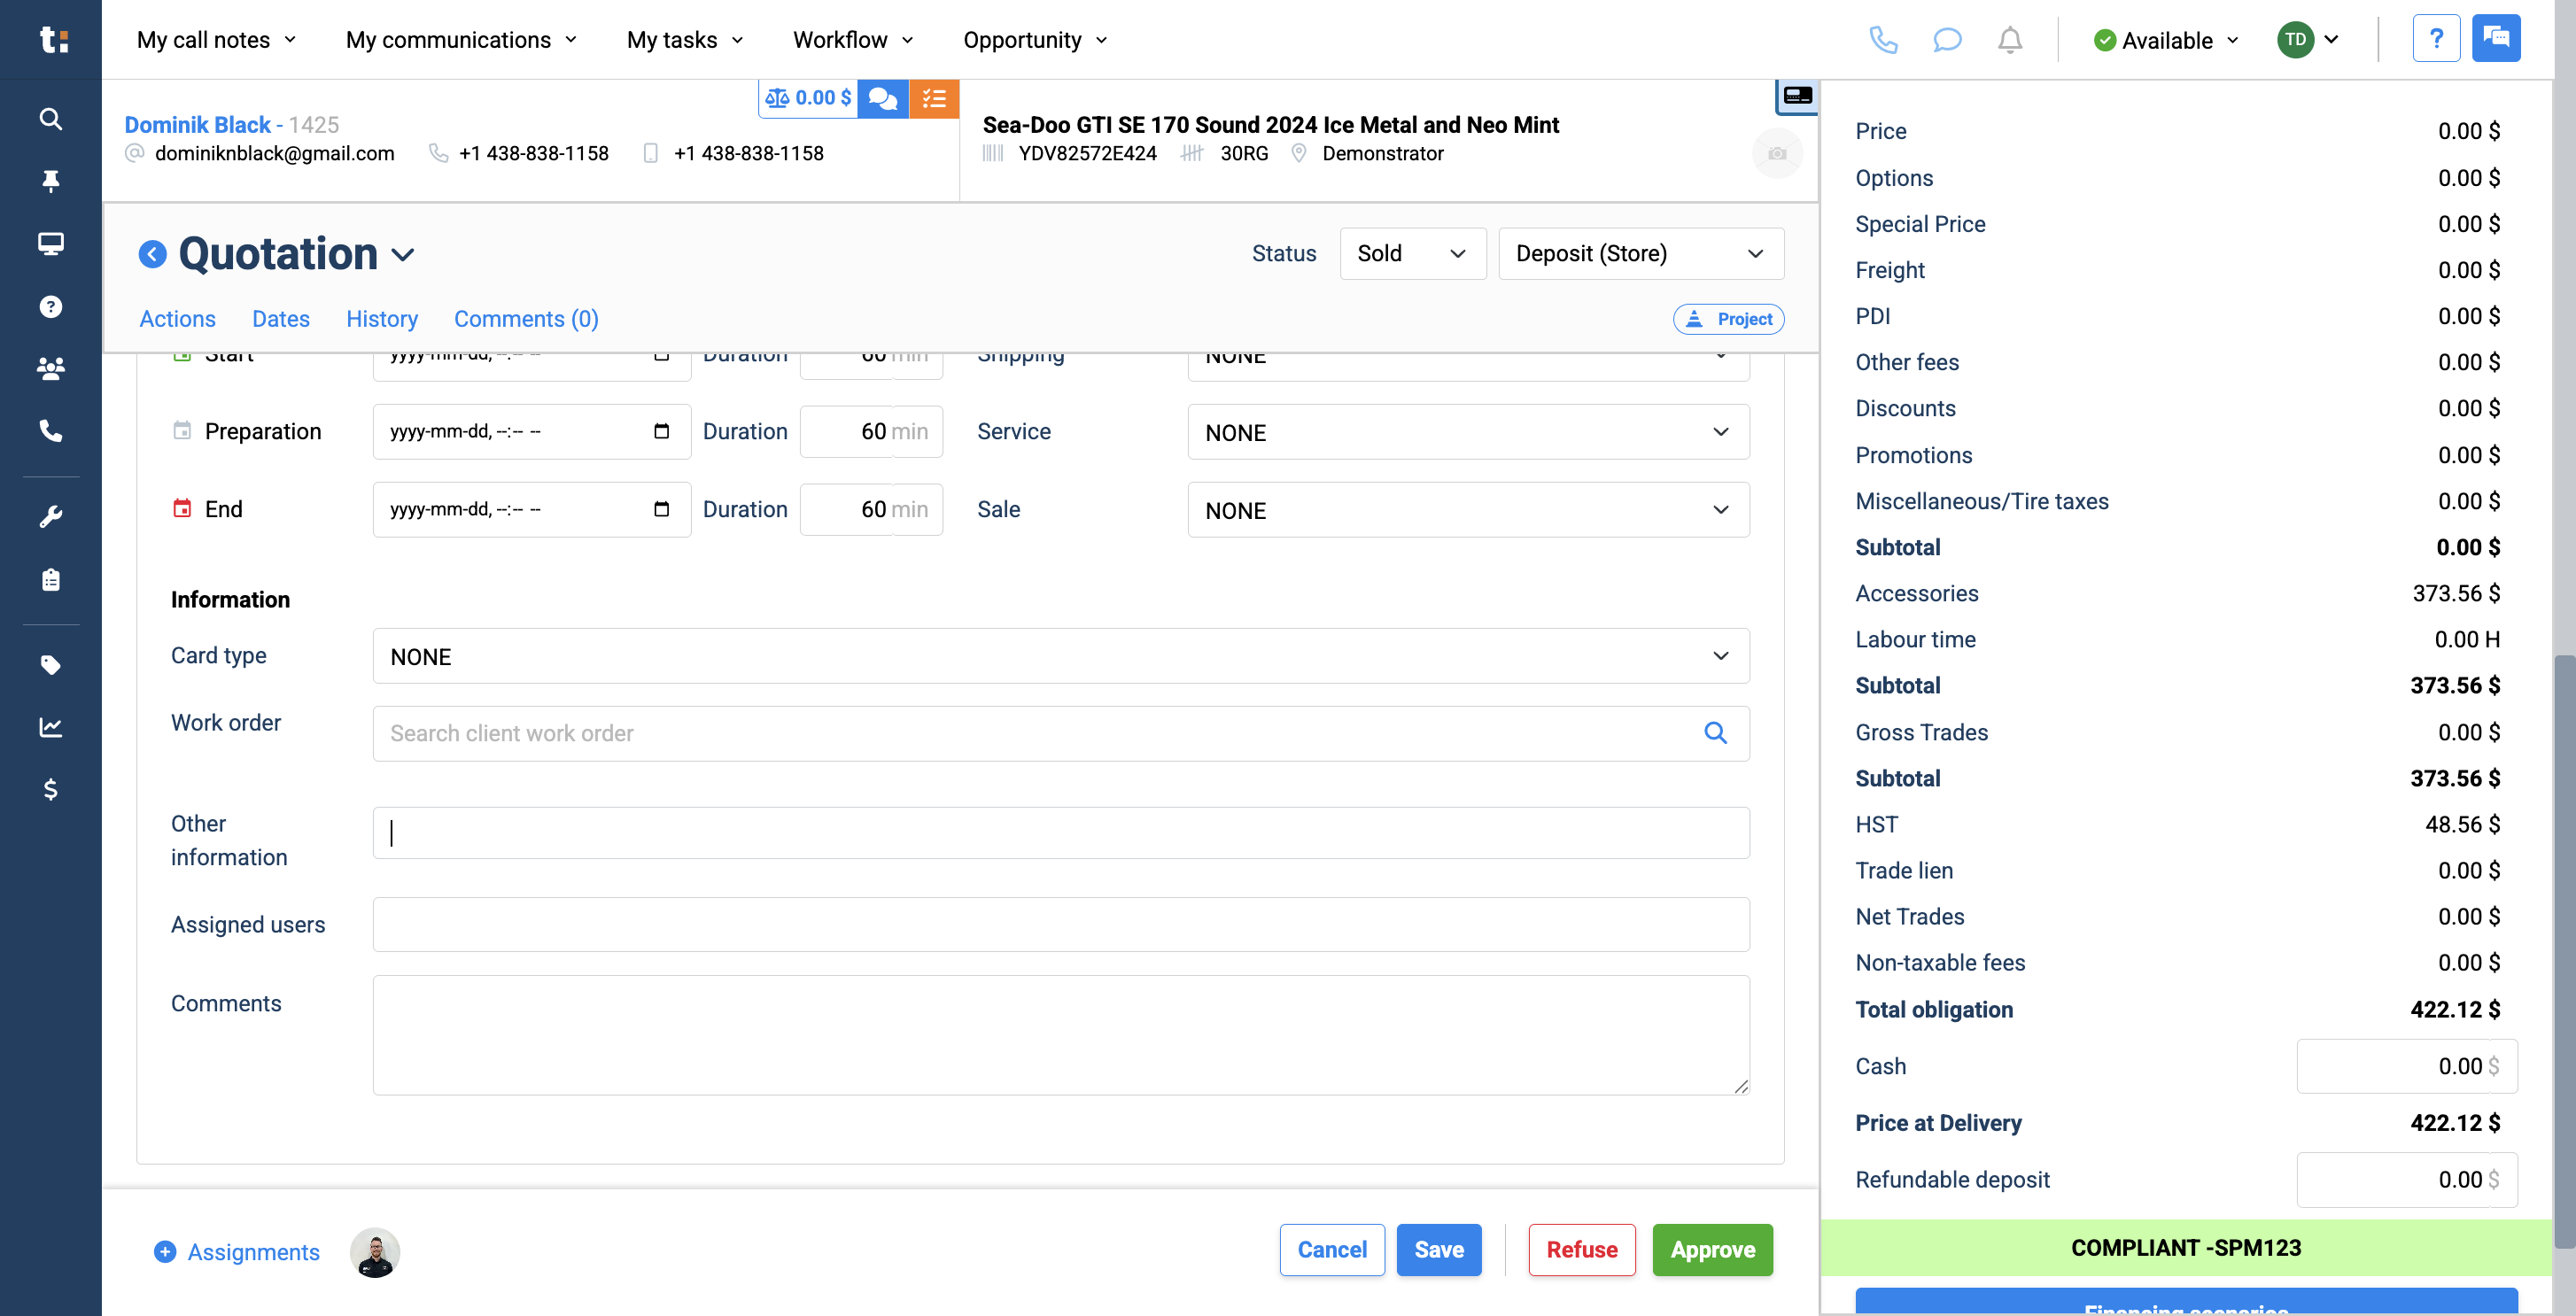
You can also assign other users to this card and add any comments you want.
17
18
After completing those steps, click Save.
19
If we view the selected workflow, we will see our card where we placed it.
If you still have questions after consulting this article, please feel free to contact our support team at: support@tractiondk.zohodesk.com