How to Add a Citation Using the Portal: Step-by-Step Guide
Learn how to add a citation using the portal, including selecting the correct location, entering citation details, and linking cases for Key West, Marathon, and Plantation Key. Follow this step-by-step guide to avoid errors and ensure accurate case management.
In this guide, we'll learn how to enter a citation using the portal system. This process involves identifying the correct location, entering citation and party details, and ensuring all required information is included. The goal is to accurately record citations and link them to the appropriate case files.
Let's get started
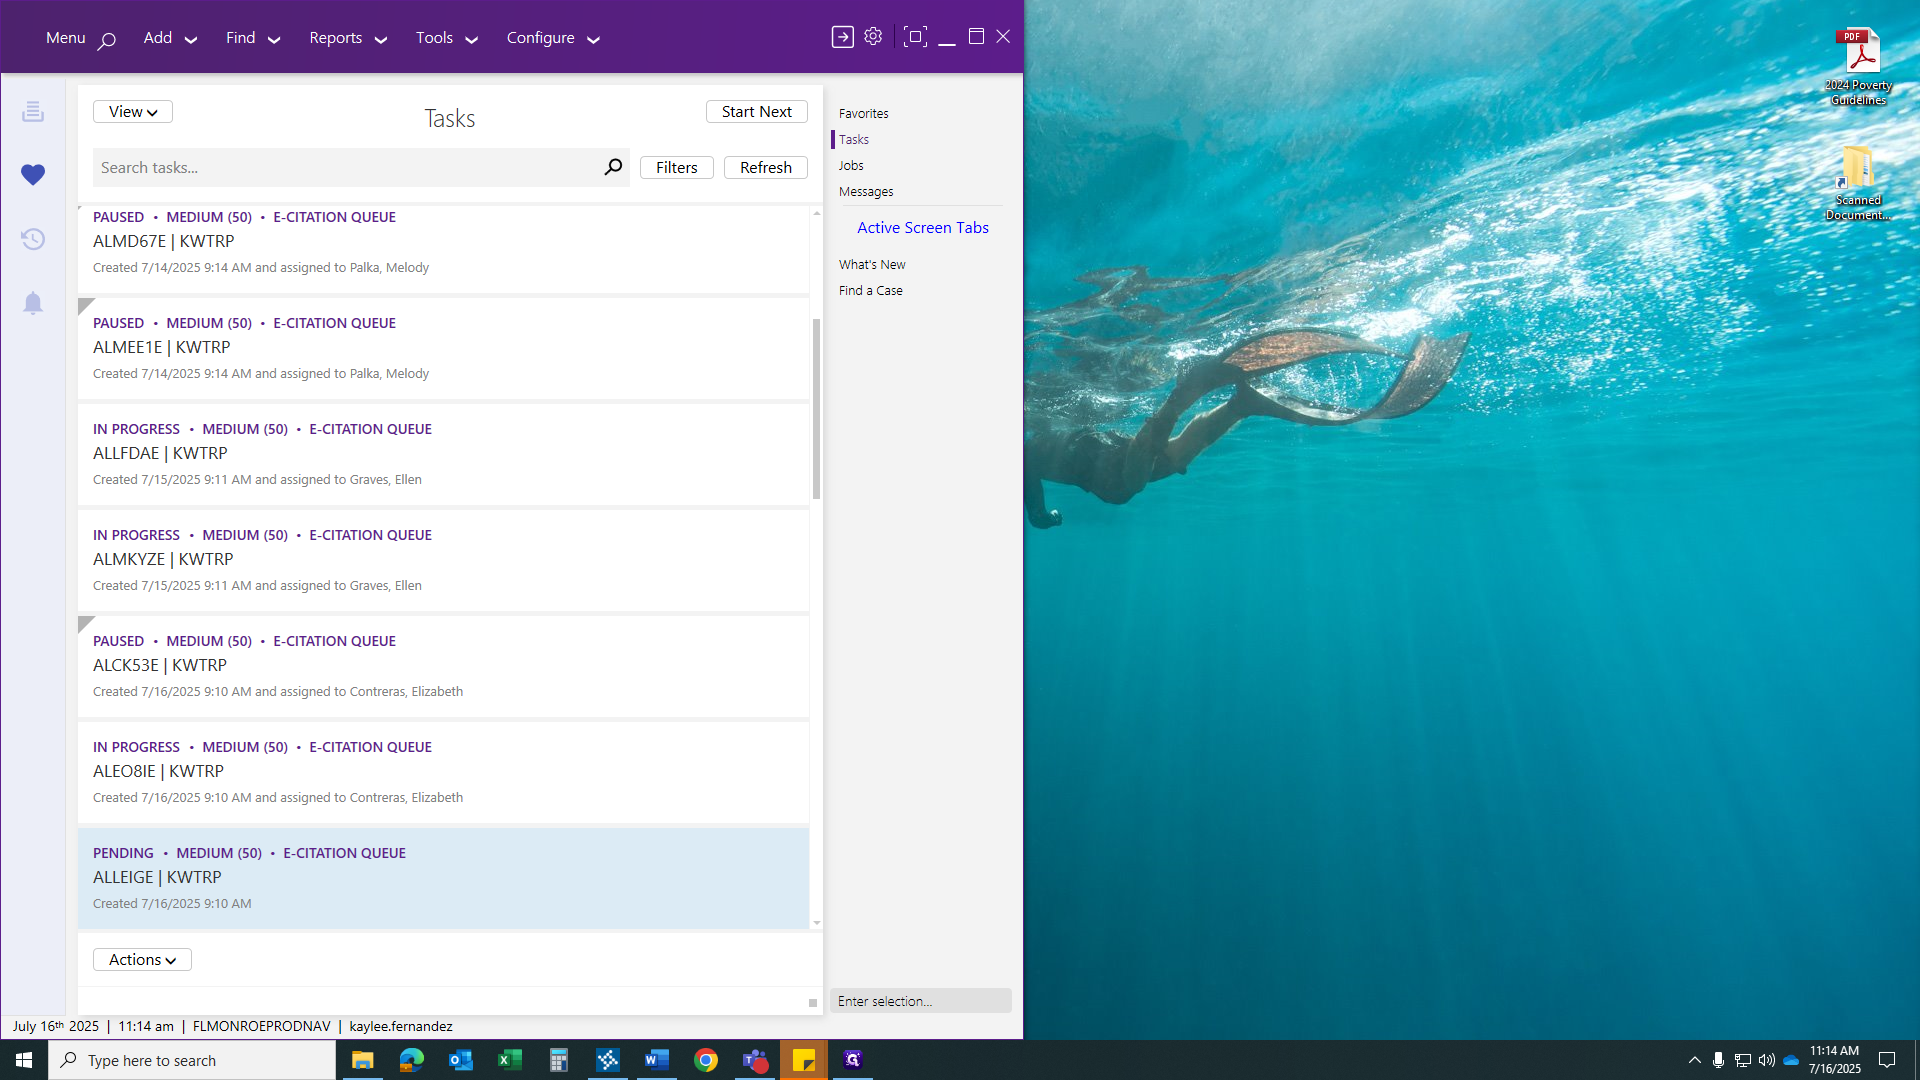
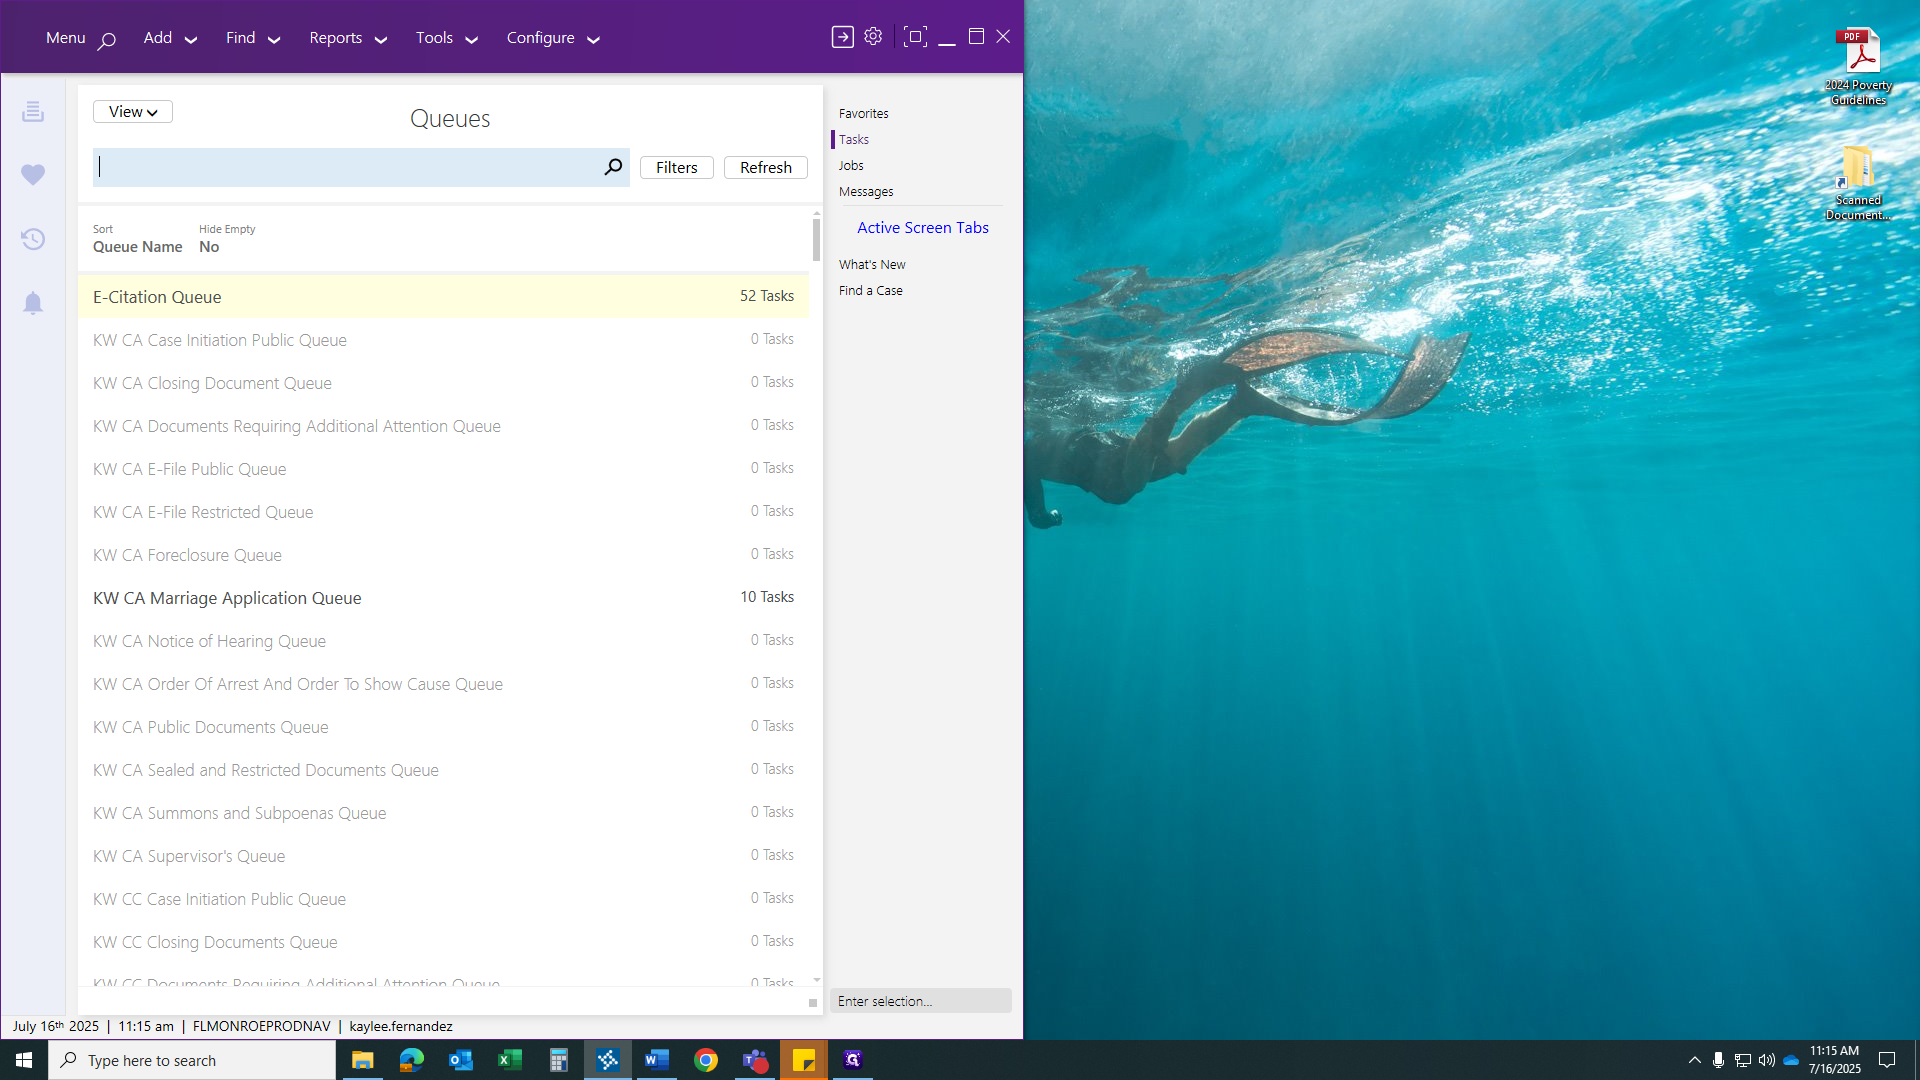
Hello, everyone. Let's learn how to add a citation using the portal. To begin, locate your task. It should be at the top right. After you click on Task, all available queues will be displayed.
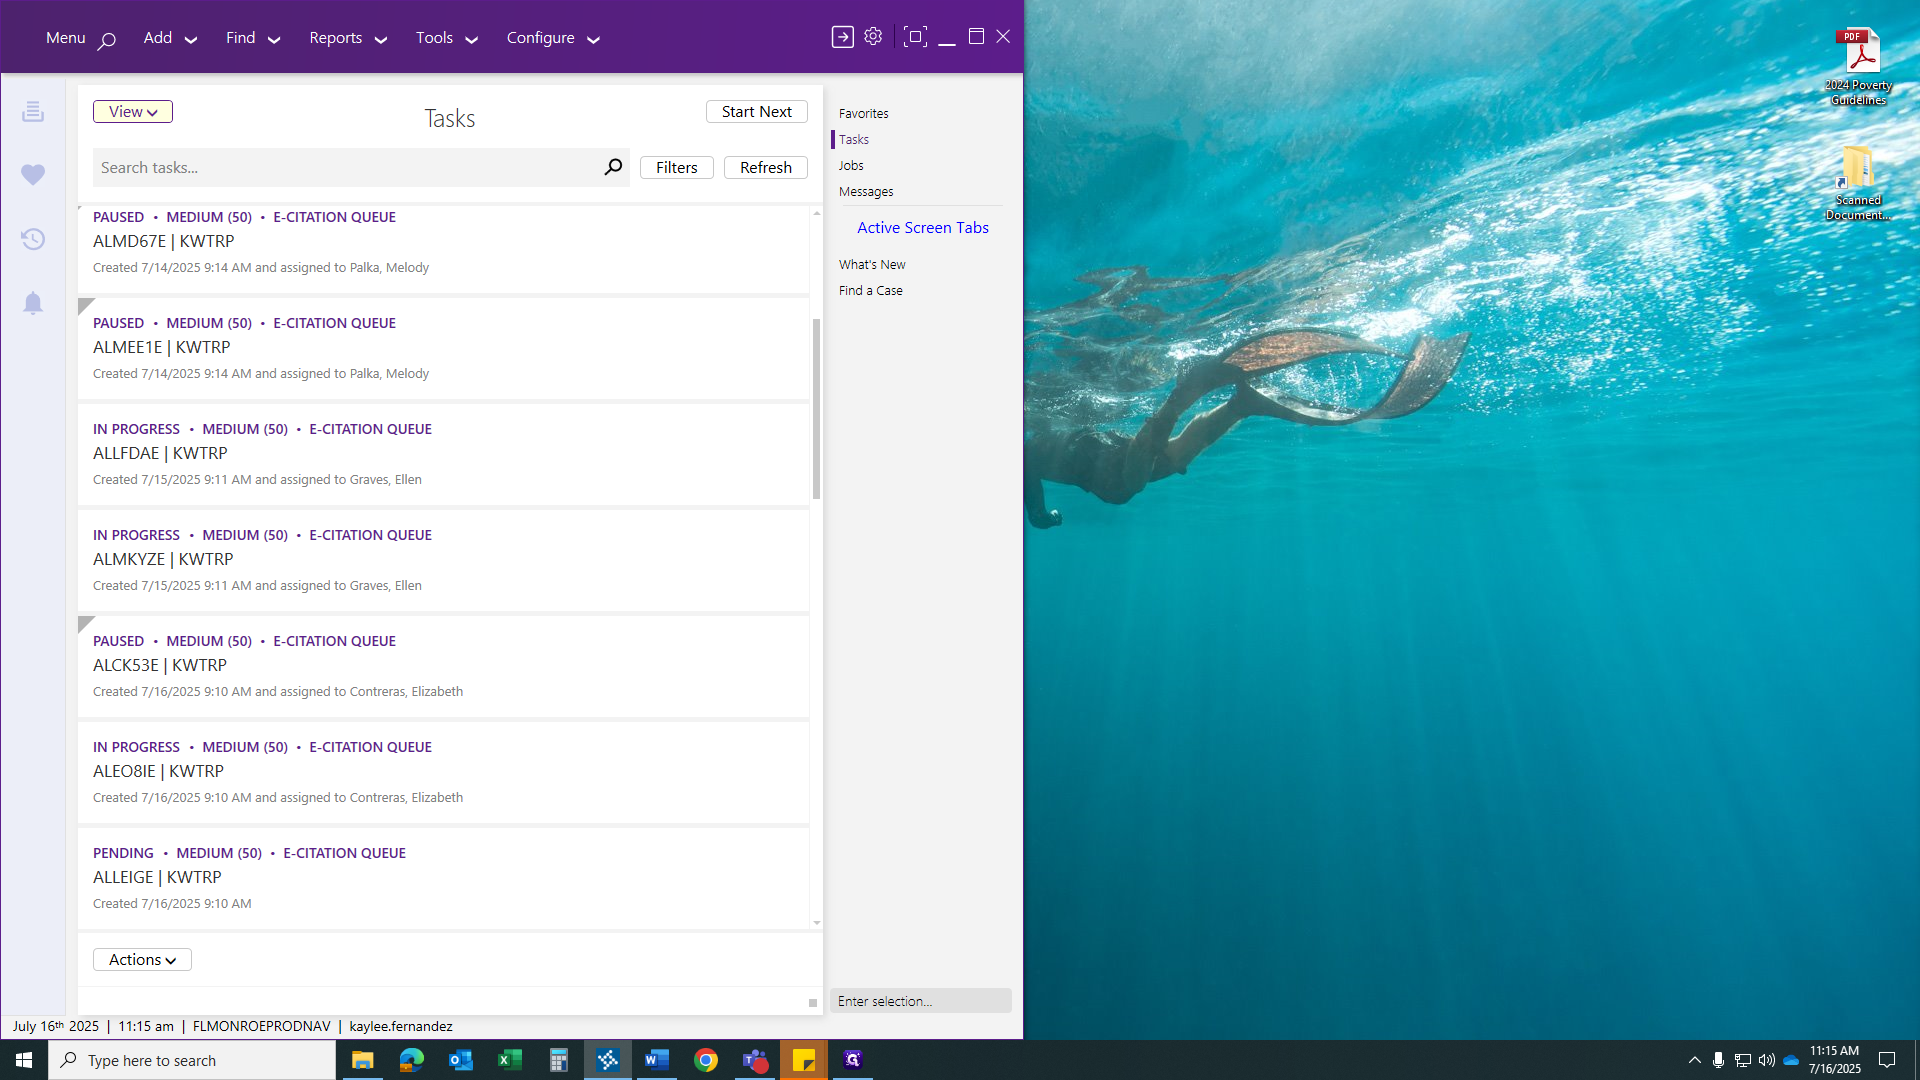

Each citation queue will contain all the citations for every location: Key West, Marathon, and Plantation Key. After you select the citation and click Start Next, you will be taken to the next available citation that no one is currently working on.
Once you click Start Next, your citation will appear.

To determine where to start, focus on identifying the location associated with the citation.
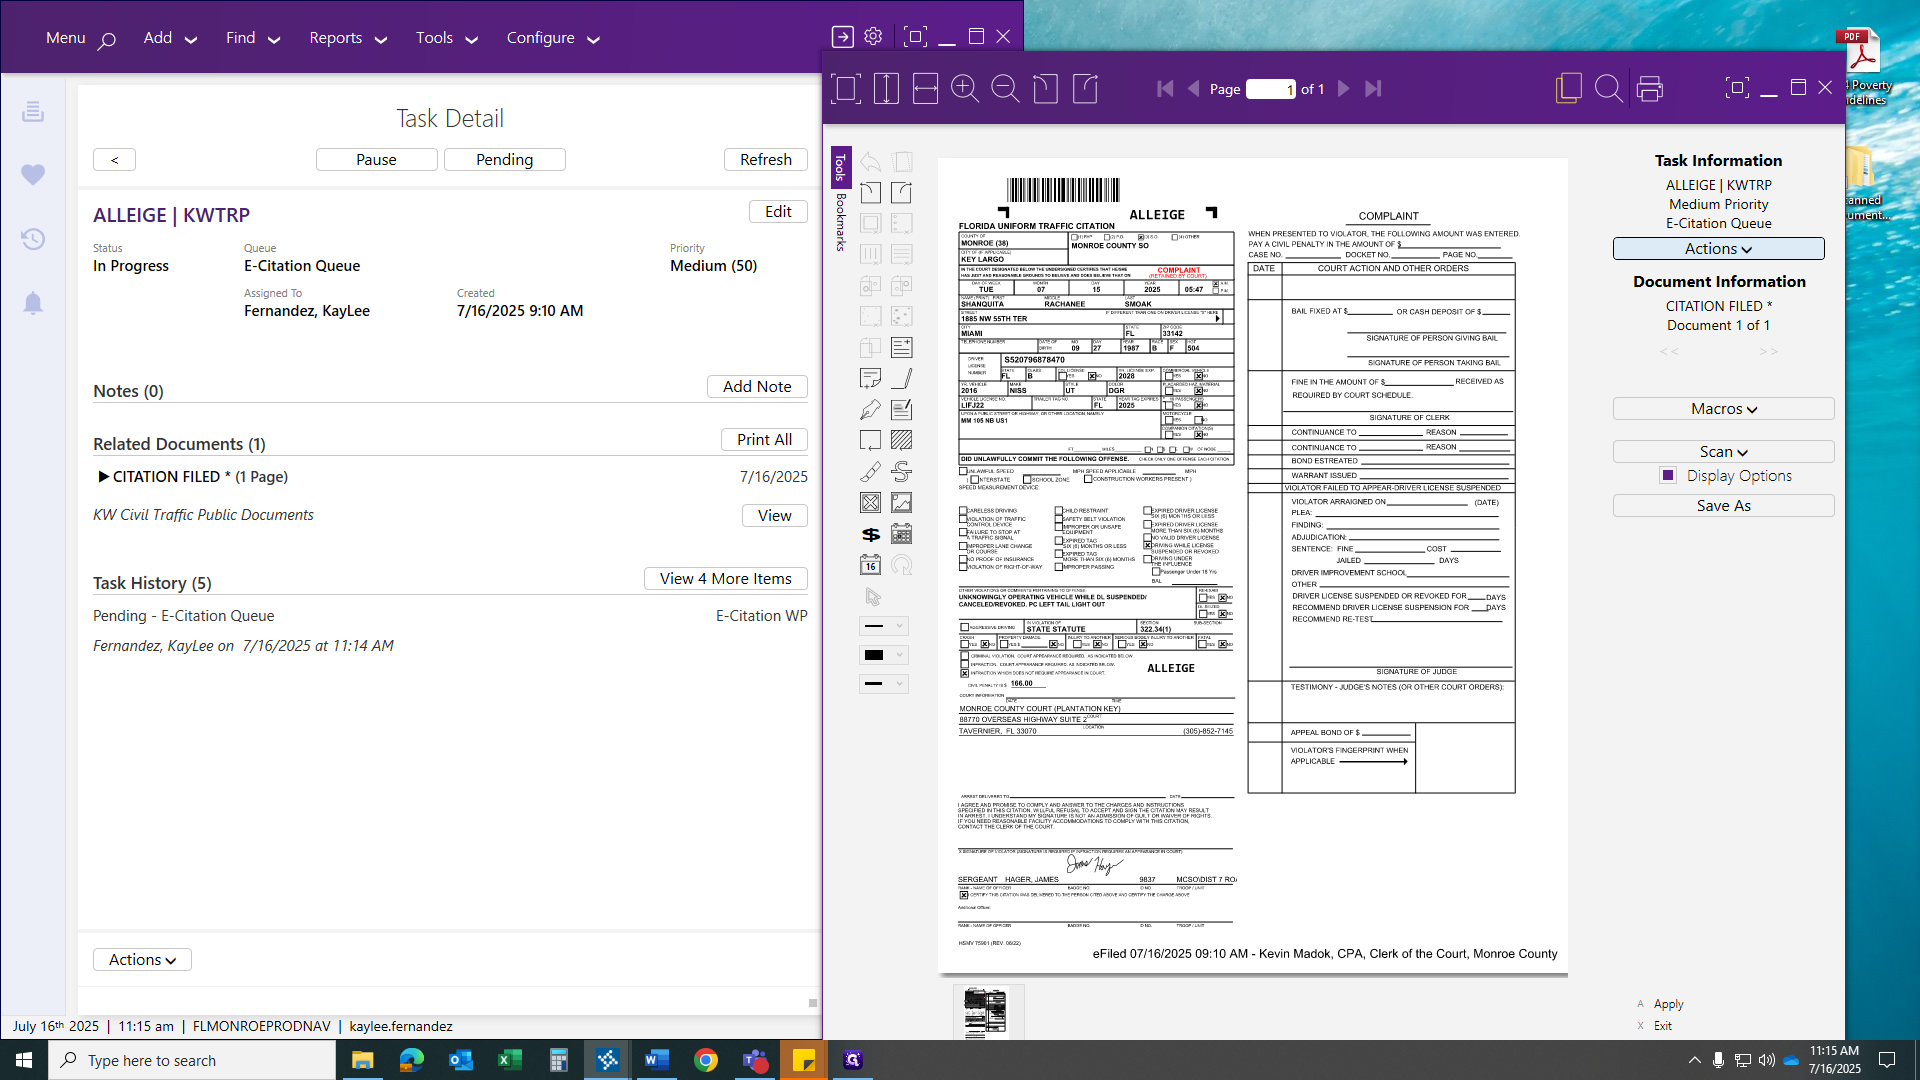

In the middle section, you should see the street name or mile marker where the incident happened. Also, check the statute number.
Some citatons in the queue can be linked to misdemeanor or felony cases. Make sure you have Appendix C for all citations and statutes to verify if it is a misdemeanor case. When you enter the case and input the code, if it shows a felony or misdemeanor, stop immediately. Make sure the citation is printed, removed from the queue, and given to the correct office to add to their pending case. In this case, the driver's license was unknowingly suspended, which is a payable infraction. The location is mile marker 105, Plantation Key.
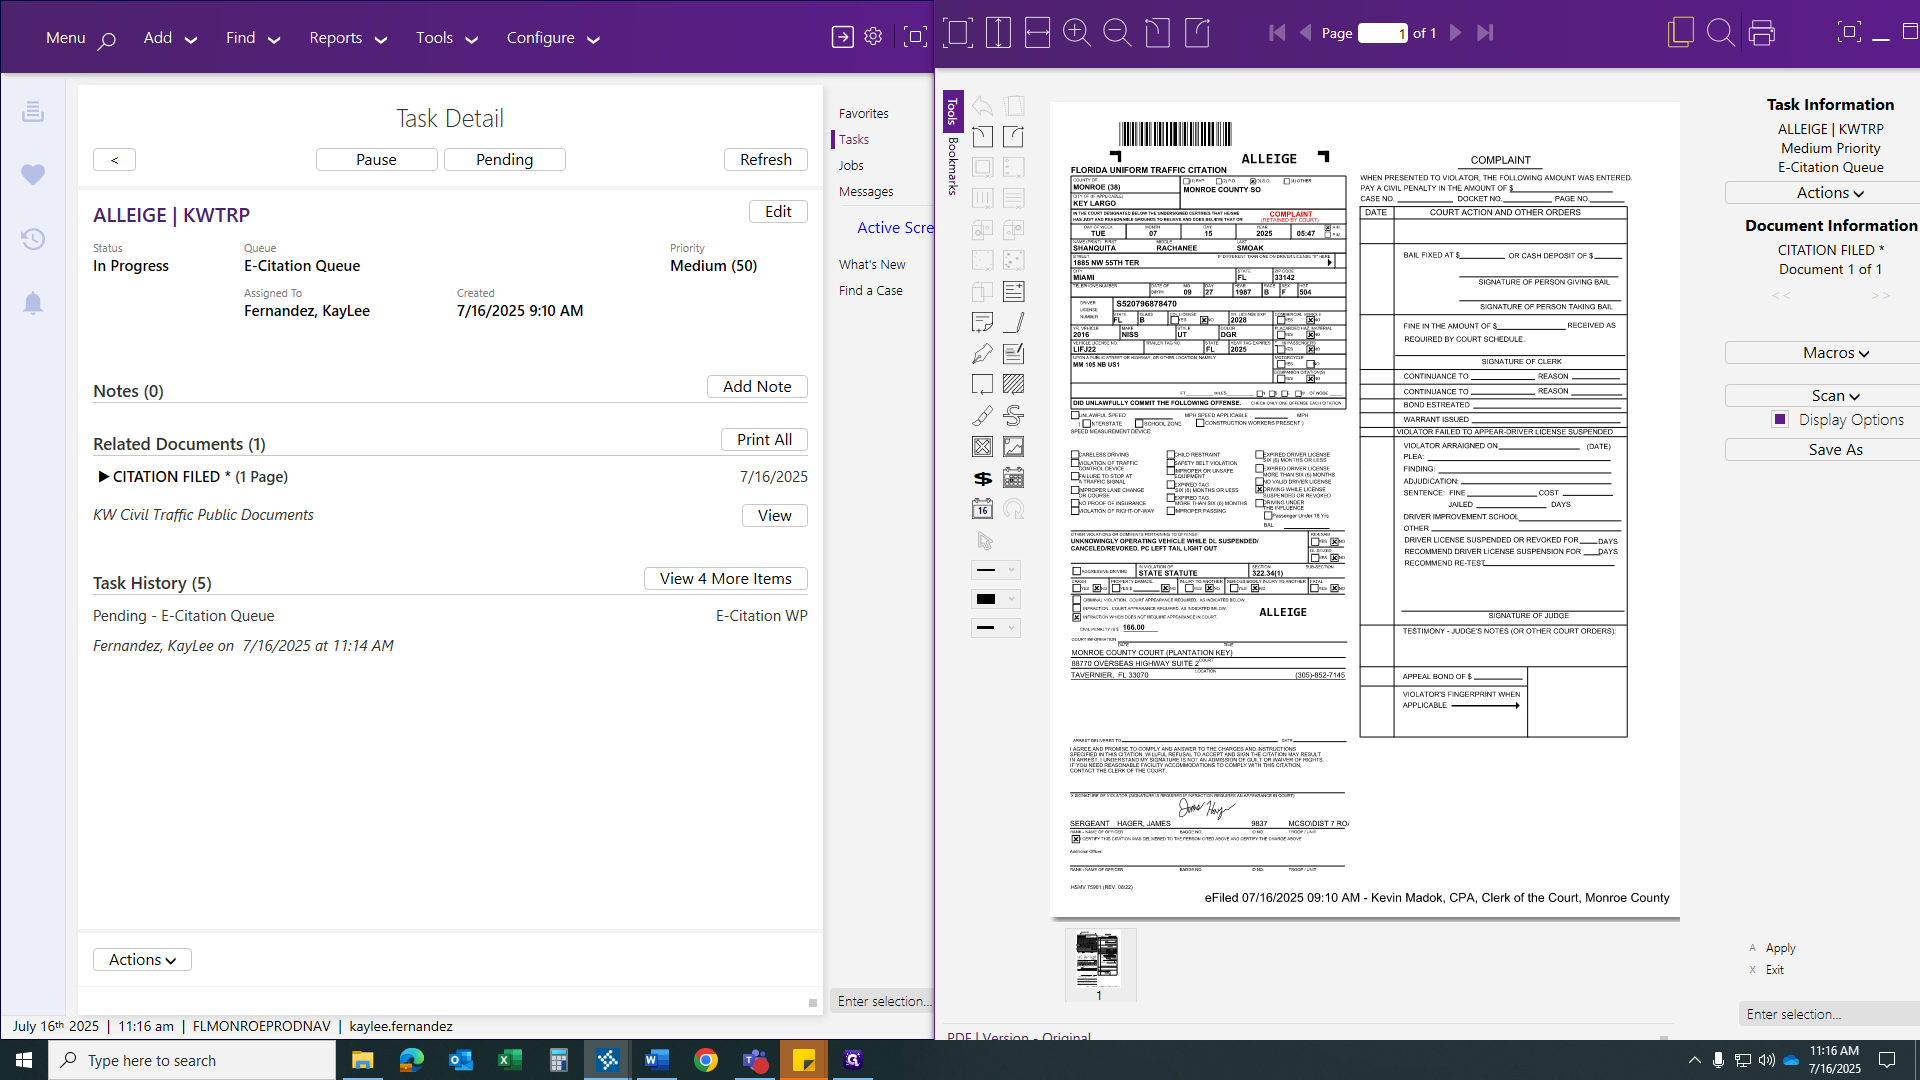
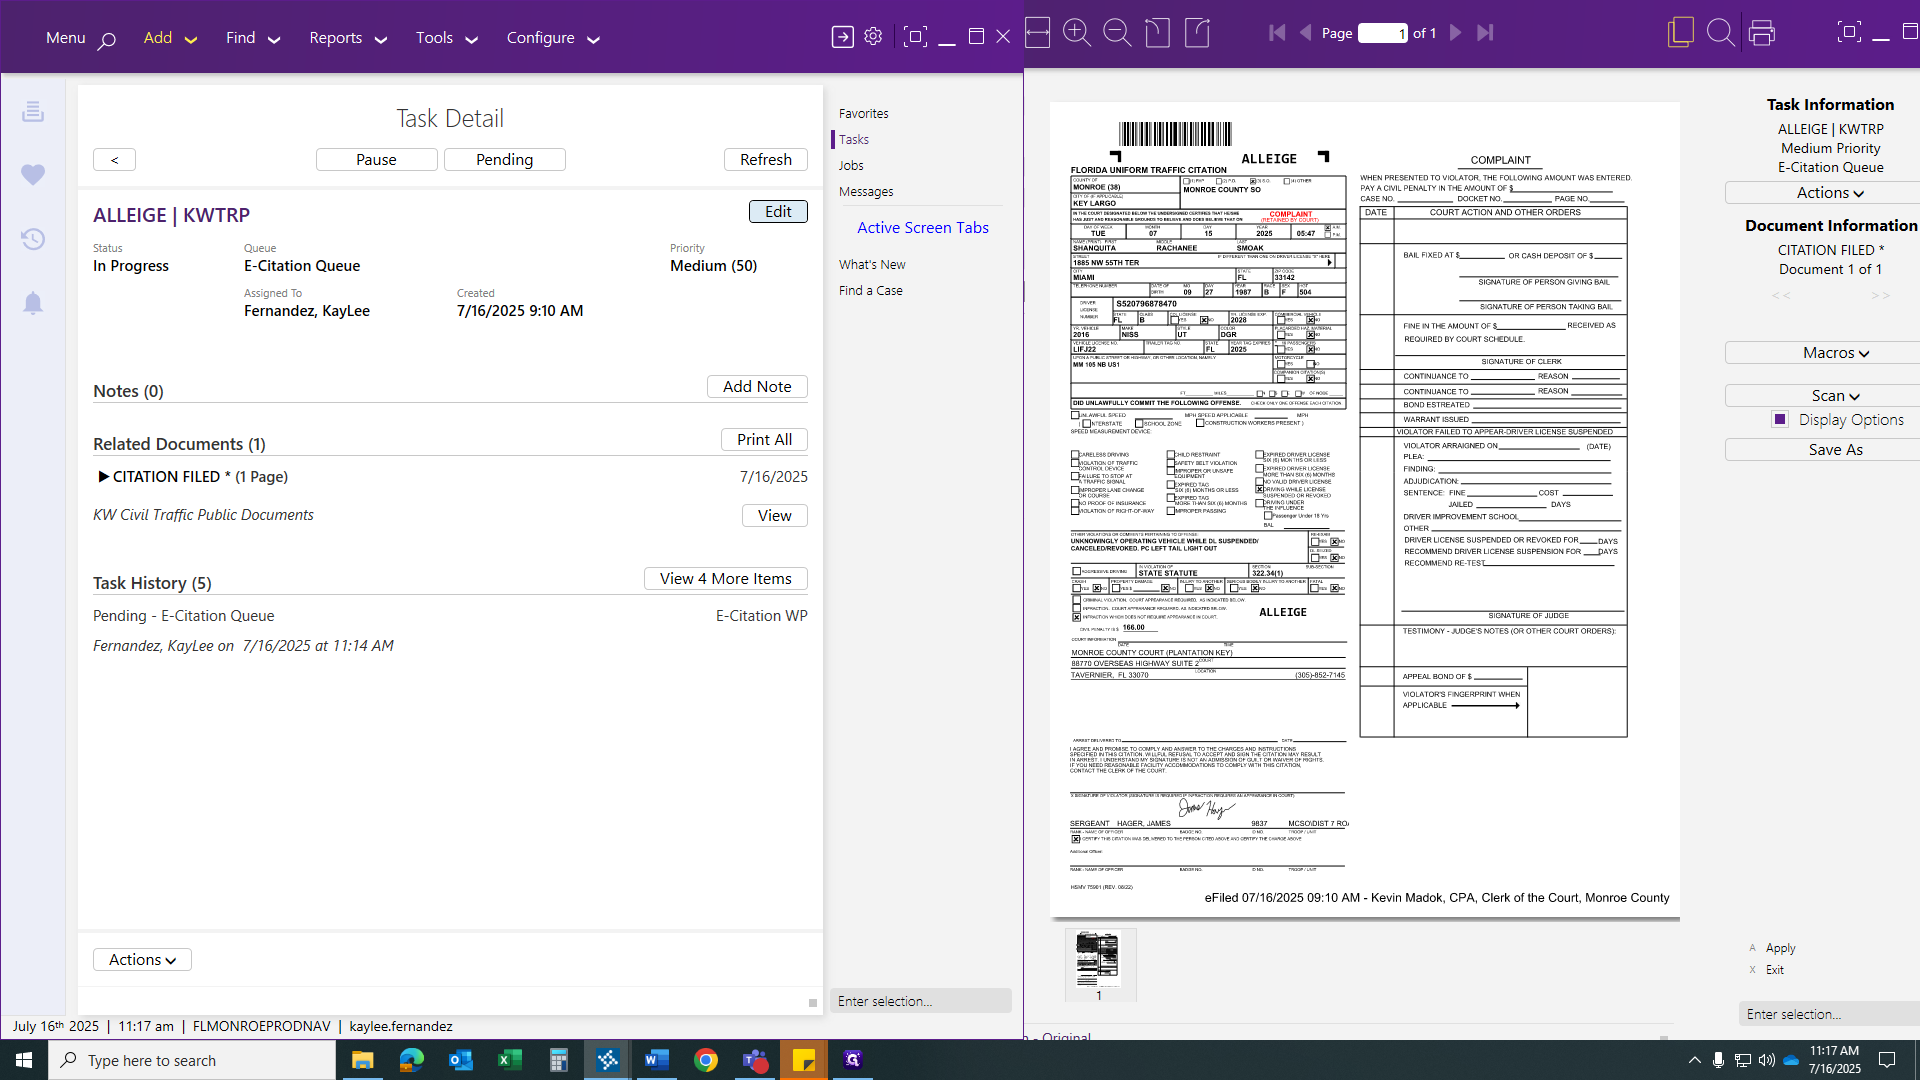
A key point to include when adding citations is the mile marker locations. For Key West, you will have 1 through 34.5. From Marathon, the range is 35 to 69. For Plantation Key, the range is 70 to 113. Anything over 113 is considered the Homestead or Miami-Dade area. Now that we know we are working on a Plantation citation, we will add it.
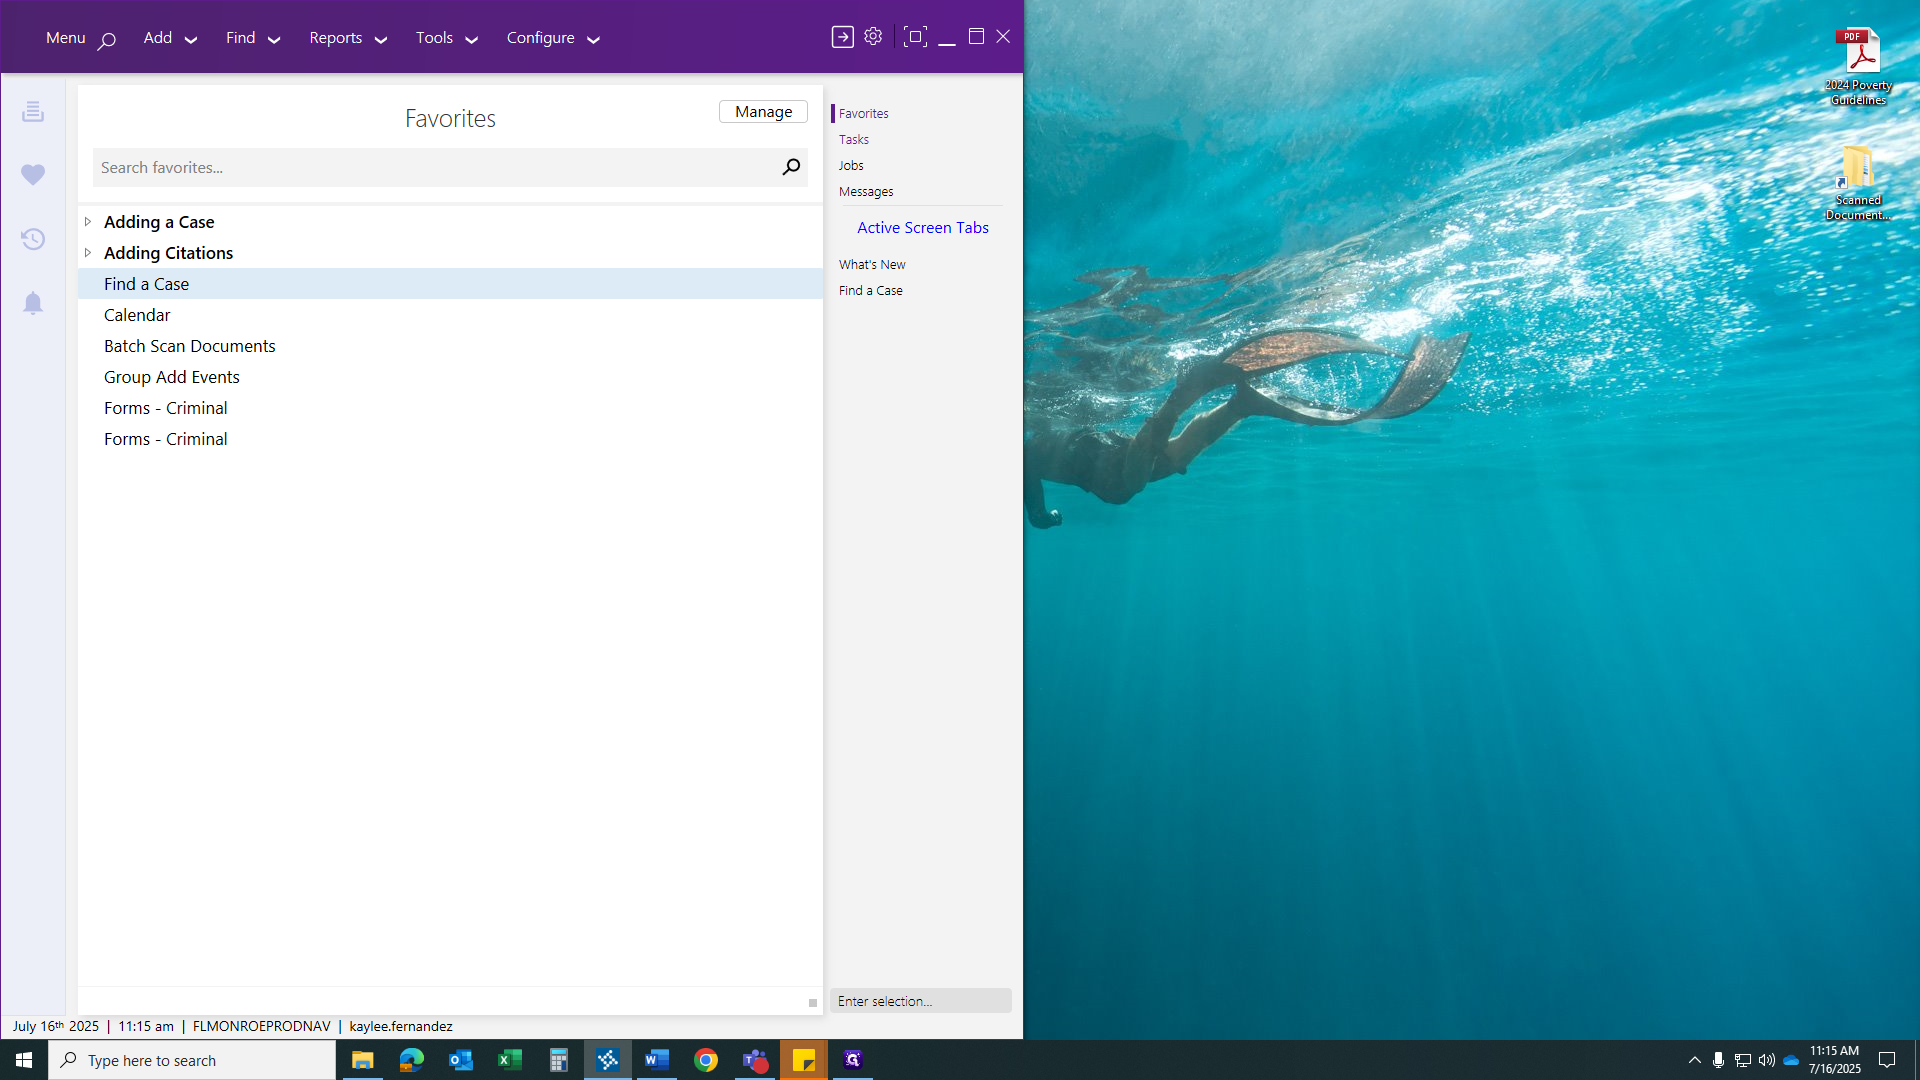
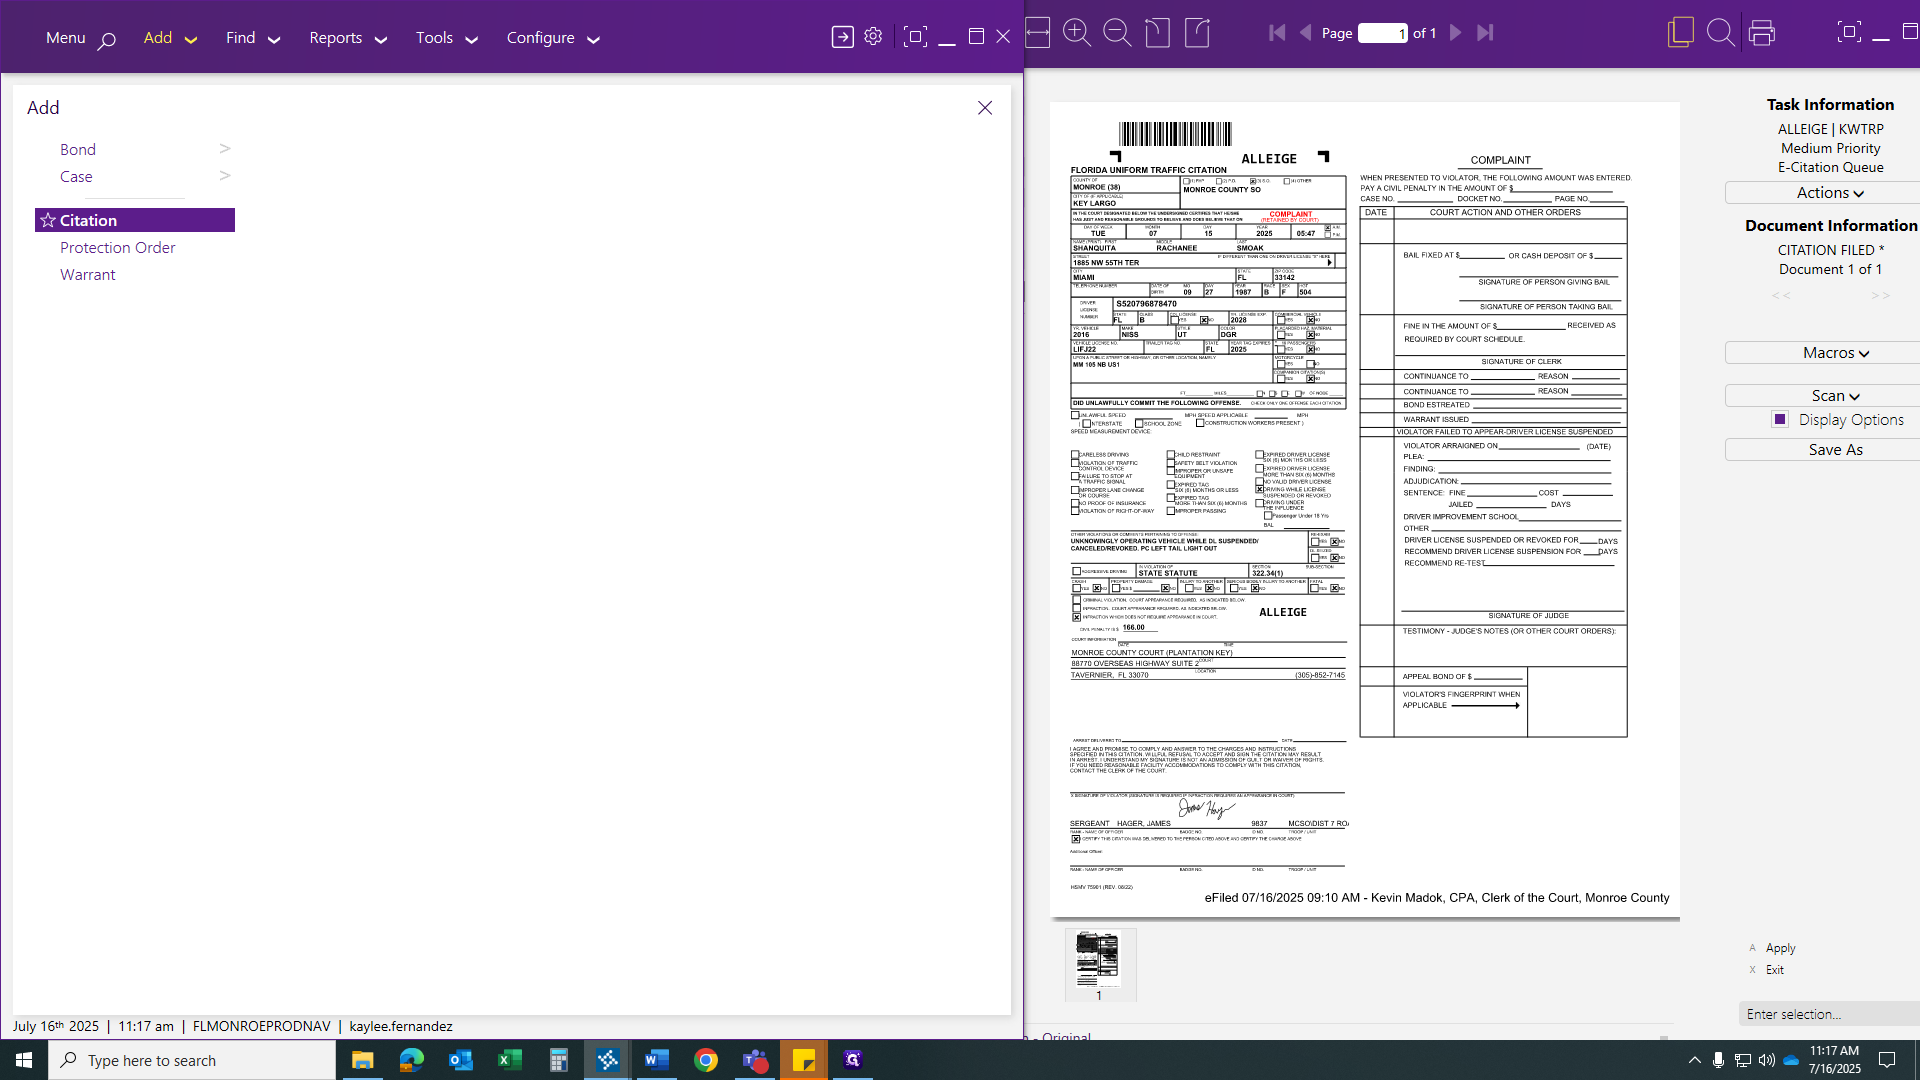
After clicking Add, select Citation.
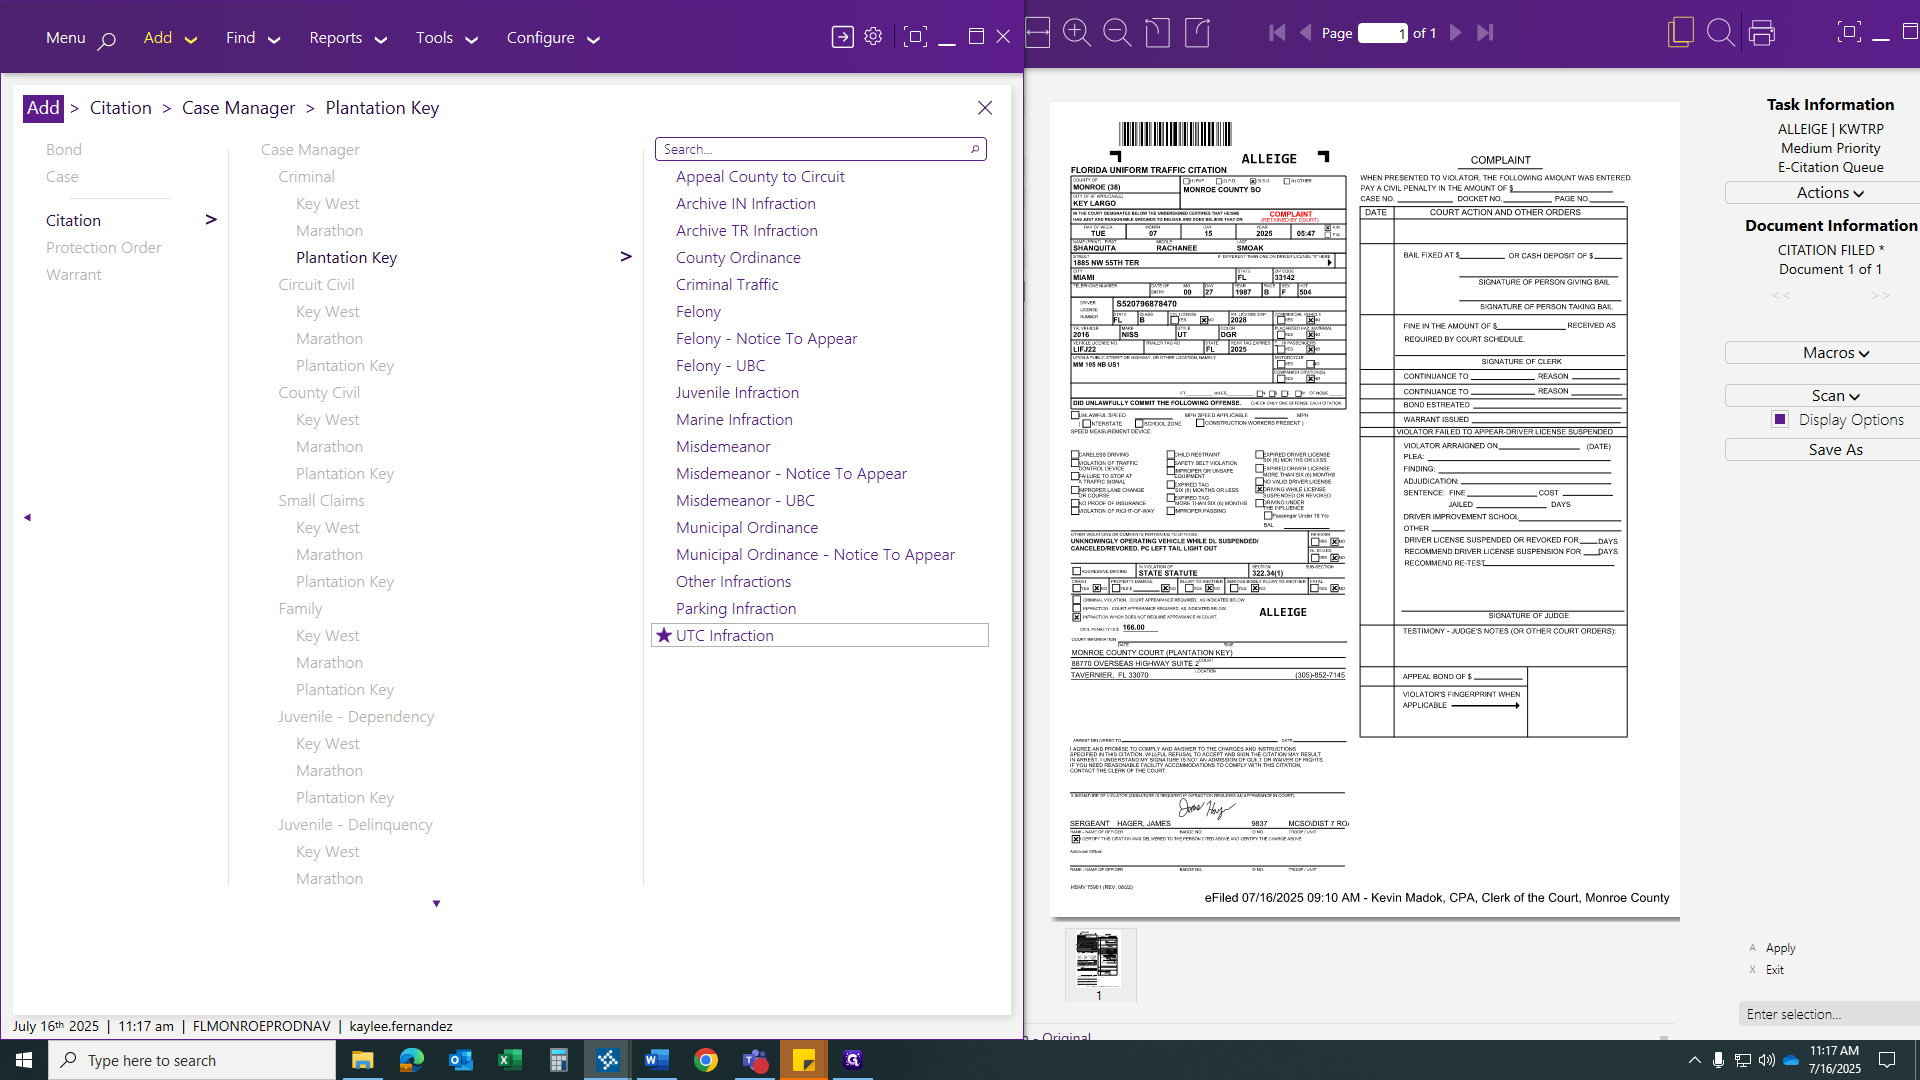
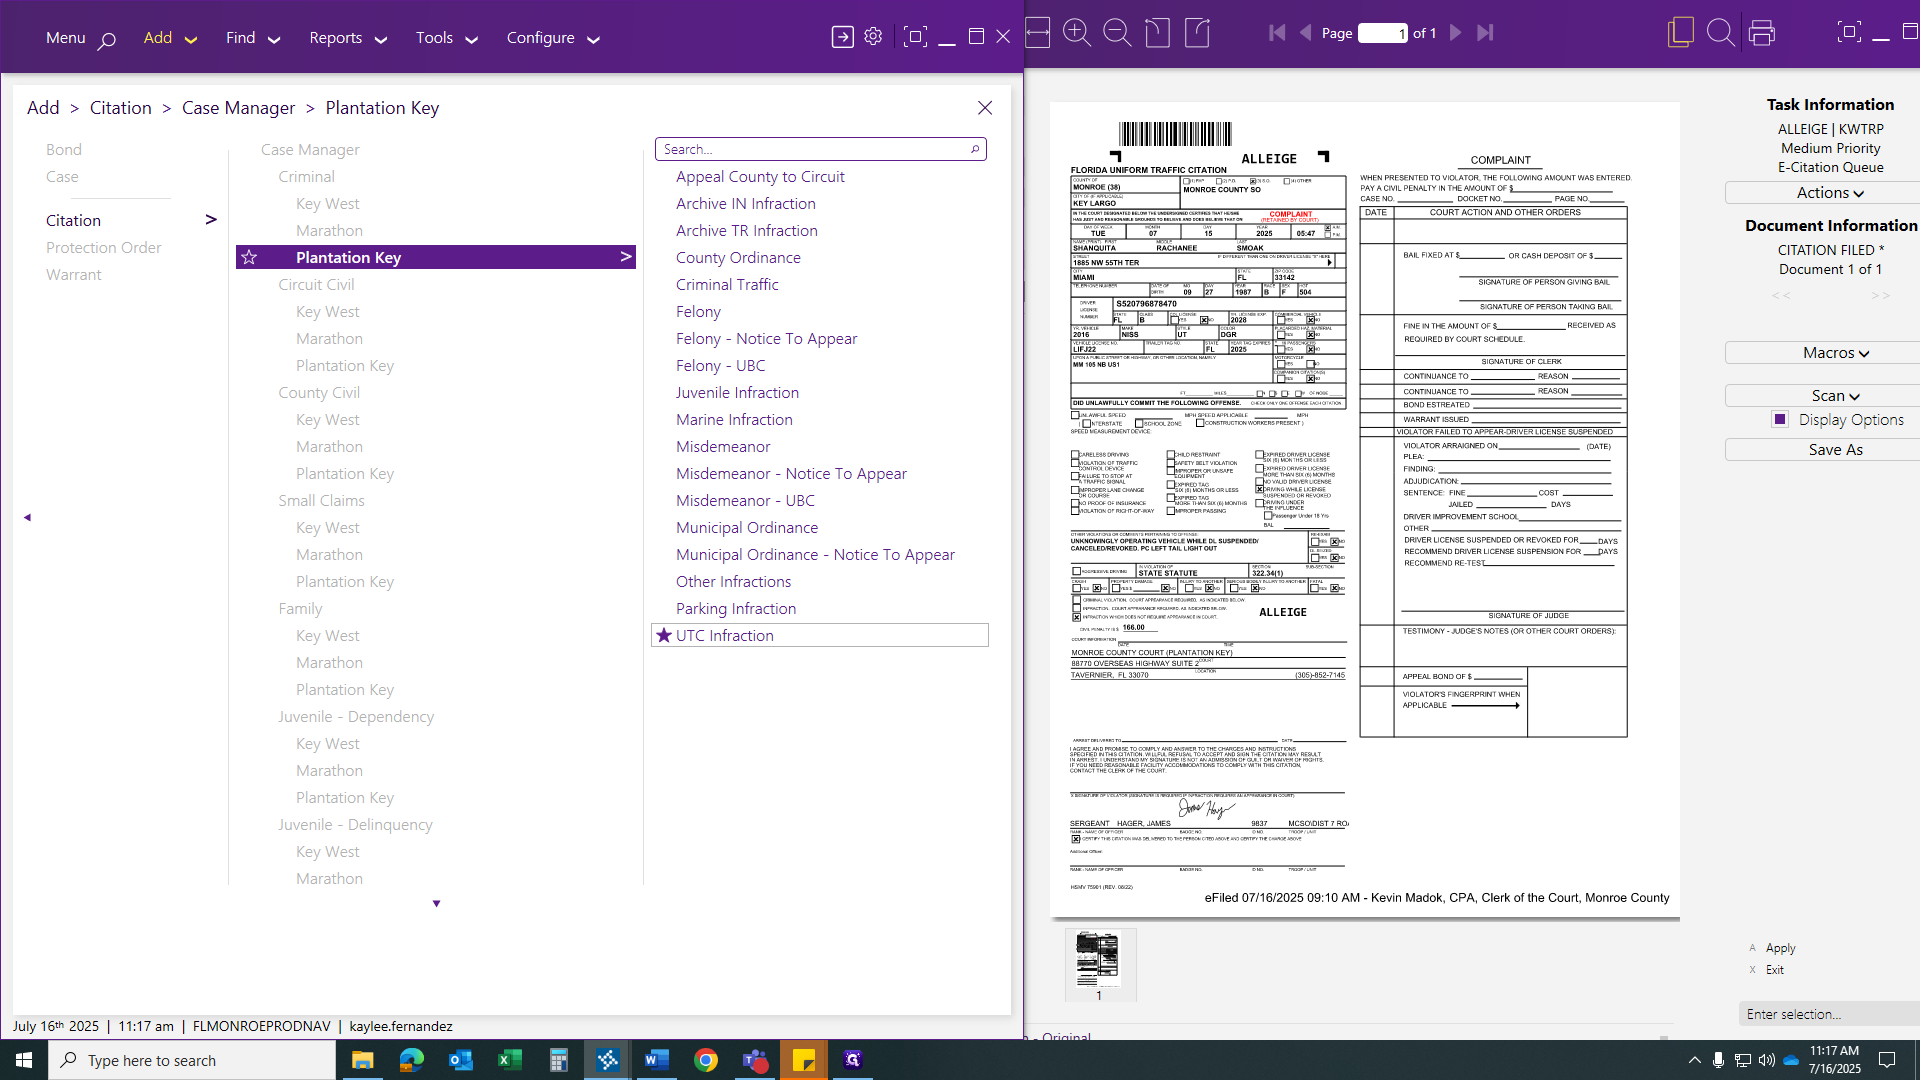
Under Criminal, you will find Key West, Marathon, and Plantation Key. We will be working with Plantation, so click on Plantation.
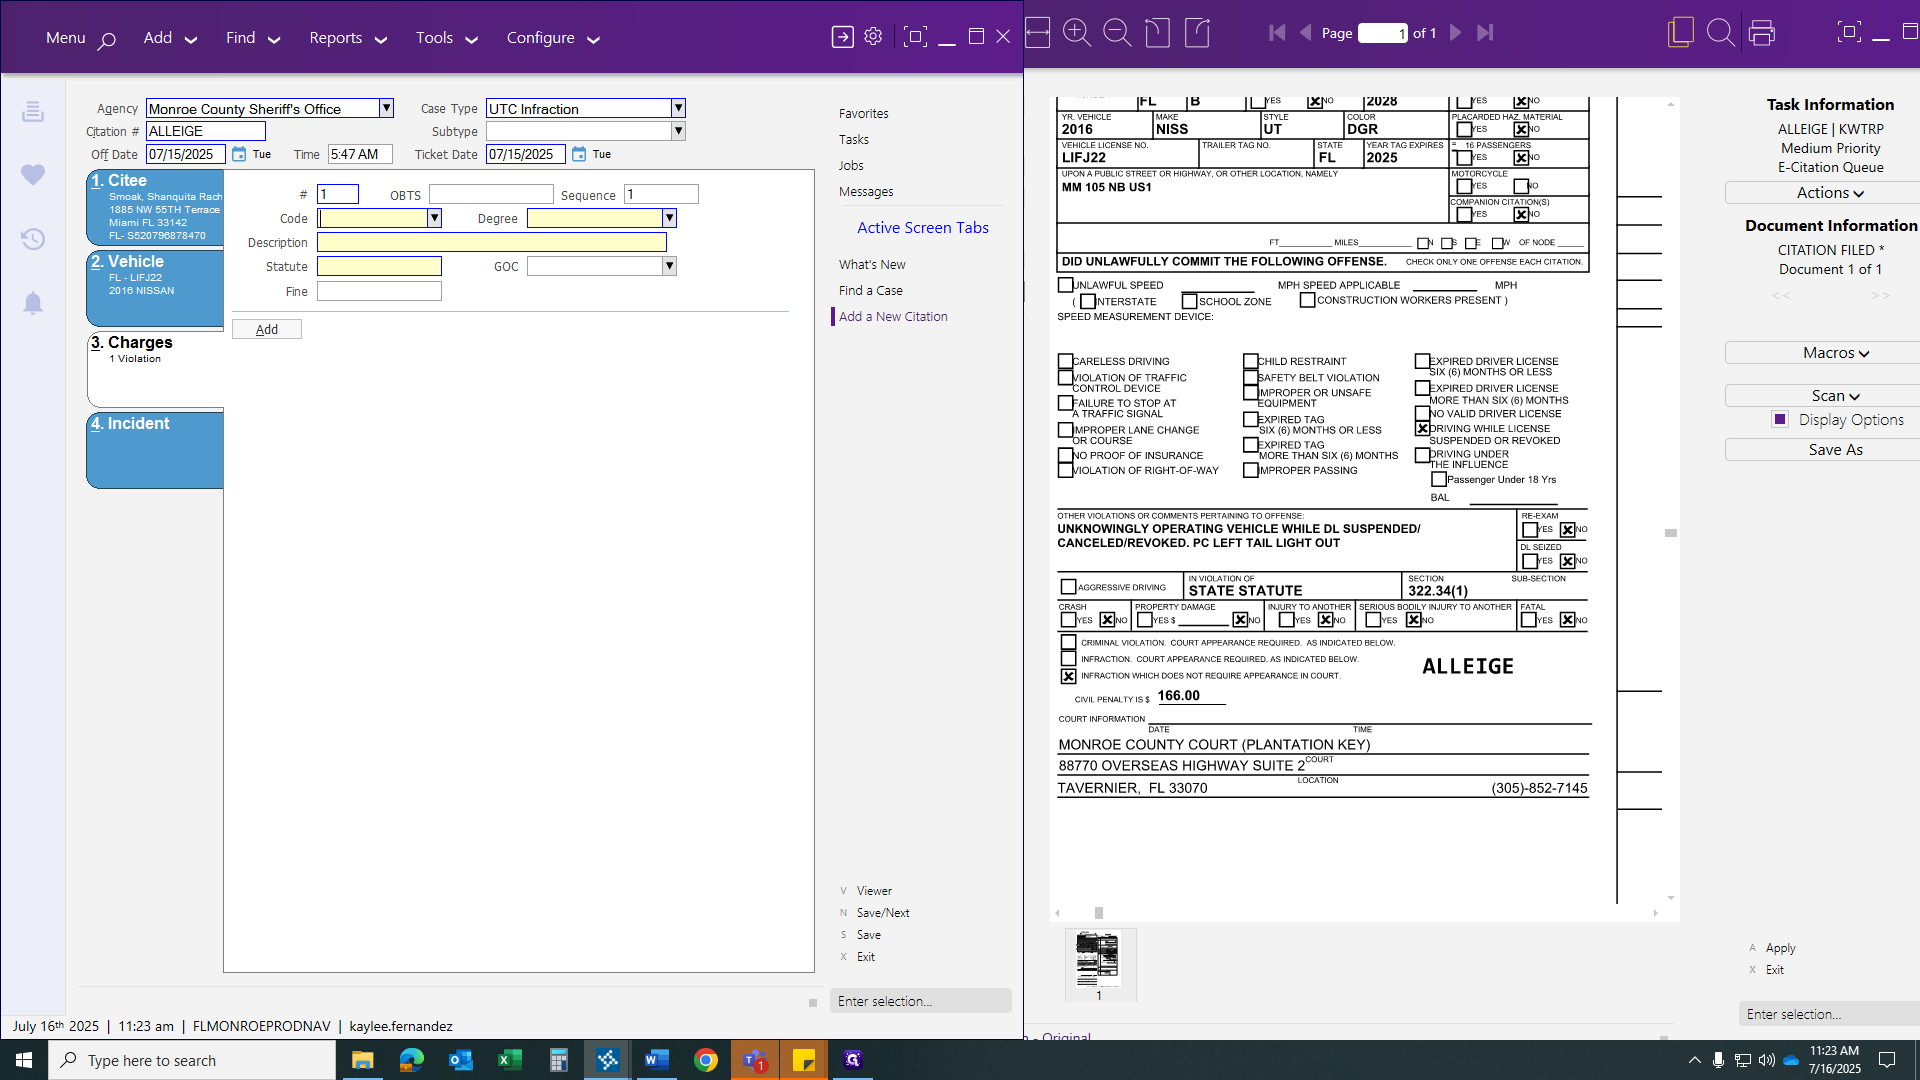
This next area will appear. You will mainly use this for marine infractions, parking infractions, or basic UTC infractions. That will cover all your speeding tickets, traffic violations, and similar issues. After clicking on the UTC Infraction, you will be prompted to enter all your data into Odyssey.

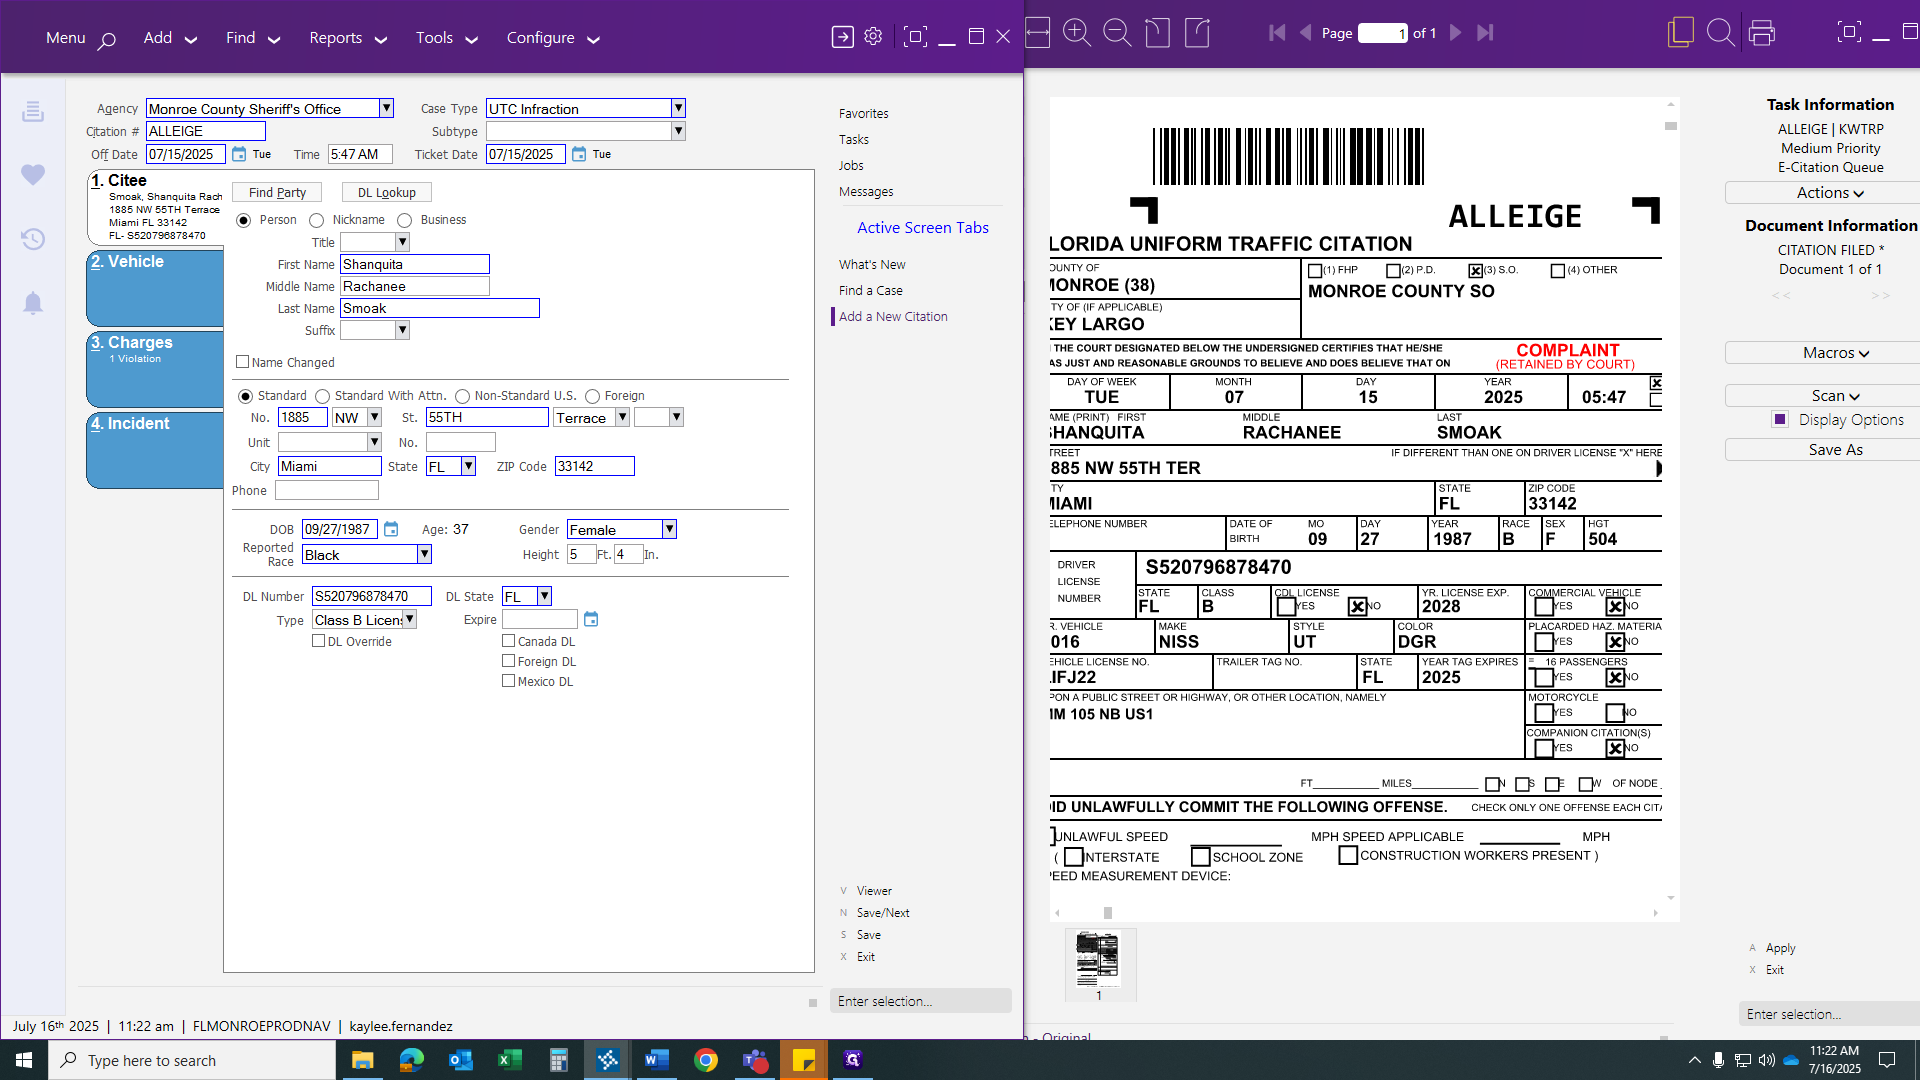
The first section appears at the top and shows the name of the officer or trooper involved.
Here we have the Monroe County Sheriff's Office. You would either write or select Monroe County Sheriff's Office. If the citation number did not carry over, enter it manually.

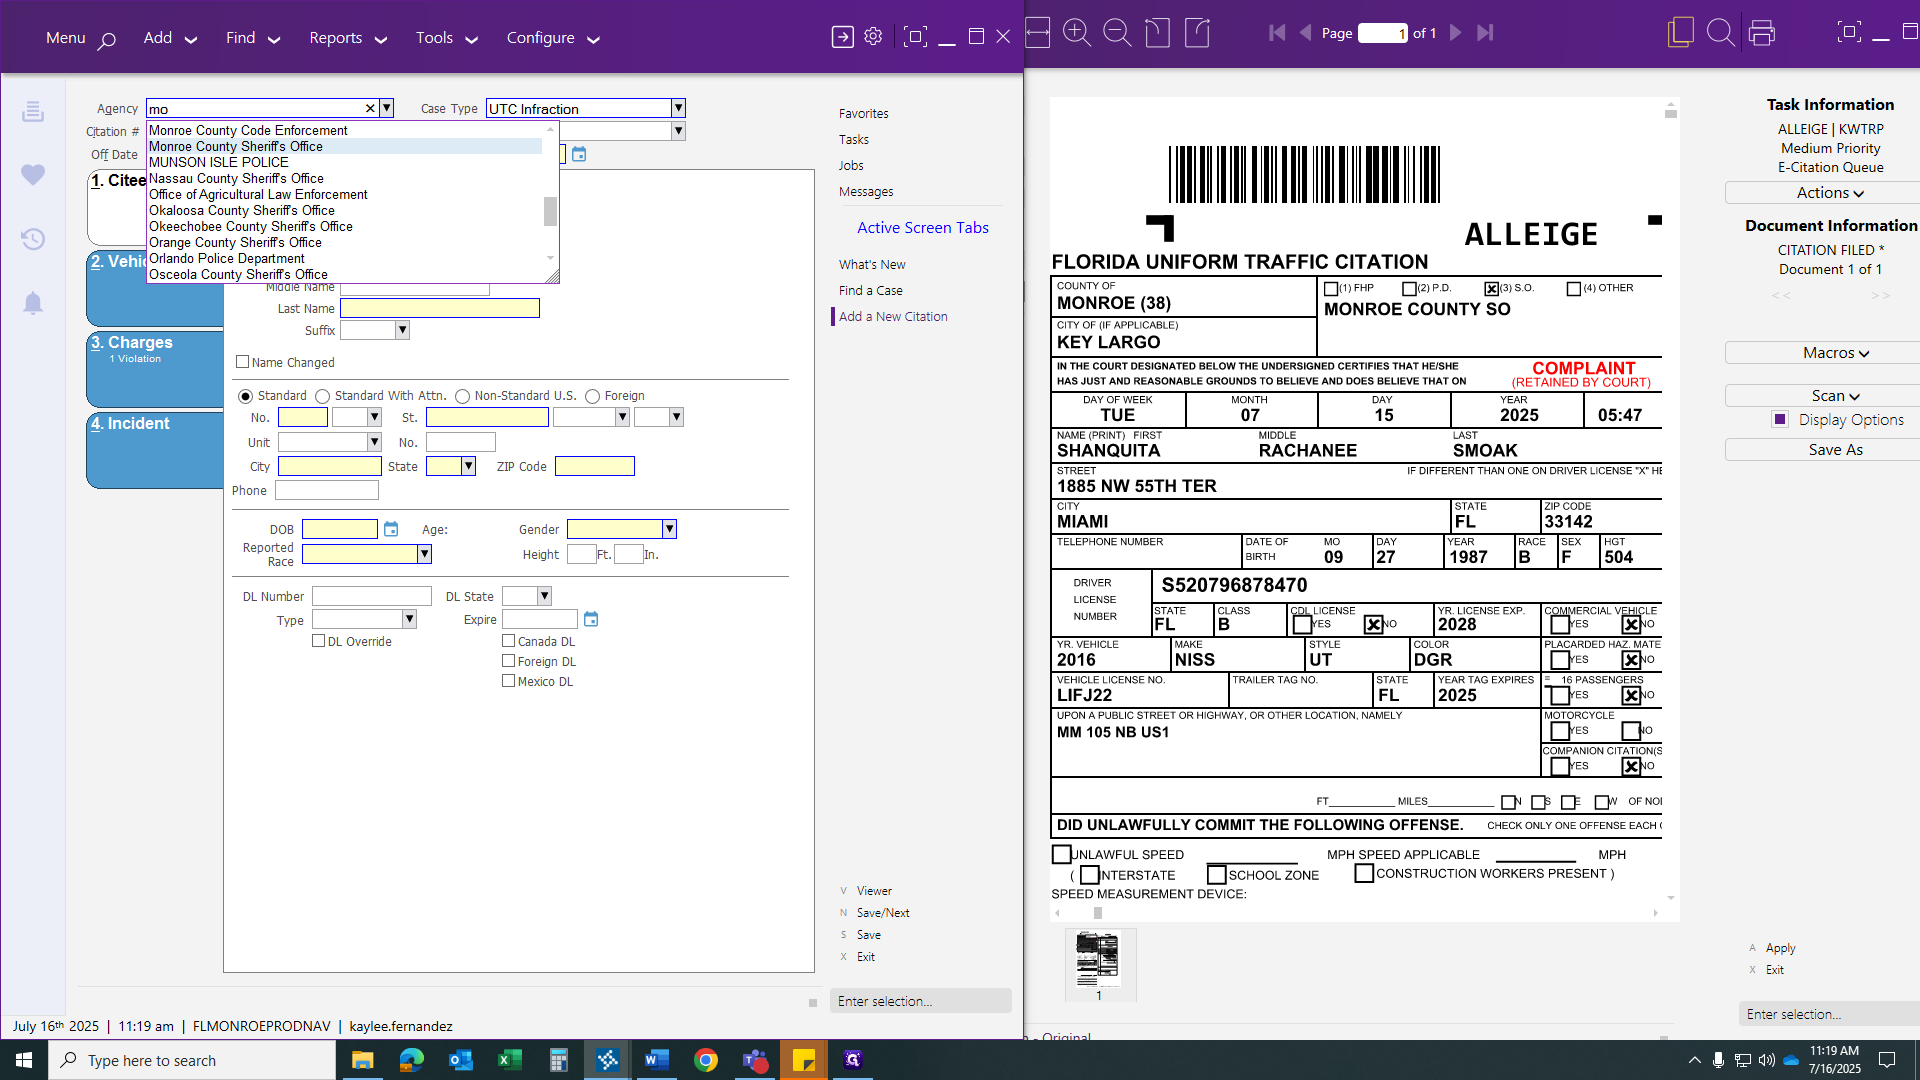

Make sure to enter every character as accurately as possible. This will help prevent triggering a TCATS error report.
Make sure to include the date and time listed by the officer at the top of the citation.

It uses military time. If you have anything scheduled after 12:00 PM, you'll need to know military time.
For example, if the time is 5:47 PM, you would write it as 1747.

You won't need to use any of these criteria in red. It should already be placed automatically for you.
Now, let's move on to our first tab. To find a party, click on "Find a Party."
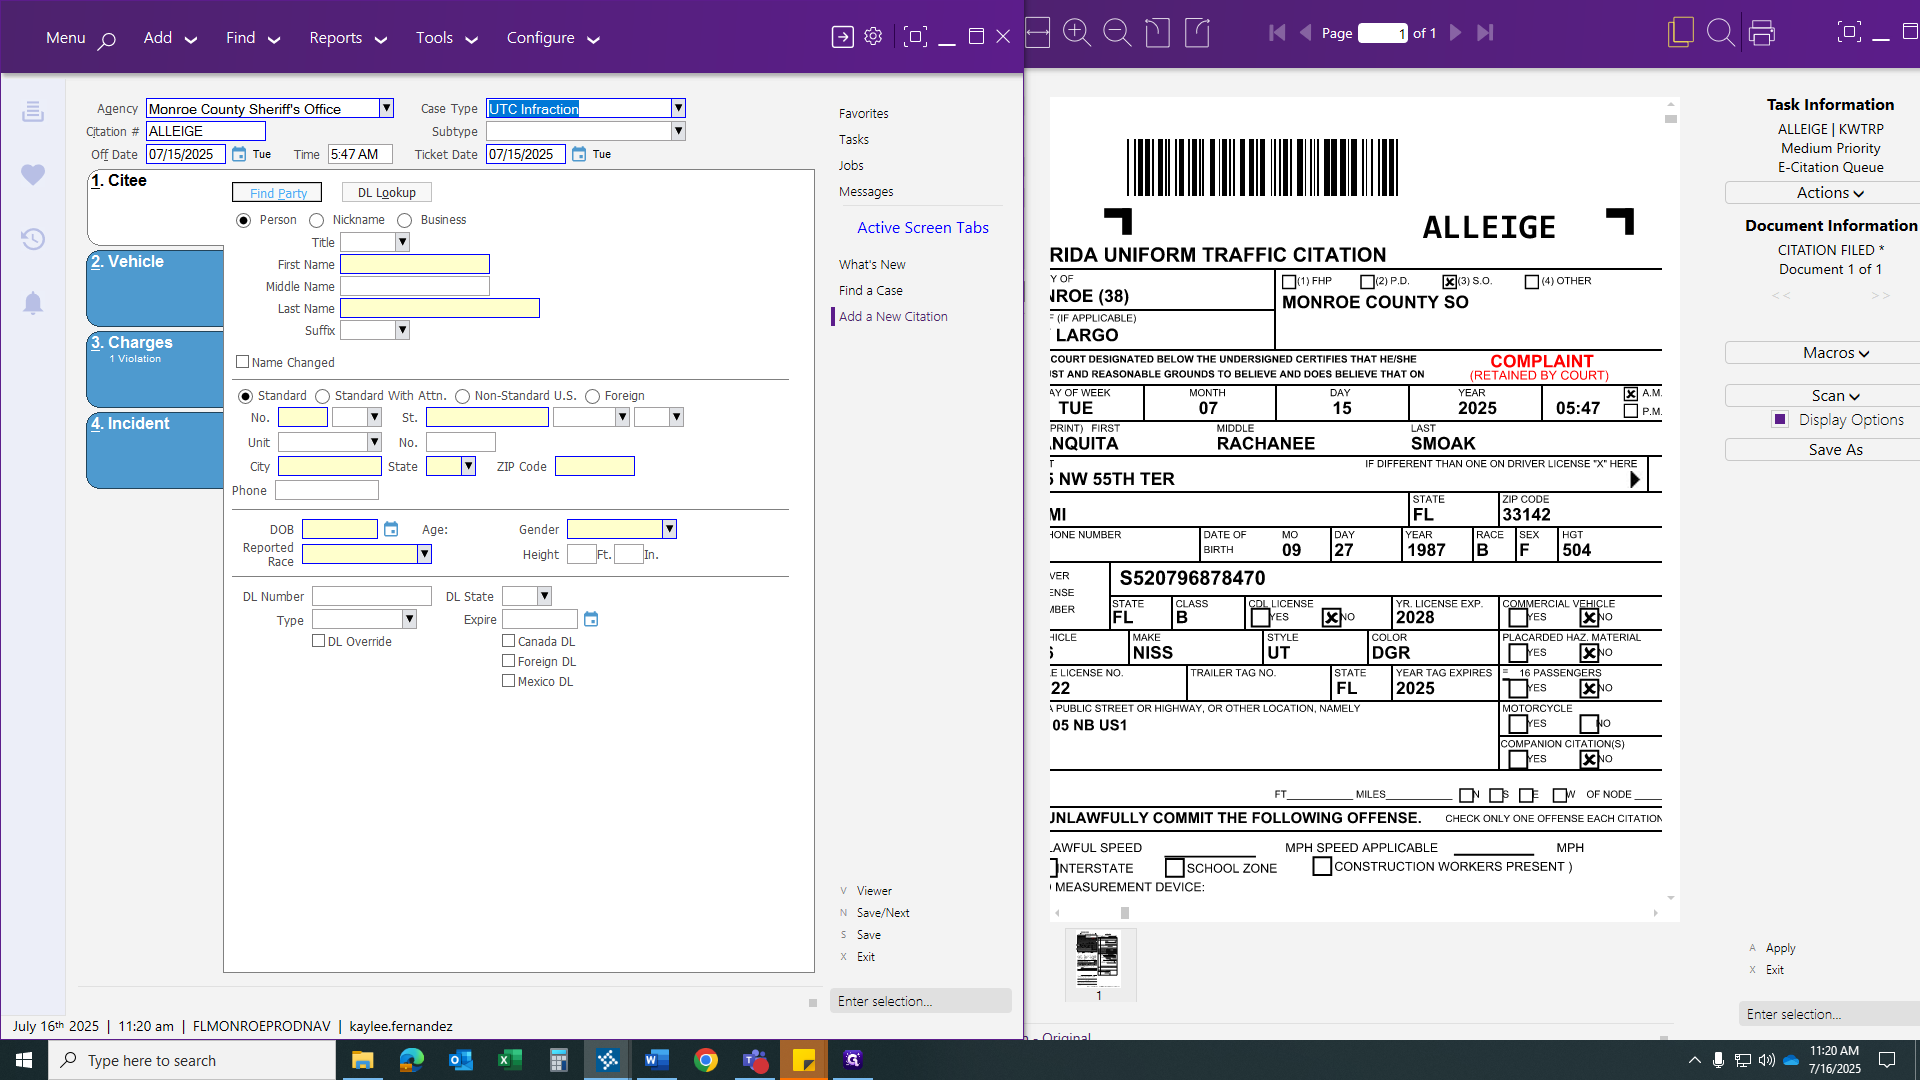
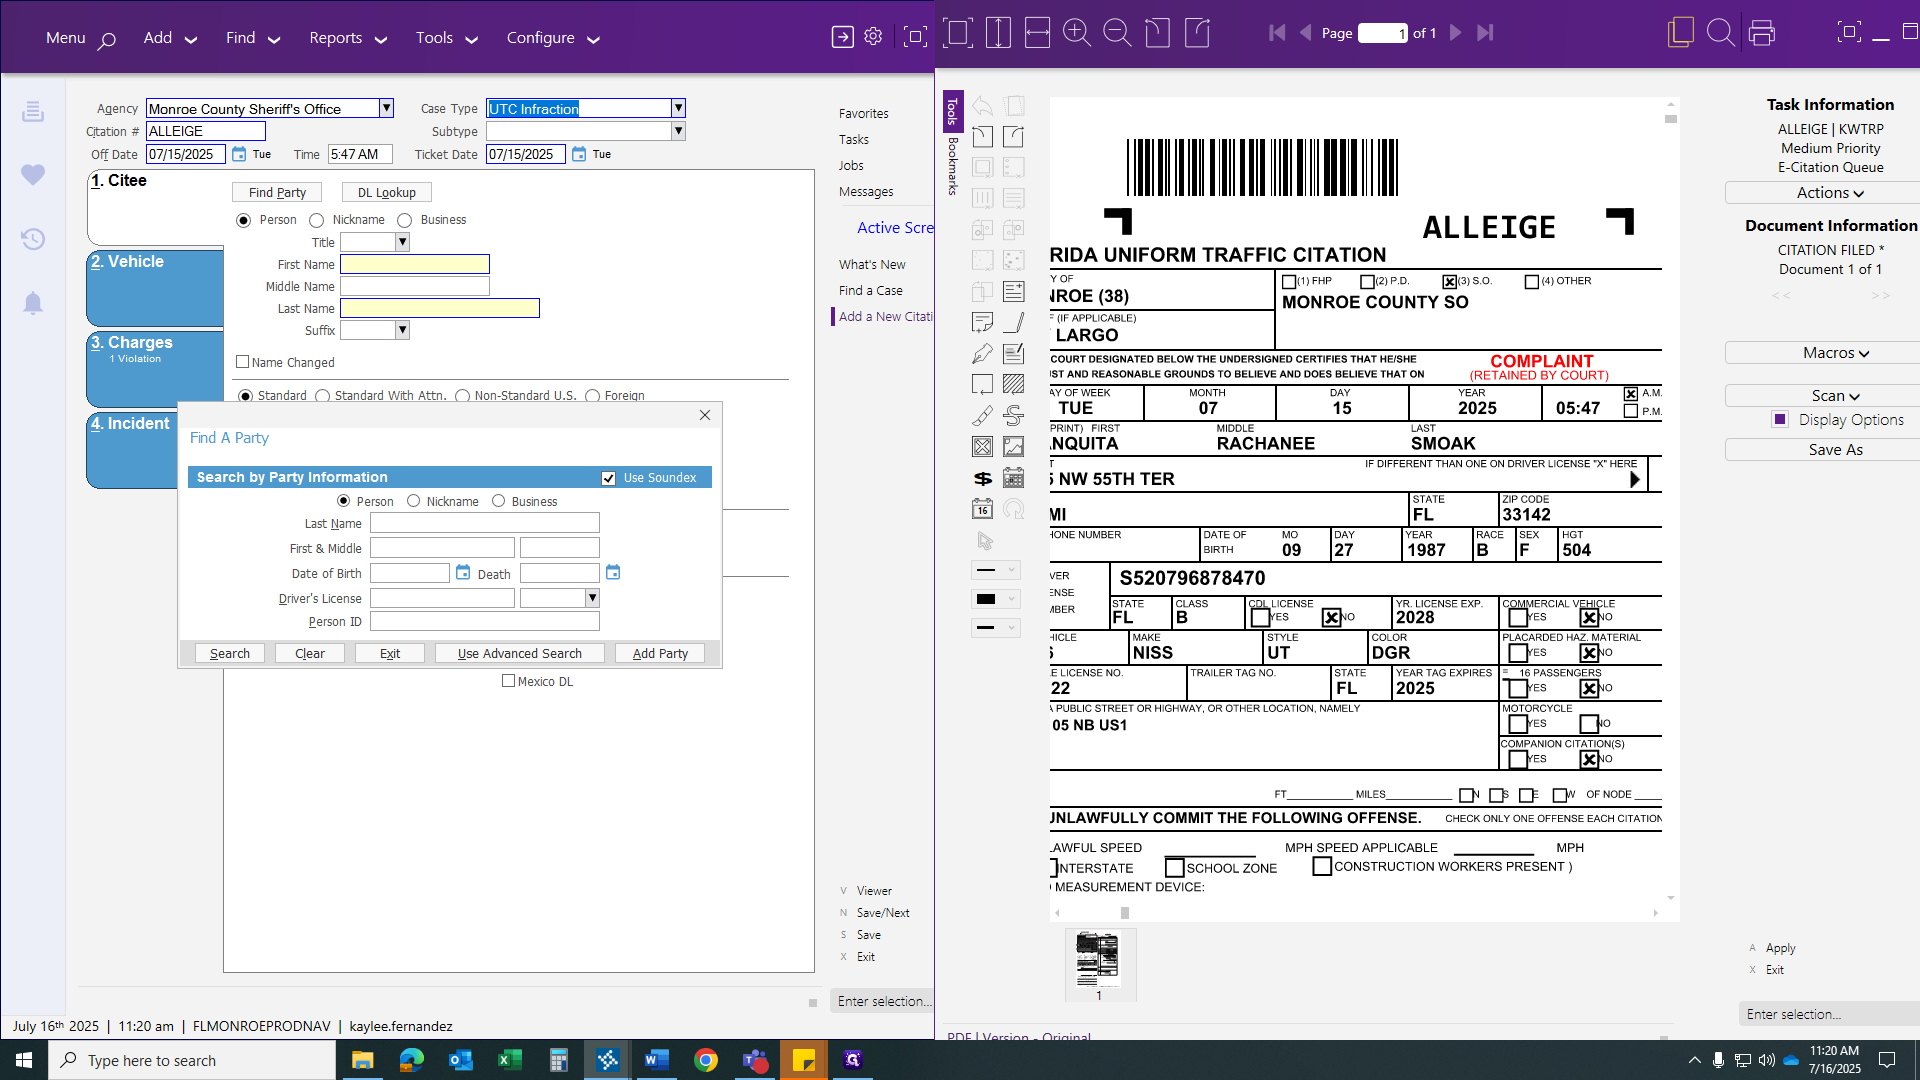
Check your sound inbox to see if there is already an existing party record.
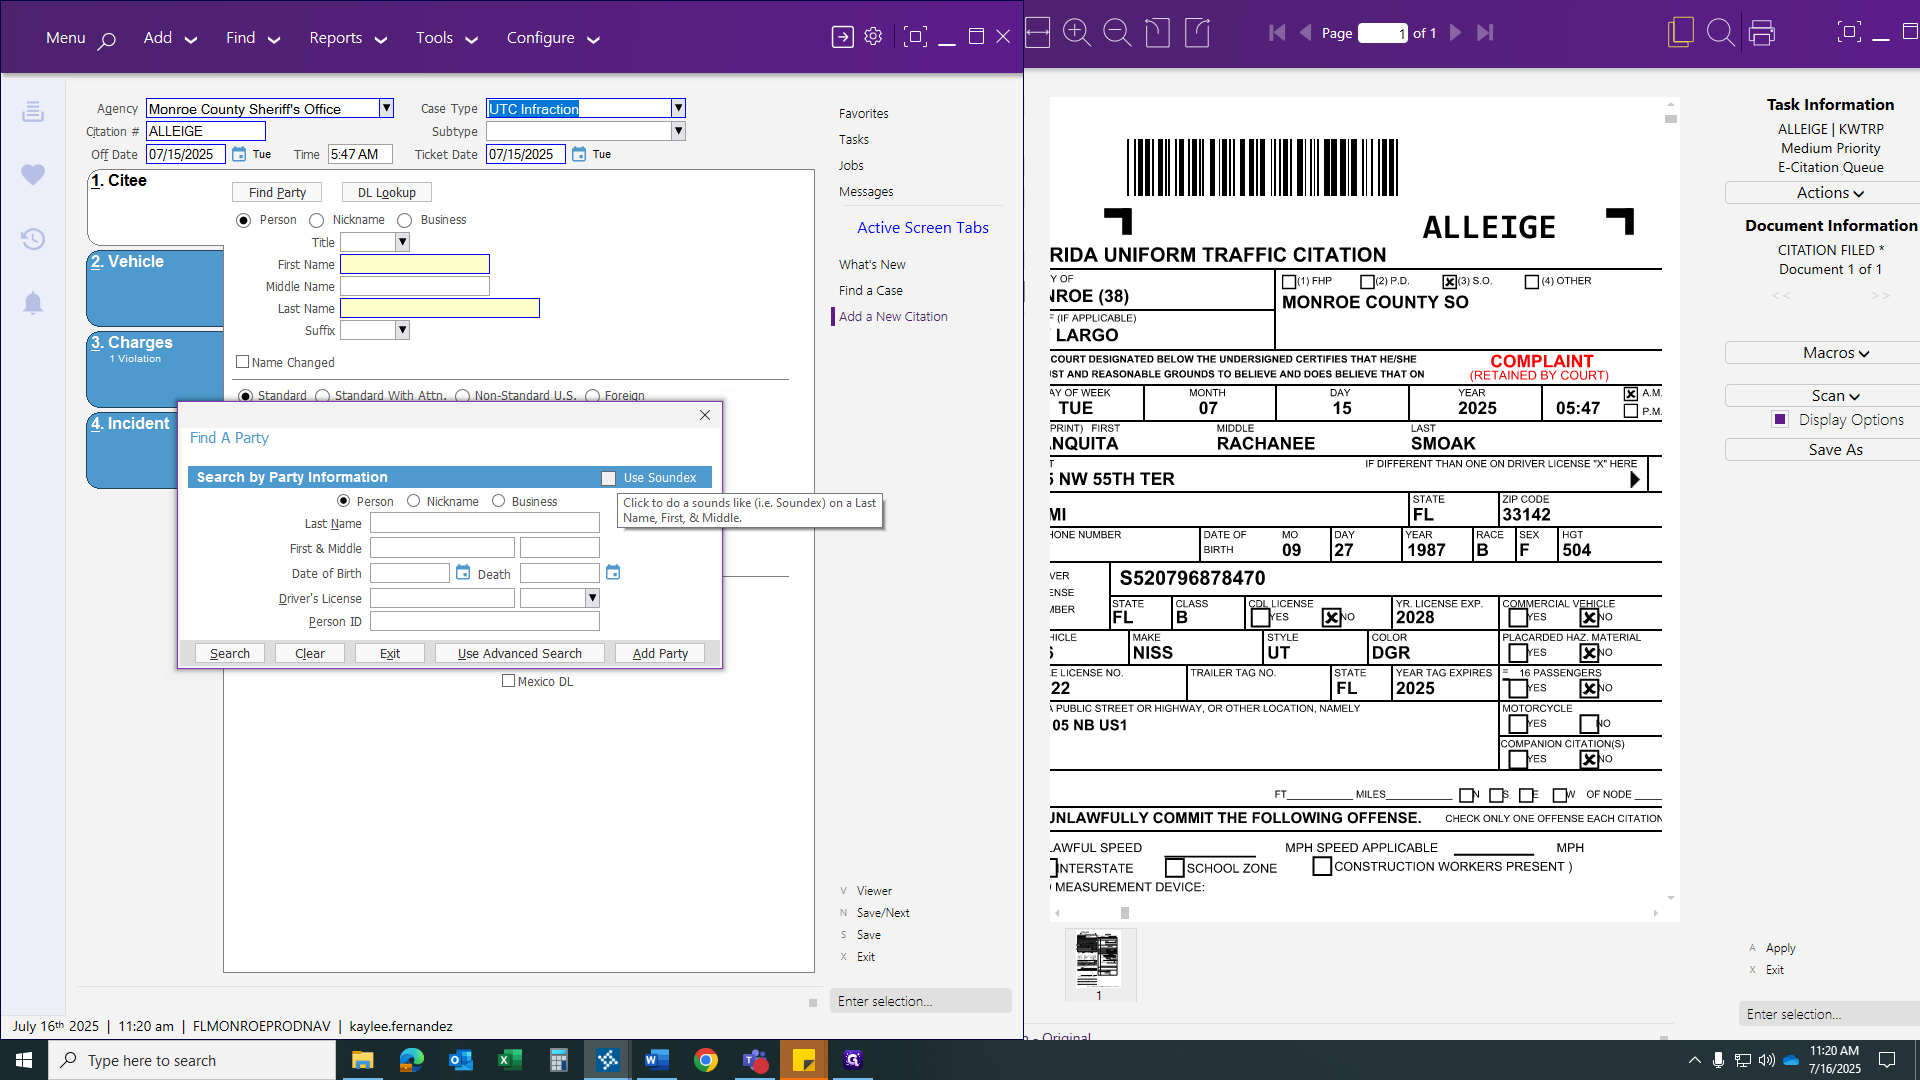

It helps to verify every small detail to improve the search.
Then enter the cited person's last name, first name, and middle name if provided.
Date of birth. And the license. In this case, in CITI, we have a party history.
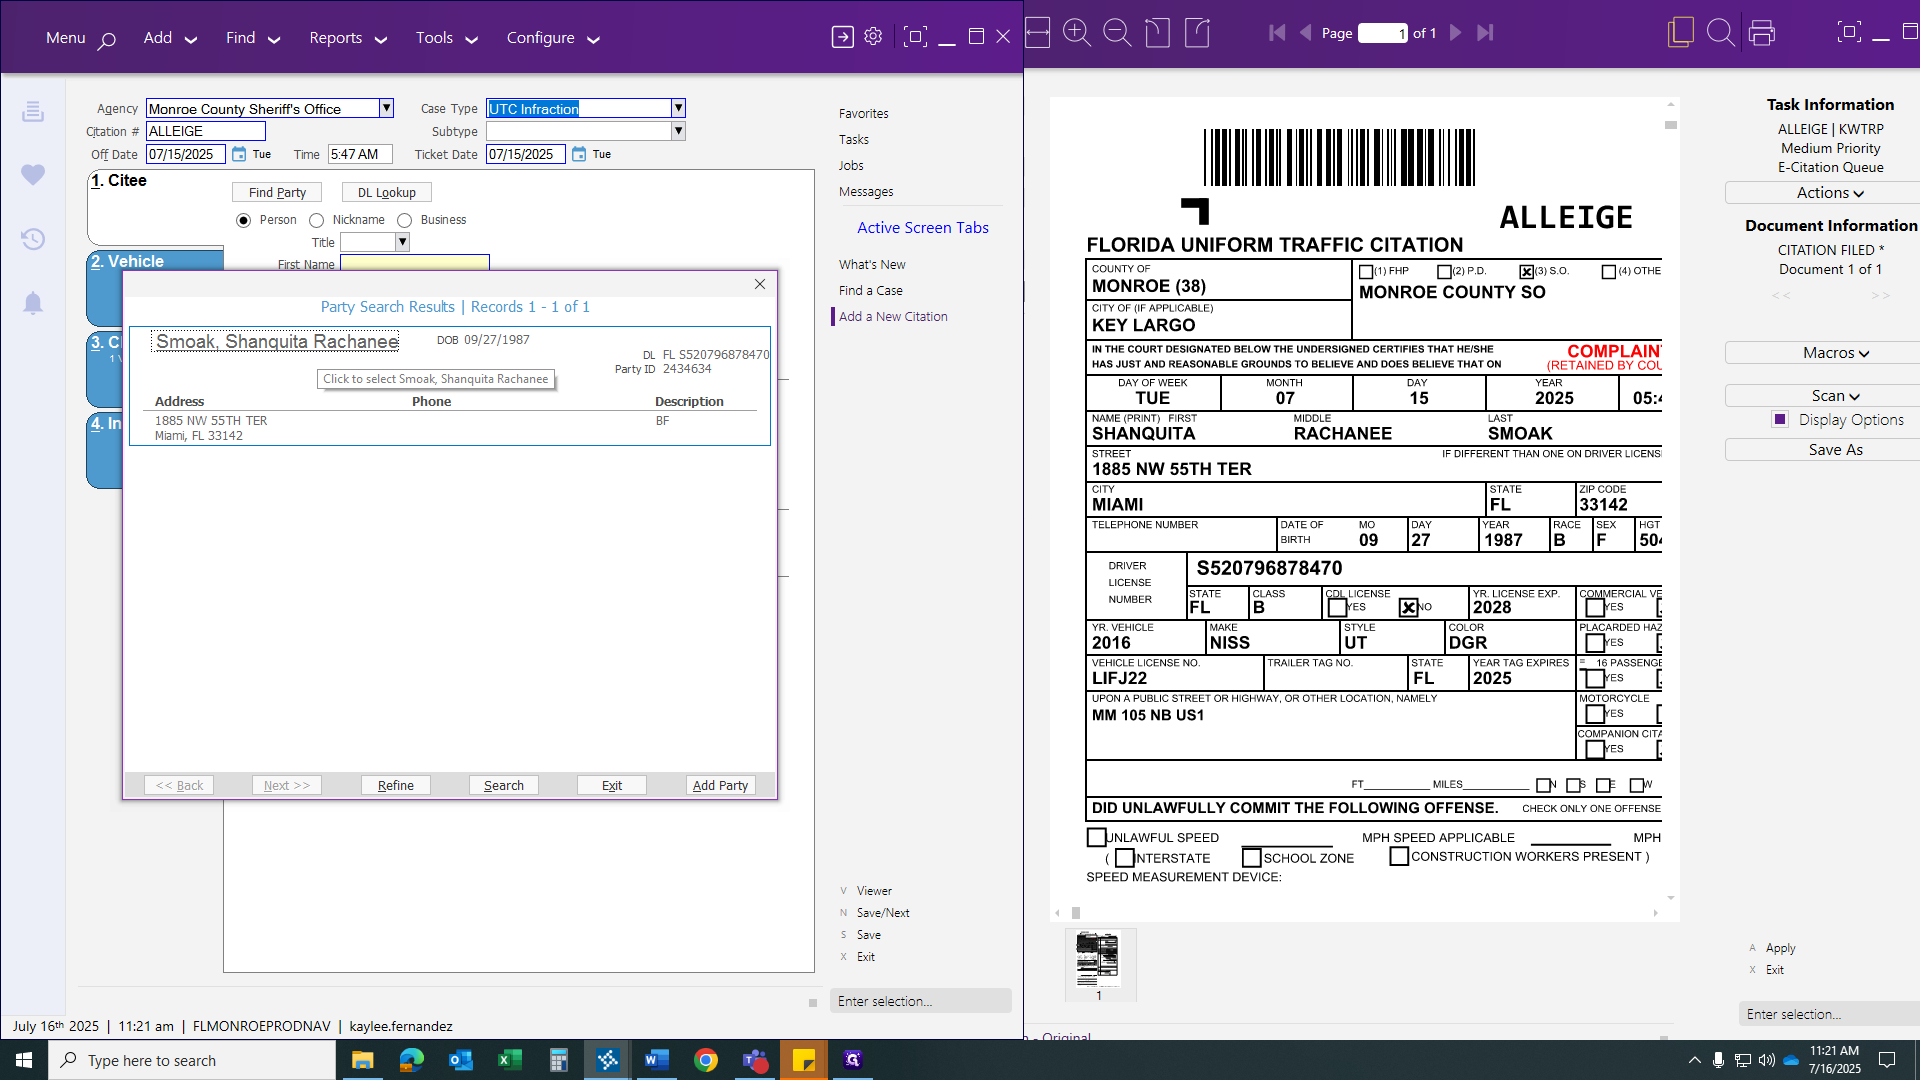
If you do not have one, it will show "no record found." You will need to add your party and complete all required fields. In this case, the date of birth matches, as do the driver's license, name, and address. Click on the party record to link them together. Then, fill in any blank areas where you have information.
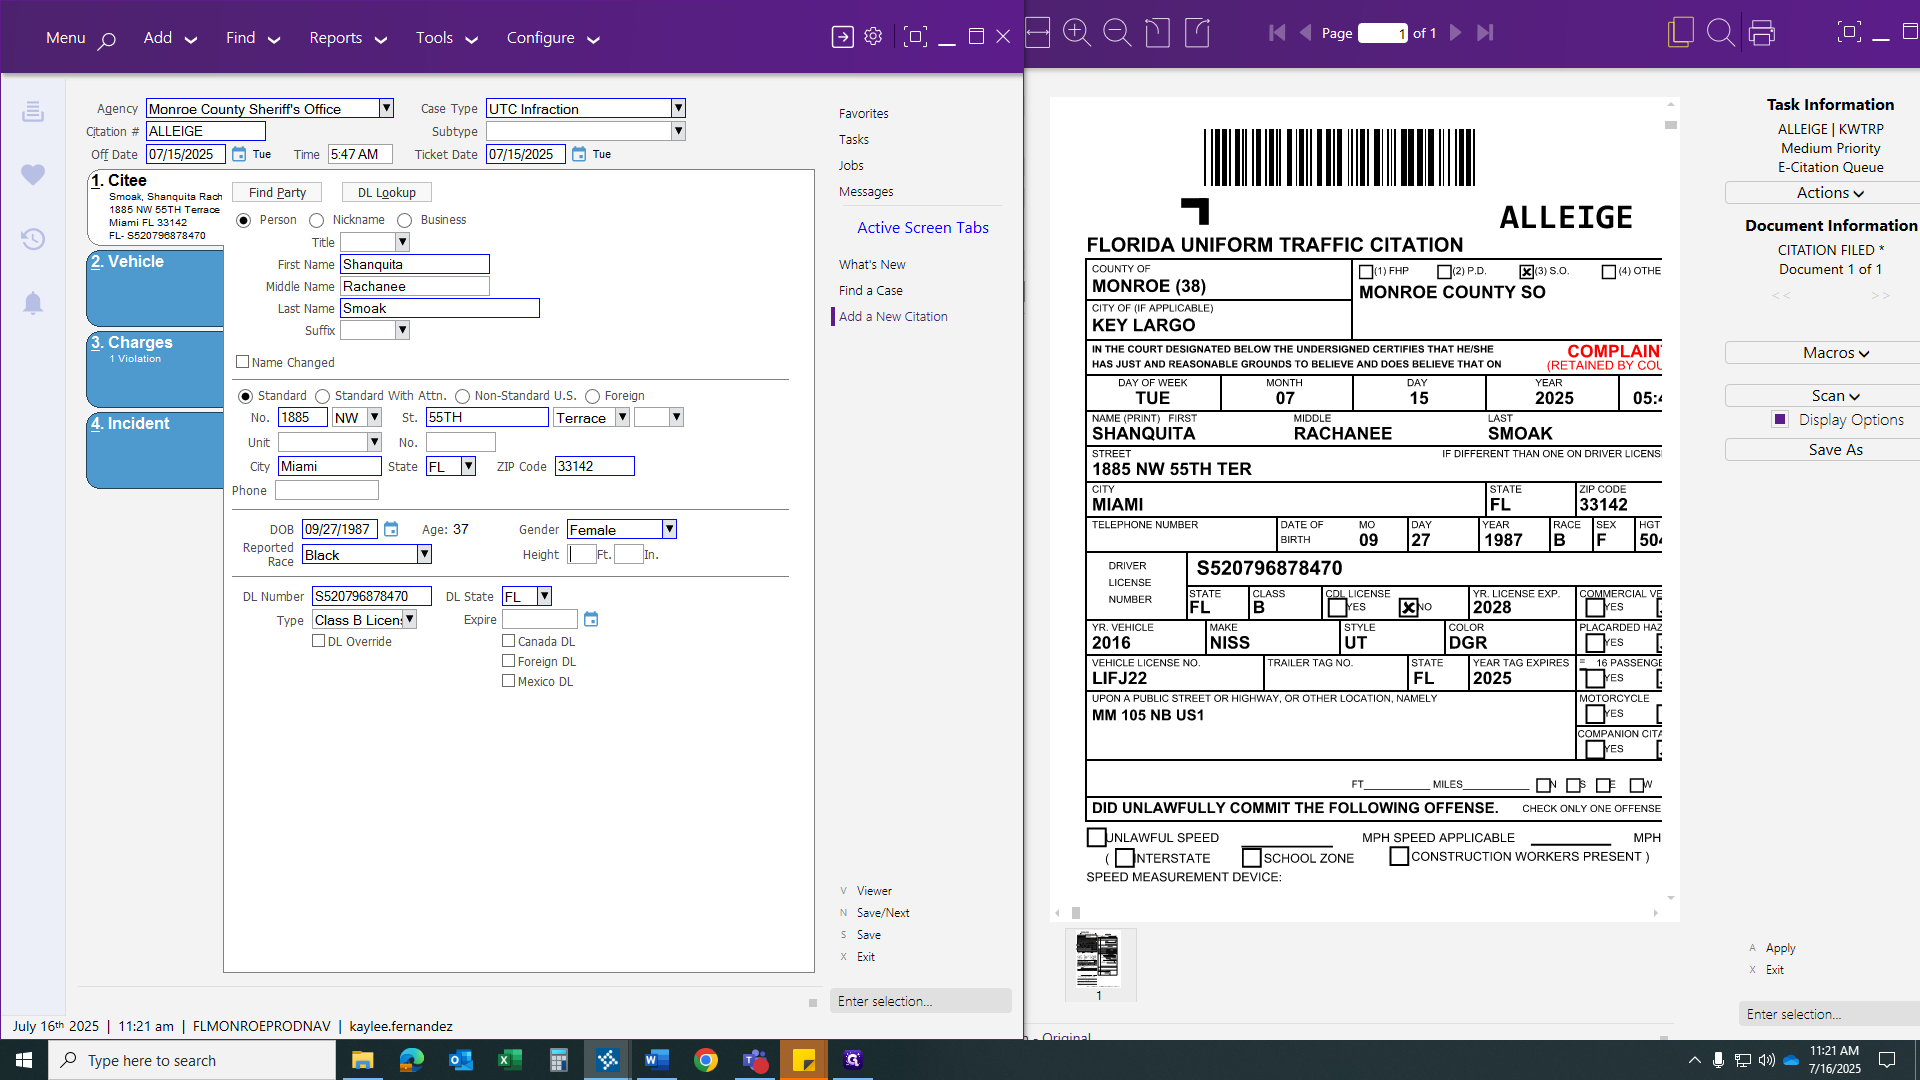
Once everything is located, ensure you have a class included so it does not trigger on the TCATS error report. This is crucial information we need.
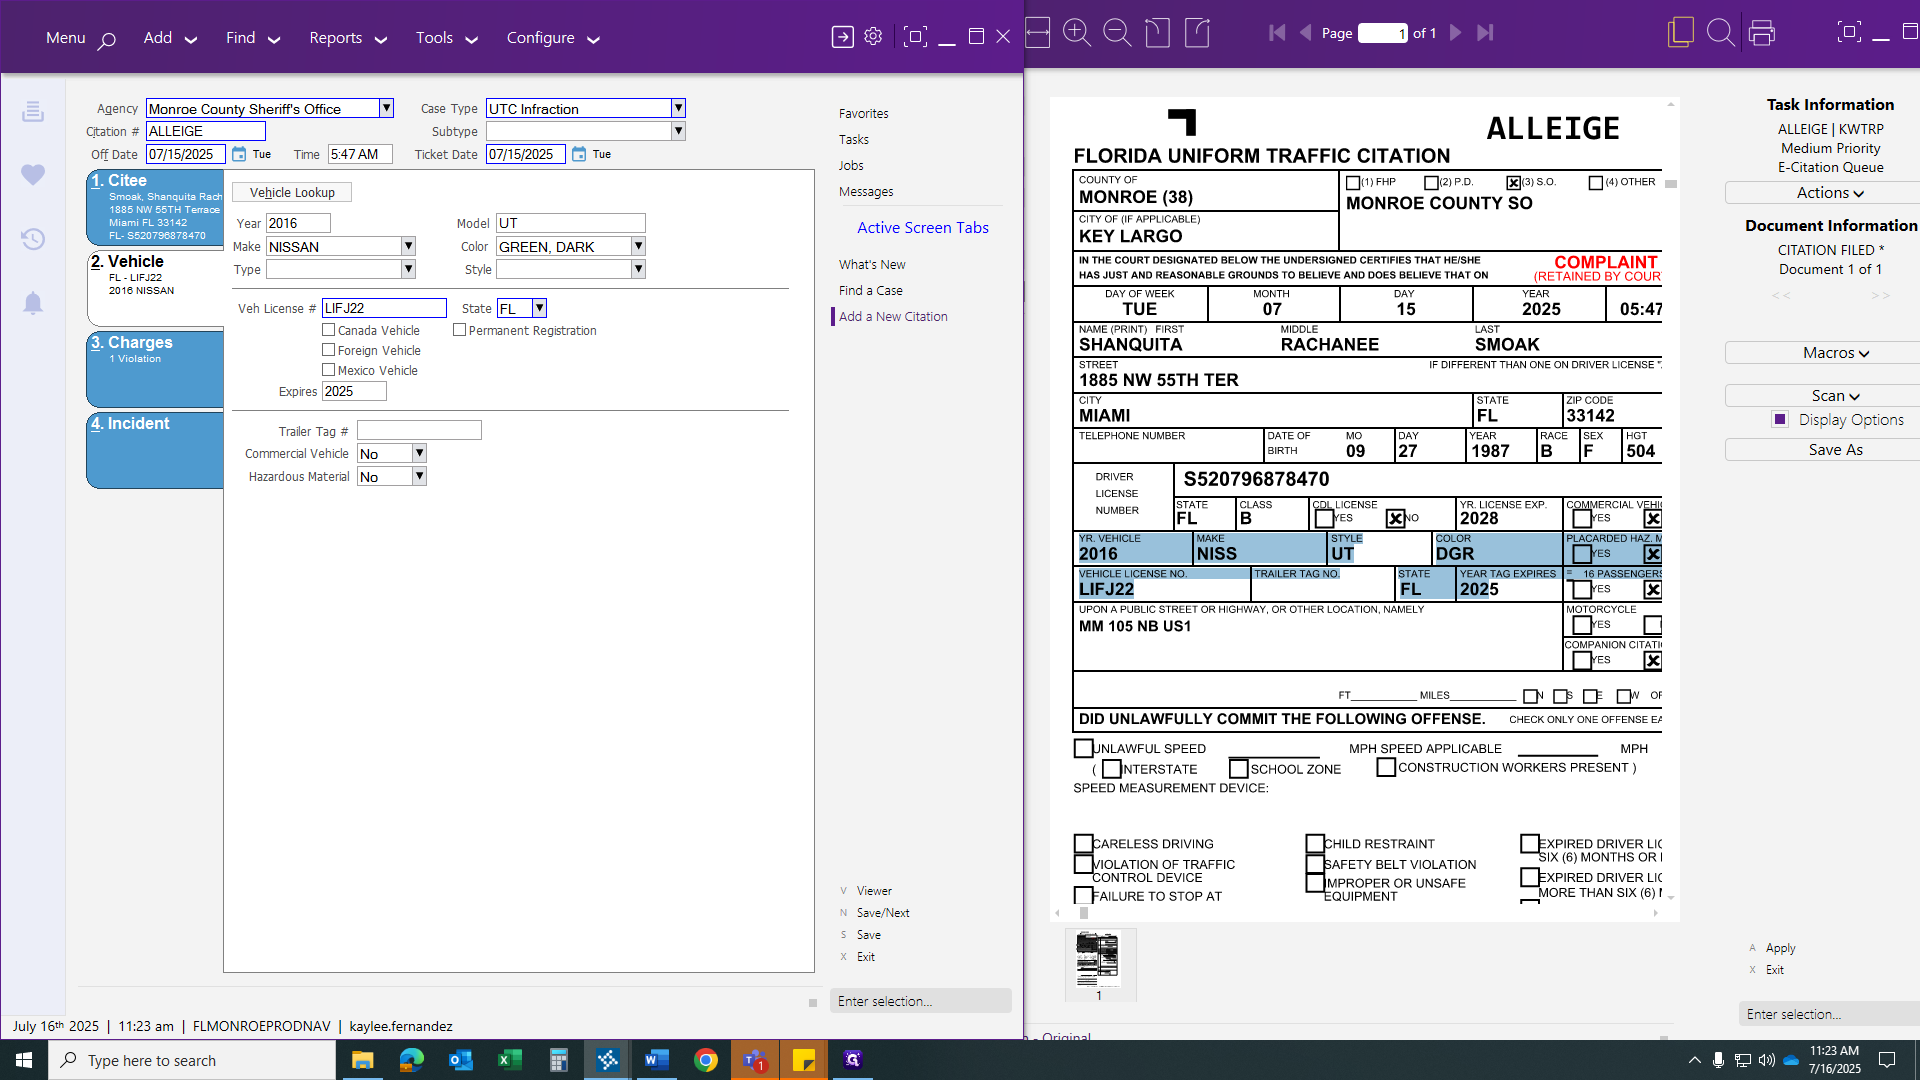
Next, go to your vehicle information. You will find this on the citation, right below the defendant's details.
We will implement the information from our citation into our system.
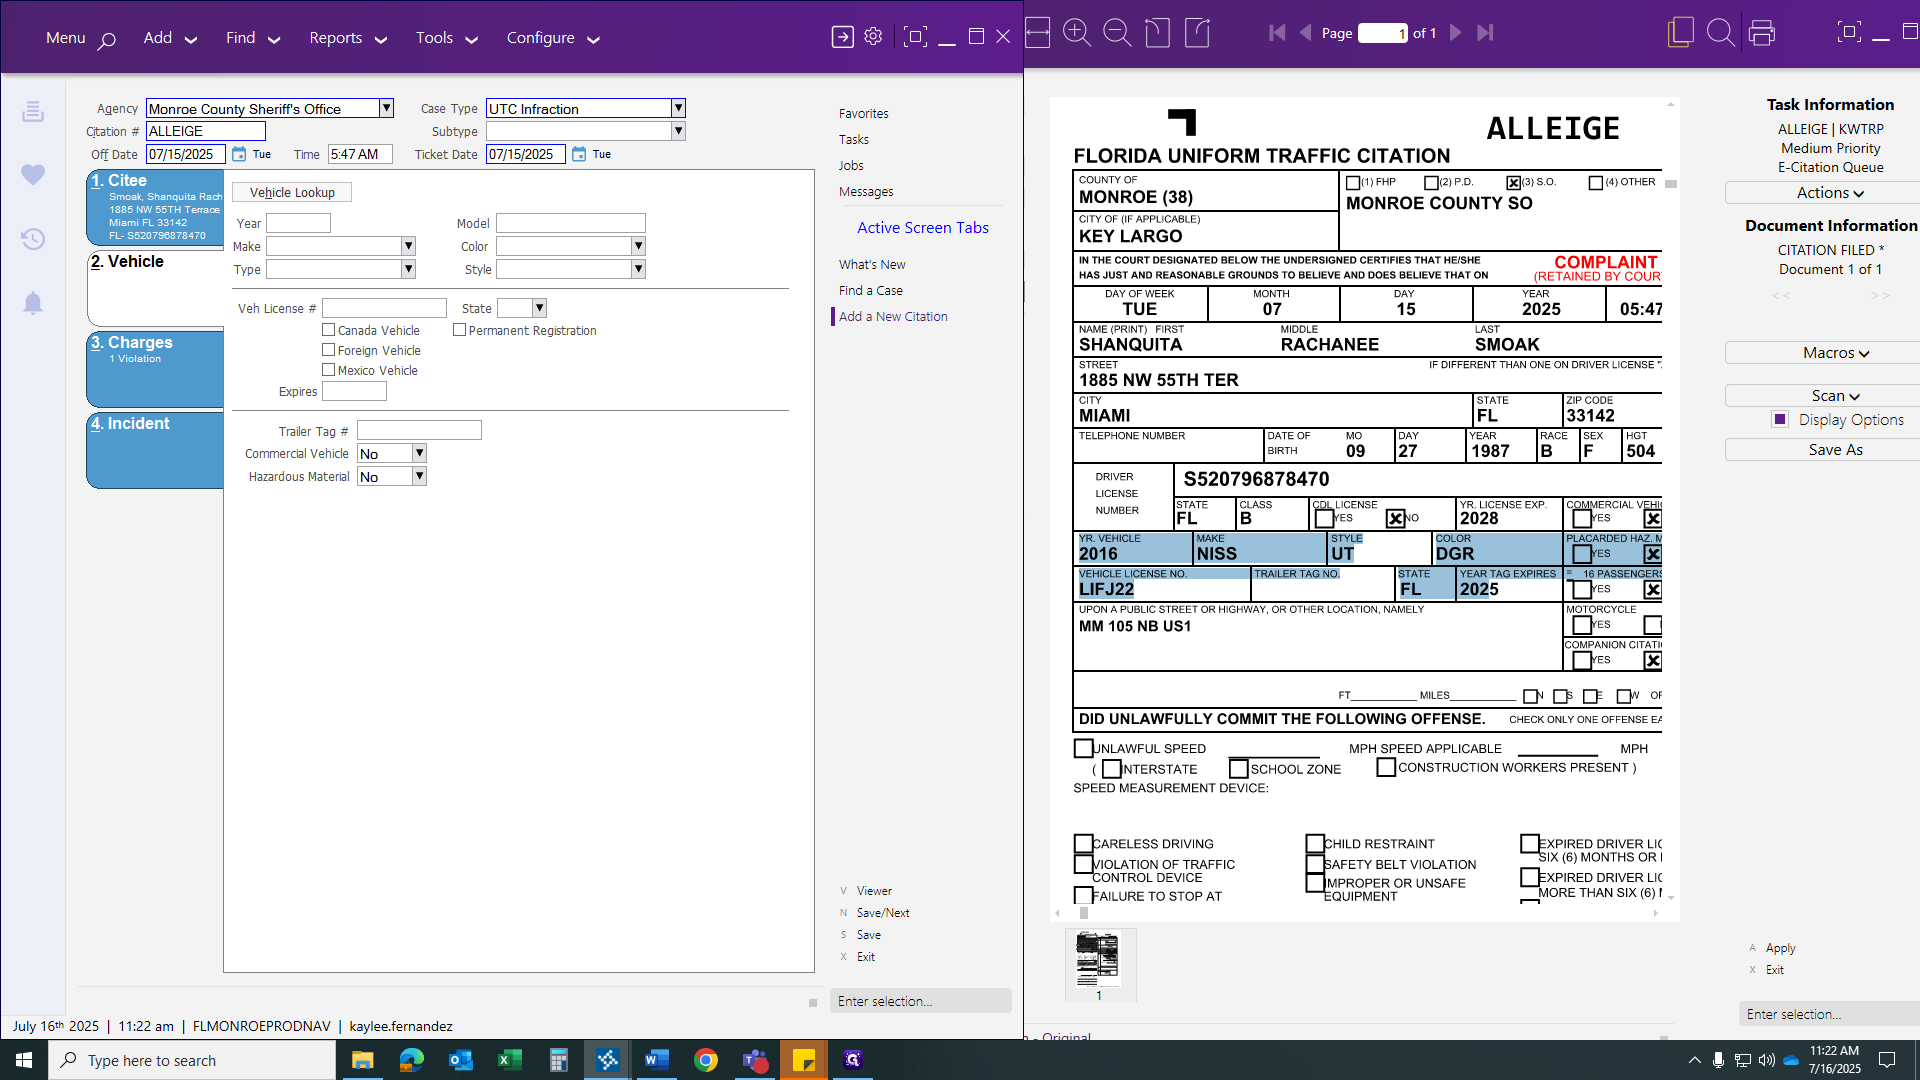
Vehicle lookup: If we had access to the DMV, we could look up vehicle information.

We do not have that option right now, so we will enter everything manually. If the field appears blue, it is required. You must enter something, or you will not be able to save.


After you finish in this tab, go to the next tab.
We will not have an OBITS number for a payable citation. You will have an OBITS number only if the citation is connected to a misdemeanor/felony case.
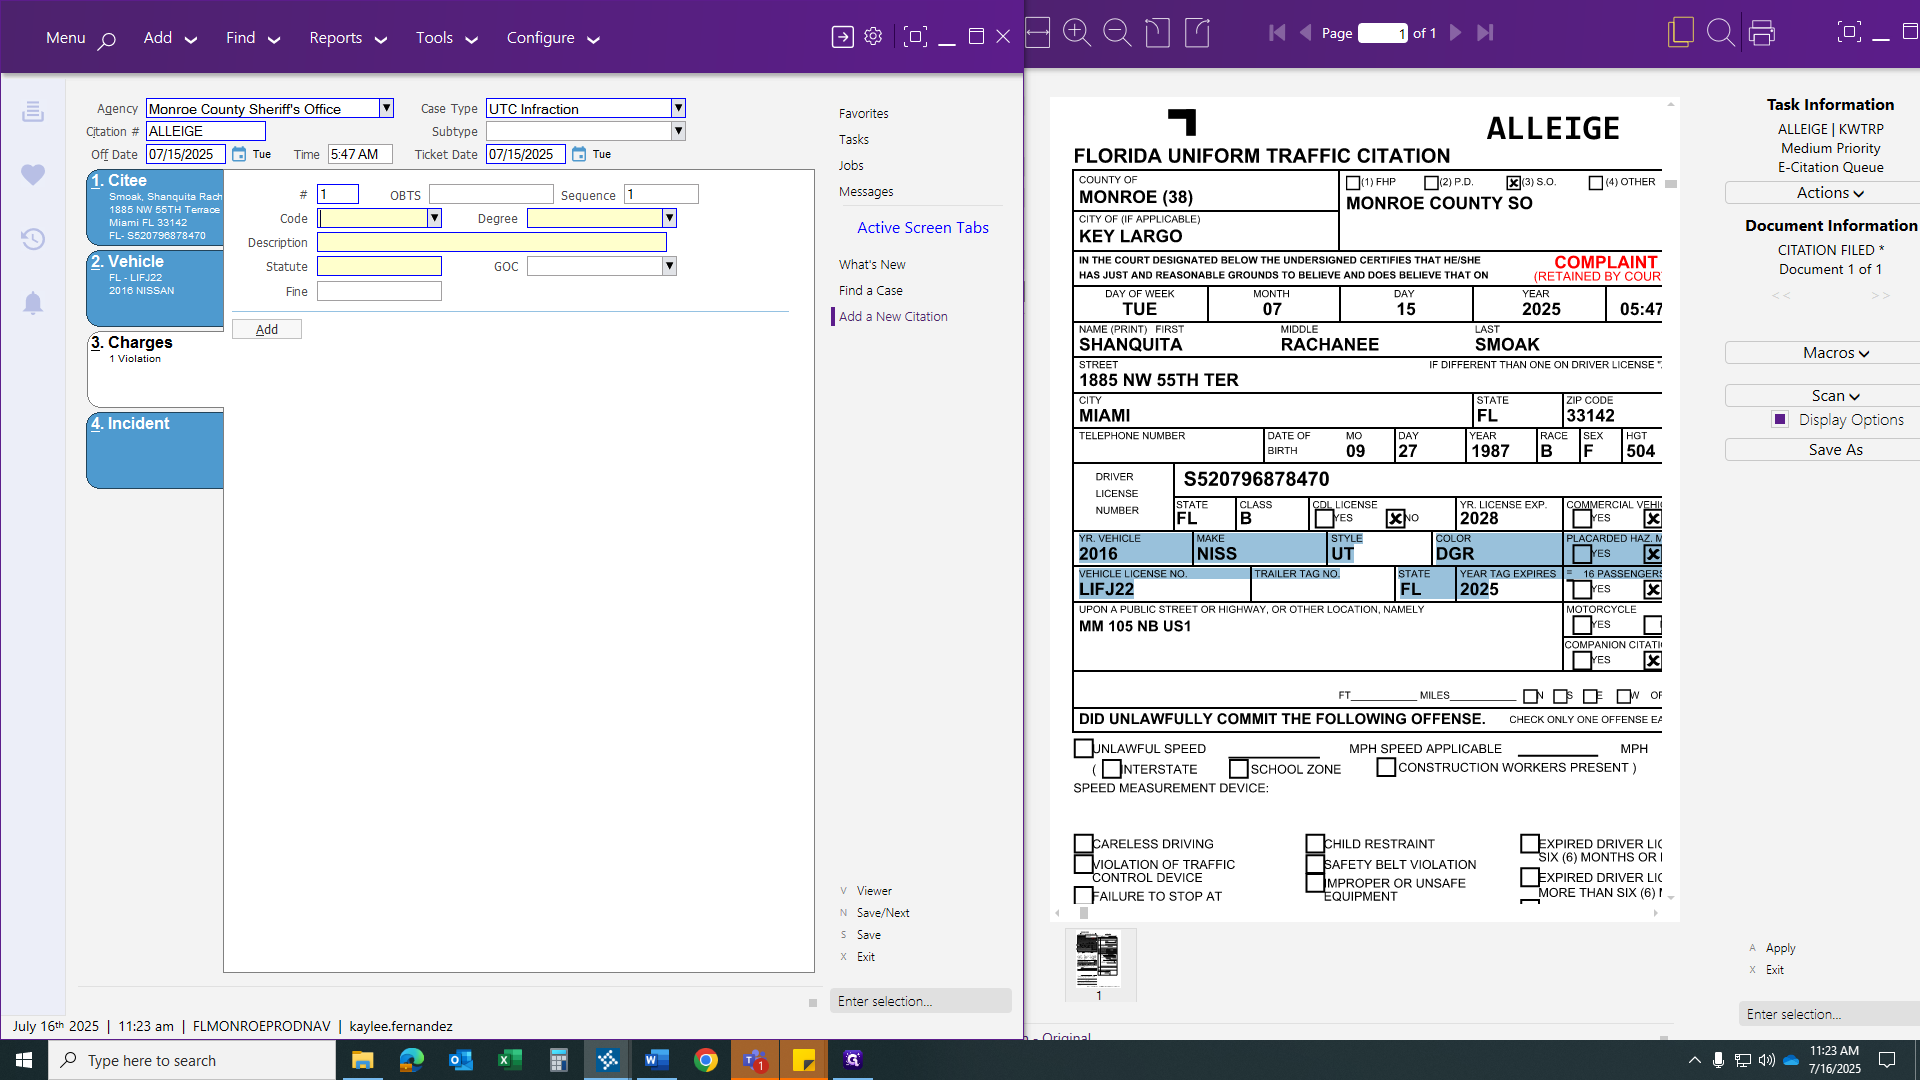
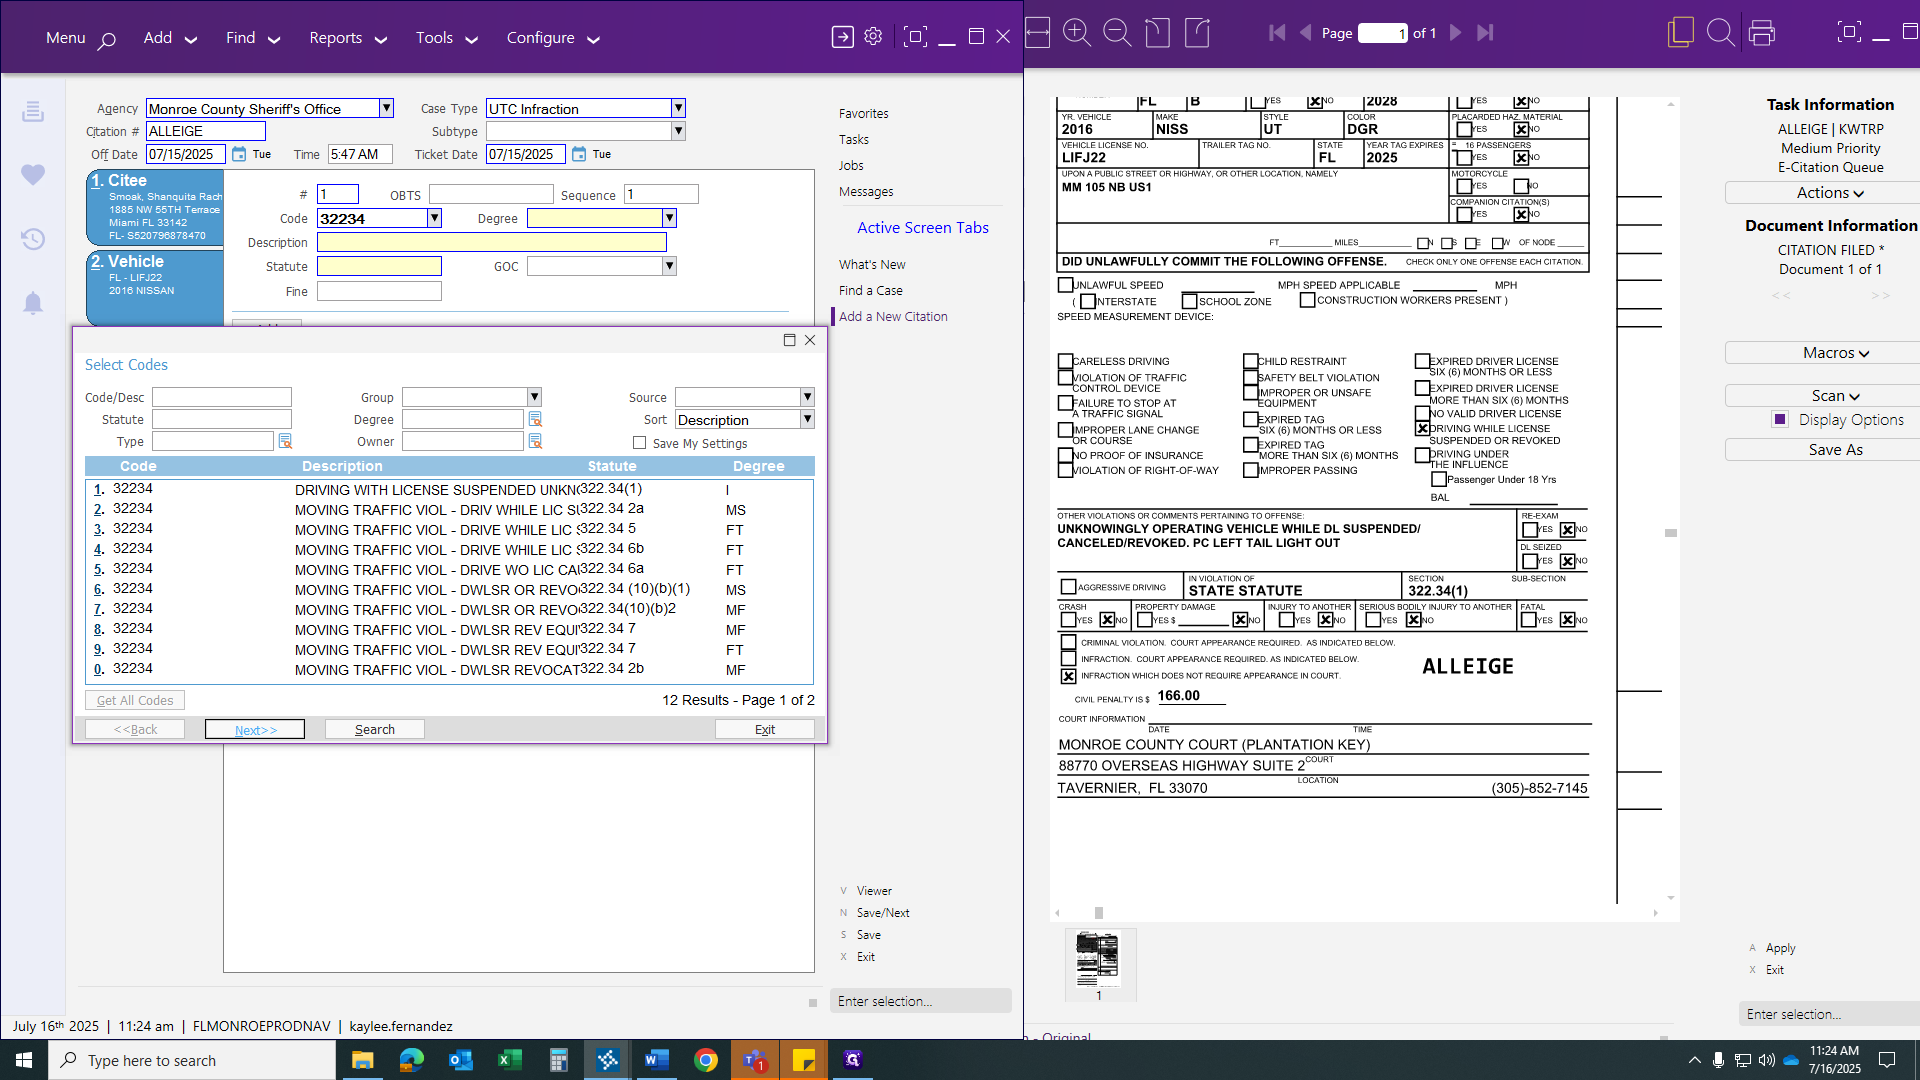
Now, for the statute number, look at the middle section near the bottom, where the officer charges the defendant with driving with a suspended license unknowingly in this case.
When entering the code, do not include a decimal or subsection number.
You're just entering the main statute.
After you click your tab, more codes and statute numbers will appear for you to choose from.
As you can see on the side, it will display the degree. If it is a payable infraction, it will be displayed degree I = Infraction. If it's a second-degree misdemeanor = MS, a third-degree felony = FT, or a first-degree misdemeanor = FF. Those areas are not needed. They indicate the citation is in the wrong que and needs to be printer and given to the Criminal Intake clerk for issuing a citation for a criminal offense.
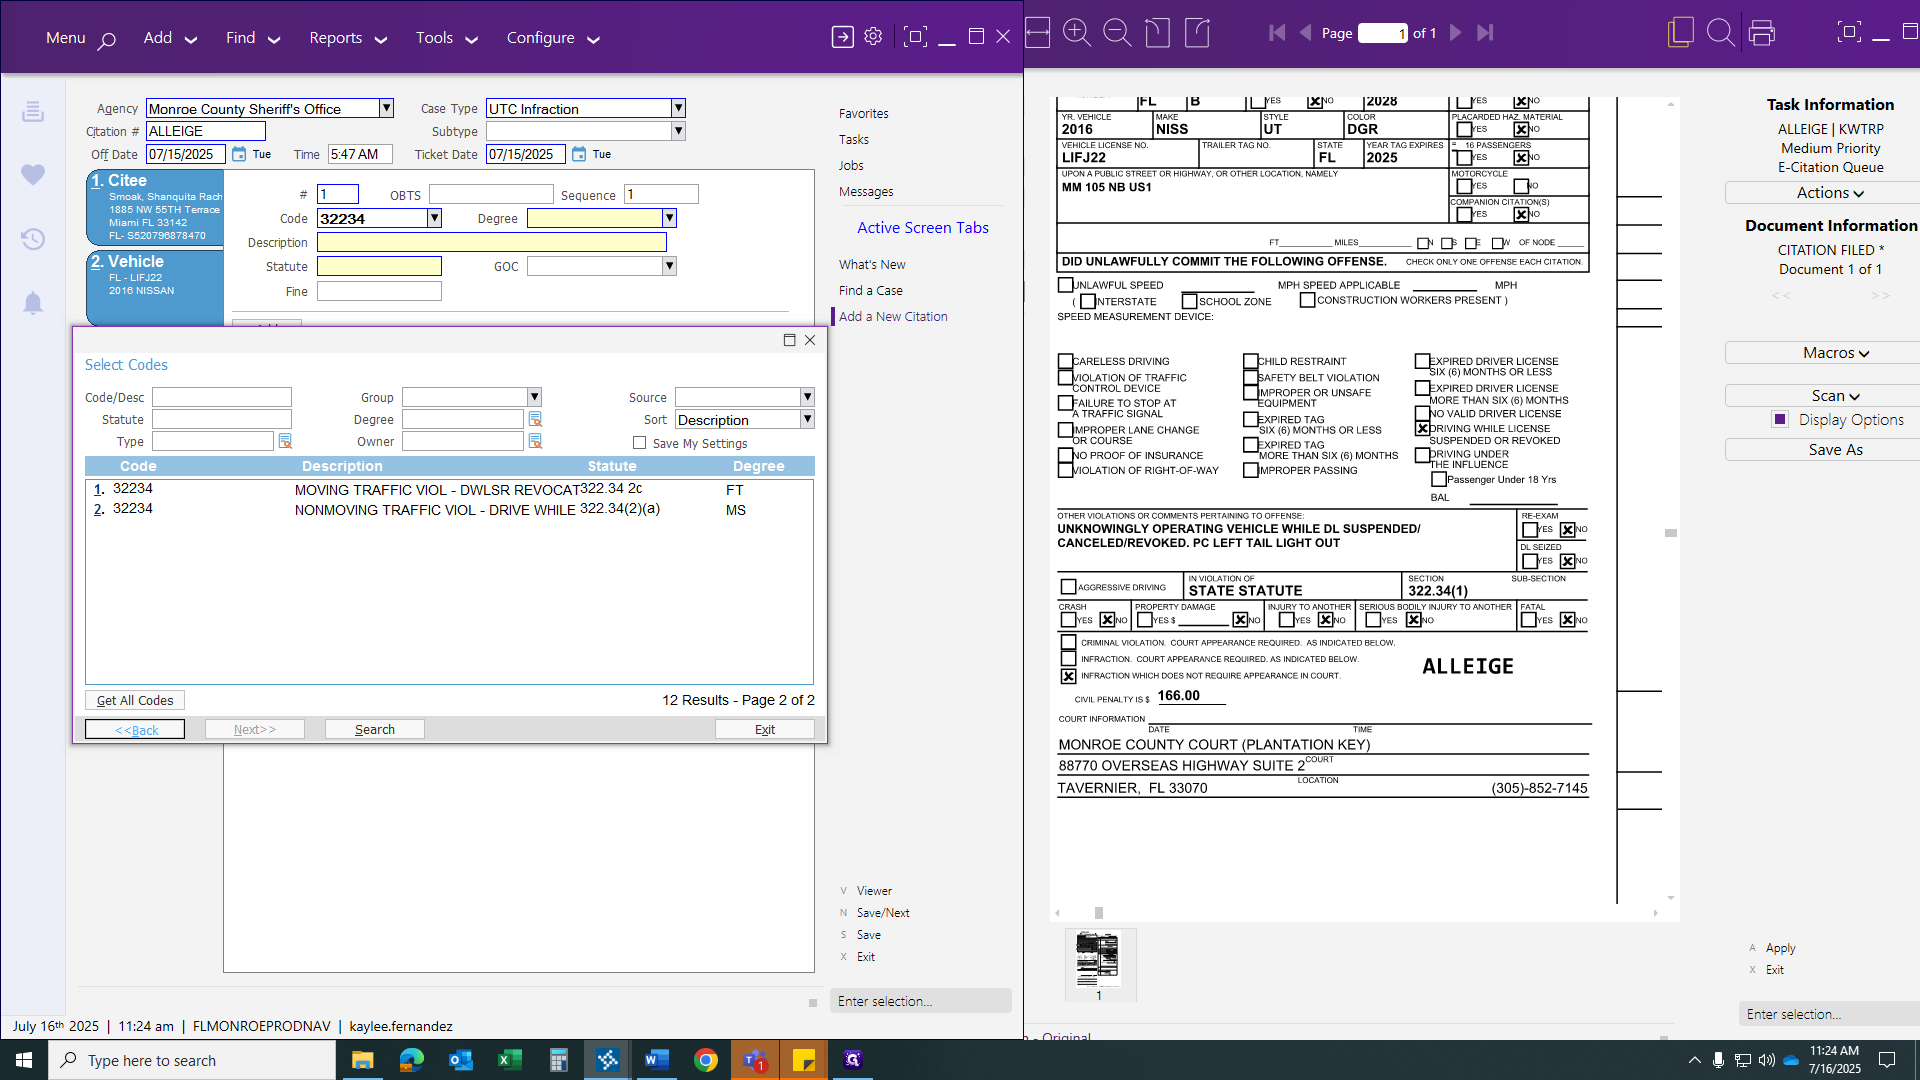
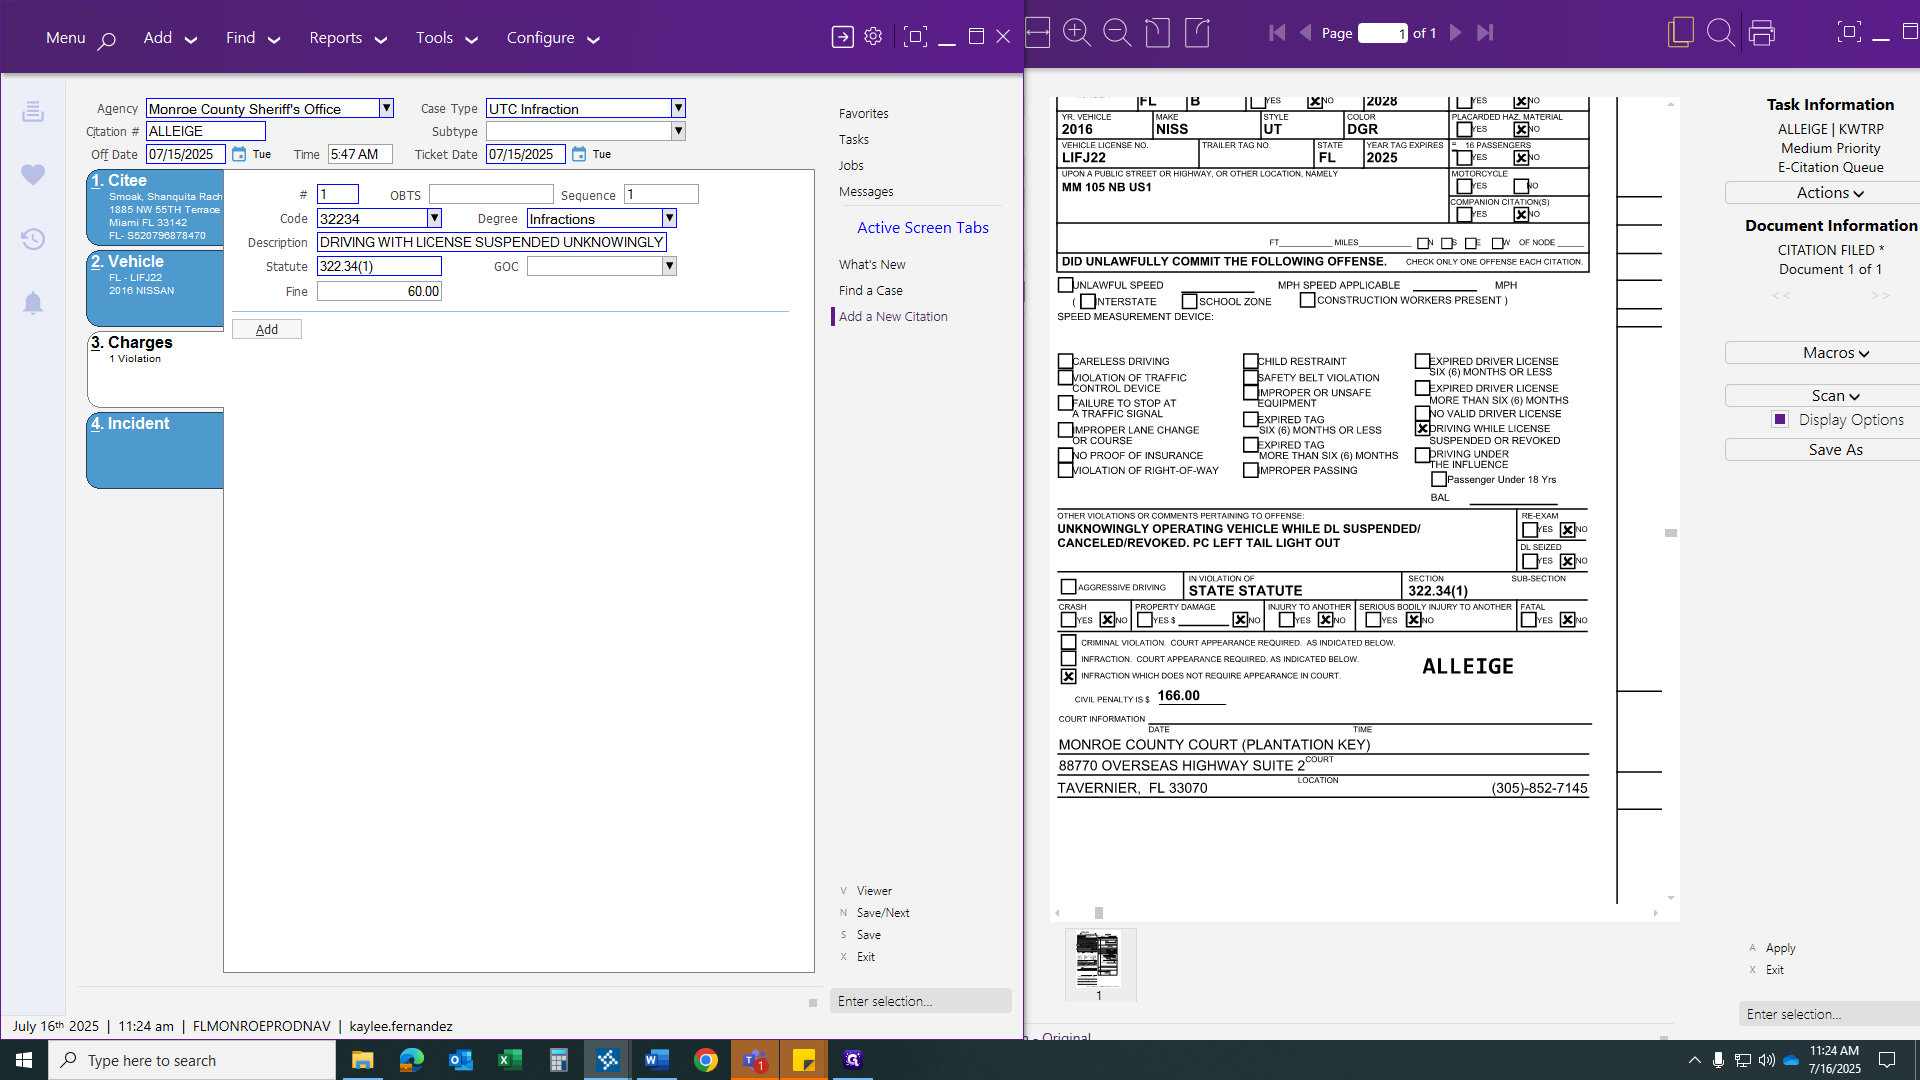
But because we have an infraction for unknowingly, this is the code we will use.

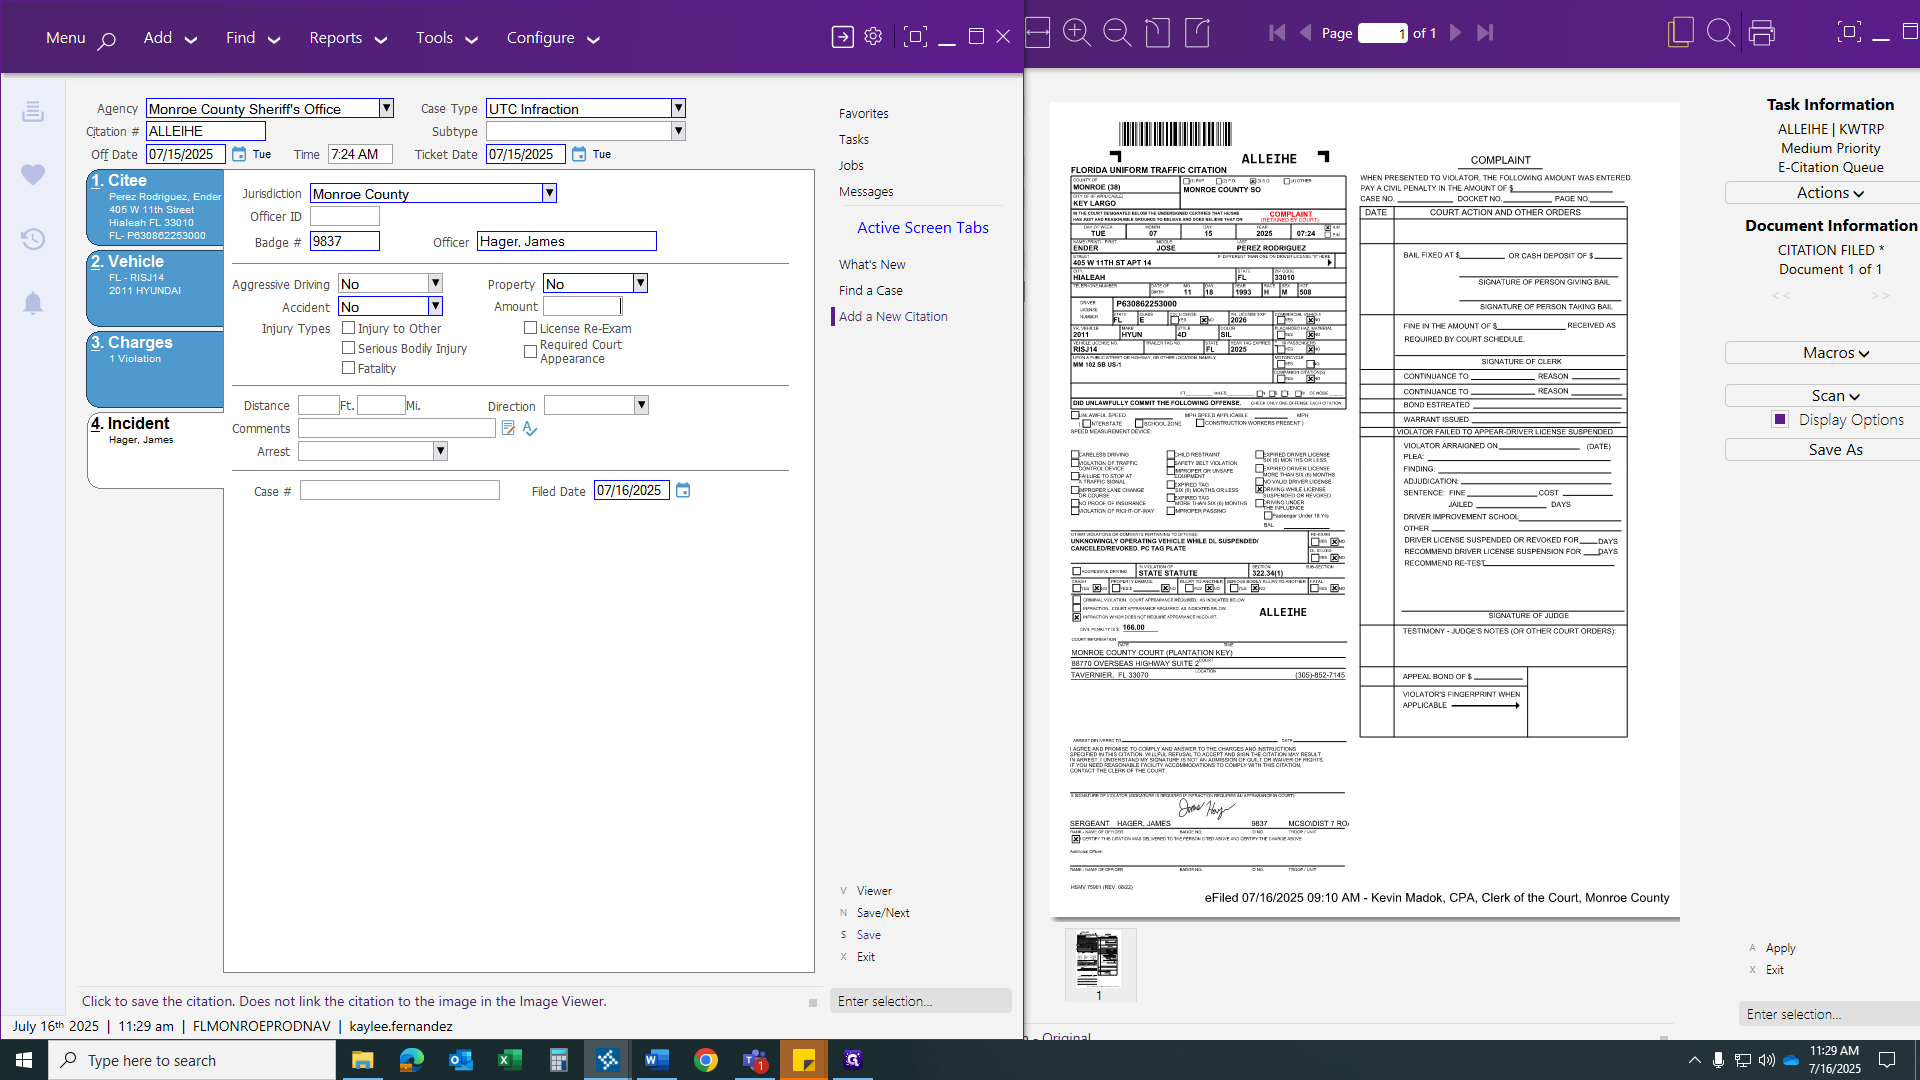
It will generate everything in the background. Now, we can move to the fourth and final tab, which is for jurisdiction. This shows it will be in Monroe County, as it was up the Keys.

The officer's badge number will appear at the bottom, along with his last and first name.


We have no property damage, no accident, and no amount.
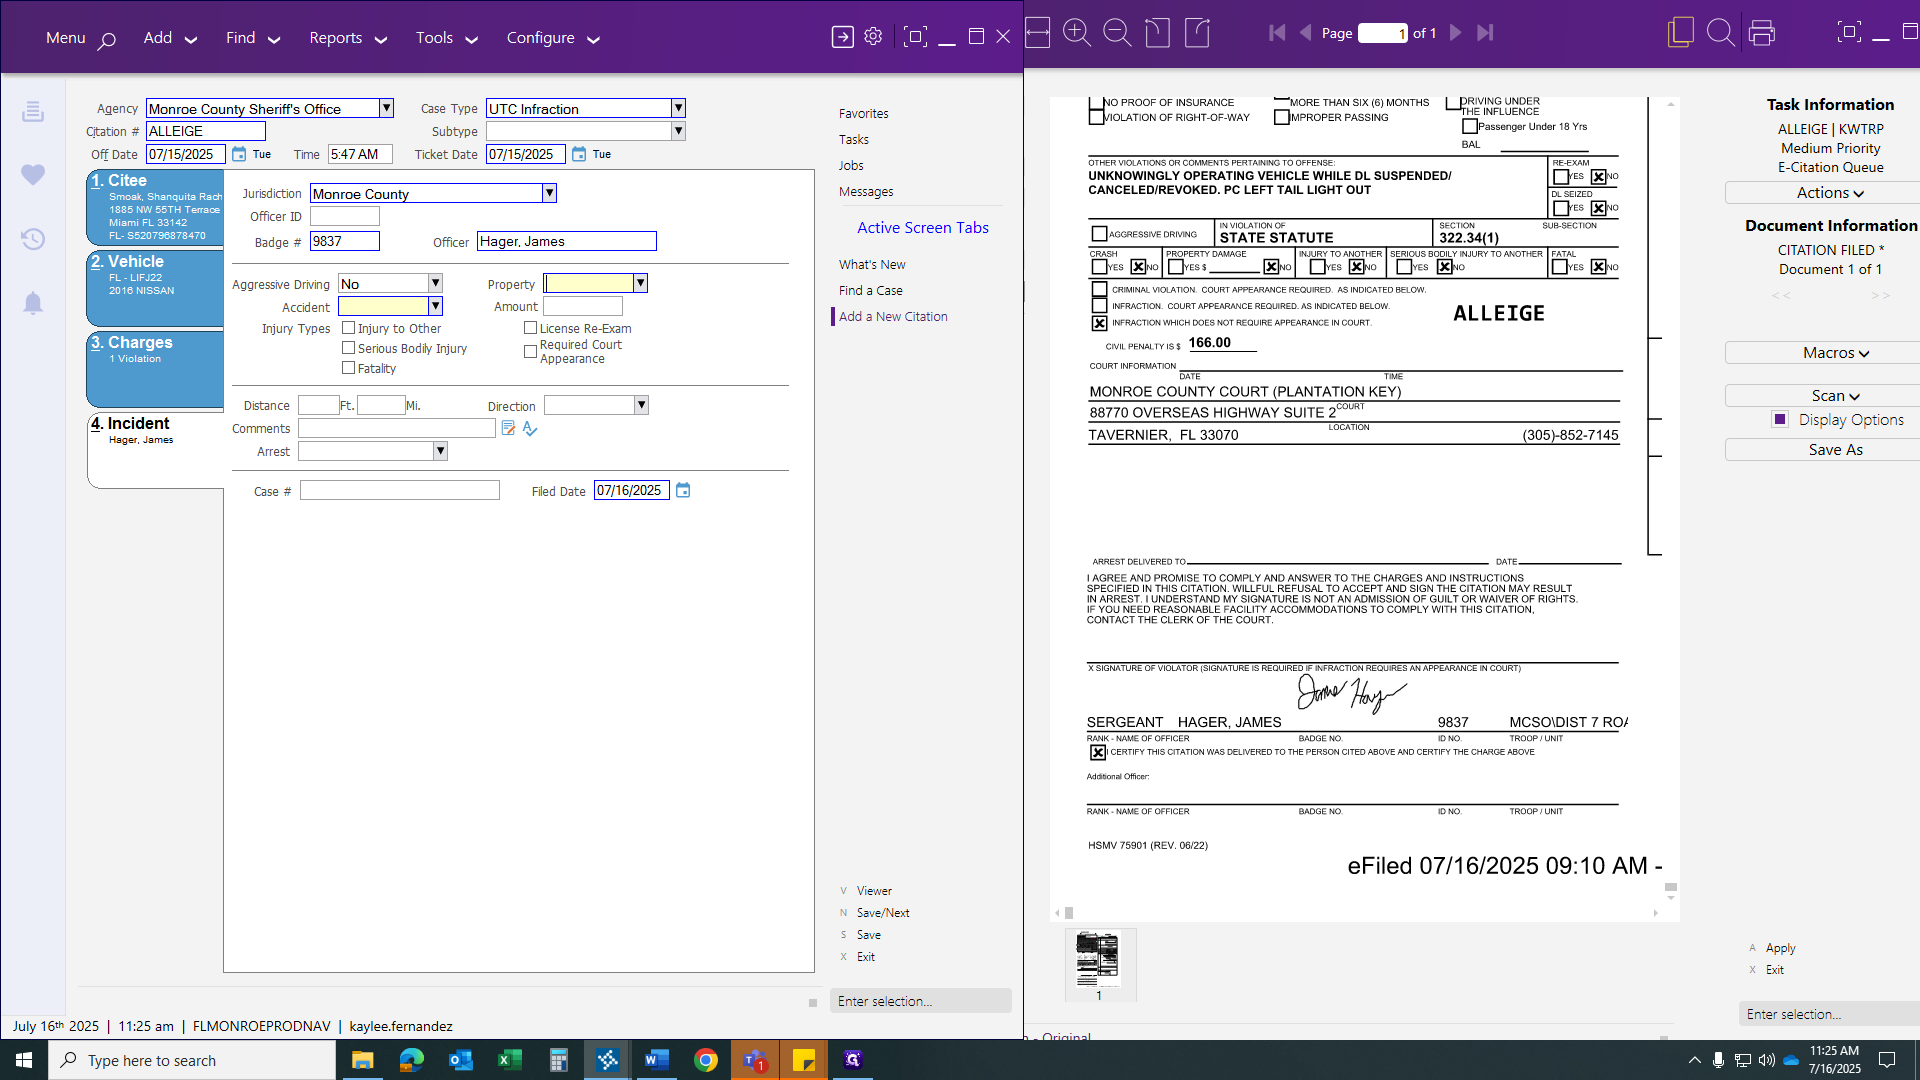
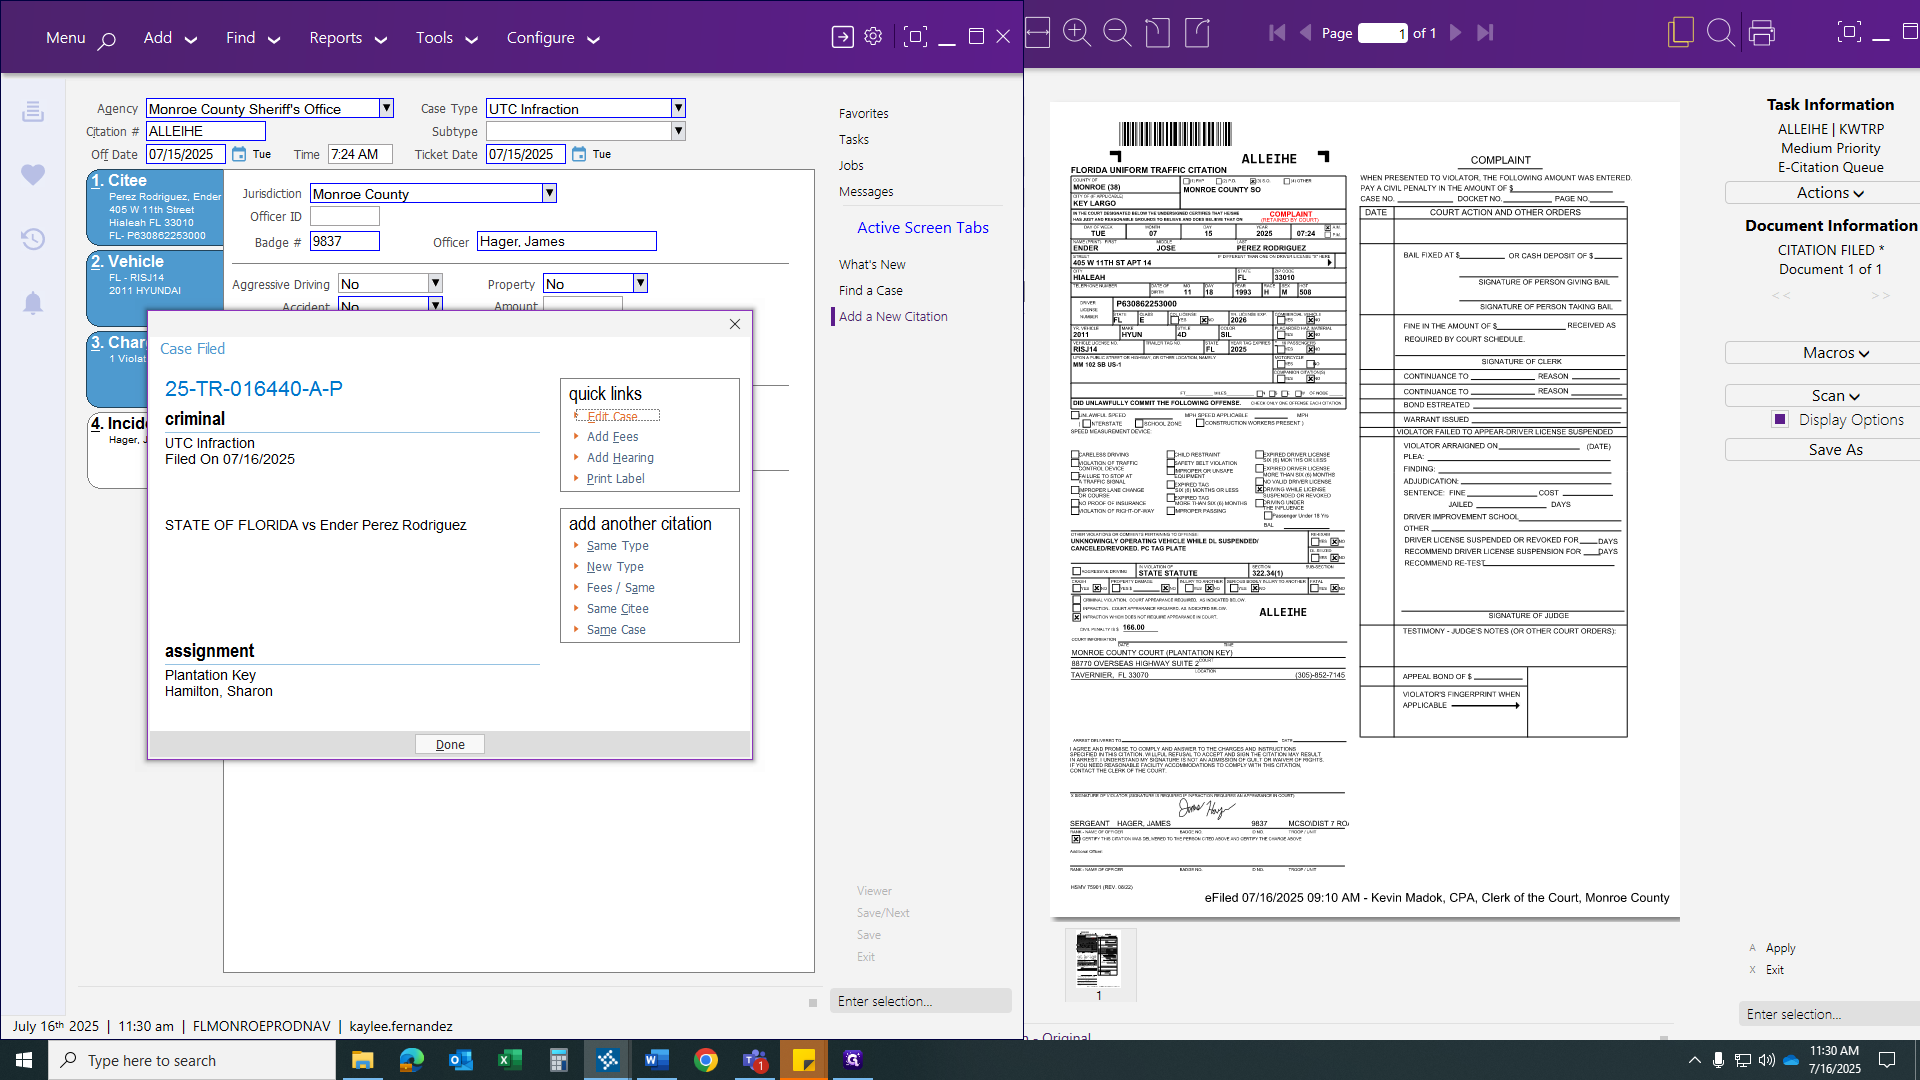
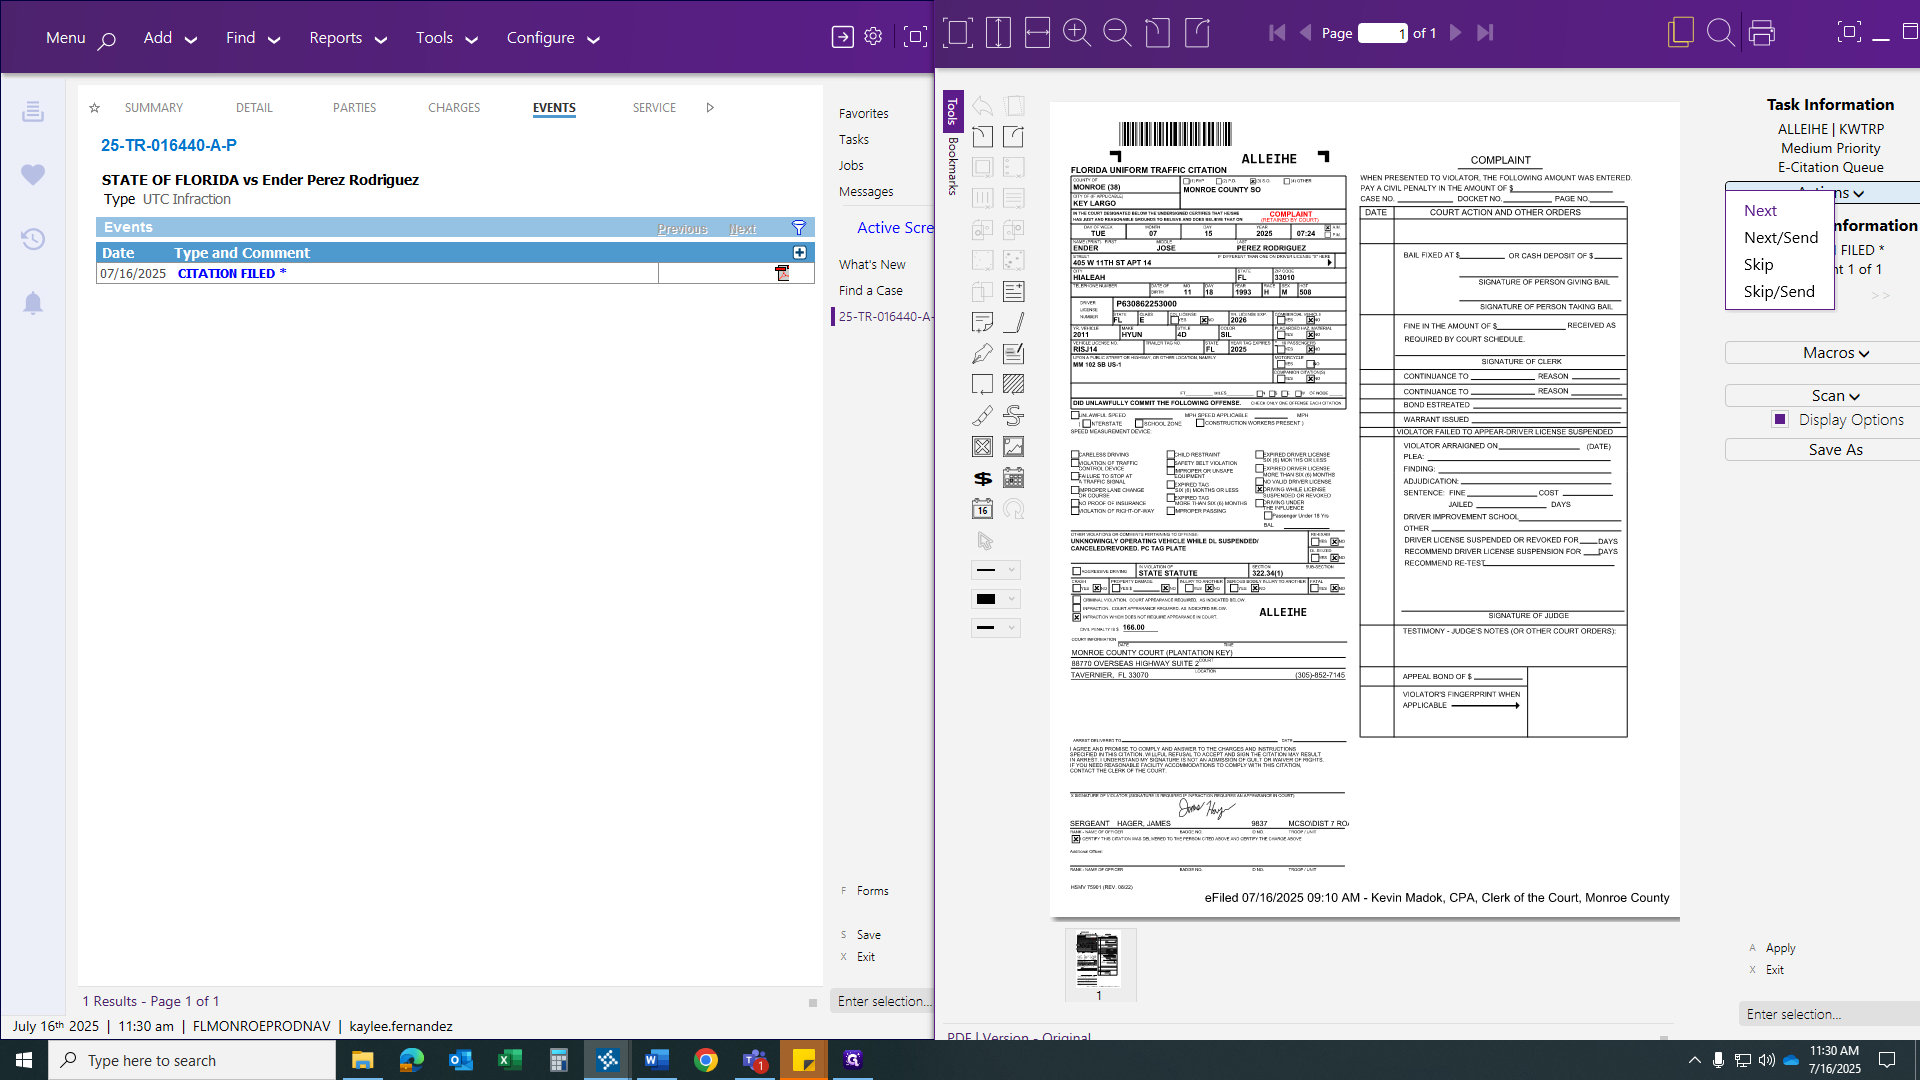
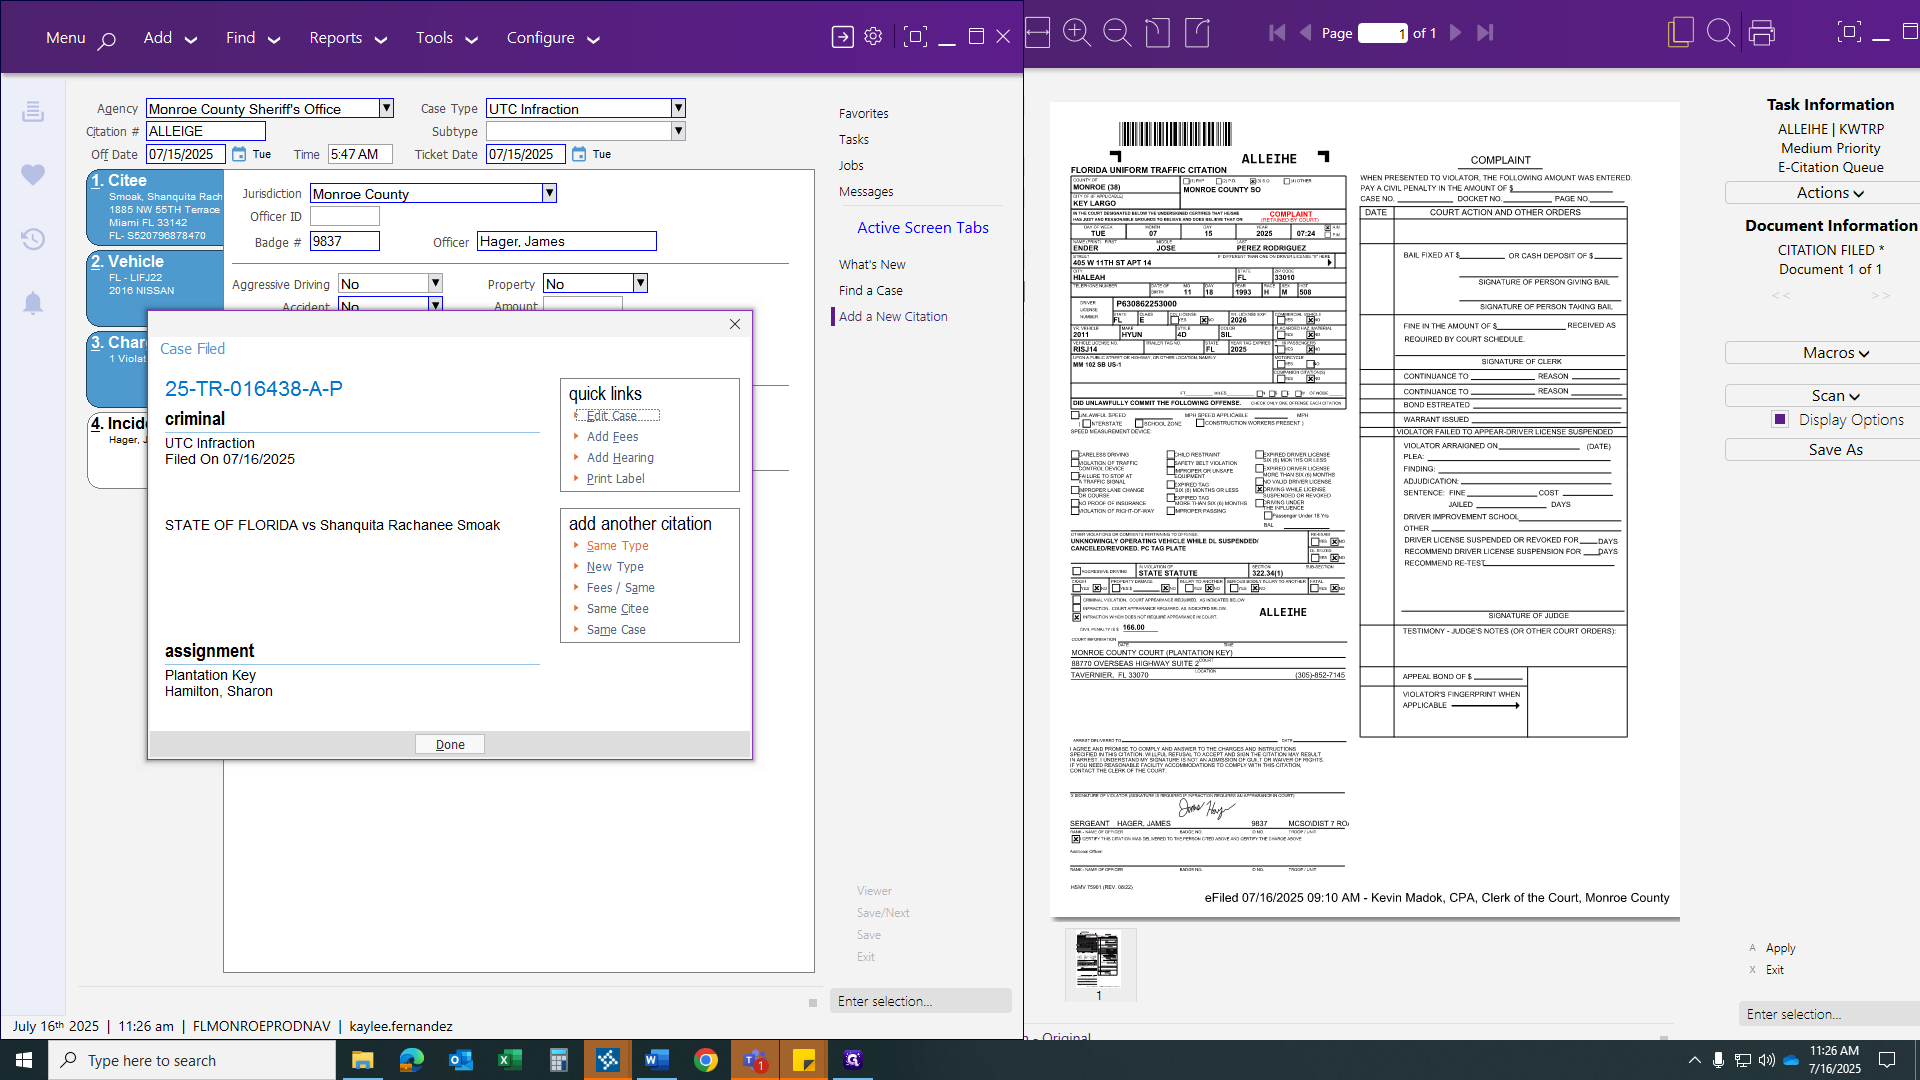
Once we have verified all areas, we can link and save the citation, then move on to the next one.
If you only save, you will need to manually link the citation to the case file. If you select "Save Next," your case will be saved, the citation will be linked, and the next citation in the queue will appear.

Let's show you the next part on how to save.

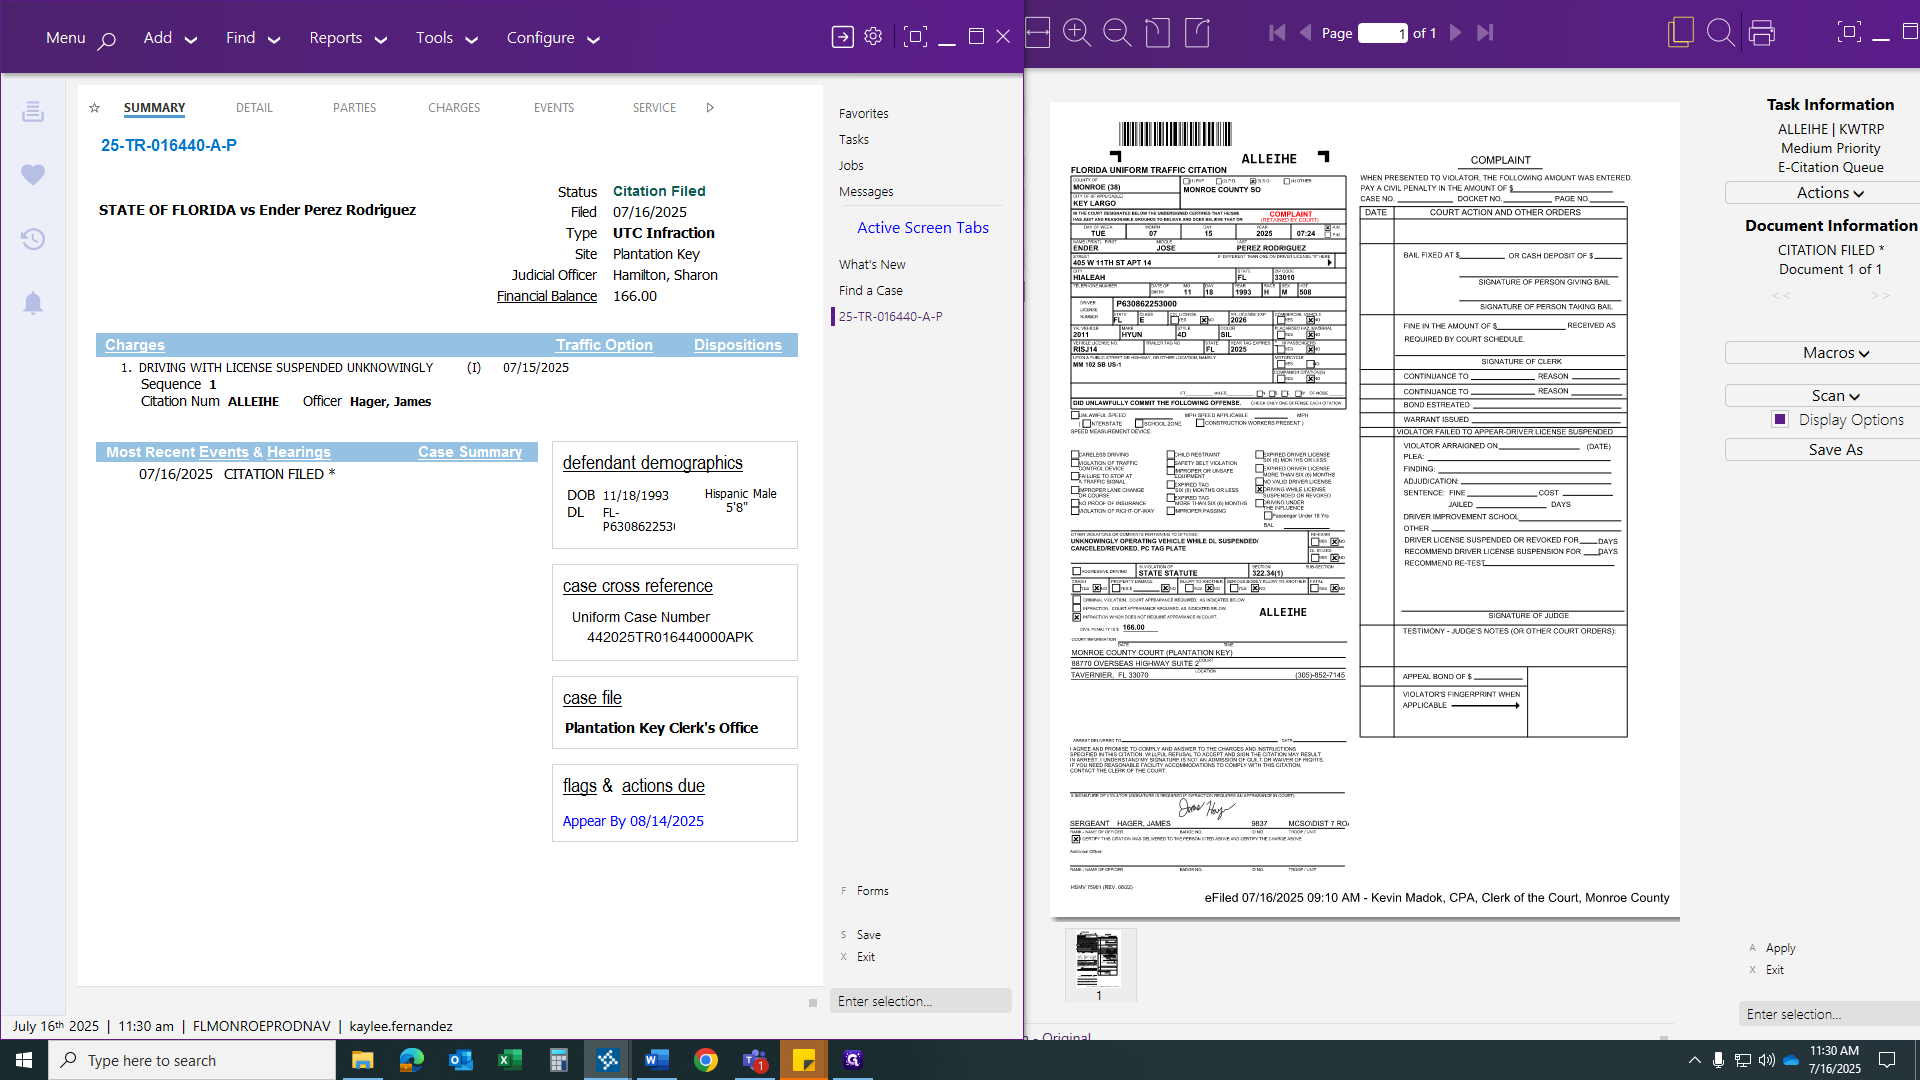
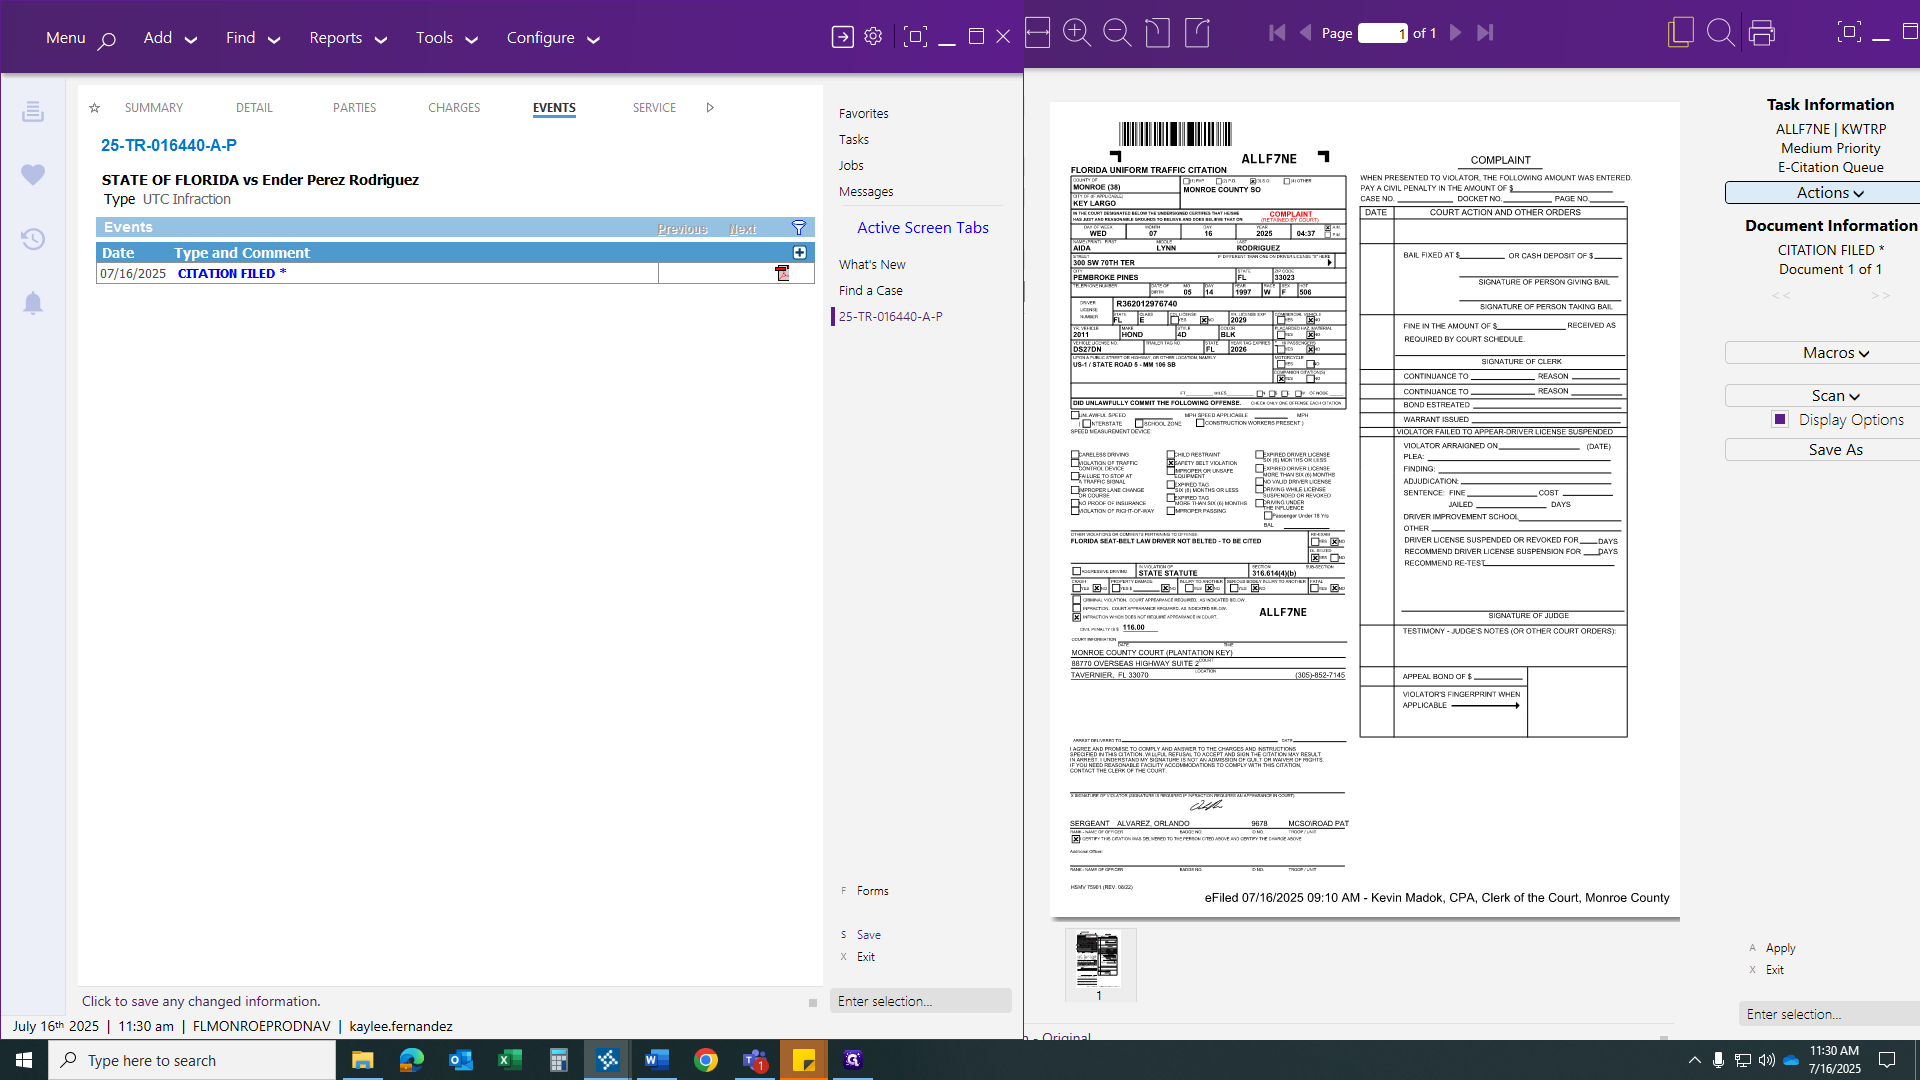
The citation has been removed. We now have a new entry and have saved our case. From here, when we see our next case, it could be another Plantation Key case, a Key West case, or a Marathon case.
If you have the same type, click "same type" to generate a blank slate. This lets you add your criteria and continue.
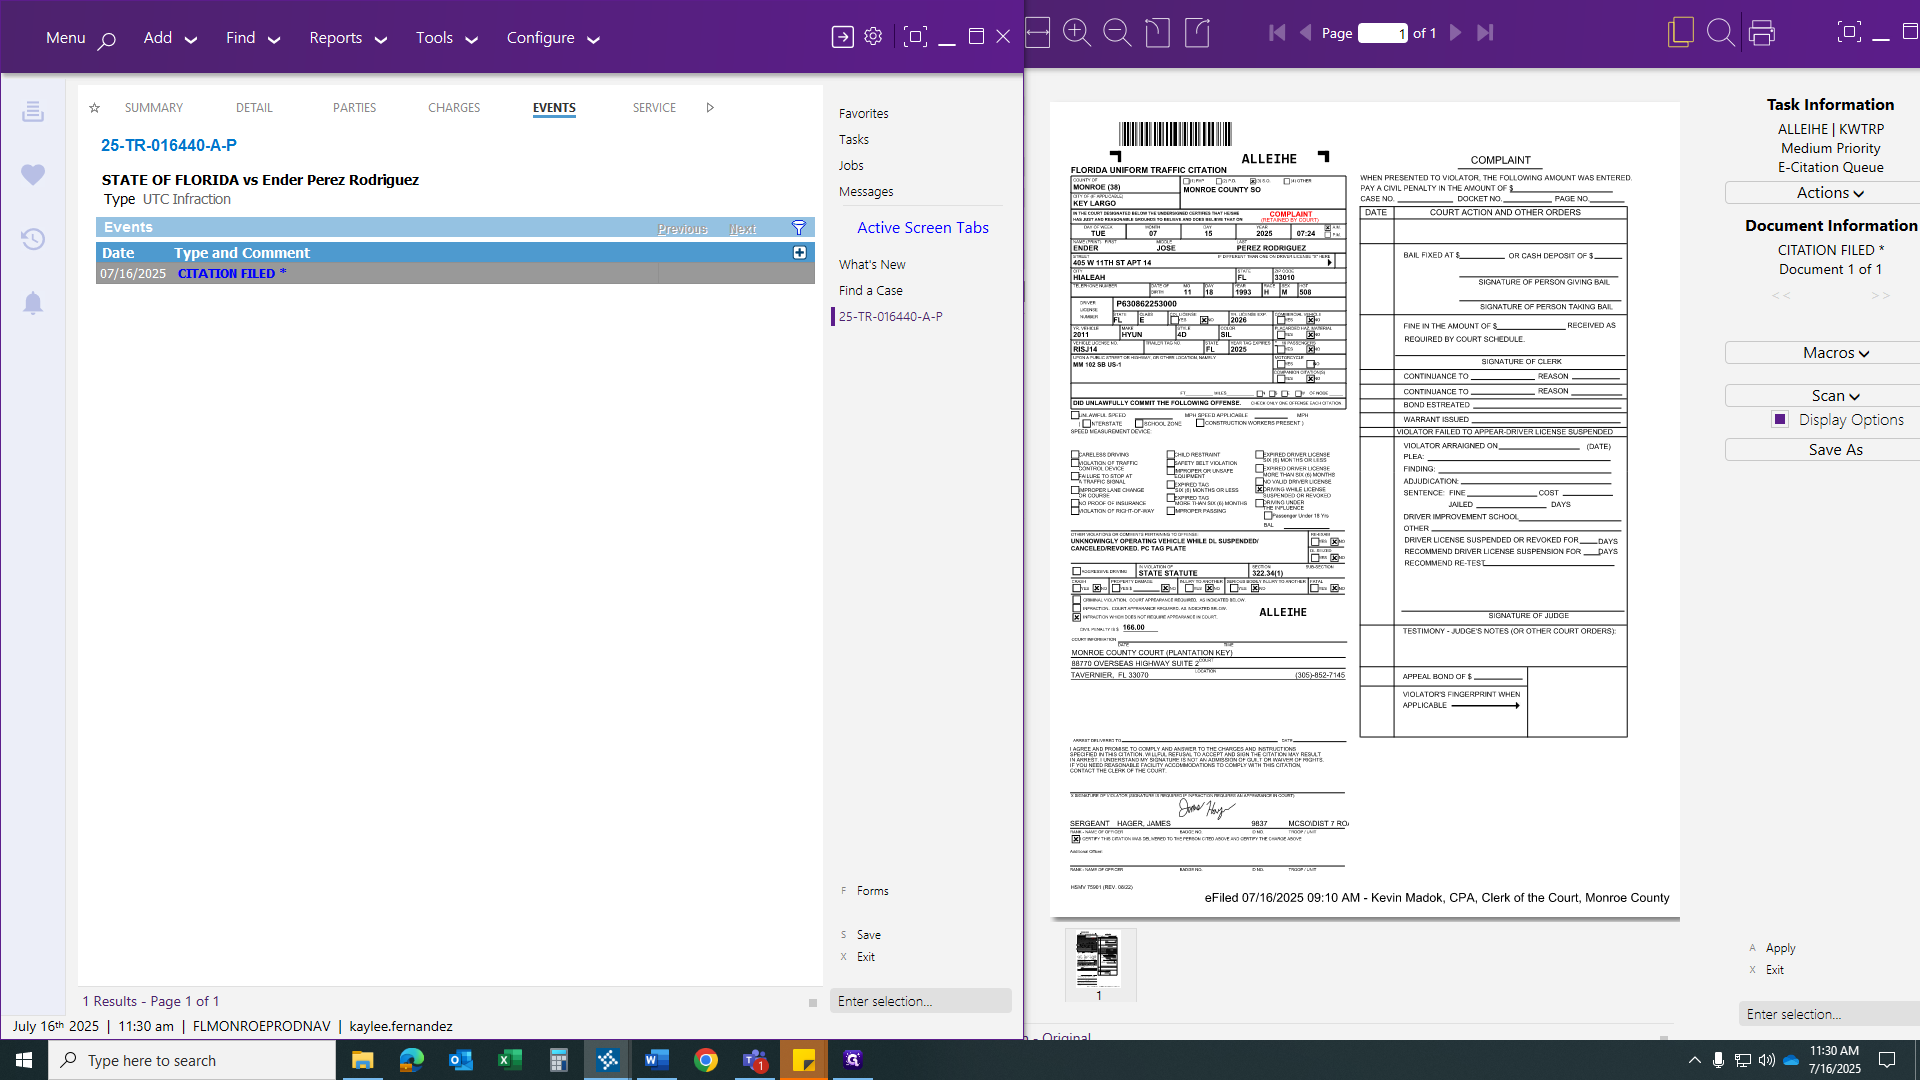
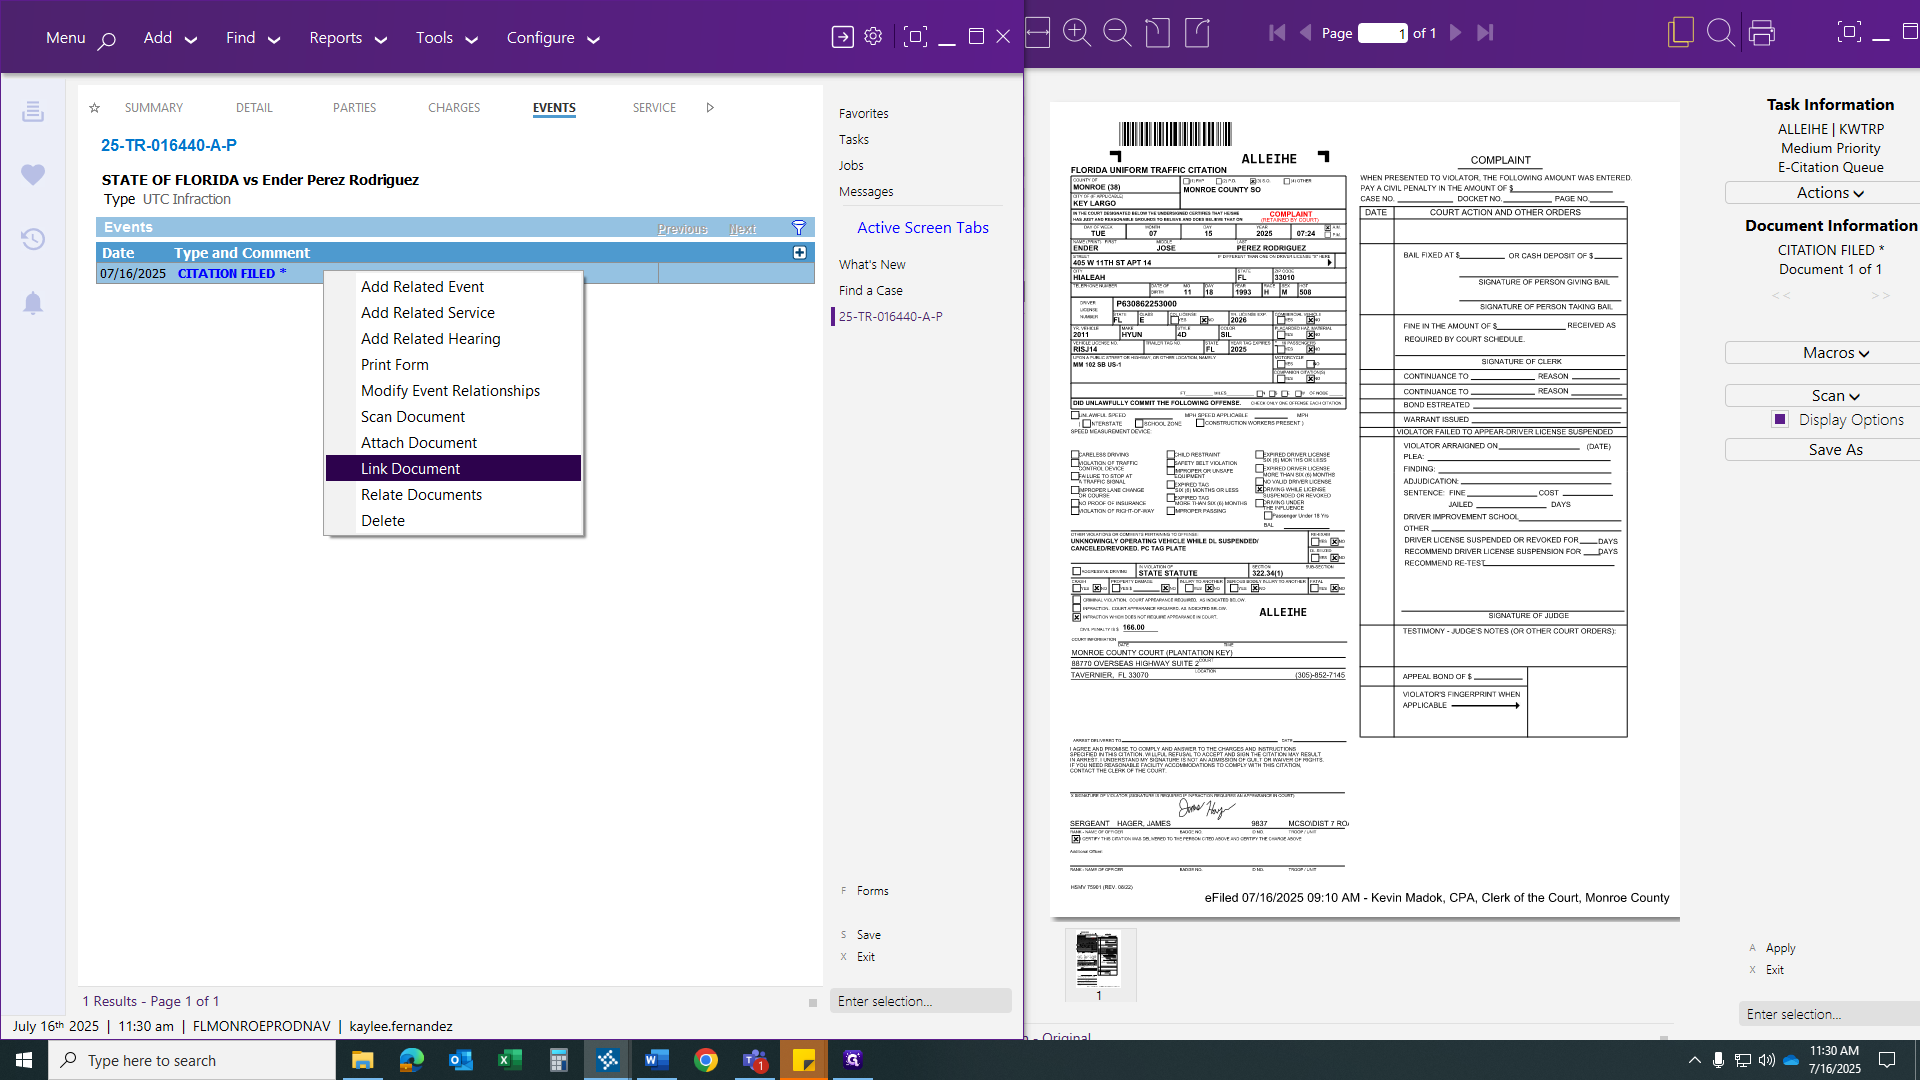
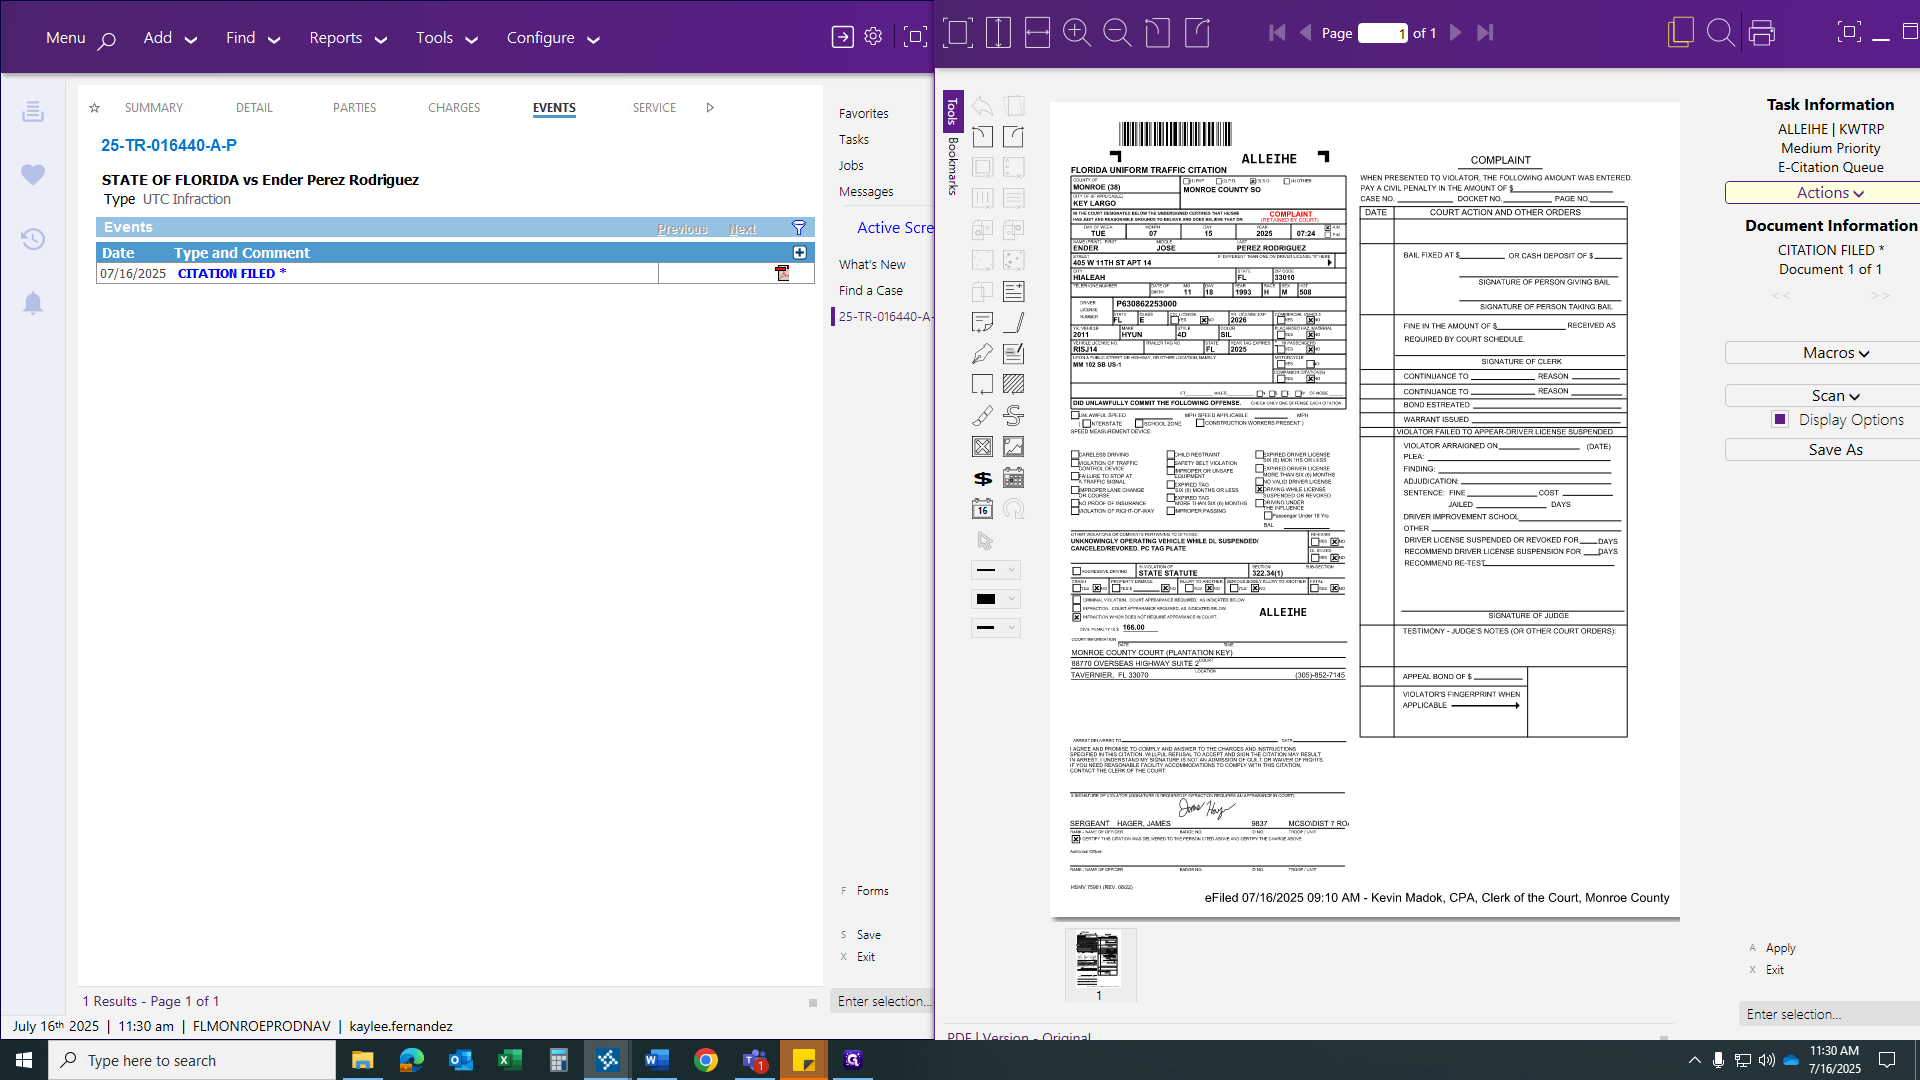
Here's an example: If you accidentally click save, you will need to go back into the case. We are going to edit the case. As you can see, the citation did not transfer. Click on the events, right-click your citation field, and link the citation.
After linking the citation, go to your citation box. Click "Next" to move to the next citation, then save the citation.