
How to Add a Member to the End-of-Day Report: Step-by-Step Guide
Learn how to add a member to the end-of-day report with this easy step-by-step guide. Includes instructions for data entry, call forms, future plan status, and more.
In this guide, we'll learn how to add a member to the end of day report. You will see how to enter the member's name, select call details, and record important information such as call type, number of calls, and call outcomes.
We will also cover how to add comments and save the entry for accurate reporting.
Let's get started
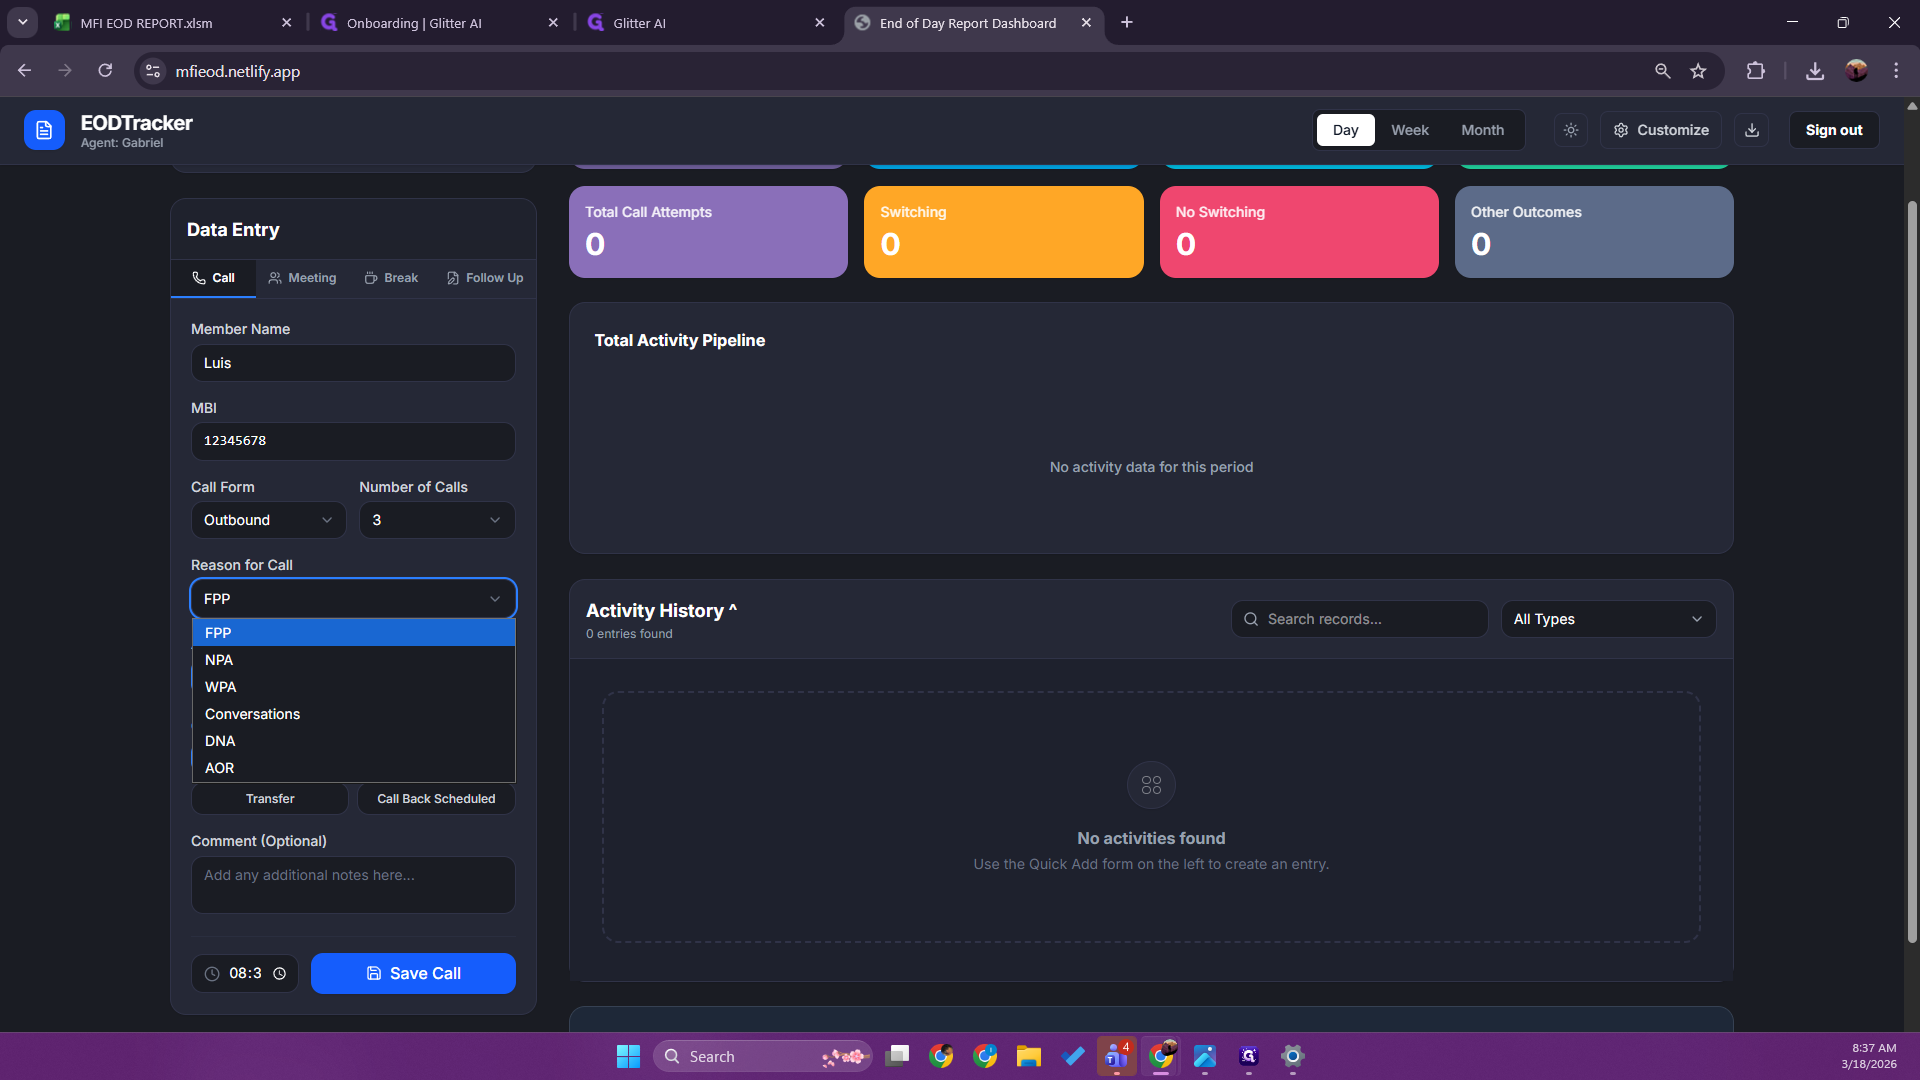
Let's learn how to add a member to the end-of-day report. This is your main screen. In data entry, add a member's name.
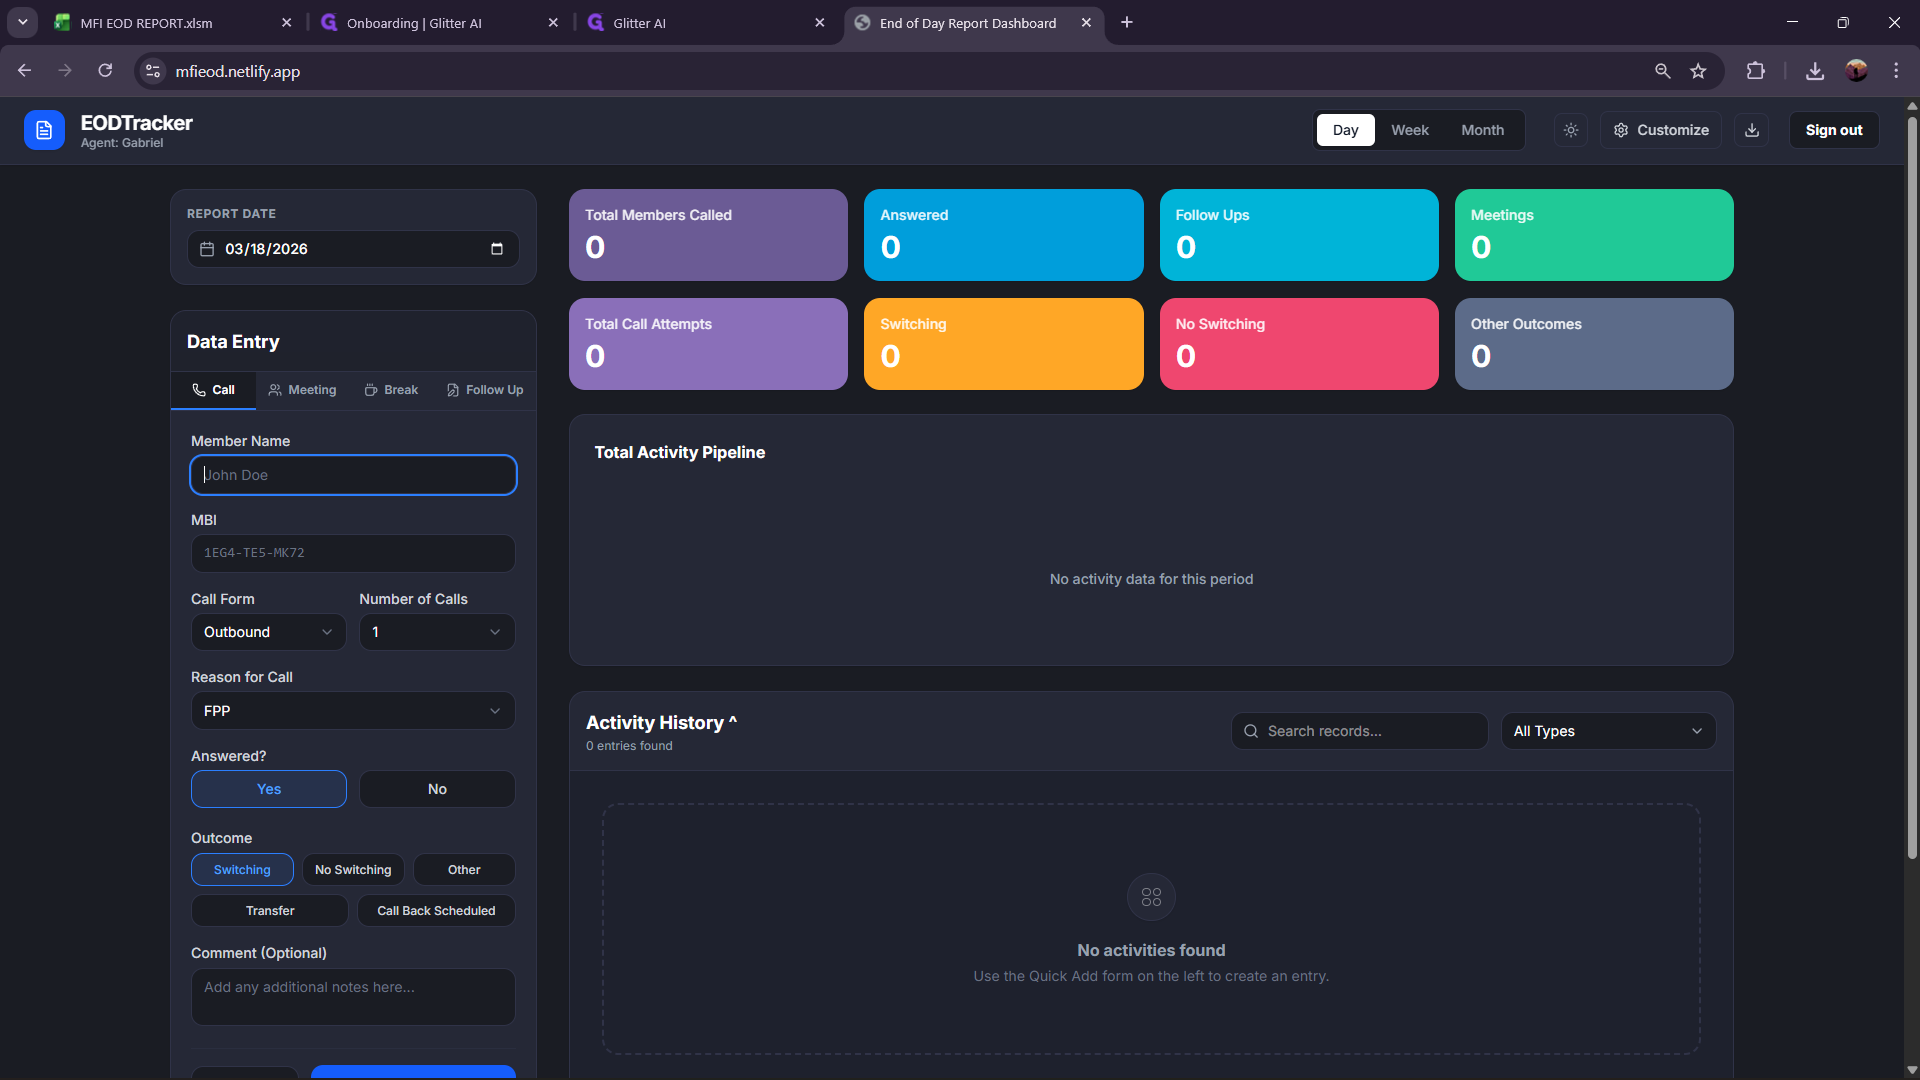
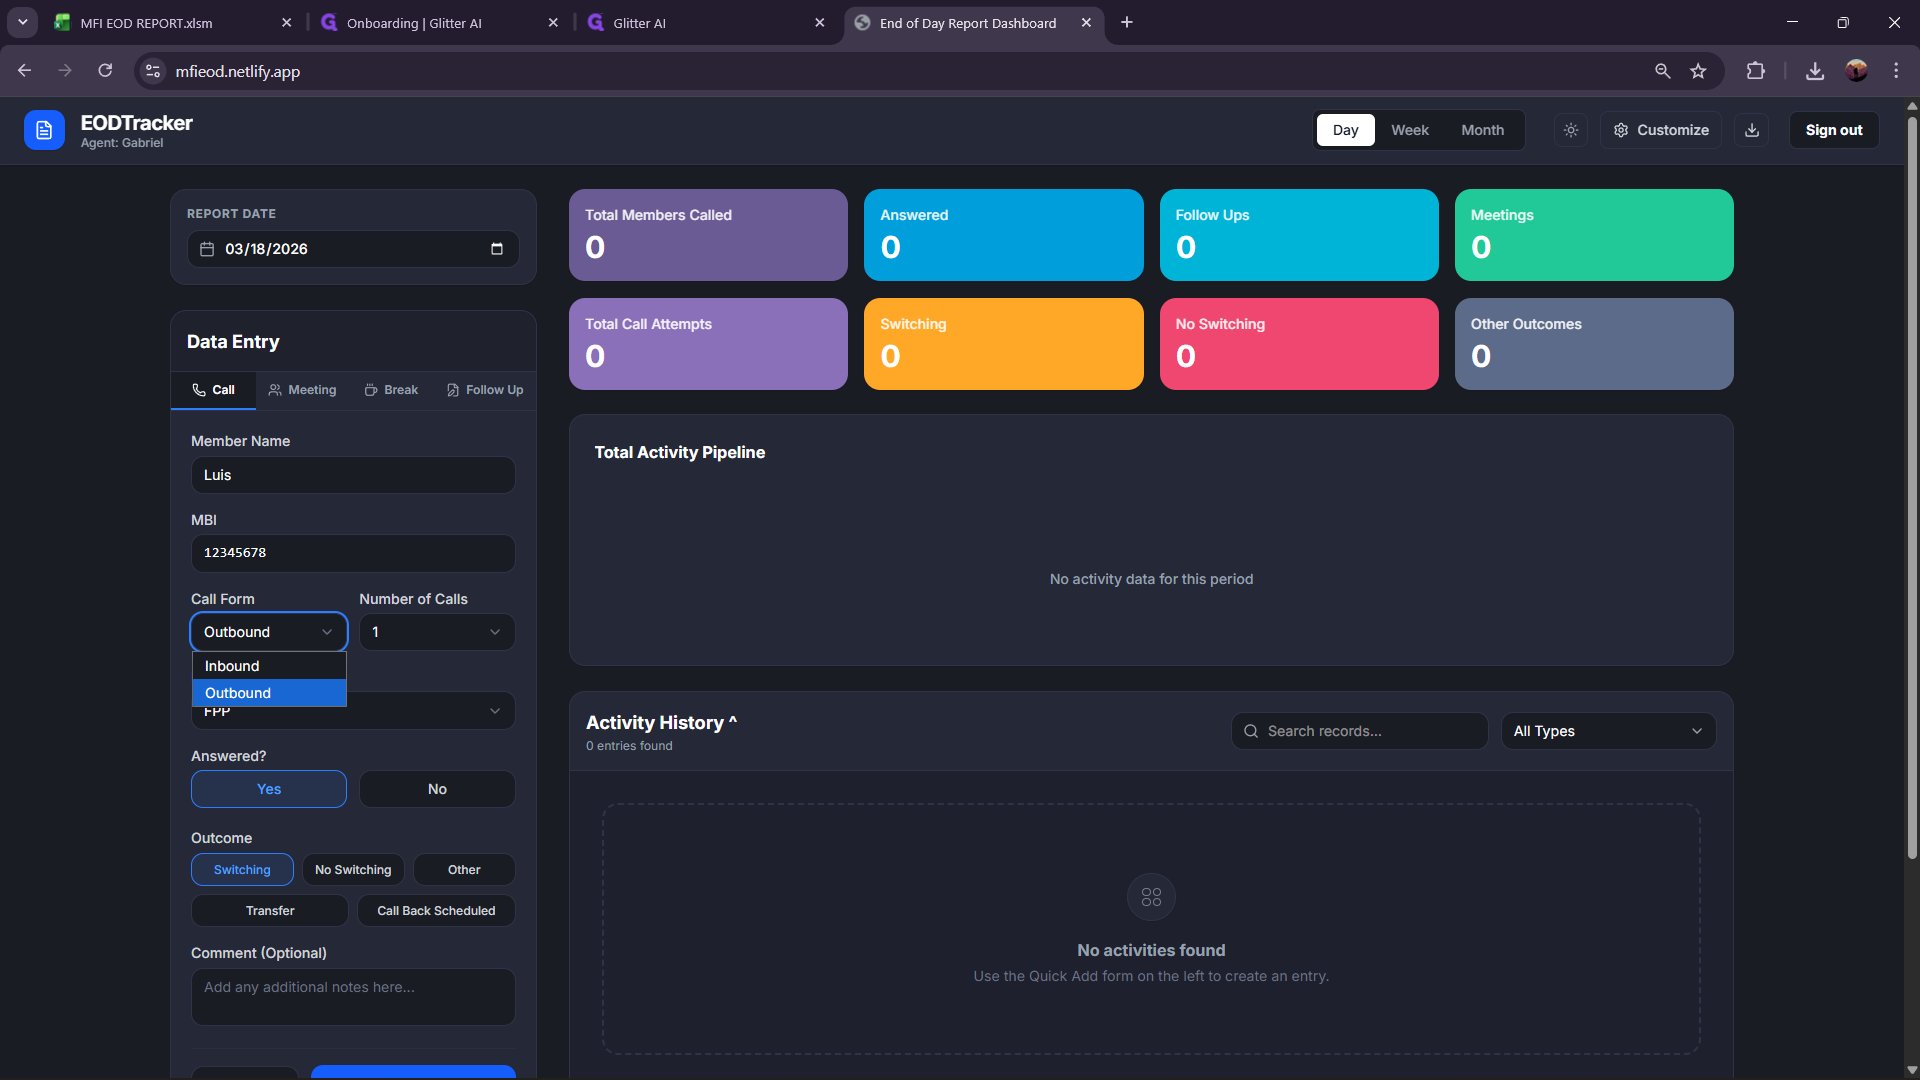
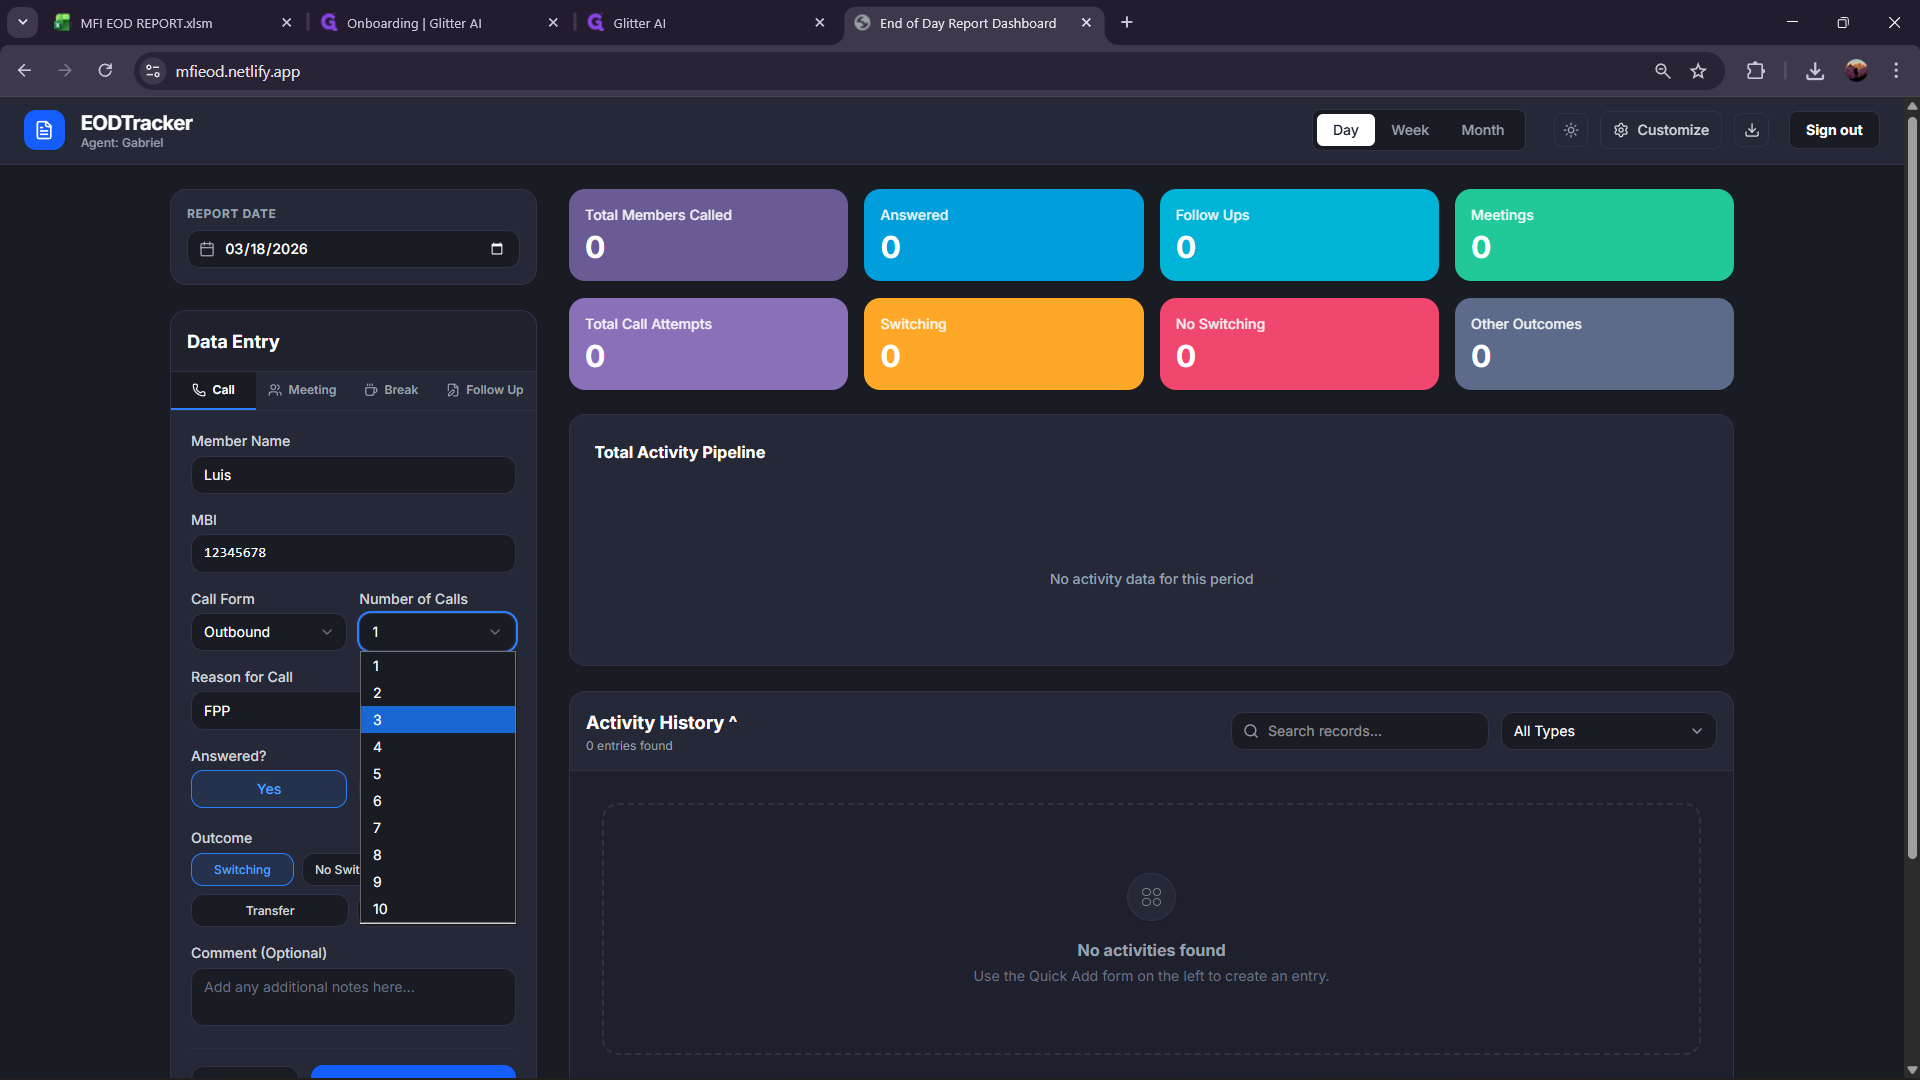
Let's add Louis. The MBI is the number we will use for this example. Then select the call form: inbound or outbound. Enter the number of calls, usually three. Specify the reason for the calls and indicate if the future plan is pending, not pending, or active. Pending active conversations do not create AORs.

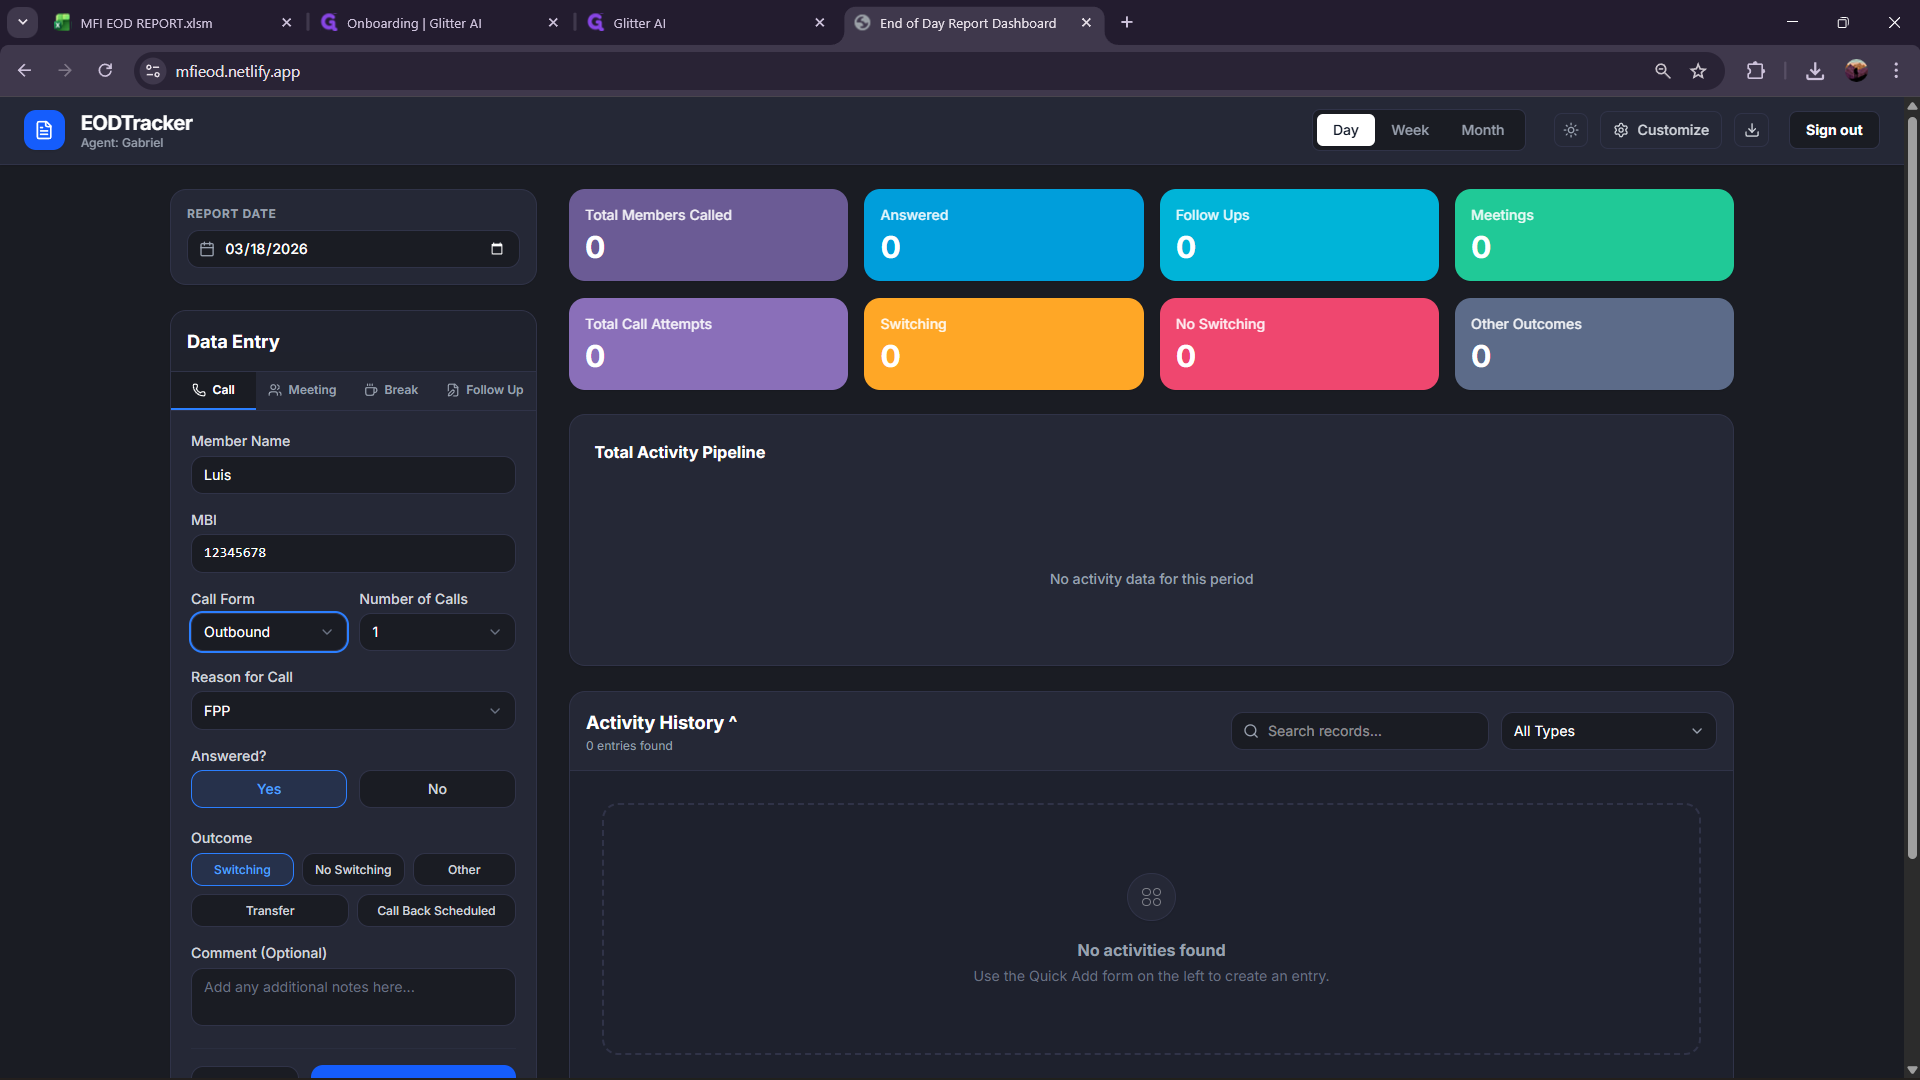

Select "Future Plan Pending."
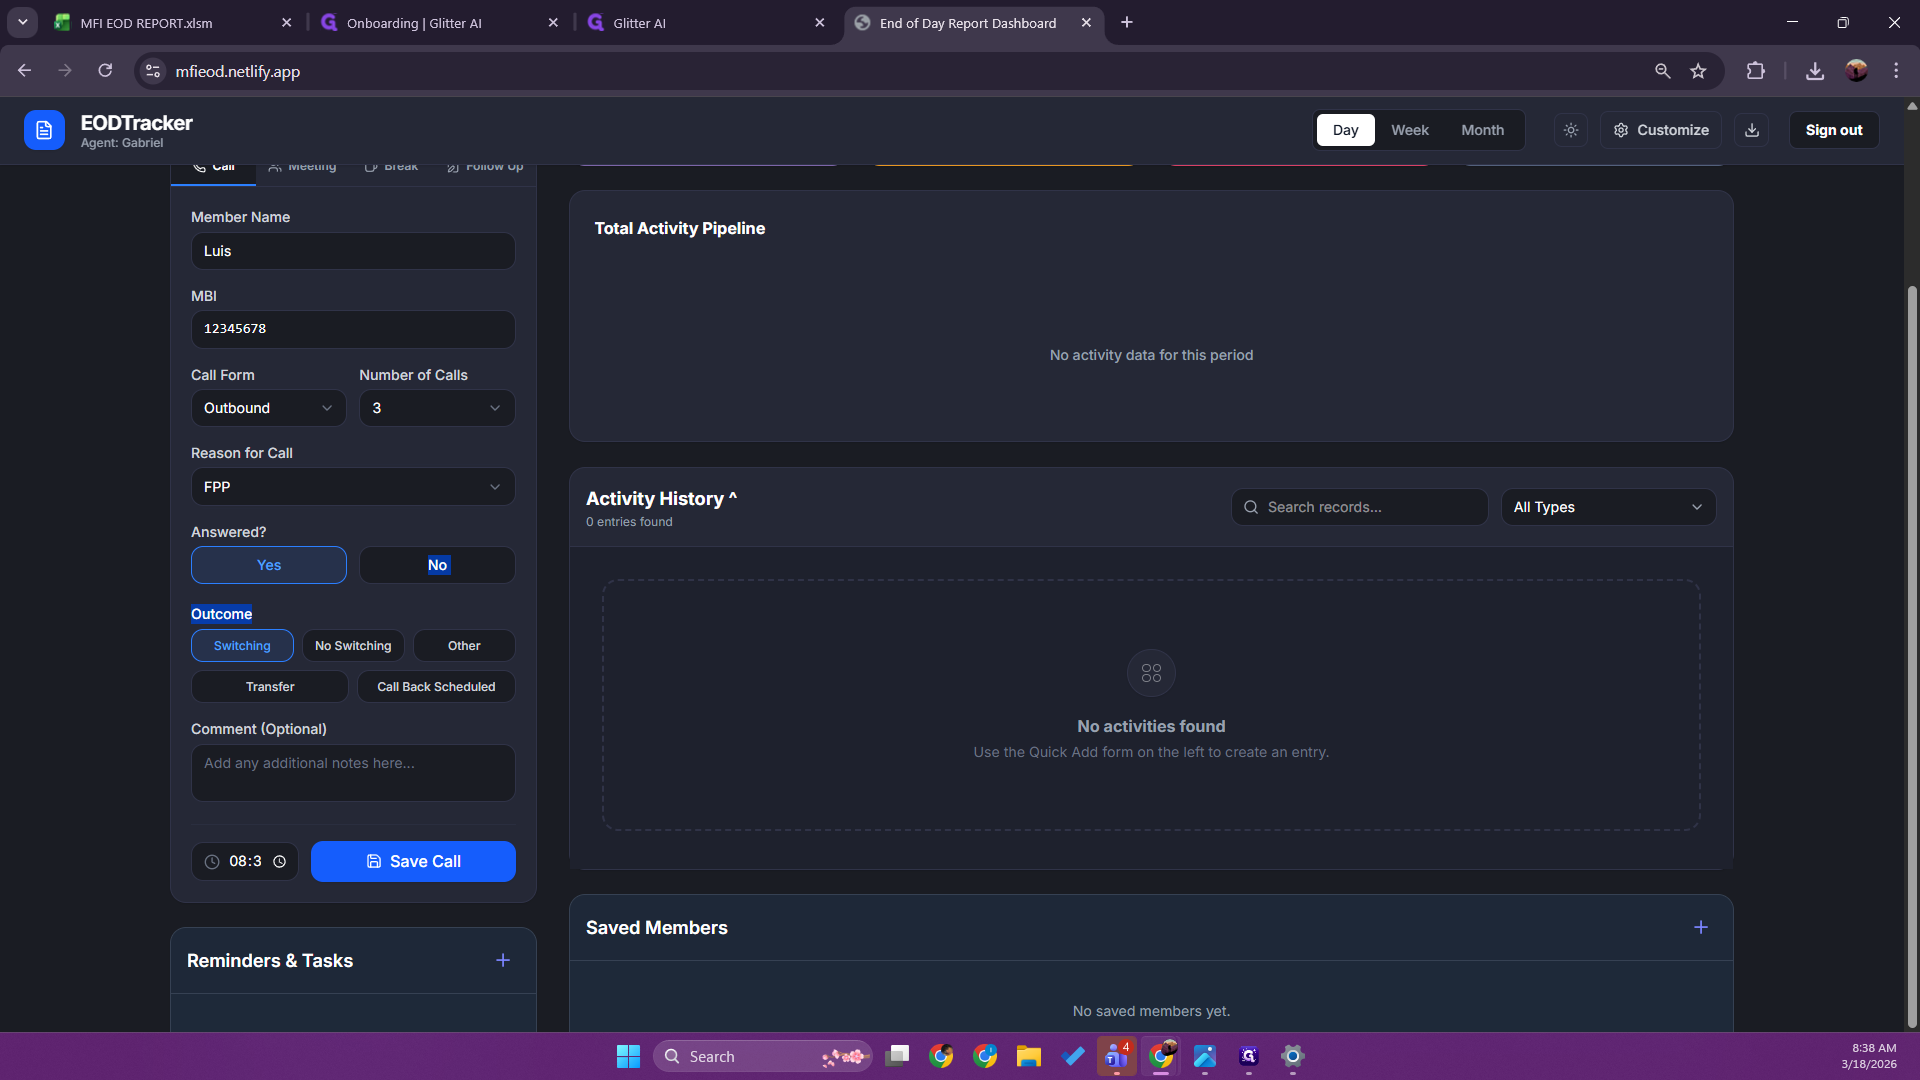
If the member answered or did not answer the phone, note whether the member is switching, not switching, has another issue, if it is a transfer call, or if it is a call about scheduling.


Next, we will add a comment. Example. Save the call and record the time it was made.
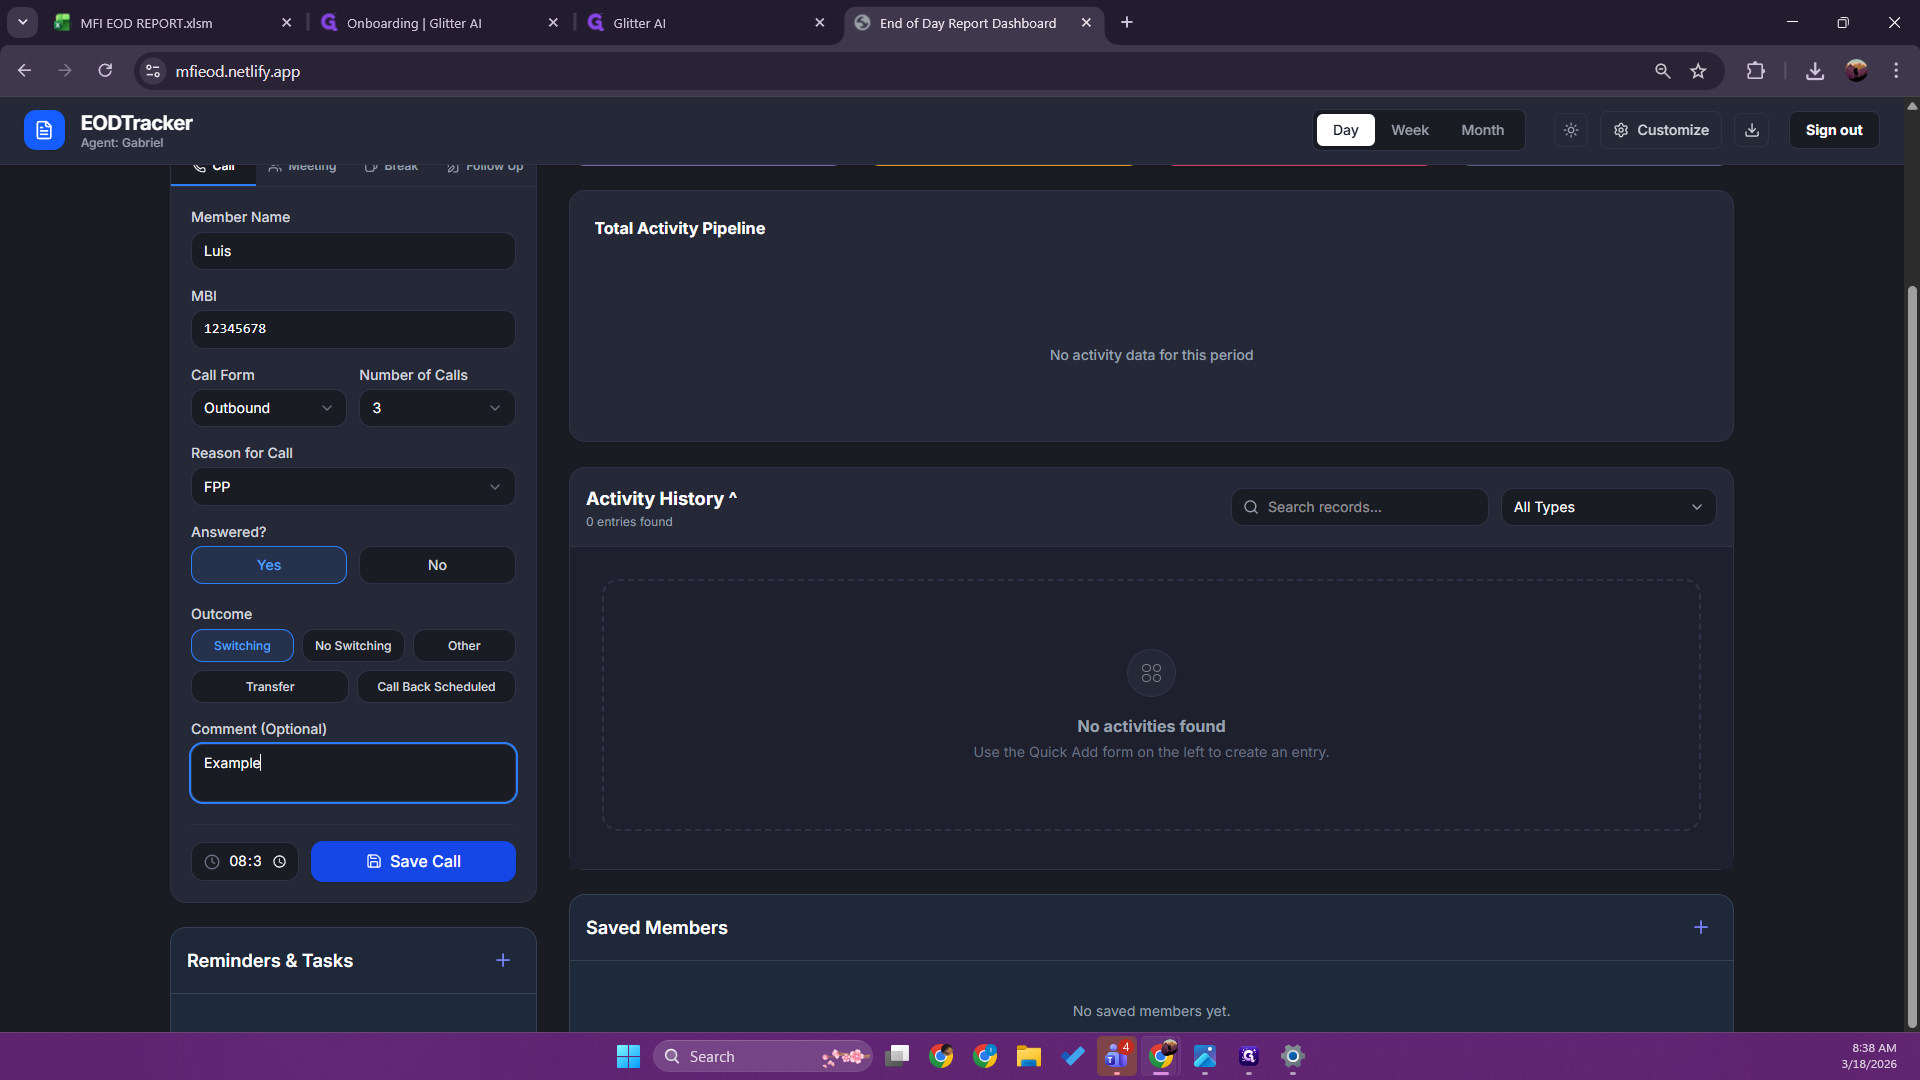
And that will be it.