How to Add a New Customer in OrderWise: Step-by-Step Guide
Learn how to add a new customer in OrderWise with this easy step-by-step guide. Discover the required fields, customer types, and tips for efficient customer setup.
In this guide, we'll learn how to add a new customer in OrderWise. This process helps you keep your customer records organized and ensures that orders and invoices are managed correctly.
You will see how to enter the required details, select the right customer type, and set up contact and delivery information. This guide will help you avoid common mistakes and make sure your customer data is ready for future transactions.
Let's get started
Let's add a new customer in OrderWise. I'm at the main screen. First, access the Sales tab.
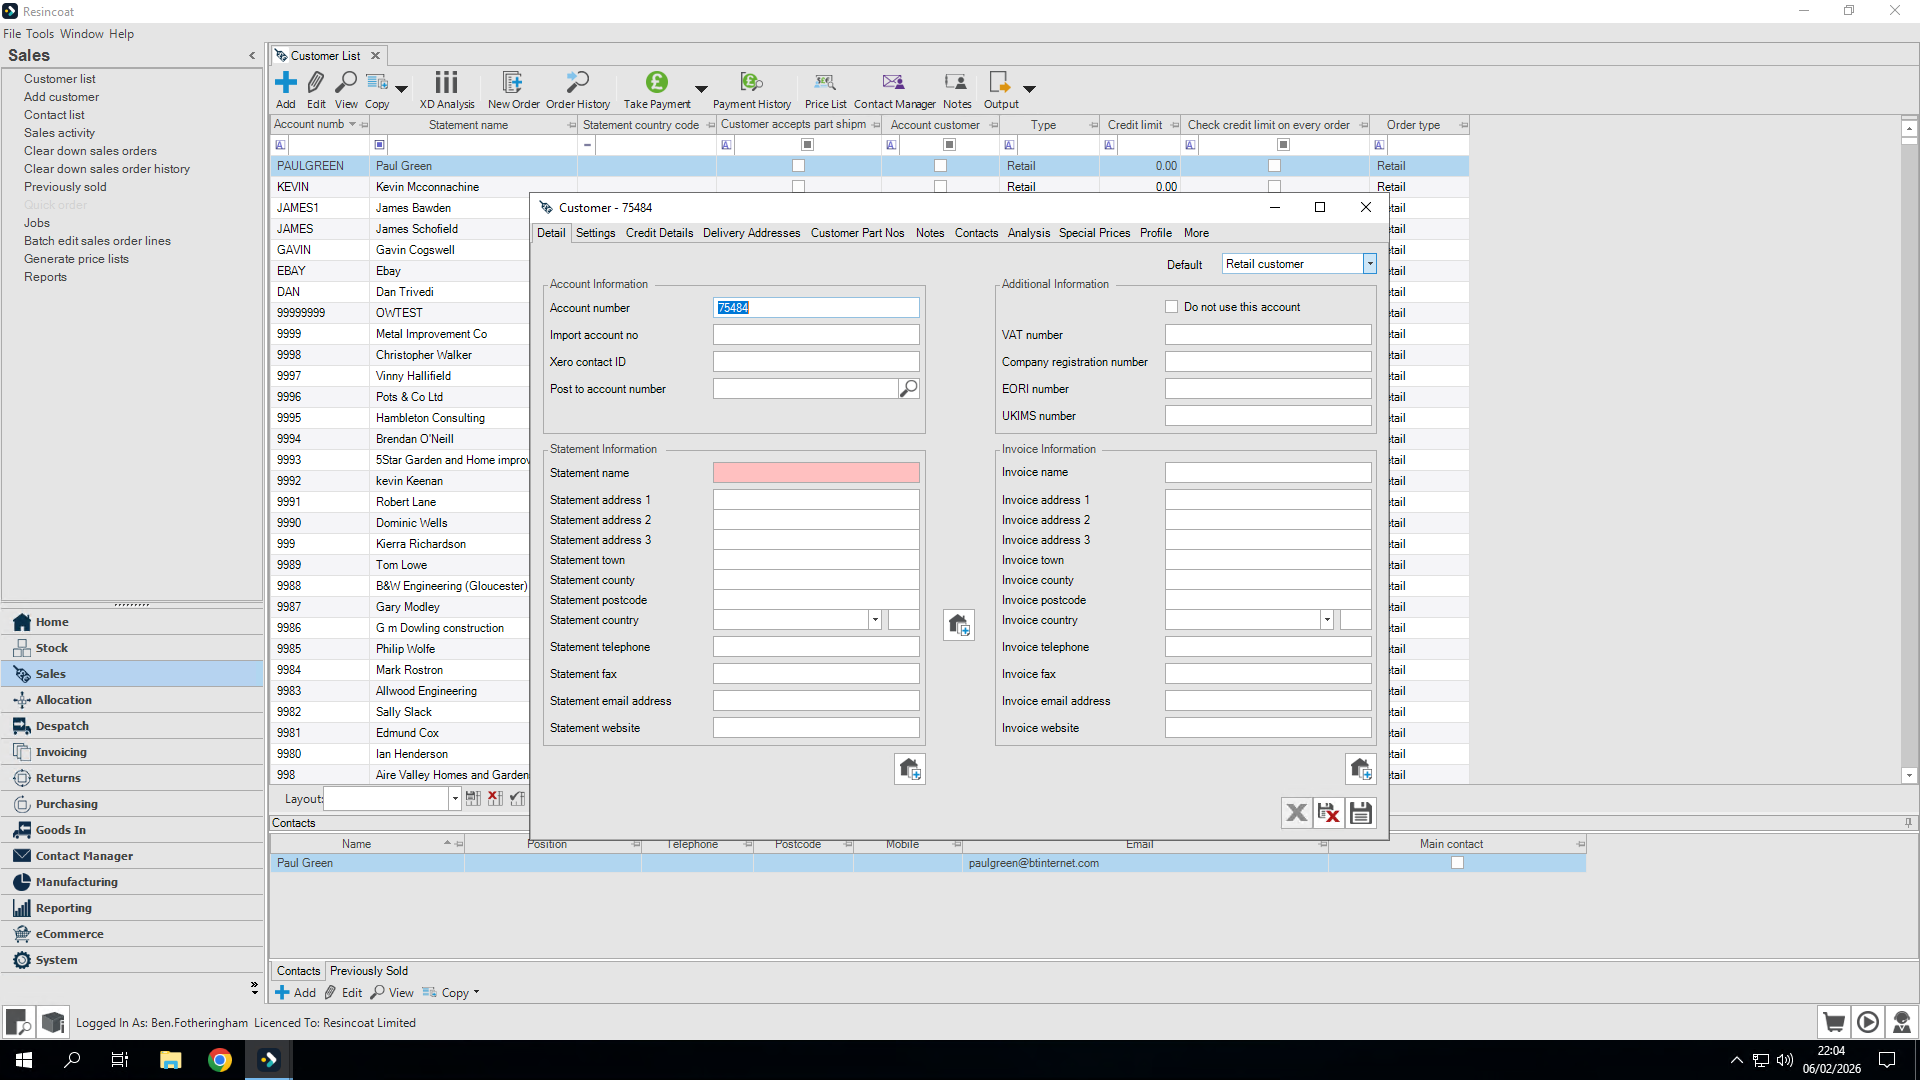
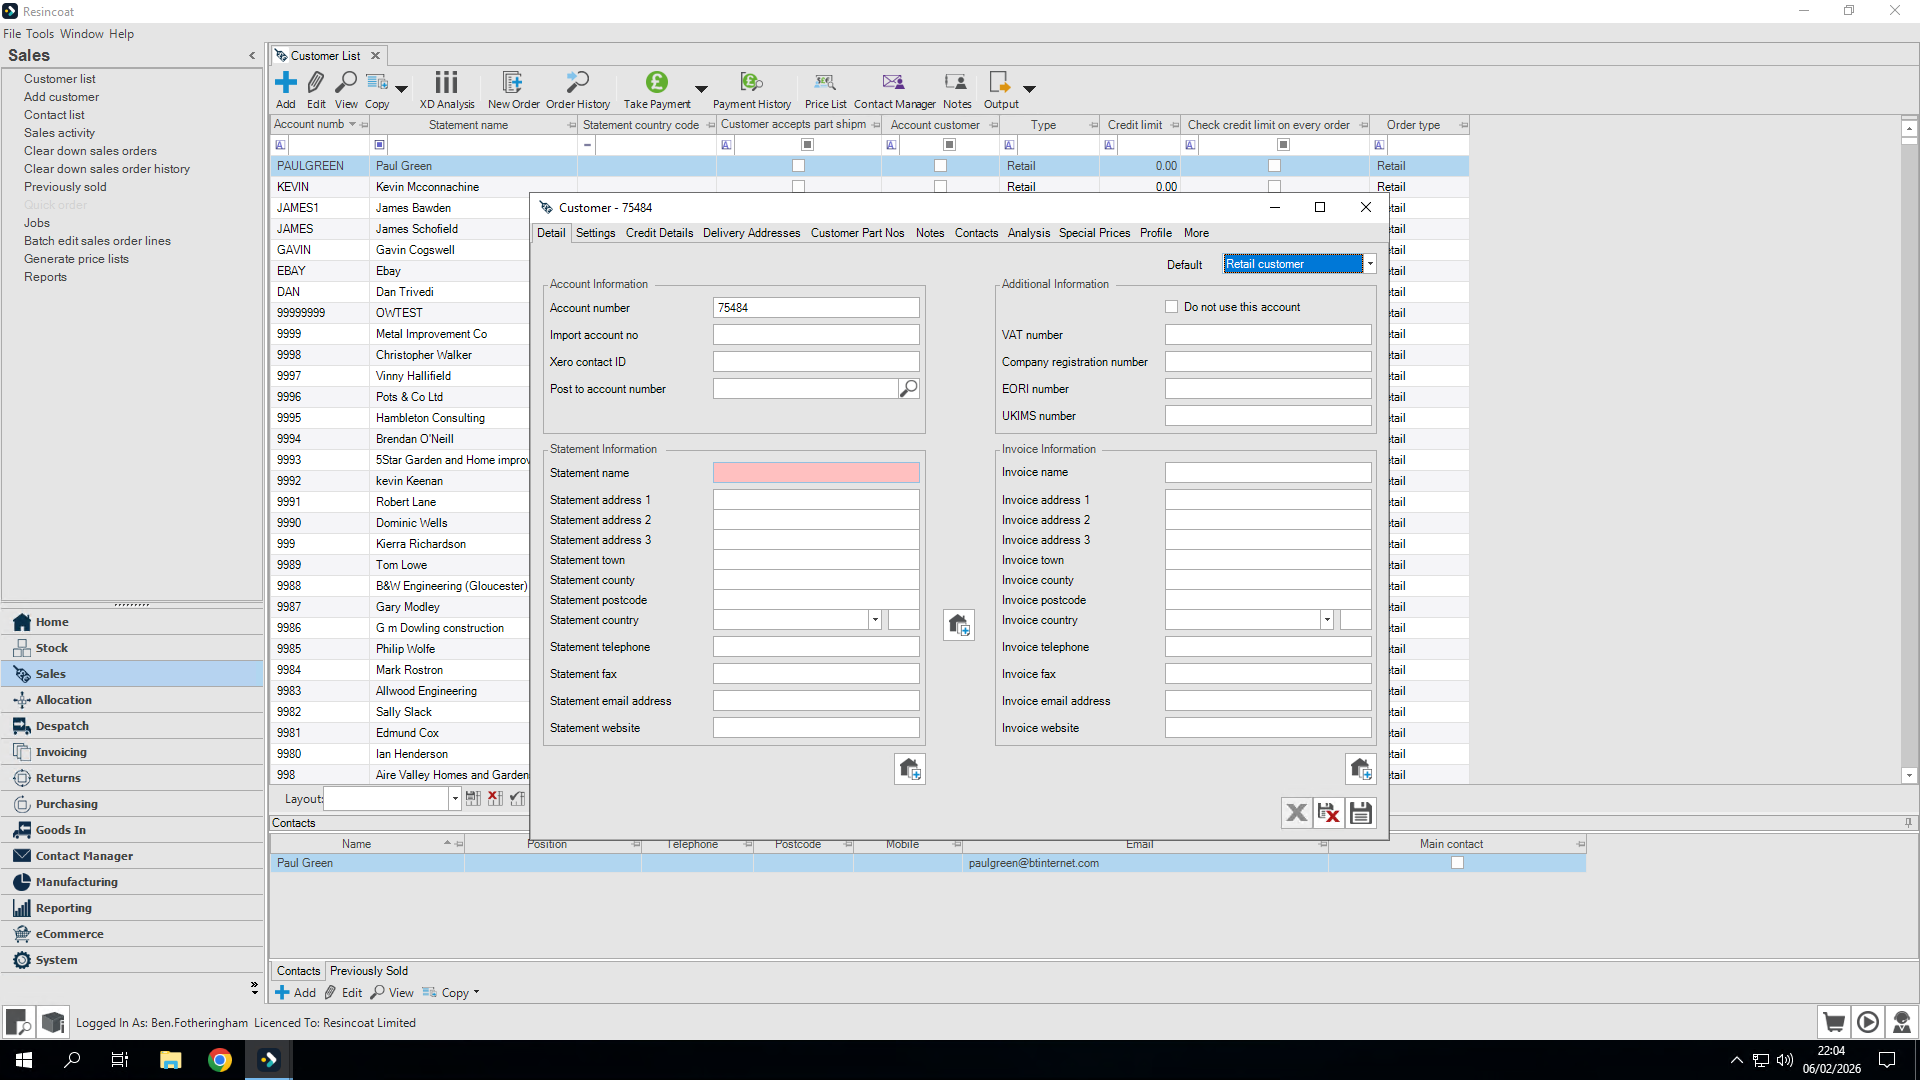
This opens the customer list. I will click Add.

All account information here can be left blank.
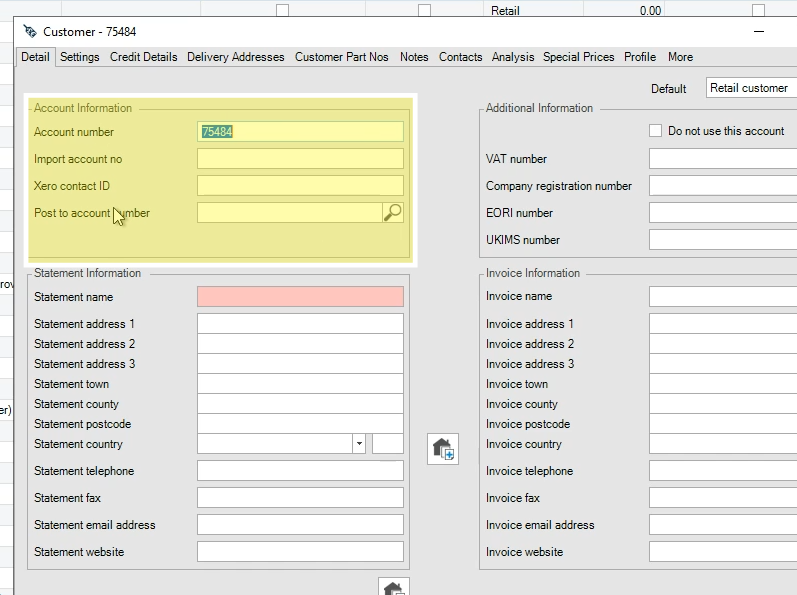
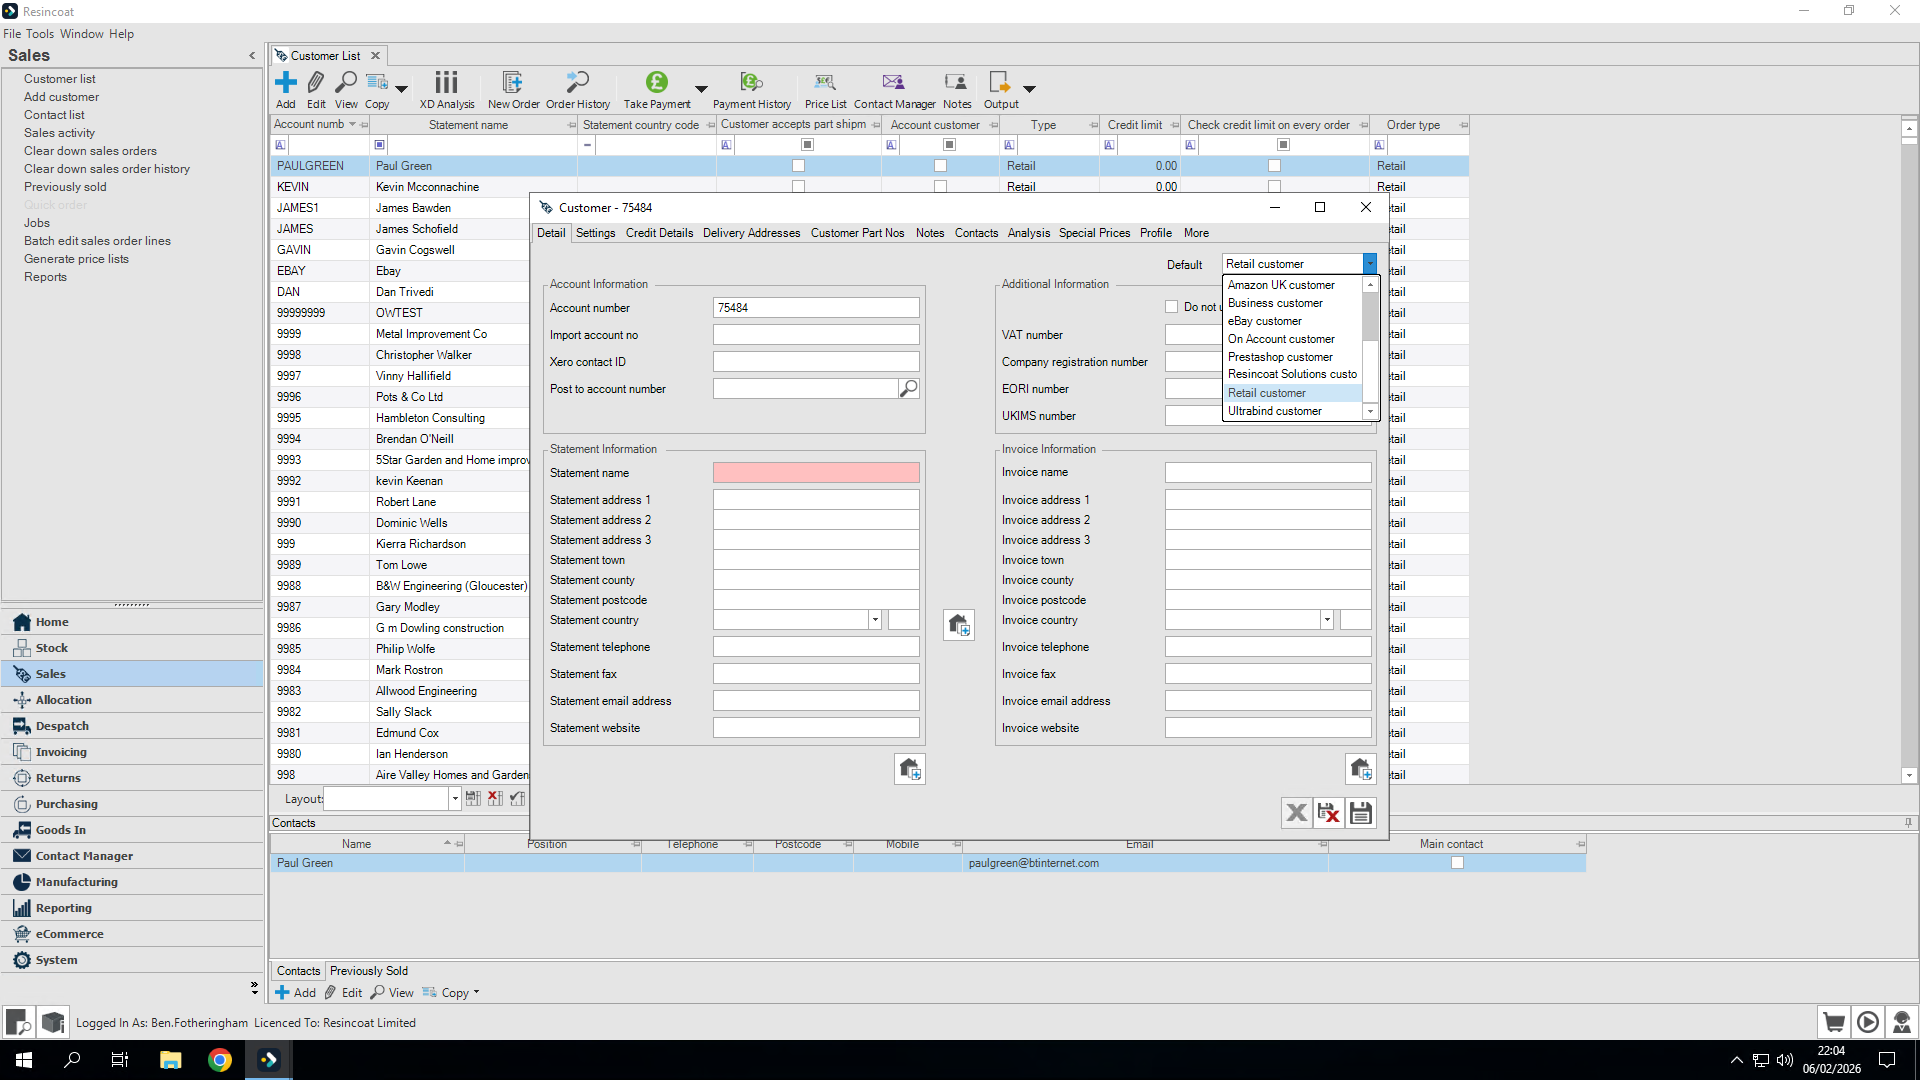
The first step is to select our customer type in the upper right corner.
I want to choose from a retail customer, Resin Coat Solutions customer, on-account customer, or business customer. A business customer is a client who makes purchases for their business and may need an invoice, but does not have a credit account with us. For now, let's remain as a retail customer.
Okay.
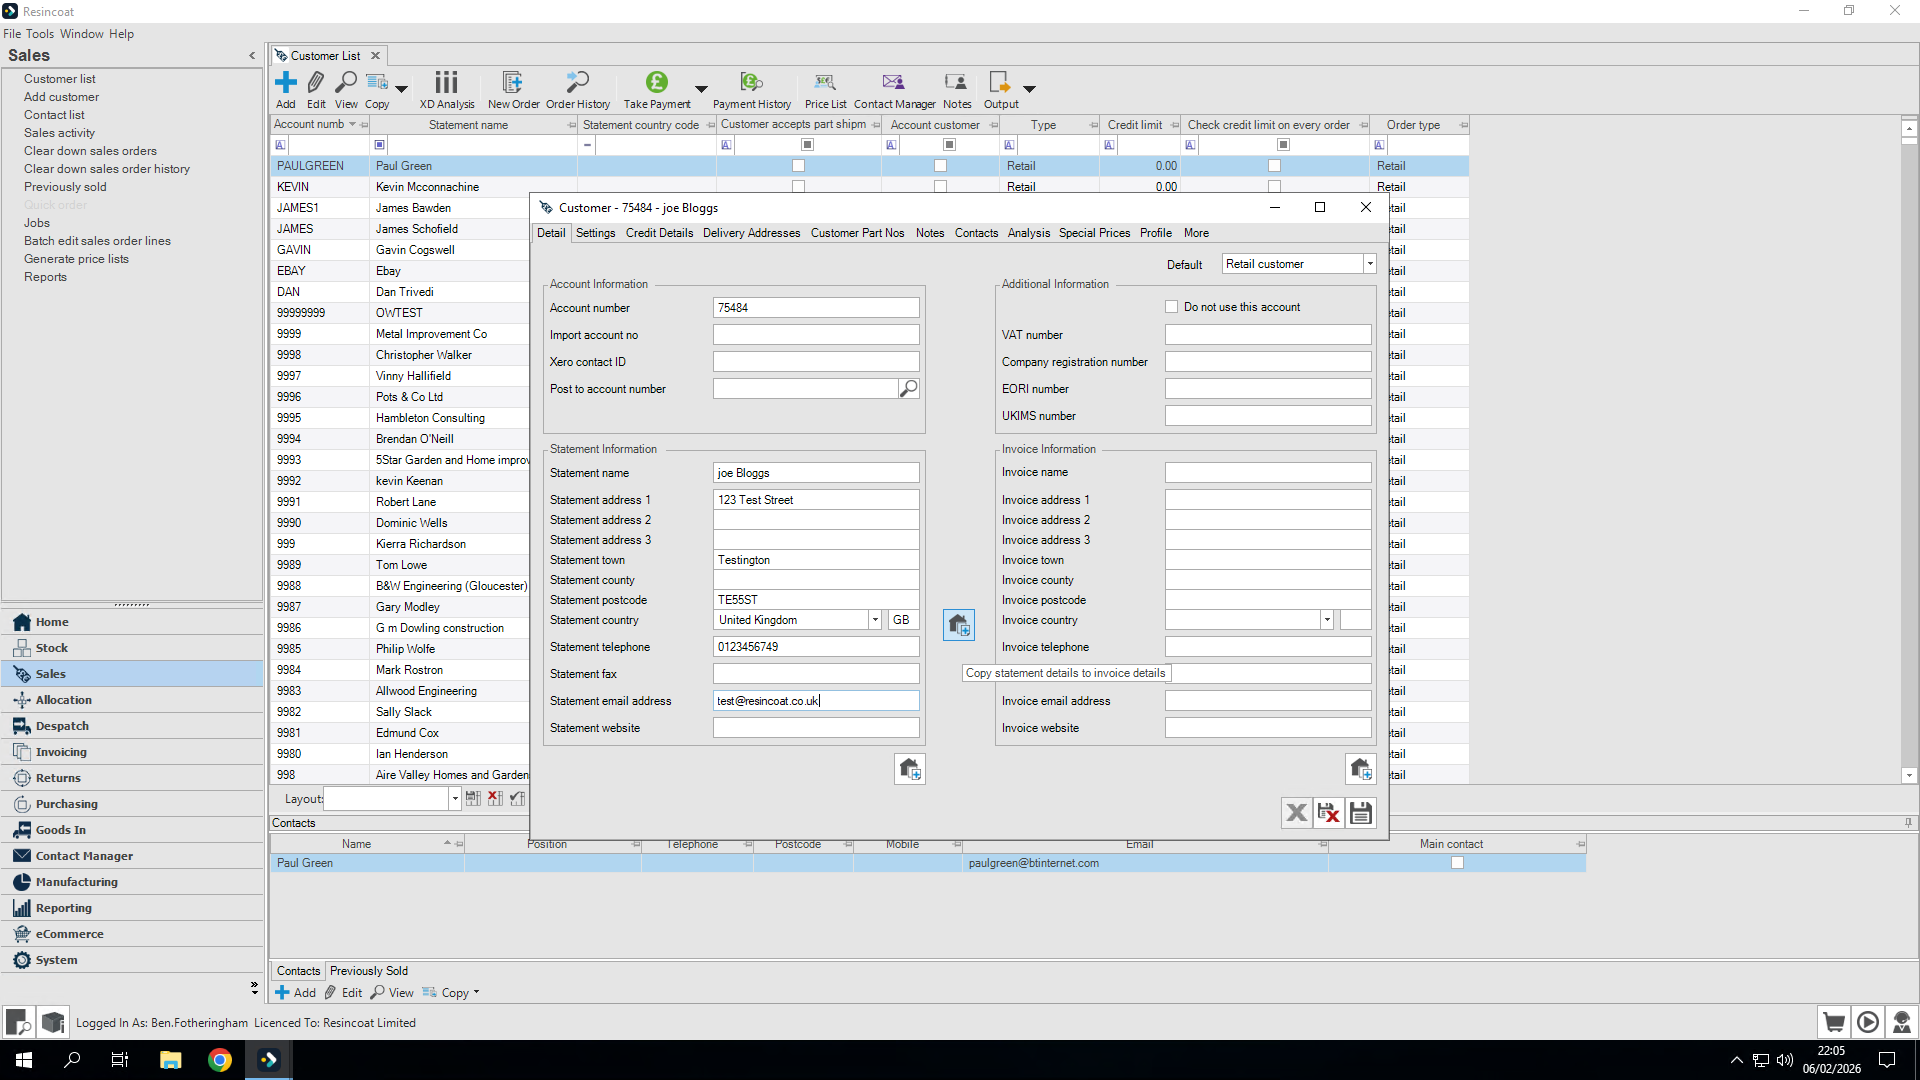
First, enter the name. First line of the address and at least the town.

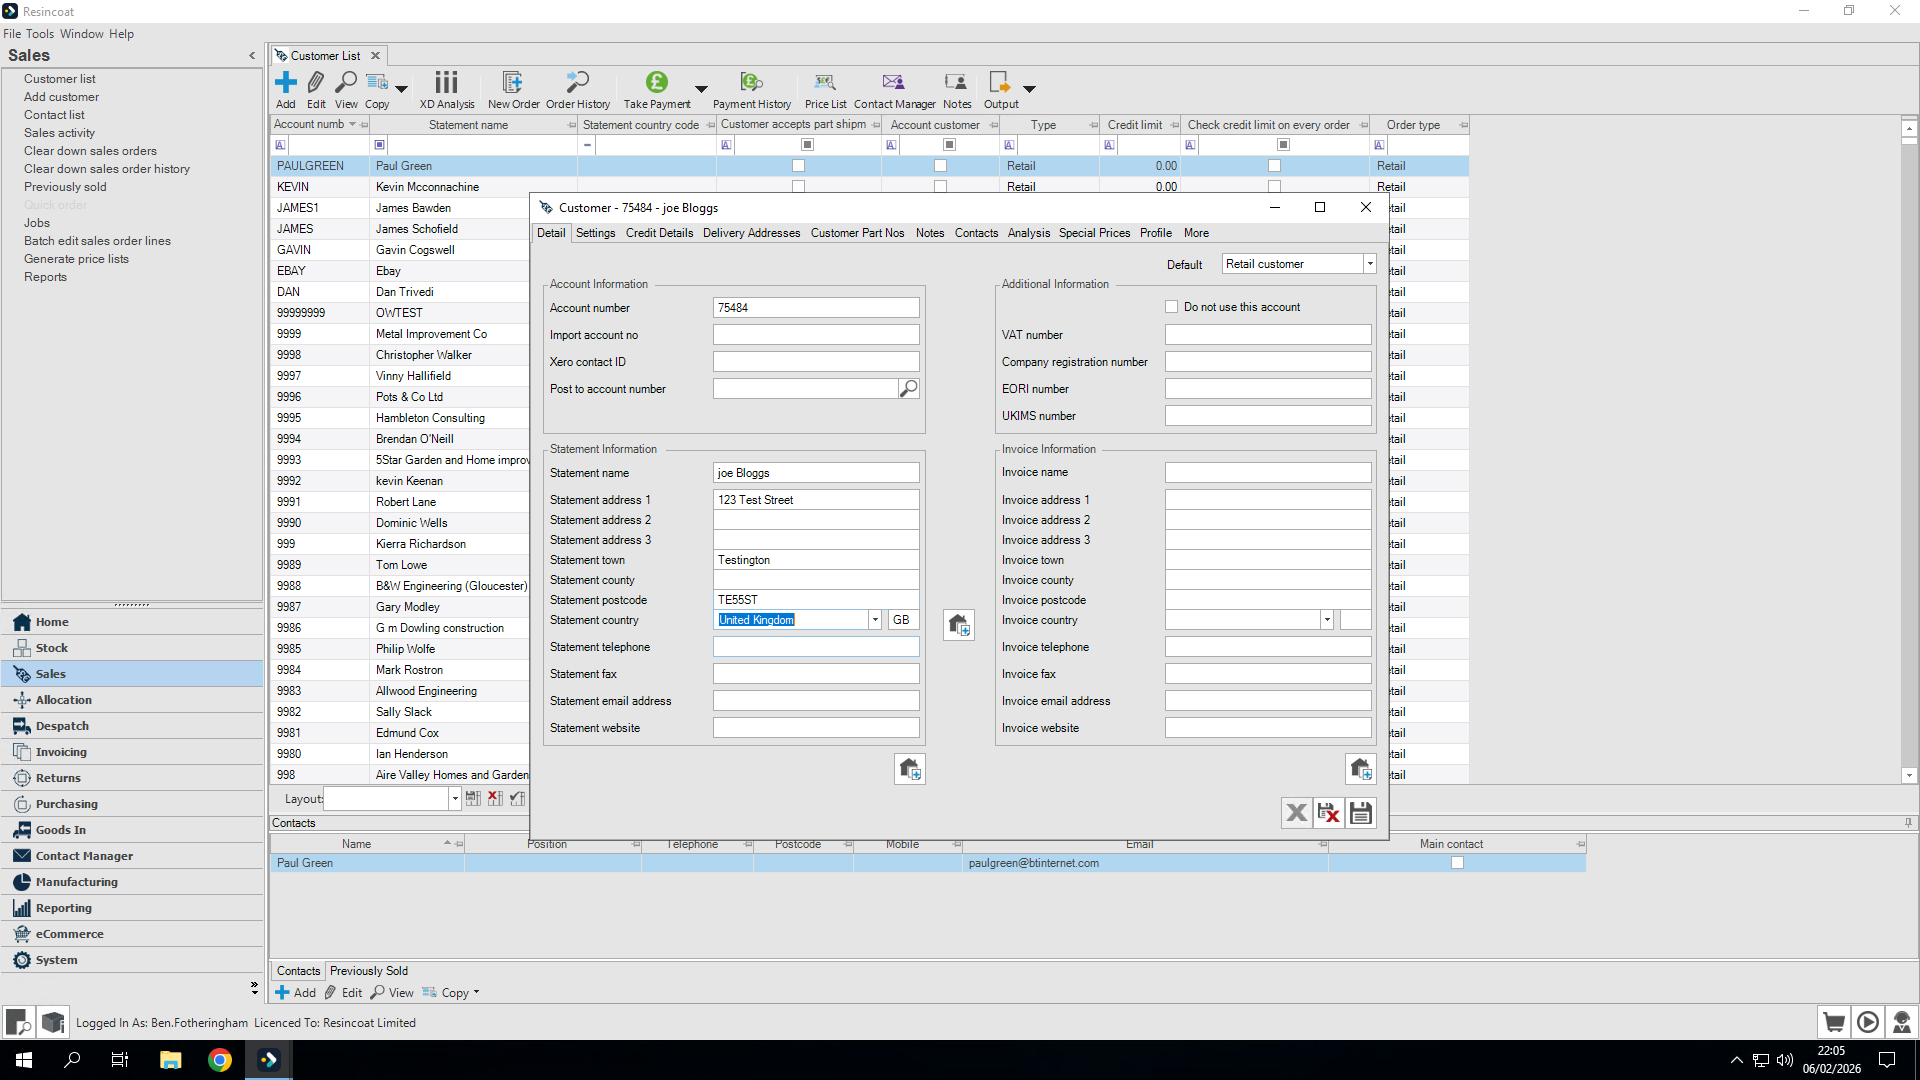
A postcode is essential and we also need to select a country.
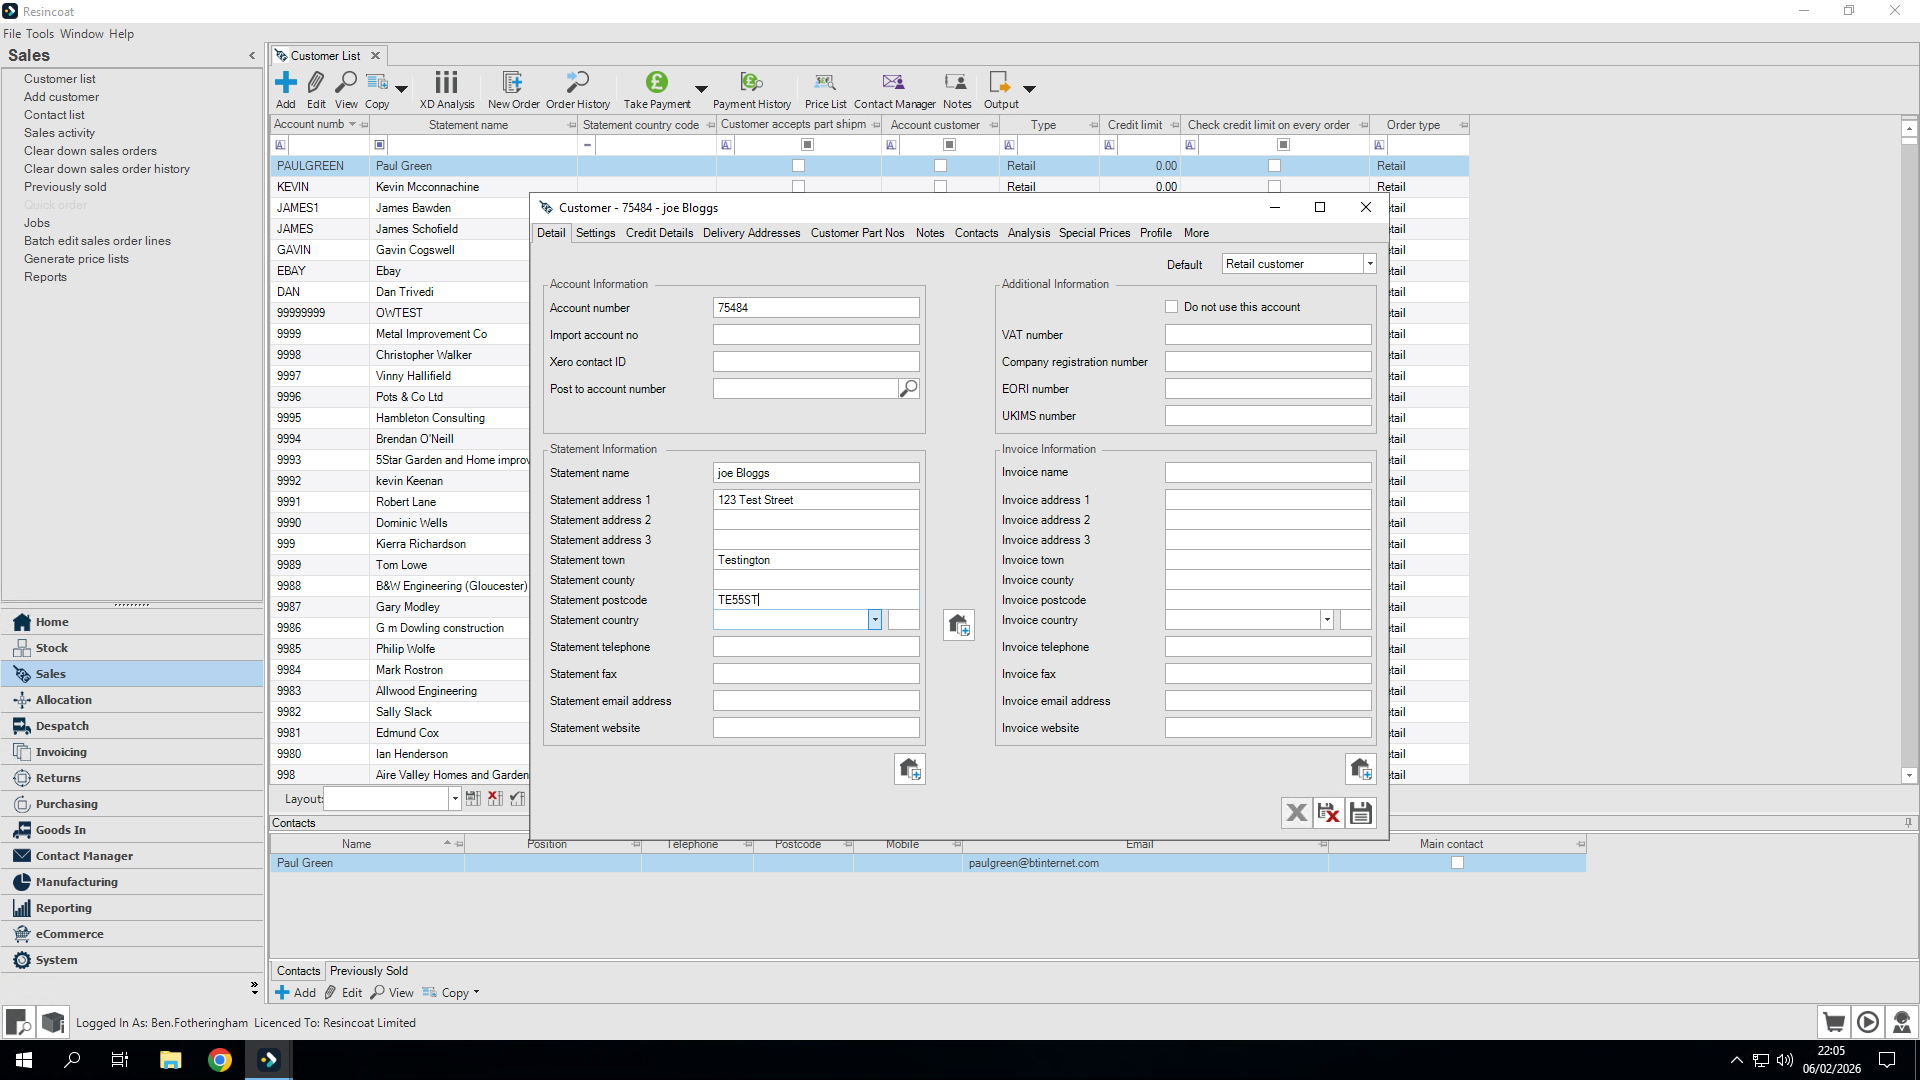
They are the absolute minimum requirements we need to enter for the actual address.
Contact details are also required.
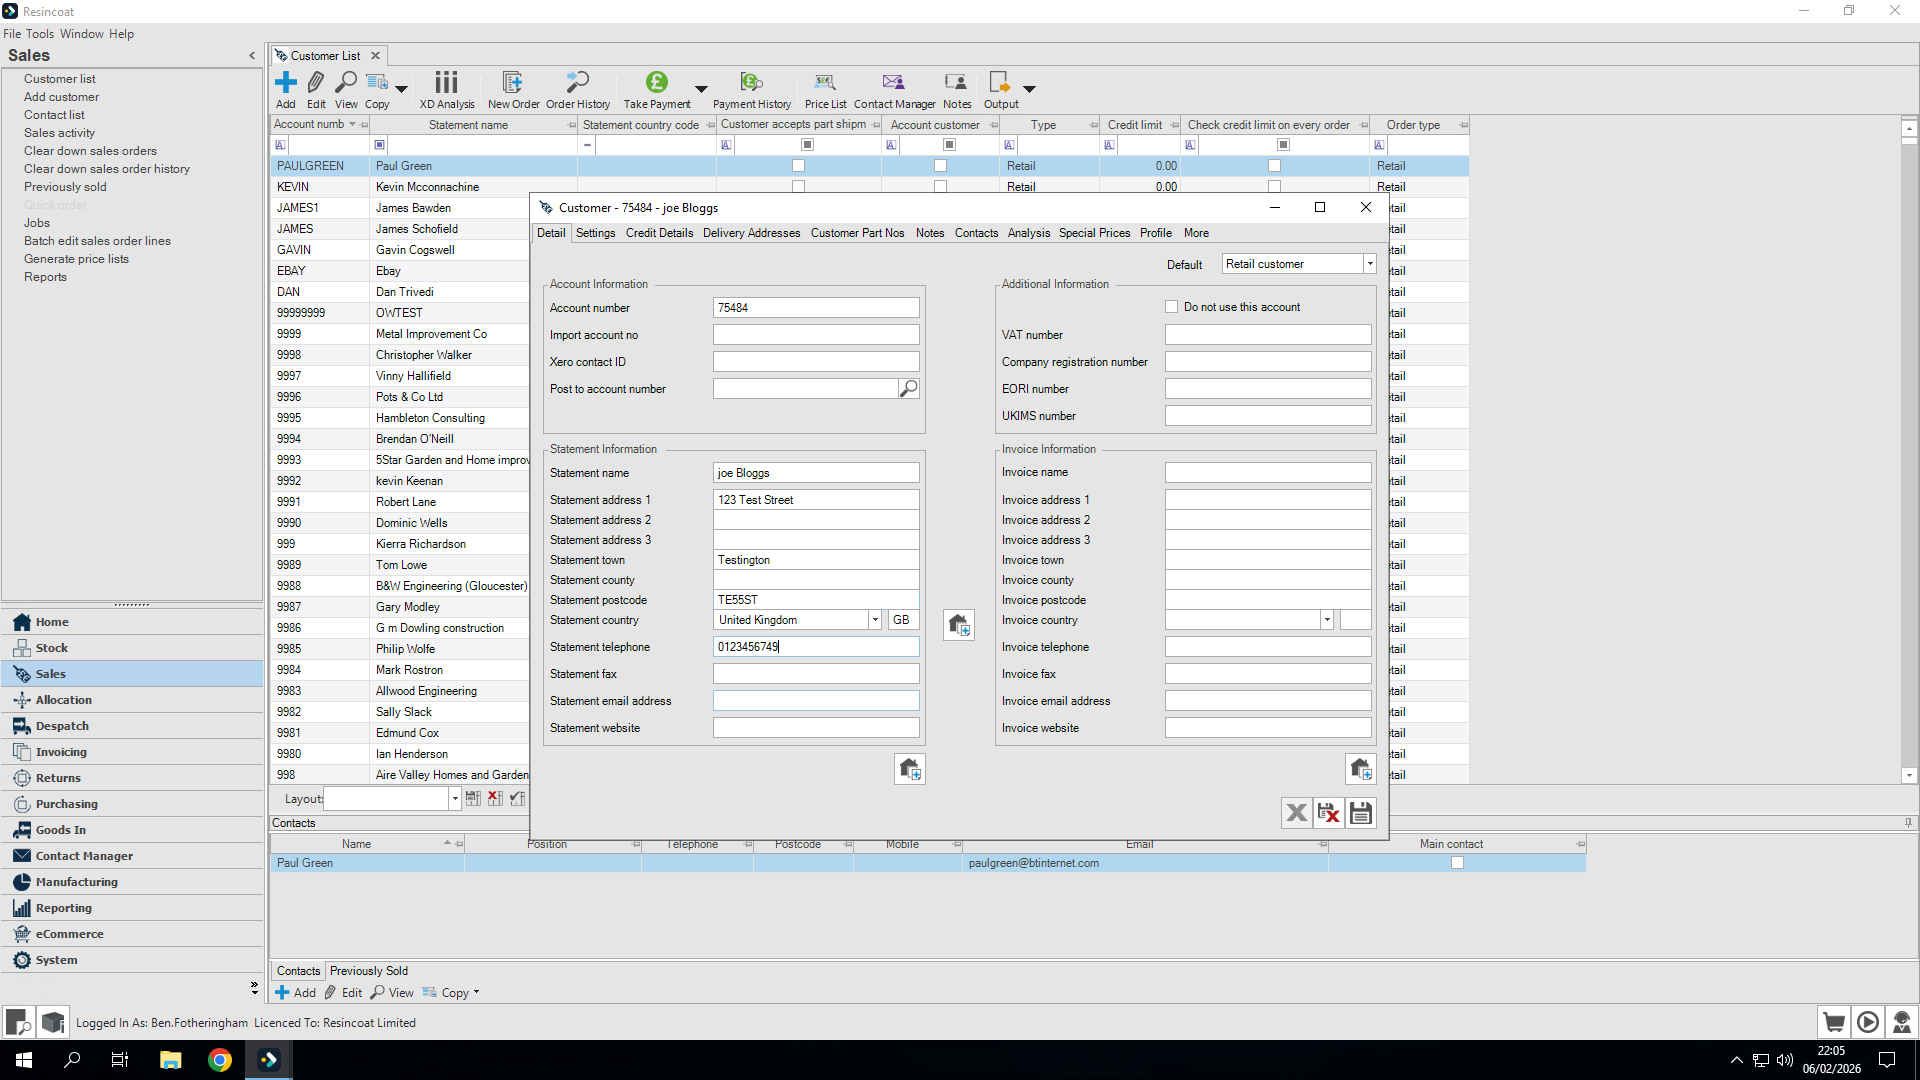
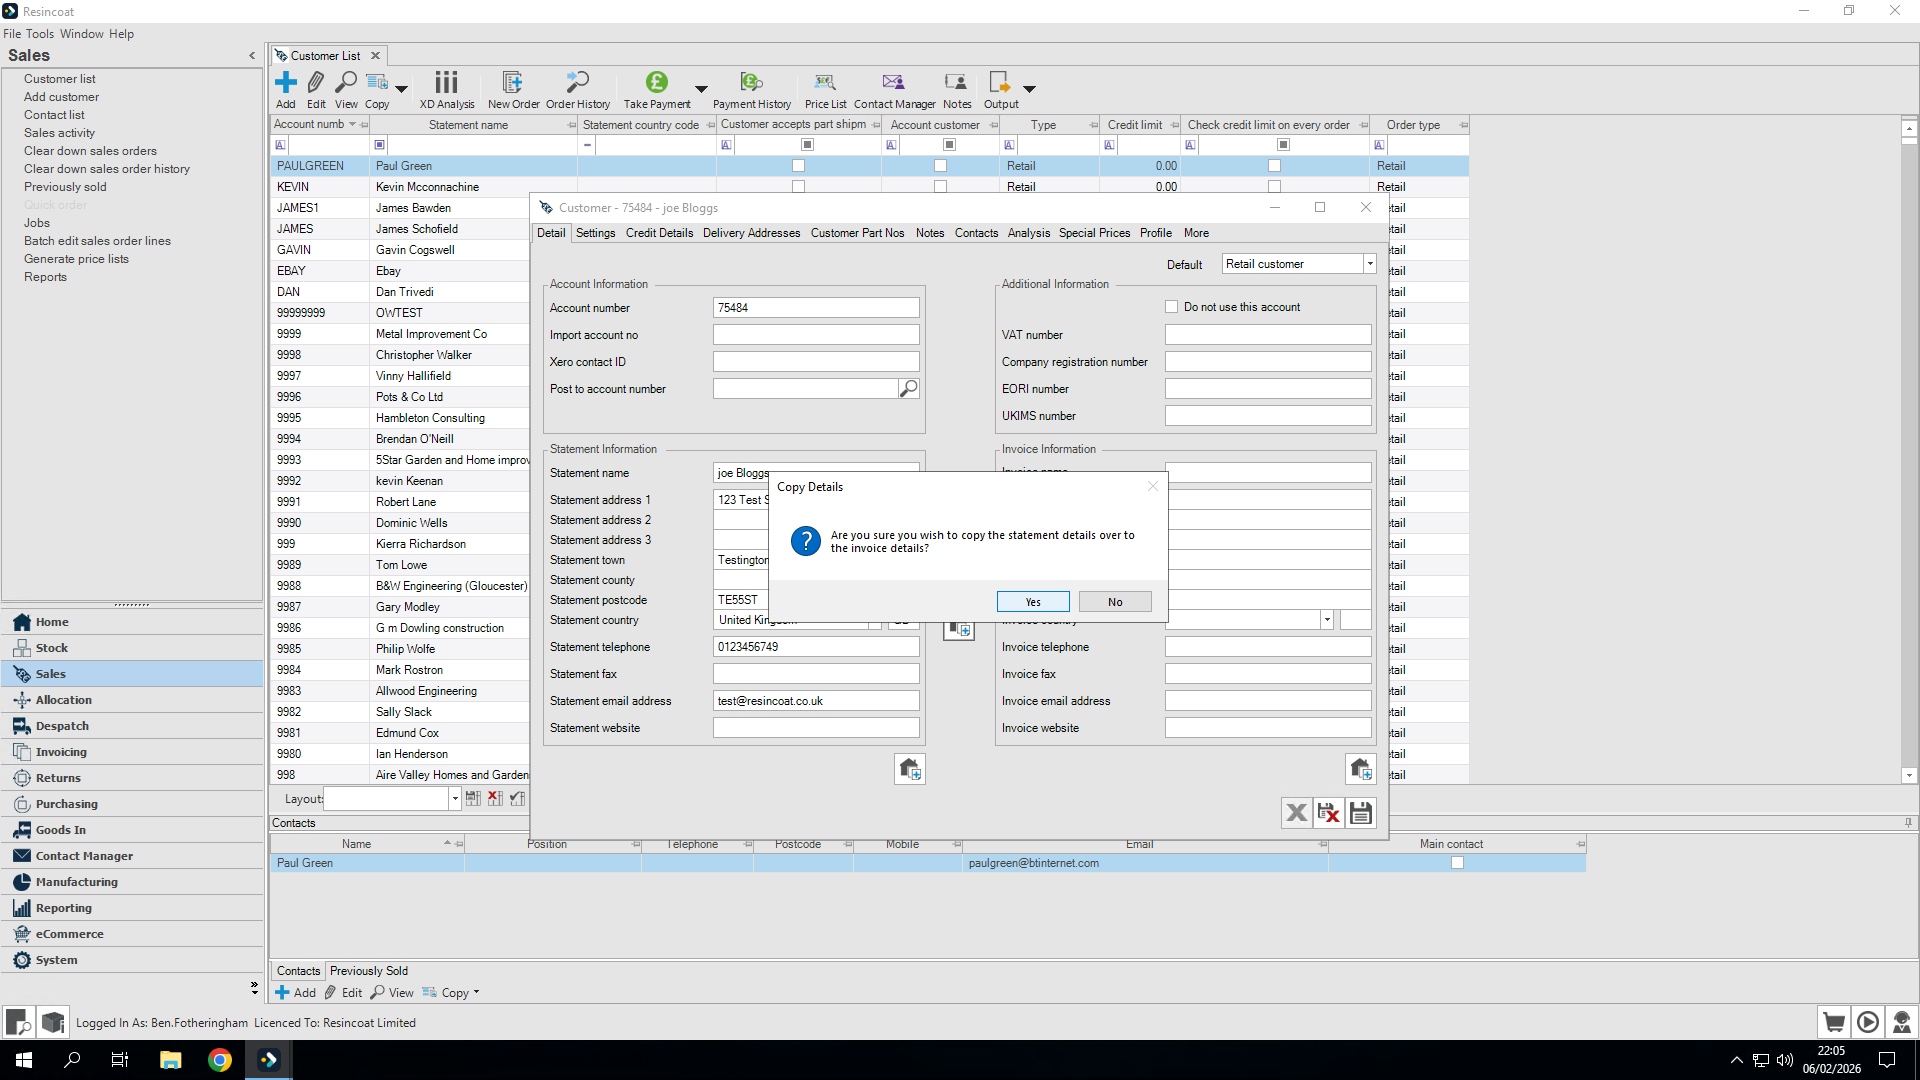
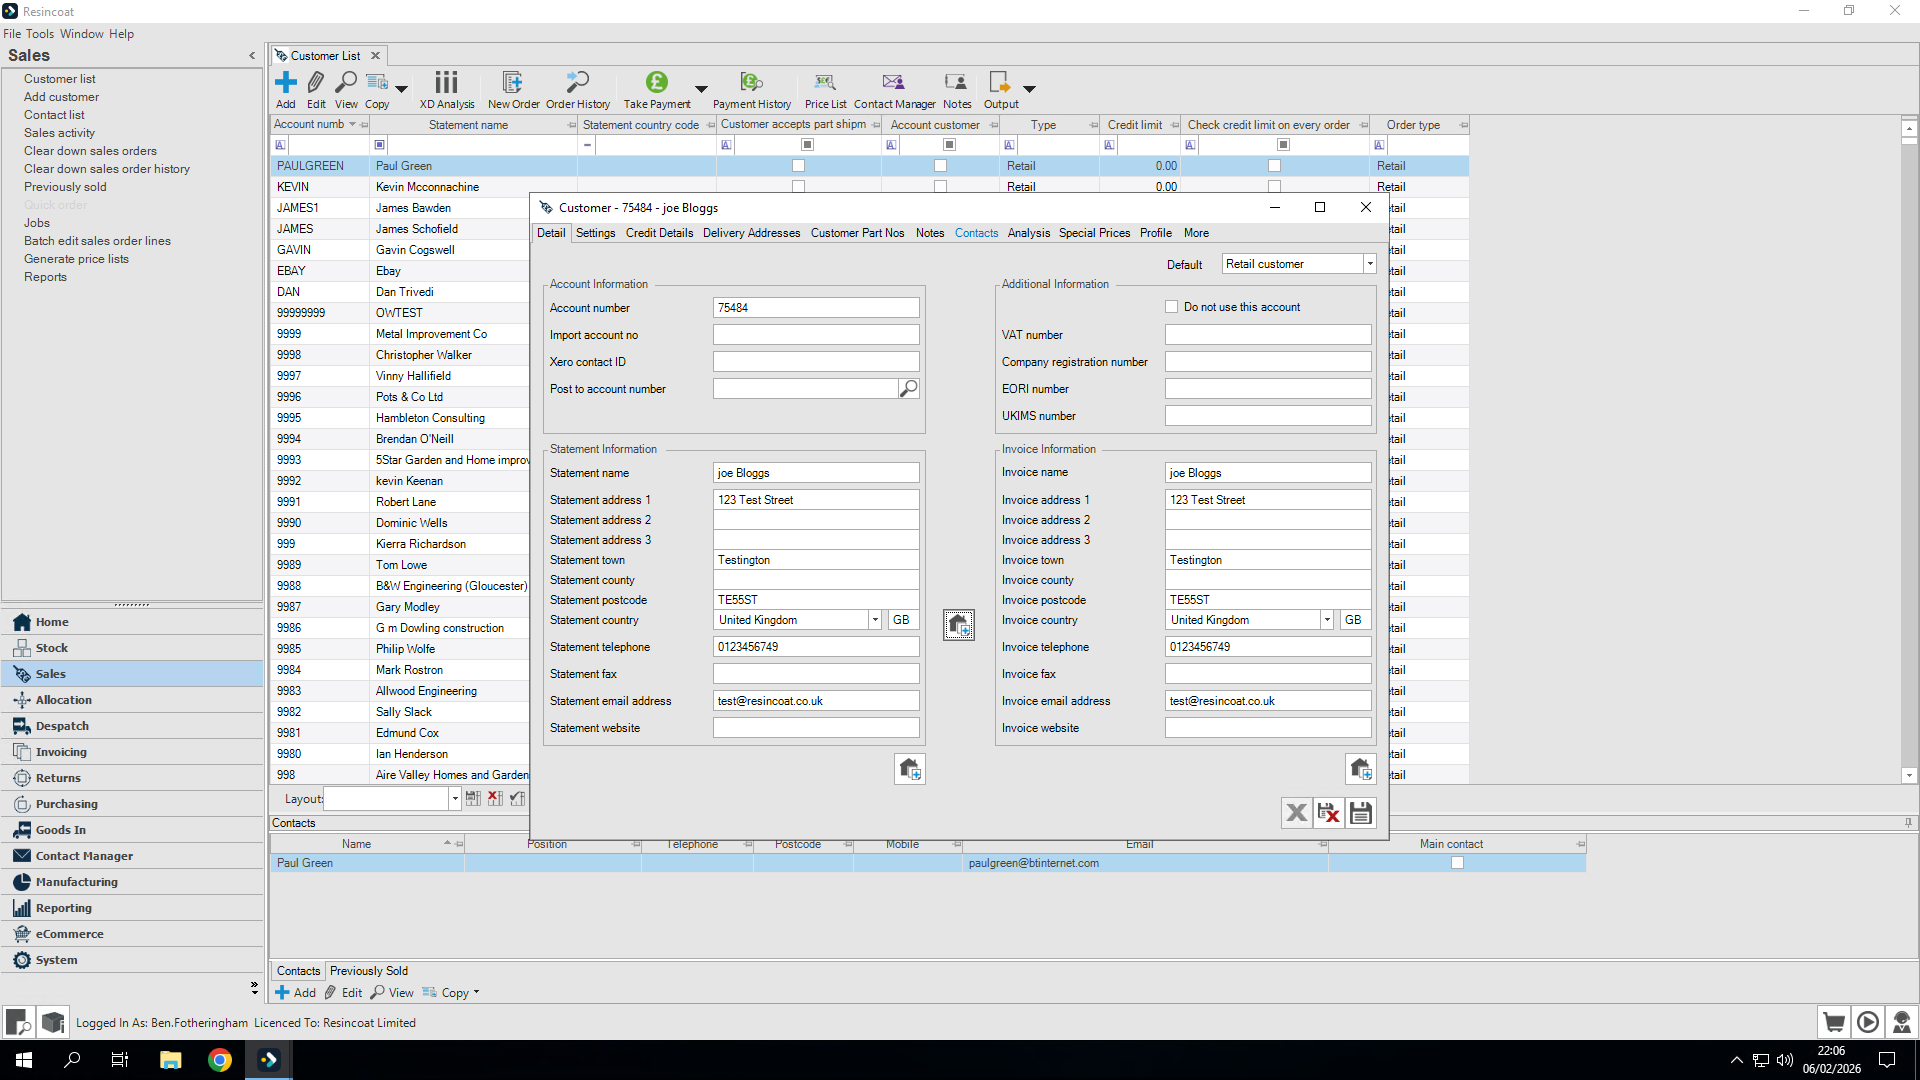
Once I'm satisfied, I can copy it directly to the invoice by clicking this button.
Our next step is to set up a deliver address.
It says we haven't set up a delivery address yet, so let's set up our delivery address first.
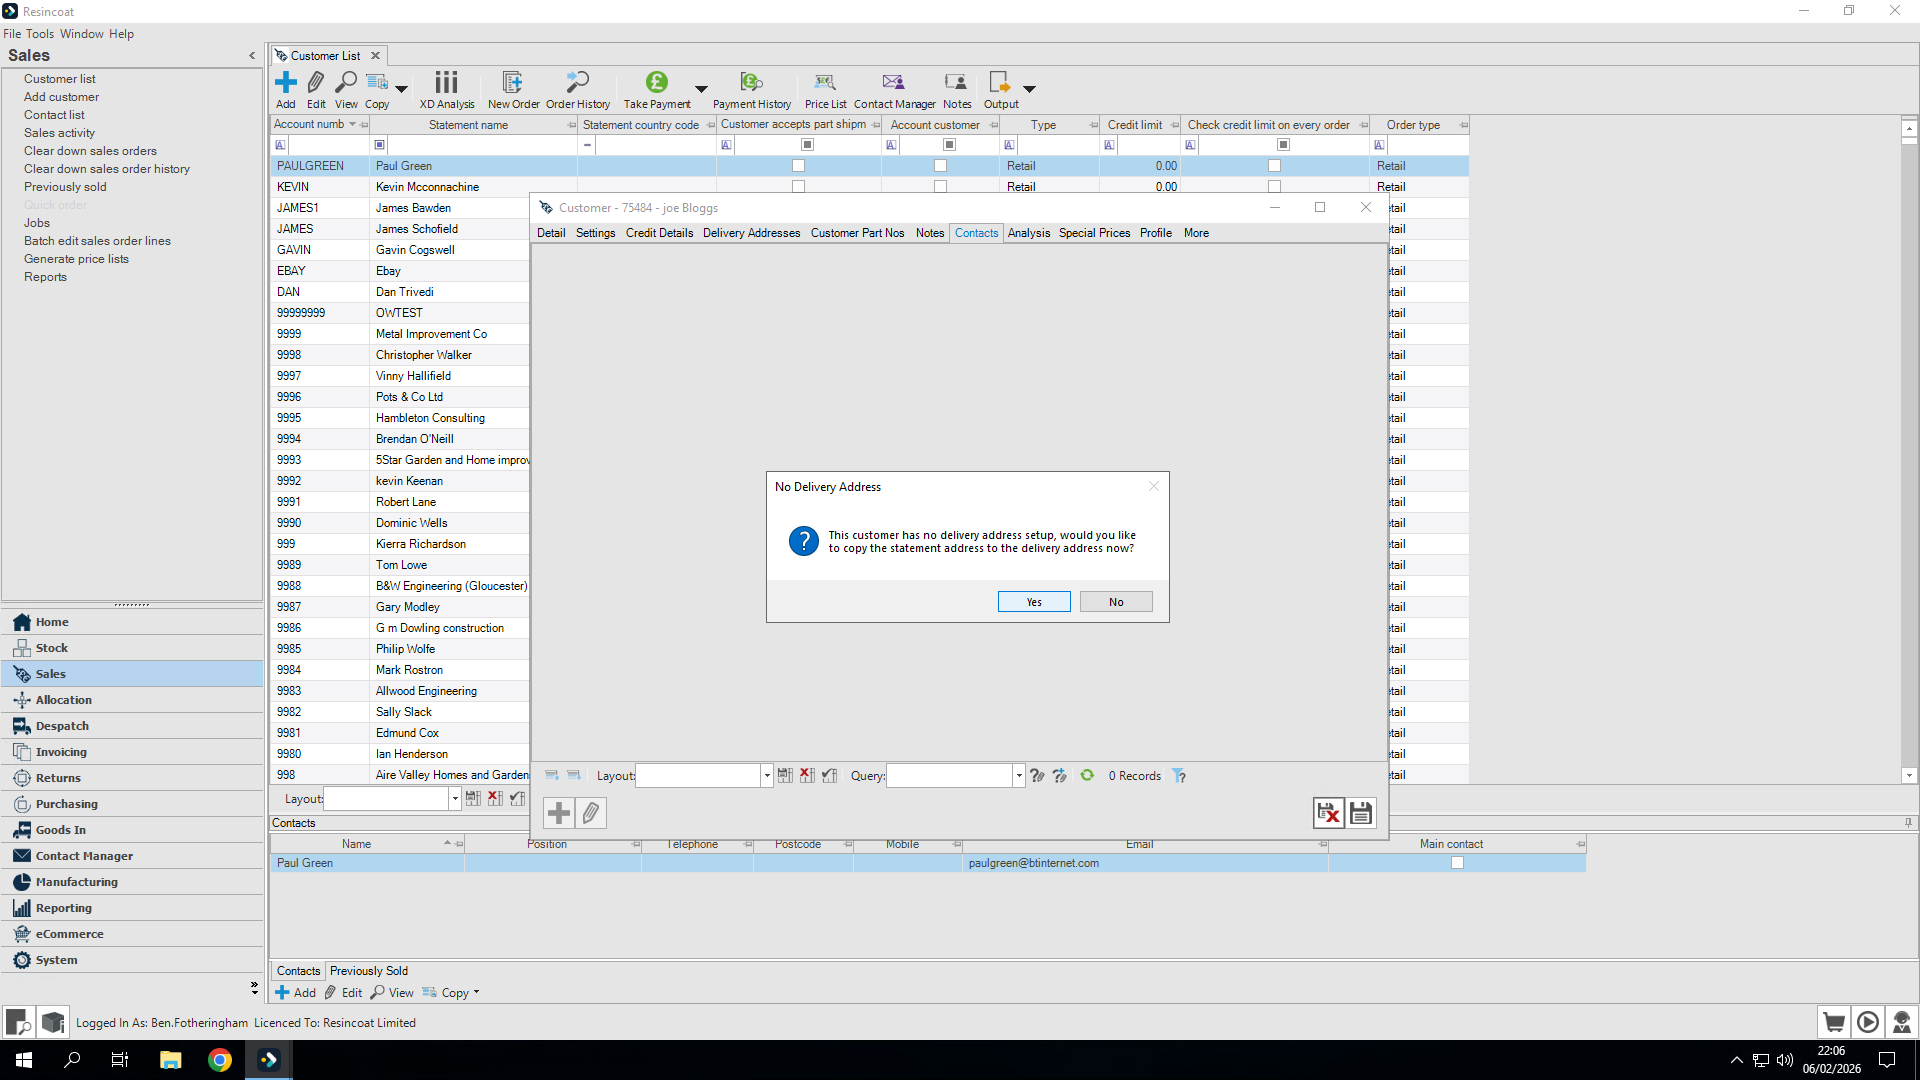
Clicking Yes copies all the details directly into the delivery address for us.

We can now add individual contact details if the statement is a business

Contact details: Here, you can add the name of the person working for the business, if applicable.

Contact details is optional, so it is not always required, but useful for business customers
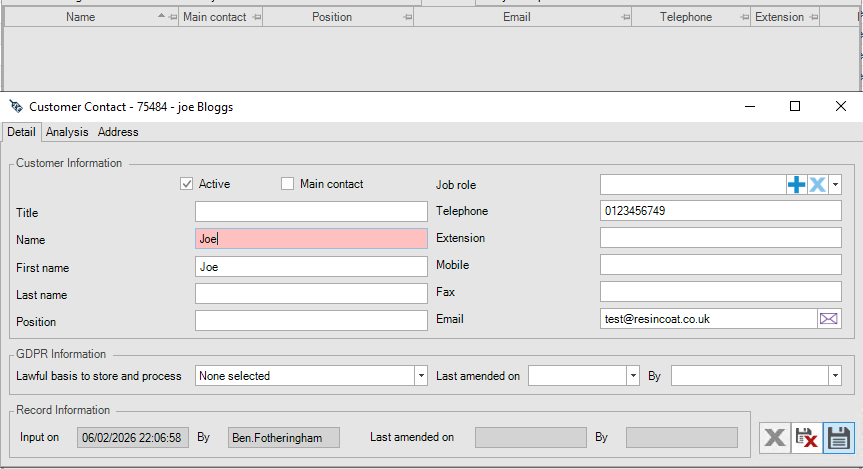
It adds the person as a contact, which is helpful if we send items to a different delivery address but still want all communication to go through this contact.