How to Add a New Person's Email Address and Manage Seats
Learn step-by-step how to add a new user's email address, assign or purchase seats, and set up user details including password requirements on your dashboard.
In this guide, we'll learn how to add a new person's email address to your system. We will cover both assigning an available seat and purchasing a new seat if needed. This process includes setting up the user details and ensuring the new user can access their account.
Let's get started
This is how to add a new person's email address. Go to this website first.
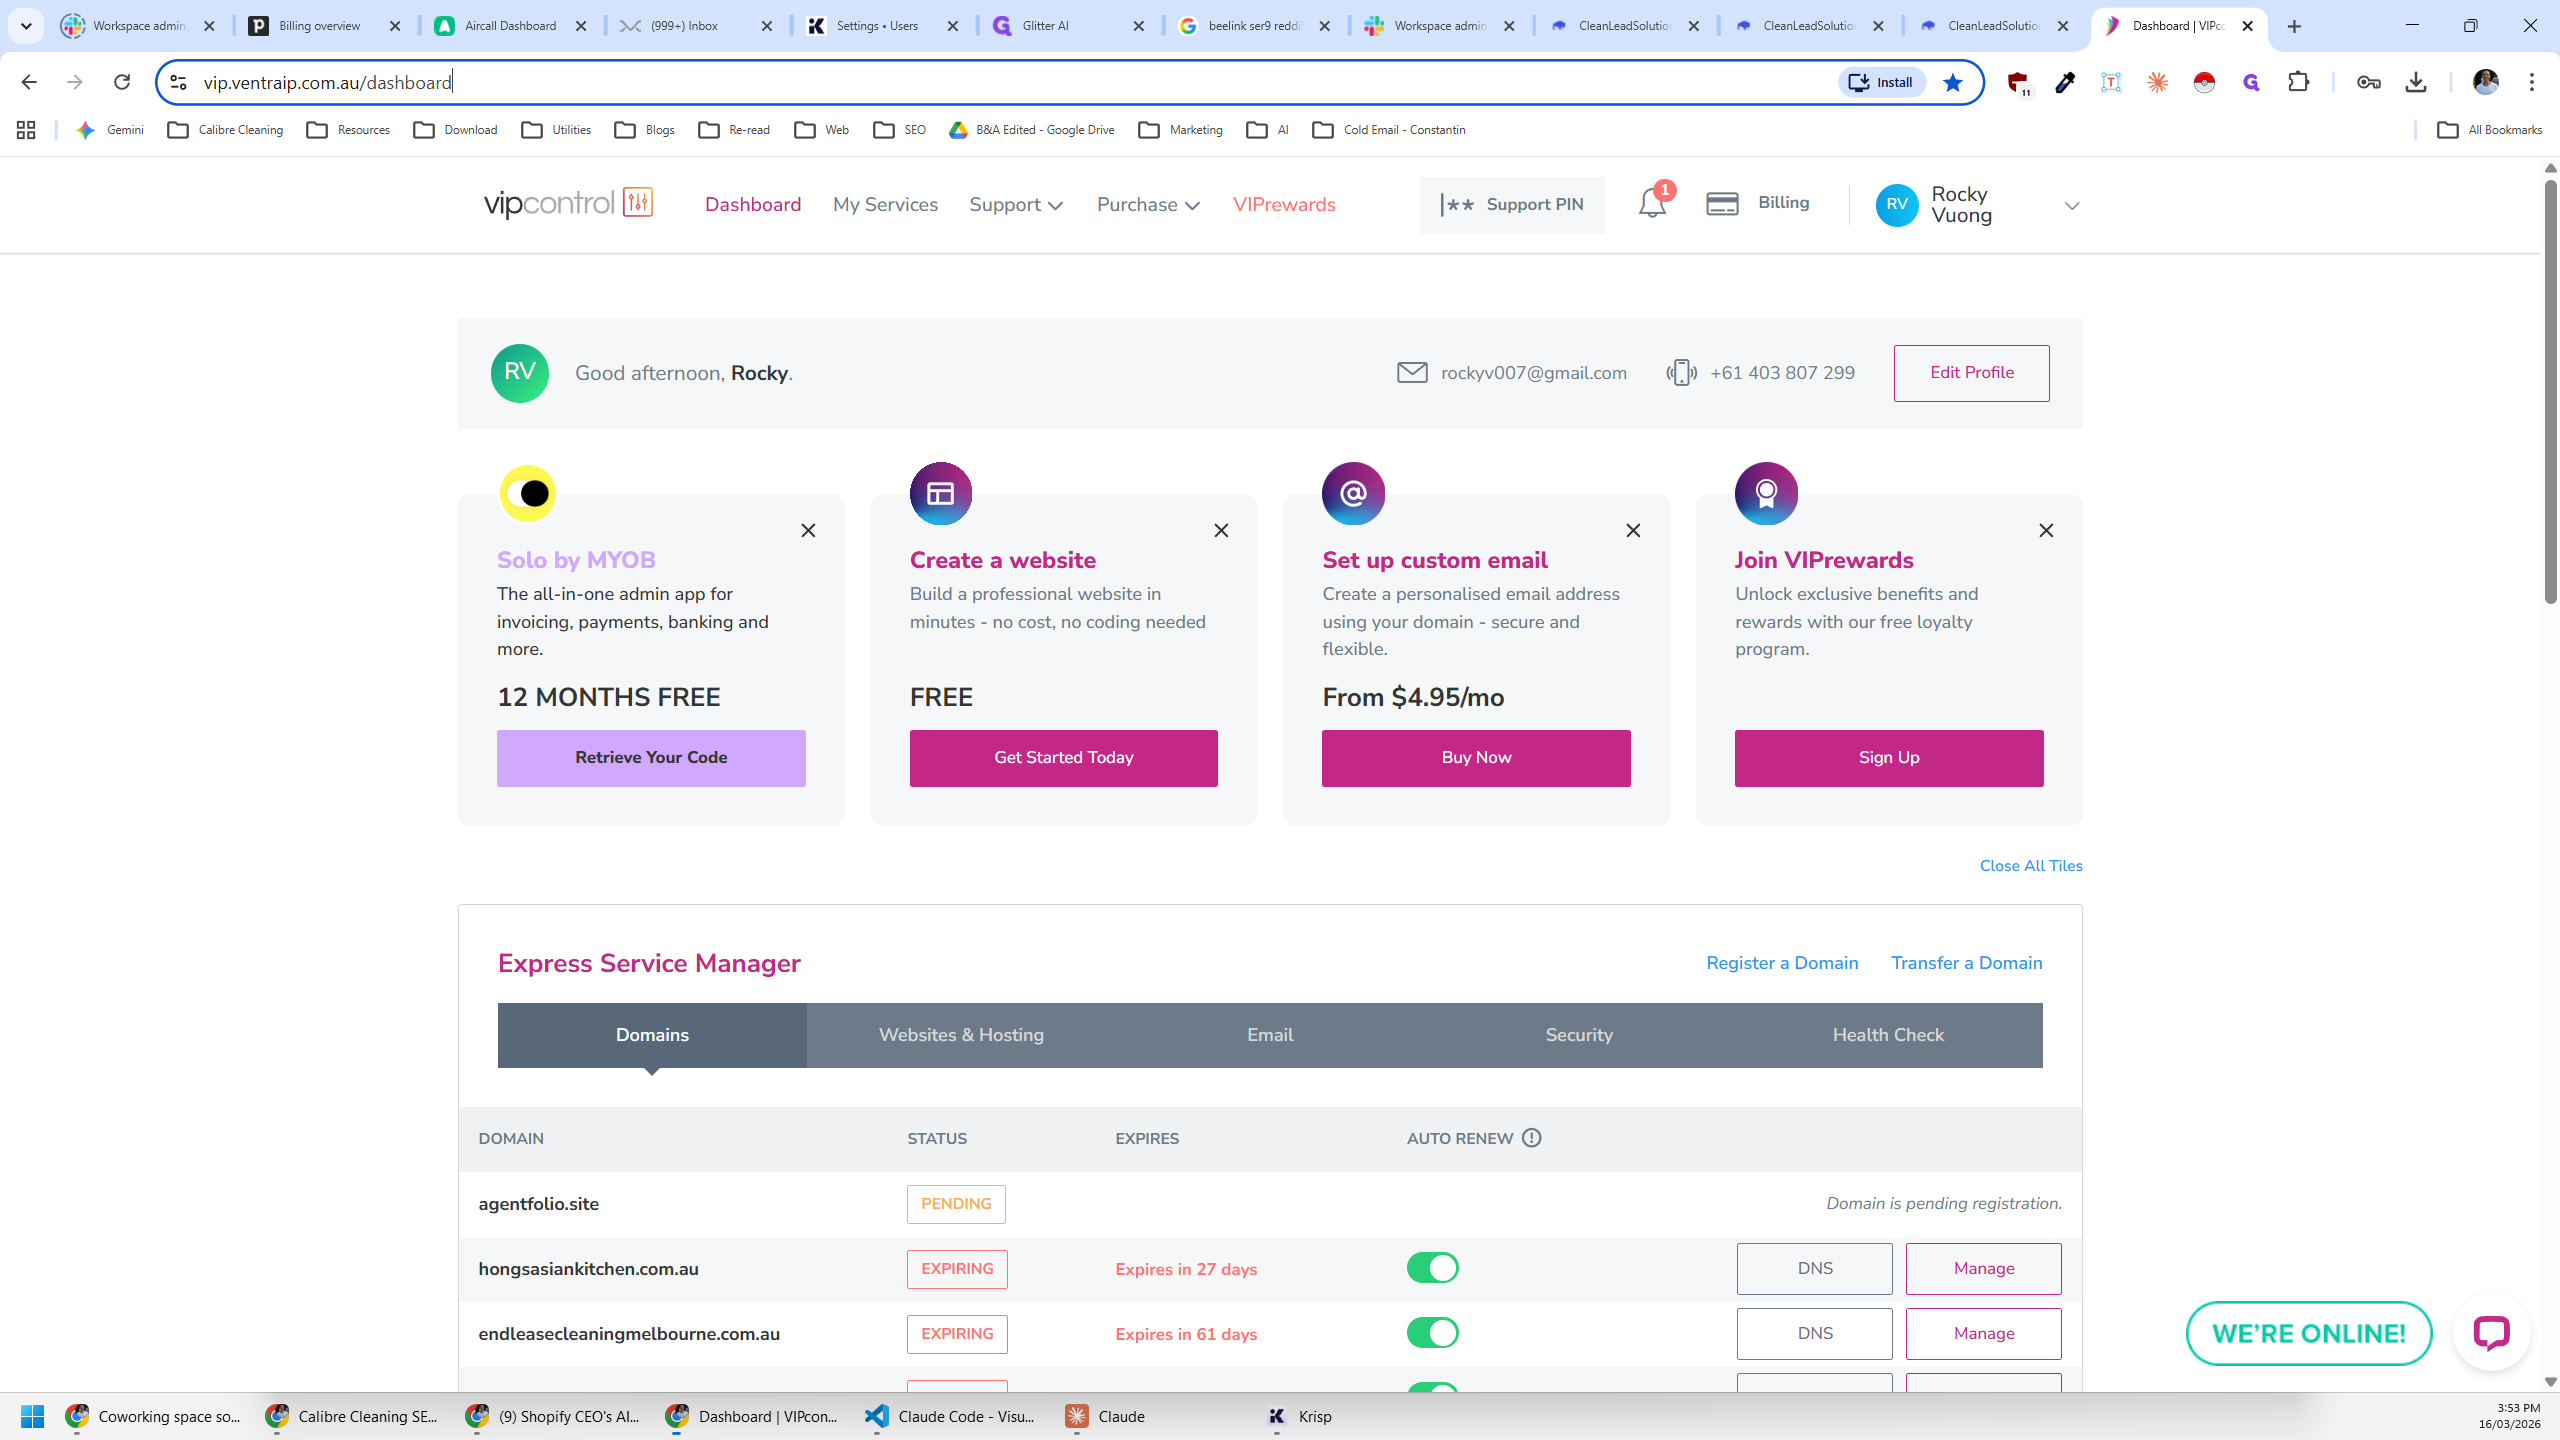
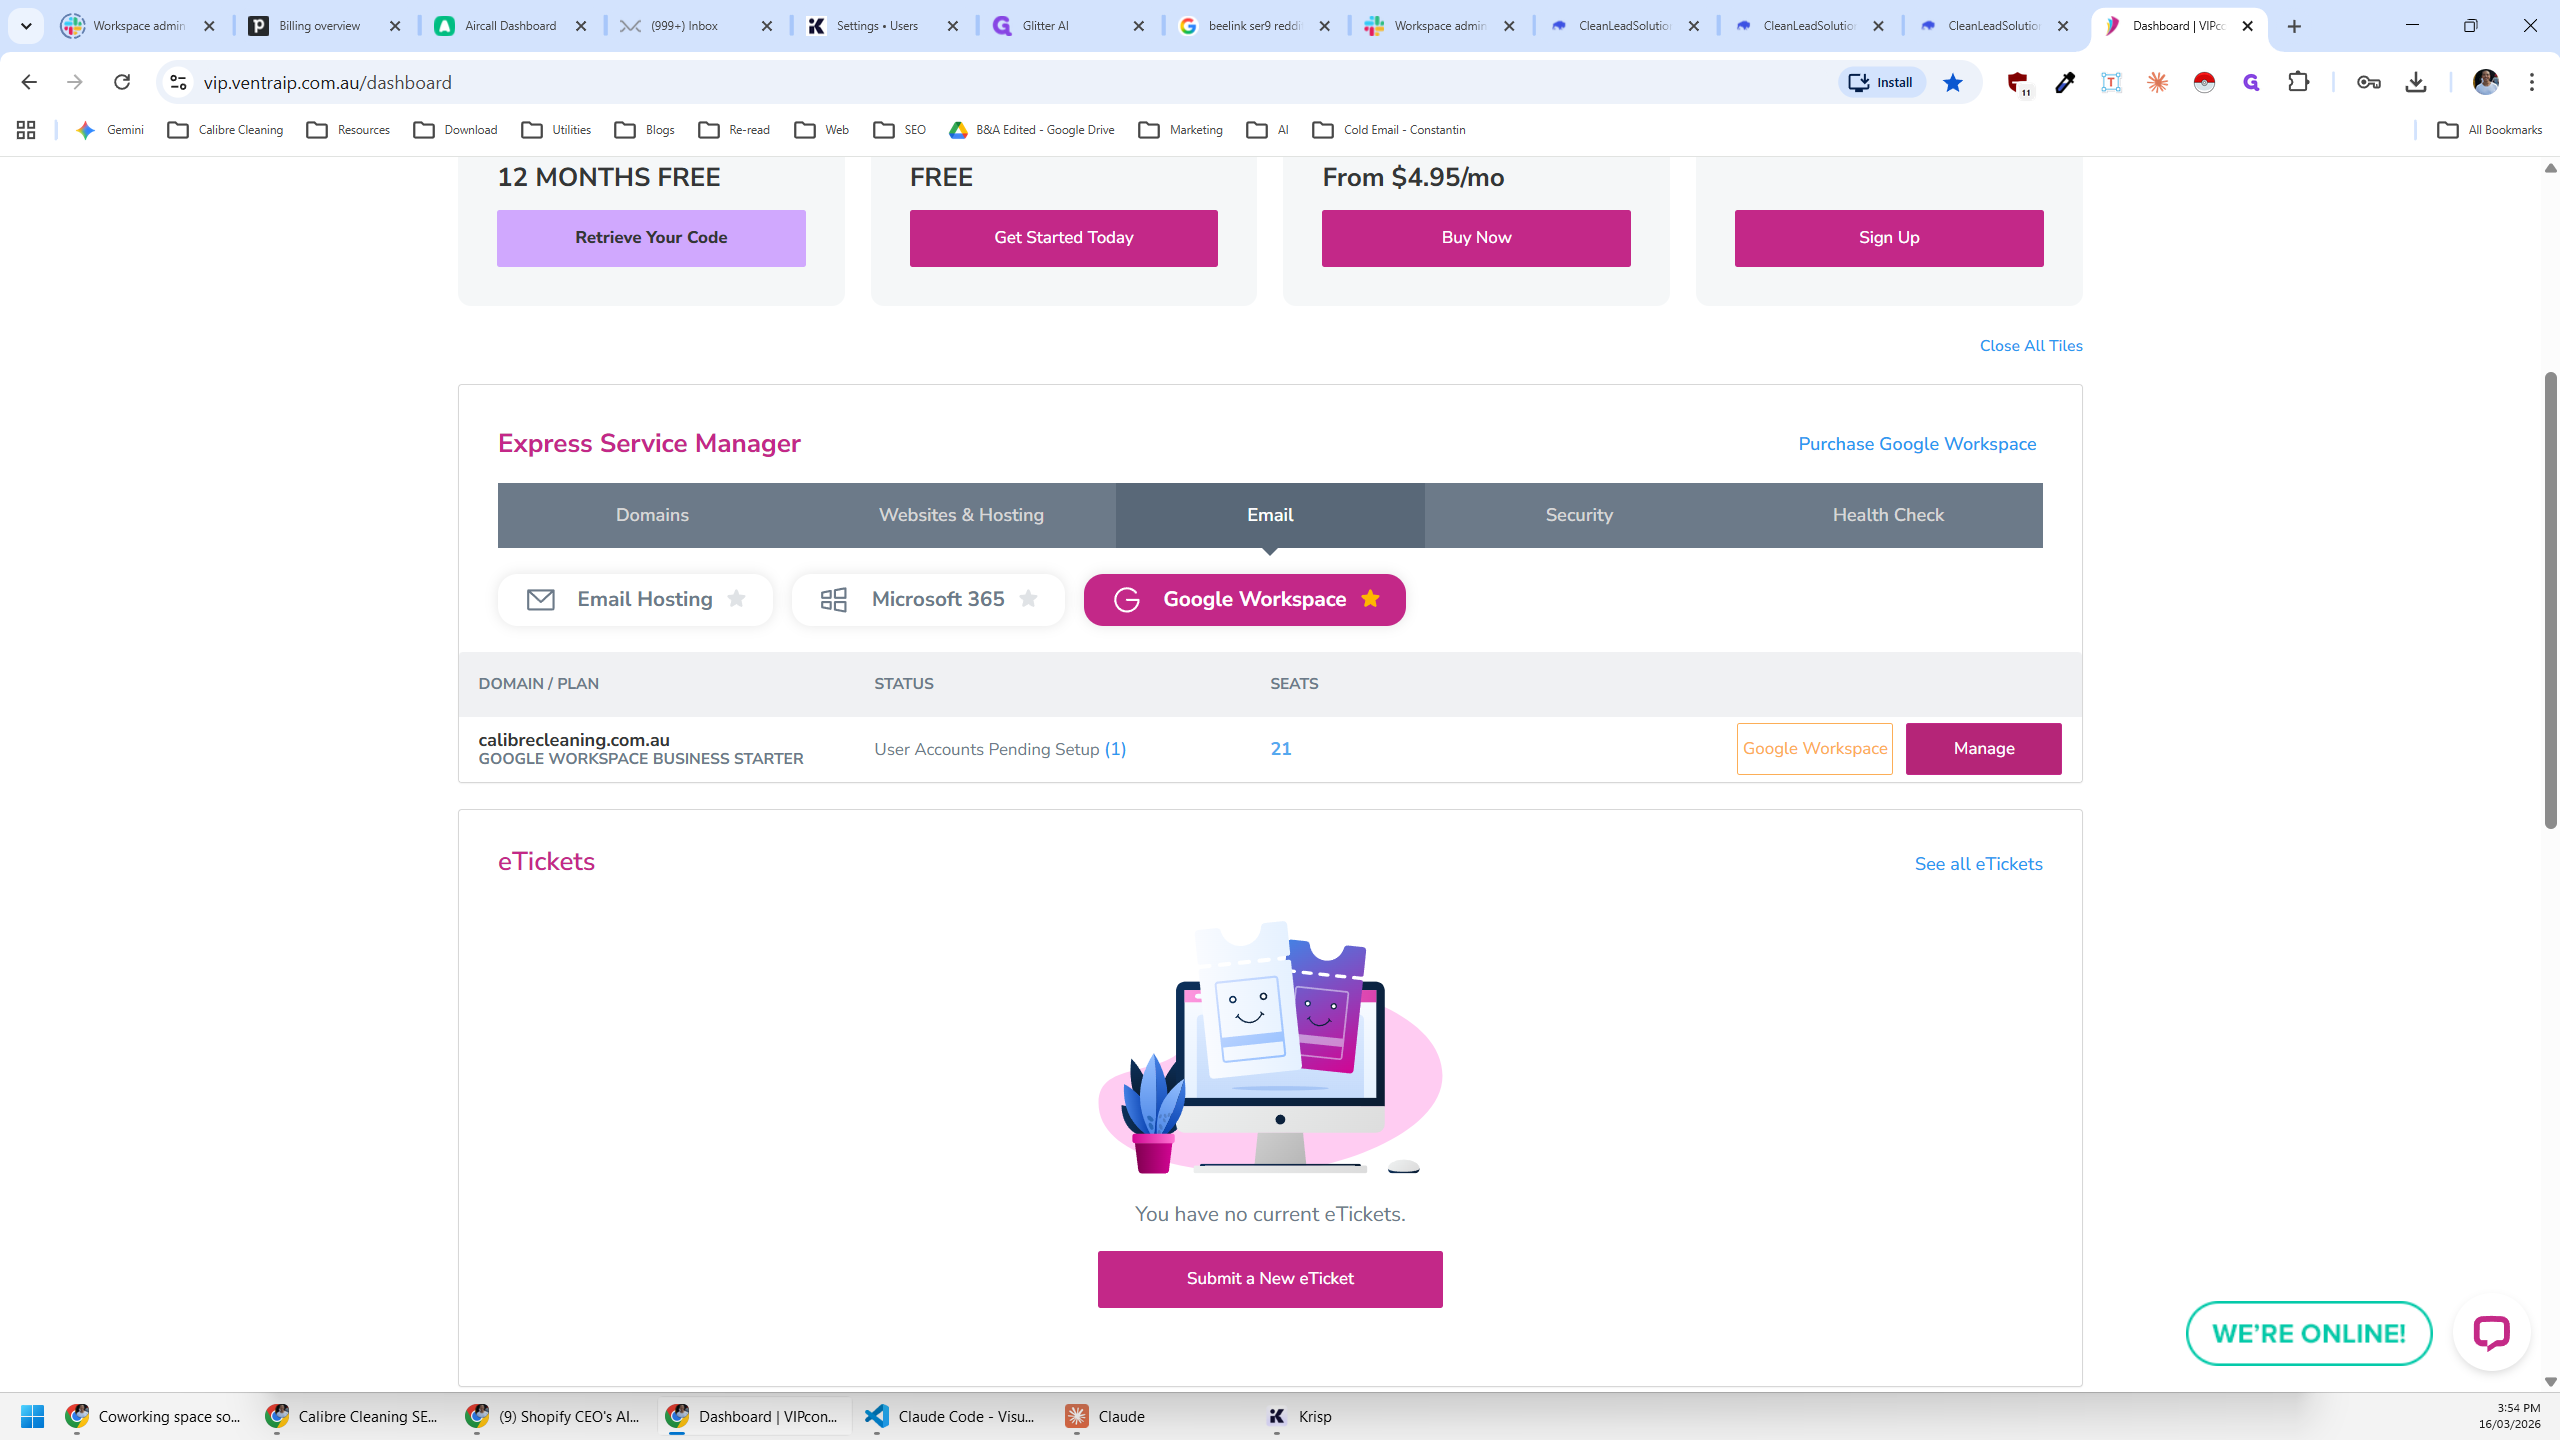
Once you're on this page, you'll see the dashboard. Click on Email here.
If you see a one or more here, it means a seat has already been paid for and you just need to assign a user to it.
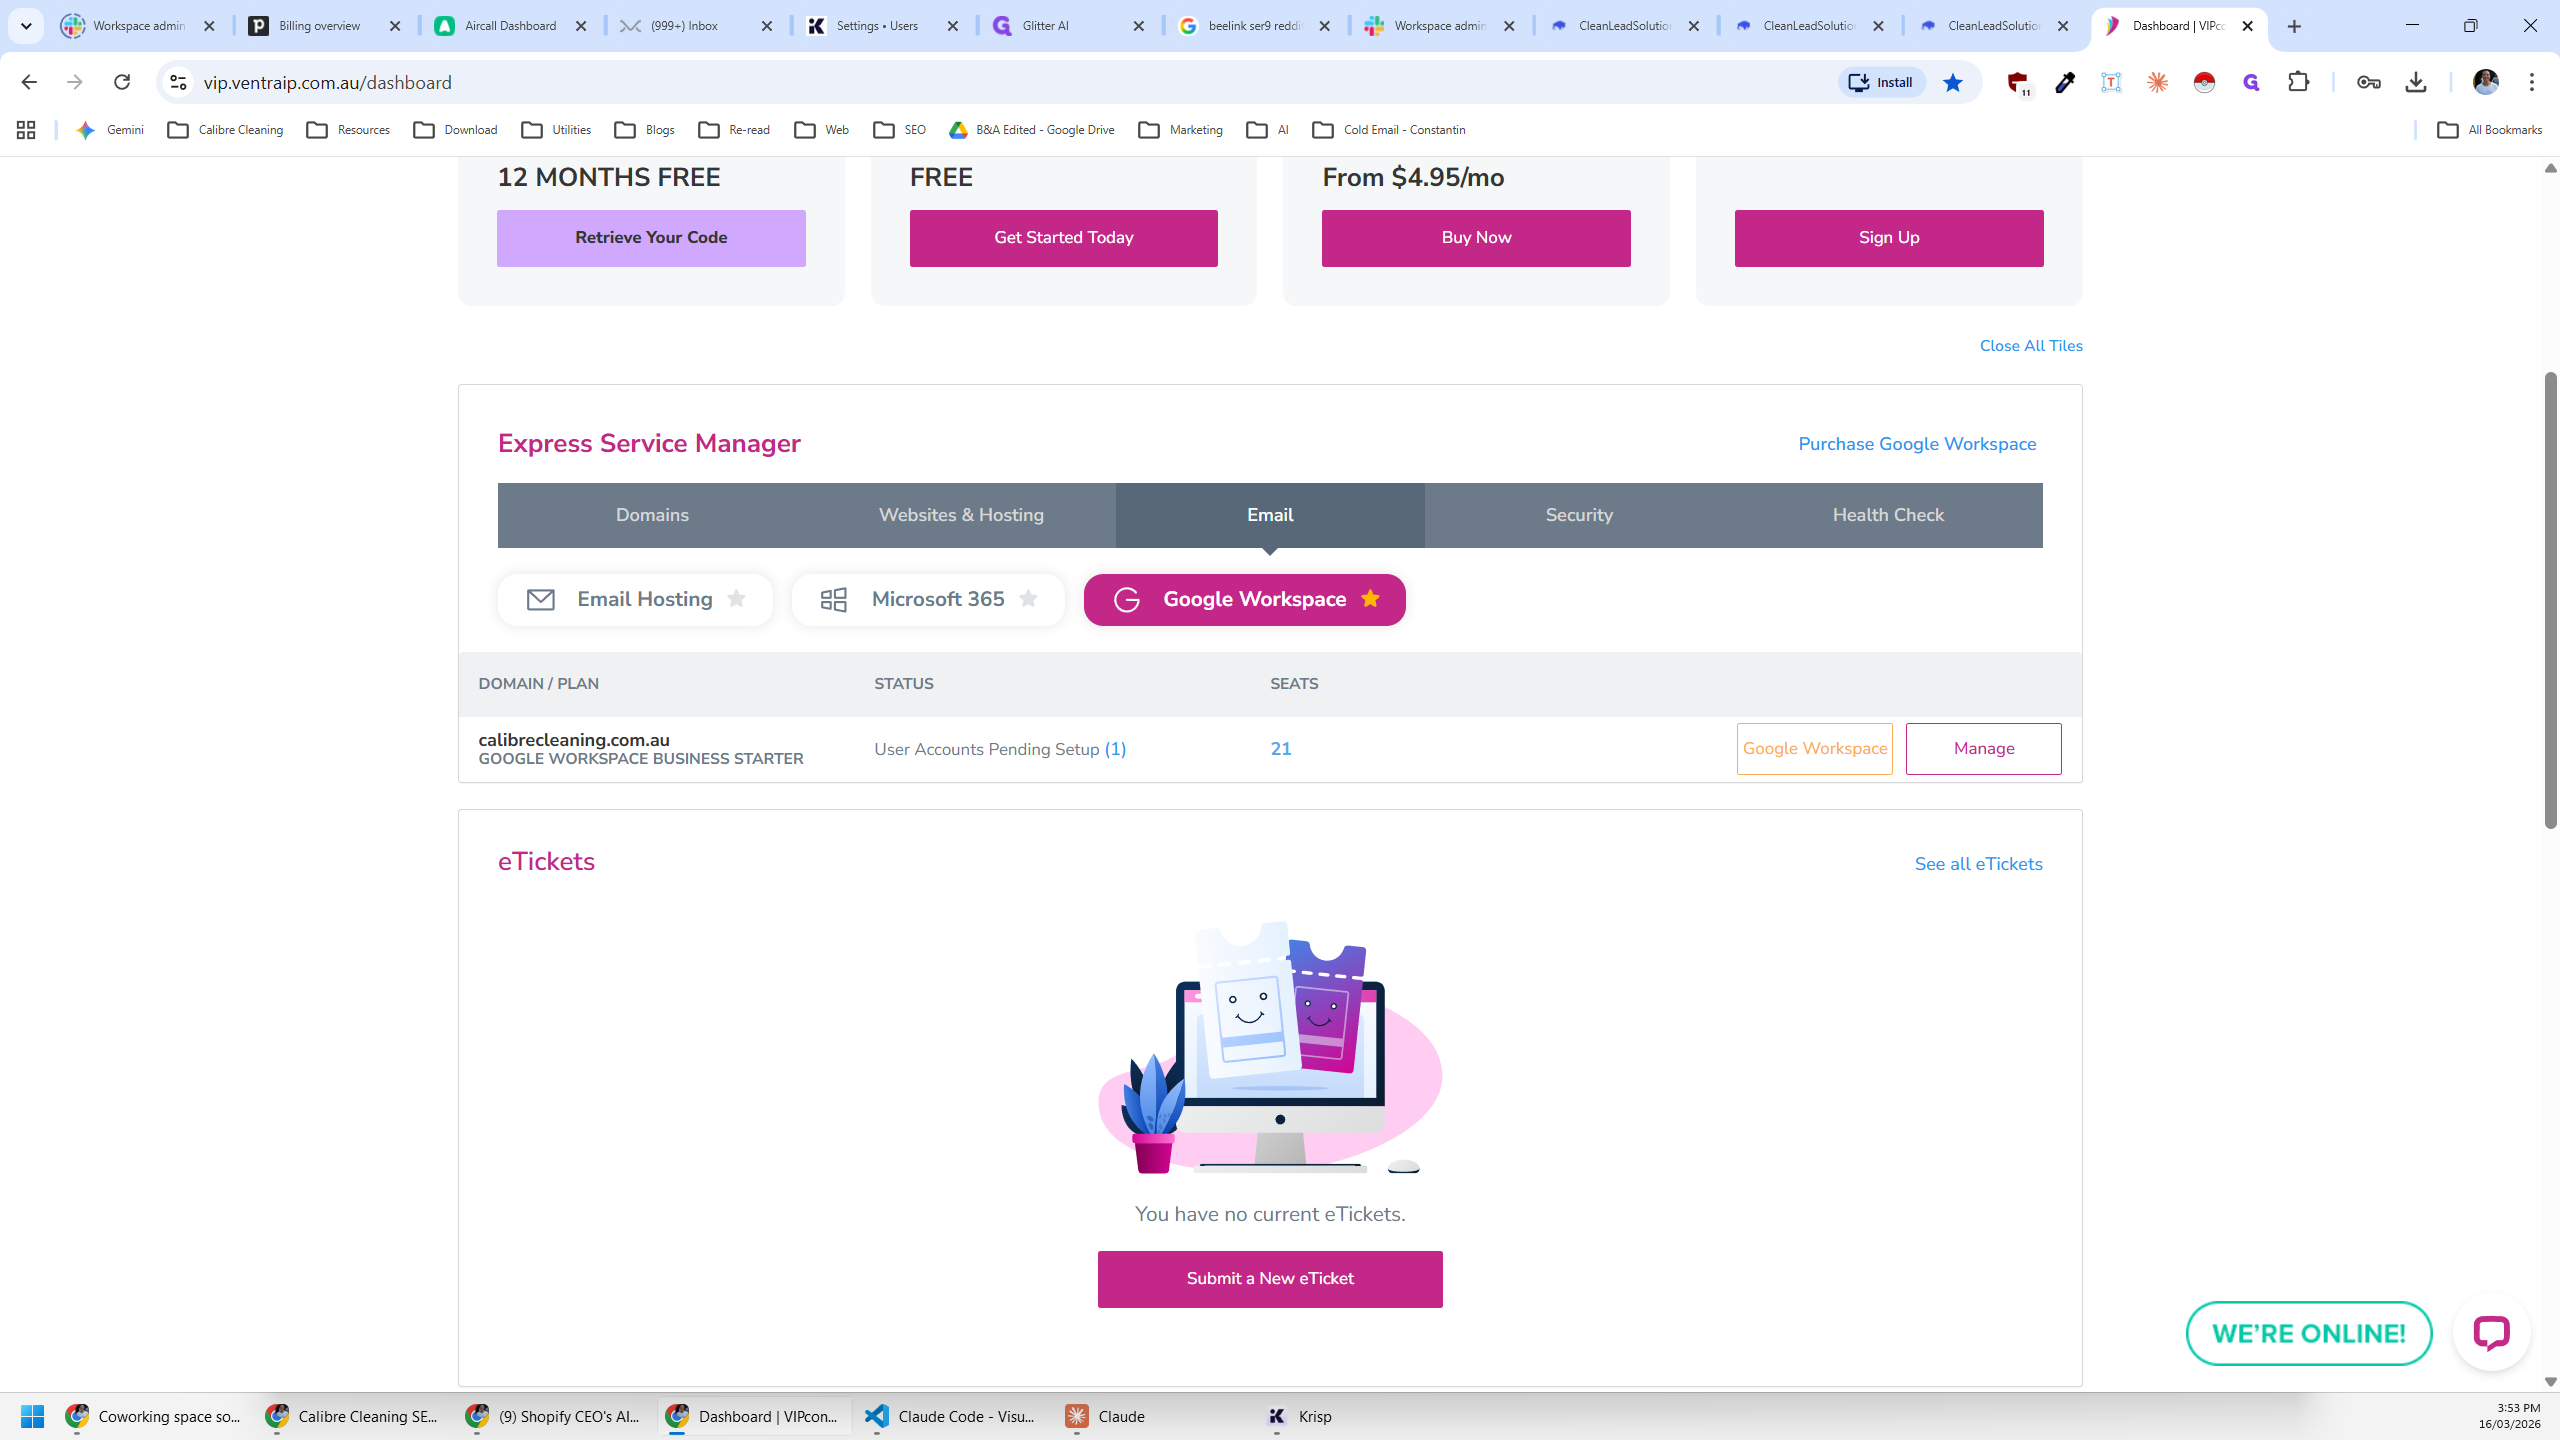
If there is no number here, we need to purchase a seat before assigning it.
I'll show you both.
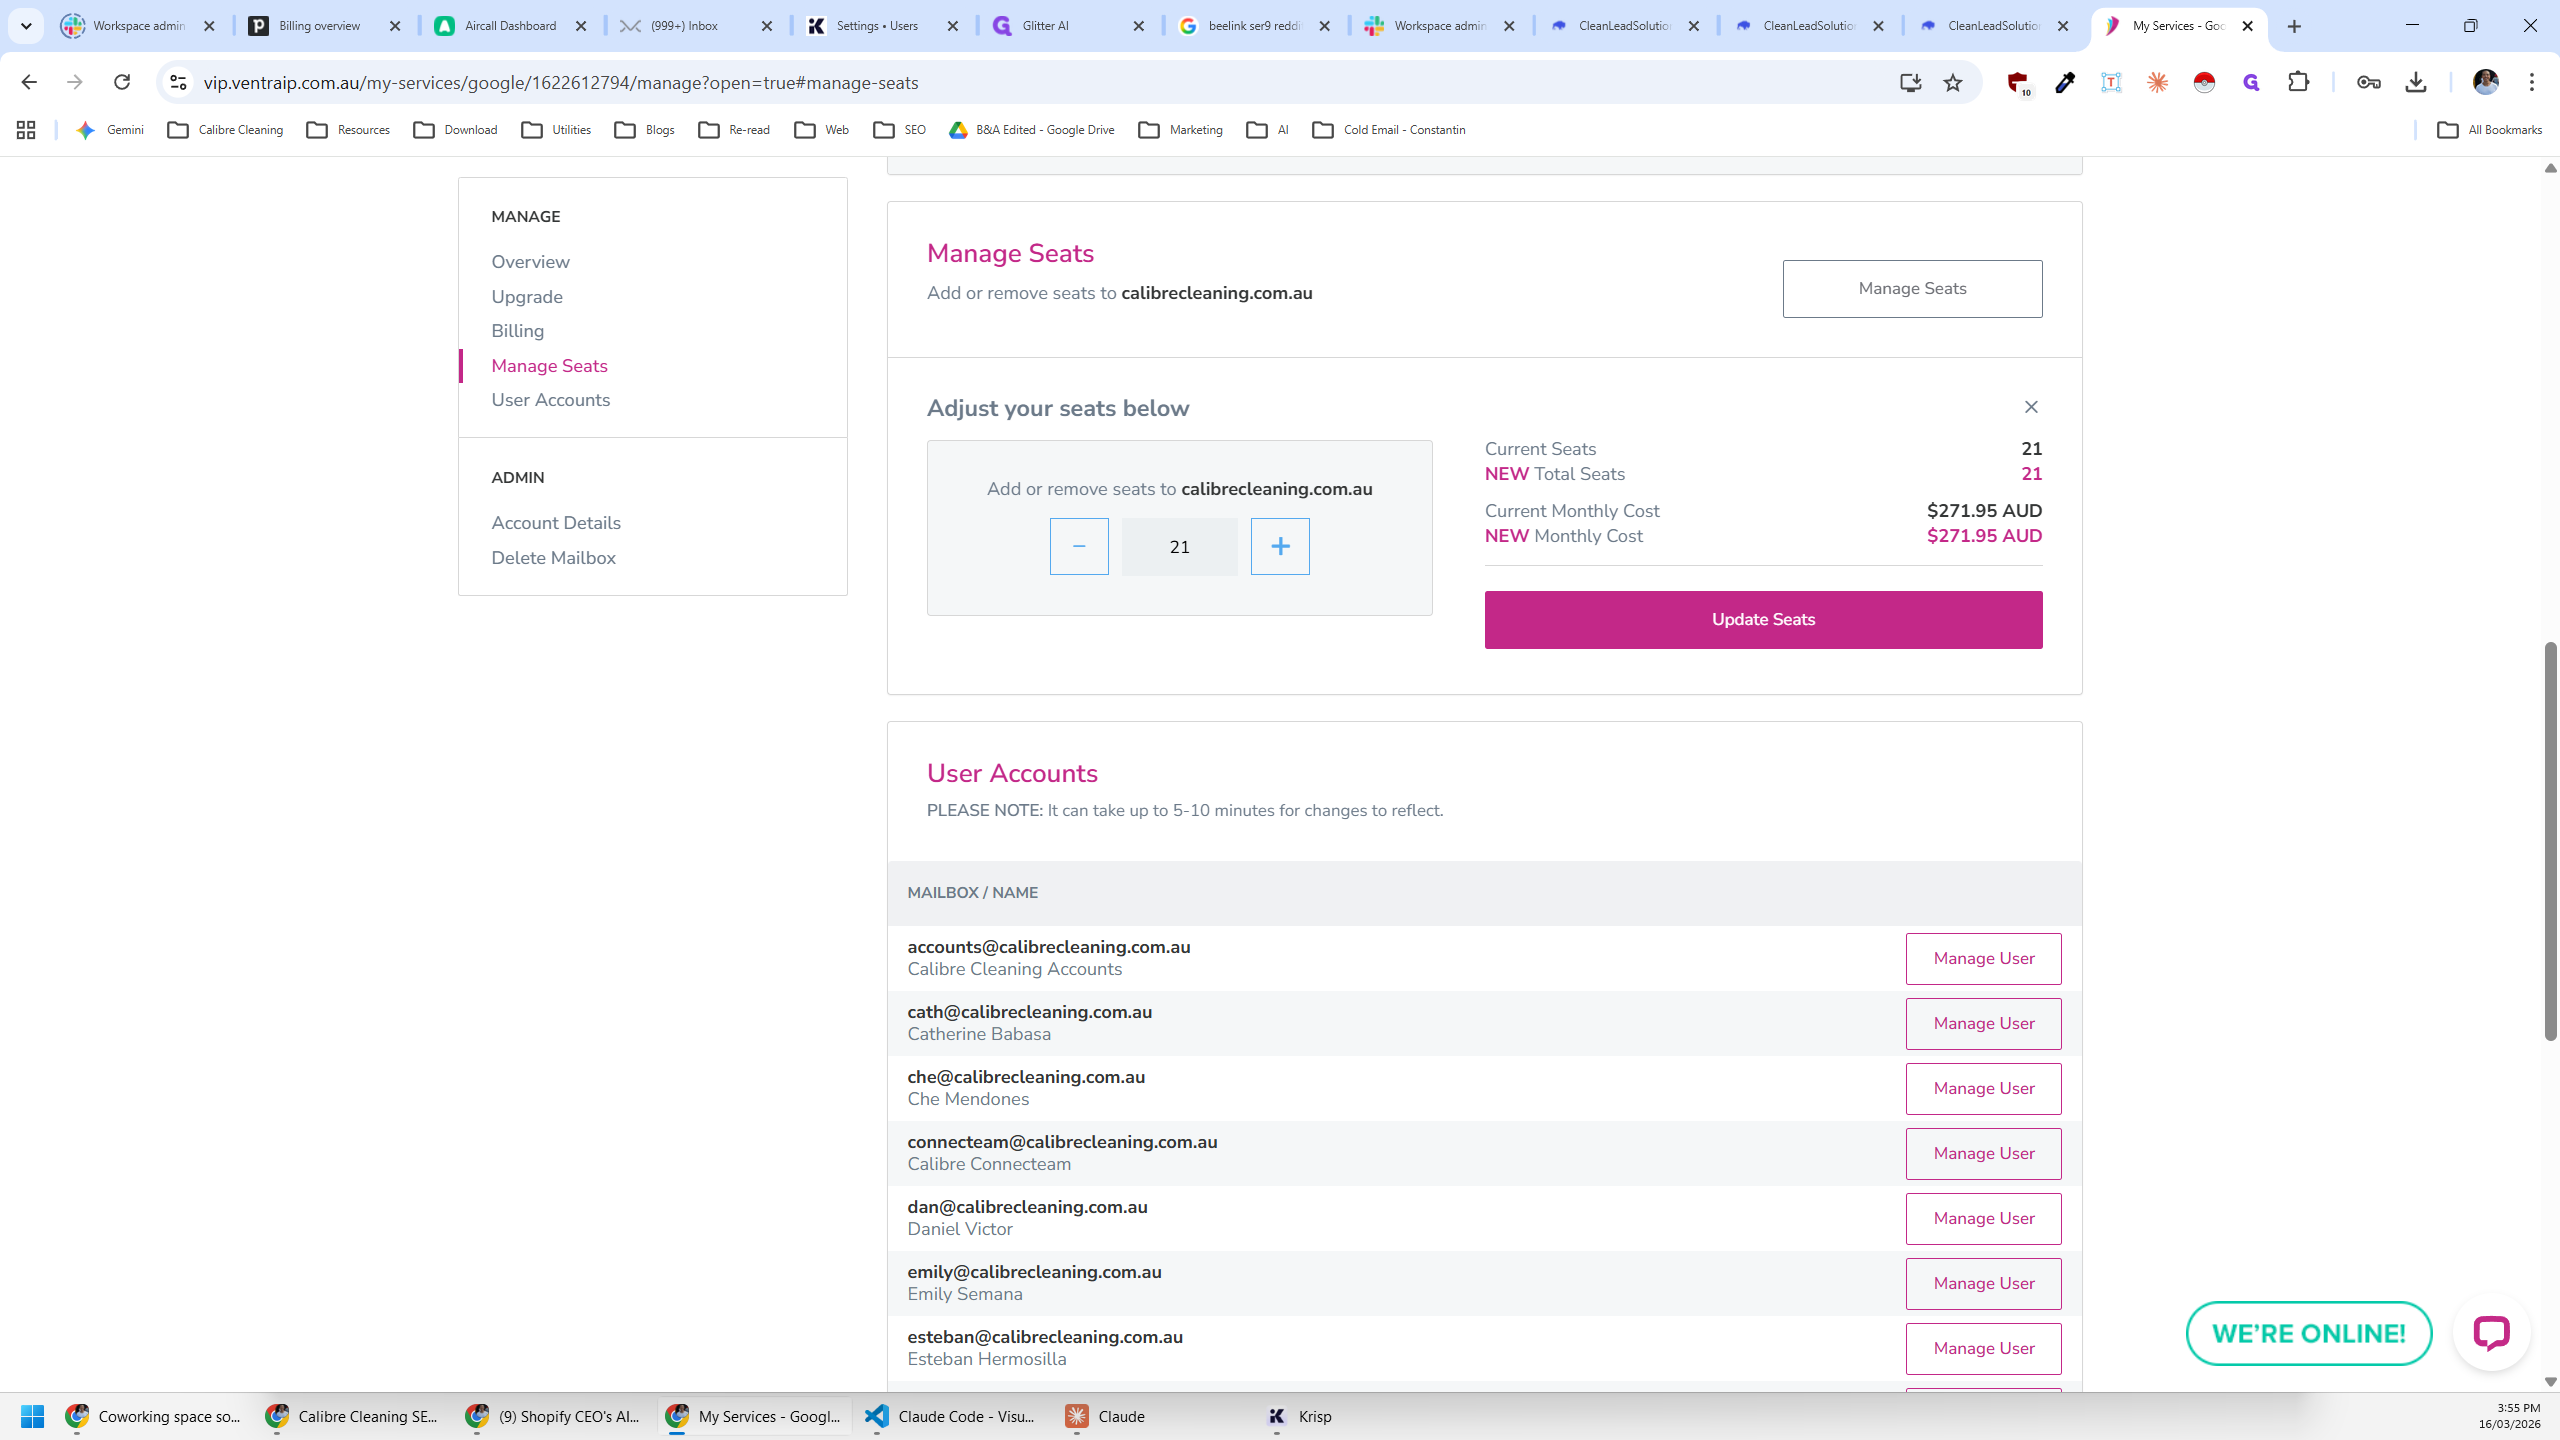
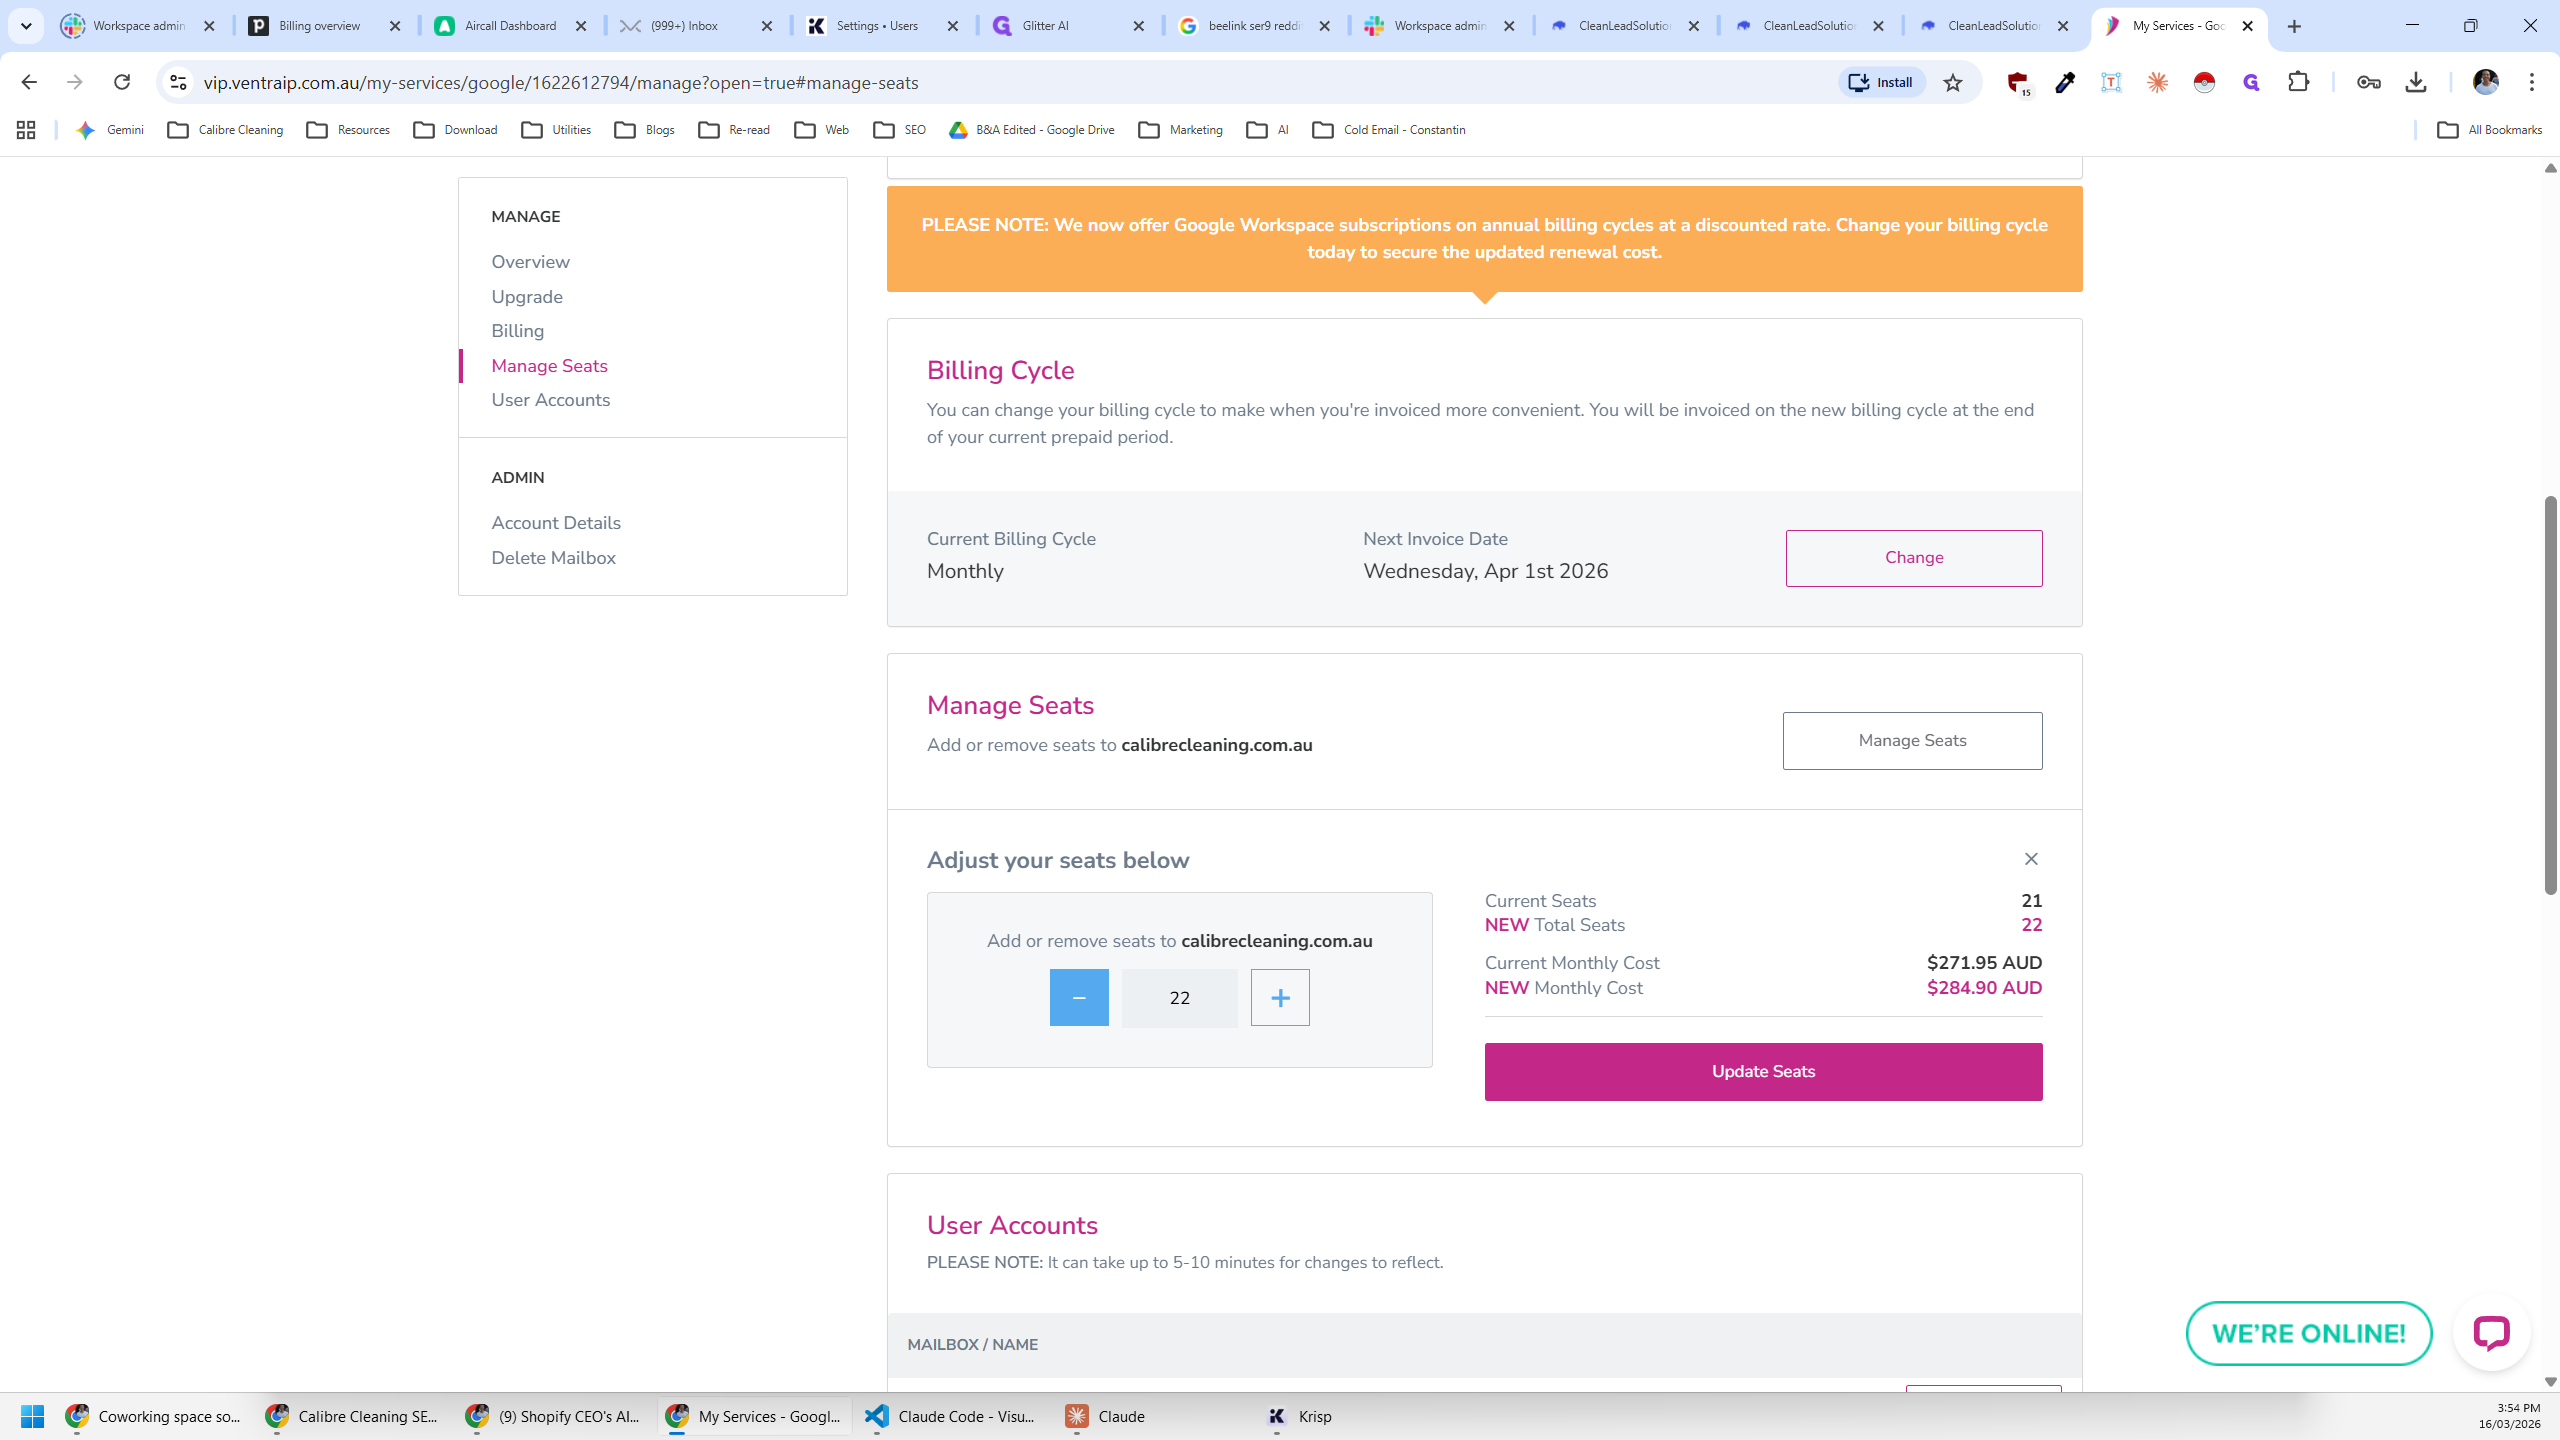
If there are no additional seats, we need to purchase one first. Go to Manage Seats and click the plus button for the number of seats needed.
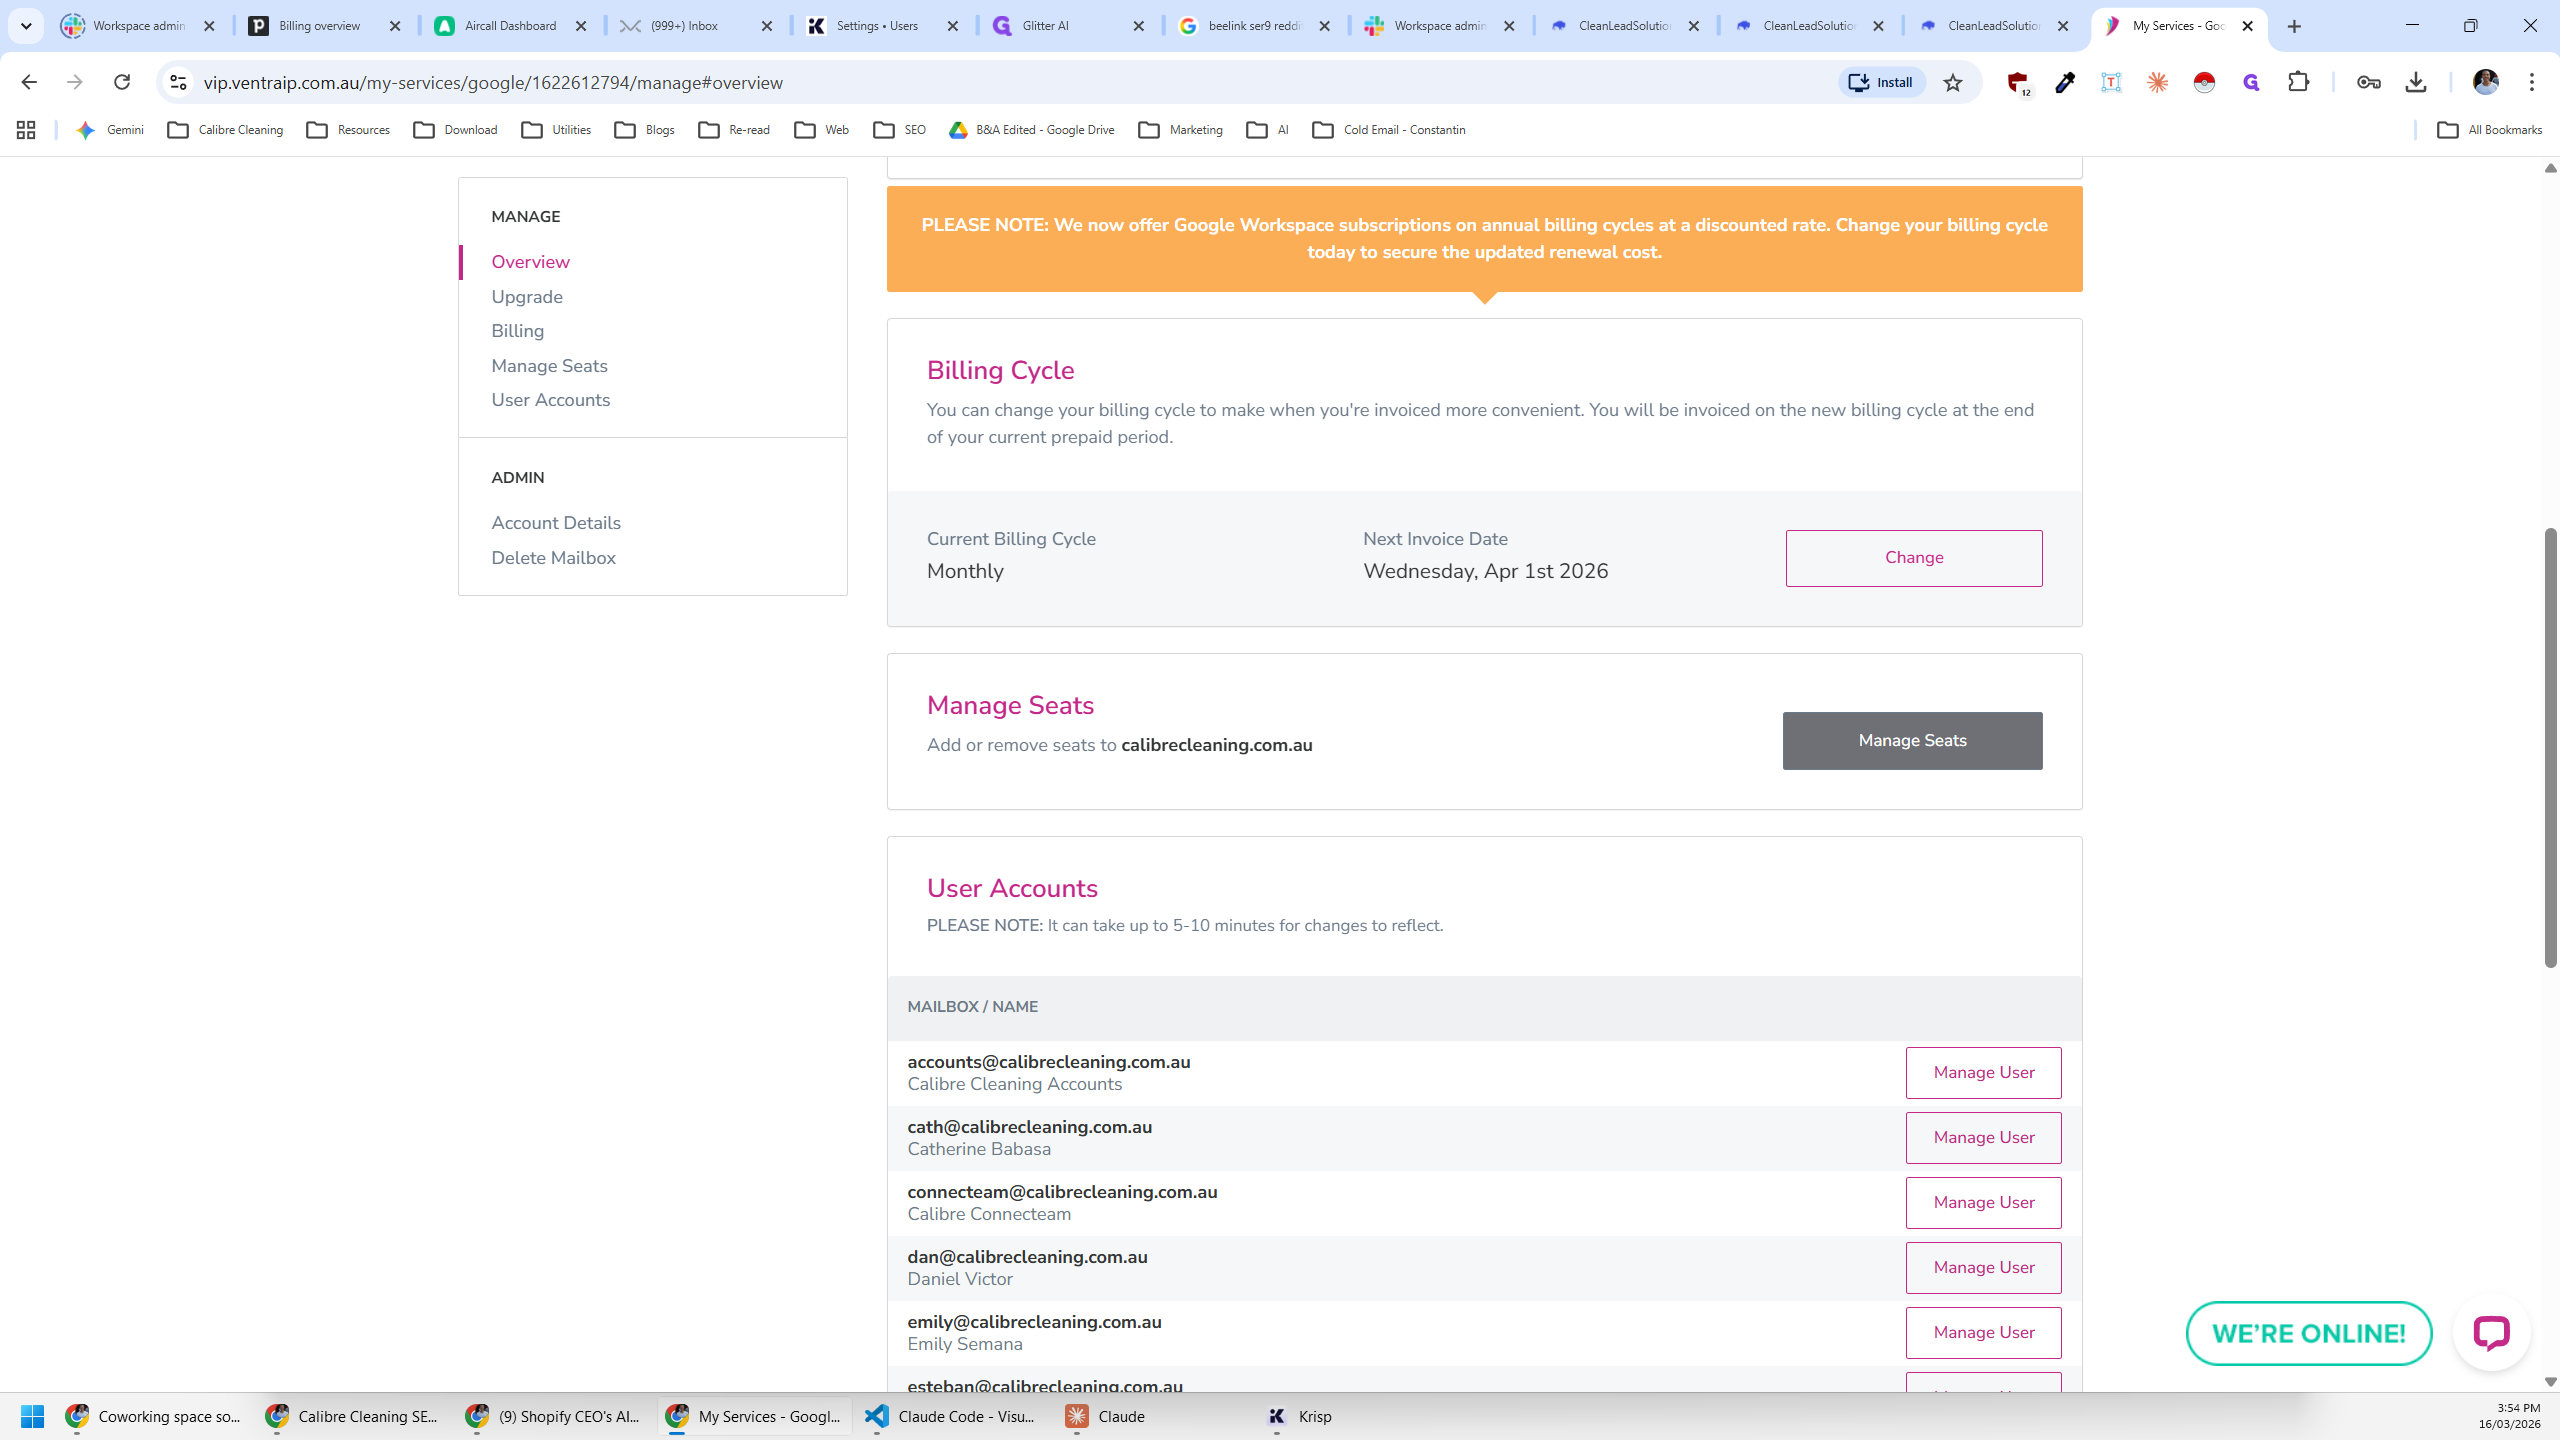
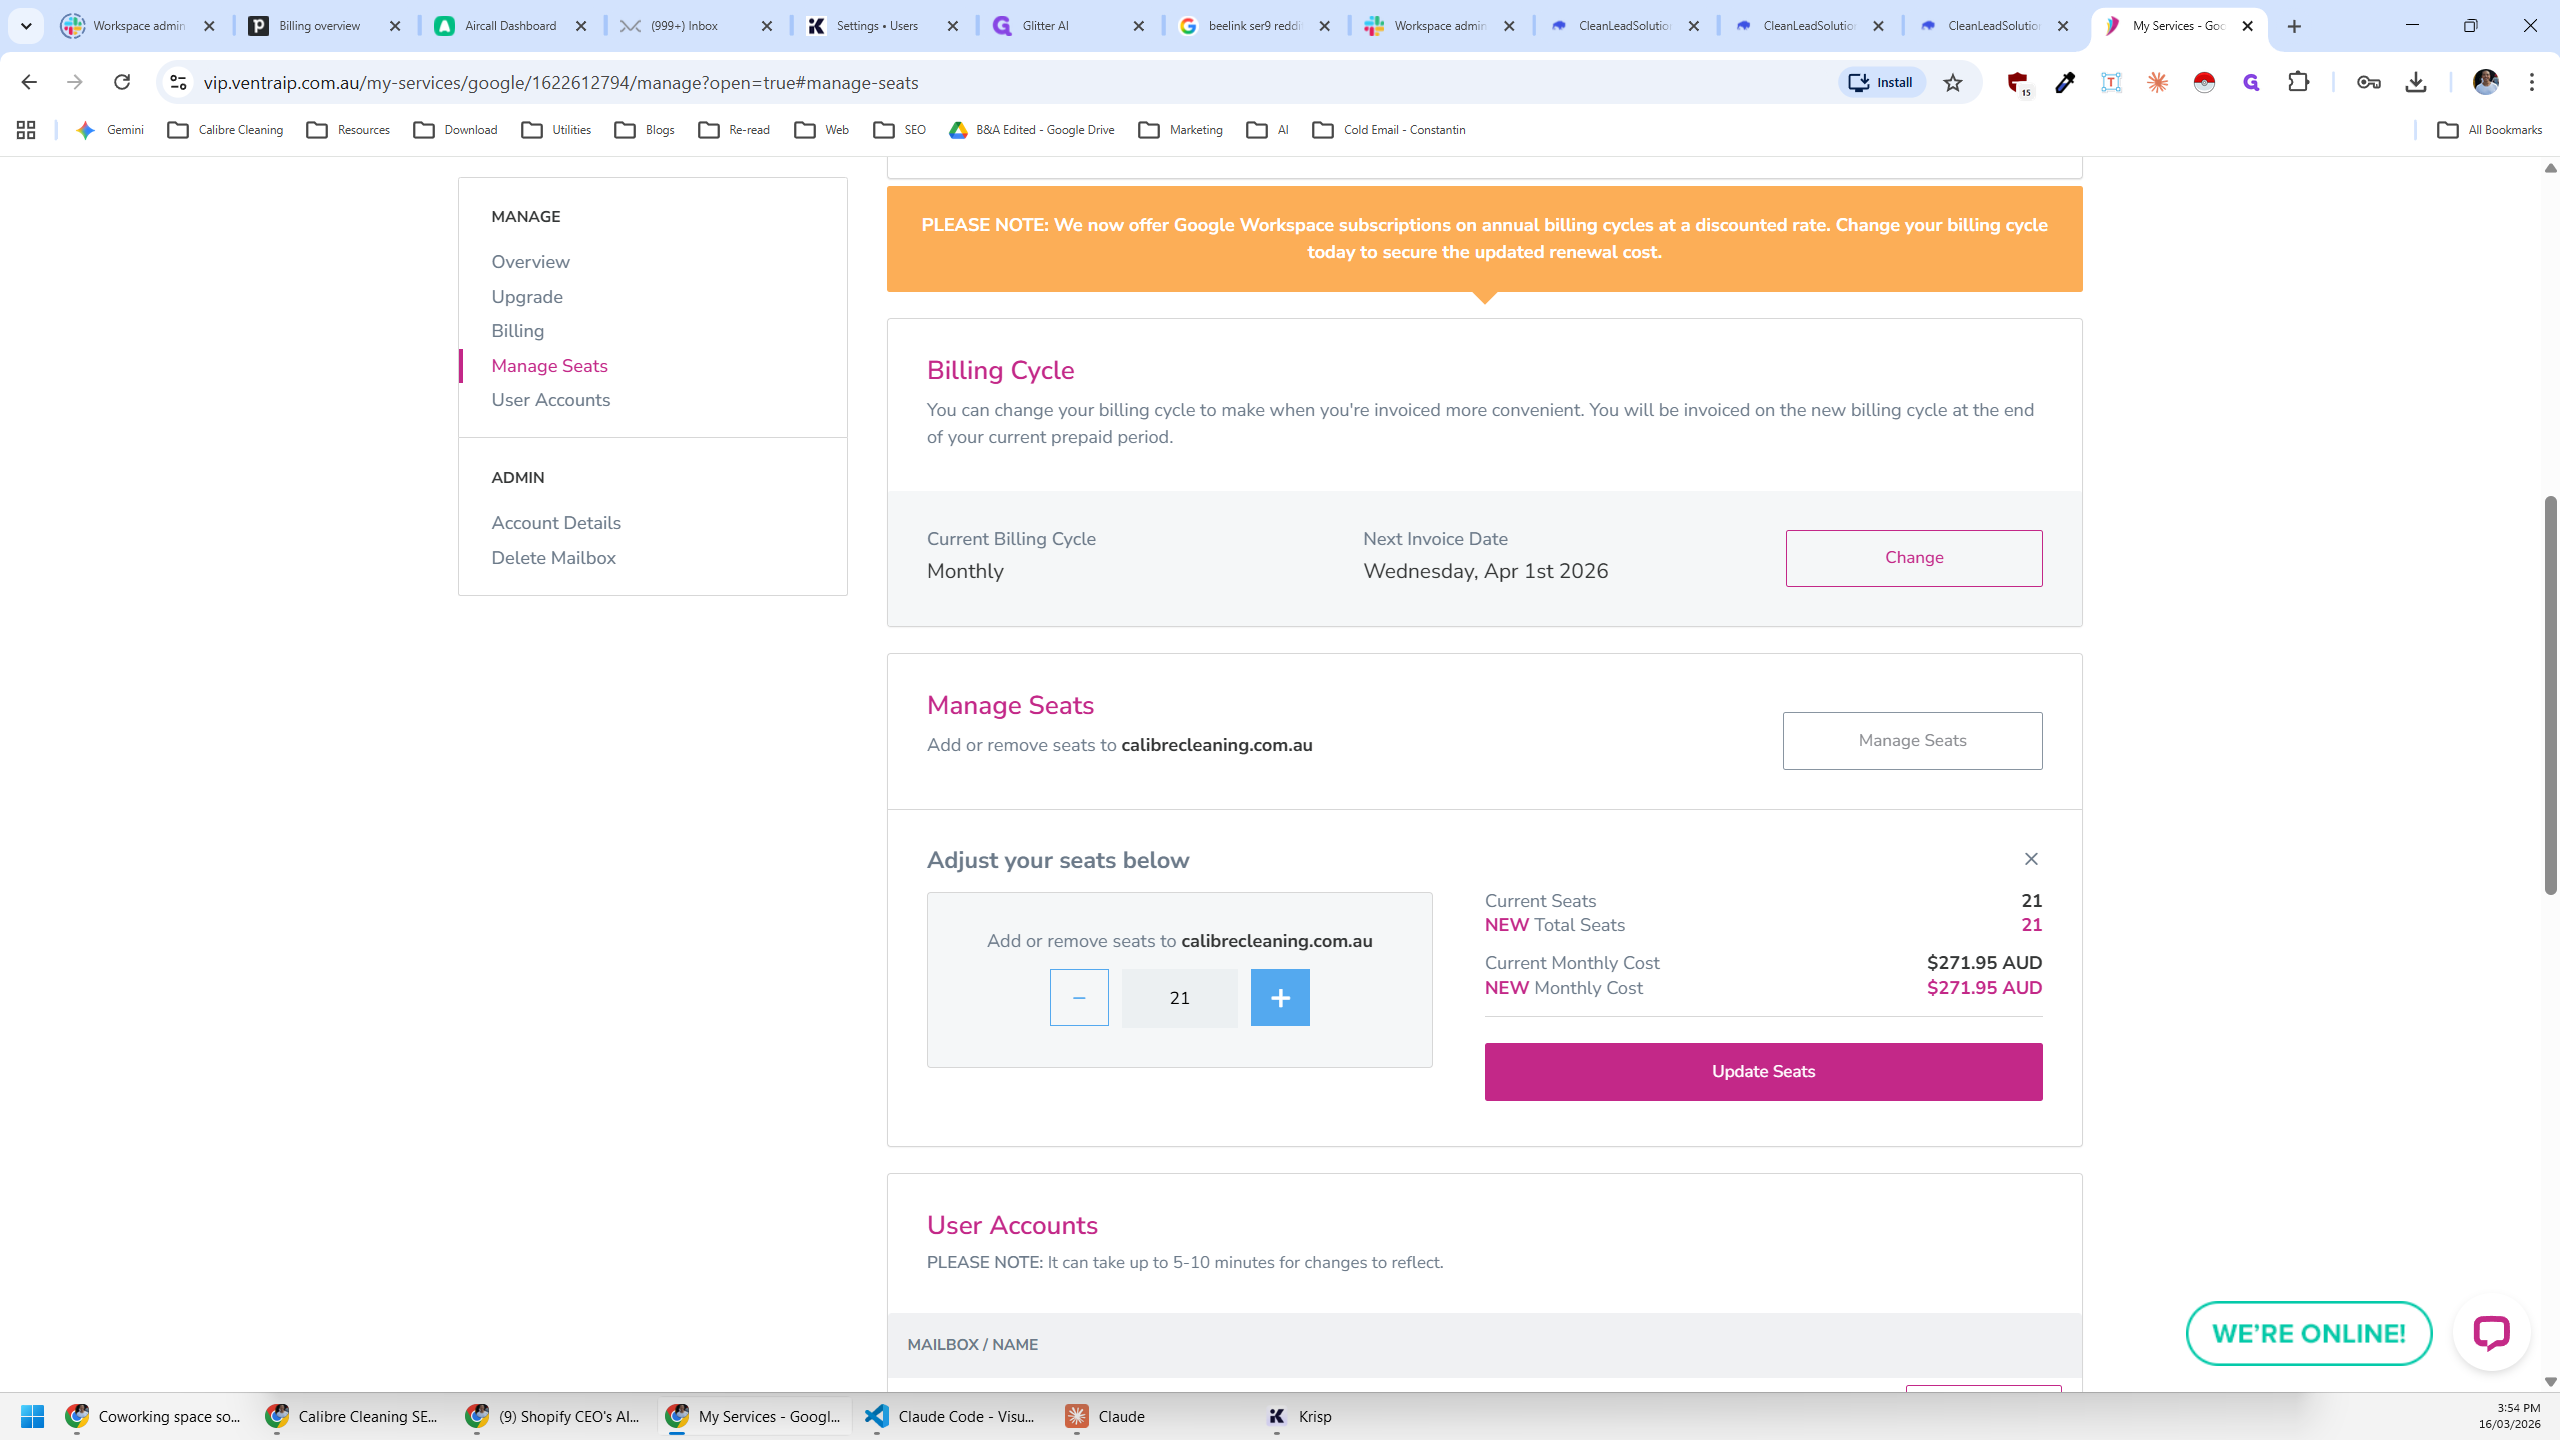
Then you update, and that will take you to pay an invoice. We don't need to purchase any extras because I removed Joseph this morning.
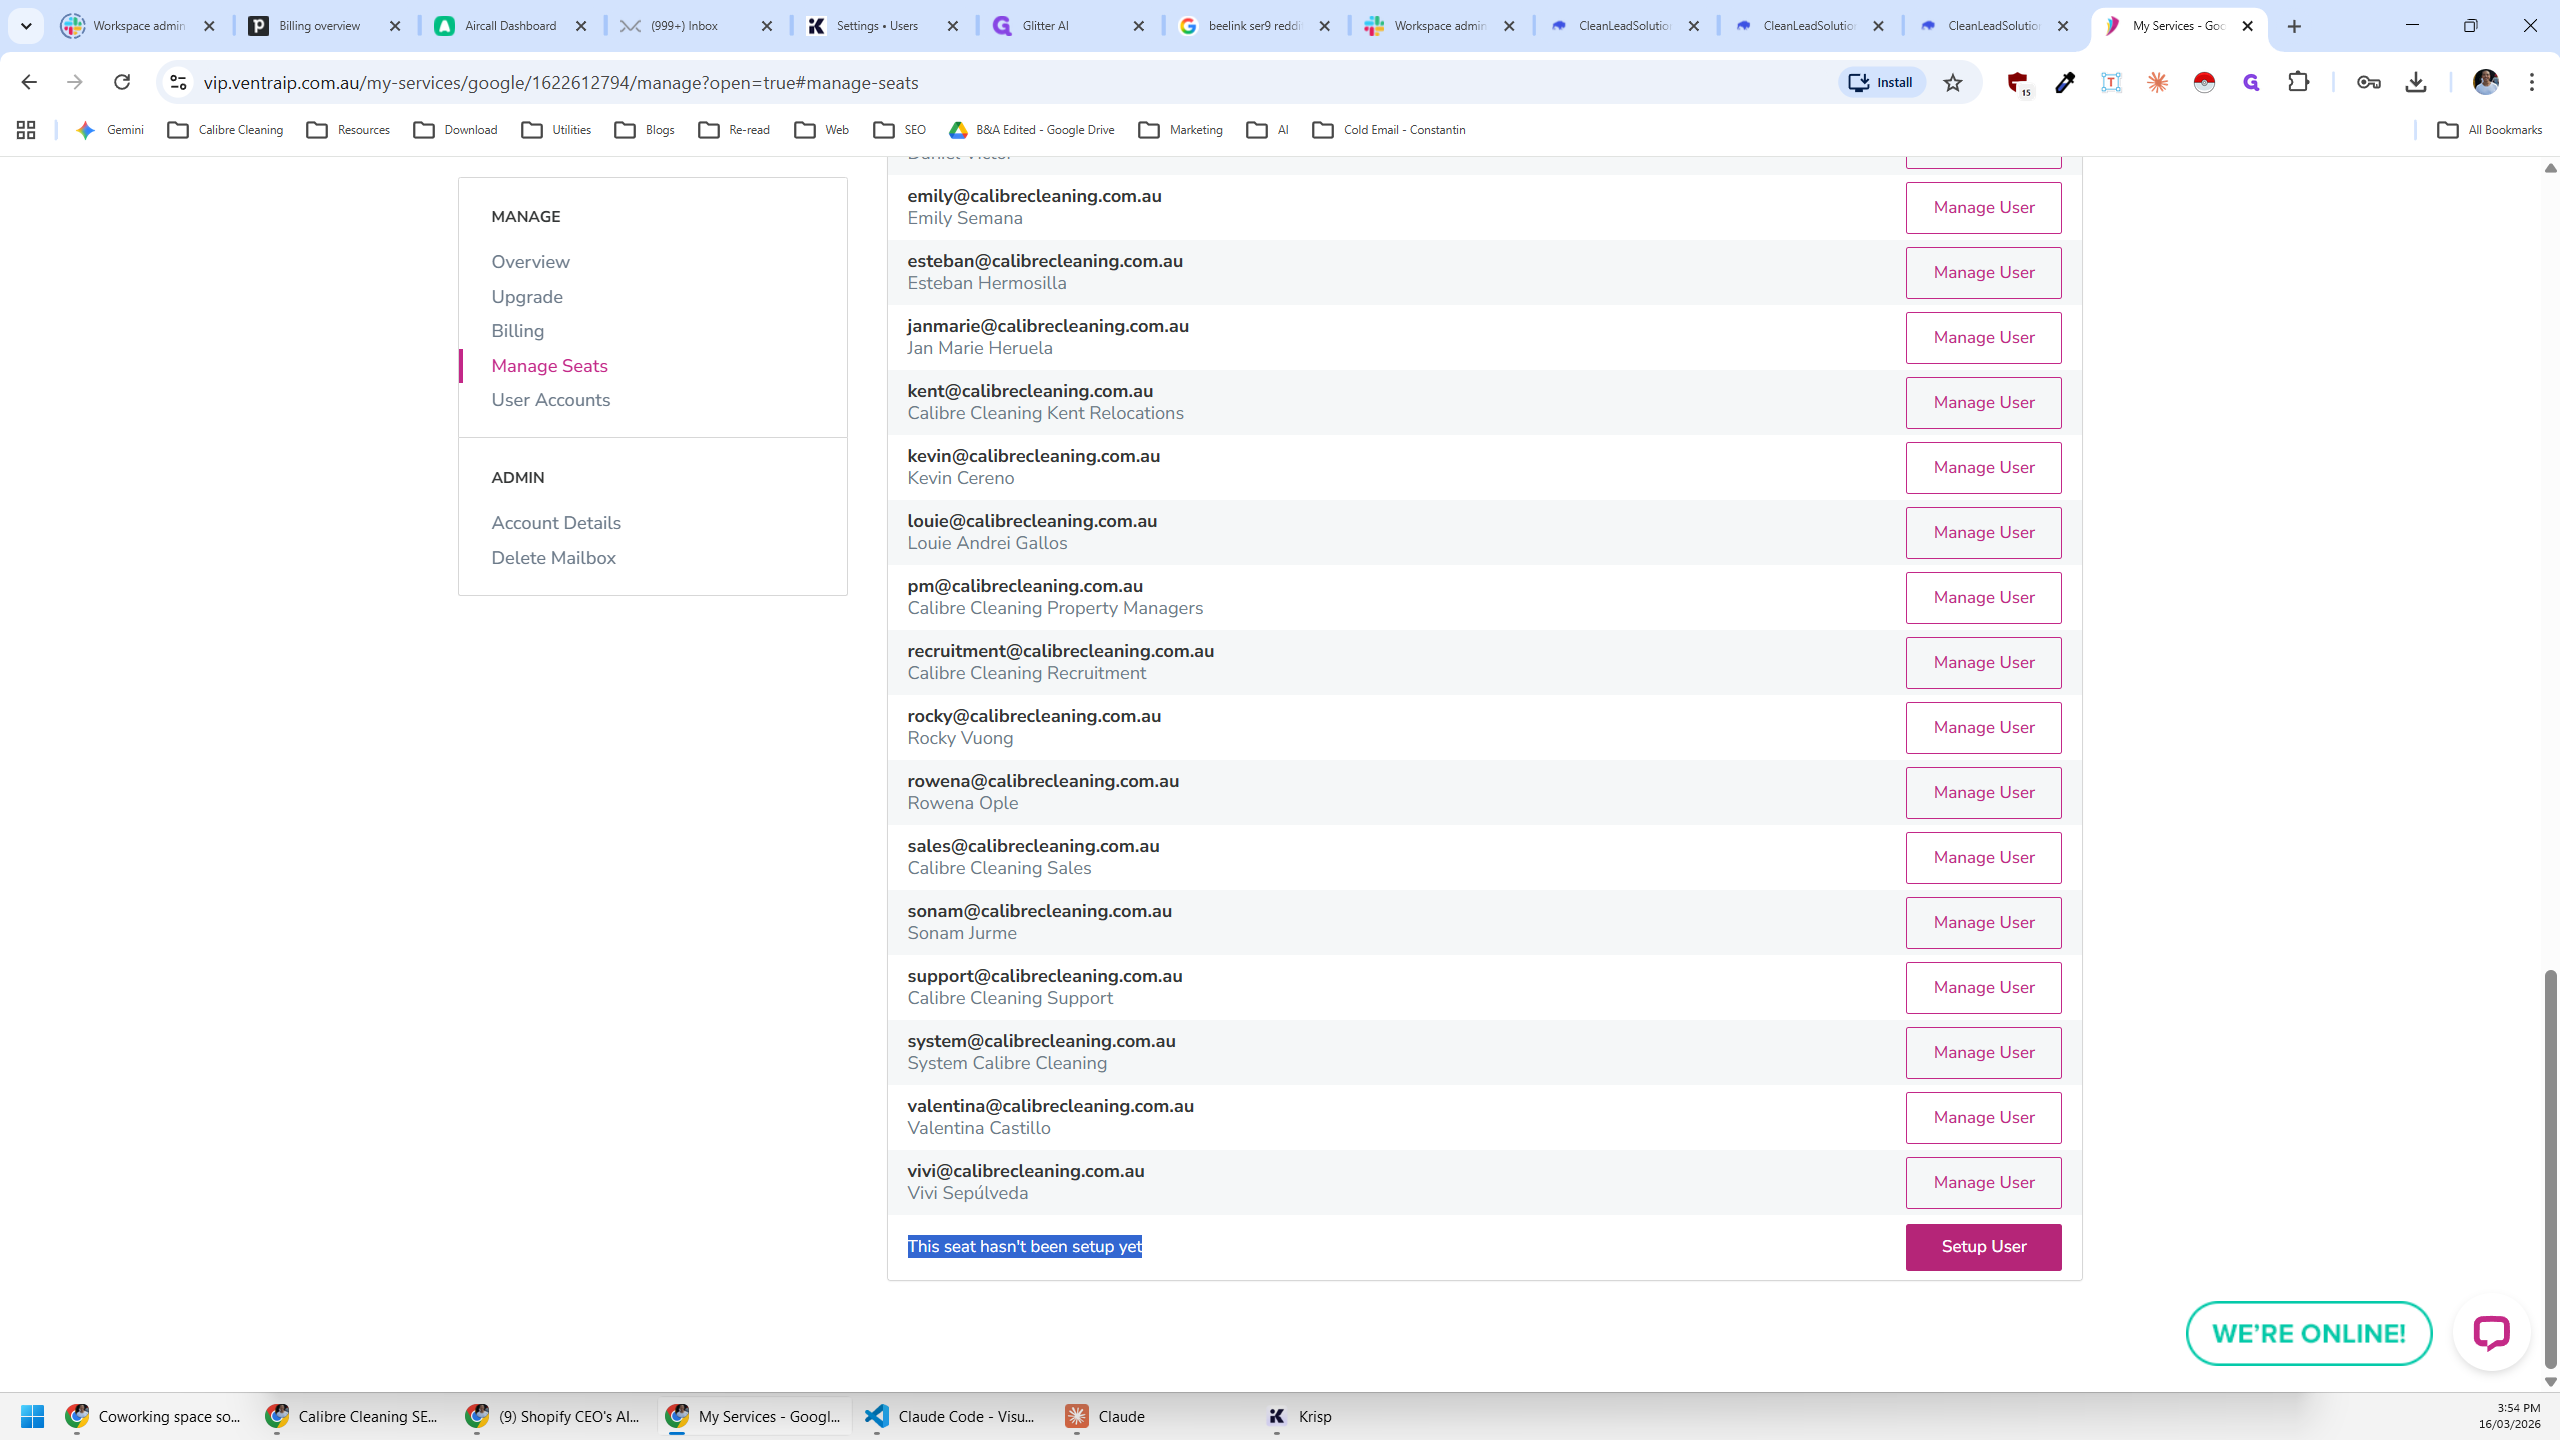
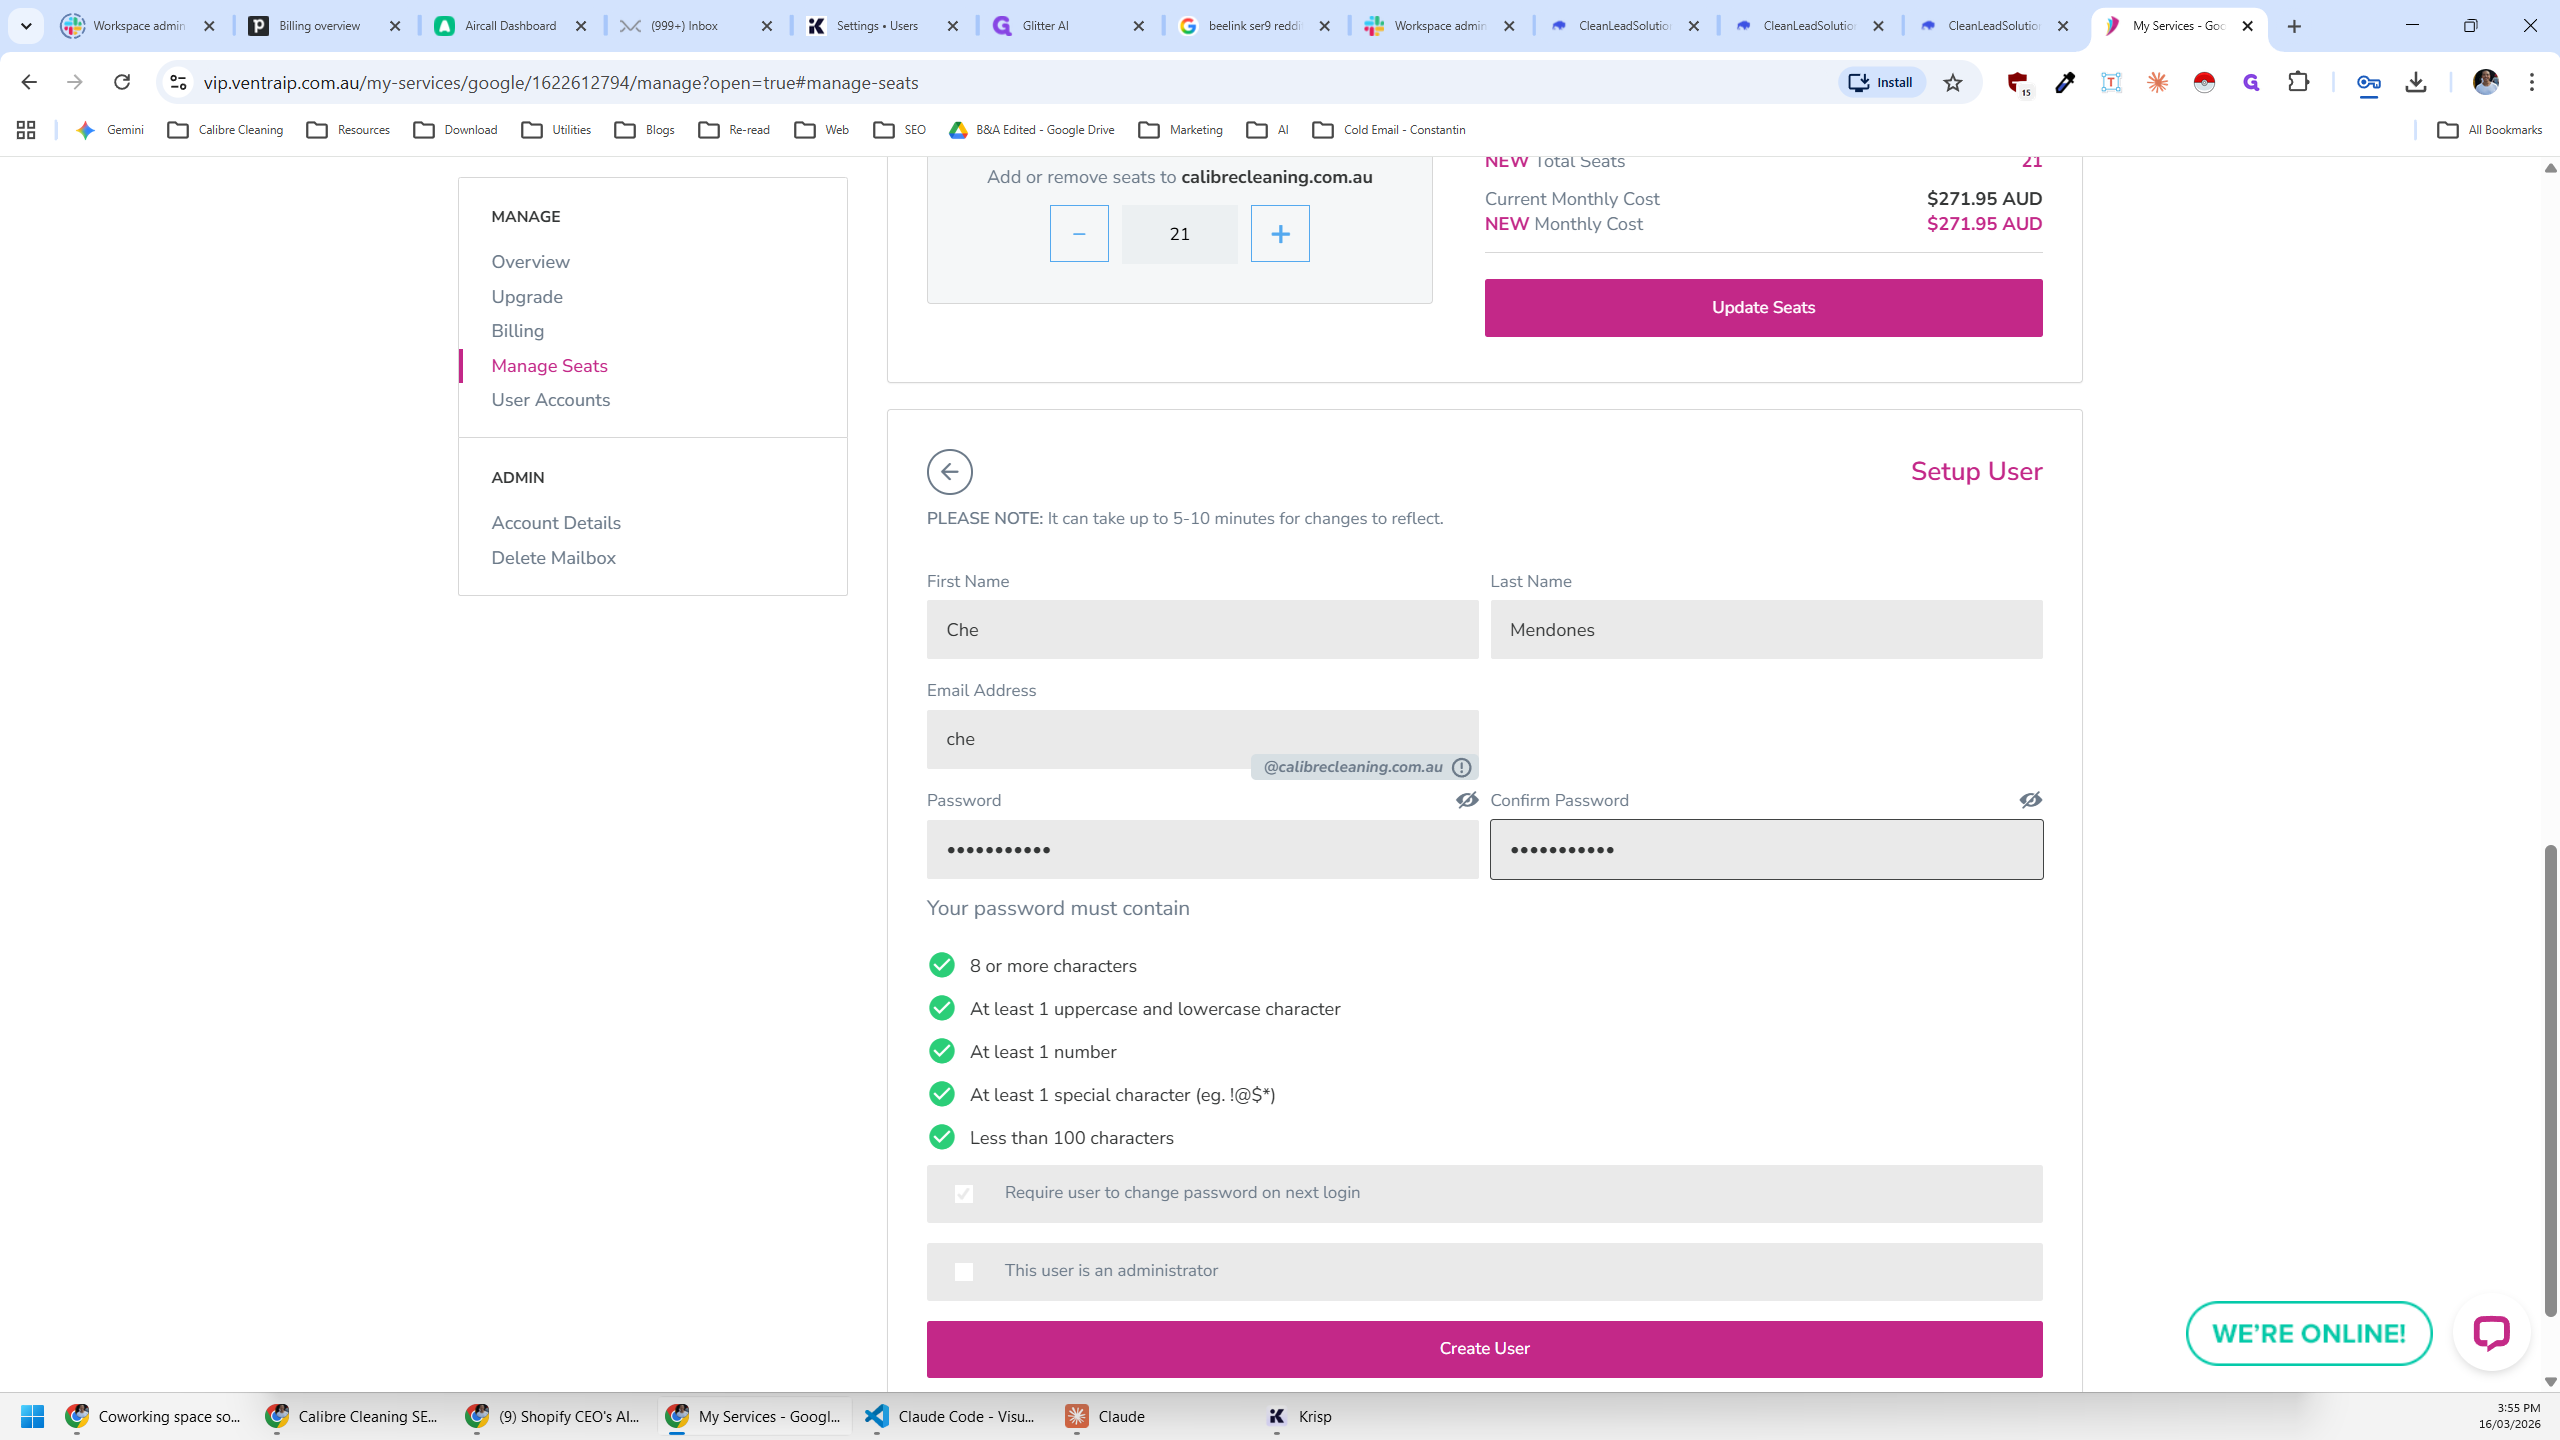
If you scroll to the bottom, you'll see this seat has not been set up.
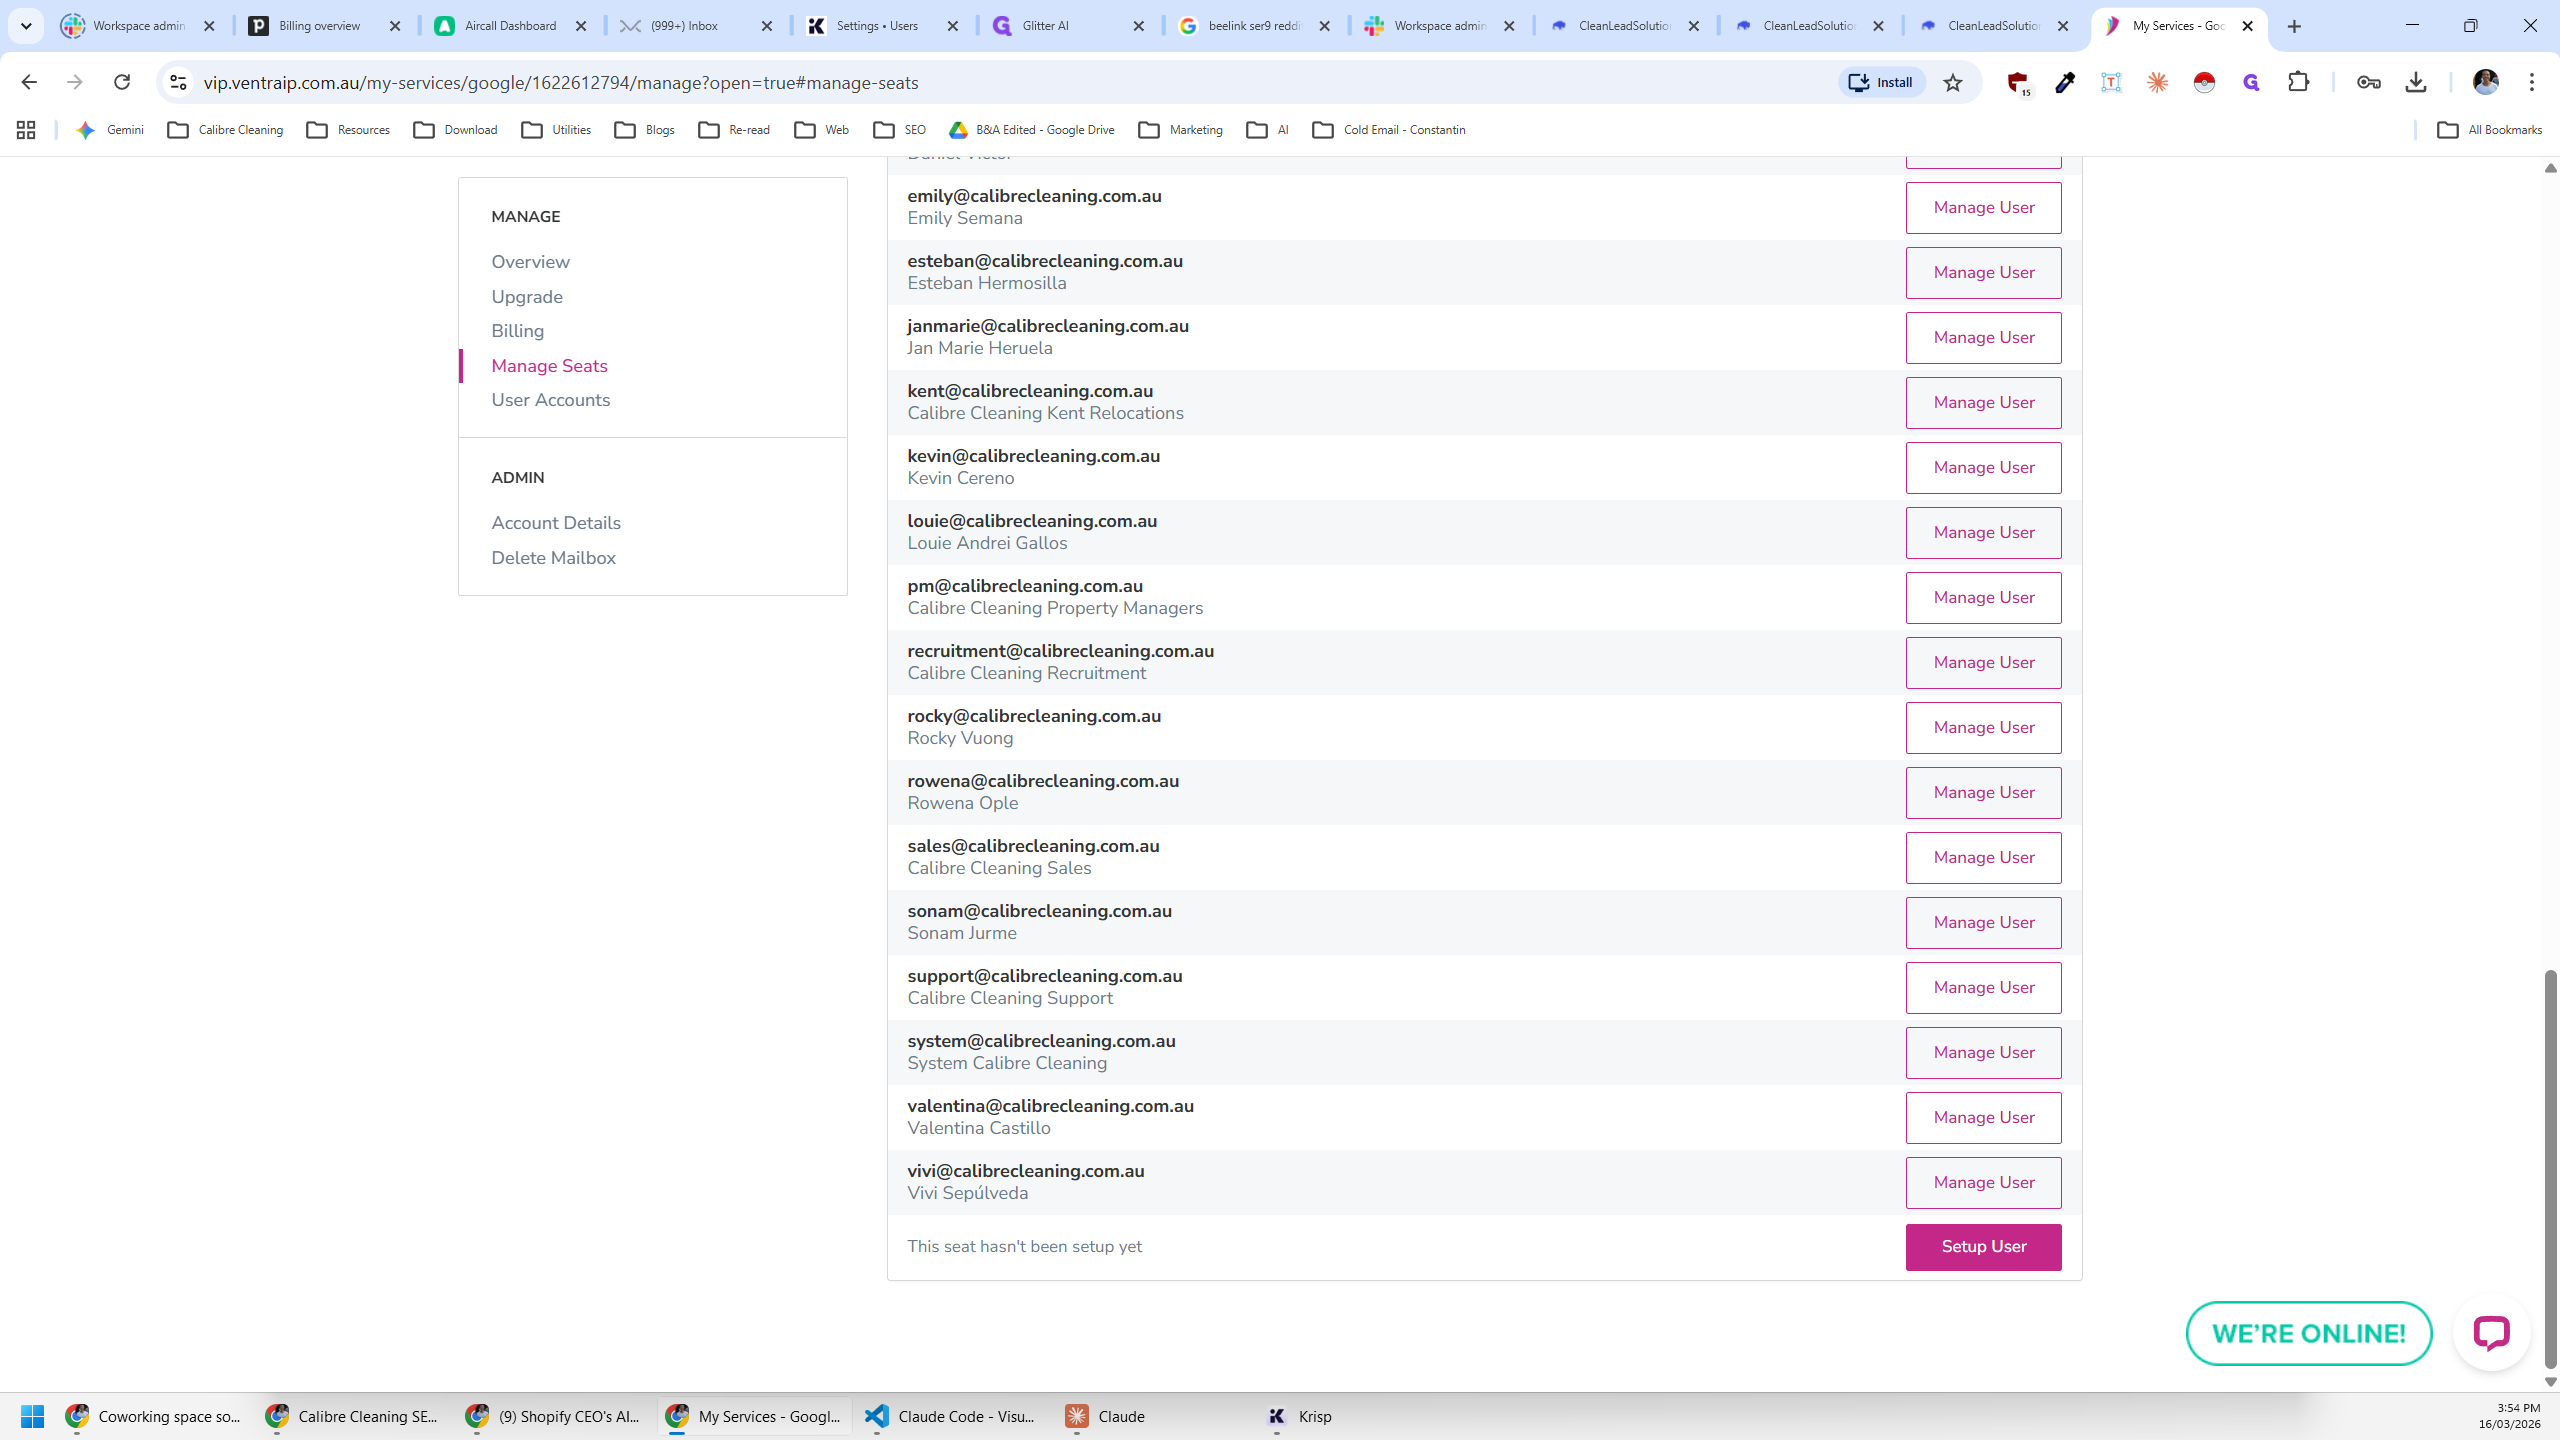
We set up the user.
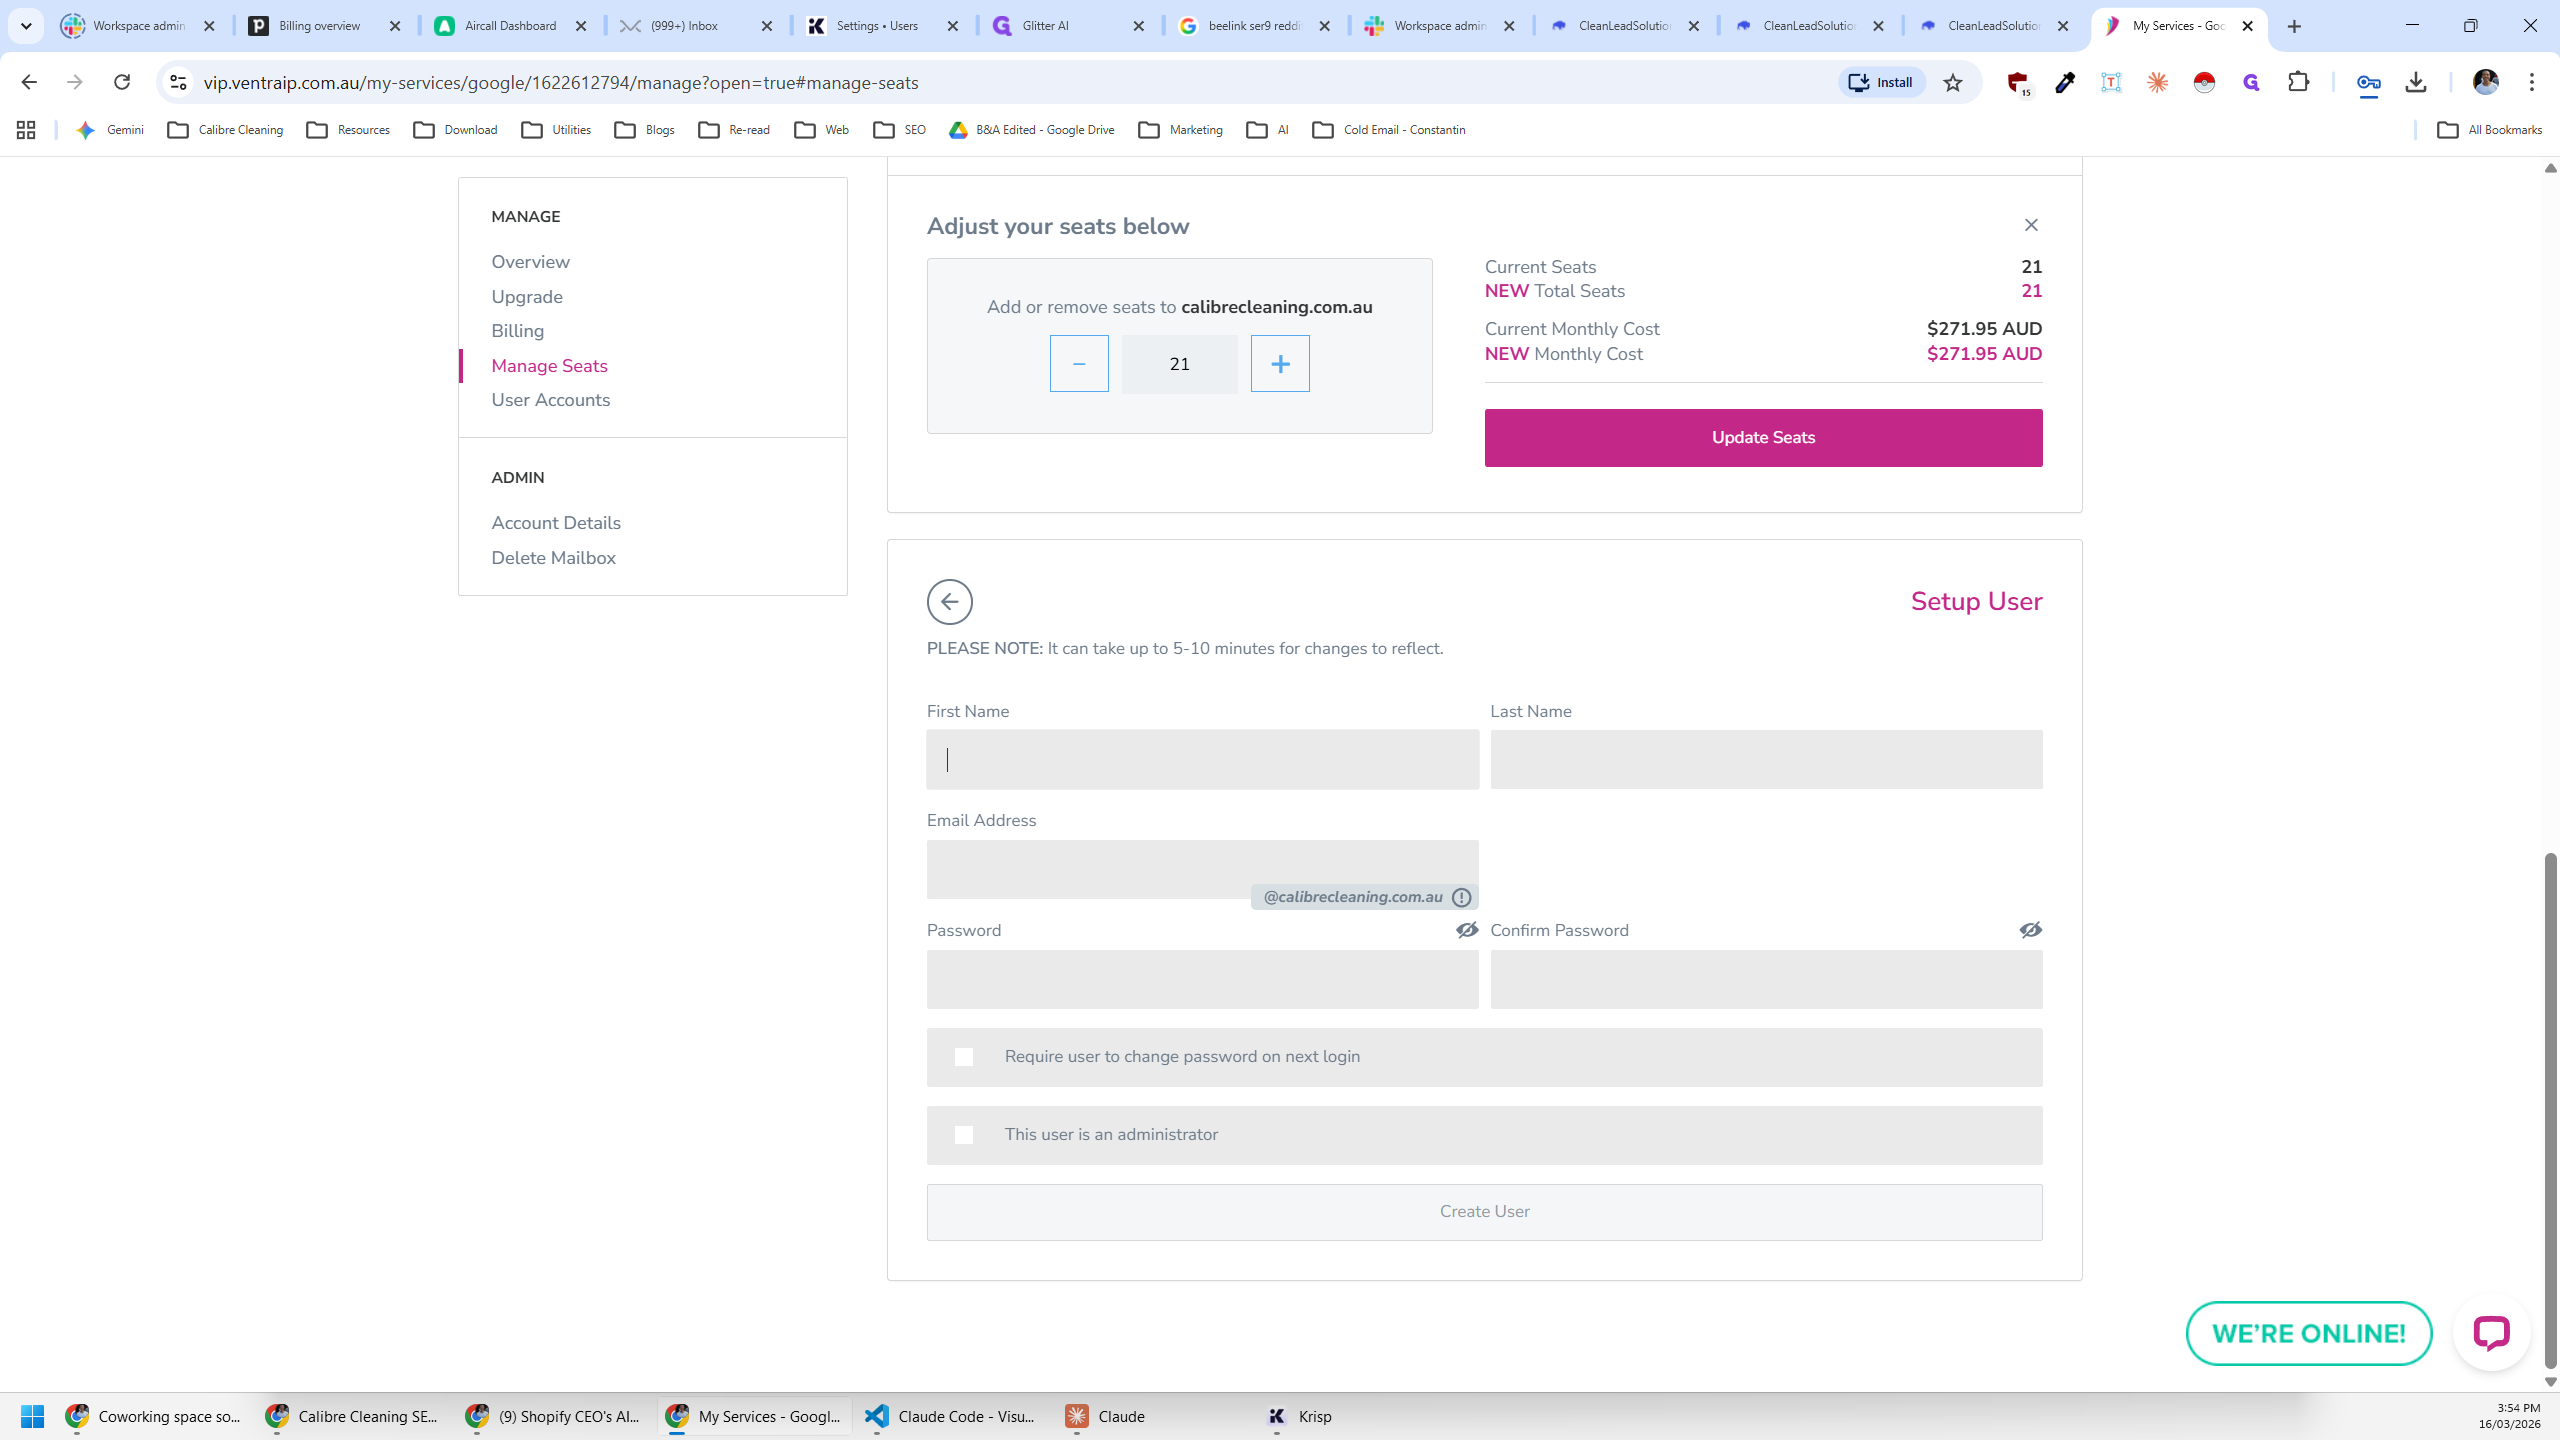
We add their details here.
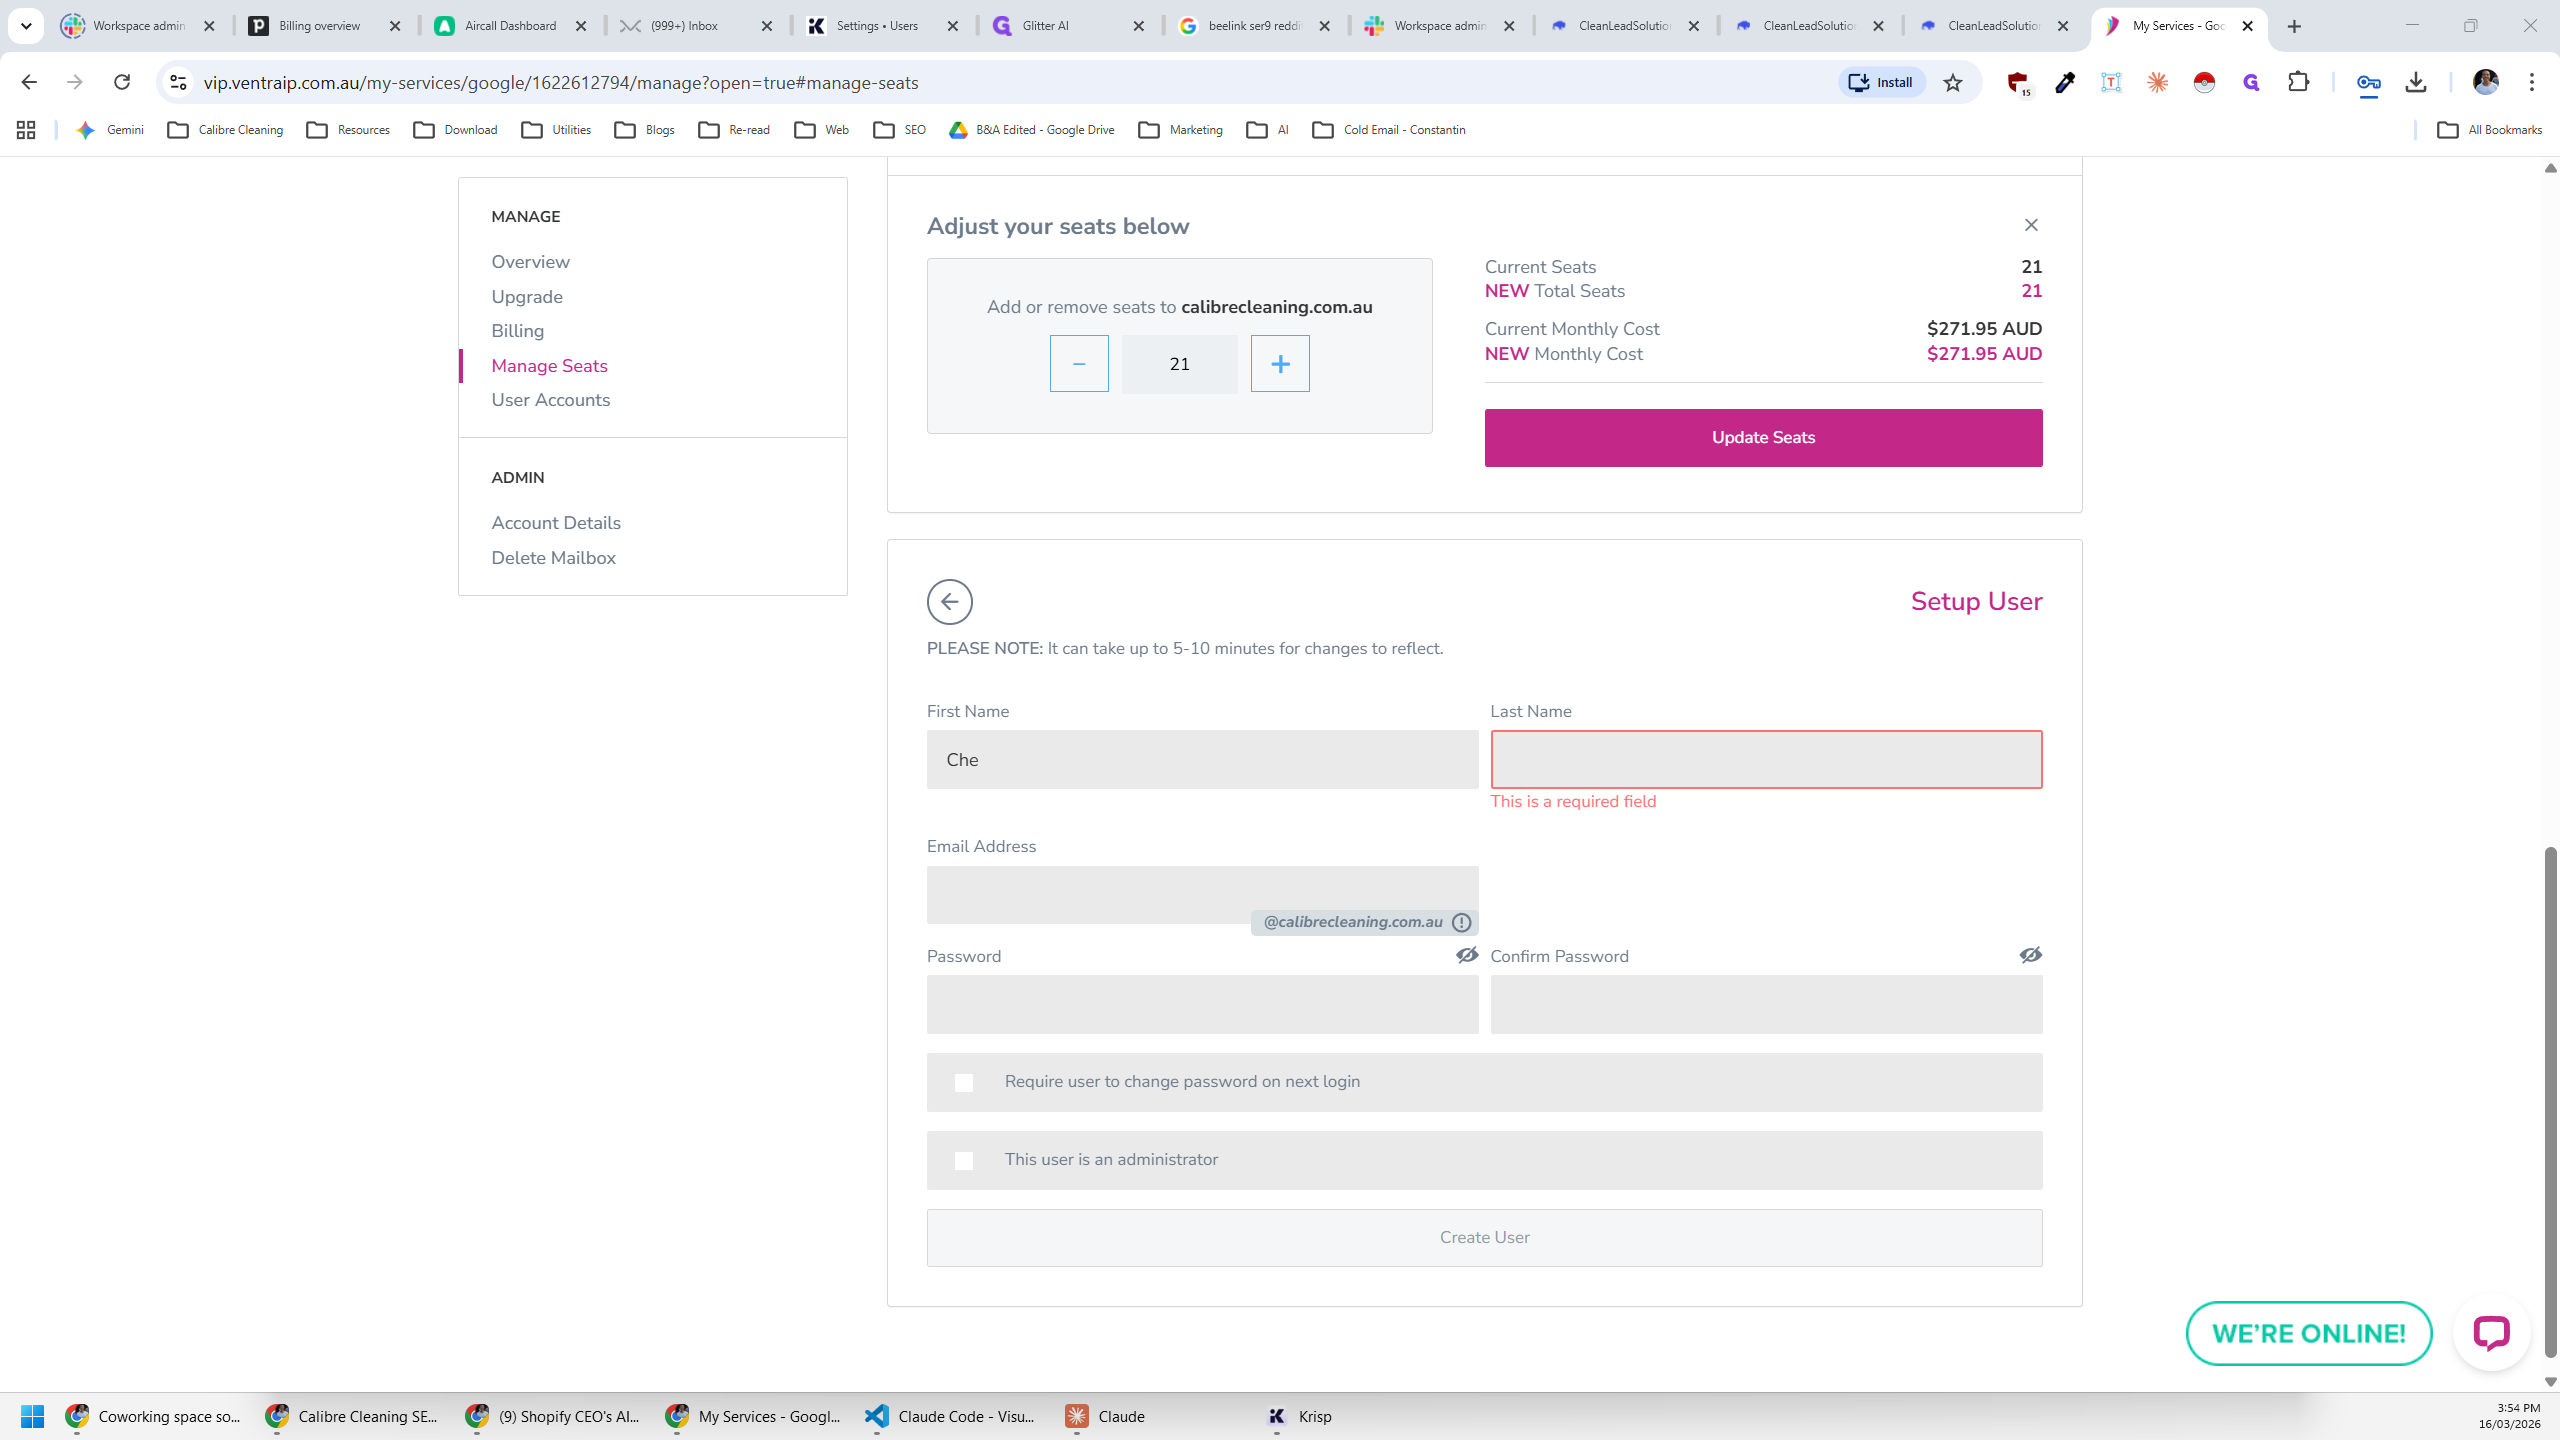
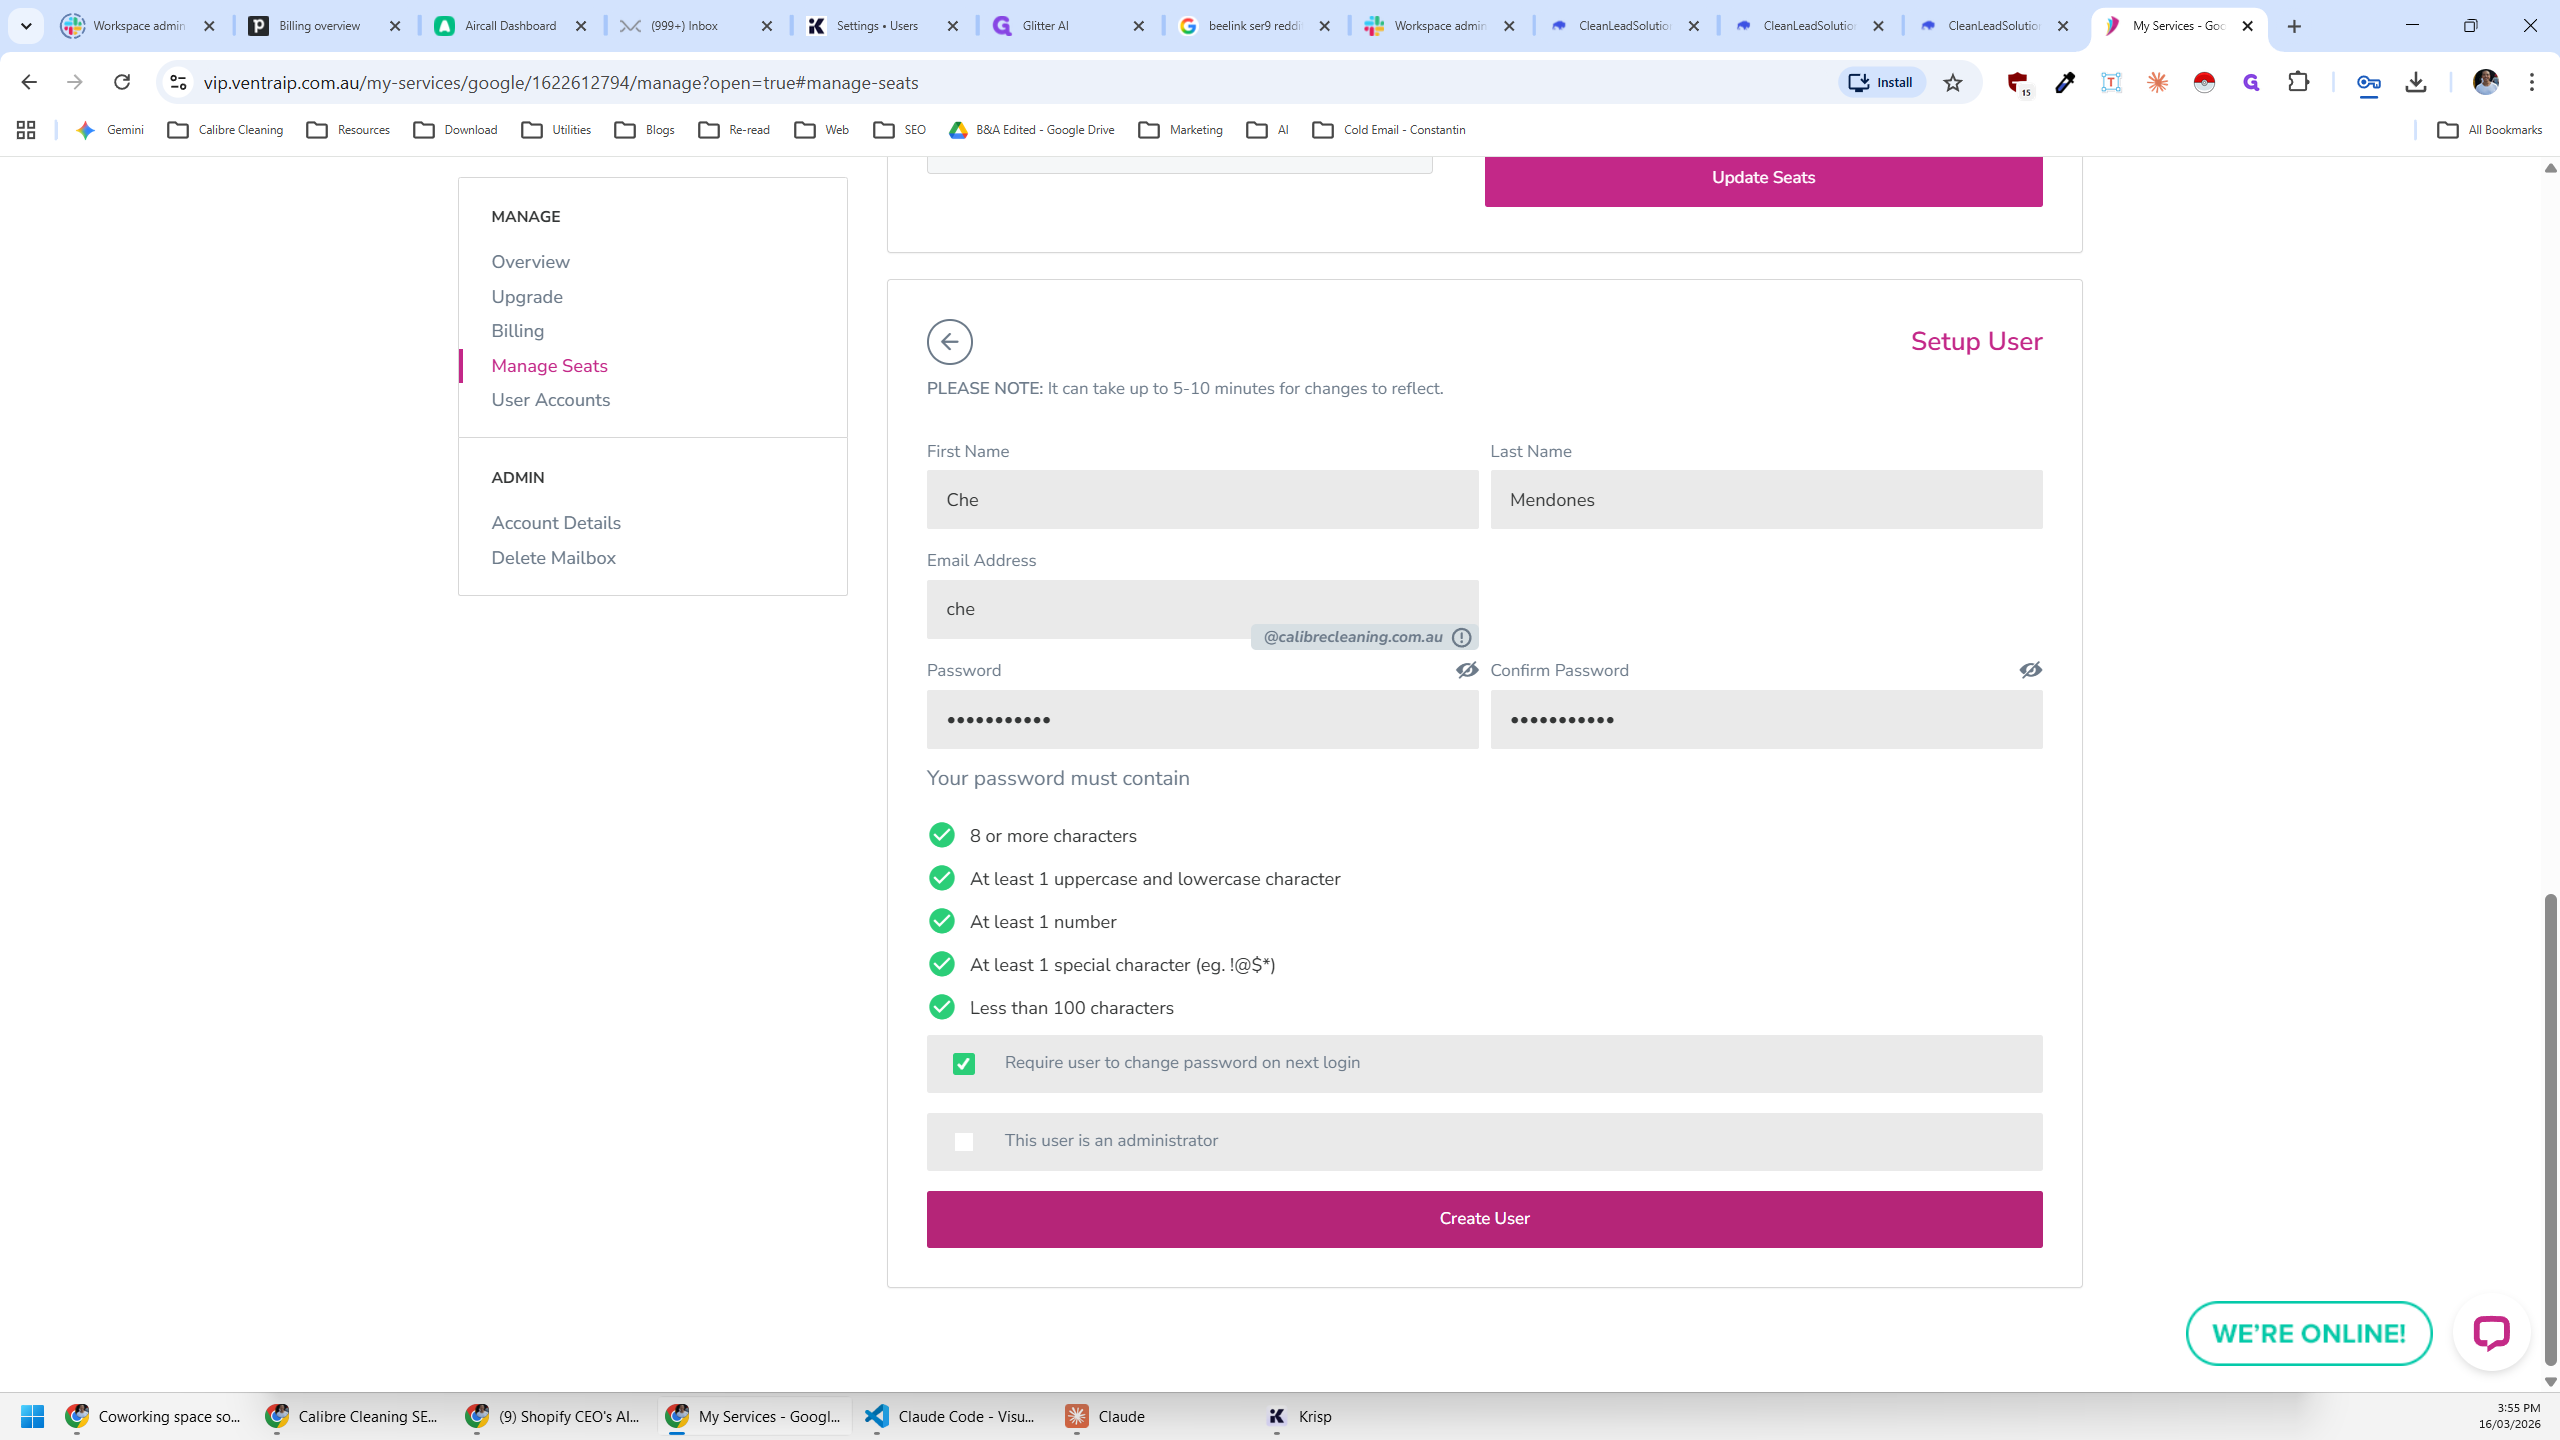
Set Kaliba123 as the default password and check this box to require a password change at the next login.

If you refresh the page, you should see the Che's new email.
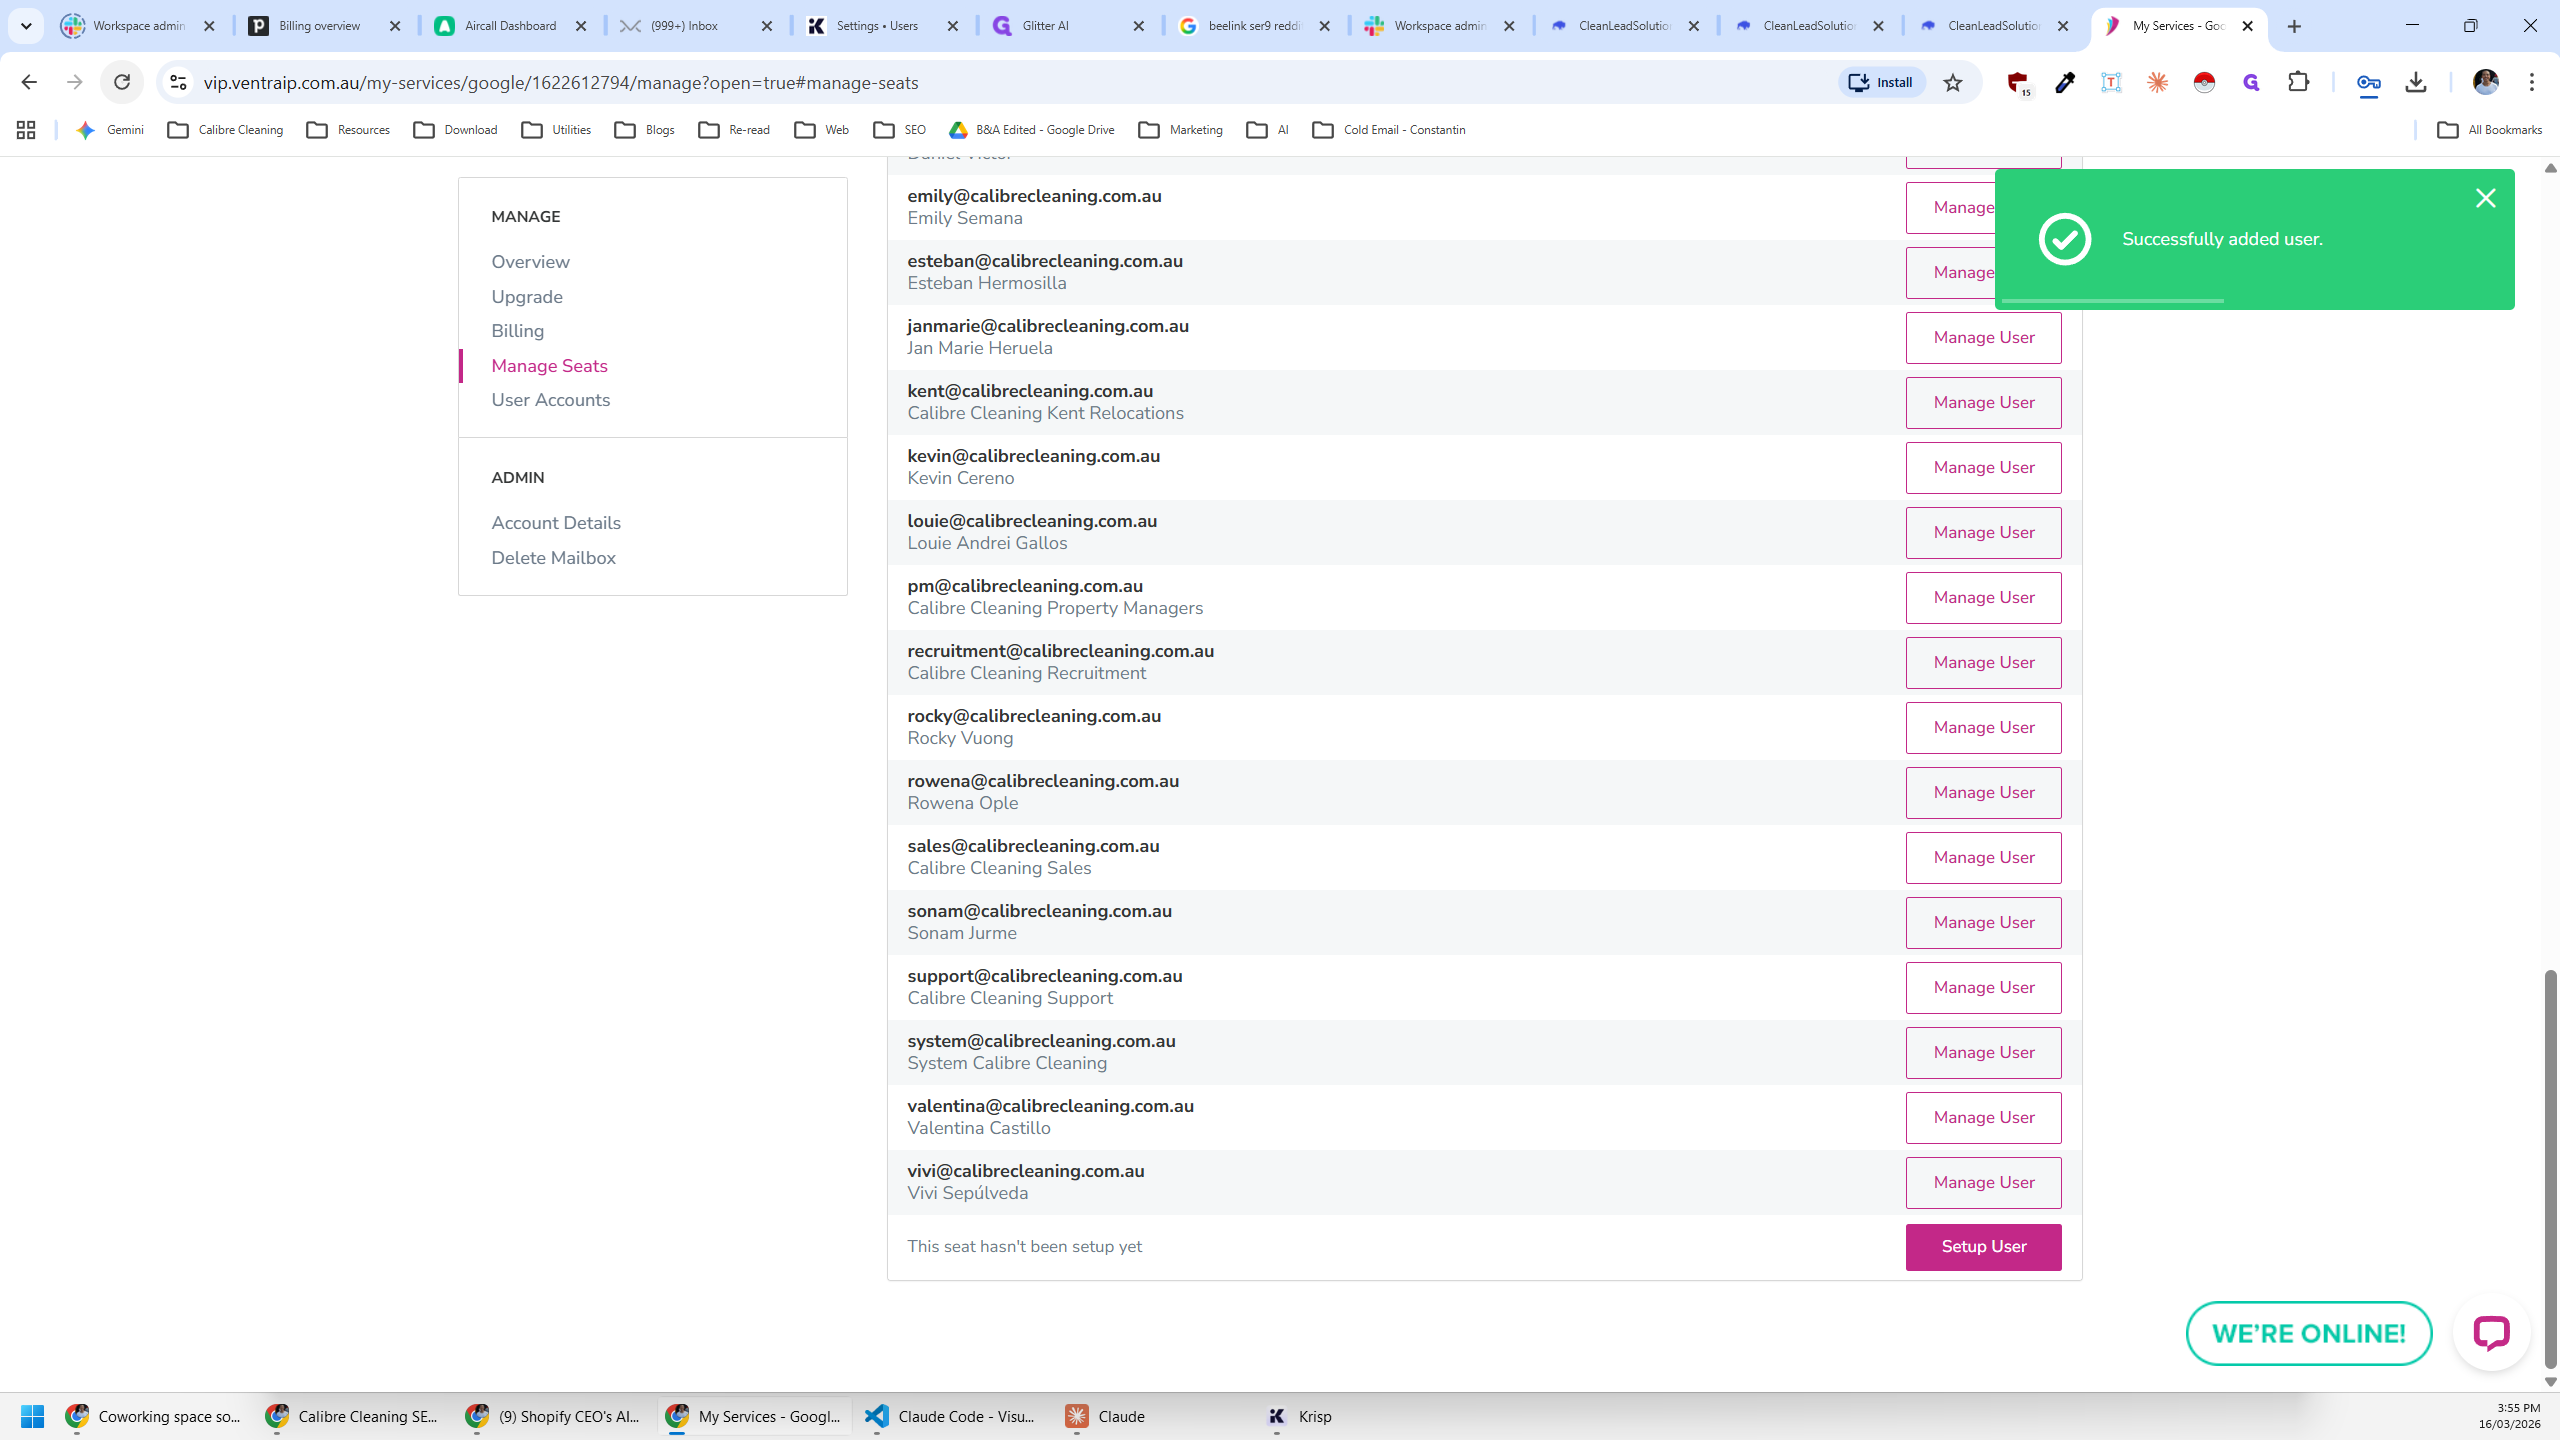
There it is.