Icon

How to Add a New Project

Learn how to add a new project with our comprehensive guide. Follow these steps to create, manage, and organize your projects efficiently.

By Nikki Russell

In this guide, we'll learn how to add a new project using the Projects feature. We'll start by navigating to the home page for projects and locating the button to add a new project. We'll select a regular project type and choose a template for an exhibition organizer. After naming the project, we'll include client details, location, and time schedule. We'll also set the planning period based on the usage period. Finally, we'll double check all entries and so a final save on the project.Rentman.

Let's get started

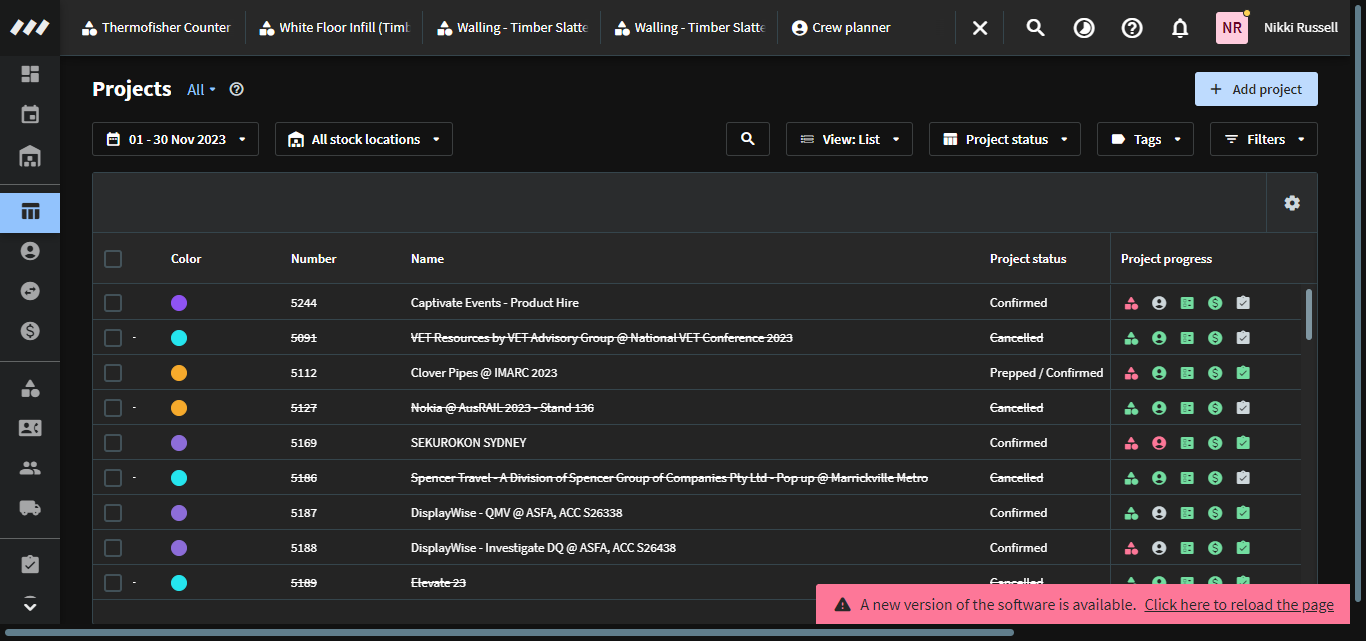
This guide will show you how to add a new project. Here is our home page for projects.

2
The button for that is located on the side ribbon under projects.
Step #2: The button for that is located on the side ribbon under projects.
3
Click on "Projects"
Step #3: Click on "Projects"

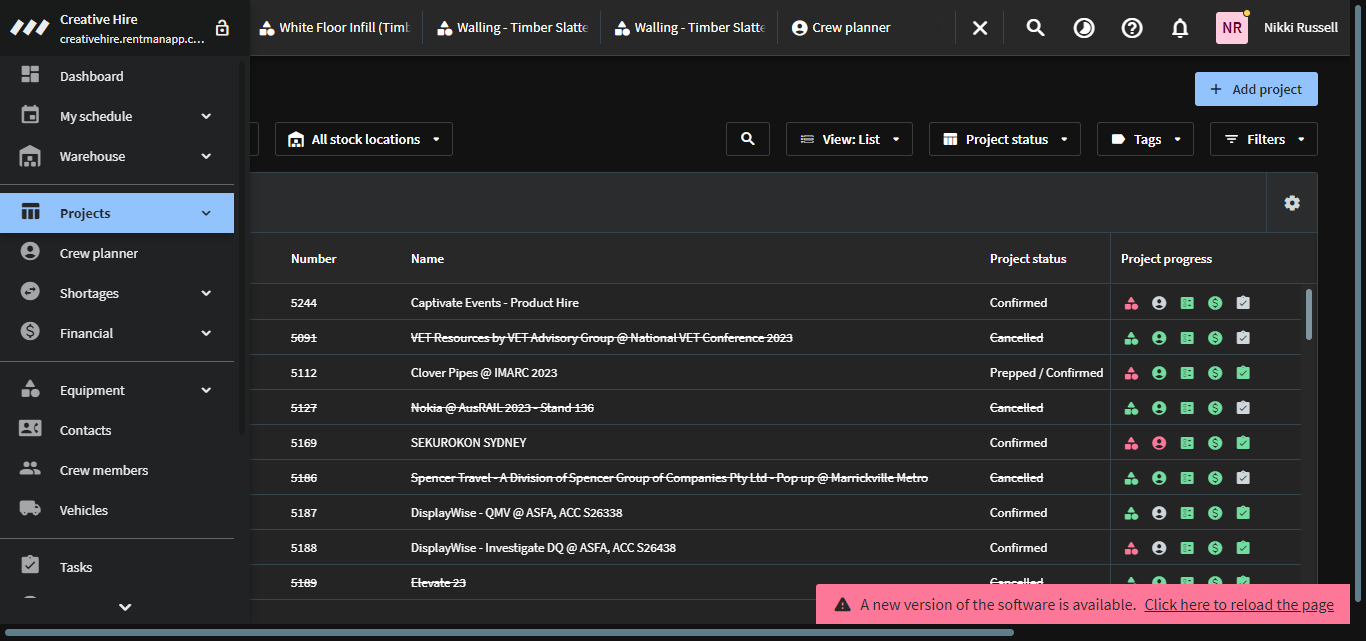
When creating a new project, in the top right corner you'll see this blue section here, click the button, and add a project.

4
Click on "+ Add project"
Step #4: Click on "+ Add project"

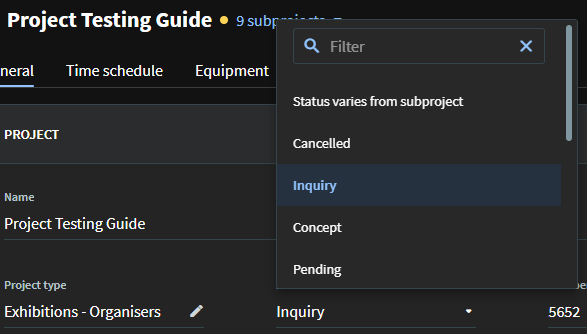
The project type will always be a regular project.

5
Click on "Regular project"
Step #5: Click on "Regular project"

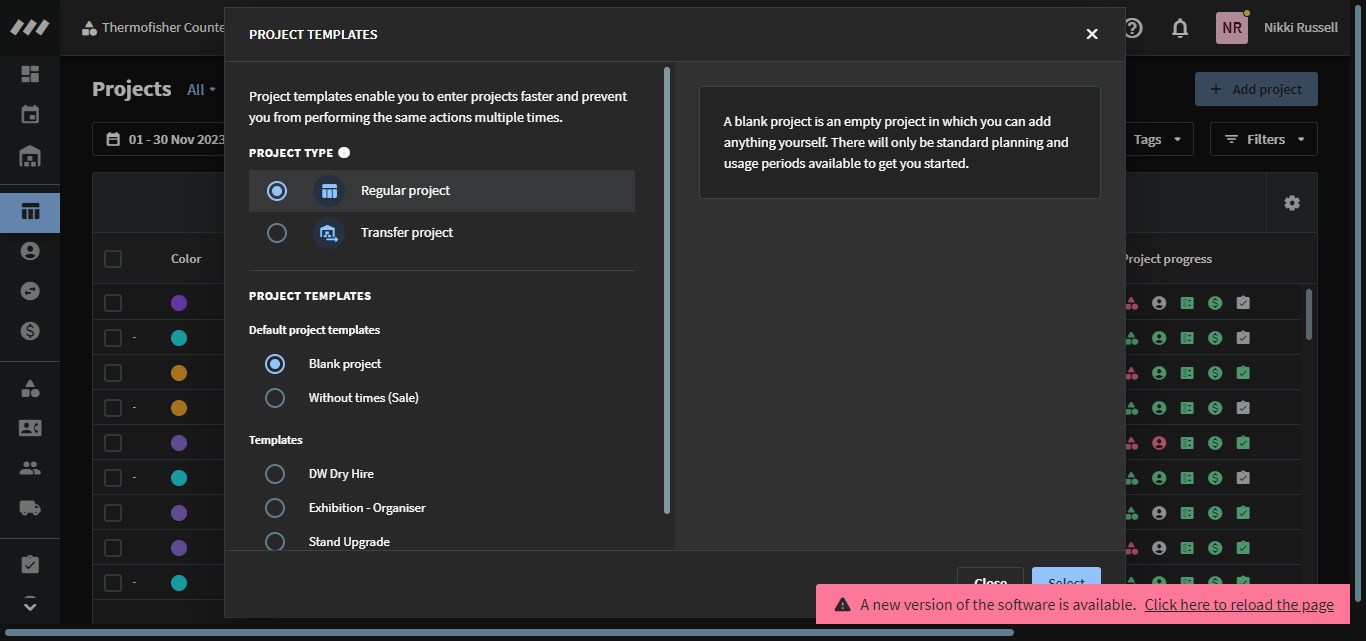
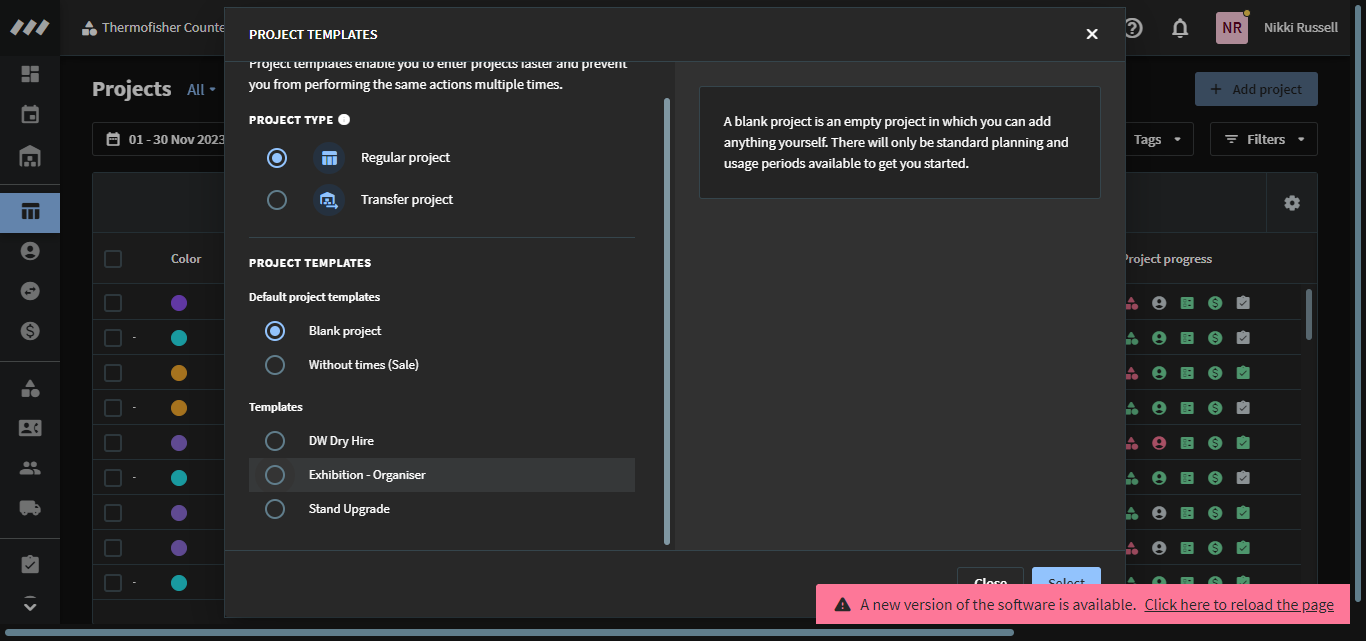
Next, we will select from our project templates and choose the one for our exhibition organiser.

6
Click here
Step #6: Click here

7
Click Select button to confirm.
Step #7: Click Select button to confirm.

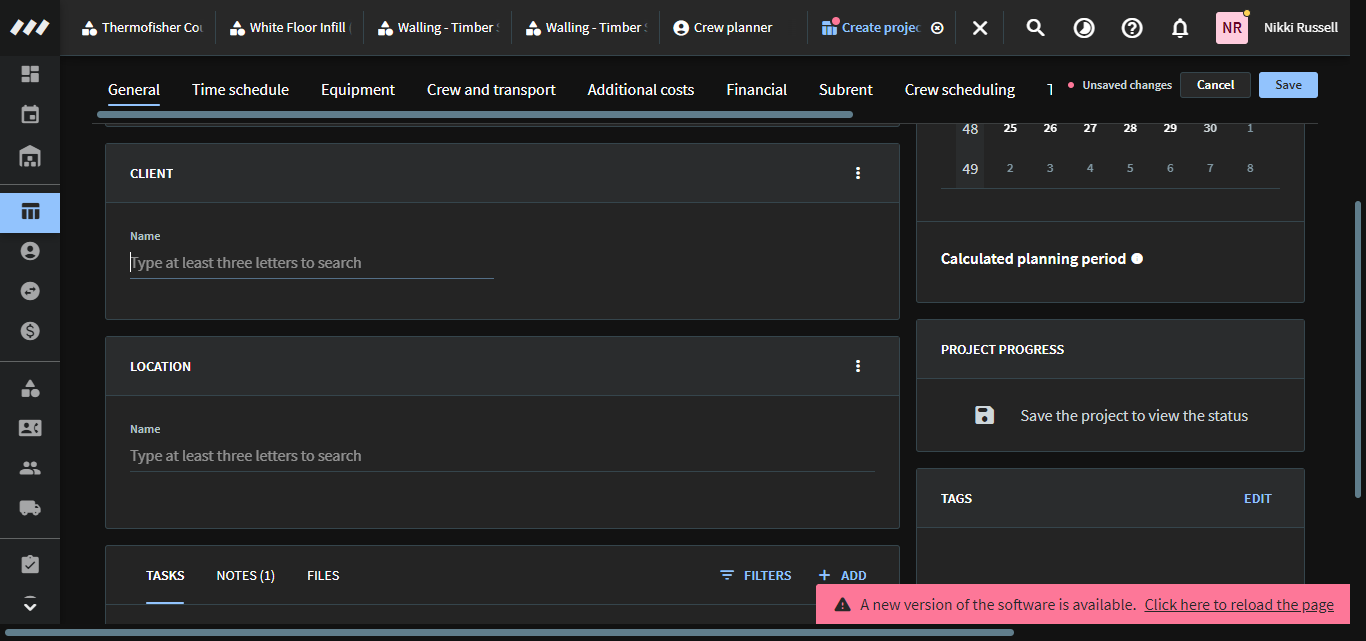
Once your project is open, we will begin by changing the project name.

8
Enter your project name here.
Step #8: Enter your project name here.

For example, we will name this the "Project Testing Guide." Once you have your name, there are sections that are automatically generated for you, so you won't need to change those (Project type, Number, Account Manager).

9
Next you will be updating the status of the project. The status will reflect what life cycle stage the project is at. All new projects will automatically begin at inquiry, this will need to be updated as the project progresses.
Step #9: Next you will be updating the status of the project. The status will reflect what life cycle stage the project is at. All new projects will automatically begin at inquiry, this will need to be updated as the project progresses.

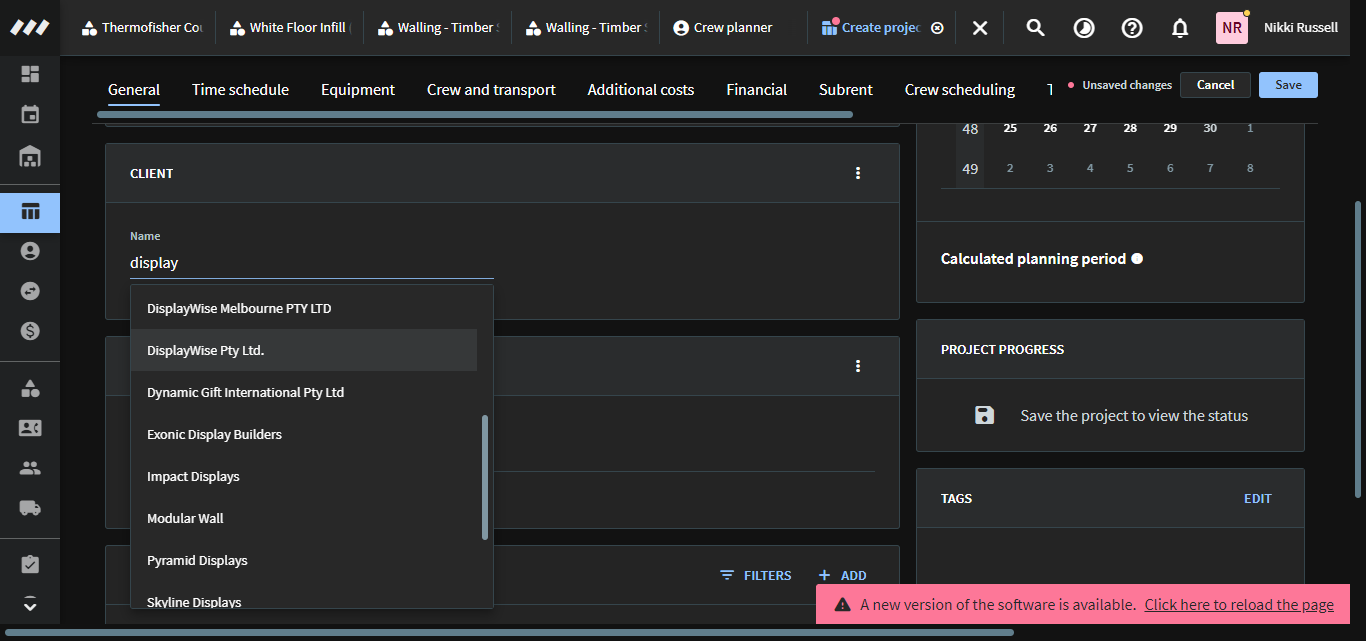
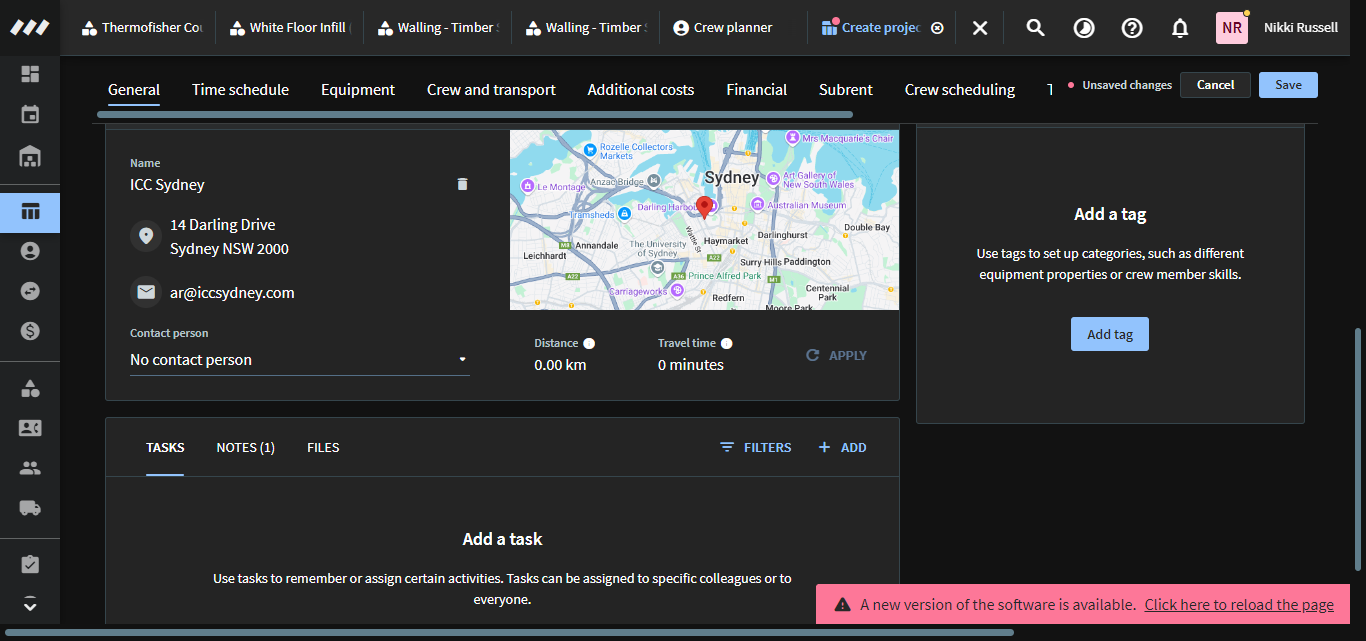
Our next step is to include our client.

Start typing your client name (this will be the company name), if your client already exists in Rentman, you will be able to select them from the drop down menu.

10
Click here to start typing.
Step #10: Click here to start typing.
11
Select your client.
Step #11: Select your client.

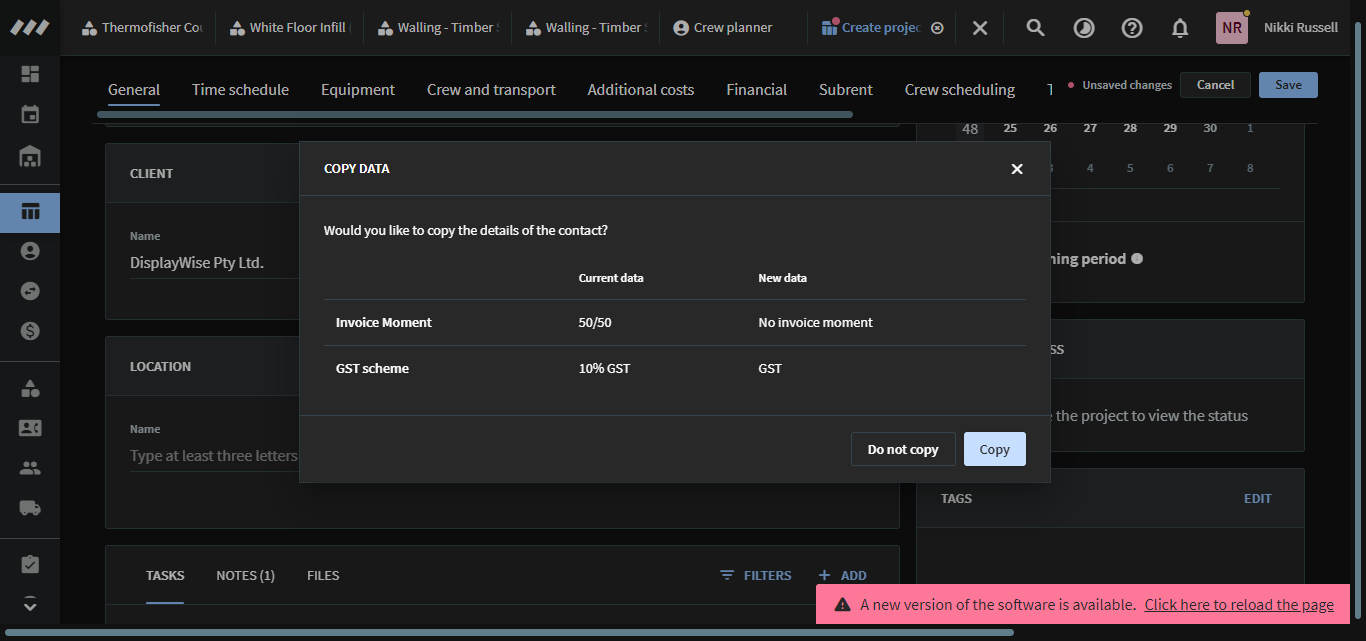
Now, there may be a pop up window asking to copy the data for the client information, click copy to proceed.

12
Click on "Copy"
Step #12: Click on "Copy"
13
Please include your contact person that you are directly working with for this project. Click on "No contact person" and select from the menu.
Step #13: Please include your contact person that you are directly working with for this project. Click on "No contact person" and select from the menu.
14
Click on your client's name.
Step #14: Click on your client's name.

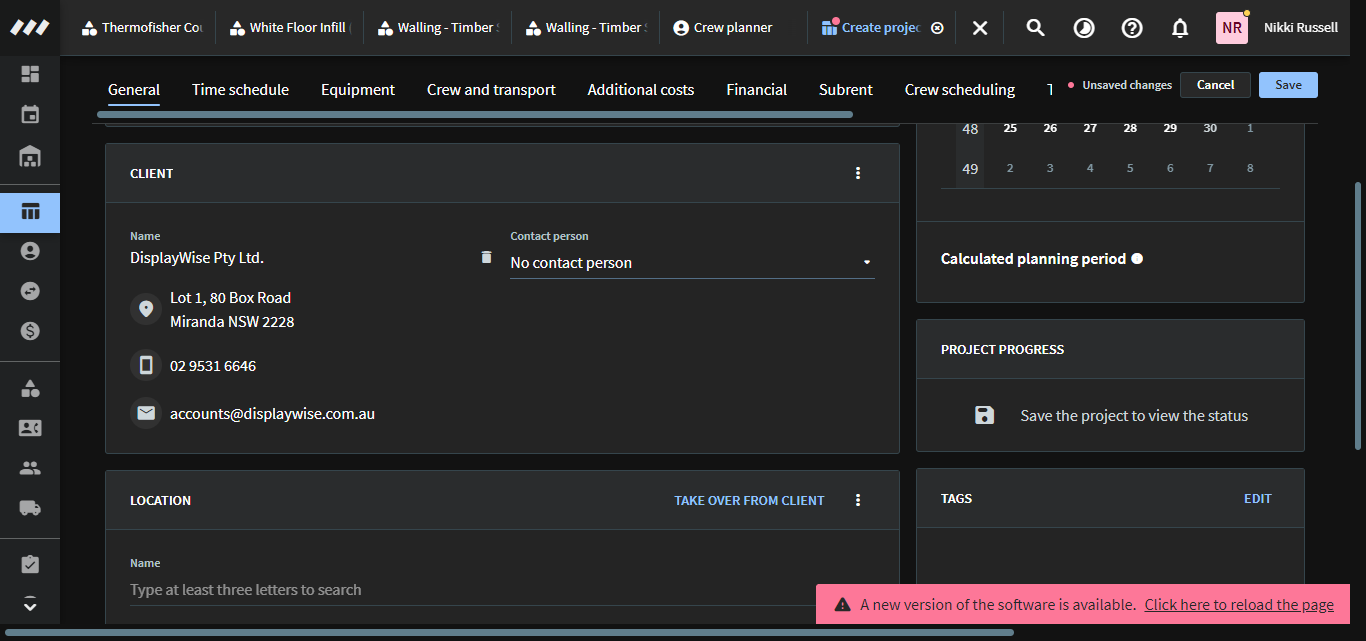
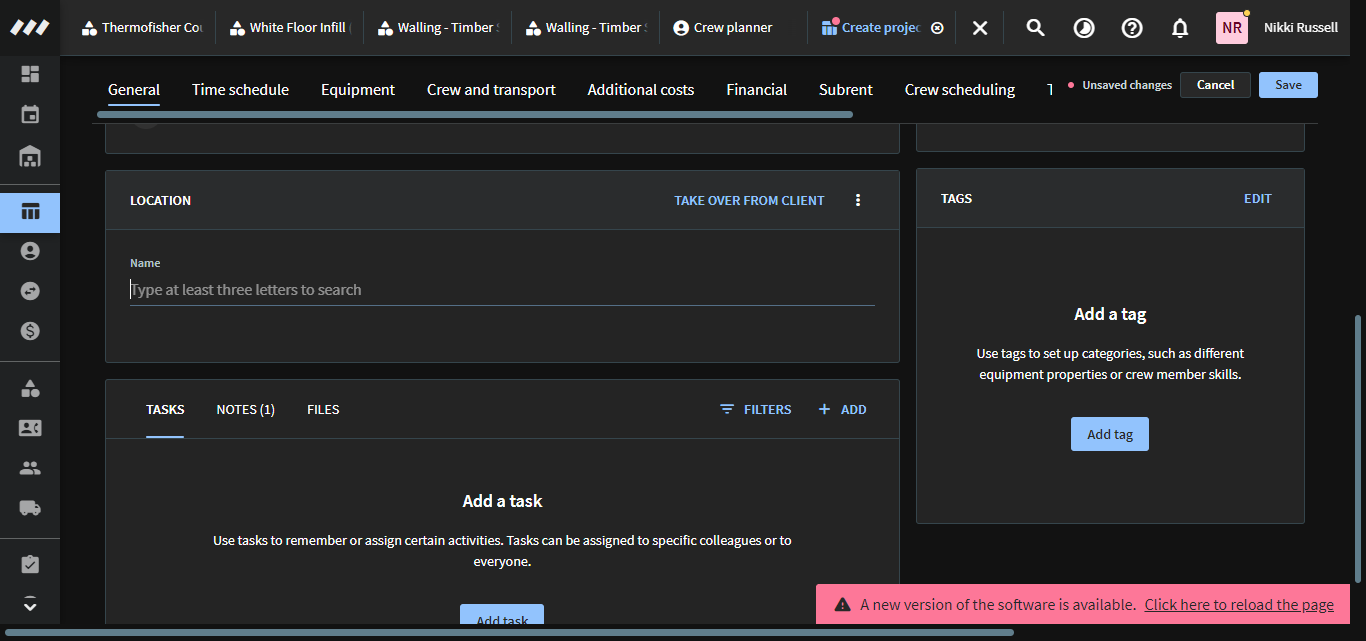
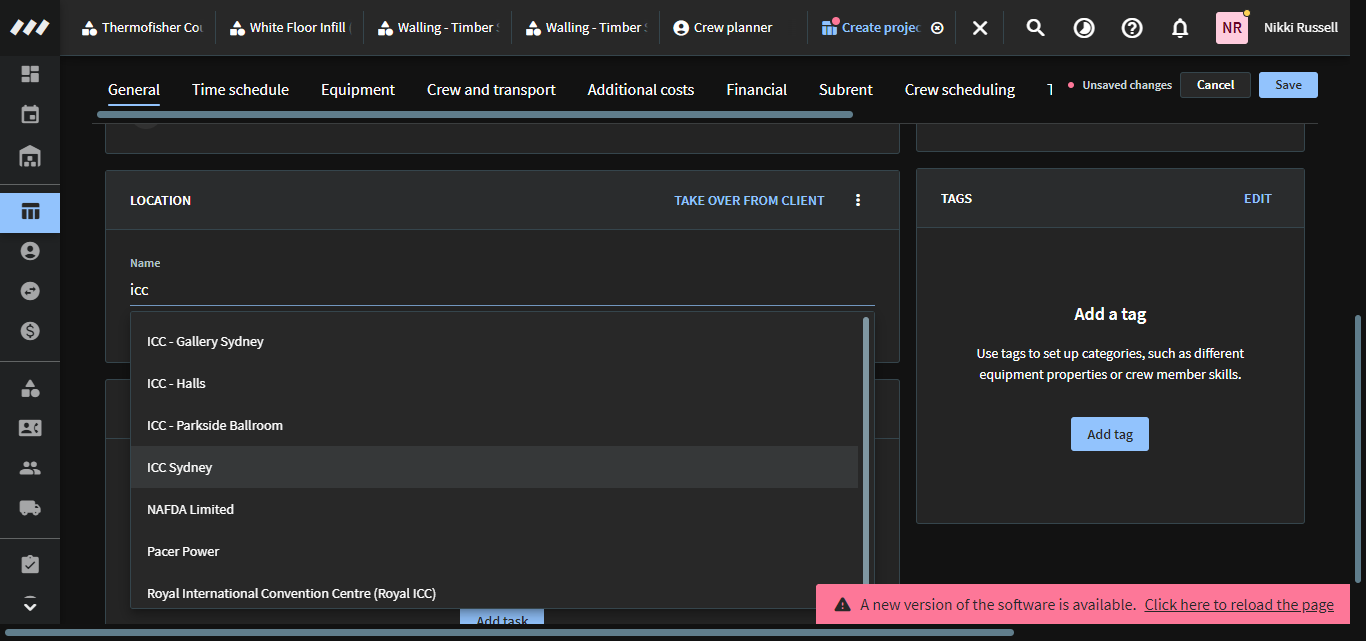
Next, enter the location where the event will be held.

15
Start typing the venue here.
Step #15: Start typing the venue here.
16
Click on the venue required.
Step #16: Click on the venue required.

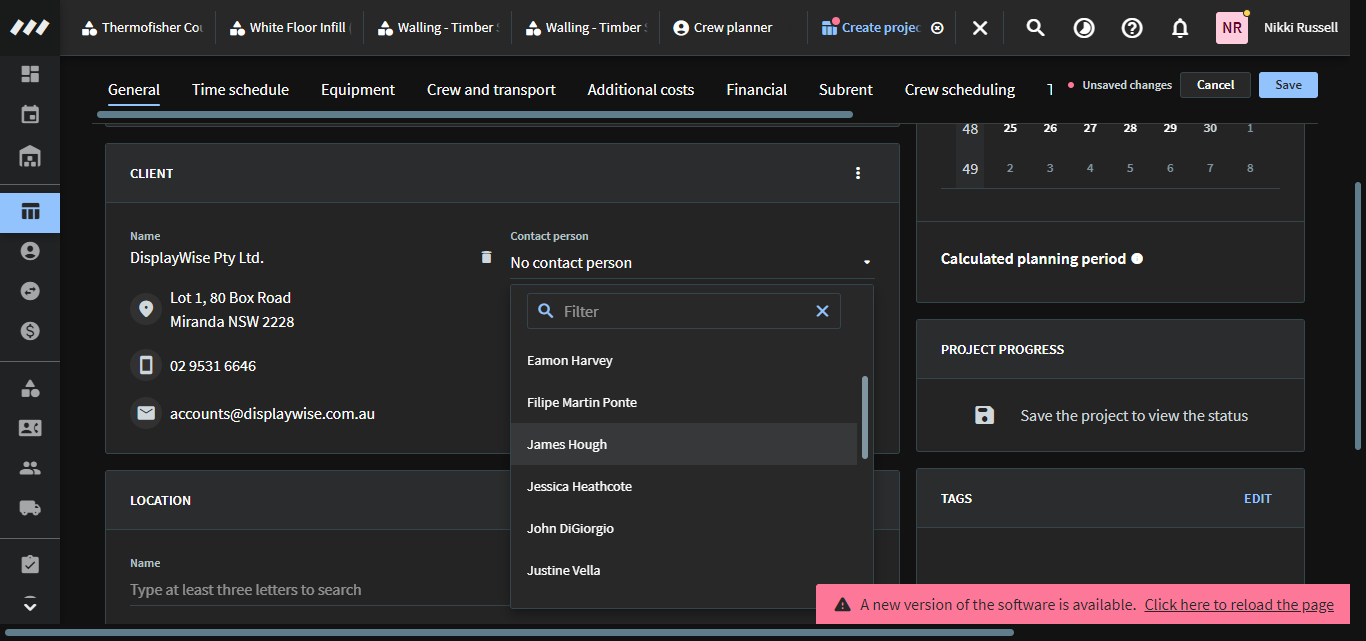
If you have a direct venue contact you are working with, please also select their name.

17
Click on "No contact person"
Step #17: Click on "No contact person"

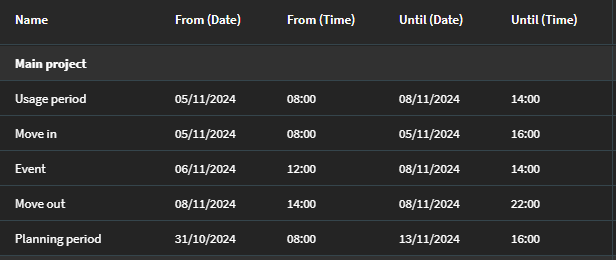
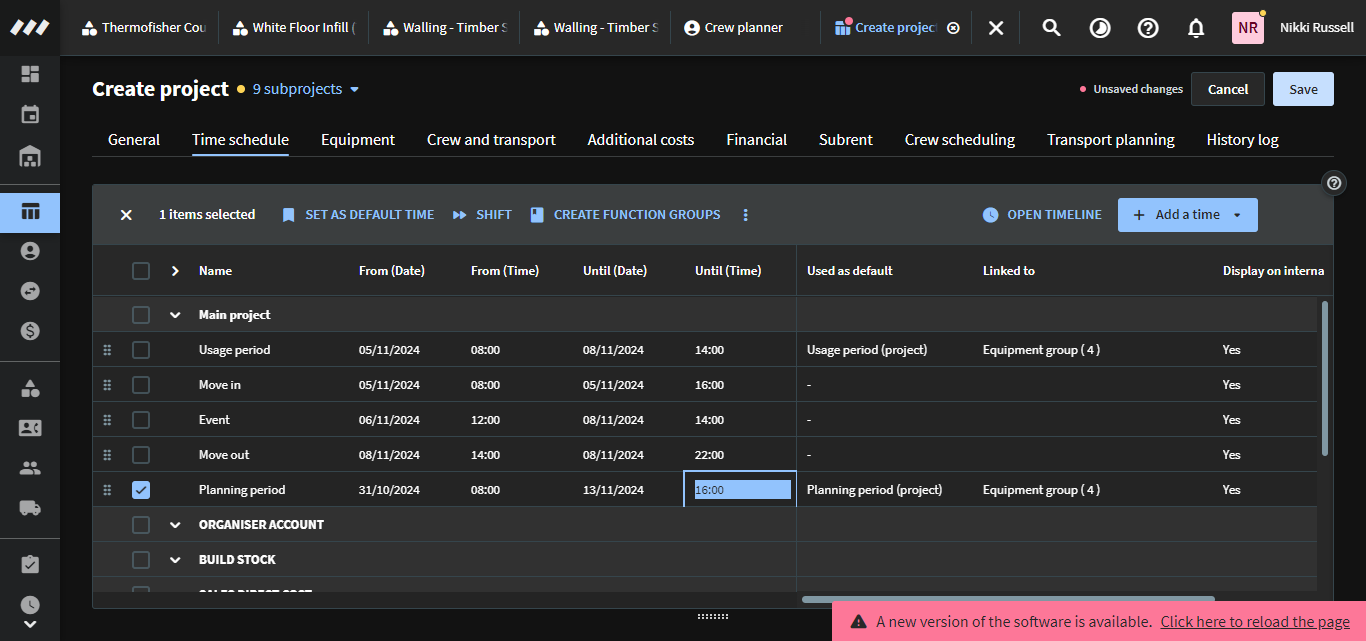
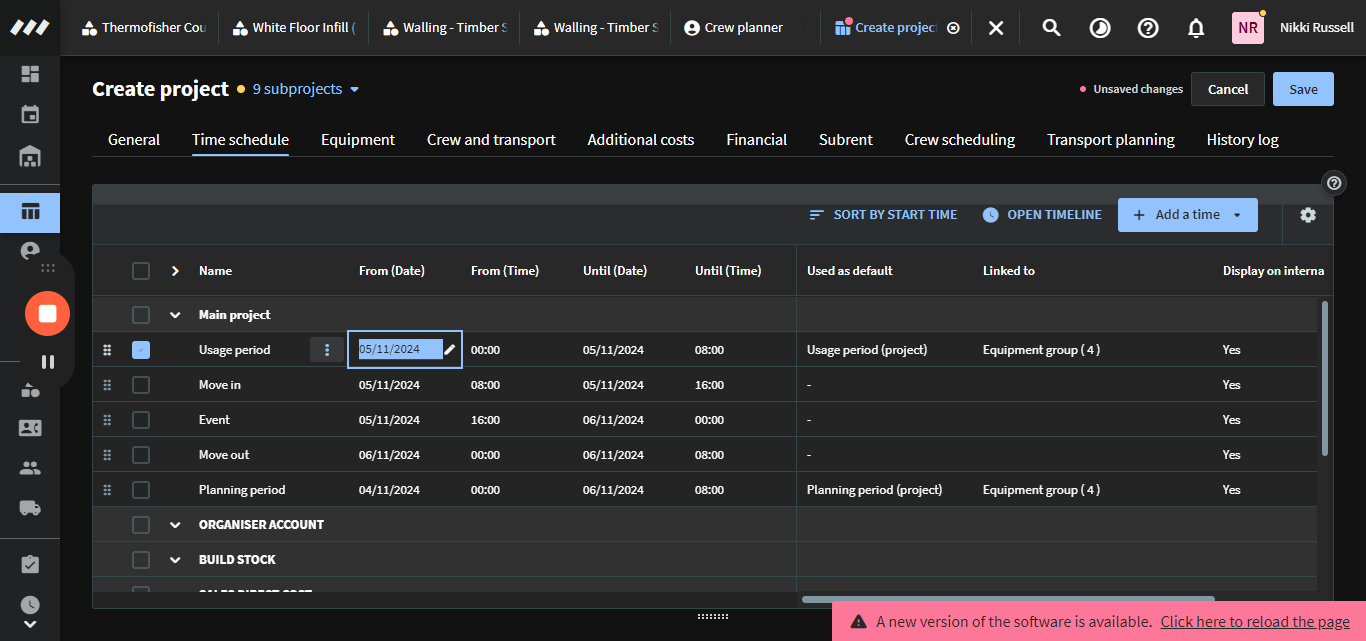
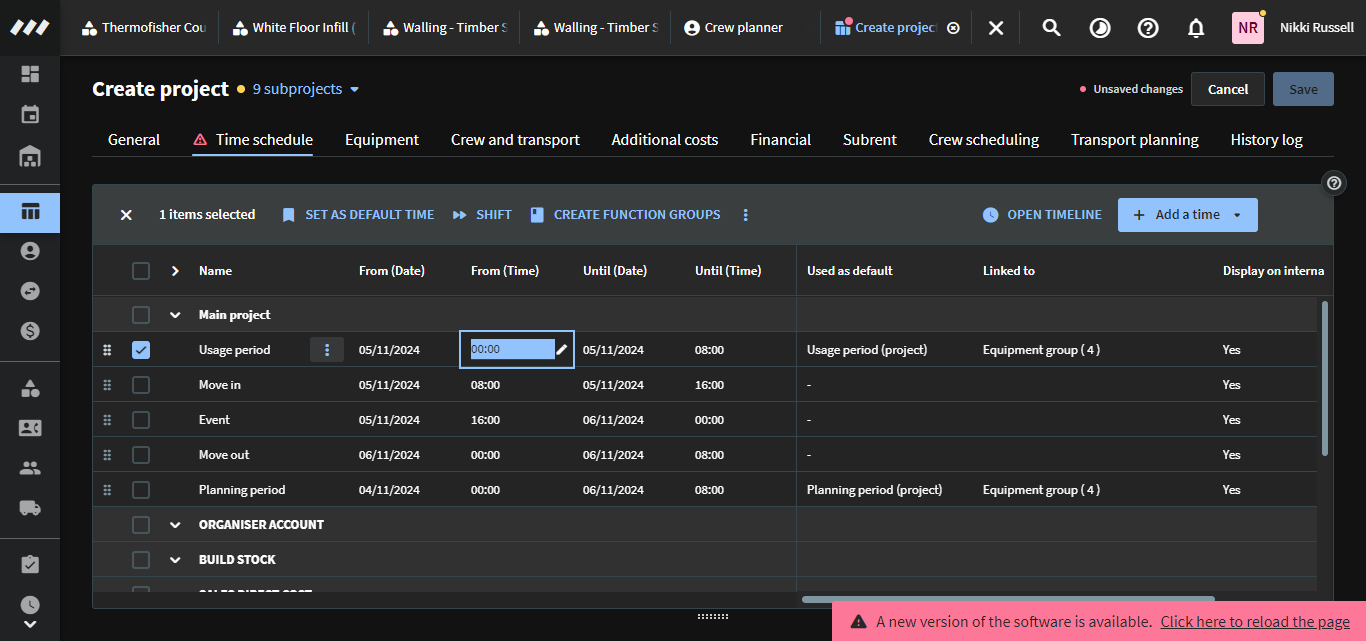
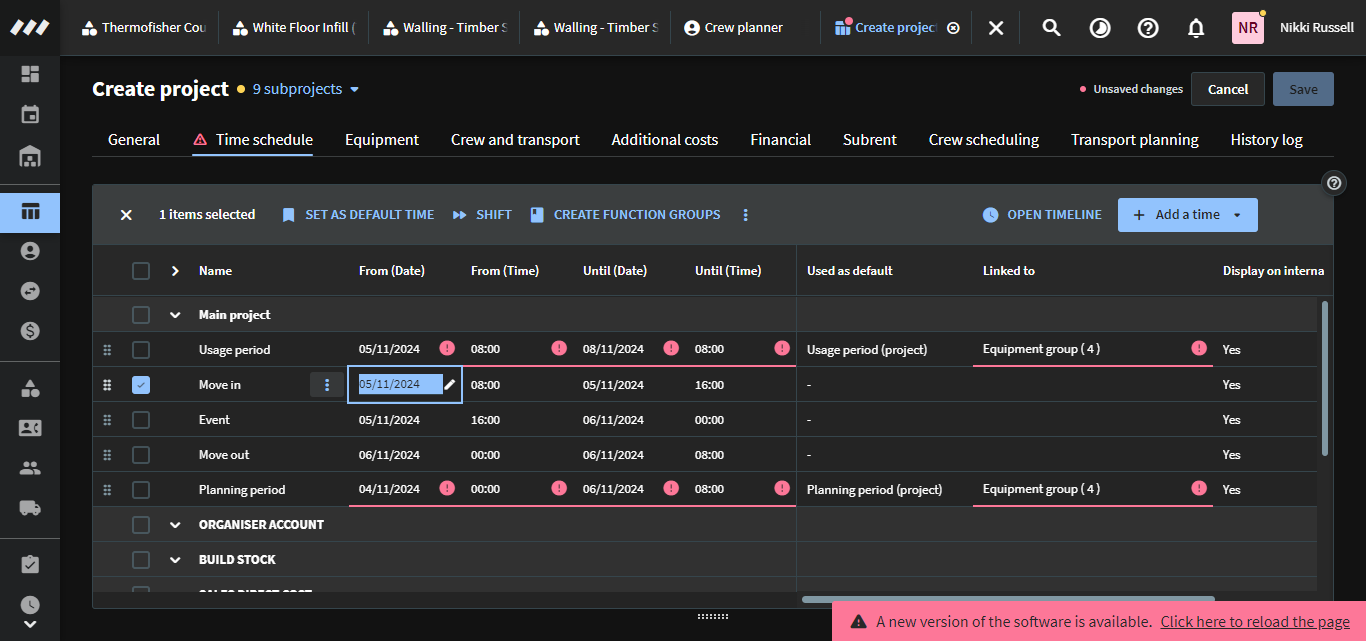
Our next step is to include the time period the project will be running.

18
Click on "Time schedule"
Step #18: Click on "Time schedule"

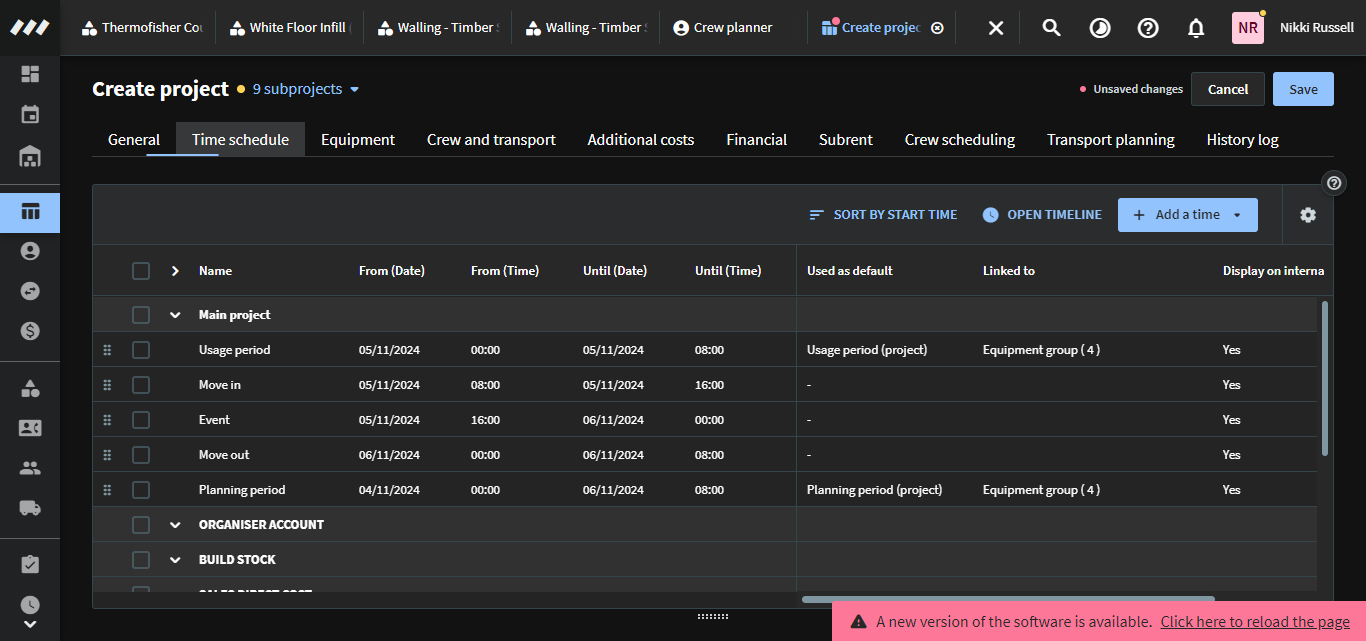
We will look at breaking down the time schedule definitions.

Usage period

Our usage period is from move-in (bump-in) until move-out (bump-out) (MIMO).

For our test project, the usage period is from the 5th of November to the 8th of November.

19
Click on usage period and select dates & type times.
Step #19: Click on usage period and select dates & type times.
20
Should you not know exact timing, a safe selection would be from time 0800hrs and until time 1500hrs.
Step #20: Should you not know exact timing, a safe selection would be from time 0800hrs and until time 1500hrs.

Move In

Our move in time is when the operations team first has access to venue for set up.
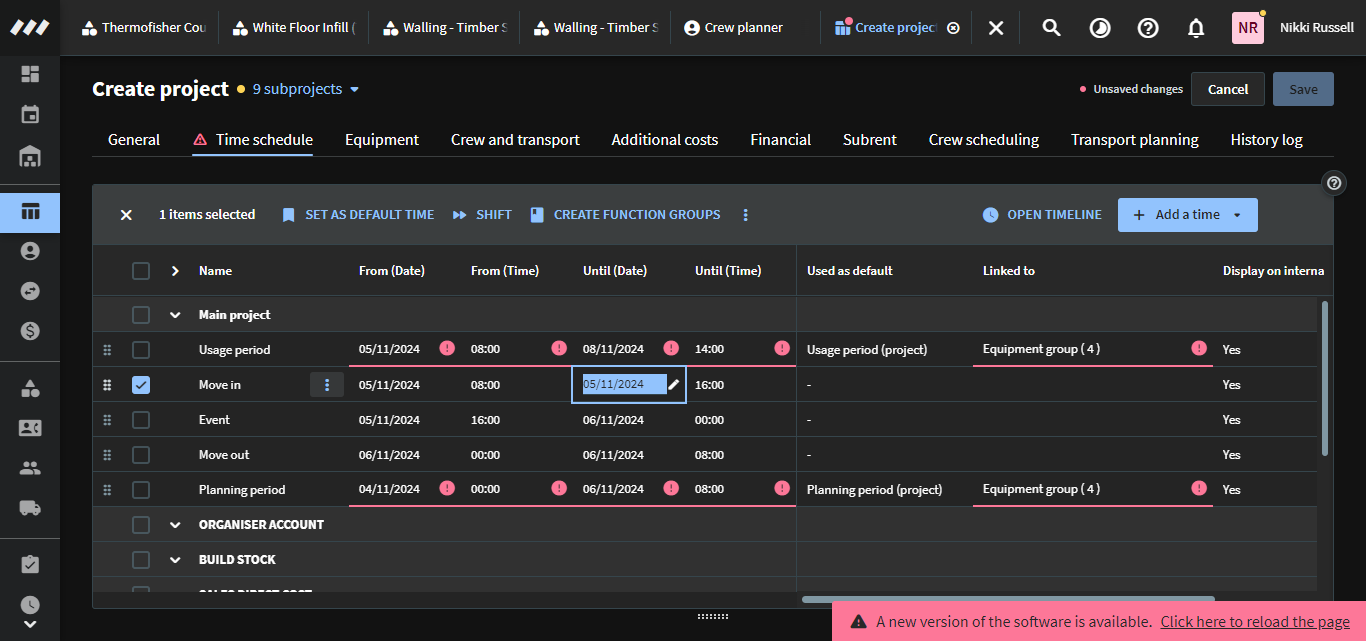
21
The "from" date & time should be the same as the usage period "from".
Step #21: The "from" date & time should be the same as the usage period "from".
22
The move in "until" date and time will represent when set up is to be complete.
Step #22: The move in "until" date and time will represent when set up is to be complete.

Event

Our event time is period when show will open until show will close. (this generally follows closely to the end of move in time)
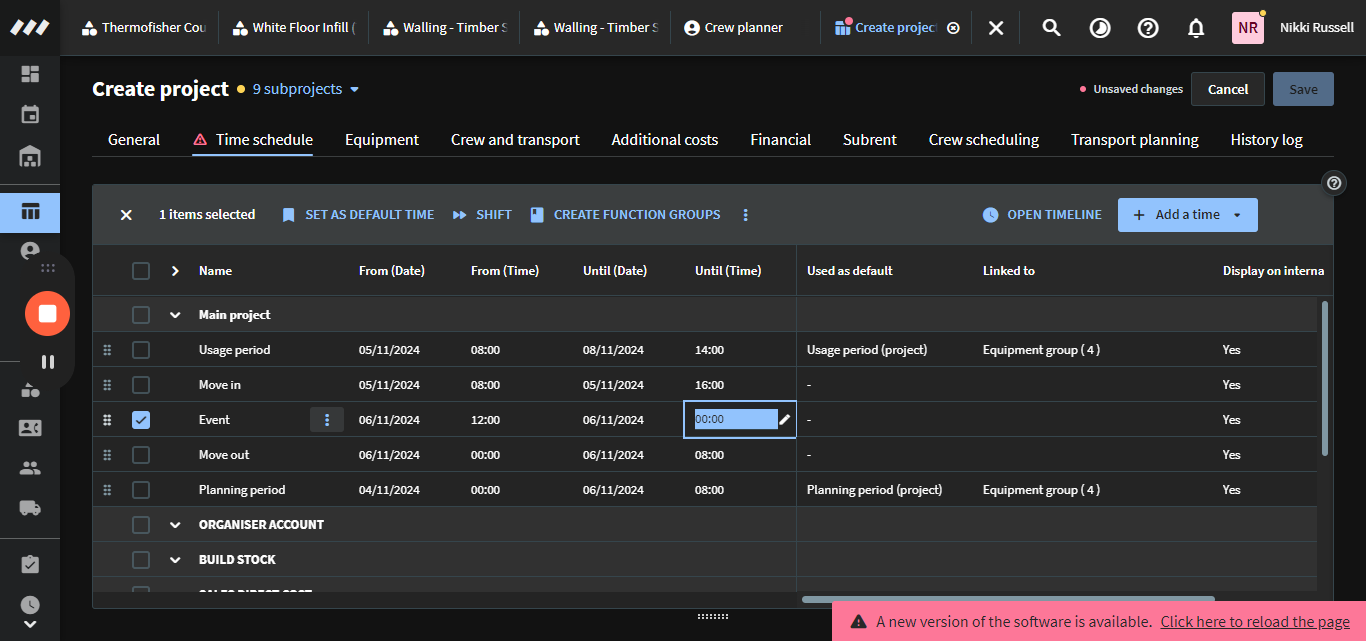
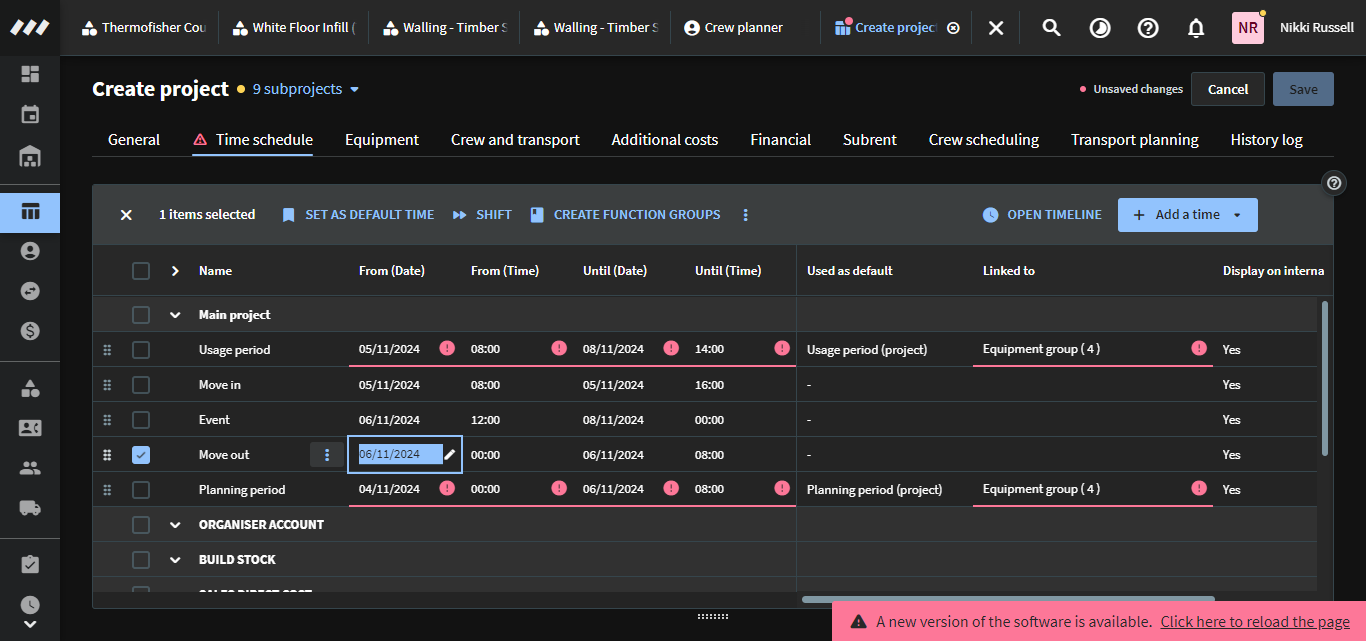
23
Event open (from) to event close (until) details entered here.
Step #23: Event open (from) to event close (until) details entered here.

Move Out

Our move out time is when the operations team first has access to venue for pack down.

24
Same application process as move in applies here.
Step #24: Same application process as move in applies here.

Planning Period

Our planning period has 2 formulas.

Events based in Sydney

  • From = 3 working days before move in.

  • Until = 3 working days after move out.

Events based interstate (VIC/QLD)

  • From = 5 working days before move in.

  • Until = 5 working days after move out.

25
For our example project the planning period dates would look like the below.
Best to use 0800hrs (from) and 1600hrs (until) to ensure it looks booked for the work day.
Step #25: For our example project the planning period dates would look like the below.Best to use 0800hrs (from) and 1600hrs (until) to ensure it looks booked for the work day.
26
Ensure that you are clicking on save button throughout all processes to save your work.
Step #26: Ensure that you are clicking on save button throughout all processes to save your work.