
How to Add a Signature to a PDF in Transaction Desk
Learn how to easily add a signature to any PDF document using Transaction Desk with our step-by-step guide.
In this guide, we'll learn how to add a signature to a PDF document using Transaction Desk and Authentisign. This process involves uploading your document, adding participants, and placing signature fields. By following these steps, you can efficiently manage document signing within your transactions.
Let's get started
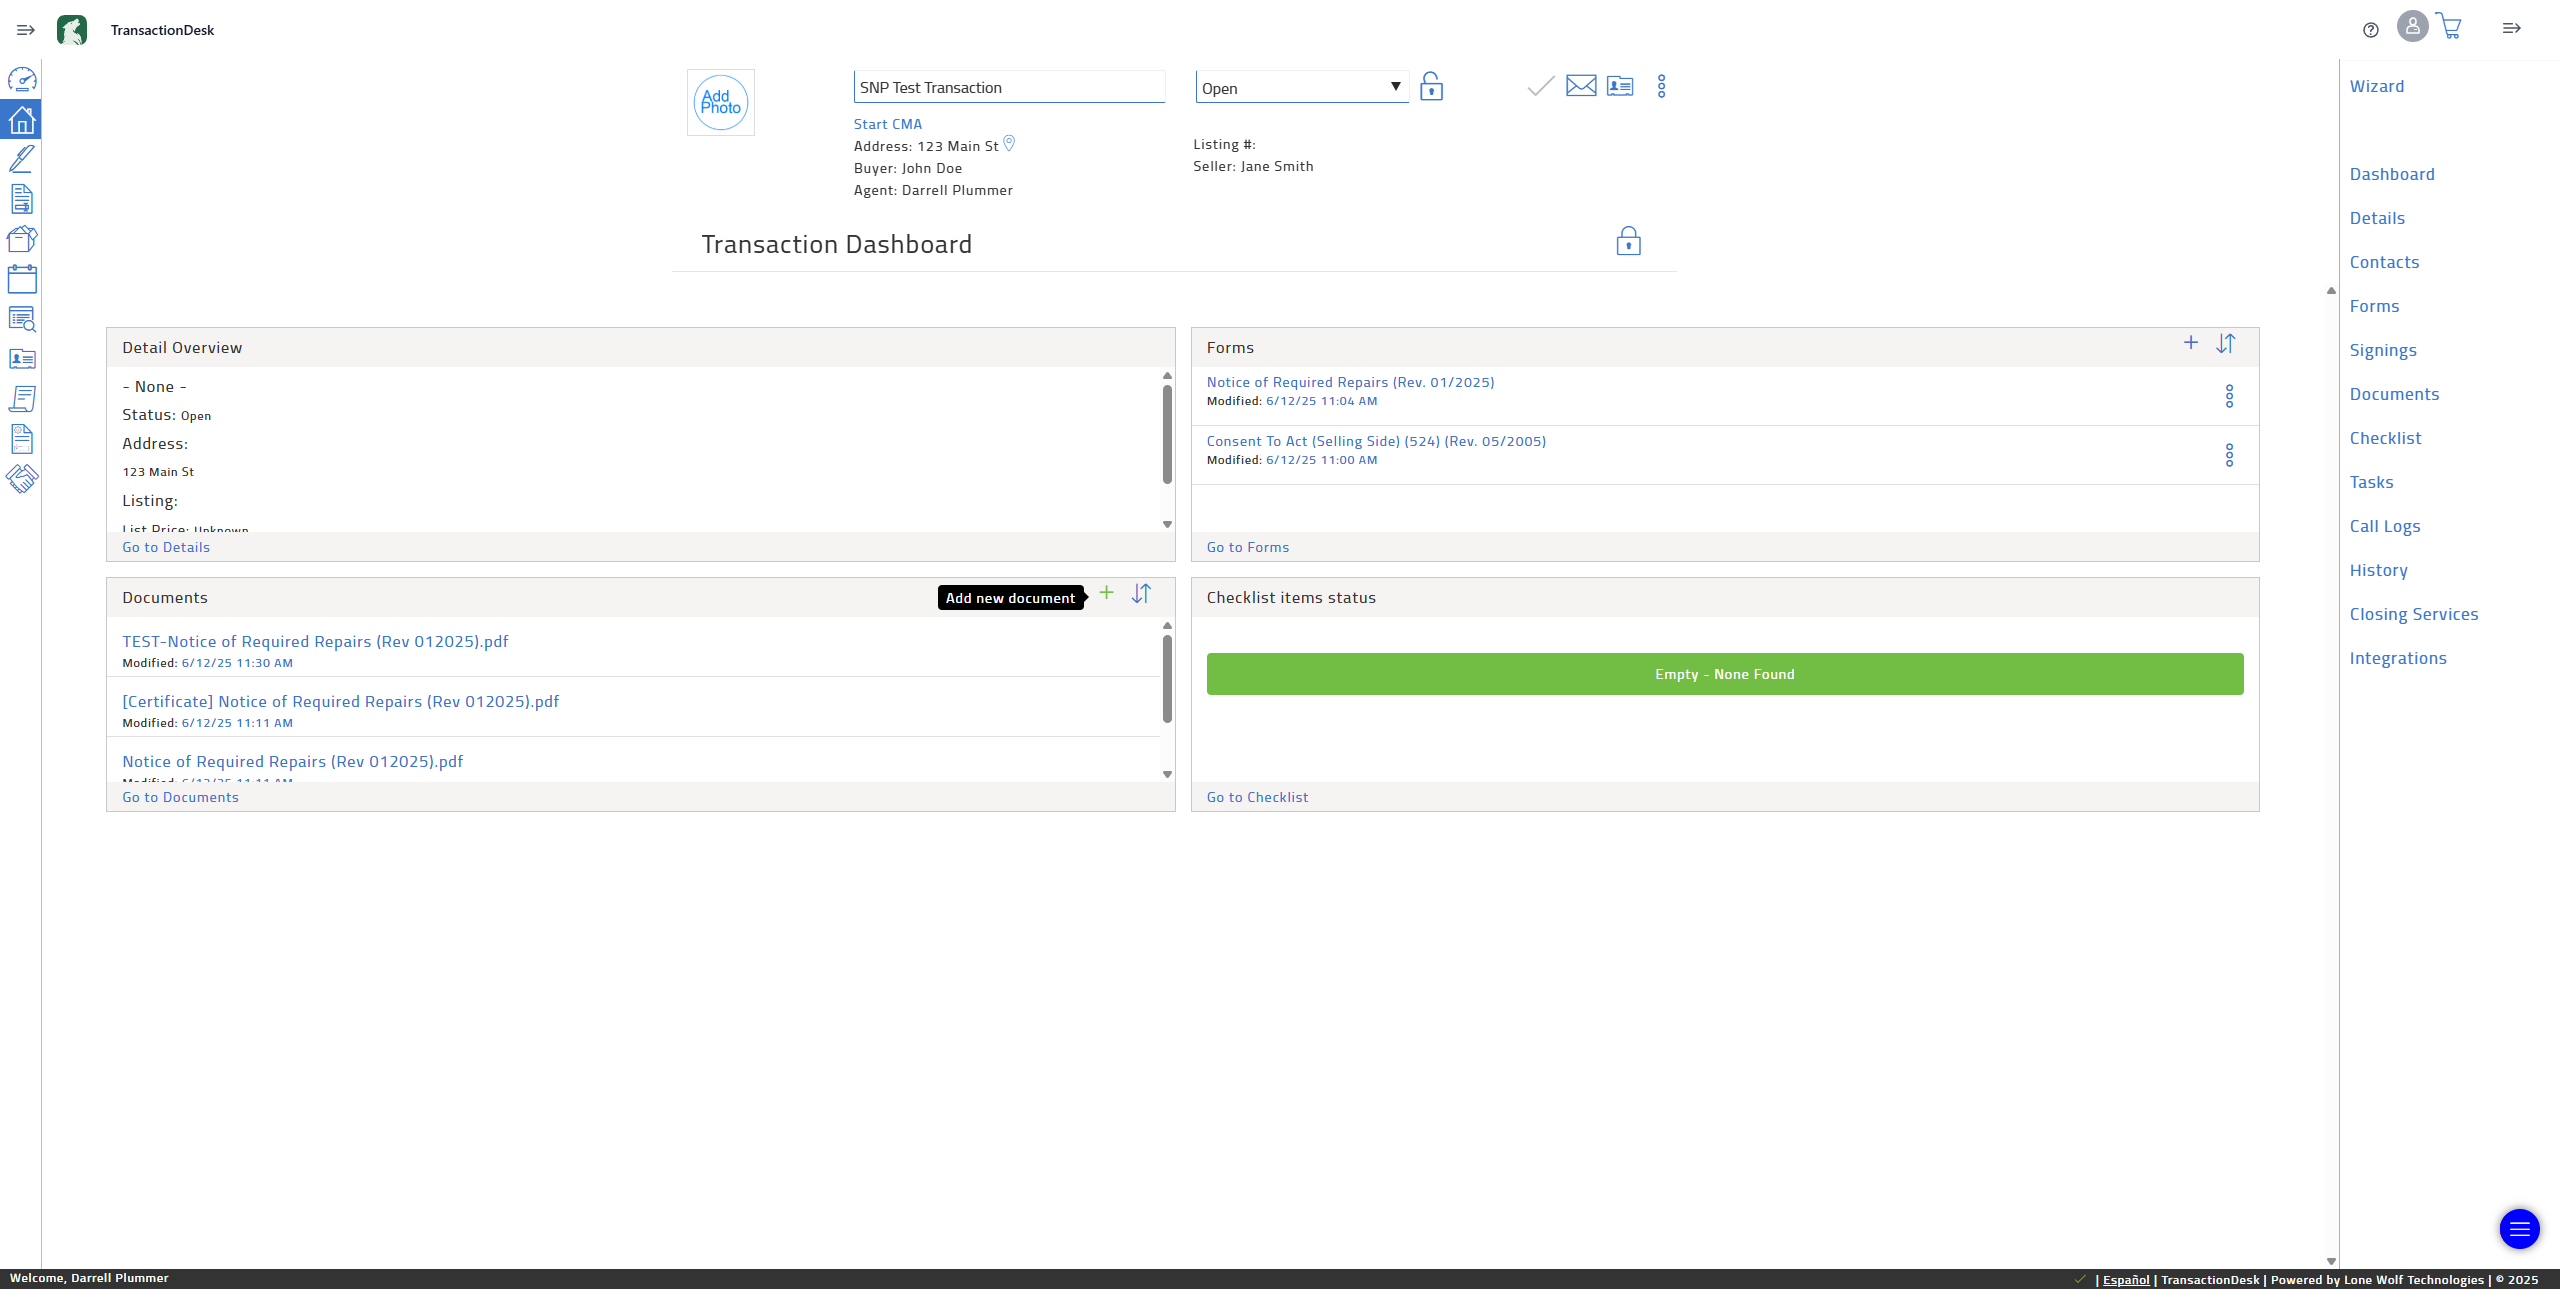
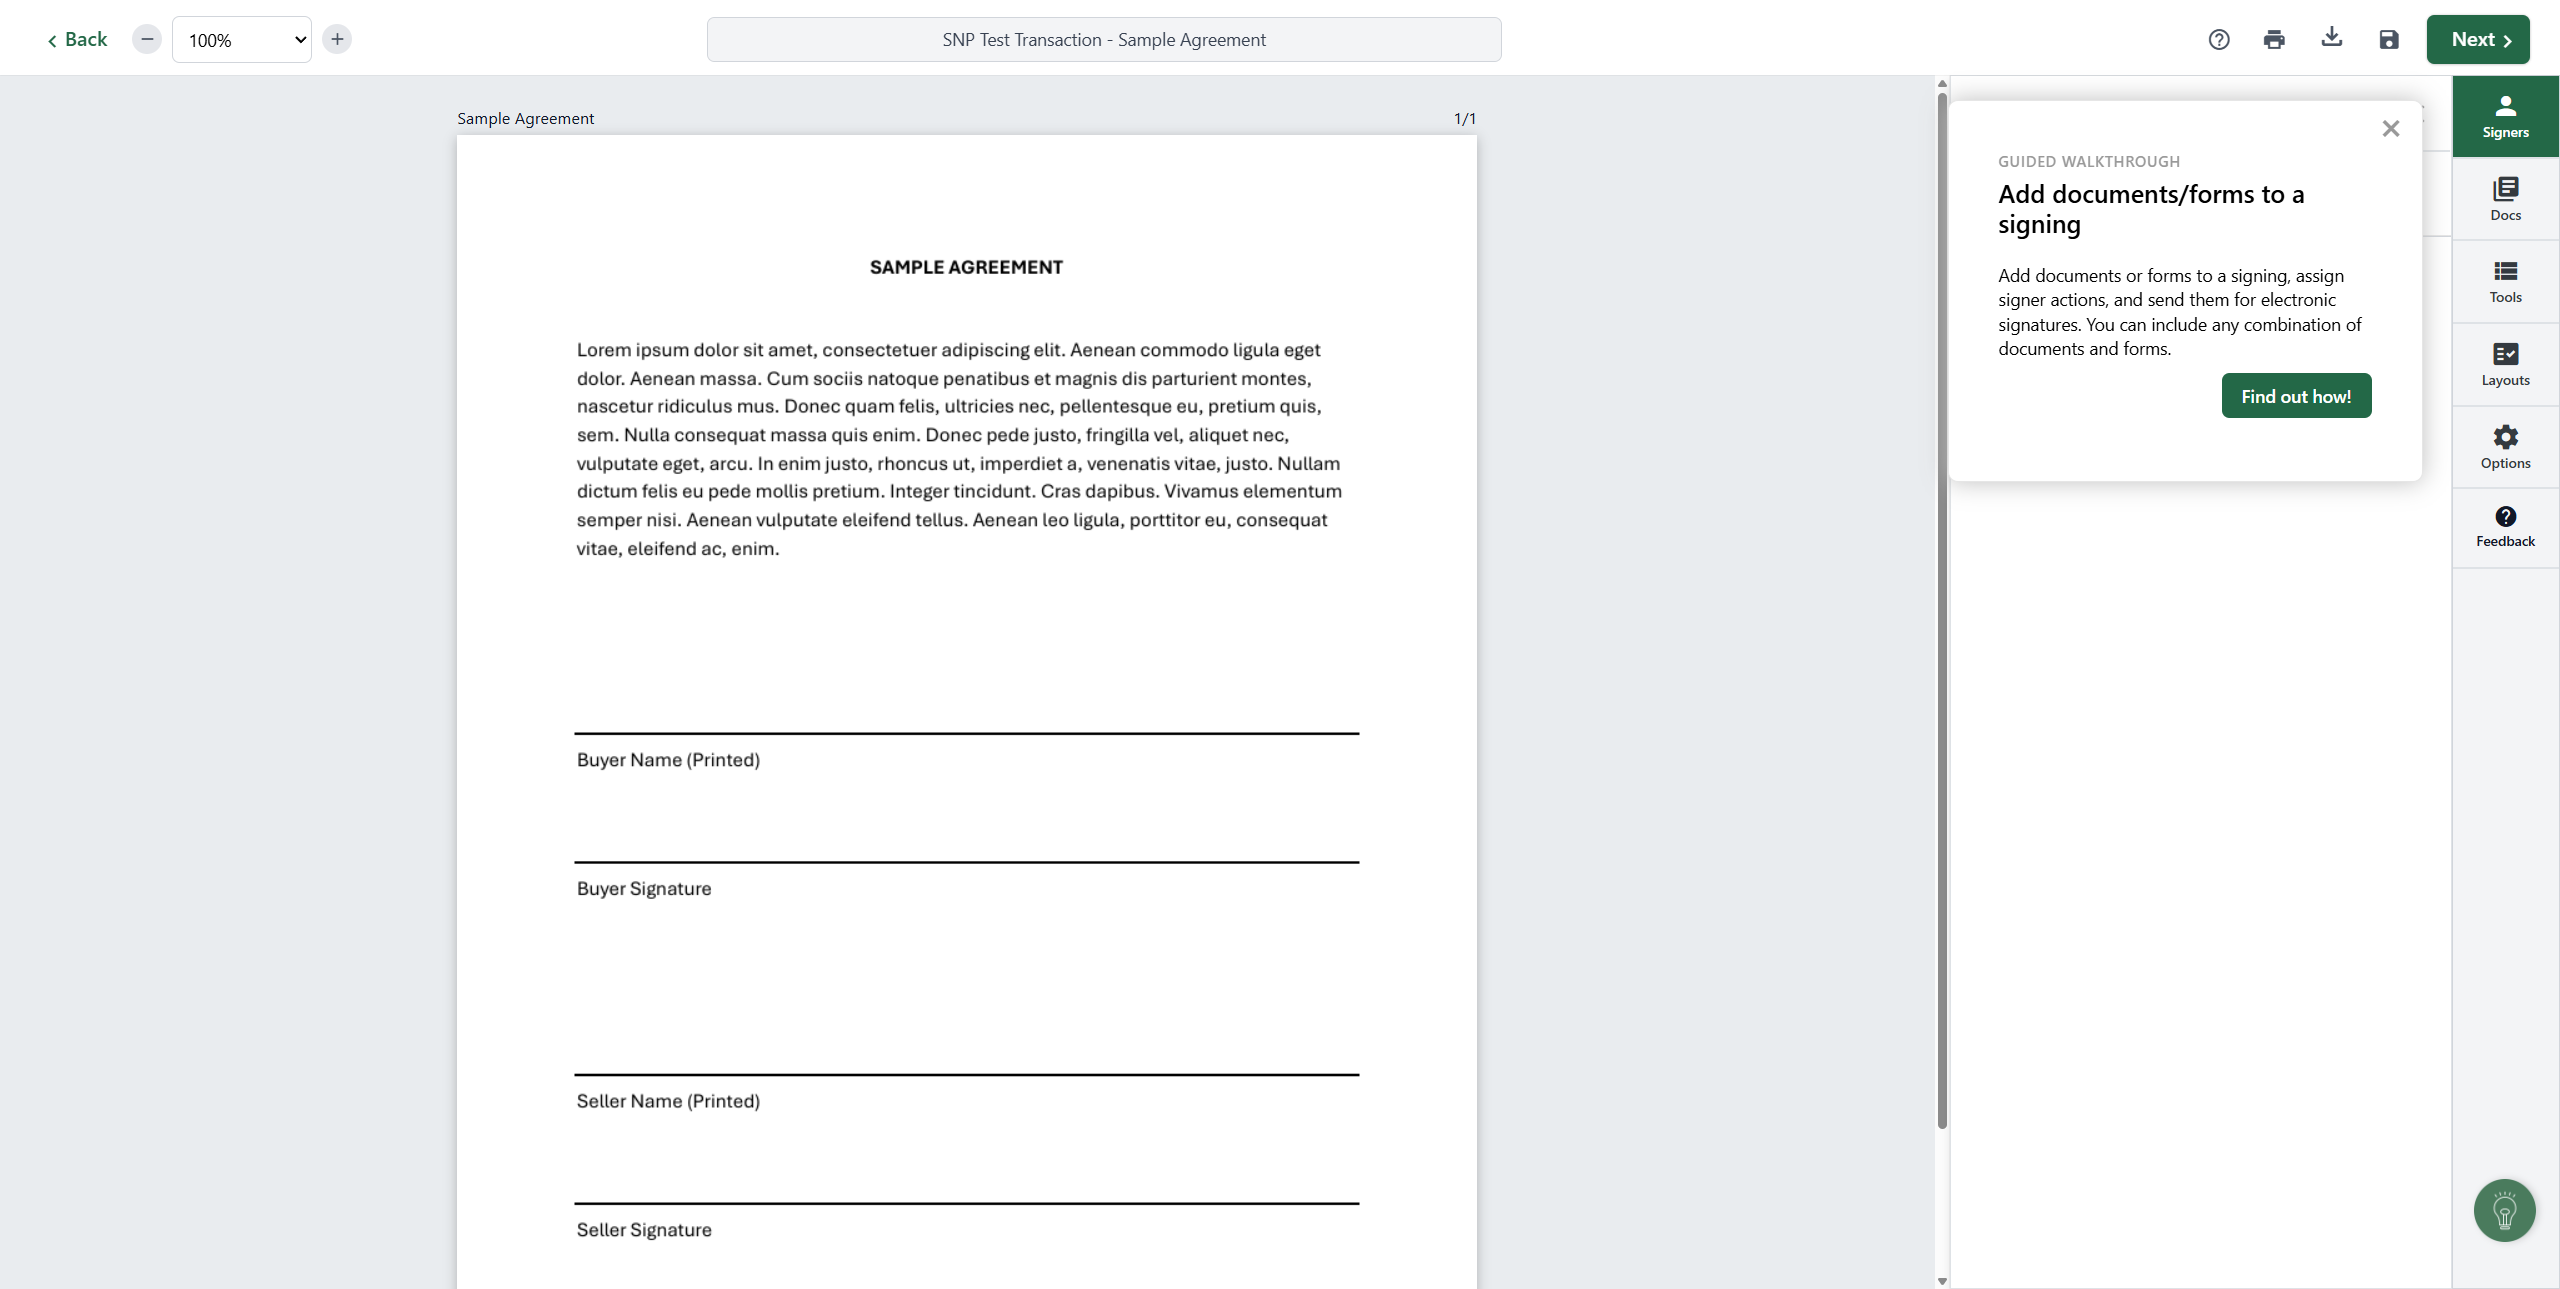
Hello, and welcome to the guide on how to add a signature to any PDF document in Transaction Desk. First, click on "Add a New Document" under the documents in the transaction.
Now, we'll select the PDF we want to upload. It doesn't have to be a PDF. It could also be a Word document, but you'll likely be dealing with PDFs mostly. Click on "Drag and Drop" to open a file browser.
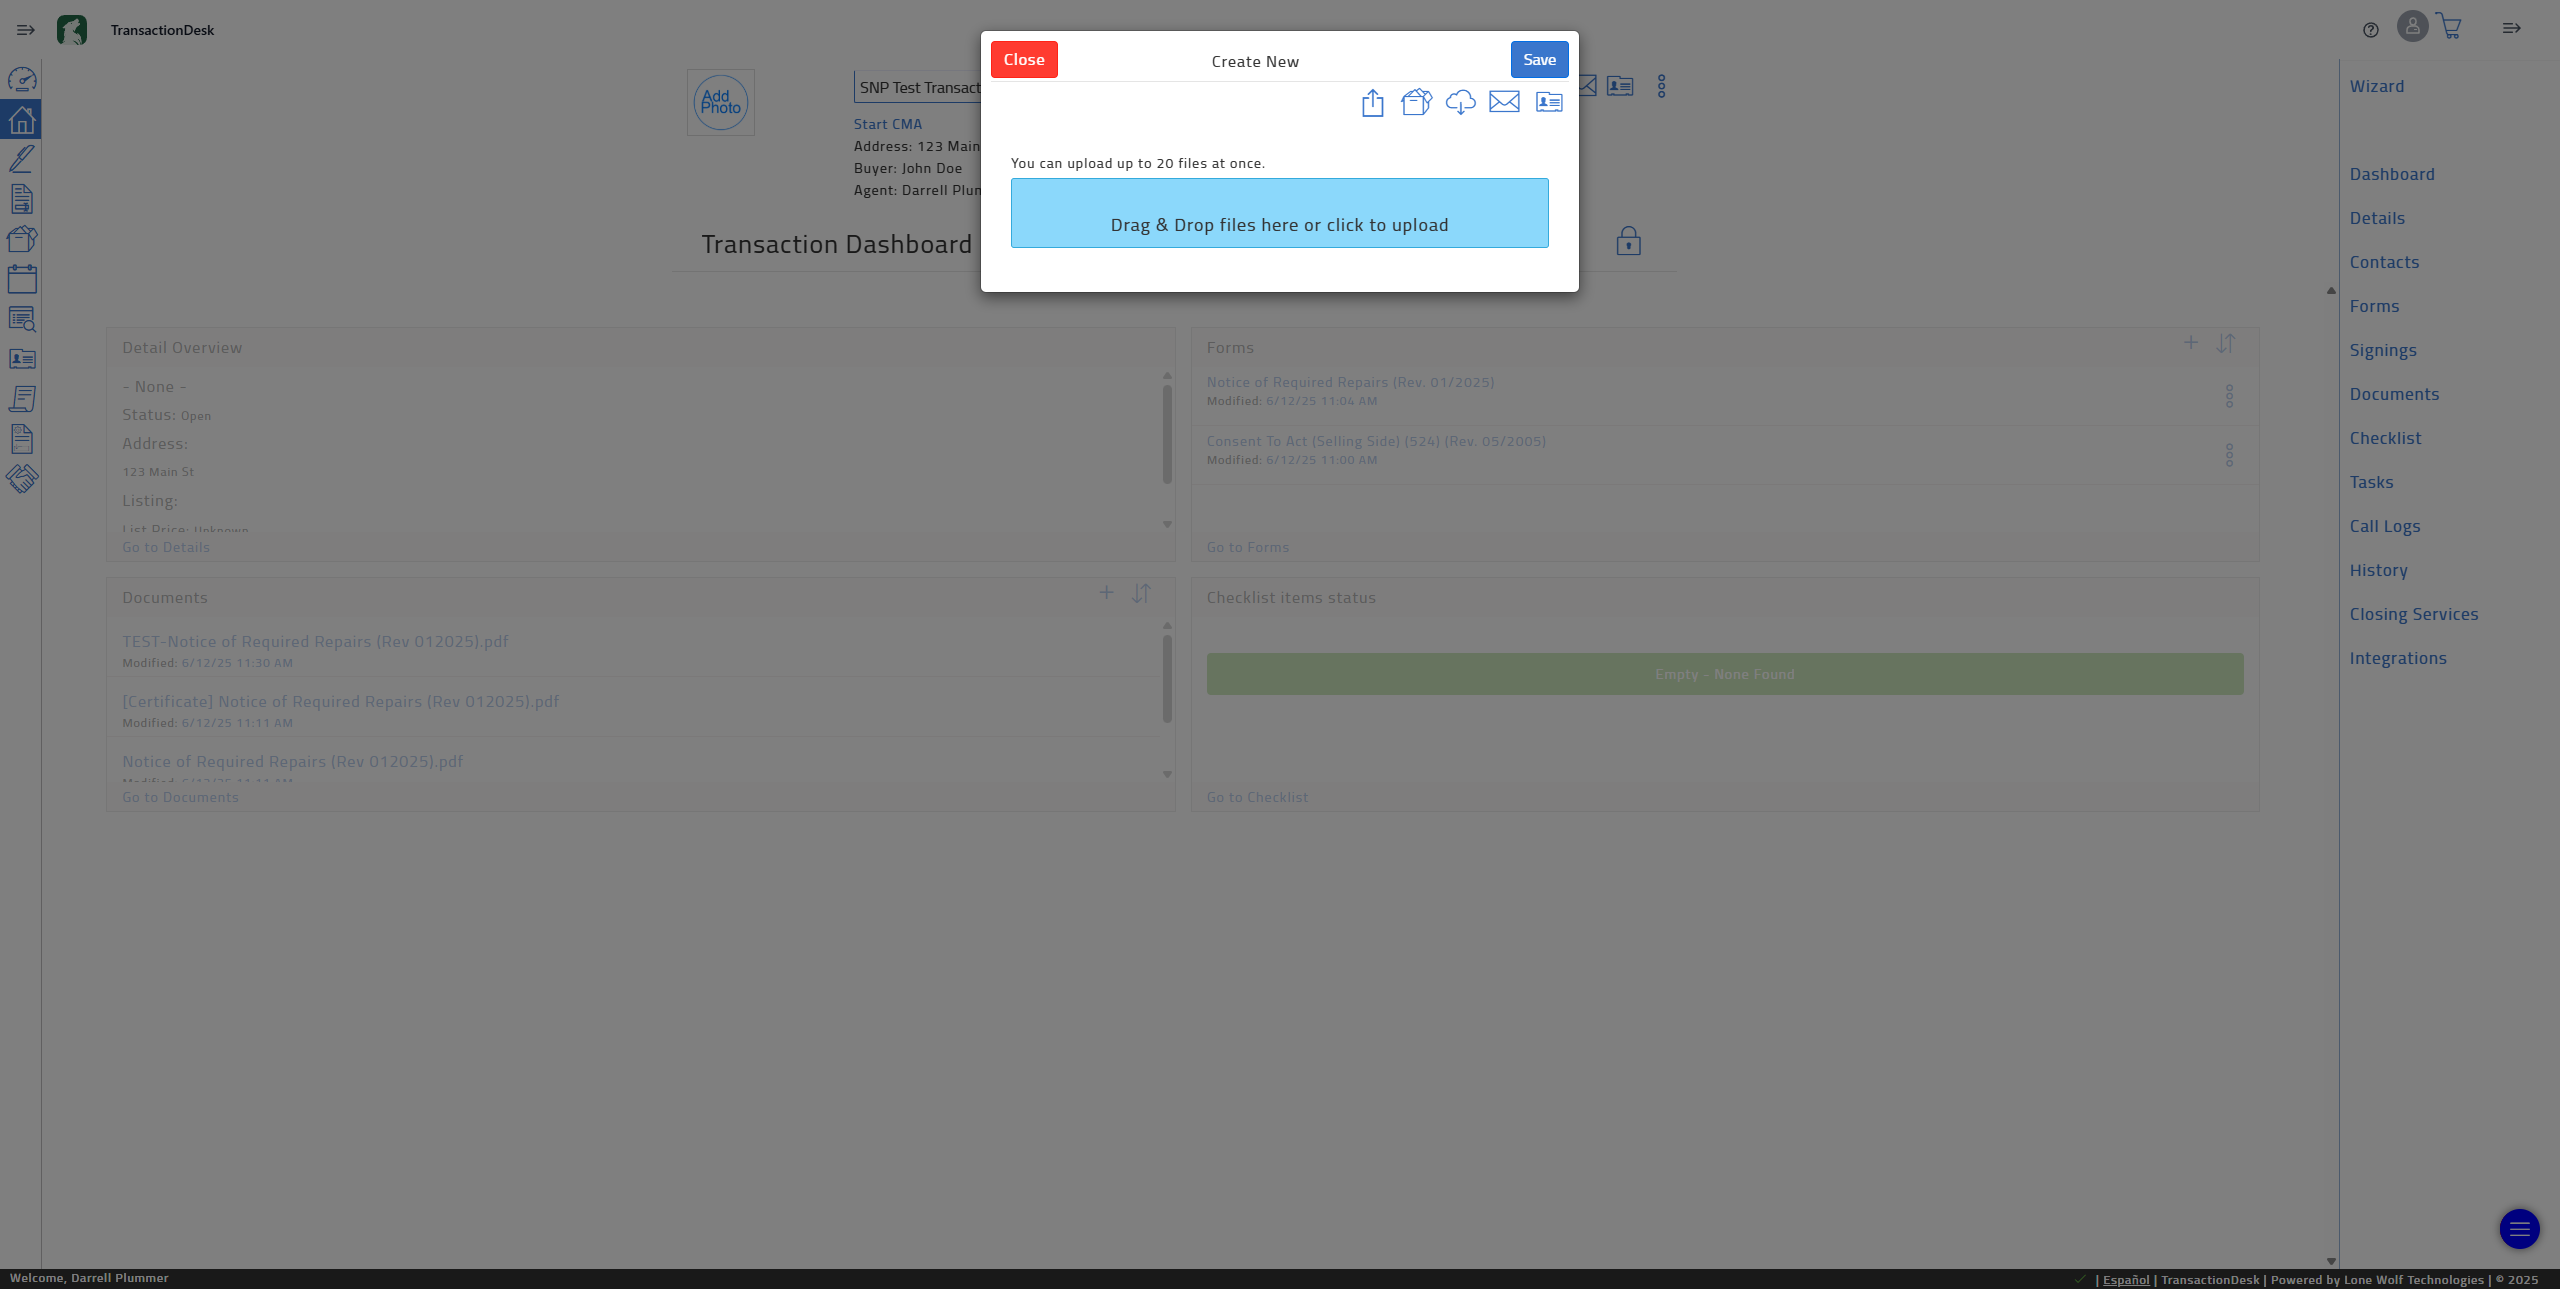
Now a window will open allowing you to select the file you'd like to add signatures. This can be ANY PDF, WORD or TEXT DOCUMENT.
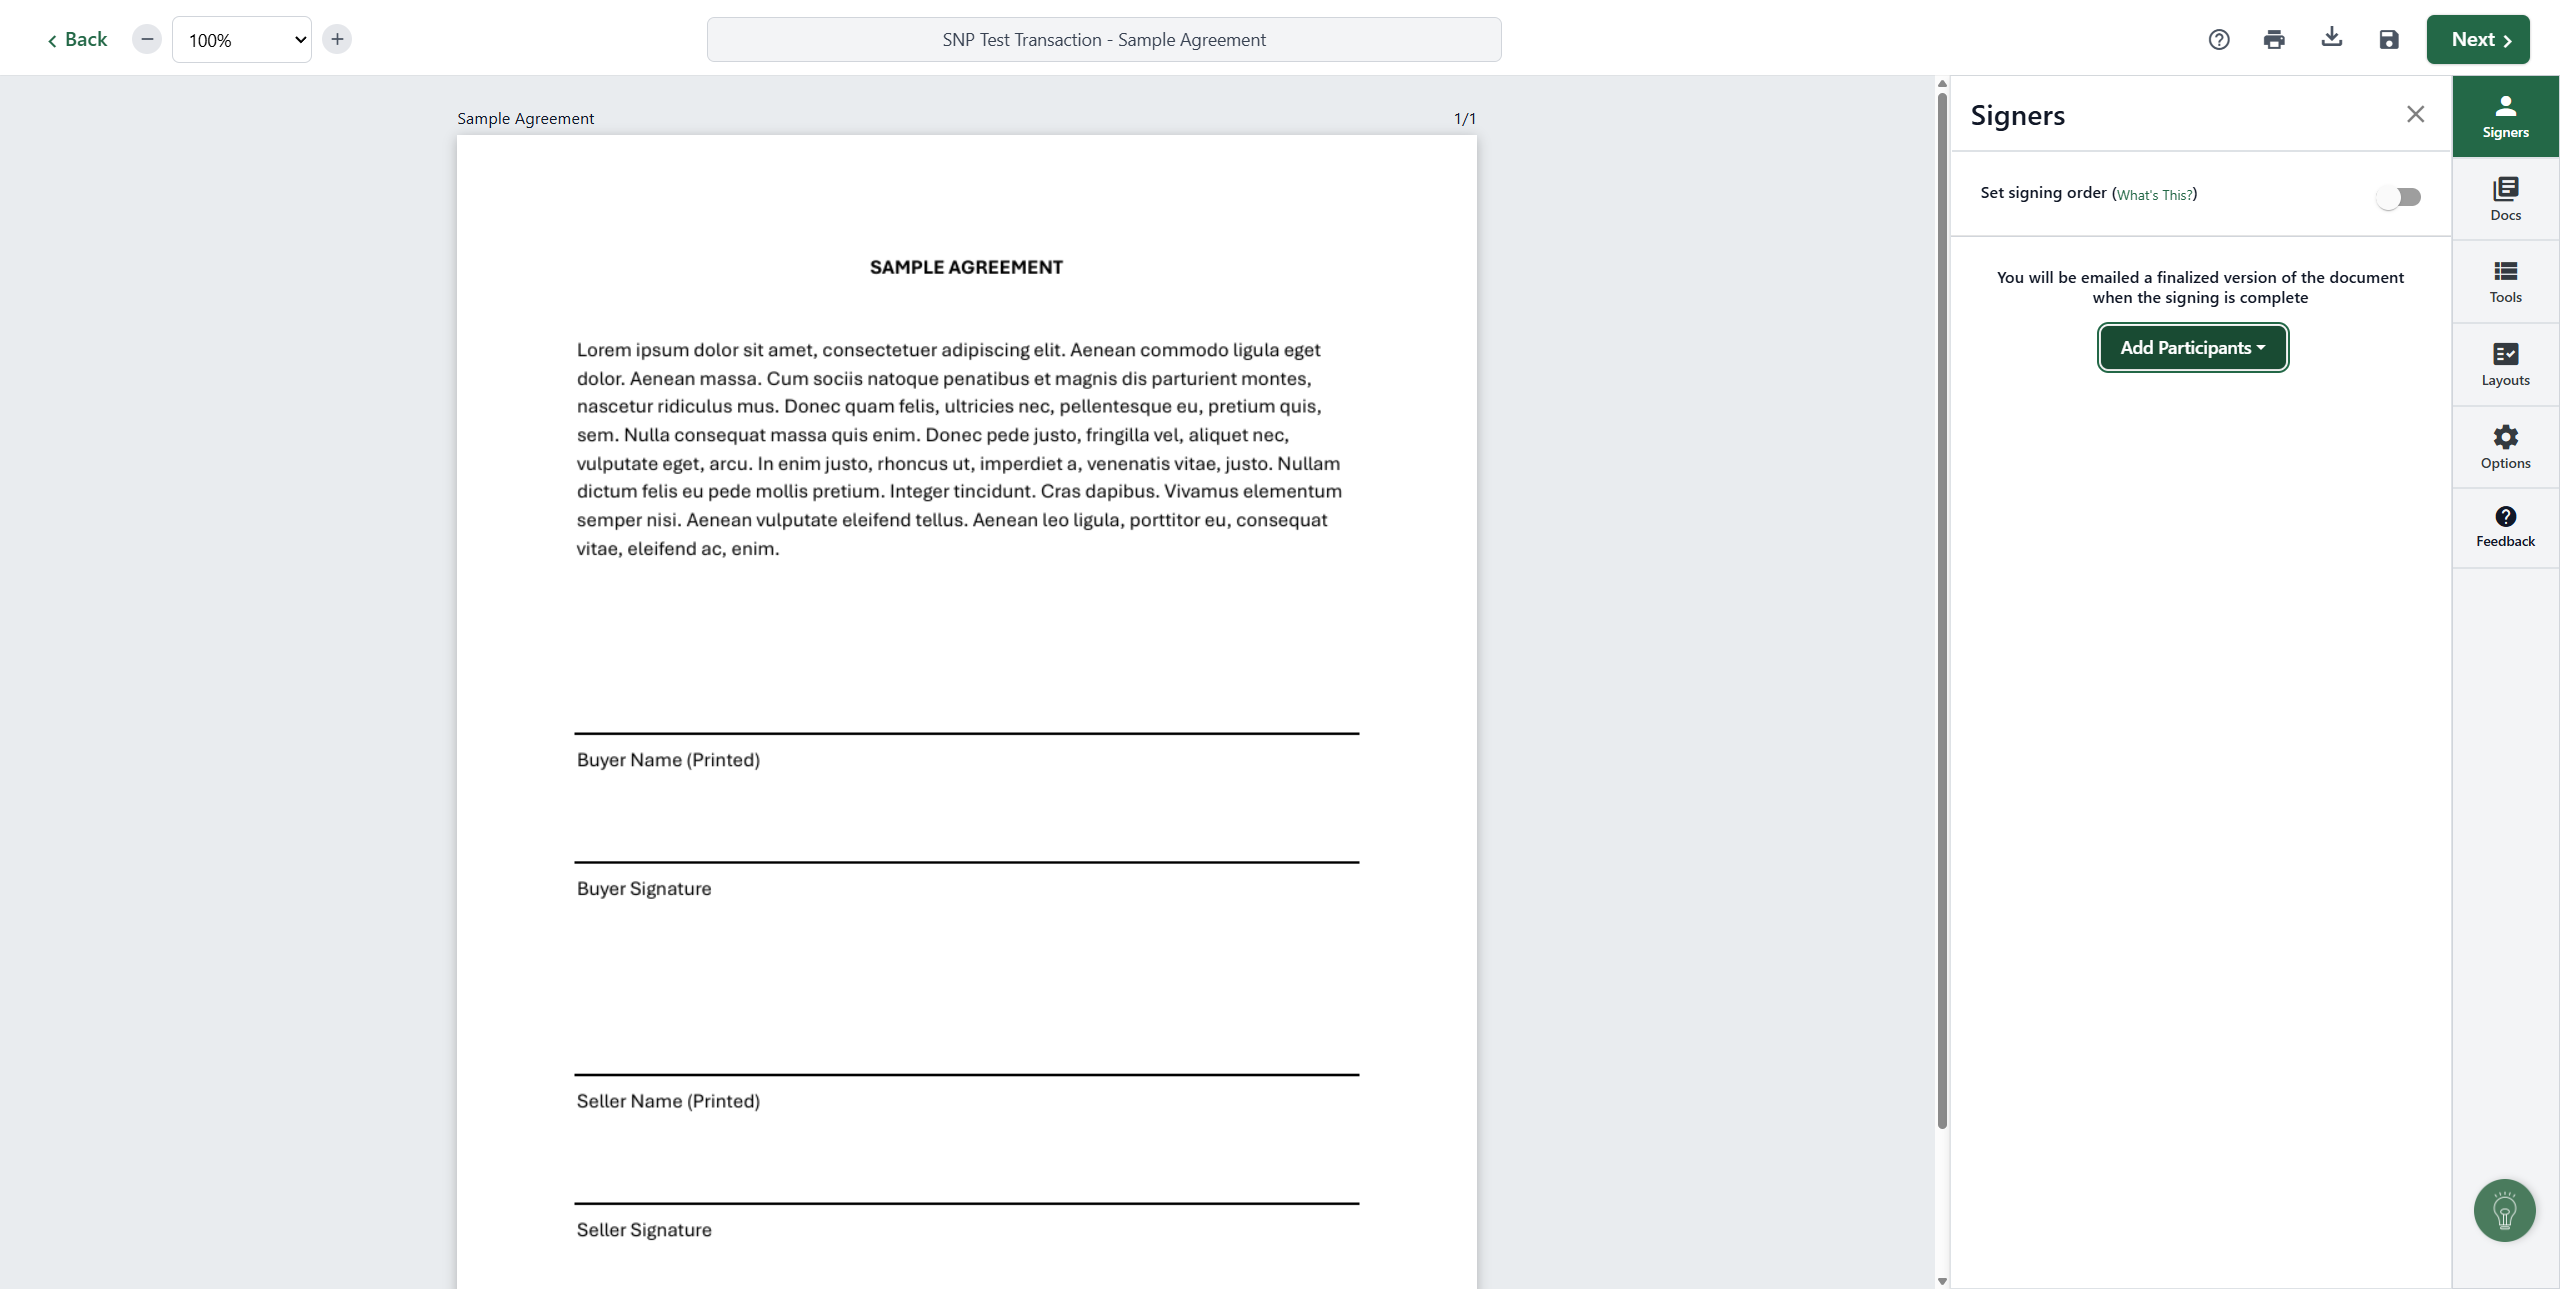
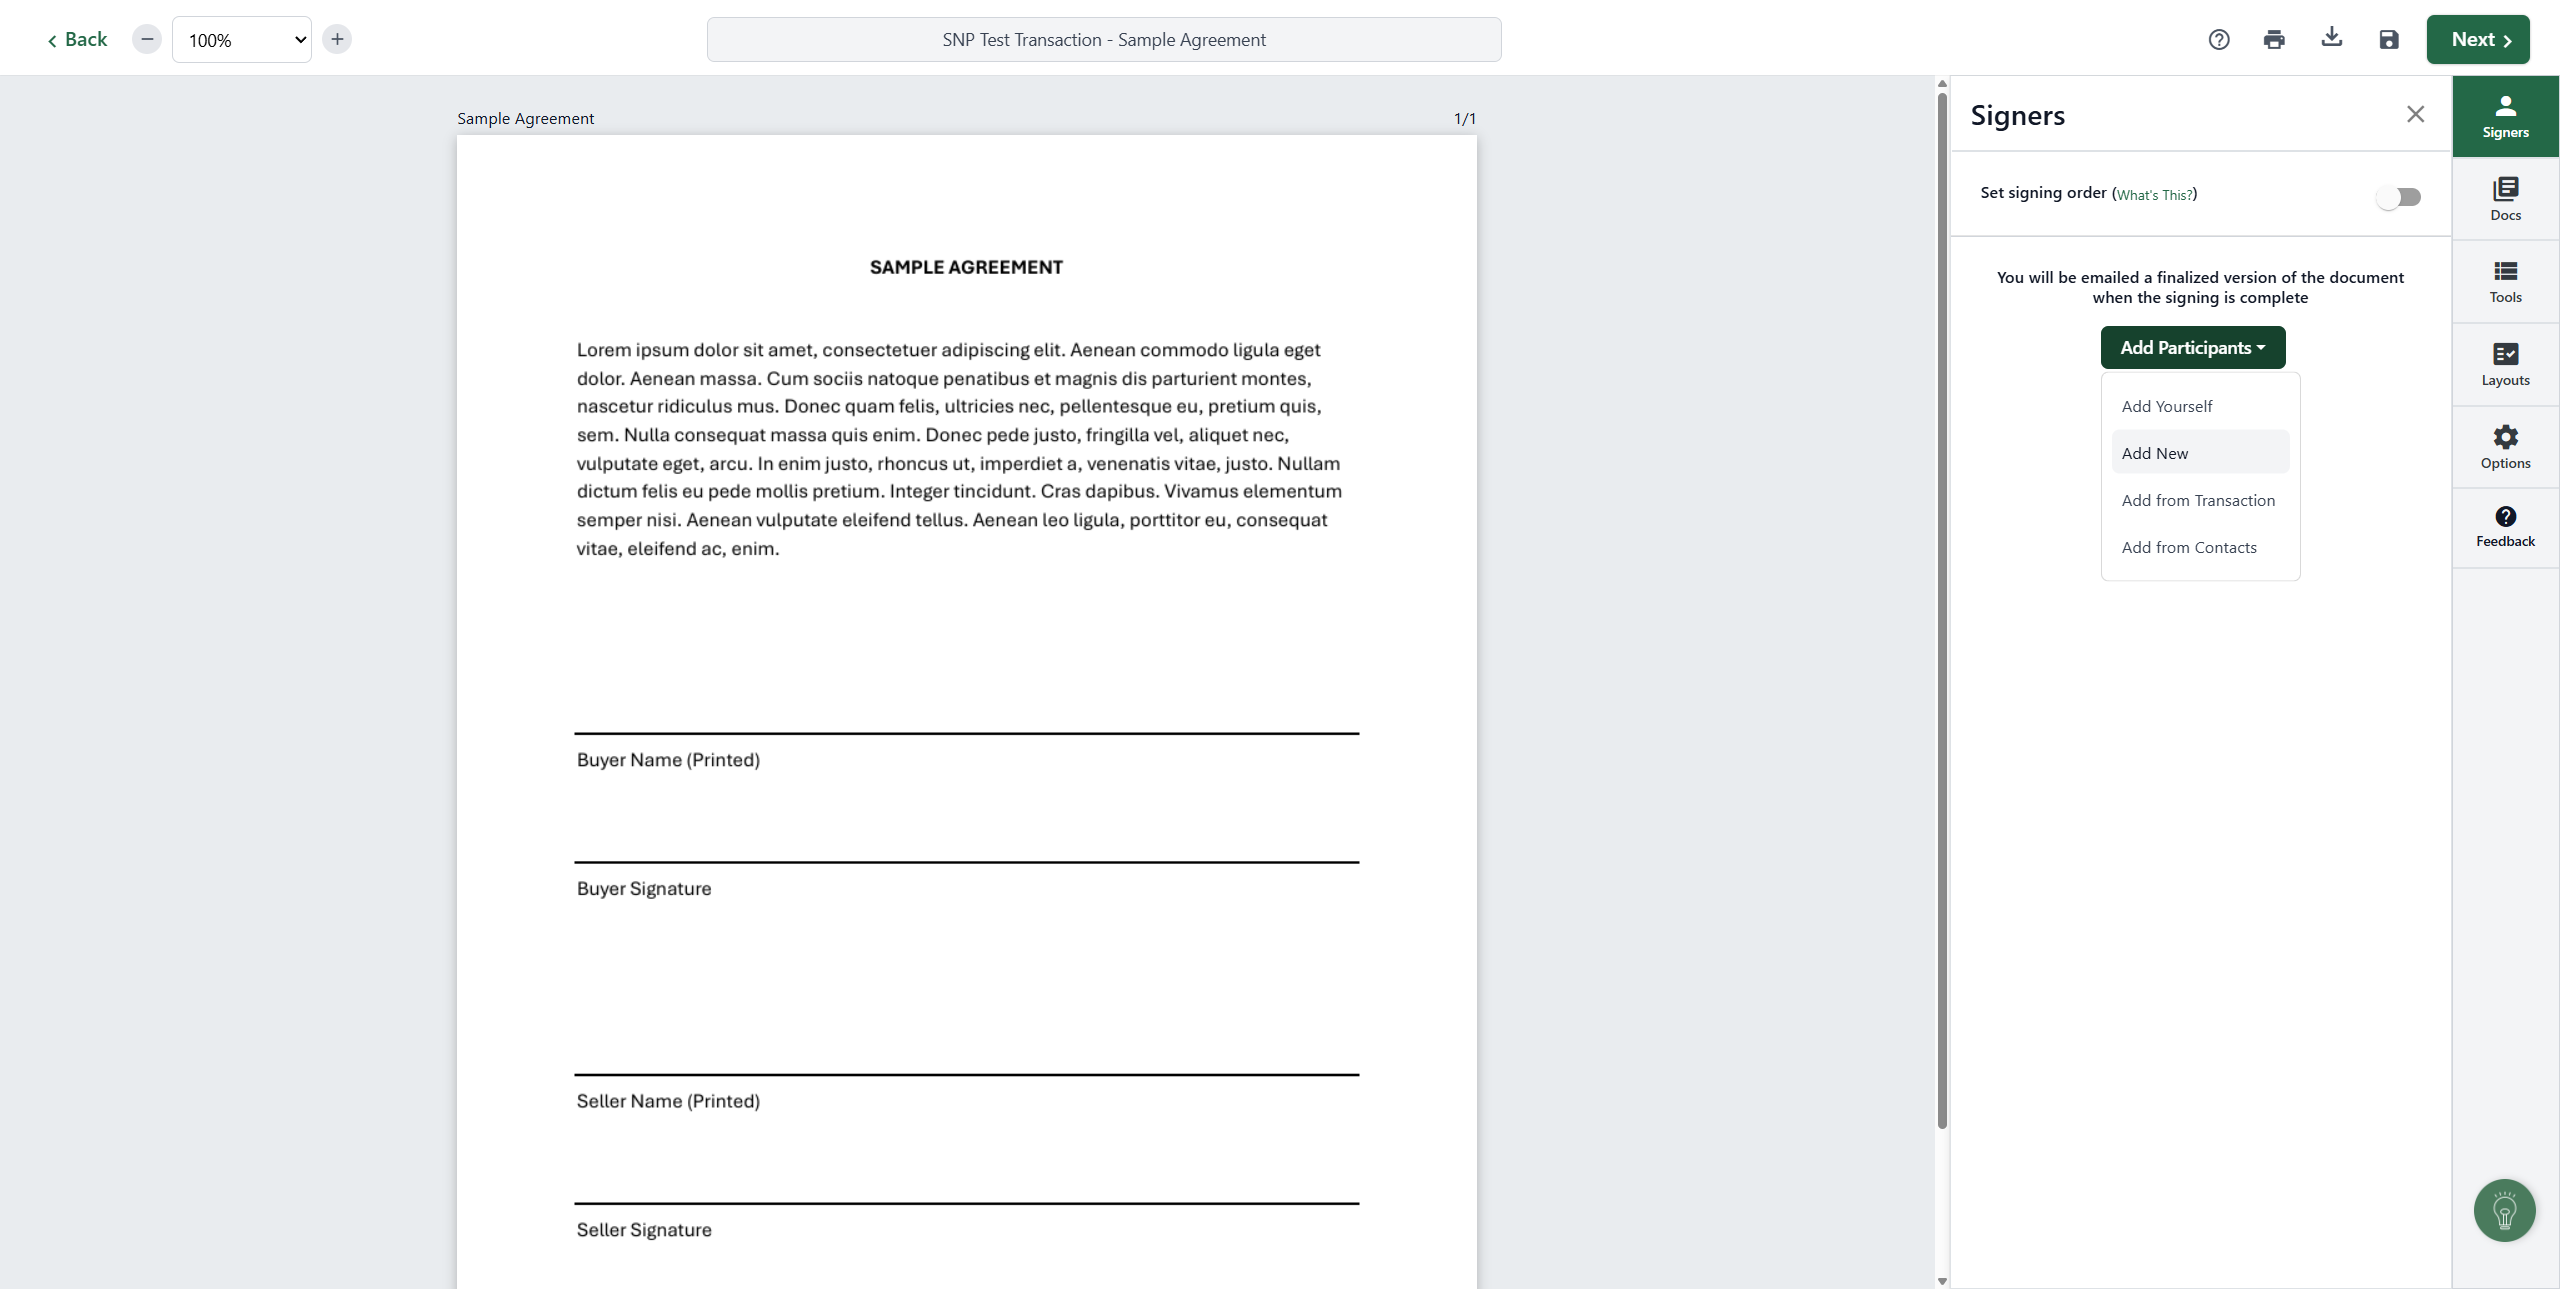
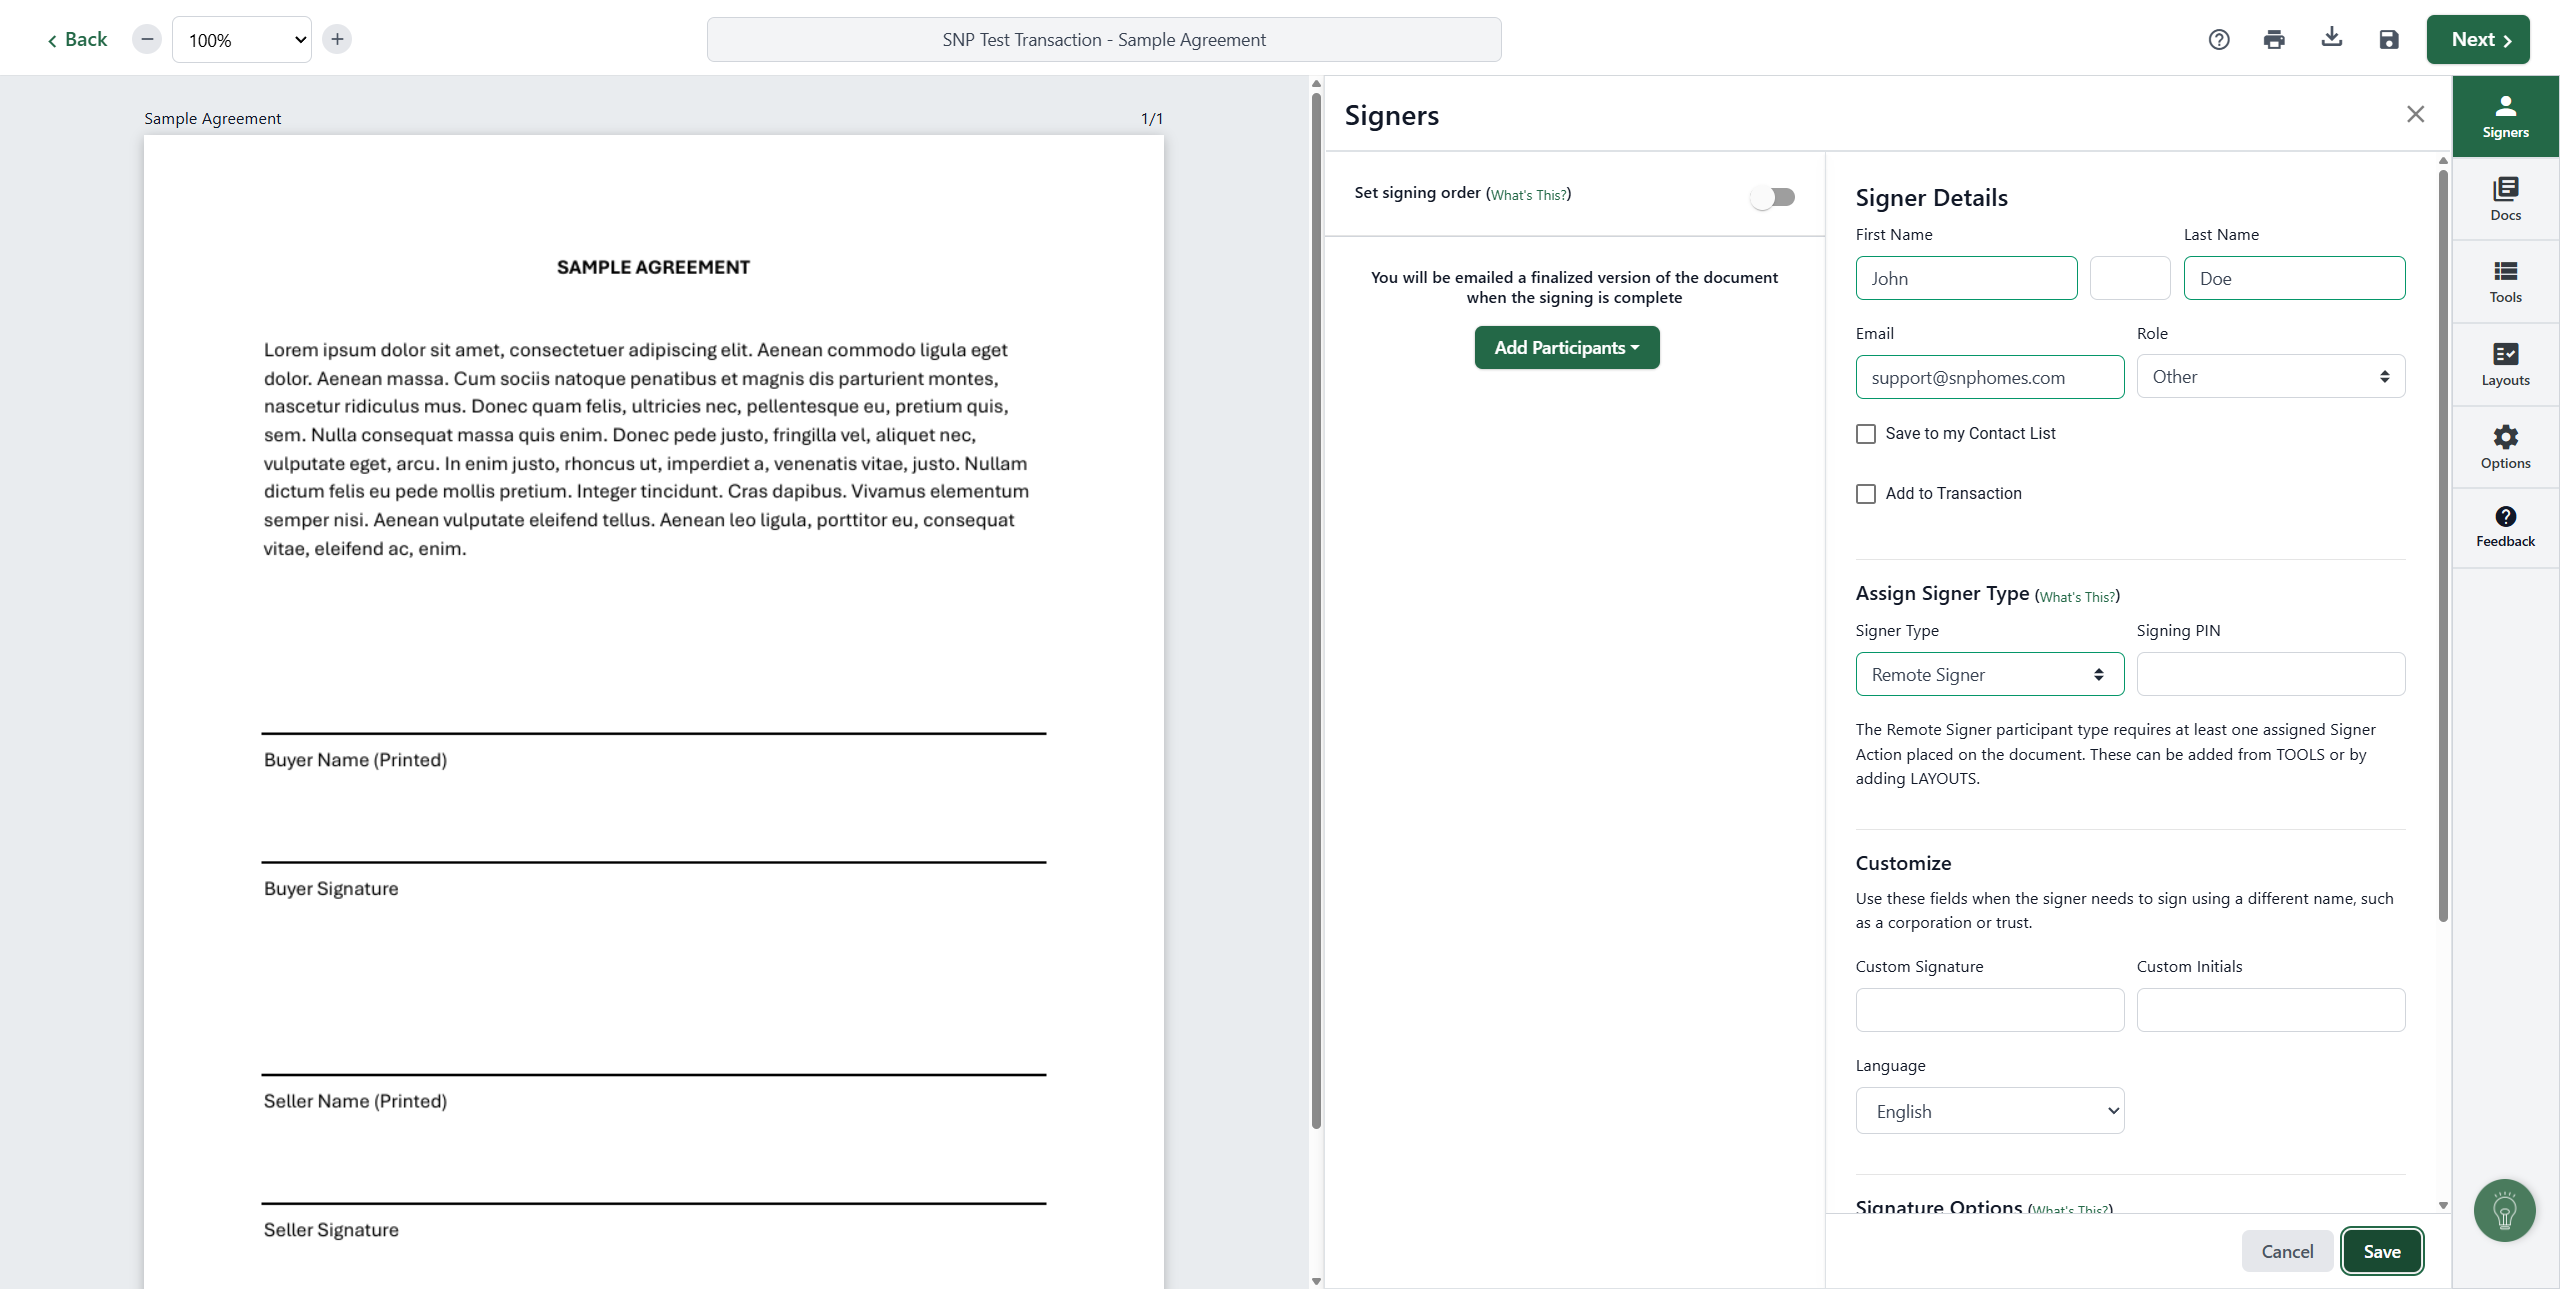
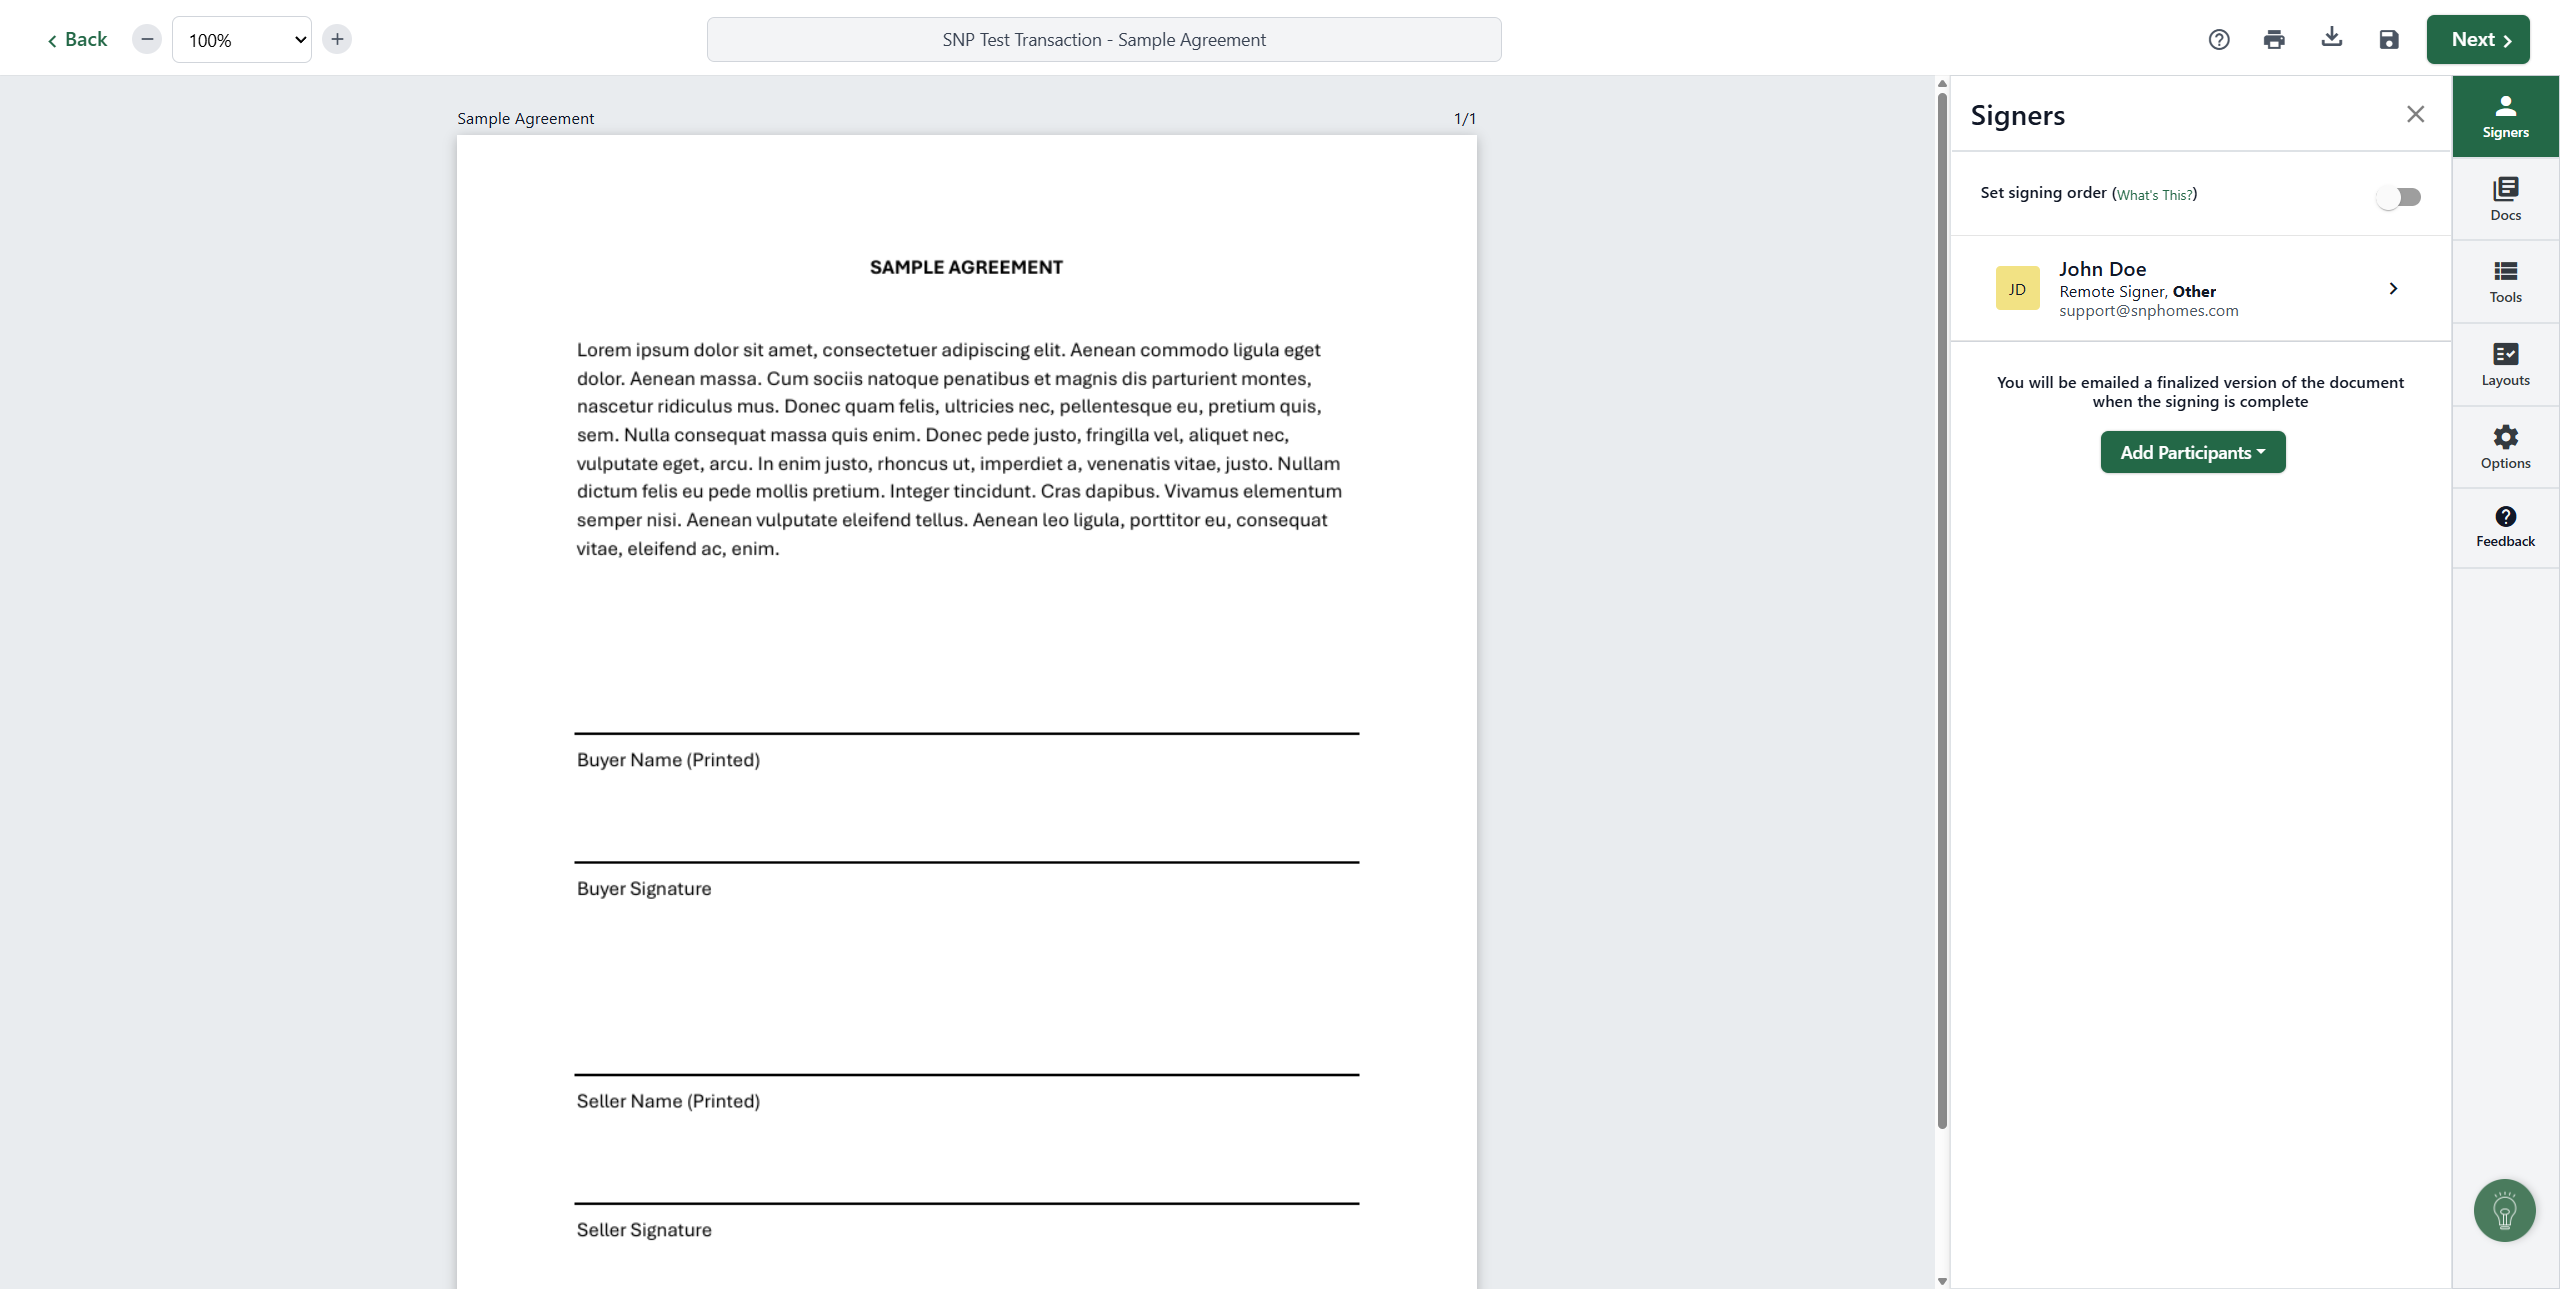
First, we will add our signers. I'm conducting a test by clicking on "Add Participants" and then "Add New."
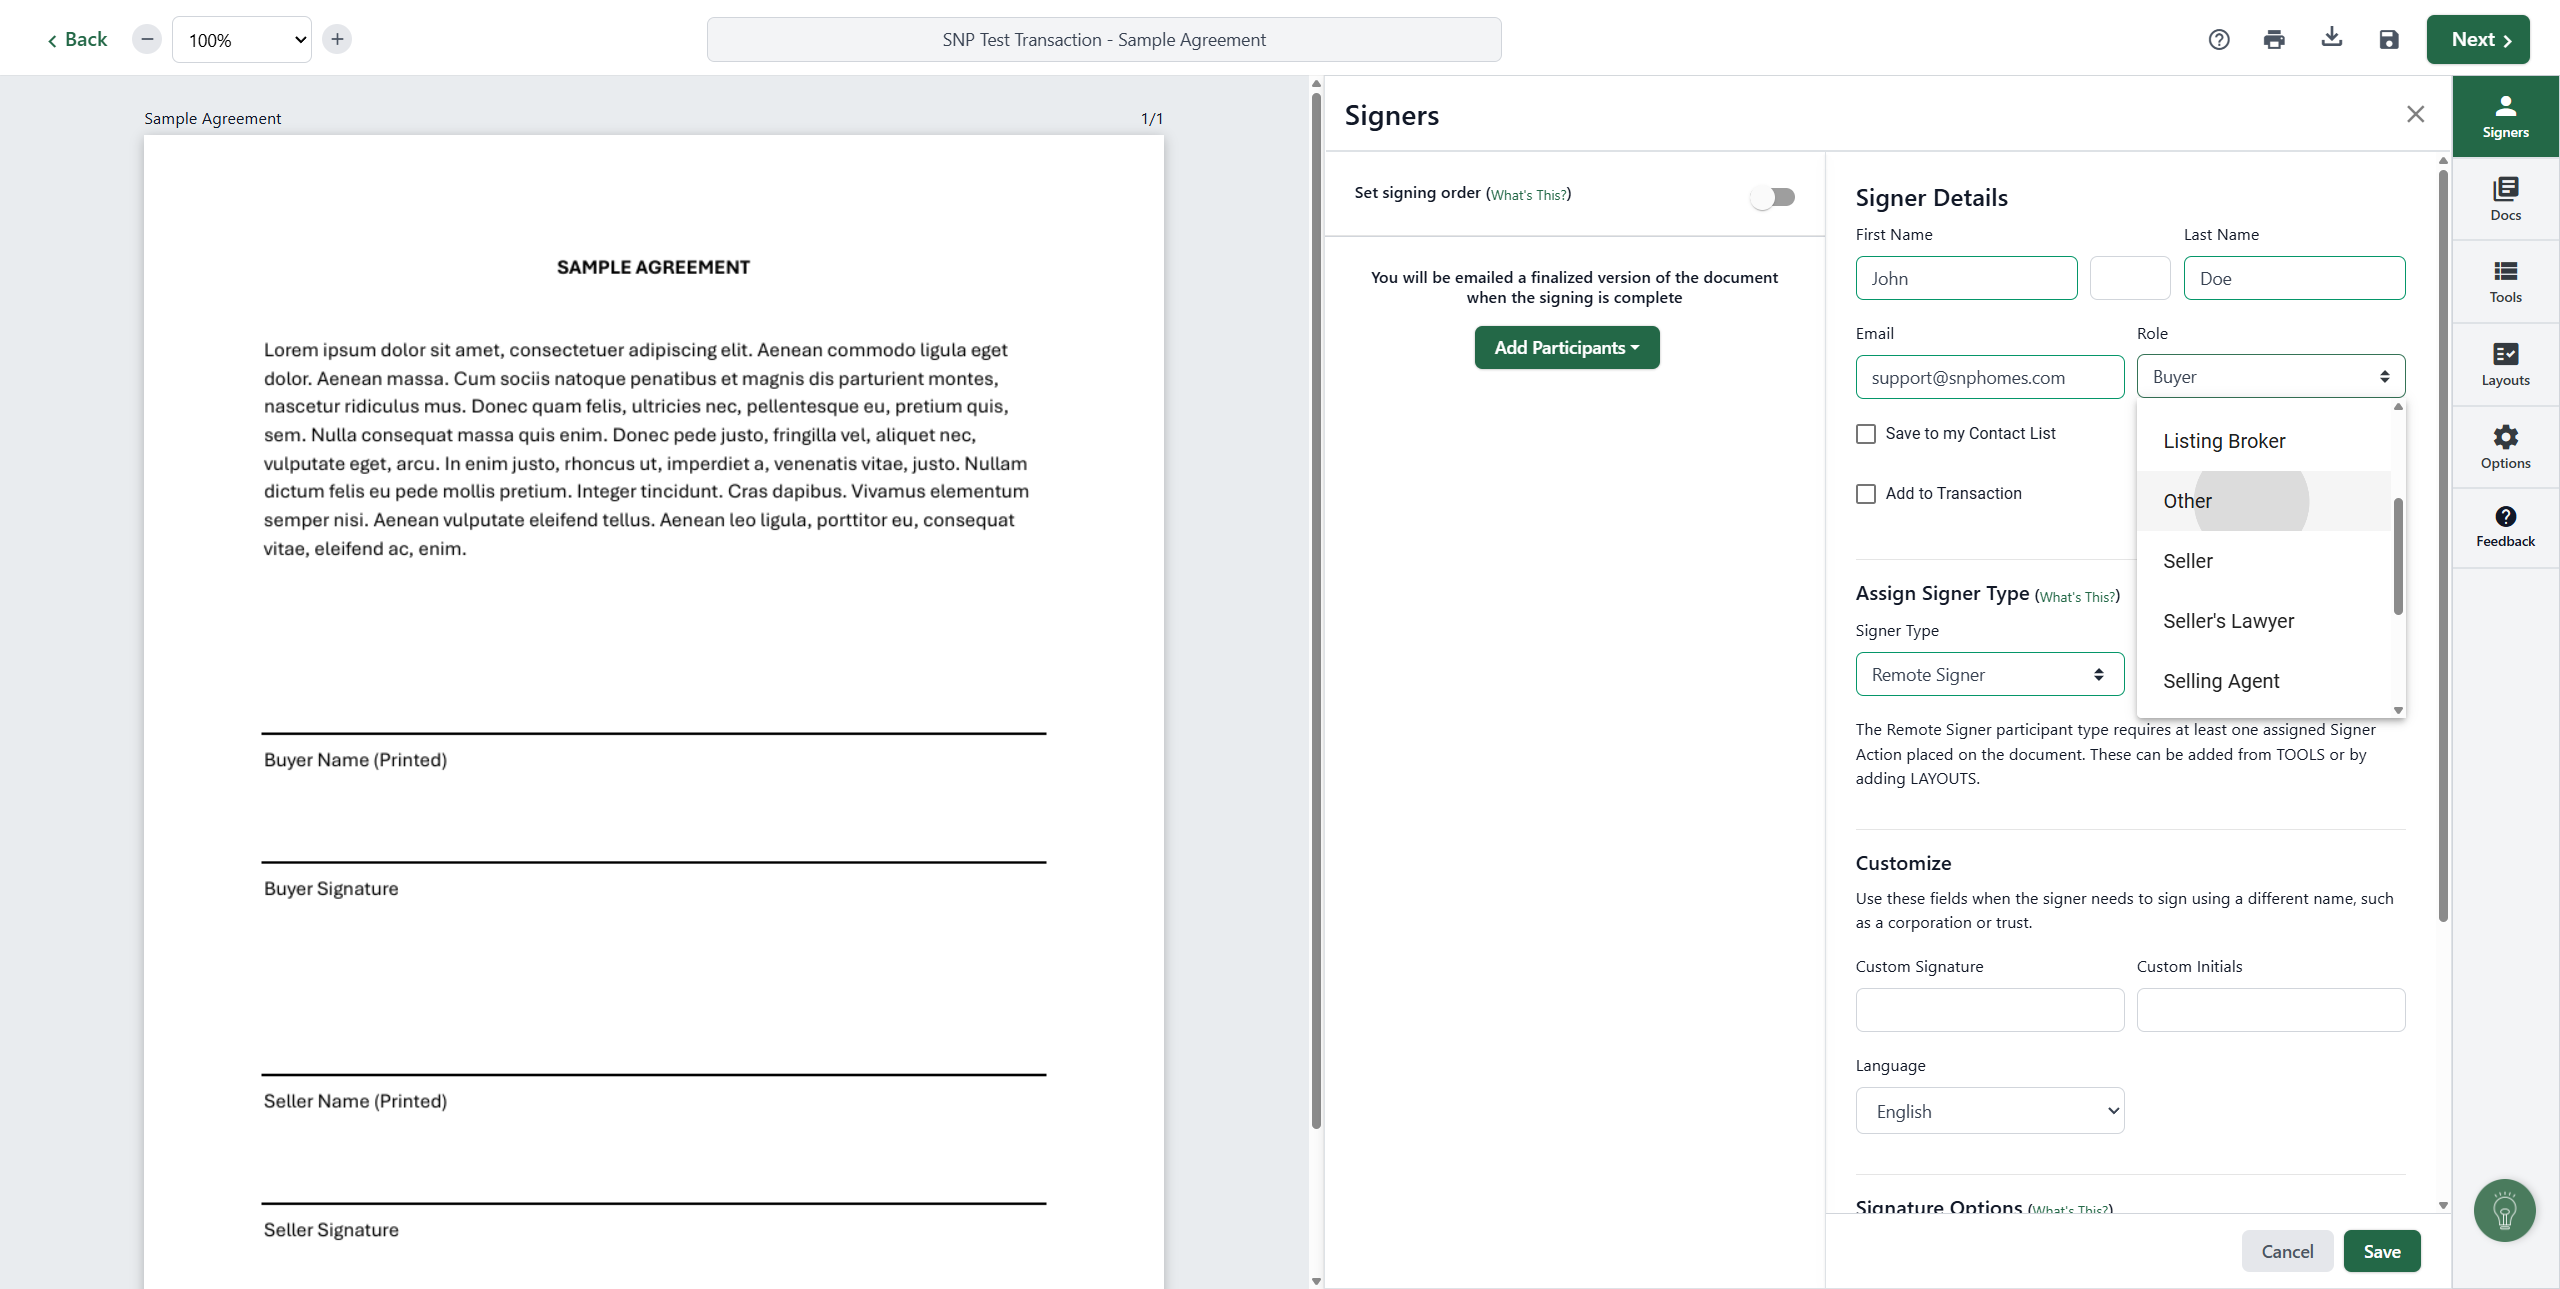
You'll go through the process of adding the new signers information and choosing their role. You can always choose OTHER under 'Role' if none of the other categories fit.
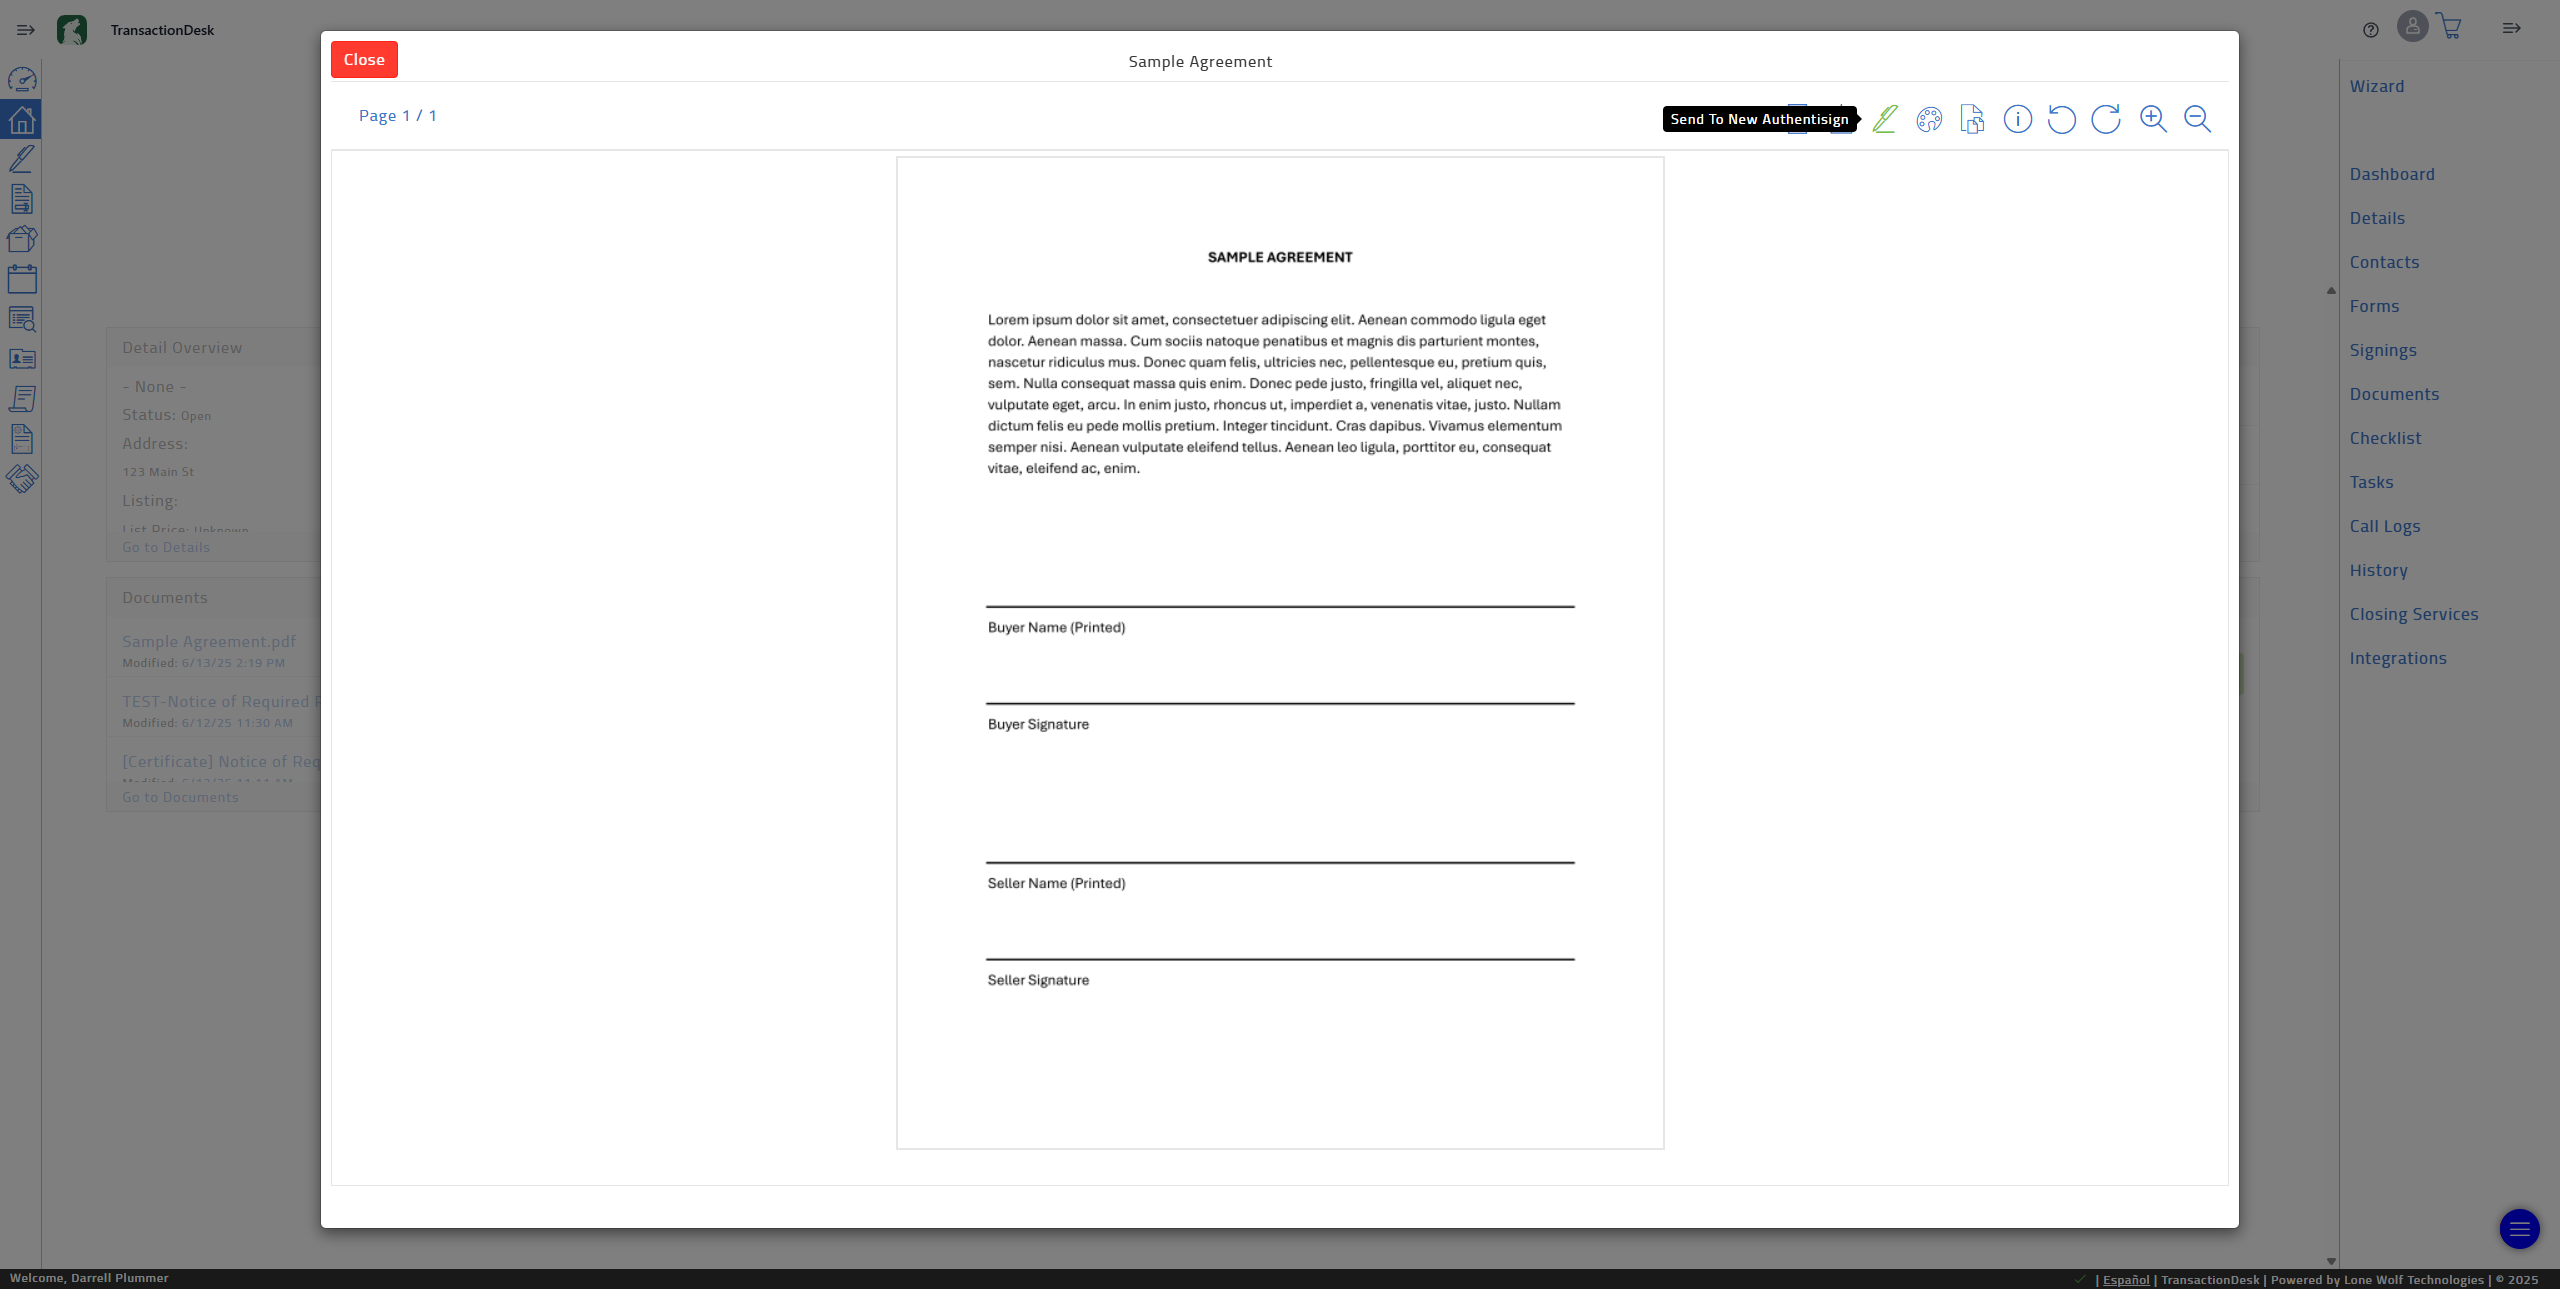
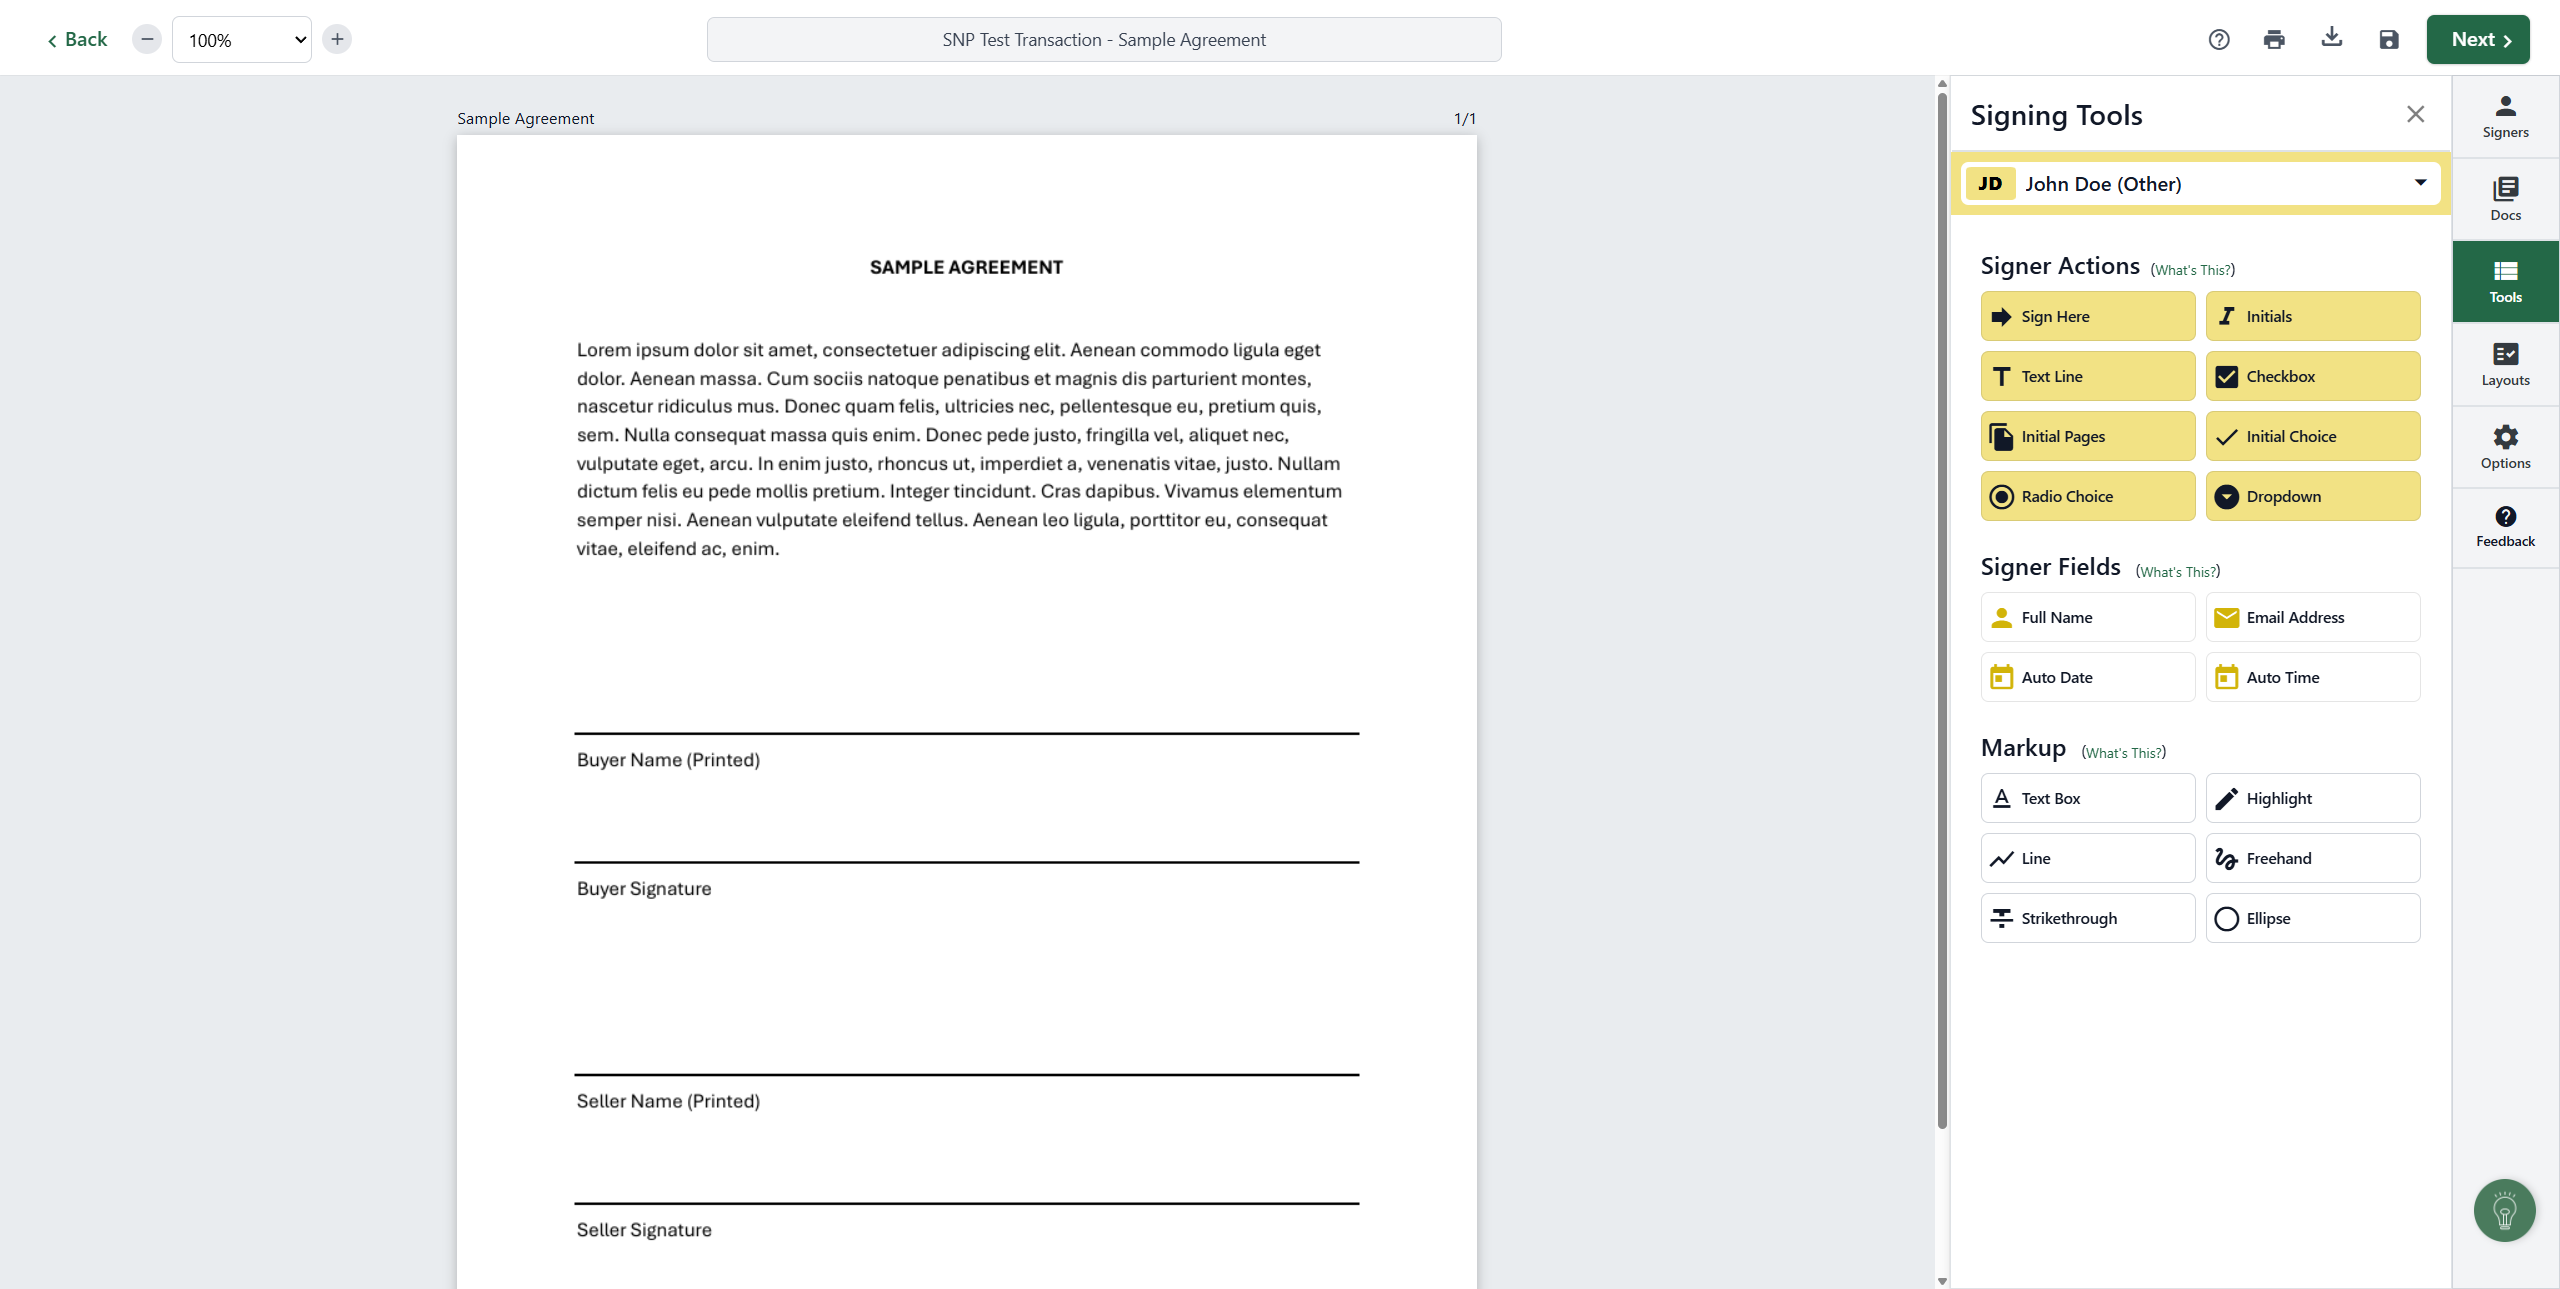
Now, go to Tools. Where you see Buyer Name, drag Full Name. Then, take the sign and drop it there.

Next, click "Send."

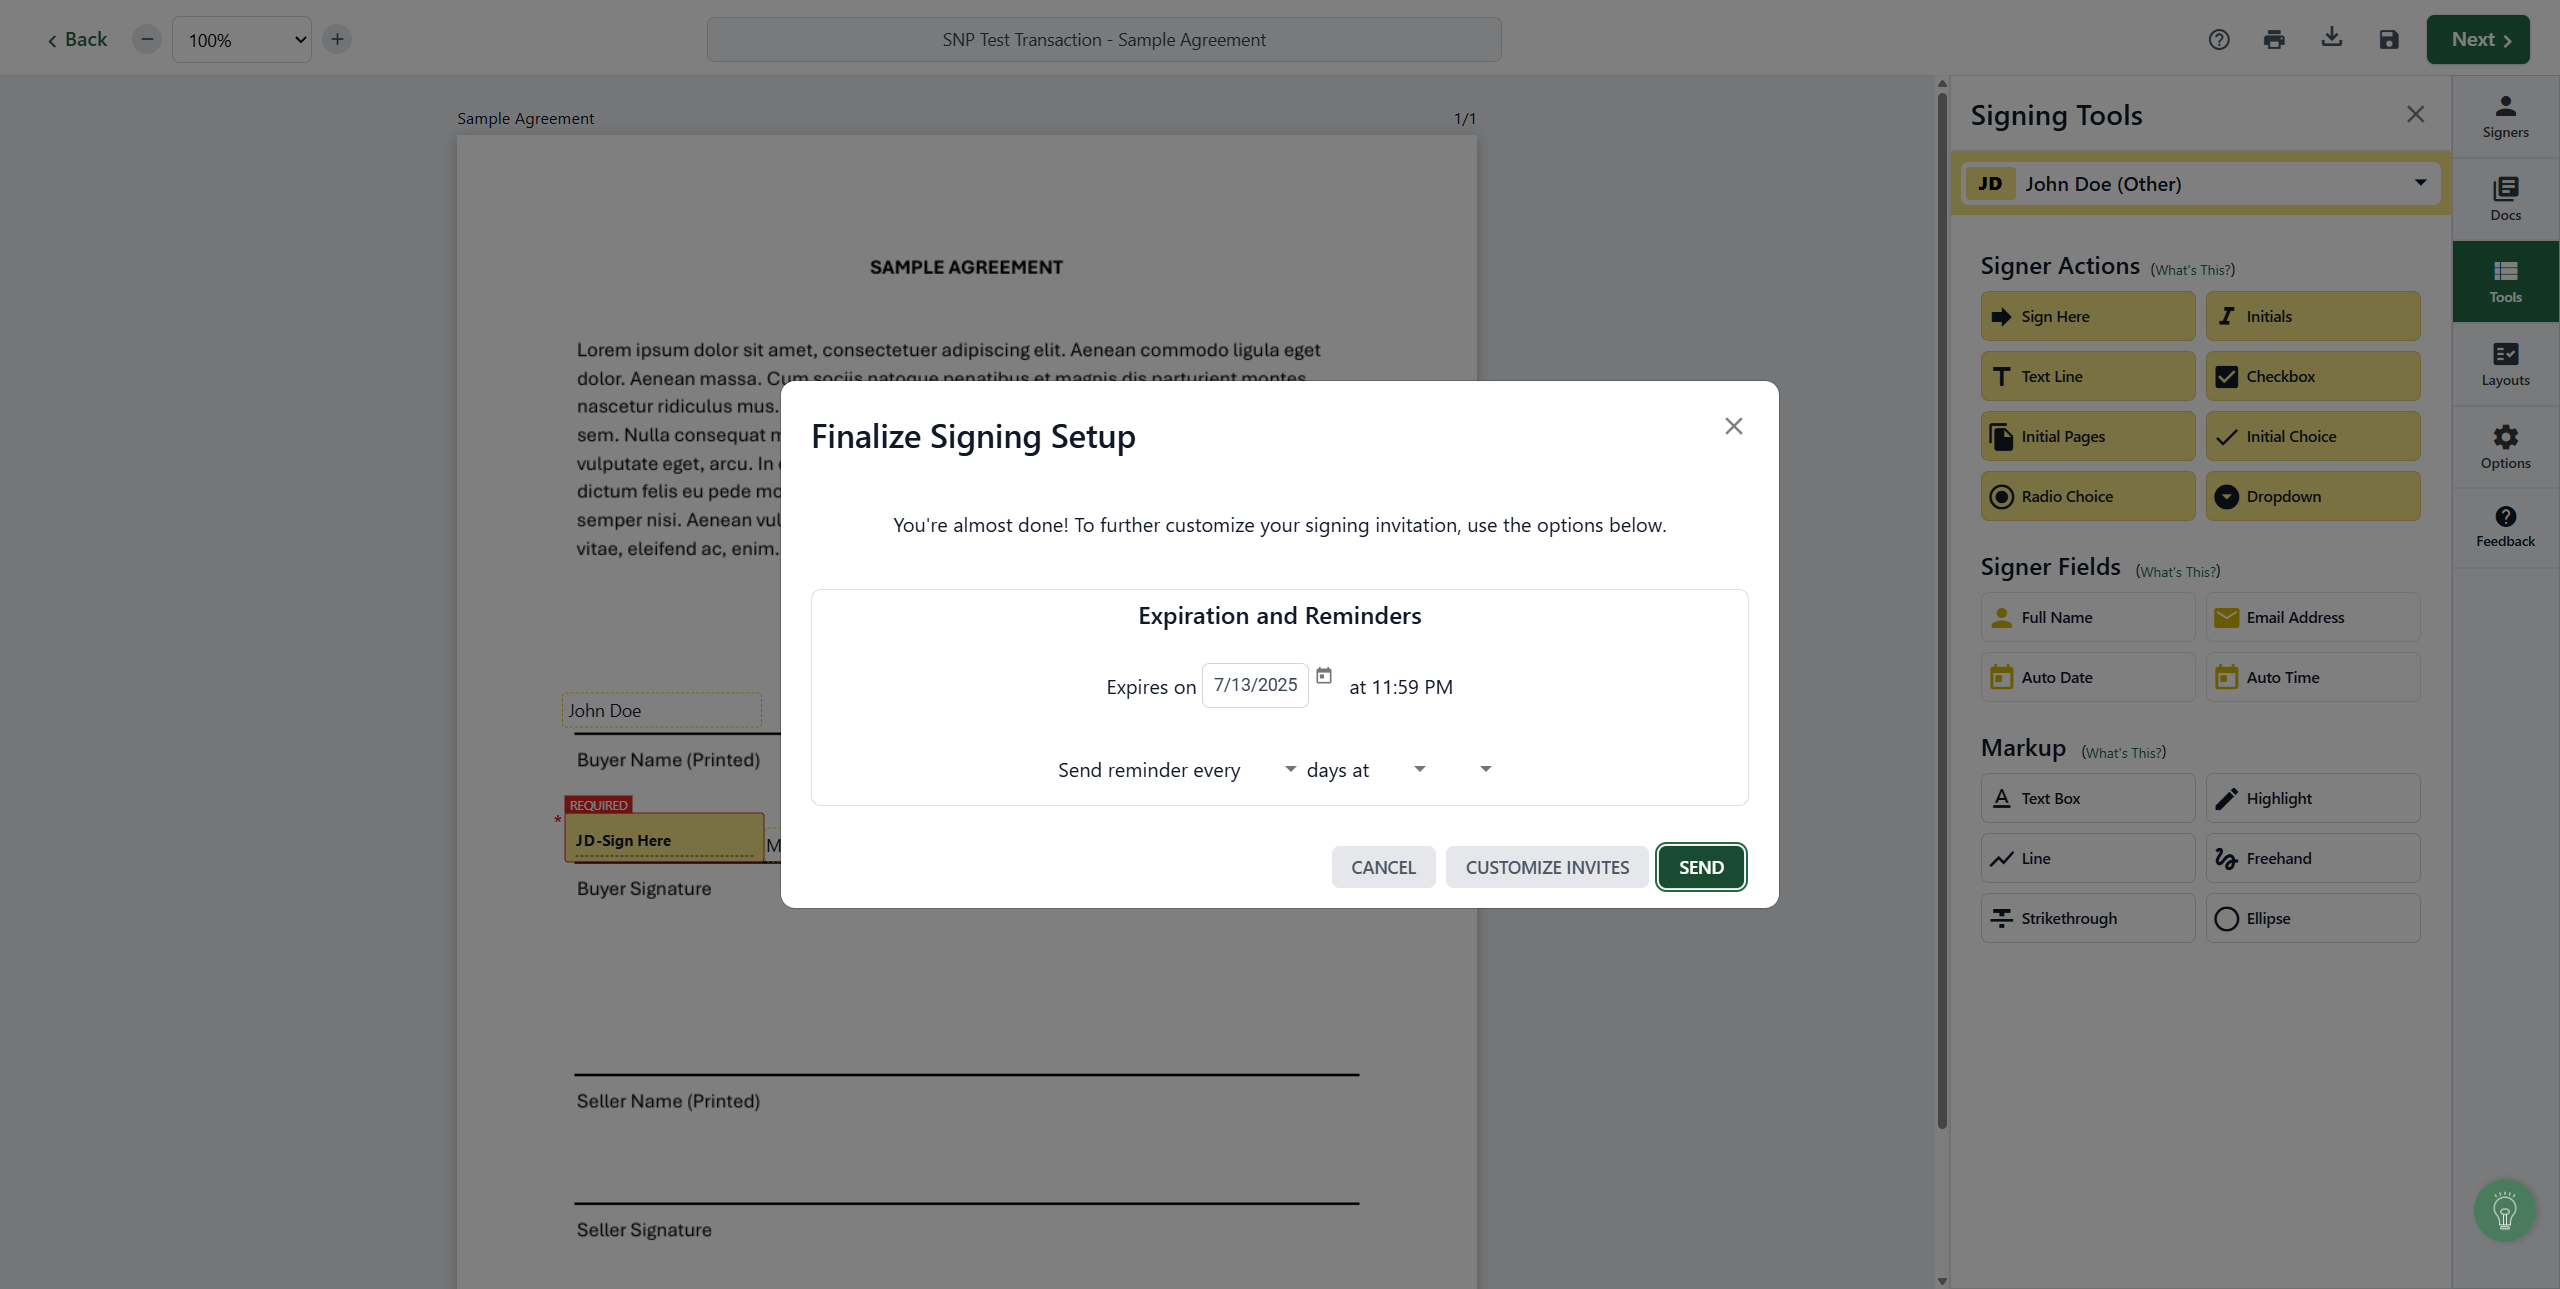
And you're done.