How to Add an Add-On in Reservety: Step-by-Step Tutorial
Learn how to add add-ons to your products in Reservety. This tutorial covers everything from accessing the dashboard to publishing your add-on, with practical examples like adding a portable stove.
By Reservety
In this guide, we'll learn how to add add-ons to your products in Reservety.
Add-ons are extra products or services that can be offered alongside your main product, such as a portable stove or loading assistance.
You will see how to create, name, price, and display these add-ons so customers can select them when viewing your product.
Let's get started
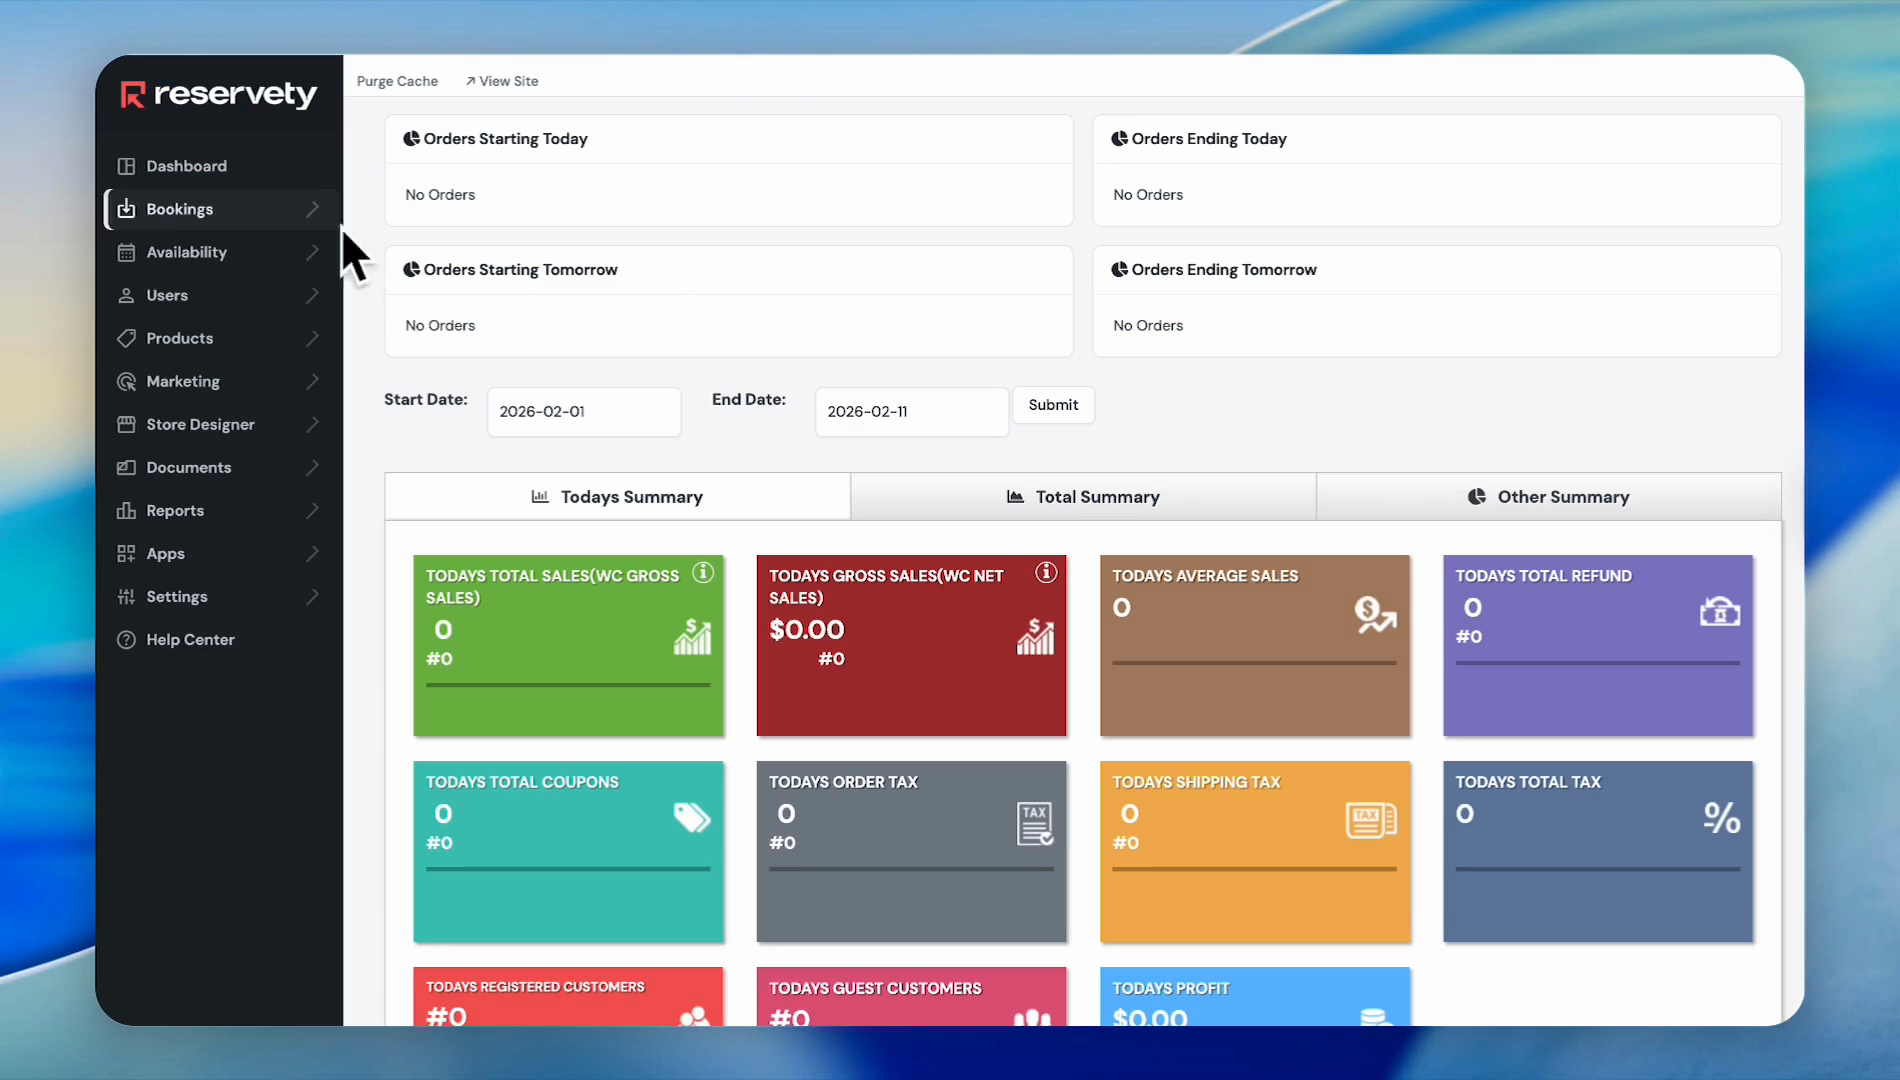
1
Click on Products on the left sidebar.
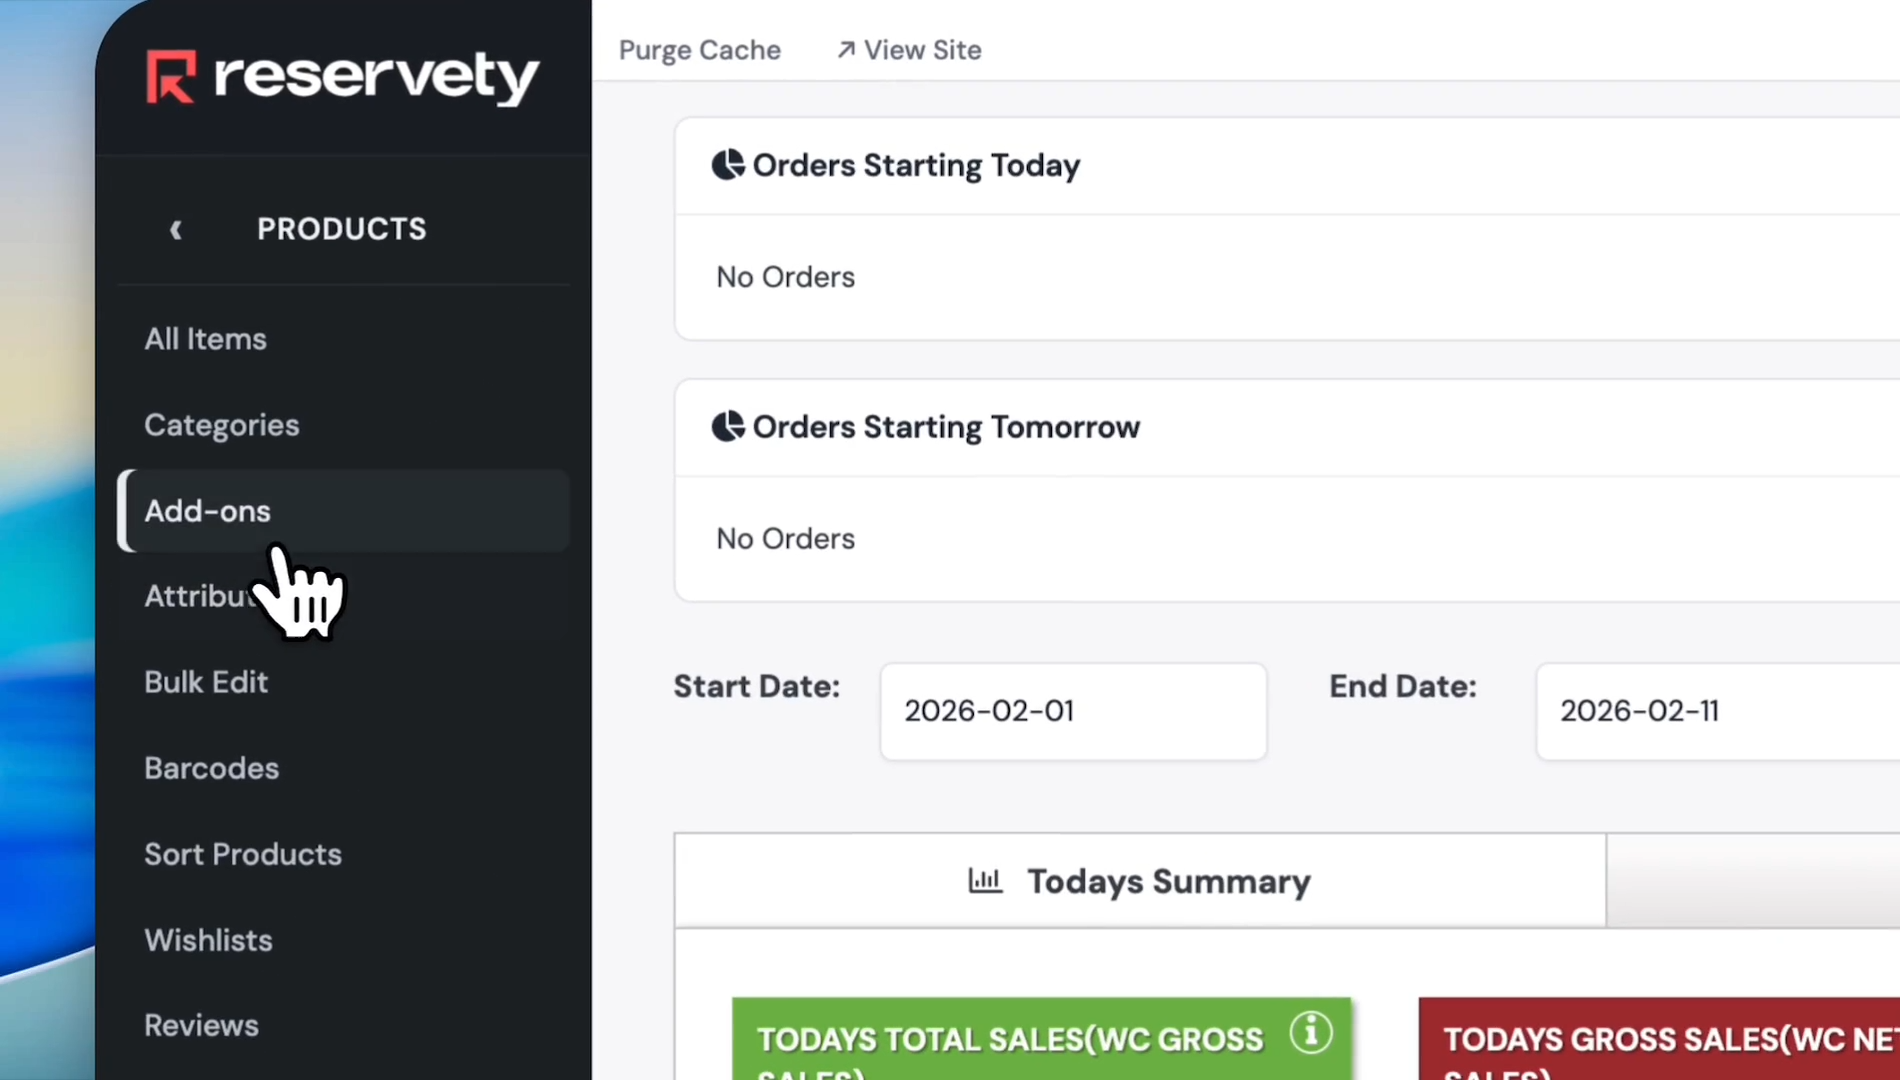
2
Click on Add-ons in the menu.
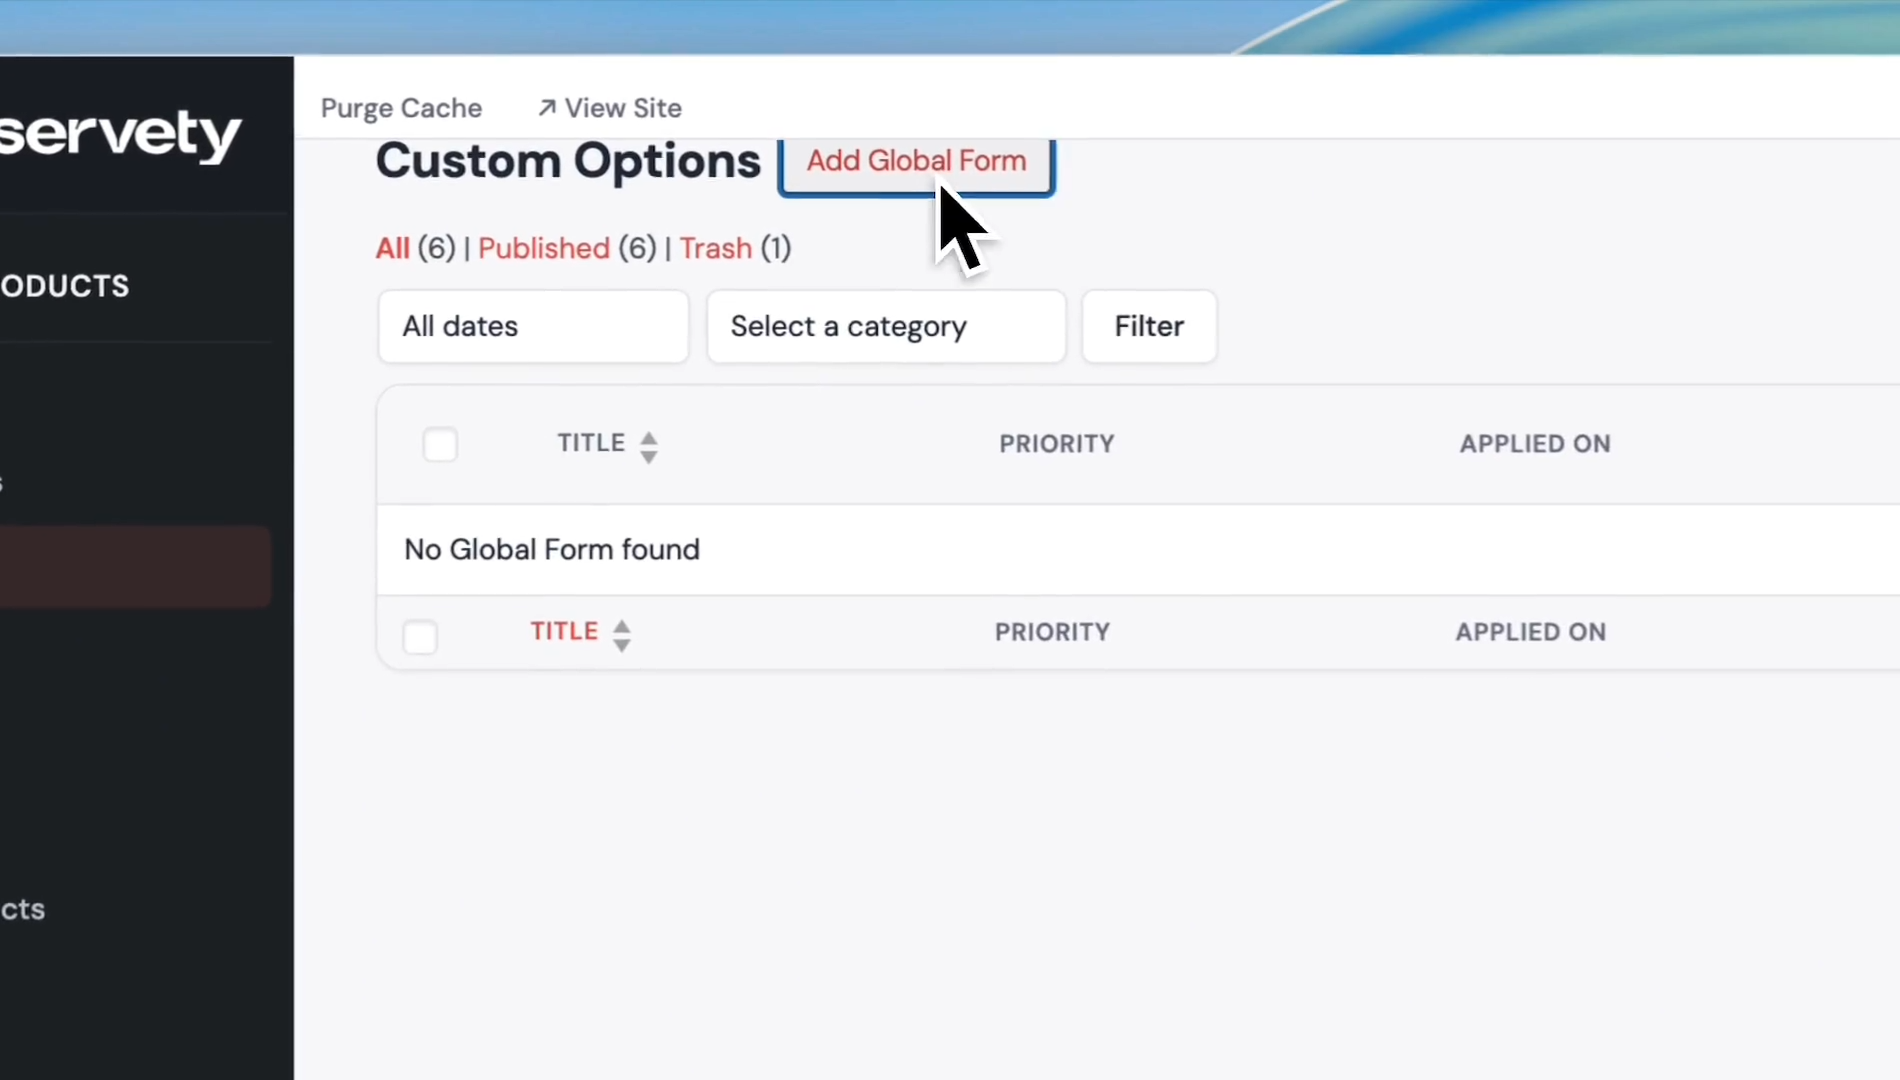
3
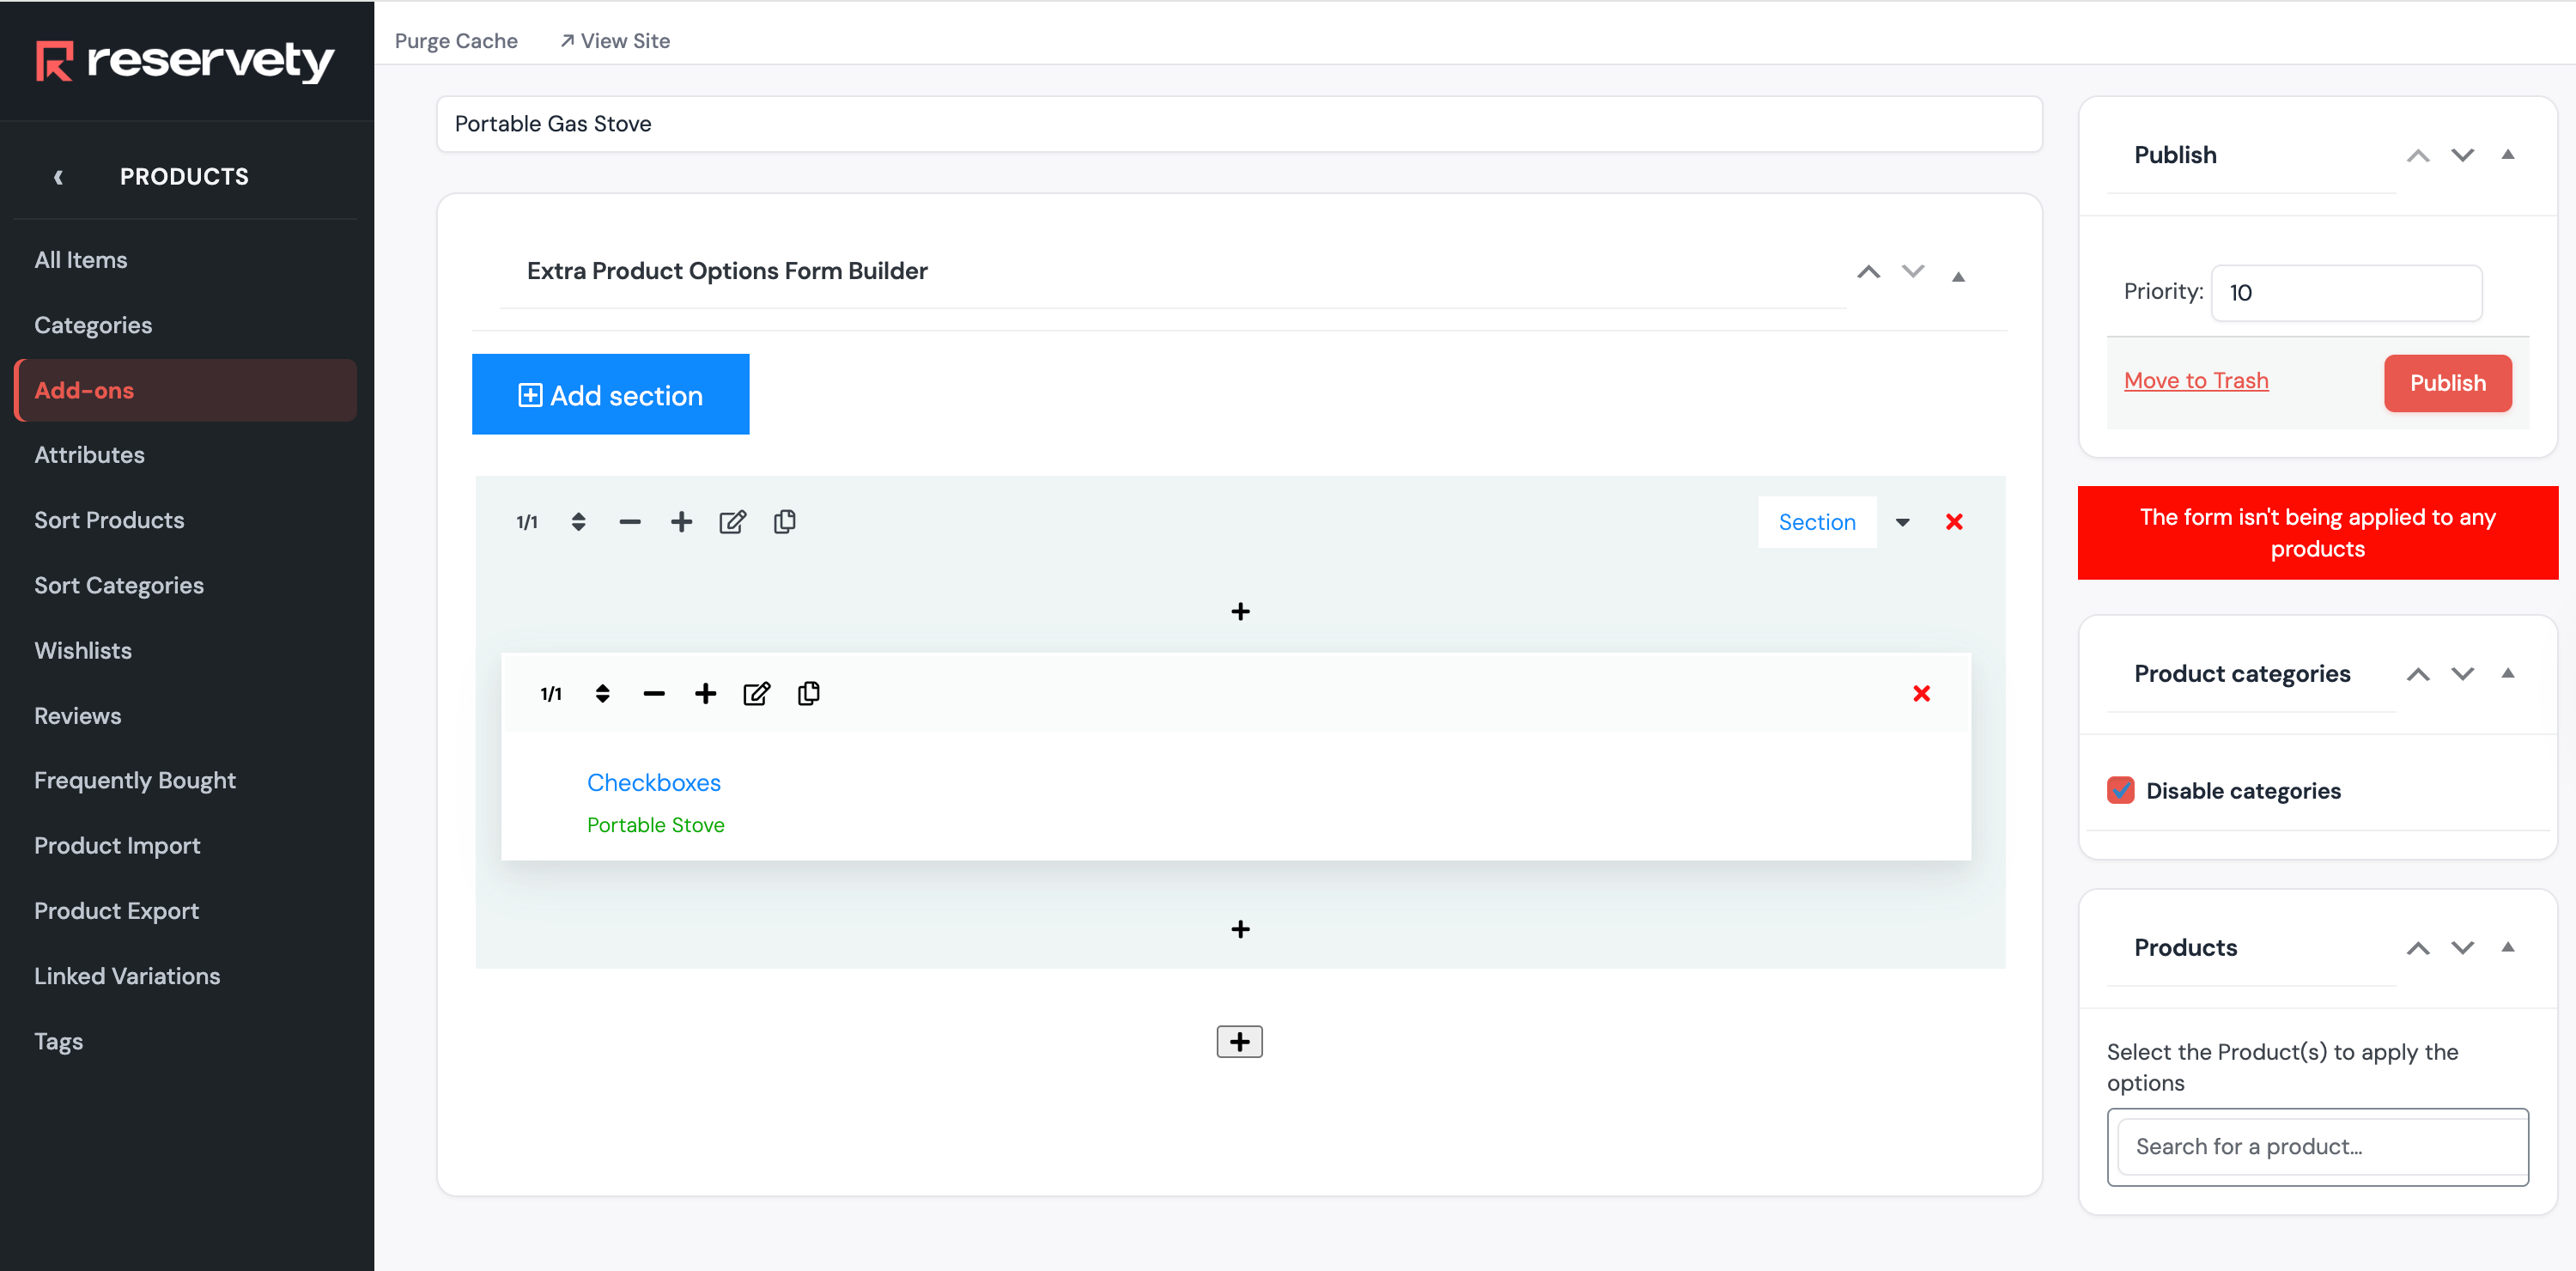
Click the Add Global Form button.
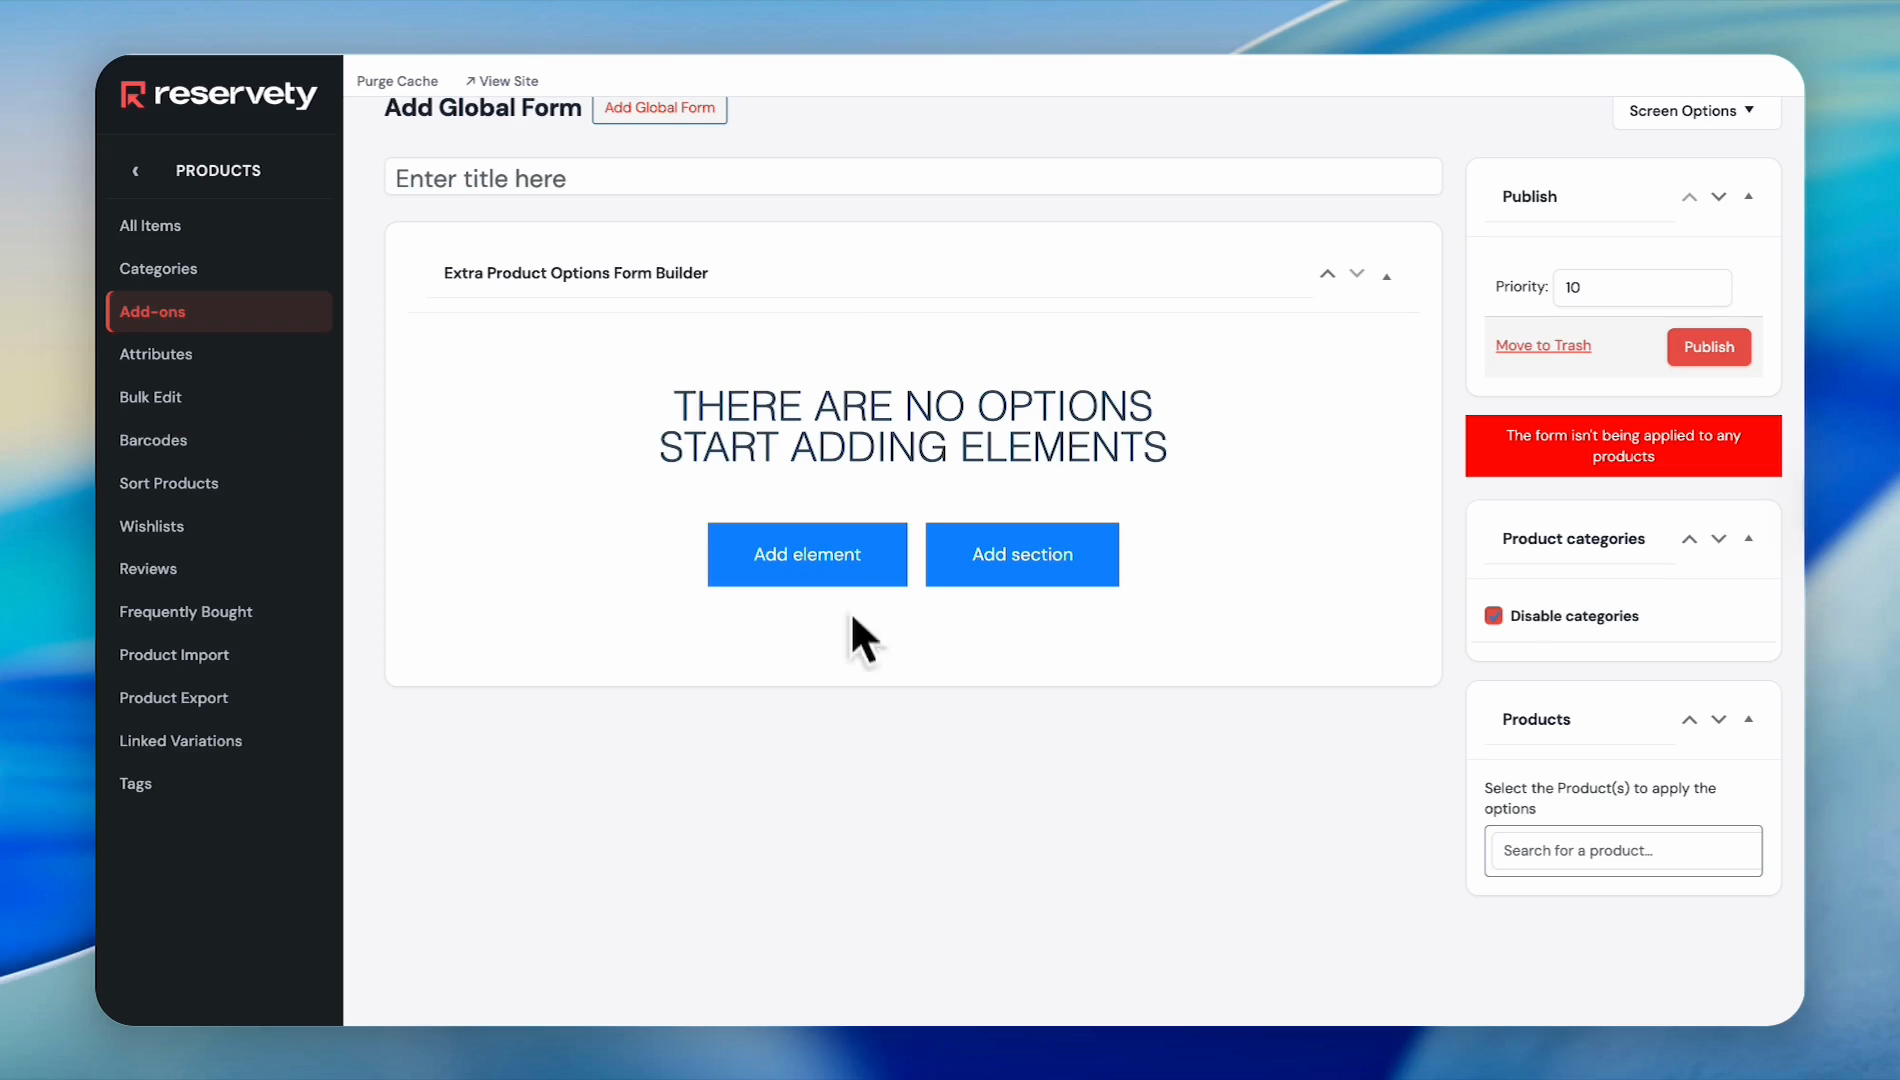
4
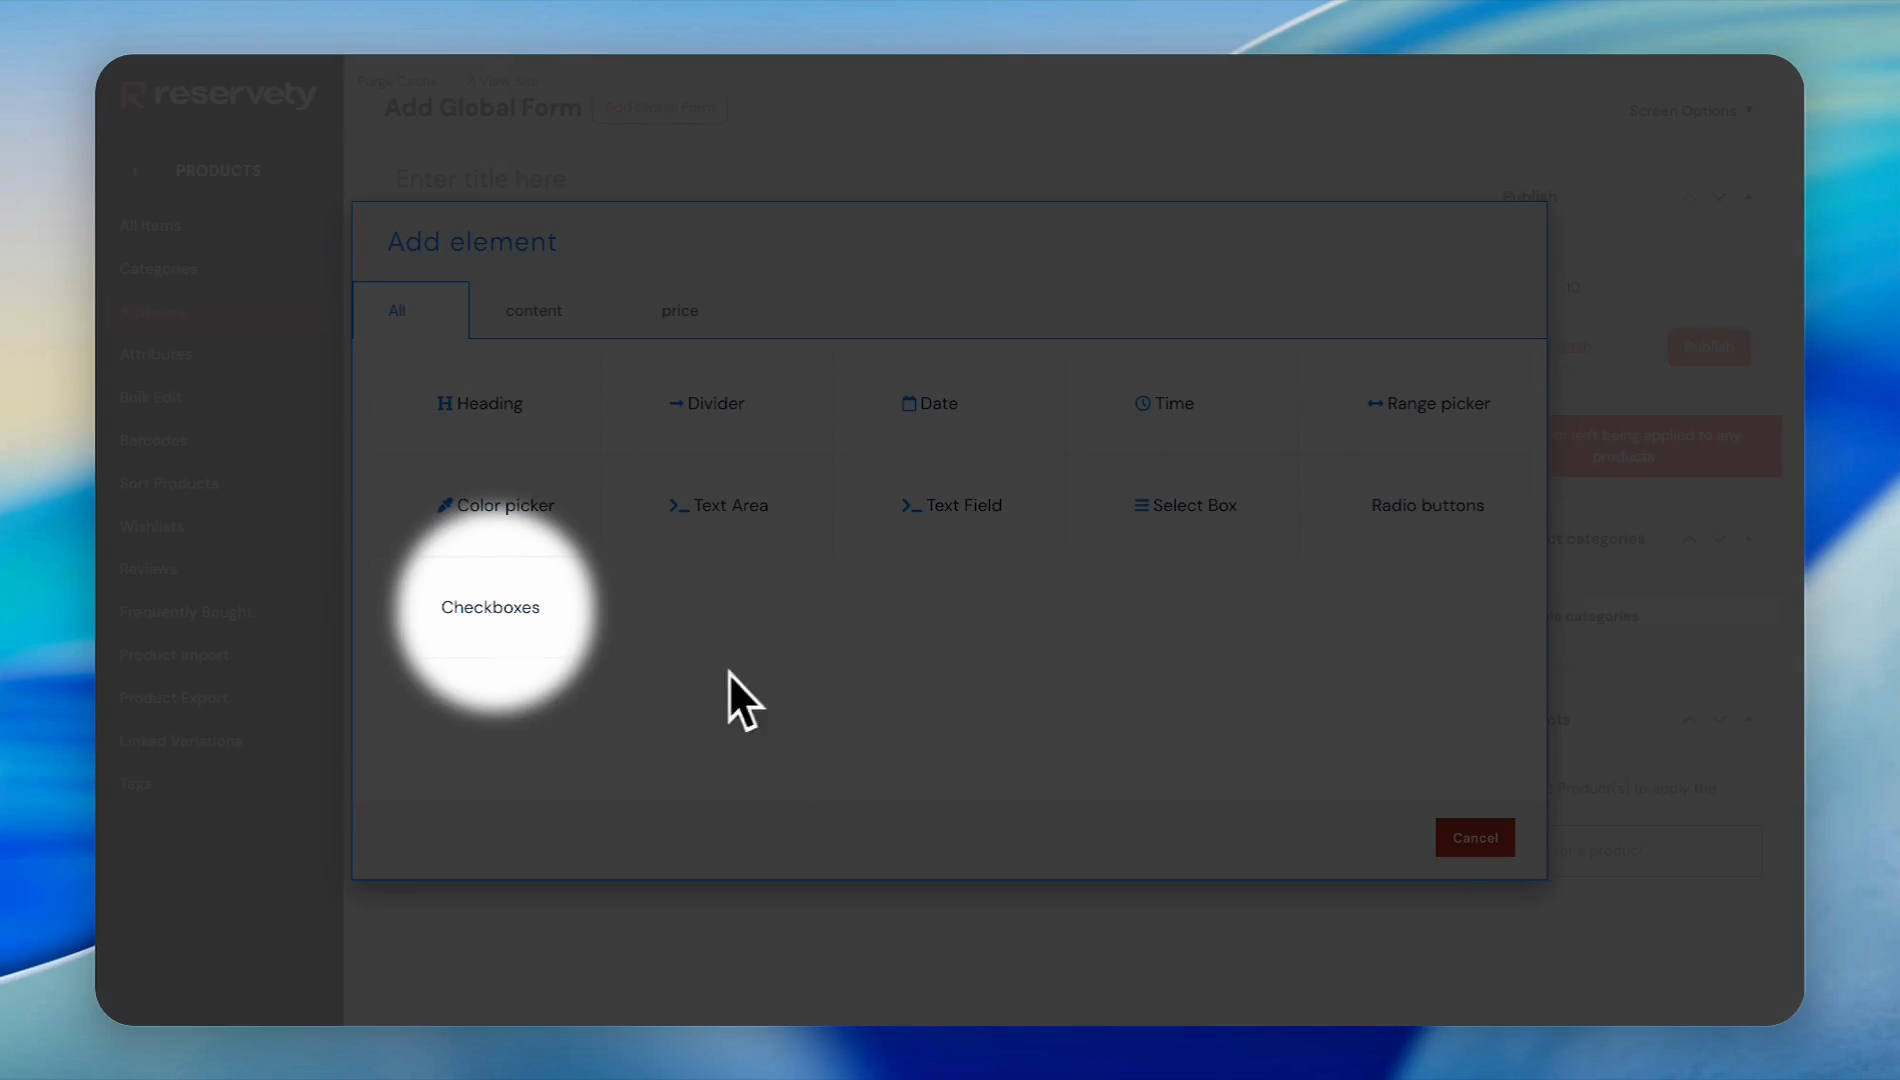
Click the Add element button.
Here you will see various options.For this example, we will choose checkboxes.
5
Click Checkboxes.
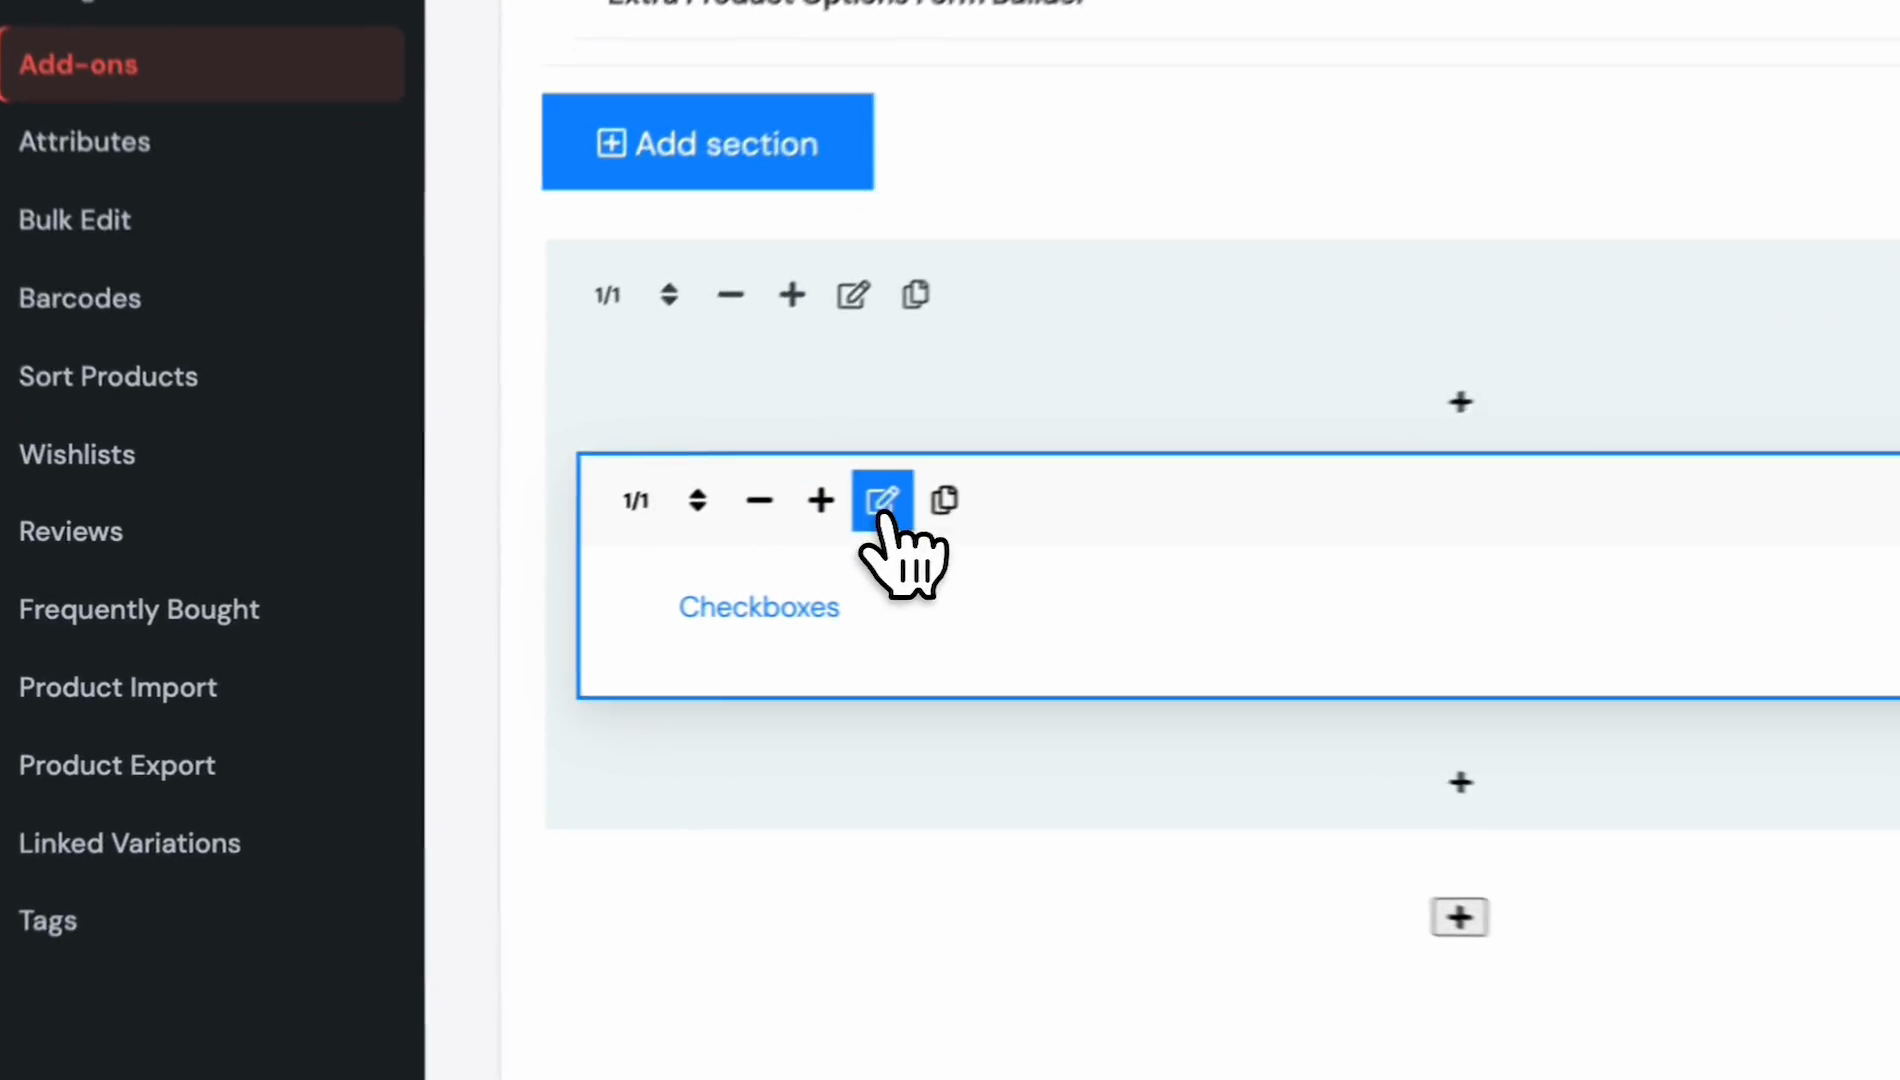
6
Click the Edit button.
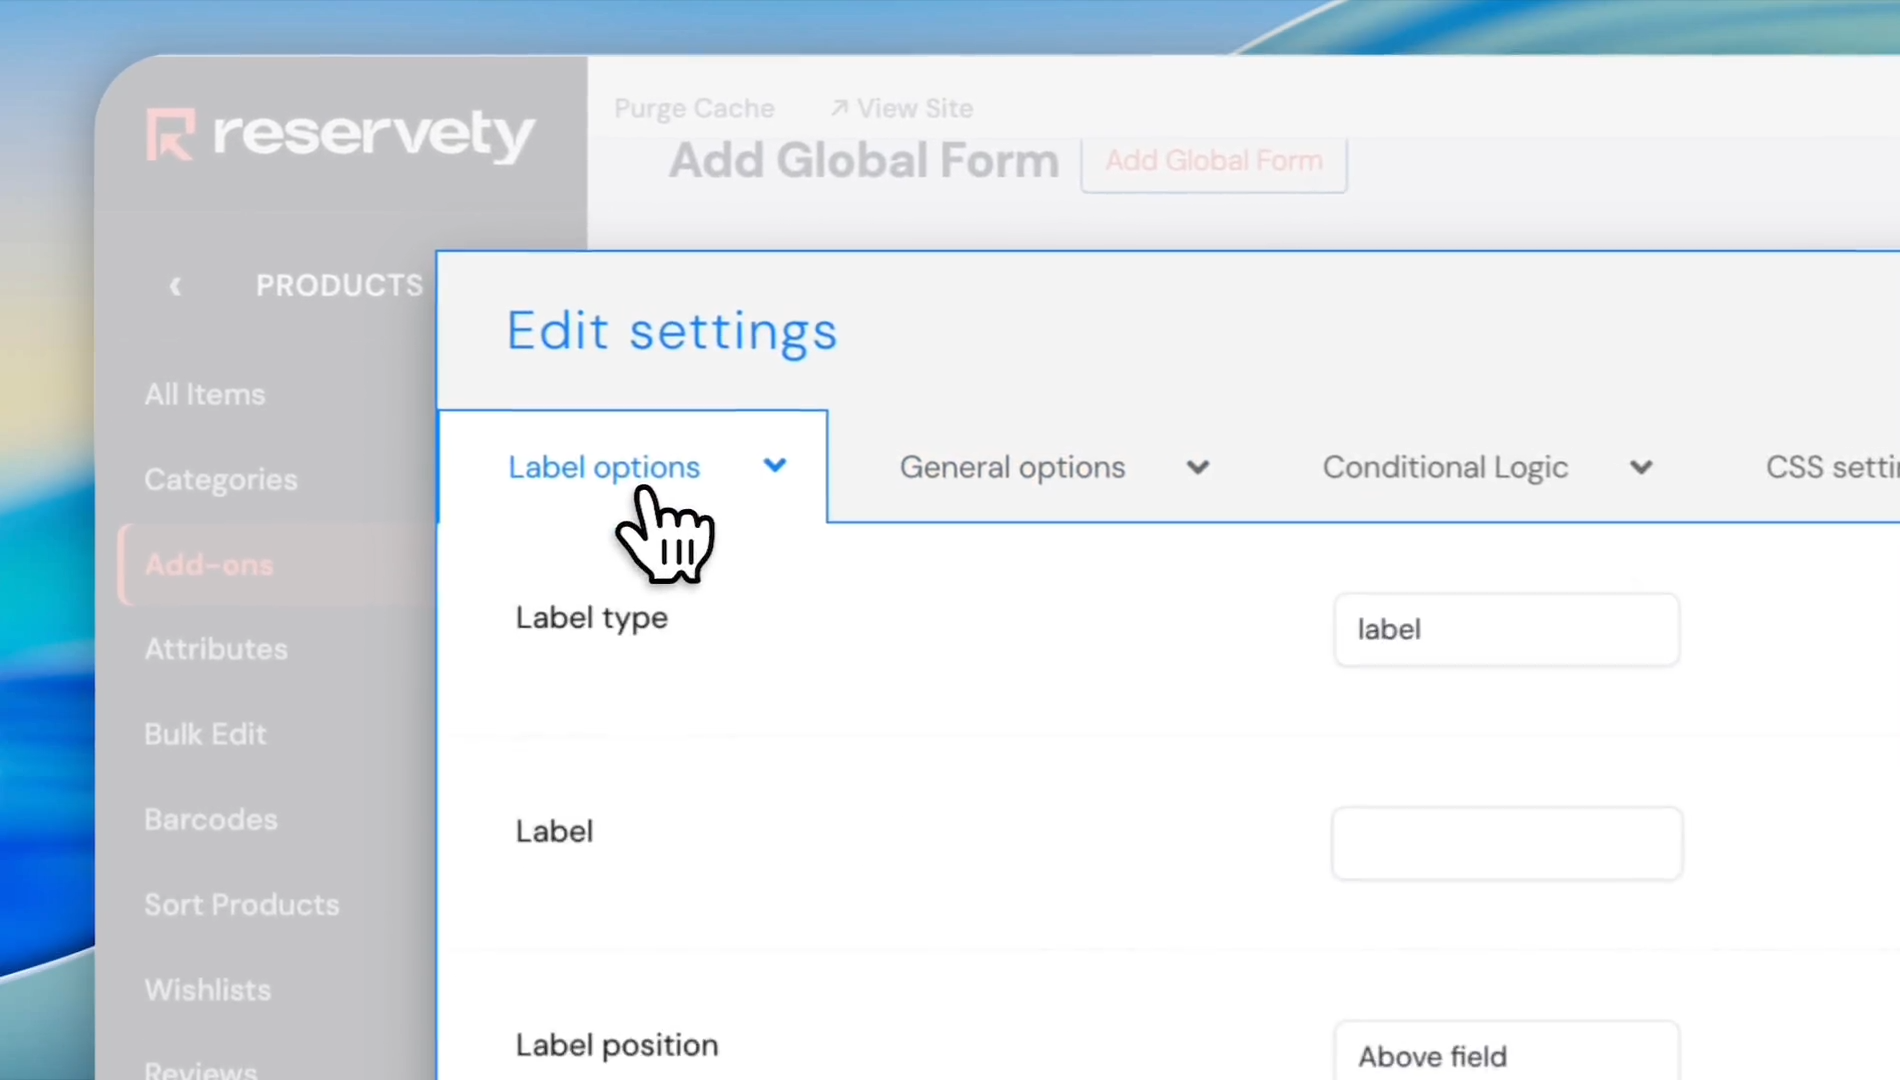
7
Click the Label options tab.
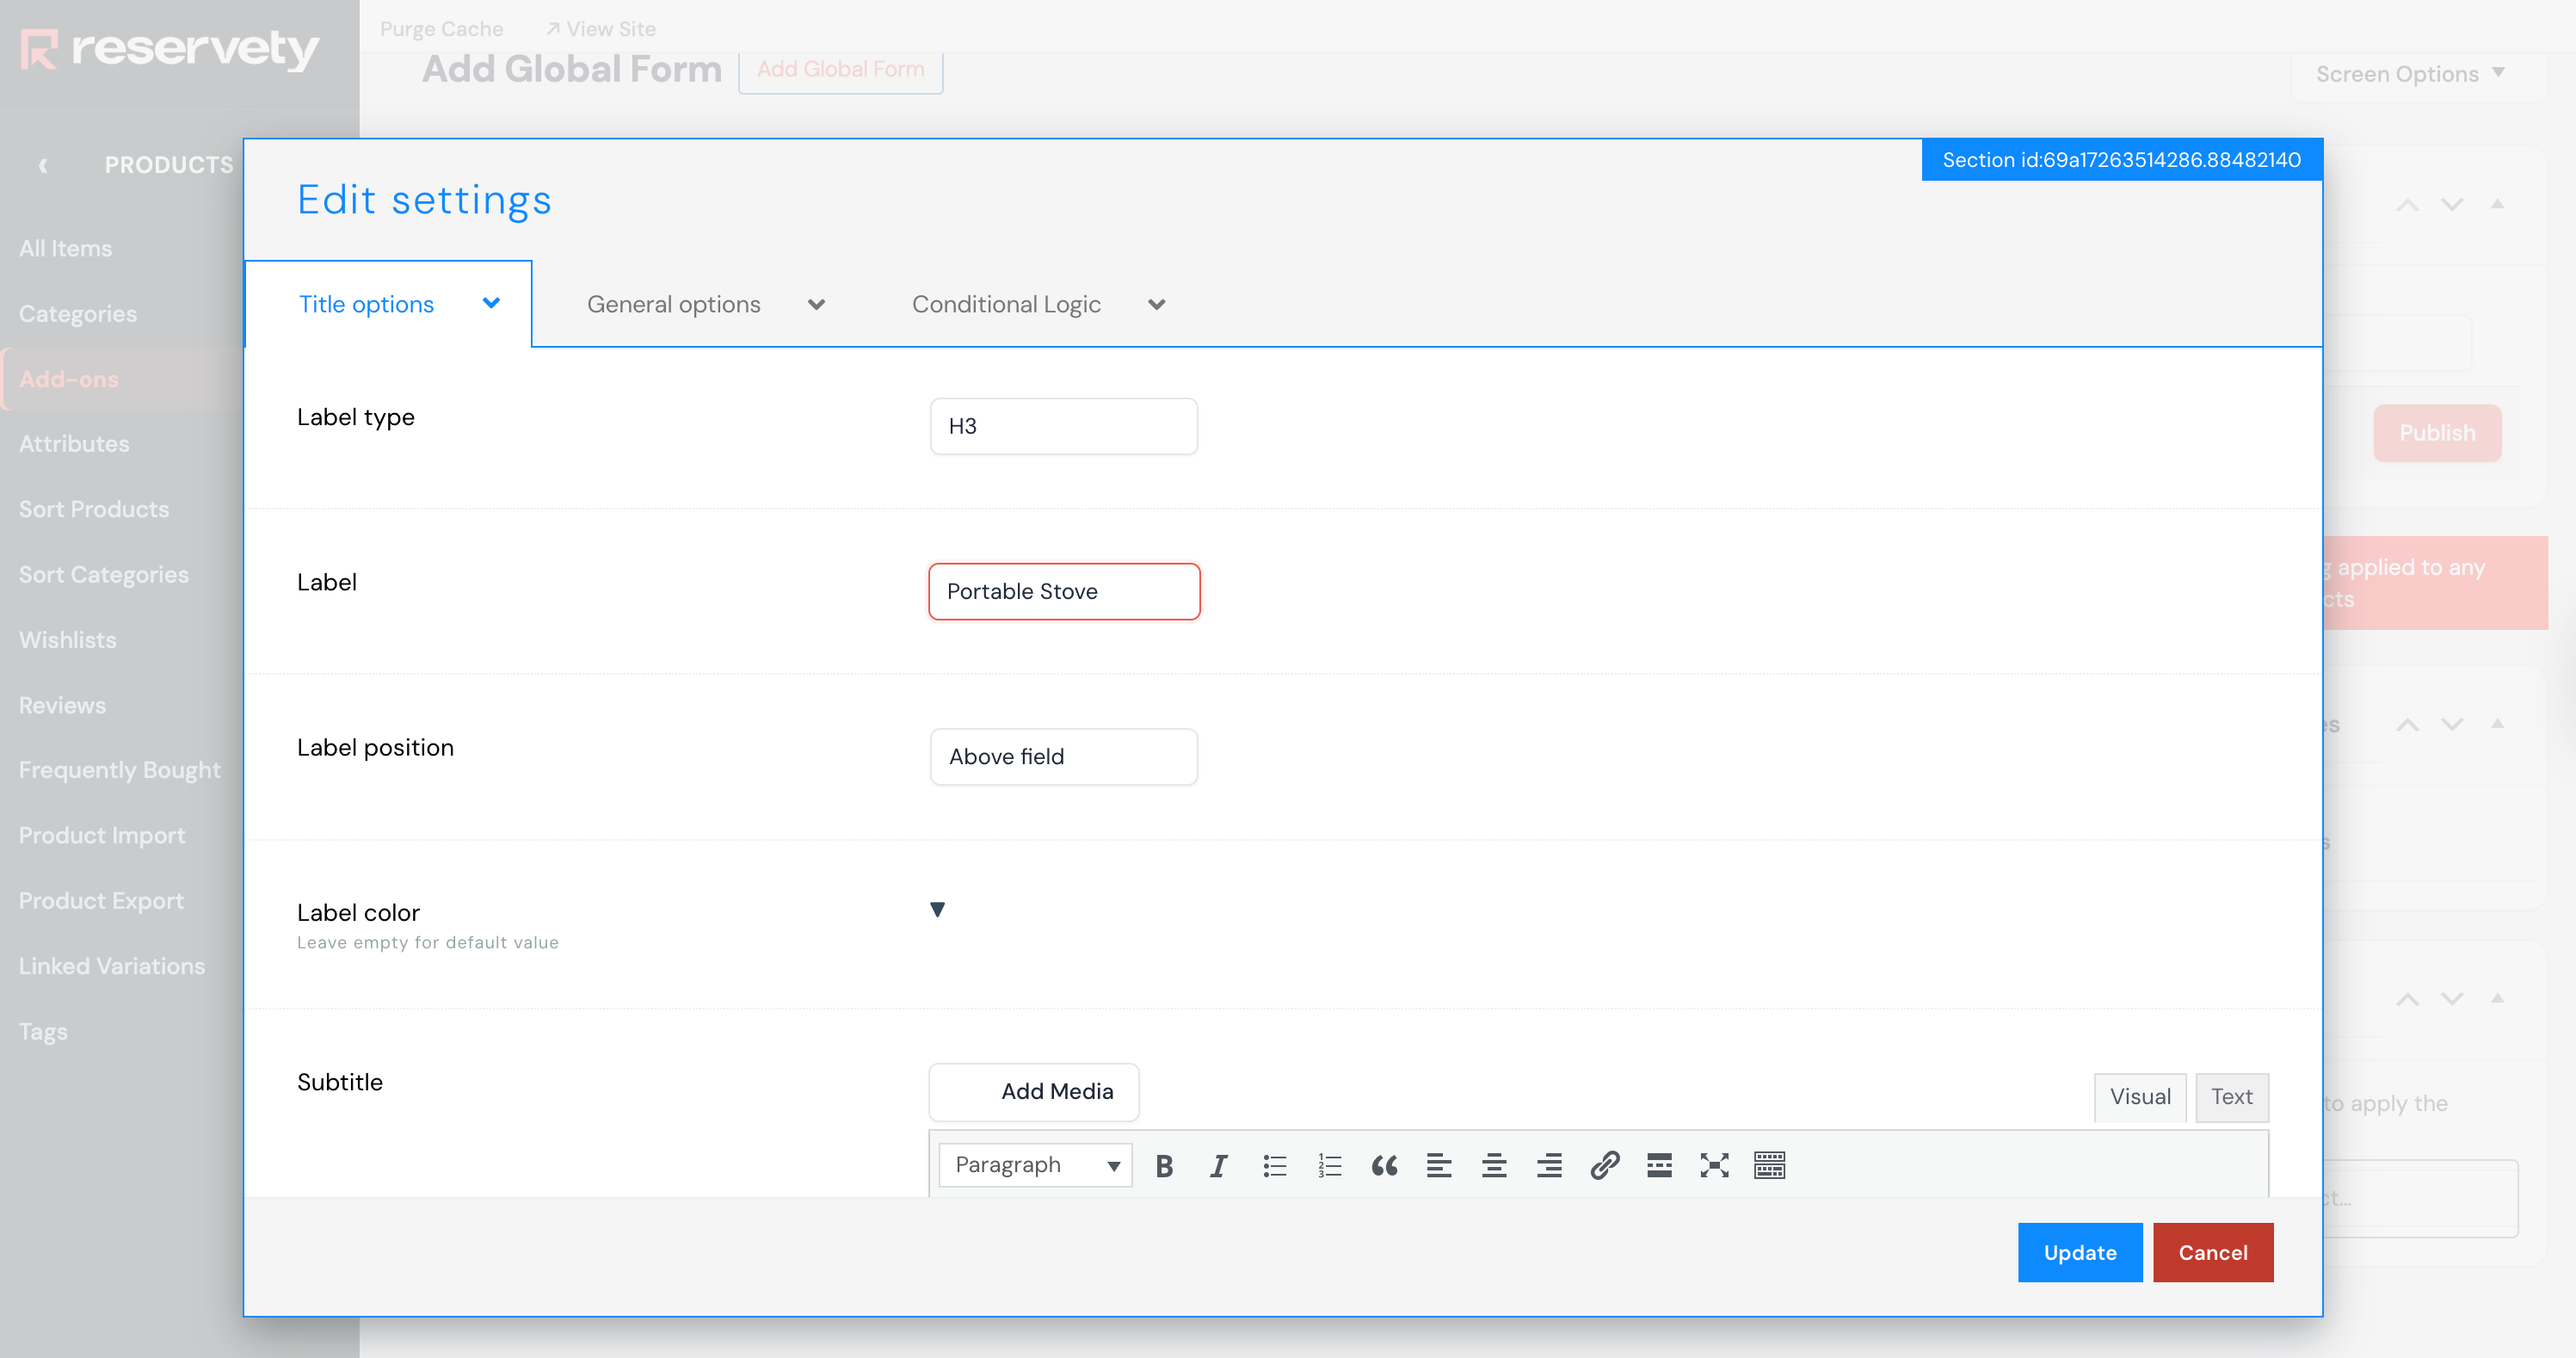
8
Name your add-on.For this example, we will use a portable stove.
9
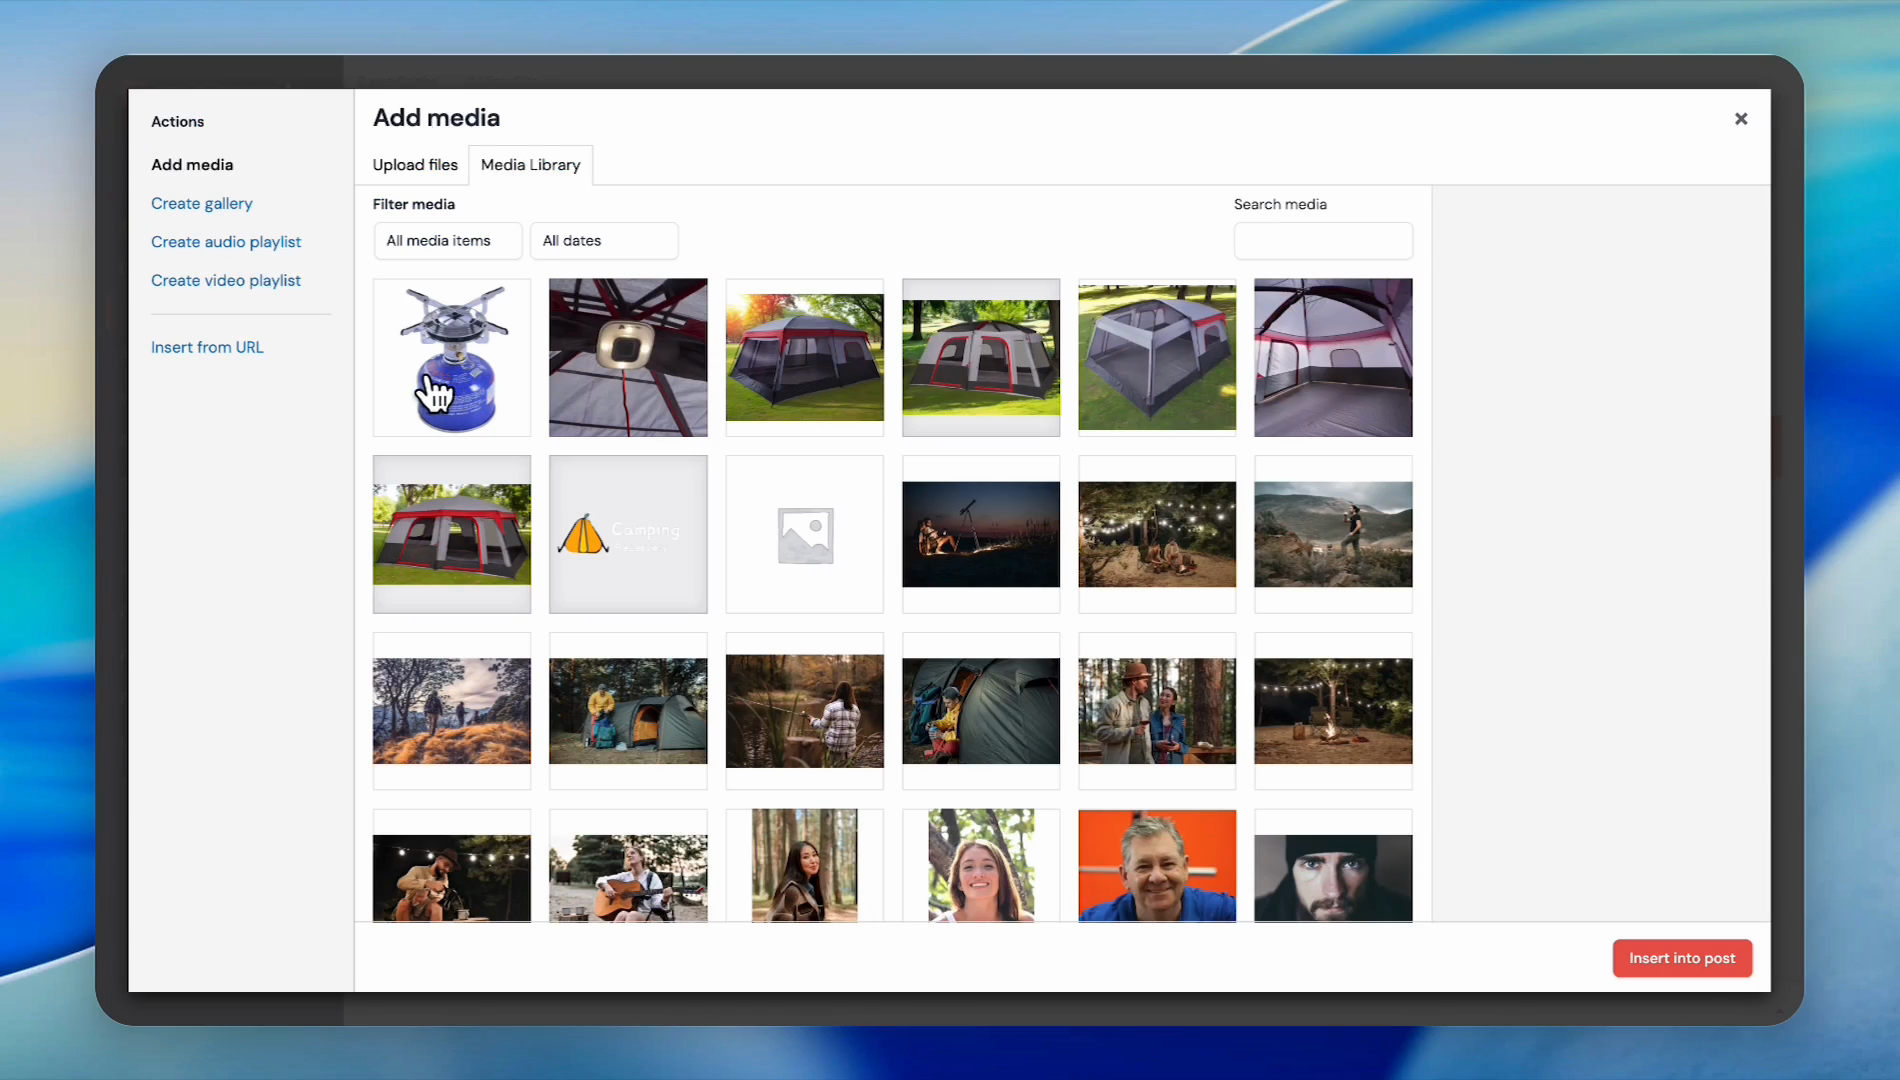
Click the Add Media button.
10
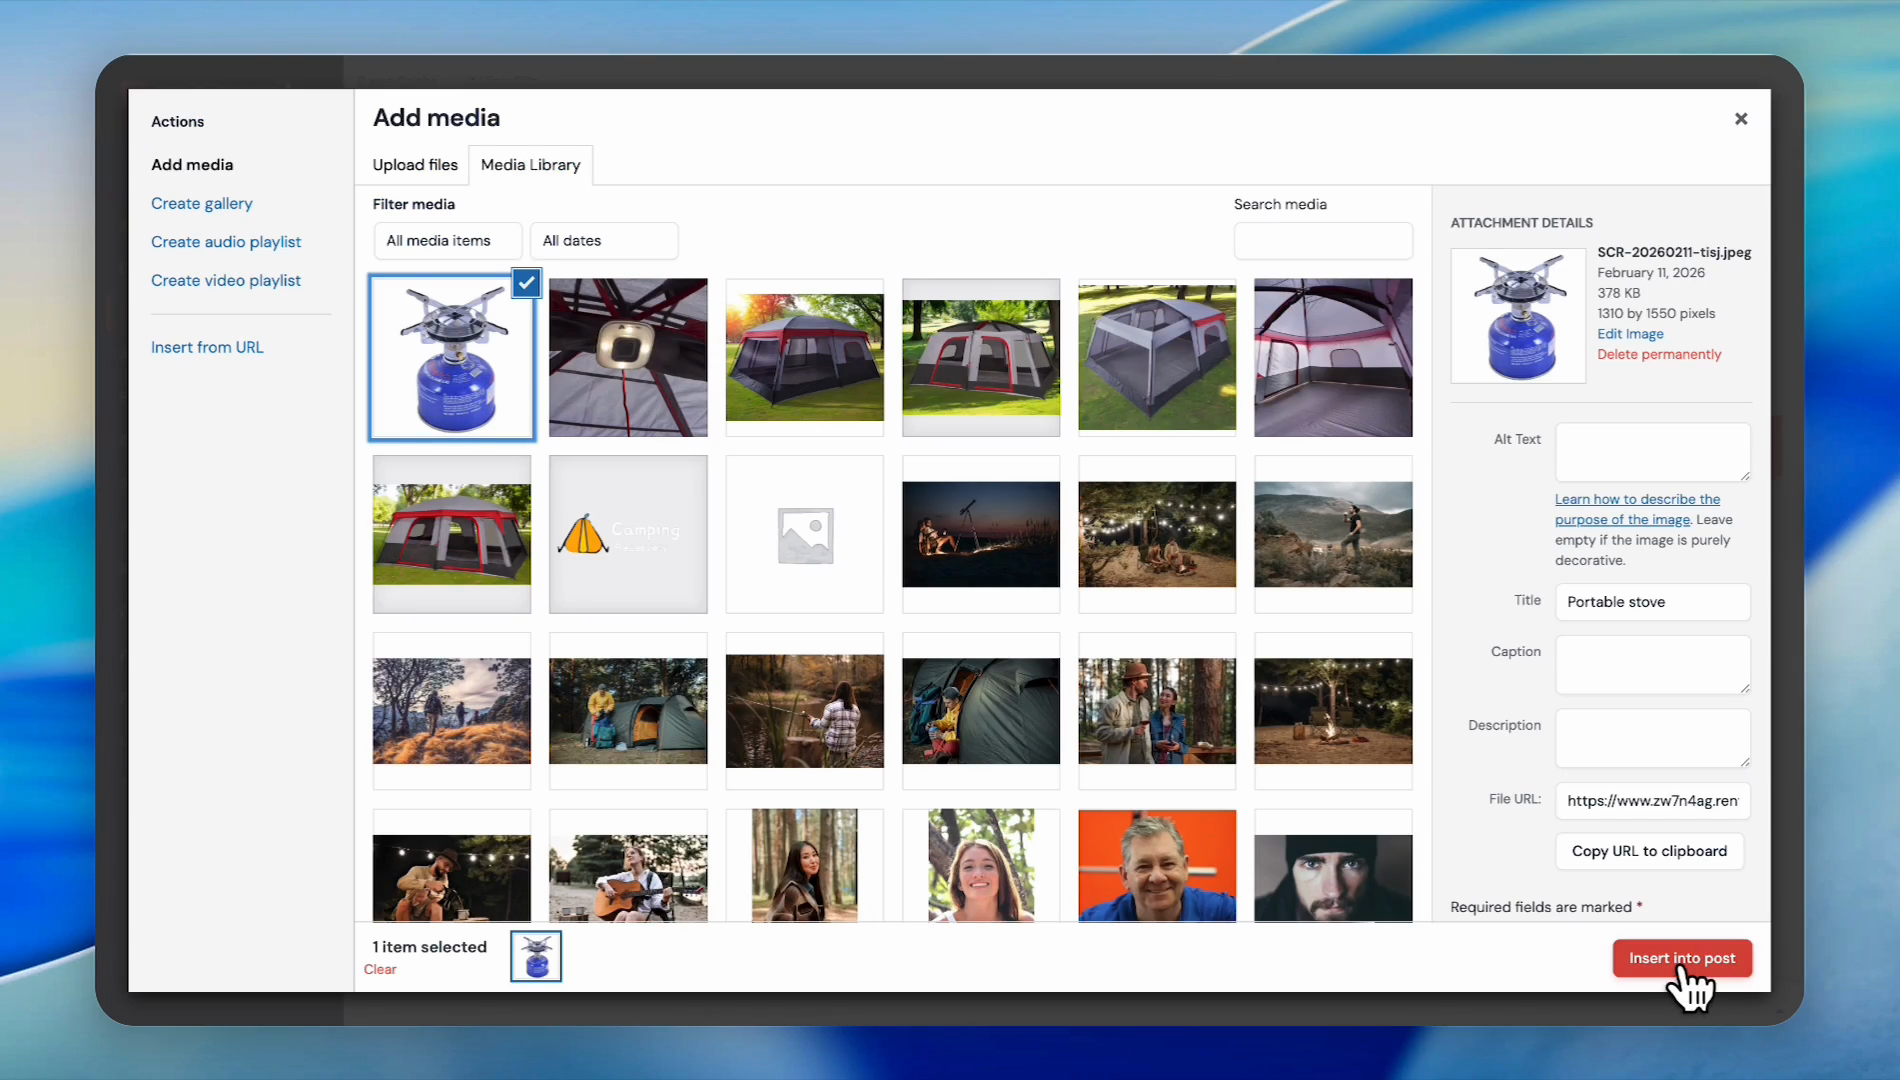
Select an image. It is optional. You can create add-ons without an image.
11
Click the Insert into post button.
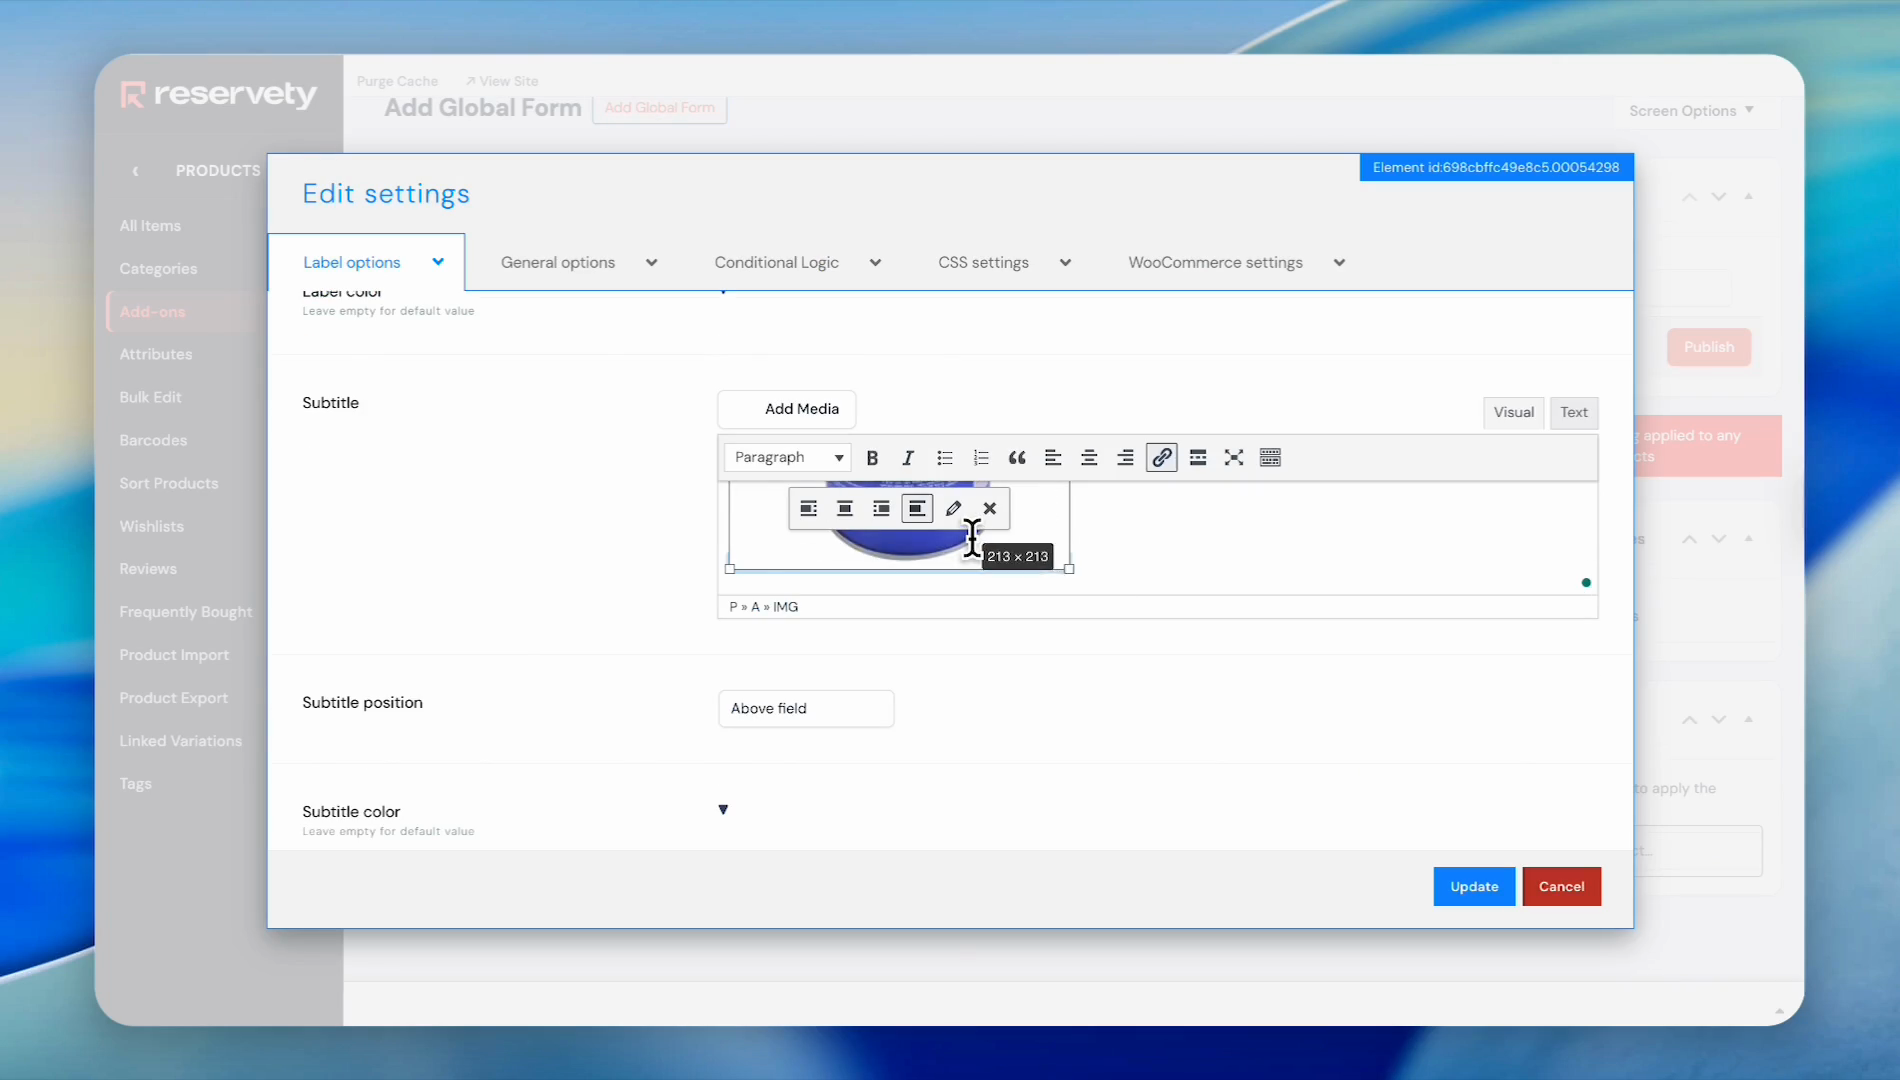
12
Adjust the size of the image.
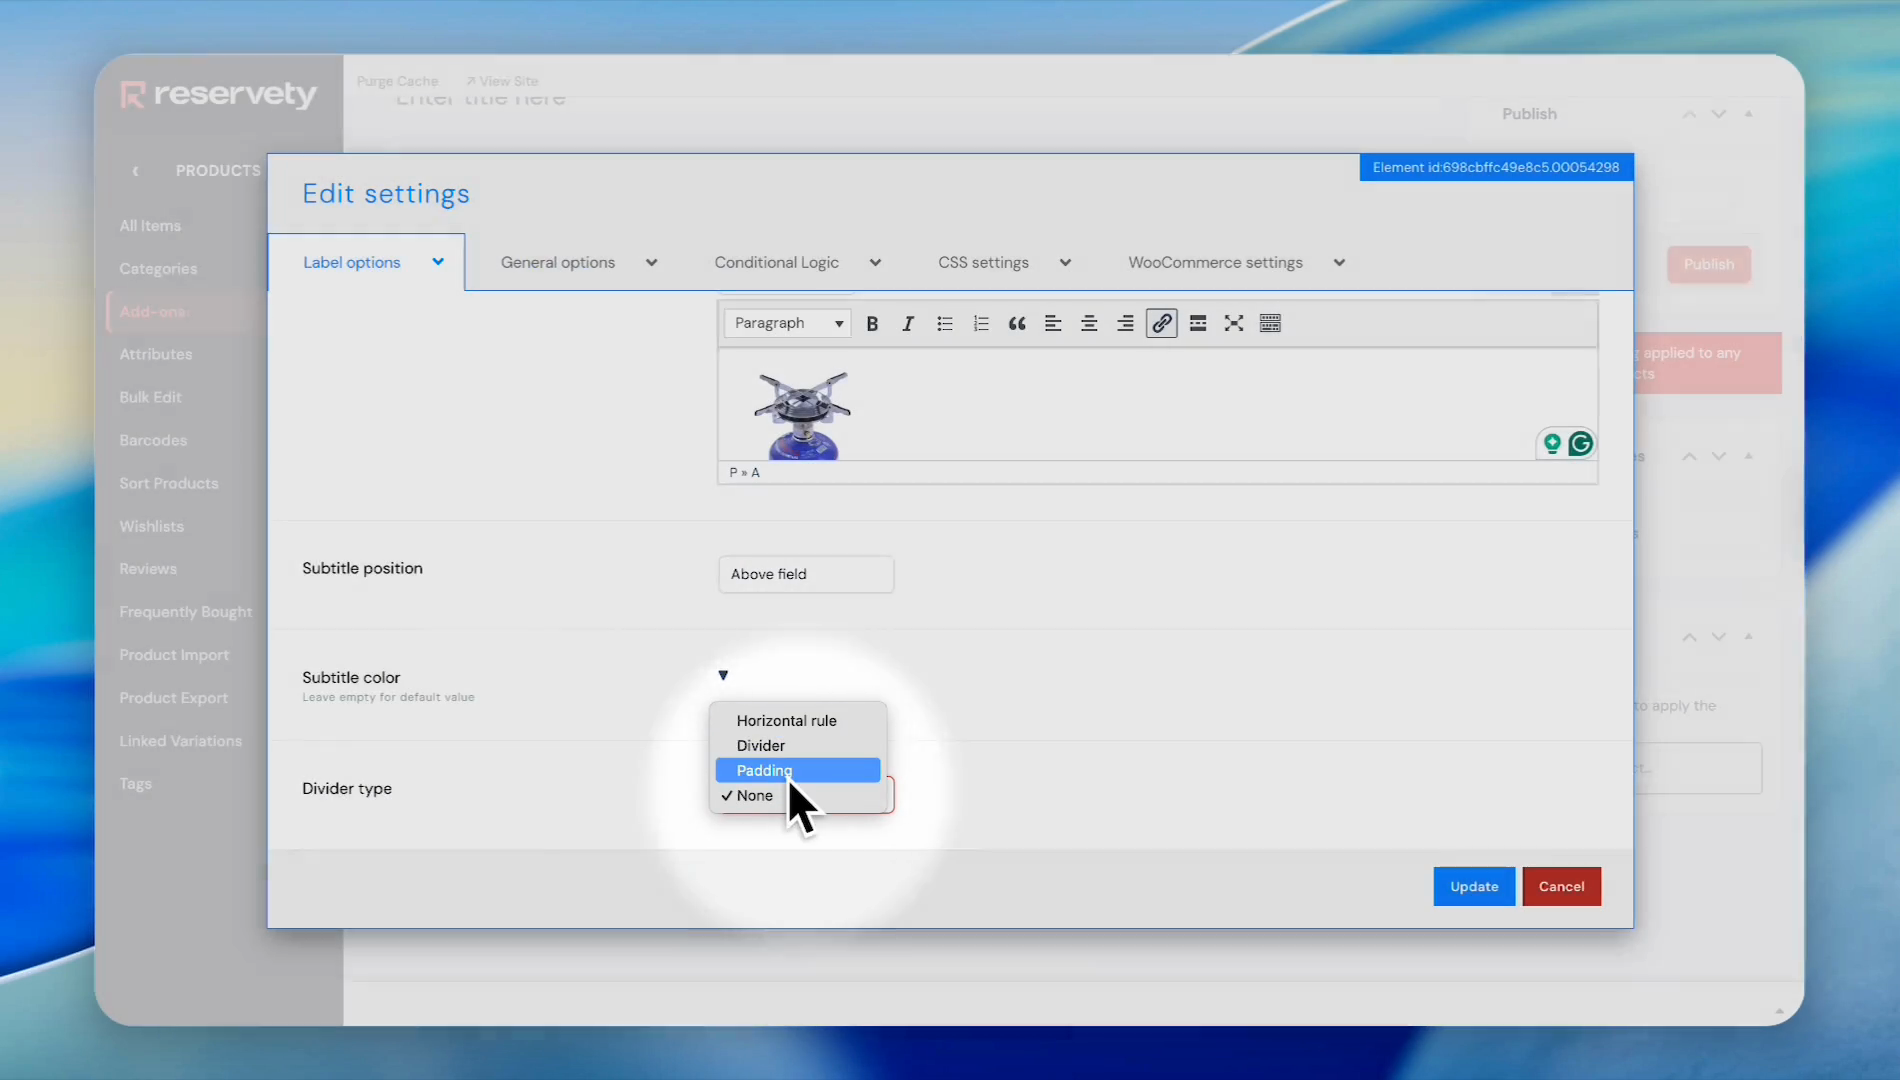
If you prefer a divider, select one of these three.
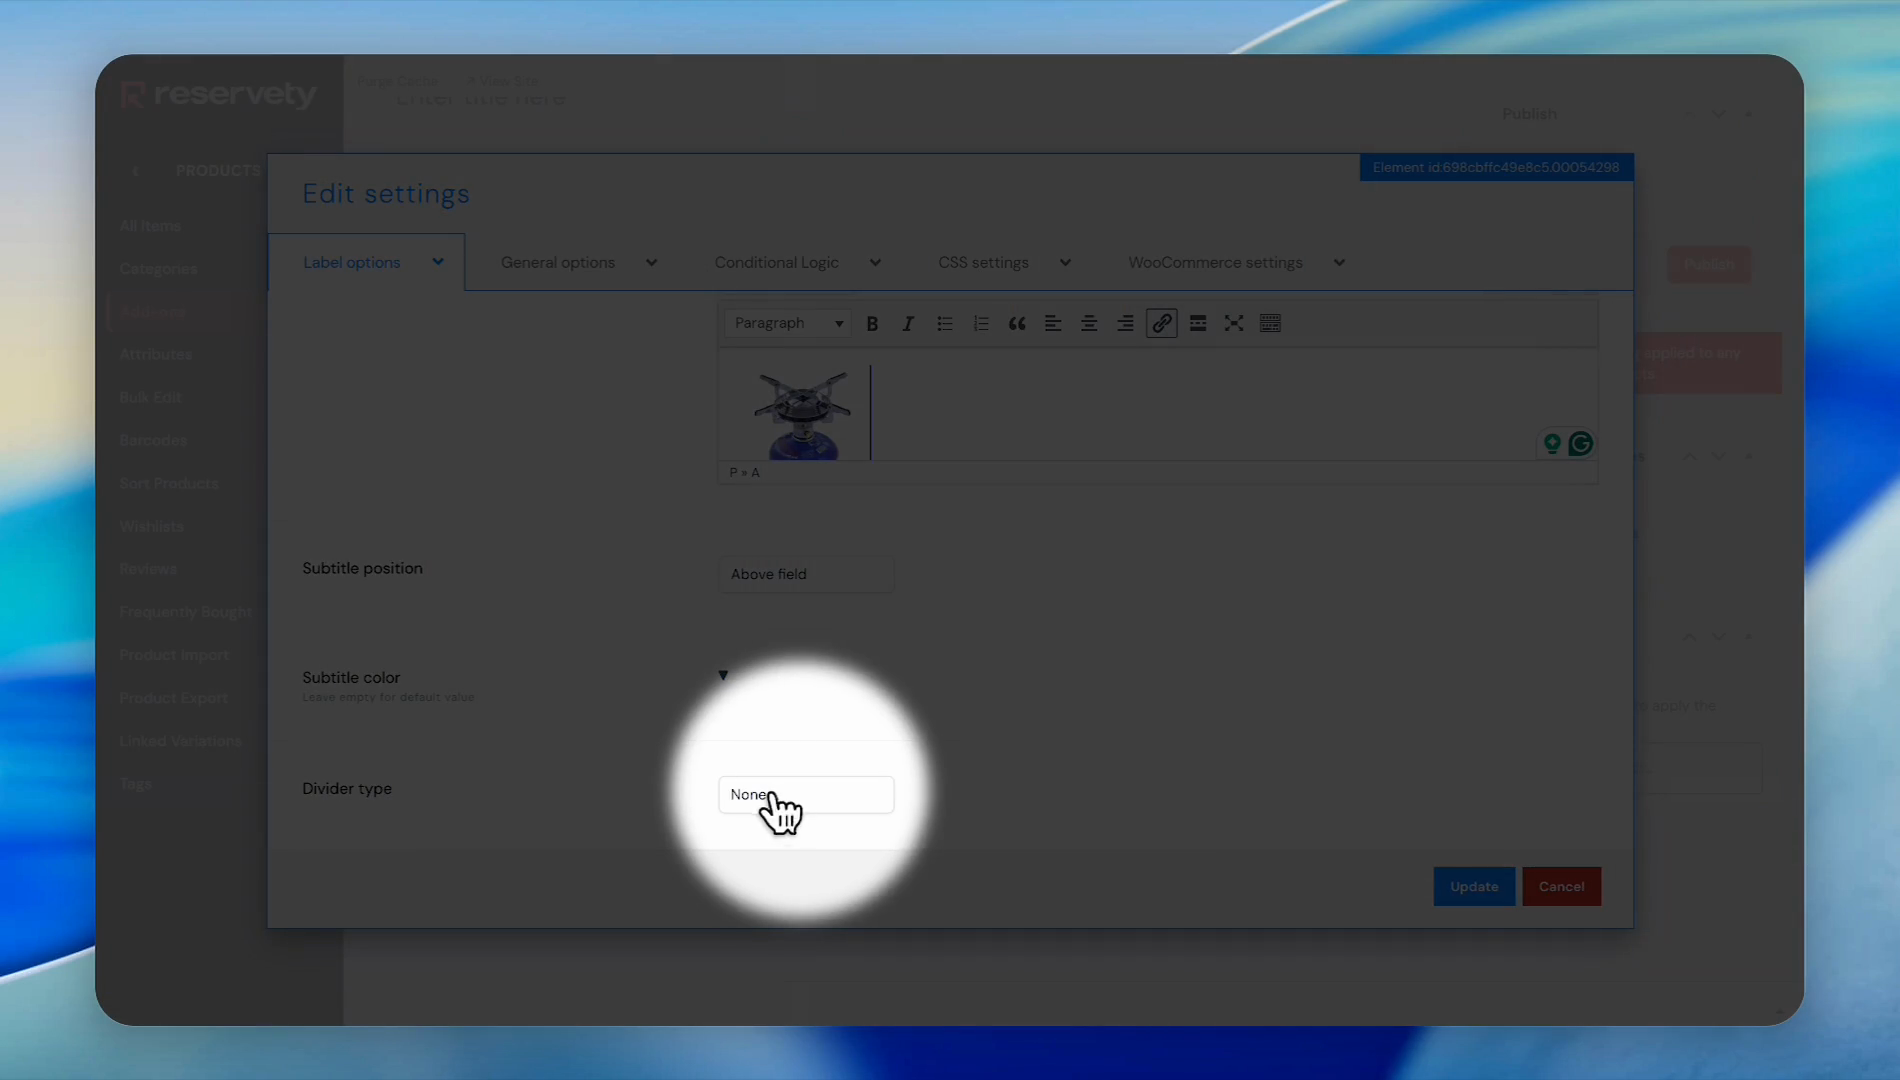
13
Click the Divider type dropdown.
We will choose padding.
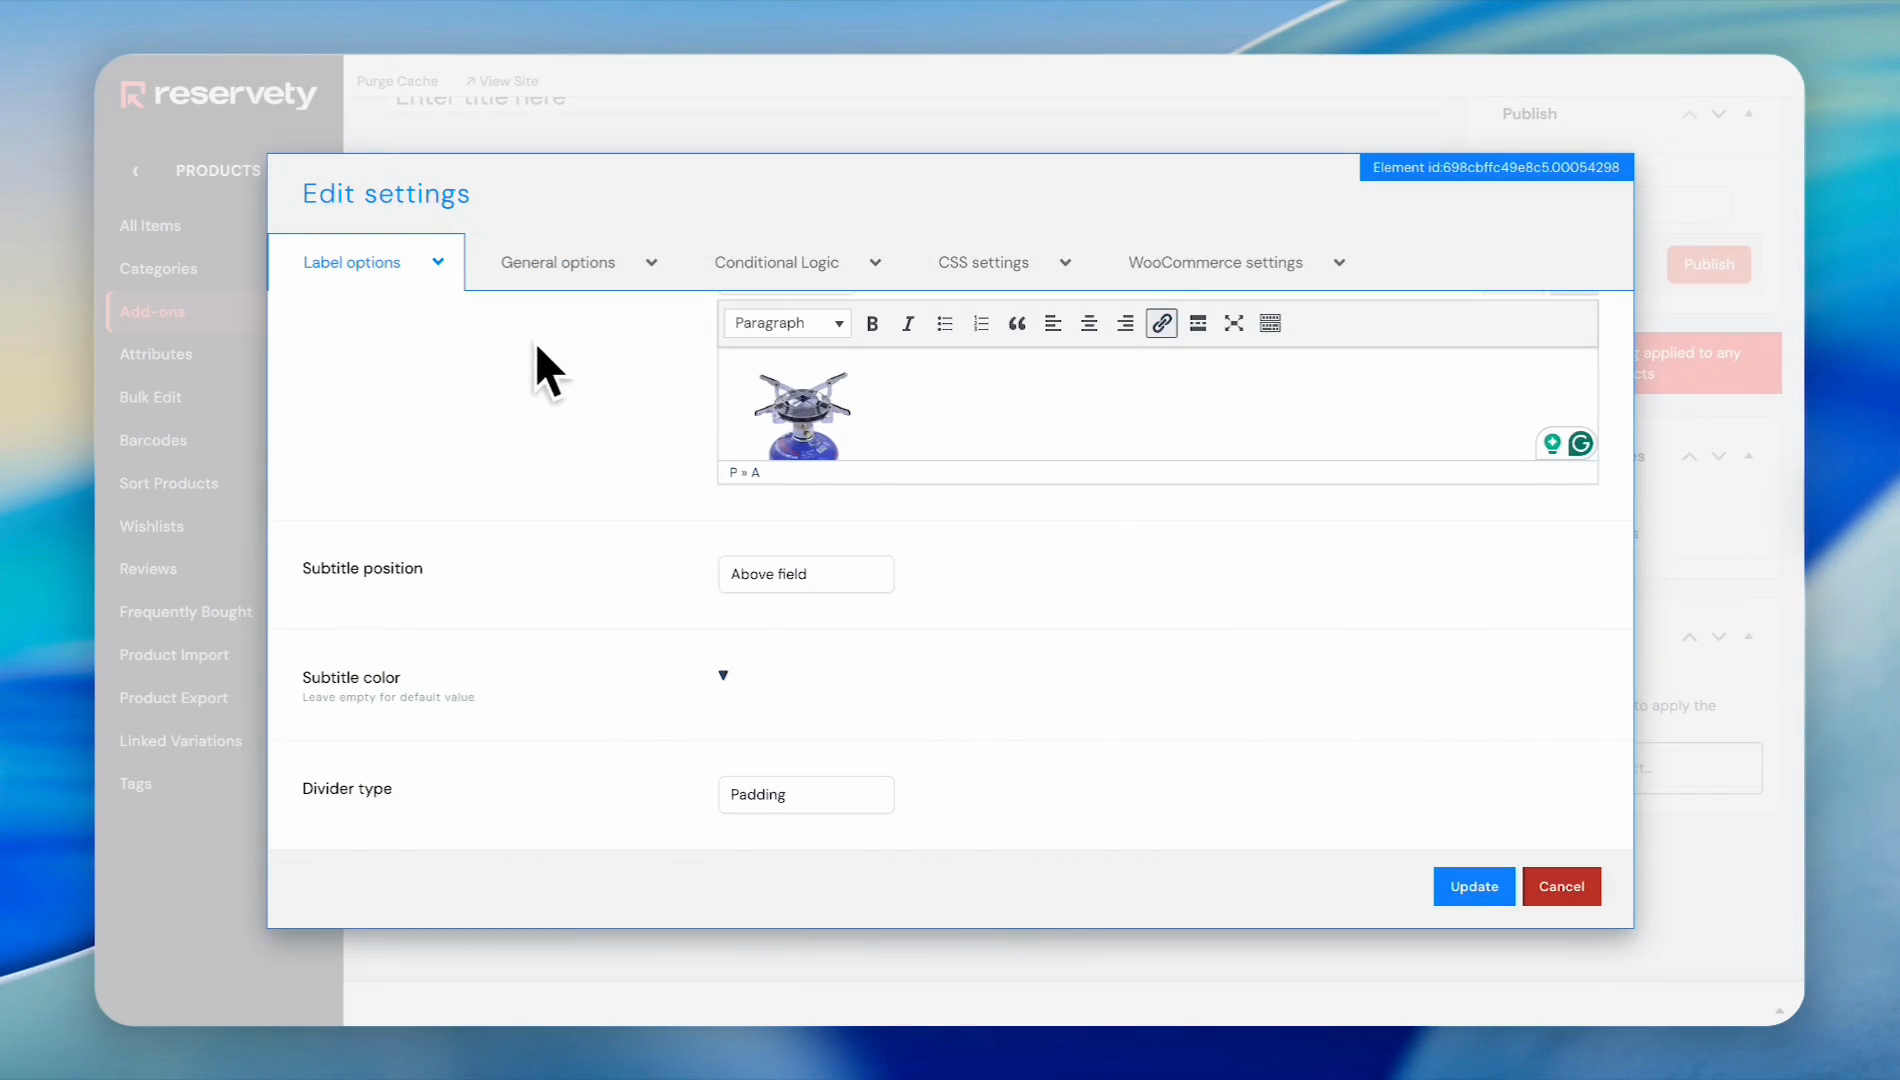
14
Select Padding.
15
Click the General options tab.
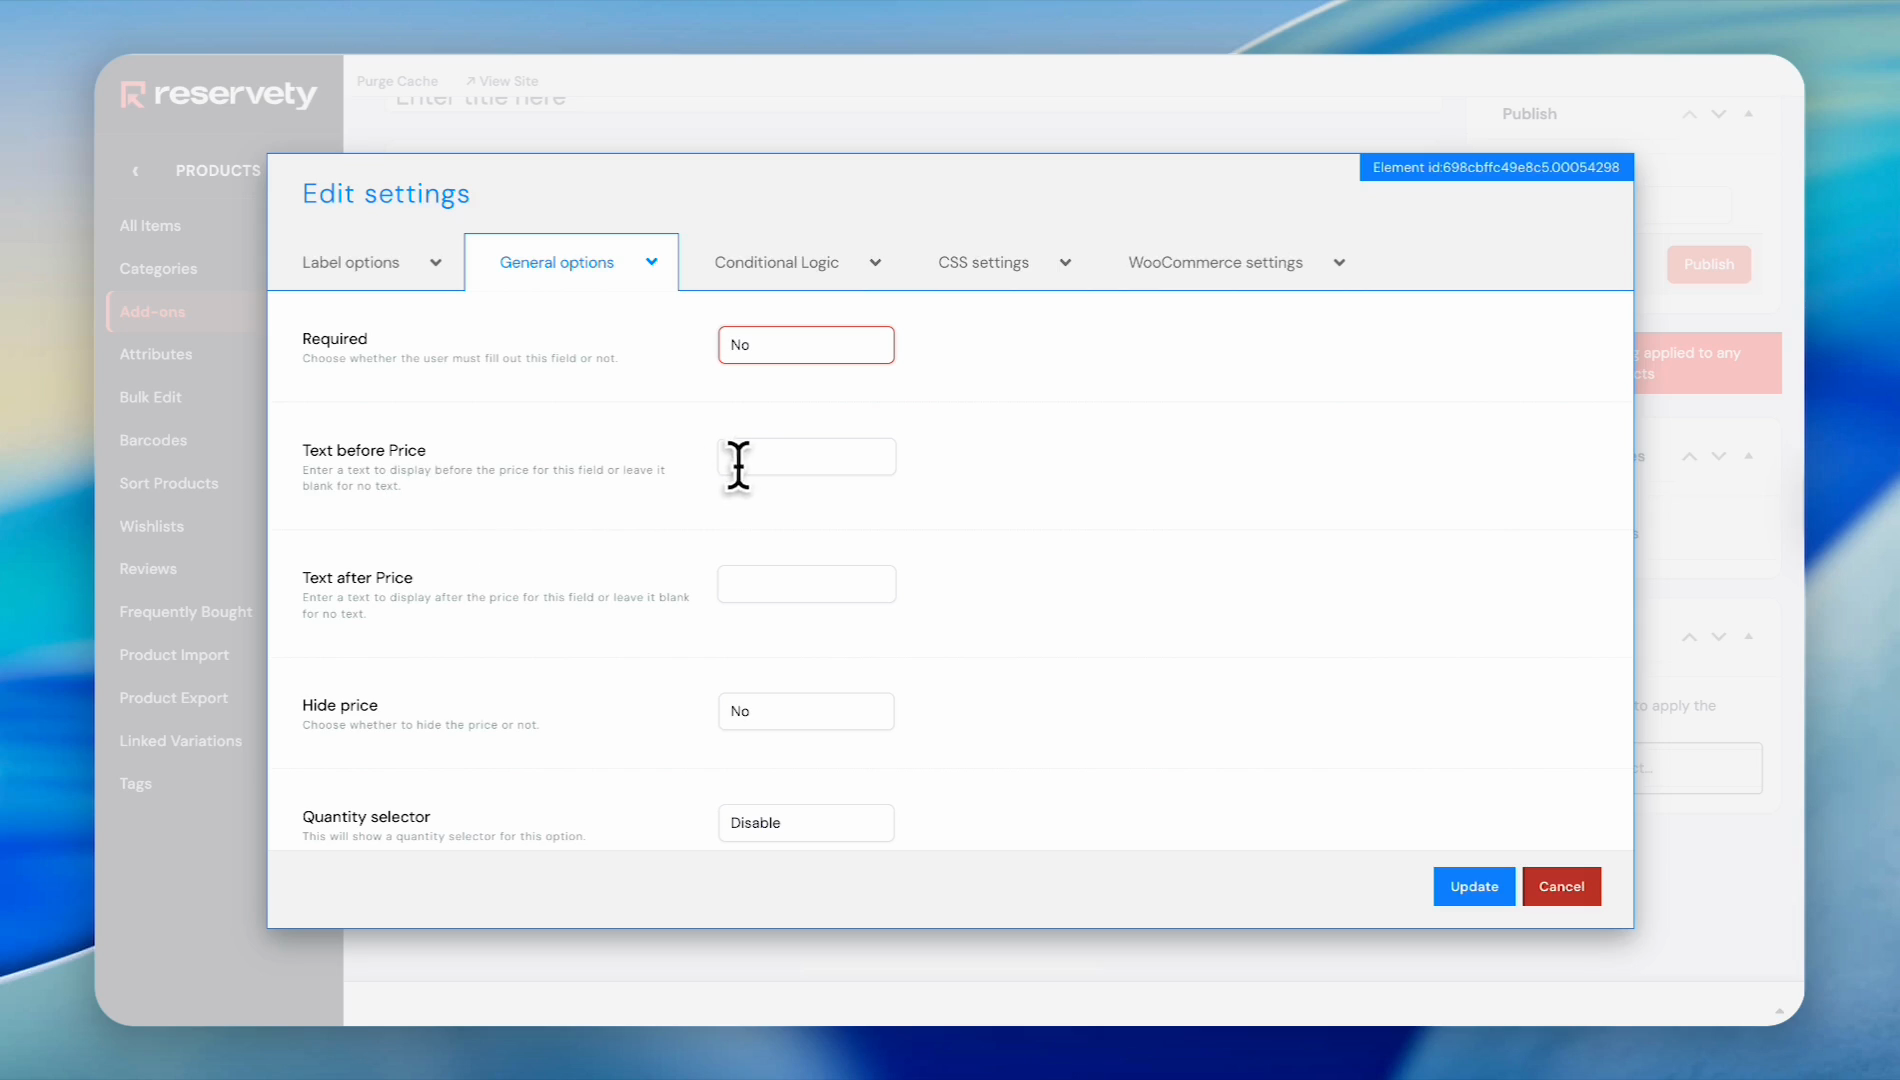
16
Click the "Required" dropdown menu. If you want the add-on to be required, click "Yes." Otherwise, select "No".
You can add text before or after the price here.
17
Click the input field under "Text before Price".
18
Click the input field under "Text after Price".
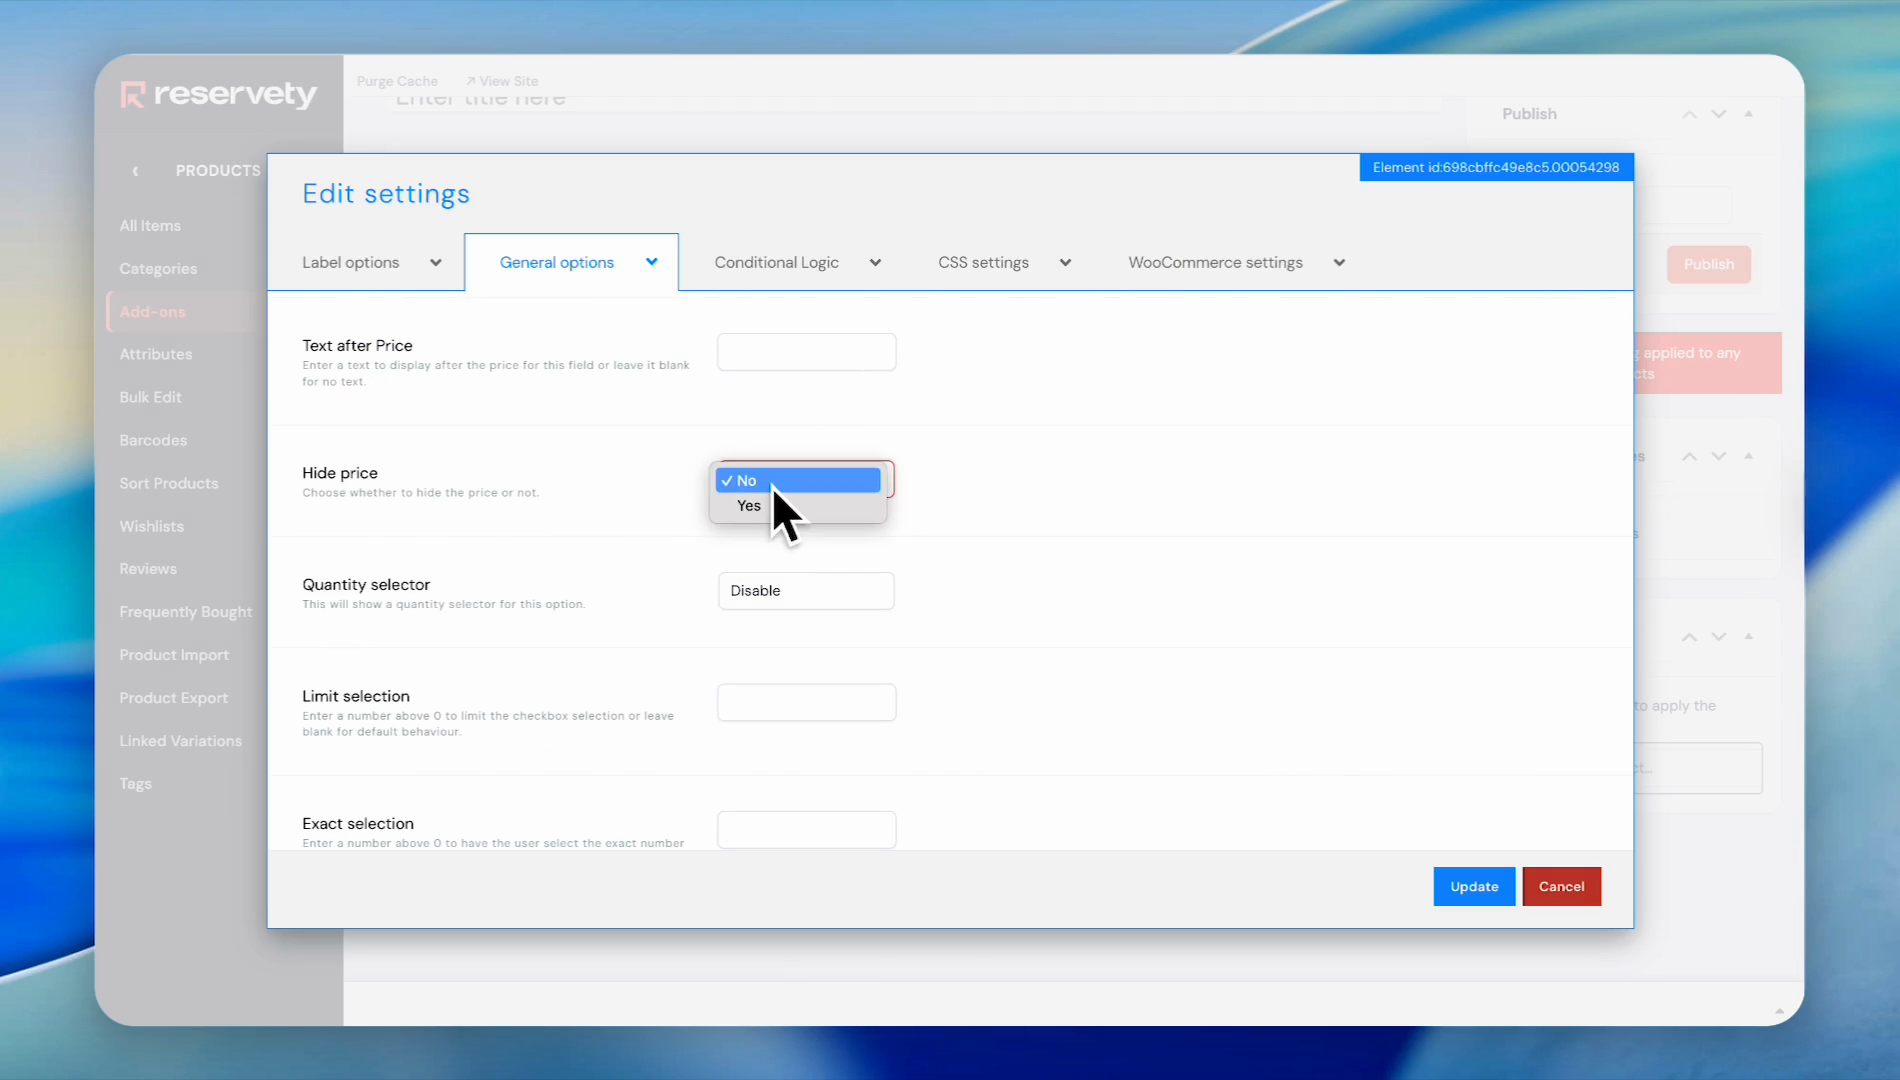
You can also hide the price.
19
Click the "No" option in the "Hide price" dropdown because we want to show add-on prices.
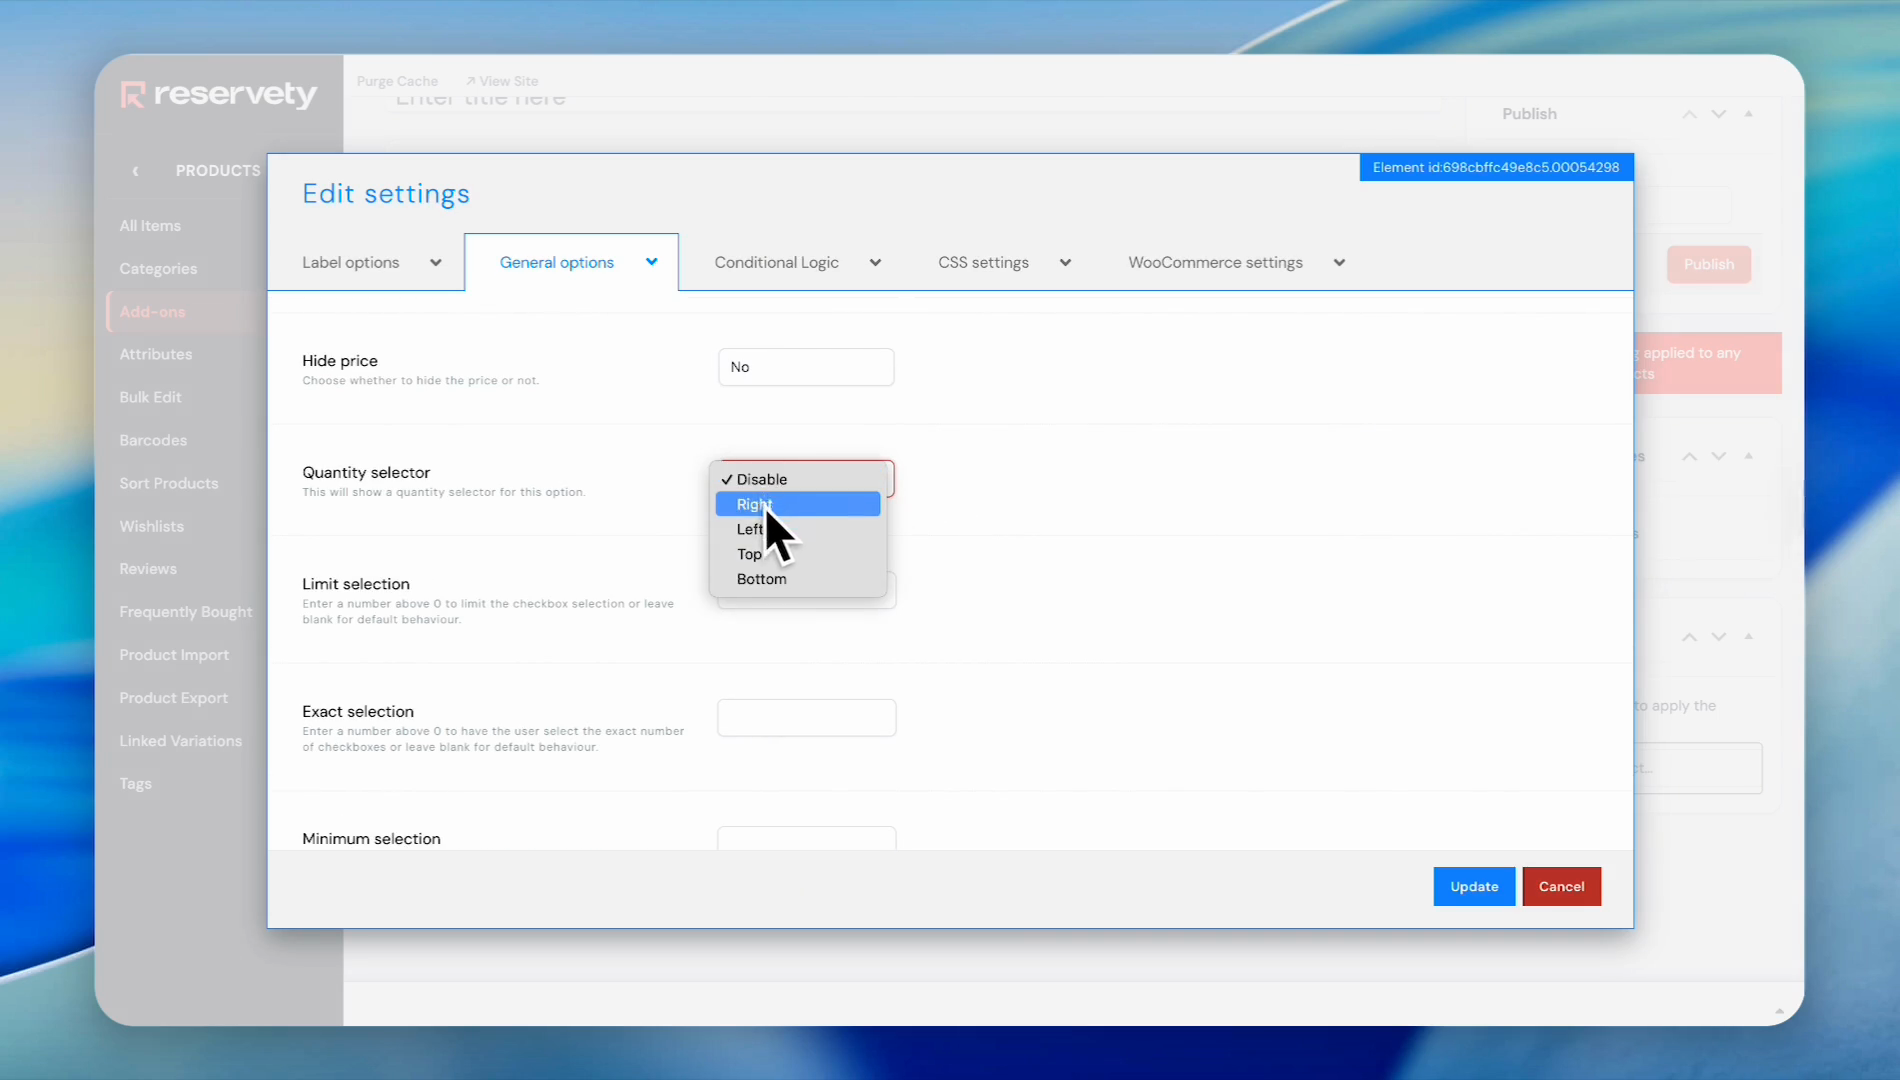
You can activate a quantity selector and position it as you prefer.
20
Click the dropdown menu under "Quantity selector". We will not select it for this example, but you can activate it at any time.
21
Click on "Left" from the dropdown menu if you want it to appear on the left side of the add-on.
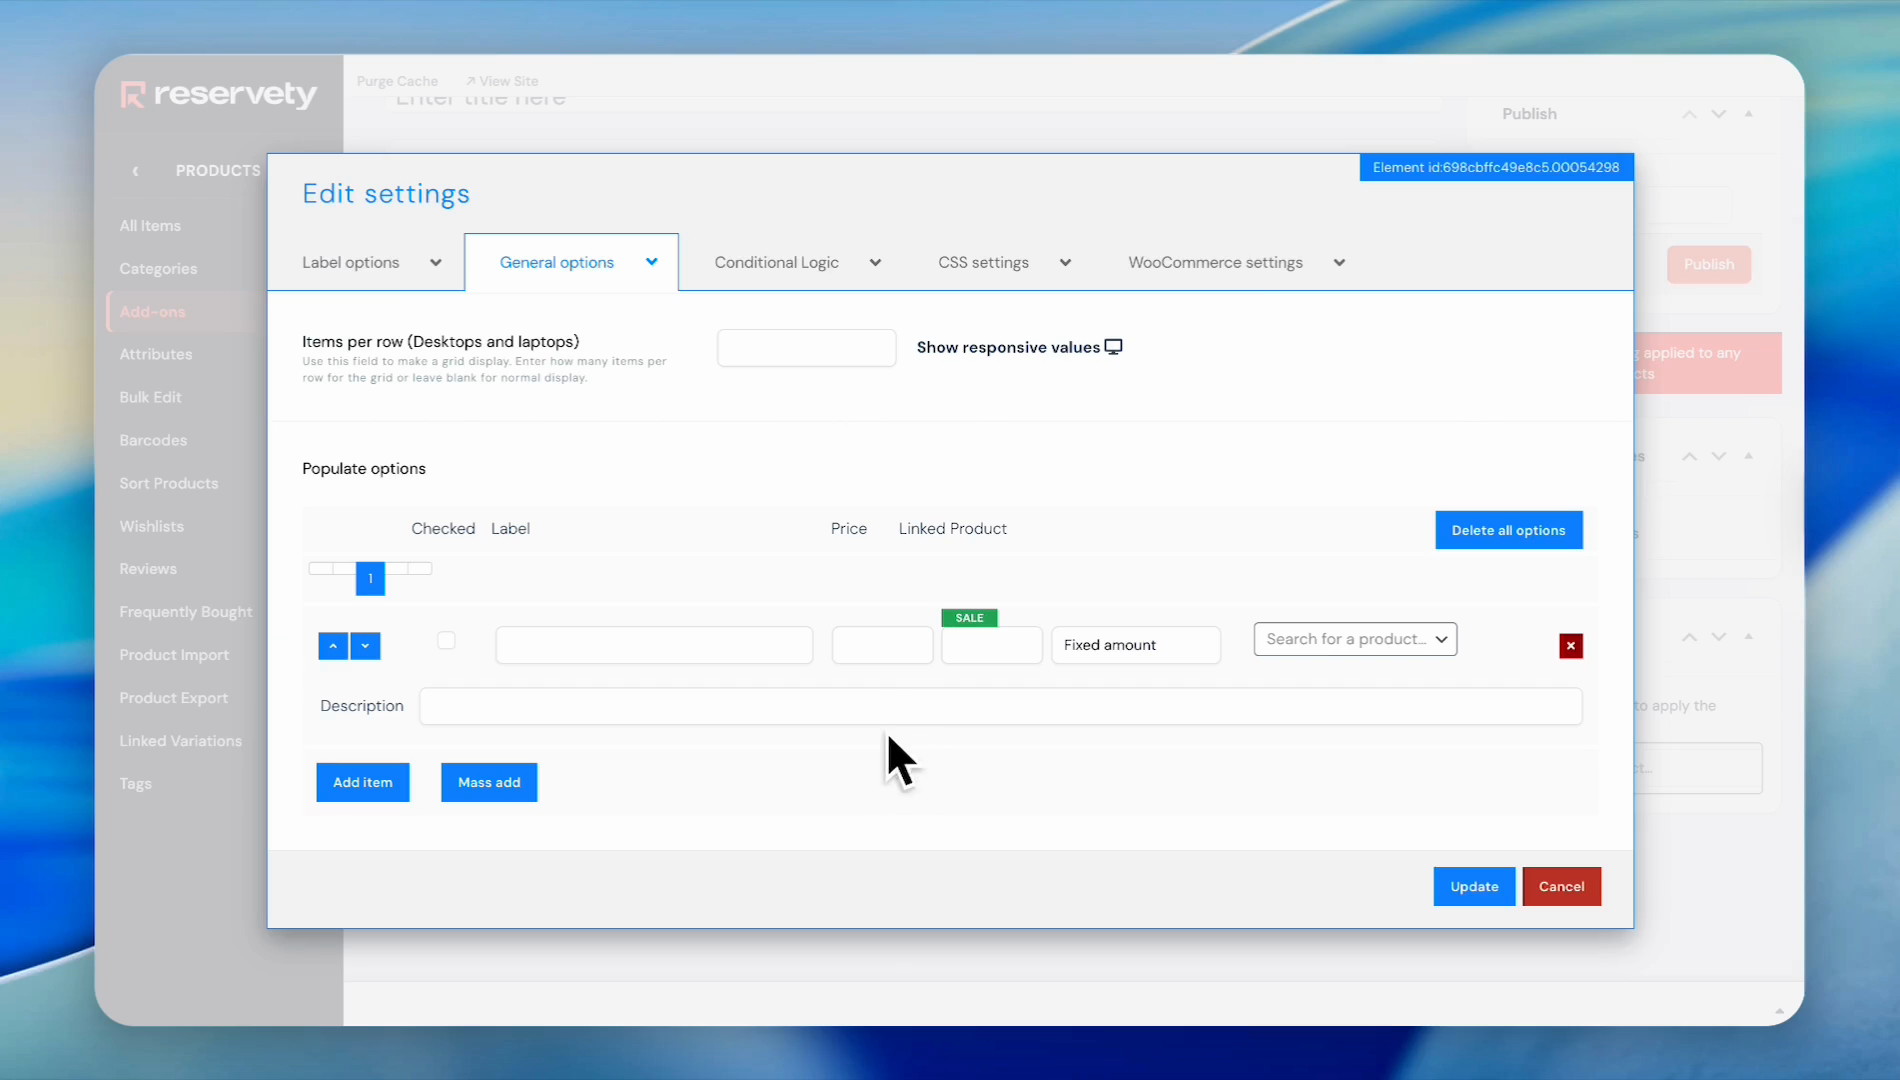
Now, go ahead and set the price for the product or add-on.
22
Click the Price input field.
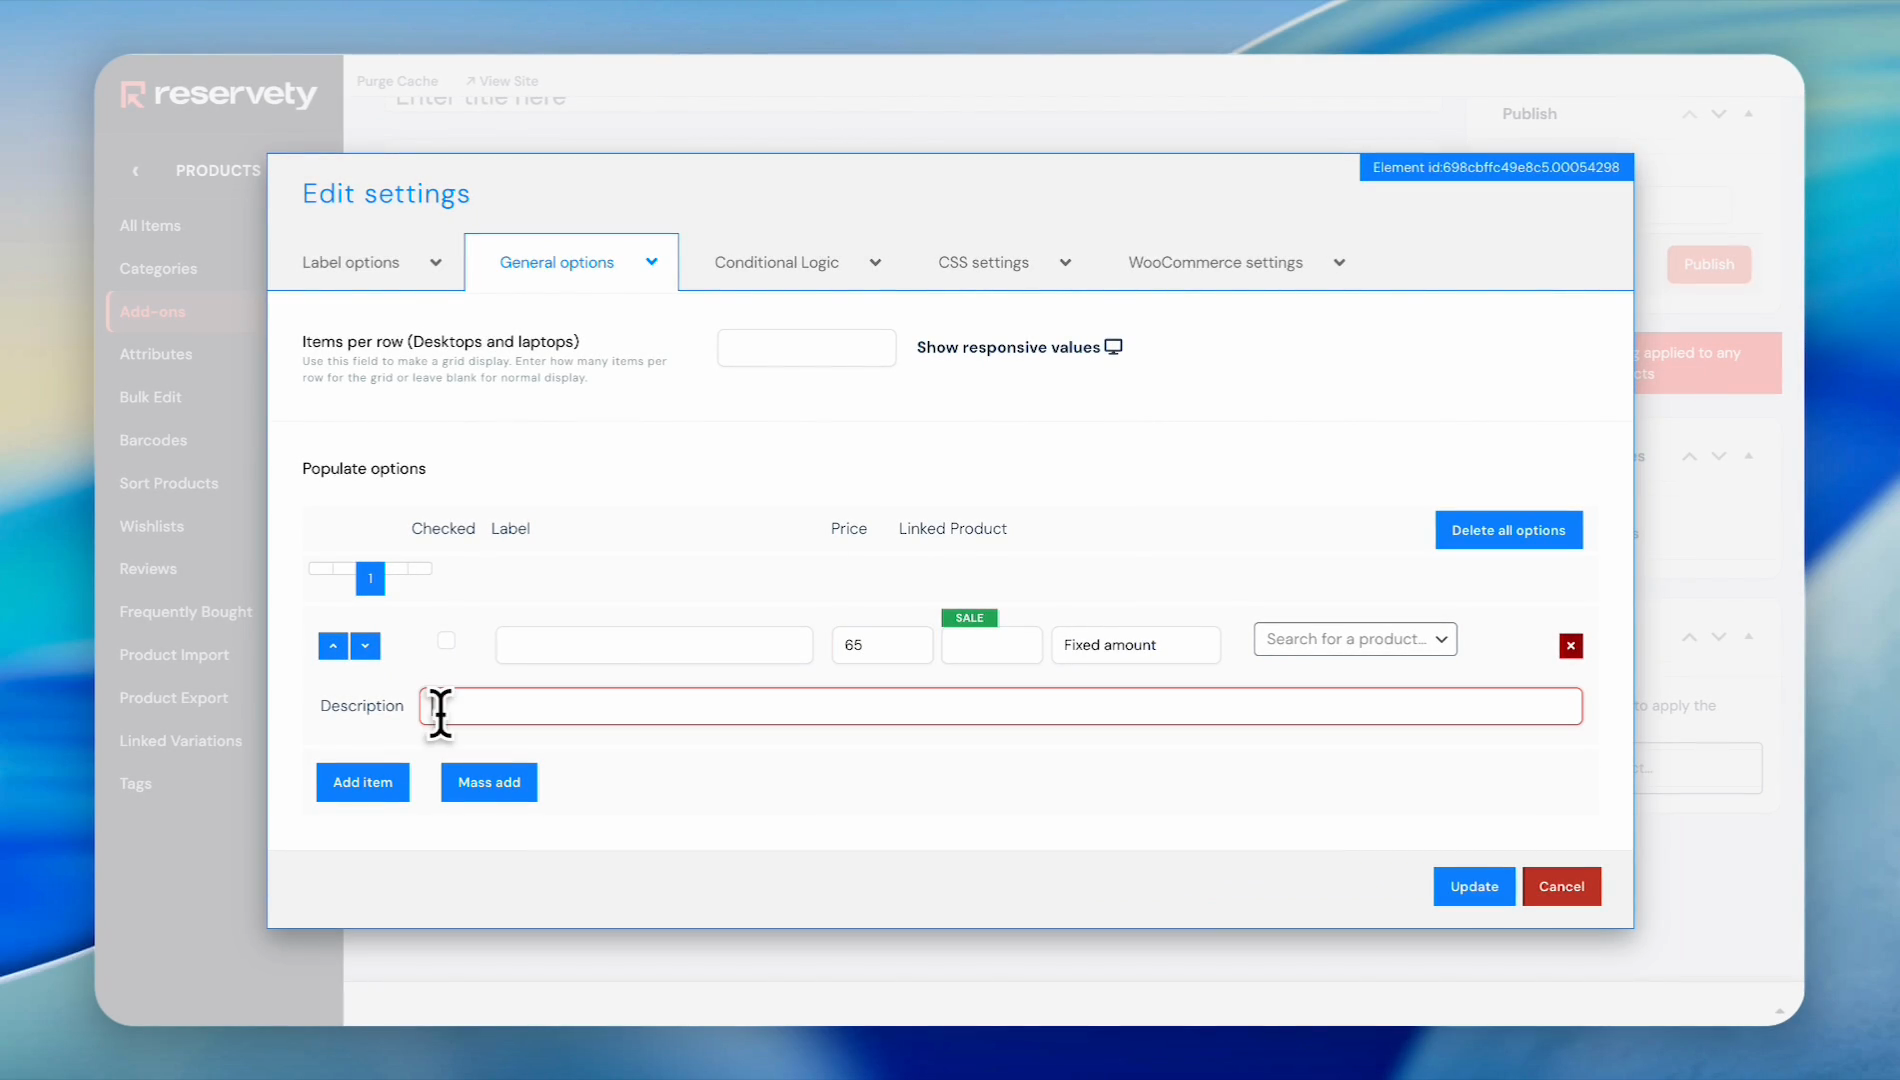
23
Enter the price. For example, we will price it at $65
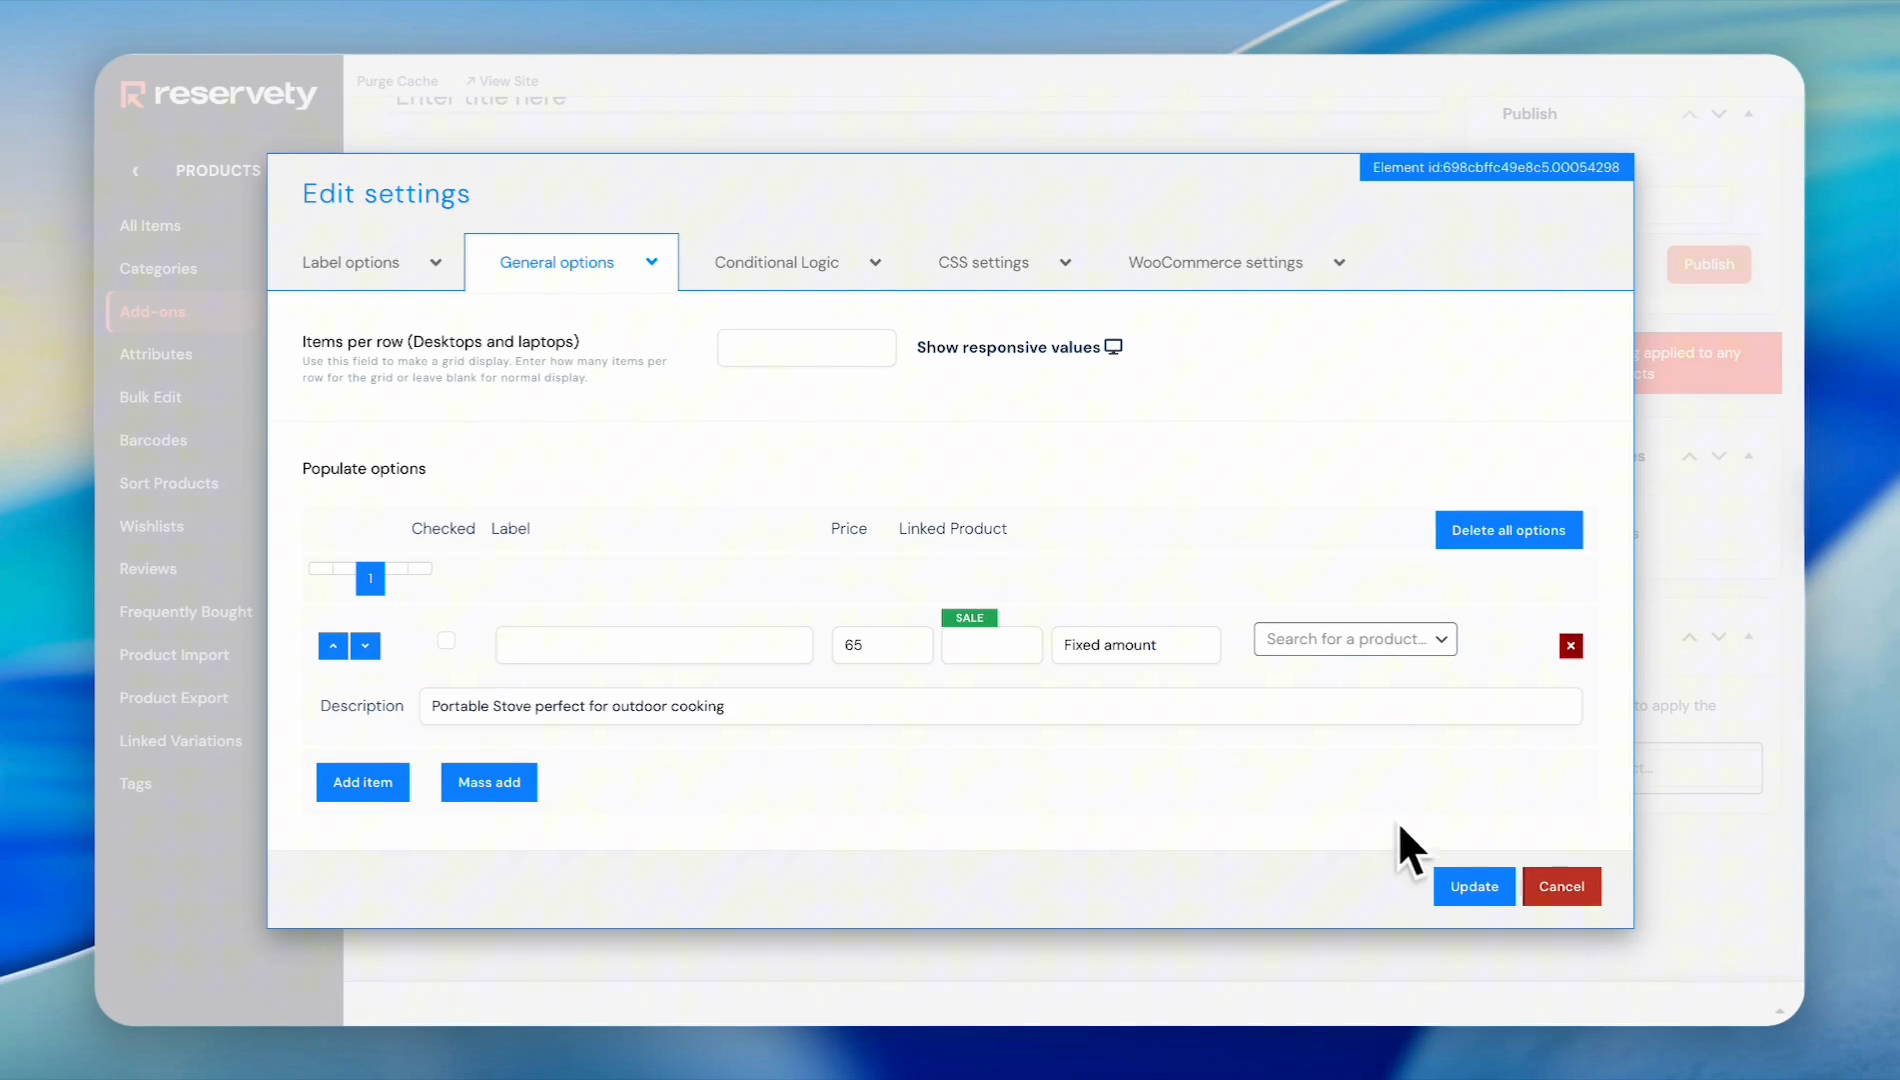
24
Click the Description input field. Write a description.
25
Click the Update button.
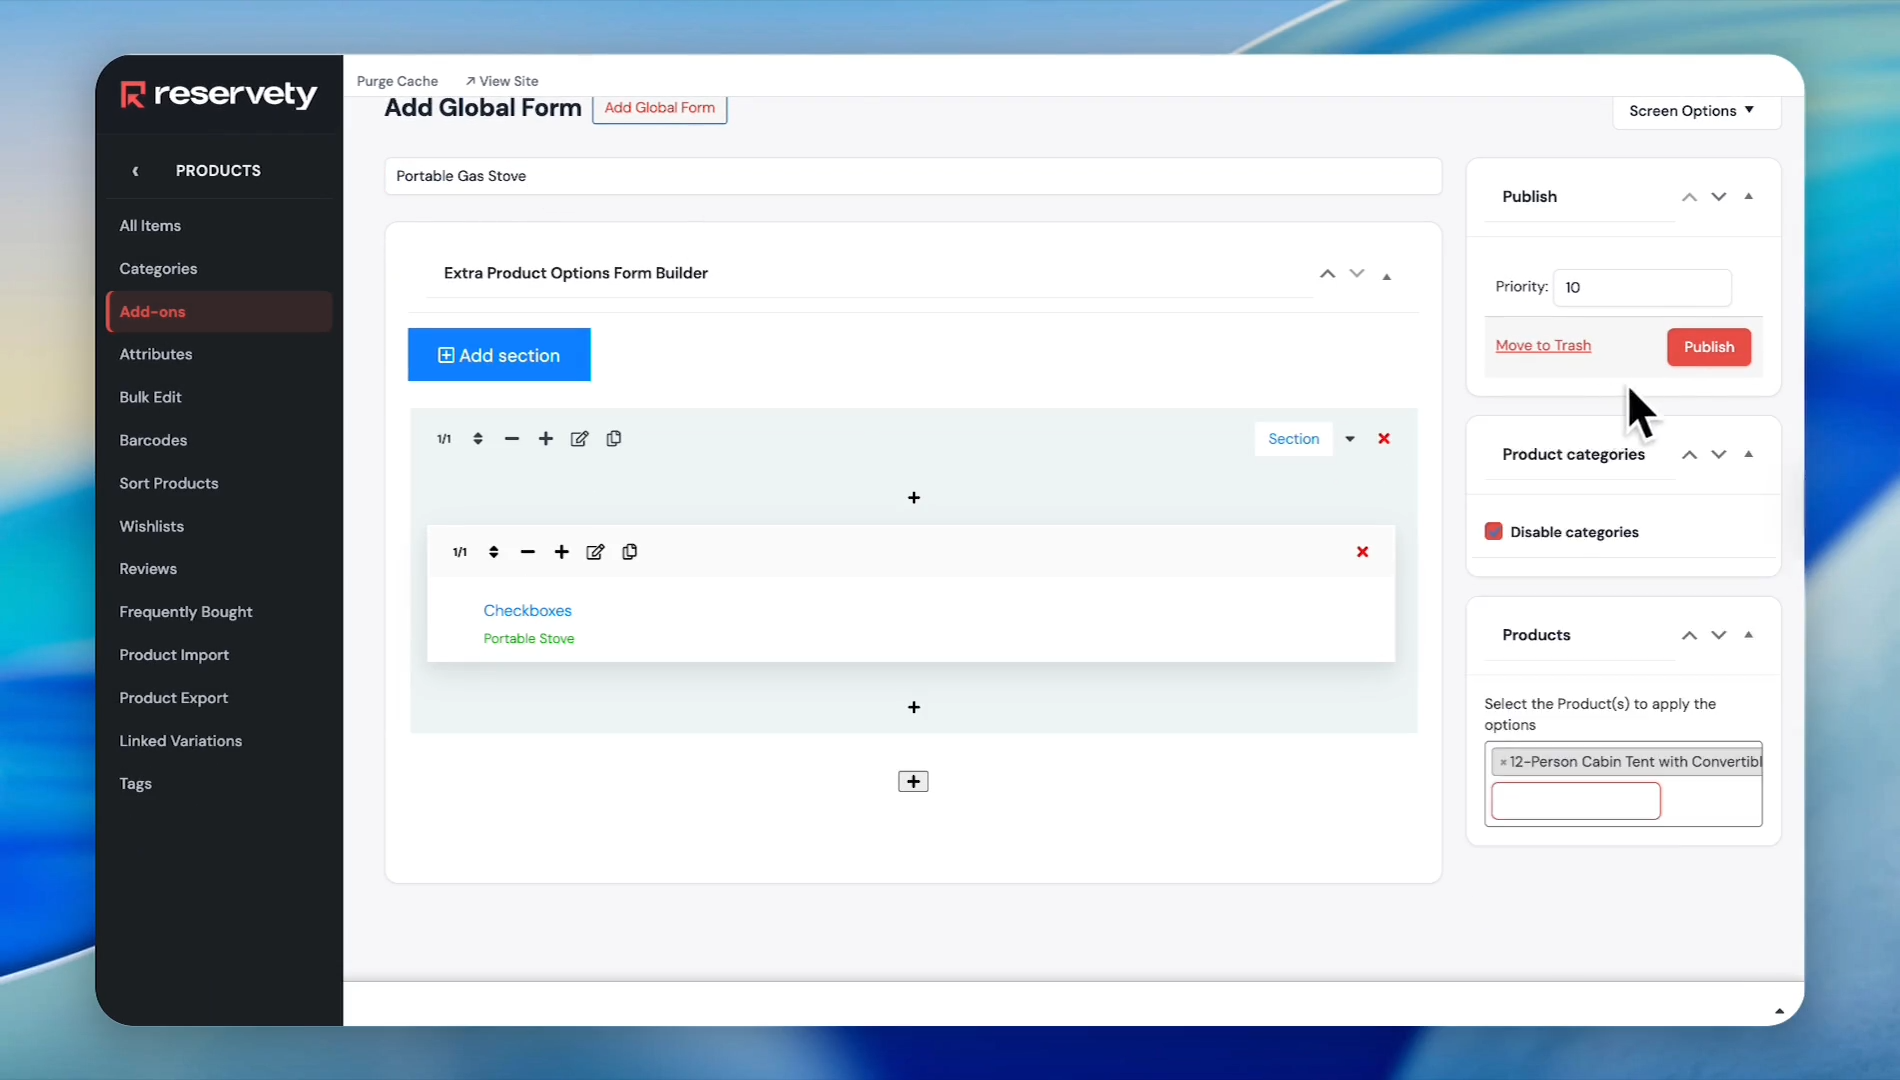
26
In the 'Enter title here' field, type the add-on name.
27
Click the 'Search for a product' field to apply the options. And apply it to the relevant products. In this case, we will apply it to a camping tent.
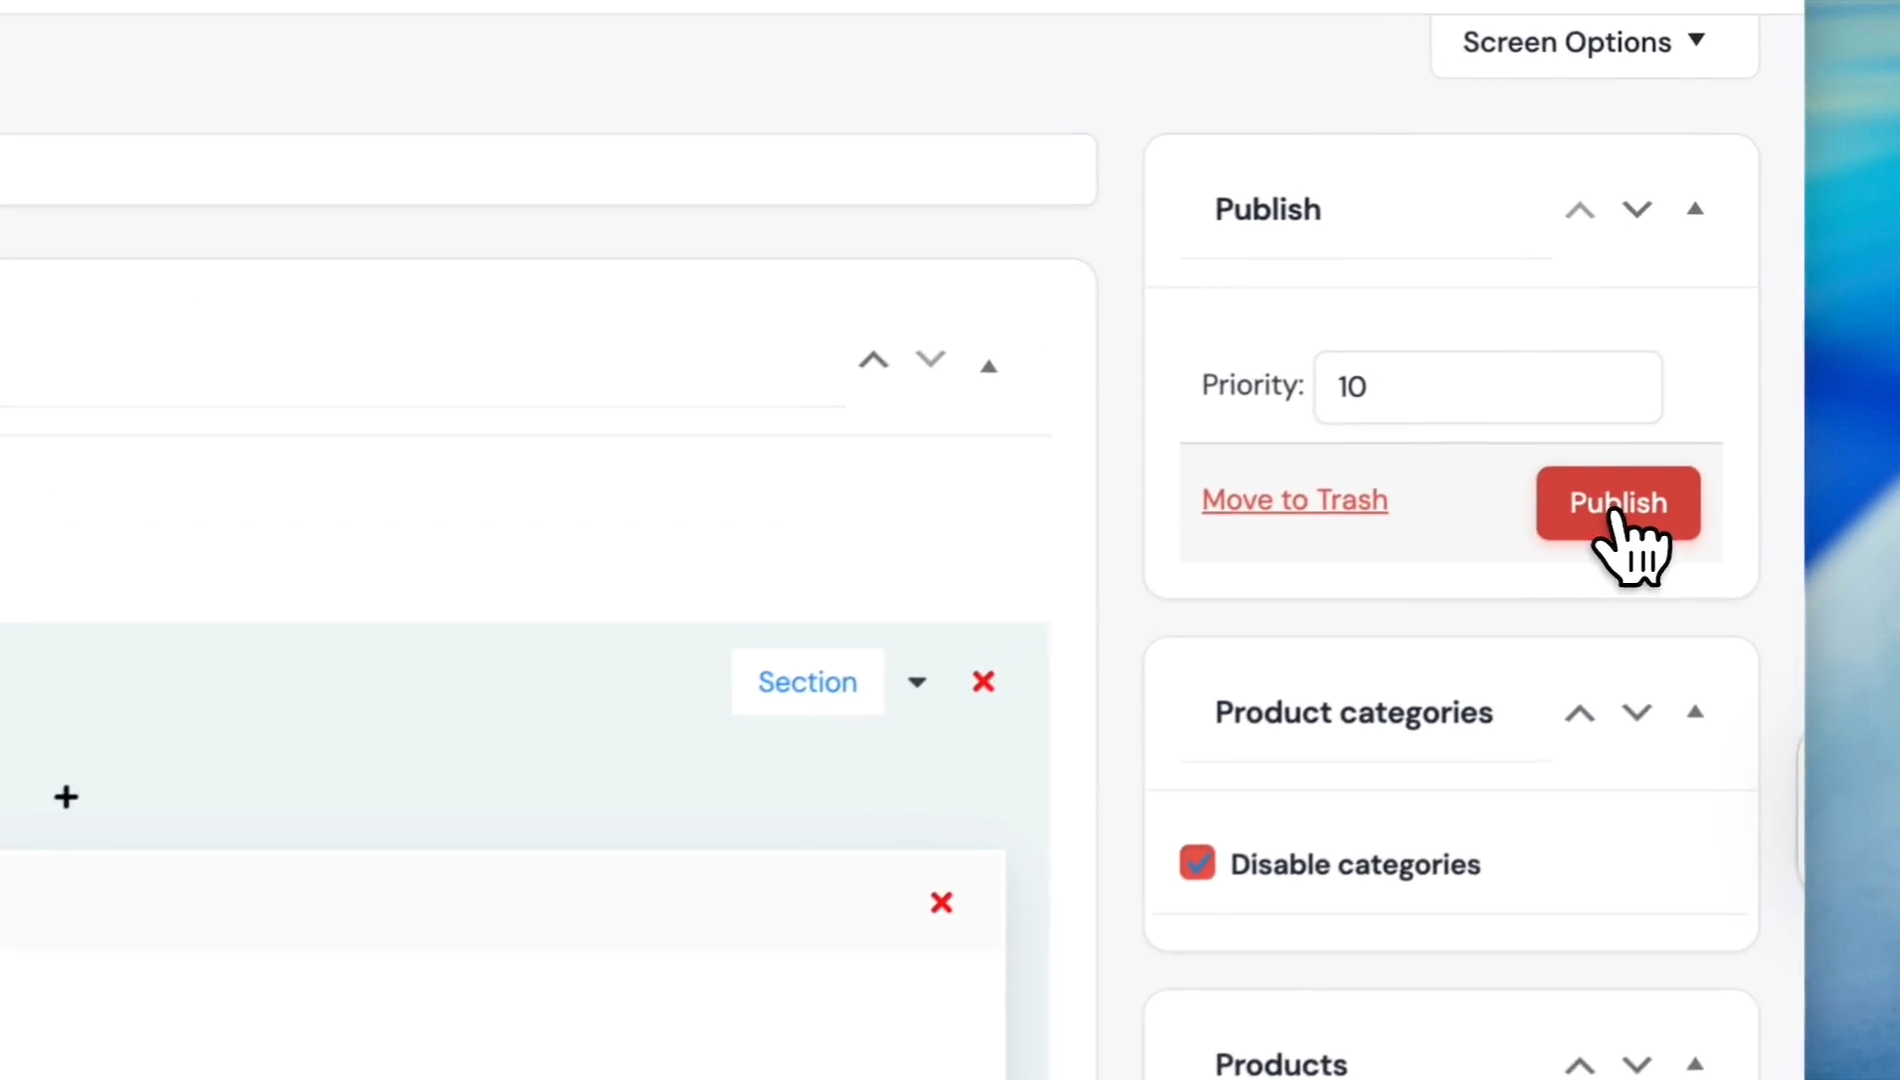
28
Click the Publish button.
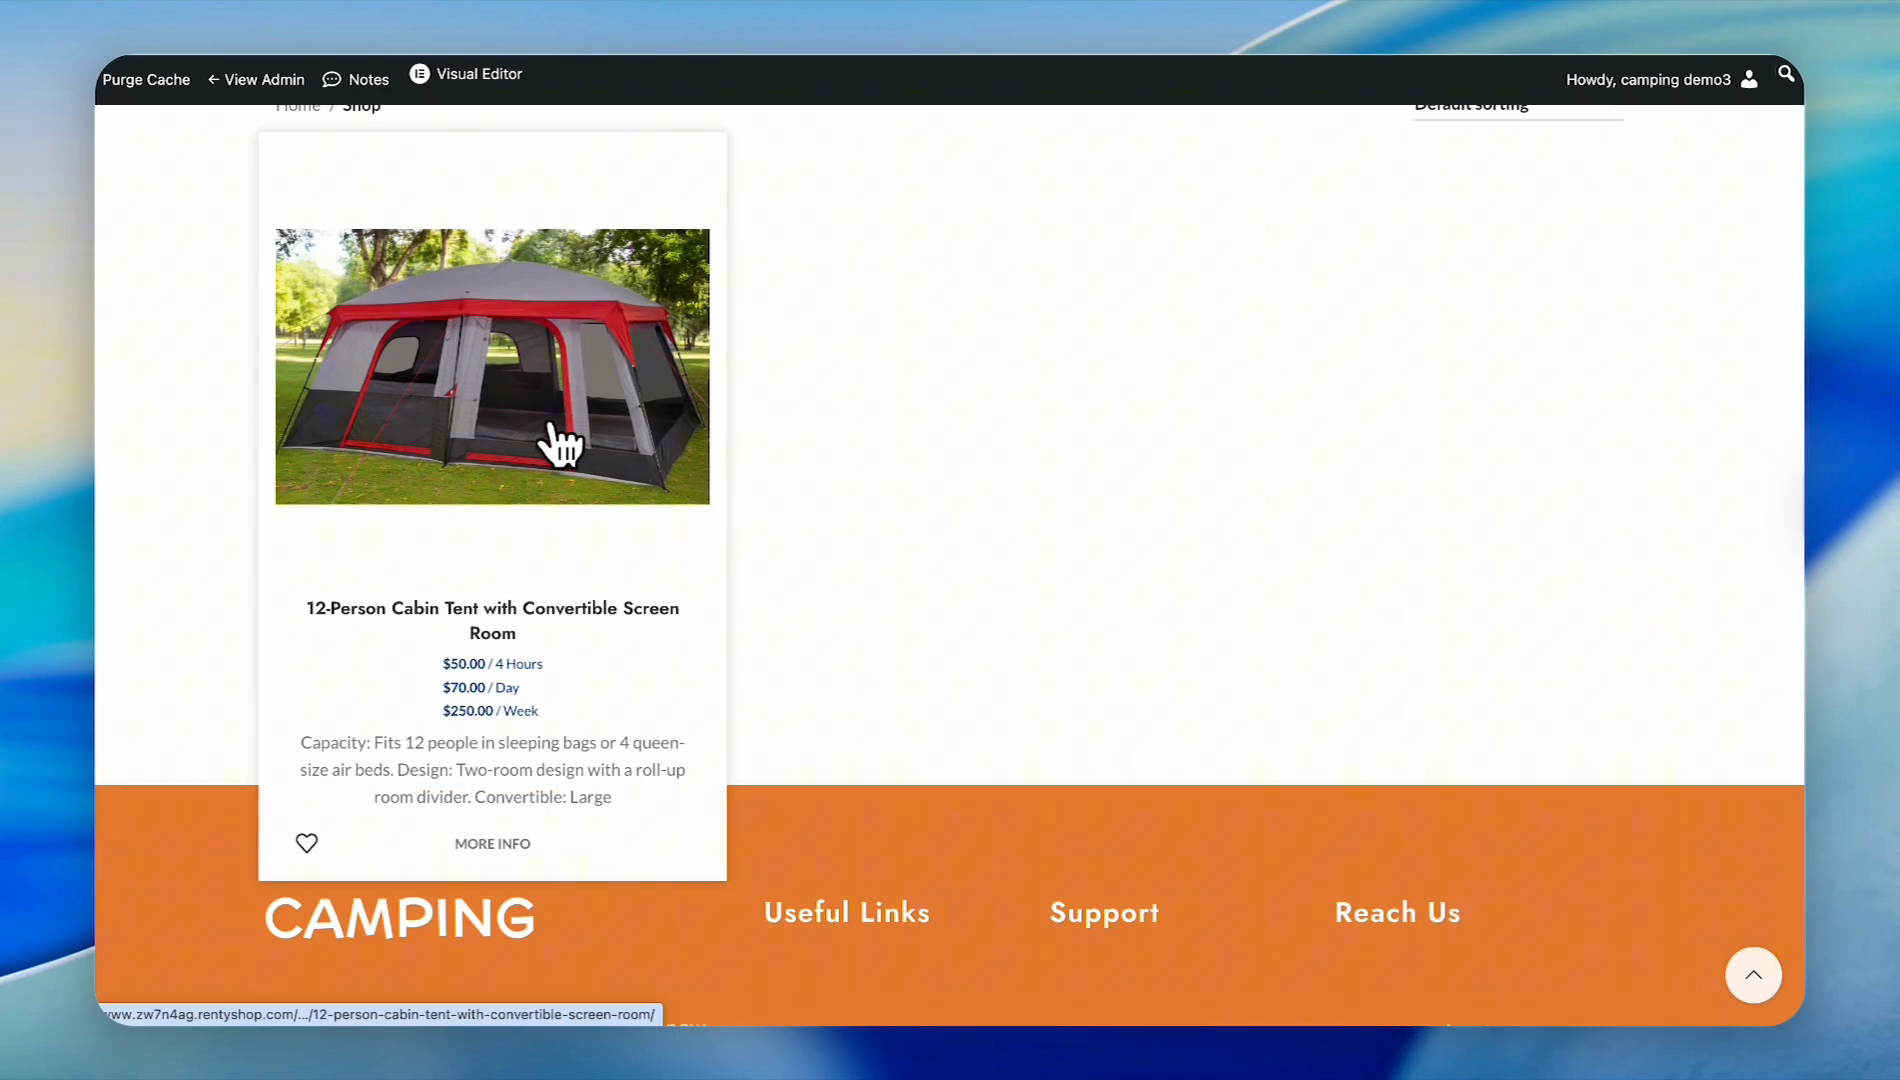
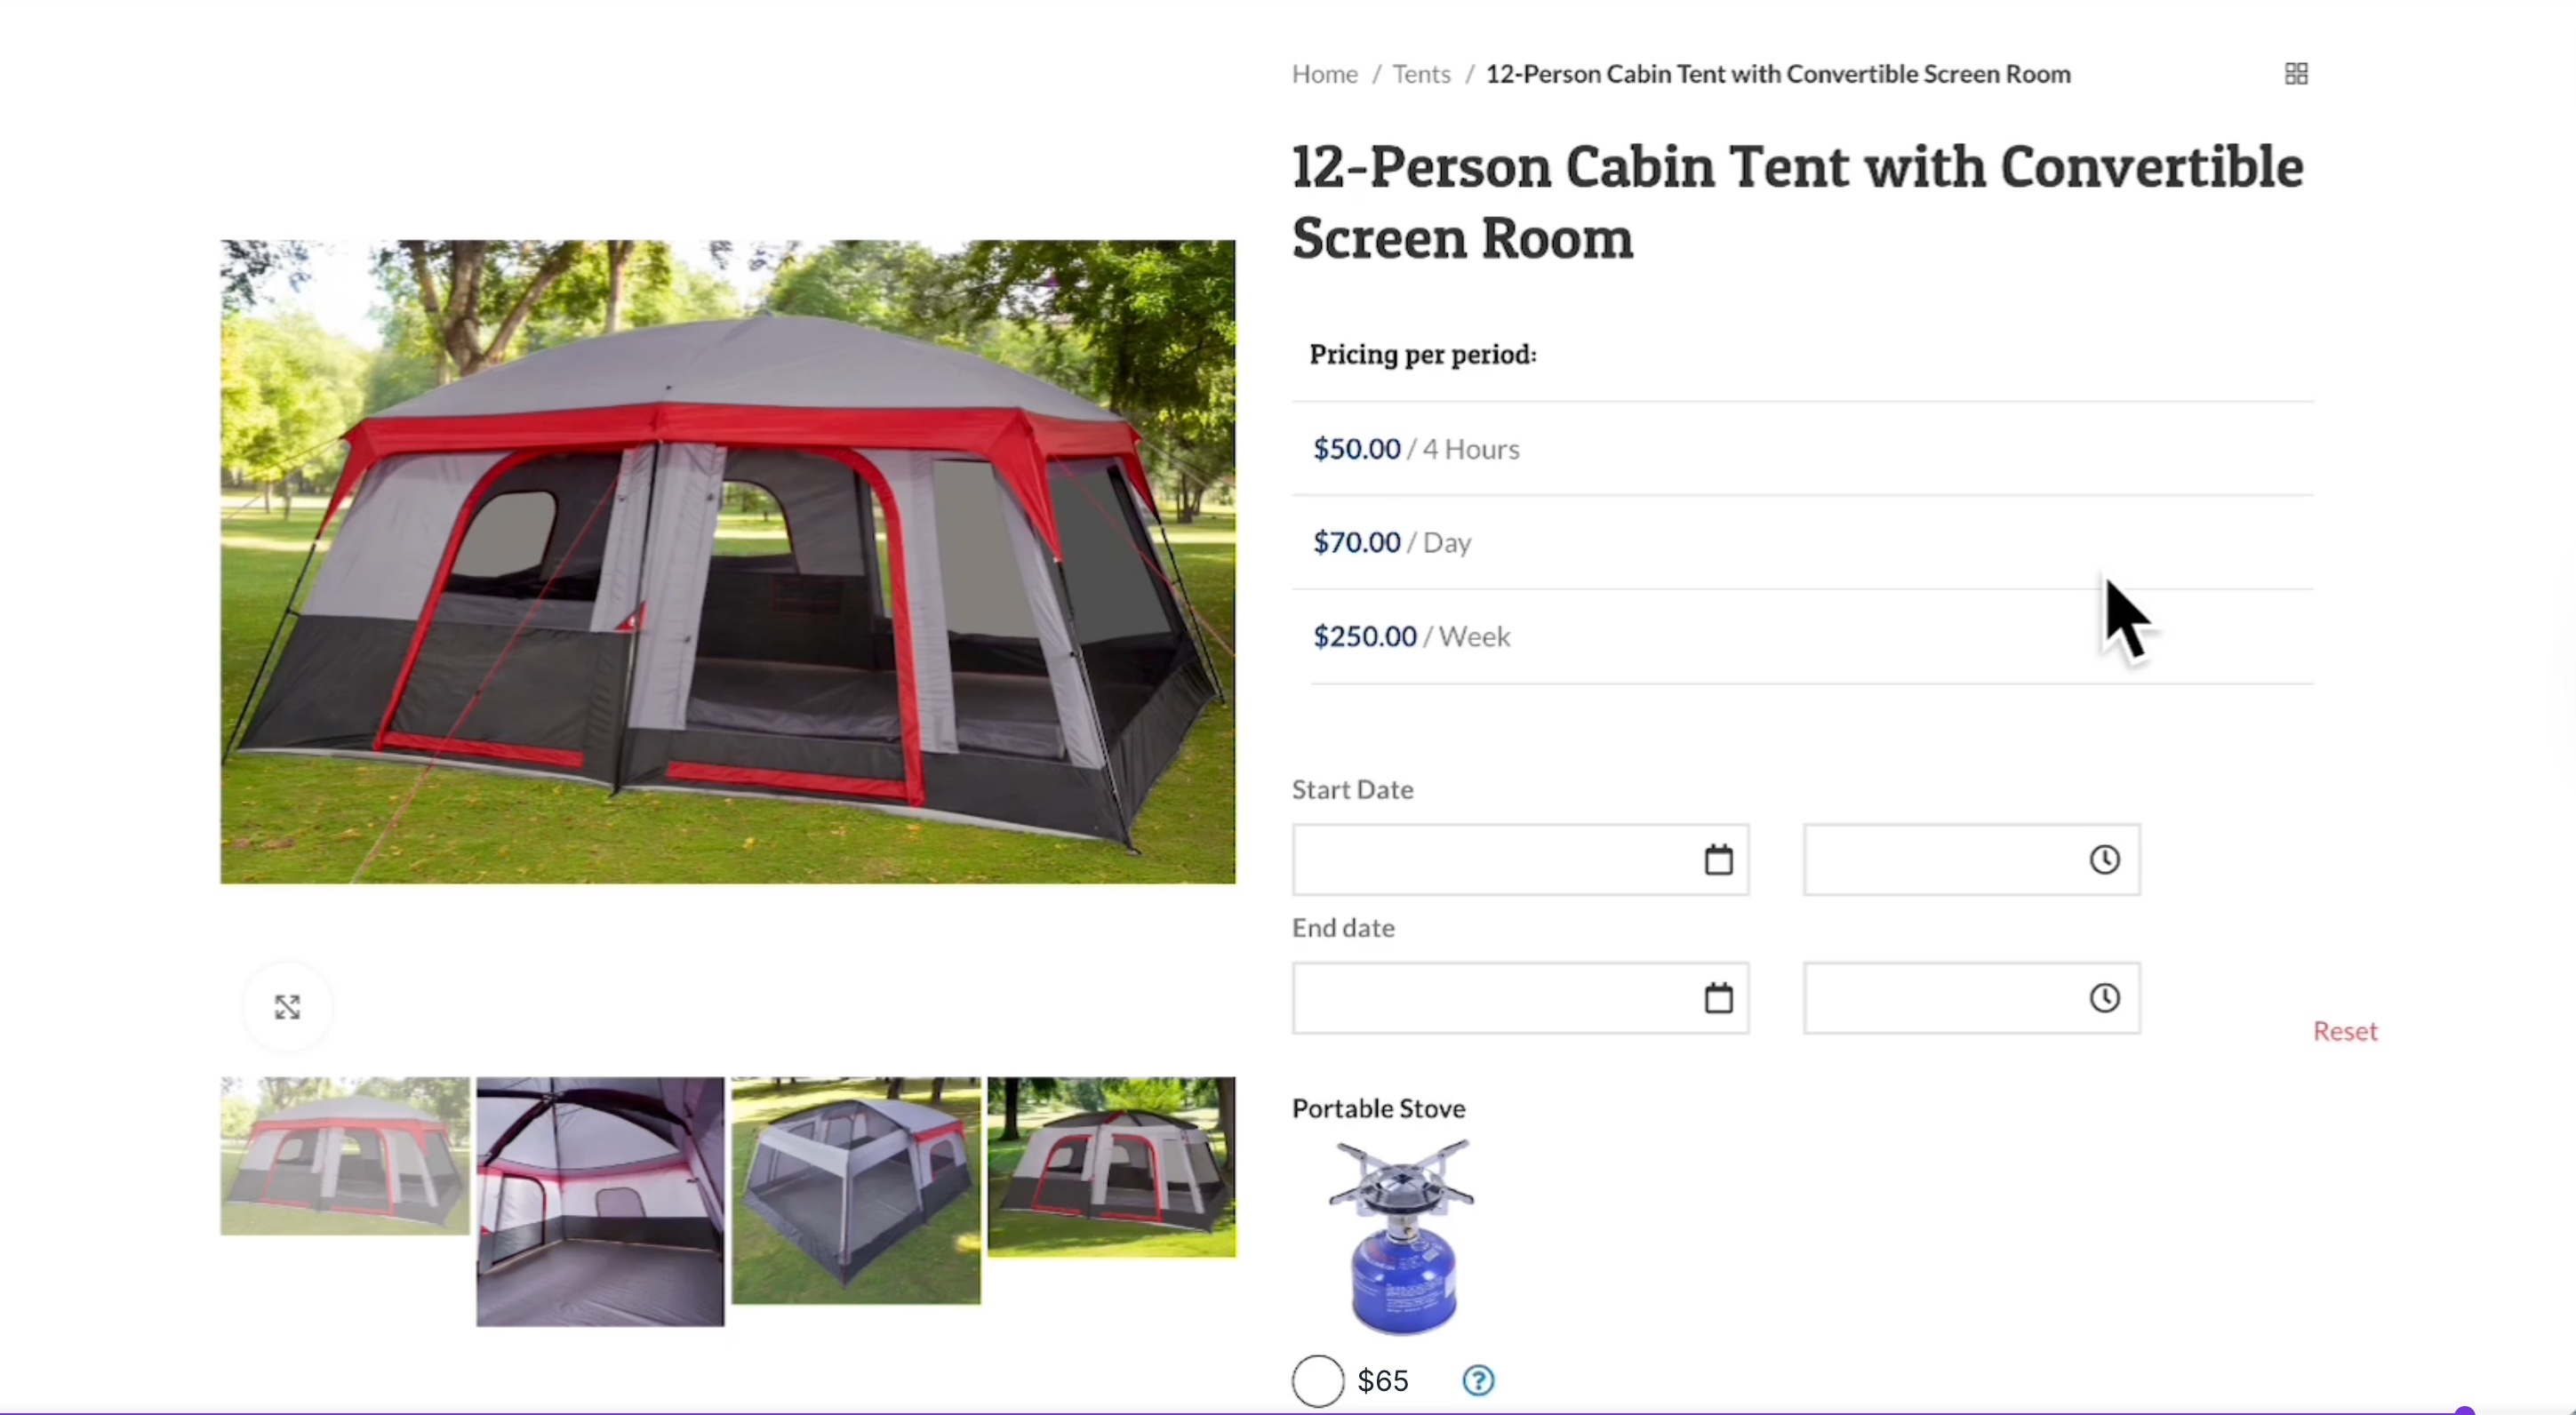
Now, let's see the add-on in action.Visit the website, go to the shop, and select our item.
29
Click on the item.
30
As you can see, our portable stove add-on is now included with our product.