How to Add an Email Signature in Gmail: Step-by-Step Guide
Learn how to easily add and customize an email signature in your Gmail account with this simple step-by-step tutorial.
By Yuval Karmi
In this guide, we'll learn how to add an email signature to your Gmail account. Adding a signature helps you share your contact details or job title automatically with every email you send.
This process can save time and make your emails look more professional.
Let's get started
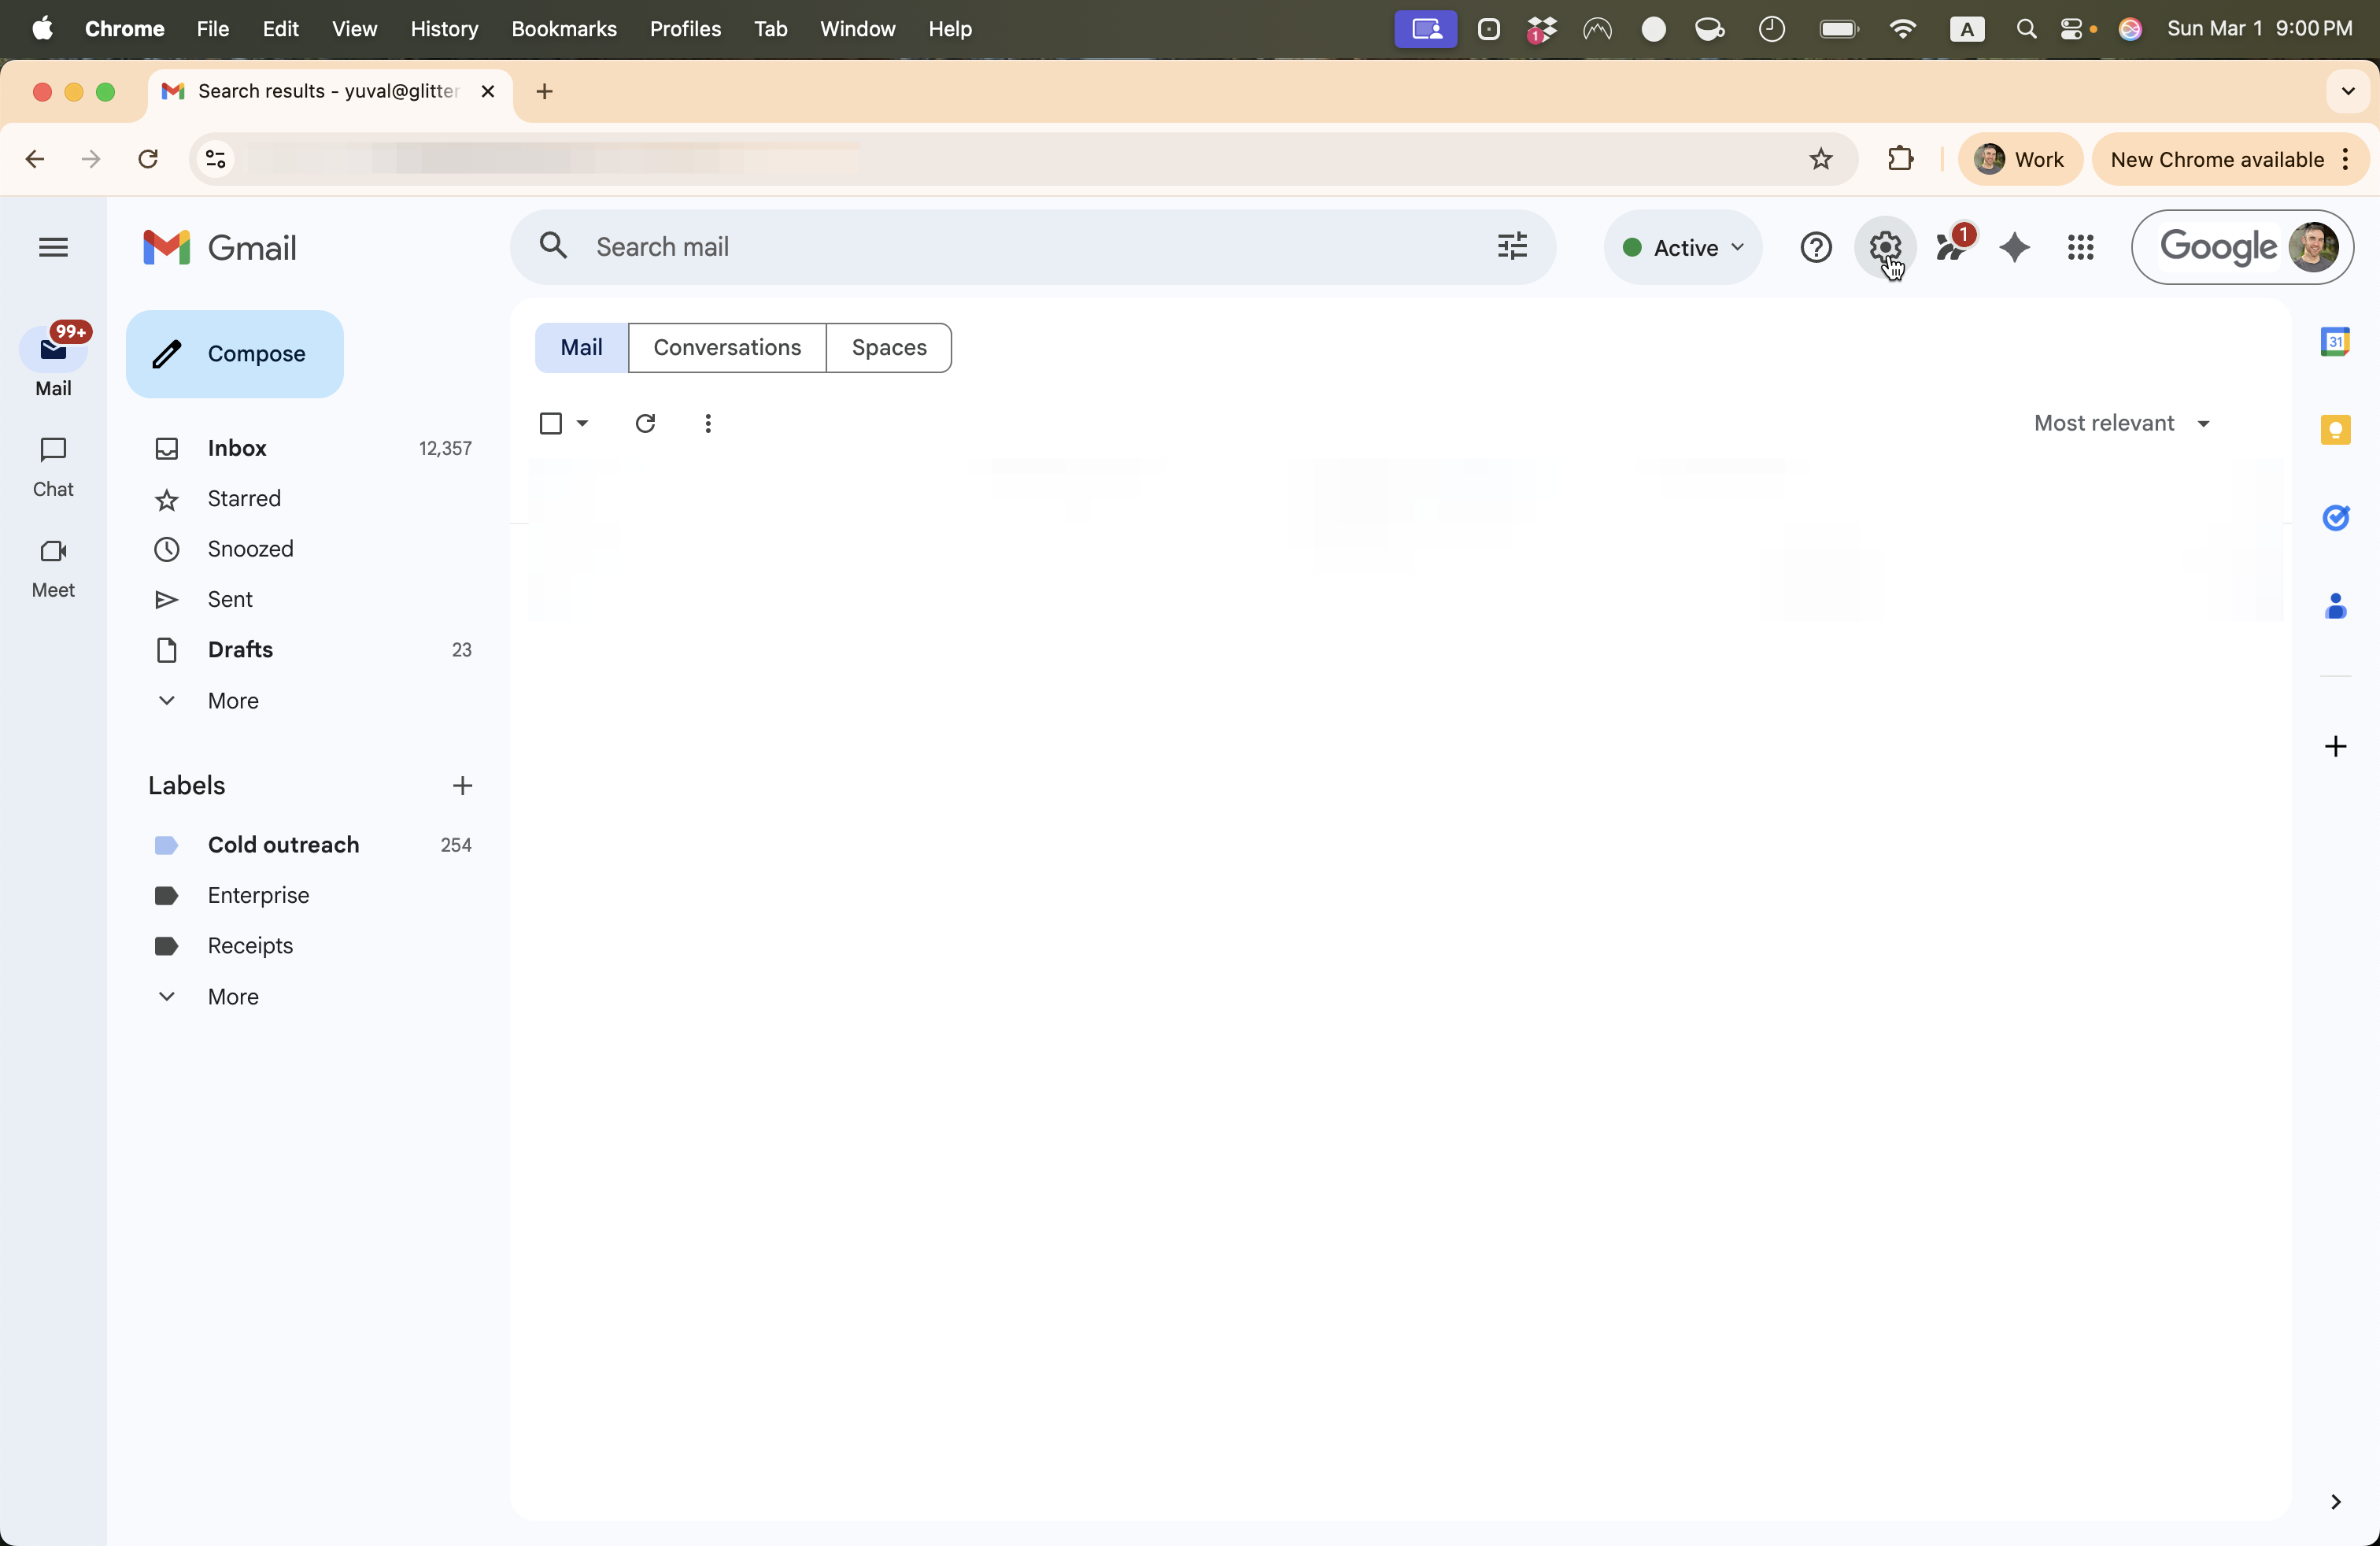
To add an email signature to your Gmail account, first open Gmail by visiting mail.google.com. Click the Settings icon, then select See All Settings.
1
Click here
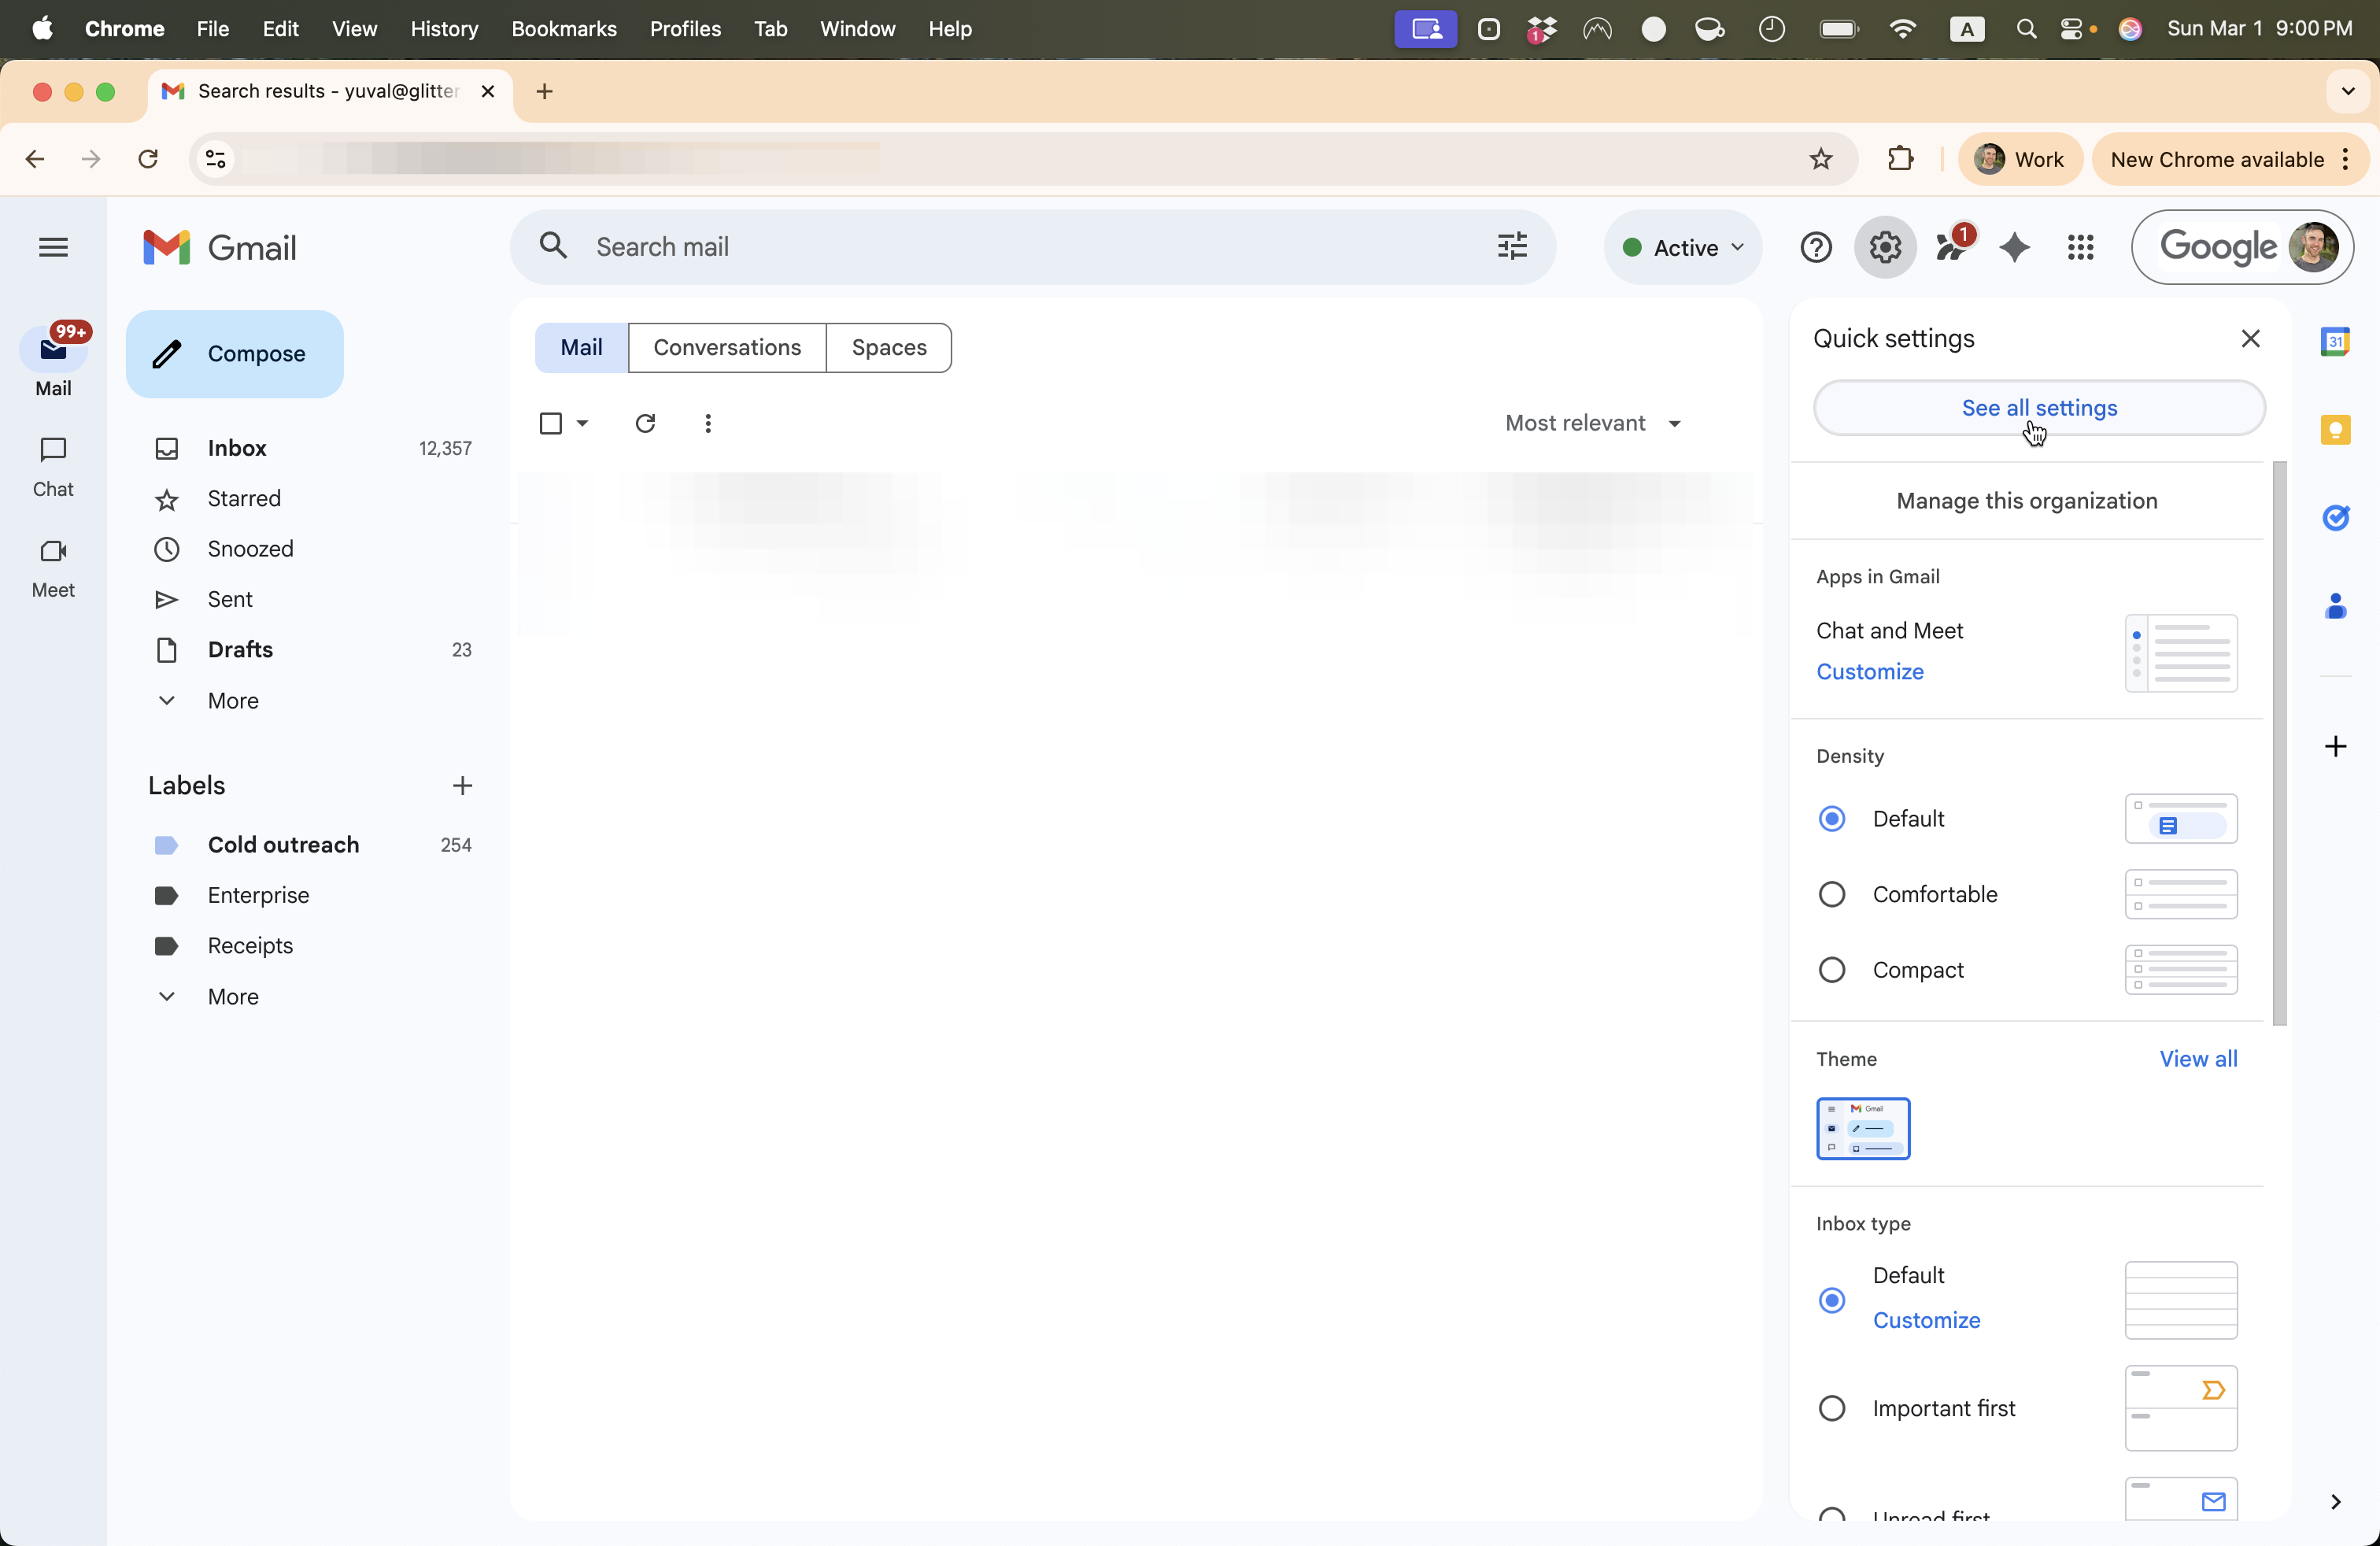
2
Click on "See all settings"
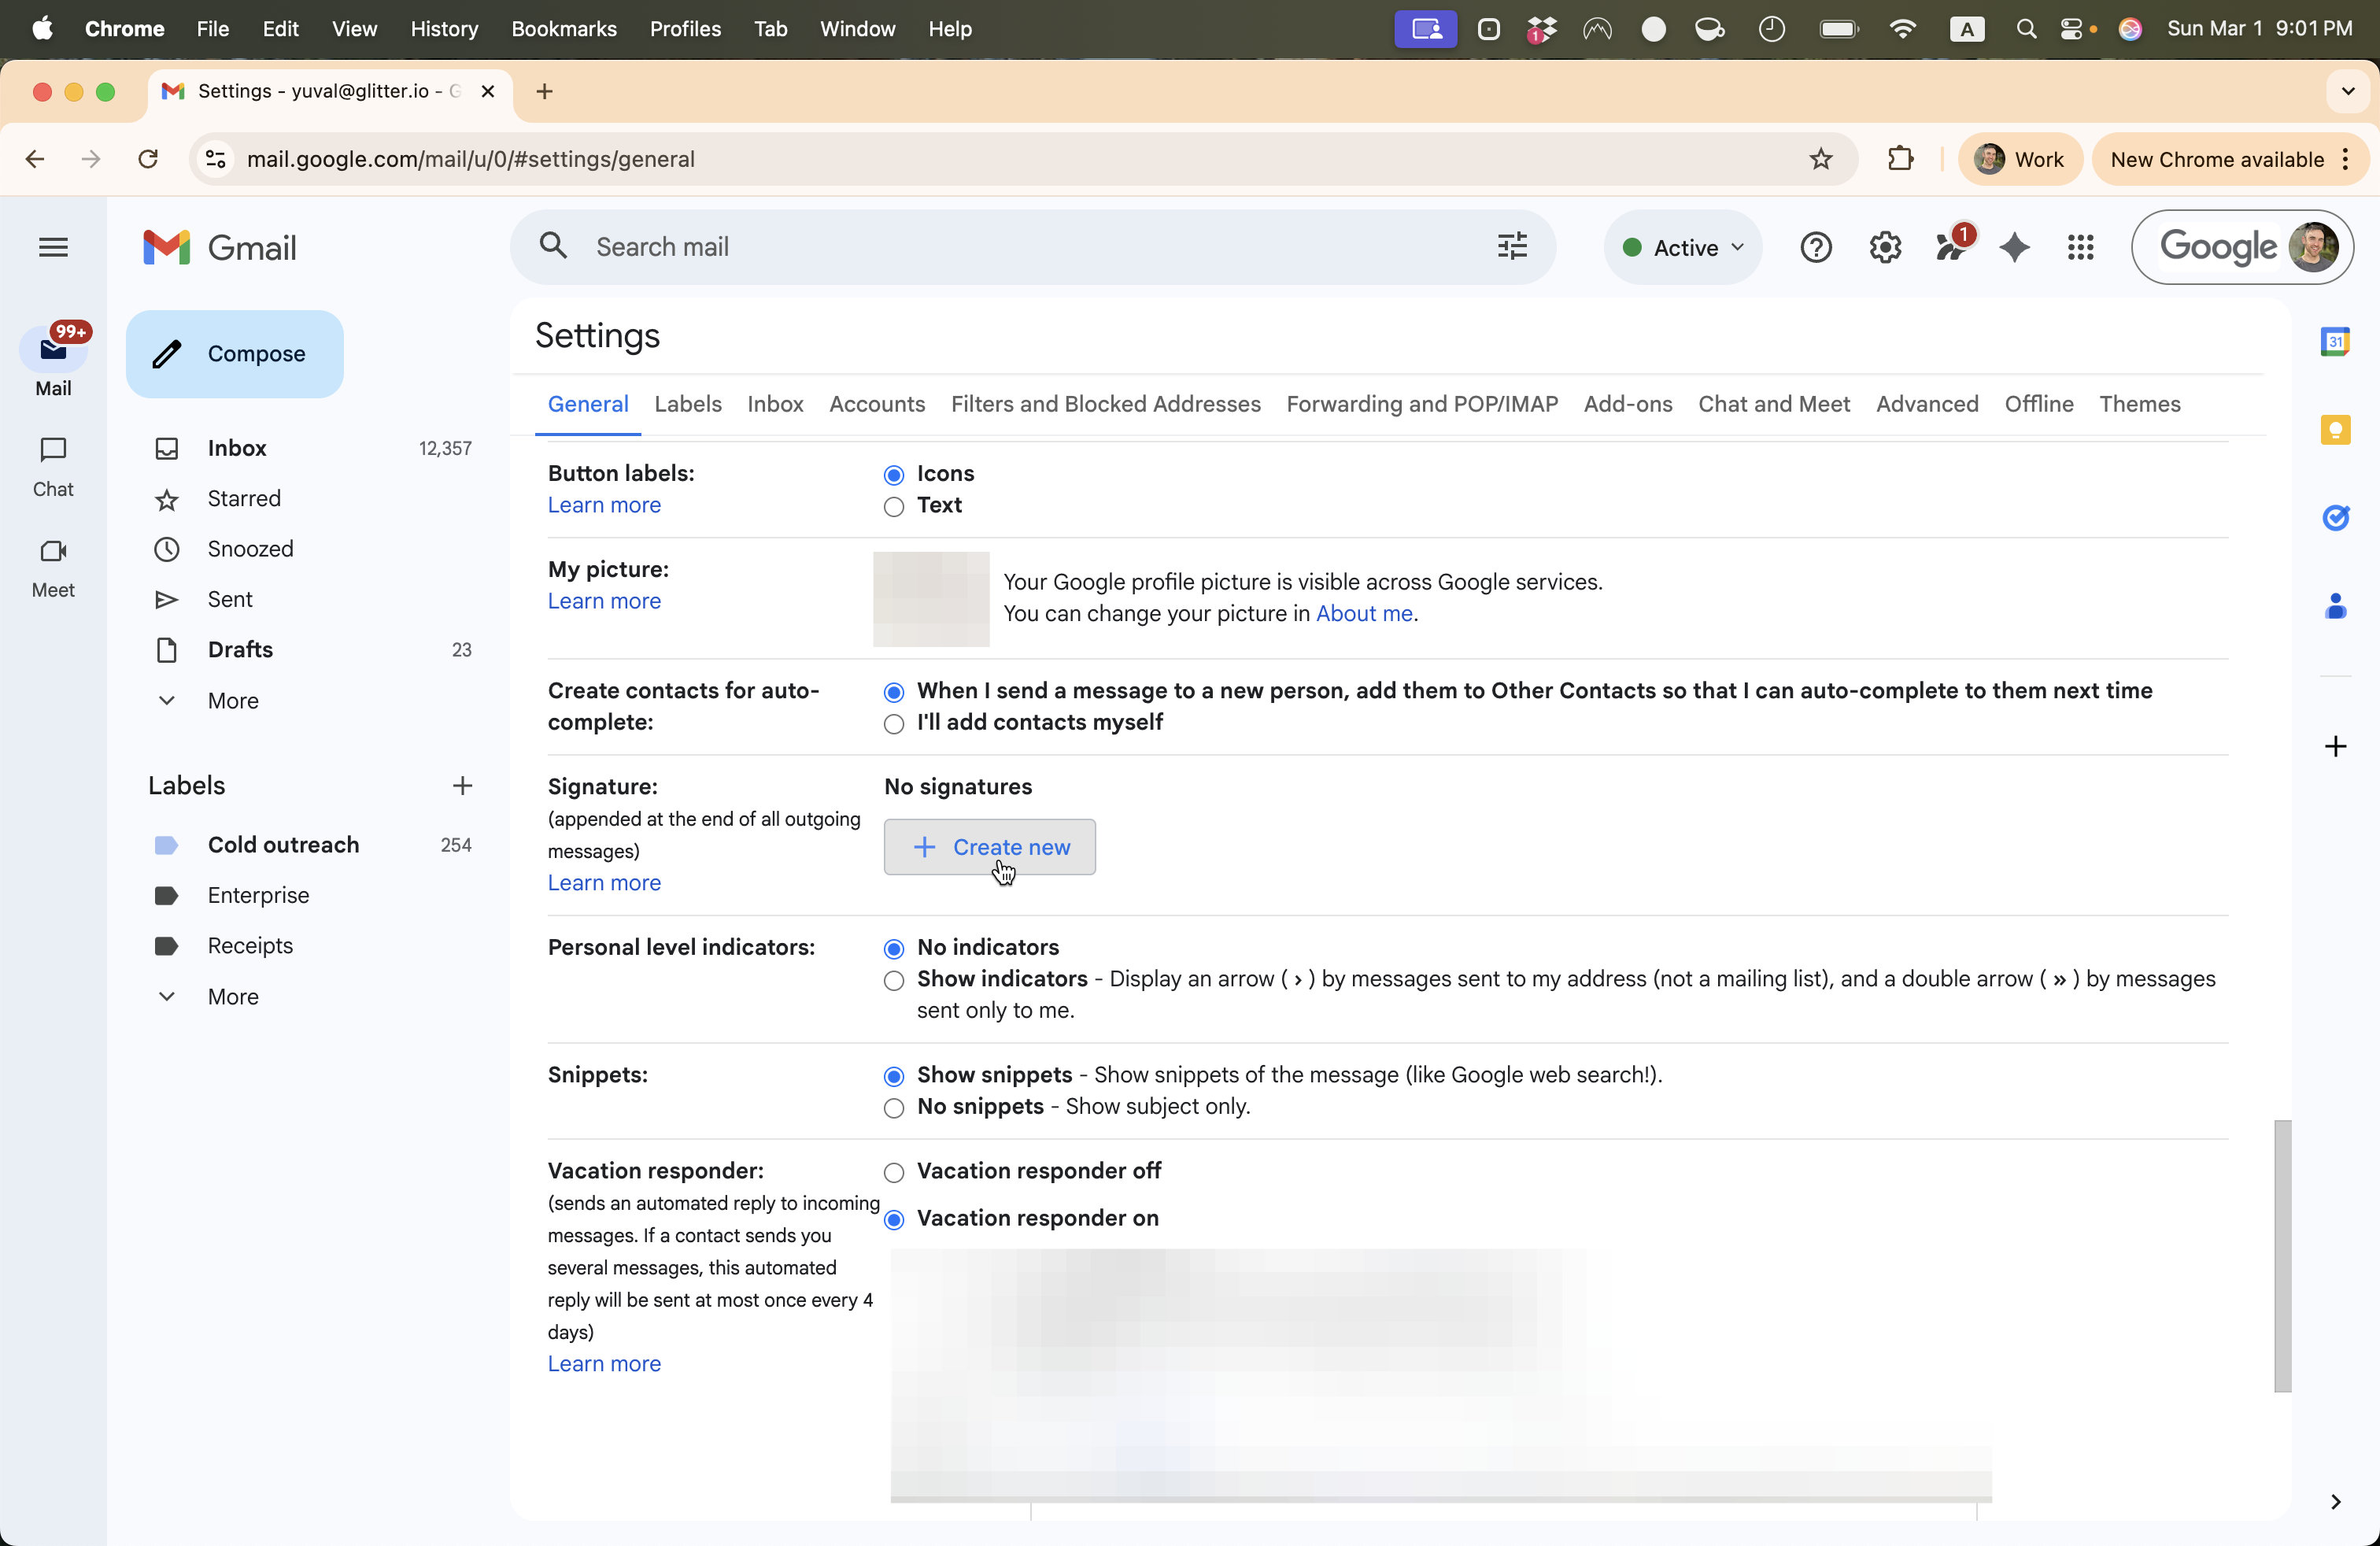
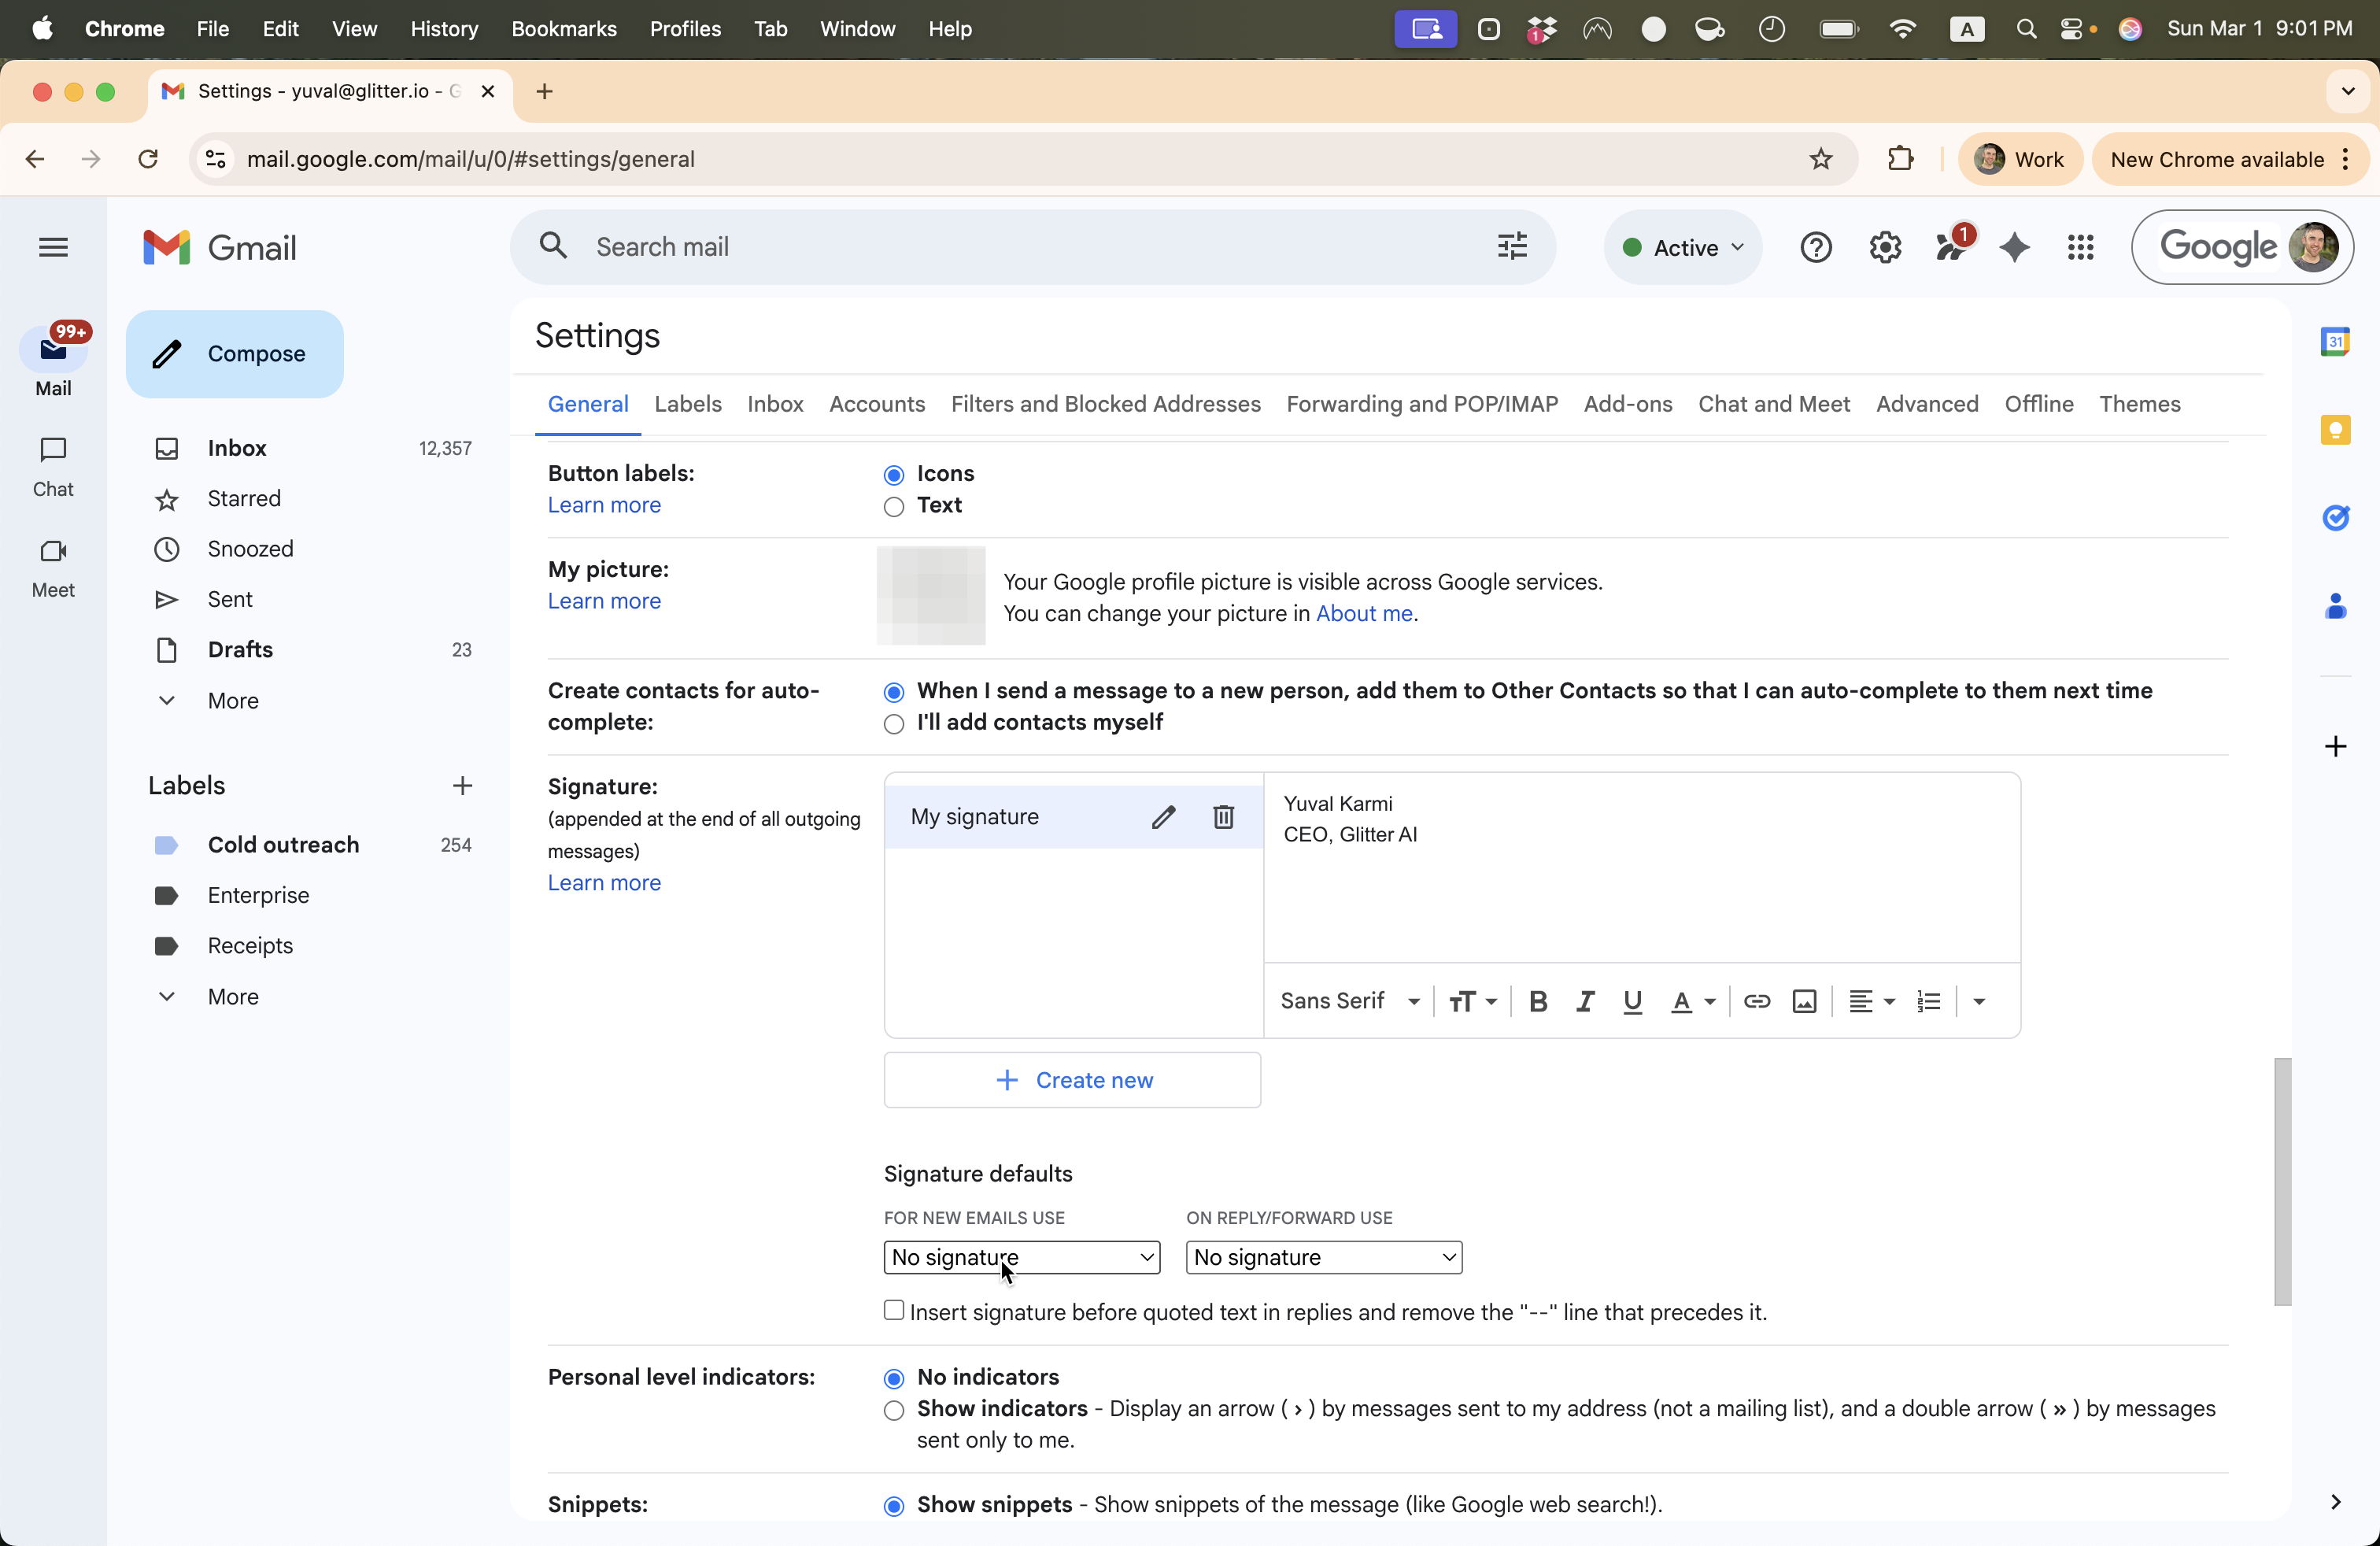
Scroll down until you see Signature. Then click Create New.
3
Scroll down until you see "Signature"
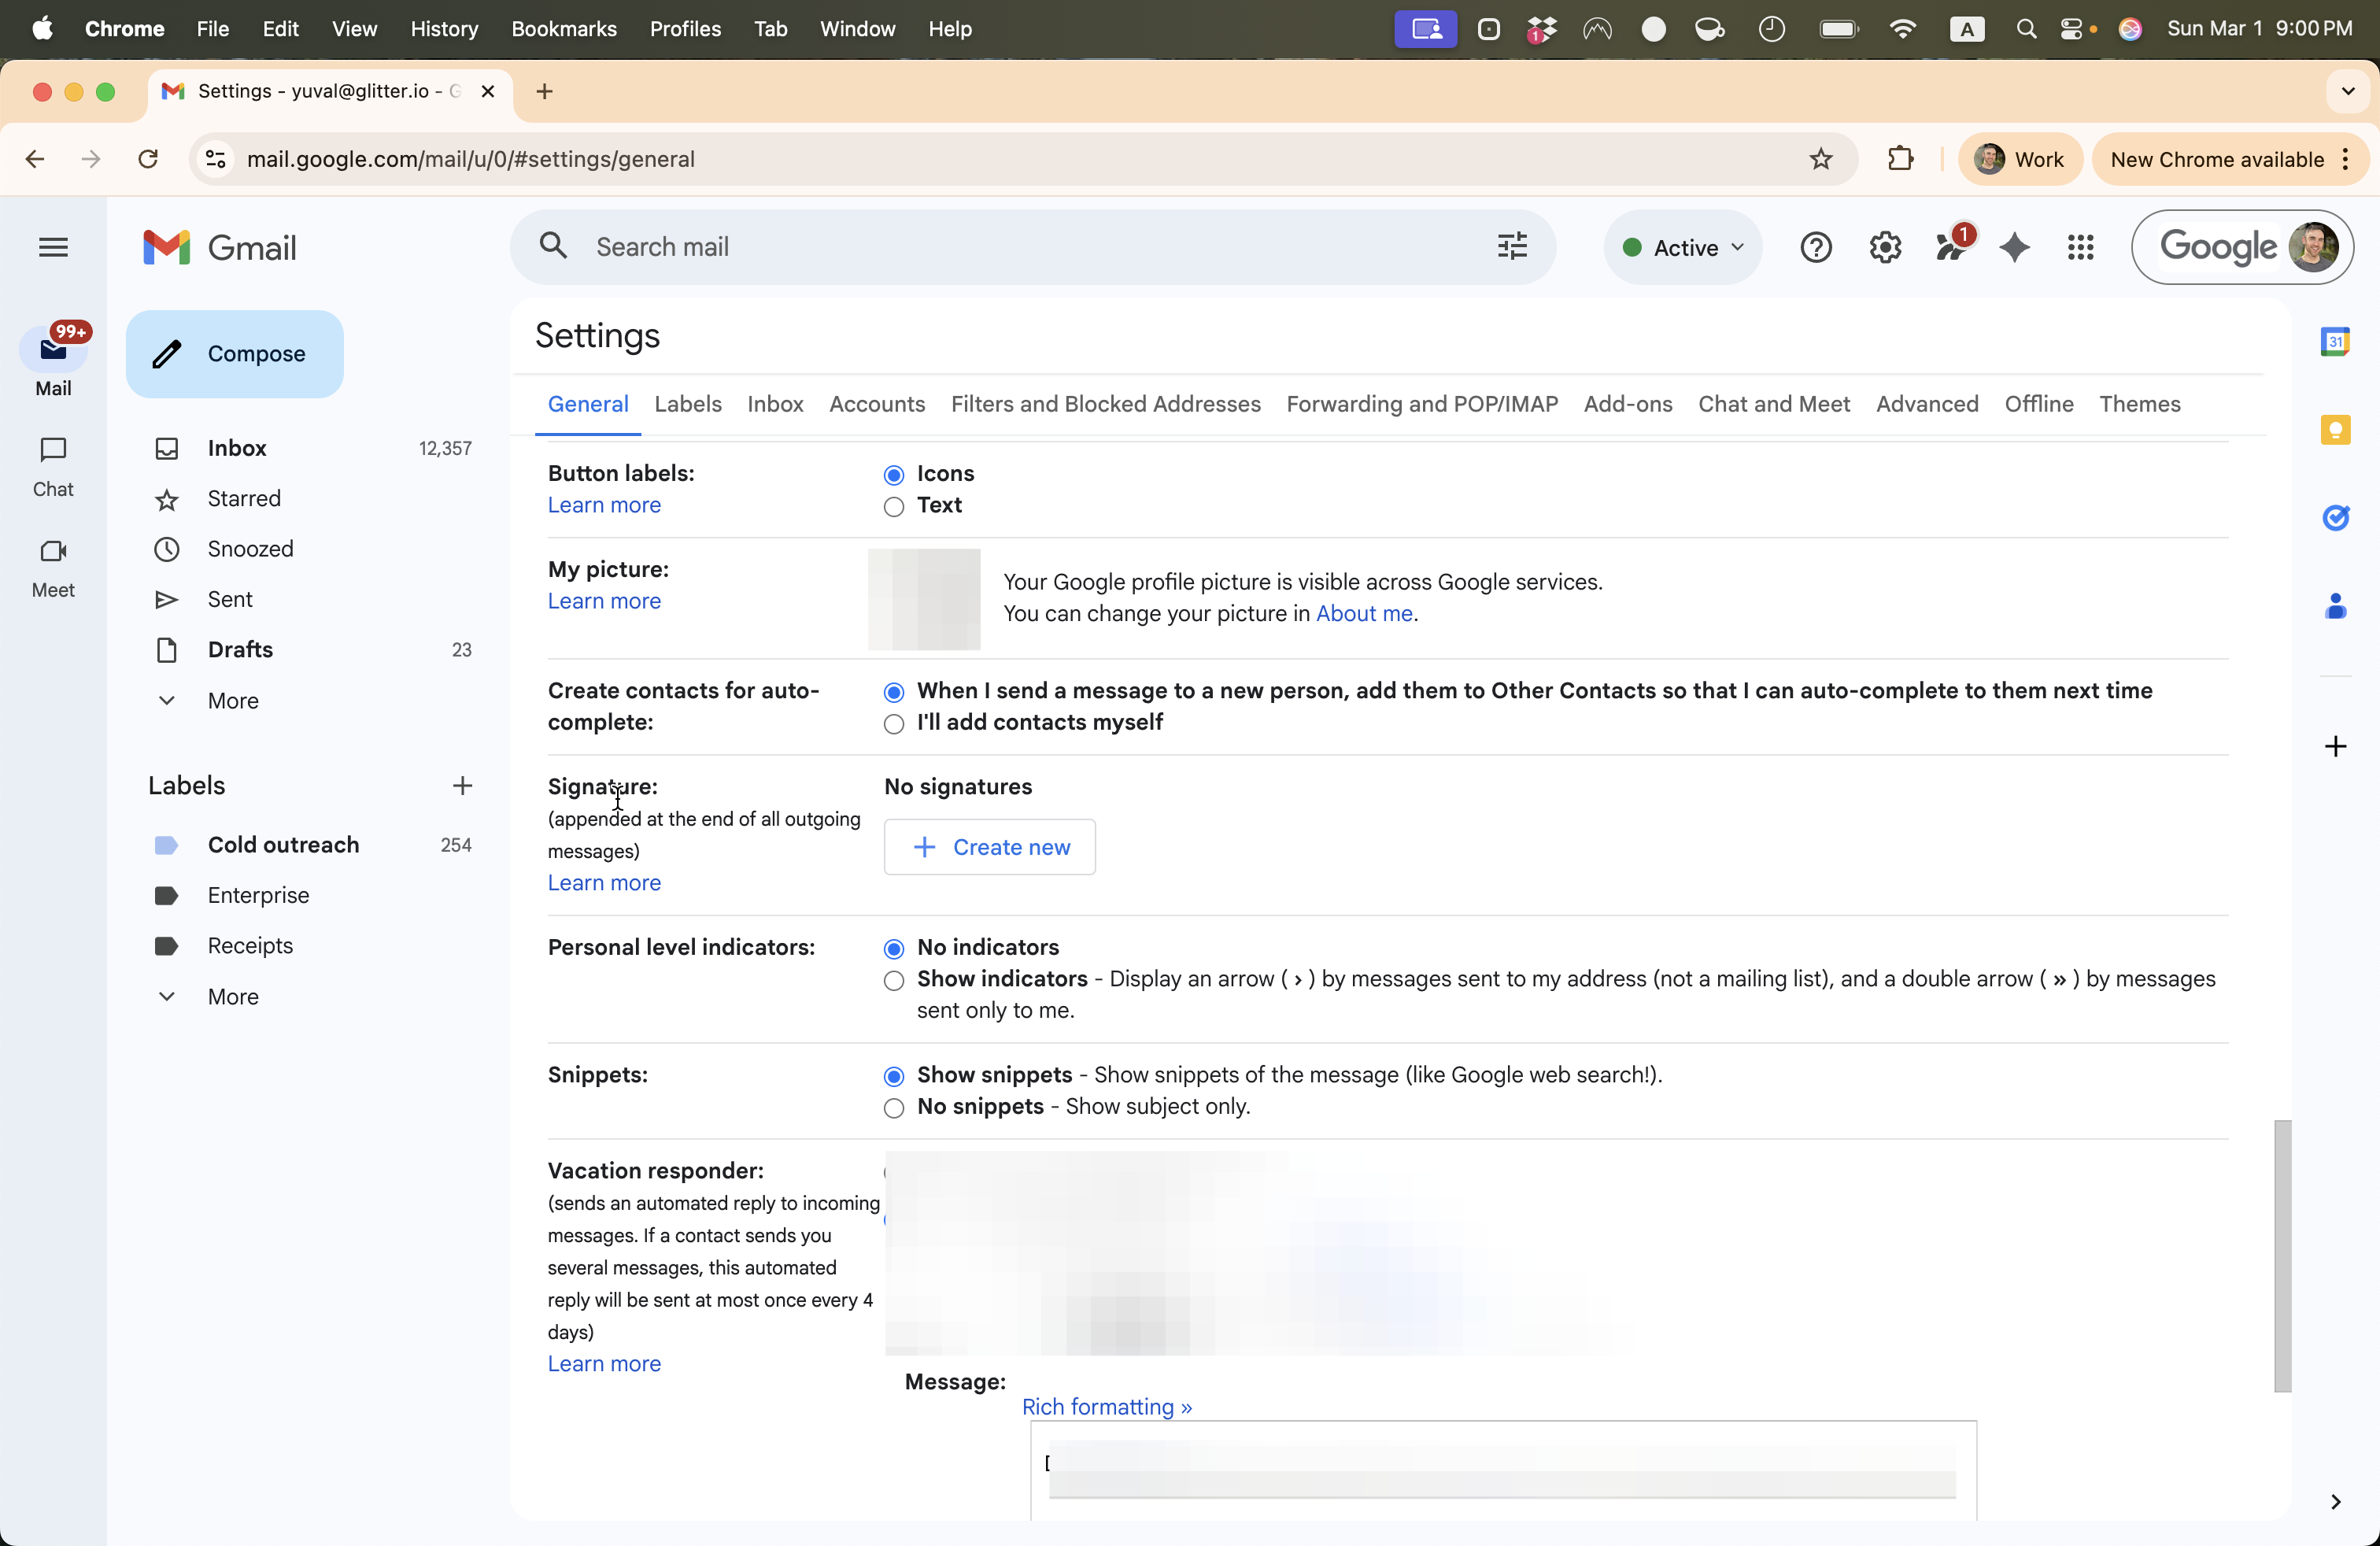
4
Click on "+ Create new"
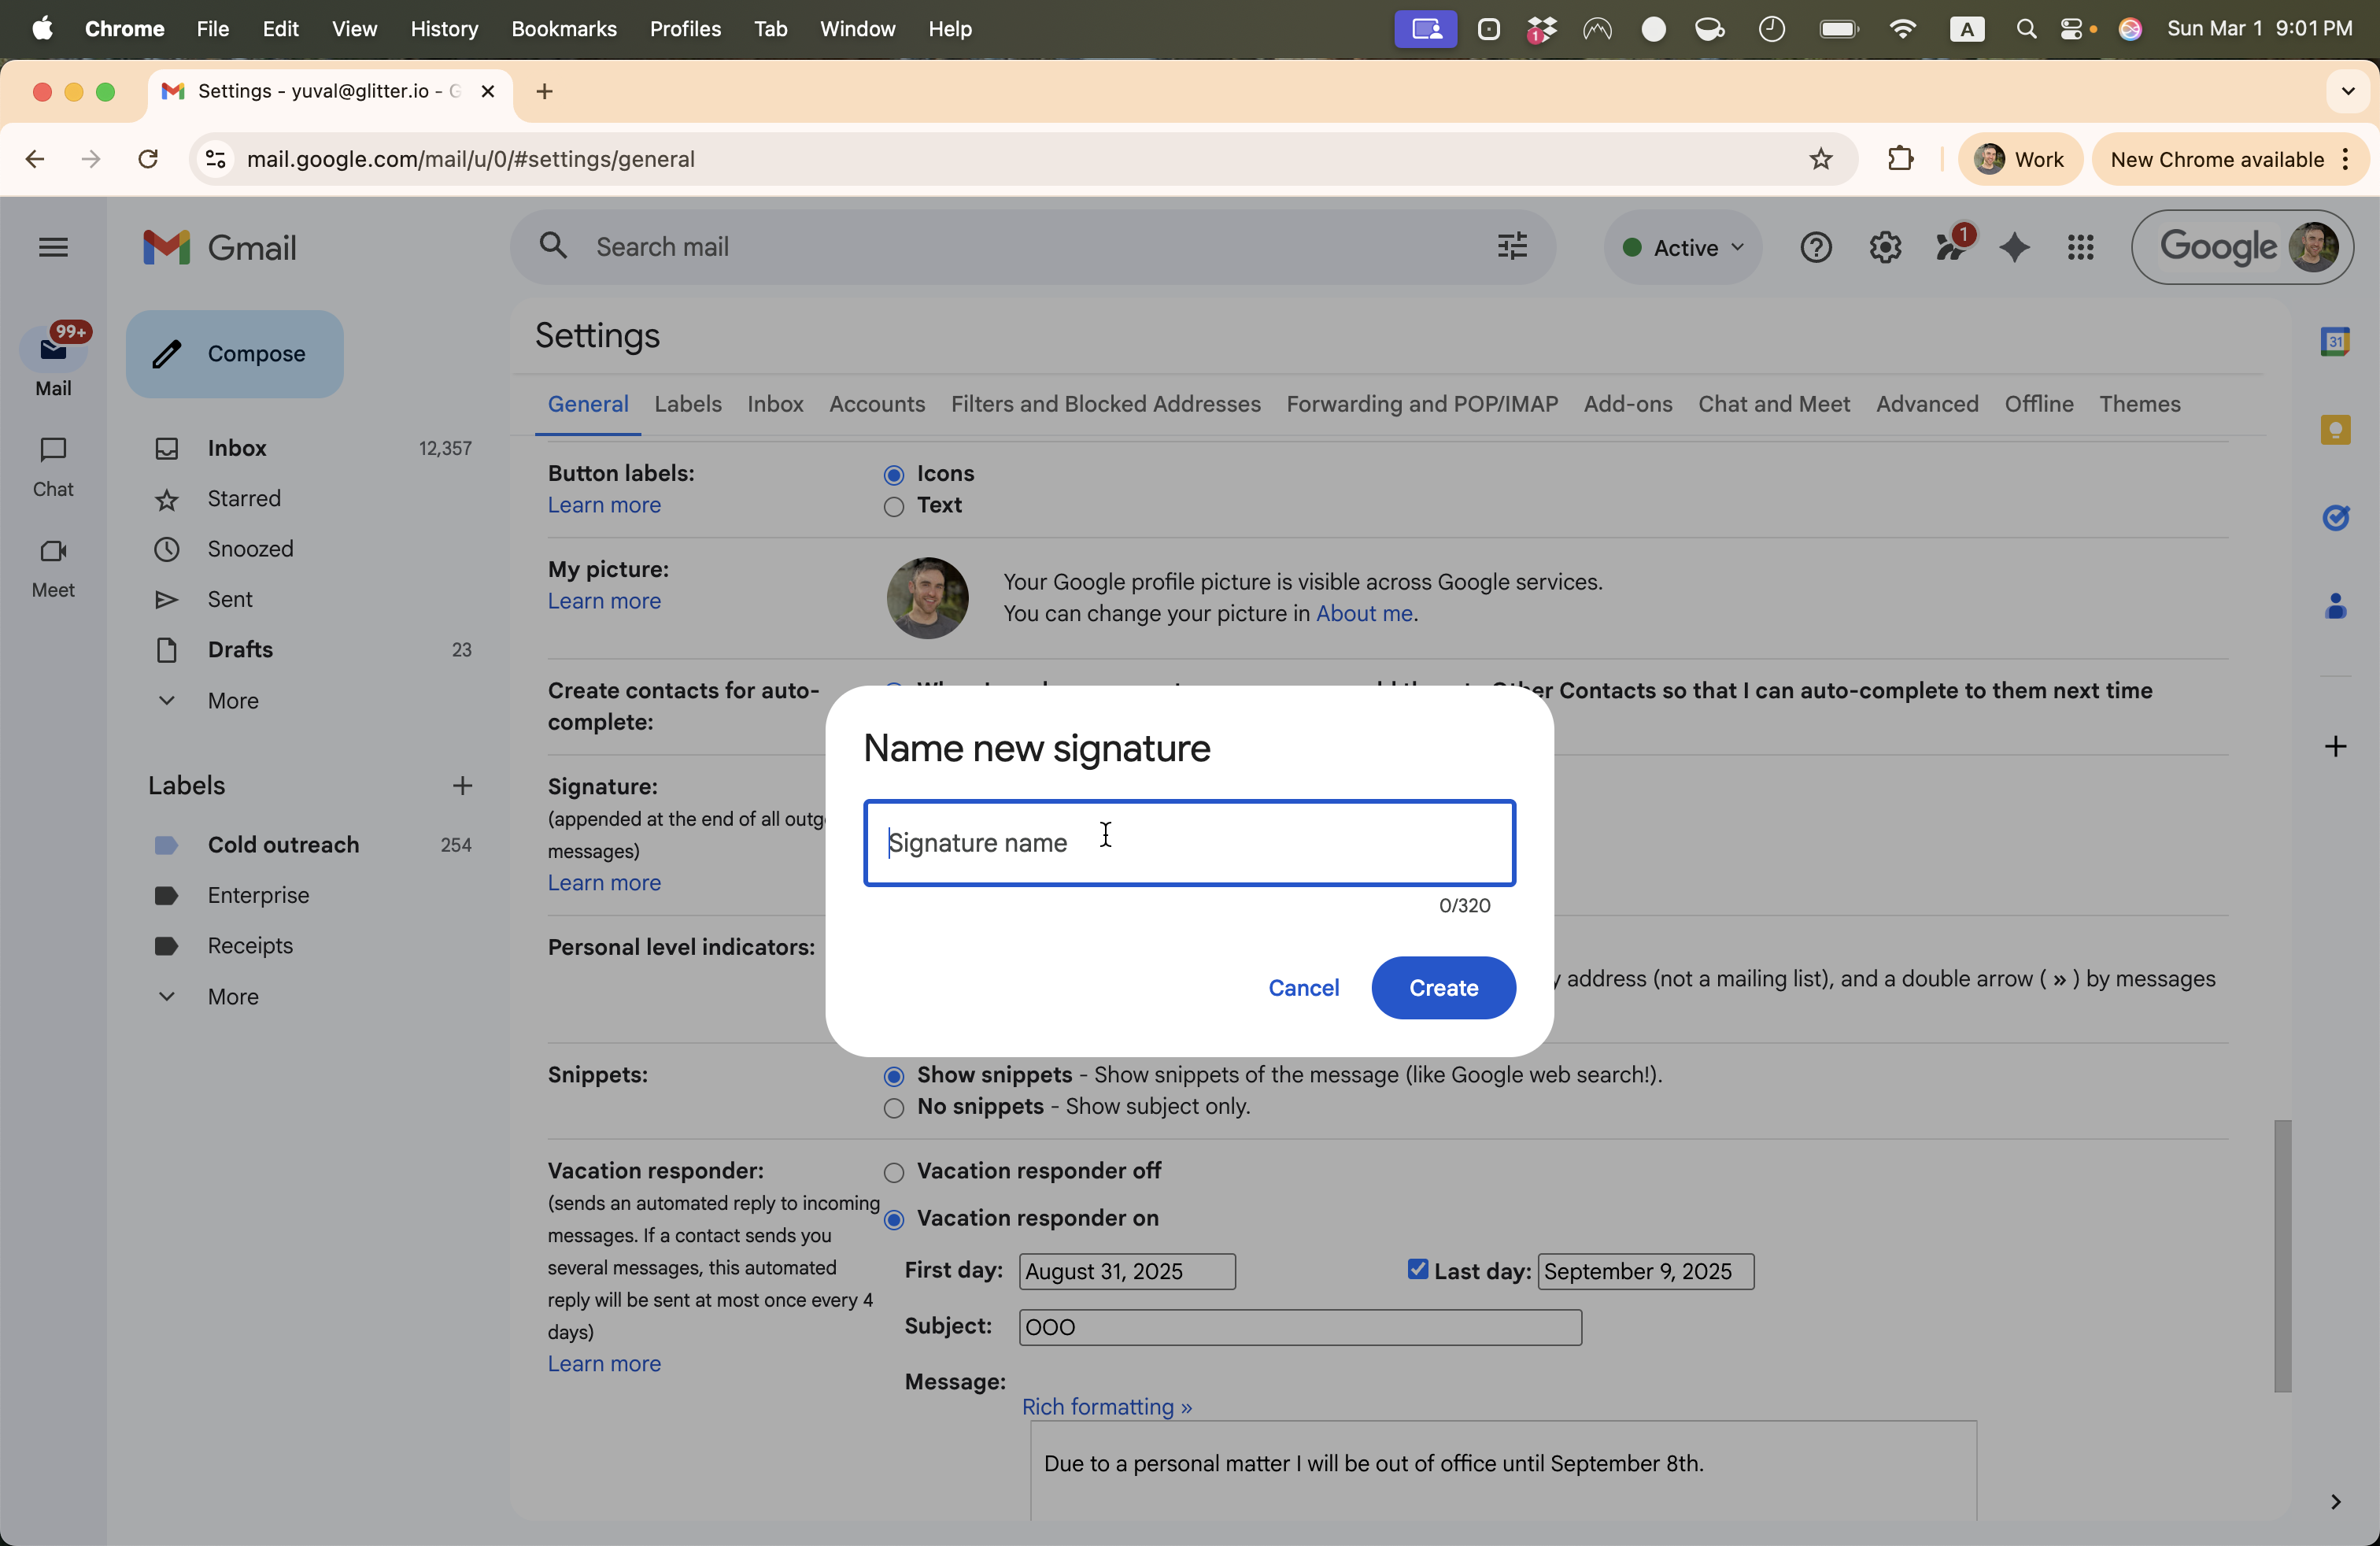
Next, you'll Name your signature.
5
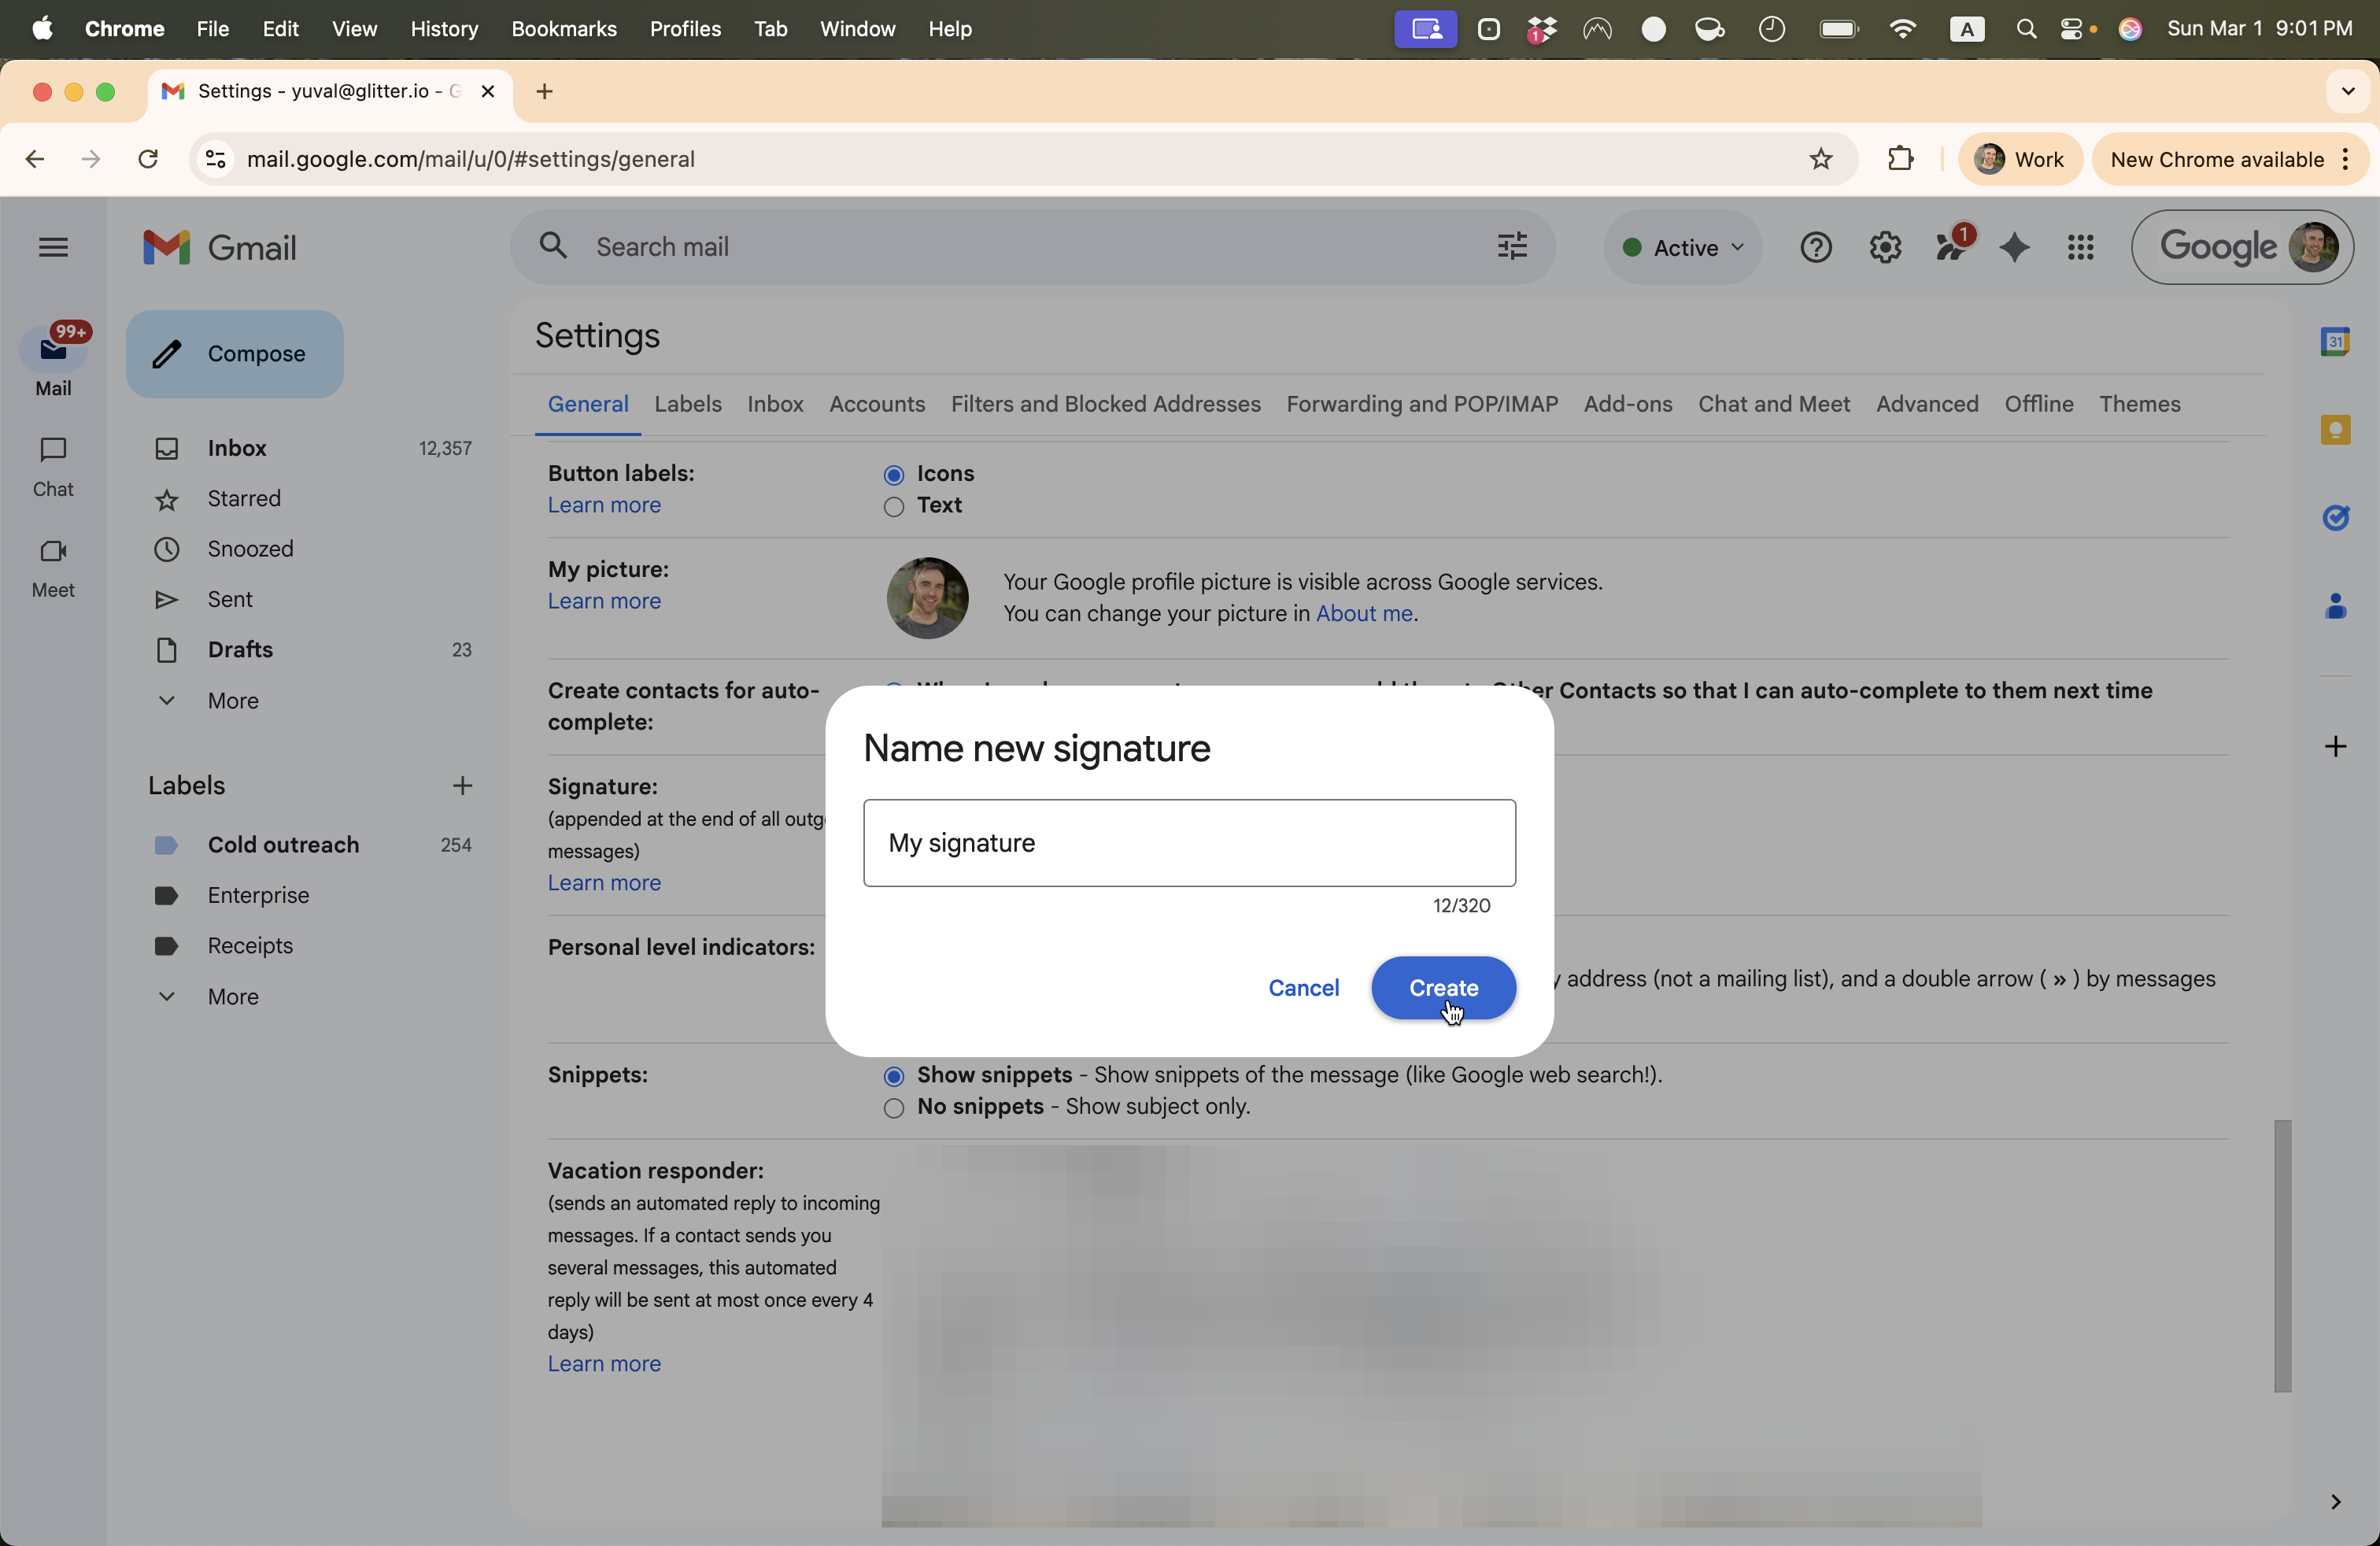
Name your signature. For example, "My signature."
6
Click on "Create"
Then start typing your signature.
7
Click on "I"
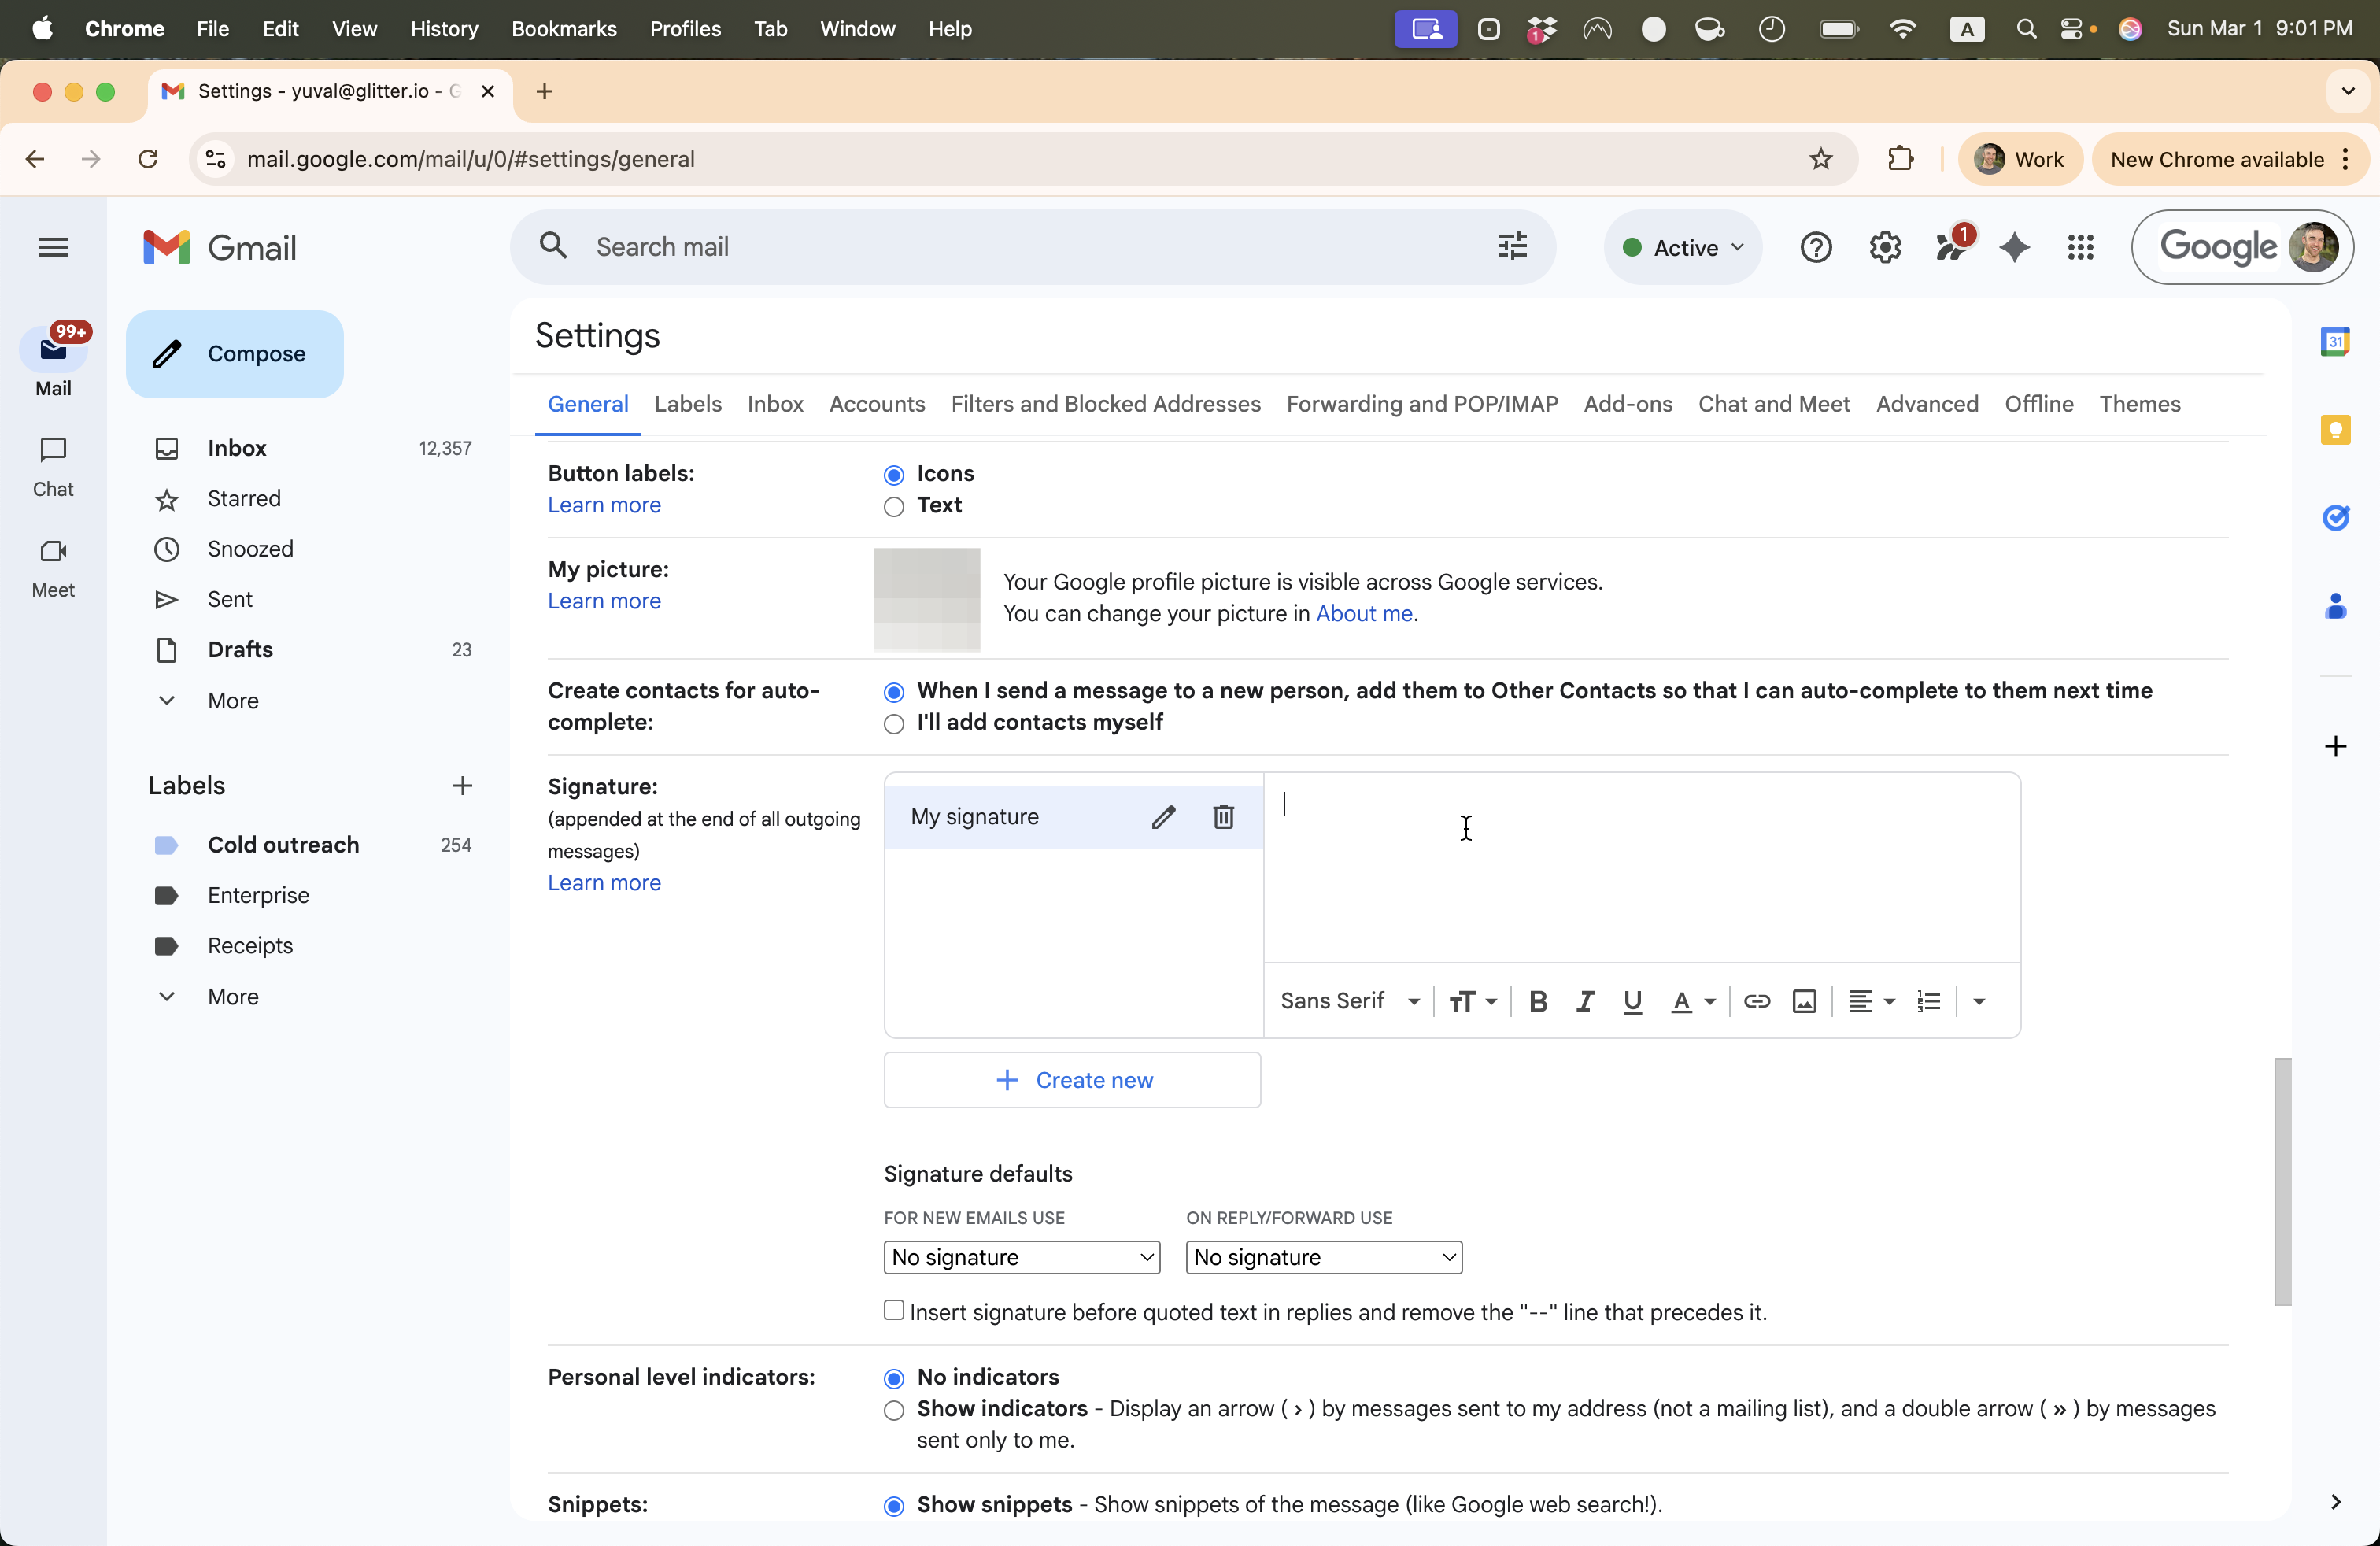
8
Type "Yuval Karmi + Enter"
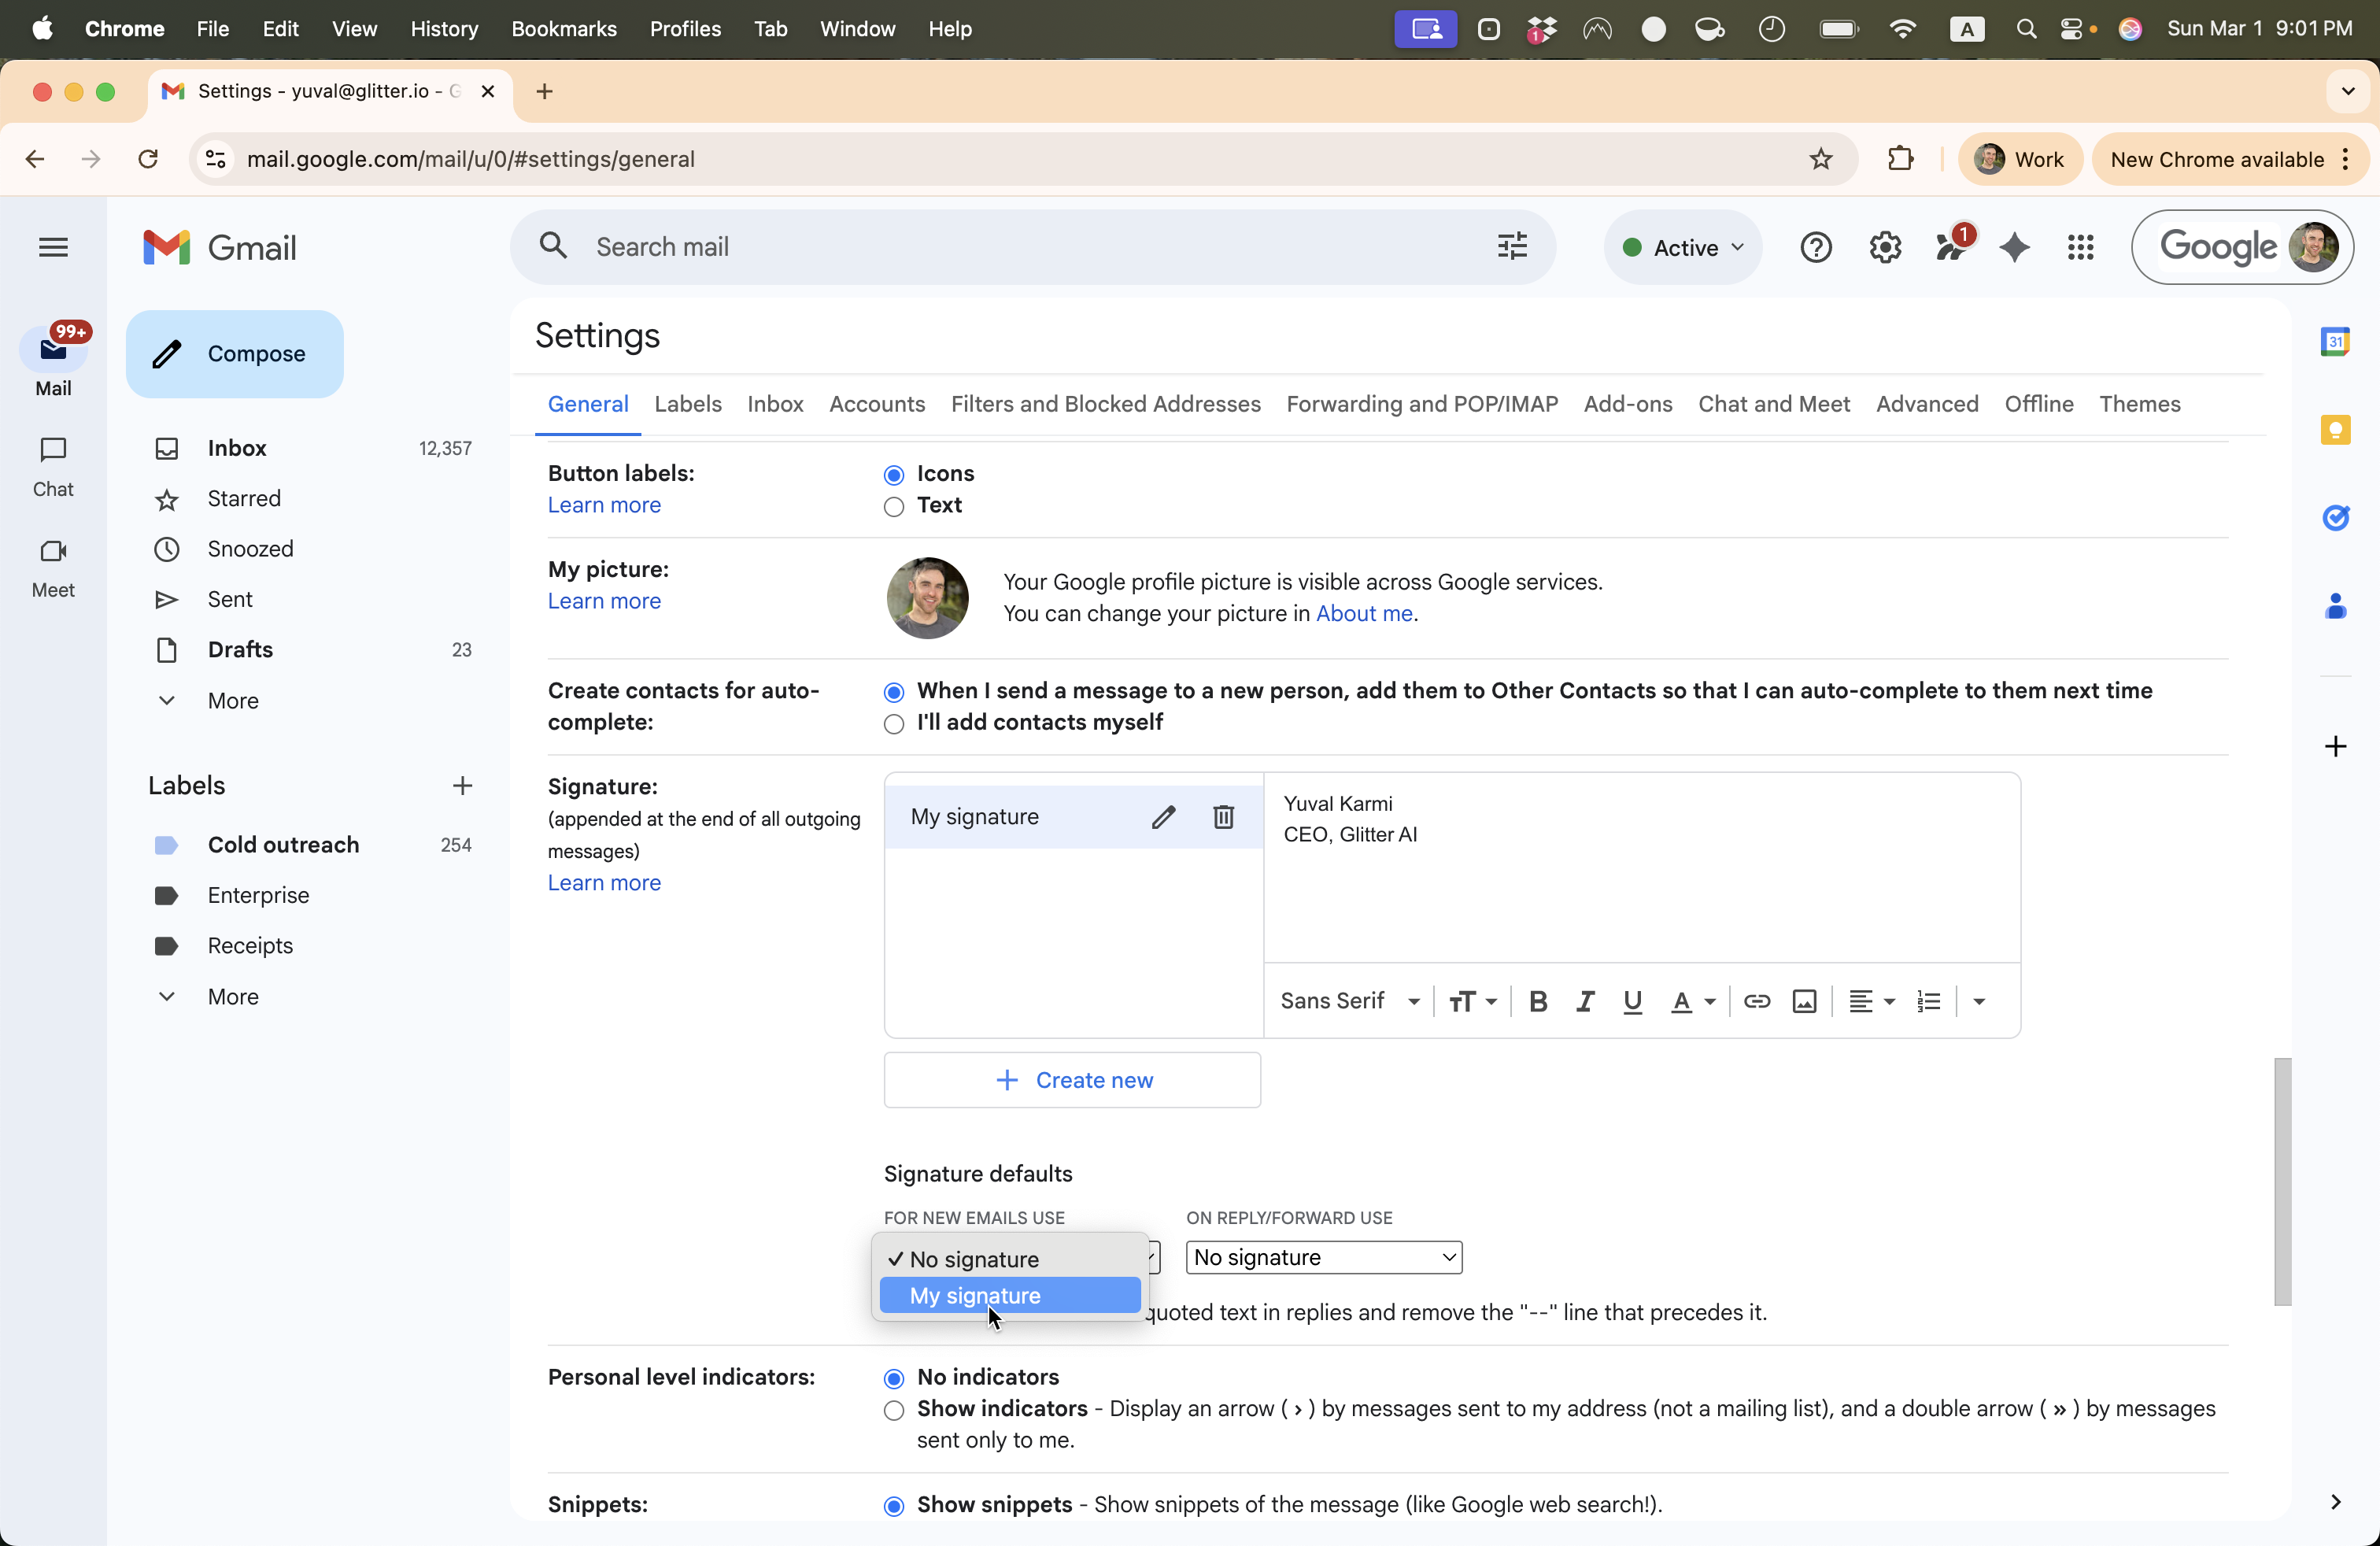
9
Click on "No signature"
10
Select the name you gave your signature from the dropdown
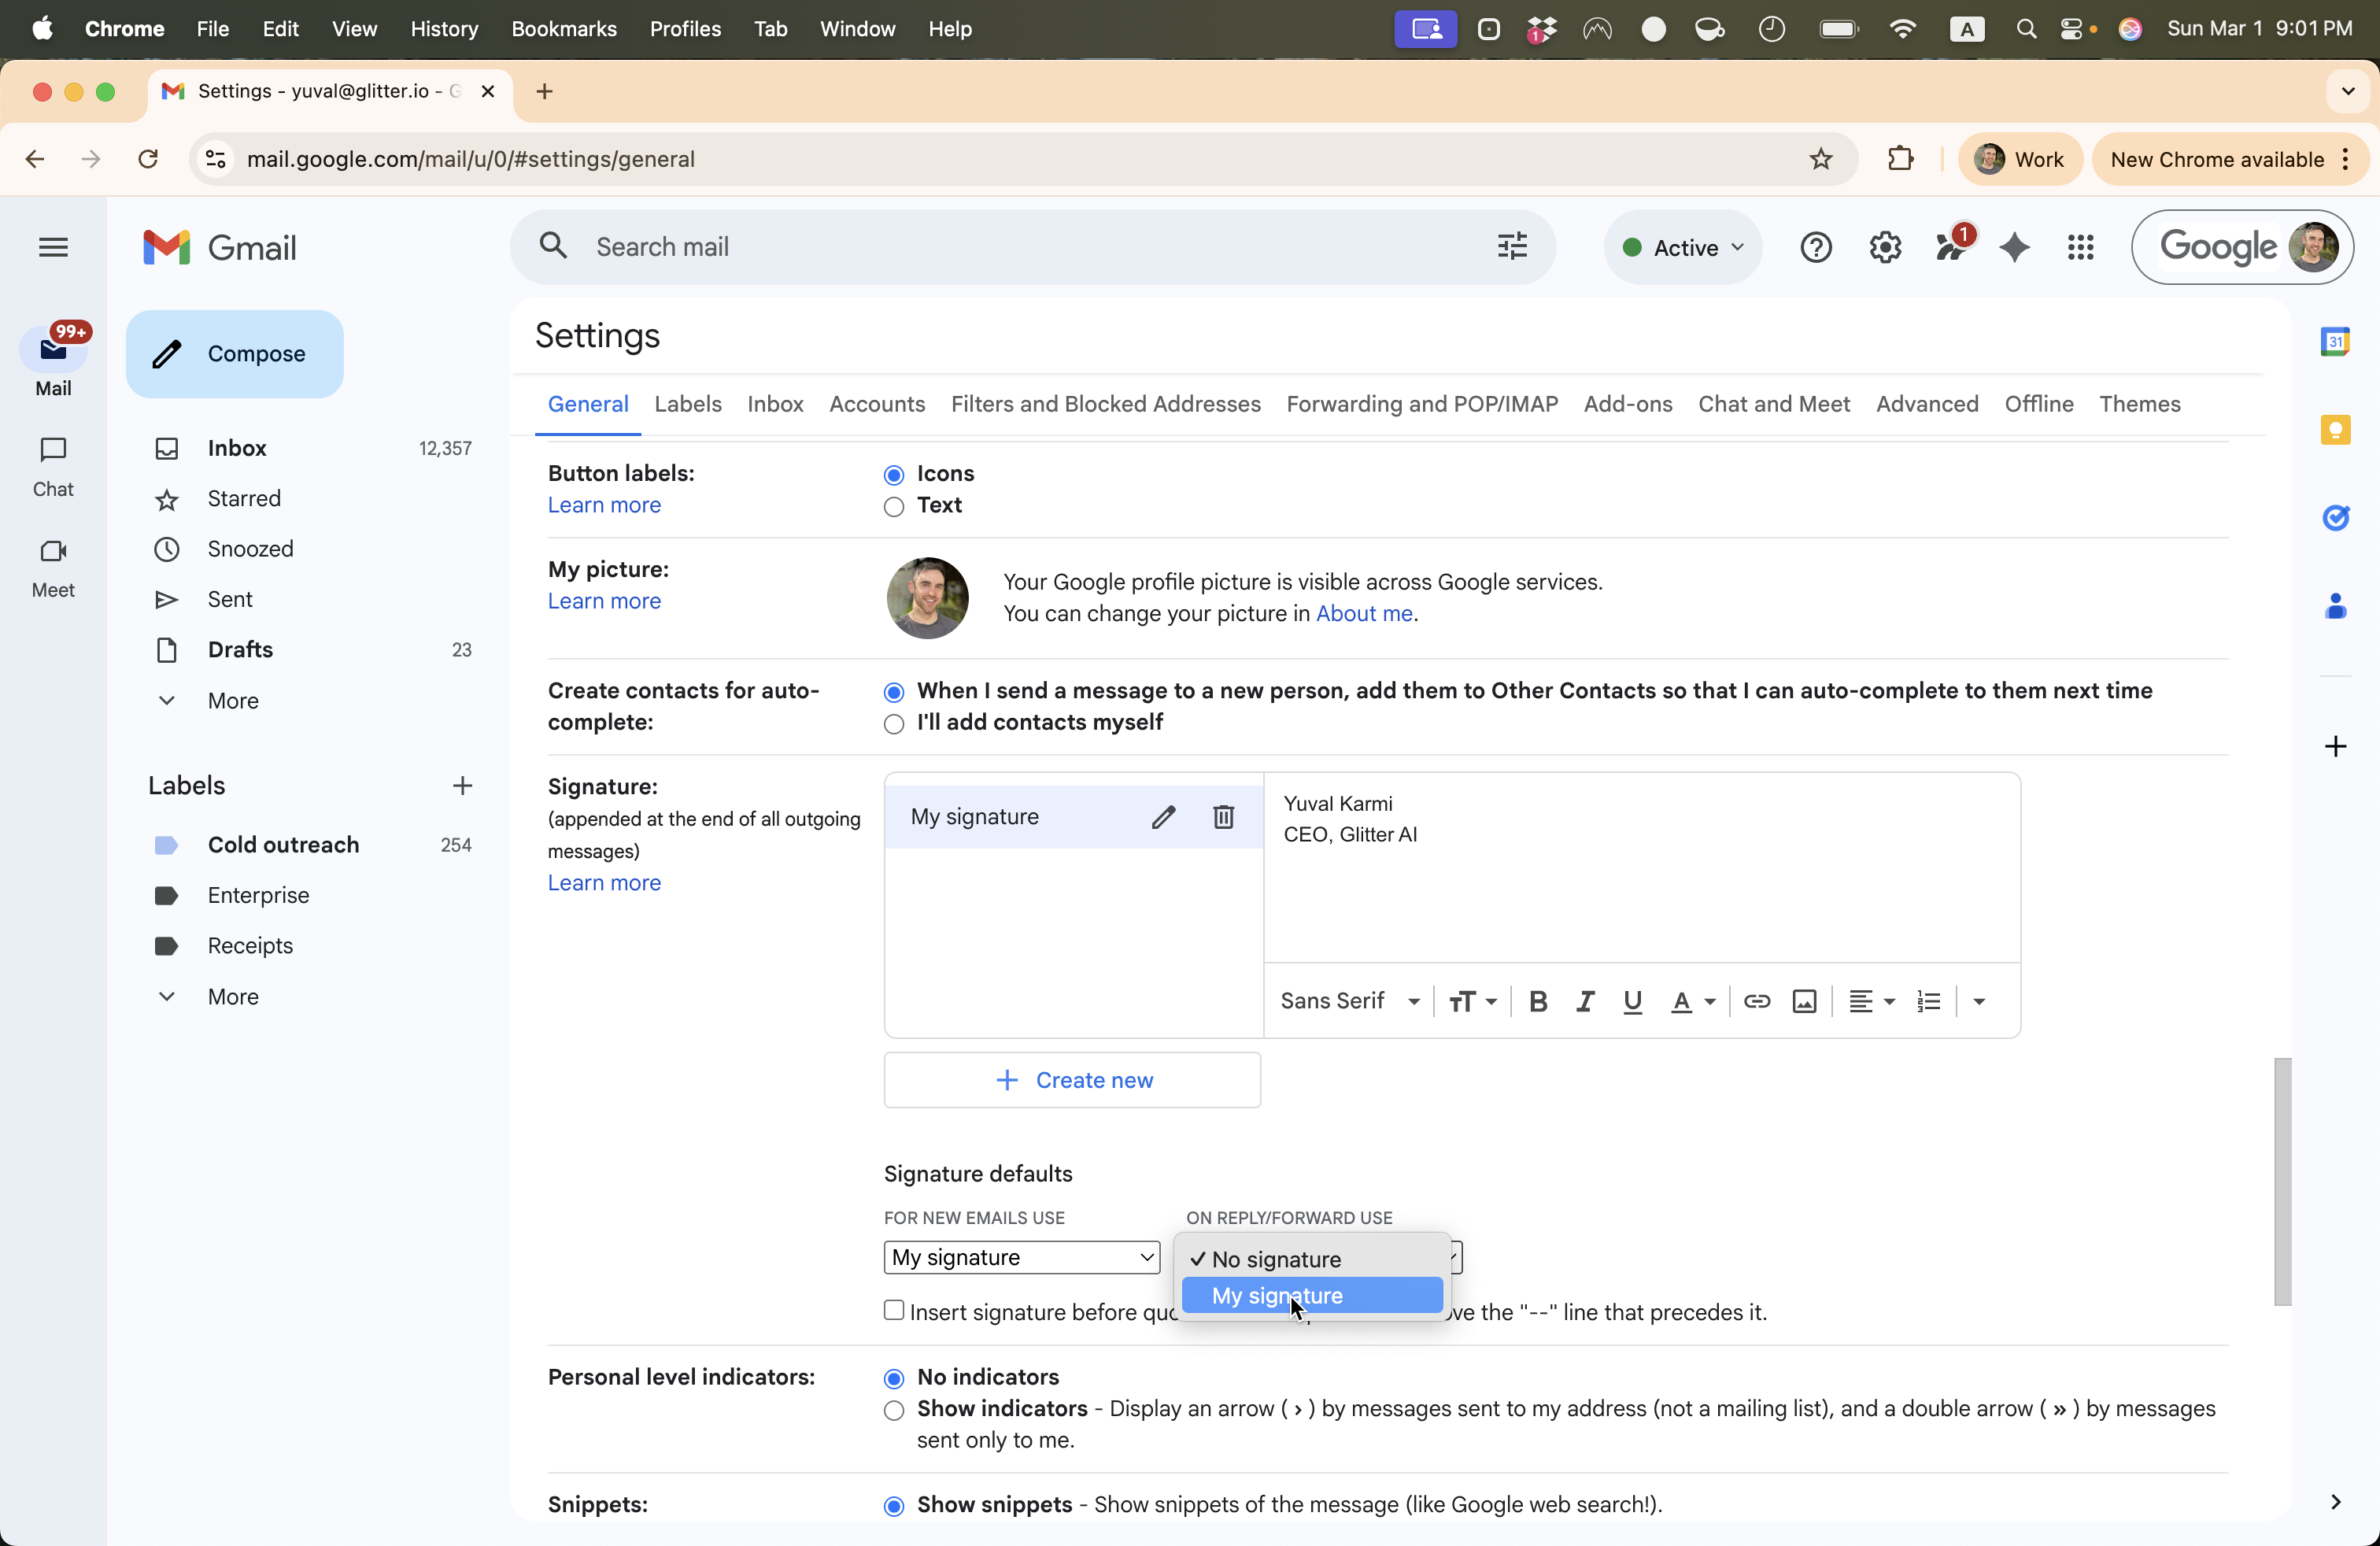
11
Repeat this process for the second dropdown
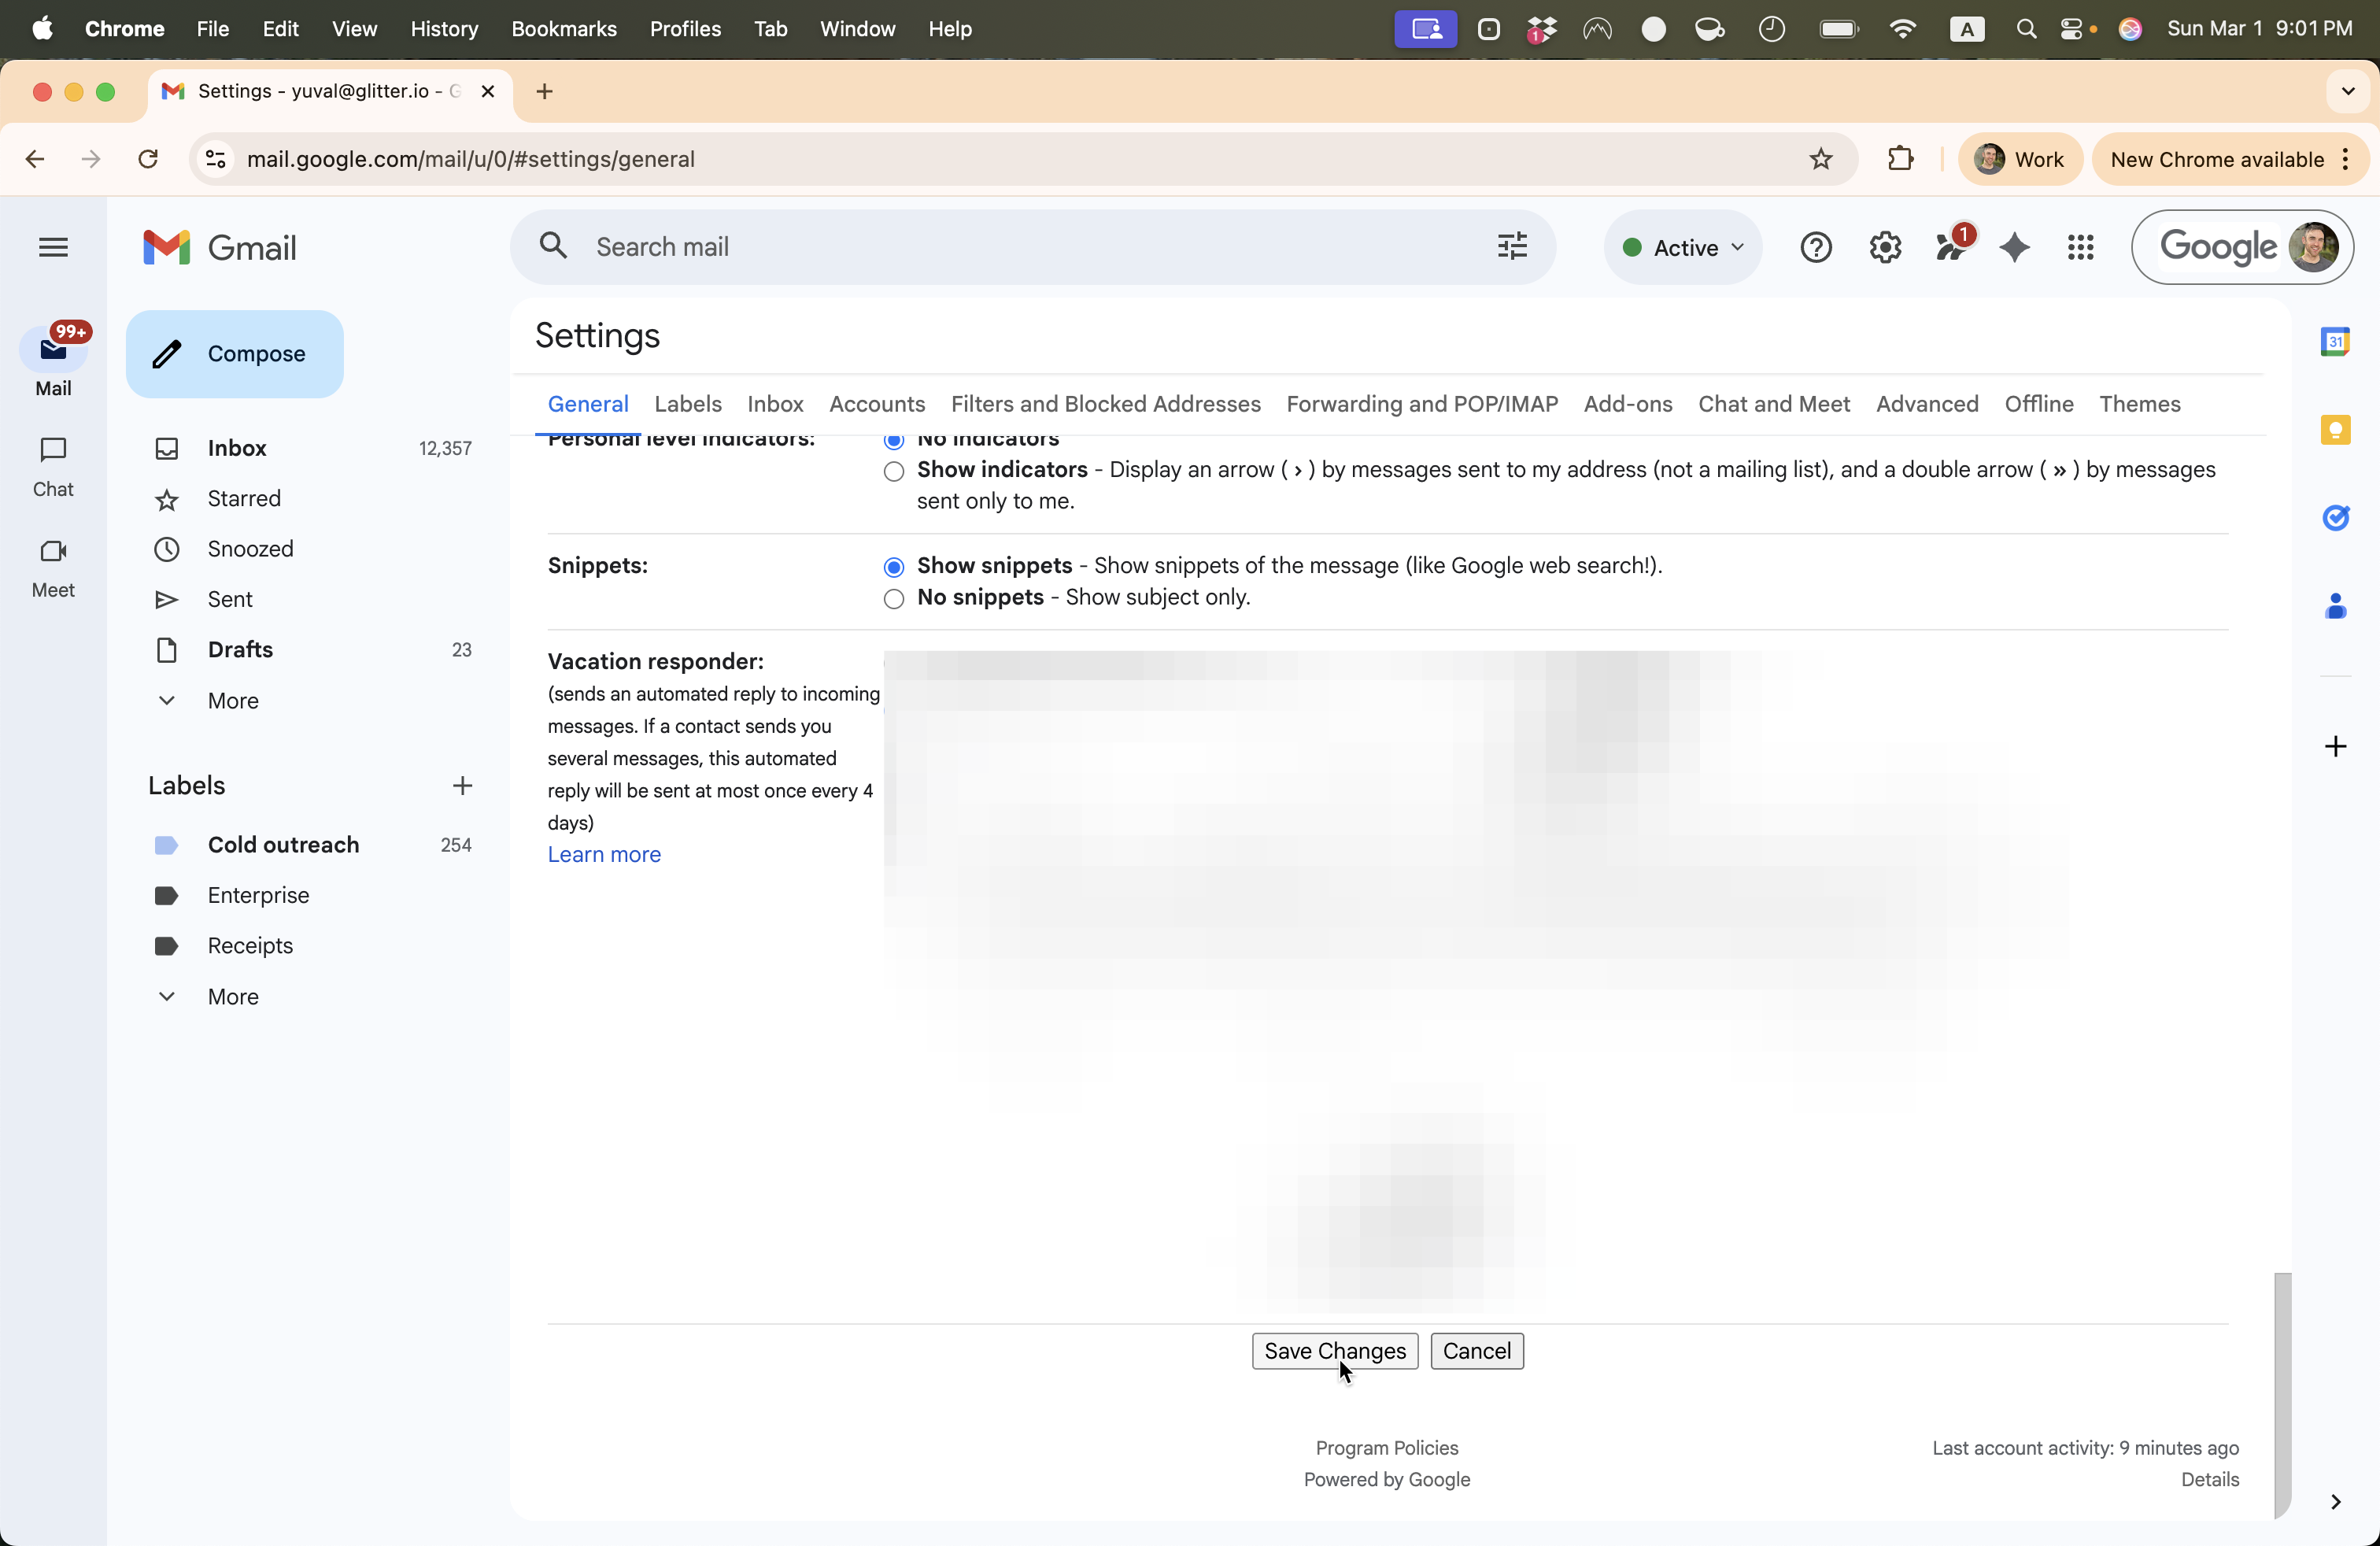
12
Scroll down the page and click on "Save Changes"
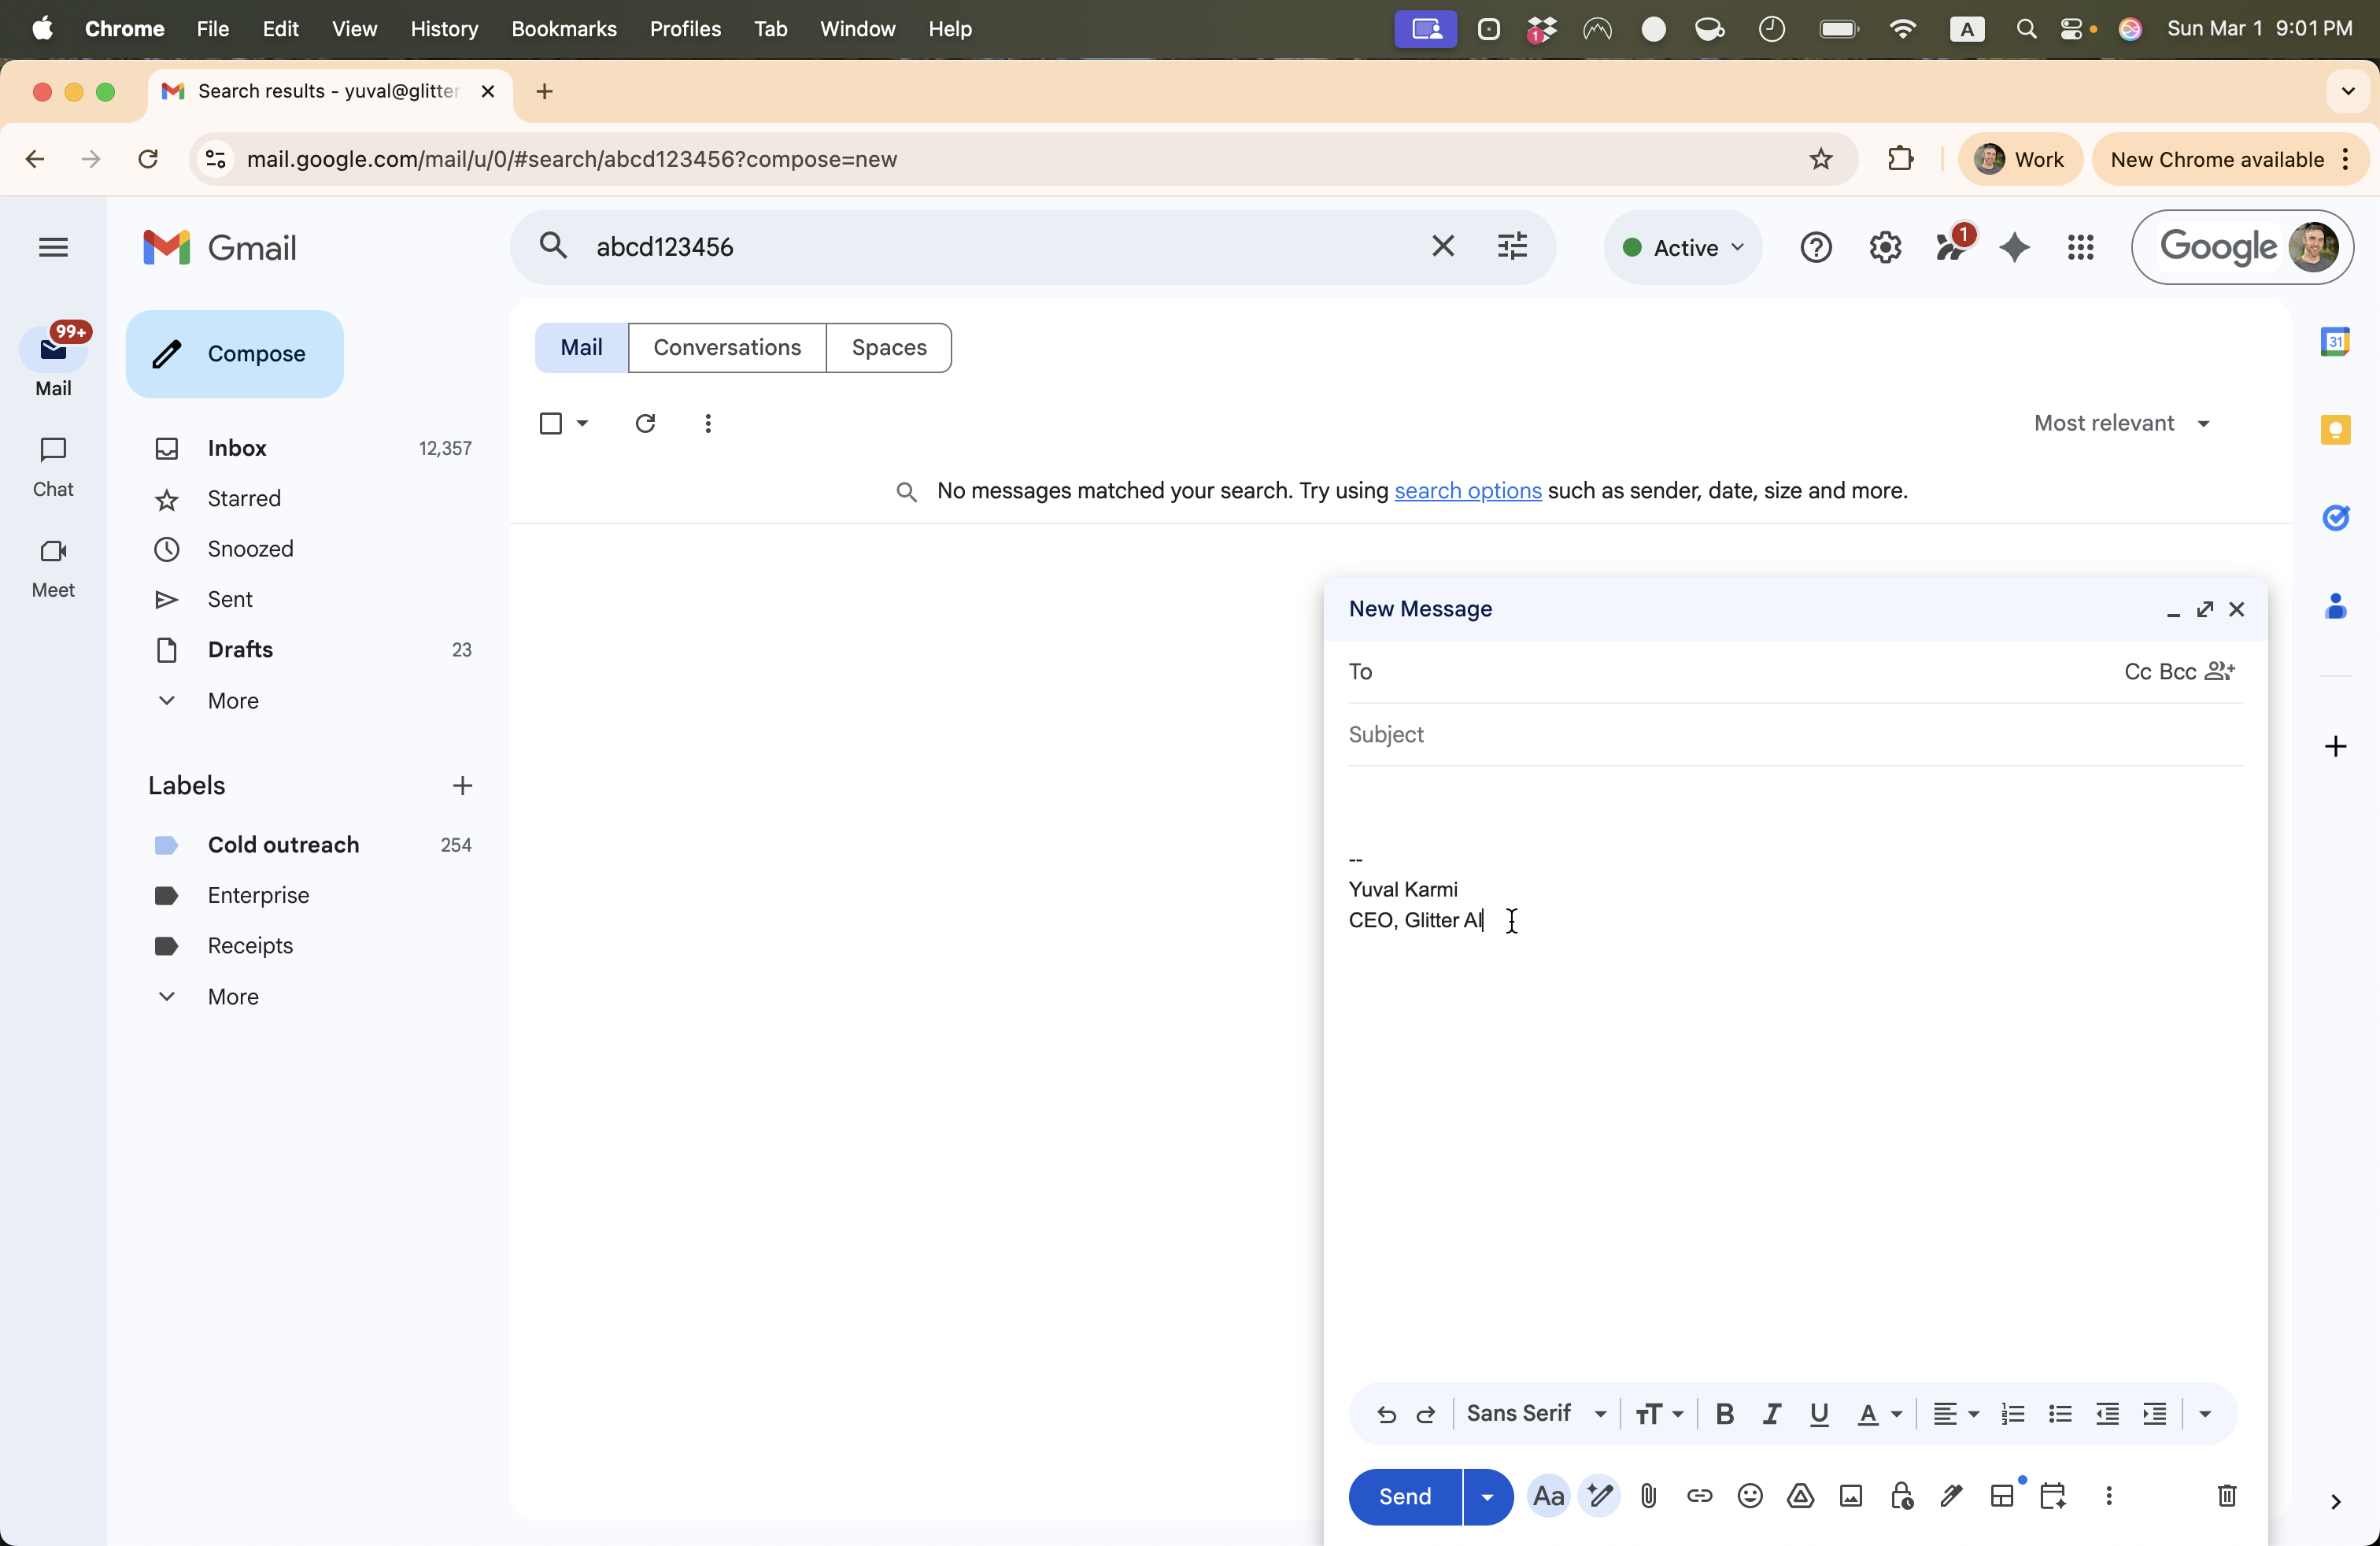
Now when you compose a new email, your email signature will appear at the bottom of the message.
13
Click on "Compose"
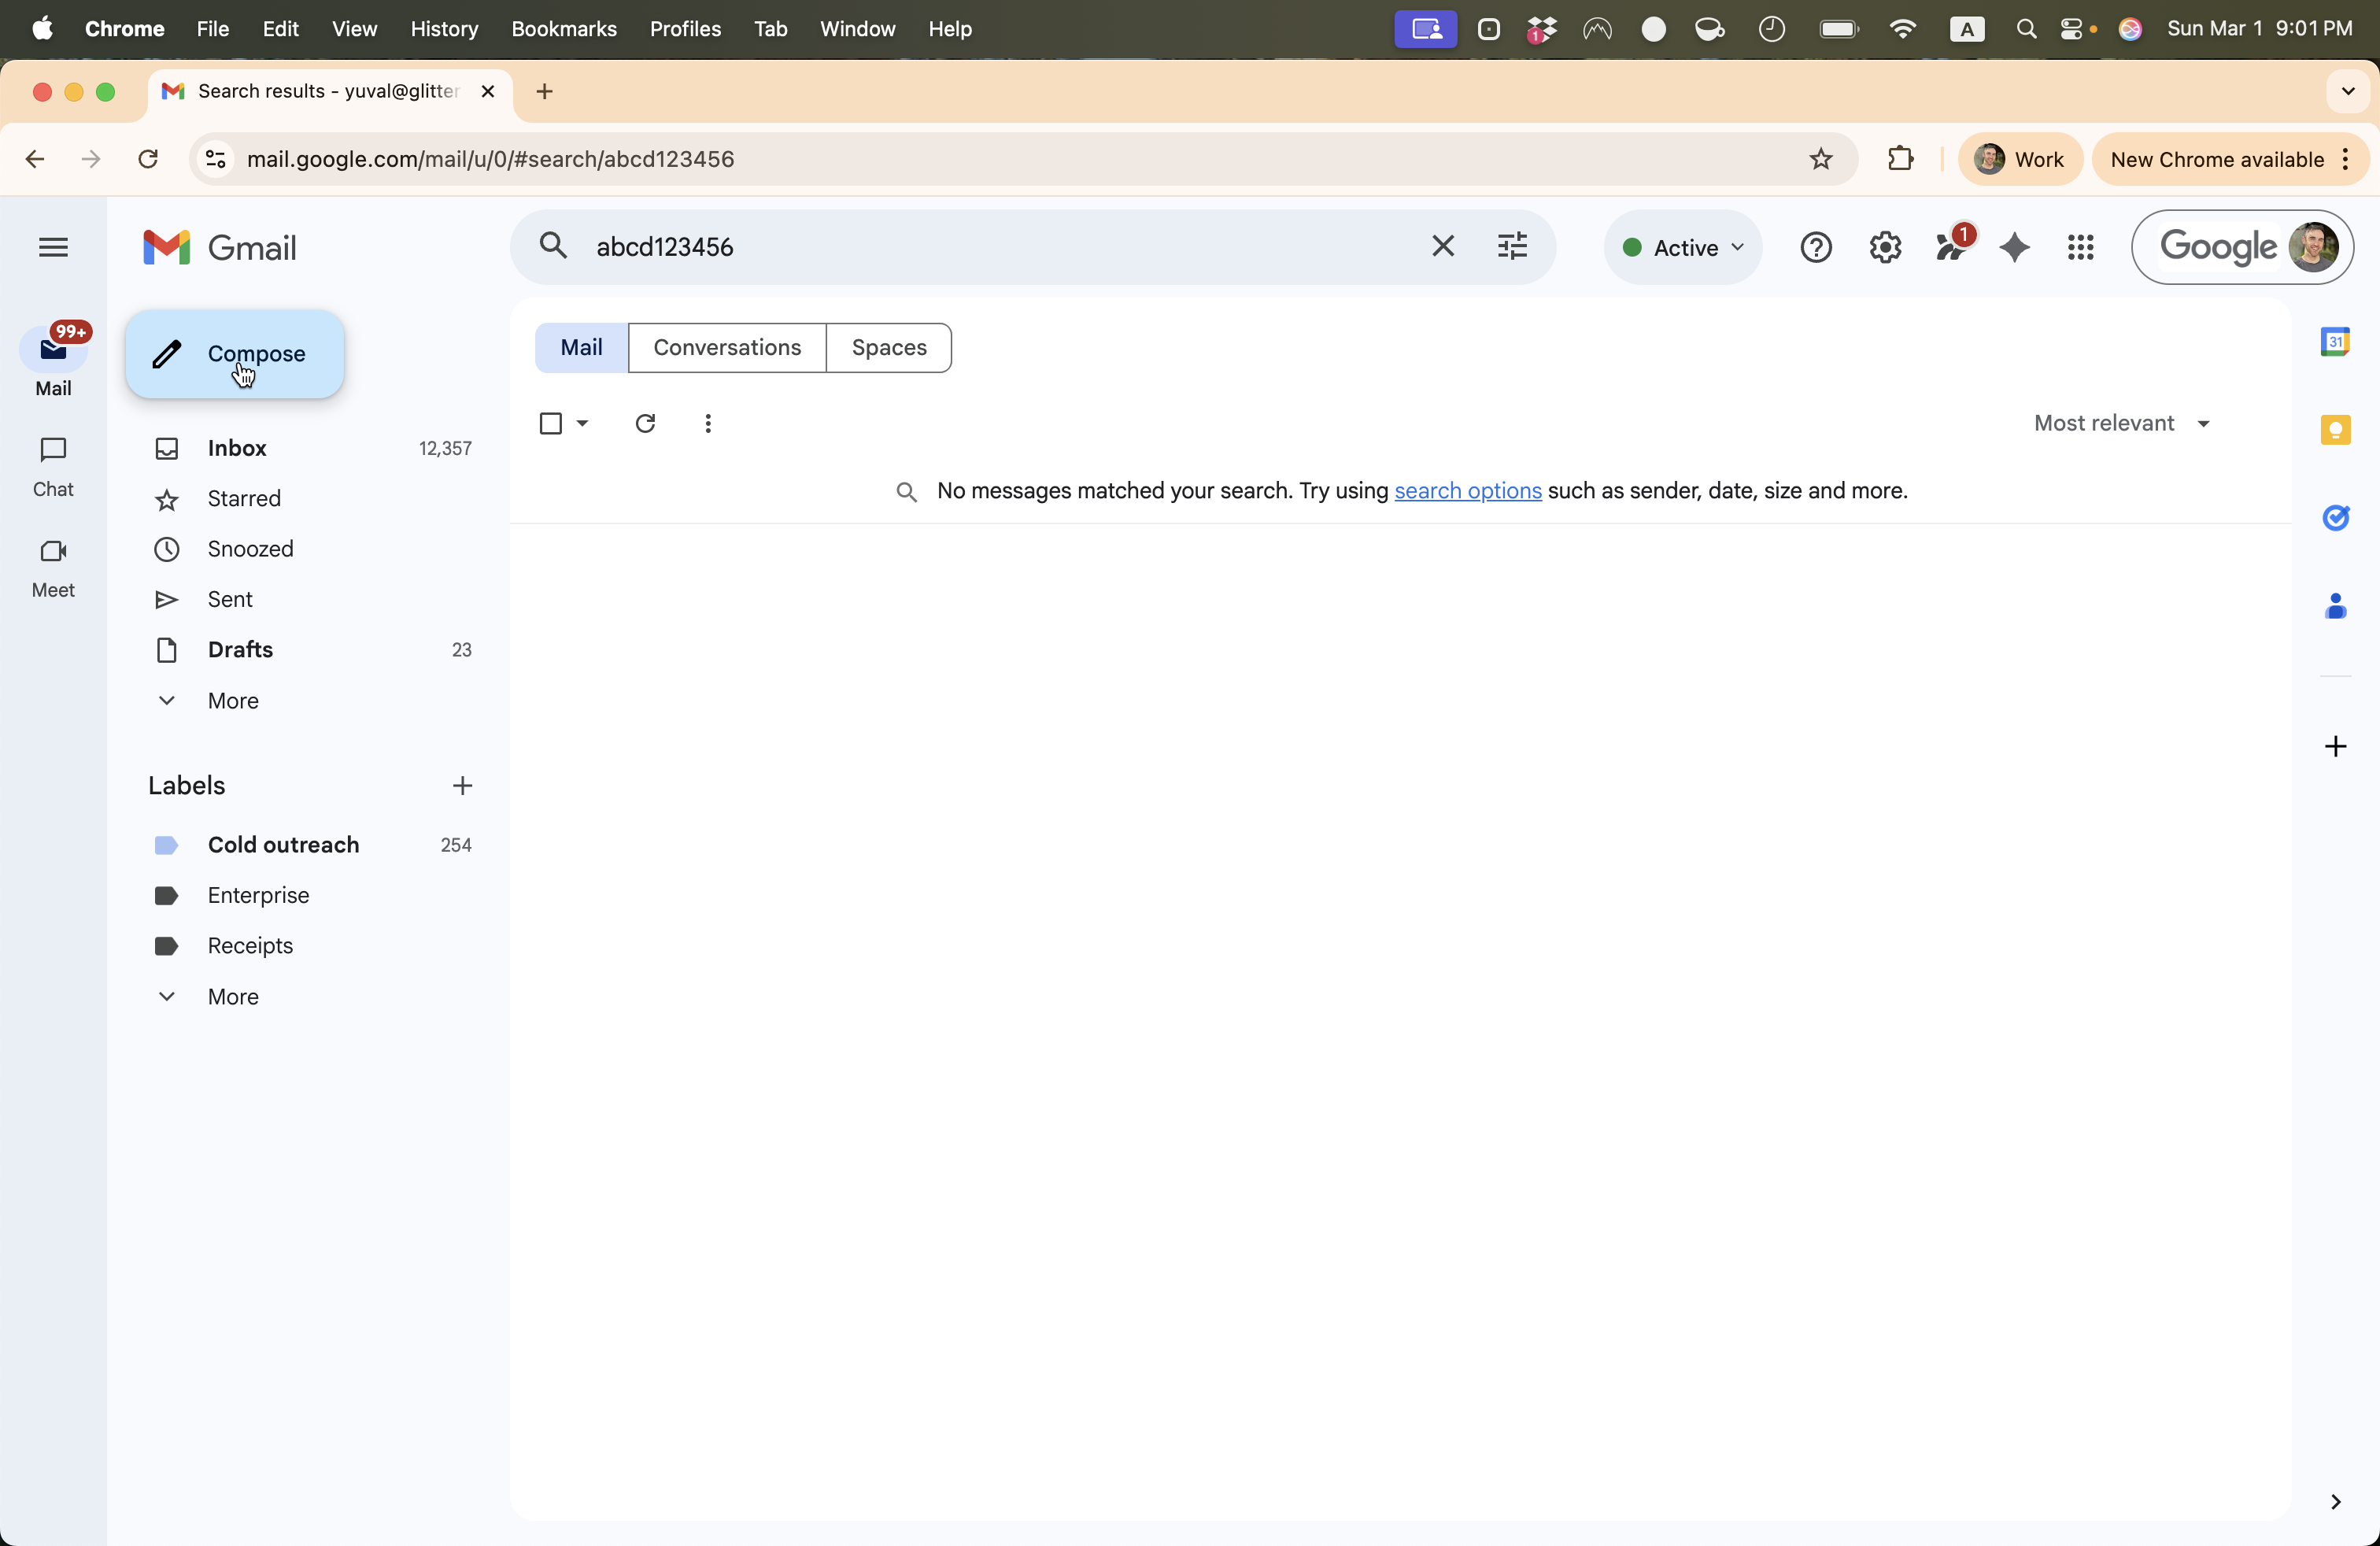
14
Your signature will appear automatically