How to Add and Manage Family Members in Easy Shul
Step-by-step guide on adding and managing family members in your account, including entering addresses, setting relationships, and saving contact information efficiently.
In this guide, we'll learn how to add and manage family member information in a user account. We will cover how to enter addresses, set up relationships, and include contact details for each family member. This process helps keep all family information organized and up to date.
Let's get started
After creating the account, go to the main account info tab. Scroll to the address section and enter the user's address. Auto-suggest will help by showing you where the address is.
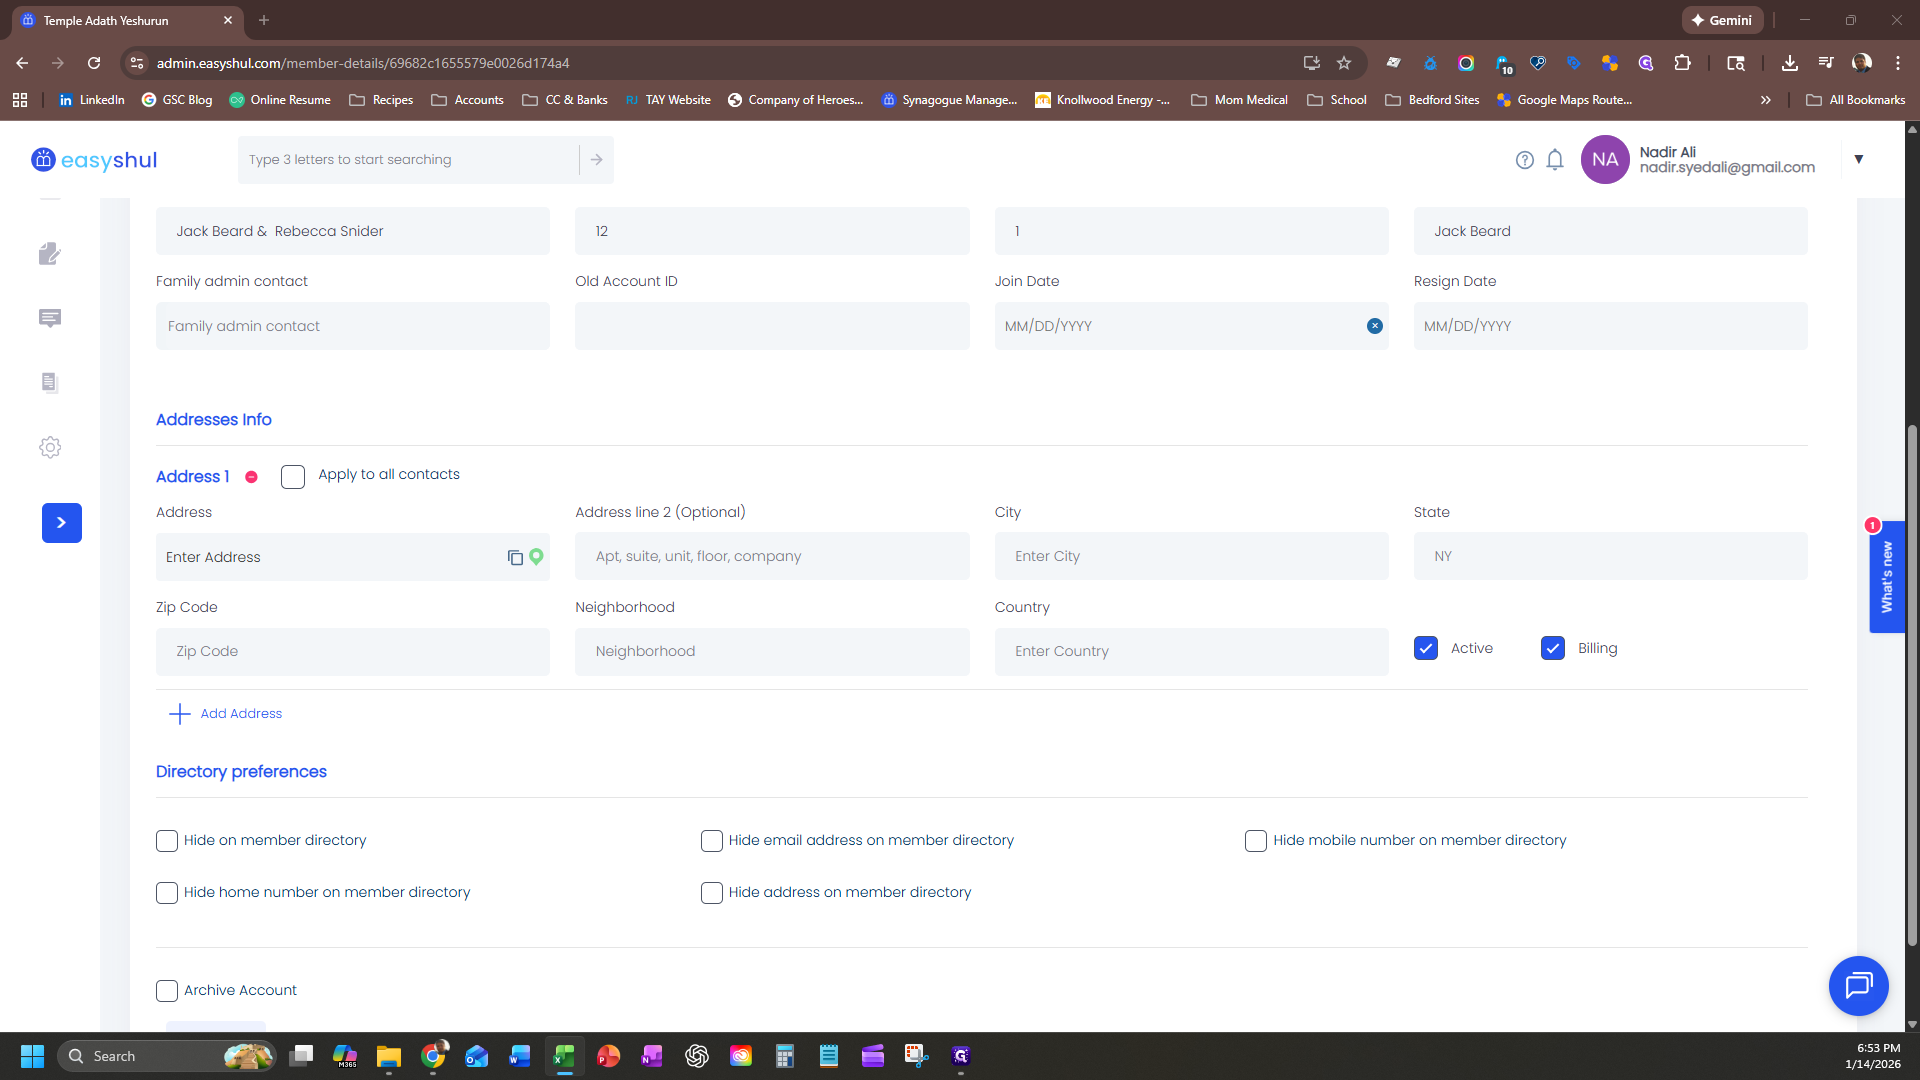
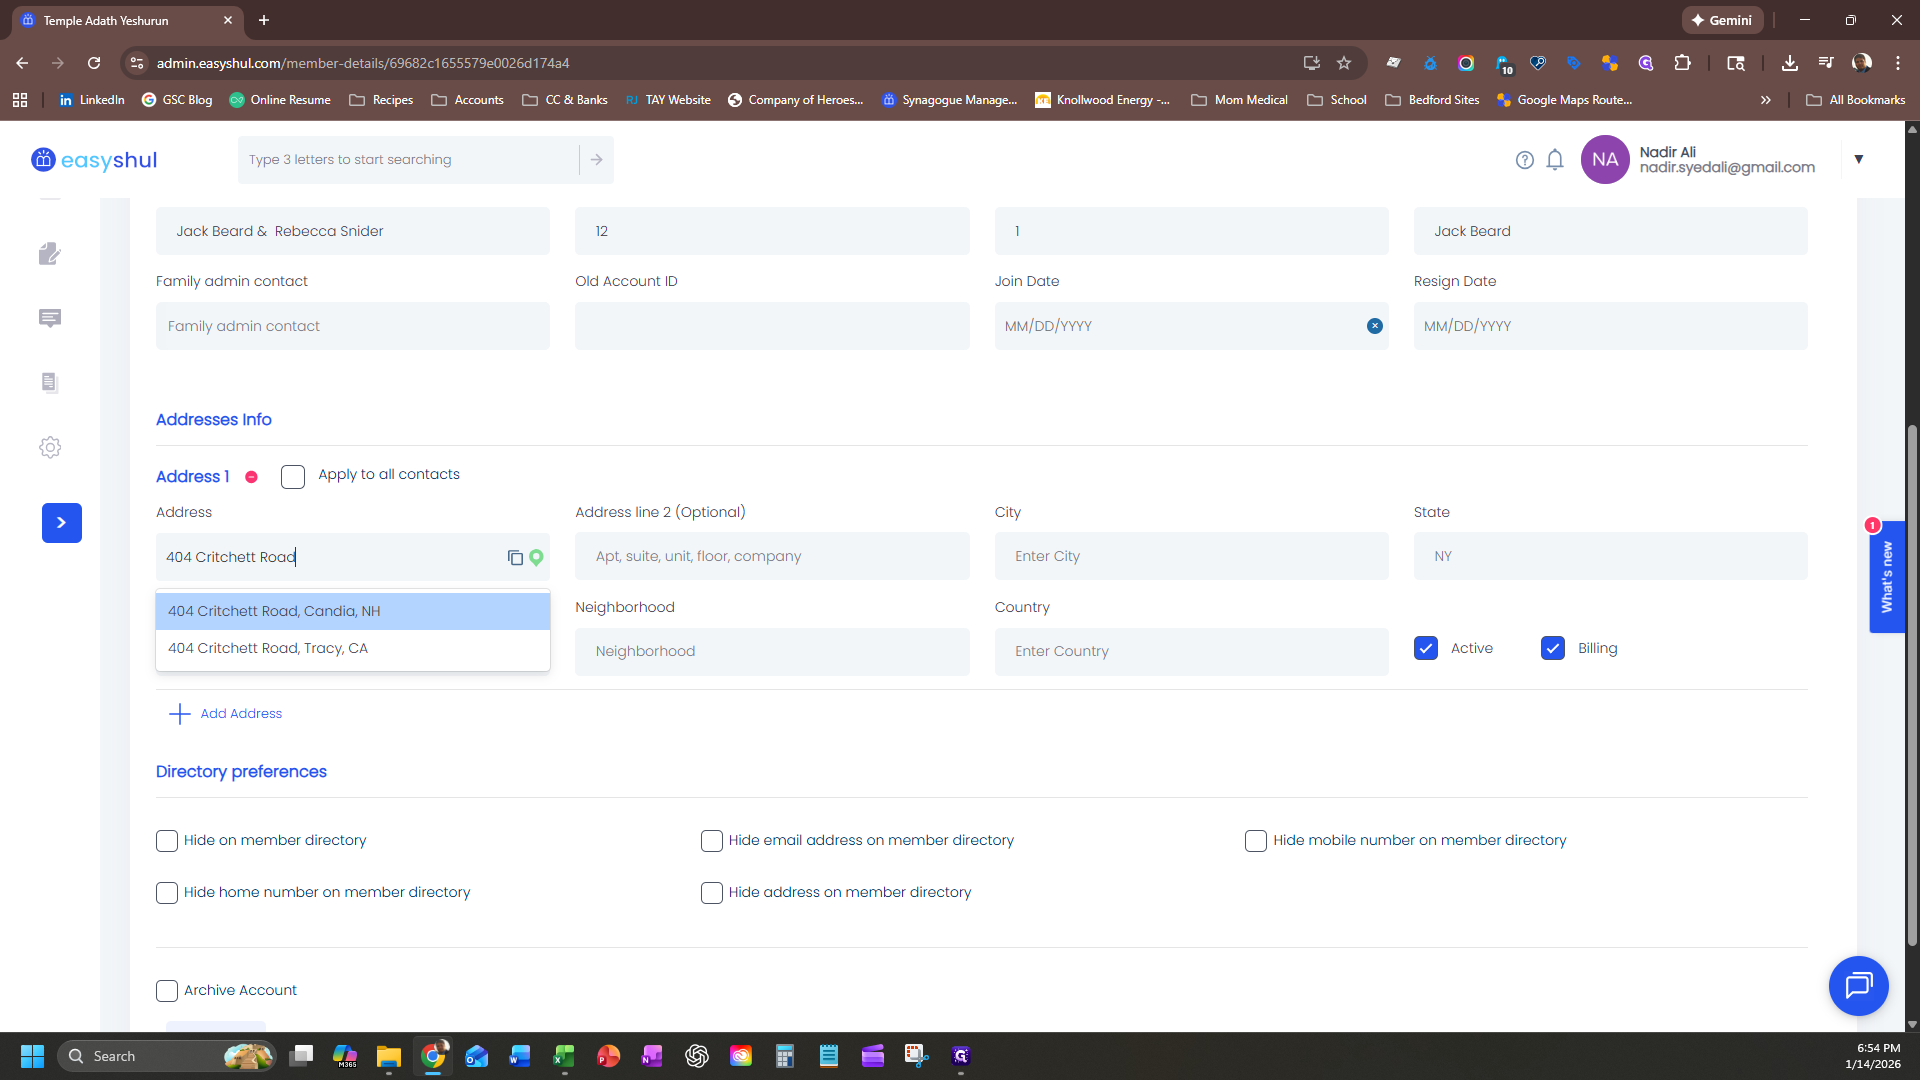
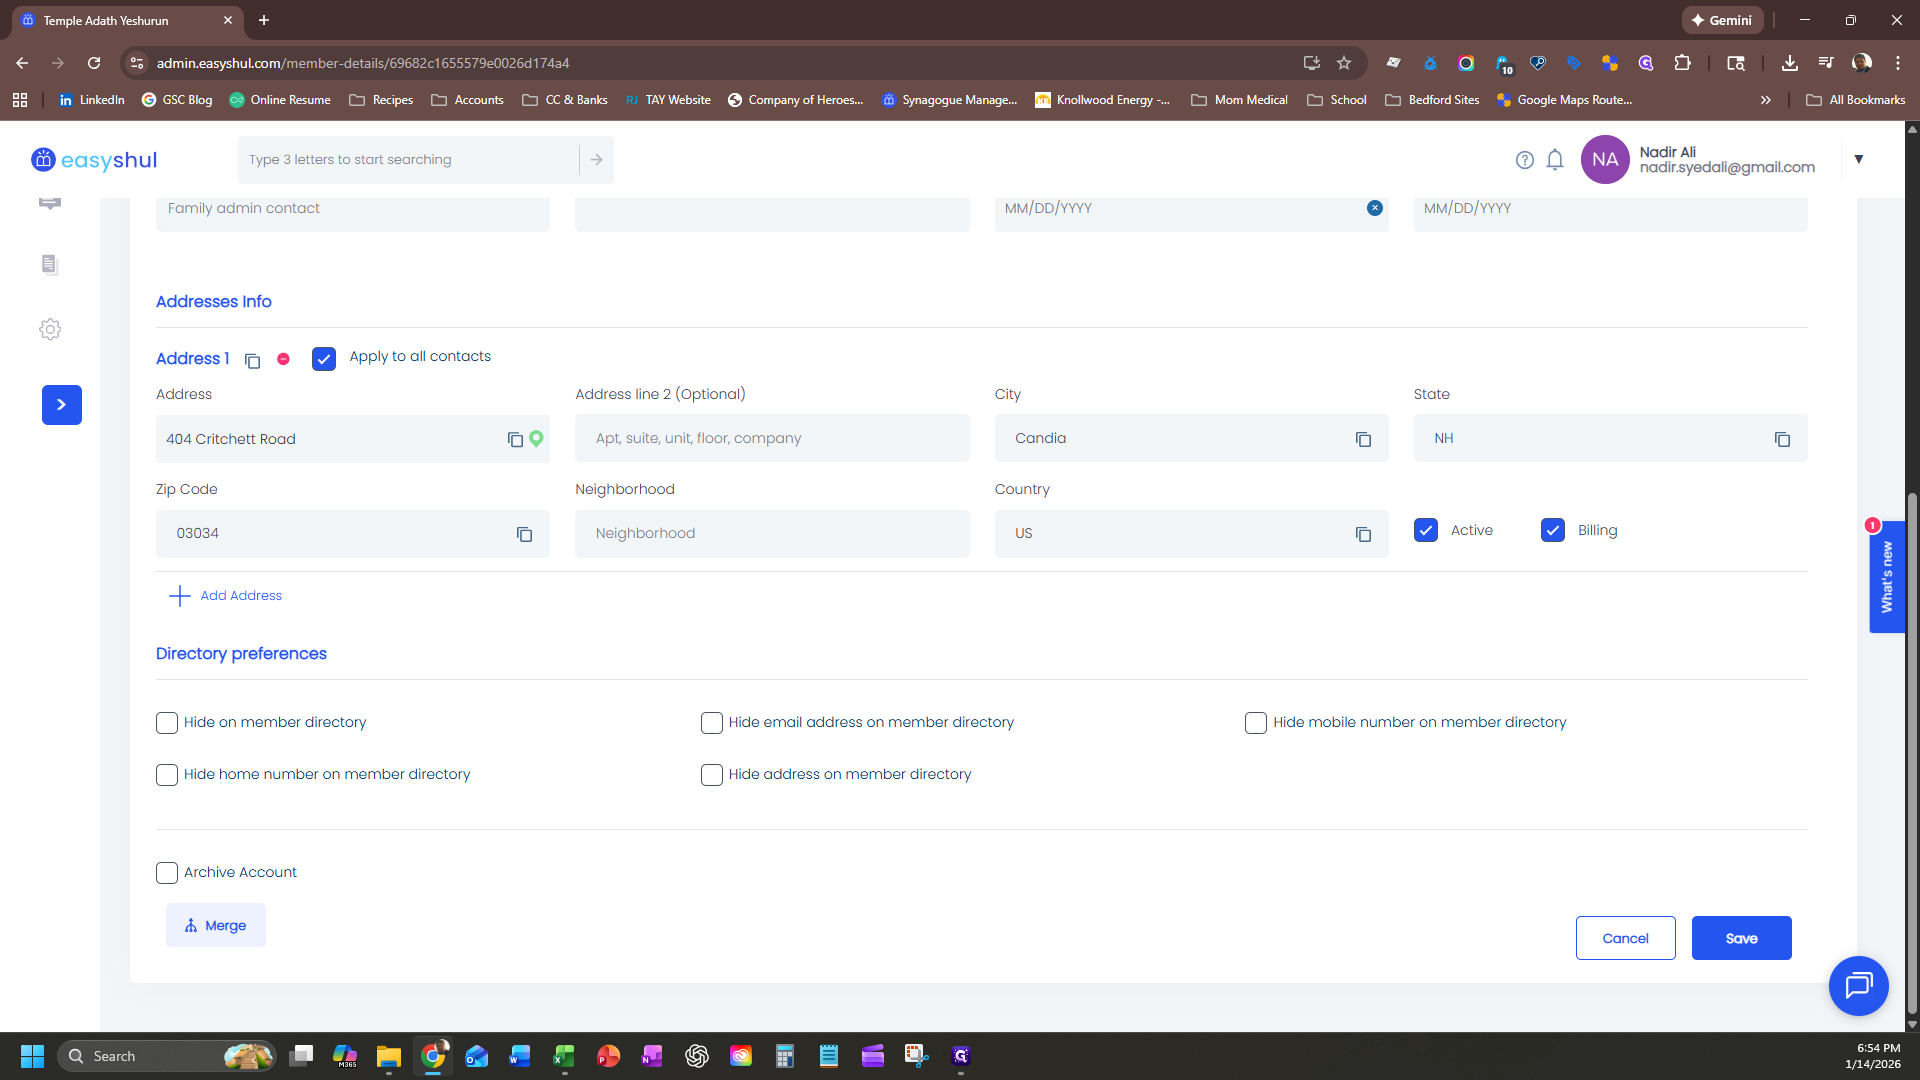
Fill that in, select "Apply to all contacts," click "Confirm," and then click "Save."
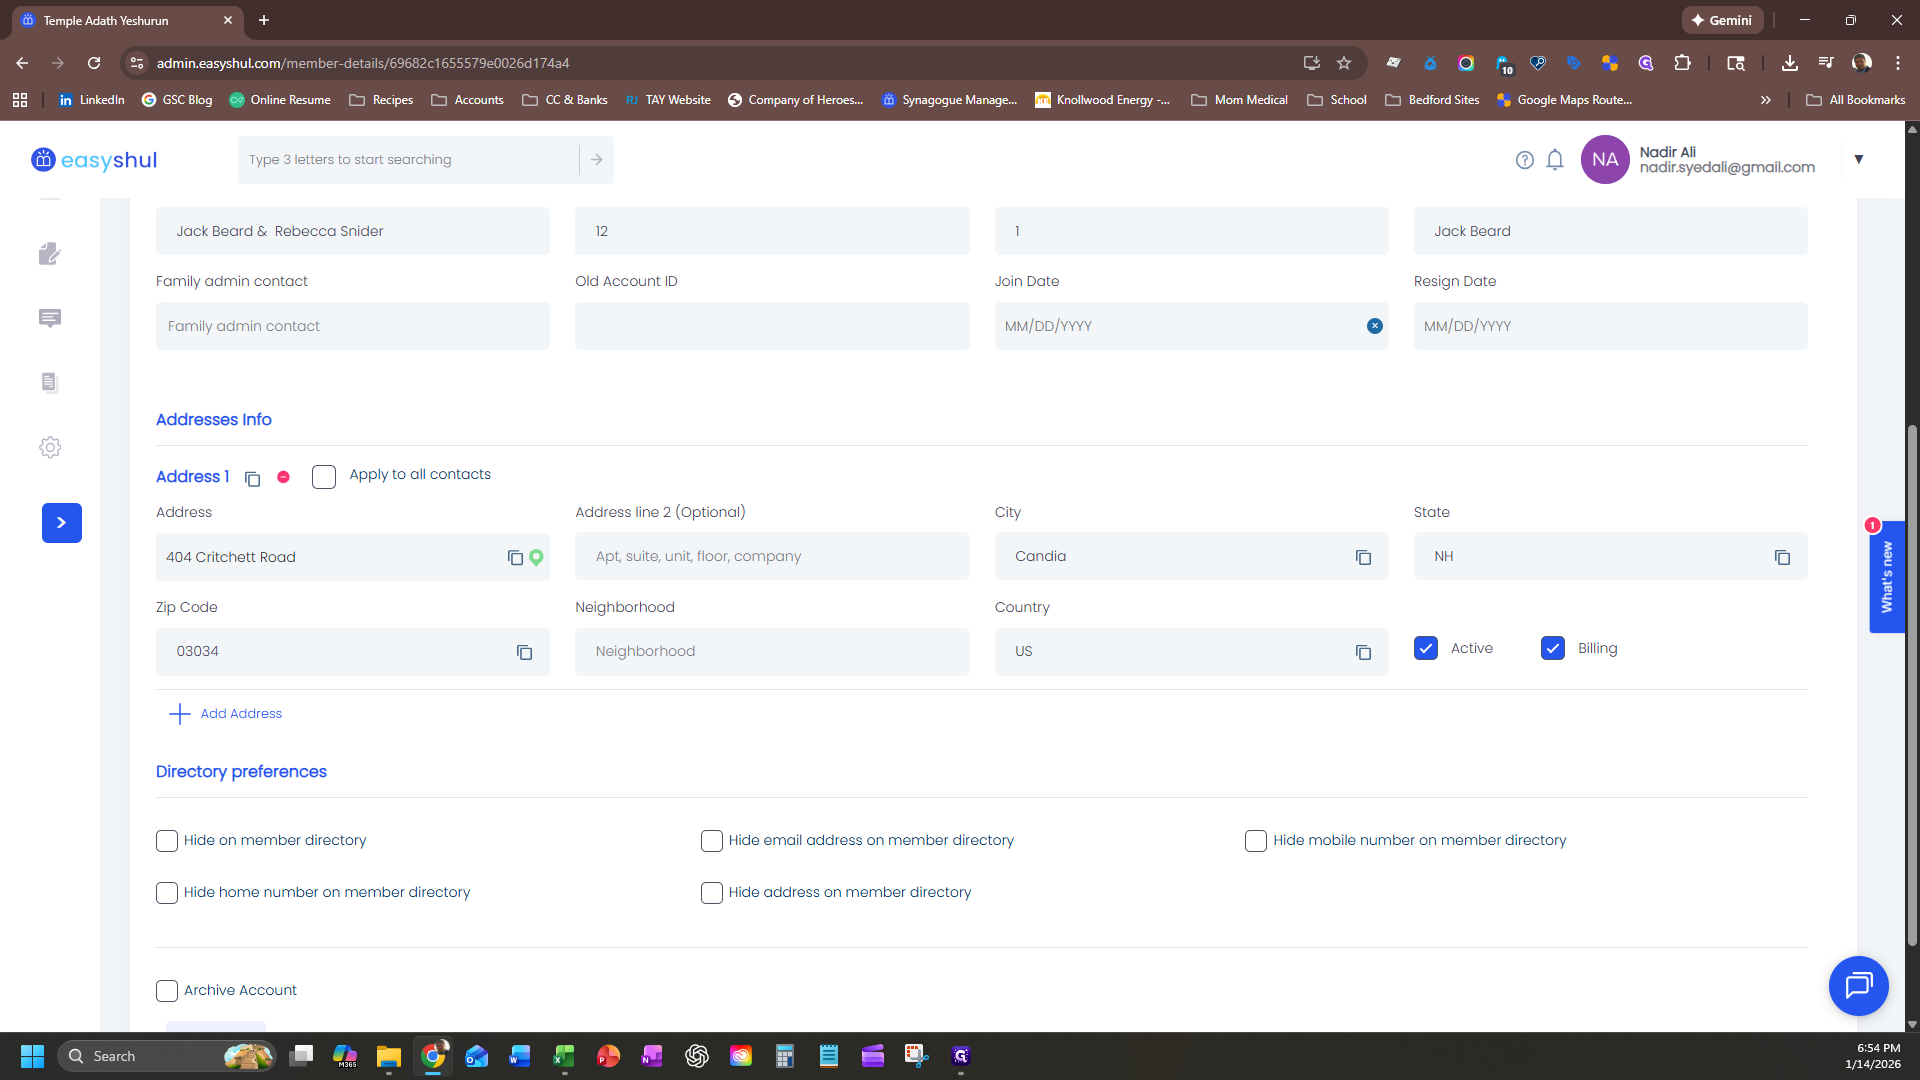
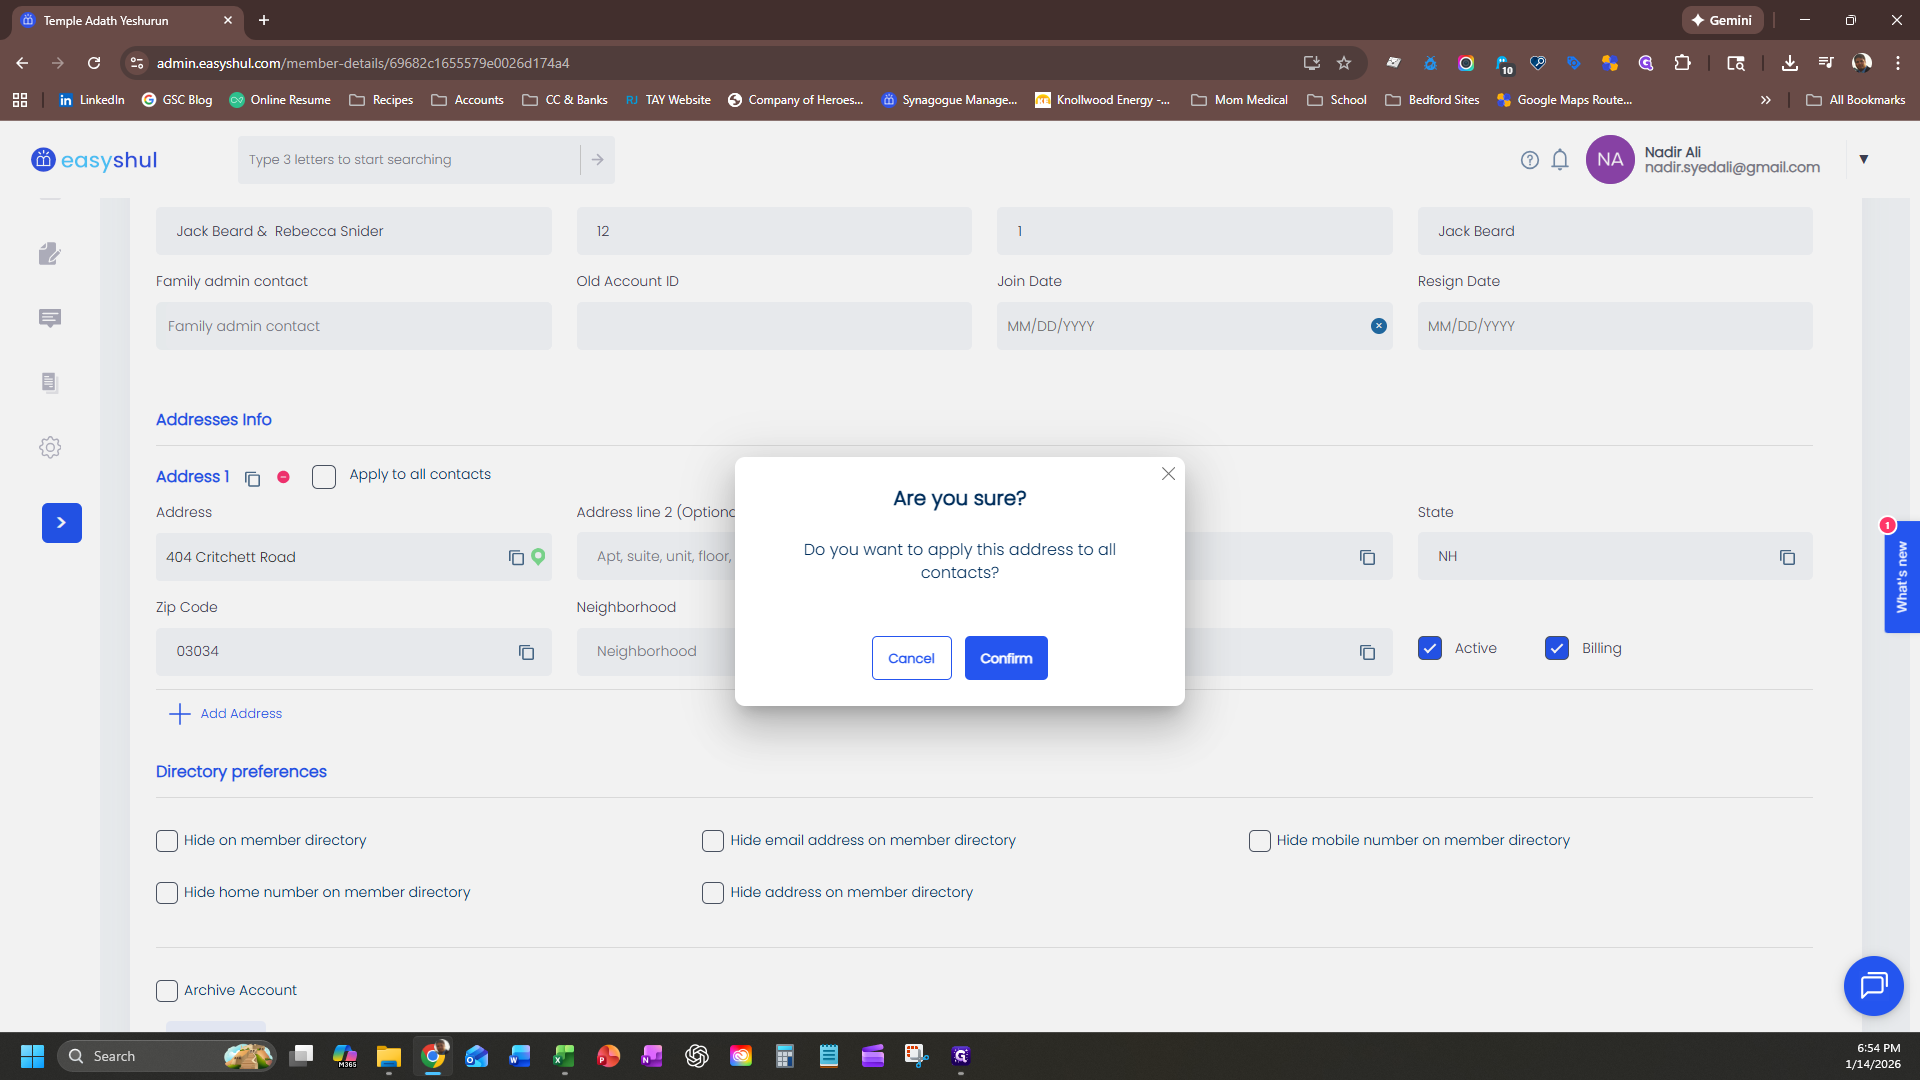
That will save the address for everyone when you add the family.
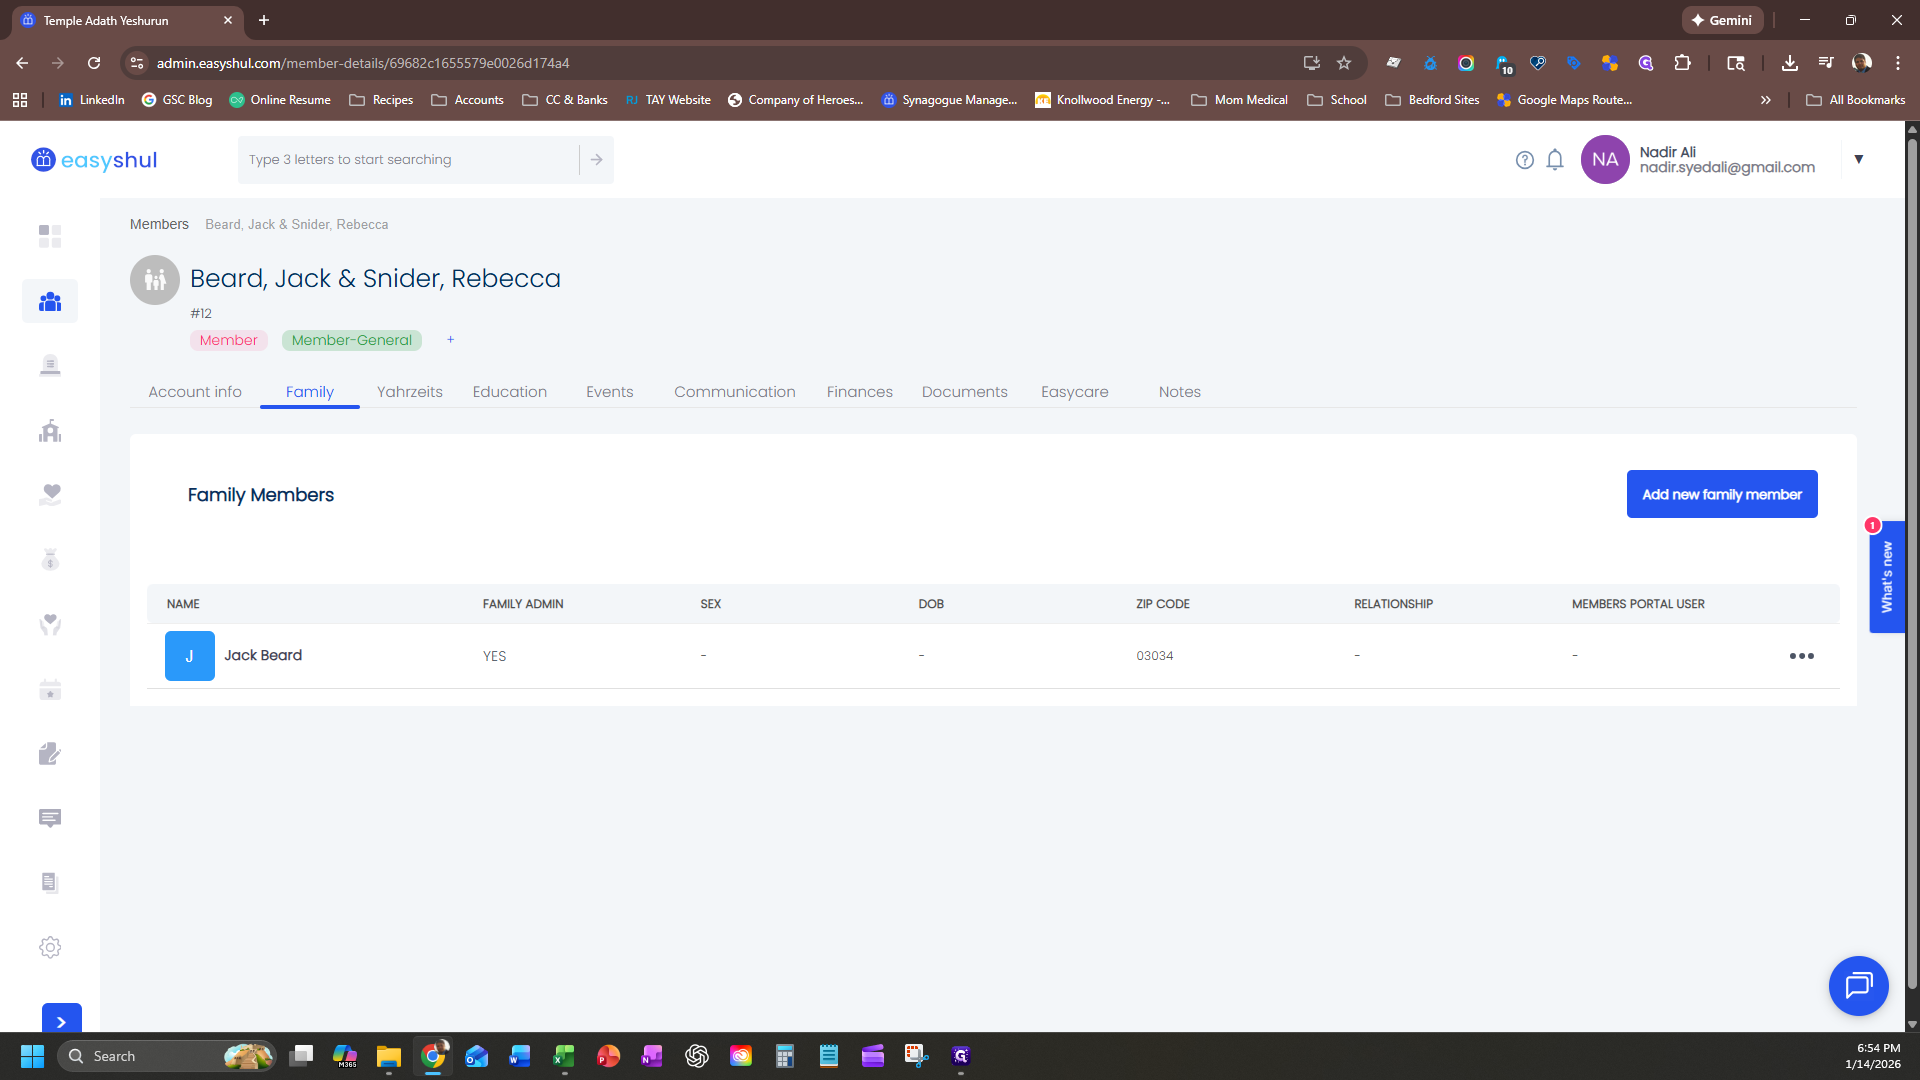
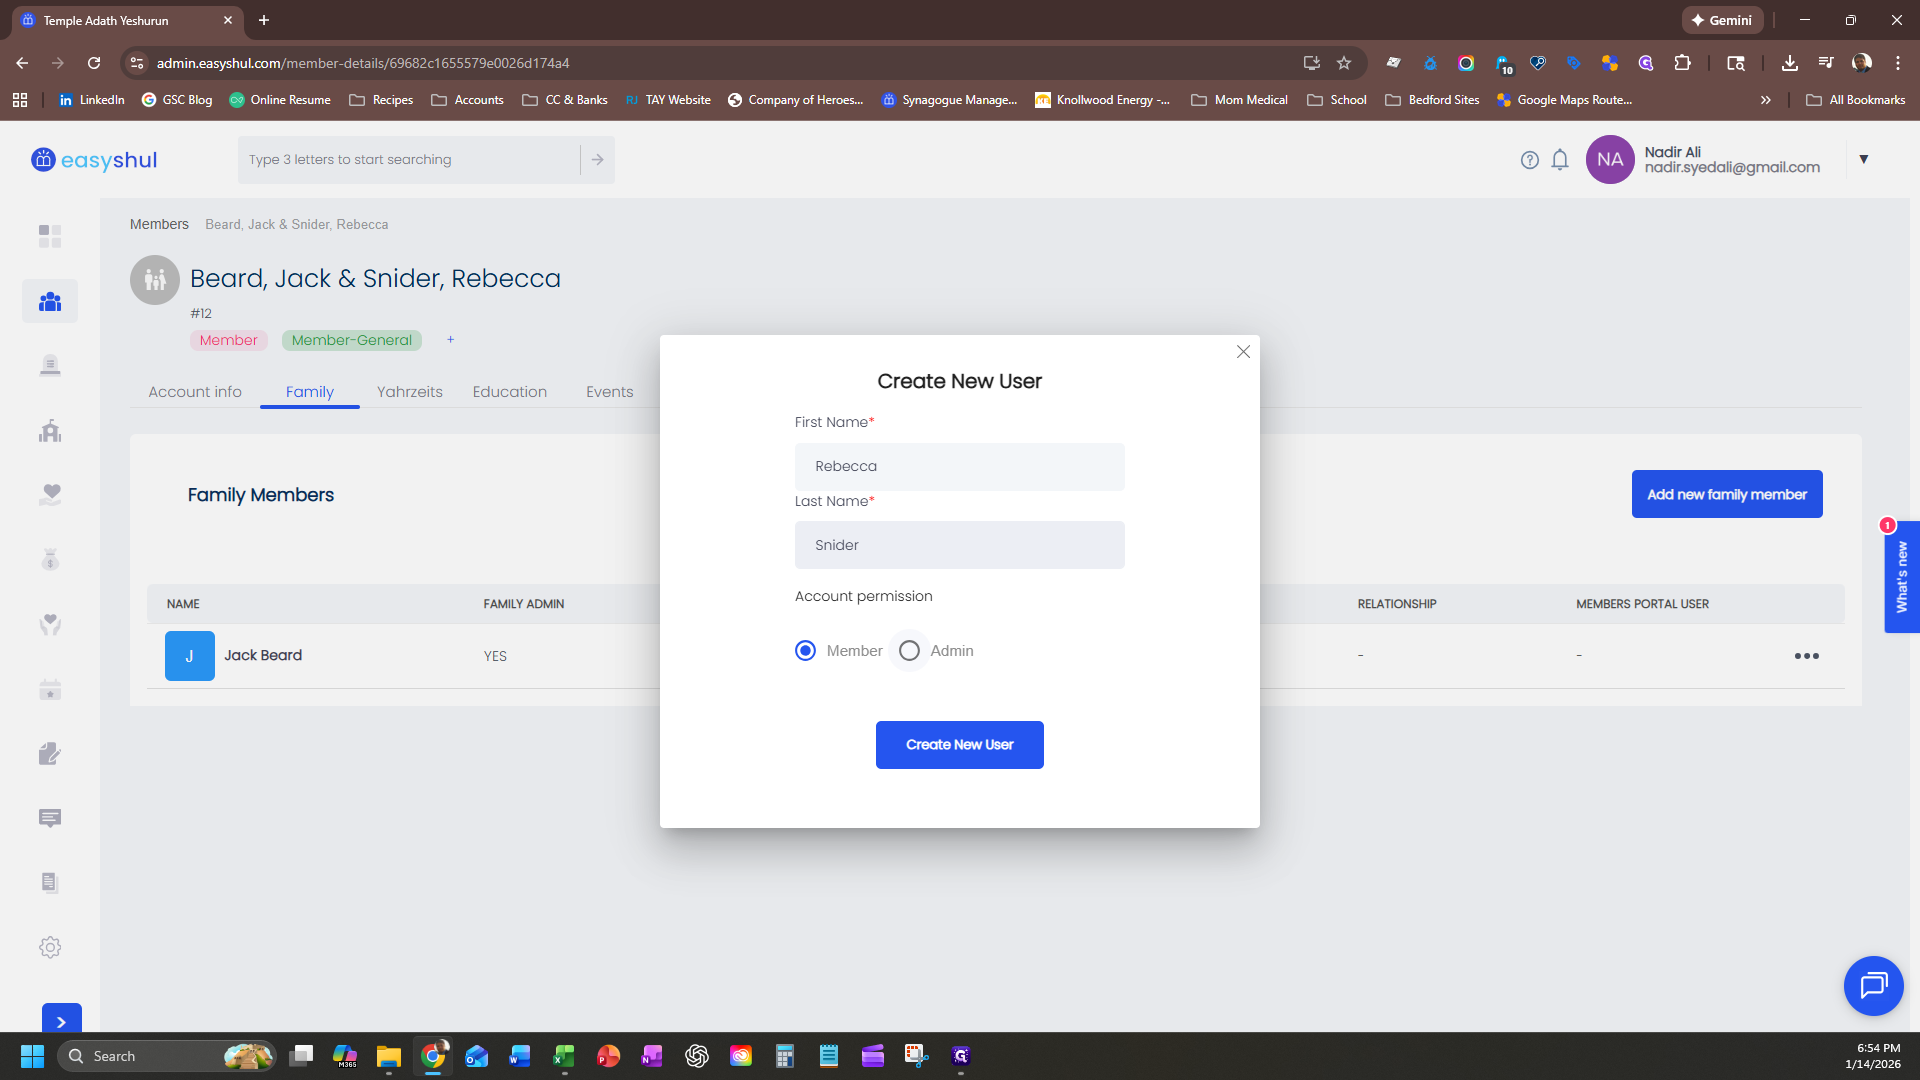
To add another family member, click on "Family," then select "Add New Family Member." Enter the details for the additional family member, such as the second parent.


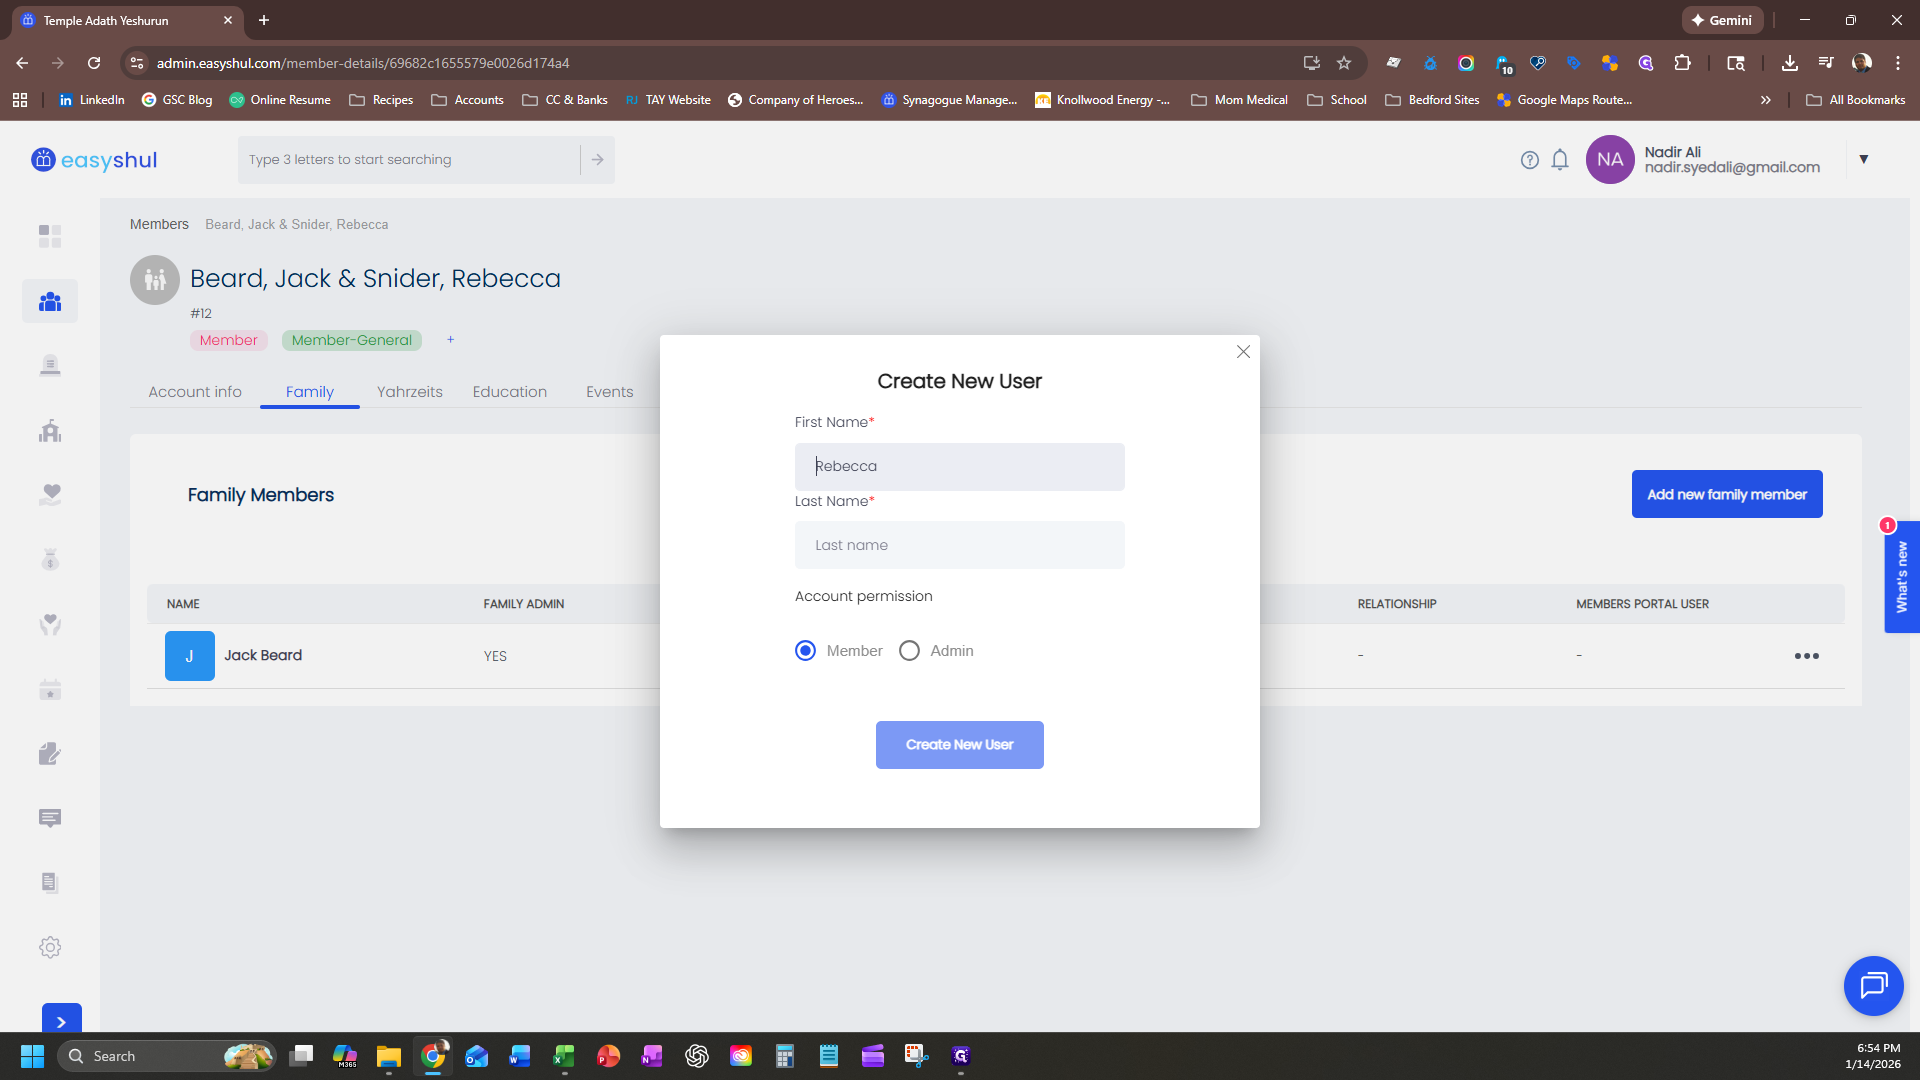
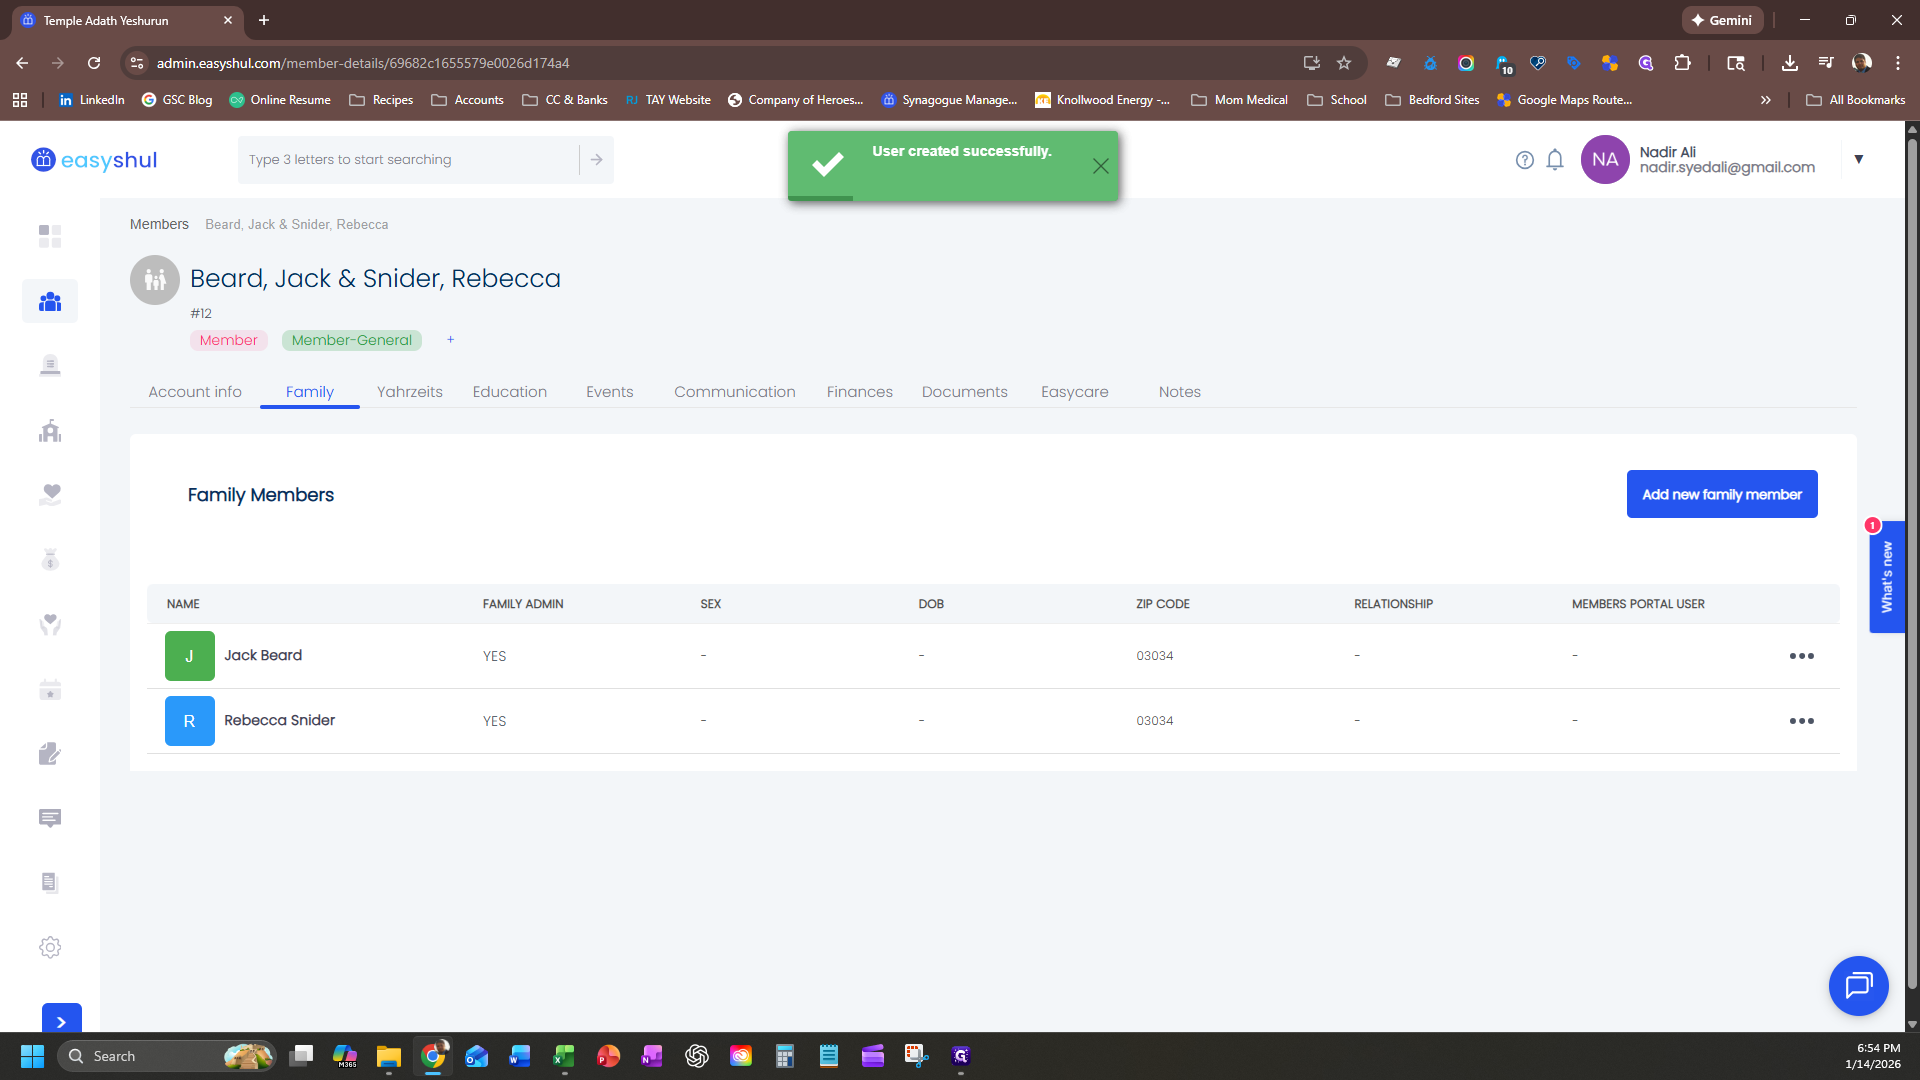
Click on "Admin," then select "Create New User." The other family member will be added.

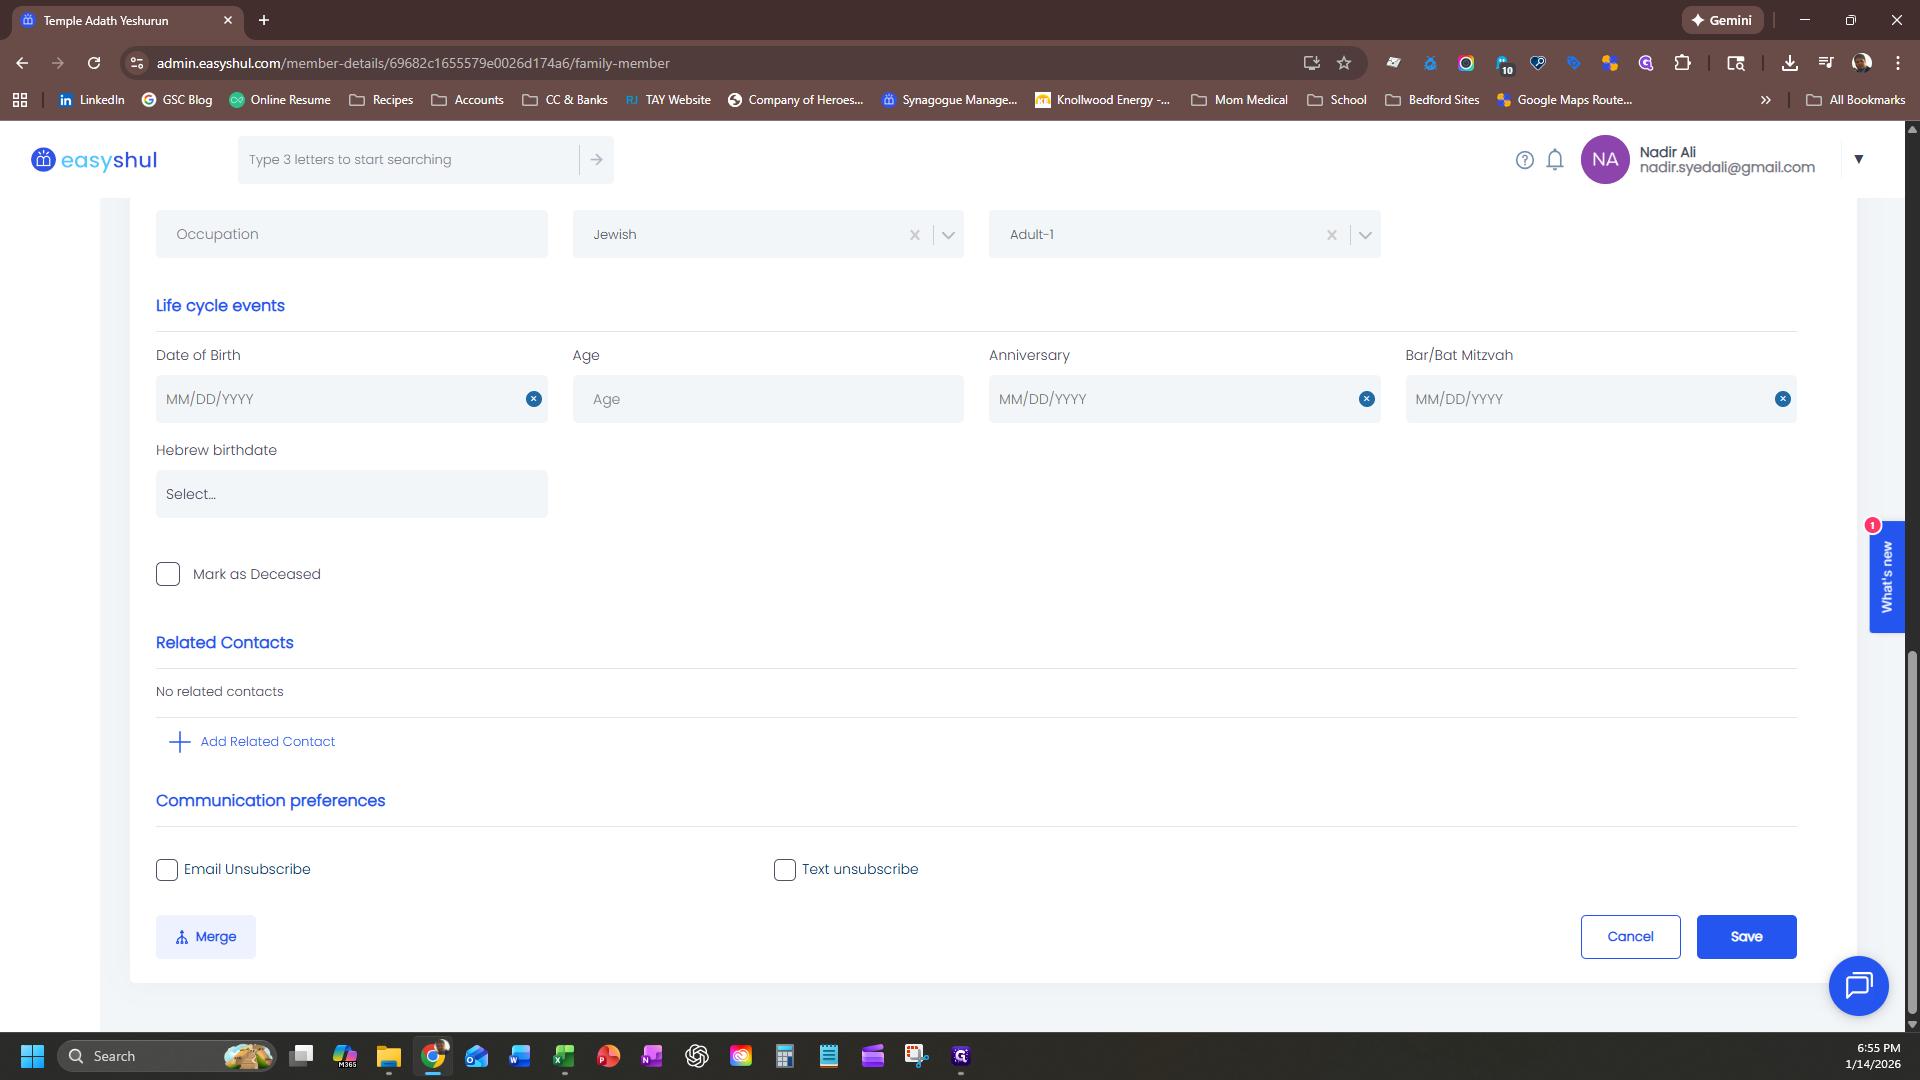
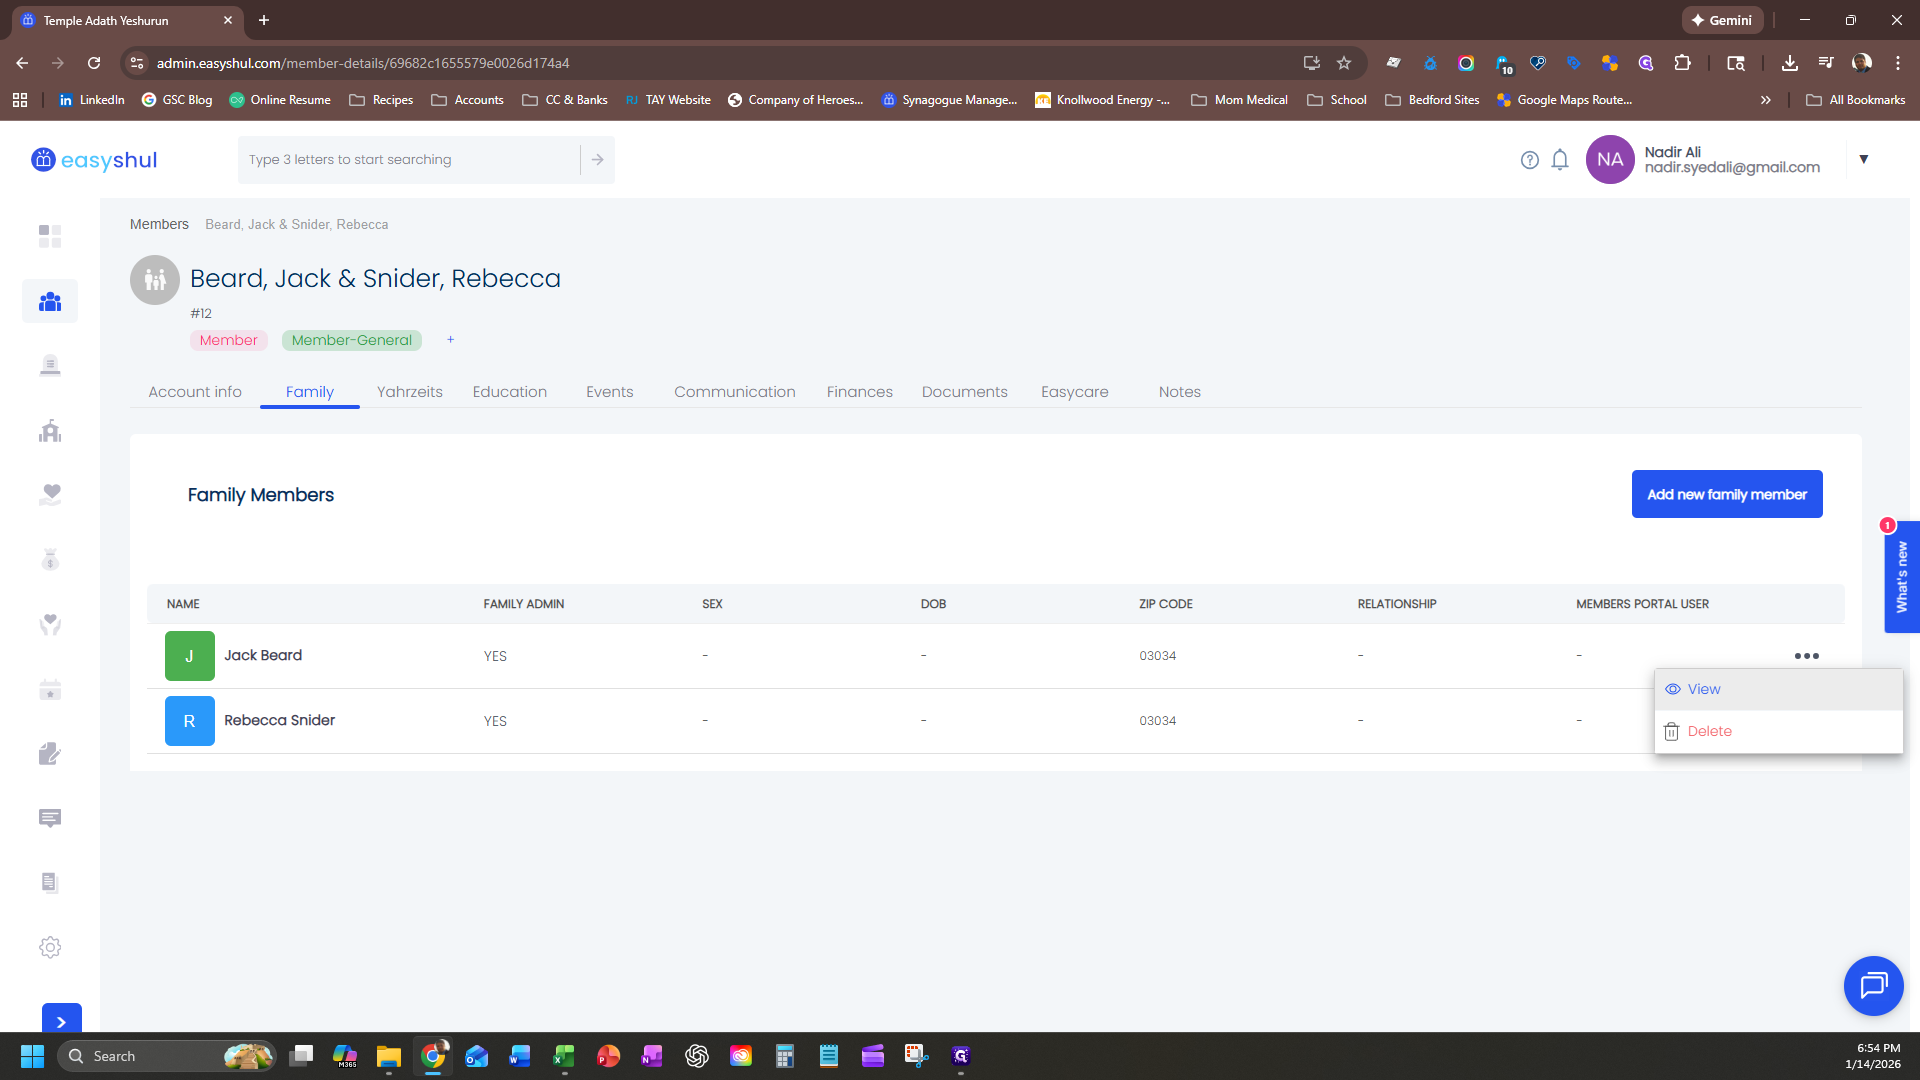
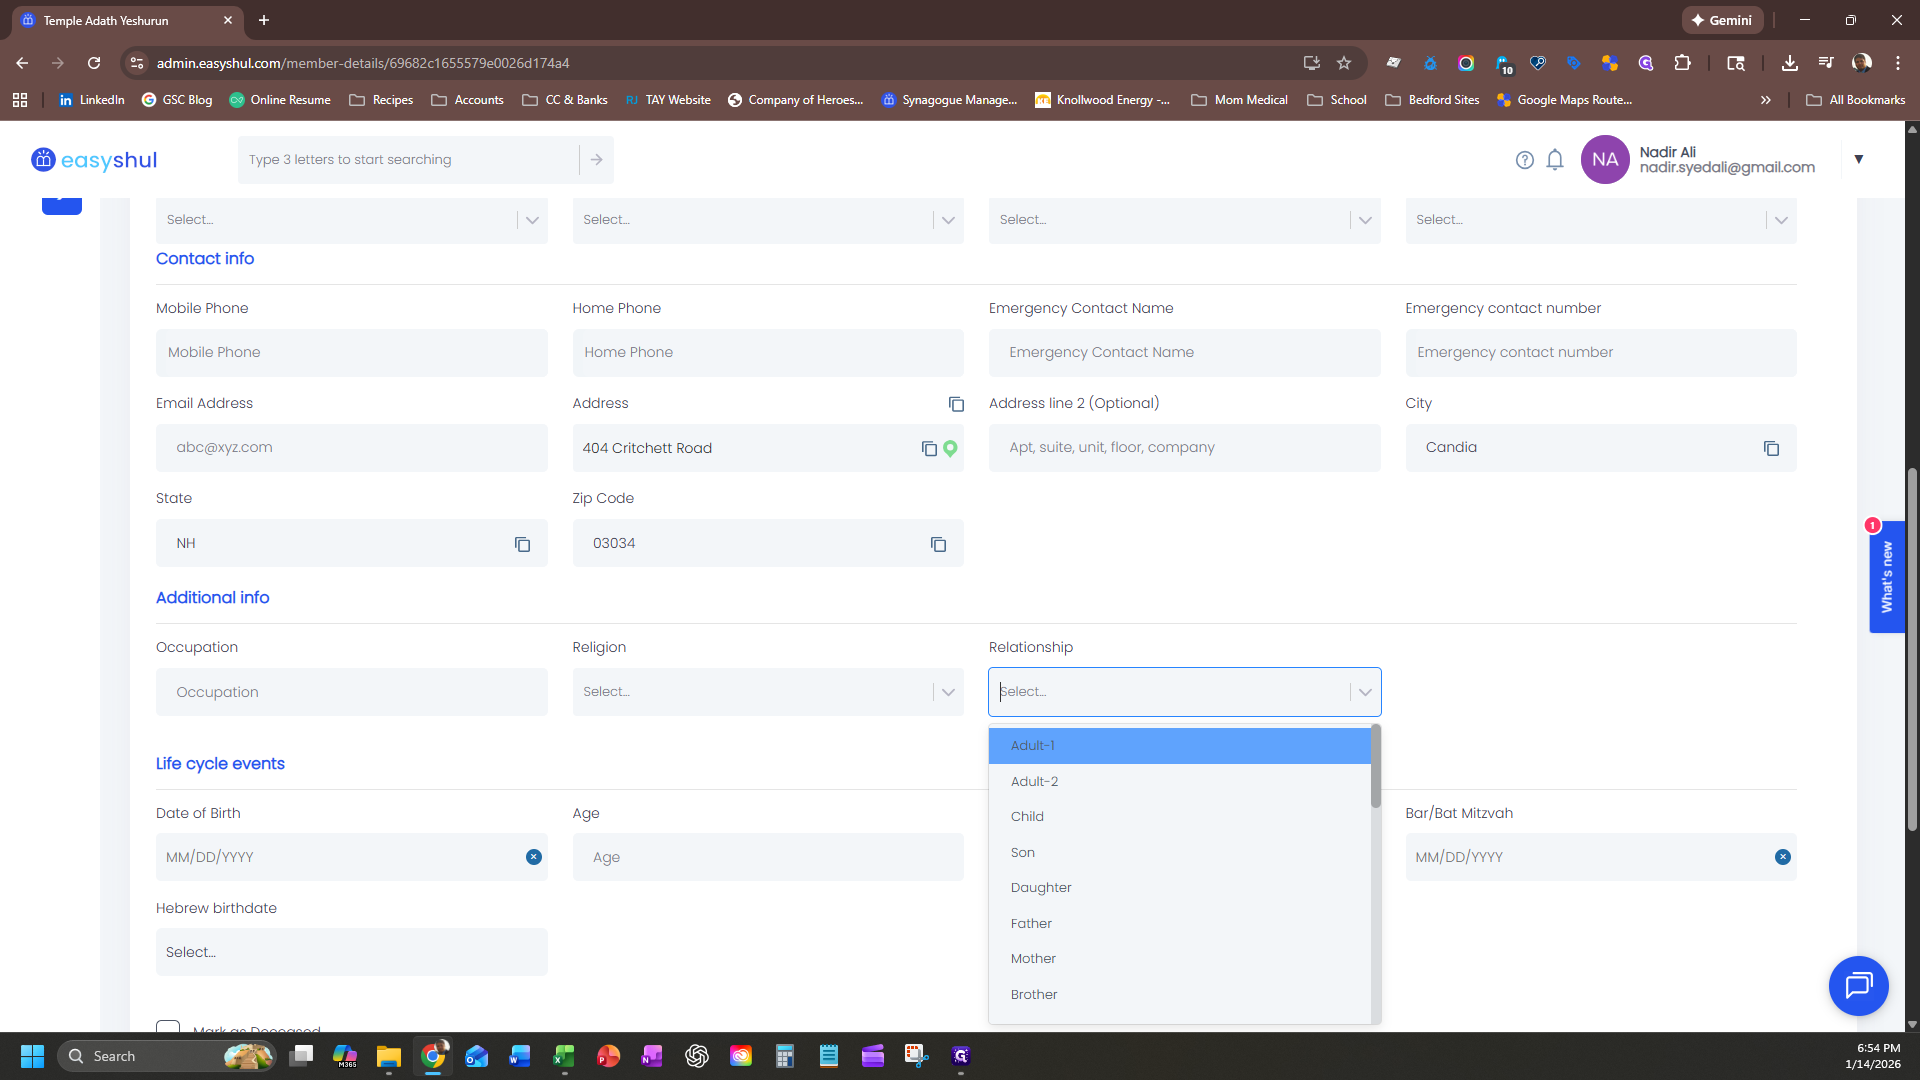
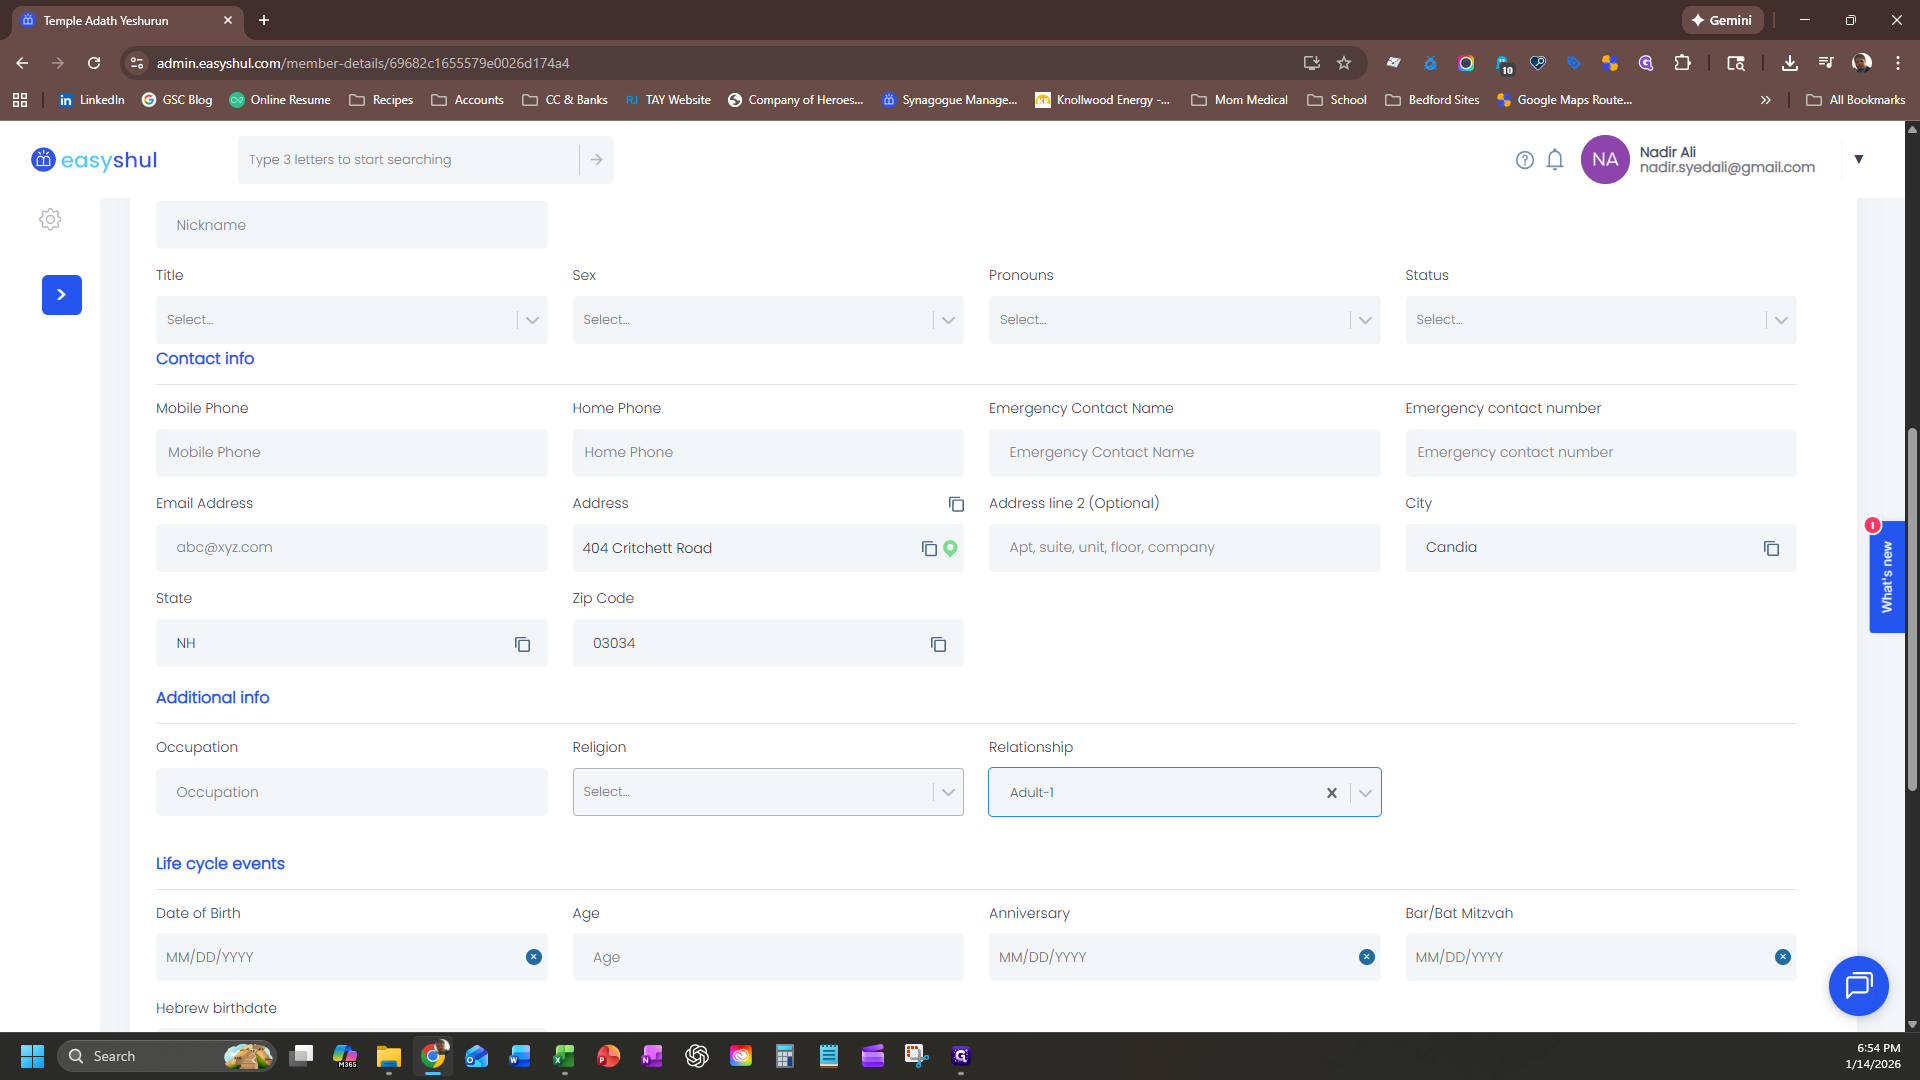
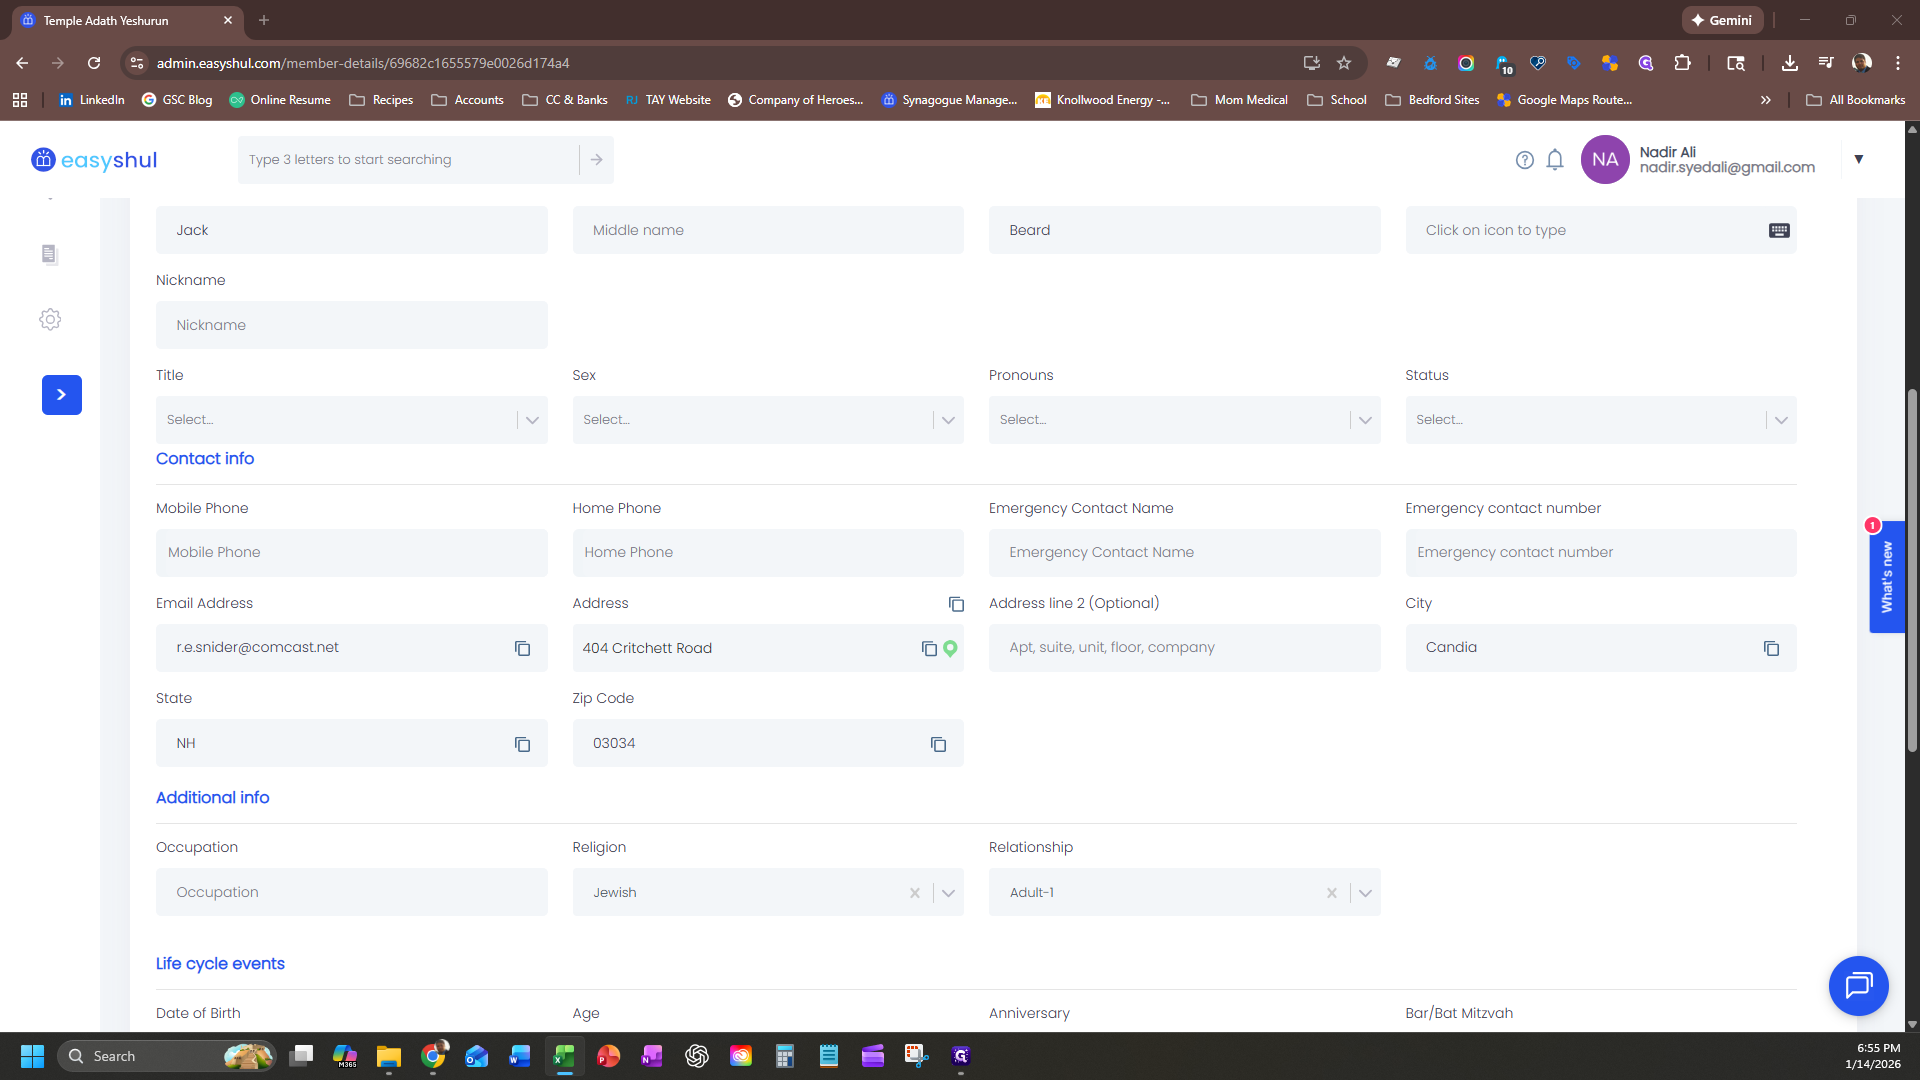
Go back to the first family member, click "View" for the individual, and scroll down to enter their information. First, ensure the relationship is set as "Adult One."
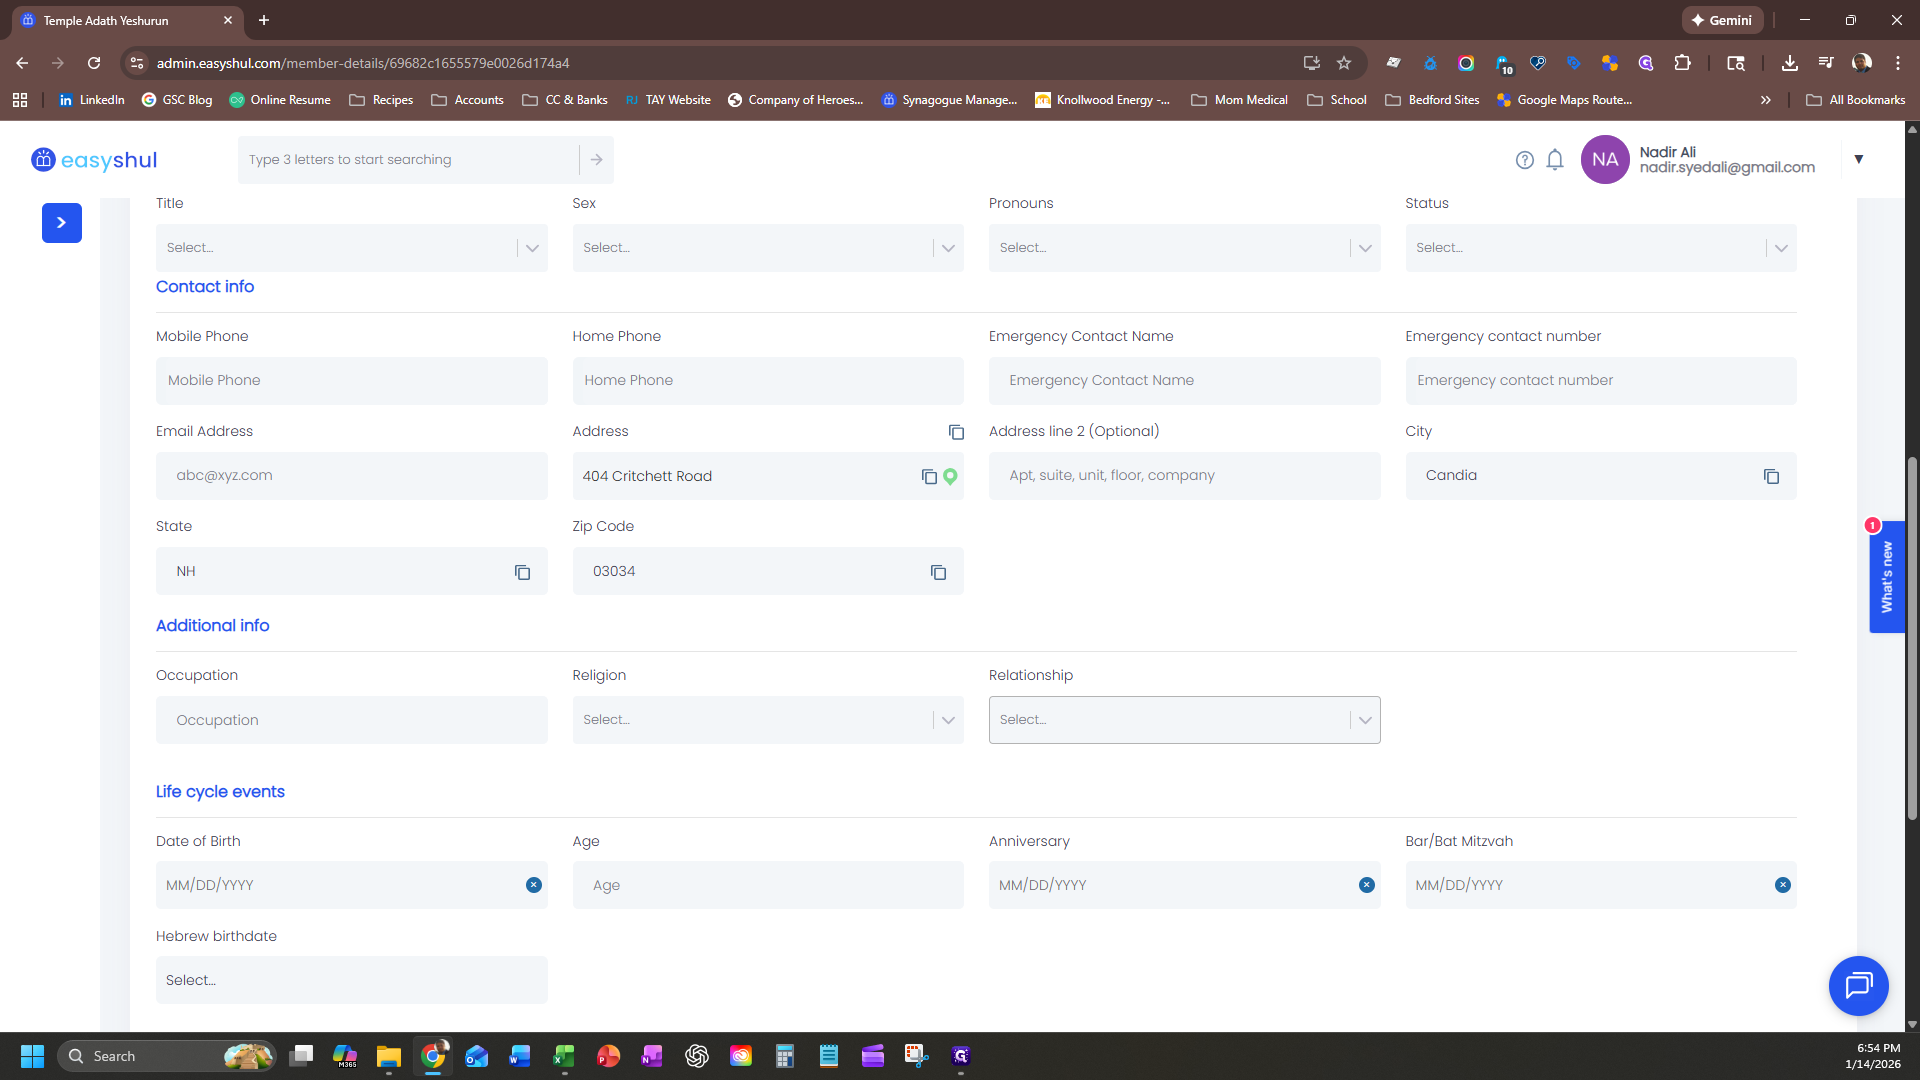
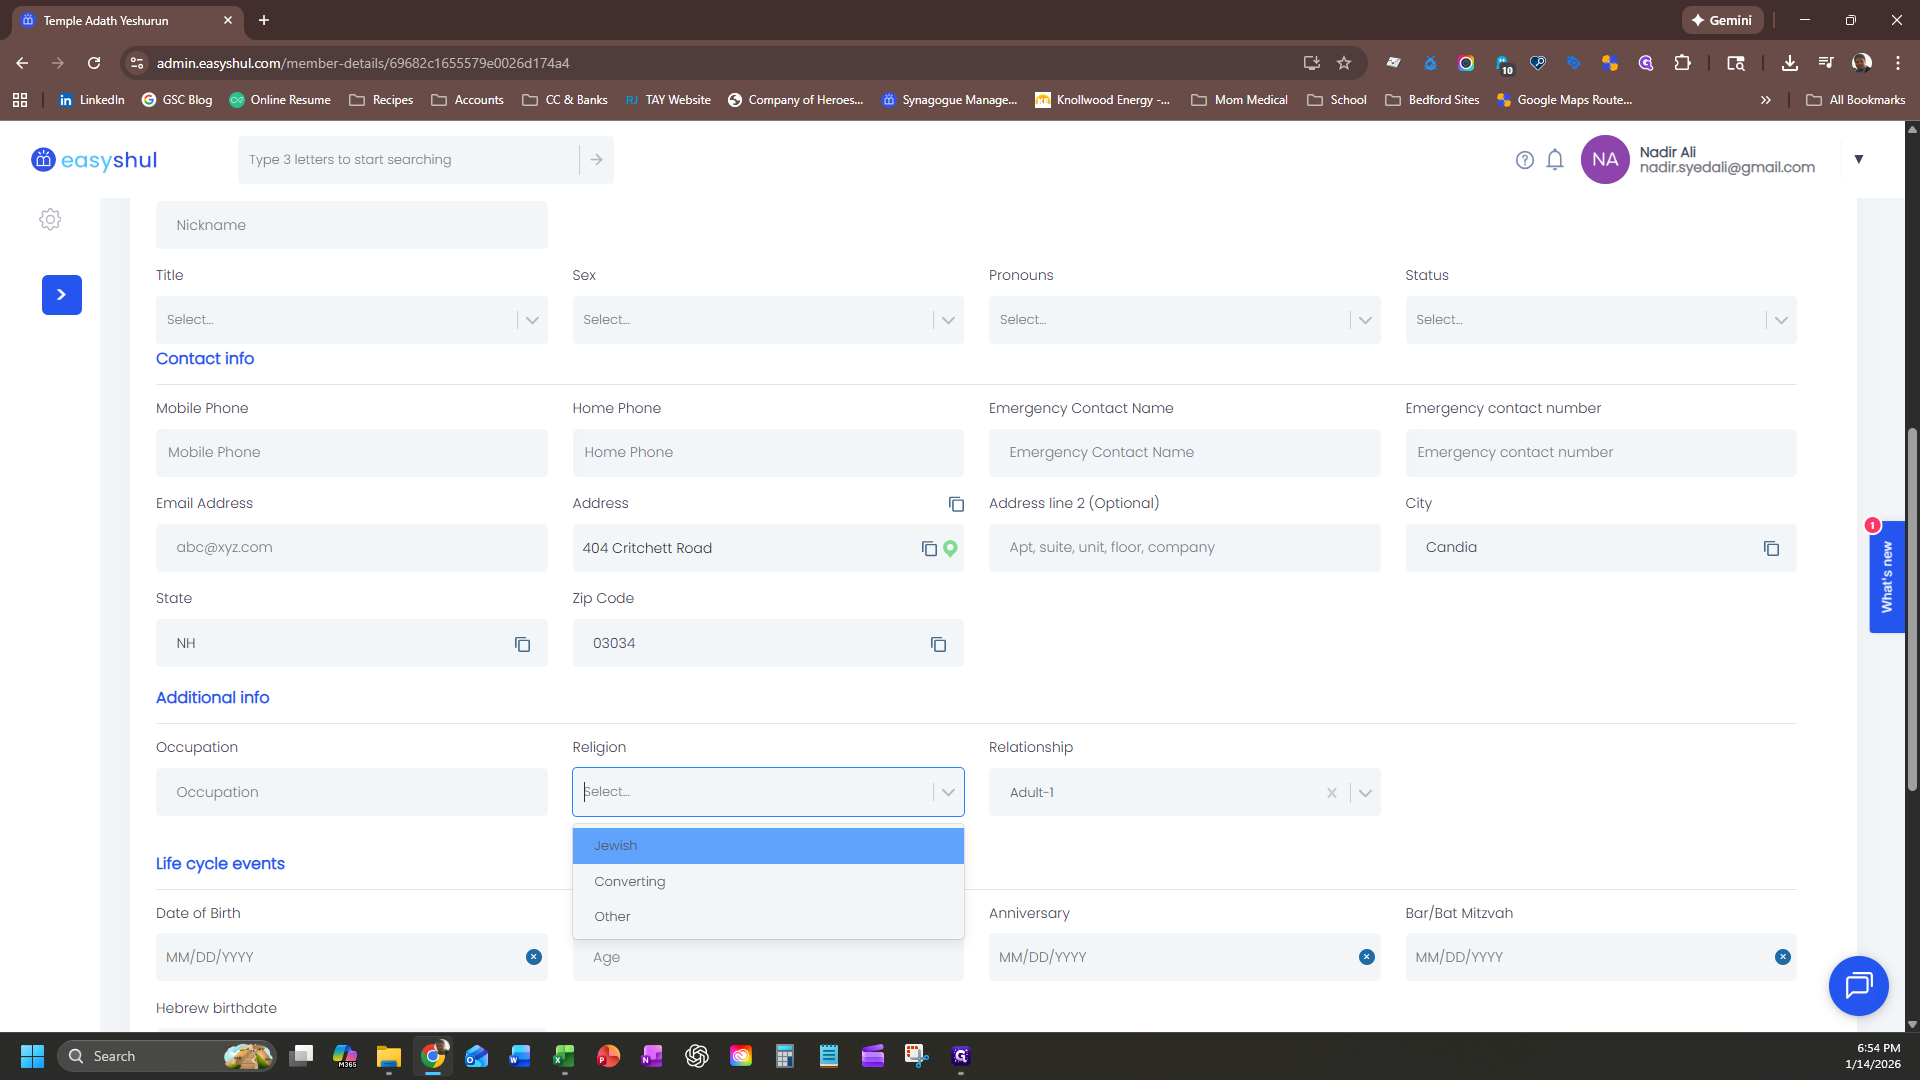
What is their religion?
You can say "Jewish" or "non-Jewish."
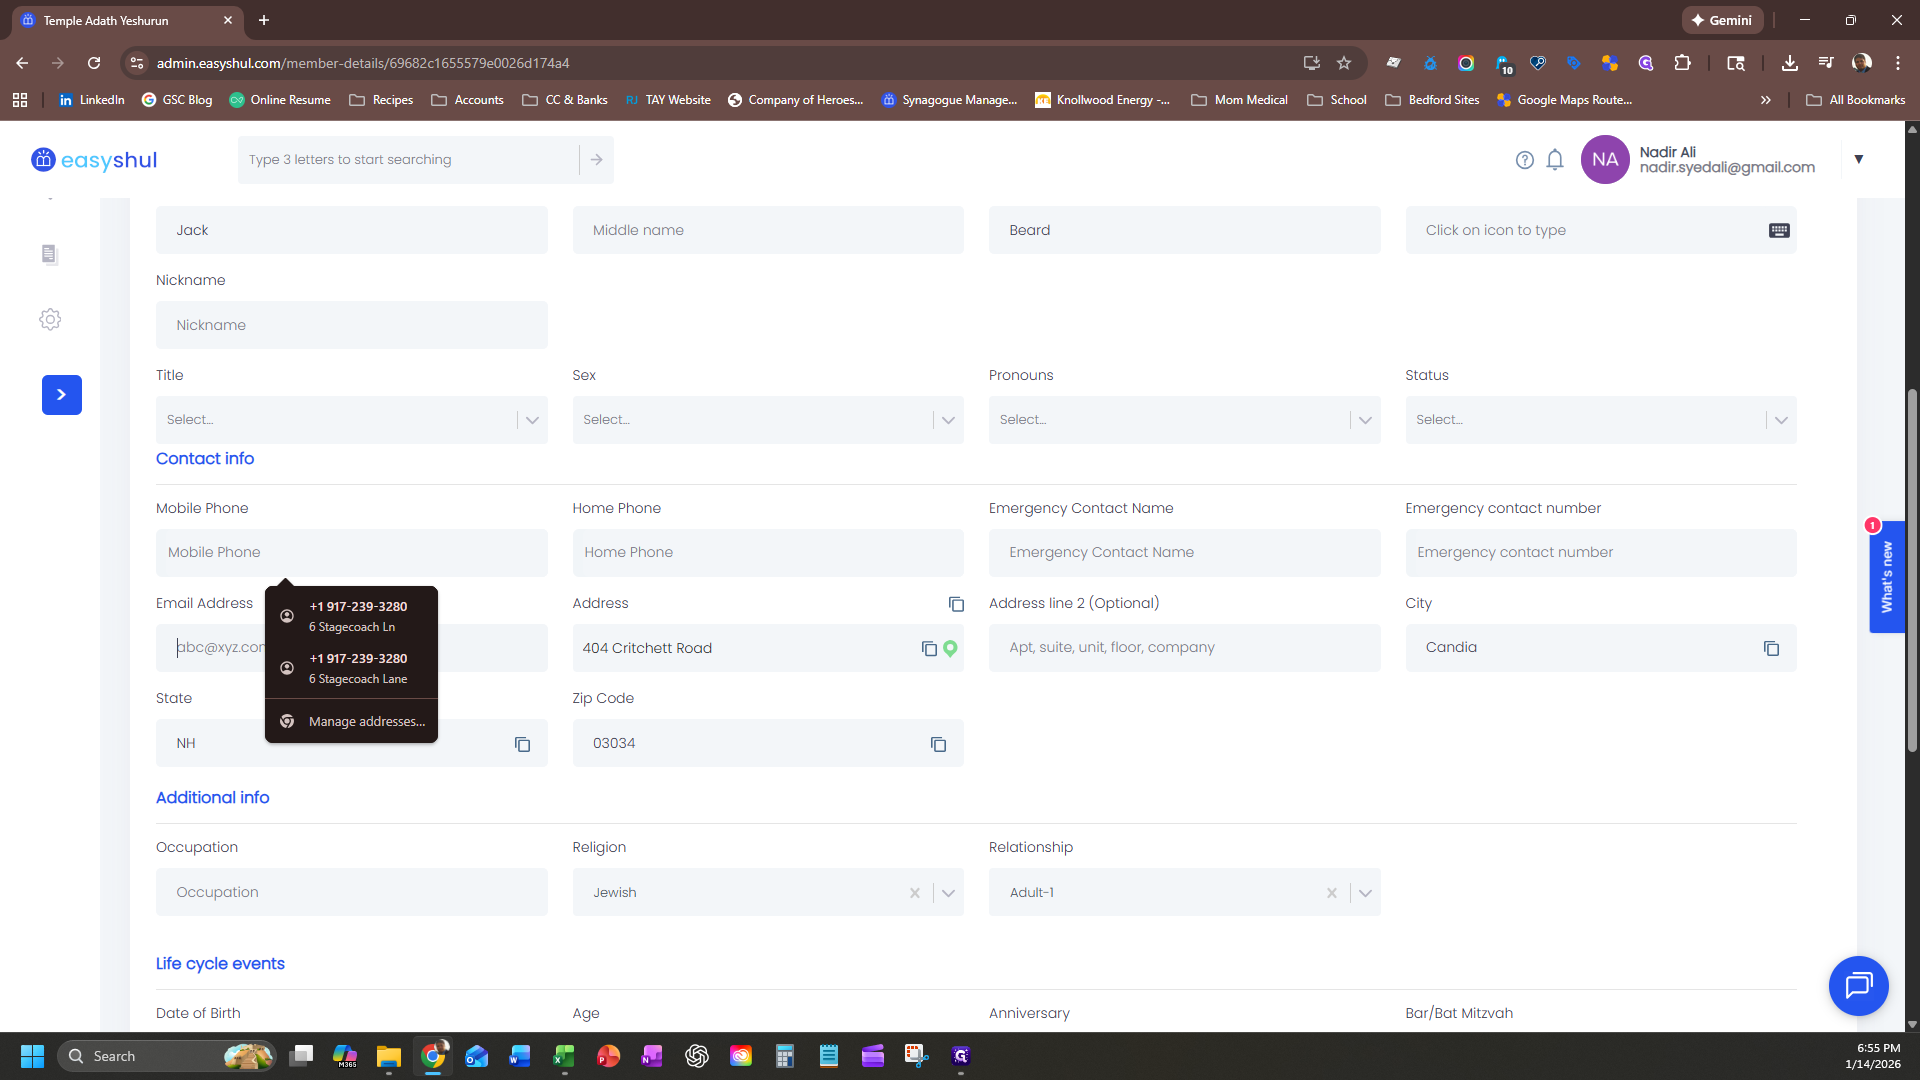
If you have a phone number or email for the person, enter it as well. If there isn't one, just leave it blank.

Click Save.

That's it.