Icon

How to Add and Resize Images in Member Vault: Step-by-Step Guide

Learn how to add, upload, and resize images in Member Vault with this easy step-by-step guide. Perfect for career pages like MedPath Careers Pulmonology. Includes tips for using Canva, uploading images, and optimizing image size and alt text.

By Robin Dickinson

In this guide, we'll learn how to add an image to a Member Vault career page using Canva. We will cover how to select, download, and upload an image, as well as how to adjust its size and add an alternative description. This process helps you display the right visuals for your career pages and ensures your images appear as intended.

Let's get started

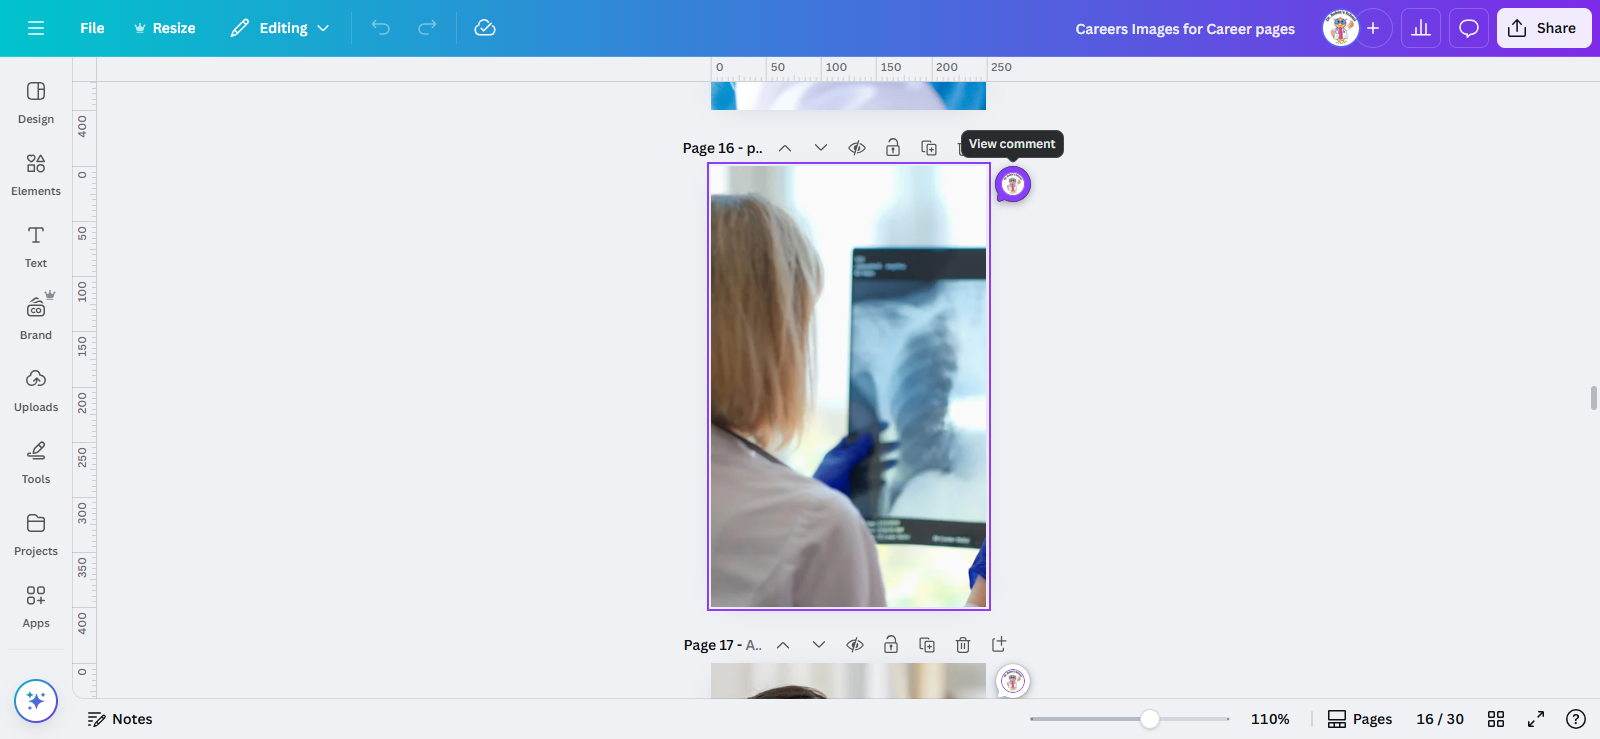
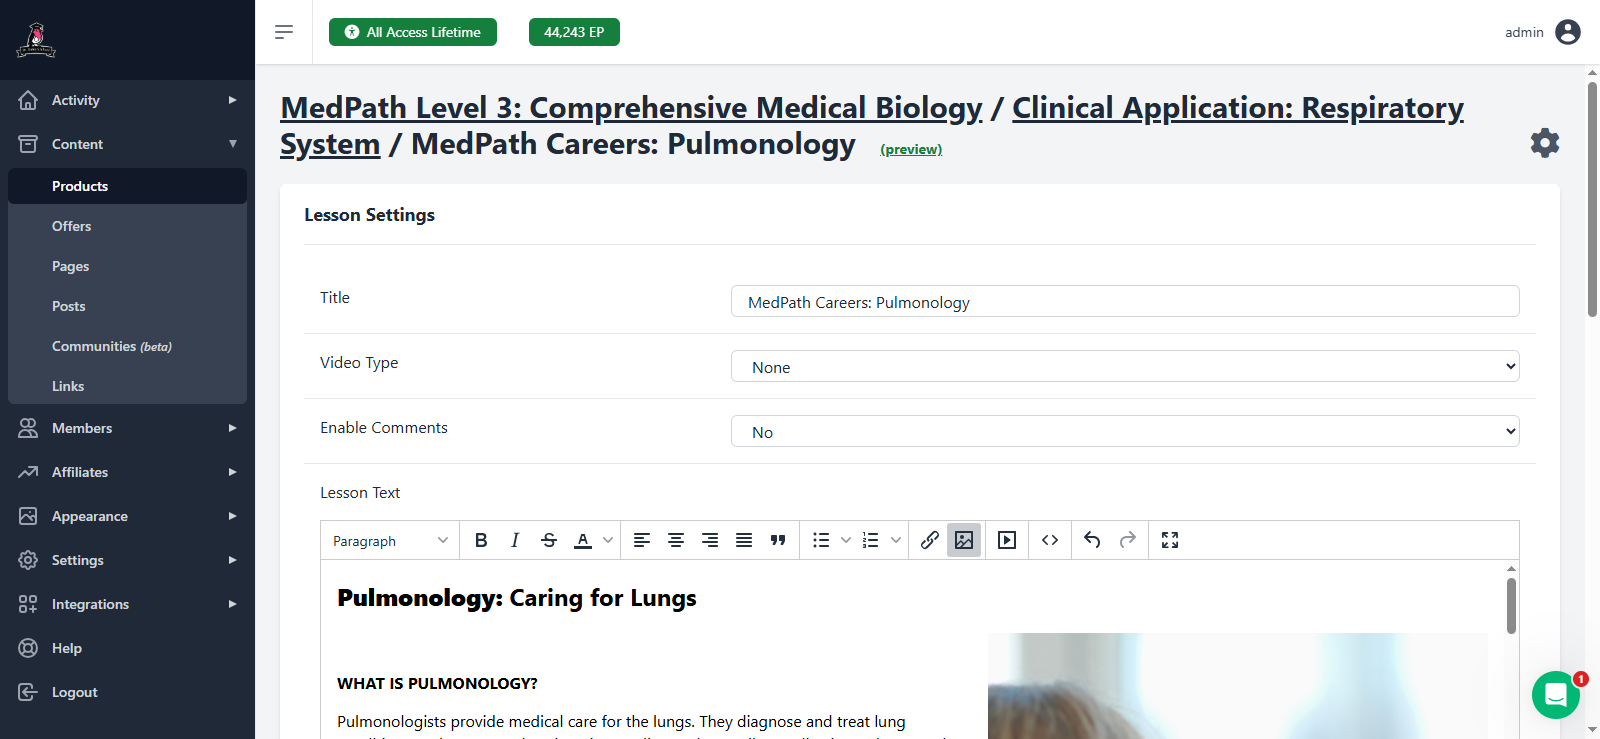
This guide will show you how to add images to Member Vault. Here we have MedPath Careers Pulmonology.

1
First, I'll go to career images for career pages in Canva. I need a pulmonologist. Go to Careers Images for Career pages - 250 × 400px
2
I usually have a comment that shows what kind of doctor it's intended to be in case you need to check like I did, lol.
Step #2: I usually have a comment that shows what kind of doctor it's intended to be in case you need to check like I did, lol.

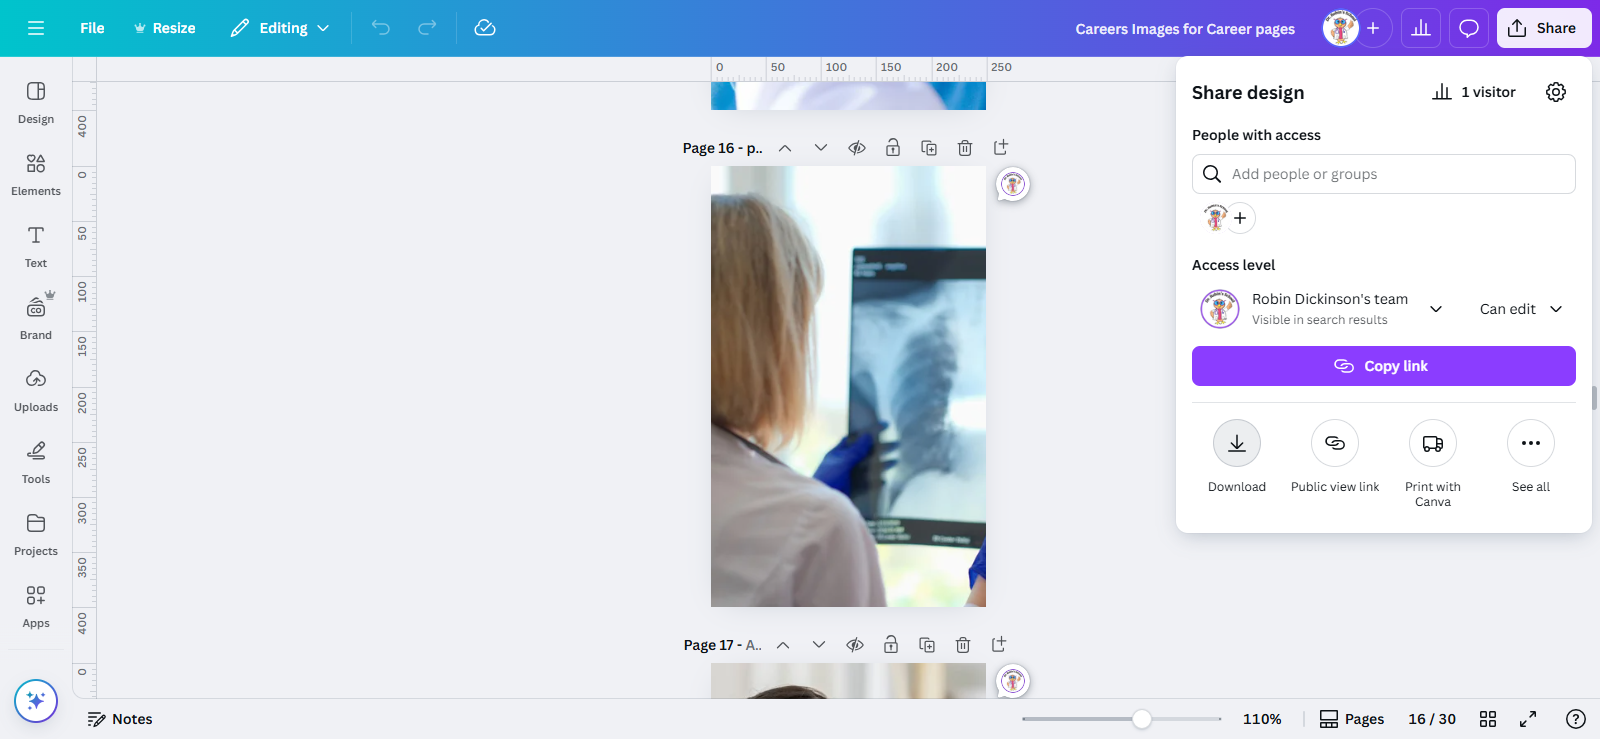
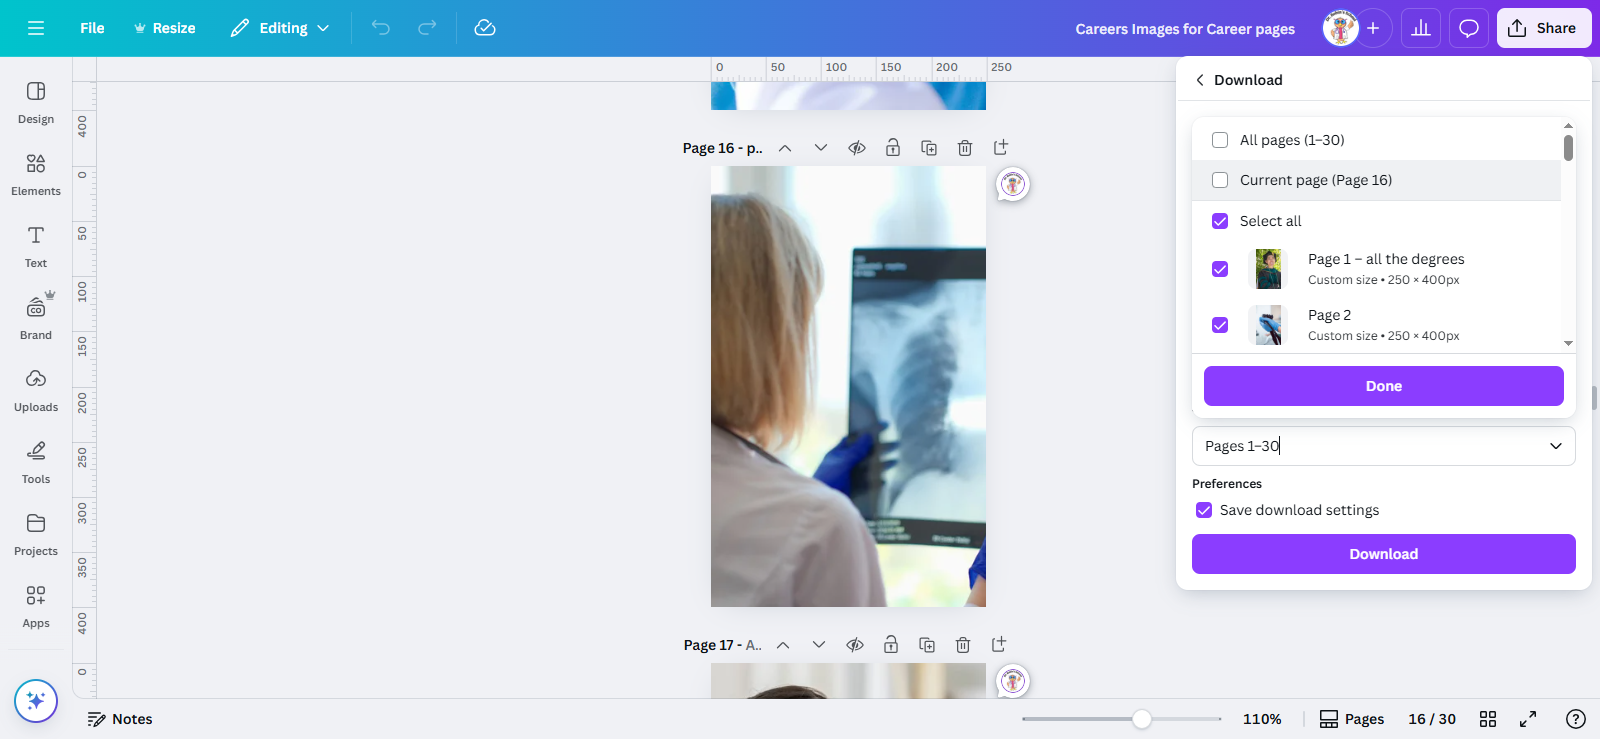
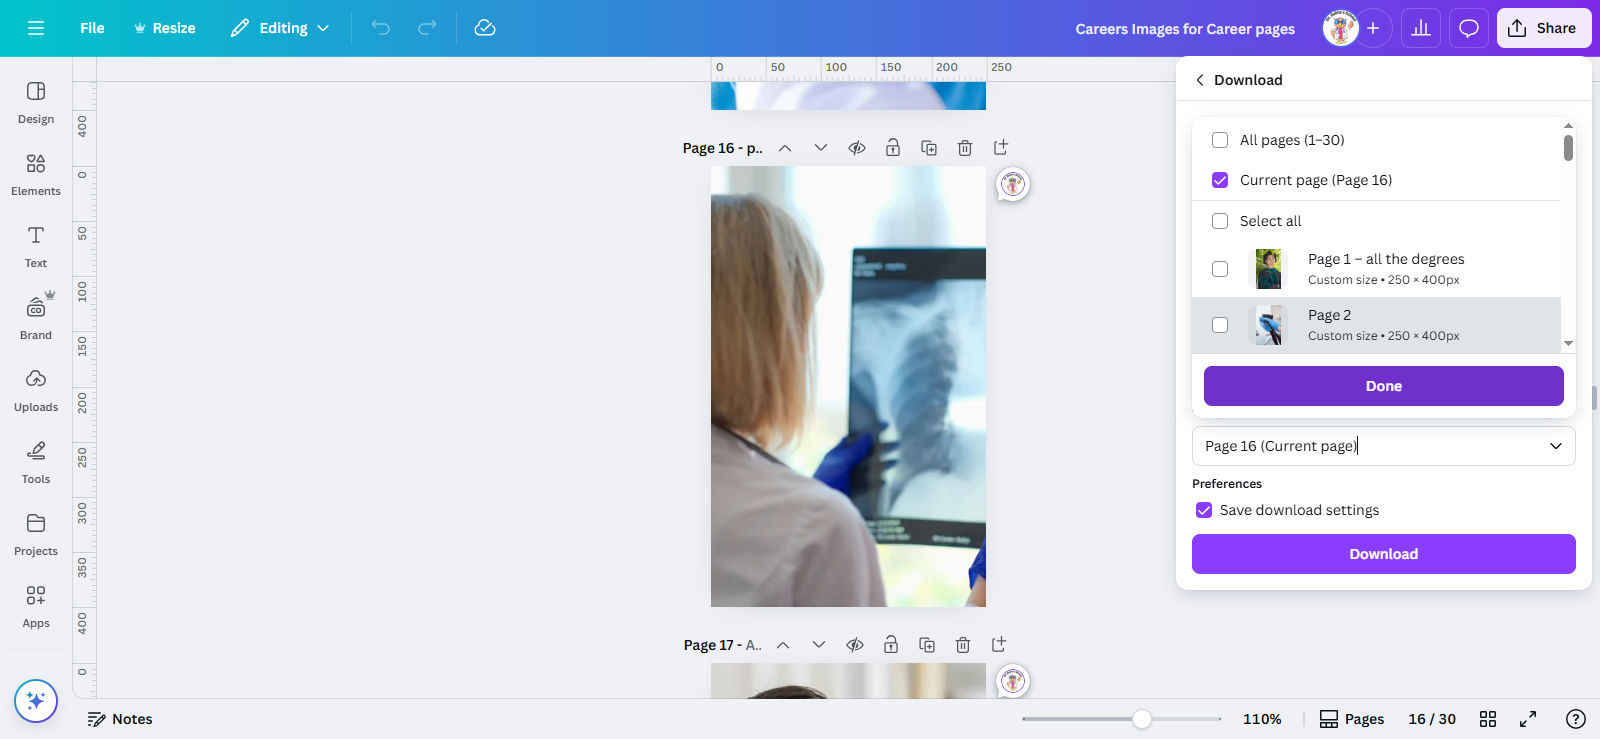
We are on page 16. Click Share, then Download. Select "Current Page" to download only page 16, then click Done.

3
Click on "↑ Share"
Step #3: Click on "↑ Share"
4
Click on download
Step #4: Click on download
5
Click on the page range to pull up options to change it.
Step #5: Click on the page range to pull up options to change it.
6
Click on "☐ Current page"
Step #6: Click on "☐ Current page"
7
Click on "Done"
Step #7: Click on "Done"

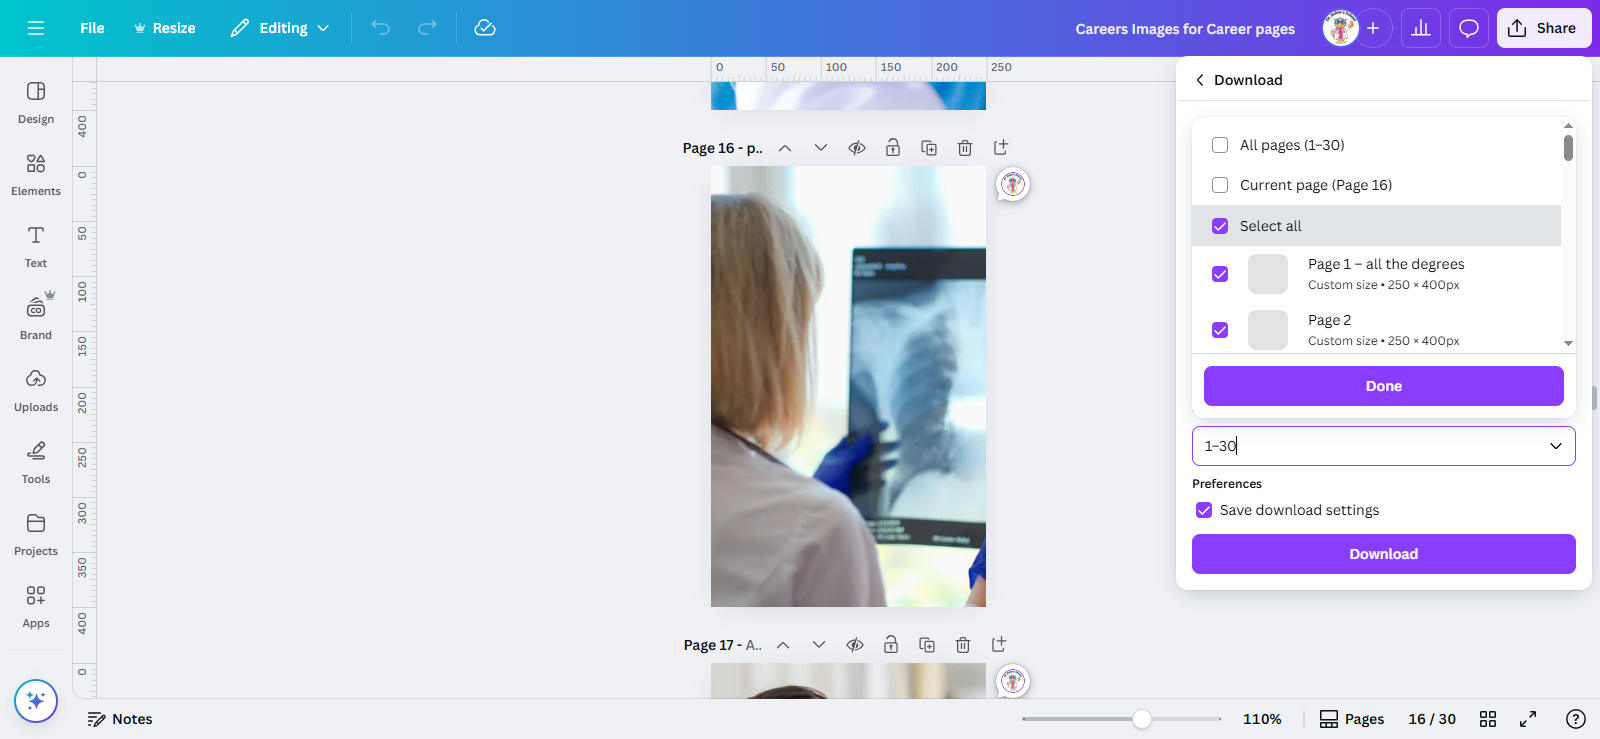
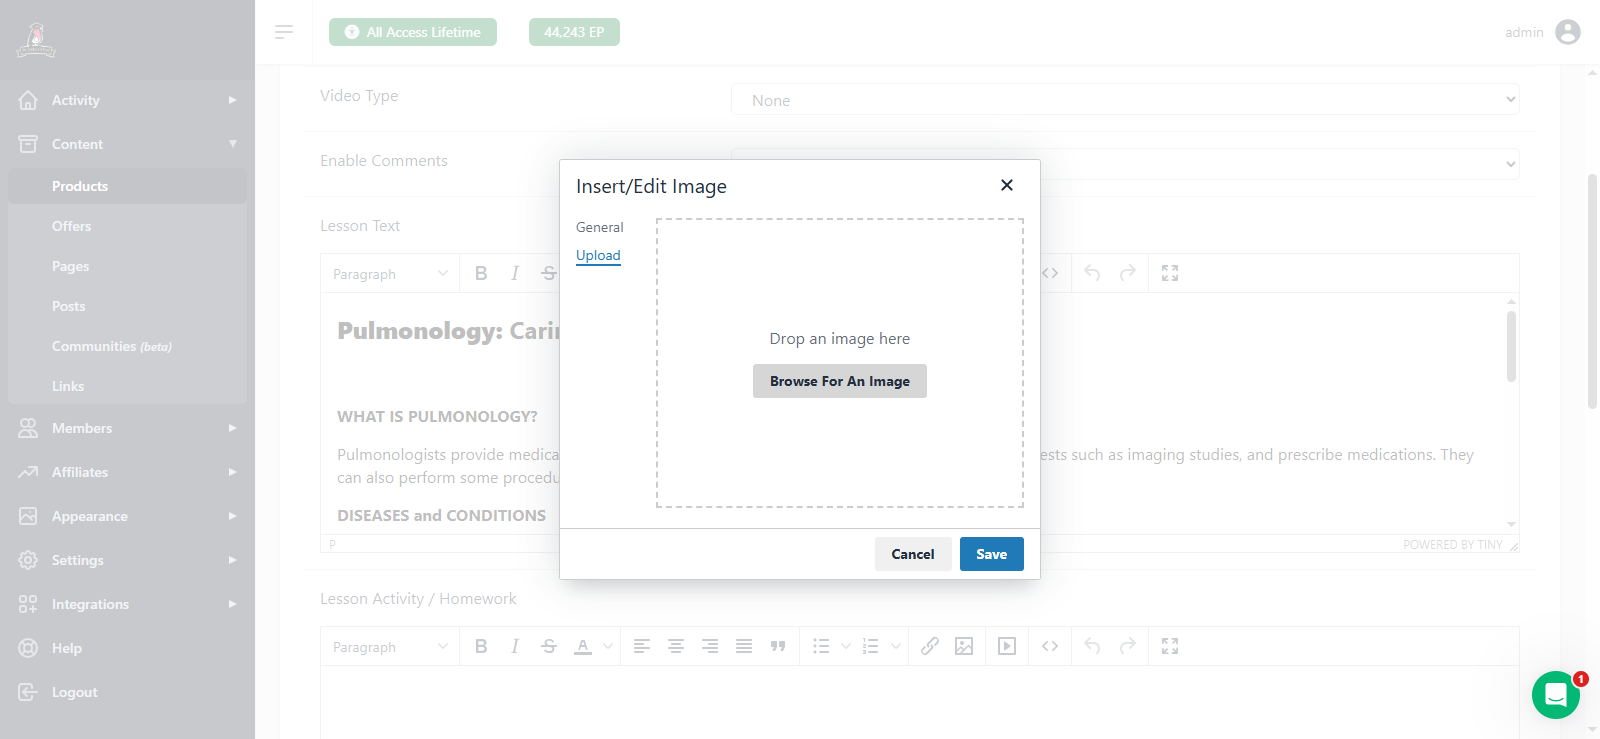
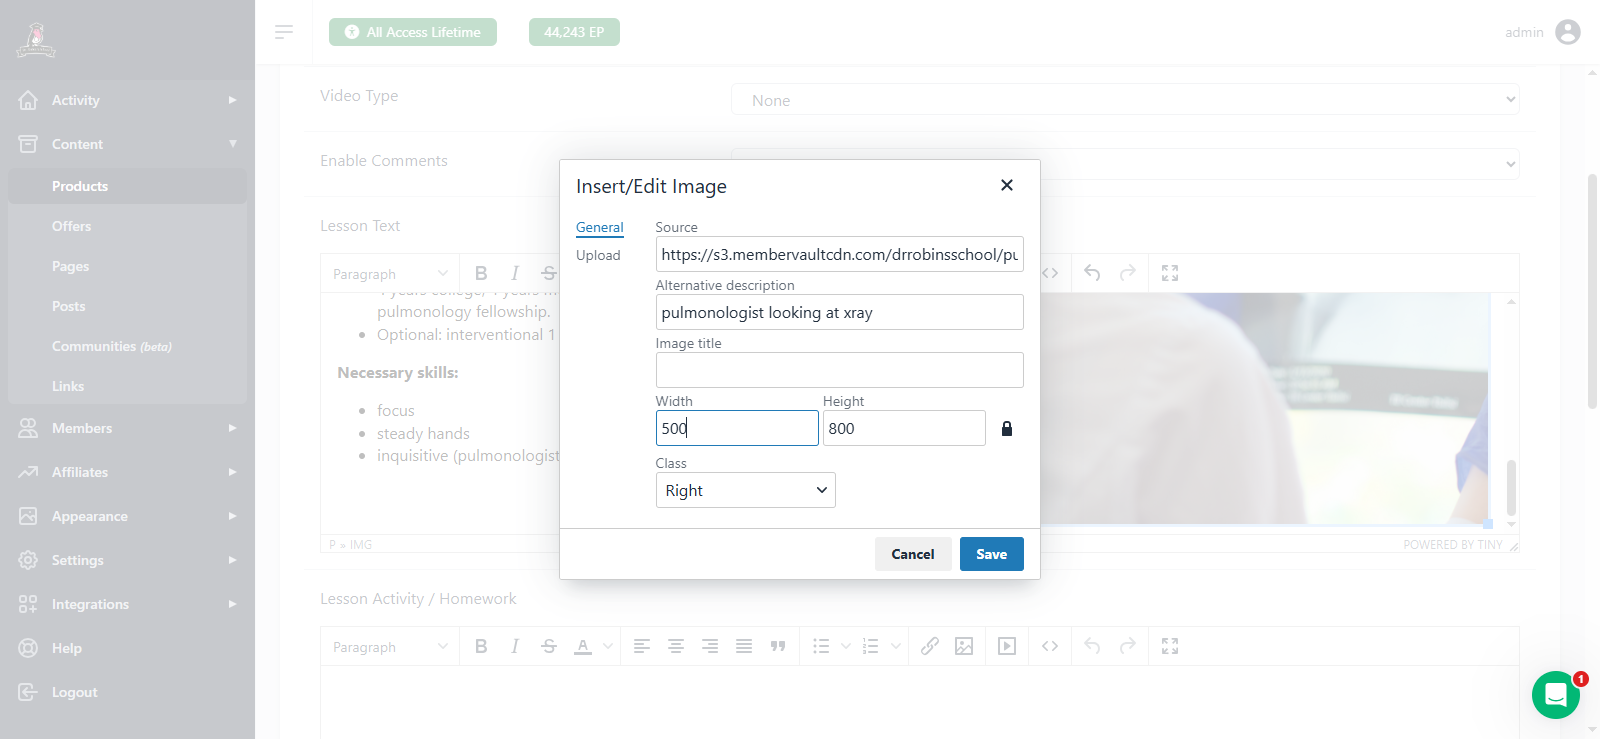
PNG or JPG is fine. Here's how you make it bigger or smaller.

8
Drag this bar to make it bigger or smaller file size but keep the same dimensions.
Step #8: Drag this bar to make it bigger or smaller file size but keep the same dimensions.

9
Click "Download"
Step #9: Click "Download"

Wait for it to download.

11
Navigate to the section where you want to add it, for example, here. Click on the image icon, select "Upload," and browse for your image. Click the image you want to upload and wait for it to finish uploading.
Step #11: Navigate to the section where you want to add it, for example, here. Click on the image icon, select "Upload," and browse for your image. Click the image you want to upload and wait for it to finish uploading.
12
Click on "Upload"
Step #12: Click on "Upload"
13
Click on "Browse For An Image"
Step #13: Click on "Browse For An Image"

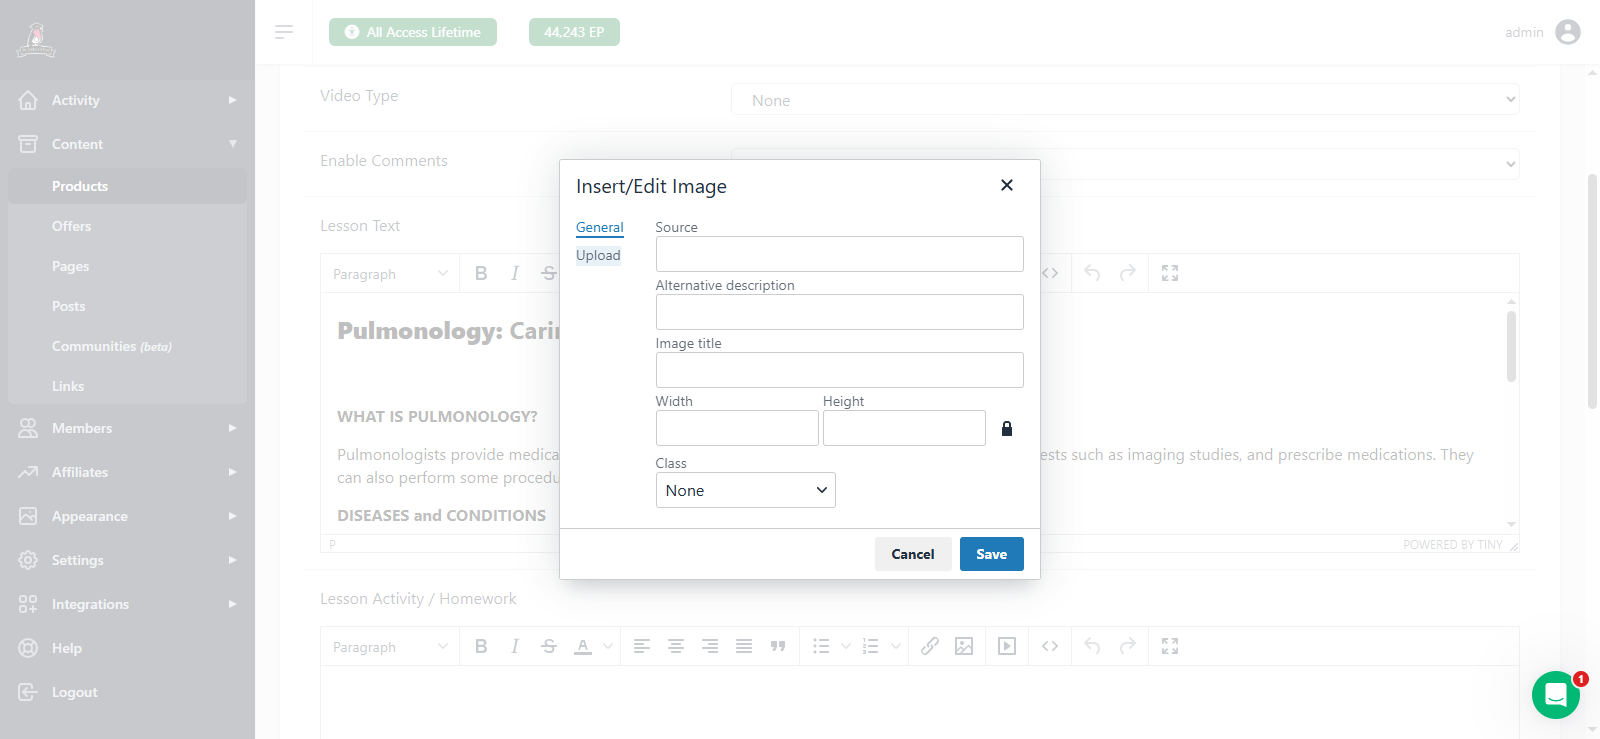
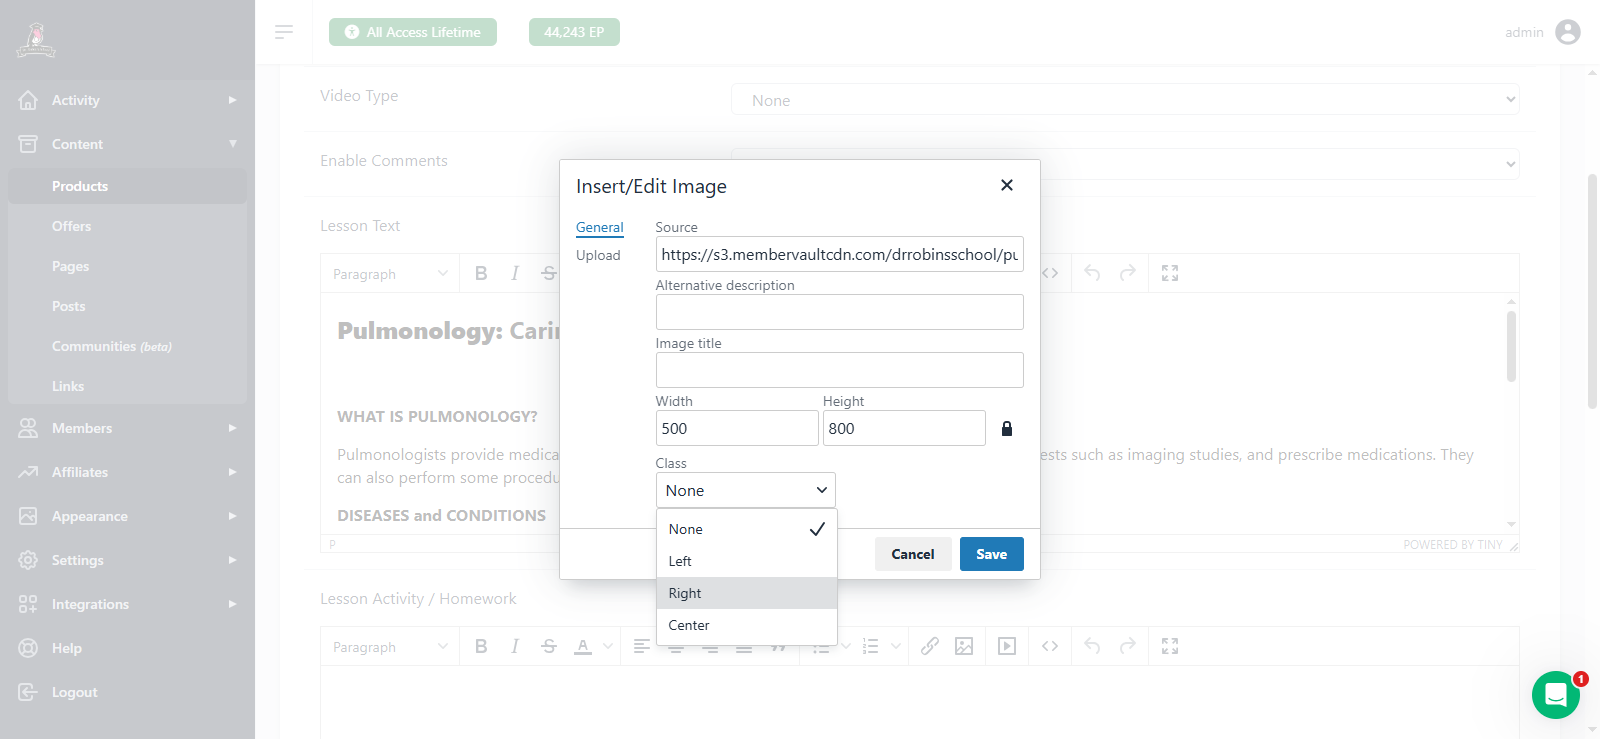
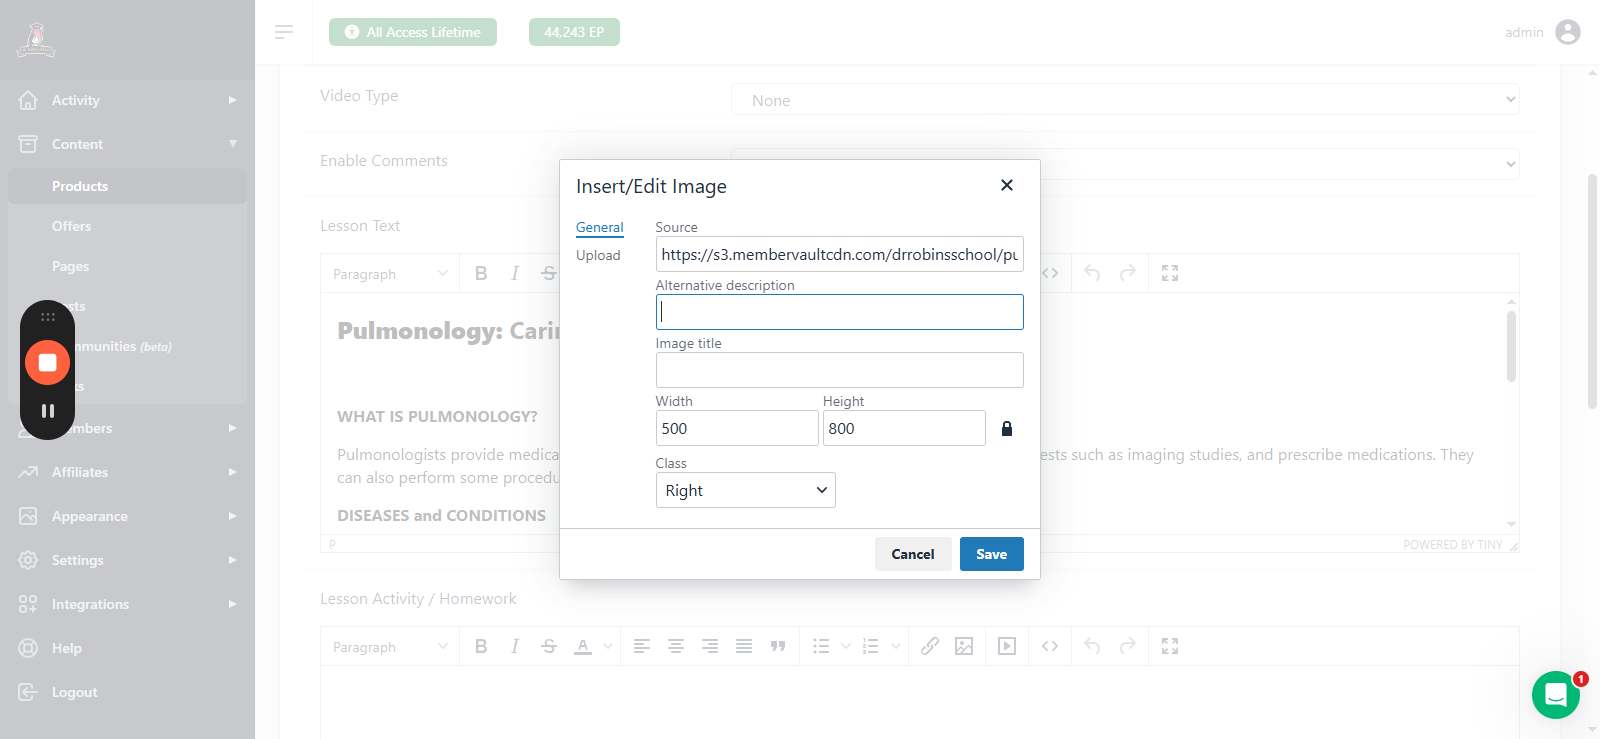
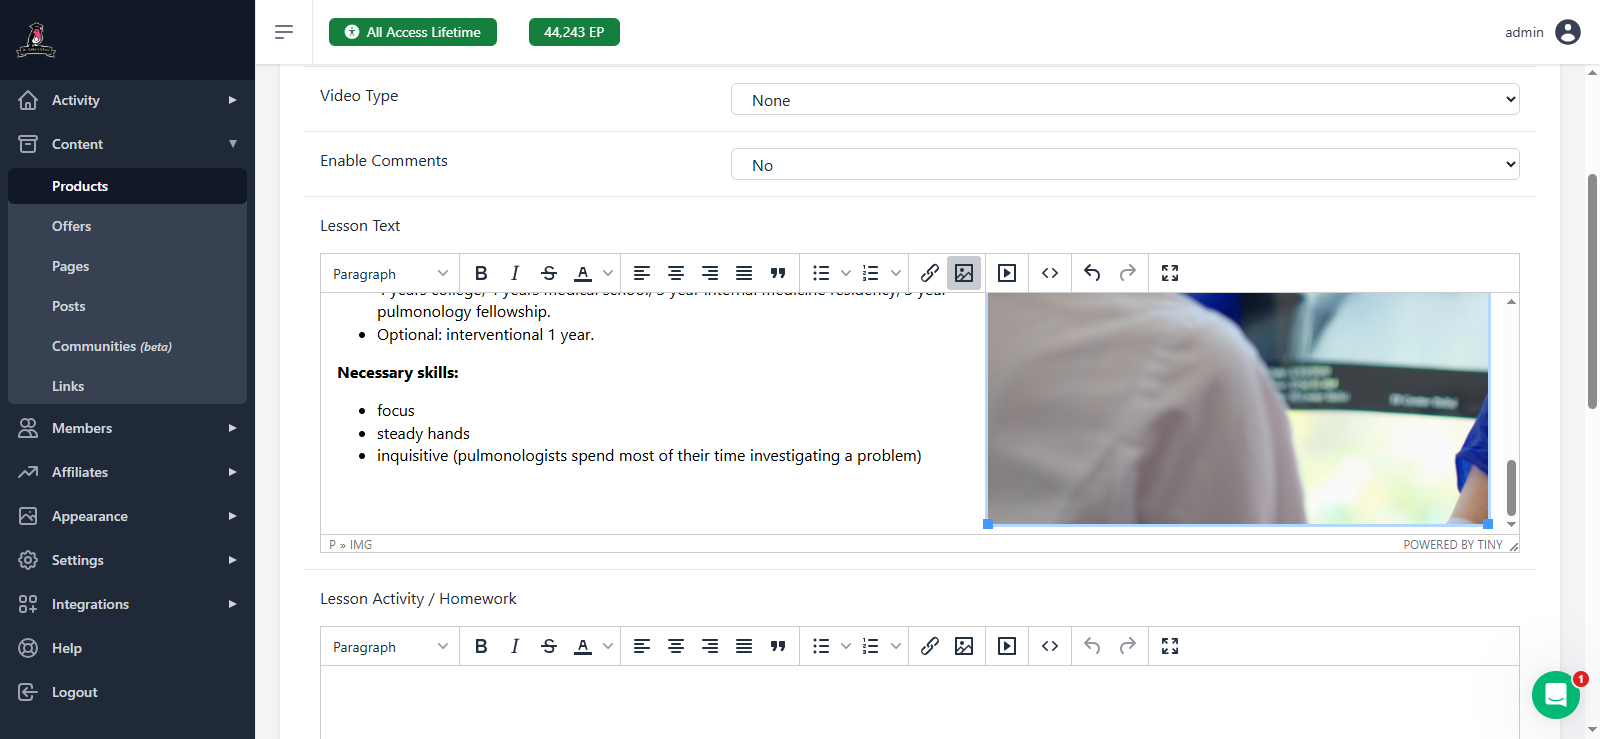
There we go. Then choose where it goes. Left, center, or right.

14
Here's how you choose where it goes on the page.
Step #14: Here's how you choose where it goes on the page.

15
We'll place this one on the right.
Step #15: We'll place this one on the right.

16
You should include an alternative description, such as "pulmonologist looking at x-ray."
Step #16: You should include an alternative description, such as "pulmonologist looking at x-ray."

17
Click on "Save"
Step #17: Click on "Save"

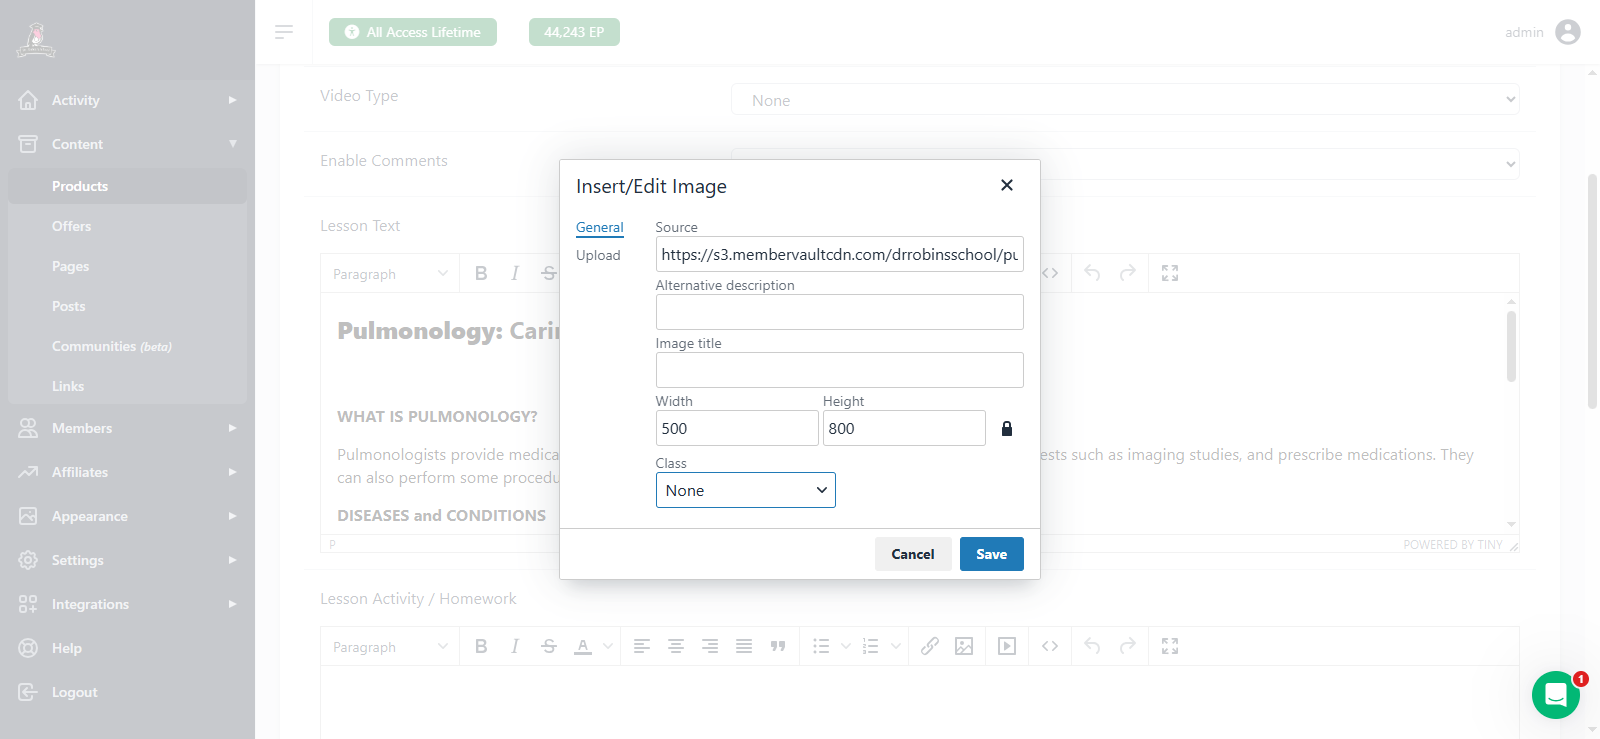
There it is, off to the side. I may have made that too big, so you can make it smaller. When we save it, we can click on preview to check if it looks okay.

18
Click on "Save"
Step #18: Click on "Save"
19
Click on "preview"
Step #19: Click on "preview"

If we think, "That's too big," then we can just make it smaller. I'm glad I did that because now you can see how to change the size.

20
Click on the image icon again.
Step #20: Click on the image icon again.
21
Change on number and the other will automatically change to keep the same dimensions
Step #21:  Change on number and the other will automatically change to keep the same dimensions

22
Click on "Save"
Step #22: Click on "Save"

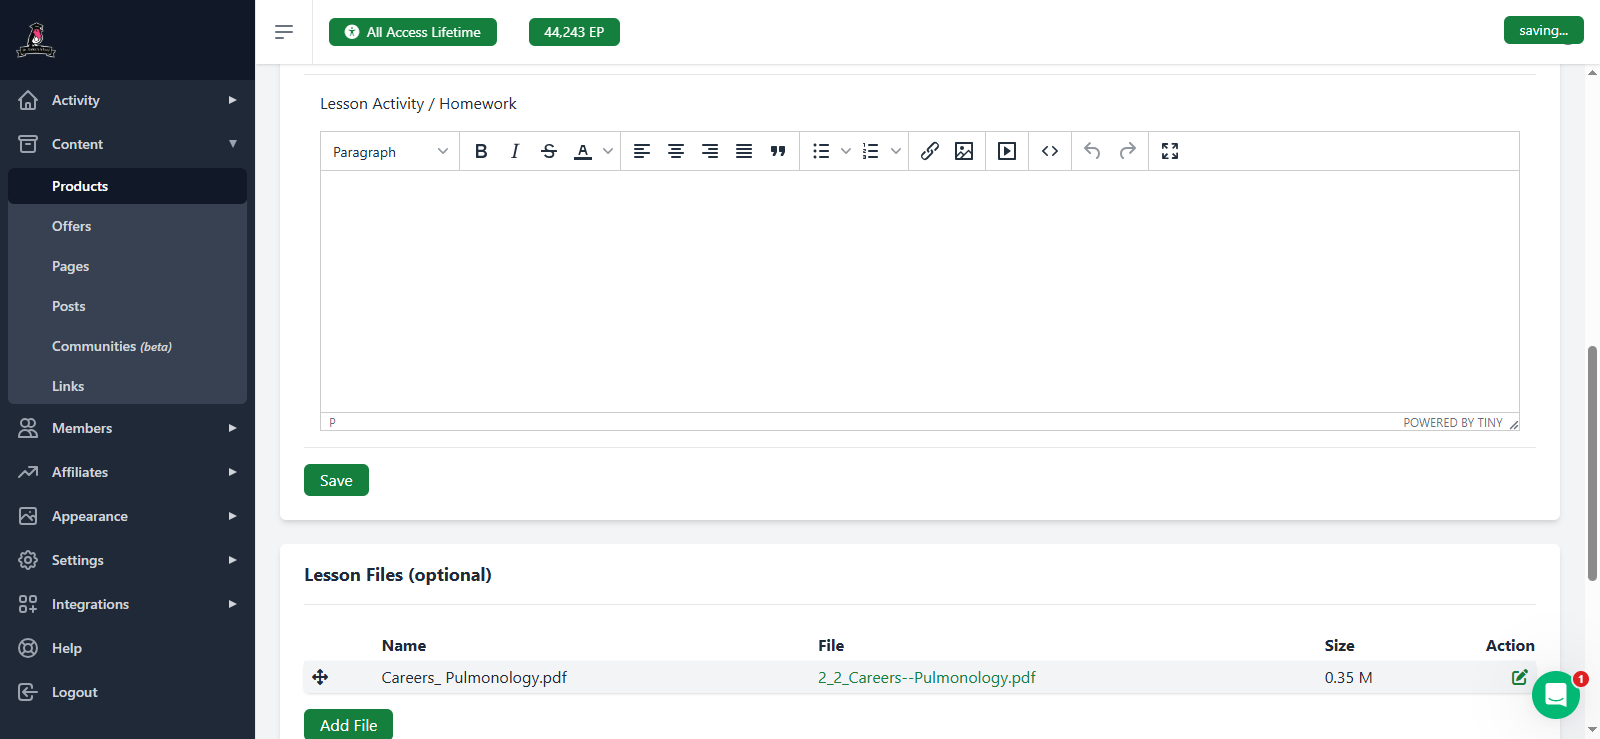
You can click "save" to speed it up, or wait for it to save automatically.

23
Click on "Save"
Step #23: Click on "Save"

Then go back to the preview and hit refresh to see what it looks like. Ta-da!

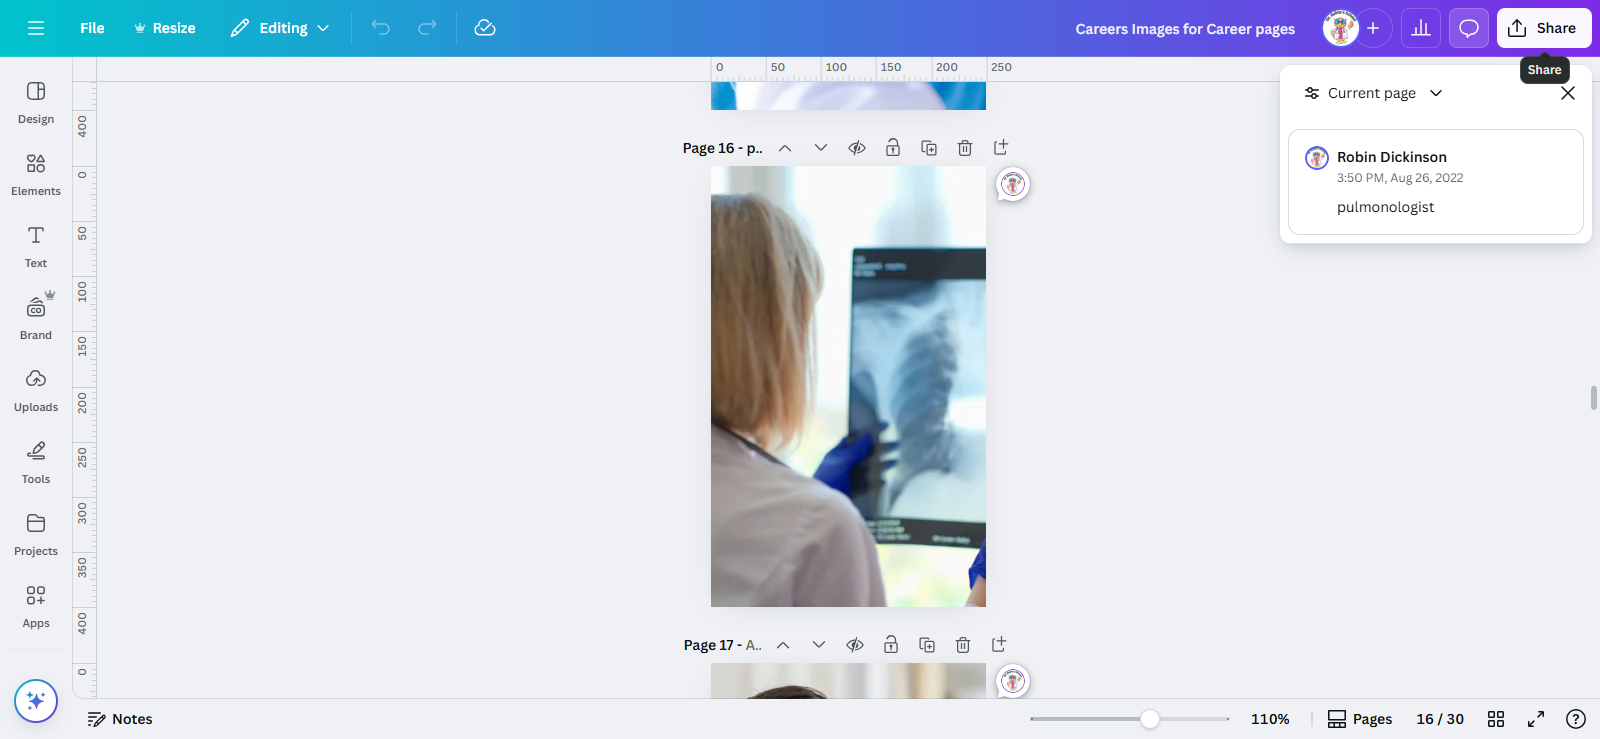
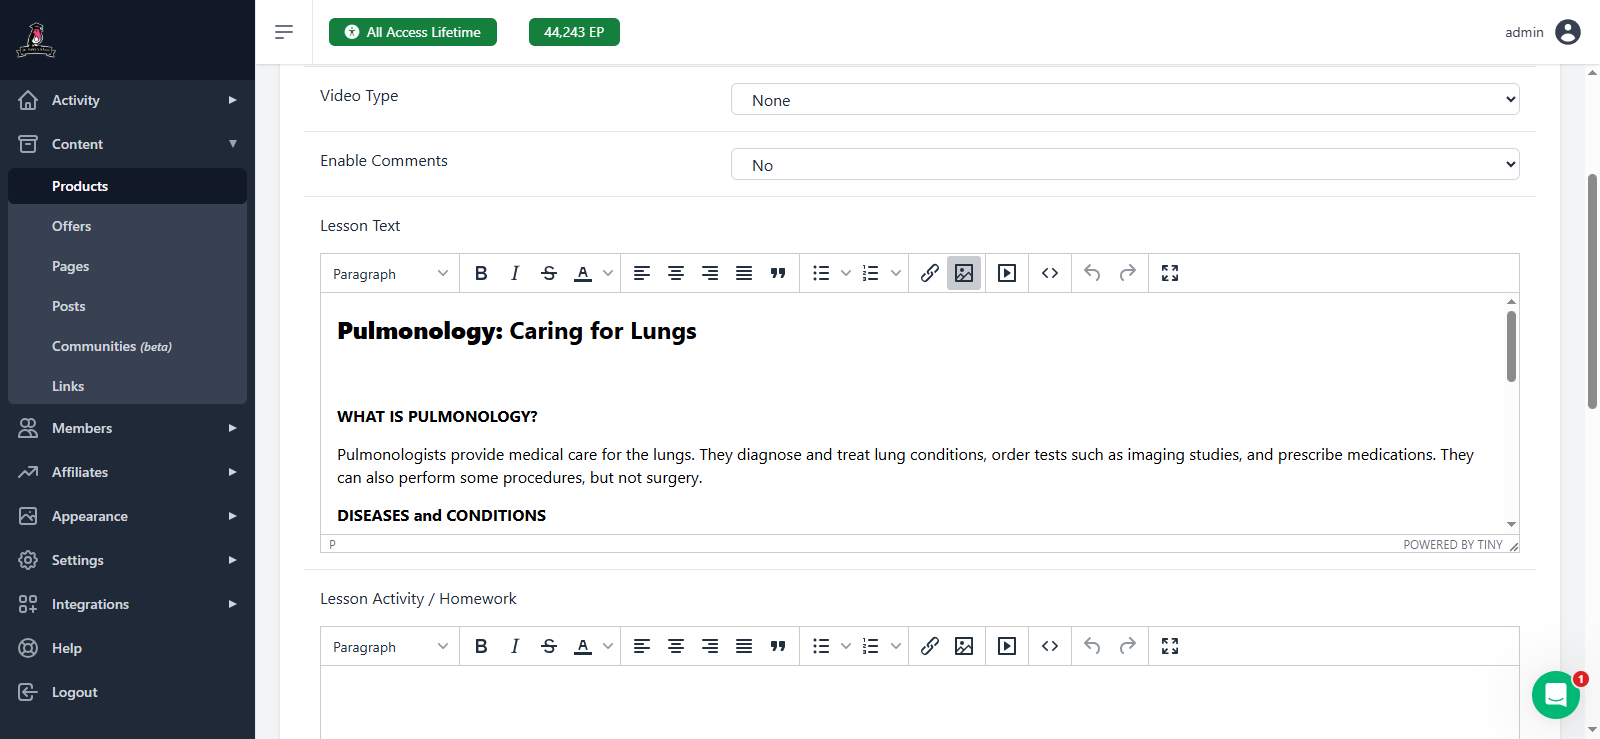
We now see our image of a pulmonologist, along with all the relevant information. Don't we look fancy?

Let me know if you have any questions. That is how to insert a picture in this situation. Different situations may require different steps but this is the basic method you'll always use.

You have also learned how to resize an image if it appears at the wrong size.