How to Add Clinical Application: Respiratory System Lessons and Videos
Step-by-step guide for adding Clinical Application: Respiratory System lessons, embedding YouTube videos, and attaching questions for students. Learn best practices for organizing educational content and improving student engagement.
In this guide, we'll learn how to create and organize a lesson for the Clinical Application Respiratory System module. We will cover how to add clinical case sets, embed YouTube videos in the right place, and format lesson content for clarity. You will also see how to add questions for students to answer and adjust them as needed.
Let's get started
Hey, Jill in Virginia. This should be straightforward, but we'll see. Here, it says "Clinical Application: Respiratory System," which is our current focus.
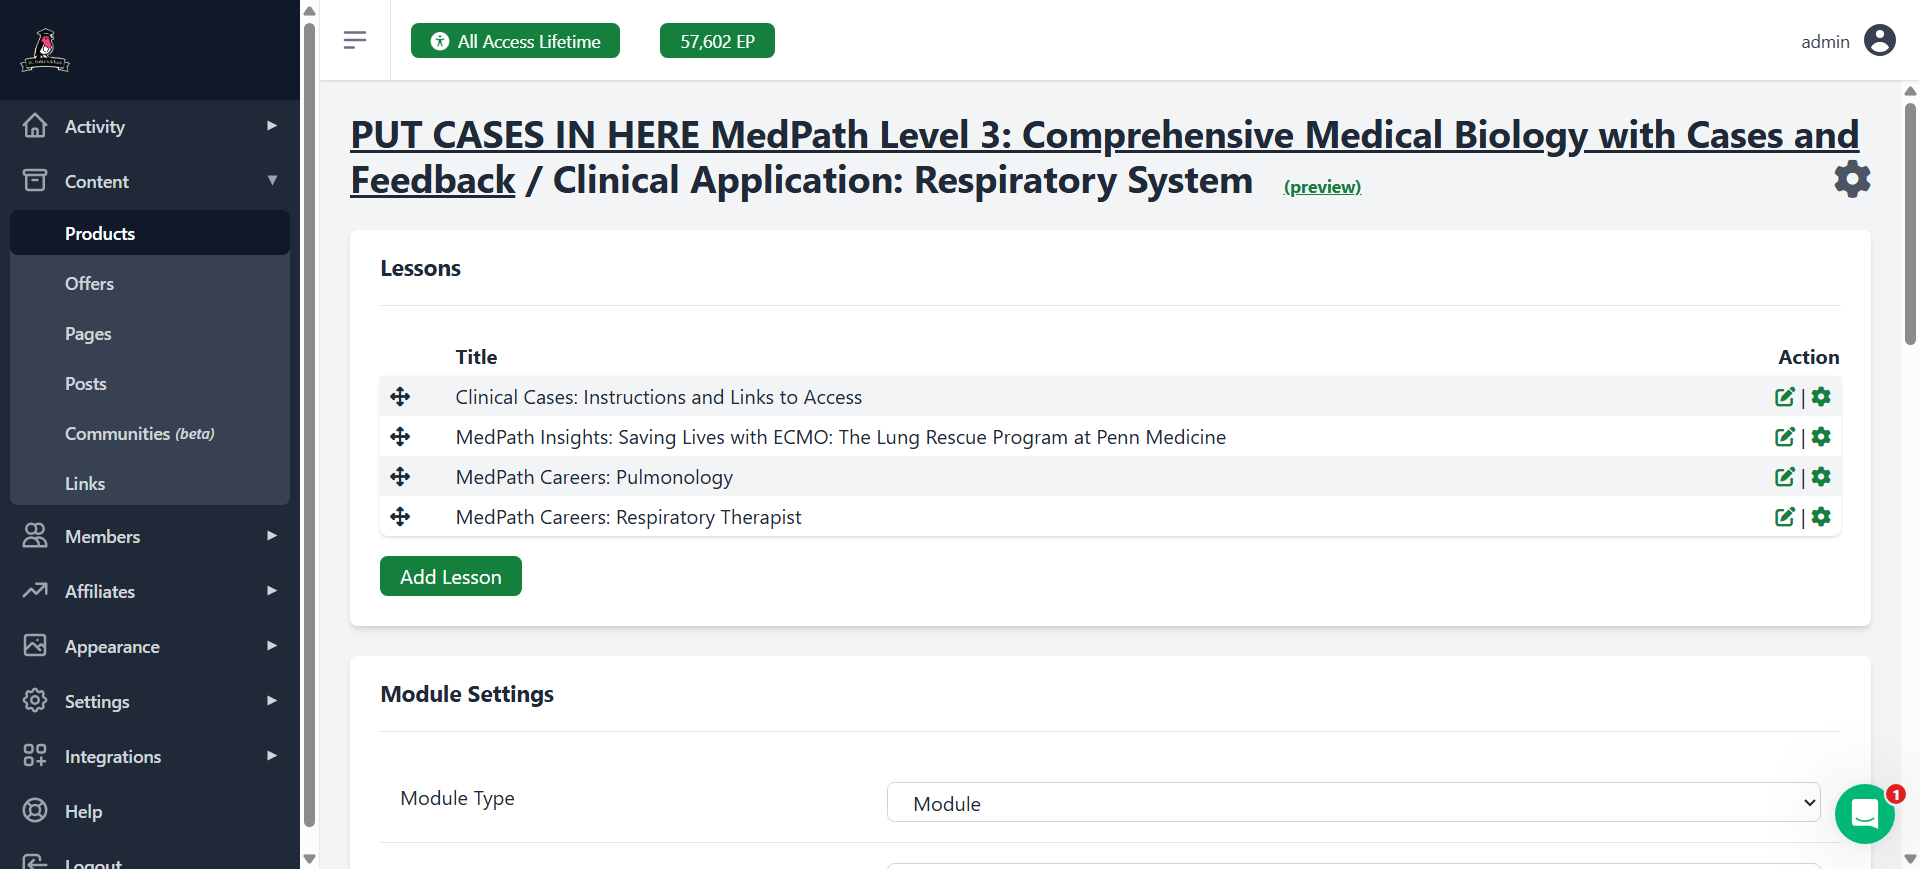
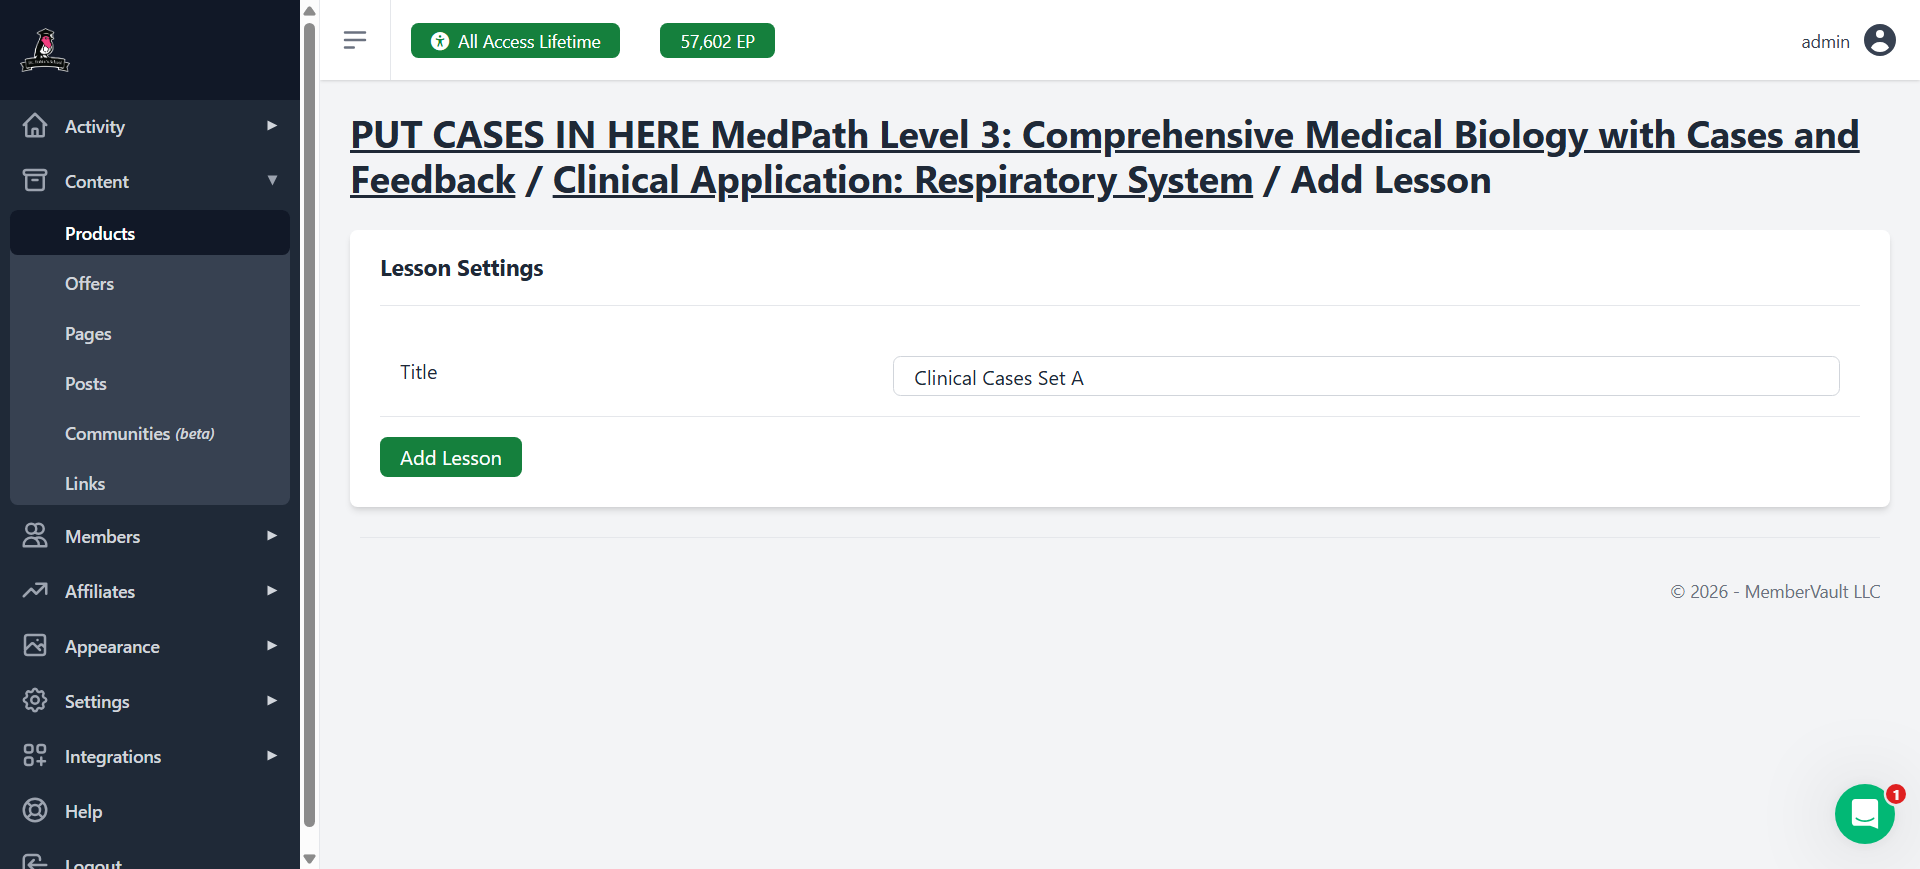
I will add a lesson called Clinical Cases Set A.


For each module, complete sets A, B, and C.
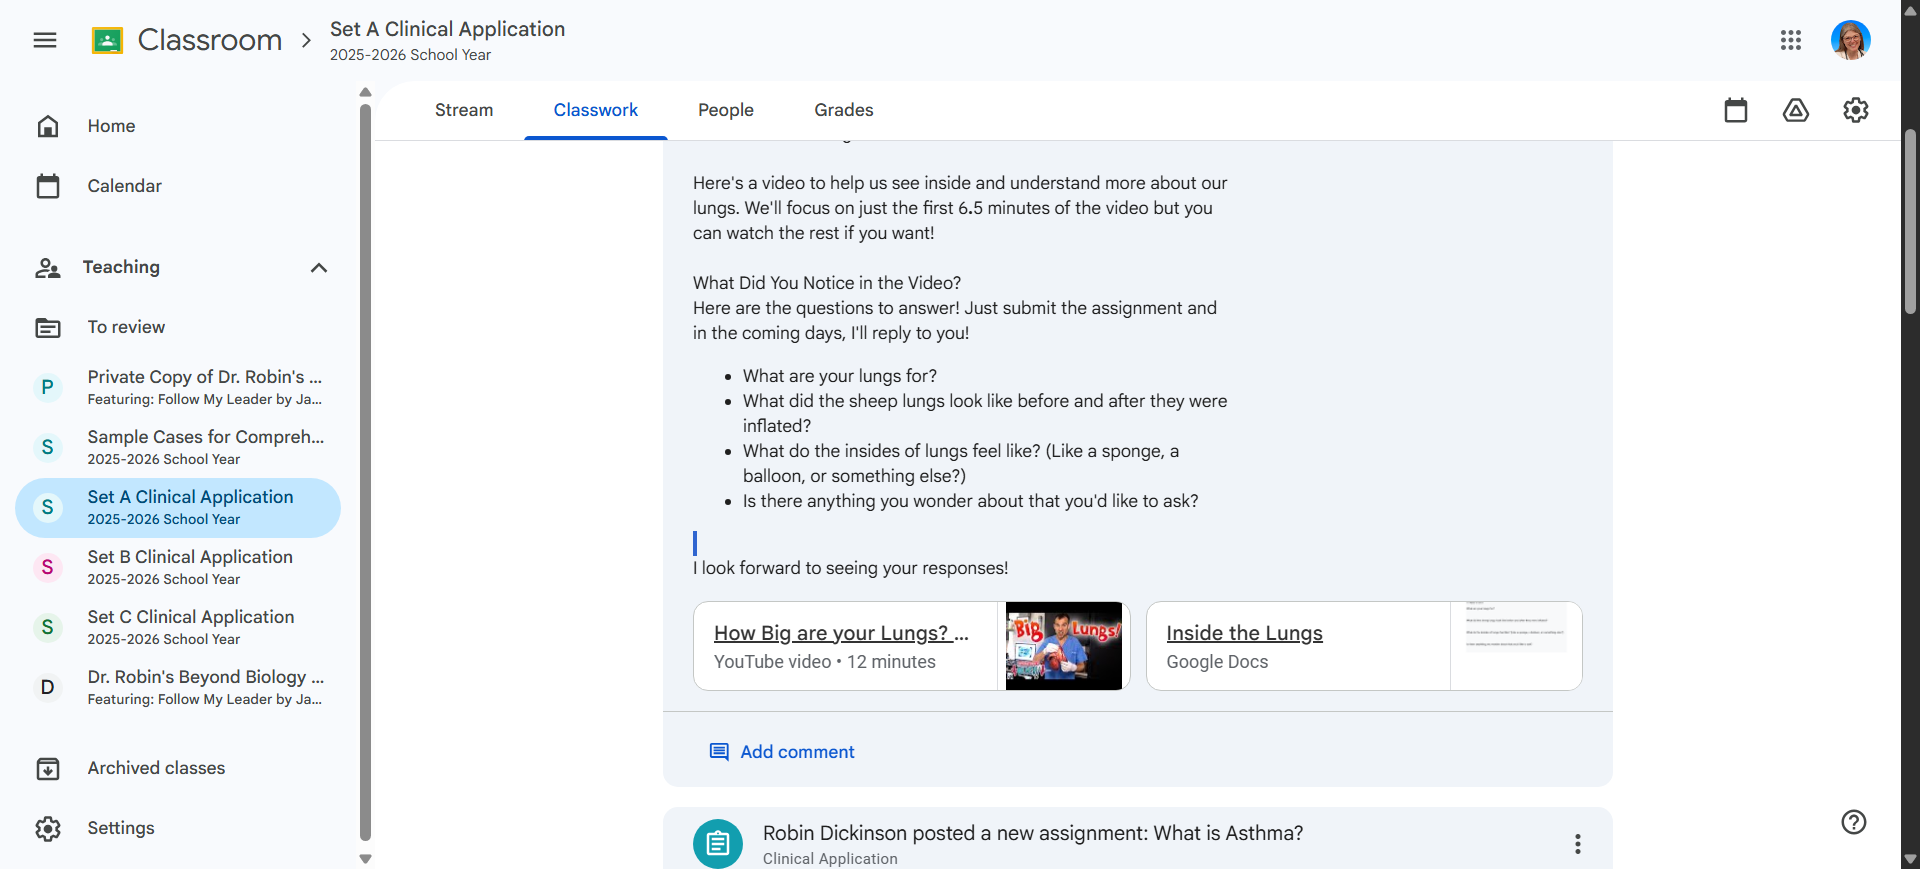
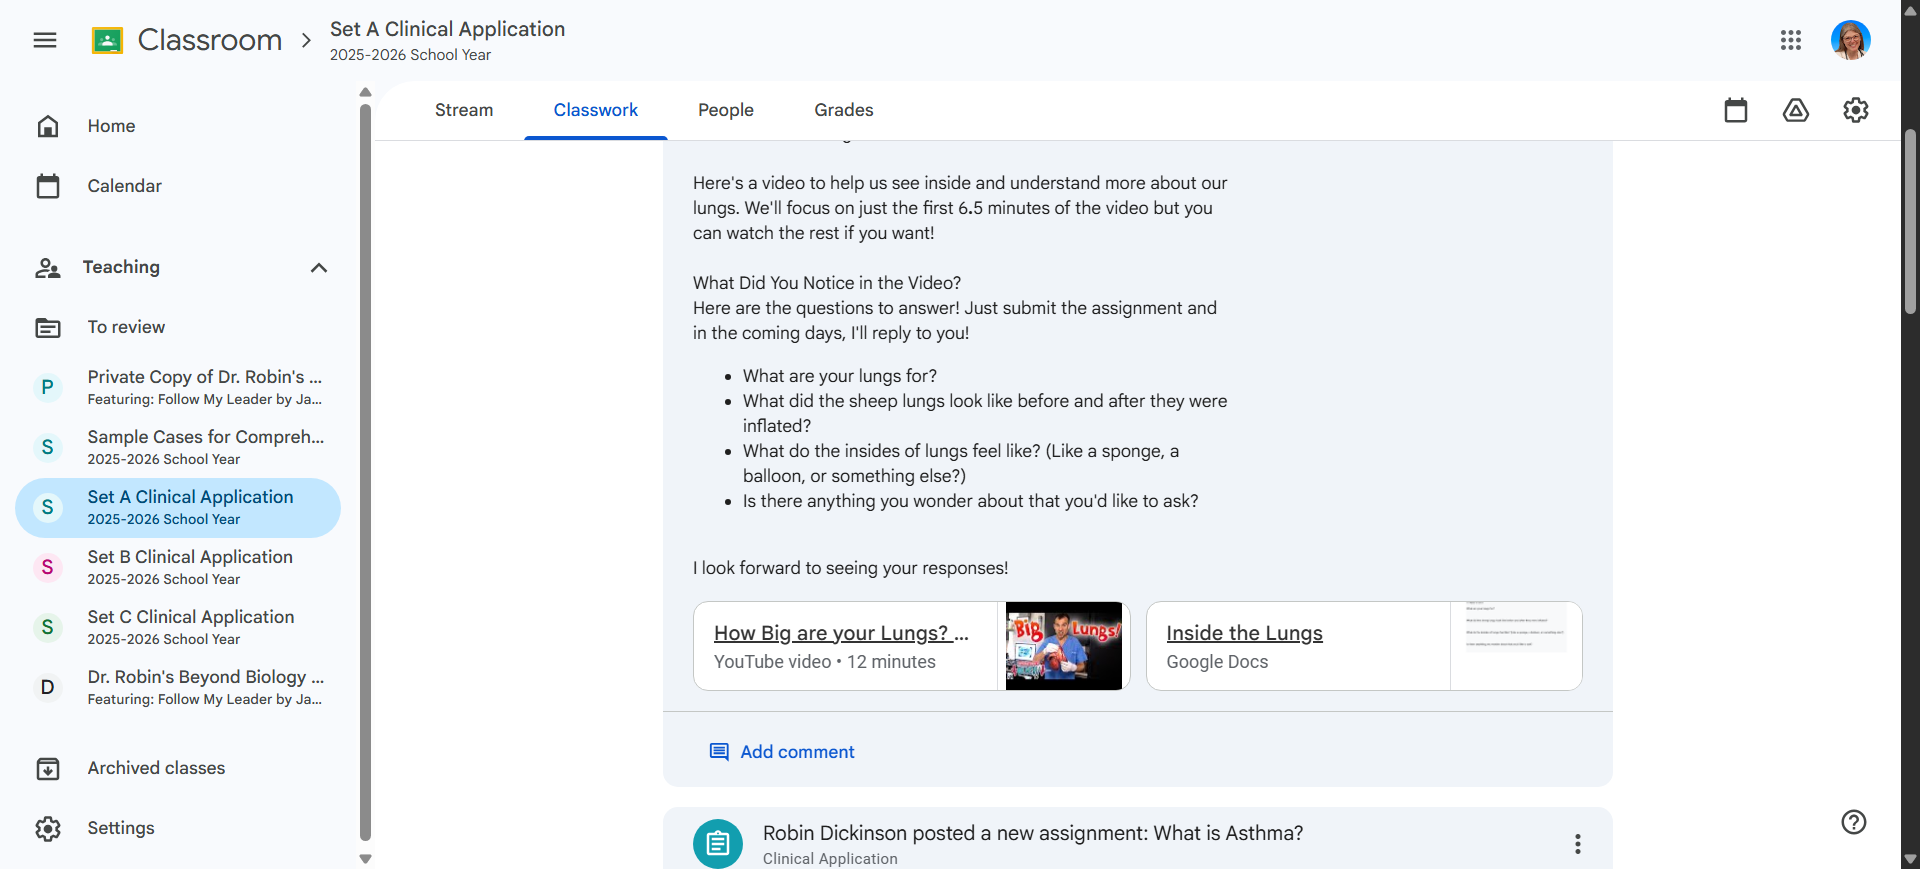
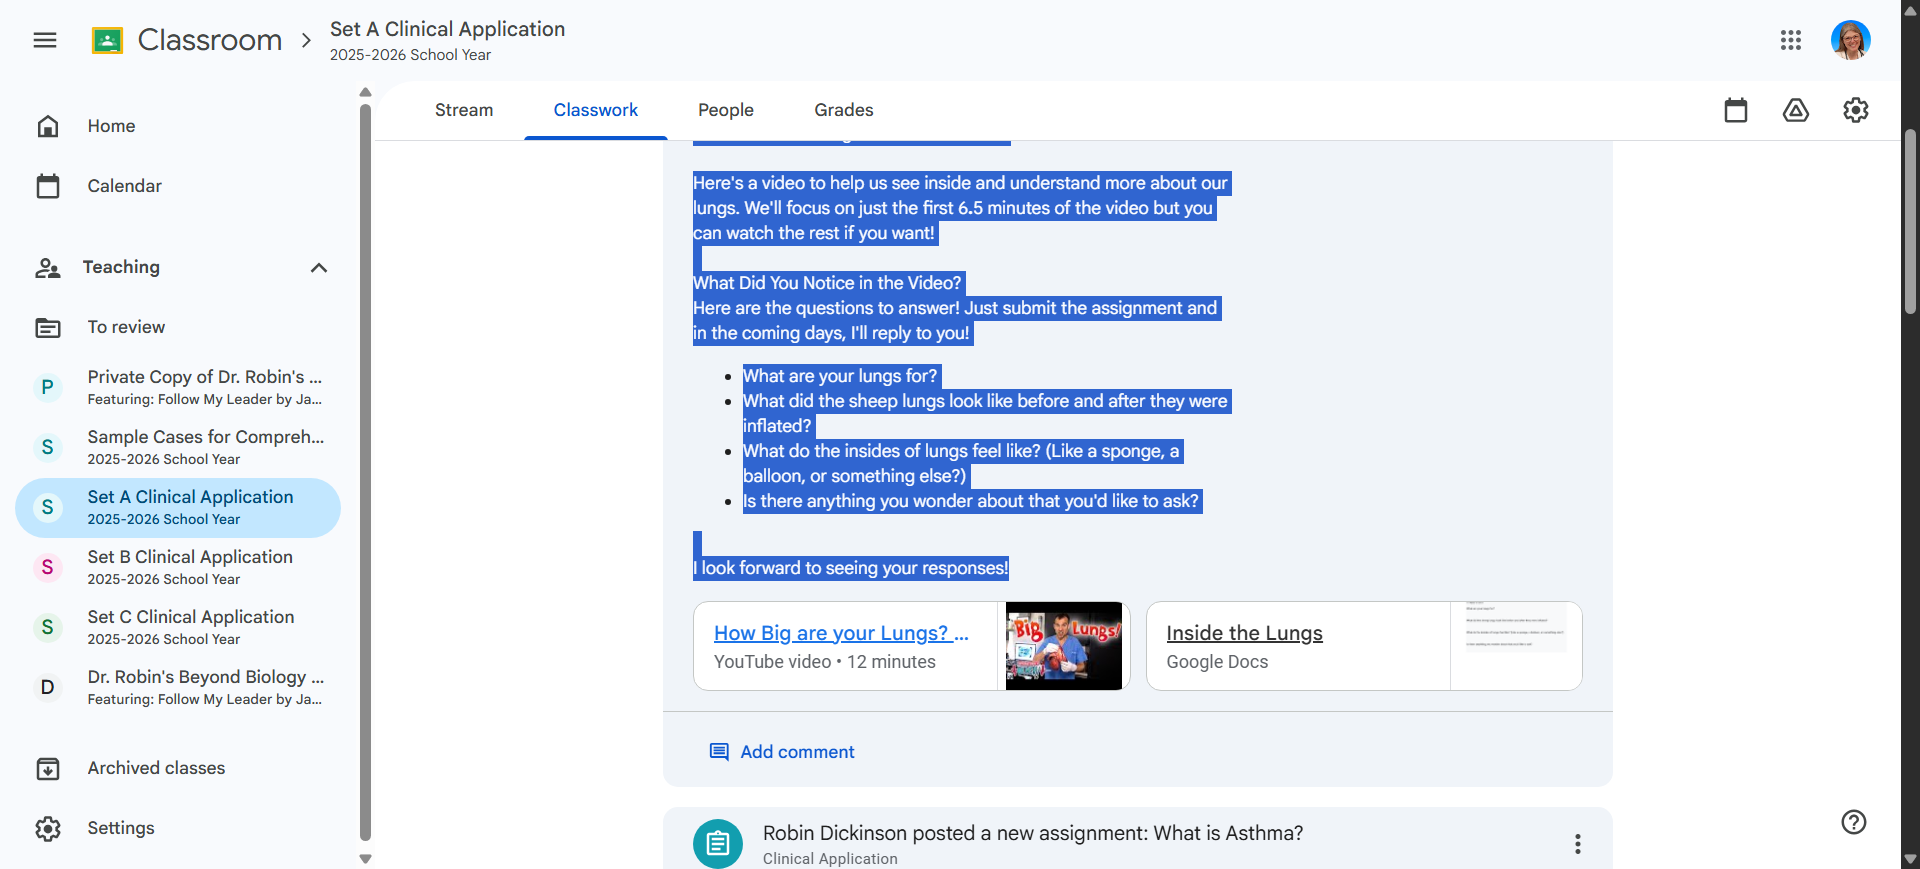
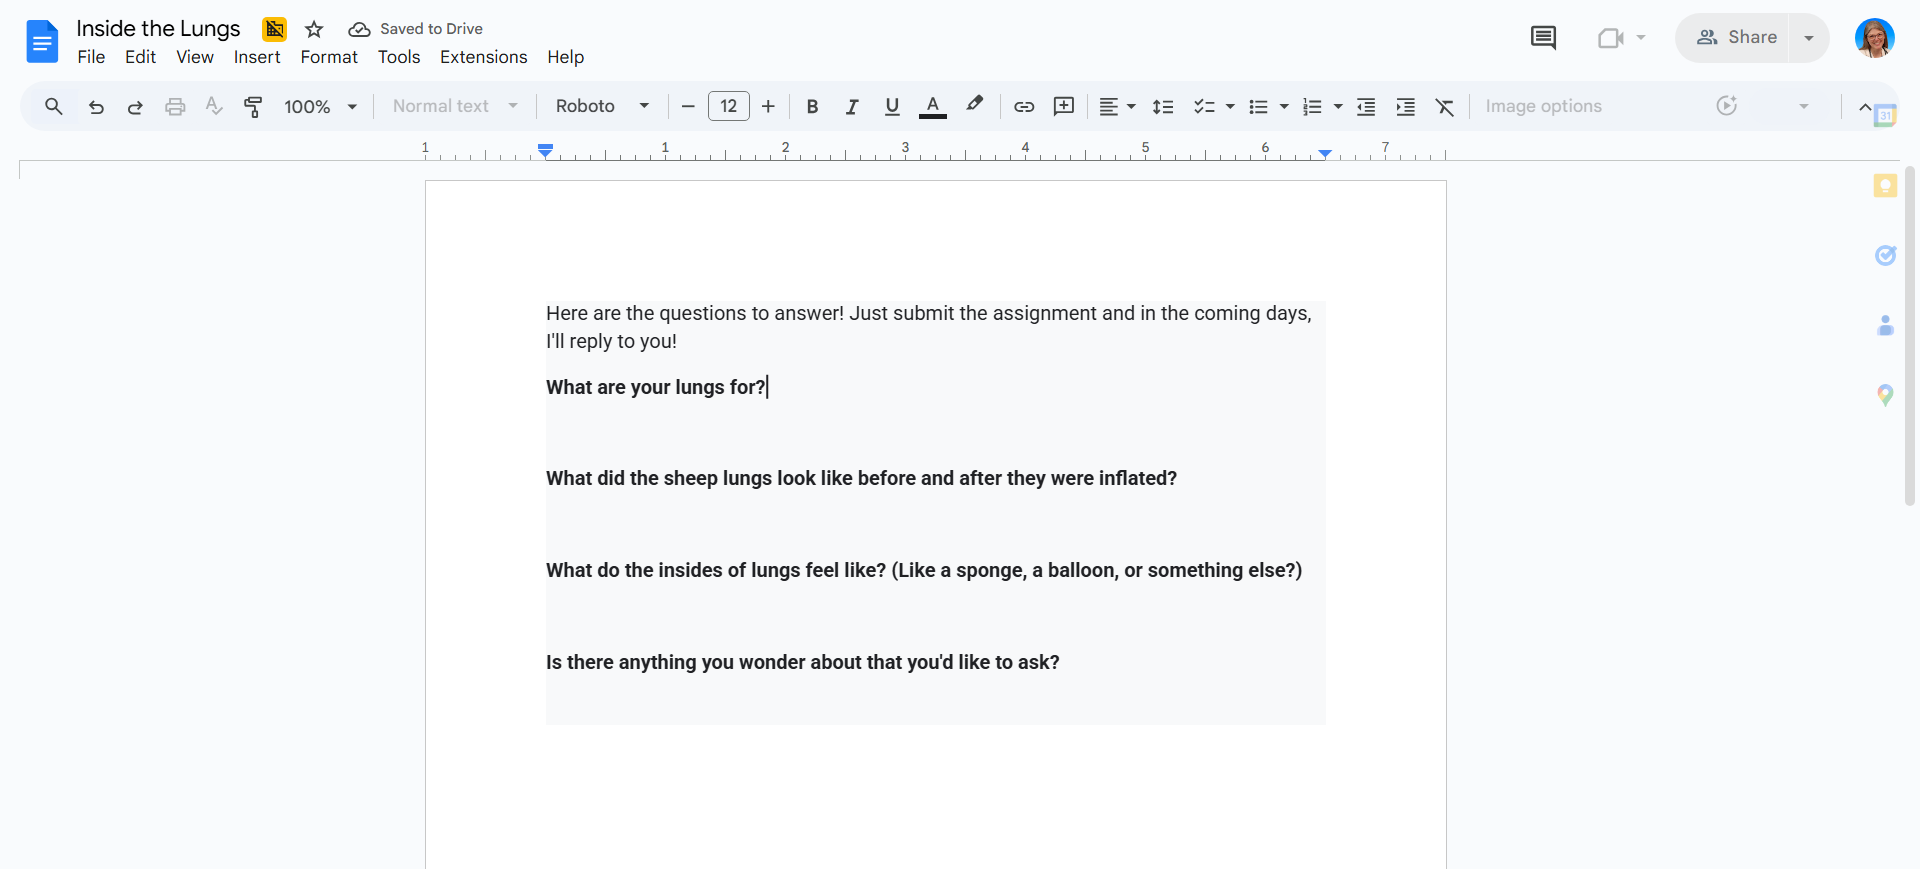
Here, set the video type to "none" since we'll add them further down. Here in the lesson text, go to Google Classroom or whichever platform is easiest. I think this will probably be the simplest option, and you...

Whoops.

Find six.
Copy and paste what it says here.
Try again.
Copy and paste the text from here to there.
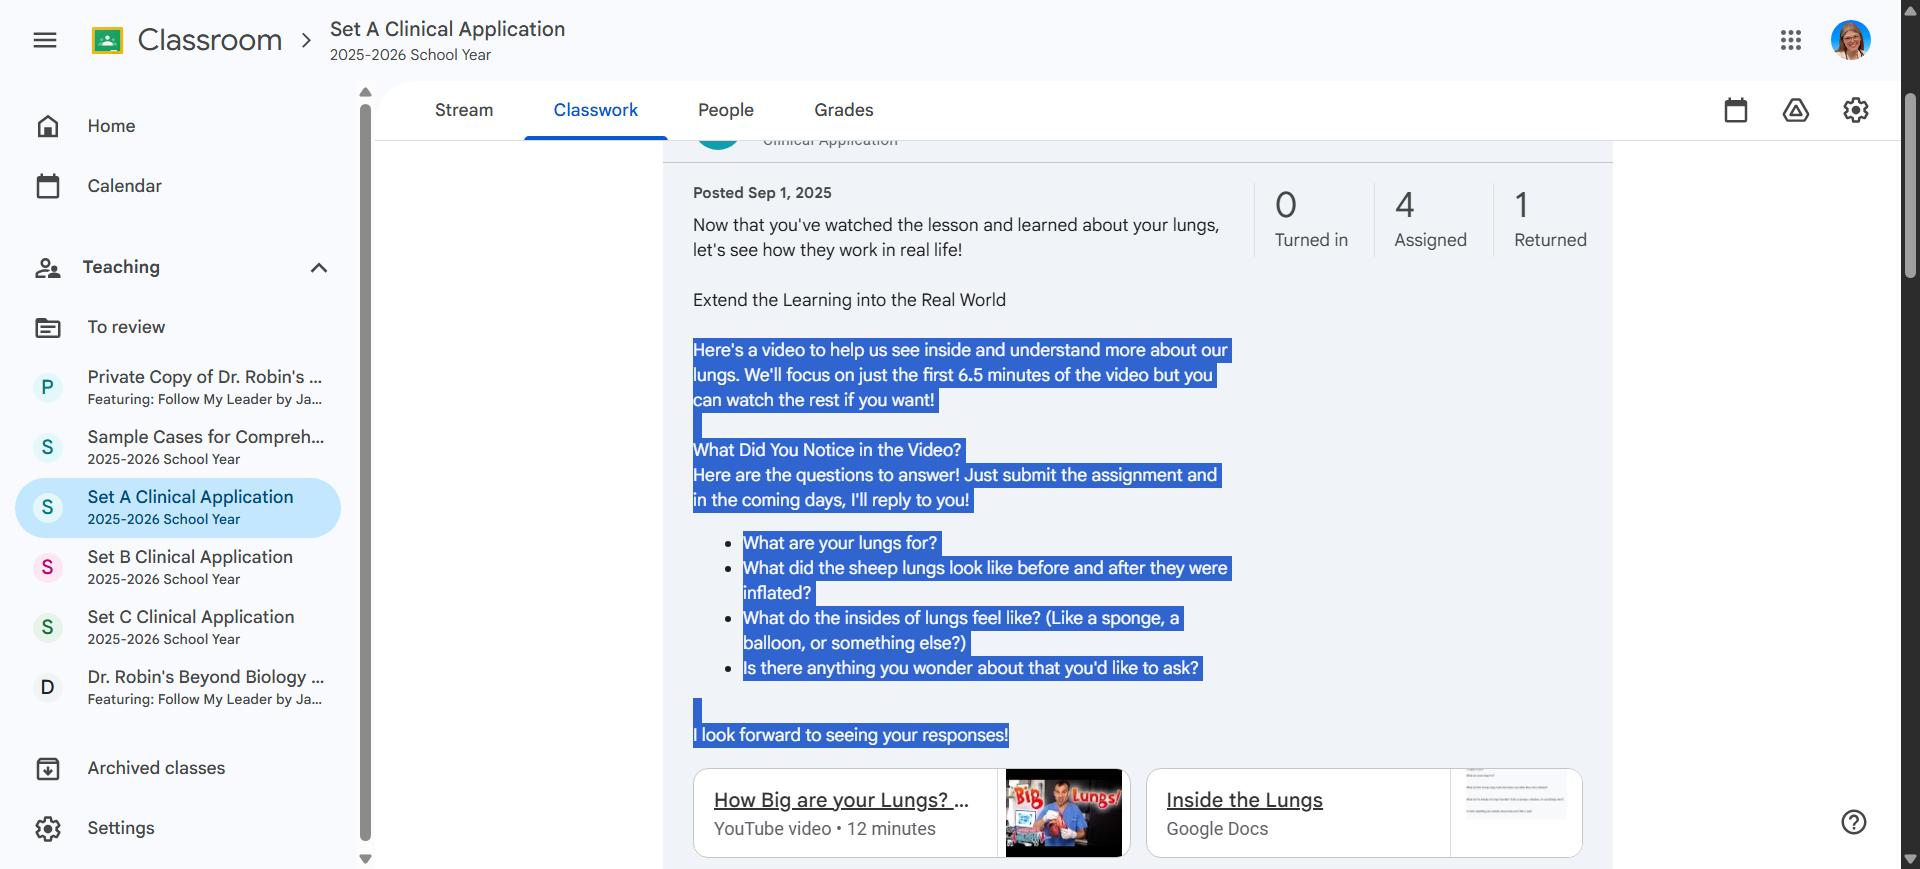
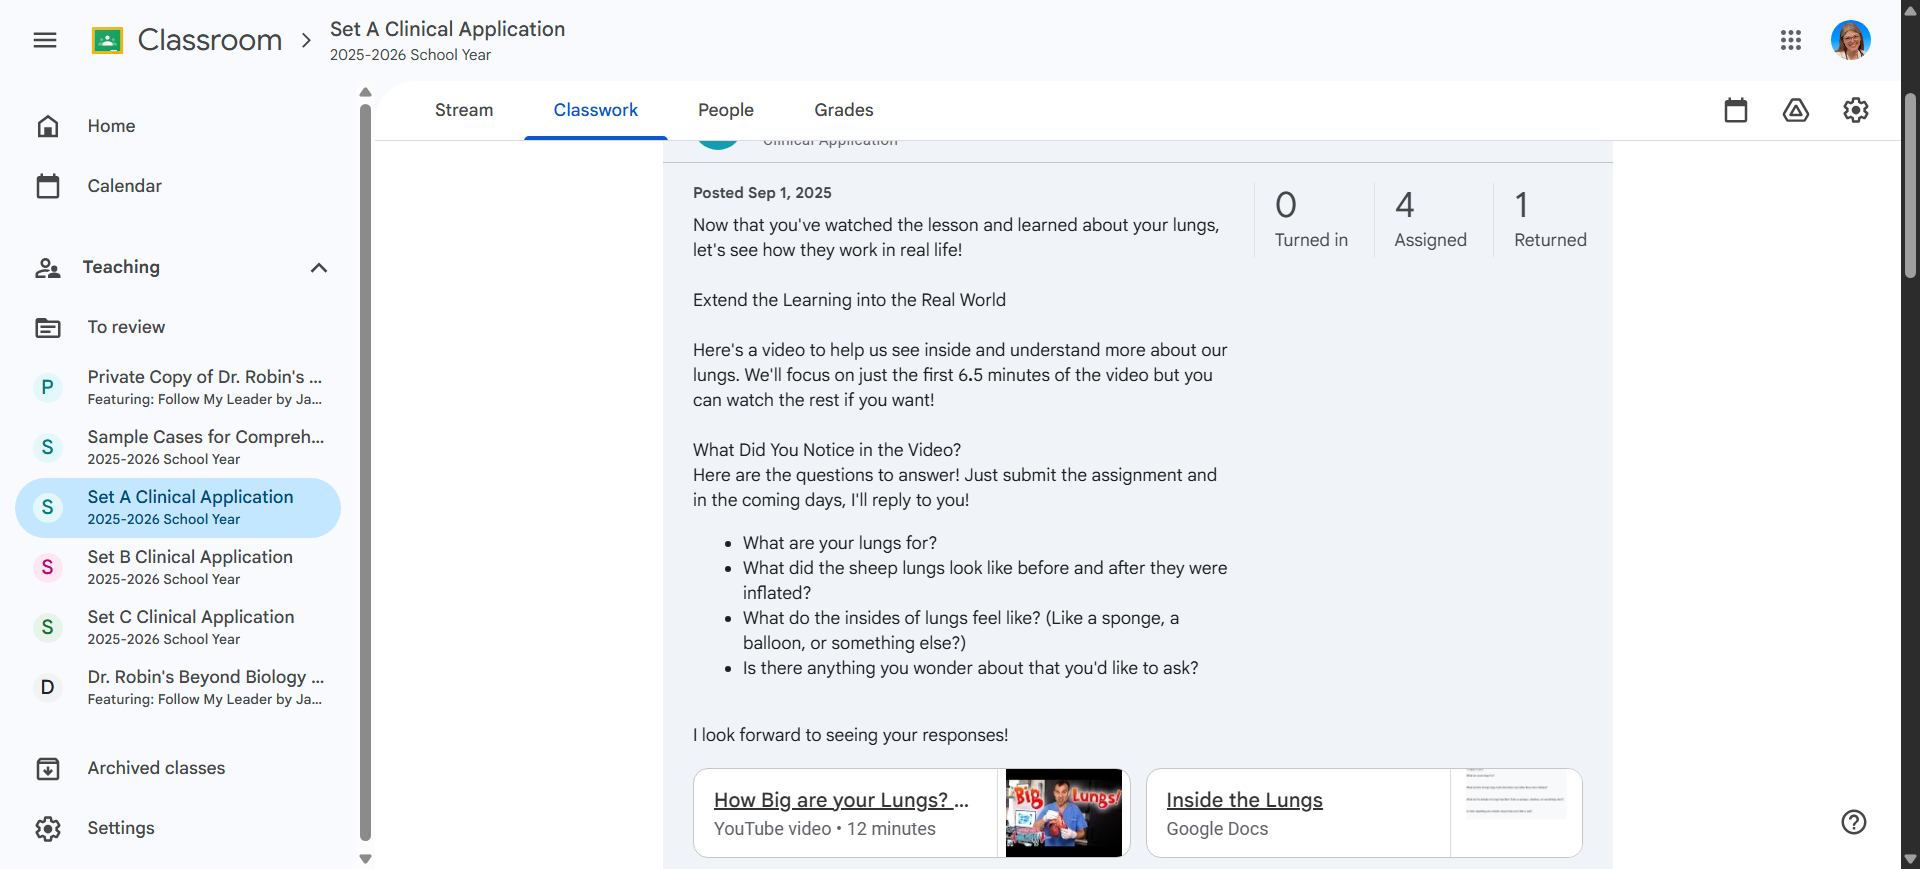
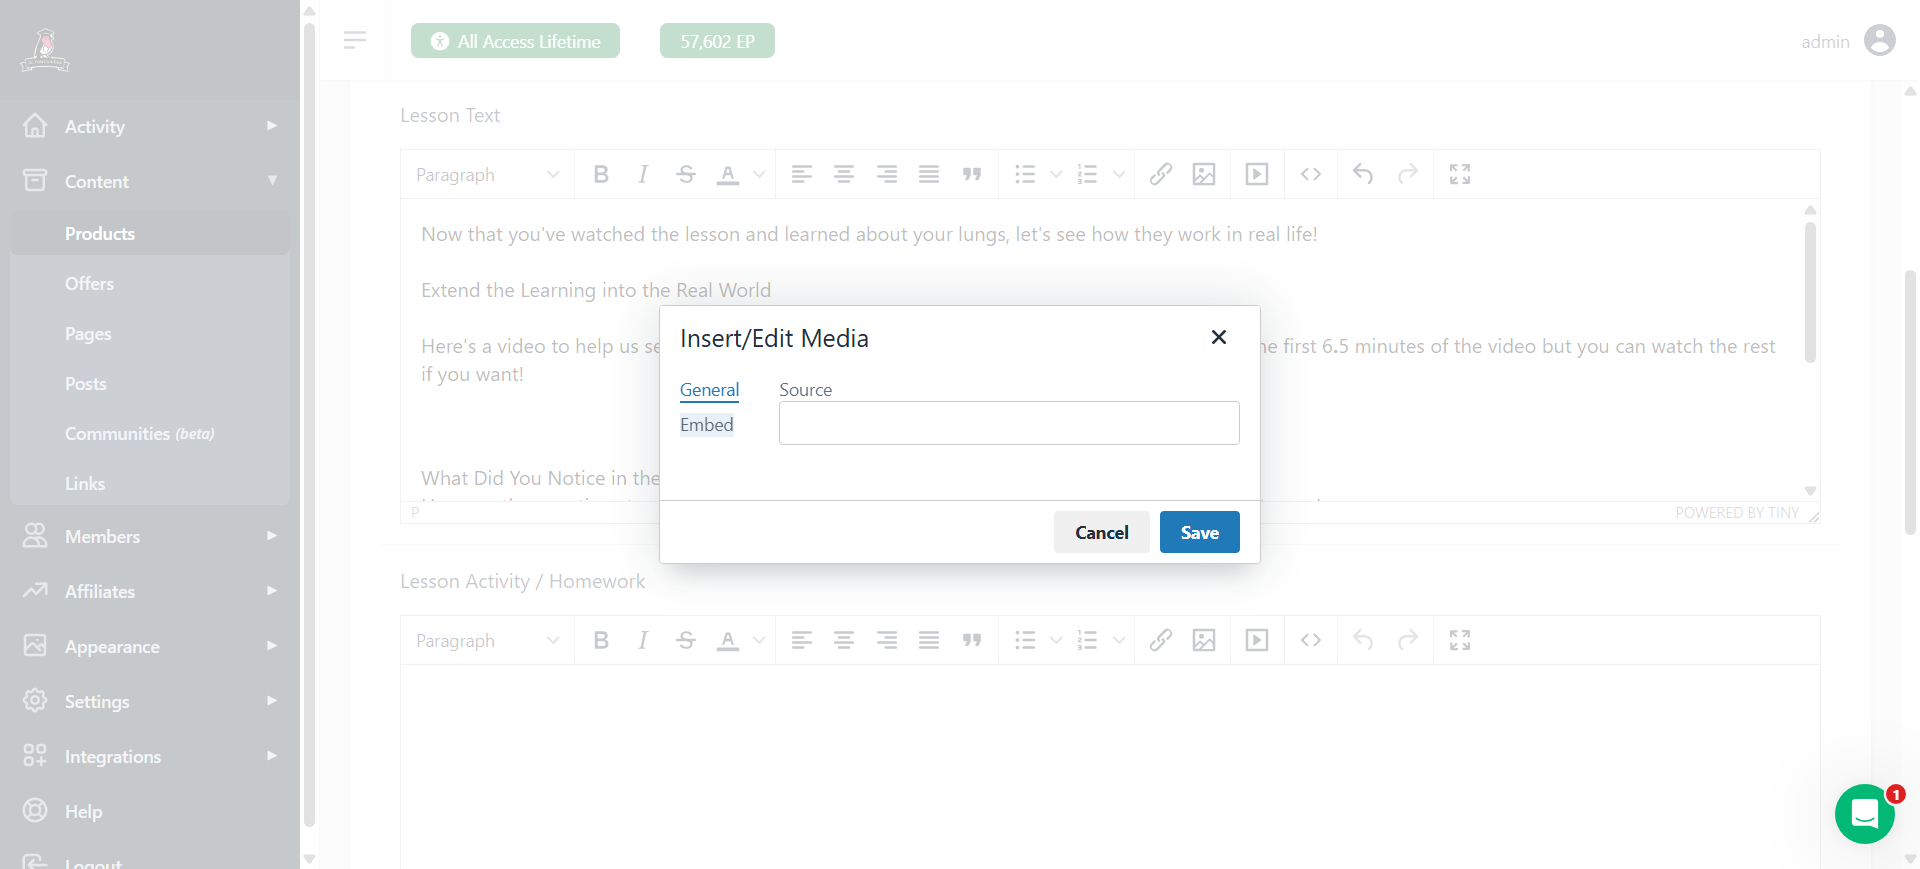
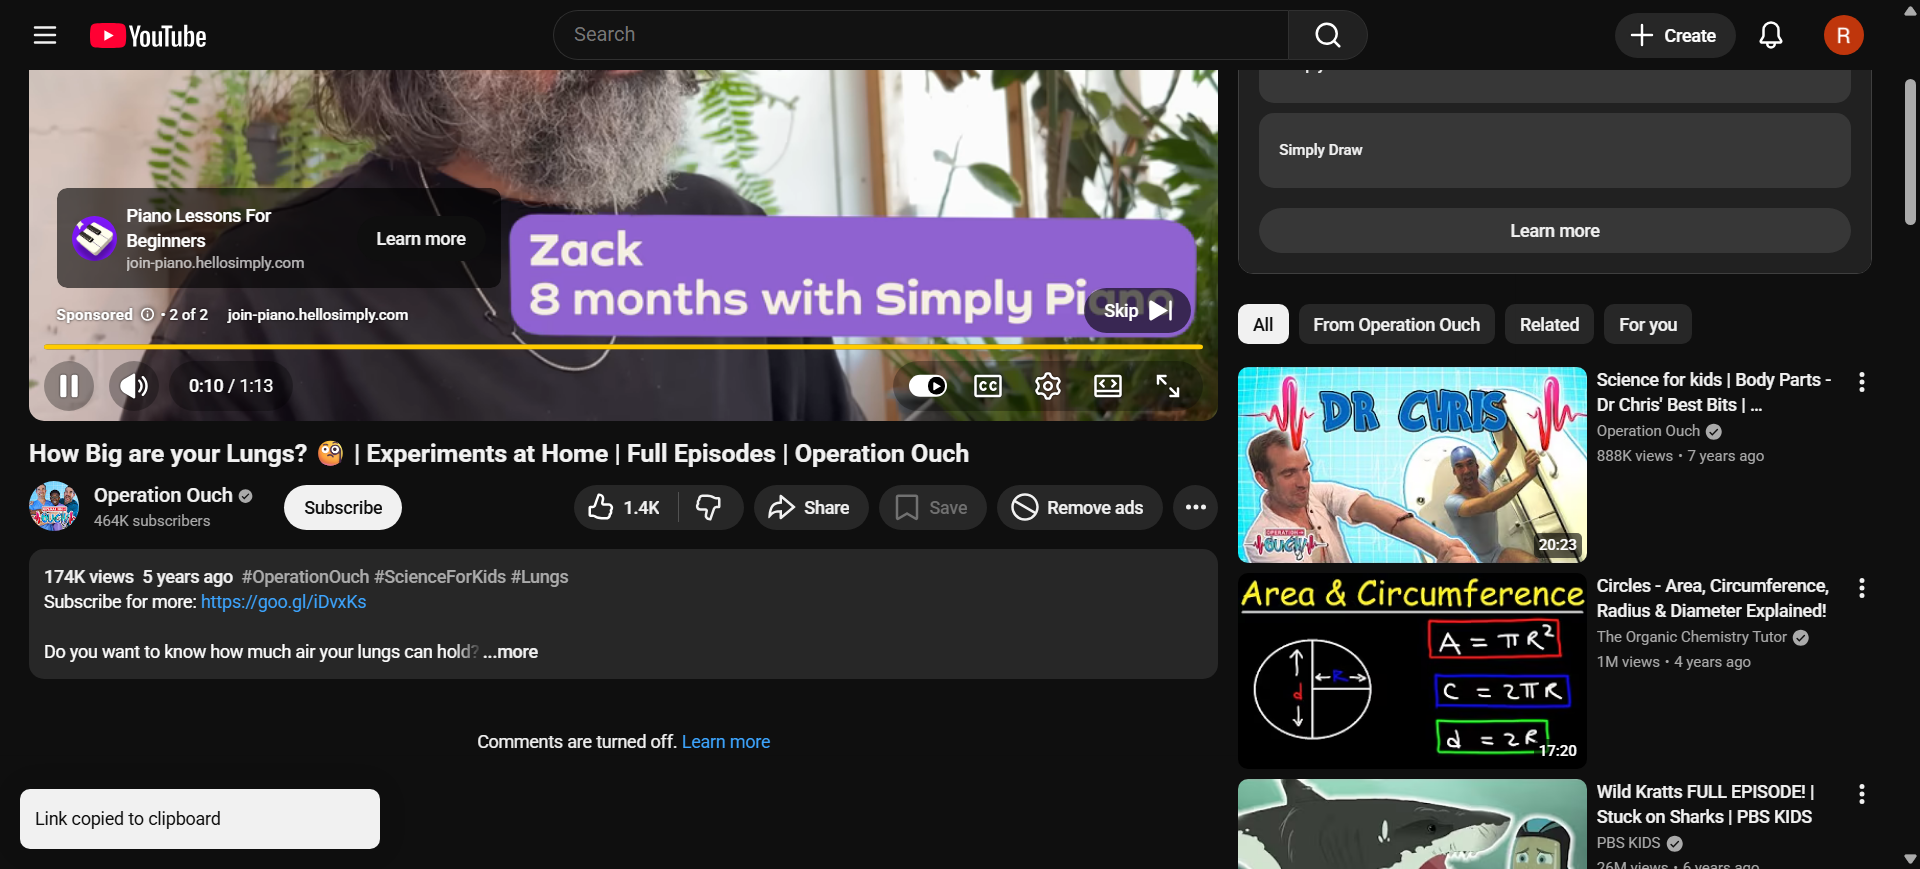
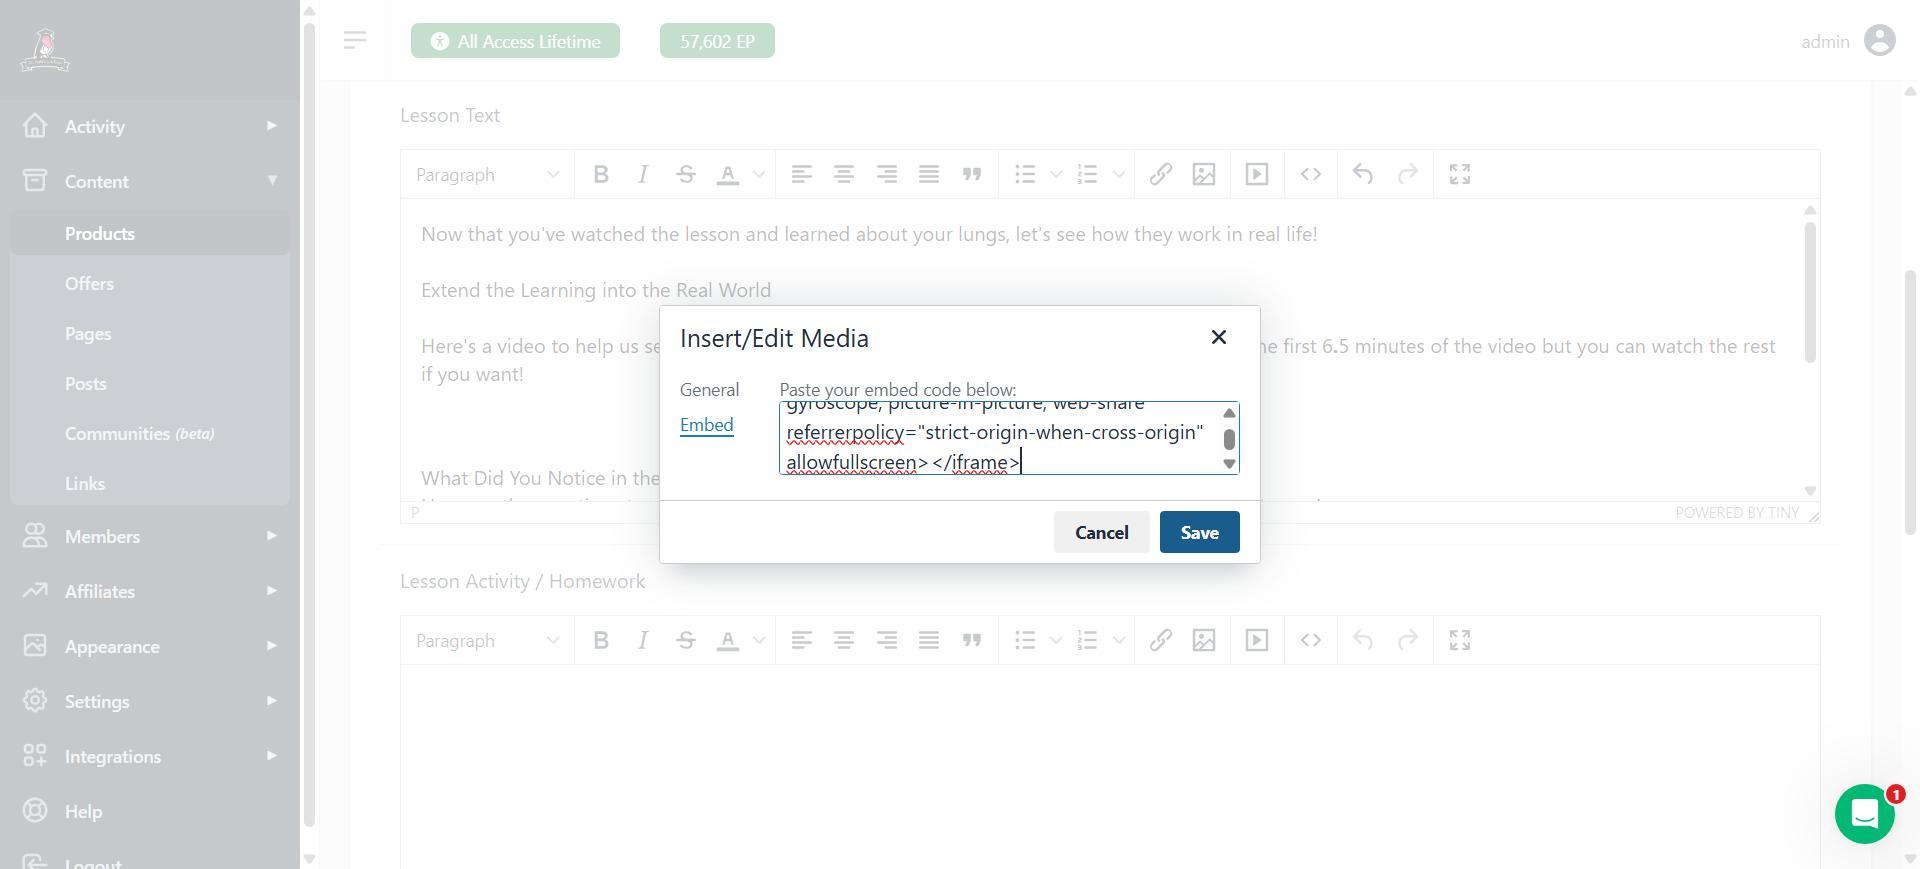
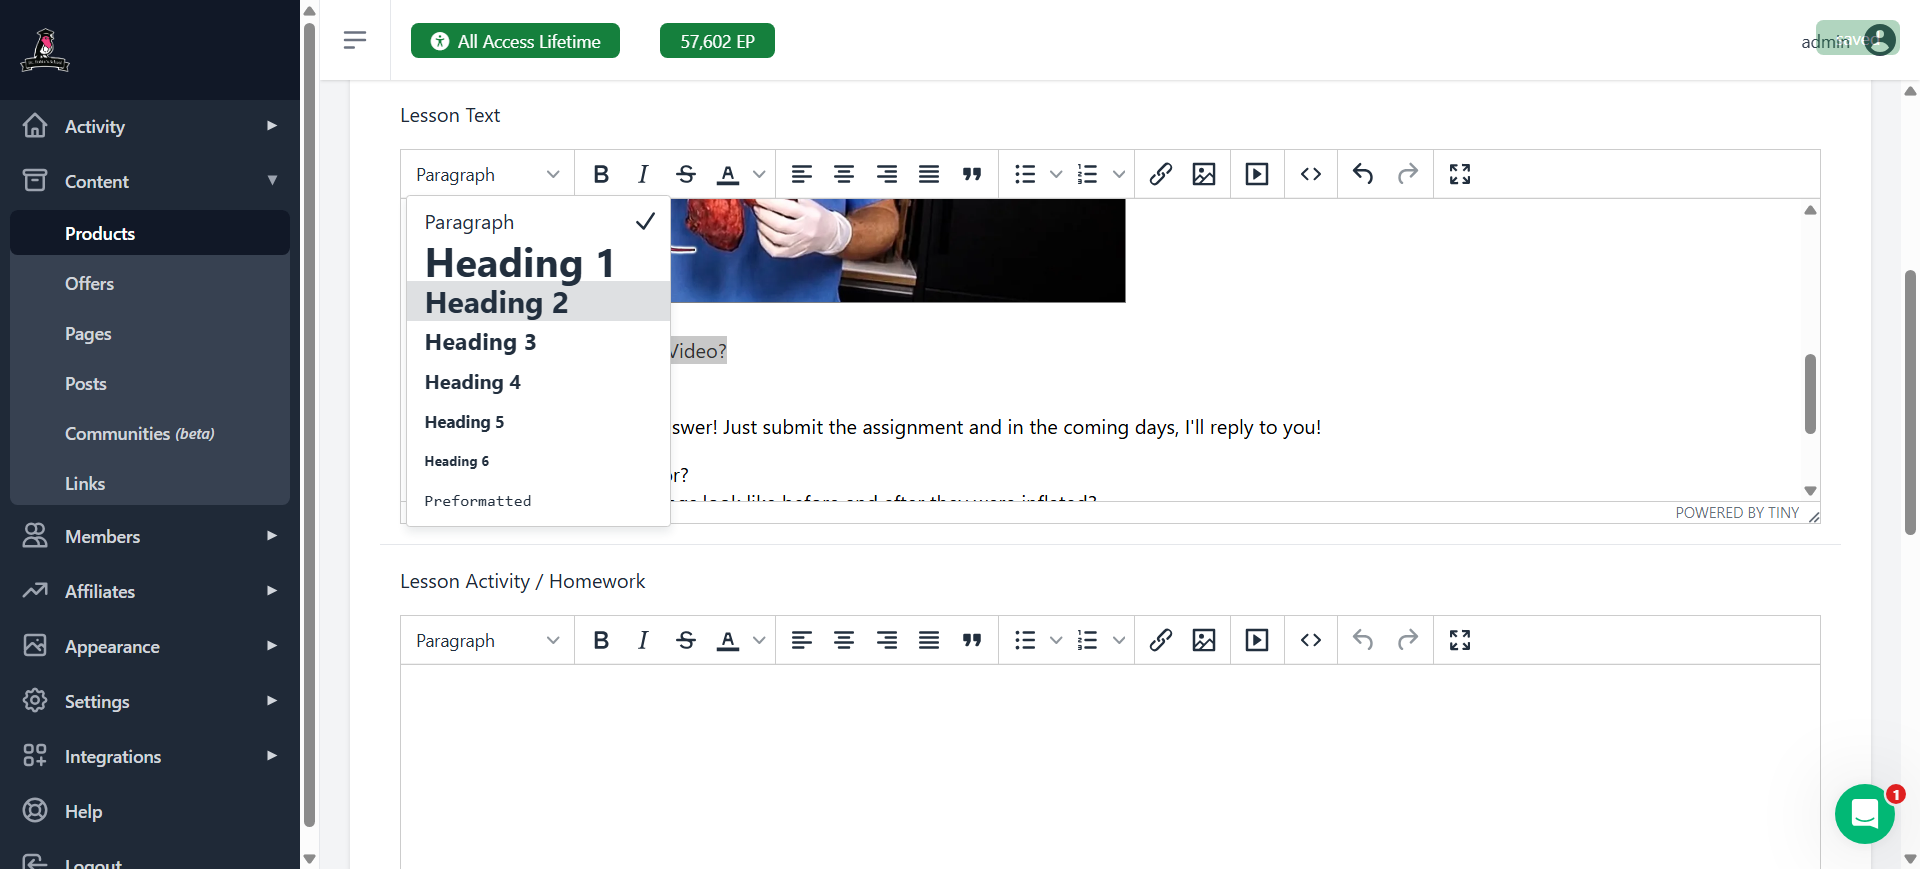
We can now place the videos in a logical order, rather than putting them all at the end. You can go right there. To embed the video, first get the YouTube link address. Then, click the insert media button and select embed. However, this method will not work.

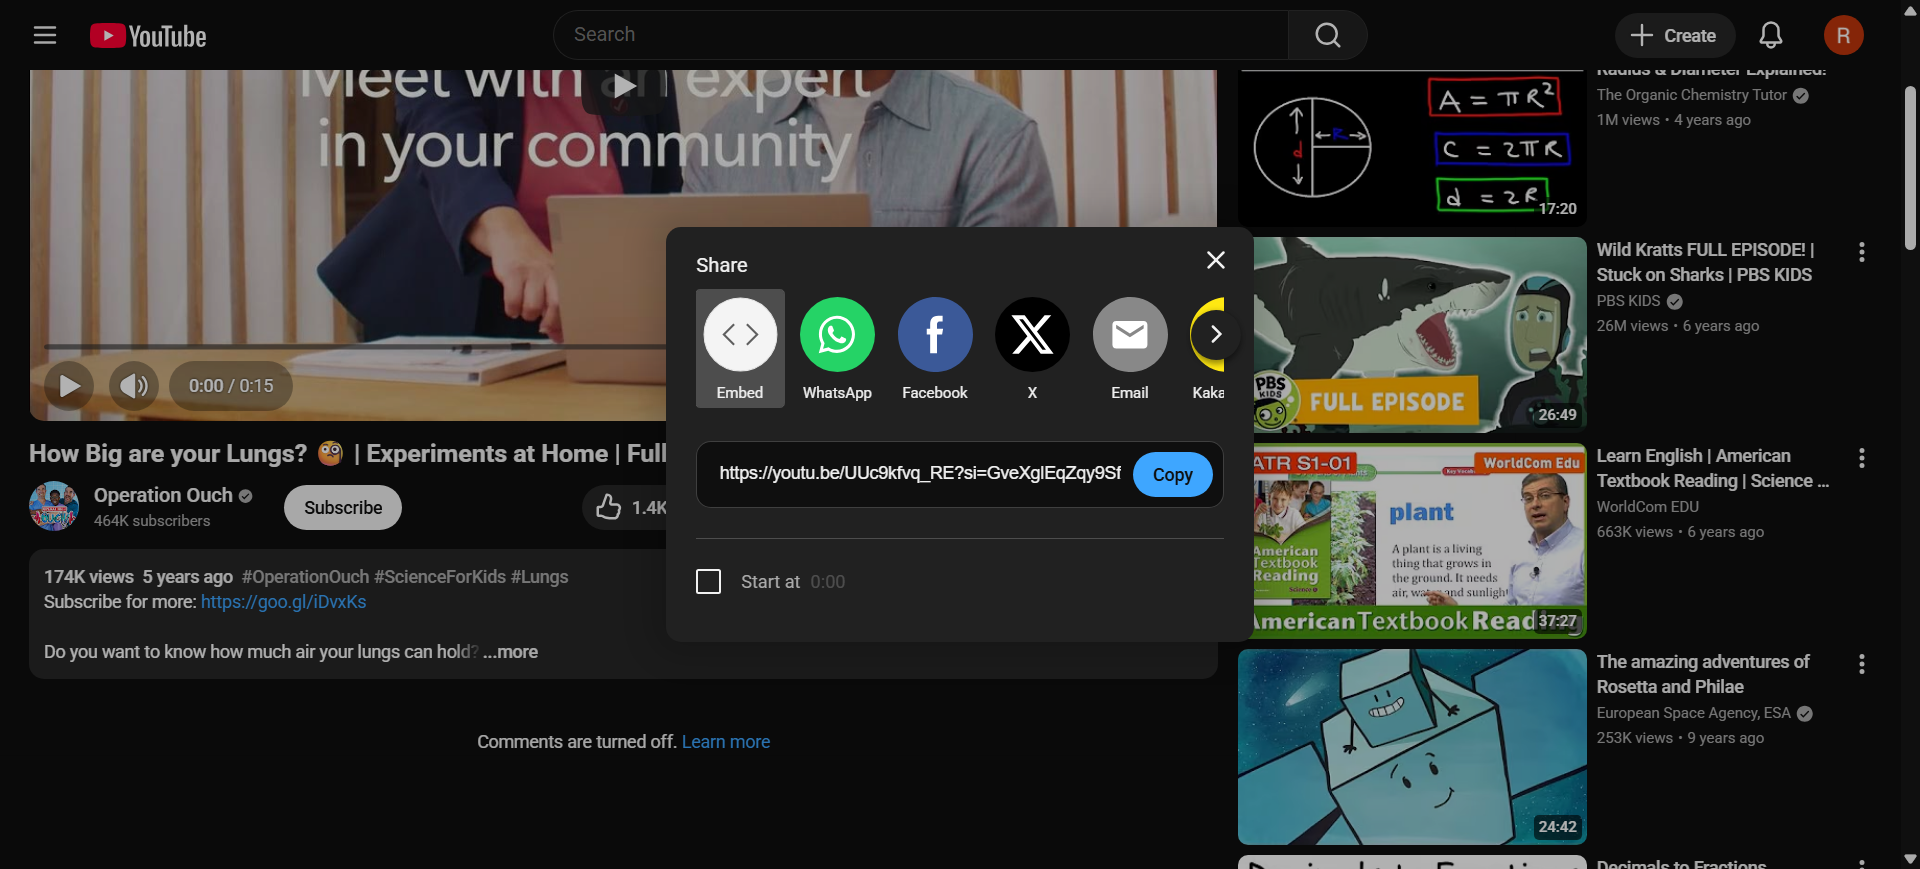
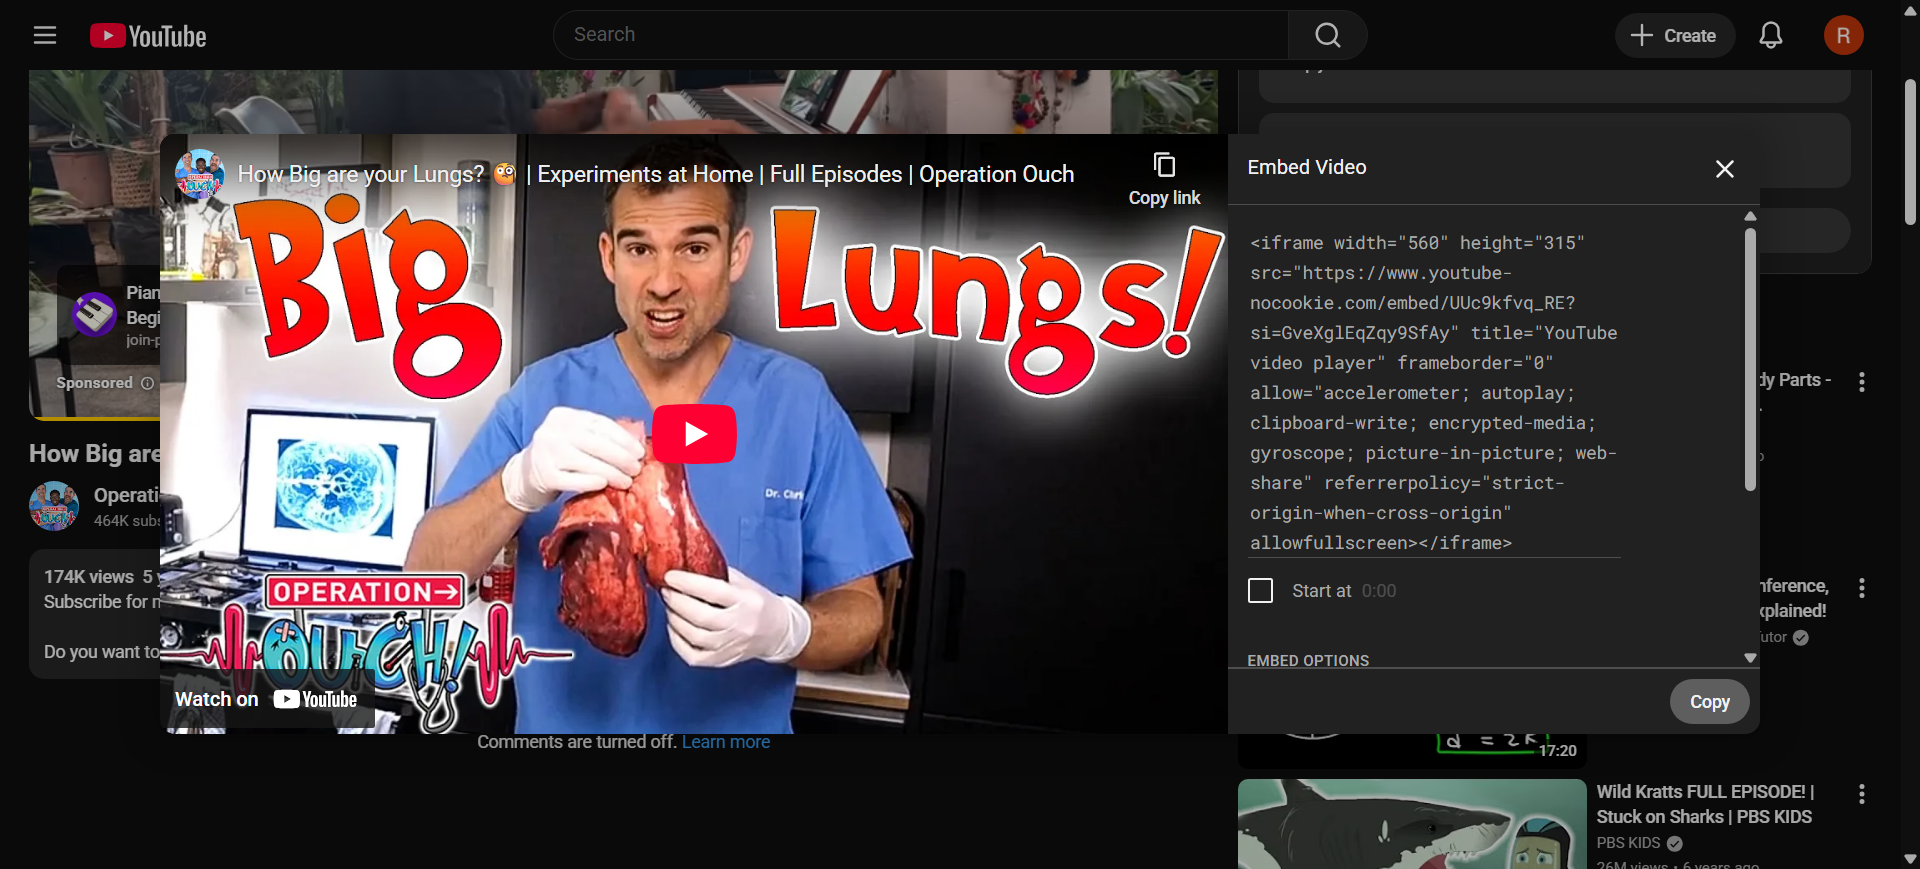
Let me show you how to get this. Go to YouTube and click on "Share." Then, find and select the embed code.
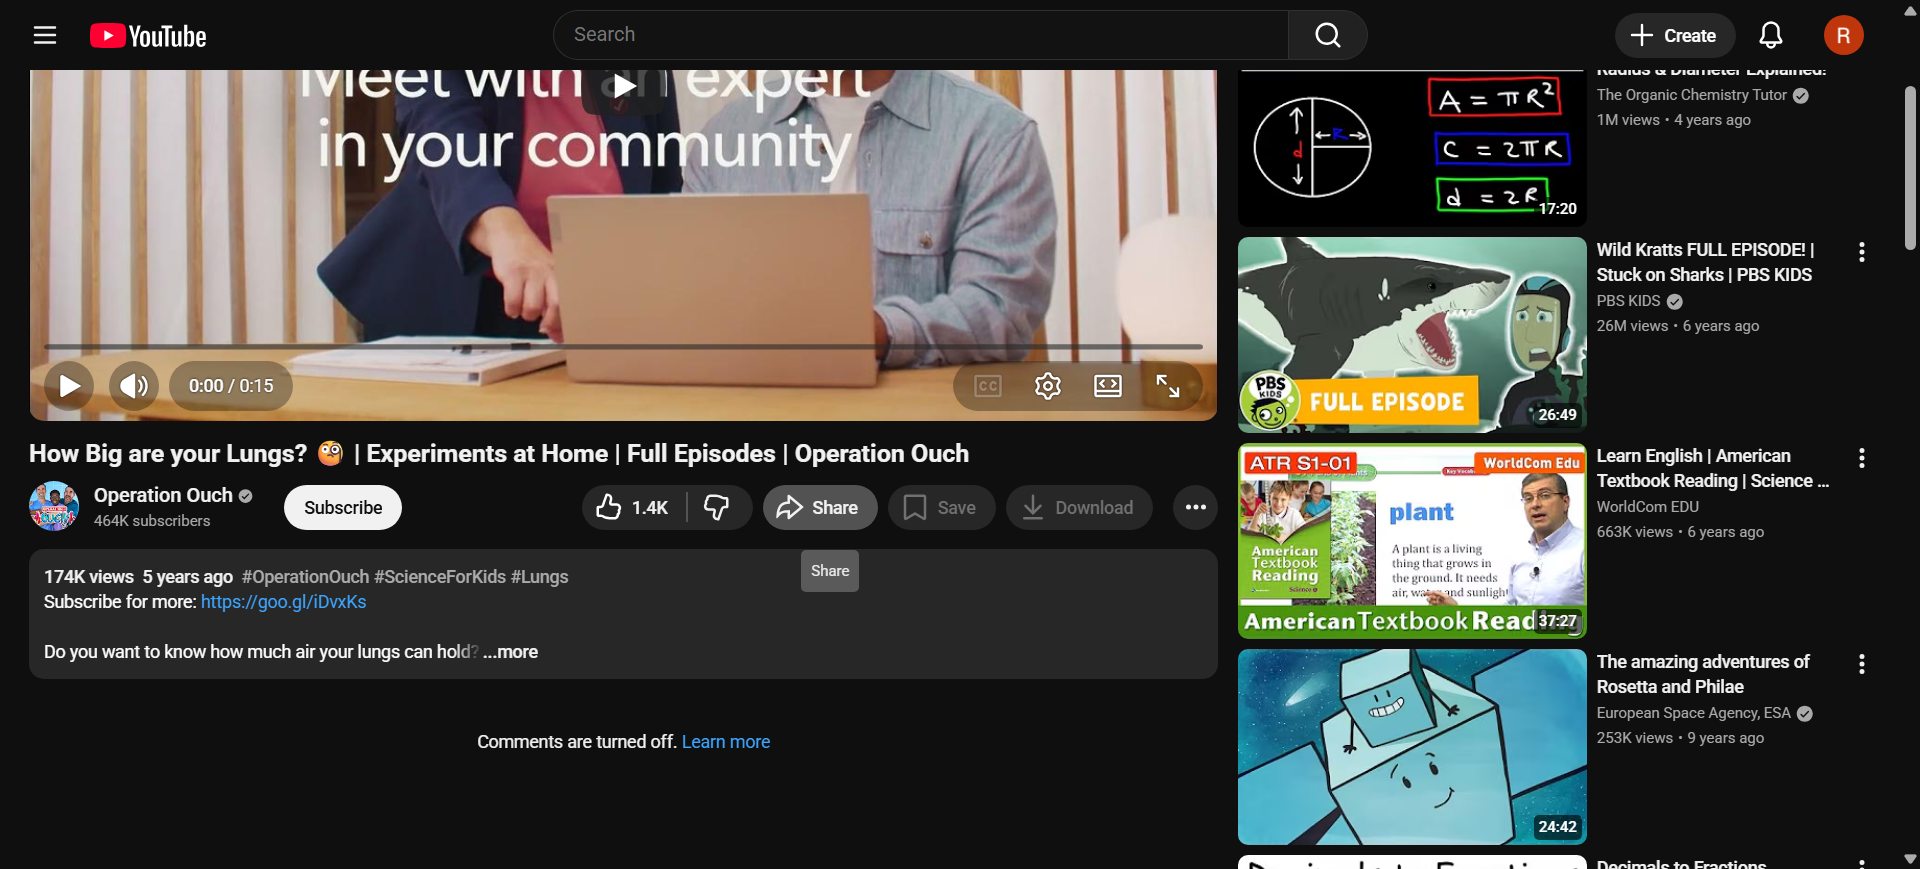
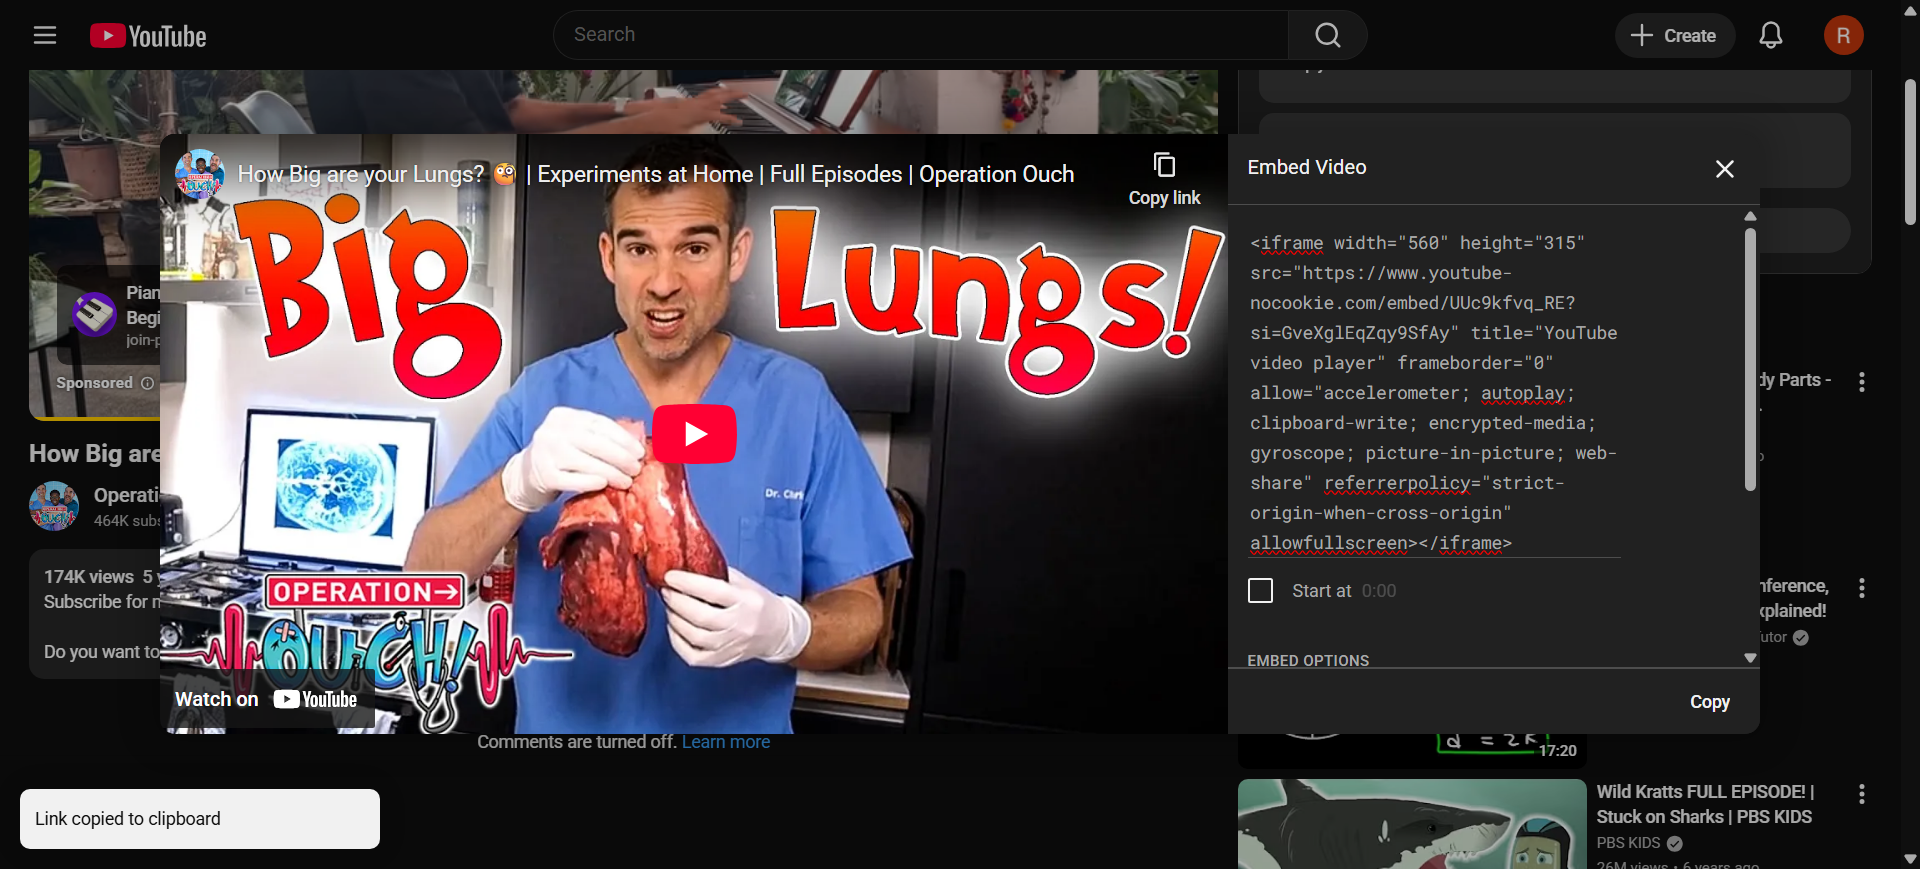
Go to the embed options. You can choose privacy enhanced mode or show player controls.
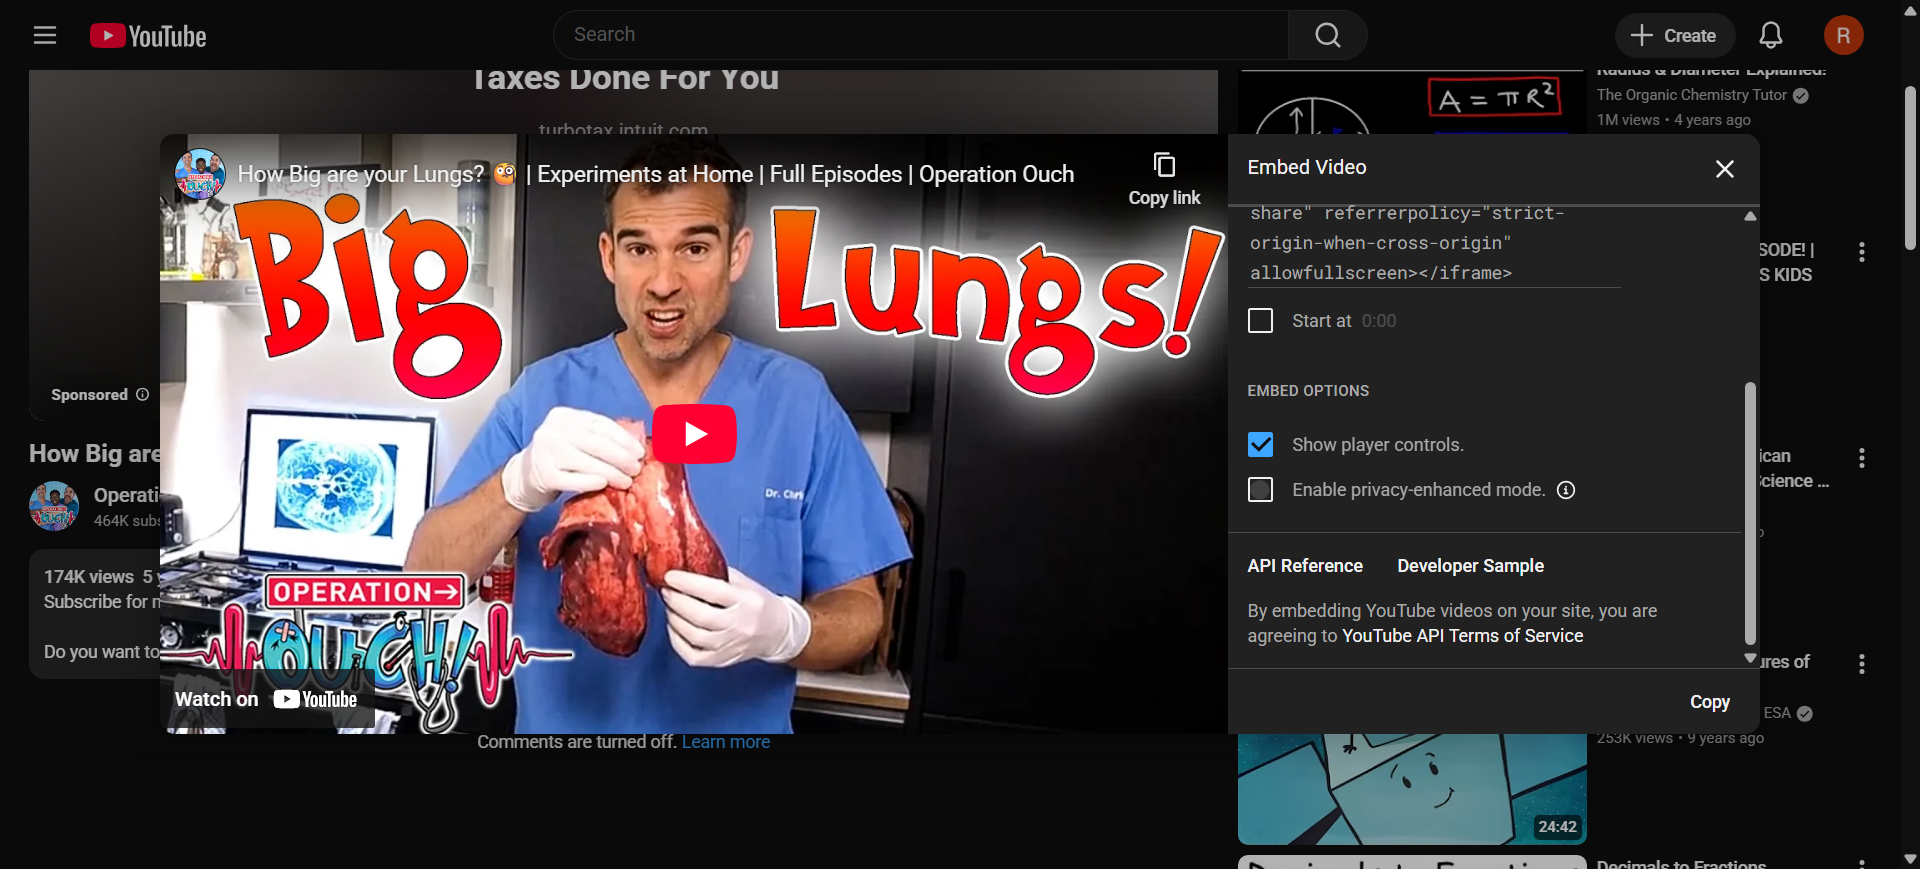
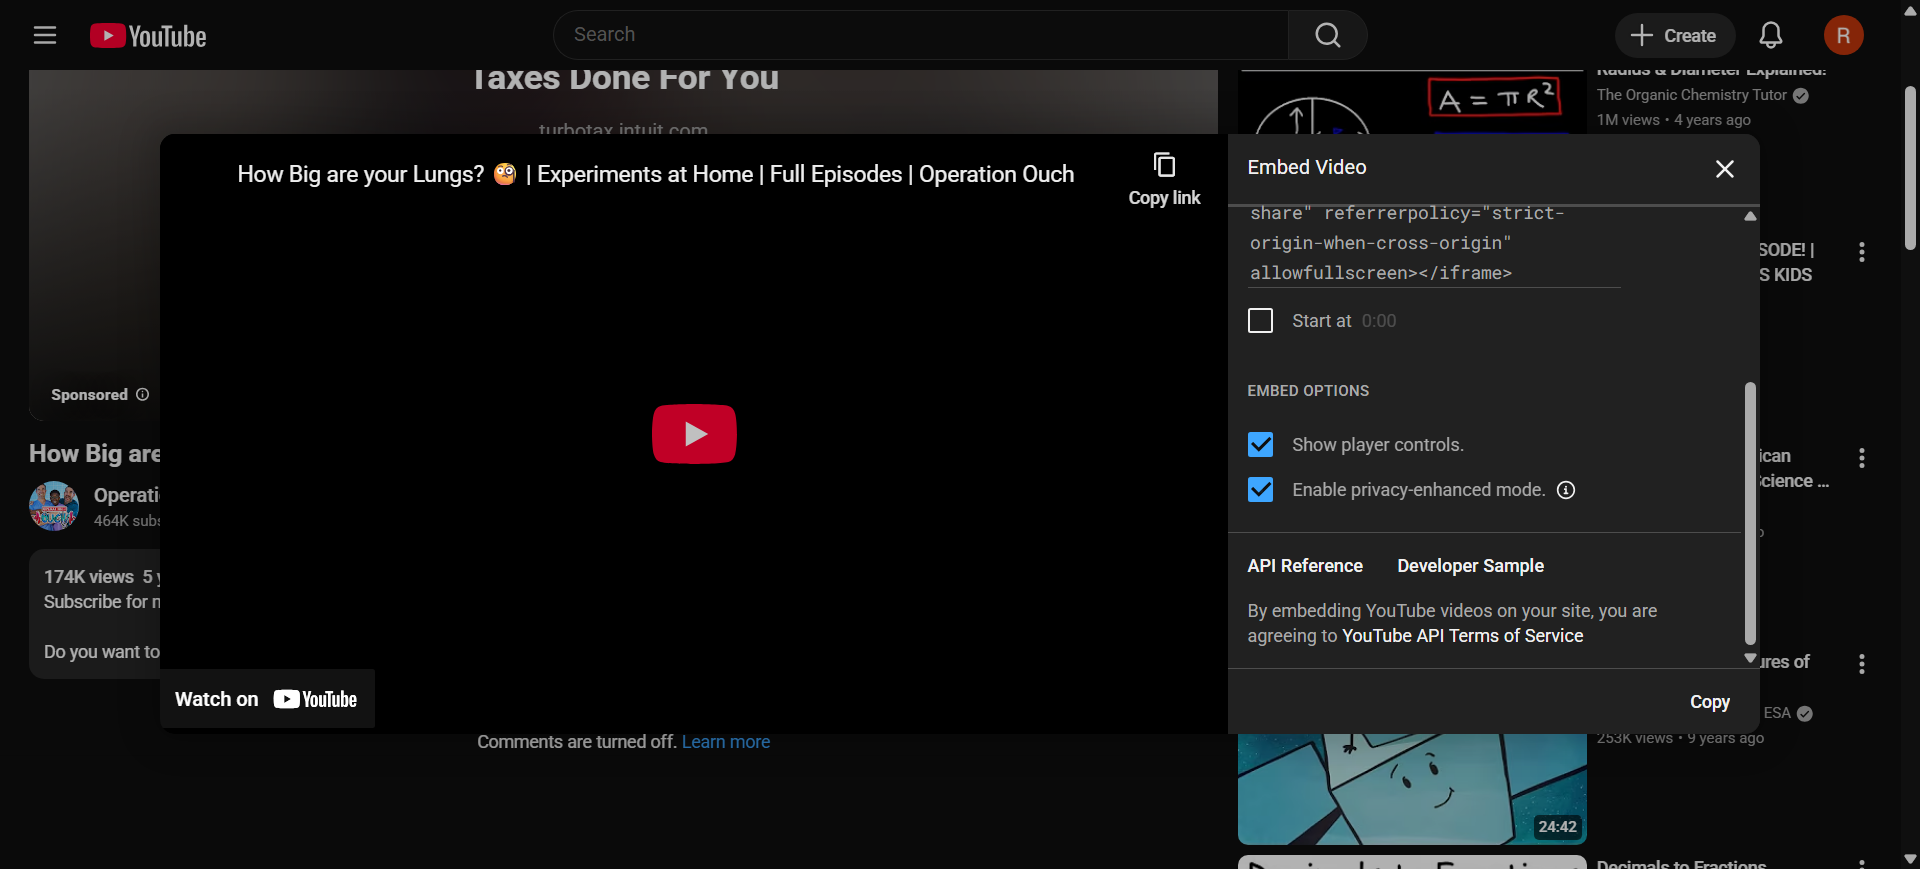
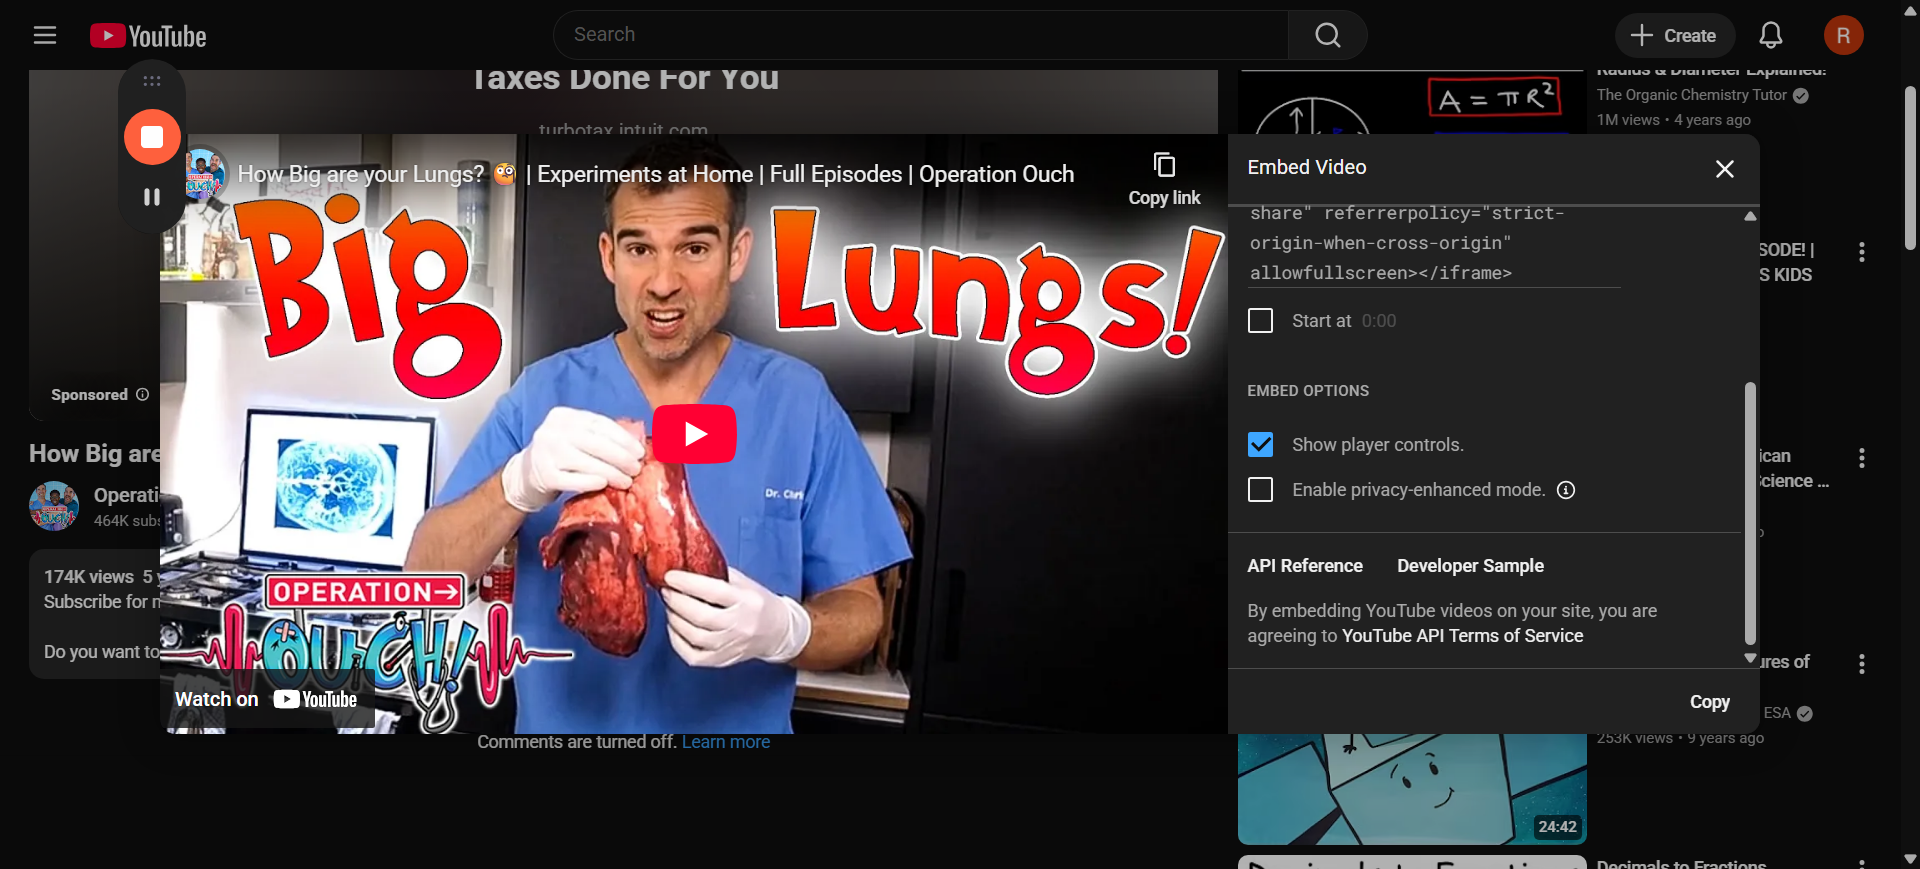
I am not sure which one is better. So now it's... Stop.
Okay.
Stop there.
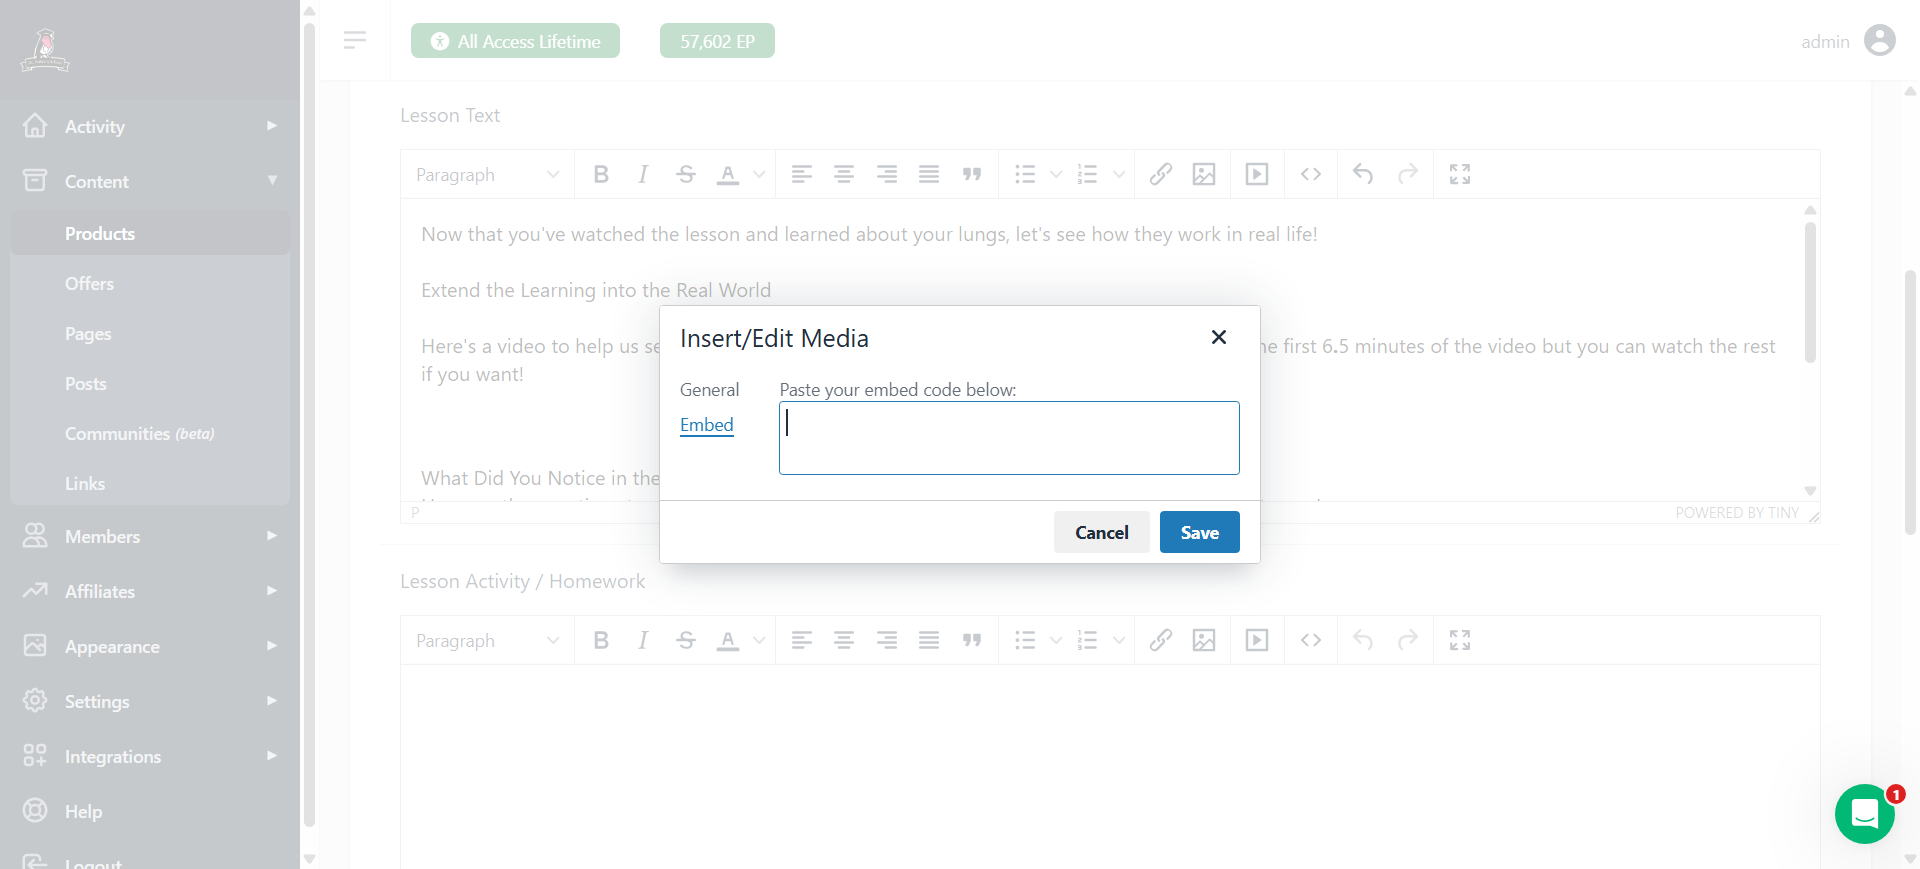
Copy the code, paste it here, and the video will appear.
You can turn items into headings. Oops, maybe not the entire section.
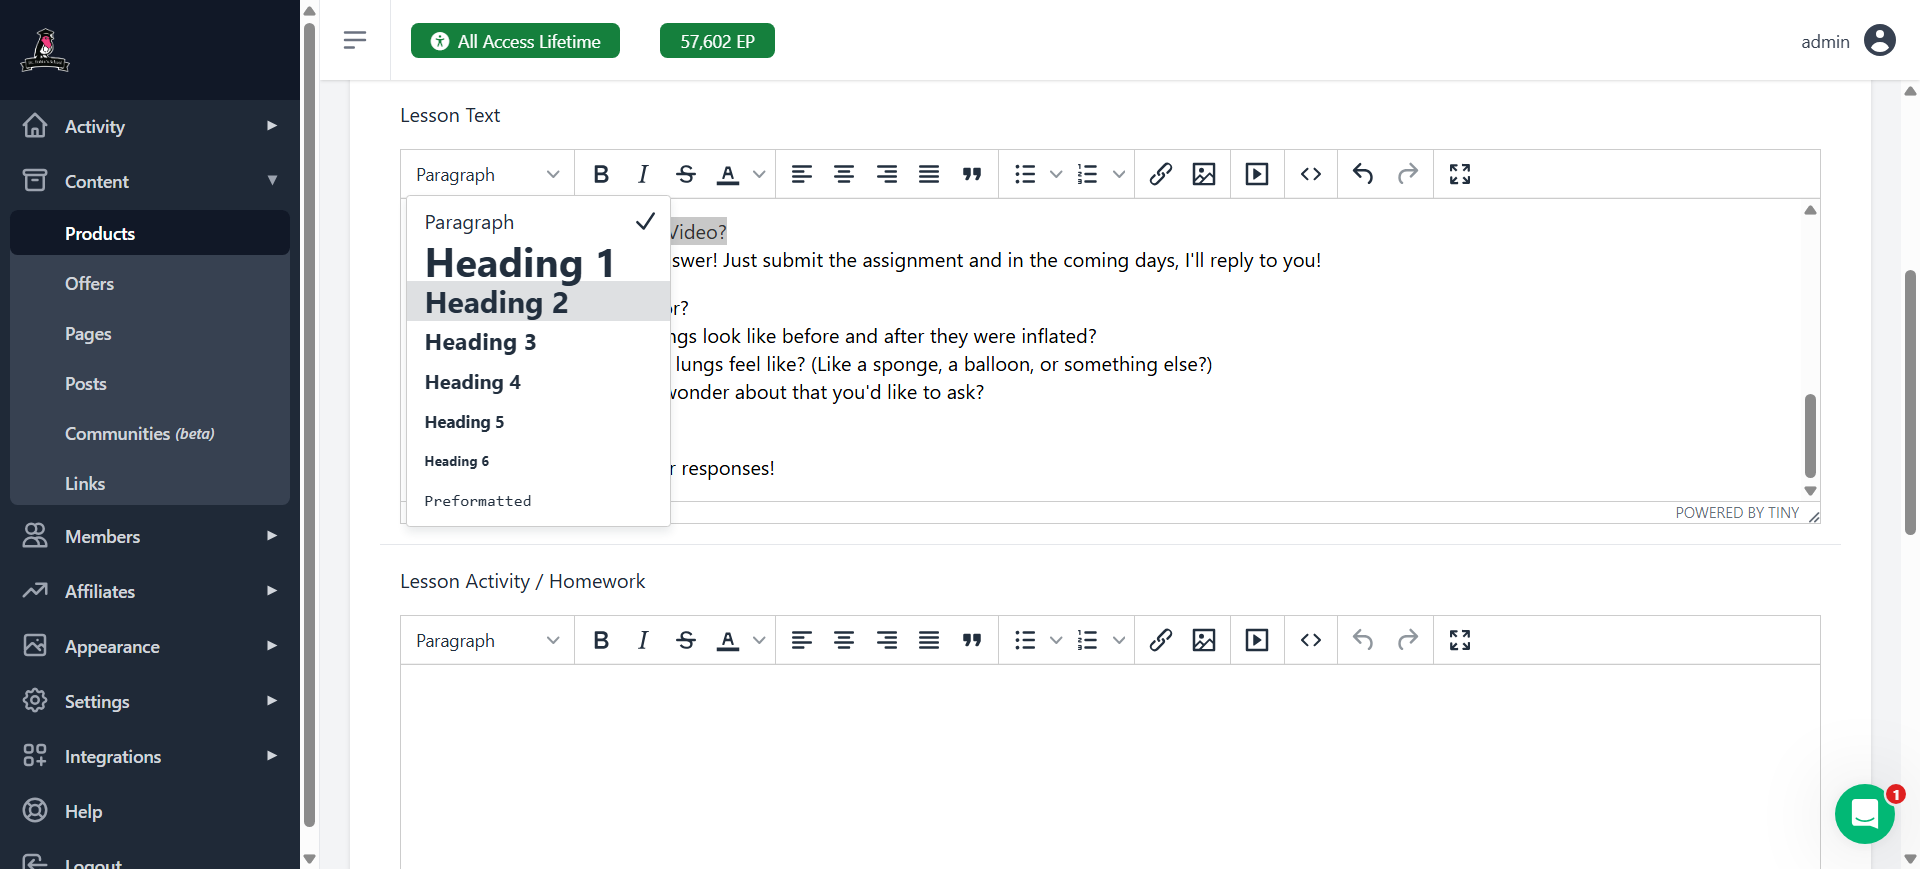
There we go. Turn items into headings in this way.

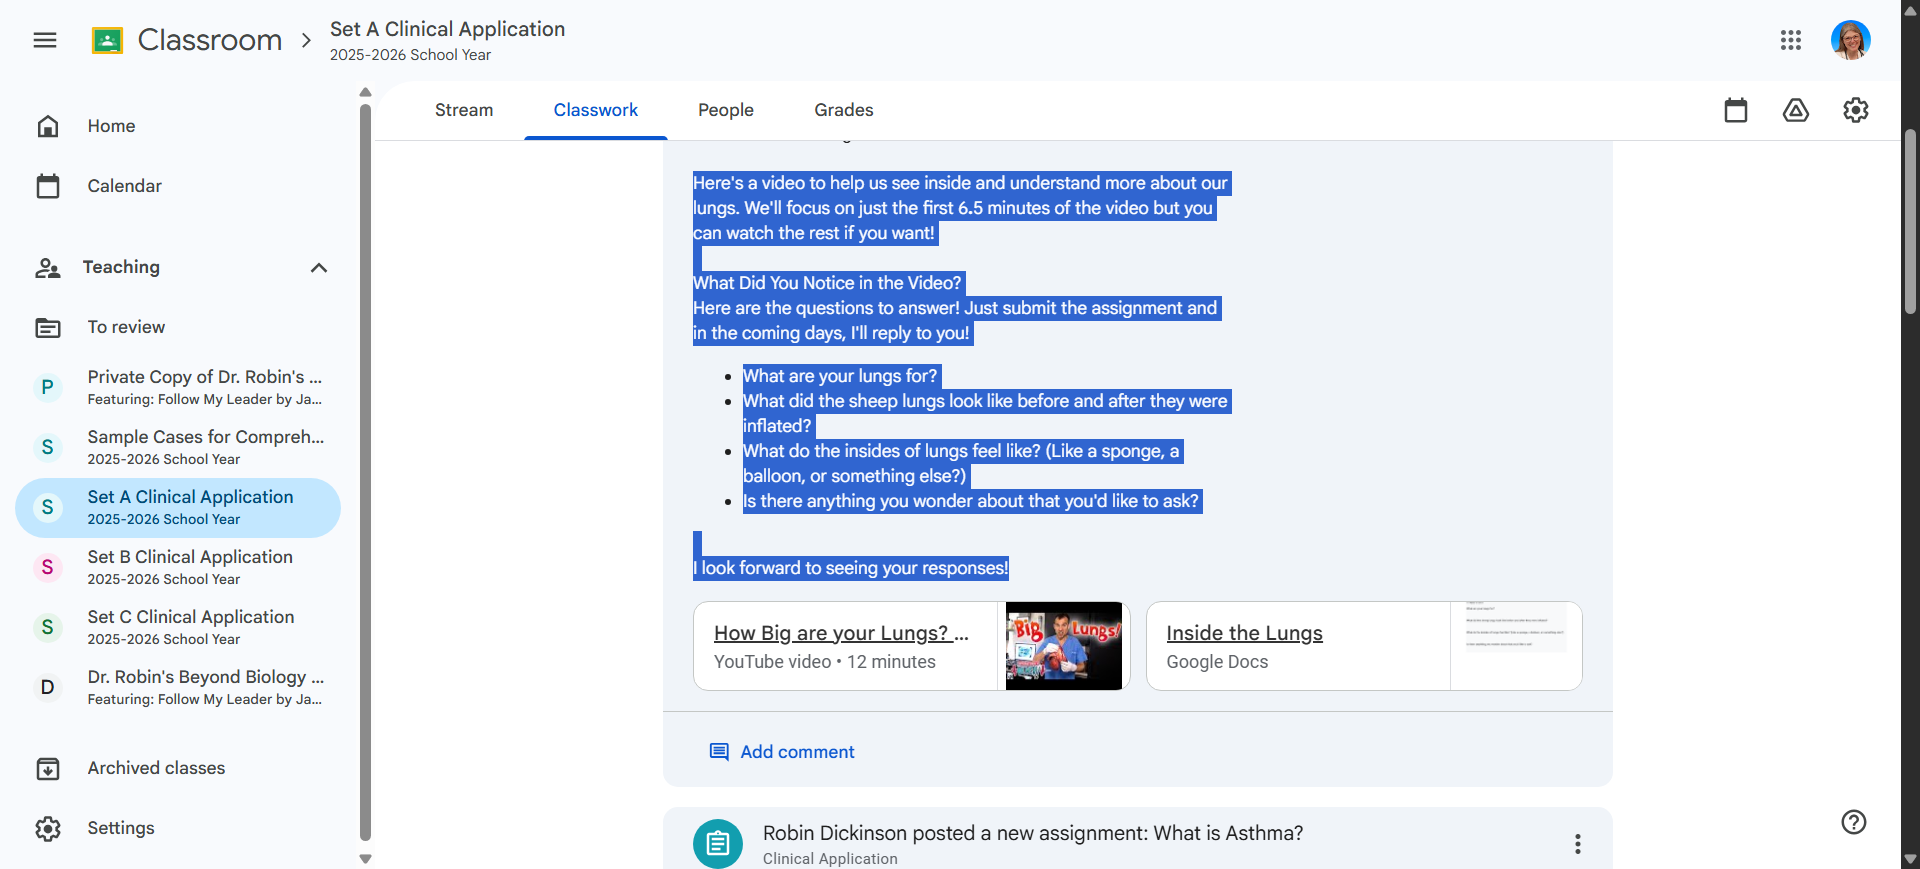
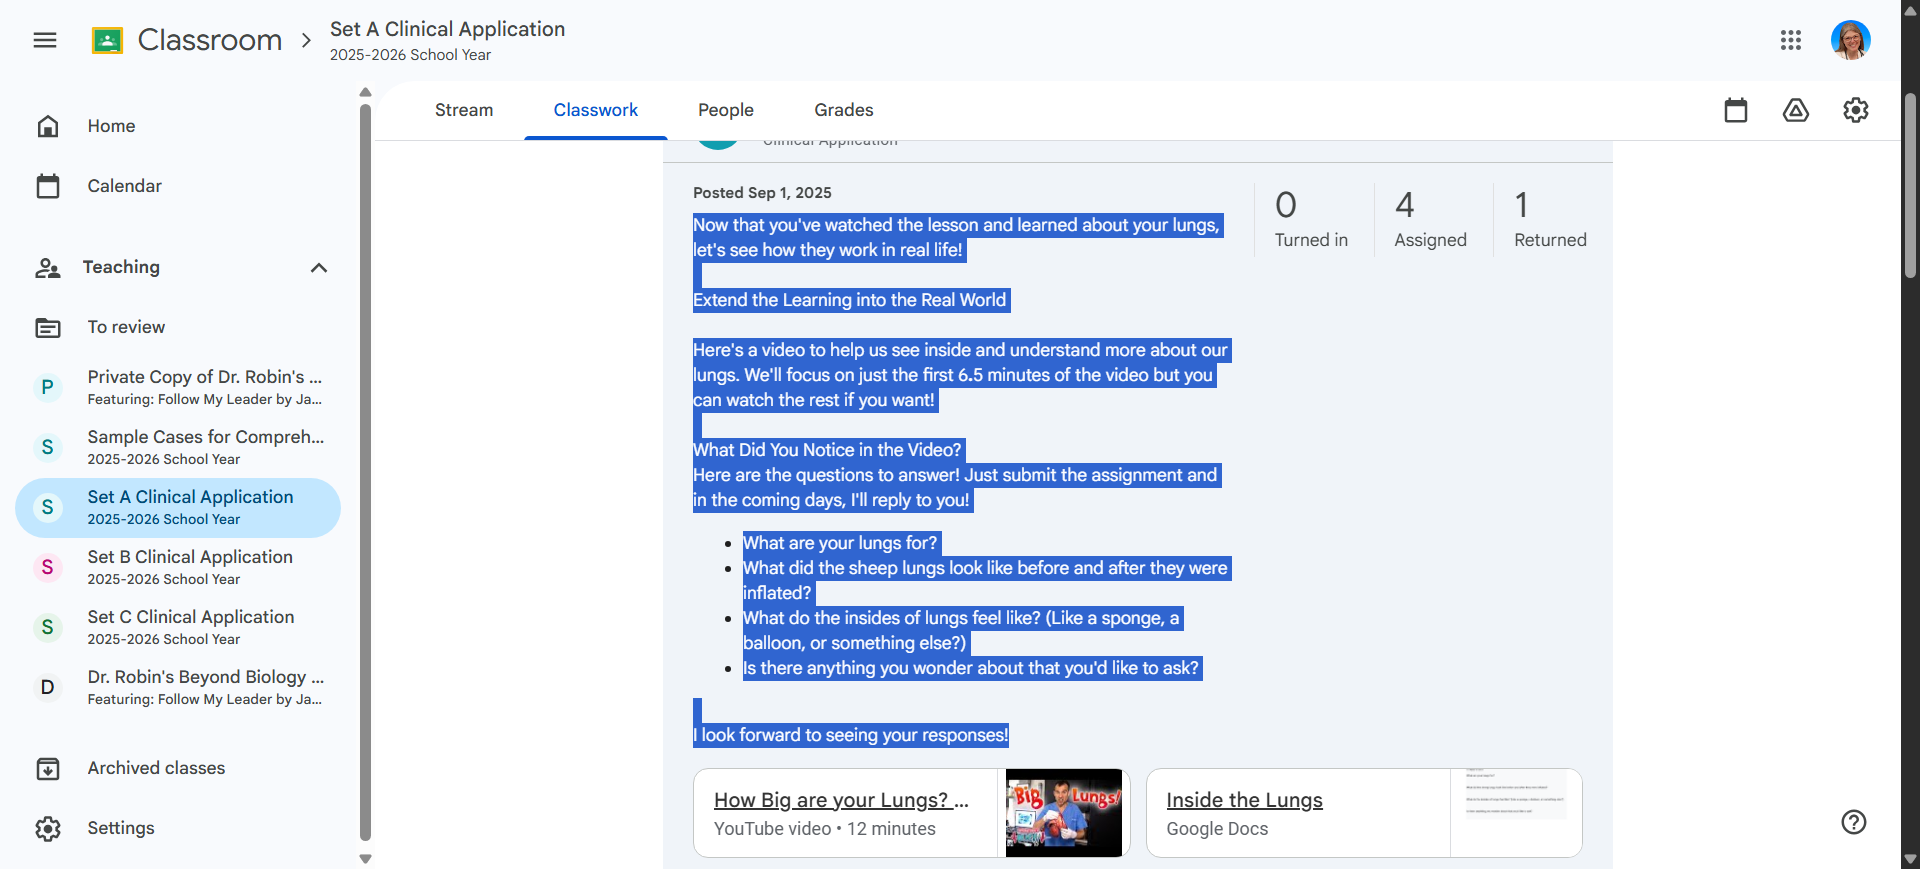
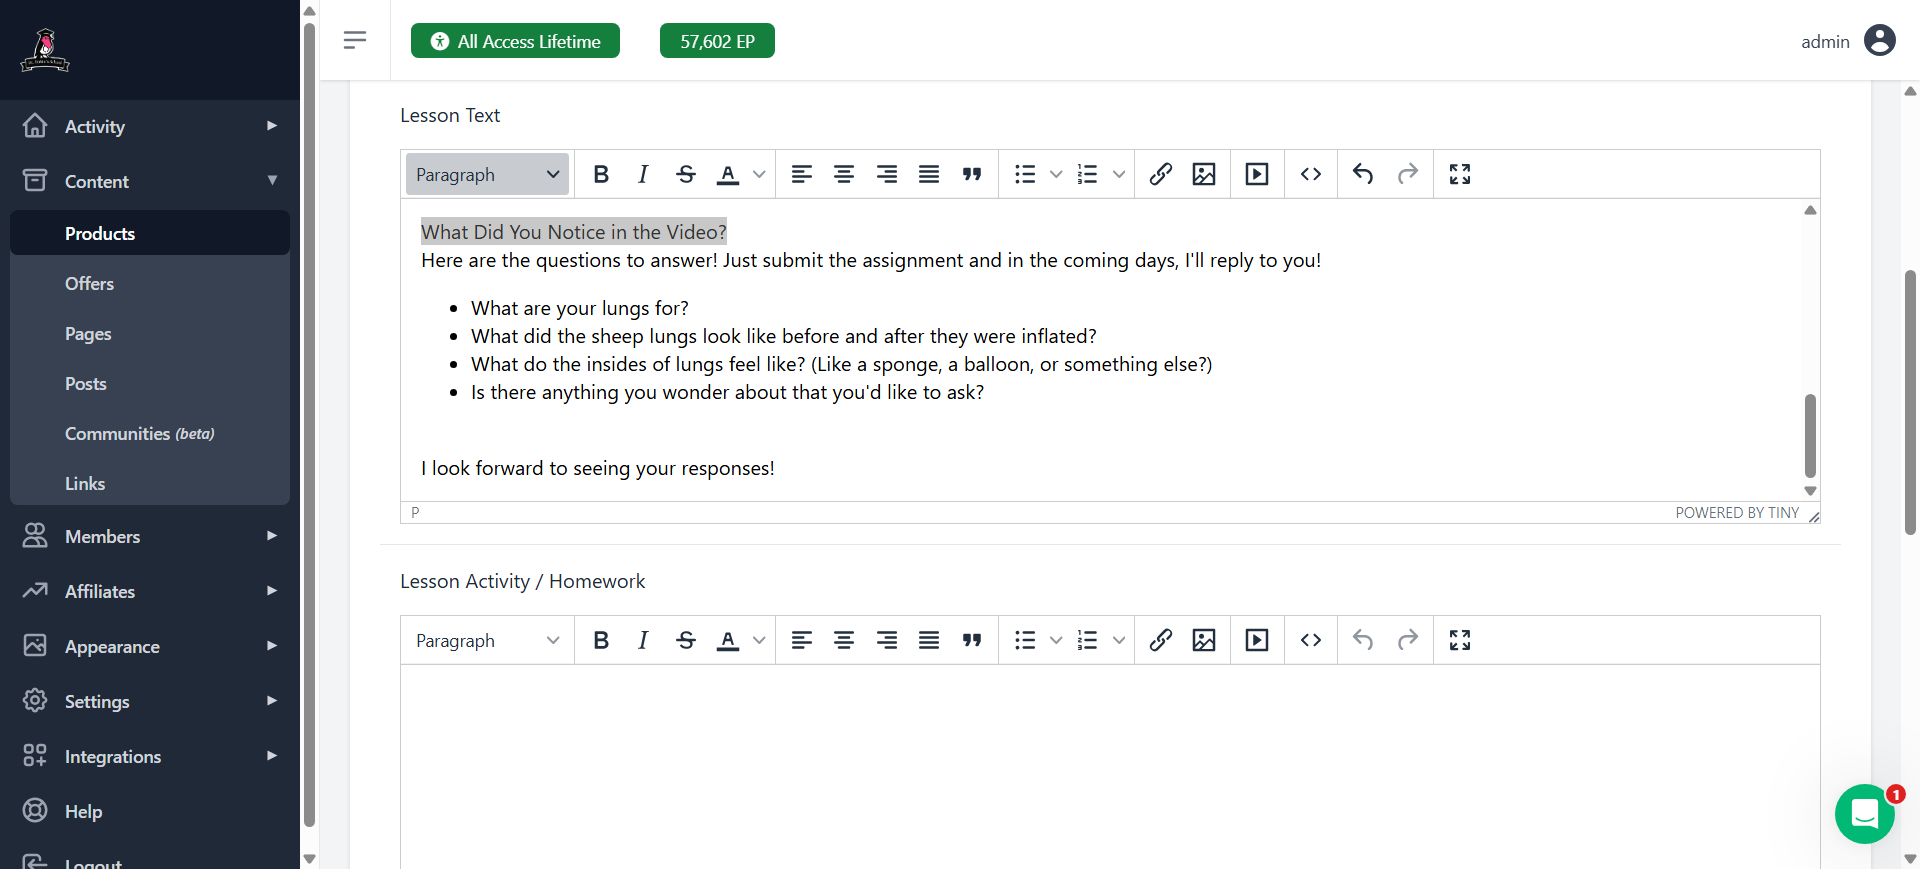
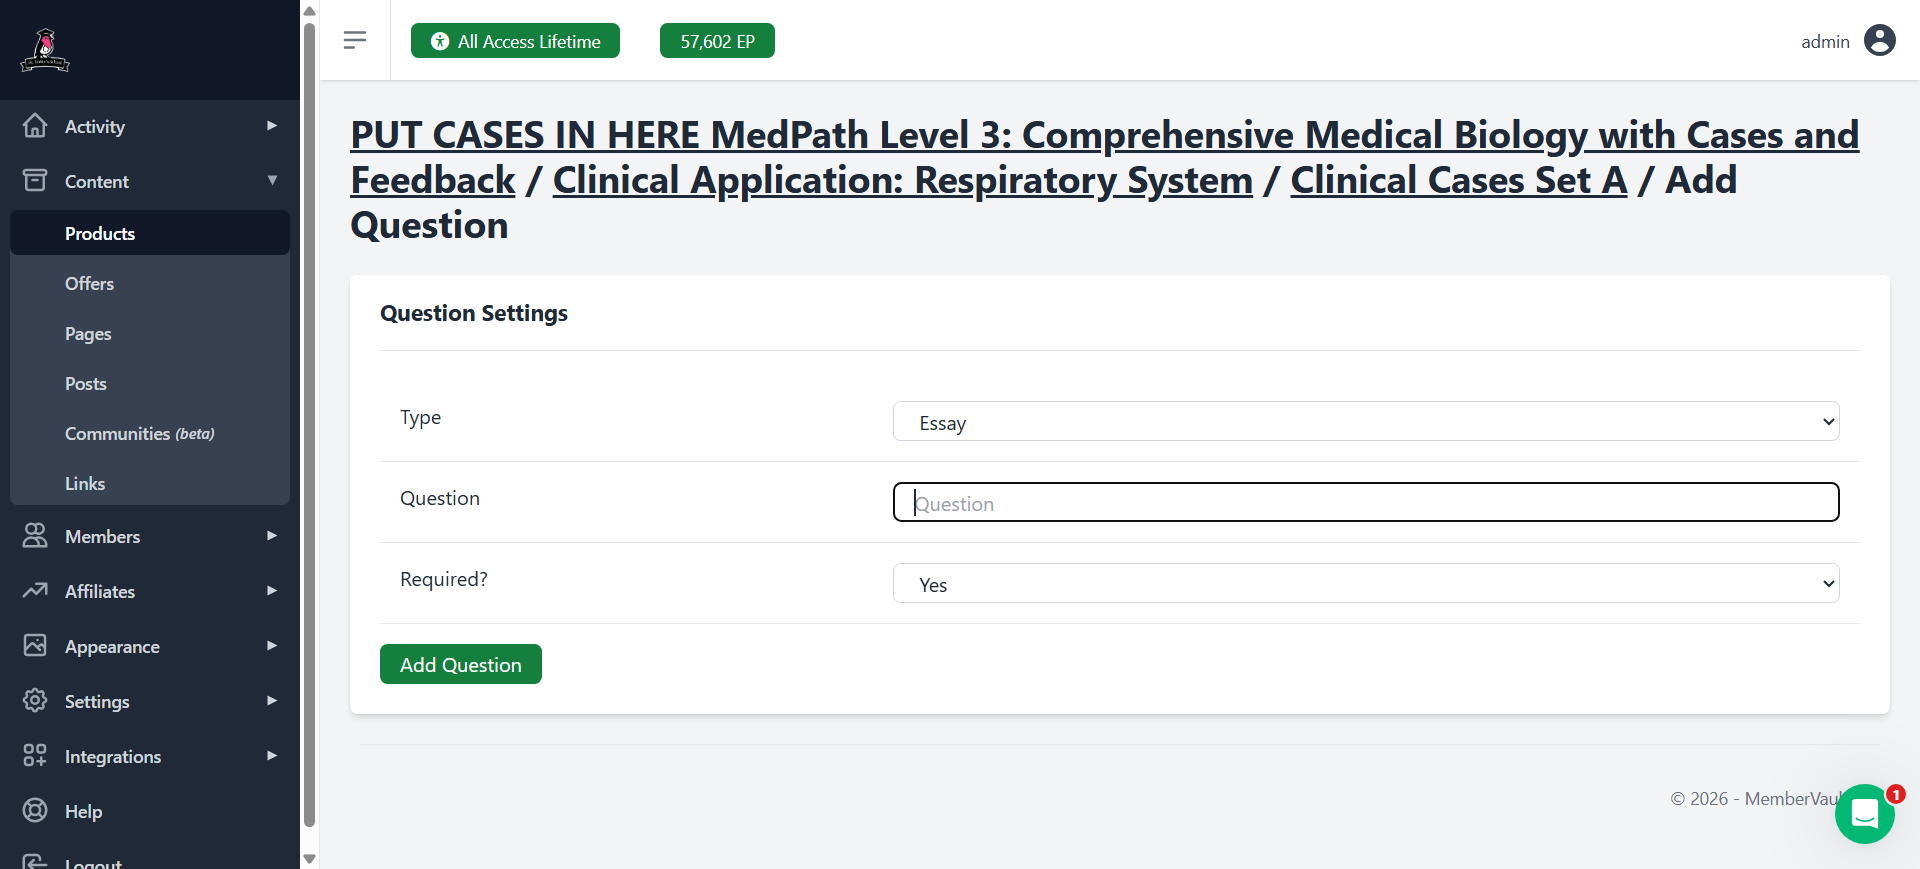
For heaven's sake, there we go. Choose a formatting style that looks good and helps people easily find information. If there will be multiple videos, follow the same process for each one. To attach the questions, the easiest way is to add each one separately here, allowing users to type their answers.

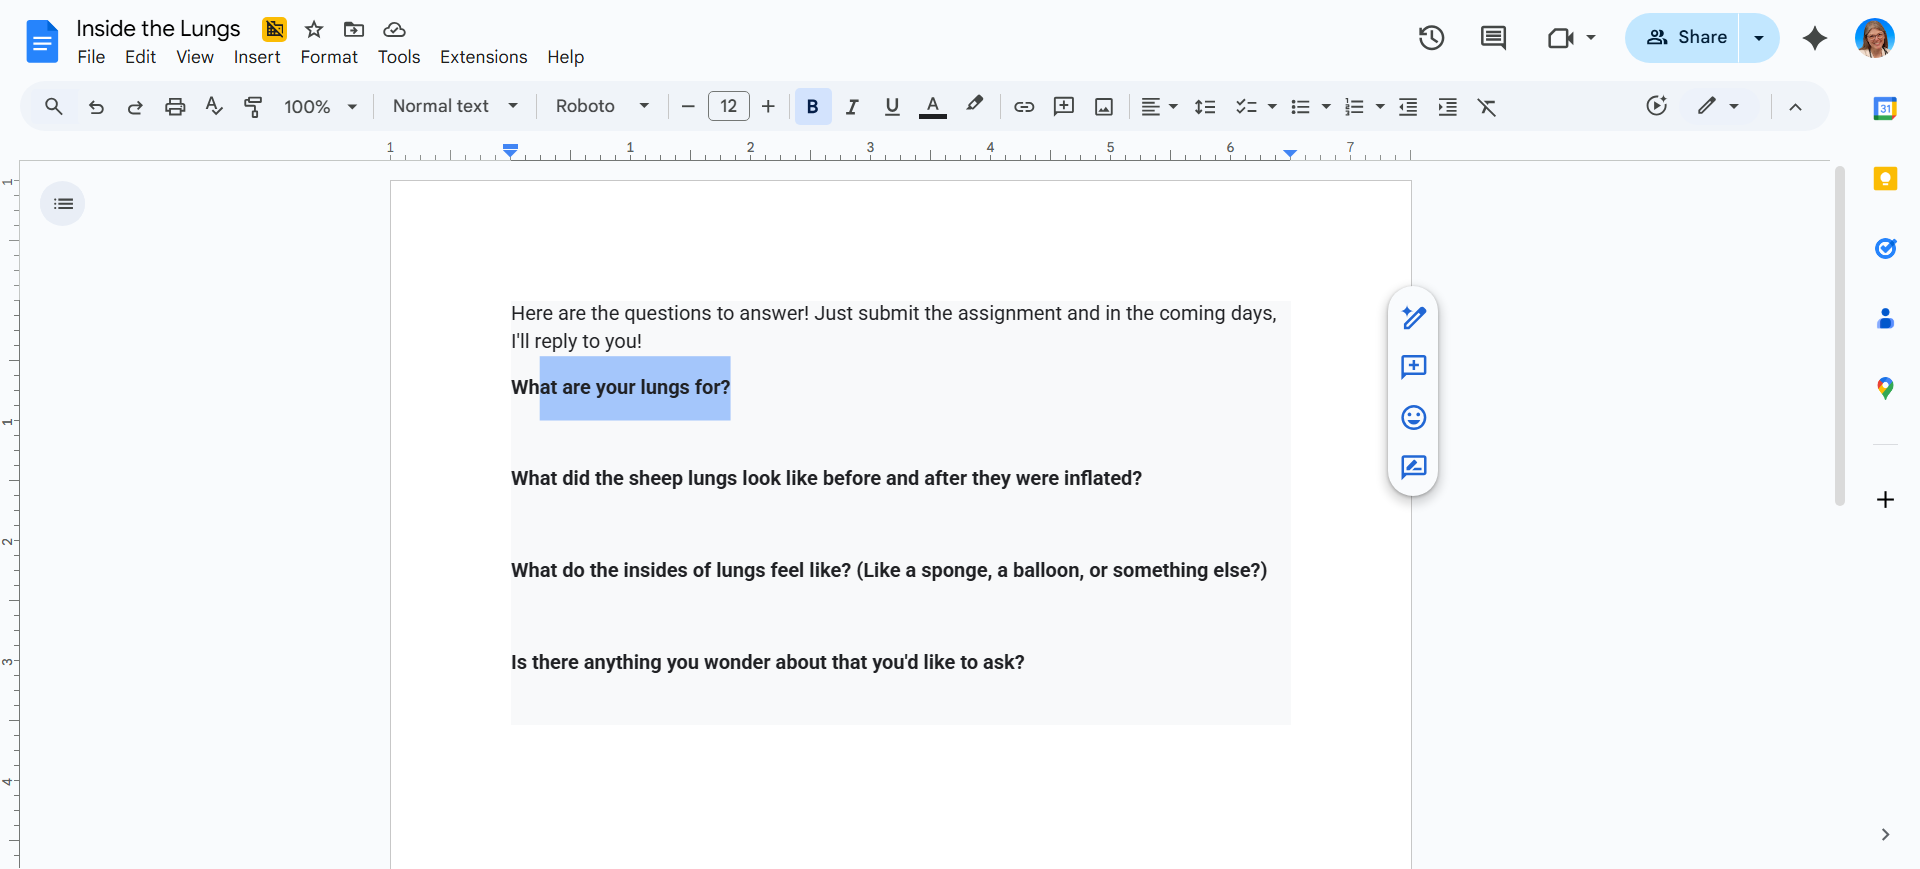
We open Inside the Lungs, and see the section: What Are Your Lungs For?

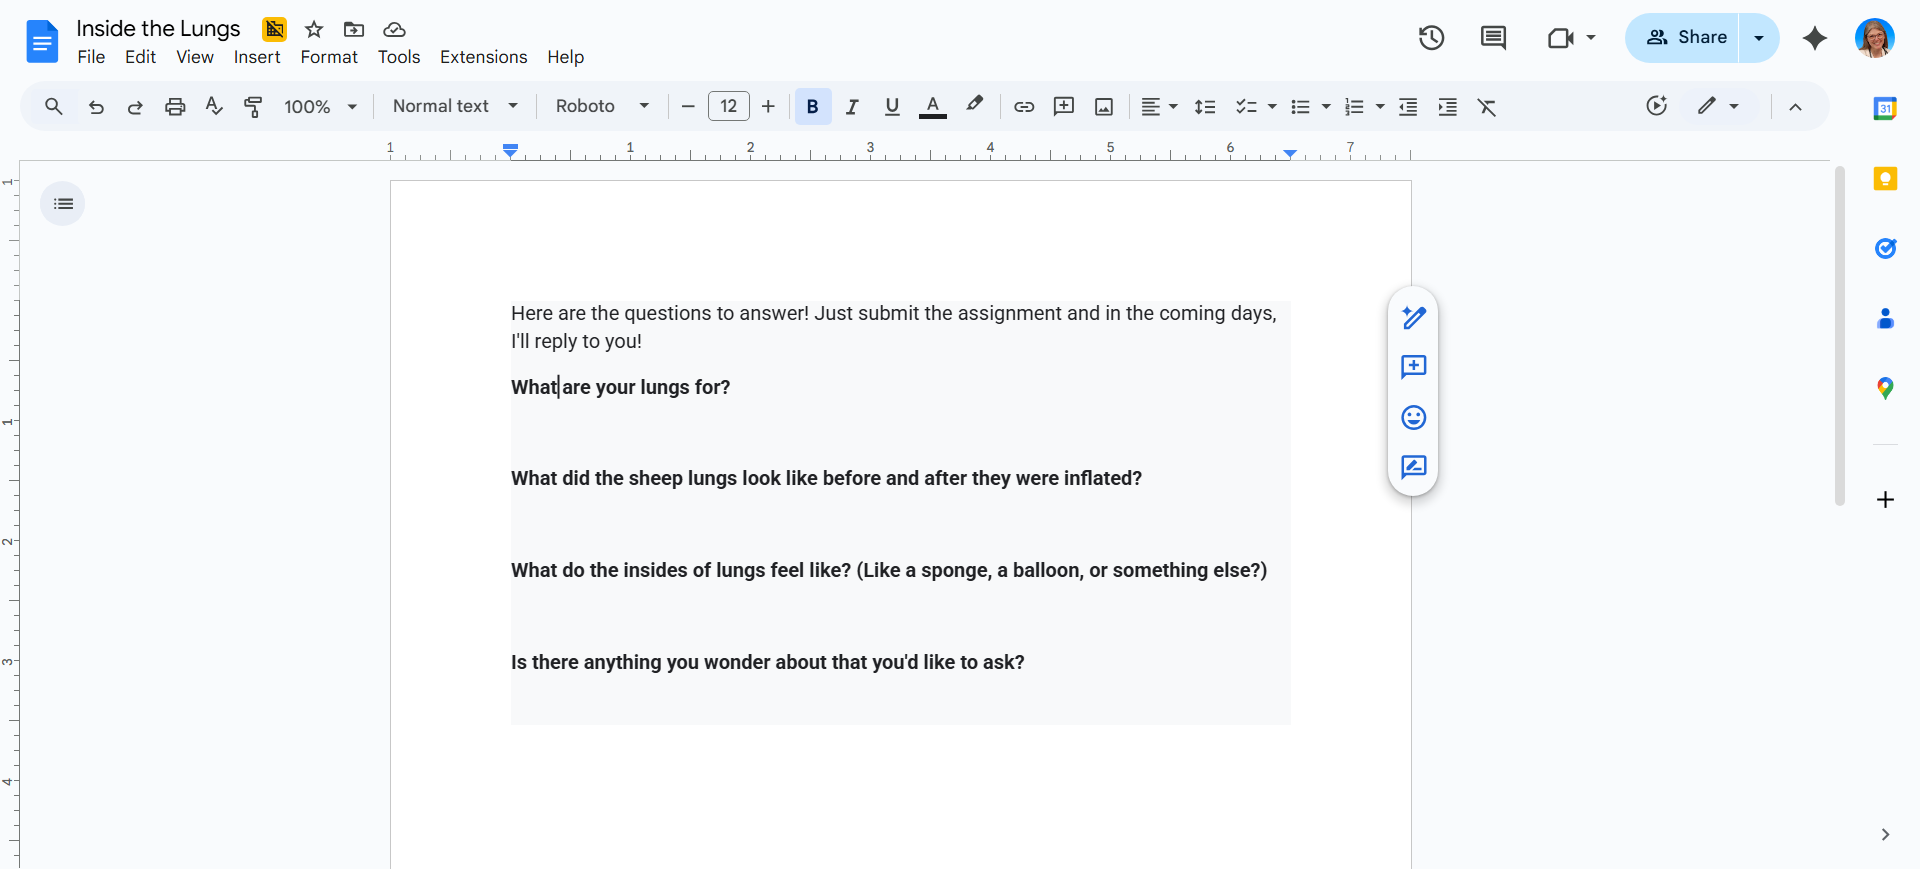
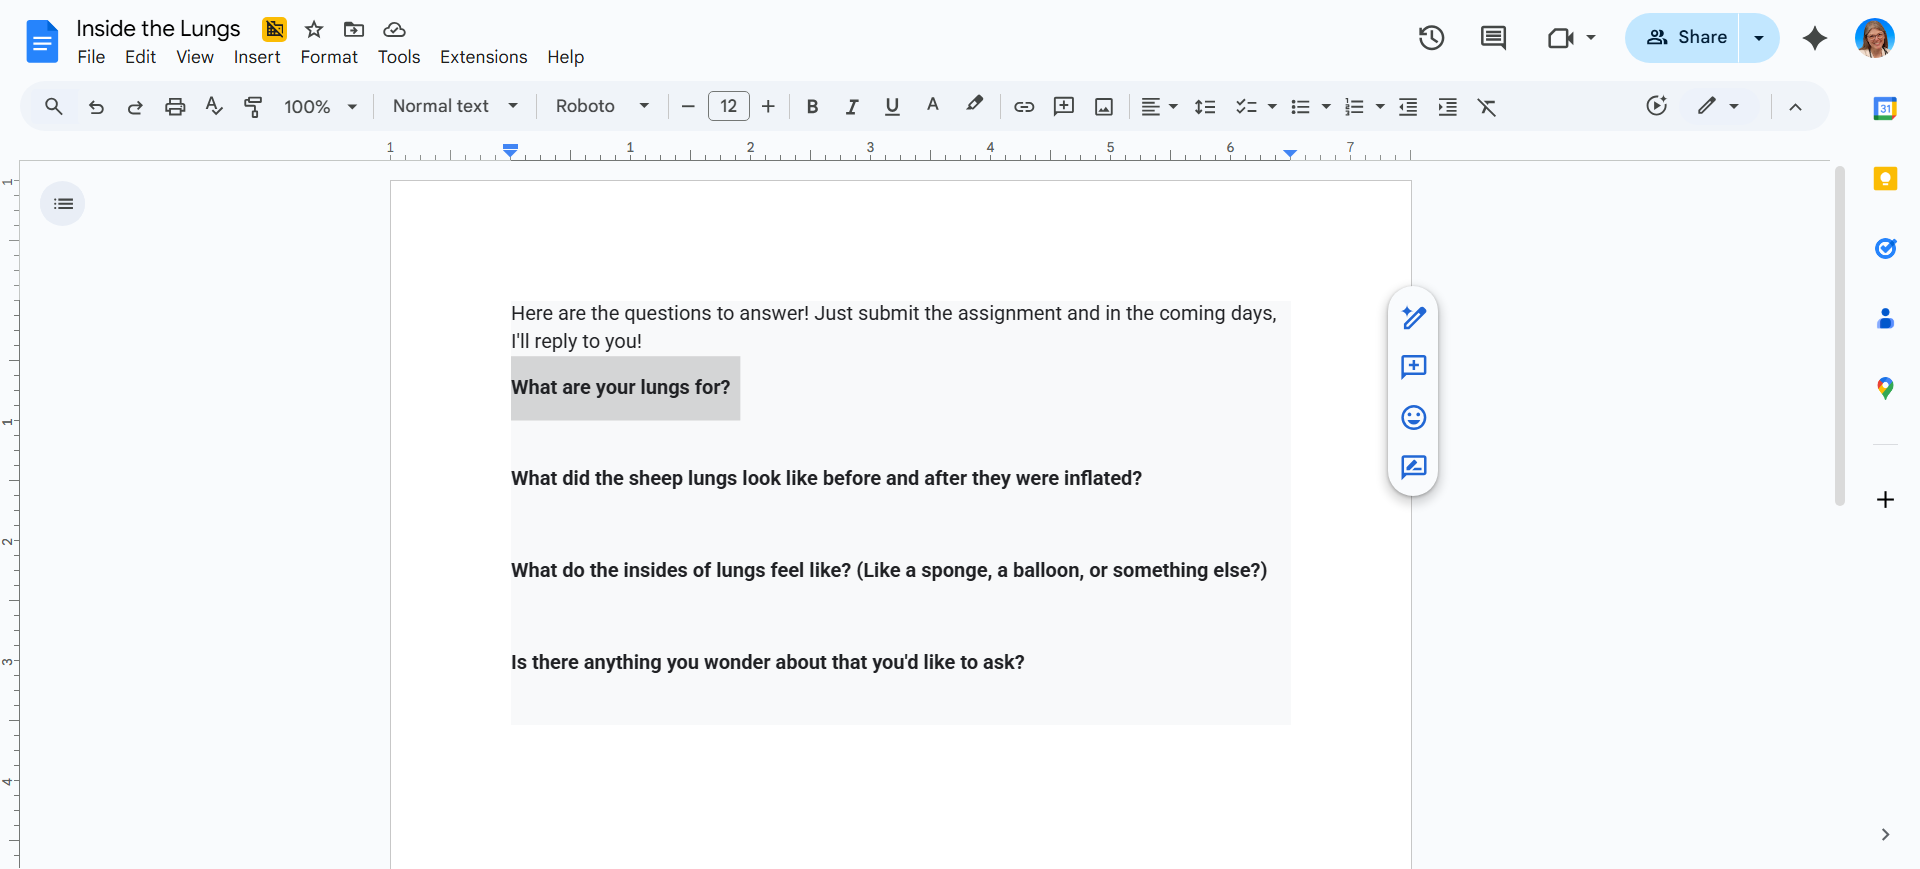
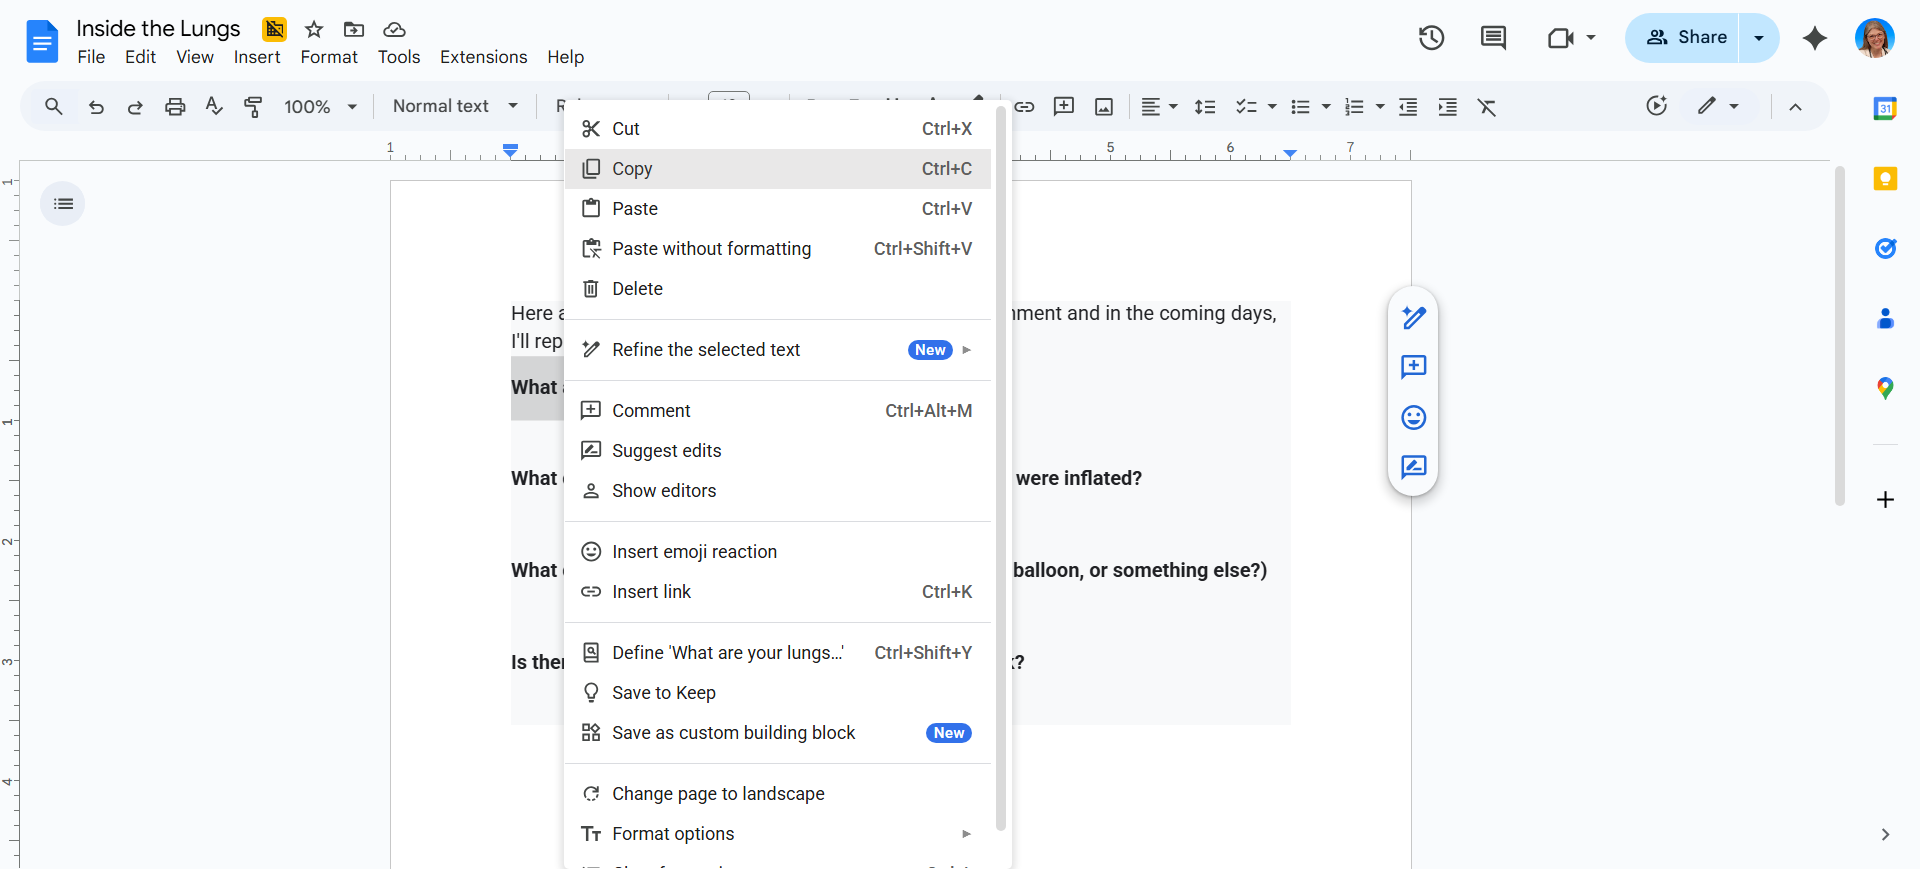
We'd place them right there, then add the question.
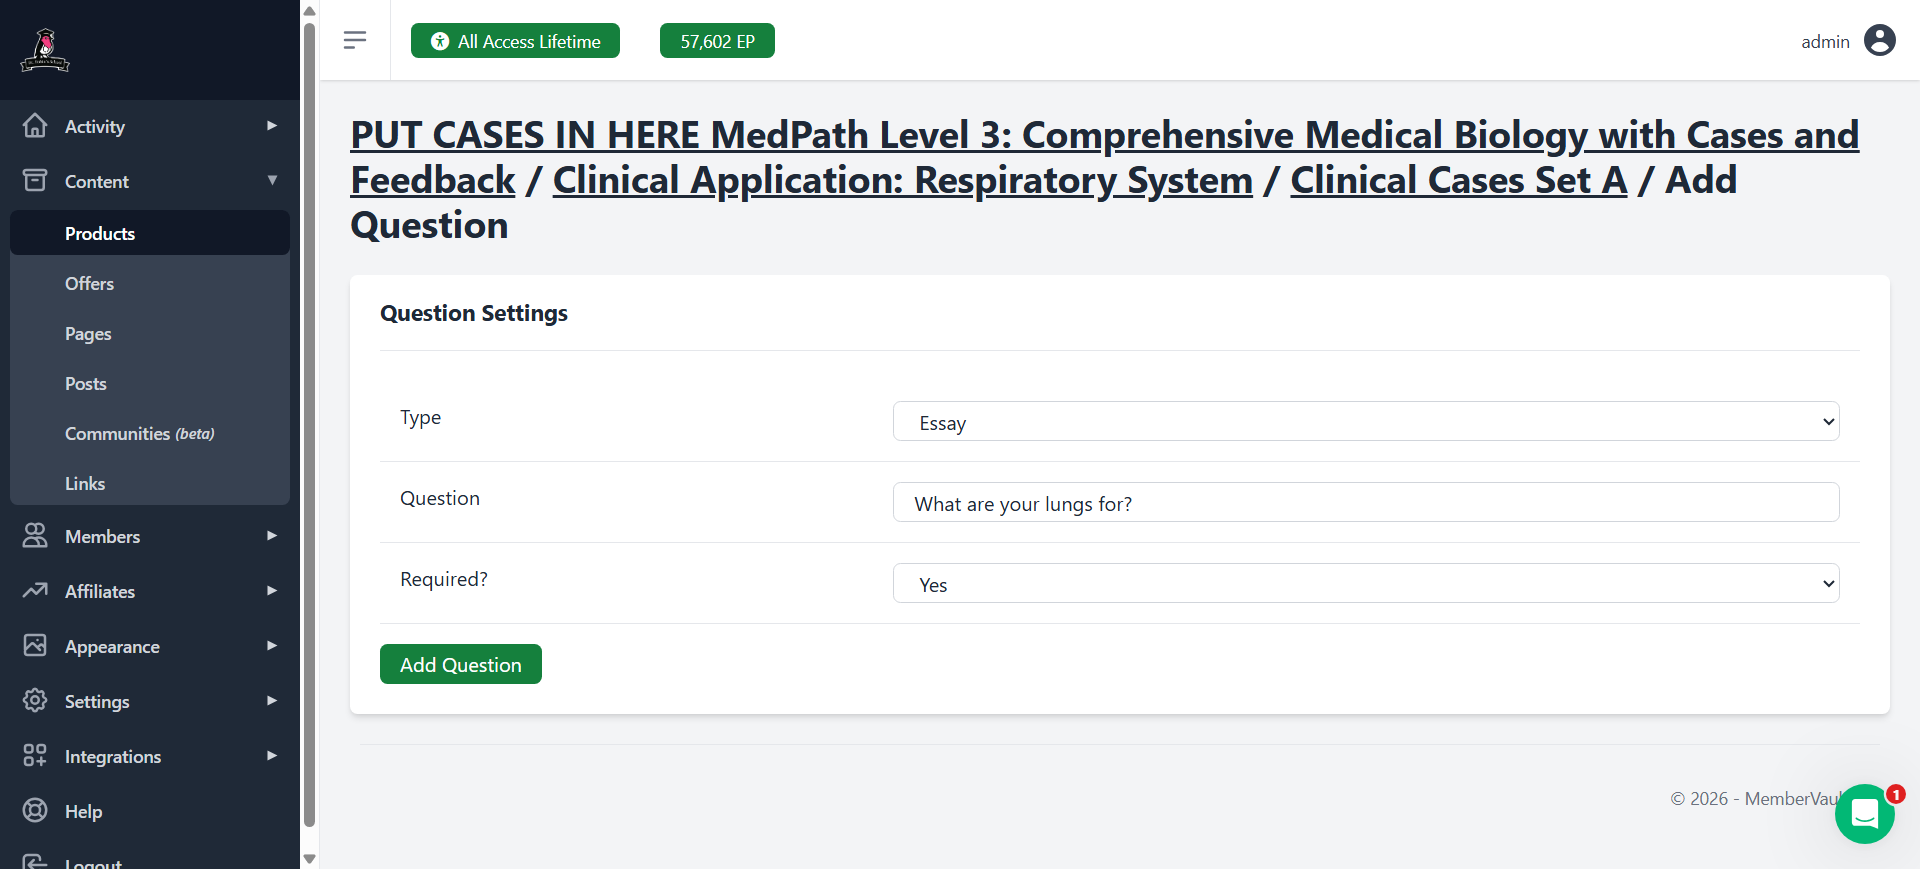
Ta-da! Then, simply add each one. You can adjust the questions if kids have trouble understanding them. Hopefully, this is all you need. I will send this to you now. Let me know if you have any questions.