How to Add Columns in a Workflow
Learn how to add columns and sub-columns in your workflow. This guide covers naming, sizing, ordering, and organizing columns for an efficient workflow setup.
By Dominik Black
In this guide, we'll learn how to add columns and sub-columns within a workflow. This process helps you organize tasks and actions by grouping them into different sections. You will also see how to adjust the size, order, and description of each column to fit your needs.
Let's get started
This article explains how to add columns in a workflow.
1
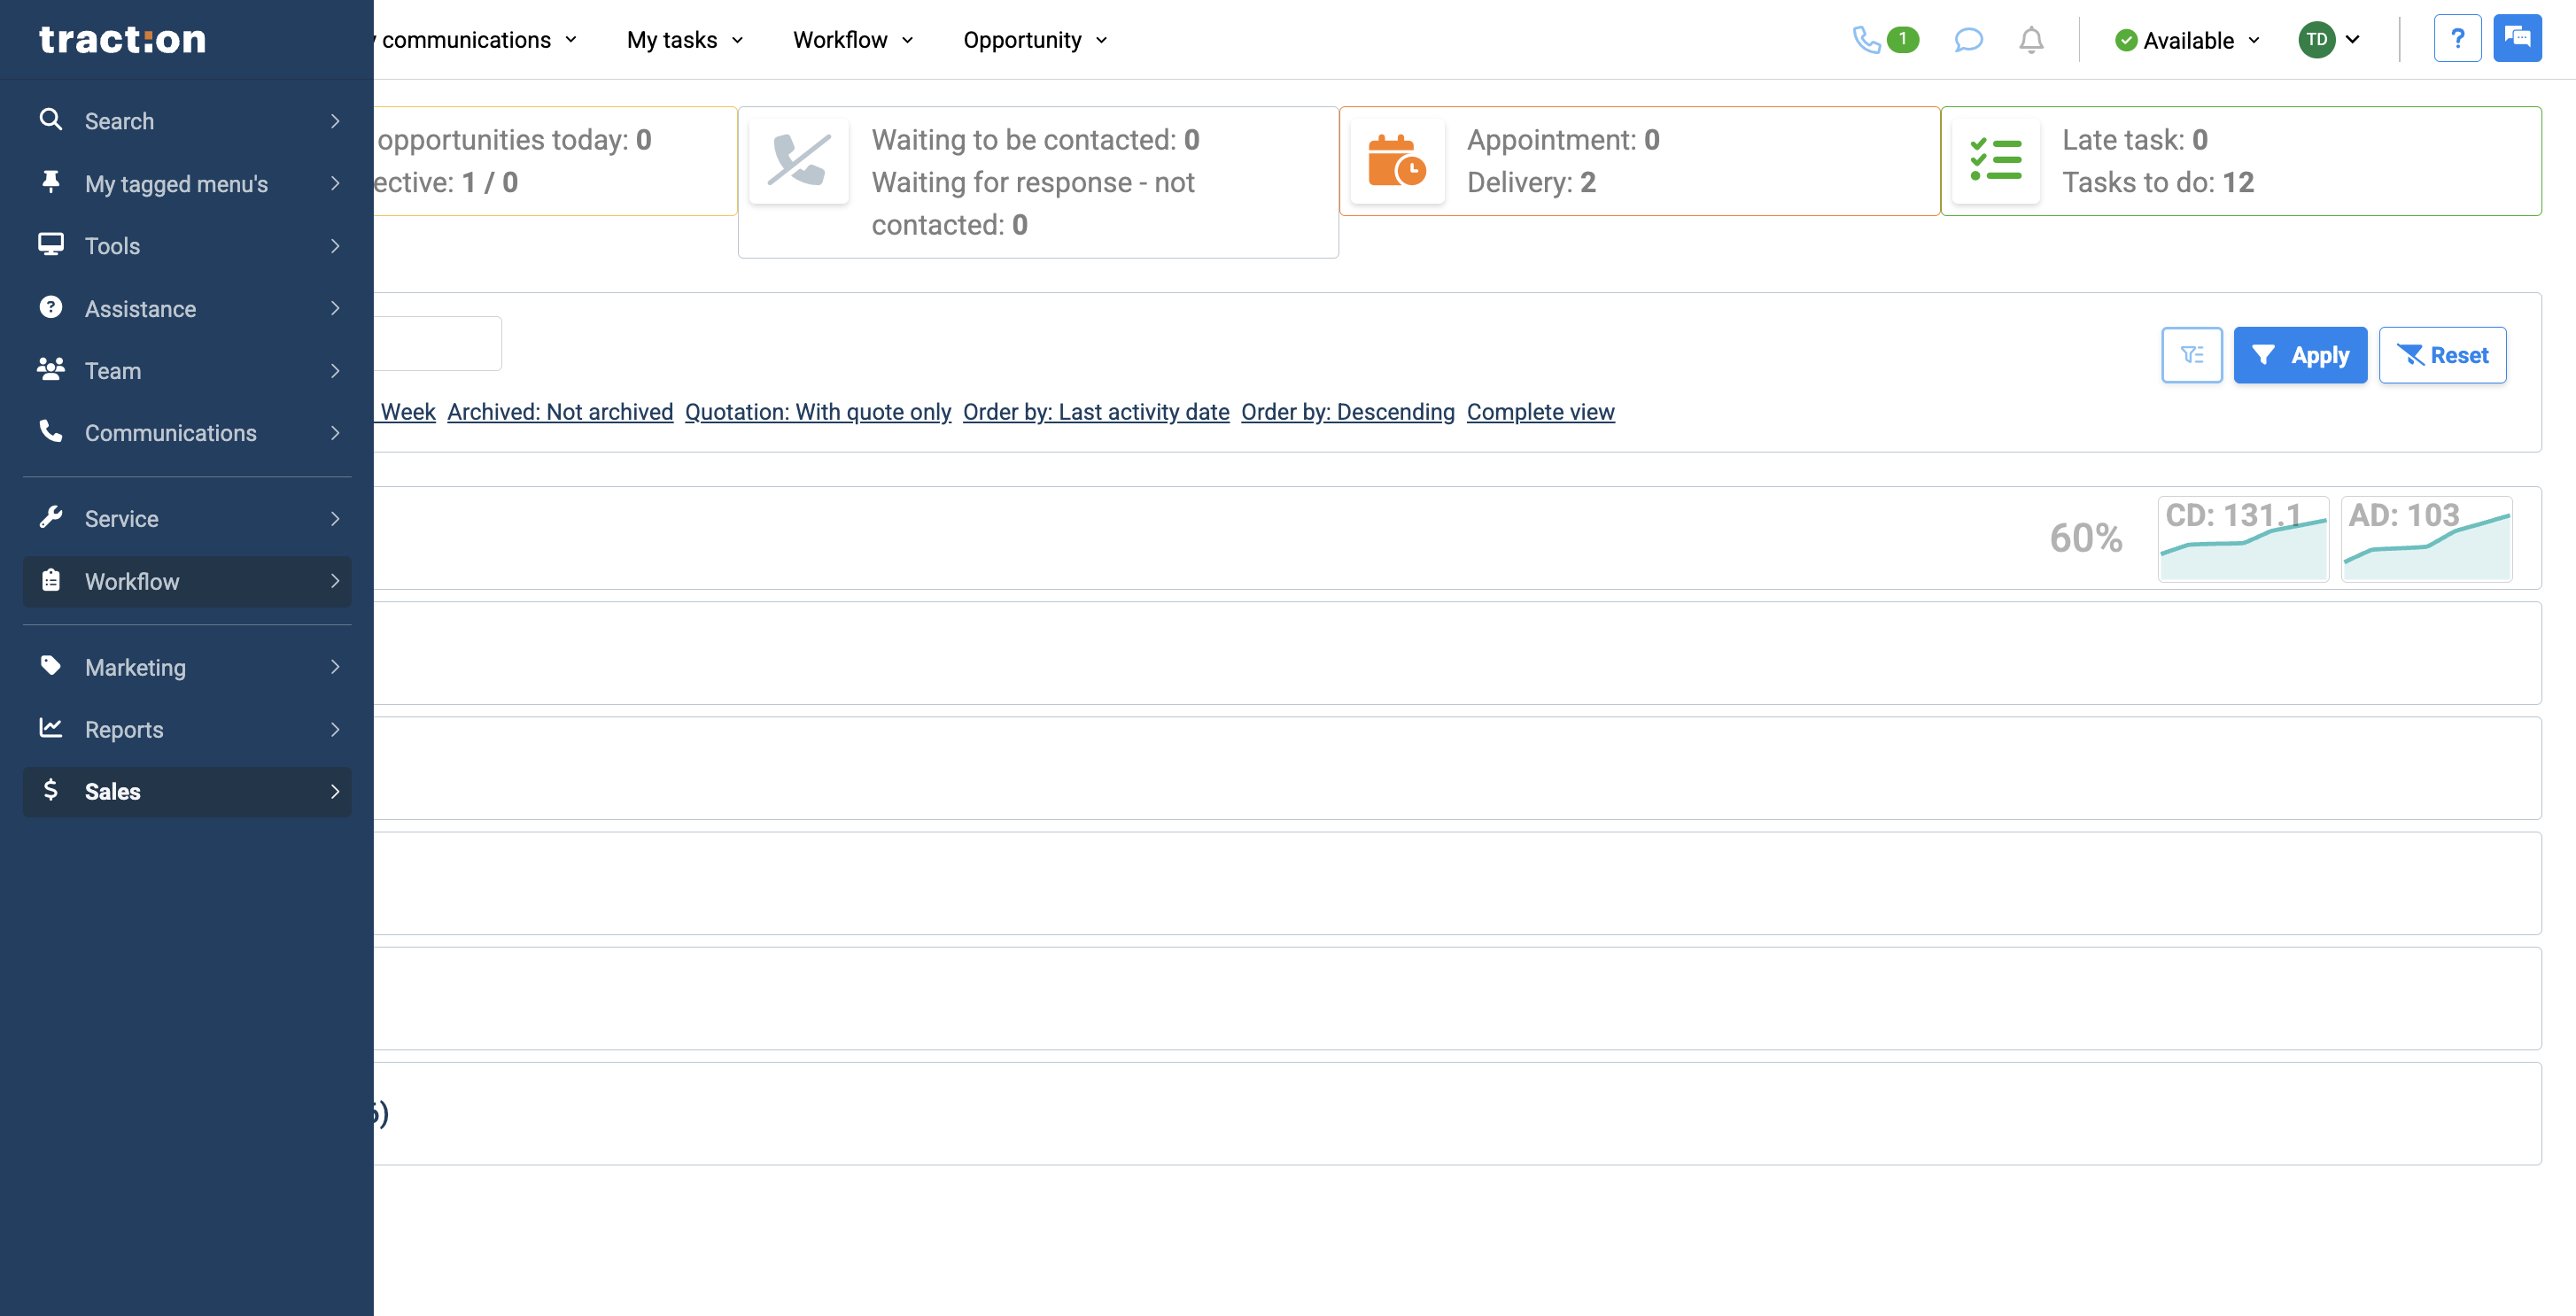
First, go to your workflow.
2
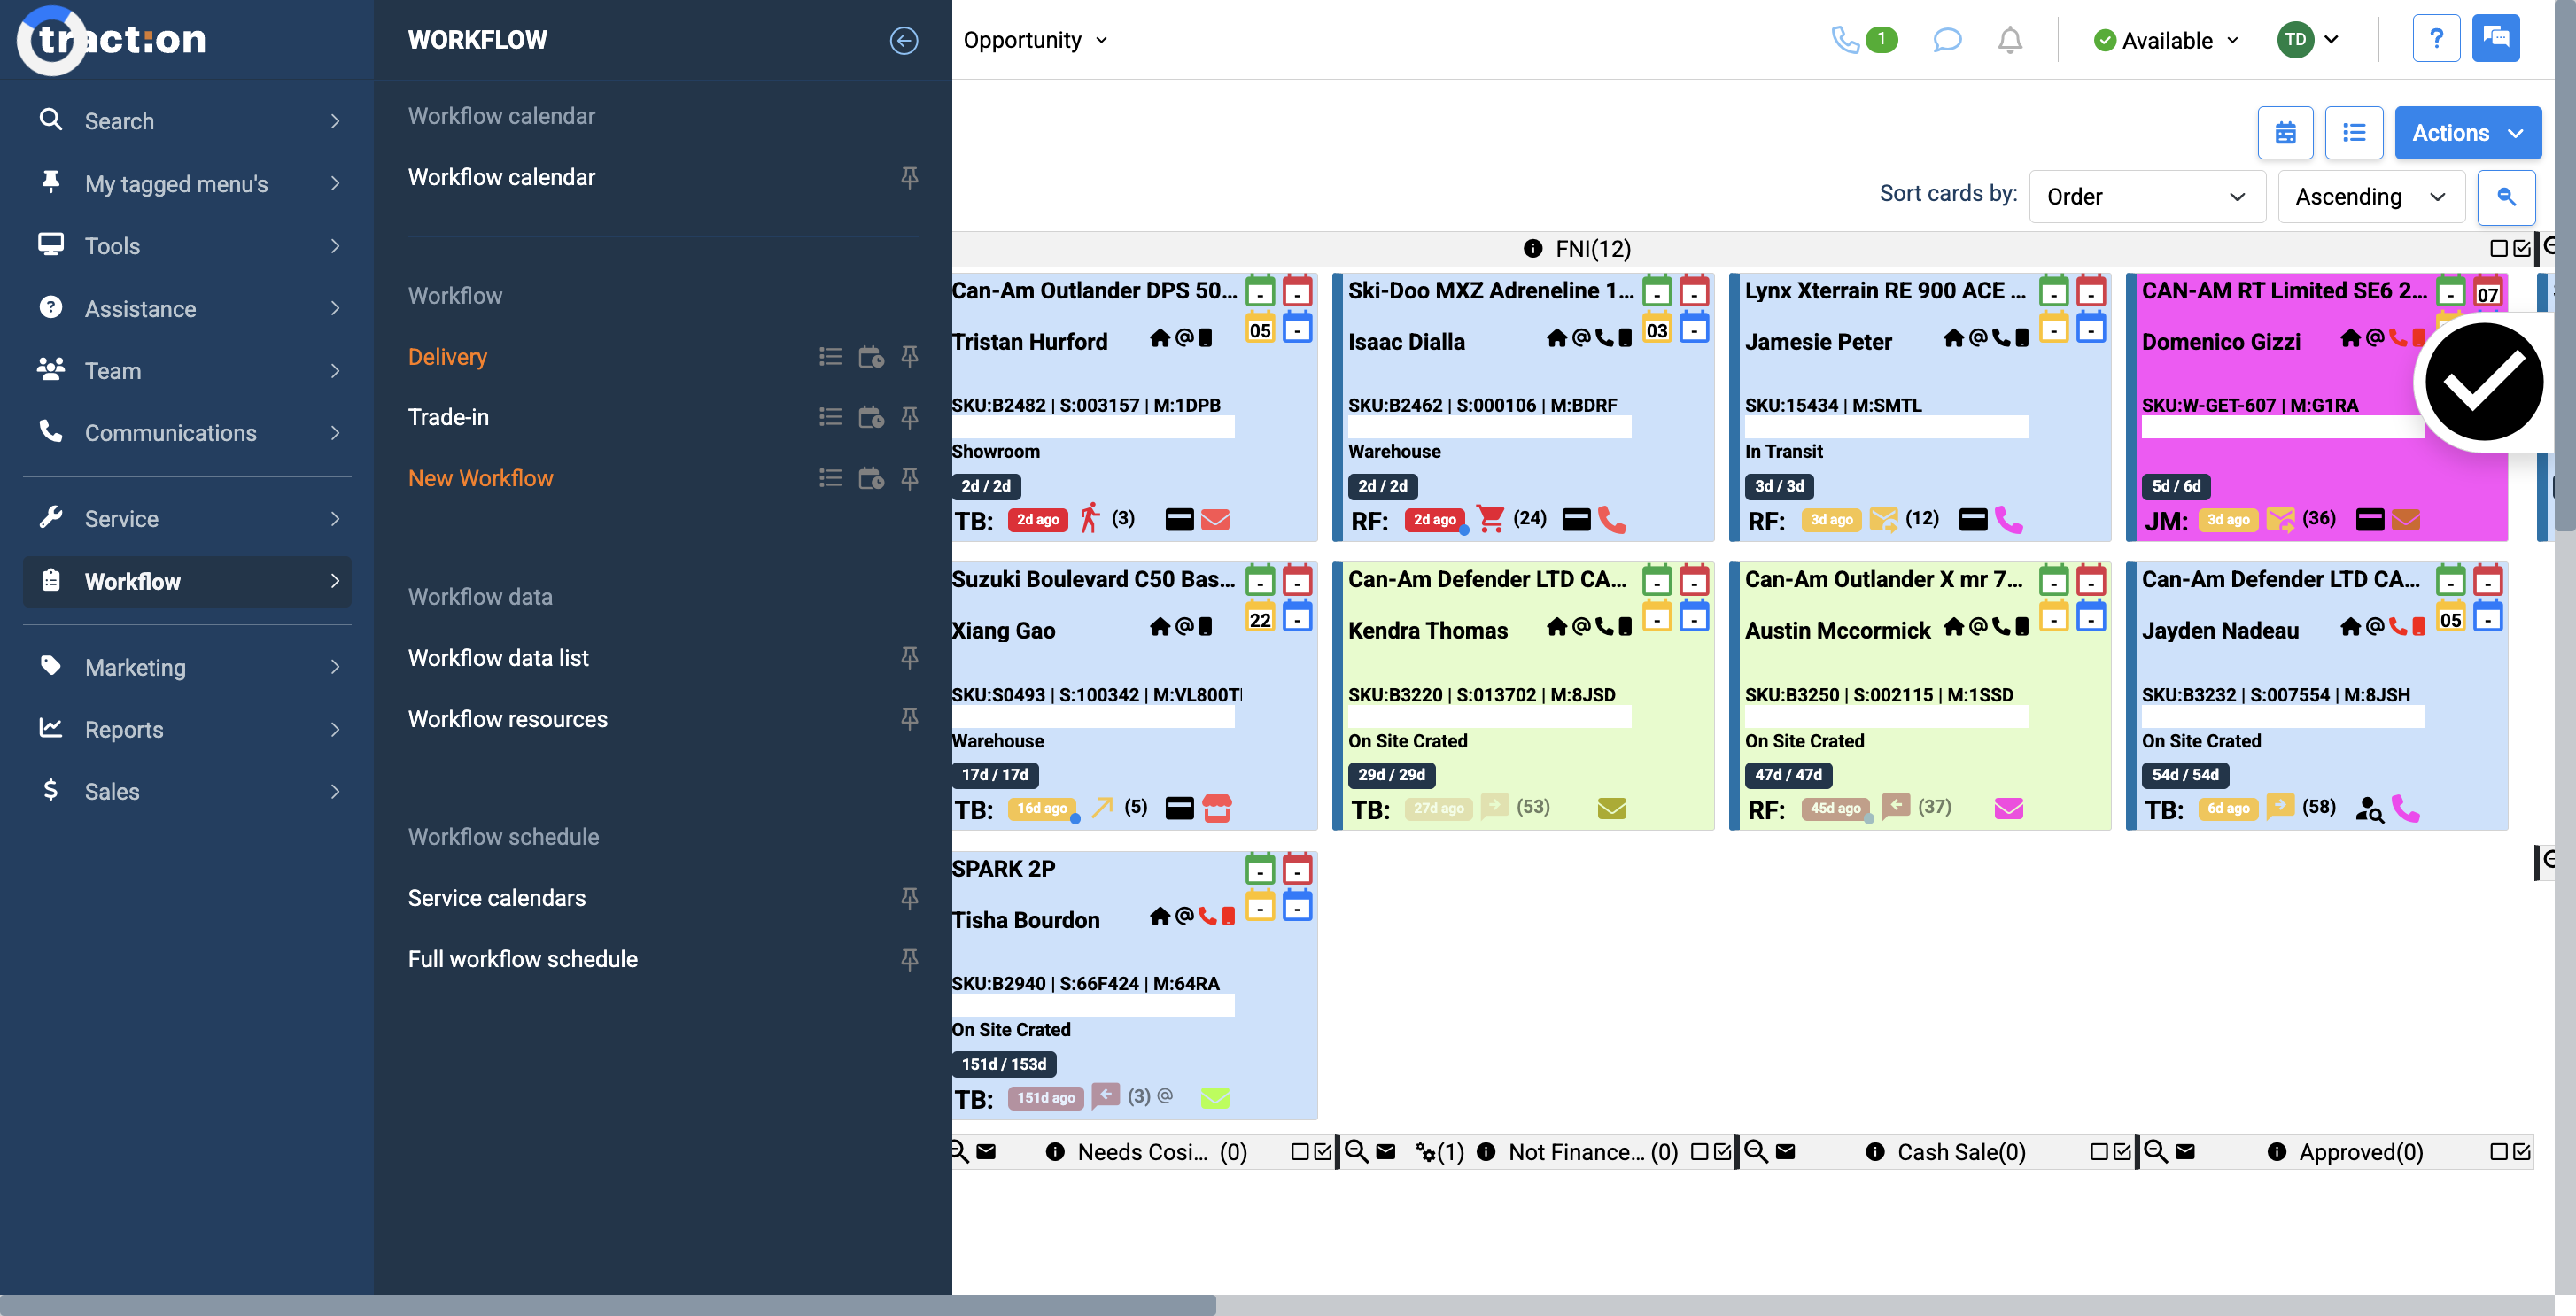
Click here
3
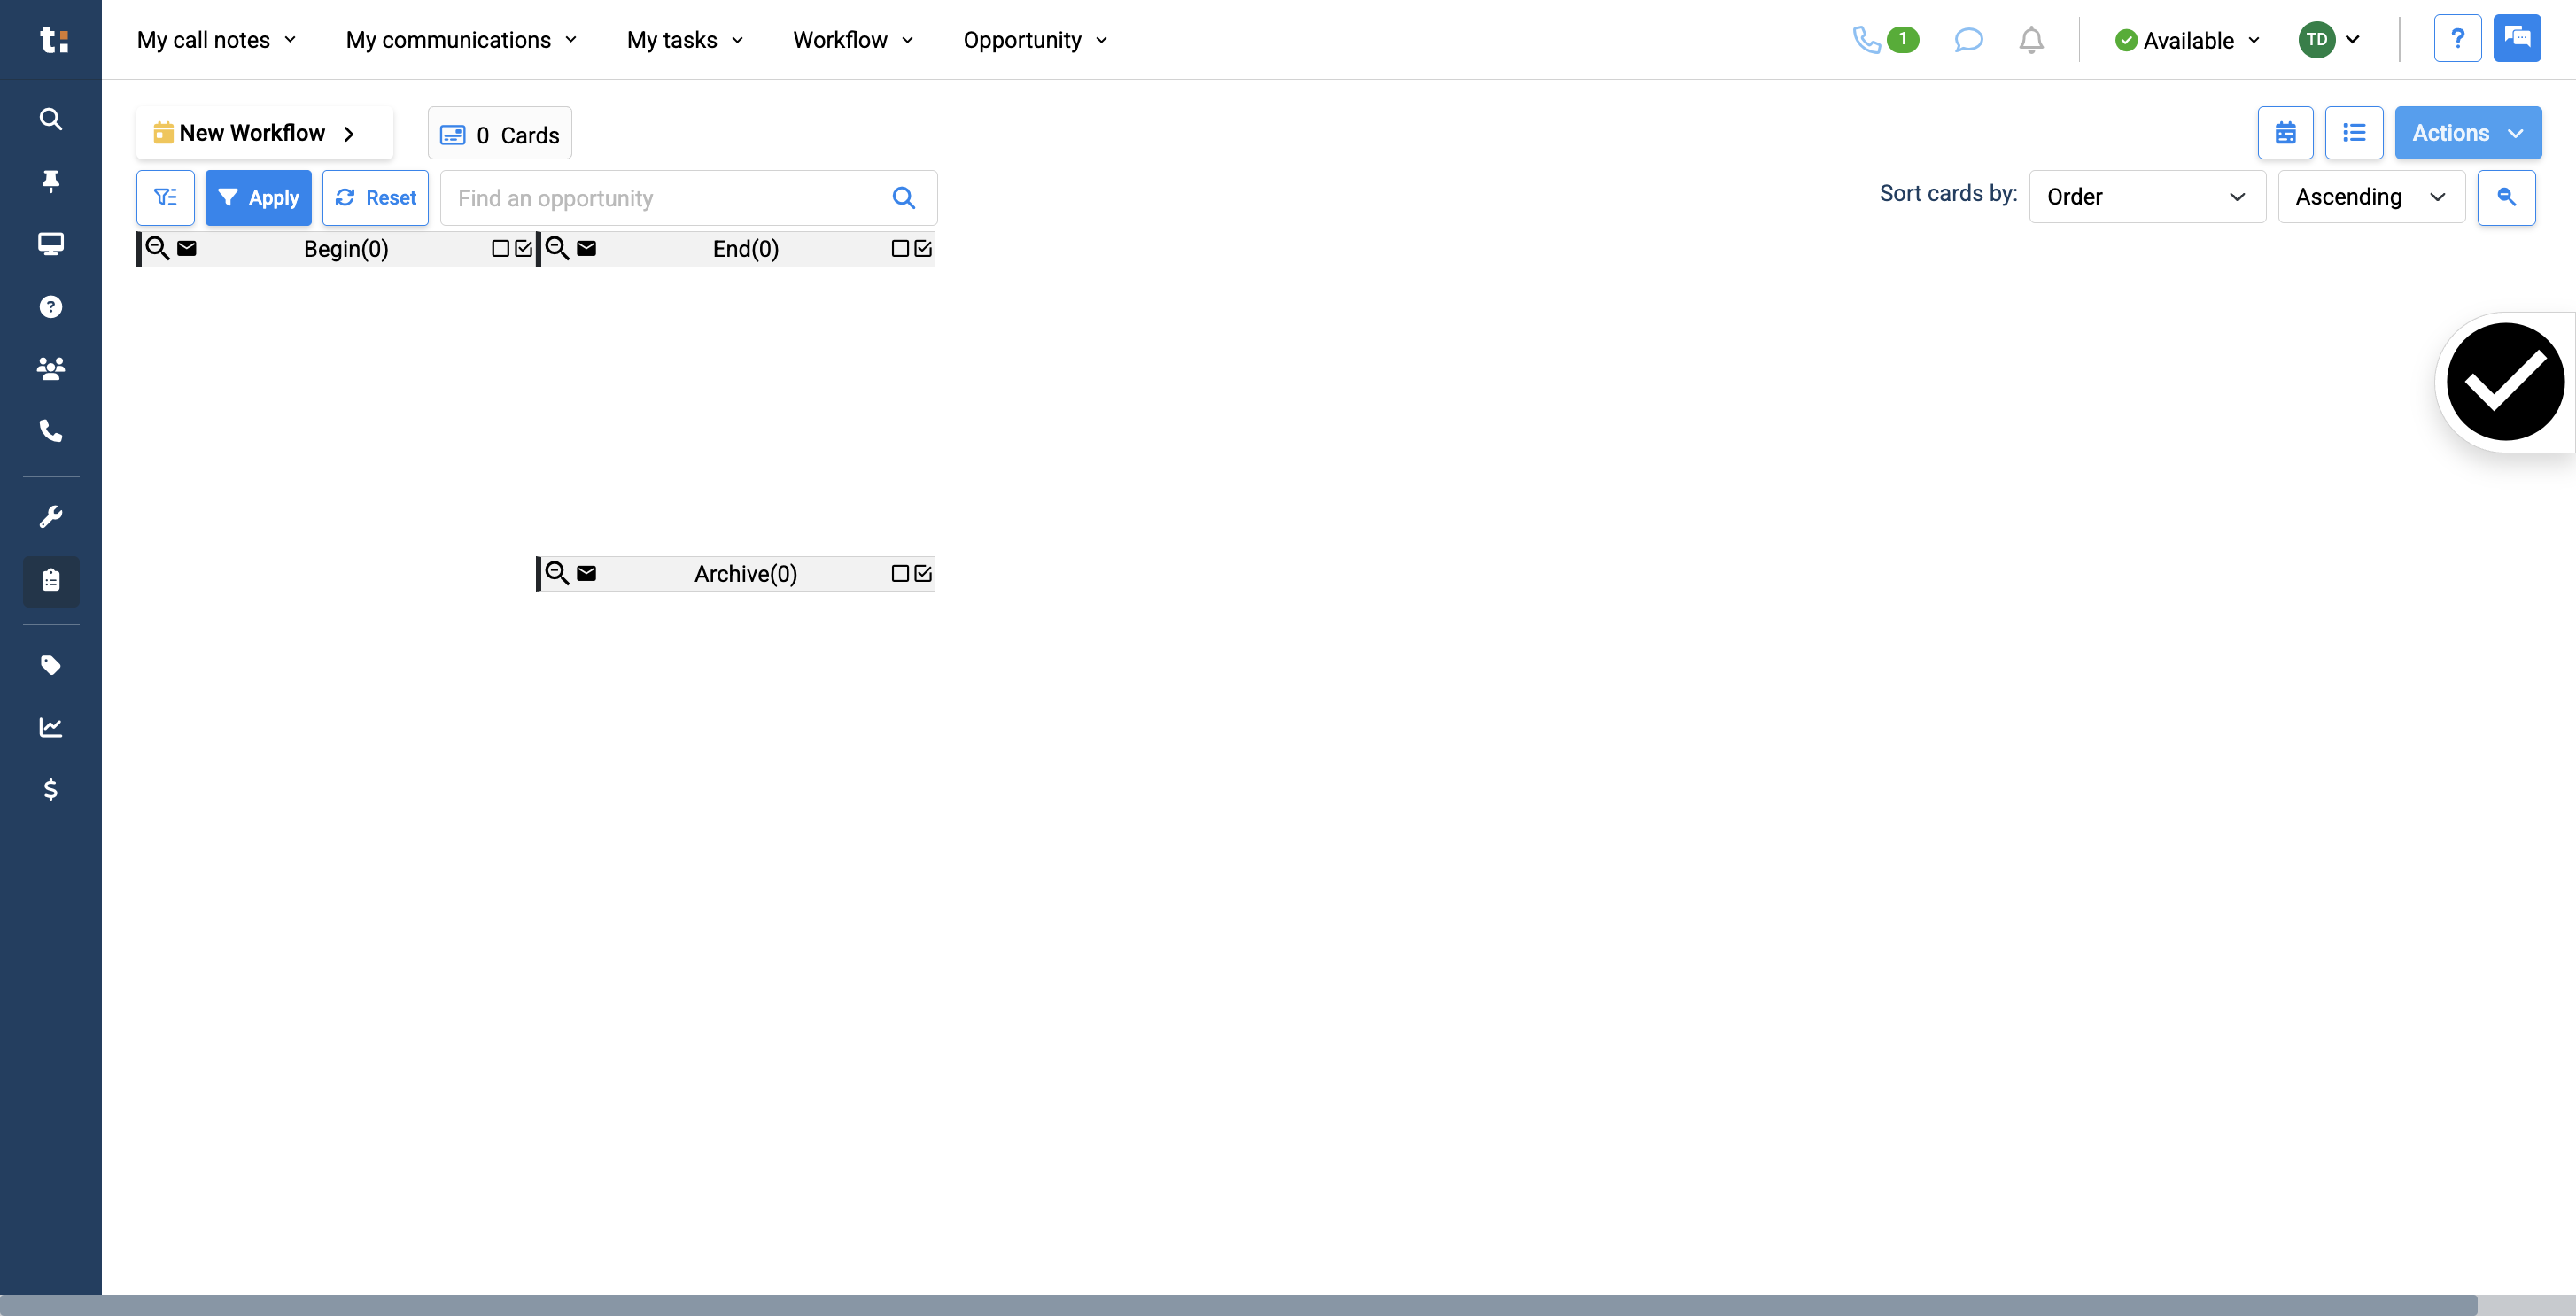
Next, click the Actions button.
4
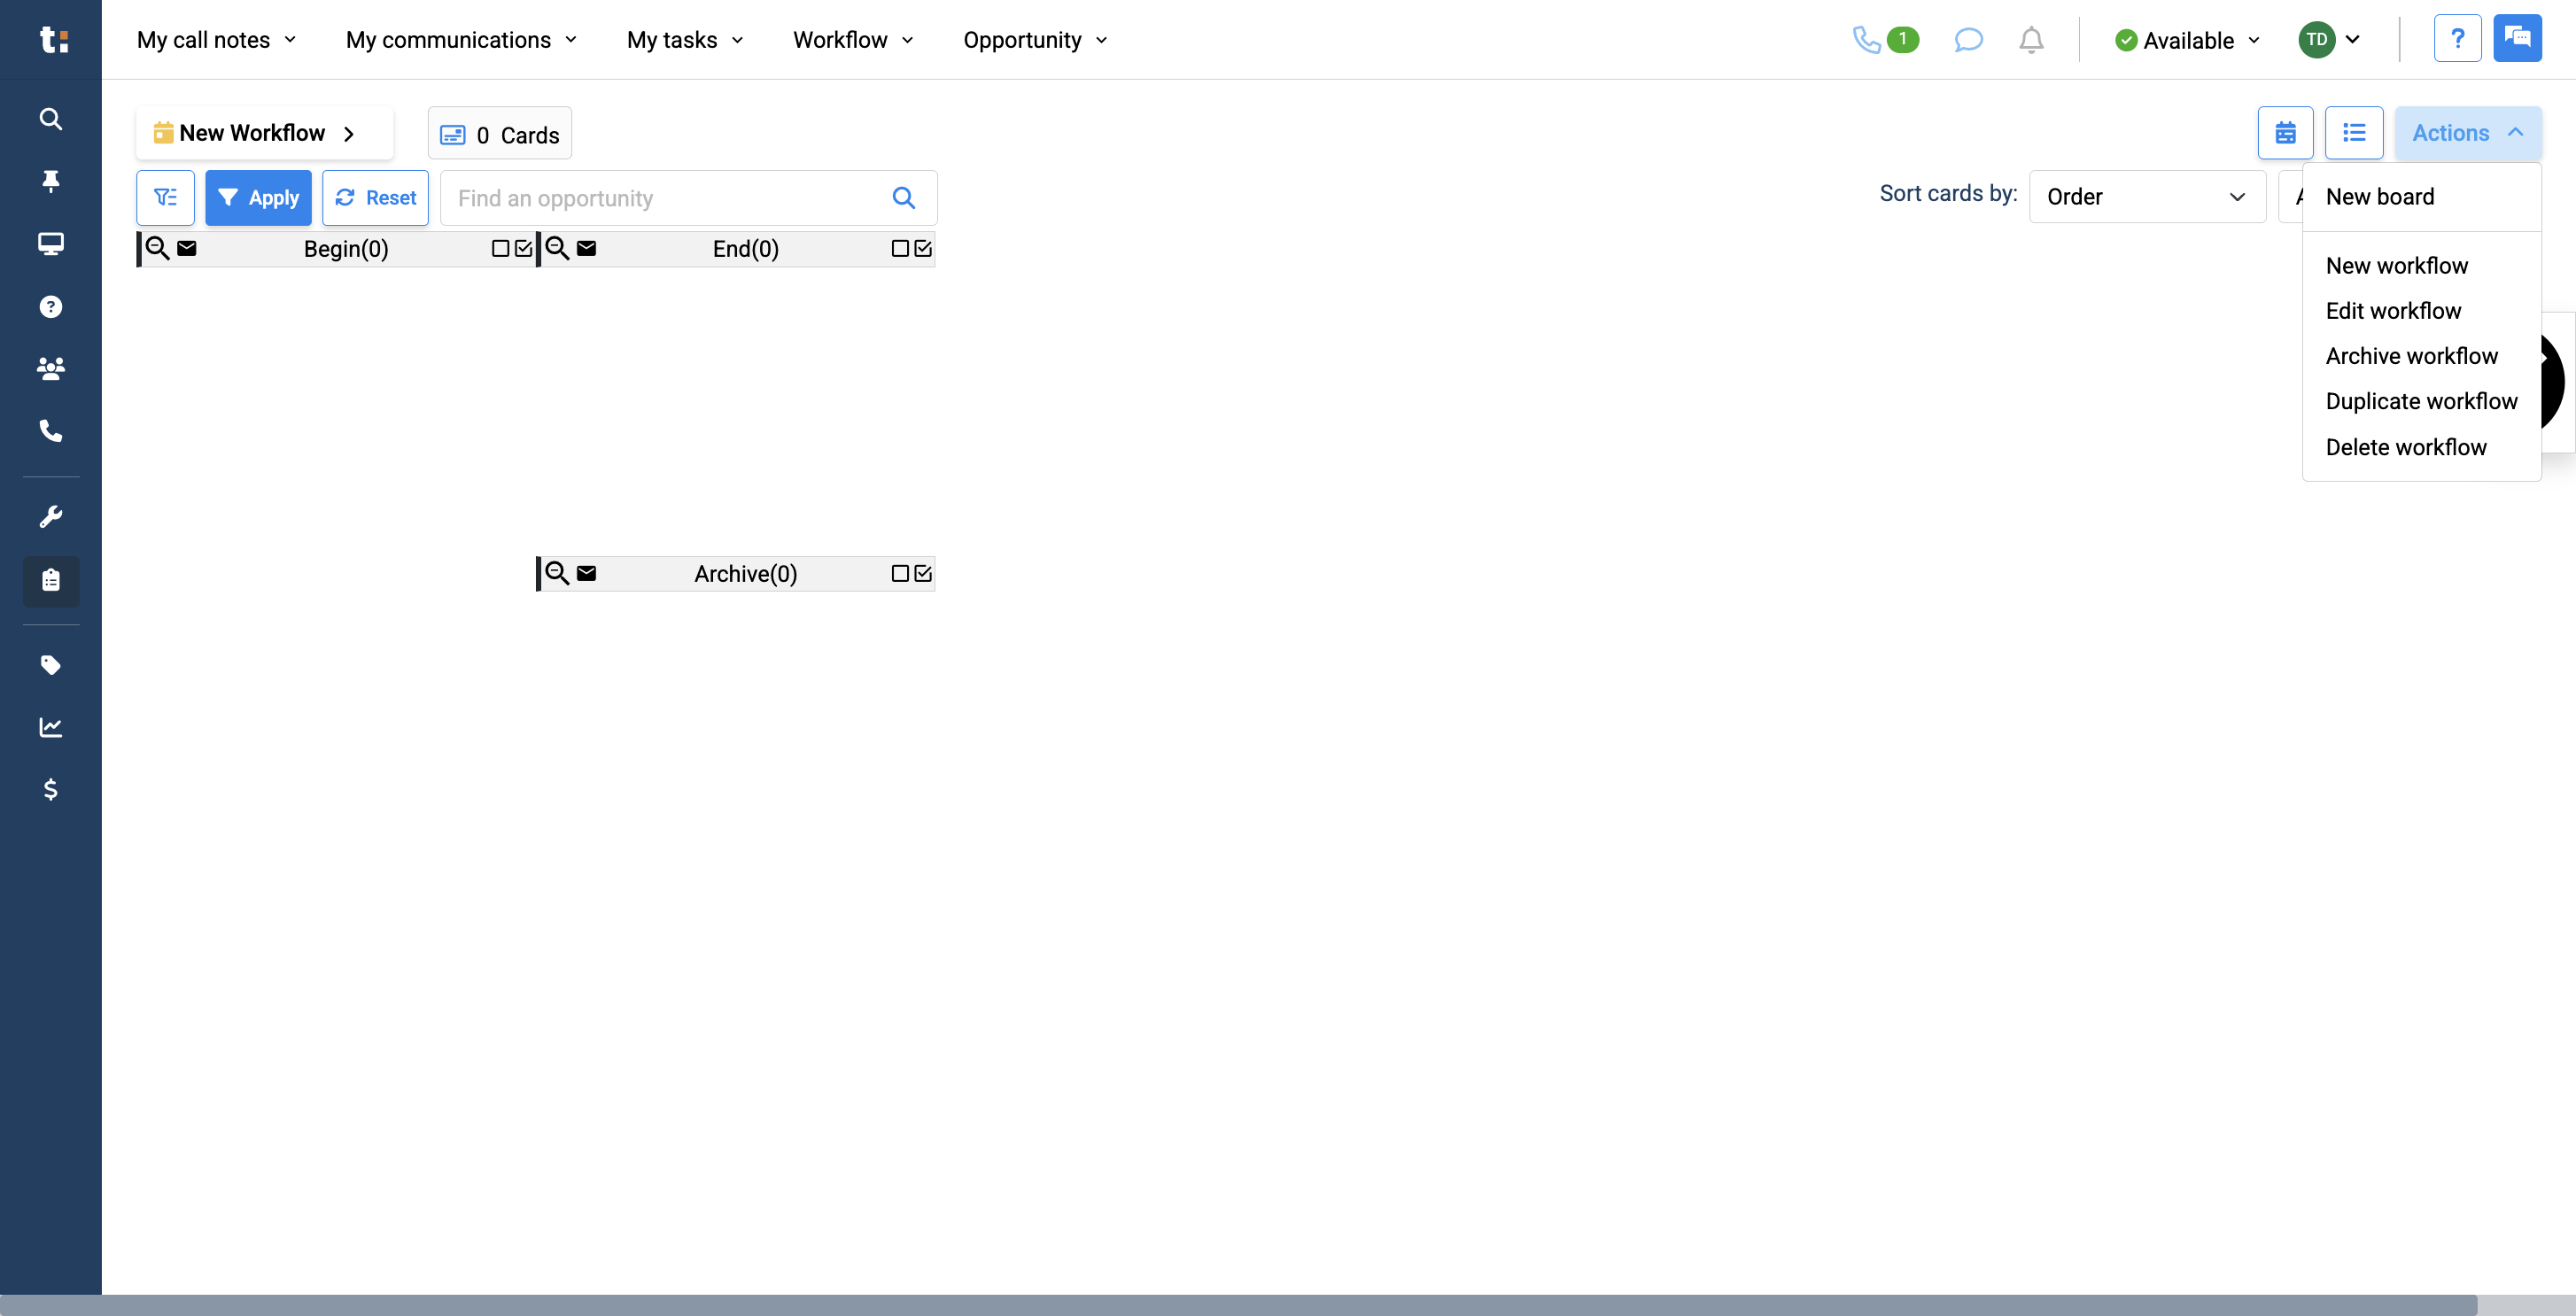
To add a column, click "New Board."
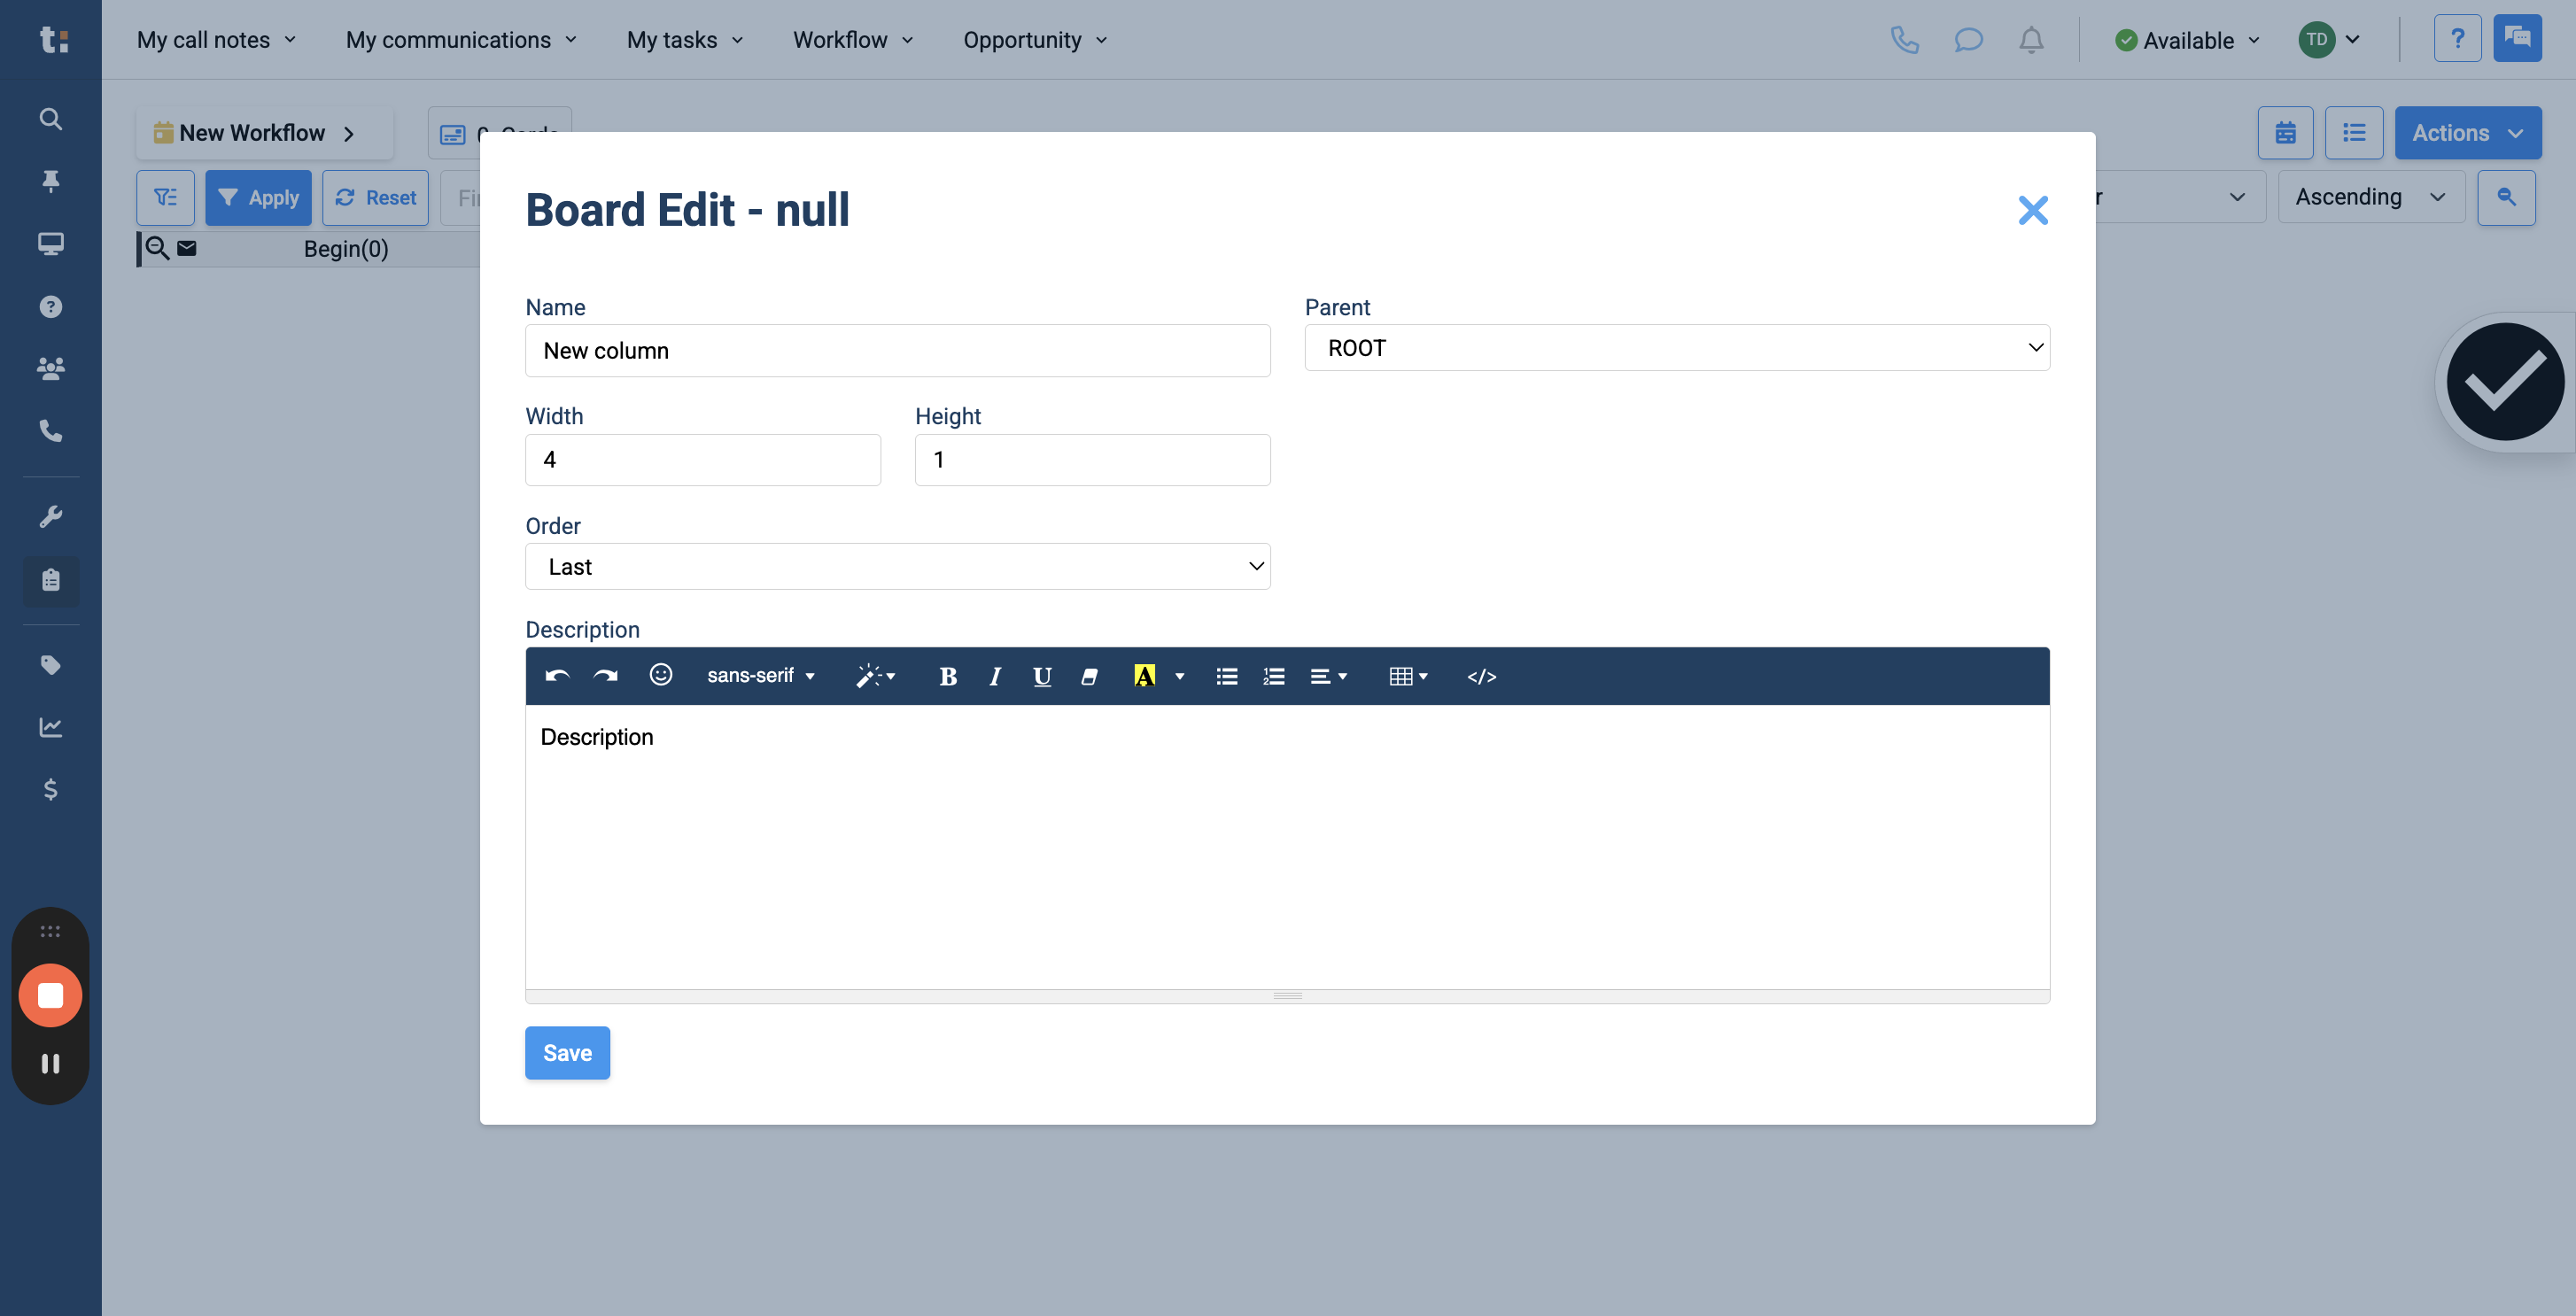
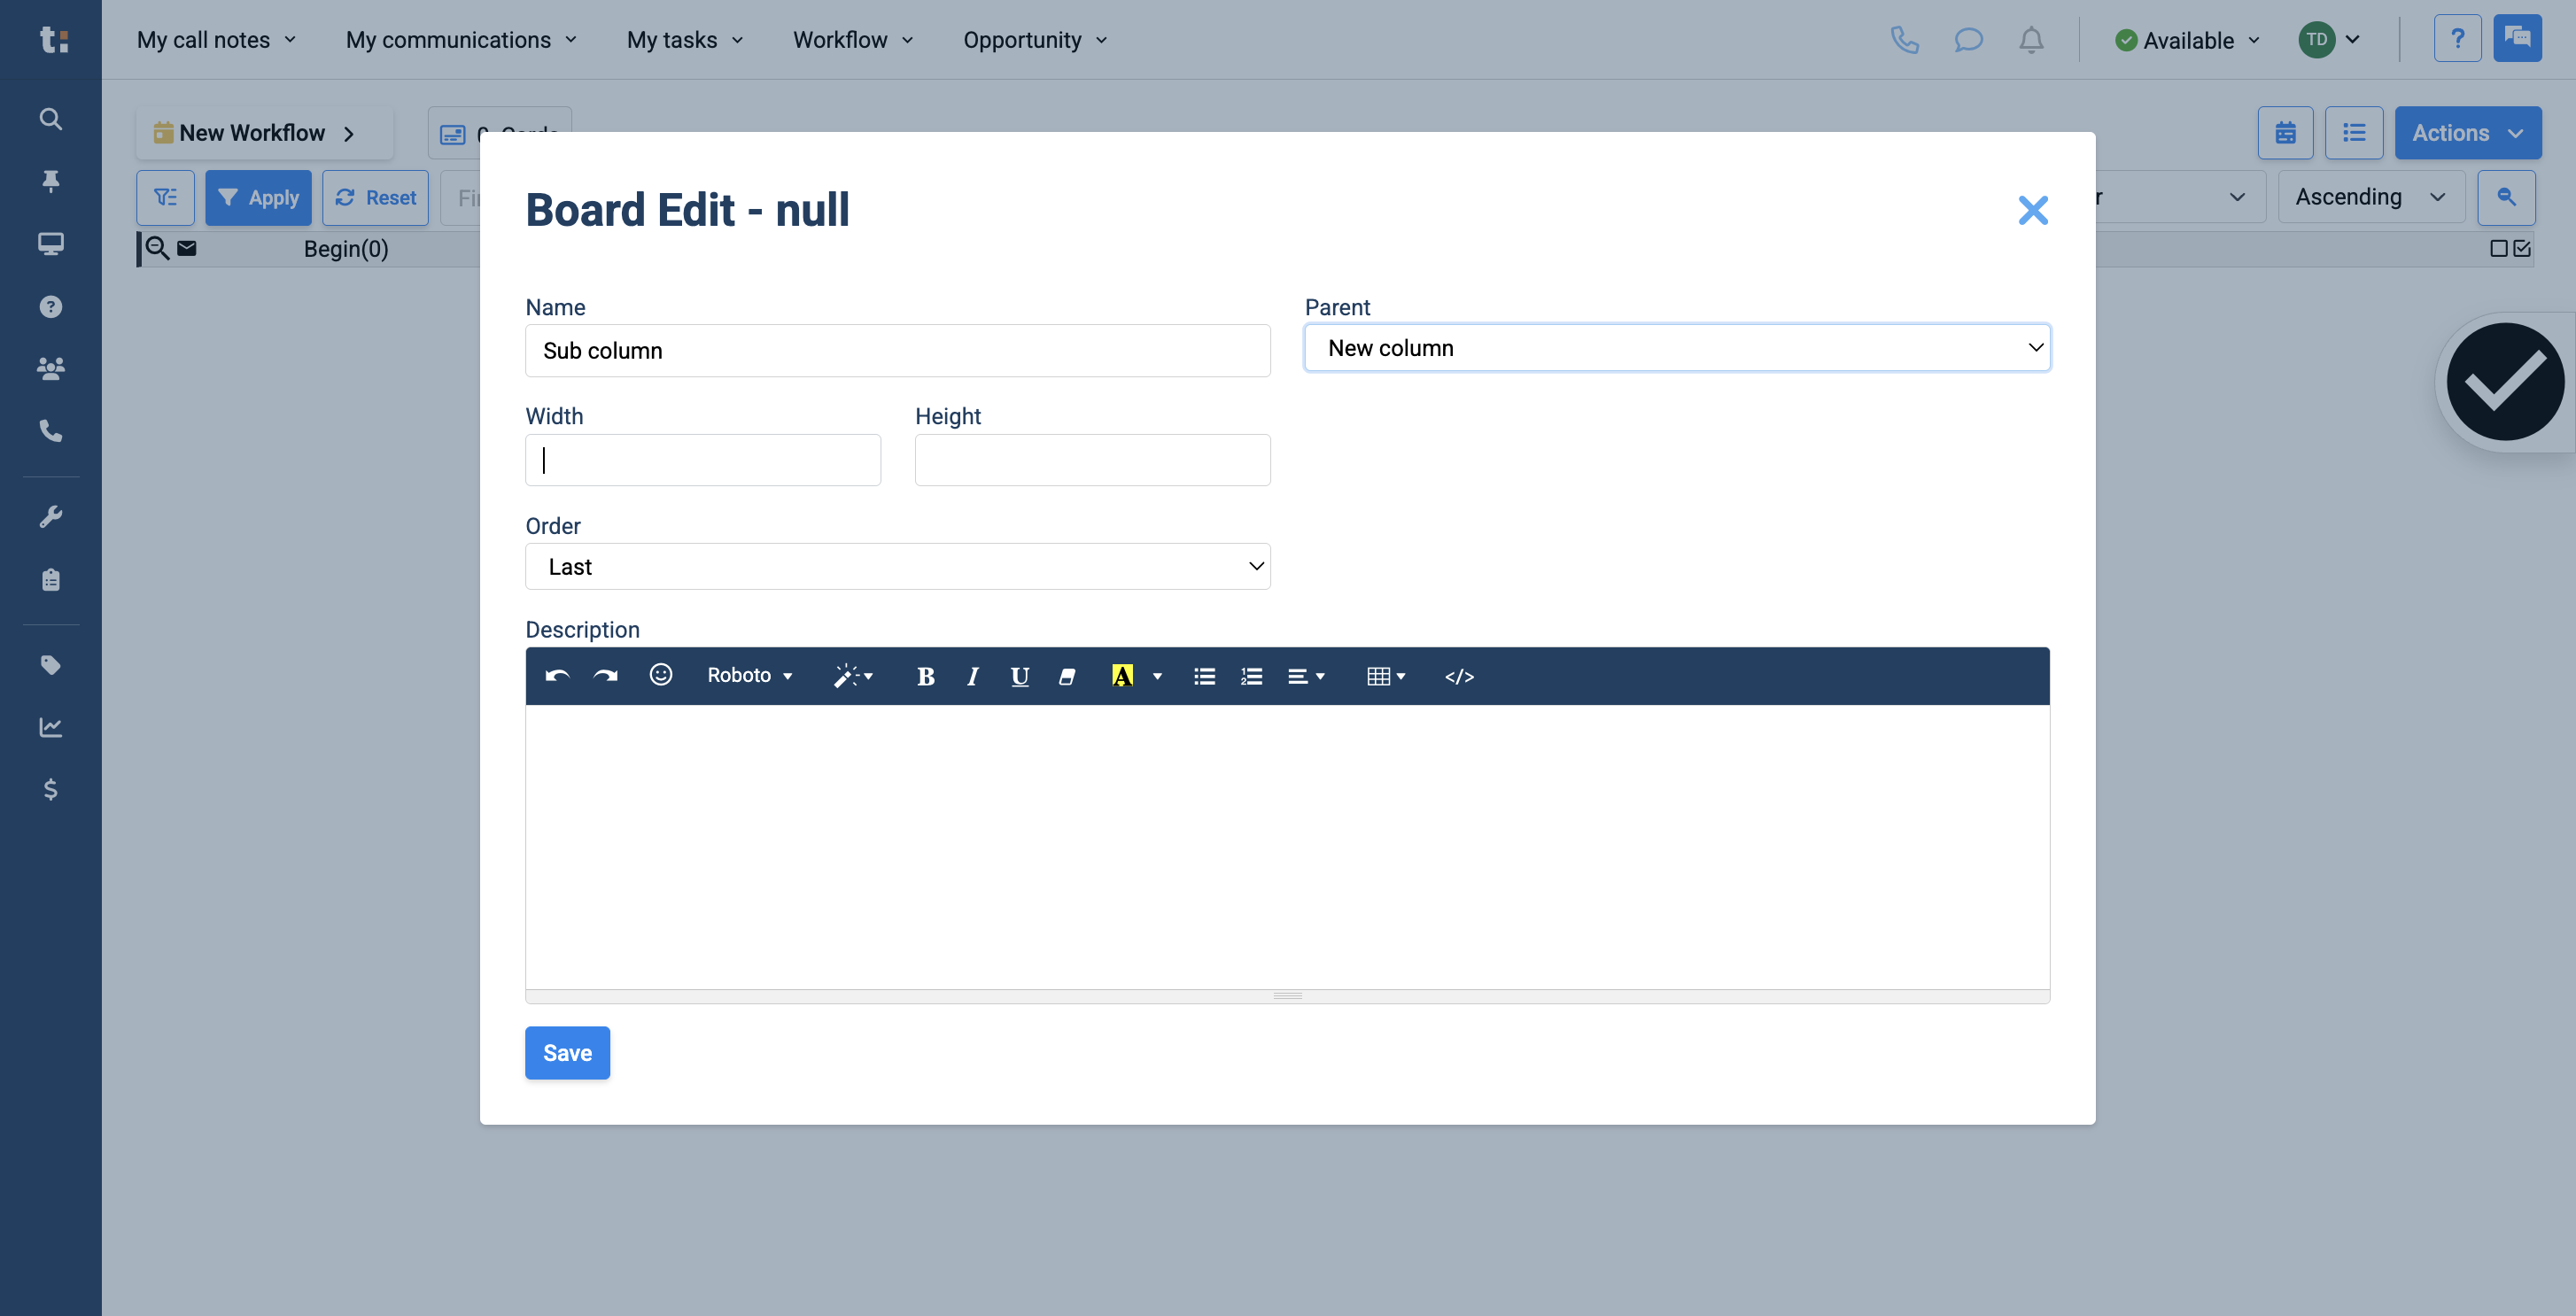
5
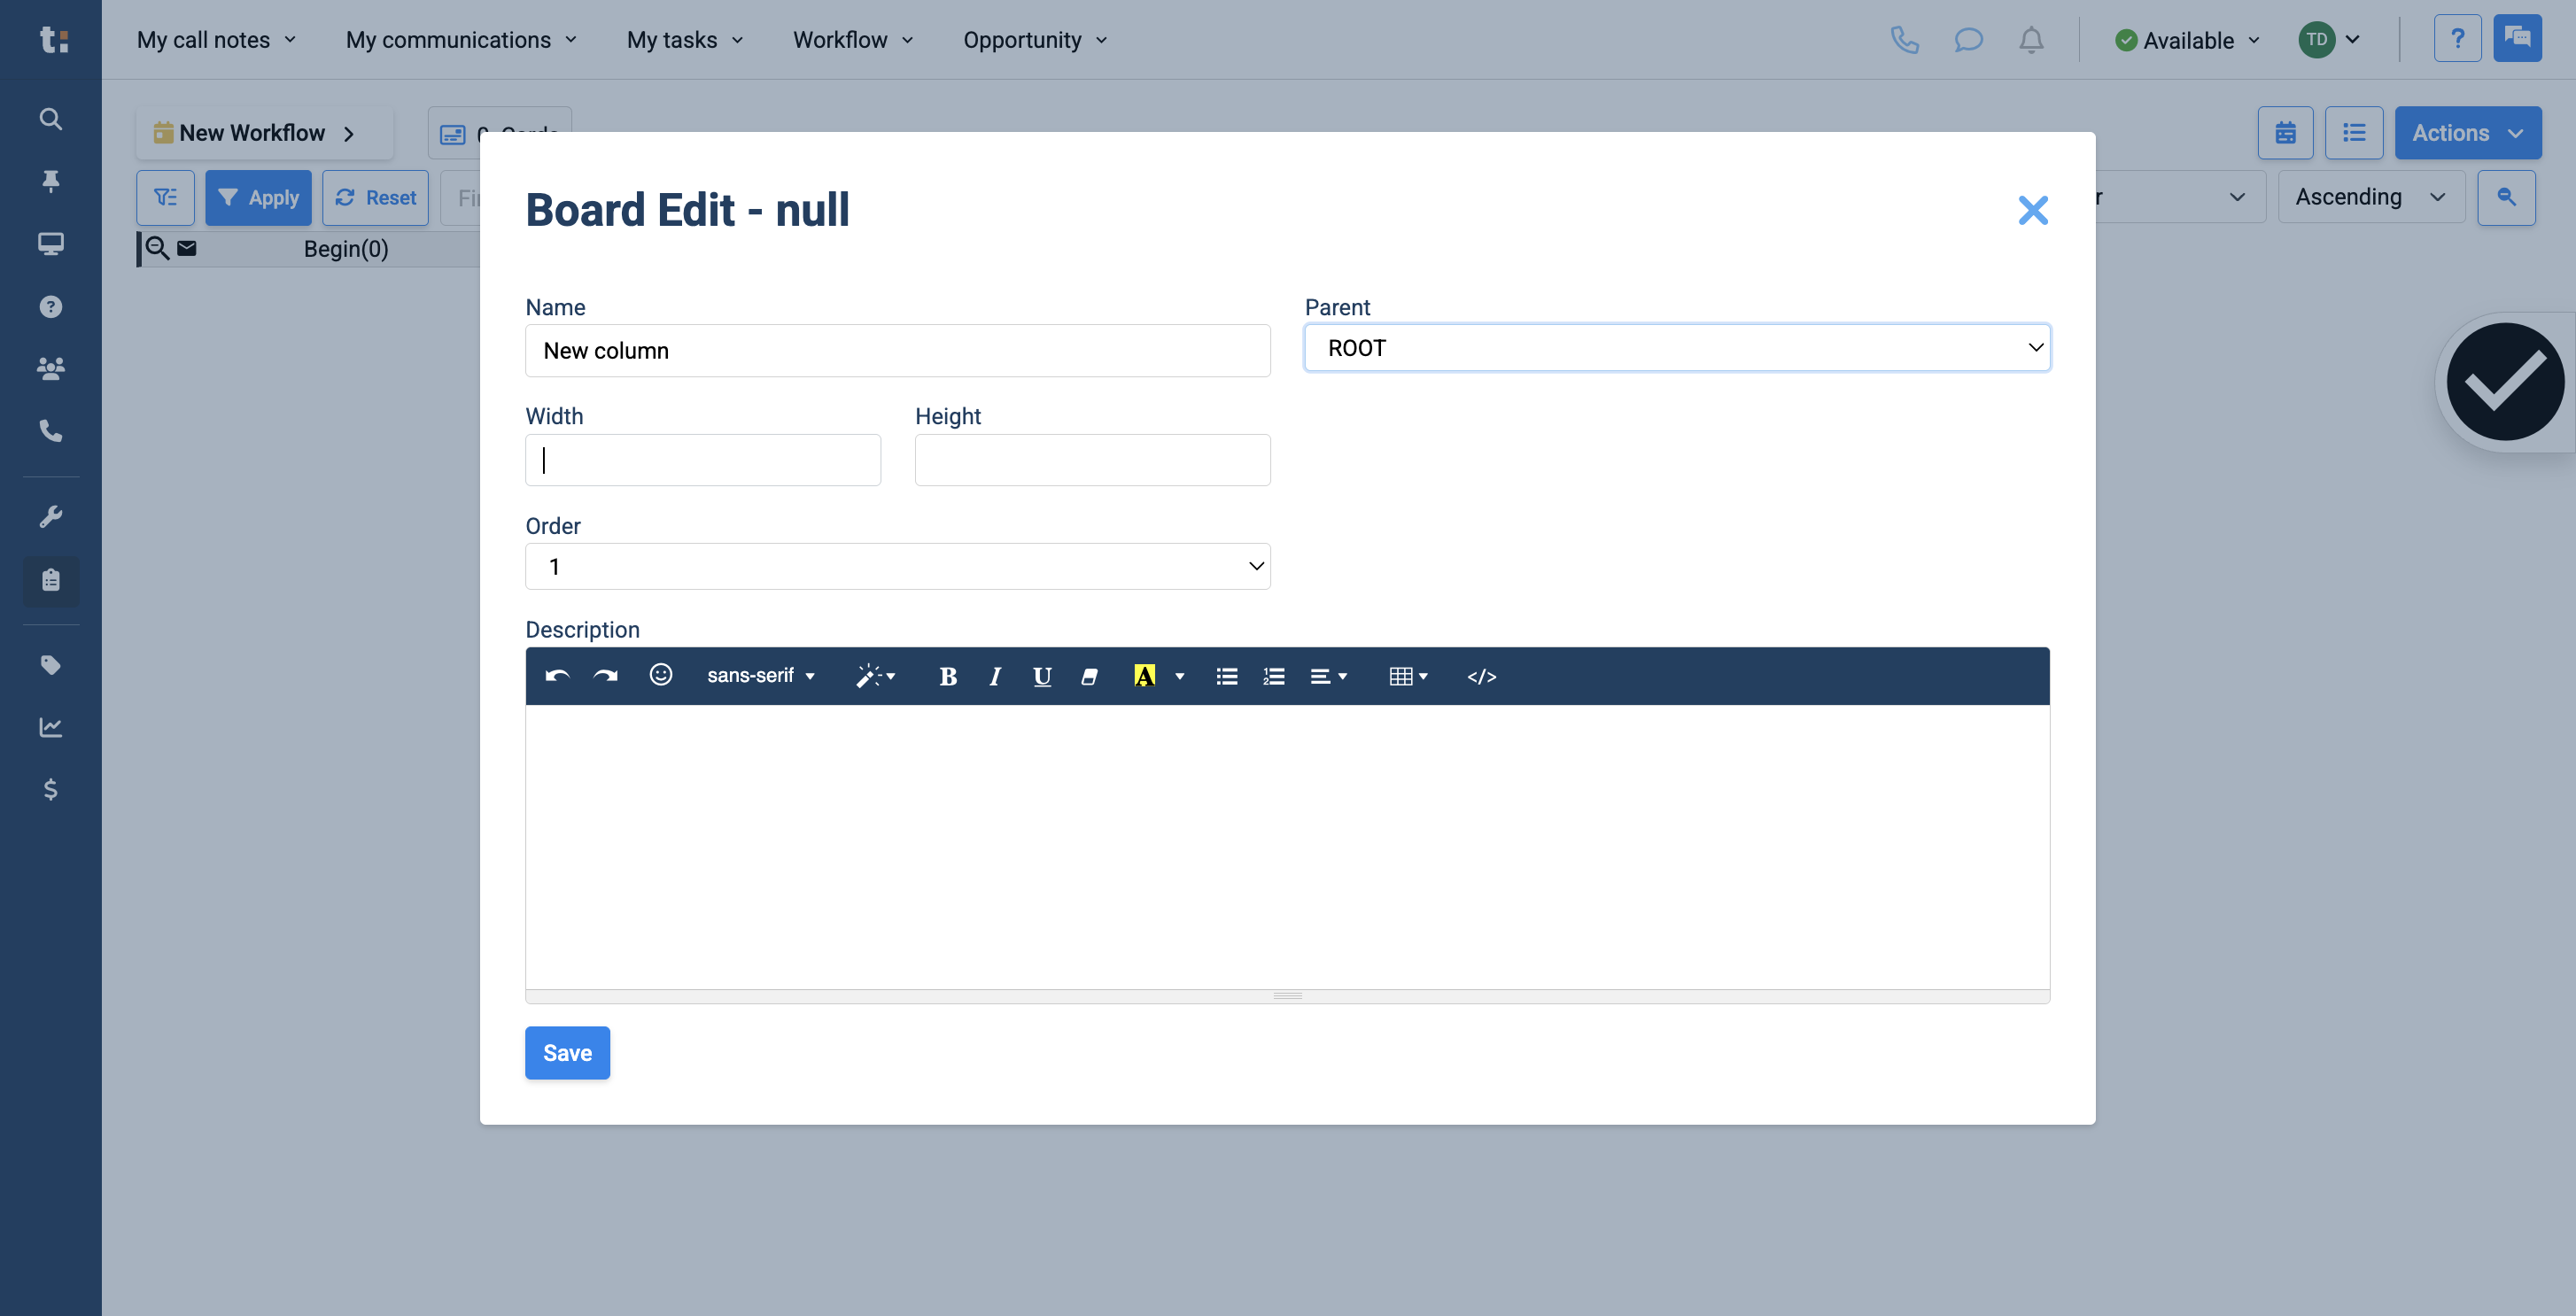
You can name your new column.

6
Click here

7
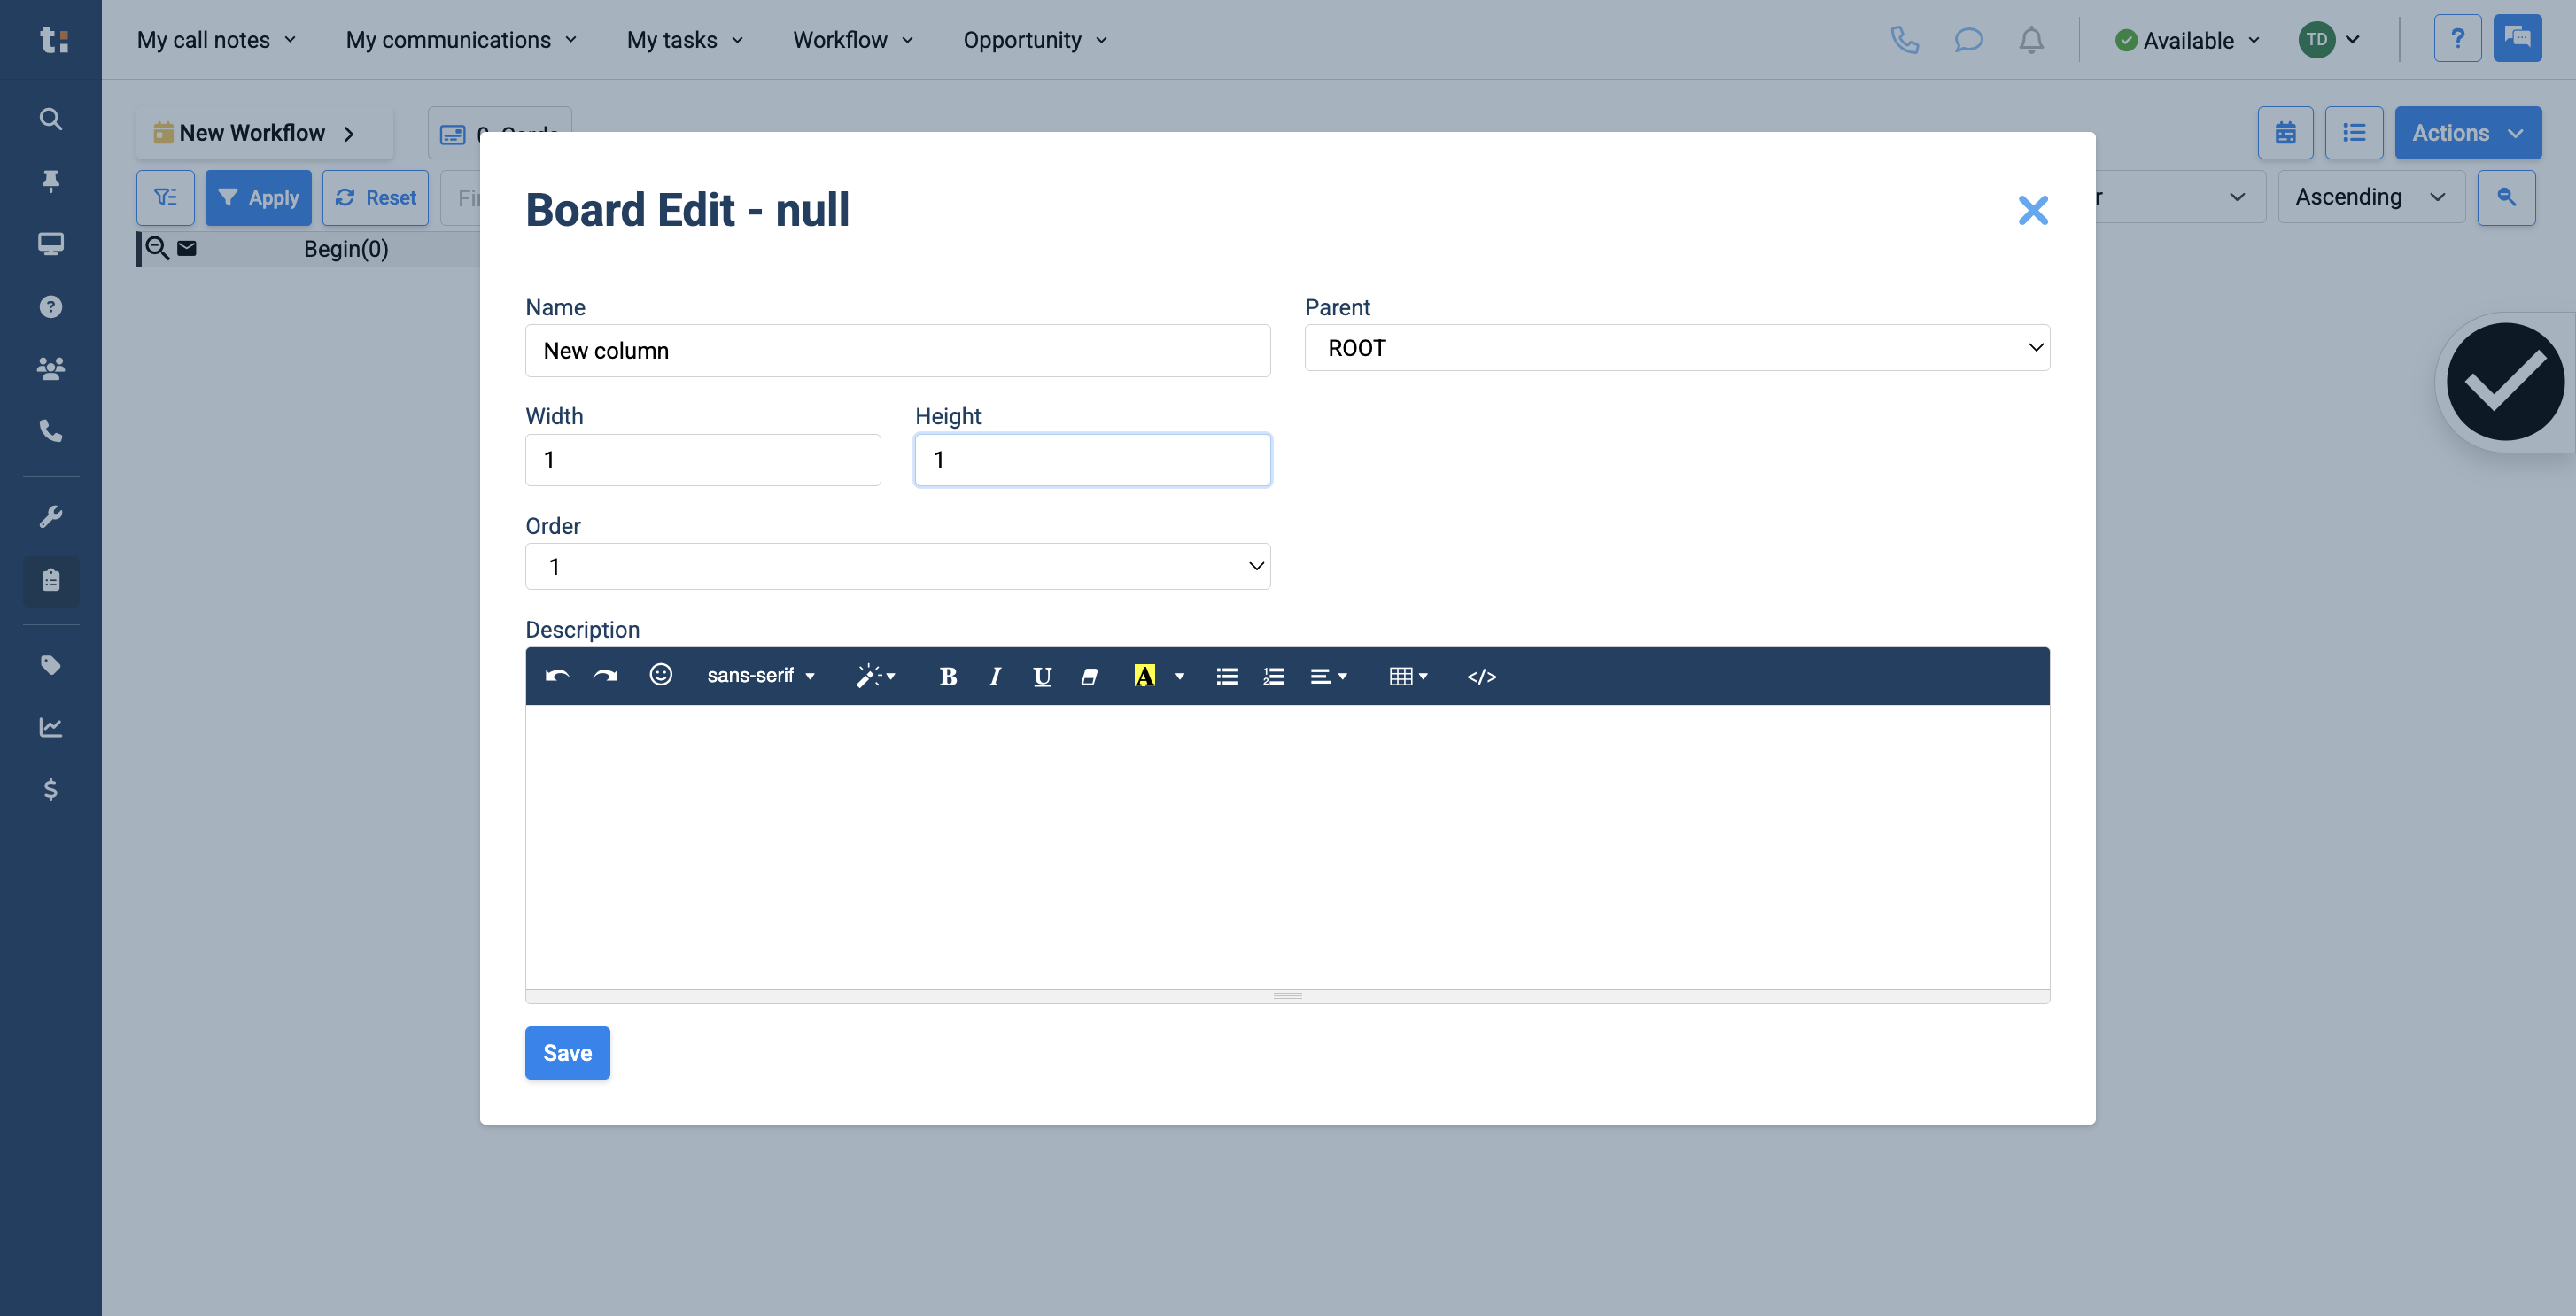
Choose the width and height.
8
One and one are standard sizes.
9
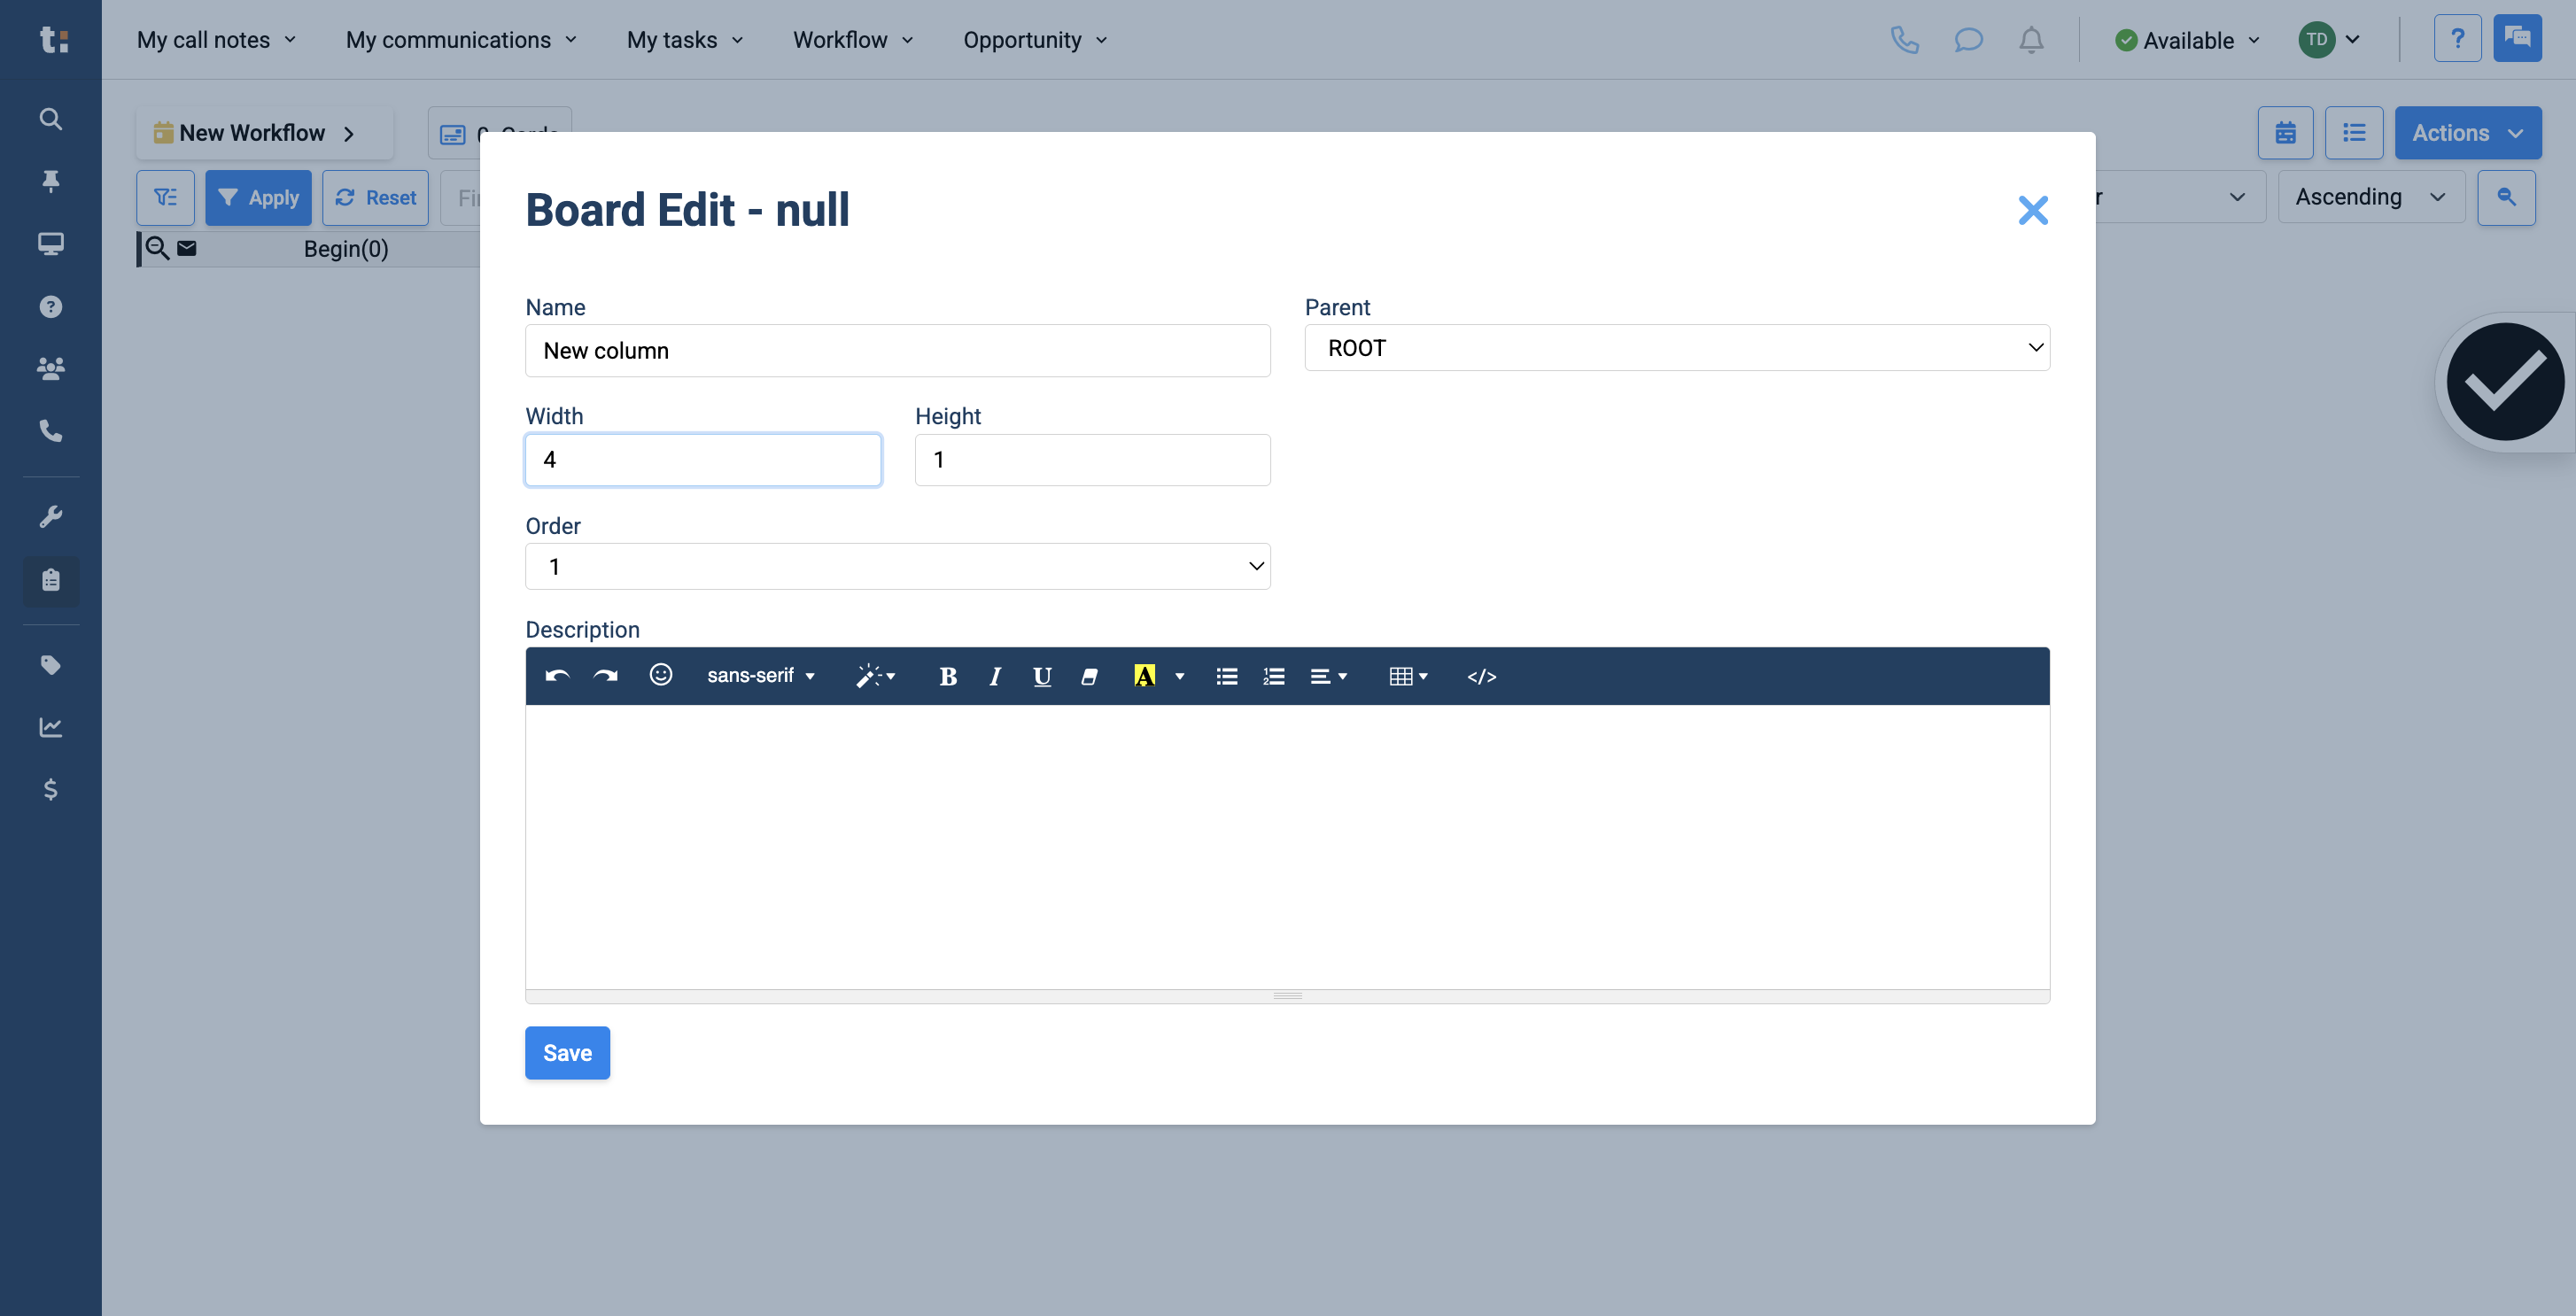
If you are creating a root column with multiple sub-columns, you may choose to set its width to size four. This means you will have space to add four columns under your root column.
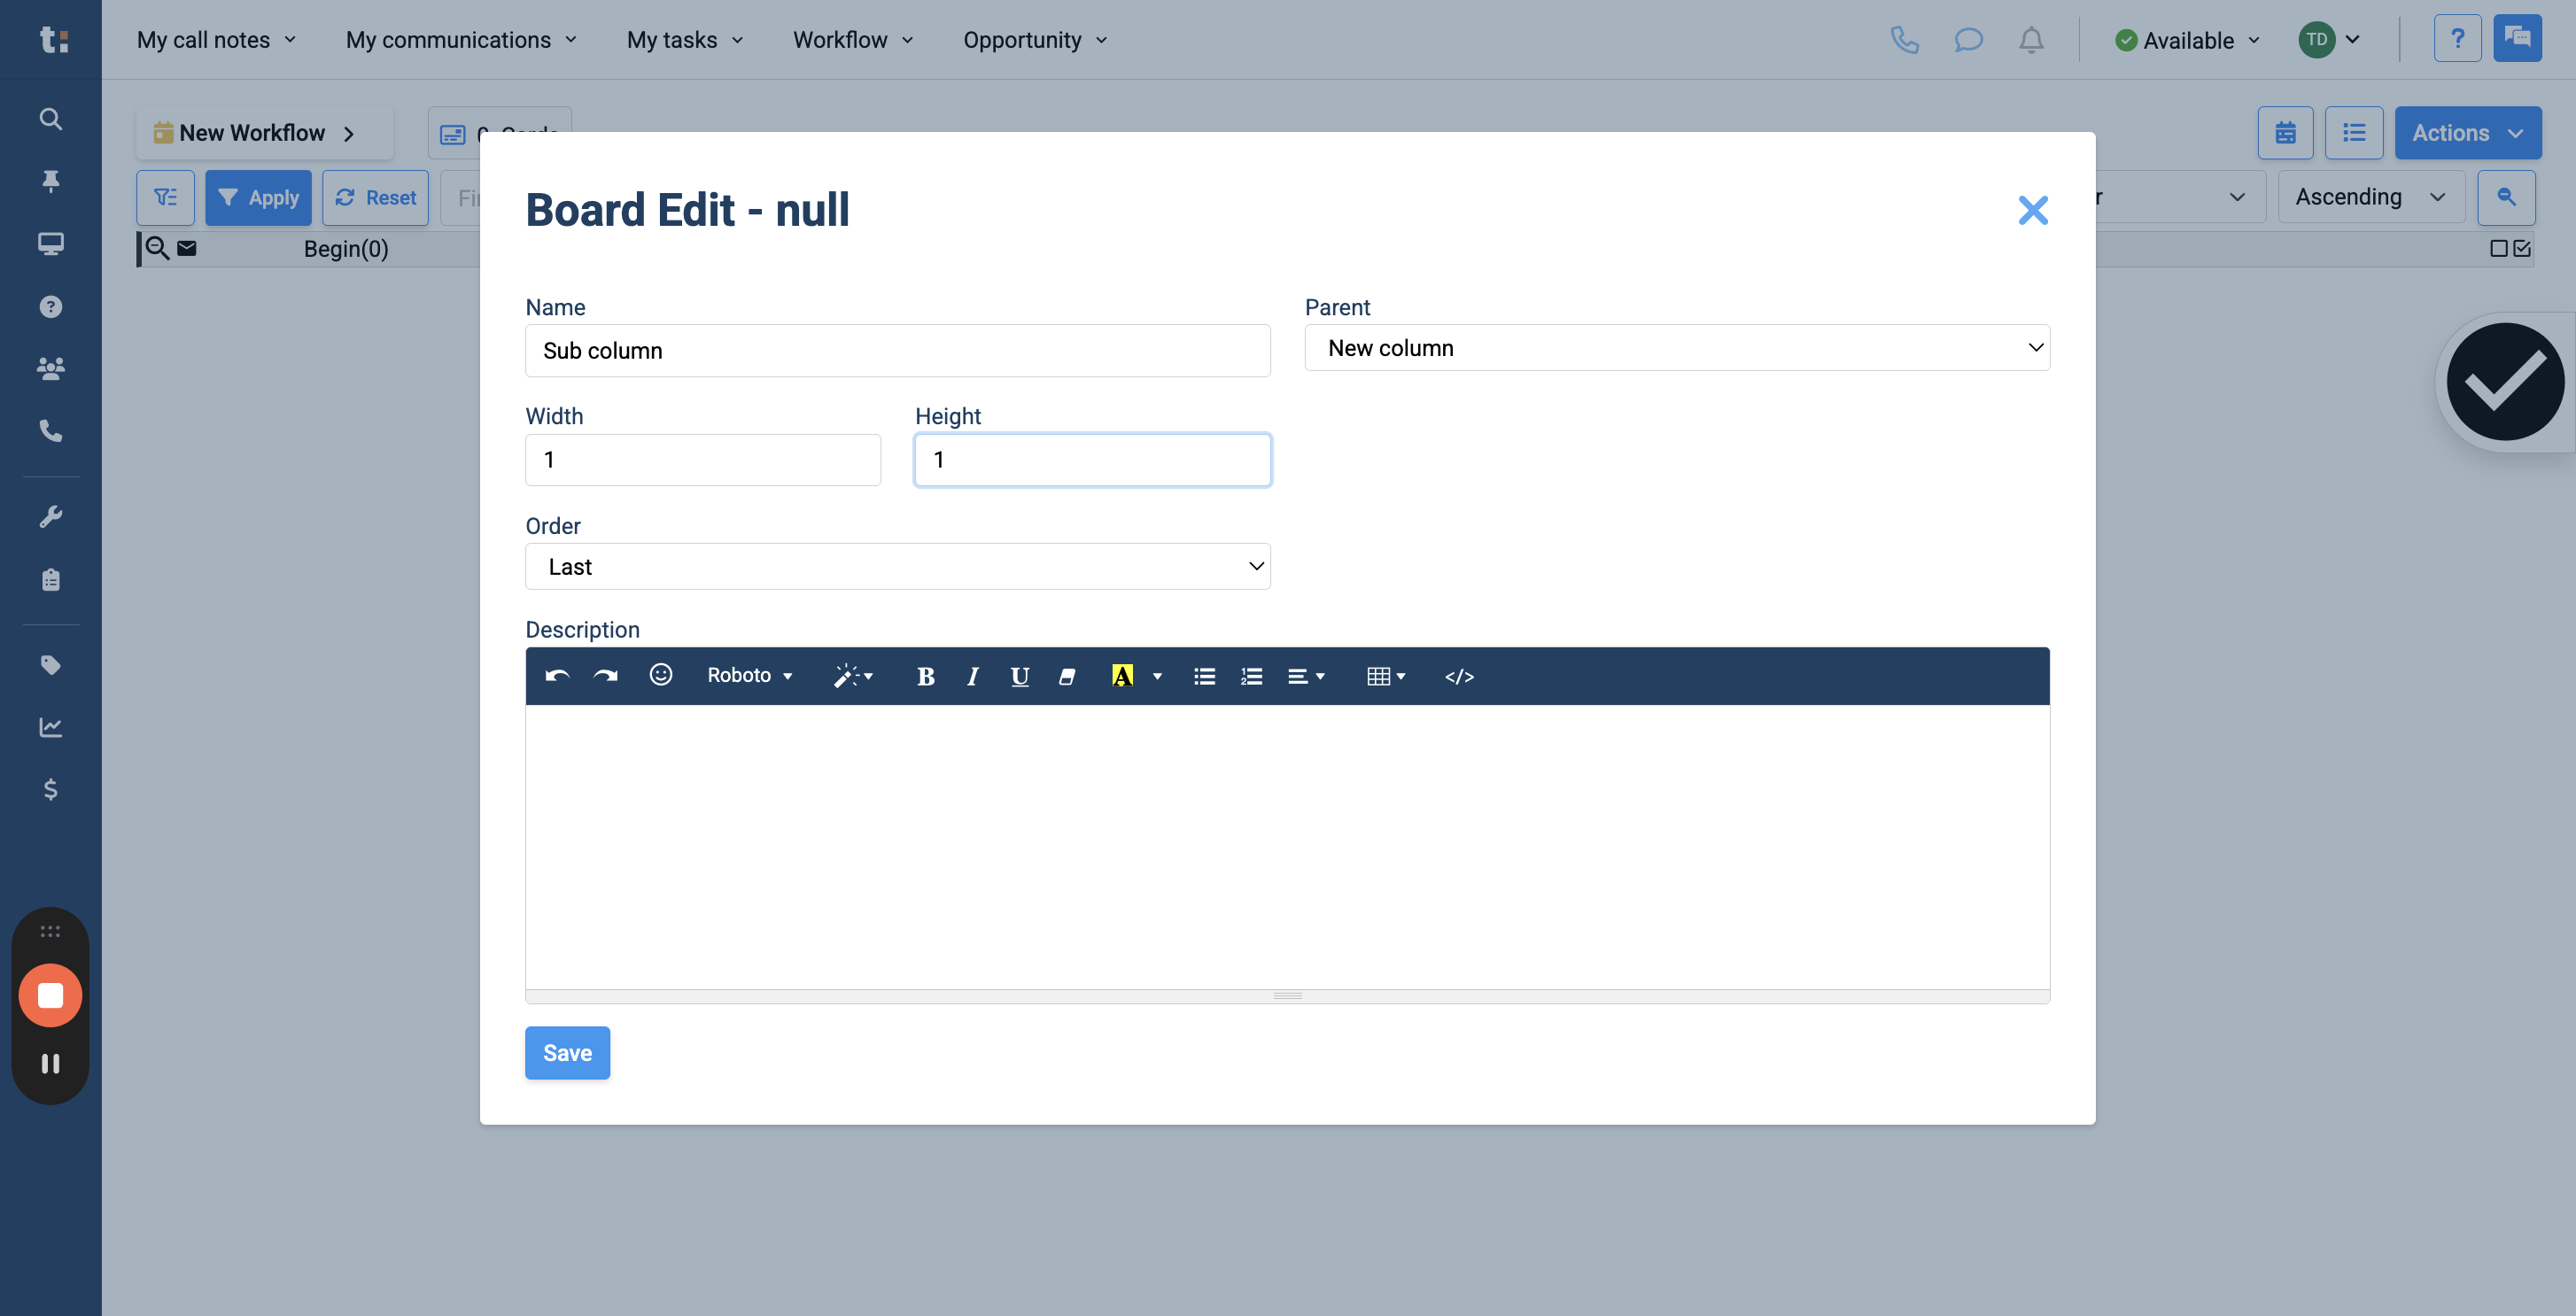
10
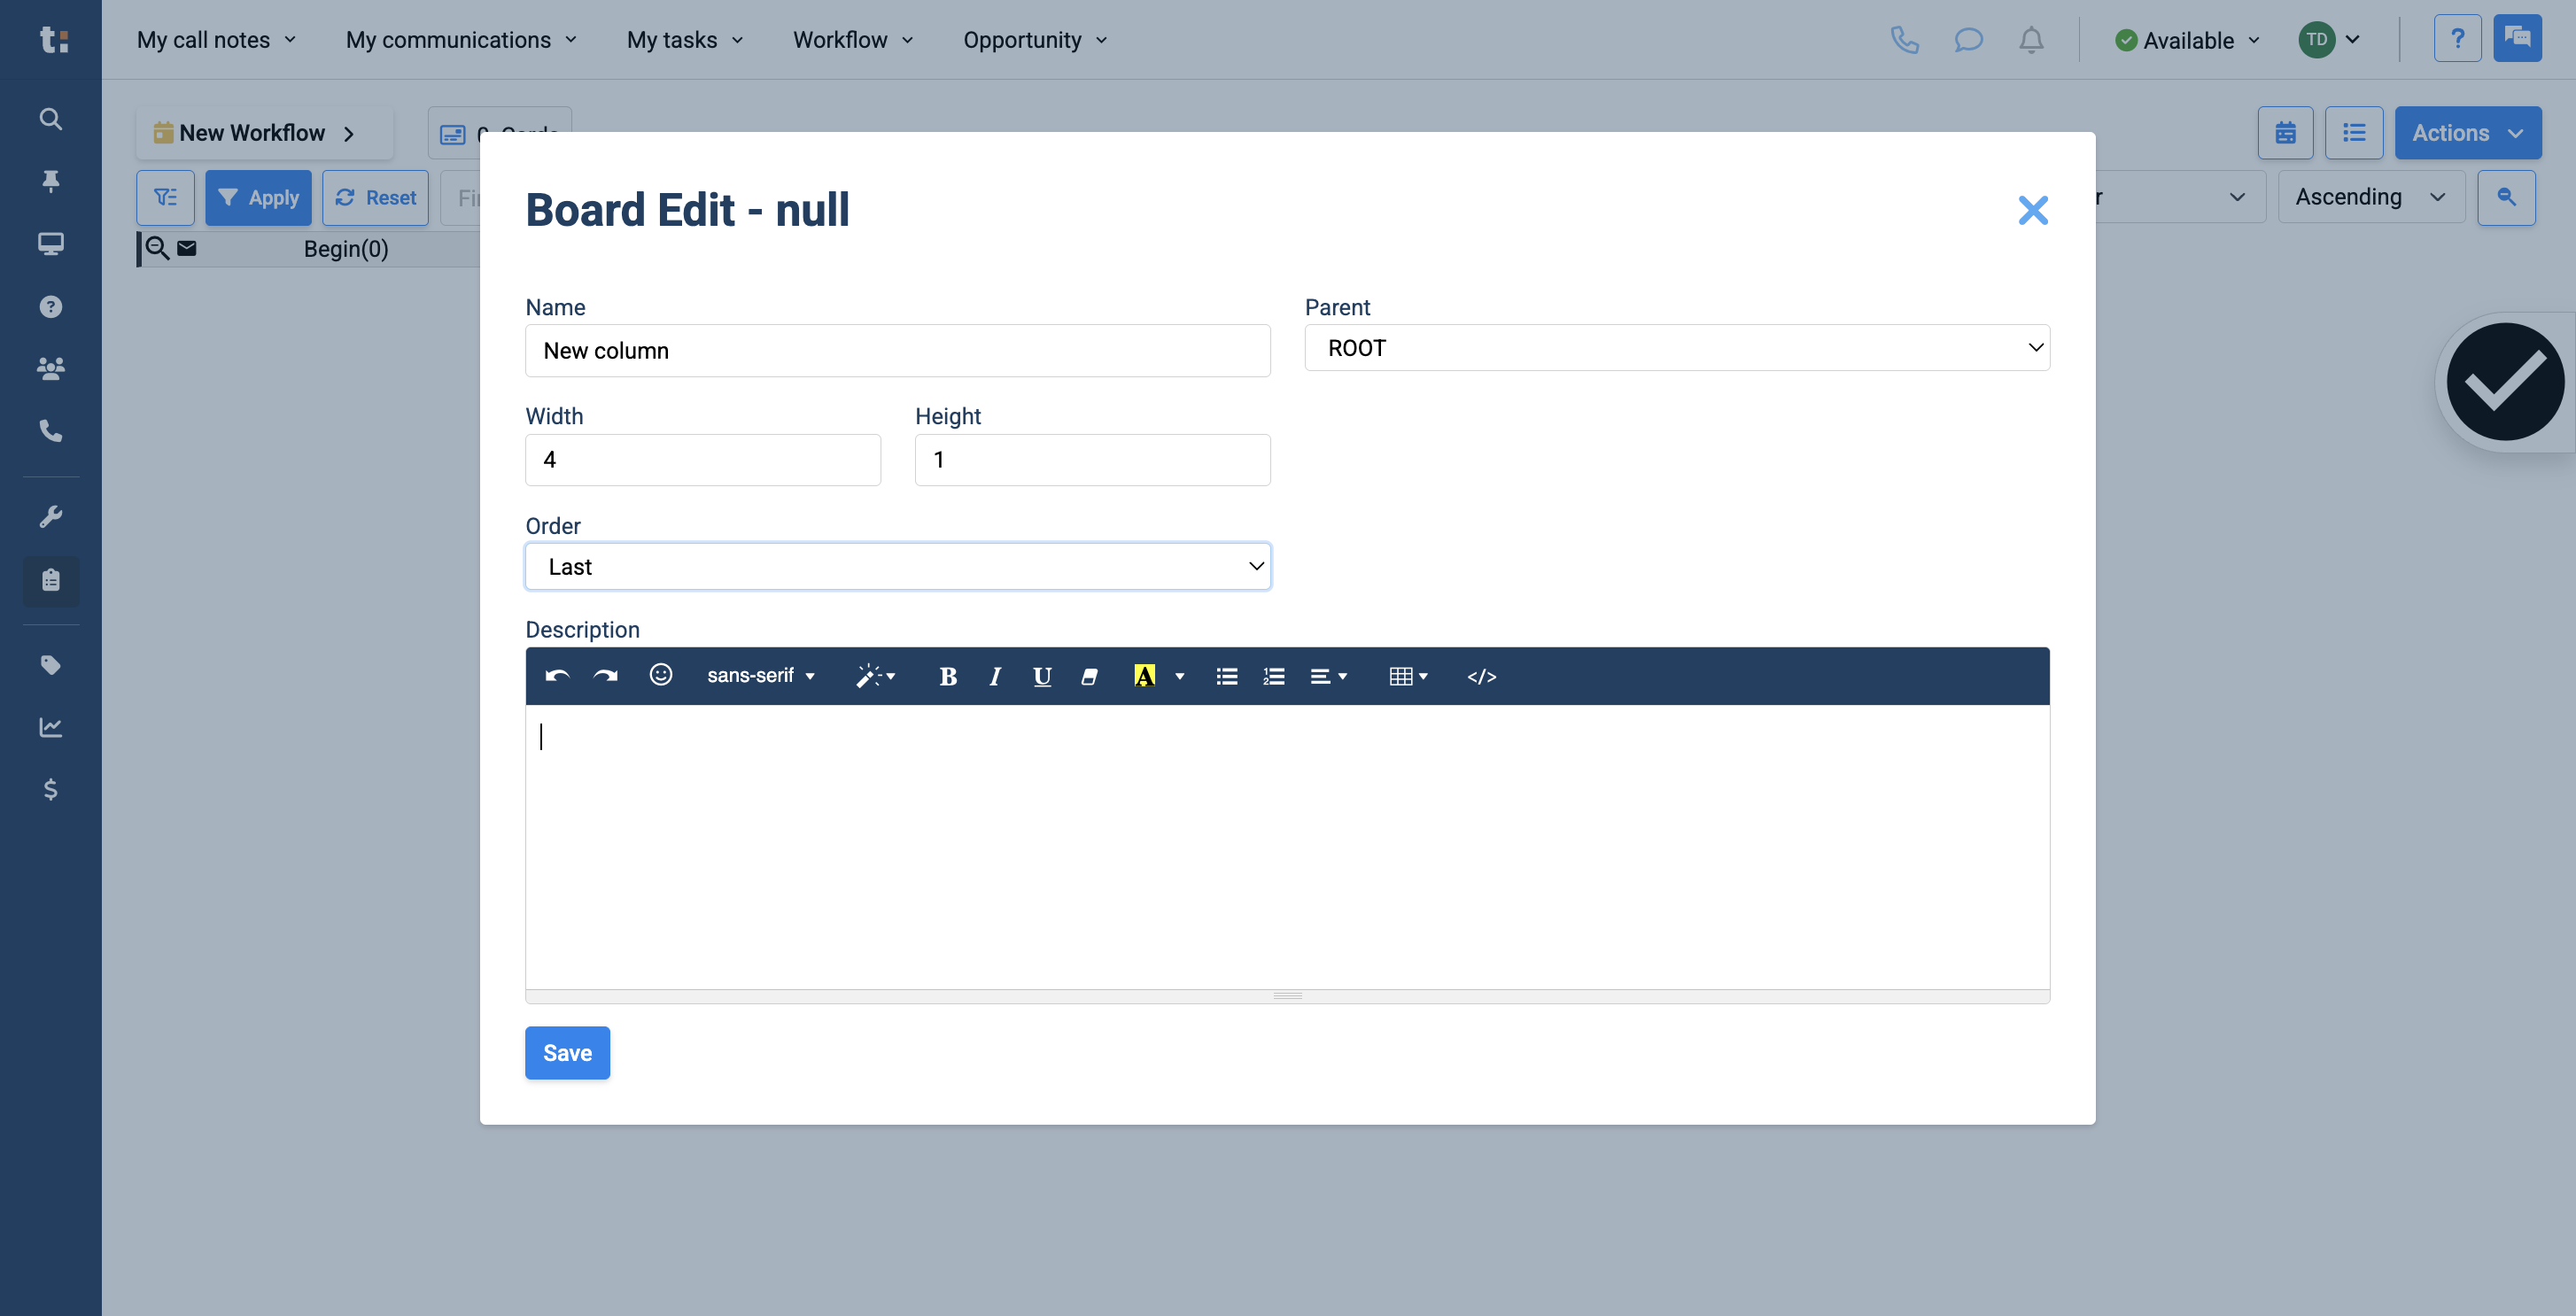
The order refers to the sequence in which a column will be displayed. You can set it to be first in line, second, or automatically last.

11
If you wish, you can write a description for your column. Include the actions that need to be performed in this column.
12
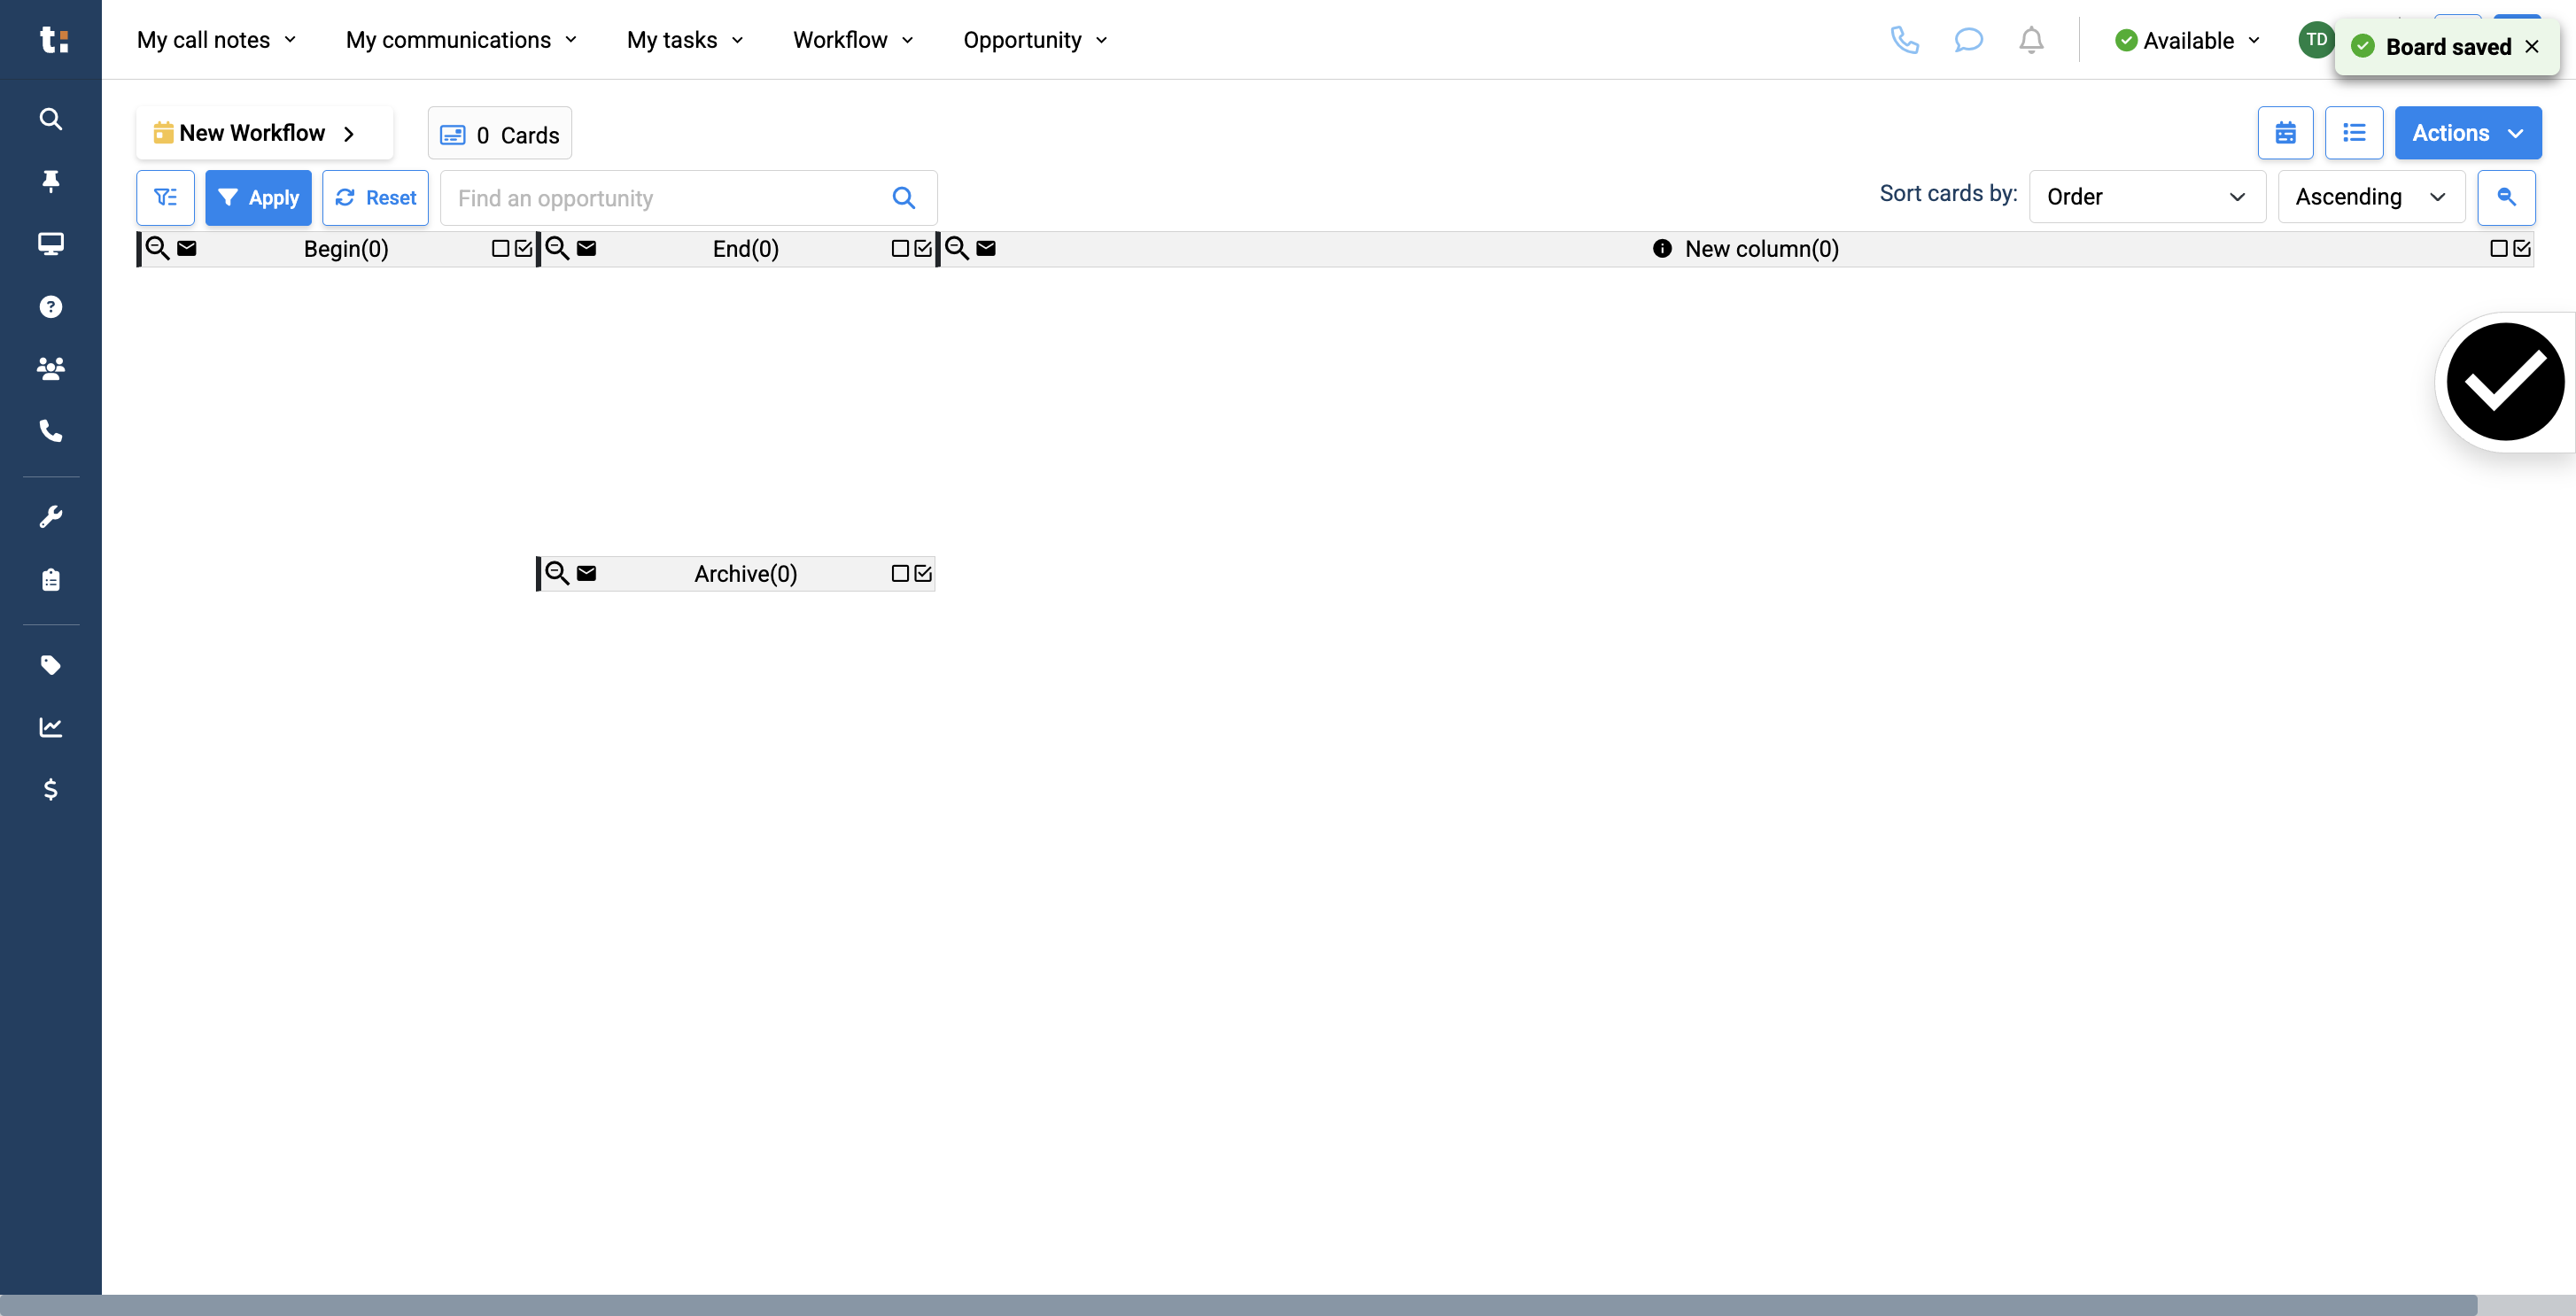
When you finish, click Save.
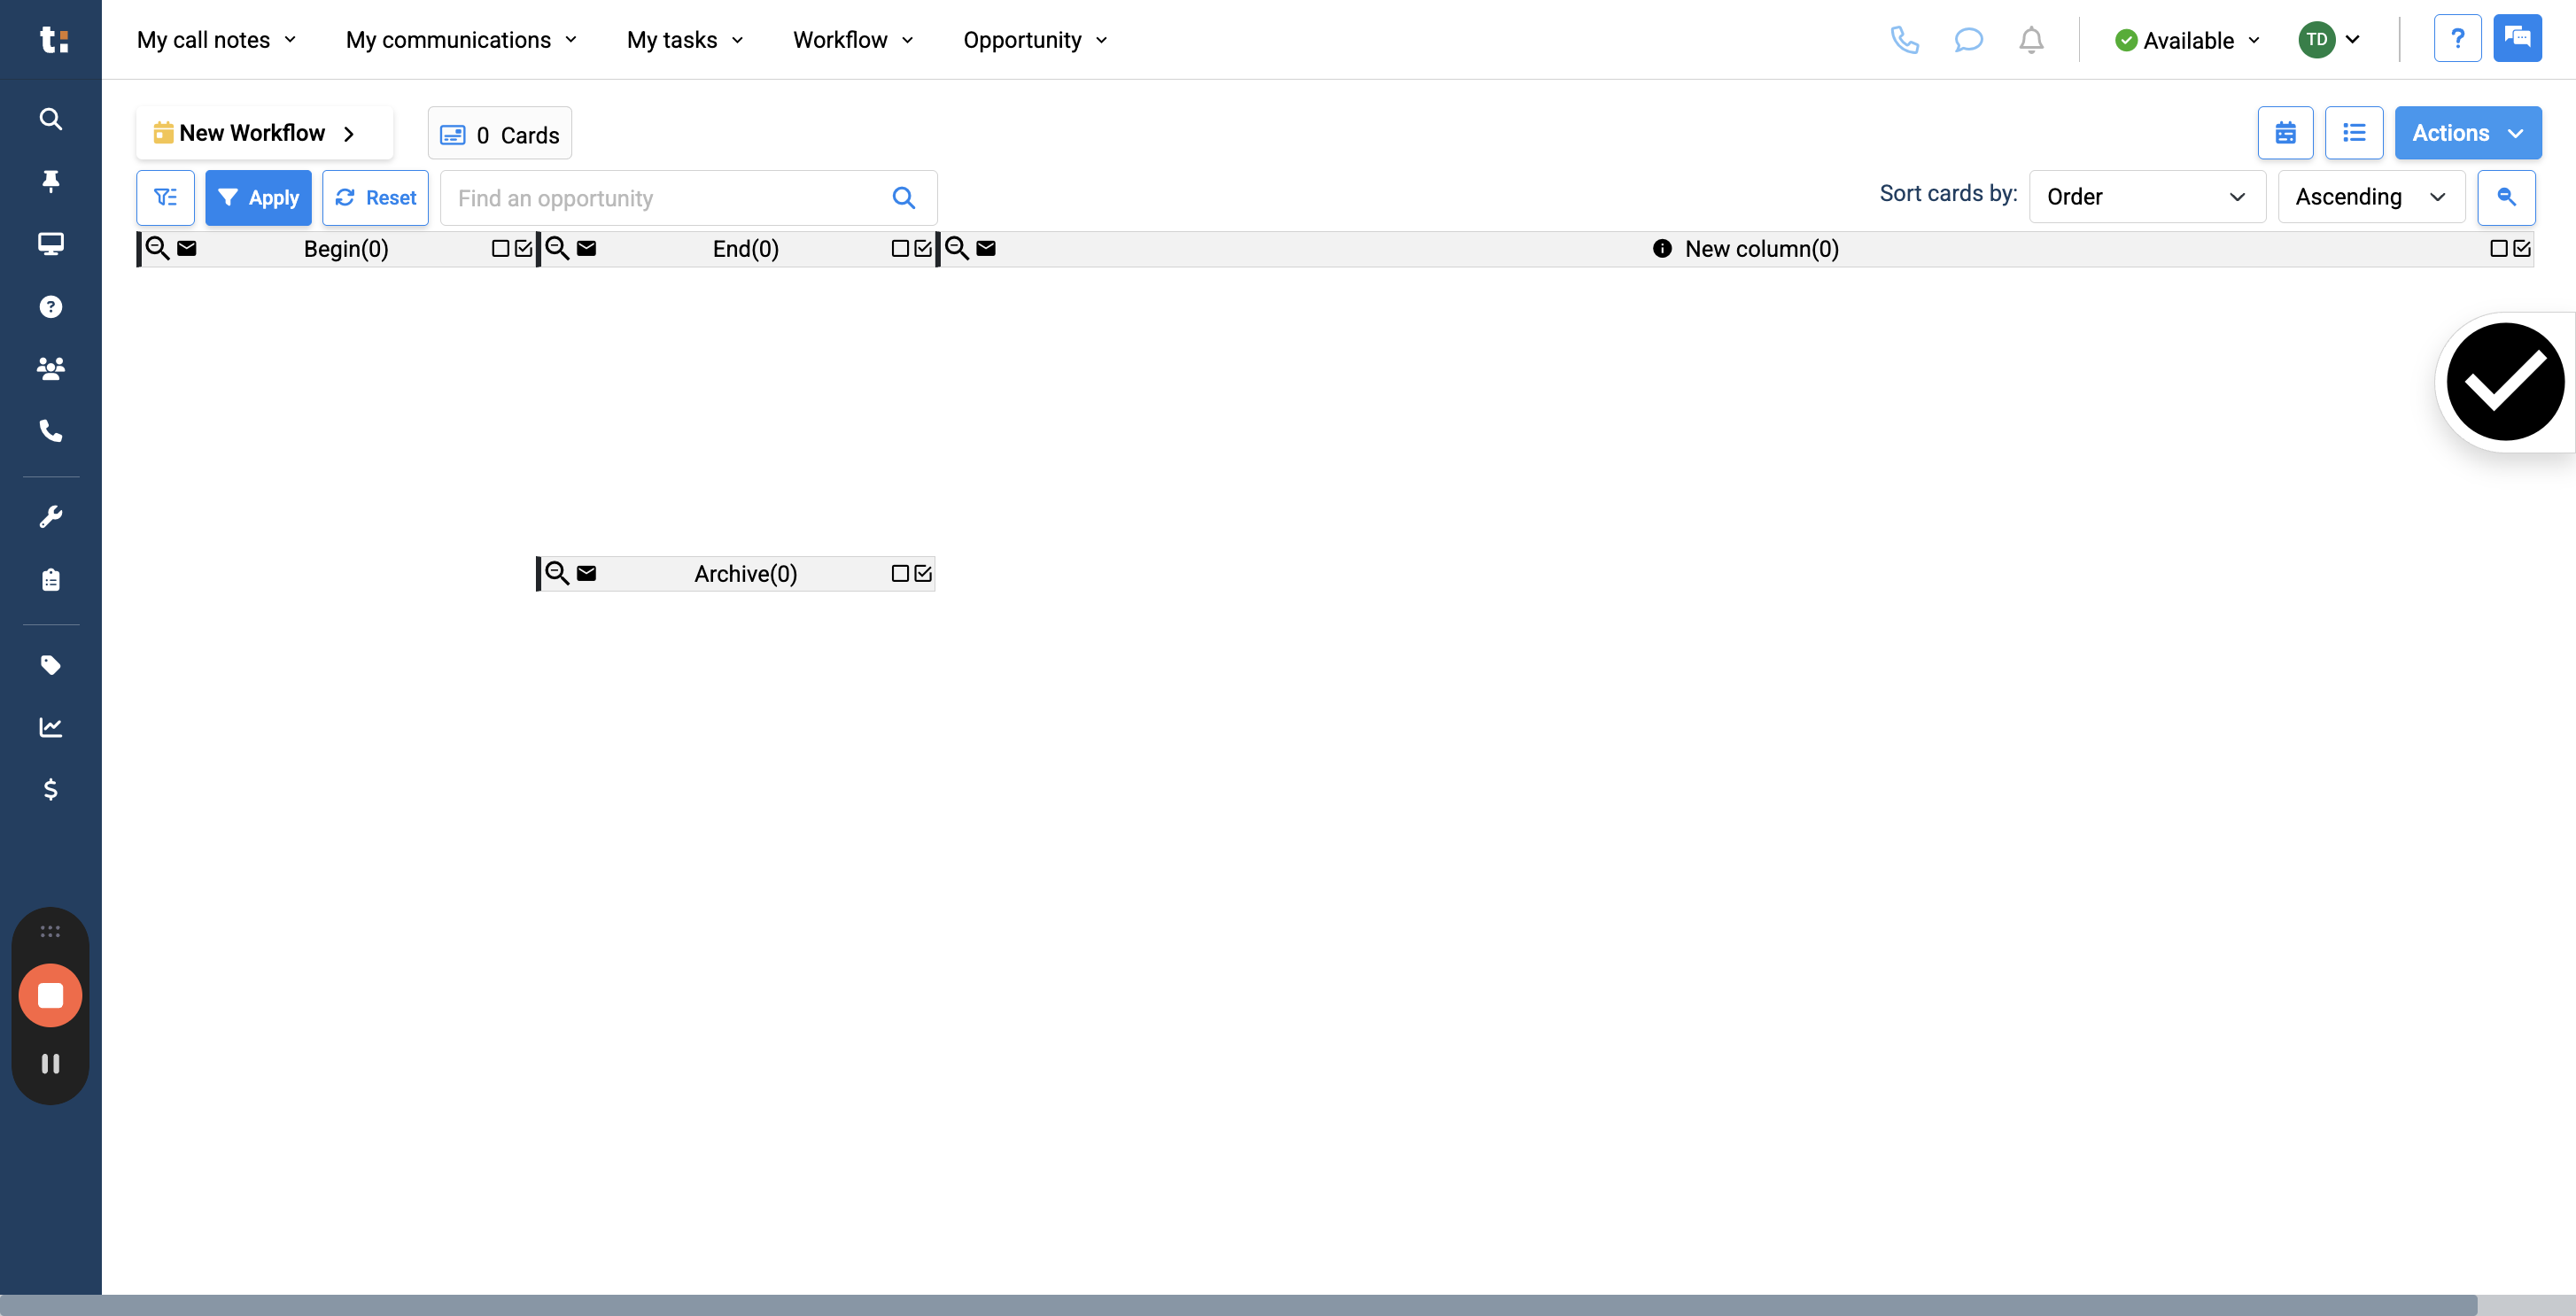
13
The new column is longer than the others because I set its width to size four.
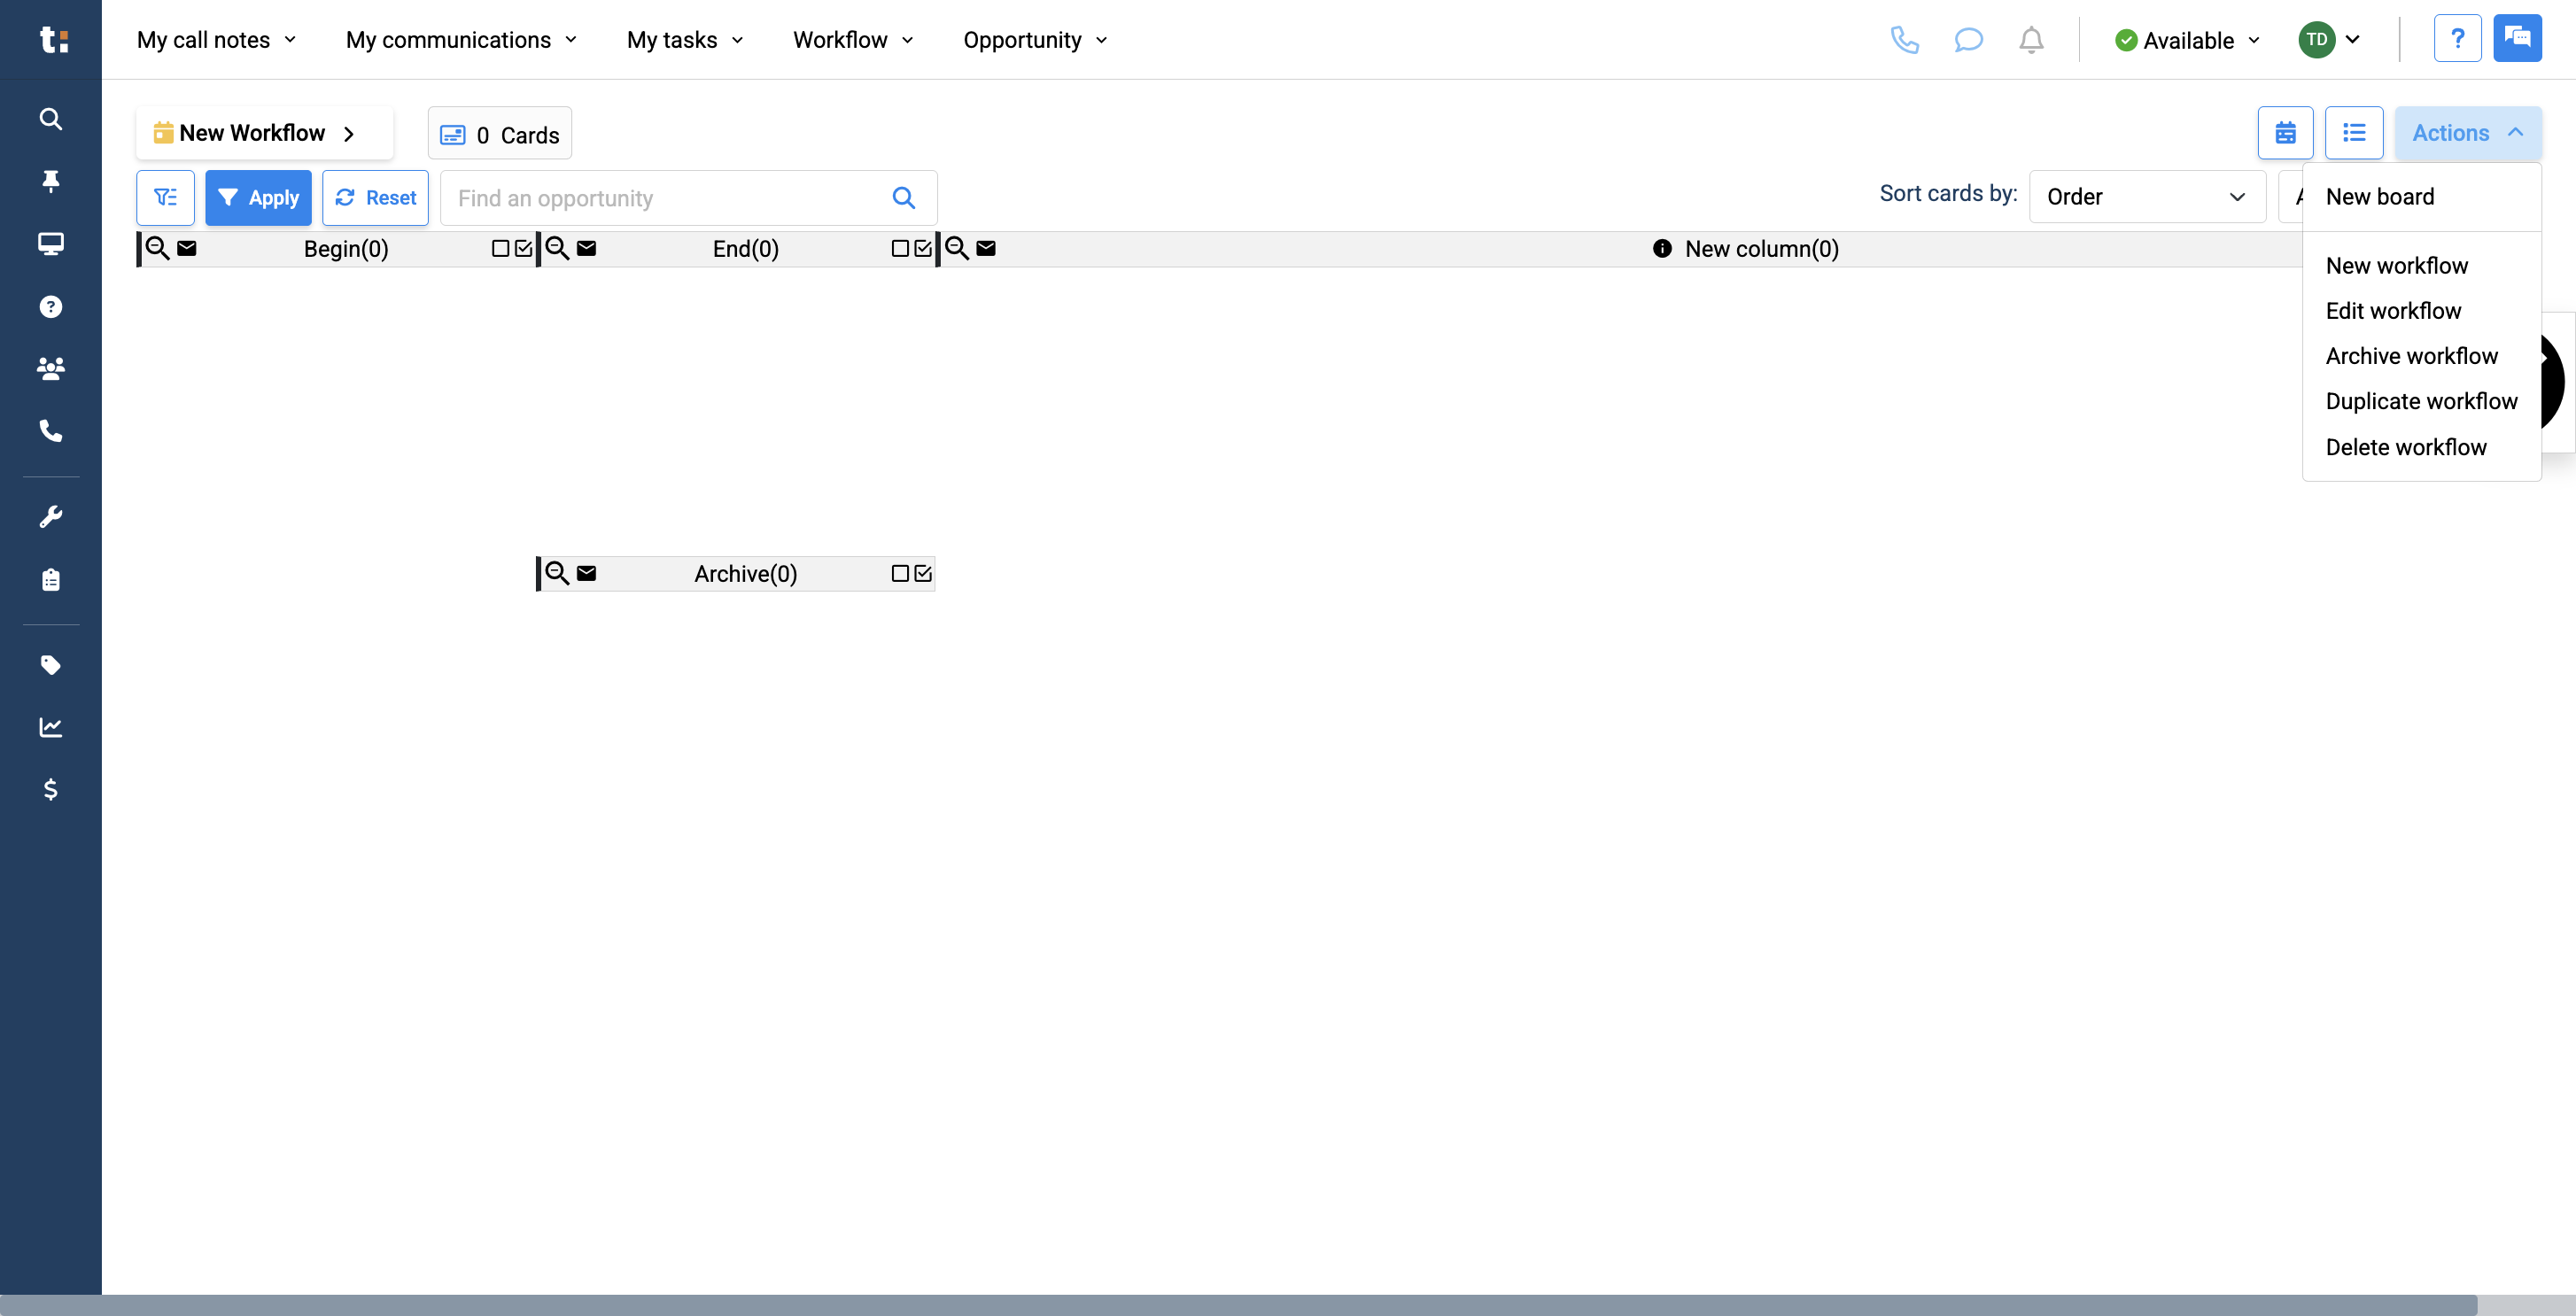
14
To add sub-columns to the new column, go to Actions,
15
click New Board
16
and name it.

17
Instead of setting it as a root column, place it under the parent column.

18
I'll set the width and height to one, then click Save.
19
Click save
20
Now that this is done, you can see I have created my new column and sub-column.
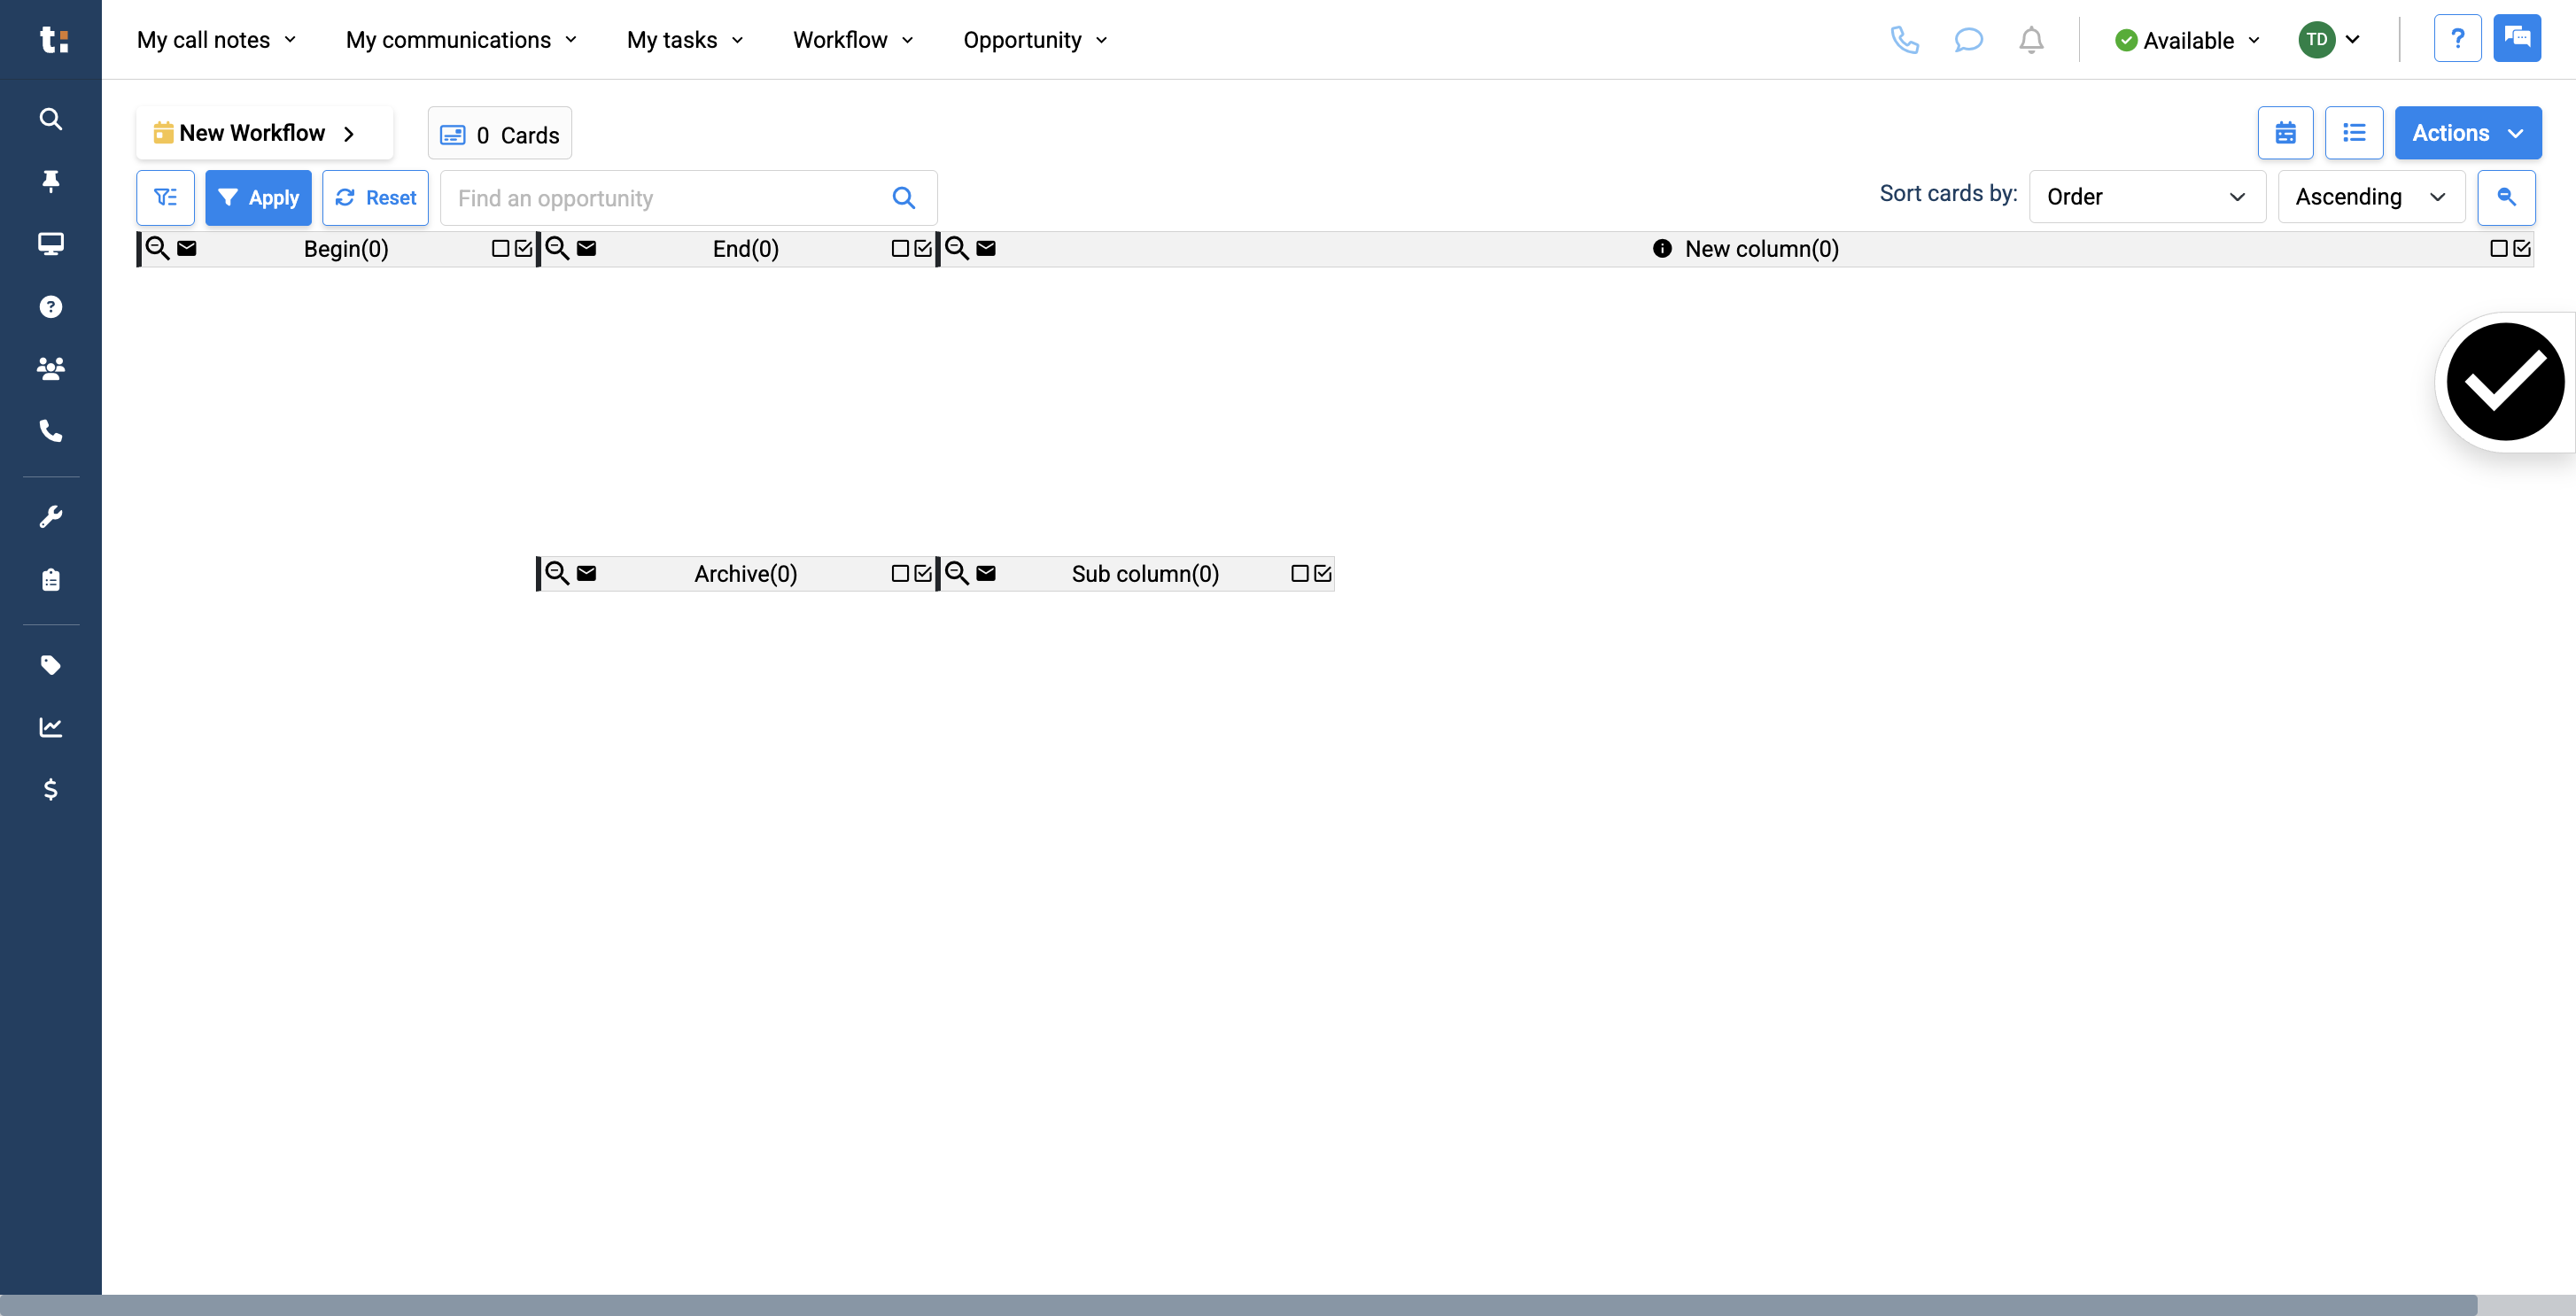
21

Repeat the last steps three more times to complete the sub-categories under your new column.
If you still have questions after consulting this article, please feel free to contact our support team at: support@tractiondk.zohodesk.com