
How to Add Eligibility Rows and Sign Up for a New Account
Learn how to setup an eligibility file to use for signing up as a test customer
By Jens Astrup
By following these steps, you can get a new account properly set up and linked to the eligibility criteria you have defined.
Let's get started
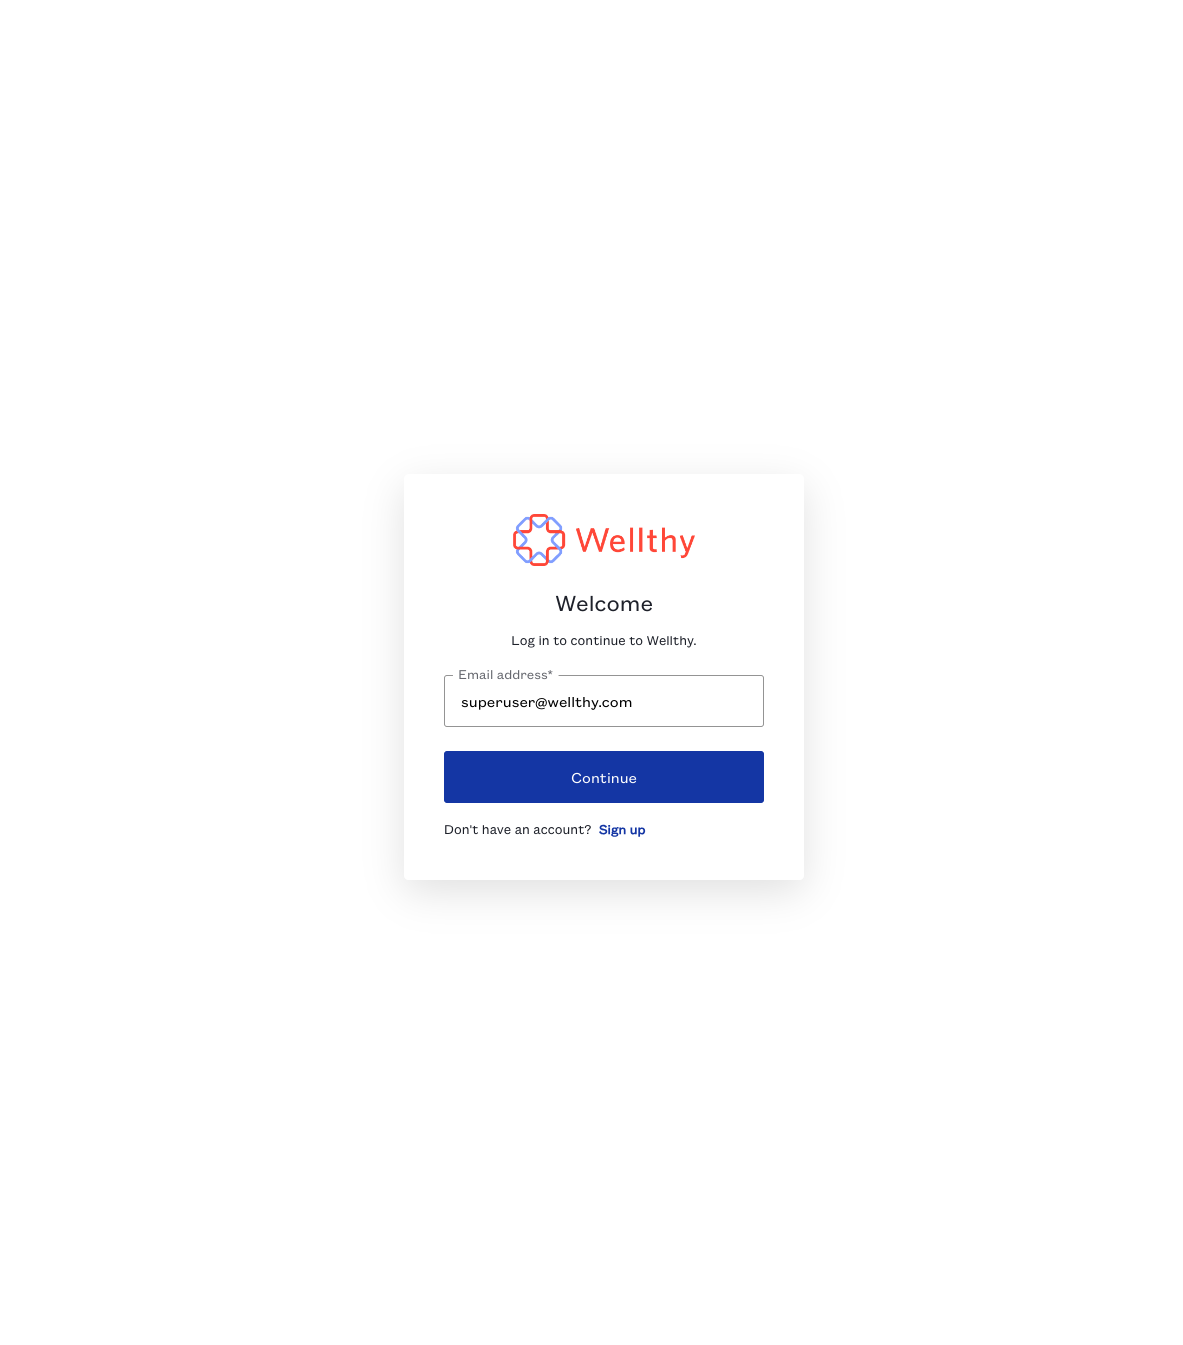
Log in as a super user on the staging environment.
2
Click "LOG IN"

3
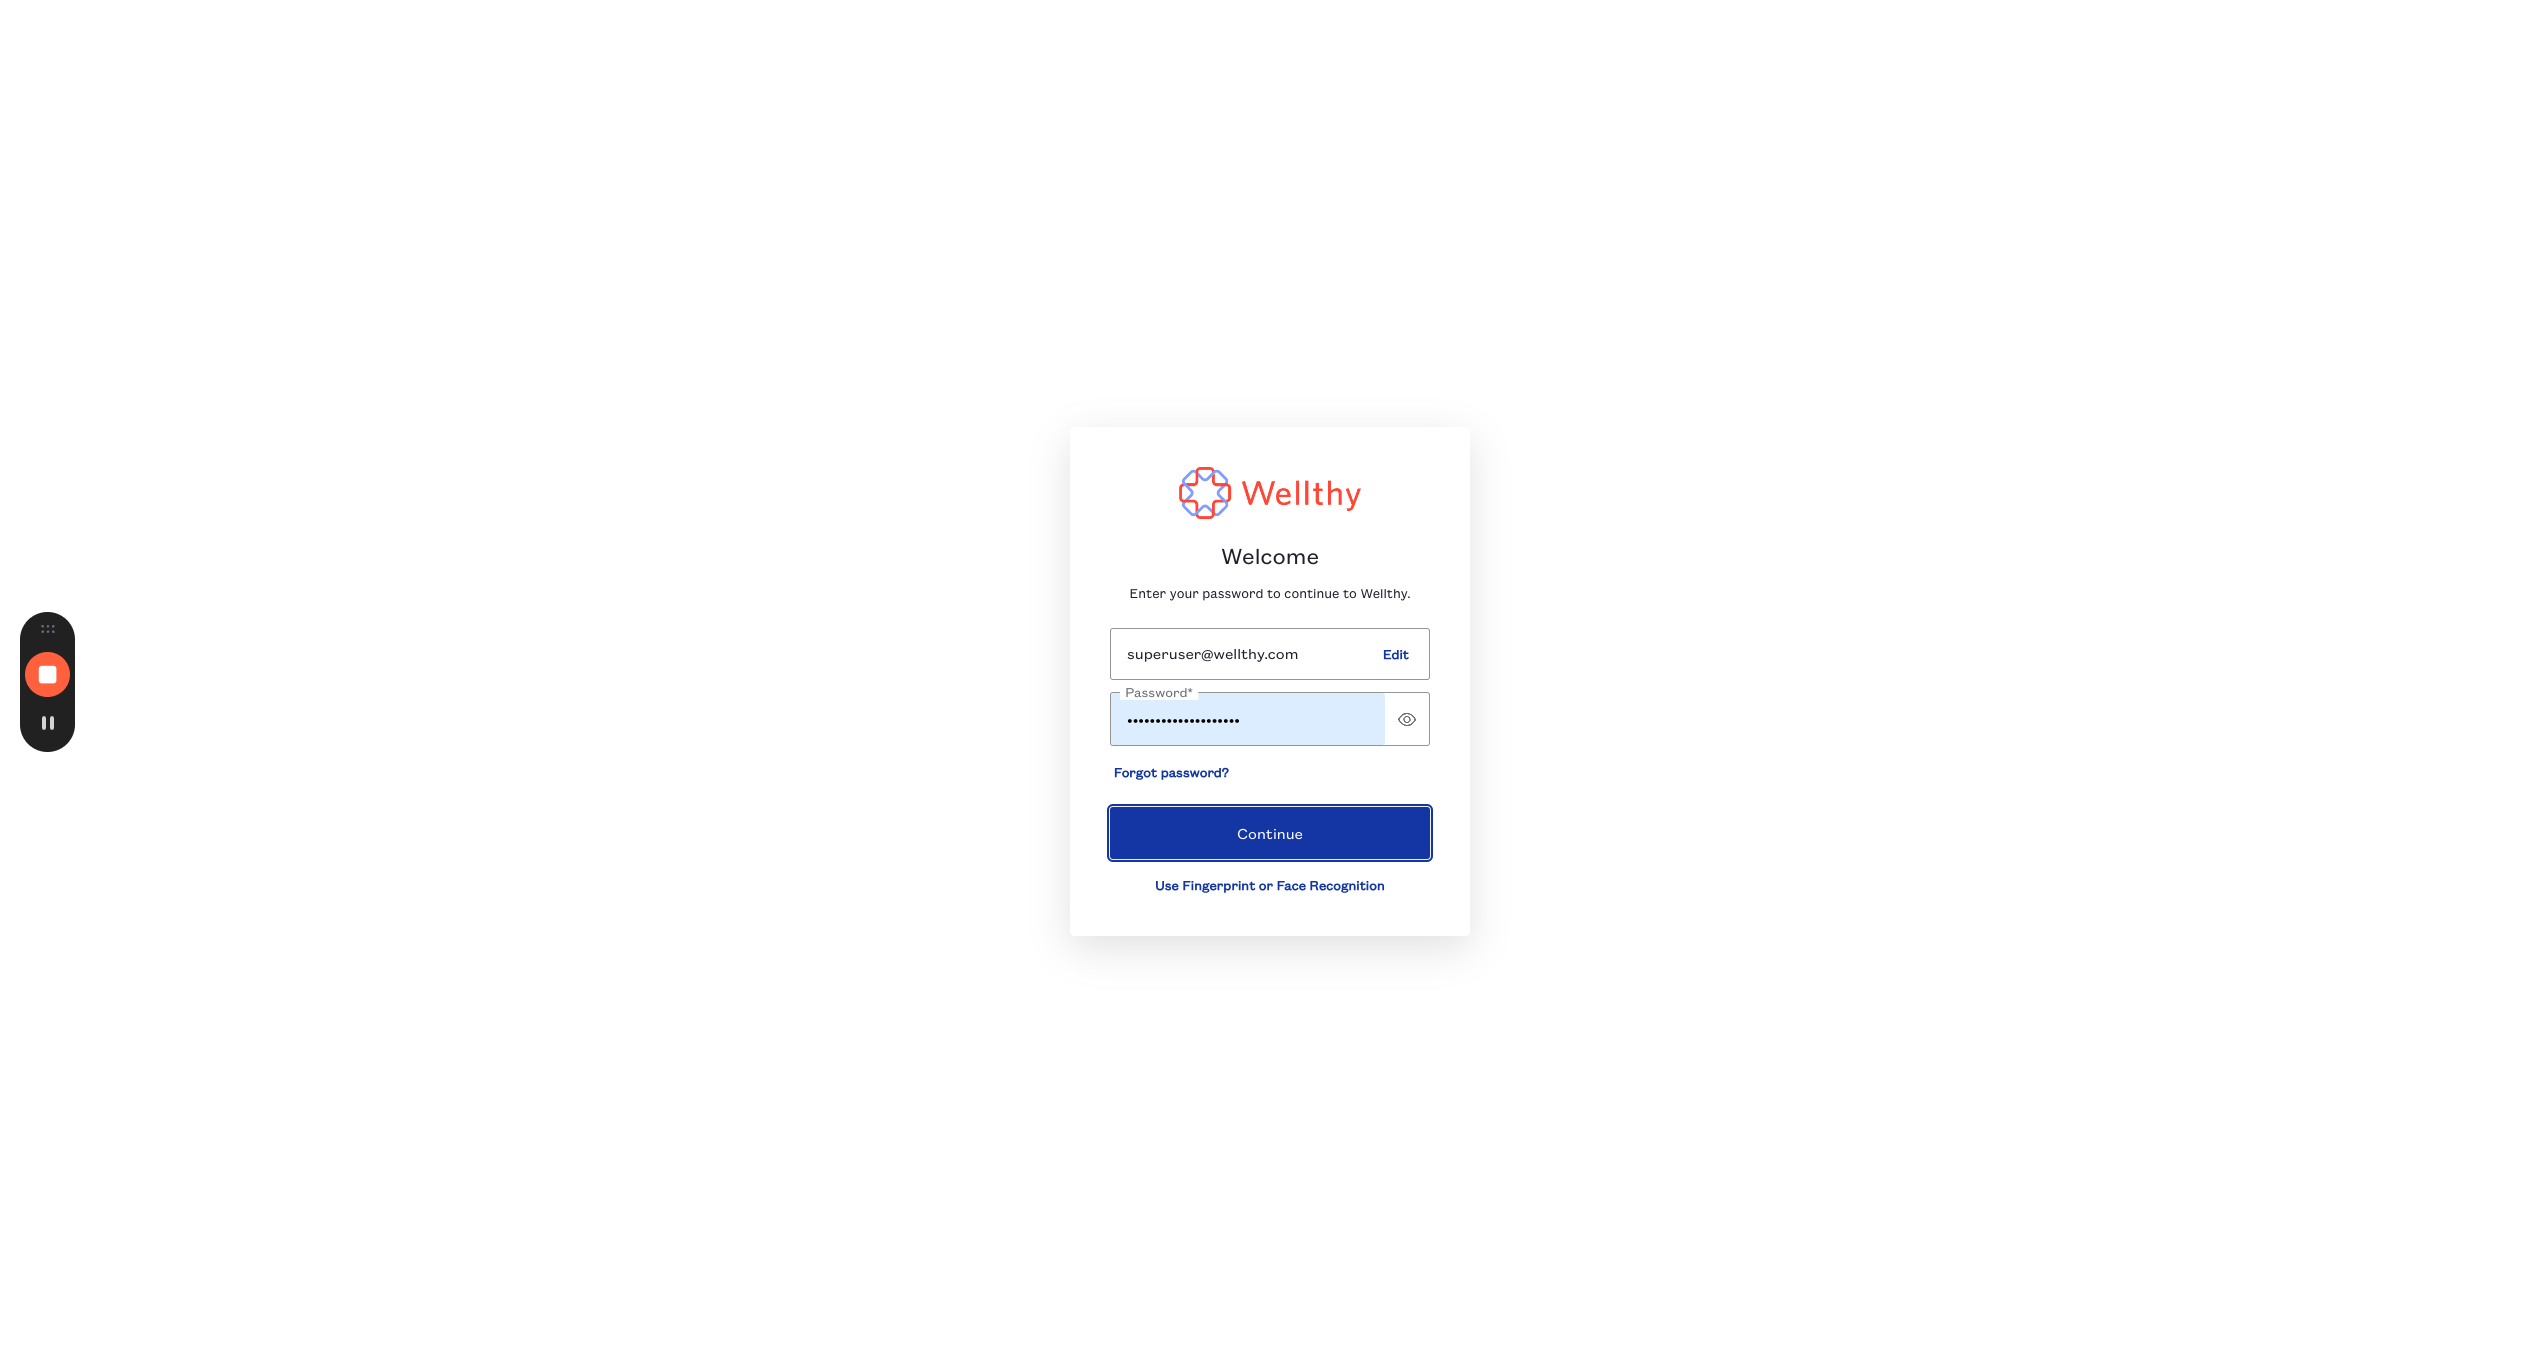
Log in as a superuser
4
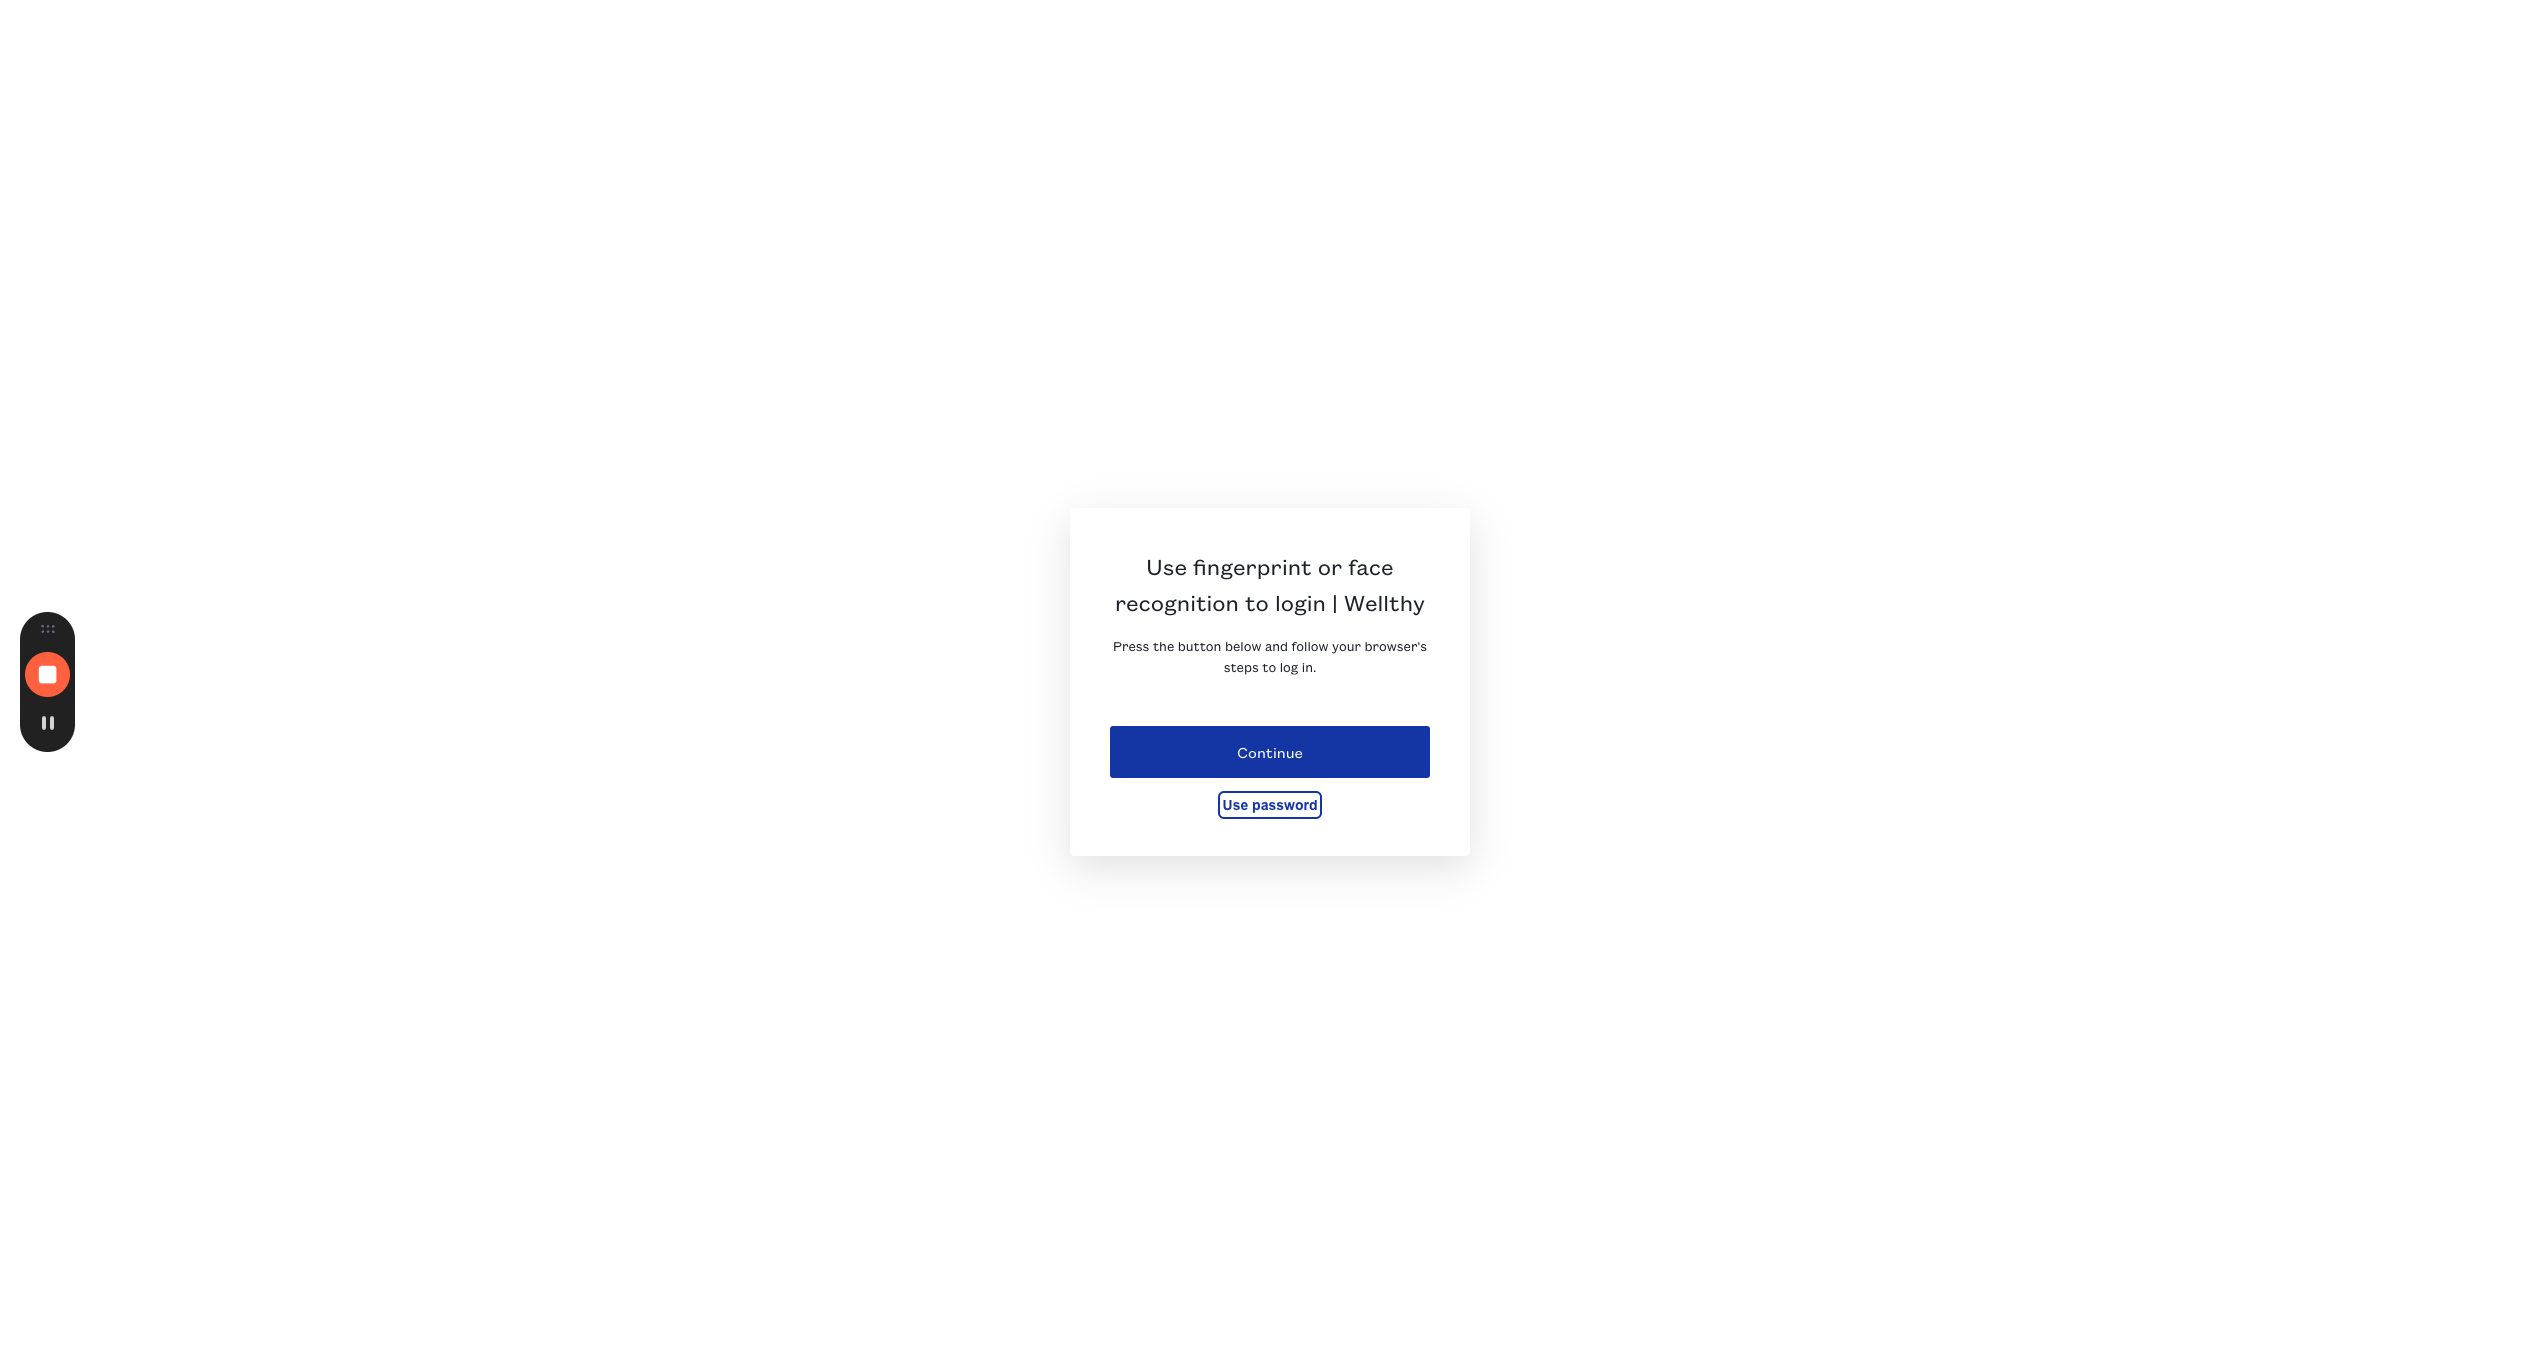
Click "Use password"
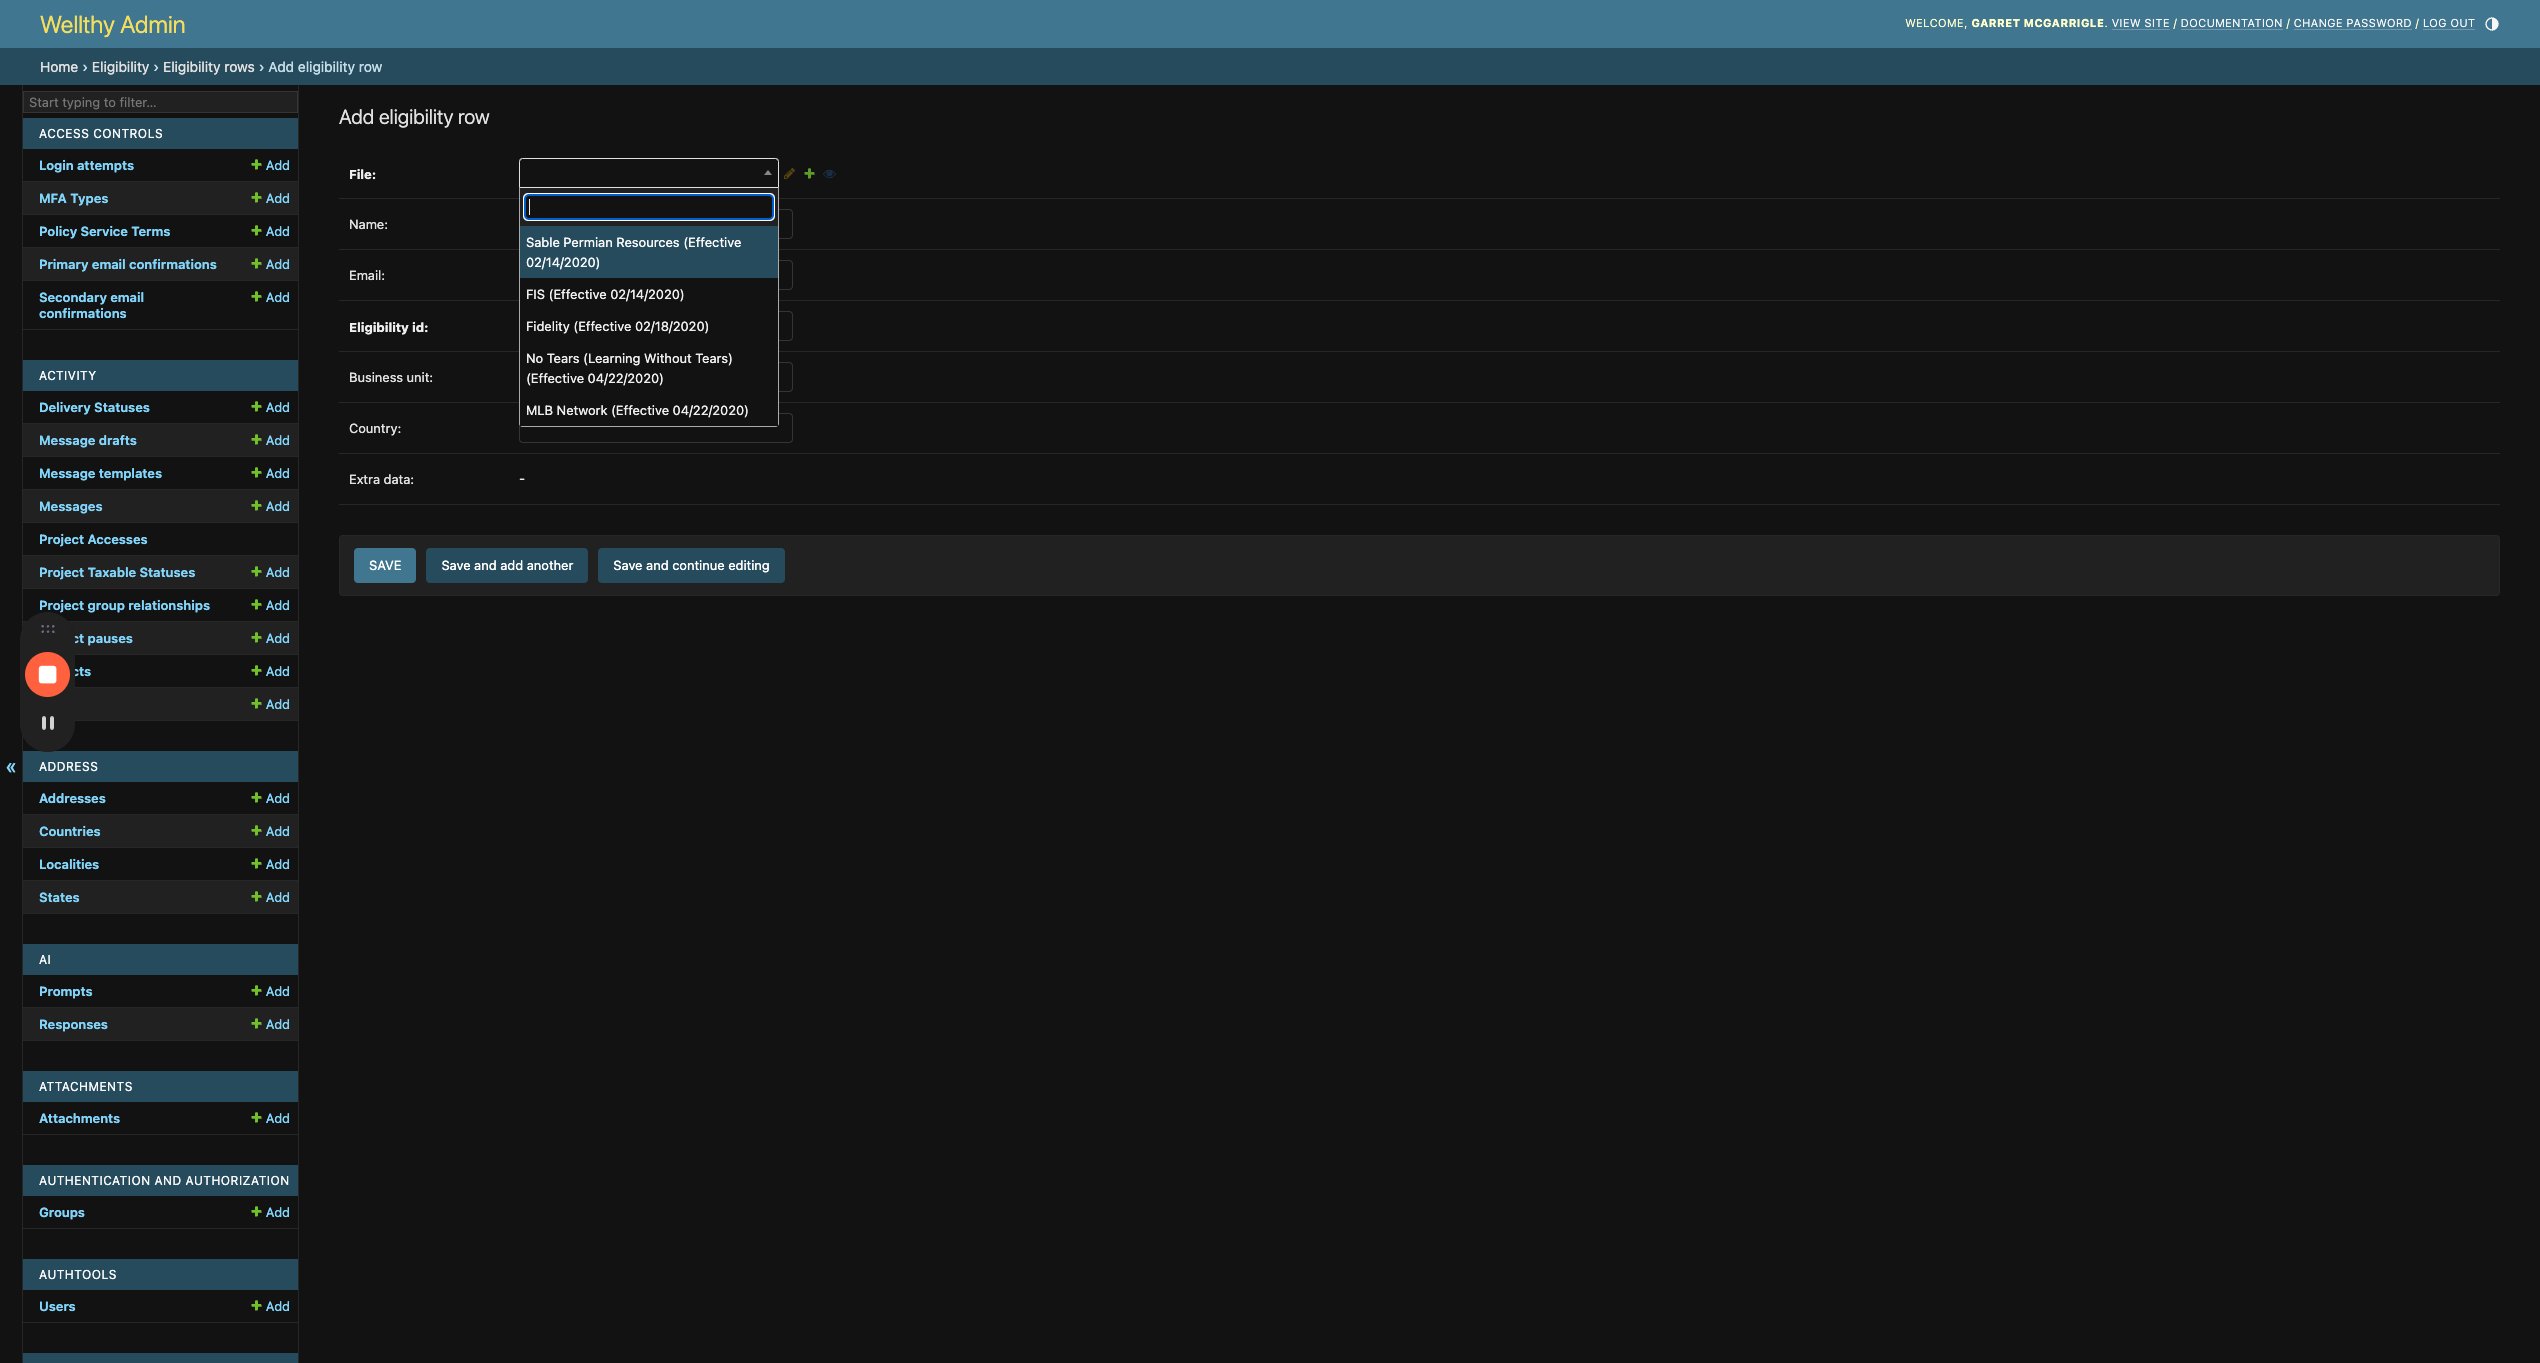
5
Click "Continue"
6
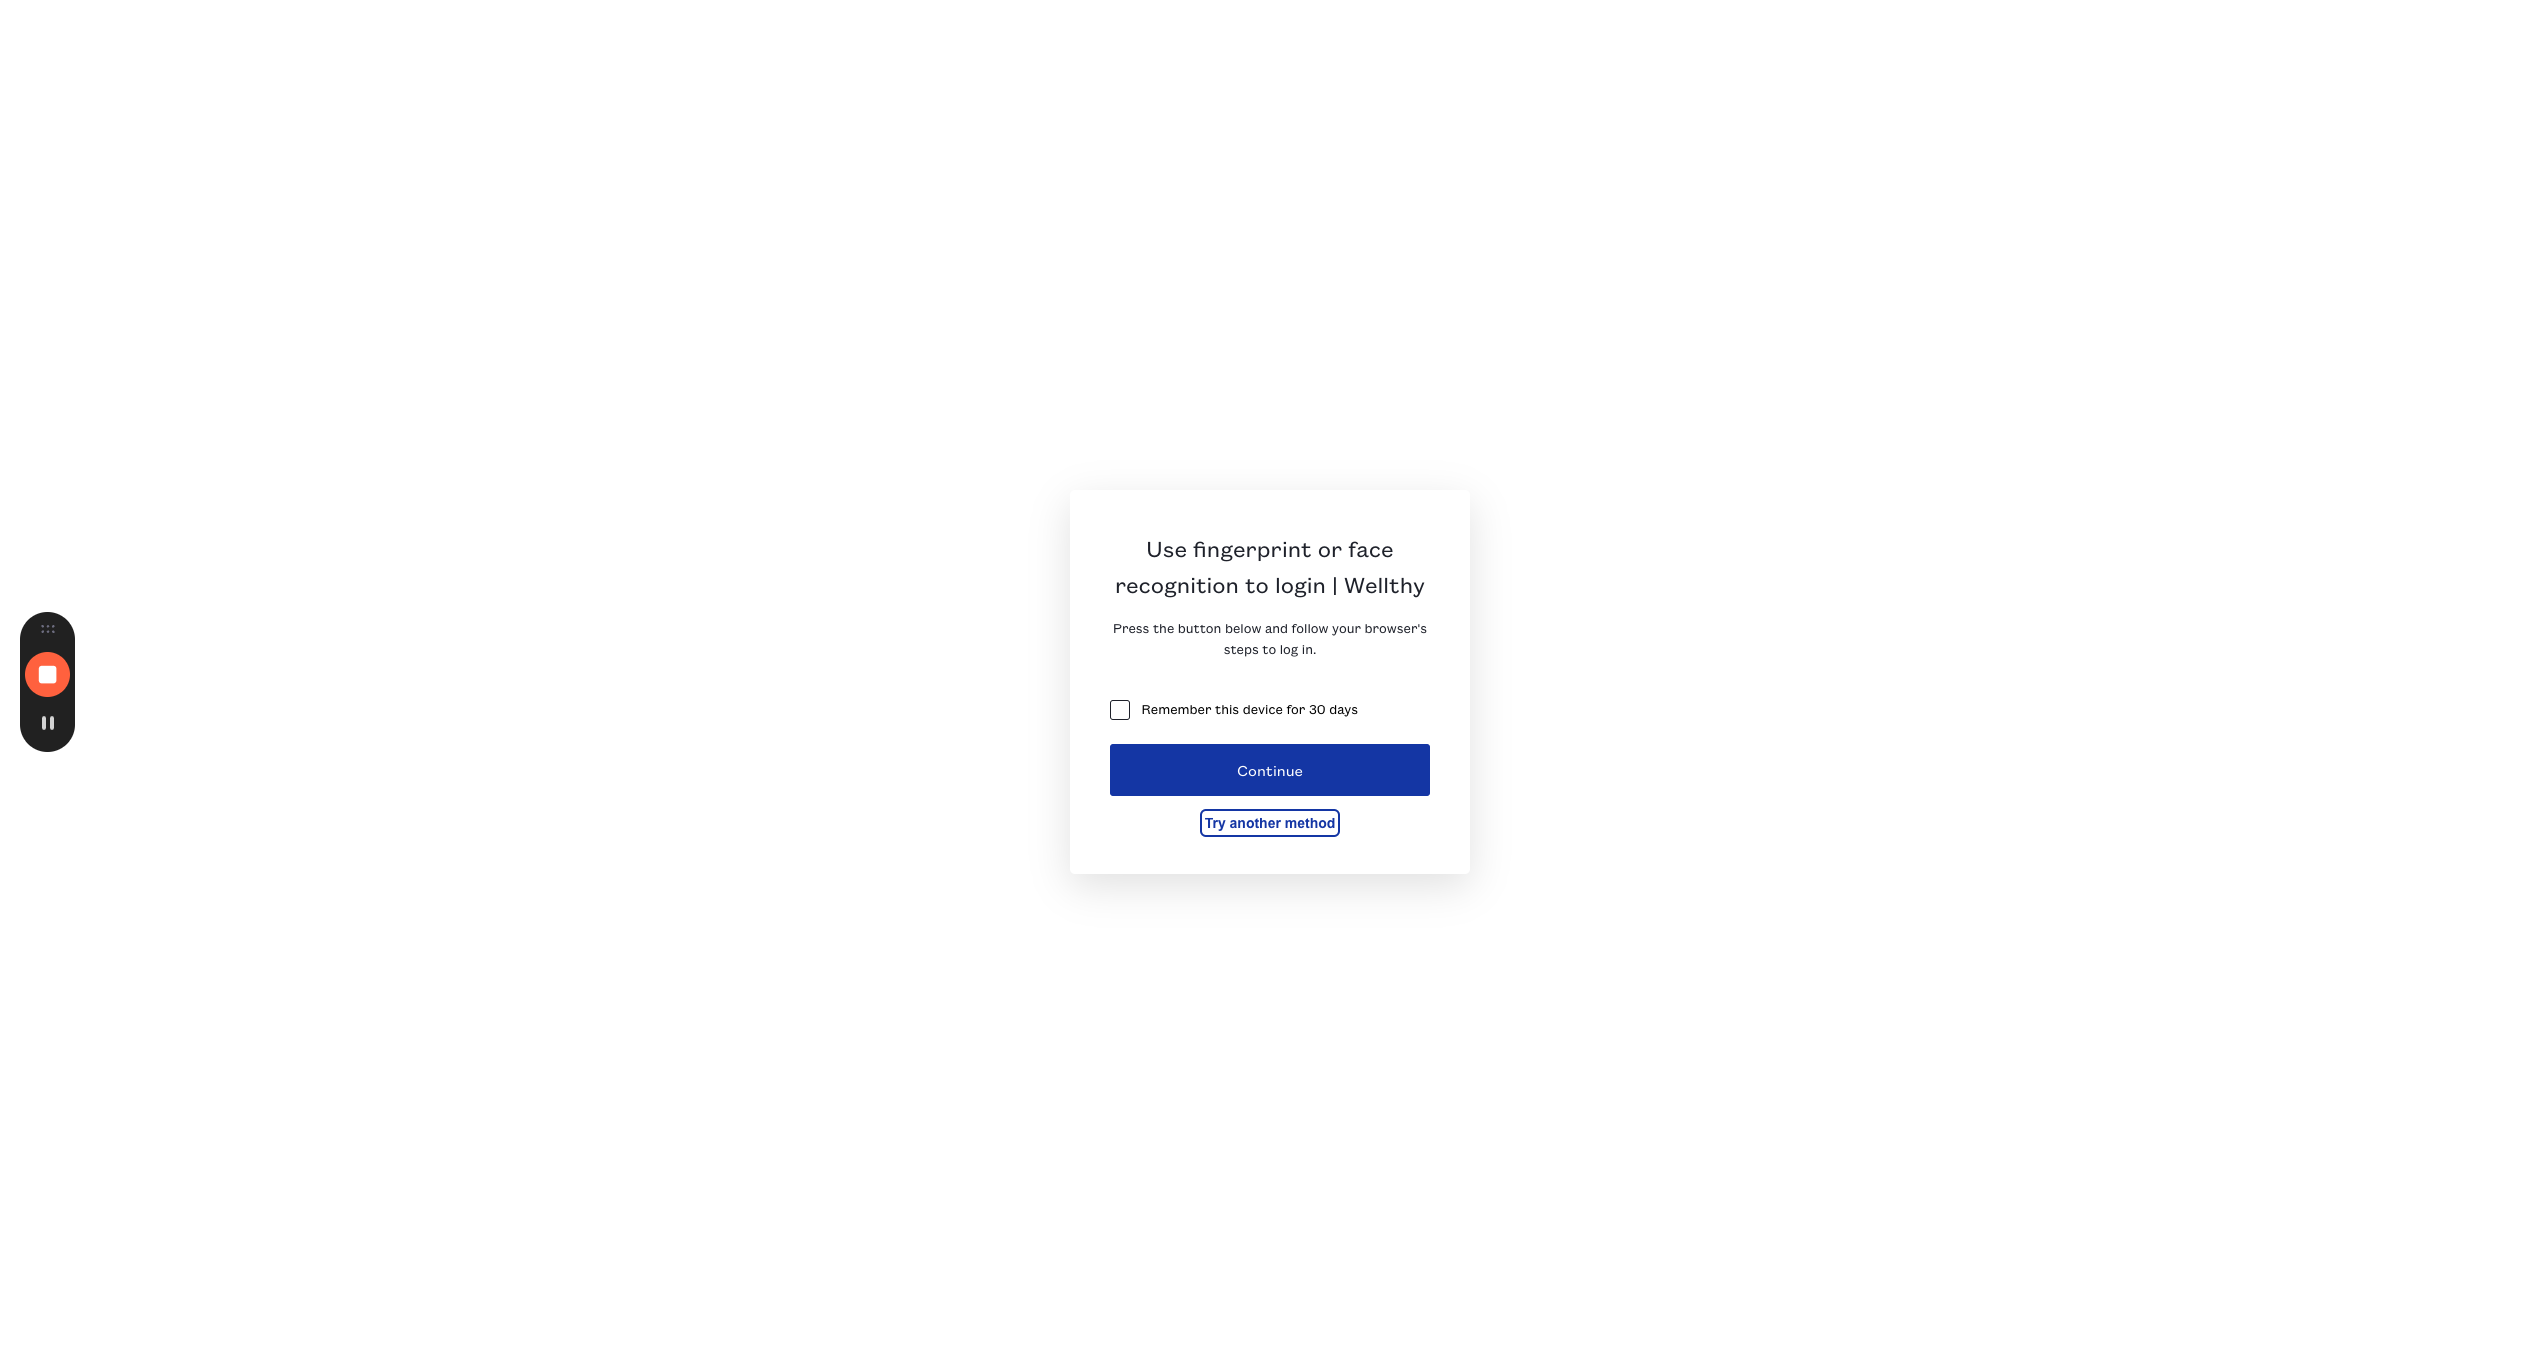
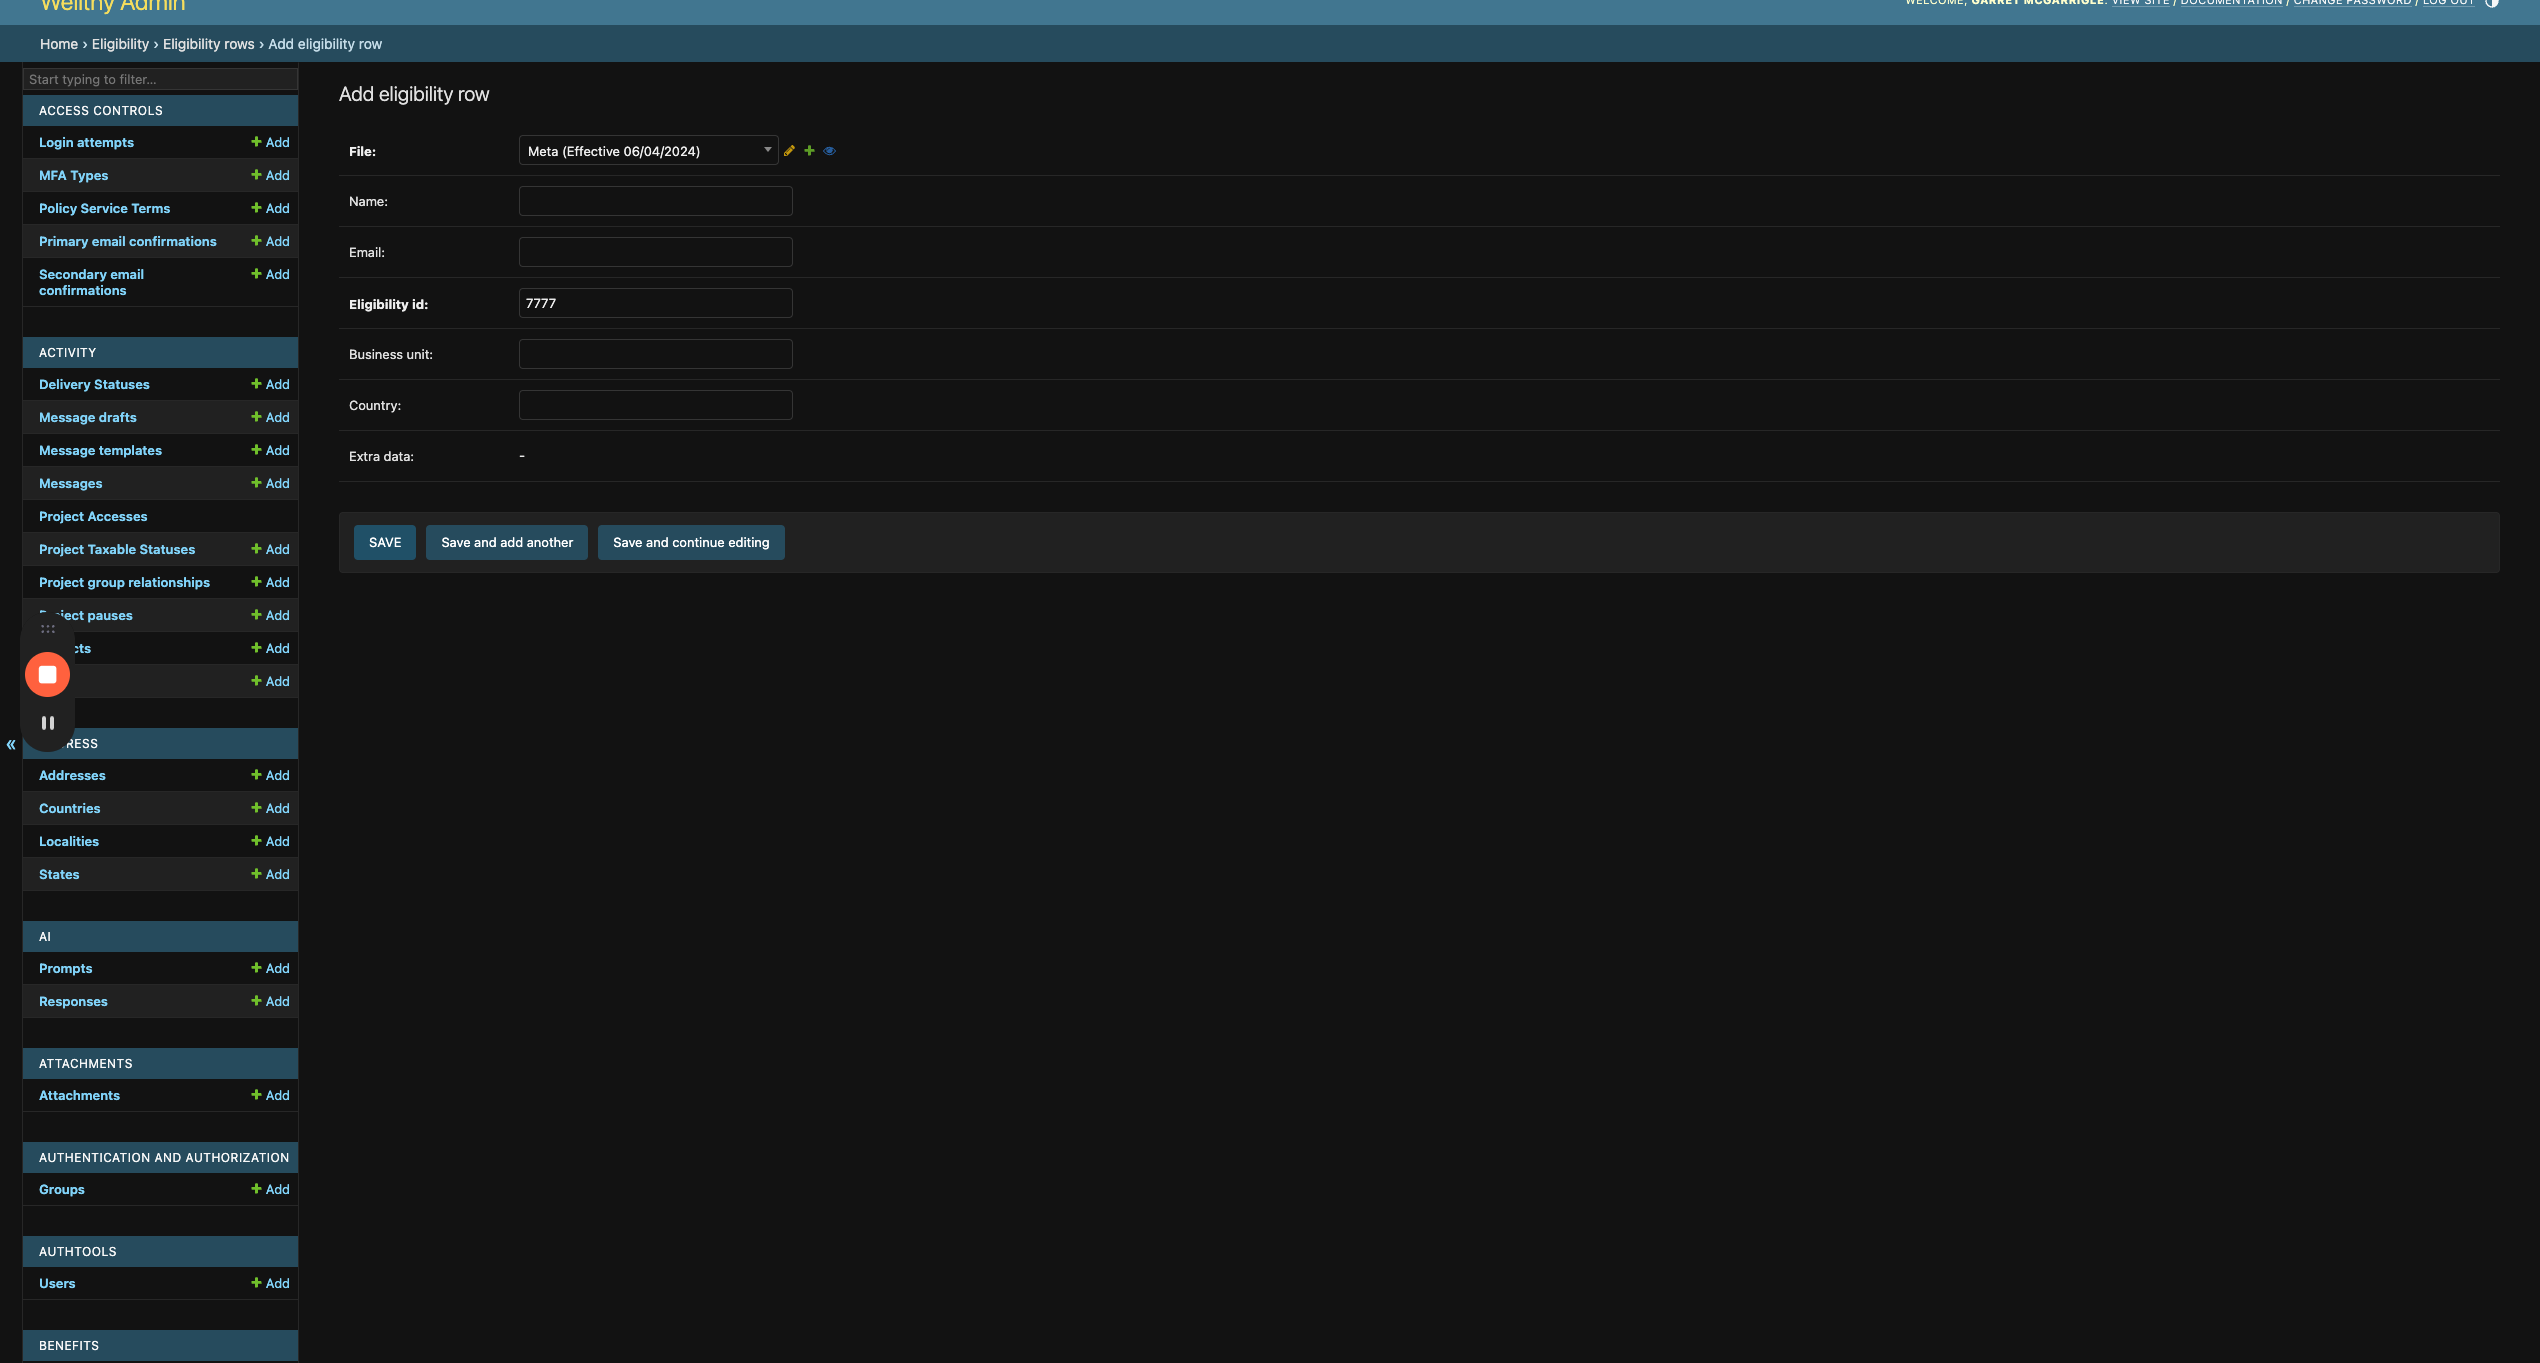
Click "Try another method"
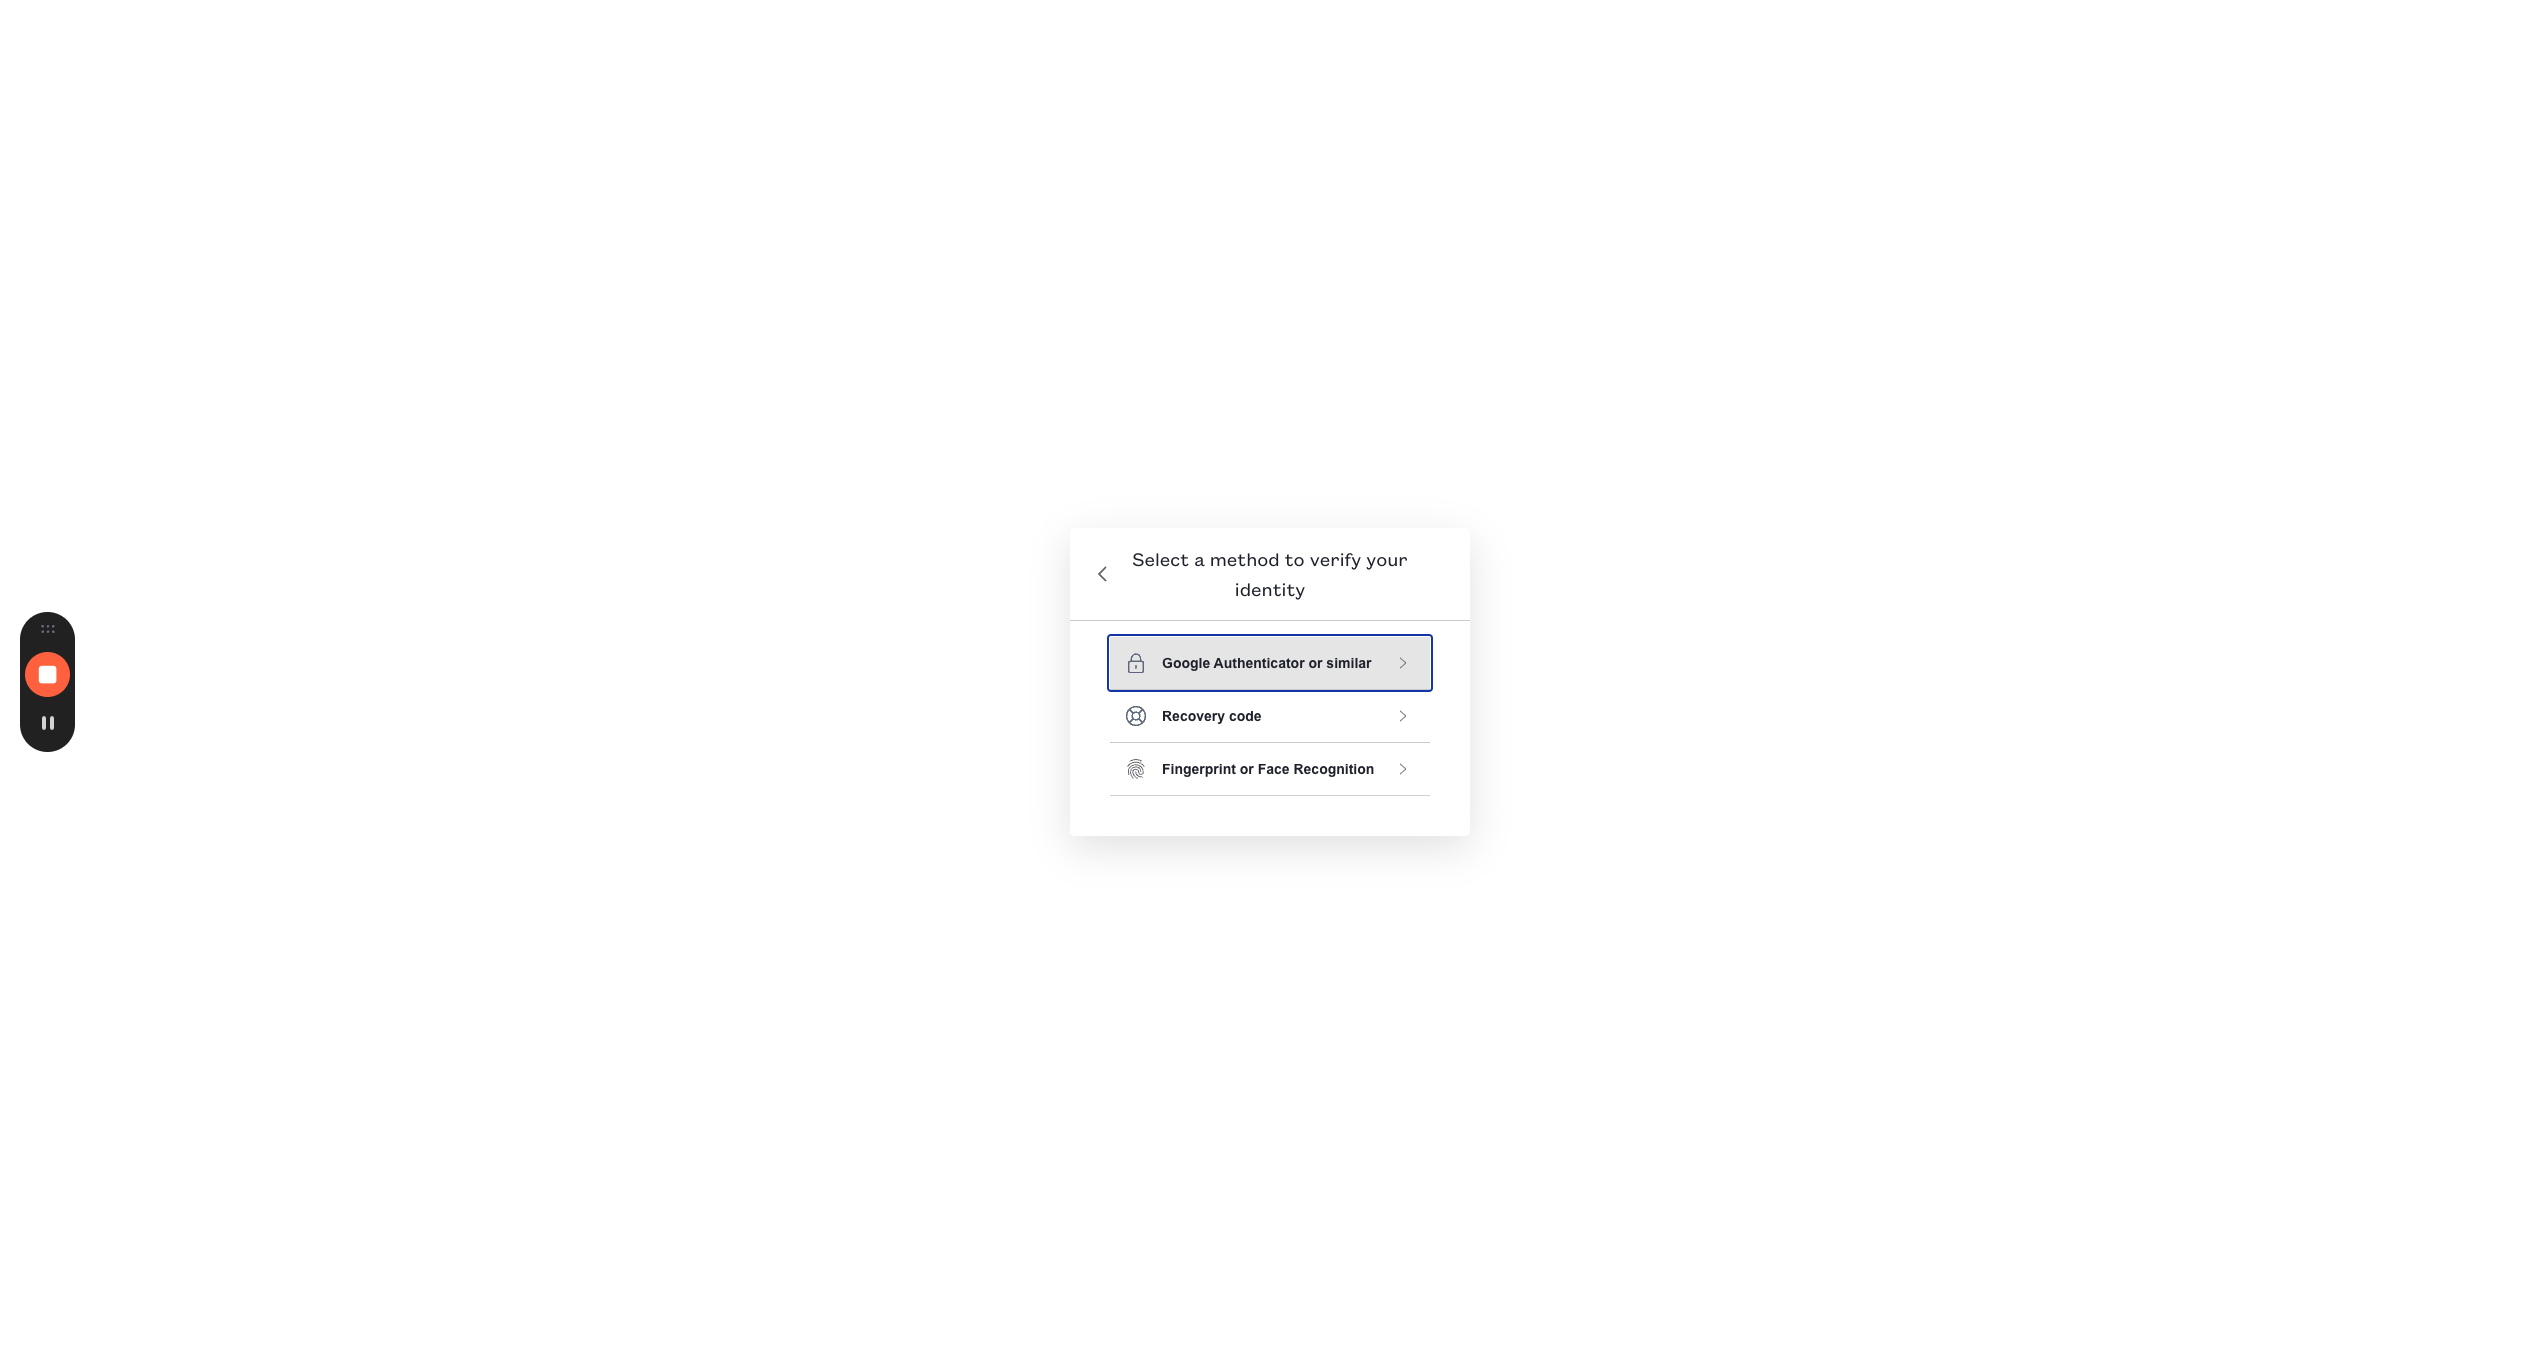
7
Click "Google Authenticator or similar"
8
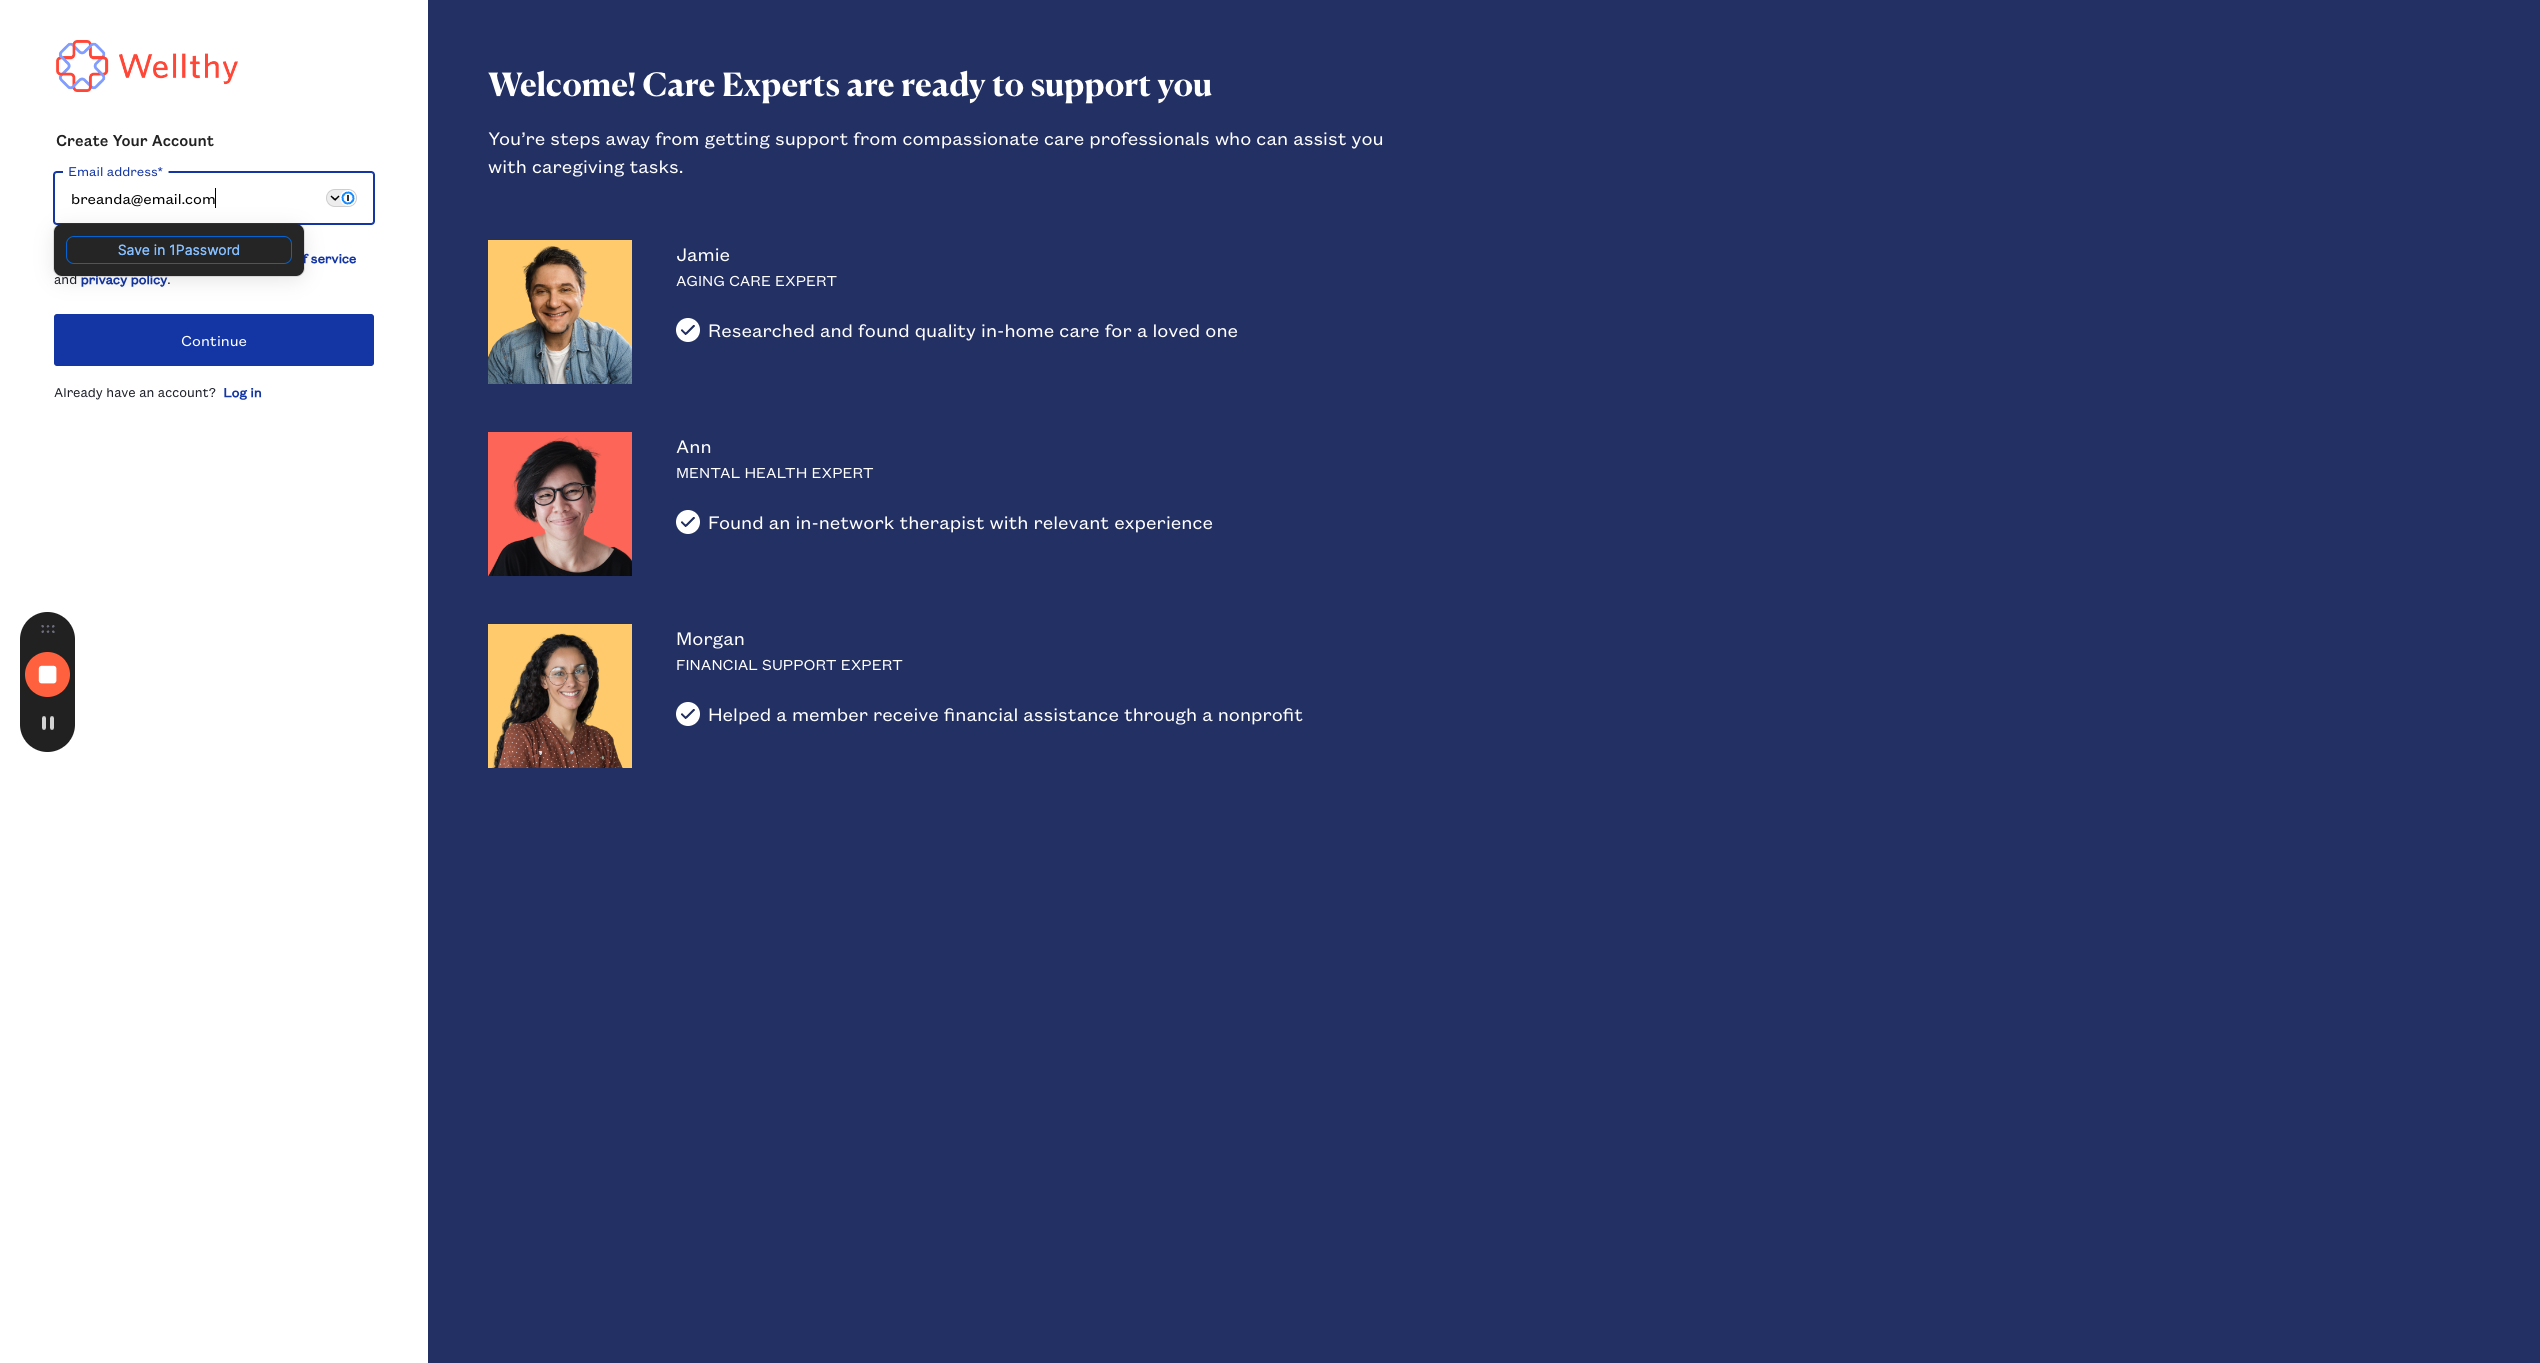
Go to staging.wlthy.cloud/admin
Adding a valid eligibility ID
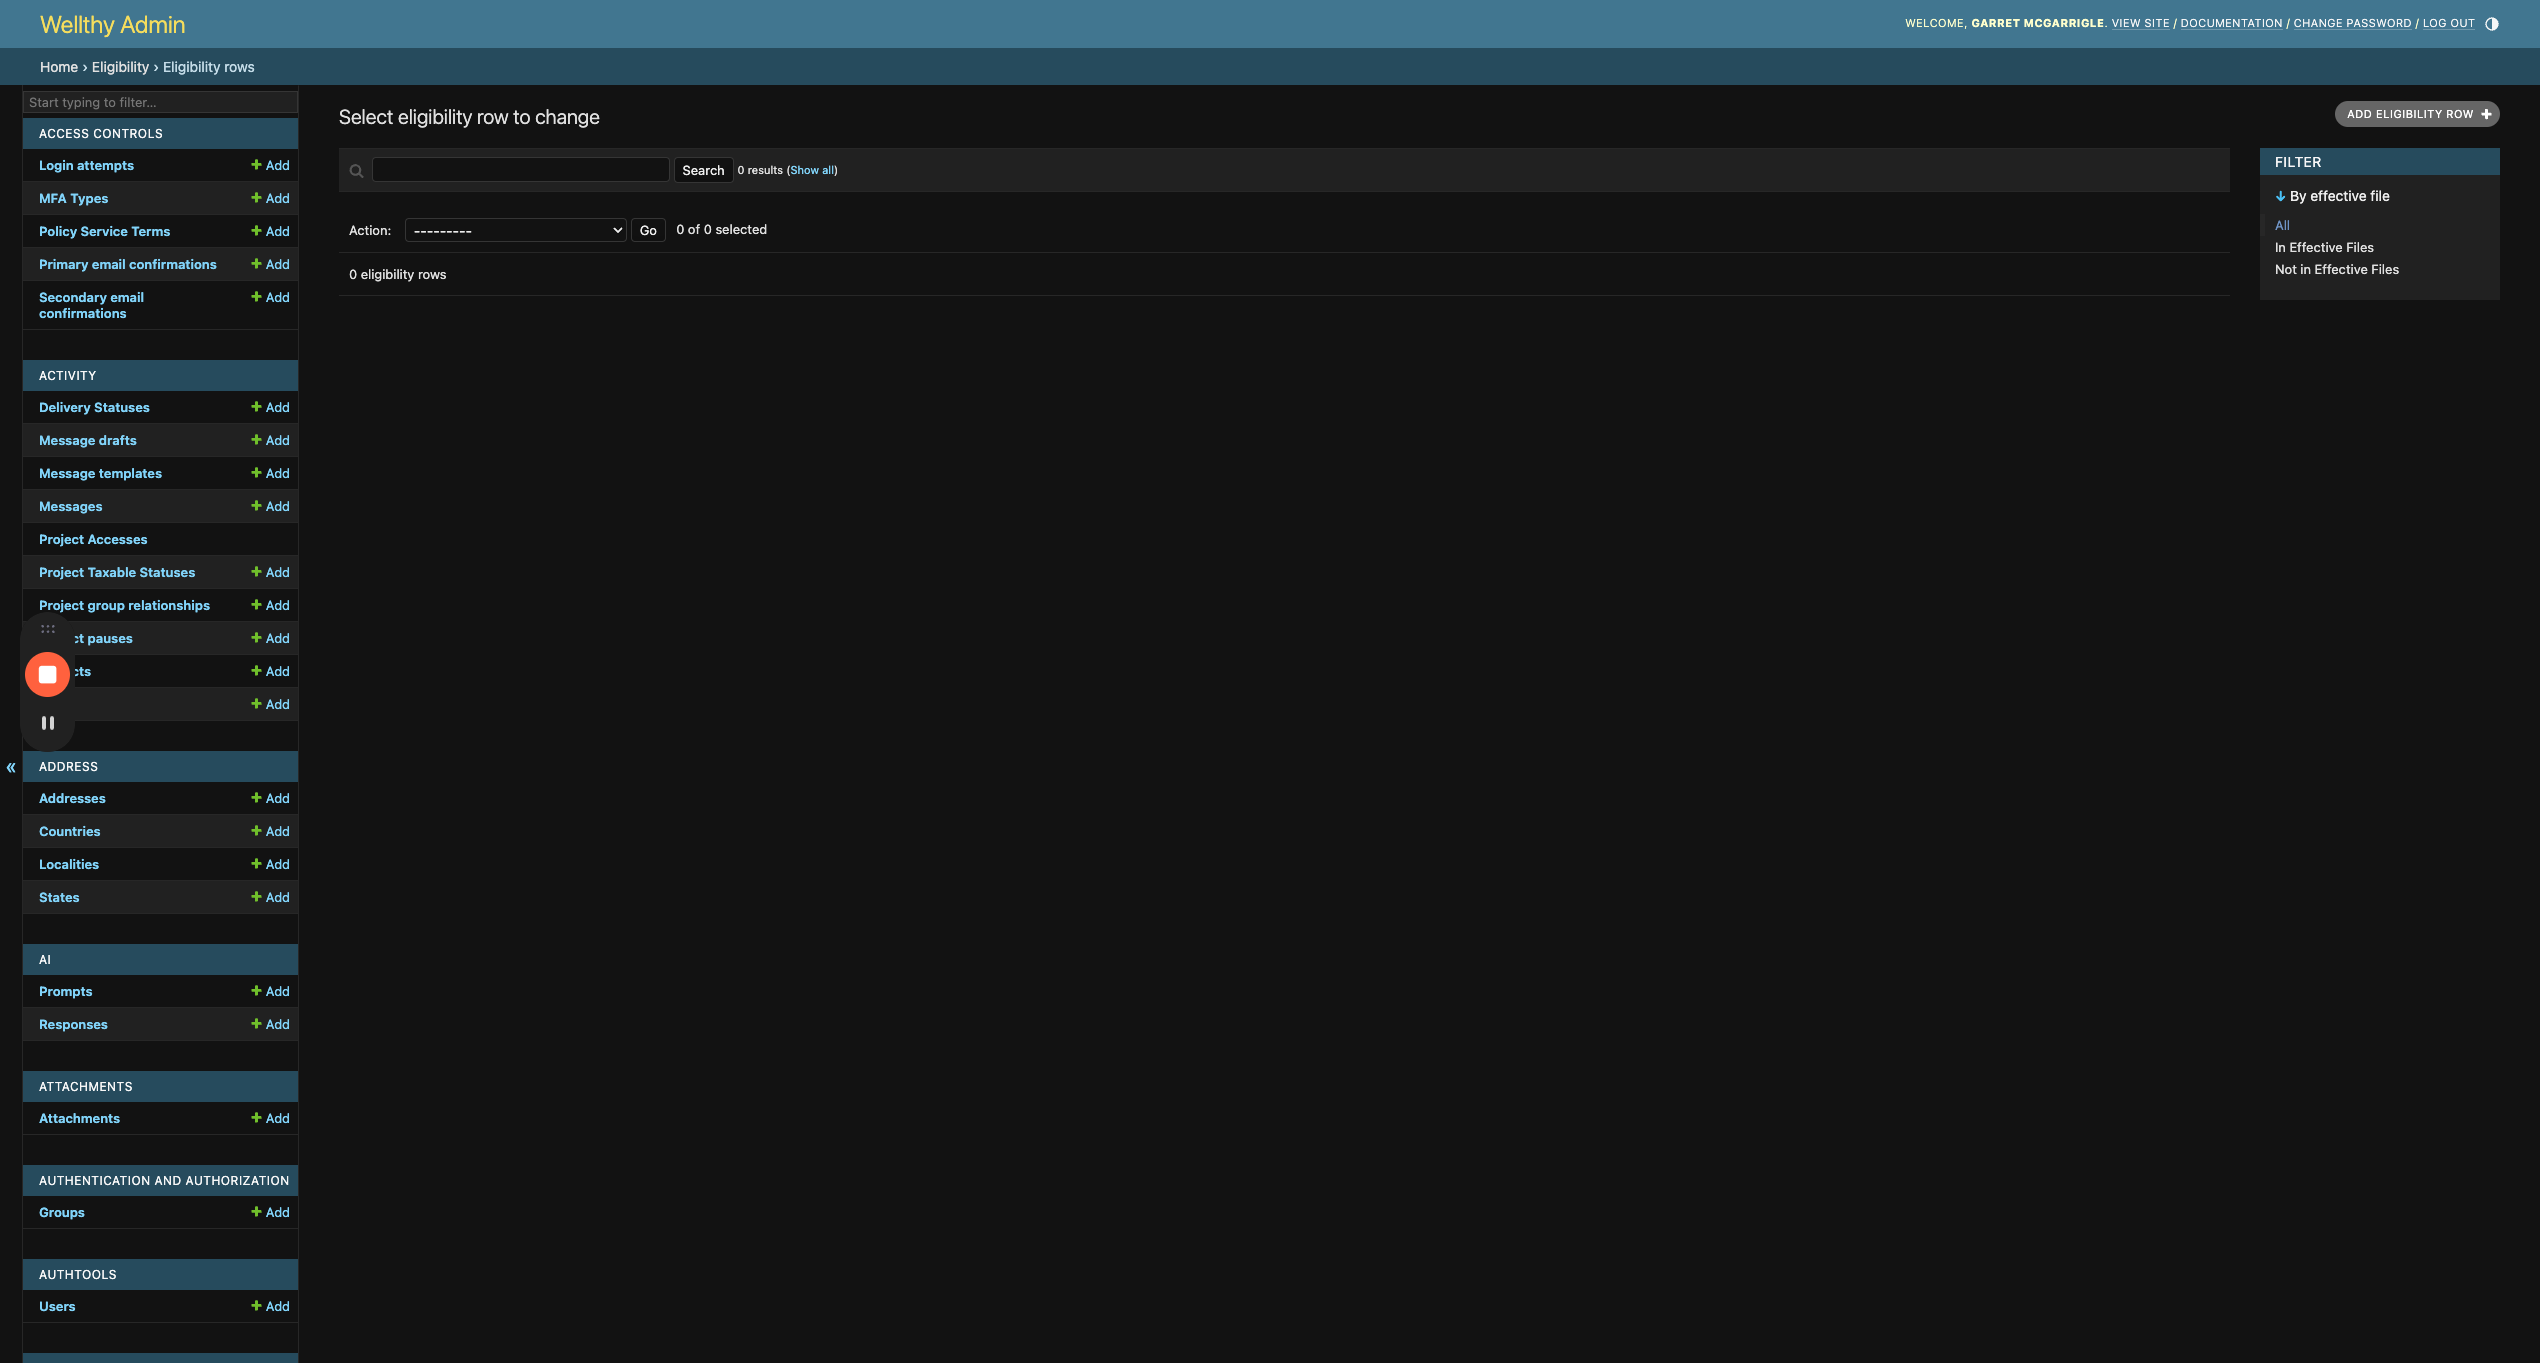
9
Click "Eligibility rows"

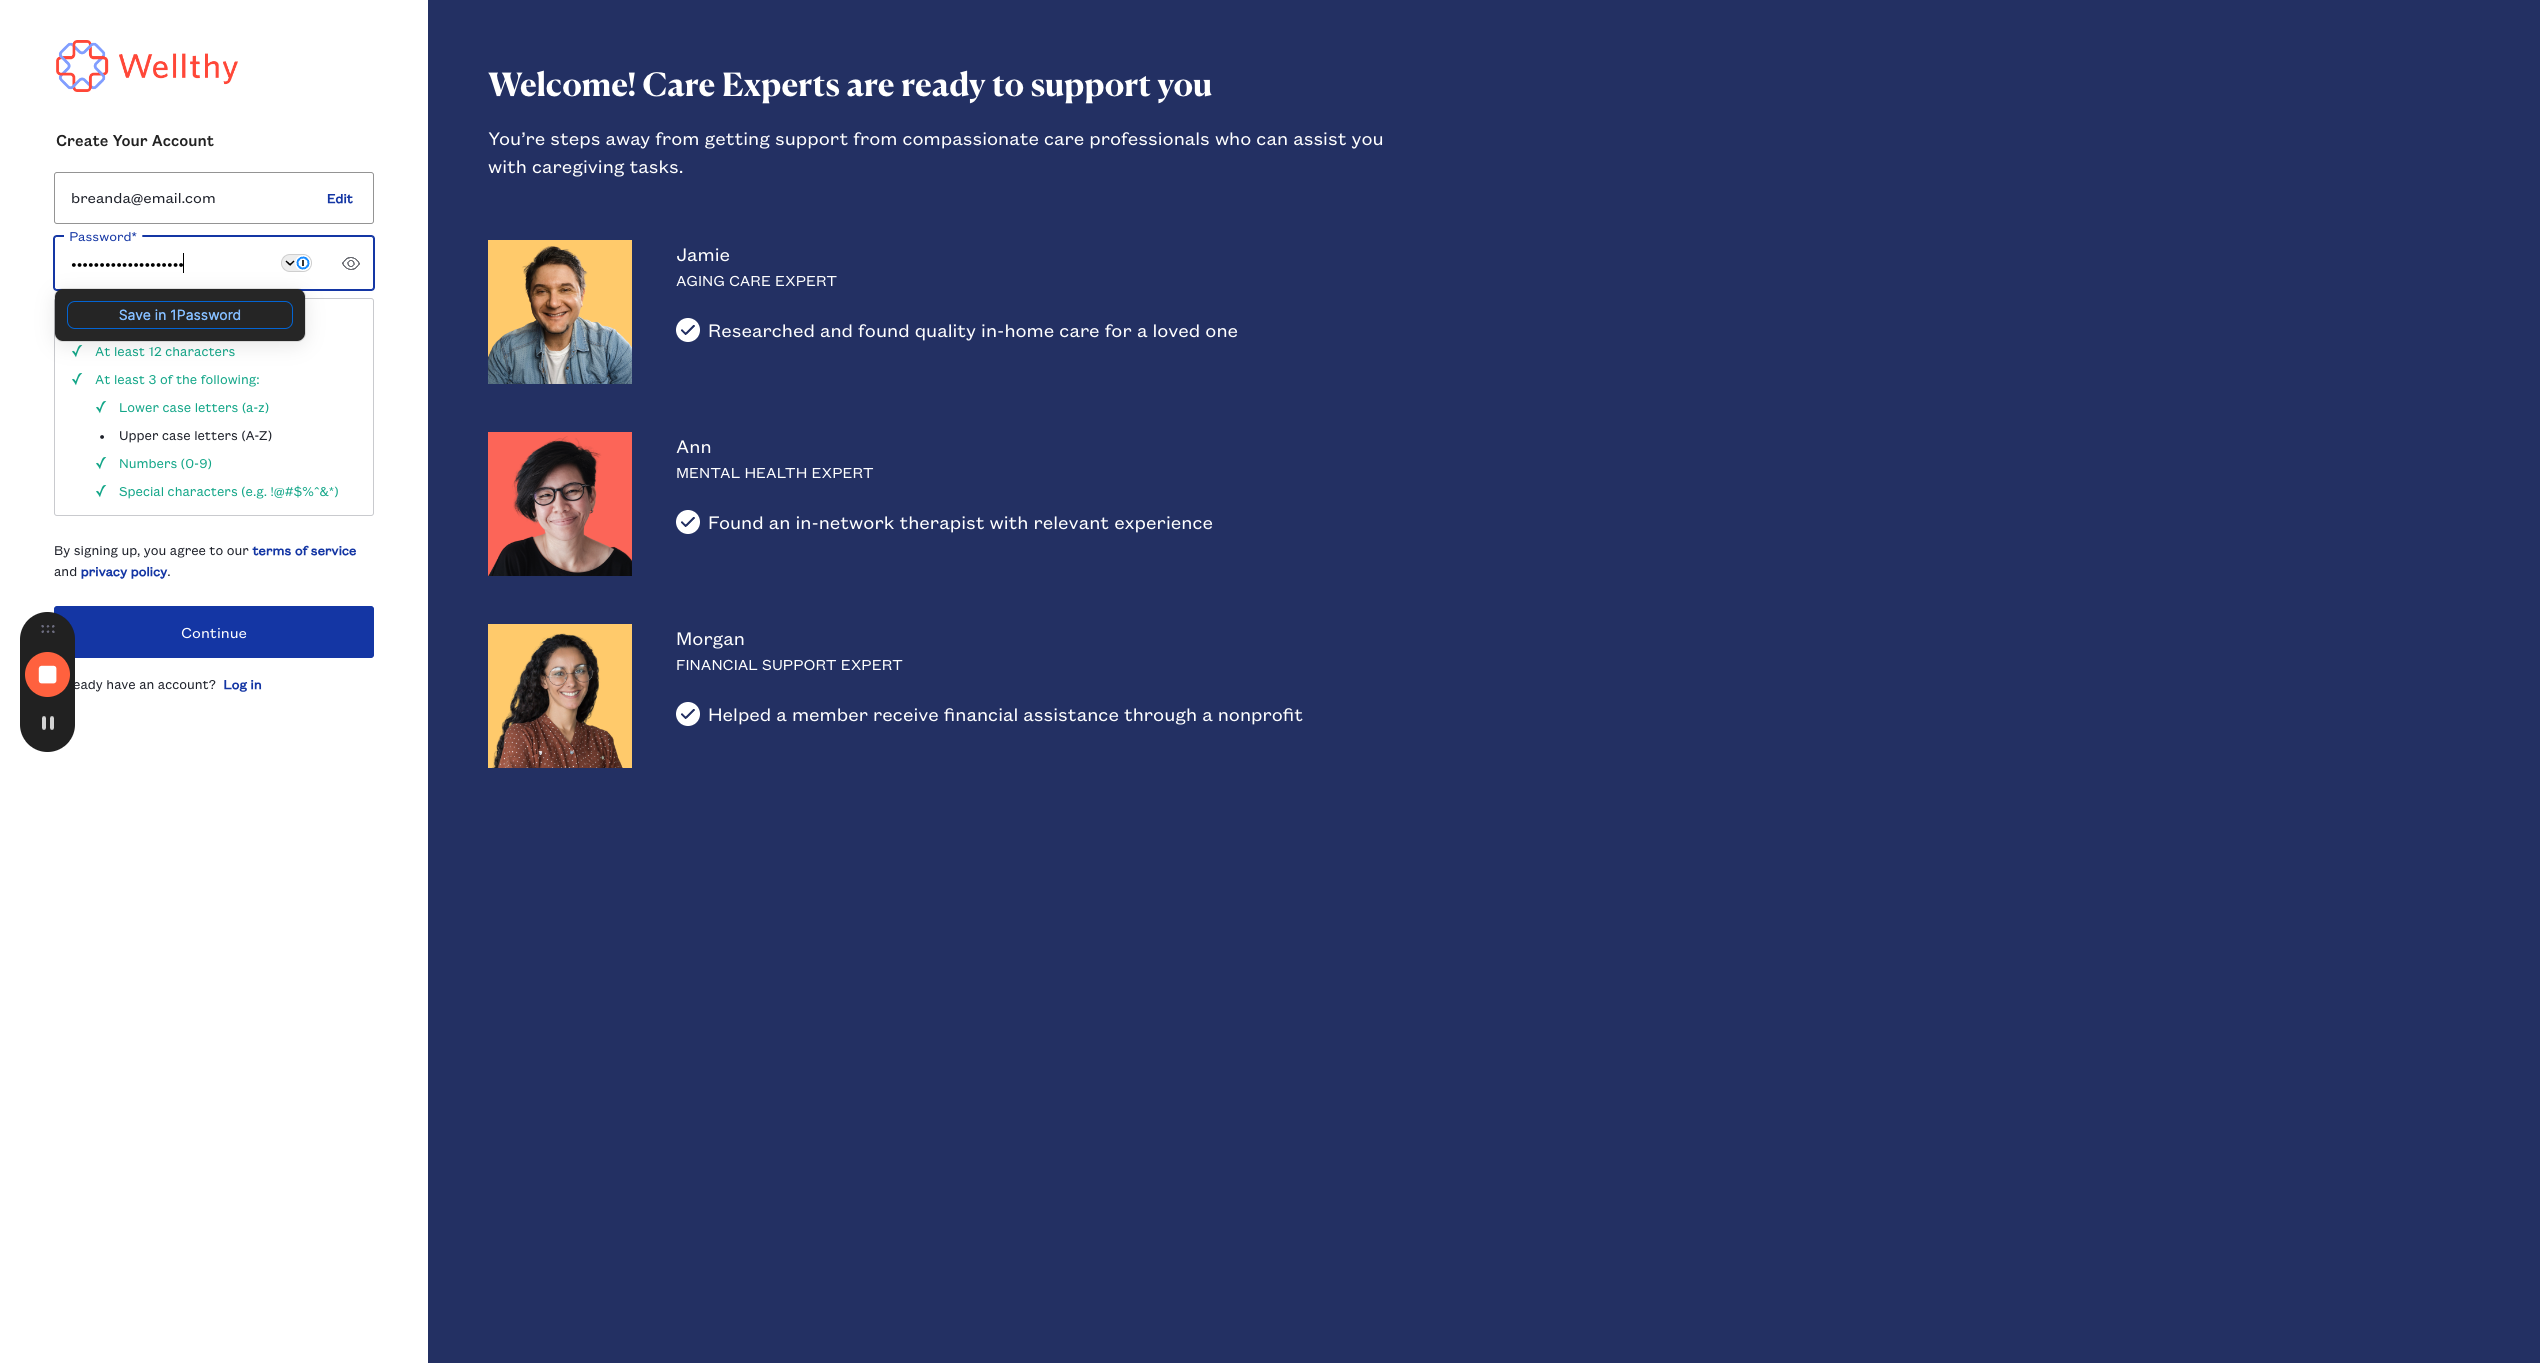
10
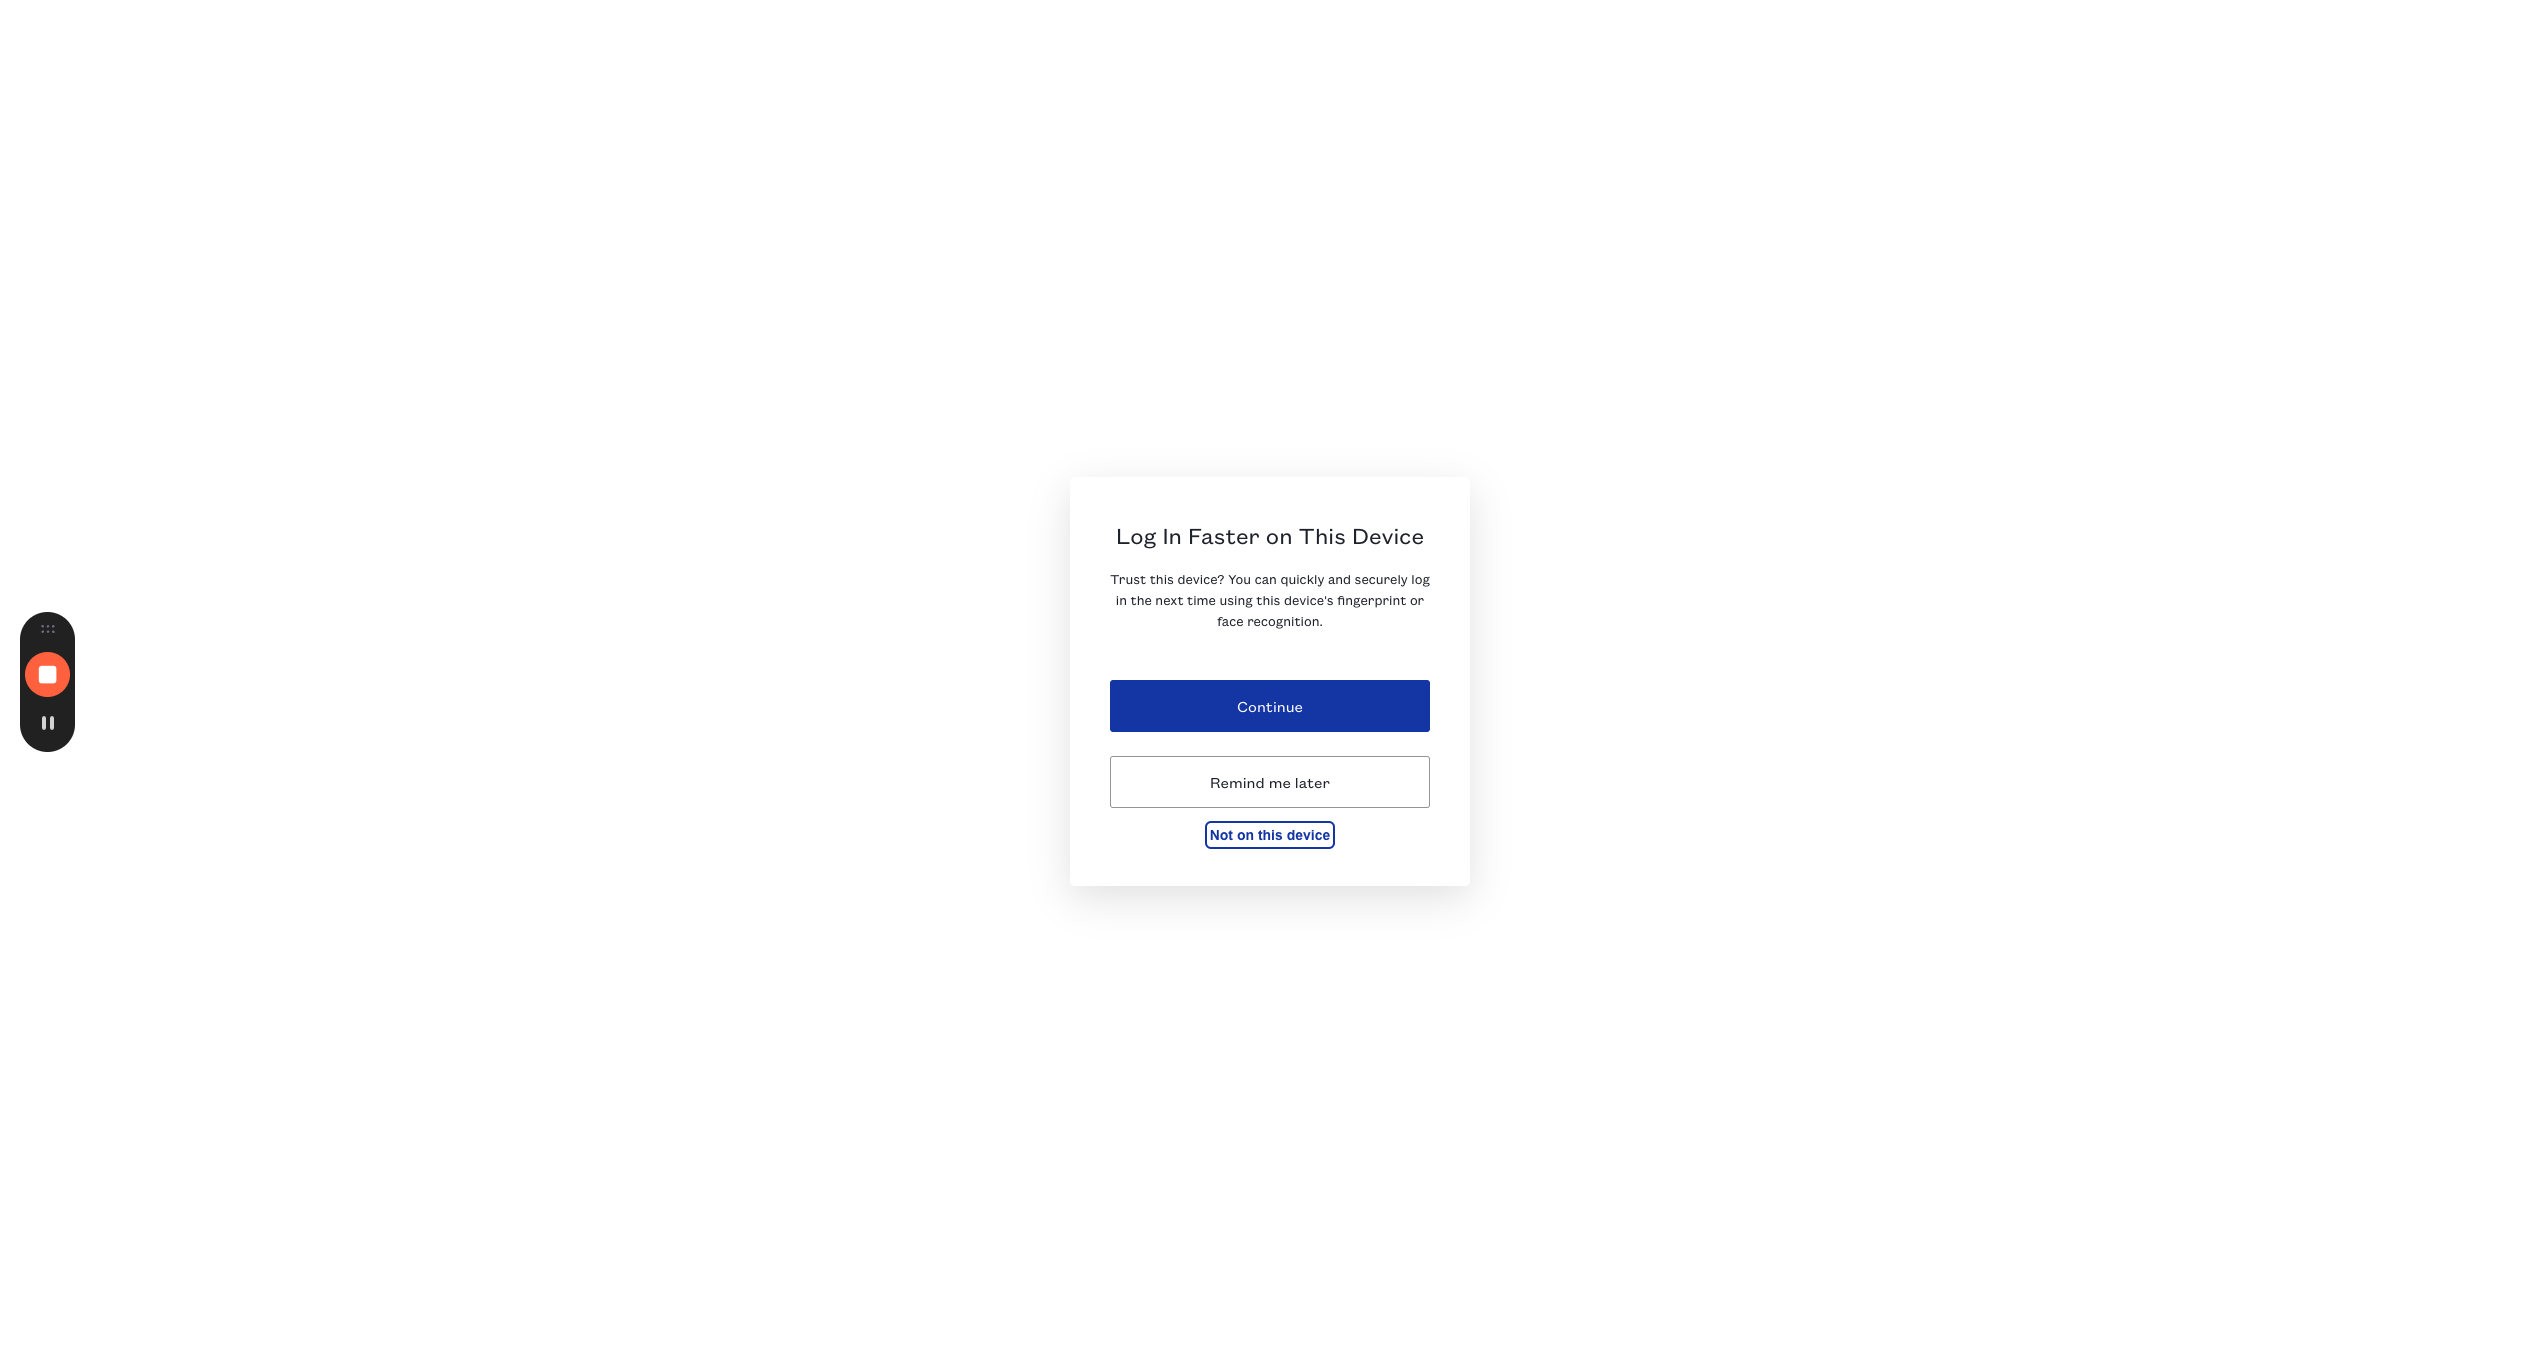
Click "ADD ELIGIBILITY ROW +"
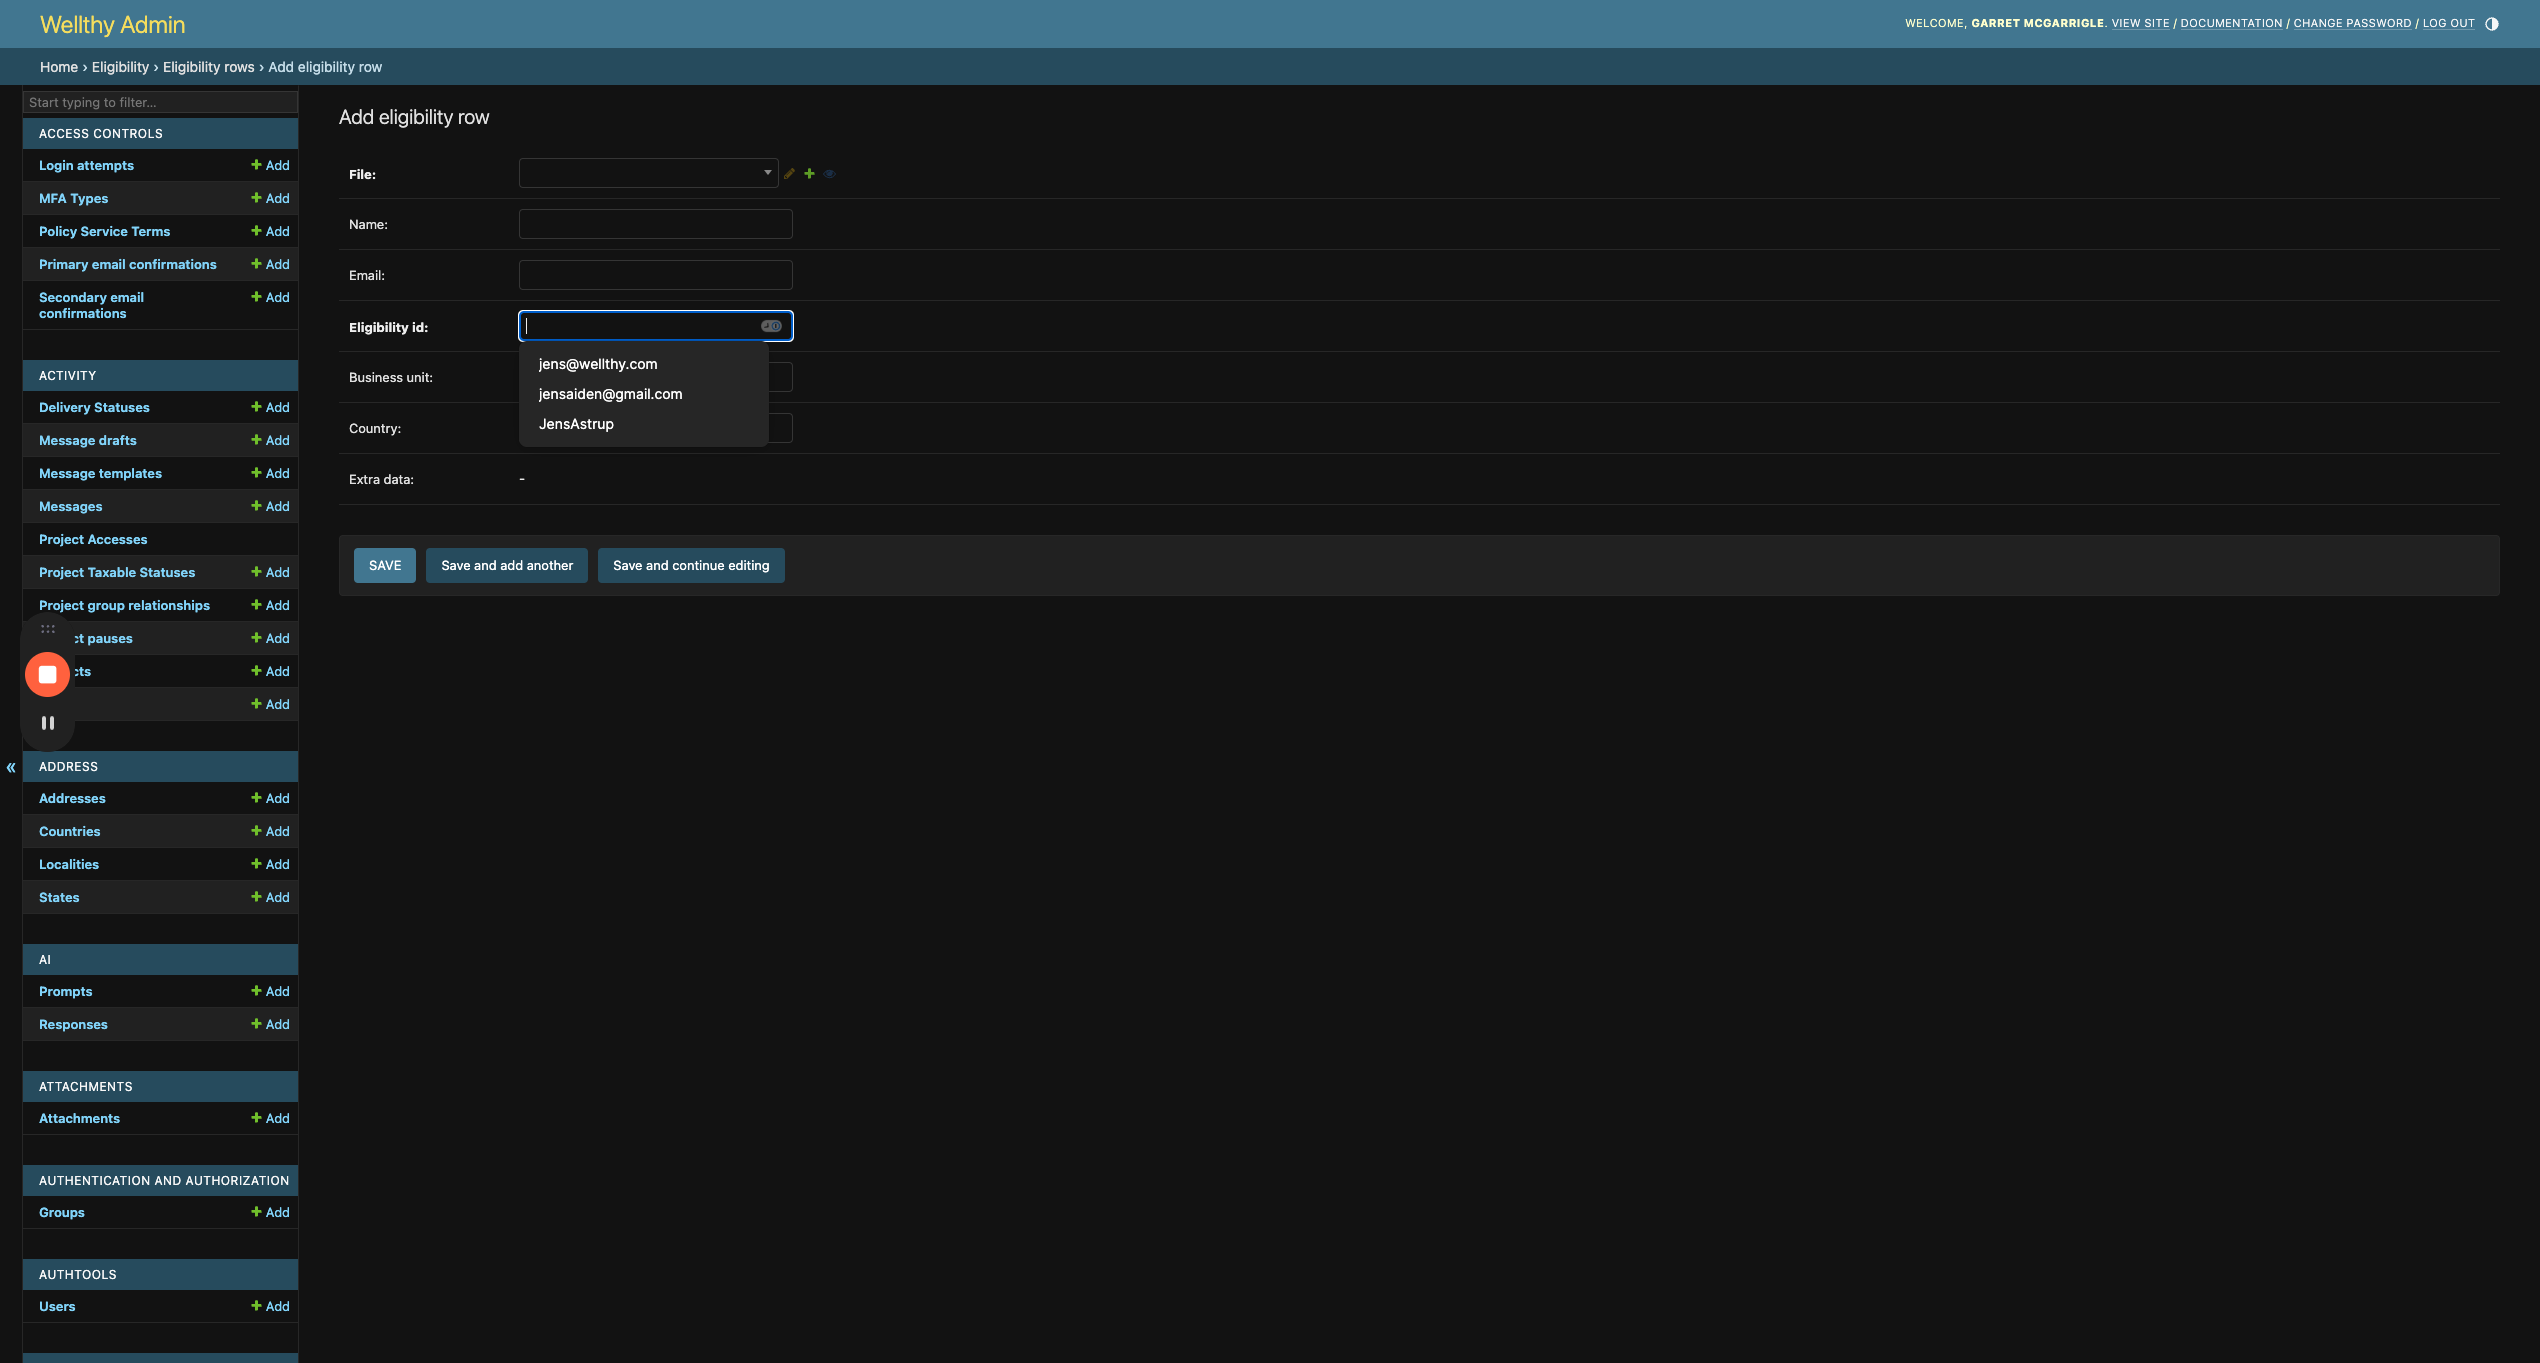
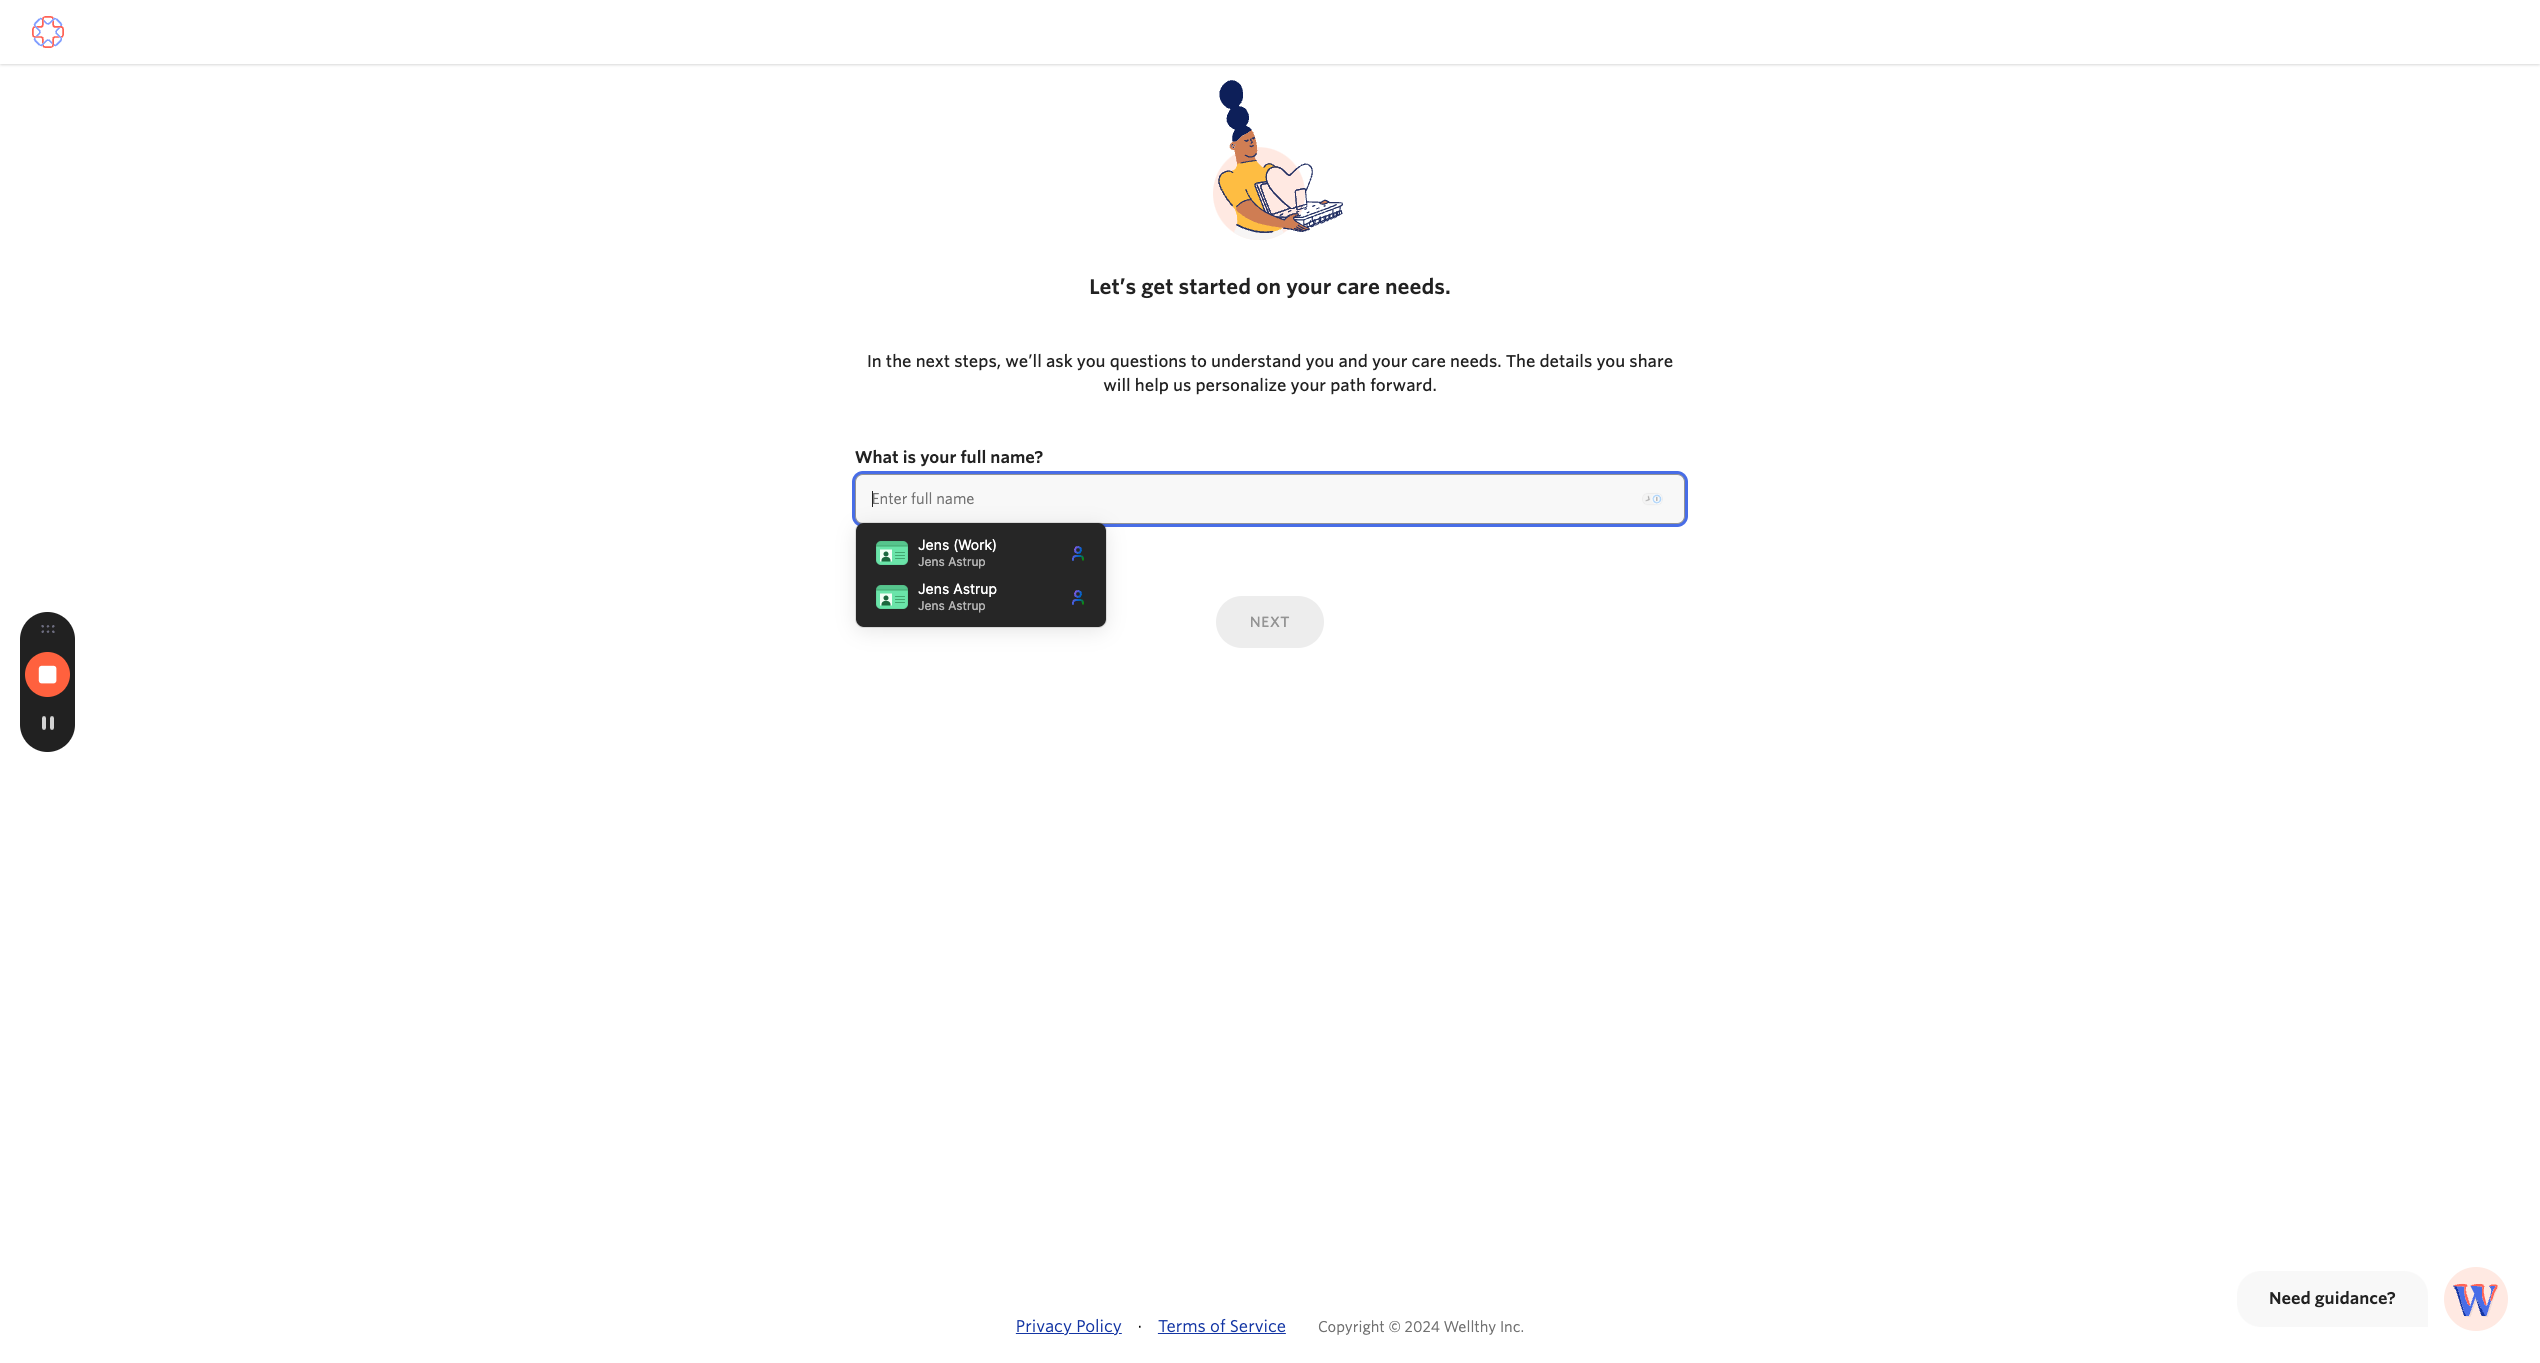
11
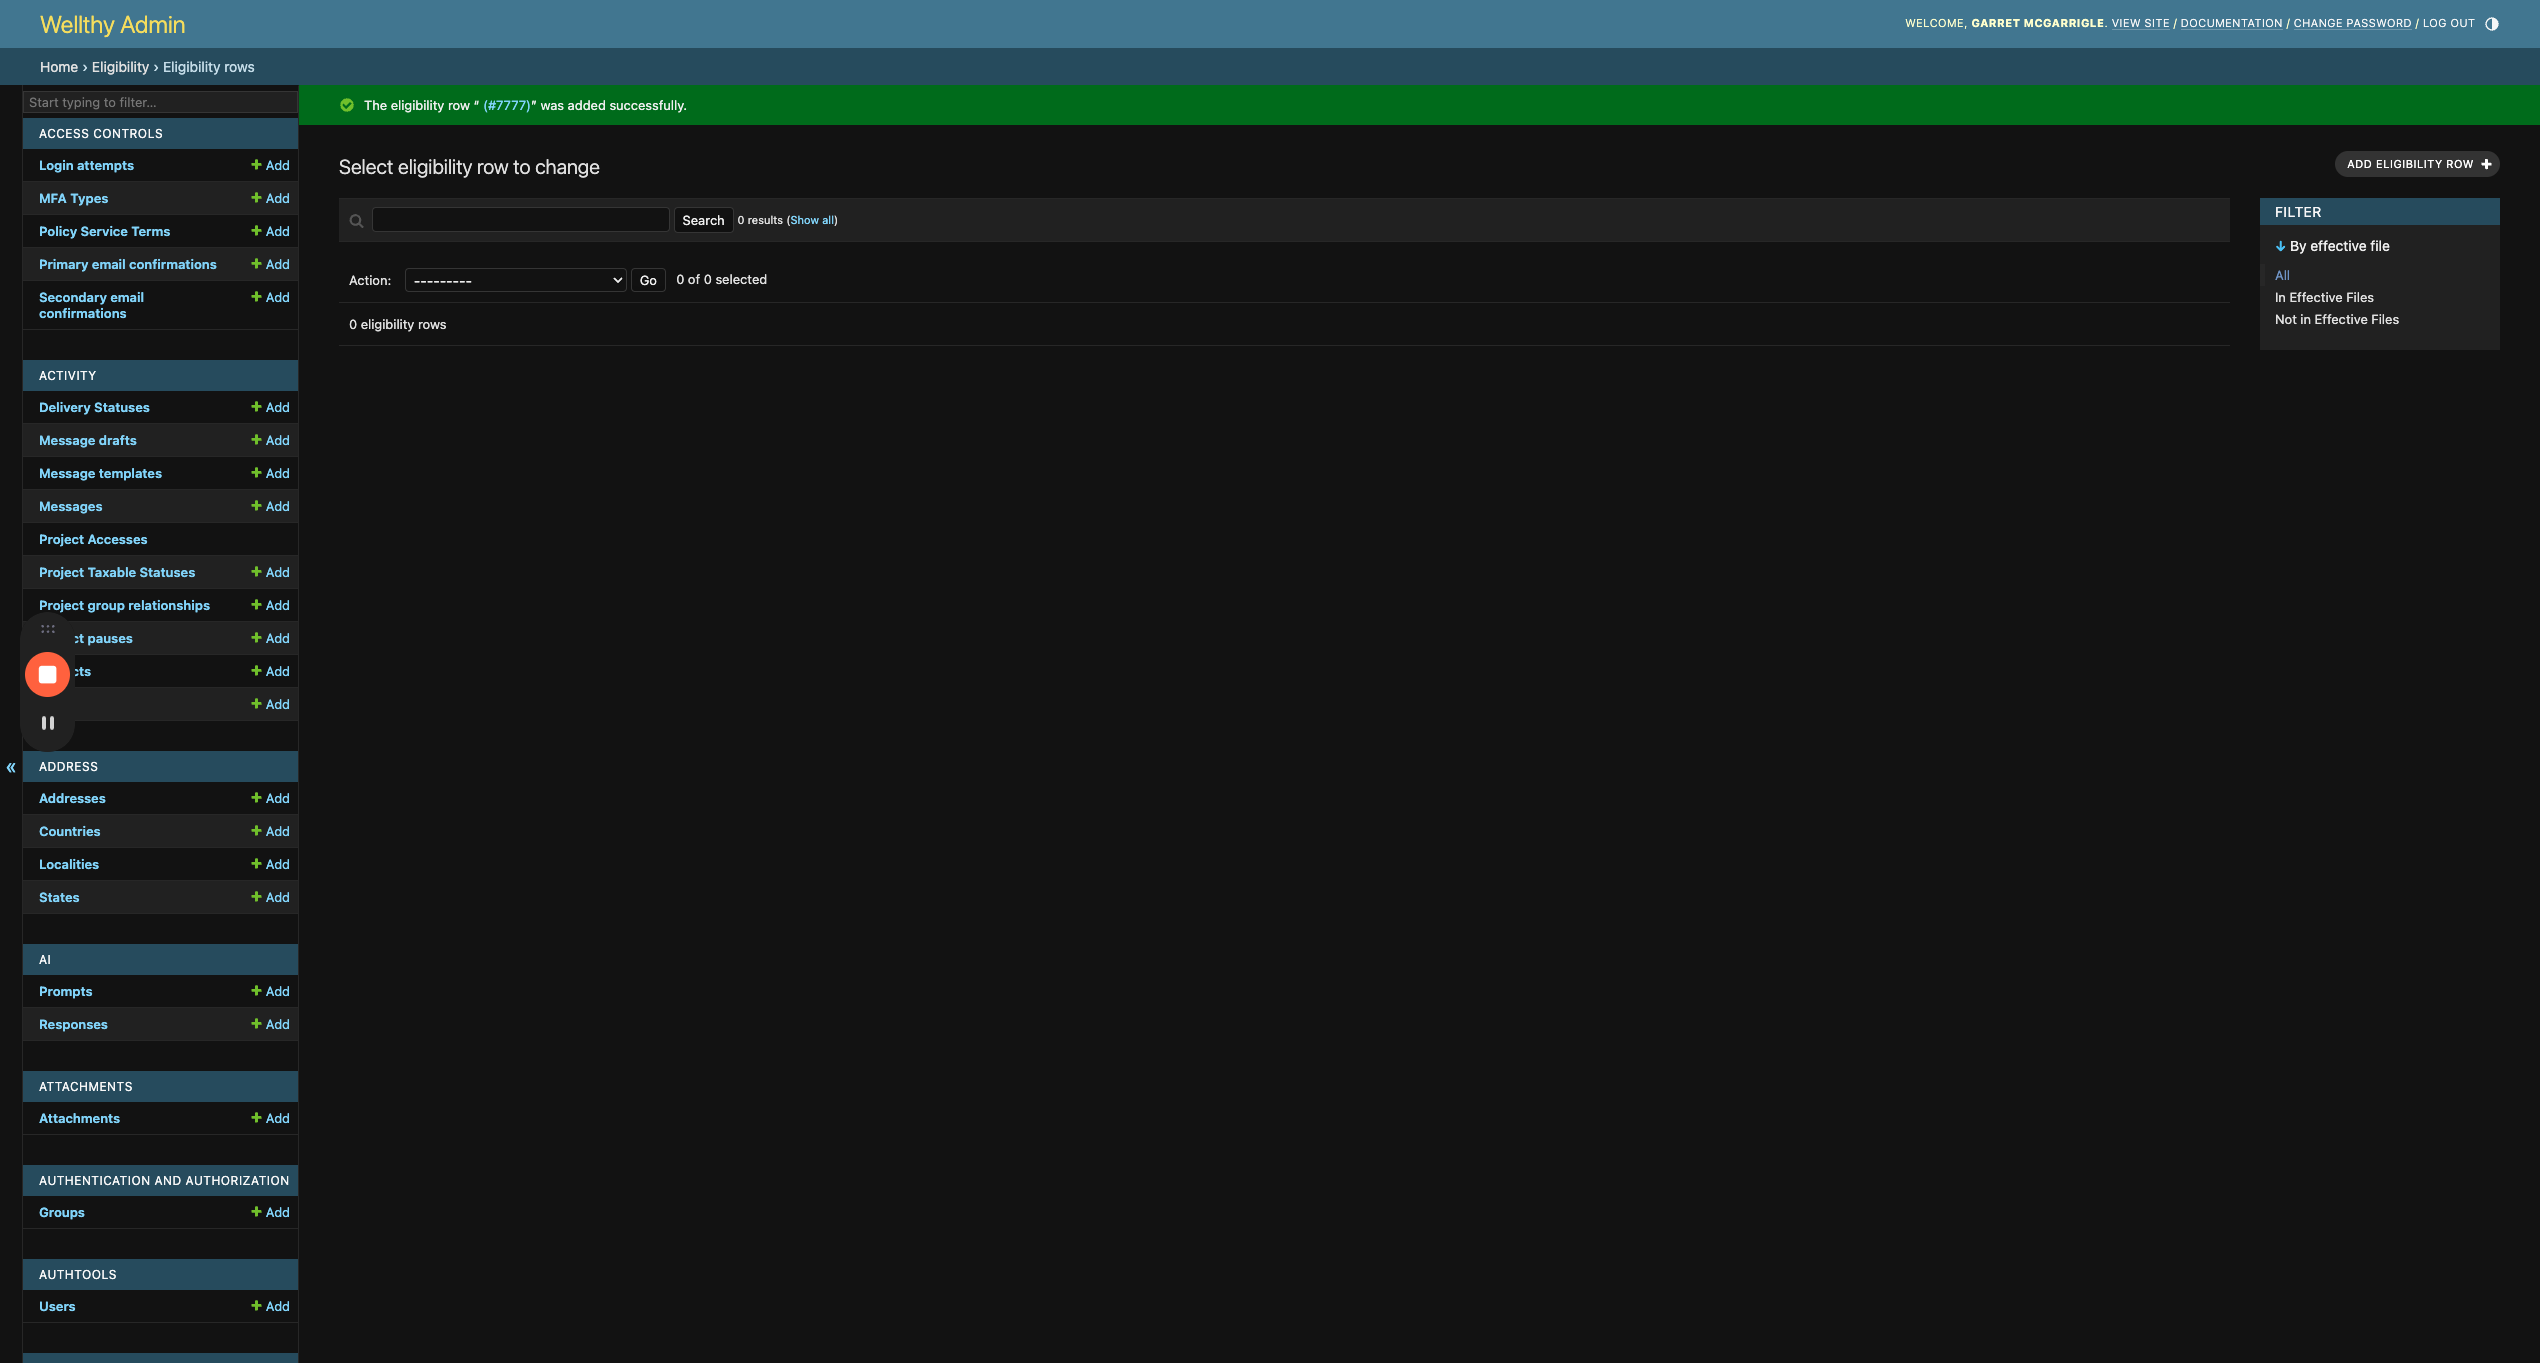
Click here and add your fake eligibility ID
12
Click on the file input
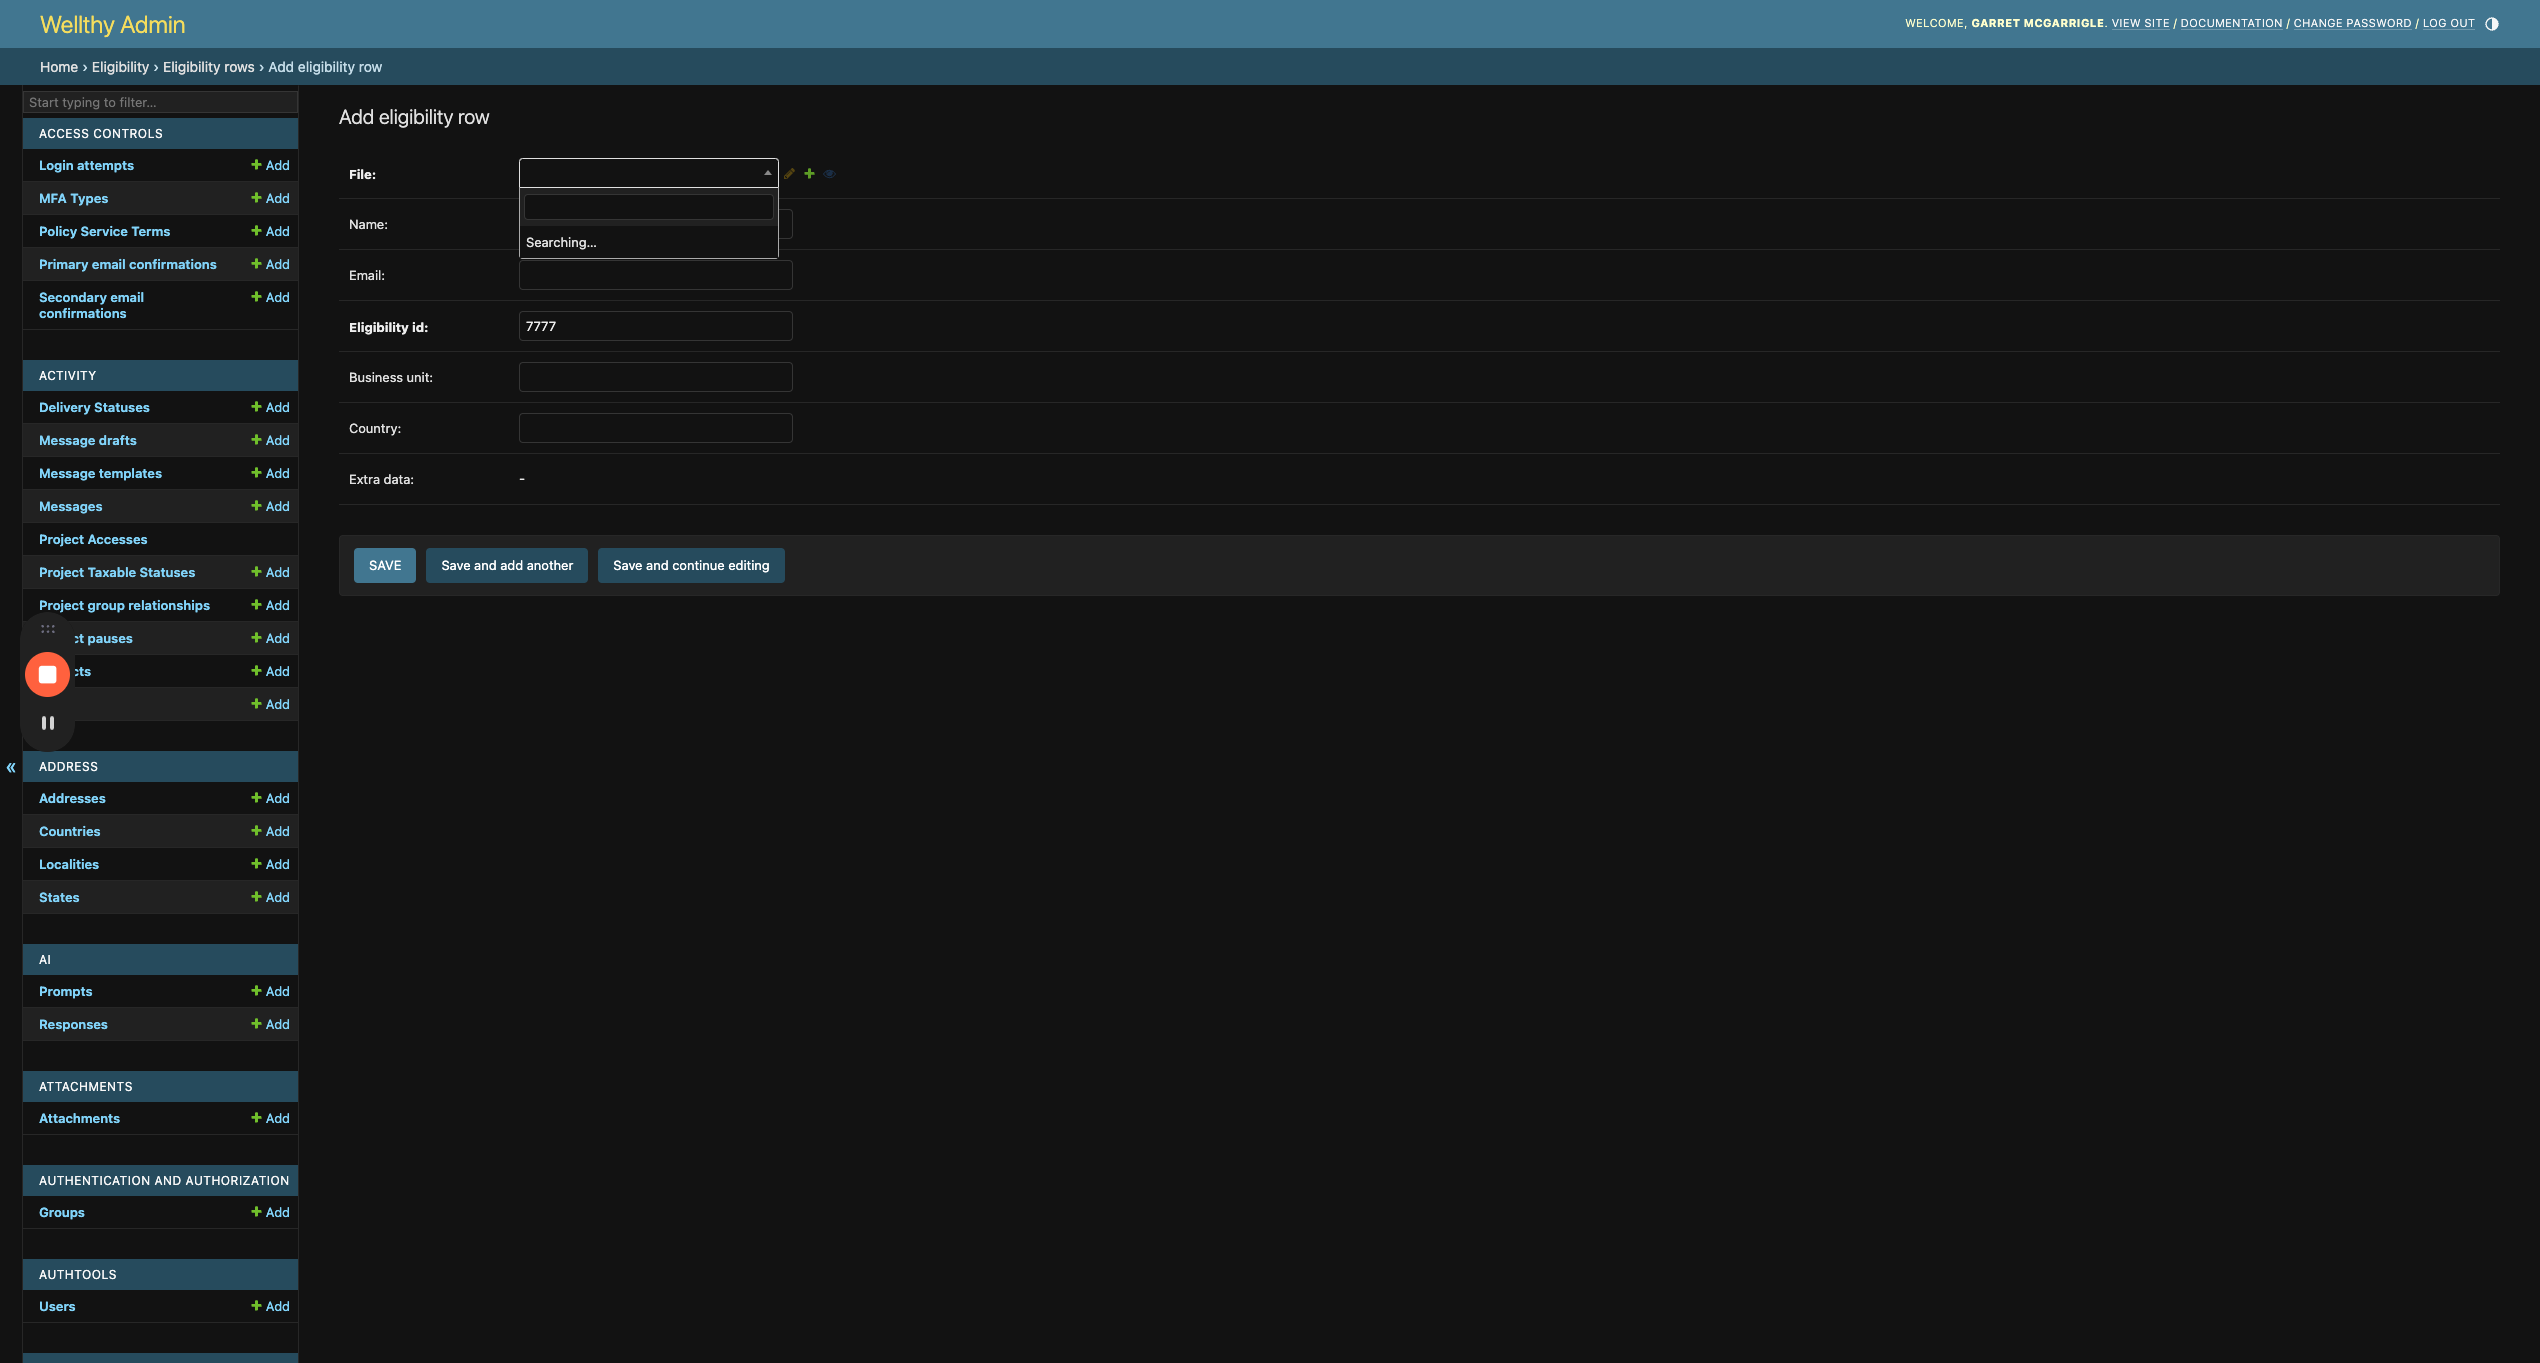
13
Search for the client you want to sign up as a customer for
14
Type "meta", for example
15
Scroll to the bottom of the list of available eligibility files and select the one with the most recent date
16
Click "SAVE"
17
Click "LOG OUT"
18
Click "Wellthy Admin"

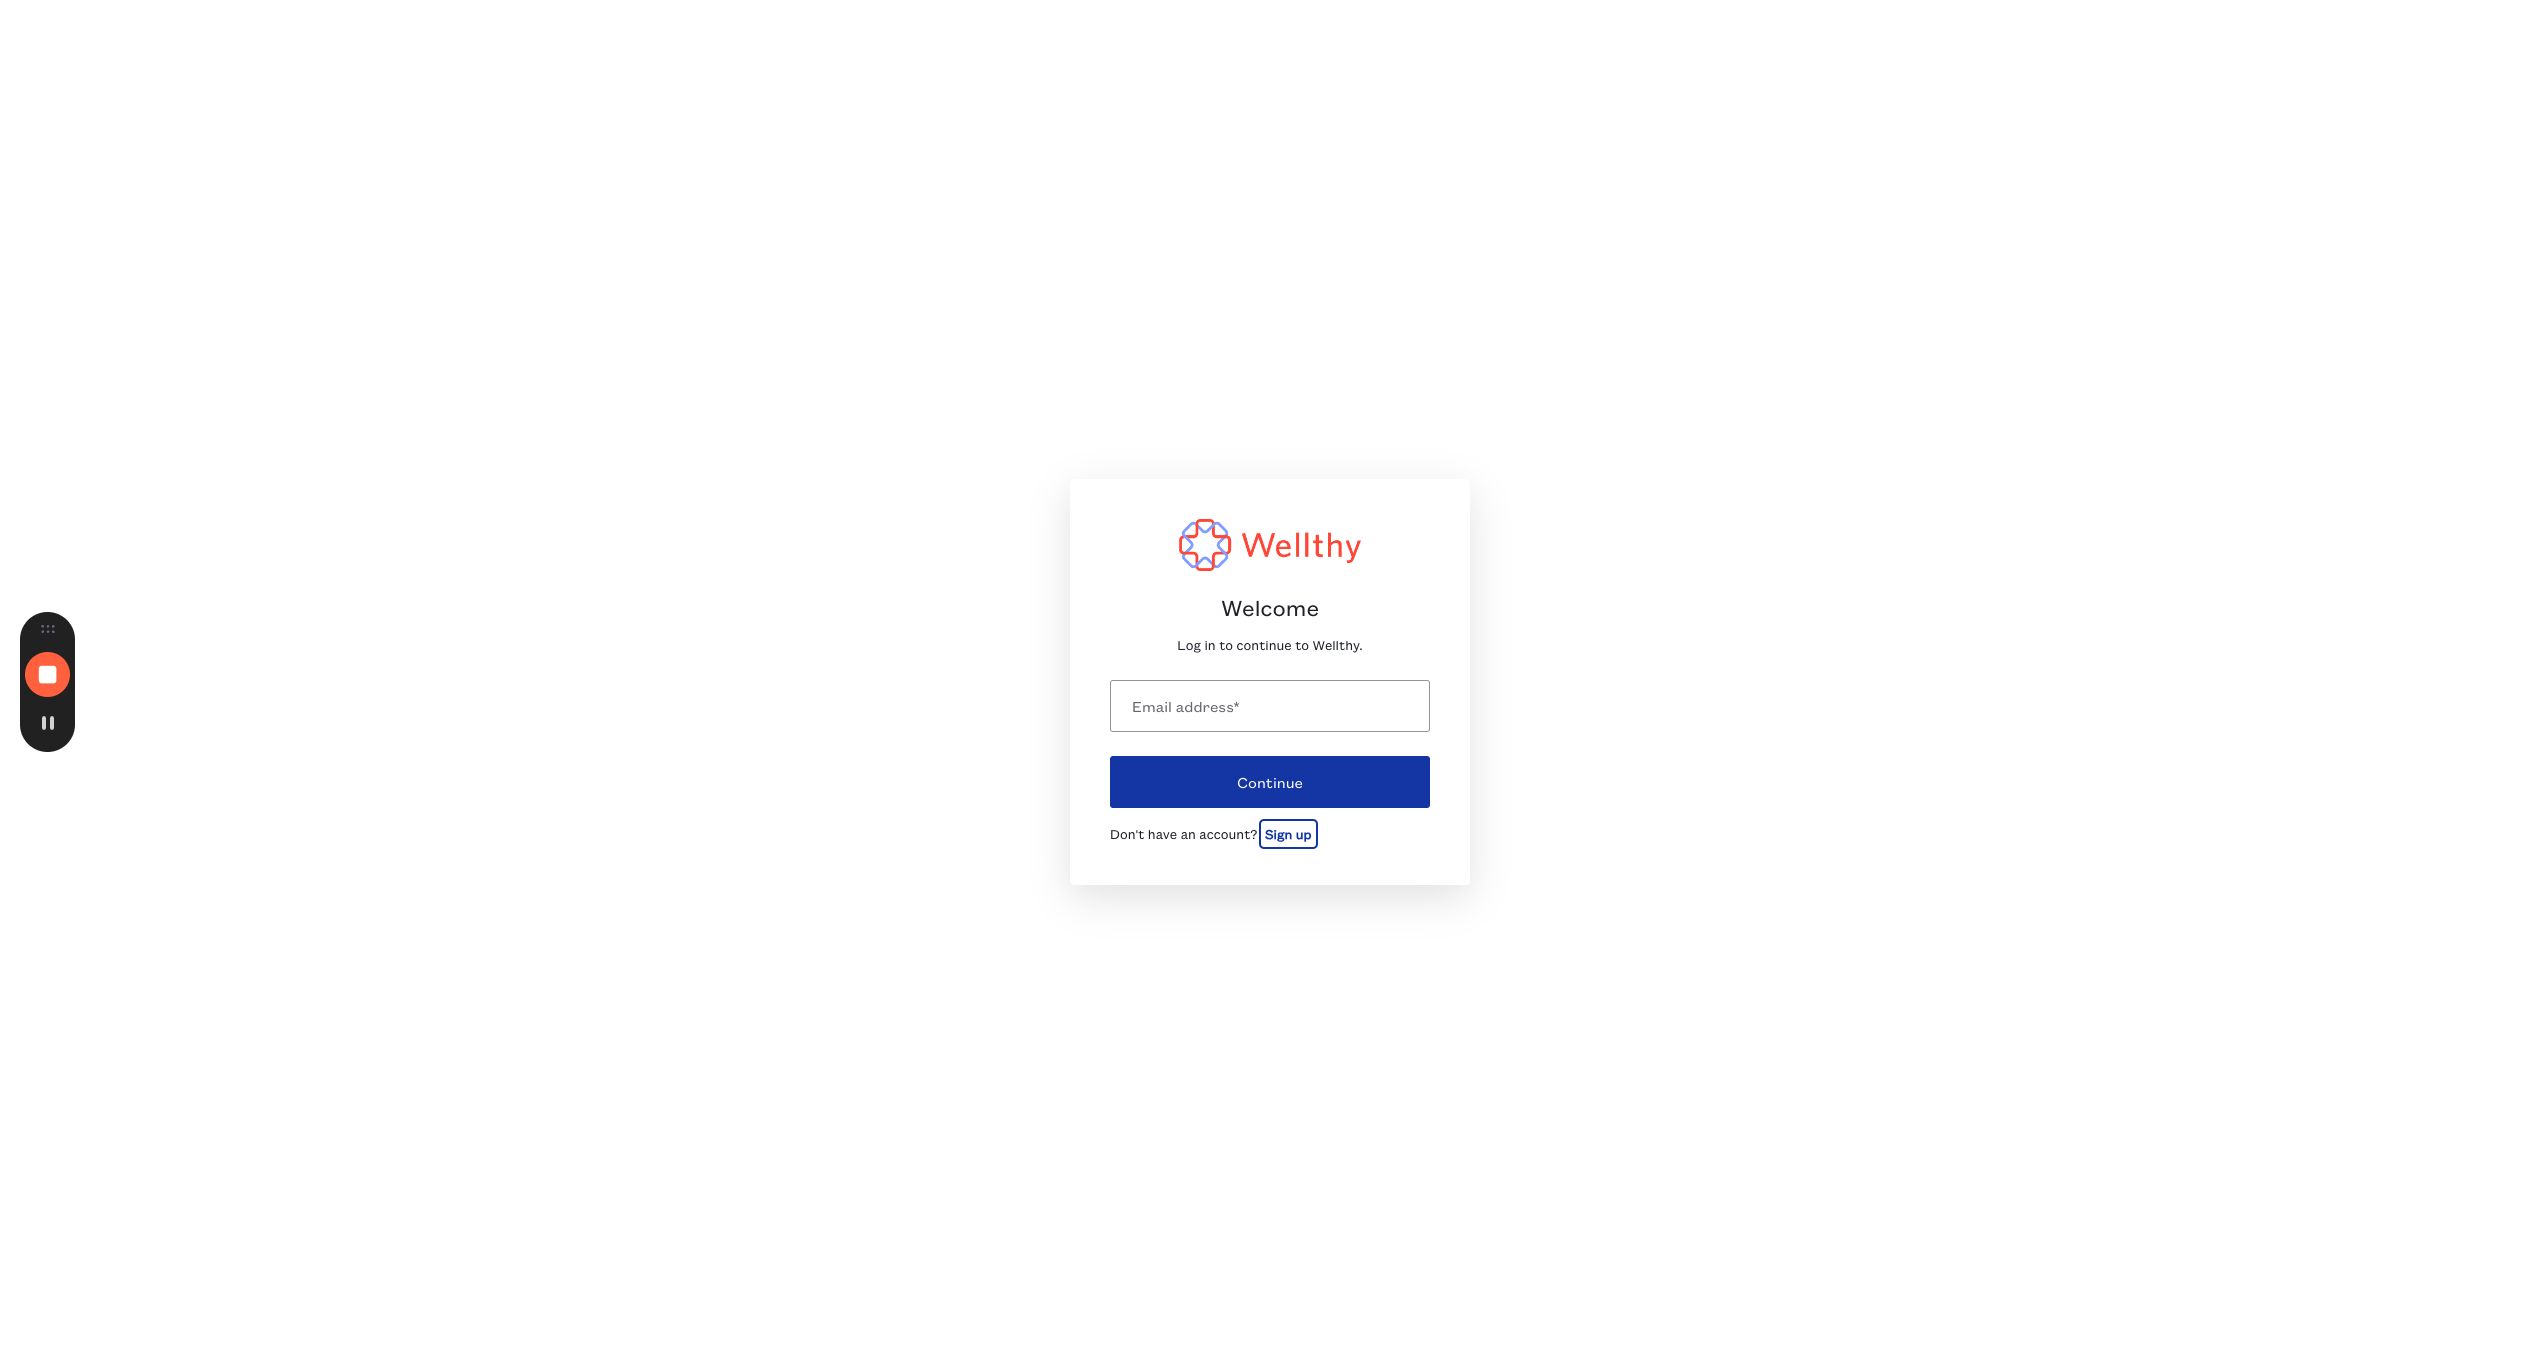
Now we can sign up for a new account. Let's use the name Brenda; that should work.
19
Click "Don't have an account ? Sign up"
20
Click here
21
Type in a fake email address and hit Enter
22
Click here
23
Enter a fake password and Continue
24
Click "Not on this device"
25
Add a fake name
26
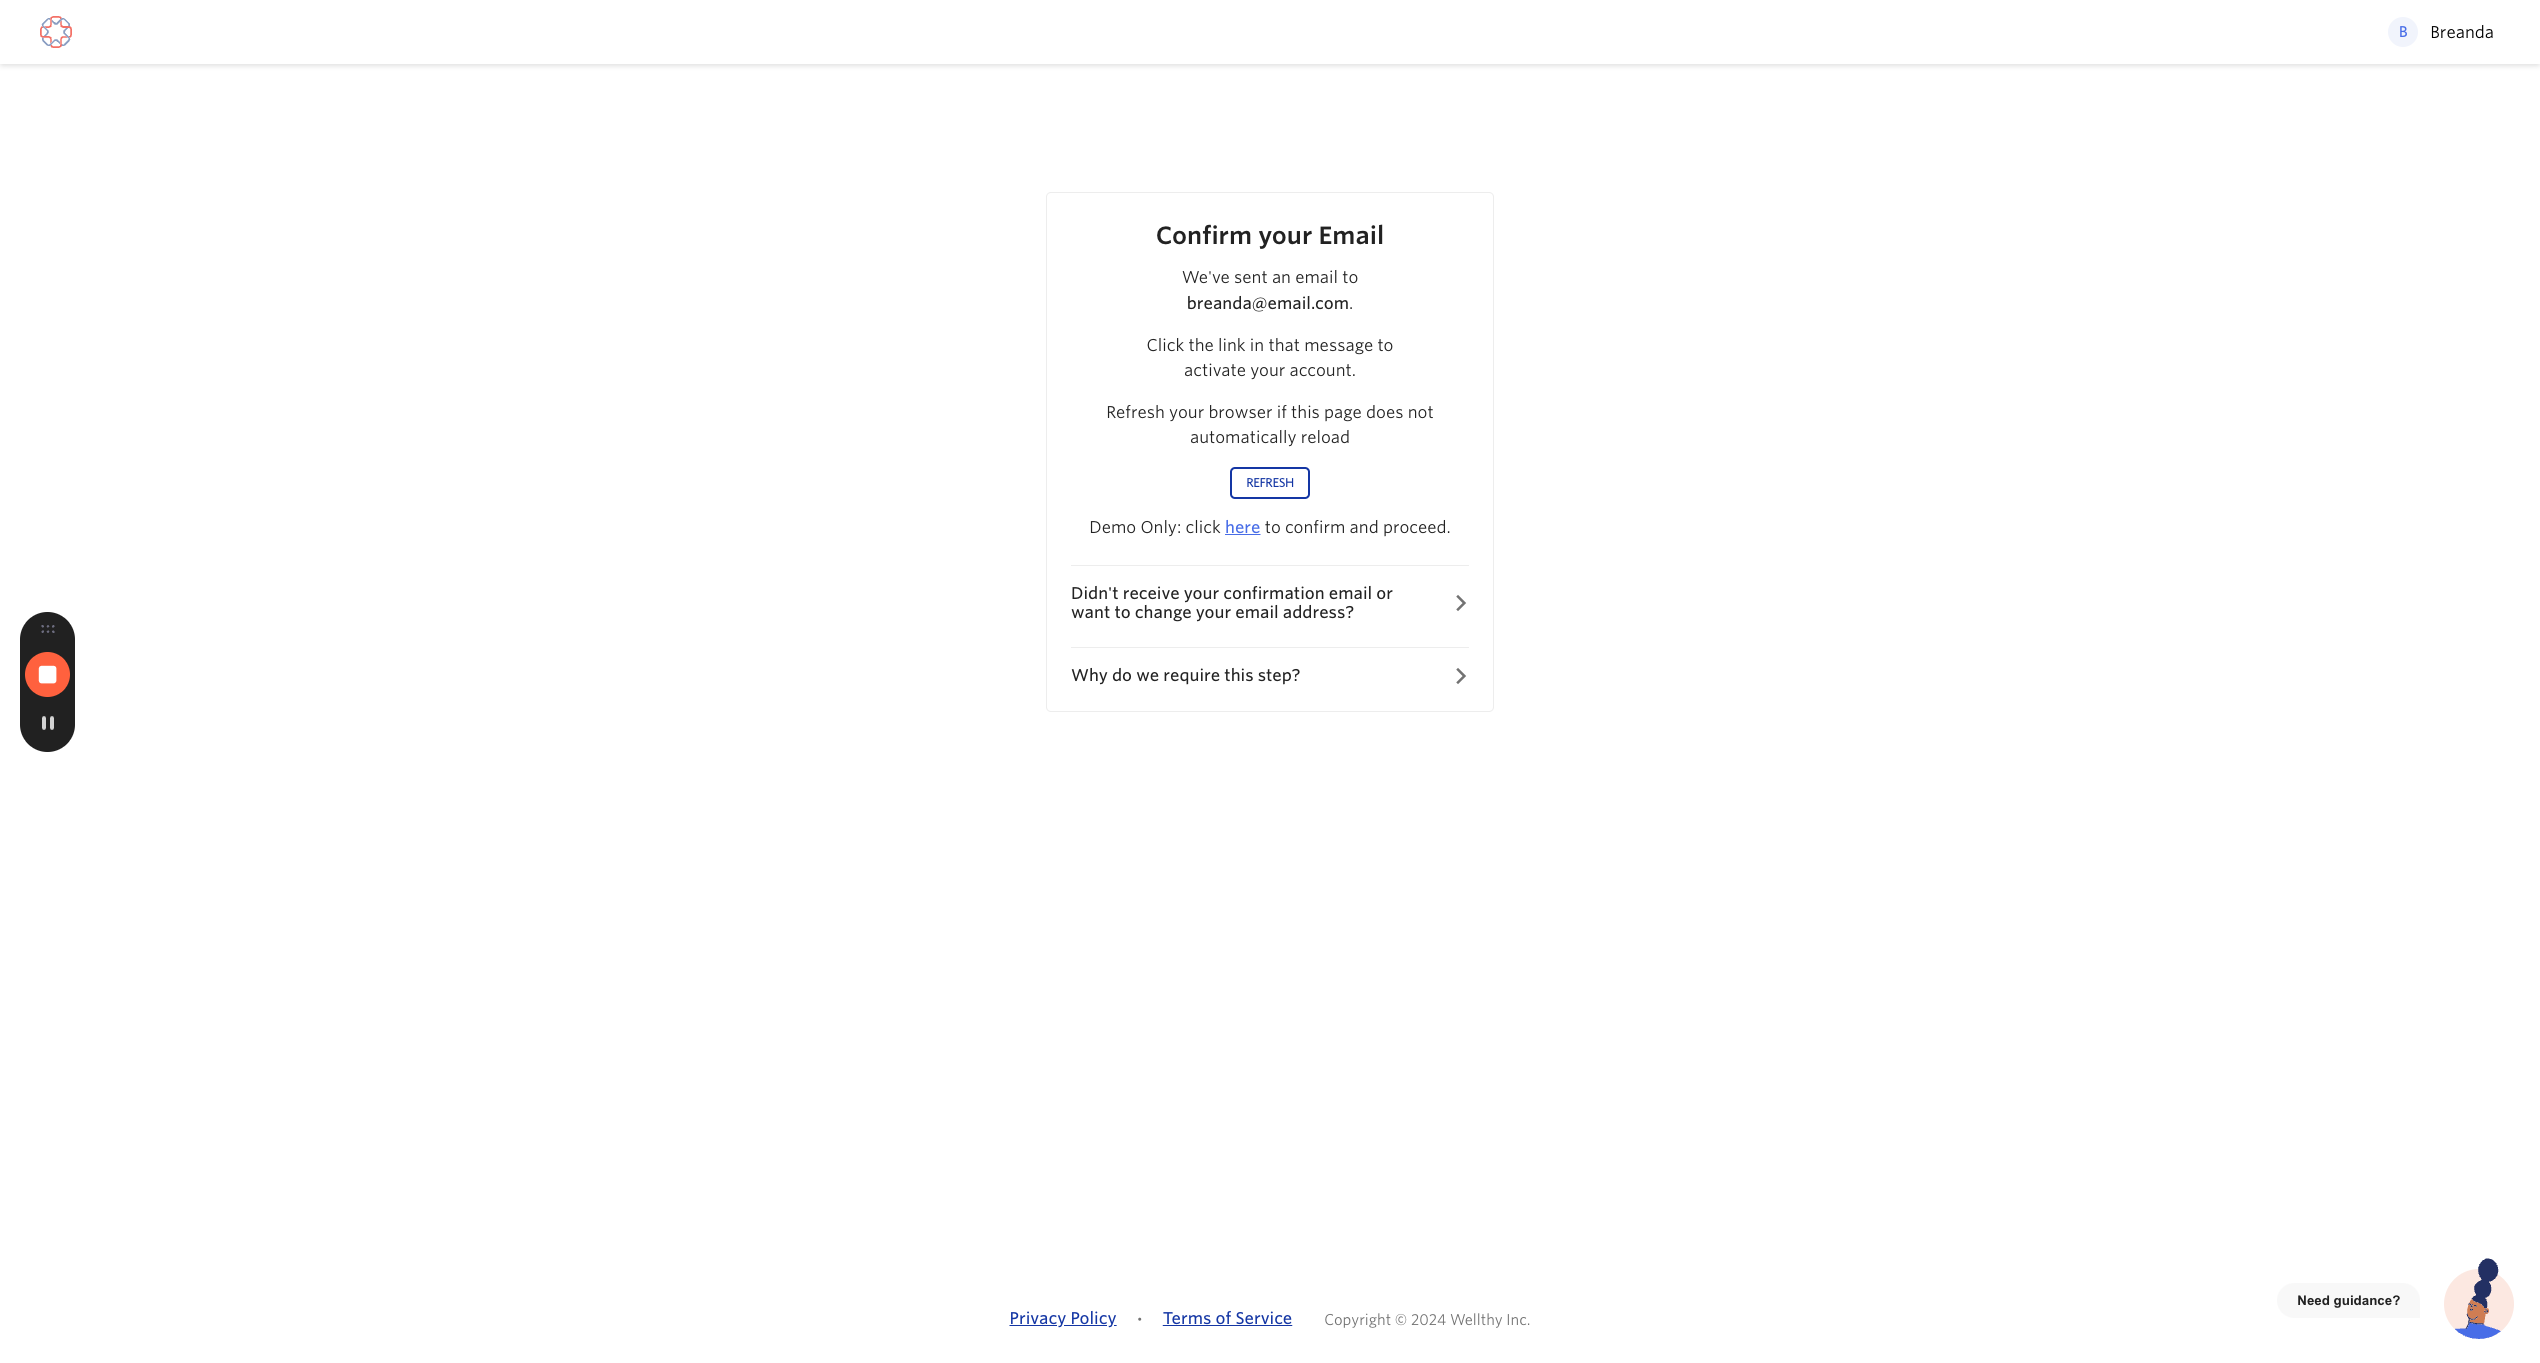
"click here to confirm and proceed" to verify the email
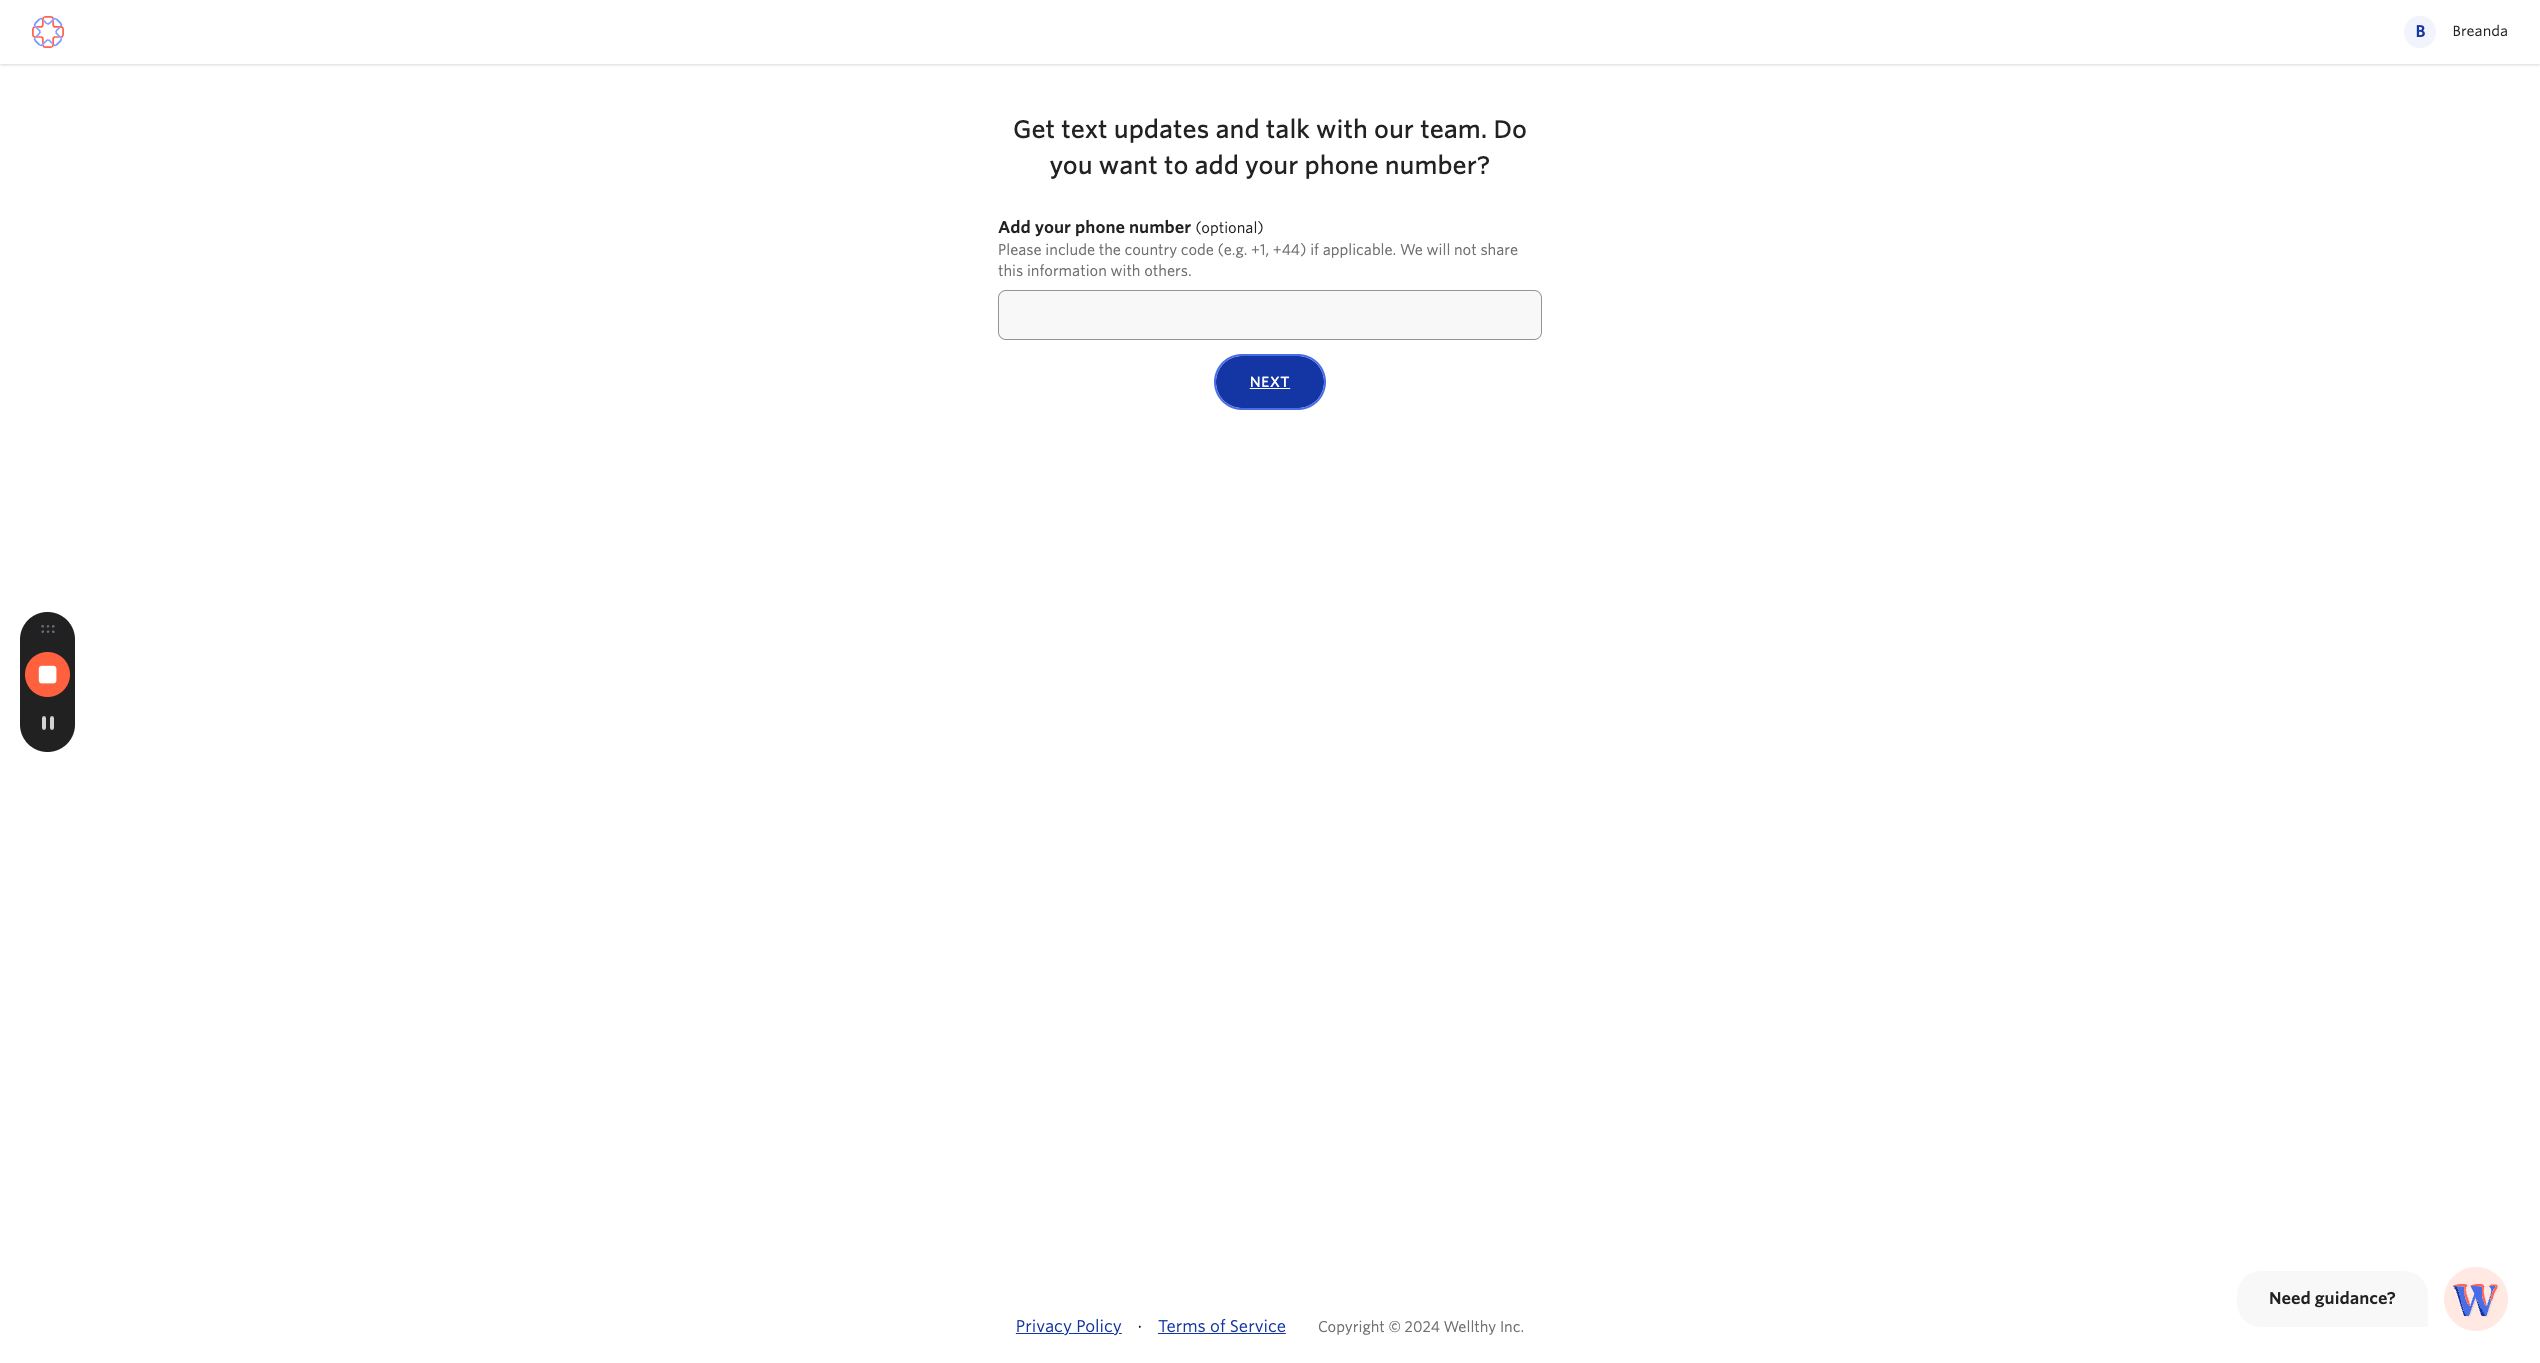
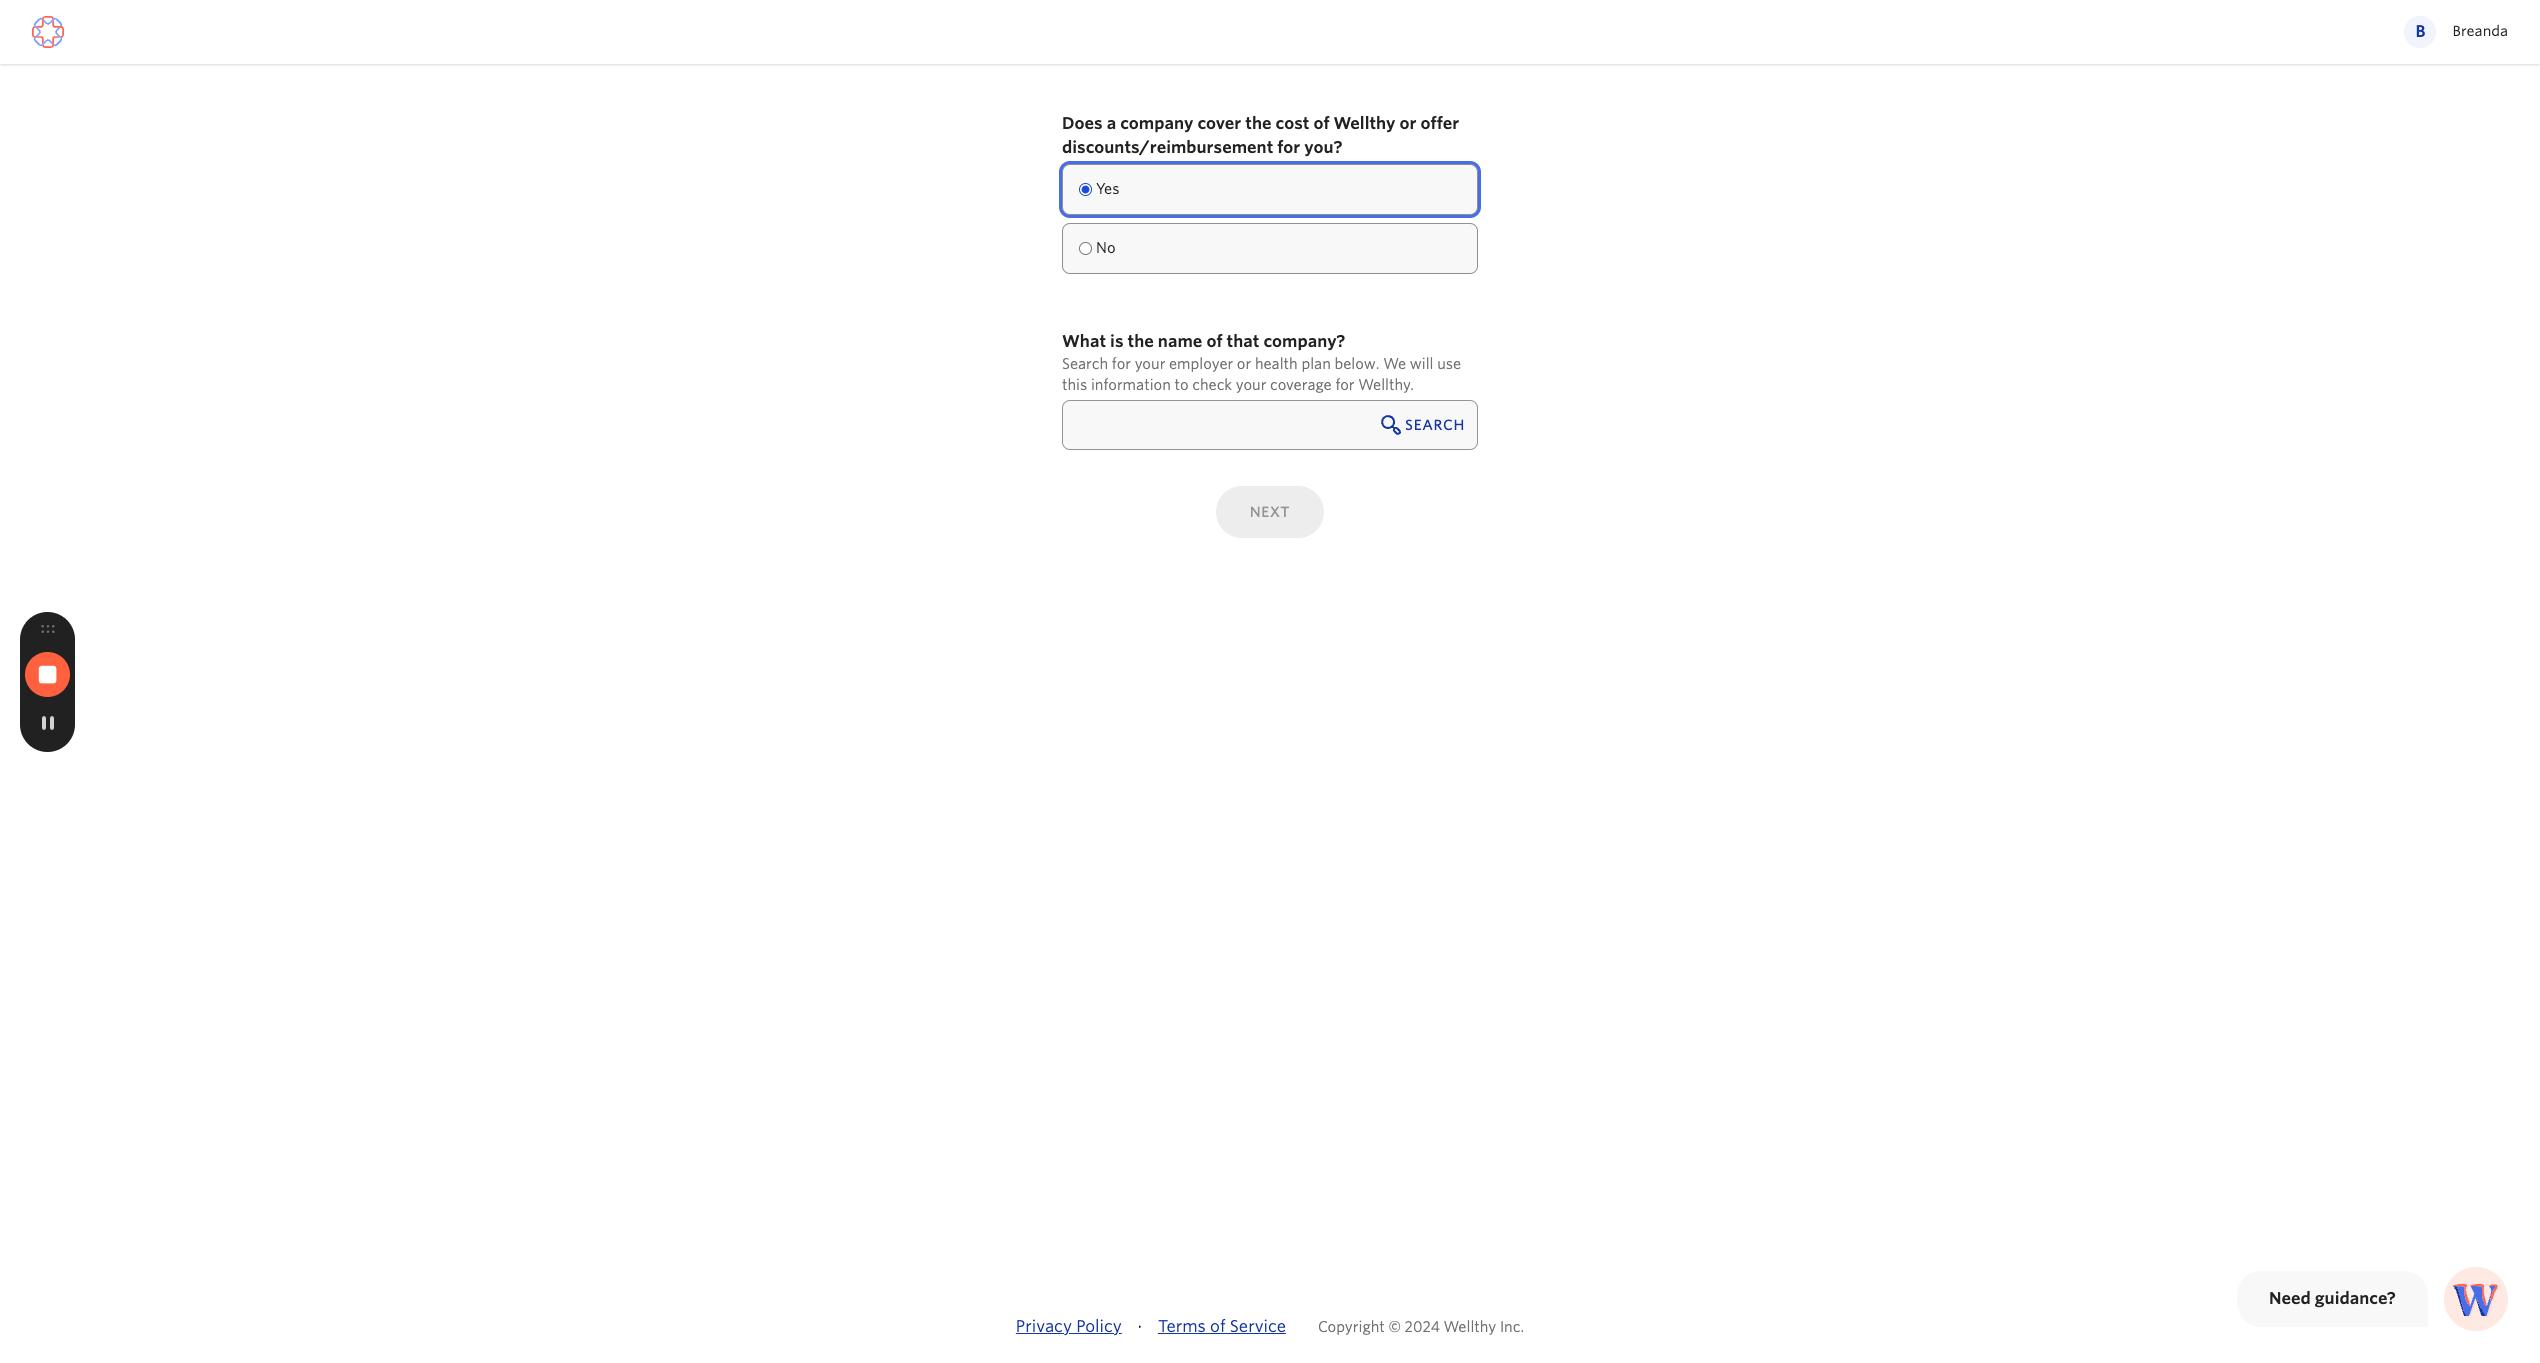
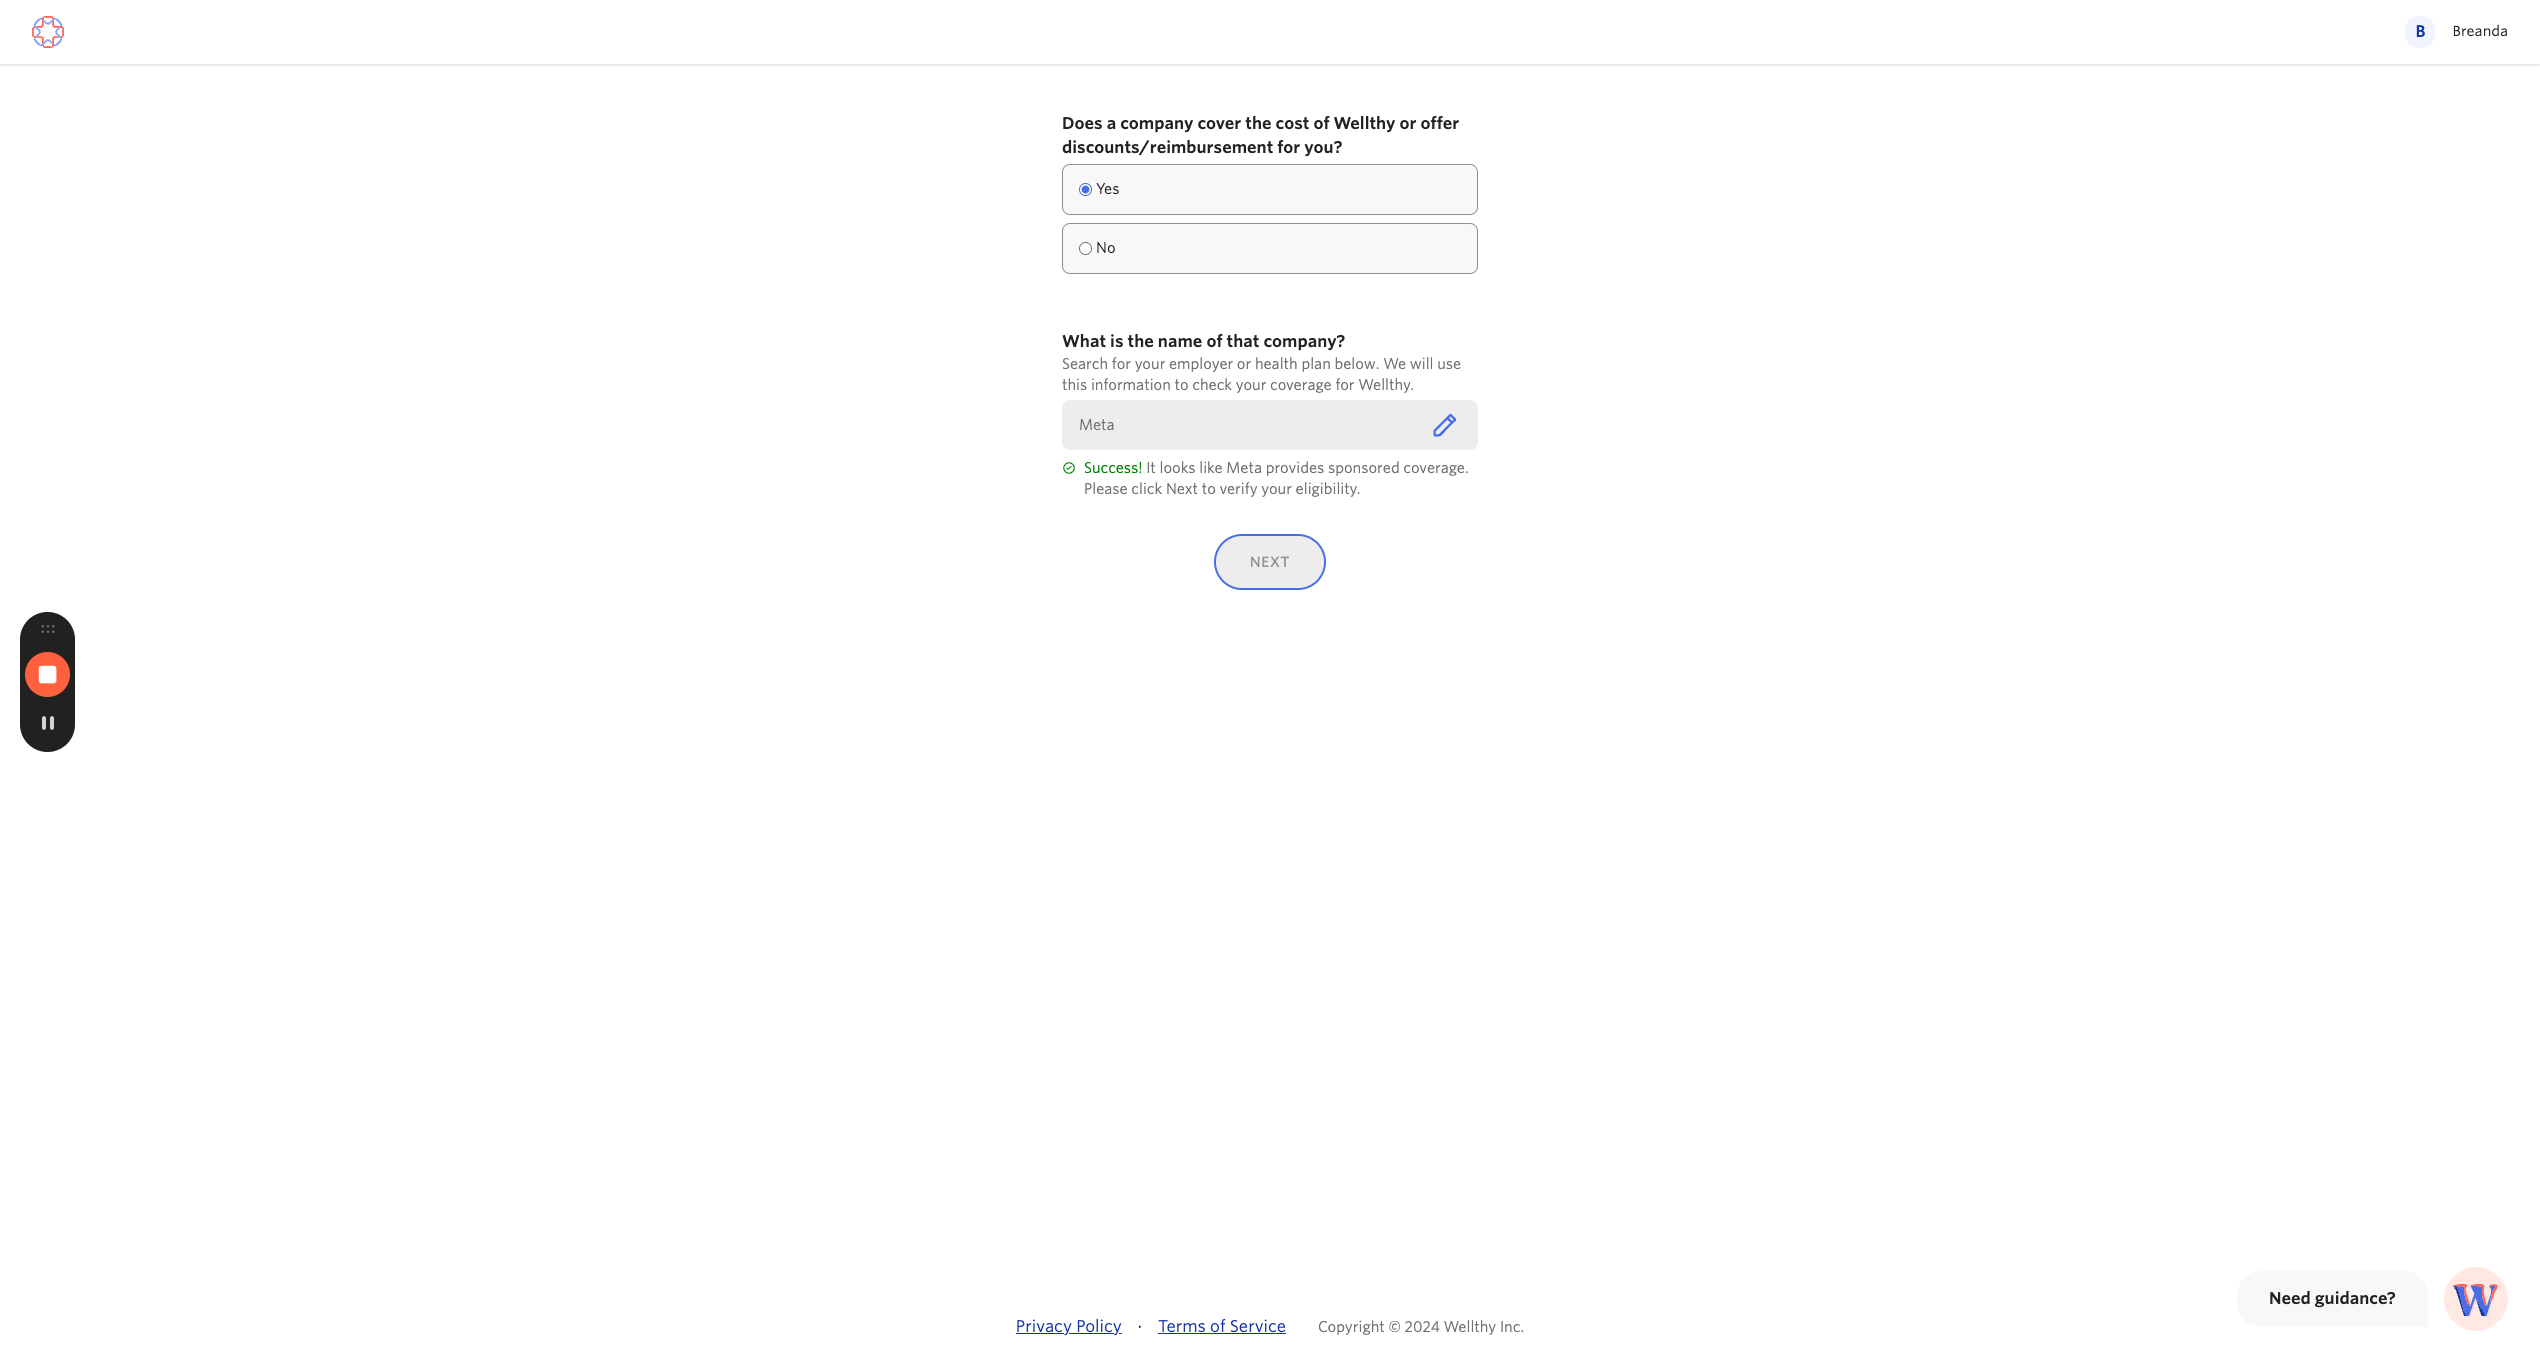
We can skip these pages. We'll say that we work for Meta since that's where we created the eligibility file. Enter the number that you created, and that's it.
27
Click "NEXT"
28
Click here
29
Type "Meta"
30
Click "NEXT"
31
Click here to enter your eligibility ID
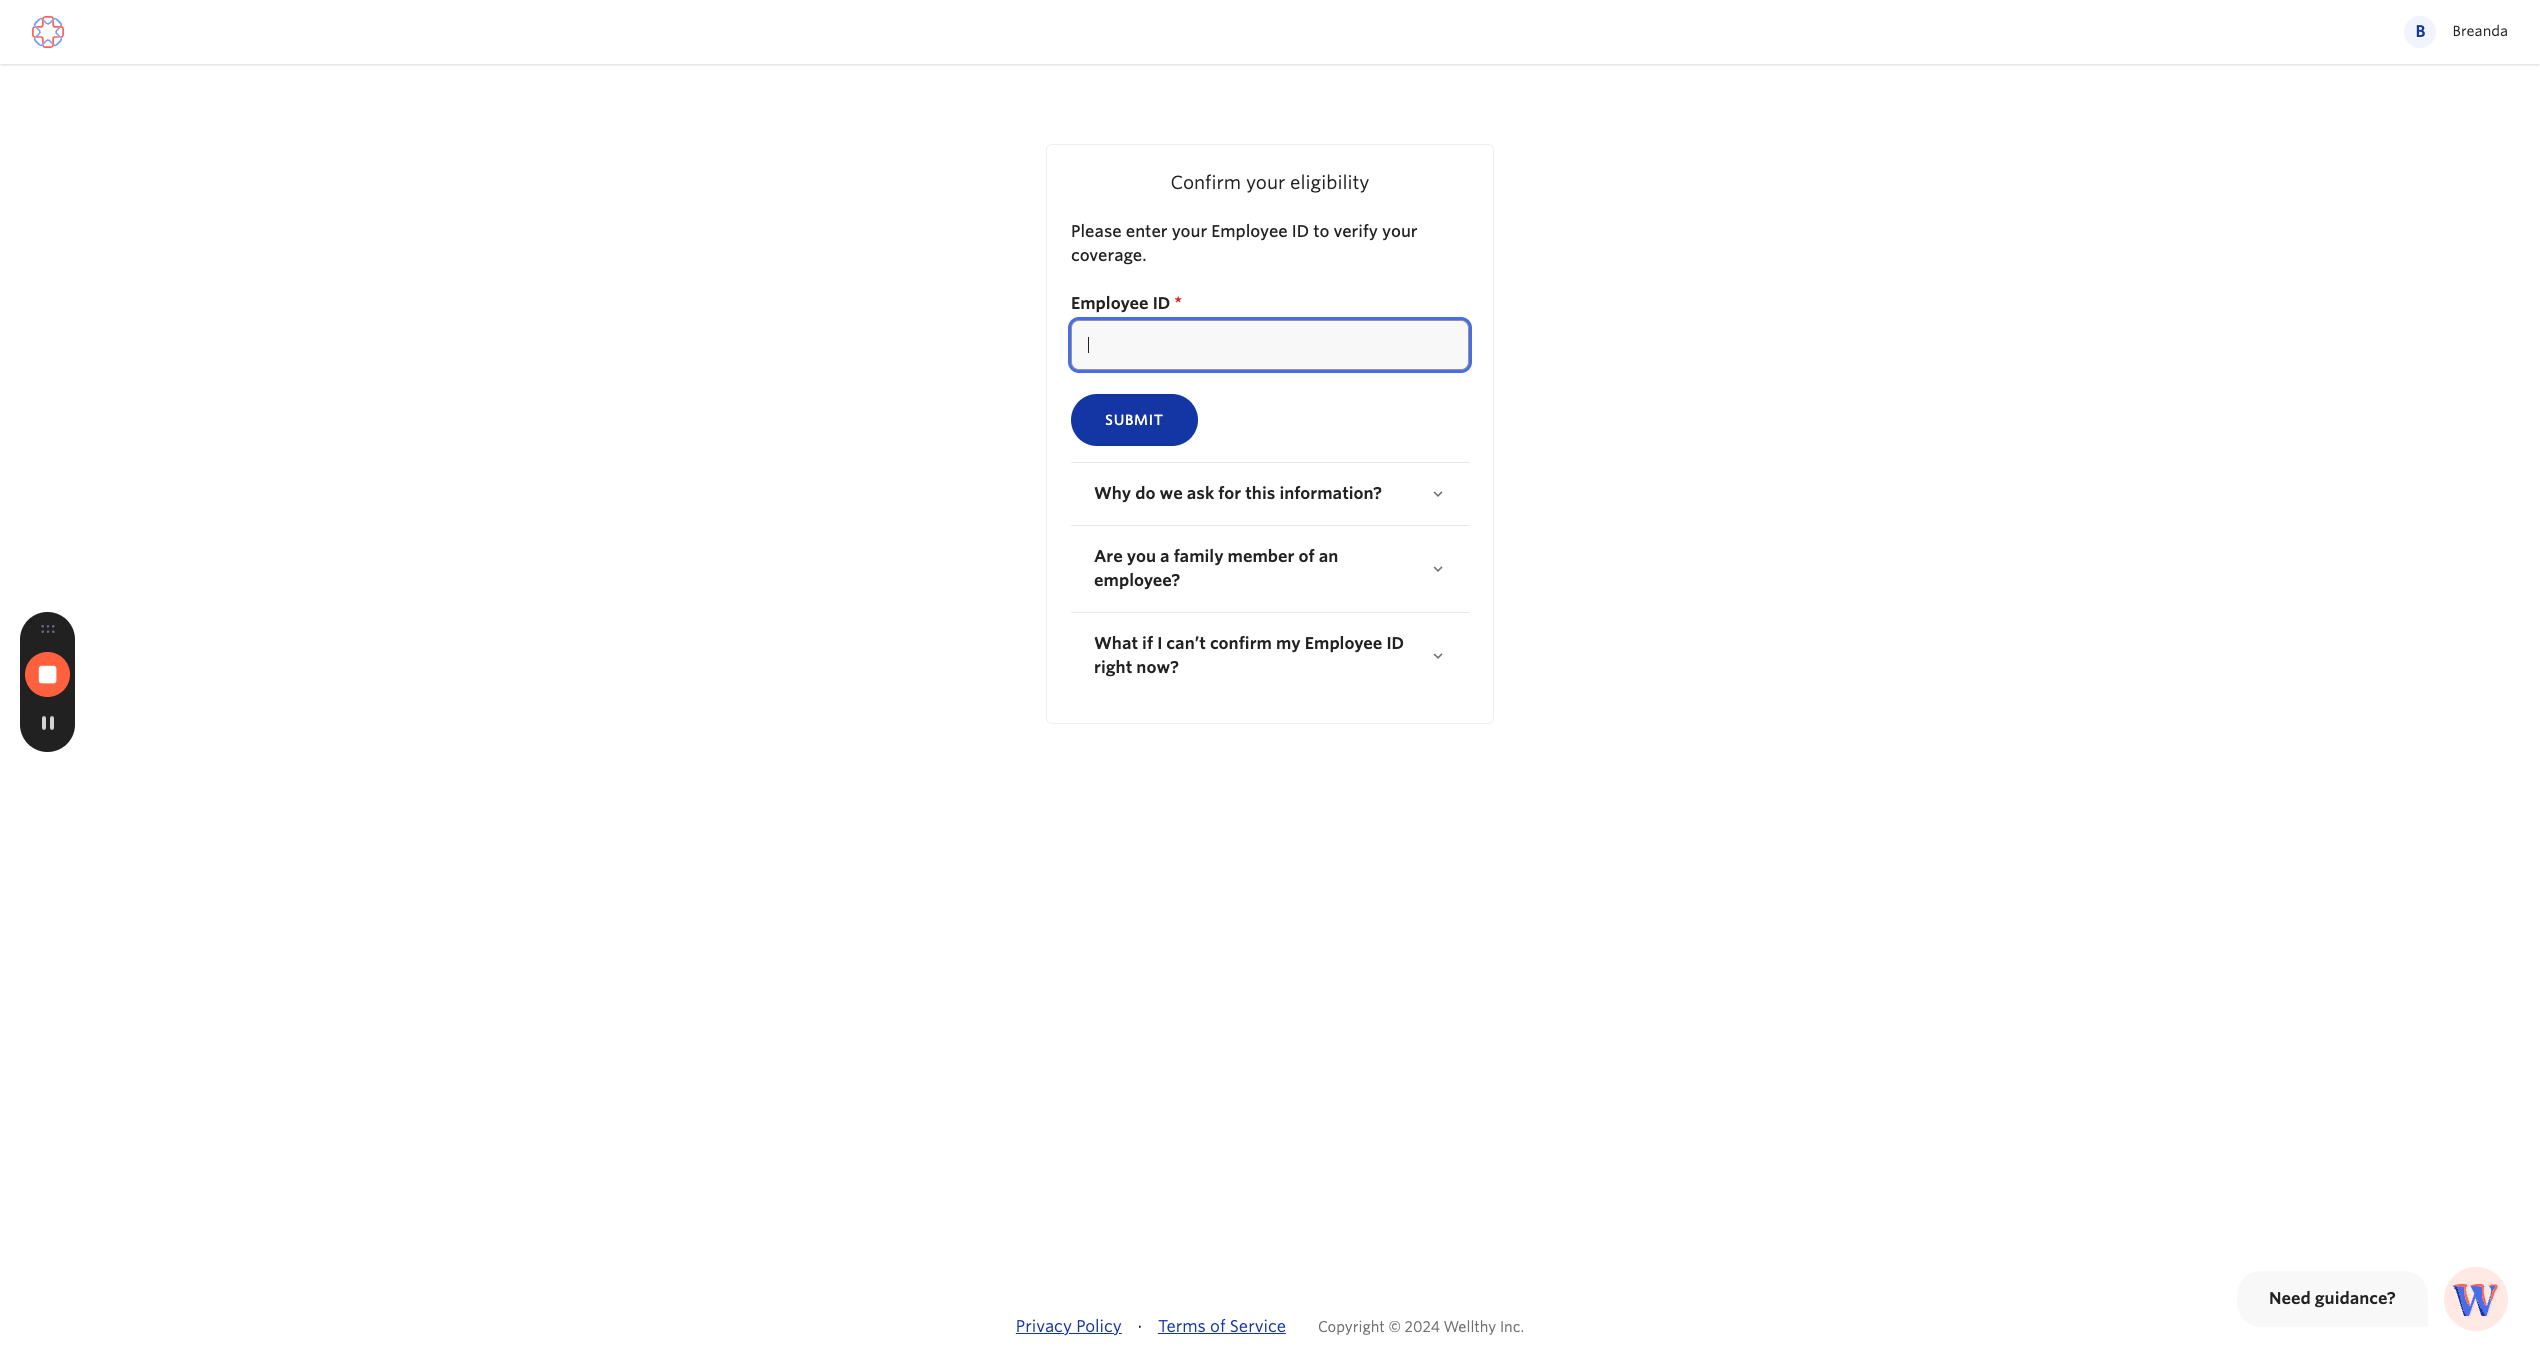
32
Type the eligibility ID you saved in the admin panel earlier