
How to Add Local Users to the Qumulex Access Control System for Middletown Bus Garage
Step-by-step guide on adding non-Middletown employees as local users to the Qumulex access control system, including credential setup and group assignment for the bus garage.
In this guide, we'll learn how to add local users who are not Middletown employees to the Qumulex access control system. This process helps manage access for people such as bus drivers who need entry to specific locations like the bus garage.
You will use the Qumulex web application to create new user profiles, assign them to groups, and set up their access credentials.
Let's get started
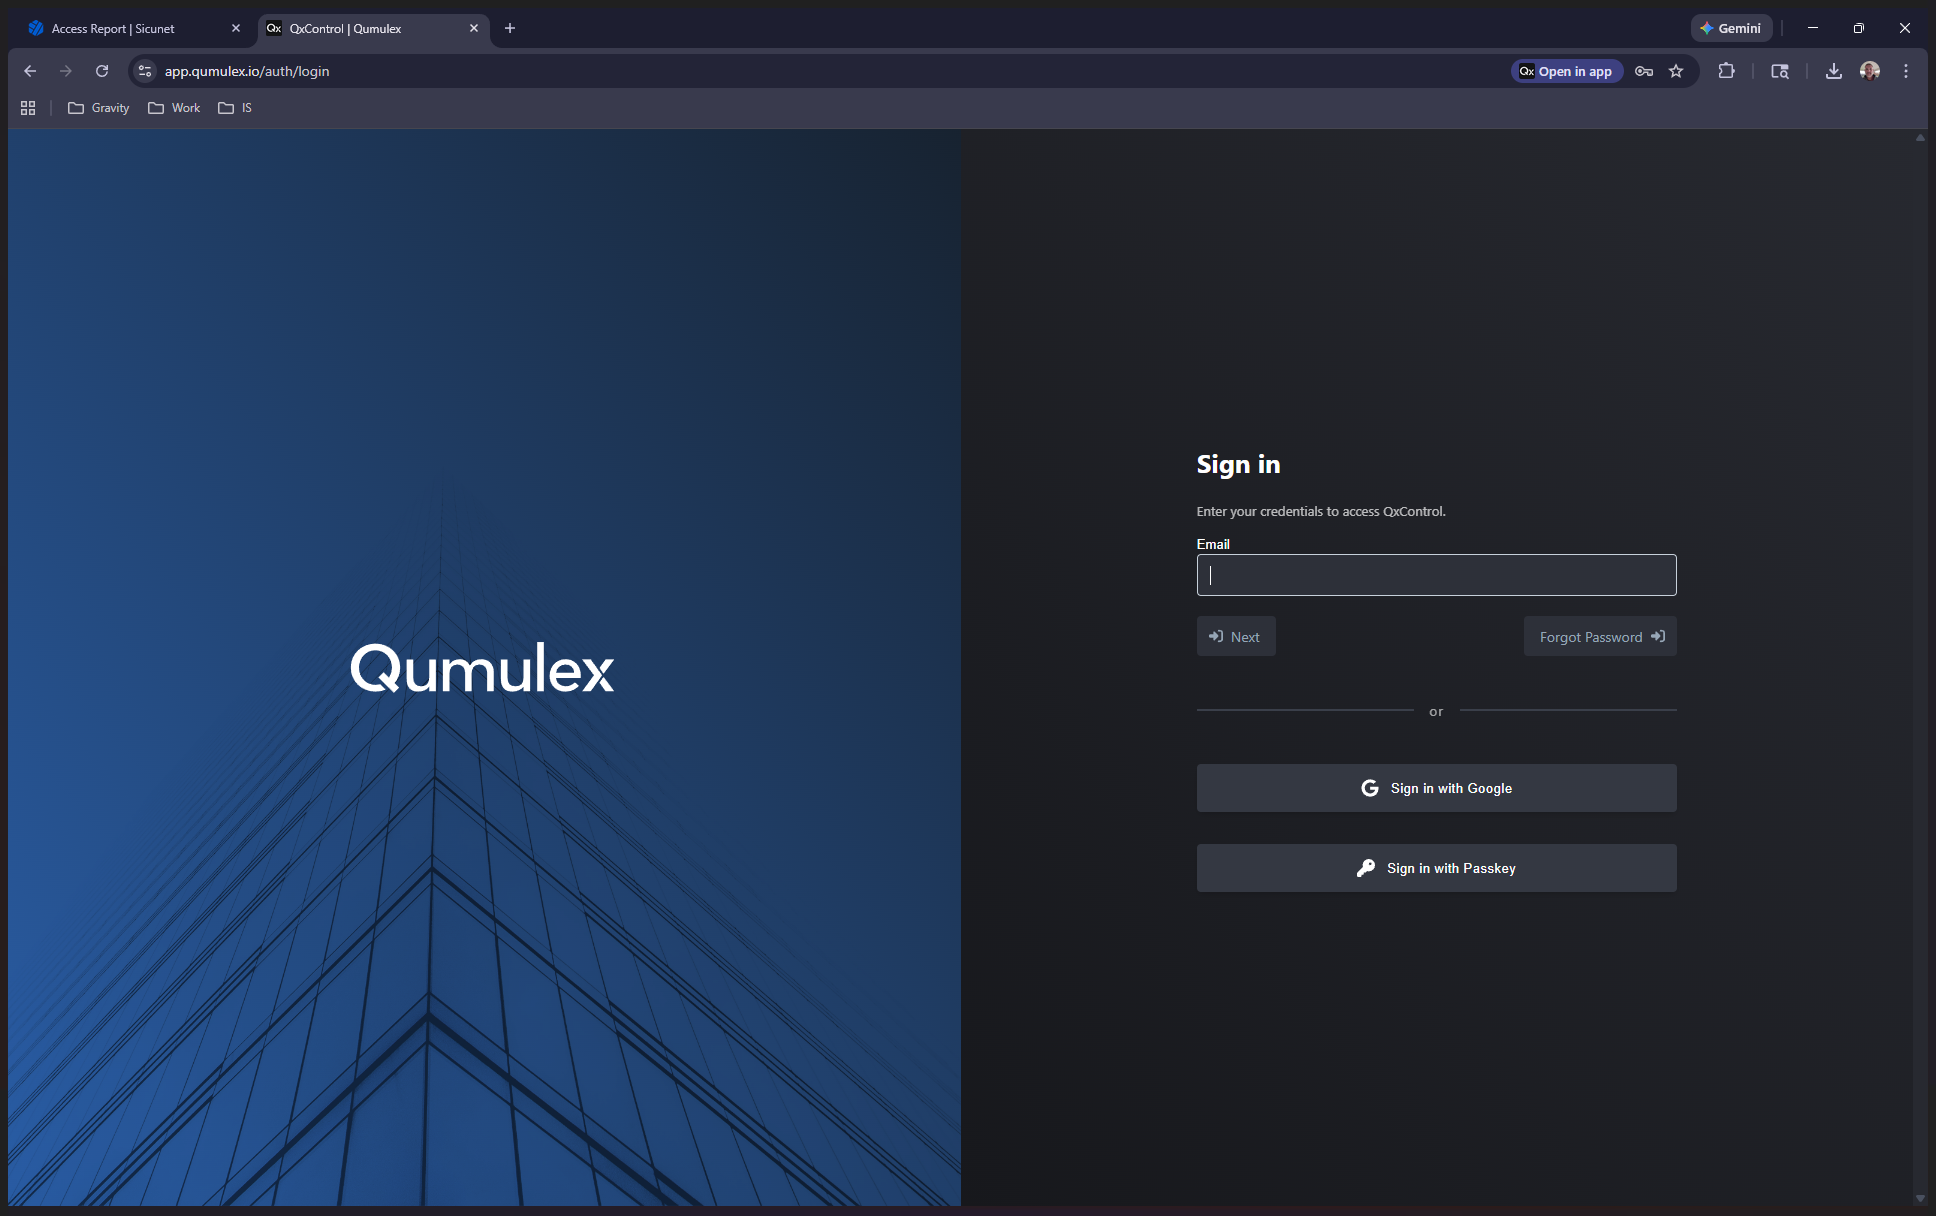
In this guide, we will explain how to add local users who are not Middletown employees to the Qumulex access control system. Go to app.cumulex.io.
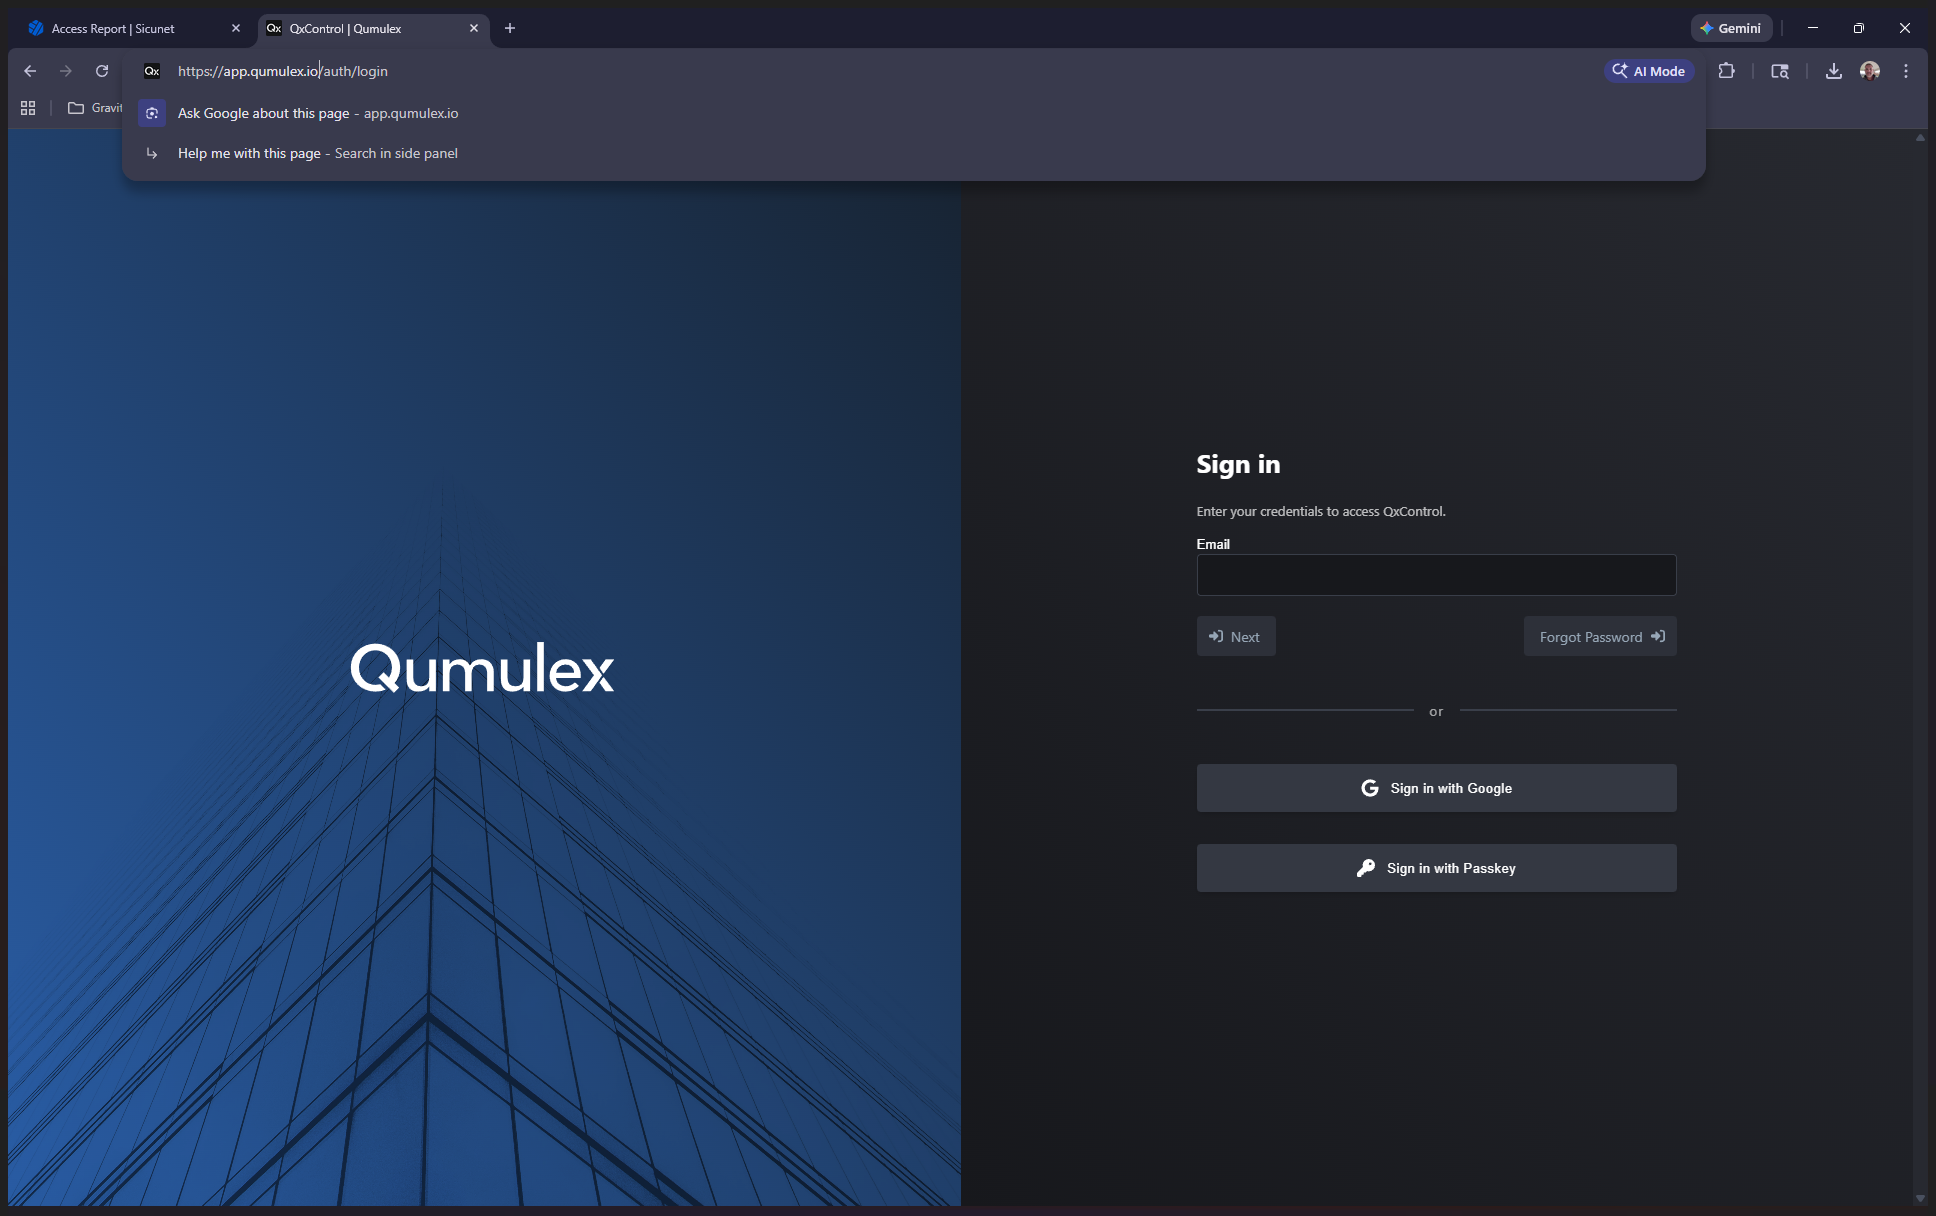
Once here, log in using your Middletown email address.
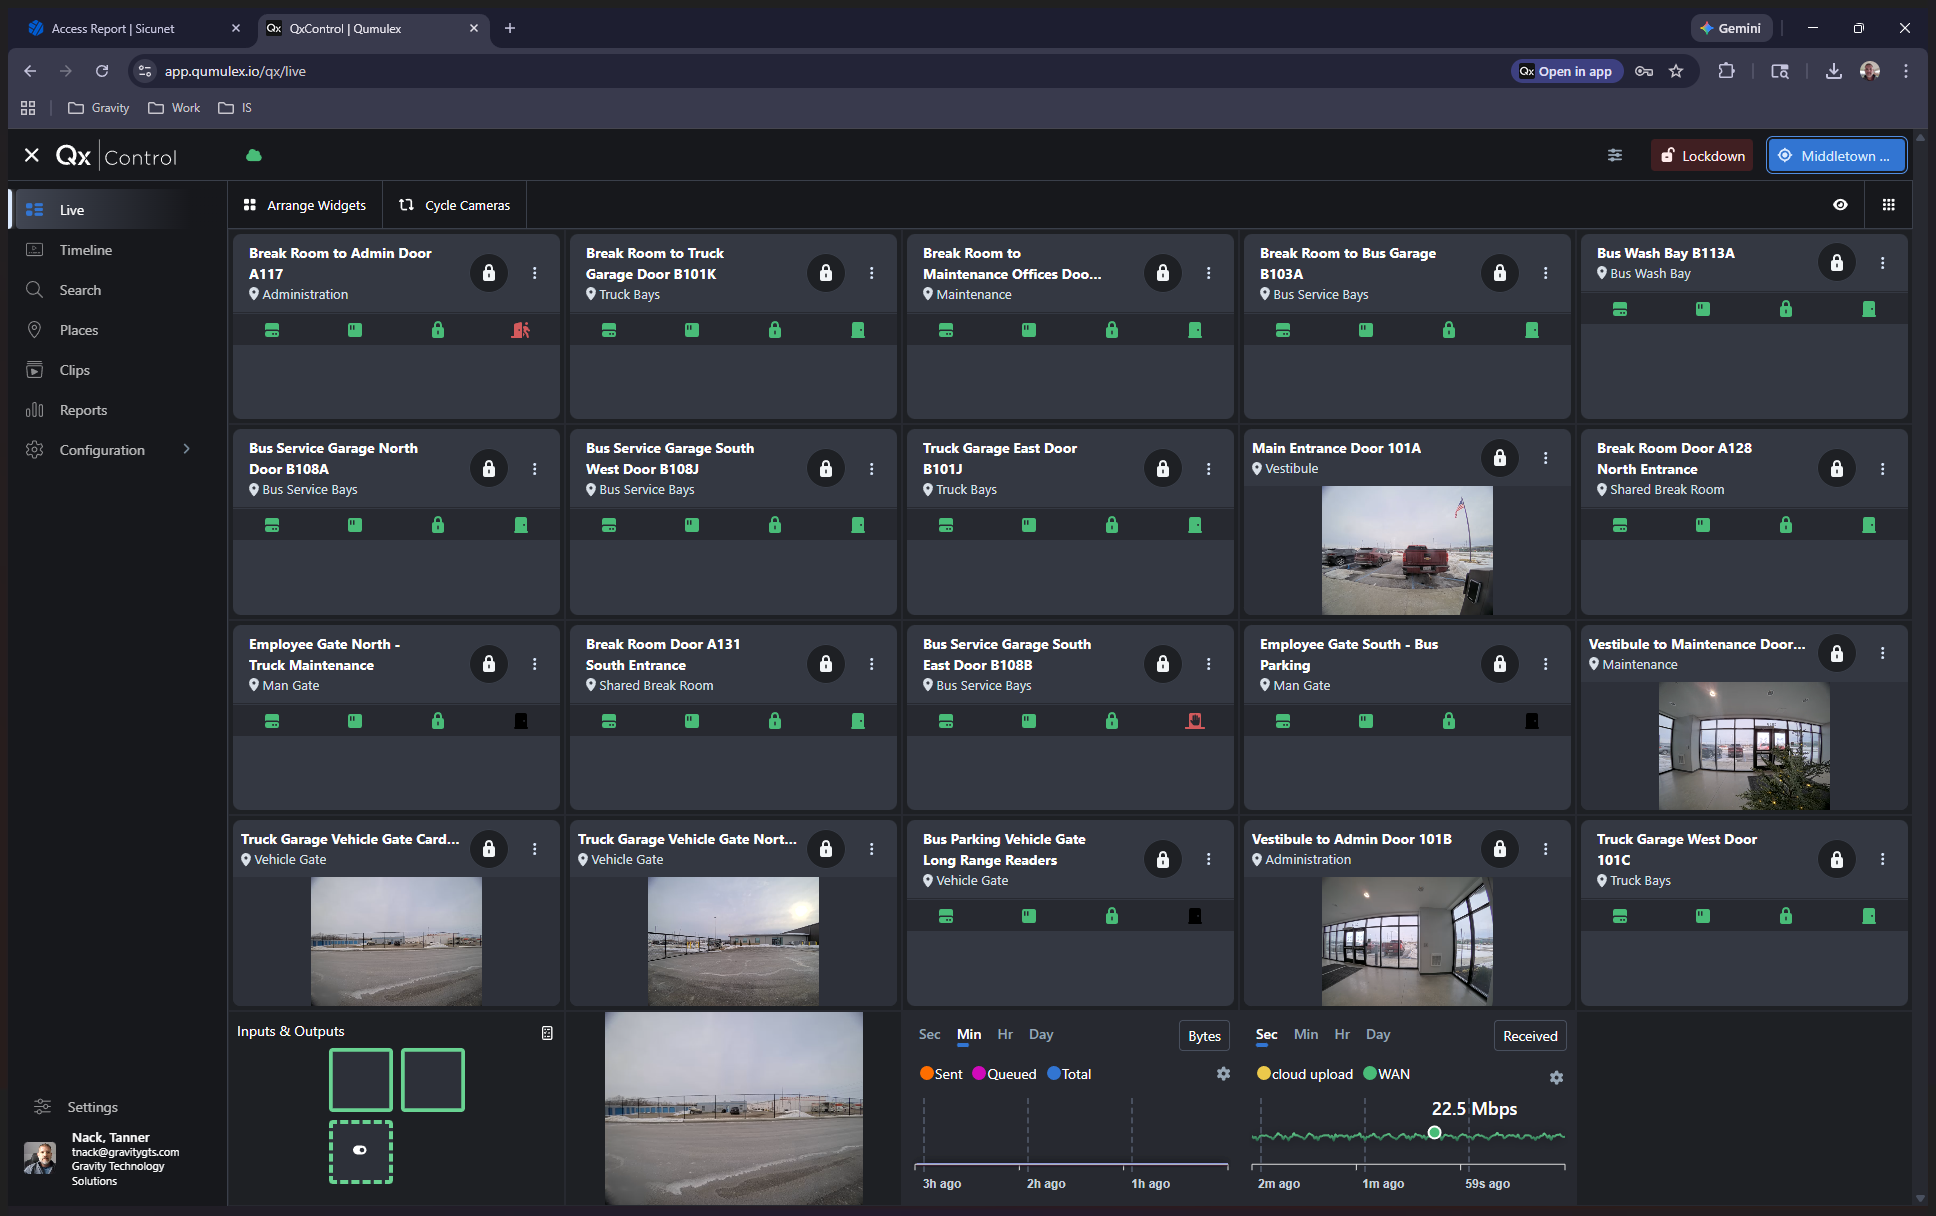
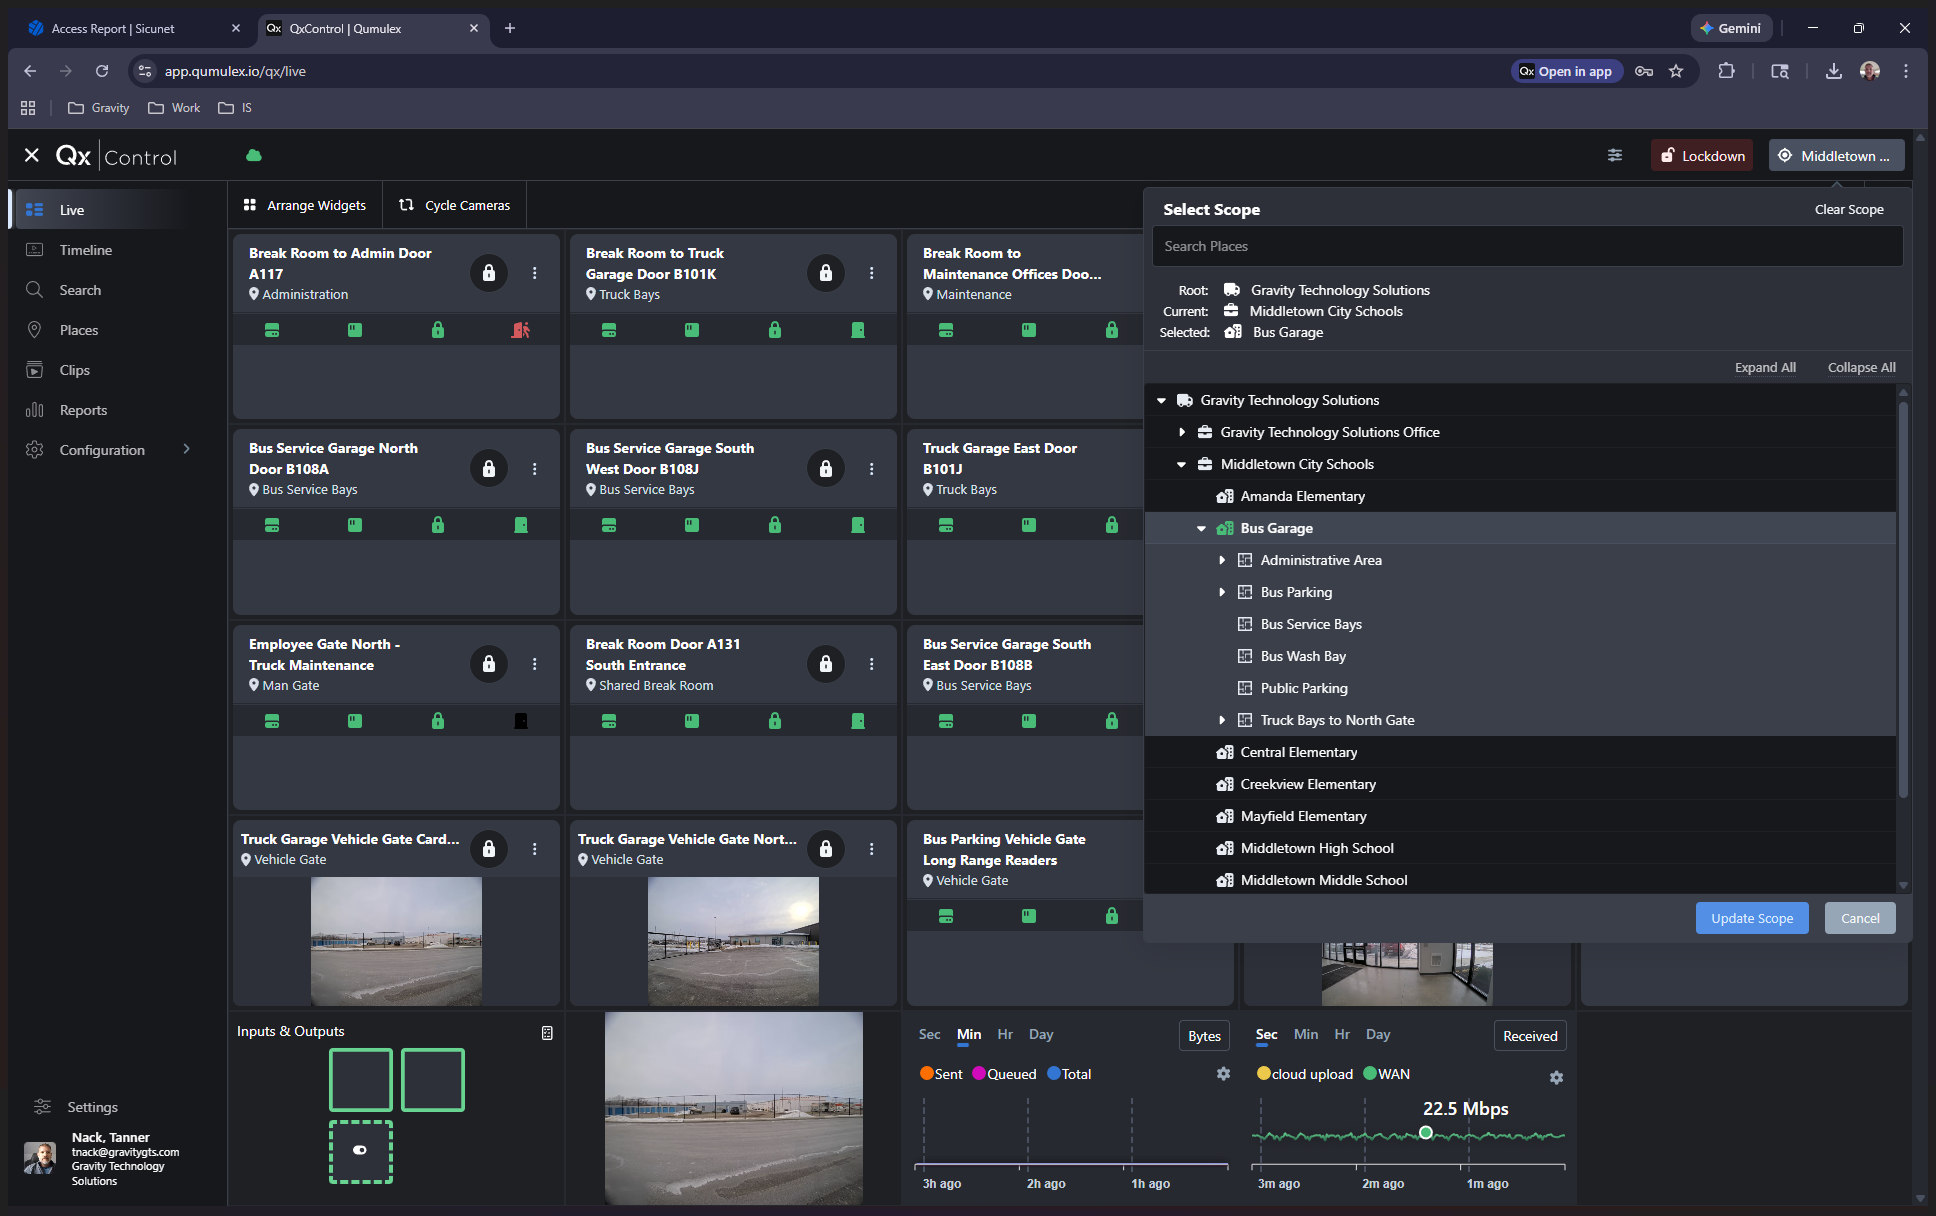
Once logged in, Click on "Middletown" in the upper right corner, then select "Bus Garage."
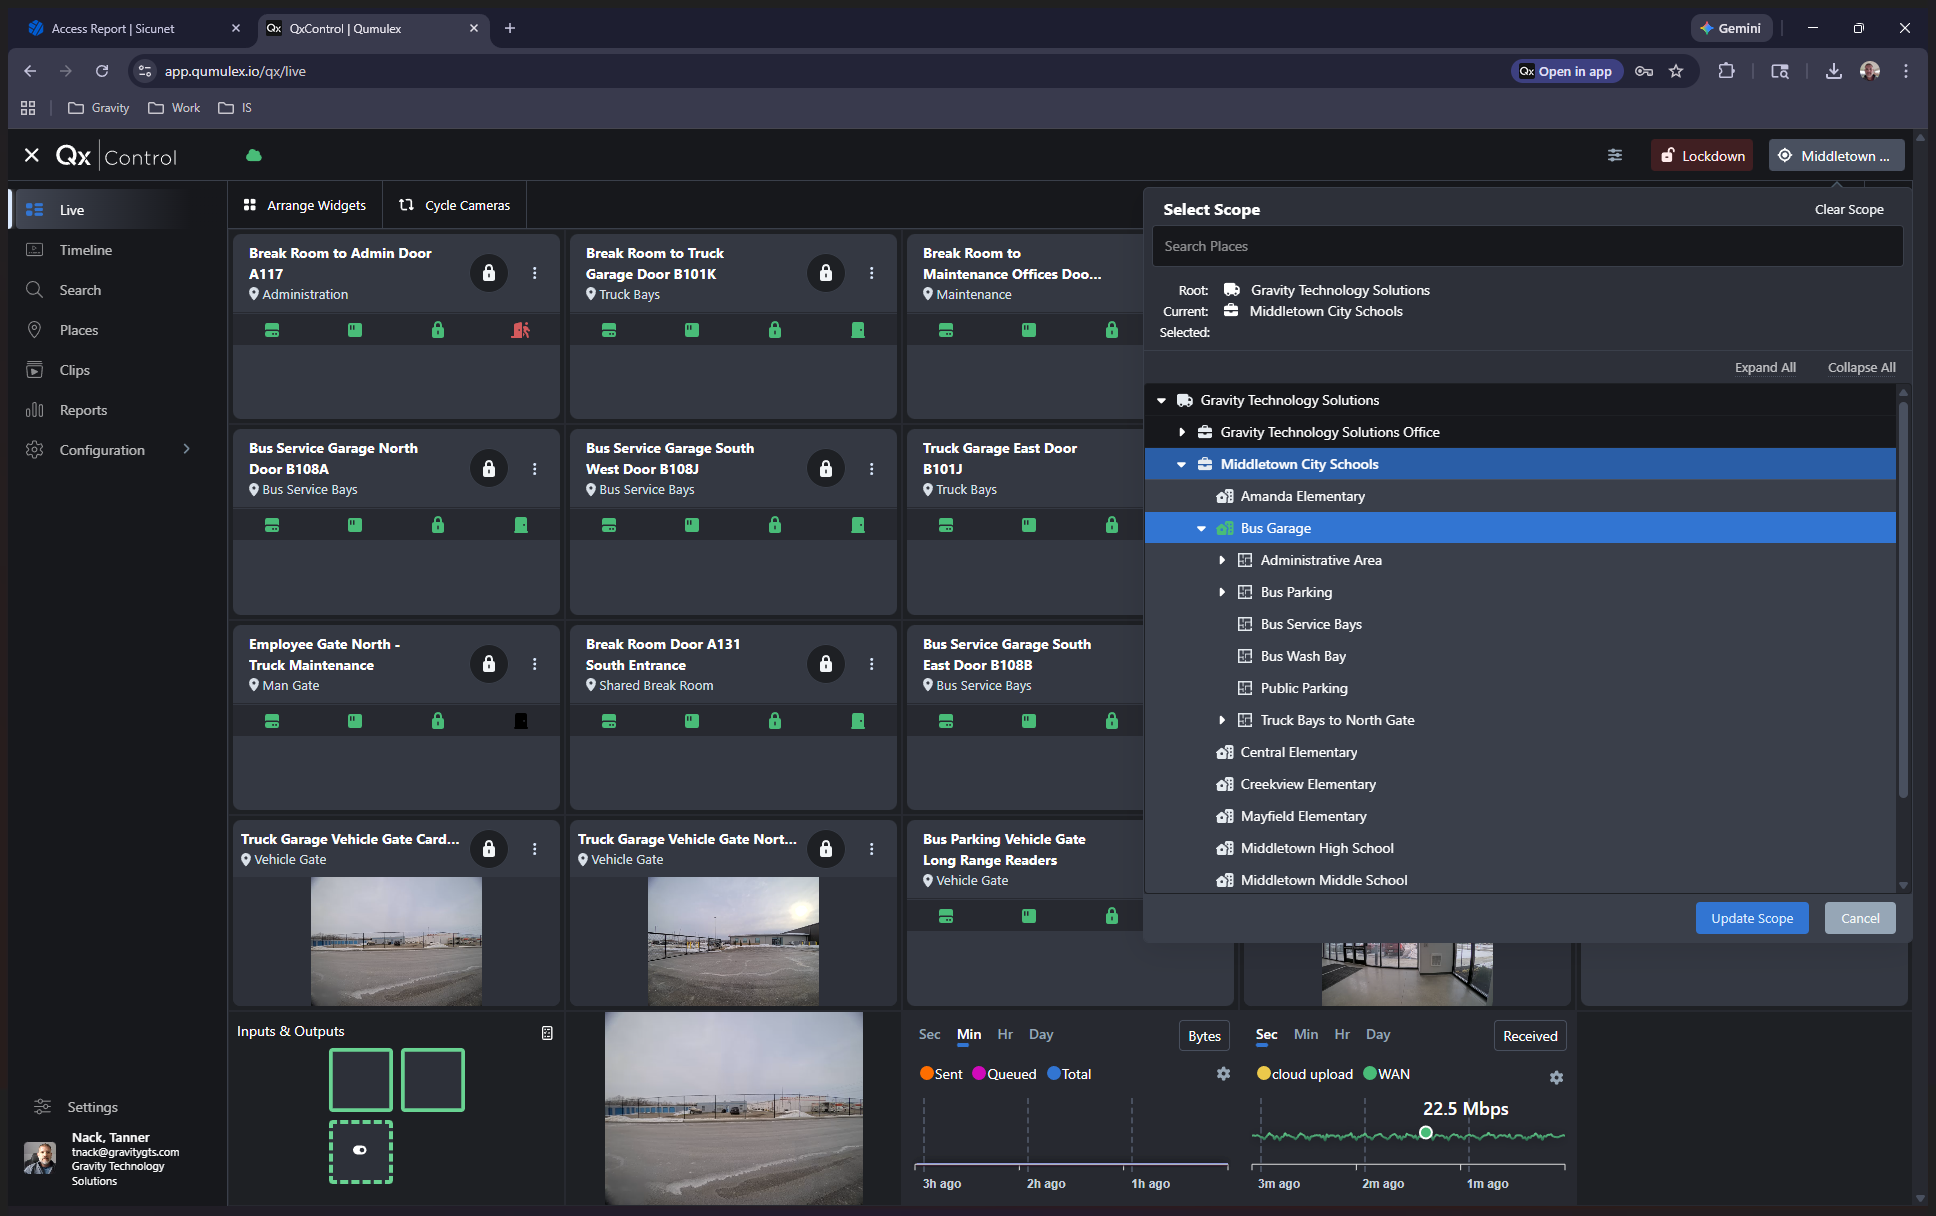
Then click "Update Scope."
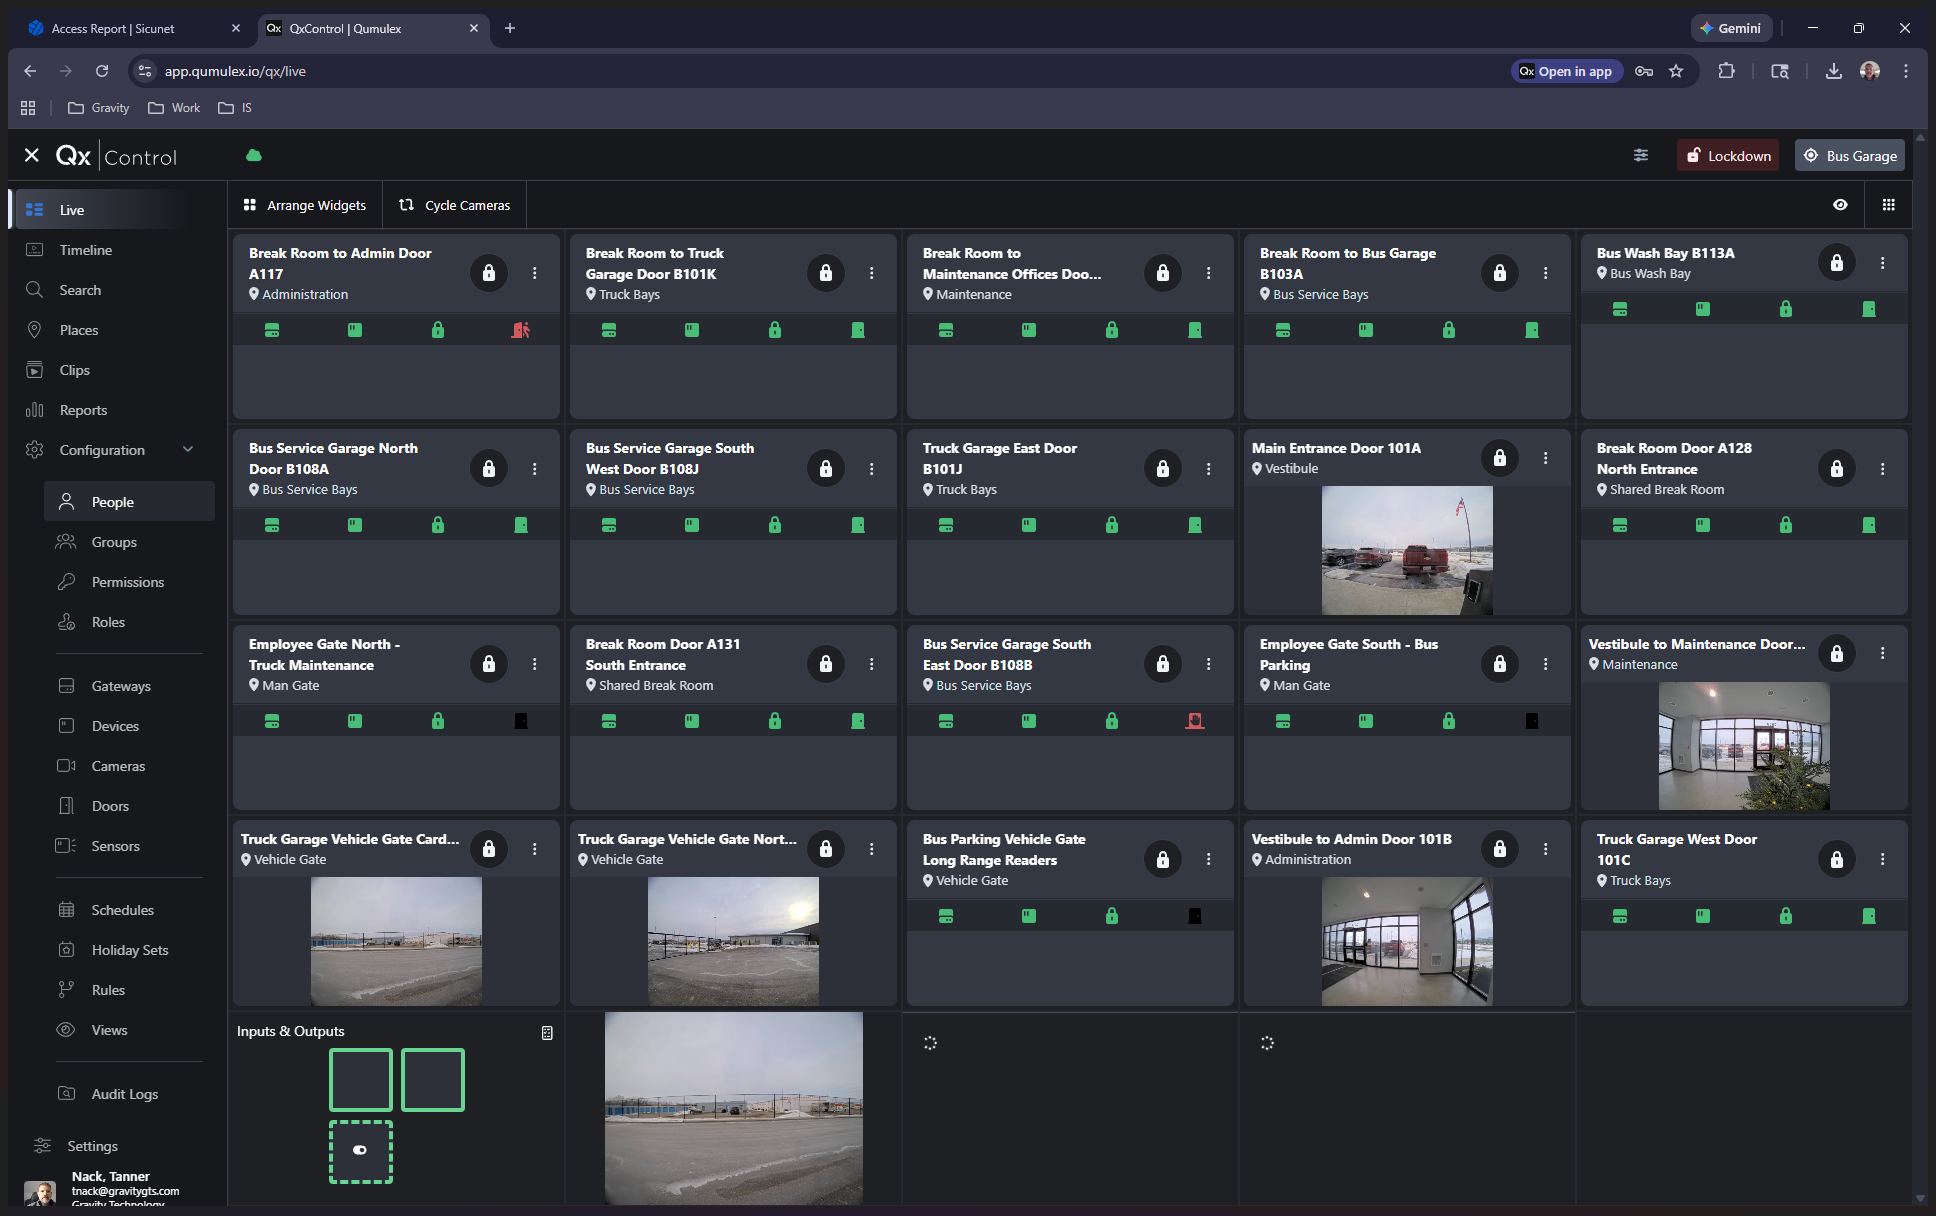
From the left menu, expand Configuration and click on People.
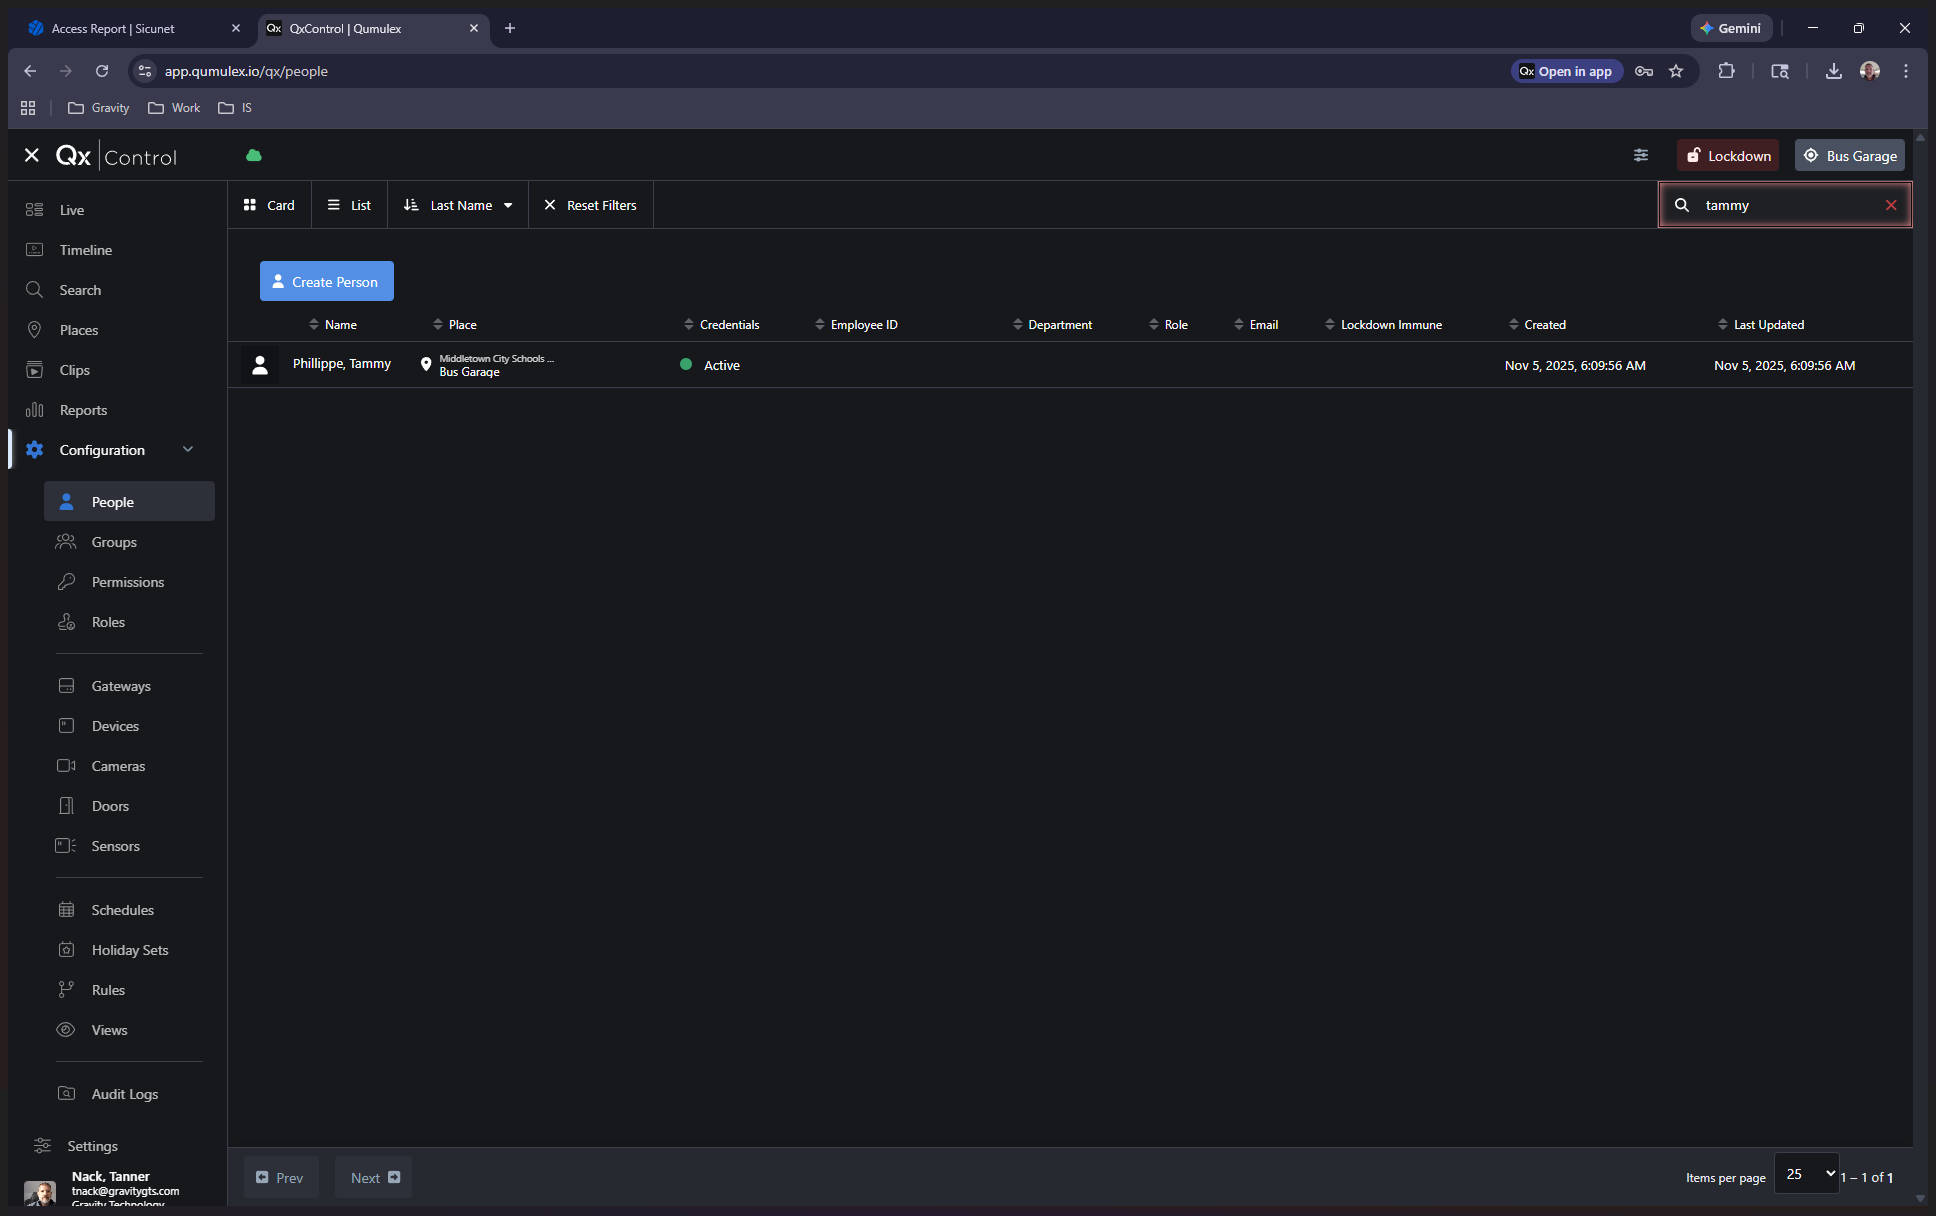
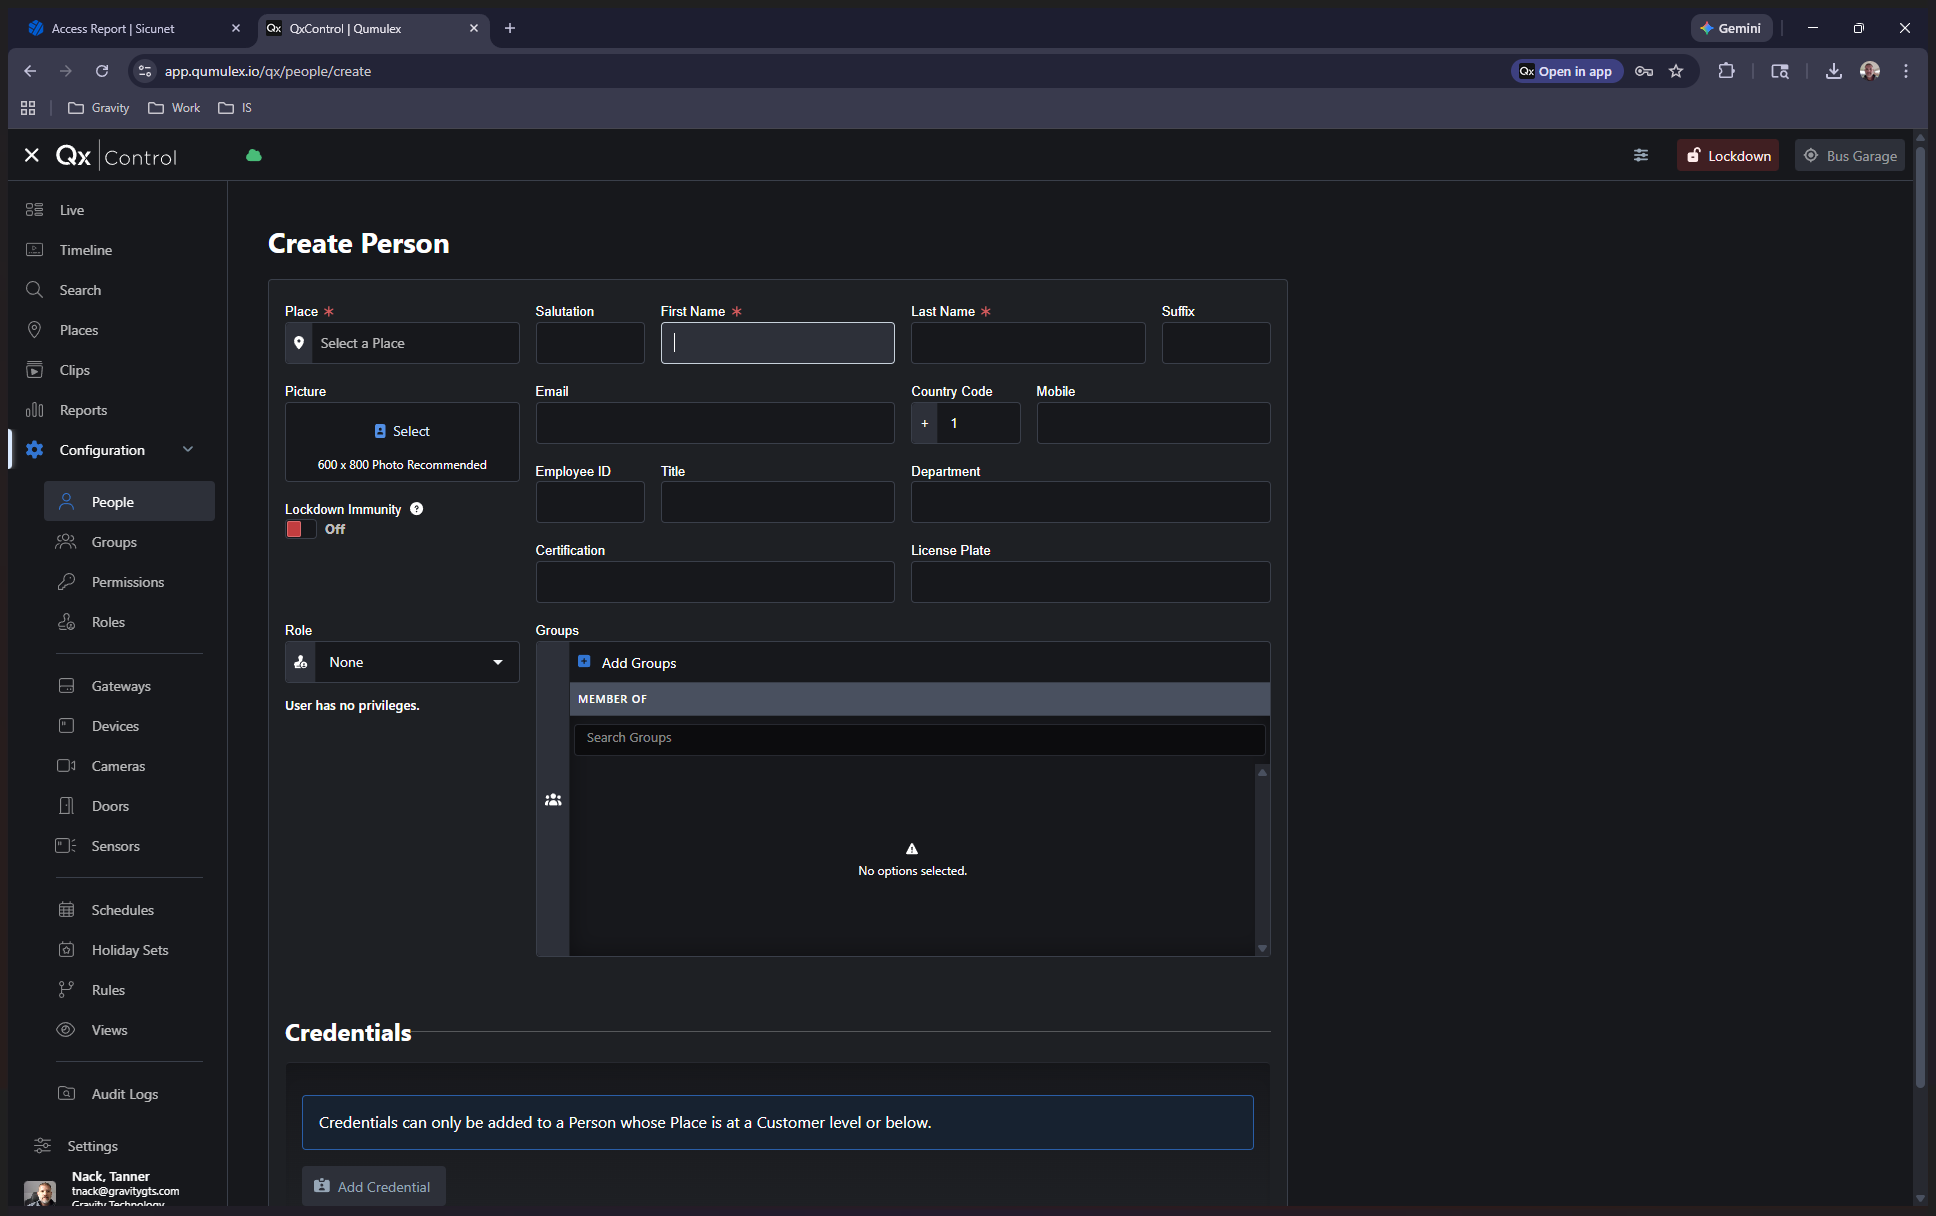
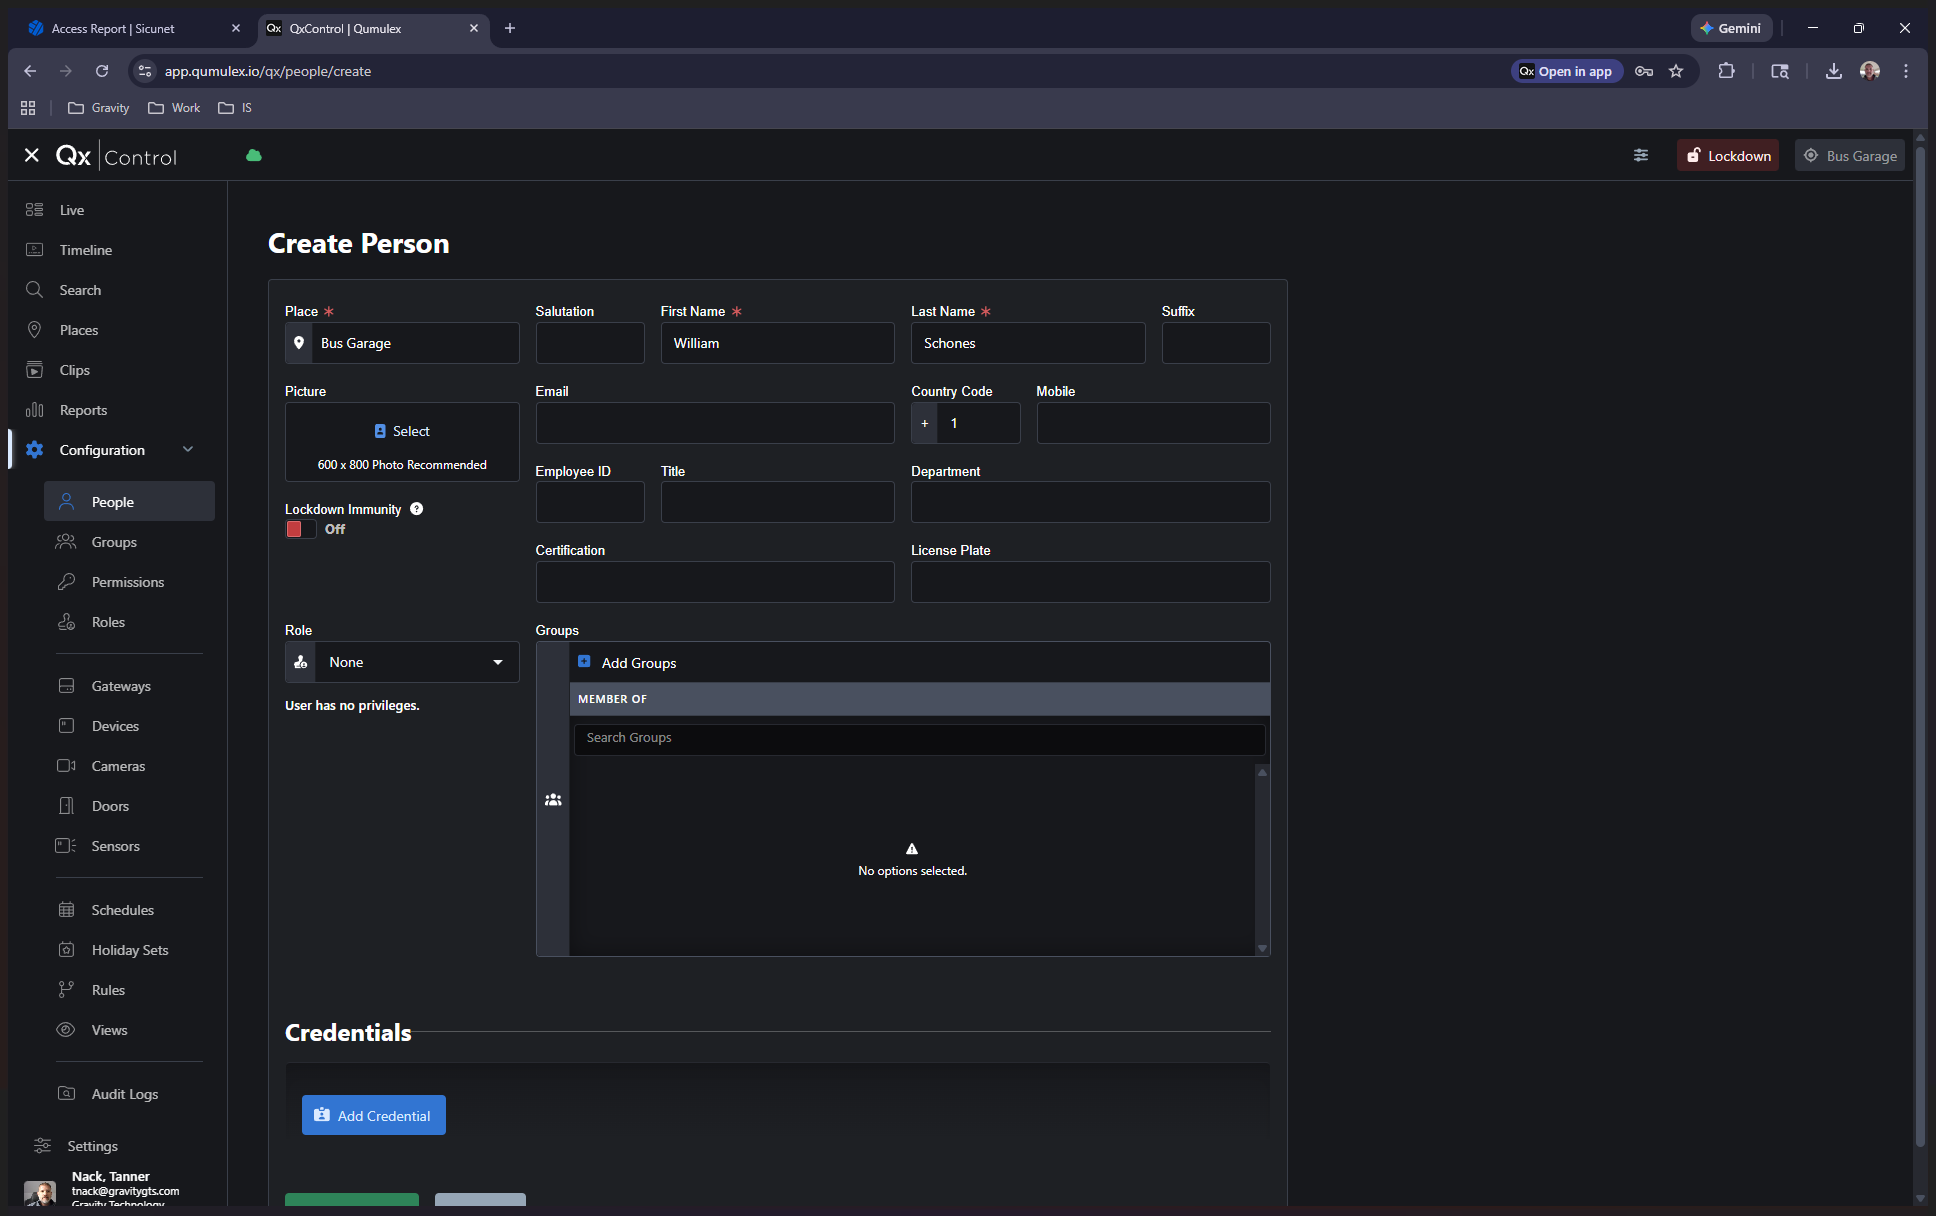
Next, to add the person, click Create Person.
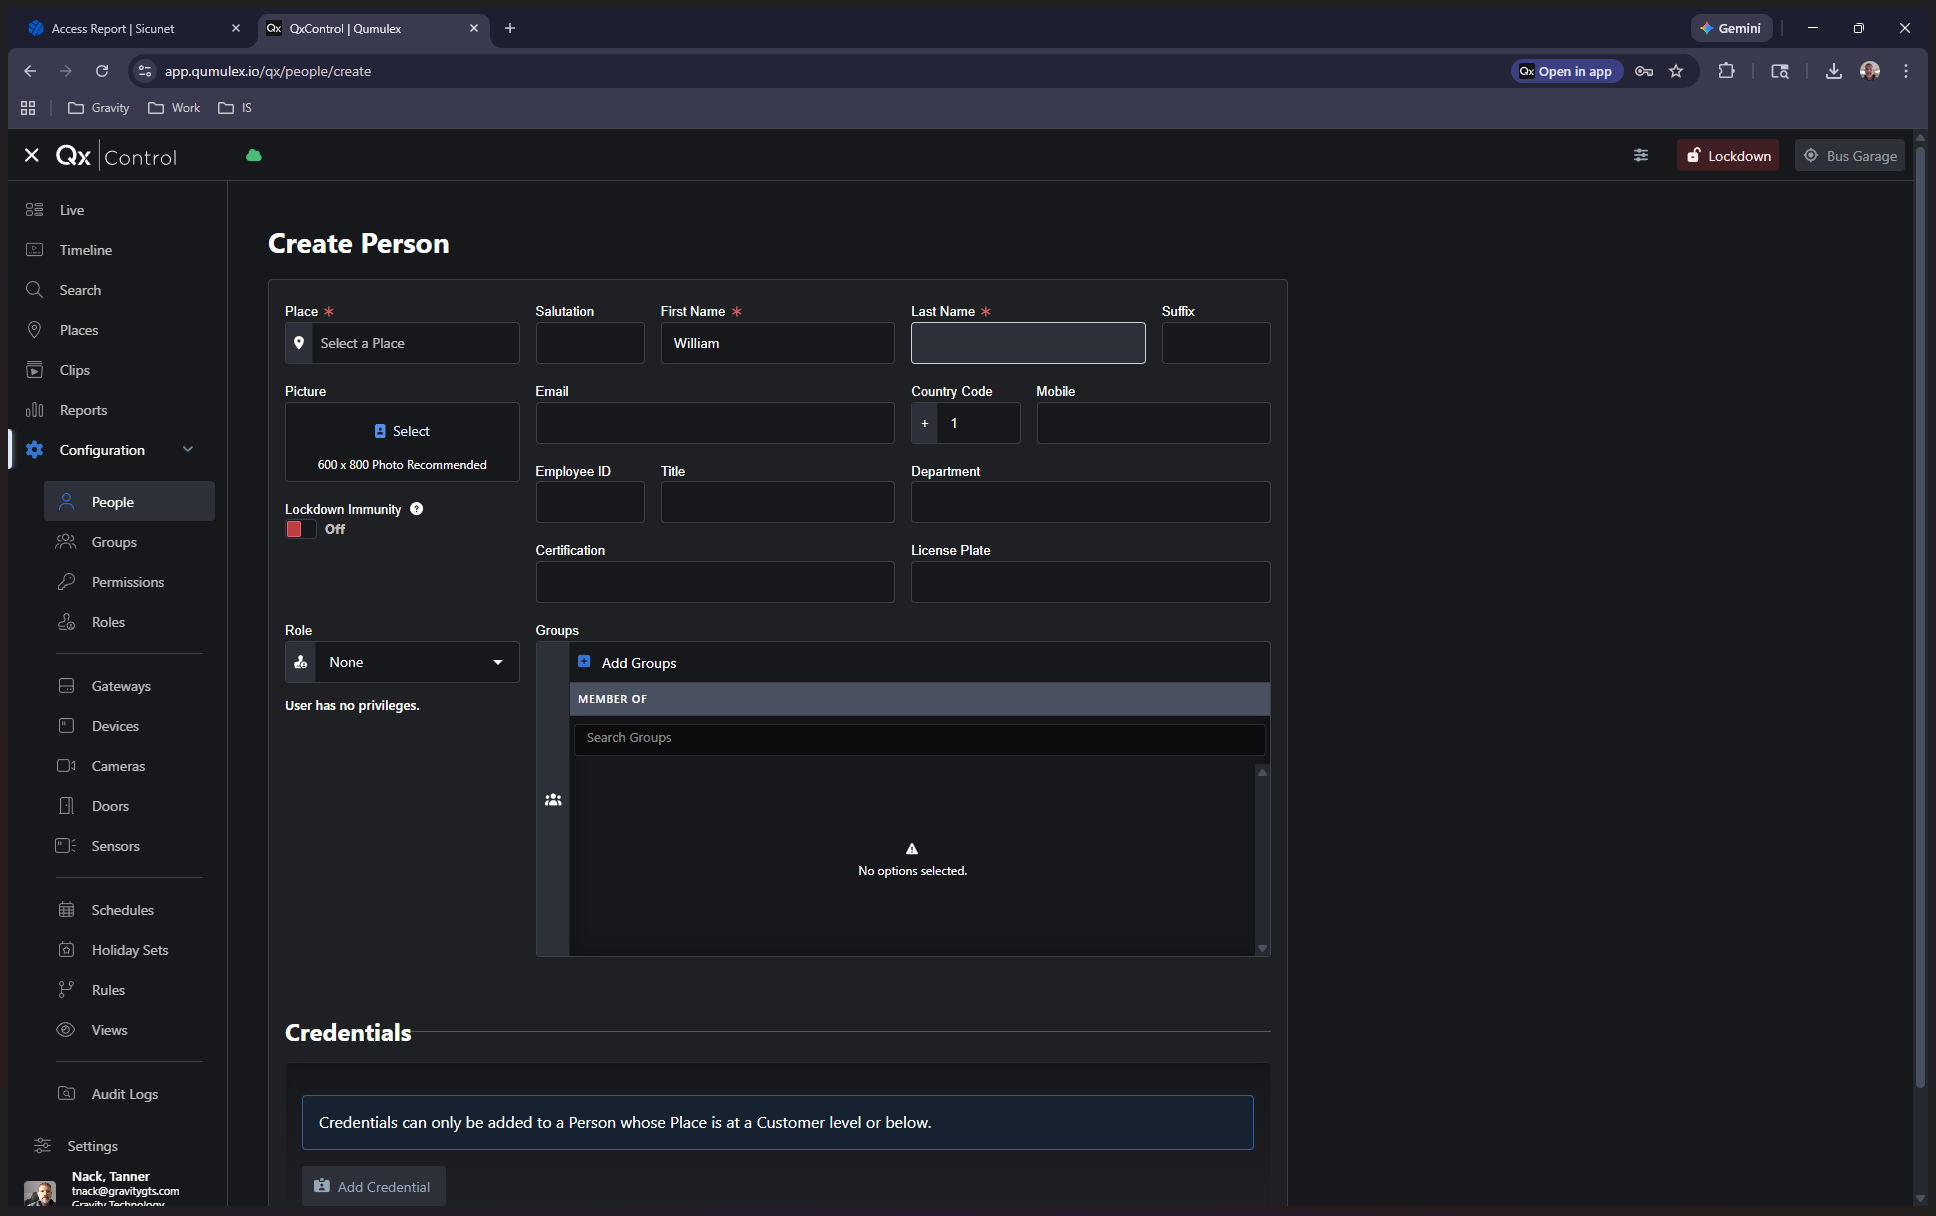
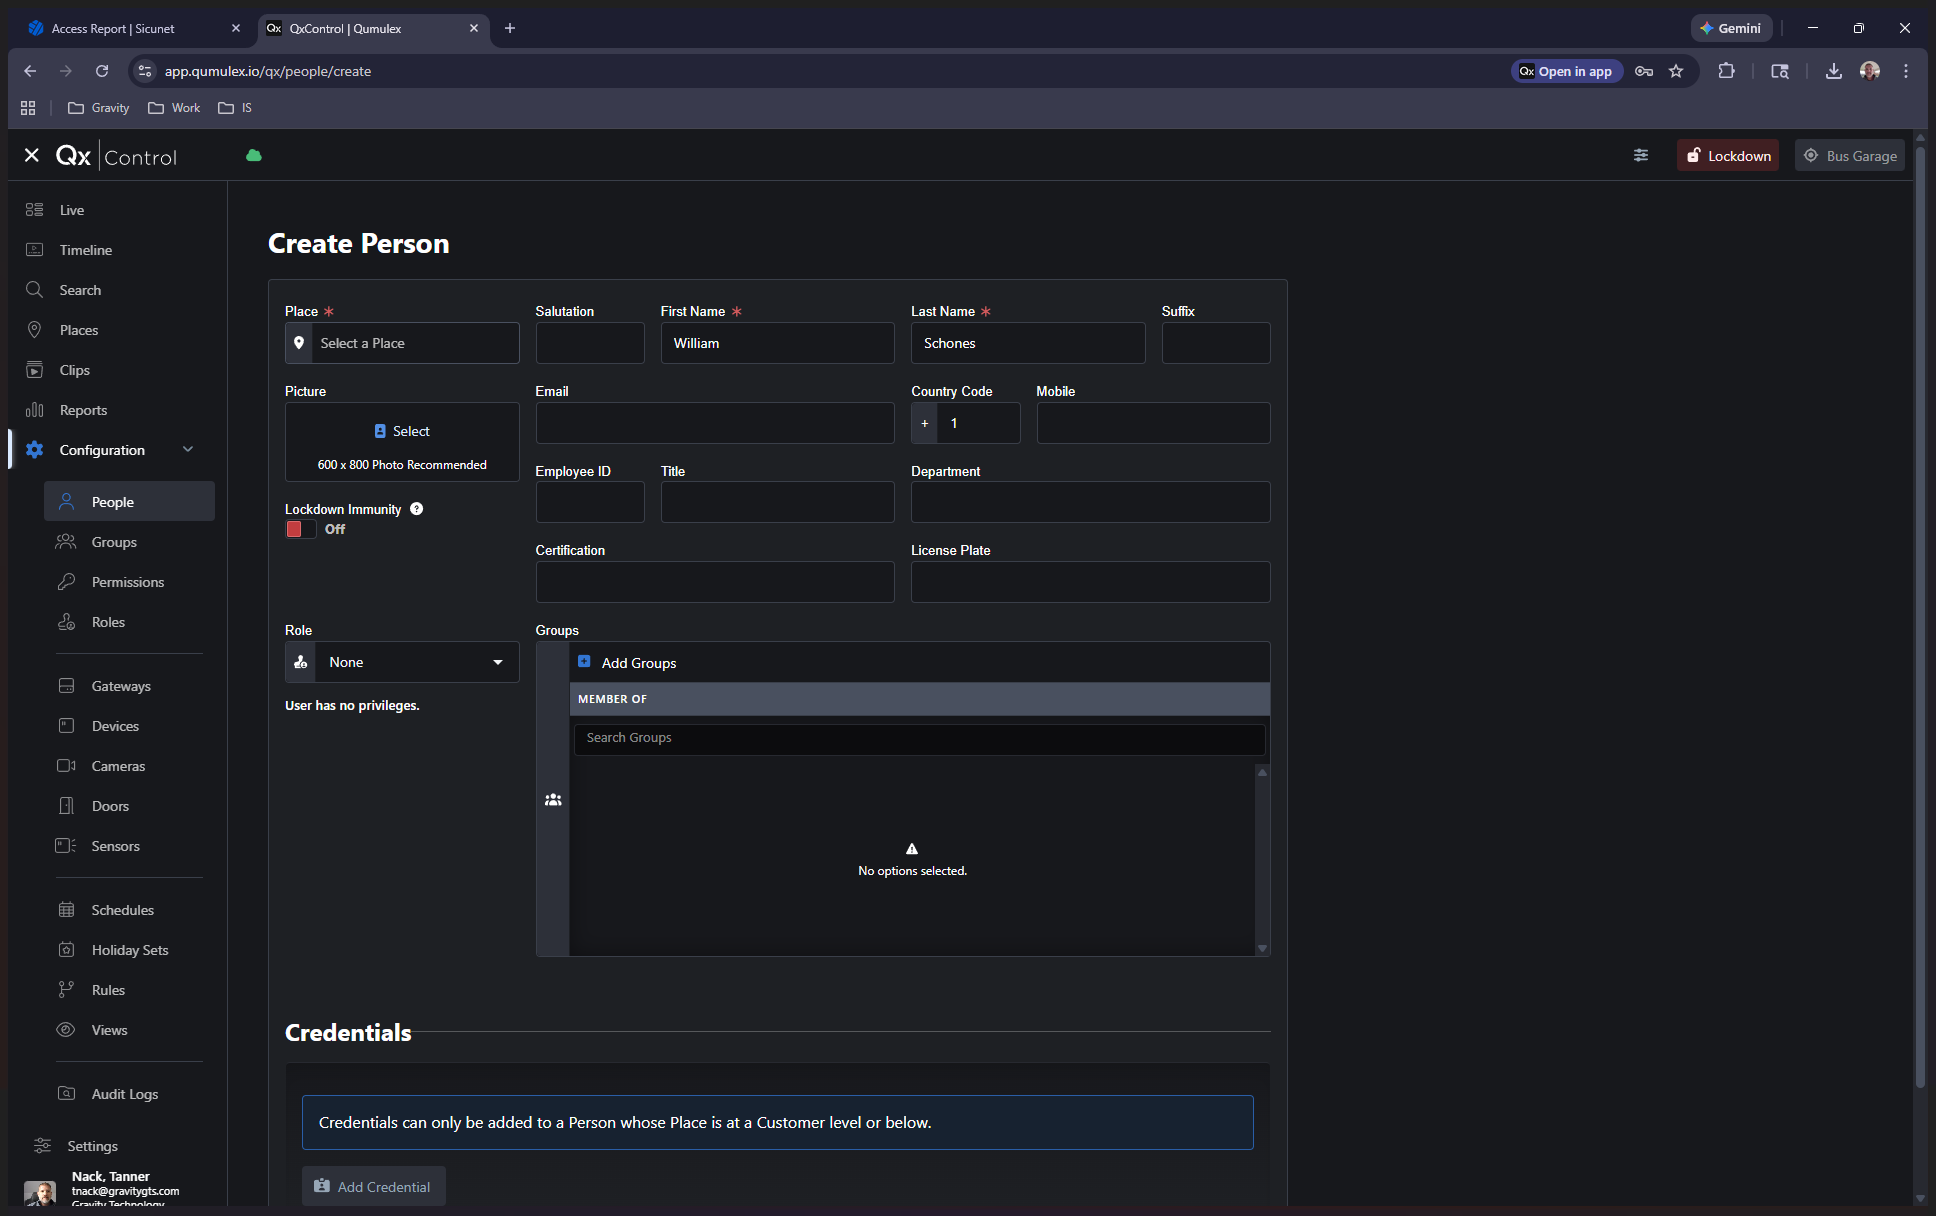
Next, type in their name.
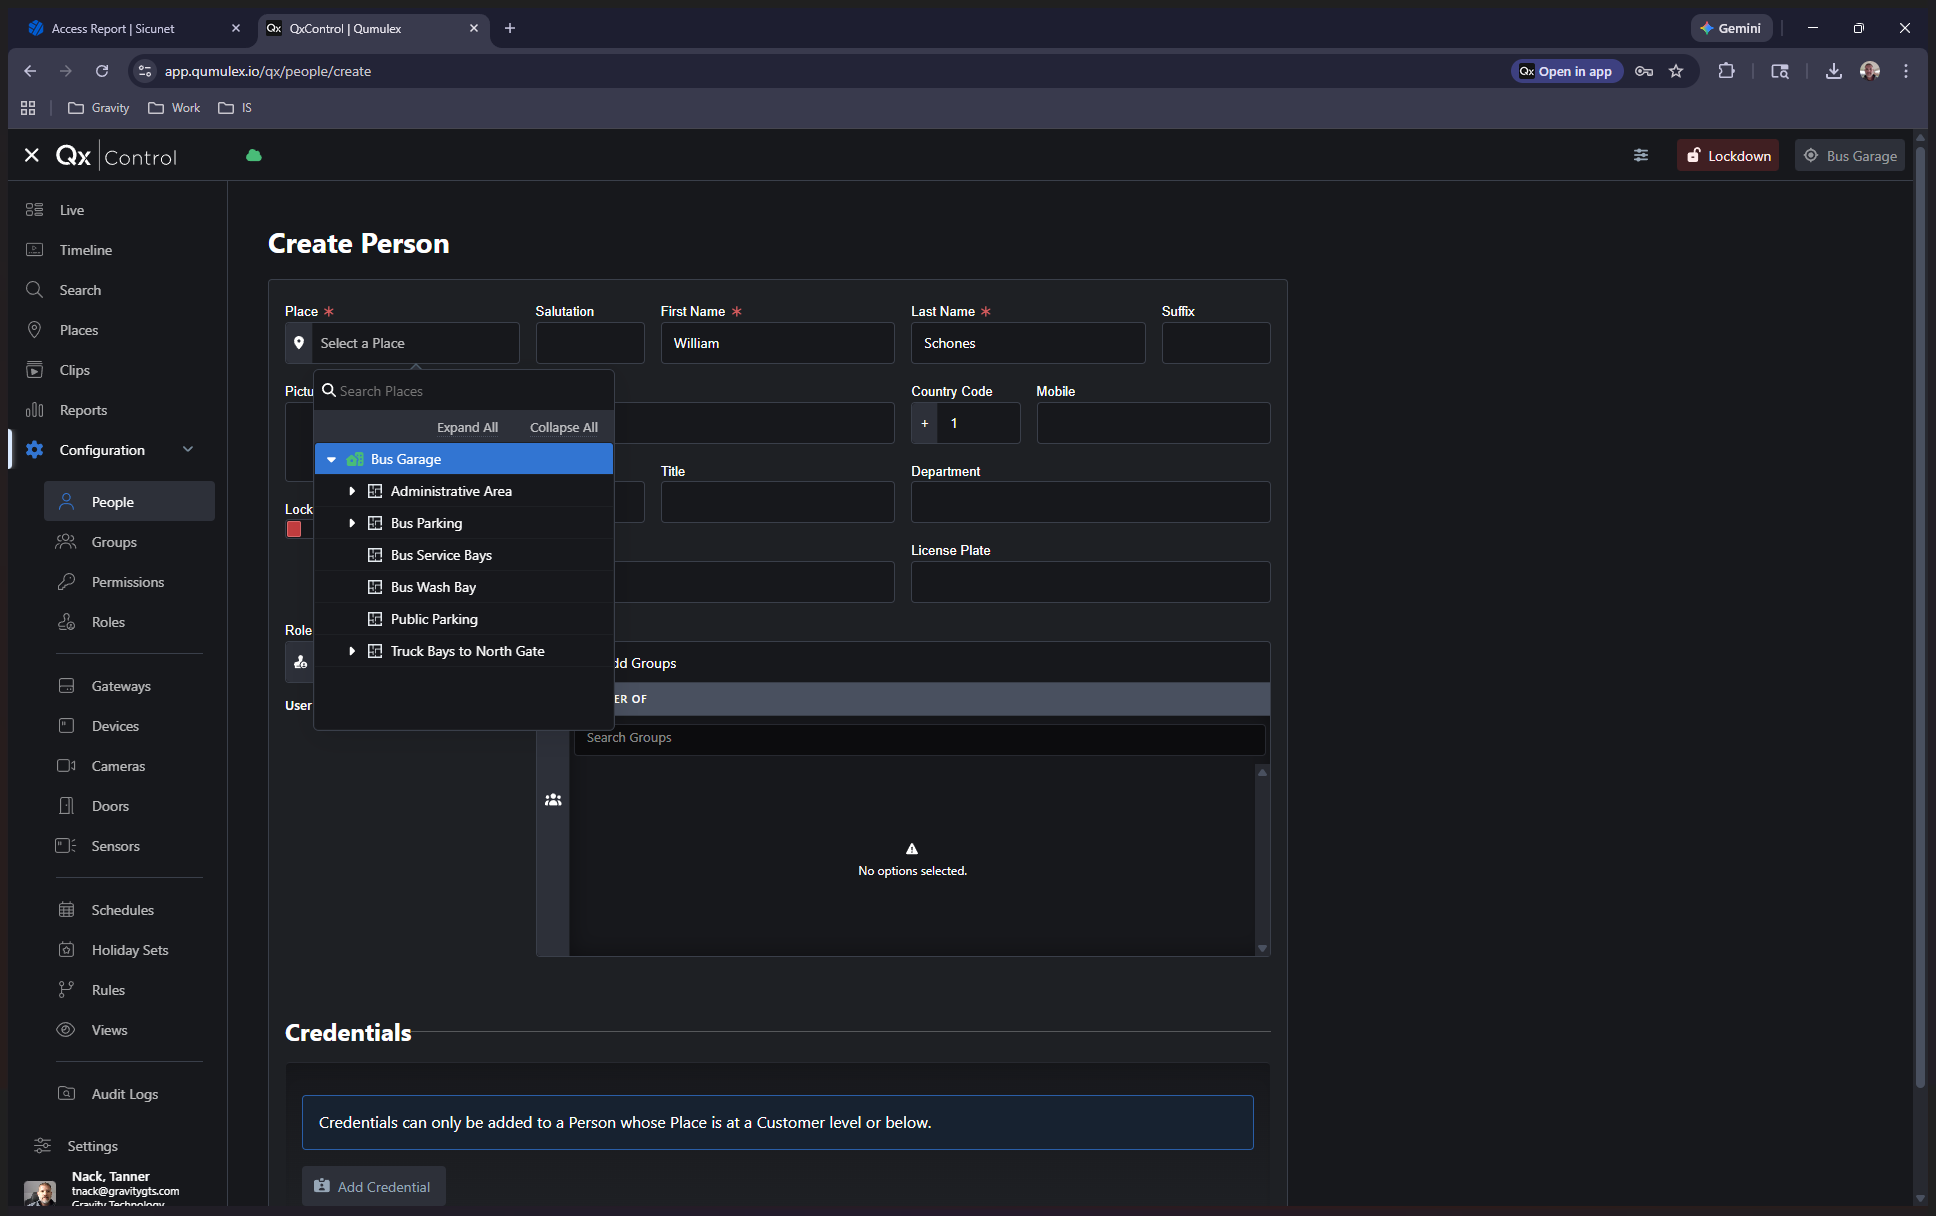
Next, we will select a location.
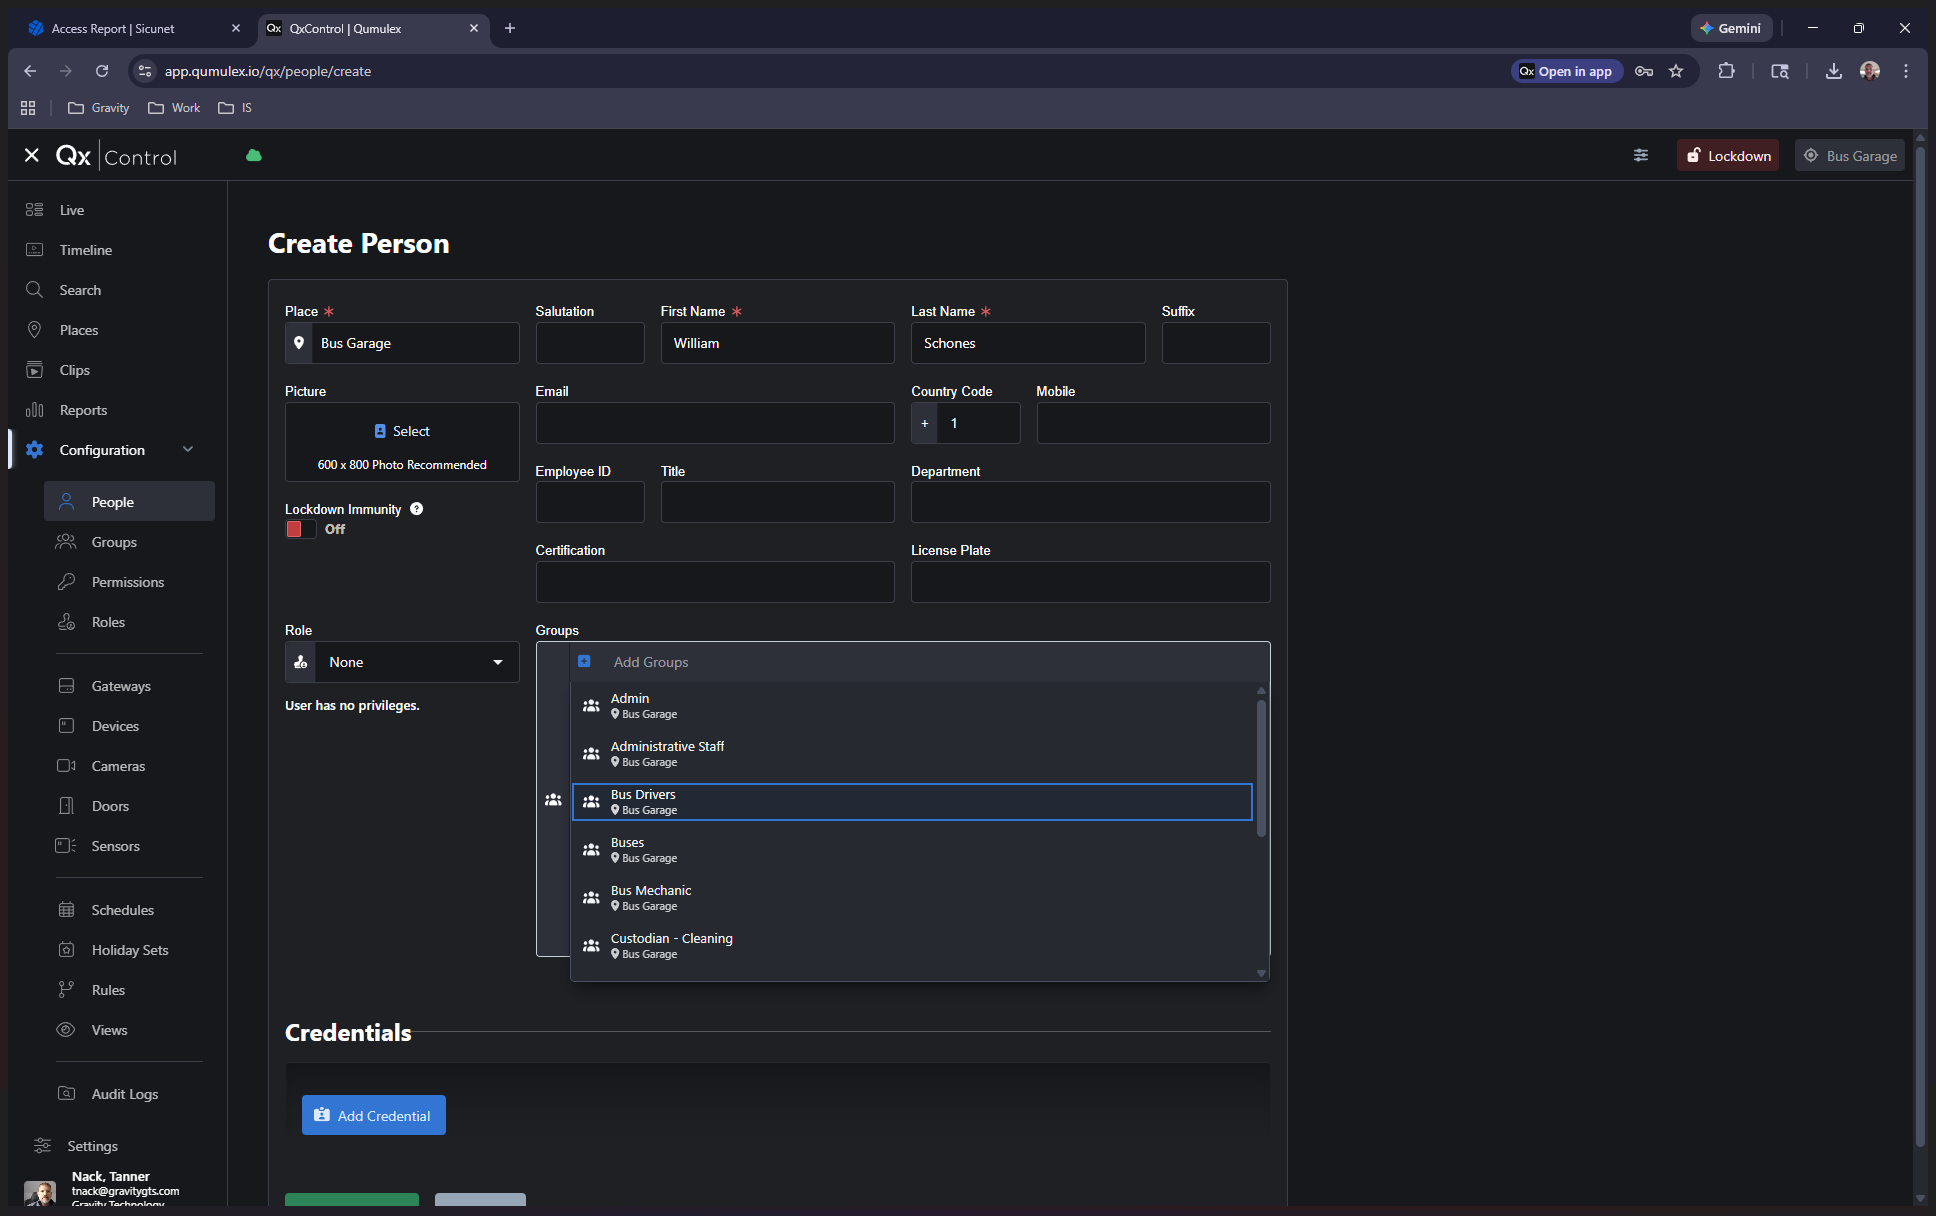
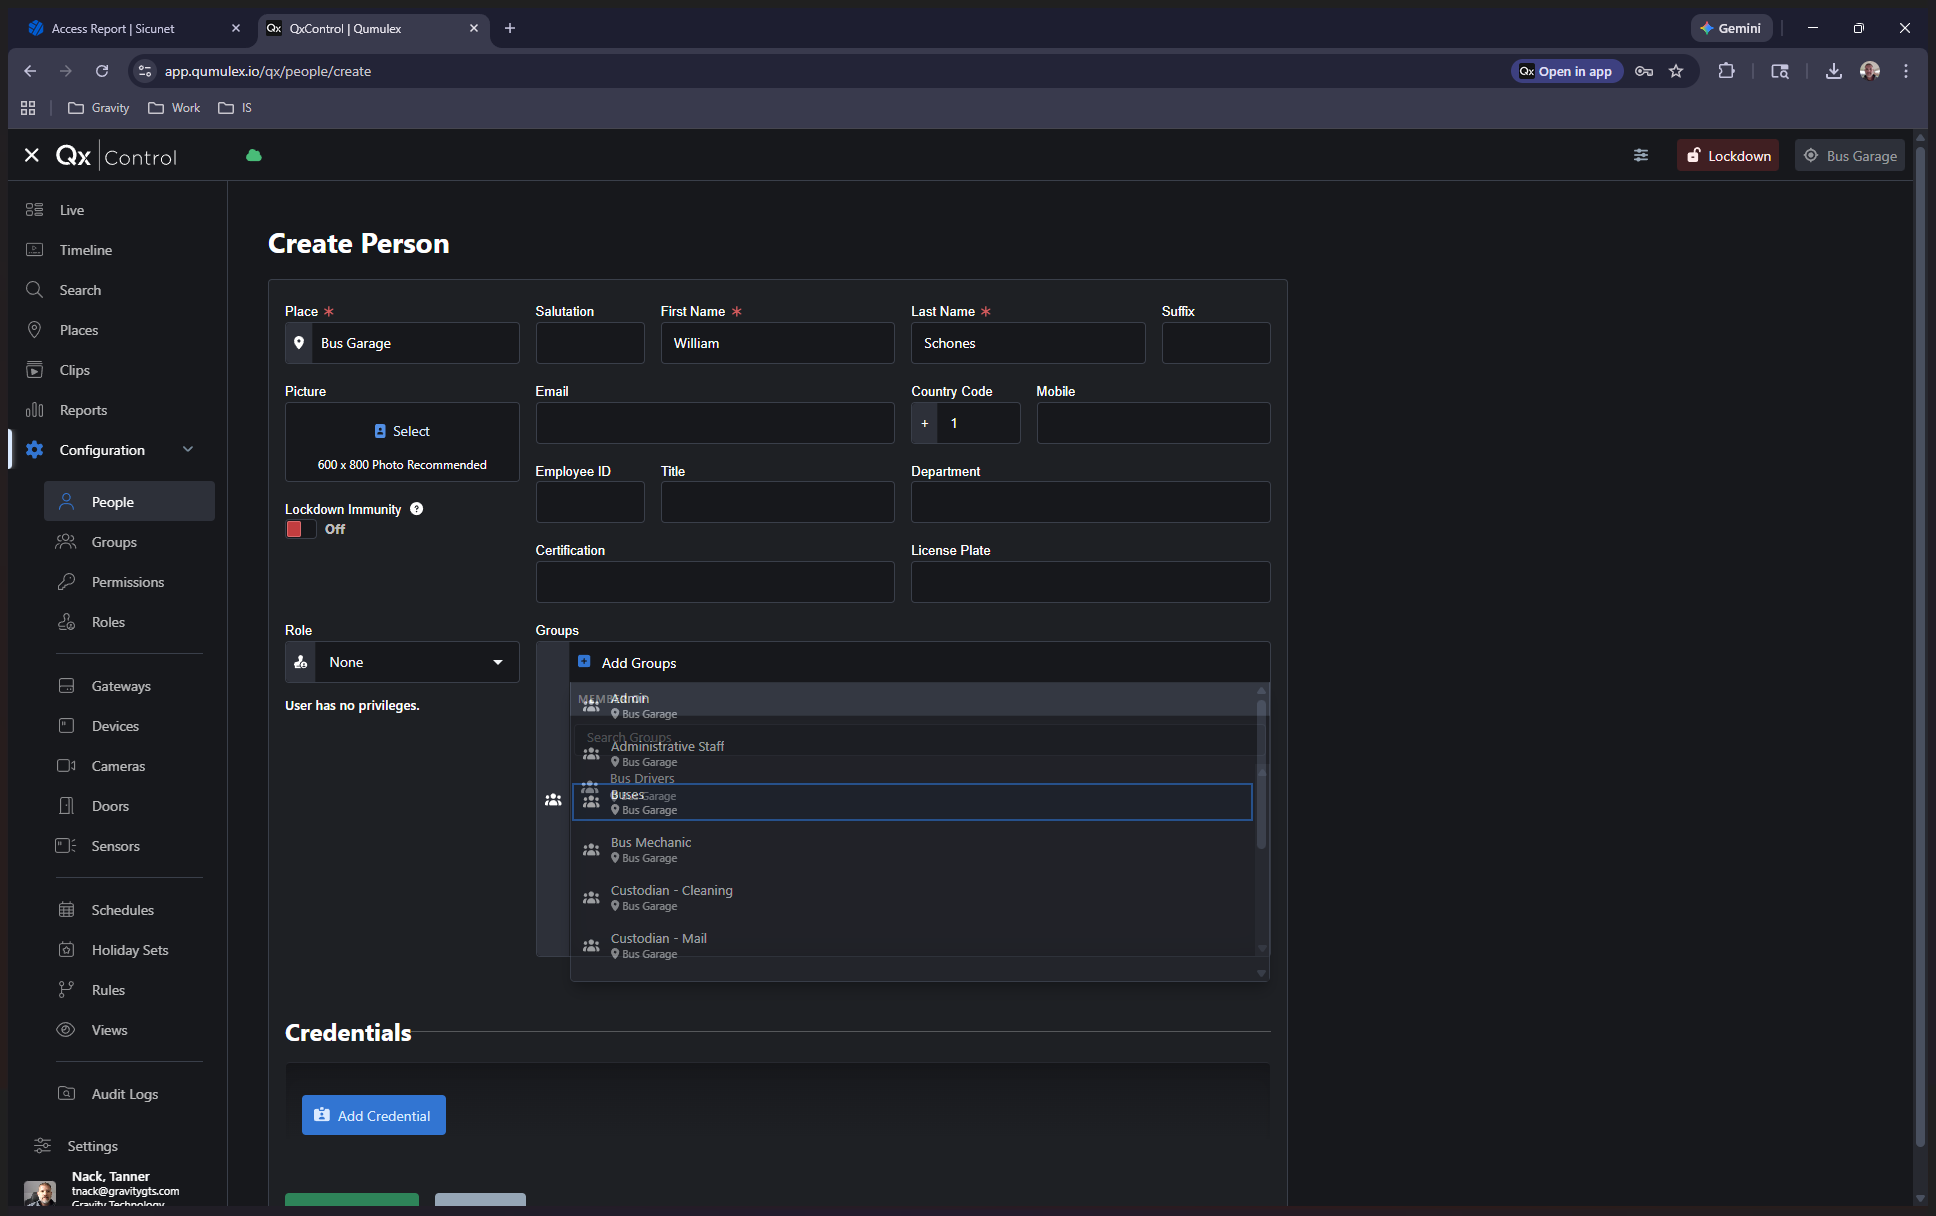
In this case, it will be the bus garage. Then, we will add them to a group.
In this case, I am adding a bus driver.
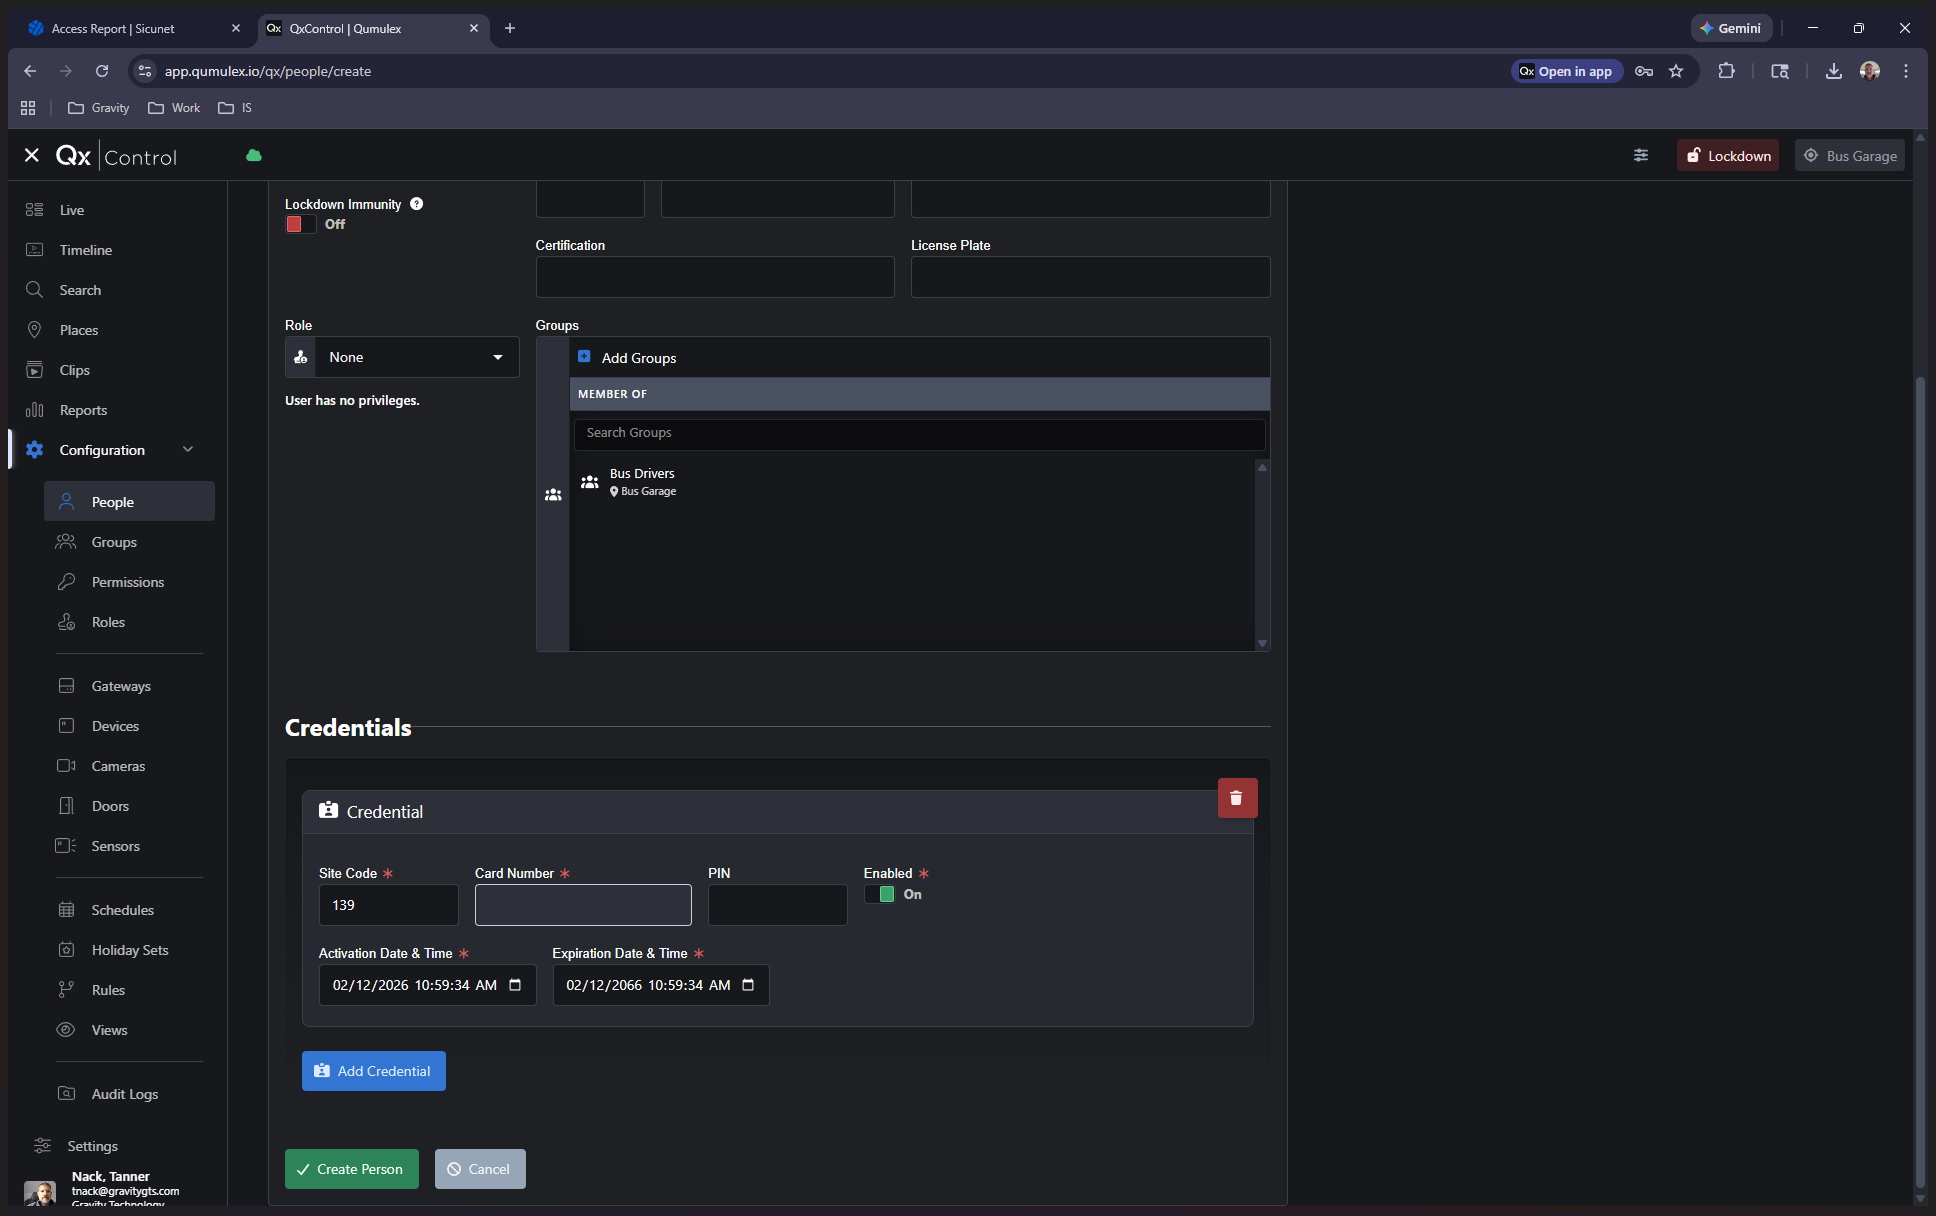
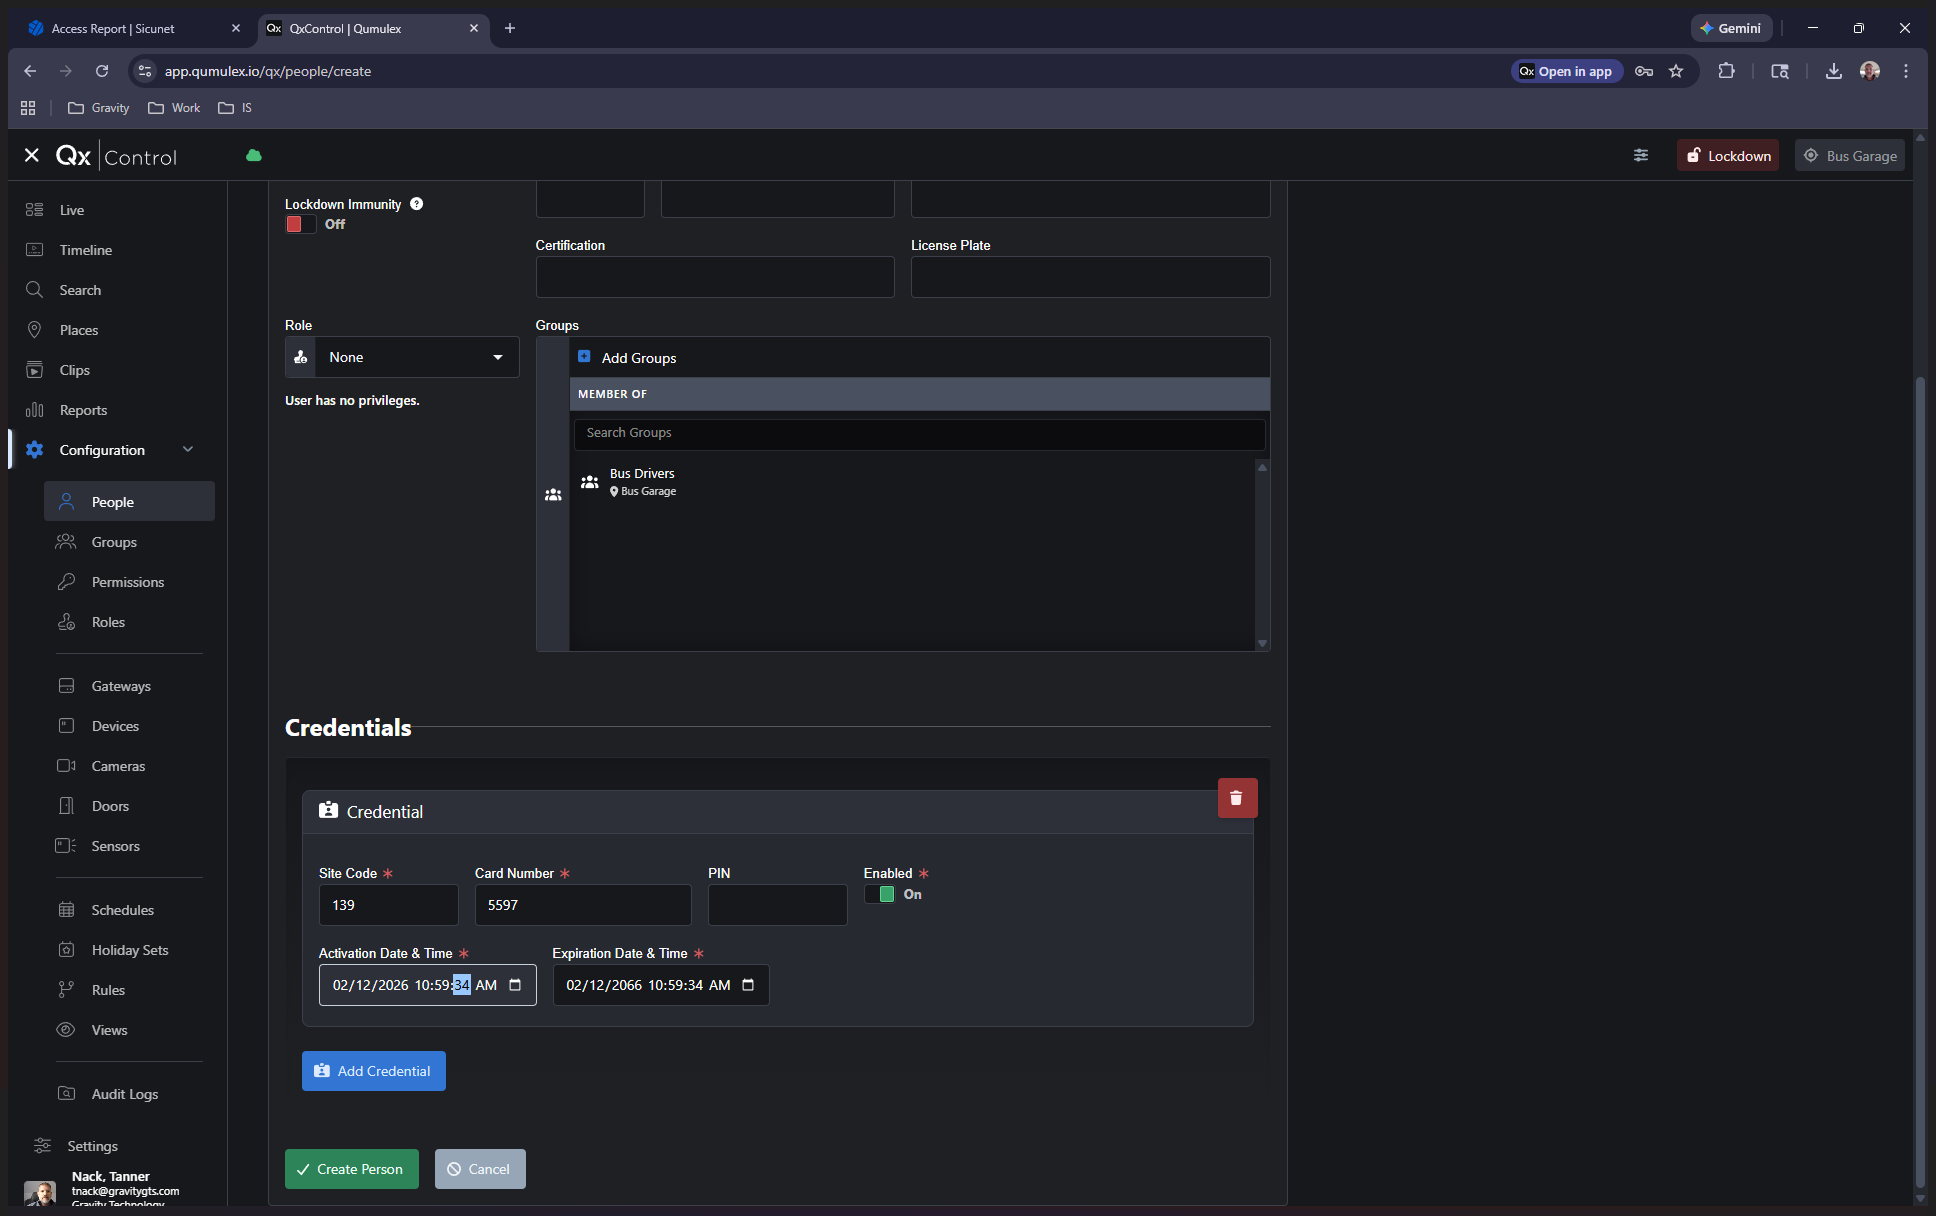
After joining a group, click Add Credential. Enter 139 as the site code for all your cards, then enter the card number.

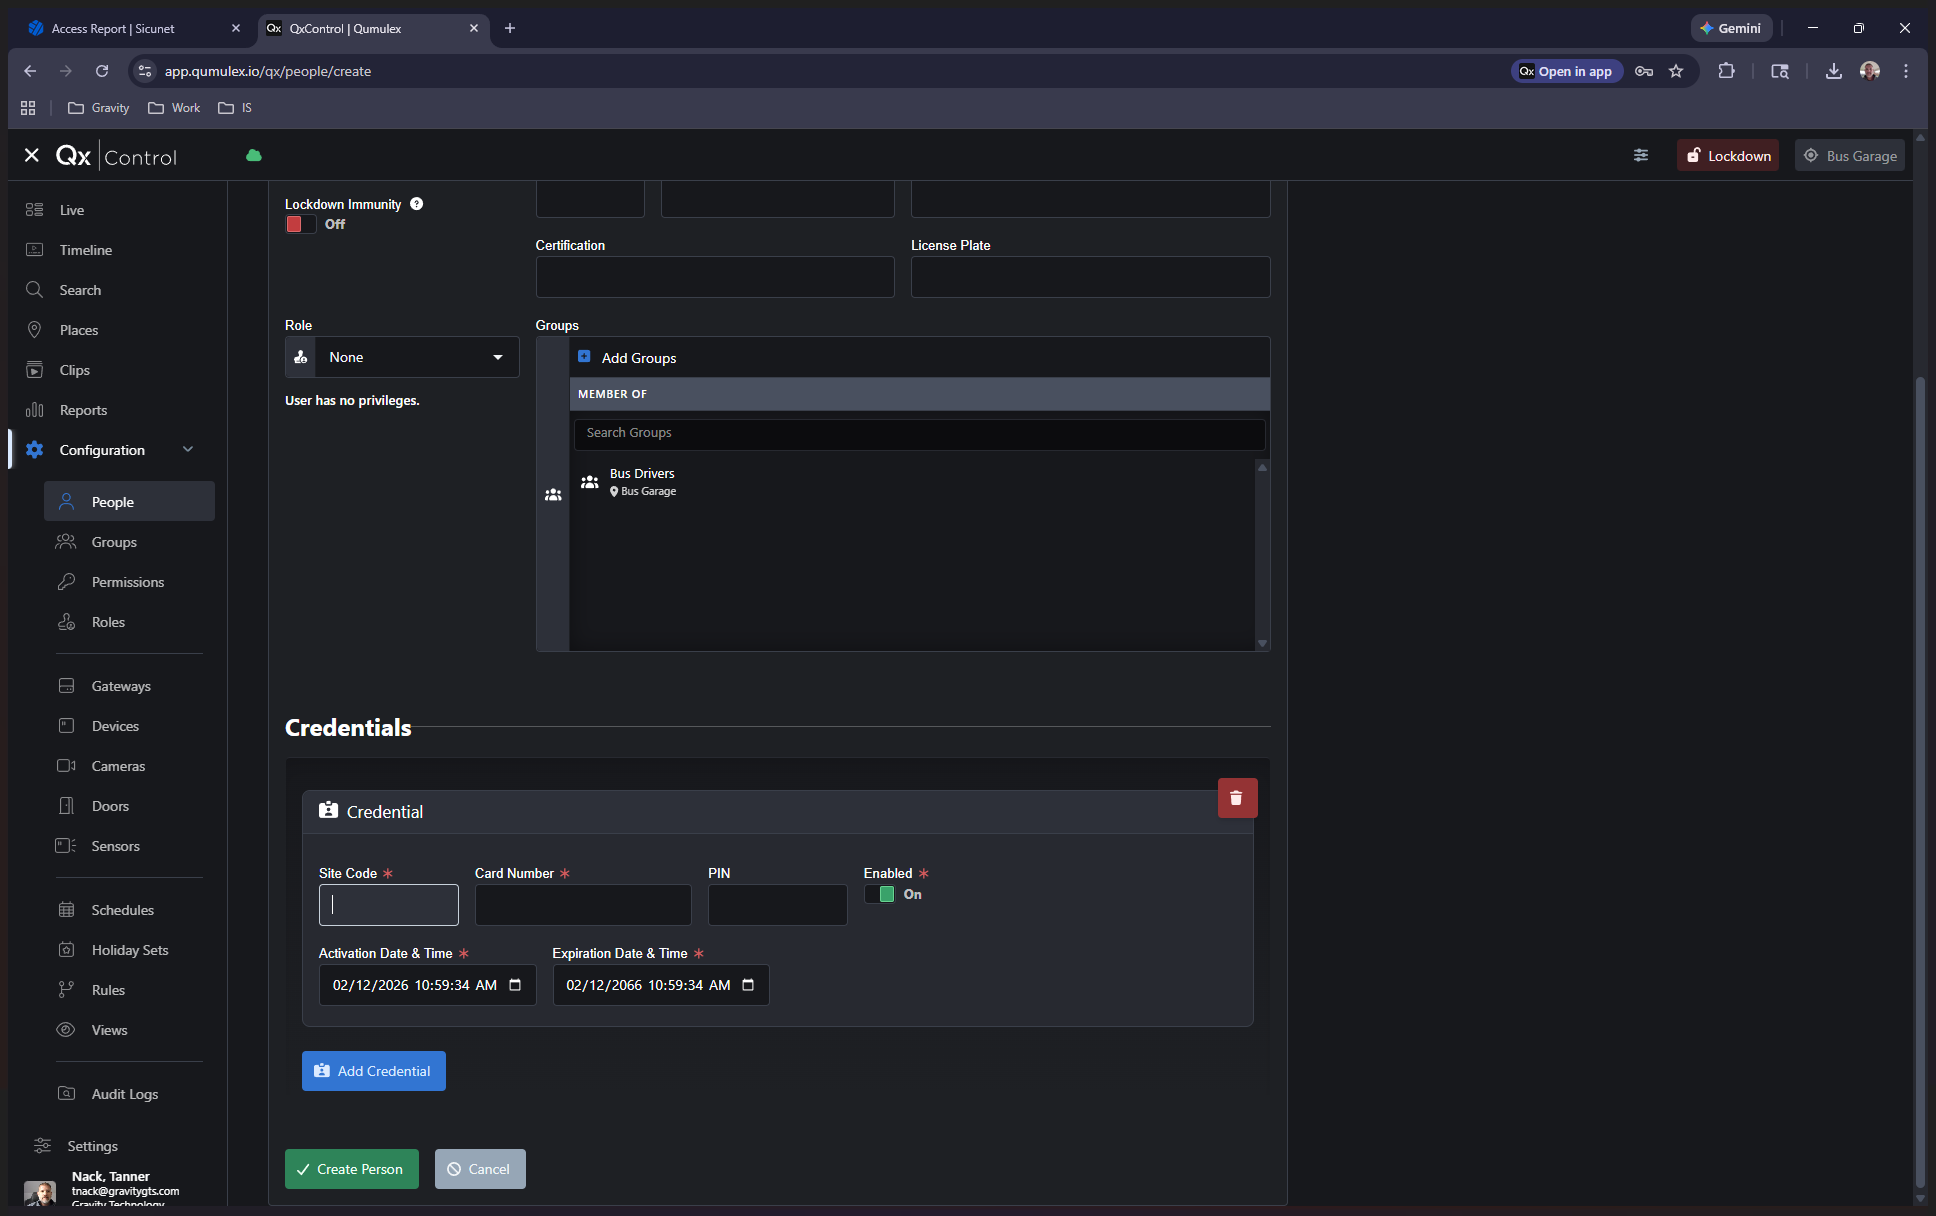

In this case, it's 5597.
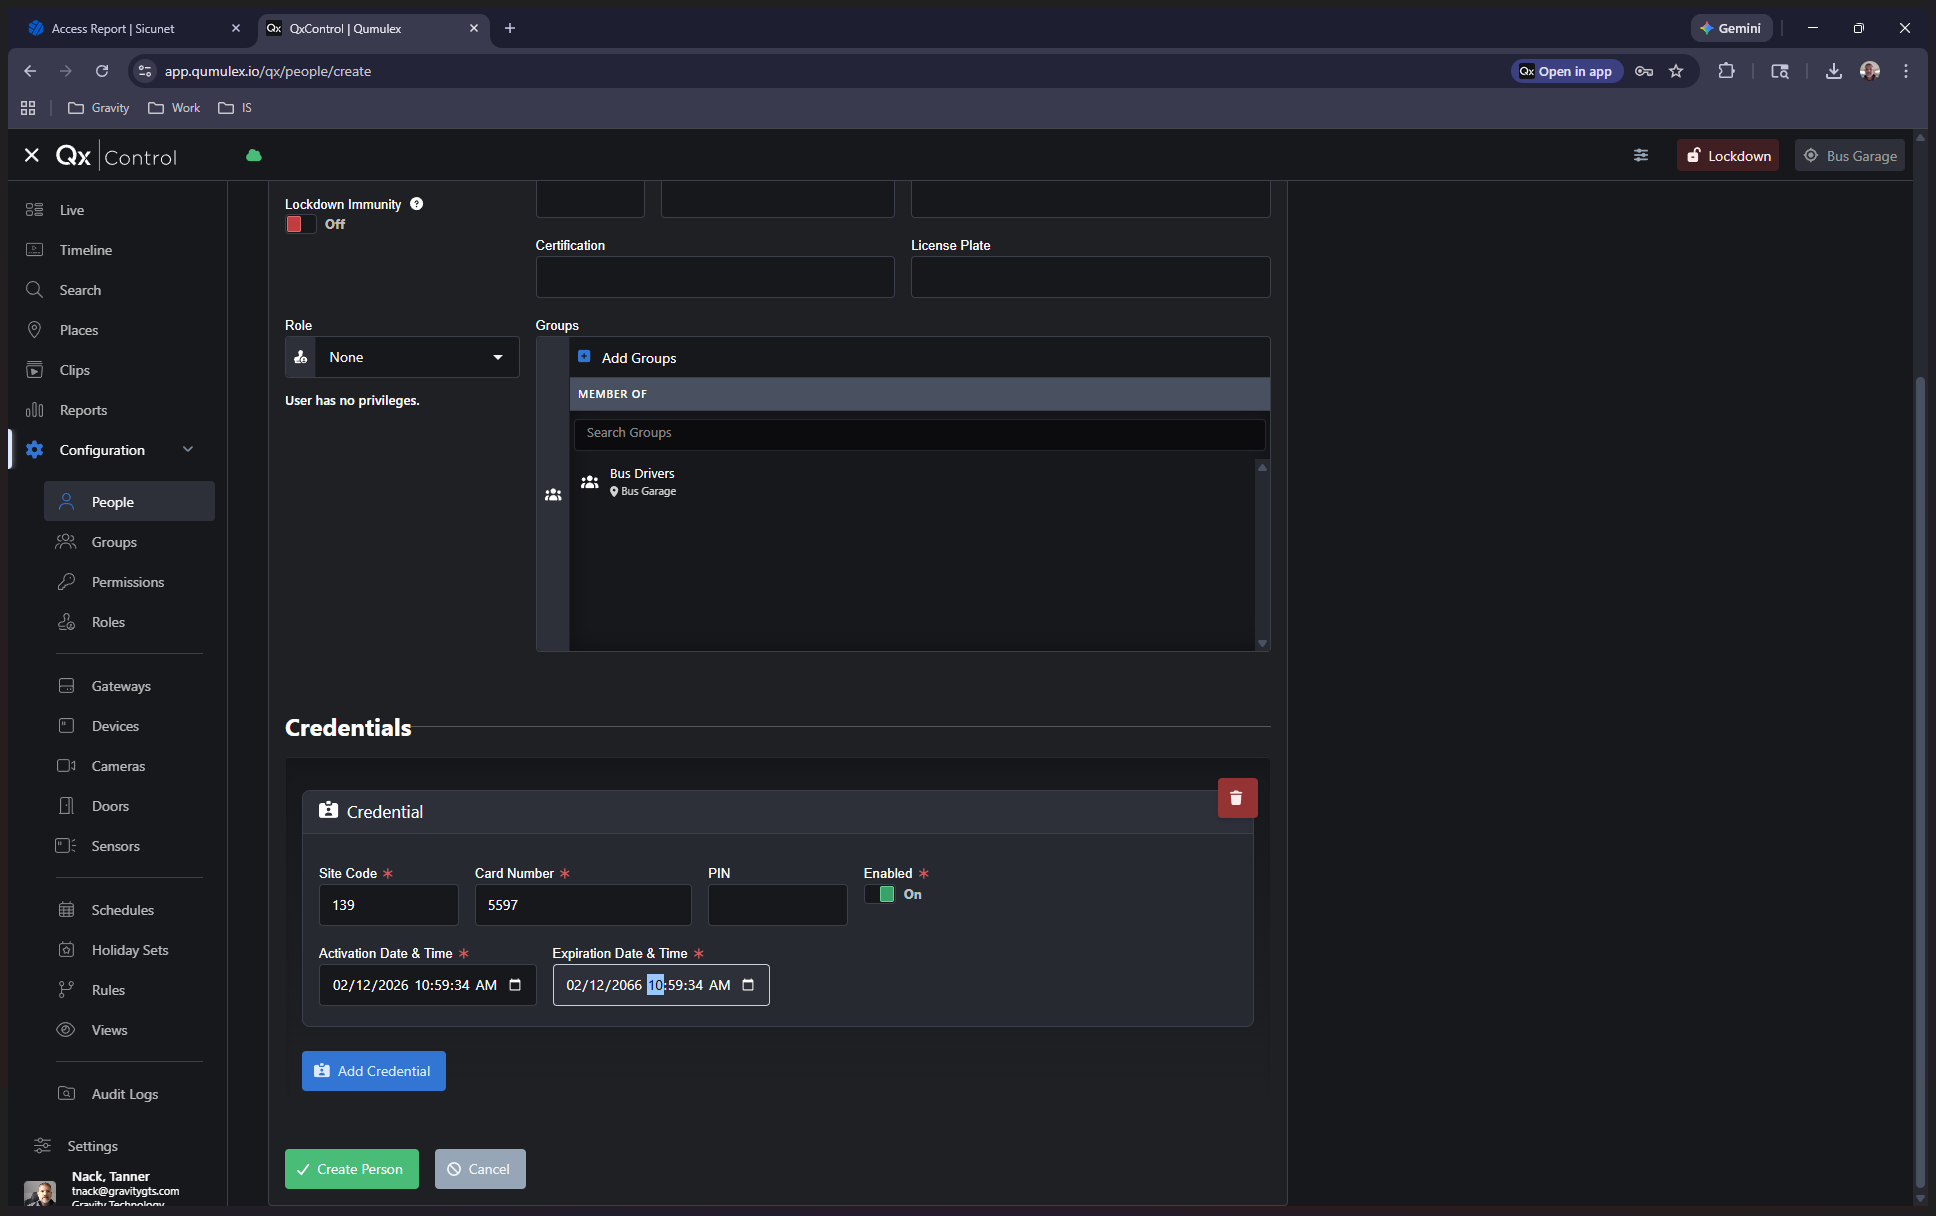
You can set an activation date and a deactivation date if you want them to be valid for a specific period.
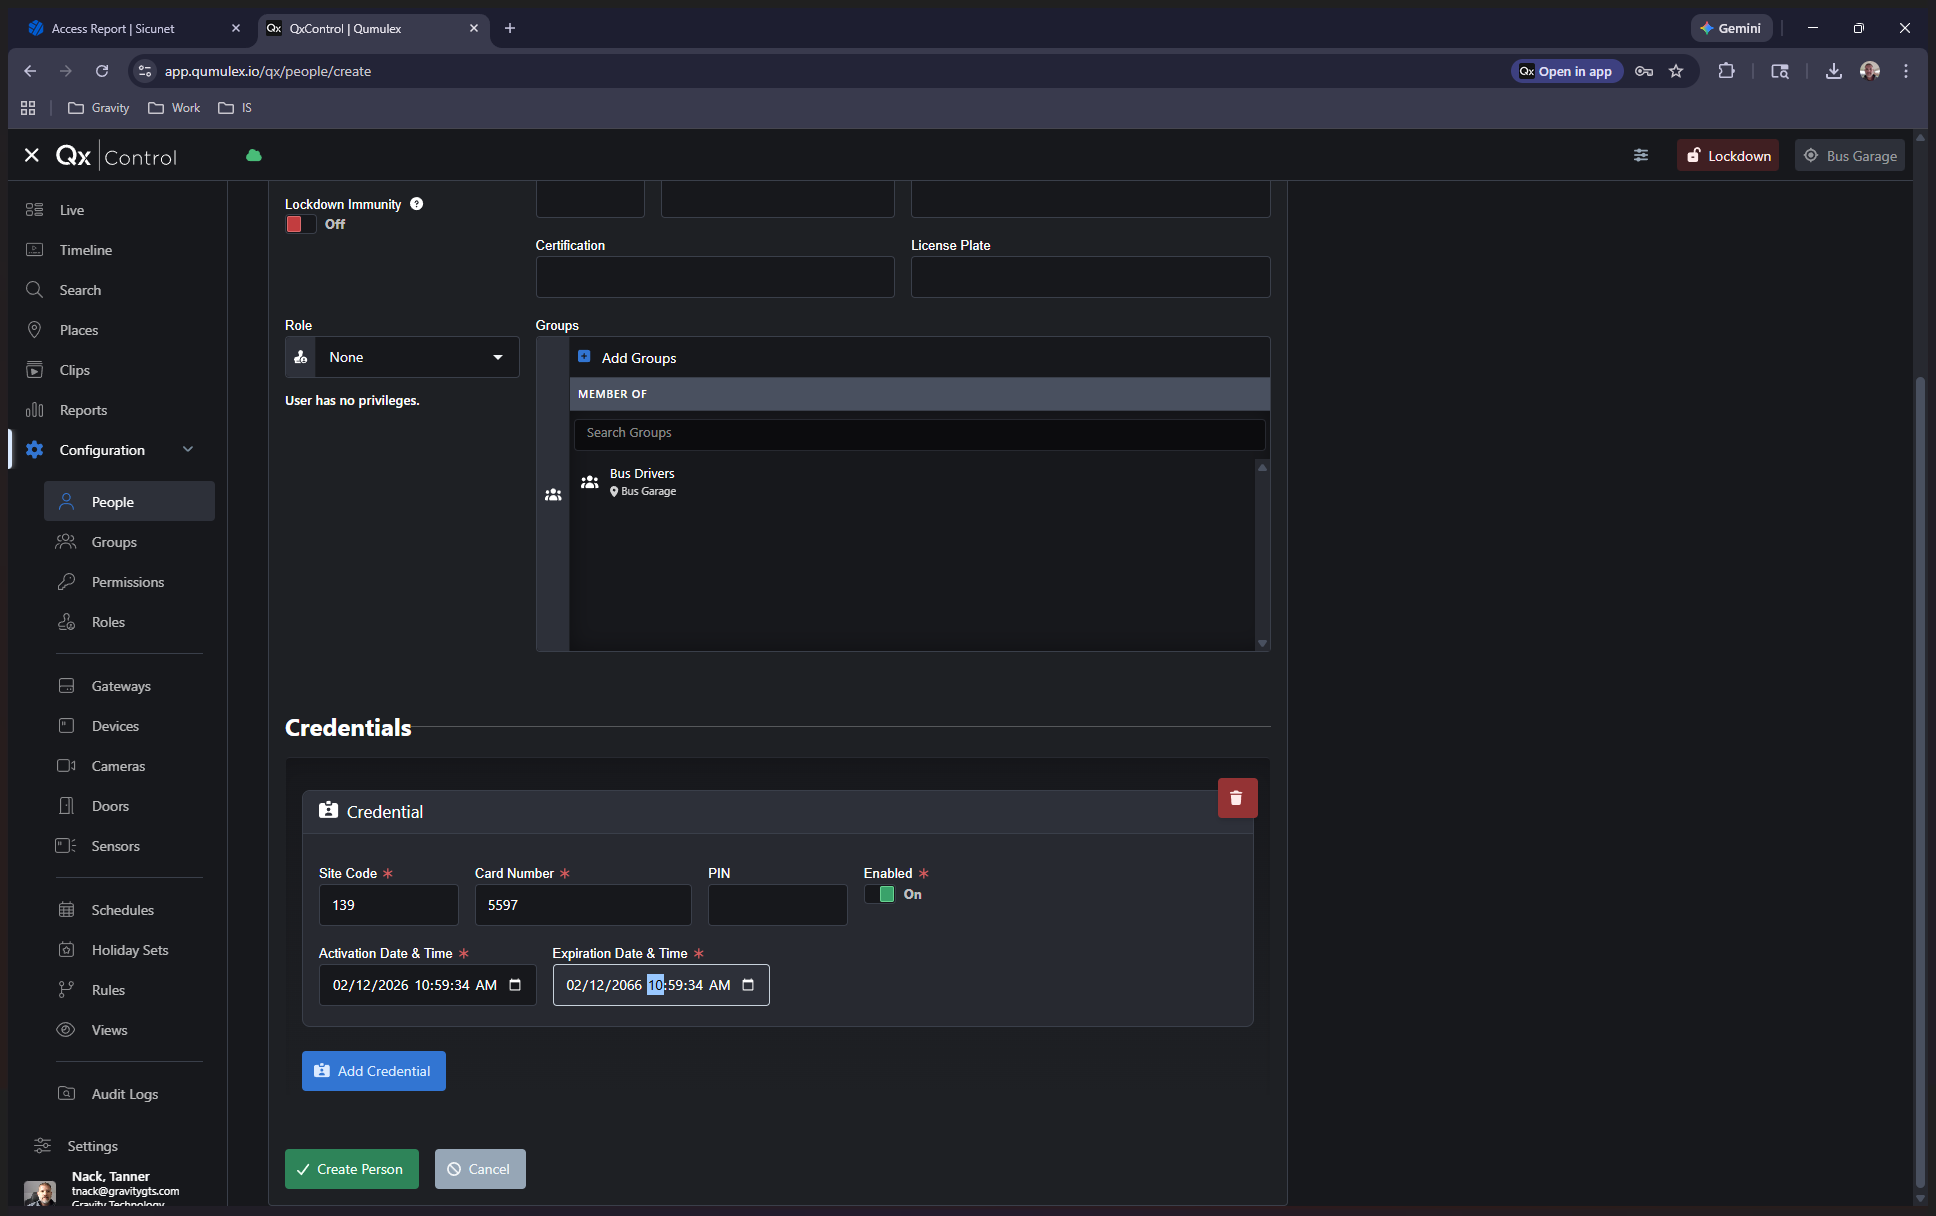
Once finished, click "Create Person." You have now added a new user.
As a final step have the person test their card on a door.