Icon

How to Add Properties and Categories in Basman Realty: Step-by-Step Guide

Learn how to efficiently add new properties and categories in Basman Realty using Google Sheets and the admin dashboard. Follow this step-by-step guide for seamless property management.

By Basman Abu gazi

In this guide, we'll learn how to set up new properties for the Basman Realty client, add them to the system, and organize their categories using information from a Google Sheet. We will also see how to activate the Visit Plus feature for each property. This process helps manage property details and categories efficiently.

Let's get started

Okay, so what we need to do here is the following. We need to set up for the visit here. This is the client called Basman Realty. Create several properties here and make the changes to them as I explain. So how do you do it? We are starting here; this is the URL.

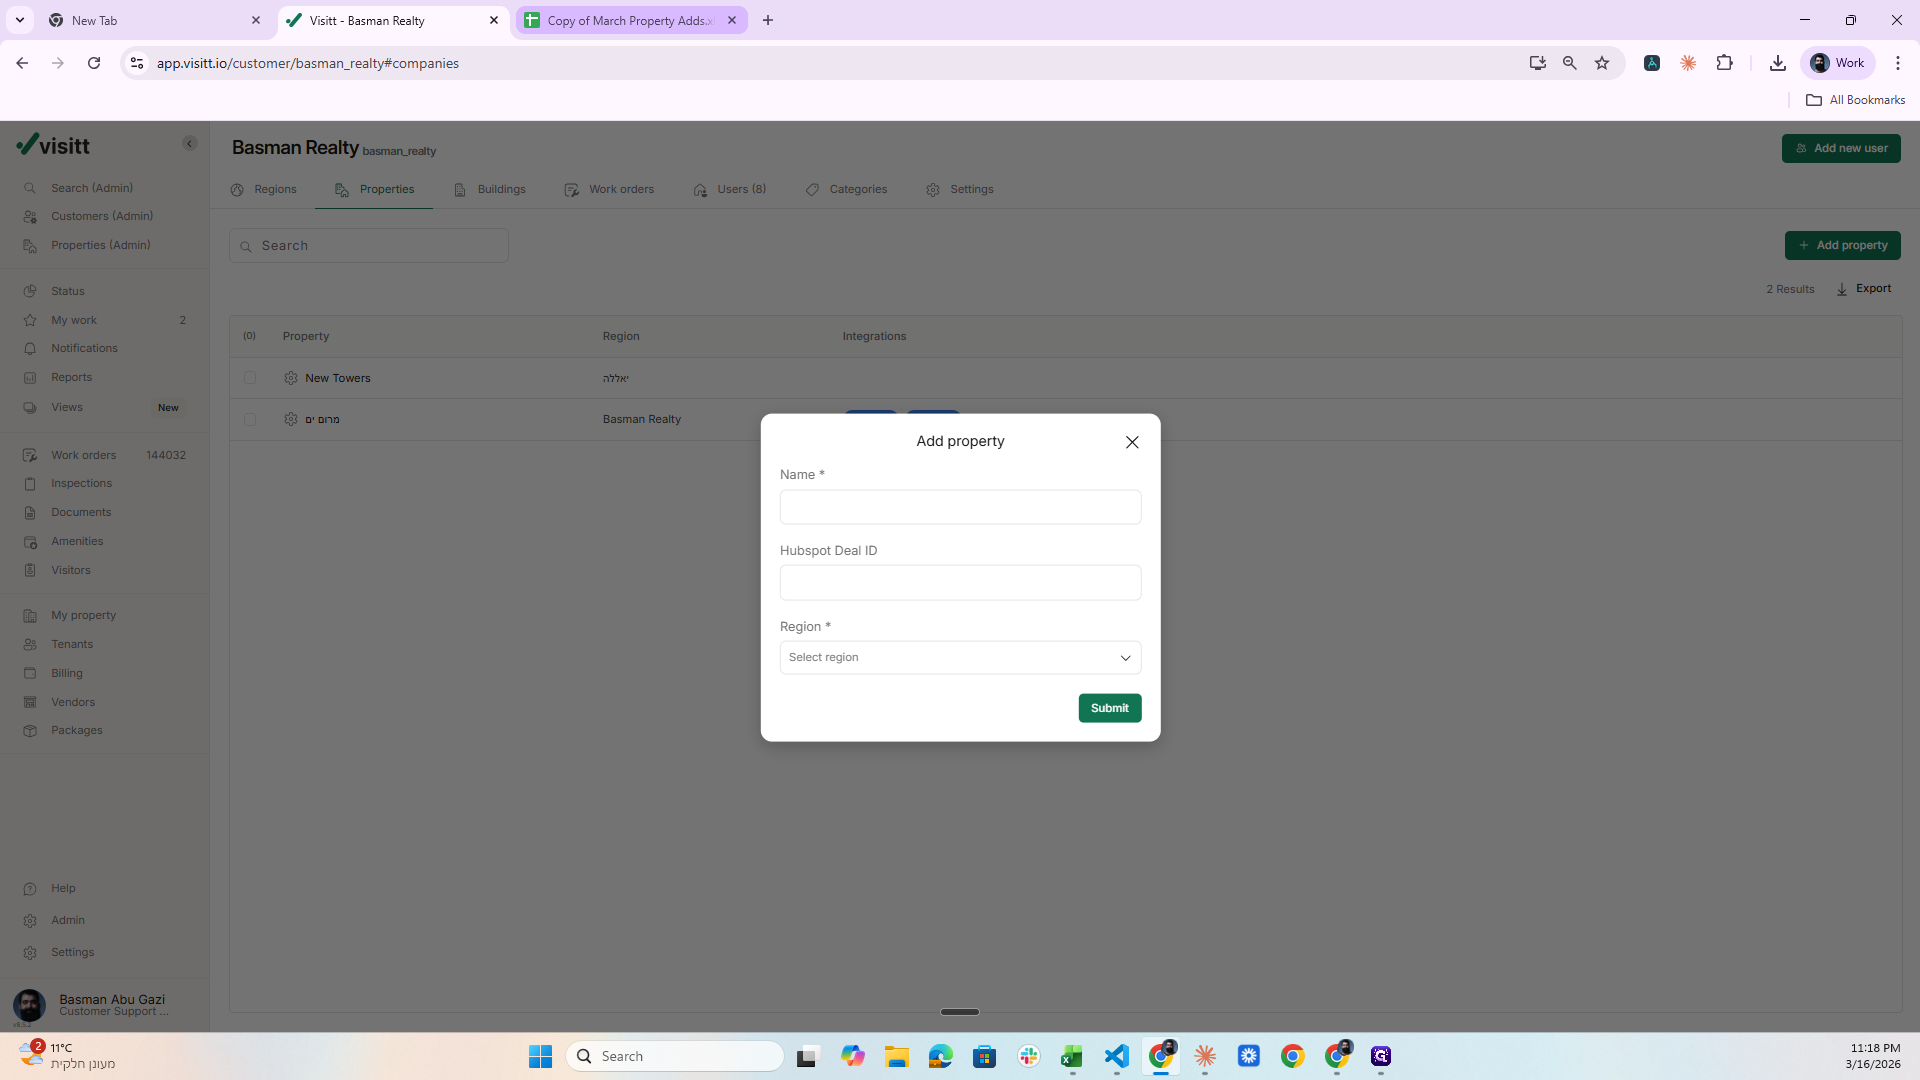
Go to Properties, click Add property, and now go to this Google Sheet.

1
Click on "+ Add property"
Step #1: Click on "+ Add property"
2
Click on "+ Copy of March Property Adds.x"
Step #2: Click on "+ Copy of March Property Adds.x"

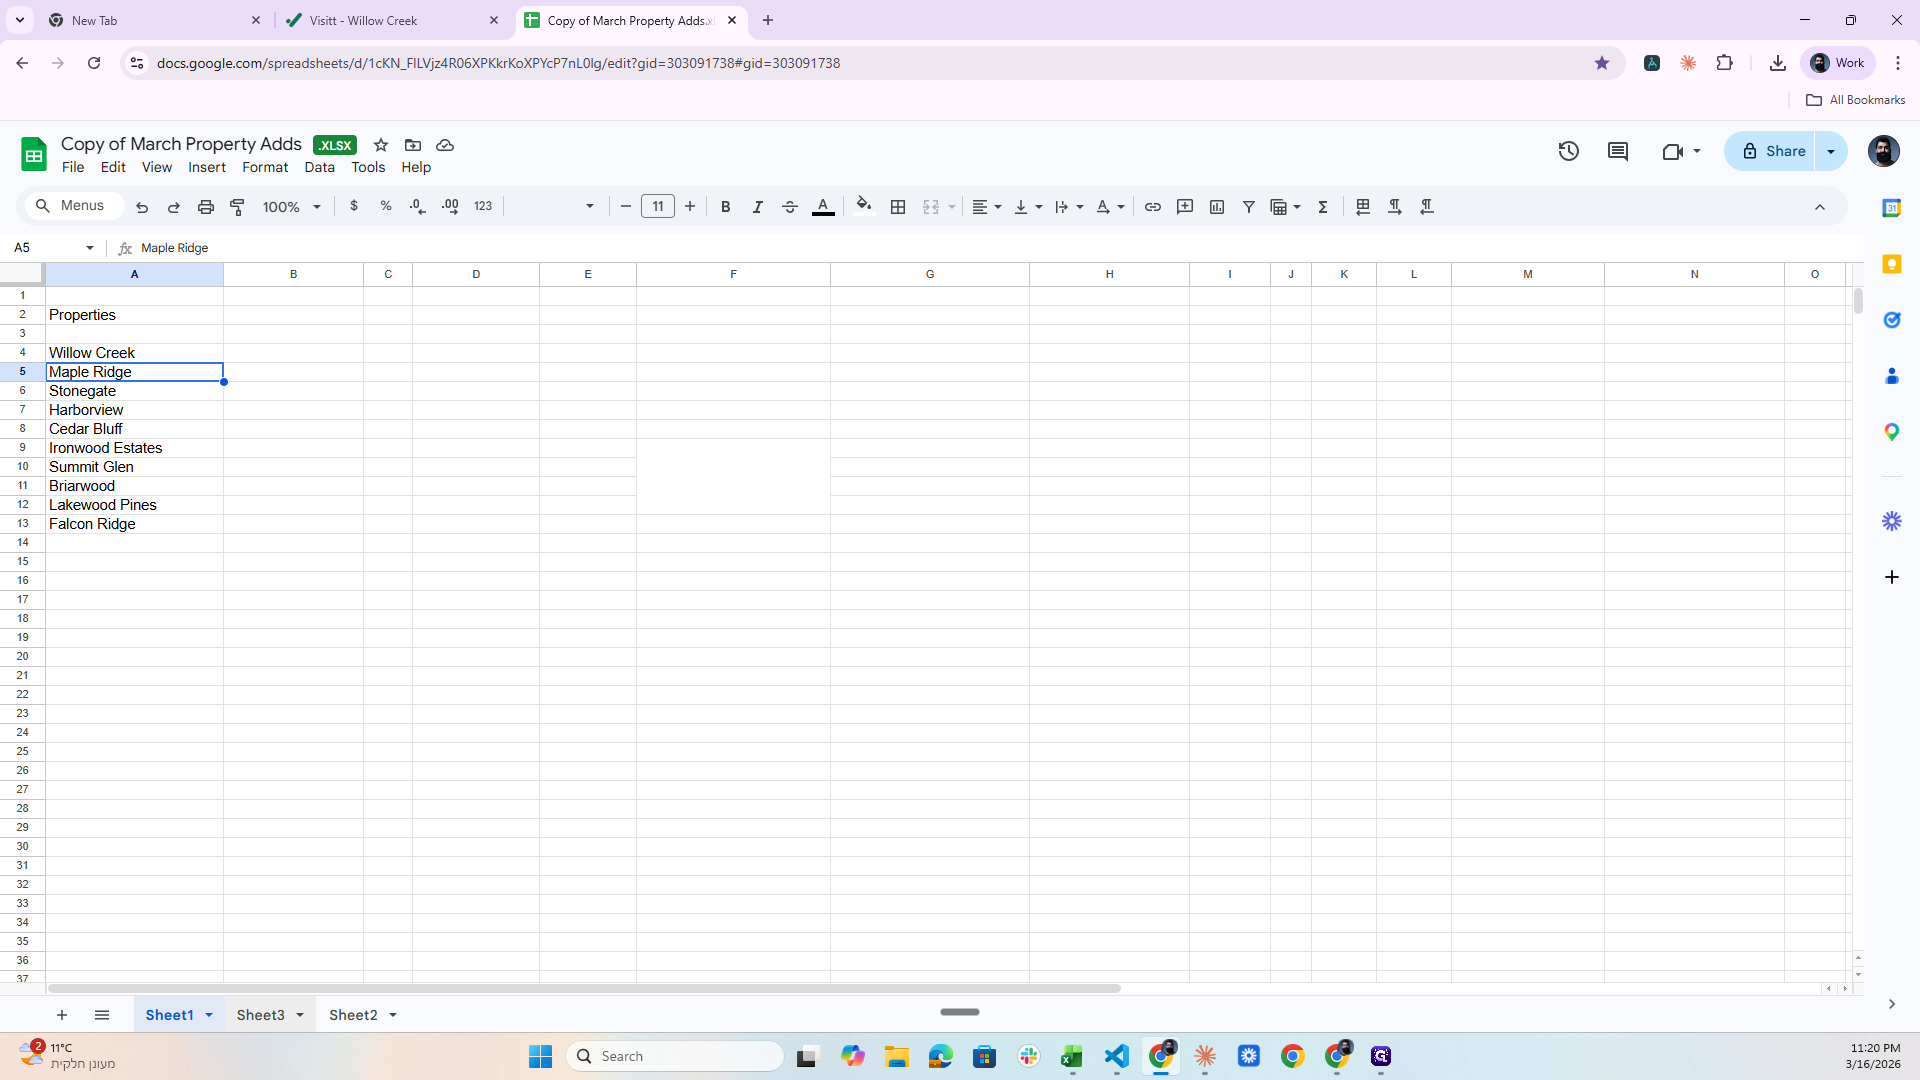
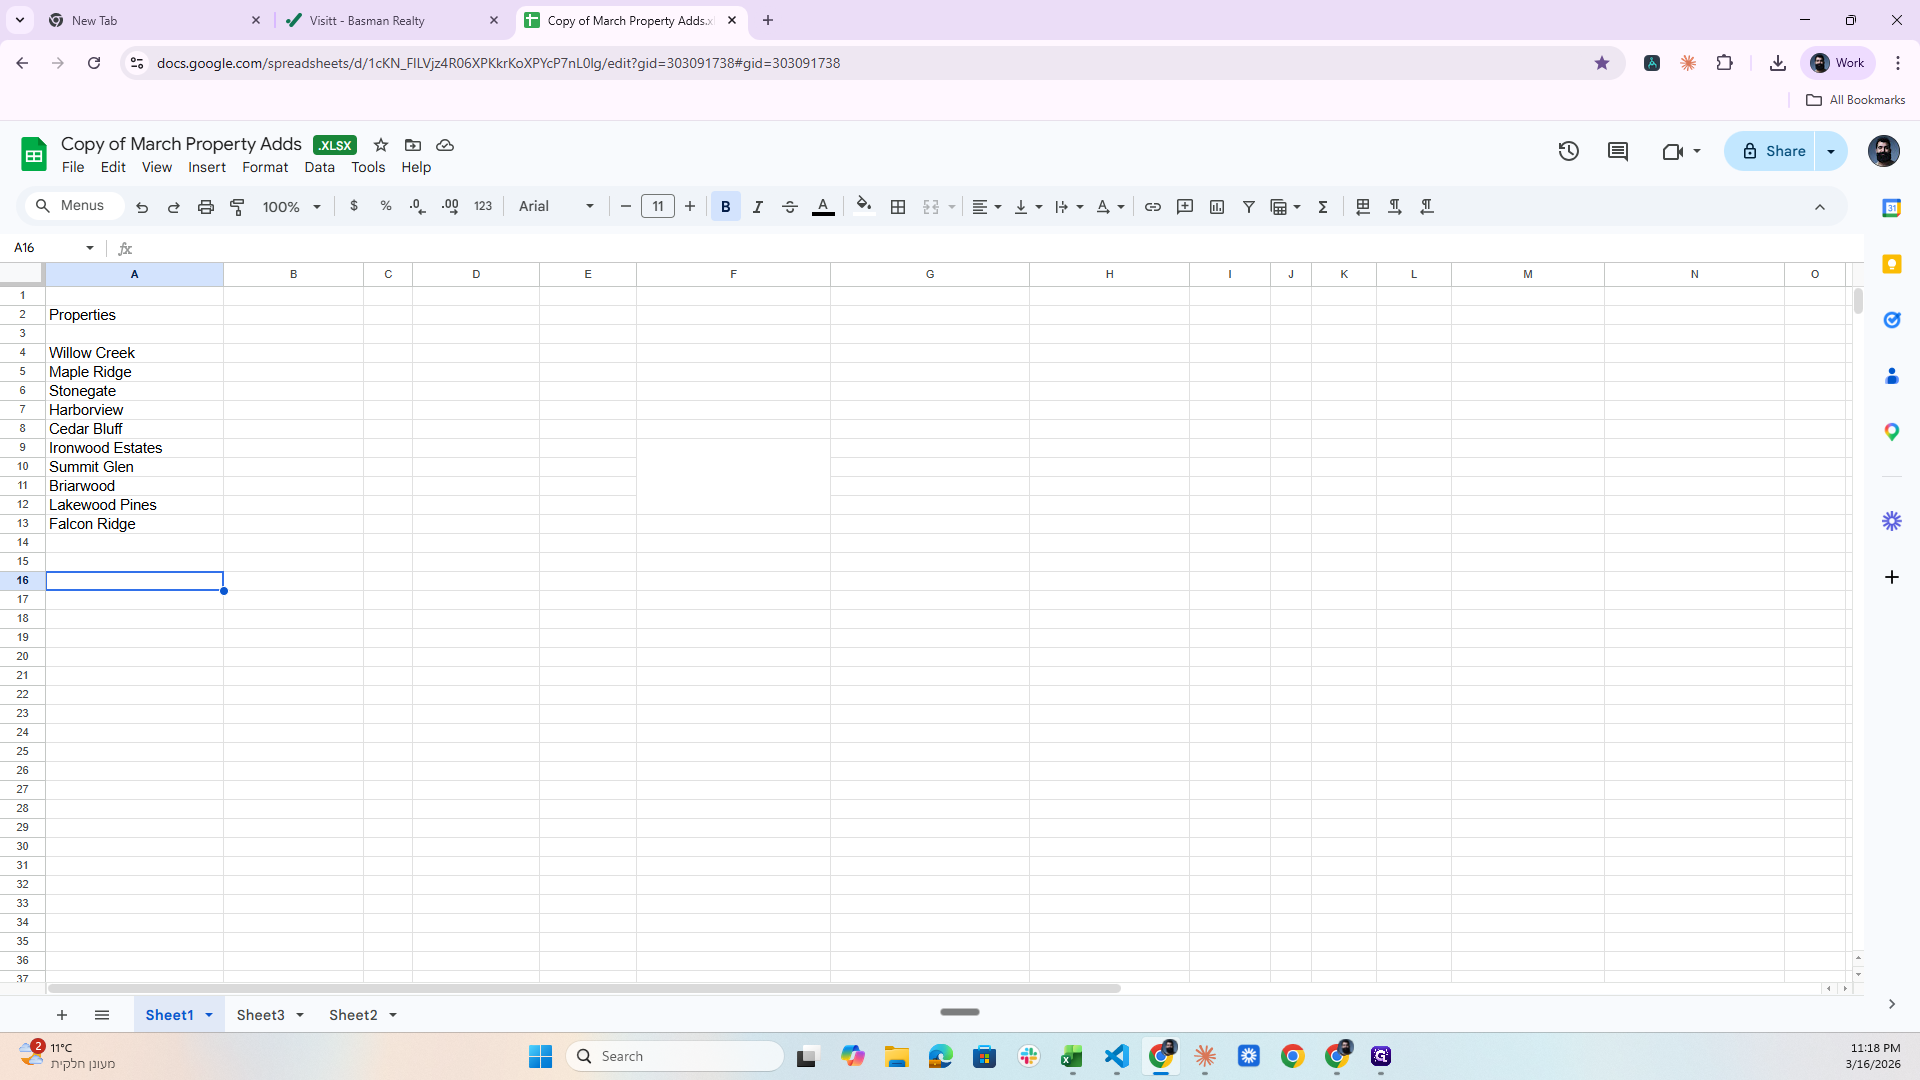
In one sheet, we have the Properties.

3
Click on "Sheet1 ▼"
Step #3: Click on "Sheet1 ▼"

I’ll take the first one, Willow Creek.
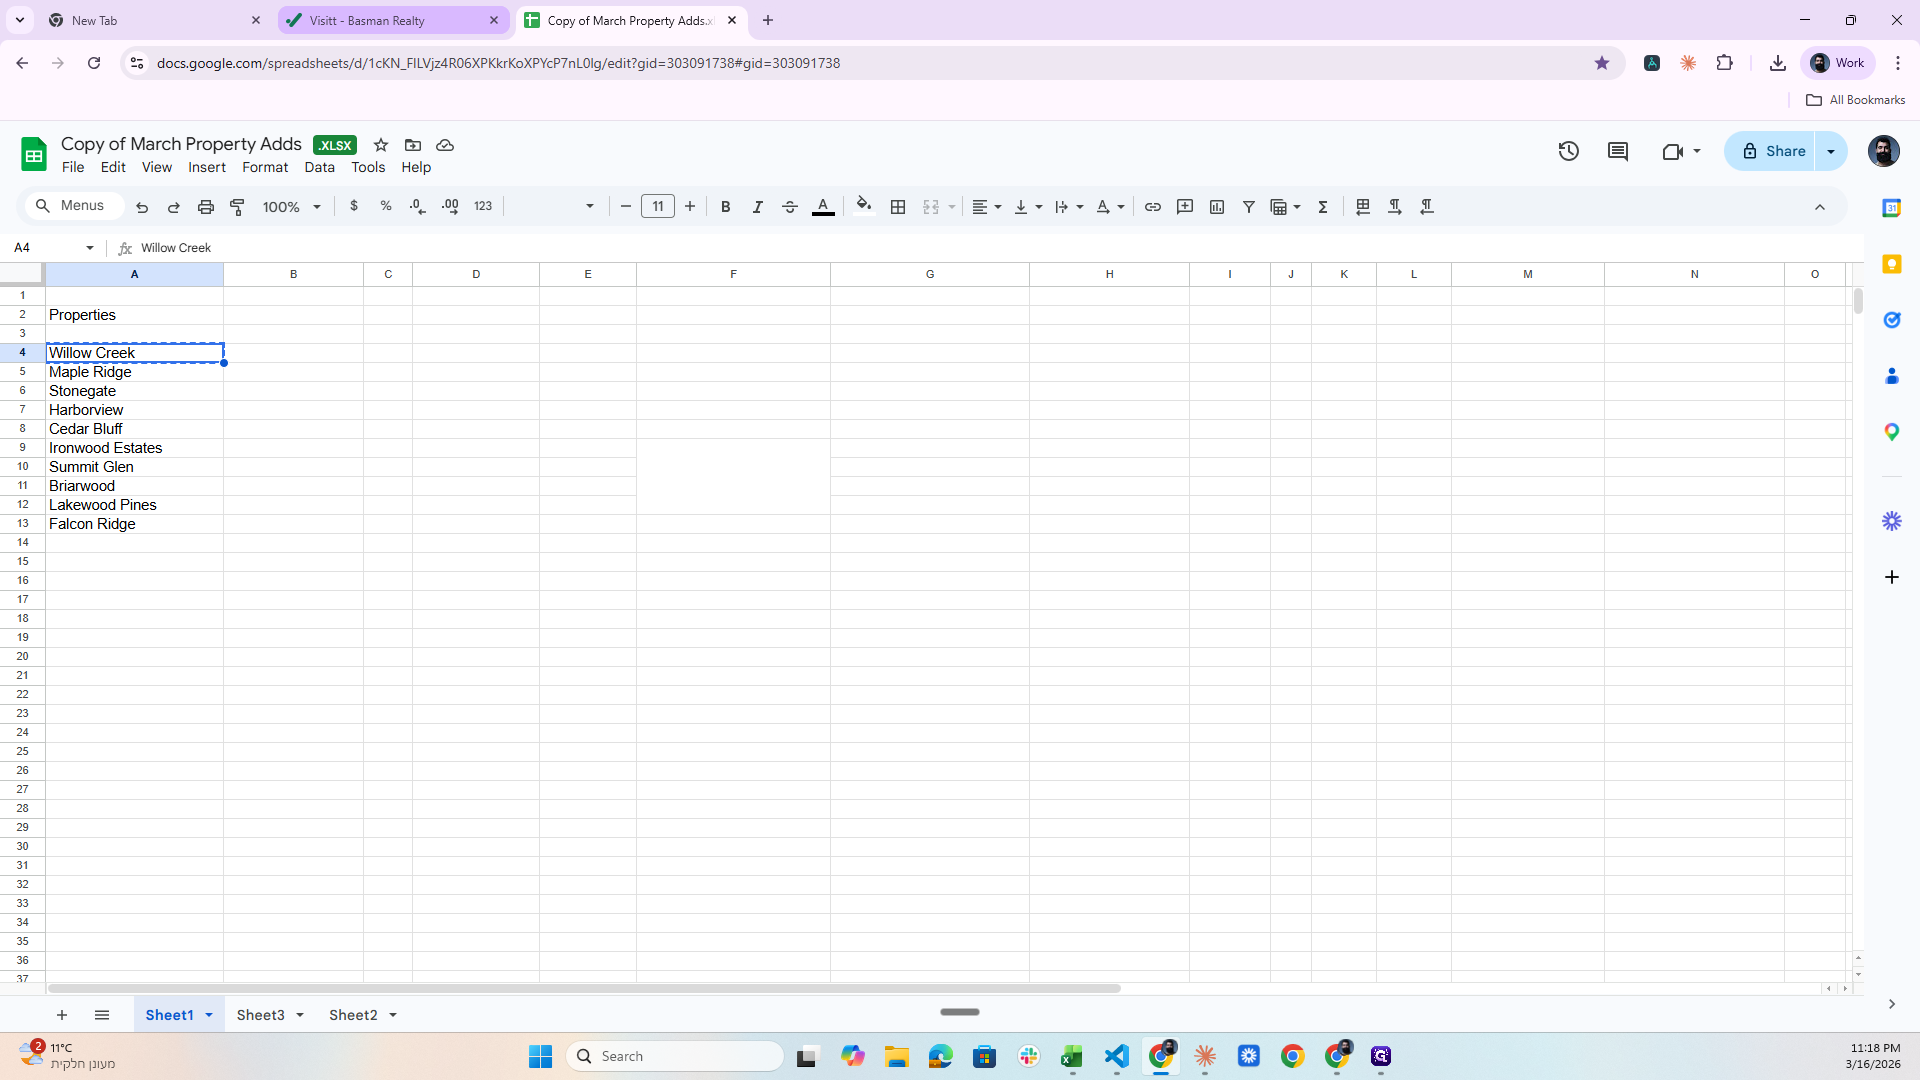
4
Click on "Willow Creek"
Step #4: Click on "Willow Creek"
5
Type "Ctrl + C"
6
Click on "Visitt - Basman Realty"
Step #6: Click on "Visitt - Basman Realty"
7
Click here
Step #7: Click here

Put it here.

8
Type "Ctrl + V"

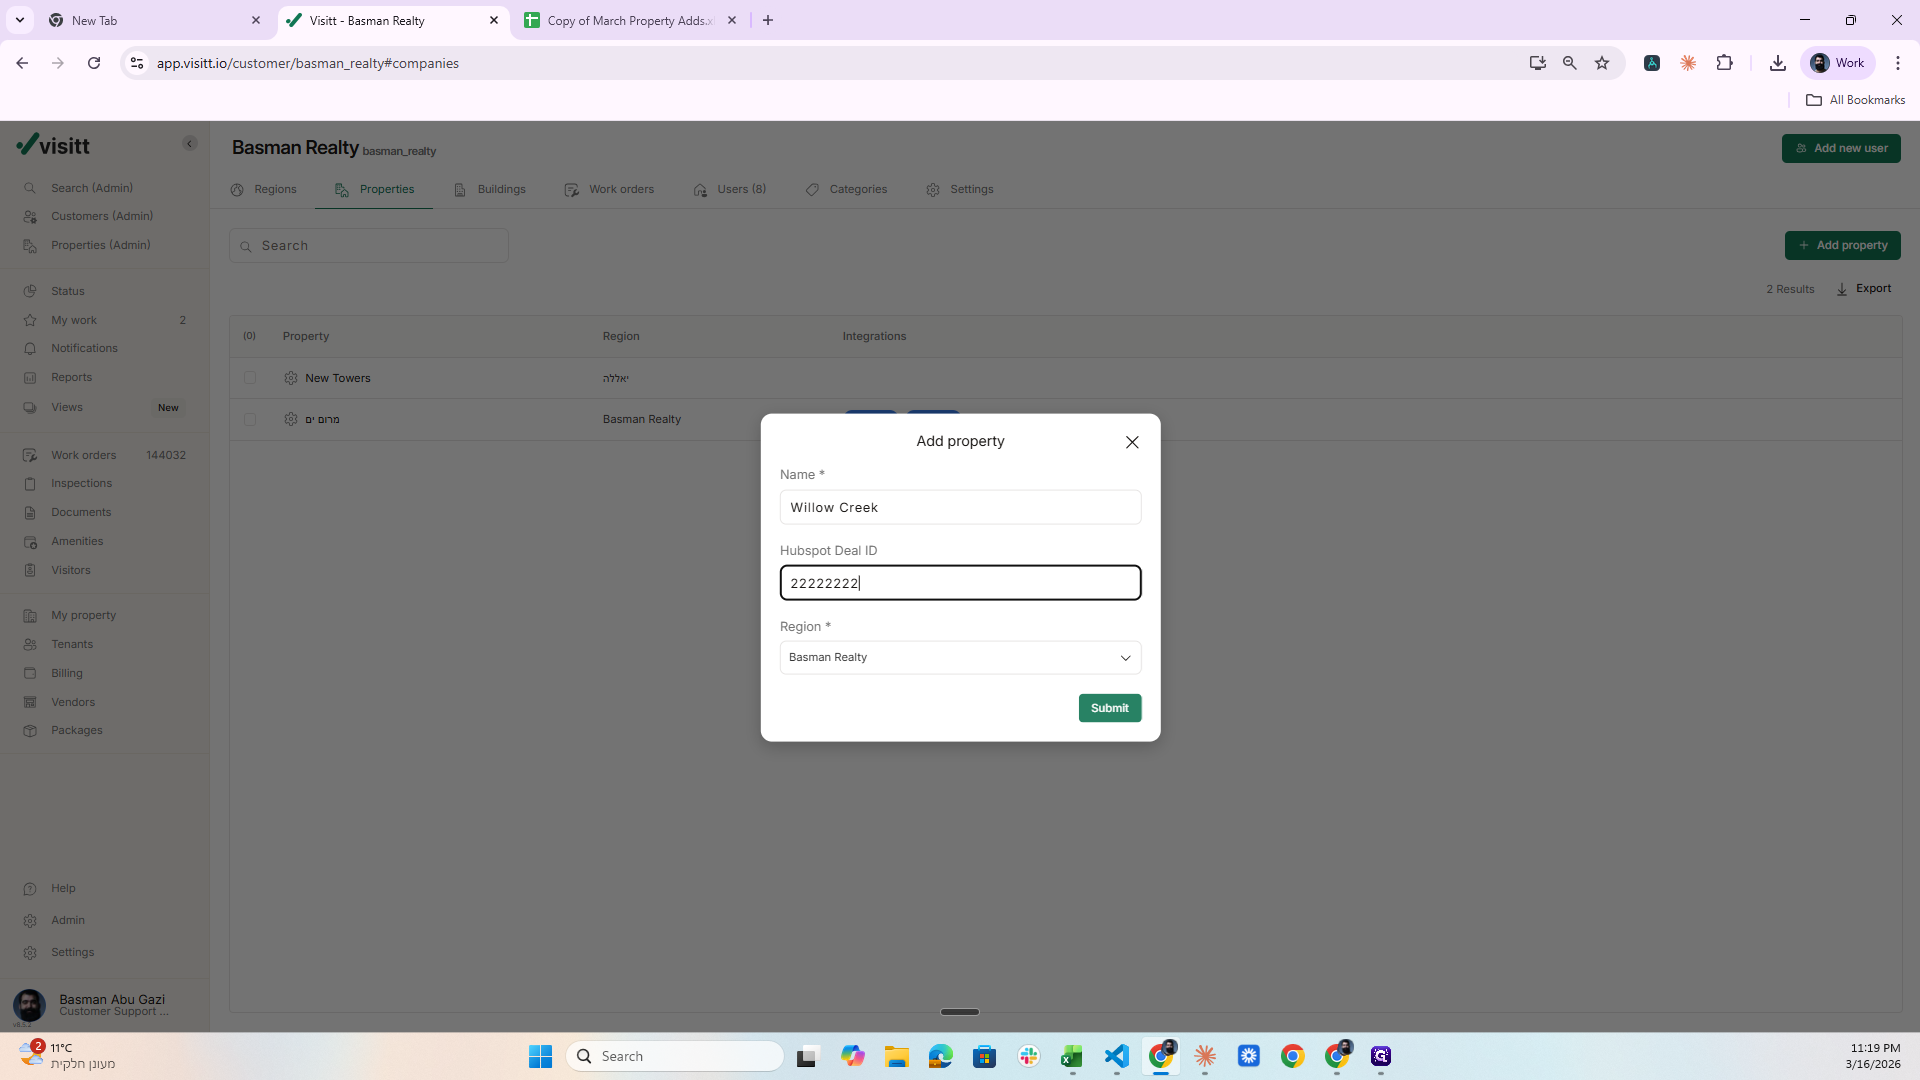
Region: Place it in Basman Realty, Hotspot Deal.

9
Click on "Select region"
Step #9: Click on "Select region"
10
Click on "Basman Realty"
Step #10: Click on "Basman Realty"
11
Click here
Step #11: Click here

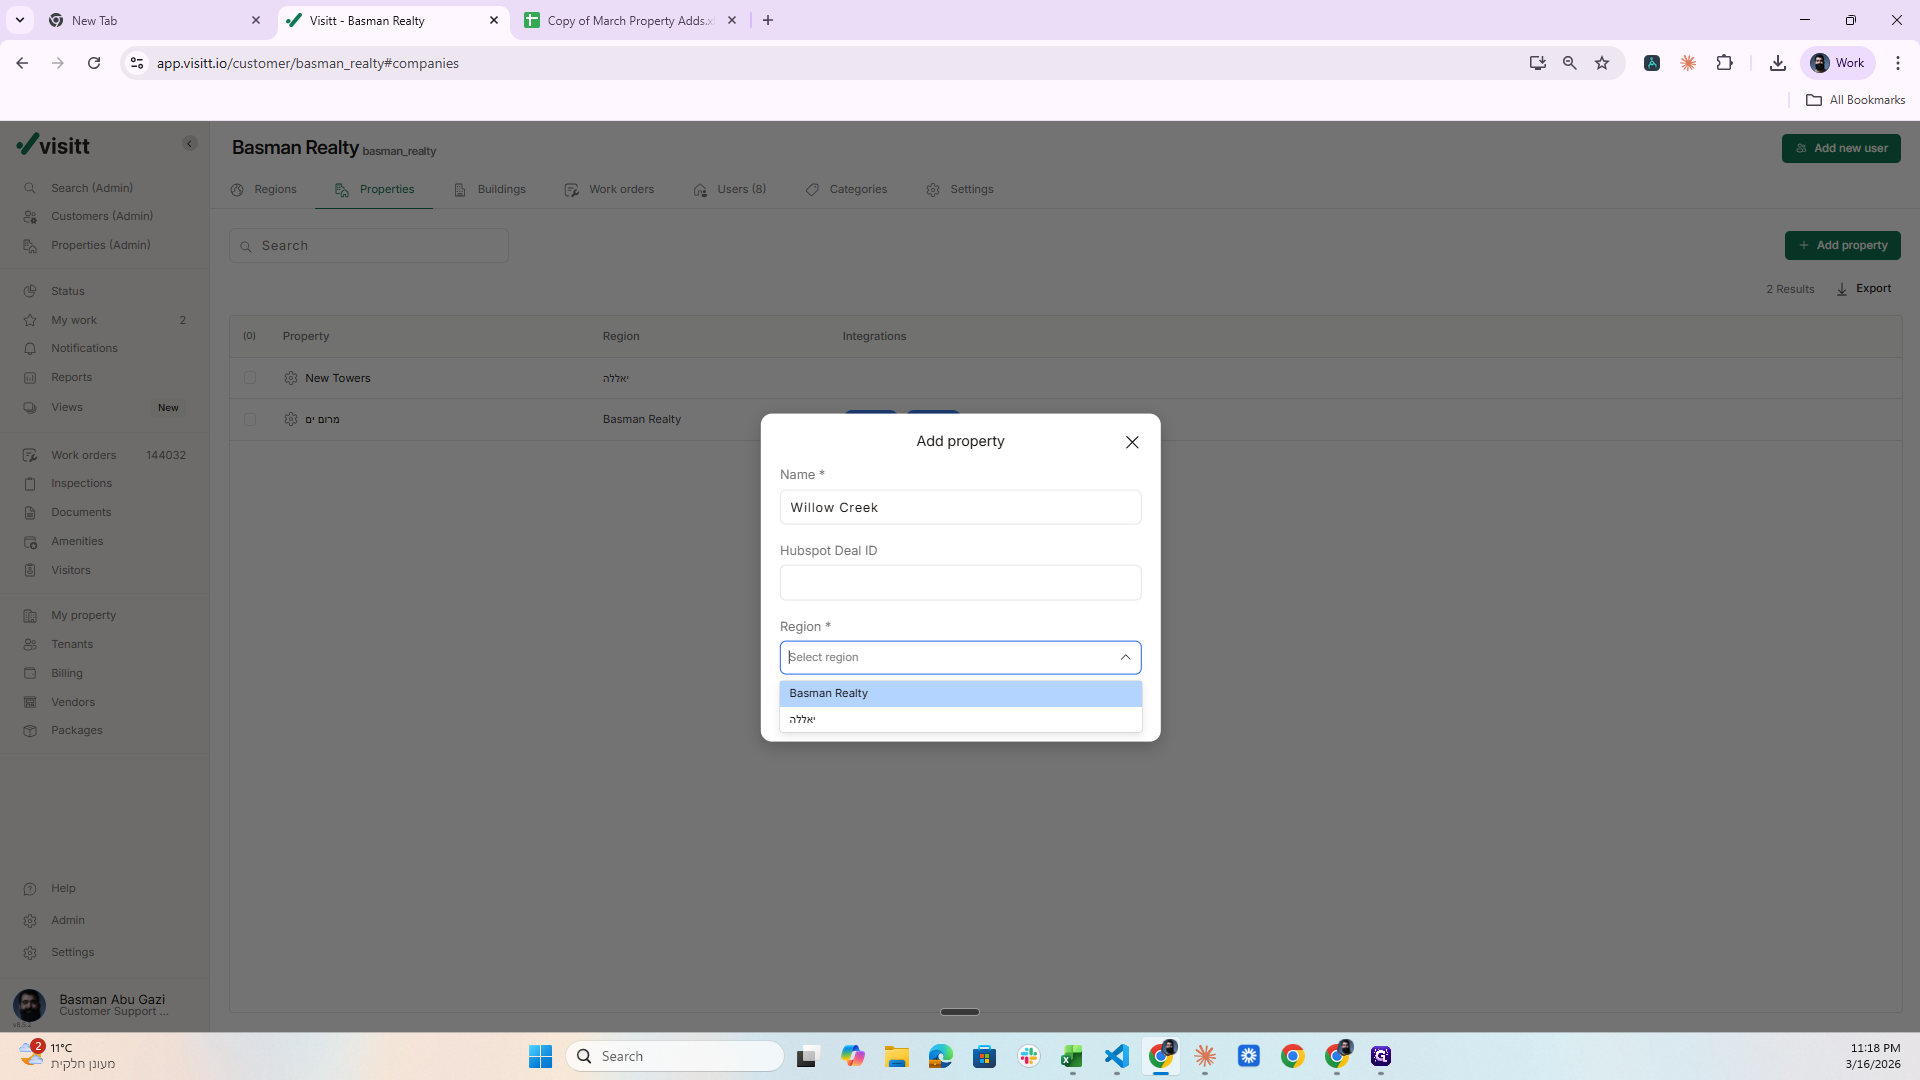
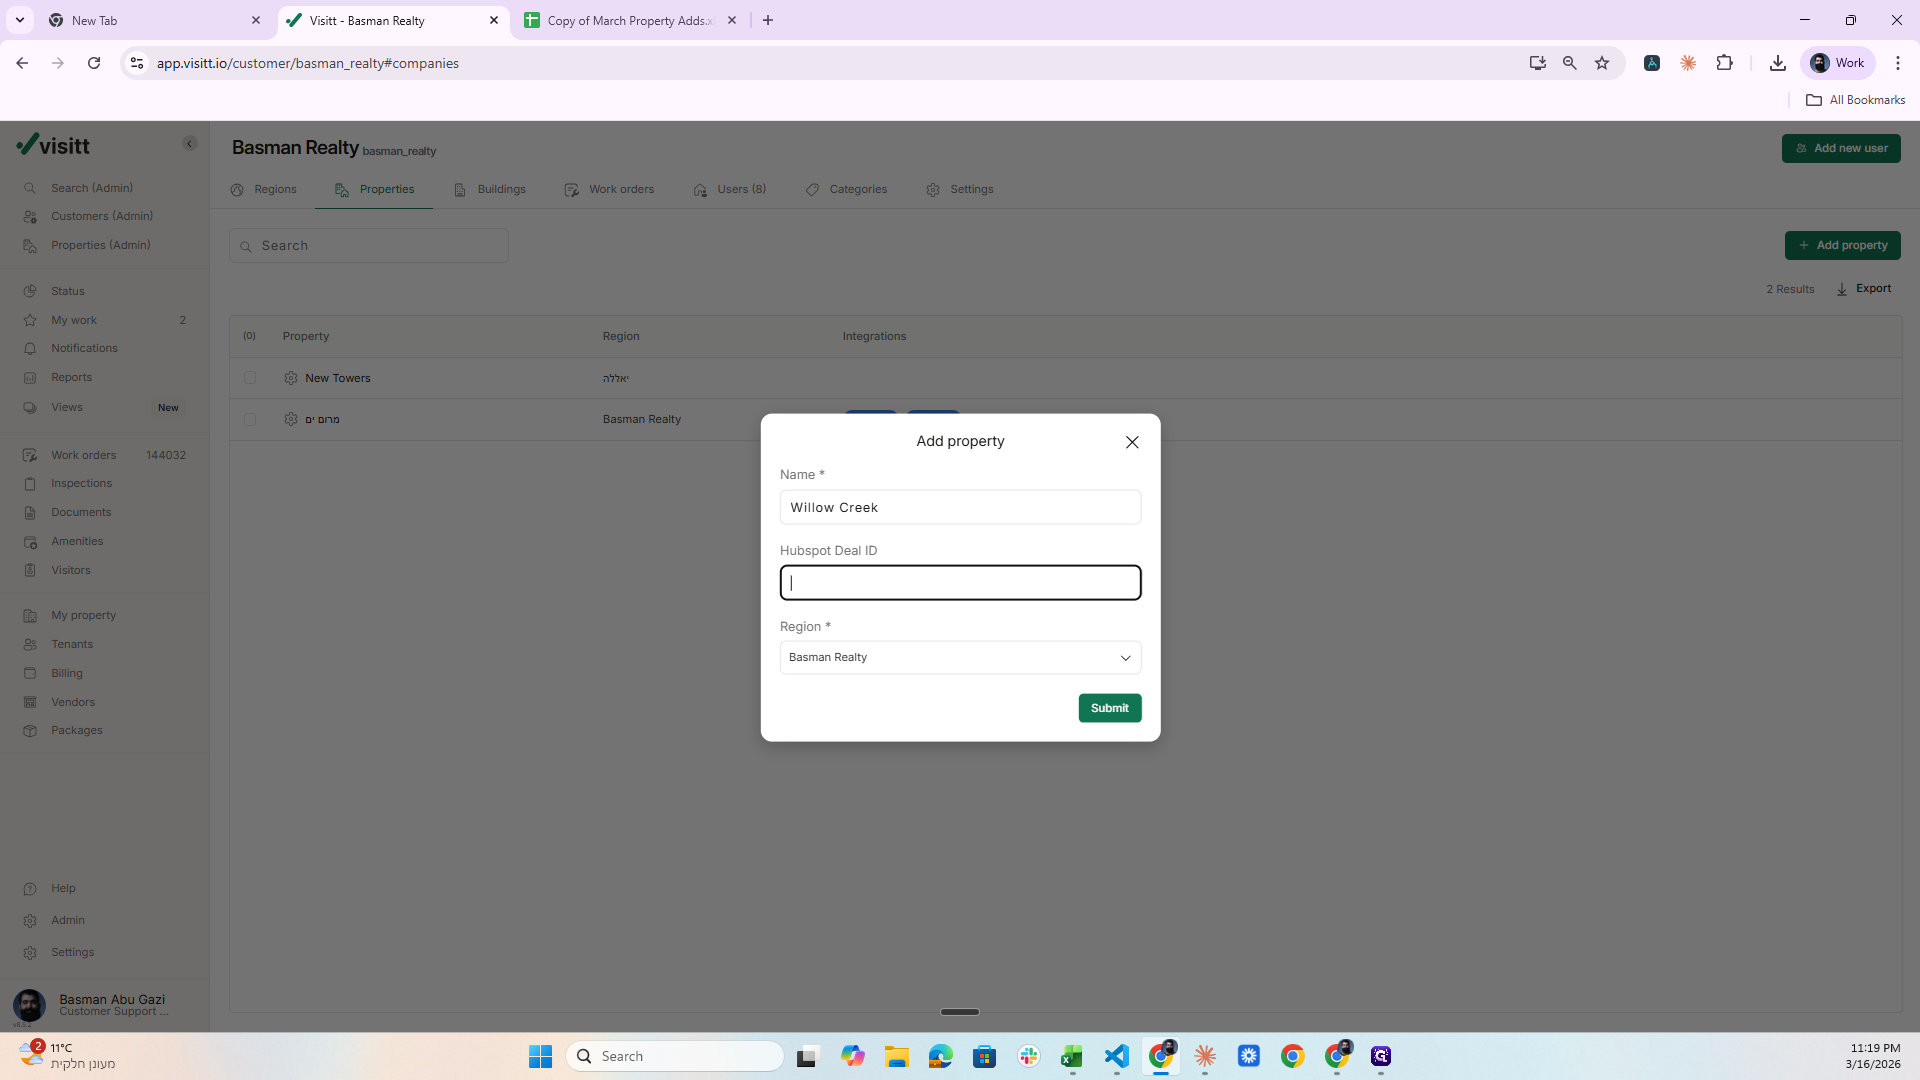
Enter this number and click Submit.

12
Type "22222222"
13
Click on "Submit"
Step #13: Click on "Submit"

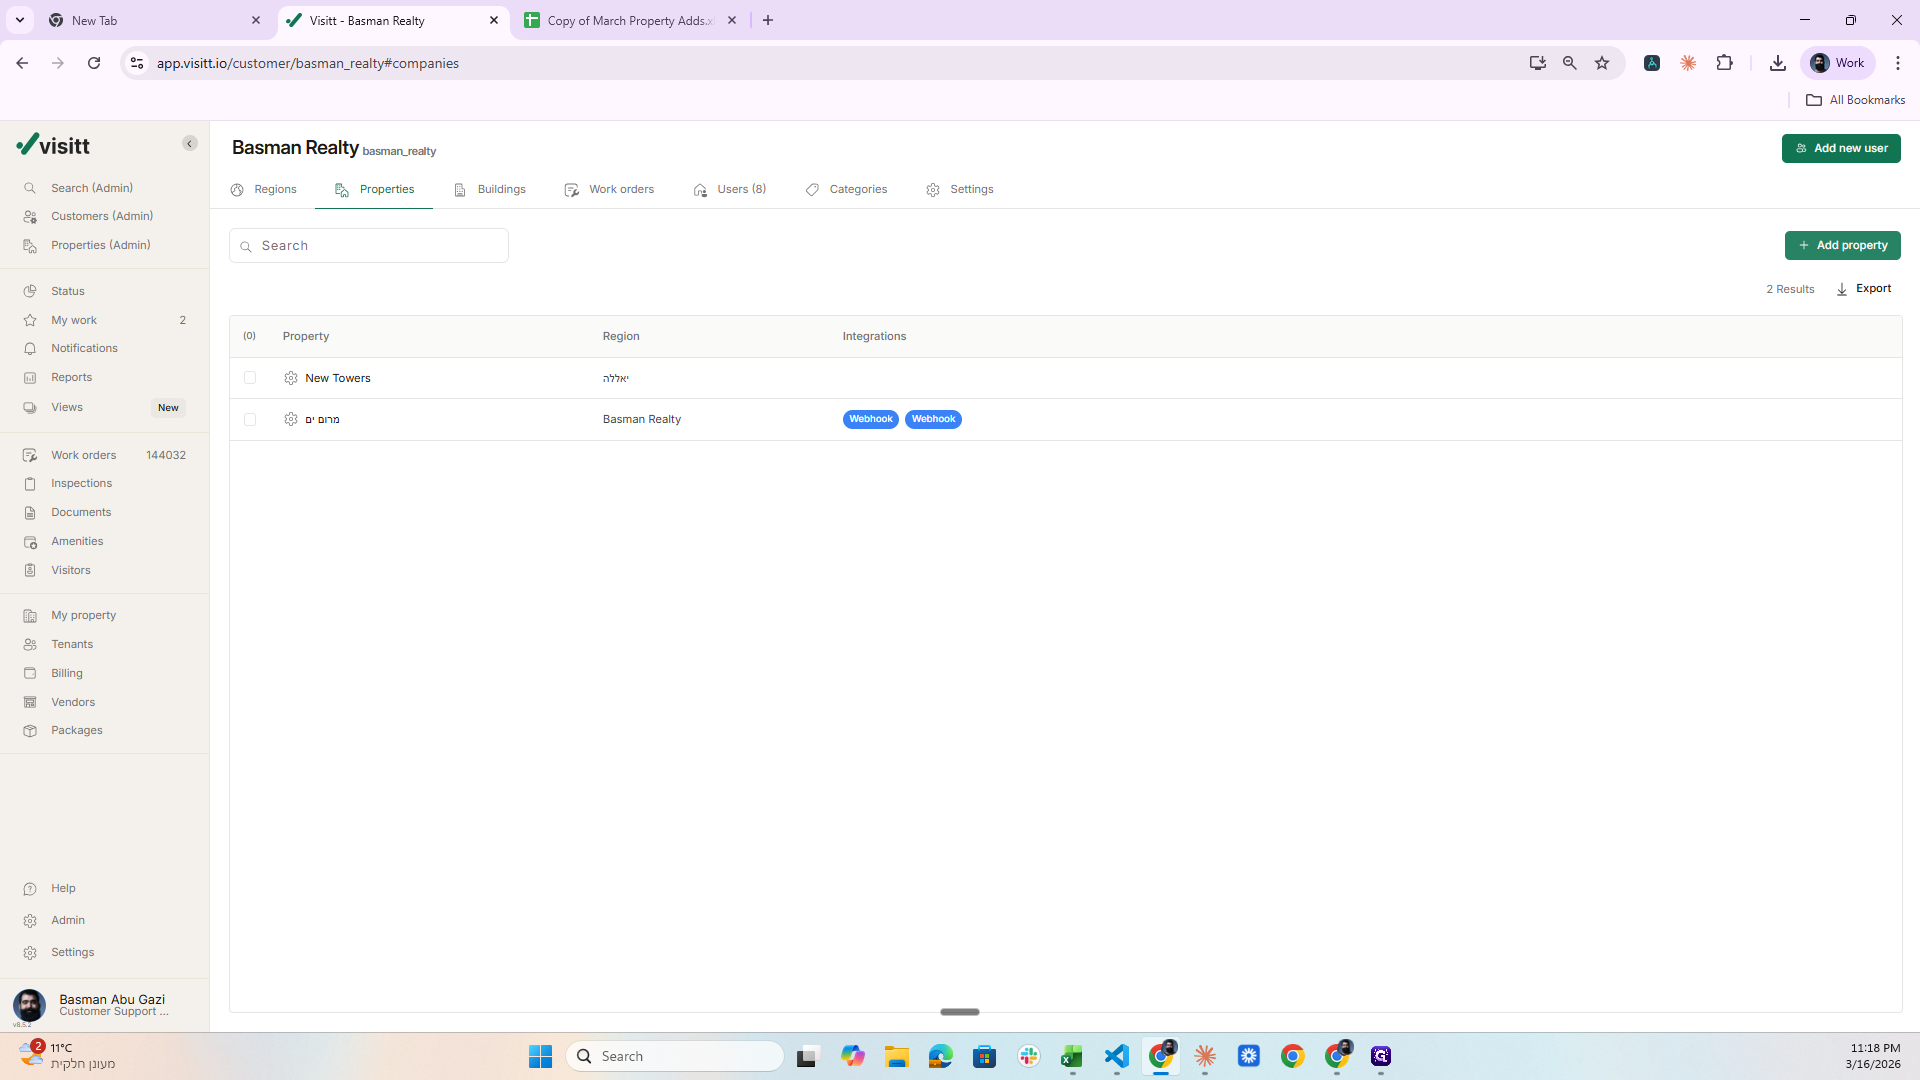
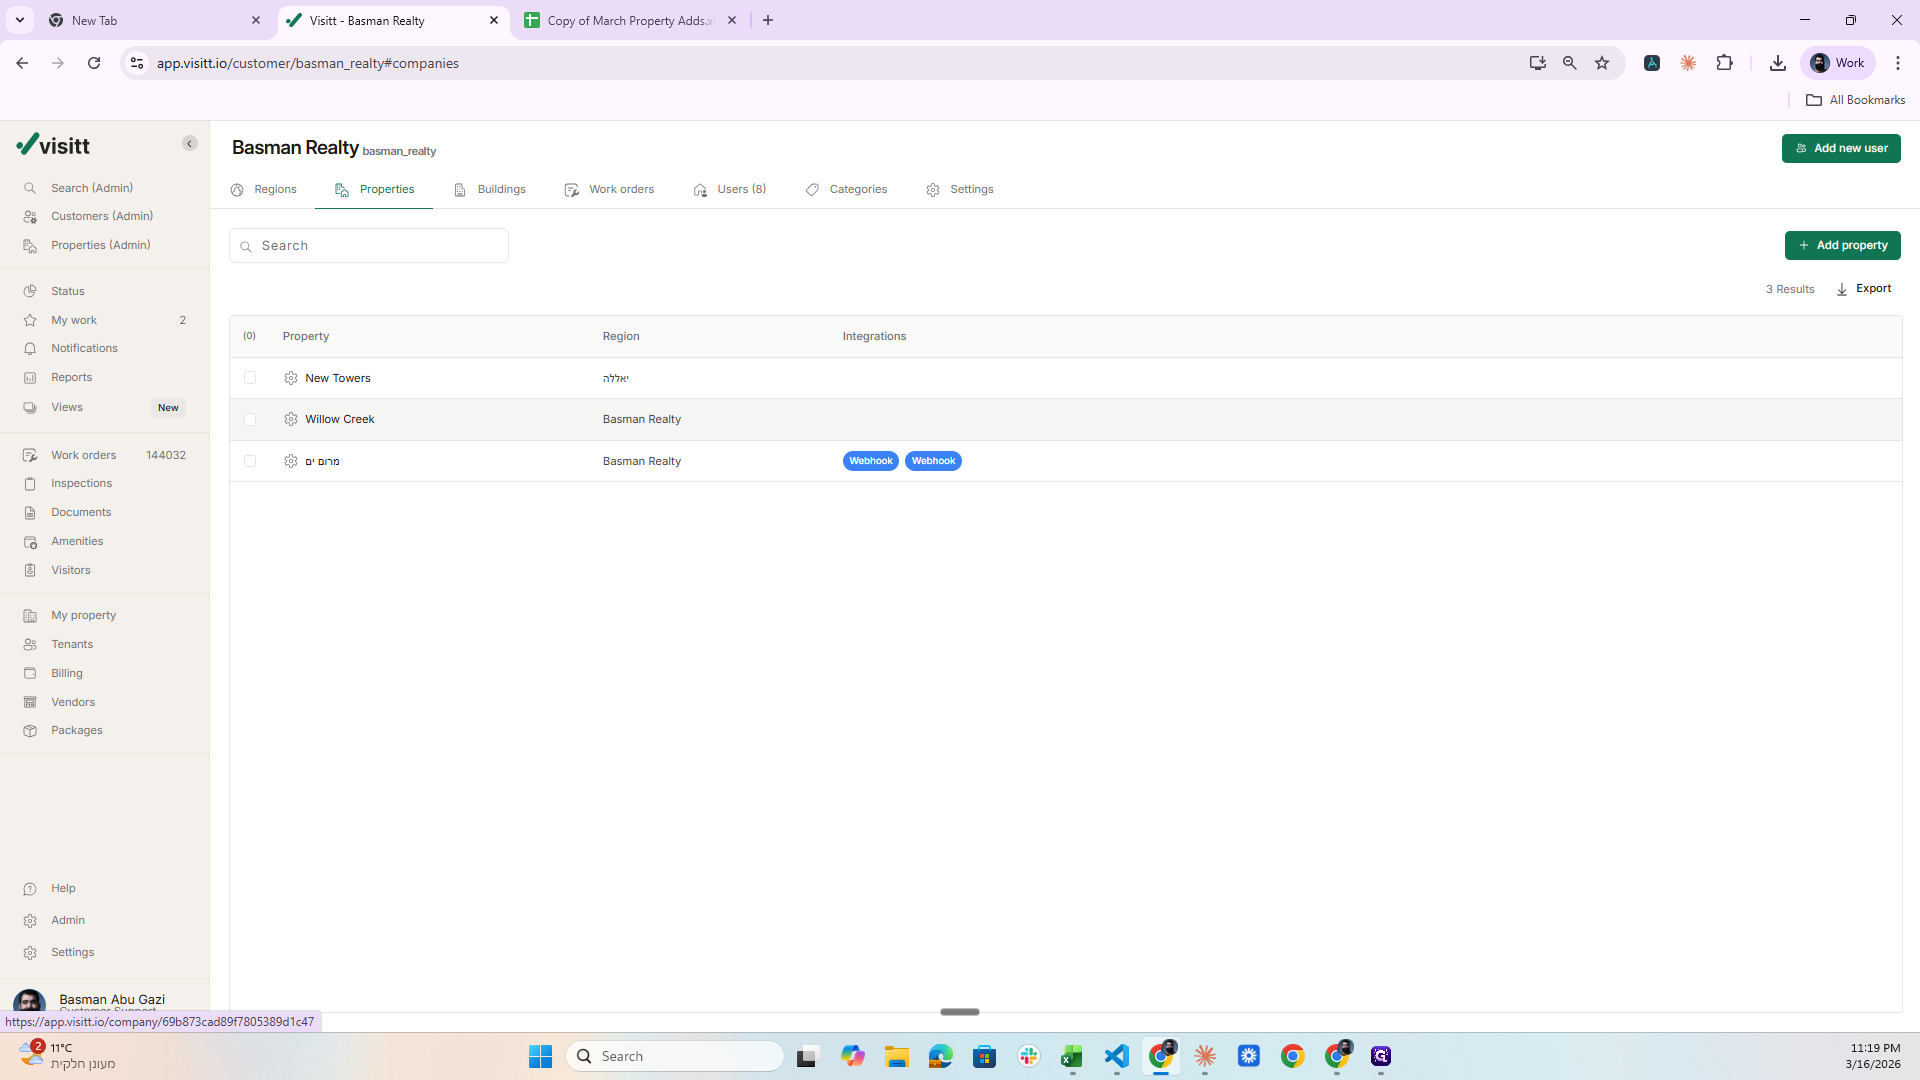
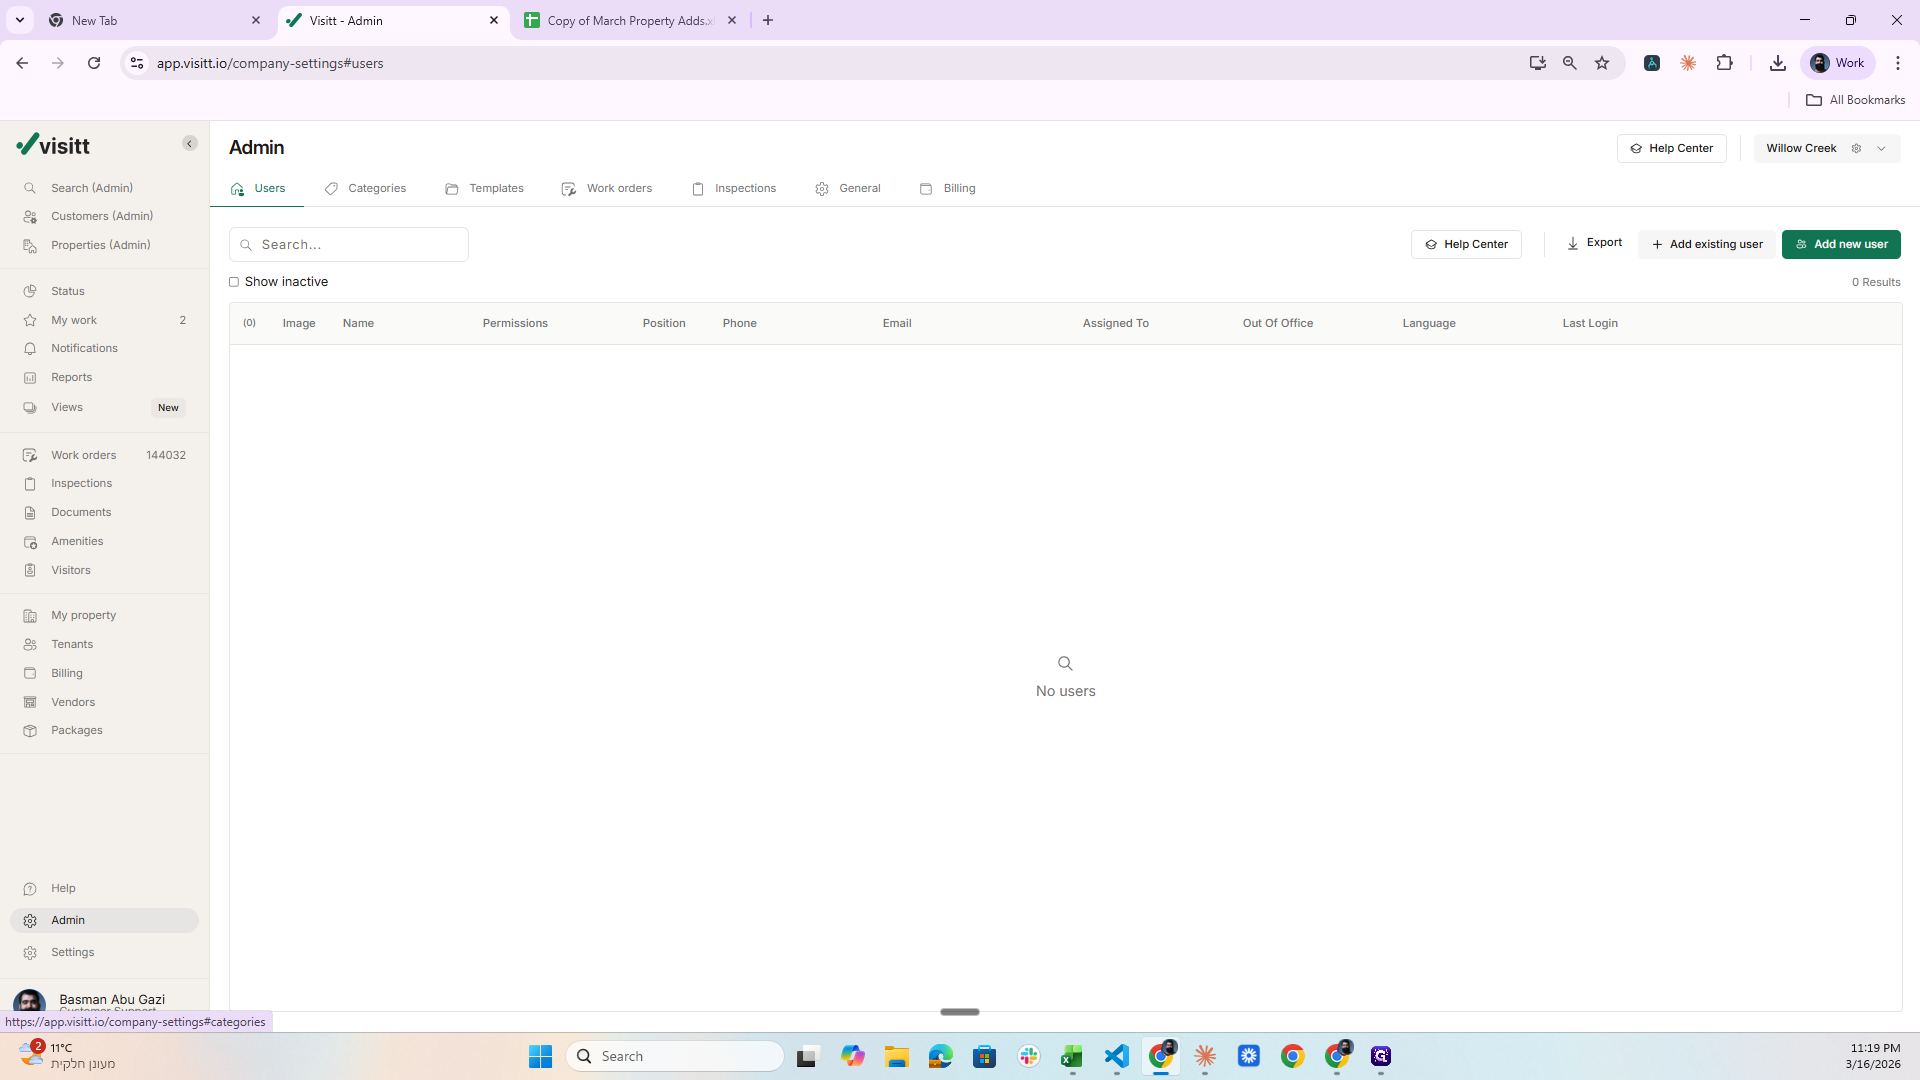
Once I finished this, a new property was created here. So what do I do next? I click on it.
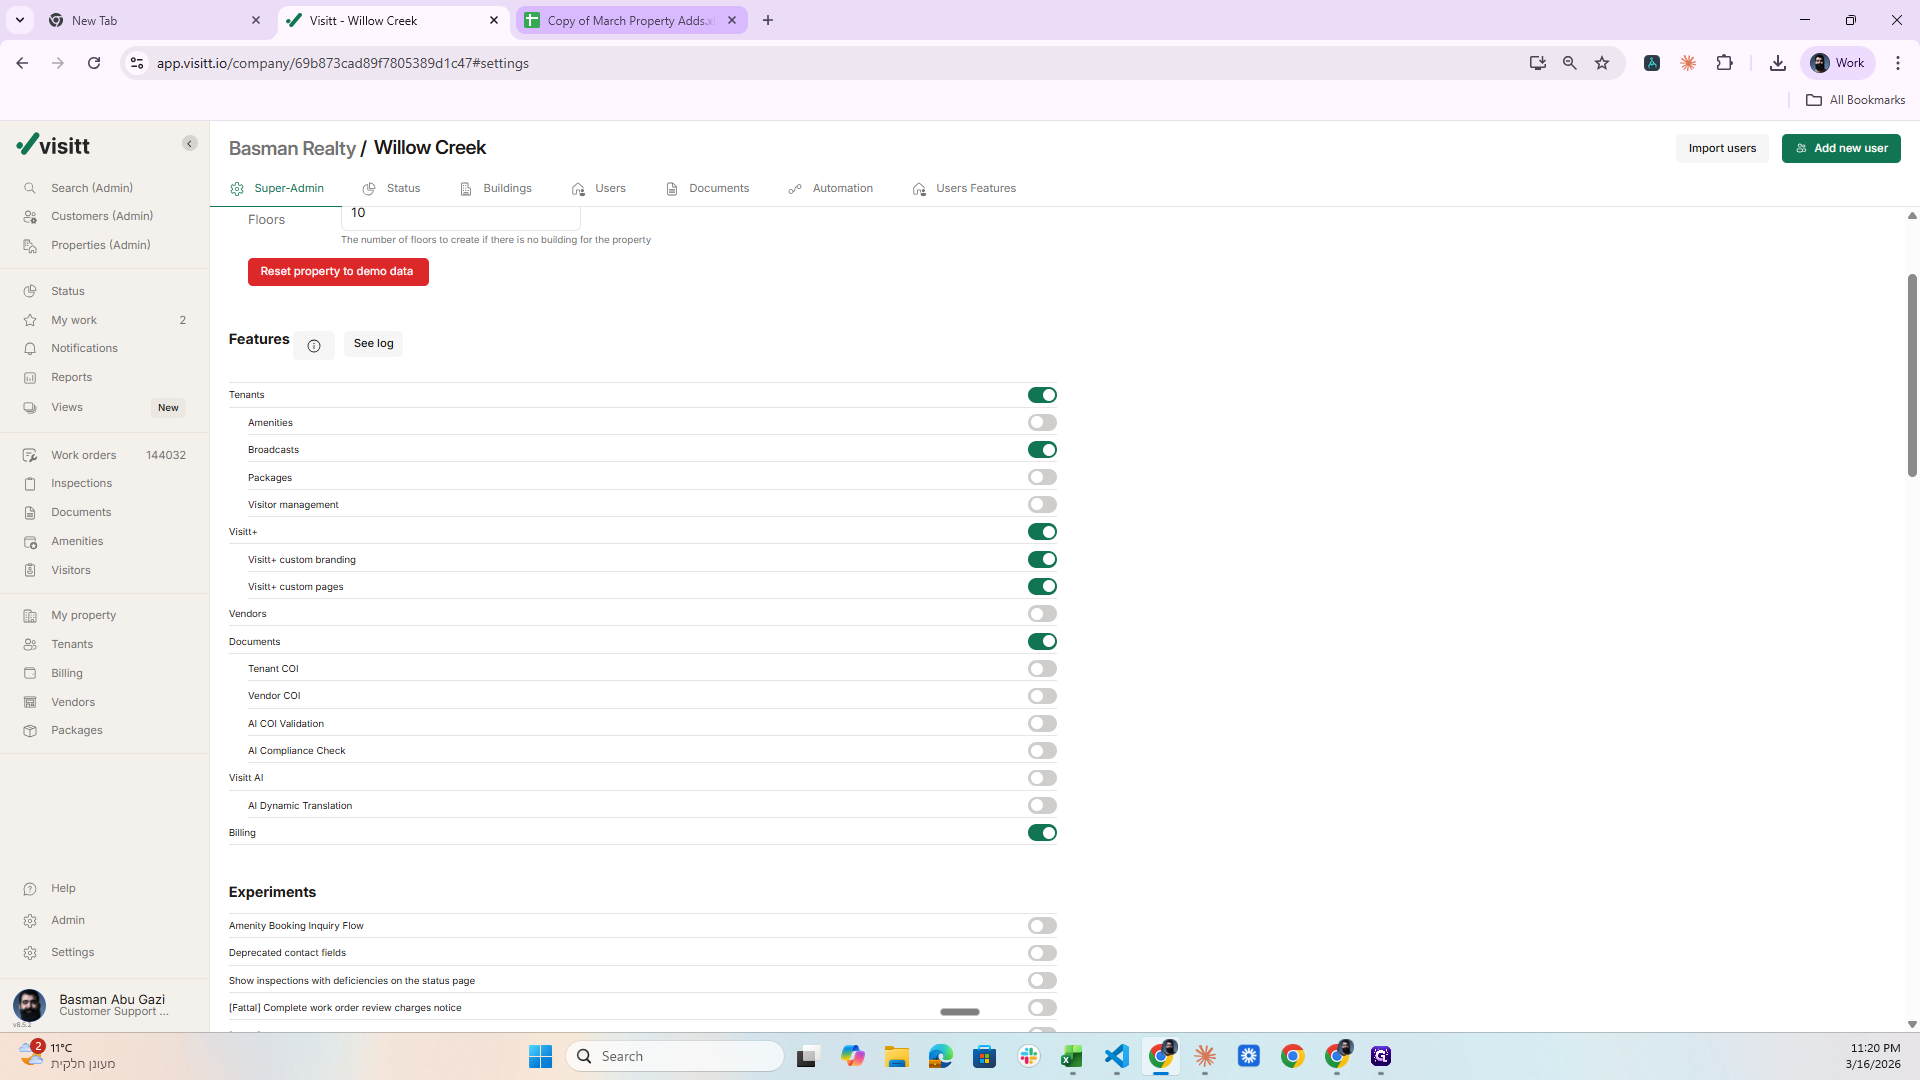
14
Click on "Willow Creek"
Step #14: Click on "Willow Creek"

I click on Admin.

15
Click on "Admin"
Step #15: Click on "Admin"

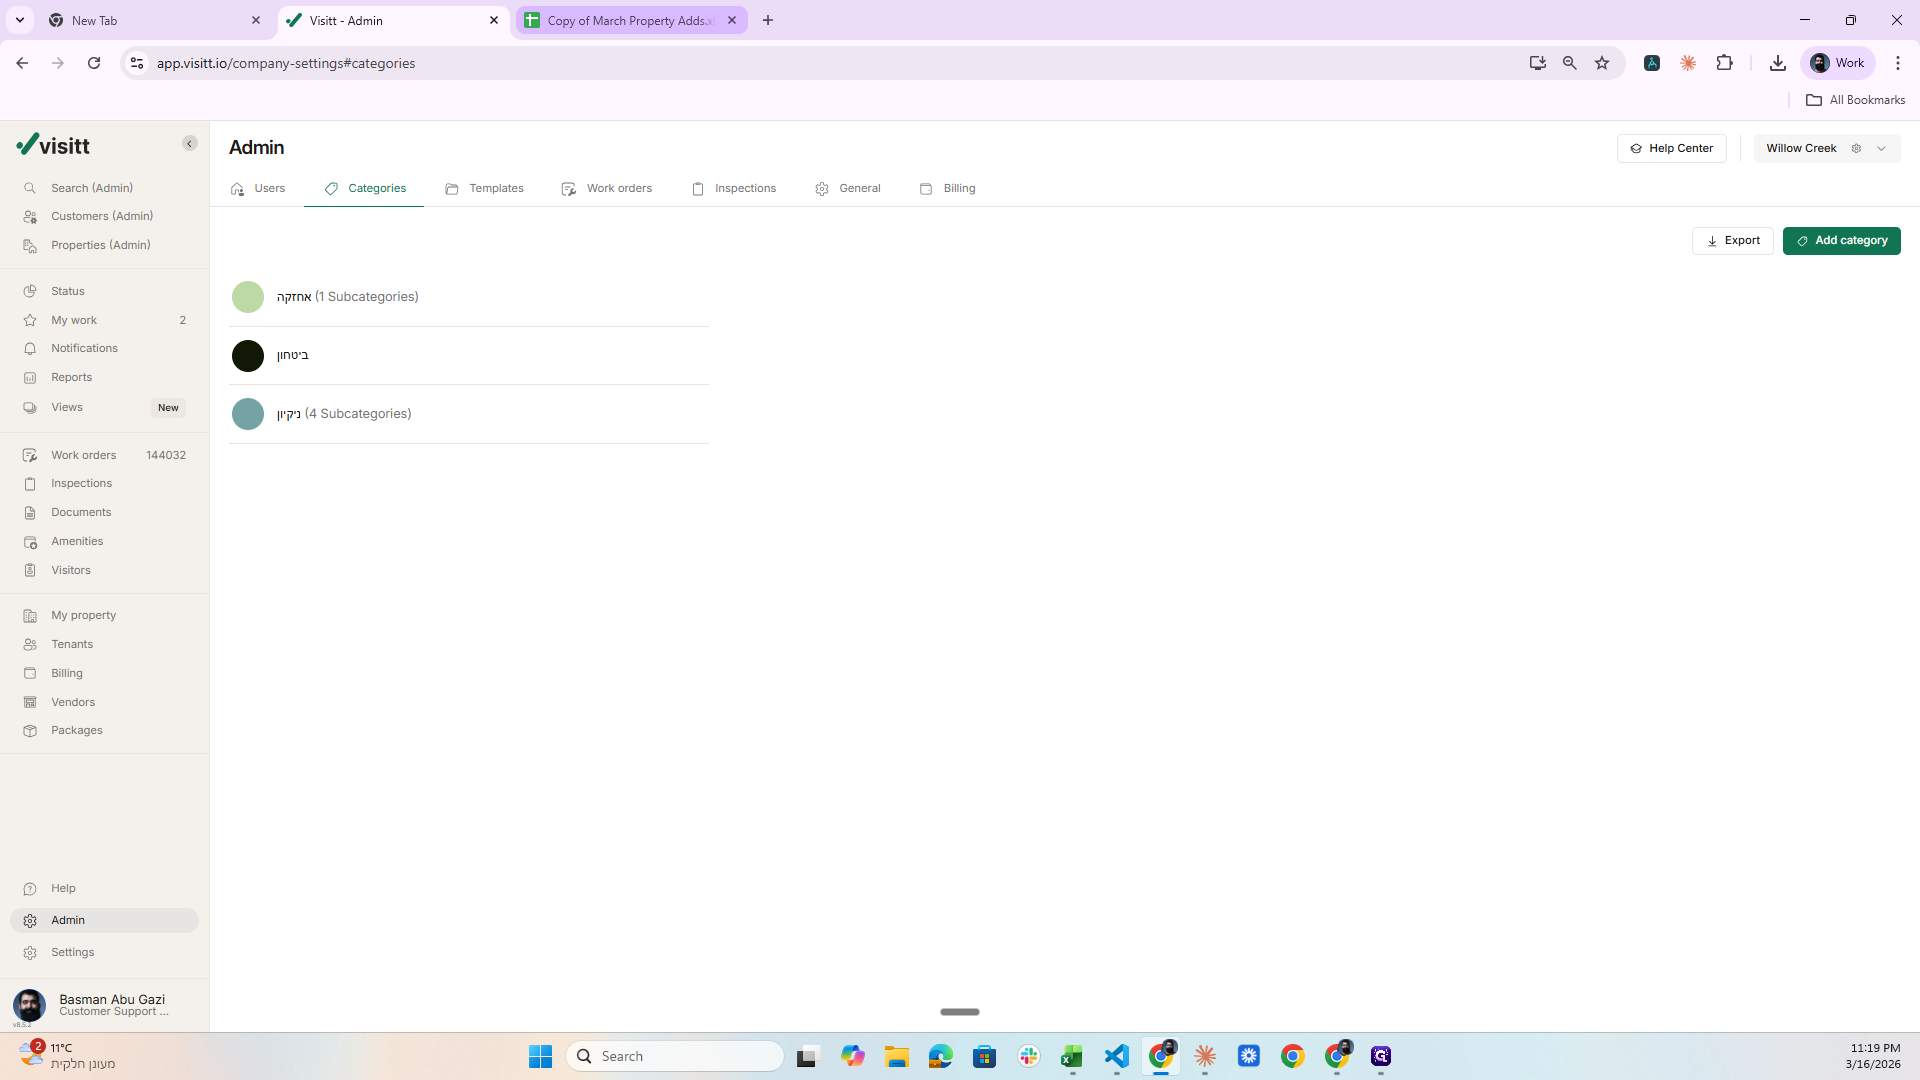
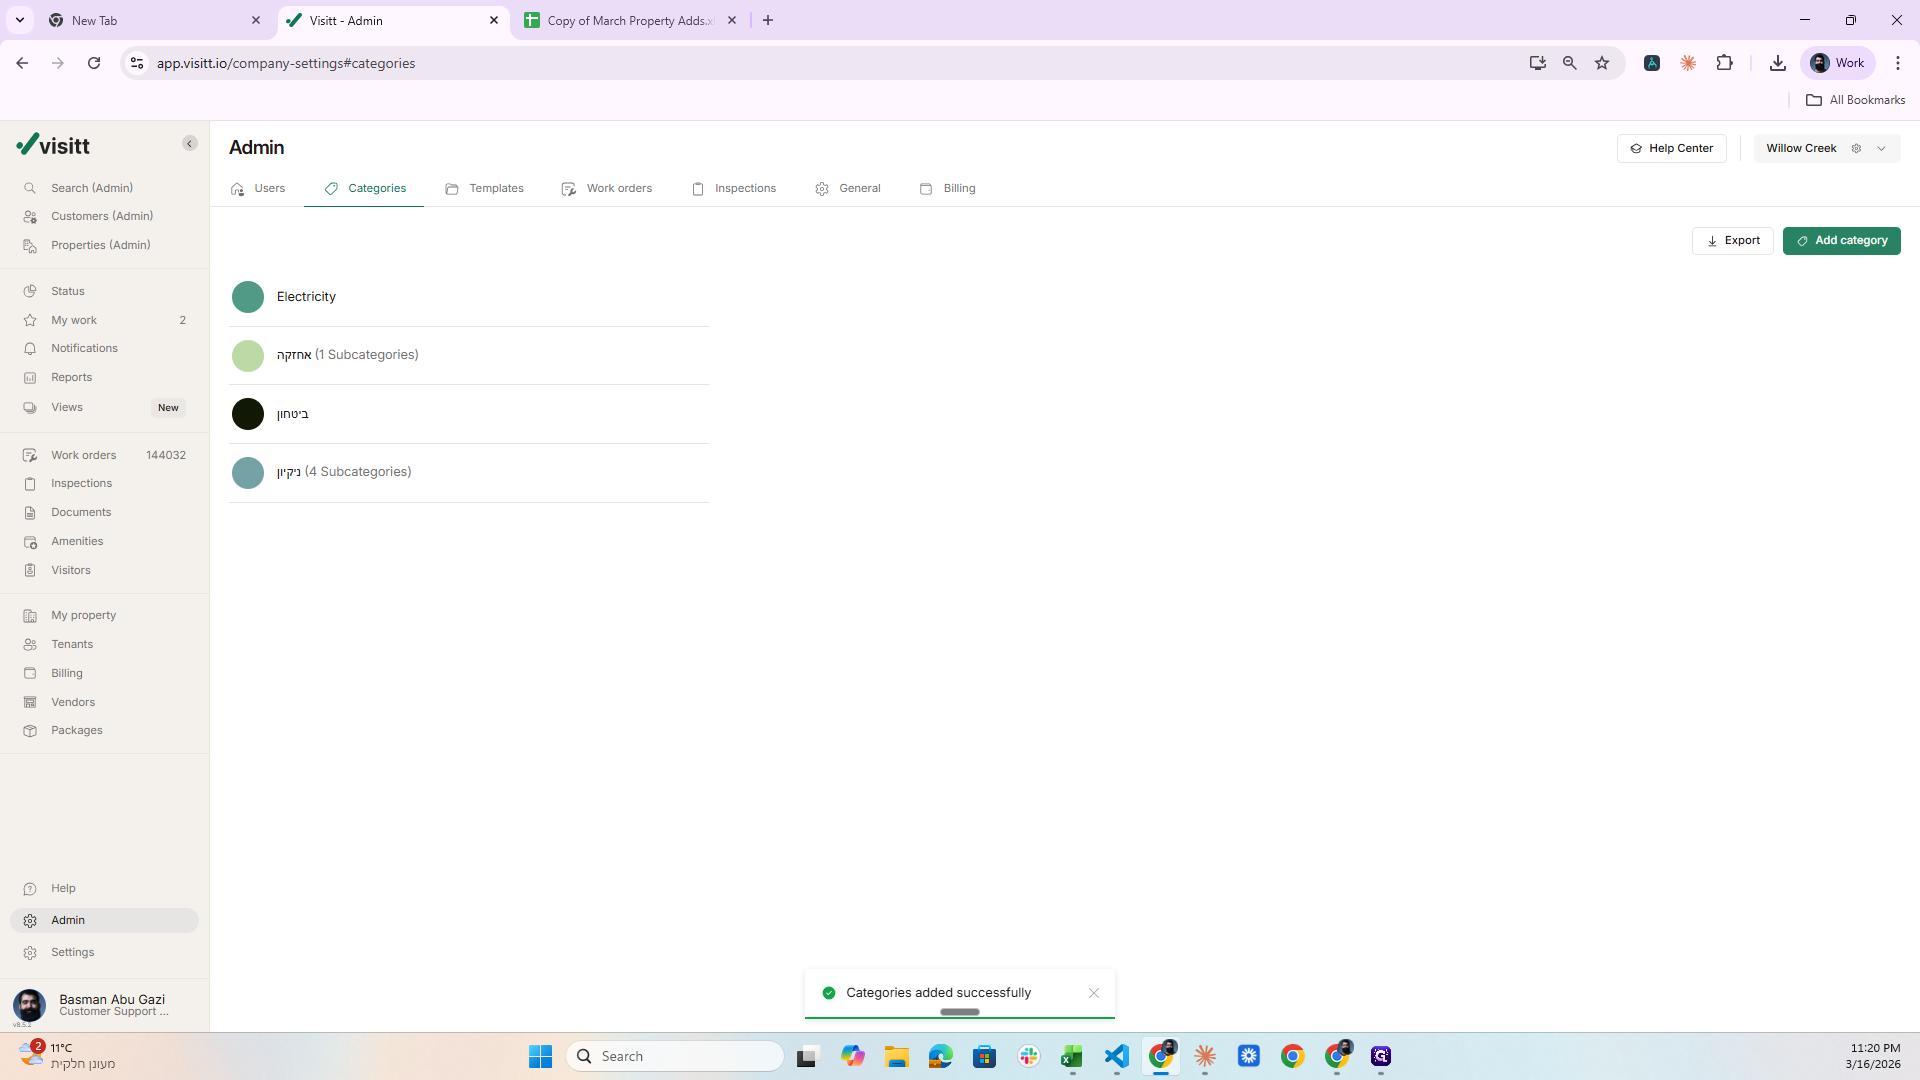
Making sure I'm in the right place. Go to Categories, then I want to create more categories.

16
Click on "Categories"
Step #16: Click on "Categories"

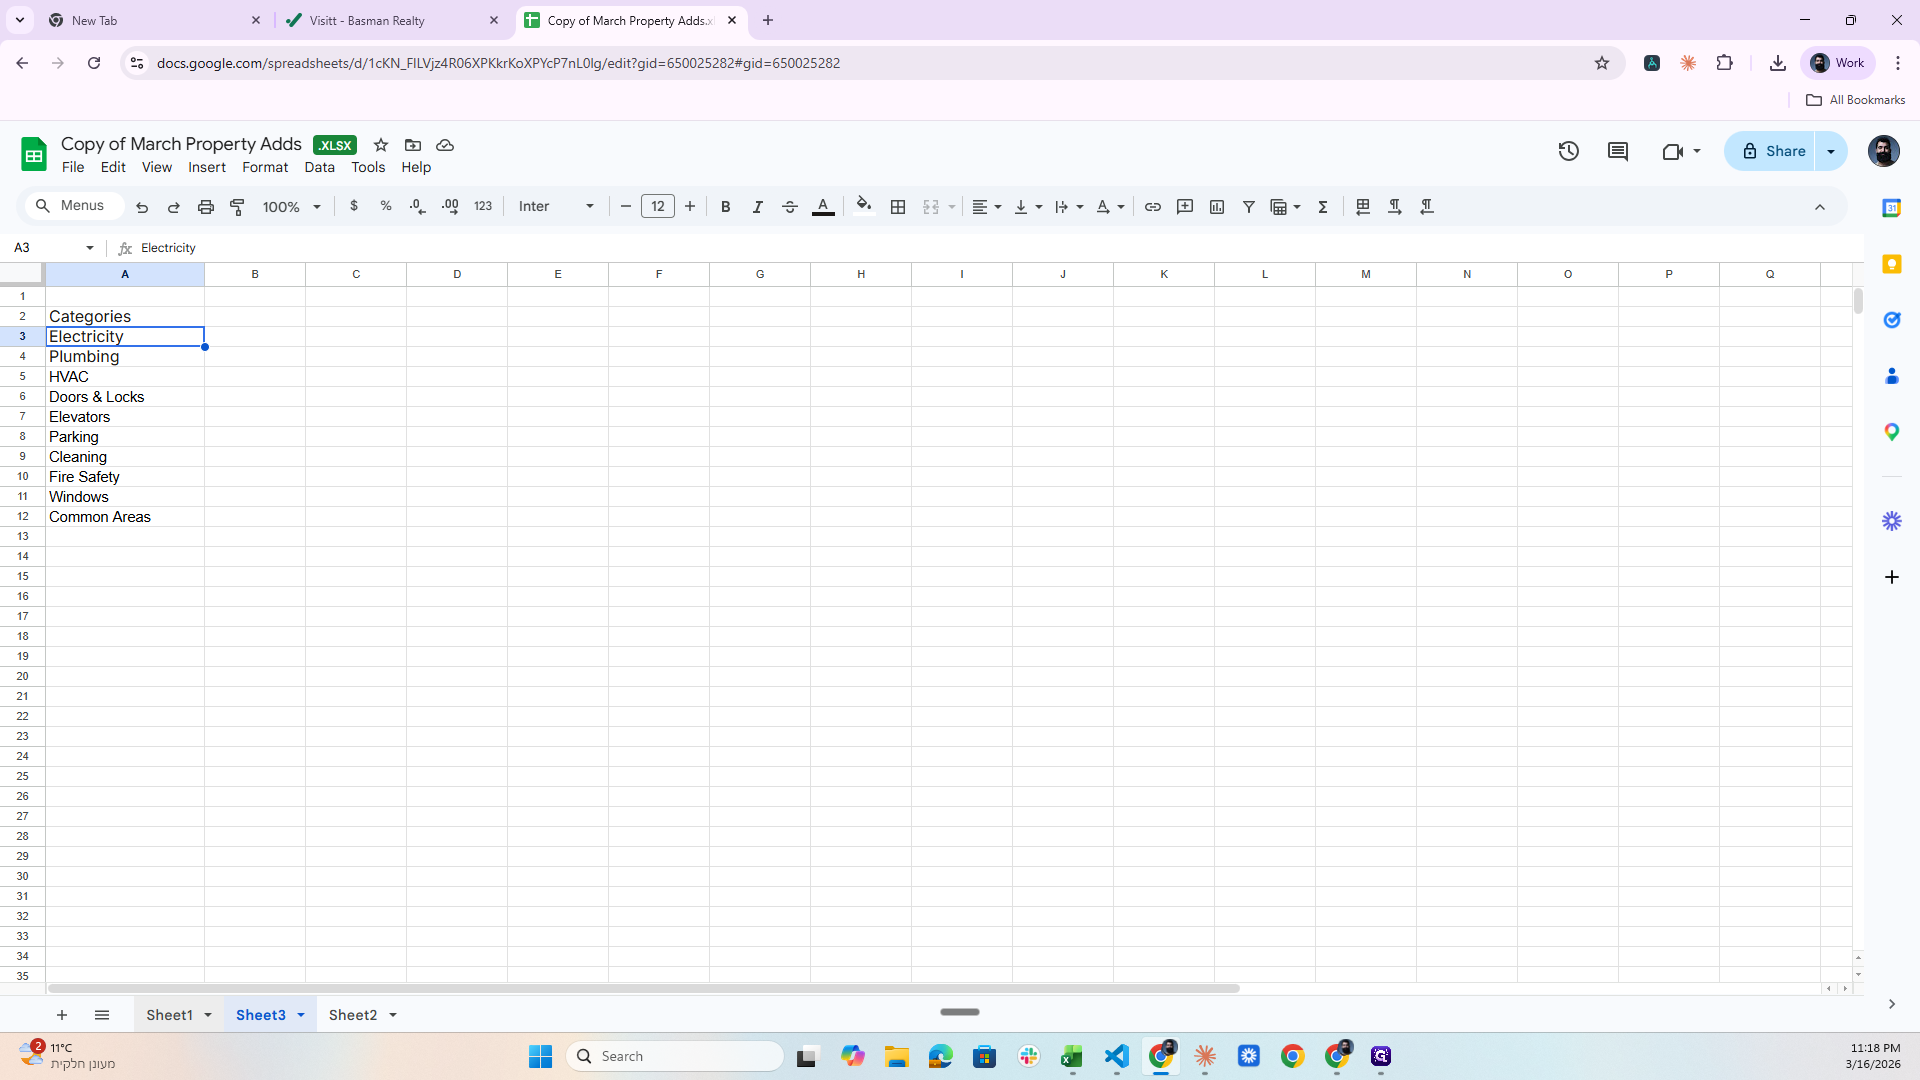
Go to this form, then back to the Google Sheet.

17
Click on "Copy of March Property Adds"
Step #17: Click on "Copy of March Property Adds"

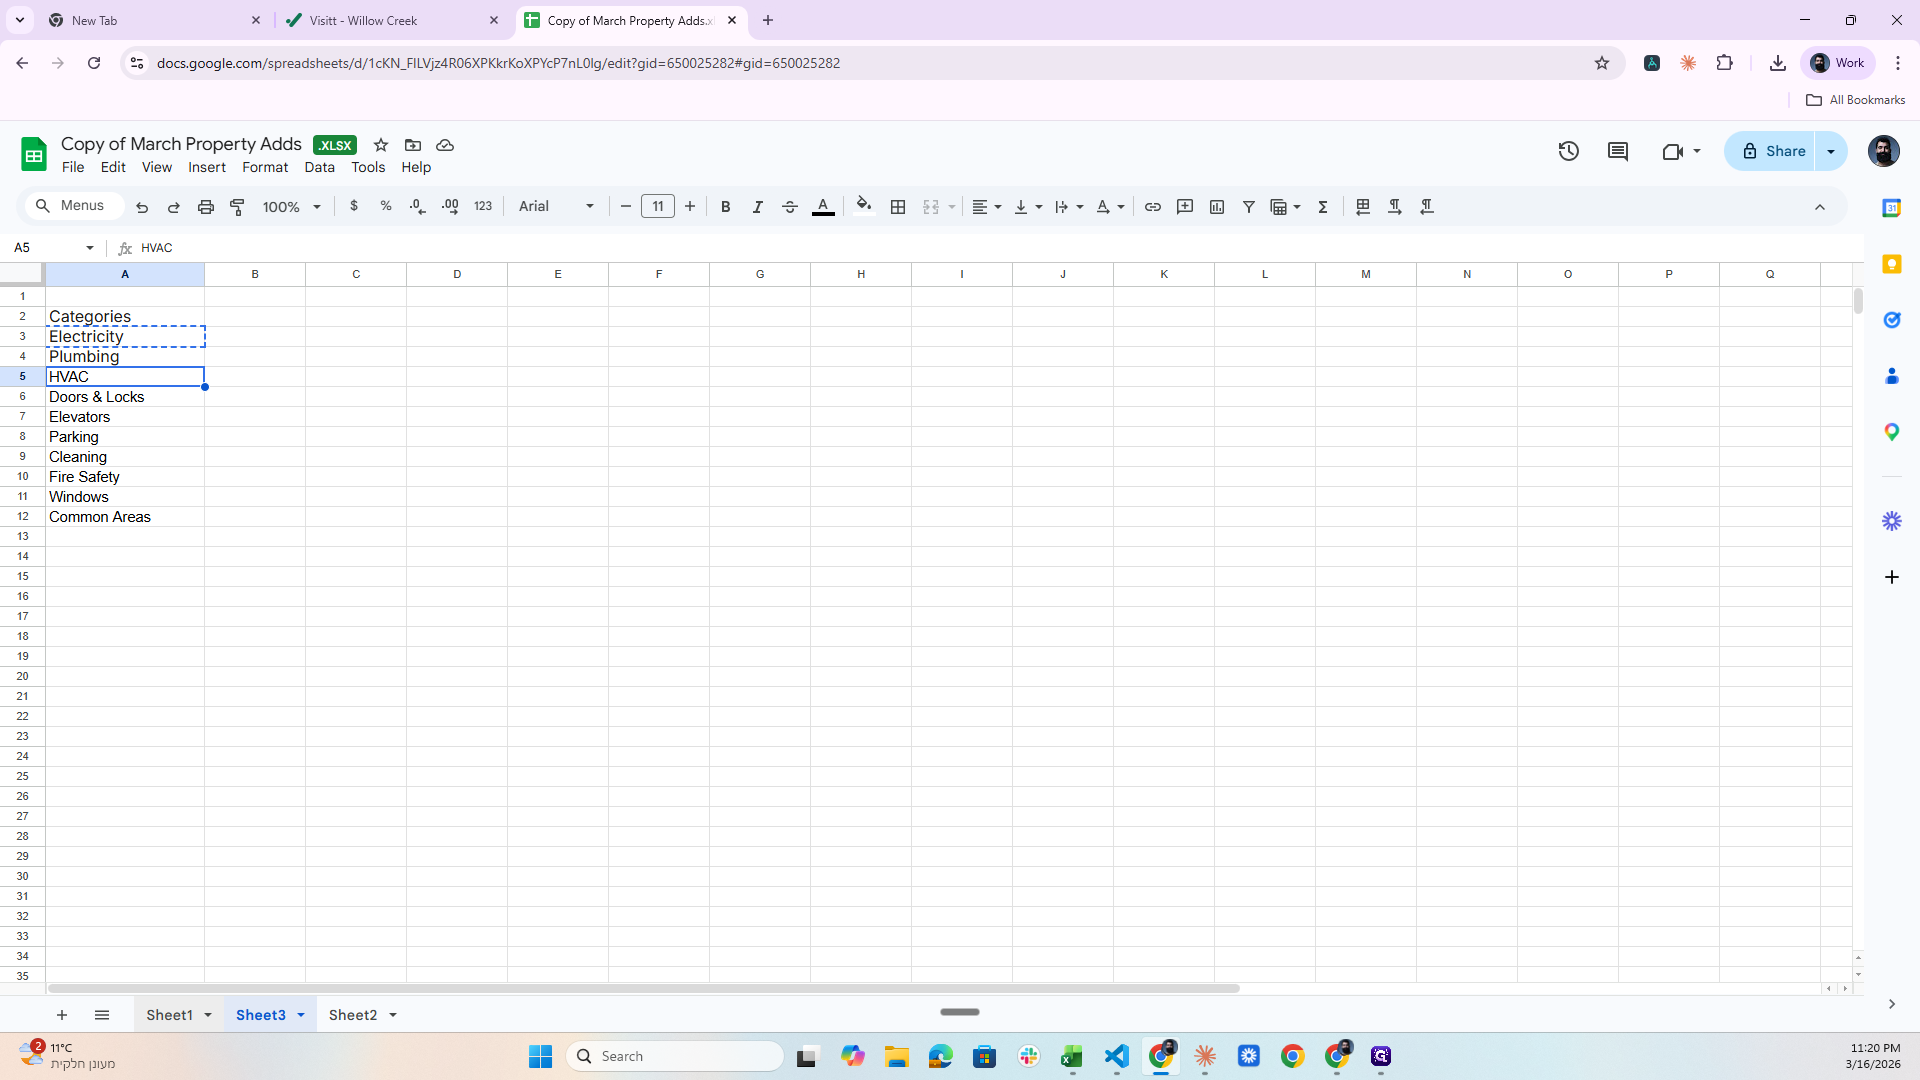
This time, I am entering Sheet Three.

18
Click on "Sheet3"
Step #18: Click on "Sheet3"
19
Click on "Sheet3 ▼"
Step #19: Click on "Sheet3 ▼"

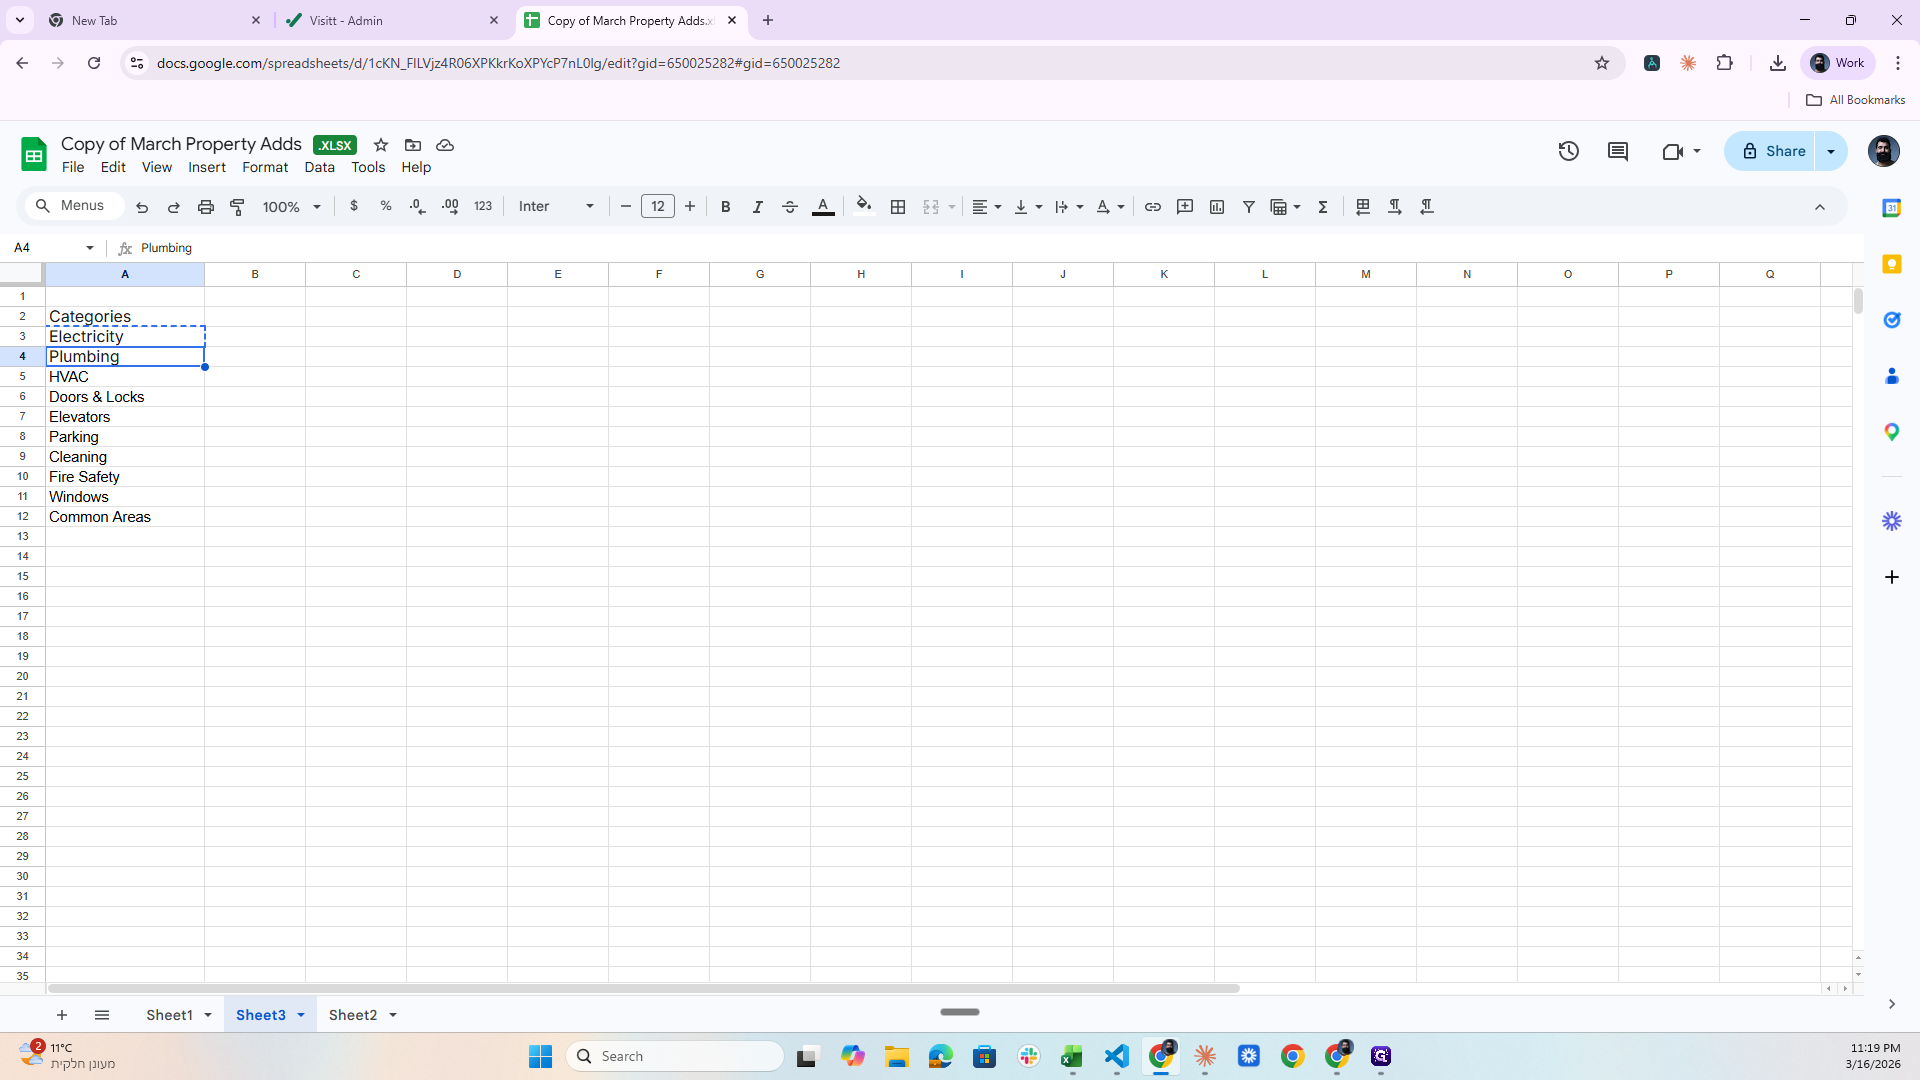
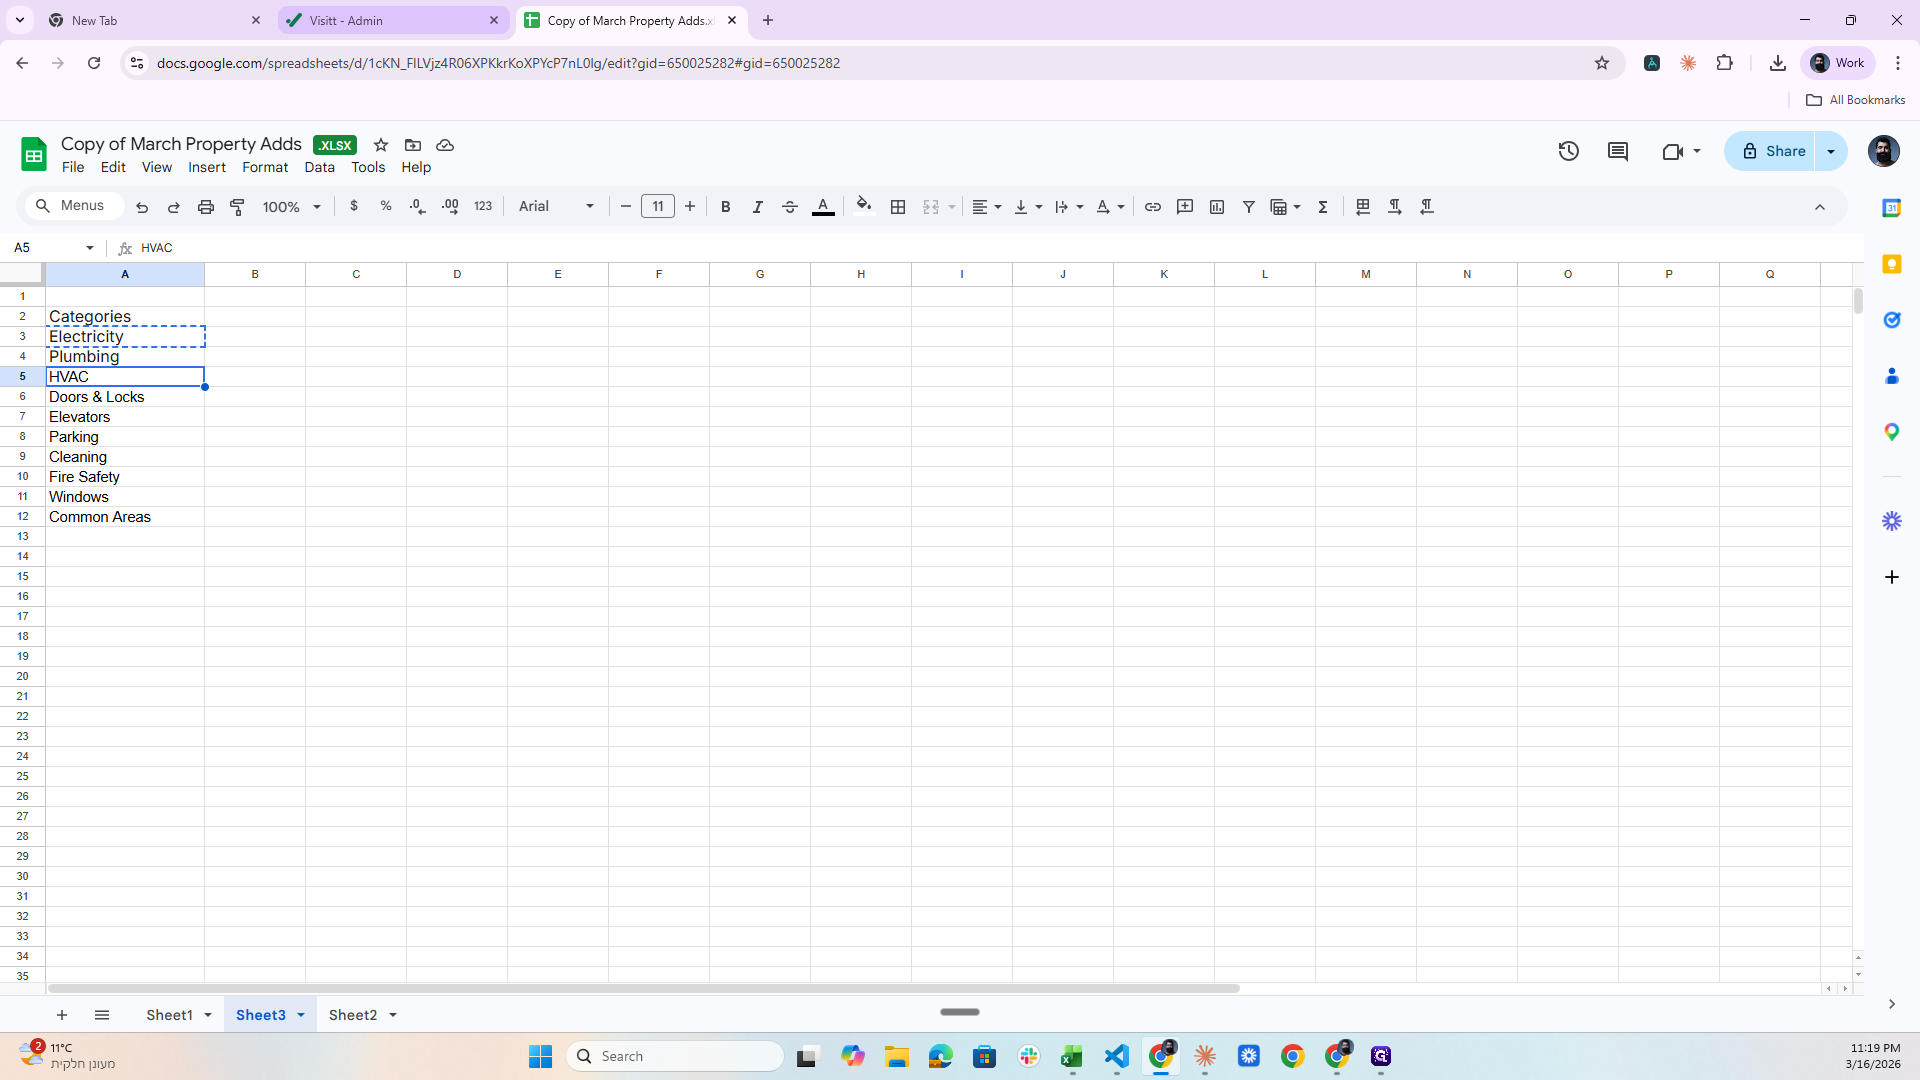
We have Categories here, okay?

20
Click on "Categories"
Step #20: Click on "Categories"
21
Click on "Electricity"
Step #21: Click on "Electricity"

Electricity, plumbing, and more.

22
Click on "Plumbing"
Step #22: Click on "Plumbing"
23
Click on "Electricity"
Step #23: Click on "Electricity"
24
Type "Ctrl + C"

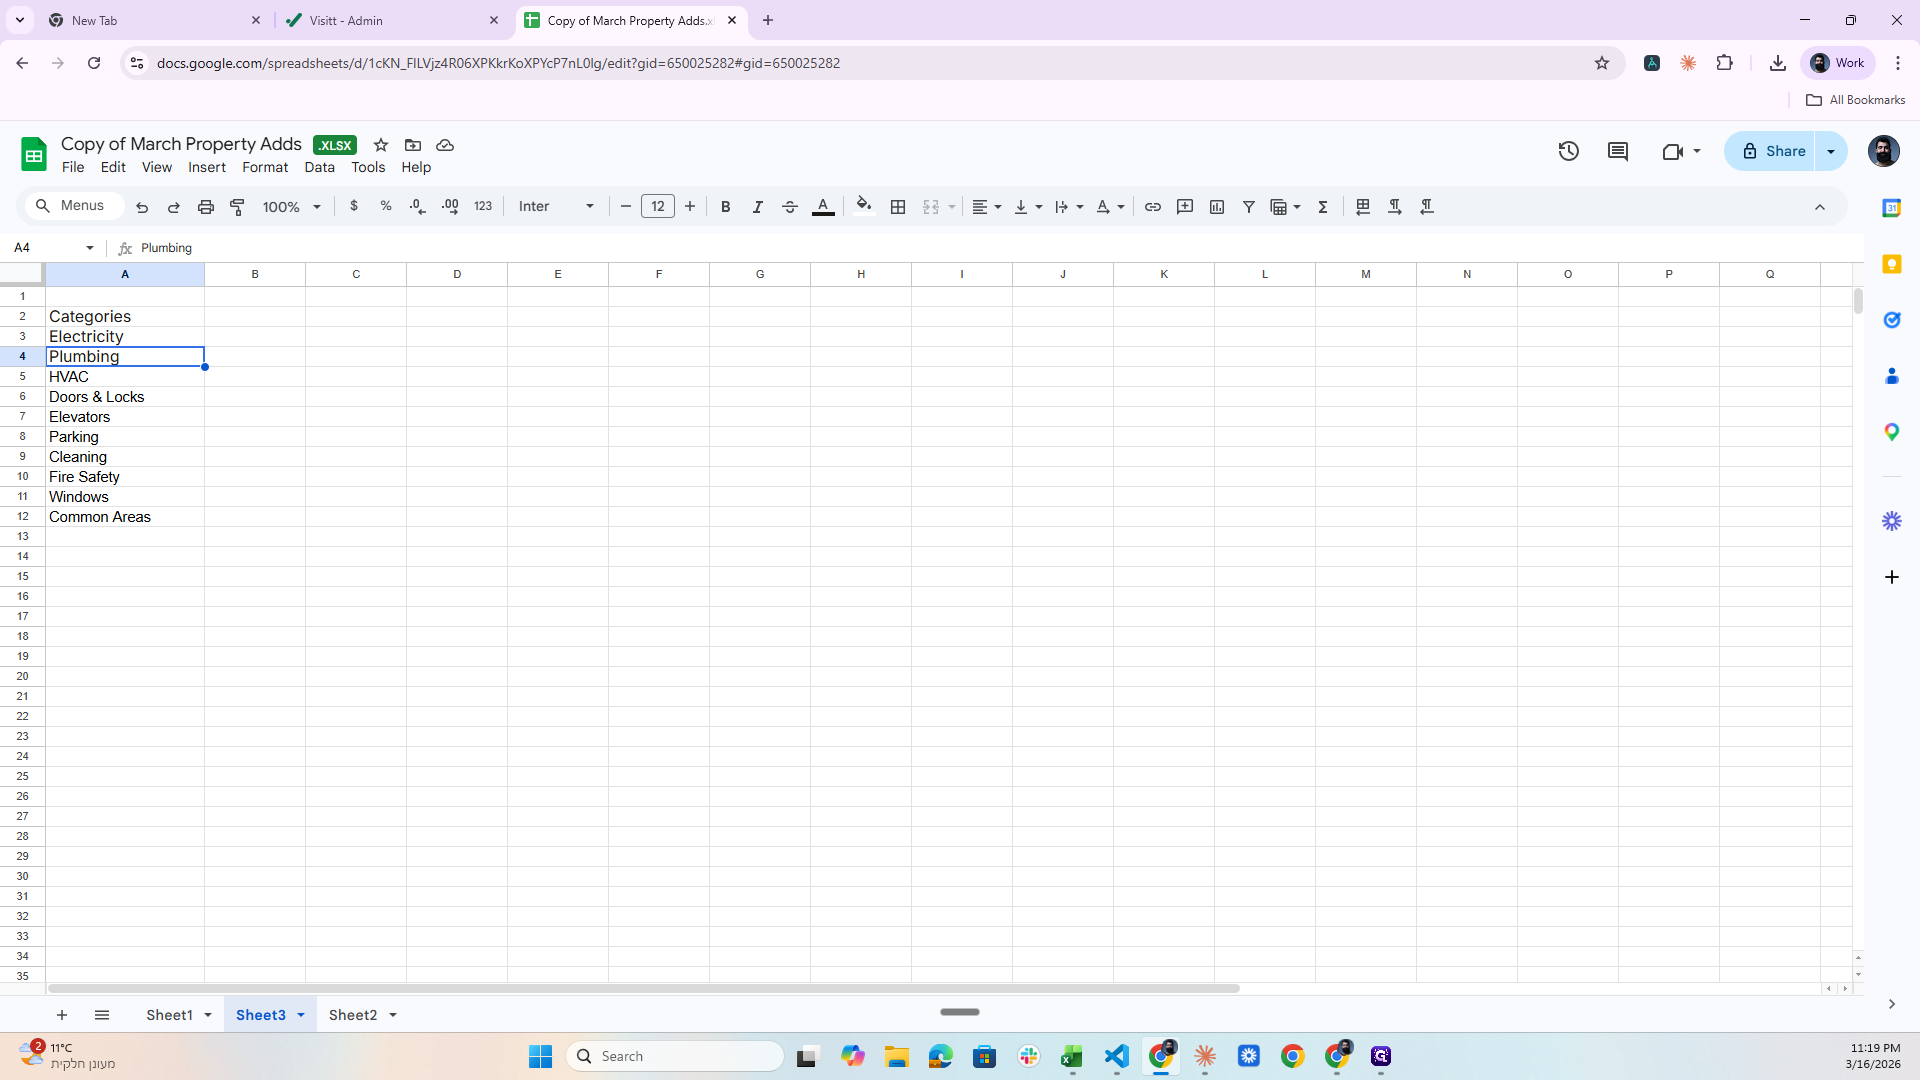
I take these and start. Electricity, Plumbing, HVAC. I copy them and start creating them like this.

25
Click on "Plumbing"
Step #25: Click on "Plumbing"
26
Click on "Doors & Locks"
Step #26: Click on "Doors & Locks"
27
Click here
Step #27: Click here
28
Click on "Add category"
Step #28: Click on "Add category"

Add Category only to Willow Creek, for this specific property.

29
Click on "O Only to Willow Creek"
Step #29: Click on "O Only to Willow Creek"
30
Click on "new category"
Step #30: Click on "new category"

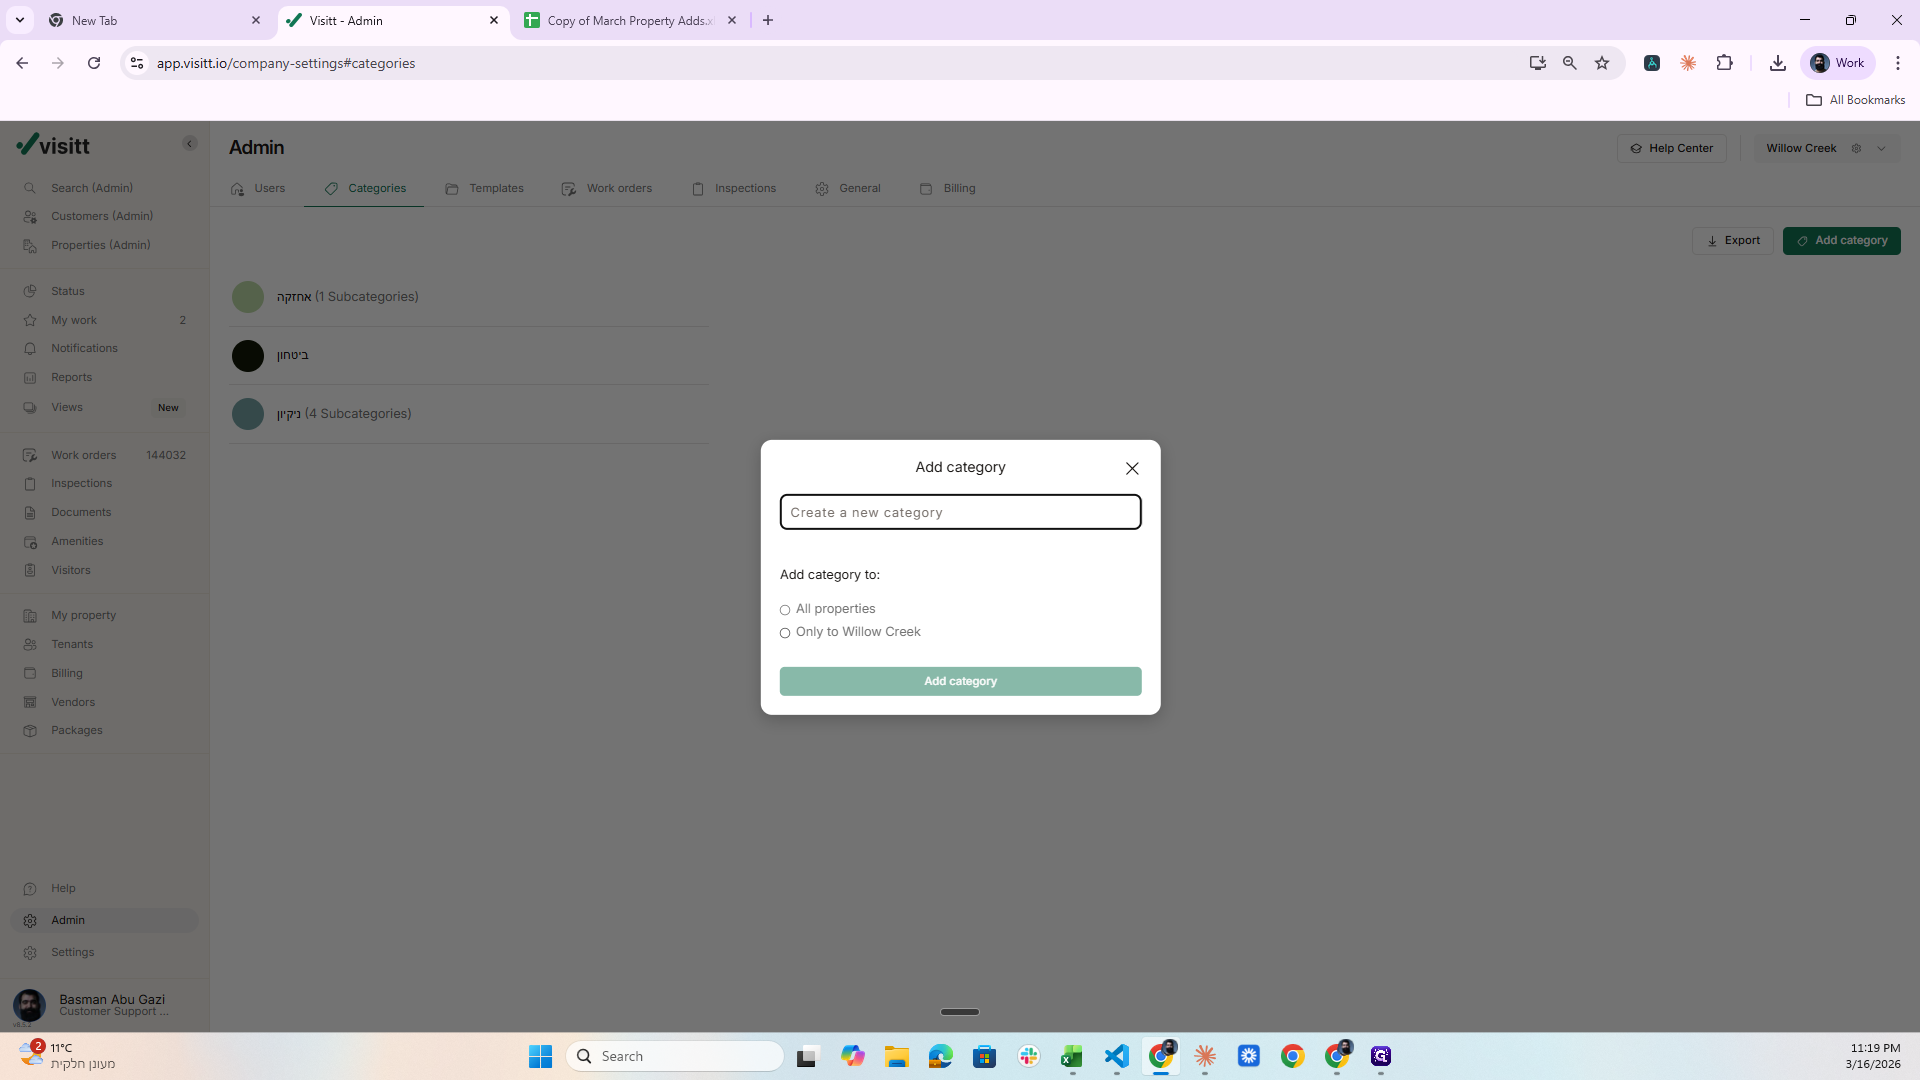
Then he pastes the name of the category here.

31
Type "Ctrl + V"

Add.

32
Click on "Add category"
Step #32: Click on "Add category"

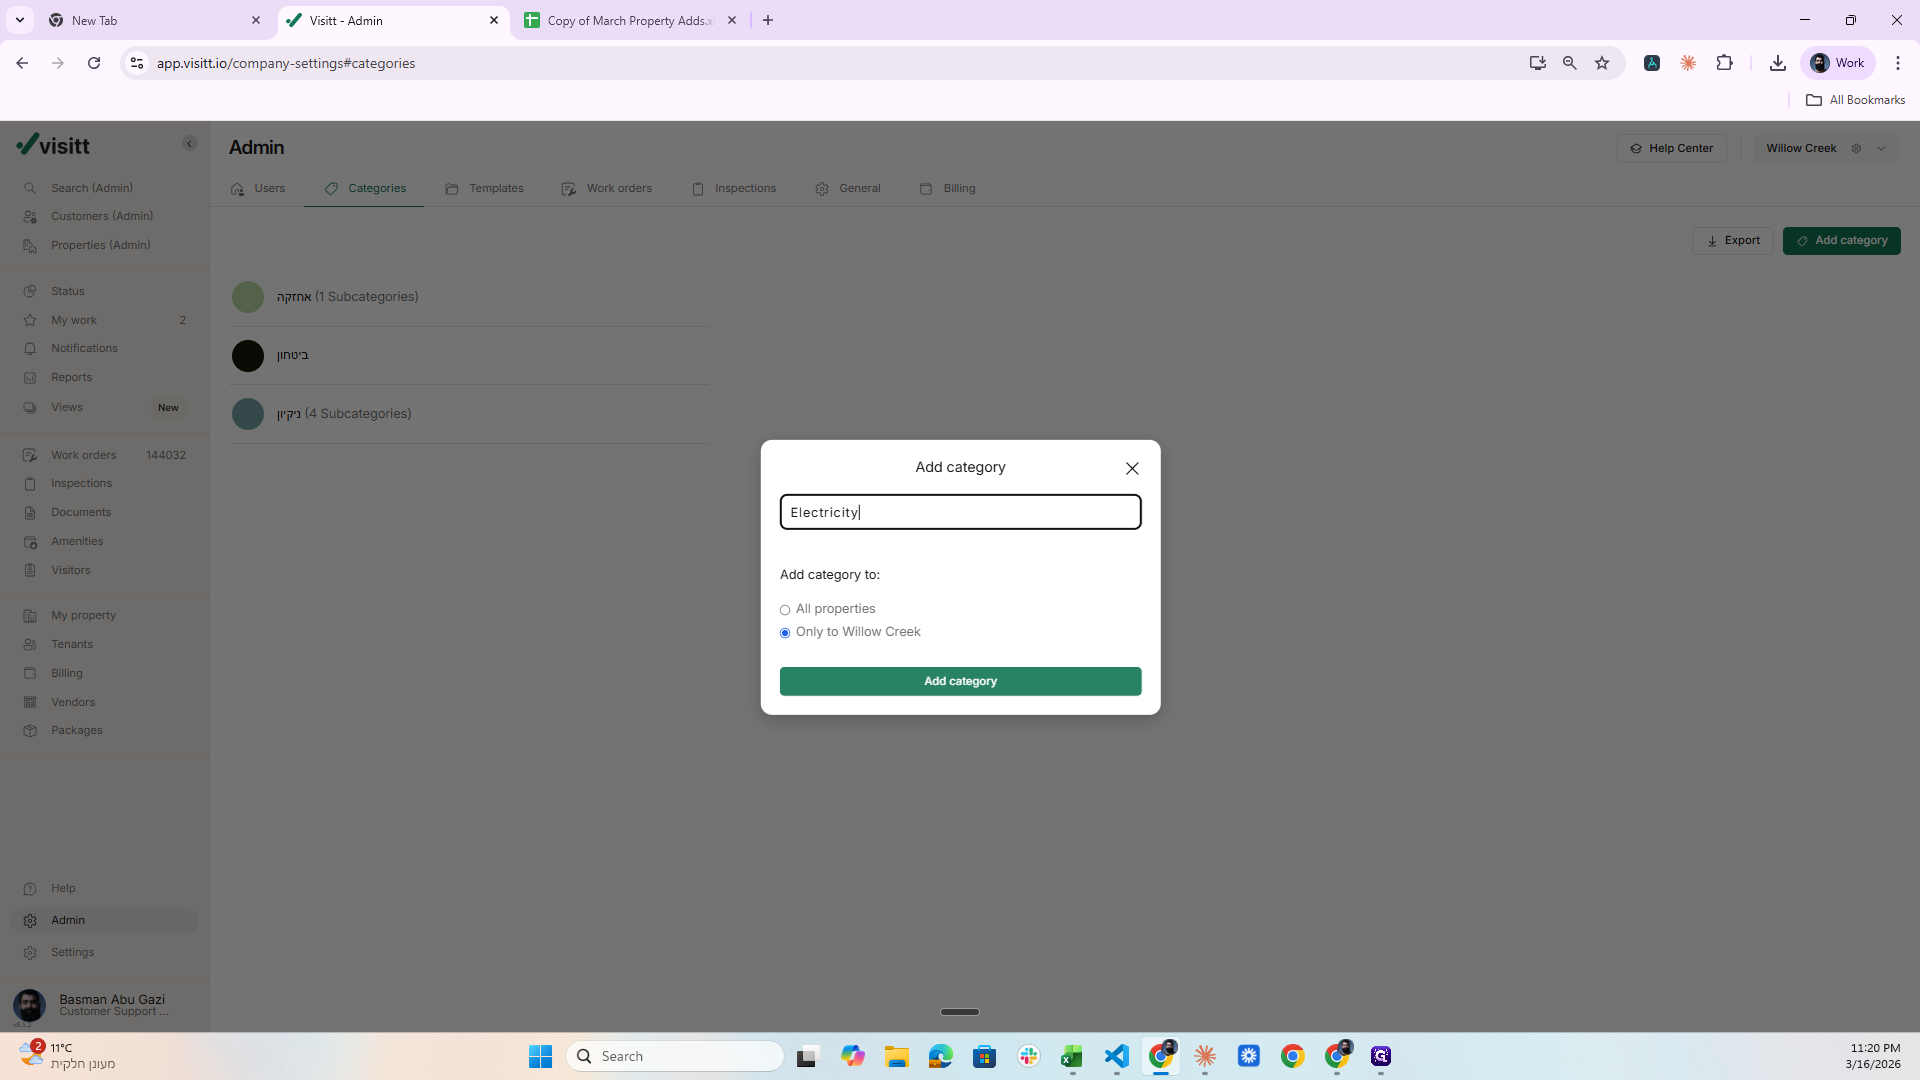
Nice again this time. I click Add Category, enter the name of the next category, and so on.

33
Click on "Add category"
Step #33: Click on "Add category"
34
Click here
Step #34: Click here
35
Click on "×"
Step #35: Click on "×"

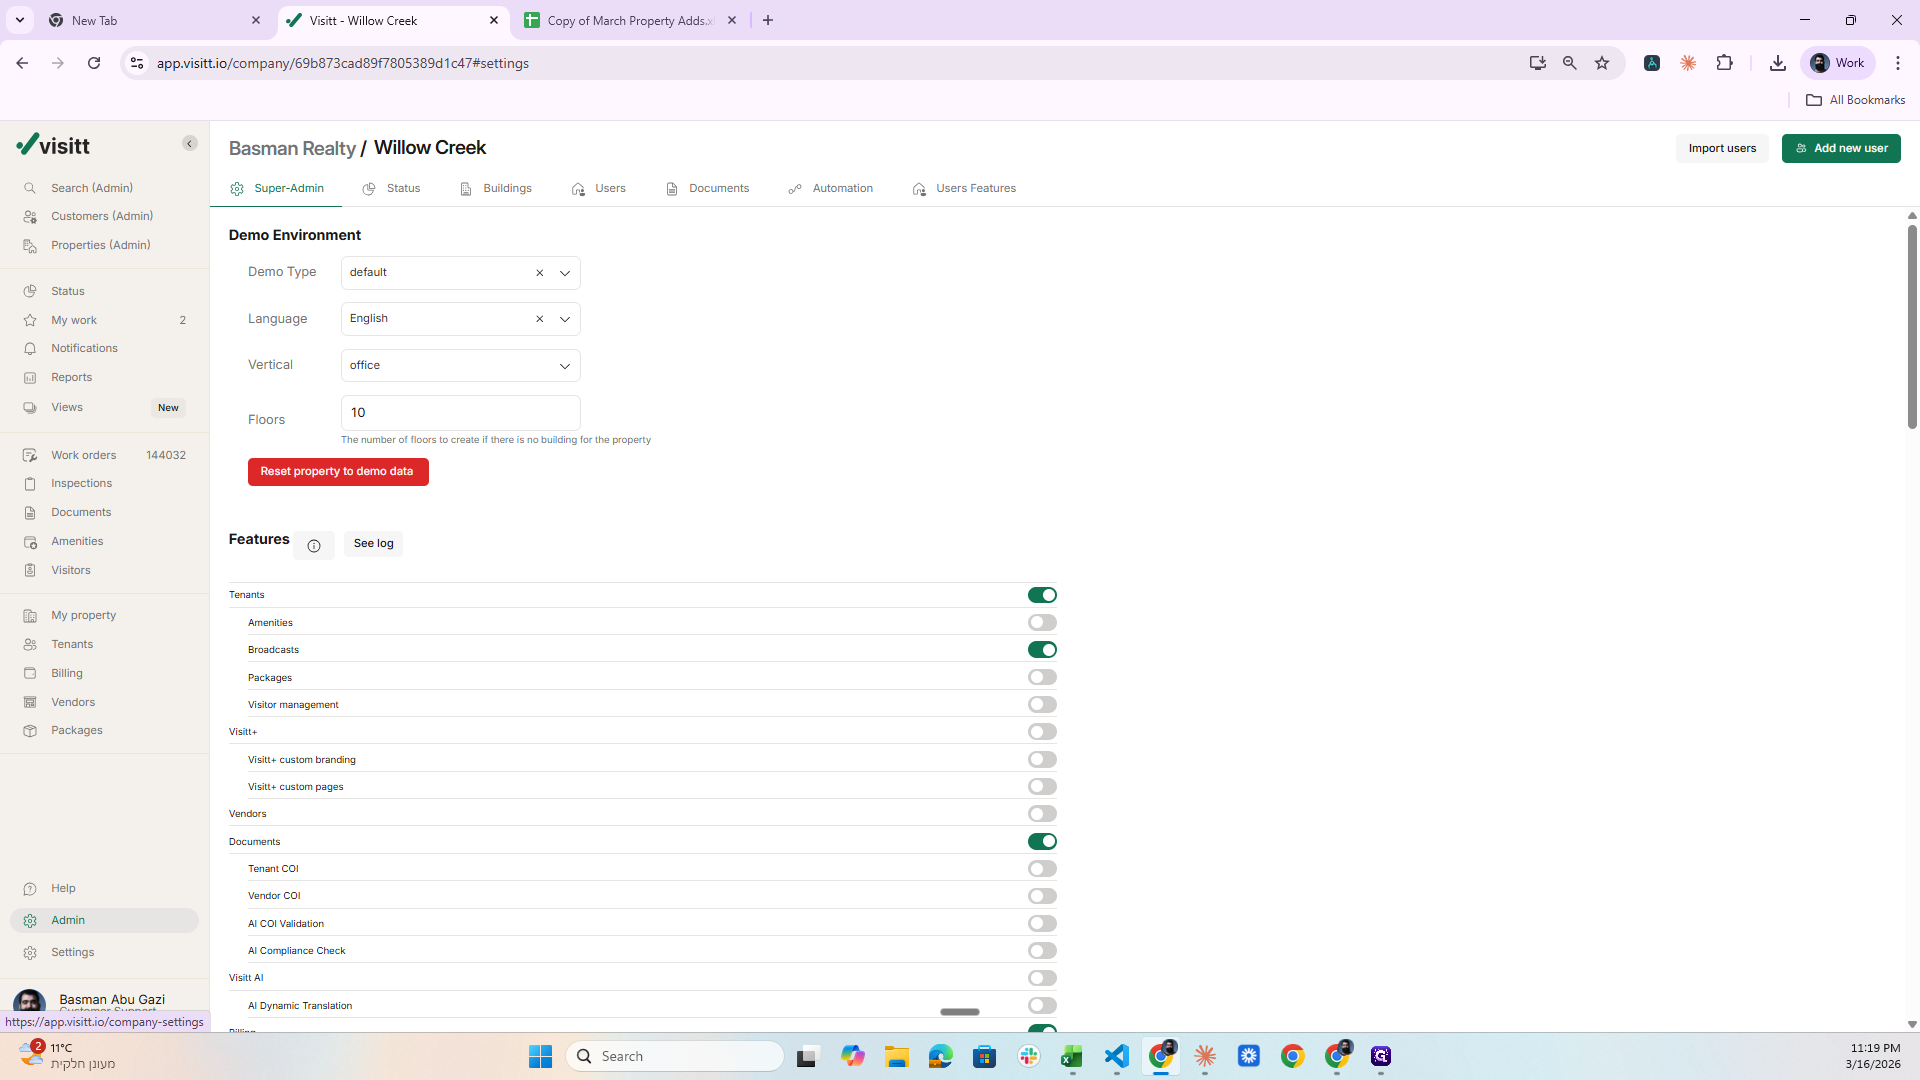
When I finish, I click on the gear icon, go to Visit Plus, and activate it.

36
Click here
Step #36: Click here
37
Click here
Step #37: Click here

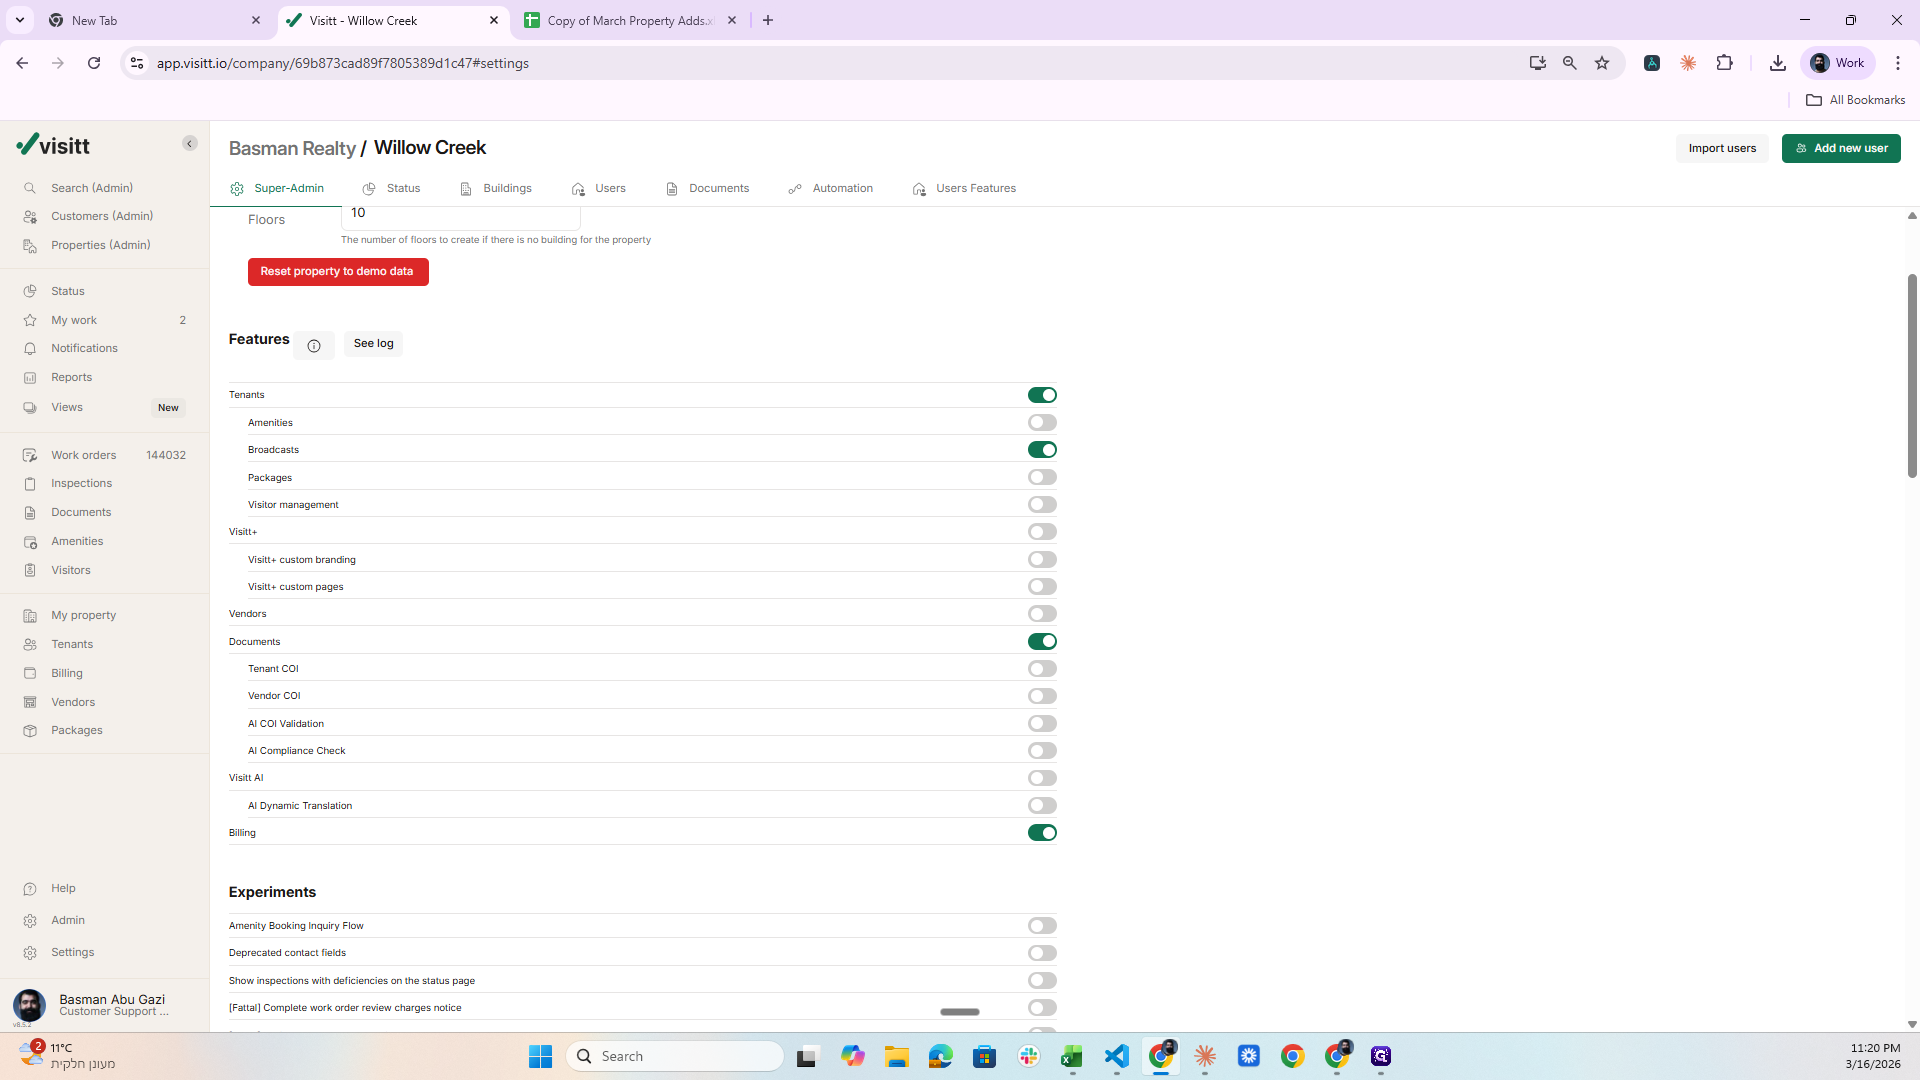
The switch, and that's it.

38
Click here
Step #38: Click here

Moving to the next property, that is, reaching the form, going to this sheet, then the next one, and applying all the categories in the same way.

39
Click on "Property"
Step #39: Click on "Property"
40
Click on "Sheet1 ▼"
Step #40: Click on "Sheet1 ▼"
41
Click on "Maple Ridge"
Step #41: Click on "Maple Ridge"
42
Click on "Sheet3 ▼"
Step #42: Click on "Sheet3 ▼"