
How to Add Receipts to Monthly Credit Card Bills in QuickBooks: Step-by-Step Guide
Learn the essential daily process for adding receipts or line items to the correct monthly credit card bill in QuickBooks. This guide covers grouping charges by employee, sorting by date, using Text Blaze snippets, and ensuring accurate account selection.
Getting Started
This is the most important guide in the credit card collection. The daily task is to add any credit card receipts as line items to the correct monthly bill. Before you begin, ensure Text Blaze is running. We will use a specific snippet to type our memo notations--consistency is important. Also, open the Common CC Expense Accounts (Cheat Sheet) from this collection if you're unsure which account to use for the receipts you are about to enter.
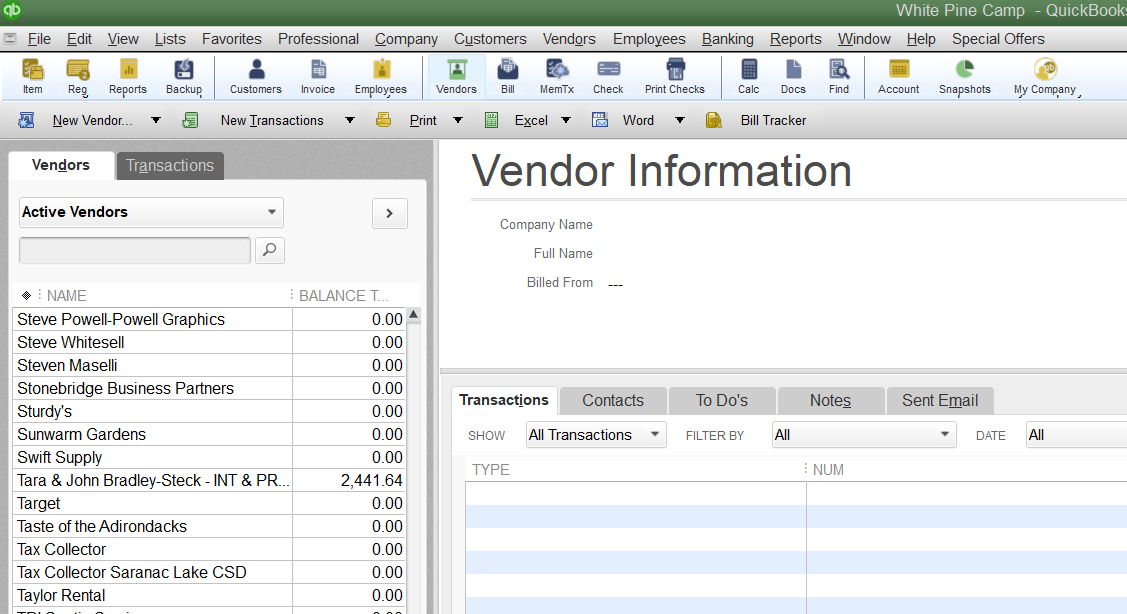
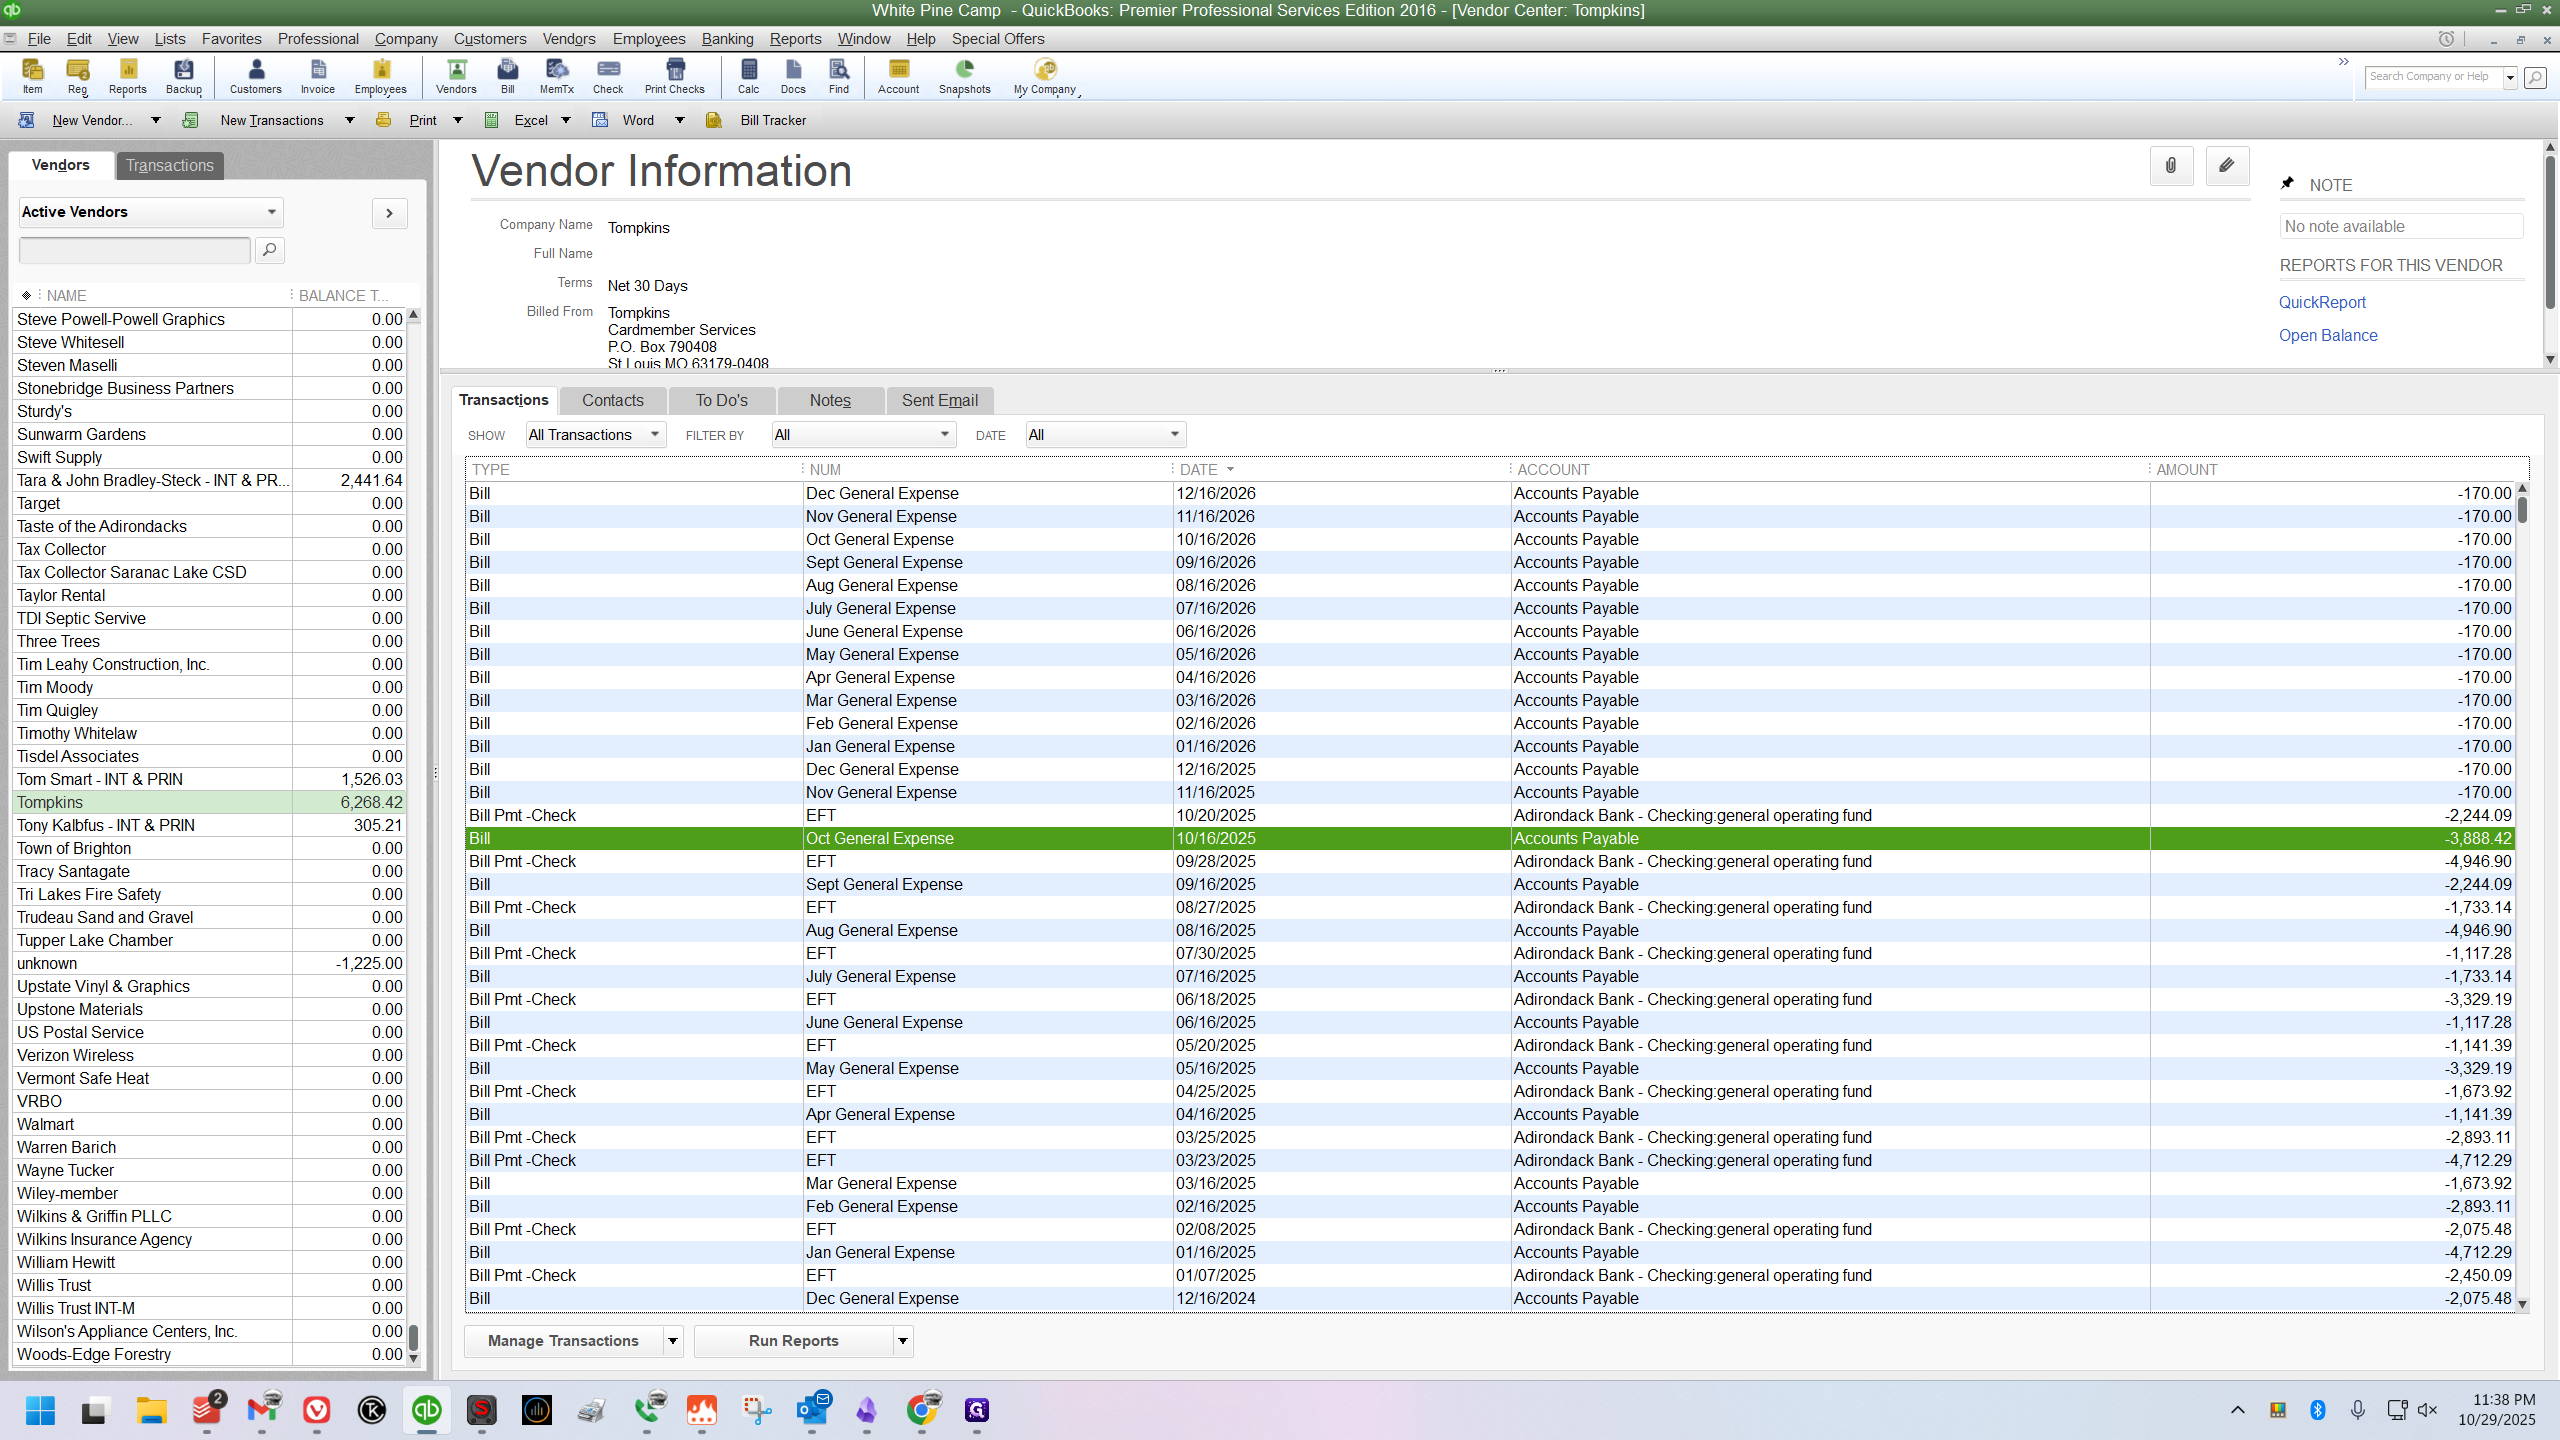
Okay, let's get started. From the QuickBooks home screen, click on the Vendor Center.
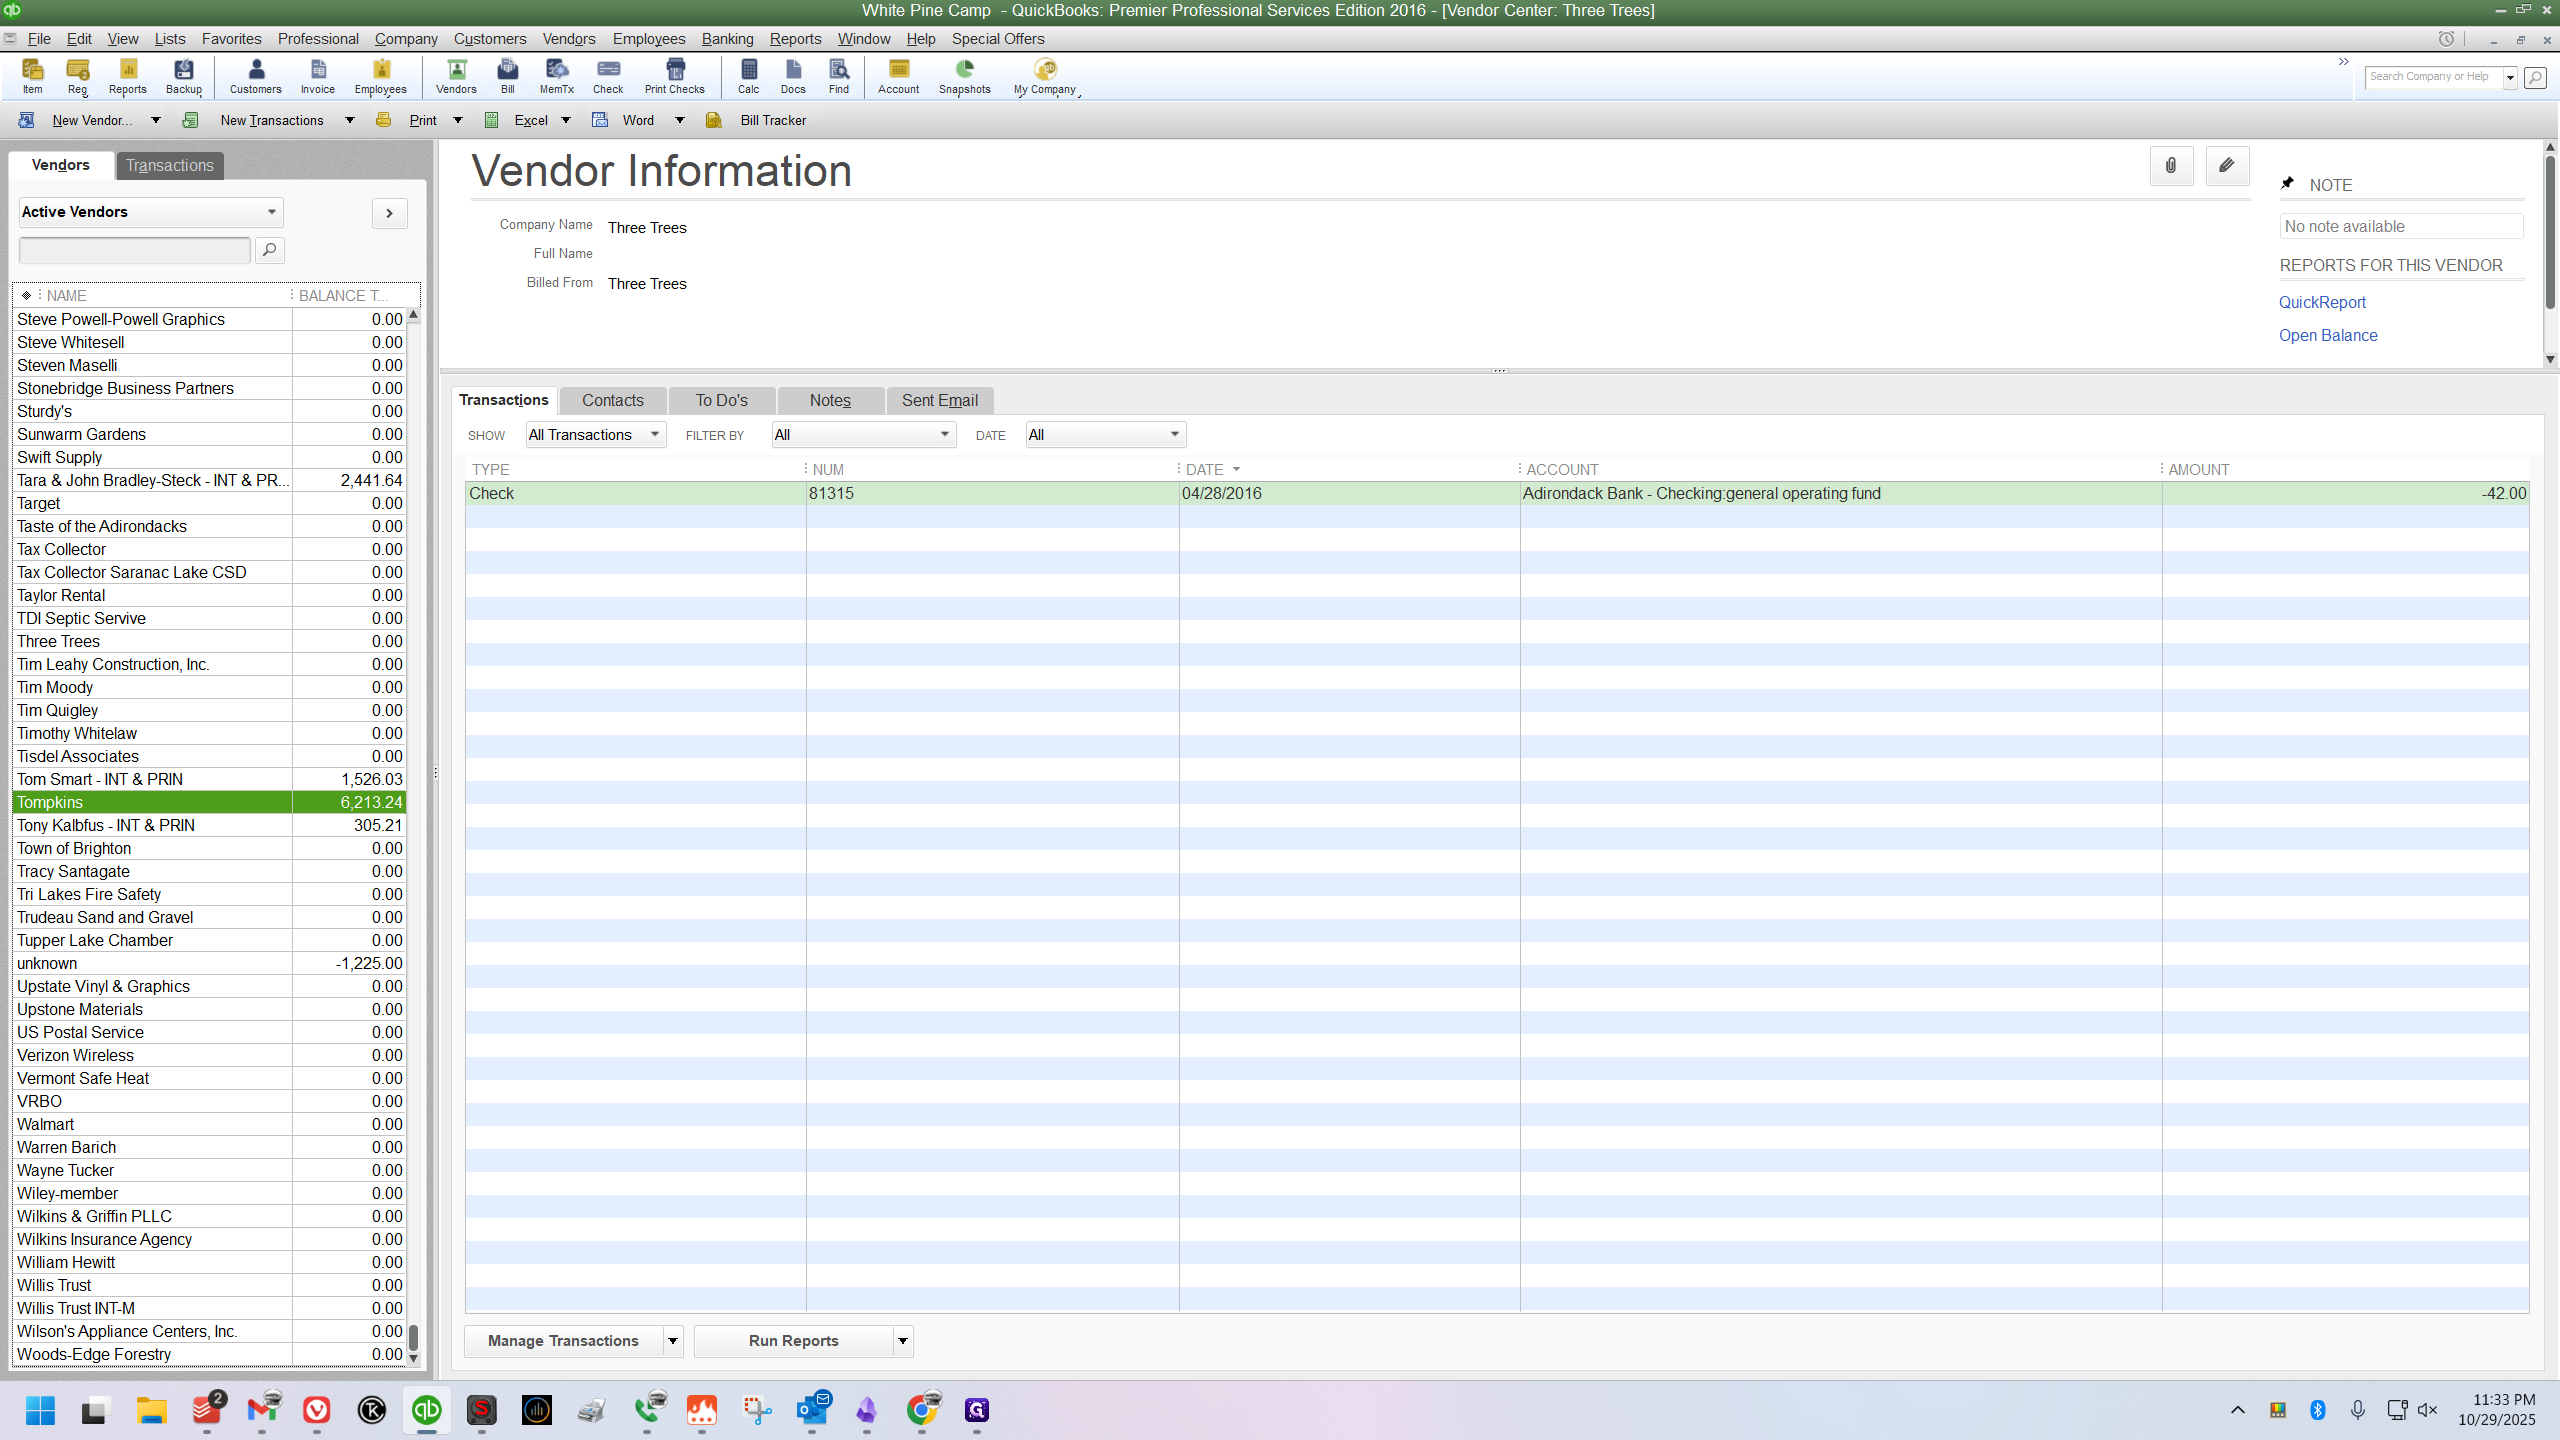
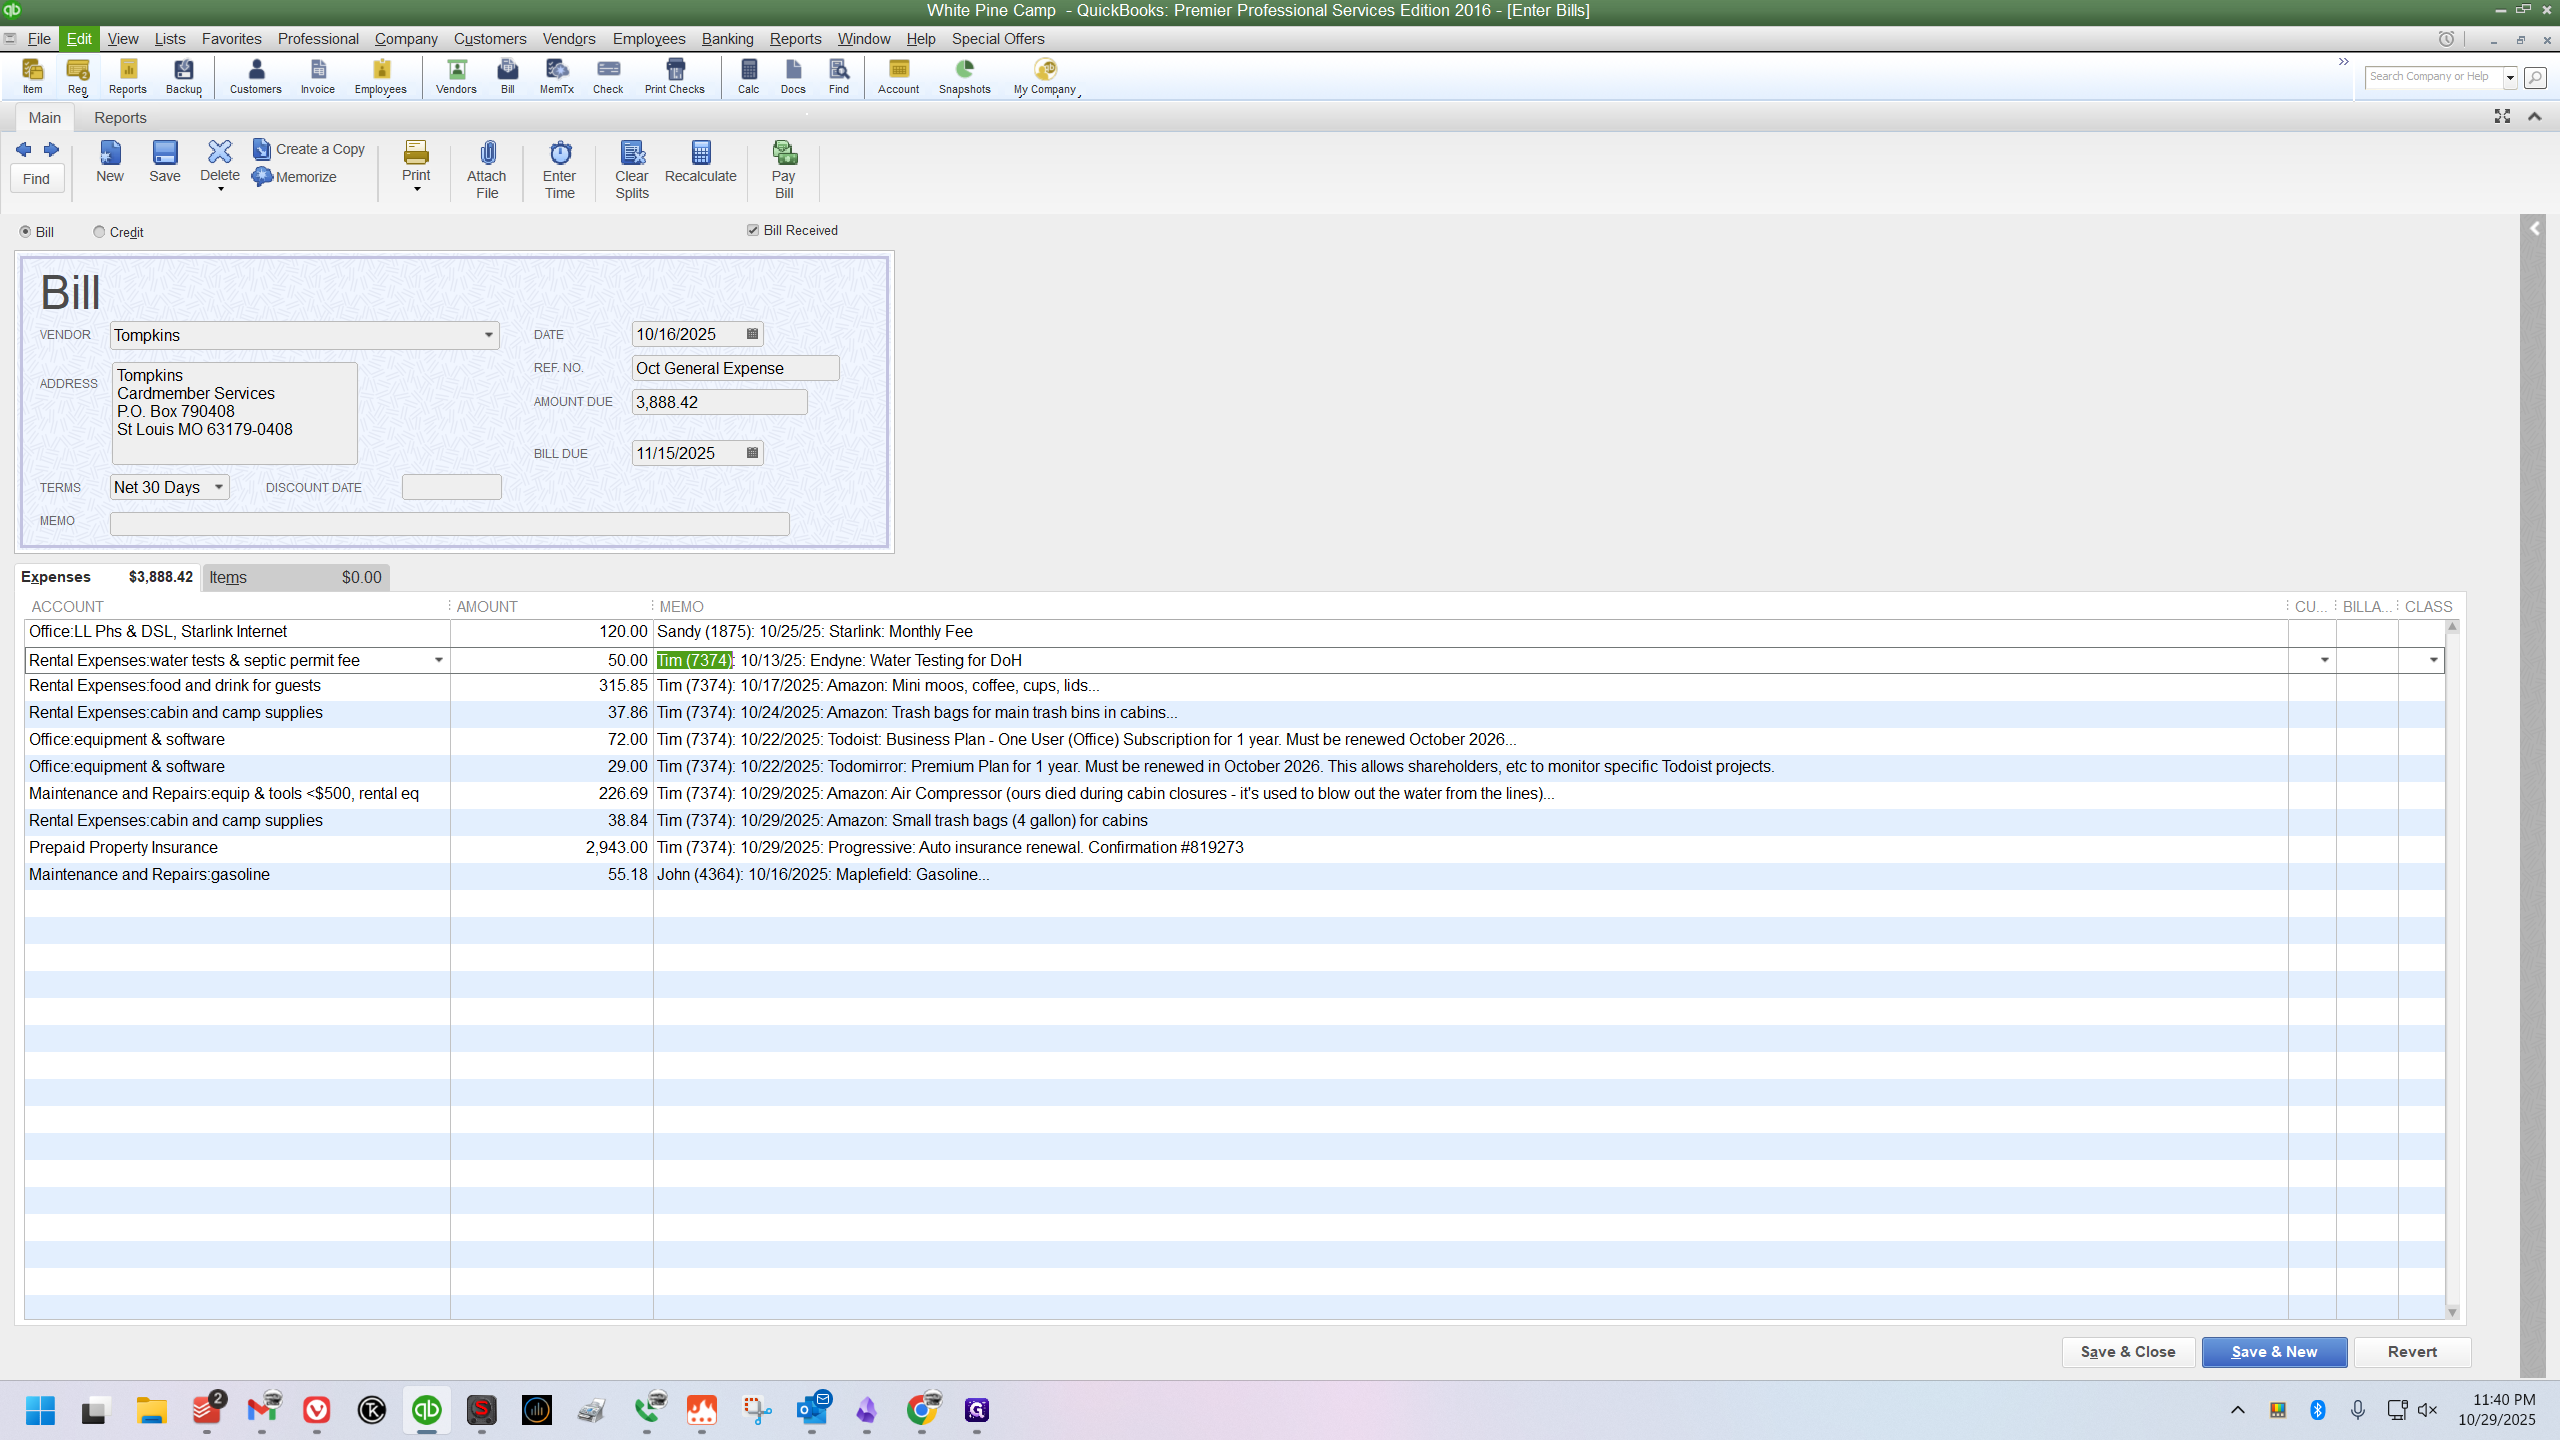
Now, I'll find and click Tompkins to open the vendor profile.
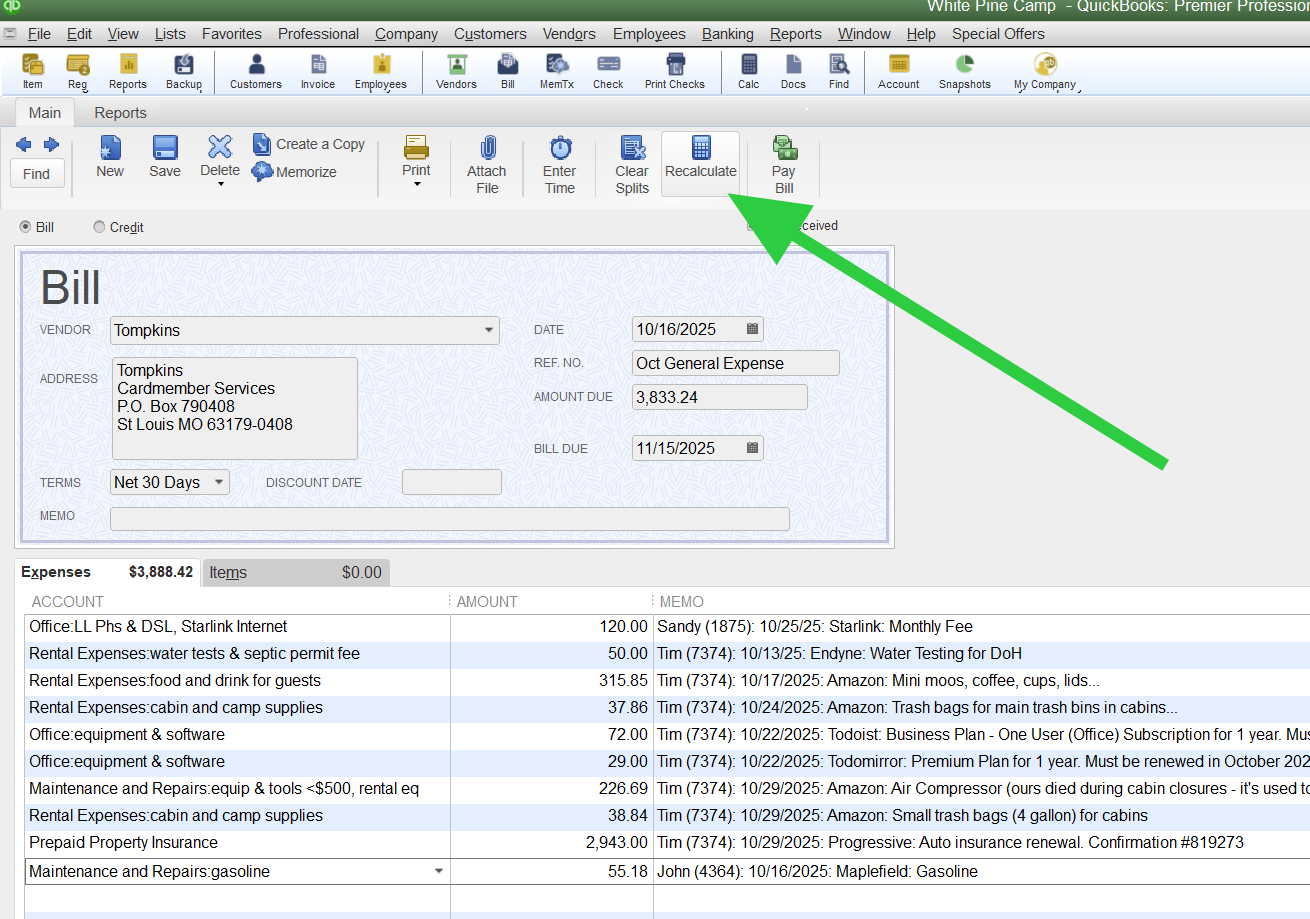
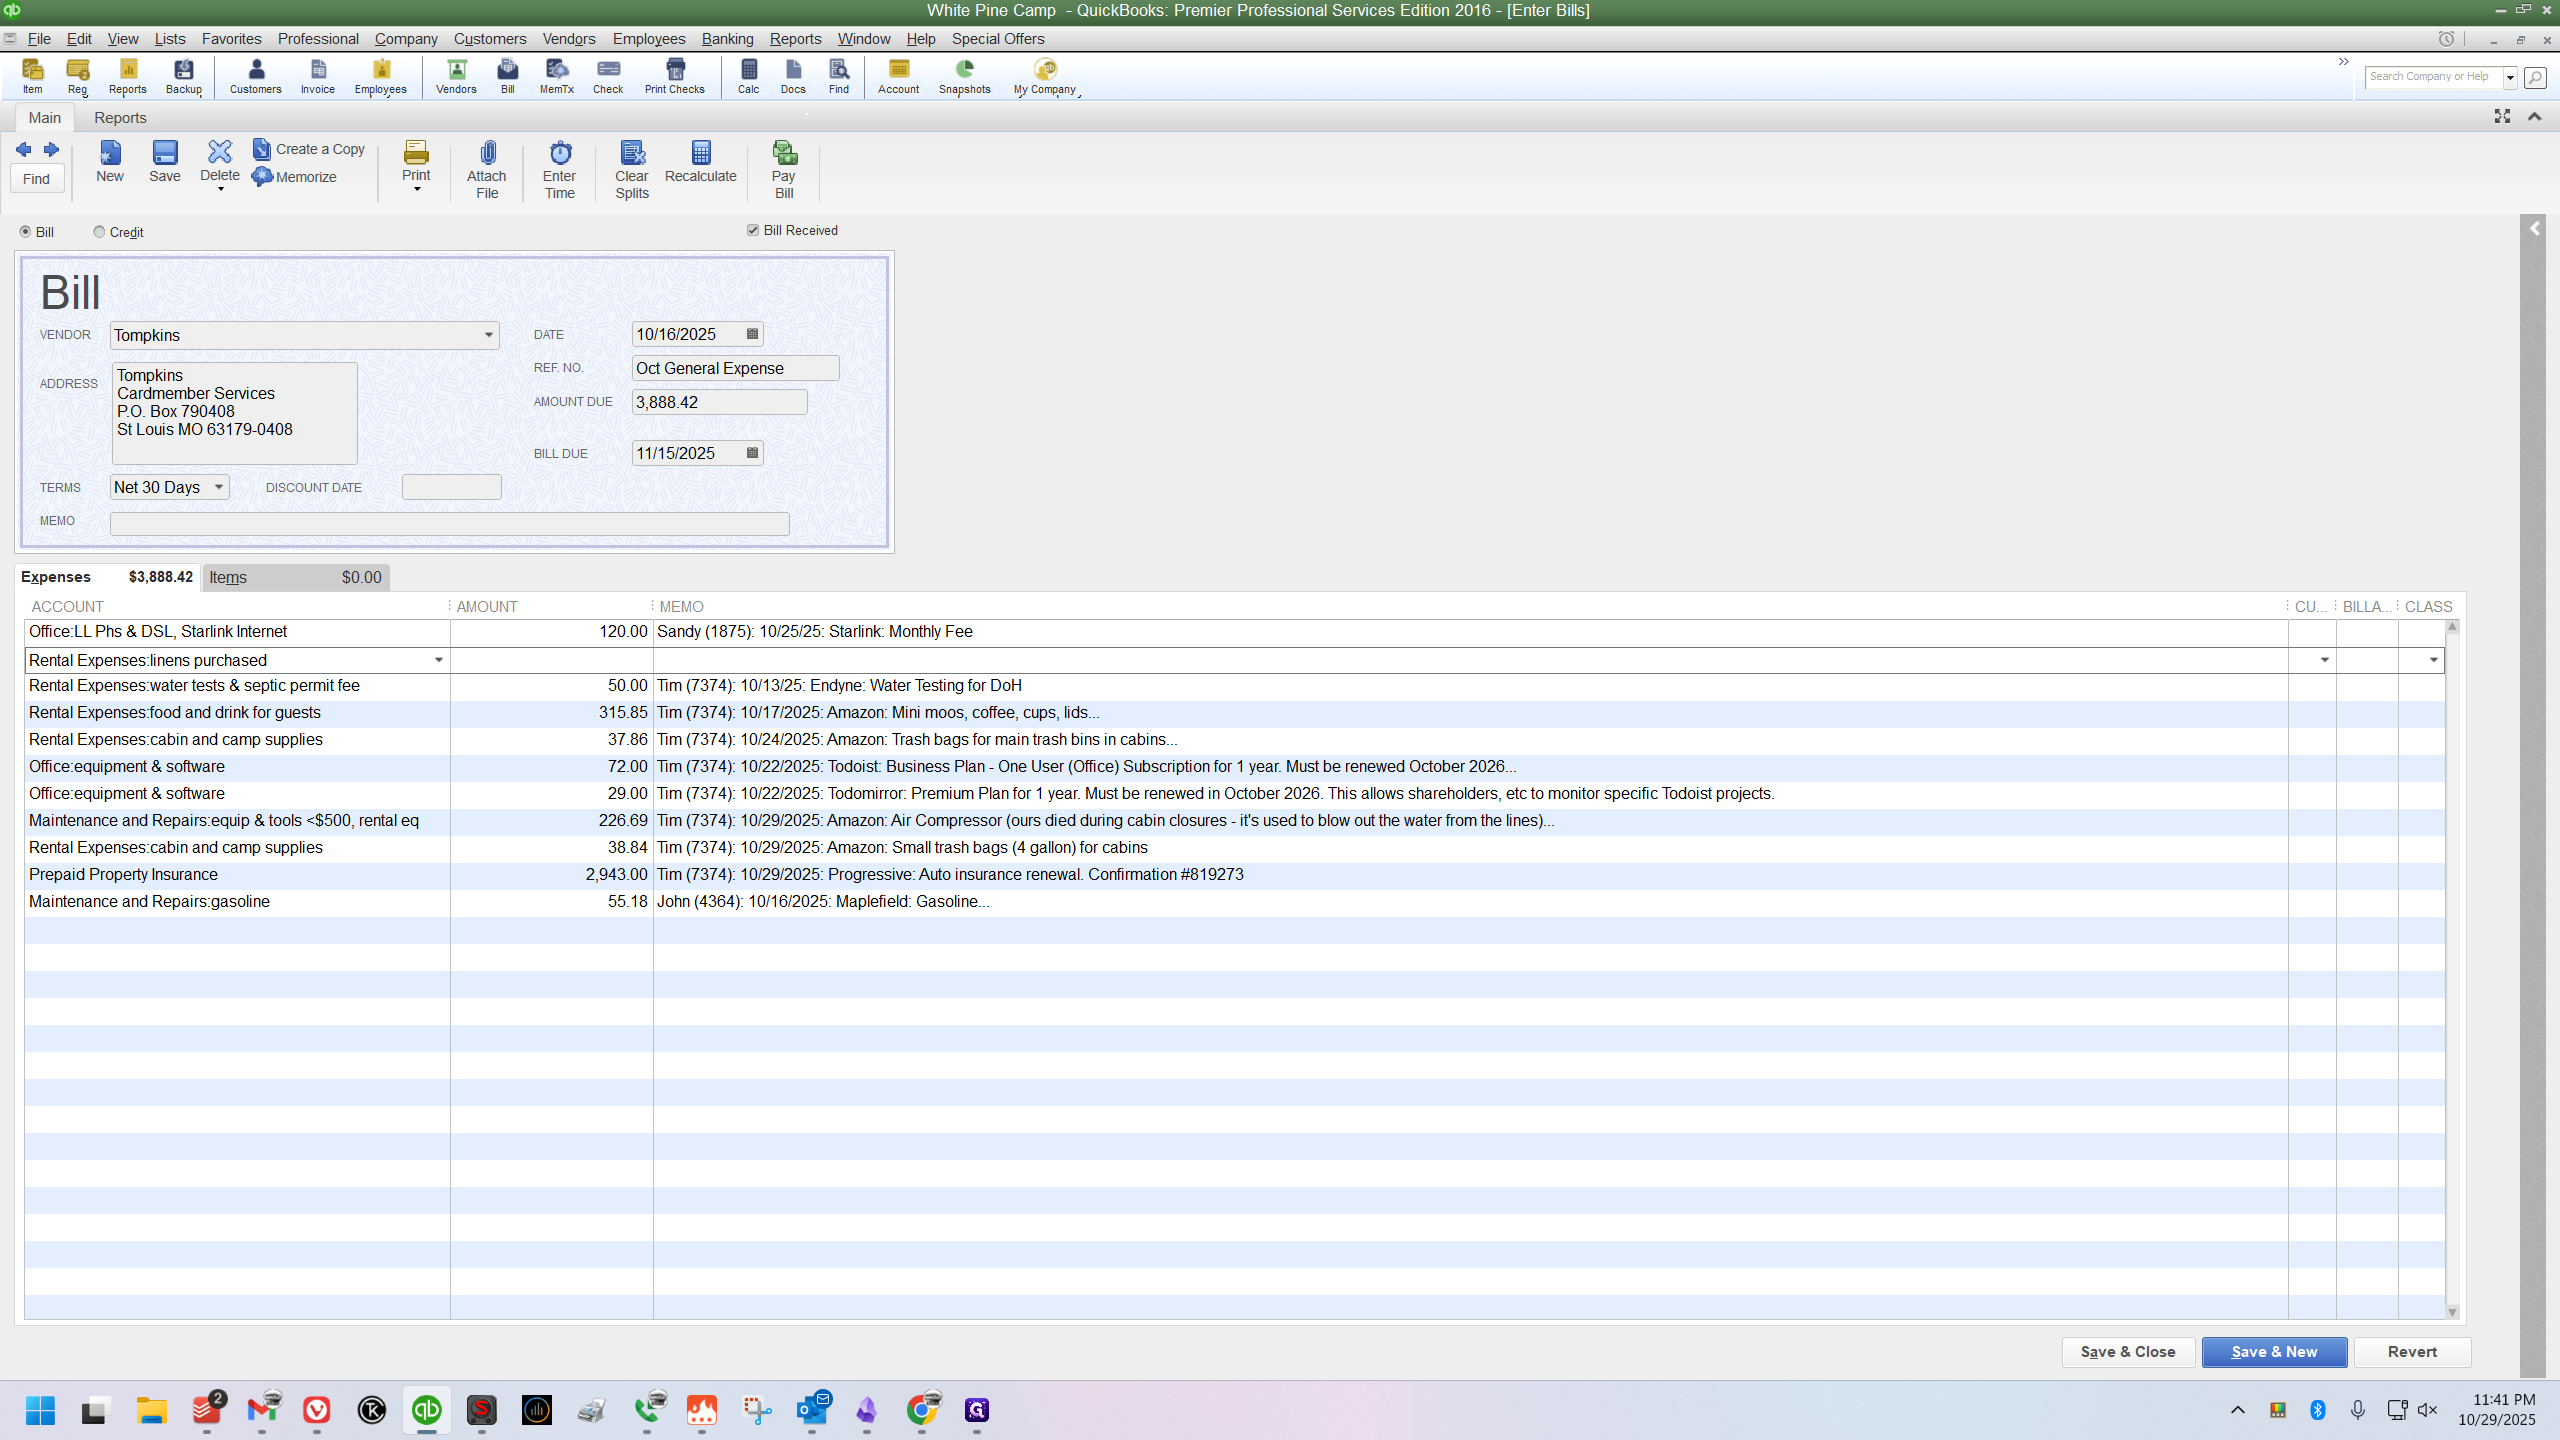
The first step is to find the correct master bill. If your receipt is from the first 10 days of the month, such as October 8th, it likely belongs on the prior month's bill. My receipts right now are from later in October, so I will open the October general expense bill.
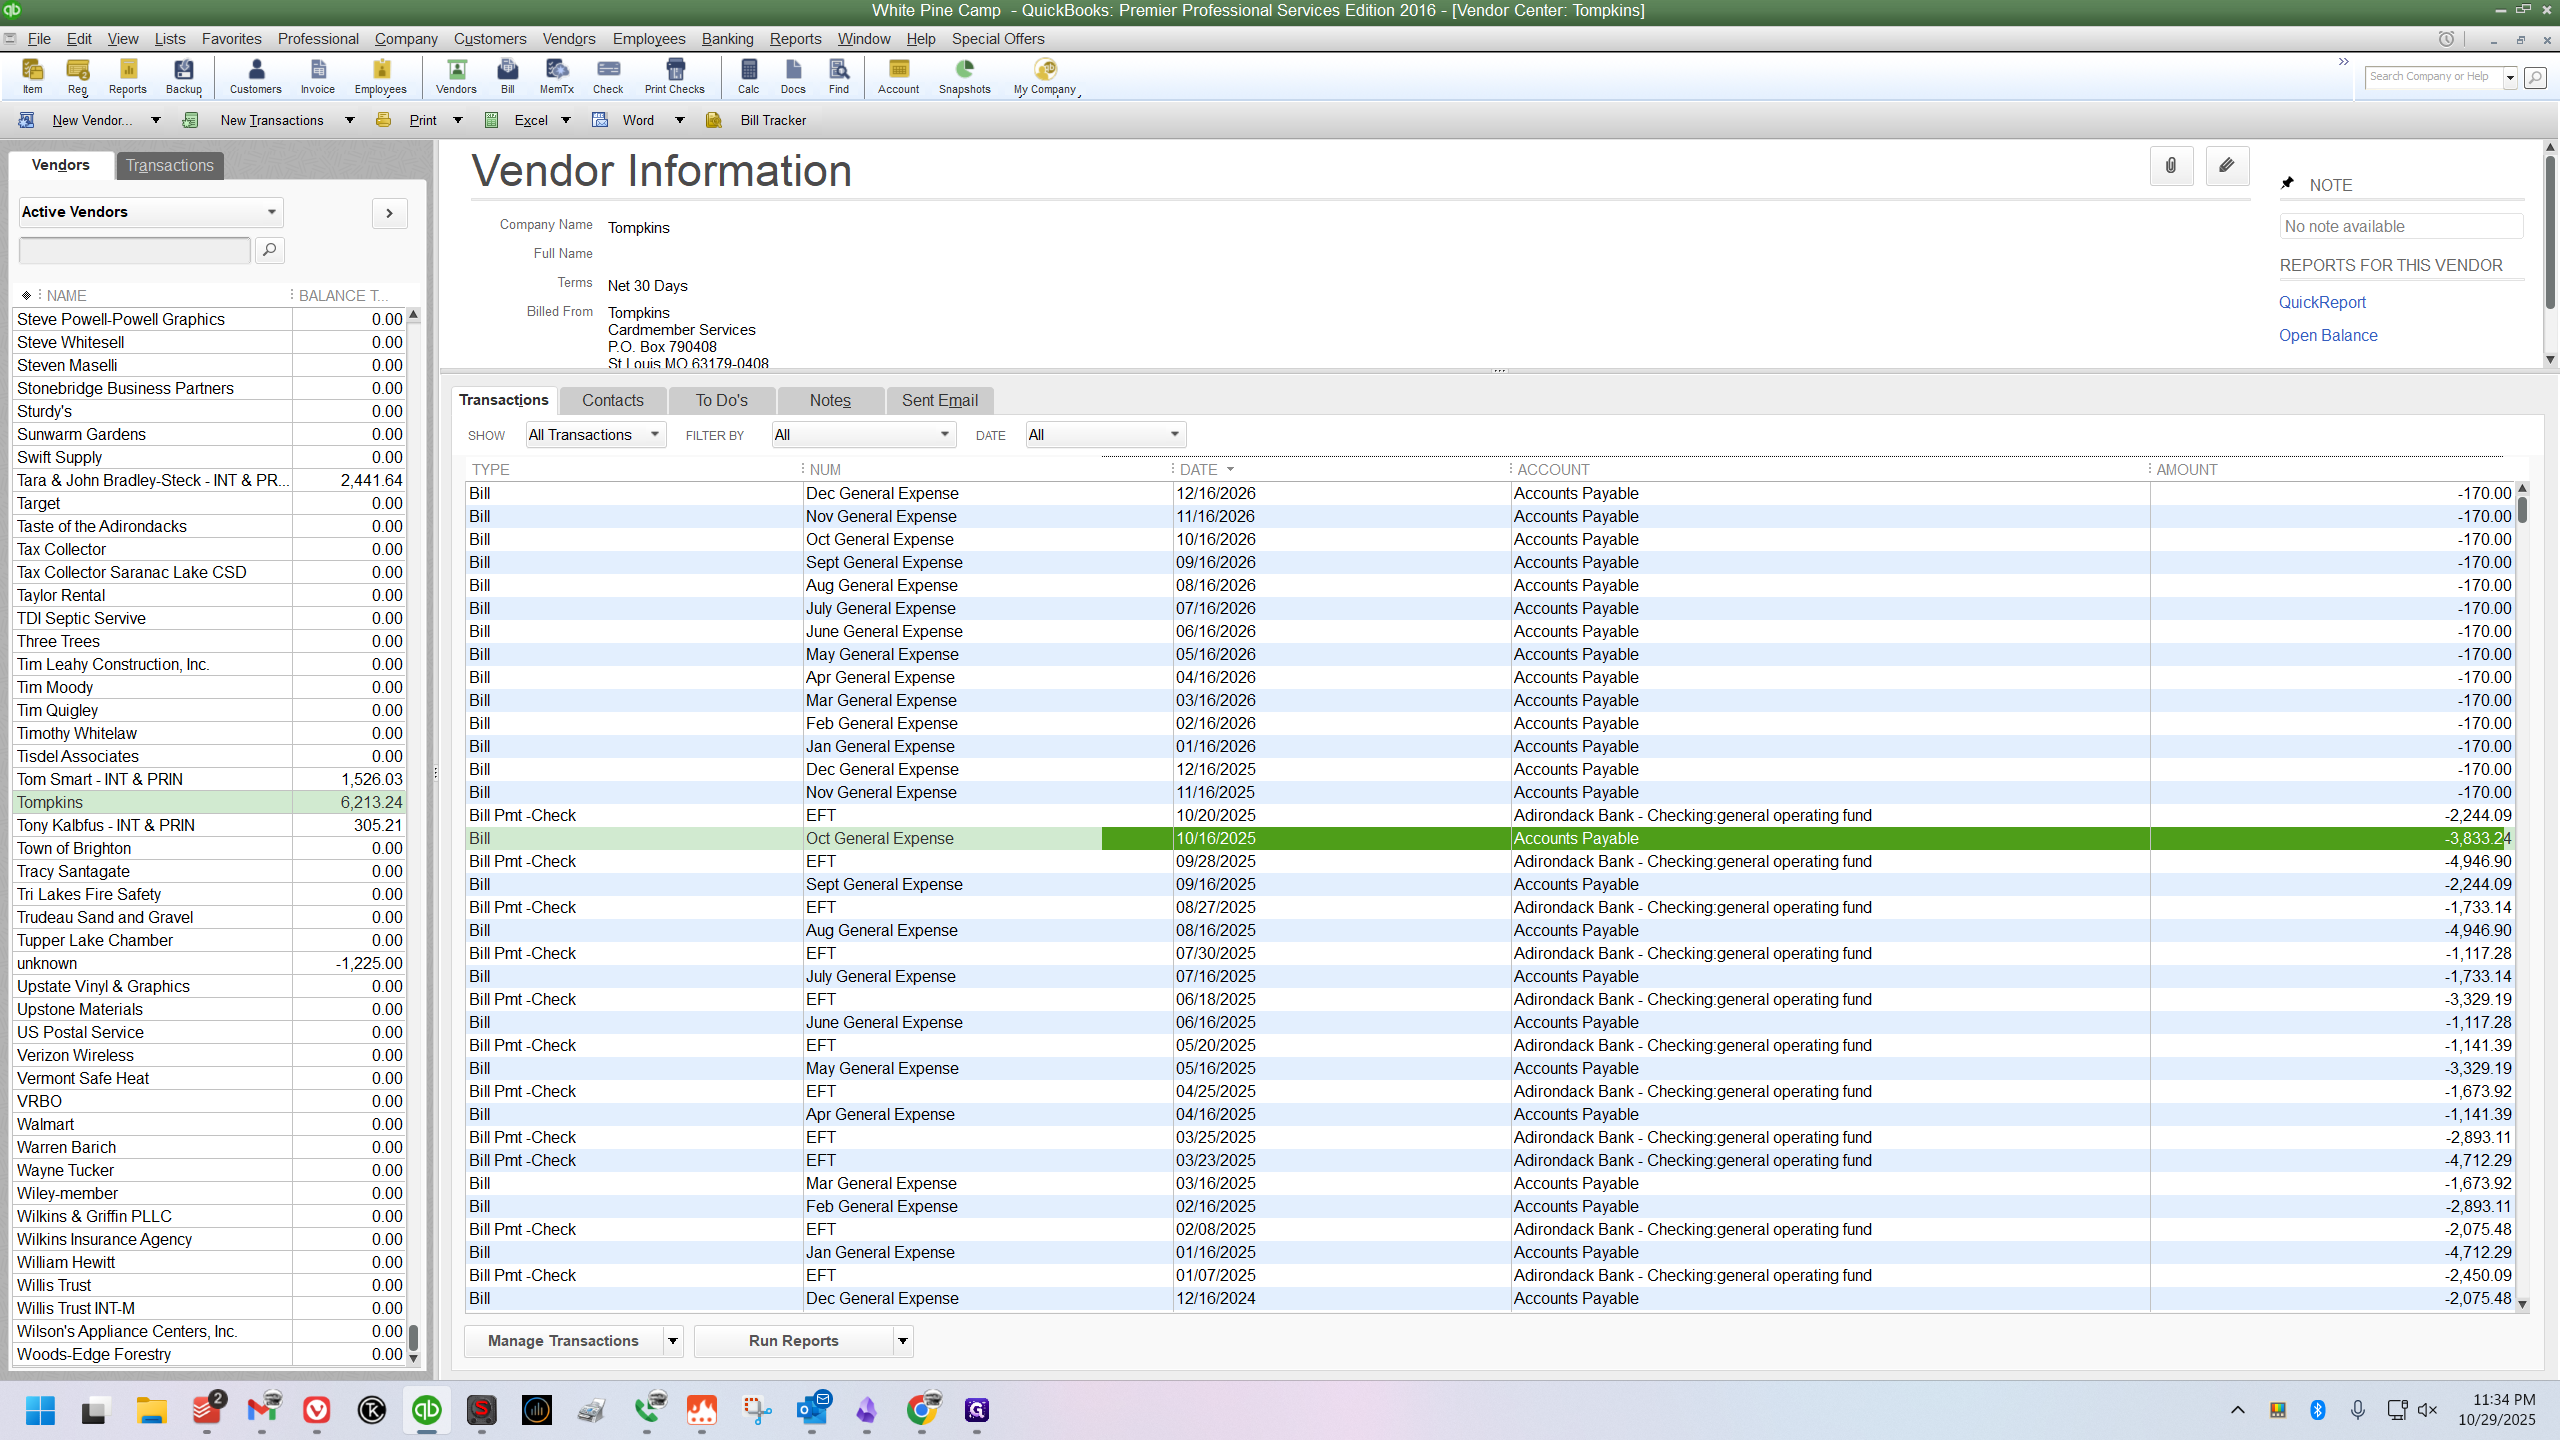
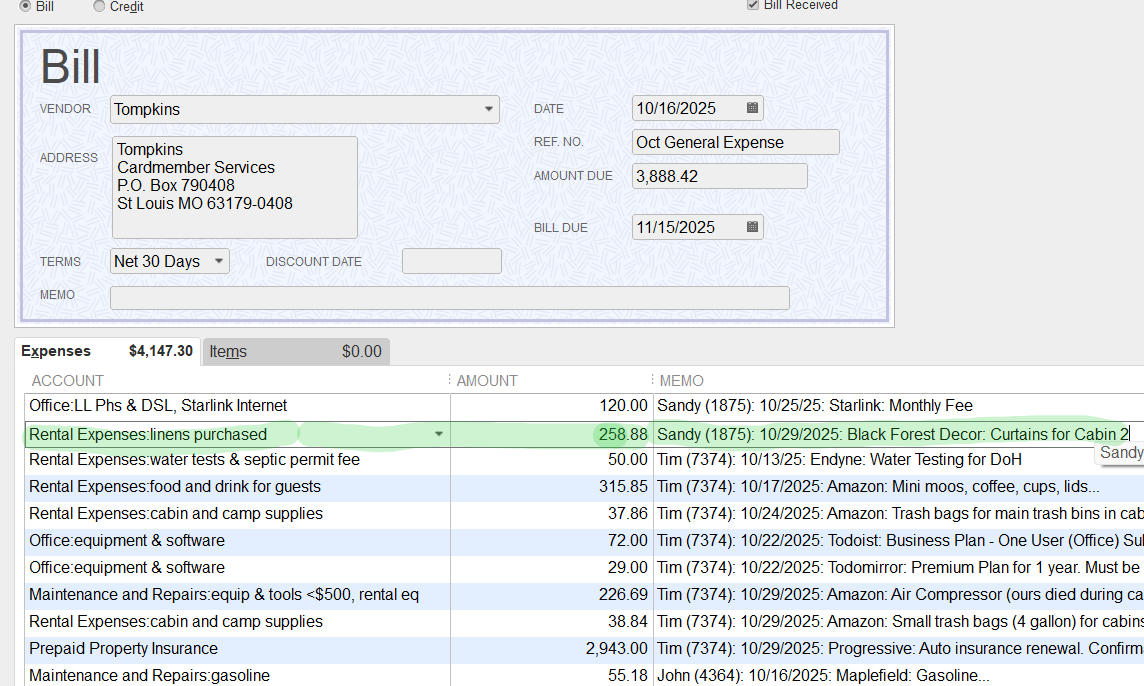
Now that the bill is open, I need to find the correct place for my new line. The rule is: group all charges by employee. Then, sort each employee's charges by date.
Example 1: Adding a New Charge to the Bottom
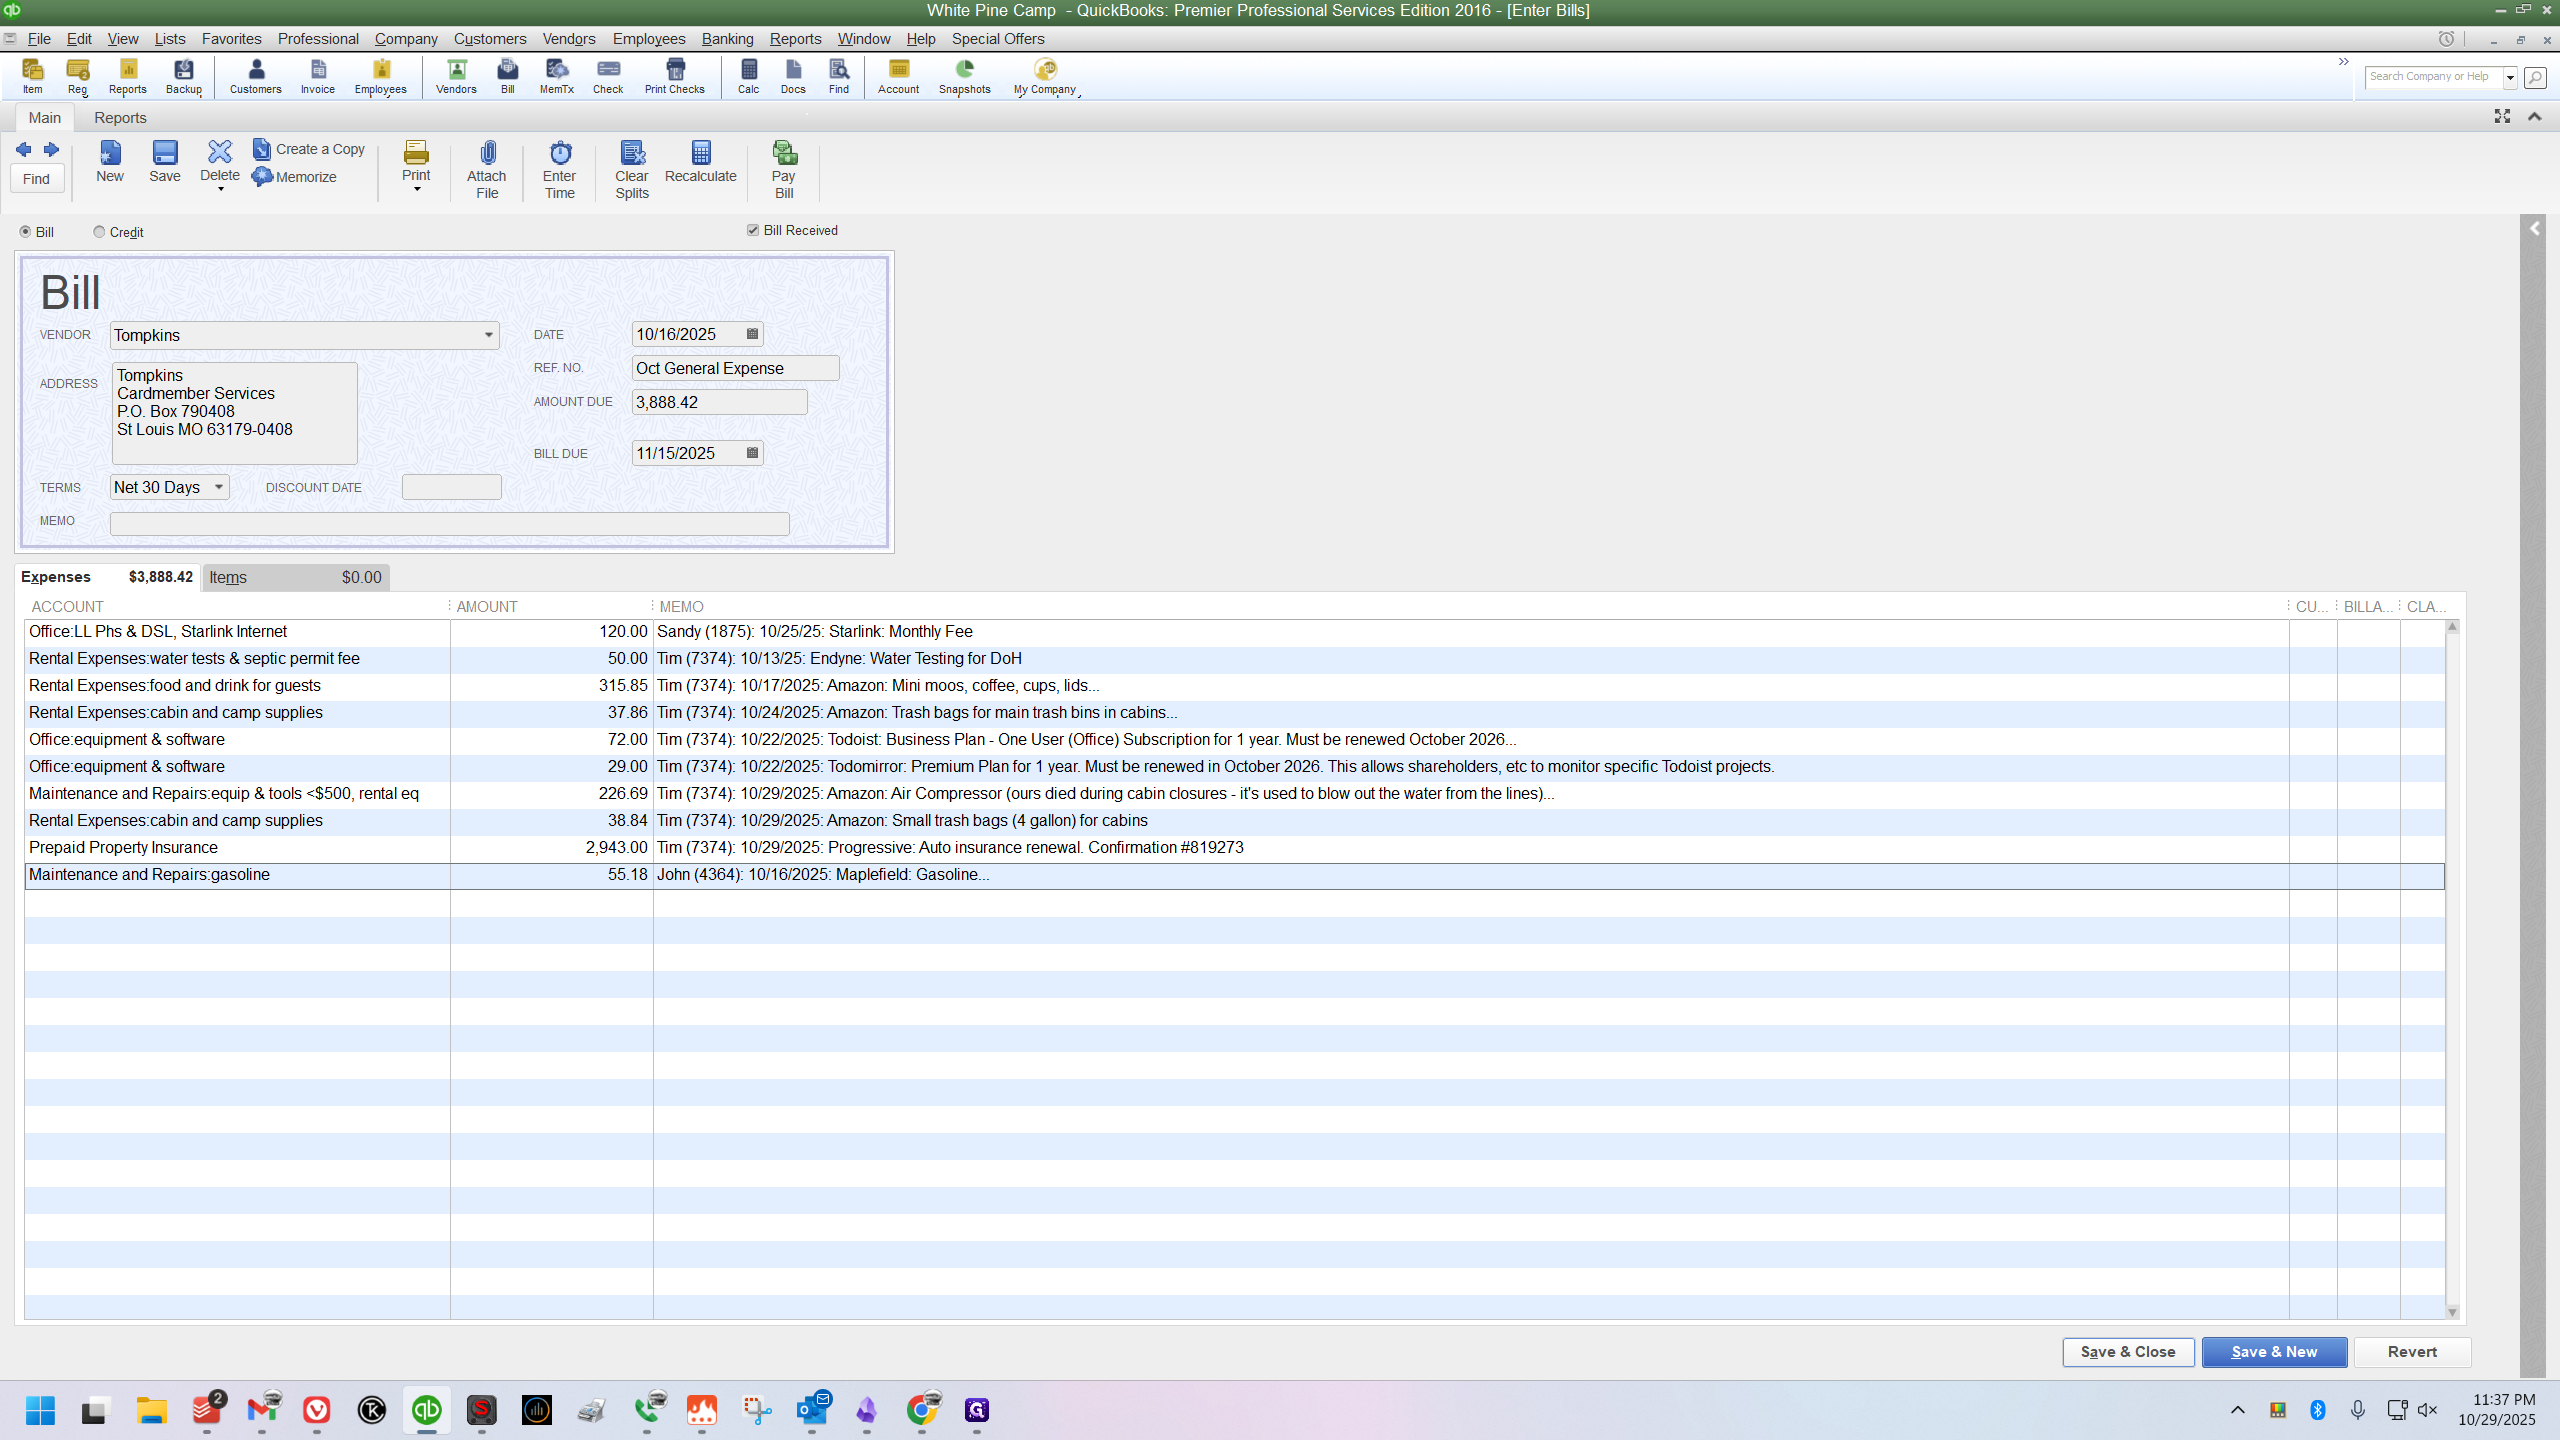
For the first example, I have a gasoline receipt here from John. I'm scanning the list and see that John has no charges on this bill yet. This makes it easy.
I can start his group at the bottom. Now, I click in the account column.

This is a gasoline receipt, so I will select the "Maintenance and Repairs:gasoline" expense account.
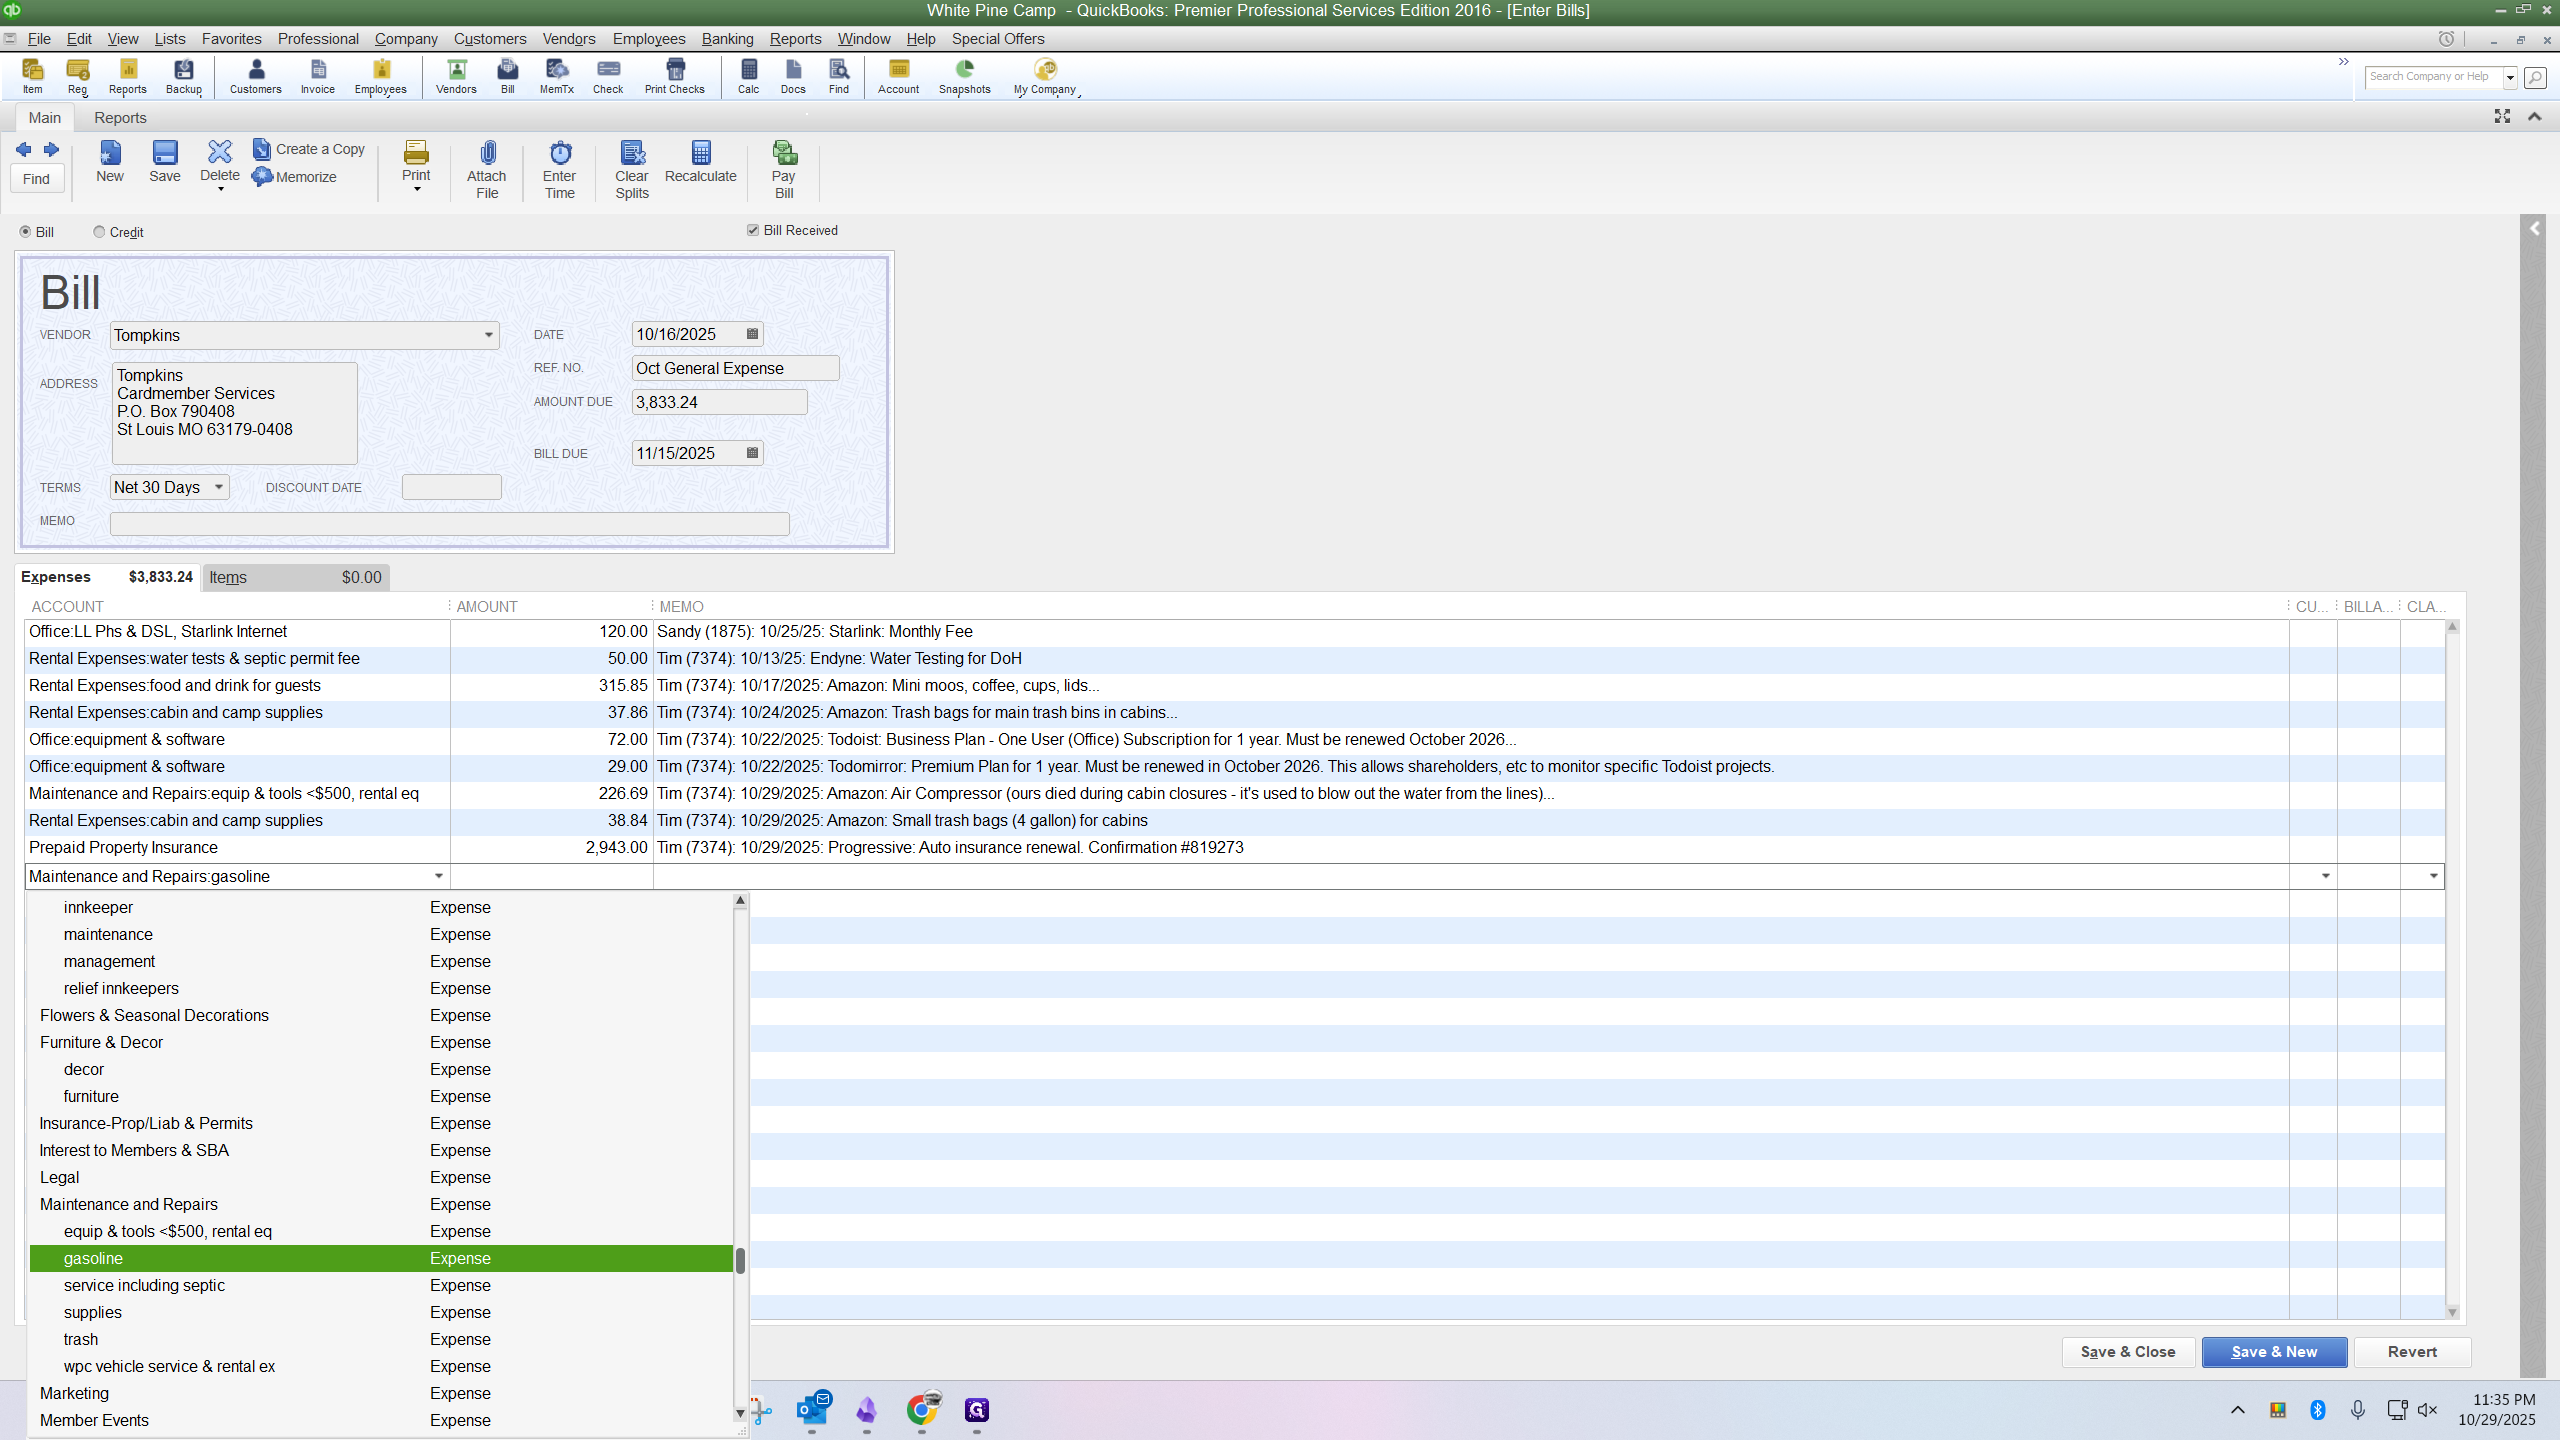
Then, I will press the Tab key on my keyboard to move the cursor to the amount field, then type the dollar amount from the receipt.
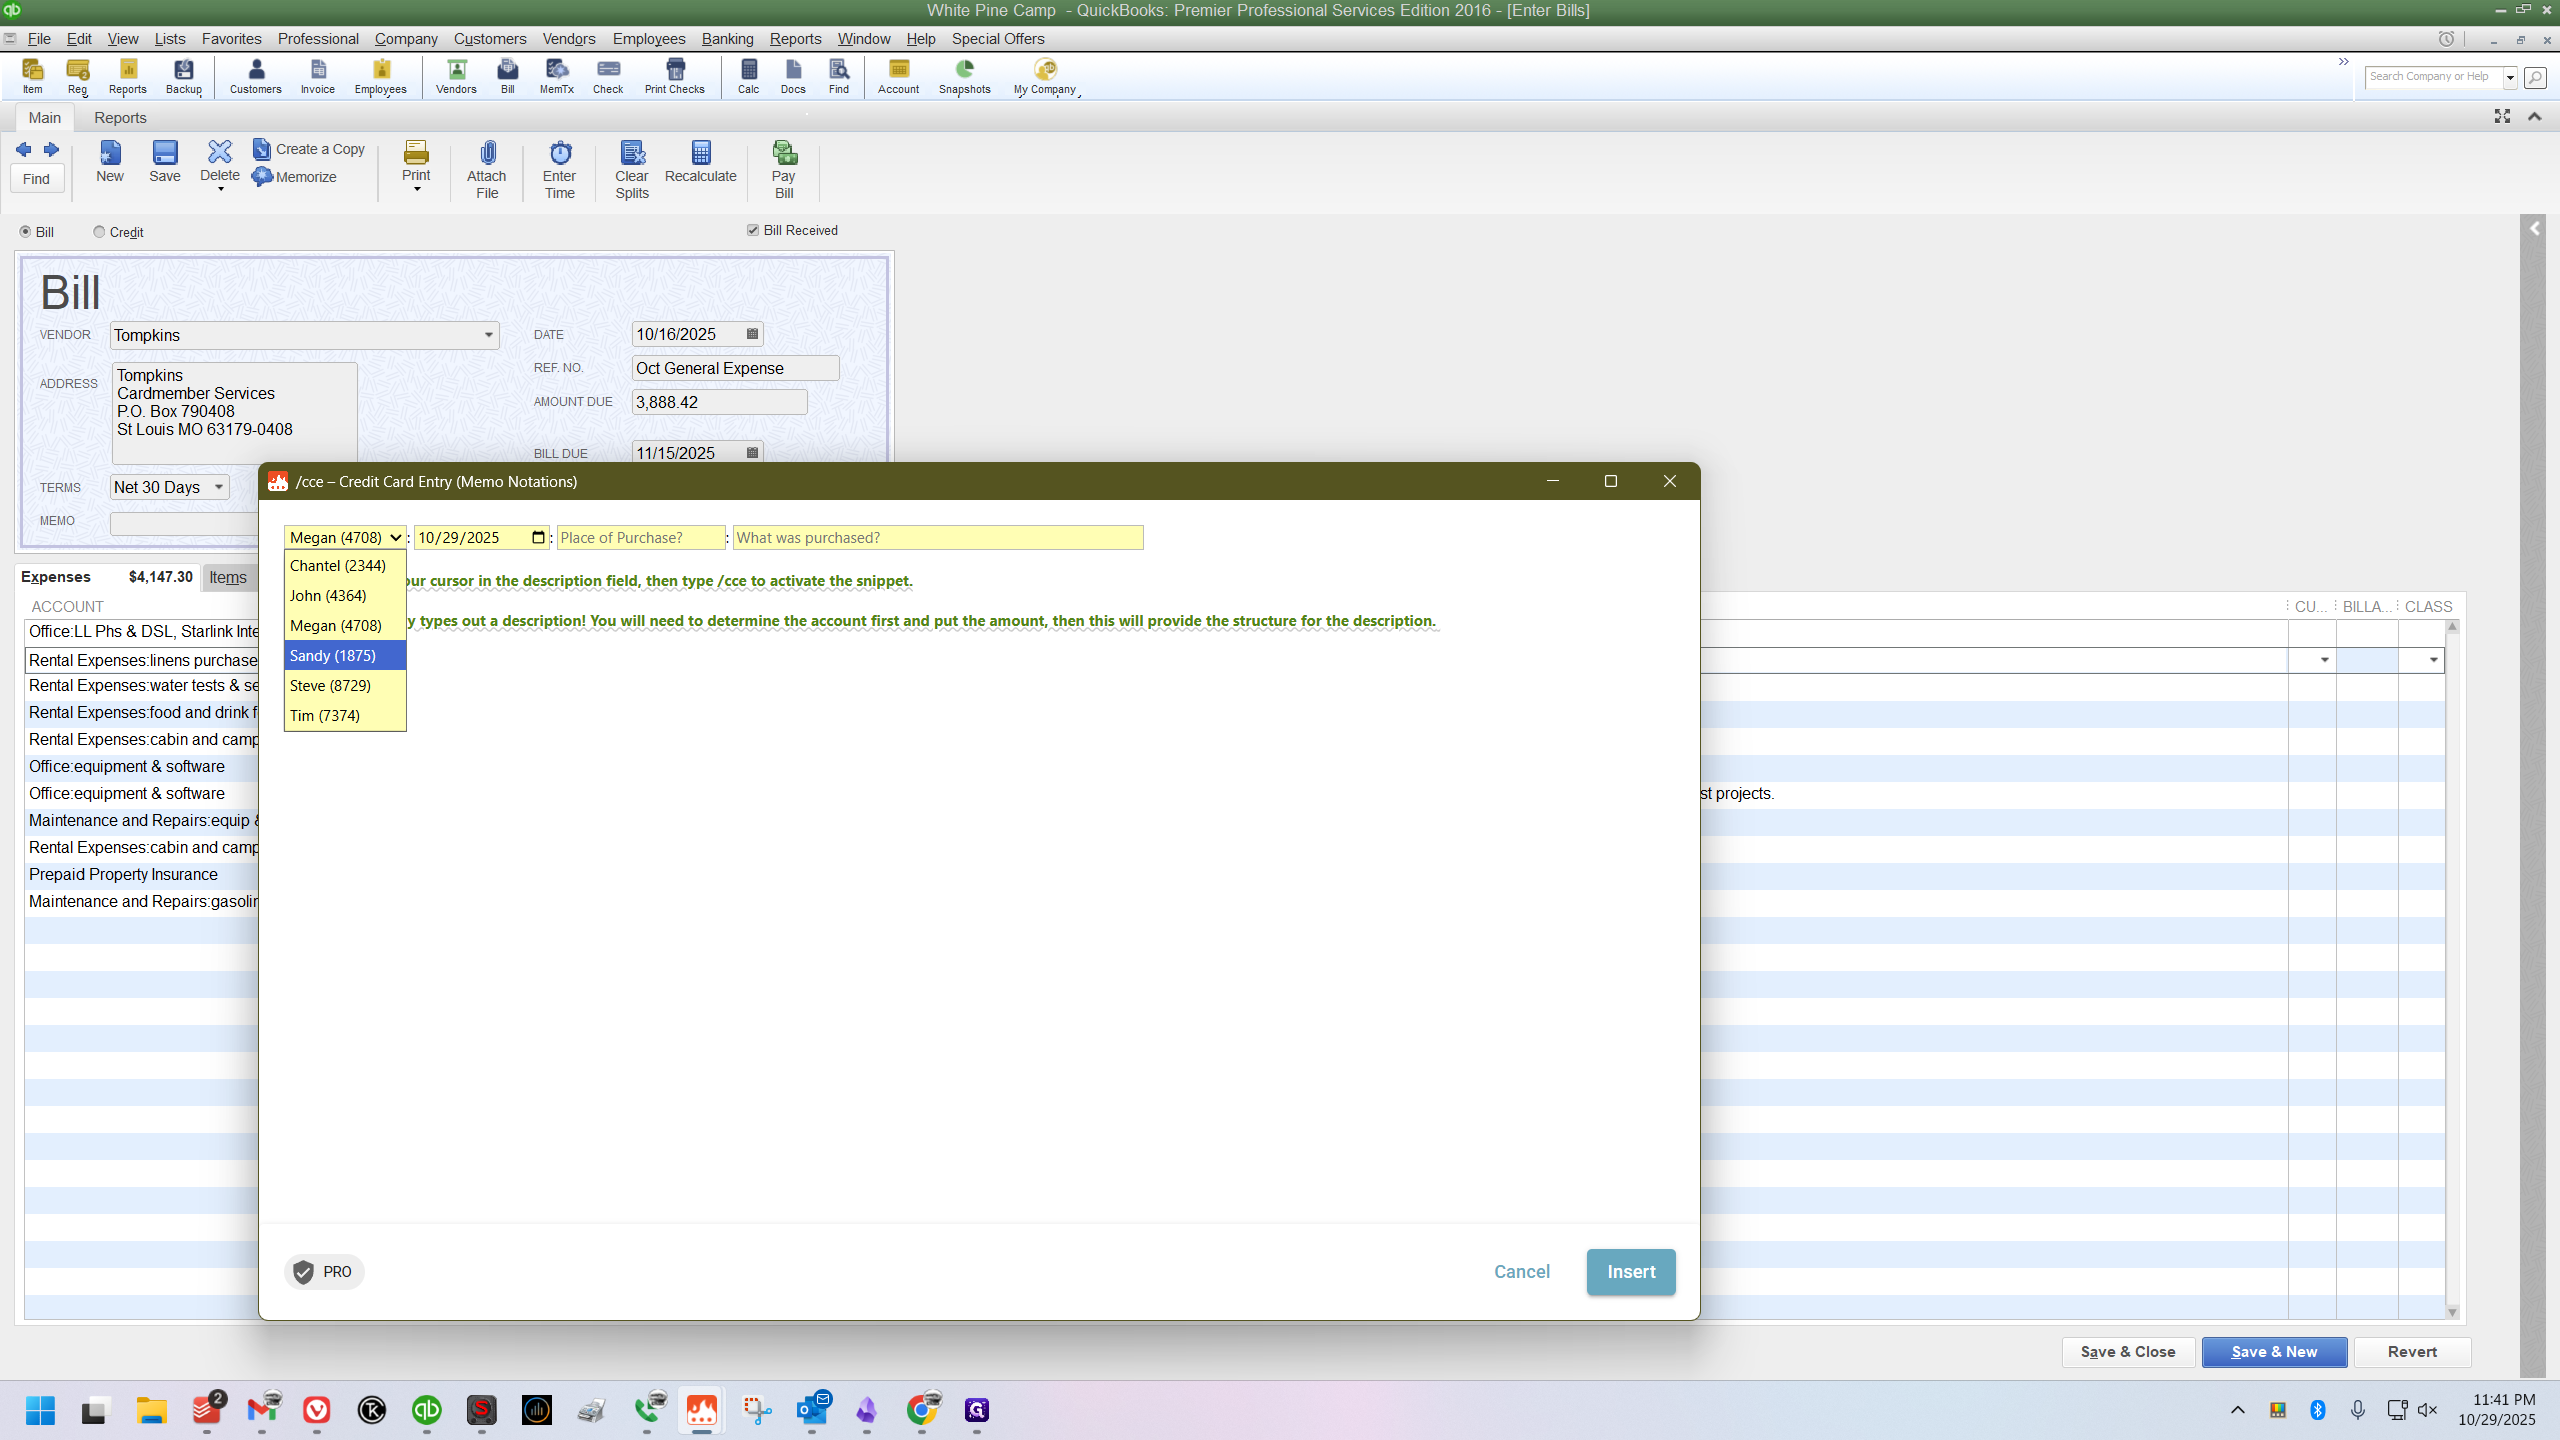
Next, I’ll tab over to the memo field. Here, I’ll activate my snippet. To do that, type "/cce". This stands for credit card entry.
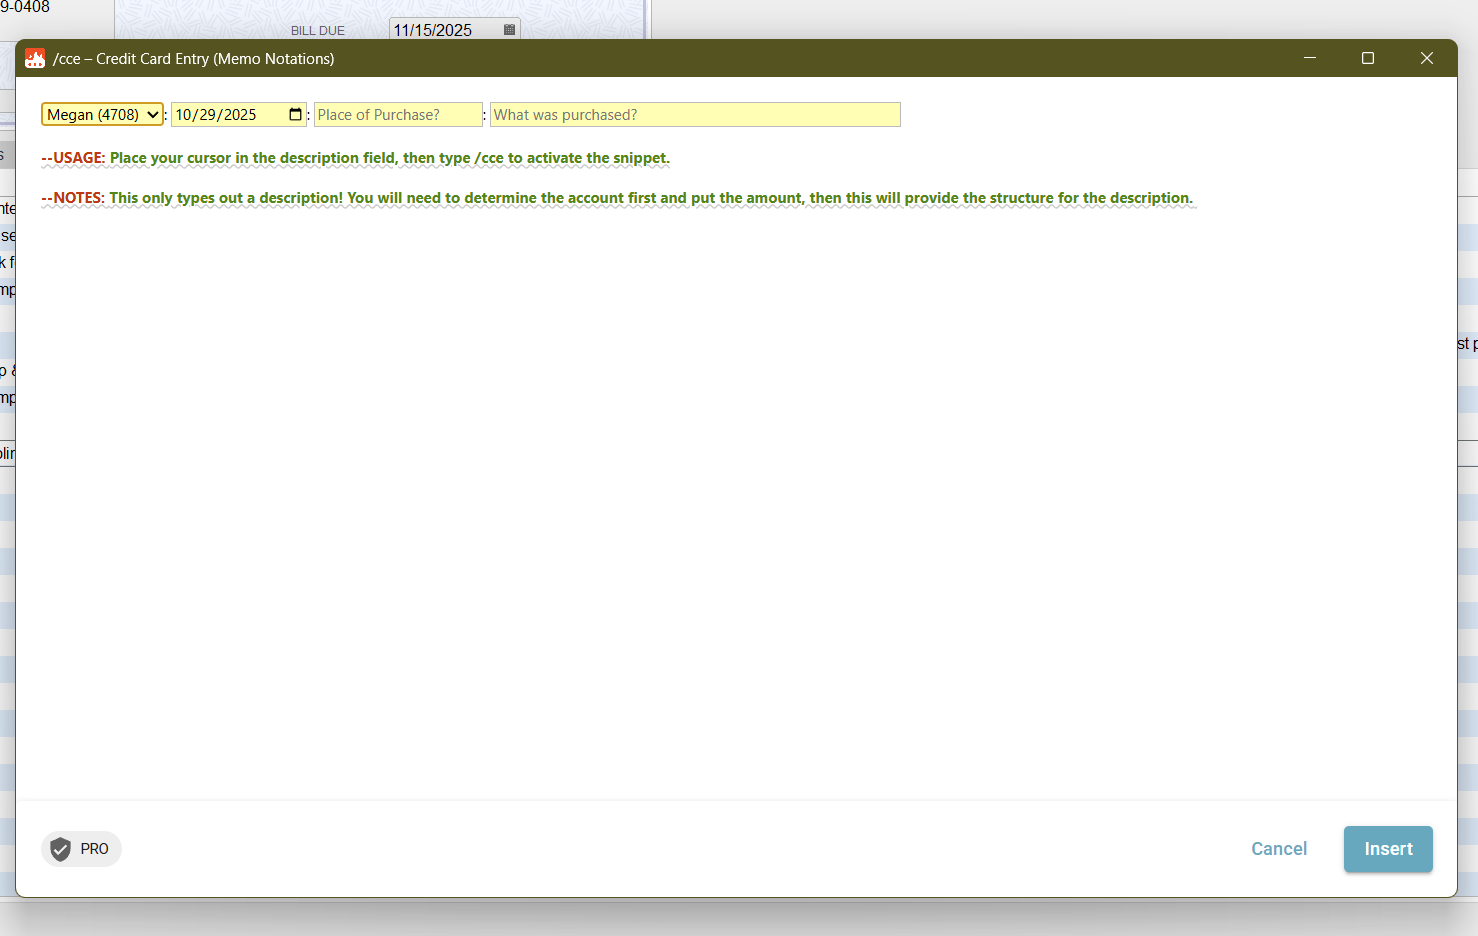
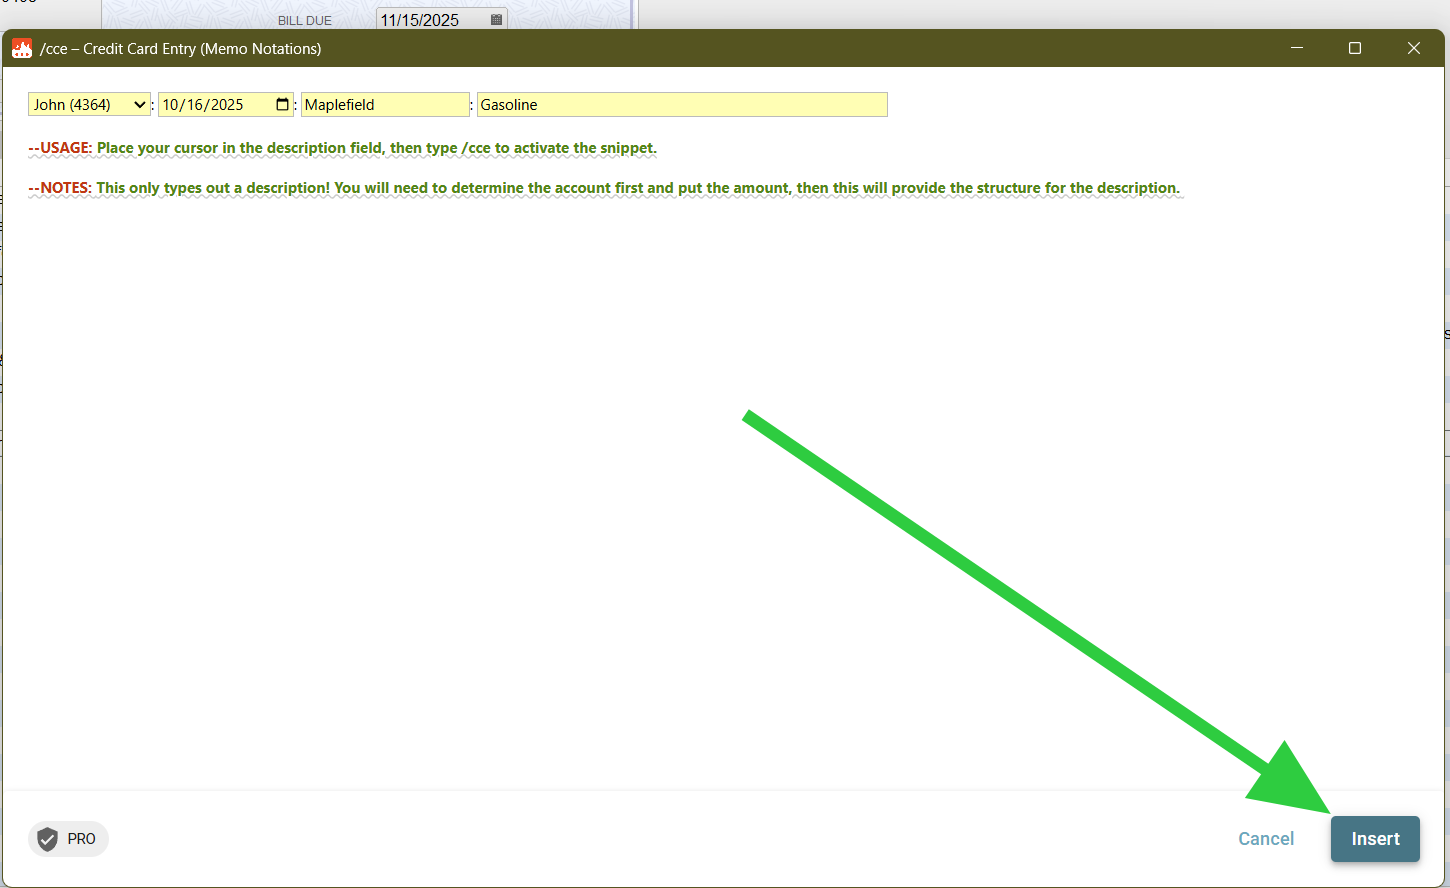
After activating the snippet, a form appears with a drop down menu to select the employee name.
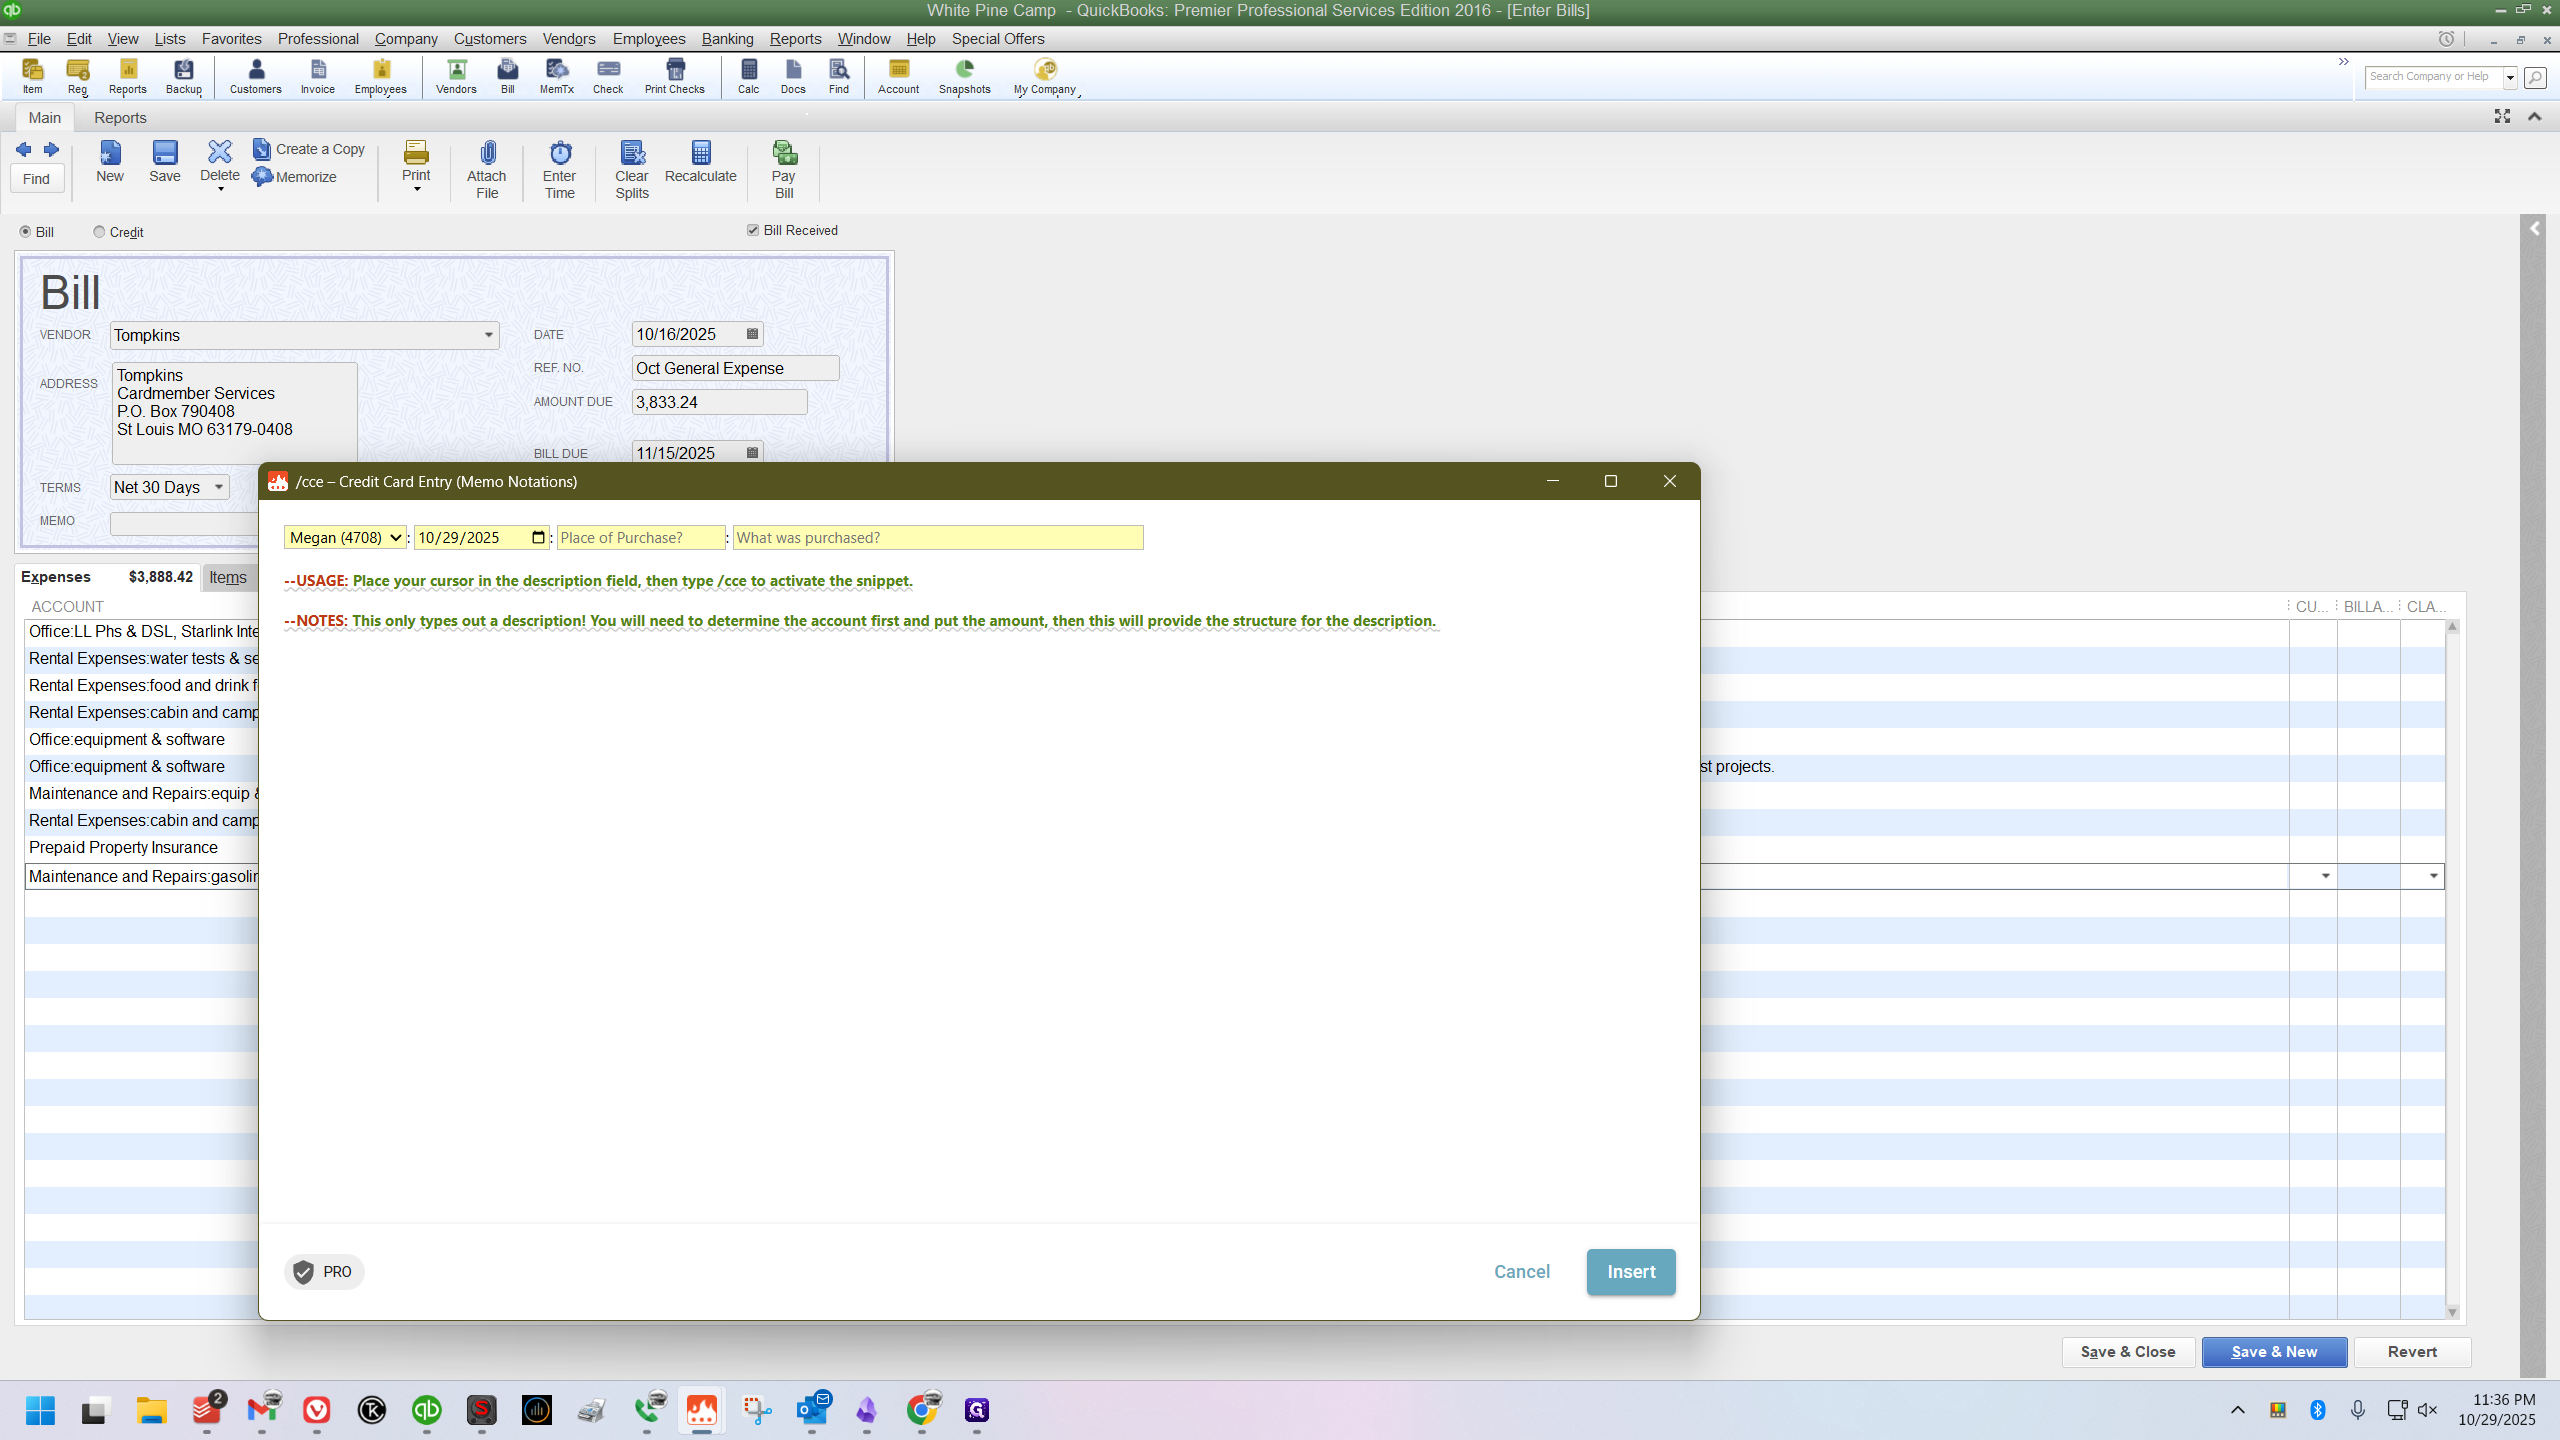
I will then enter the date from the receipt.

I'll enter the name of the place where he bought gasoline.

I can then type a brief description of what he purchased.

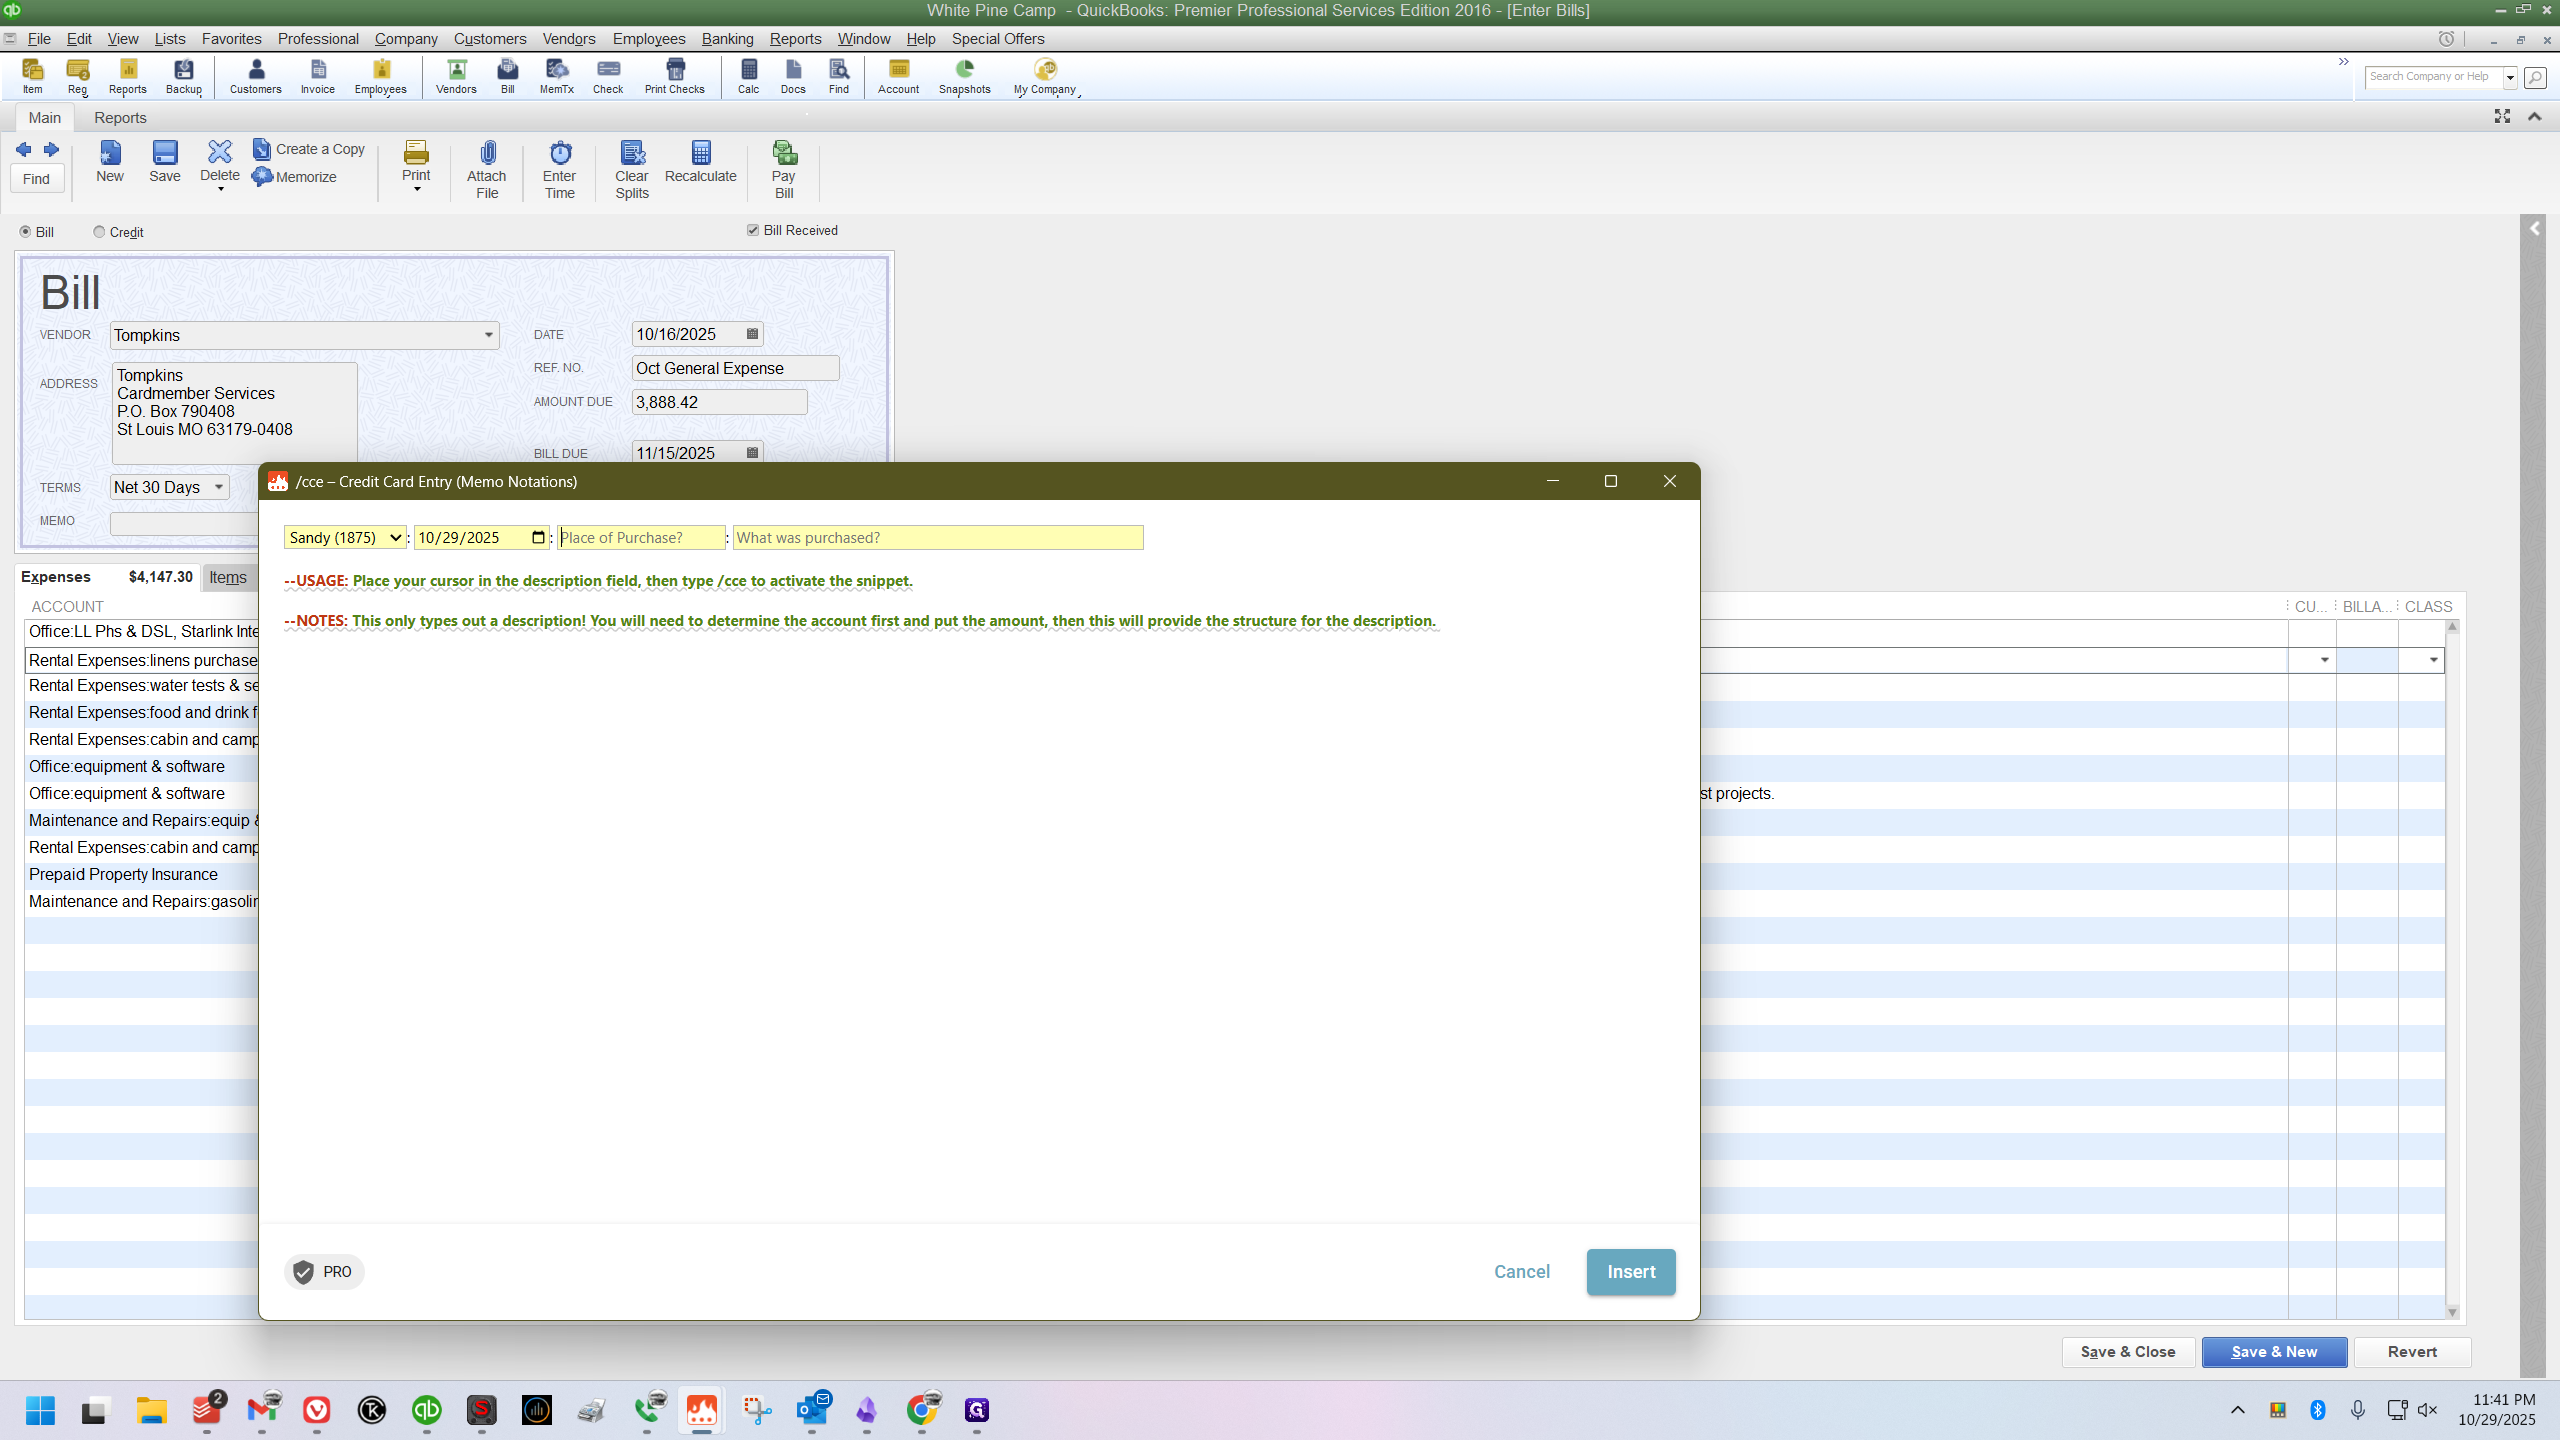
Next, I click Insert, and my notation appears perfectly.
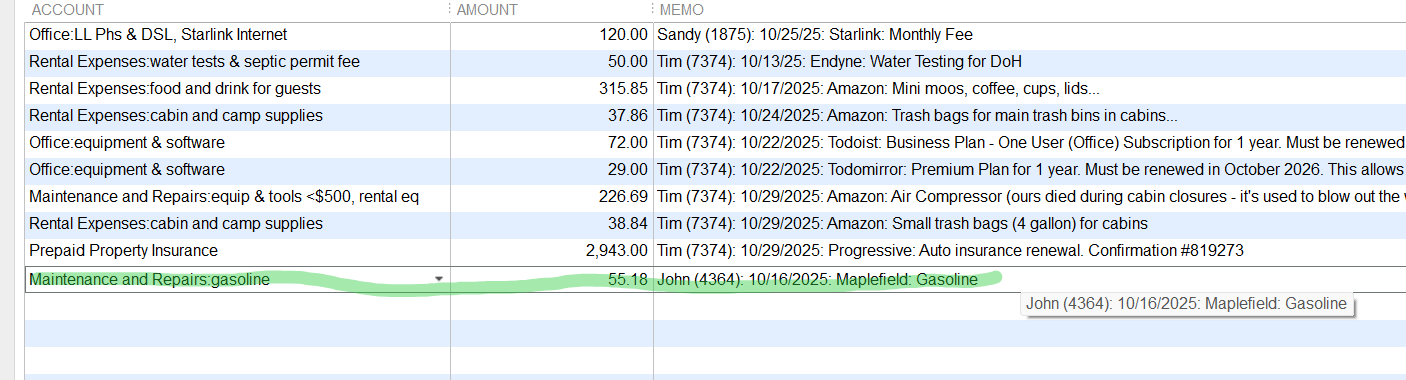
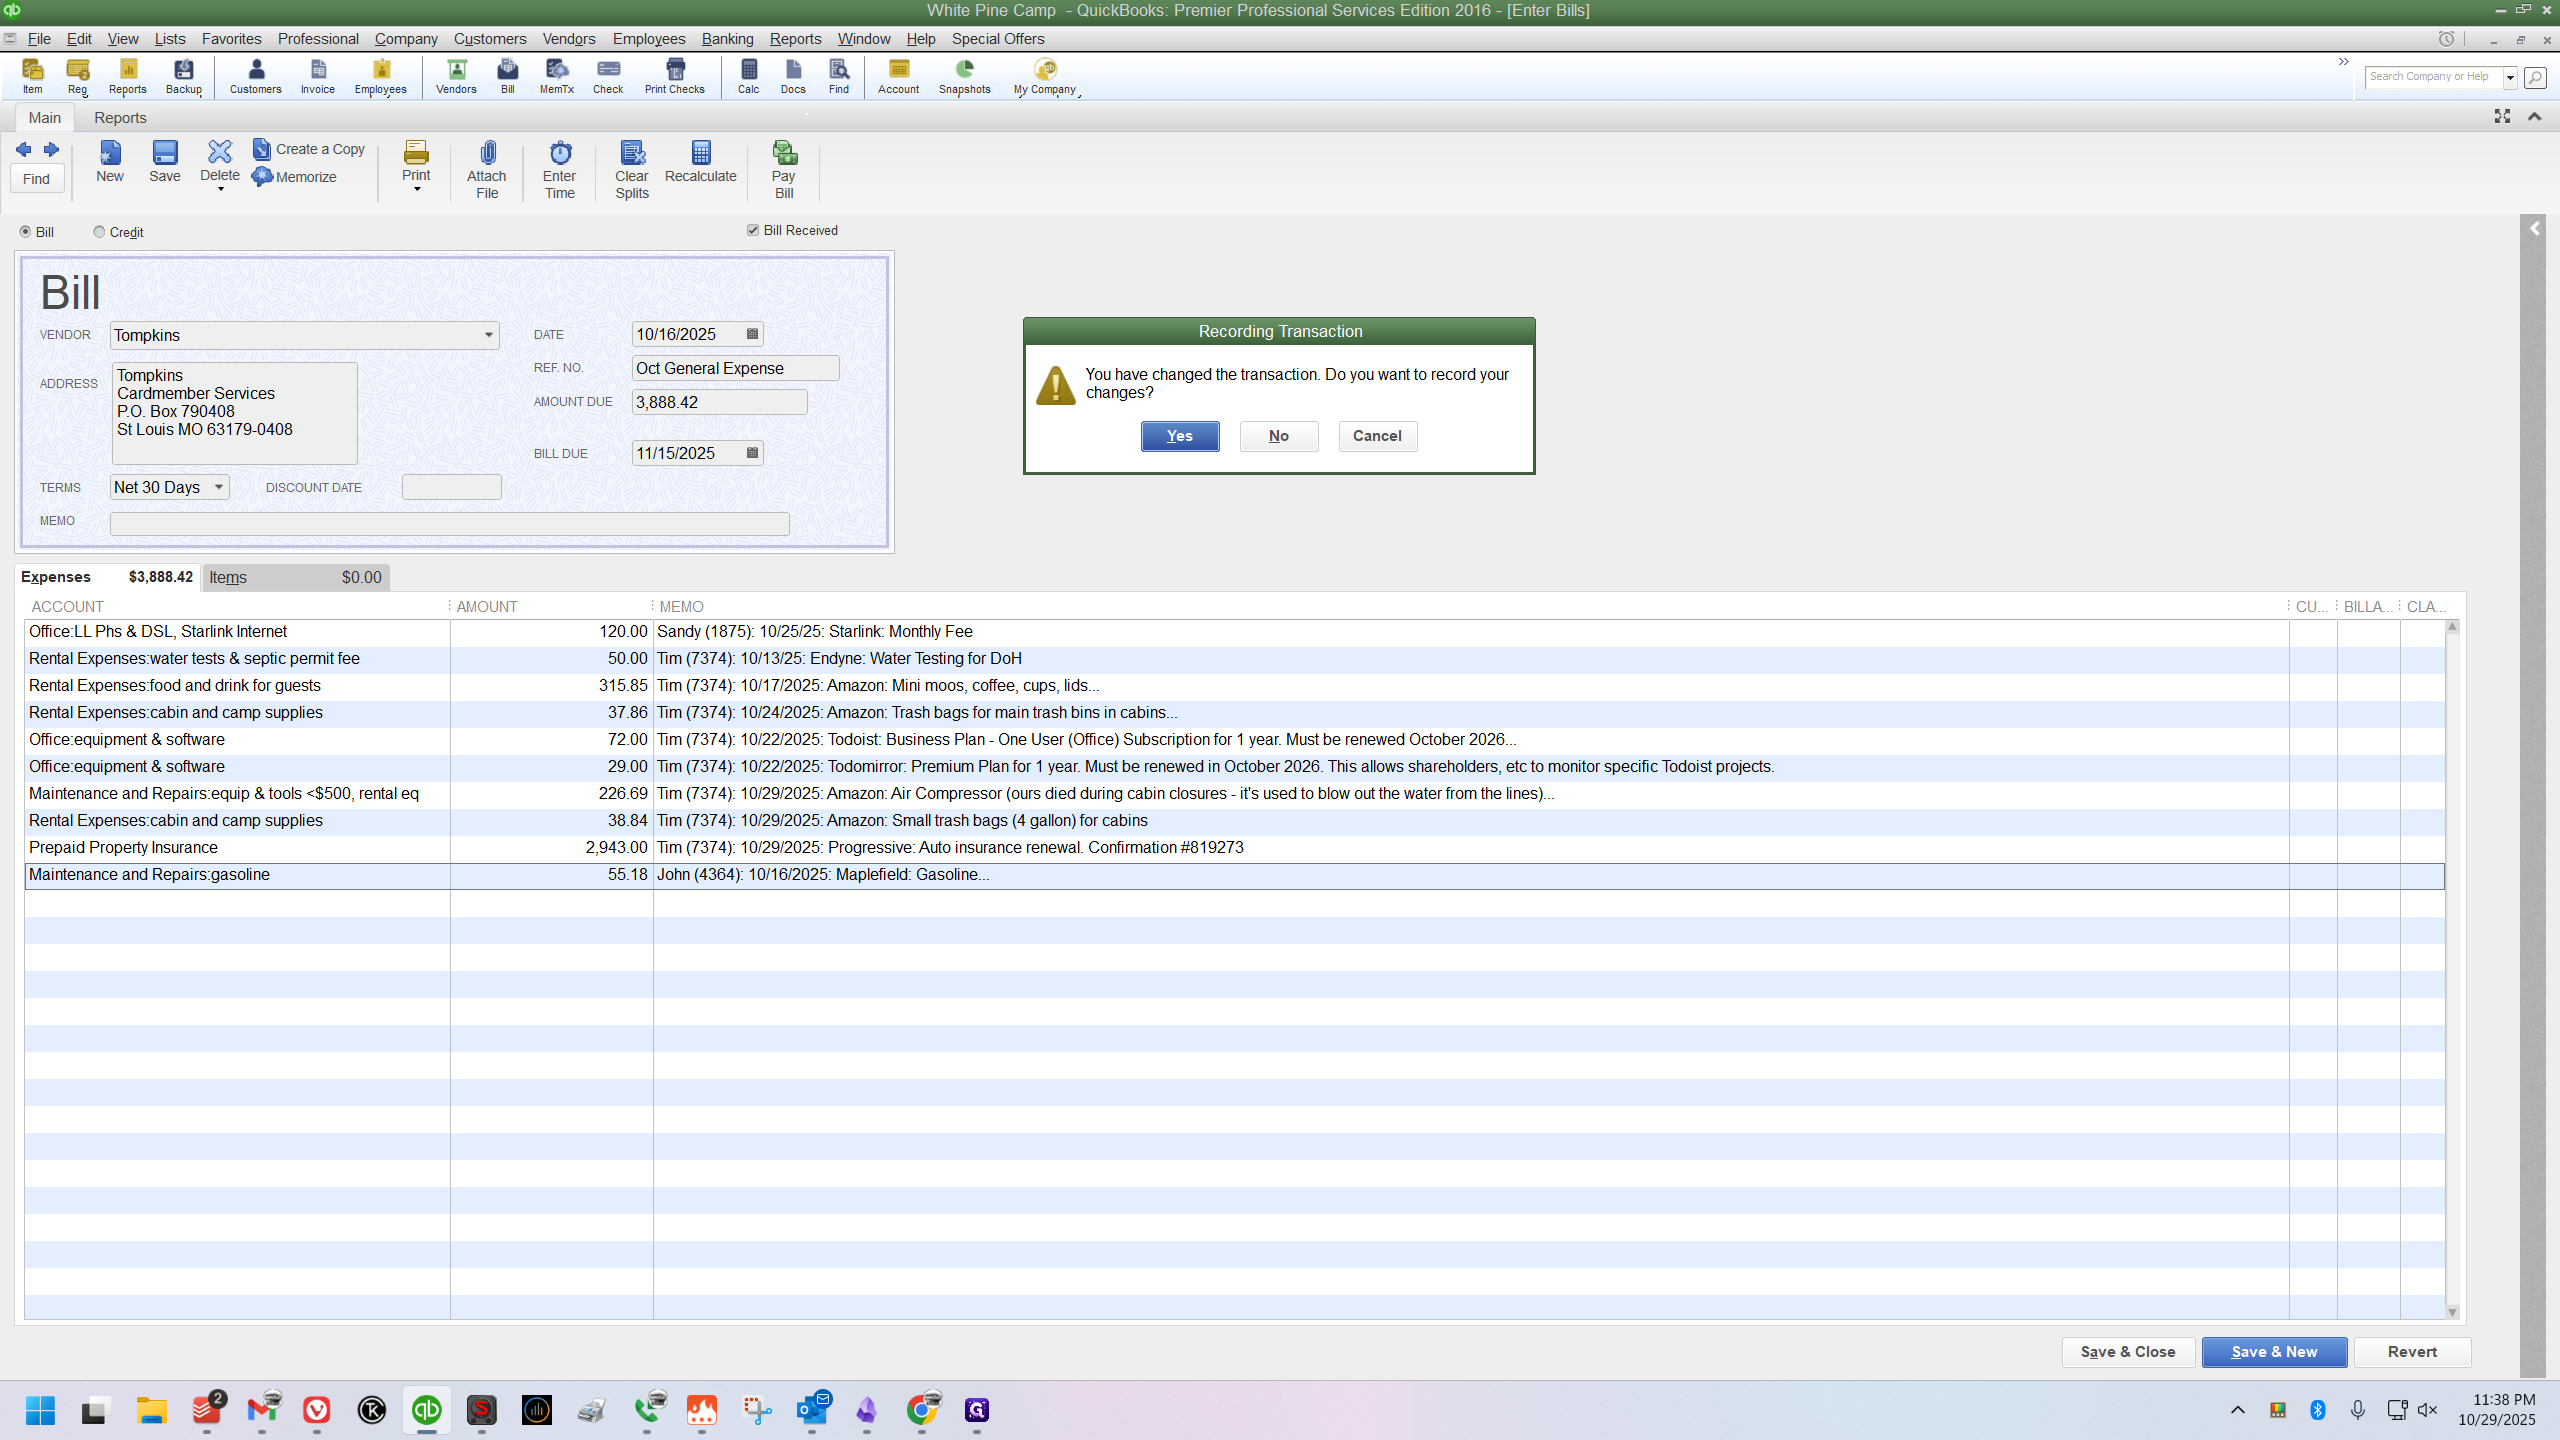
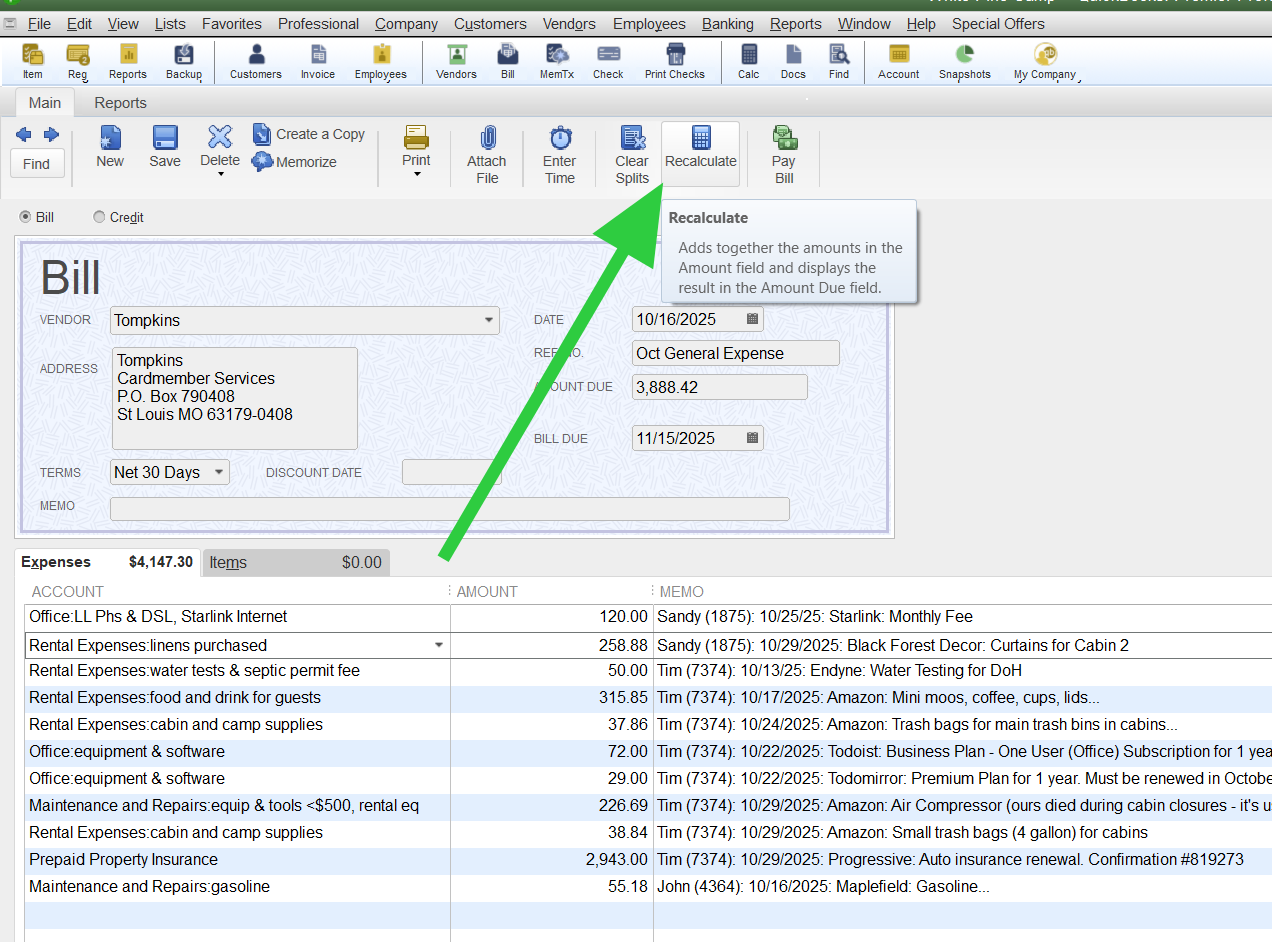
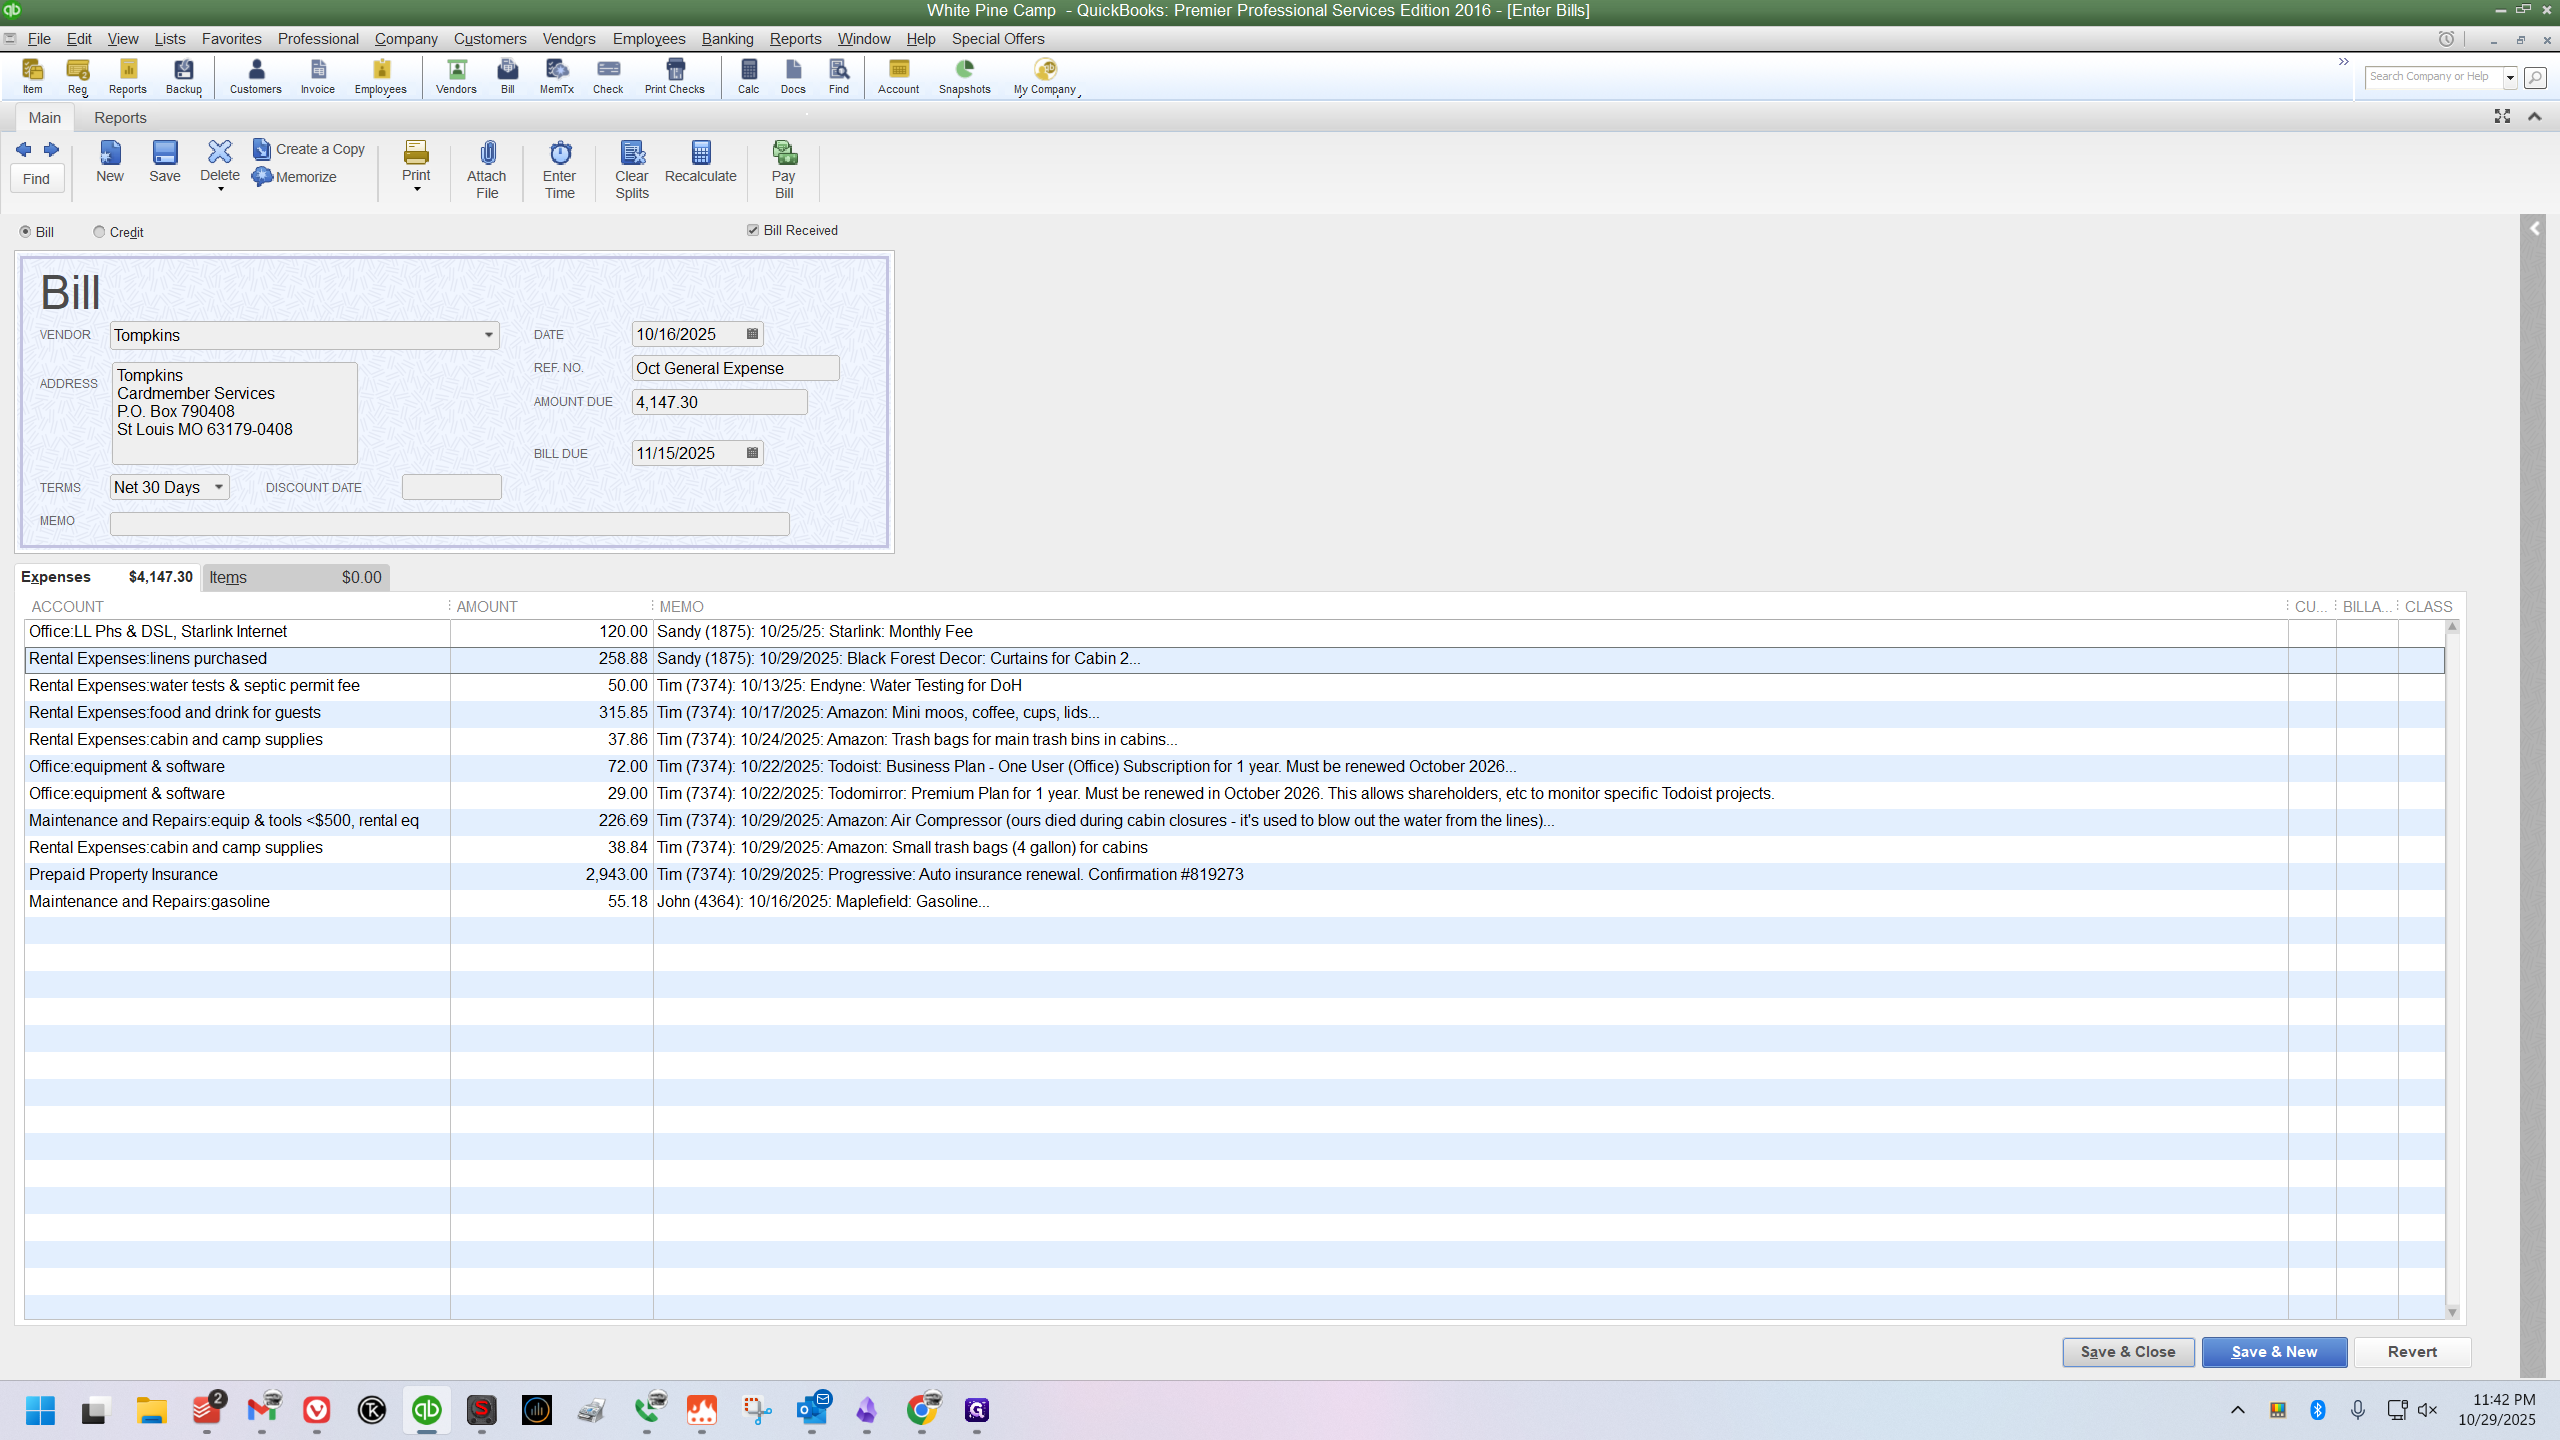
Then I need to click Recalculate, then Save and Close.
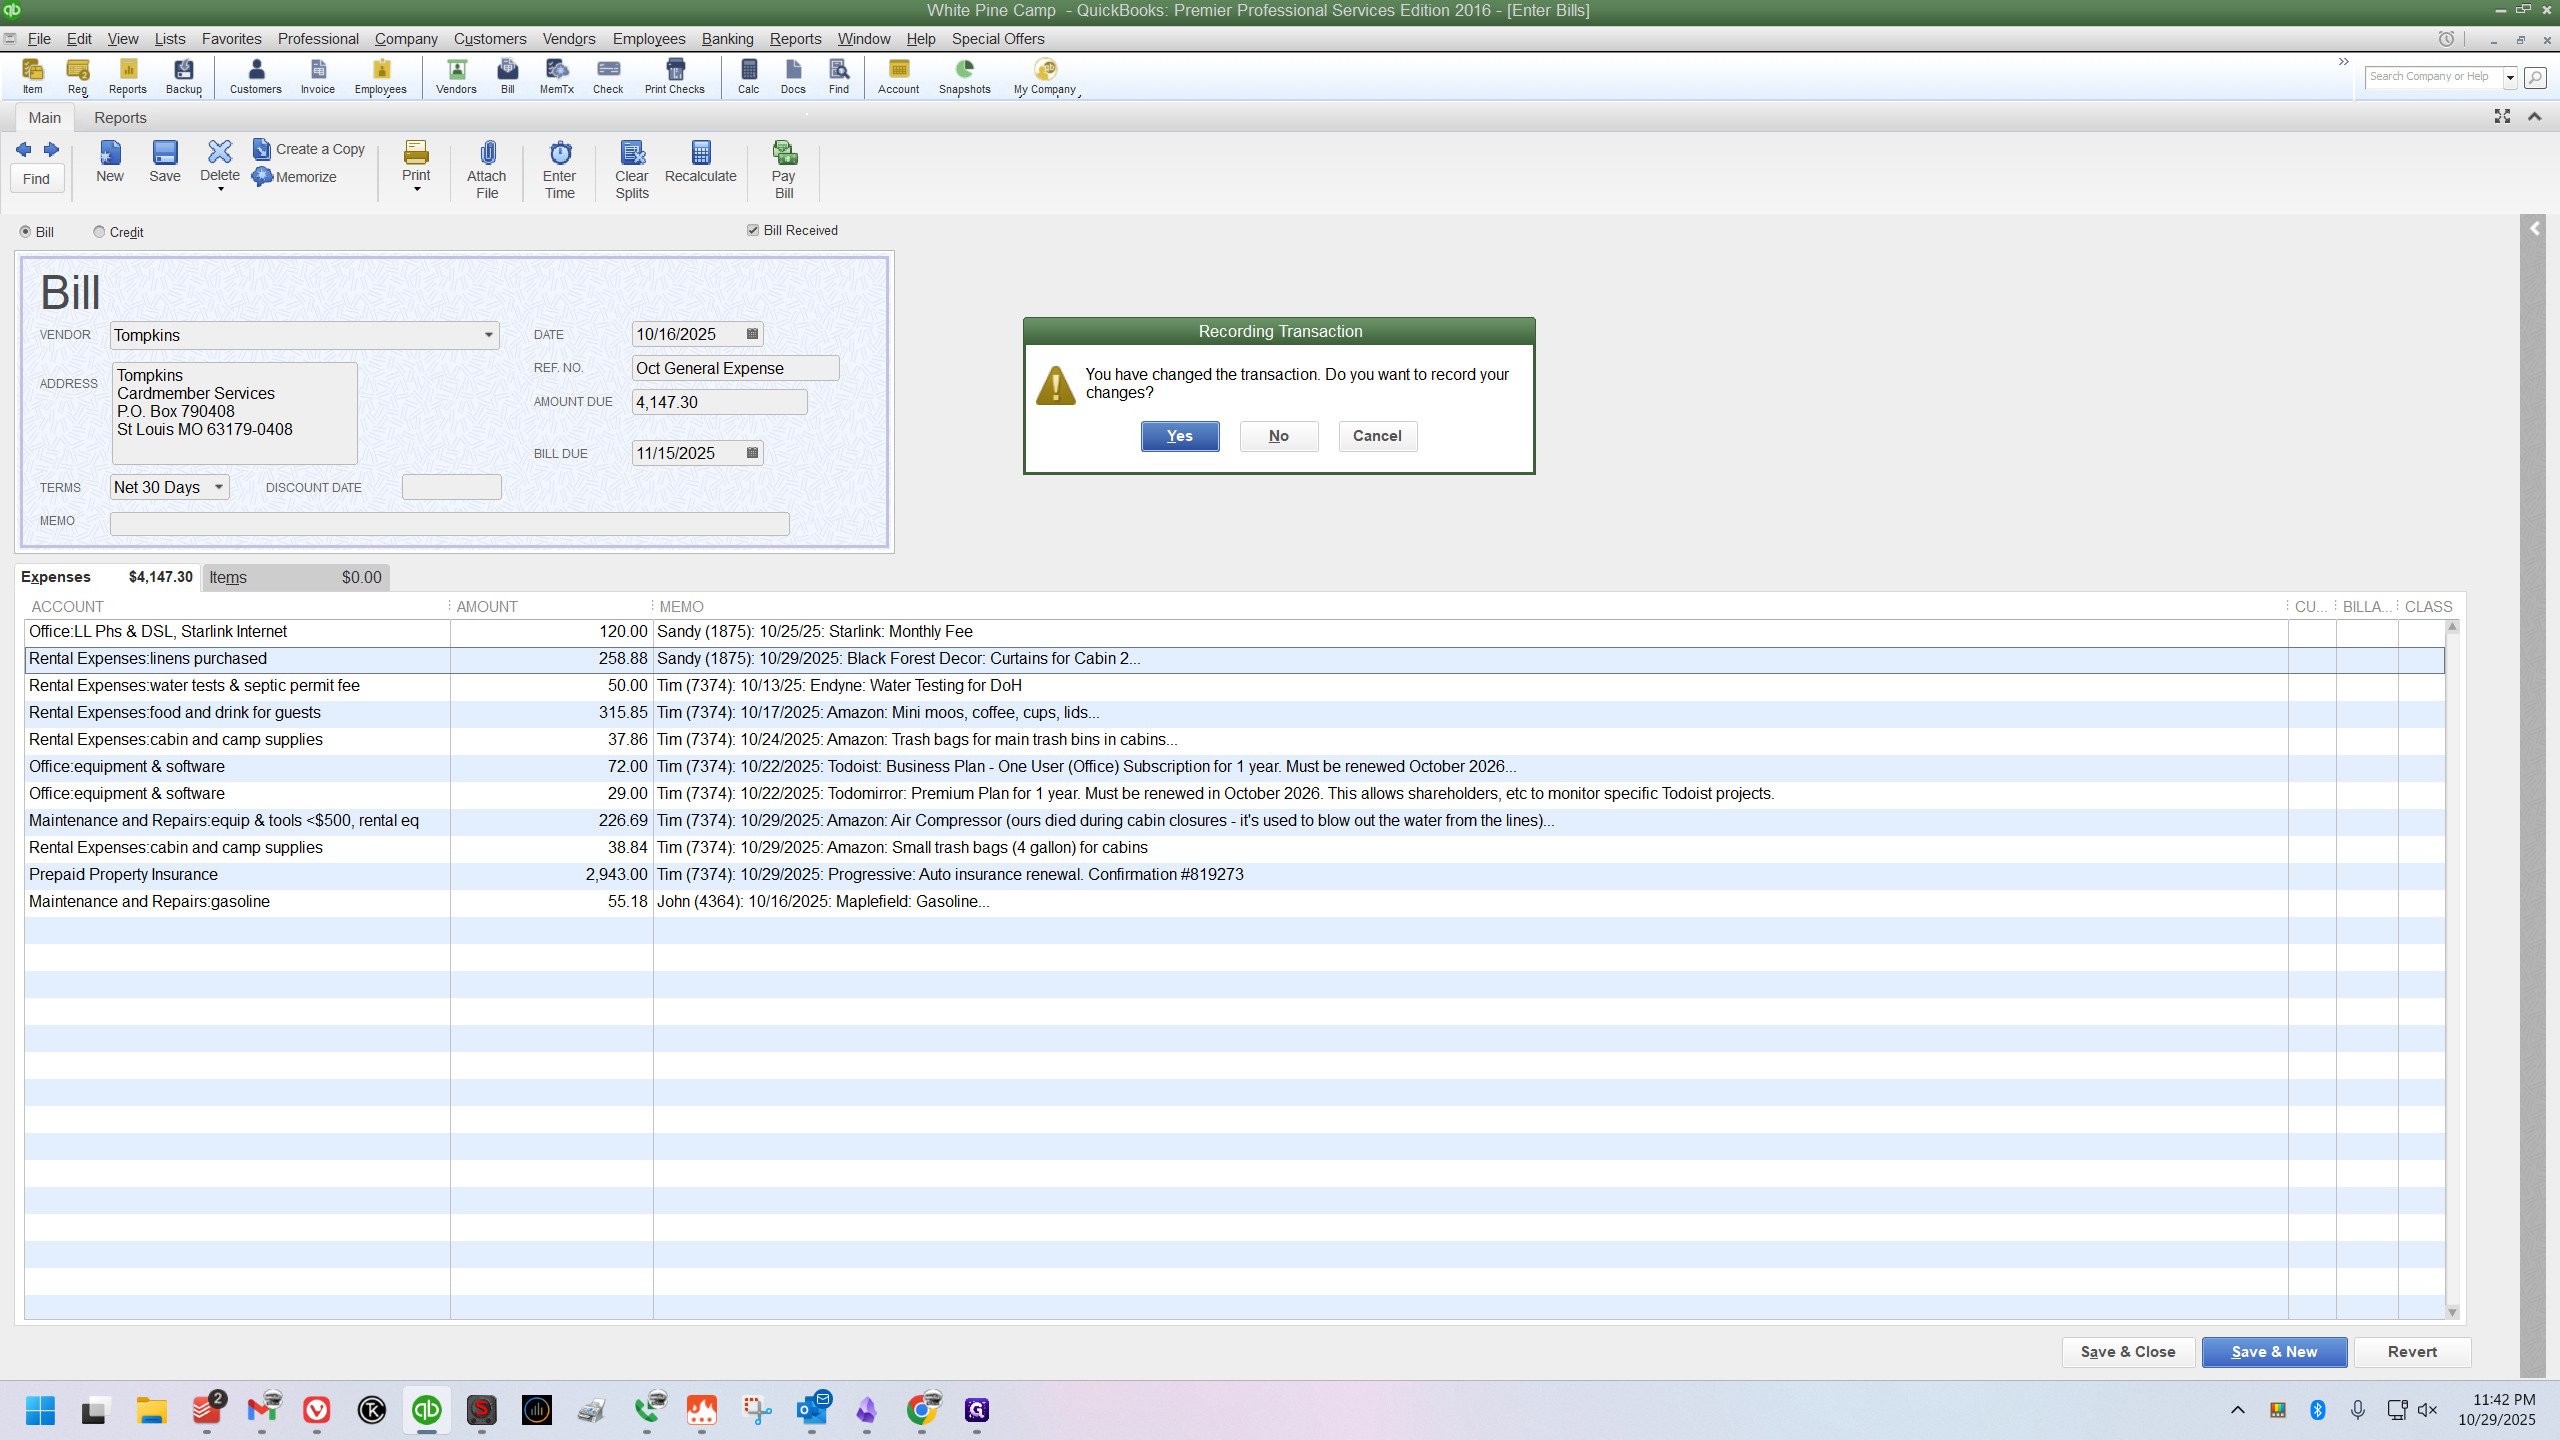
It will notify me that I have changed the transaction and ask if I want to save my changes.
Example 2: Inserting a Charge Into a Group
I'm going to pull the bill back up.
This is for curtains that Sandy bought on October 29th. I'll scan the bill again and locate Sandy's group. She currently has only one entry, which is at the top of the bill. It's a receipt from October 25th, and this new one is from the 29th. I need to insert this new receipt between her last entered charge and the first charge of the next person. To do this, click on the line below where you want this one to appear, which is also the first line of the next person's group, which is mine.

Now, I'll go to the top menu bar, click Edit, and select Insert Line.
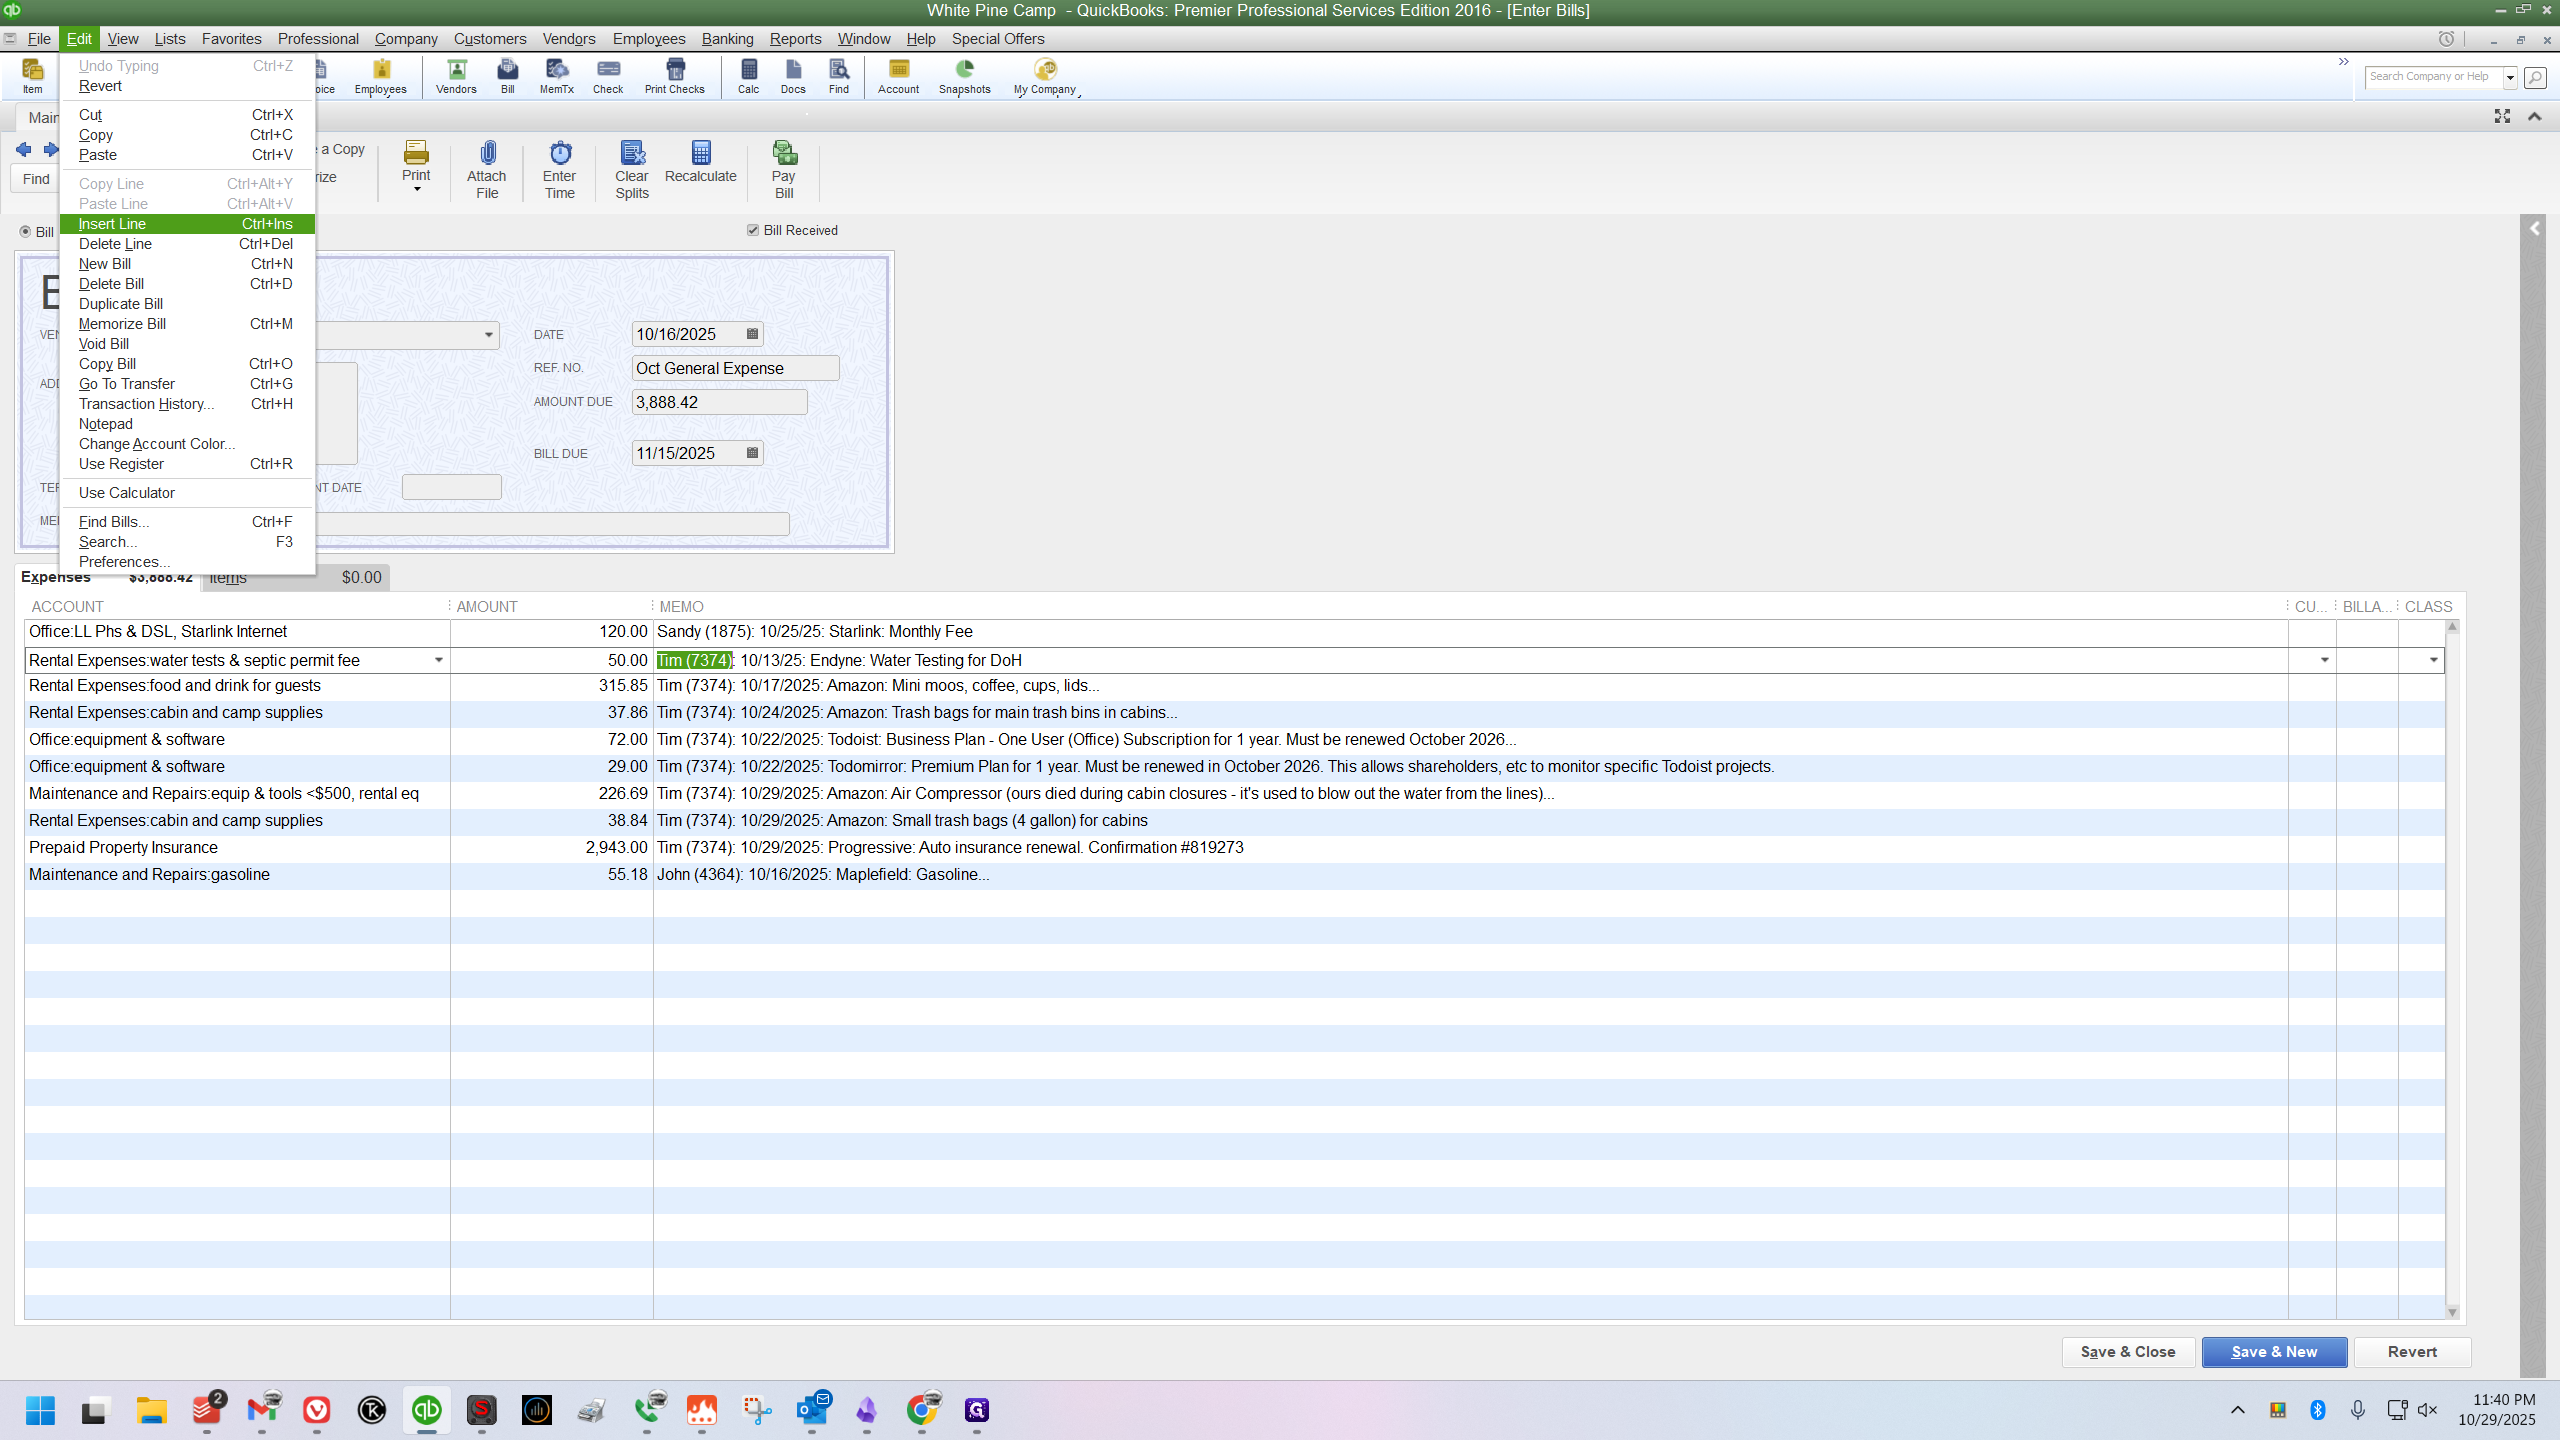
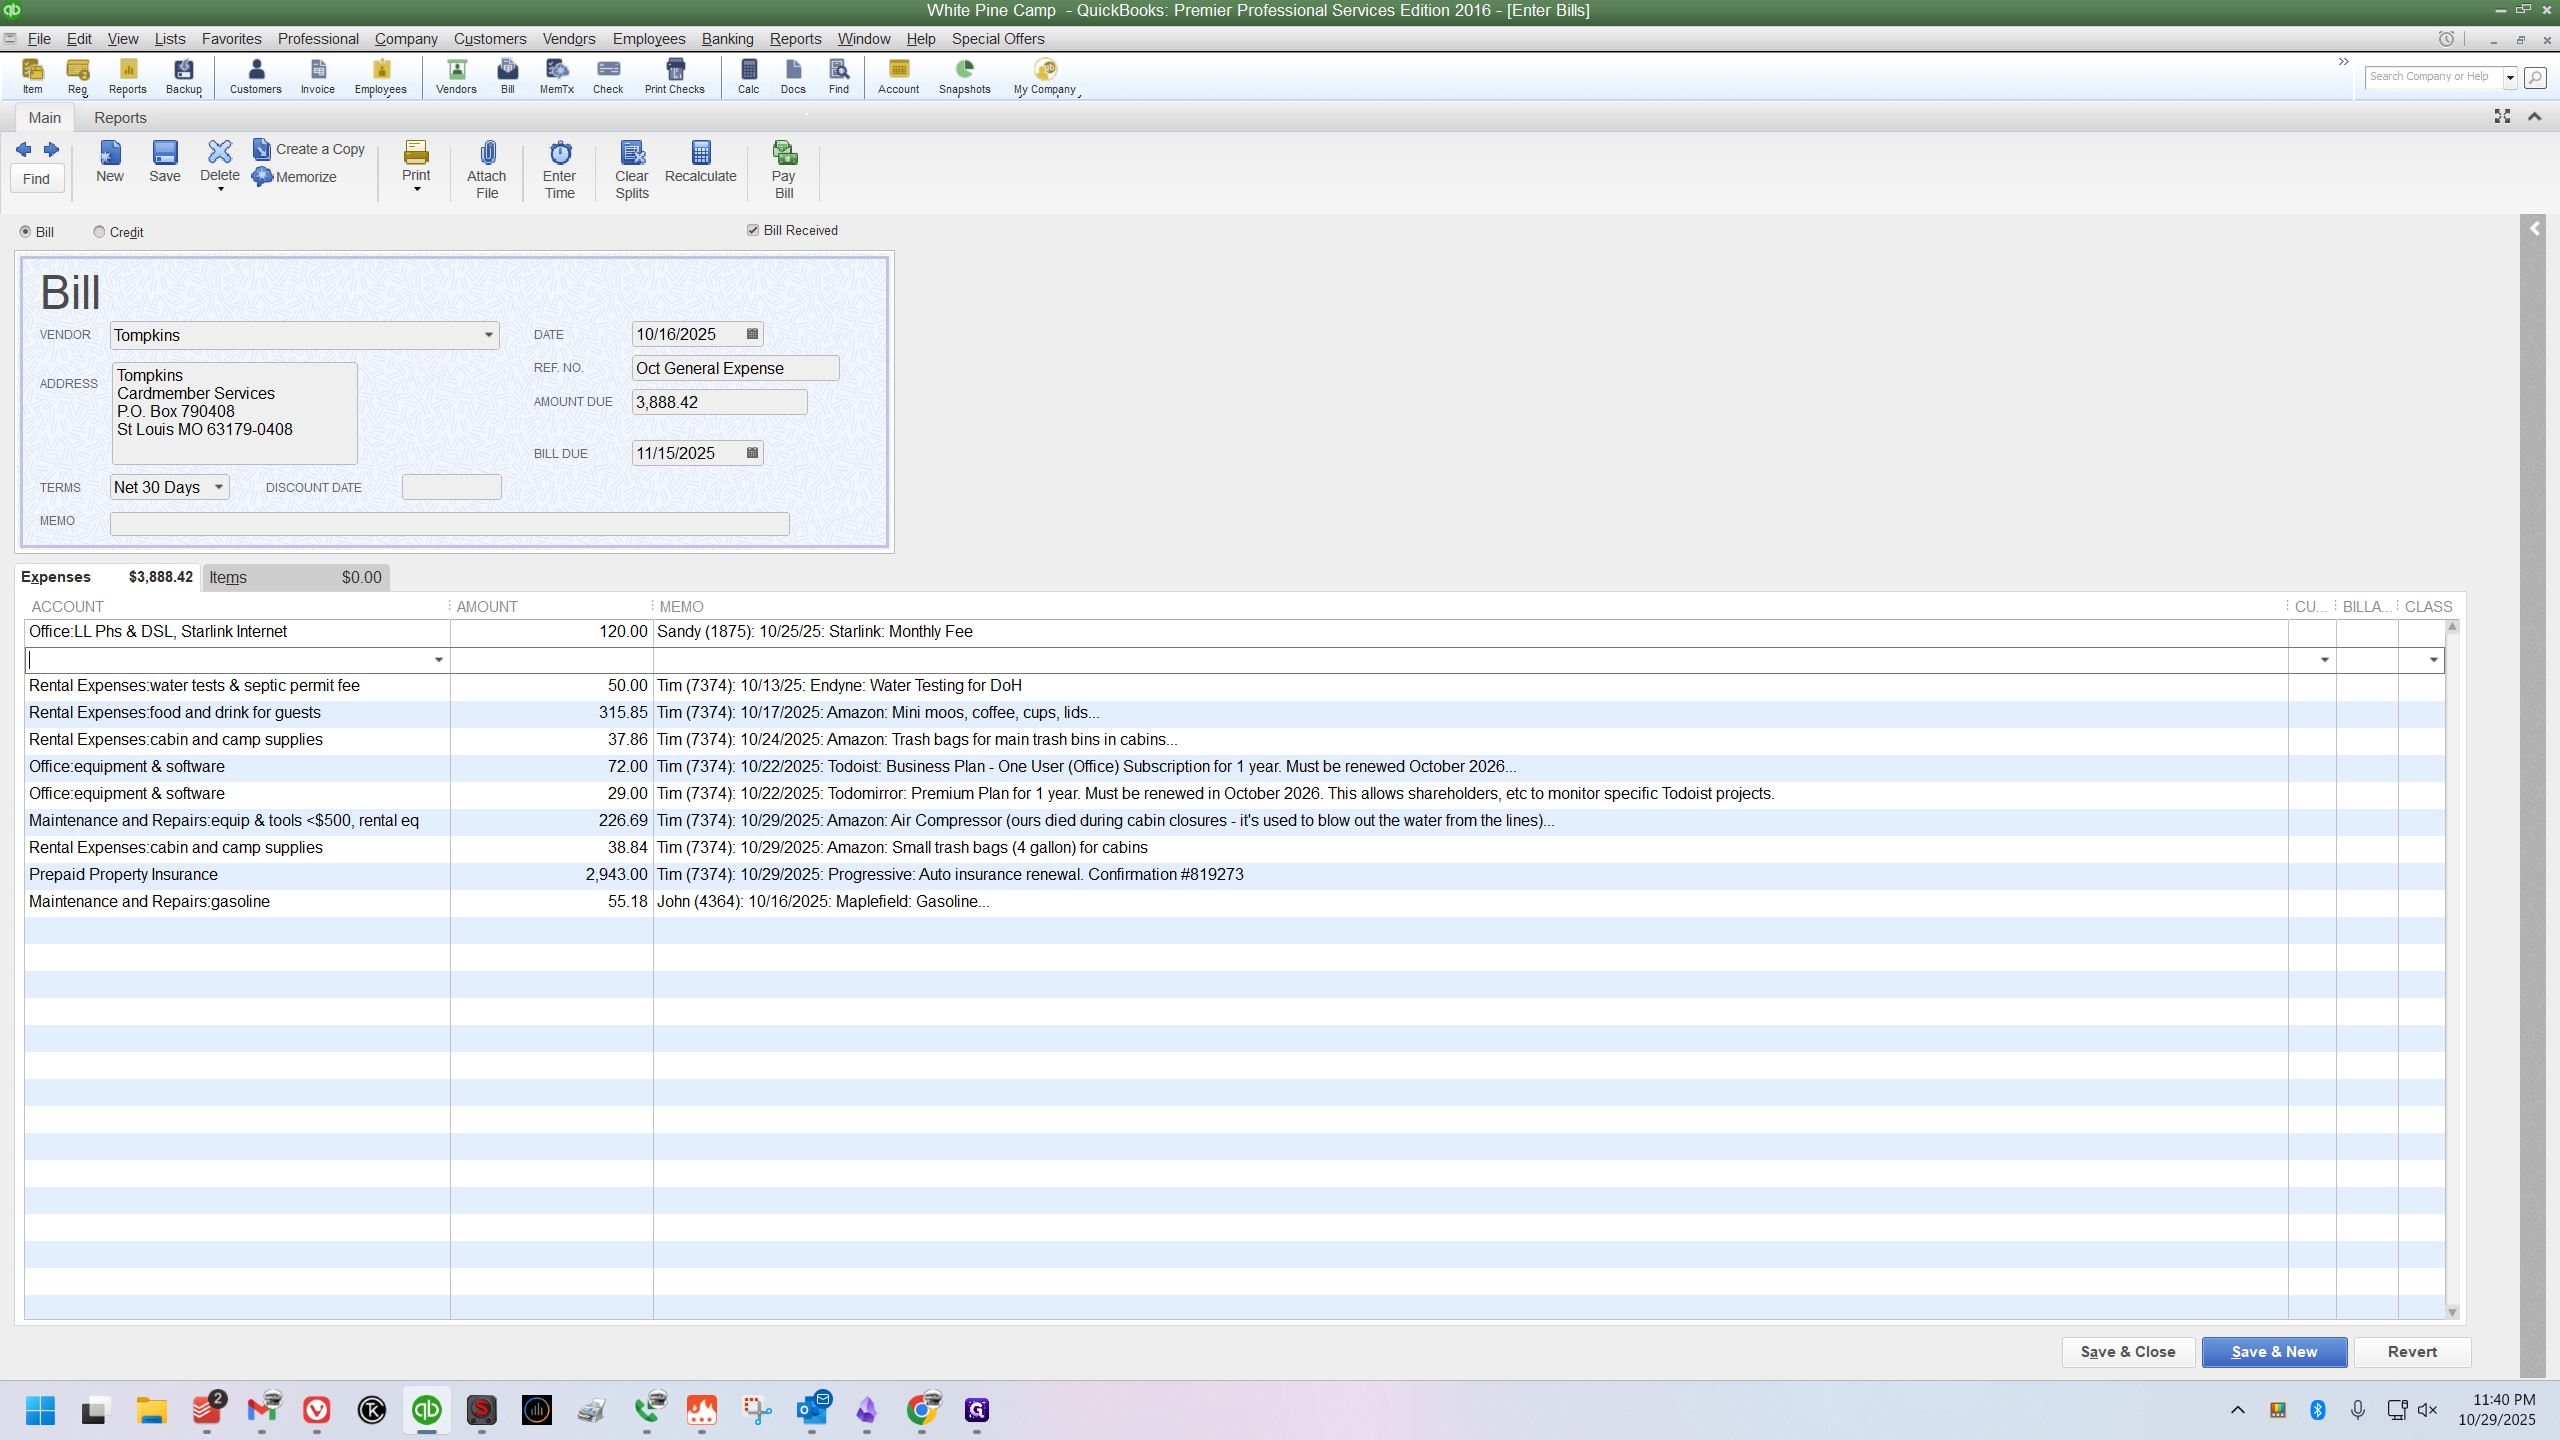
A new blank line appears exactly where you need it.
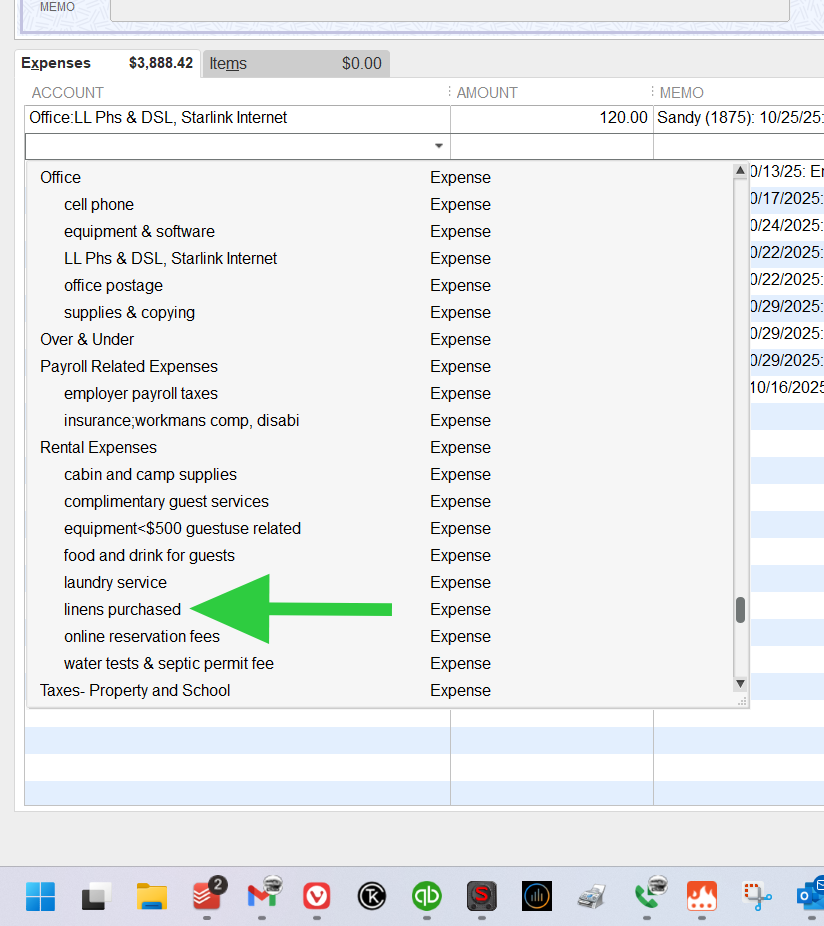
Now I repeat the same process as before. I click the Account field and make a selection.
For curtains, I'll choose the "linens purchased" sub-account of Rental Expenses.
Next, click the Amount field and enter the amount.
Next, I’ll click into the Memo field and type /cce, which stands for Credit Card Entry. This activates the snippet. Then, I’ll select Sandy’s name from the dropdown.


I will make sure the date matches the date on the receipt I am entering.

The item was purchased from Black Forest Decor.
"Curtains for Cabin 2" were purchased, so I'll type that as my memo and click Insert.
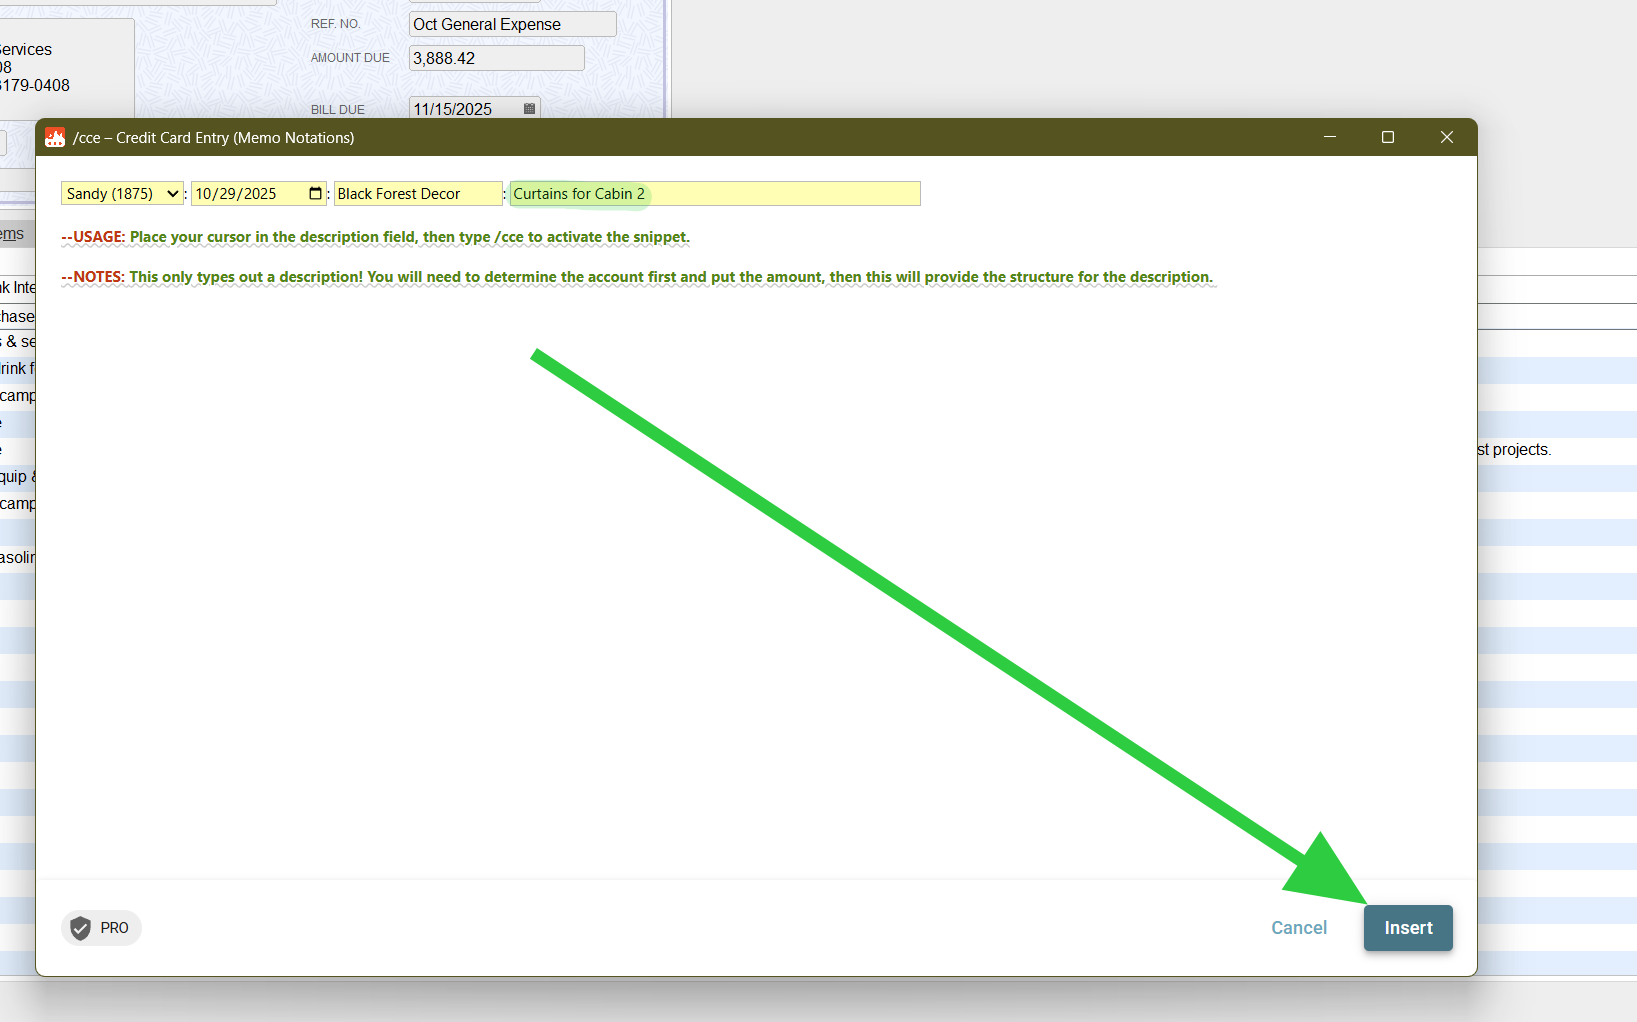
Just like that, it types out the full memo notation.
Now, click the Recalculate button, then select Save and Close.
That's it. The process is simple if you follow the sorting rule and keep everything grouped by person and date.