How to Add Rosters in FlowPoint Using Google Sheets or CSV
Learn step-by-step how to add student rosters in FlowPoint using Google Sheets or CSV files. This guide covers connecting Google Drive, importing data, and best practices for managing your class roster efficiently.
In this guide, we'll learn how to add student rosters to FlowPoint using Google Sheets and CSV files. These methods help you enter or import student information efficiently, whether you are starting from scratch or already have your data prepared elsewhere.
We will cover how to use the Google Sheets integration for direct entry and how to upload a CSV file if your roster is already organized. This will help you keep your class lists updated and accurate in FlowPoint.
Google Sheets
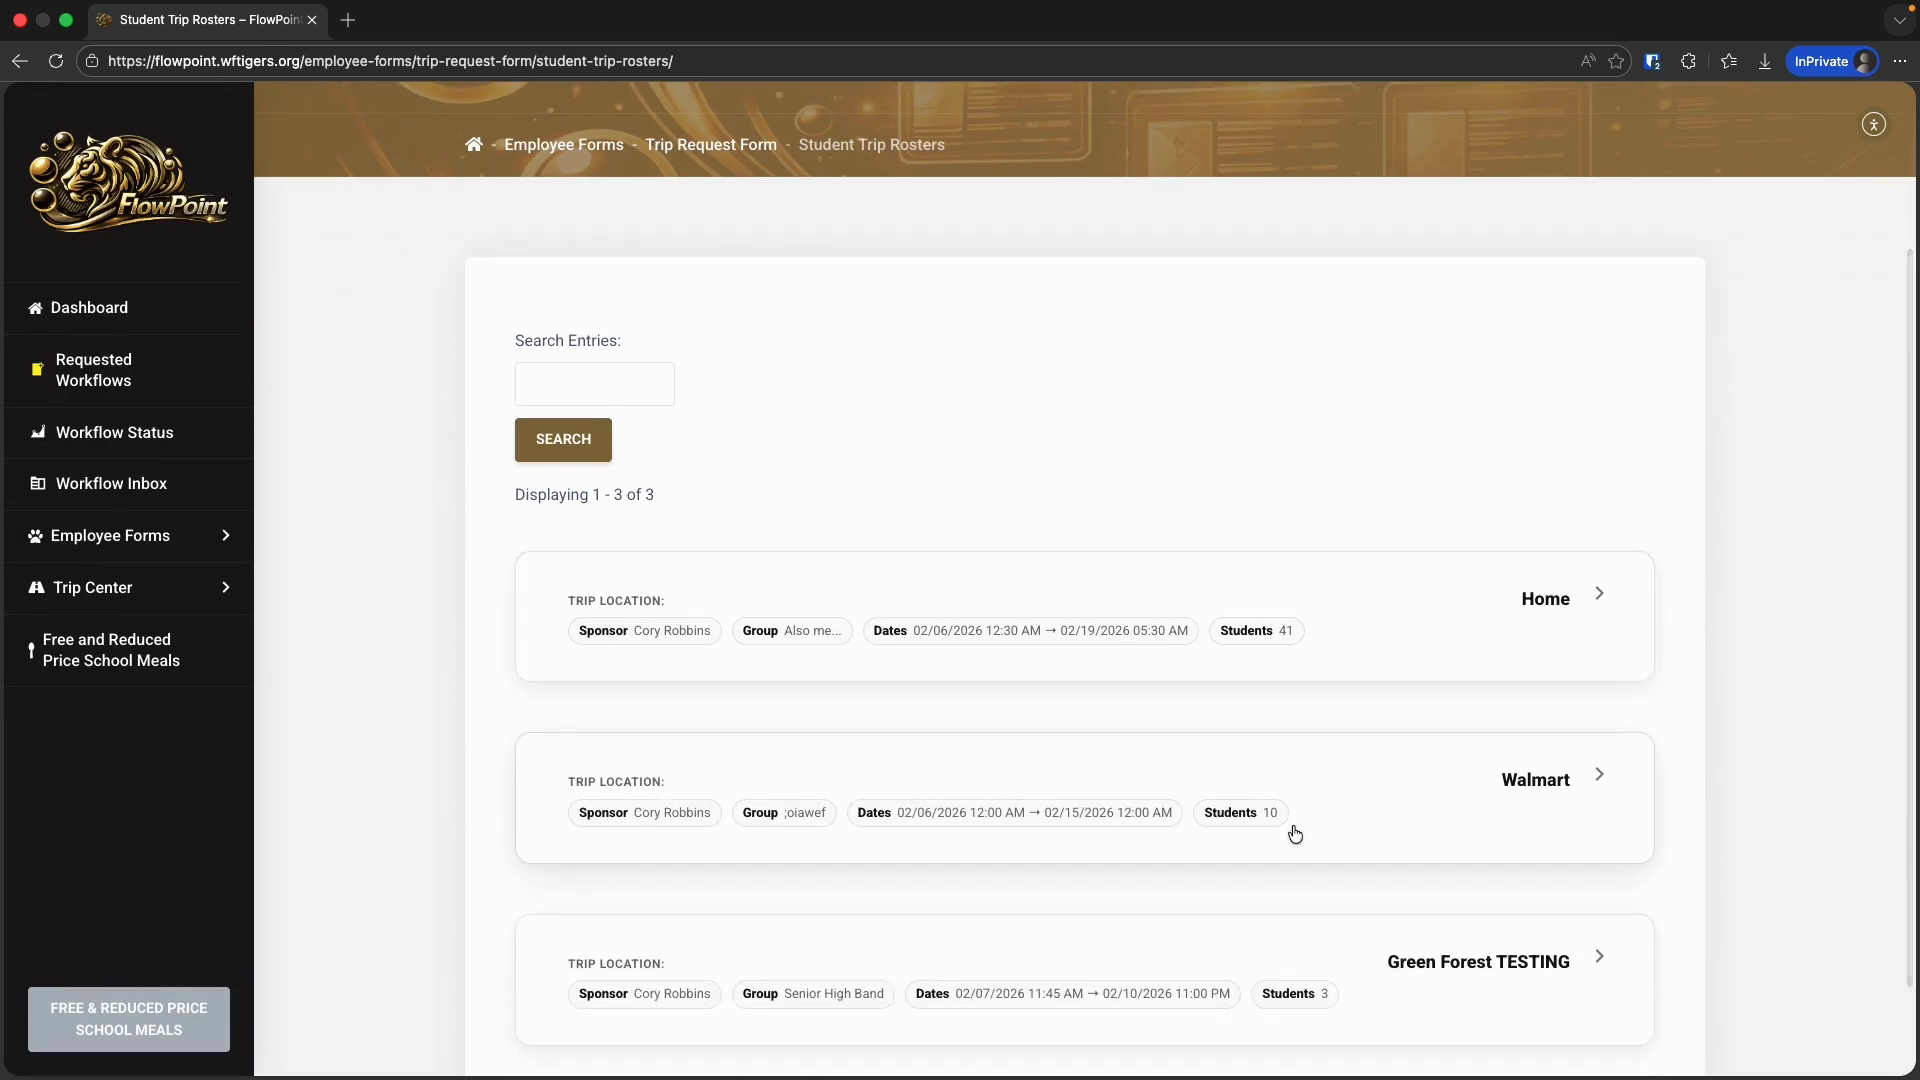
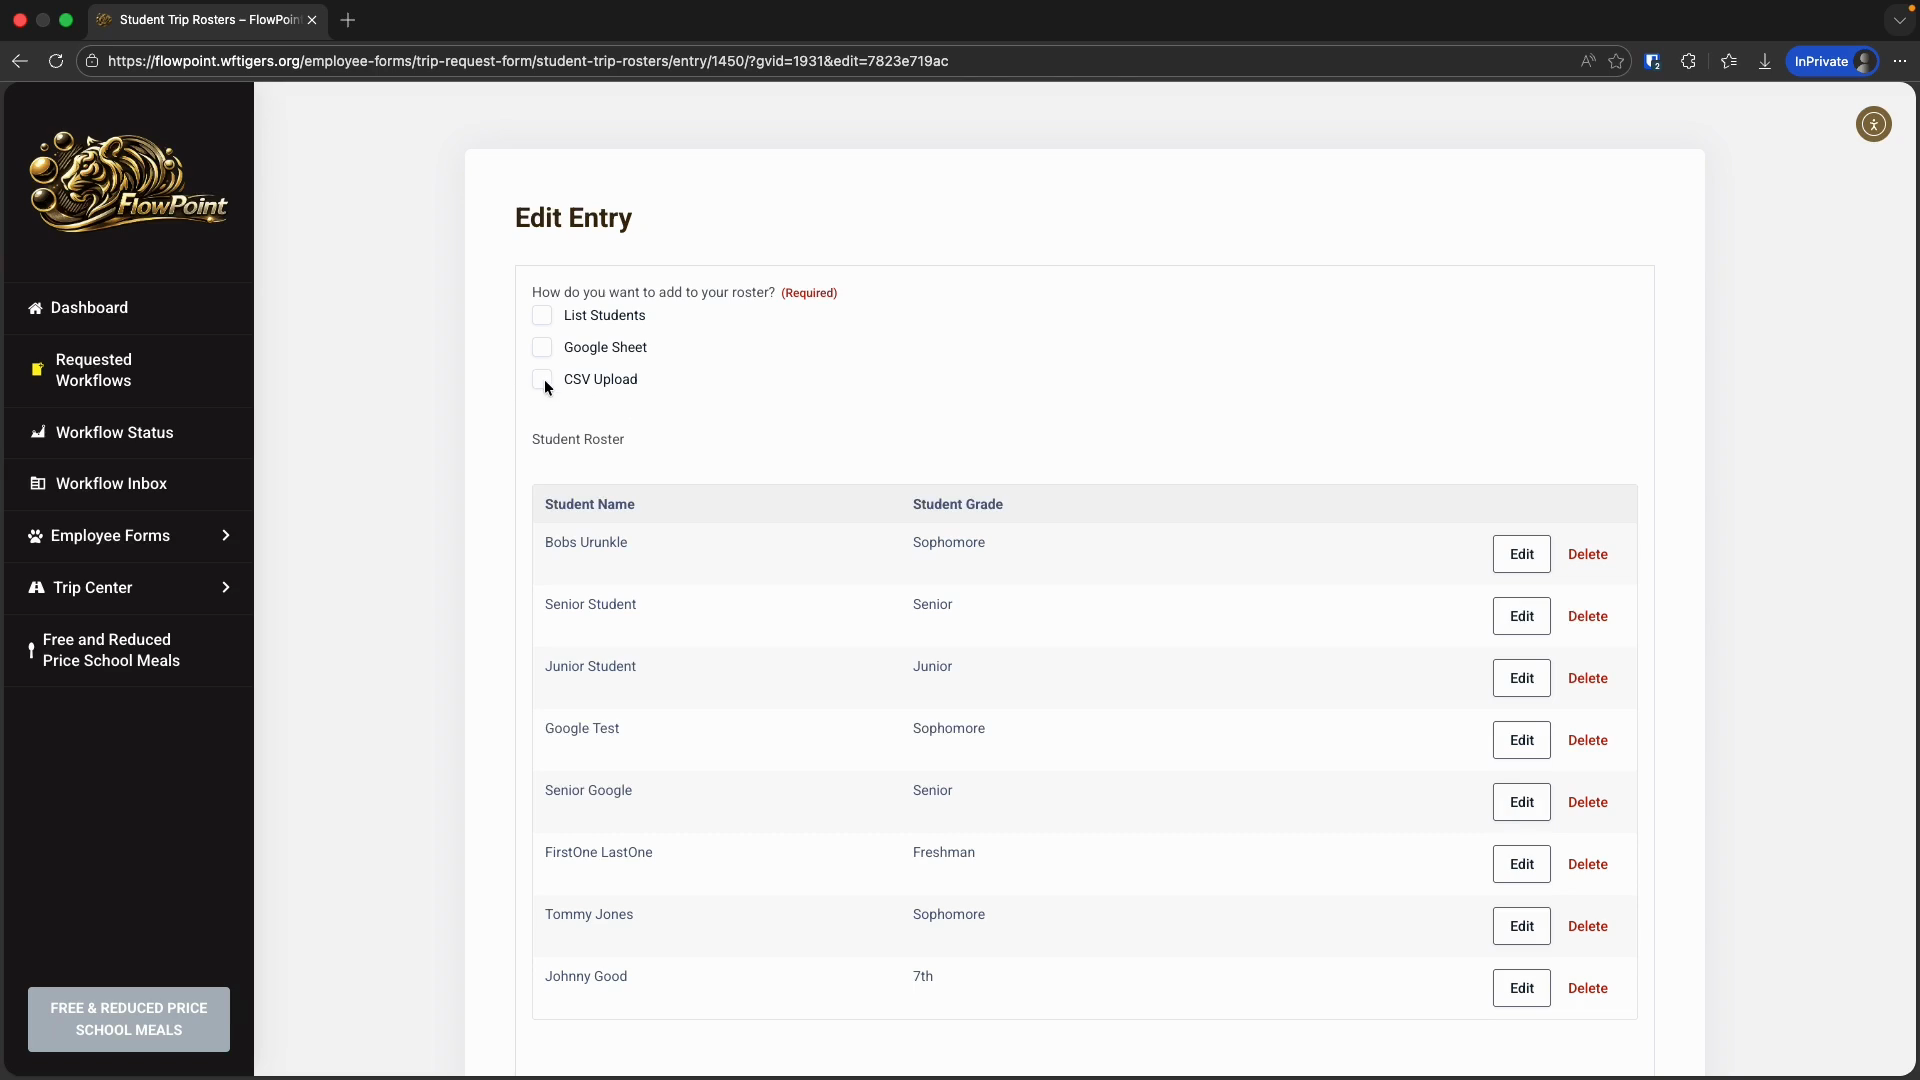
These two rostering methods are for people who already have their rosters set up or want a different way to enter the information. We will start with the Google Sheets option. First, open the roster edit view.
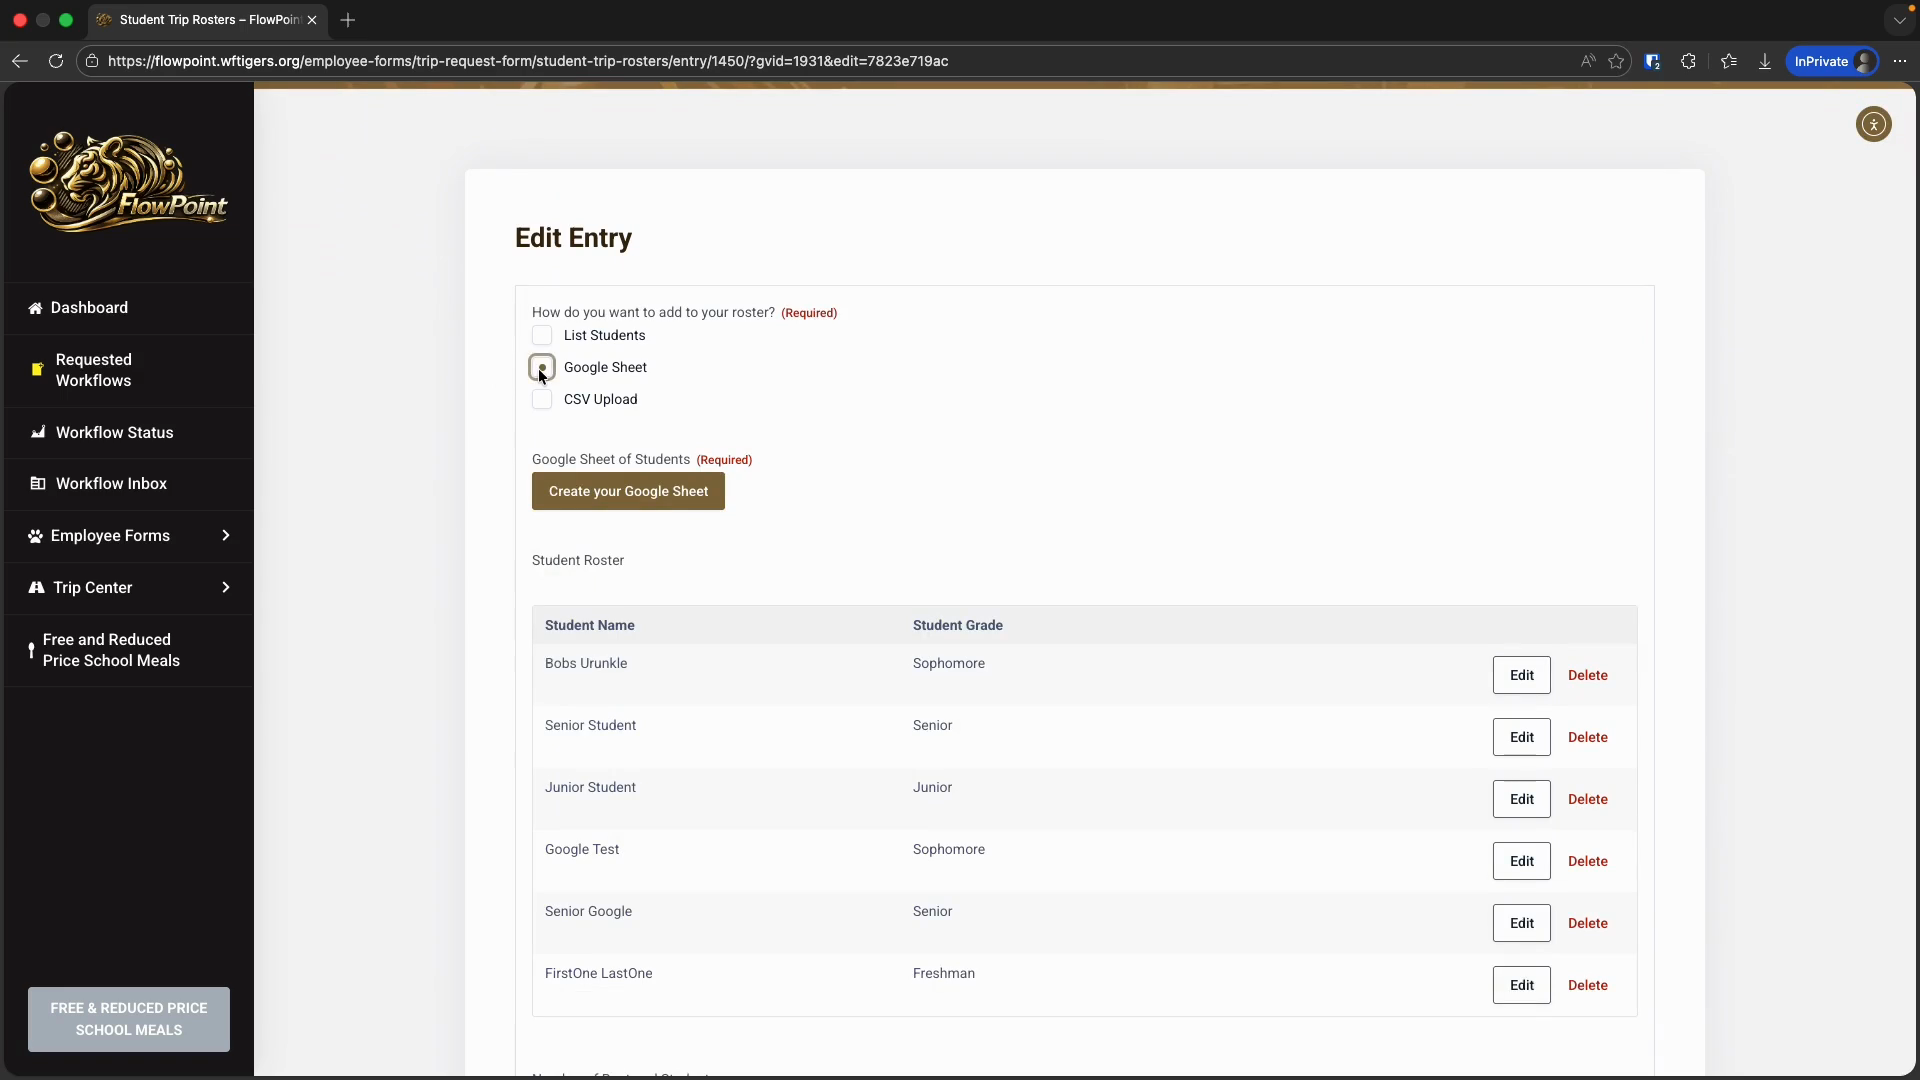
This displays a very fancy button. I'll click this special button to connect FlowPoint with Google Drive and to automatically create a rostering spreadsheet.
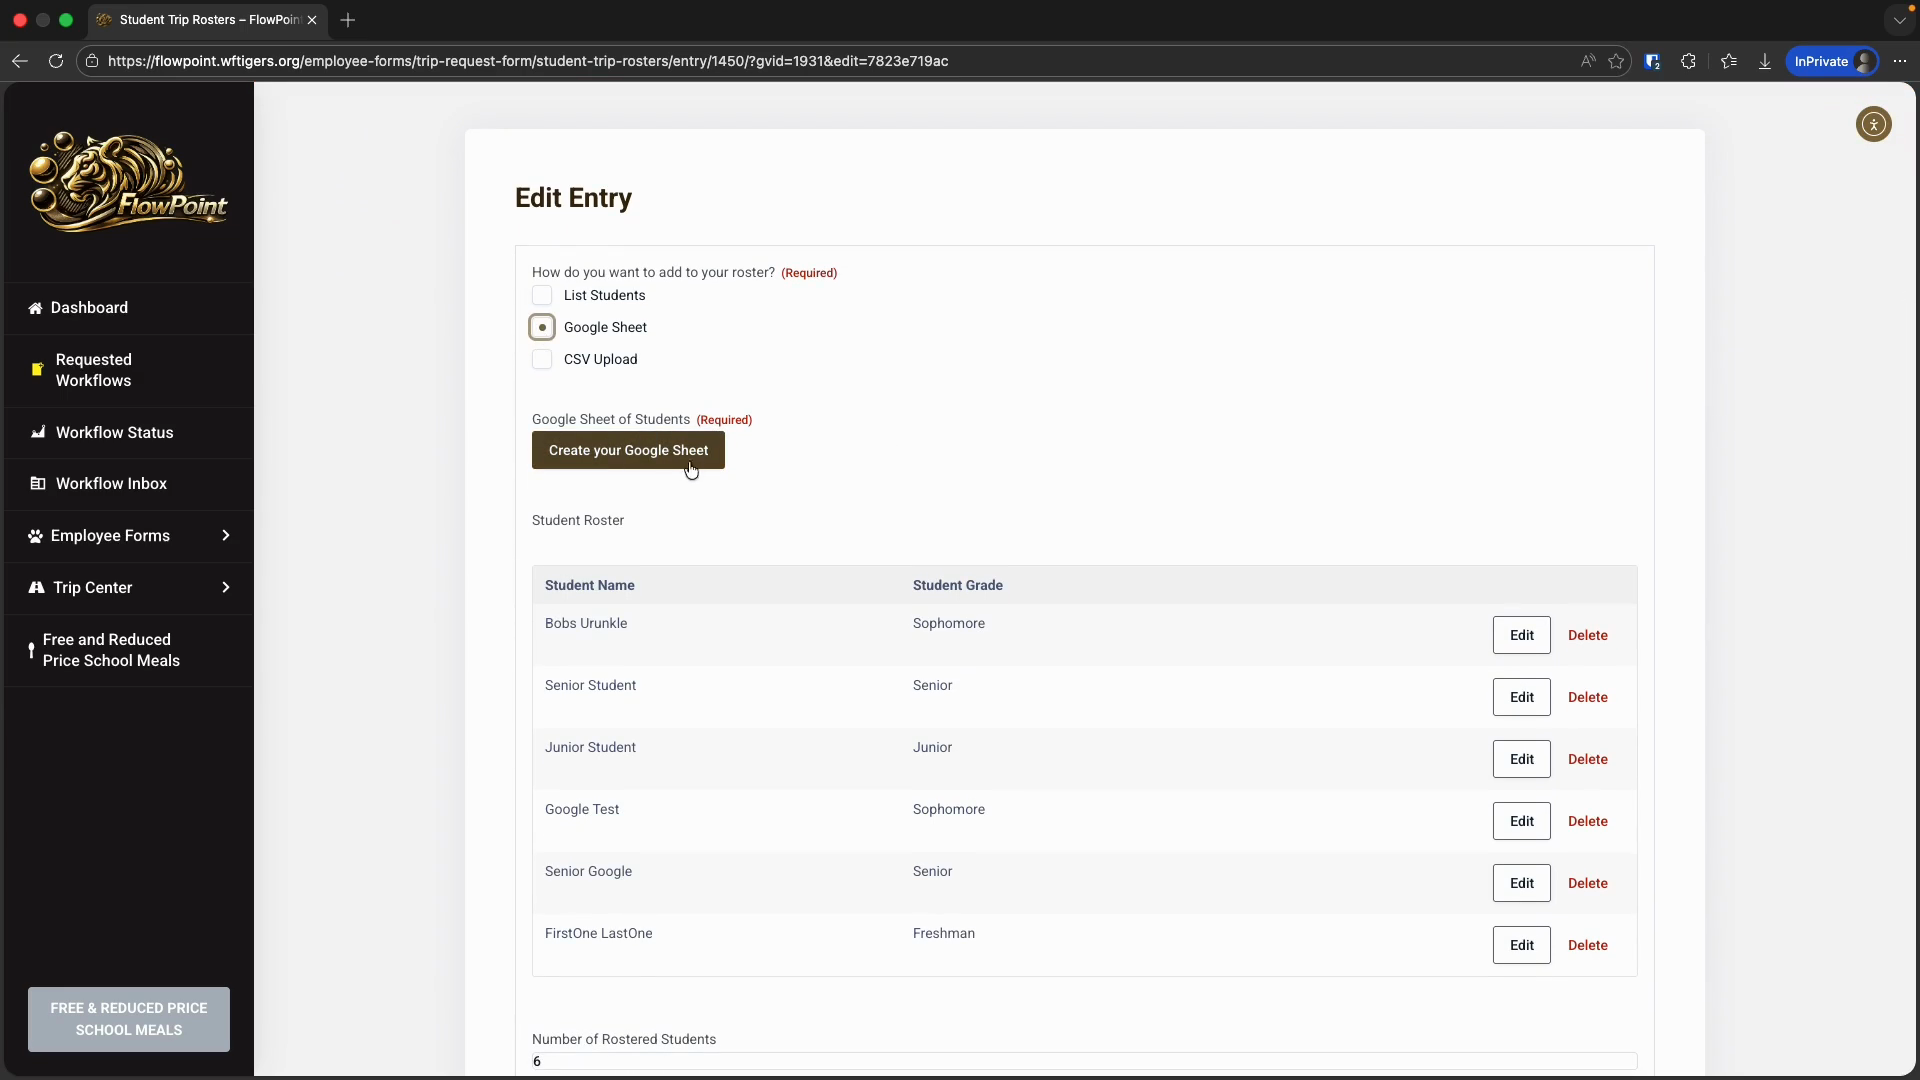
Wait a few seconds. Your button will appear dimmed, and you will see feedback on the button. It will first say "Creating sheet," and then "Sheet created" once the process is complete.

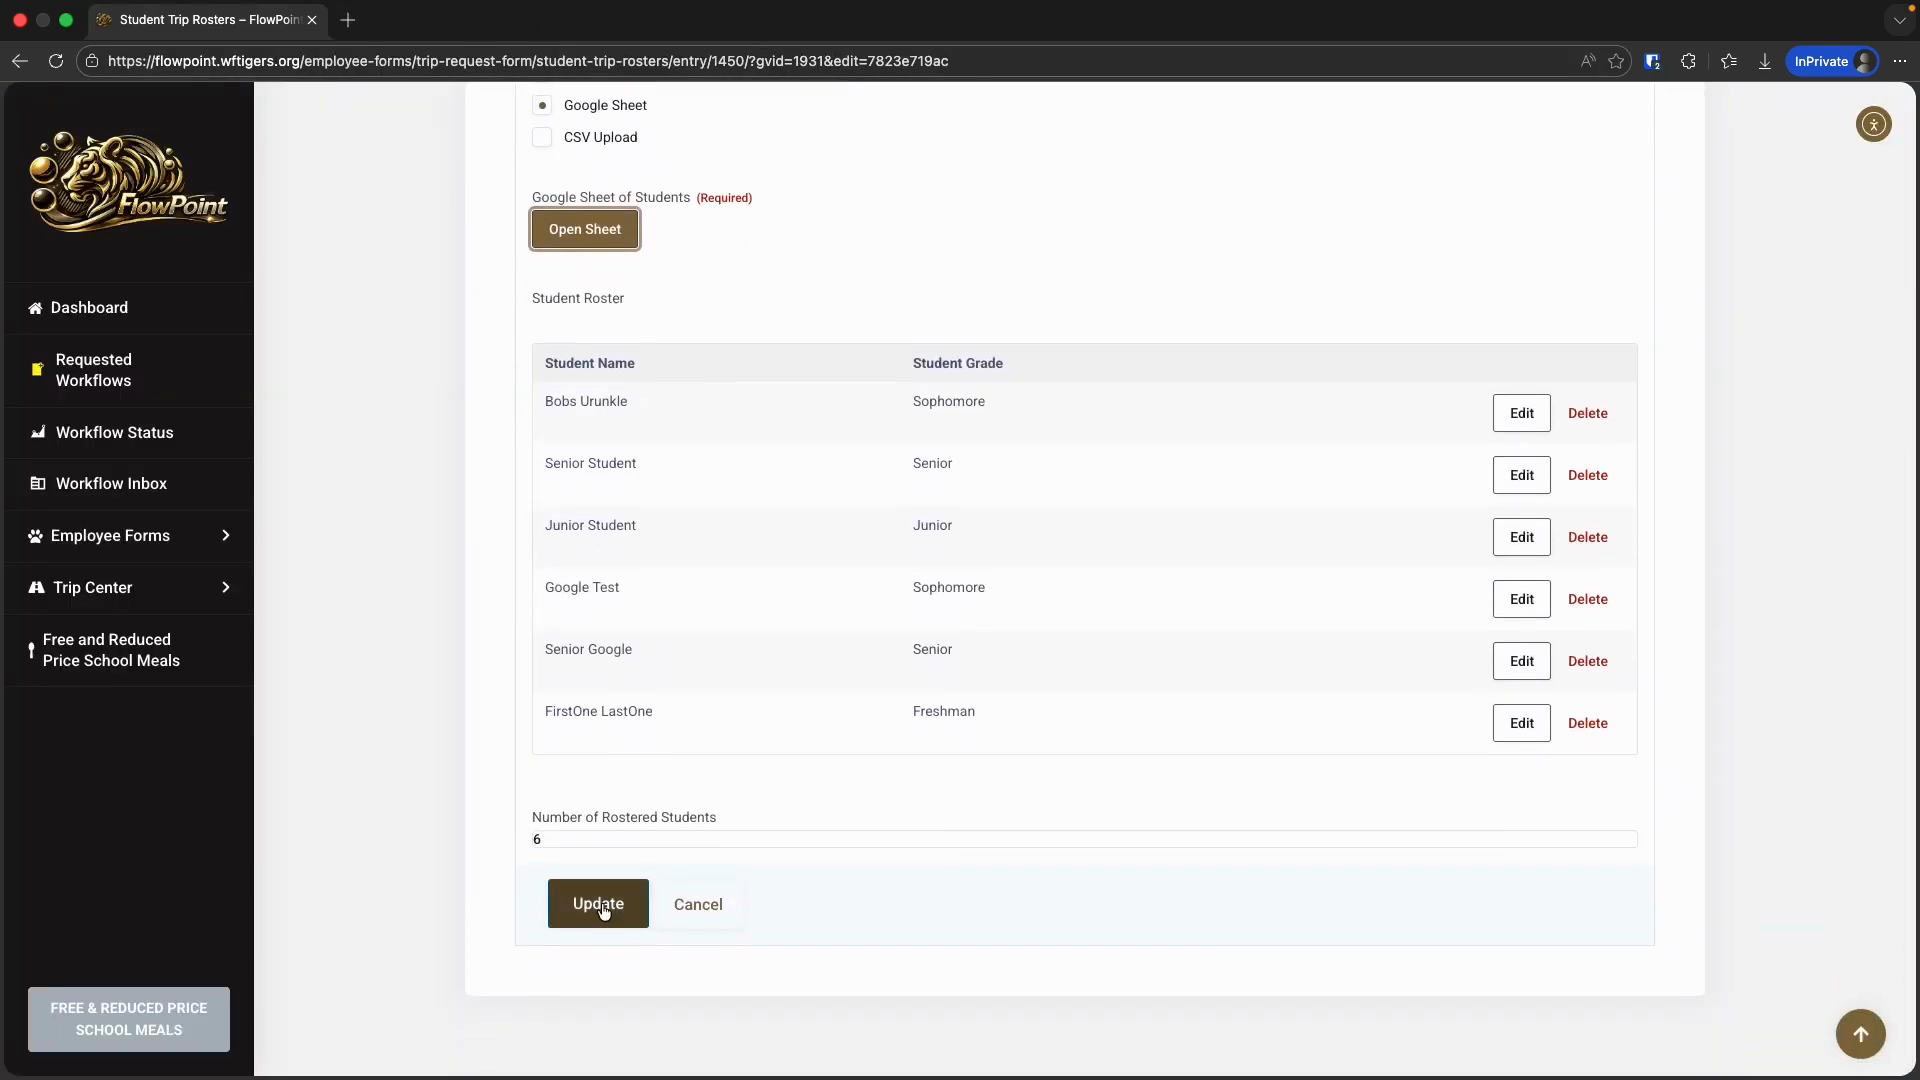
You will receive a share notification for a new sheet in your email, and the button will change to "Open sheet." I’ll click this button since it’s faster than checking my email. The link opens in a new tab, as all external links should. You won't lose your progress. It is very important that you do not close your FlowPoint tab.
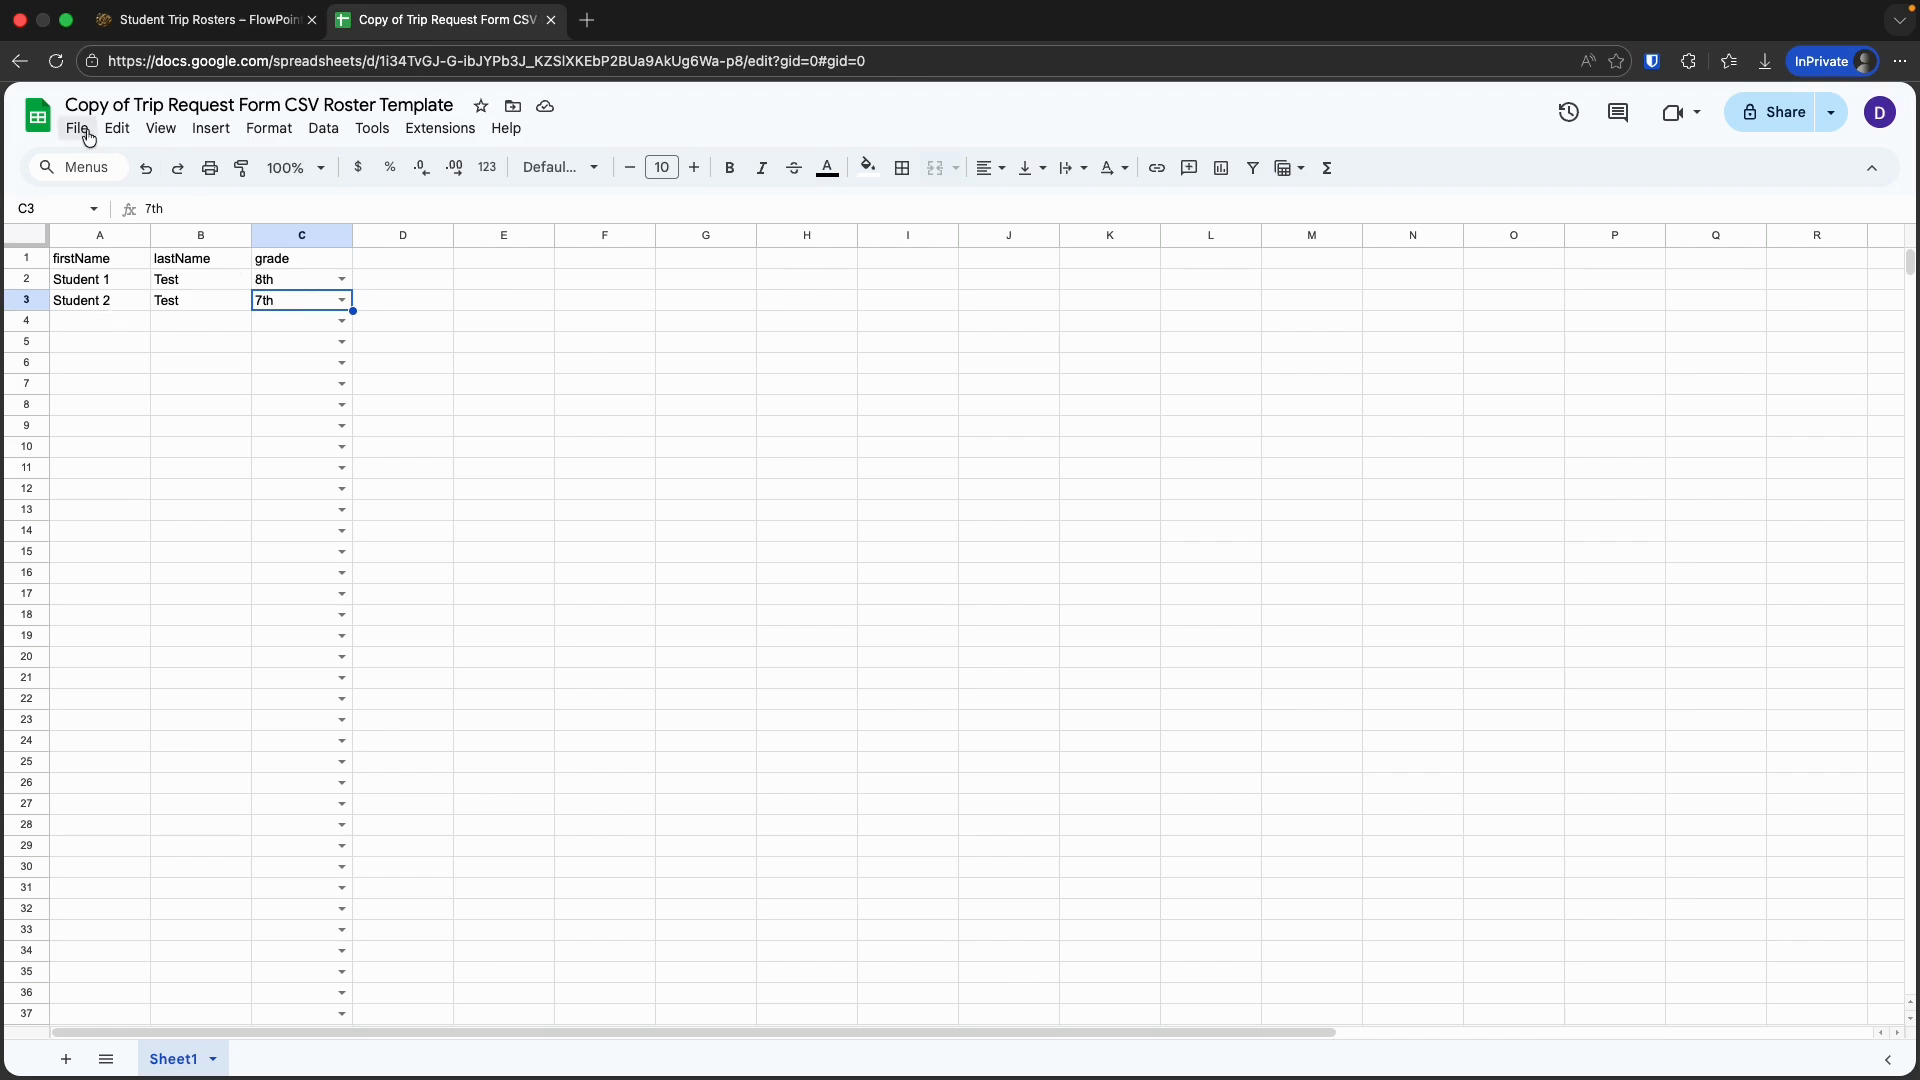
The Google Sheet I receive will already contain some information. Our headers are in the first row. We do not want to change them.
In the third column, there are dropdown menus with all the grade levels. To add my students, I will type or paste their first and last names, then select their grades.
Once I have entered my information in this sheet, I can safely close it. I never have to open it again. Back in FlowPoint, simply click the Update button. Now, when I look at my roster, I see the students and the grades I entered into the Google Sheet.
Clever, isn't it? A few notes: When you use this option, the number of rostered students will not update until you click the Update button. The number will be correct after you submit, so don't worry if it looks wrong before you click Submit.
That's it. You can now add rosters with Google Sheets.
Now let's look at the CSV option.
The Google Sheets option required either typing the information manually or pasting it from another source. The CSV option is best if your information is already in a spreadsheet or another platform. This option could easily become complicated, so I will just cover the basics. Contact the tech department if you need help creating the CSV. Make sure to use the template provided below.
The general workflow is simple.
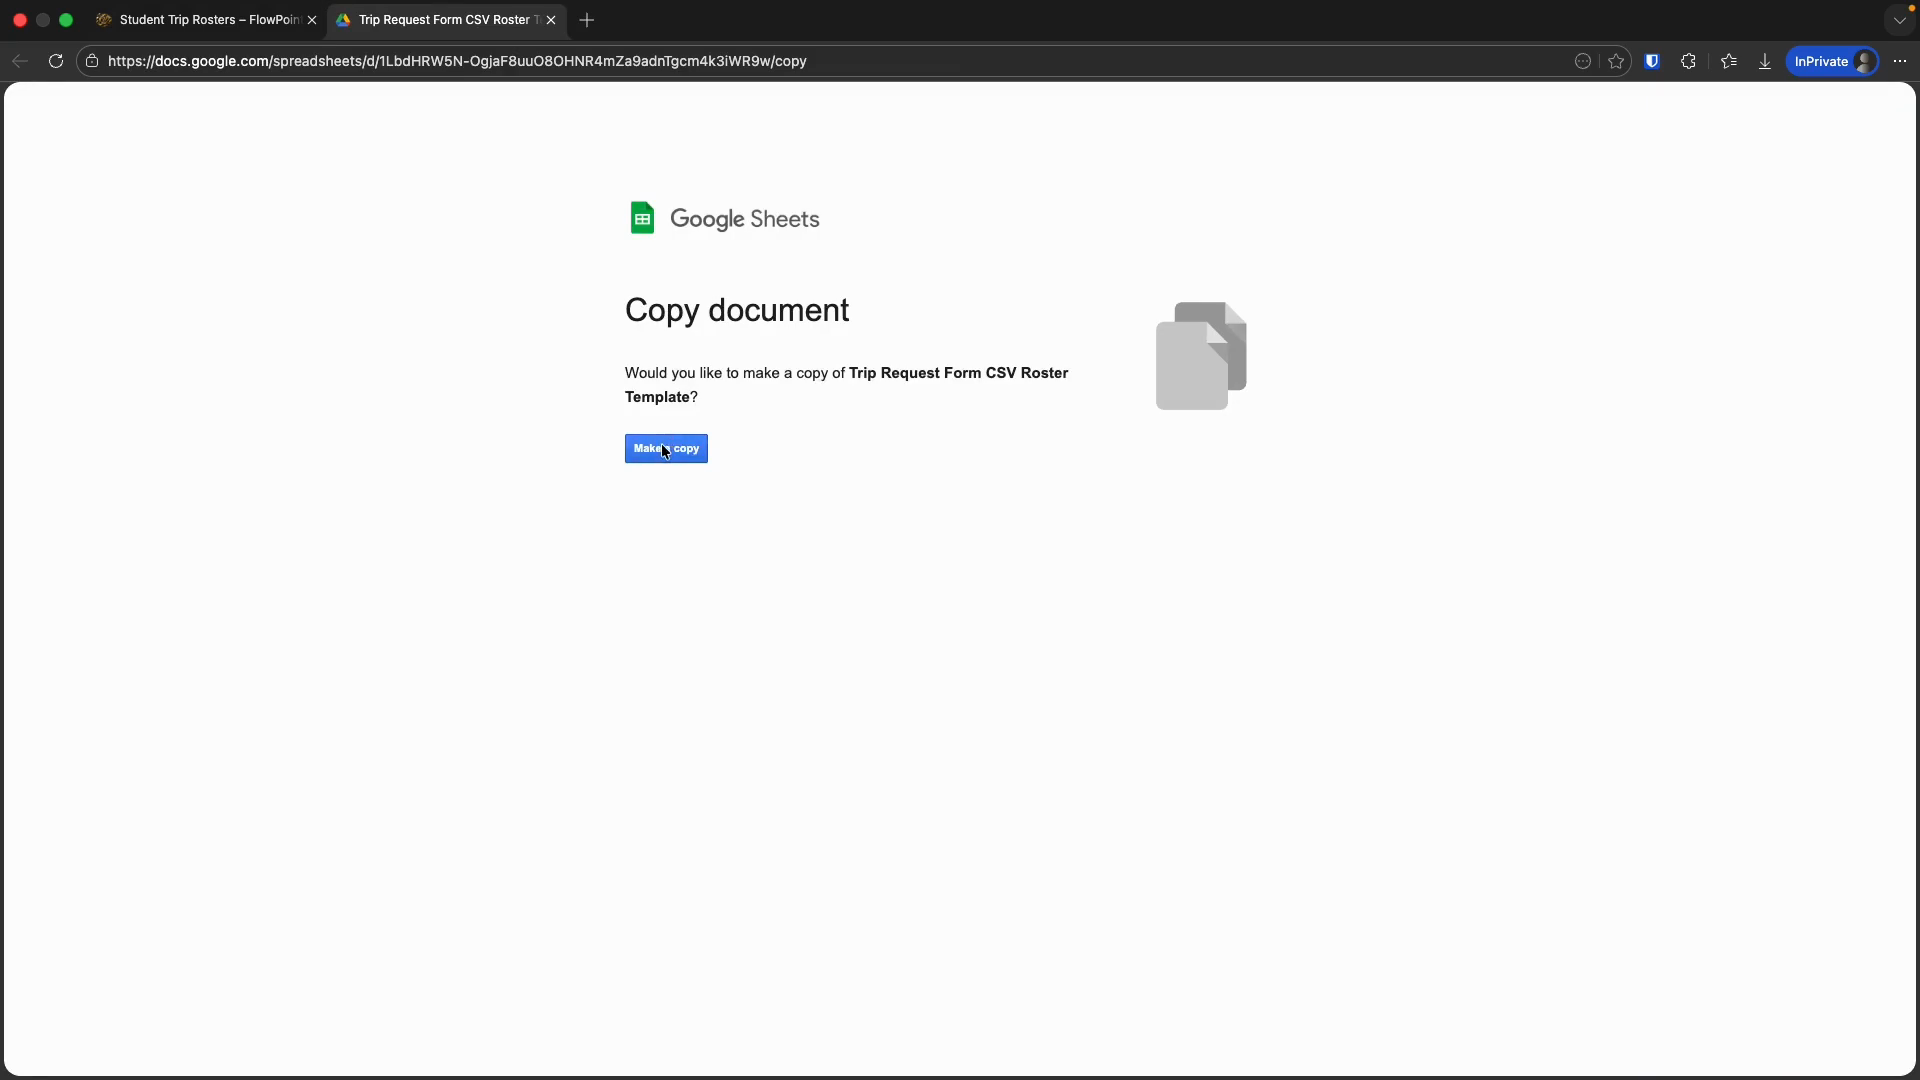
First, start with a template and add your students. This is the same as the Google Sheets method because it uses a Google Sheets template.
The difference is in how you add the information back to FlowPoint.
Consider it this way. If your roster is ready before using the FlowPoint roster tool, use the CSV method.
If you are starting with the roster tool in FlowPoint, use the Google Sheet method.
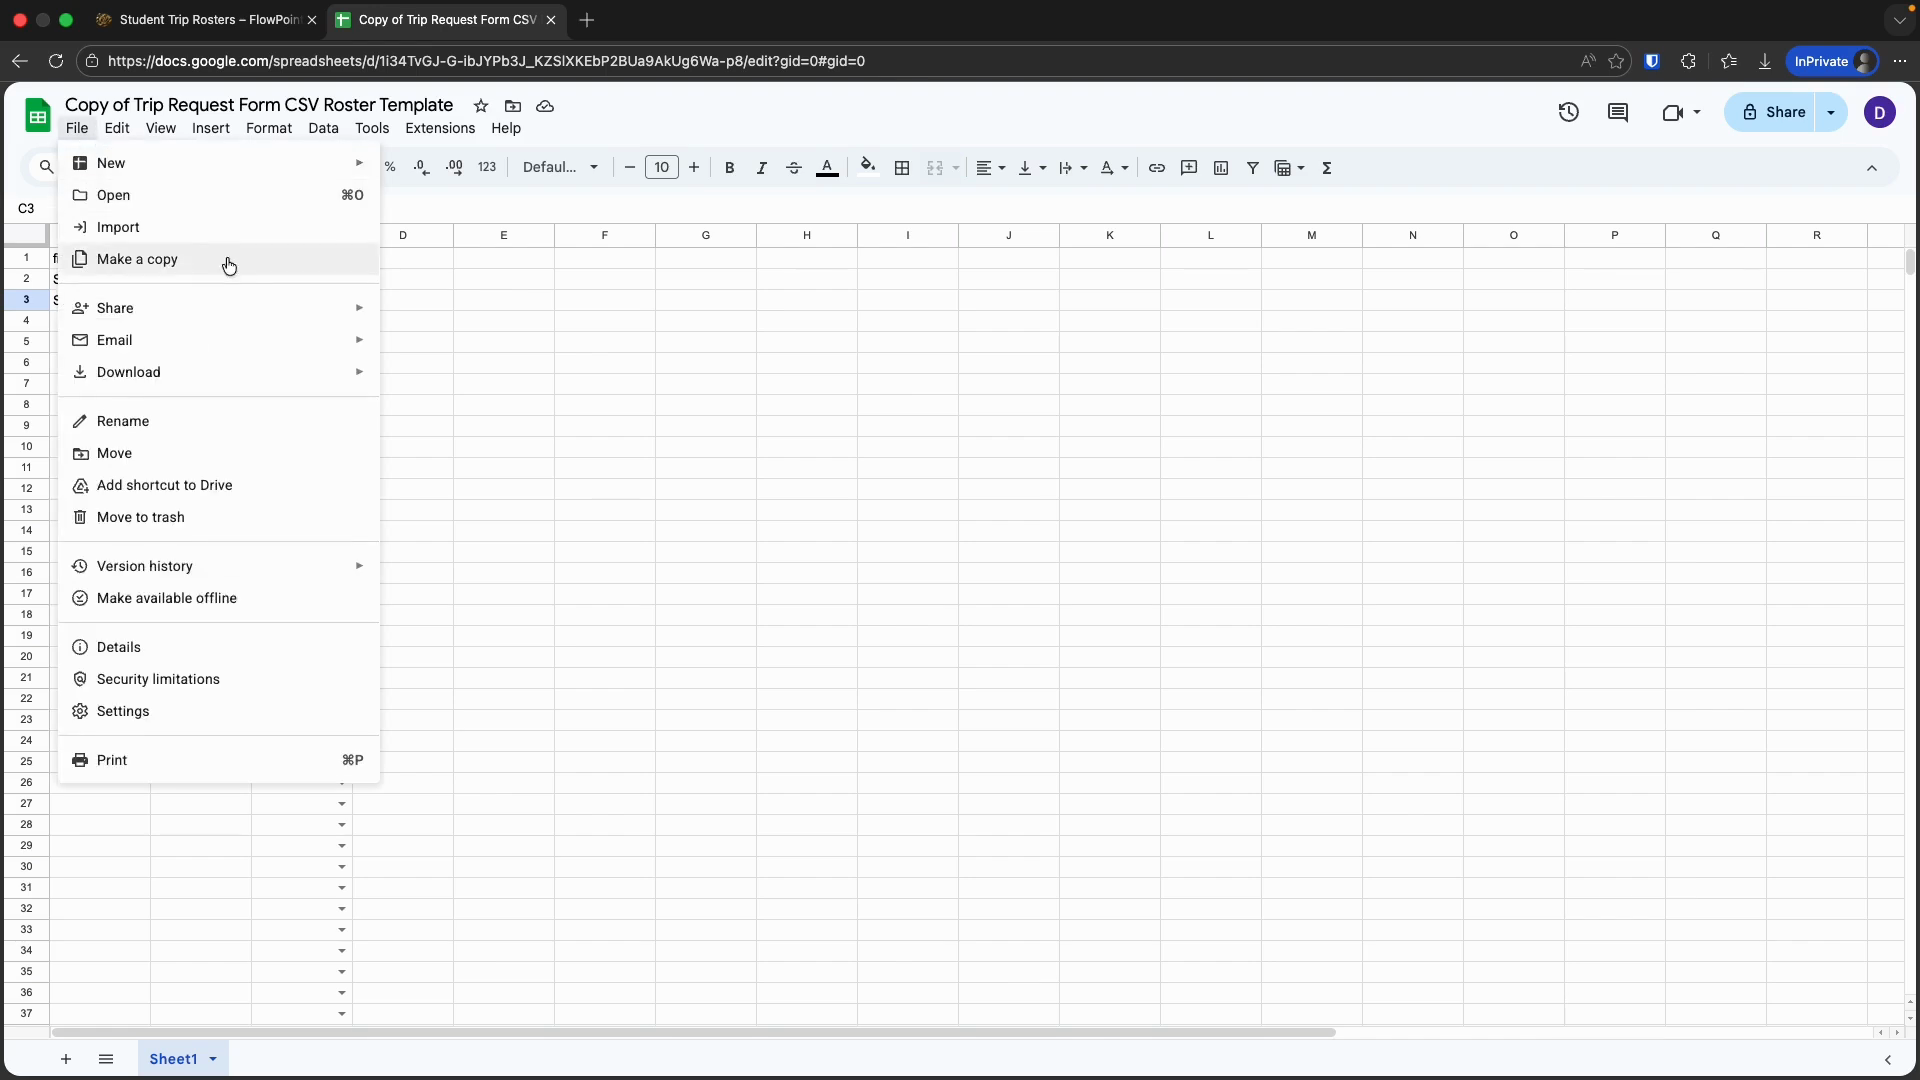
To convert the spreadsheet to a CSV, go to File, then Download, and select Comma-separated values (.CSV).
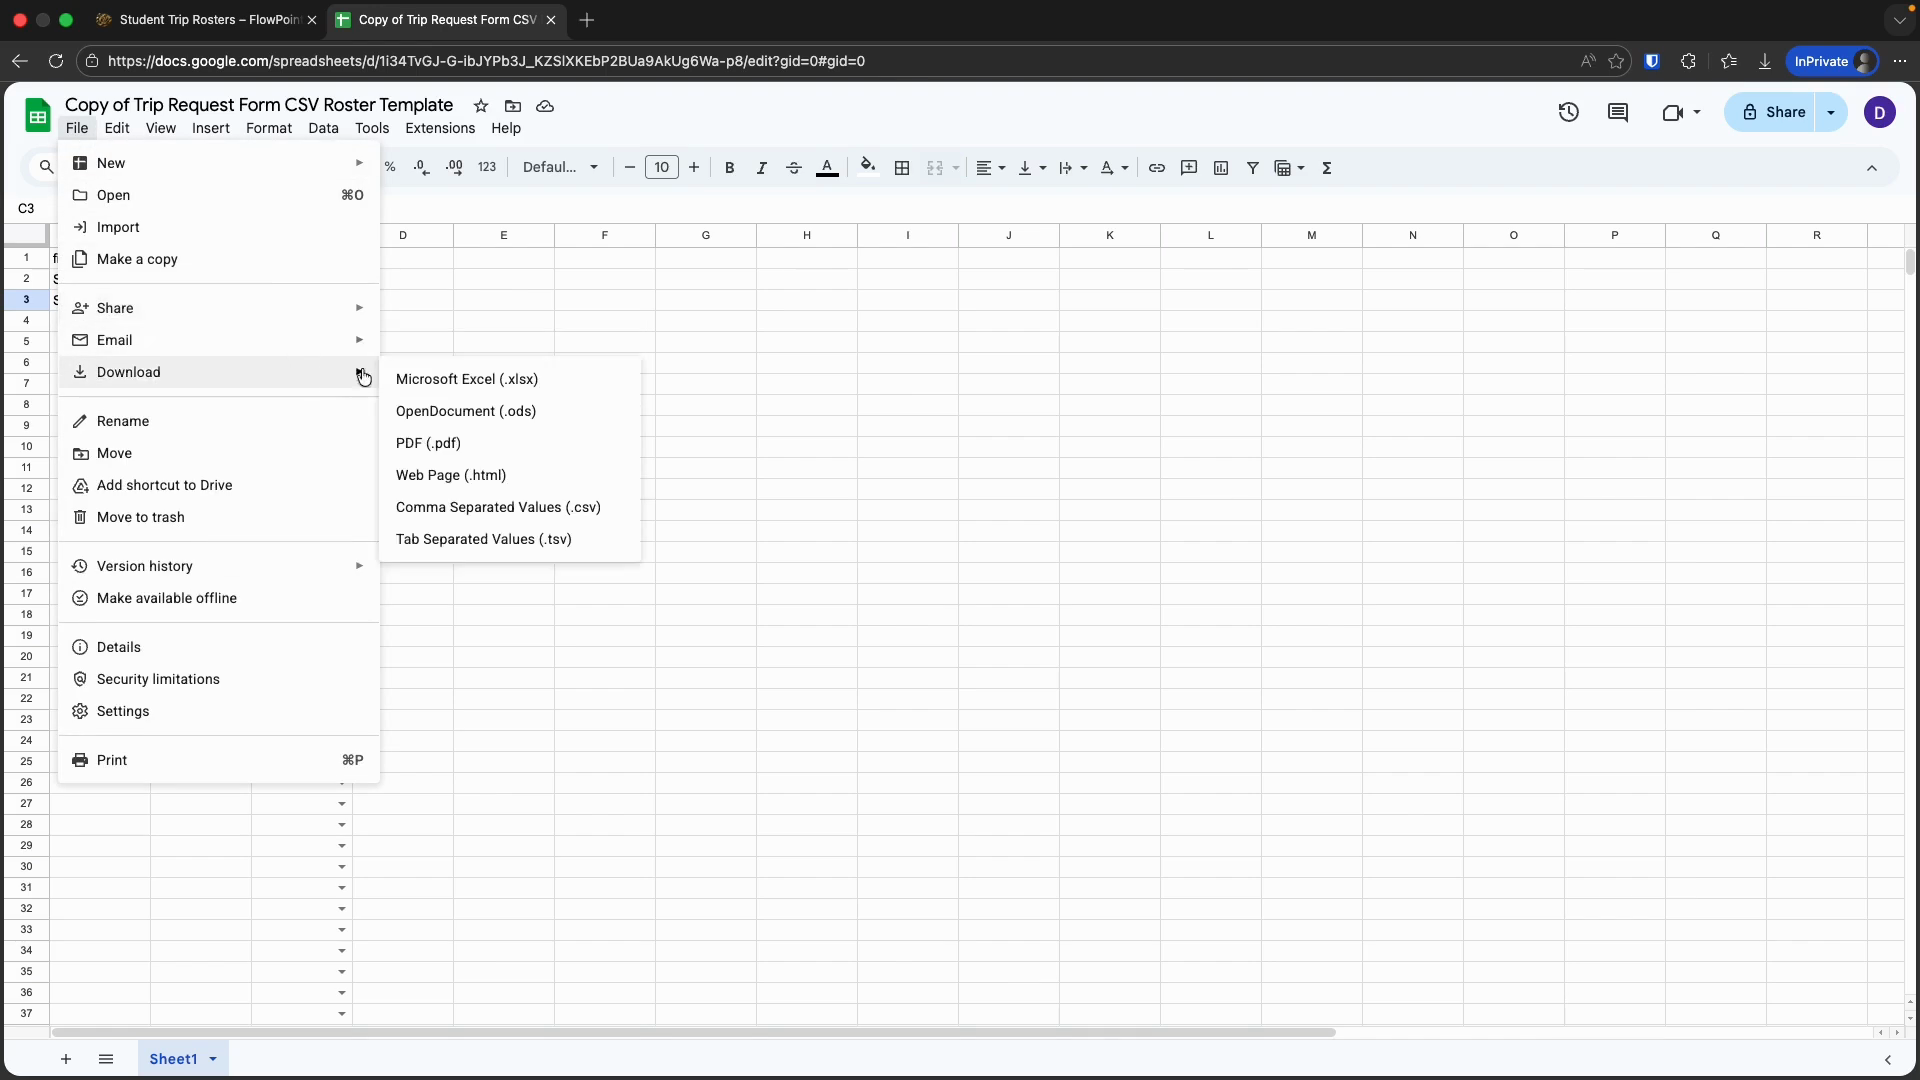
This will download a file to your computer.
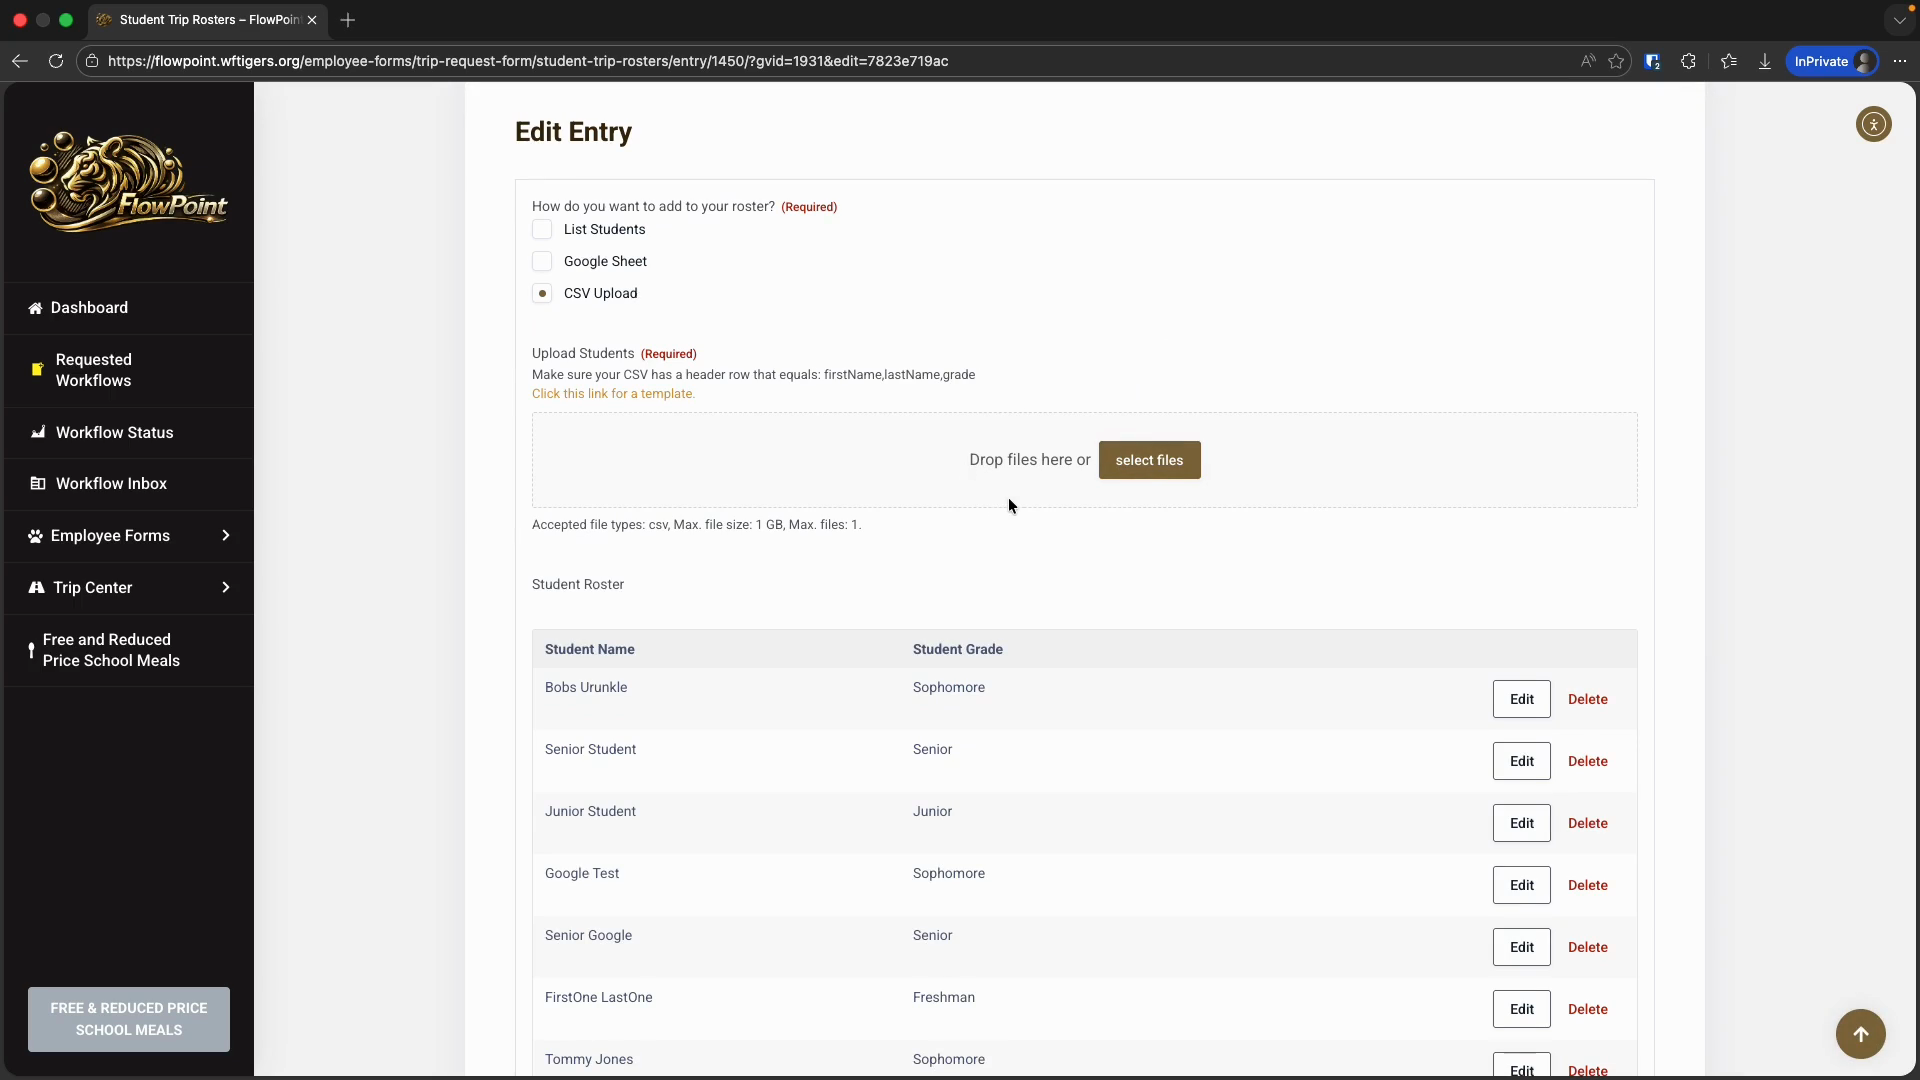
Now, open your roster in FlowPoint and make edits. This time, I will choose the CSV upload option.
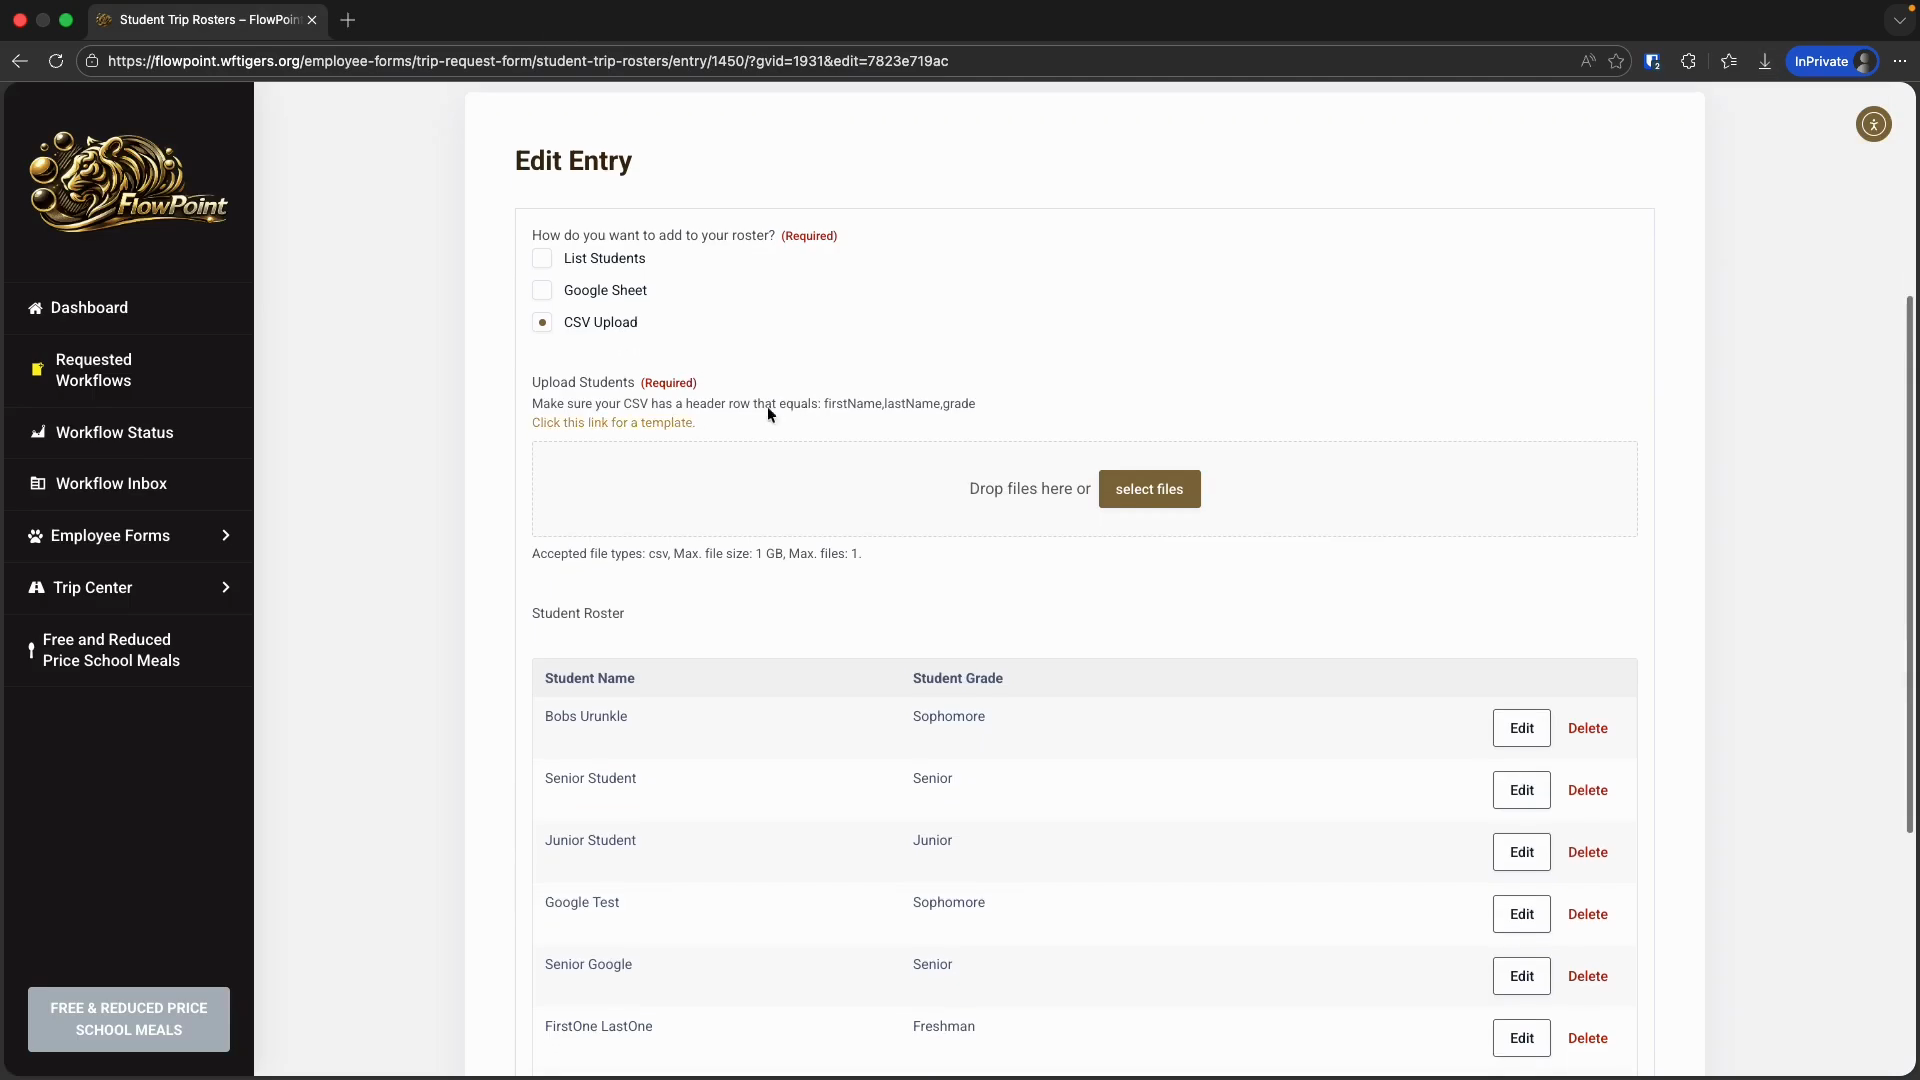
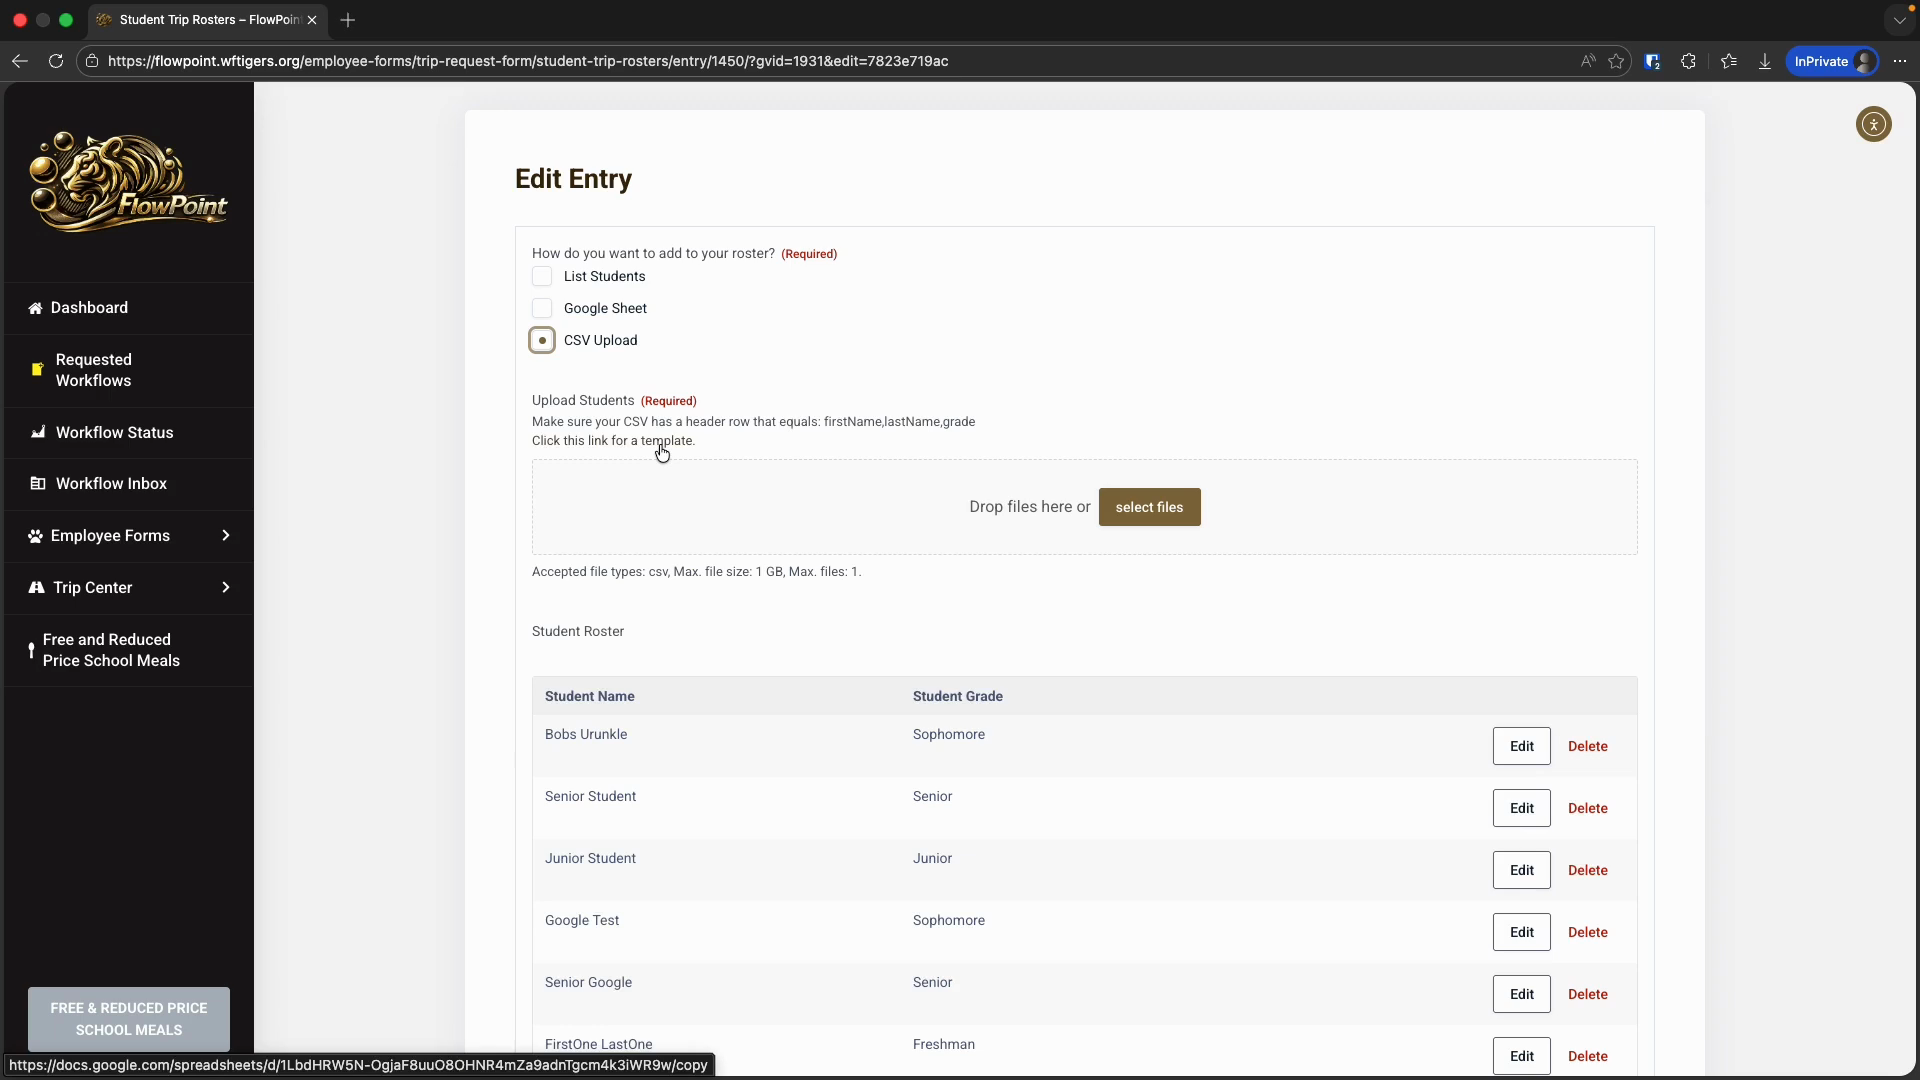
I can either drag and drop the file I downloaded from Google Sheets into the "Drop files here" area, or click the Select Files button to browse for it.
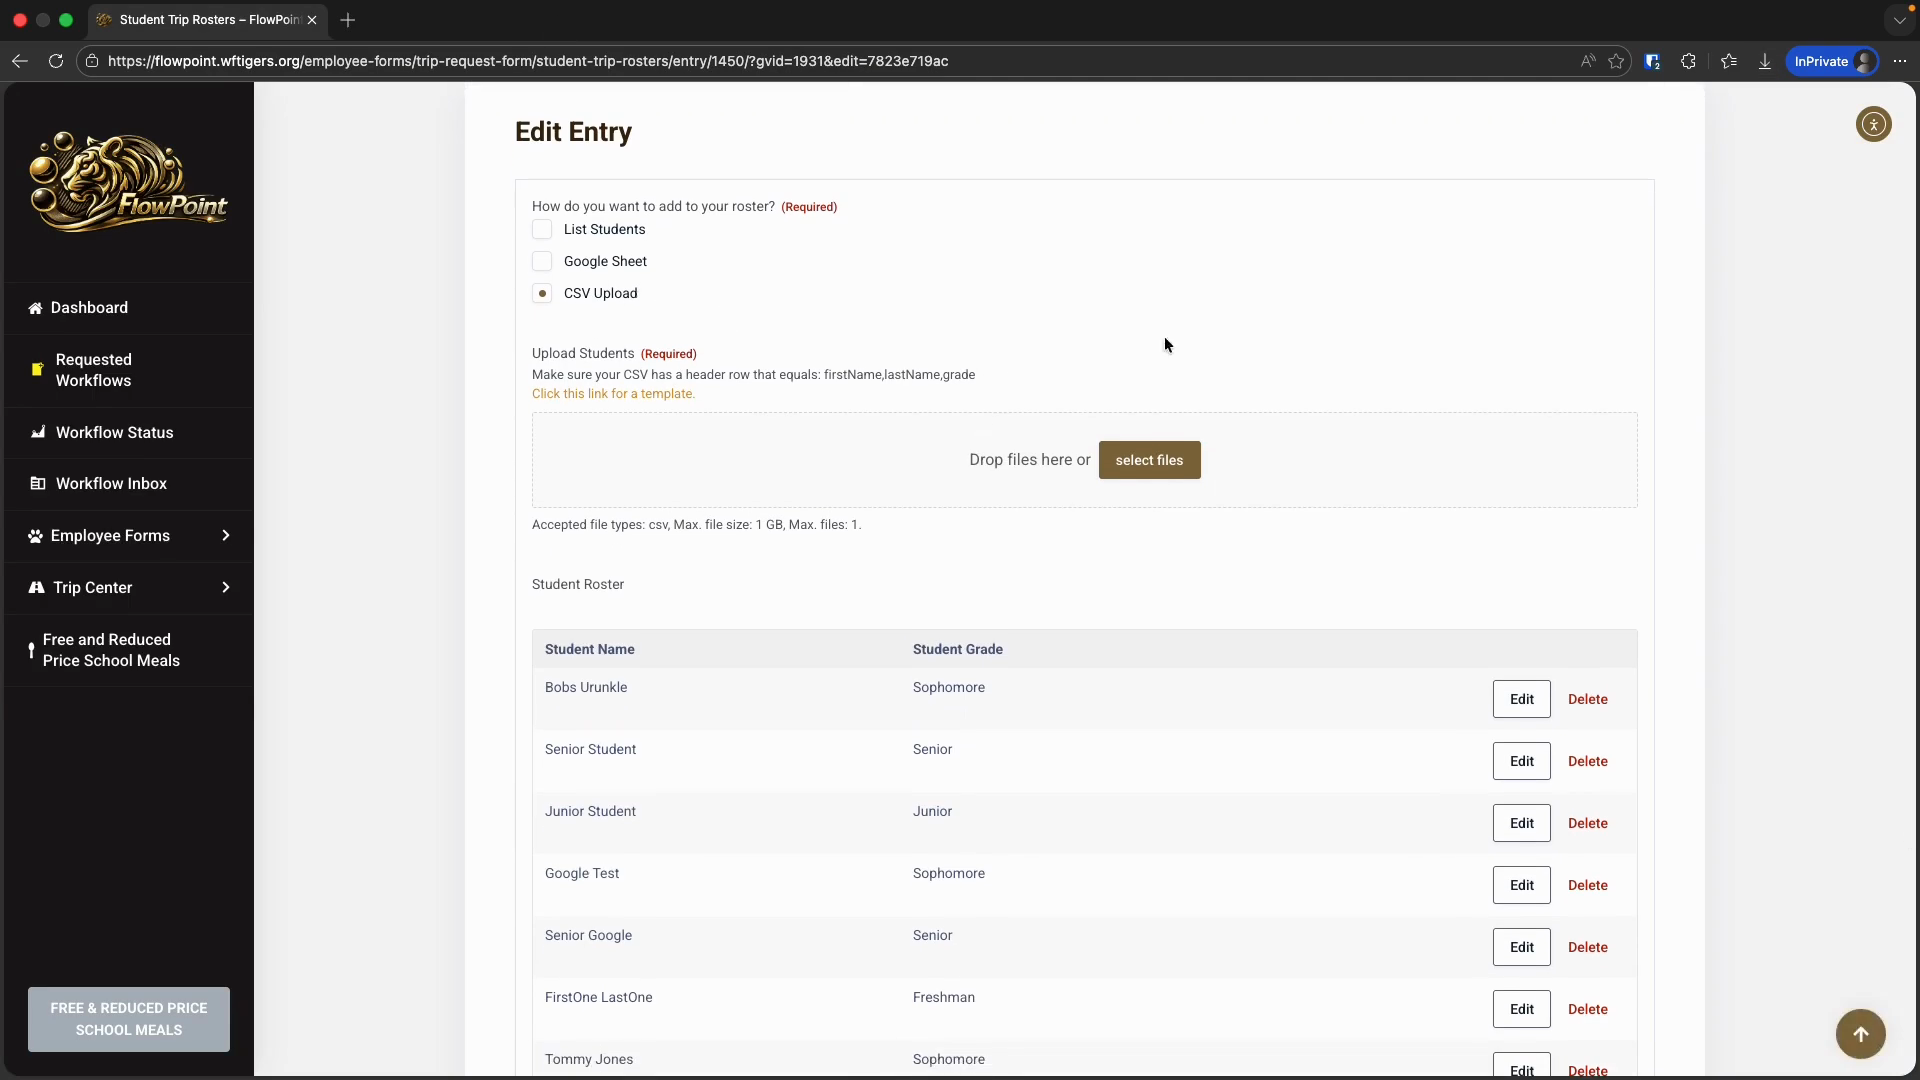
A small file icon will appear to show that the file has been added. Now, you can click the Update button.
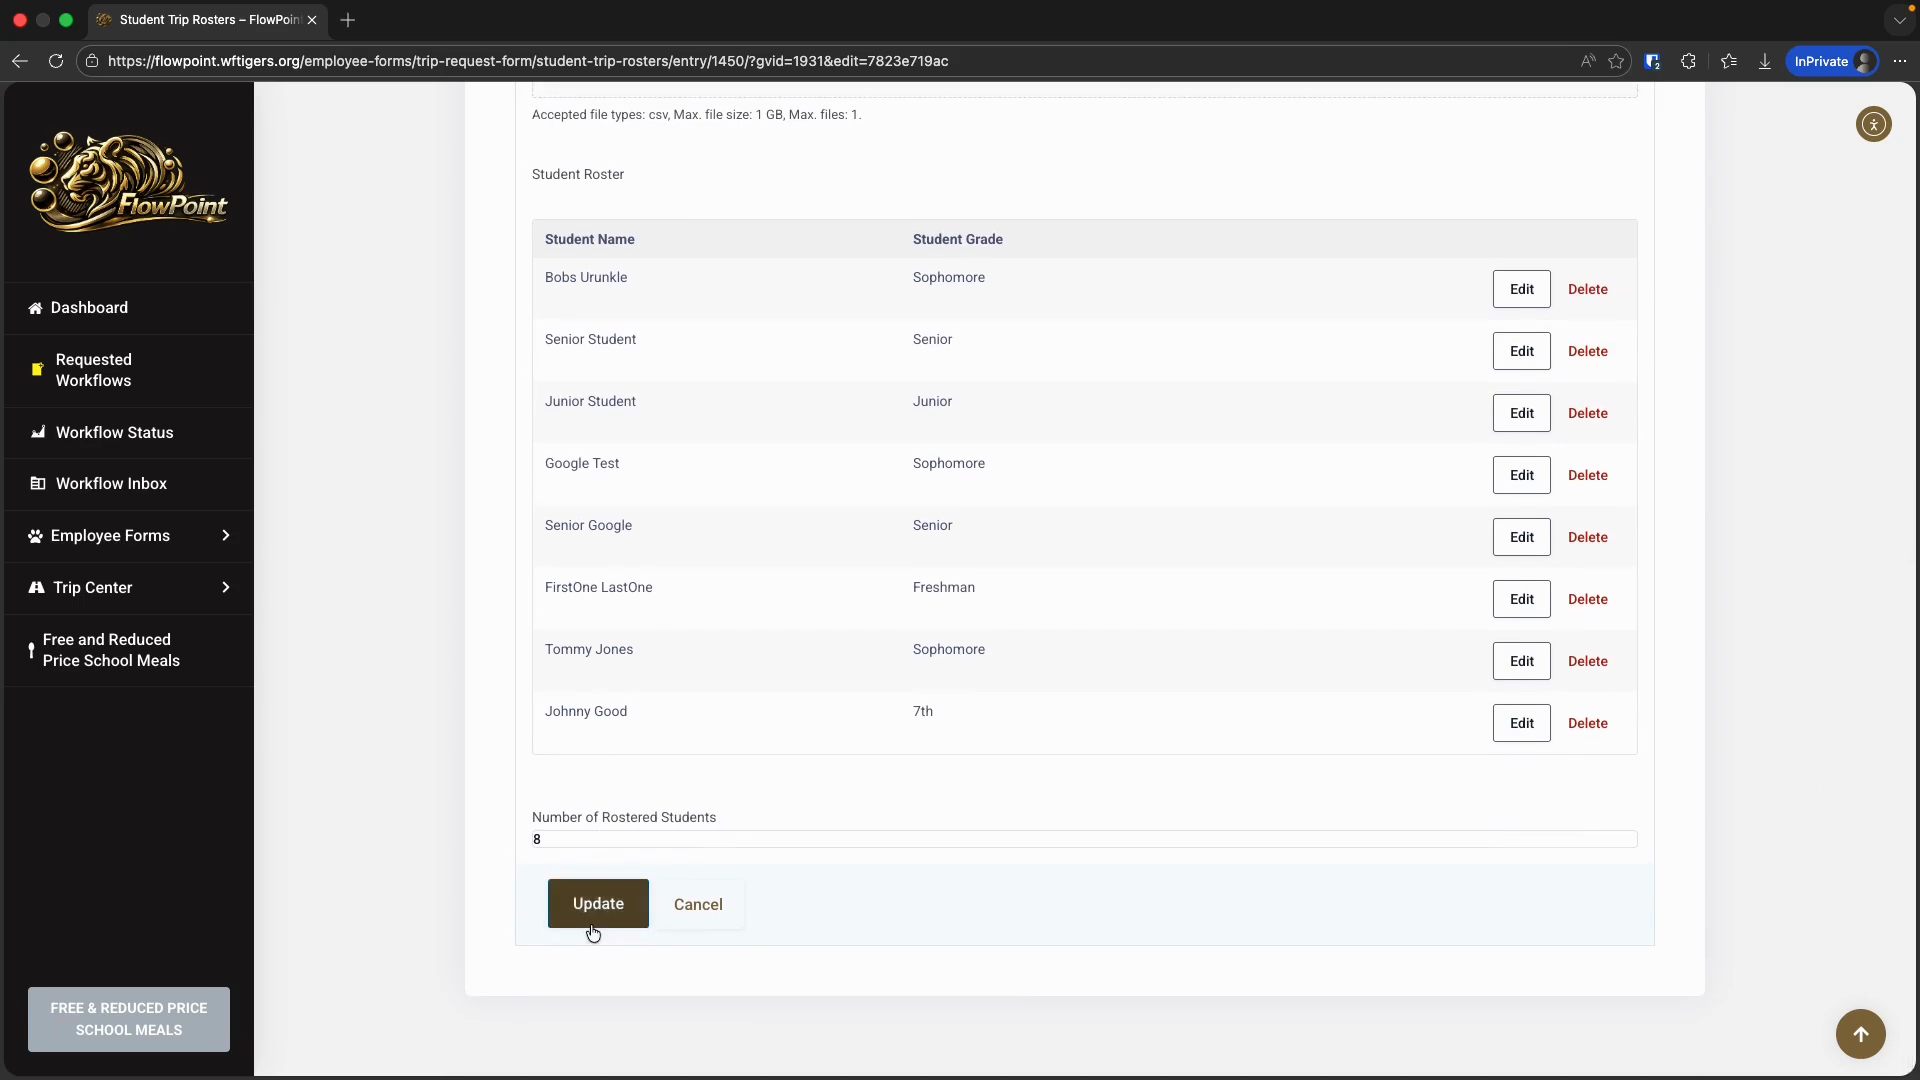
At this stage, we should see the updated student count on the main roster page. The new entries should also be added.
Also, remember that this CSV file will be deleted from the server.