
How to Add a User in the iPOSpays Portal
Learn how to create a new user account in the iPOSpays (Flute) portal, configure role permissions, and send proper onboarding instructions.
This guide demonstrates how to create a new user account in the iPOSpays (Flute) portal and assign appropriate module privileges. Completing this ensures team members and clients have the necessary permissions to process transactions, while receiving standardized onboarding training.
This guide is intended for administrators or operations team members responsible for managing portal access. It is used whenever a new employee or client service provider requires access to the iPOSpays system.
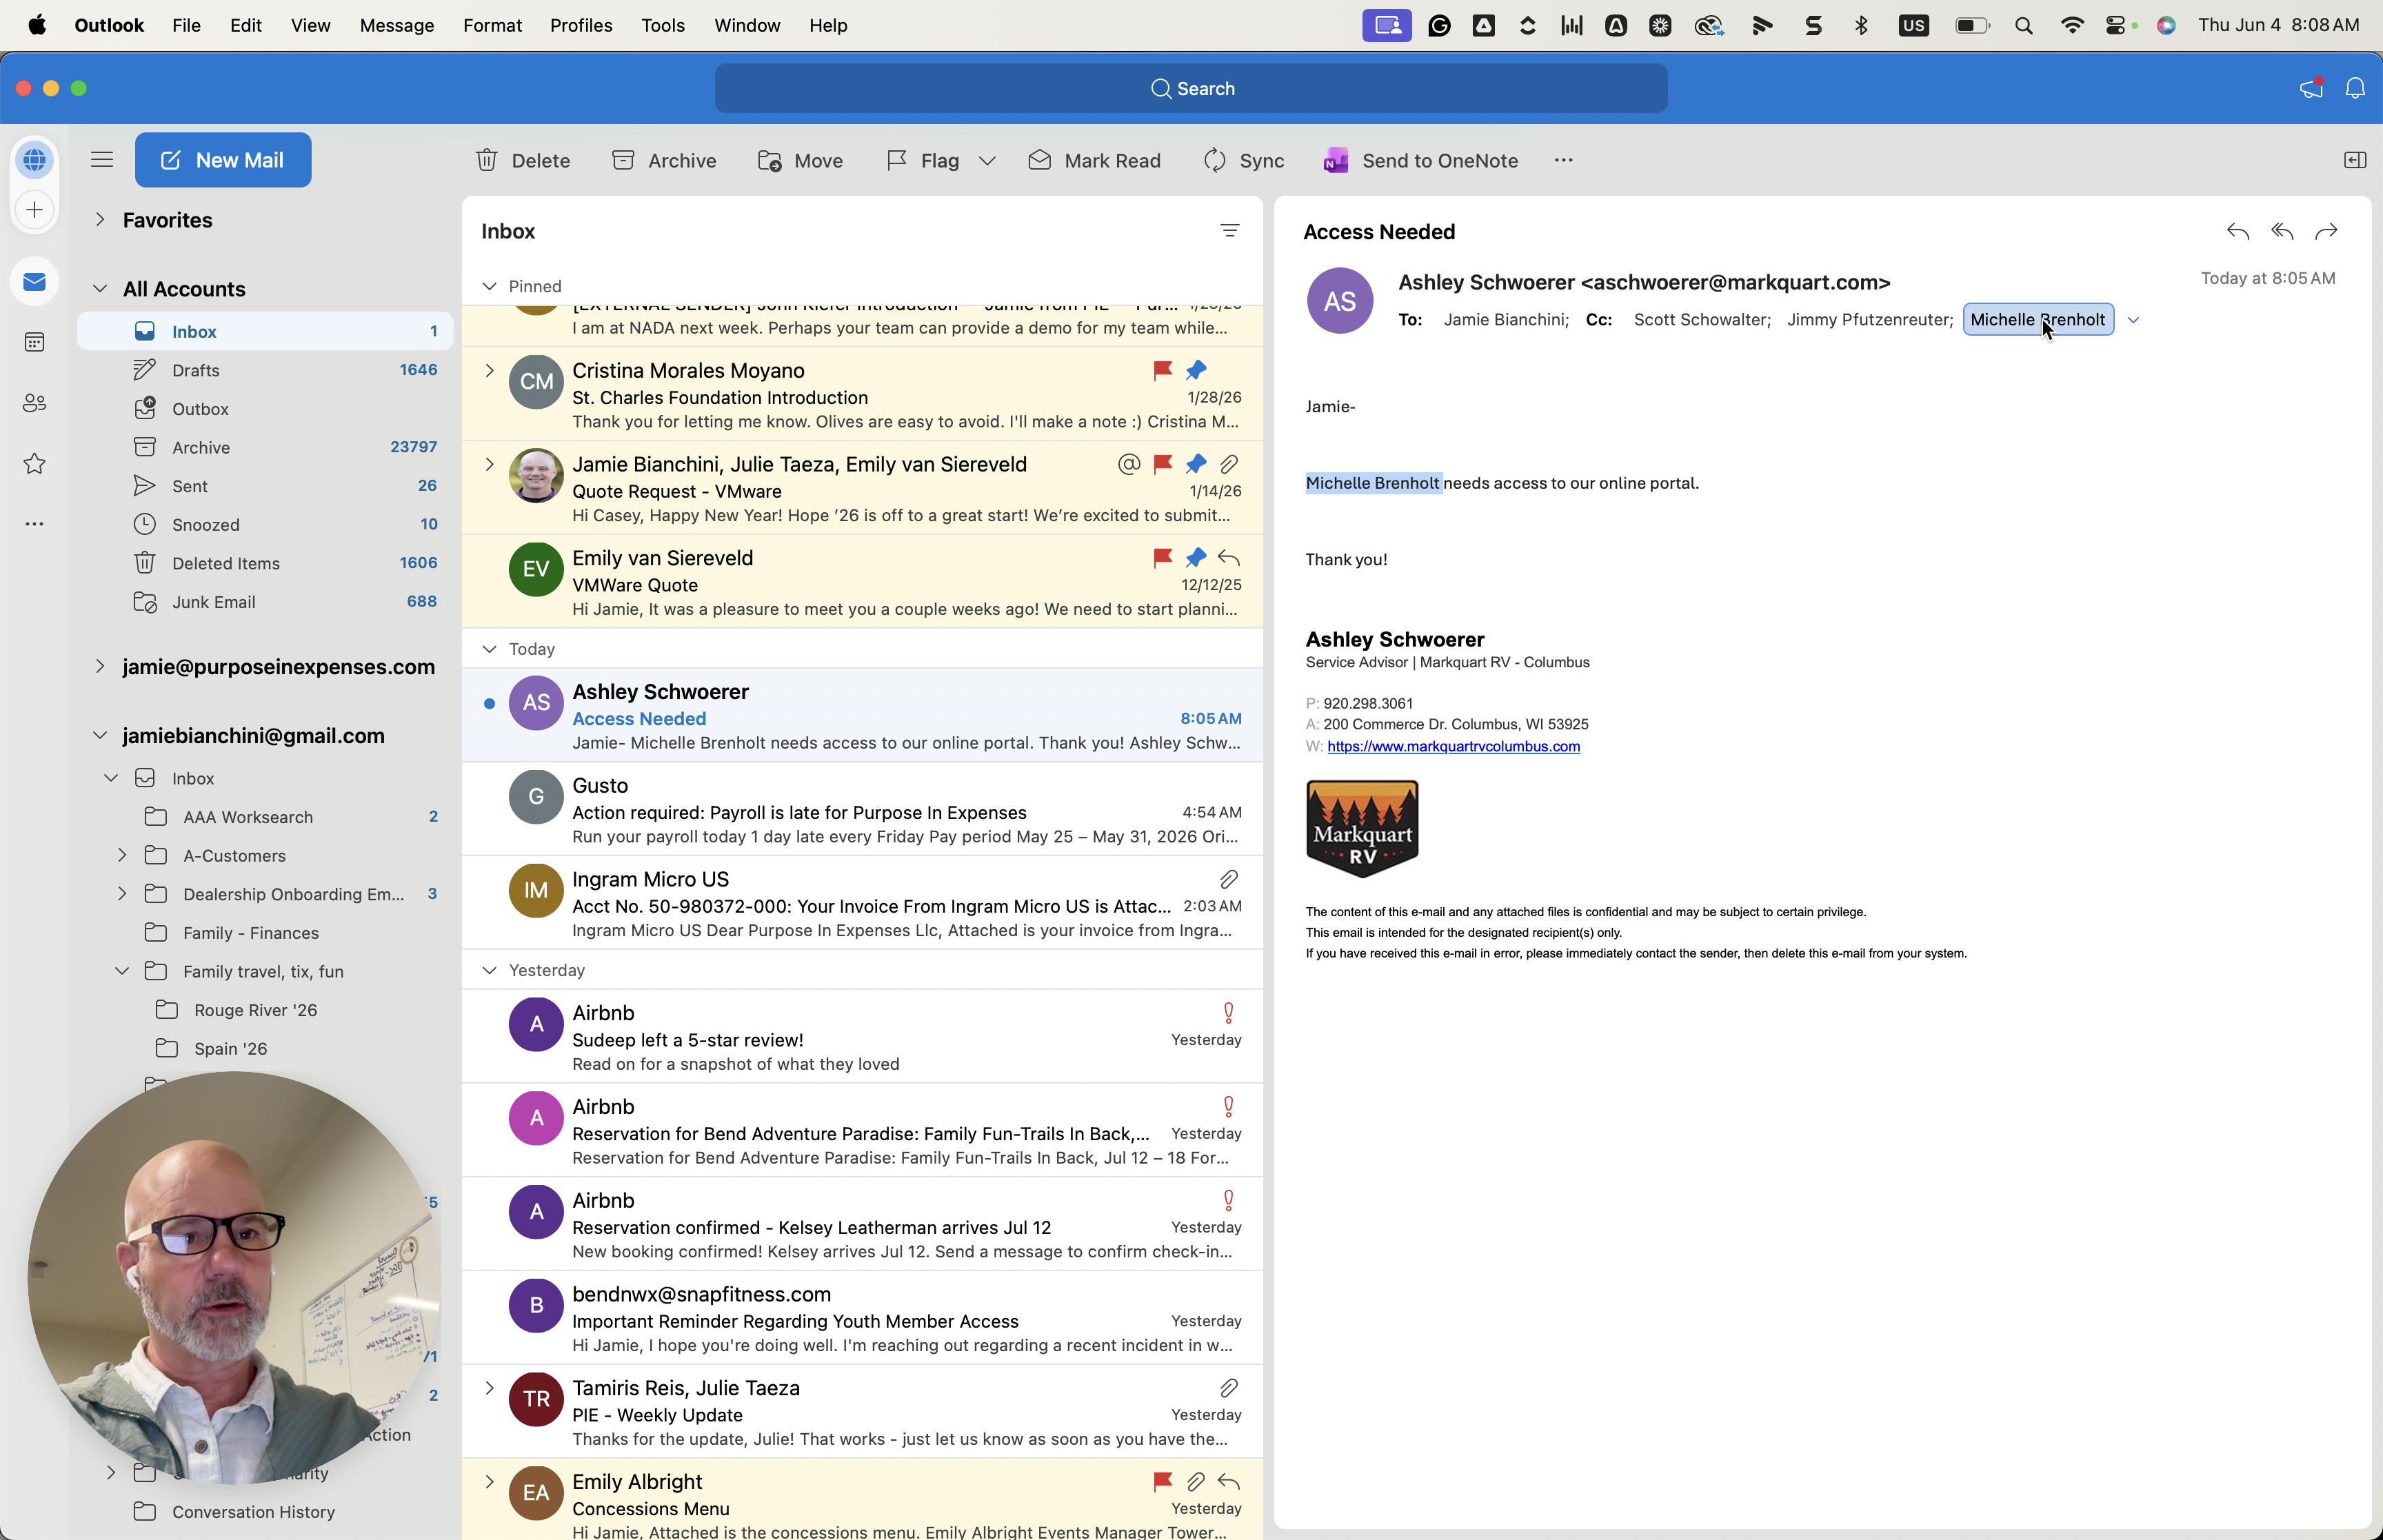
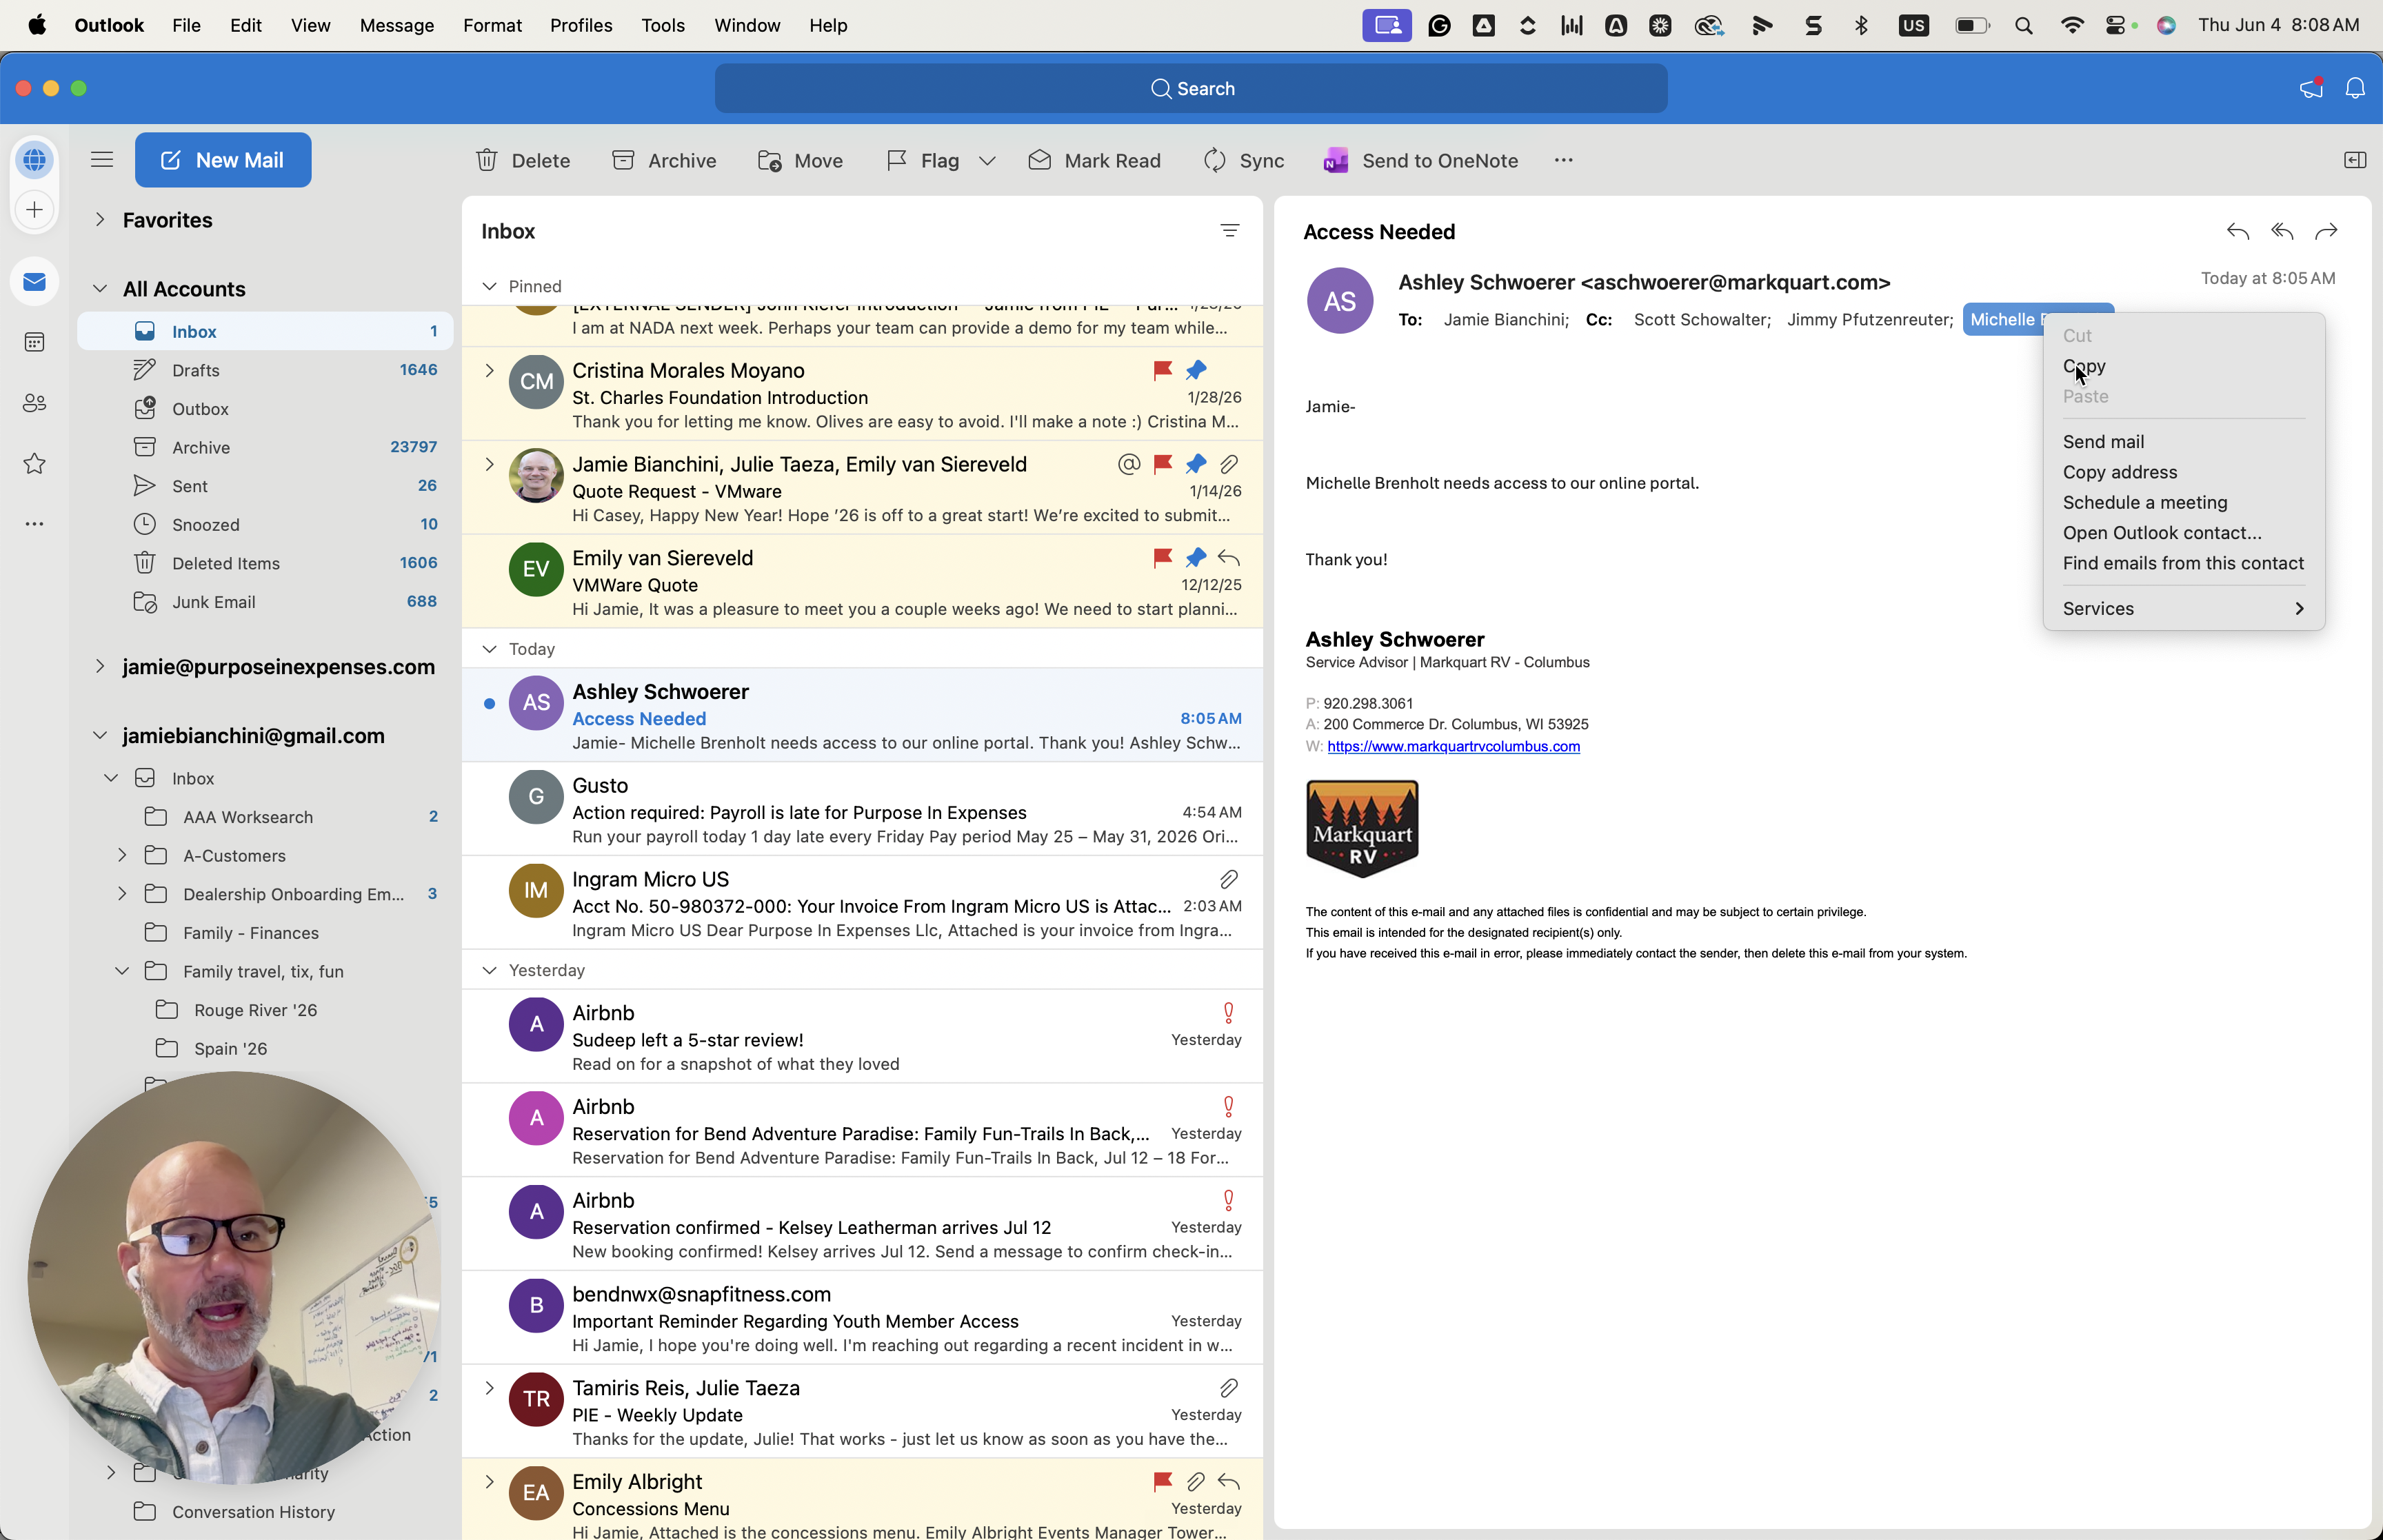
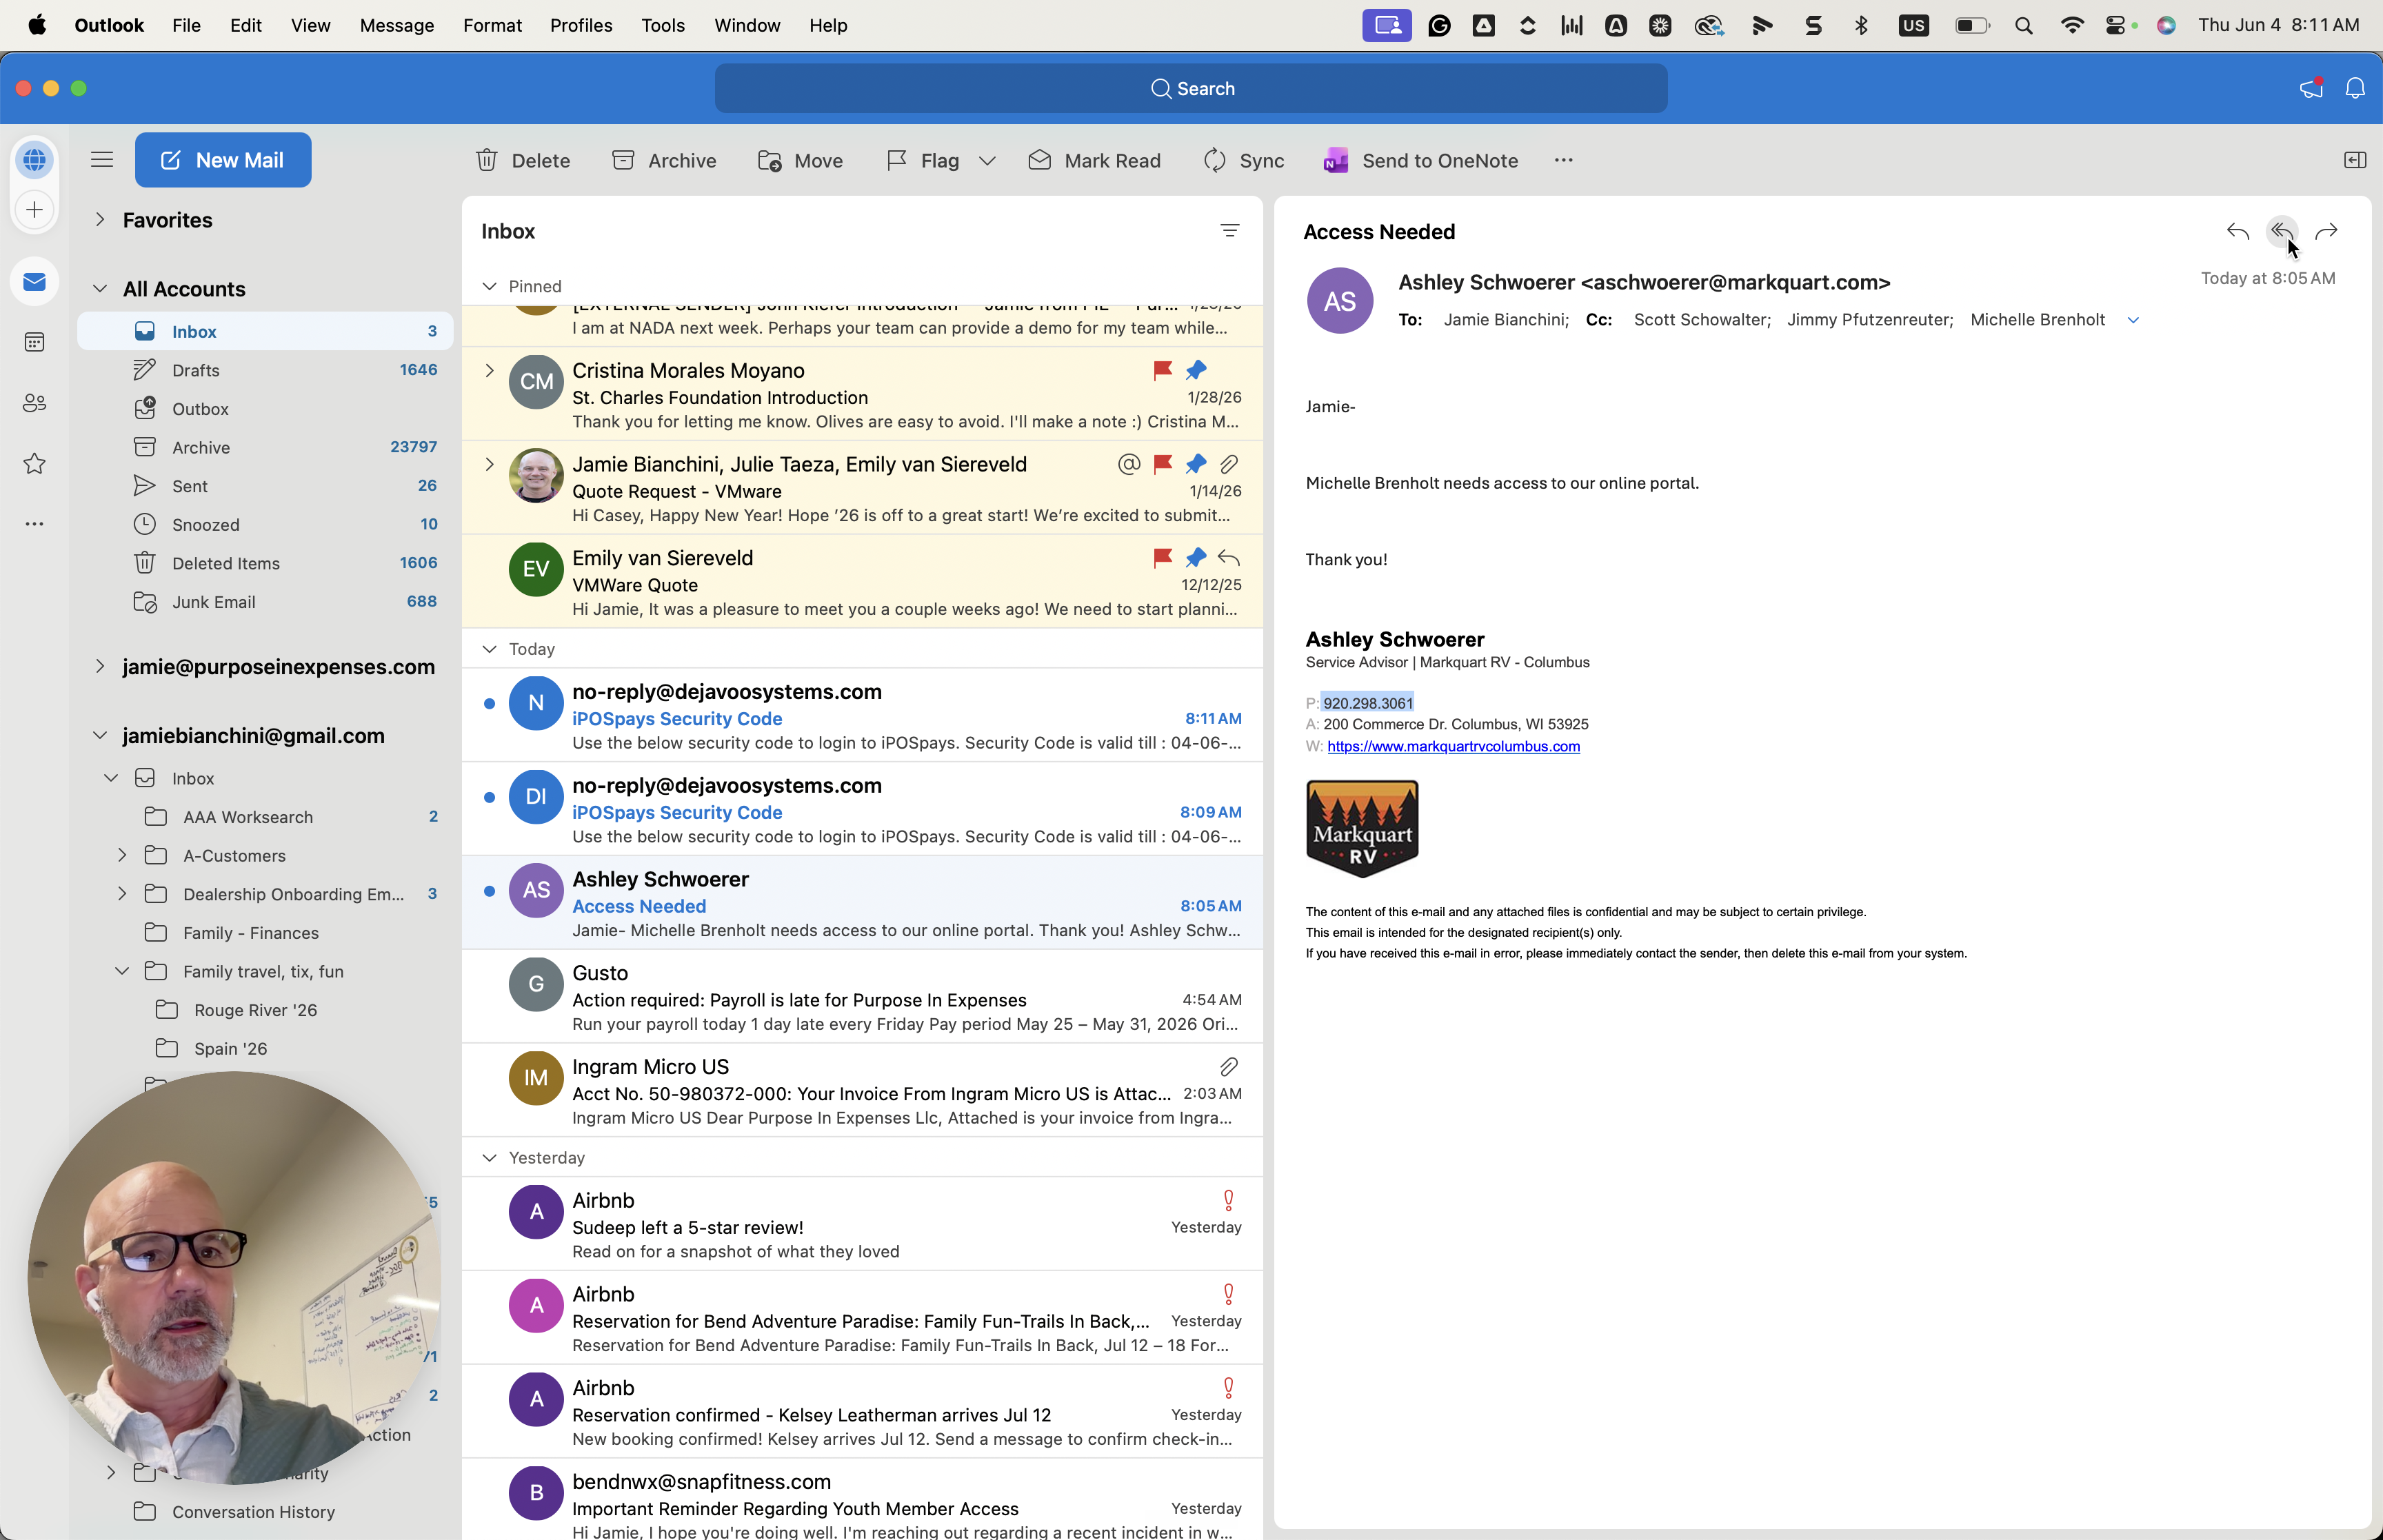
To begin, locate the access request in your email client and copy the target user's email address.
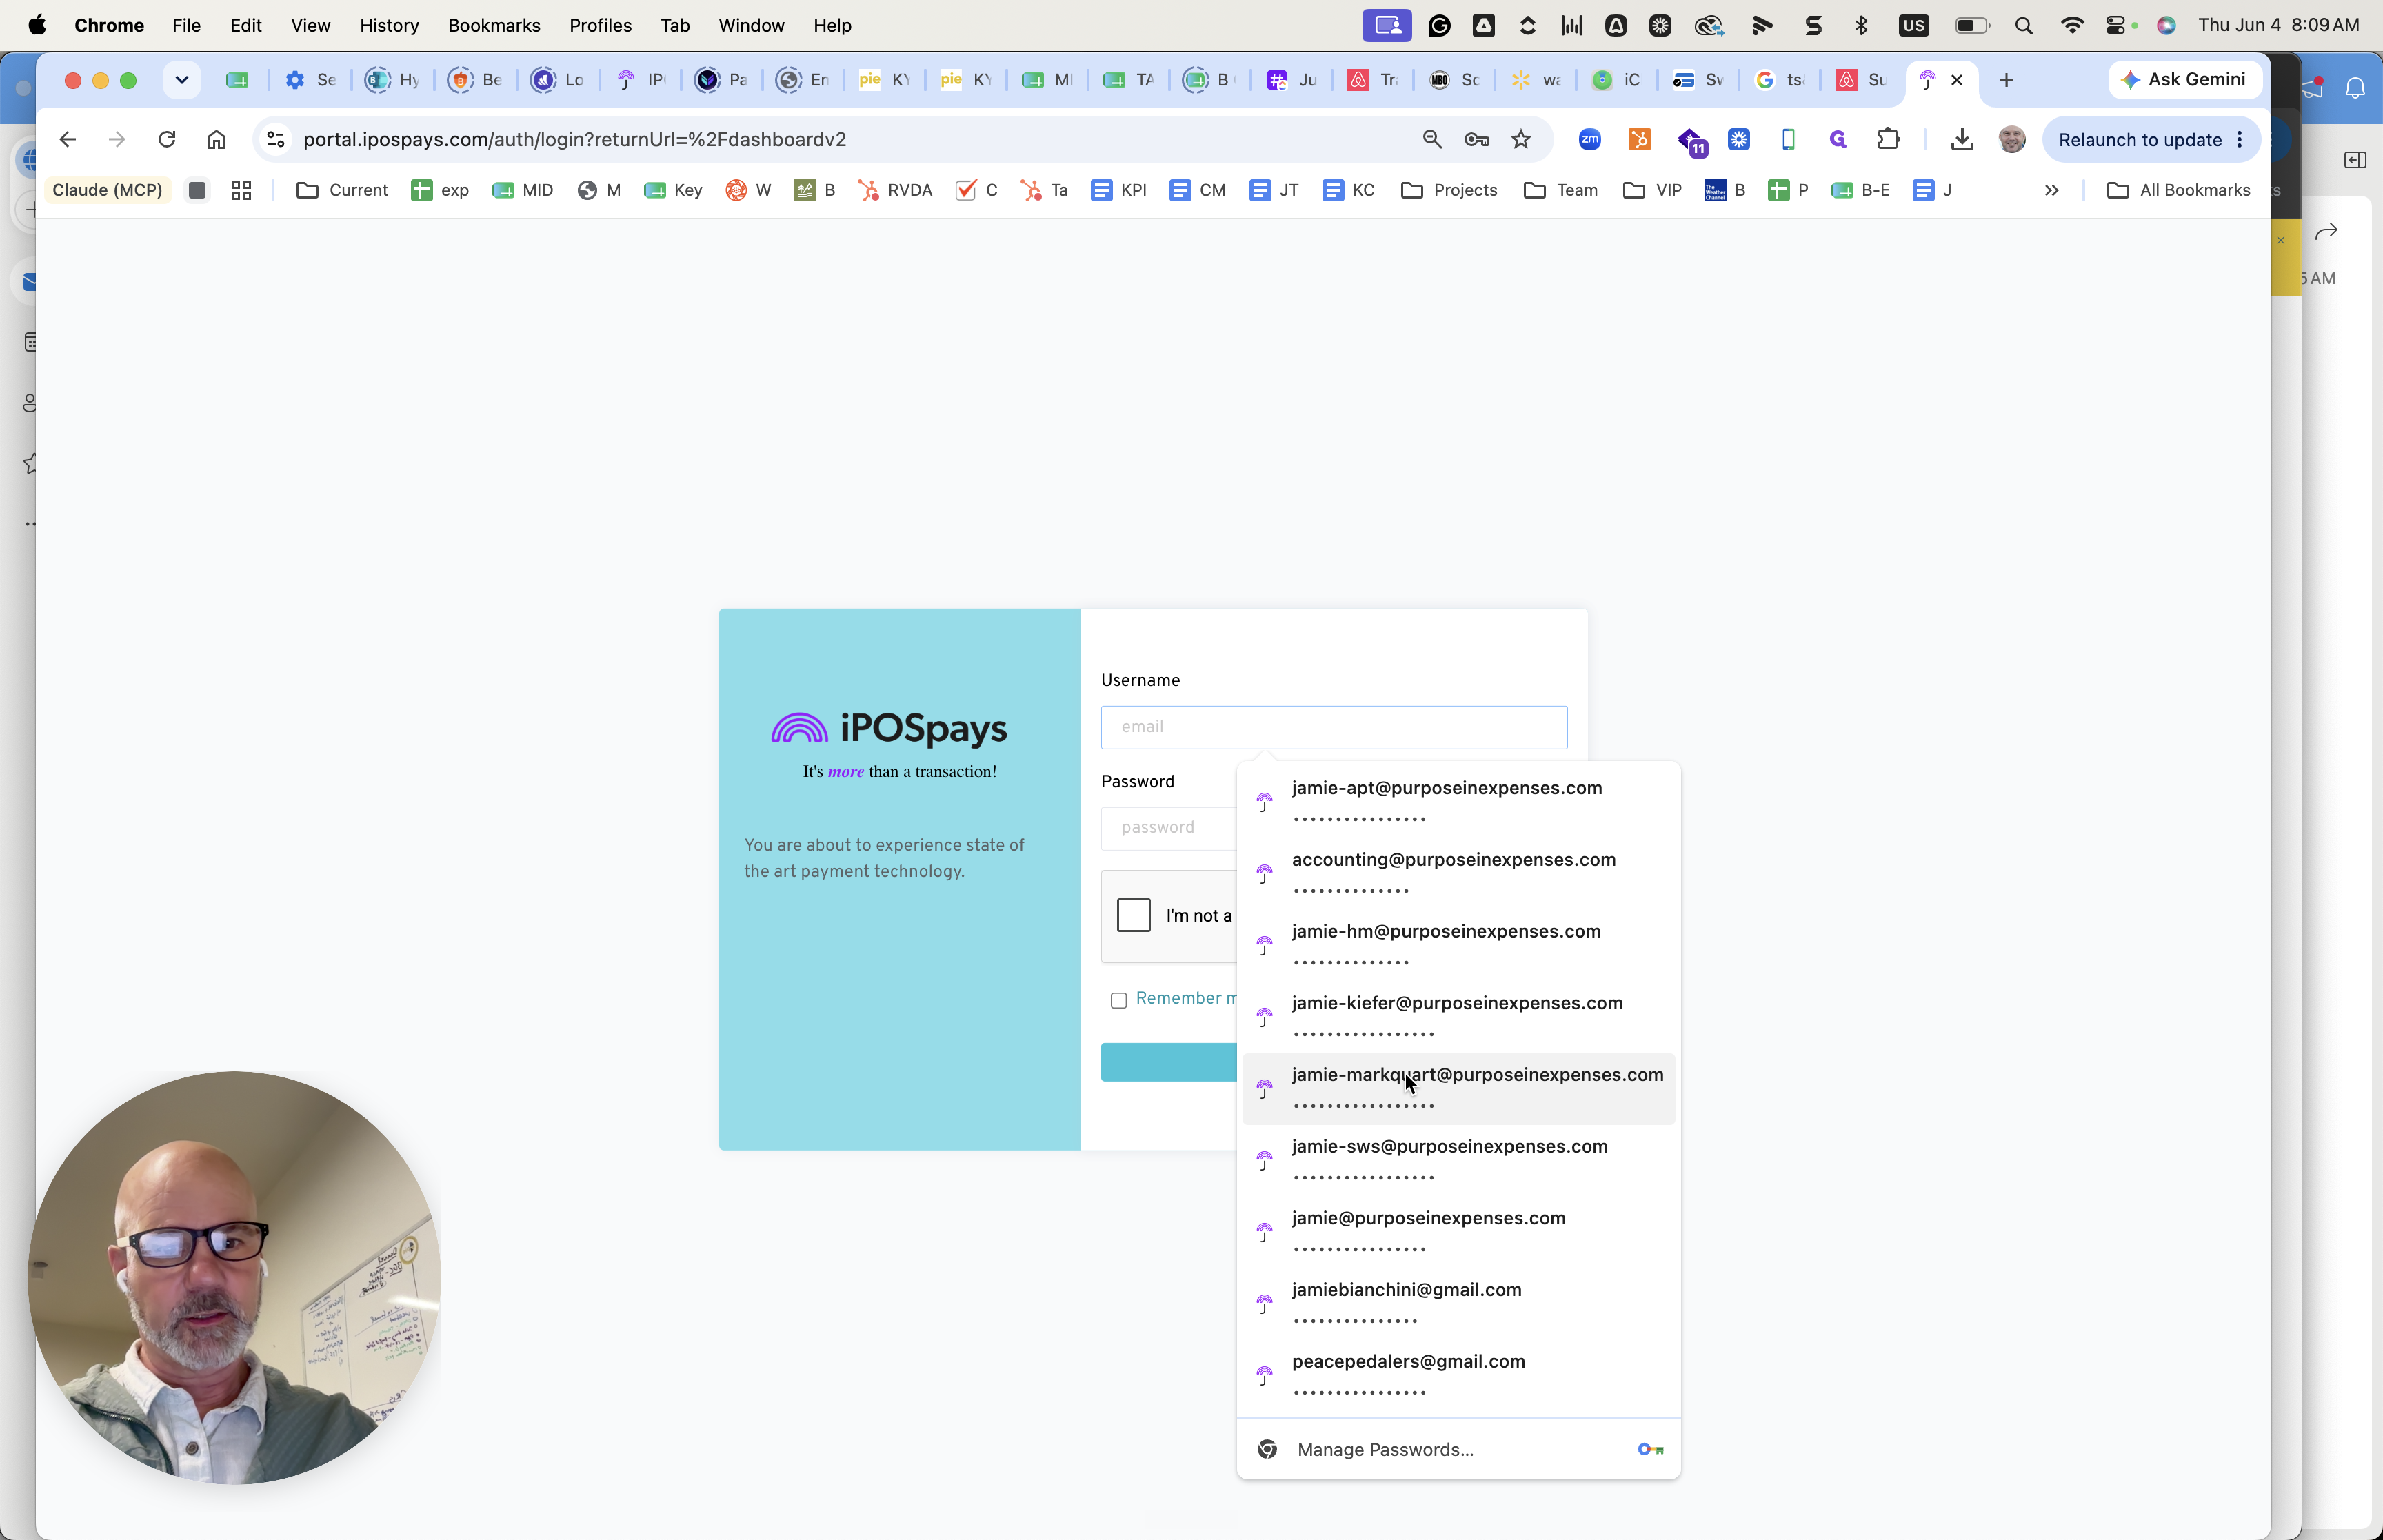
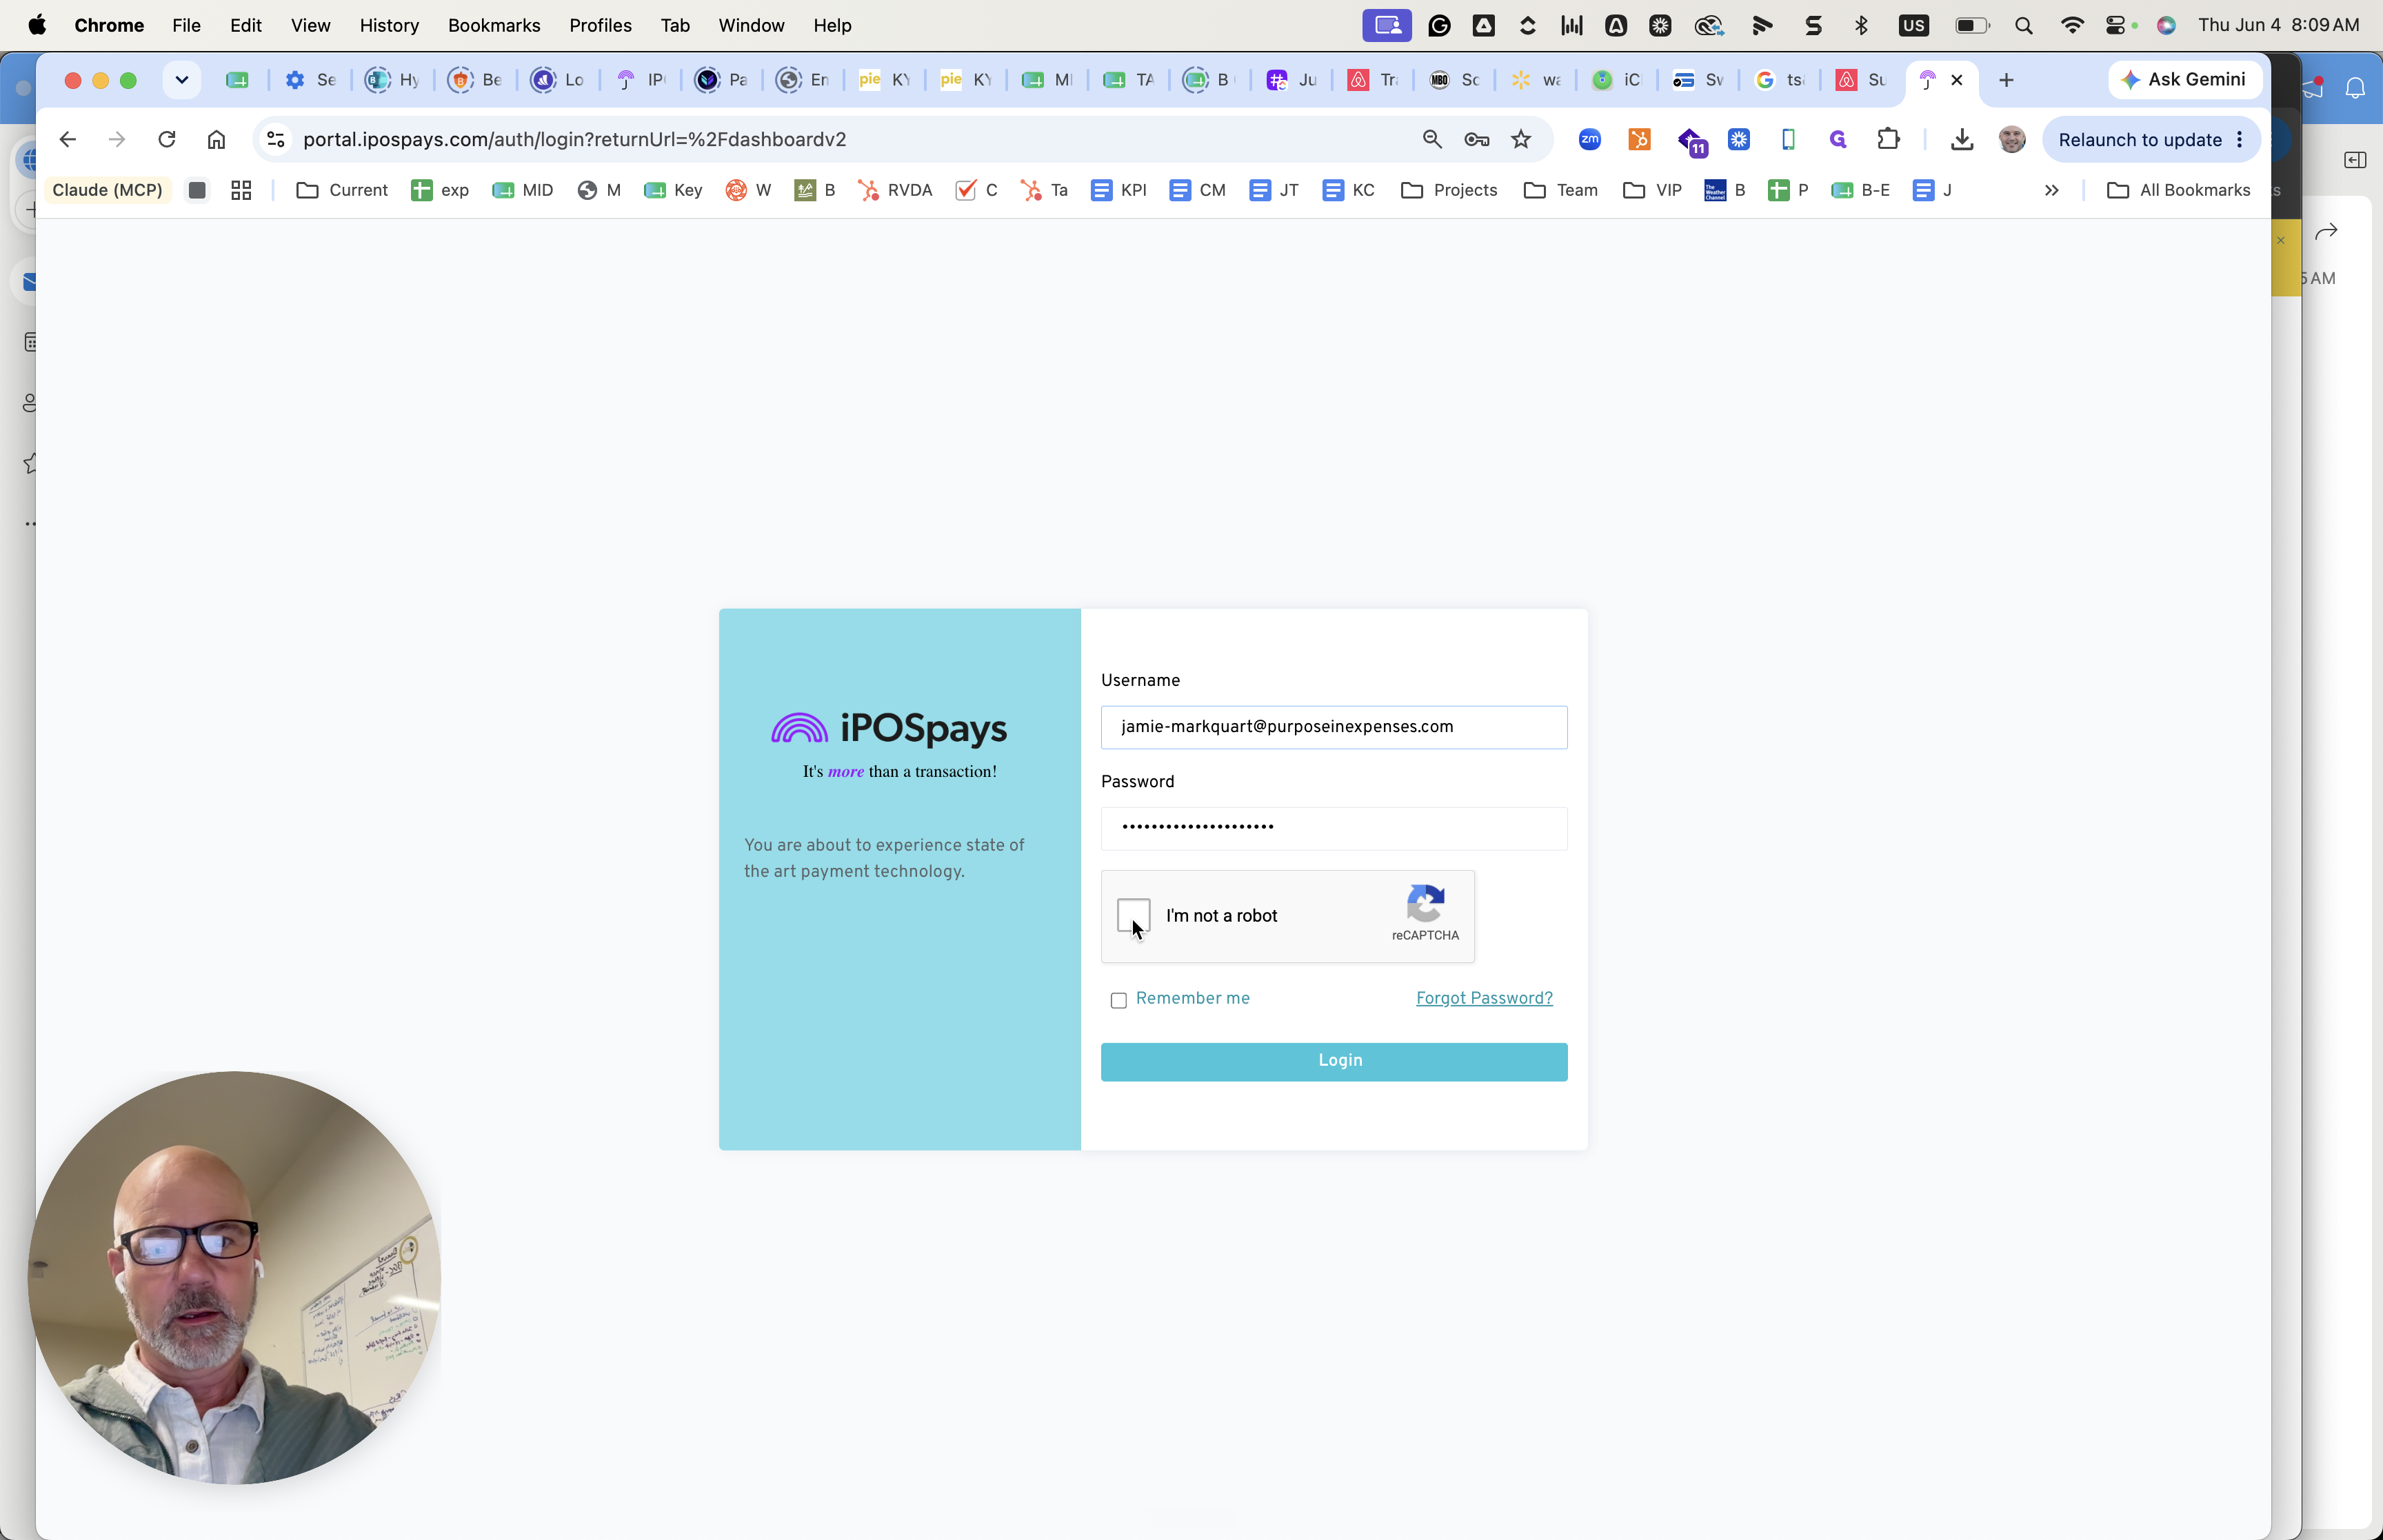
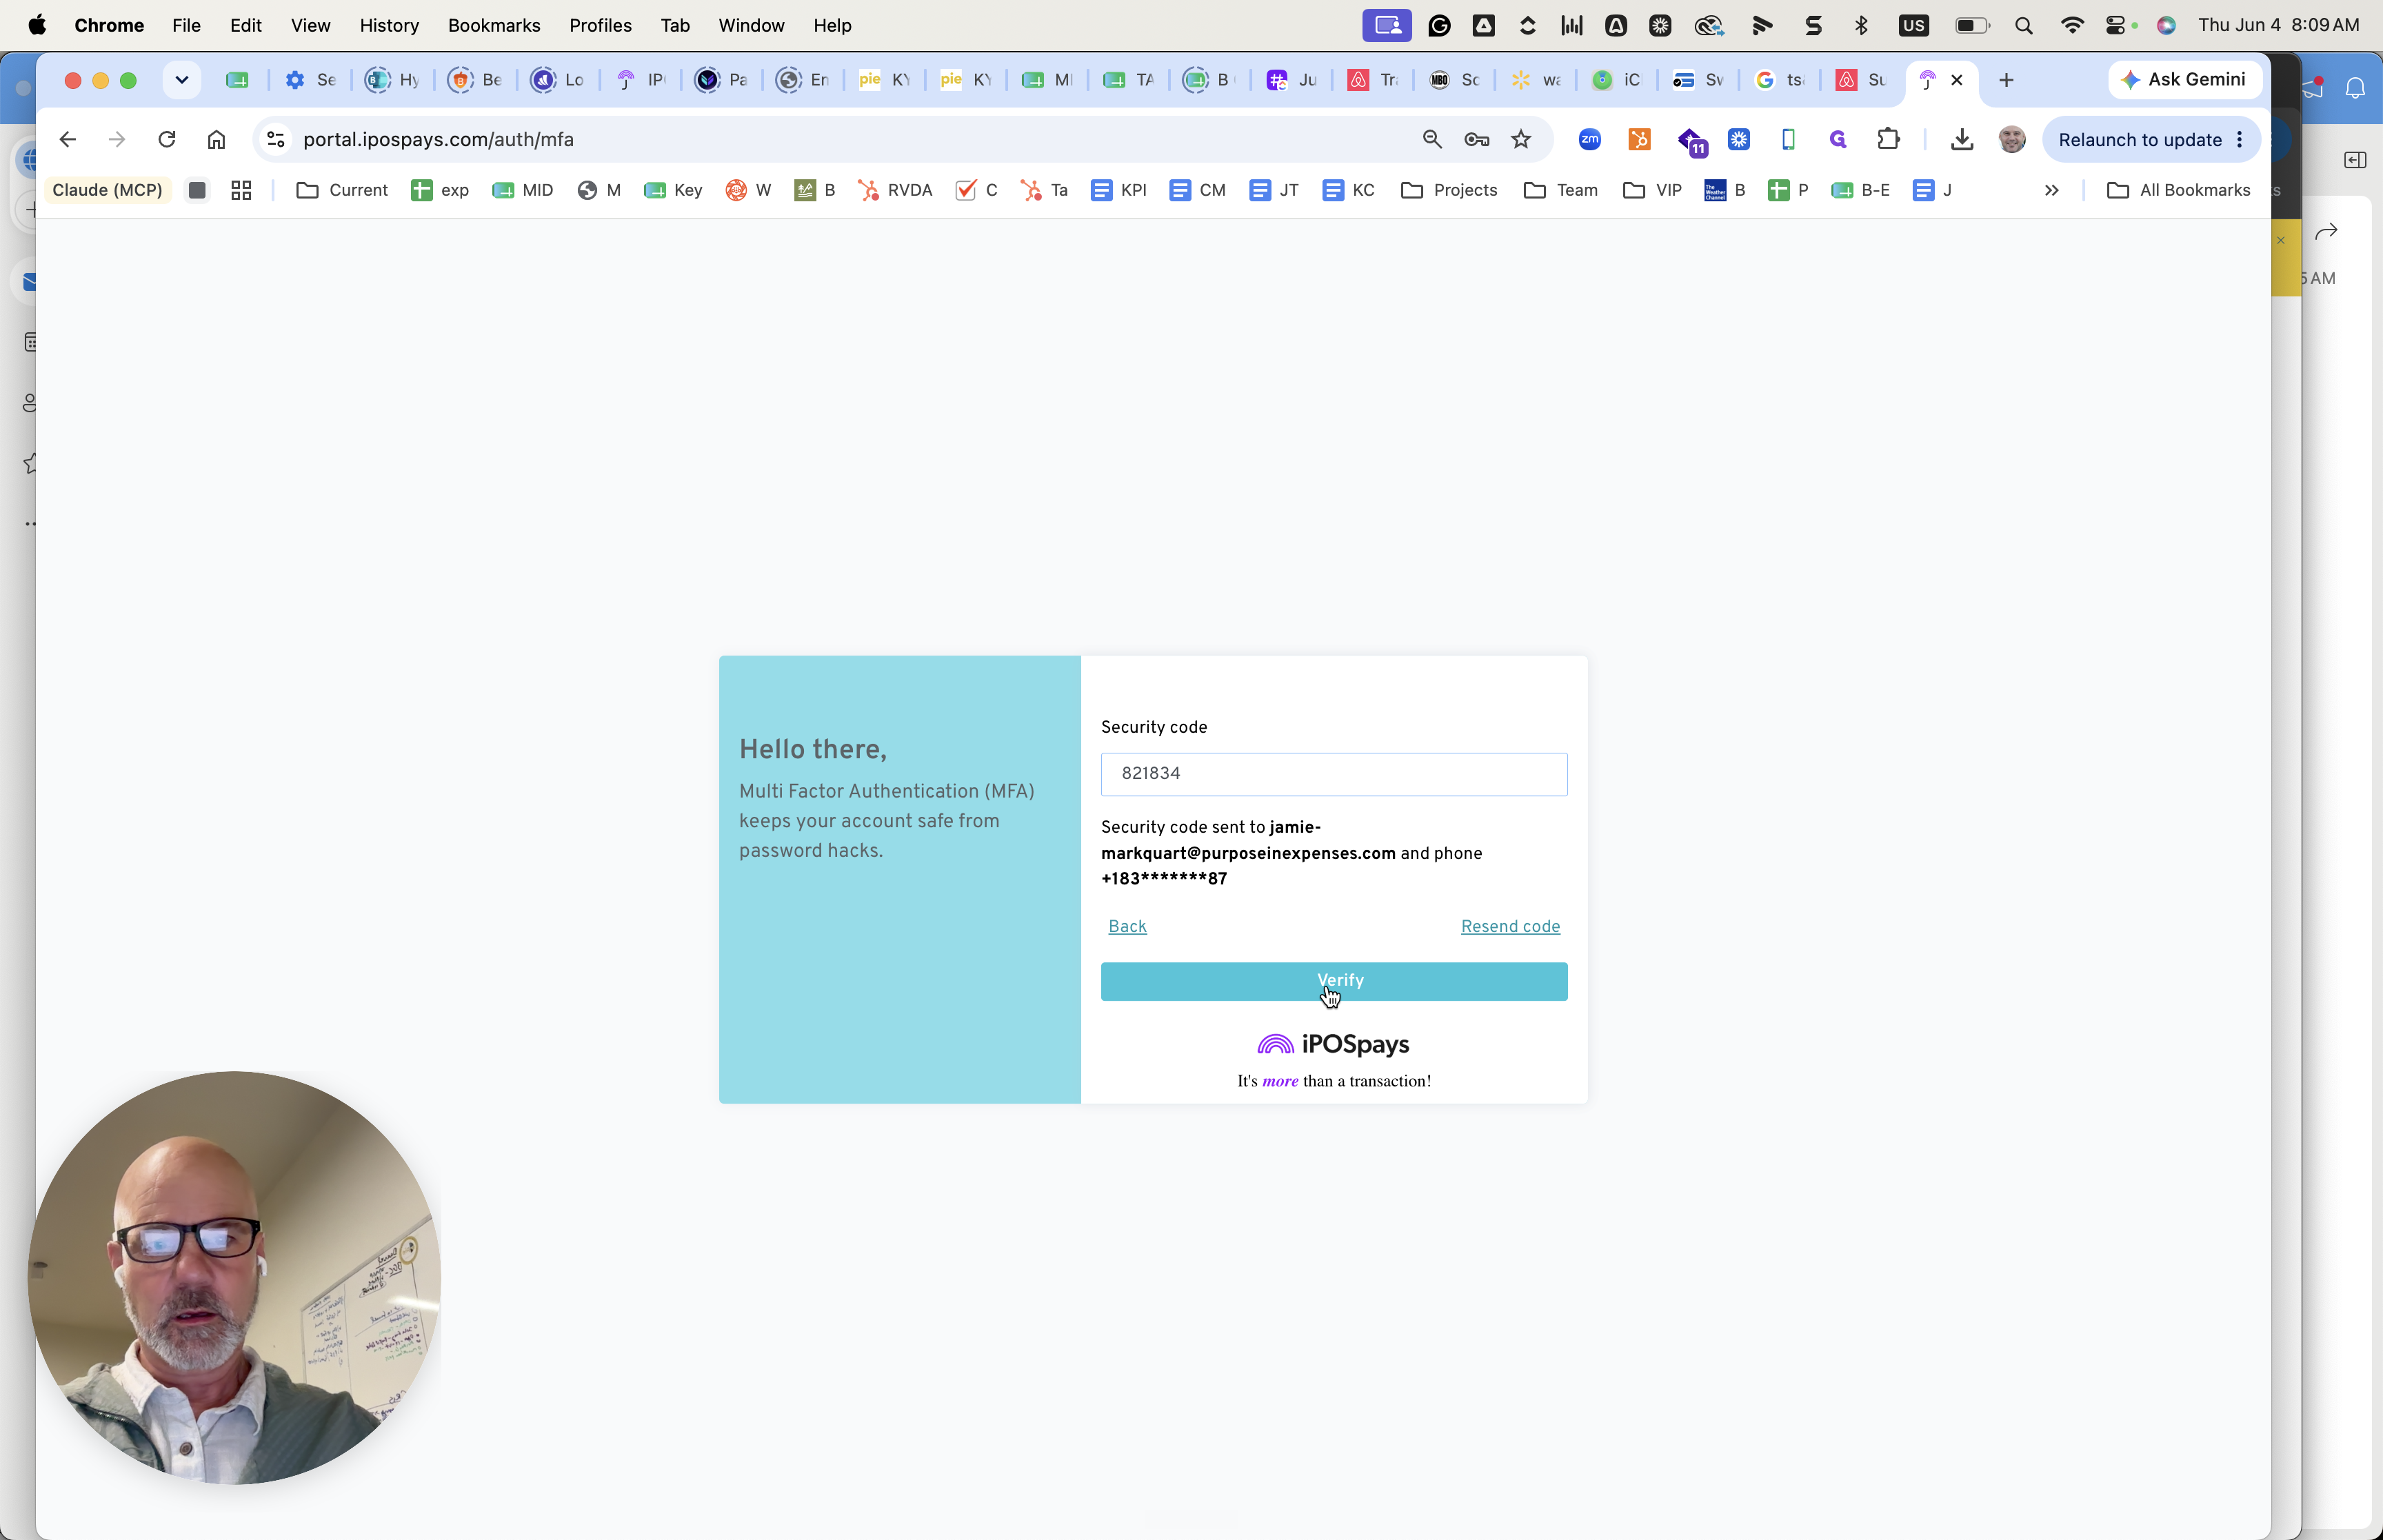
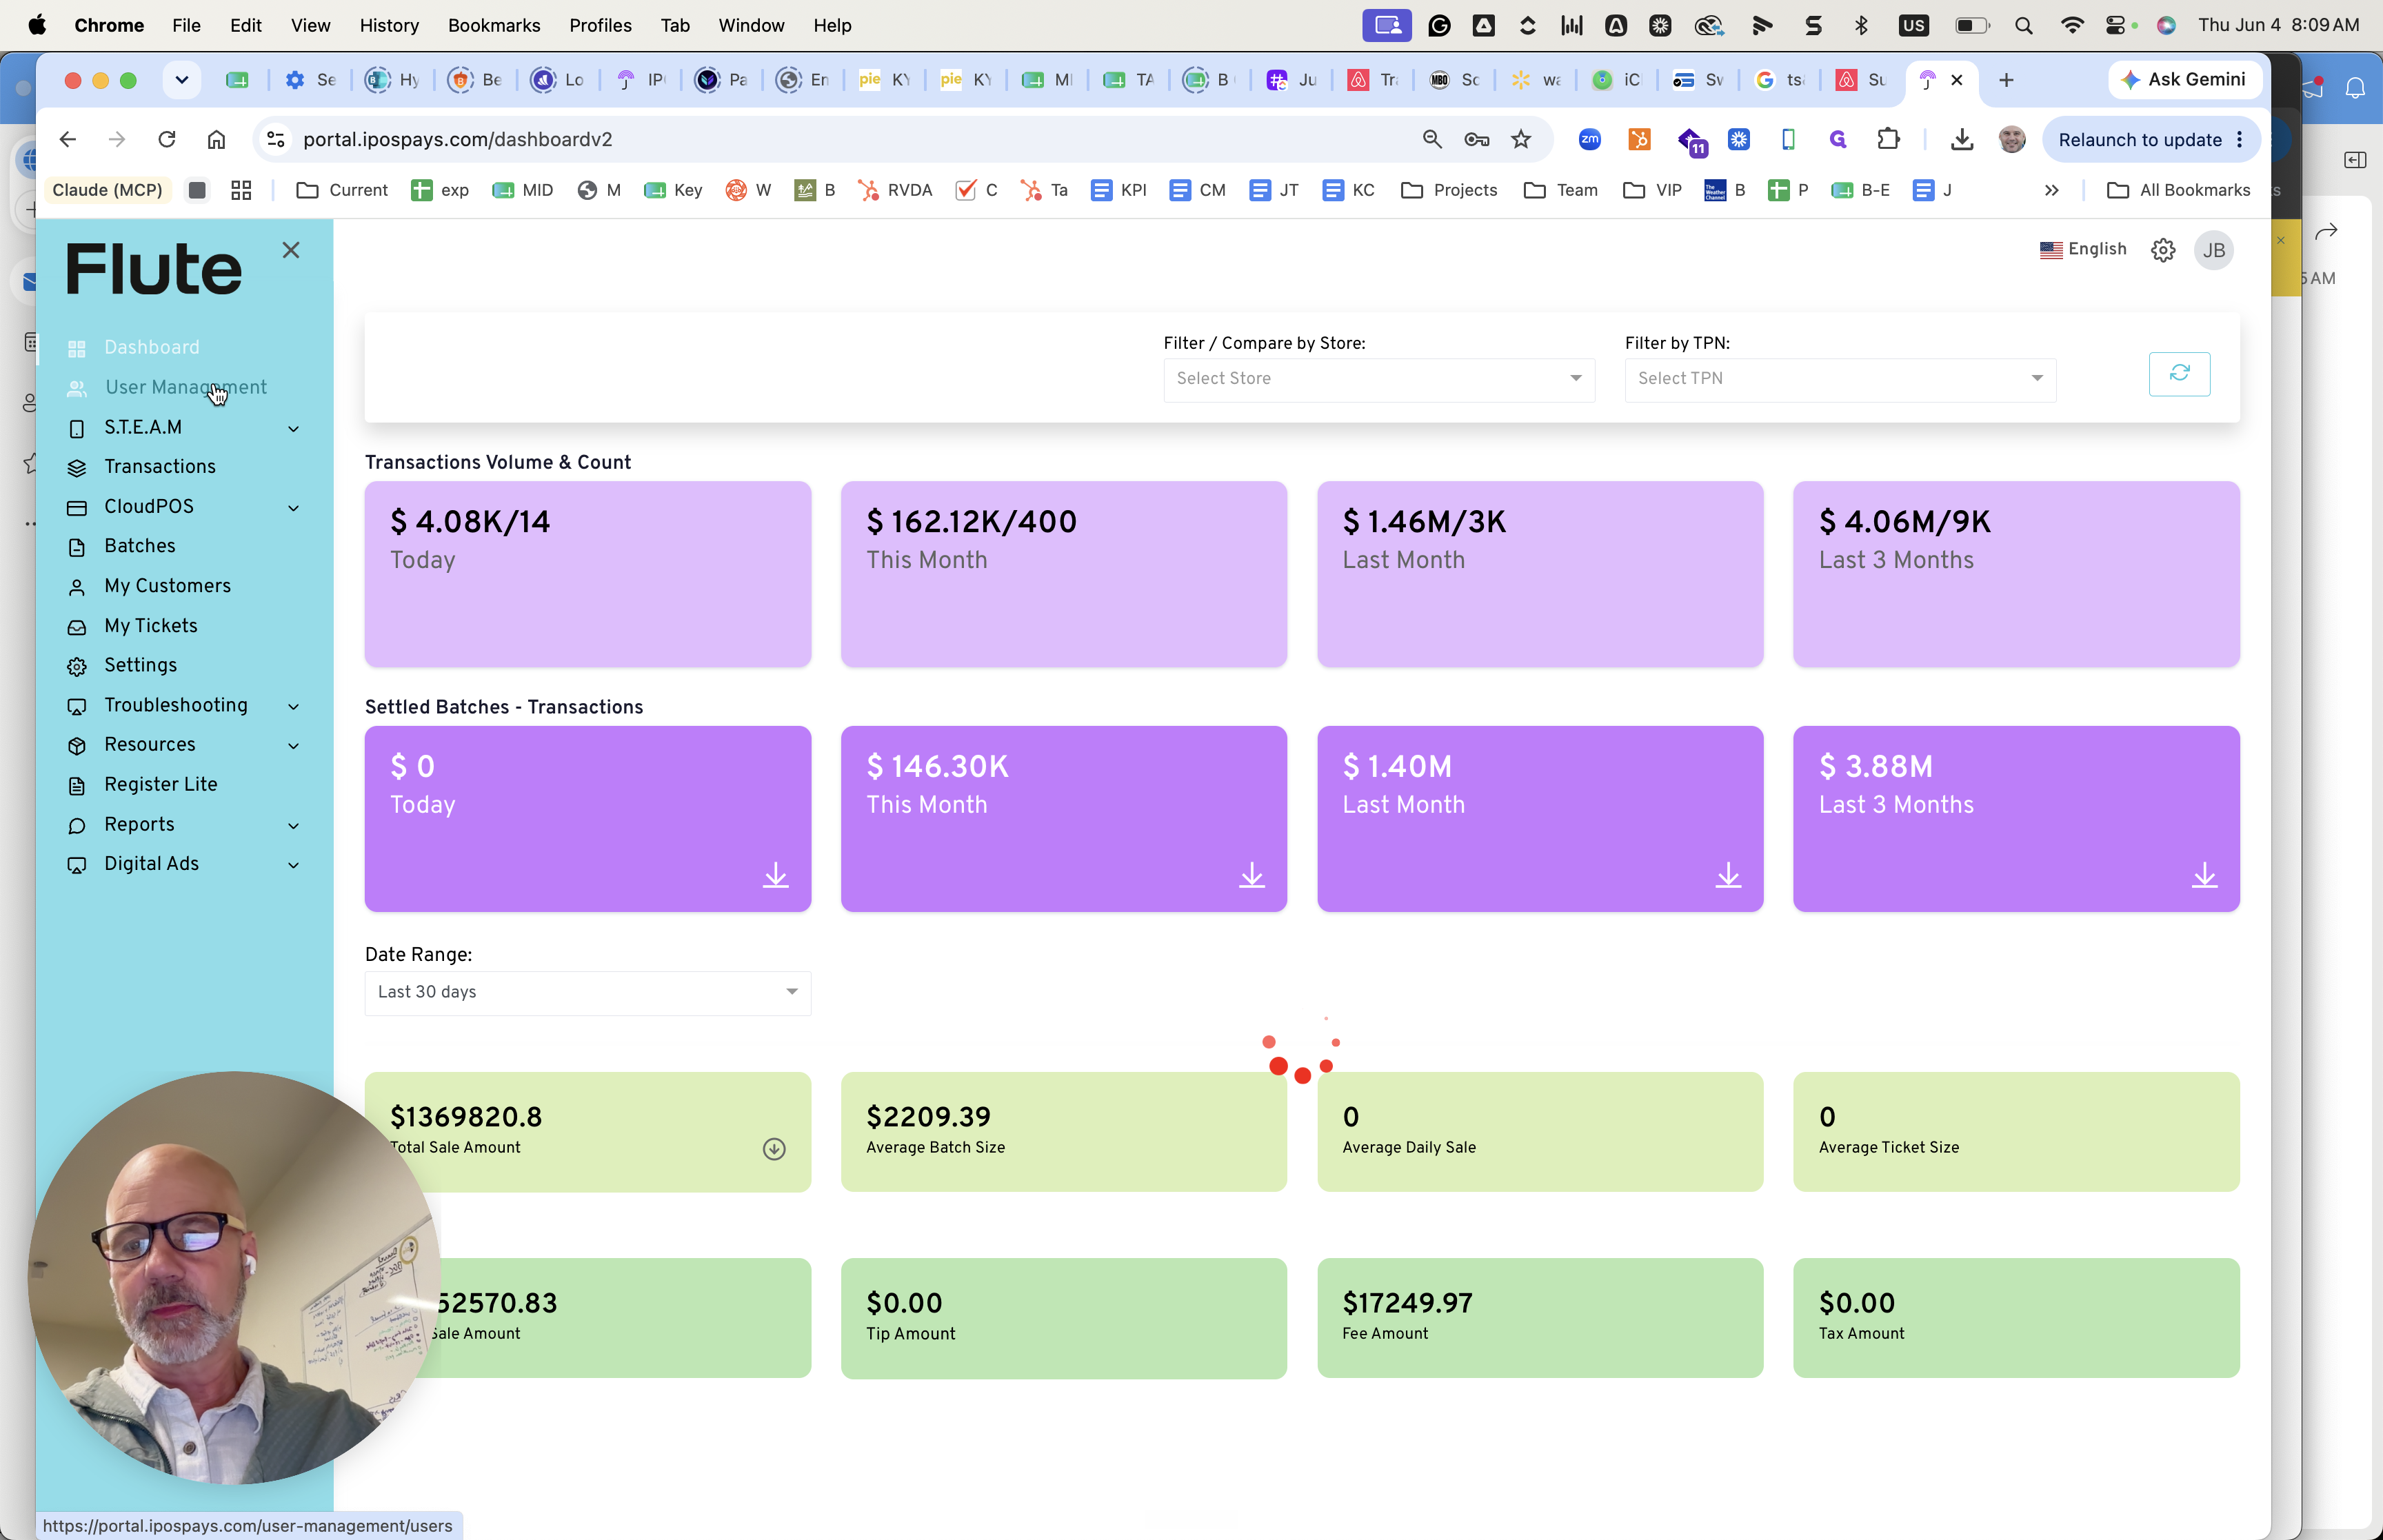
Log into the Portal


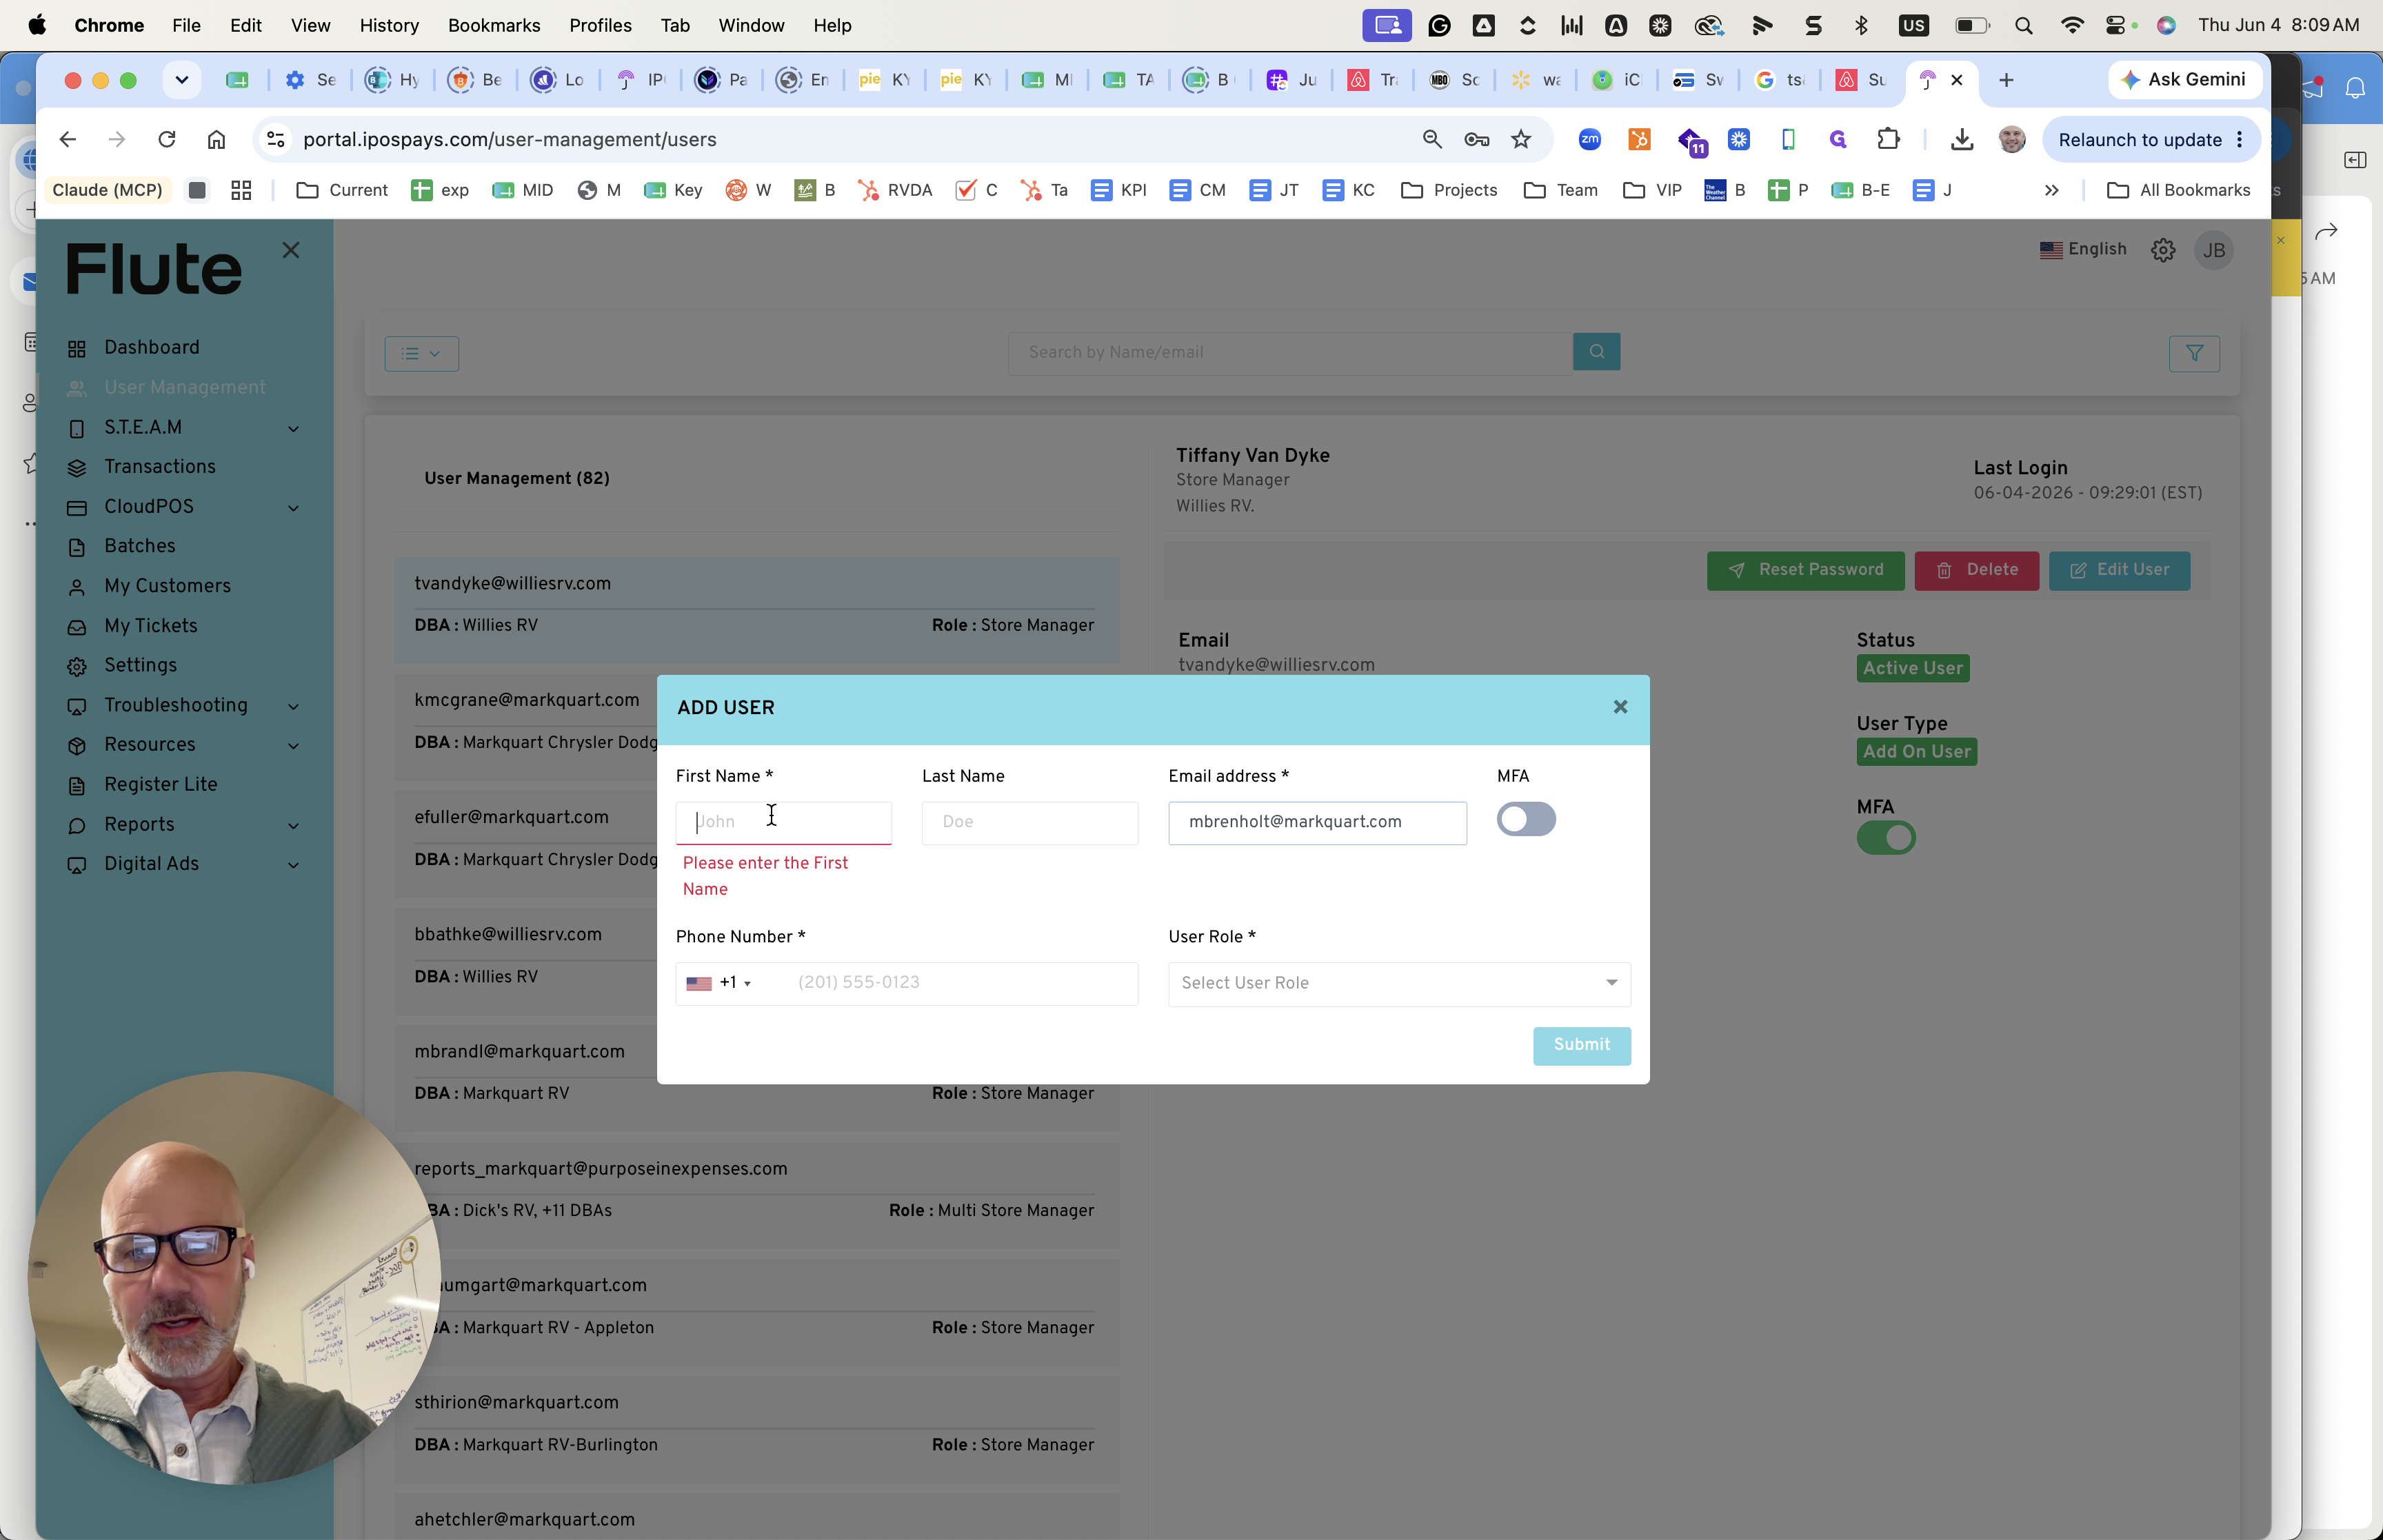
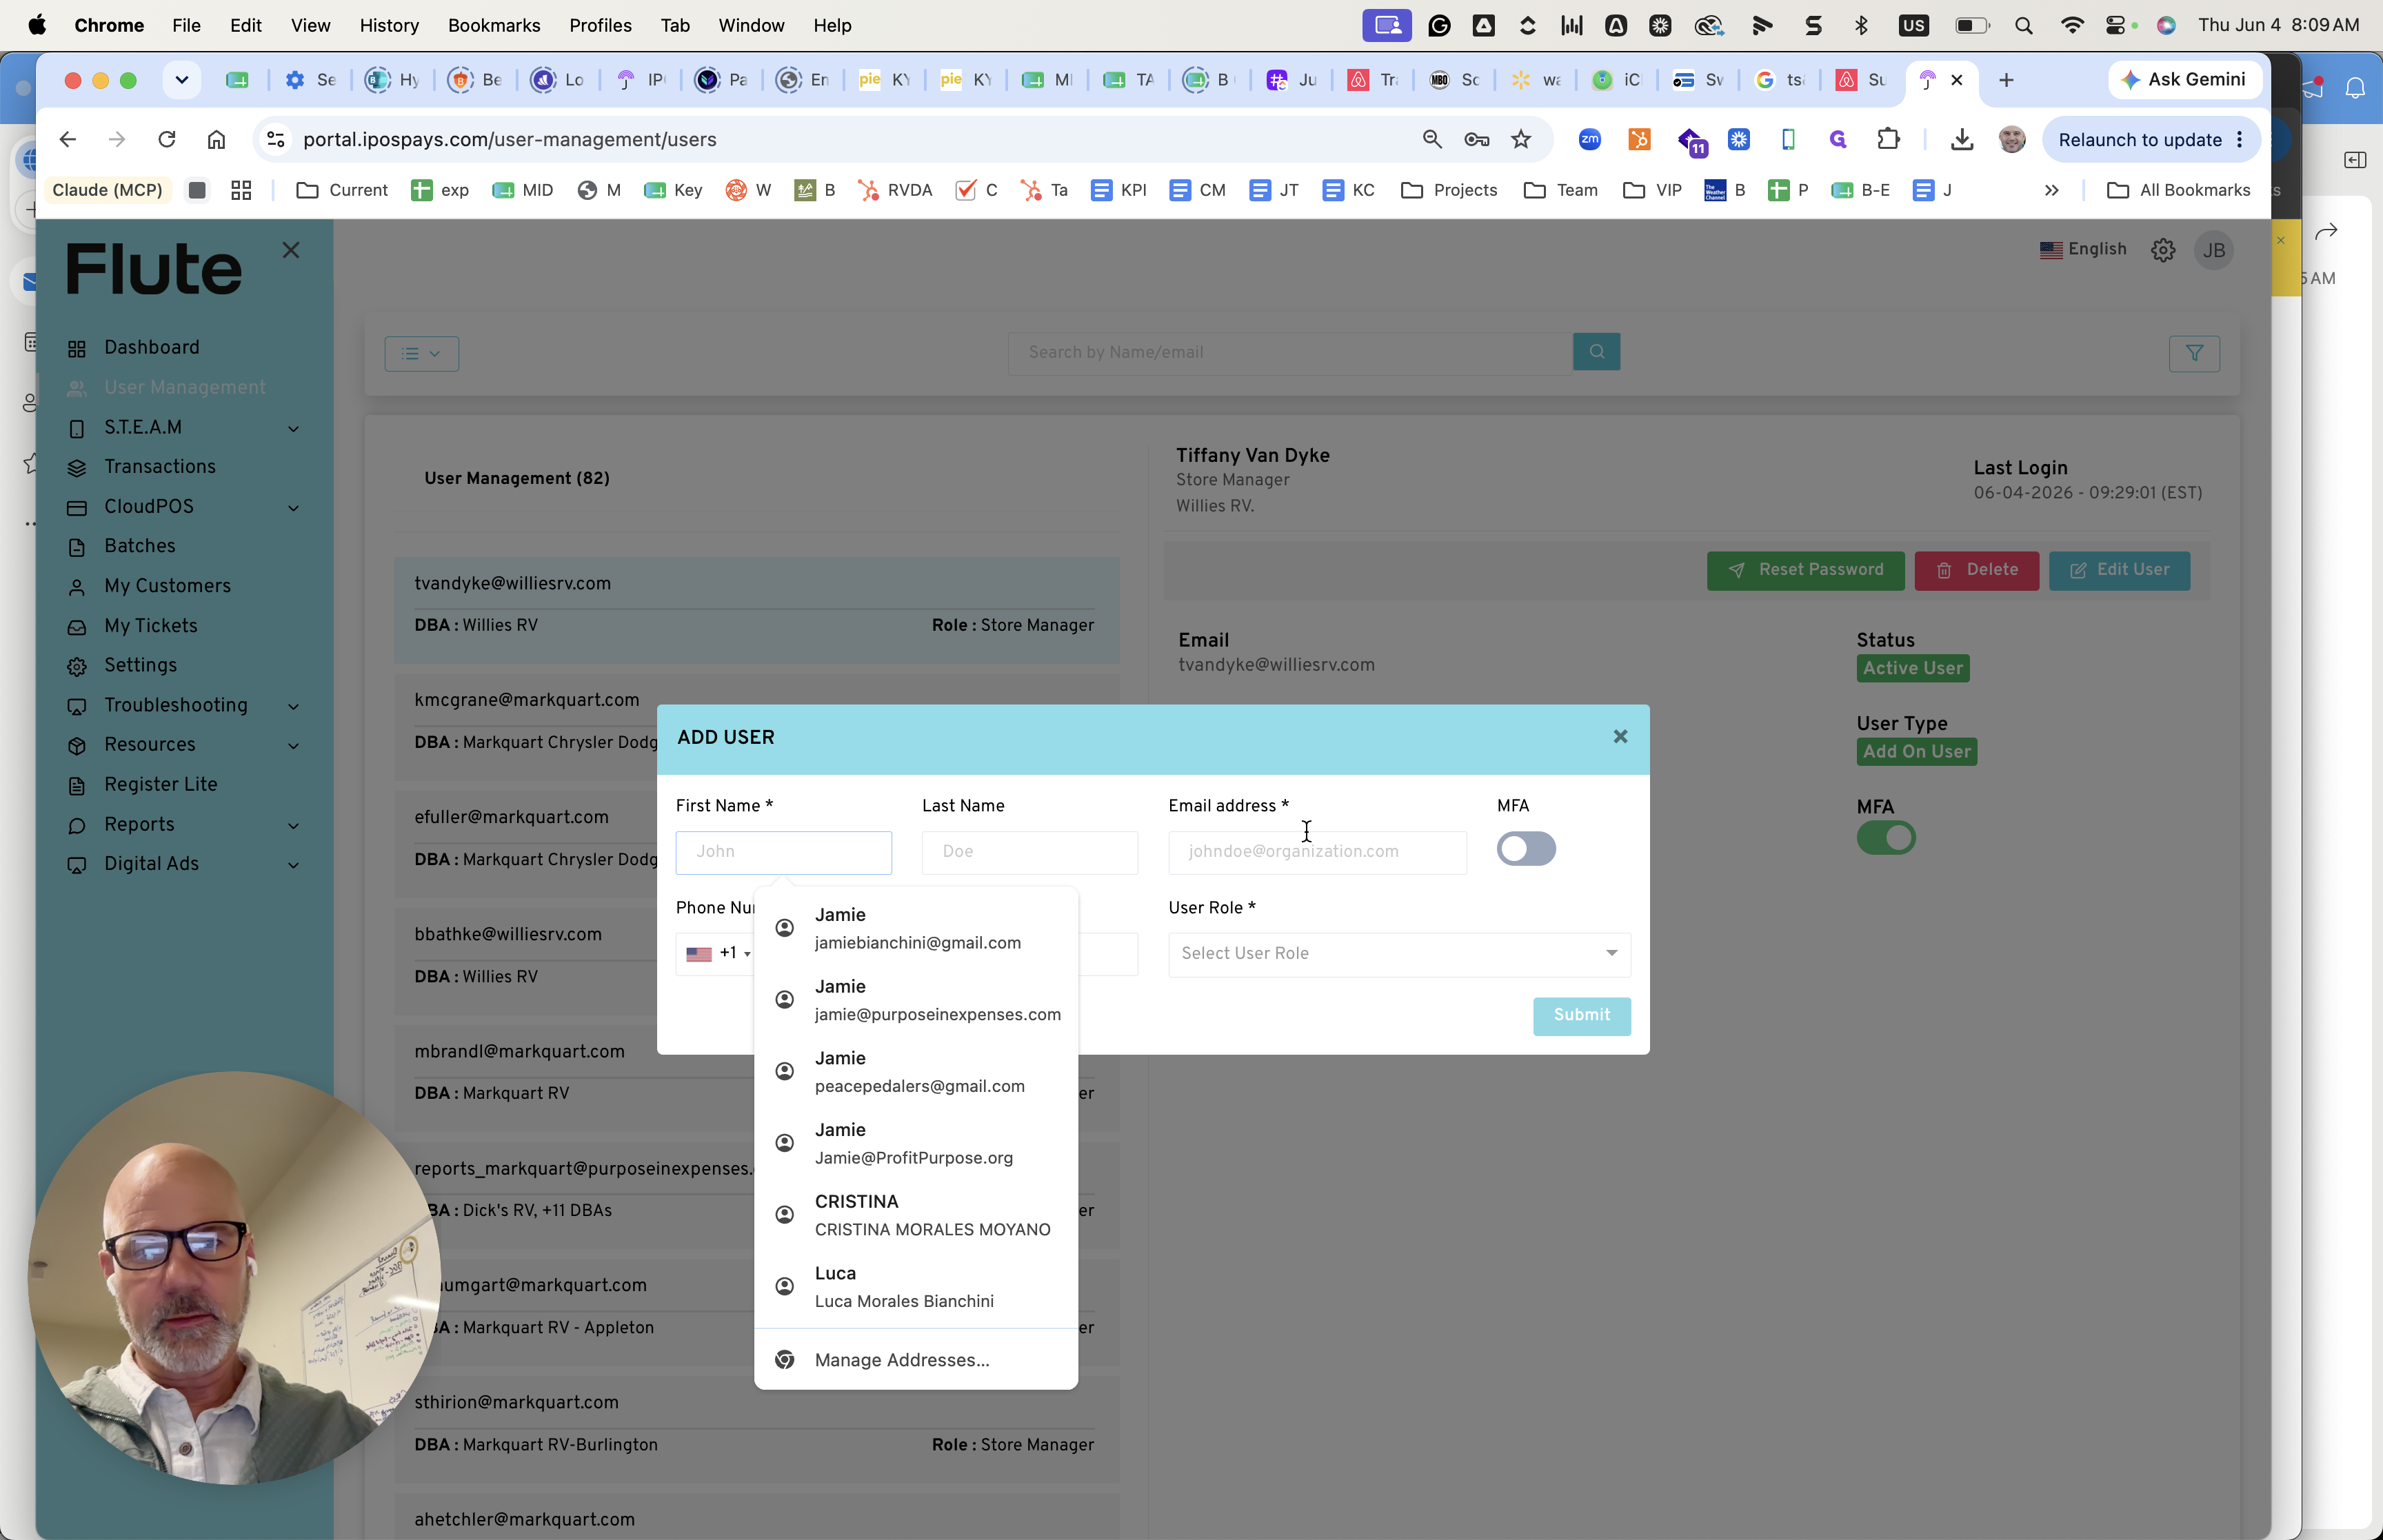
Create the New User
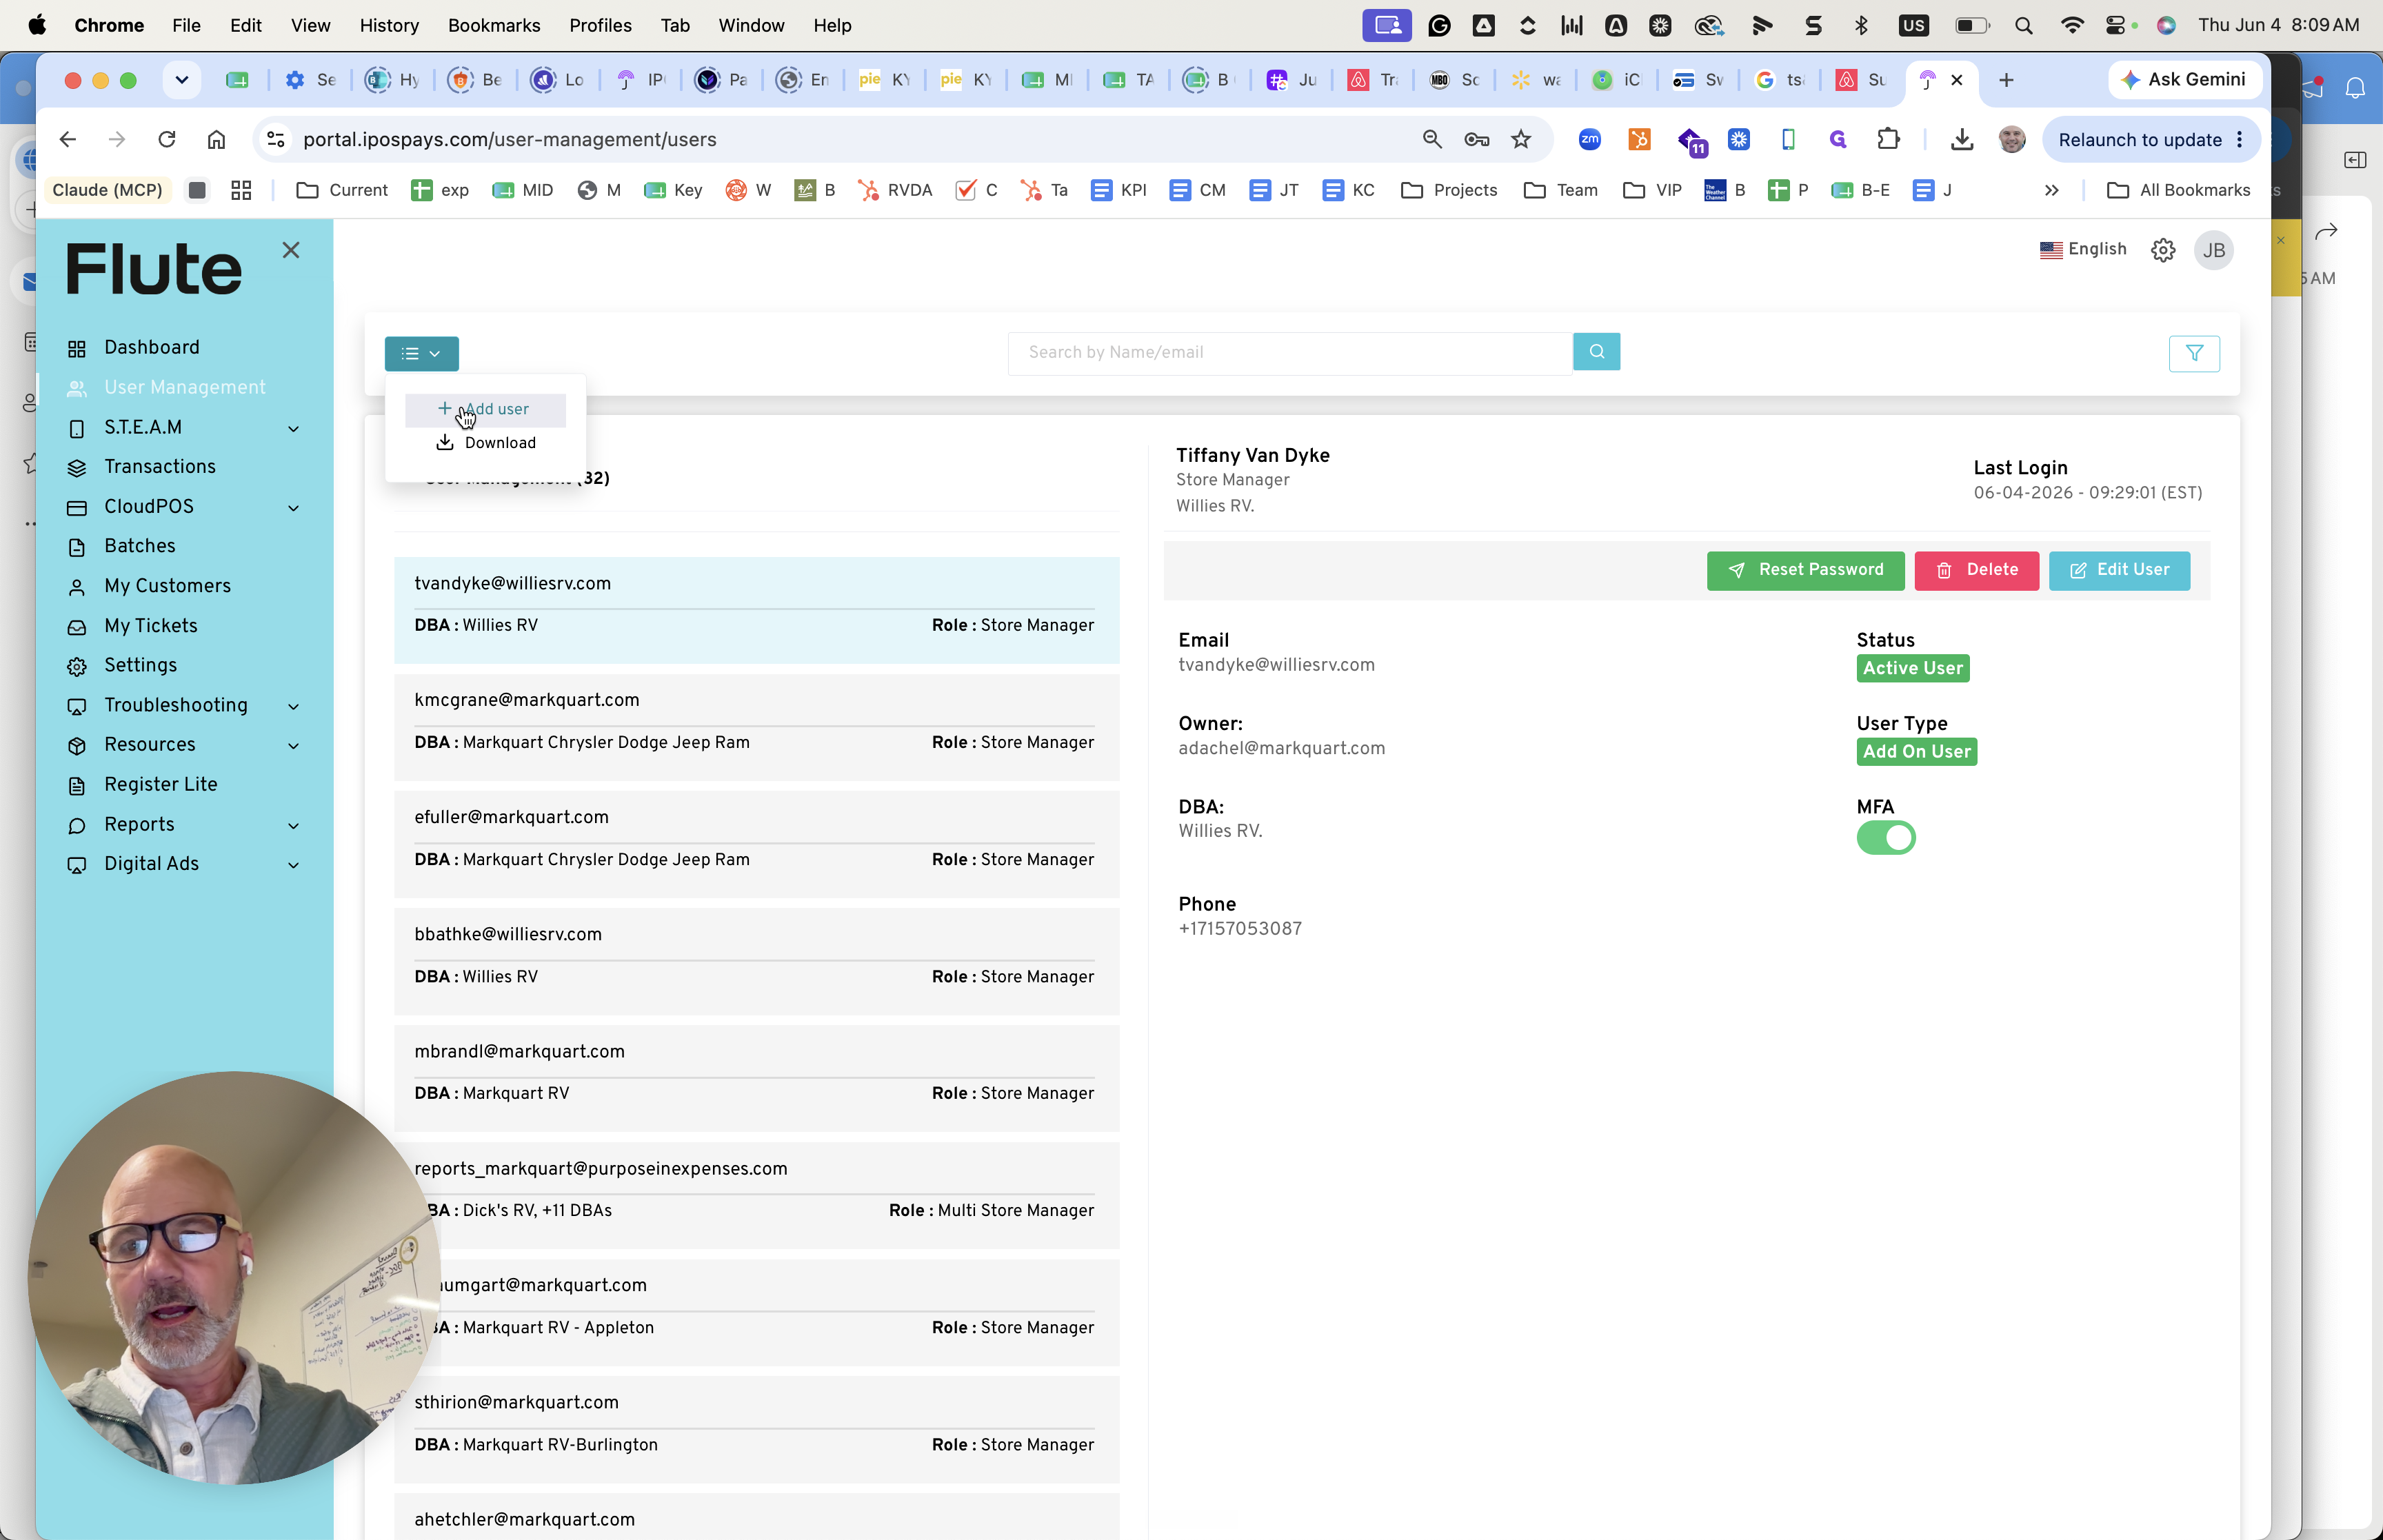
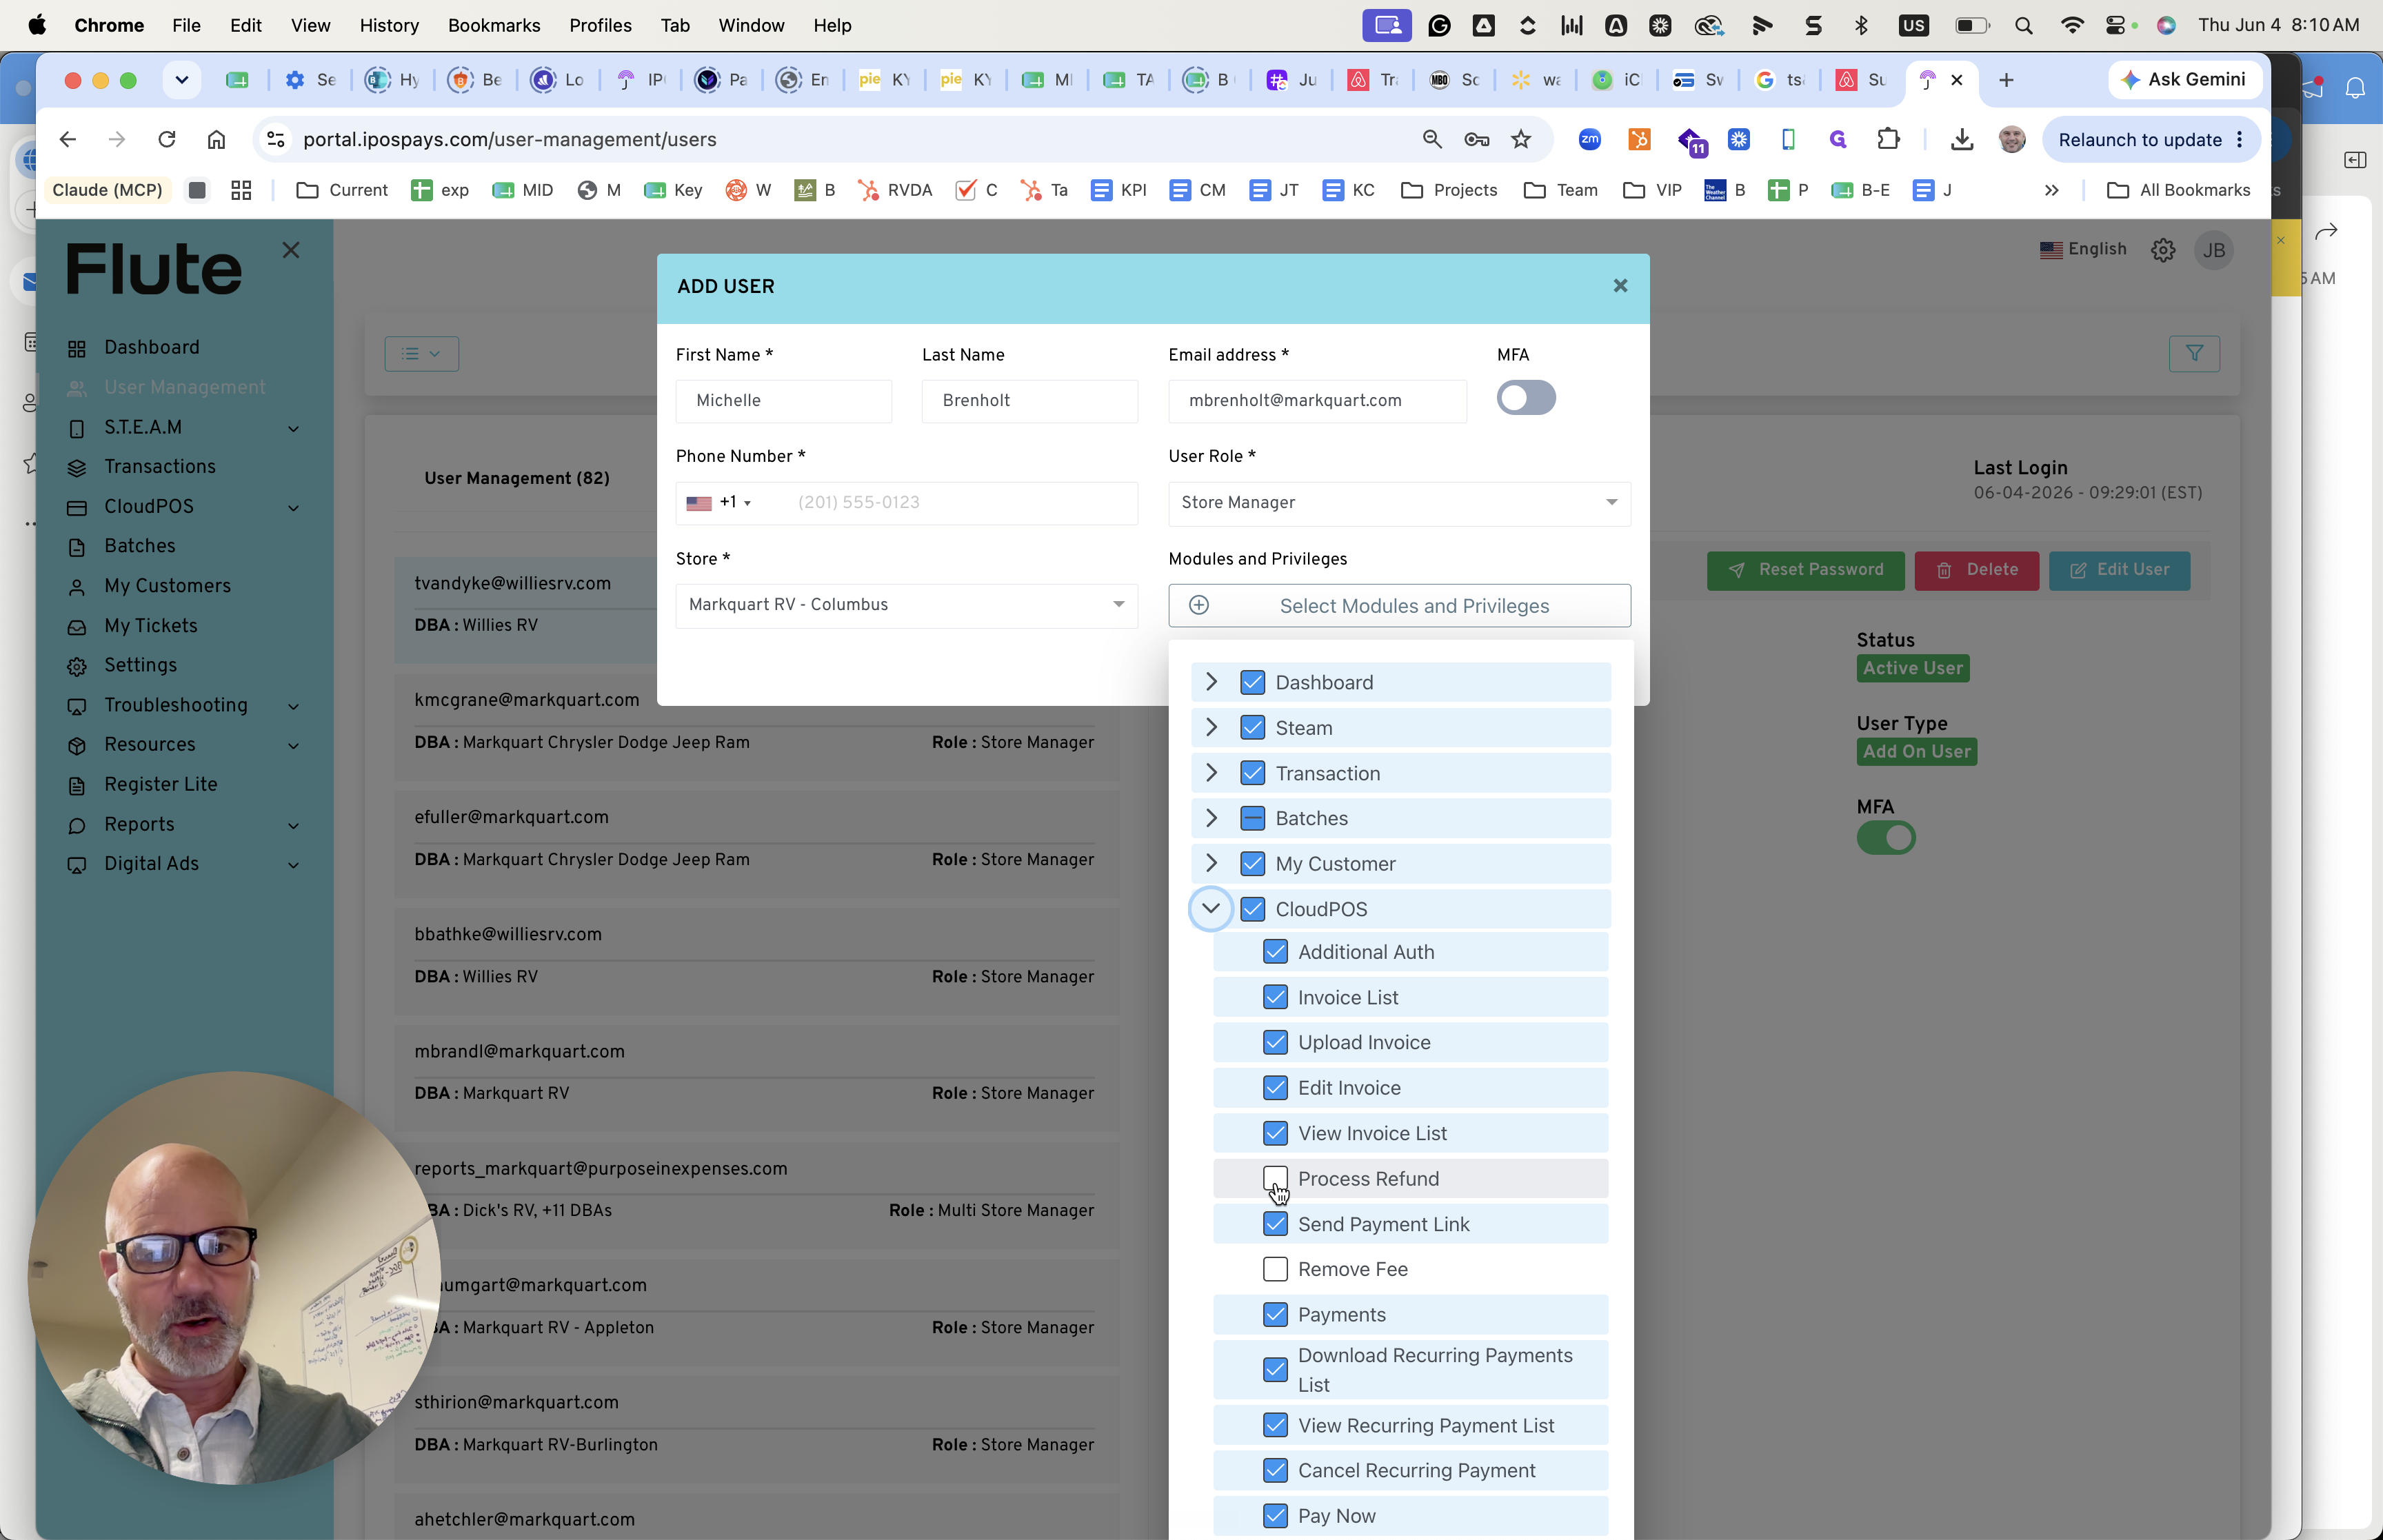
Fill in the user's personal and role details:


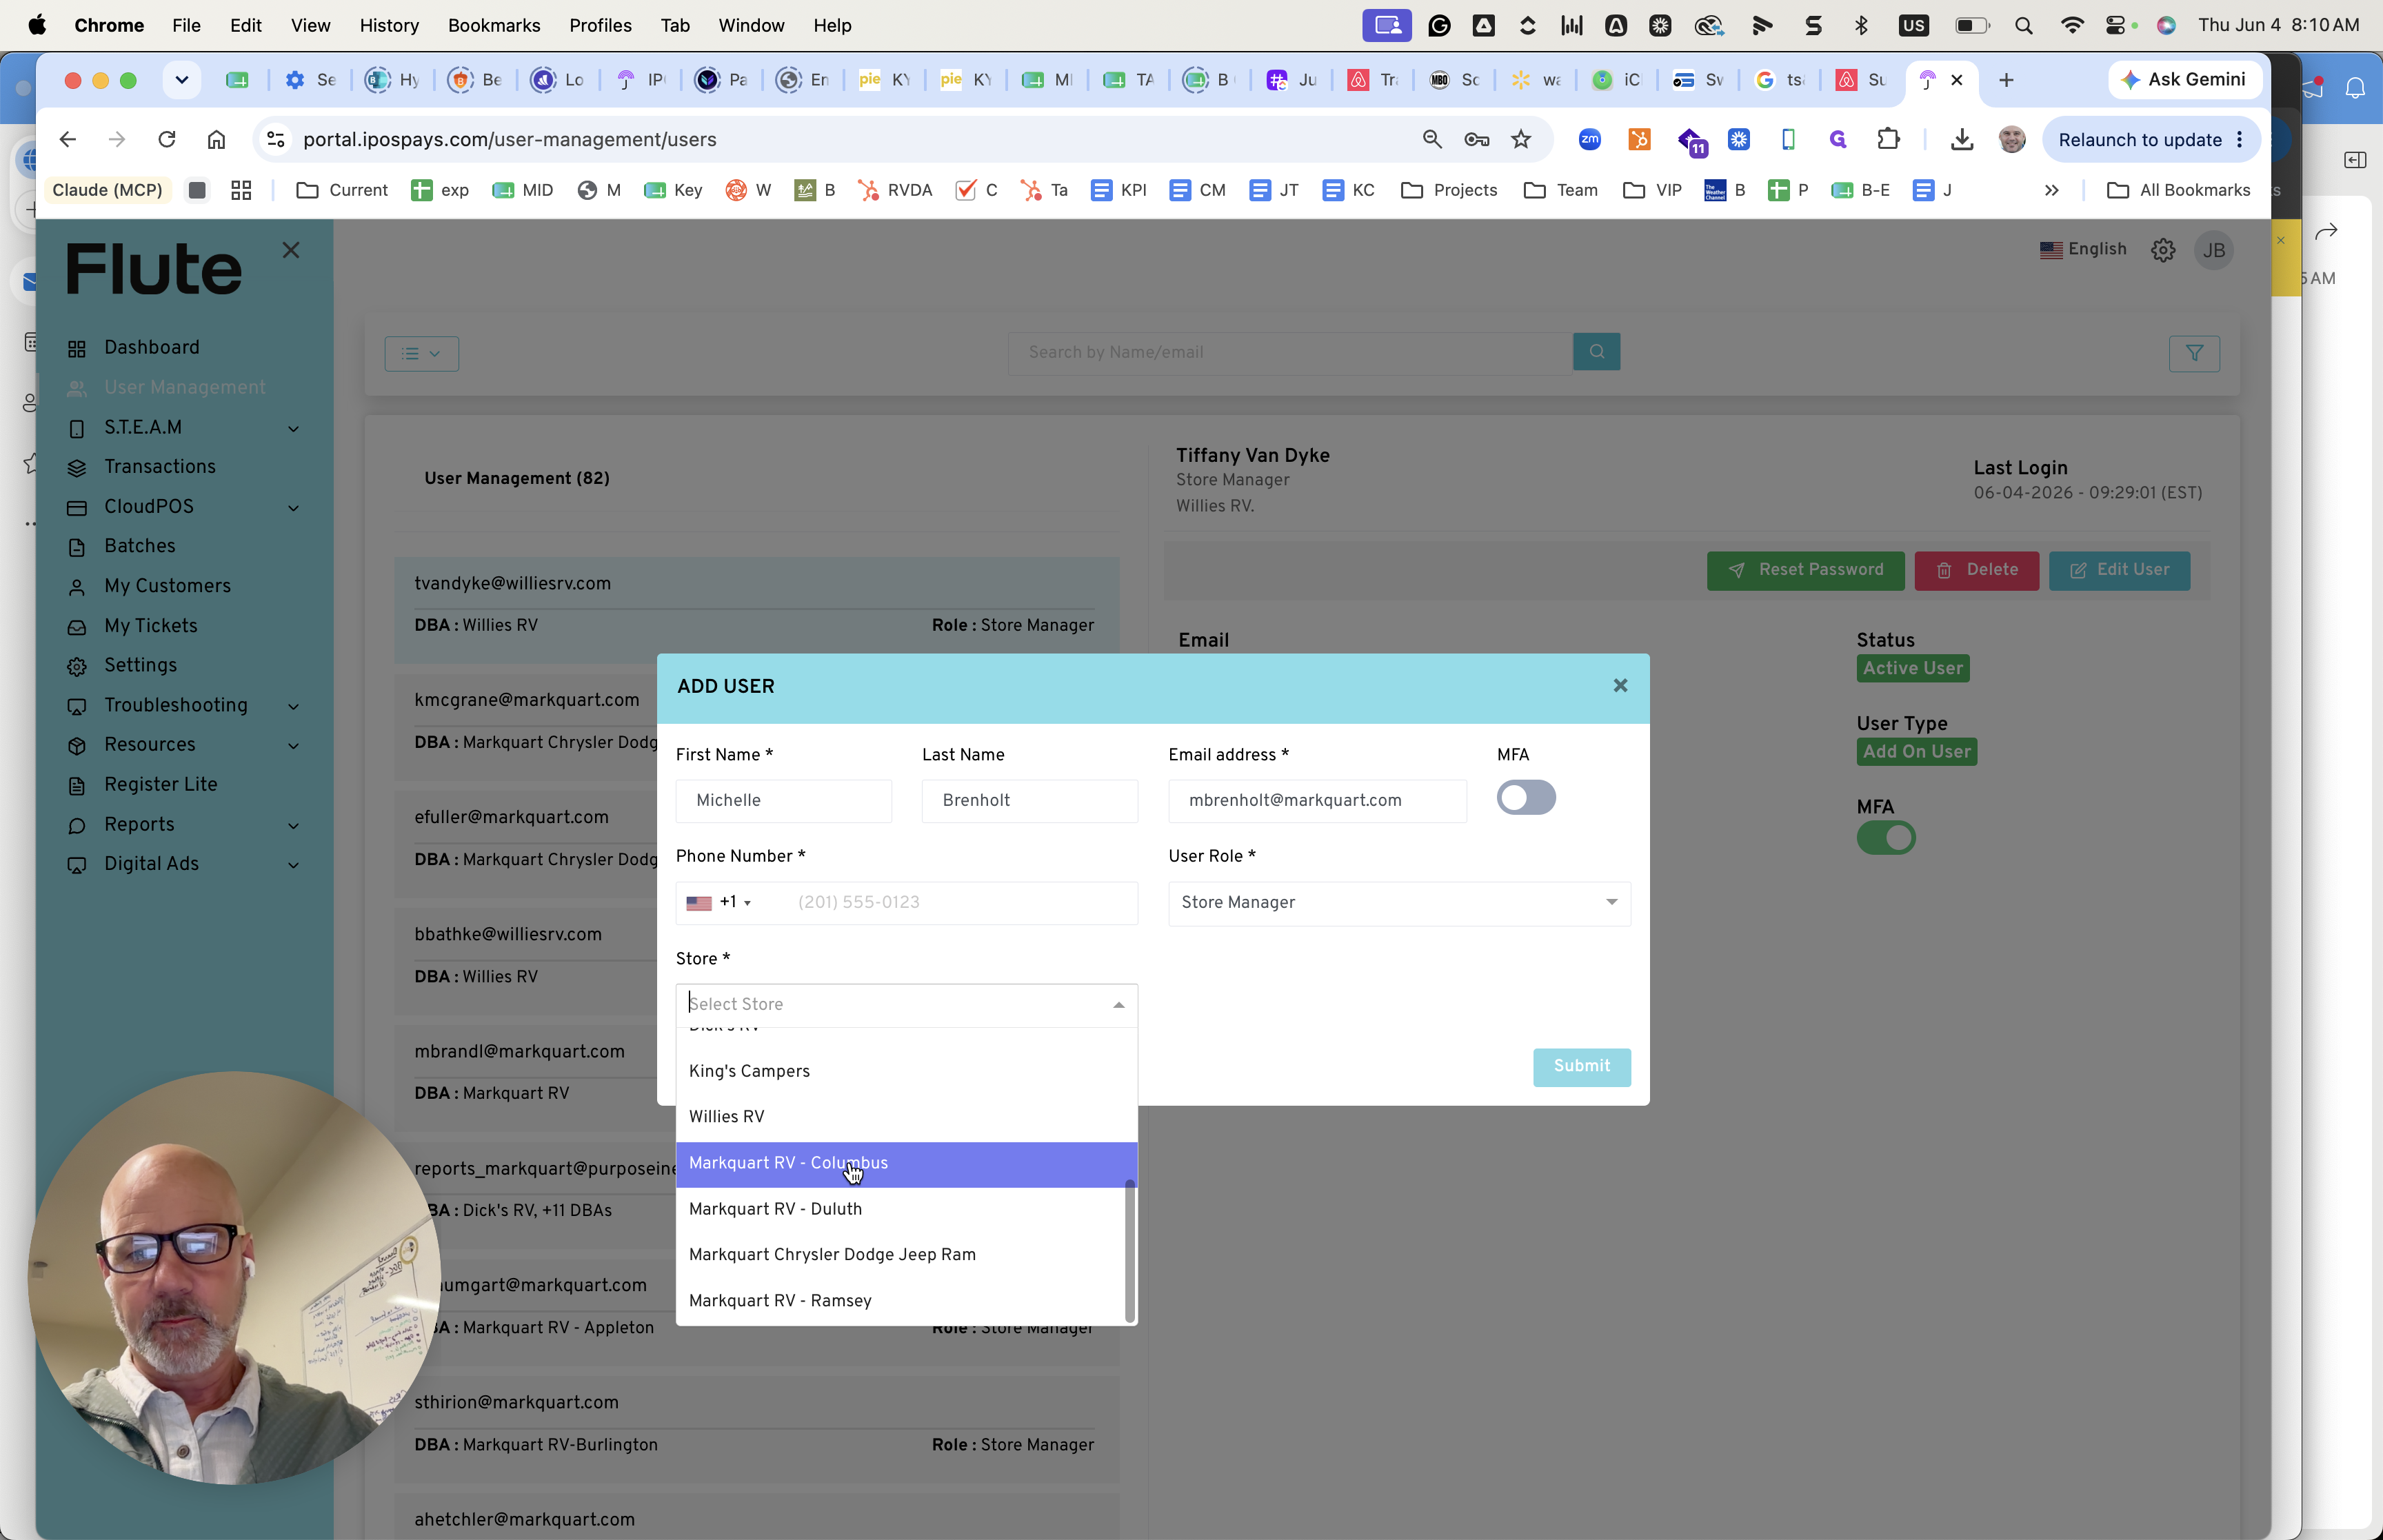
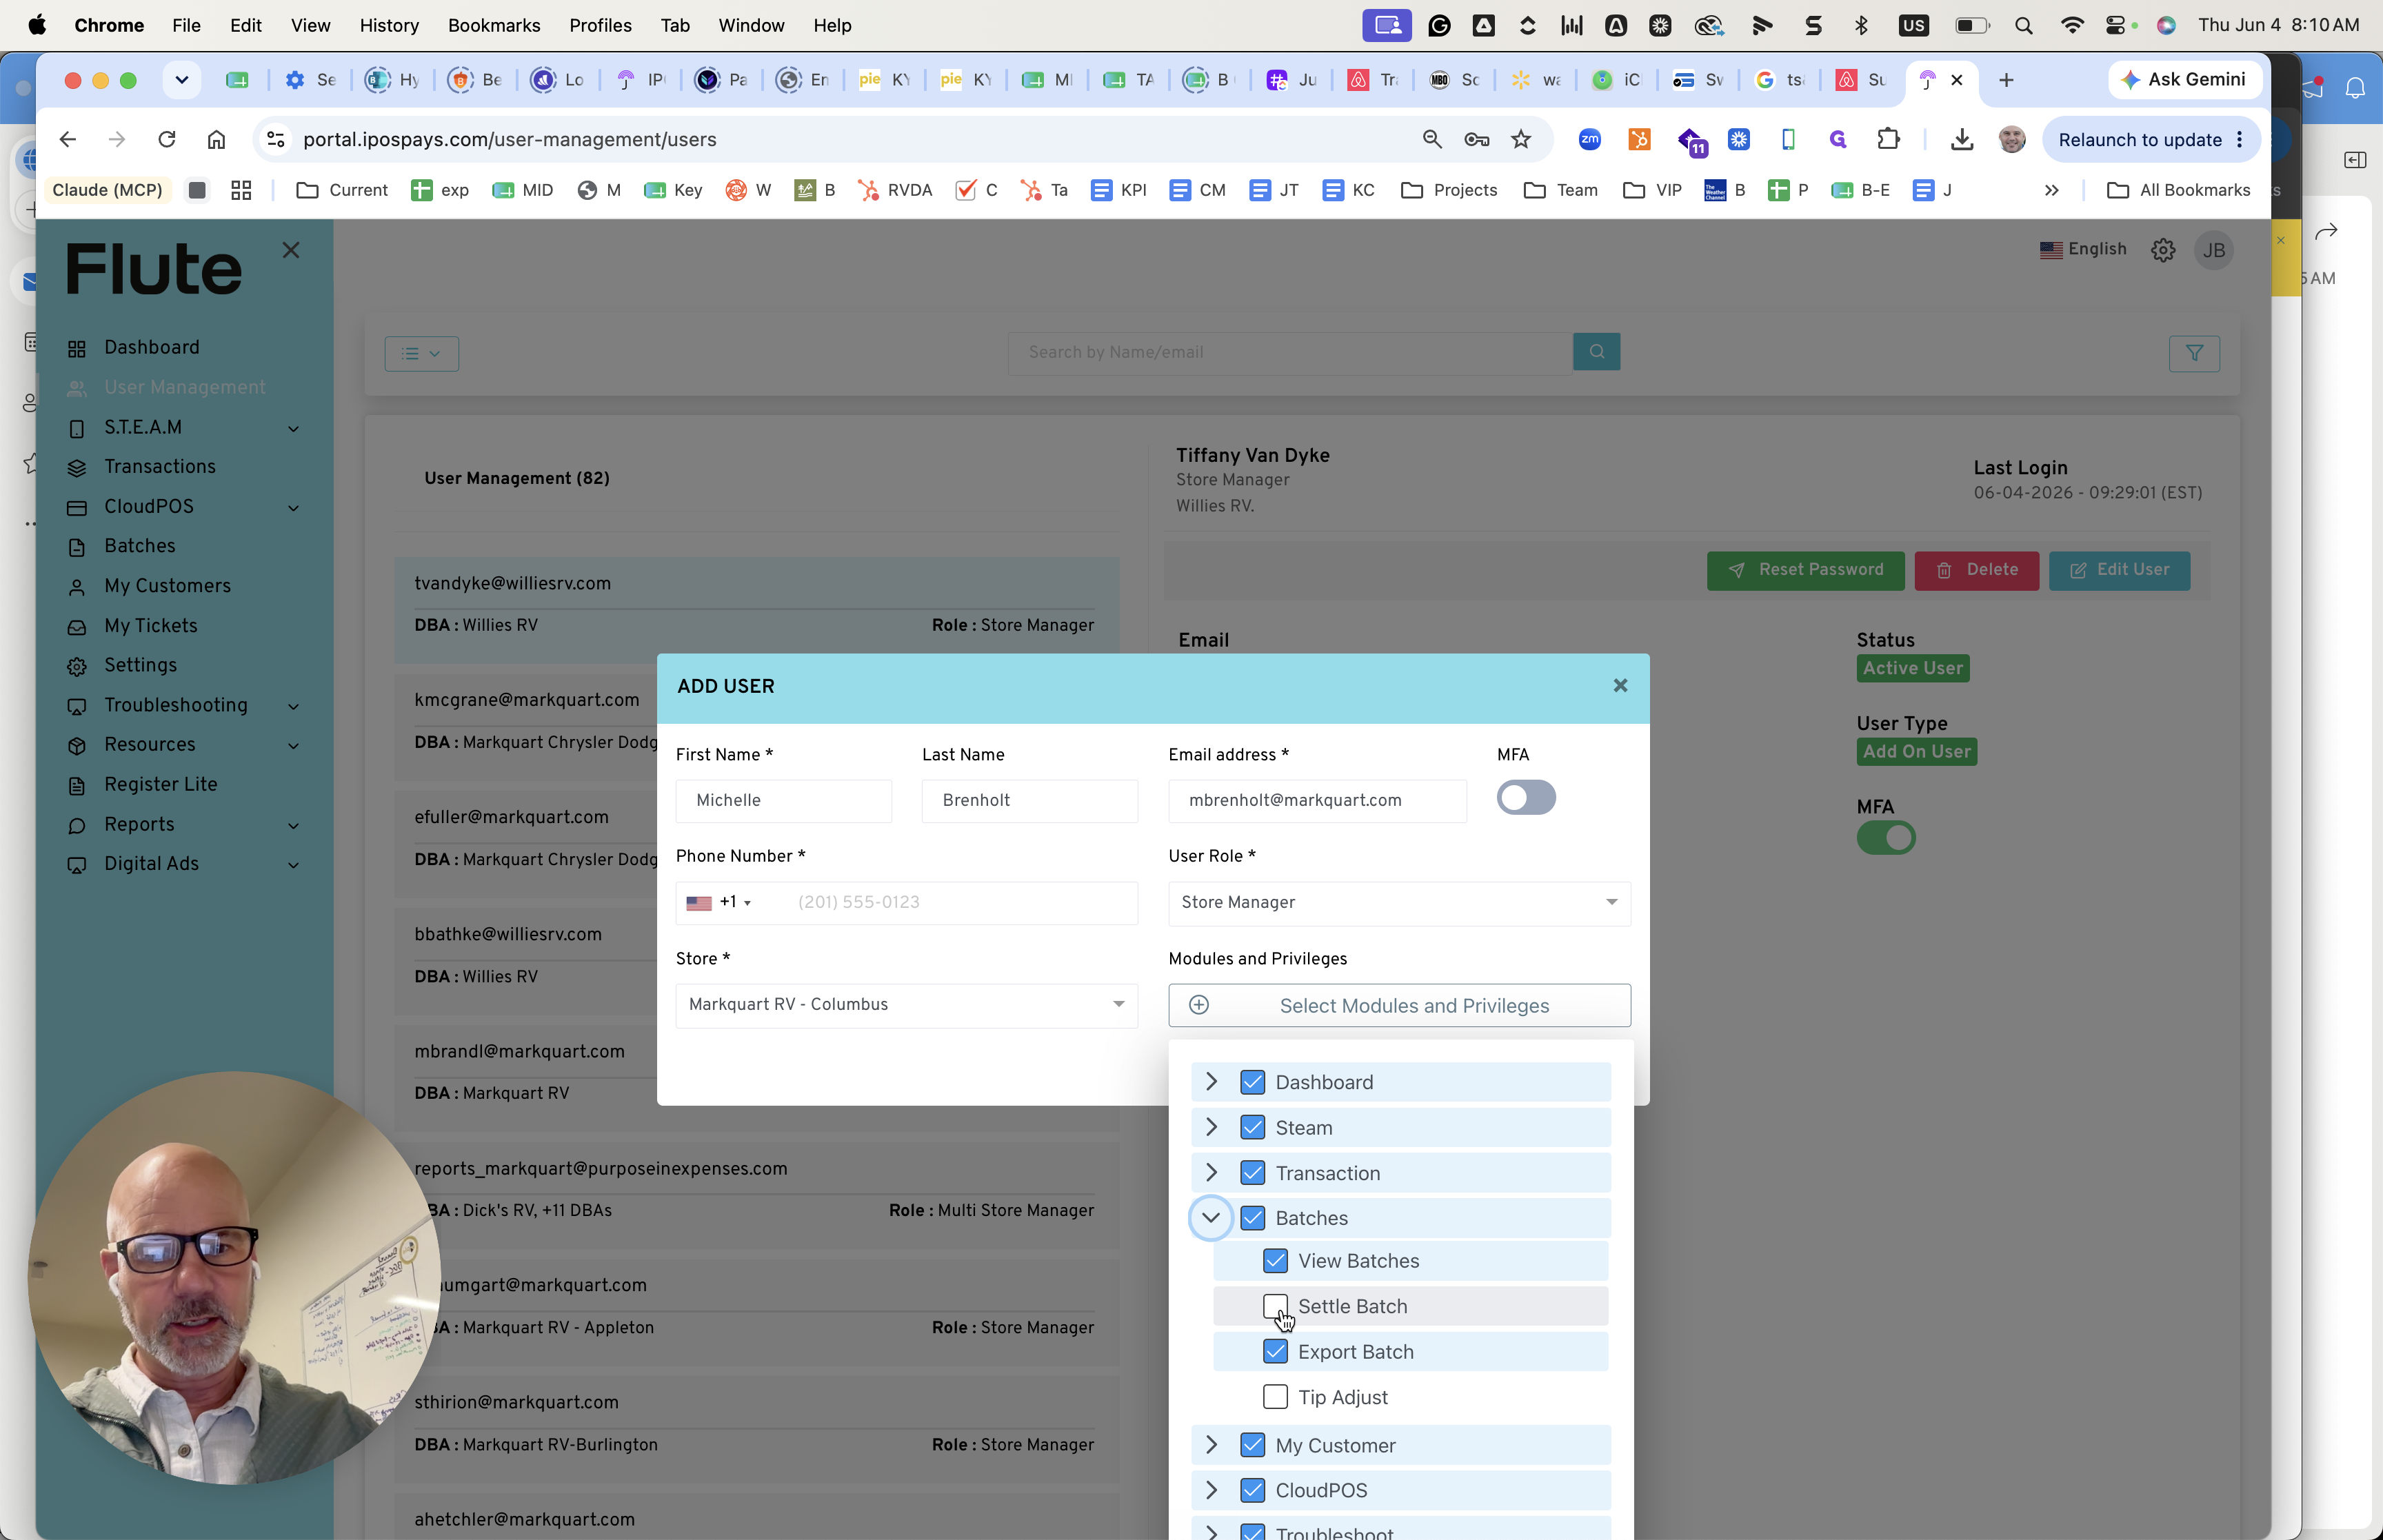
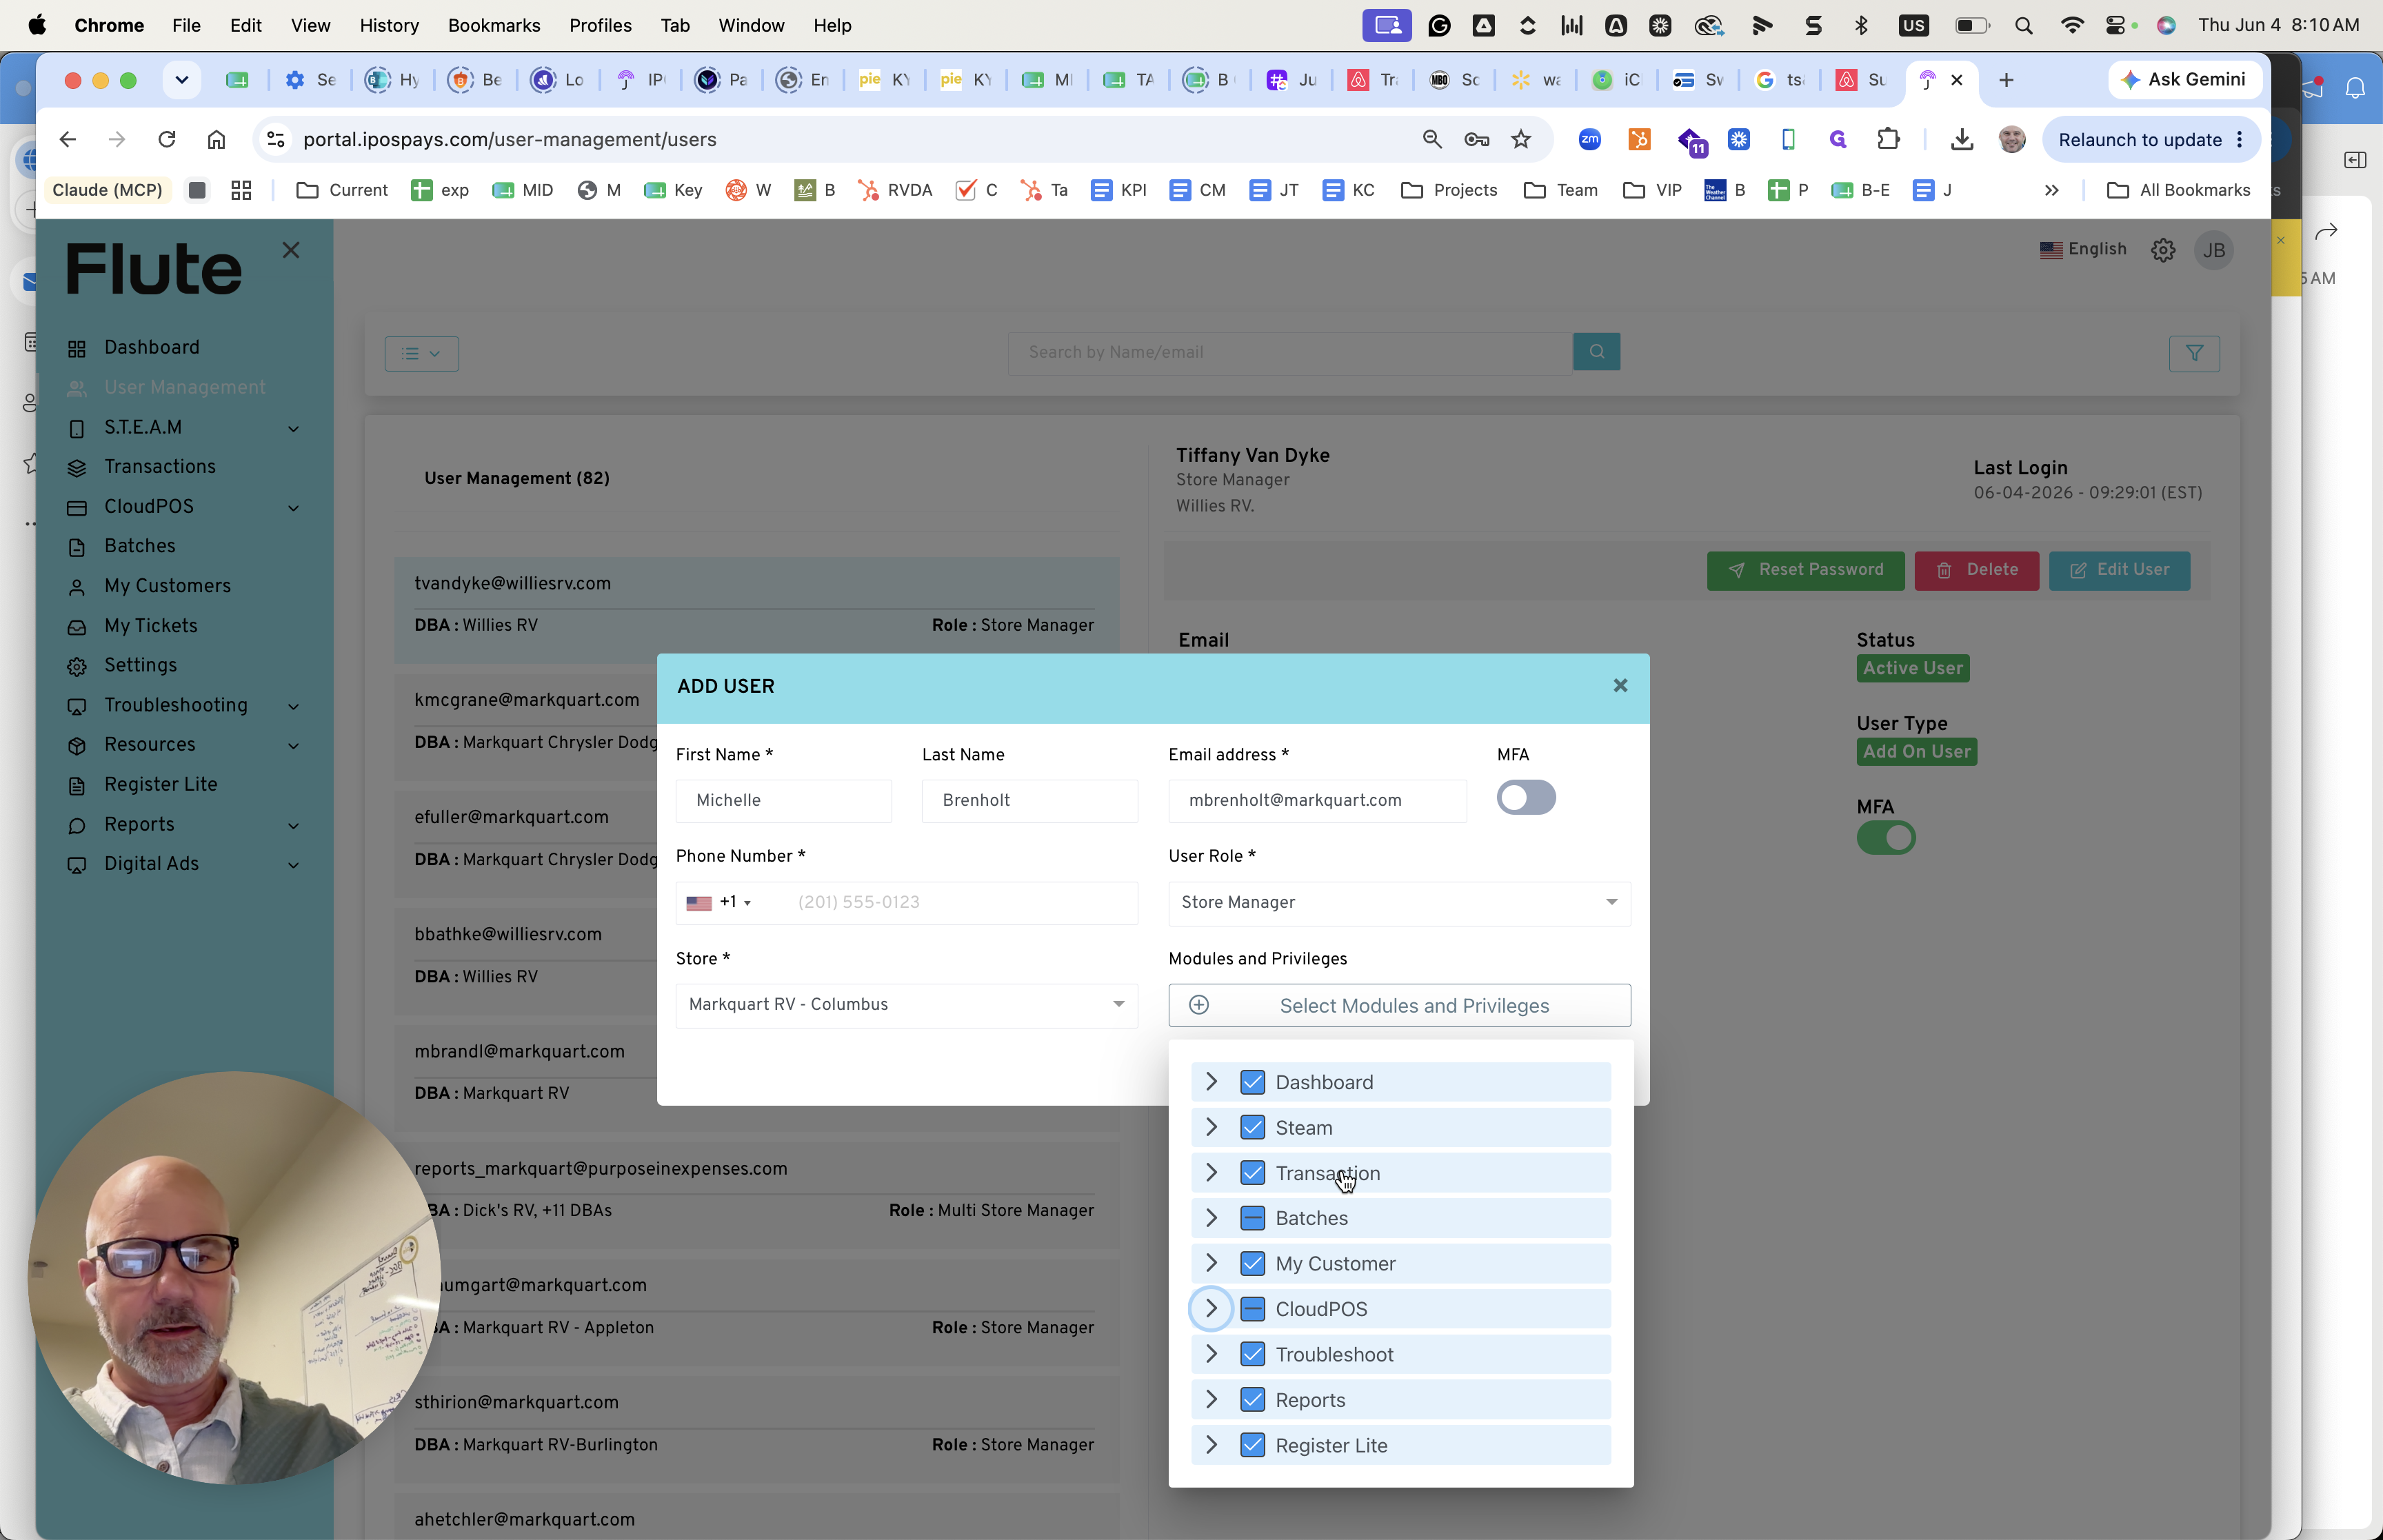
Assign Modules and Privileges
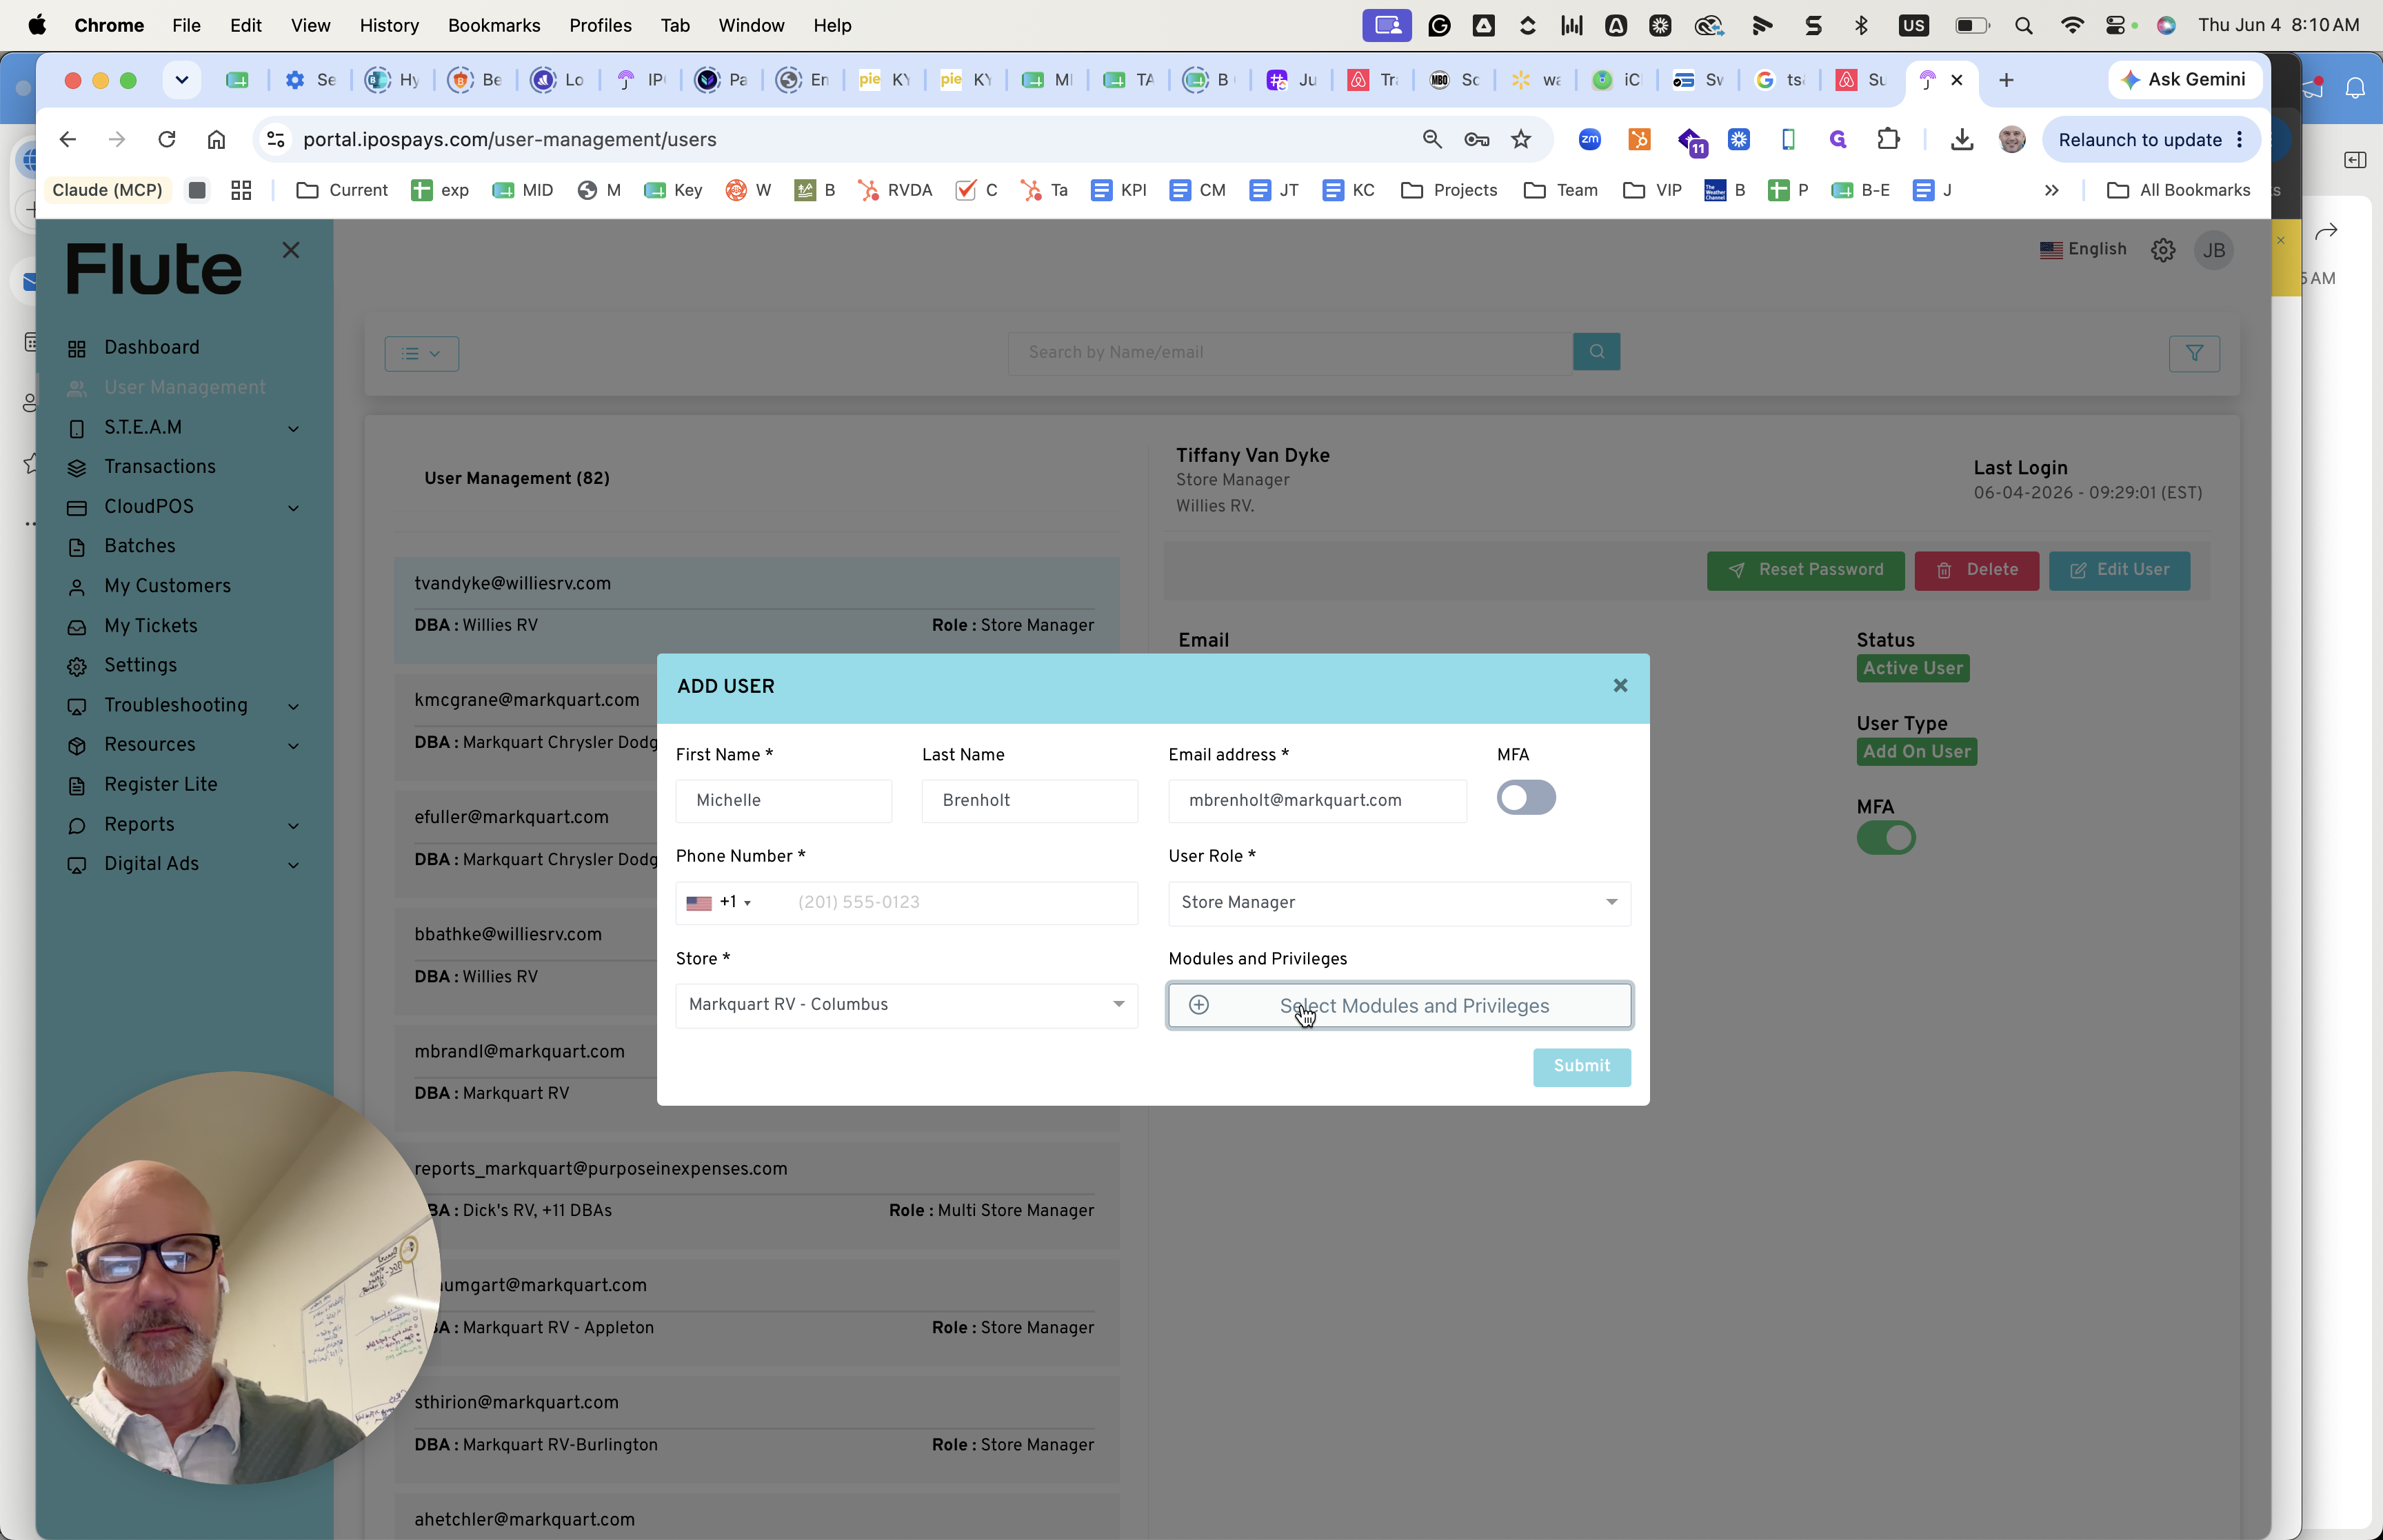
Configure the standard permissions based on the user's role. For standard store managers, reference the configuration below:
Module | Privilege / Setting | Notes |
|---|---|---|
Batches | Settle Batch | Standard requirement for managing daily processing. |
CloudPOS | Process Refund | Do not grant the ability to remove fees unless escalated. |
Transactions | View All | Ensures visibility into all store transaction records. |
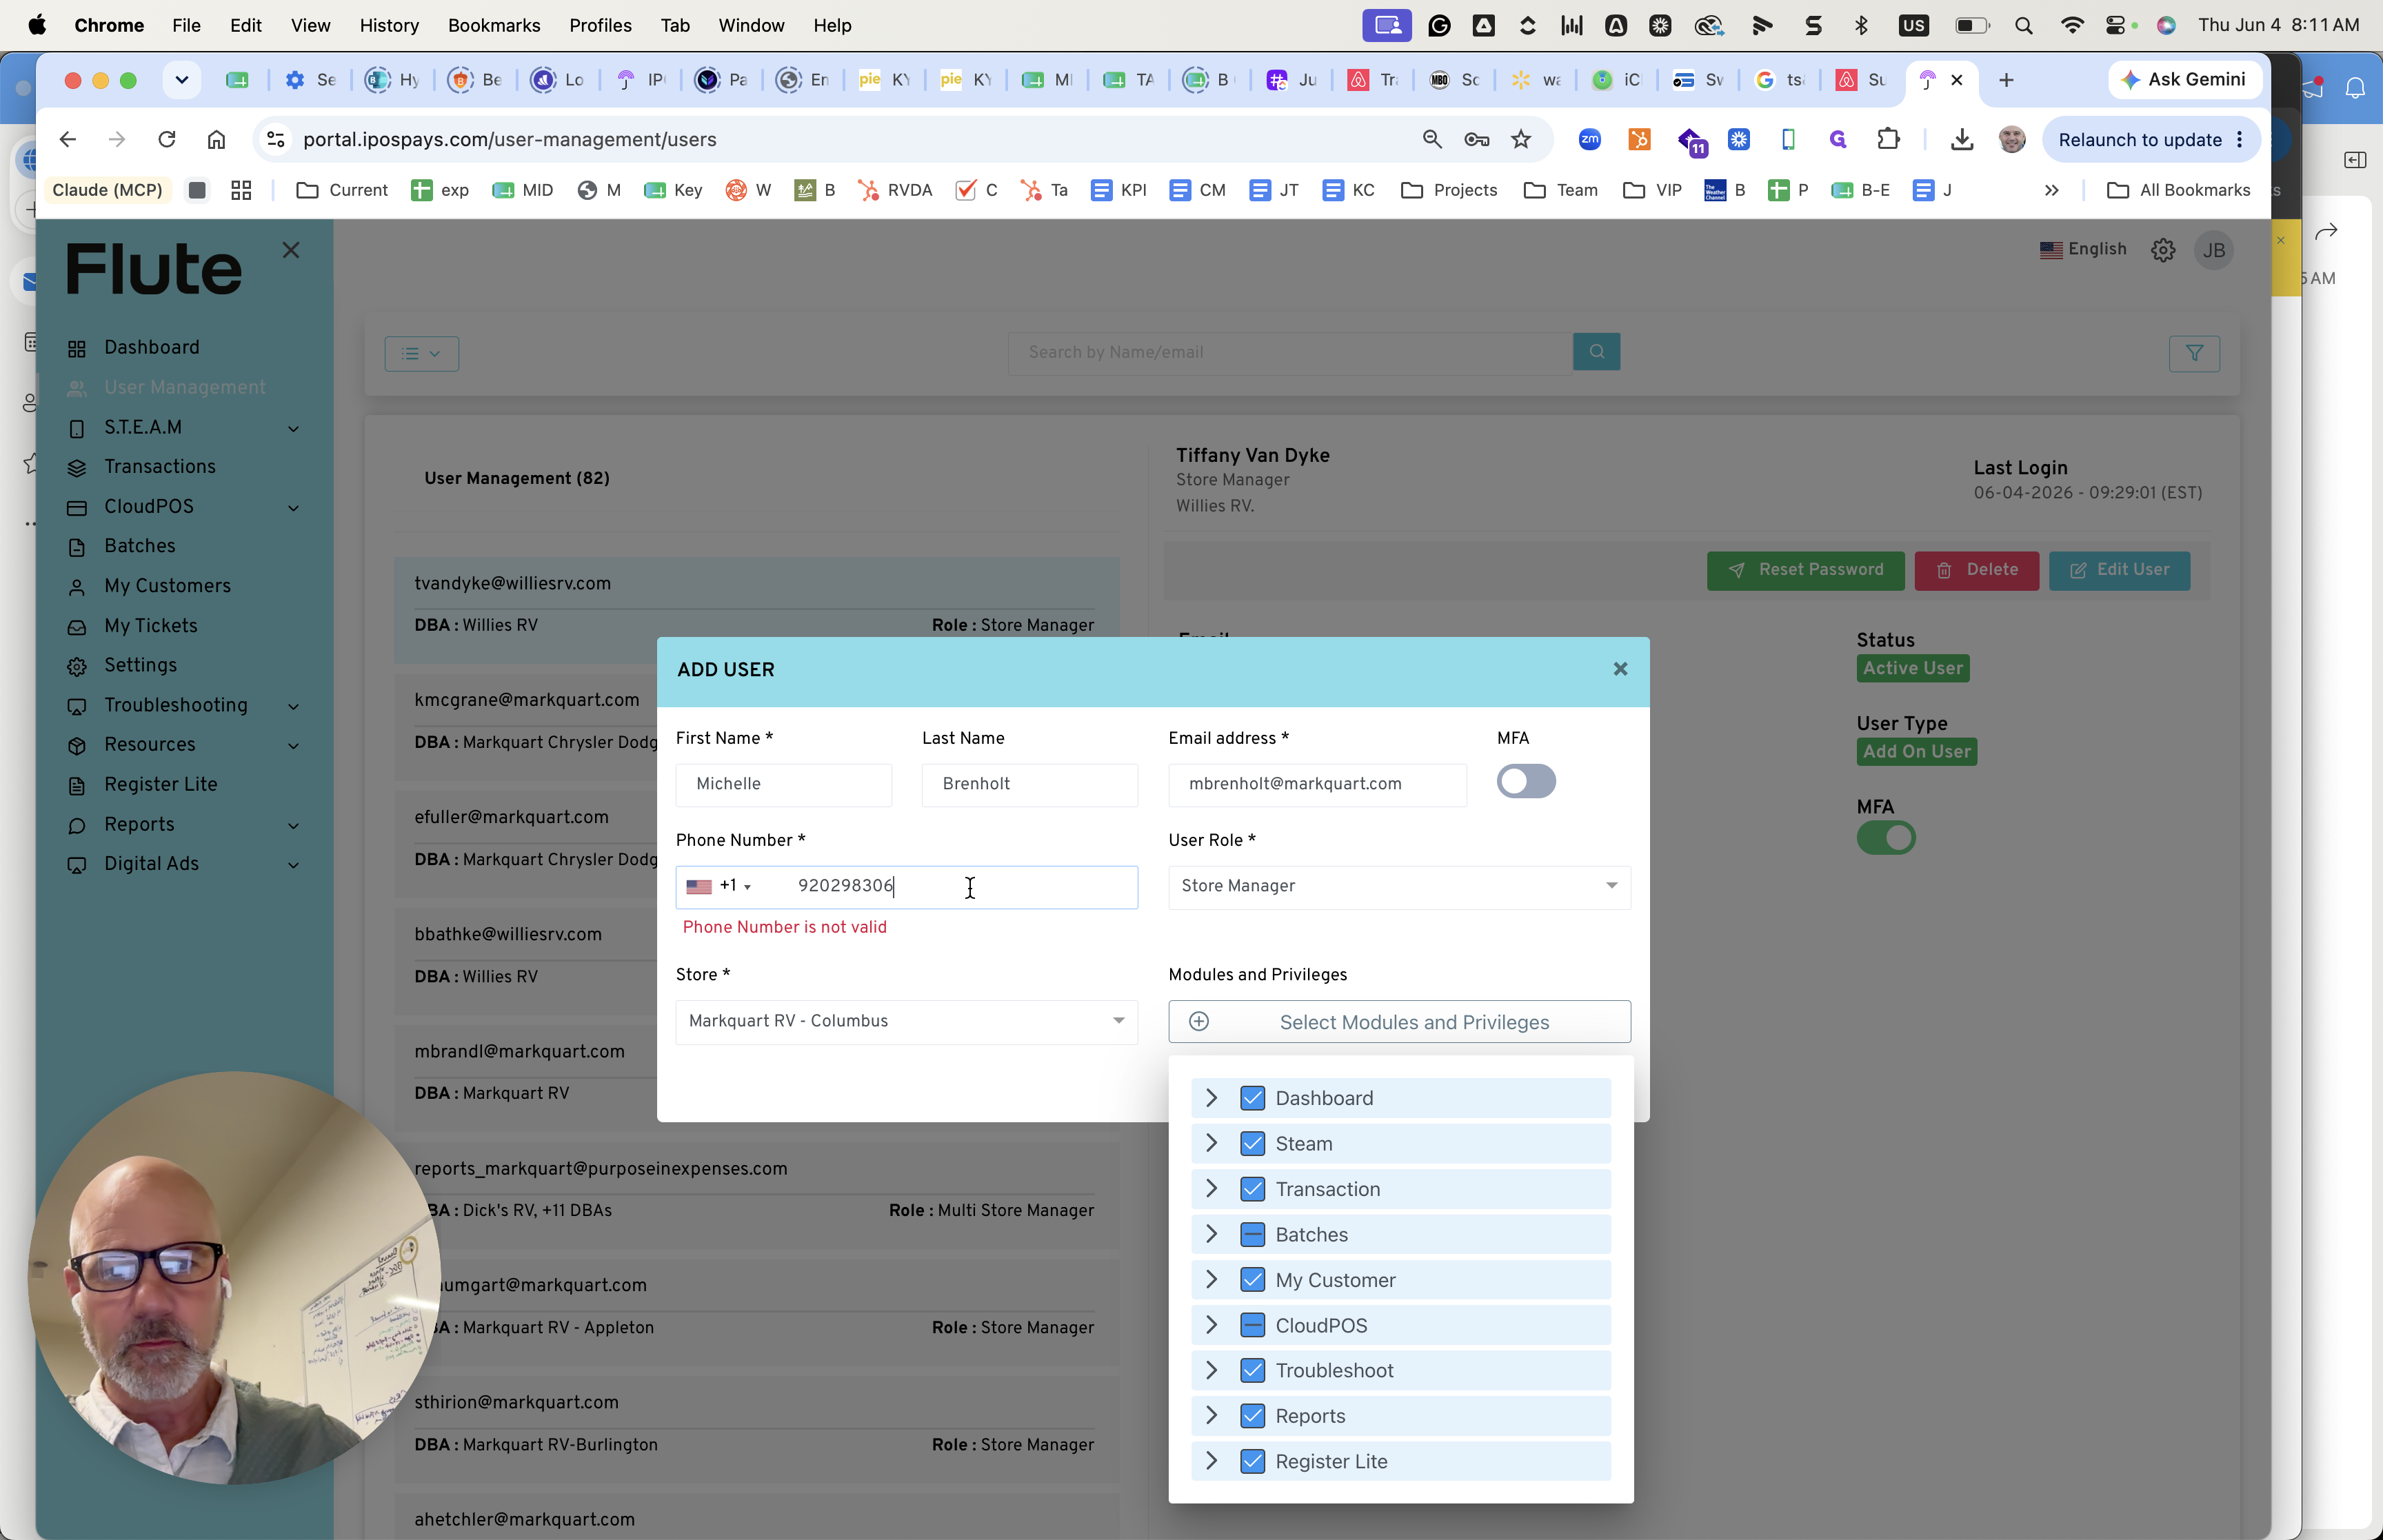
Finish configuring the user's contact information:


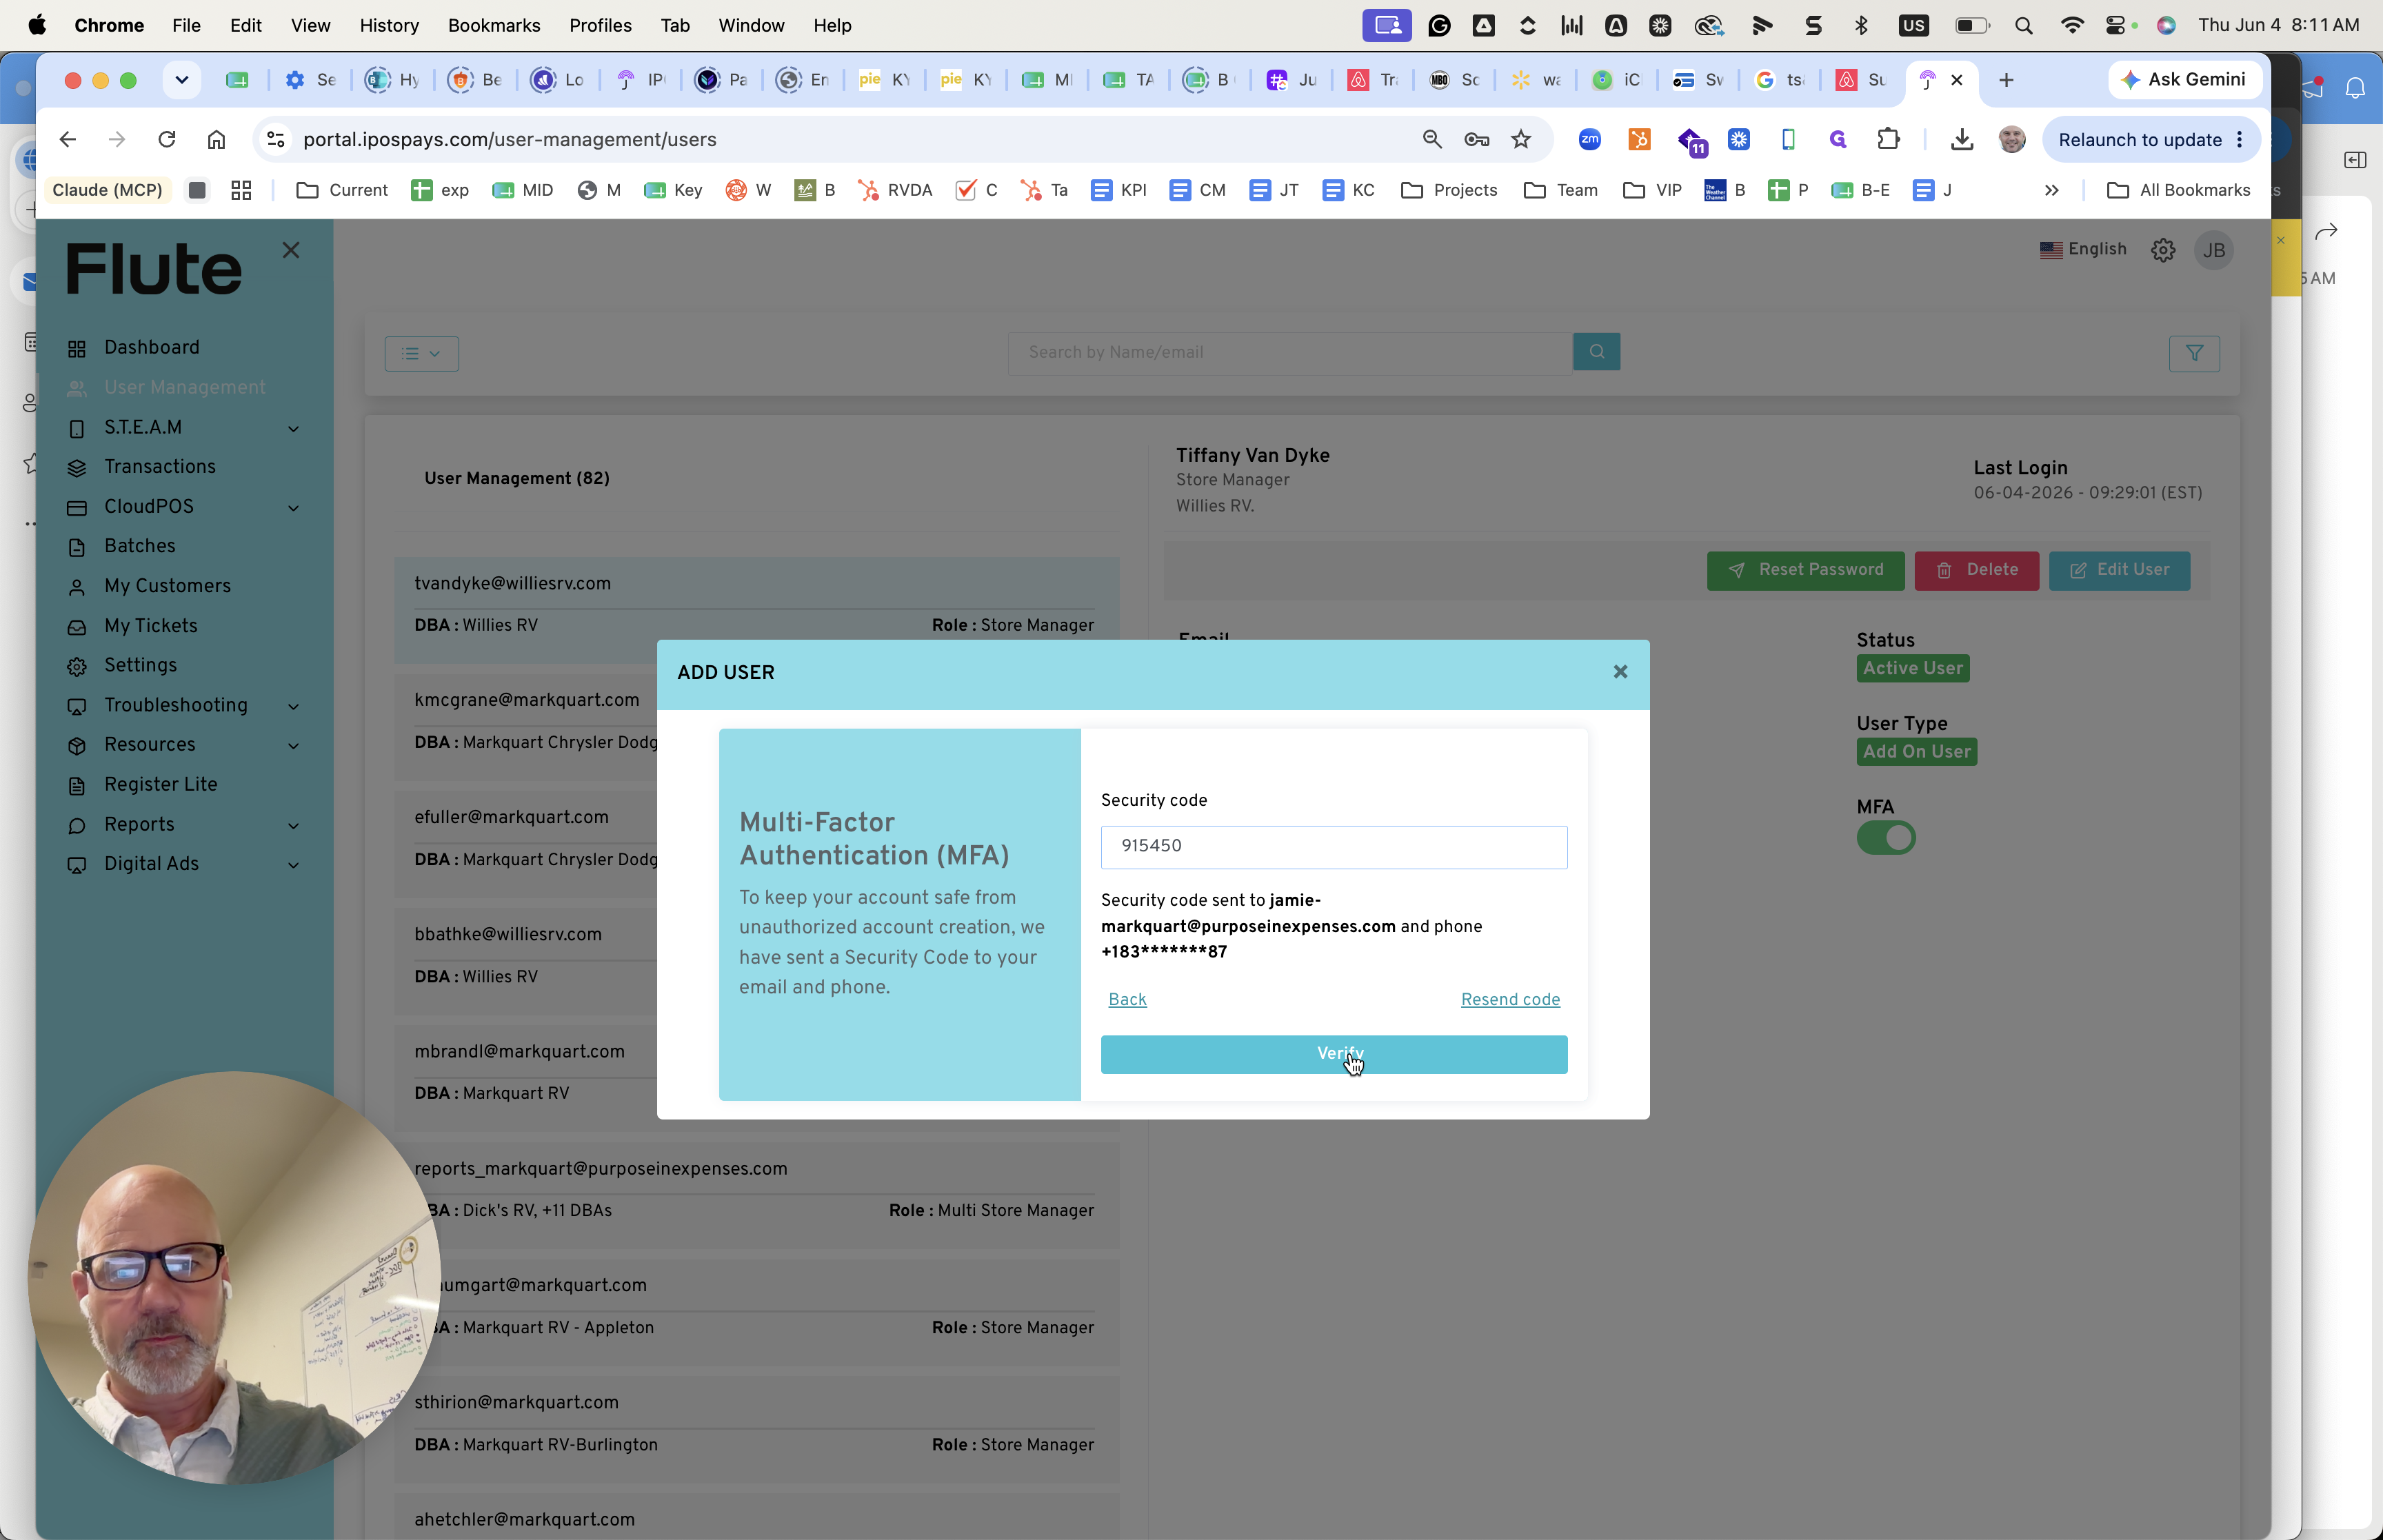
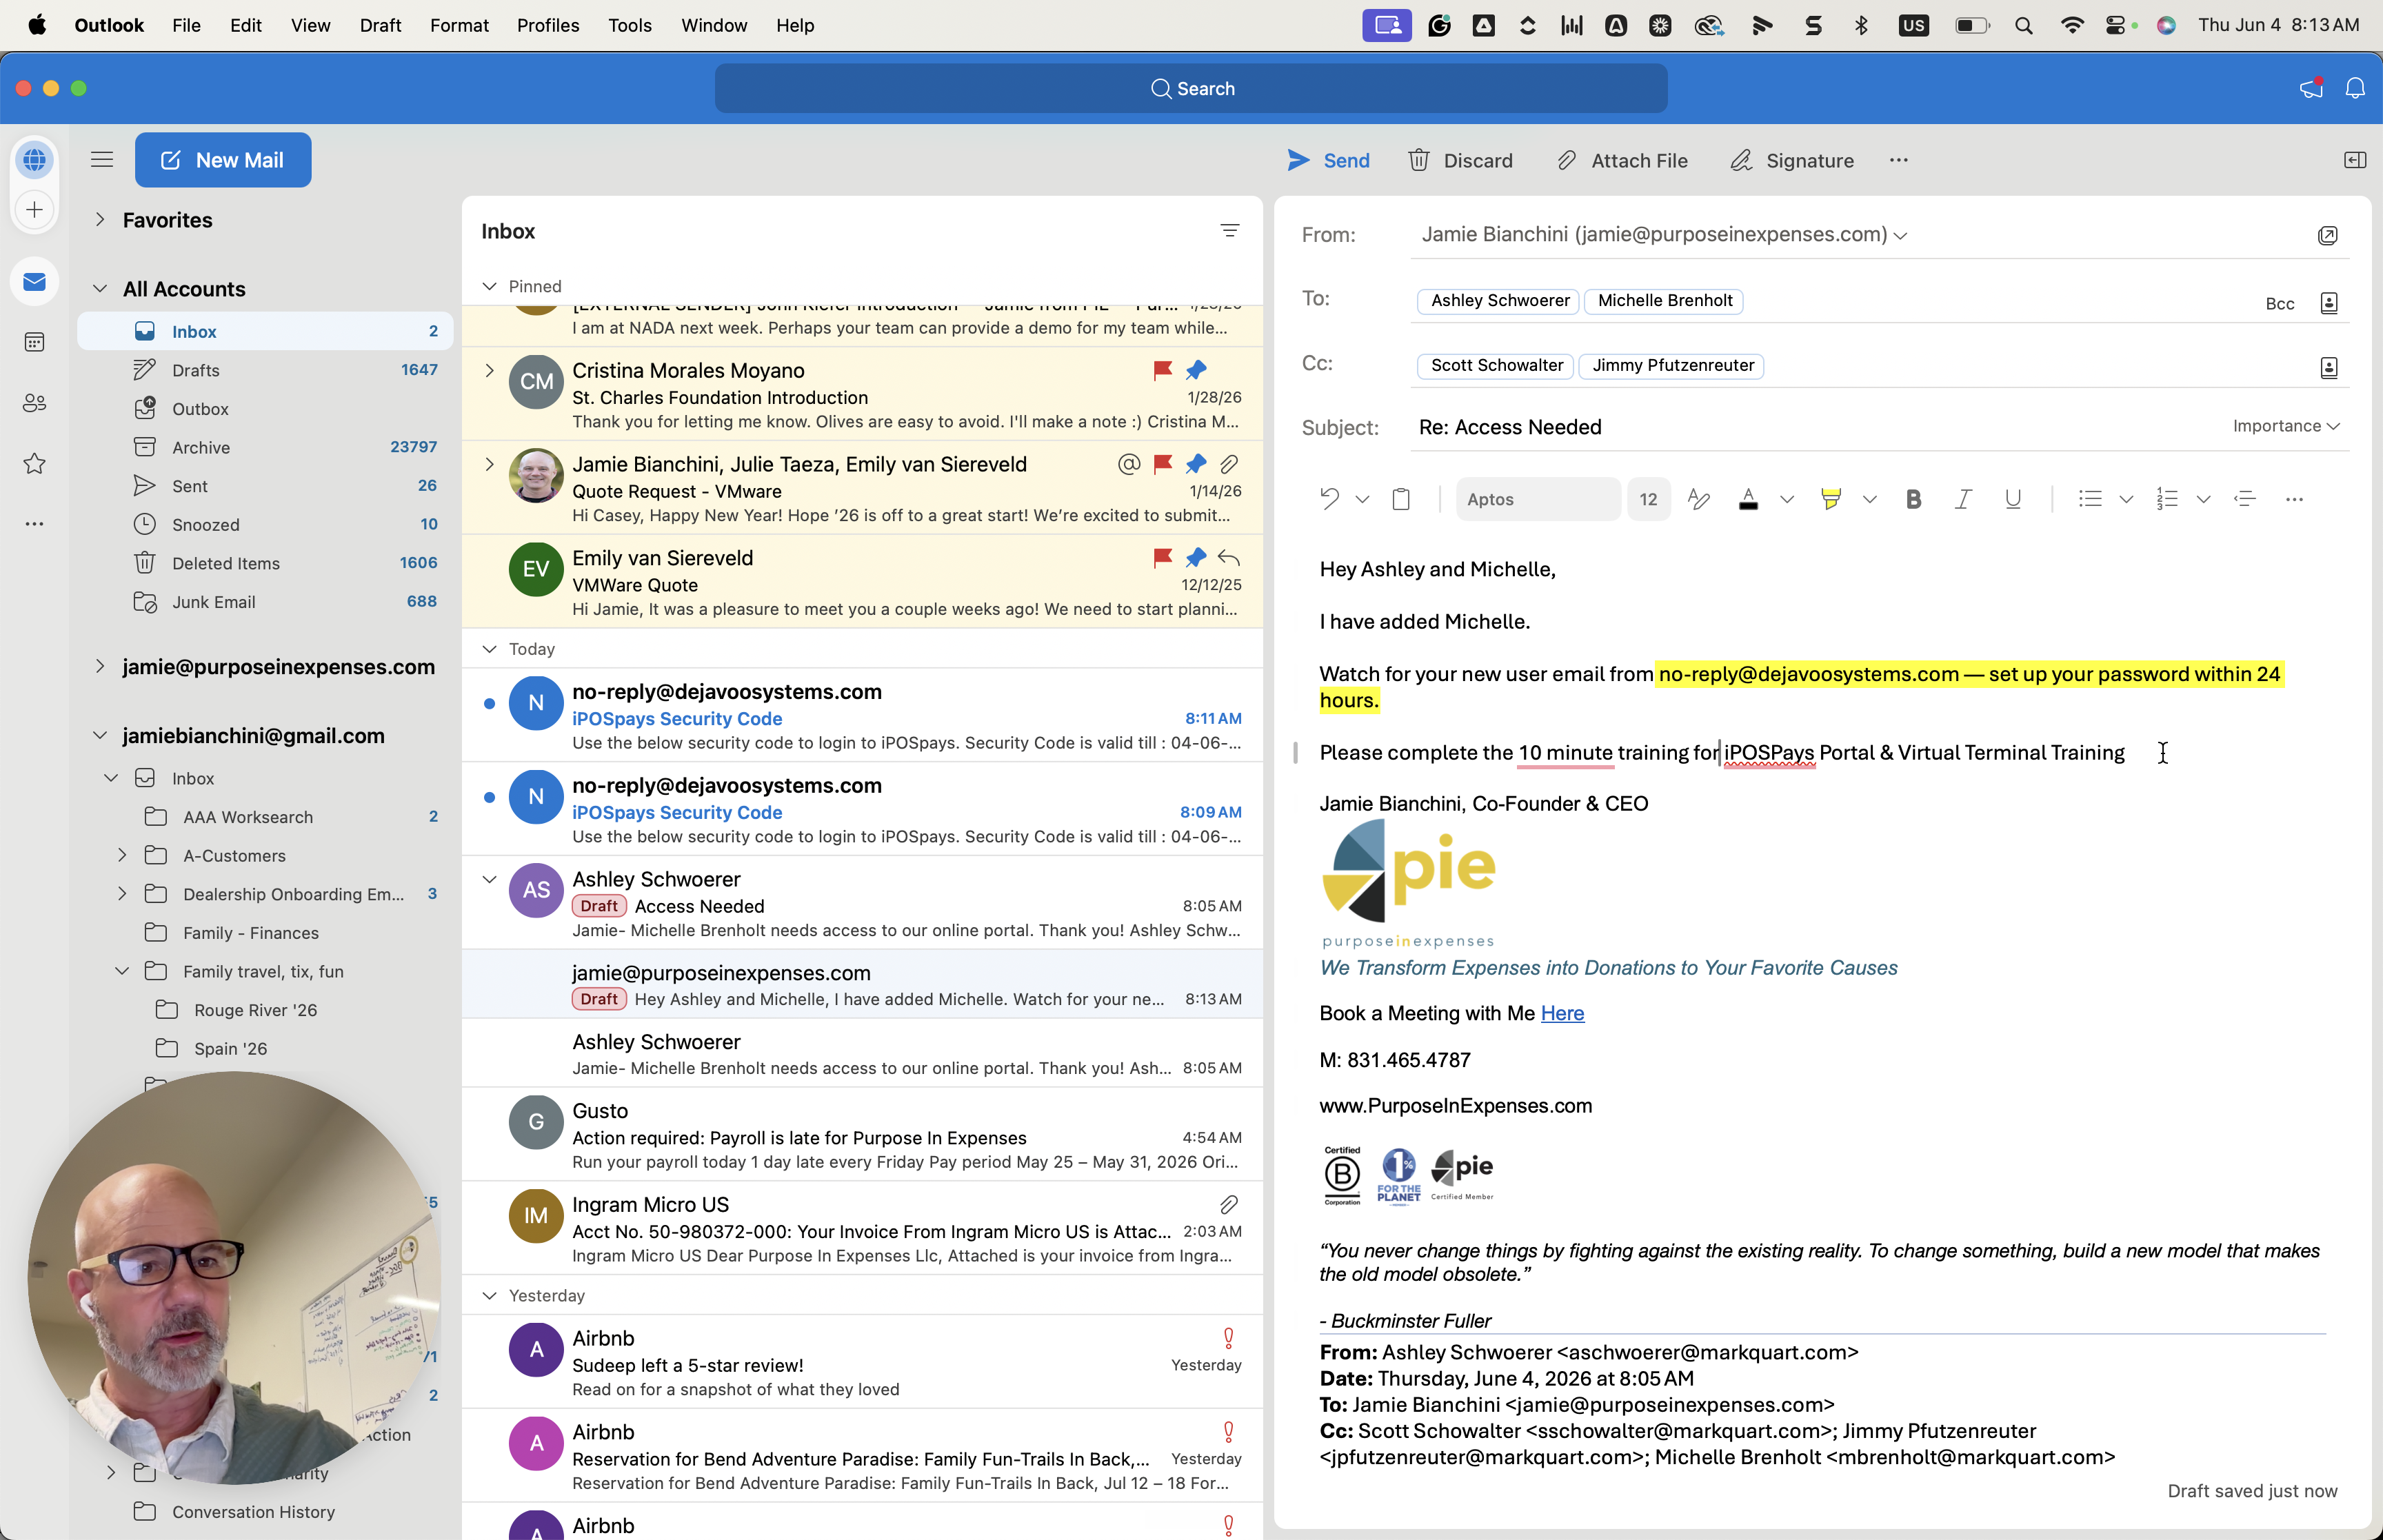
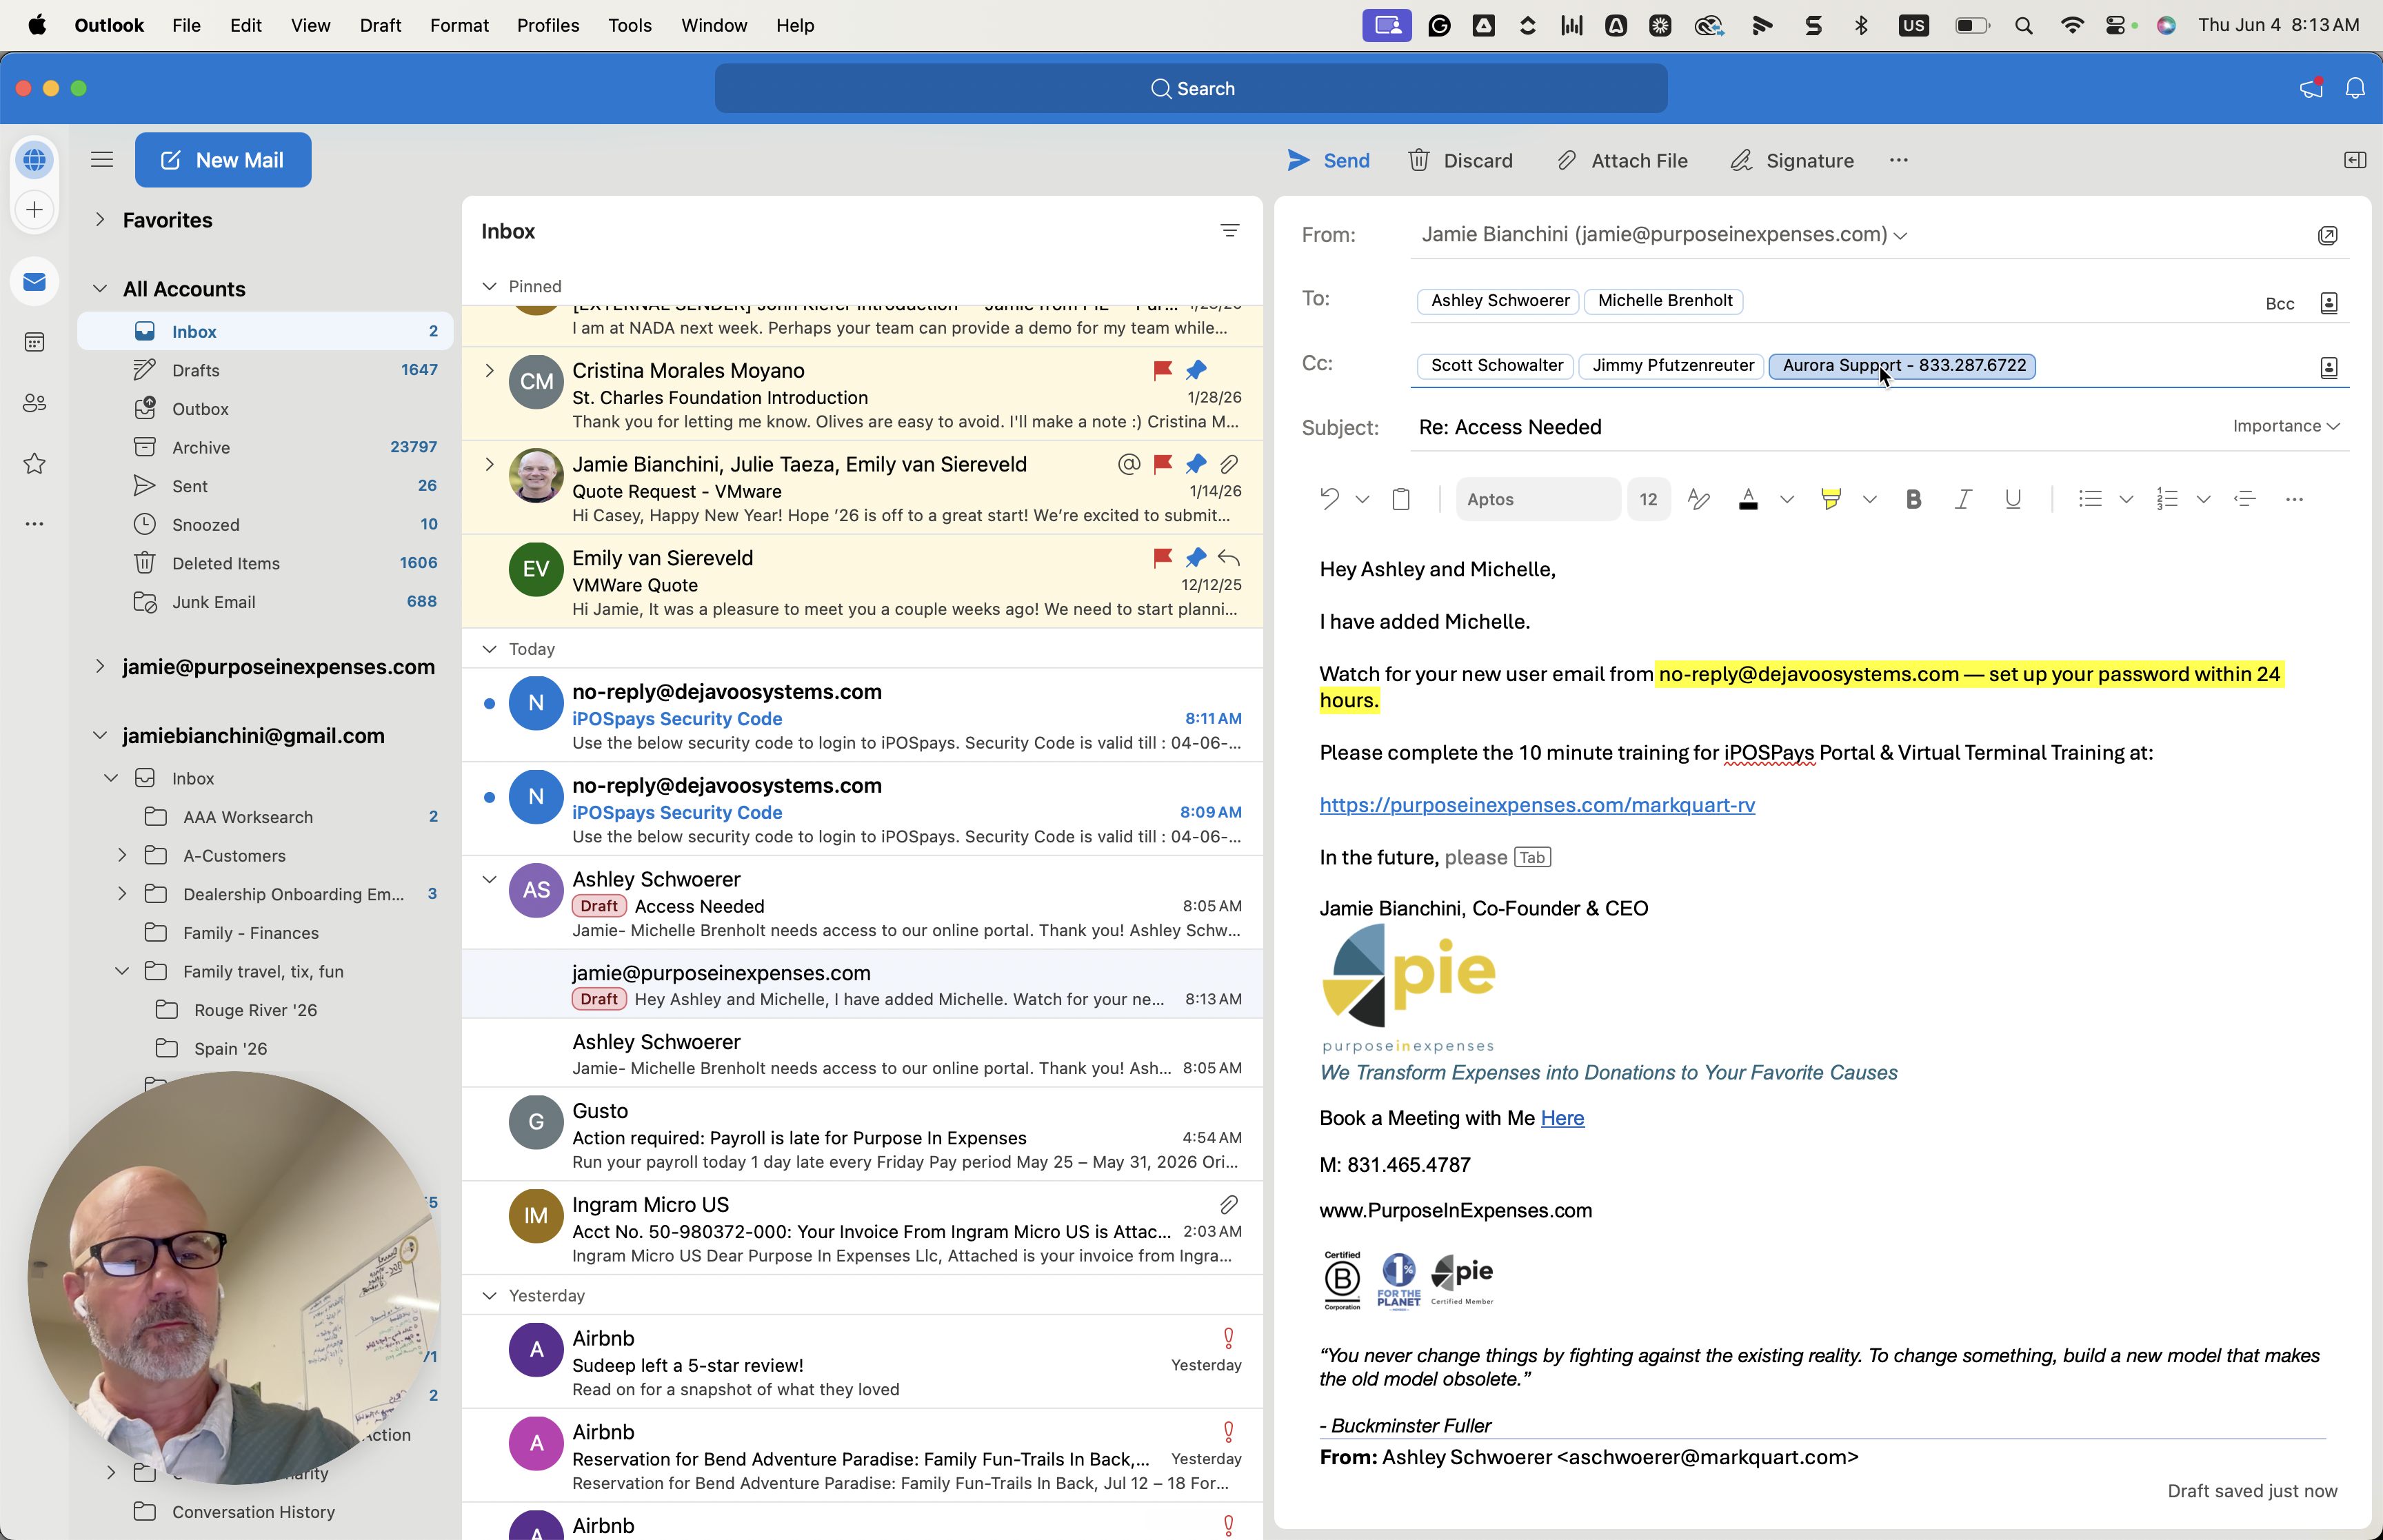
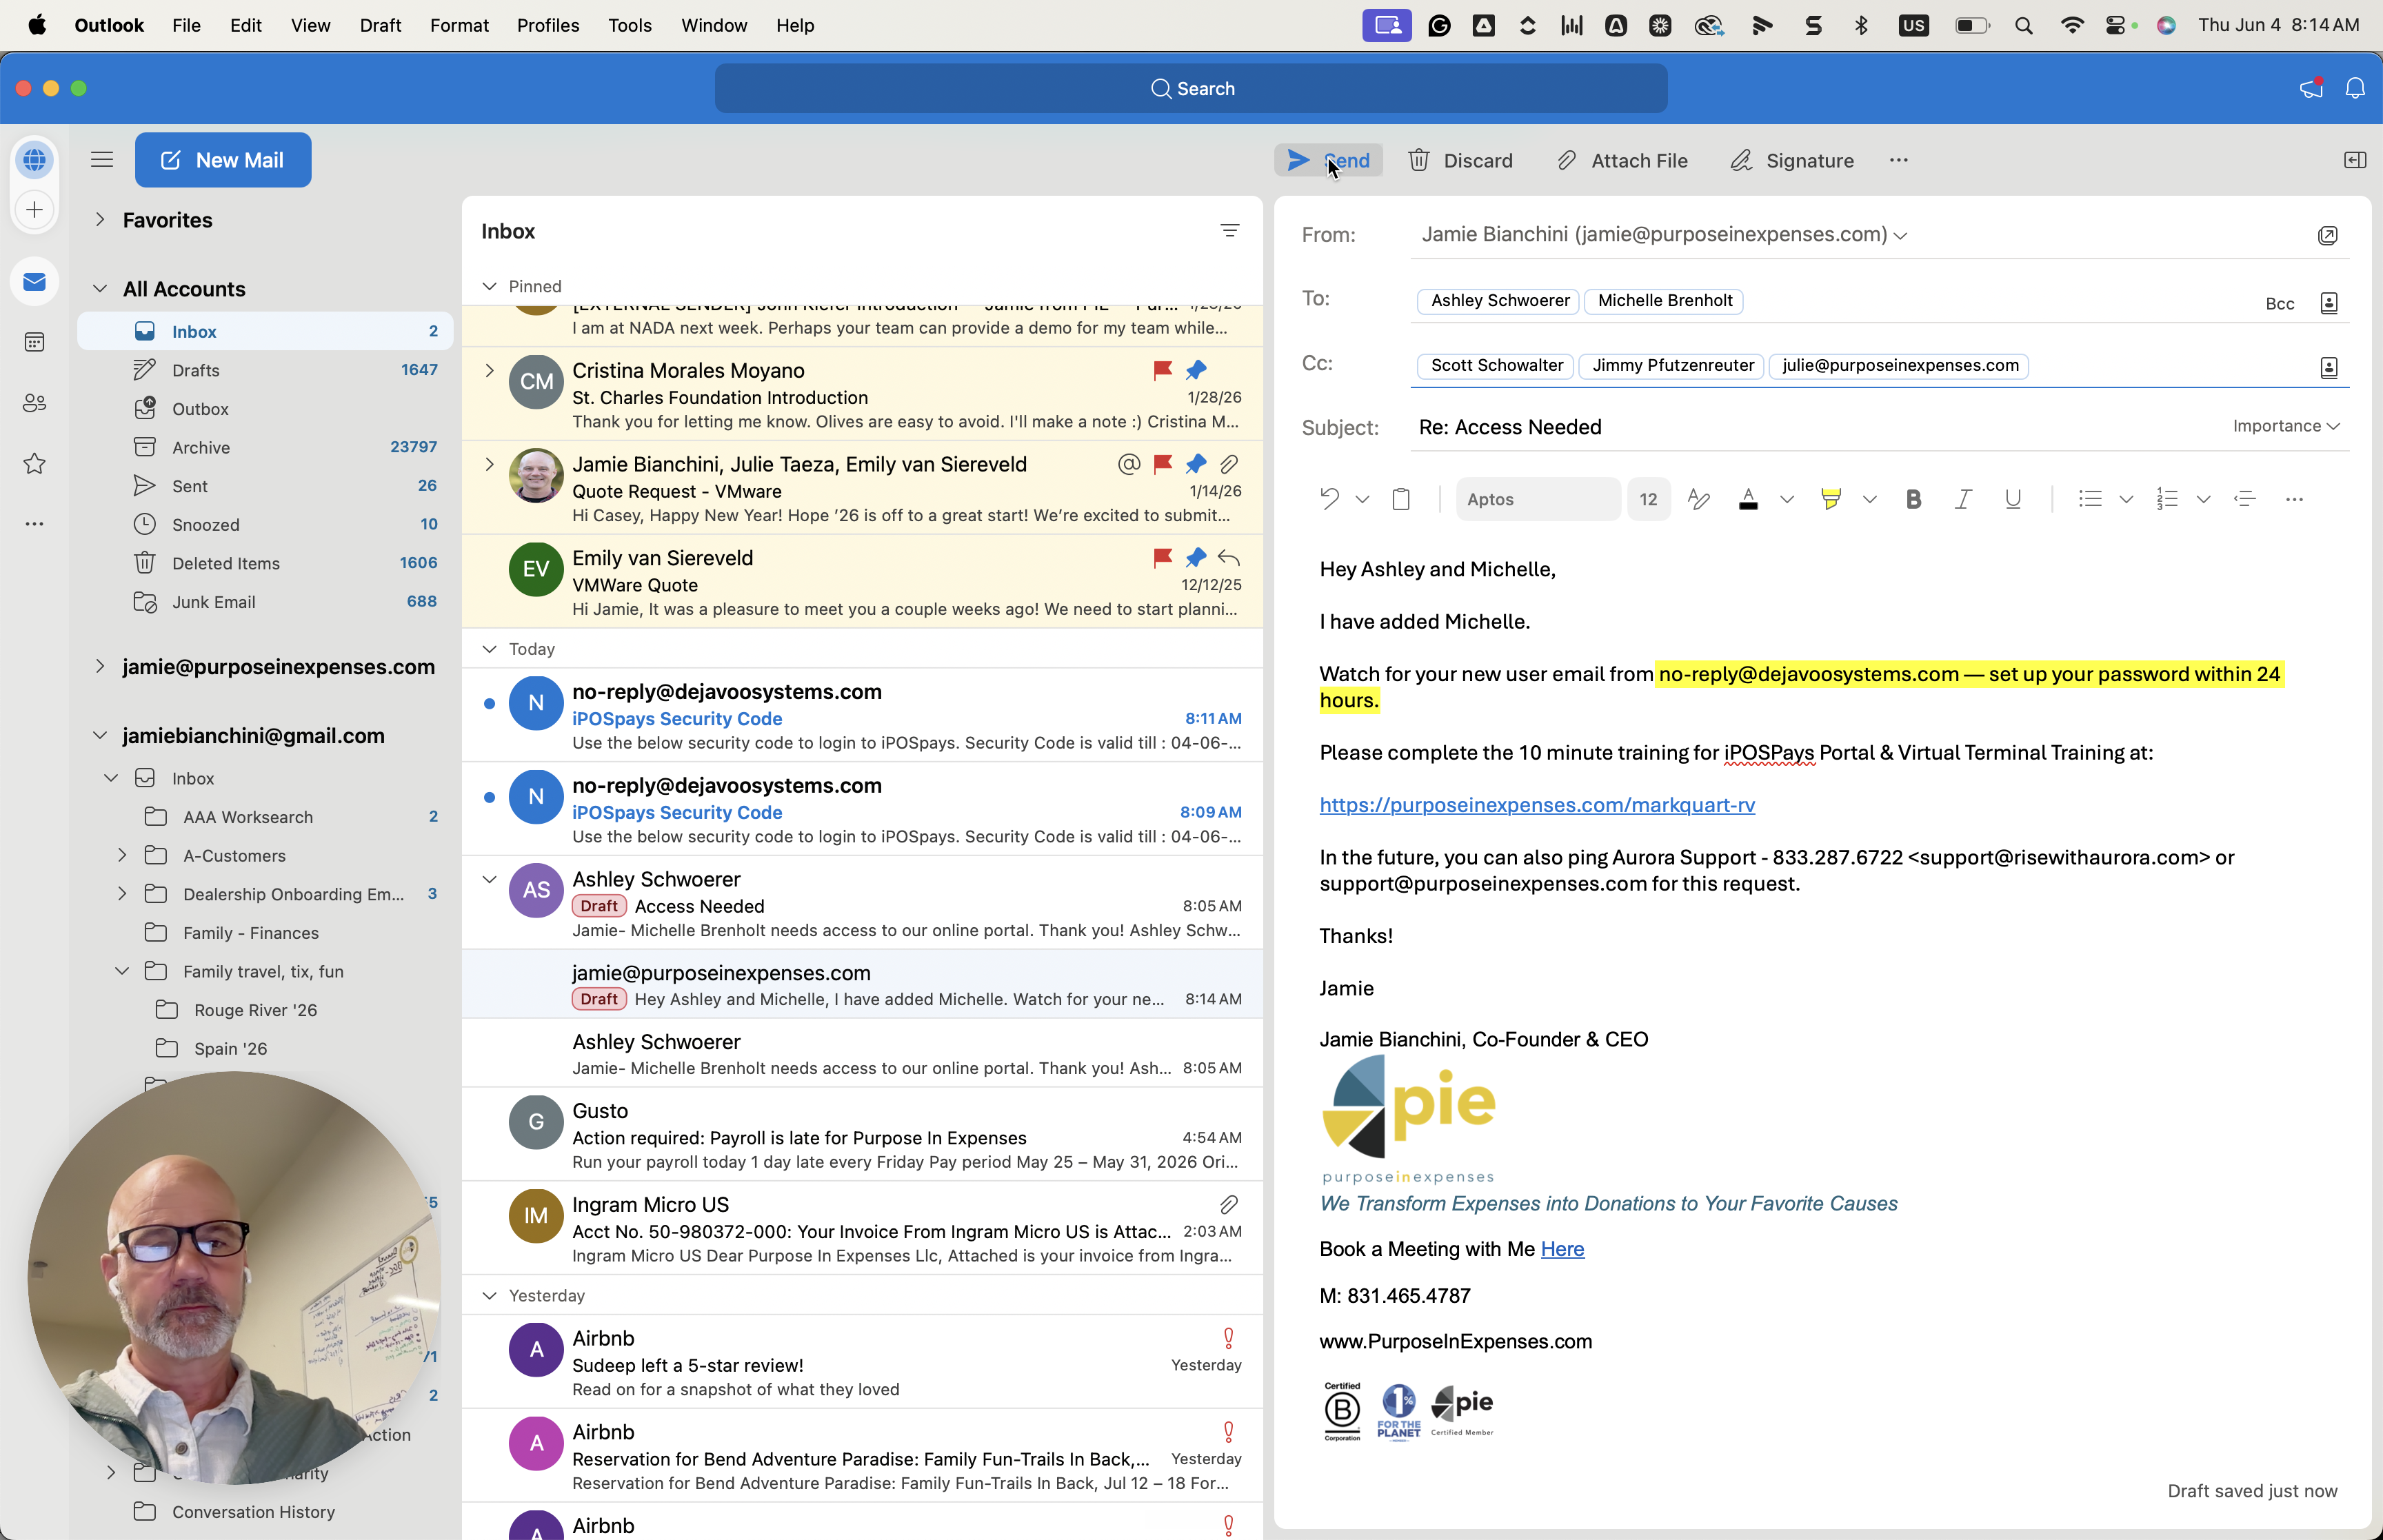
Send Onboarding Instructions
Once the user is created, reply to their request with onboarding details.
no-reply@dejavoosystems.com within 24 hours.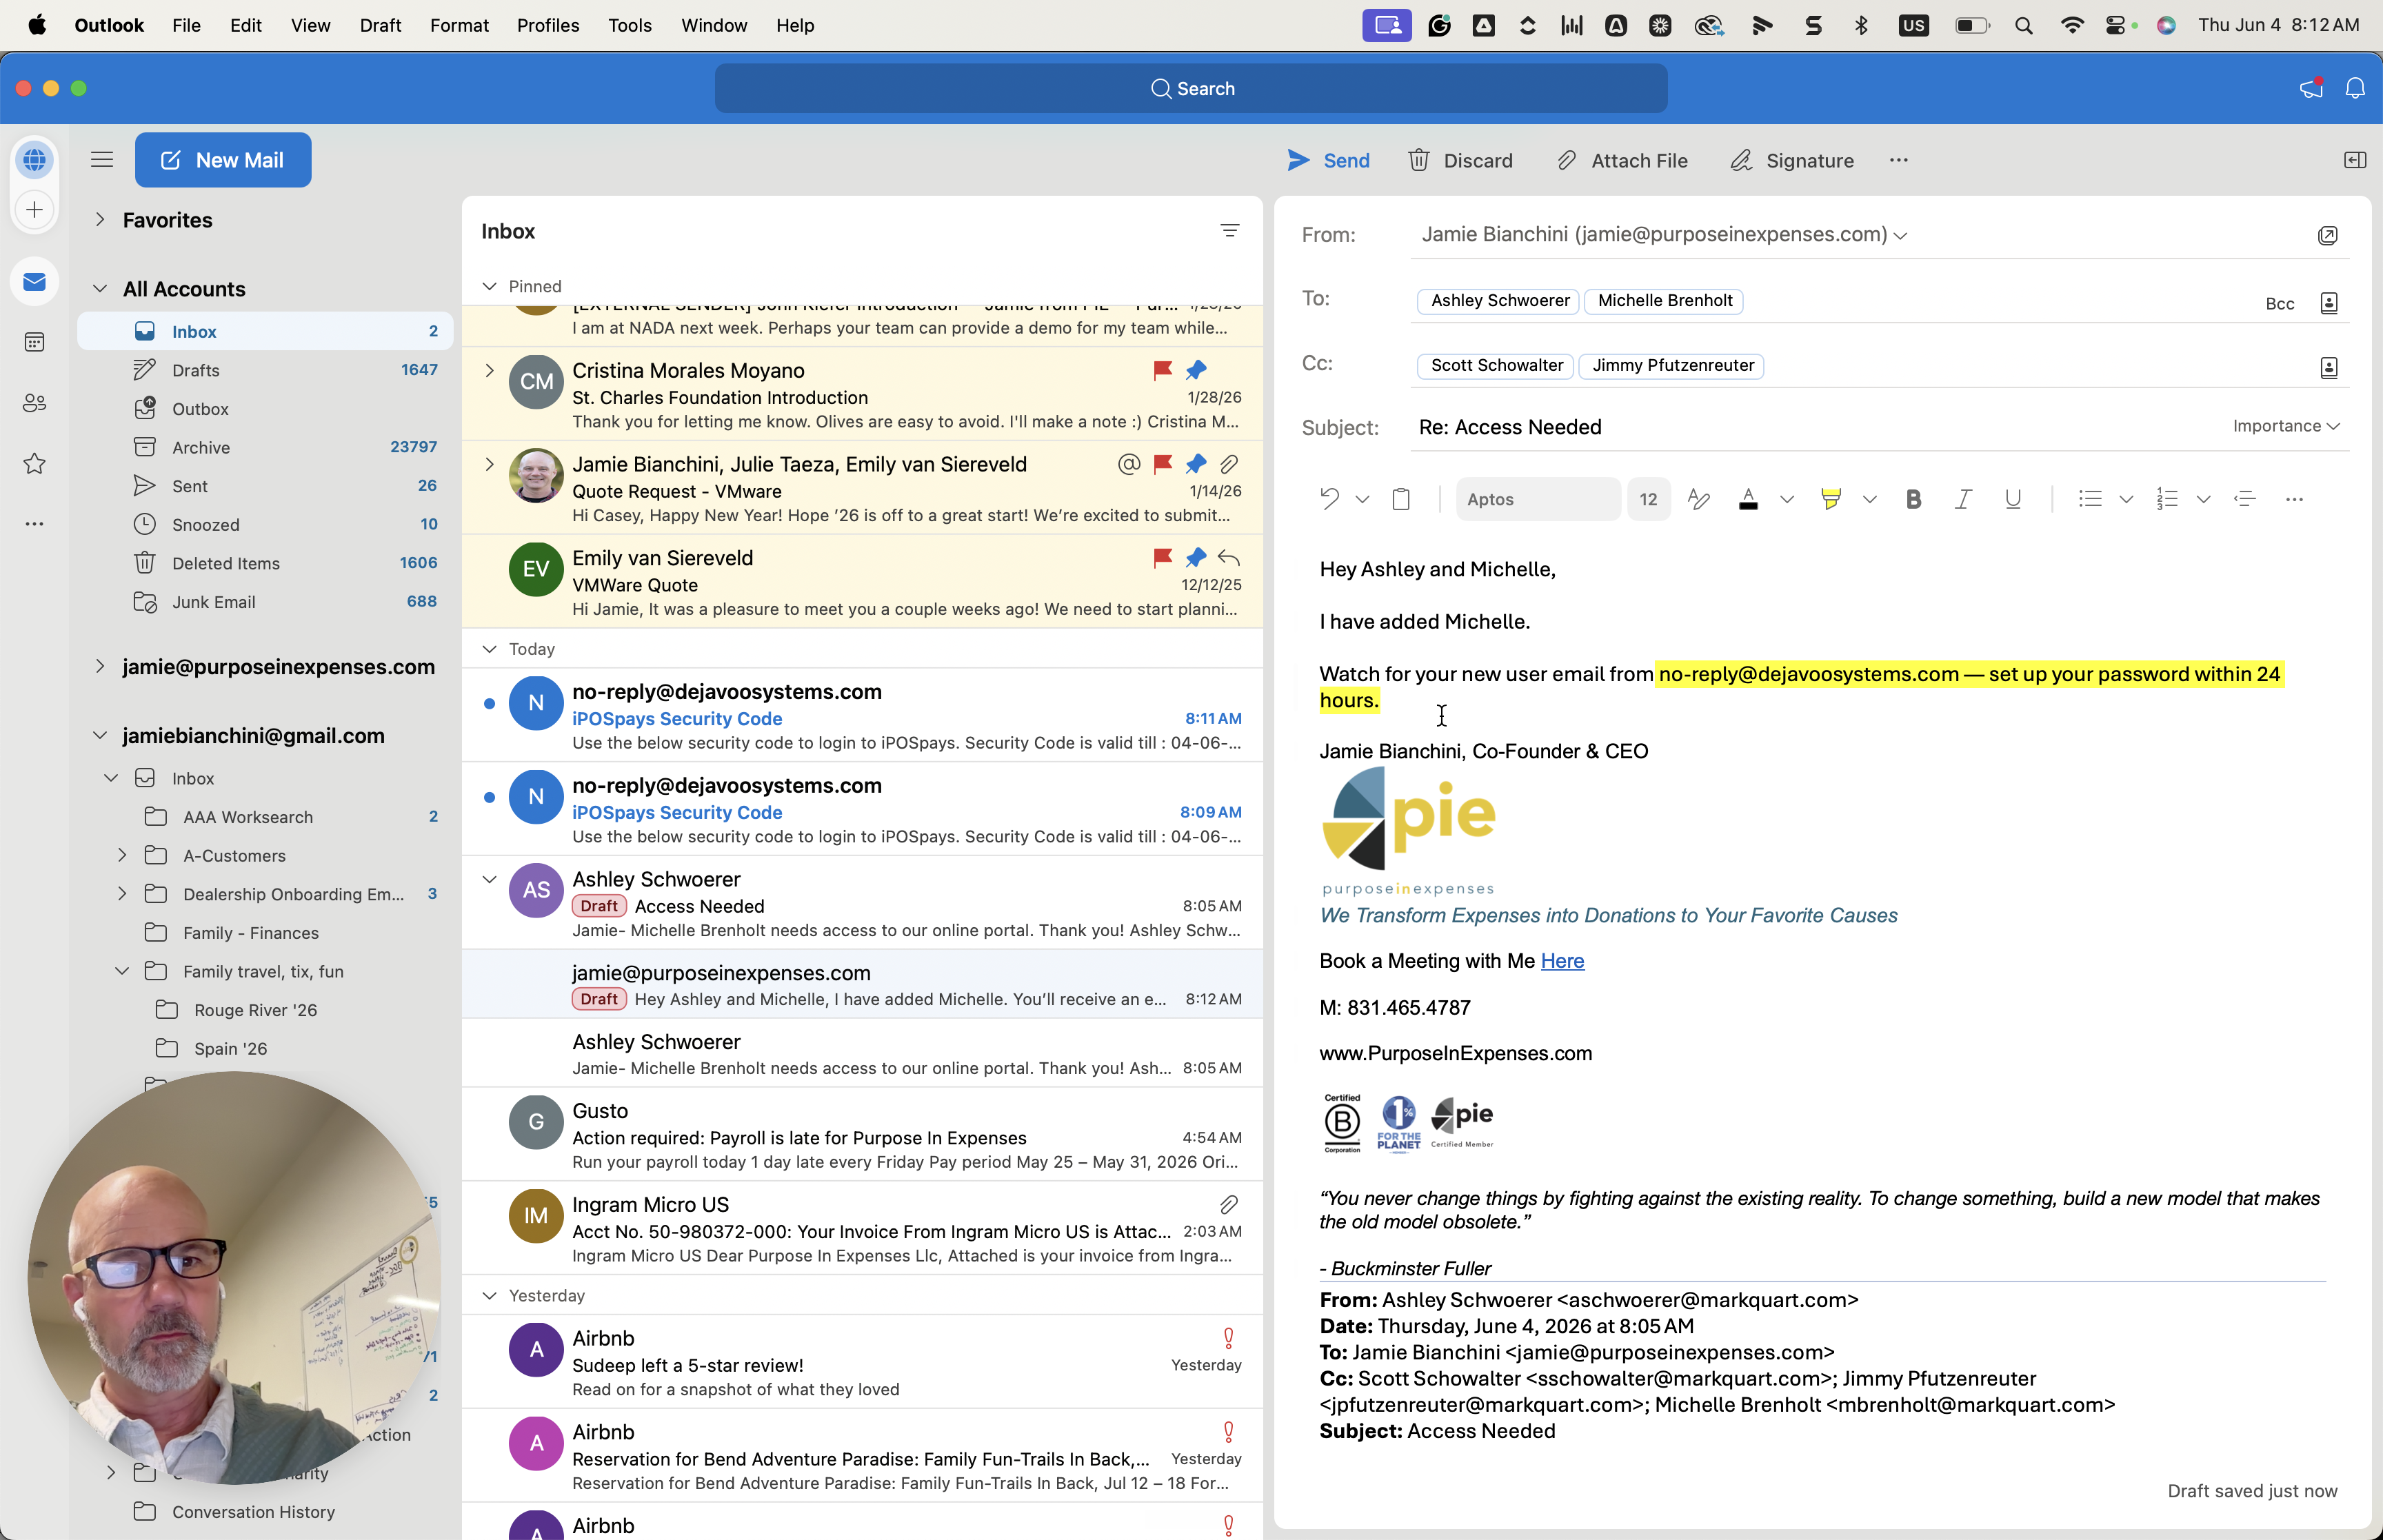
Q: What should I enter if I don't have the user's mobile phone number?
A: If you don't have their direct cell number, you can enter the main phone number for their store location to complete the form setup. They can request an update to a cell number later for MFA purposes.
Q: Should I give store managers the ability to remove fees in CloudPOS?
A: No, standard store managers should only be granted the ability to process refunds. The ability to remove fees requires higher-level permissions.
Q: Where does the initial password setup email come from?
A: New users will receive an automated email from no-reply@dejavoosystems.com to set up their password, which is valid for 24 hours.
Term | Definition |
|---|---|
iPOSpays (Flute) | The portal used to manage store payments, process transactions, and settle batches. |
CloudPOS | A module within the payment portal that handles virtual point-of-sale transactions and refund processing. |
MFA (Multi-Factor Authentication) | A security measure requiring users to enter a time-sensitive code sent to their email or phone to log in or confirm major actions. |
Settle Batch | The process of closing out a day's credit card transactions to finalize them for funding. |