How to Add Your First Rental Product: Step-by-Step Guide
Learn how to add your first rental product to your website, including setting up product details, images, categories, pricing options, inventory, and calendar settings for a seamless rental experience.
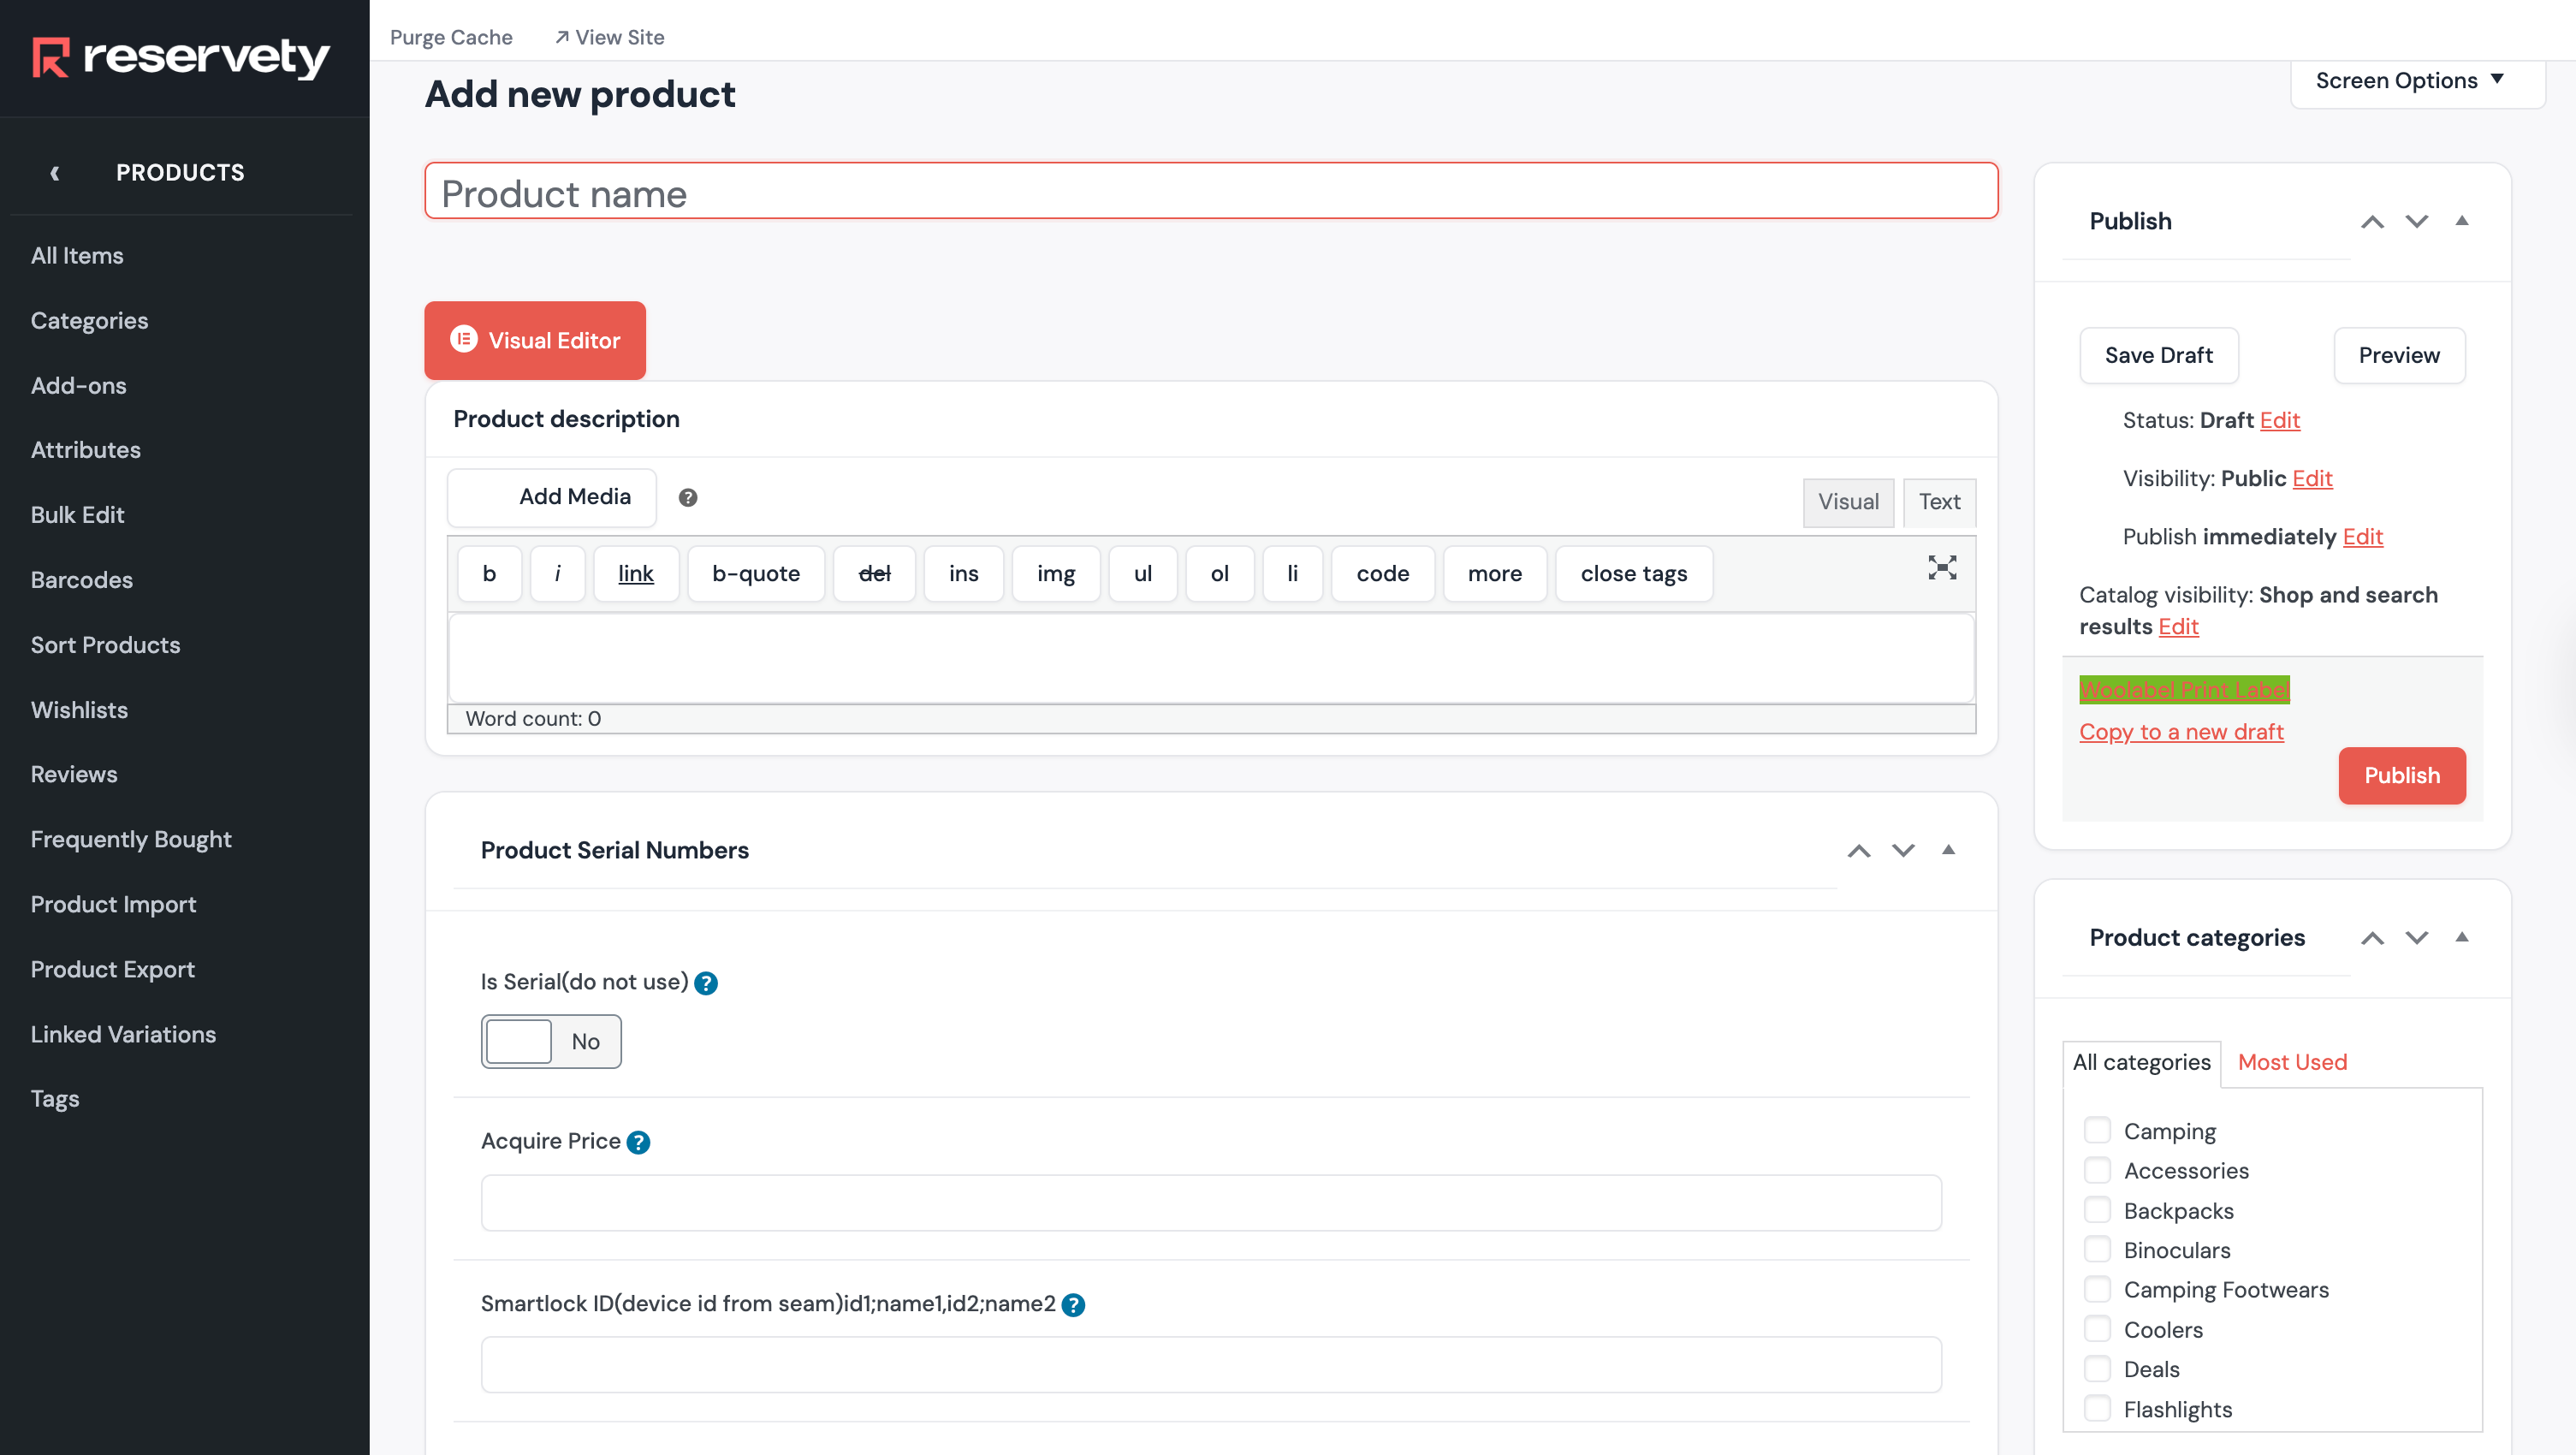
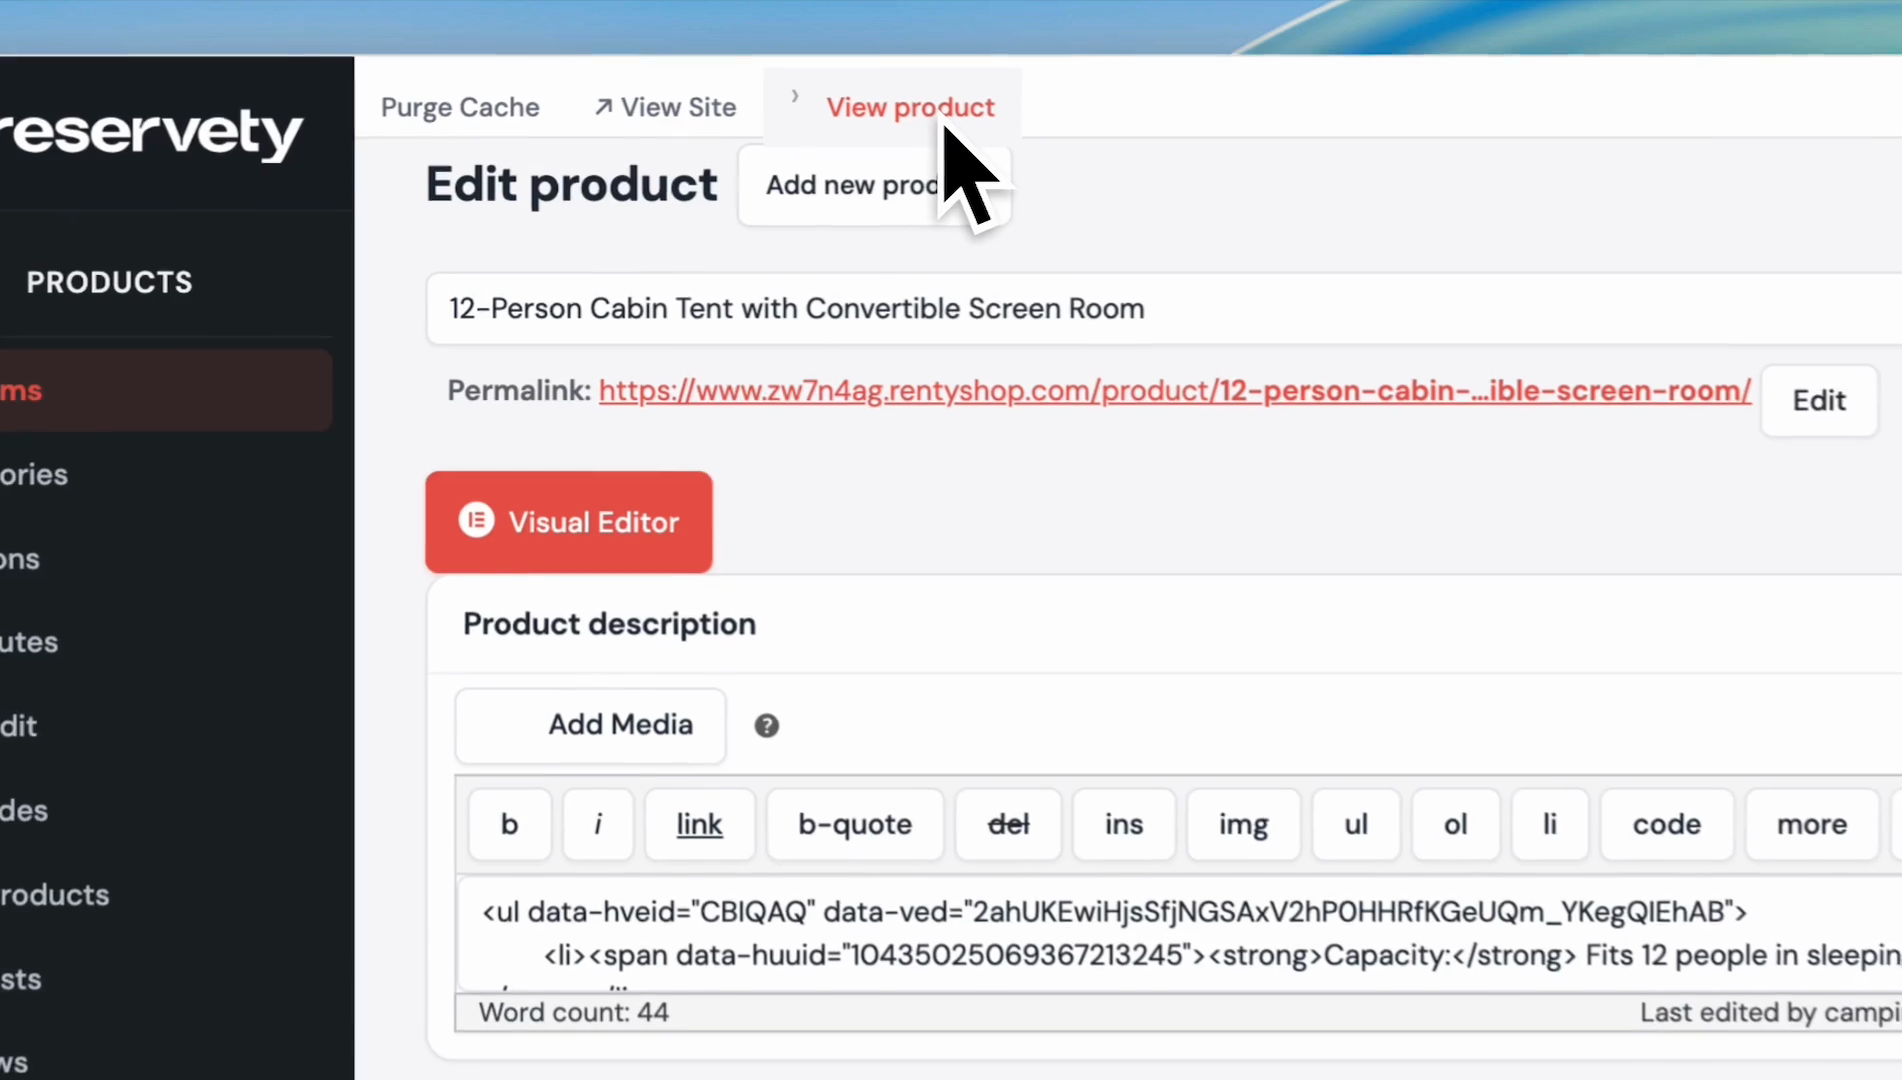
In this guide, we'll learn how to add your first rental product to your website.
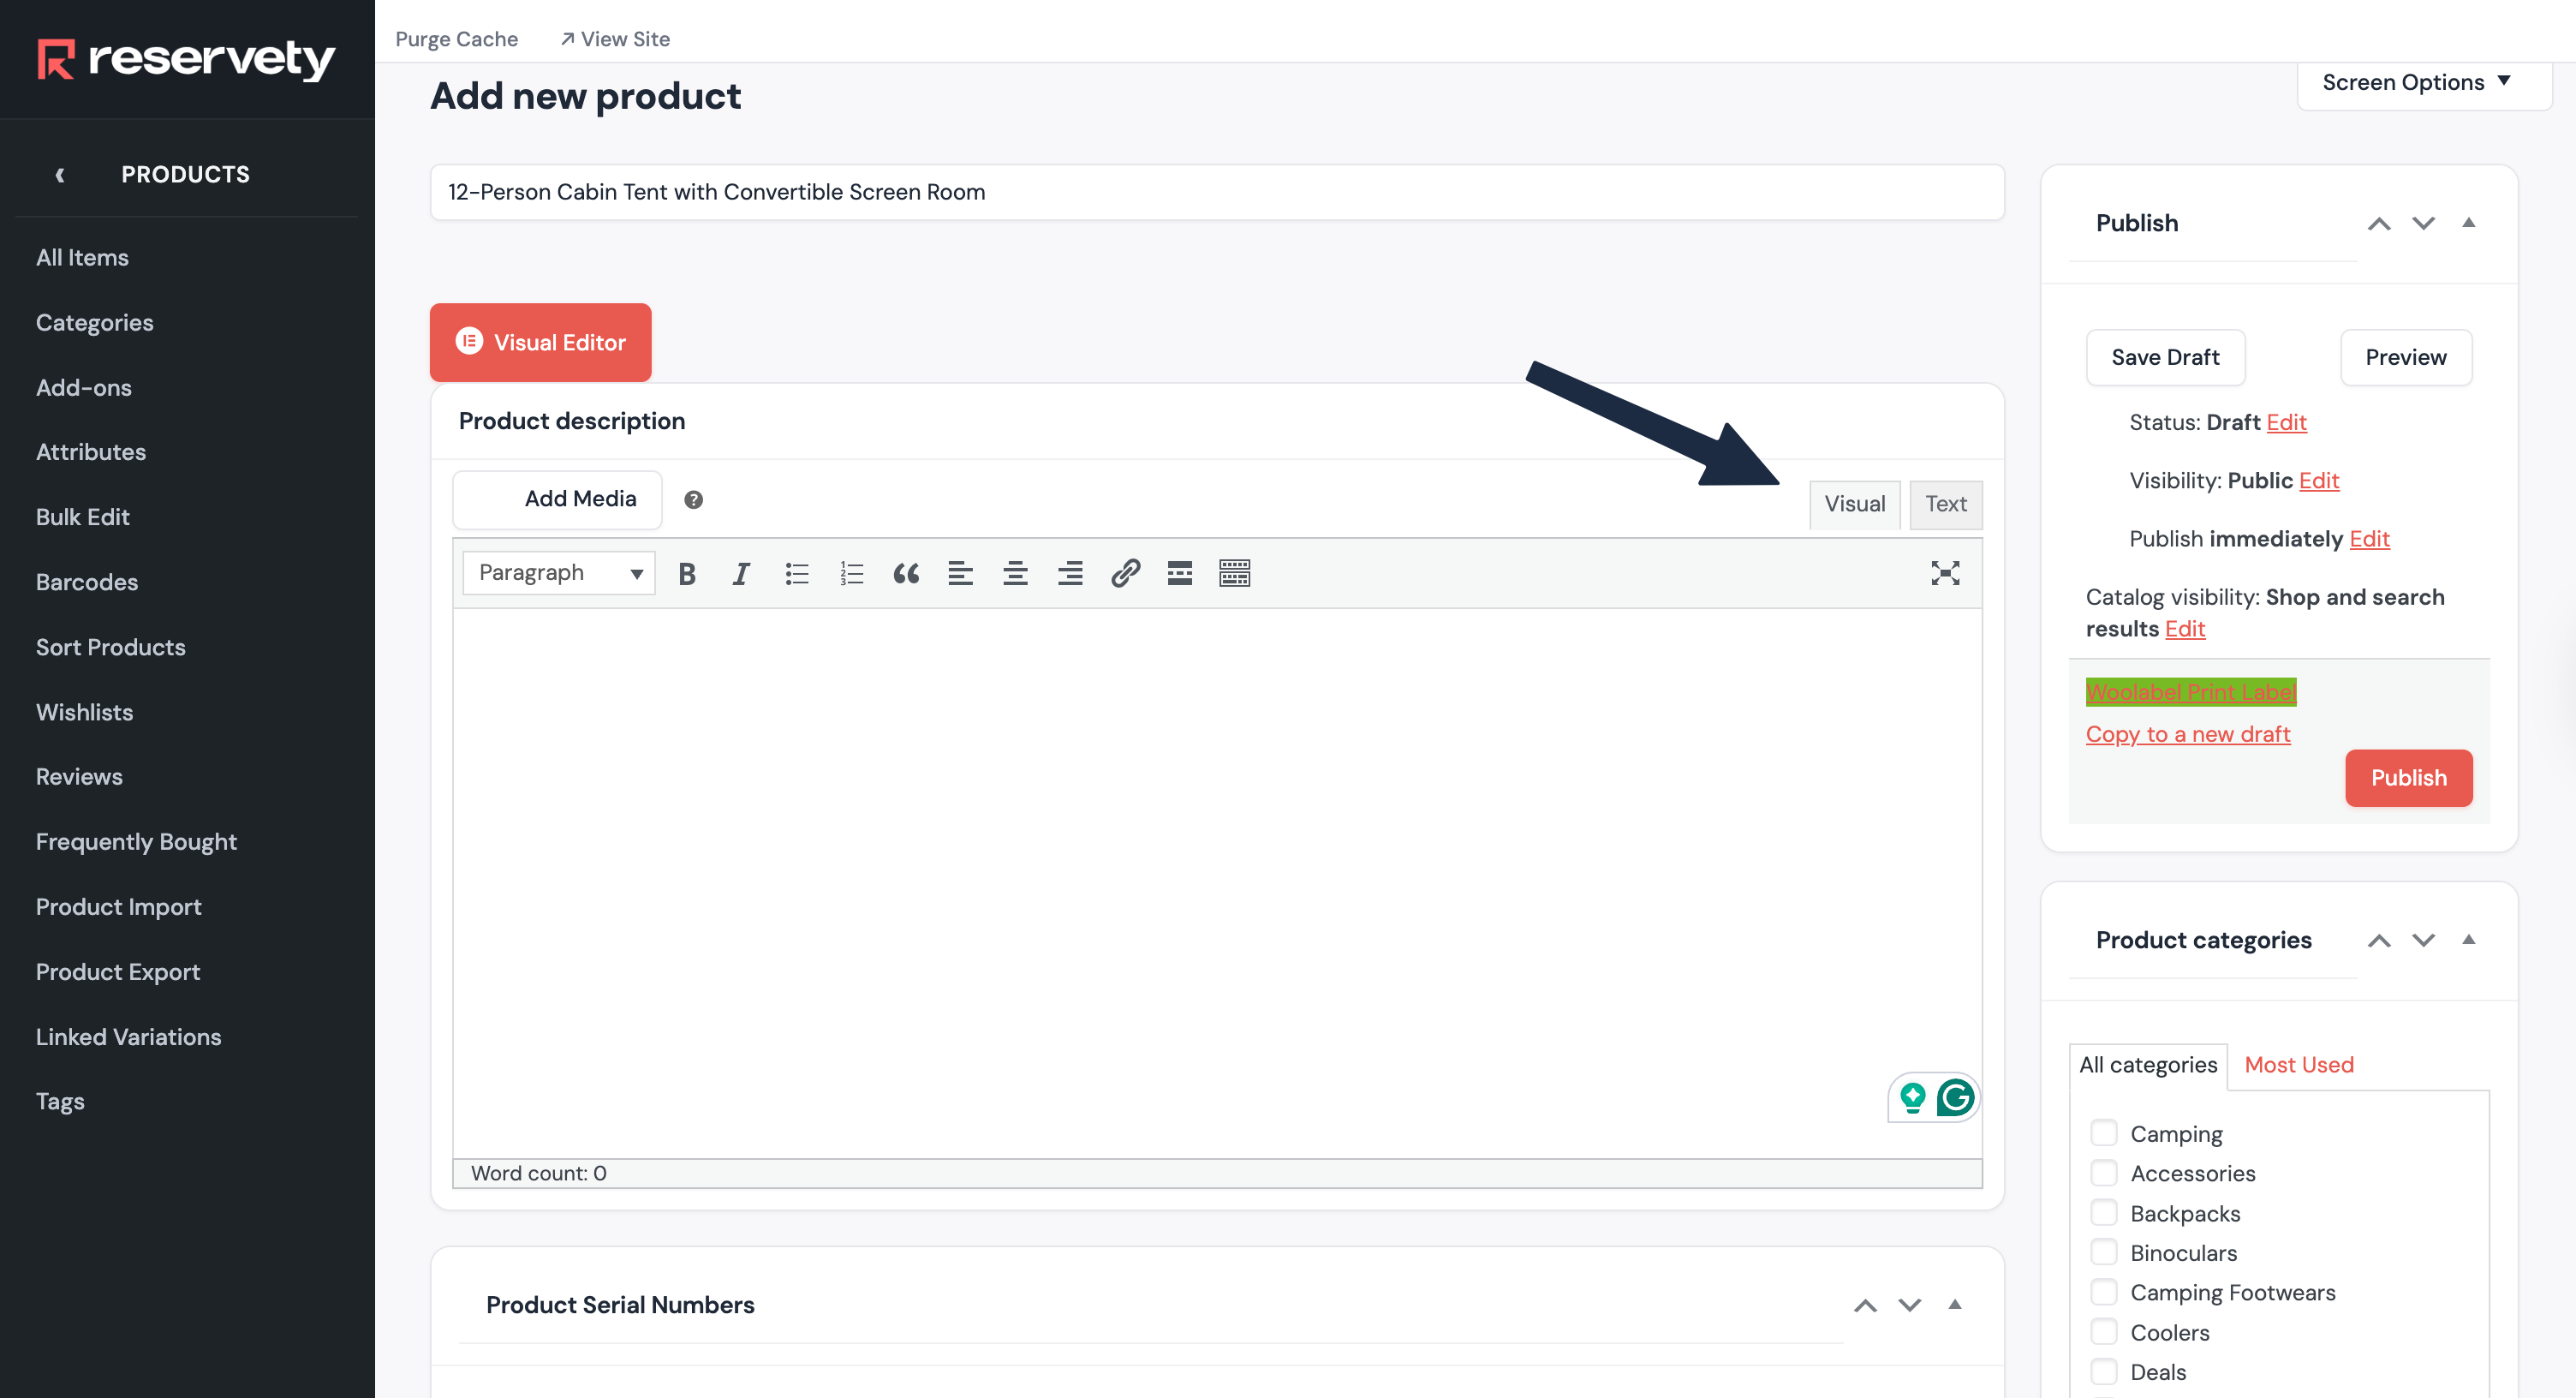
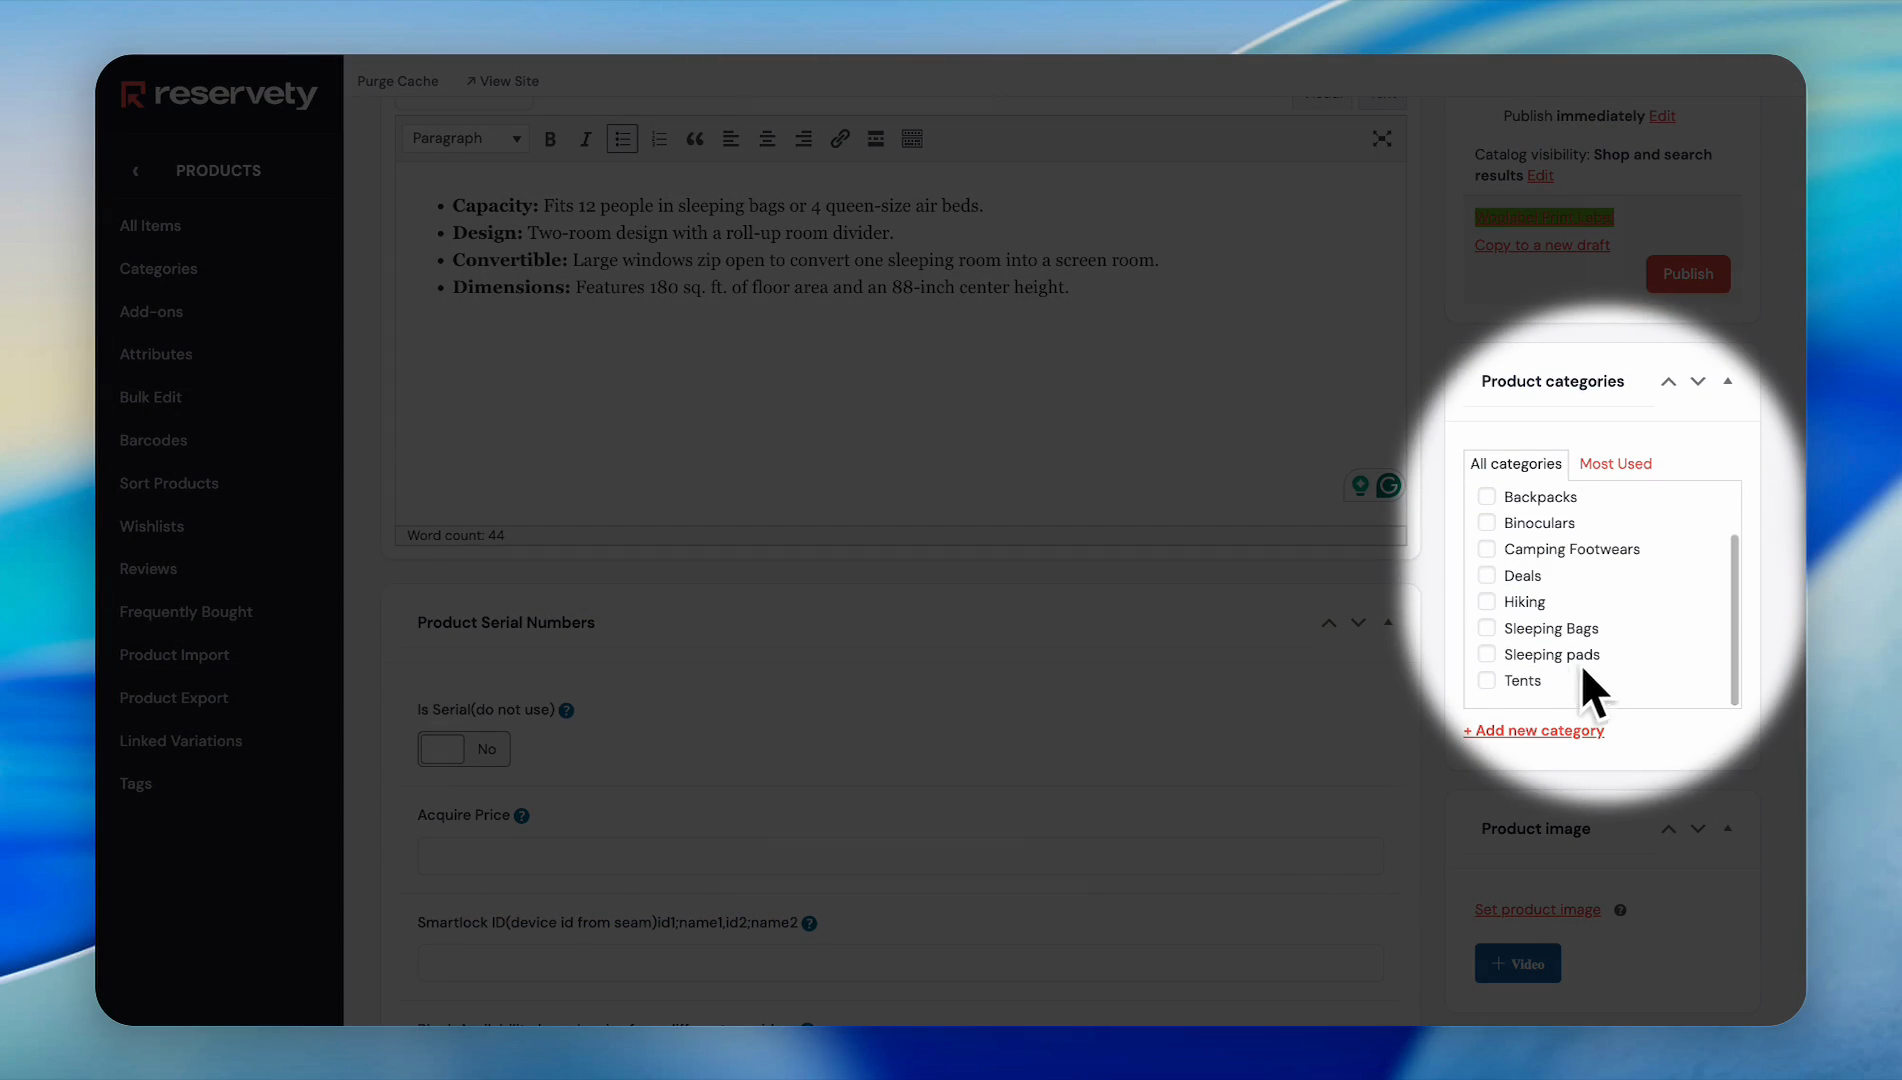
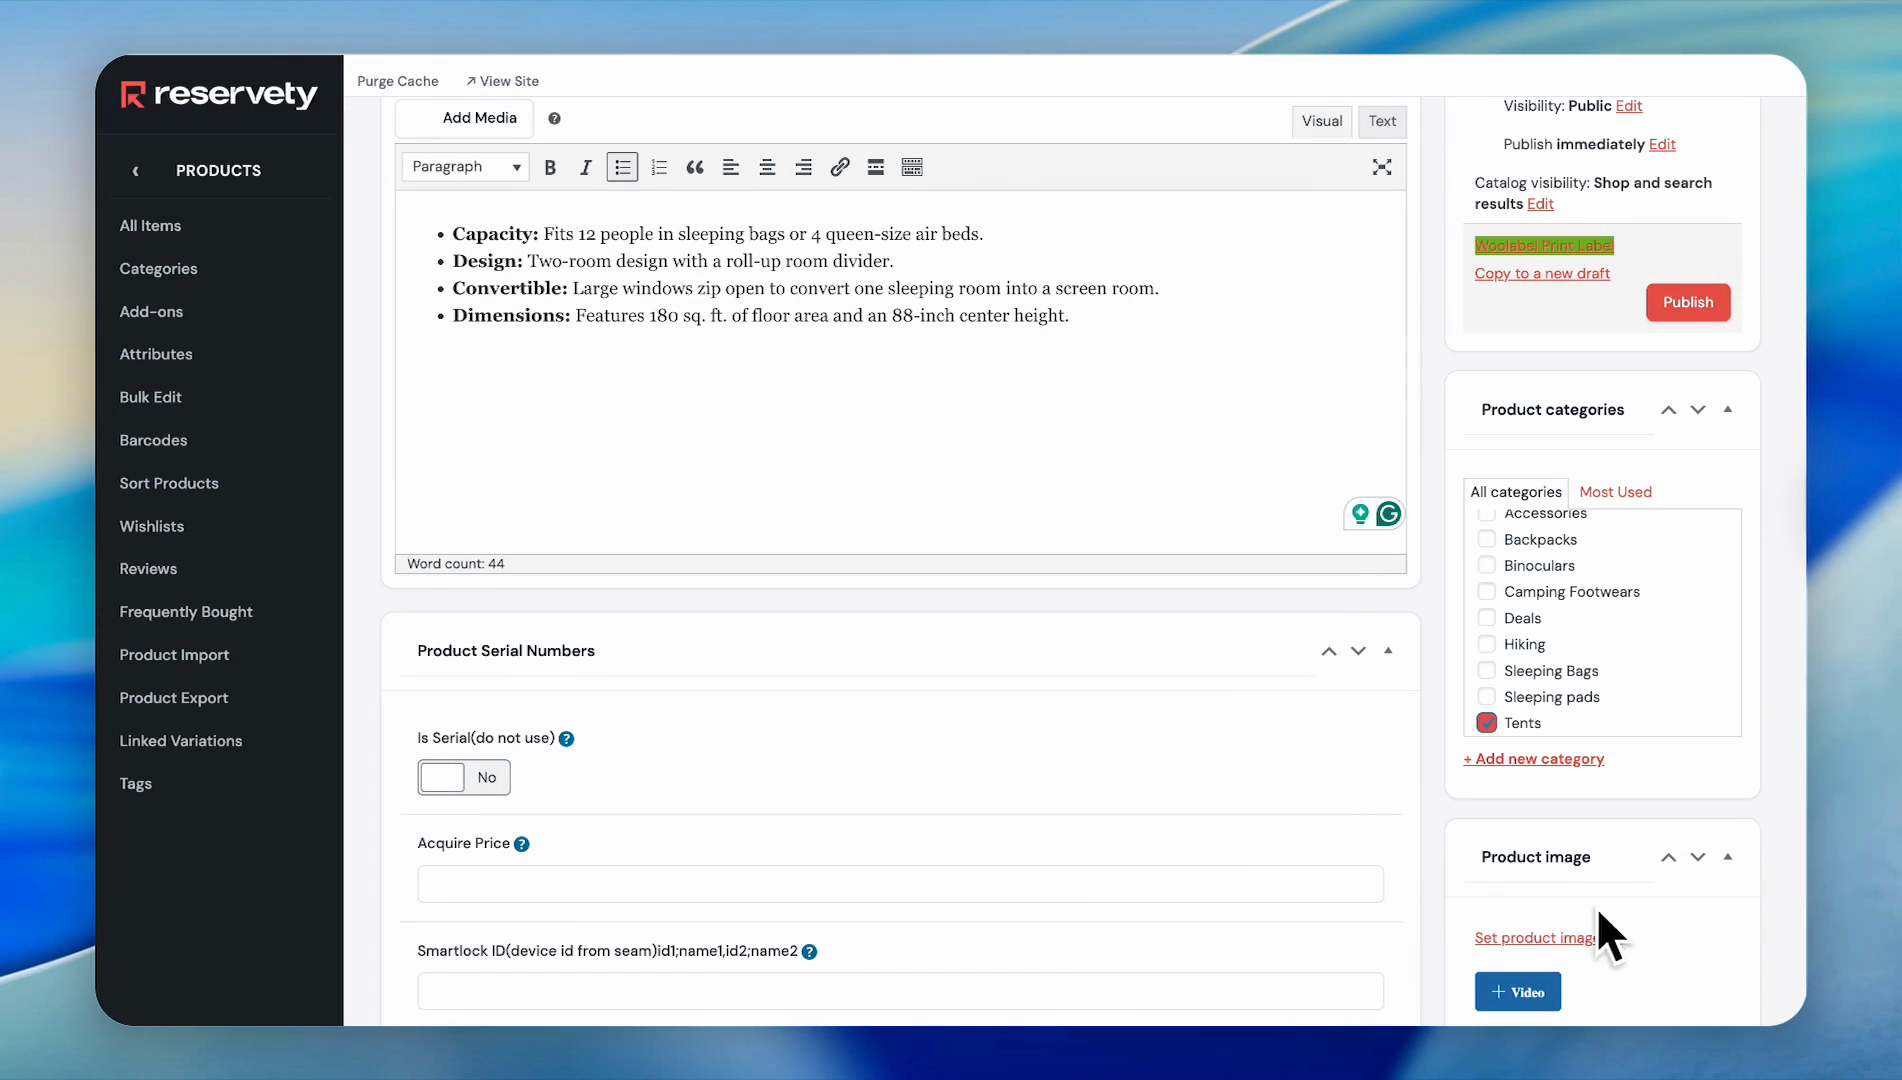
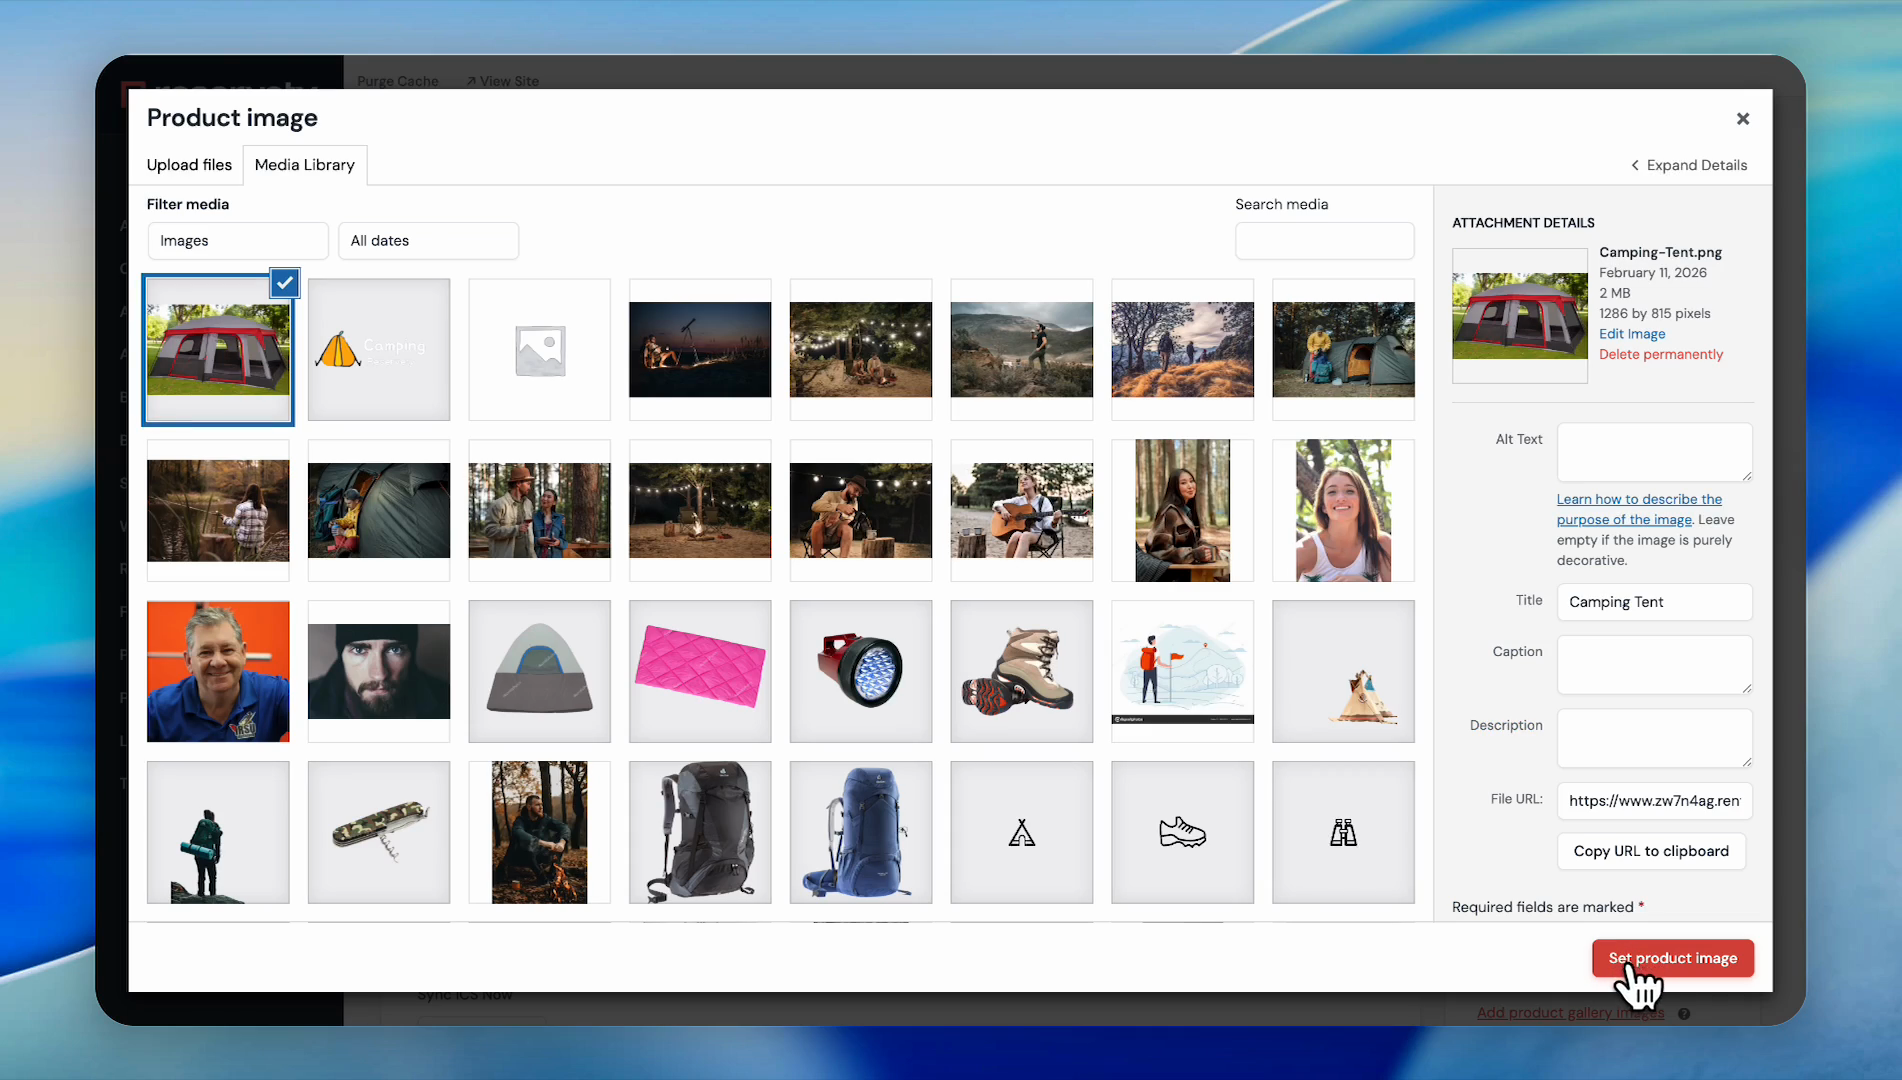
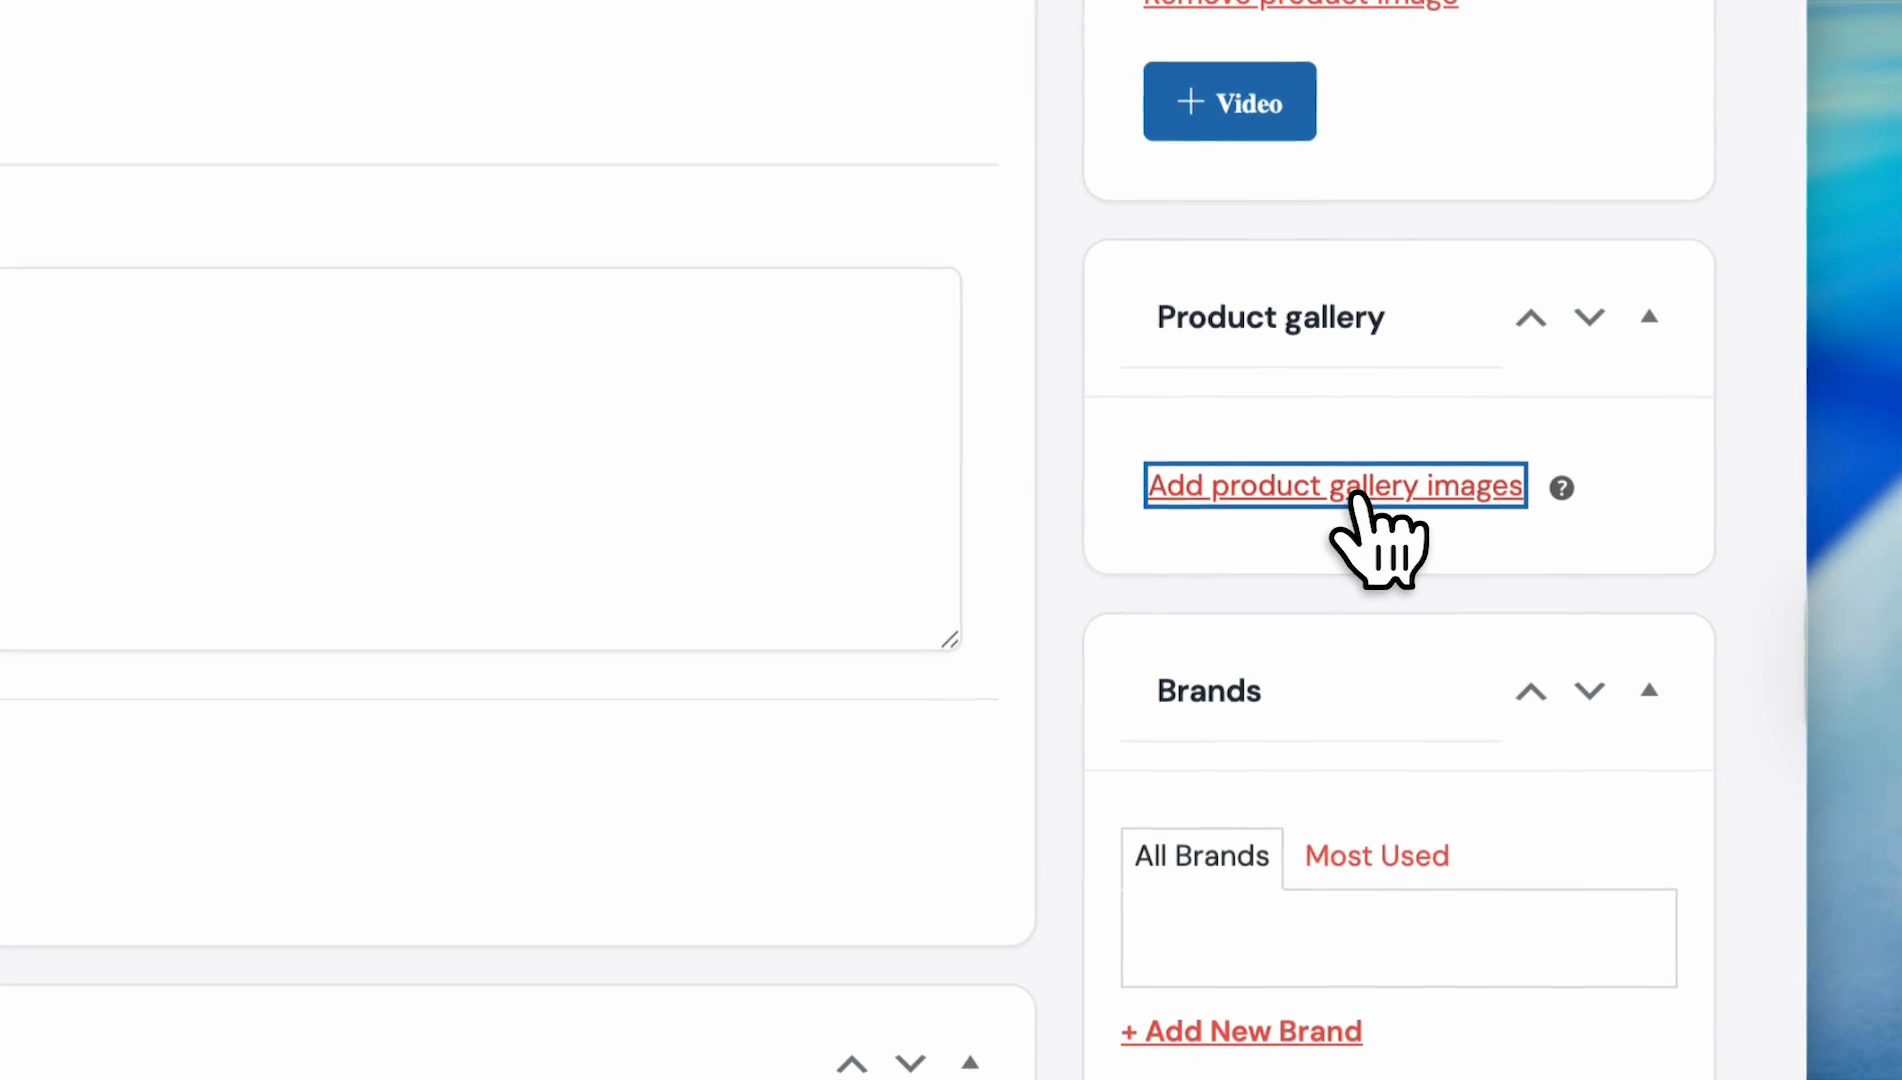
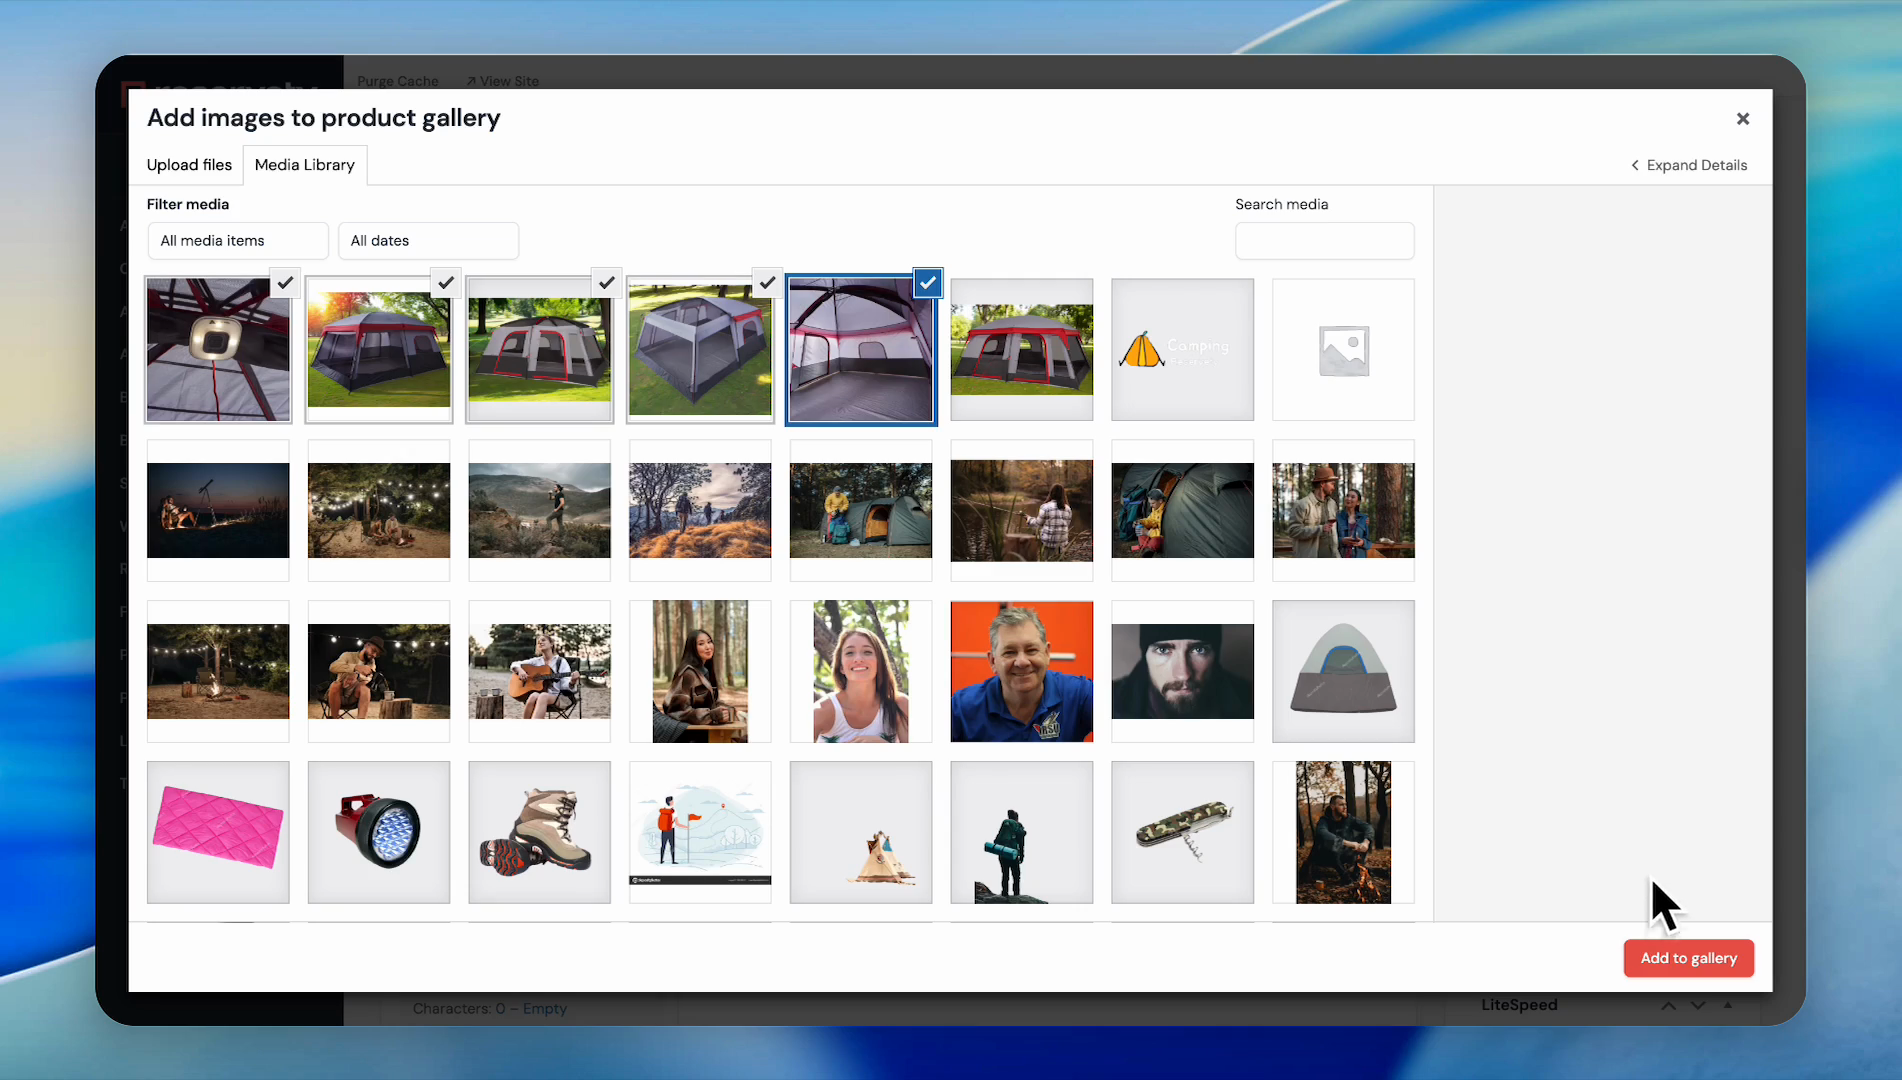
This process includes naming your product, writing a description, setting categories, uploading images, and adding pricing options.
We will also cover how to manage inventory and select the right calendar type for your rentals.
By the end, you will know how to display your product and test the pricing system.
Let's get started
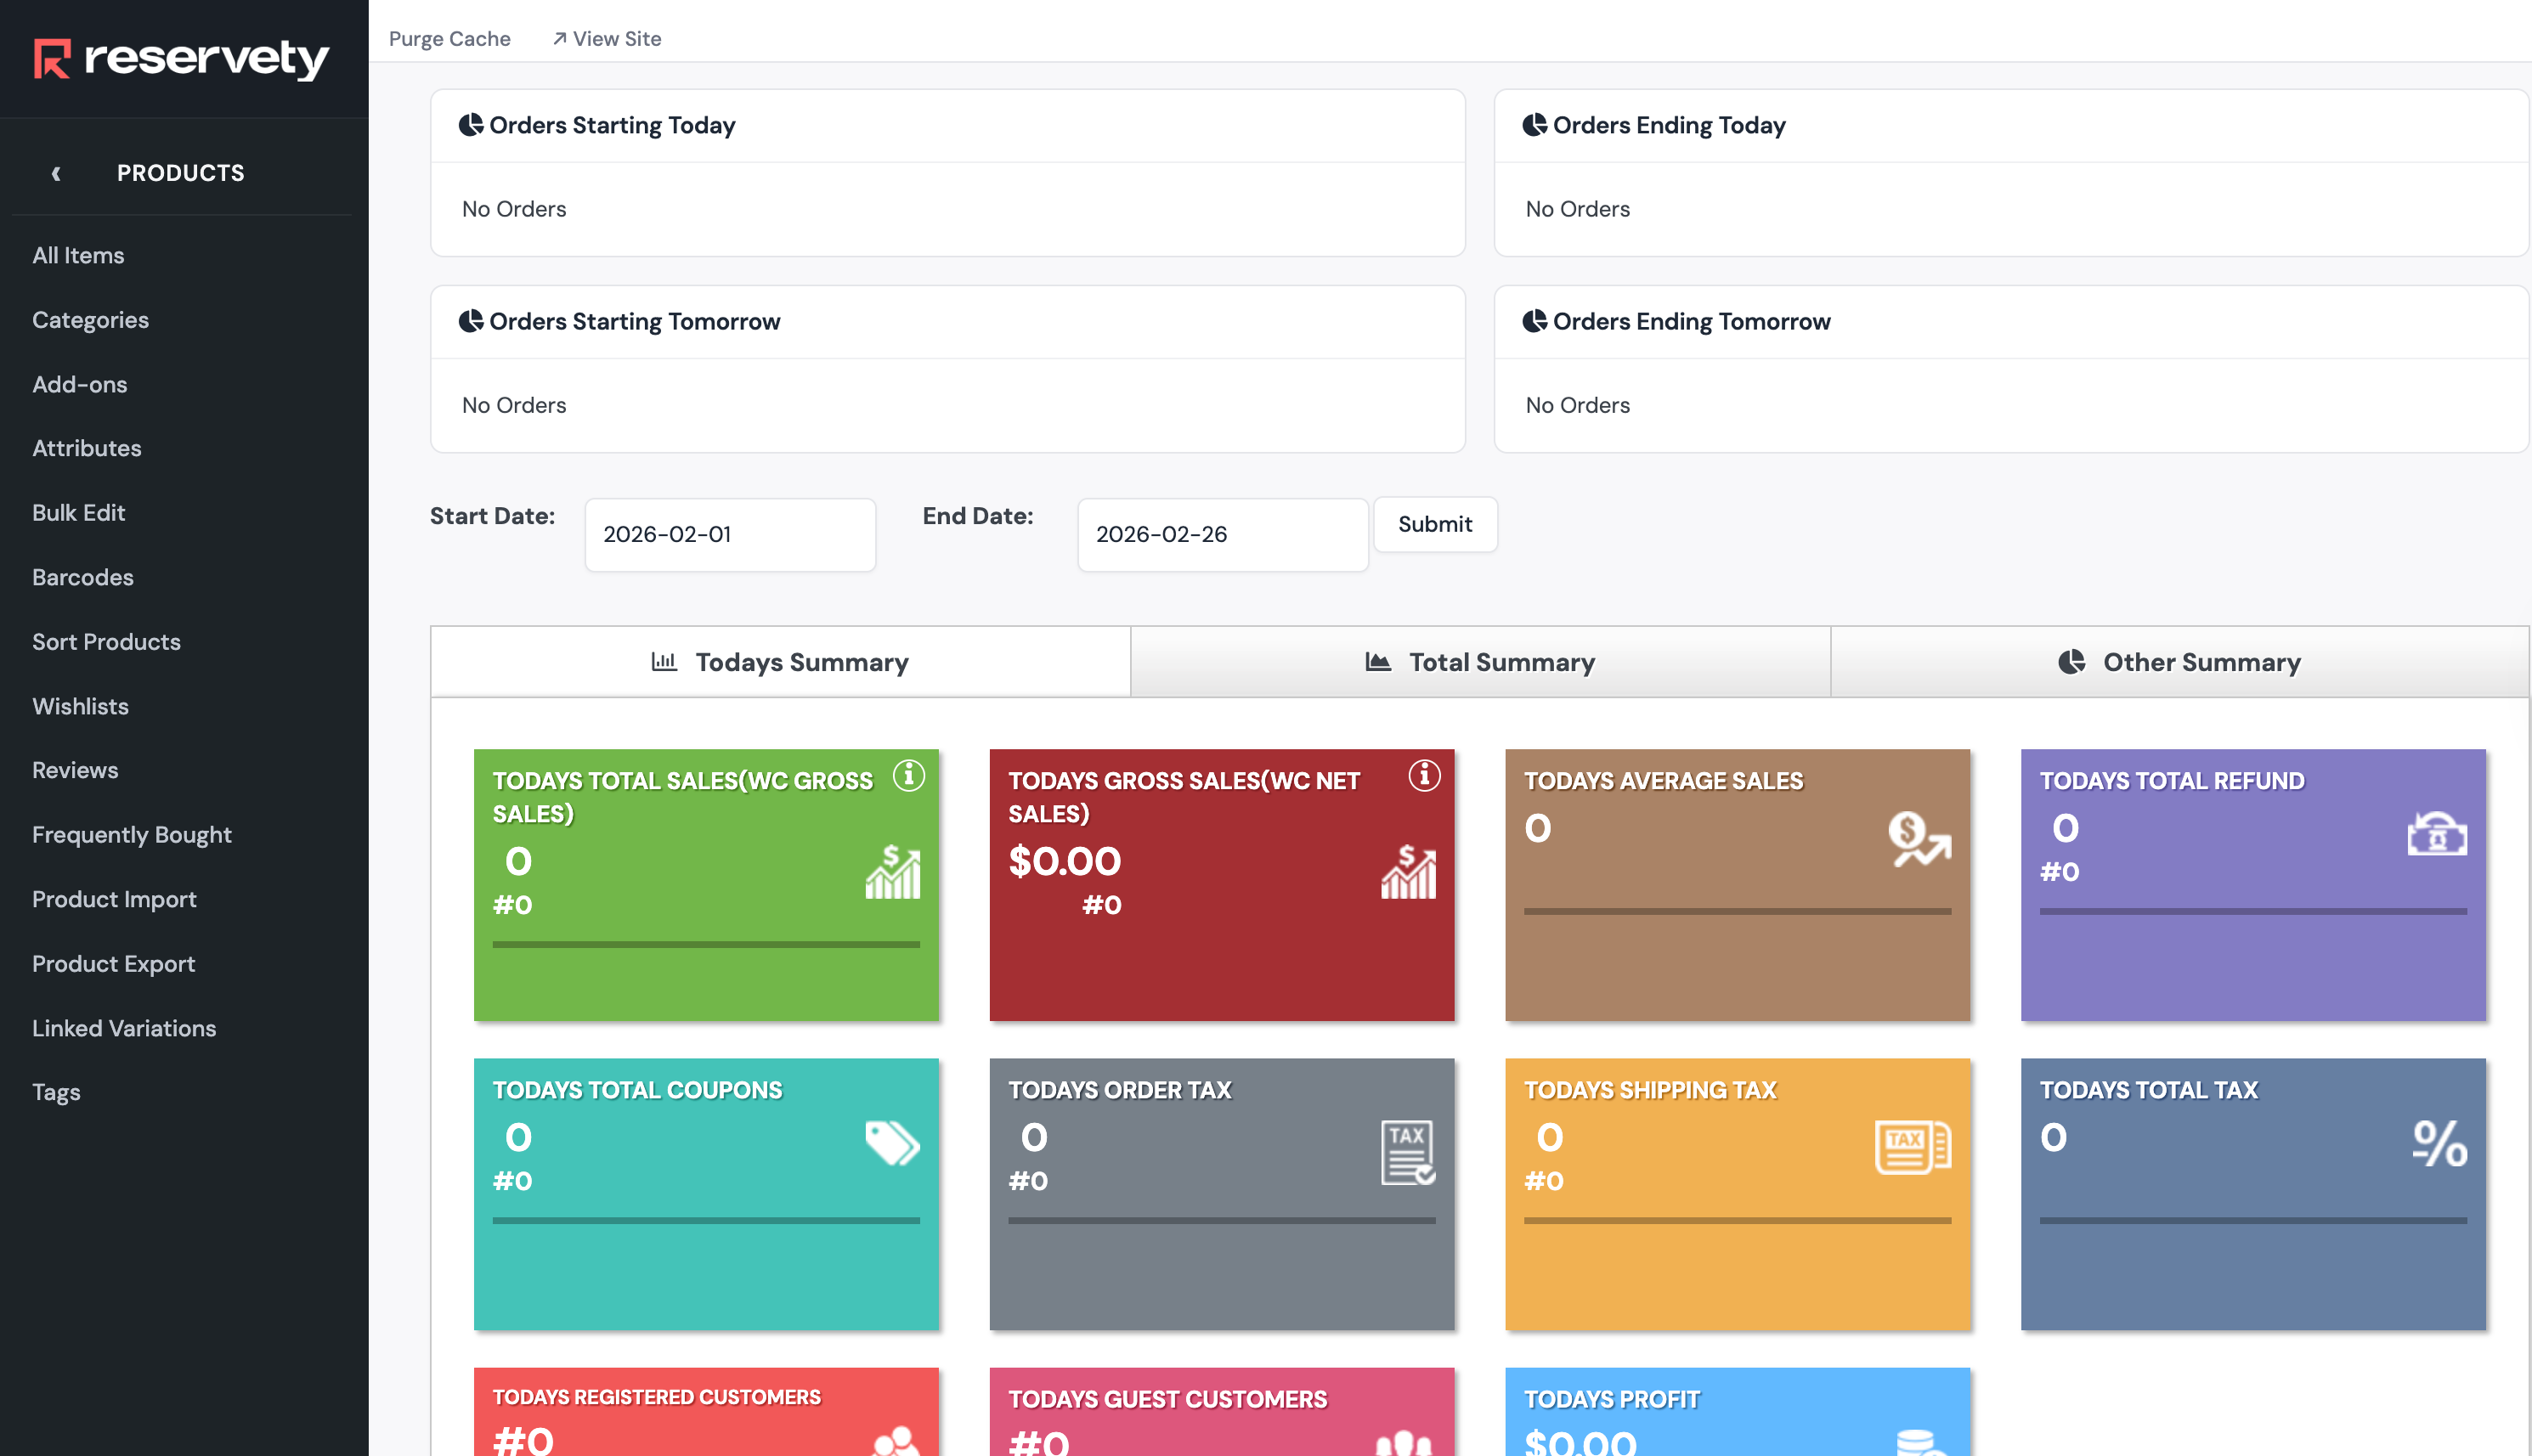
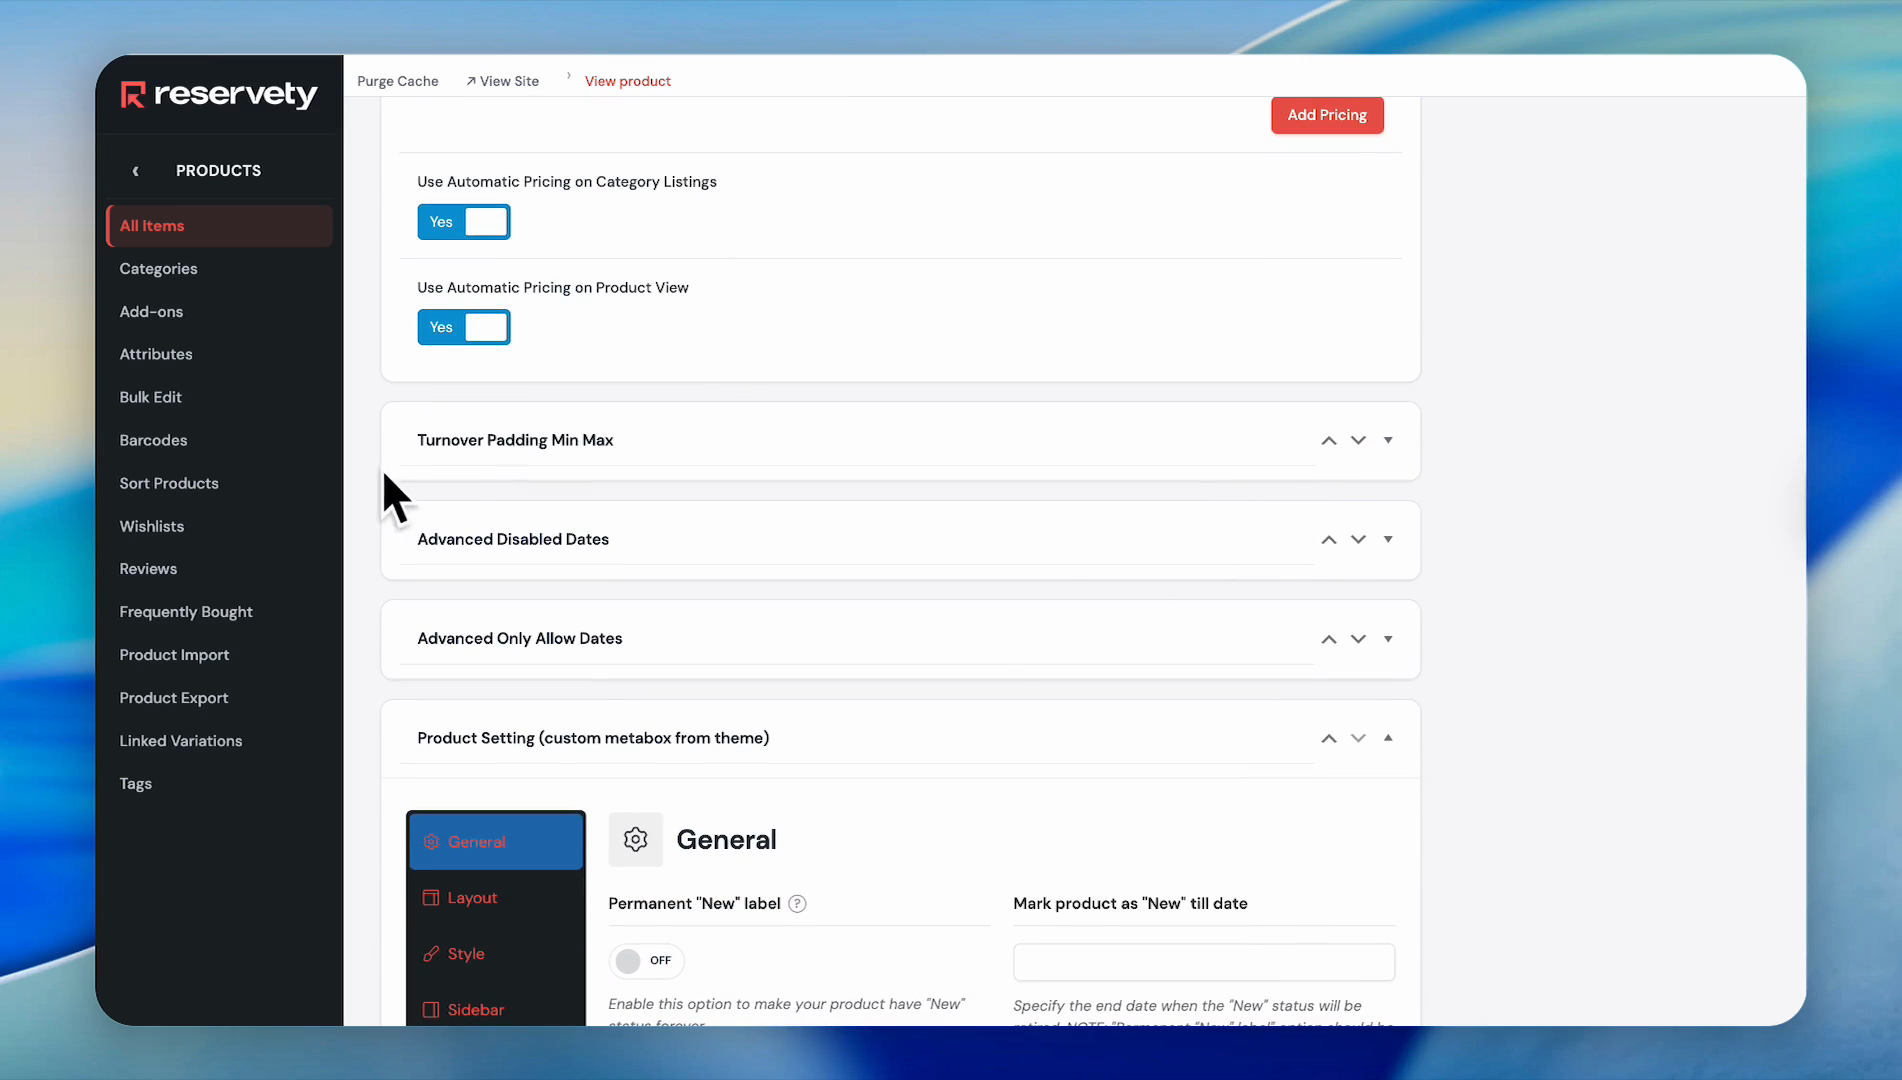
First, log in to your dashboard, click Products, and then All Items.
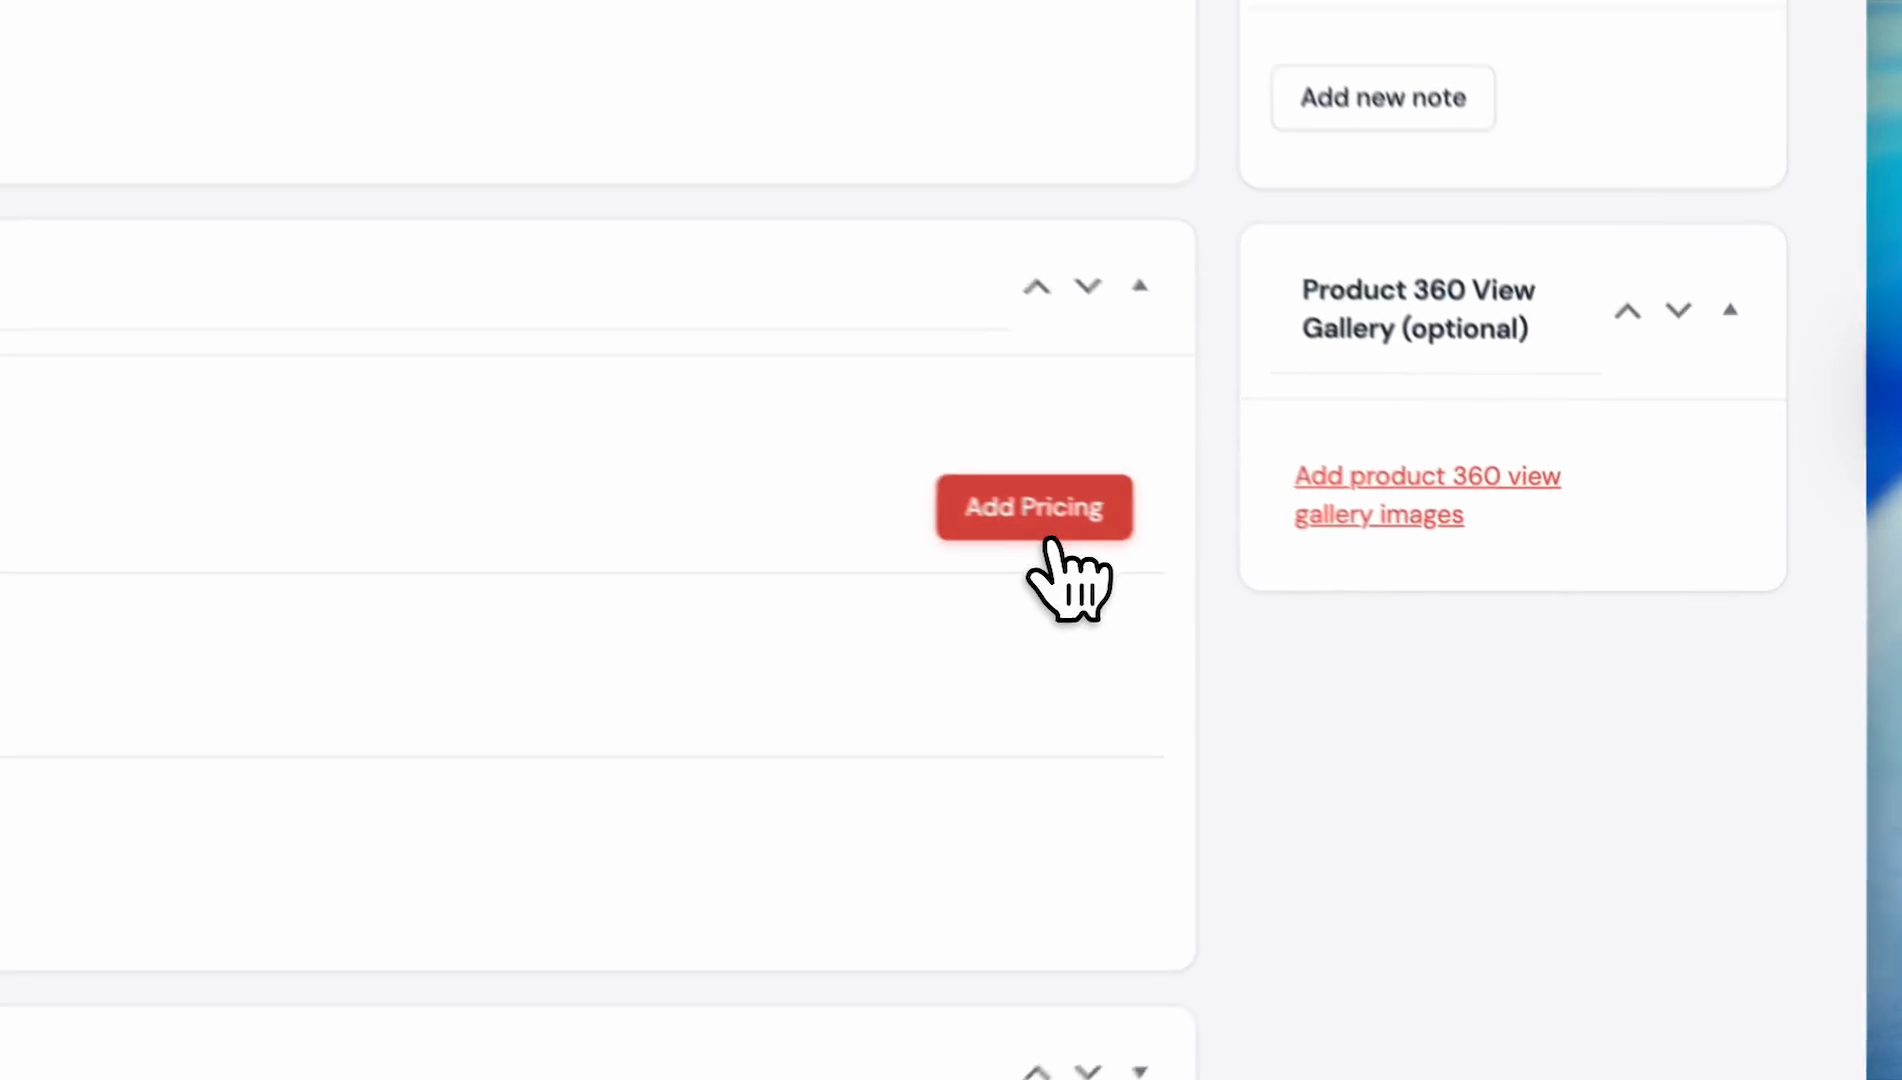
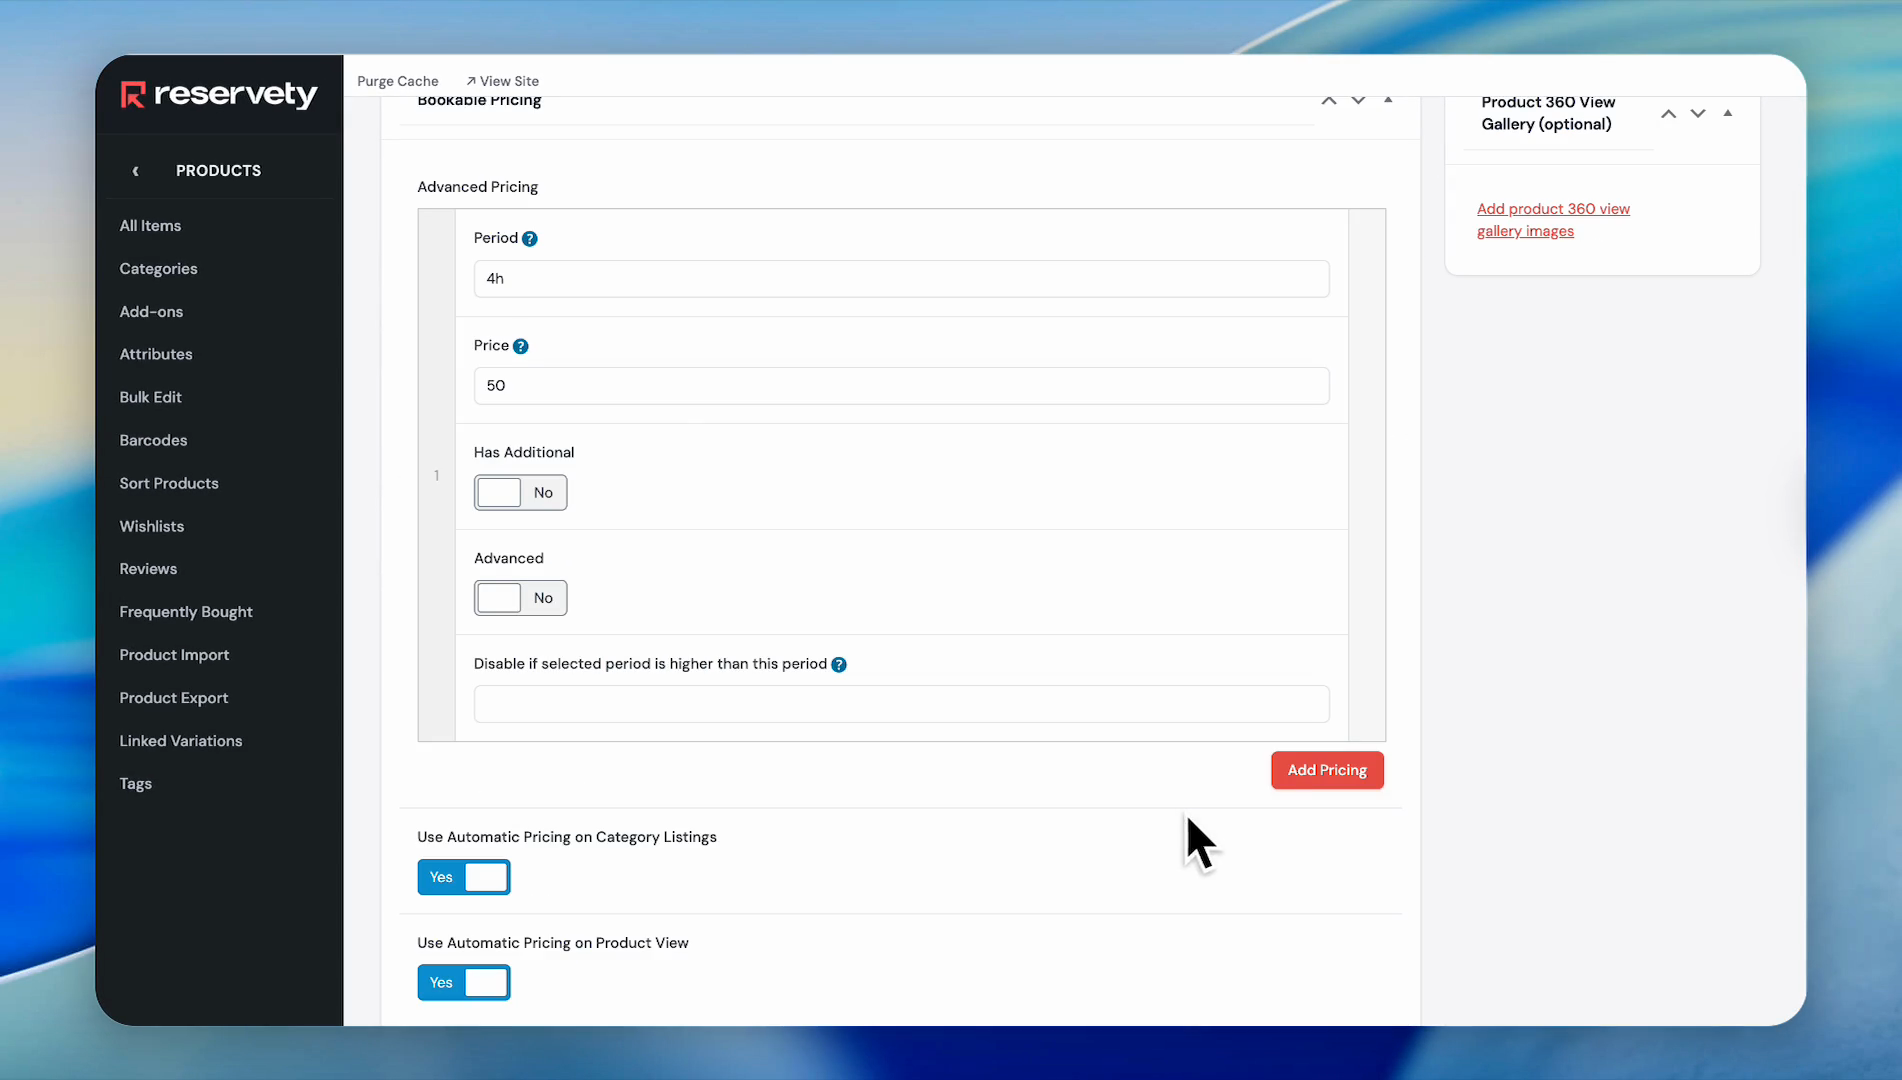
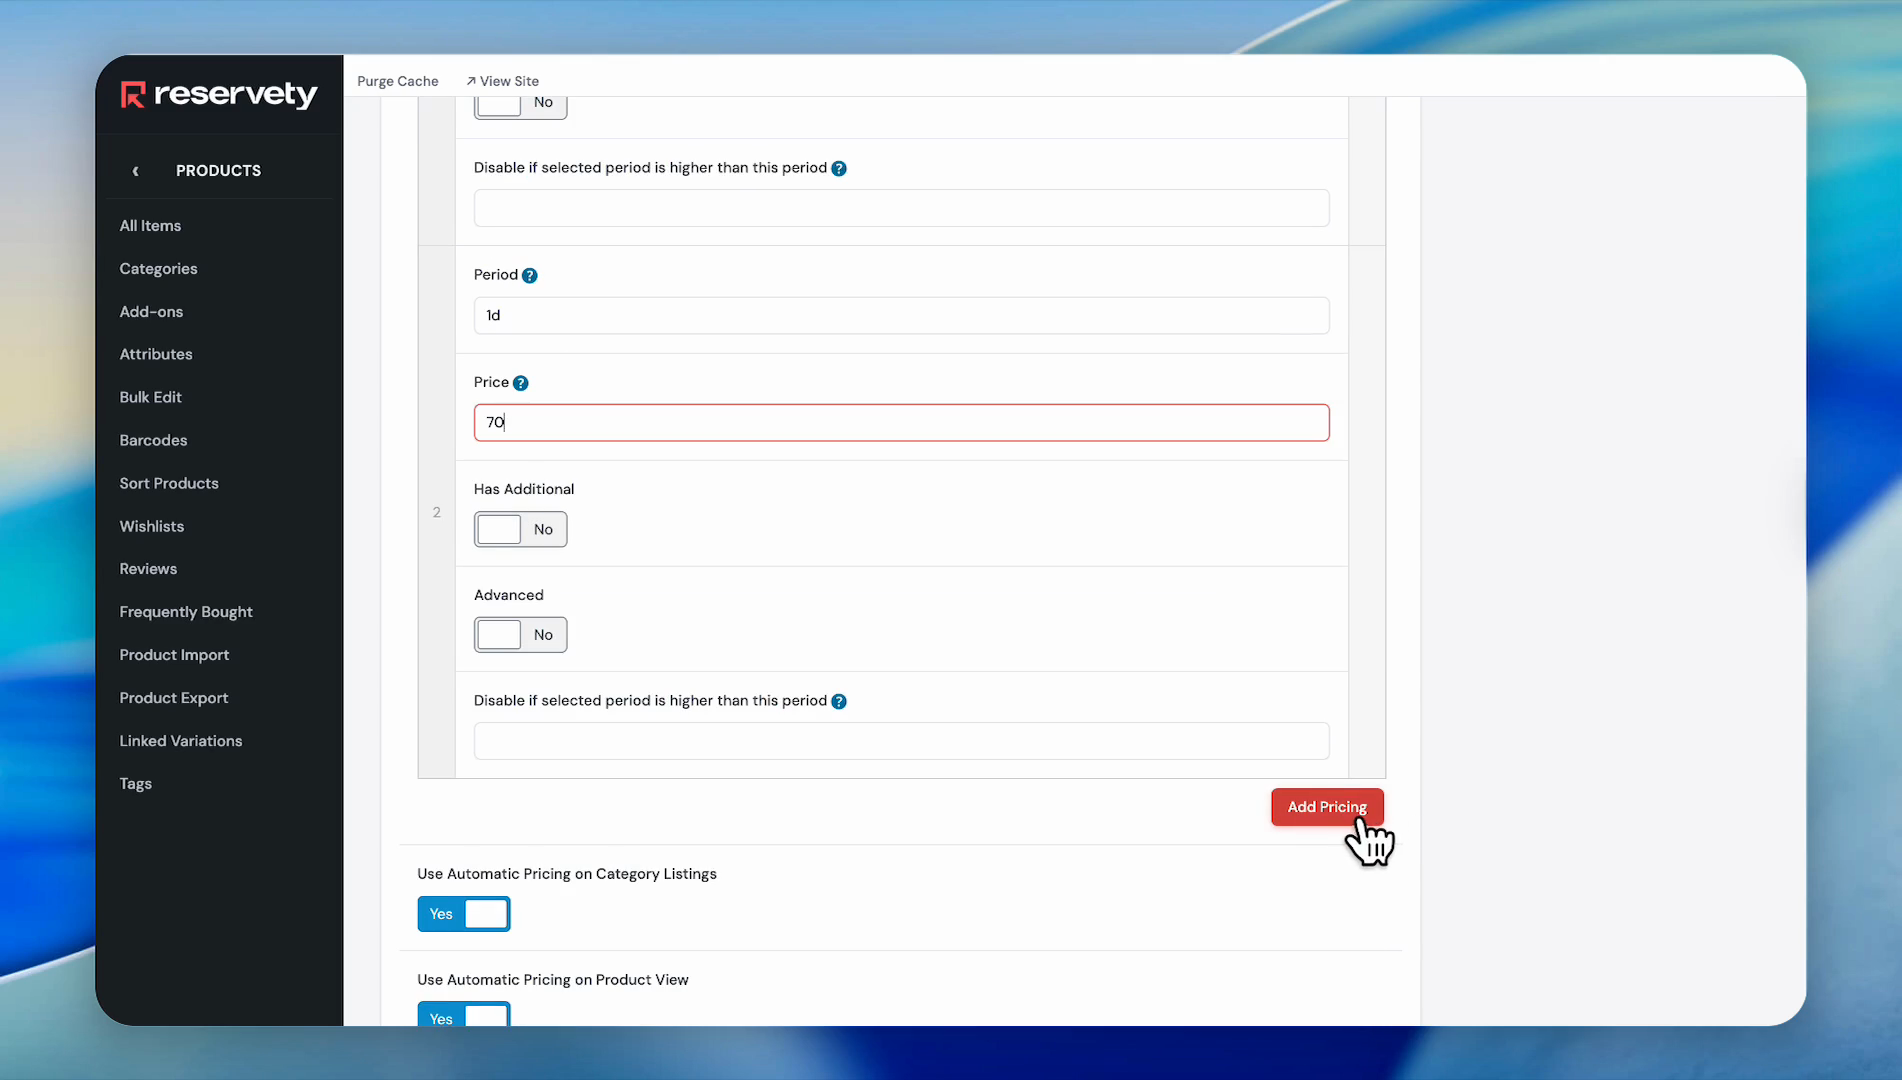
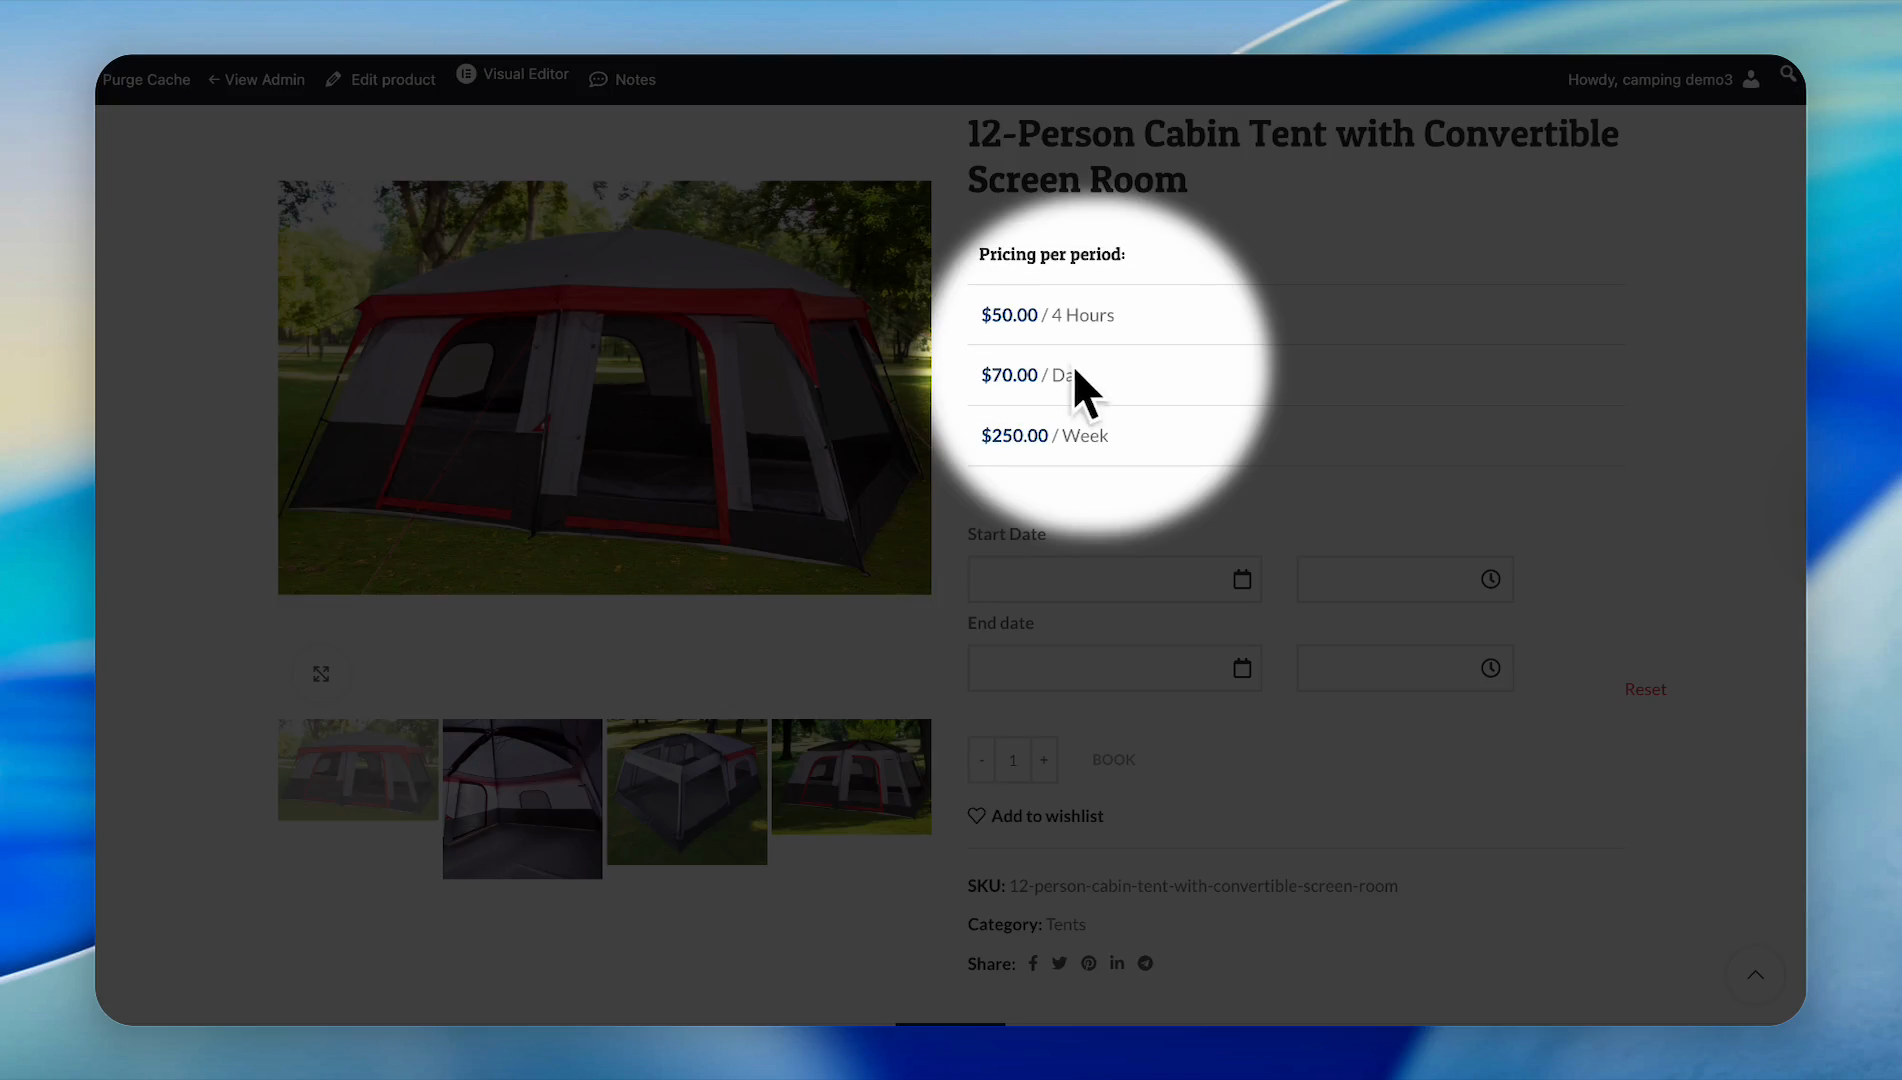
You can add as many pricing options as you prefer, but in this case, we will stop here.
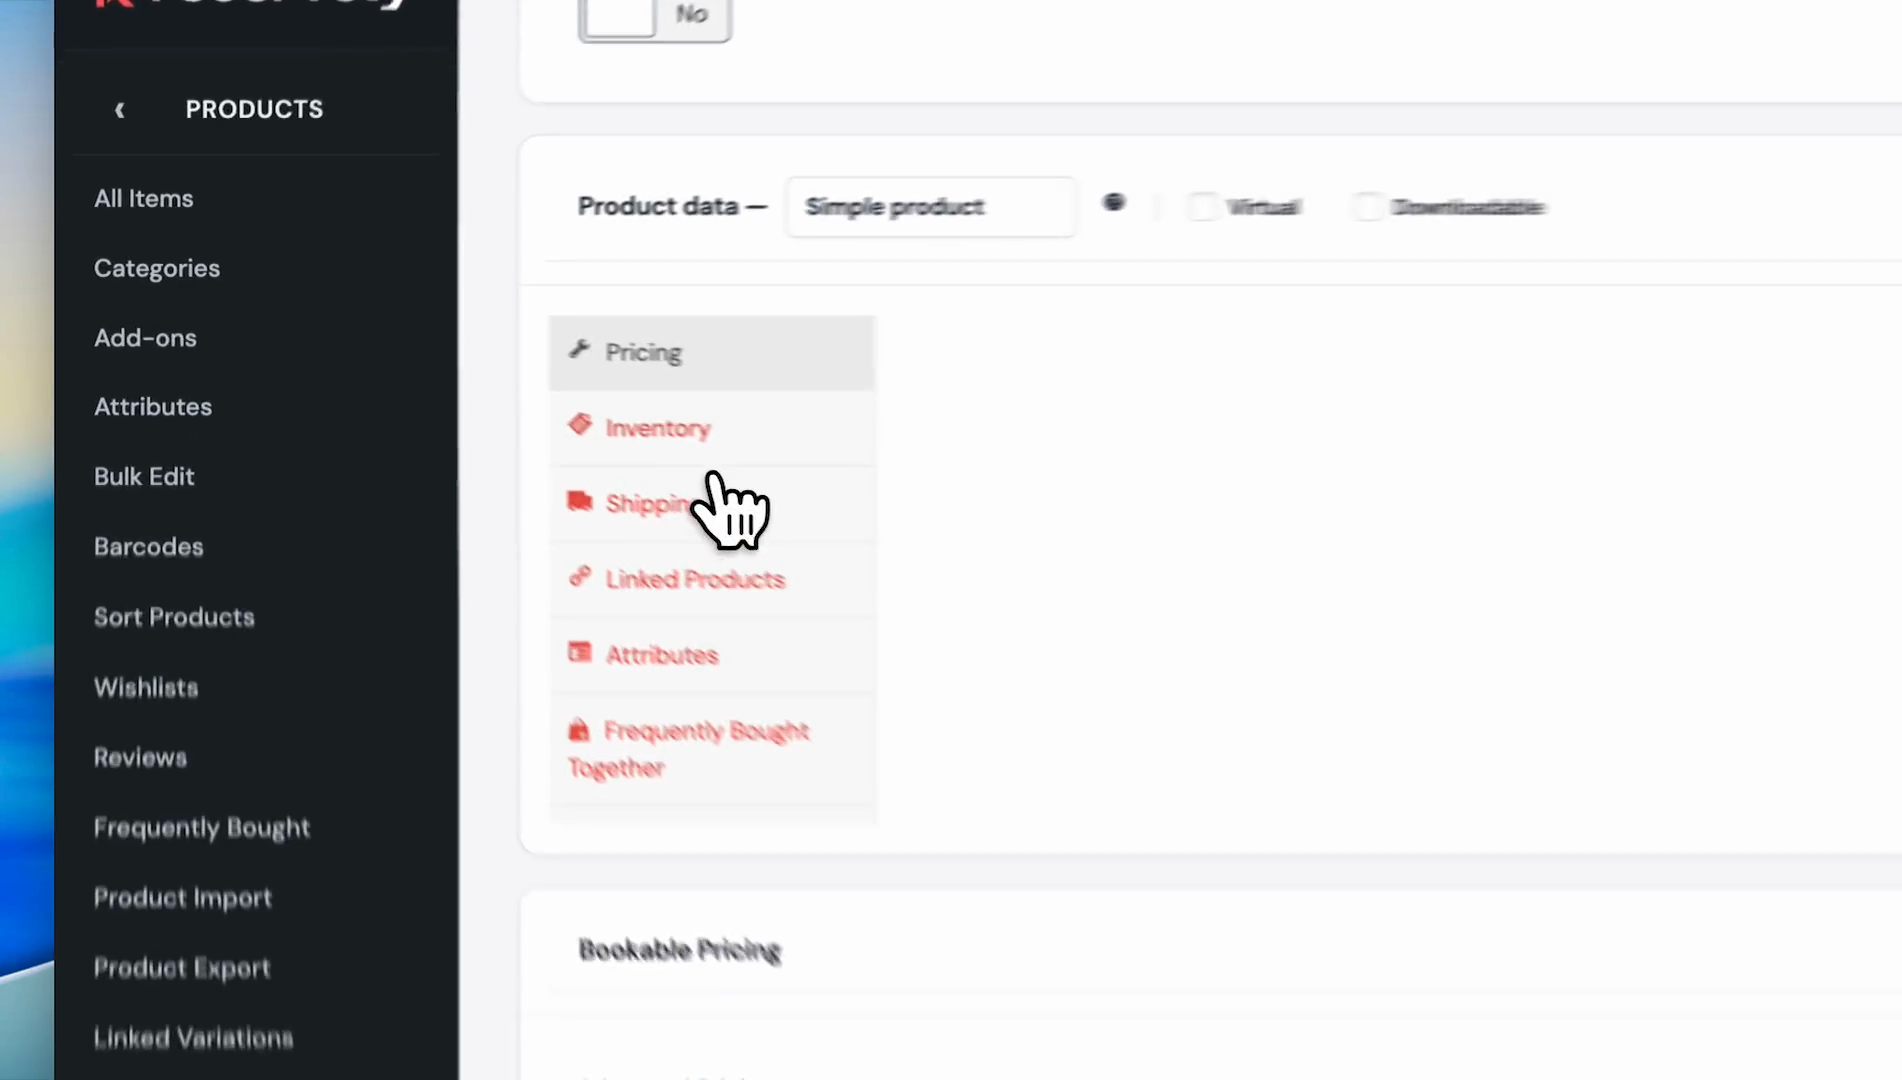
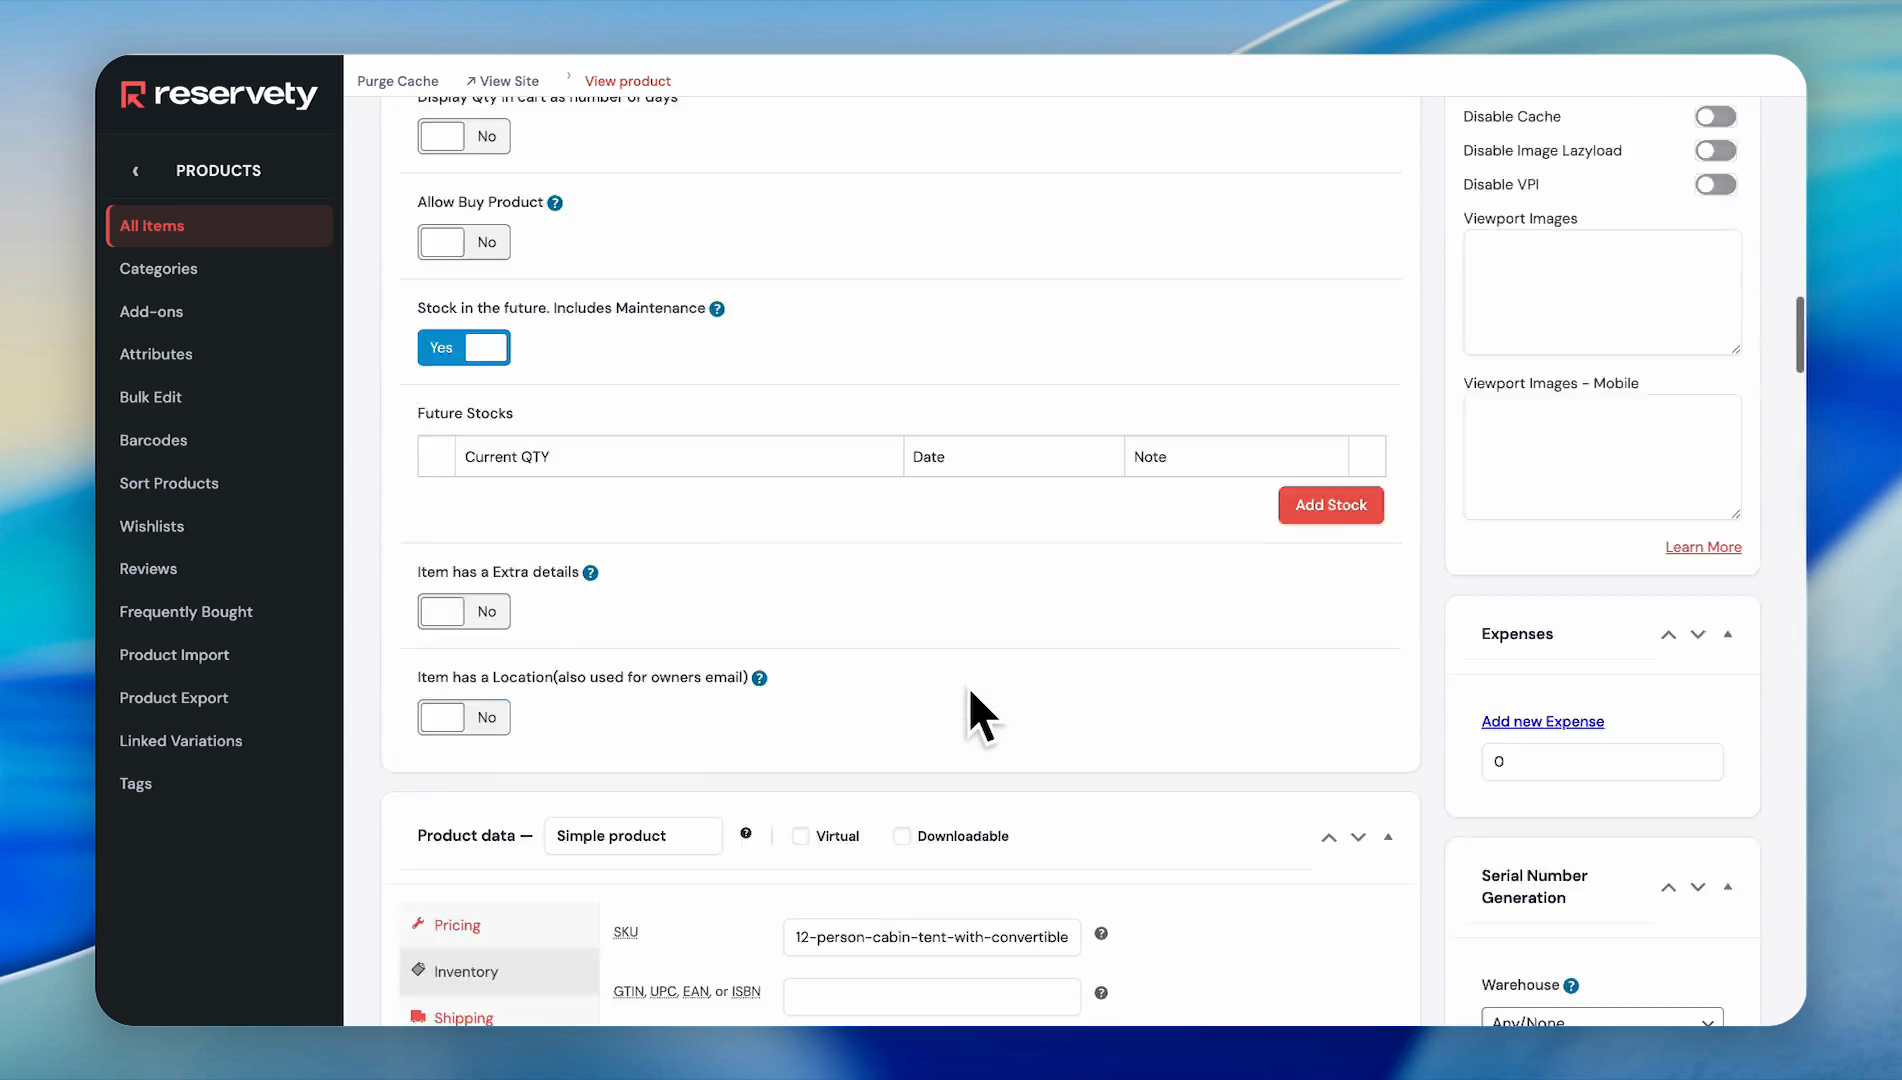
Once you finish setting the pricing, click on the Inventory section.
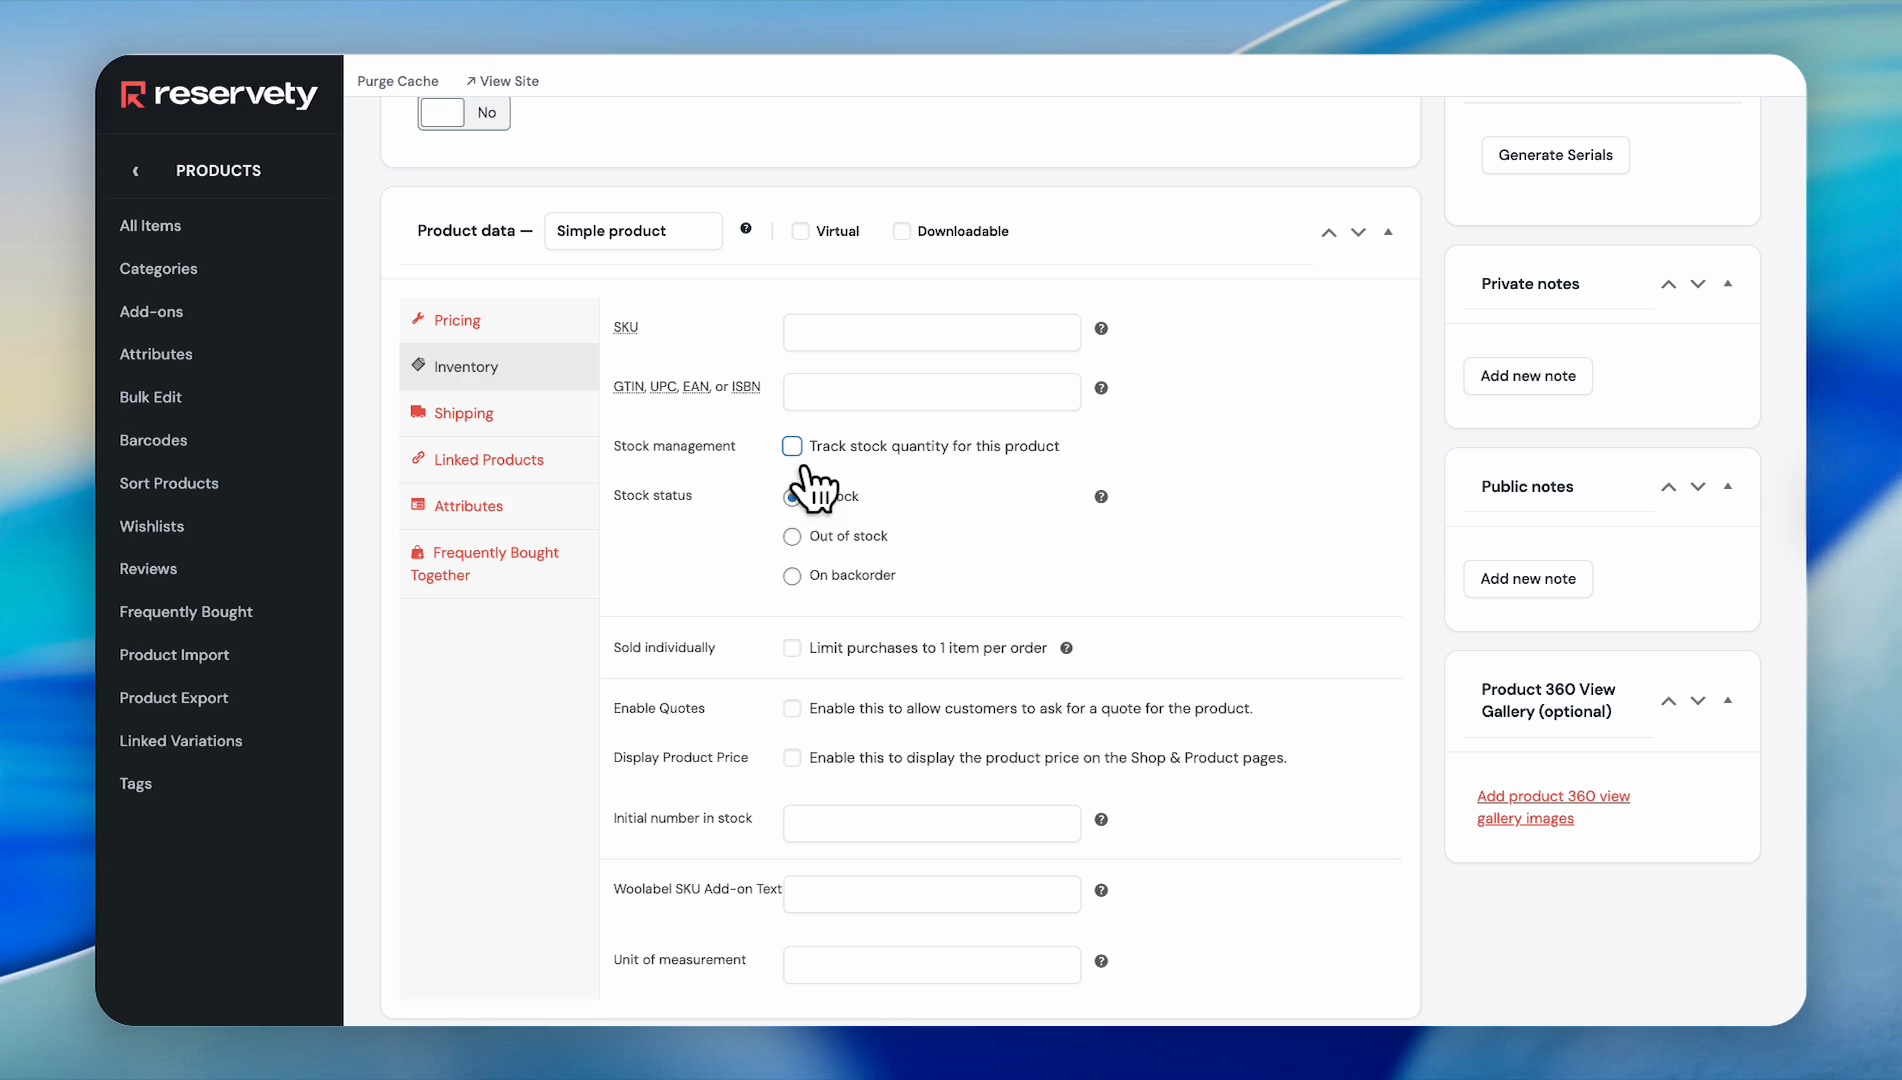
Now set the calendar type for your product.
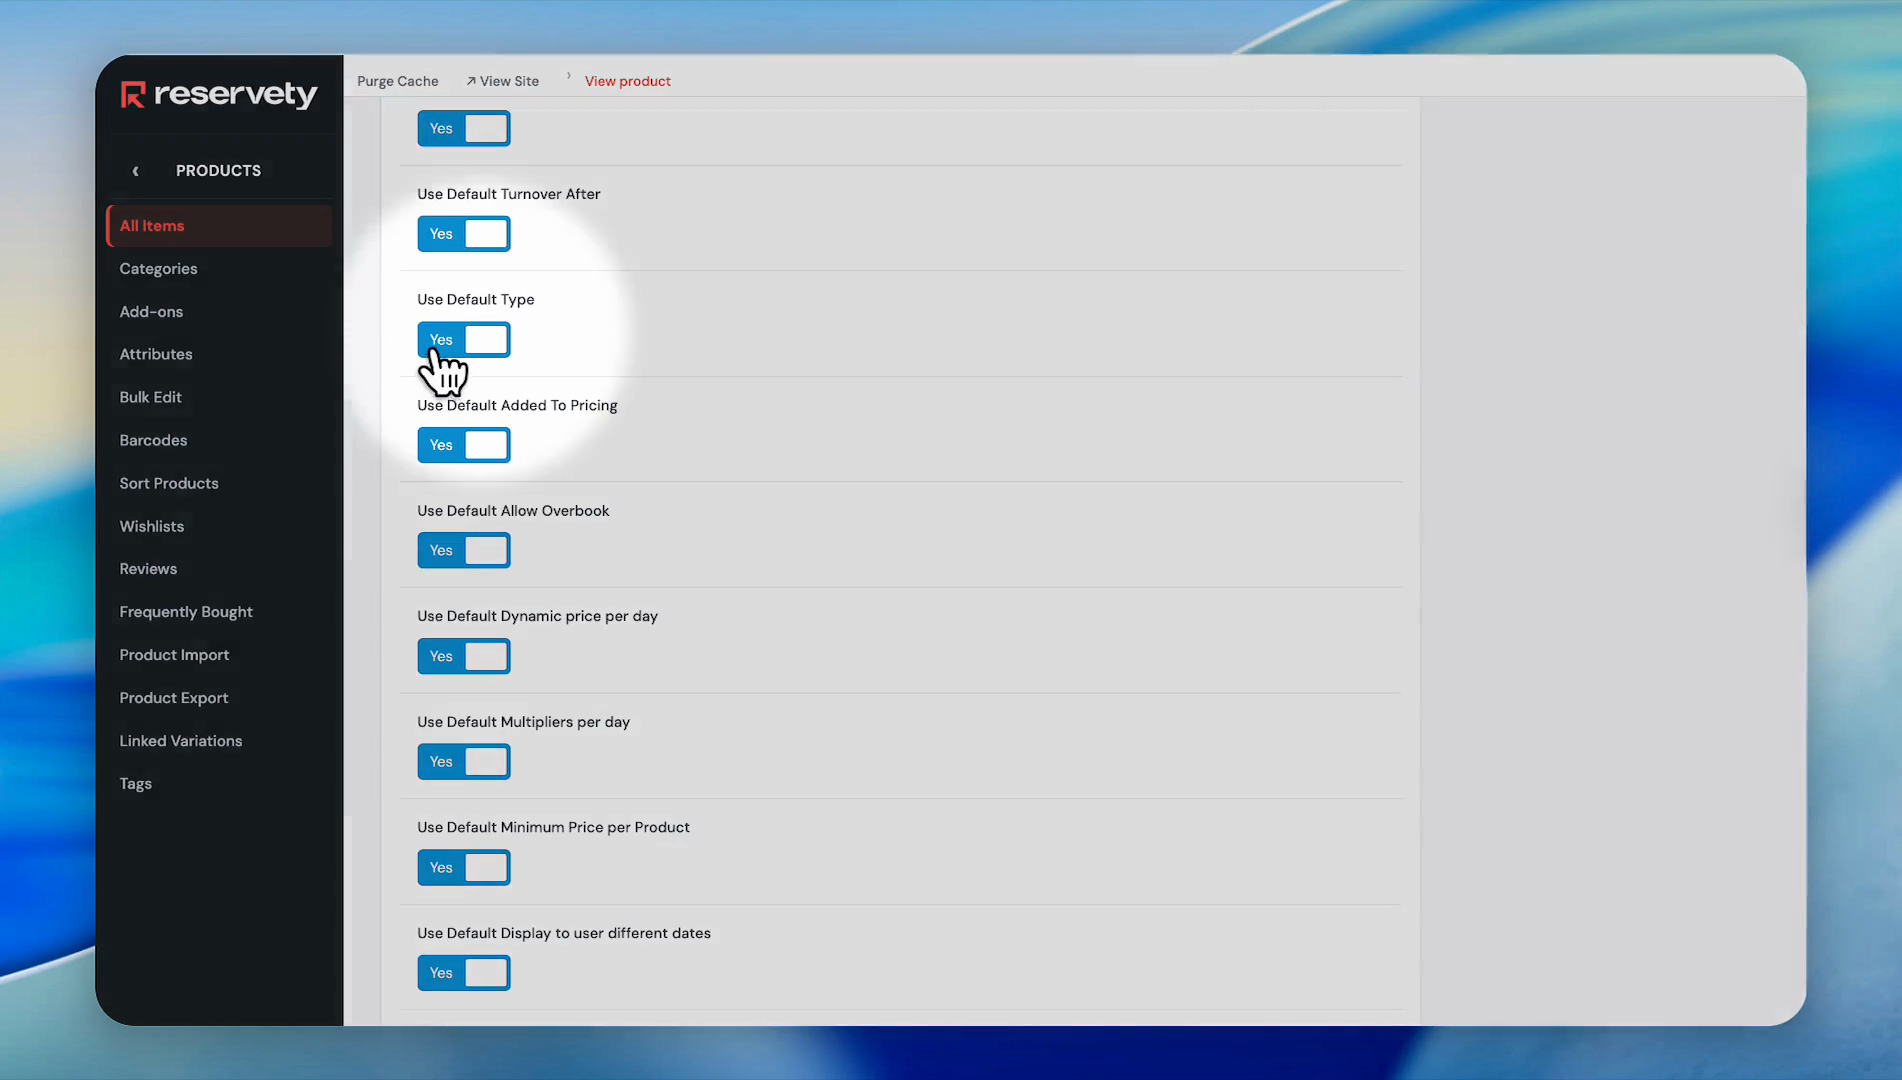
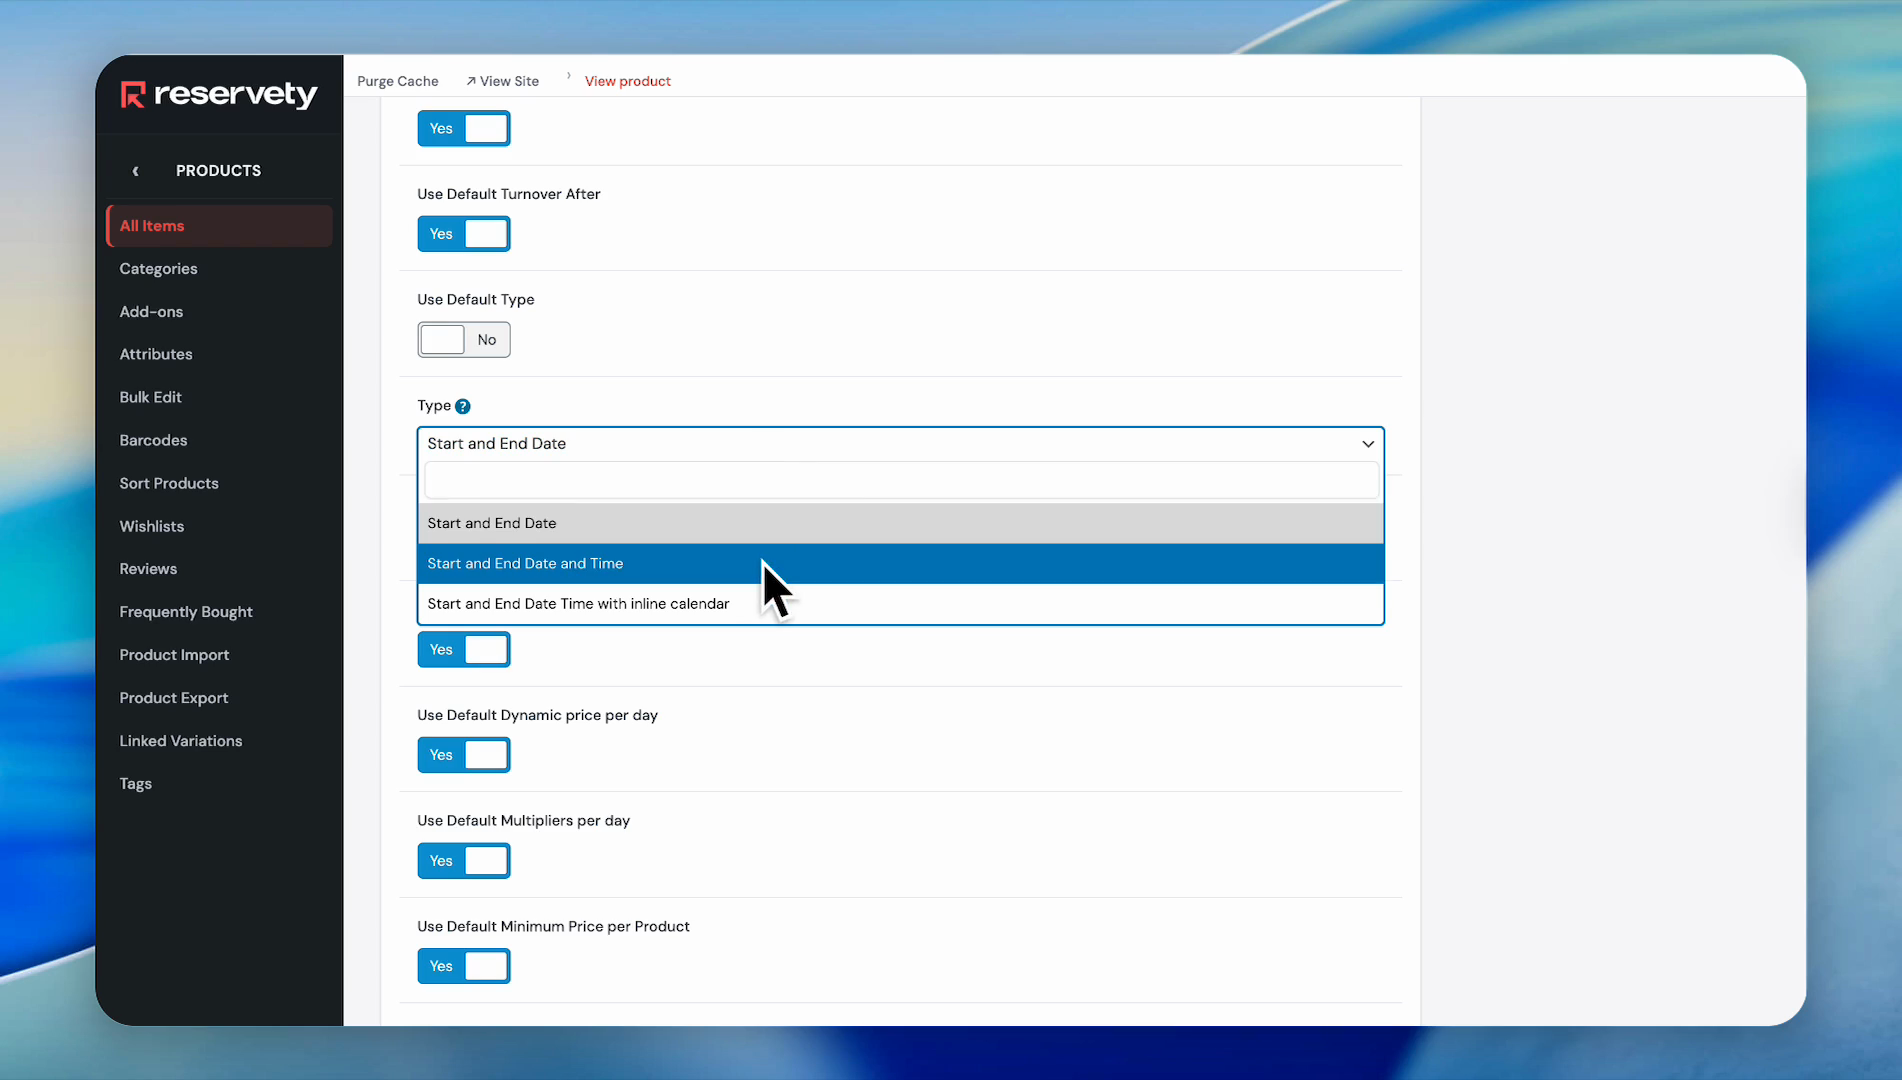
Since we are setting the date and time, we will select Start and End Date & Time. Then click Update.
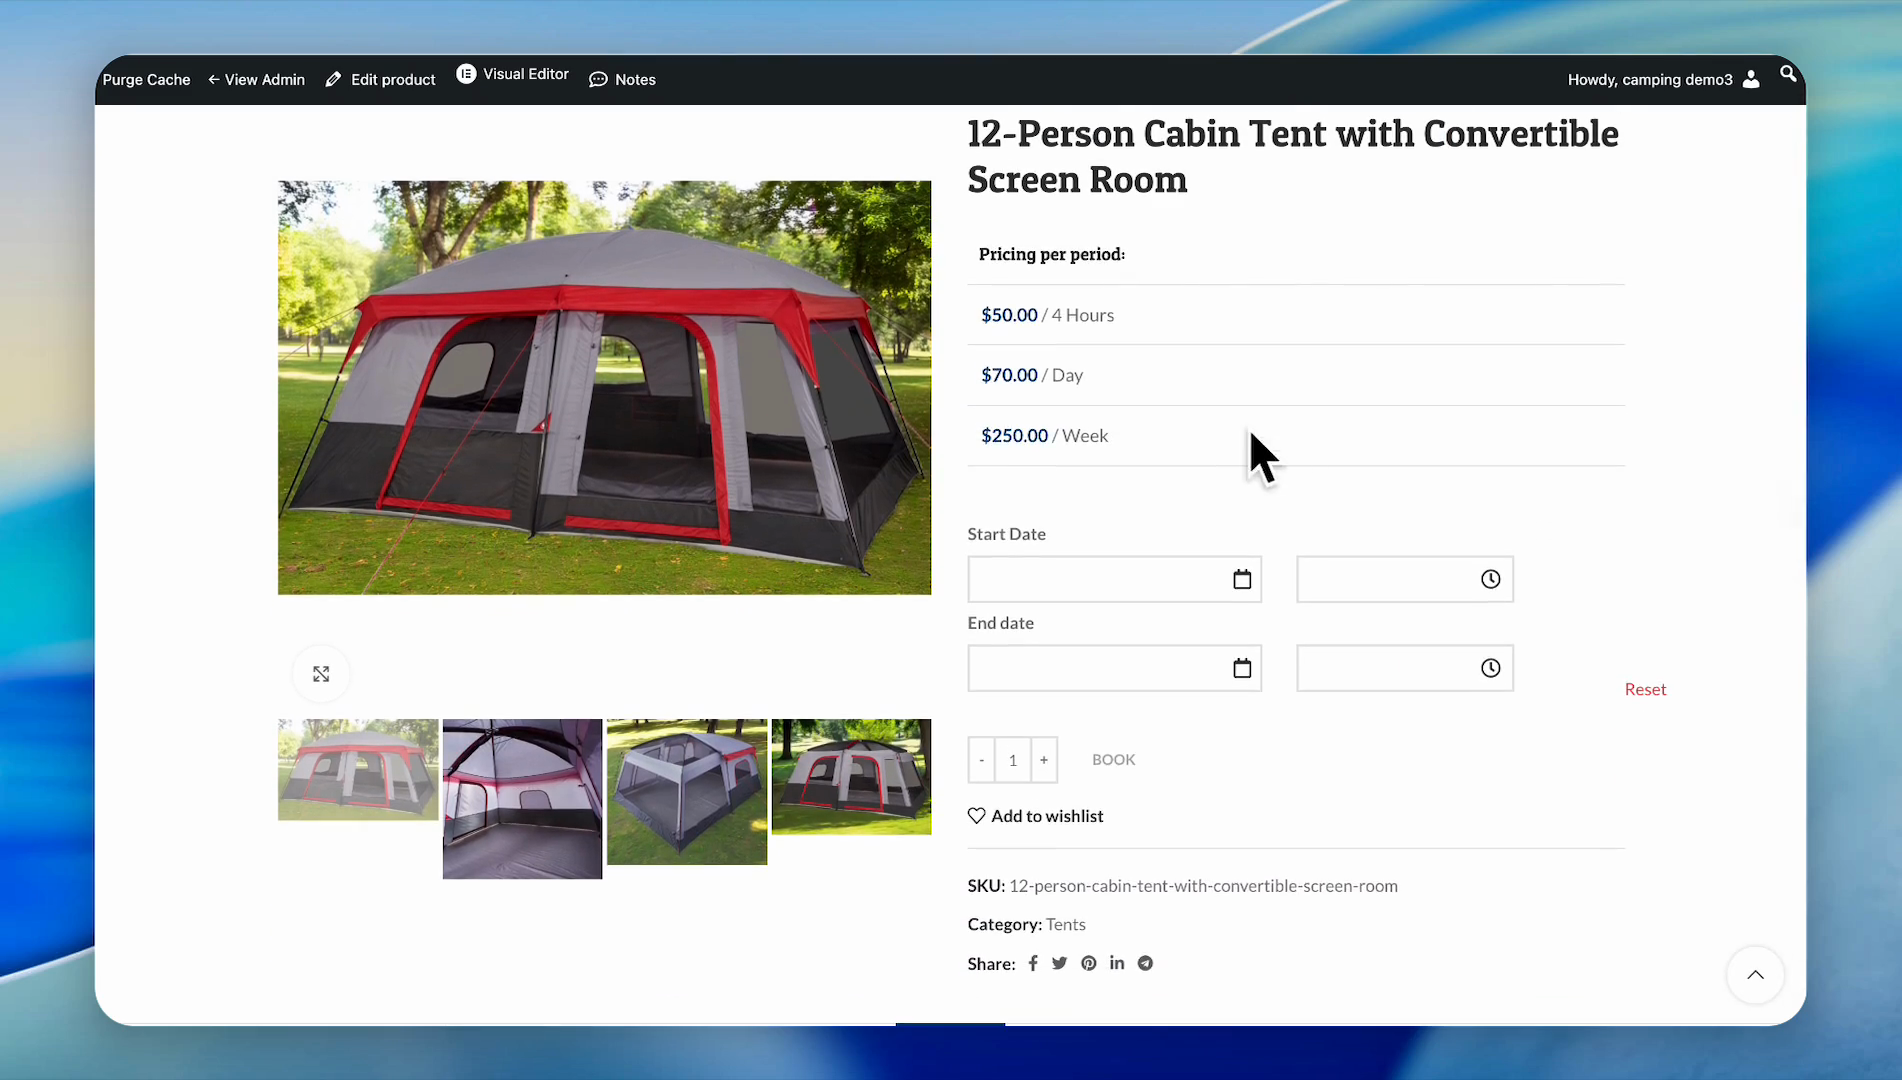
Let's check the product on our website.
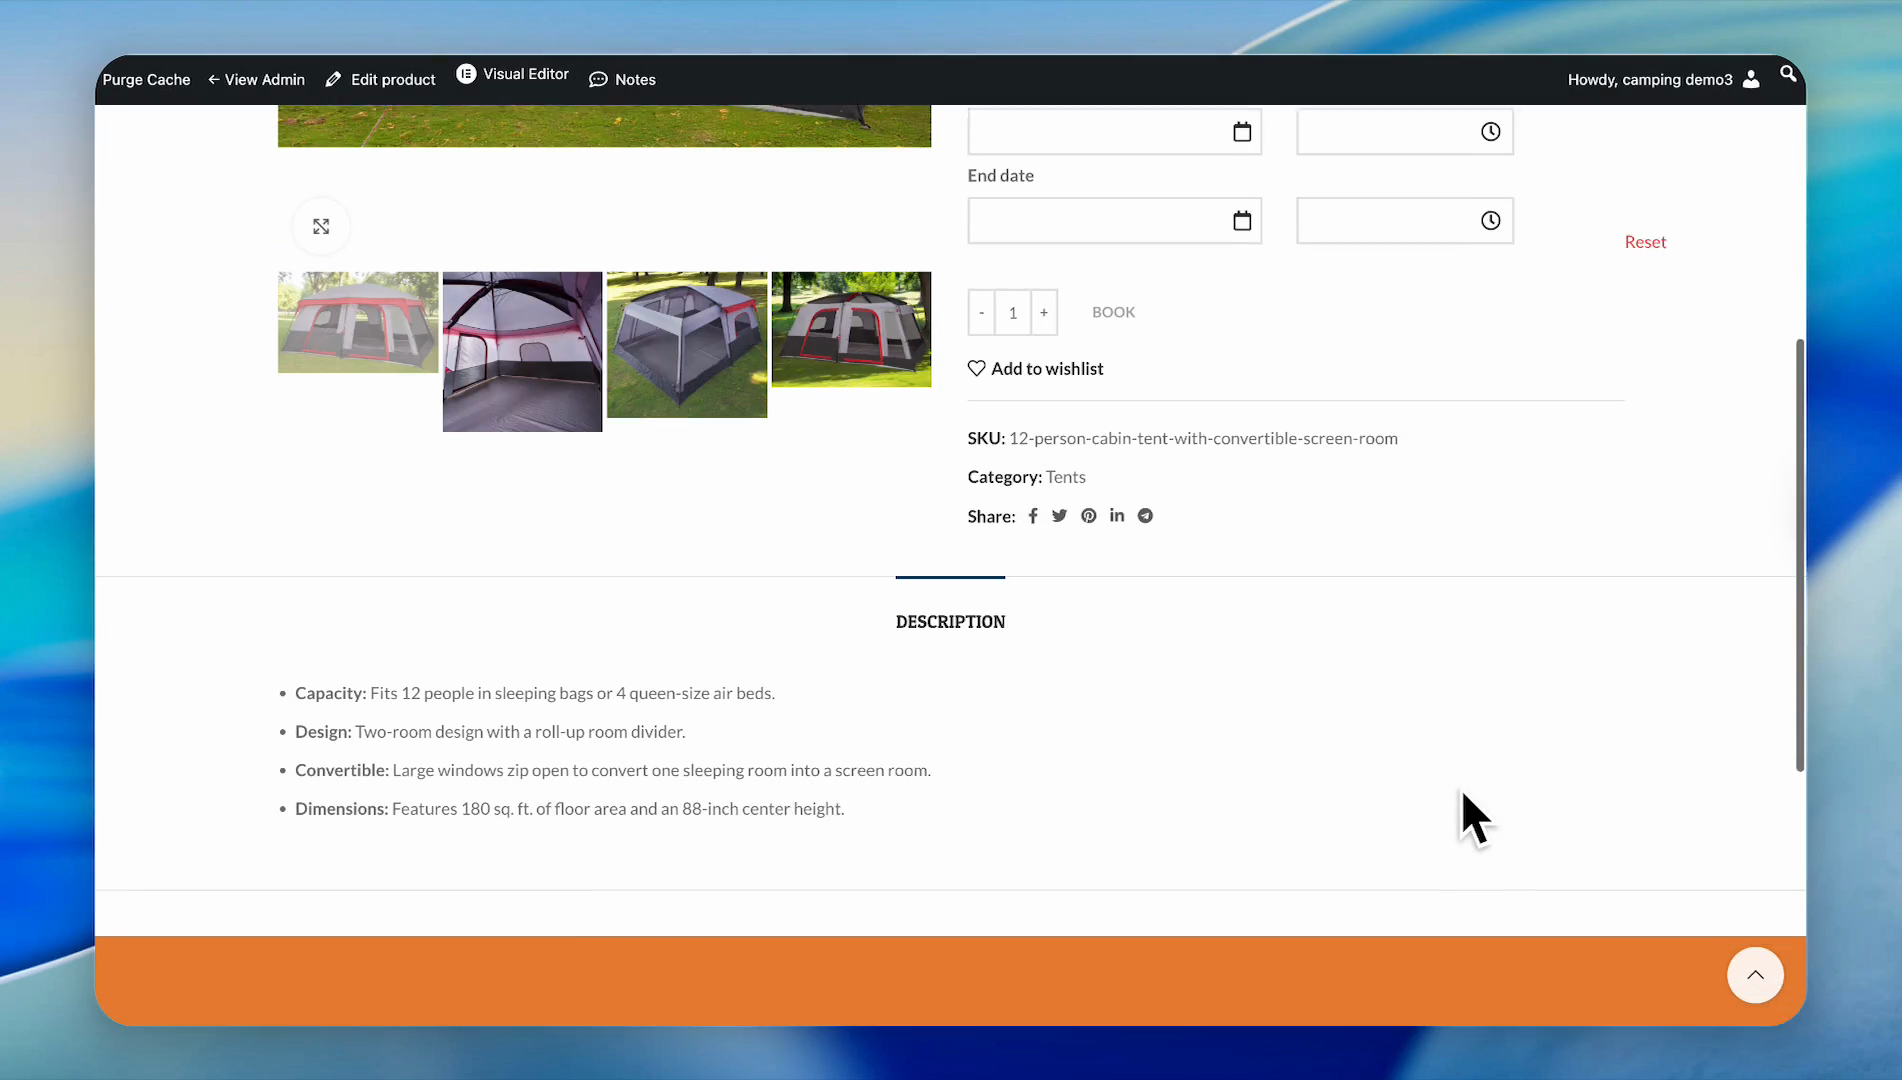
Our title, pricing, calendar type, and description are clearly displayed on our website.