How to Adjust Video Size and Position in Premier Pro
Learn how to adjust video size and position in your timeline for optimal viewing, including tips on scaling, positioning, and applying transitions.
In this guide, we'll show how to transform a video with a 4:3 aspect ratio to fit a widescreen (16:9) format. This process involves scaling the video across the screen to ensure it fills the entire widescreen display. Understanding this technique can be useful for video editing projects where maintaining visual consistency across different screen sizes is important.
We will use our ever-important 11-minute video to demonstrate how to seamlessly adapt content for widescreen viewing.
Let's get started
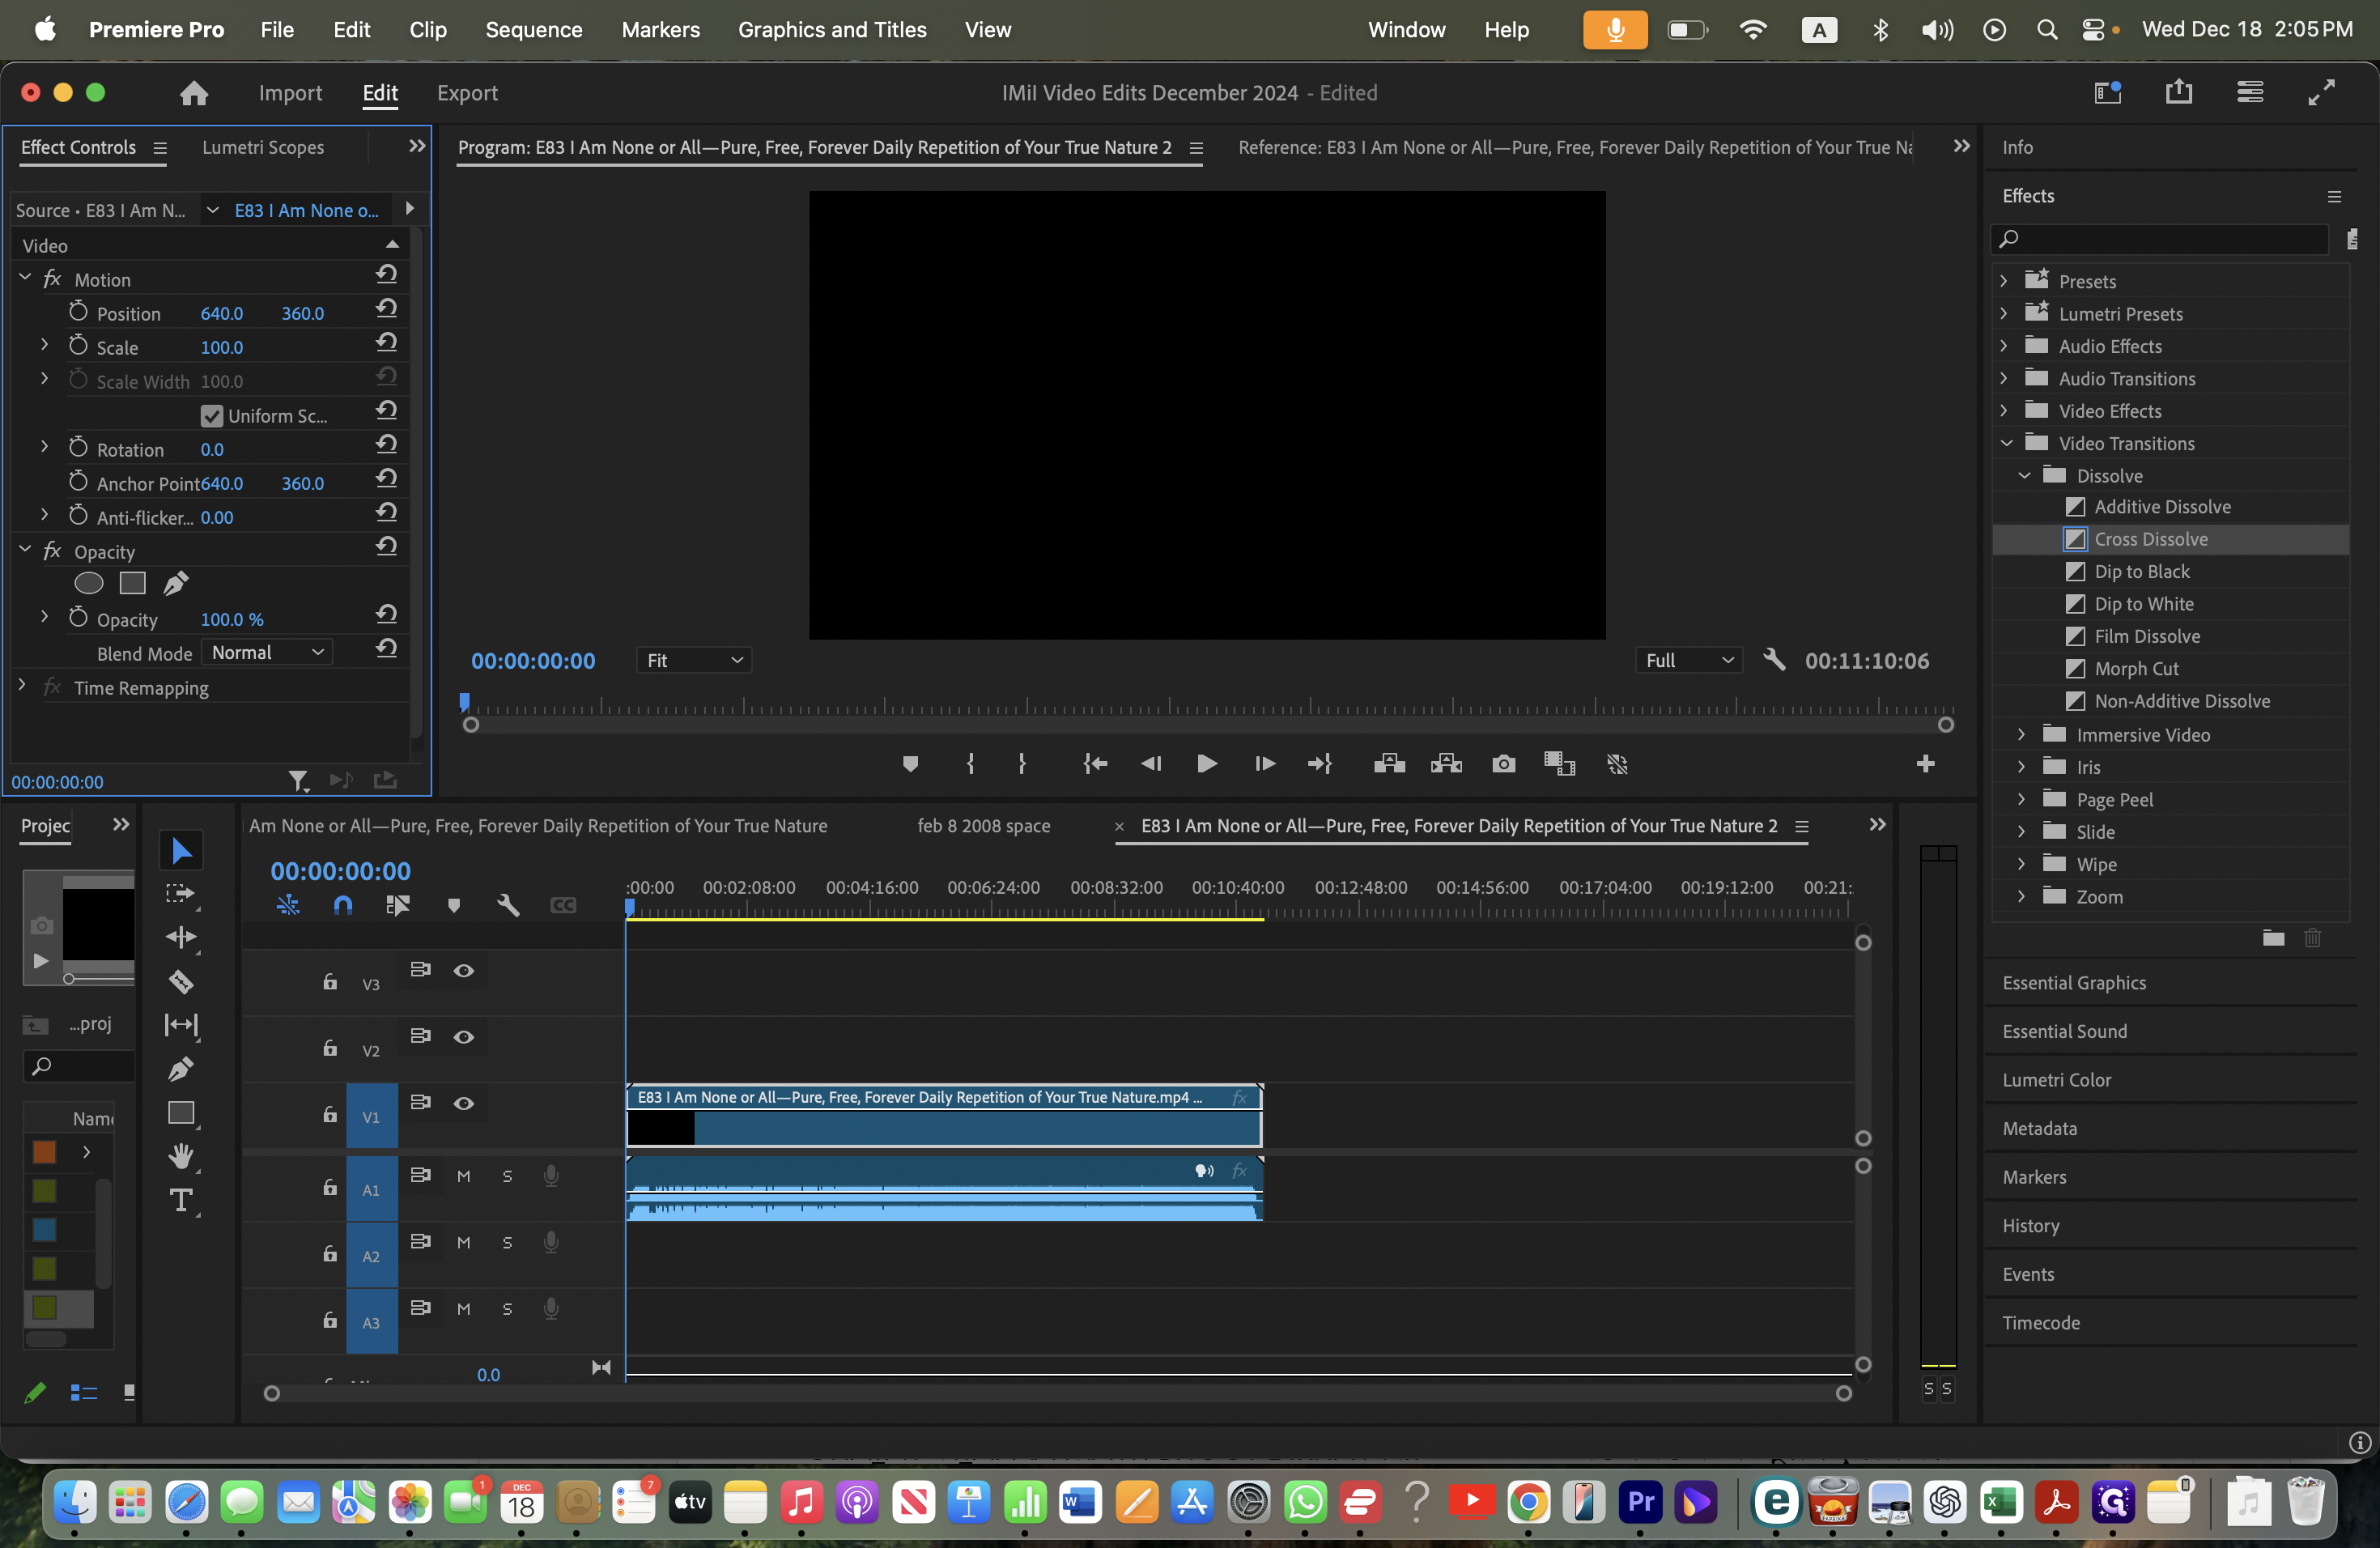
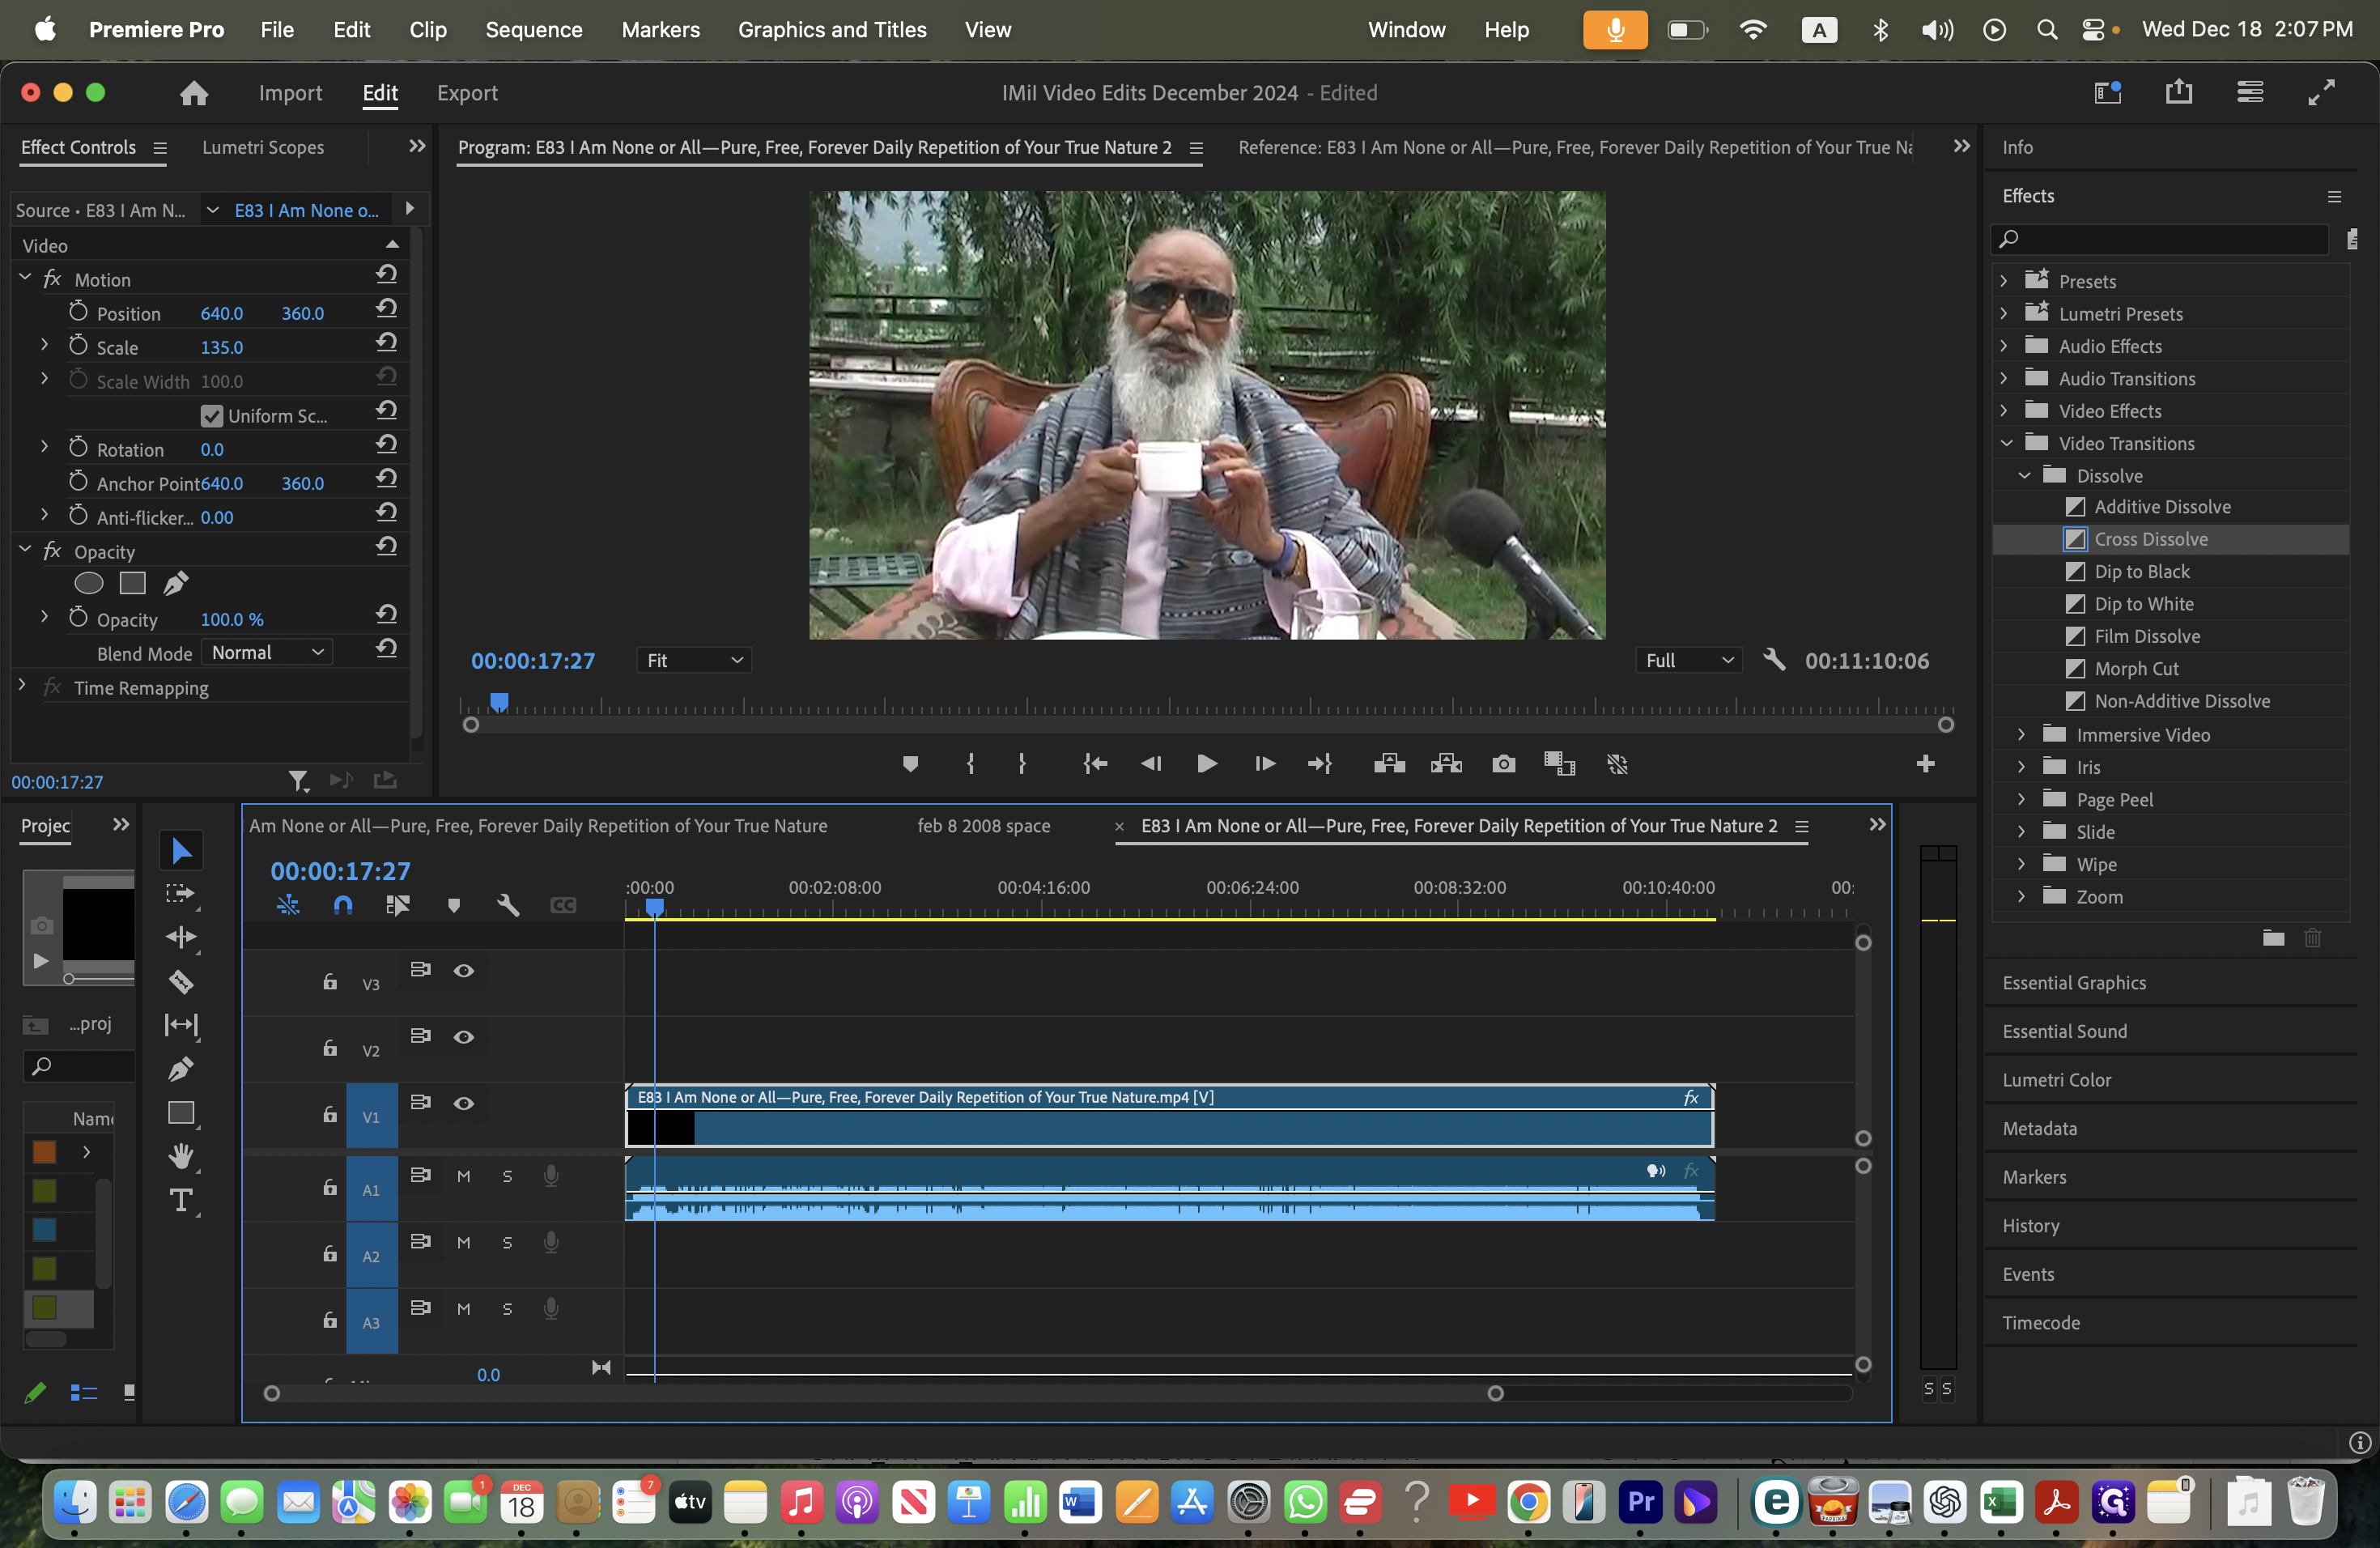
Click on the video track in the timeline.
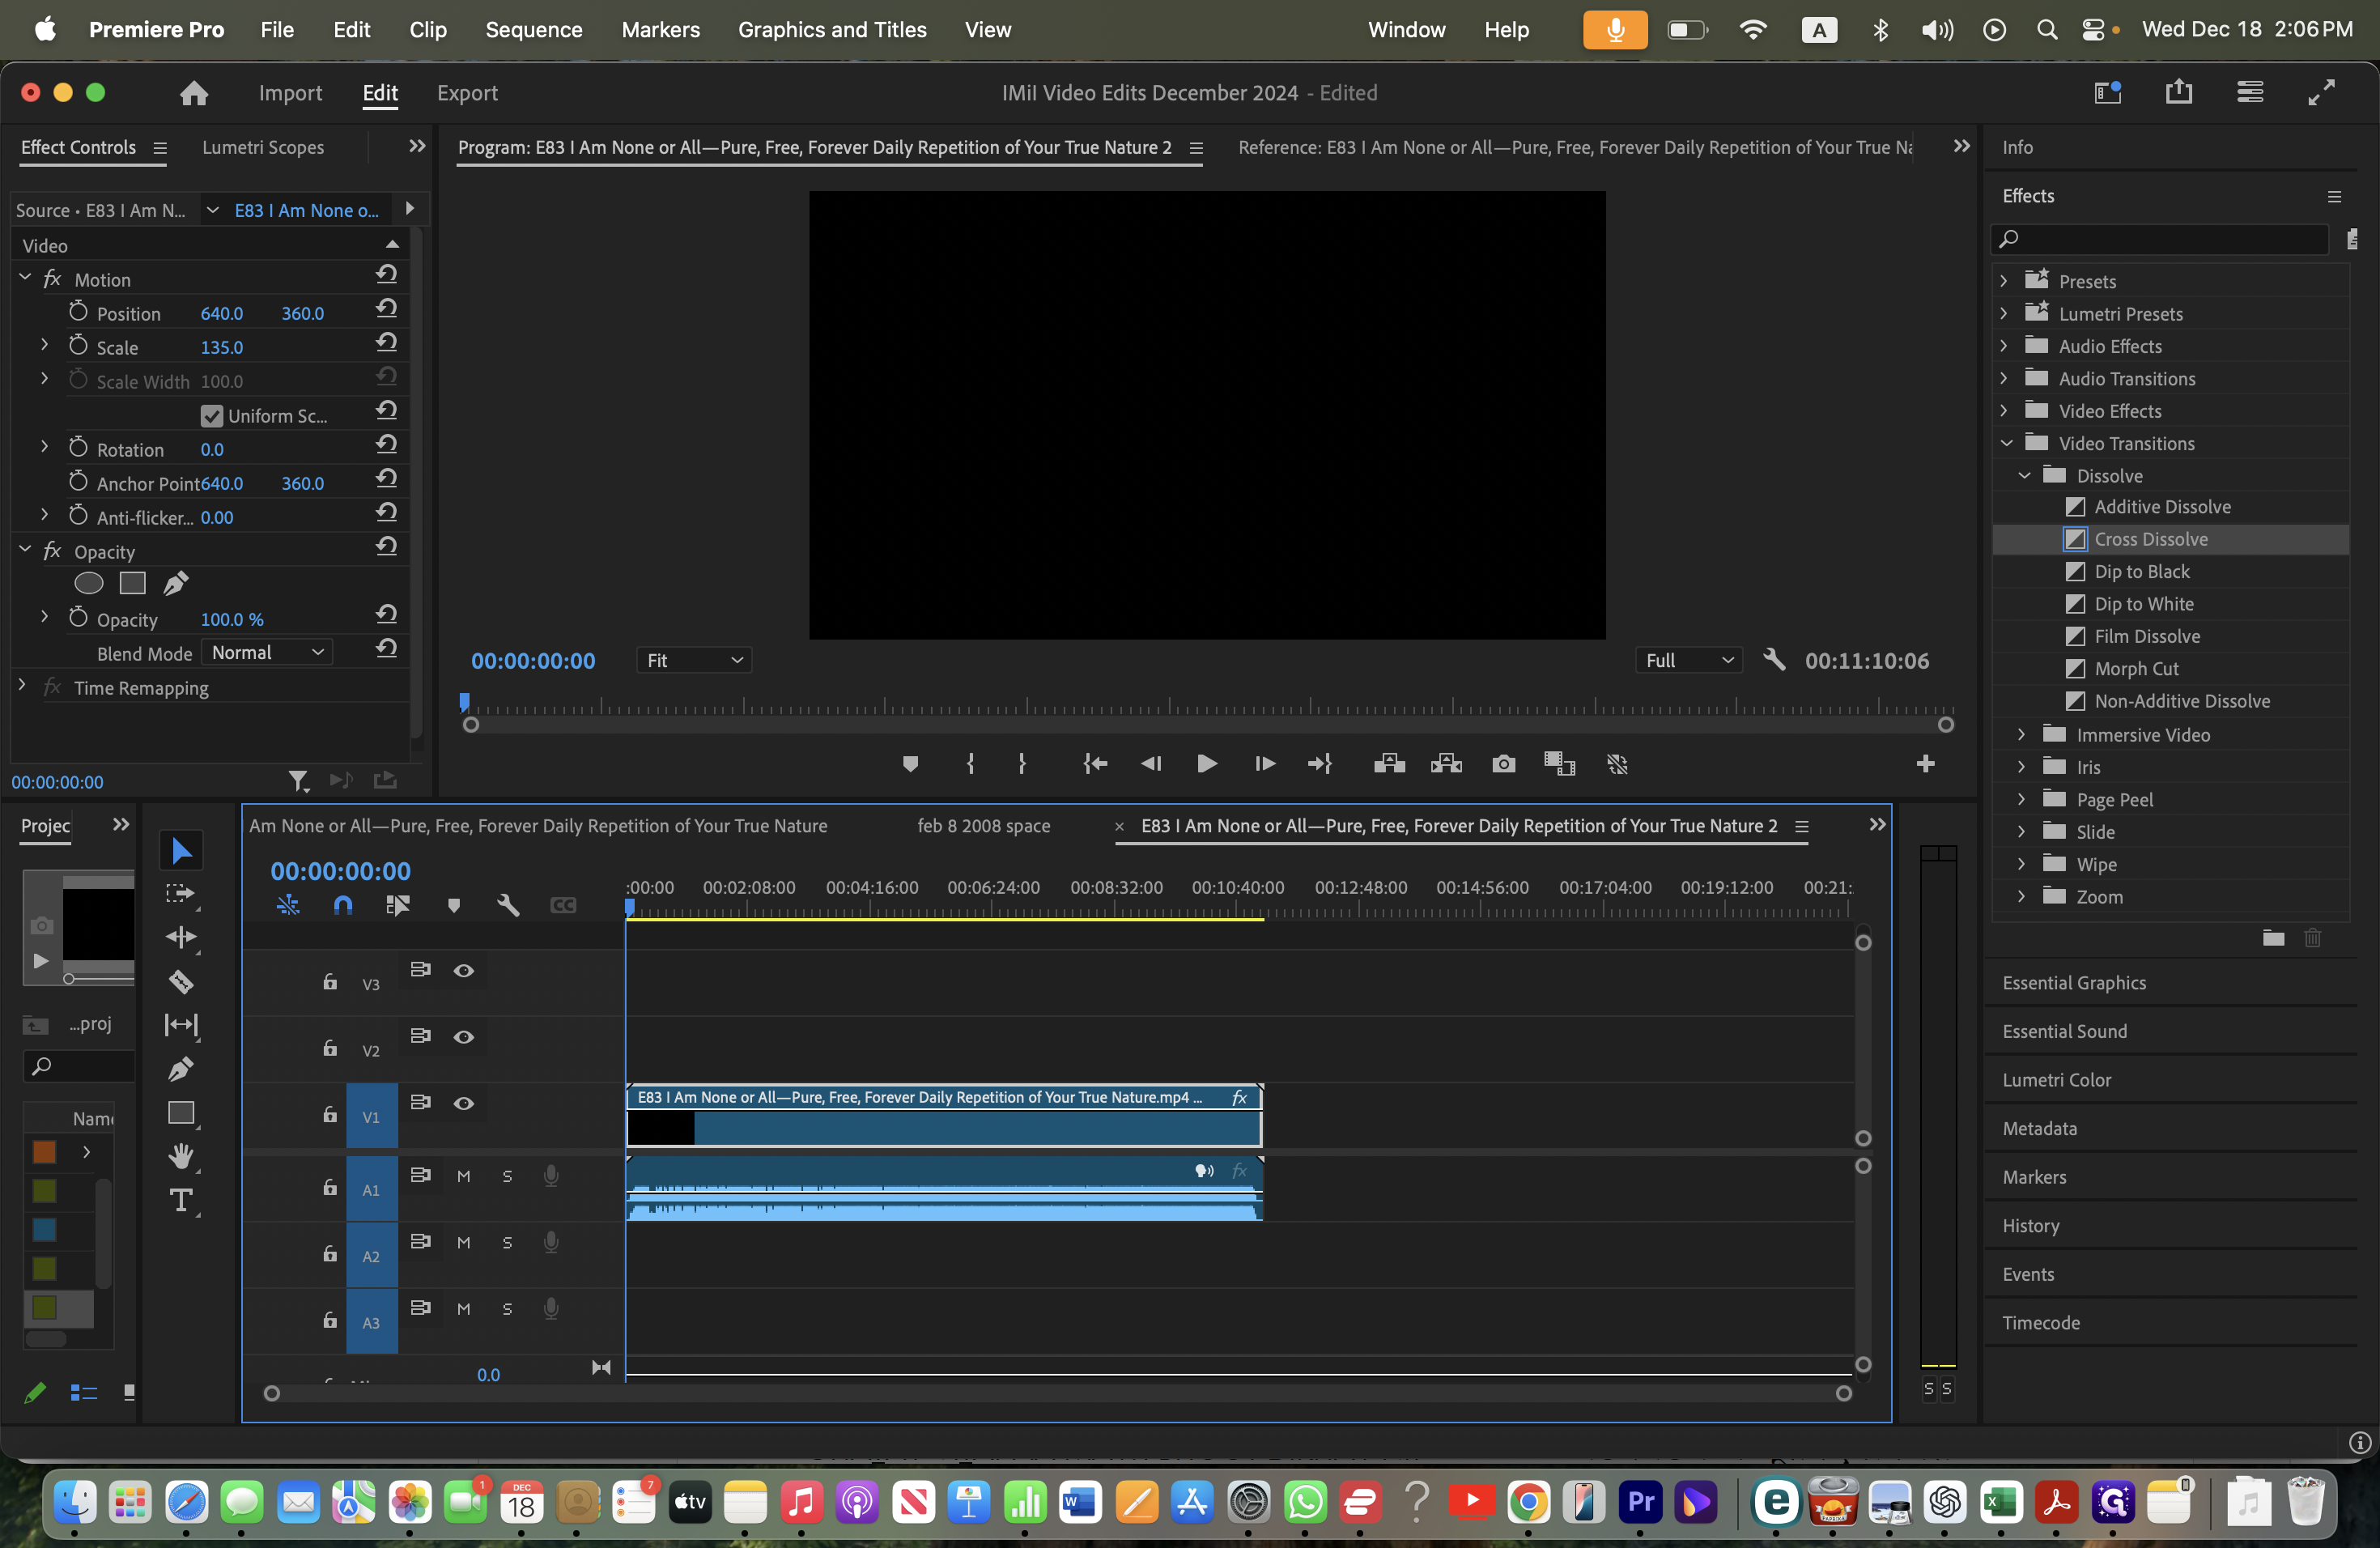
In the top left corner, under effect controls, you can adjust the video's size and position. Go to the motion section and hover your mouse over the scale, which is set at 100. Click to slowly adjust the video in the program view until it reaches the widescreen edges. It starts at 100 and moves to 135.
And there you will see it fills the whole screen.
Next, go back to your timeline. Ensure the entire video is visible in the timeline. Click the backslash key so the whole sequence is in view on the timeline.
Click on the playhead and scrub through the video.
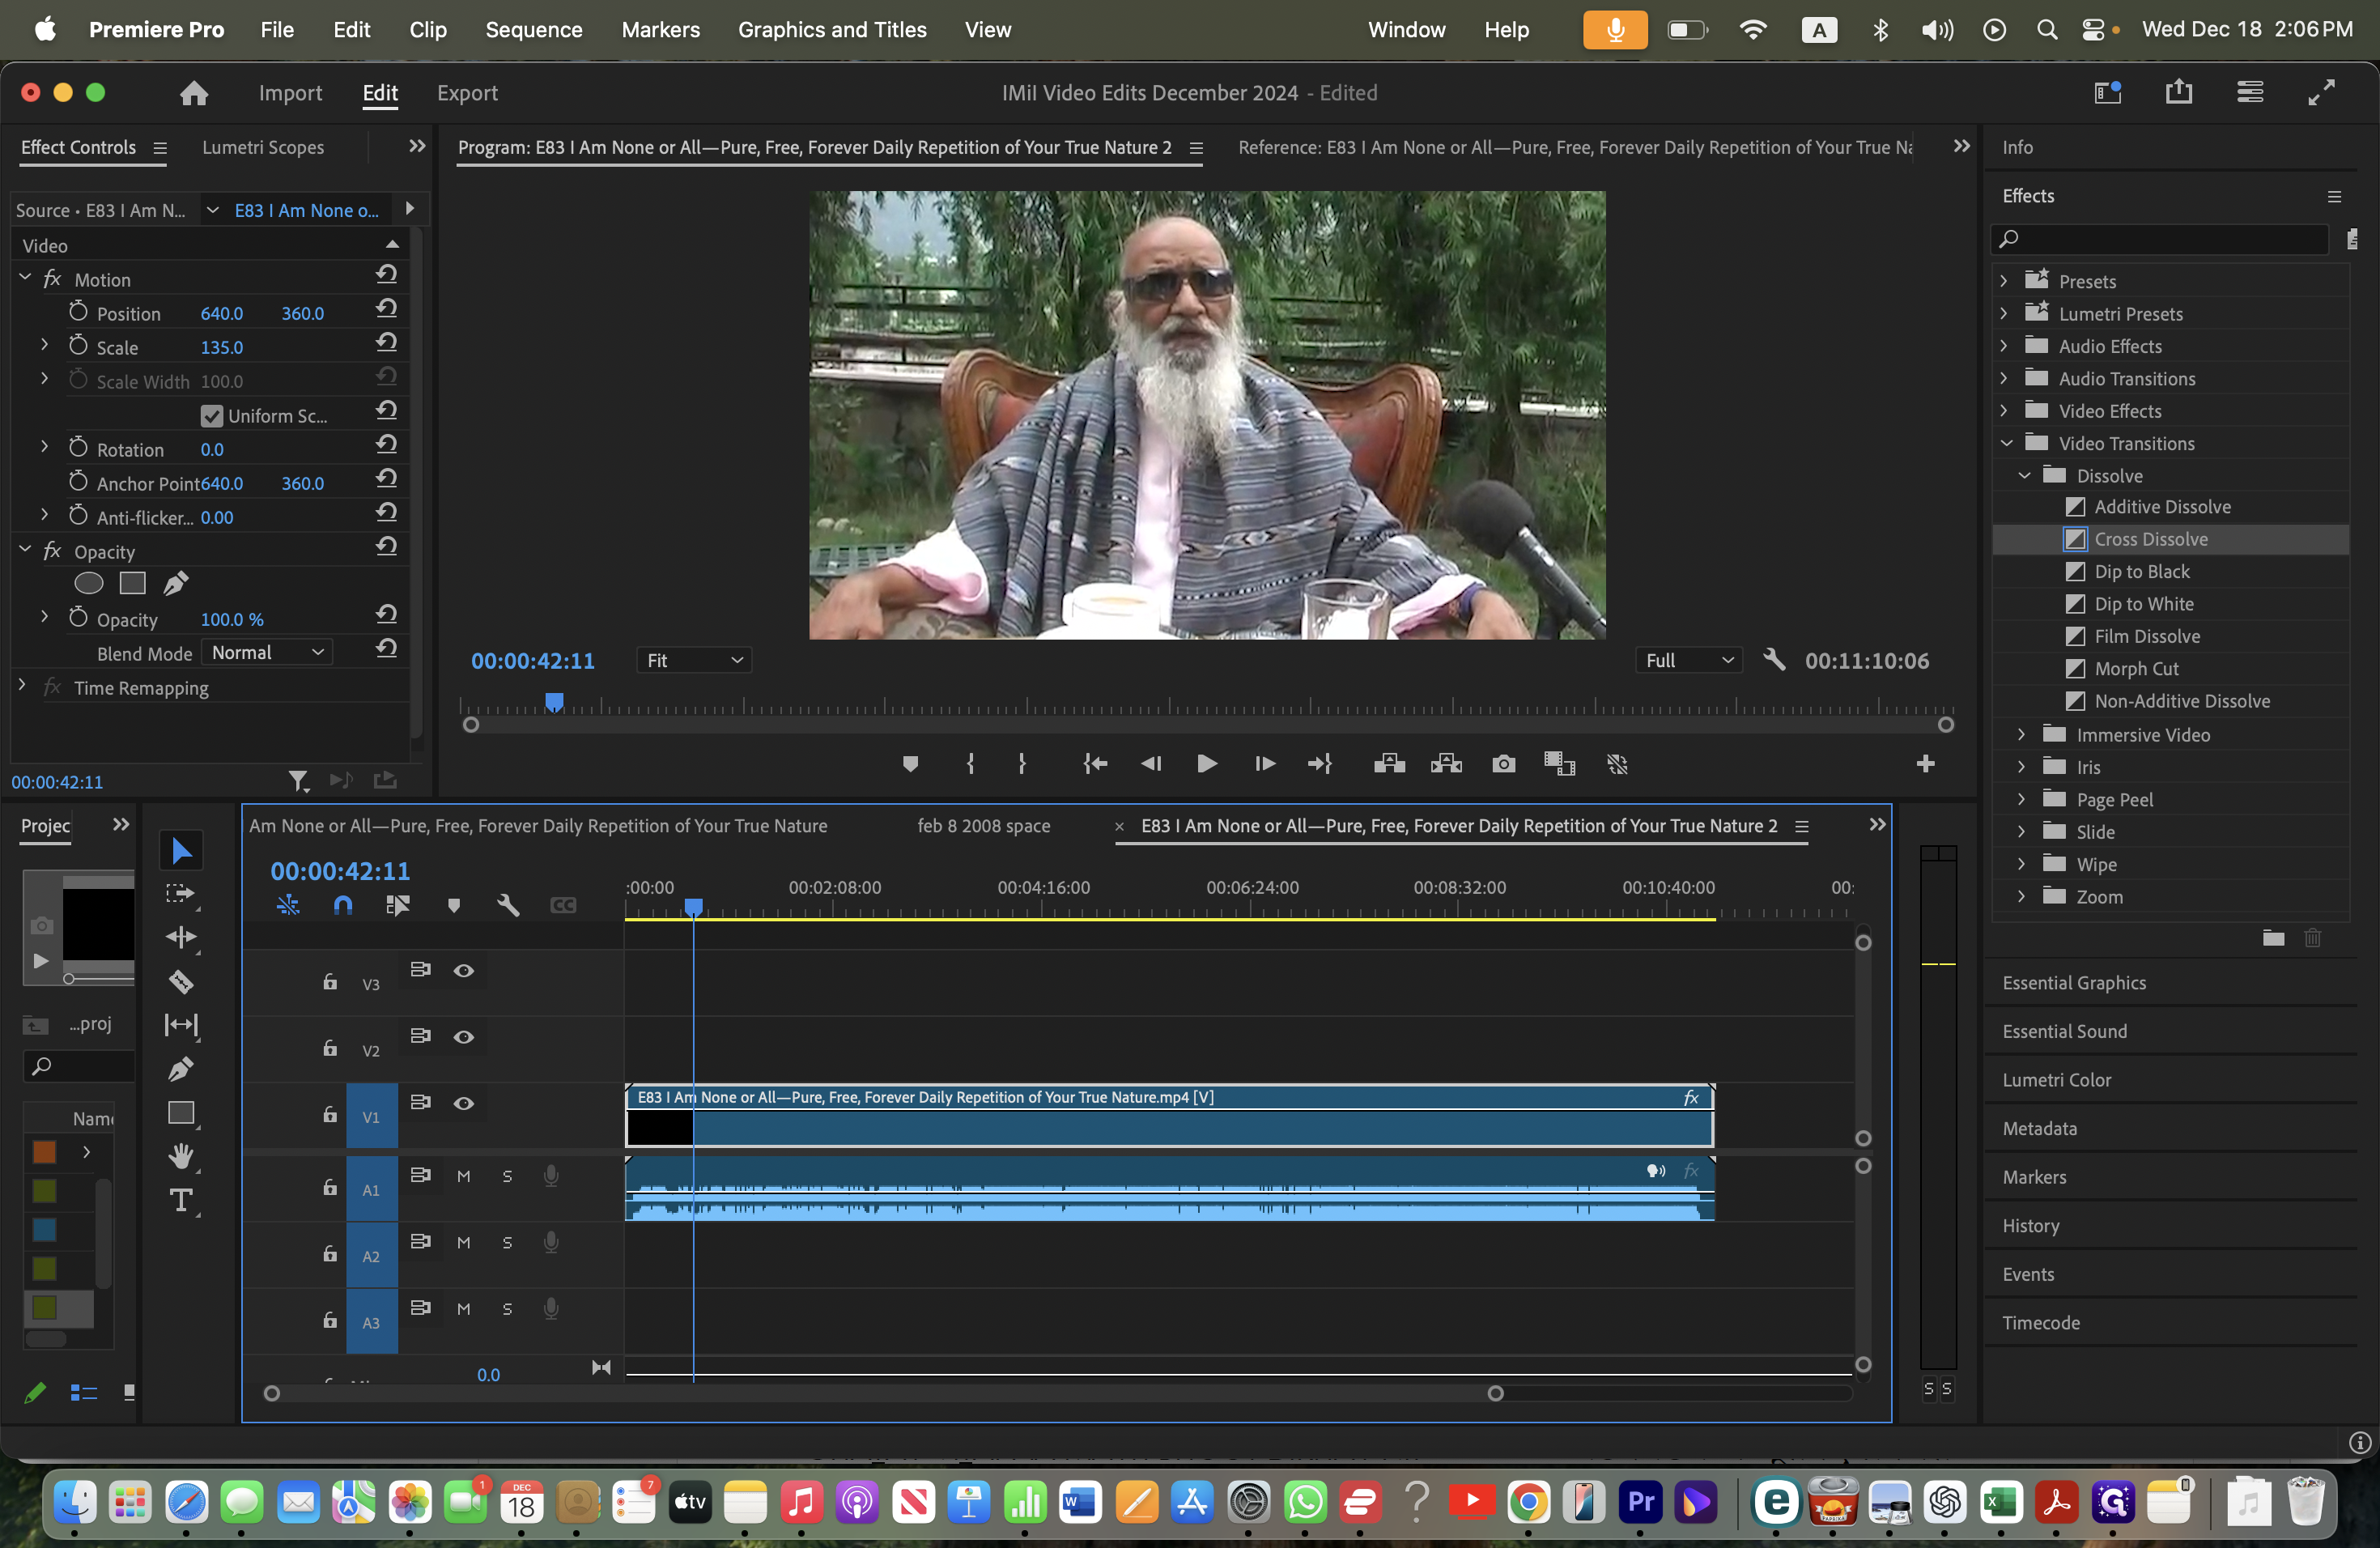
Ensure Swami-ji remains in view. If he isn't, he might have changed position, causing his head to go out of view. Adjust the position by moving the image up or down. To do this, return to Effect Controls in the top left corner of the screen and hover over the setting that shows 360. This option allows for upward and downward movement.
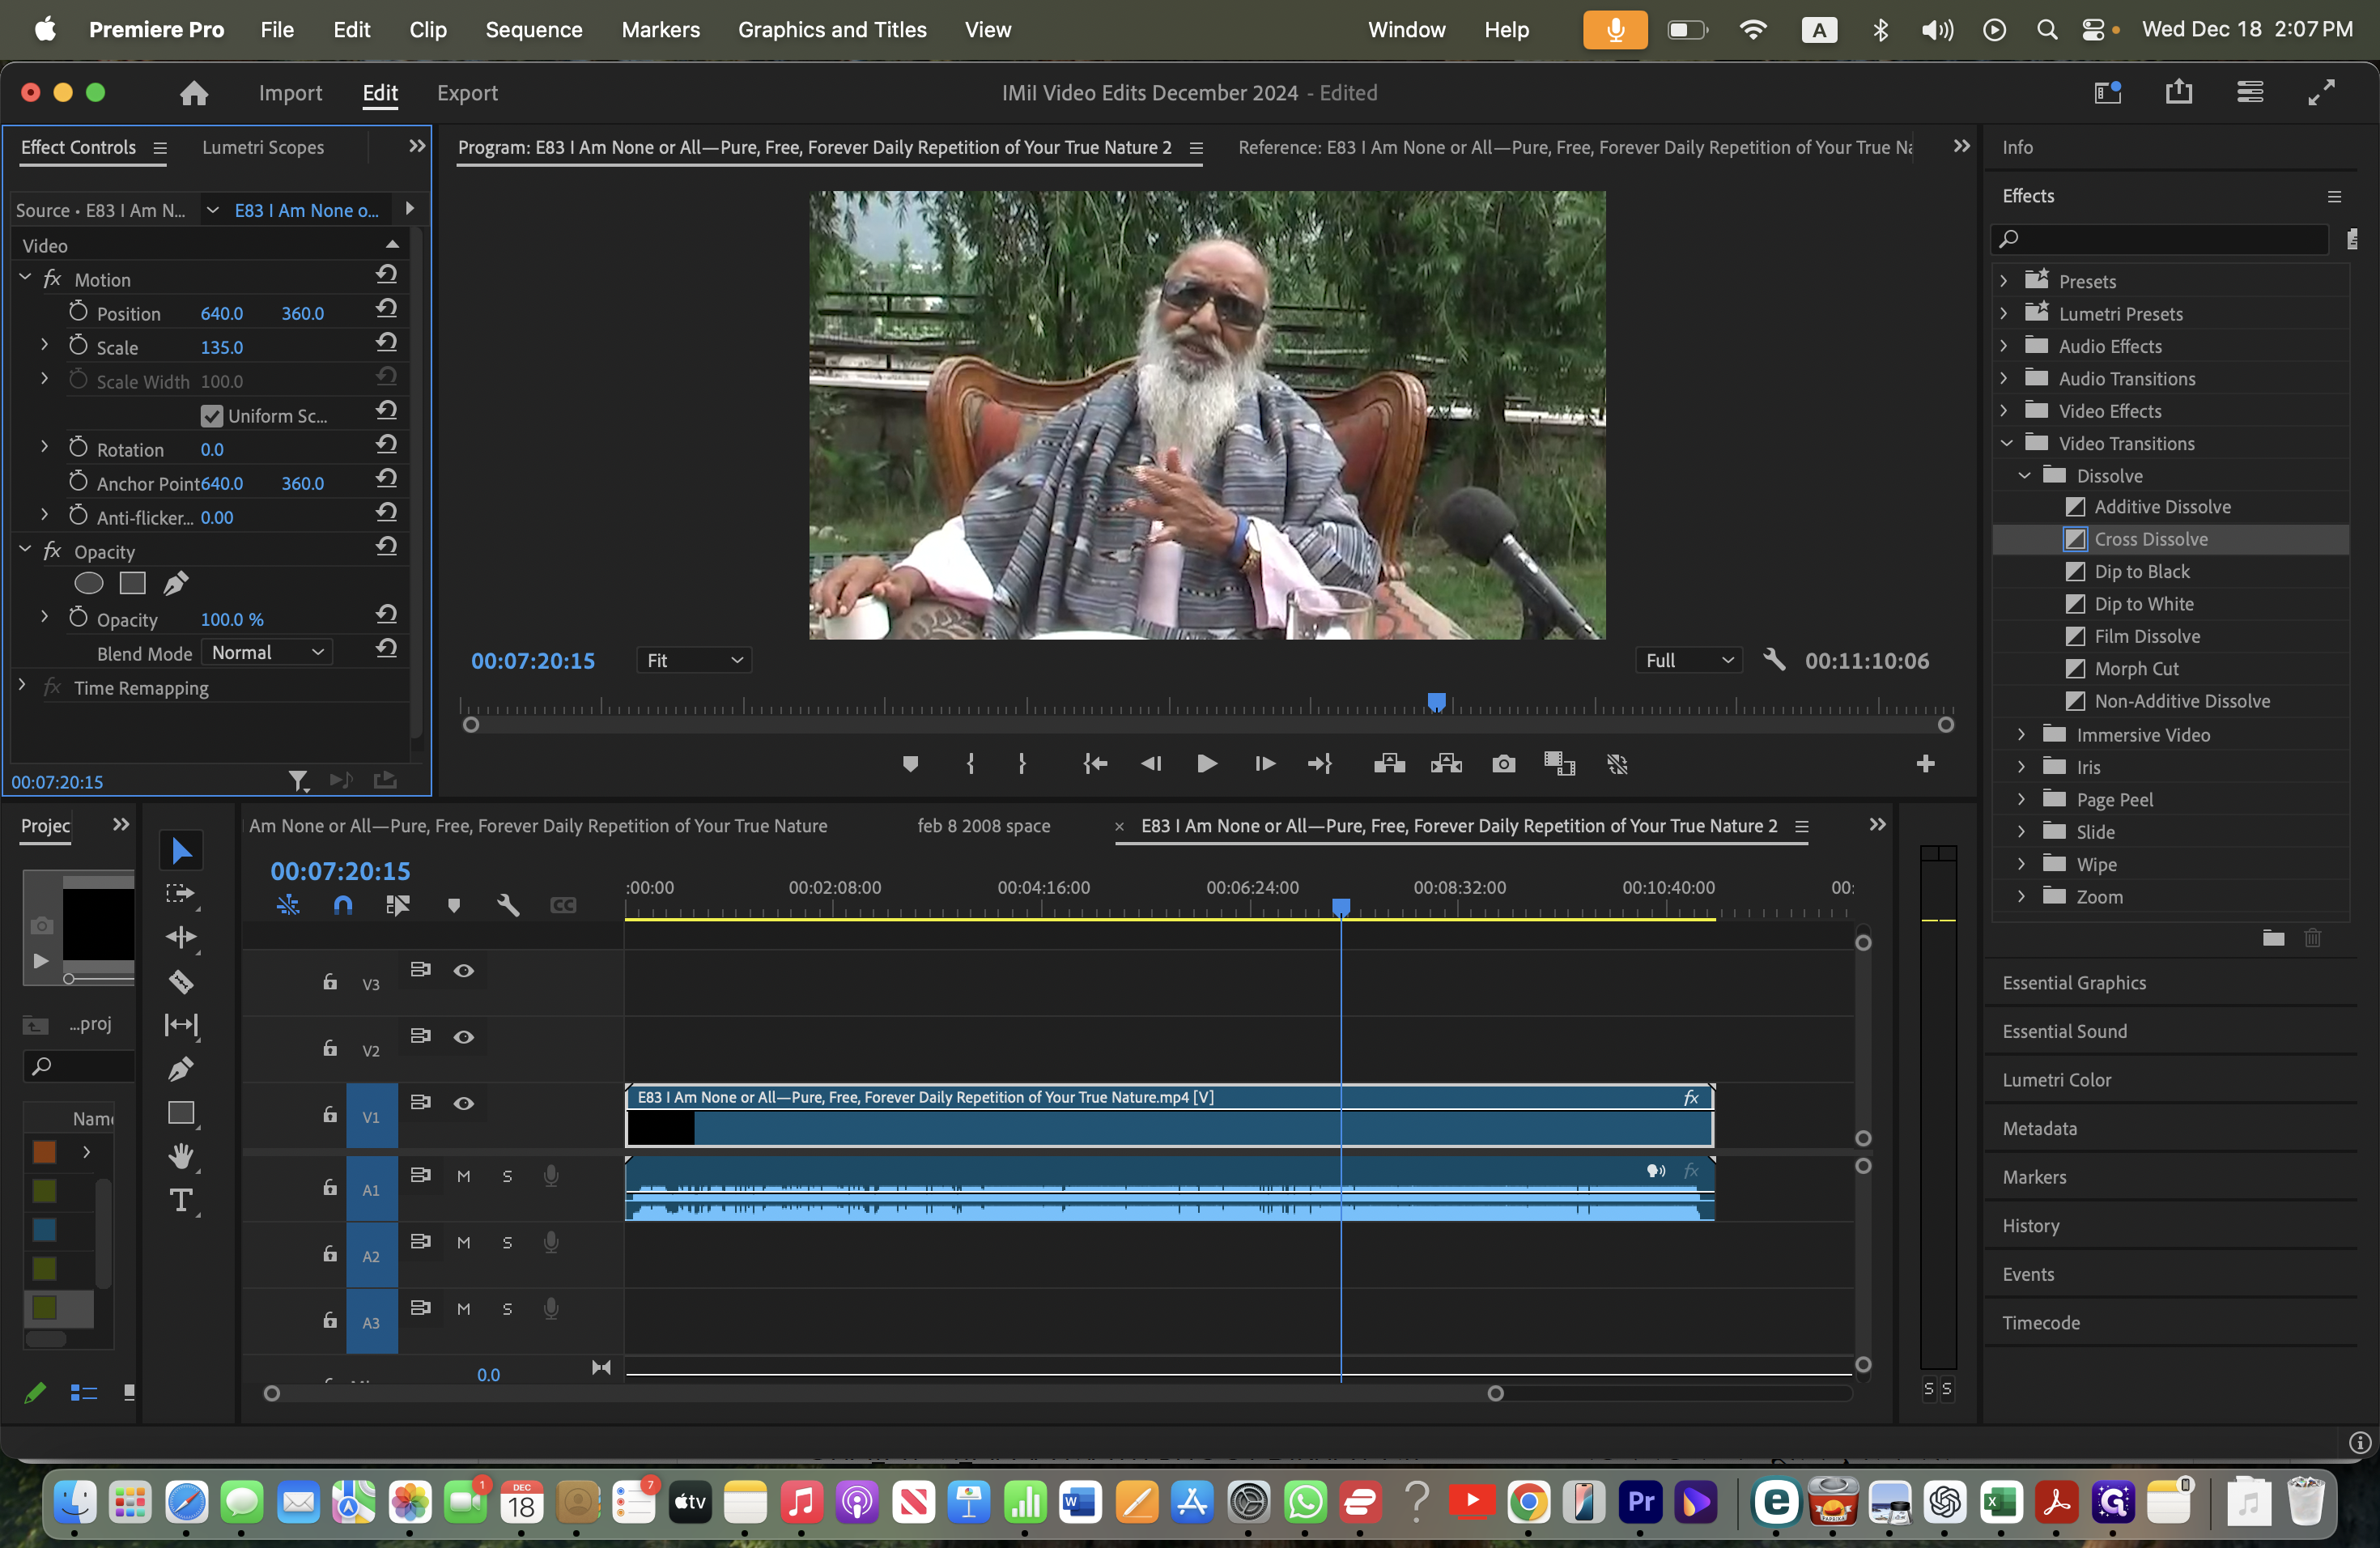
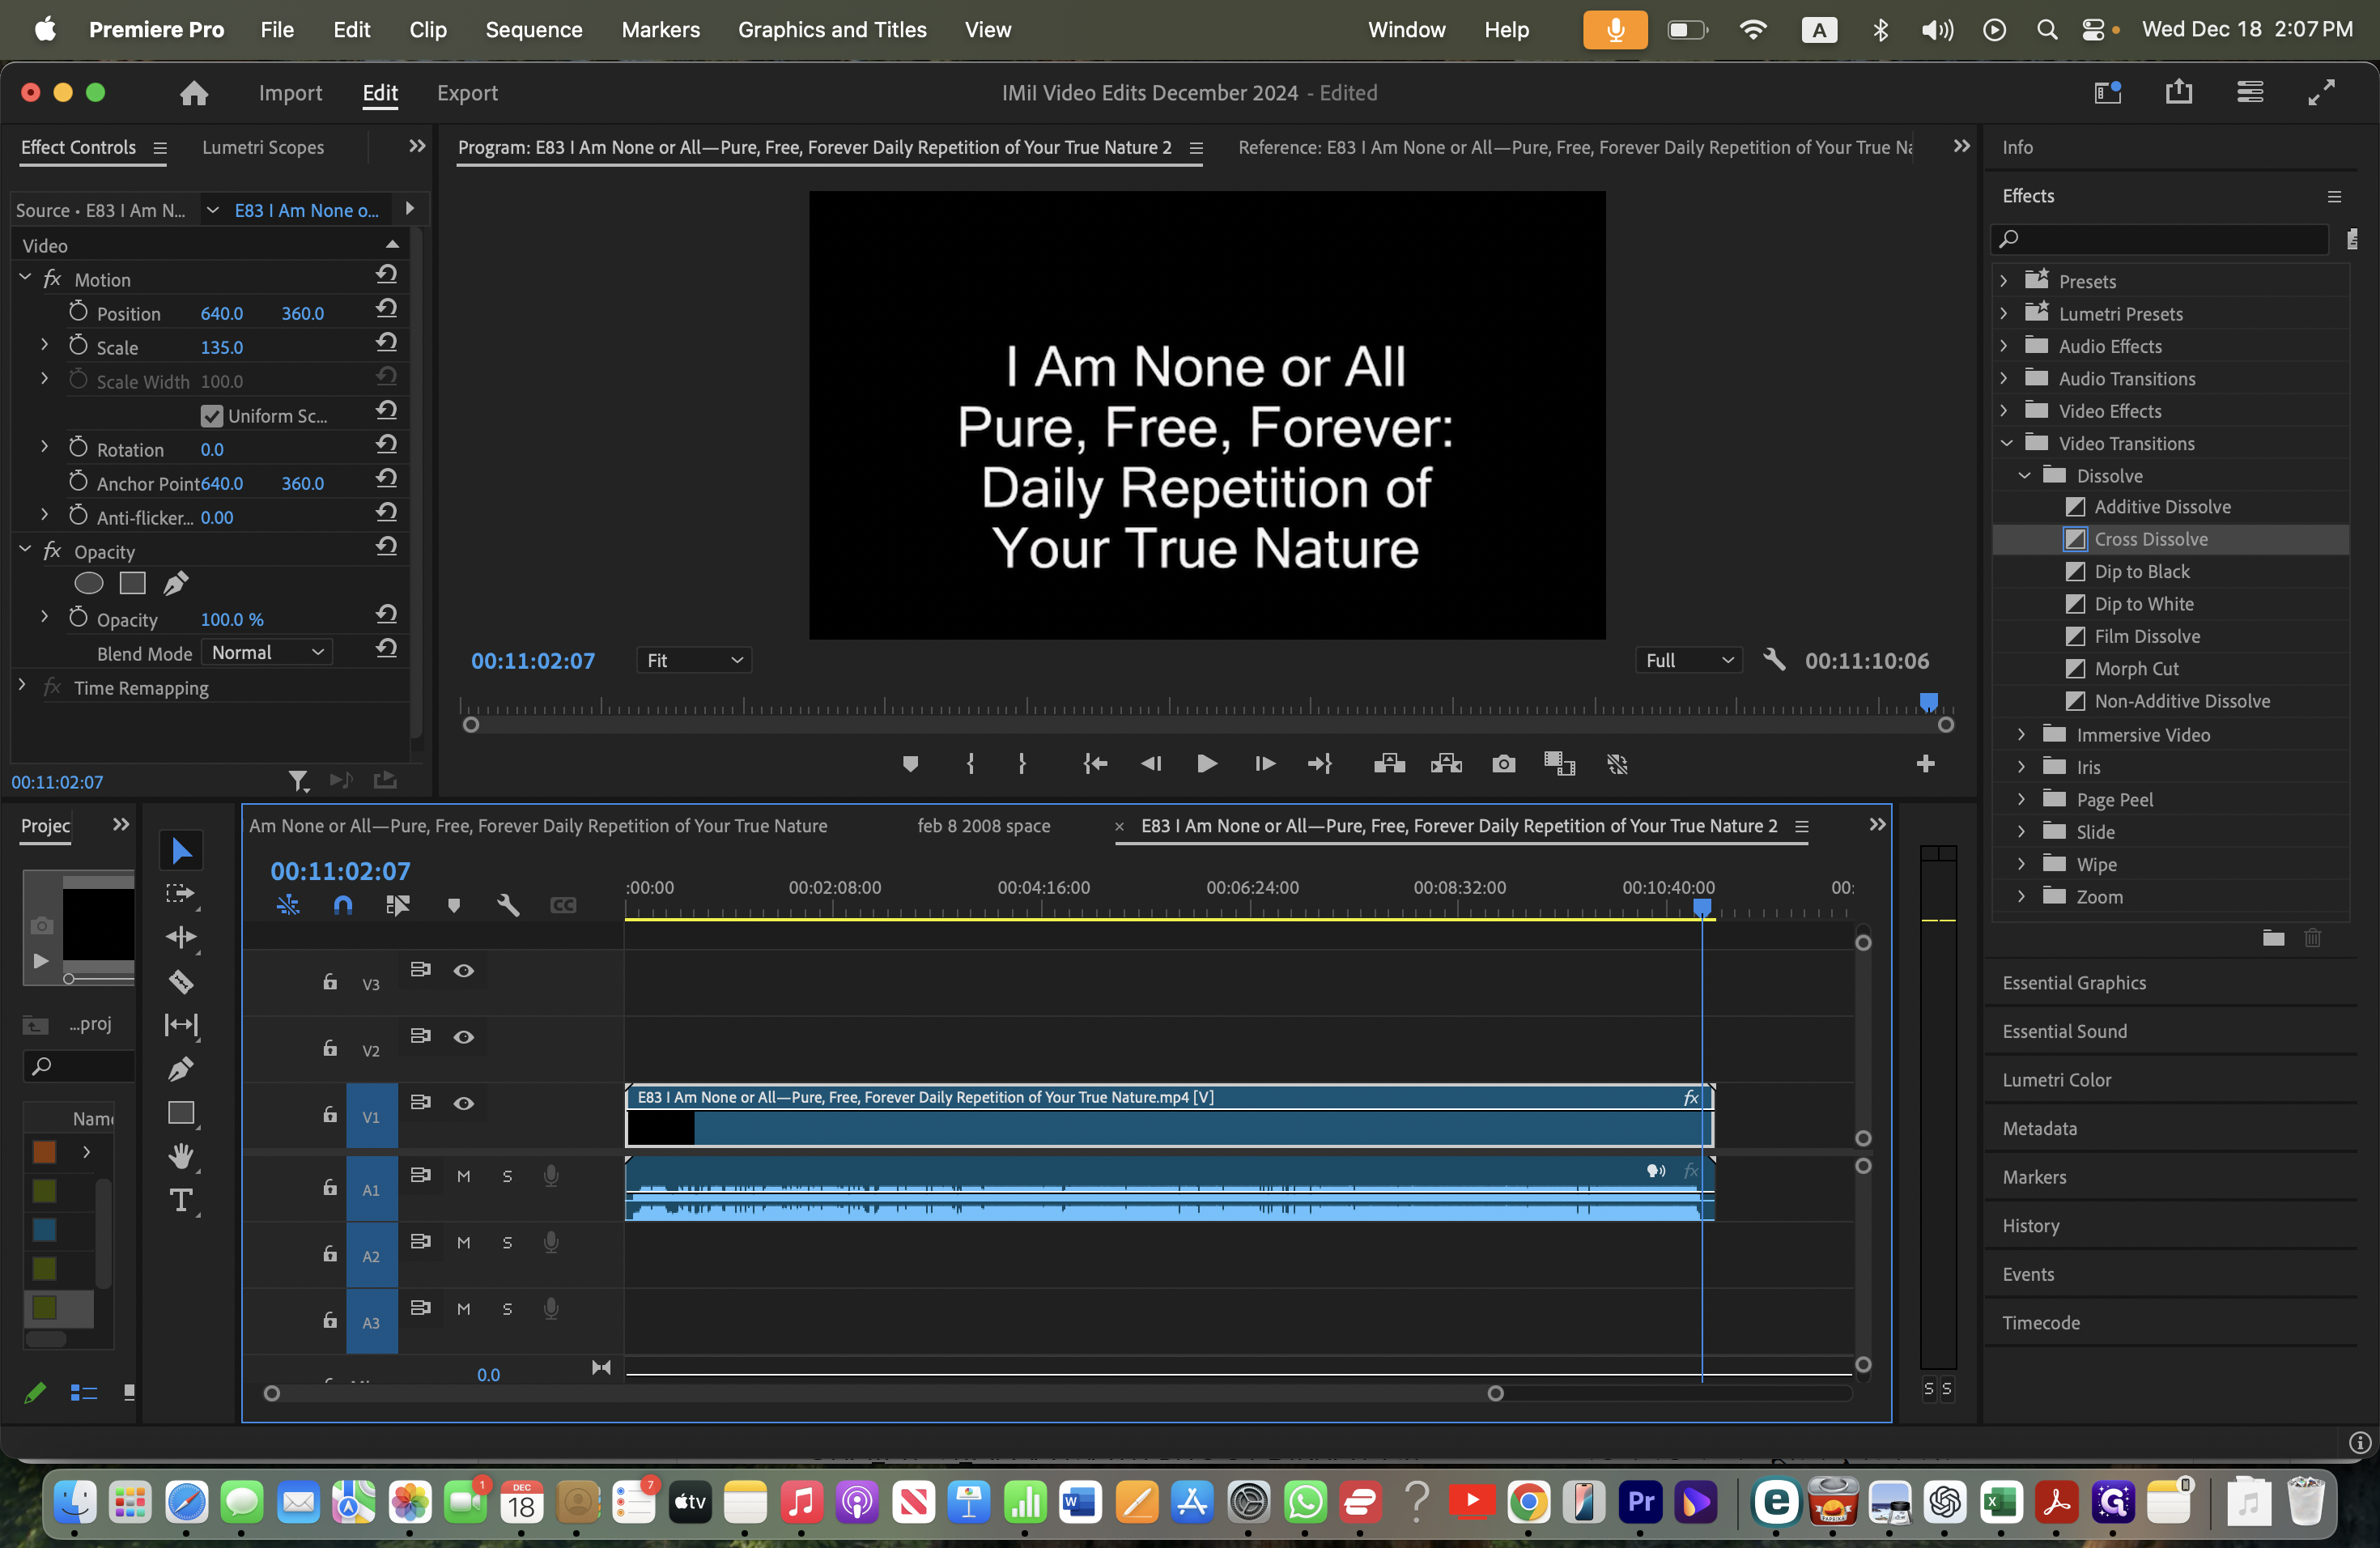
Since the position doesn't need changing in this video, keep it at the original 360. Now ensure the credits remain visible. Go to the timeline where the opening credits appear.
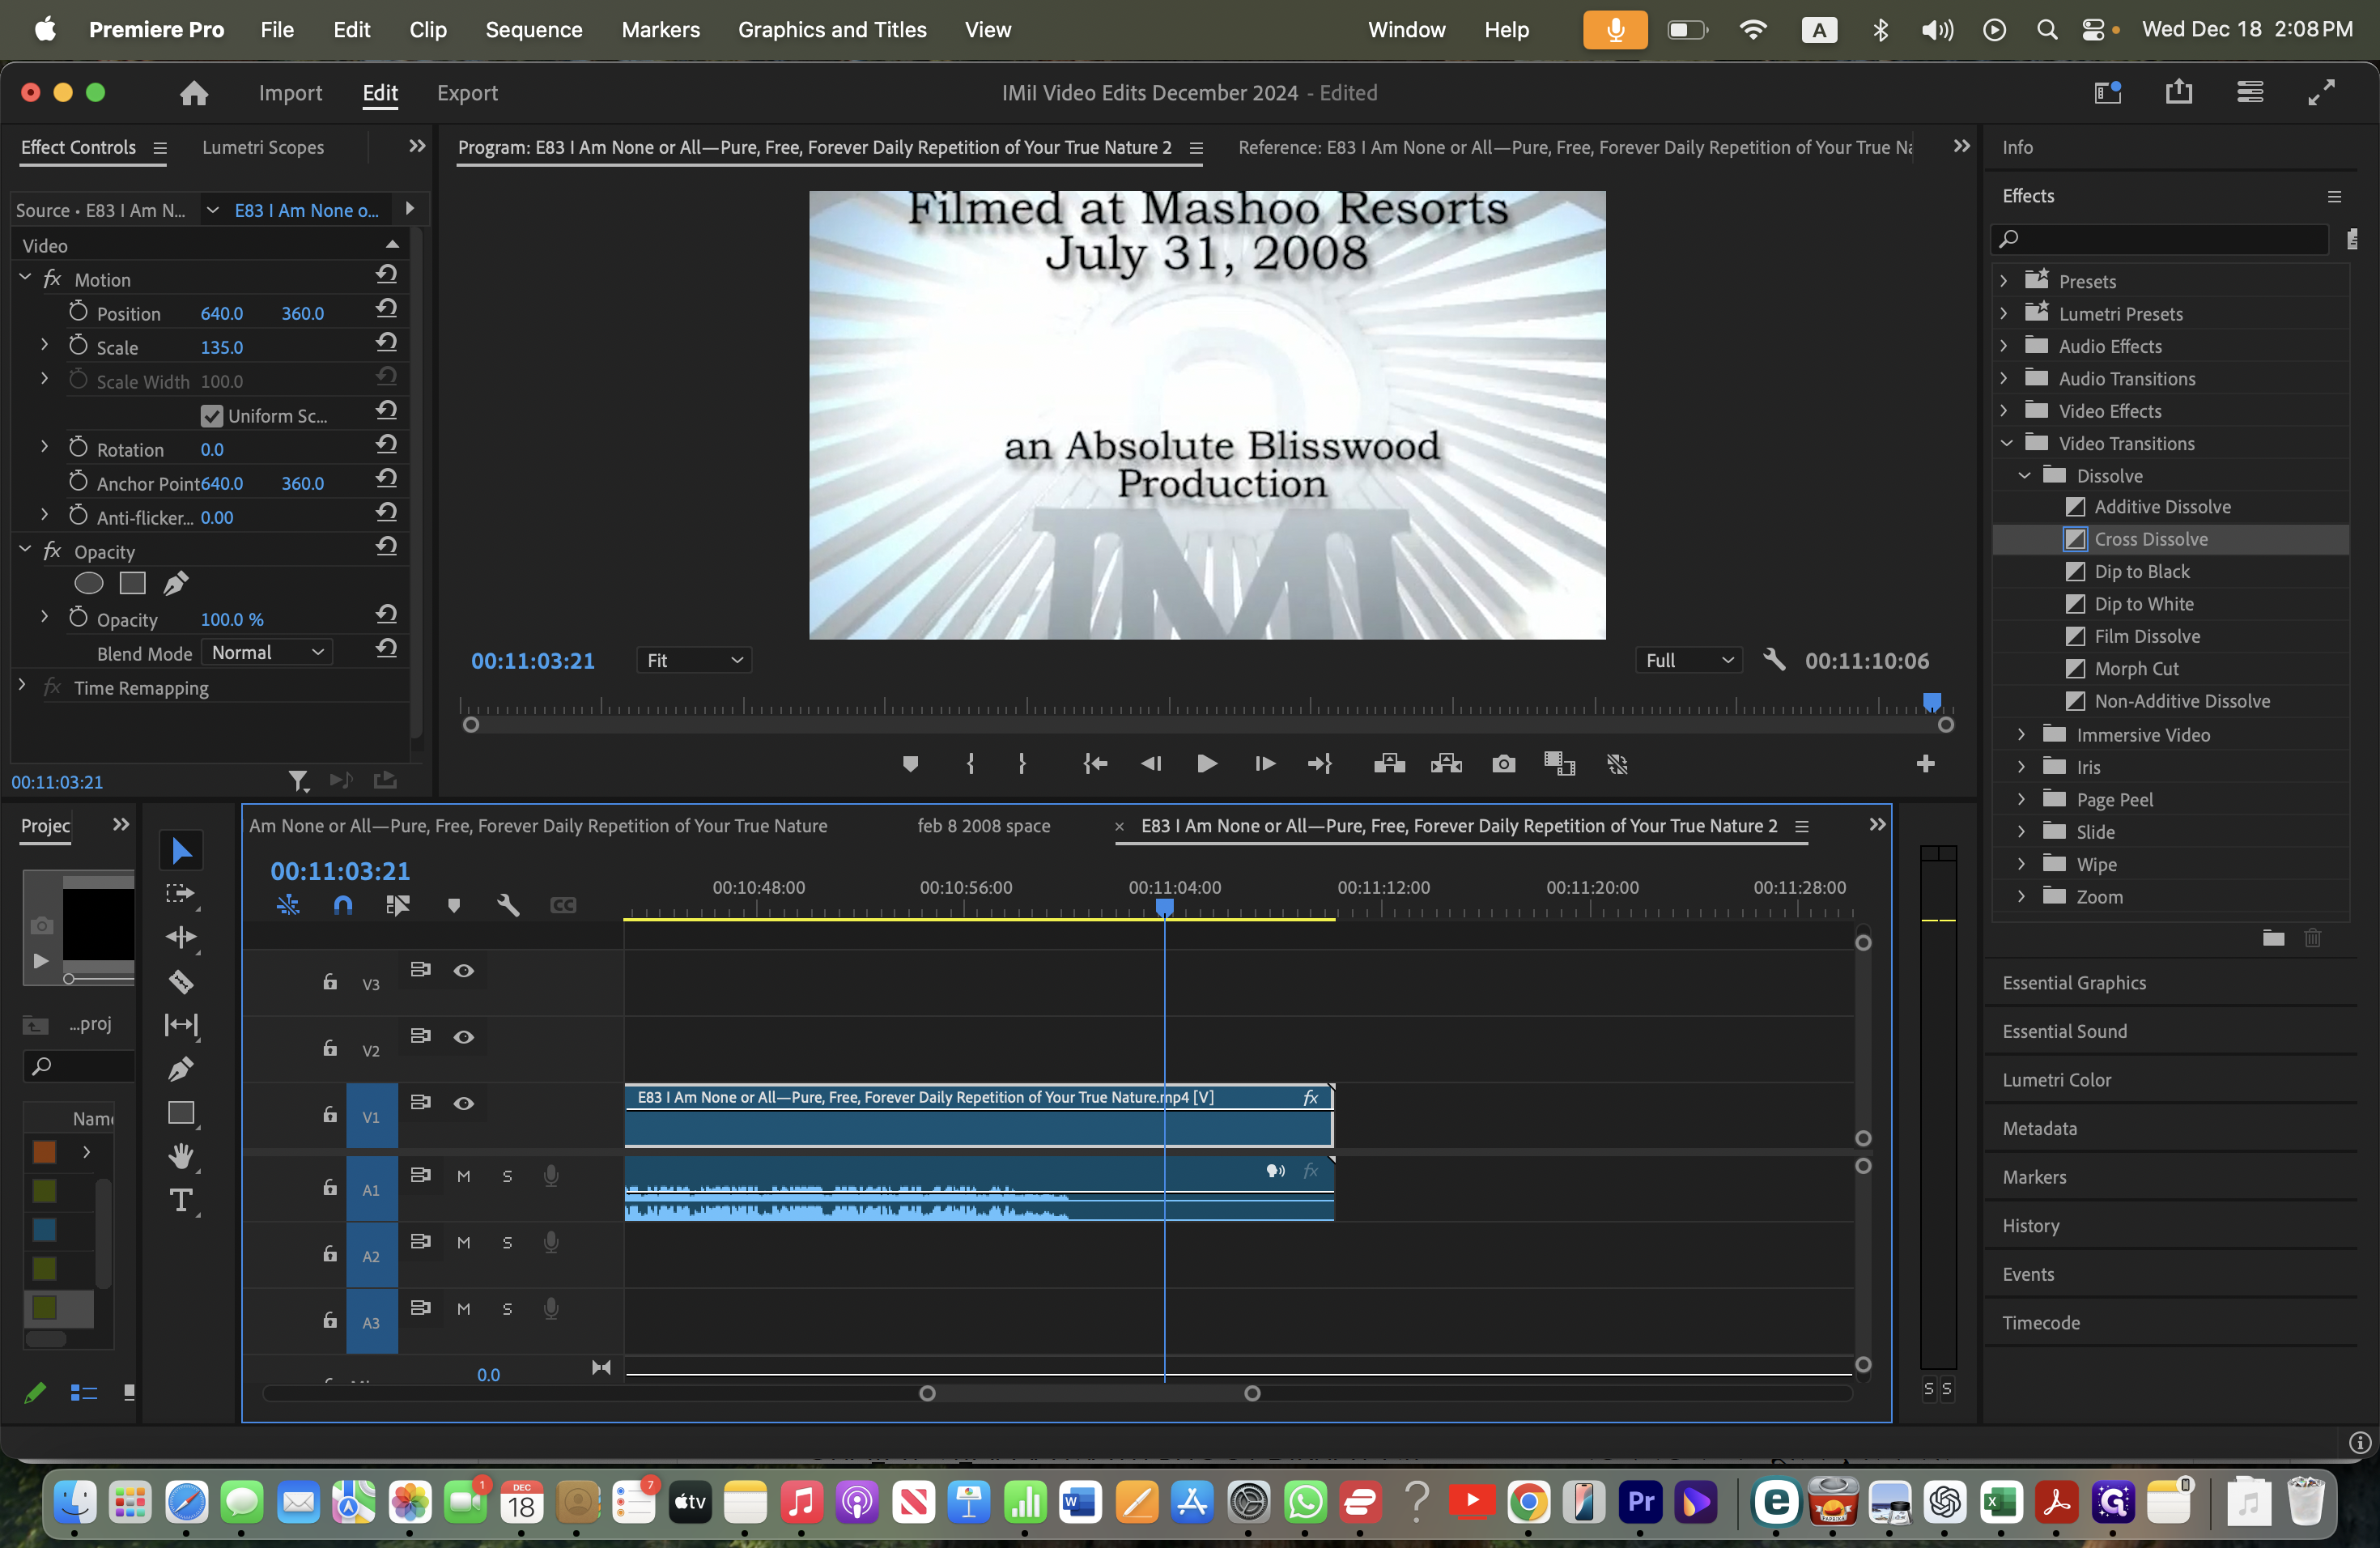
In this video, the opening credits appear fine. Now, proceed to the end credits.
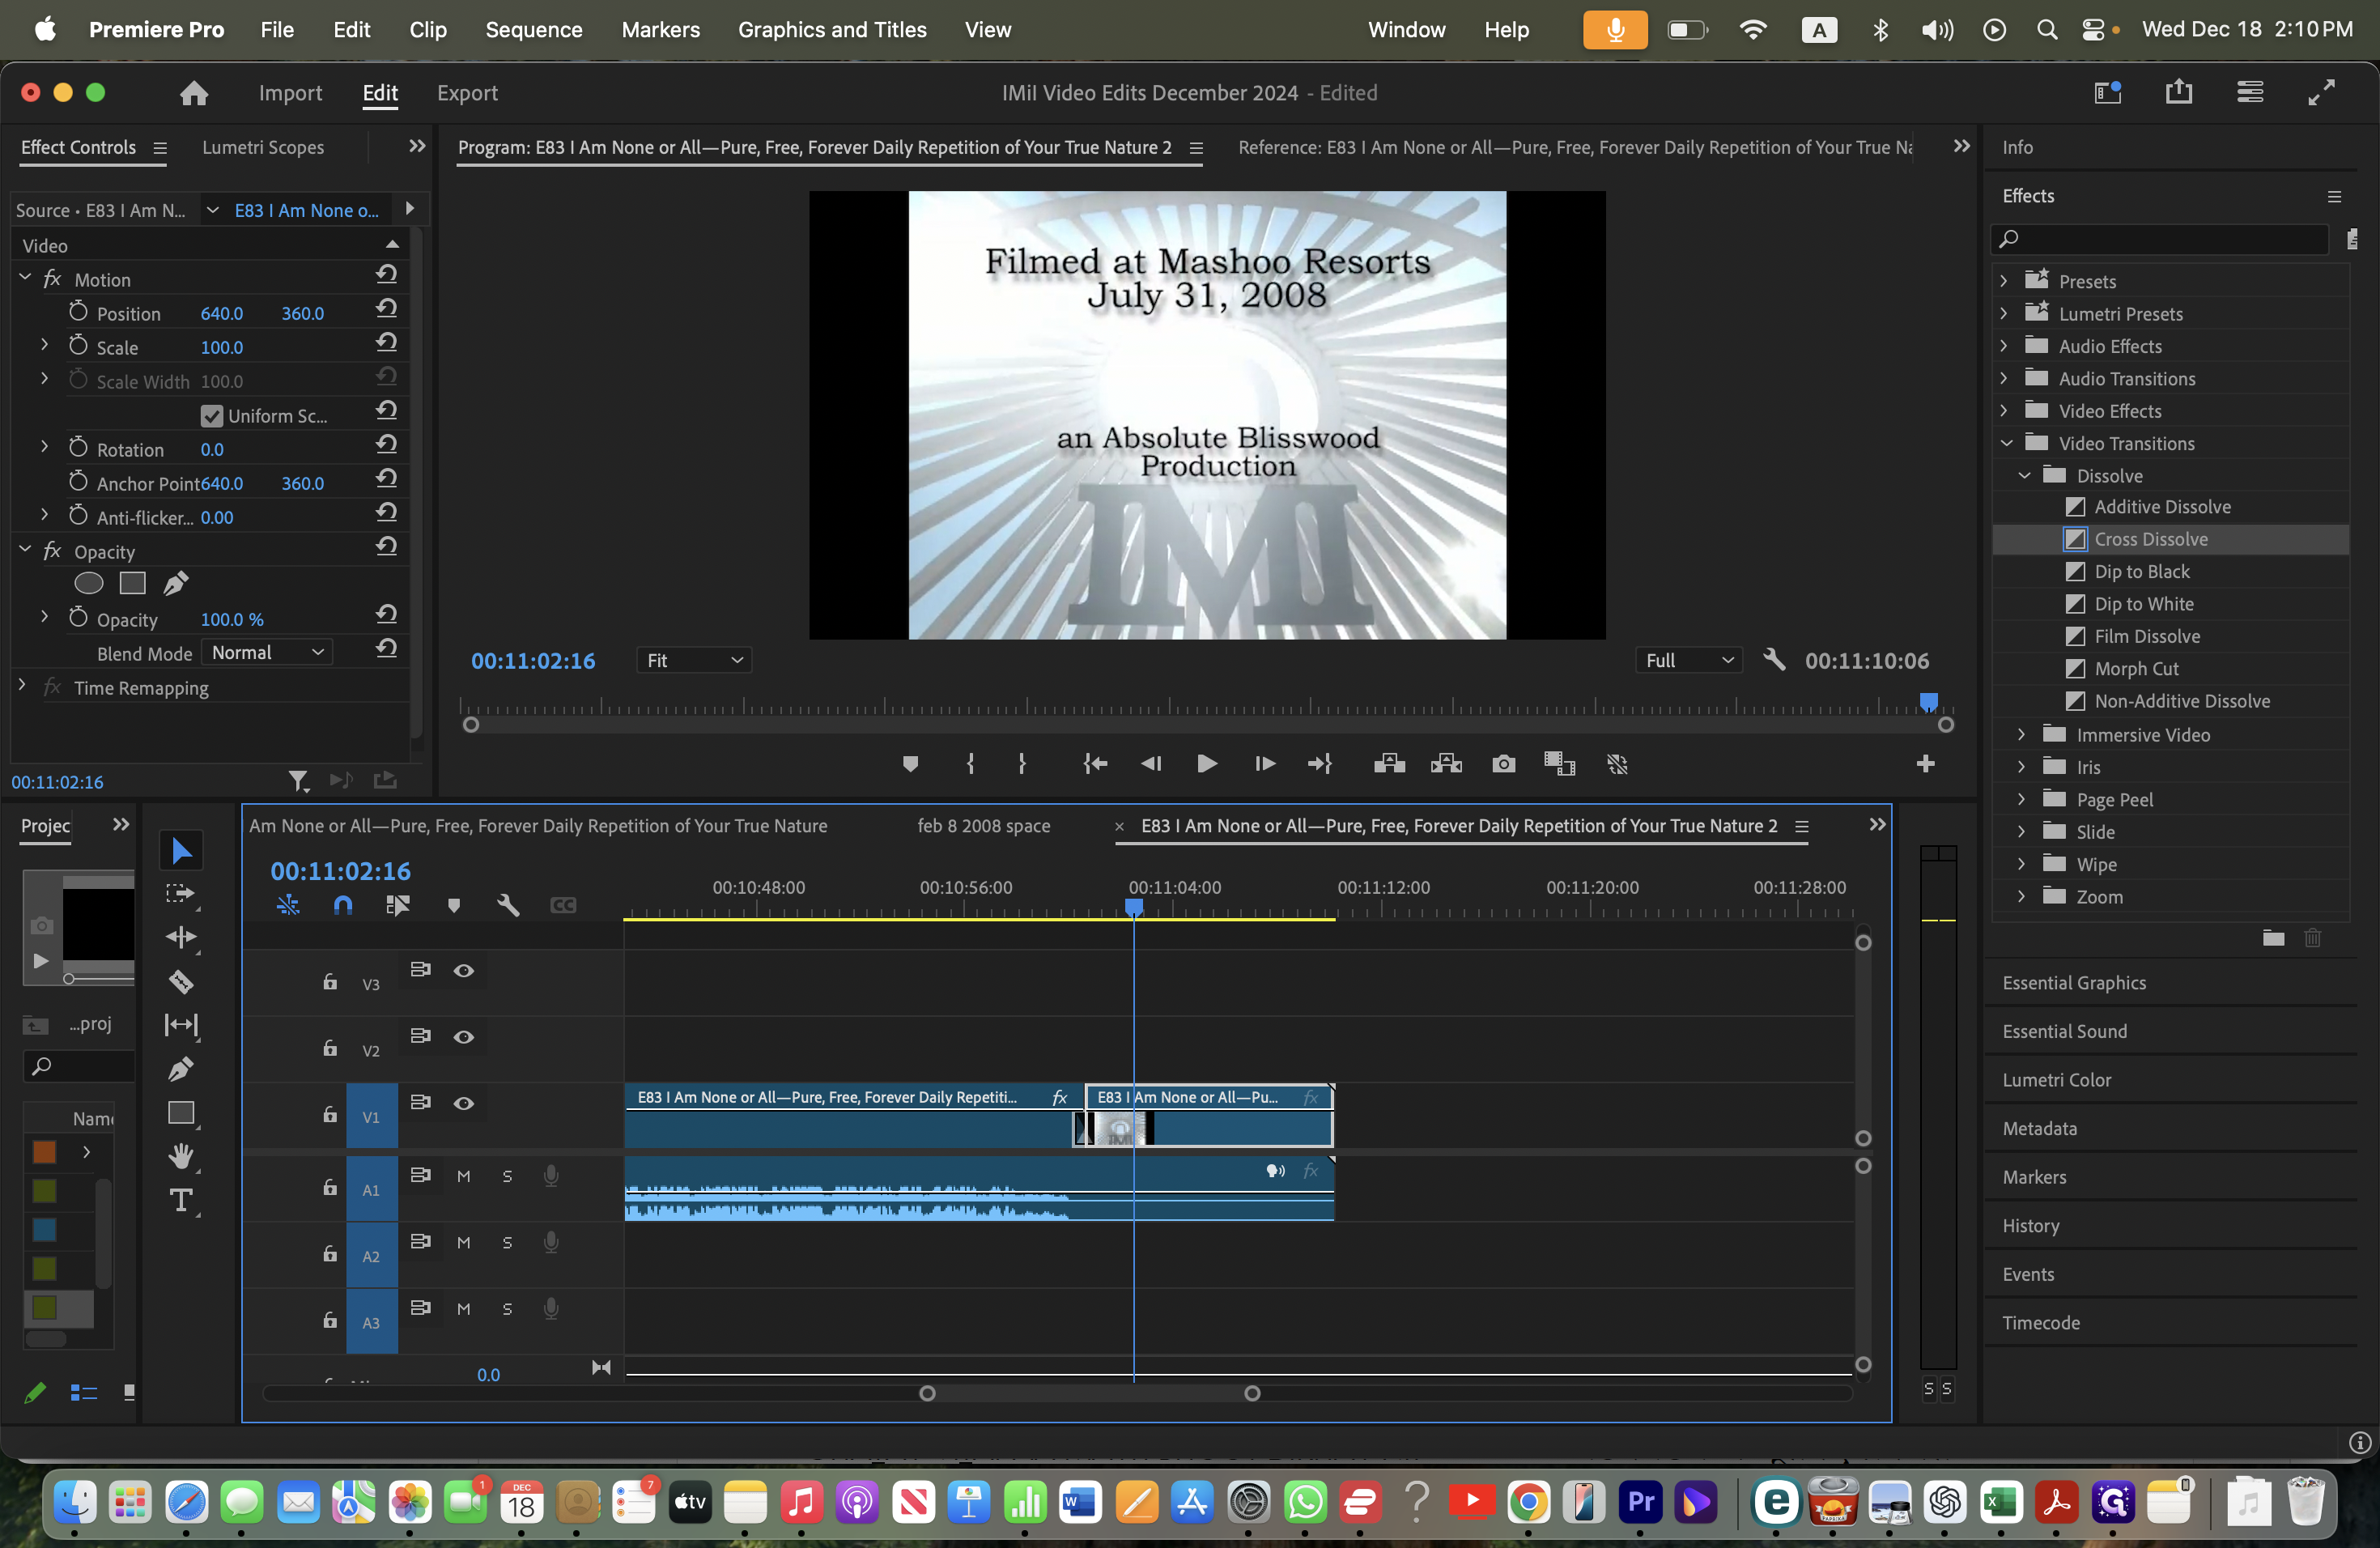
At the end, there's a problem. The credits don't look centered. Stretch the video on the timeline by pressing the equal sign (=) key on your keyboard.
Place the playhead in position between the credits and the rest of the video. Use the shortcut Command + K on a Mac or Ctrl+Shift+K on a PC to cut the sequence and separate the credits from the rest of the video.
Adjust the size or position of the credits for improved visibility.

Click on the video segment to select where the credits appear. Go to Effect Controls in the top left corner to scale, type 100, and press return or enter.
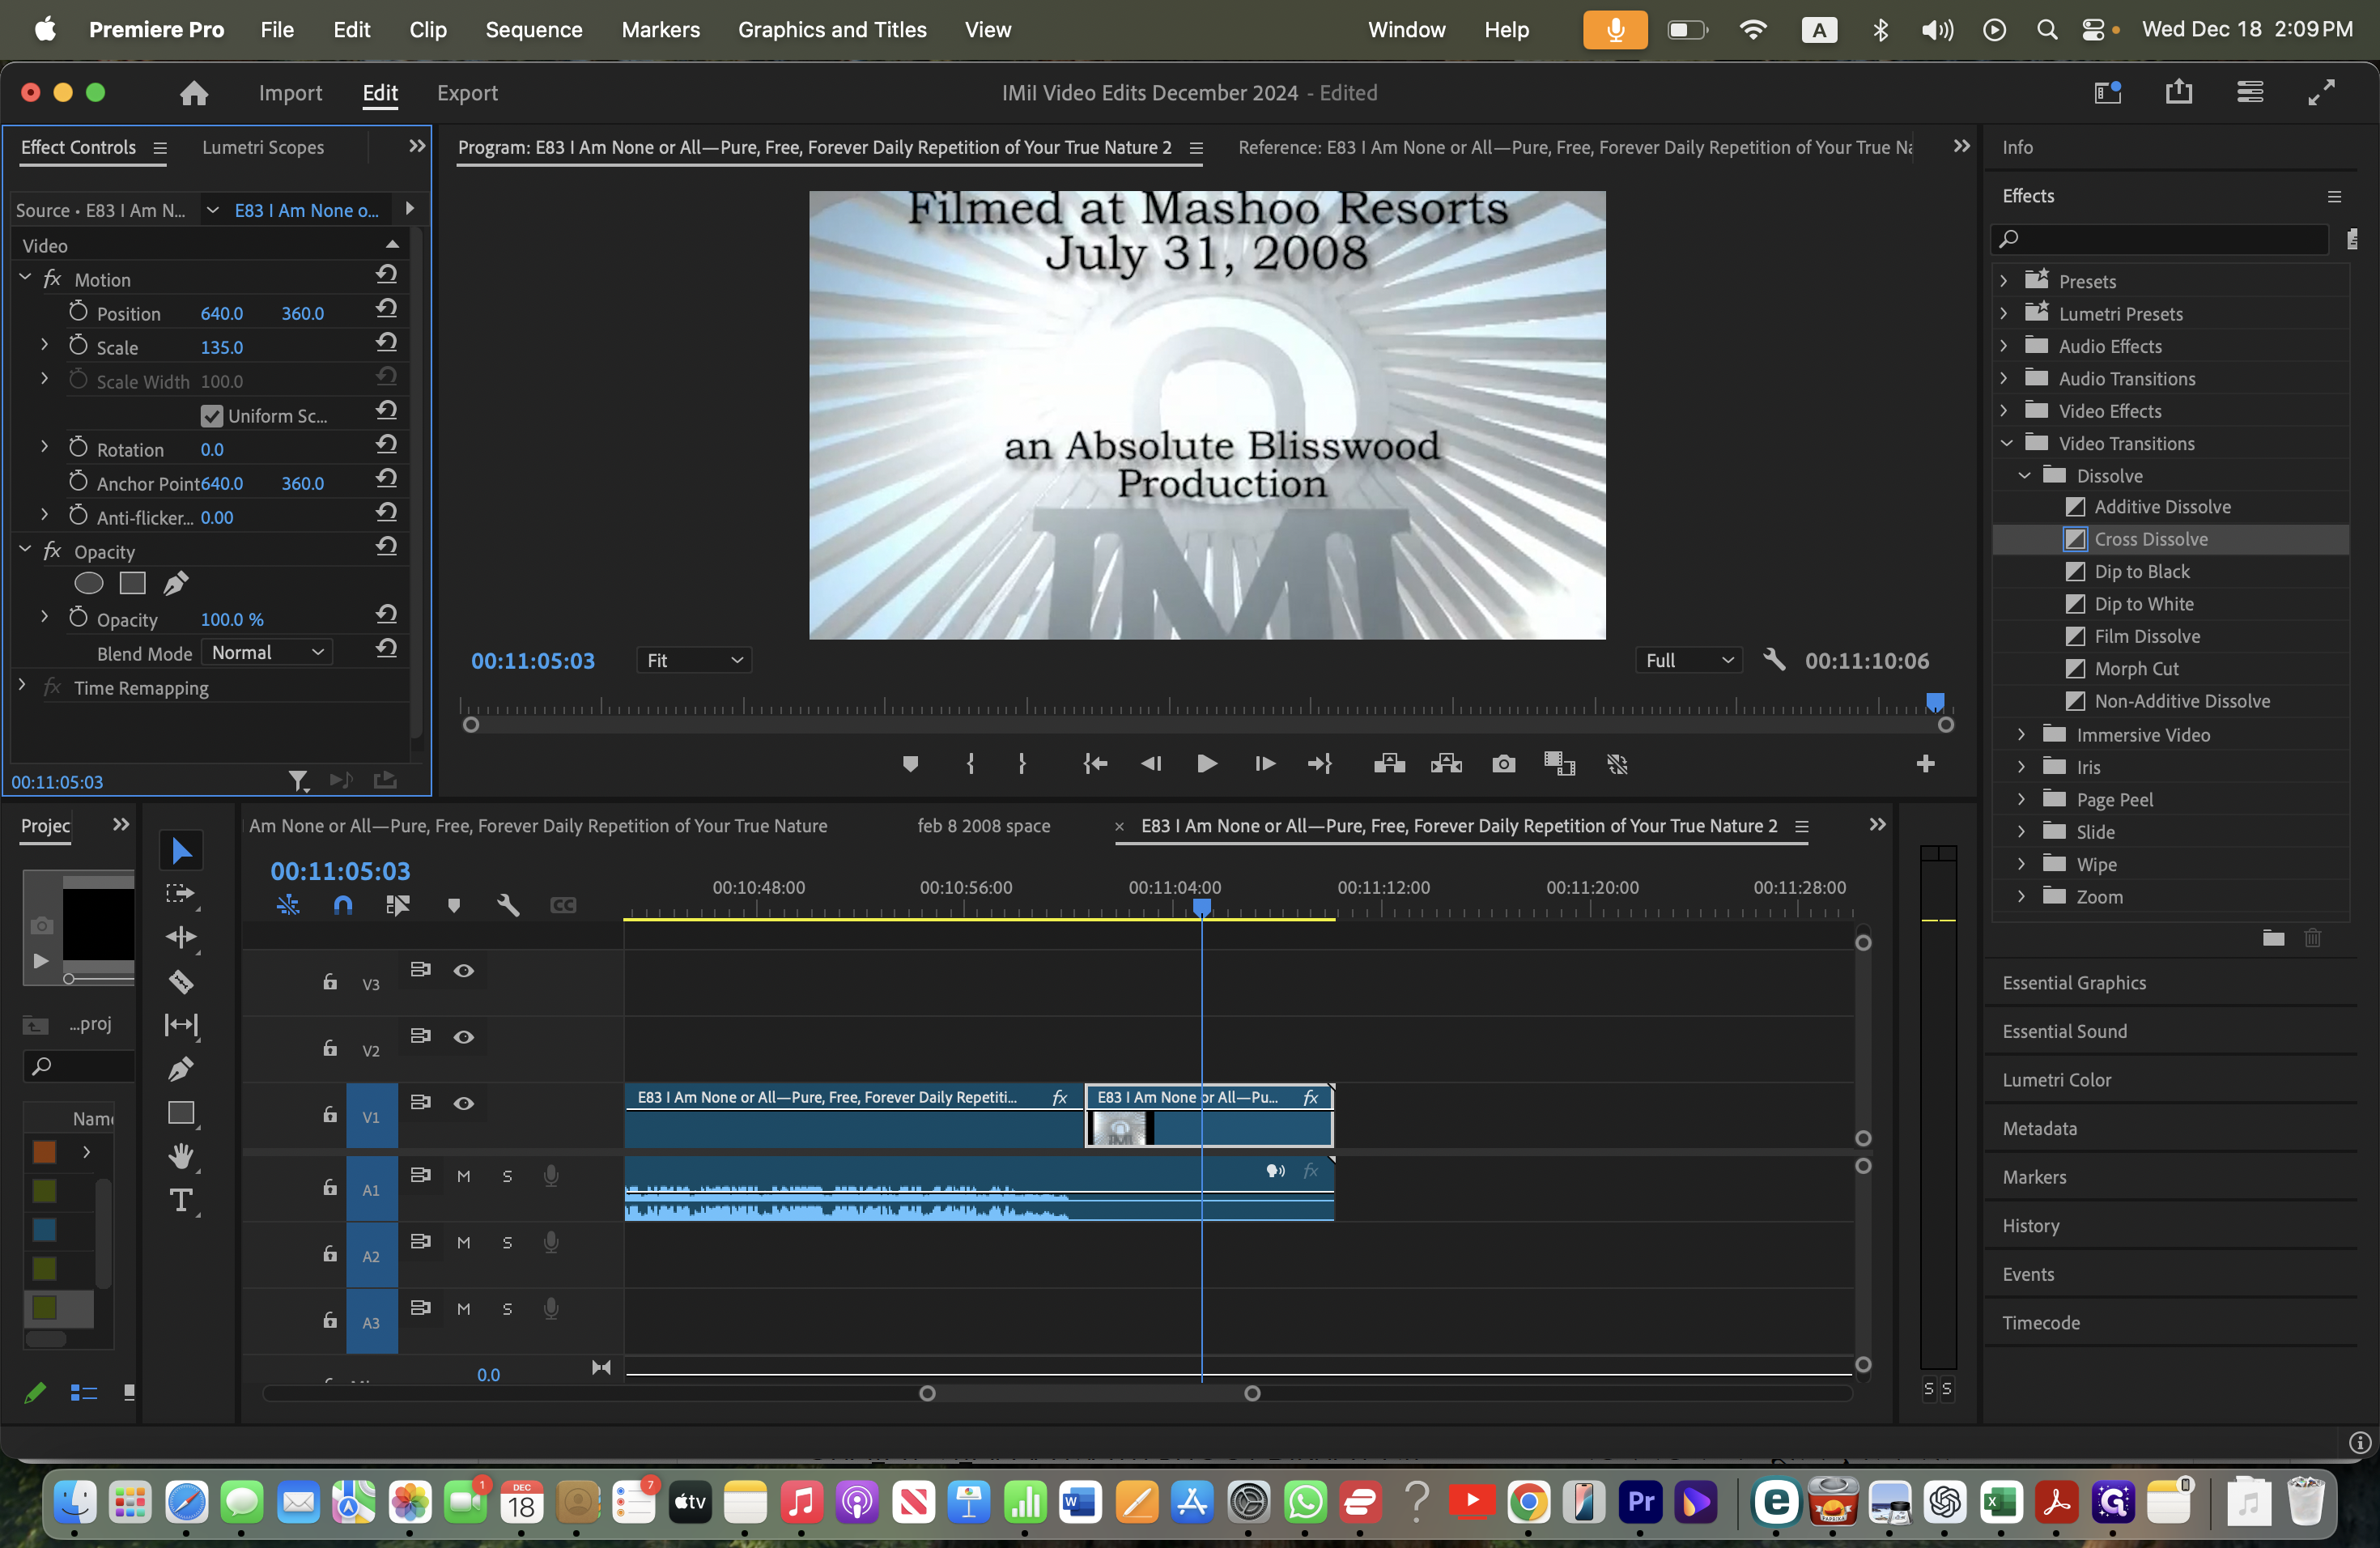
Now you can see in the timeline that the credits appear in the video at the original size. It's fine that the video shifts from widescreen back to the original square size. You might choose to go to the effects on the right side of the Premiere window, select video transitions, and apply a cross dissolve between the two segments.

Review the video again to ensure it looks good.

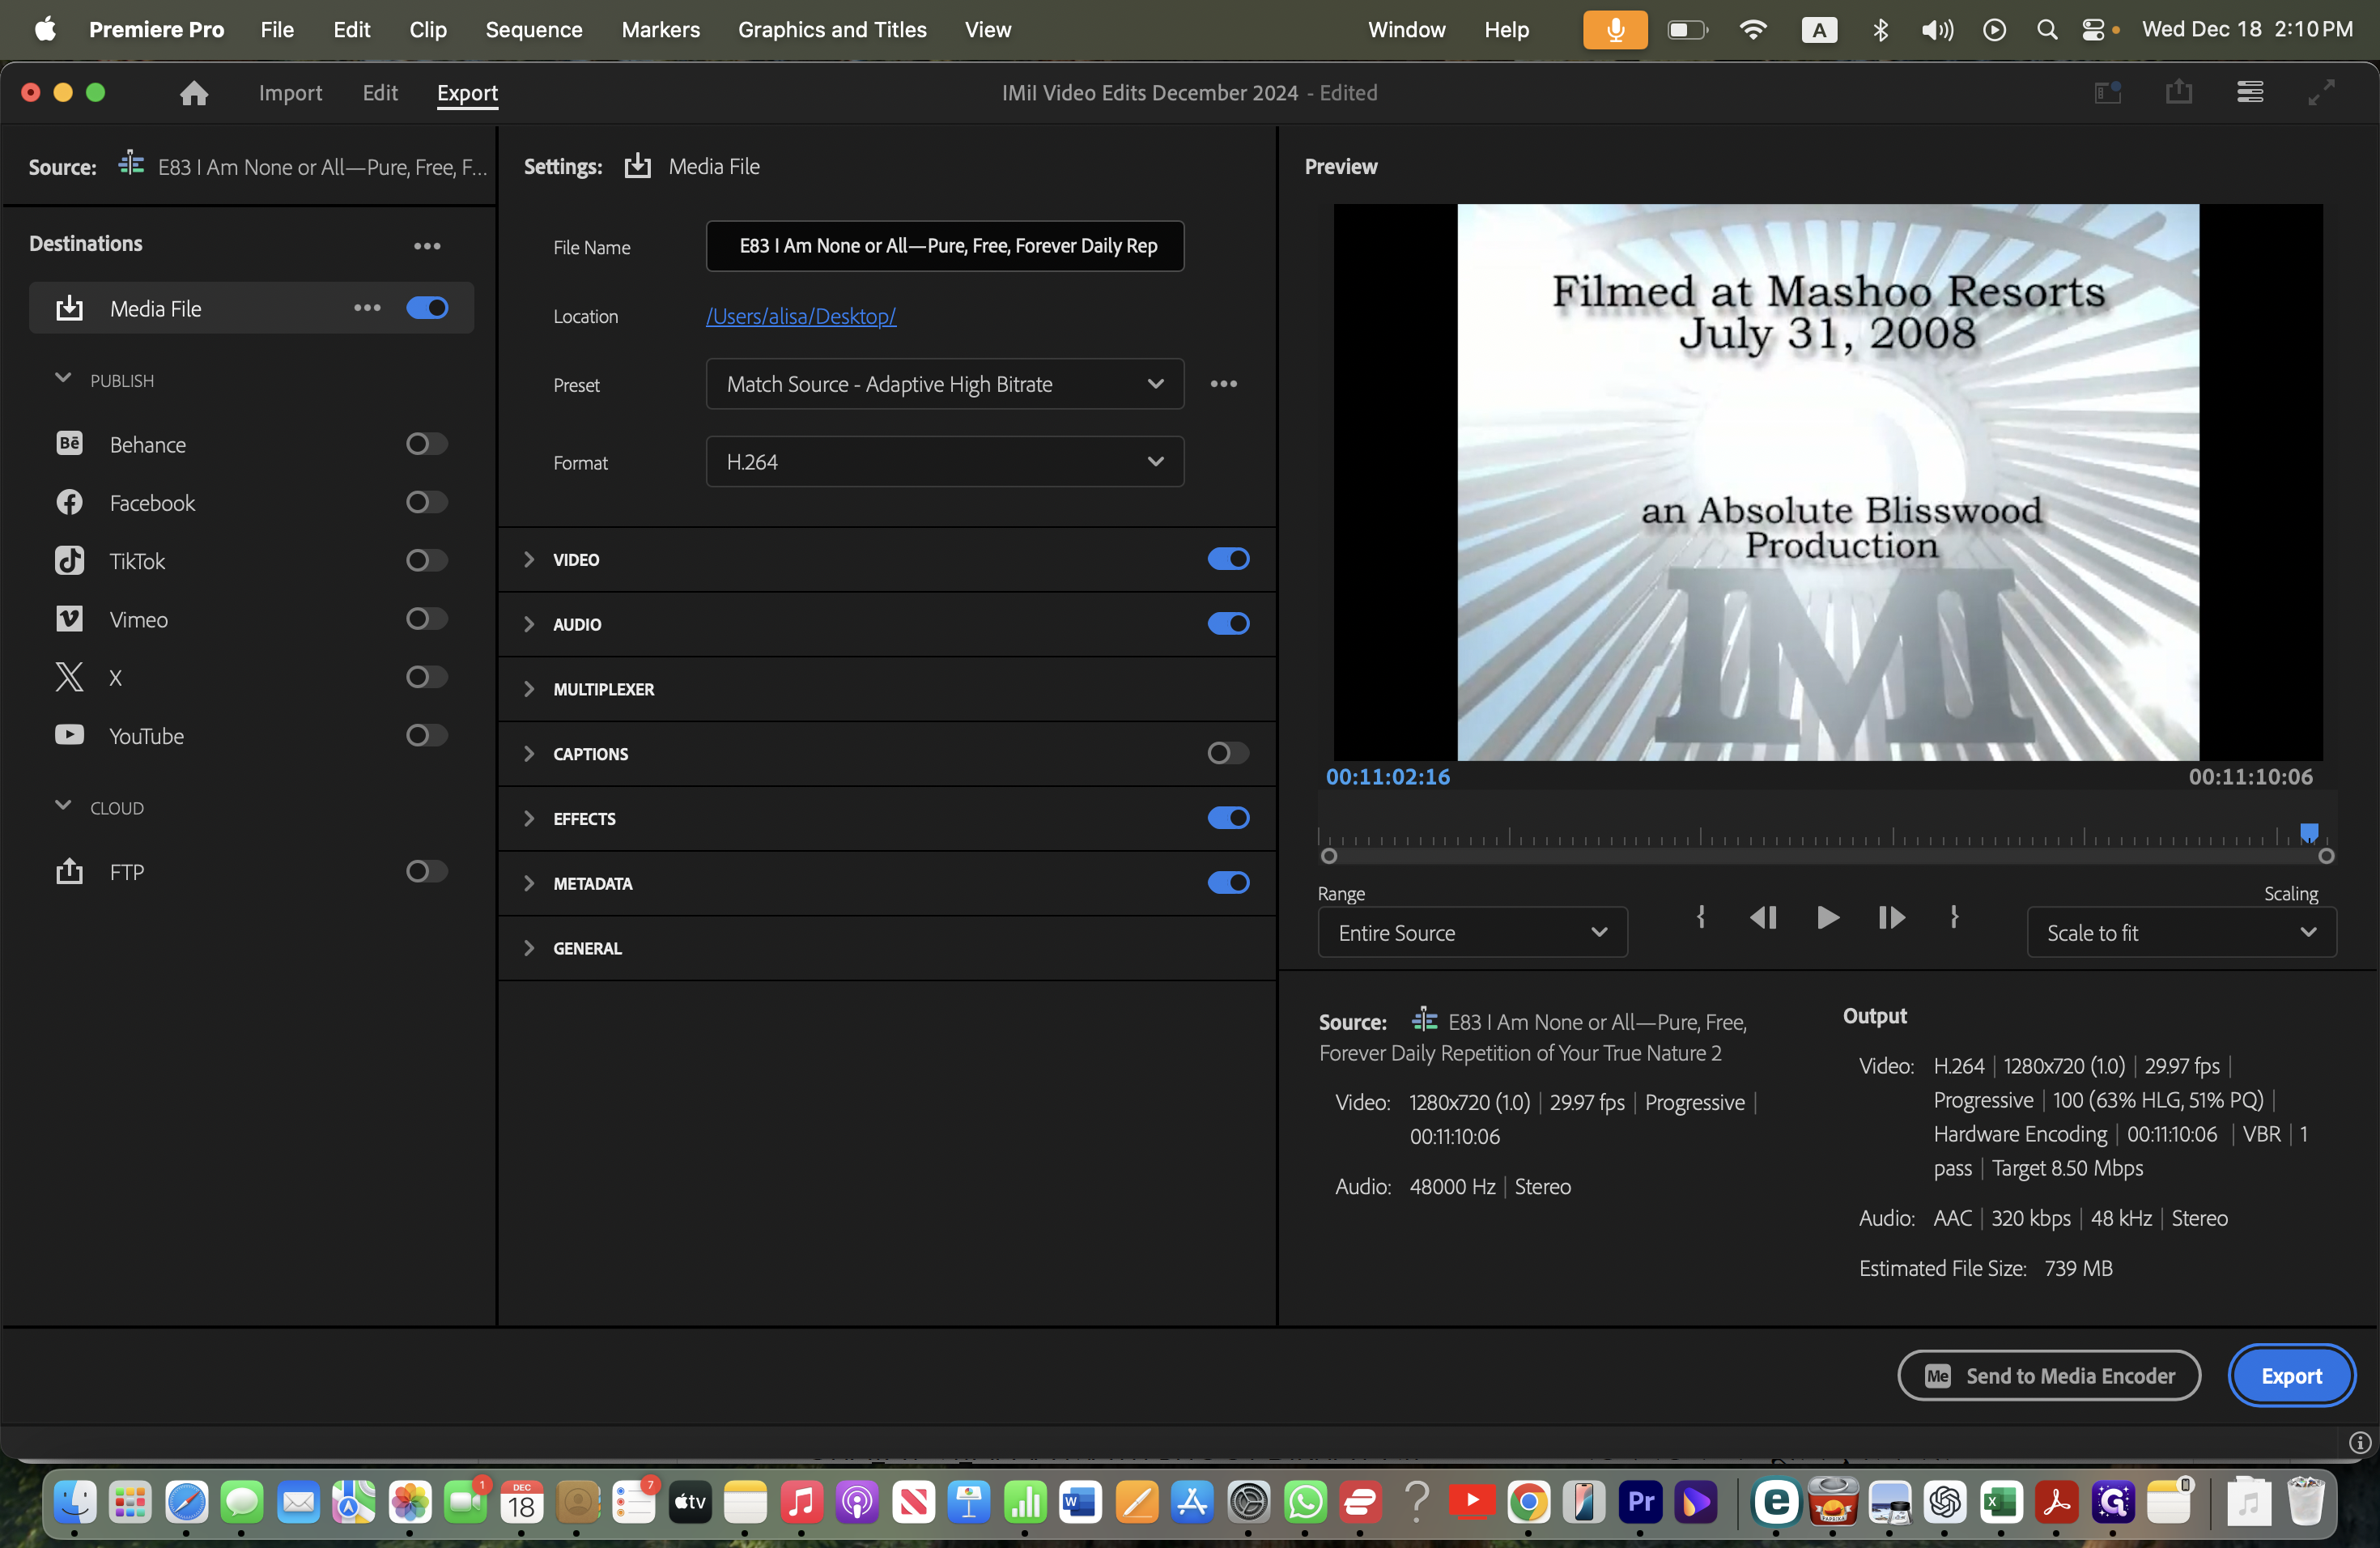
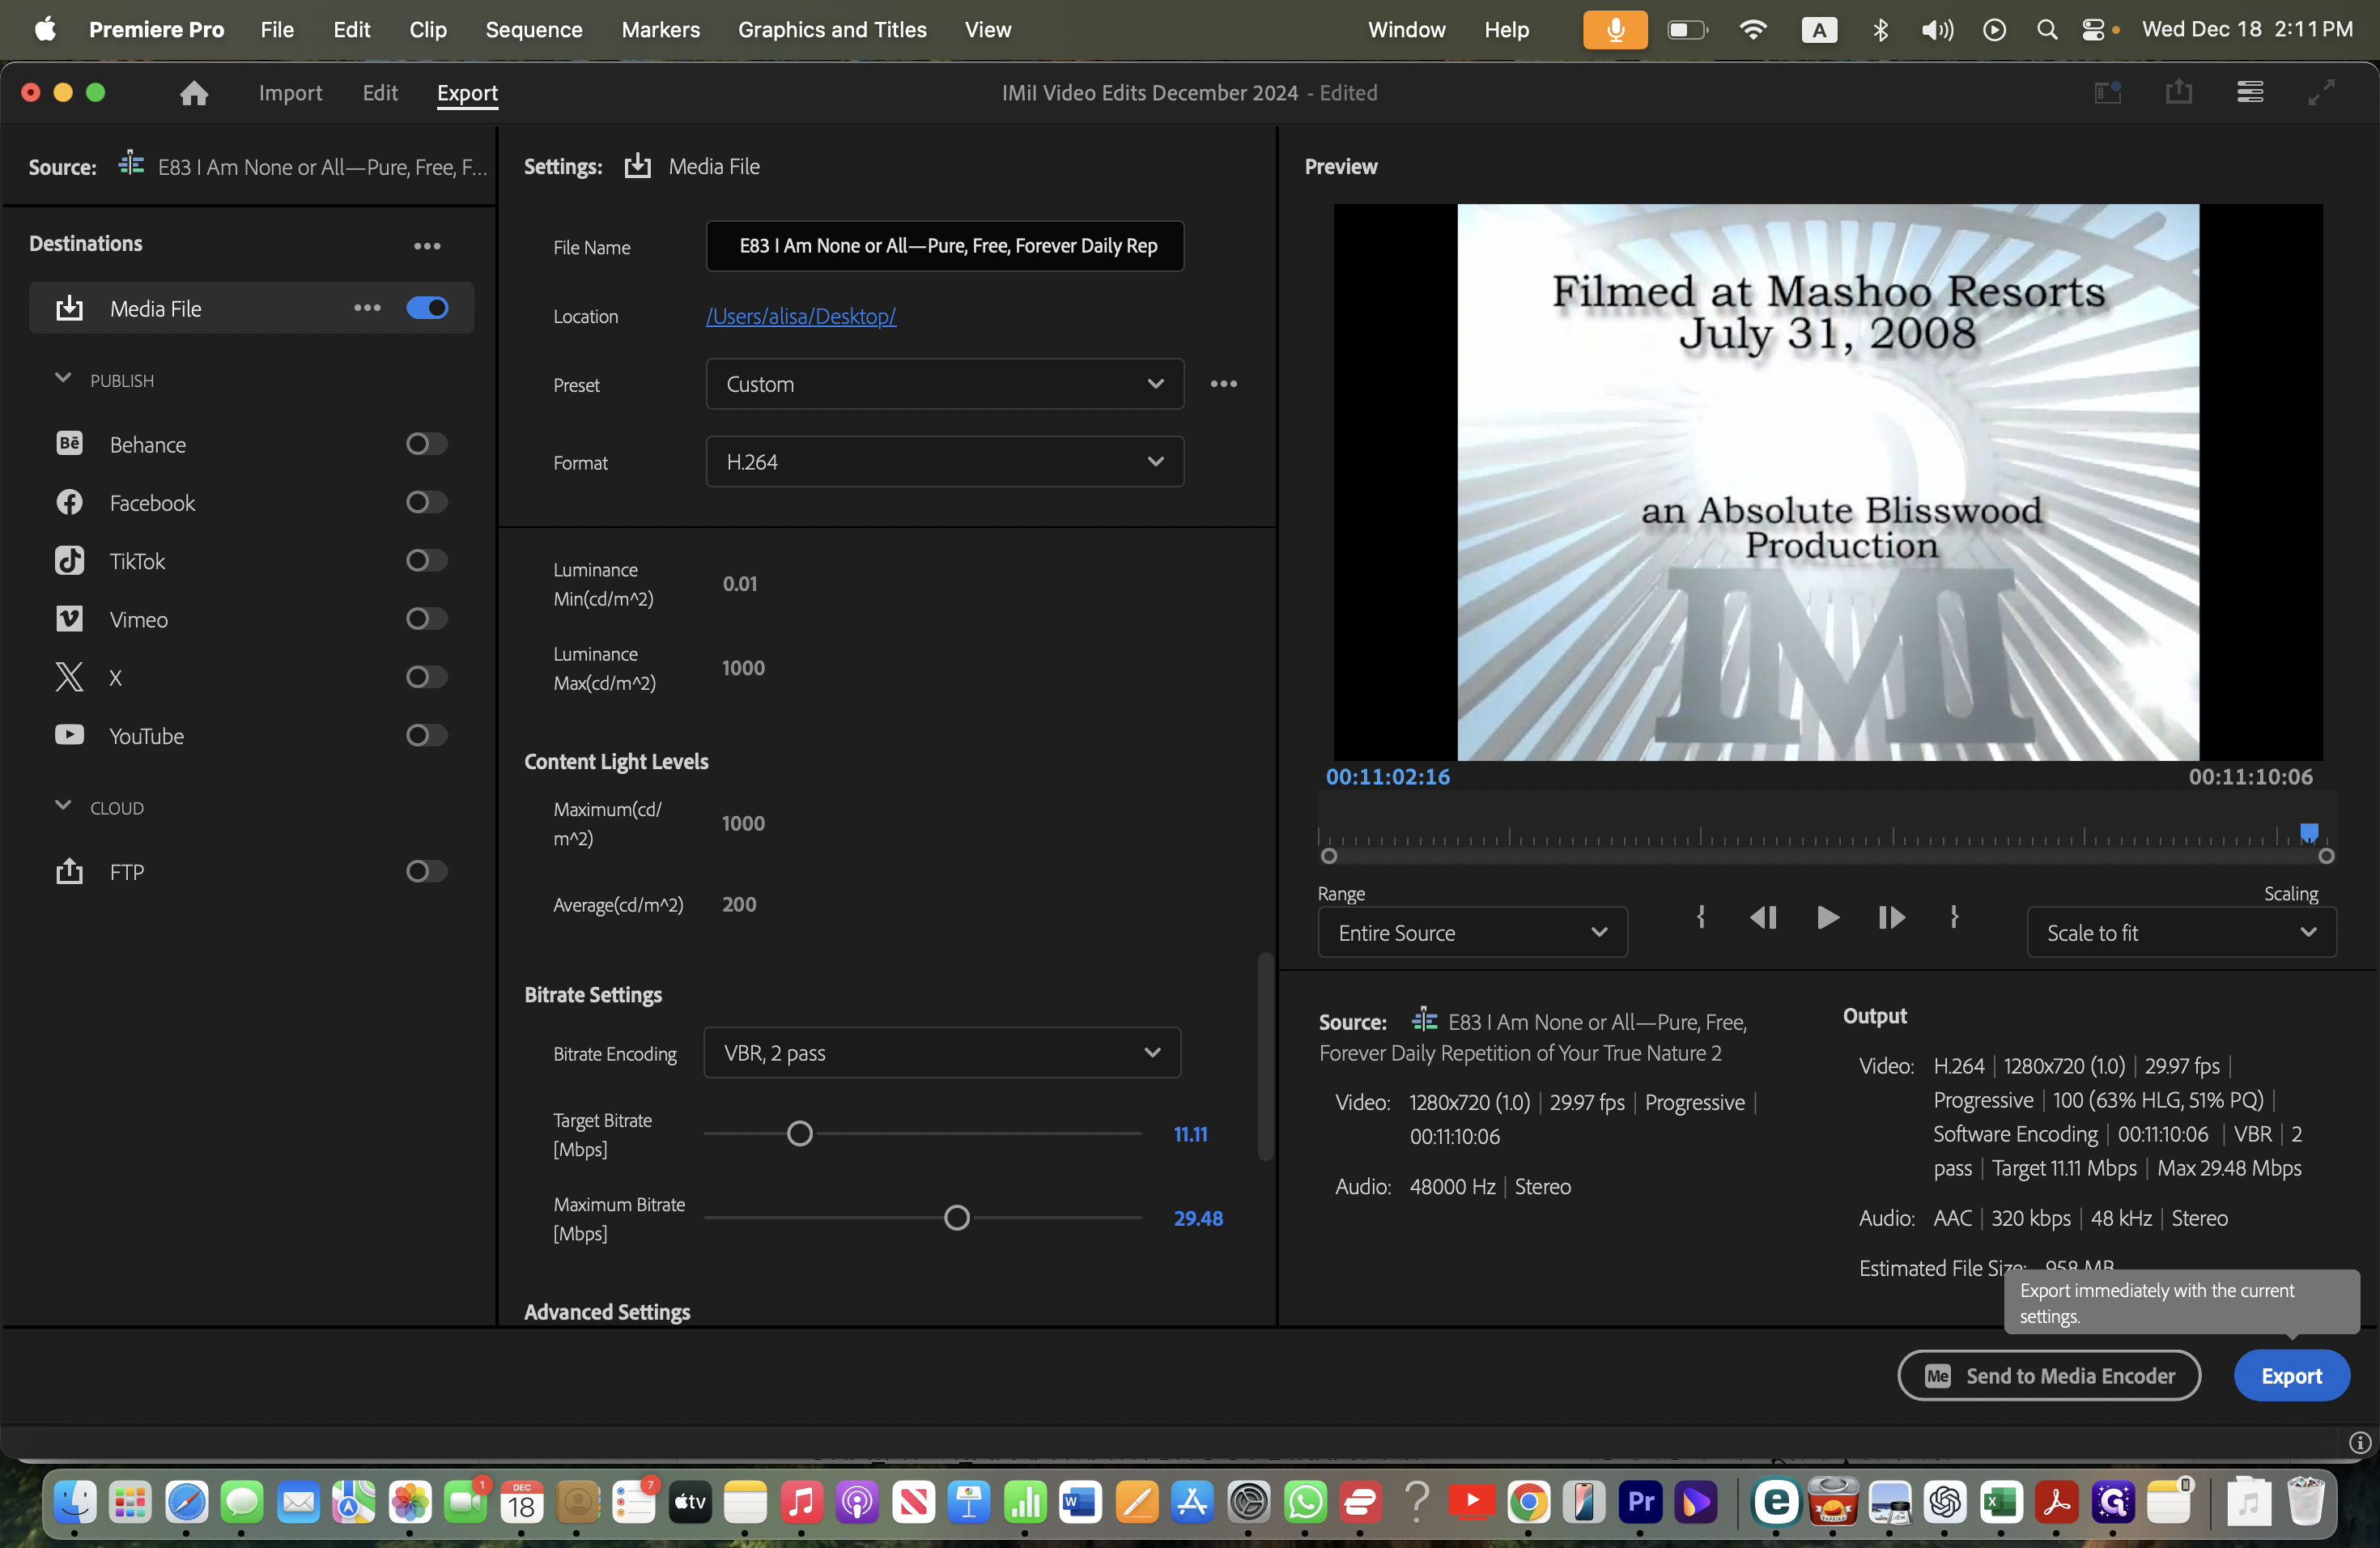
Export the video as you normally would to an MP4 file. Keep the original file name but add "V1," "remastered," or "resized" to distinguish it from the original version.