
How to Align Bearing of Photospheres Using Dead Reckoning and Visual Hotspots on HP-Rady (Part 4)
Learn step-by-step how to combine dead reckoning with visual placement to accurately align photospheres using hotspots, bearing values, and map adjustments for your scene.
In this guide, we'll learn how to align photospheres using dead reckoning and visual placement, adjust their bearing values, and update the photosphere templates to ensure future accuracy. This process helps make sure hotspots in your scene line up with real-world locations, improving navigation and usability. We will also cover how to adjust the map's zoom and center for better viewing.
Let's get started
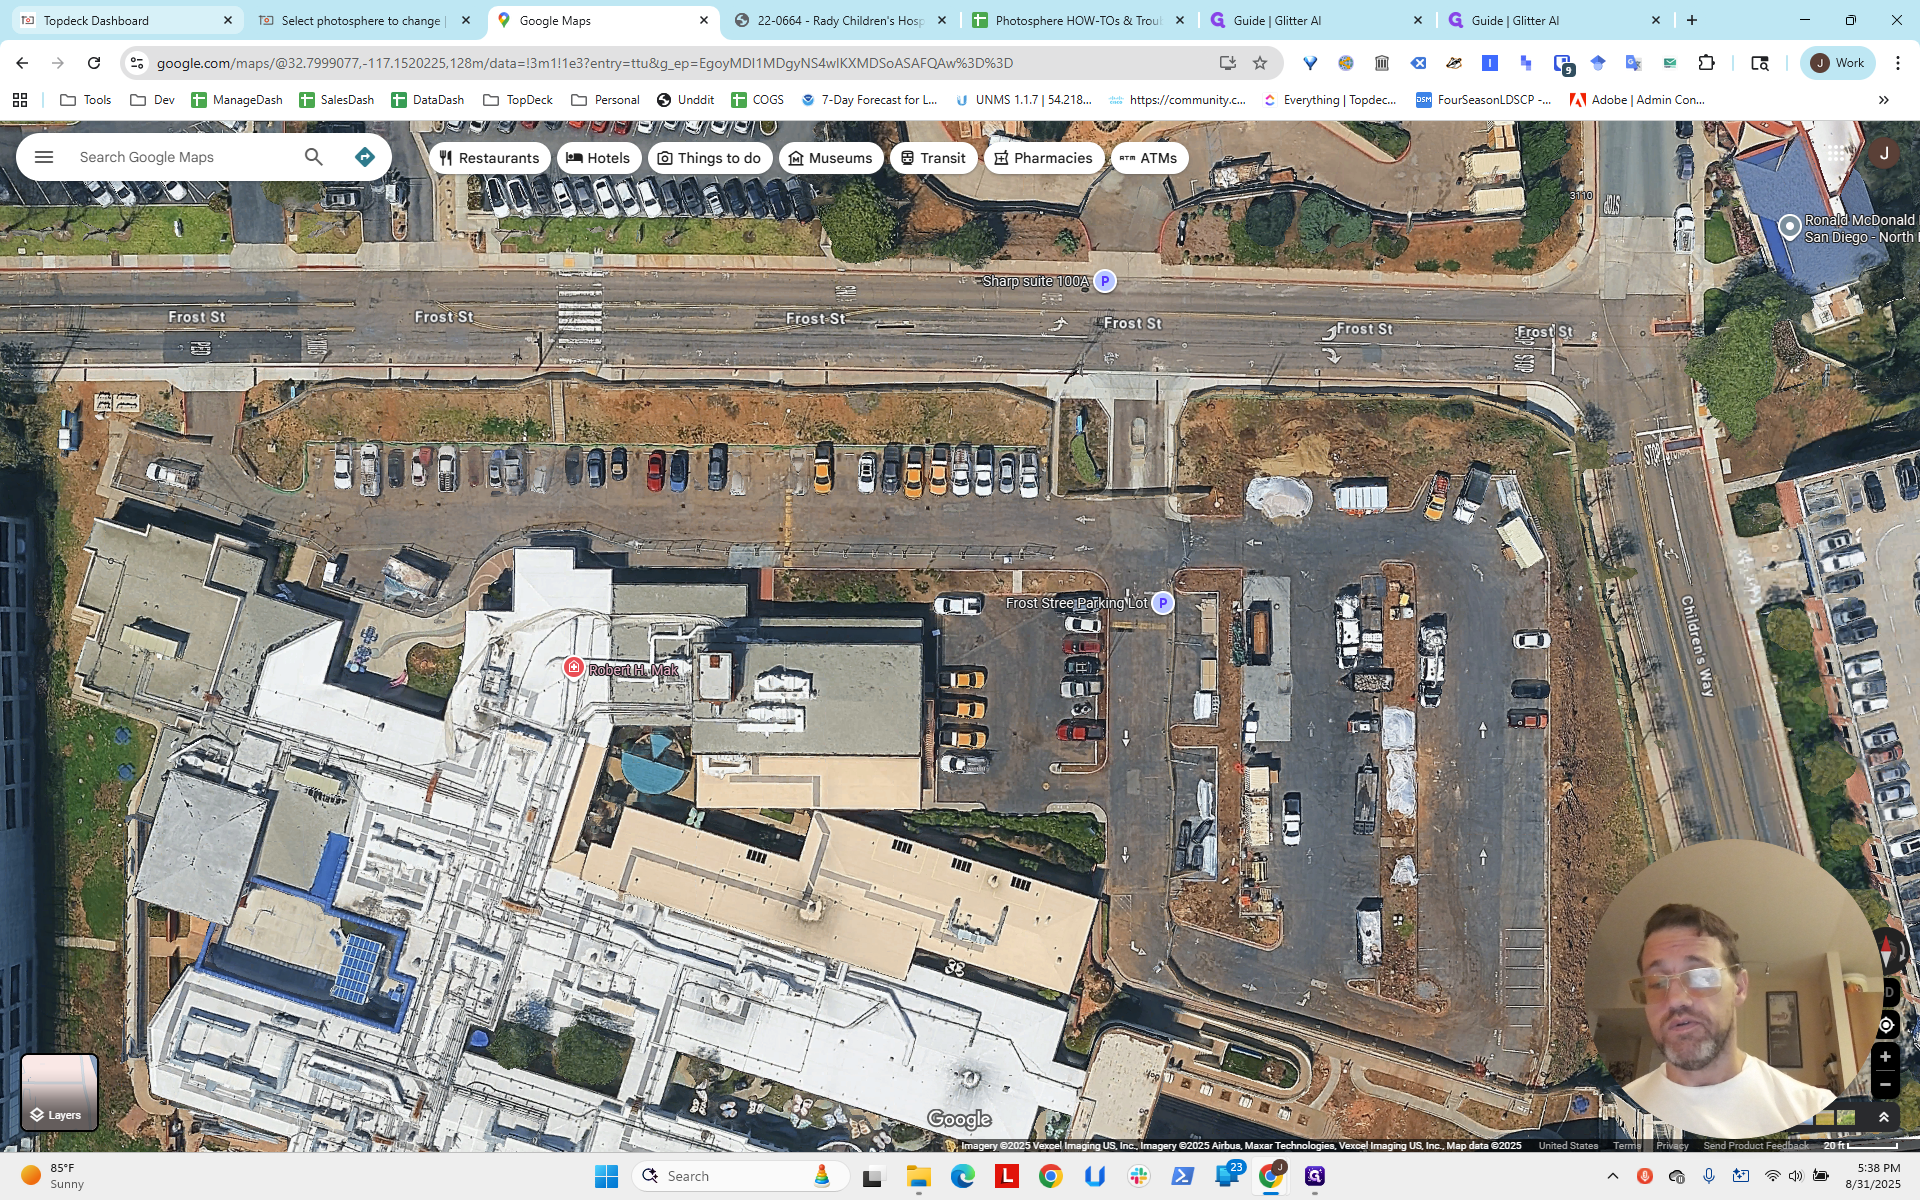
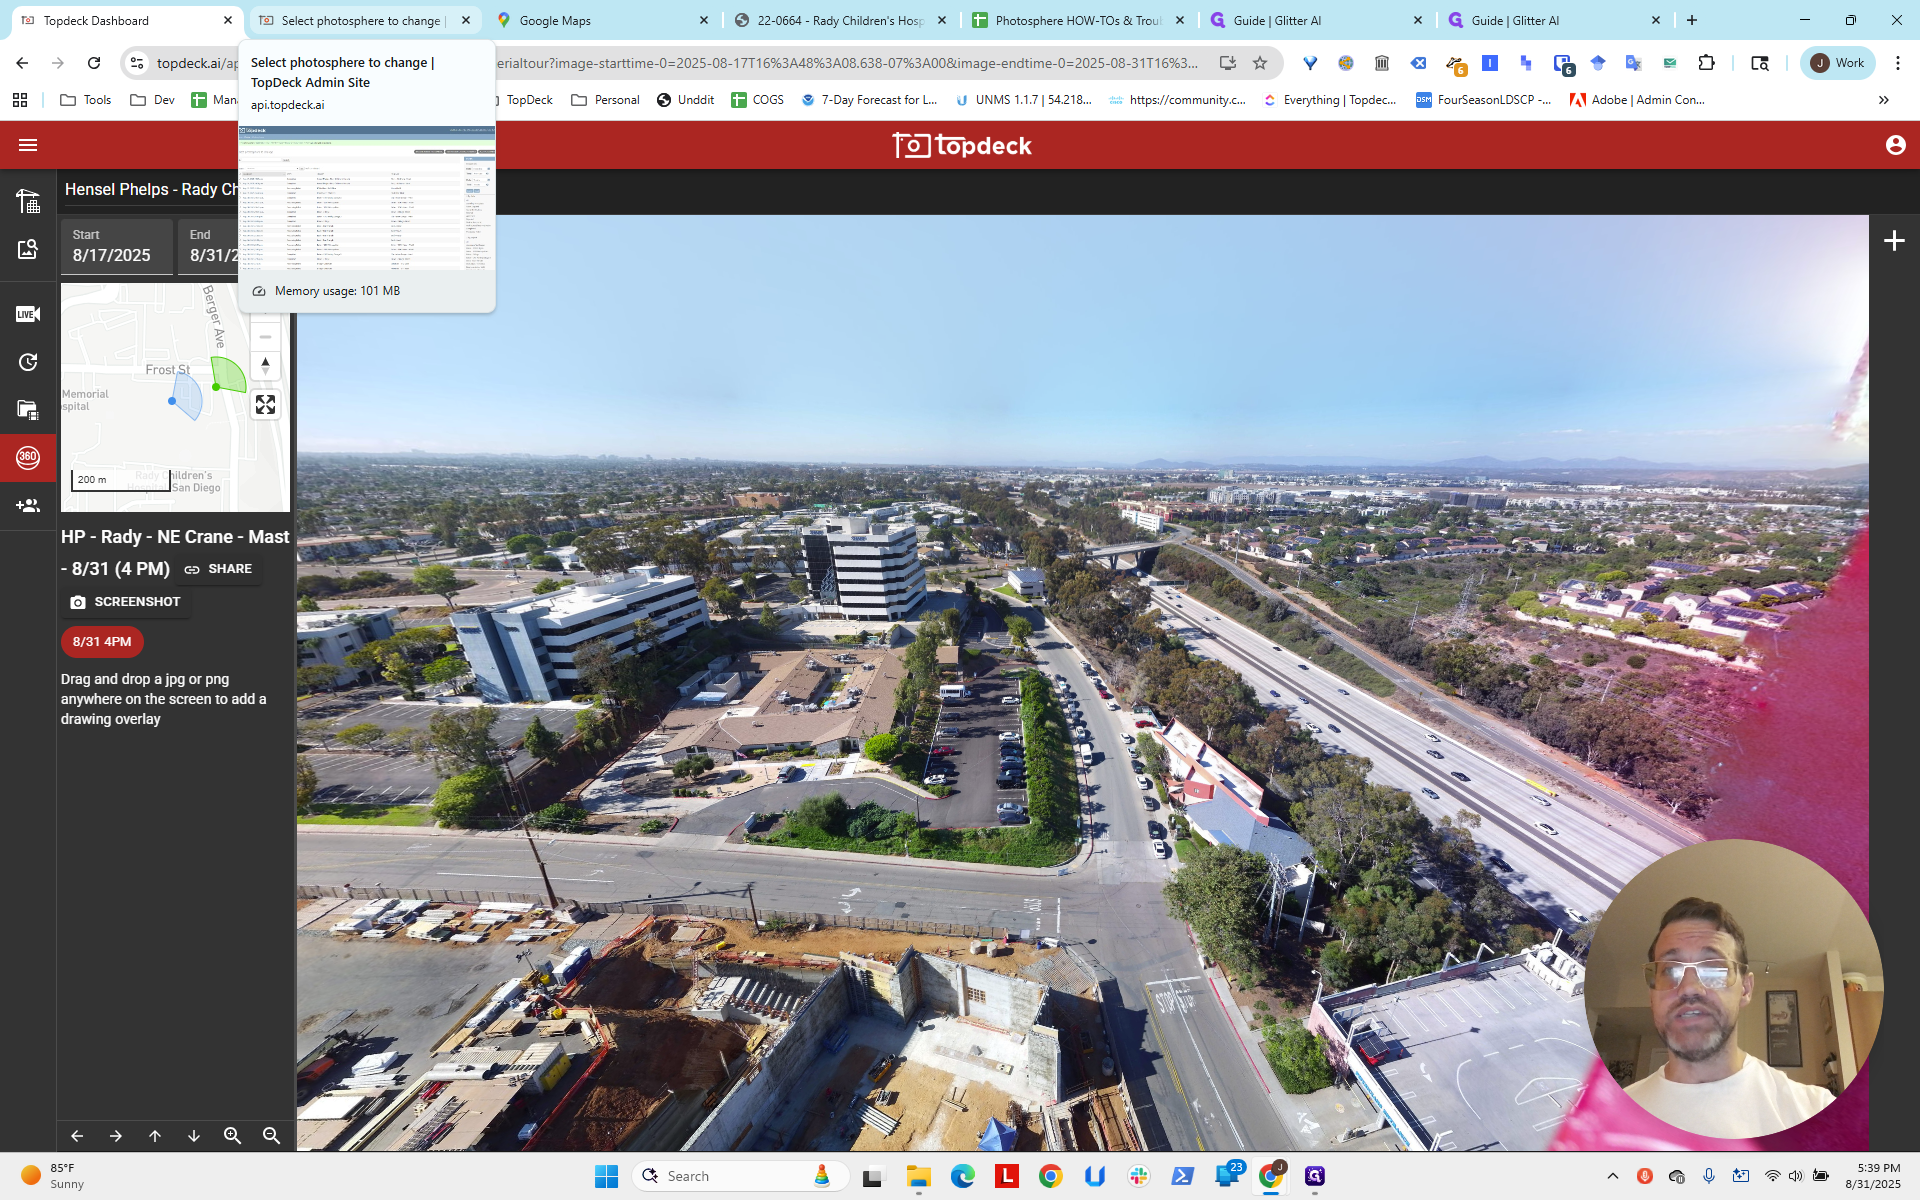
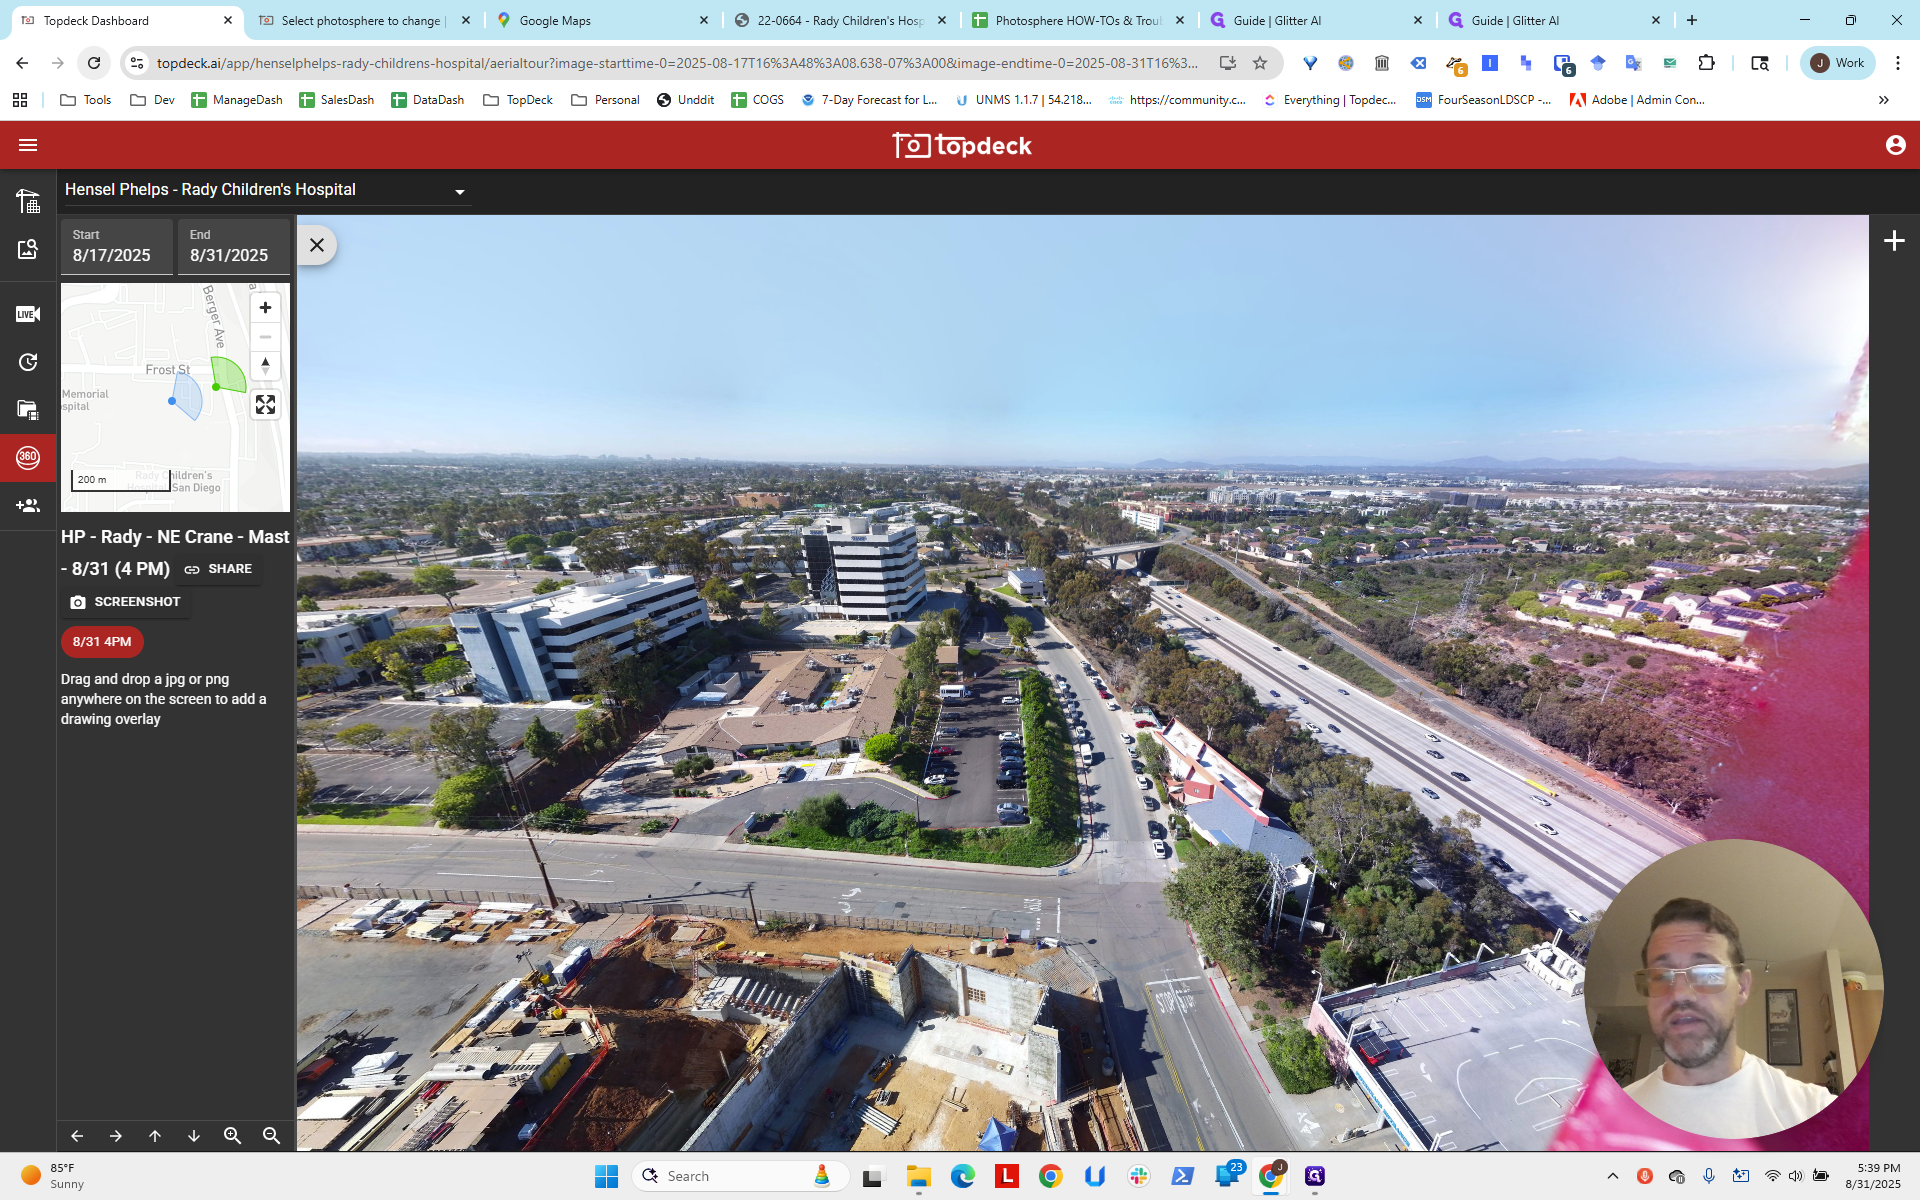
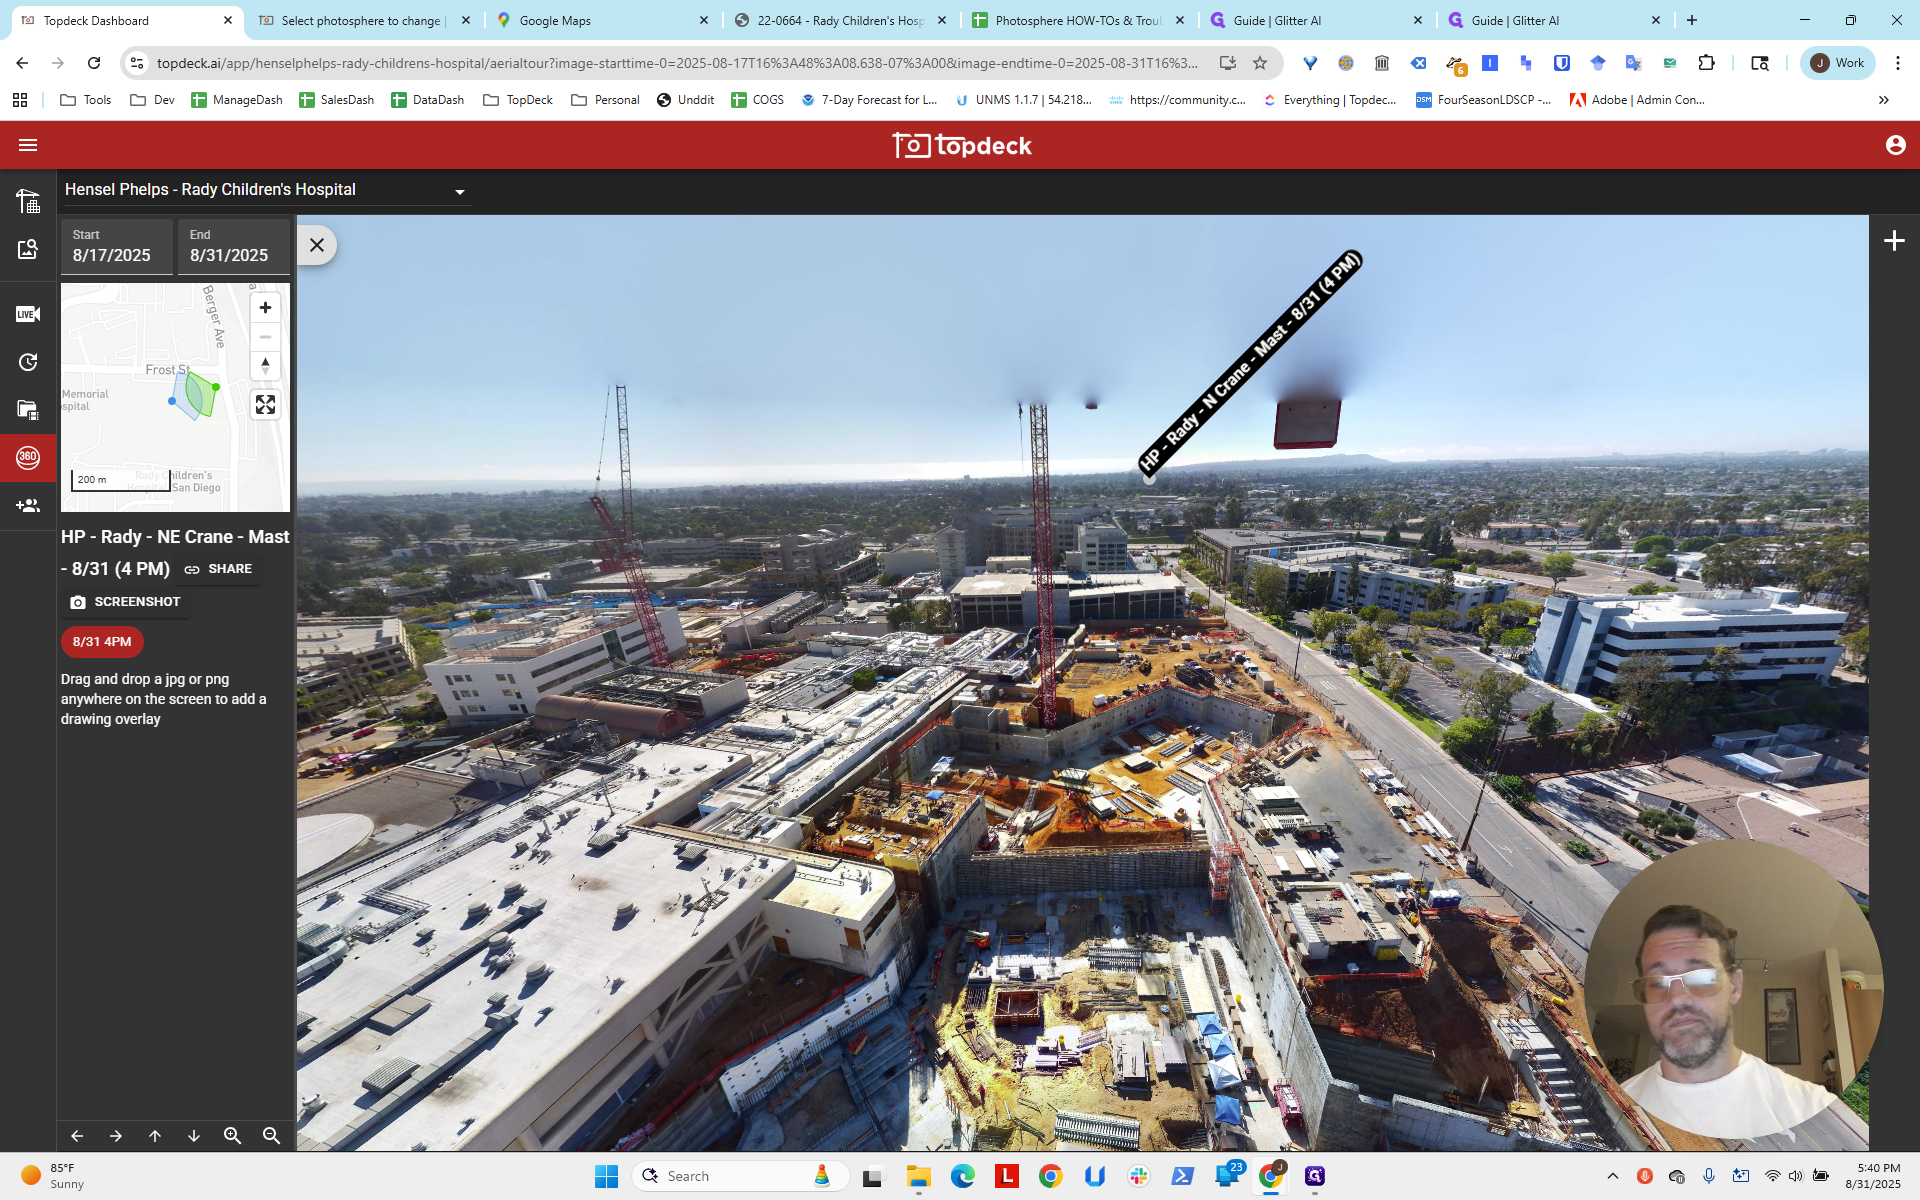
Hello, everyone. We're back for another round of combining dead reckoning with visual placement in the scene, using hotspots and aligning them. We will get the bearing values for each photosphere. Once we have them, we will copy the information to the photosphere template. This ensures all future photospheres are done correctly. First, look at the map to see what the area looks like.
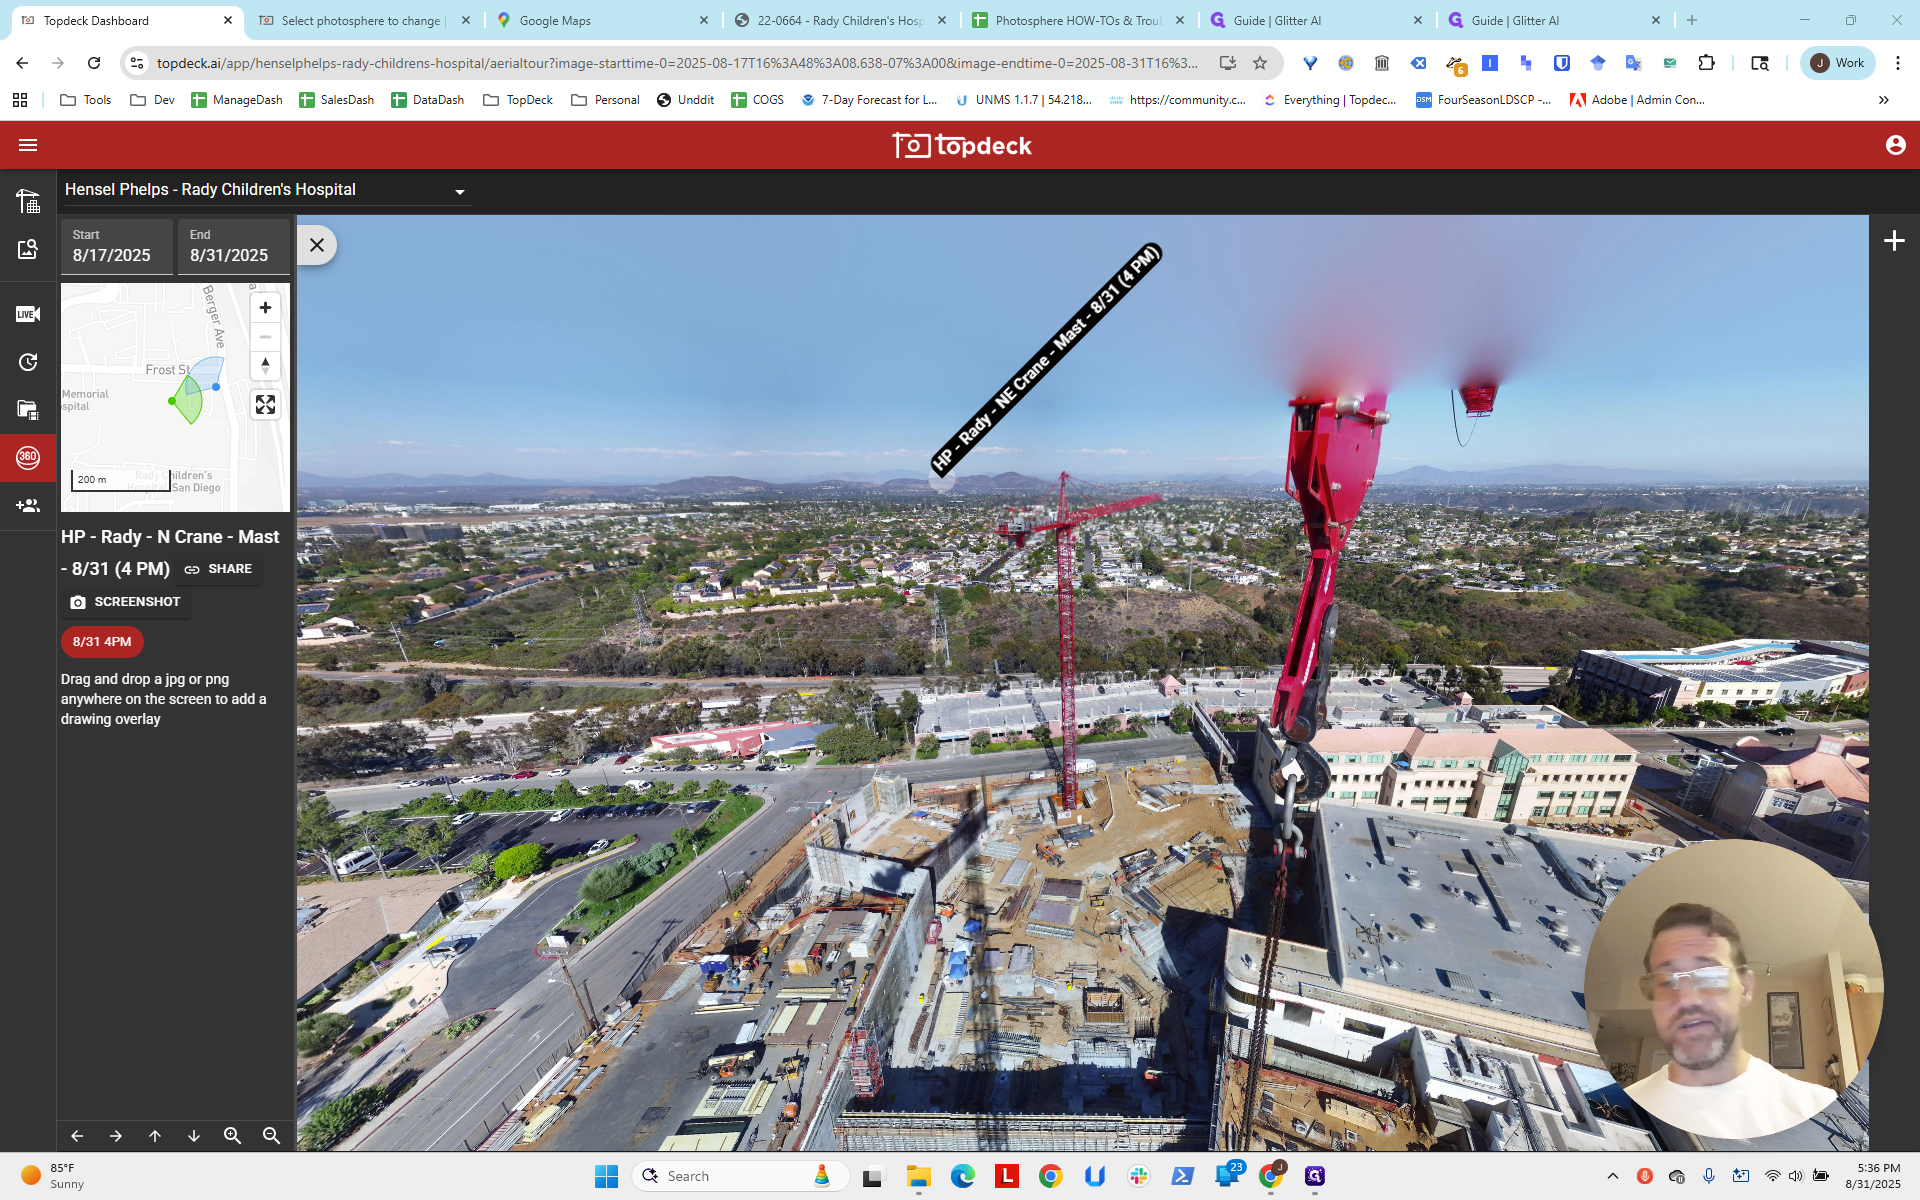
You can see it's slightly misaligned from the crane physically. It's really not that bad. If you look at the map, it might seem off by a little. For example, if it was supposed to be pointing in a certain direction...

Hold on. Let me click and drag a bit.

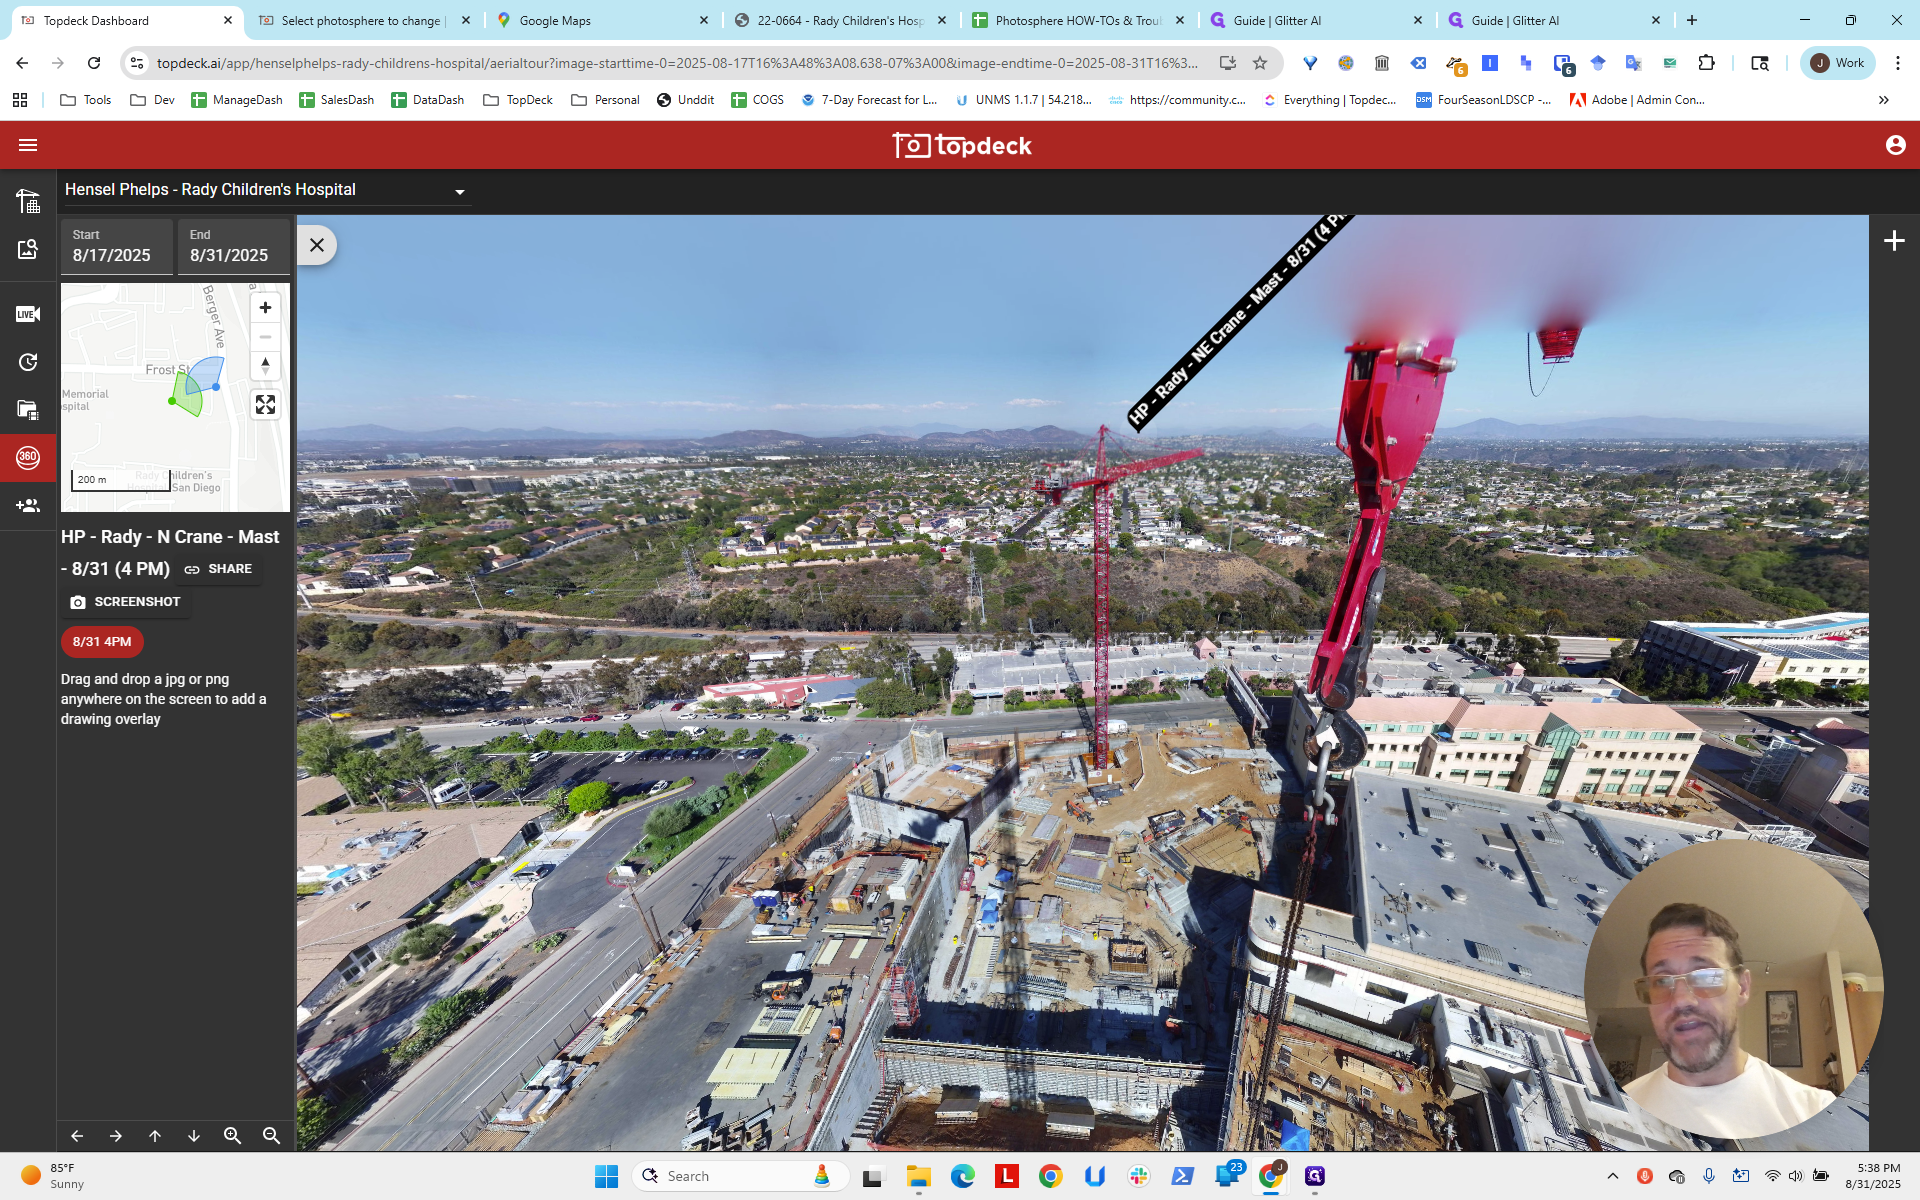
If this should be pointing at three o'clock on a clock, it's probably only off by about an hour, or roughly 15 degrees. I'm going to set this to negative 15 degrees. Let's see how that looks.
This is from the north mast. Set the bearing to negative 15.

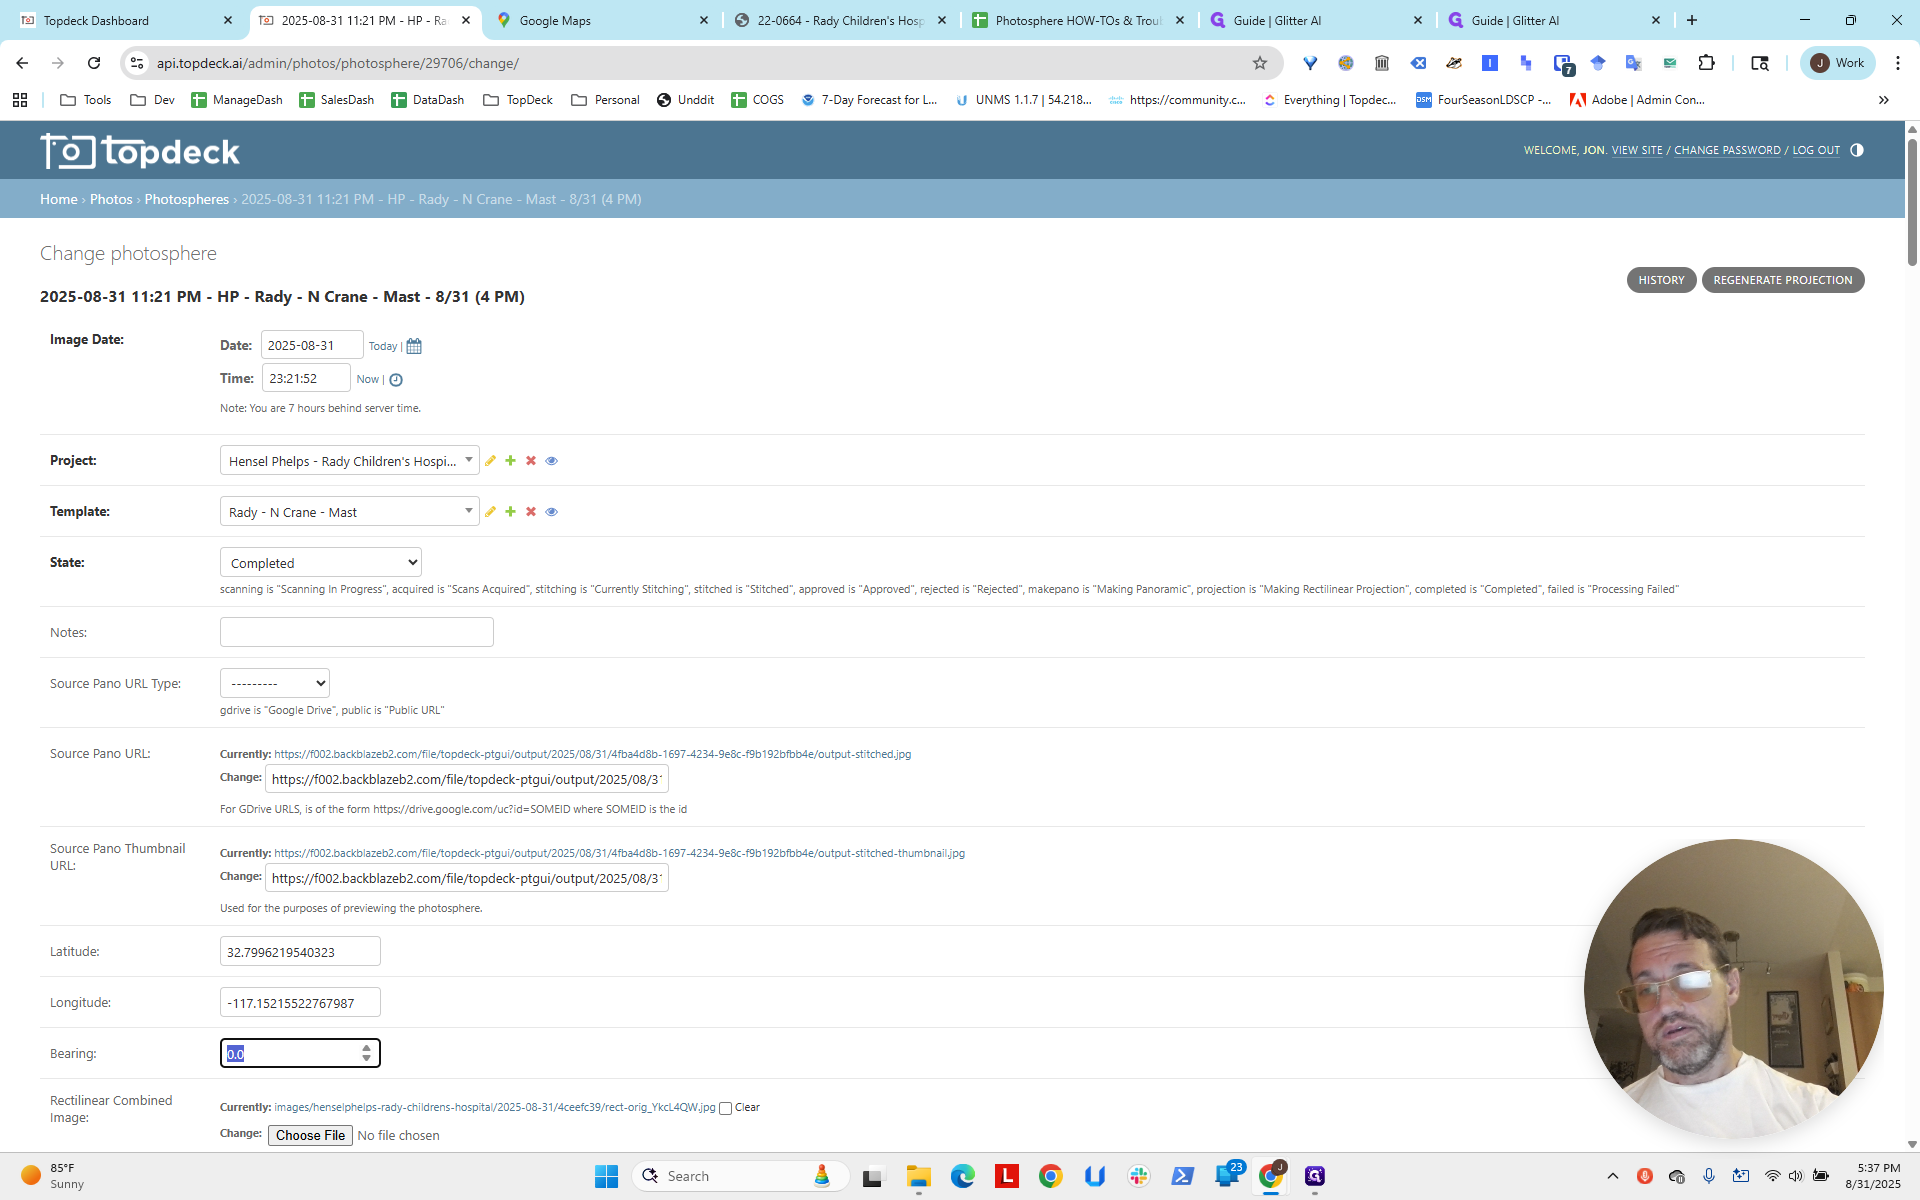
Next, we will go down and save.

I'm going to go back in and reload.


What does that look like?

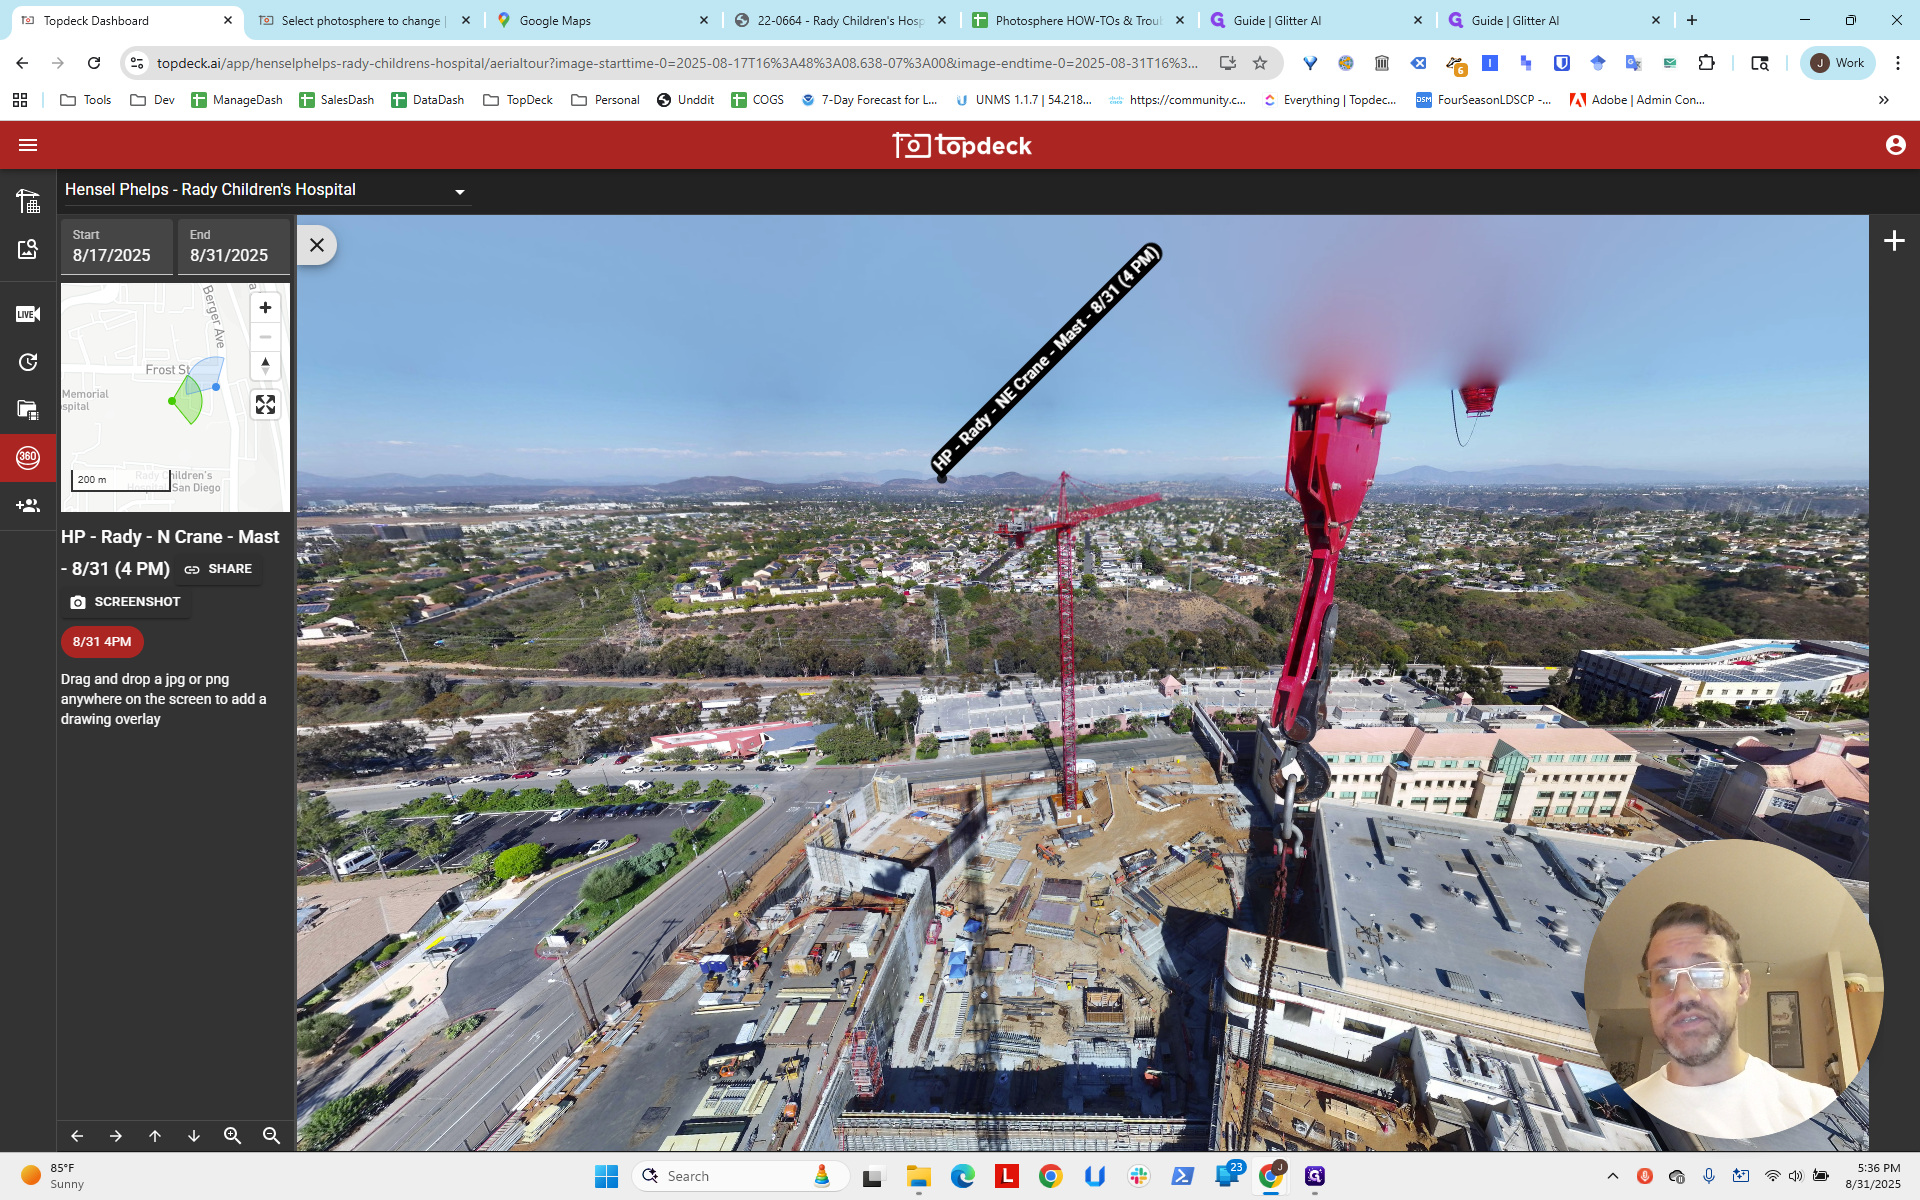
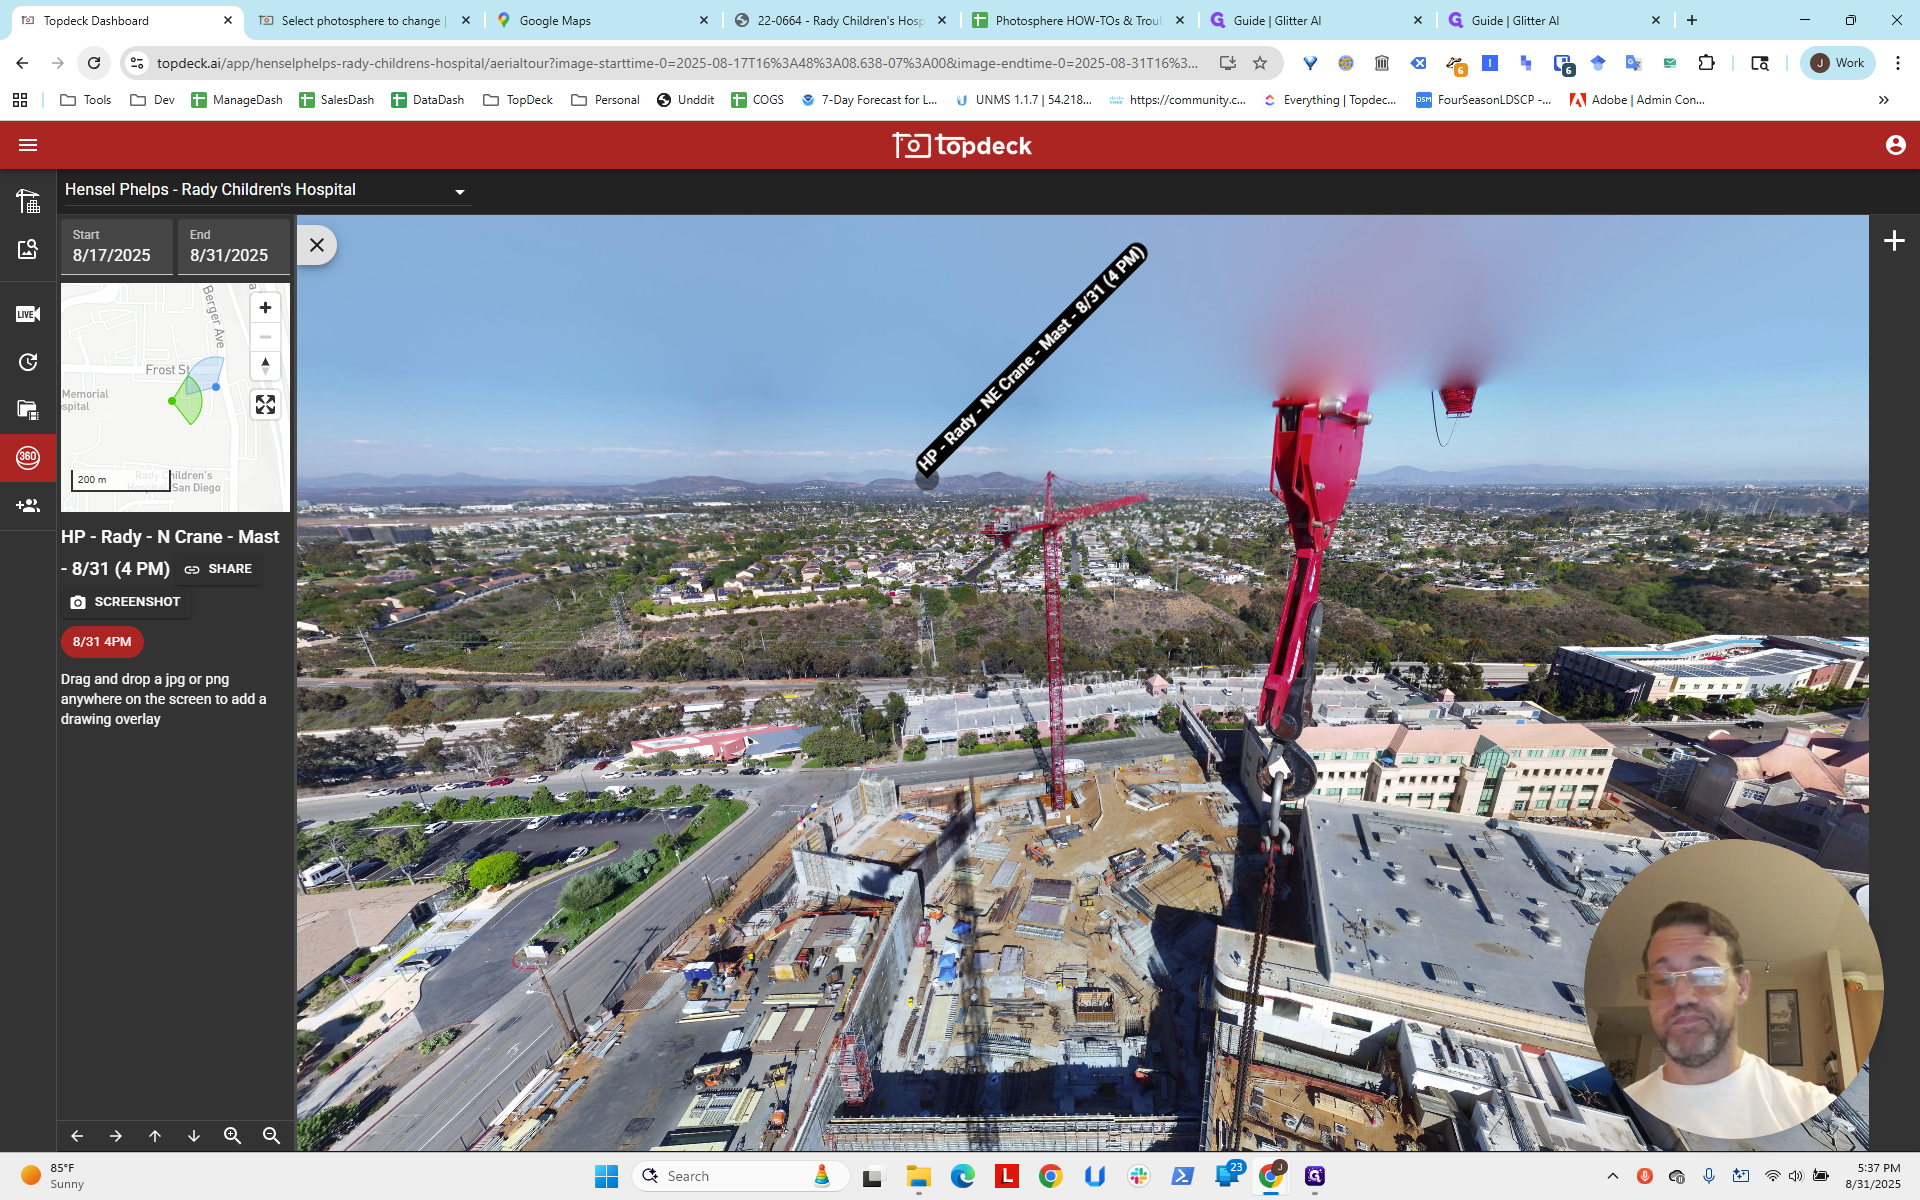
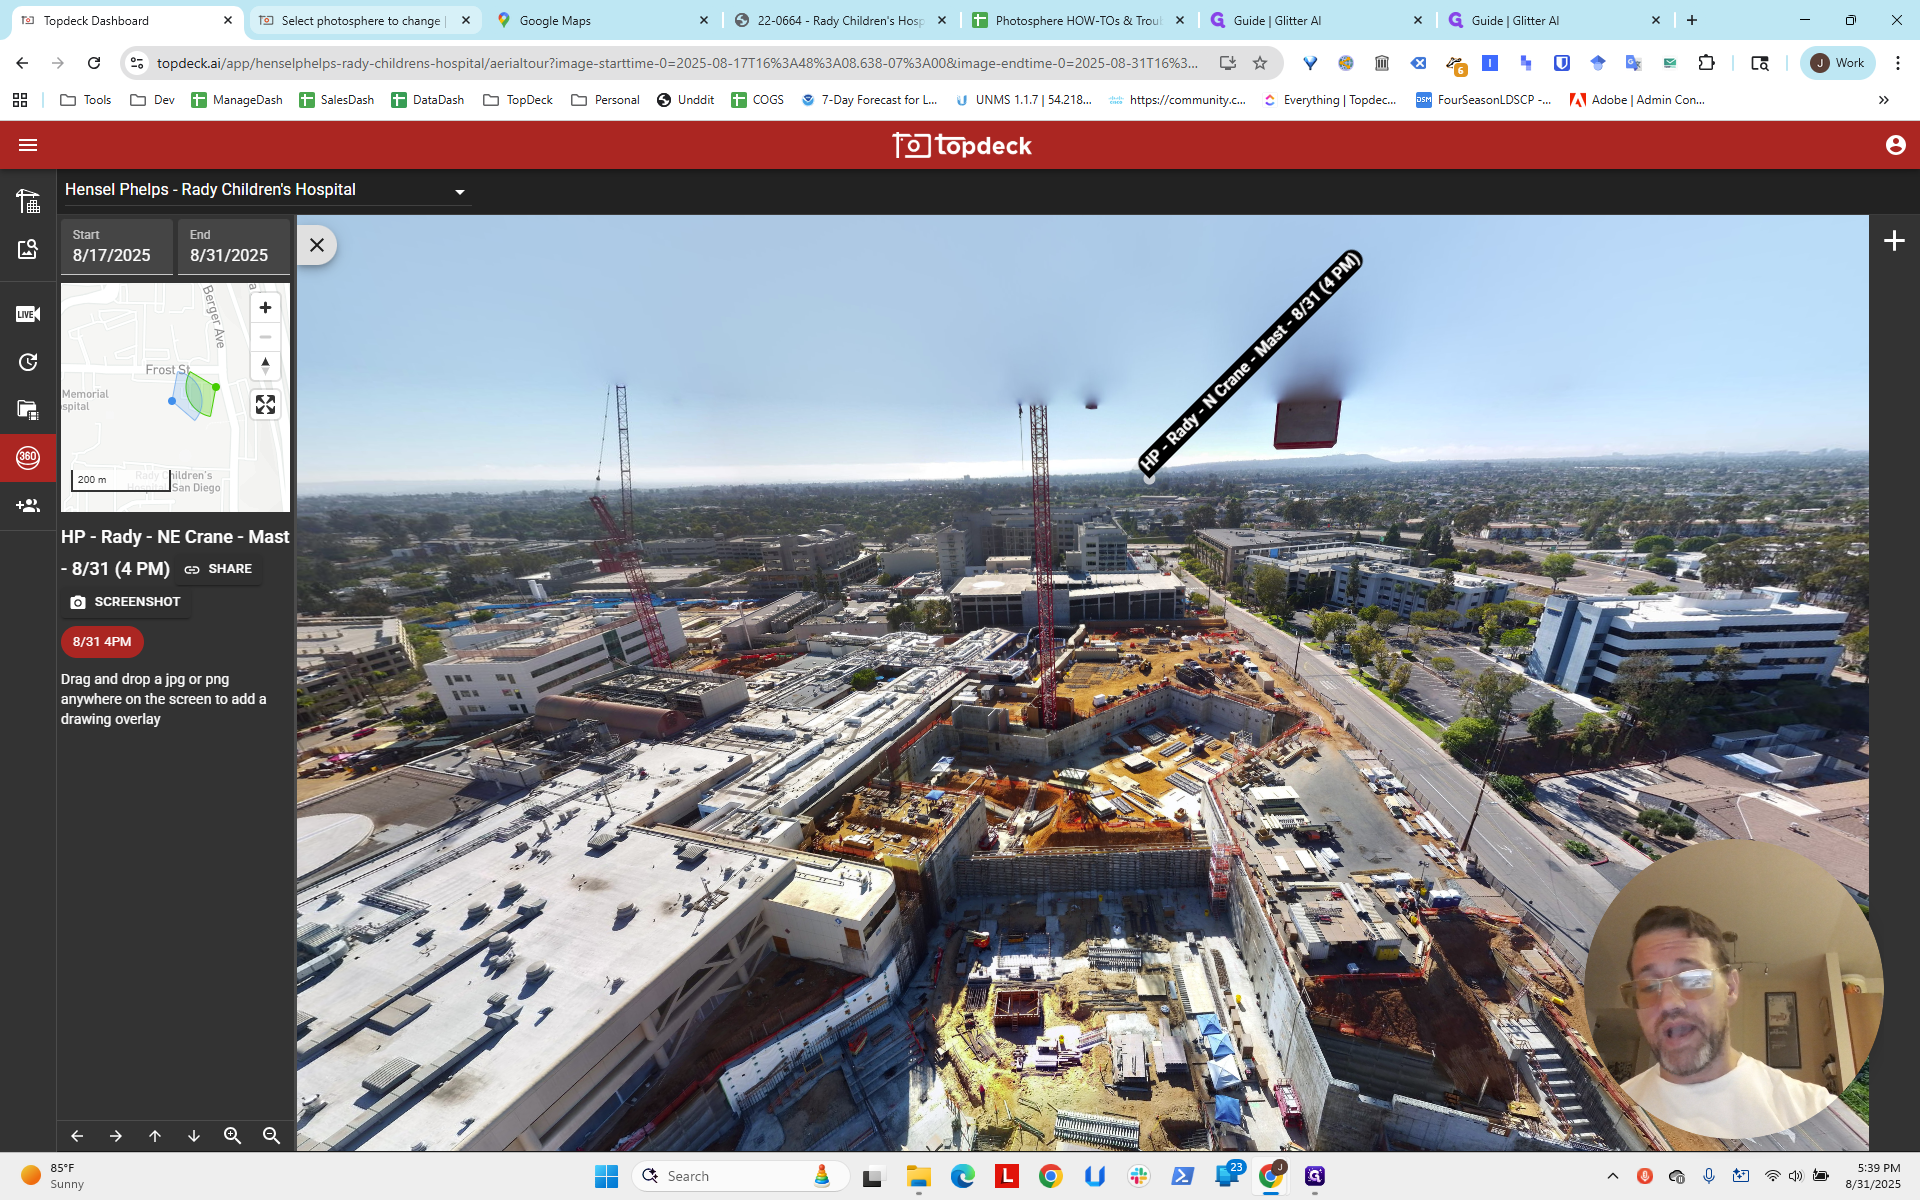
That's pretty good, right? Now, the hotspot is directly above the other crane. It roughly corresponds to what we would expect. It's pointing slightly to the northeast. Looking at Google Maps to determine what is directly east or north can provide useful dead reckoning clues.
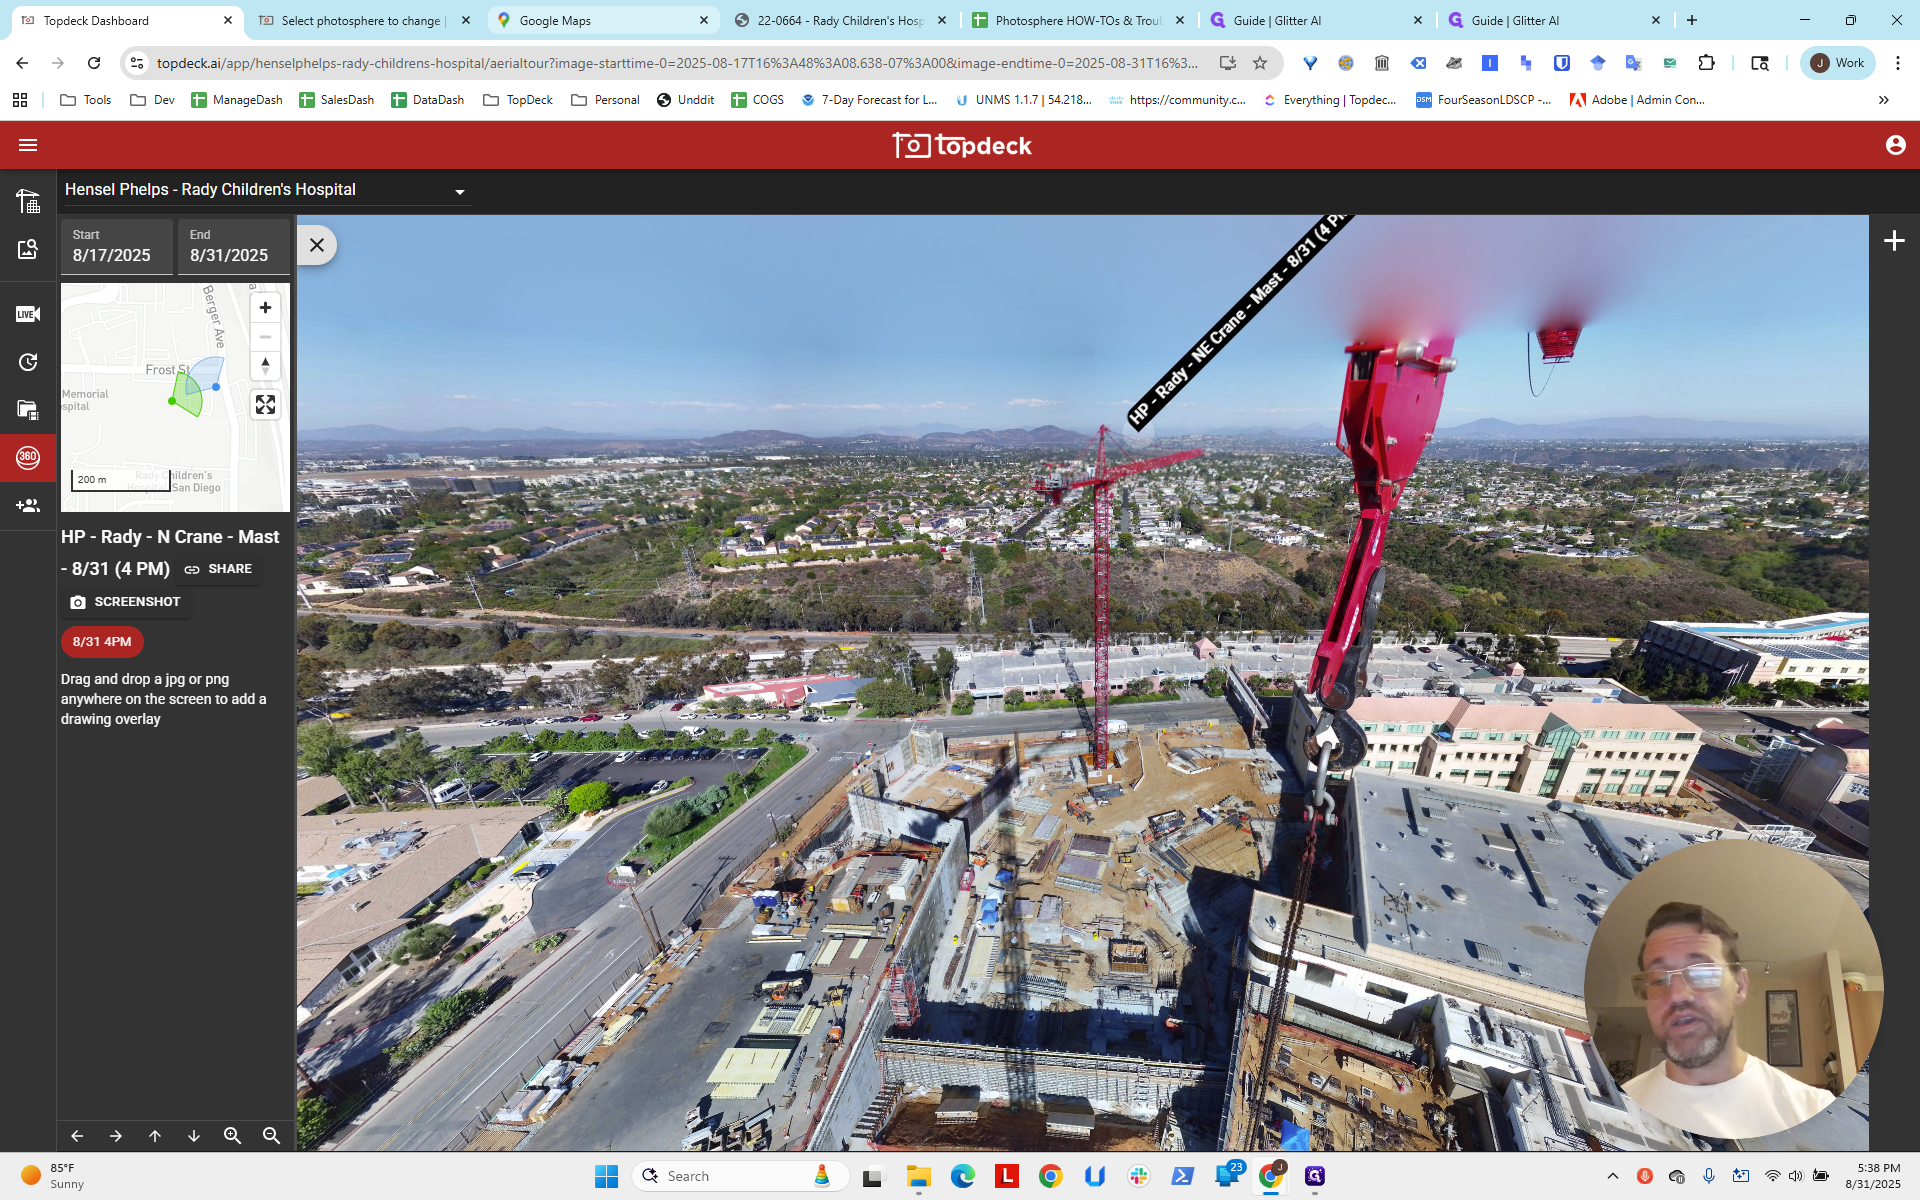
I'm going to choose this one since the hotspot is lined up.
Let's move to the other crane.
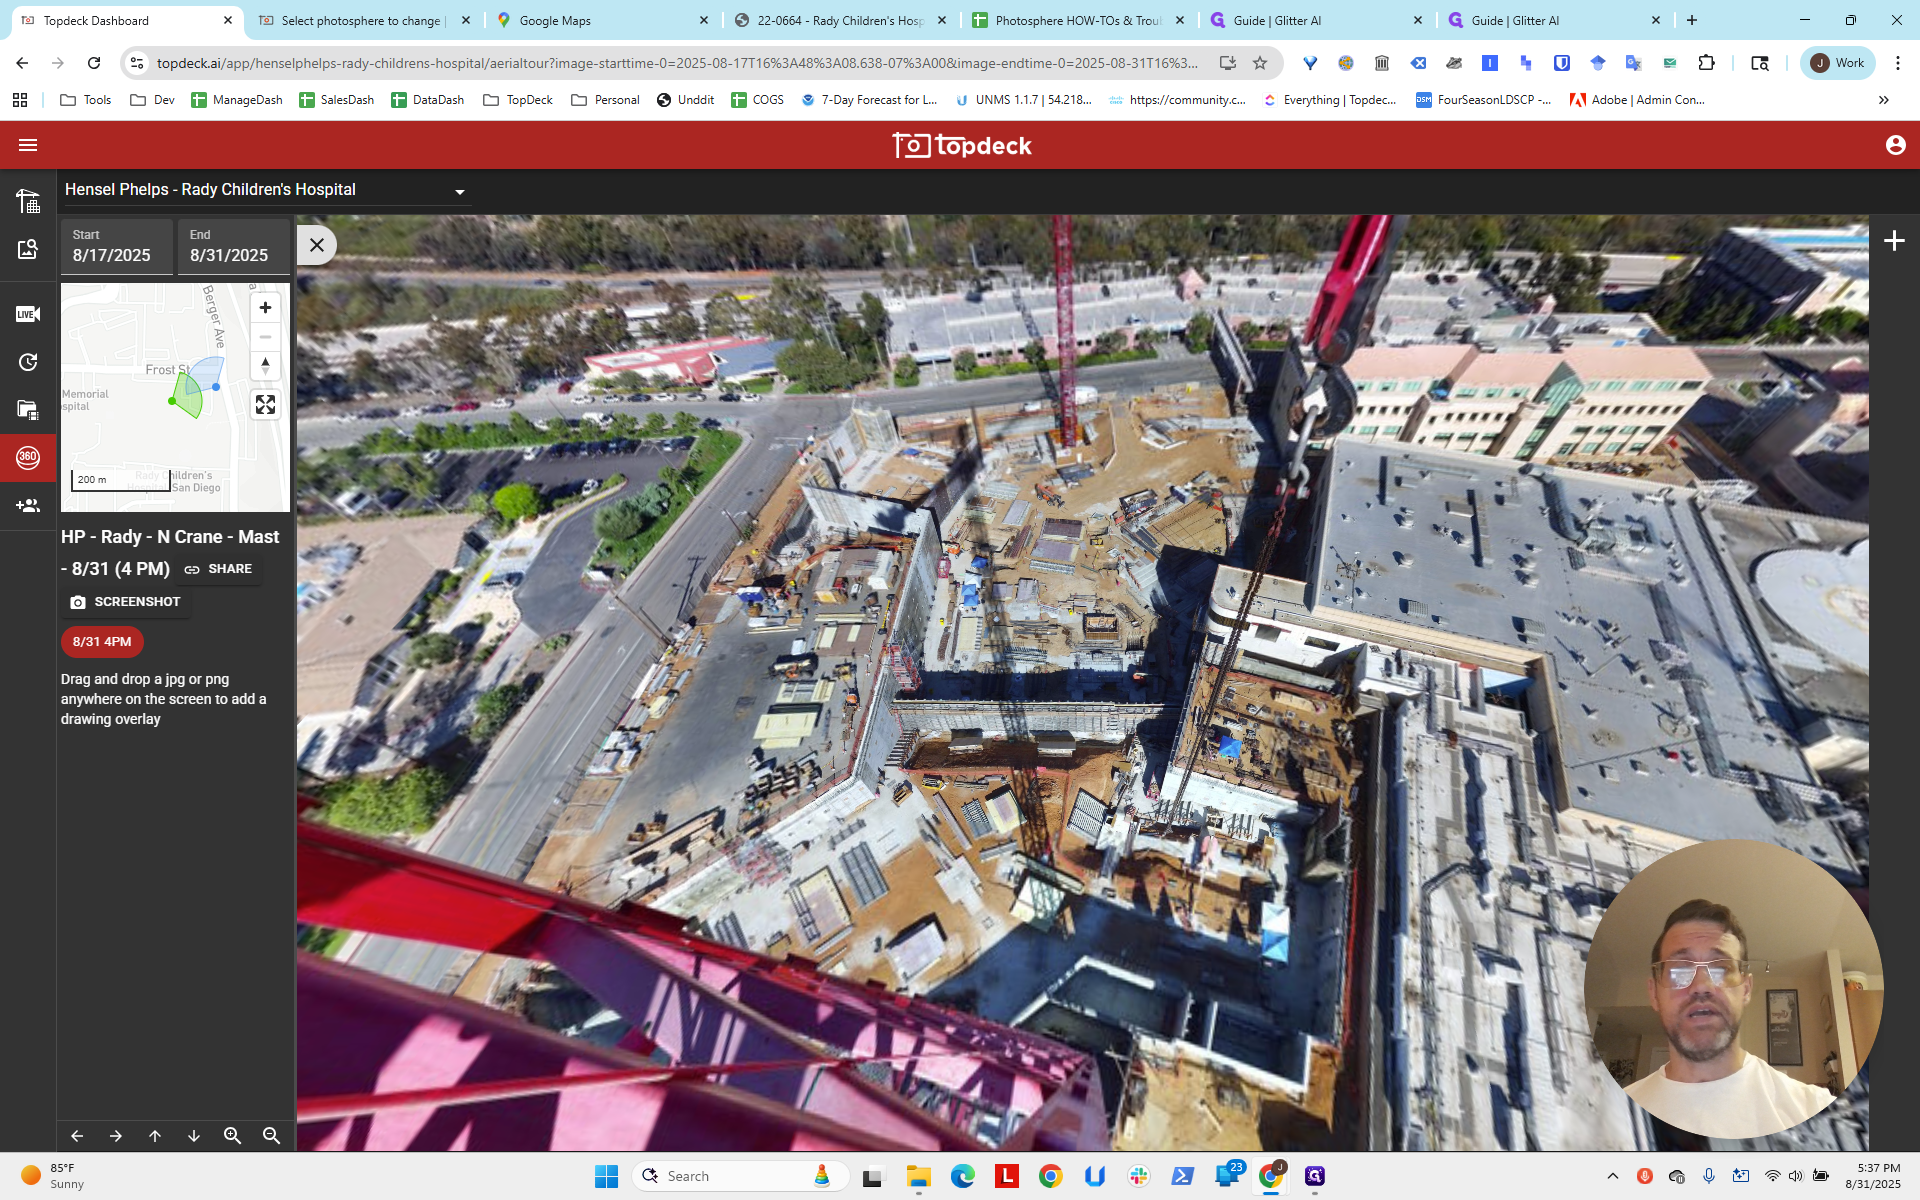
We can see that this one is not as good.
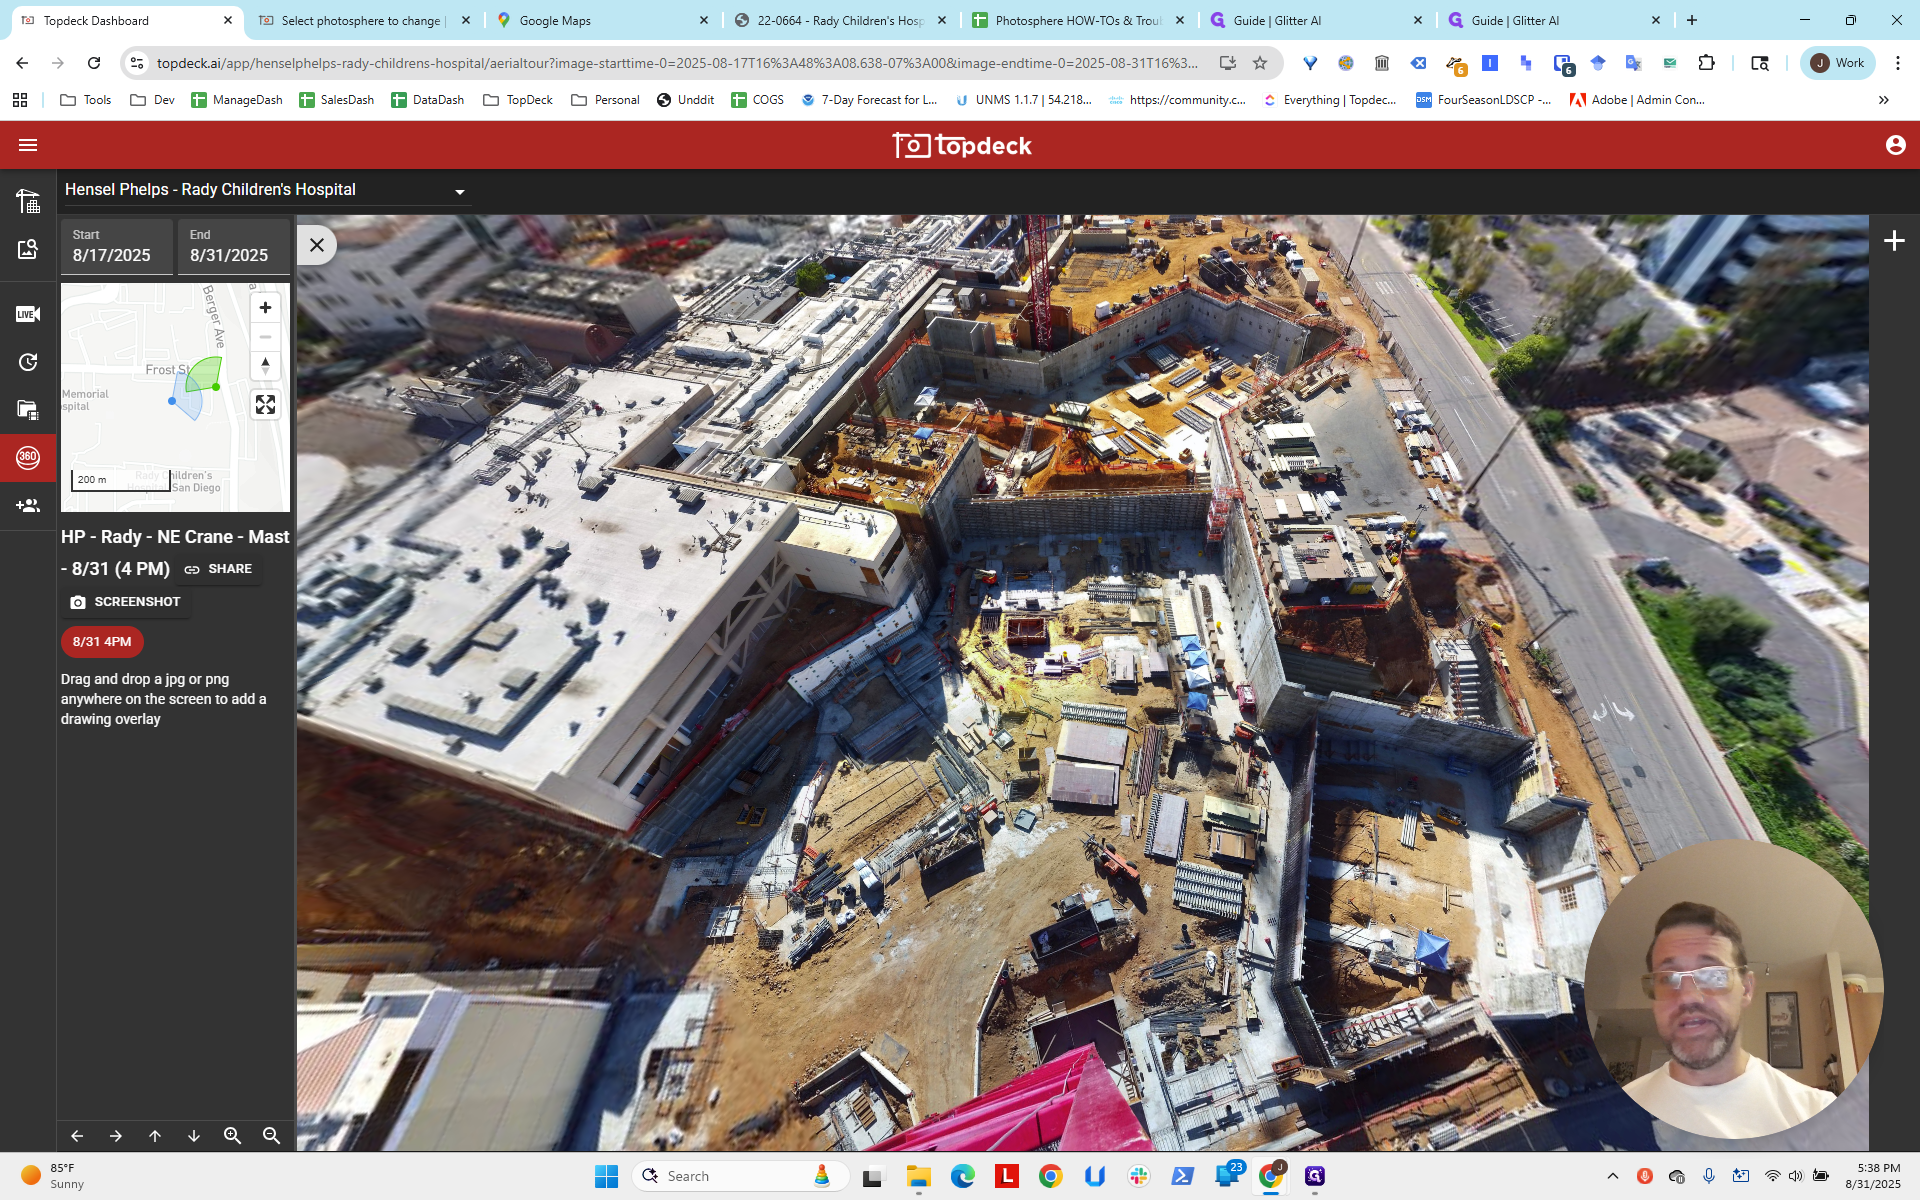
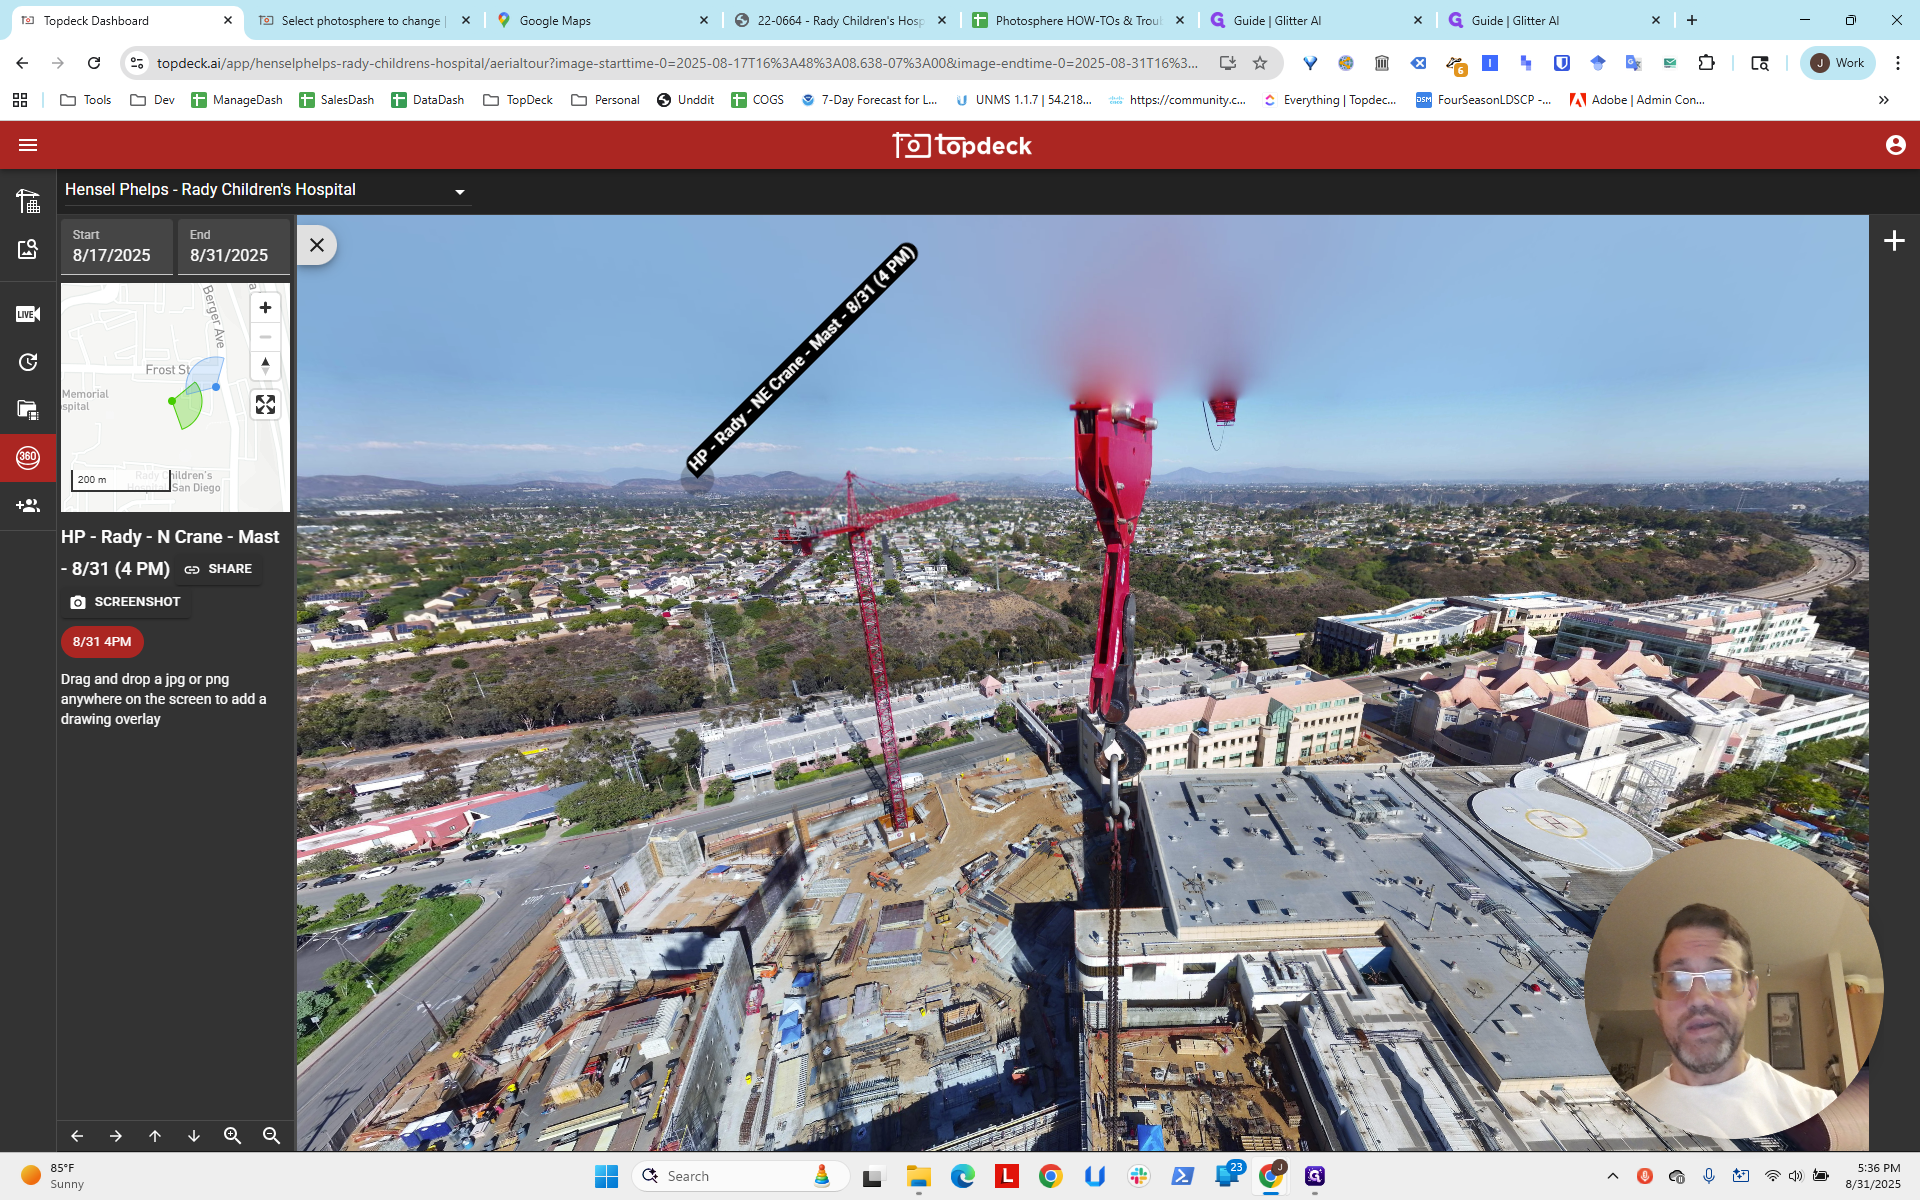
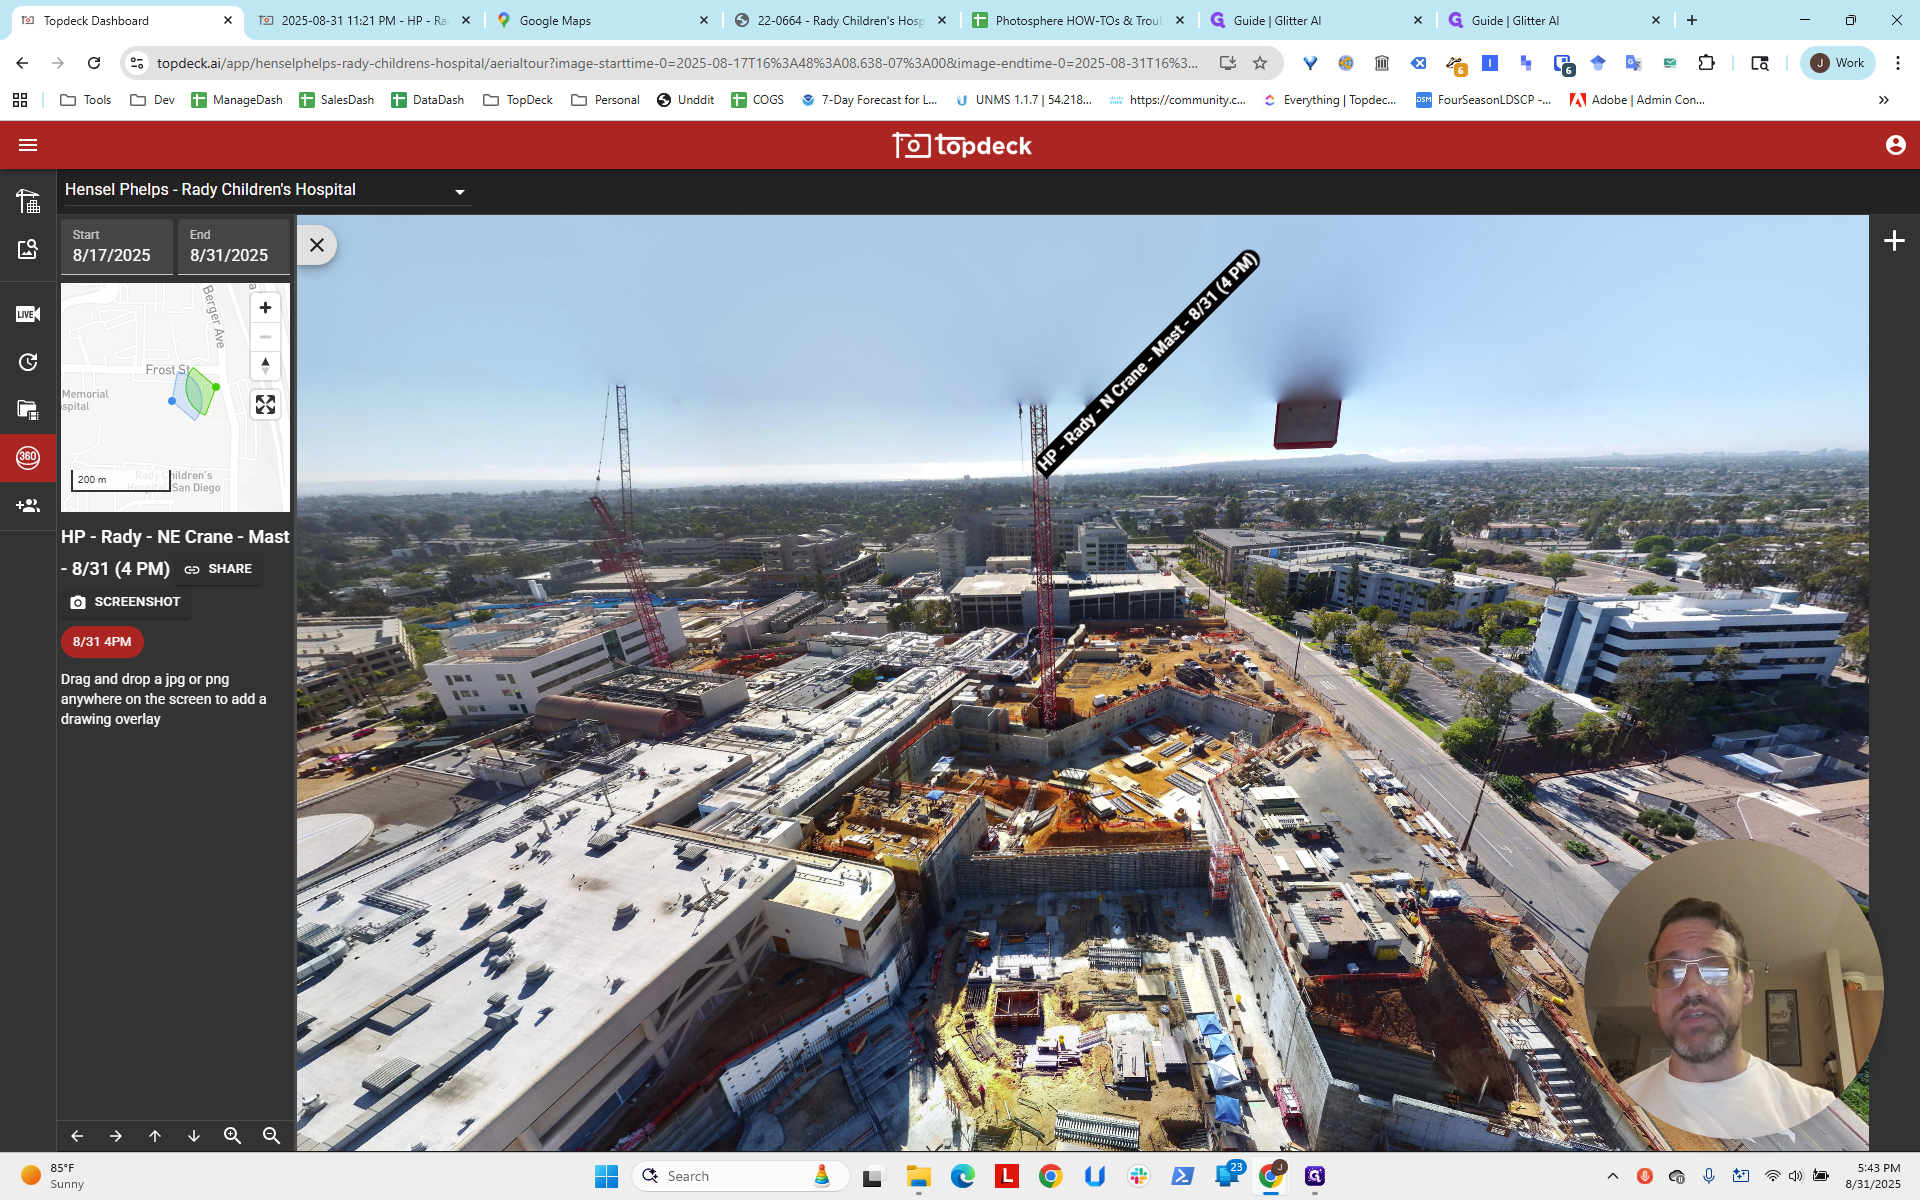
We can't see the hotspot because it's too far away. What's going on? Let's point directly north.

We can see that if we're pointing straight north, we're off by about two hours on a clock.


We are currently pointing to two, maybe slightly more, but we should be pointing to 12. This means we have a negative value since we're moving counterclockwise, around 70 degrees off.
I will select the northeast crane. That's the one we were looking at.
I'm going to enter negative 70.

Go down to save.
Then I'll reload the page.
It will default to the other one because that one was done later.
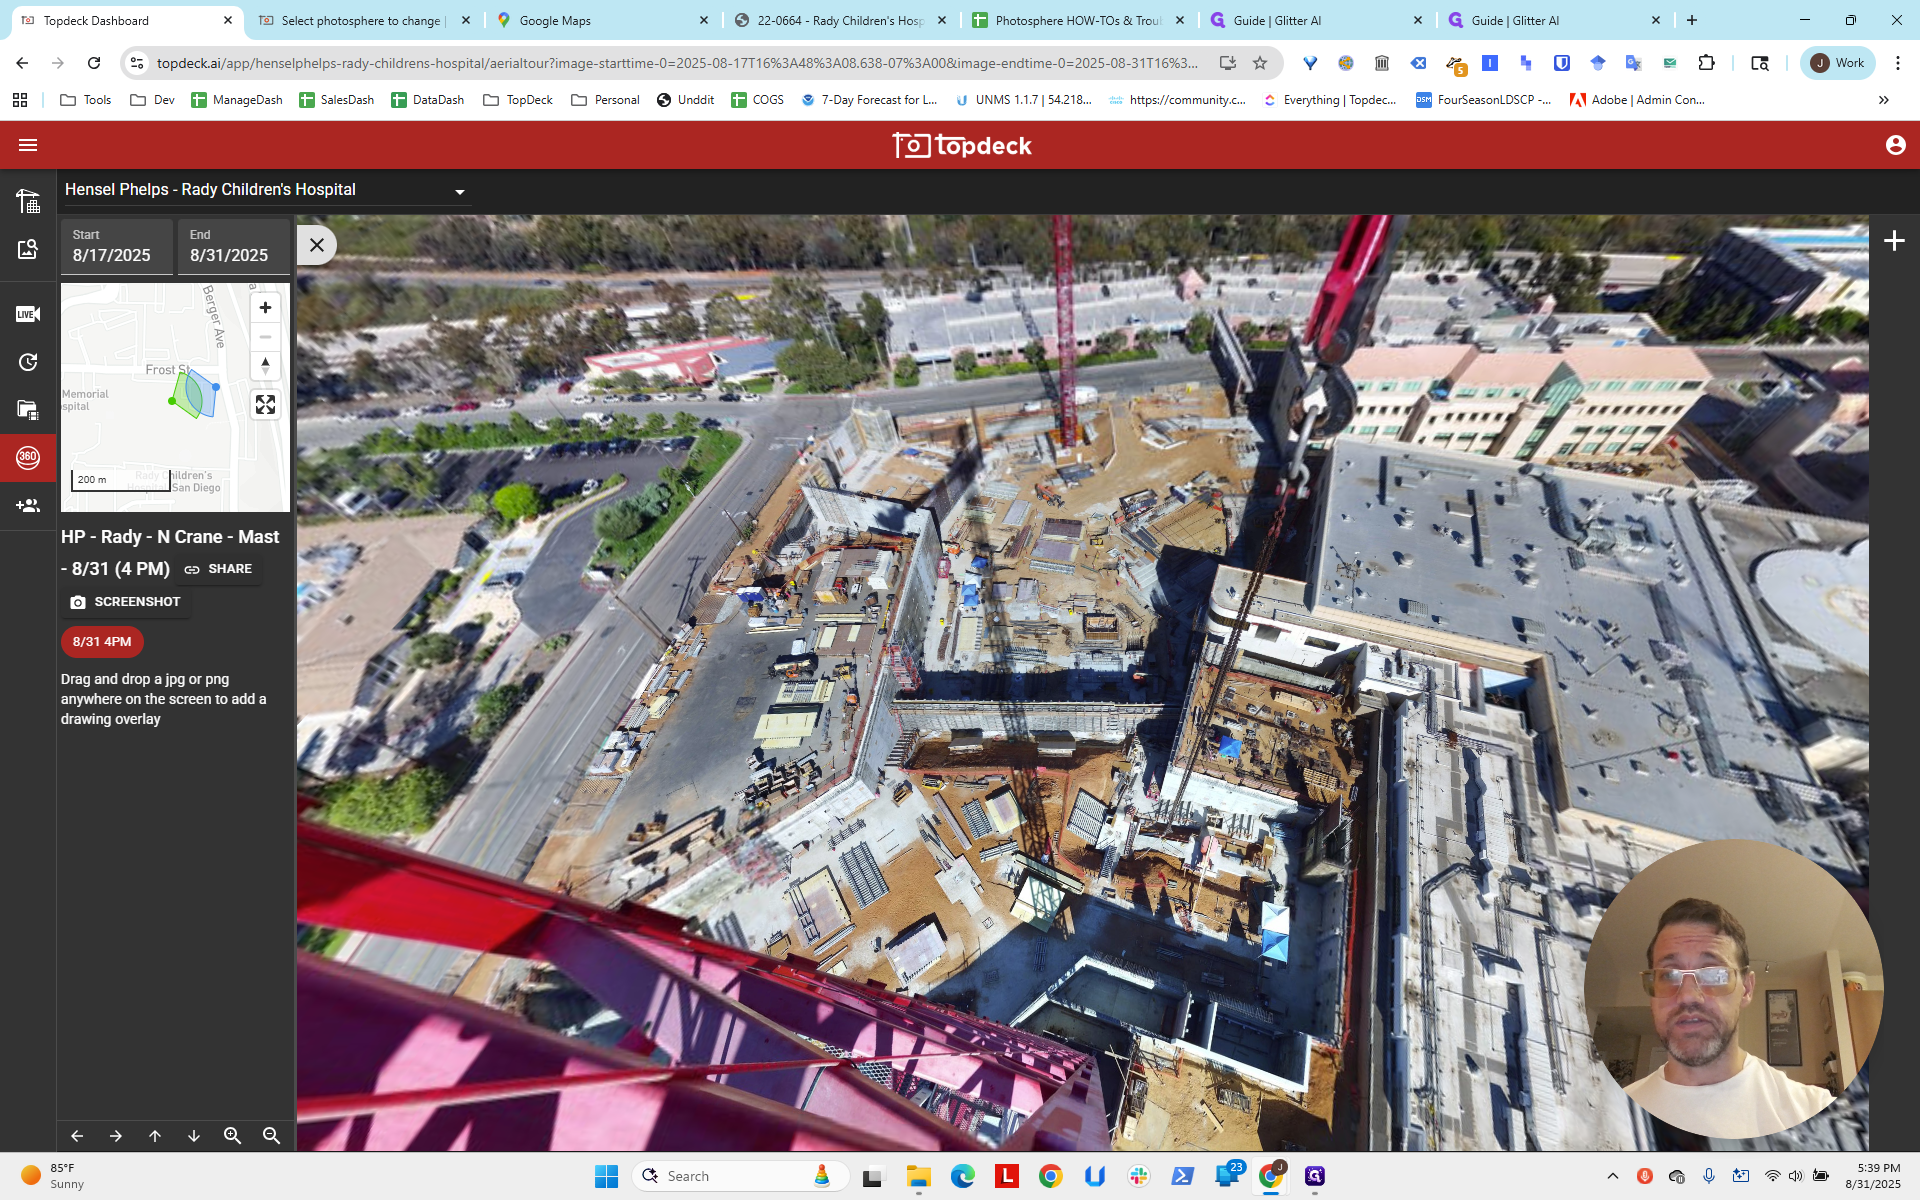
But if we click here, okay.

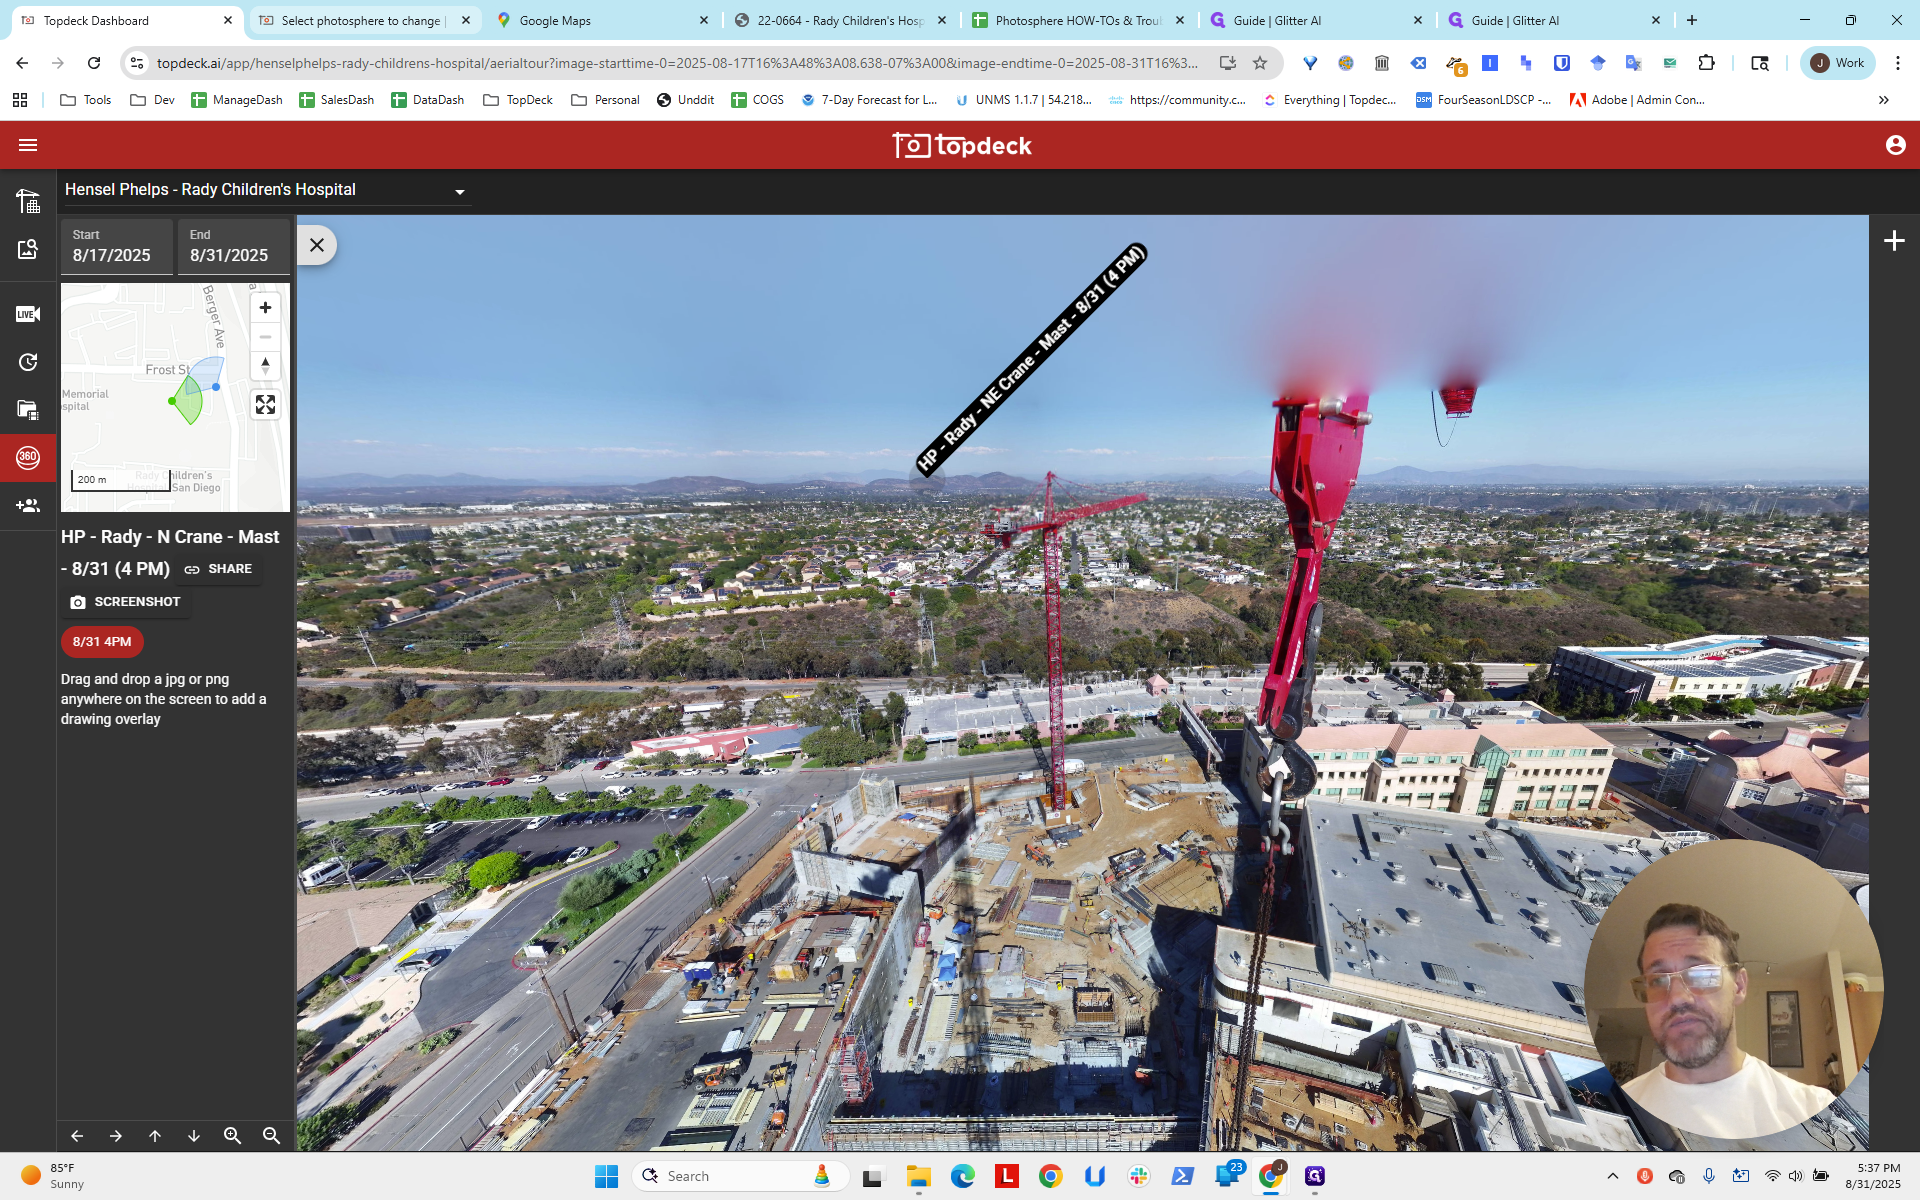
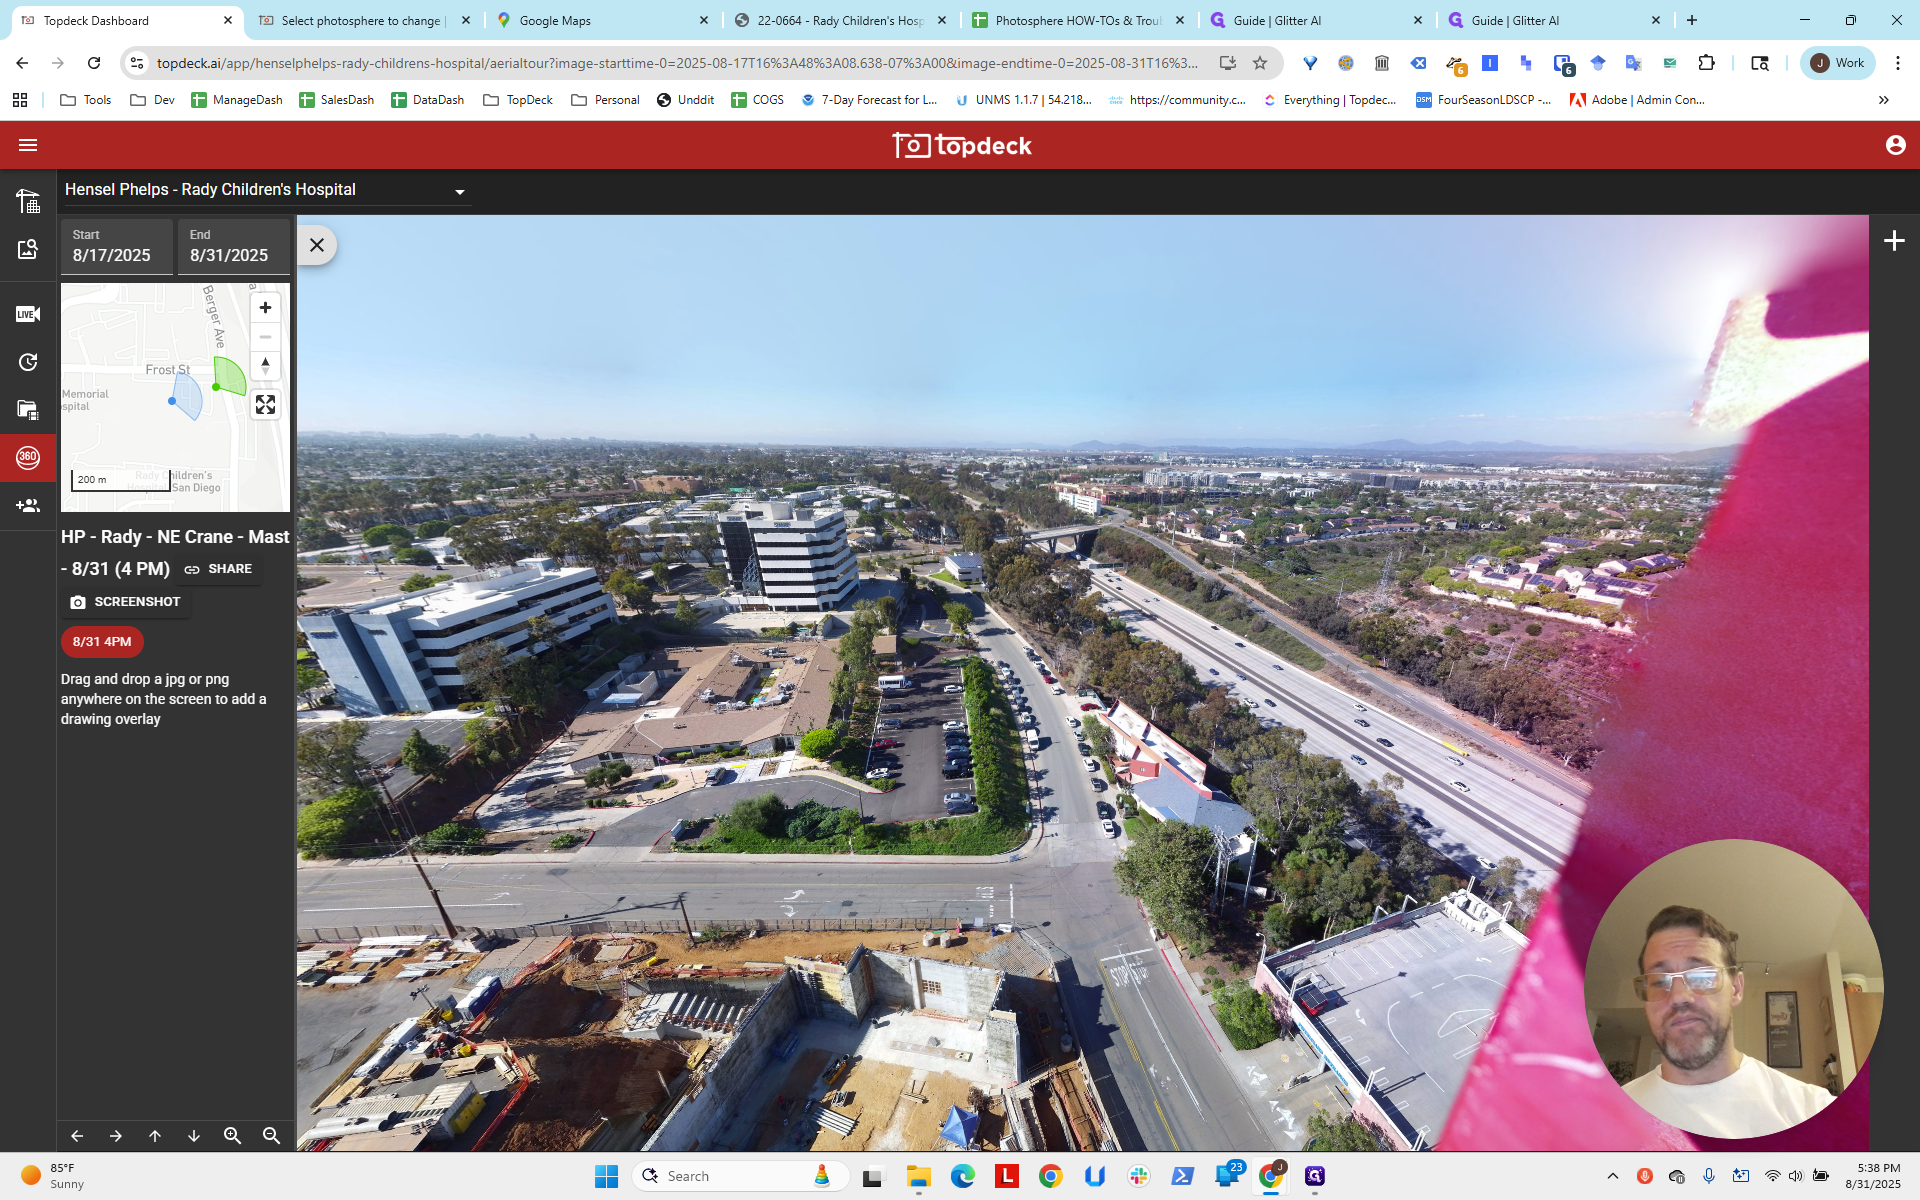
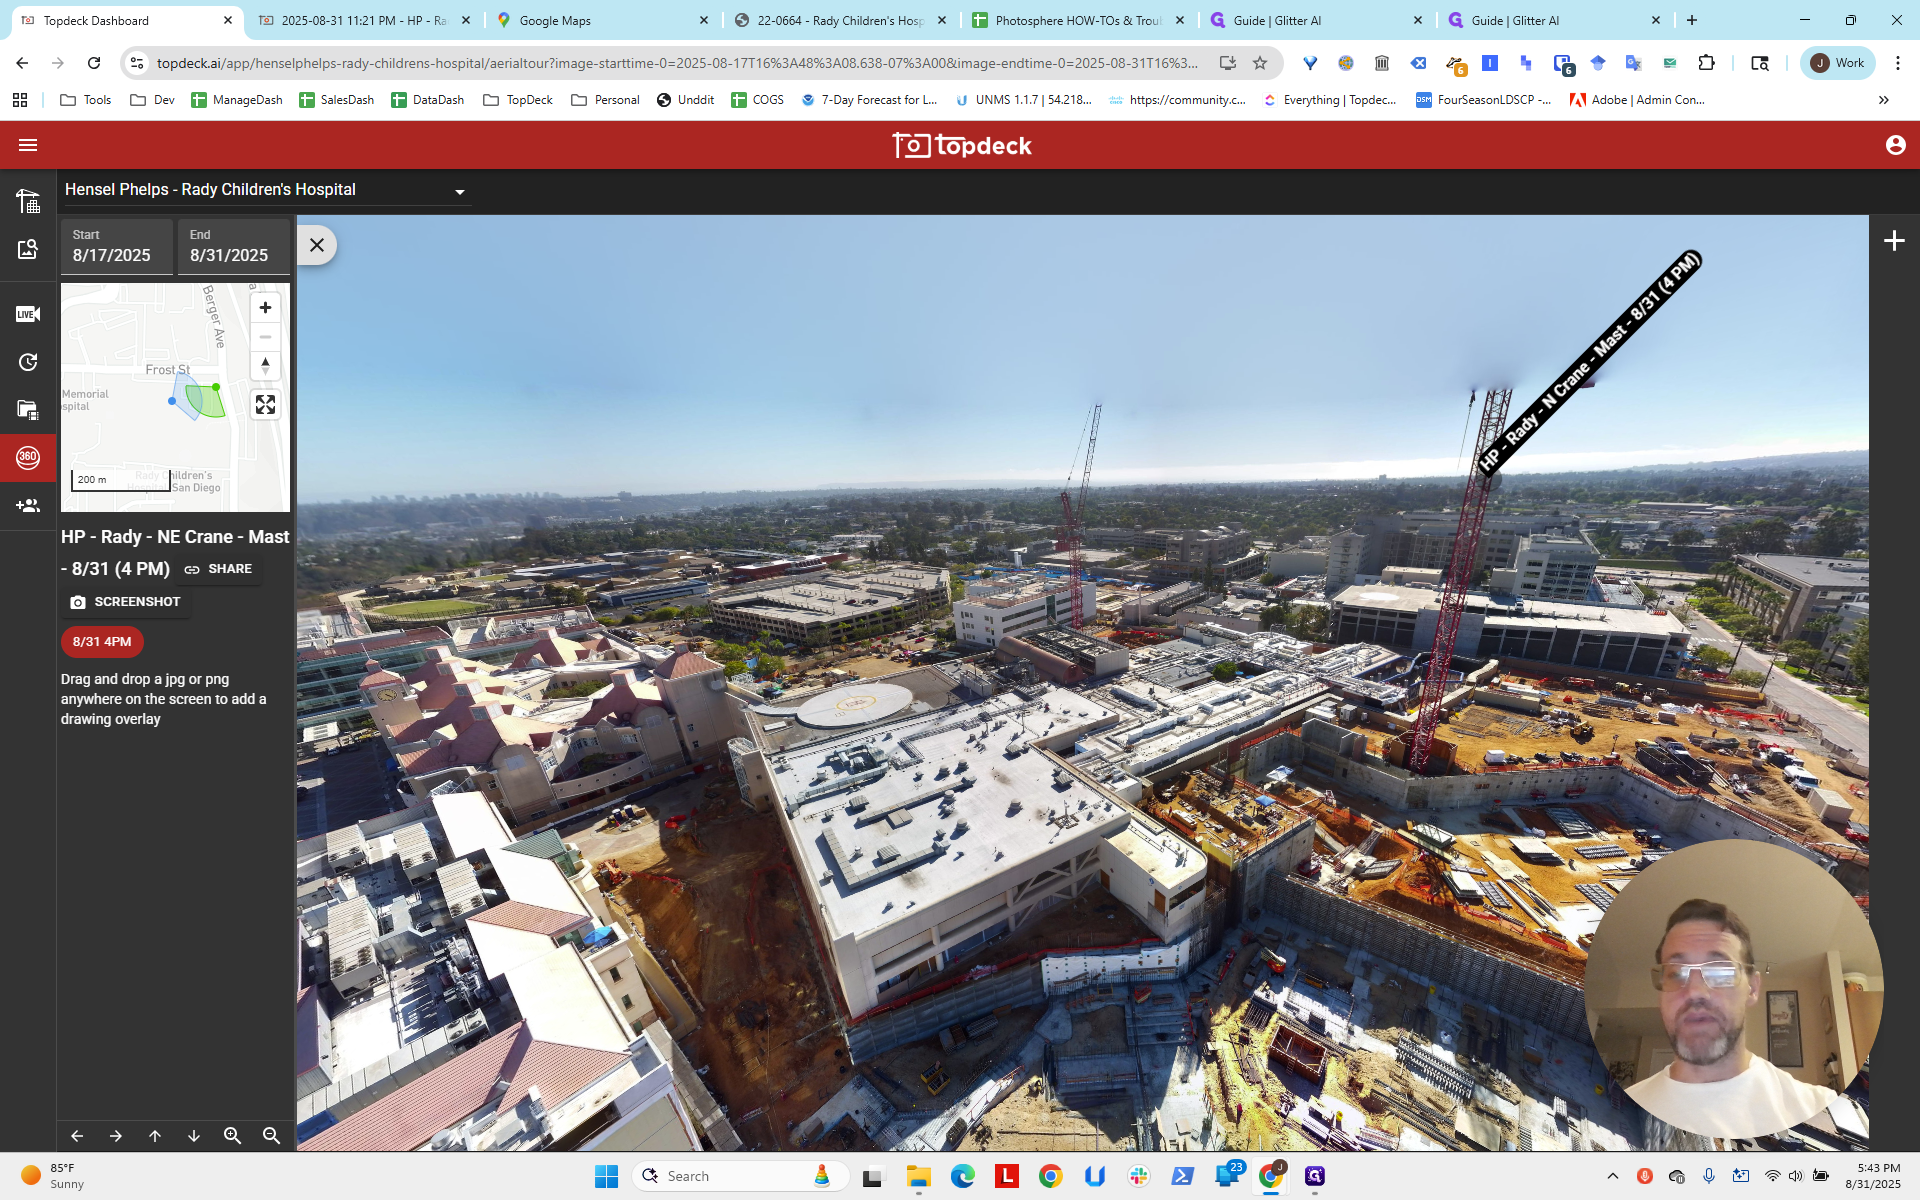
That's pretty good. We could probably refine this a bit more. Let's go back and, instead of negative 70, use negative 60.
See what that looks like.


Okay.


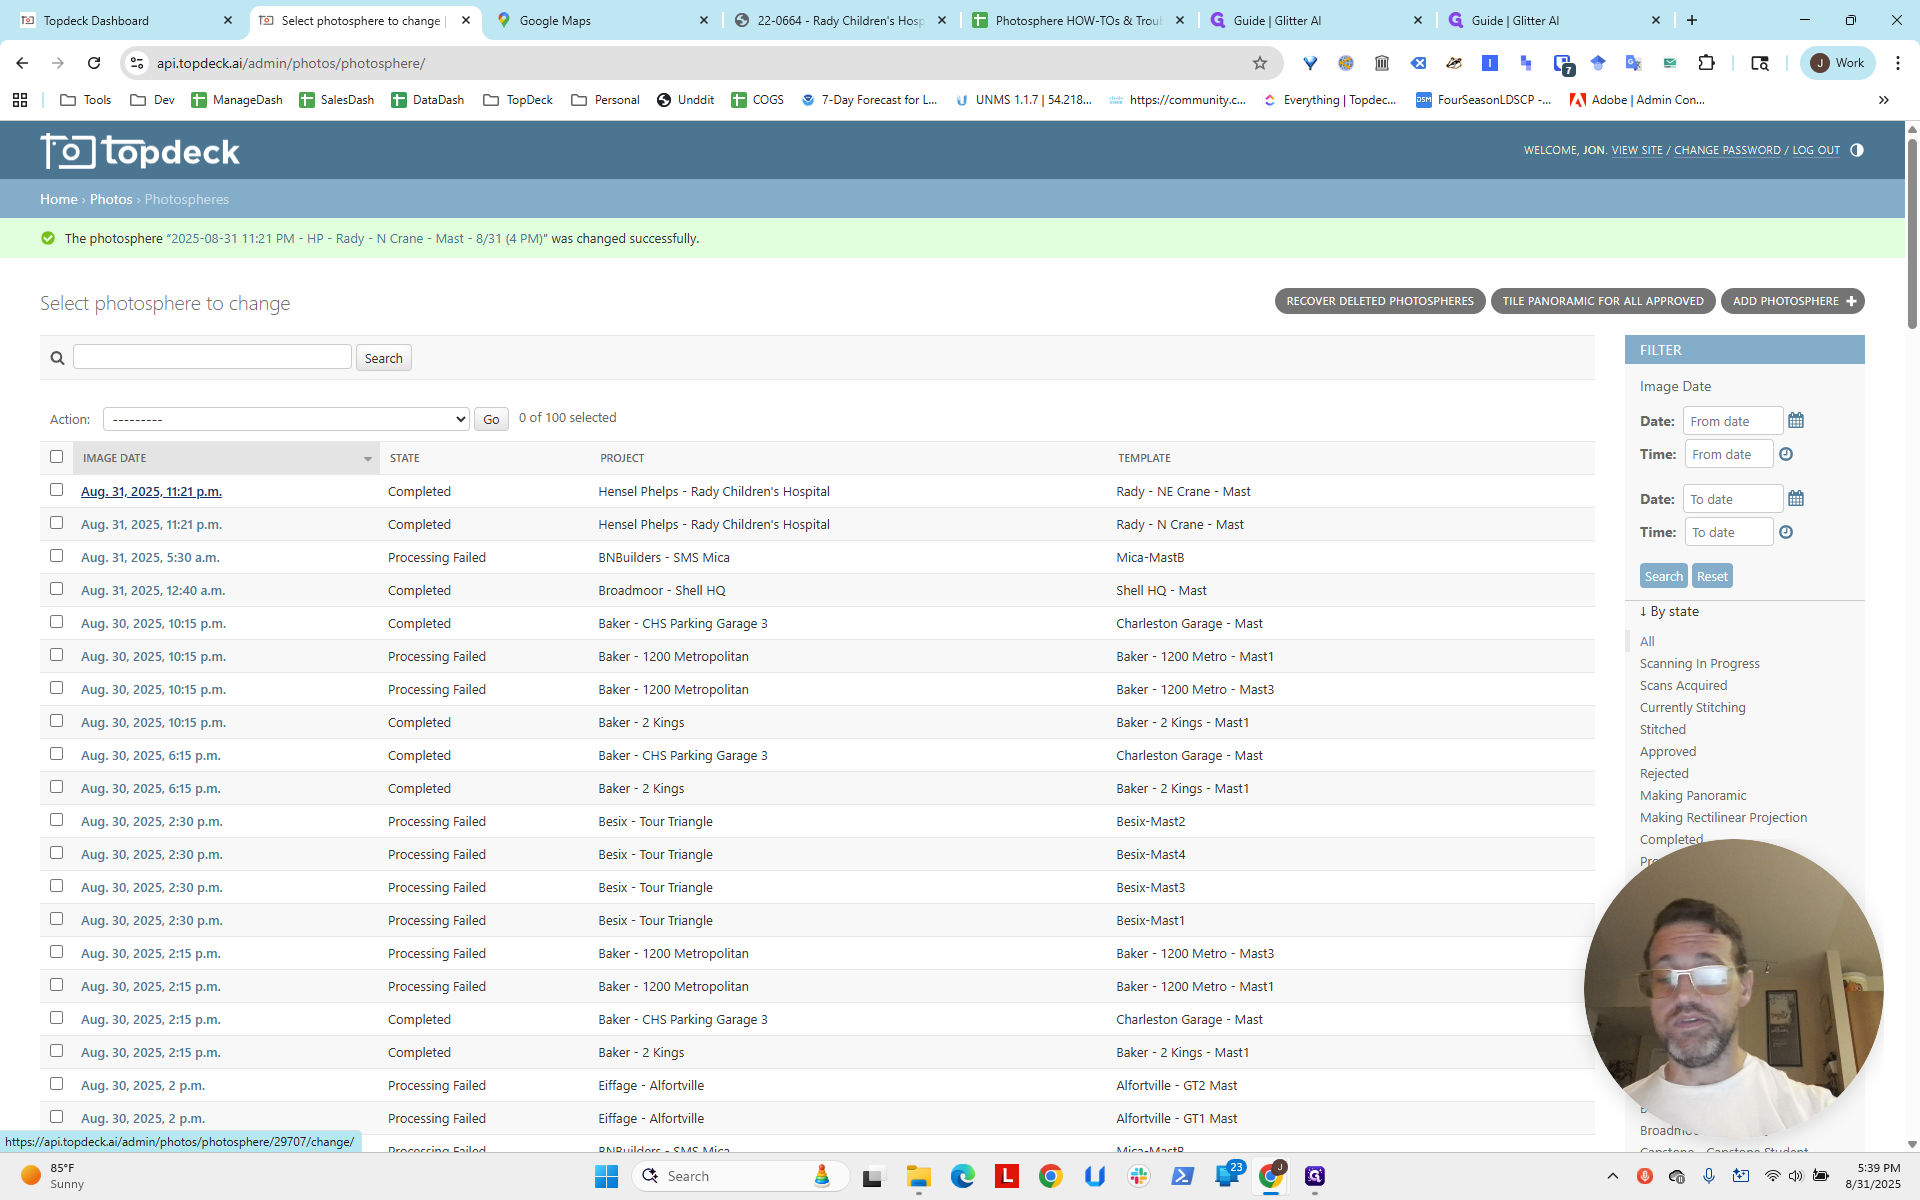
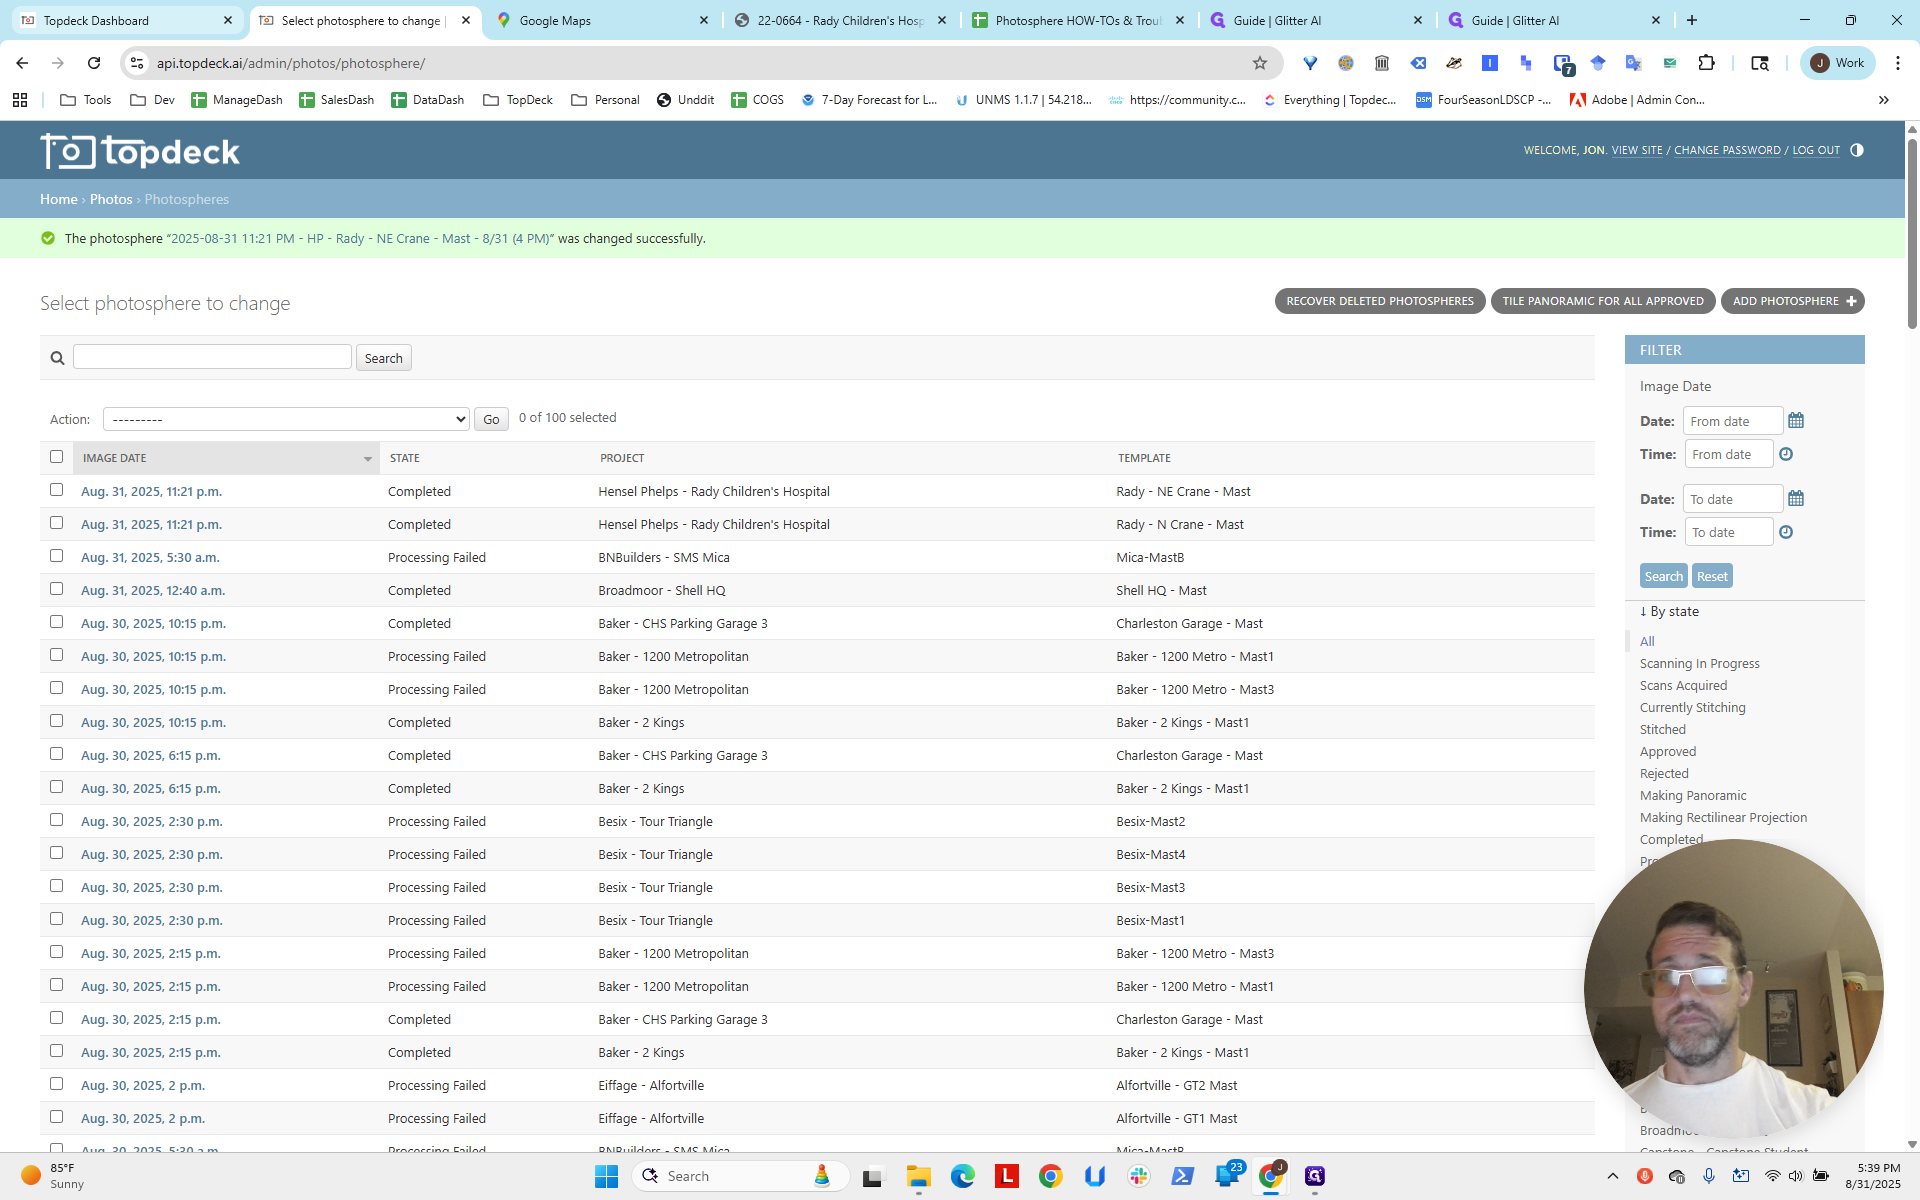
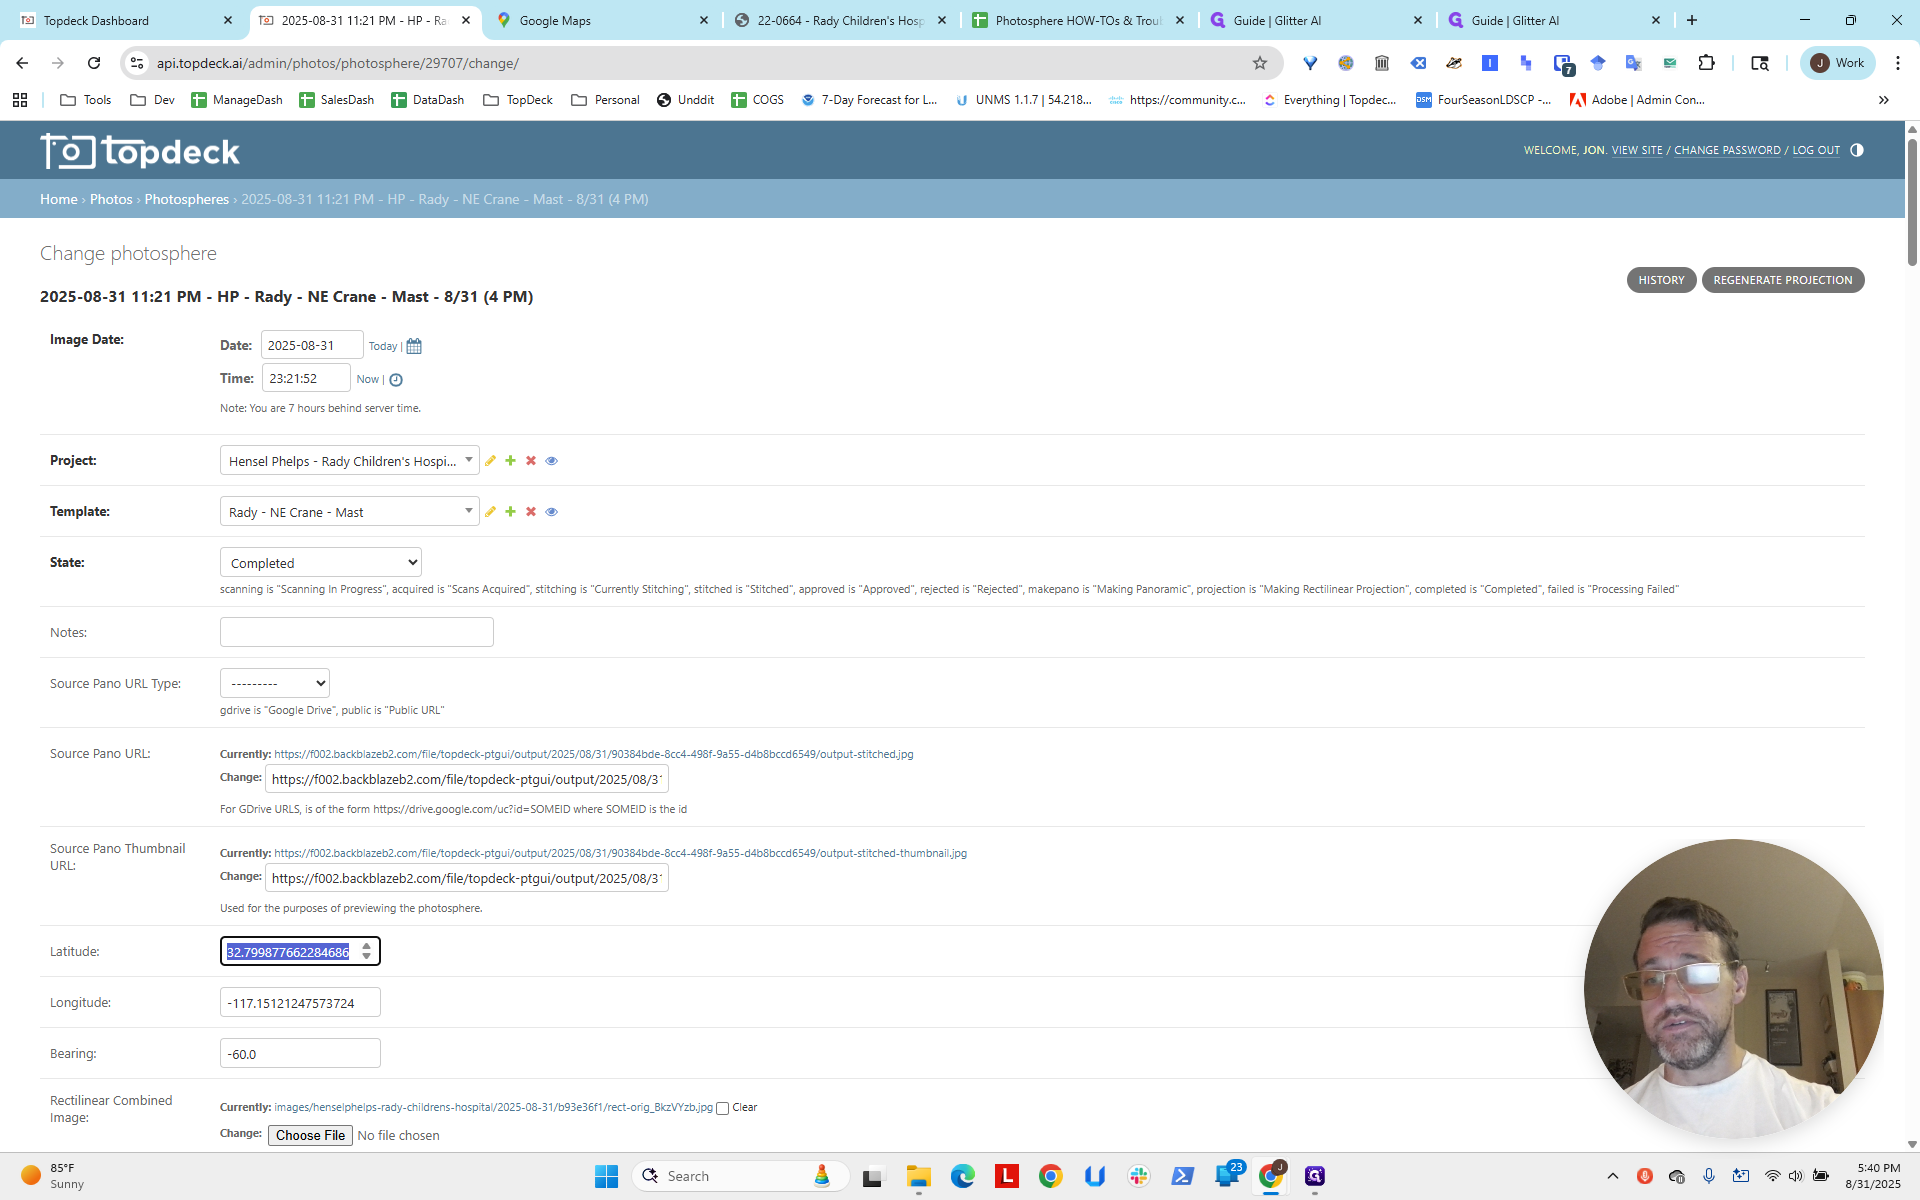
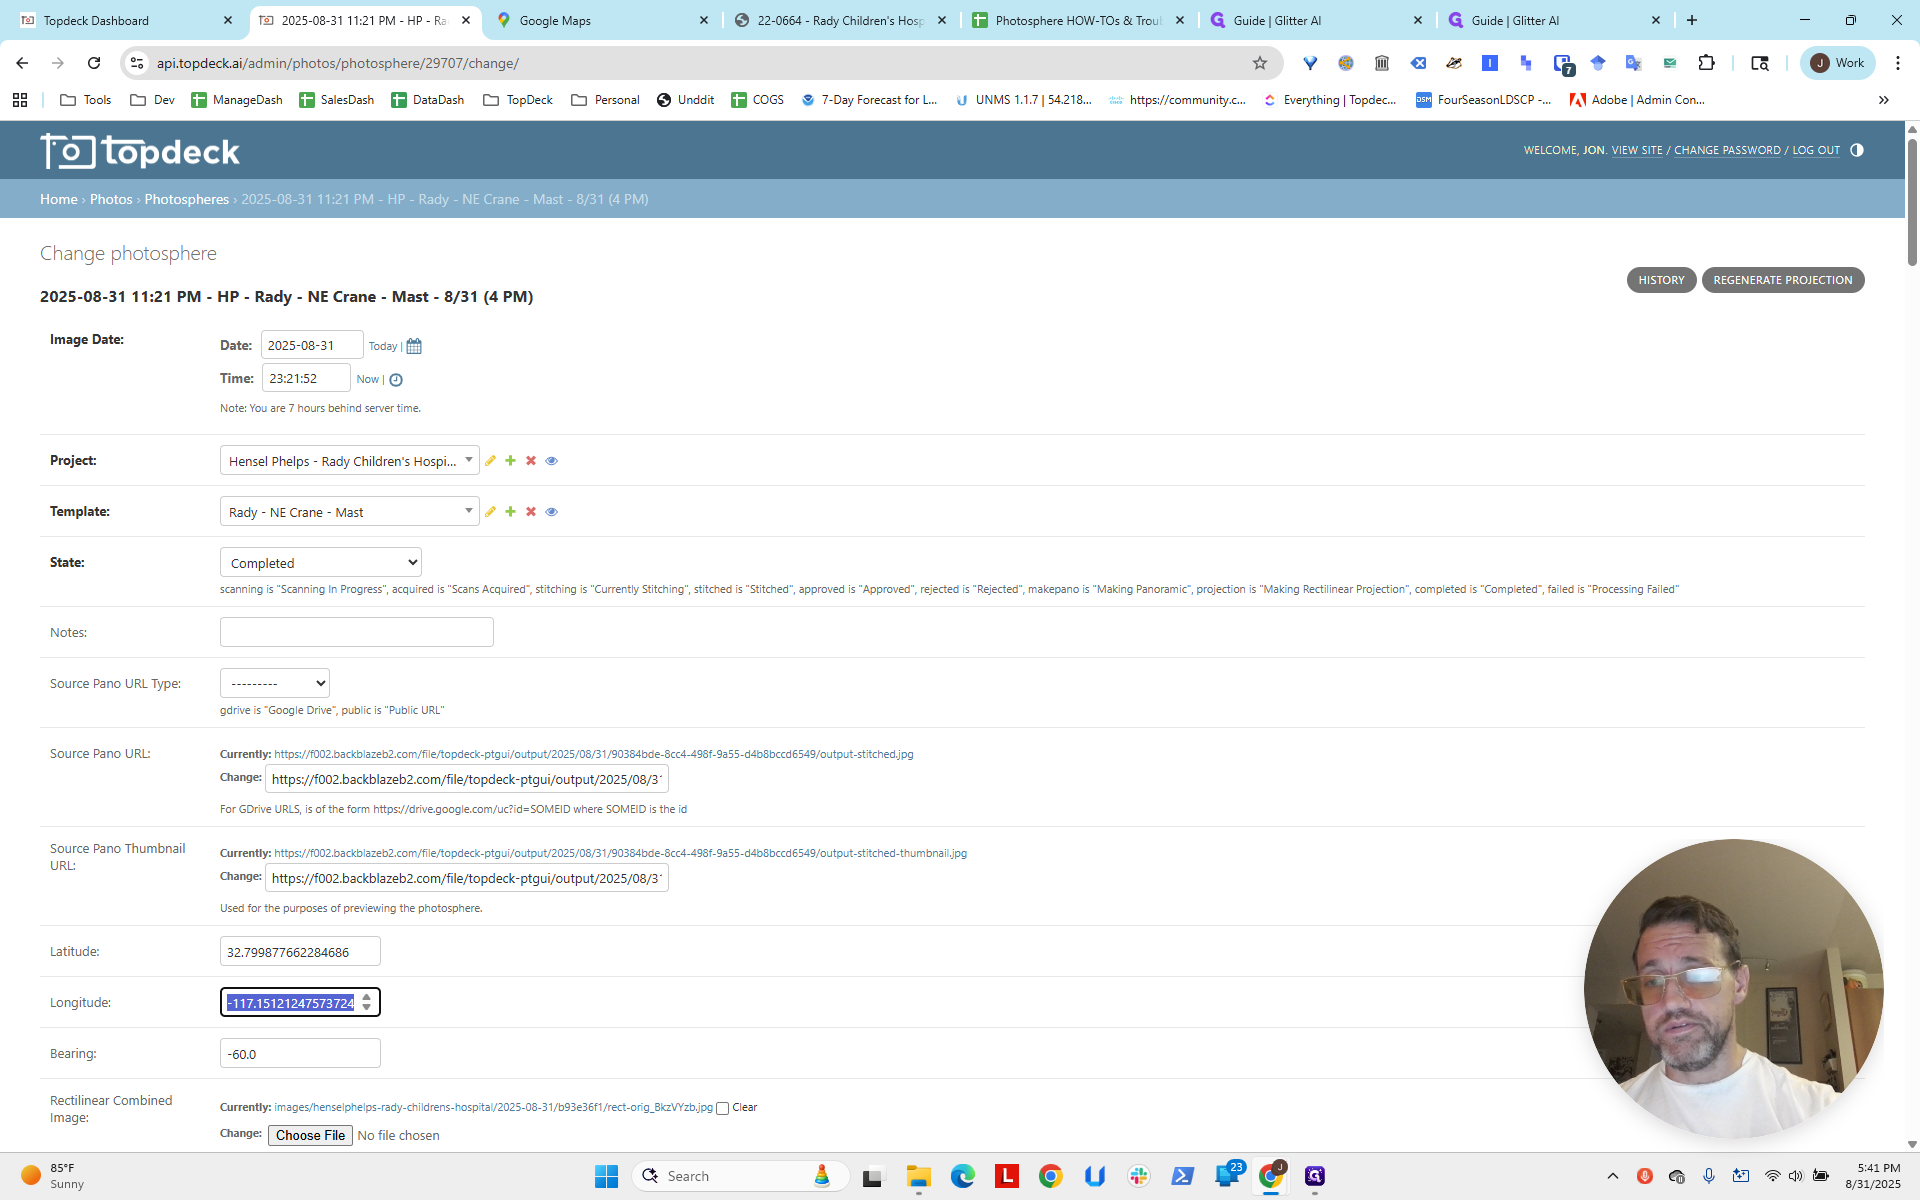
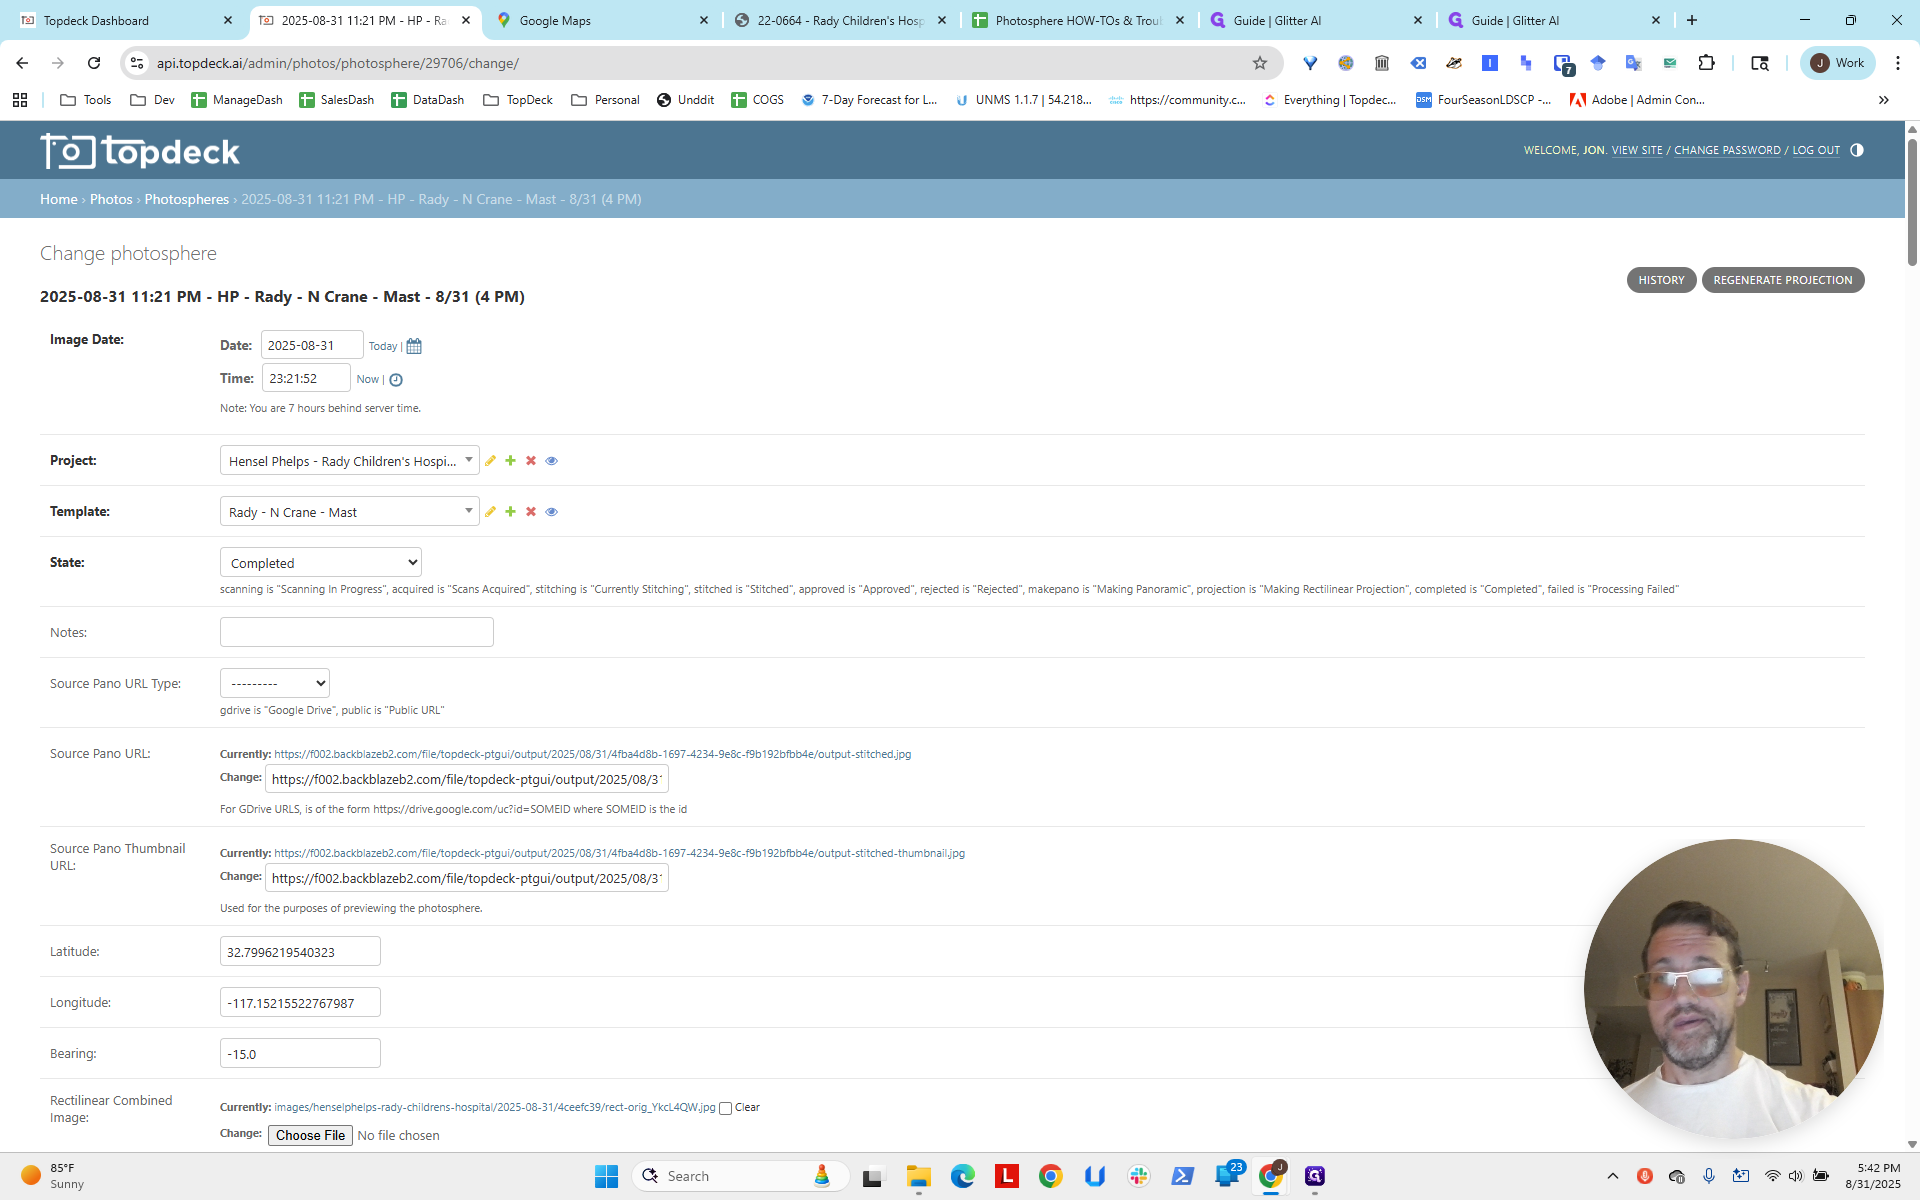
I think that's accurate. Now we have the correct longitude, latitude, and bearing in the photospheres, but not in their templates. What should we do next?
We will start with the northeast one first.
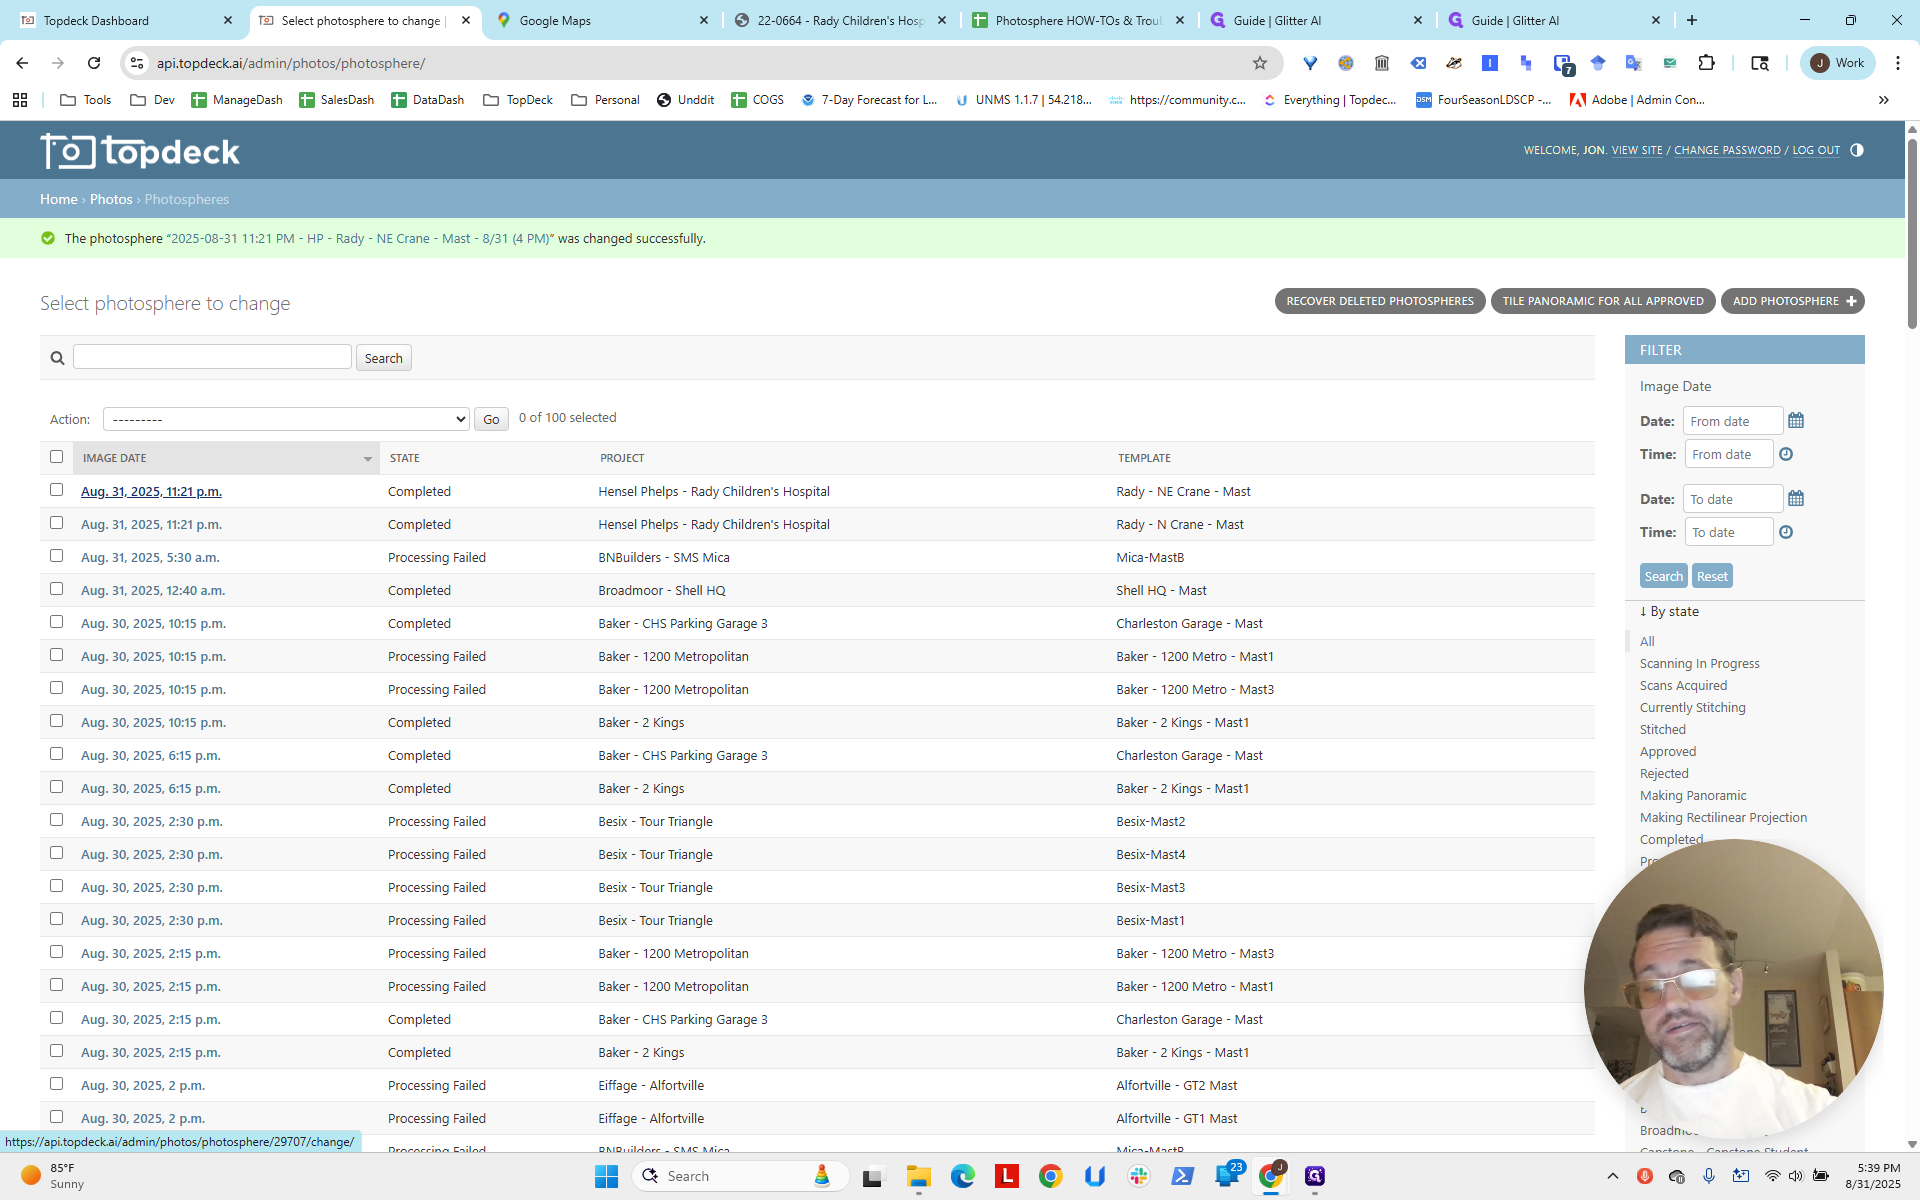
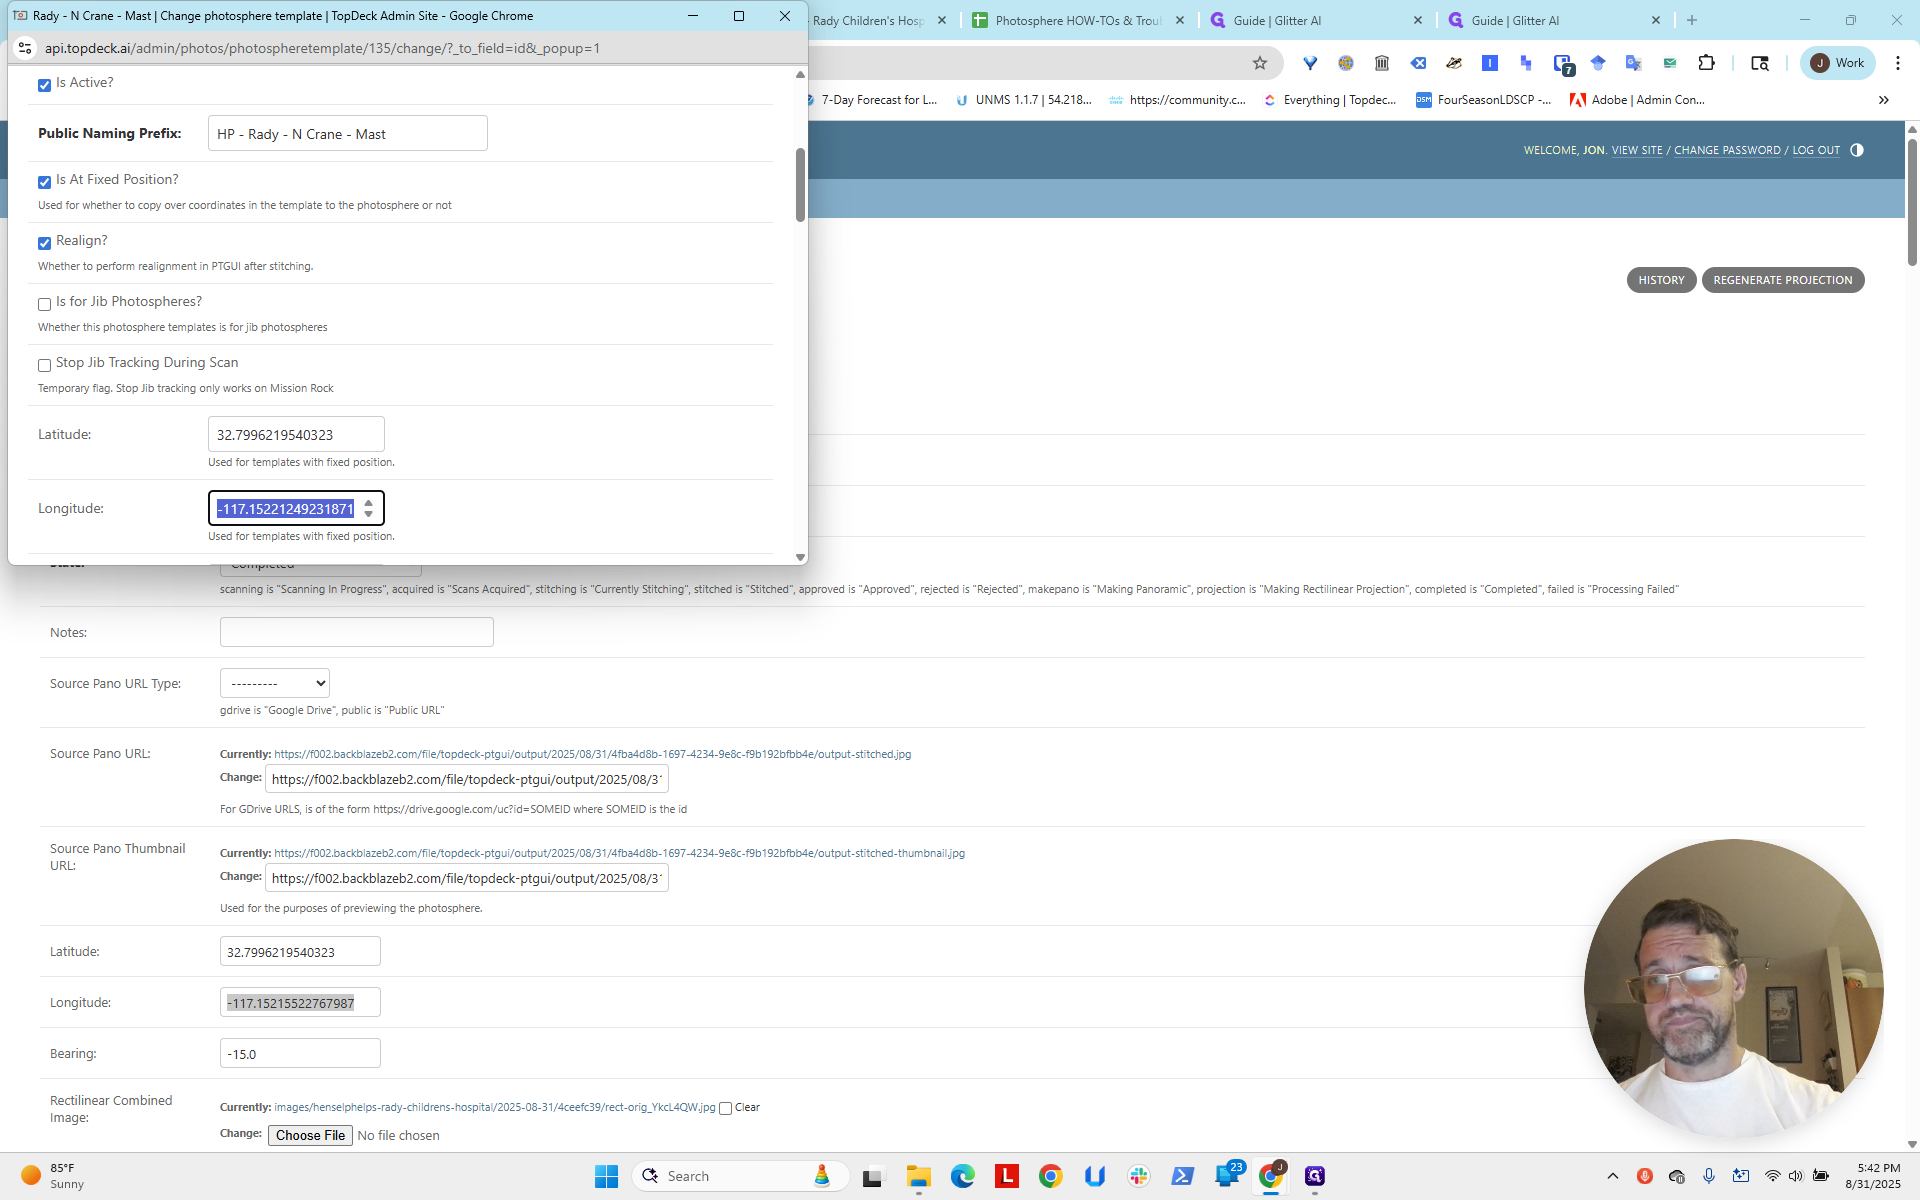
You can open the template here. First, I will copy the latitude.
If you click on "Change Selected Template," you can open the template directly from the photosphere.

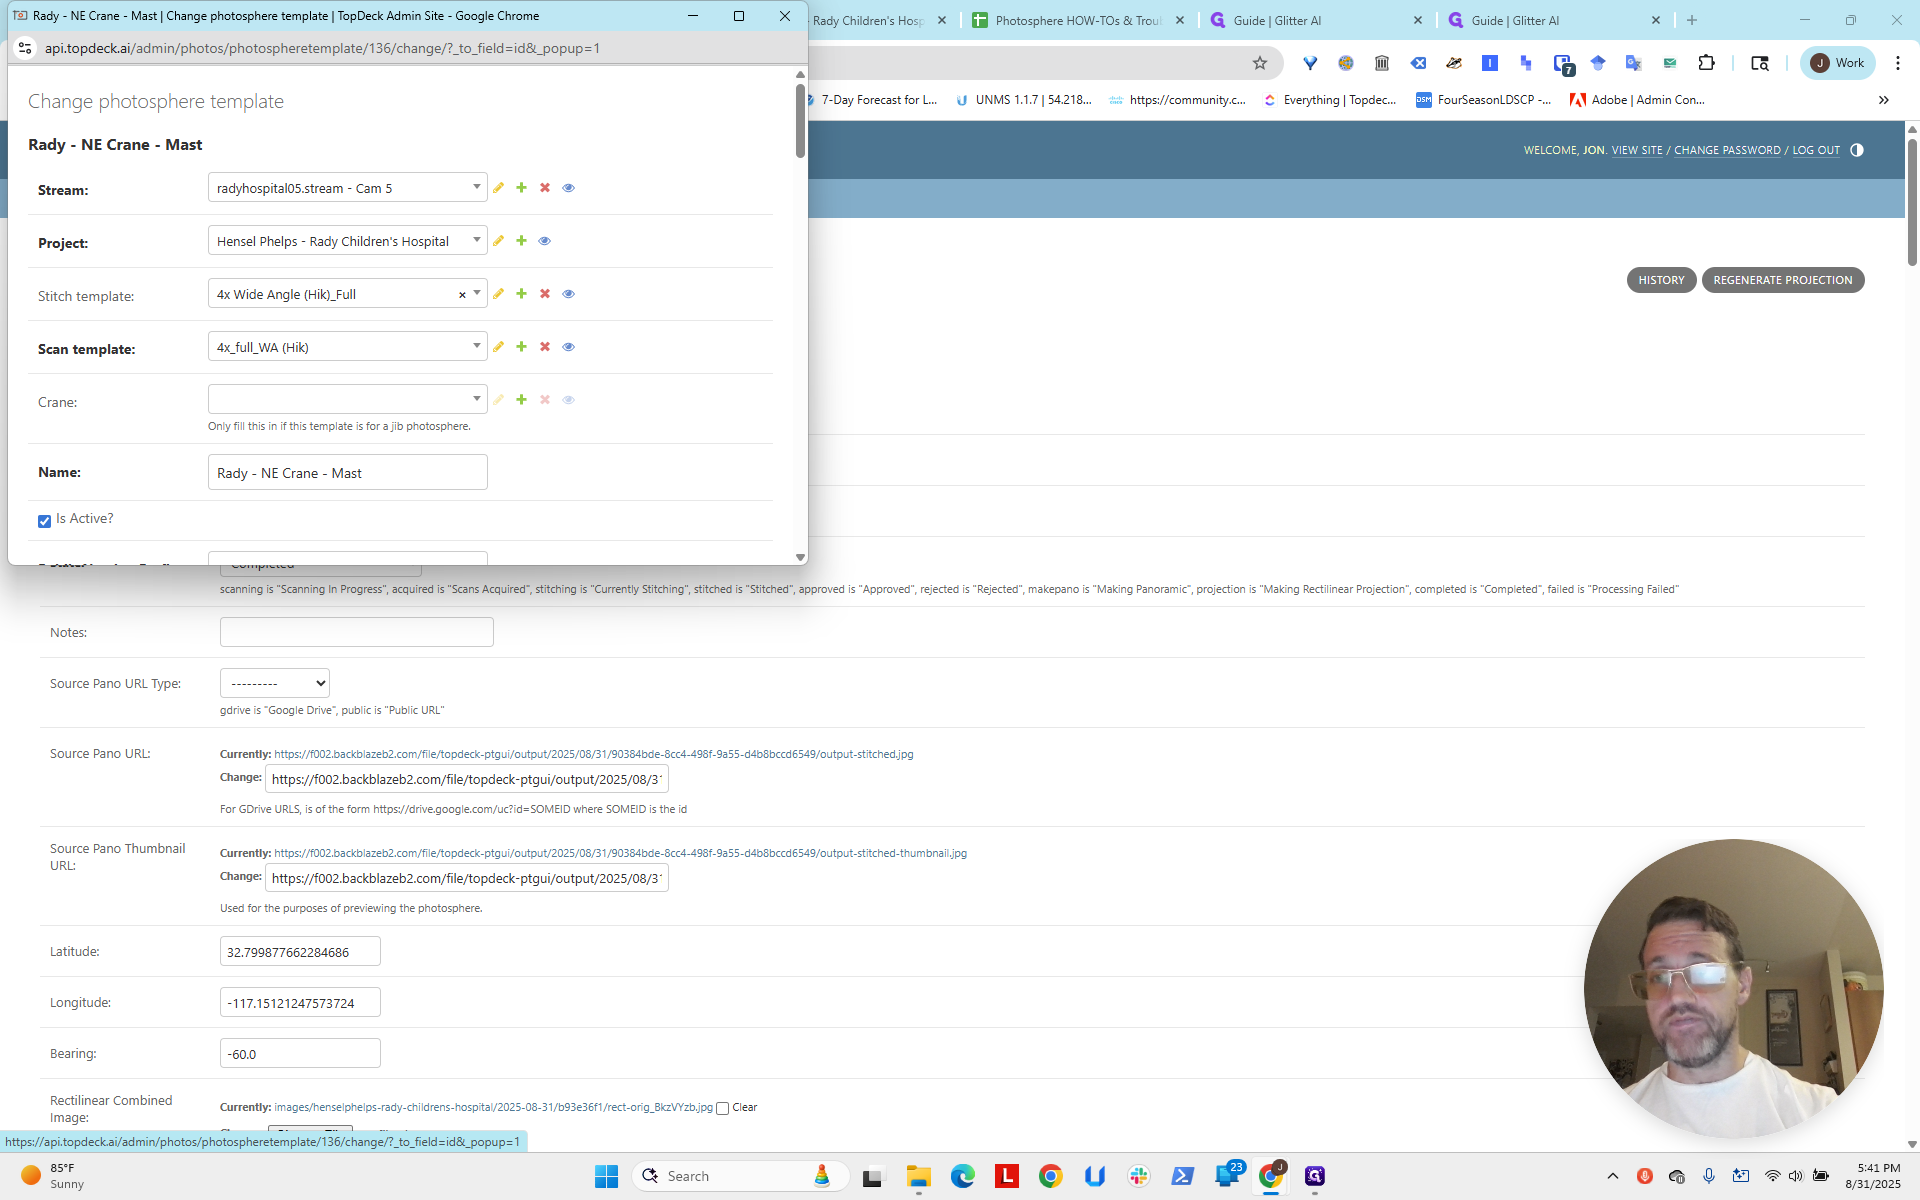
Now I'm going down to change the latitude.
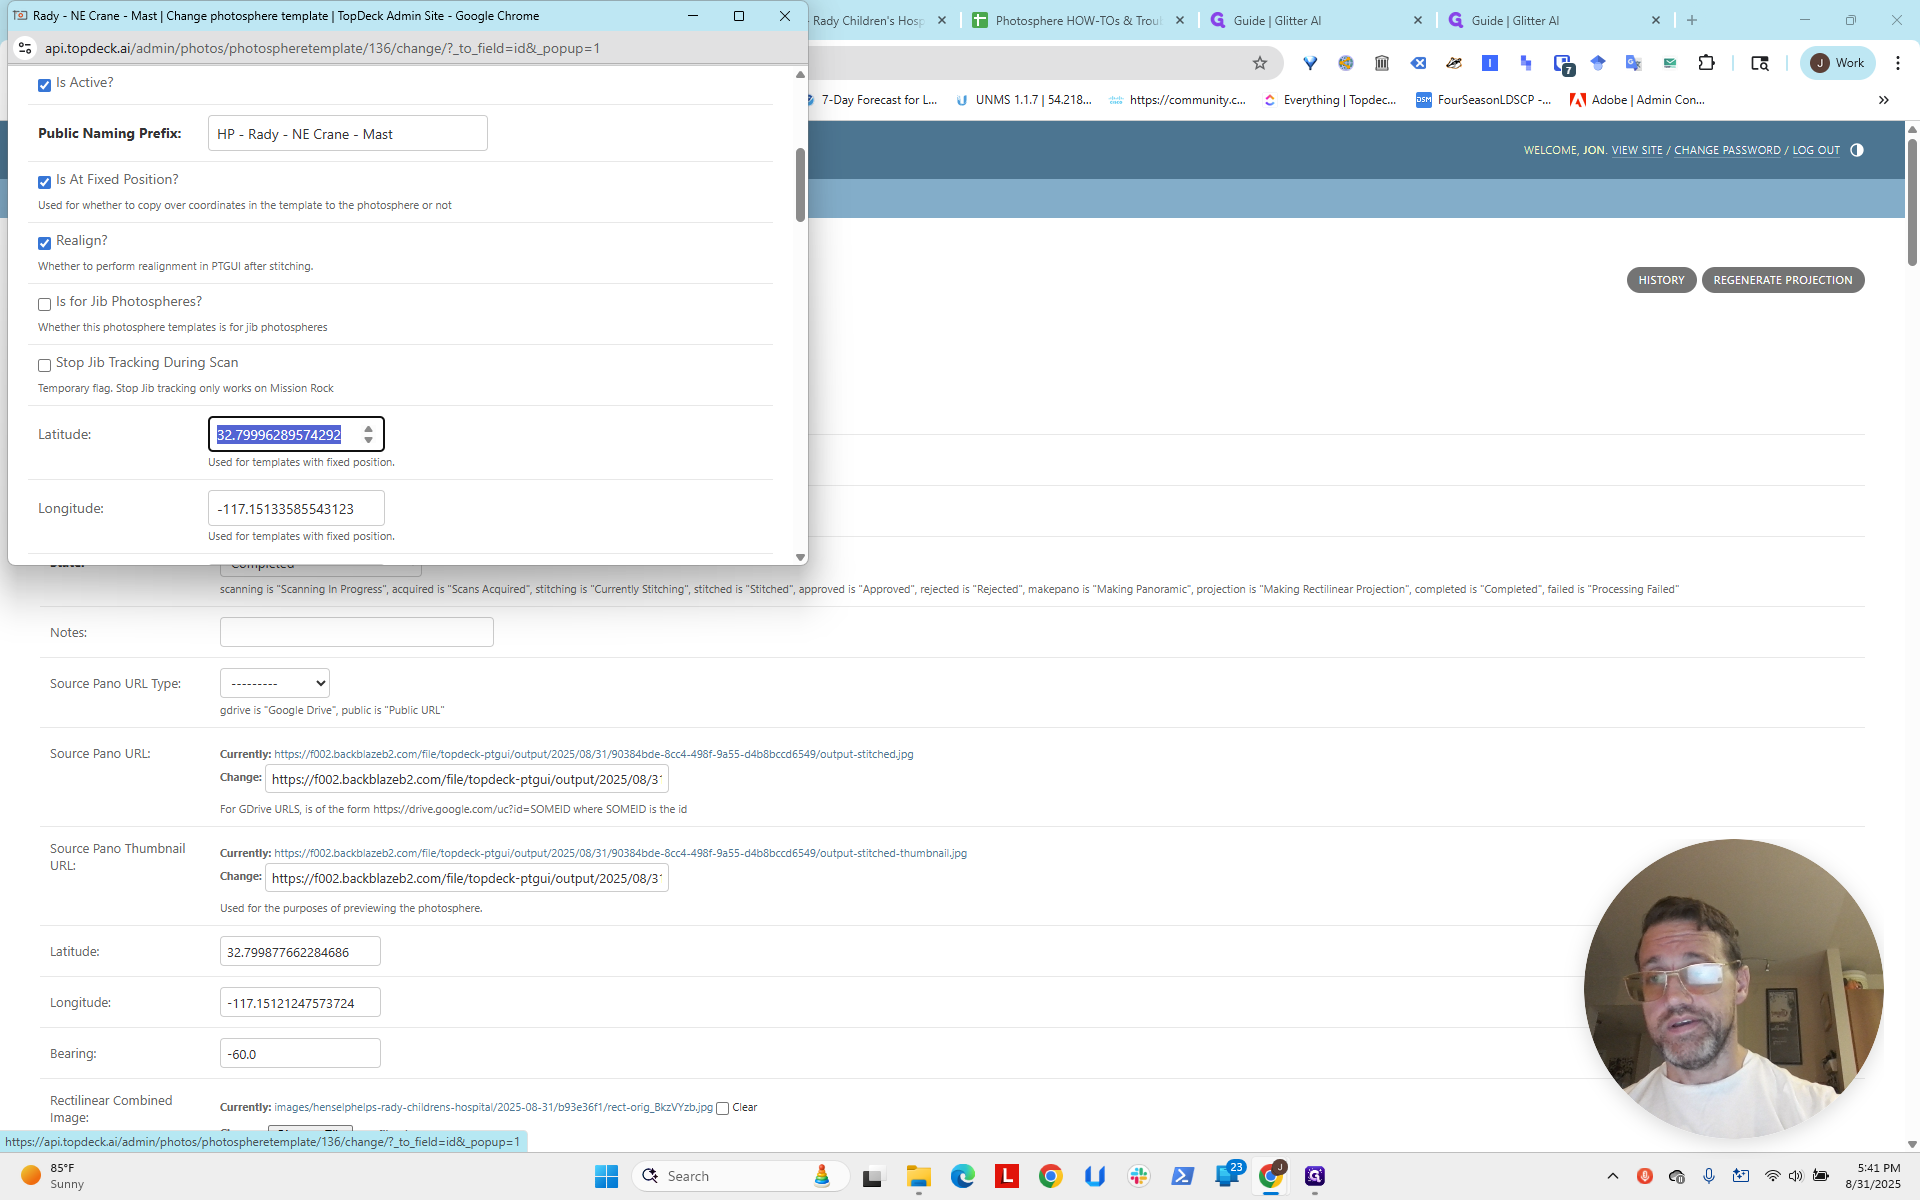
I will also change the longitude.
You will be much faster than I am.

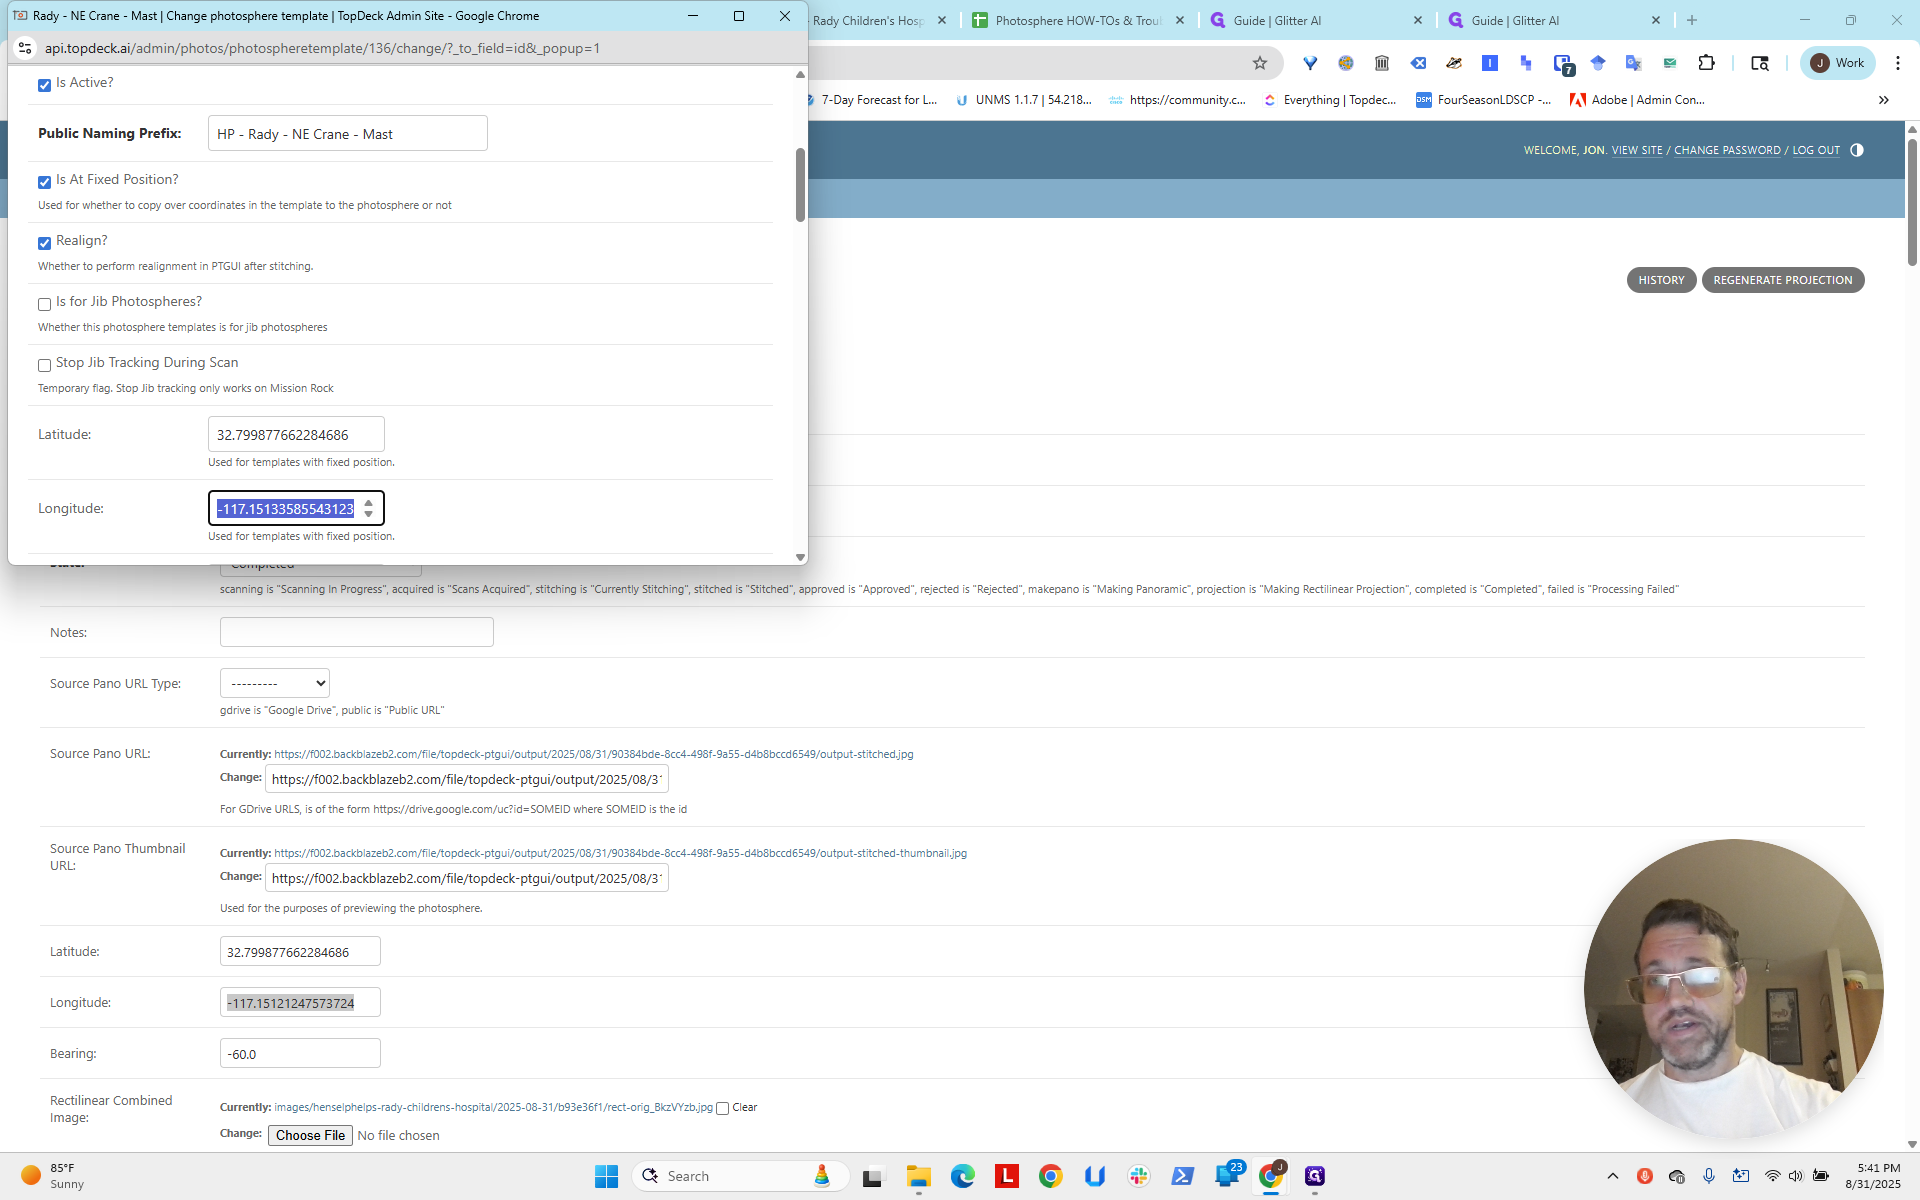

I'm going to set the bearing to negative 60.
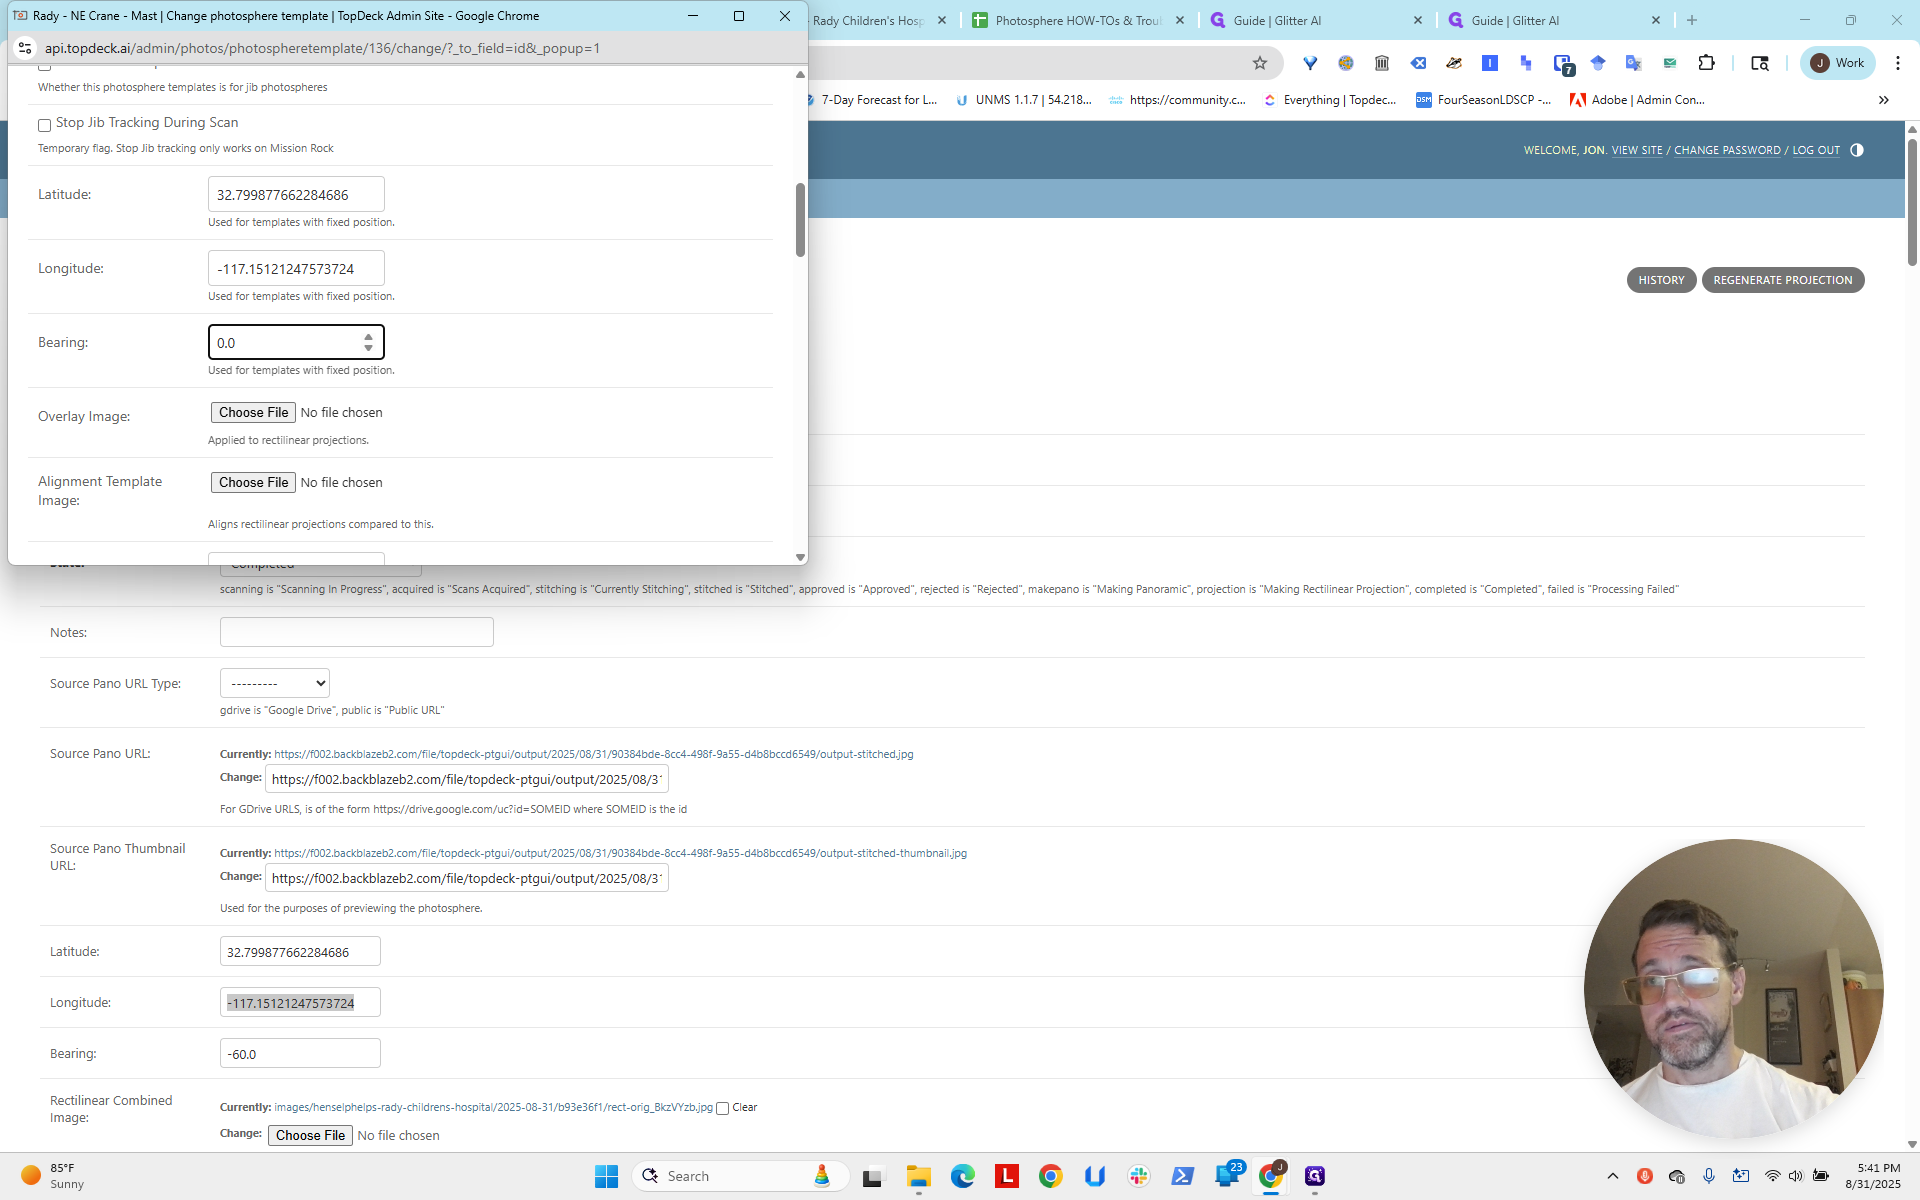
Now I will scroll to the bottom and click save.

The crane is finished.

Now we'll do the same for the north crane.


Again, modify the template at the top.

Copy the latitude.

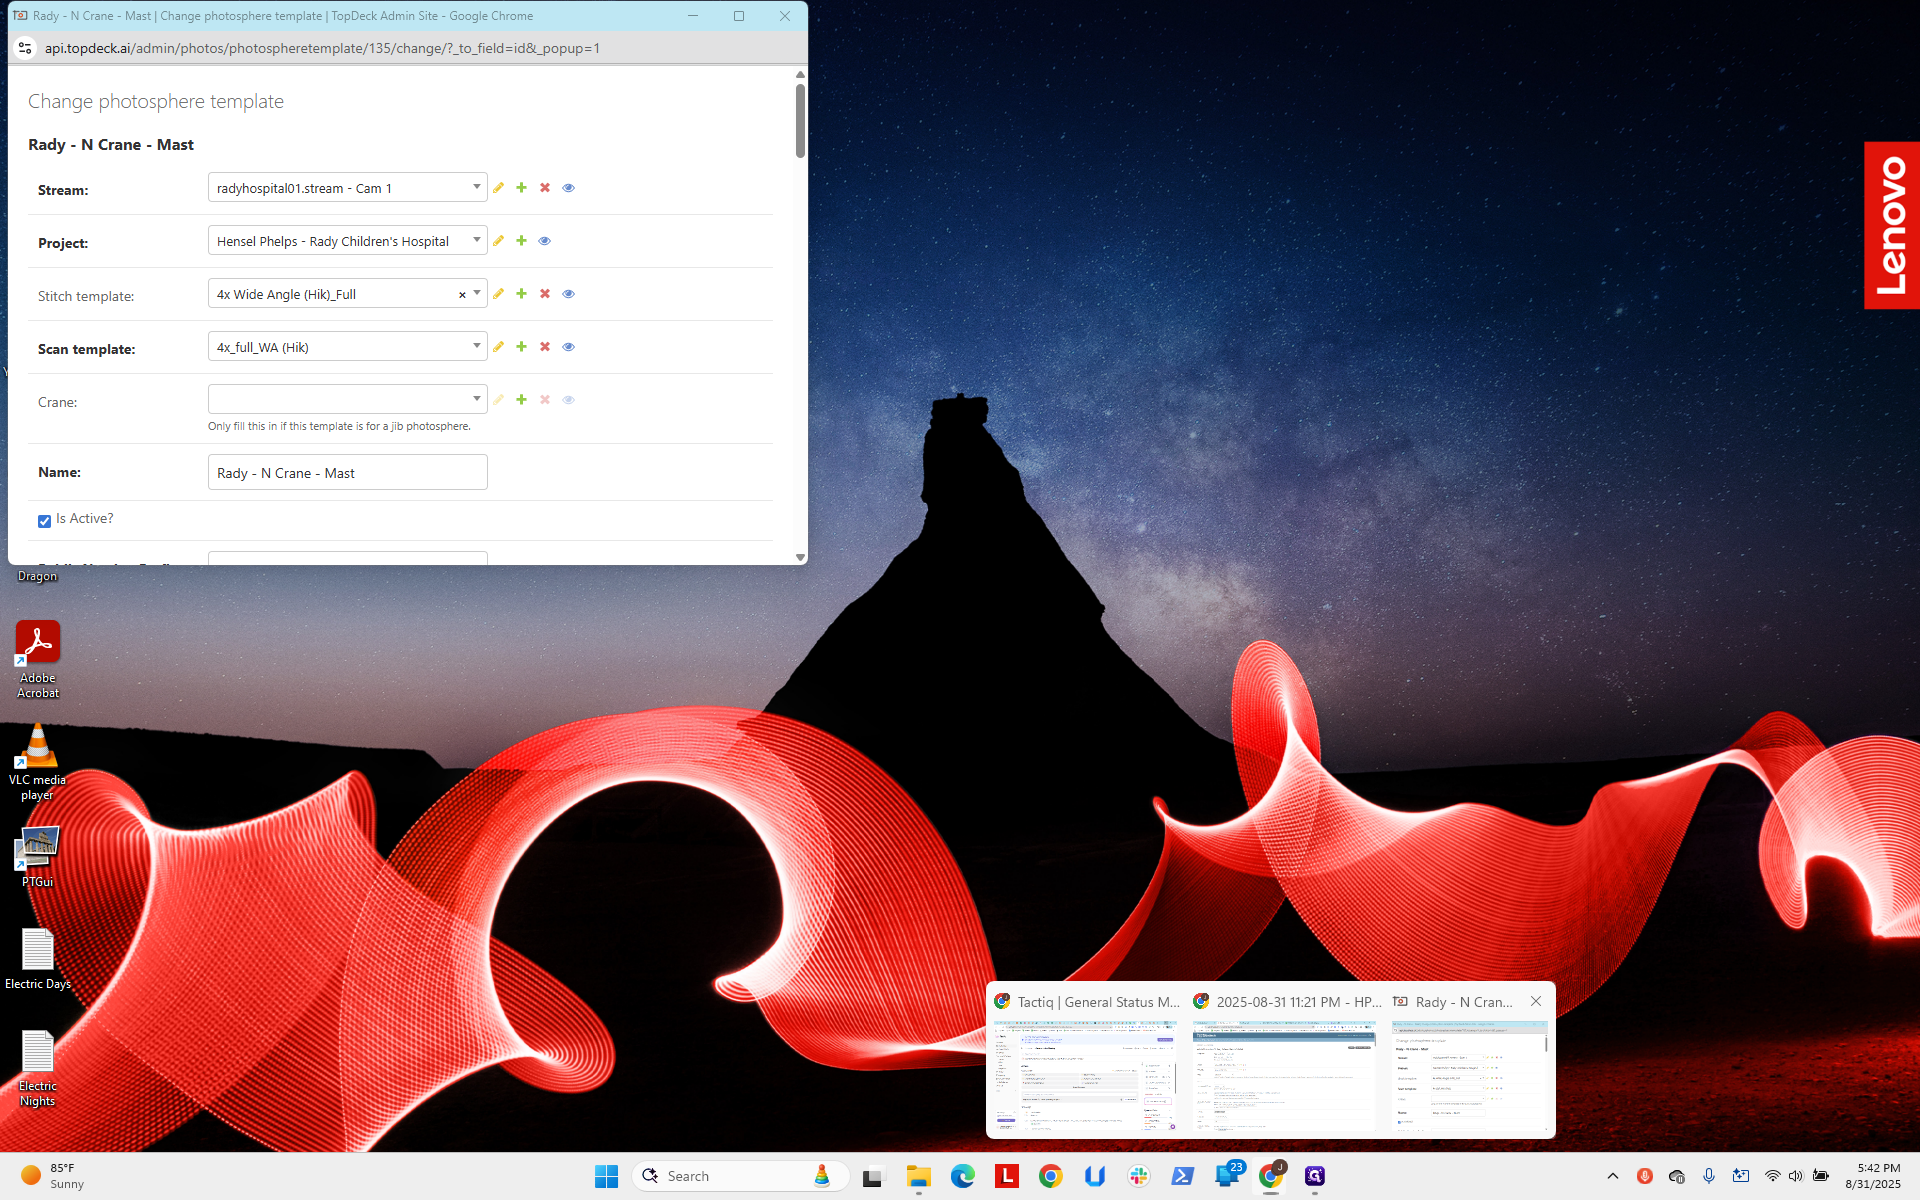


Copy the longitude.

Next, set the bearing to negative 15.
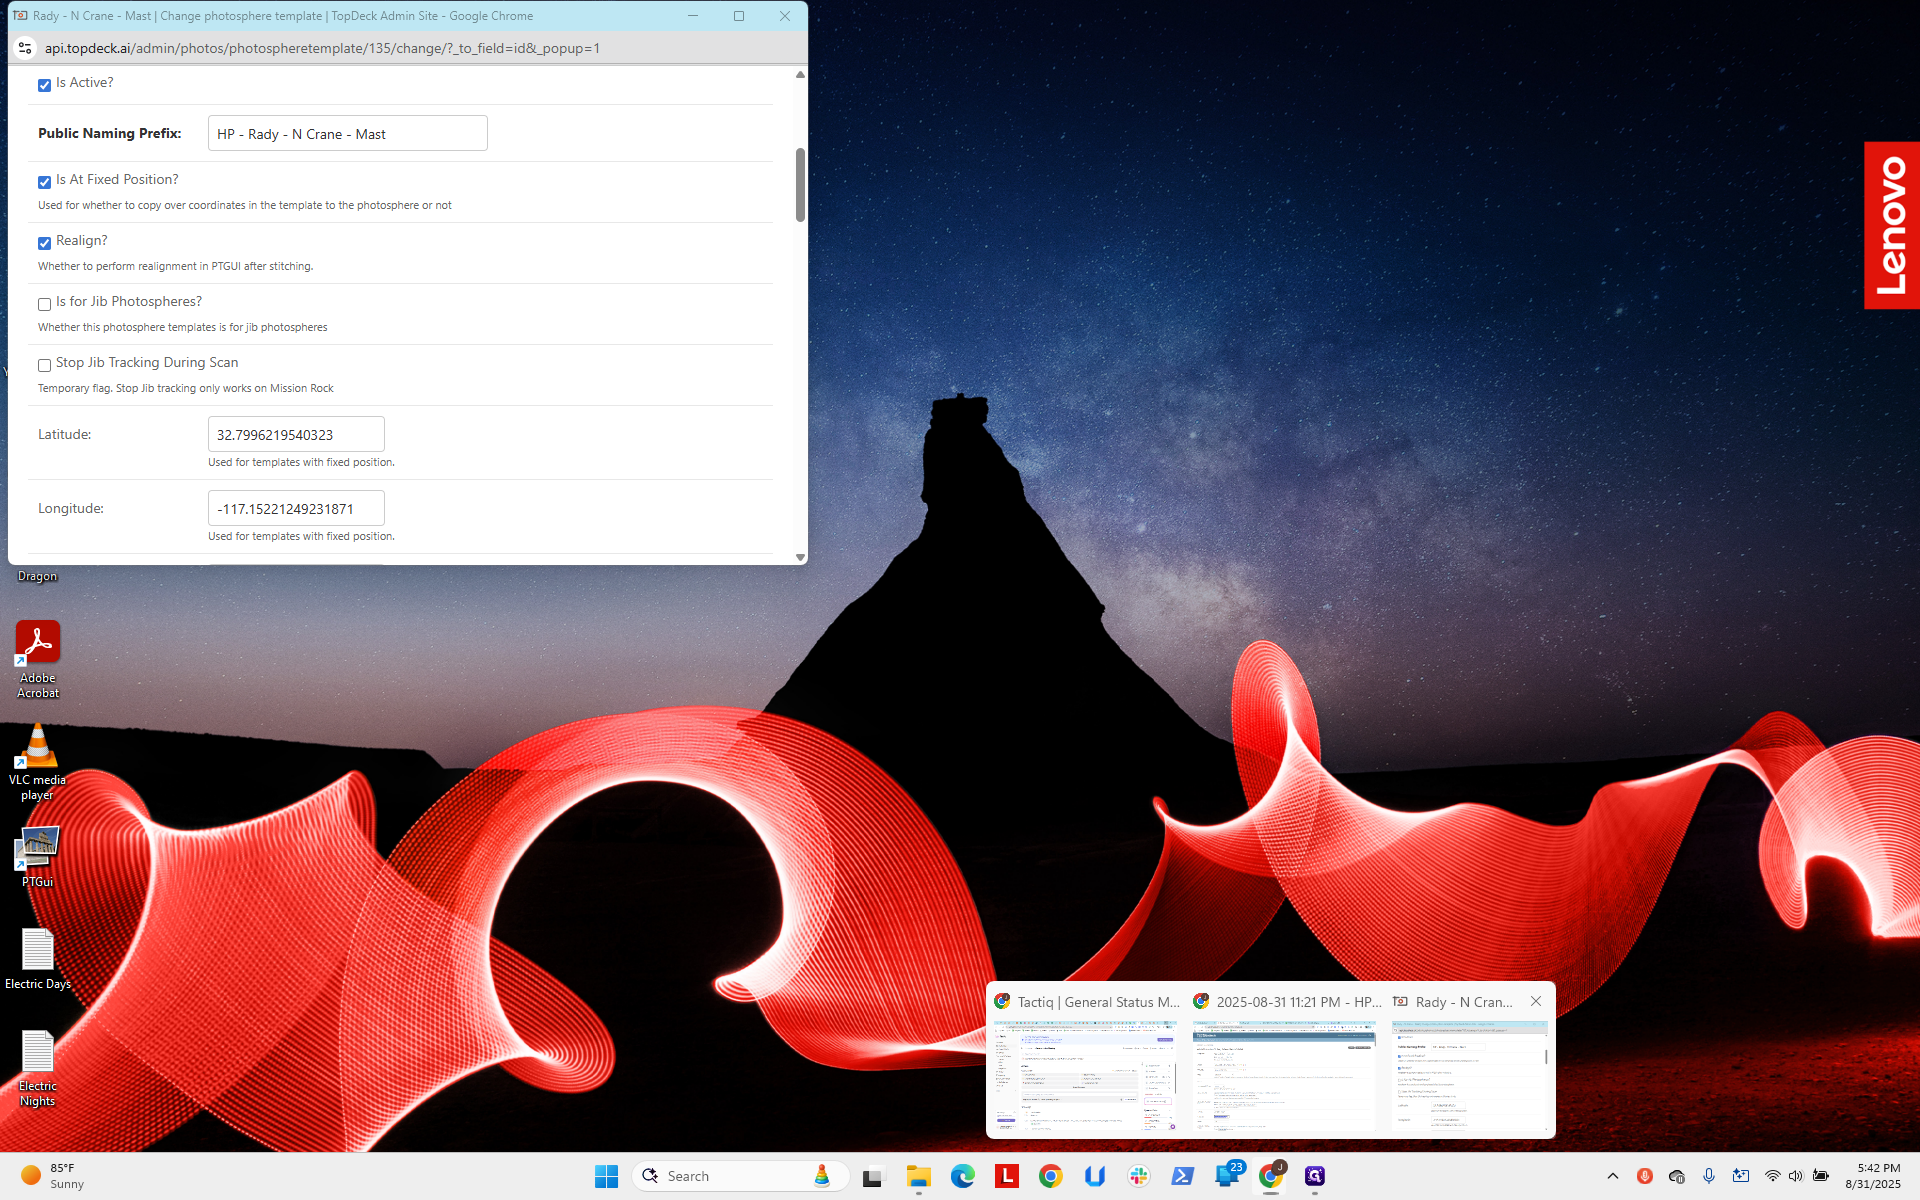

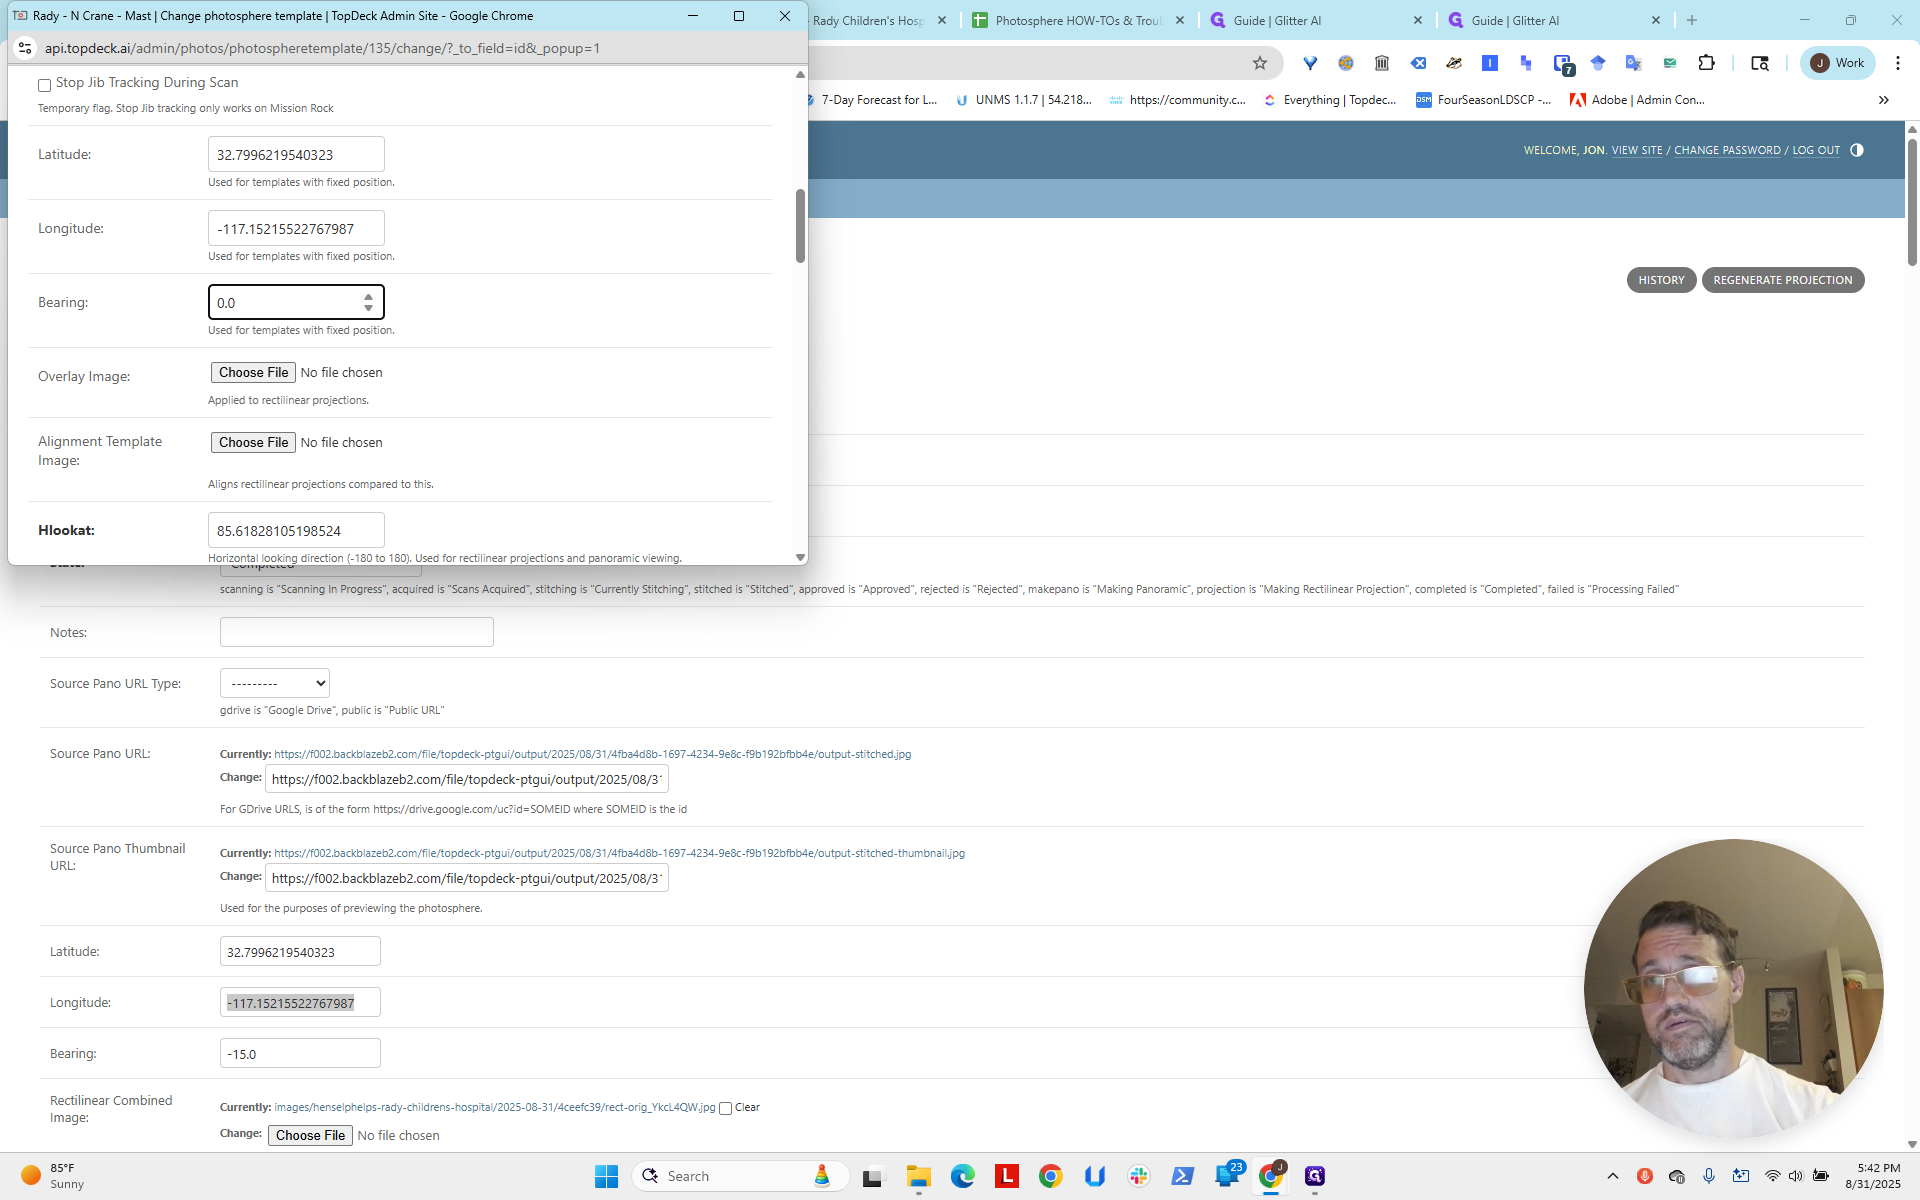
Next, go down to Save.
And that's it.
We have corrected all photospheres, and future ones will use these settings. The project is now ready with these two adjustments.

Keep in mind, there is a third crane here.

We do not have it installed yet, but we will soon. At that point, we will need to add a new photosphere and follow the usual process. This includes estimating the longitude, latitude, and bearing to ensure accuracy after choosing the best camera for the area. That will then start to appear on this map.
Now, the last step is to adjust the map’s zoom level and center it. This will make navigation easier, since it is currently a bit too zoomed out. Next, we will do that, which will conclude the project for today, before adding the third crane later.