
How to Approve Leave in Deputy: Step-by-Step Guide
Learn how to approve leave requests in Deputy with this quick, easy-to-follow guide. Understand leave balances, approval steps, and how to handle negative balances.
In this guide, we'll learn how to approve or decline leave requests in Deputy. You will see how to review leave details, check employee balances, and decide whether to approve or decline a request. This process helps ensure that leave balances remain accurate and that staffing needs are met.
Let's get started
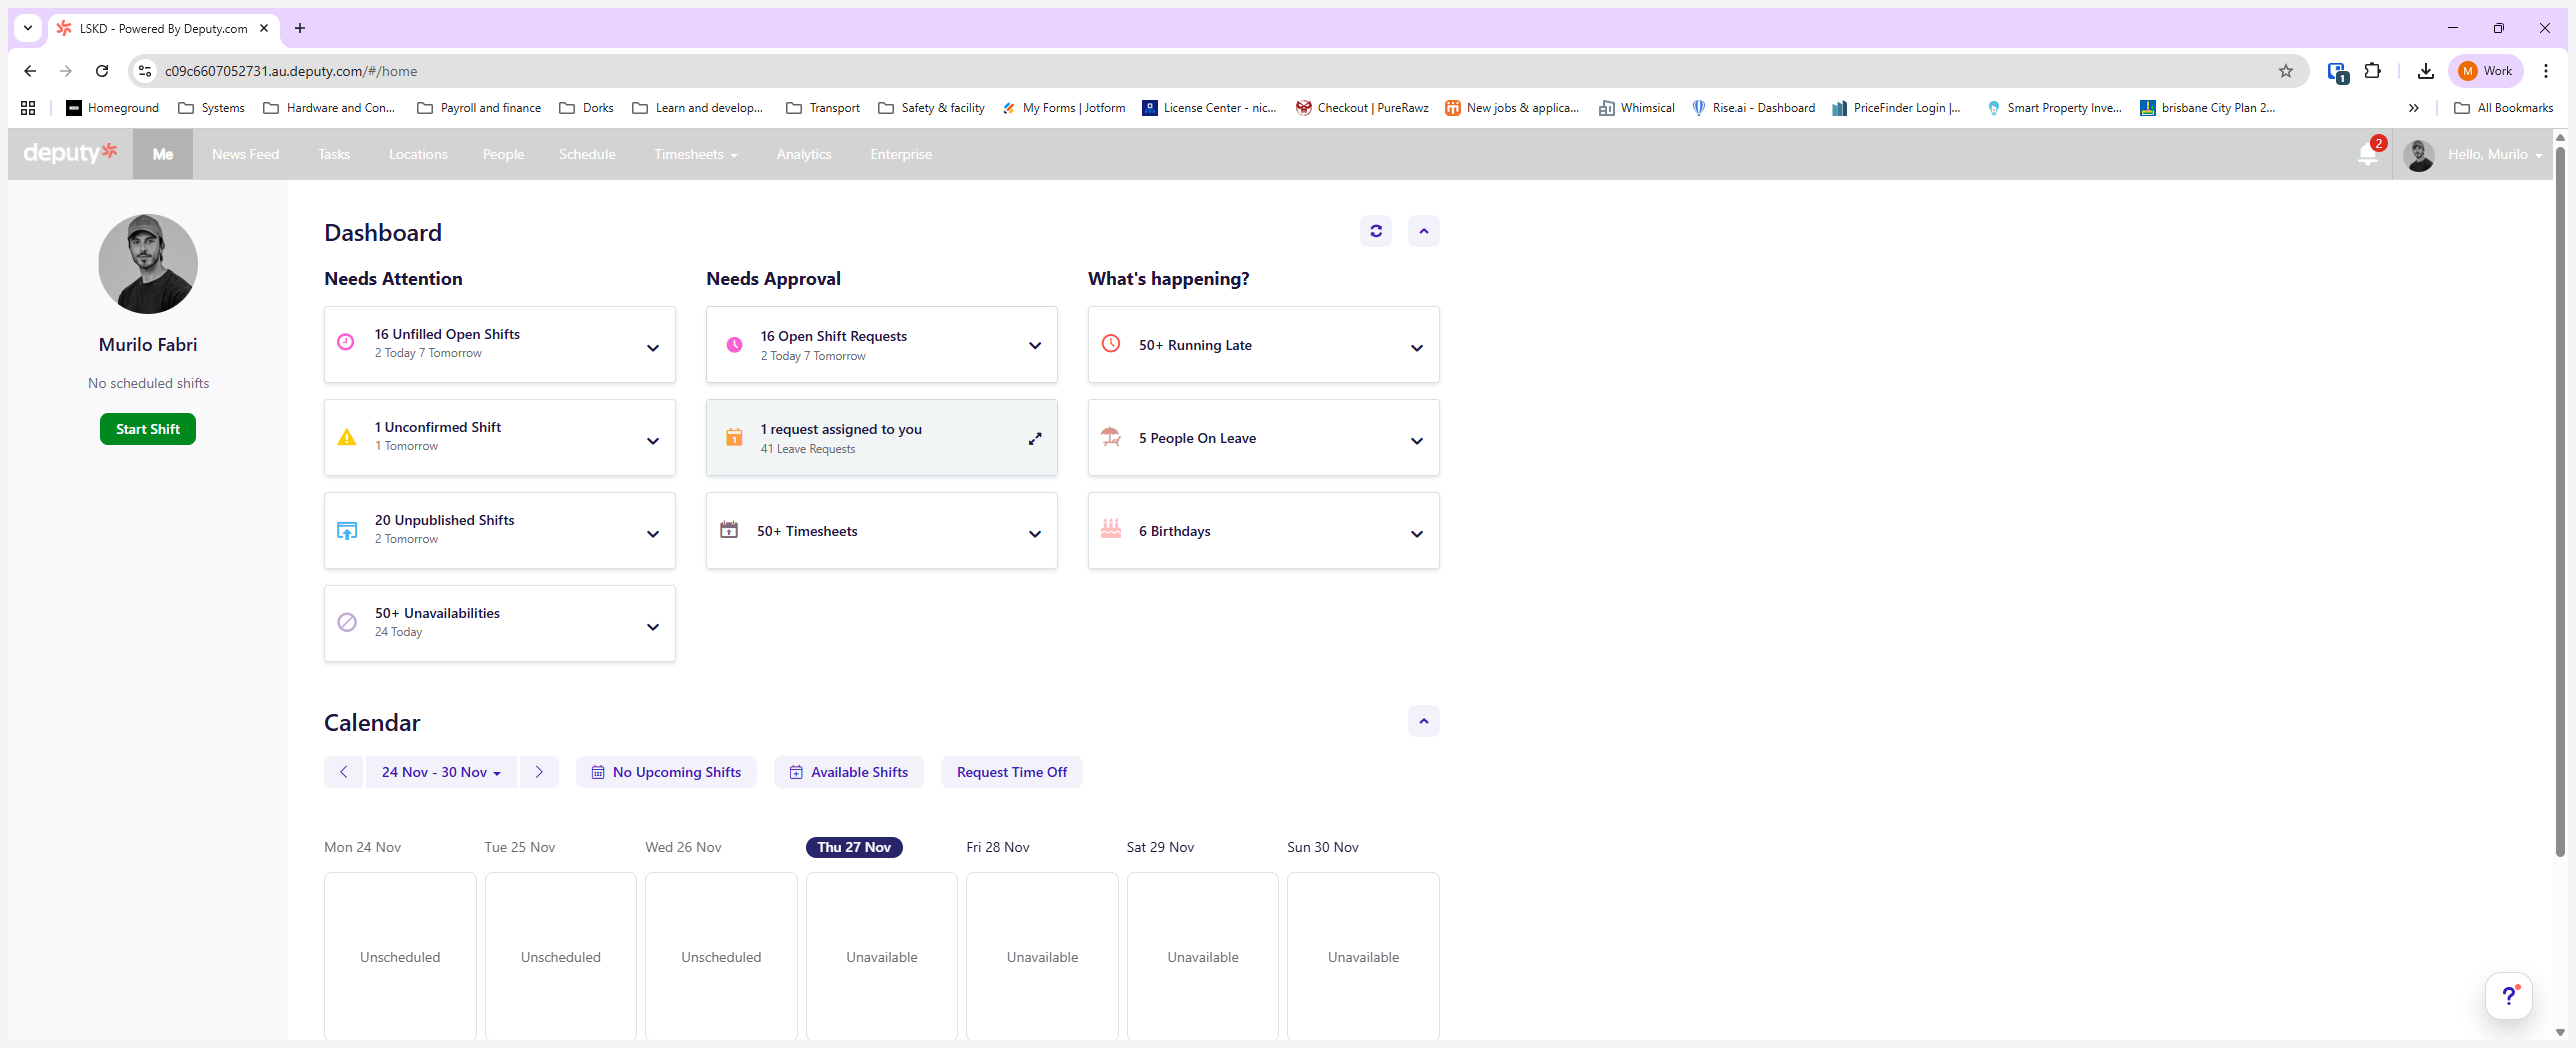
All right, everyone. Here’s a quick guide on how to approve leave in Deputy. On your home screen, you'll see items that need approval and requests assigned to you. If you click on that, you will see all the items assigned to you.
You will see all requests assigned to you
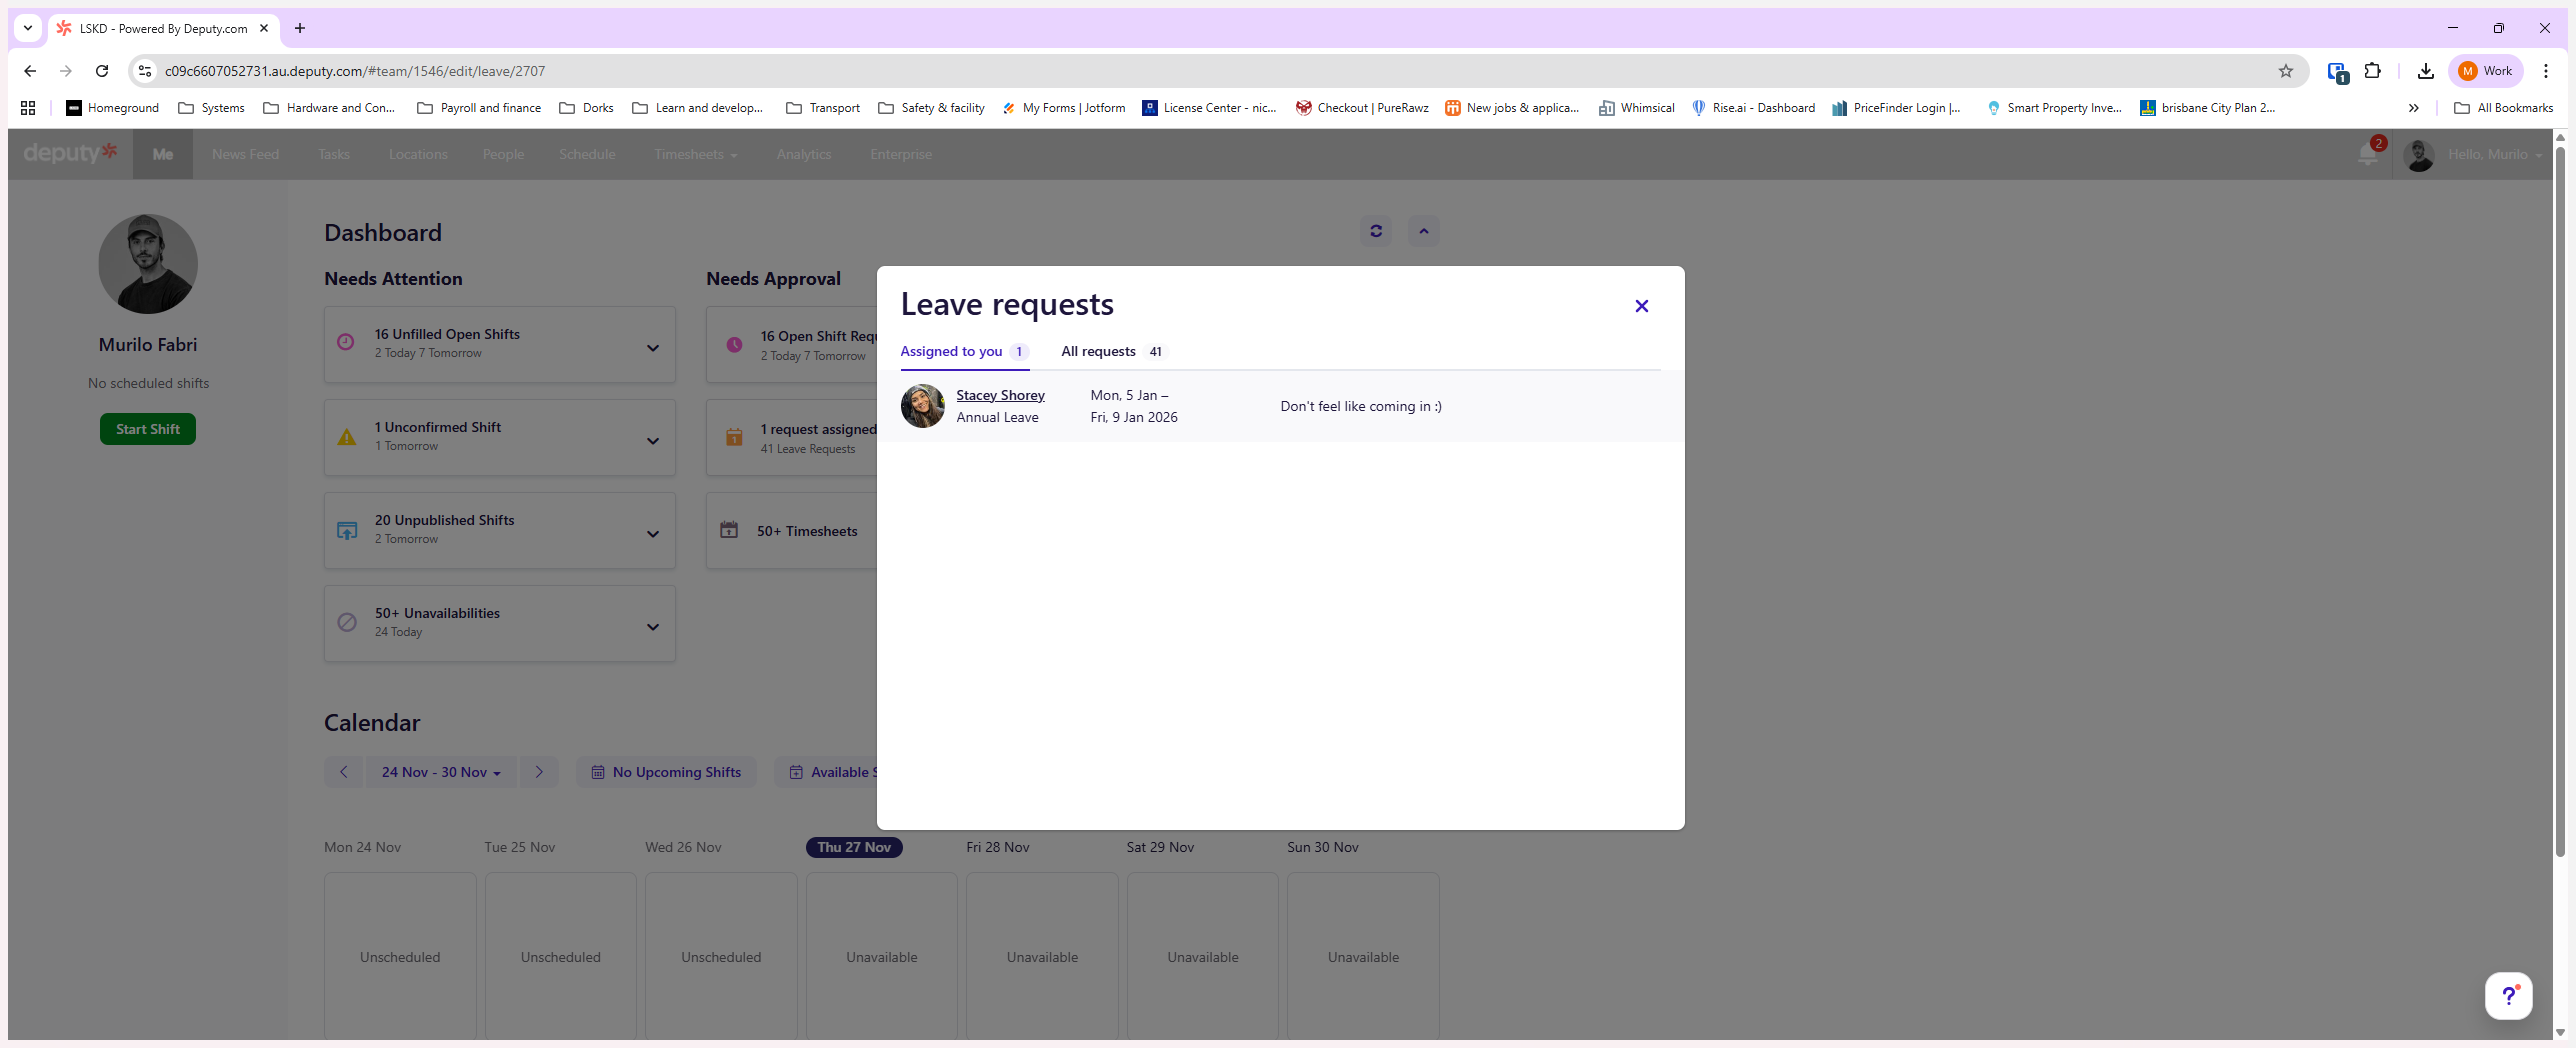
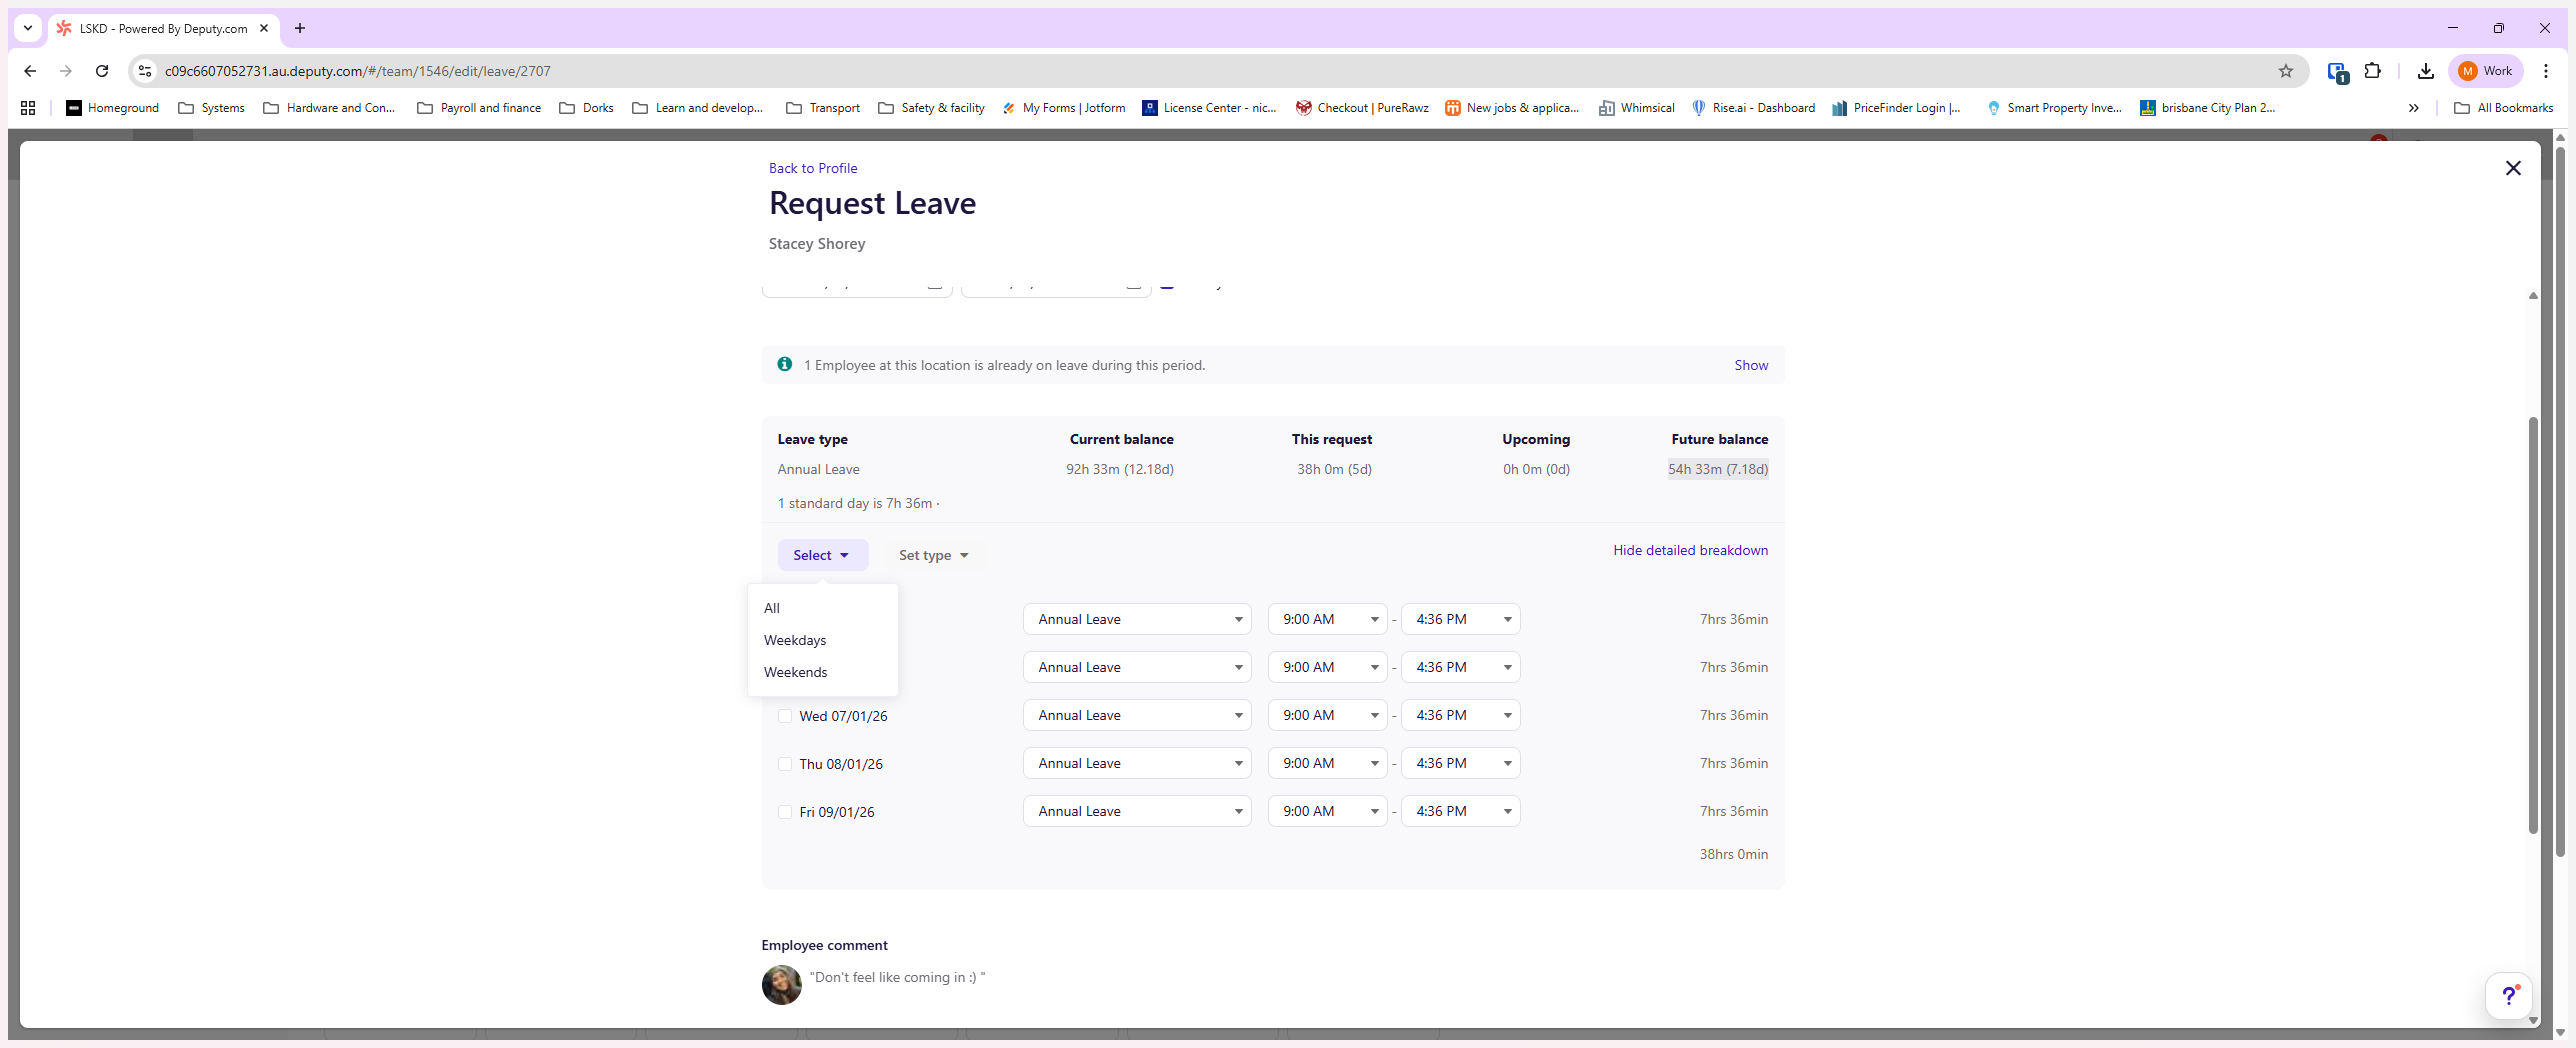
It will show when it was submitted, who approved it, and the start and end dates. It will display other employees who are already on leave during that period. This helps you determine if taking leave is possible.
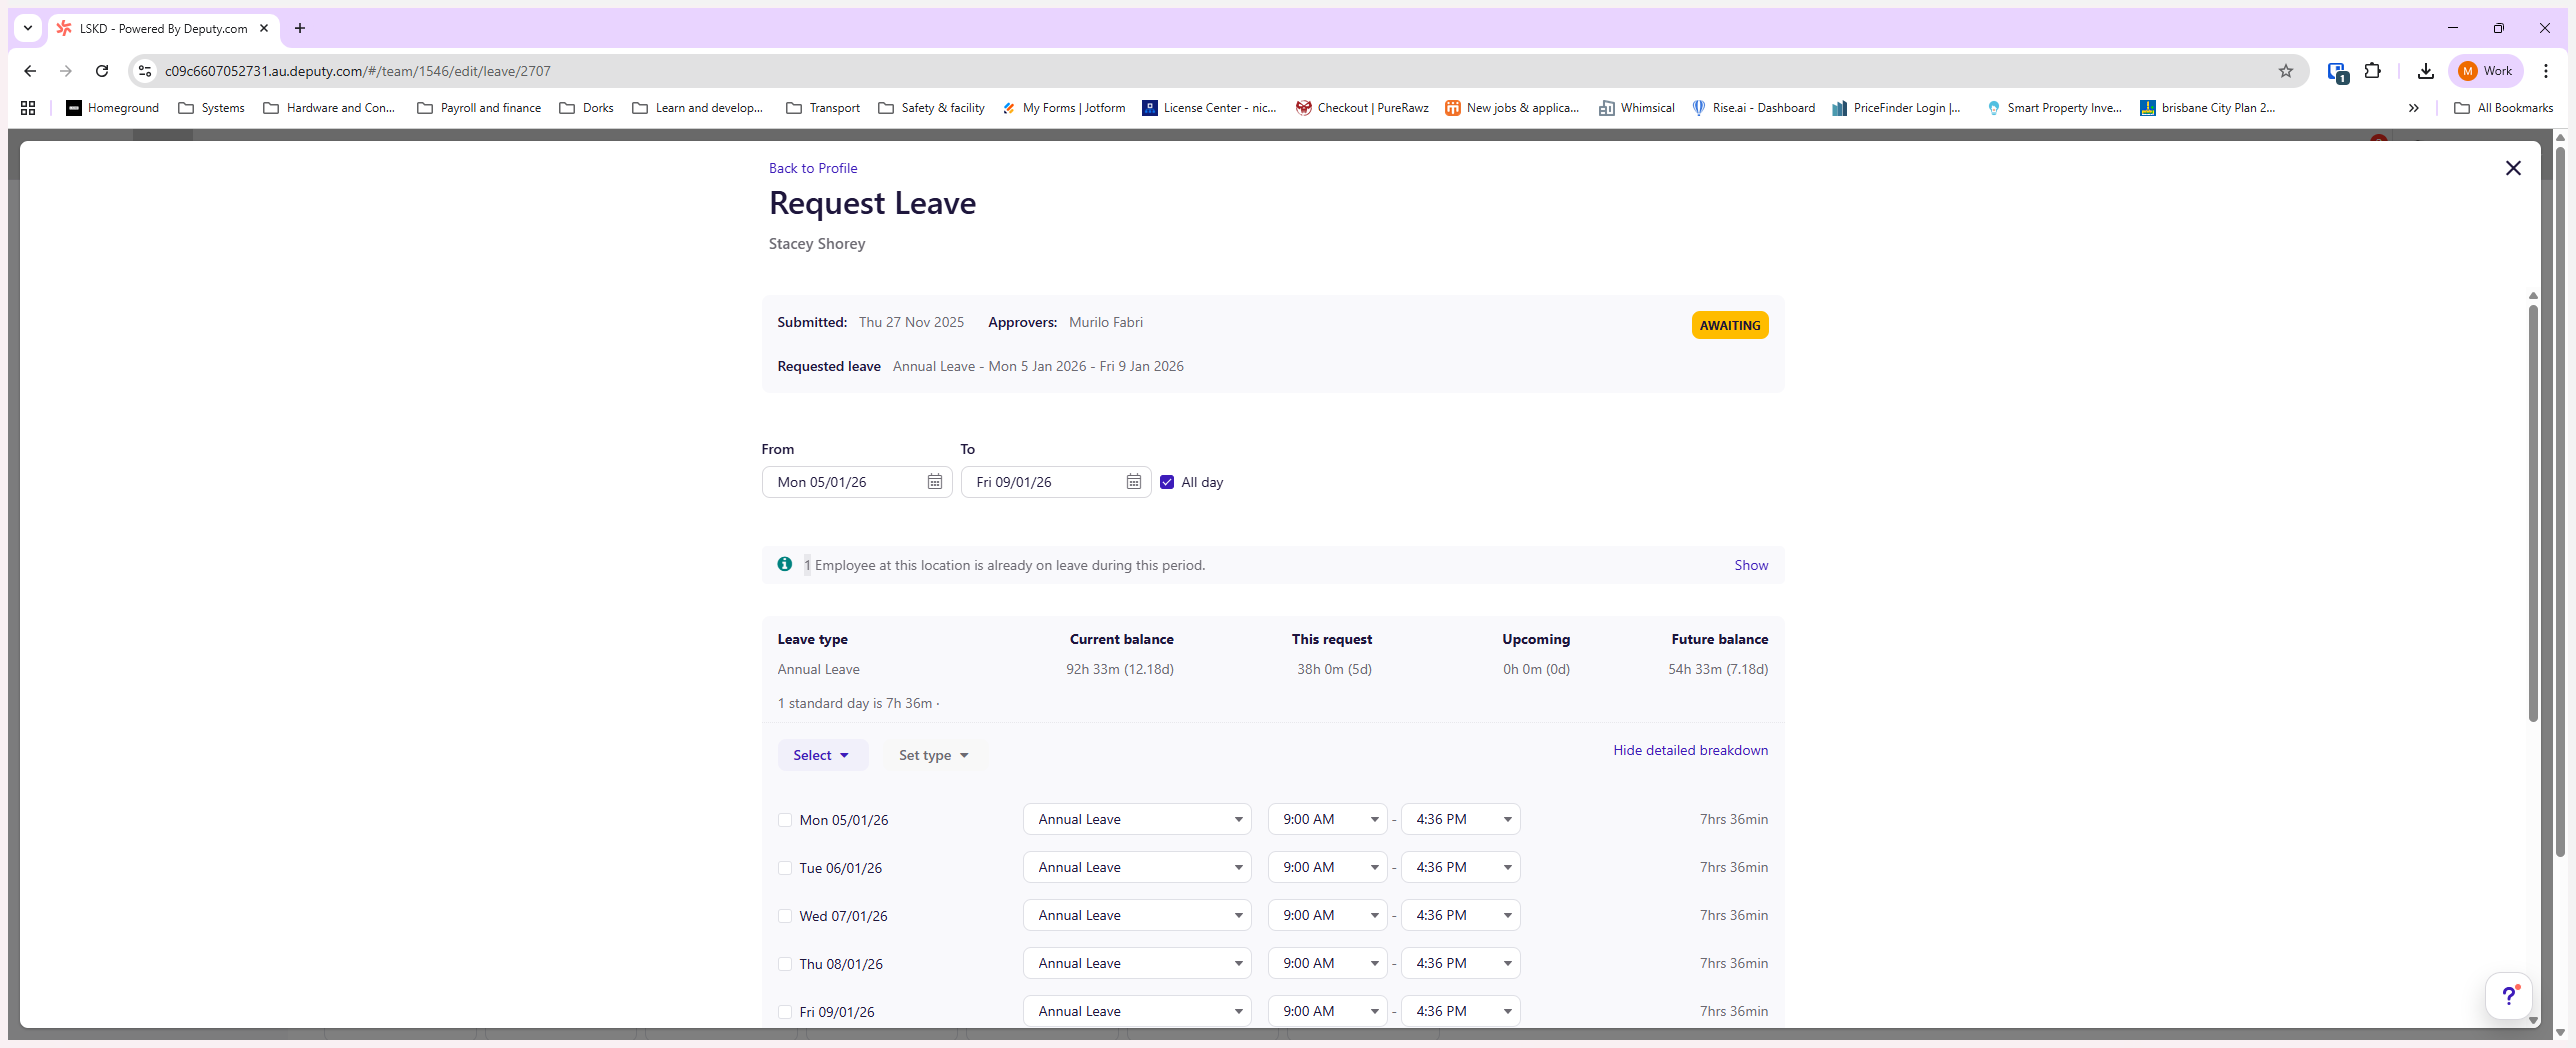
Here, you can also see the employee's current balance, the amount requested, approved upcoming leave, and the future balance.

It is very important that the future balance is not negative at the end.
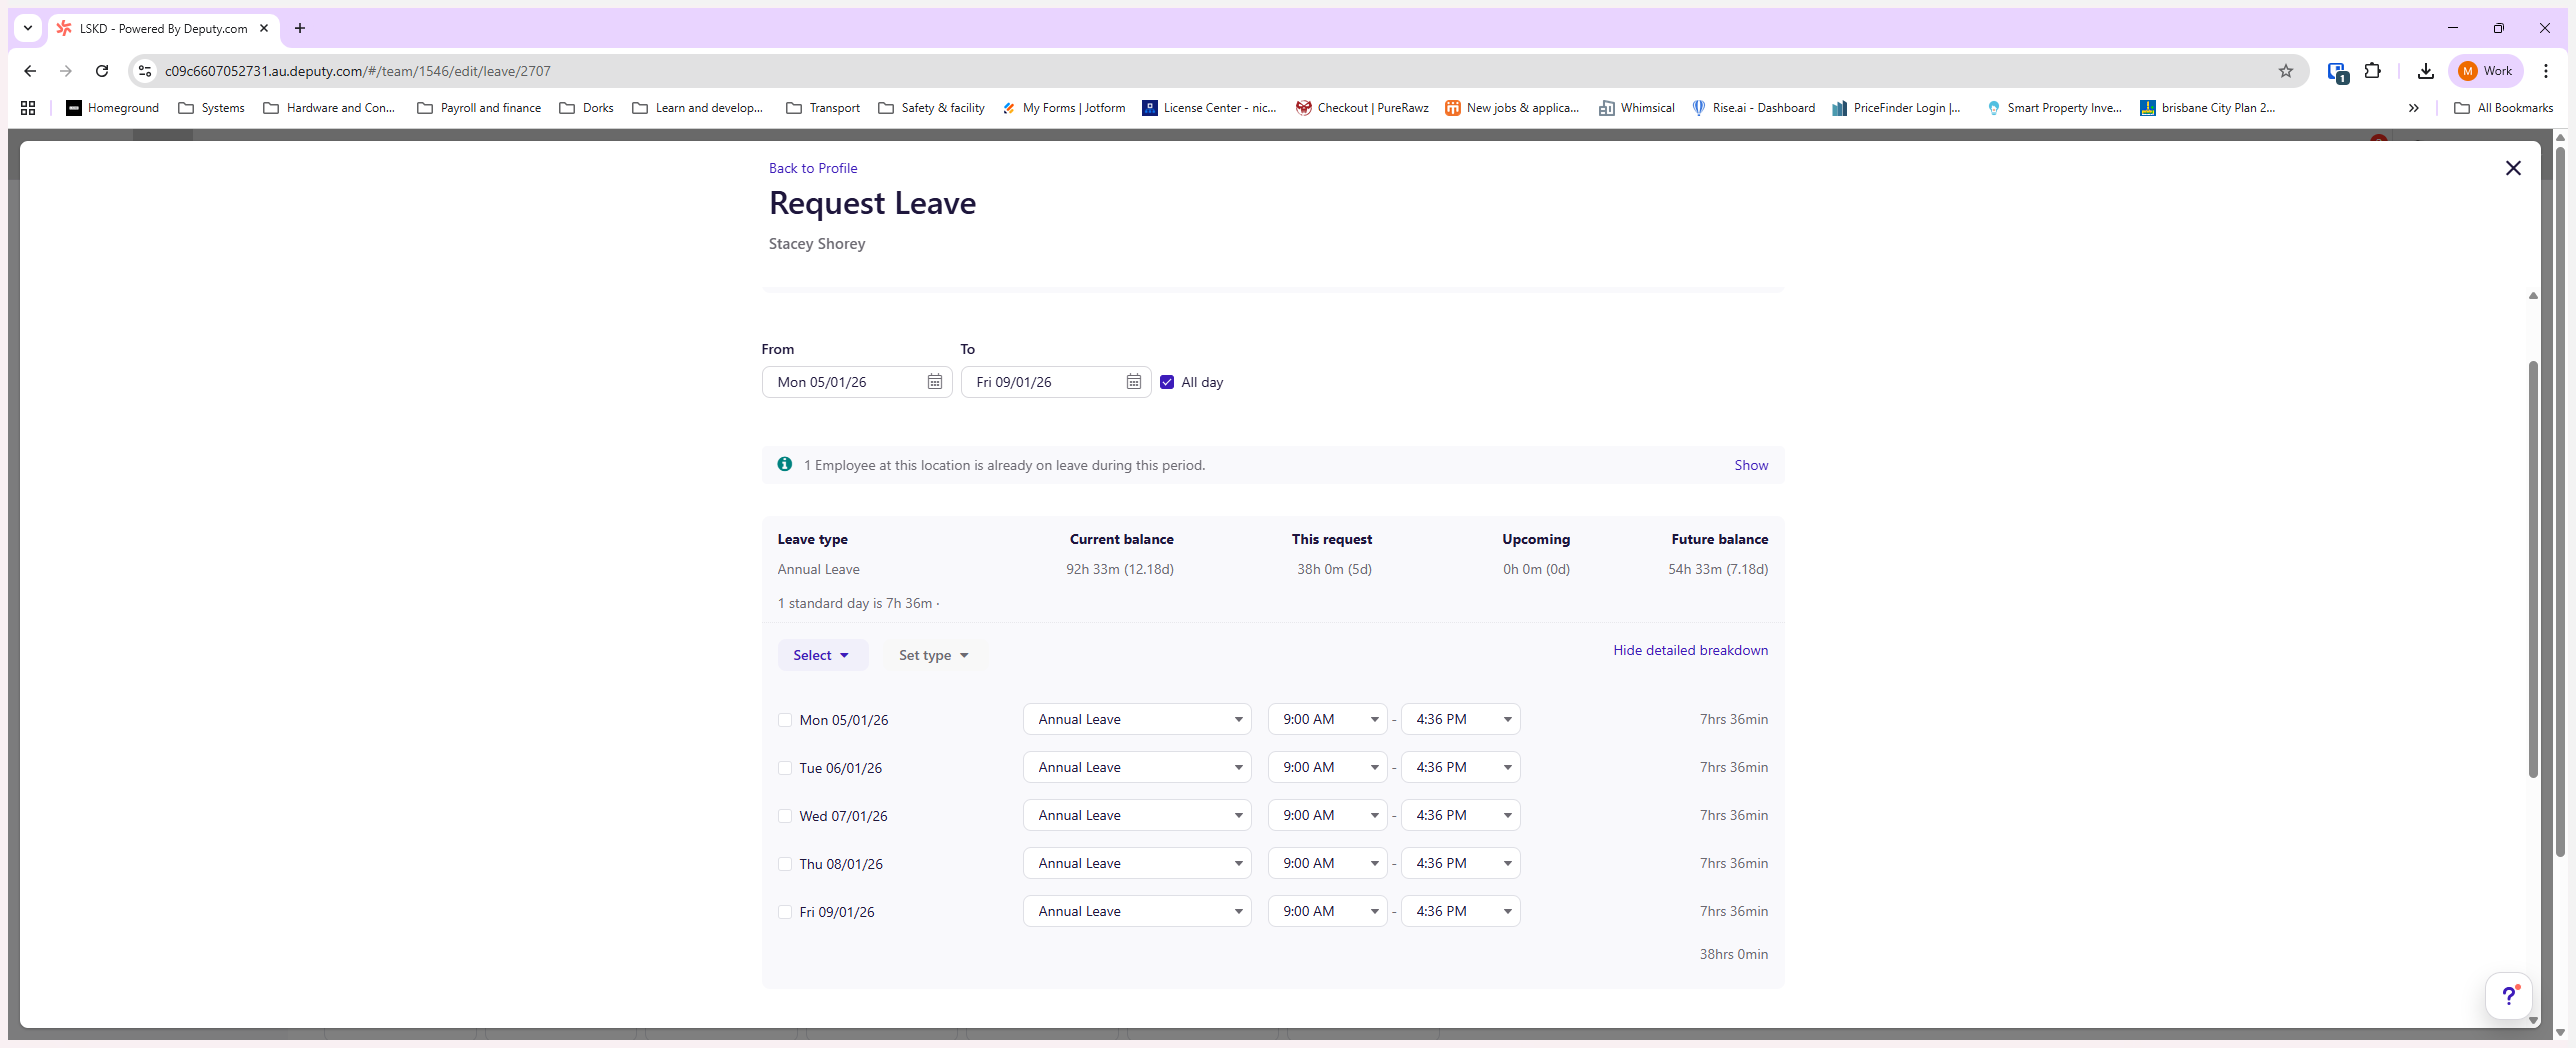

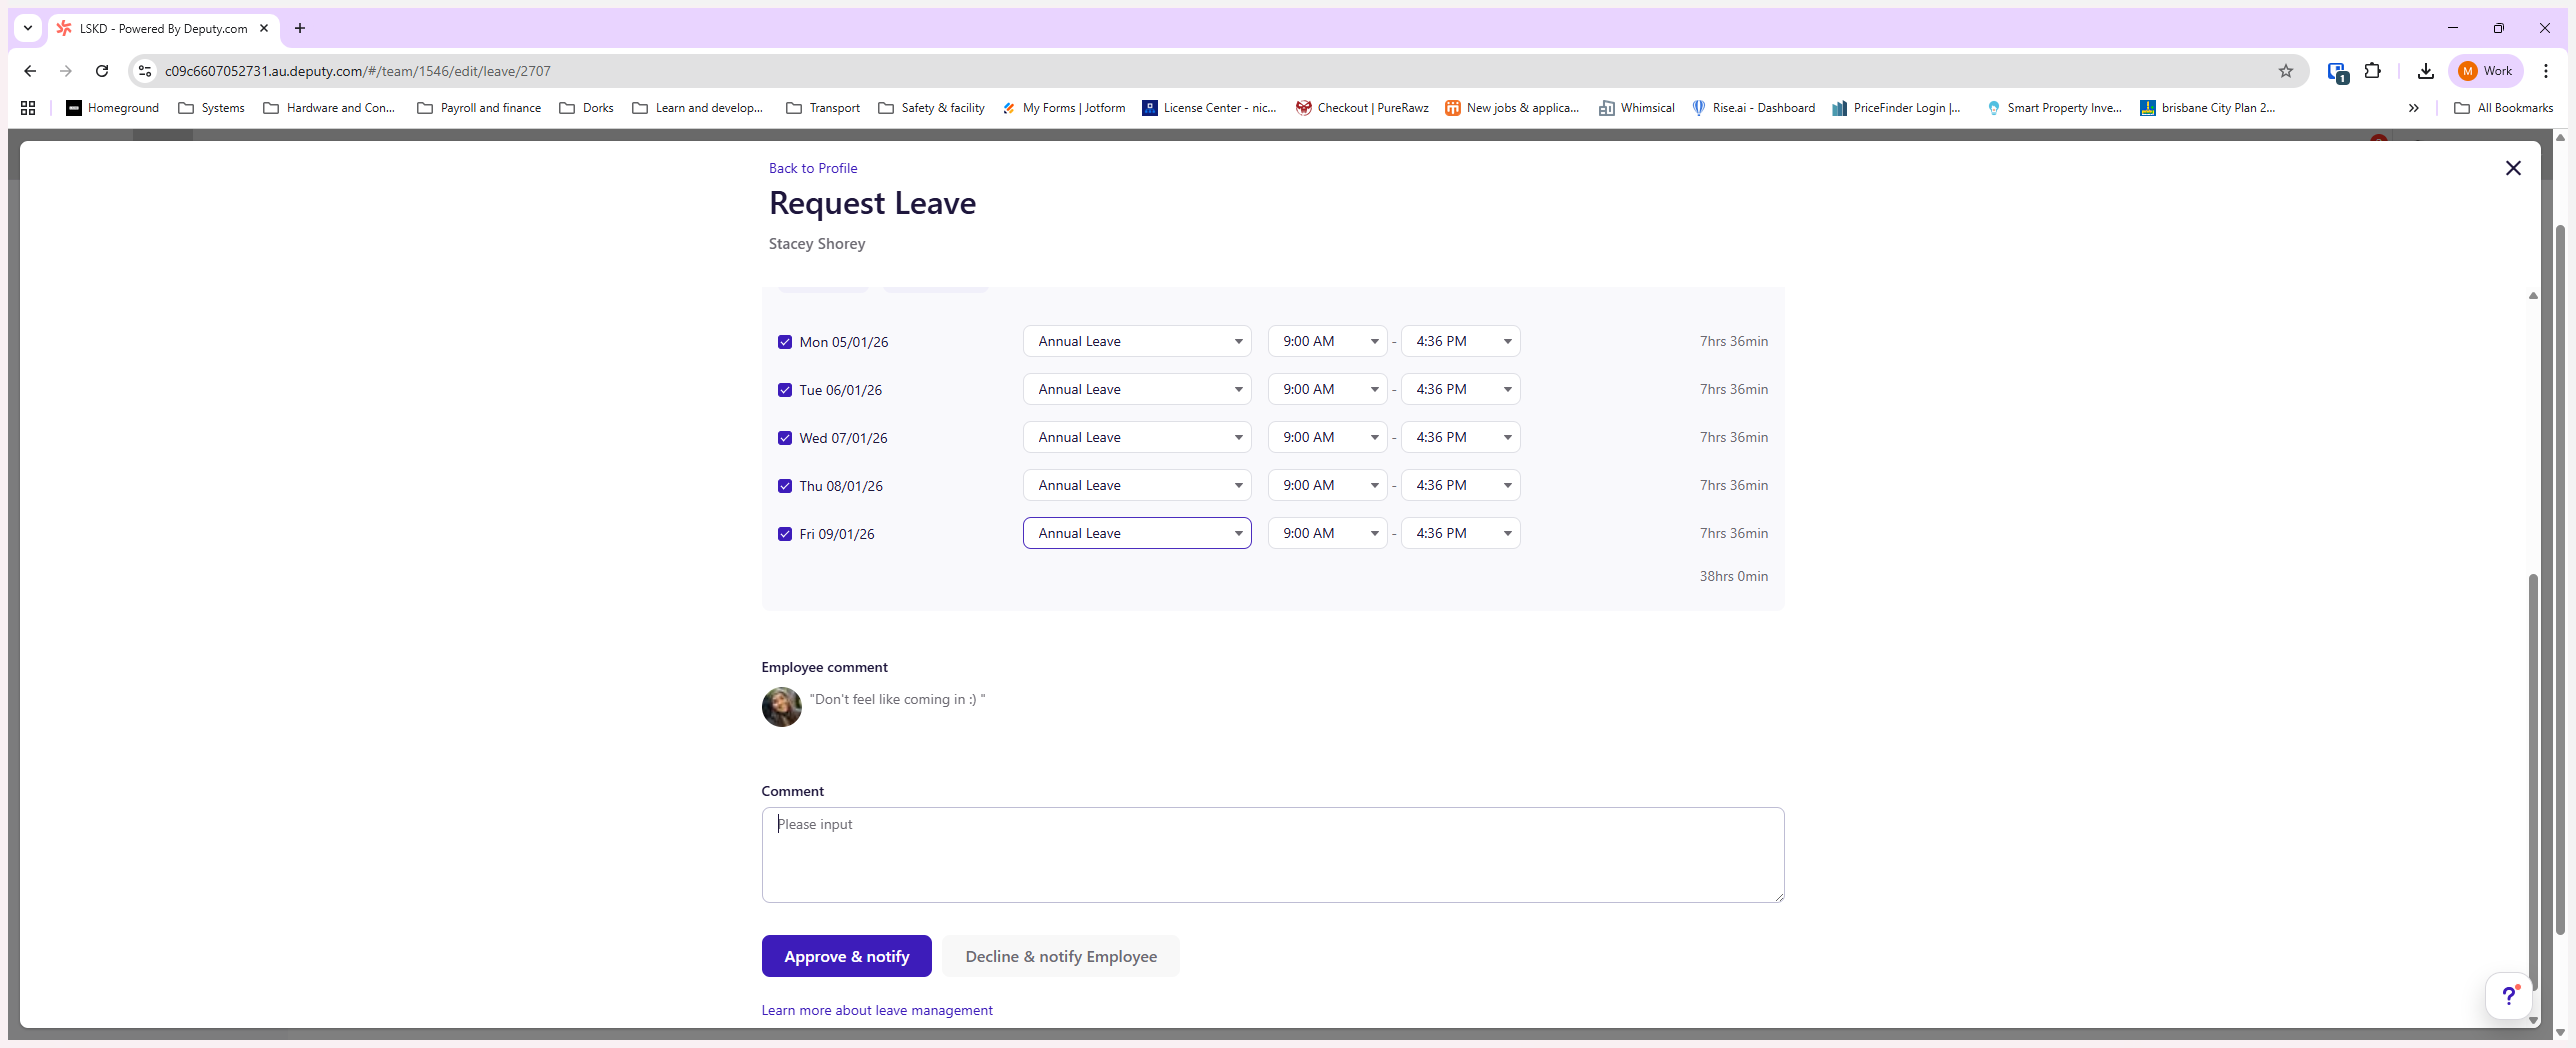
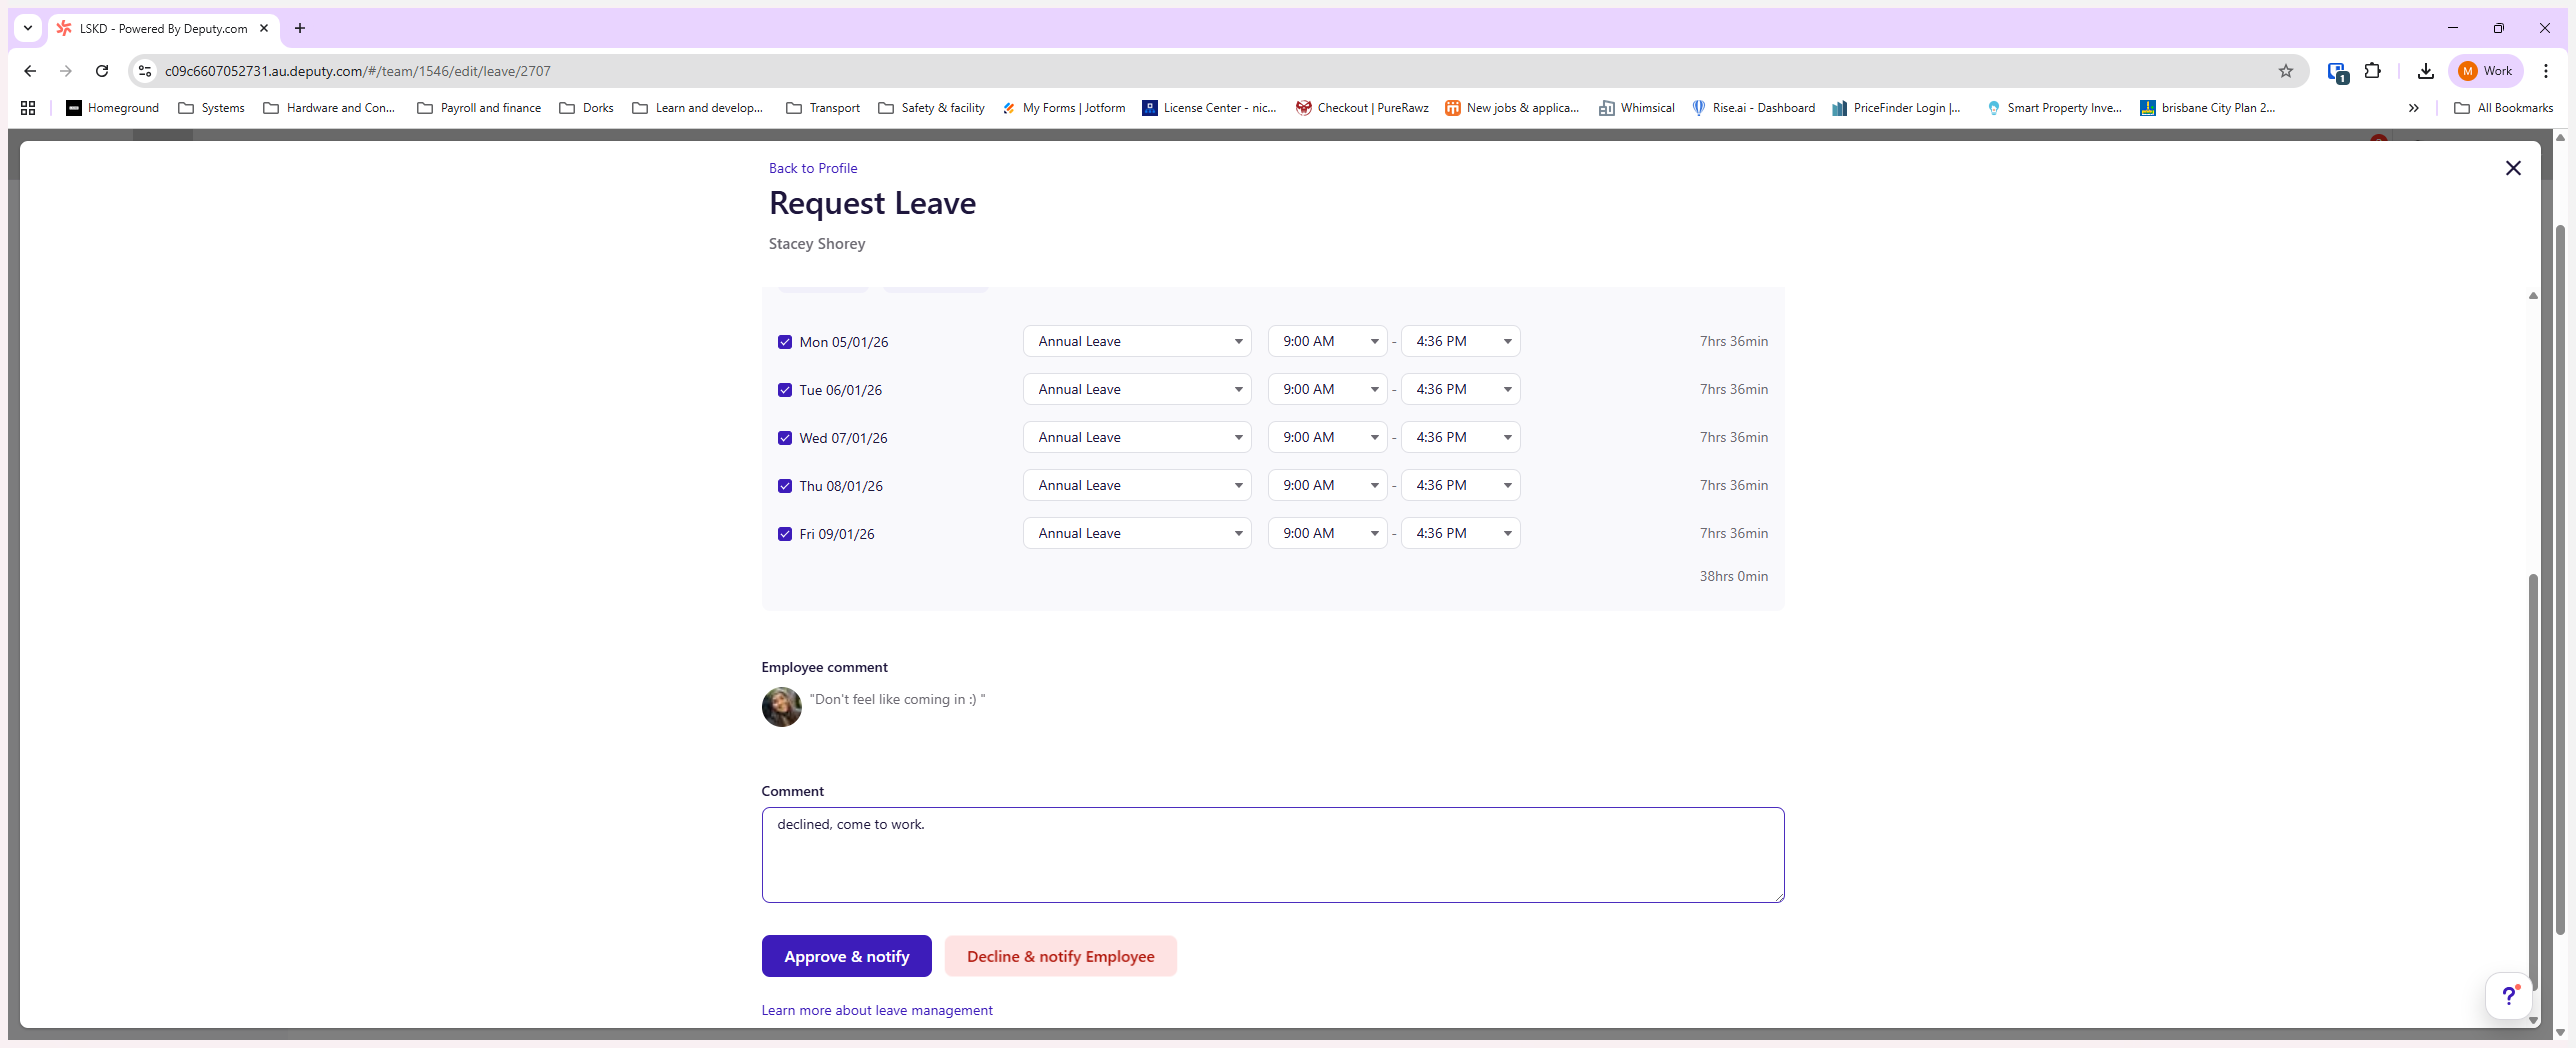
If that were the case, we would need to decline the request and ask the employee to resubmit it correctly making sure the request does not exceed available balances, leave a clear decline note in those cases so the team member can make the necessary changes and resubmit. Follow steps below on how to accept/decline request

Leave a comment for the employee then click accept or decline
Hope this is helpful. If you have any questions, please reach out.