How to Automatically Manage Stock Quantities in Reservety for Maintenance and Future Procurements

Learn how to use Reservety to automatically manage your product stock quantities based on scheduled maintenance and future procurements. Prevent overbookings and keep your inventory accurate with step-by-step instructions.

By Reservety

In this guide, we'll learn how to manage stock quantities in Reservety by accounting for maintenance schedules and future procurements. This helps prevent overbooking and ensures your inventory reflects real-time availability.

Let's get started

Welcome back to Reservety tutorials. In this episode, we will show you how to automatically manage stock quantities based on maintenance and future procurements.

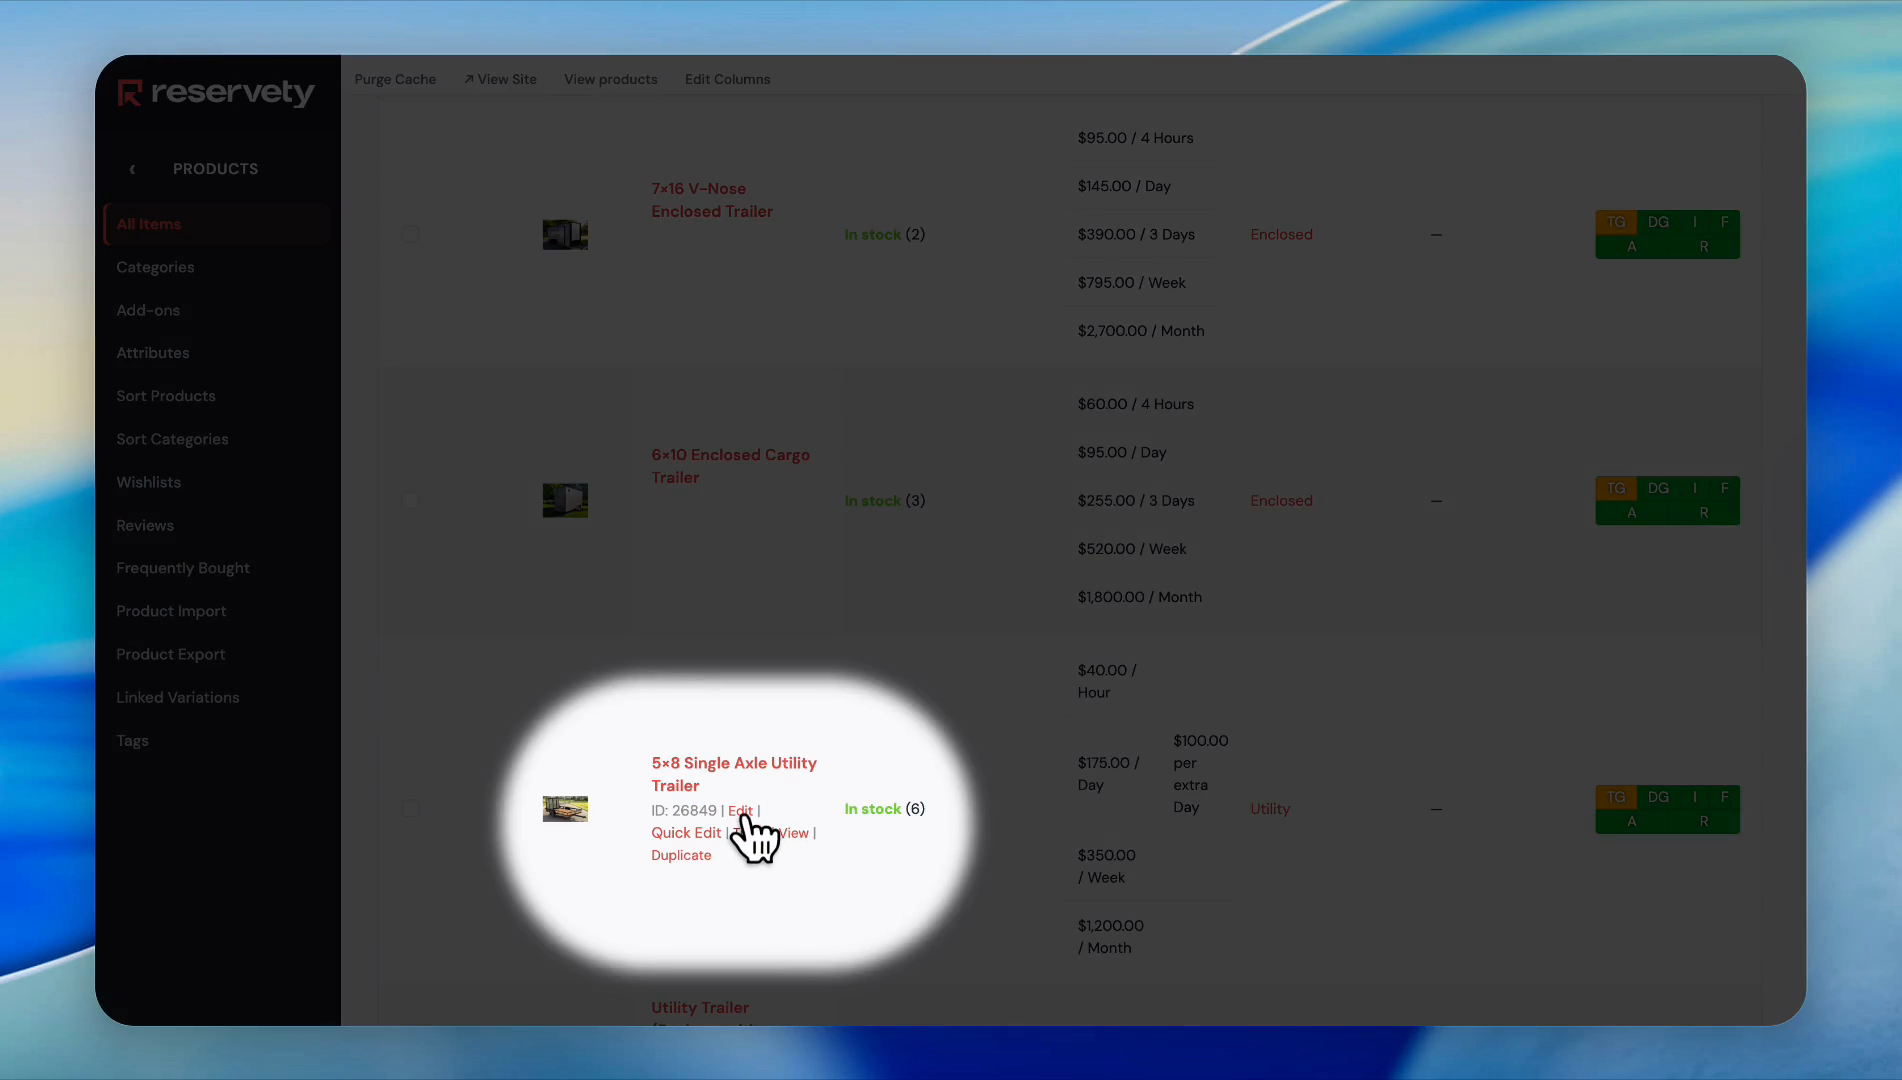
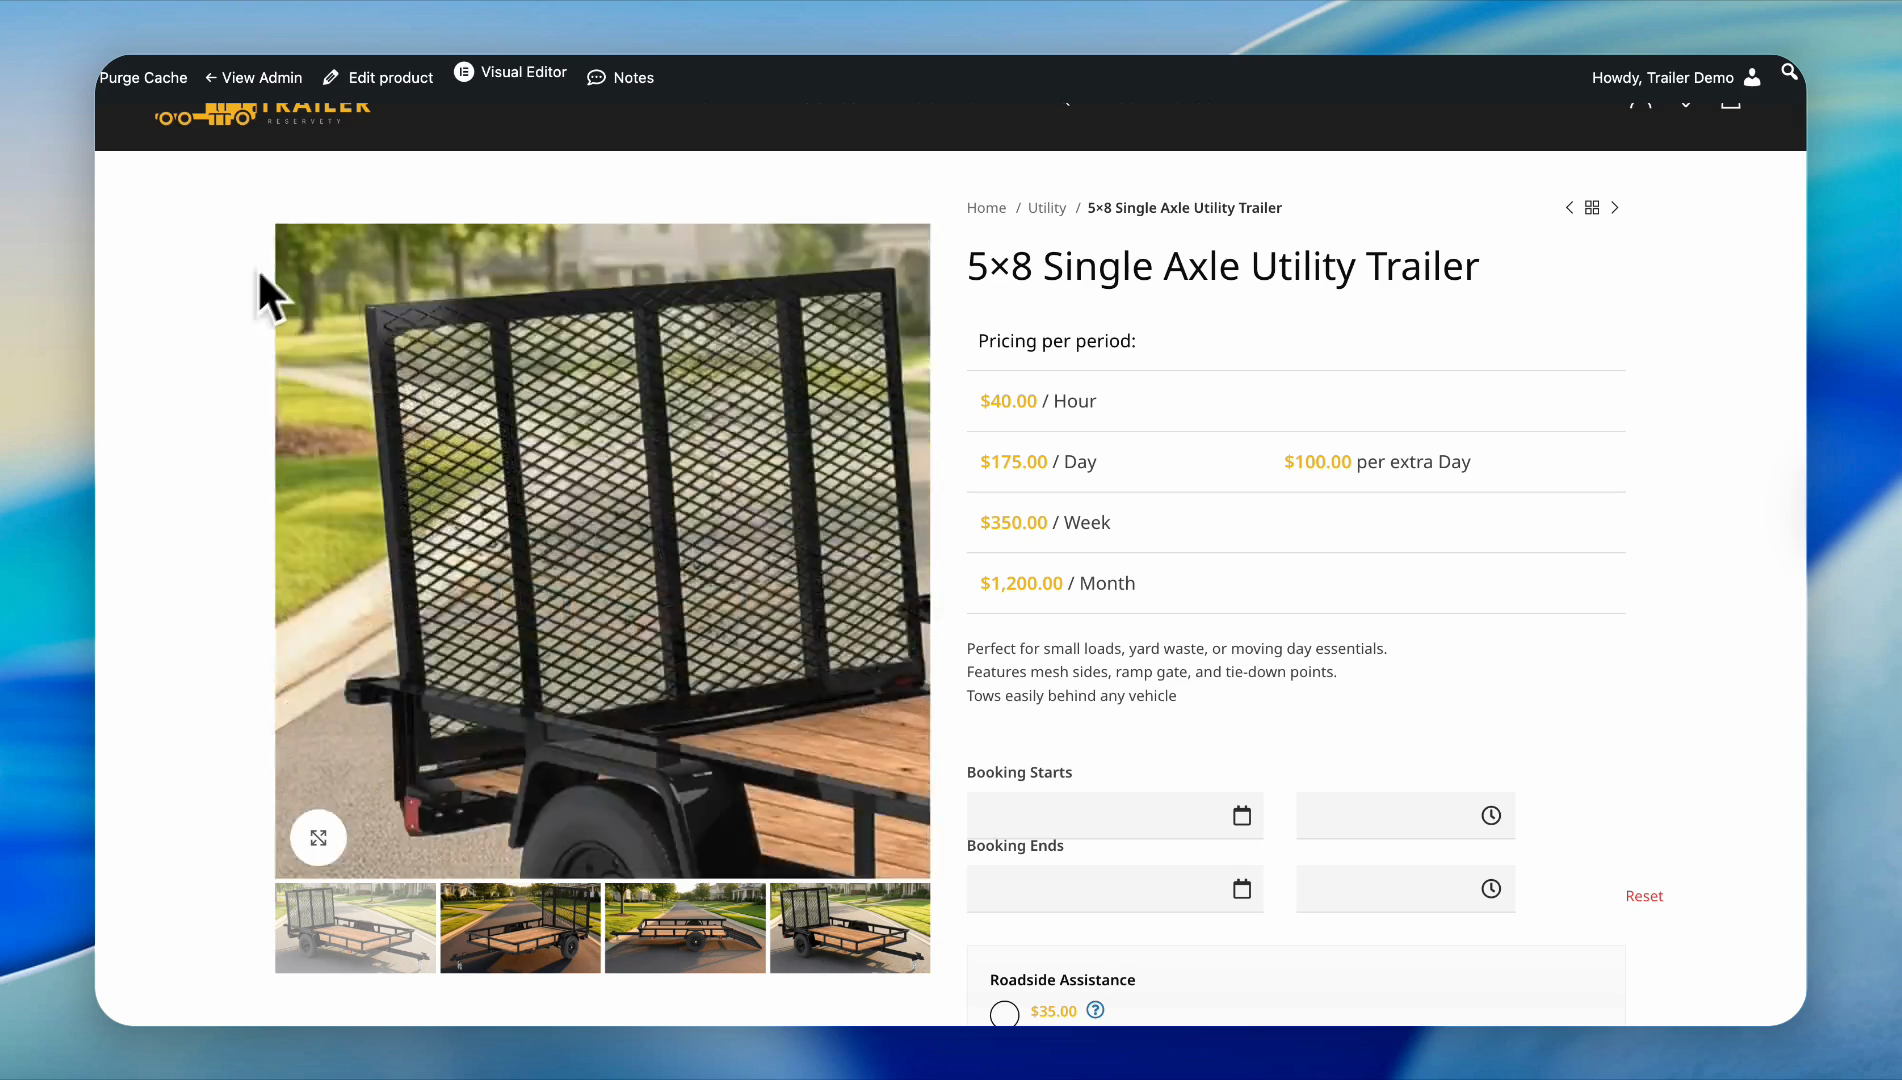
For example, we have six 5x8 single-axle utility trailers.

Suppose you want to remove two of them for maintenance next week.

We need to inform the system that we are removing two items to prevent overbookings.

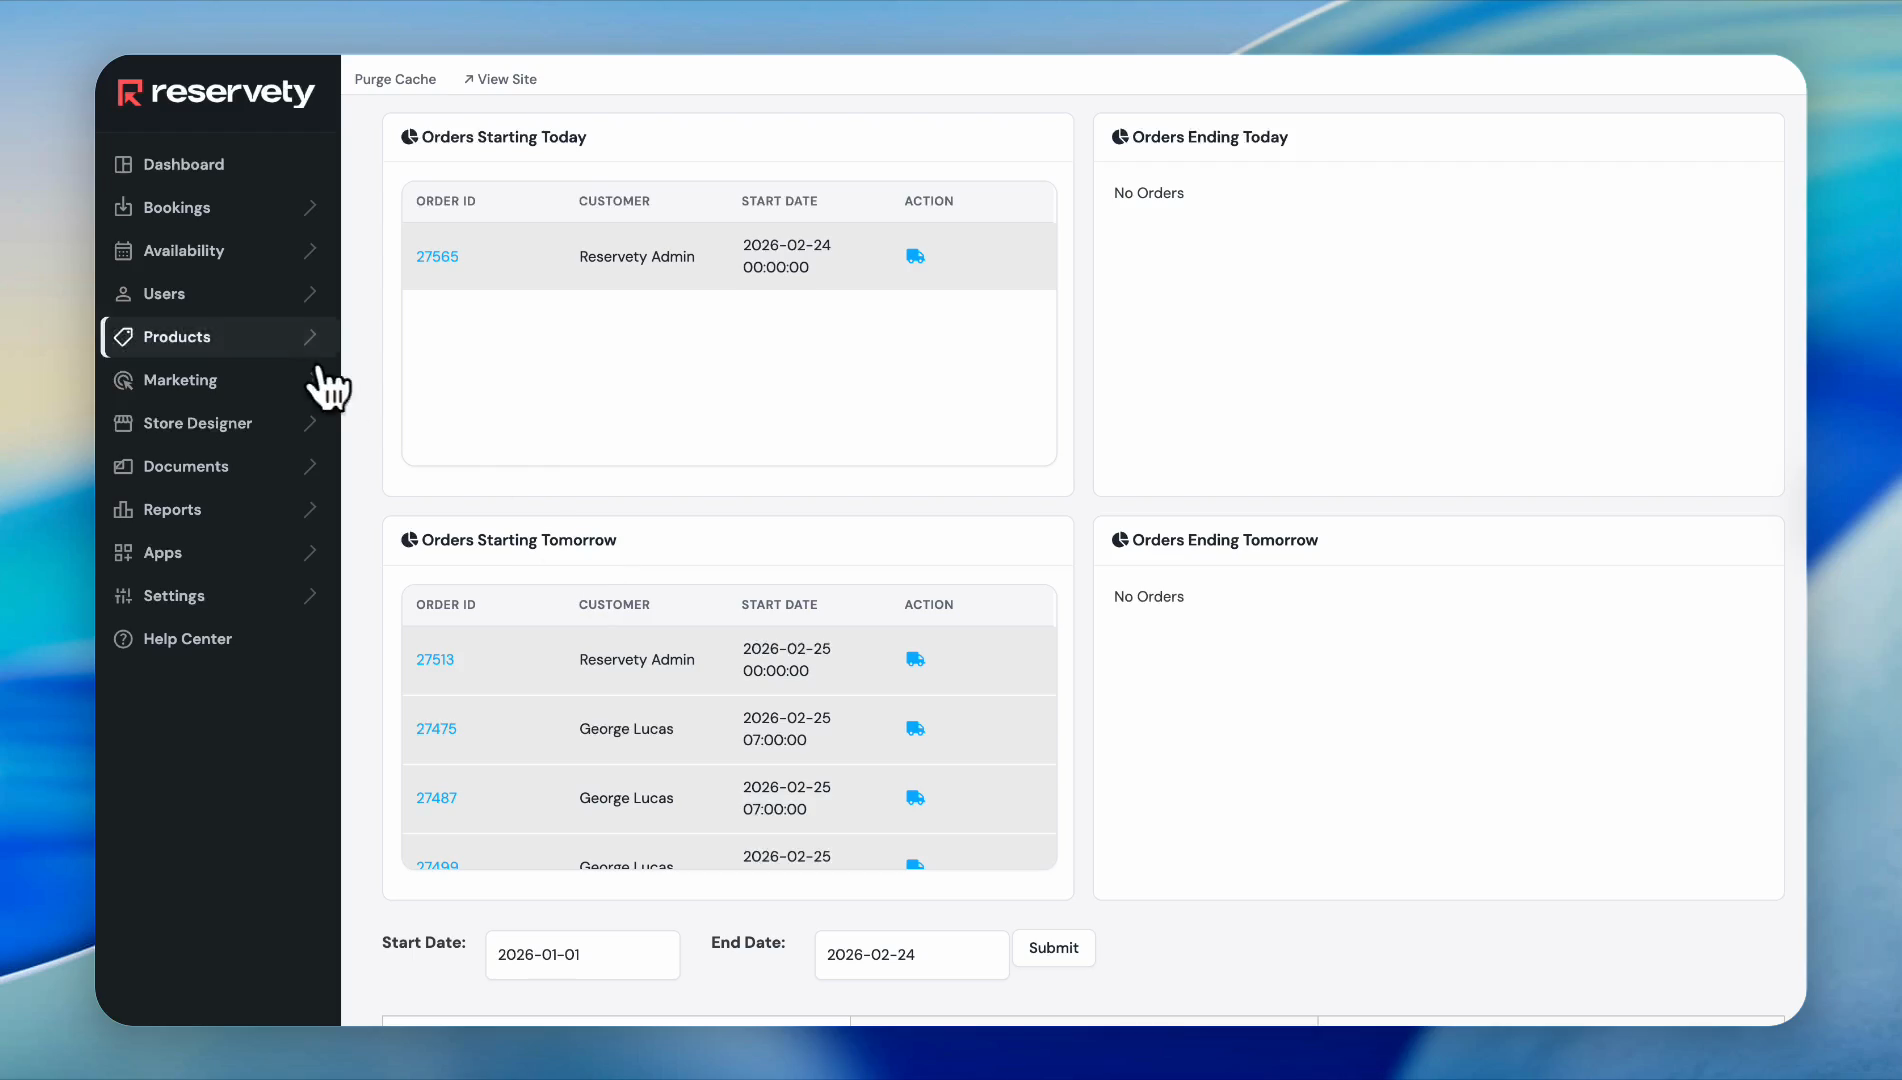
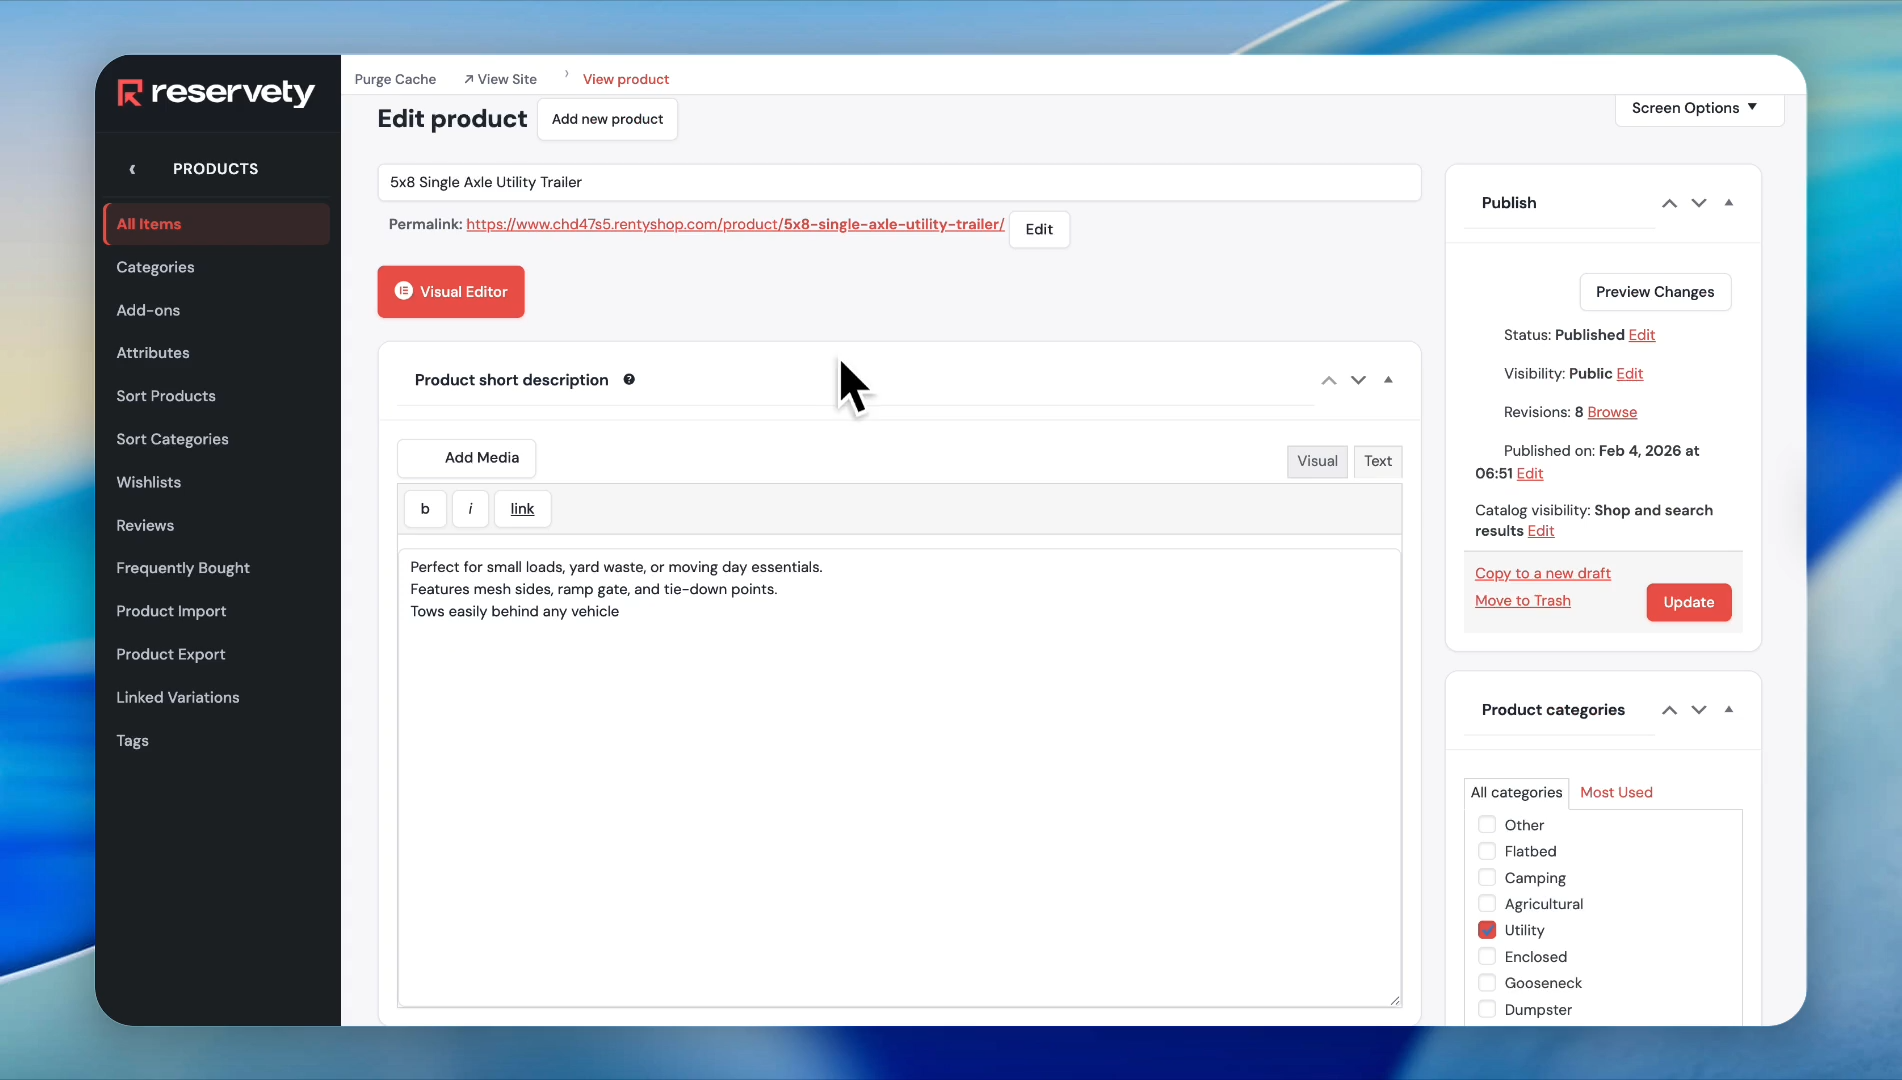
To do that, go to the dashboard.

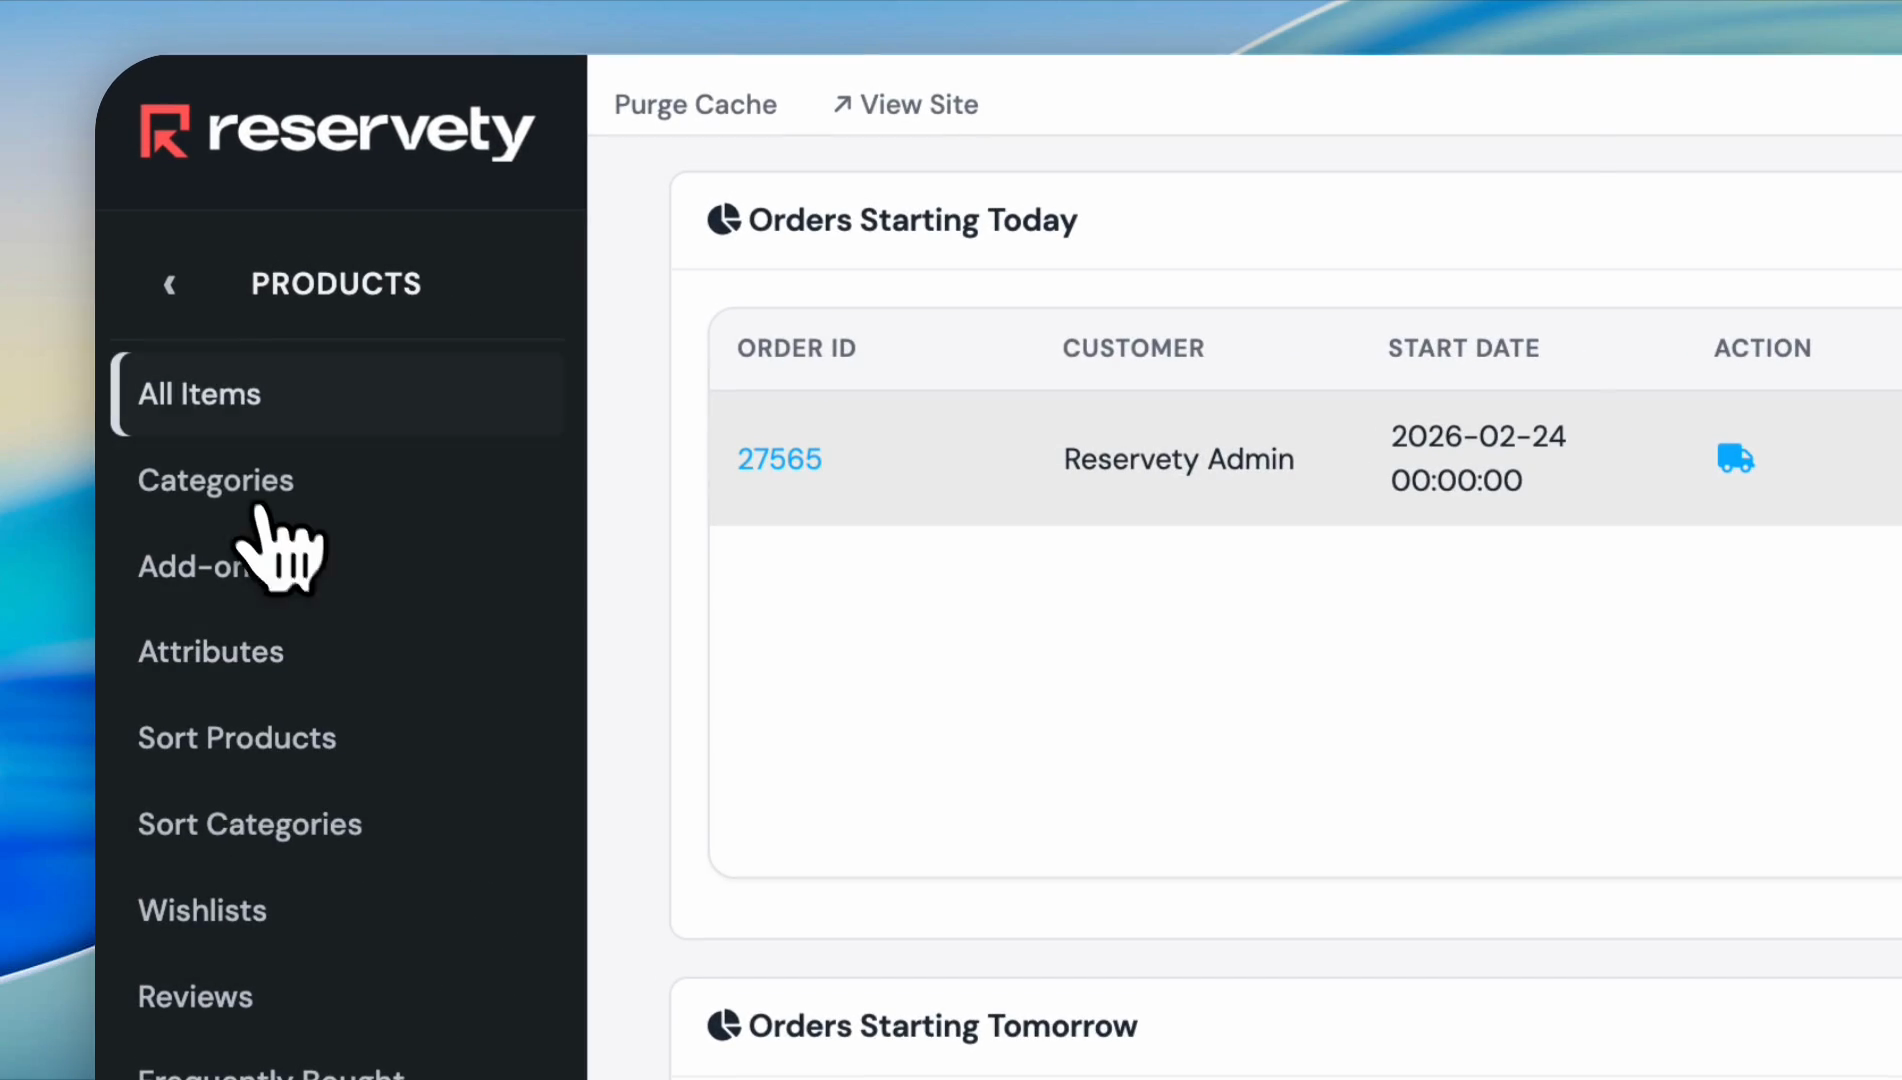
Click on "Products," then select "All Items."

Find the 5x8 single-axle utility trailer, and click "Edit"

1
Click on Products.
Step #1: Click on Products.
2
Click on All Items.
Step #2: Click on All Items.

3
Click Edit for the 5x8 Single Axle Utility Trailer.
Step #3: Click Edit for the 5x8 Single Axle Utility Trailer.
4
Click the toggle to enable Stock in the future.
Step #4: Click the toggle to enable Stock in the future.

5
Click the Add Stock button.
Step #5: Click the Add Stock button.

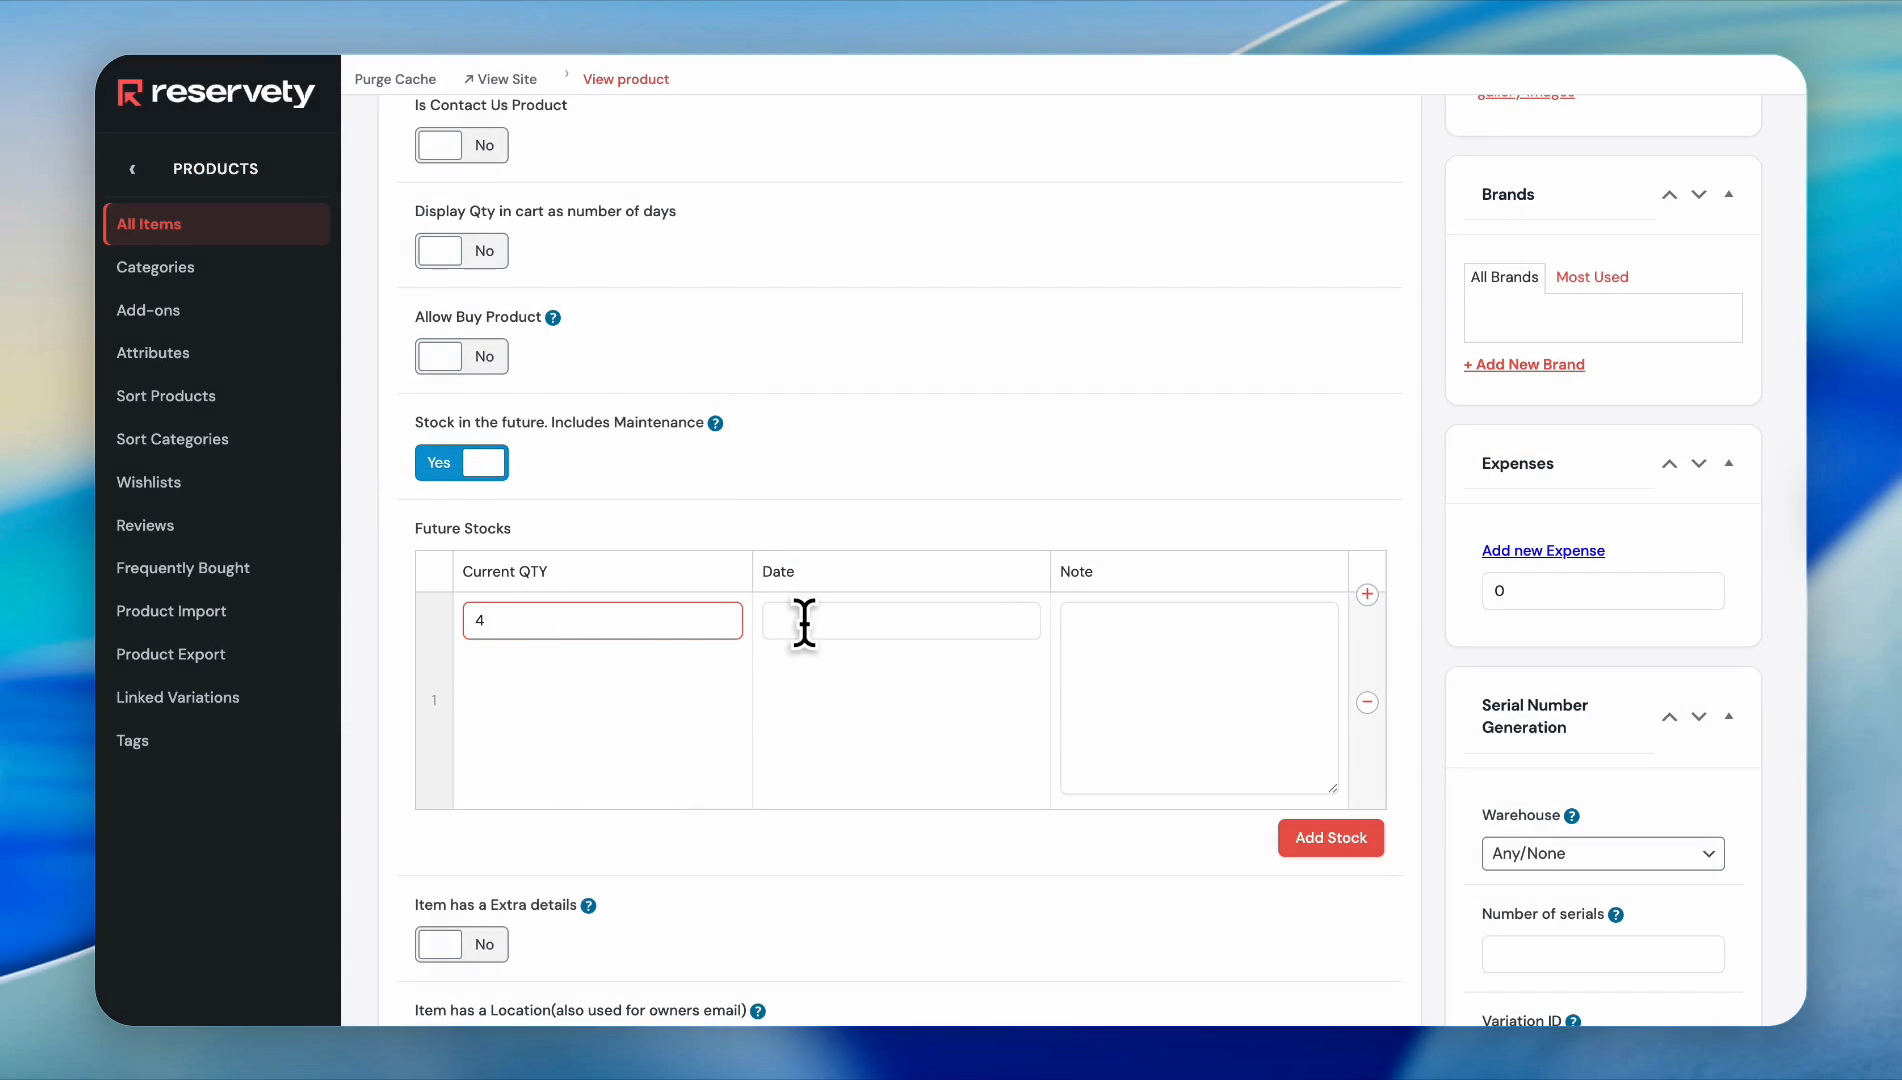
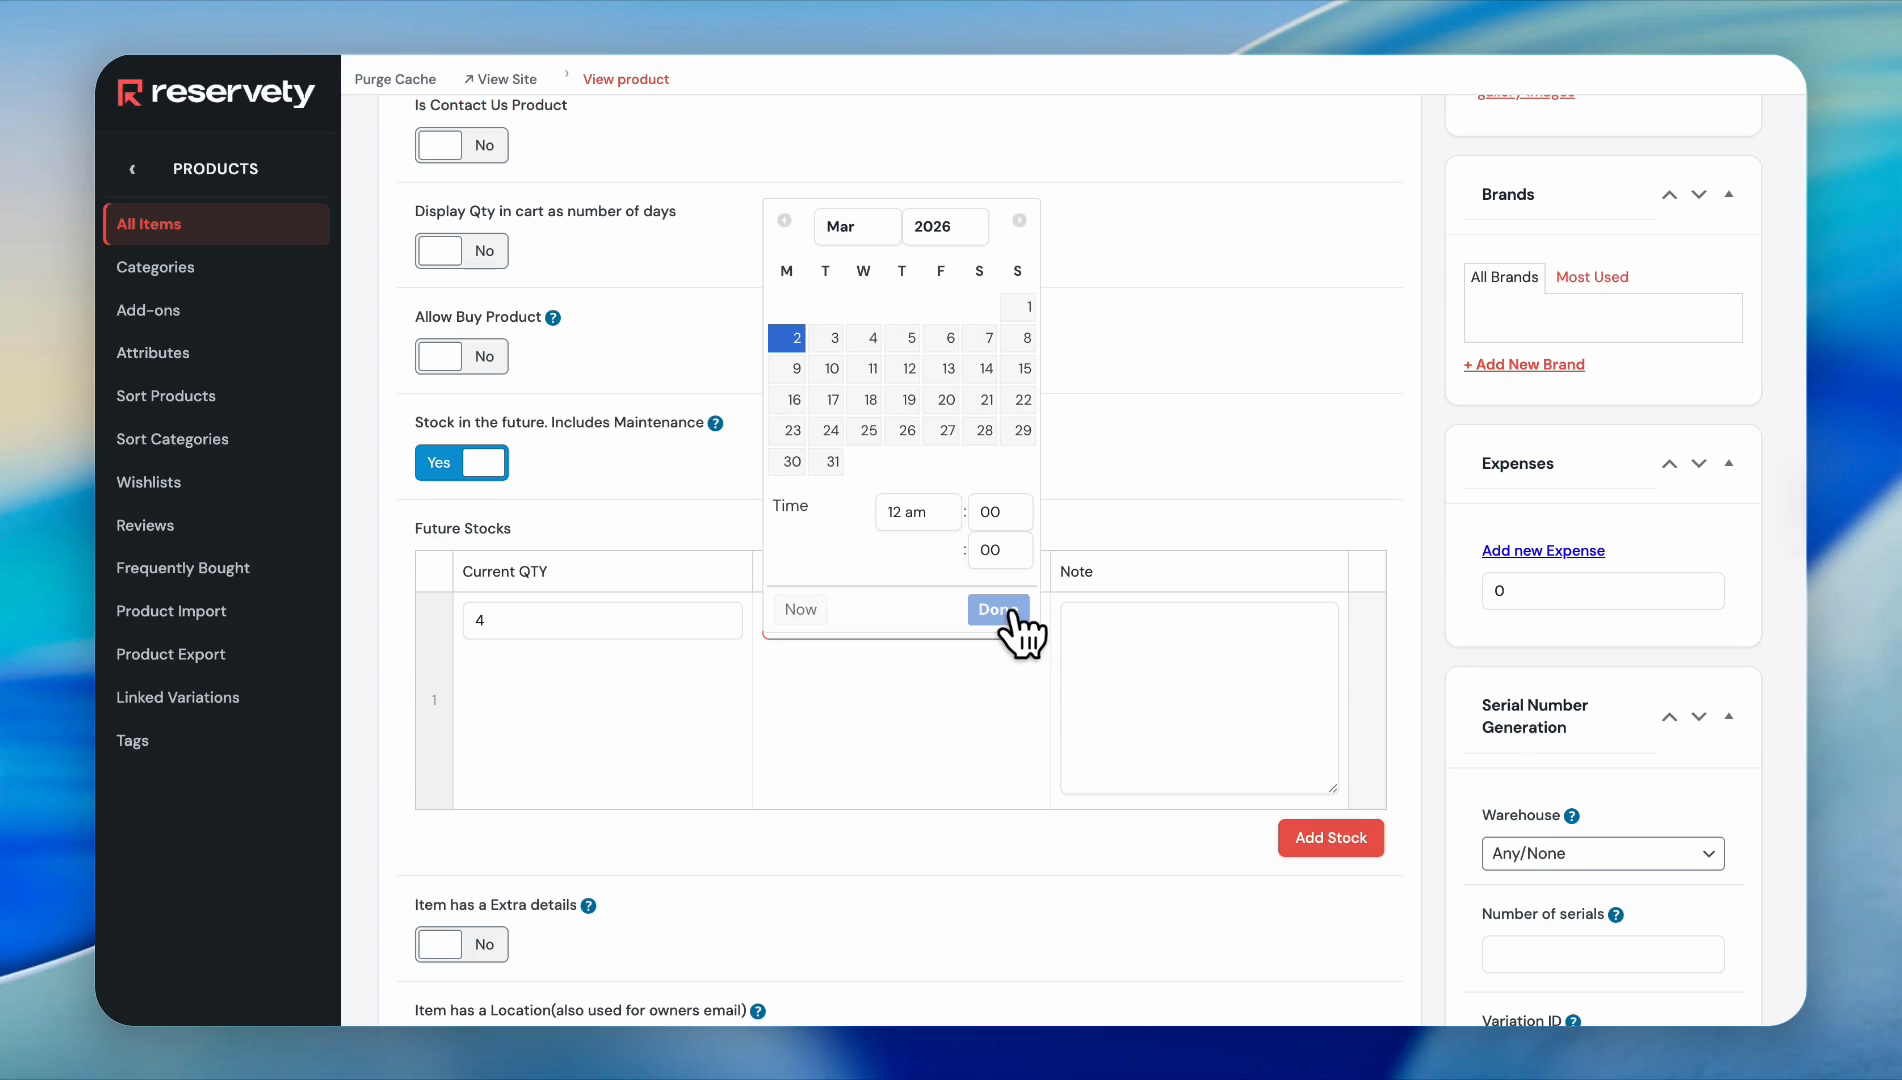
Our stock quantity will be four starting next week.

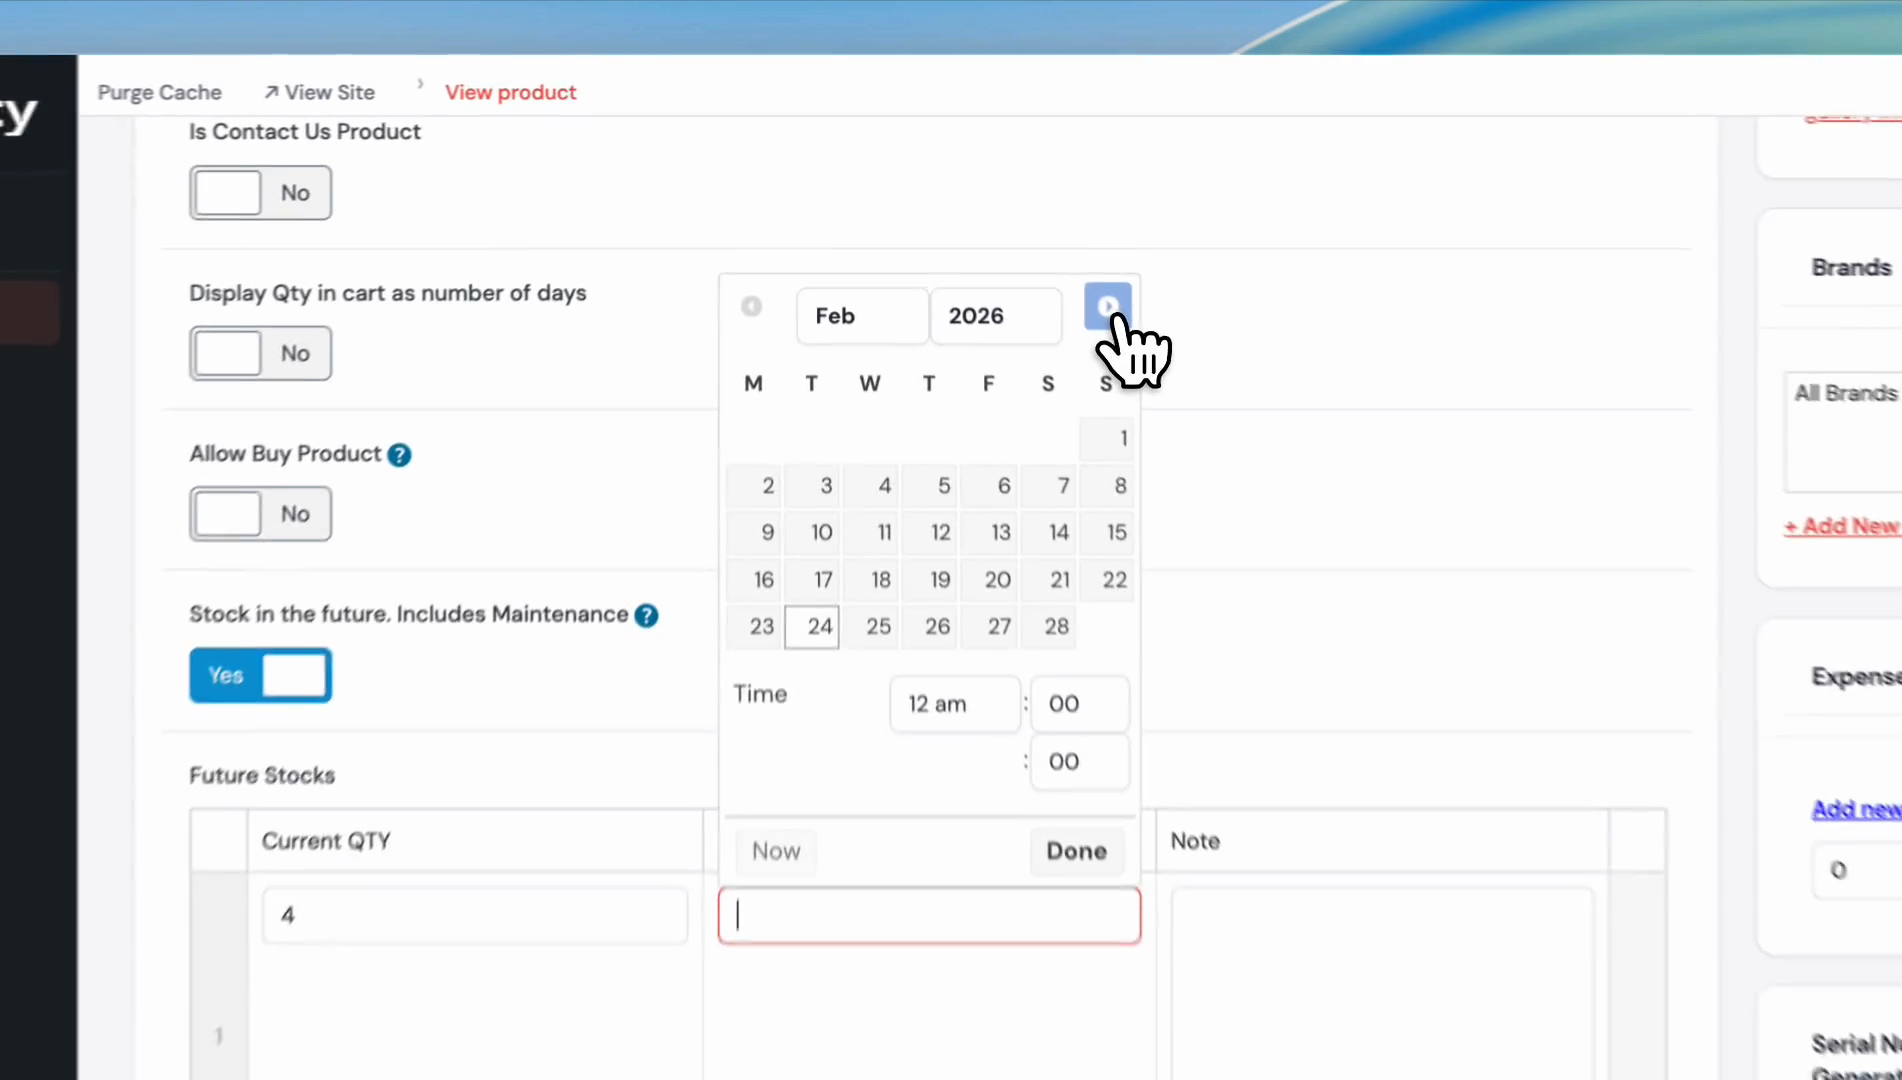
Go ahead and enter four, then select a date.

6
Click on the Date field.
Step #6: Click on the Date field.

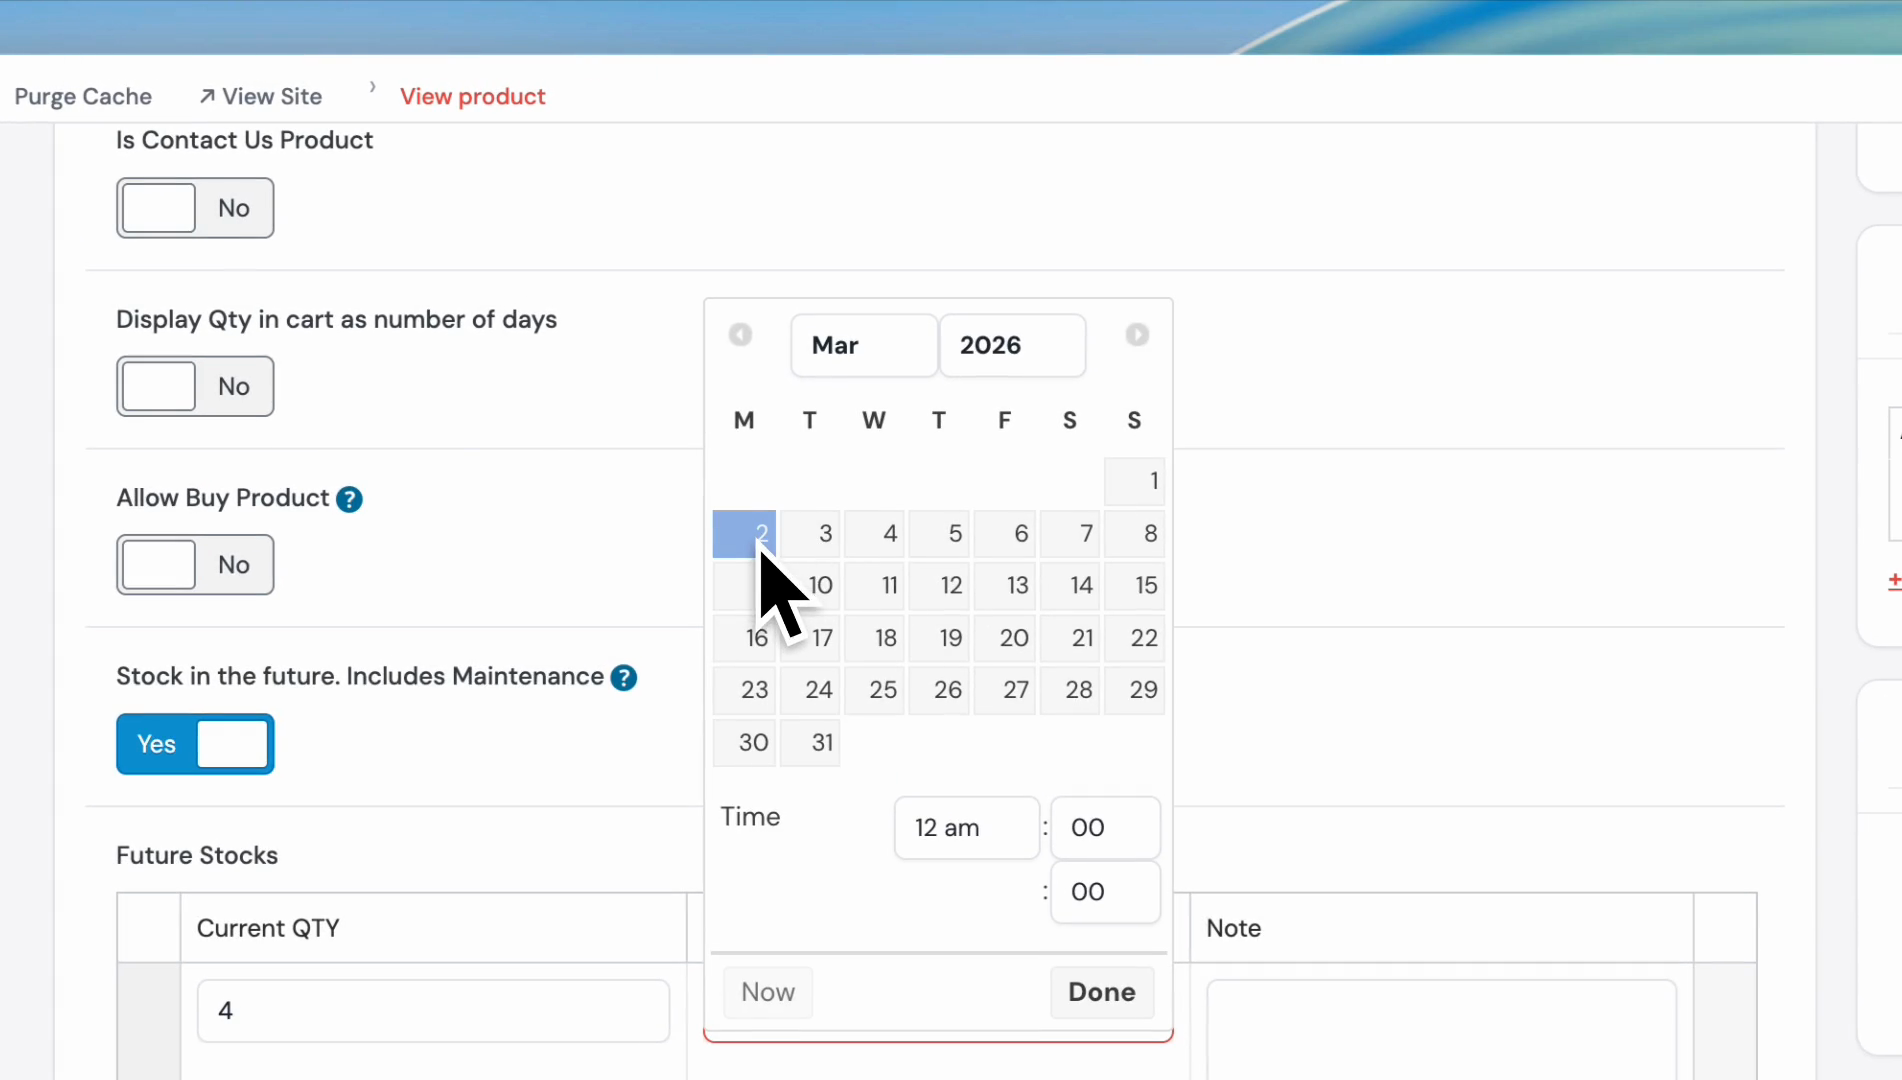
We will select next week, which is March 2nd.

7
Click the next month arrow in the calendar.
Step #7: Click the next month arrow in the calendar.
8
Click on the 2nd day of the month.
Step #8: Click on the 2nd day of the month.
9
Click the Done button.
Step #9: Click the Done button.

10
In the Note field, you can type any note.

11
Click the Update button.
Step #11: Click the Update button.

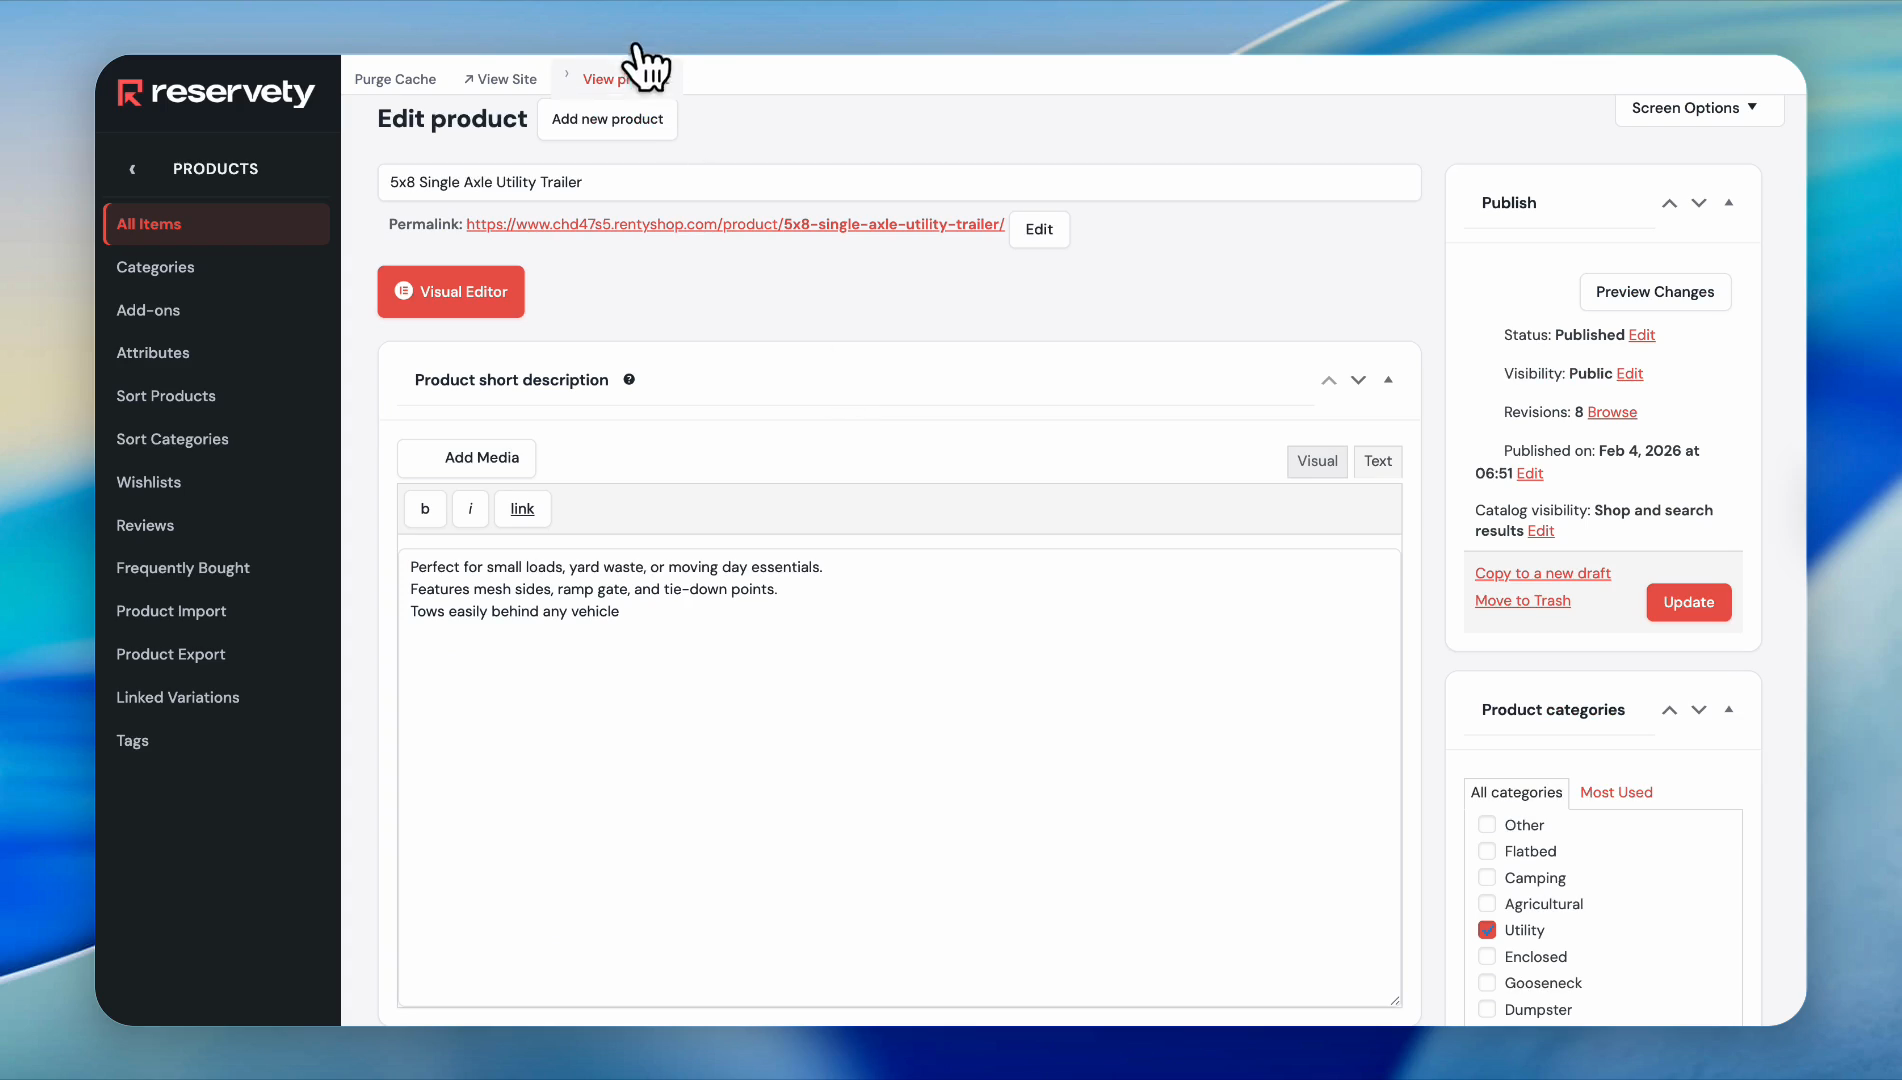
Now let's check if our settings worked.

12
Click the 'View product' link at the top of the page.
Step #12: Click the 'View product' link at the top of the page.

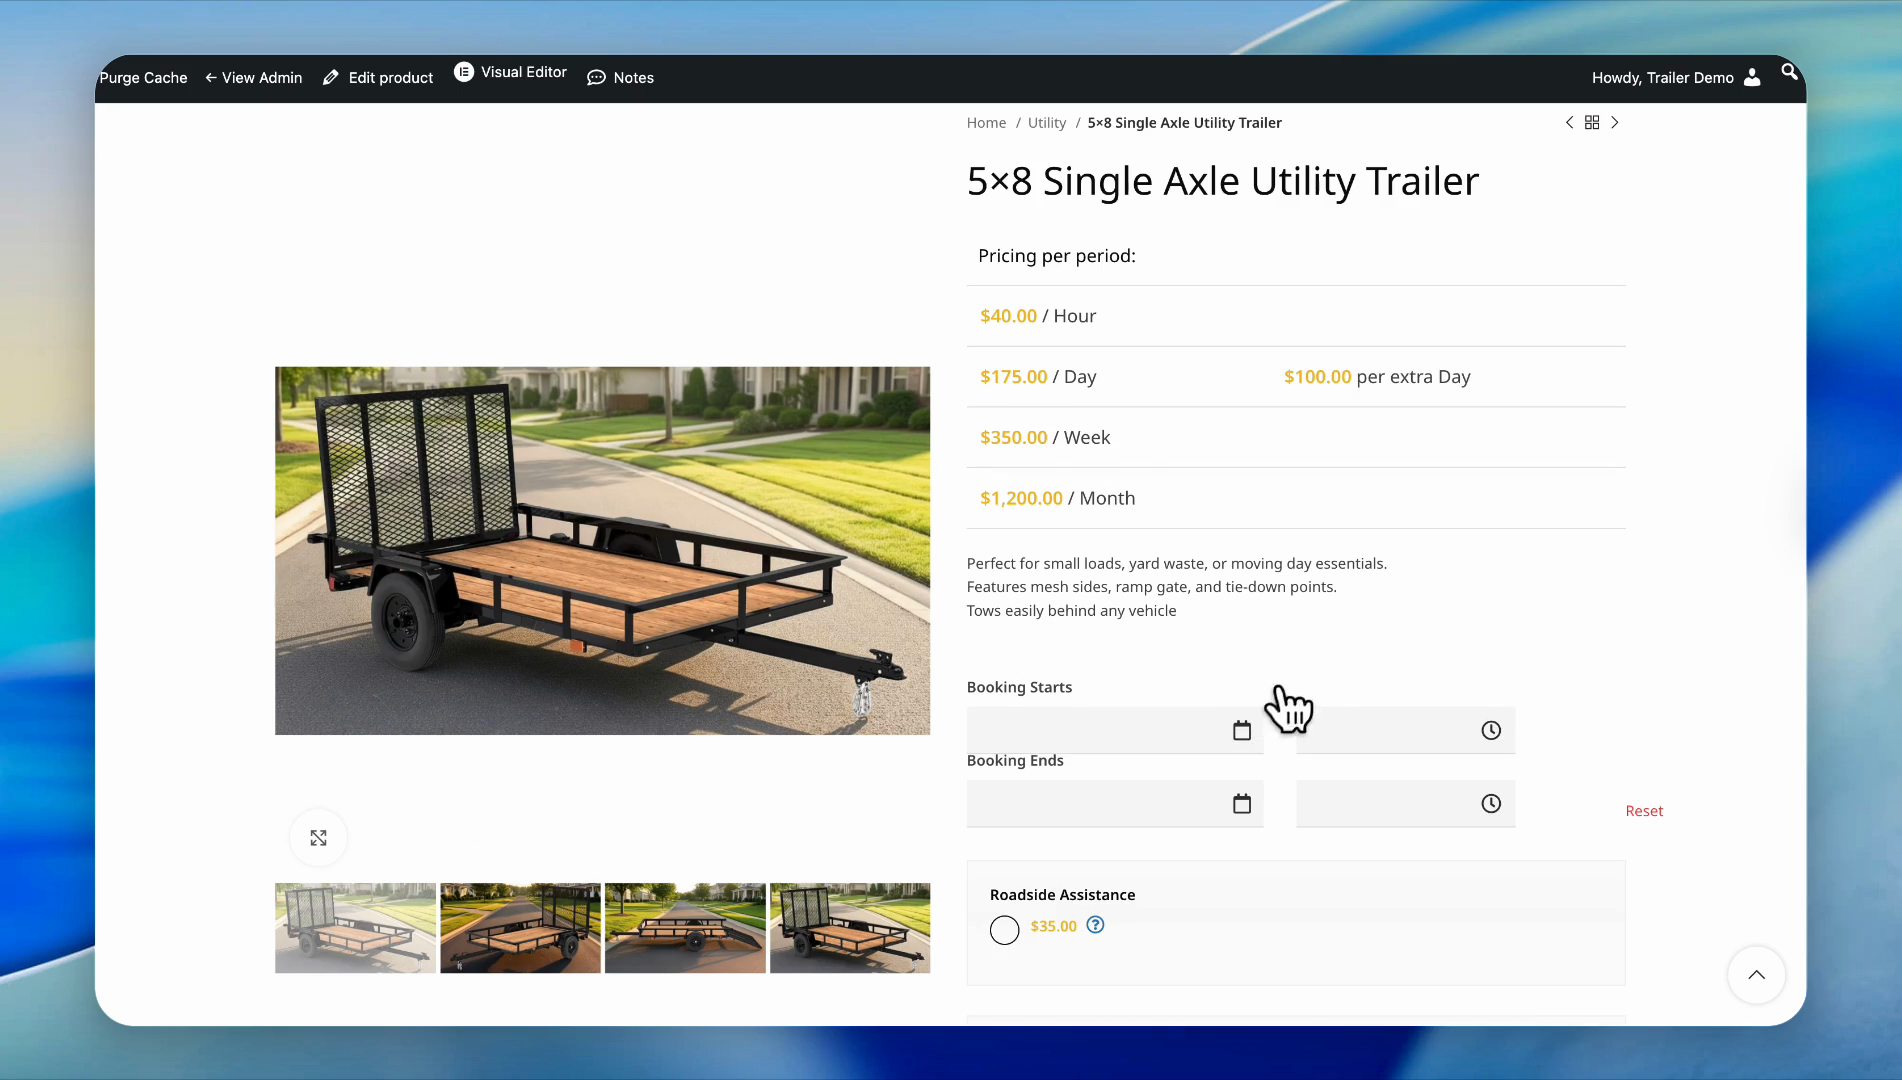
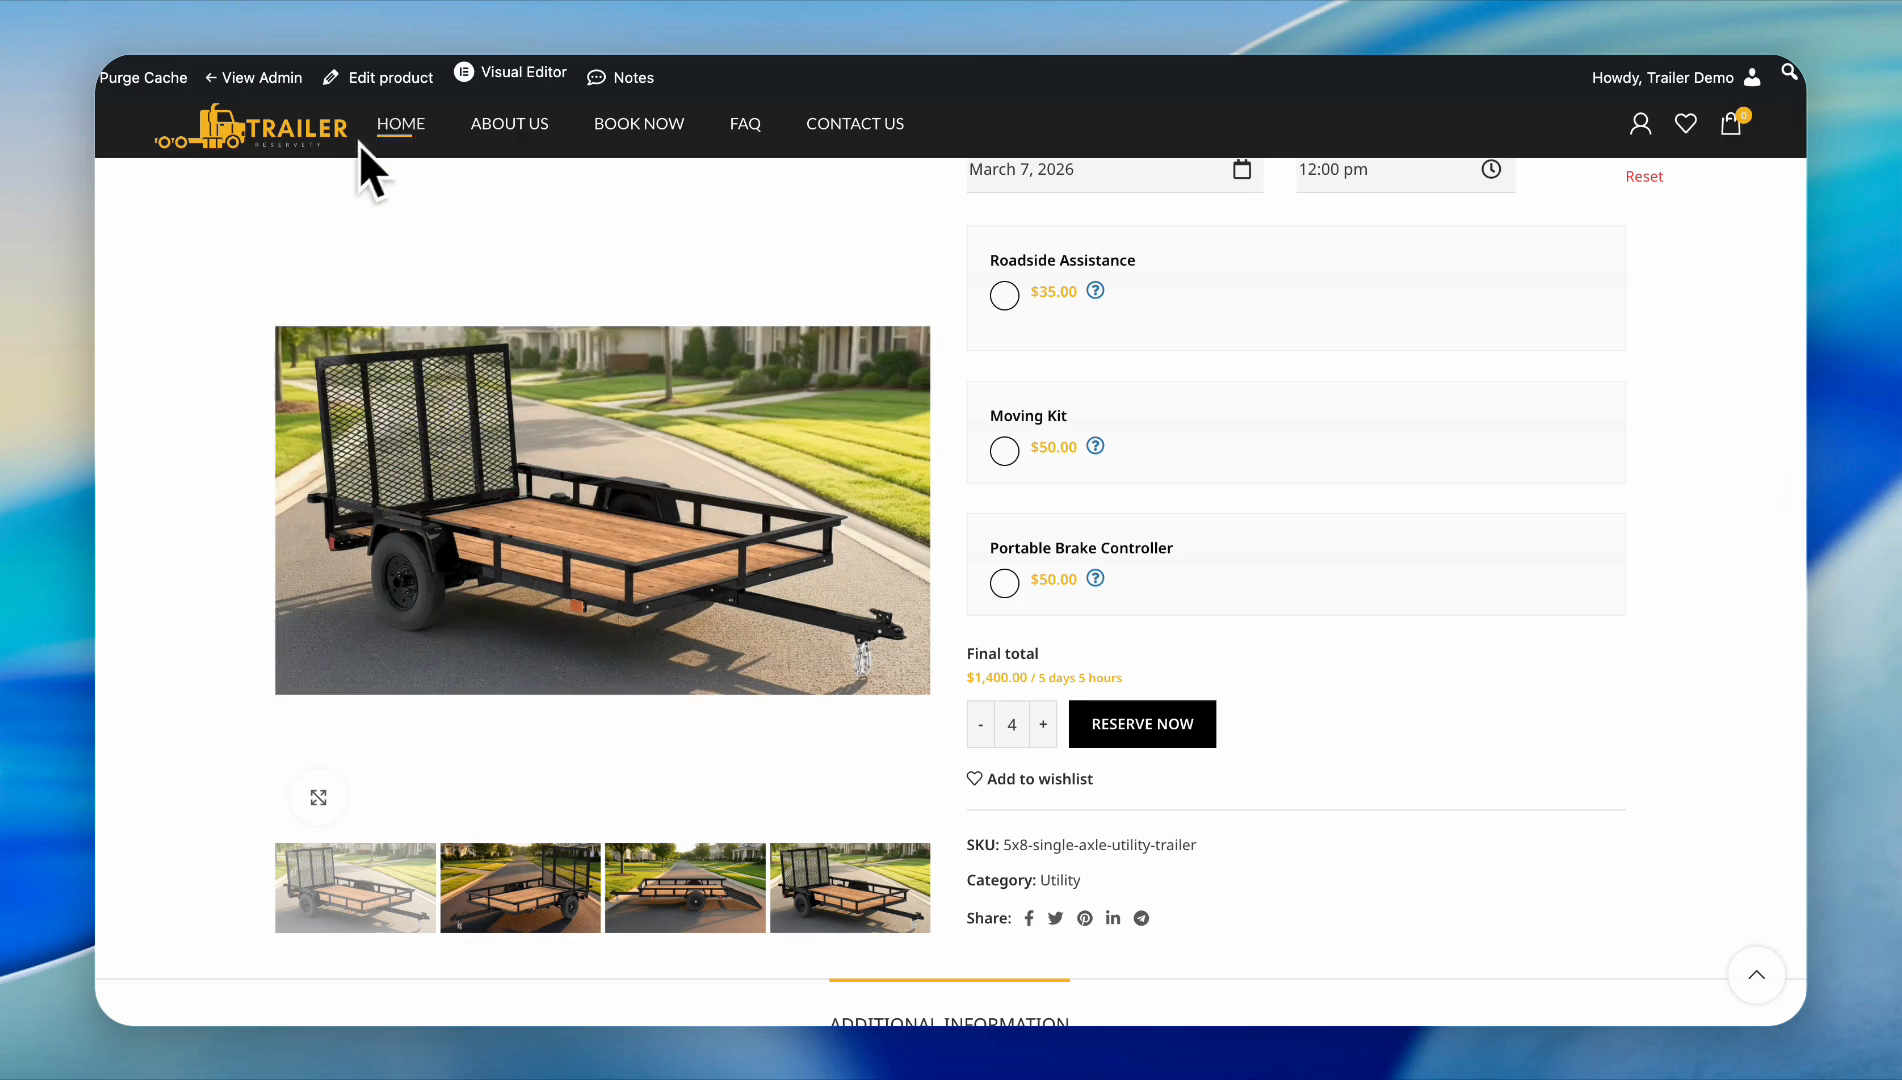
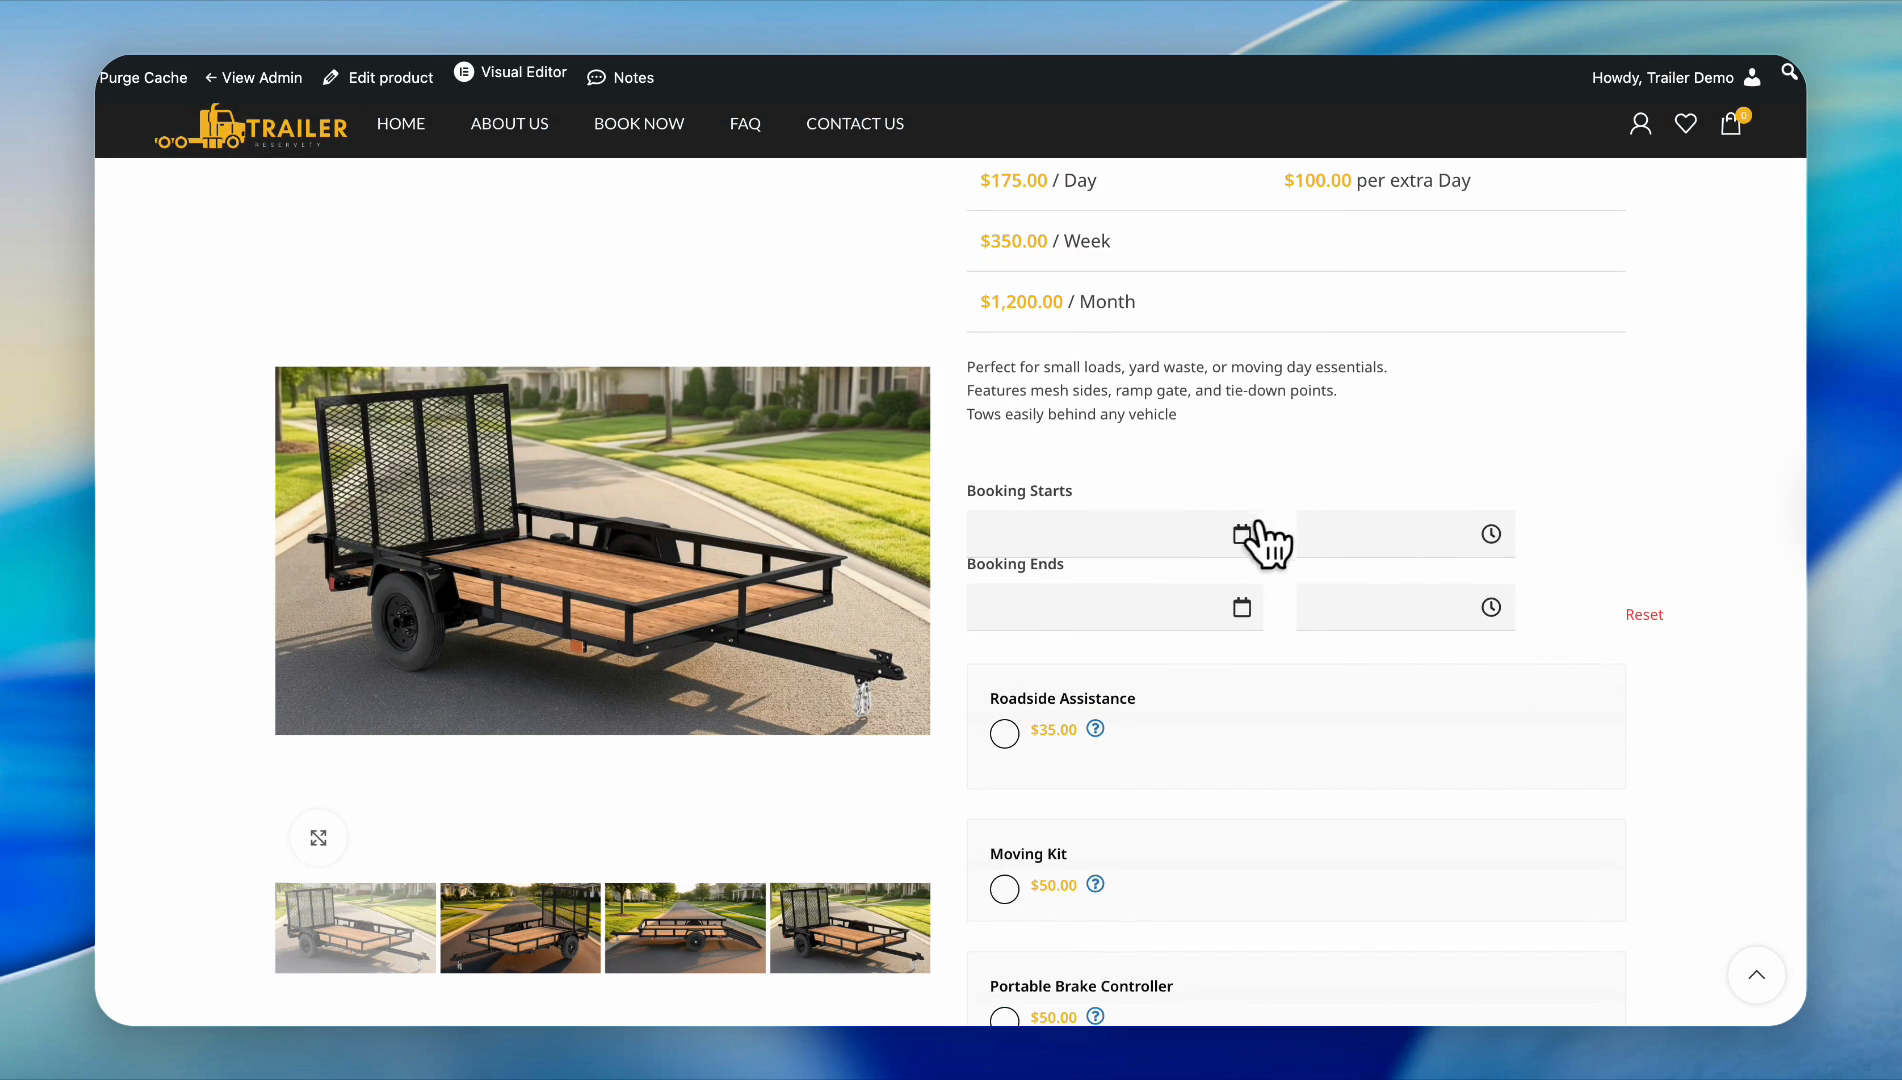
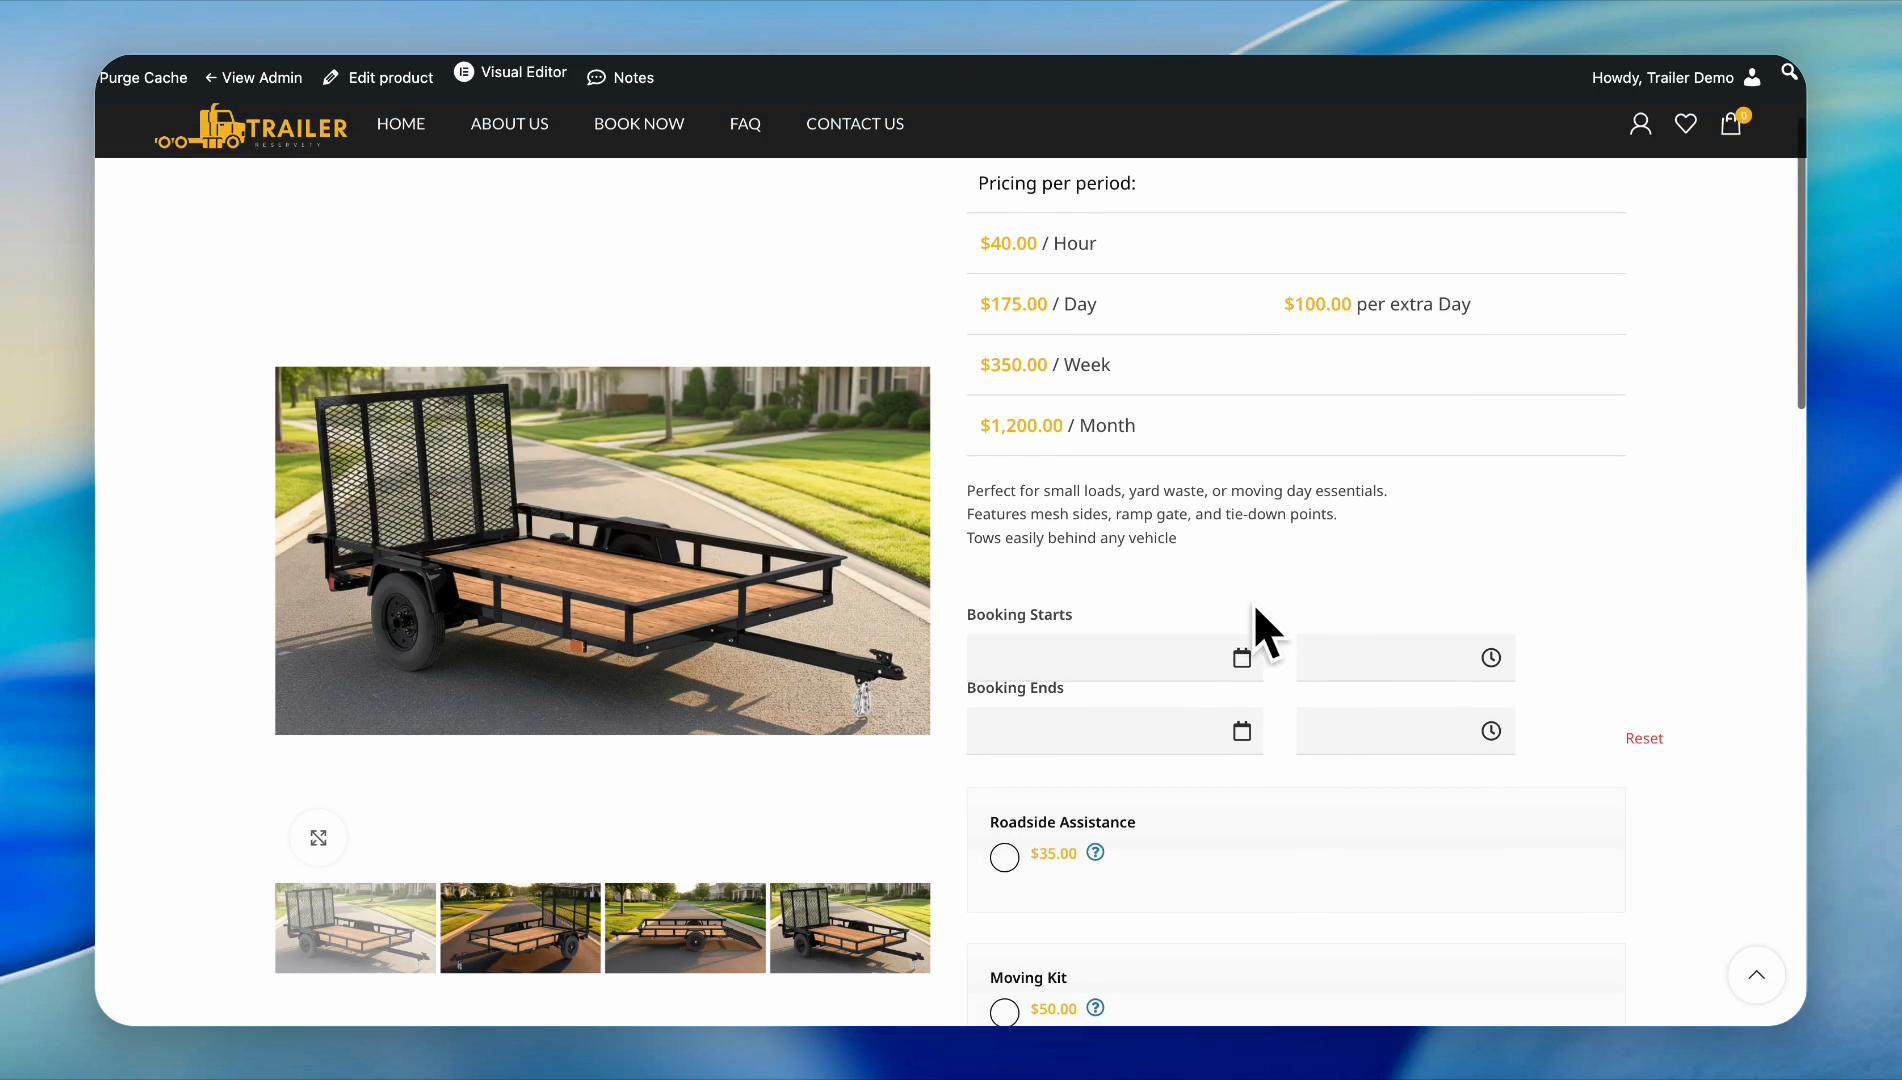
Go to the product page.

On this product page, we will place two test orders: one for this week and another for next week.

We currently have six utility trailers.

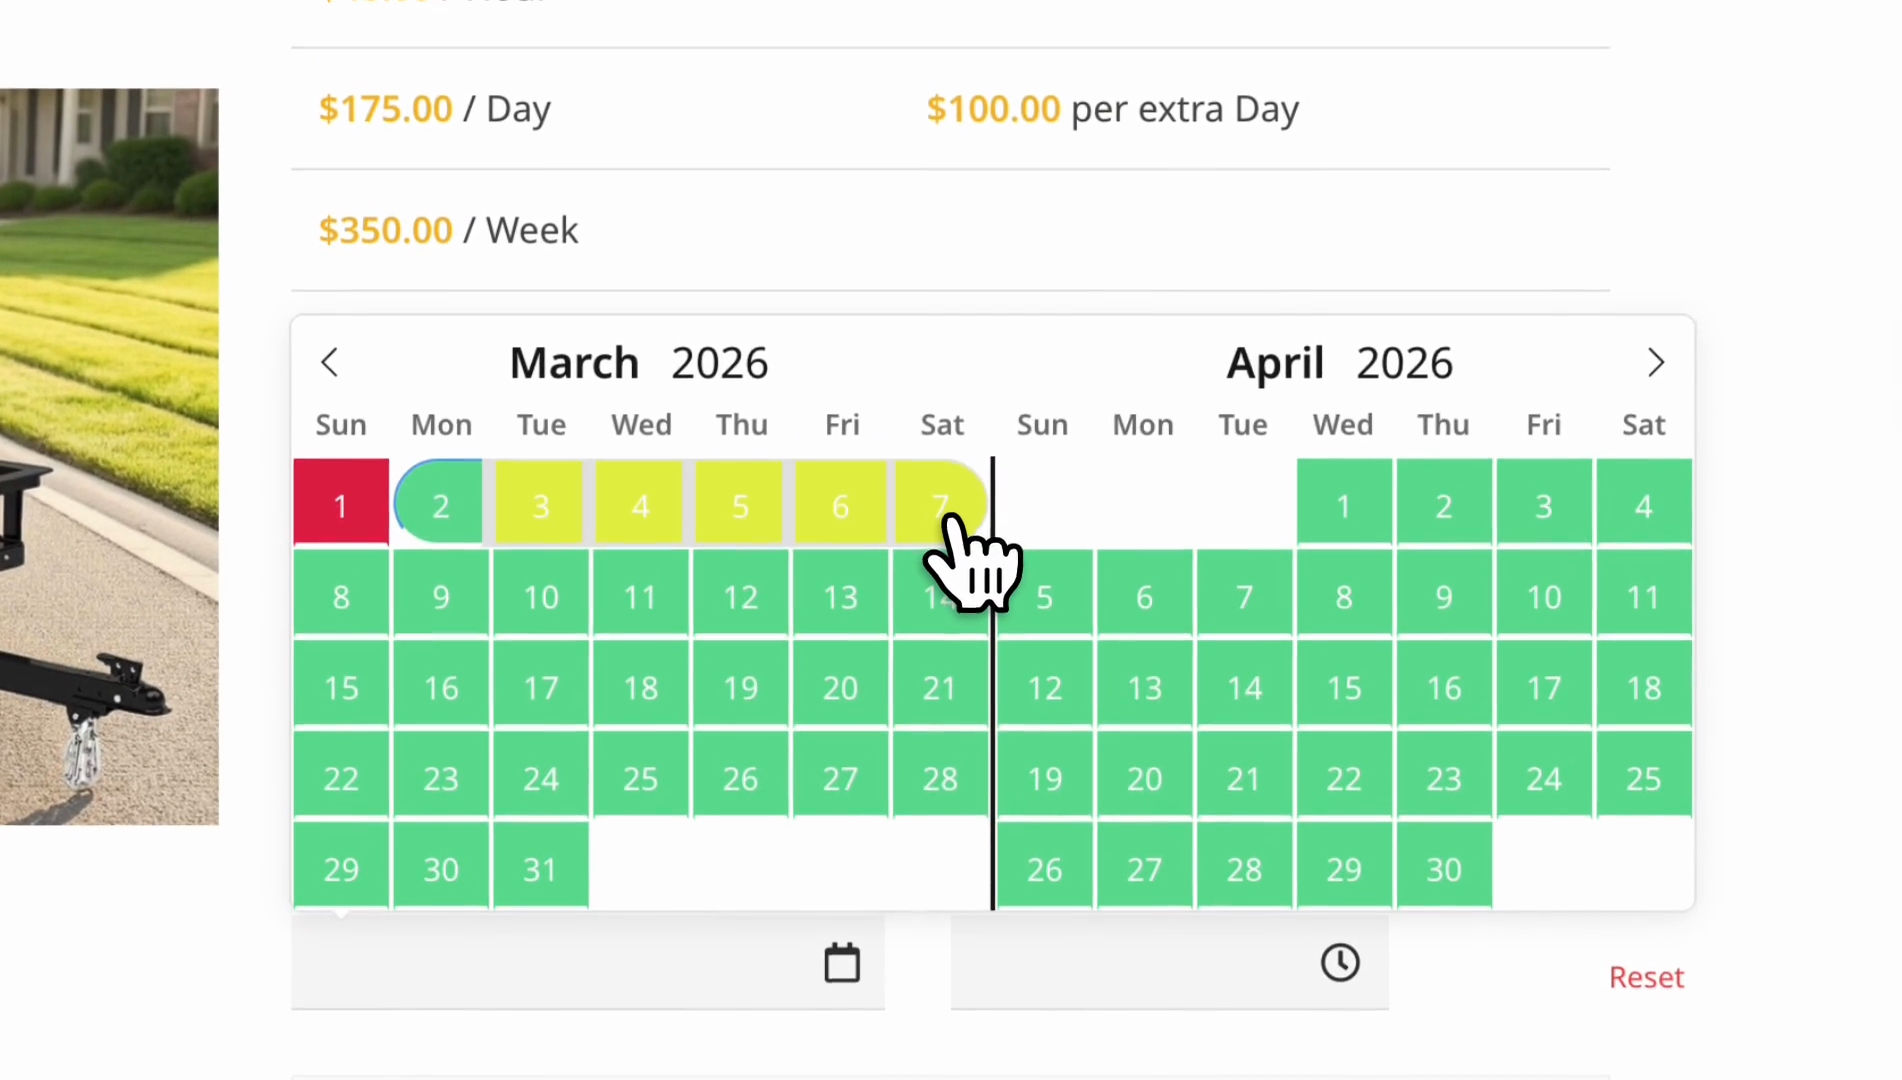
Let's create a test order for this week.

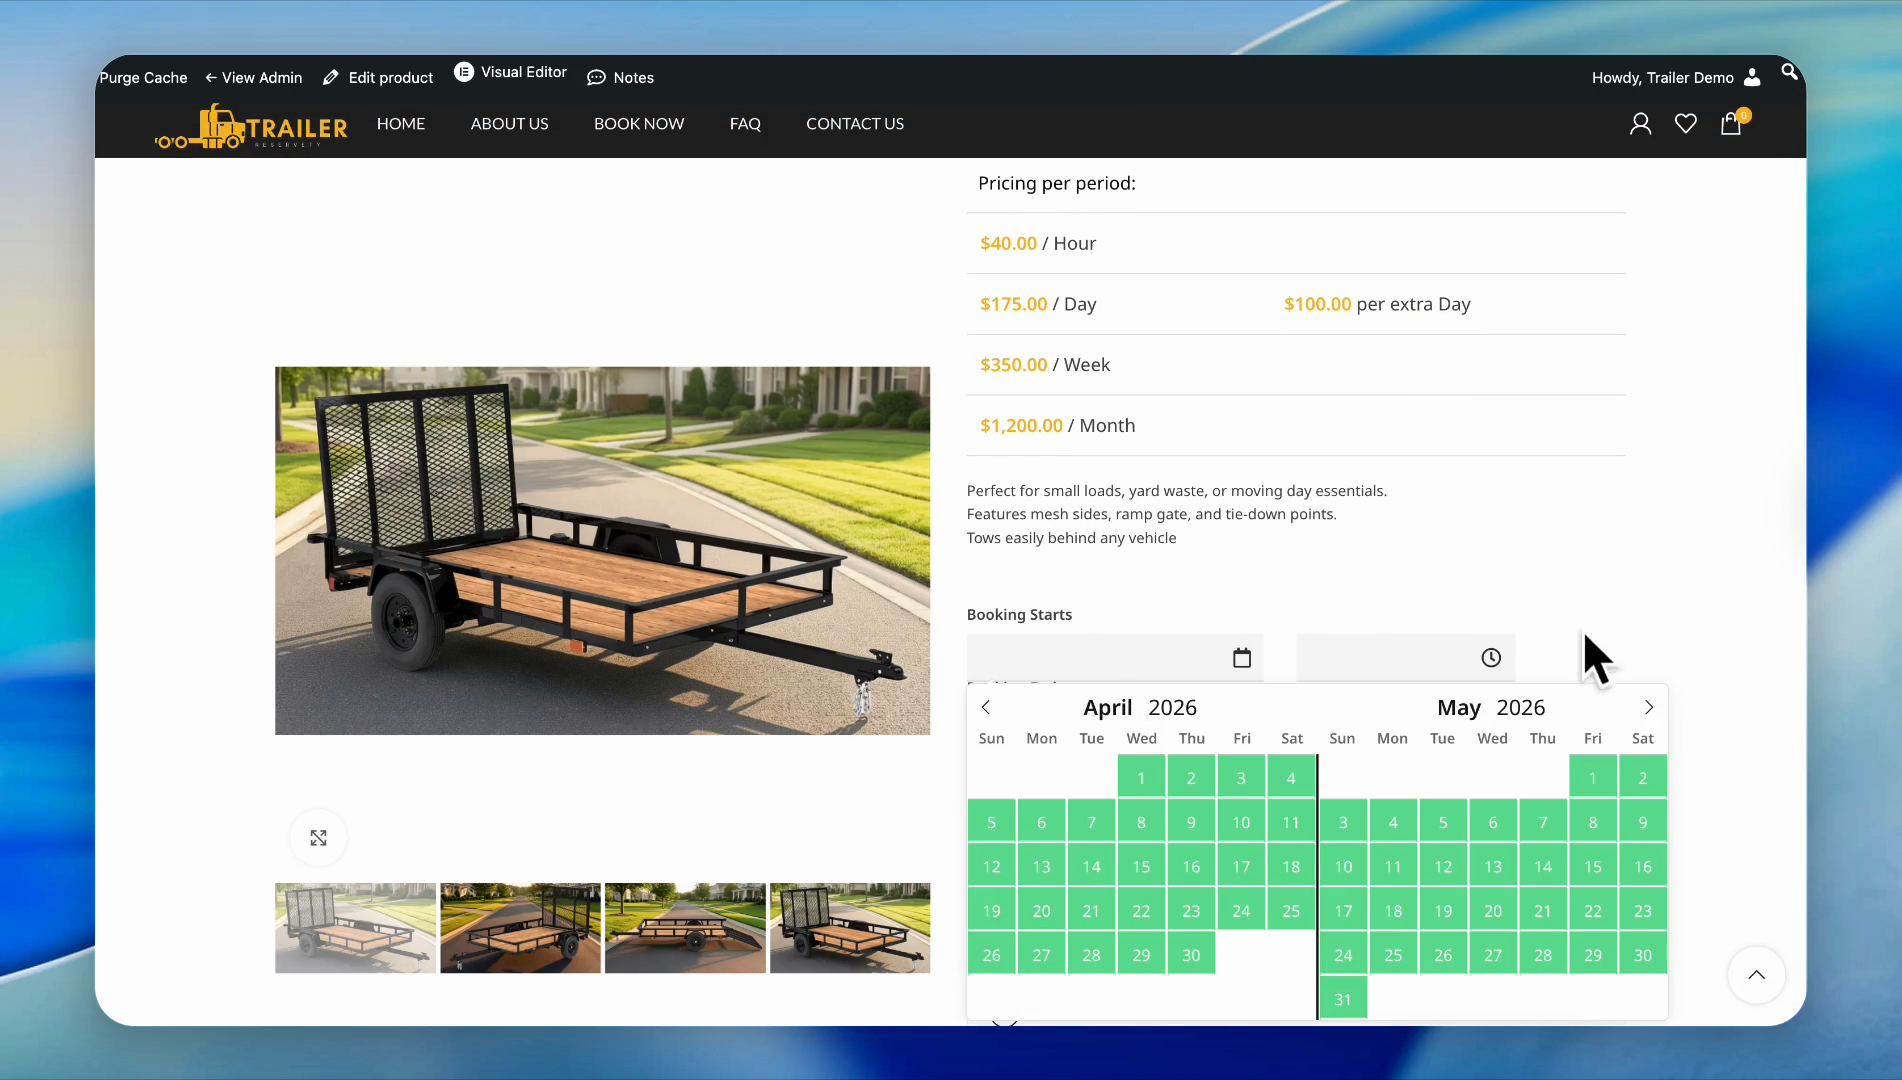
Click the calendar icon.

13
Click the calendar icon in the 'Booking Starts' field.
Step #13: Click the calendar icon in the 'Booking Starts' field.

We will set the start time to 7:00 AM on the 24th and the end time to 4:00 PM on the 28th. Set the quantity to six.

14
Select the 24th from the calendar.
Step #14: Select the 24th from the calendar.
15
Click the calendar icon in the 'Booking Ends' field.
Step #15: Click the calendar icon in the 'Booking Ends' field.
16
Select the 28th from the calendar.
Step #16: Select the 28th from the calendar.
17
Select '04:00 pm' from the end time dropdown.
Step #17: Select '04:00 pm' from the end time dropdown.
18
Click the plus button to increase the quantity to 6.
Step #18: Click the plus button to increase the quantity to 6.

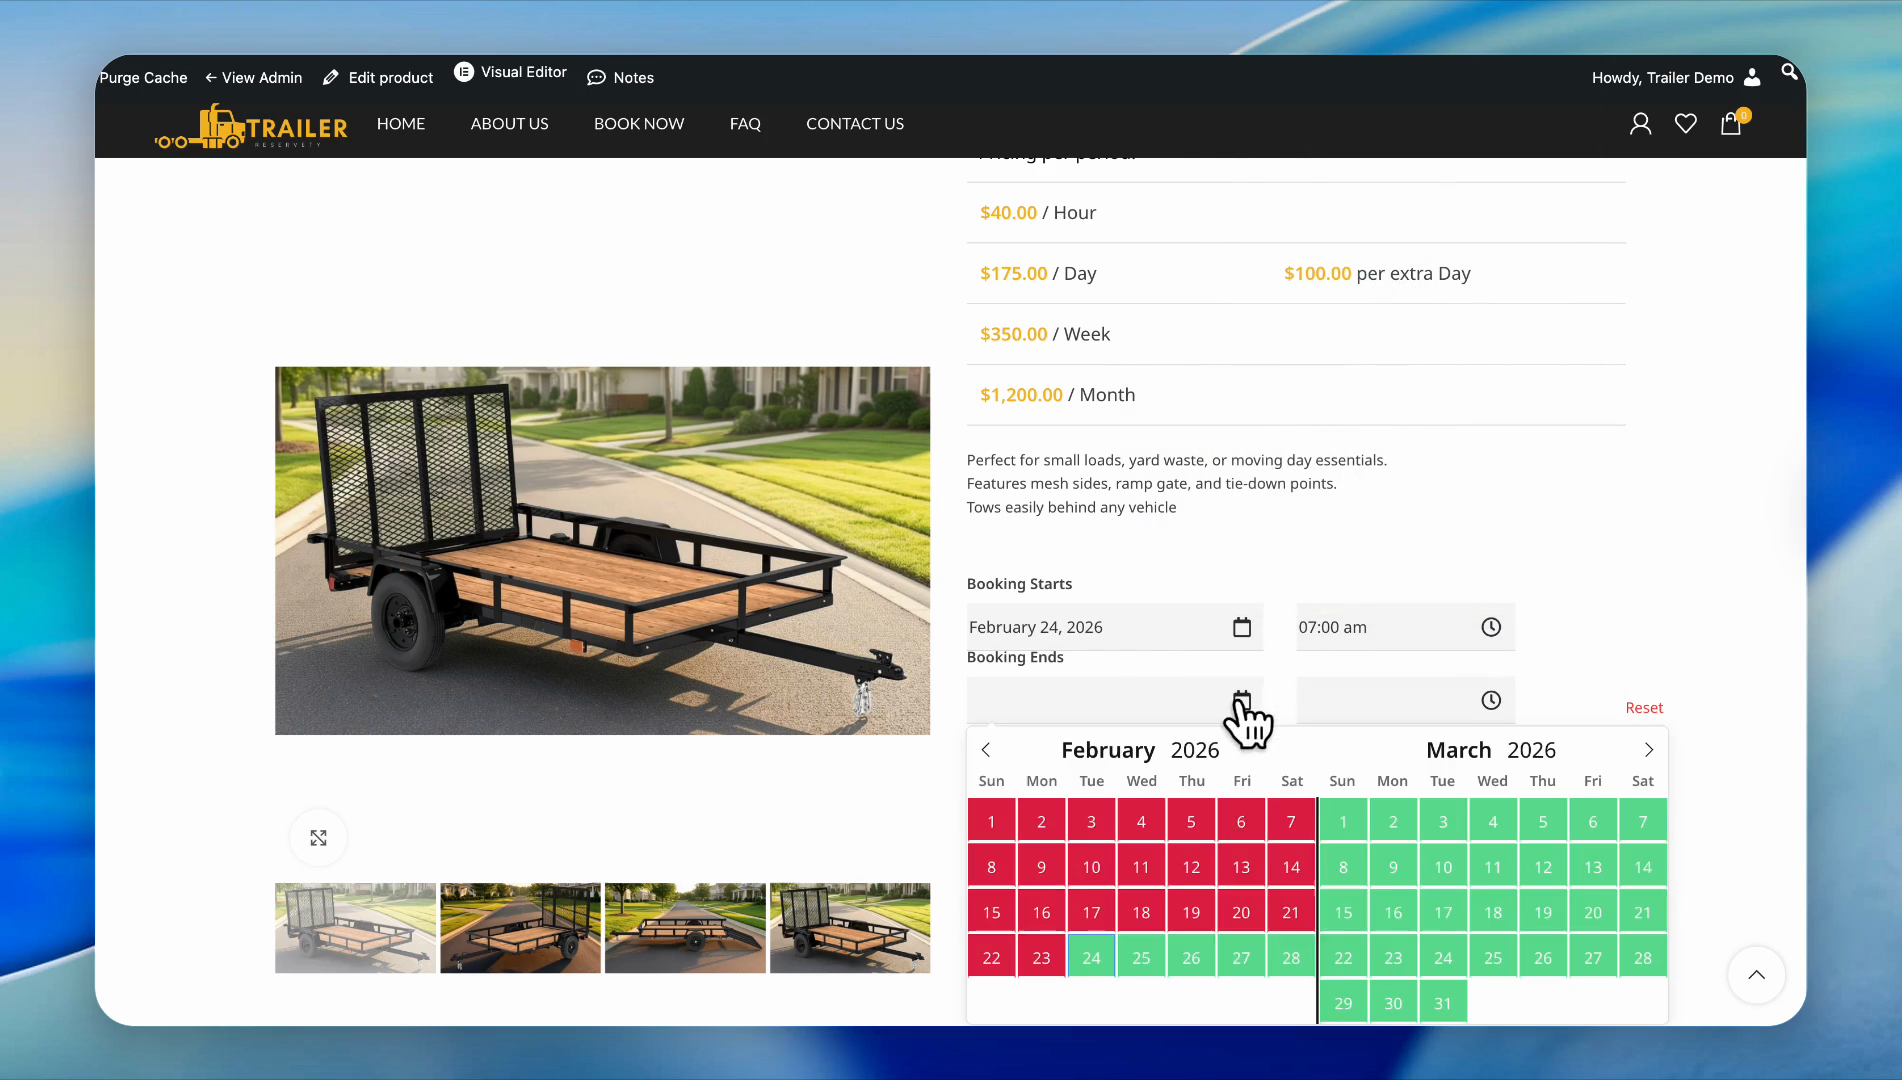
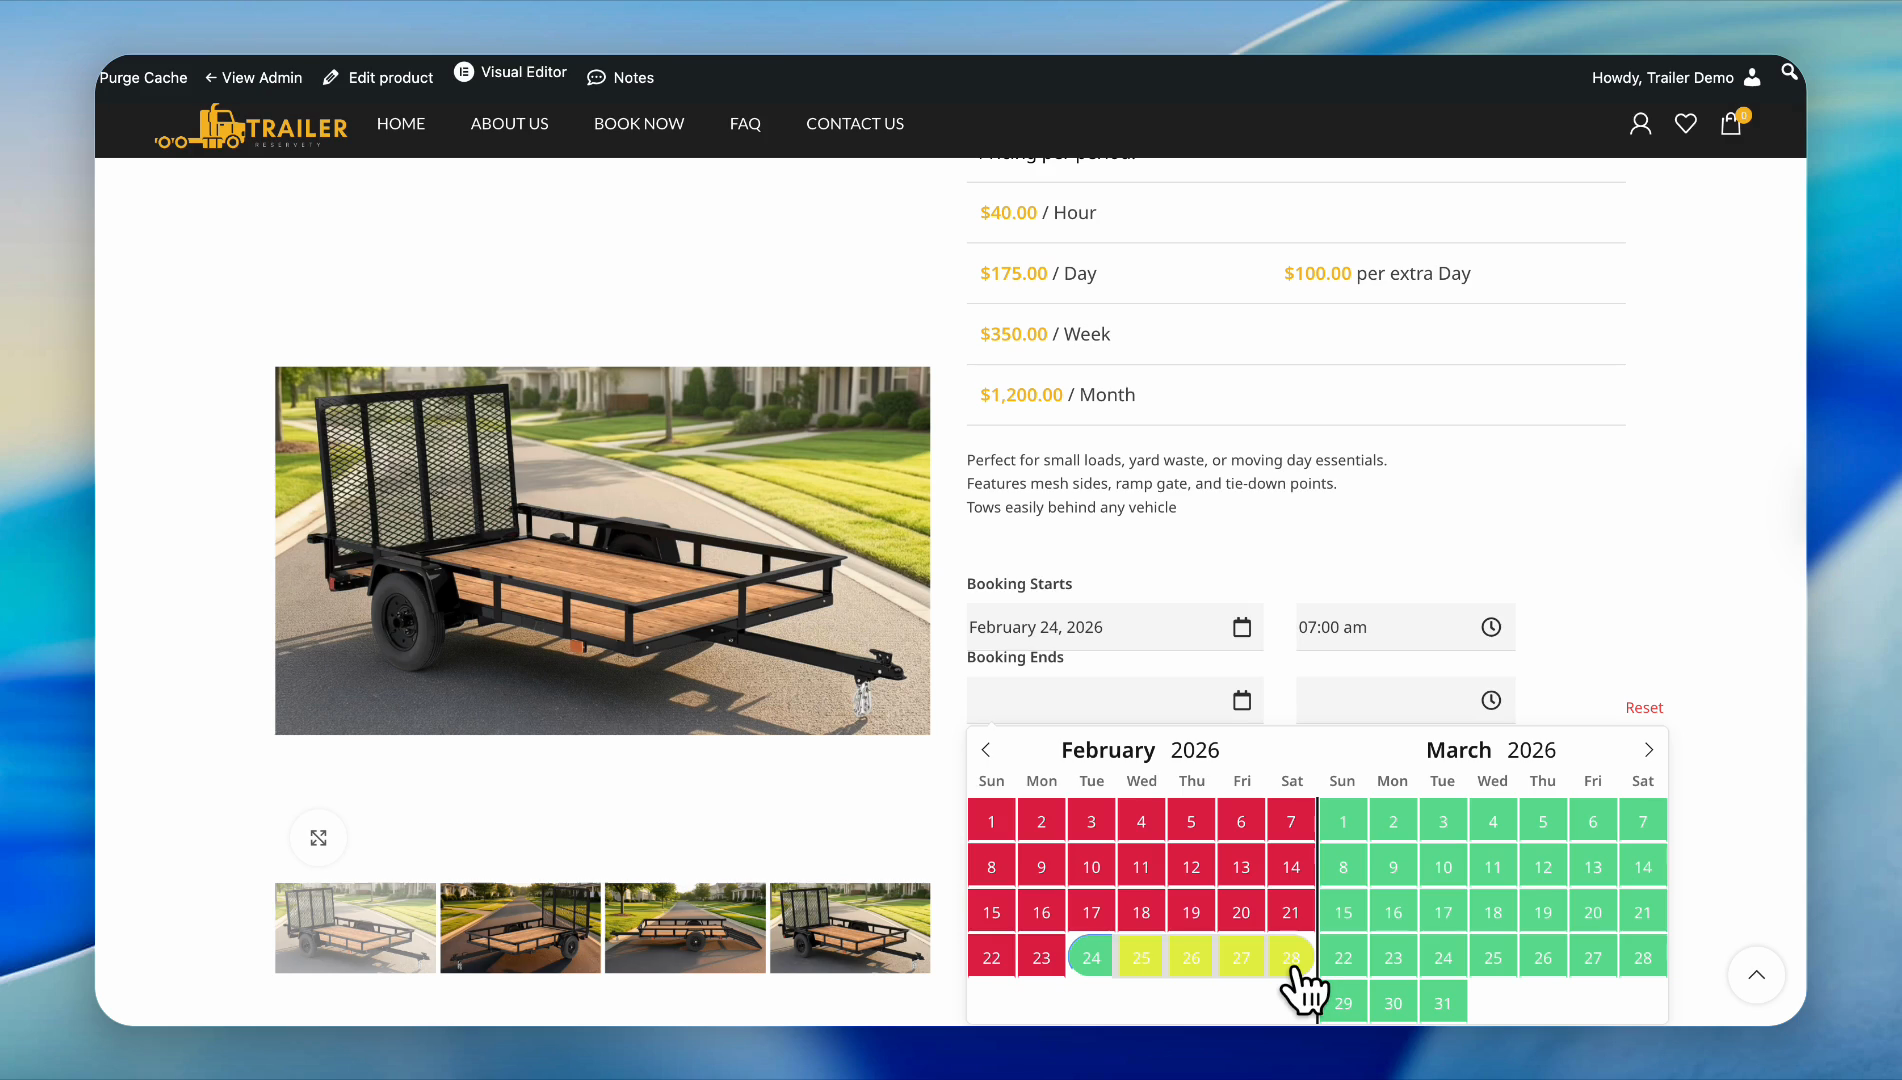
The system allows us to book six of these trailers this week.

19
Click the 'Reserve Now' button.
Step #19: Click the 'Reserve Now' button.

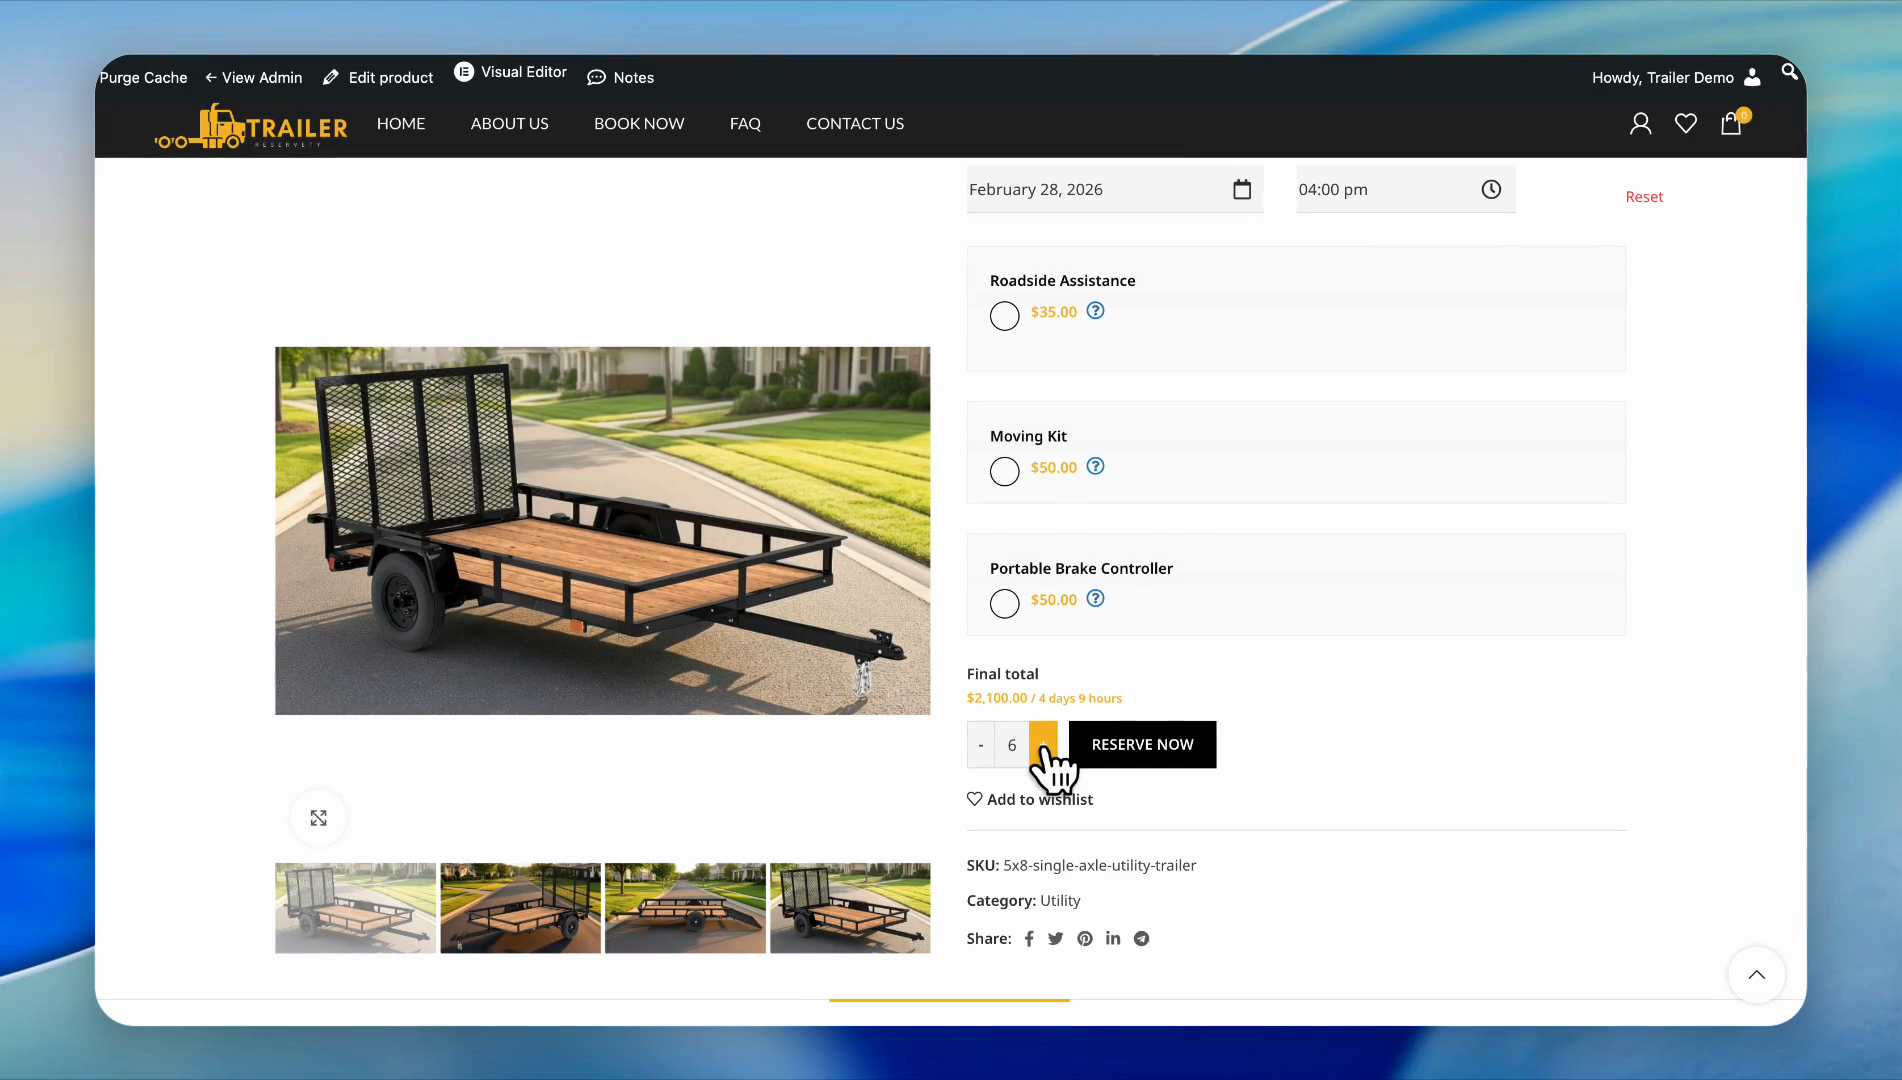
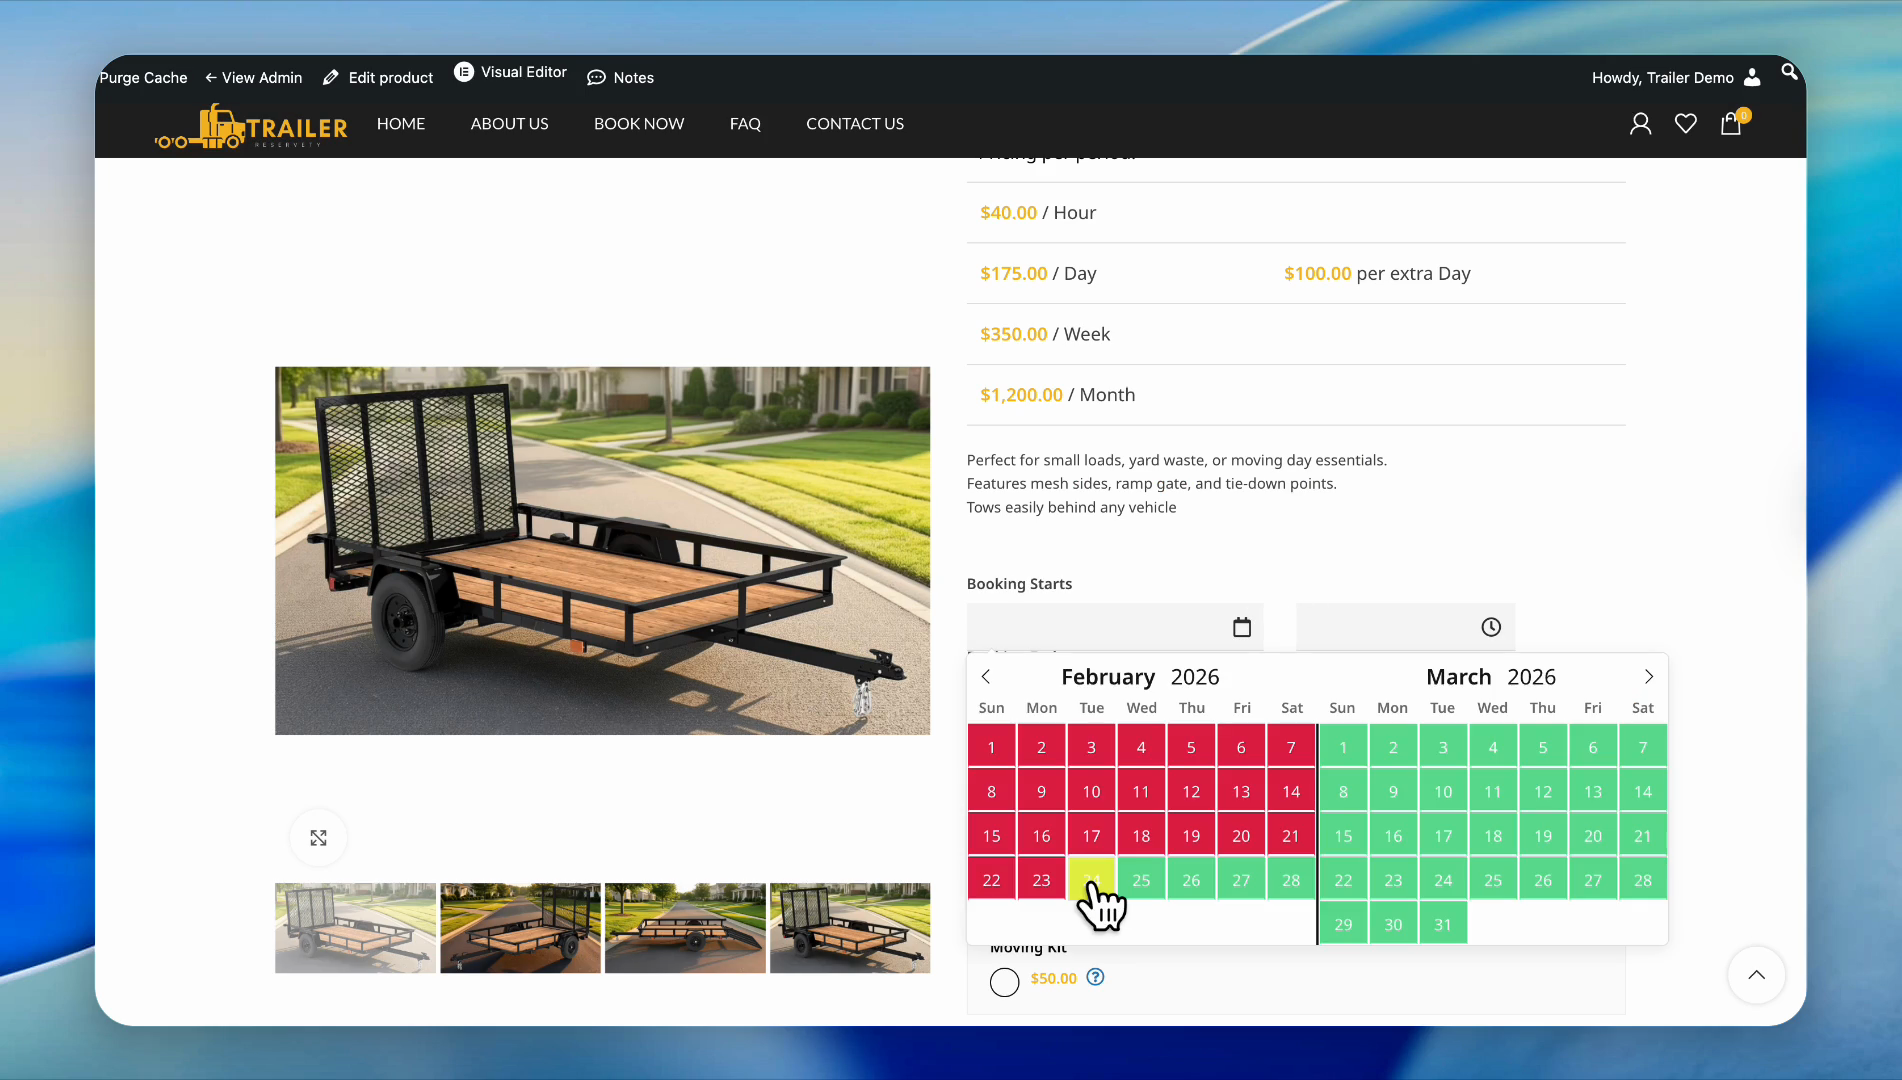
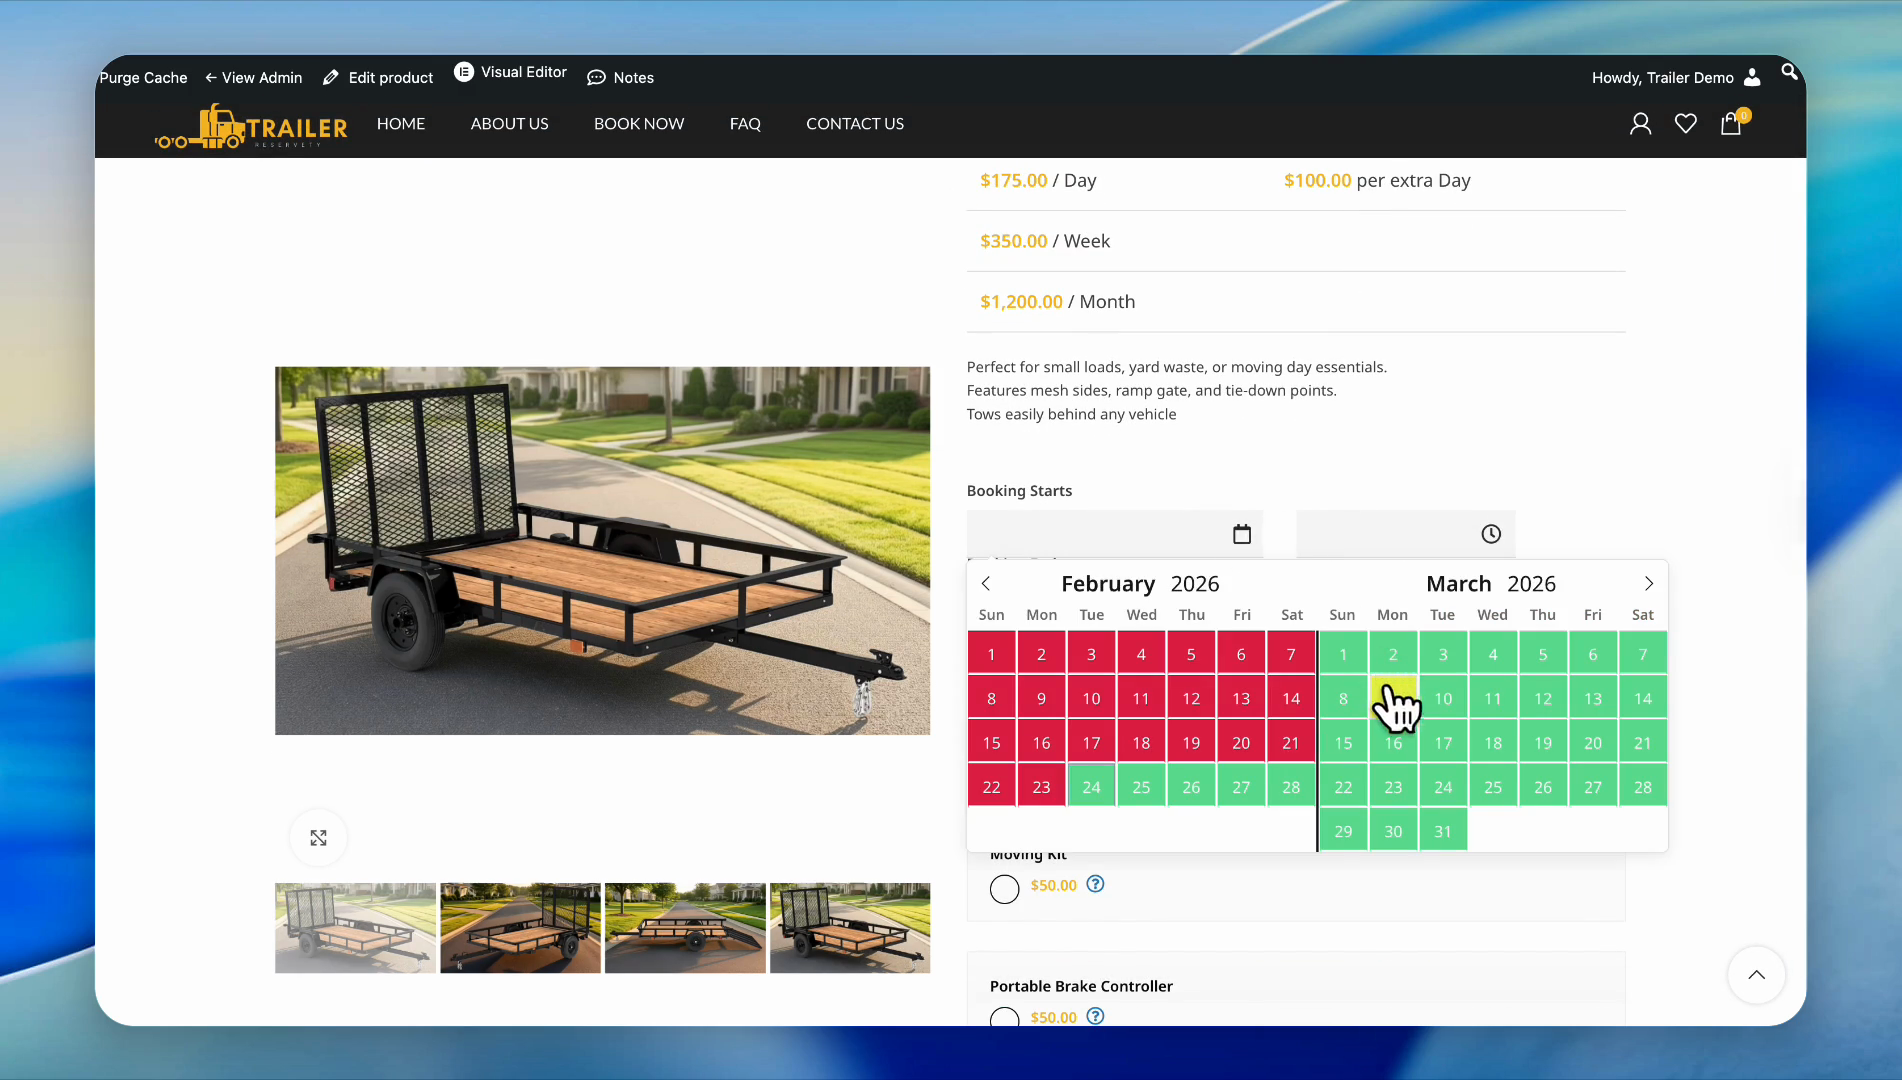
Now let's book the same quantity for next week.

Click the calendar icon here.

20
Click the calendar icon for Booking Starts.
Step #20: Click the calendar icon for Booking Starts.

Let's say Monday next week, March 2nd.

21
Click on March 2nd for the start date.
Step #21: Click on March 2nd for the start date.

22
Click on March 7th for the end date.
Step #22: Click on March 7th for the end date.
23
Click on 12:00 pm for the end time.
Step #23: Click on 12:00 pm for the end time.

Now let's increase the quantity.

24
Click the plus icon to increase the quantity.
Step #24: Click the plus icon to increase the quantity.

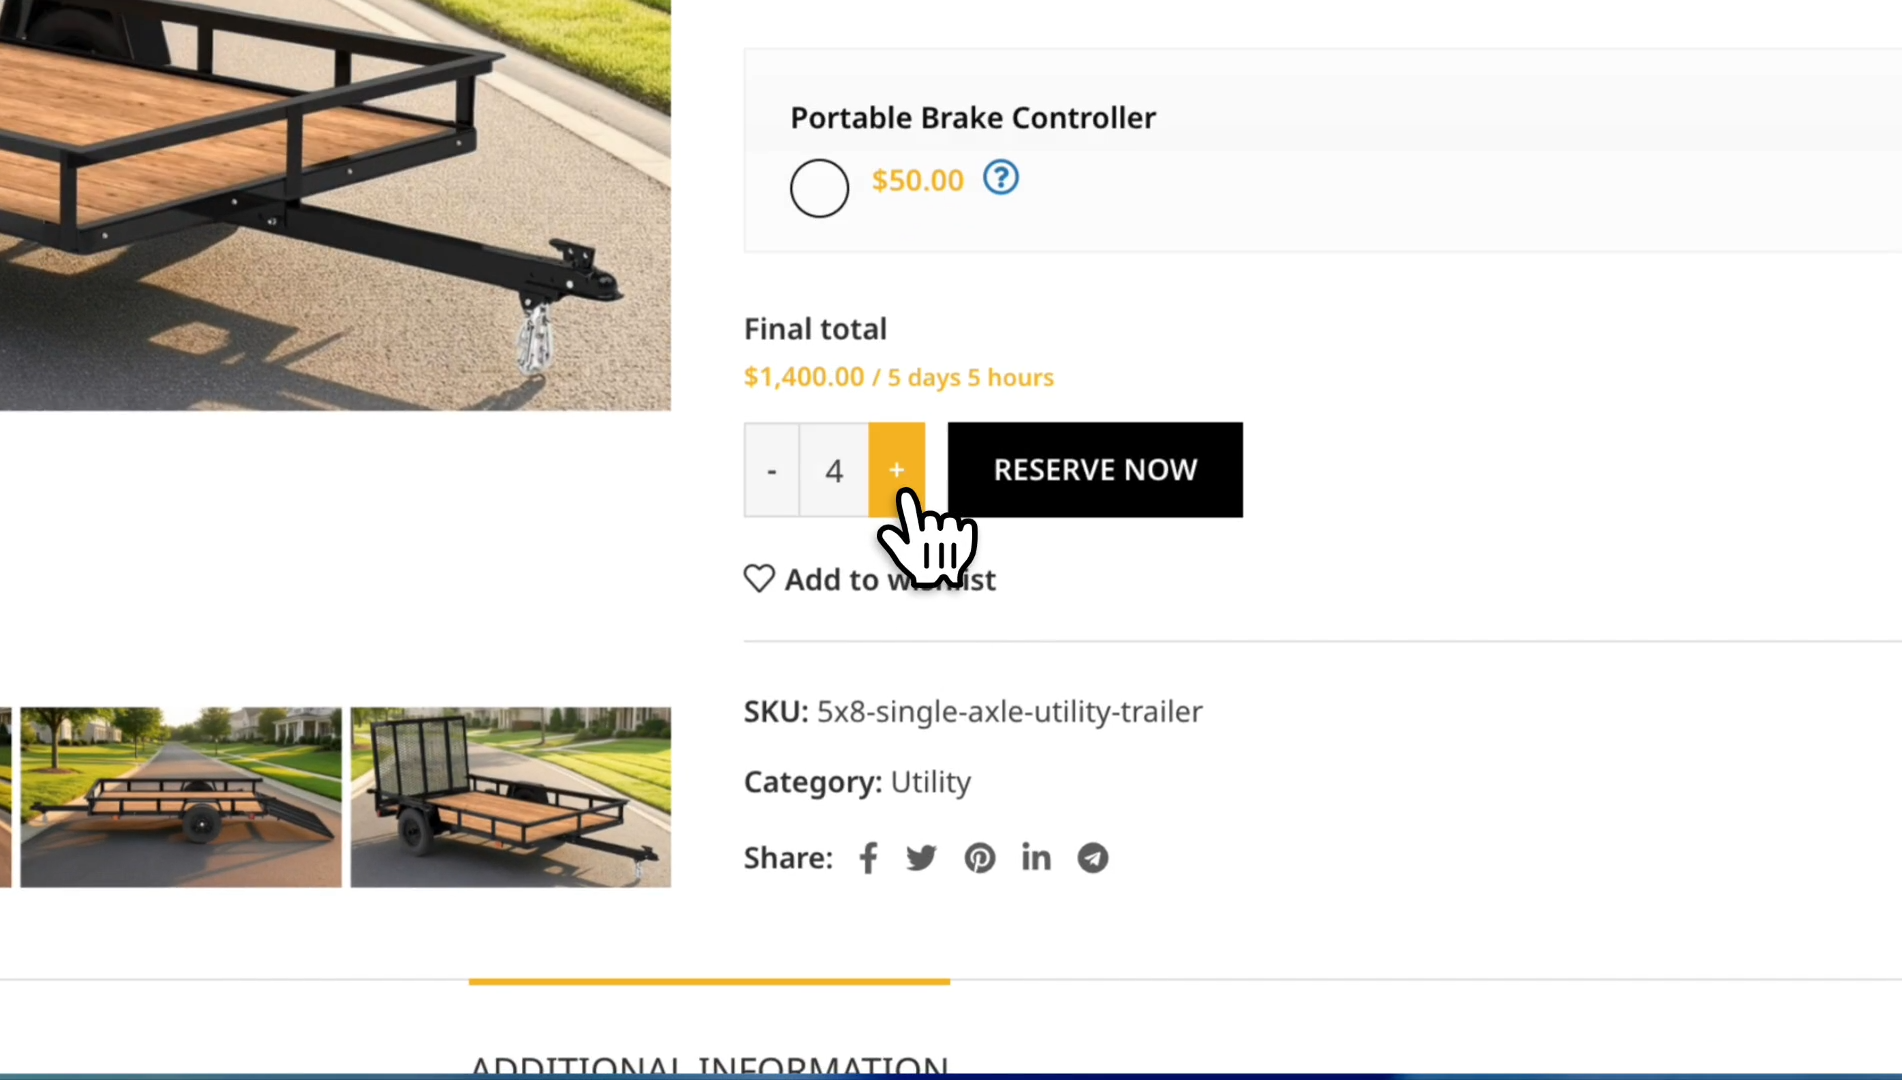
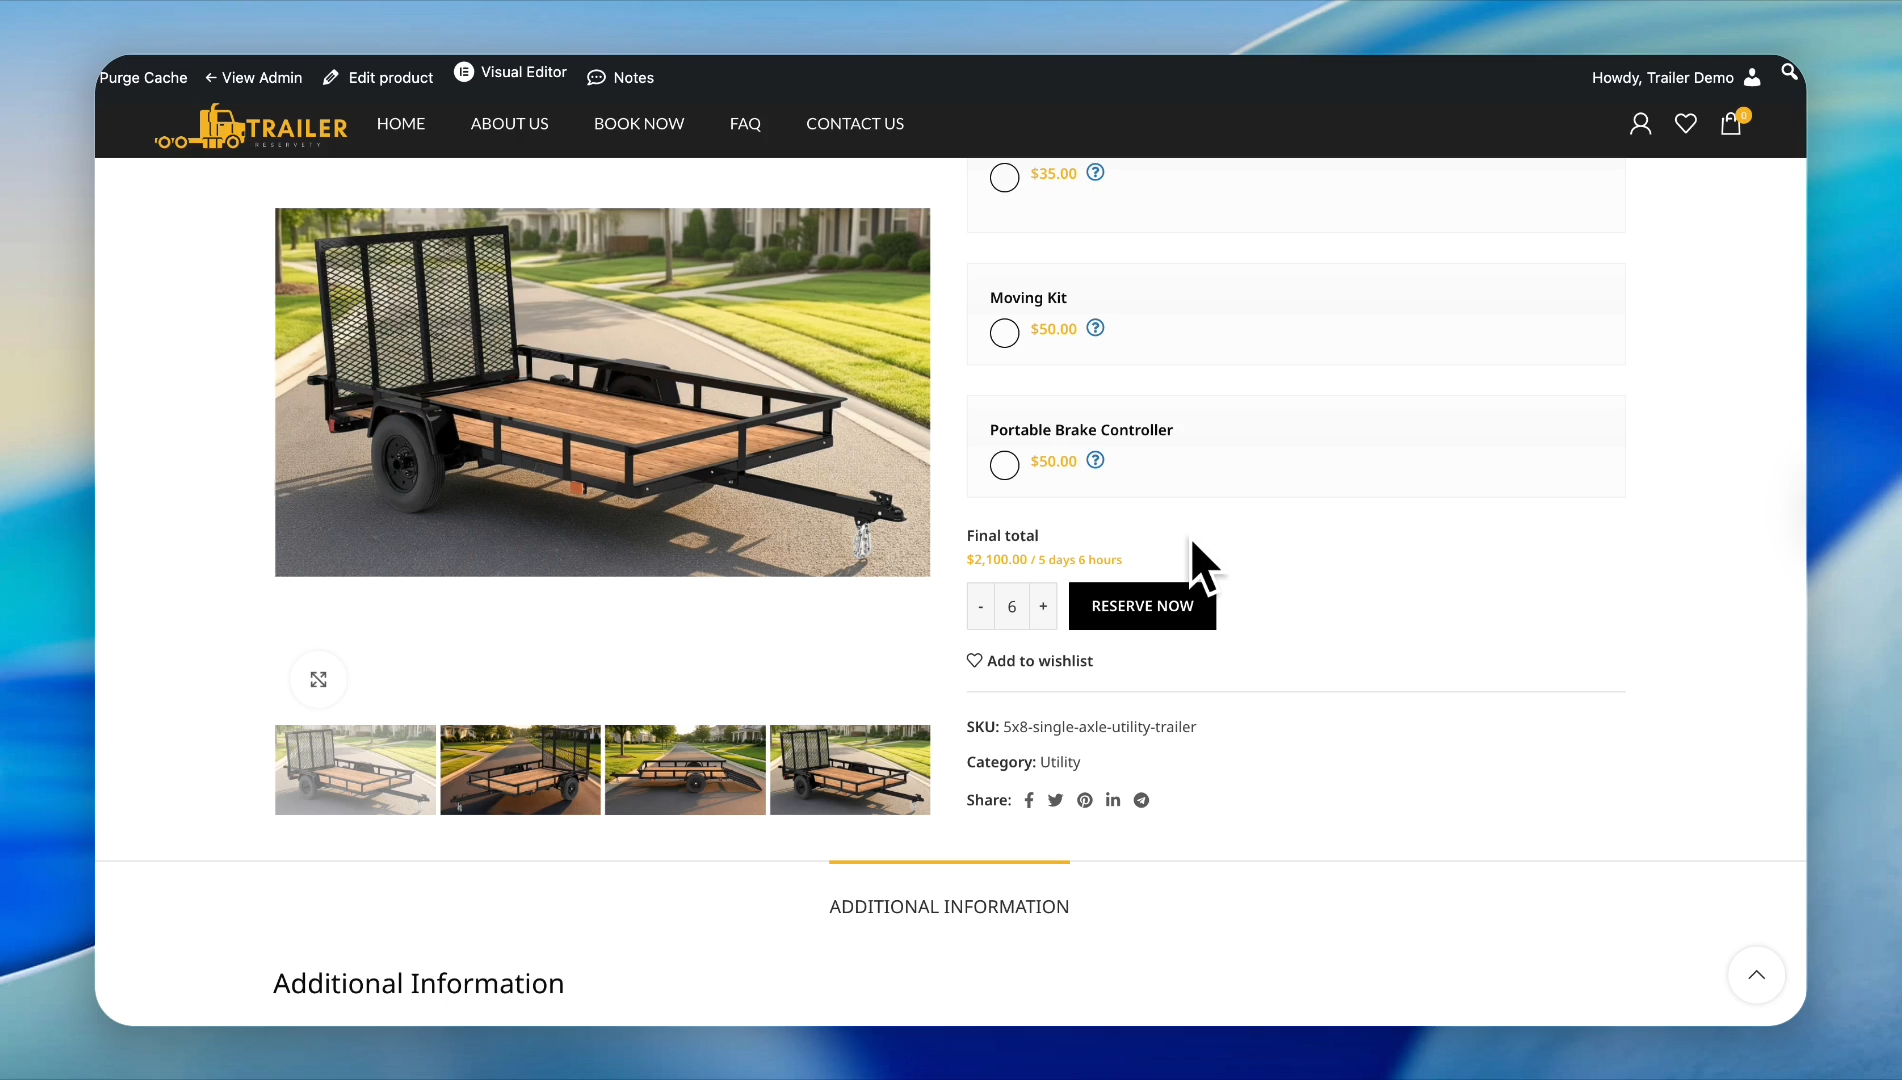
The system only allows us to book up to four trailers because two are scheduled for maintenance.

The question is, how can we restock those two trailers in two weeks?

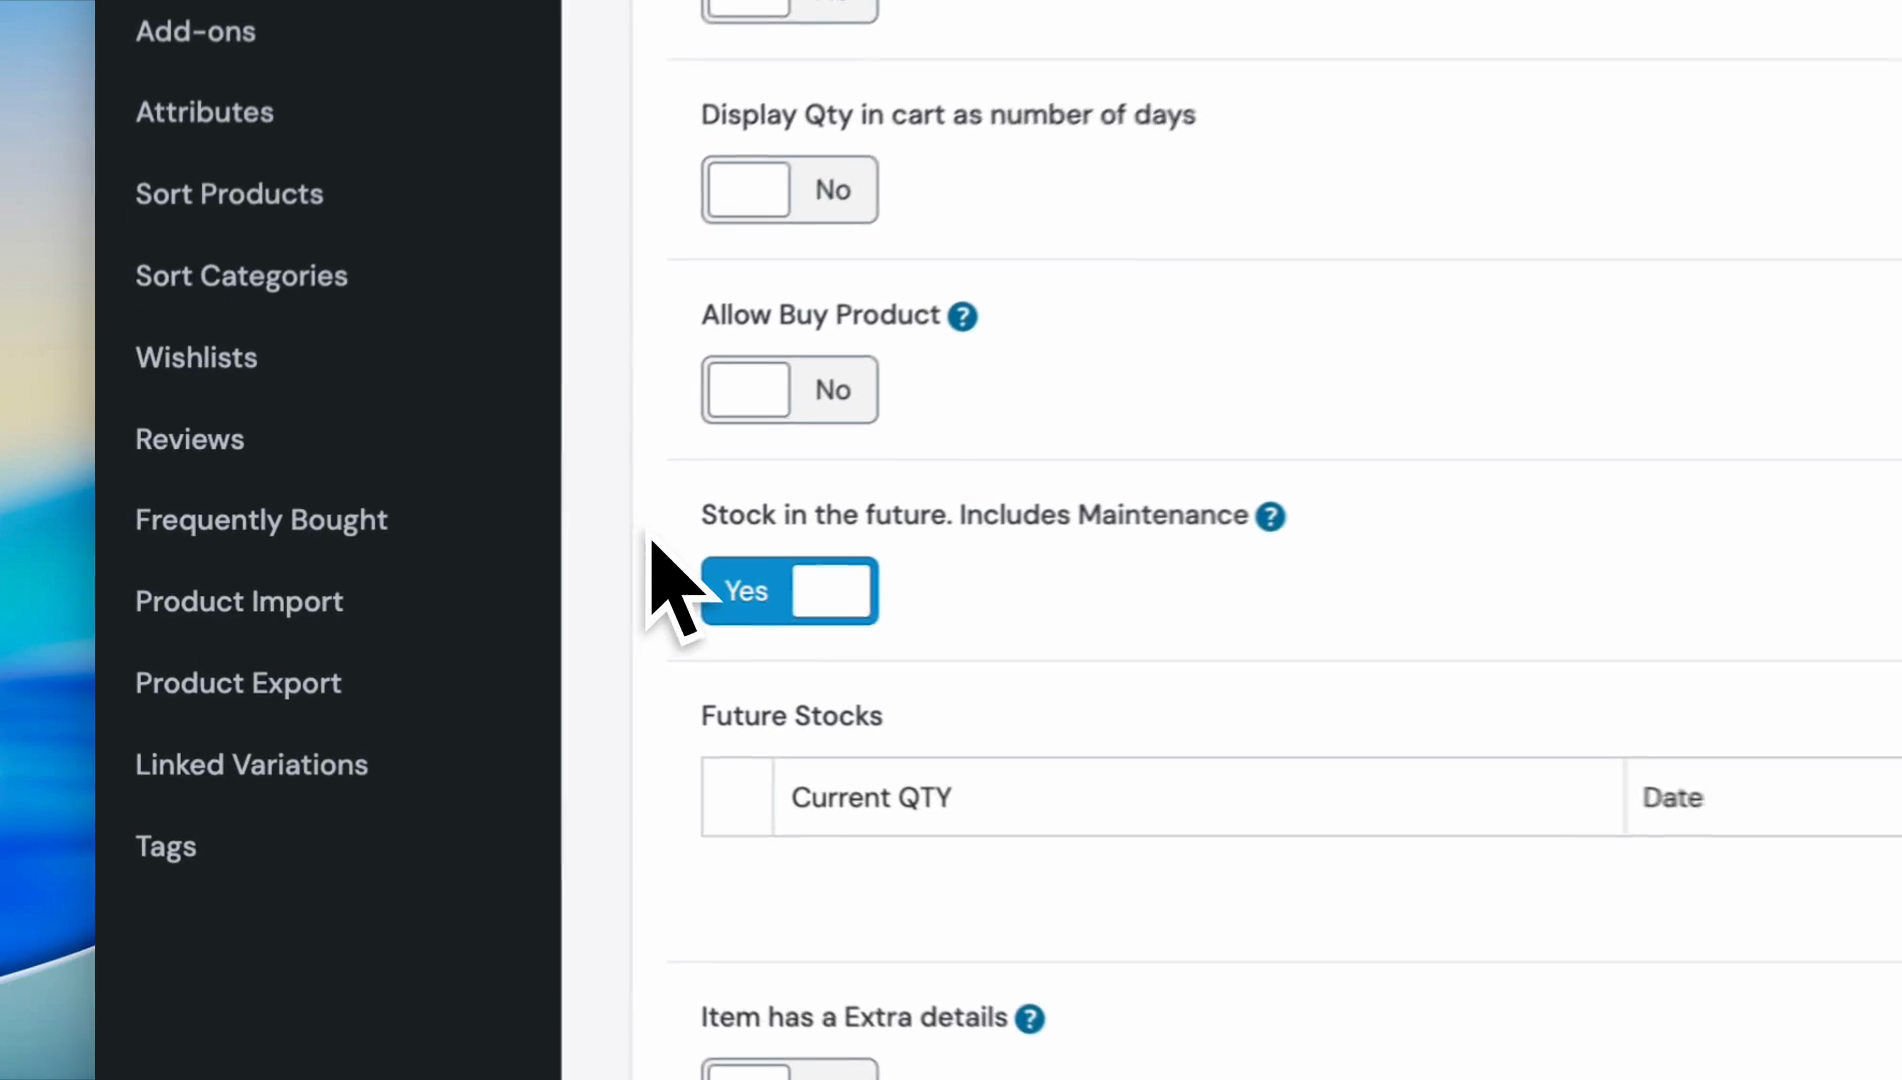
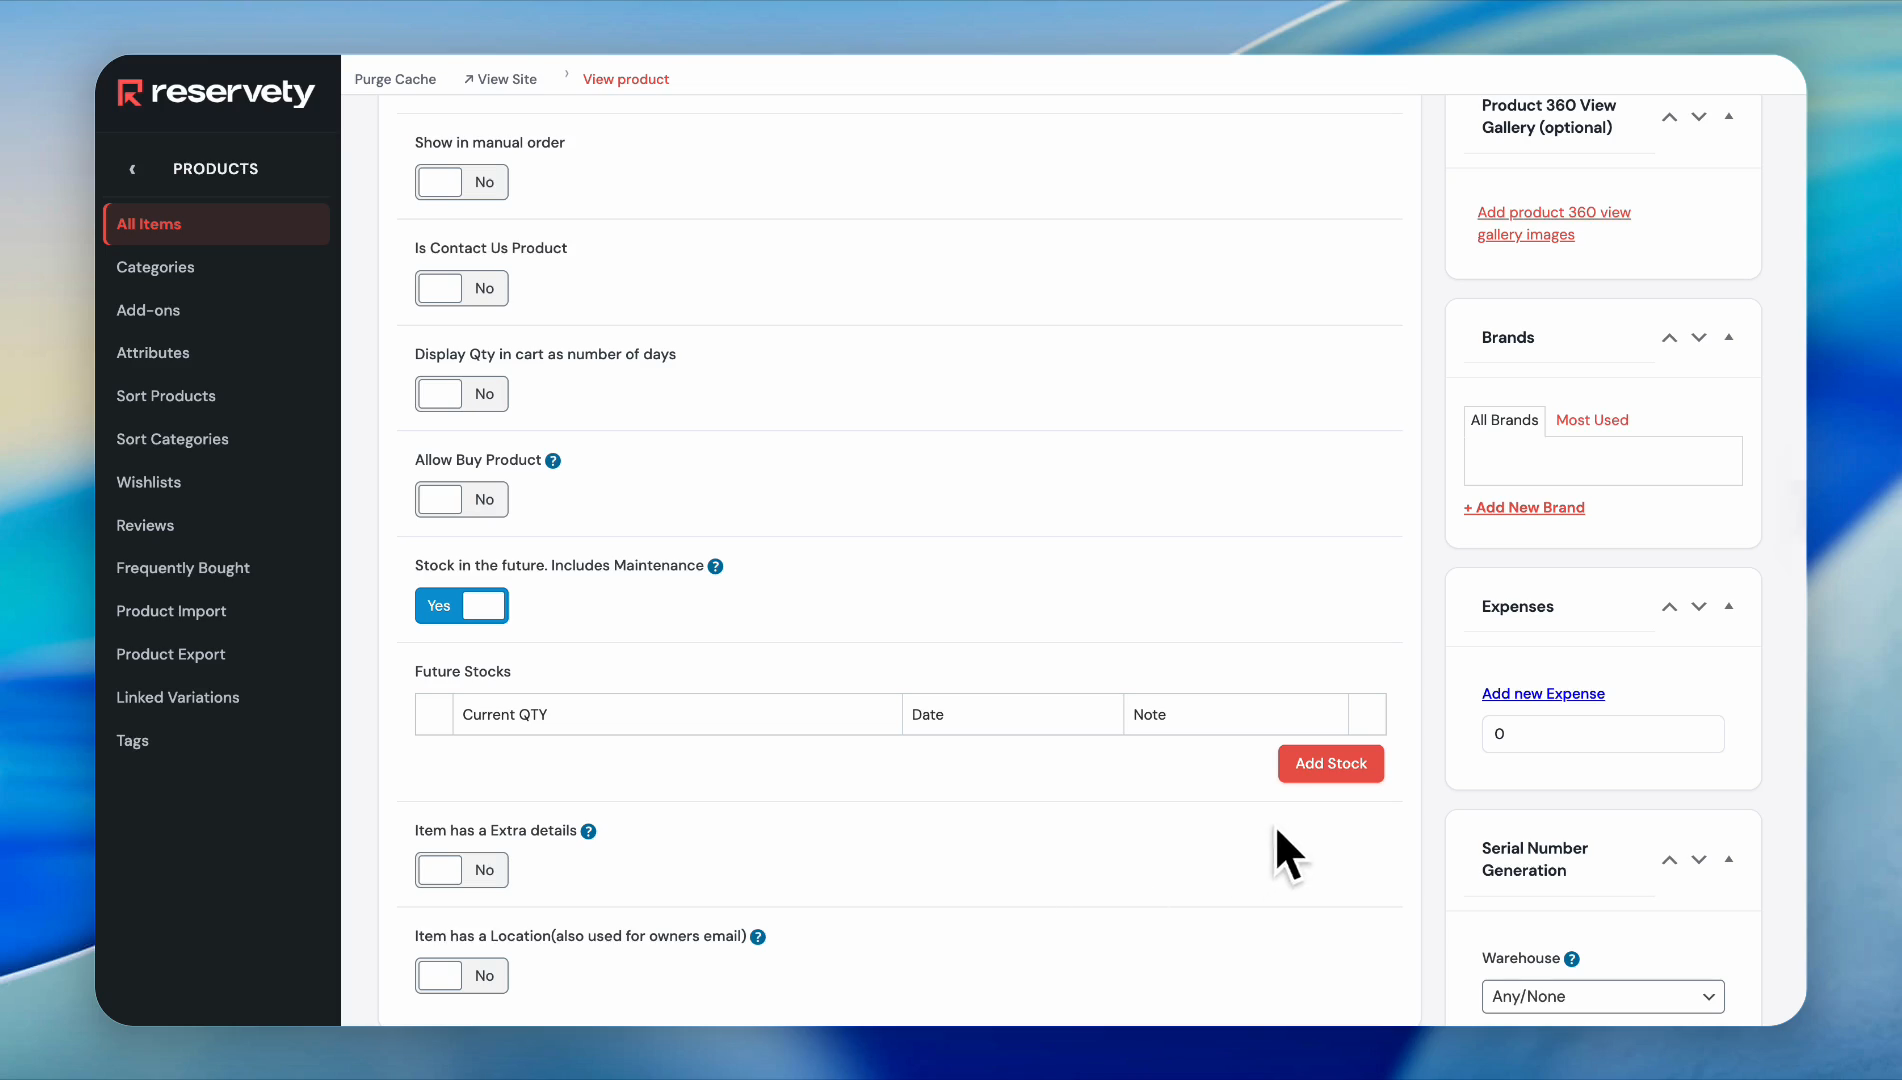
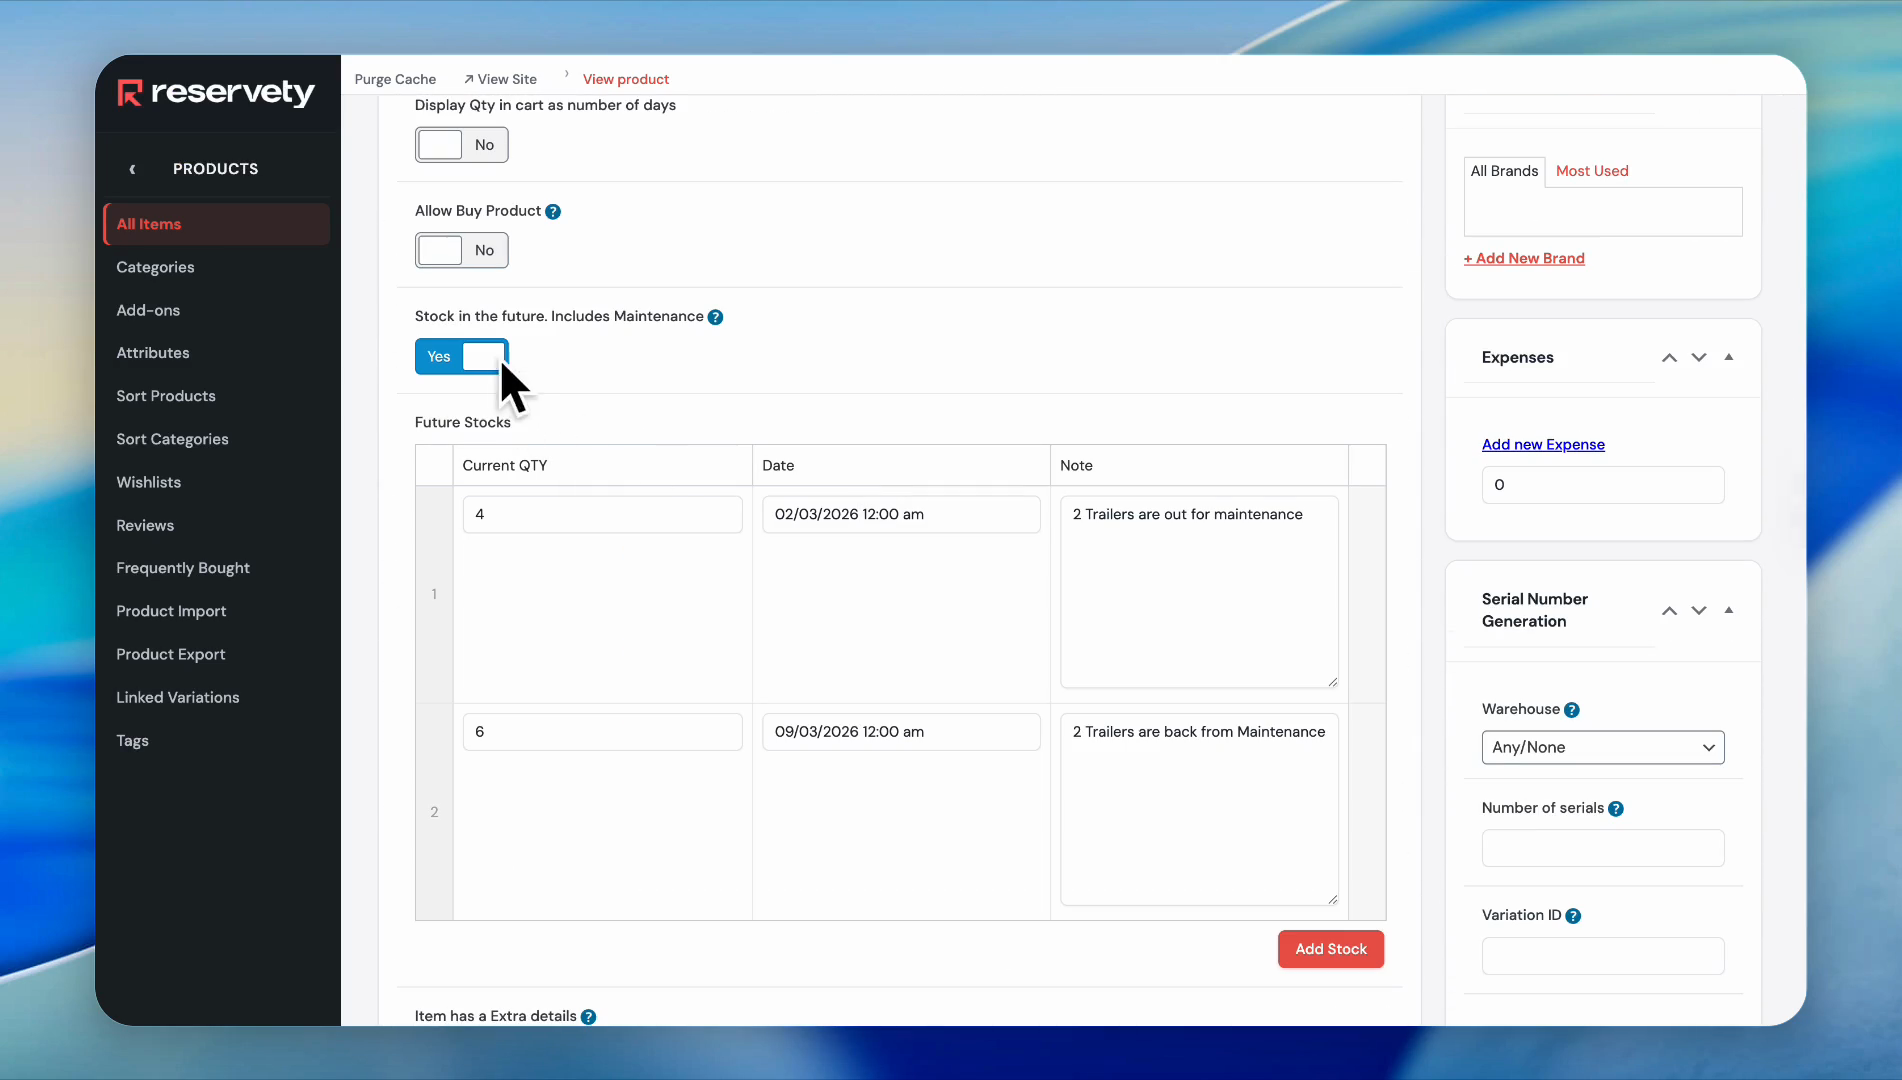
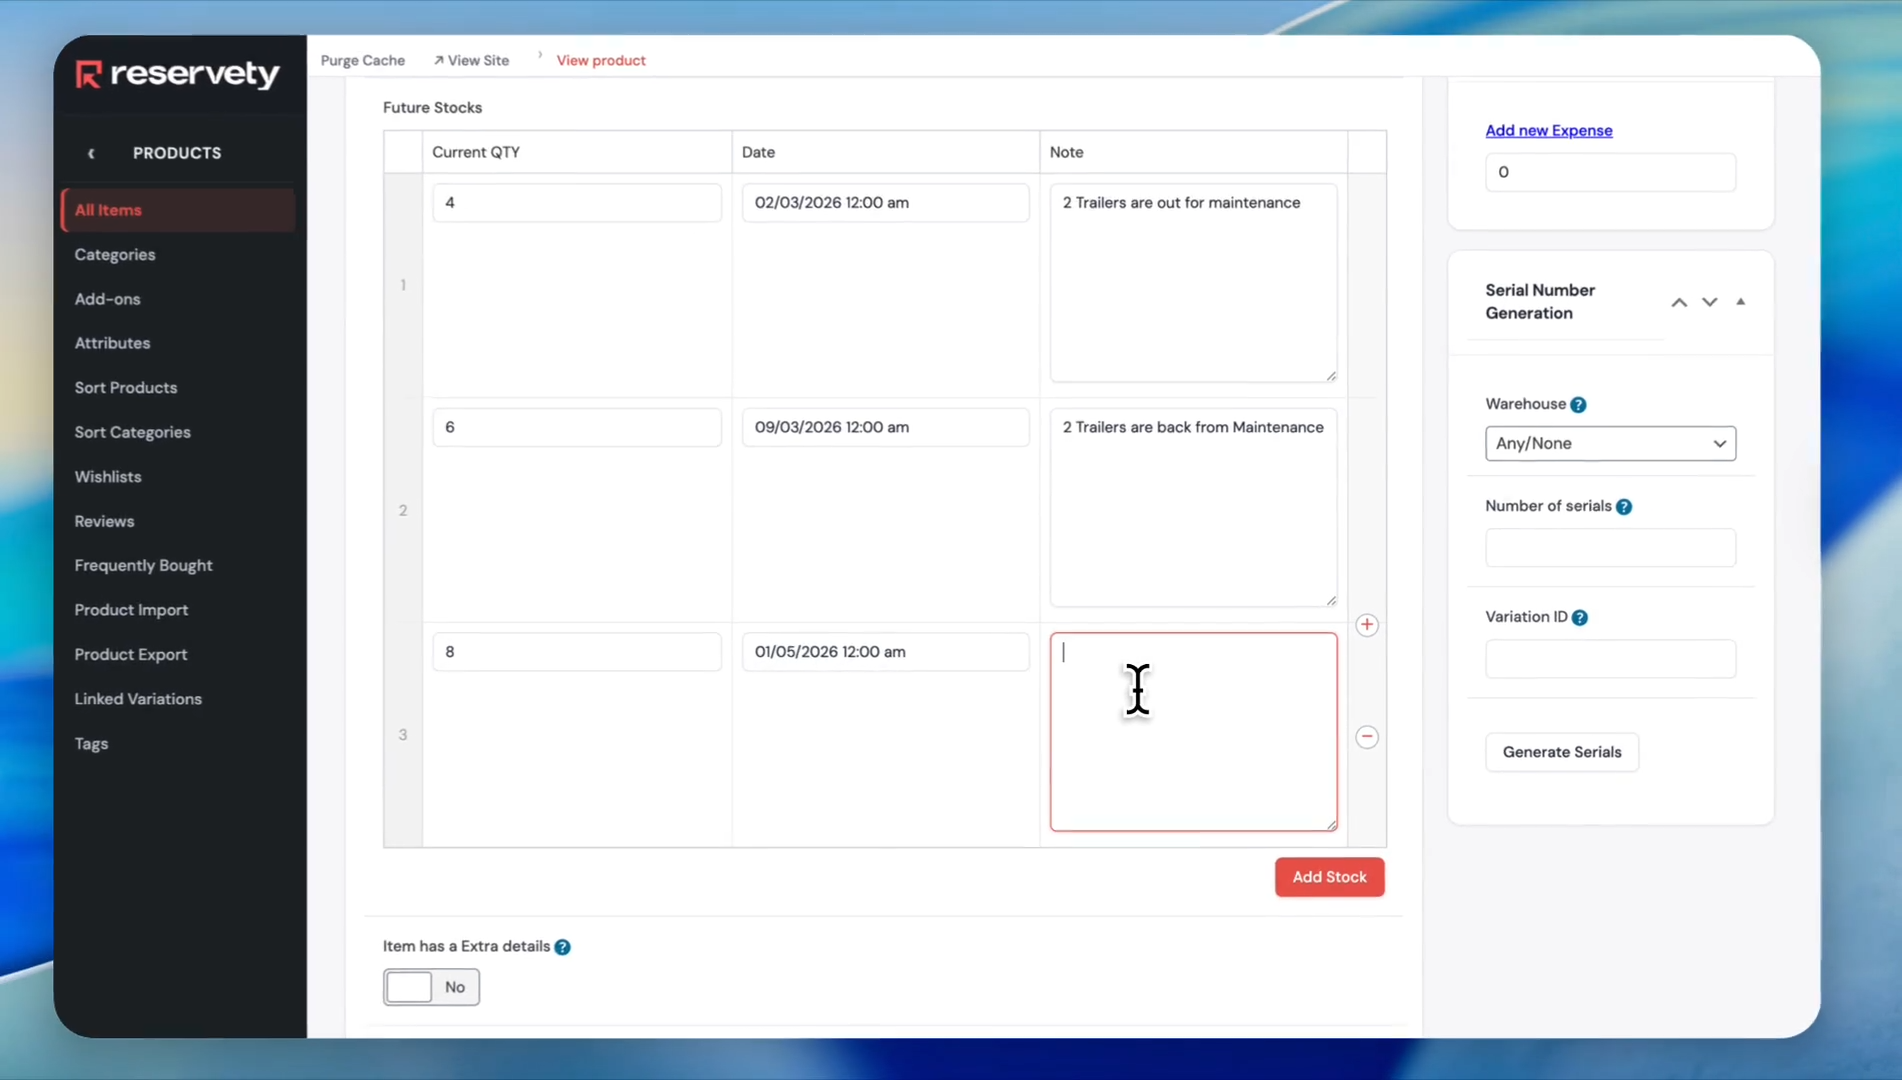
Go back to the dashboard or click "Edit Product." Scroll down and find the section labeled "Stock in the Future."

25
Click on the edit product.
Step #25: Click on the edit product.
26
Click the toggle for Stock in the future. Includes Maintenance.
Step #26: Click the toggle for Stock in the future. Includes Maintenance.

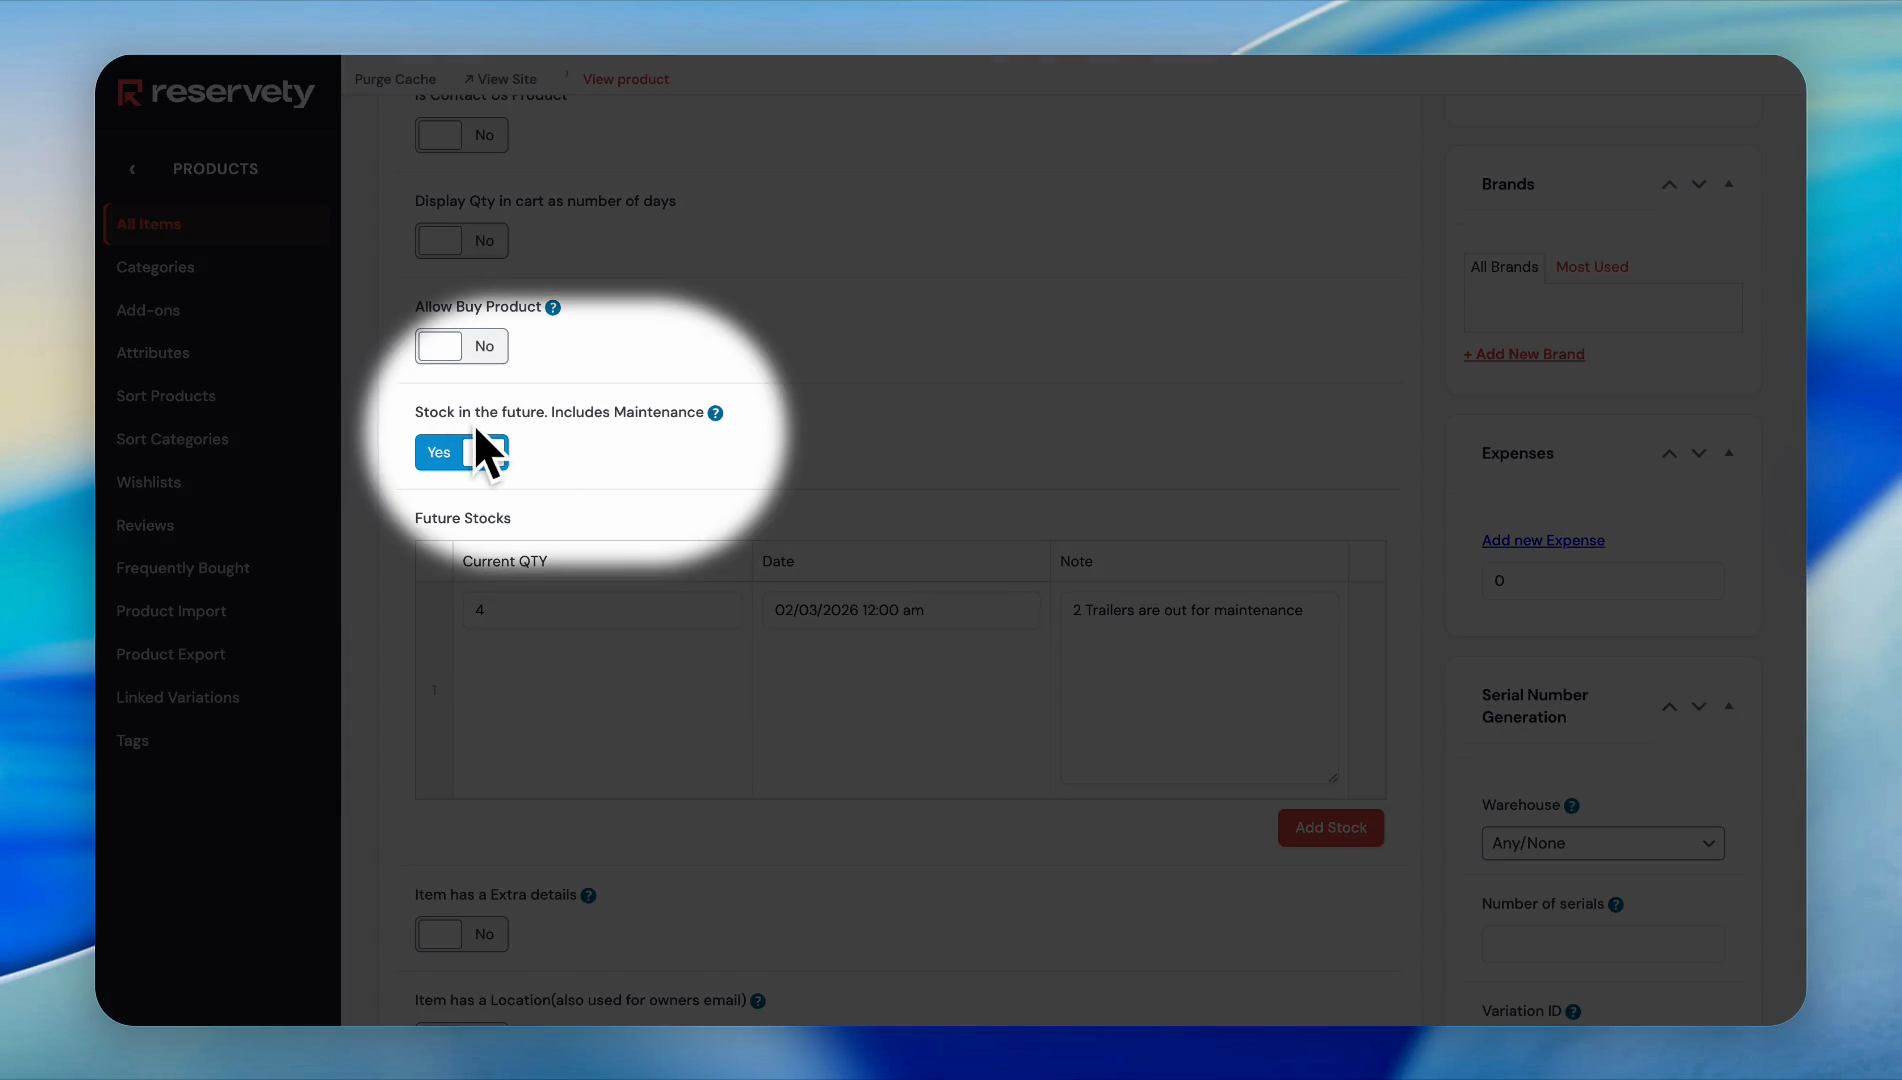
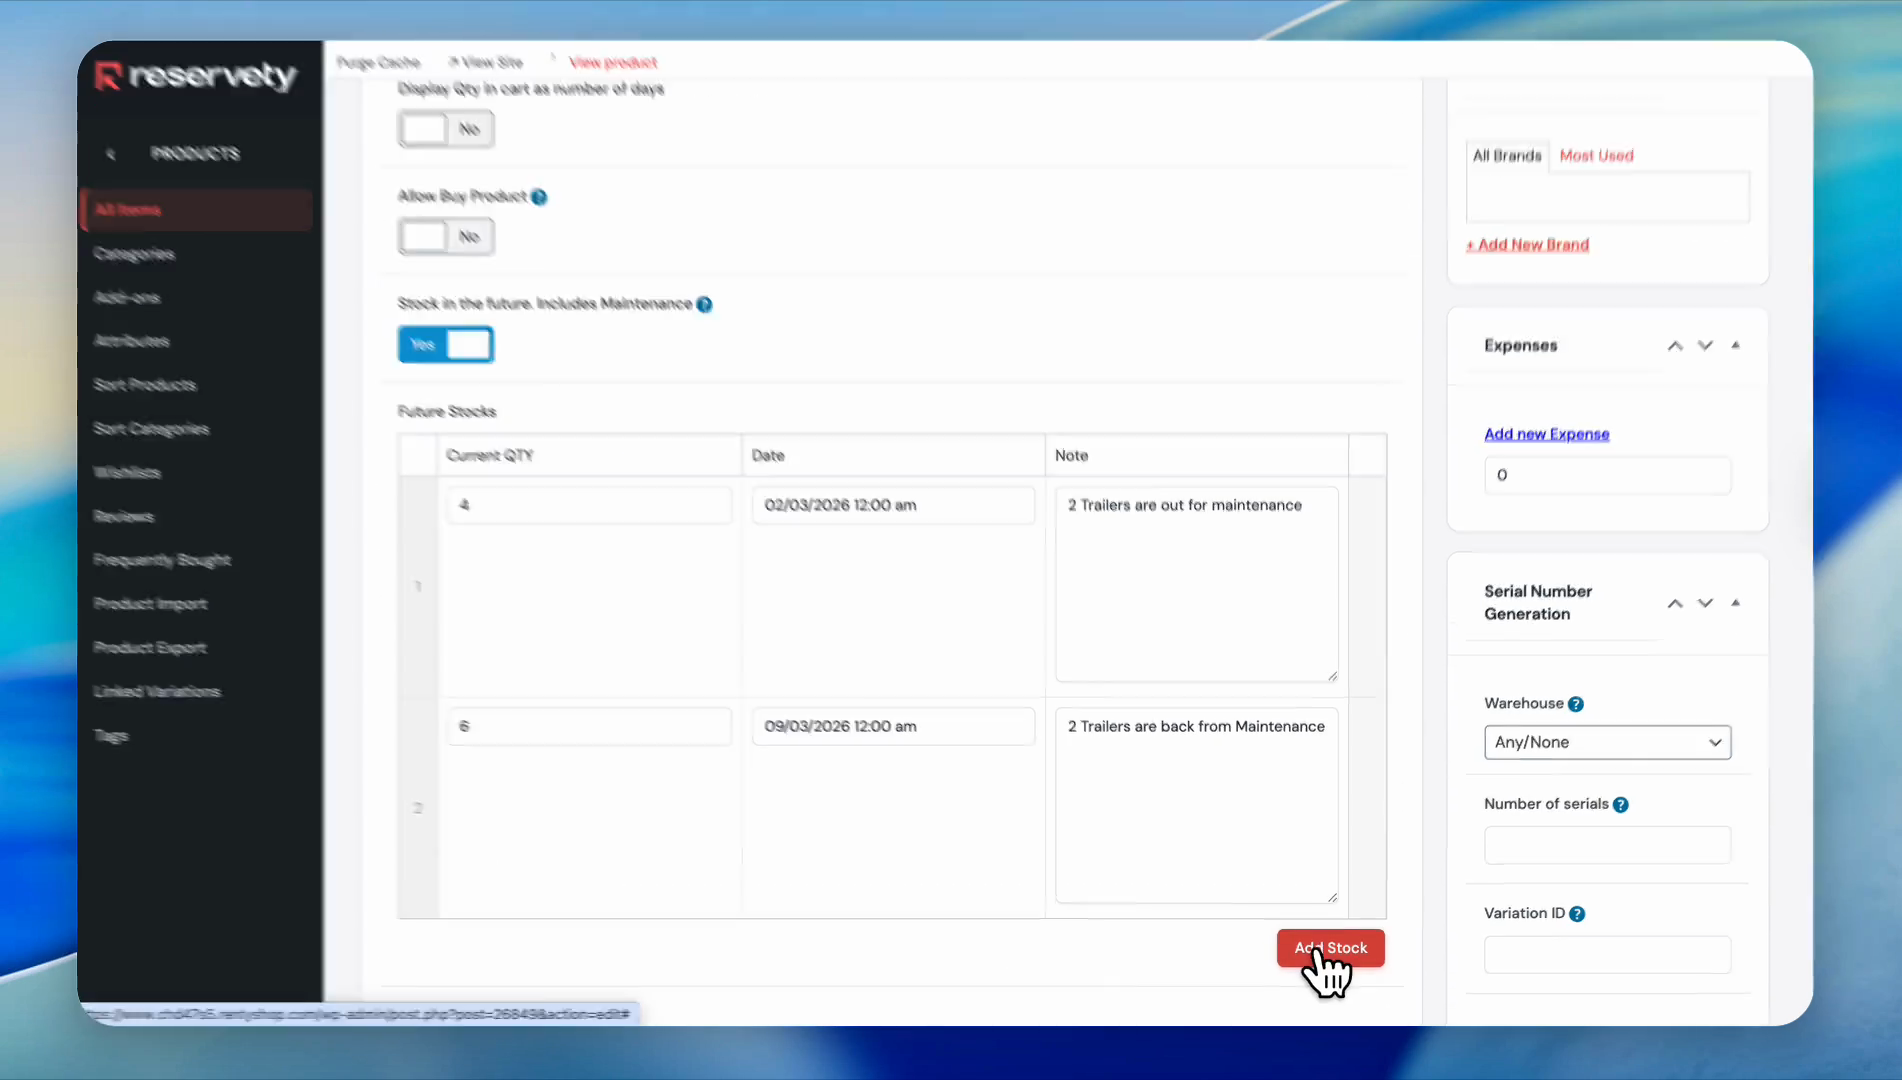
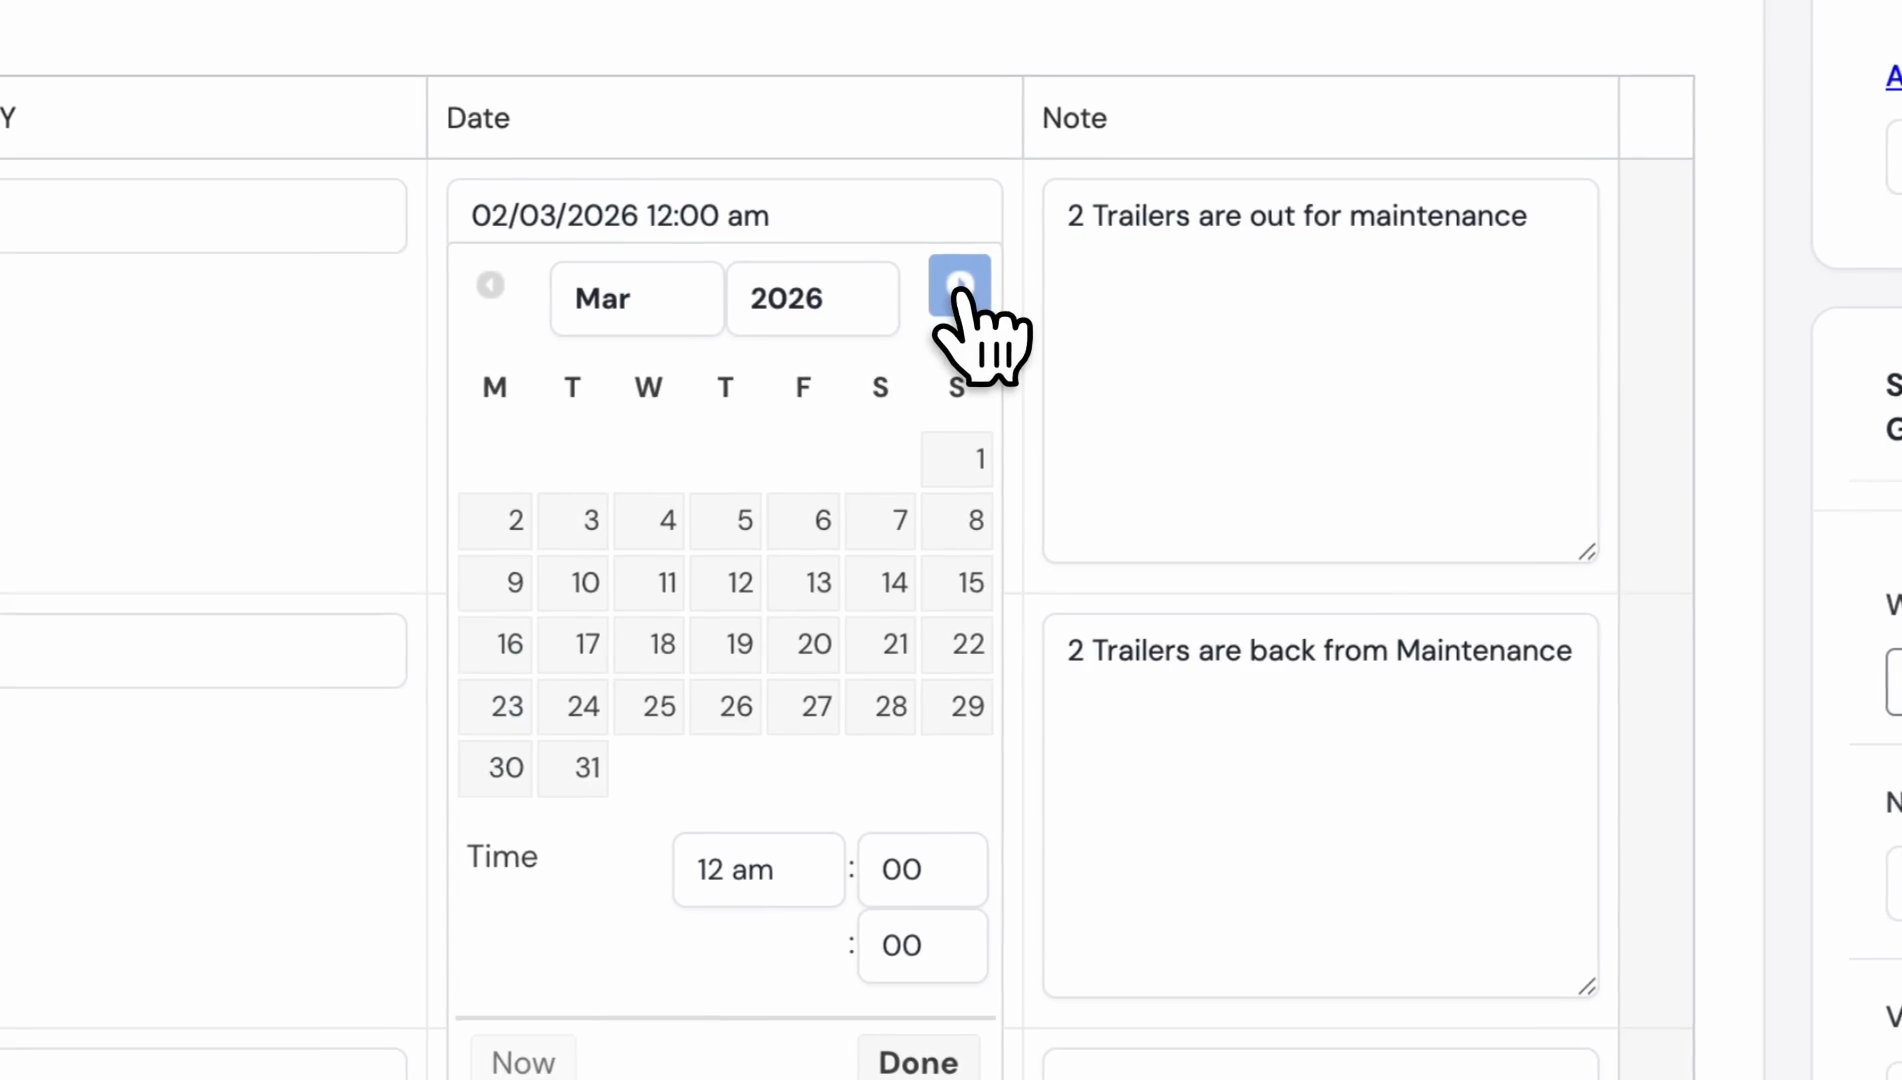
Click "Add Stock," increase the quantity to six, and select the date.

27
Click on Add Stock.
Step #27: Click on Add Stock.
28
In the quantity field, type 6.
29
Click in the date field.
Step #29: Click in the date field.

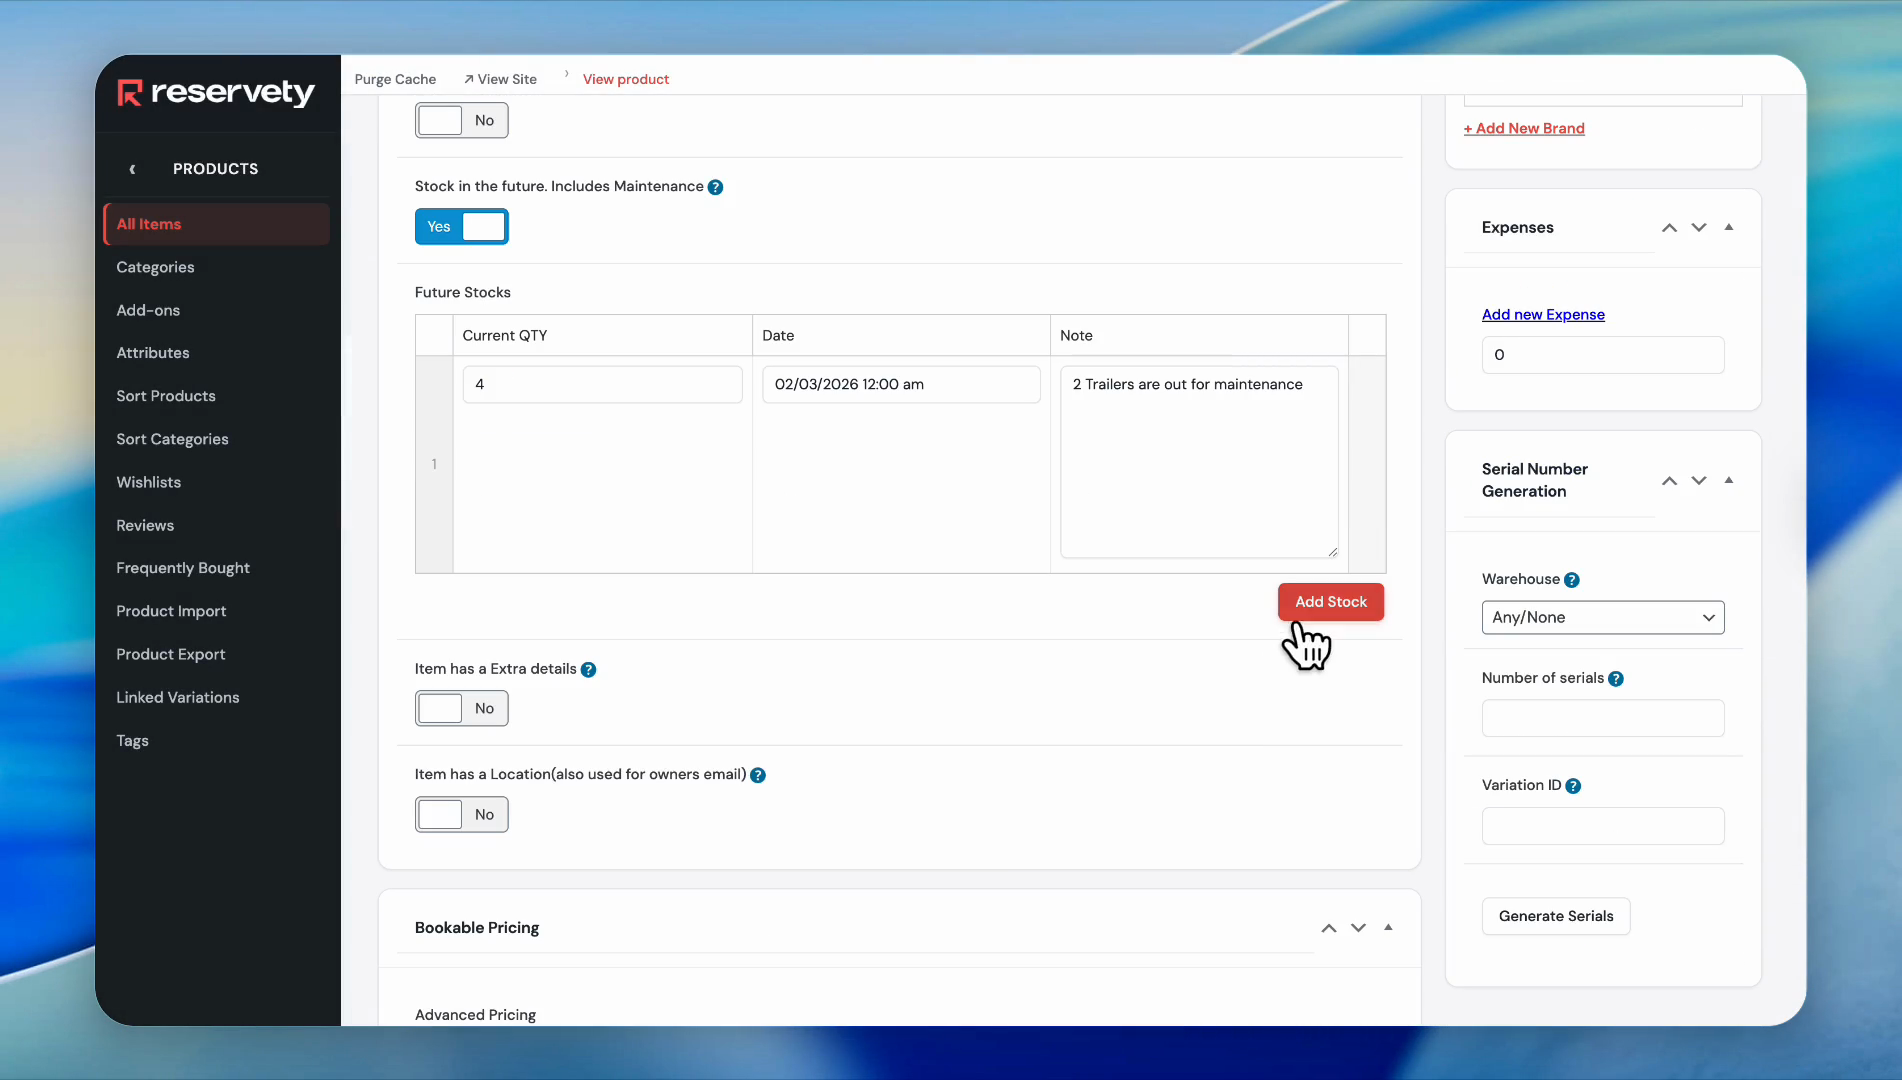
The quantity will return to six, starting on the 9th.

30
Select the 9th from the calendar.
Step #30: Select the 9th from the calendar.

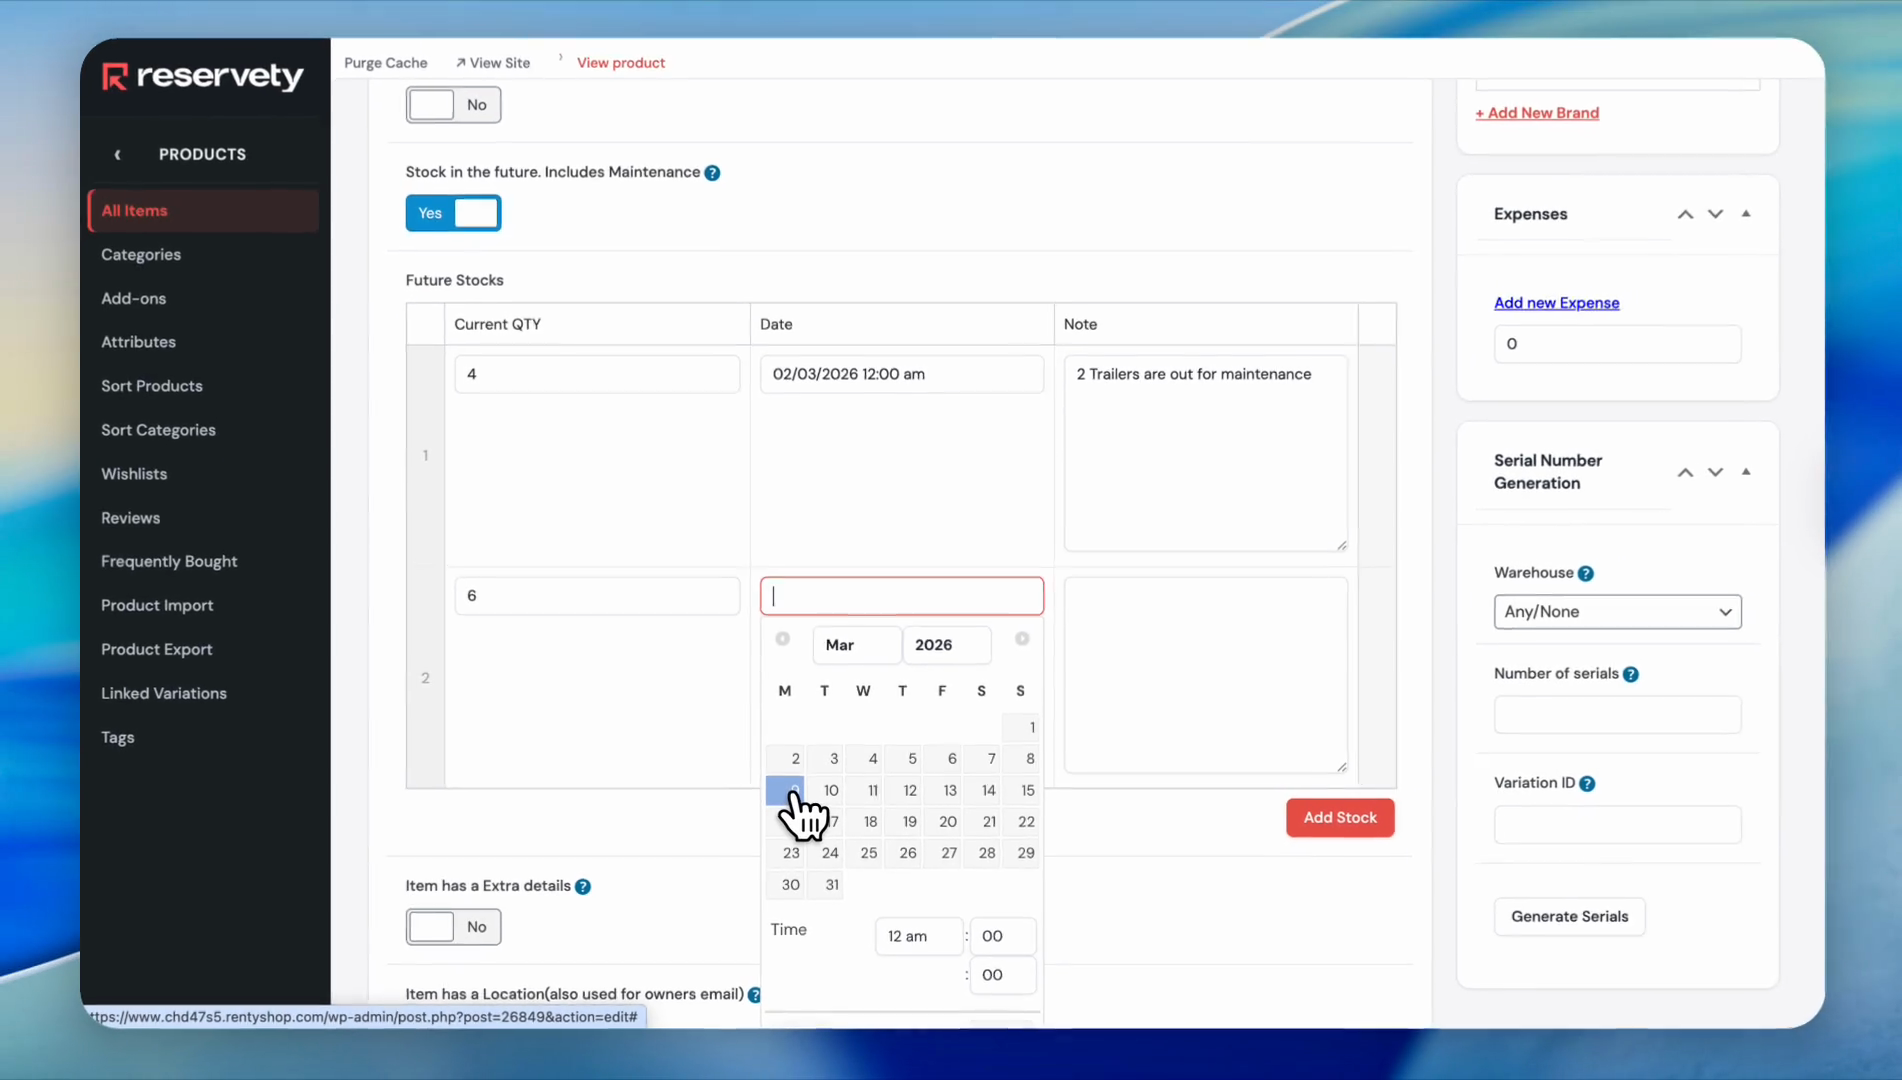
Add a special note. You can put any notes relevant to the inventory there.

31
In the note field, for example, we typed '2 Trailers are back from Maintenance'.
32
Click Update.
Step #32: Click Update.

33
Click View product.
Step #33: Click View product.

Go to the product page and place a test order.

Let's create a test order for the six trailers on March 9th.

34
Click the calendar icon next to Booking Starts.
Step #34: Click the calendar icon next to Booking Starts.
35
Click on March 9, 2026.
Step #35: Click on March 9, 2026.

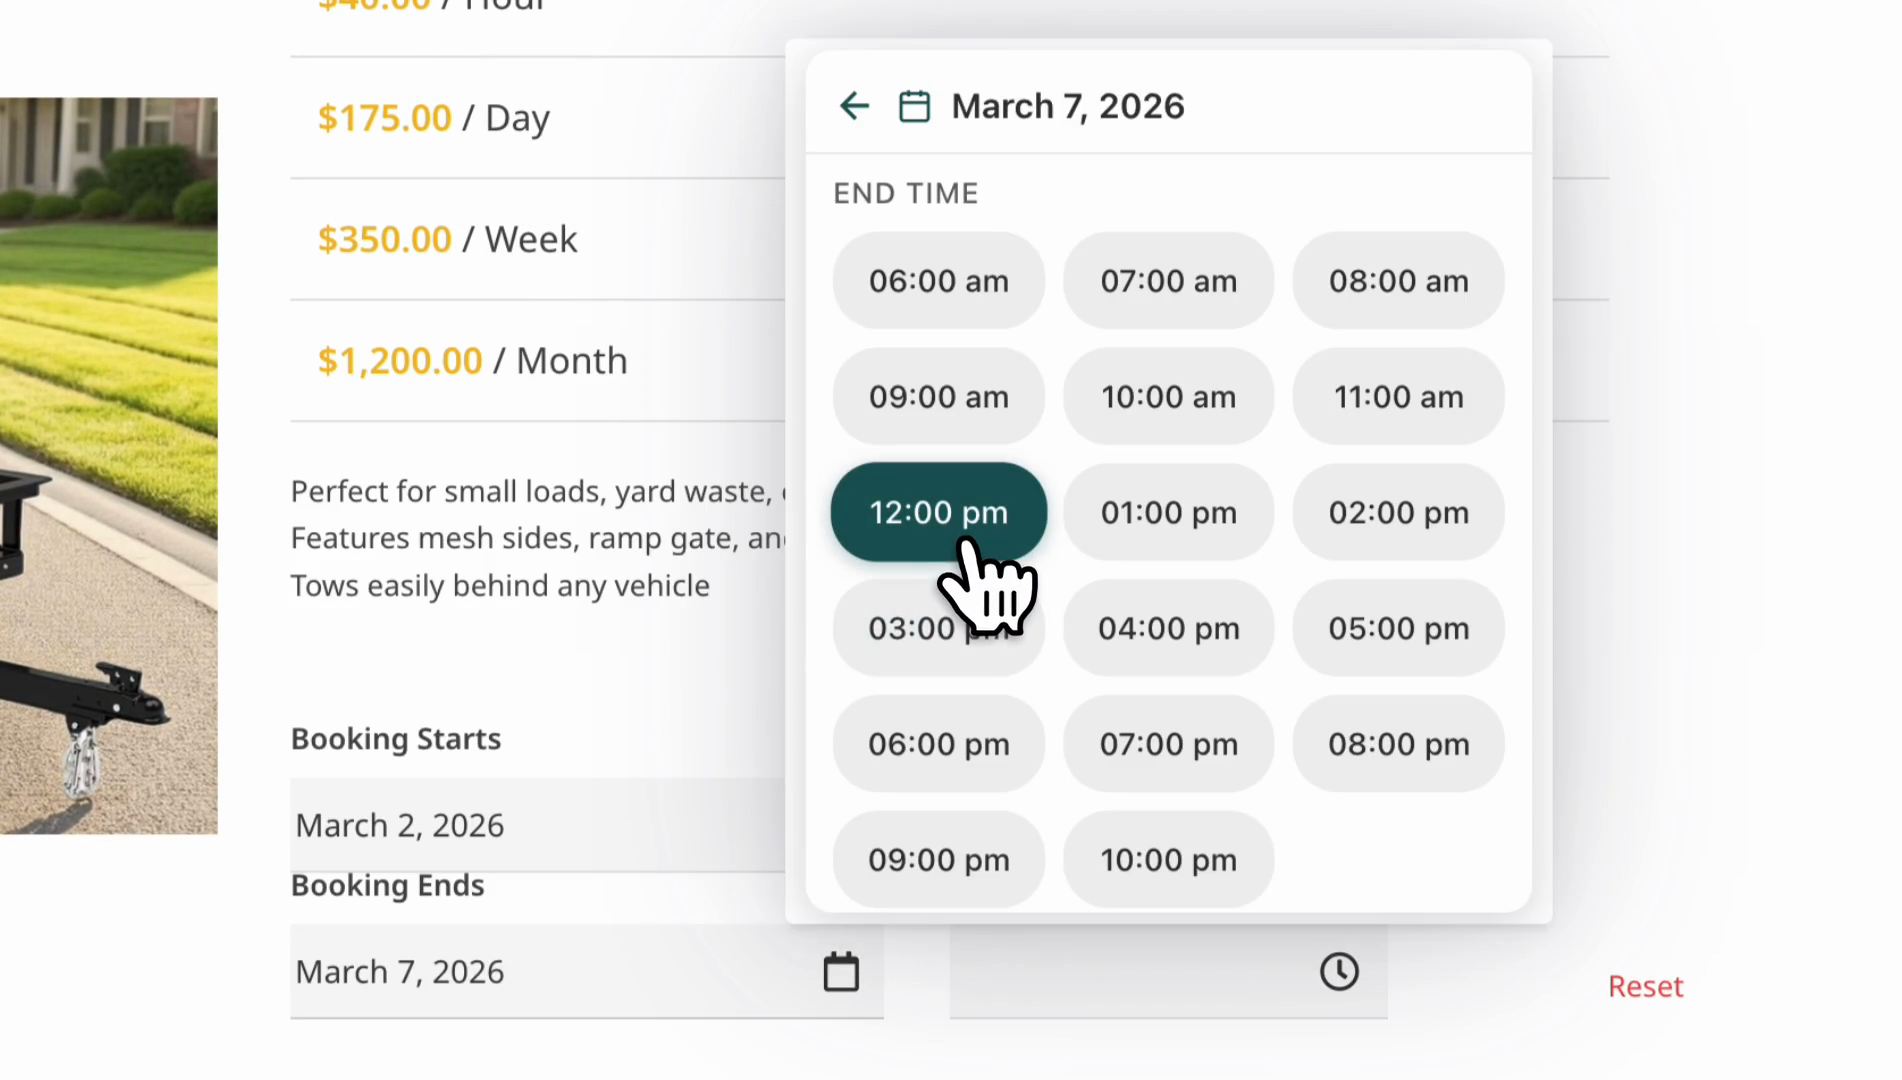
March 9th, starting at 4:00 PM and ending on Saturday, March 14th, at 10:00 PM.

36
Click on March 14, 2026.
Step #36: Click on March 14, 2026.

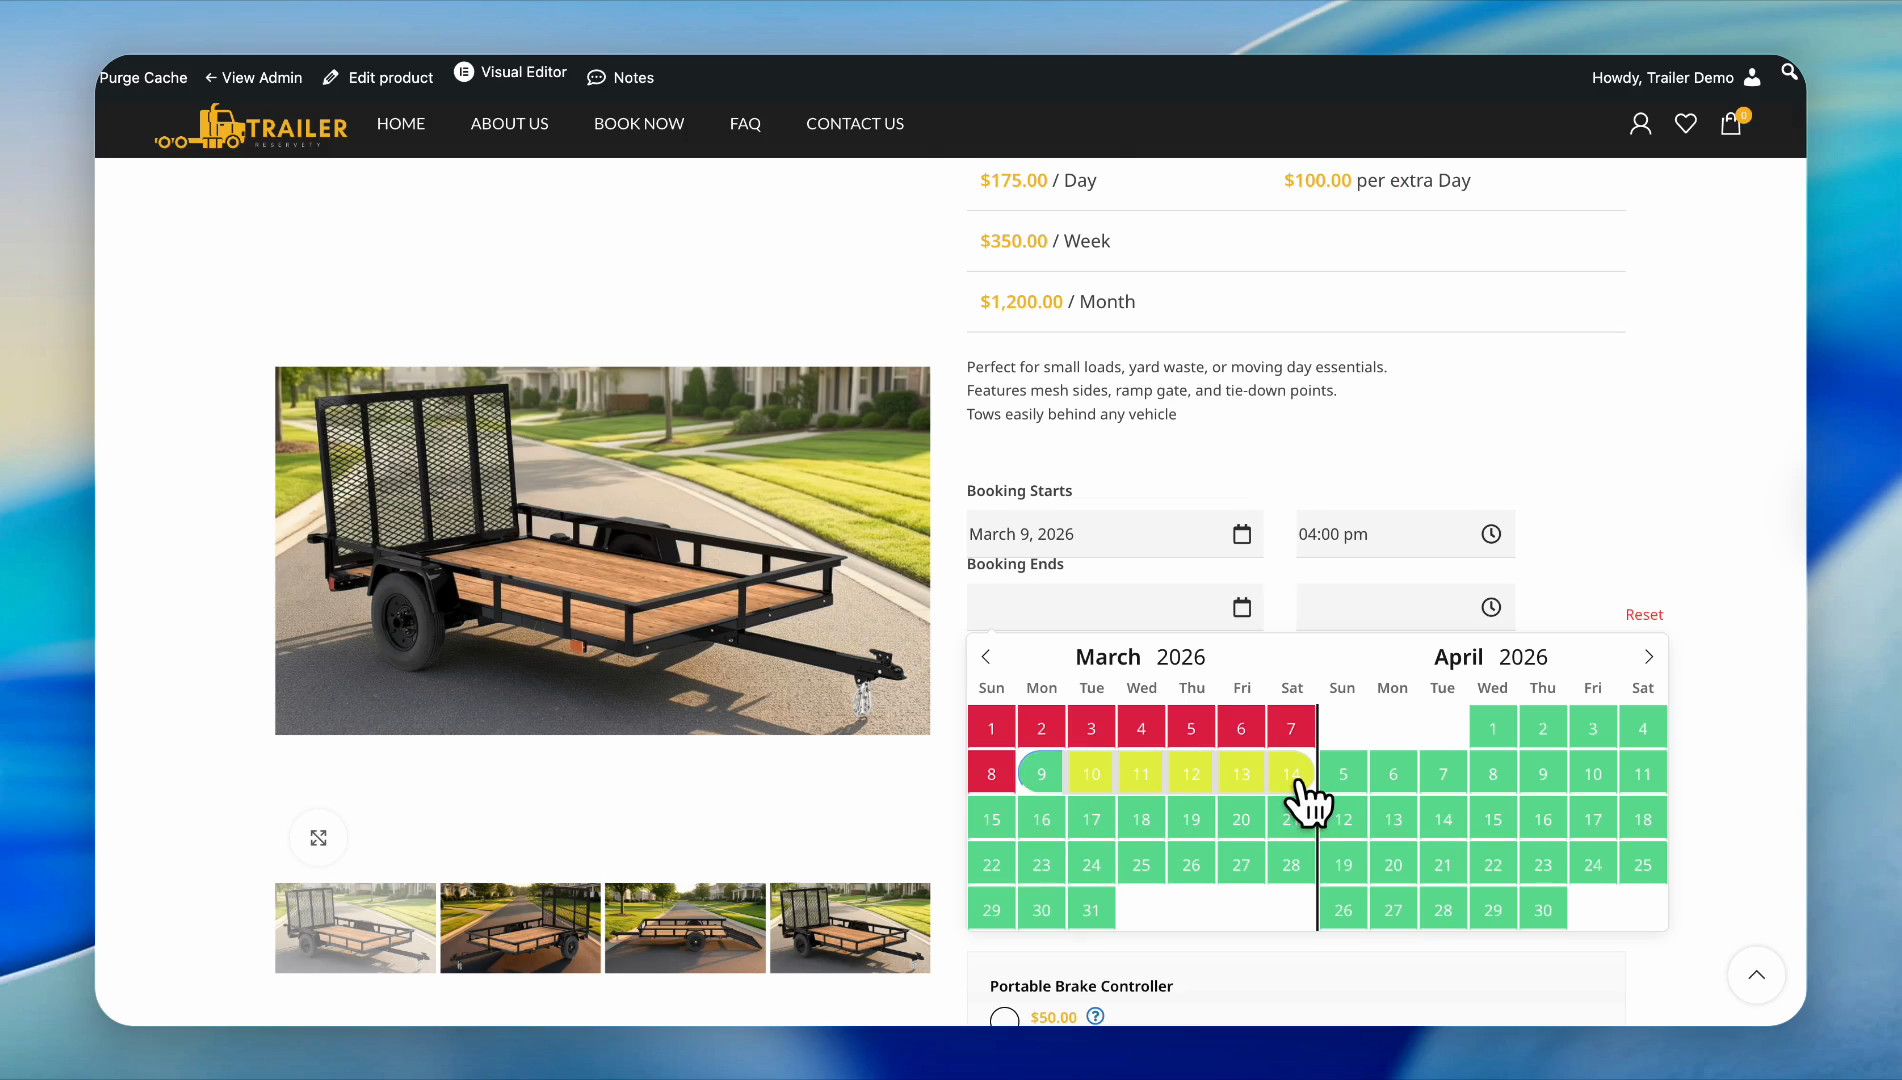
Scroll down and increase the quantity.

37
Click the plus icon to increase the quantity to 6.
Step #37: Click the plus icon to increase the quantity to 6.

The system allows us to book six trailers starting from March 9th.

That means our settings are working perfectly.

These settings also work perfectly for future procurements.

Let's say we want to increase the quantity to eight because we are buying two new trailers and adding them to the six we already have. In this case, go back to the dashboard or click on "Edit Product." Scroll down to the "Stock in the Future" section.

38
Click on Edit product.
Step #38: Click on Edit product.
39
Click the toggle to enable "Stock in the future".
Step #39: Click the toggle to enable "Stock in the future".

40
Click on Add Stock.
Step #40: Click on Add Stock.

We will increase the stock quantity to eight, starting in May.

41
Type 8 into the quantity field.
42
Click into the date field.
Step #42: Click into the date field.

43
Click the next month arrow to navigate to May.
Step #43: Click the next month arrow to navigate to May.

44
Click on the 1st of the month.
Step #44: Click on the 1st of the month.

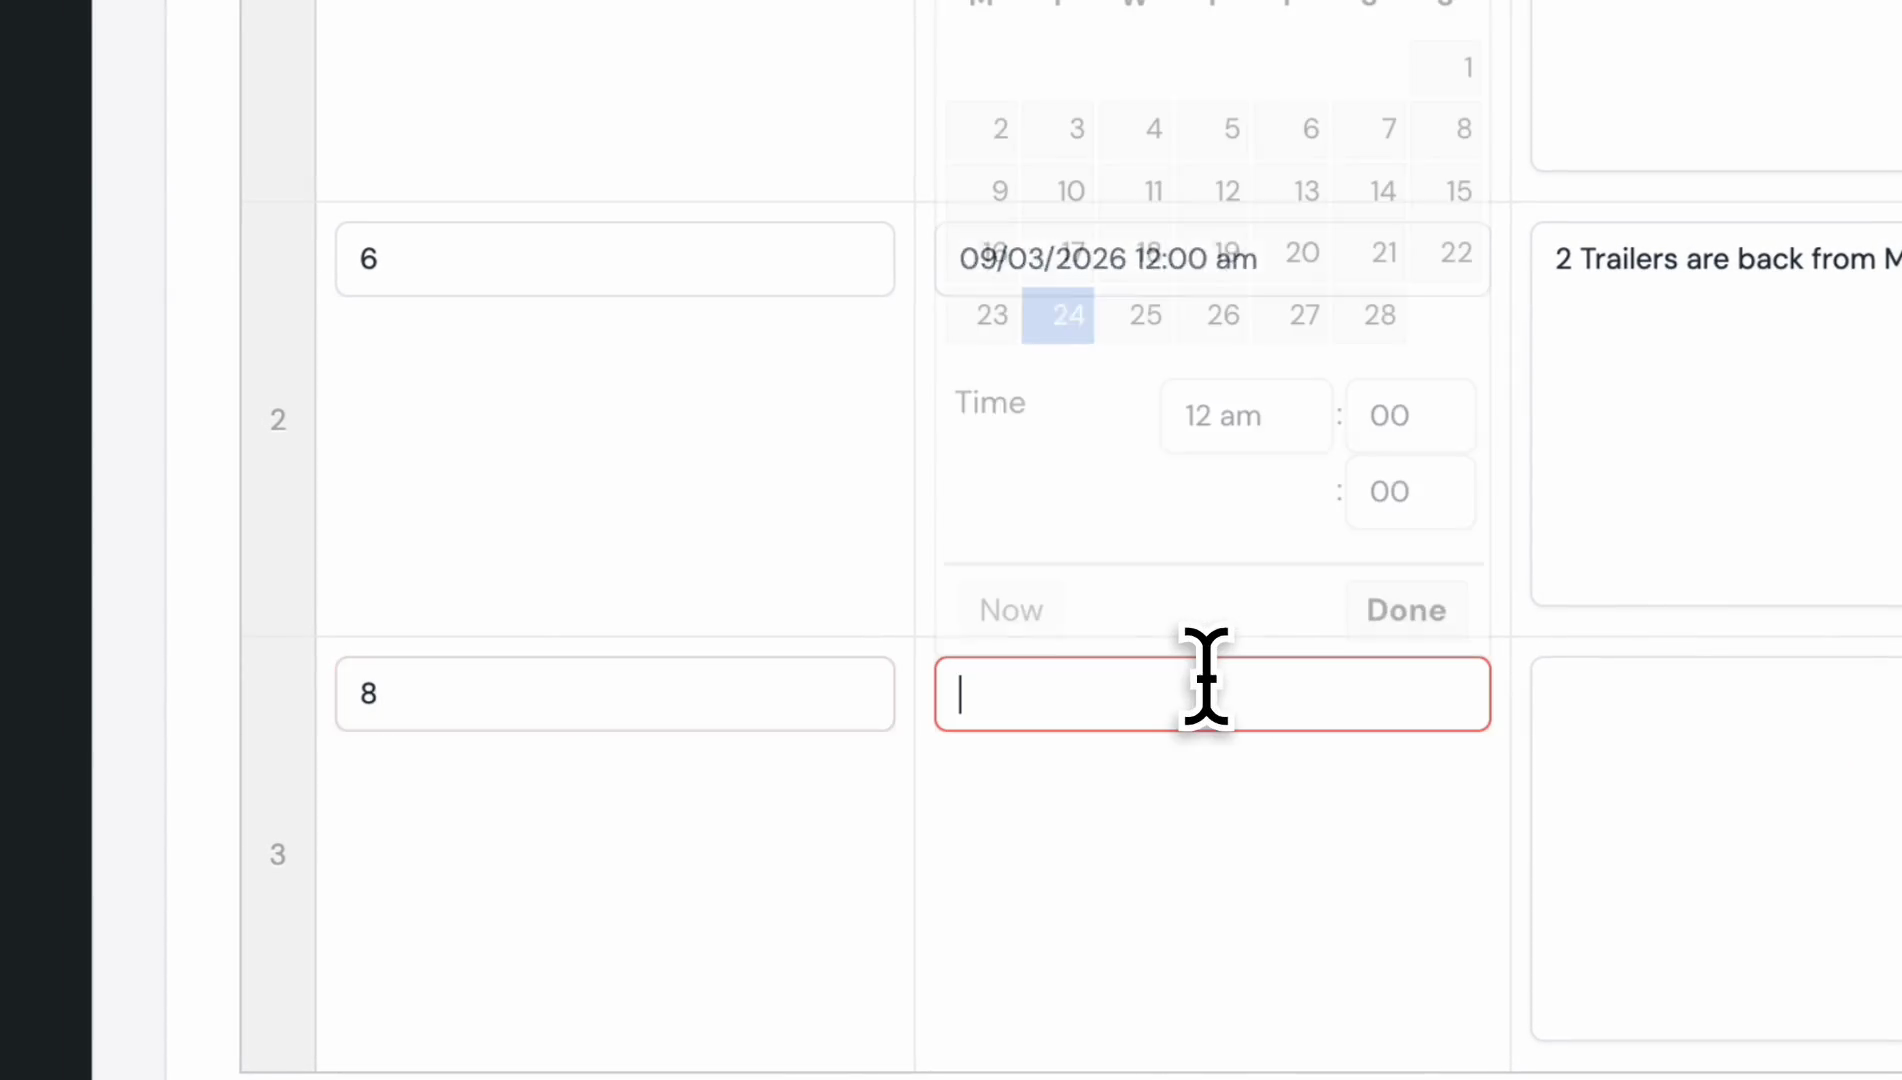
Then add a special note. You can type any message needed to manage the quantities.

45
Click into the note field.
Step #45: Click into the note field.

46
Click Update.
Step #46: Click Update.

Go to the product page again.

47
Click View product.
Step #47: Click View product.

Let's book eight trailers starting in May.

48
Click into the Booking Starts date field.
Step #48: Click into the Booking Starts date field.

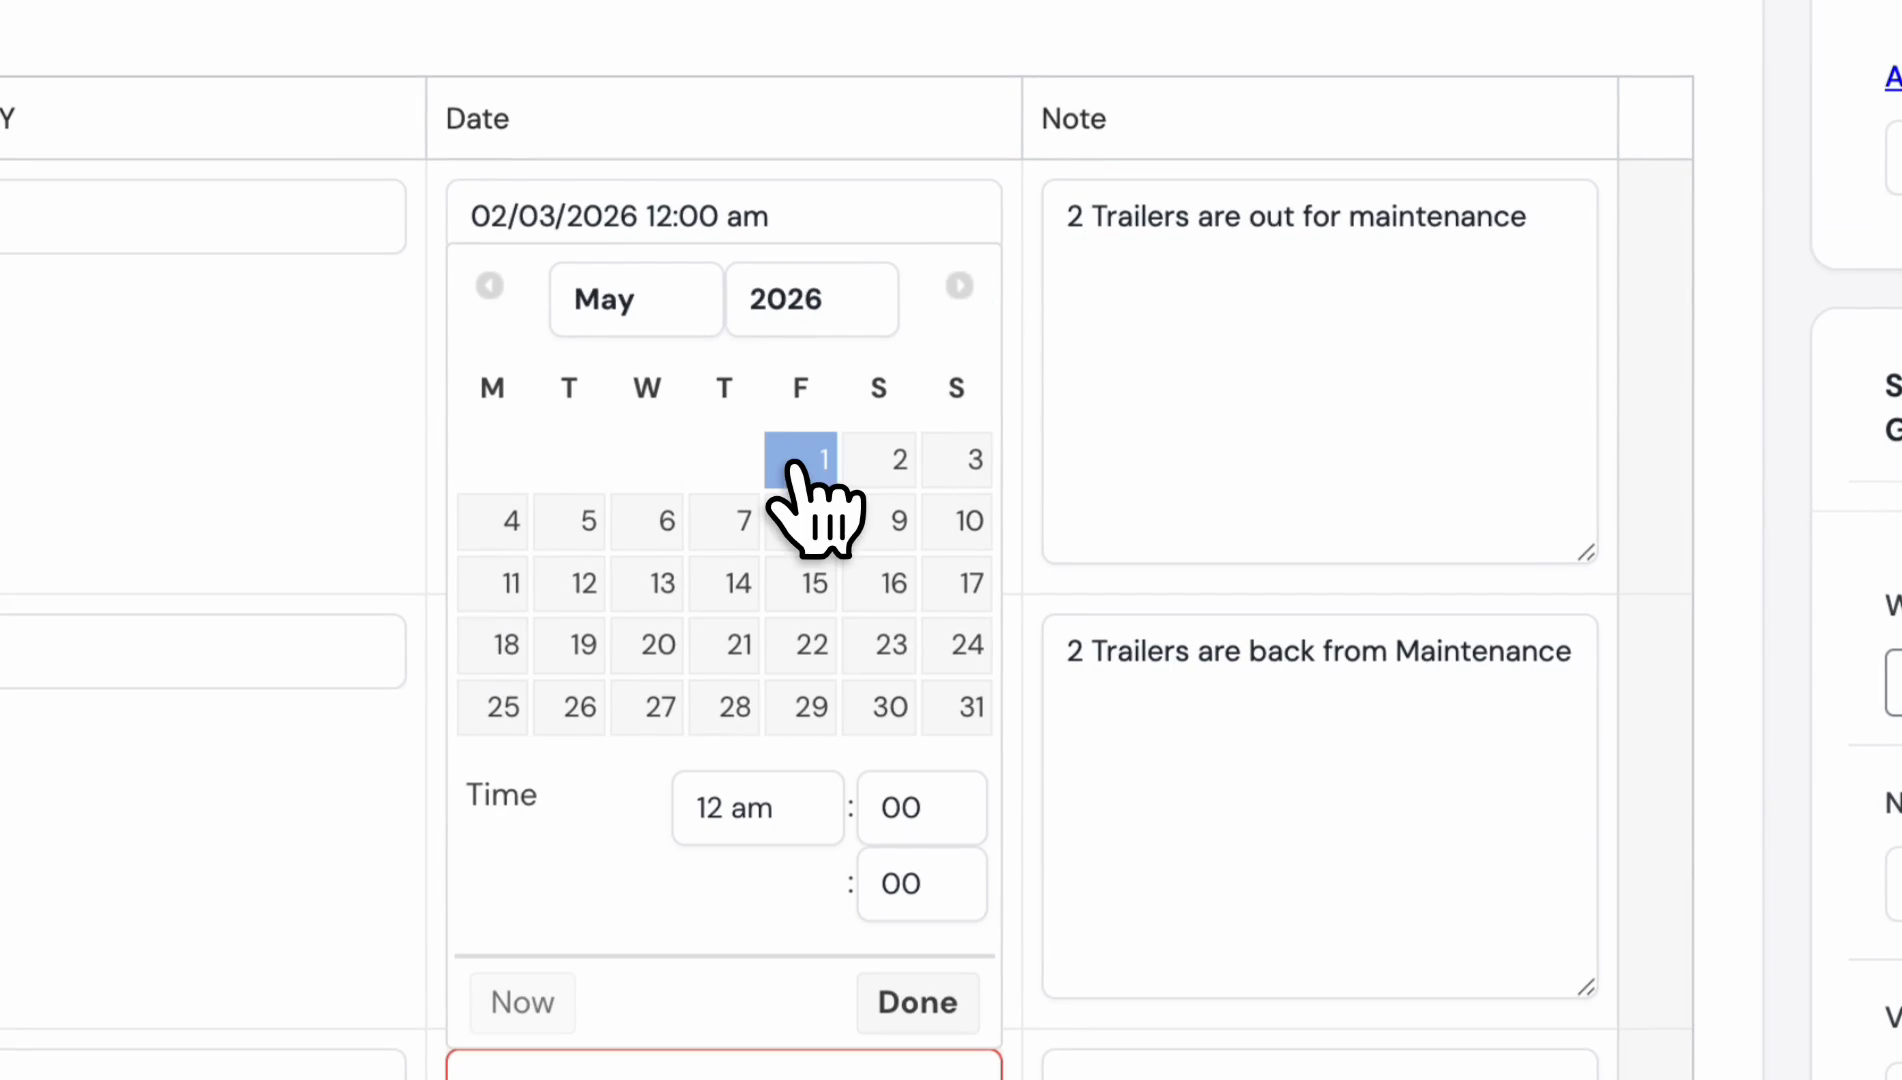
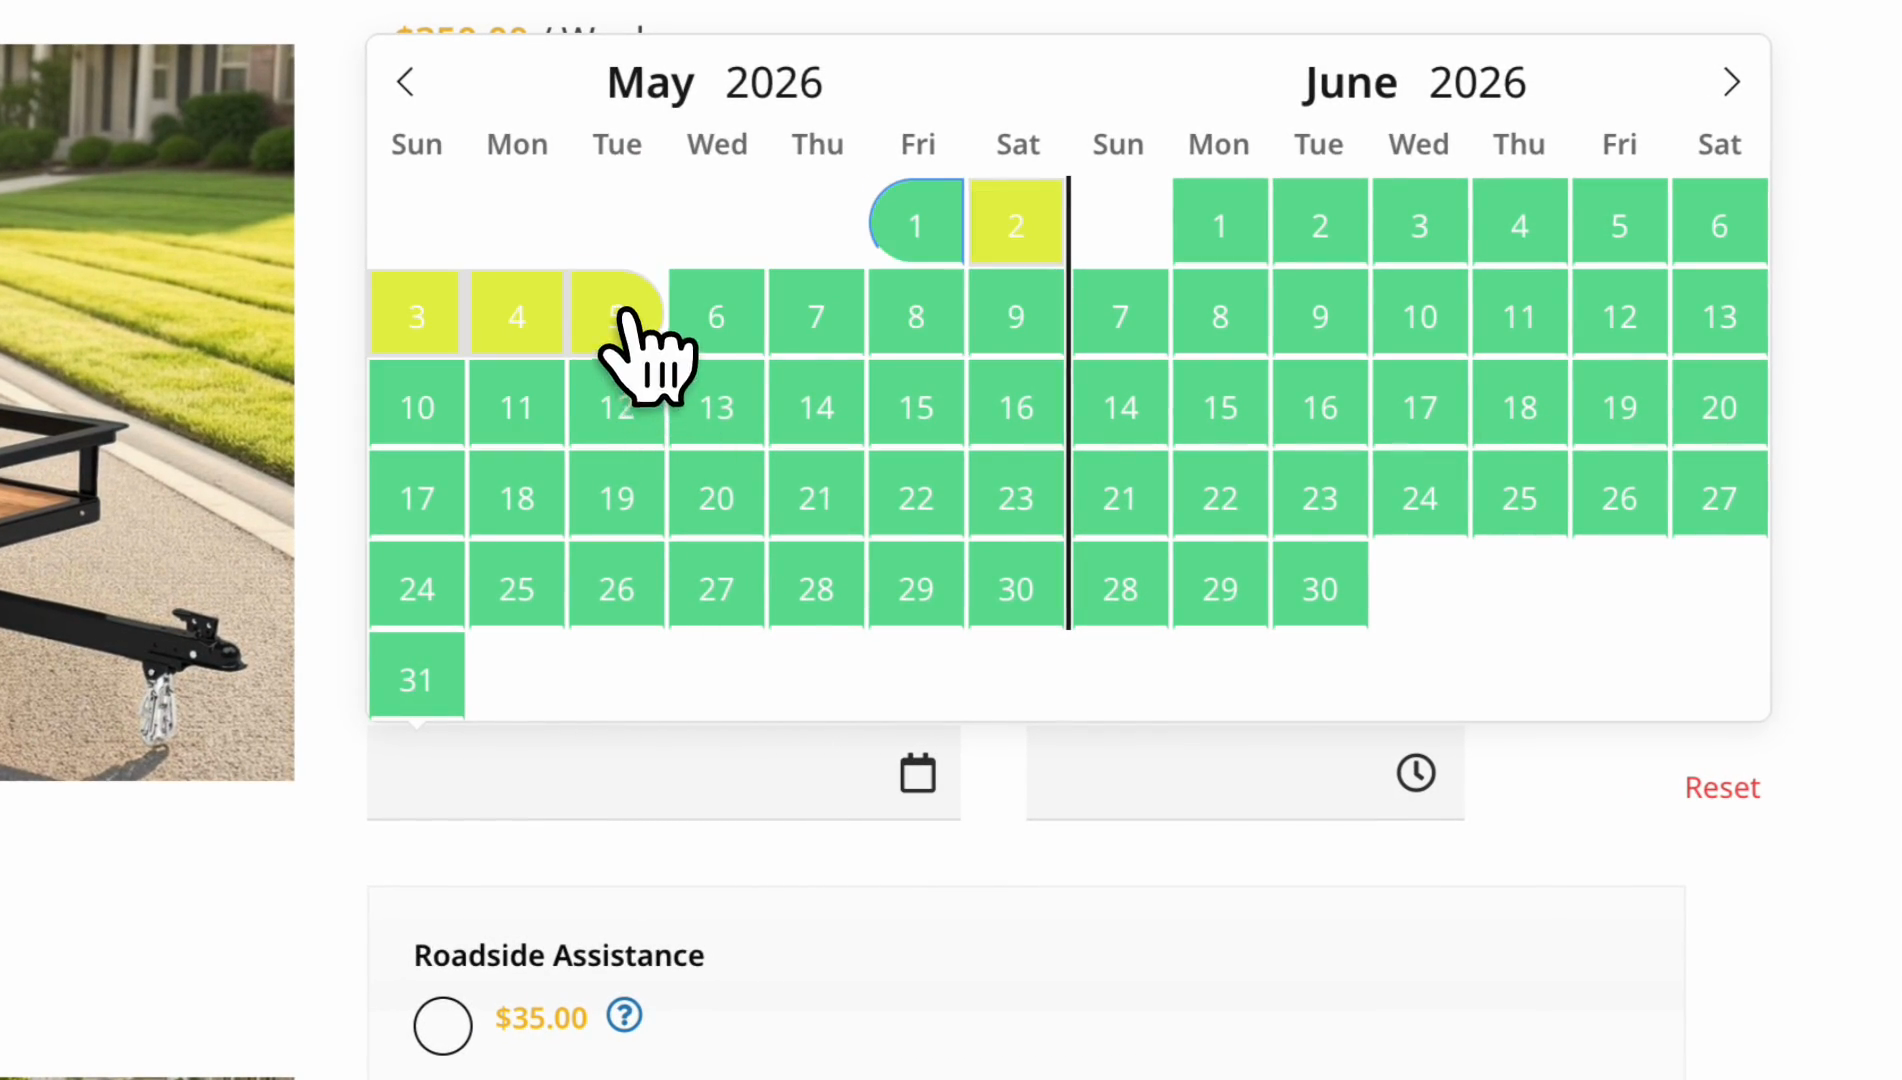
Go to May, select May 1st at 7:00 AM, and choose the ending date.

49
Click the next month arrow to navigate to May.
Step #49: Click the next month arrow to navigate to May.
50
Click on the 1st of the month.
Step #50: Click on the 1st of the month.
51
Click on 07:00 am.
Step #51: Click on 07:00 am.

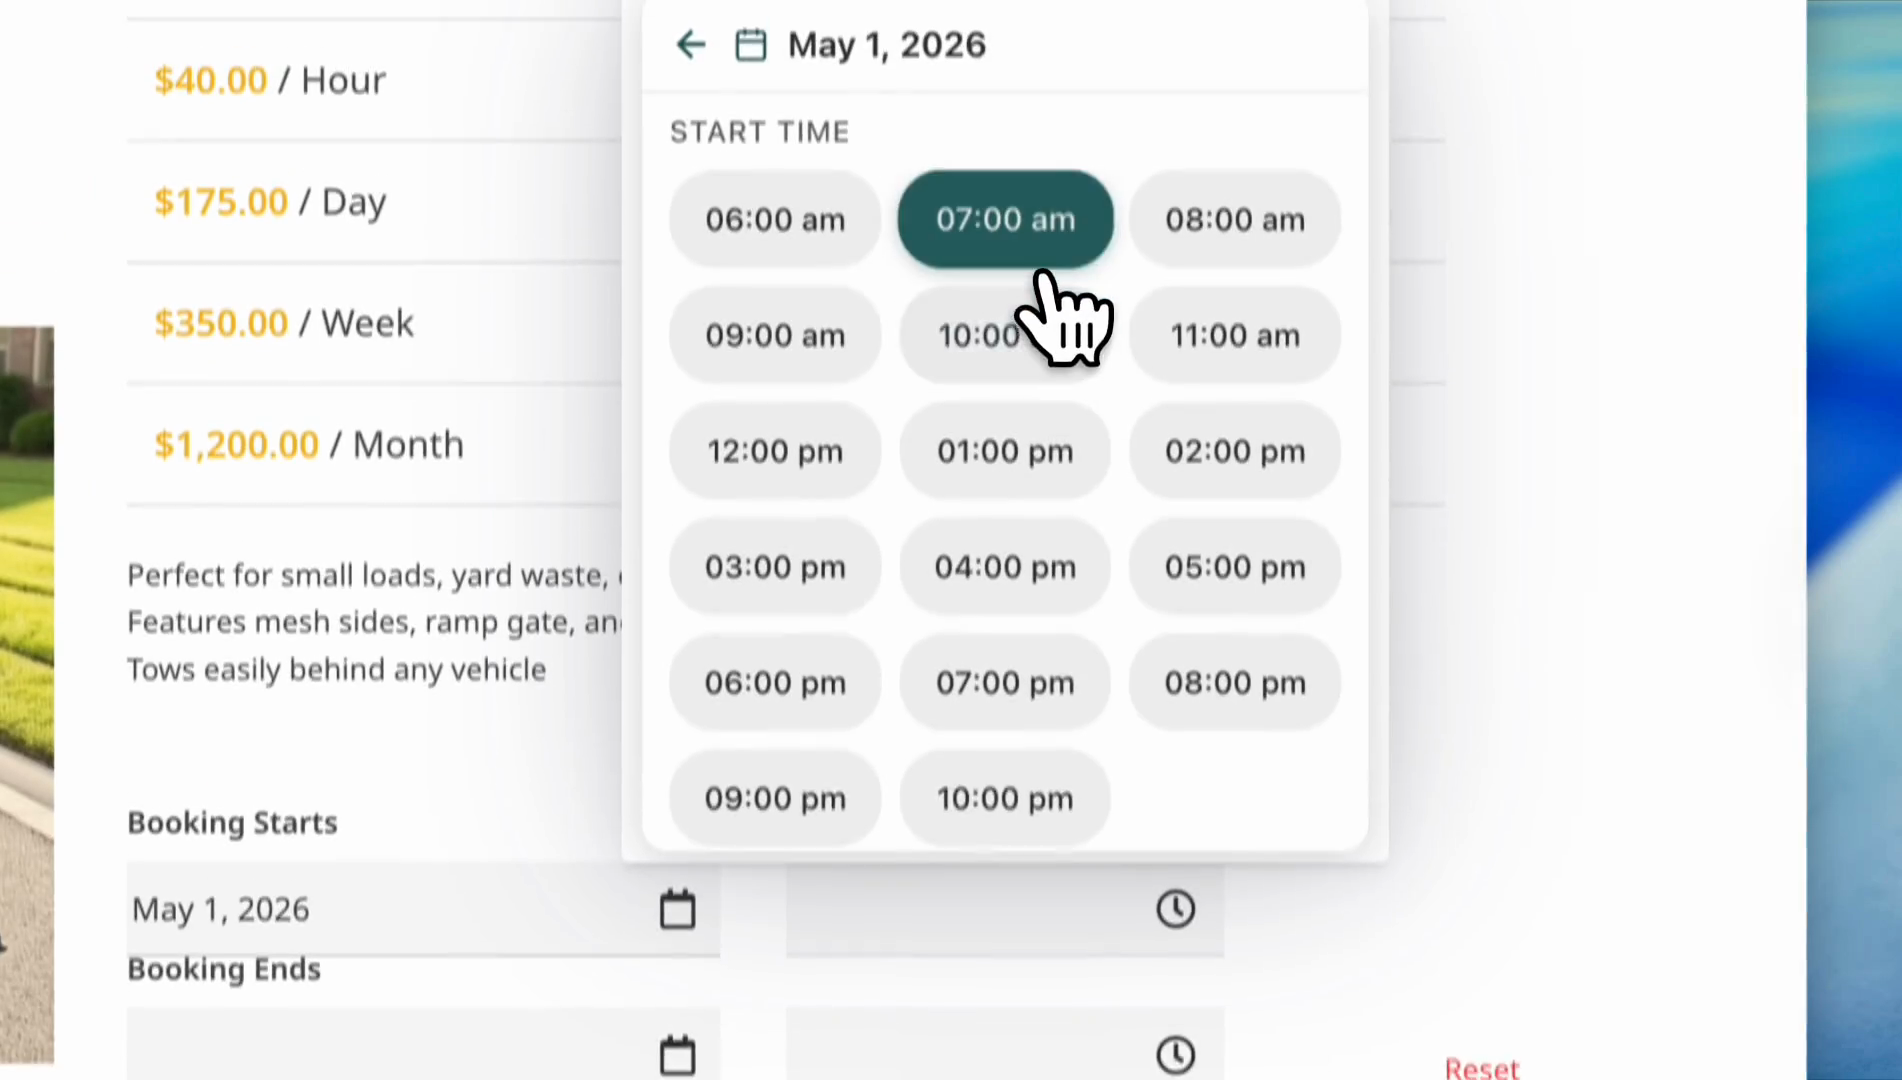
We will select May 5th at 7:00 PM.

52
Select 07:00 pm as the end time.
Step #52: Select 07:00 pm as the end time.

Now, let's increase the quantity to eight.

53
Click the plus button to increase the quantity to 8.
Step #53: Click the plus button to increase the quantity to 8.

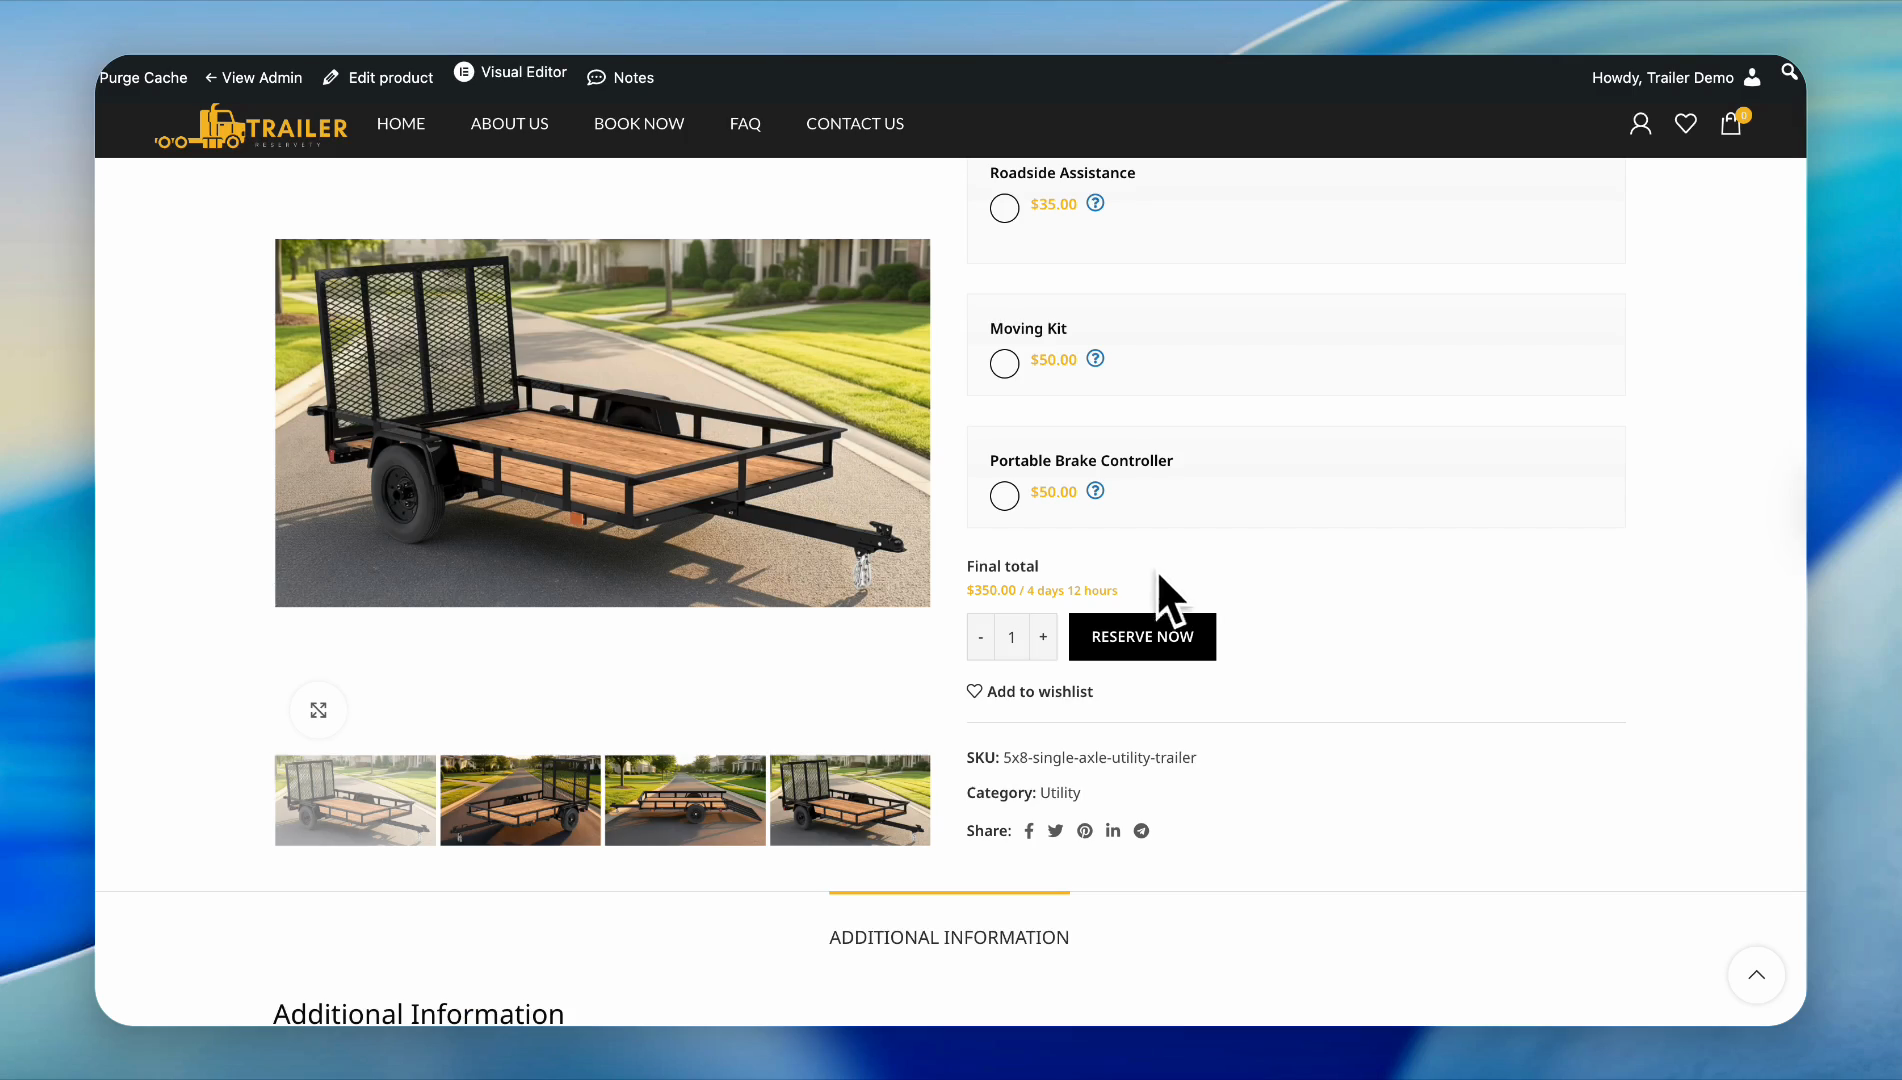
We can order eight of these trailers starting May 1st.

This concludes our tutorial.

Thank you for your attention.

We will see you in the next tutorials.