
How to access your old and New Emails in Outlook Classic
Learn step-by-step how to back up your email in Outlook, remove an old account, and add a new one. Follow this easy guide to ensure your data is safe and your accounts are managed efficiently.
By Keisha Barwise
In this guide, we'll learn how to back up your email, remove an old email account, and add a new one in Outlook. This process helps you keep your messages safe before making changes to your accounts. You will also see how to confirm your backup and set up a new account.
Let's get started
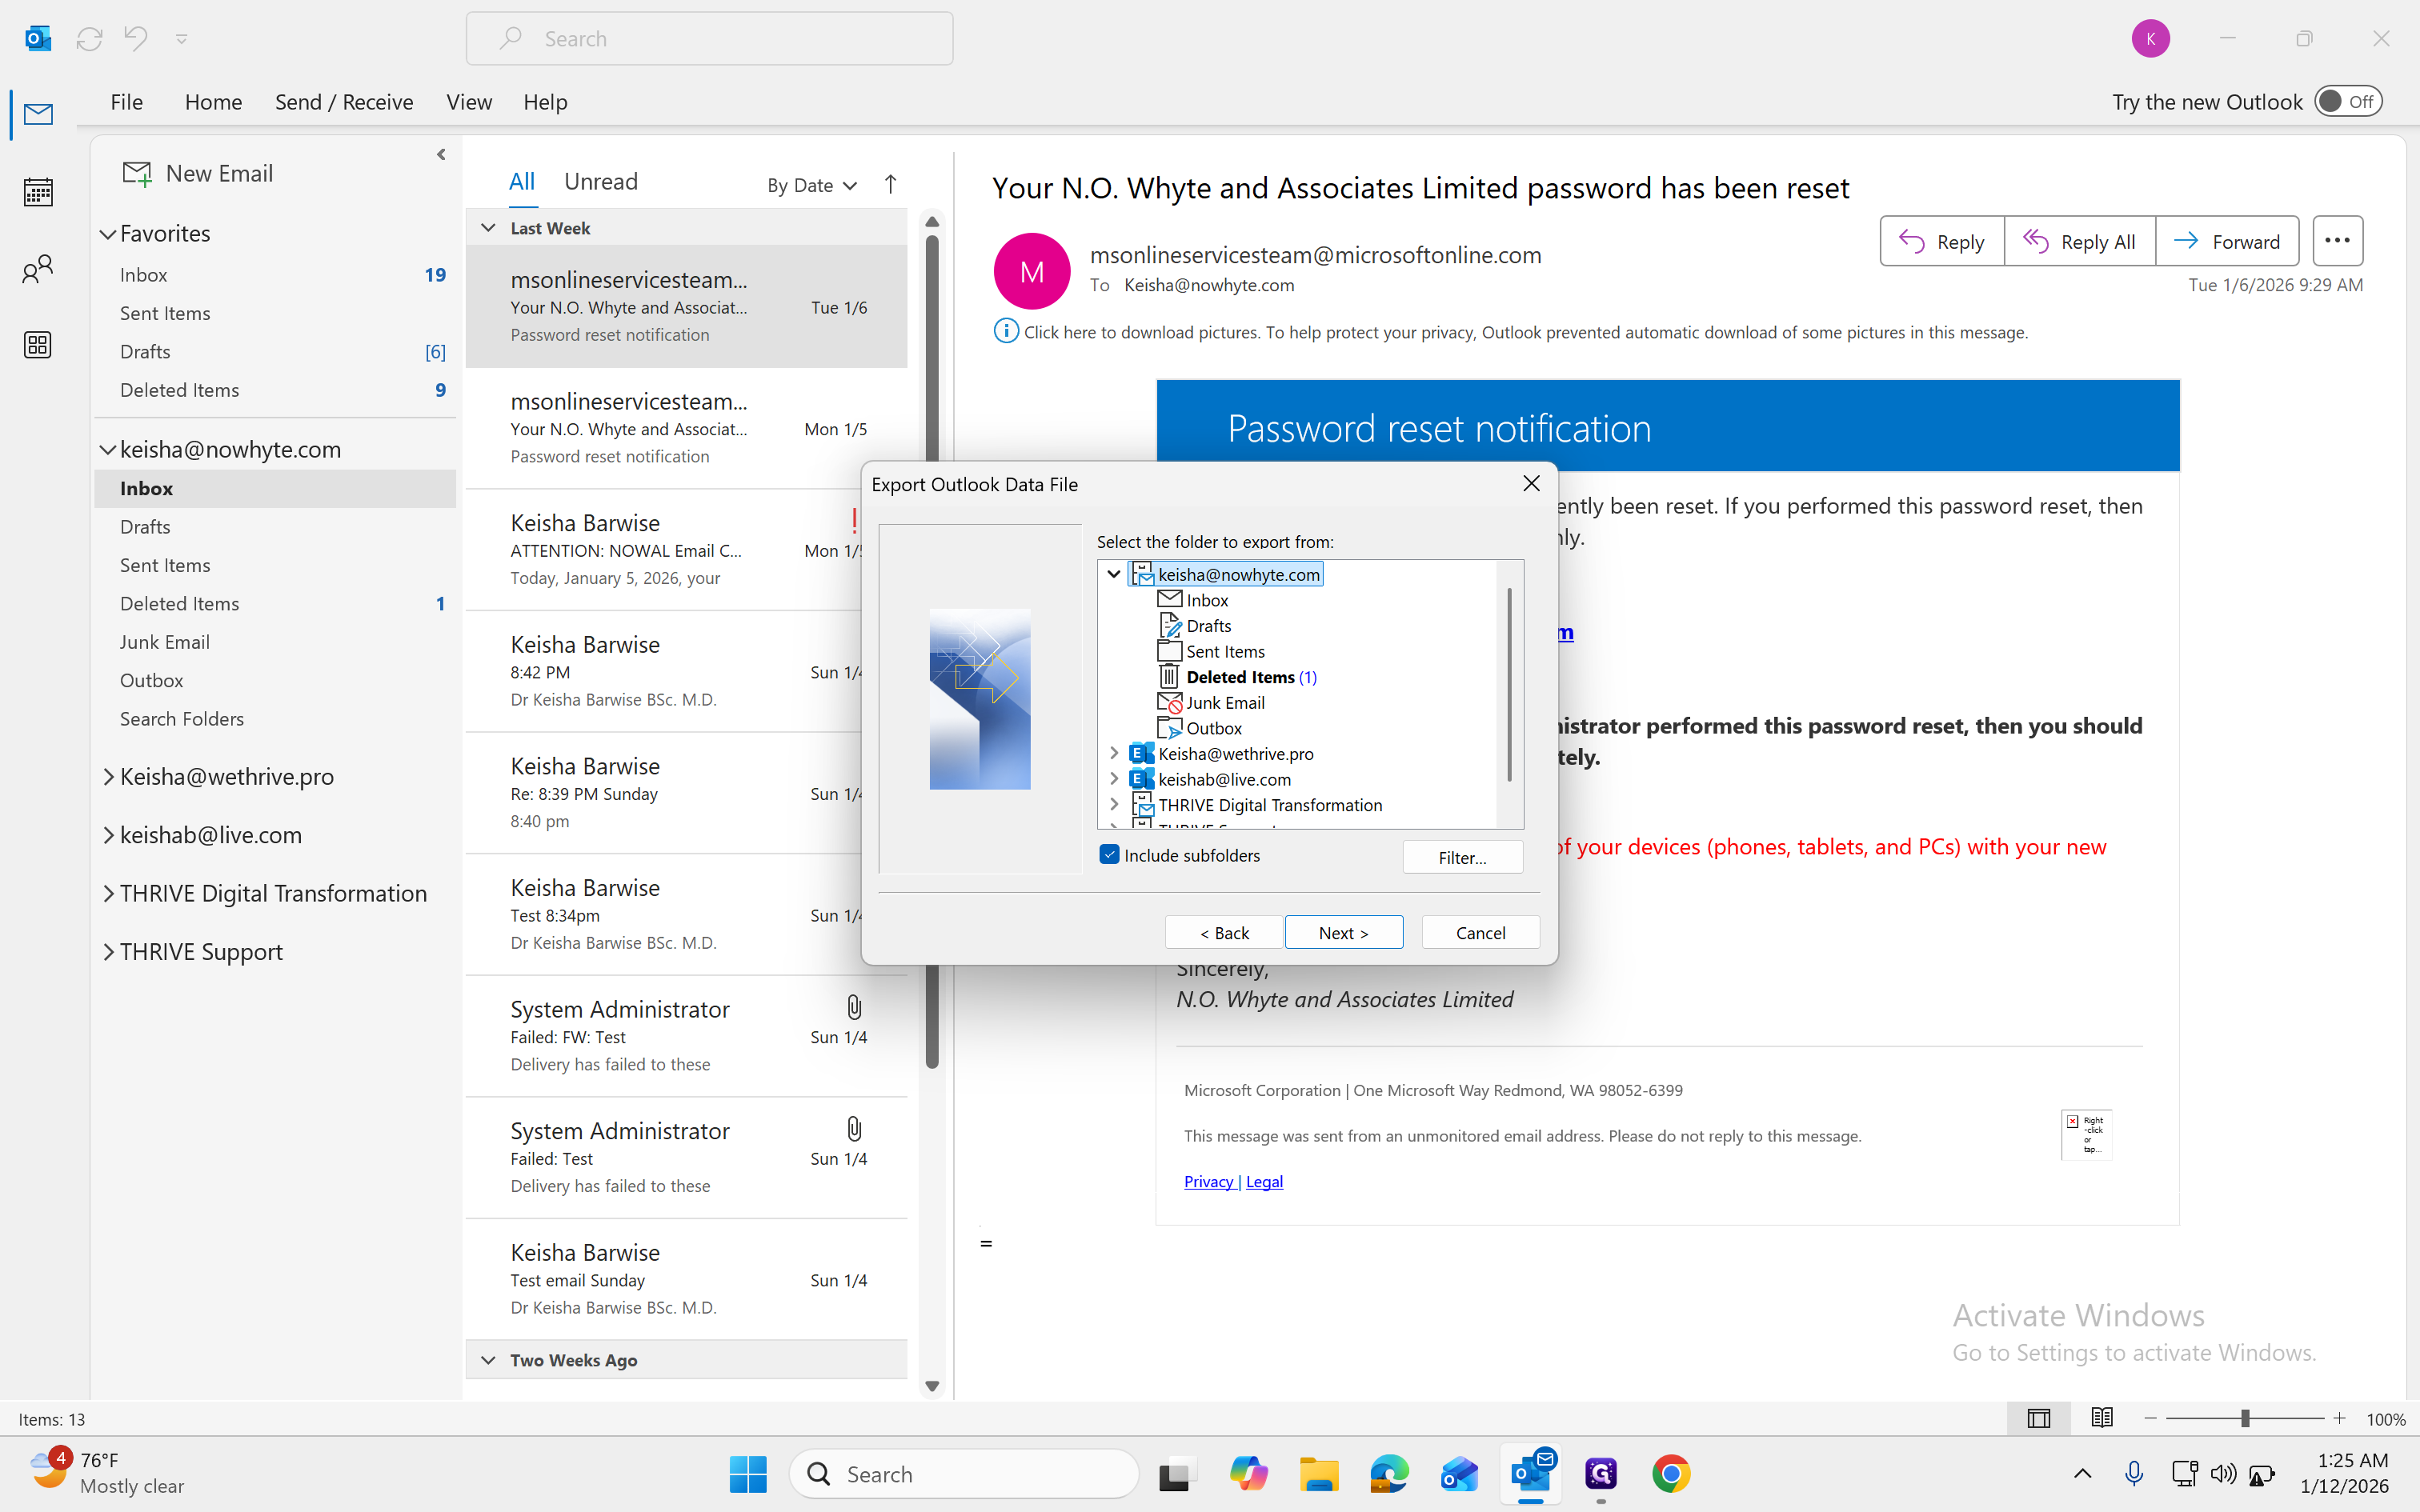
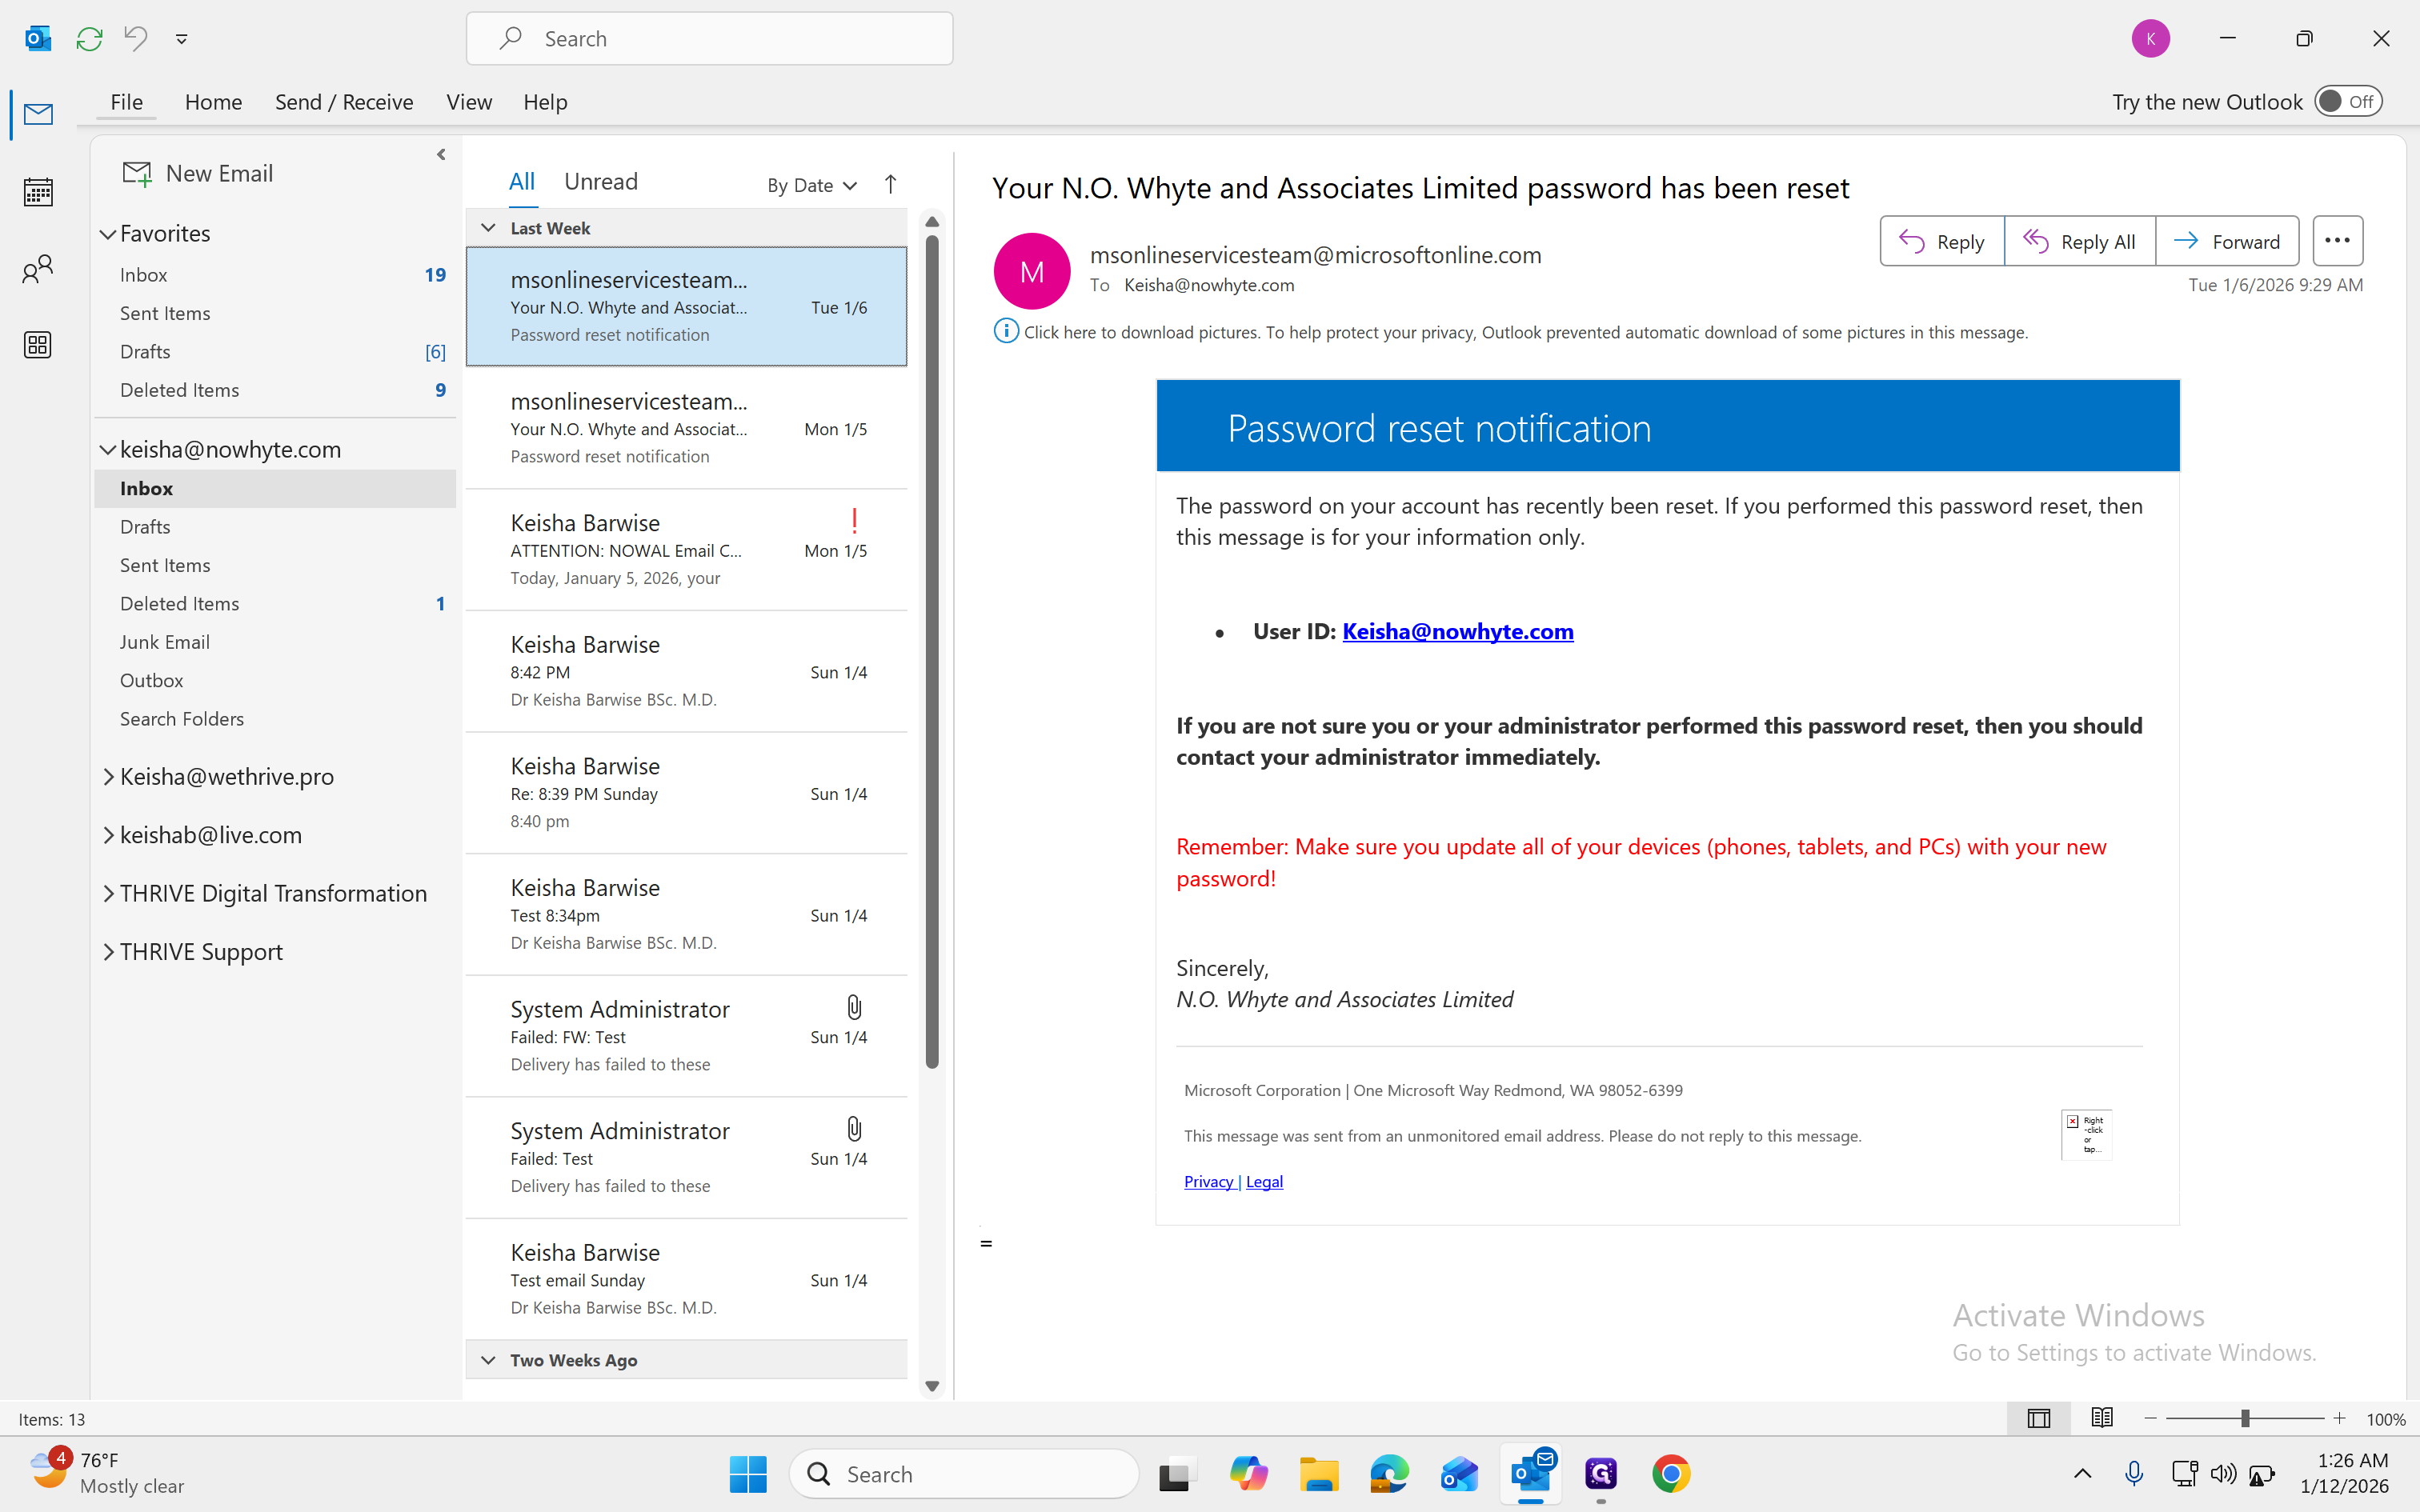
Okay. First, we will back up the email. To do that, go to File.
1
Click File
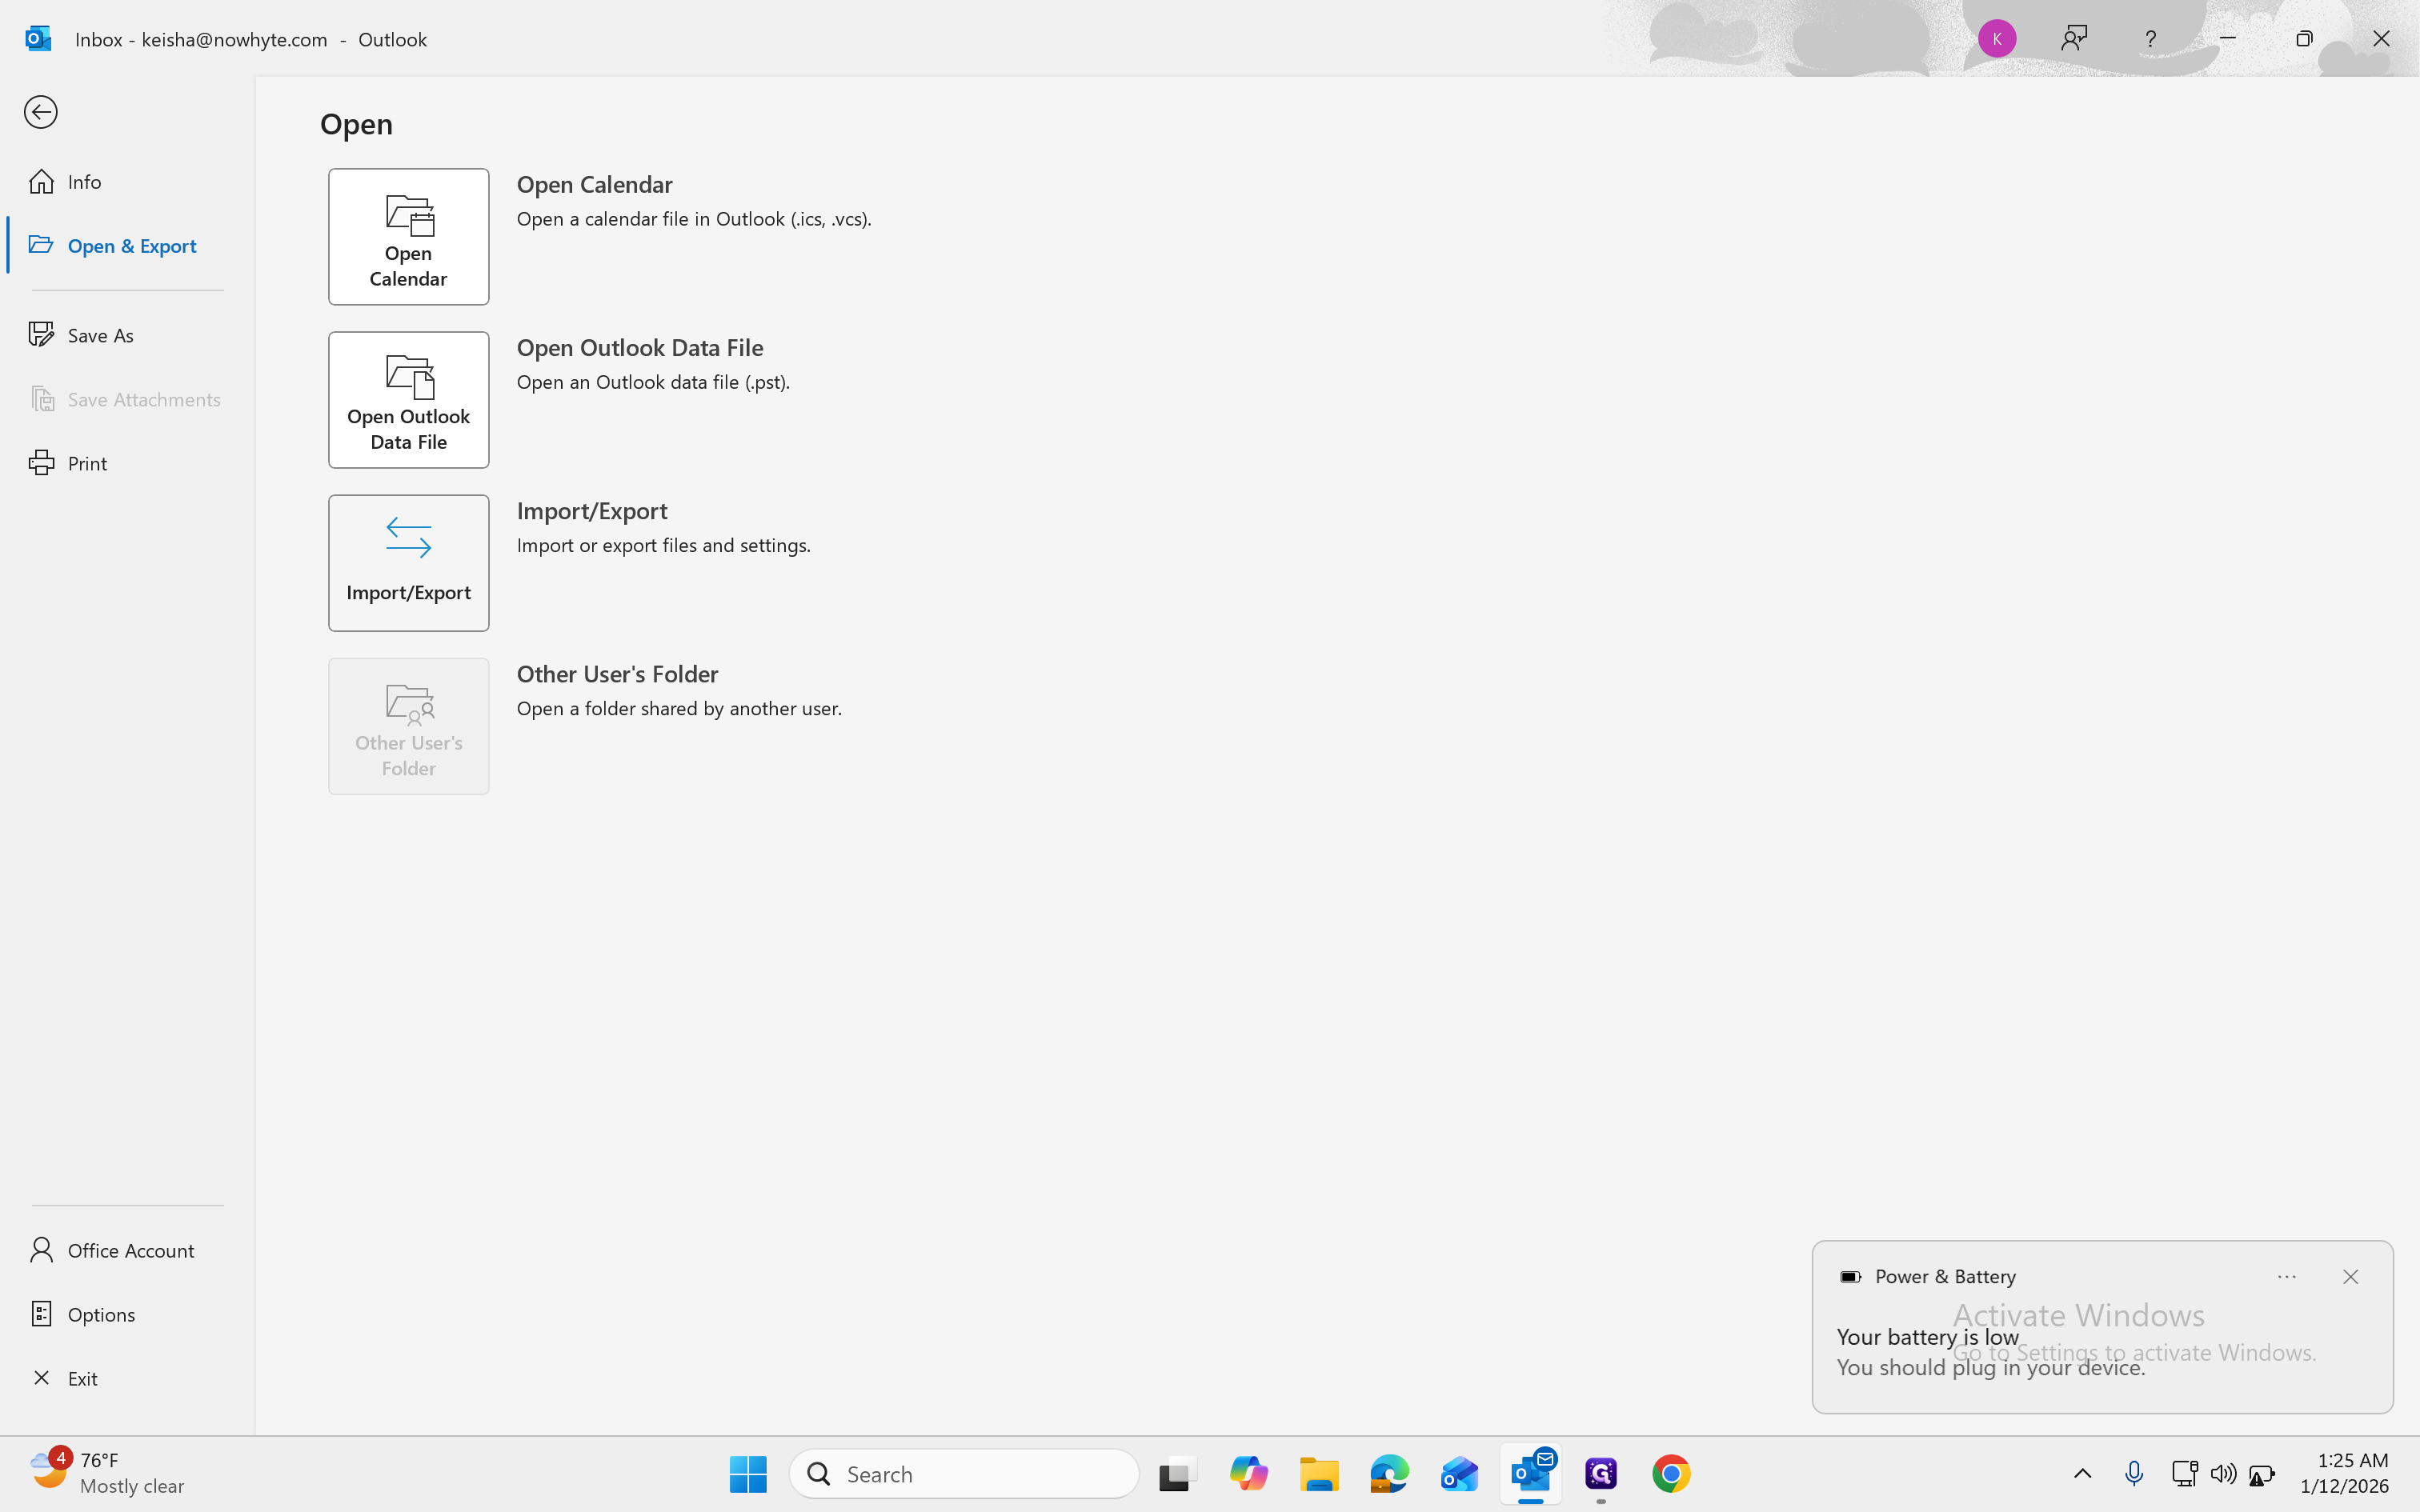
2
Click on "Open & Export"
3
Click on "Import / Export"
4
Click on "Export to a file "

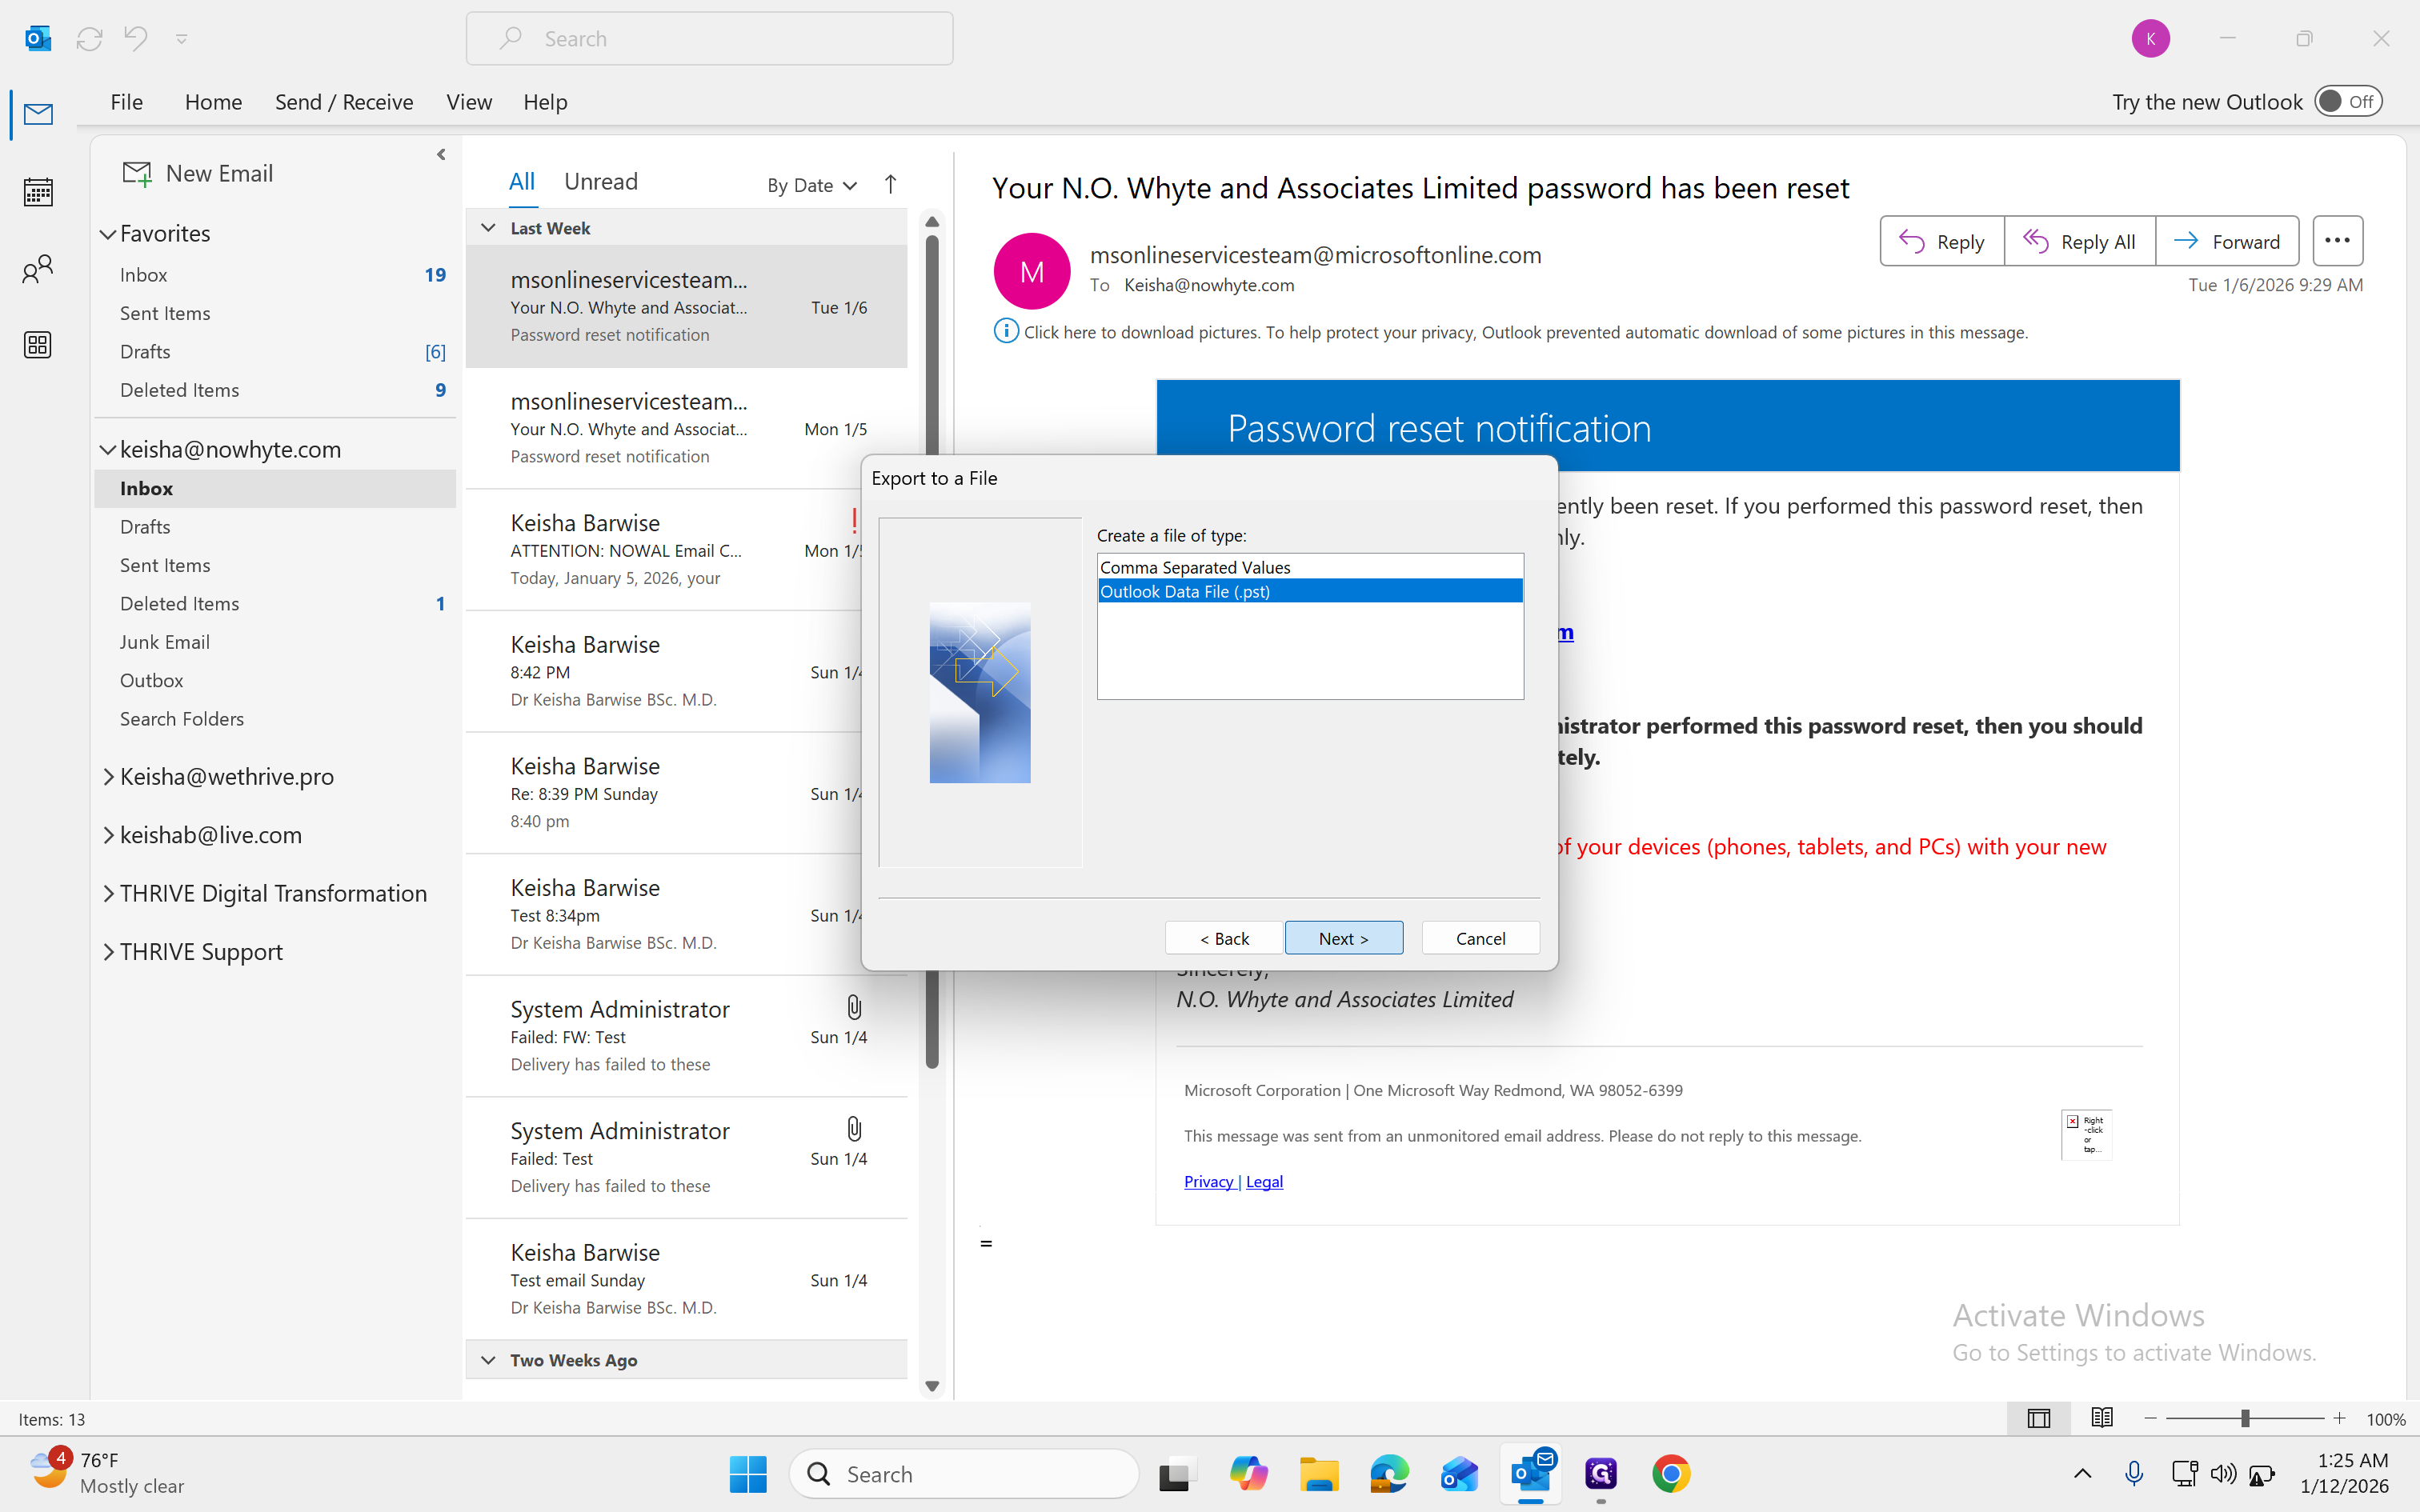
5
Select "Export to a file" then click on "Next >"

6
Click on "Outlook data file (.pst)"

7
Click on "Next >"
8
Click on the email mailbox you are trying to backup, Make sure "Include subfolders" is selected to capture all folders under that email account.
9
Click on "Next >"

10
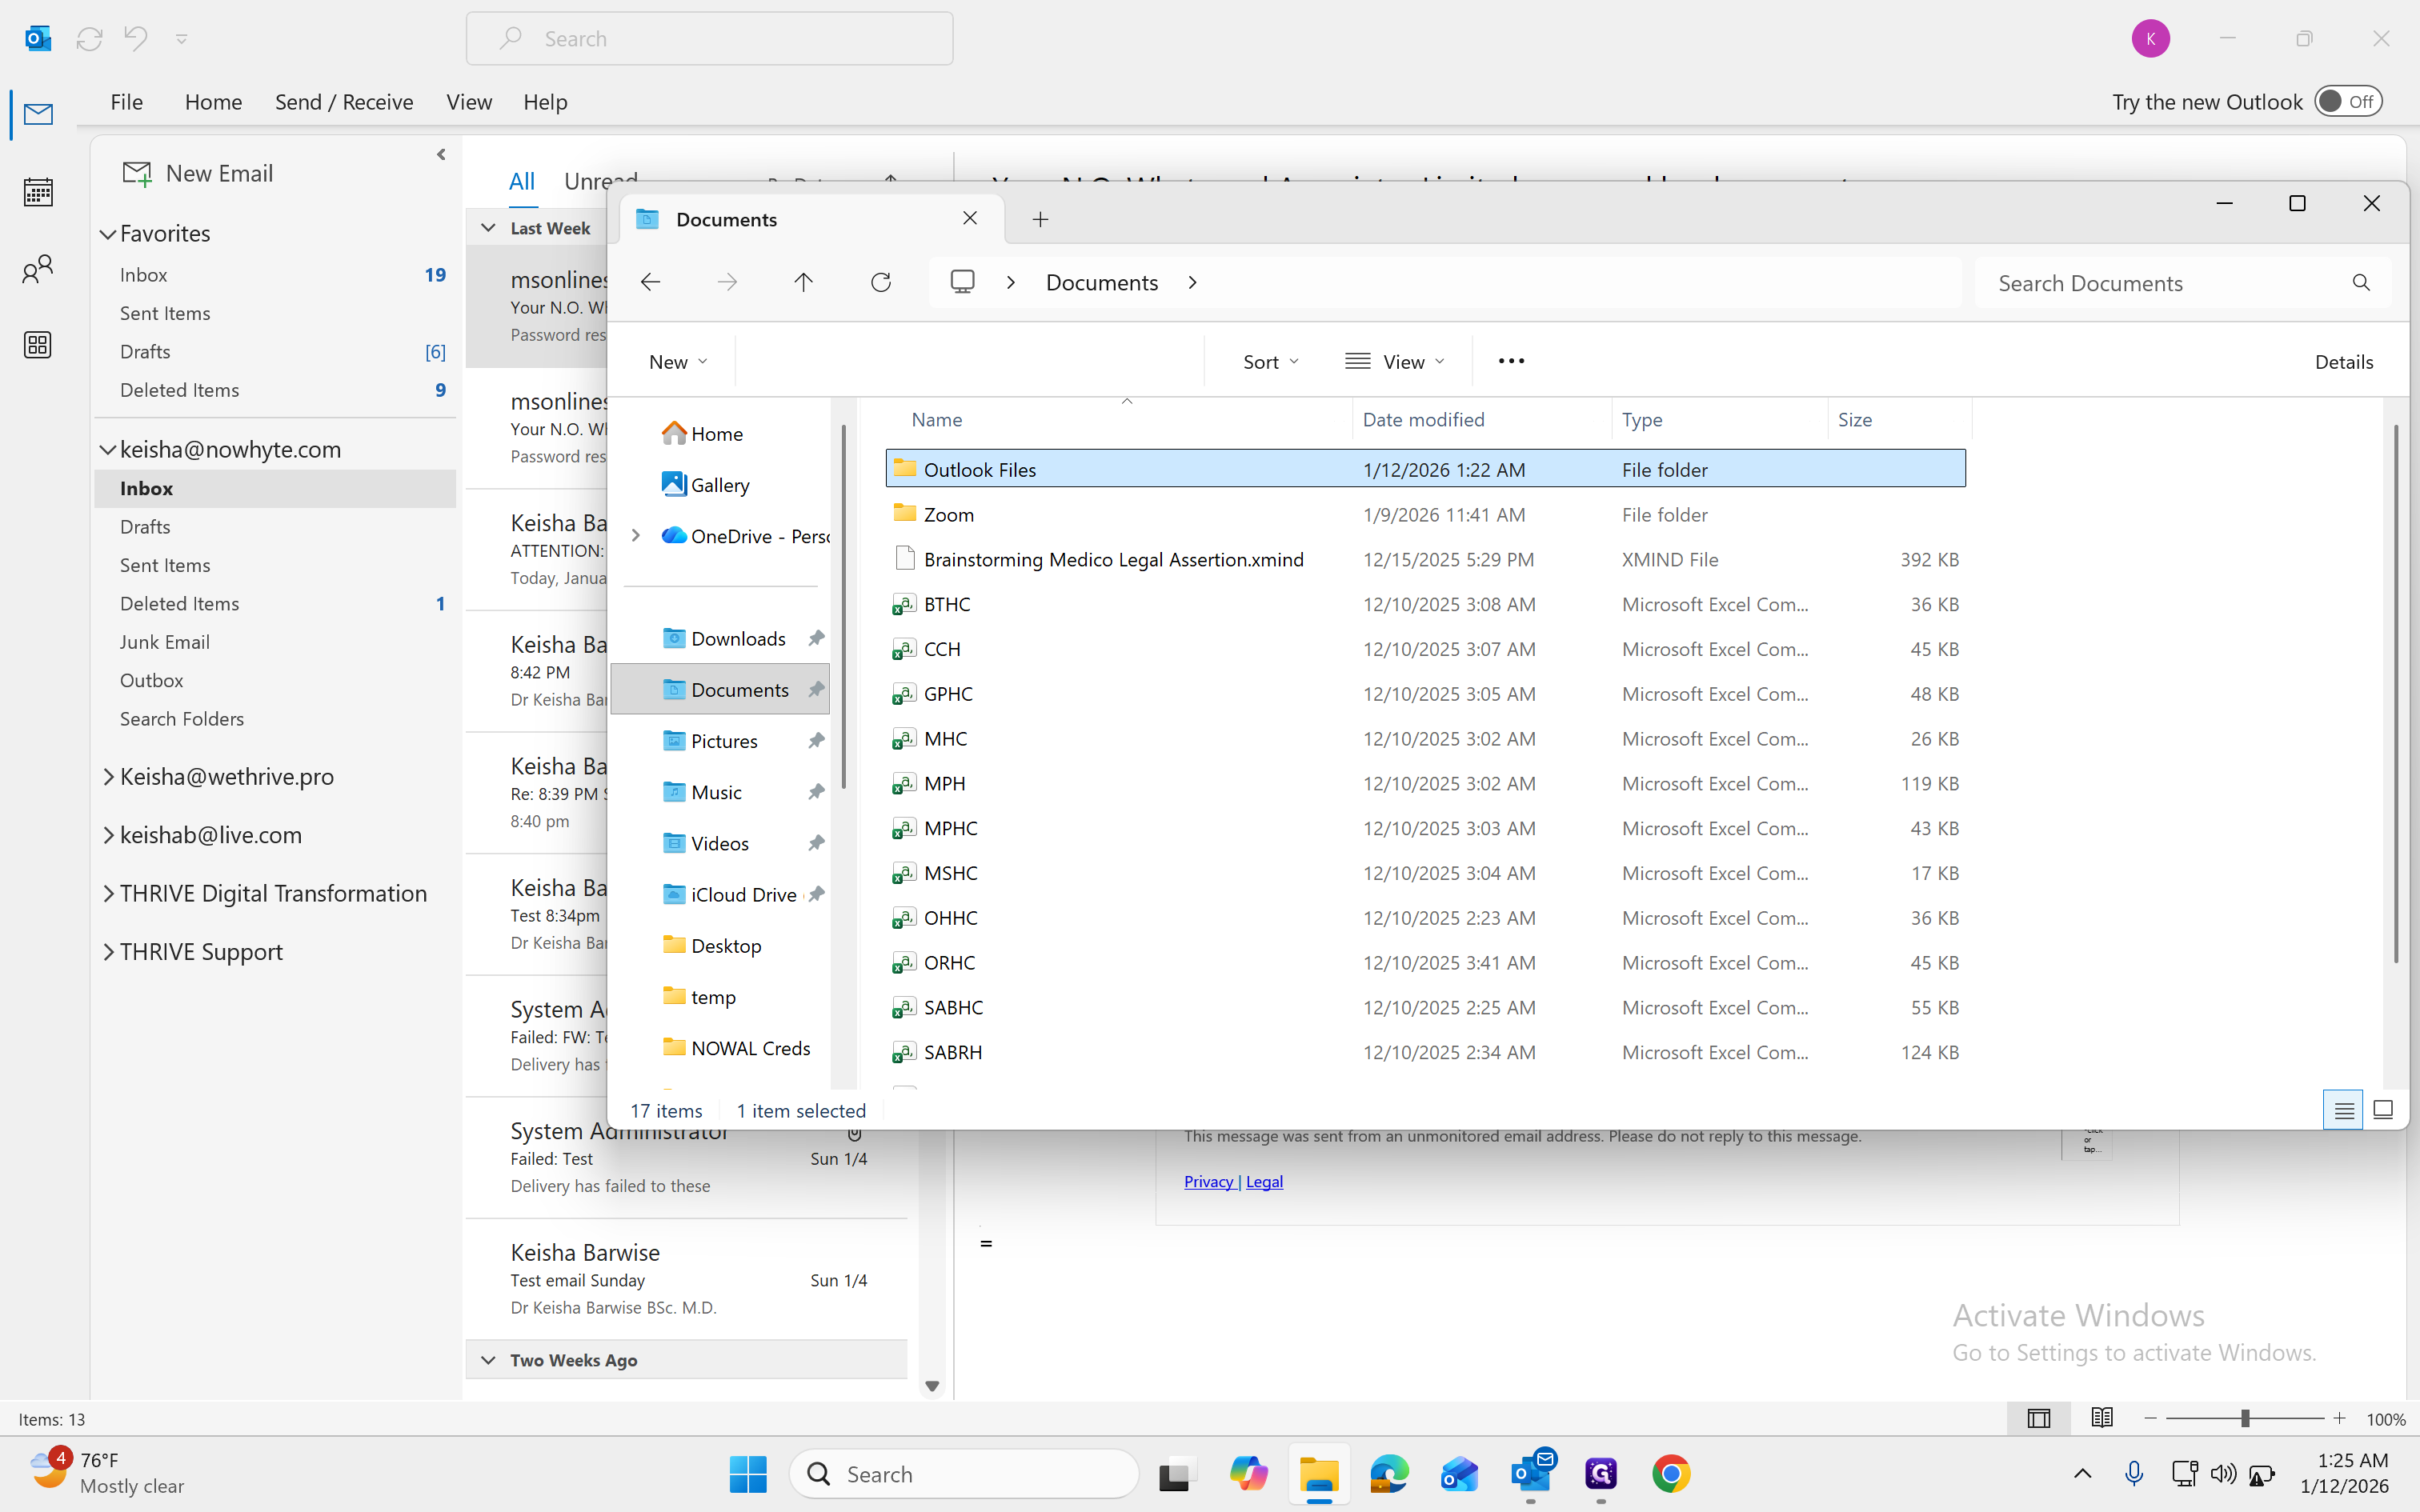
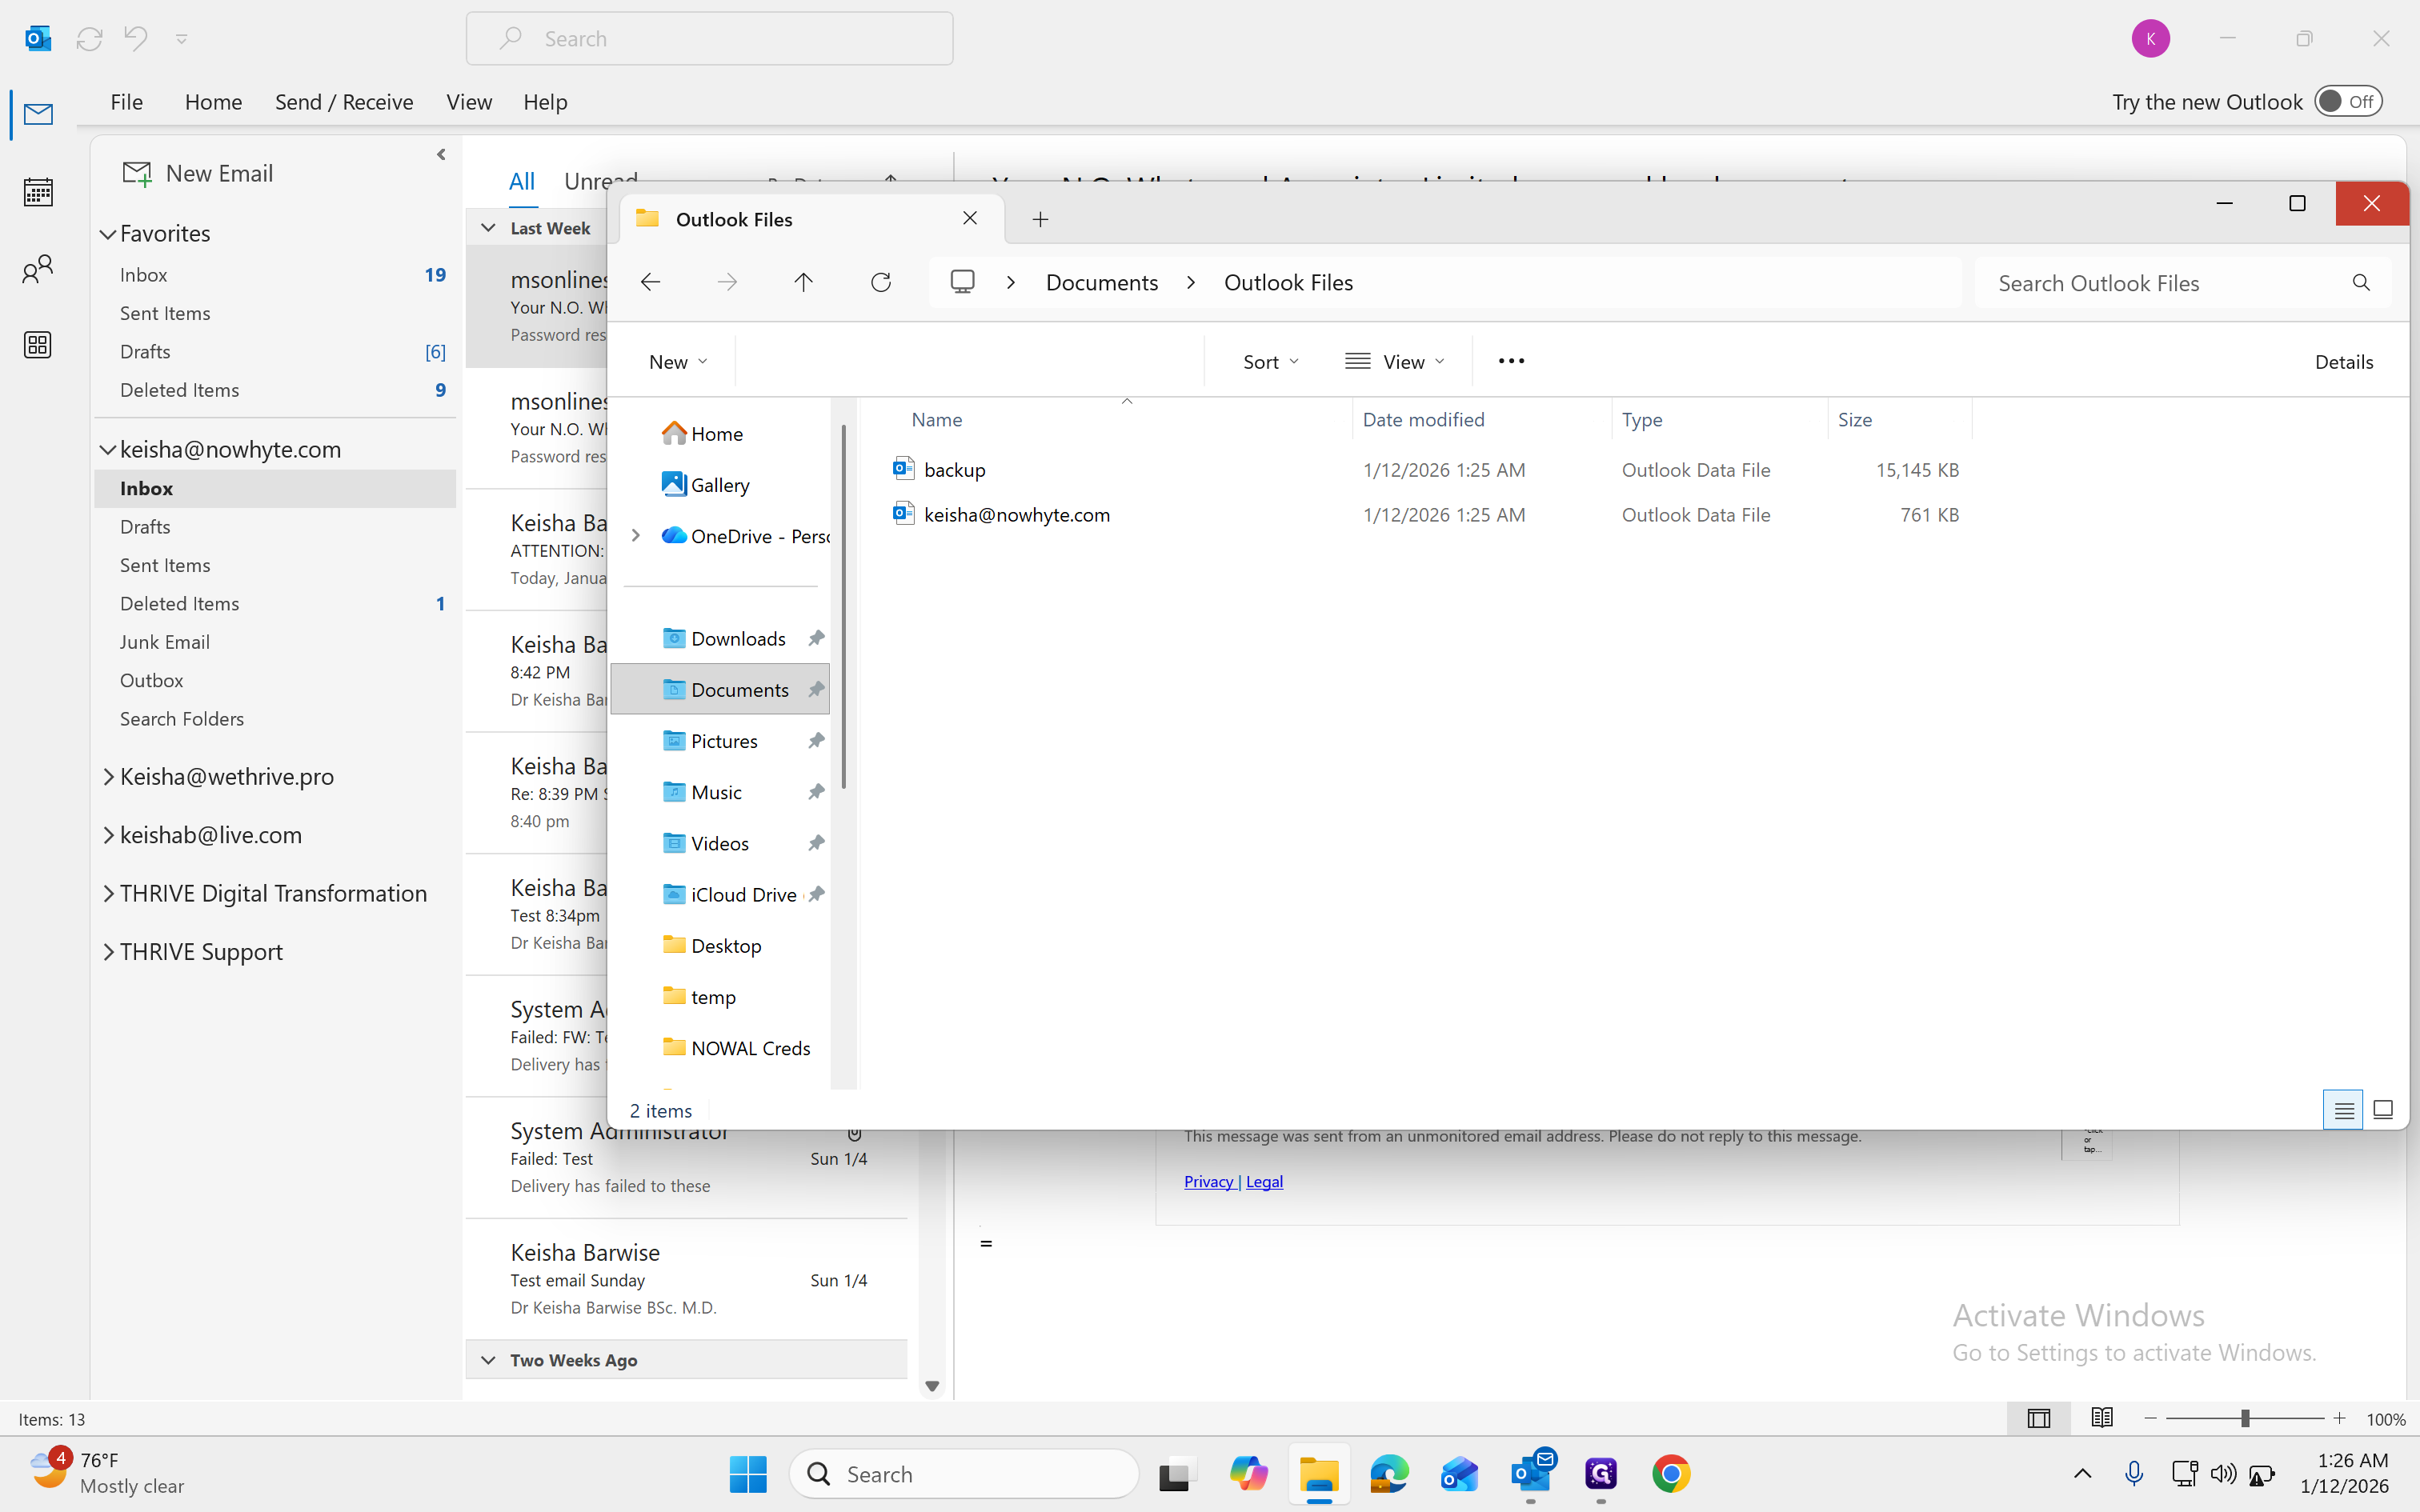
Note the backup location, so you can check it after.

11
Click on "Finish"

12
You can always go back to verify the location, confirm that a backup was created, and check the file size.
13
Click on "Documents"

14
Double-click on "Outlook Files"
15
Check the size and location of the email backup file
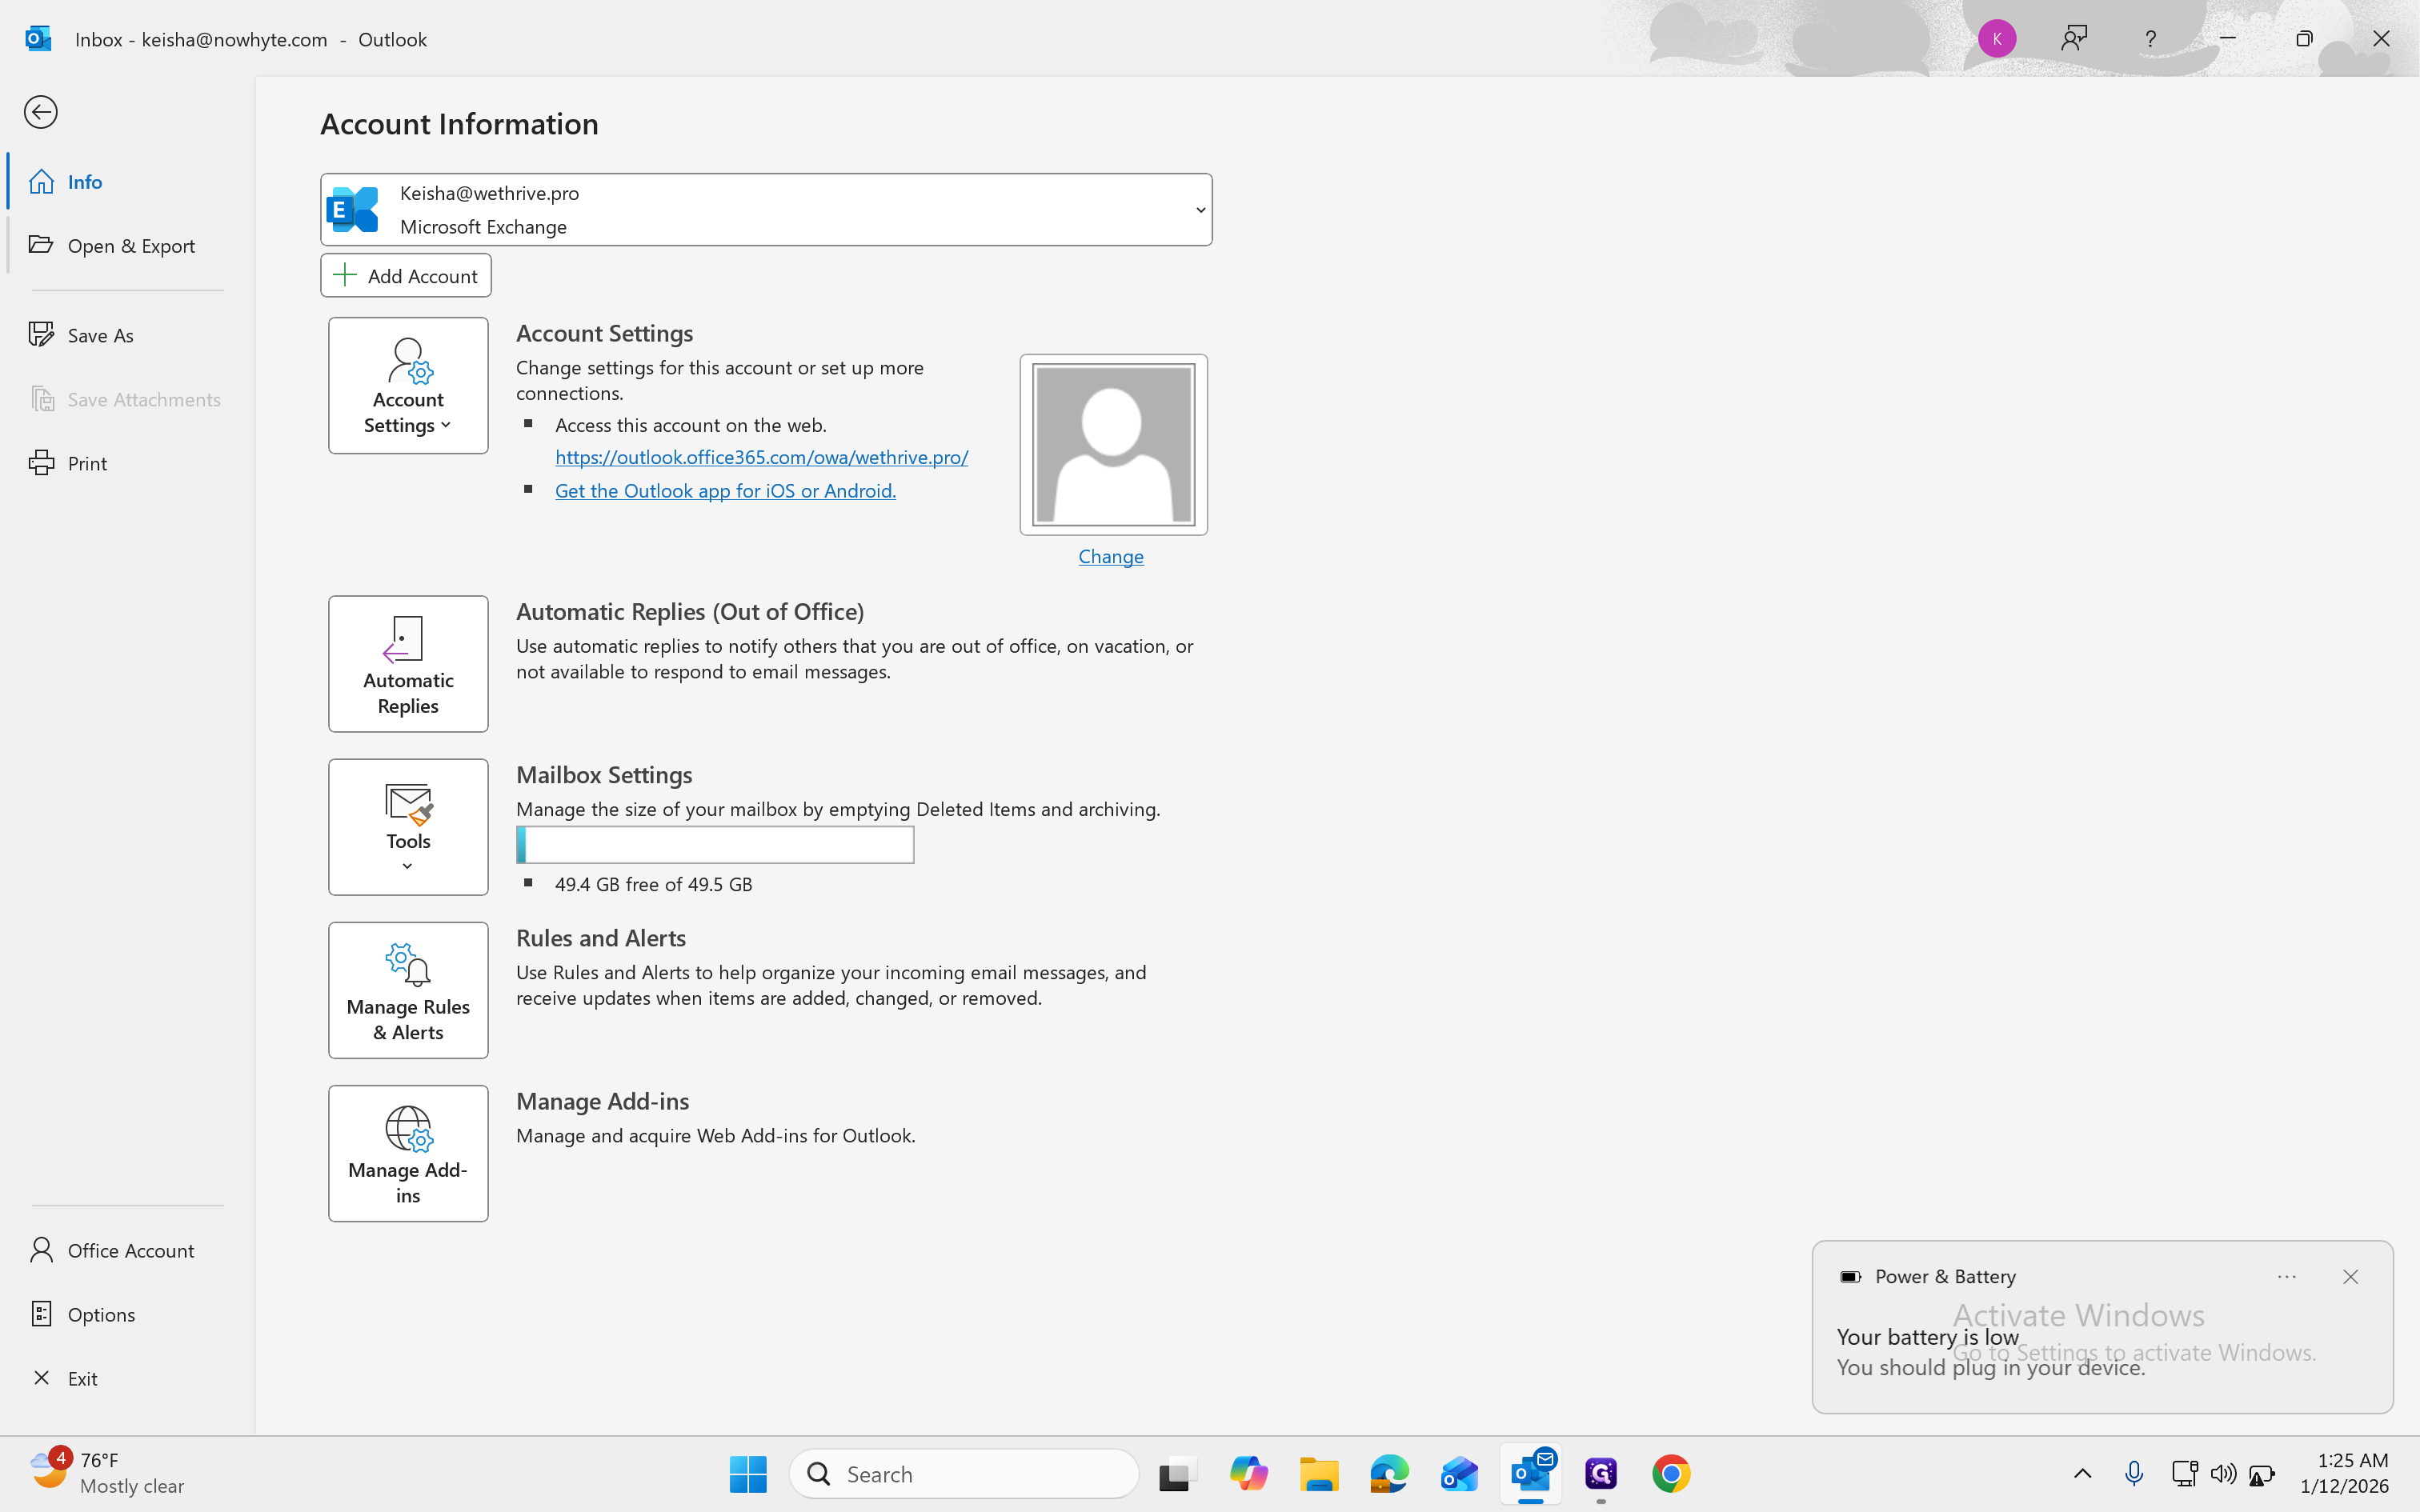
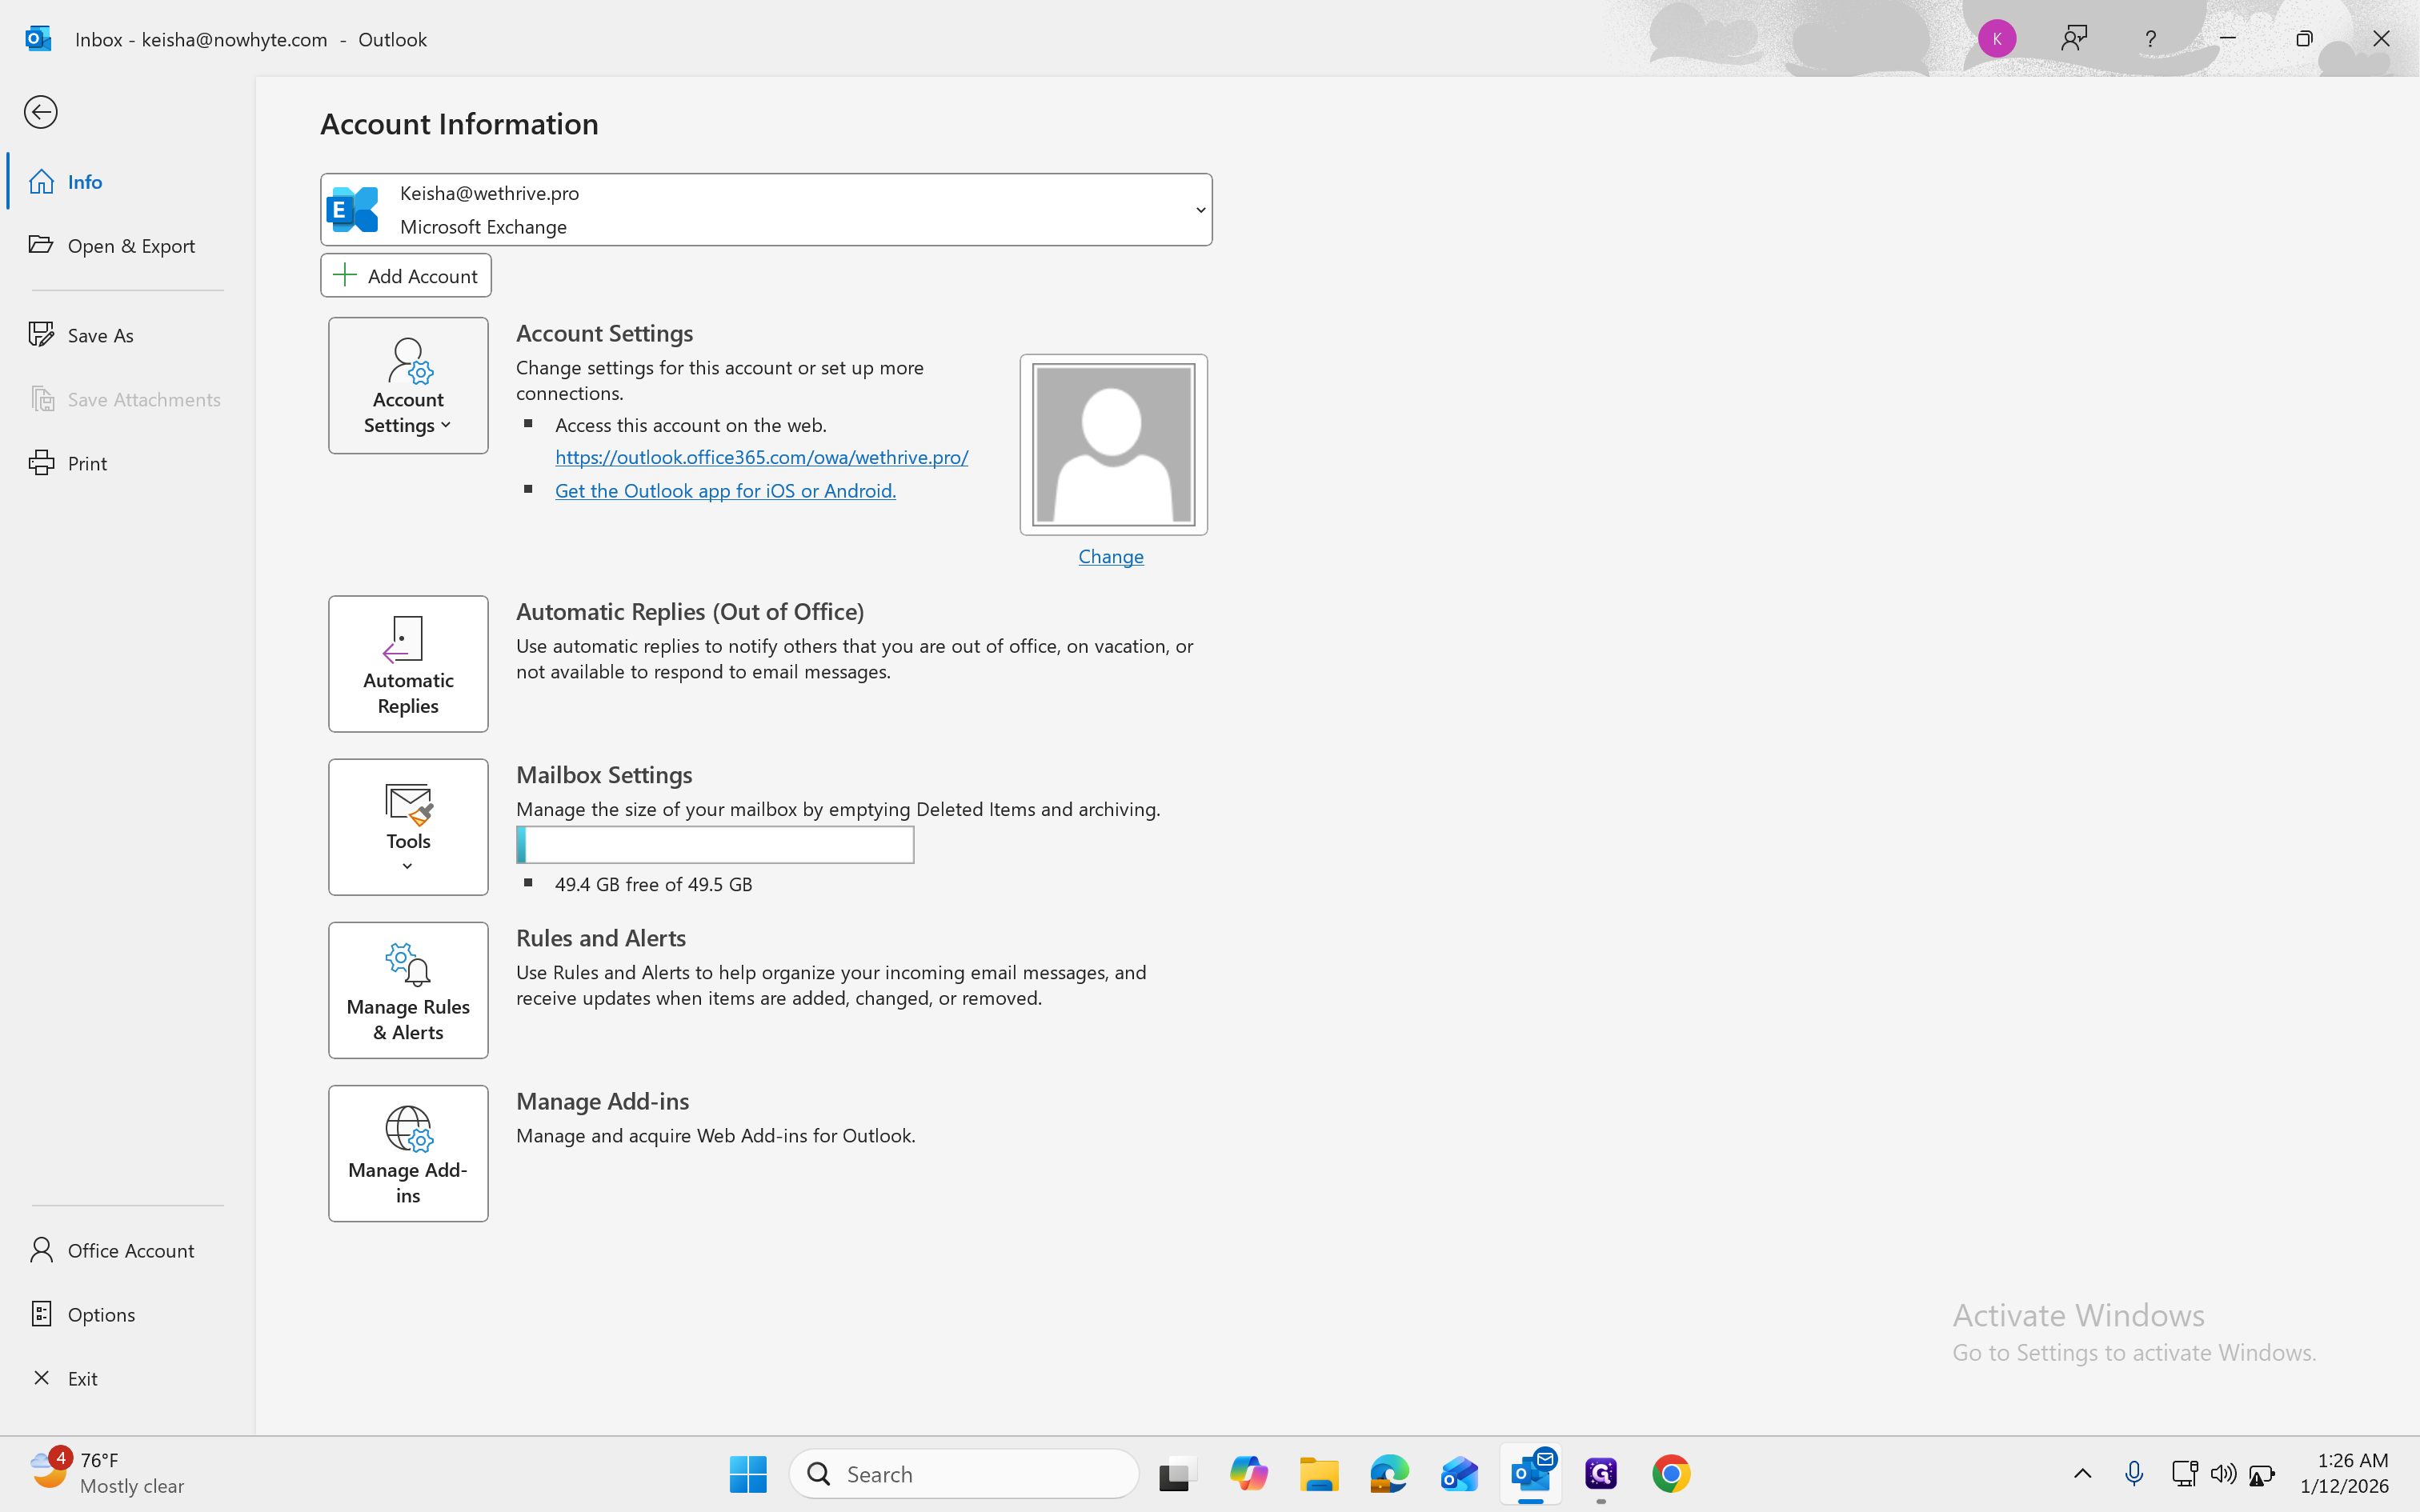
The next step is to remove the old email account and add the new Microsoft 365 email
16
Click on "File"

17
Click on "File"
18
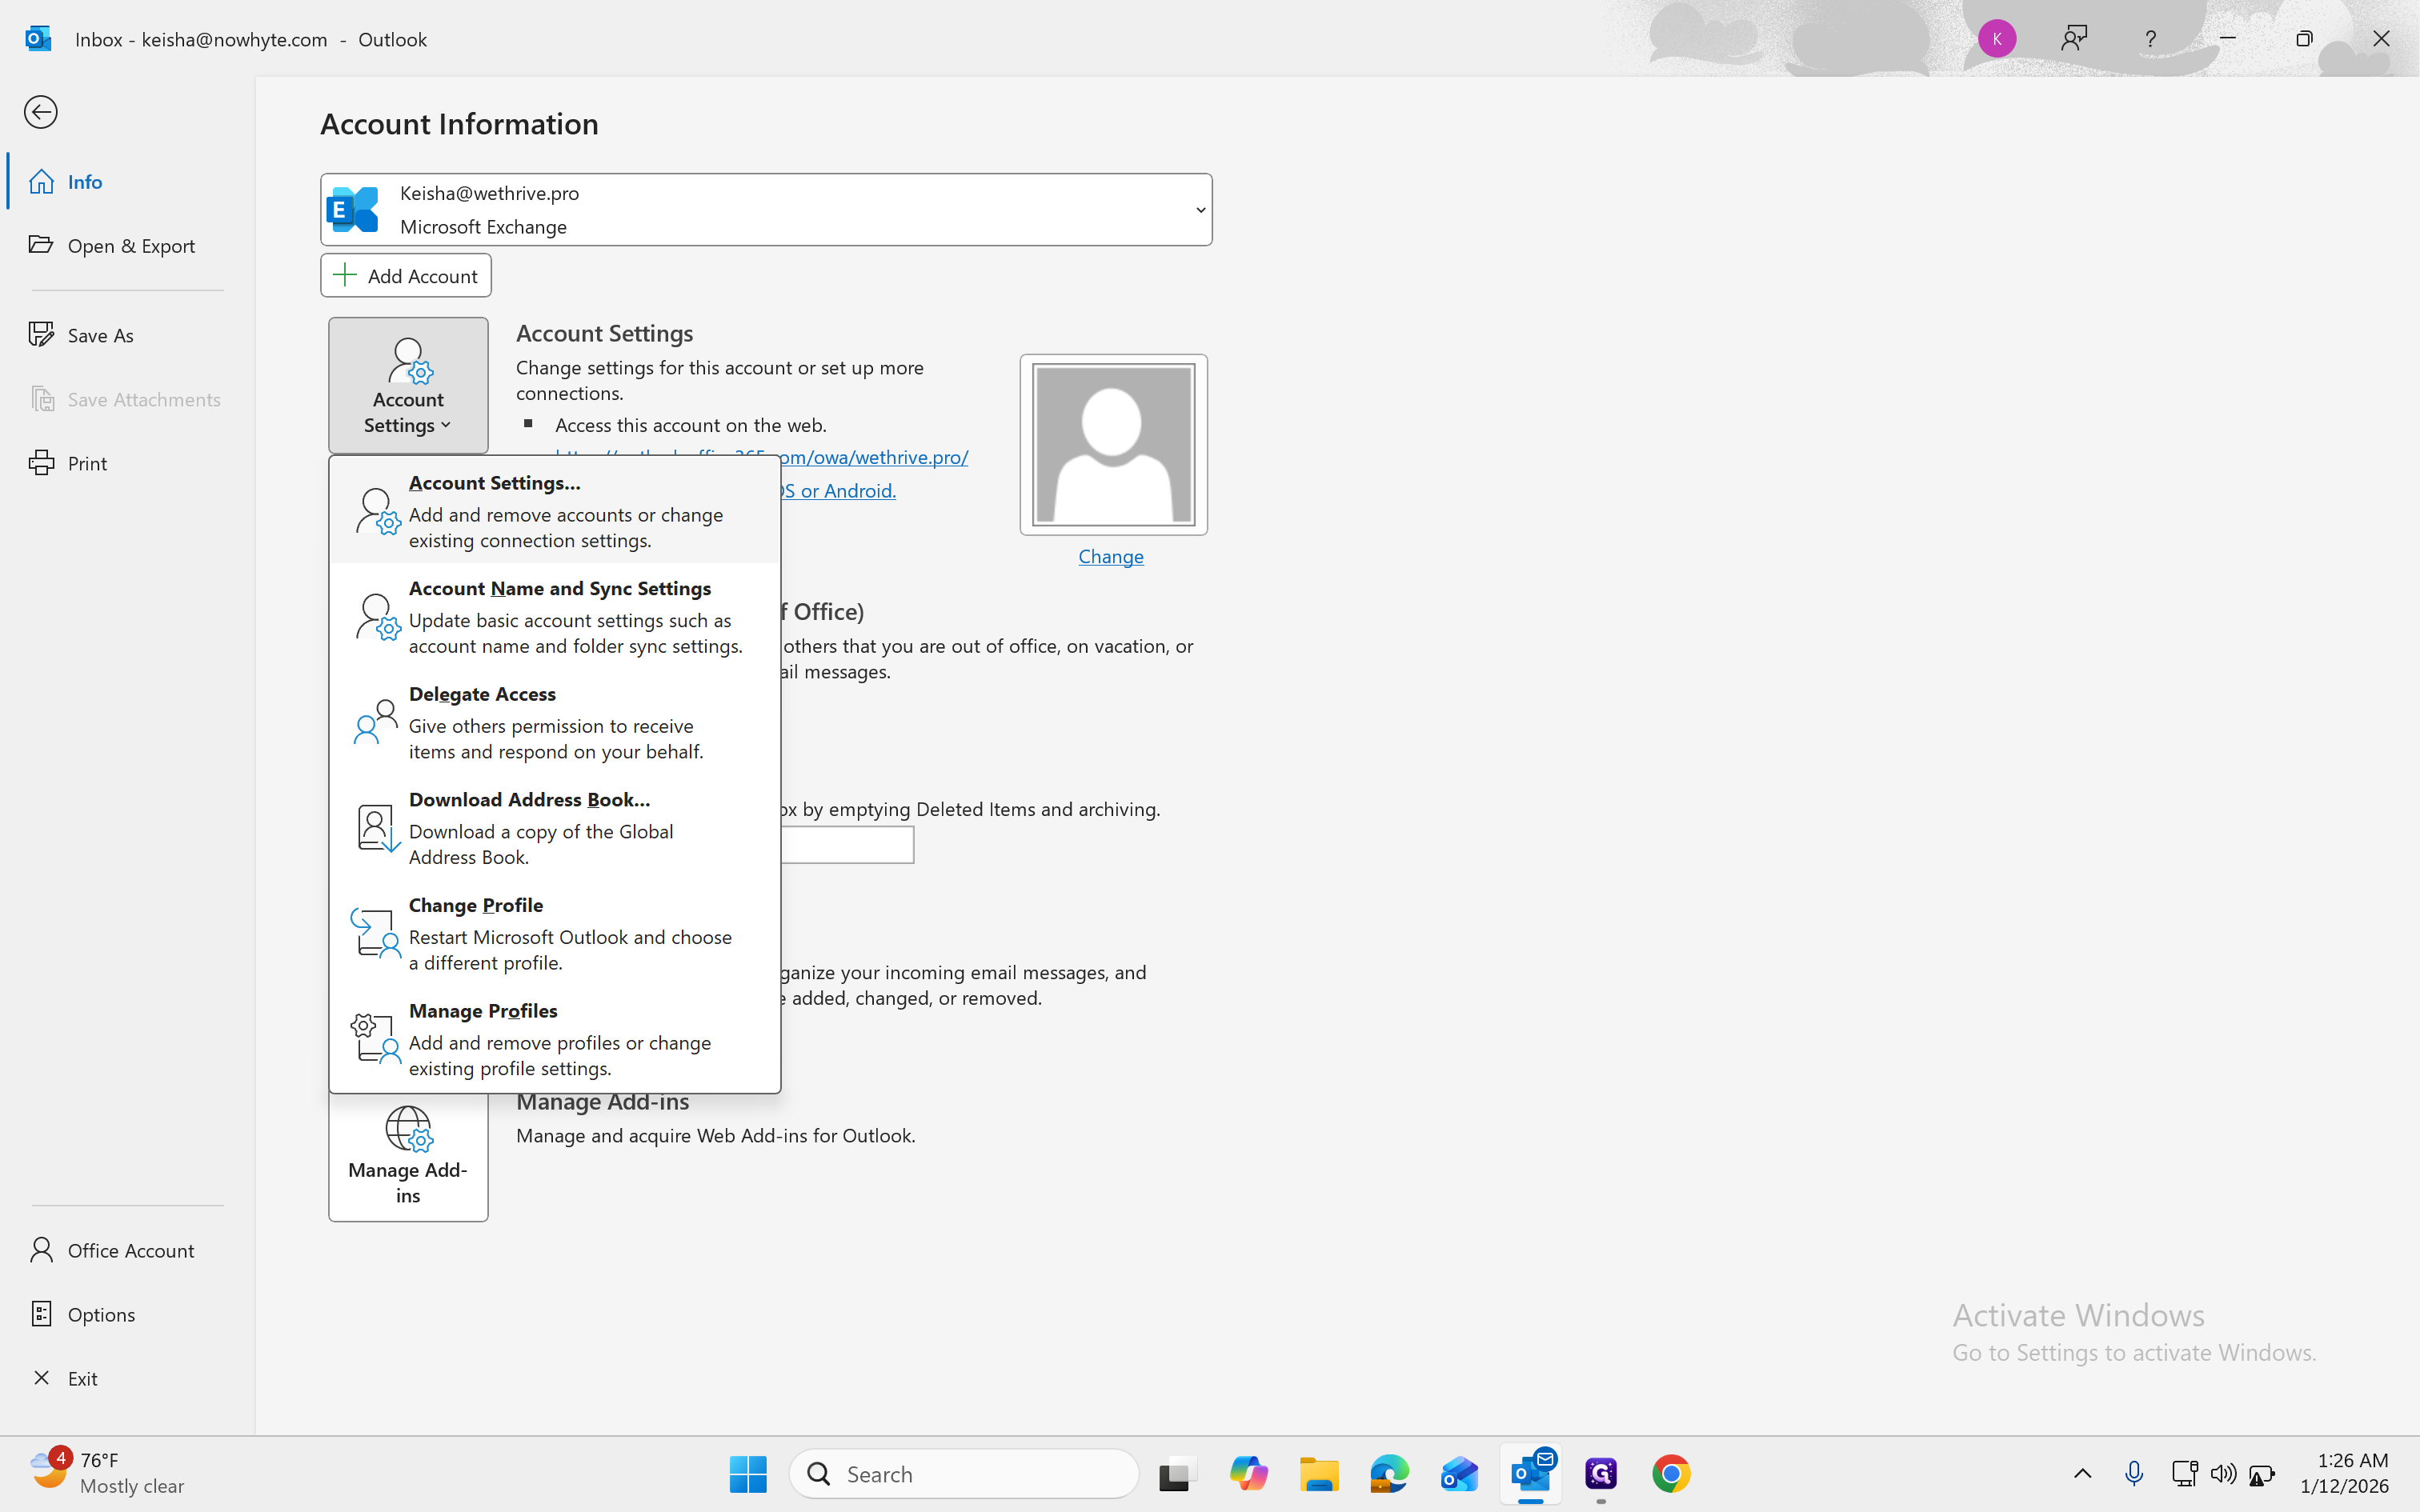
Go to File, then Accounts and Settings. Select Accounts and Settings again, and choose a mailbox.Select Accounts and Settings again, and choose a mailbox.Select Accounts and Settings again, and choose a mailbox.Select Accounts and Settings again, and choose a mailbox.
Select Accounts and Settings again, and choose a mailbox.
19
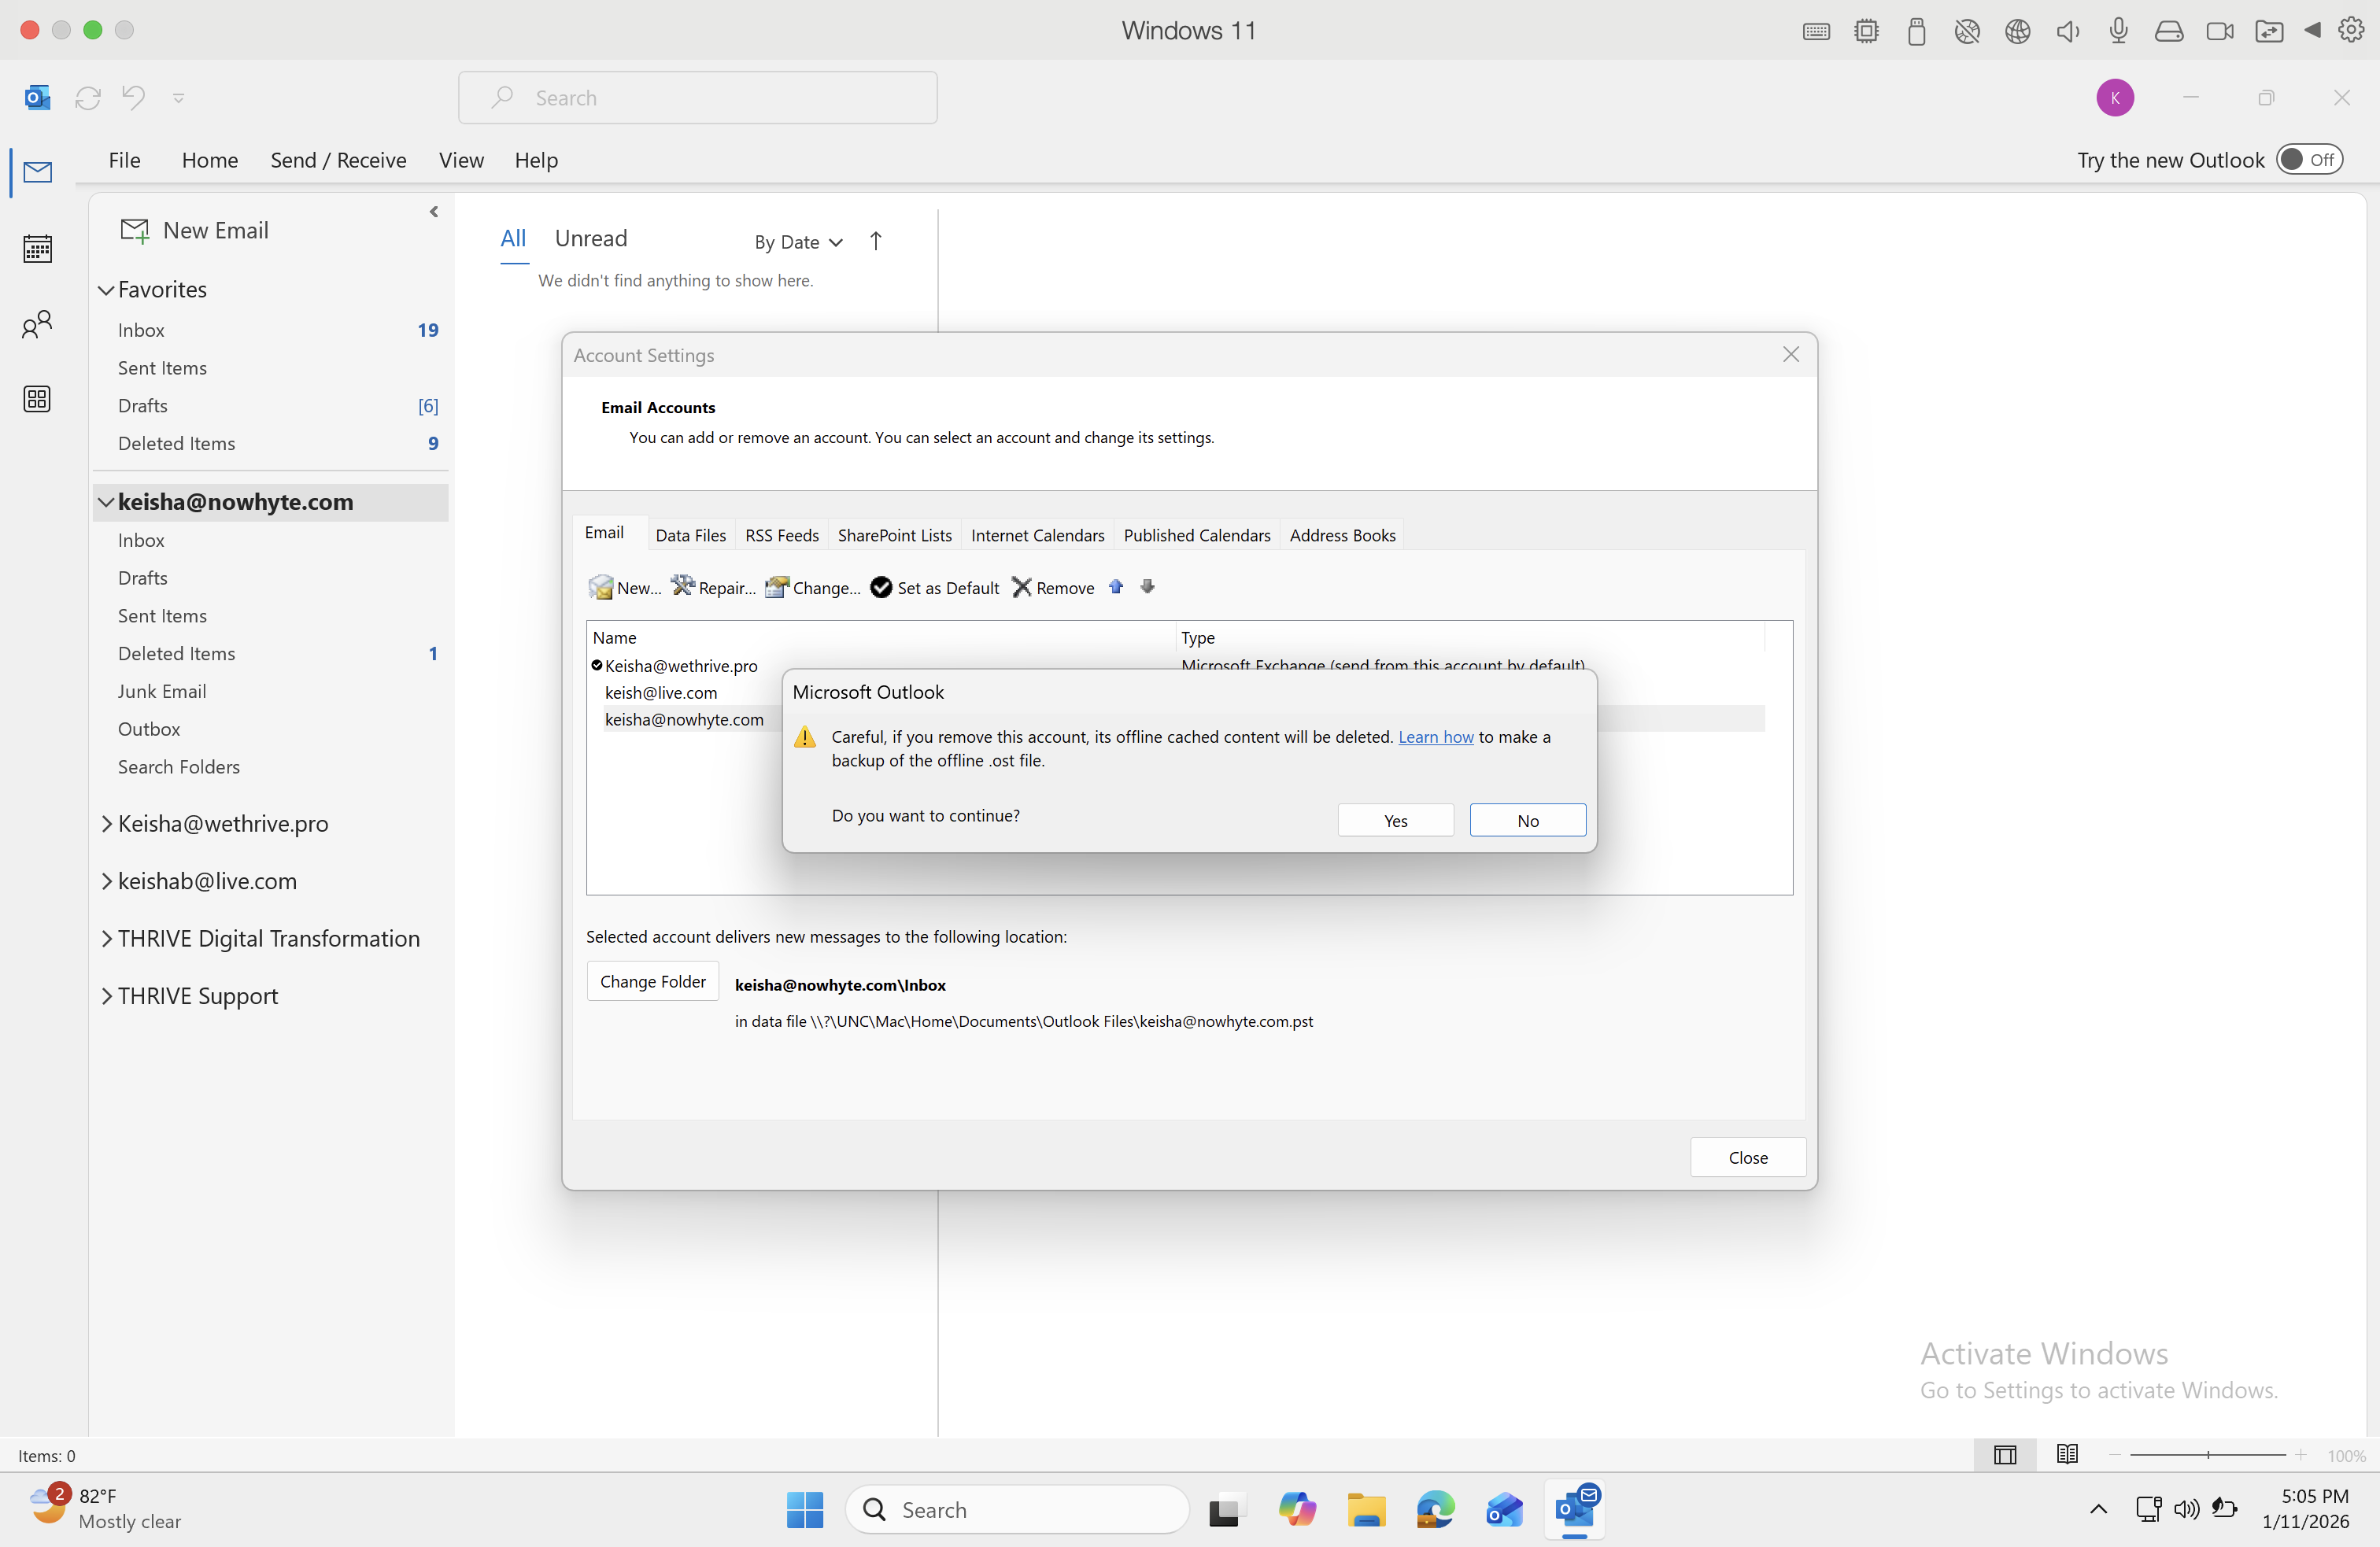
Click on "Add and remove accounts or change"
20
Click on the email account you want to remove
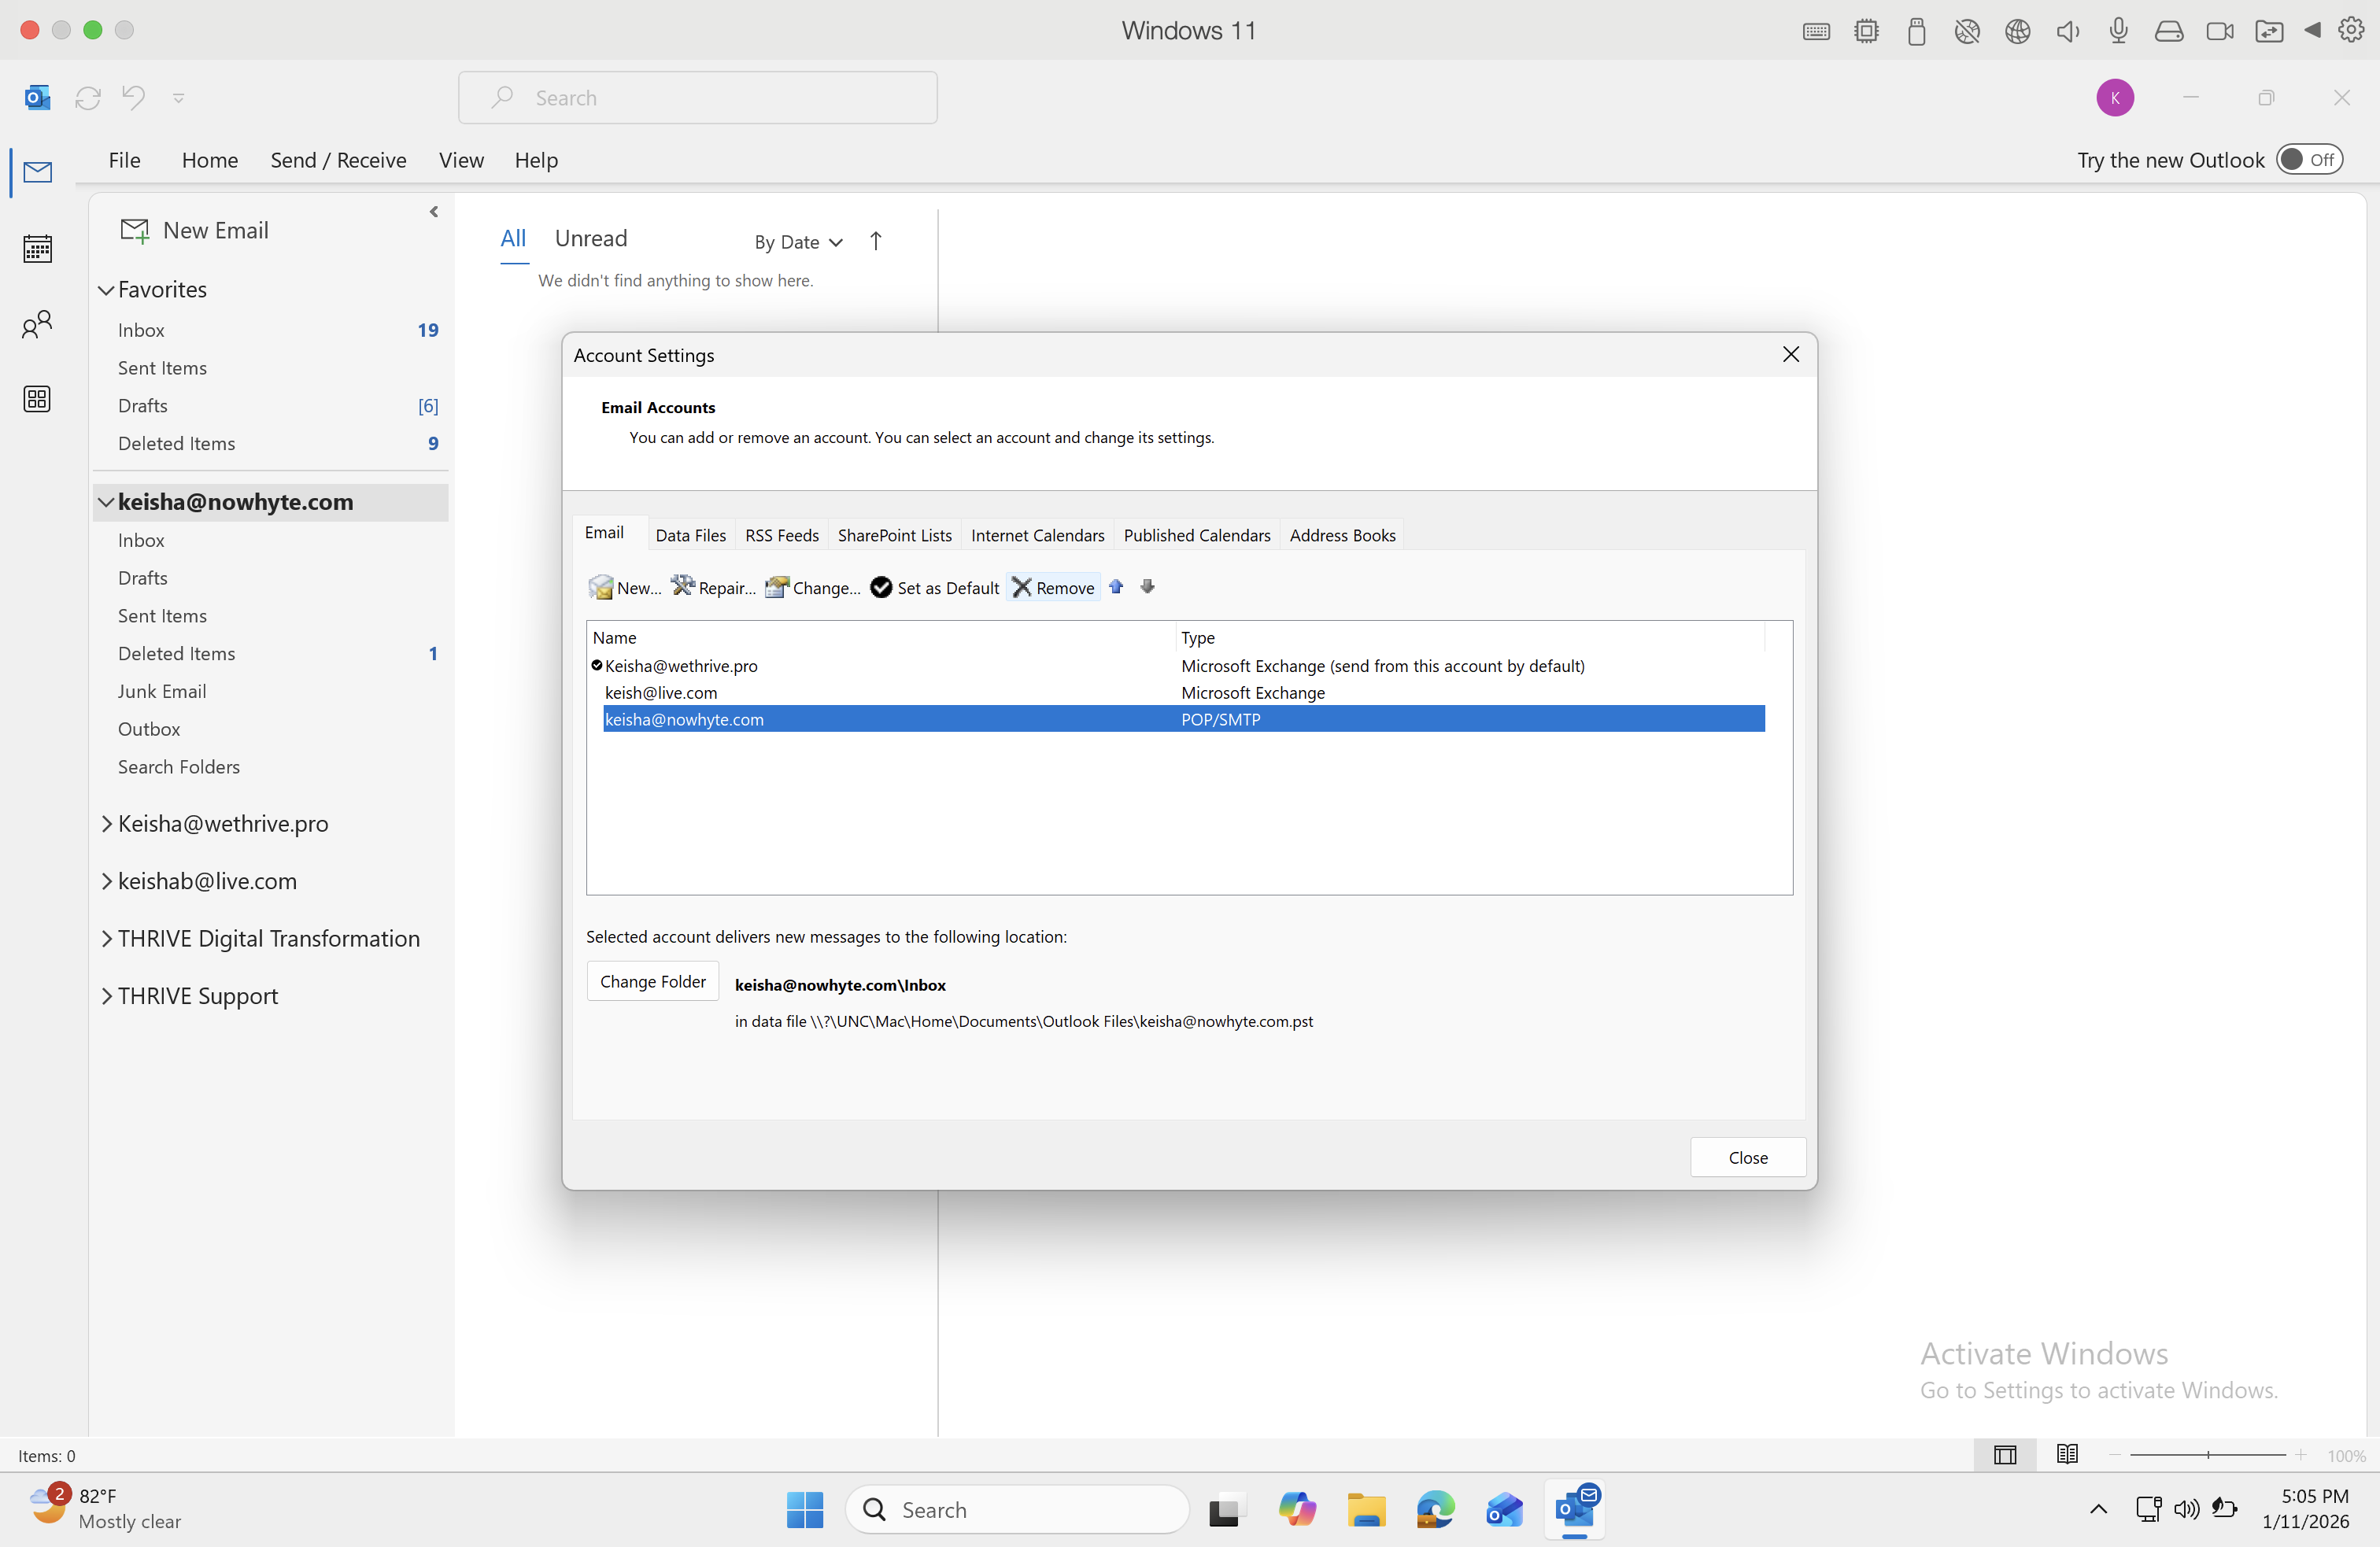
You will see POP/SMTP as the email type. Then, click Remove.
21
Approve the removal message. Click Yes
22
Click on "New"
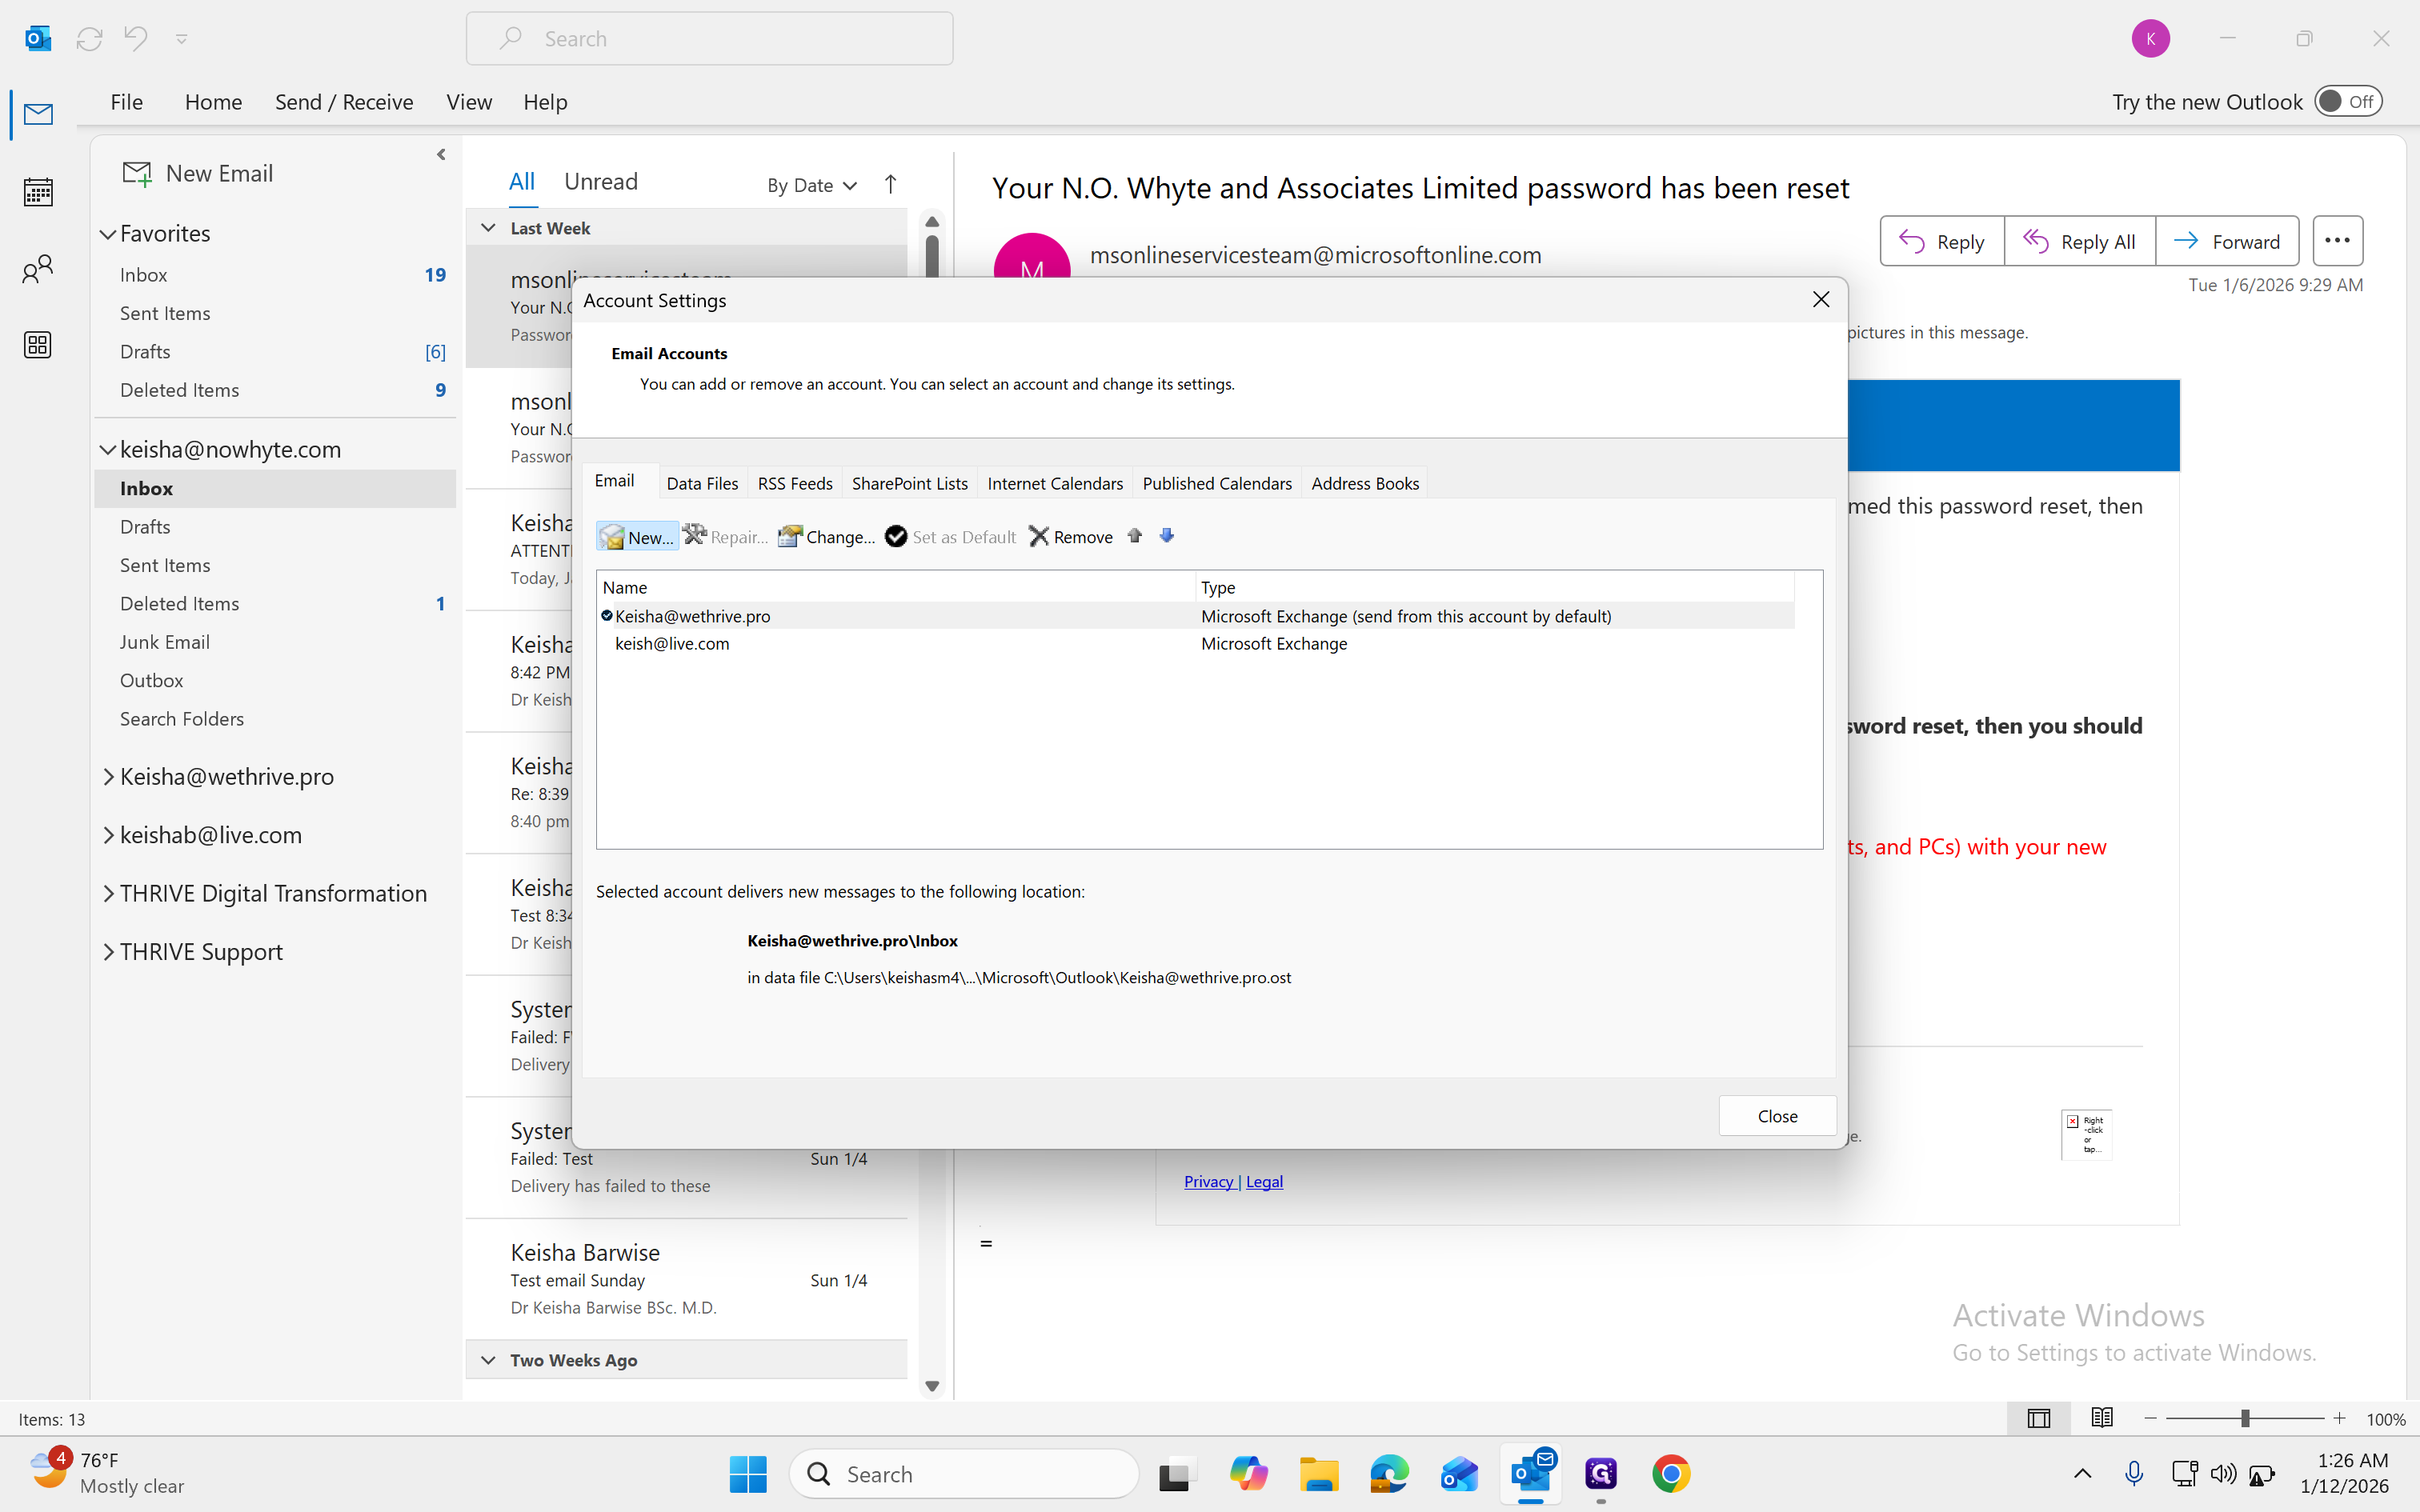
Next, click "New." Add the account and select "365."
23
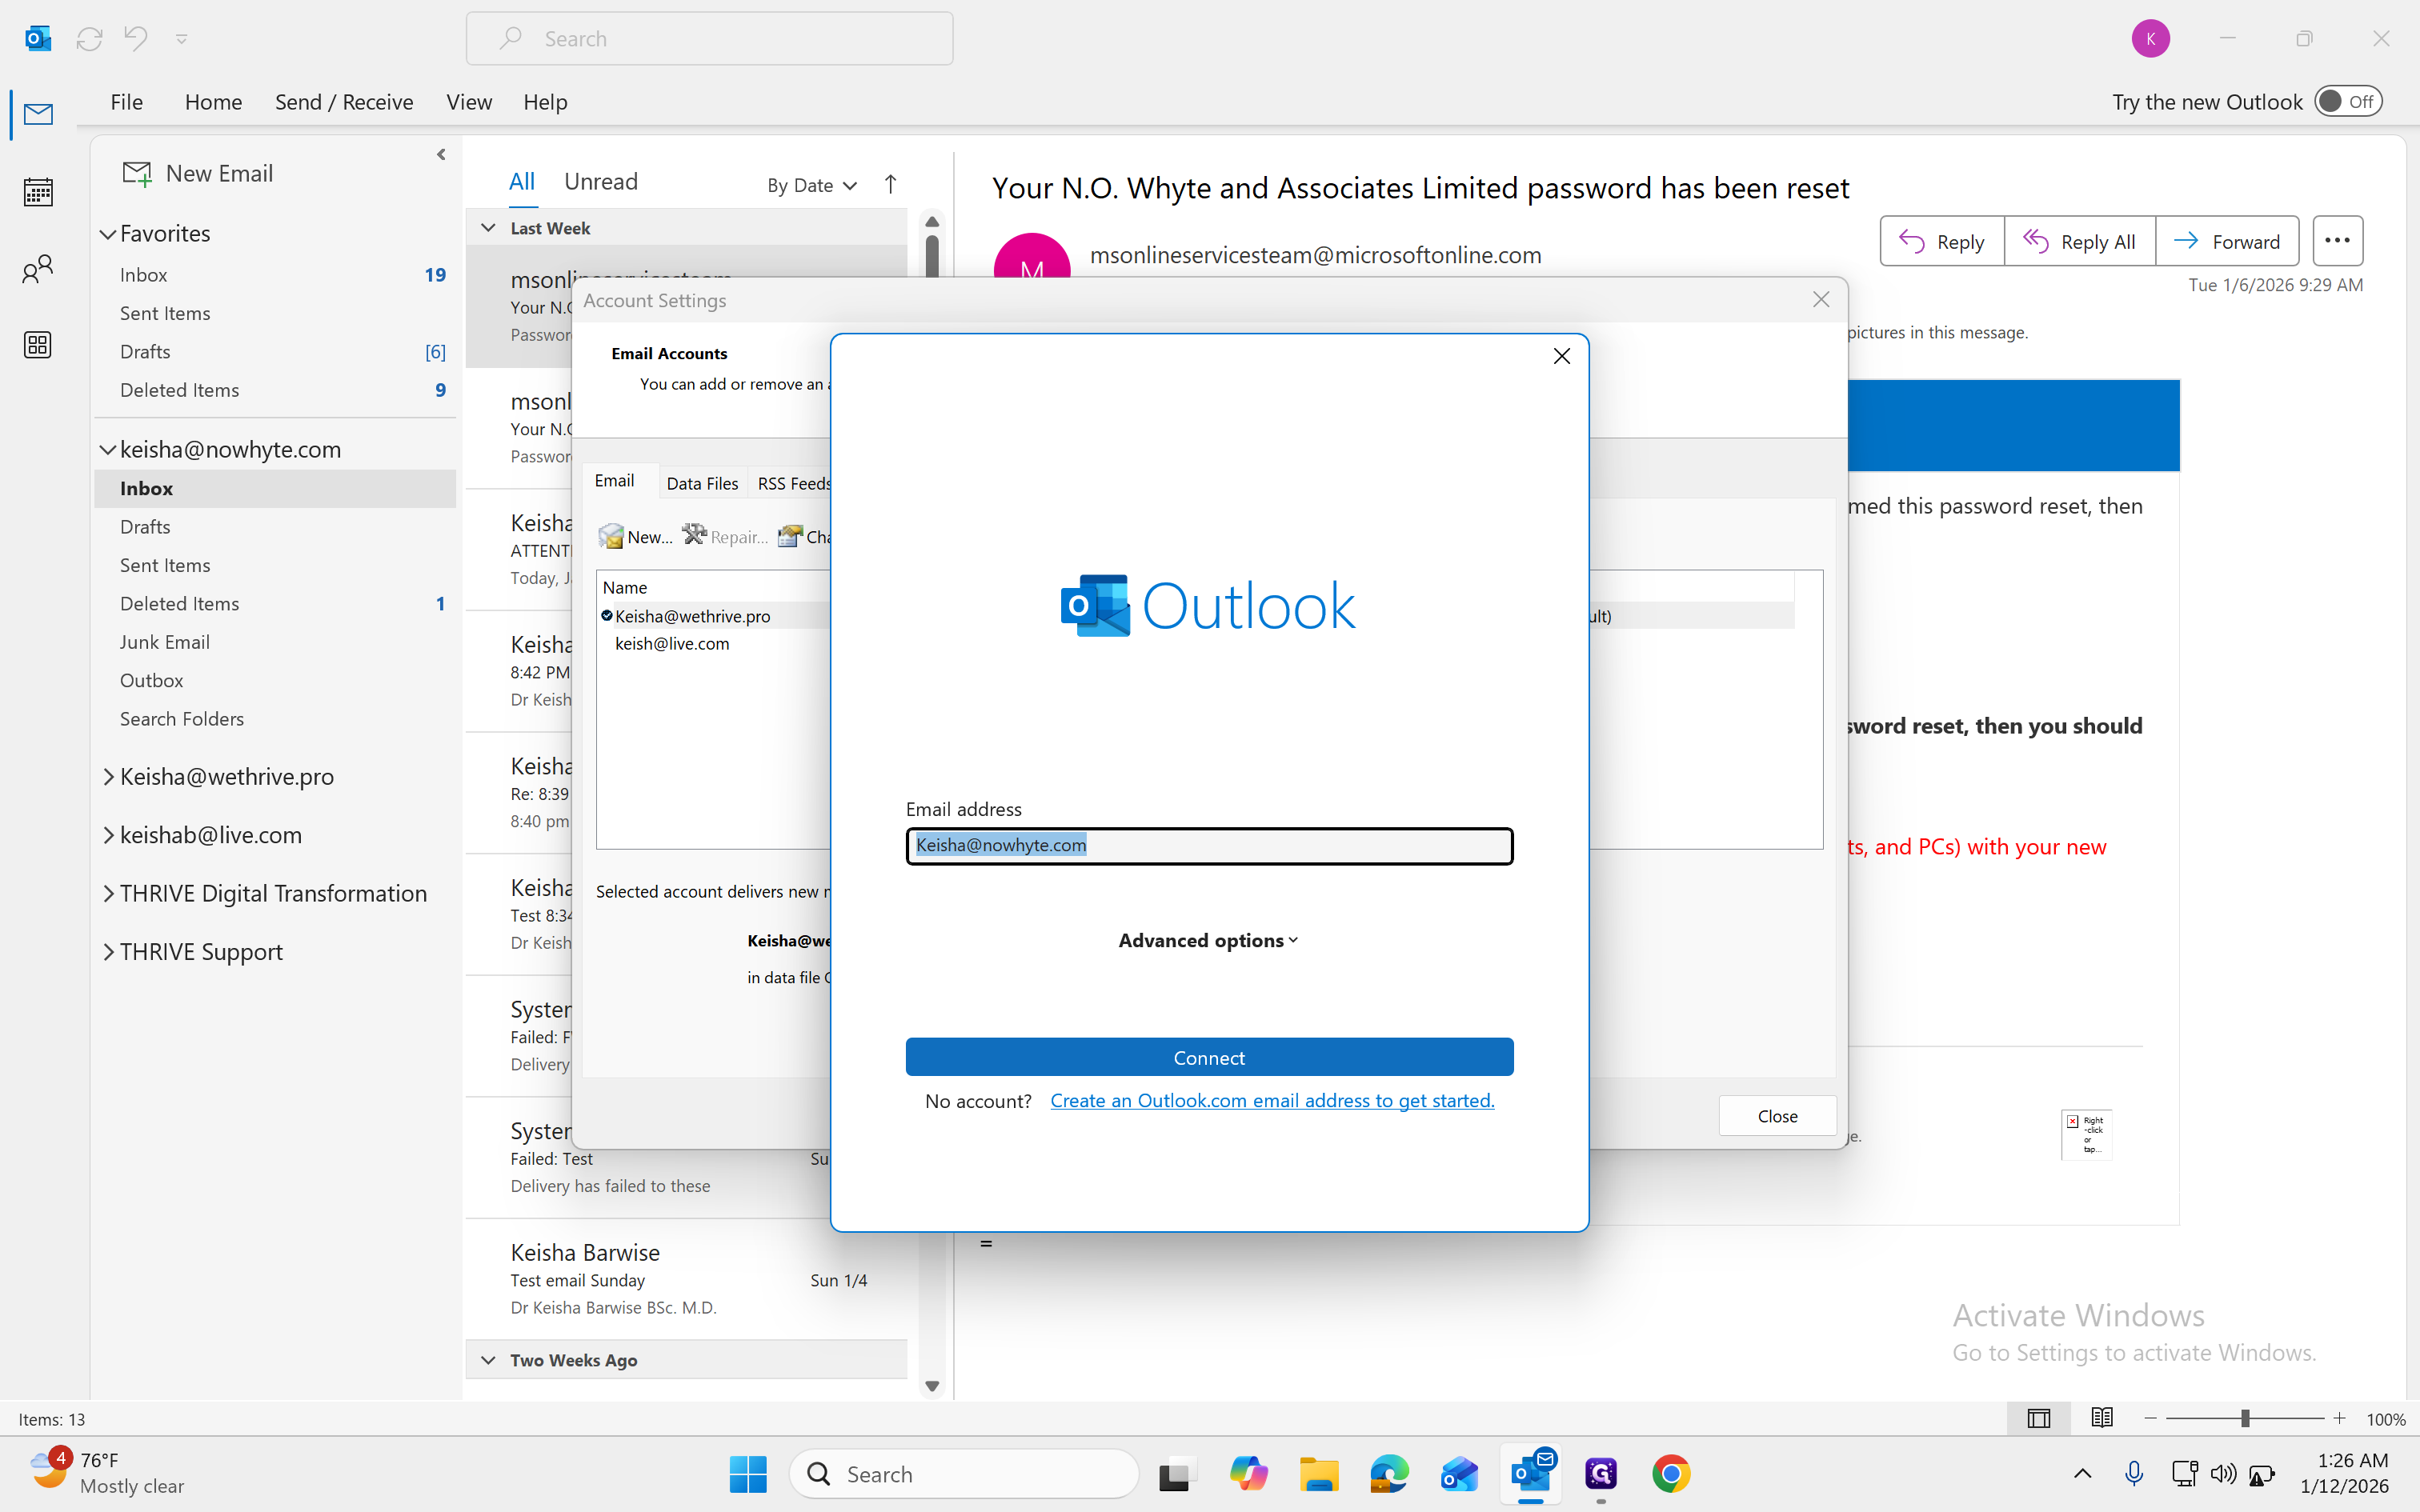
Click here
24
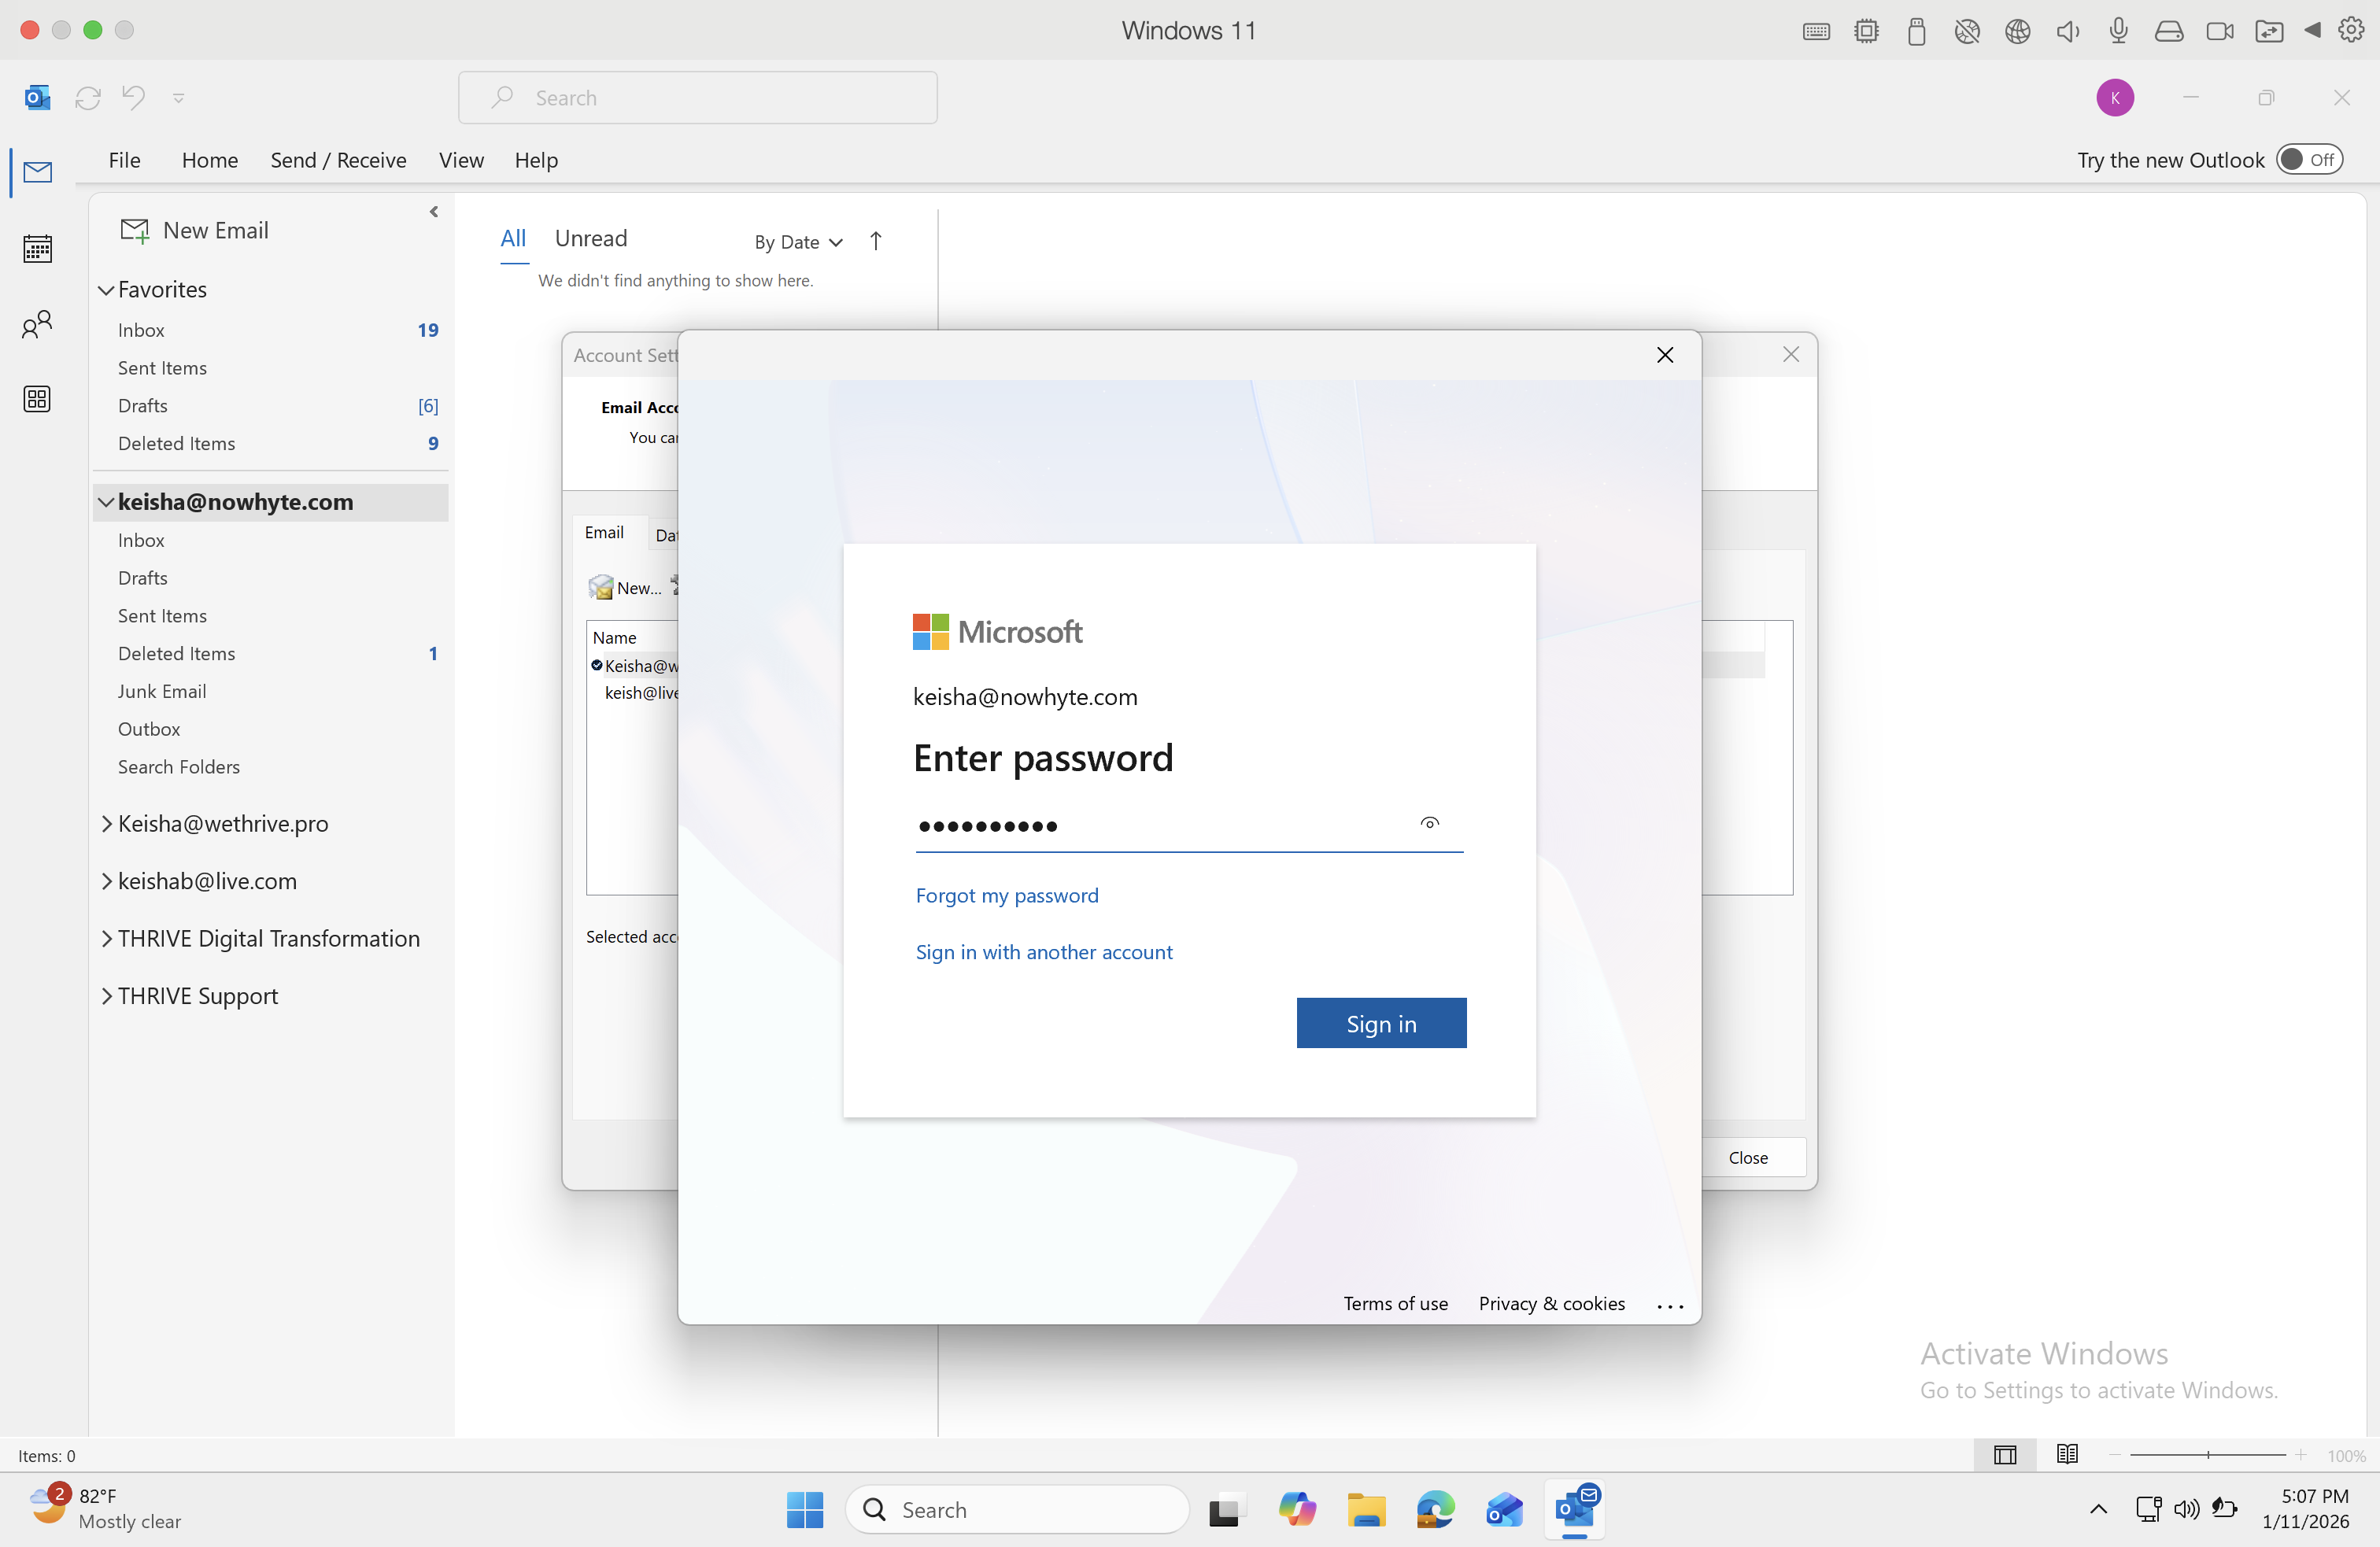
Enter your new email password
25
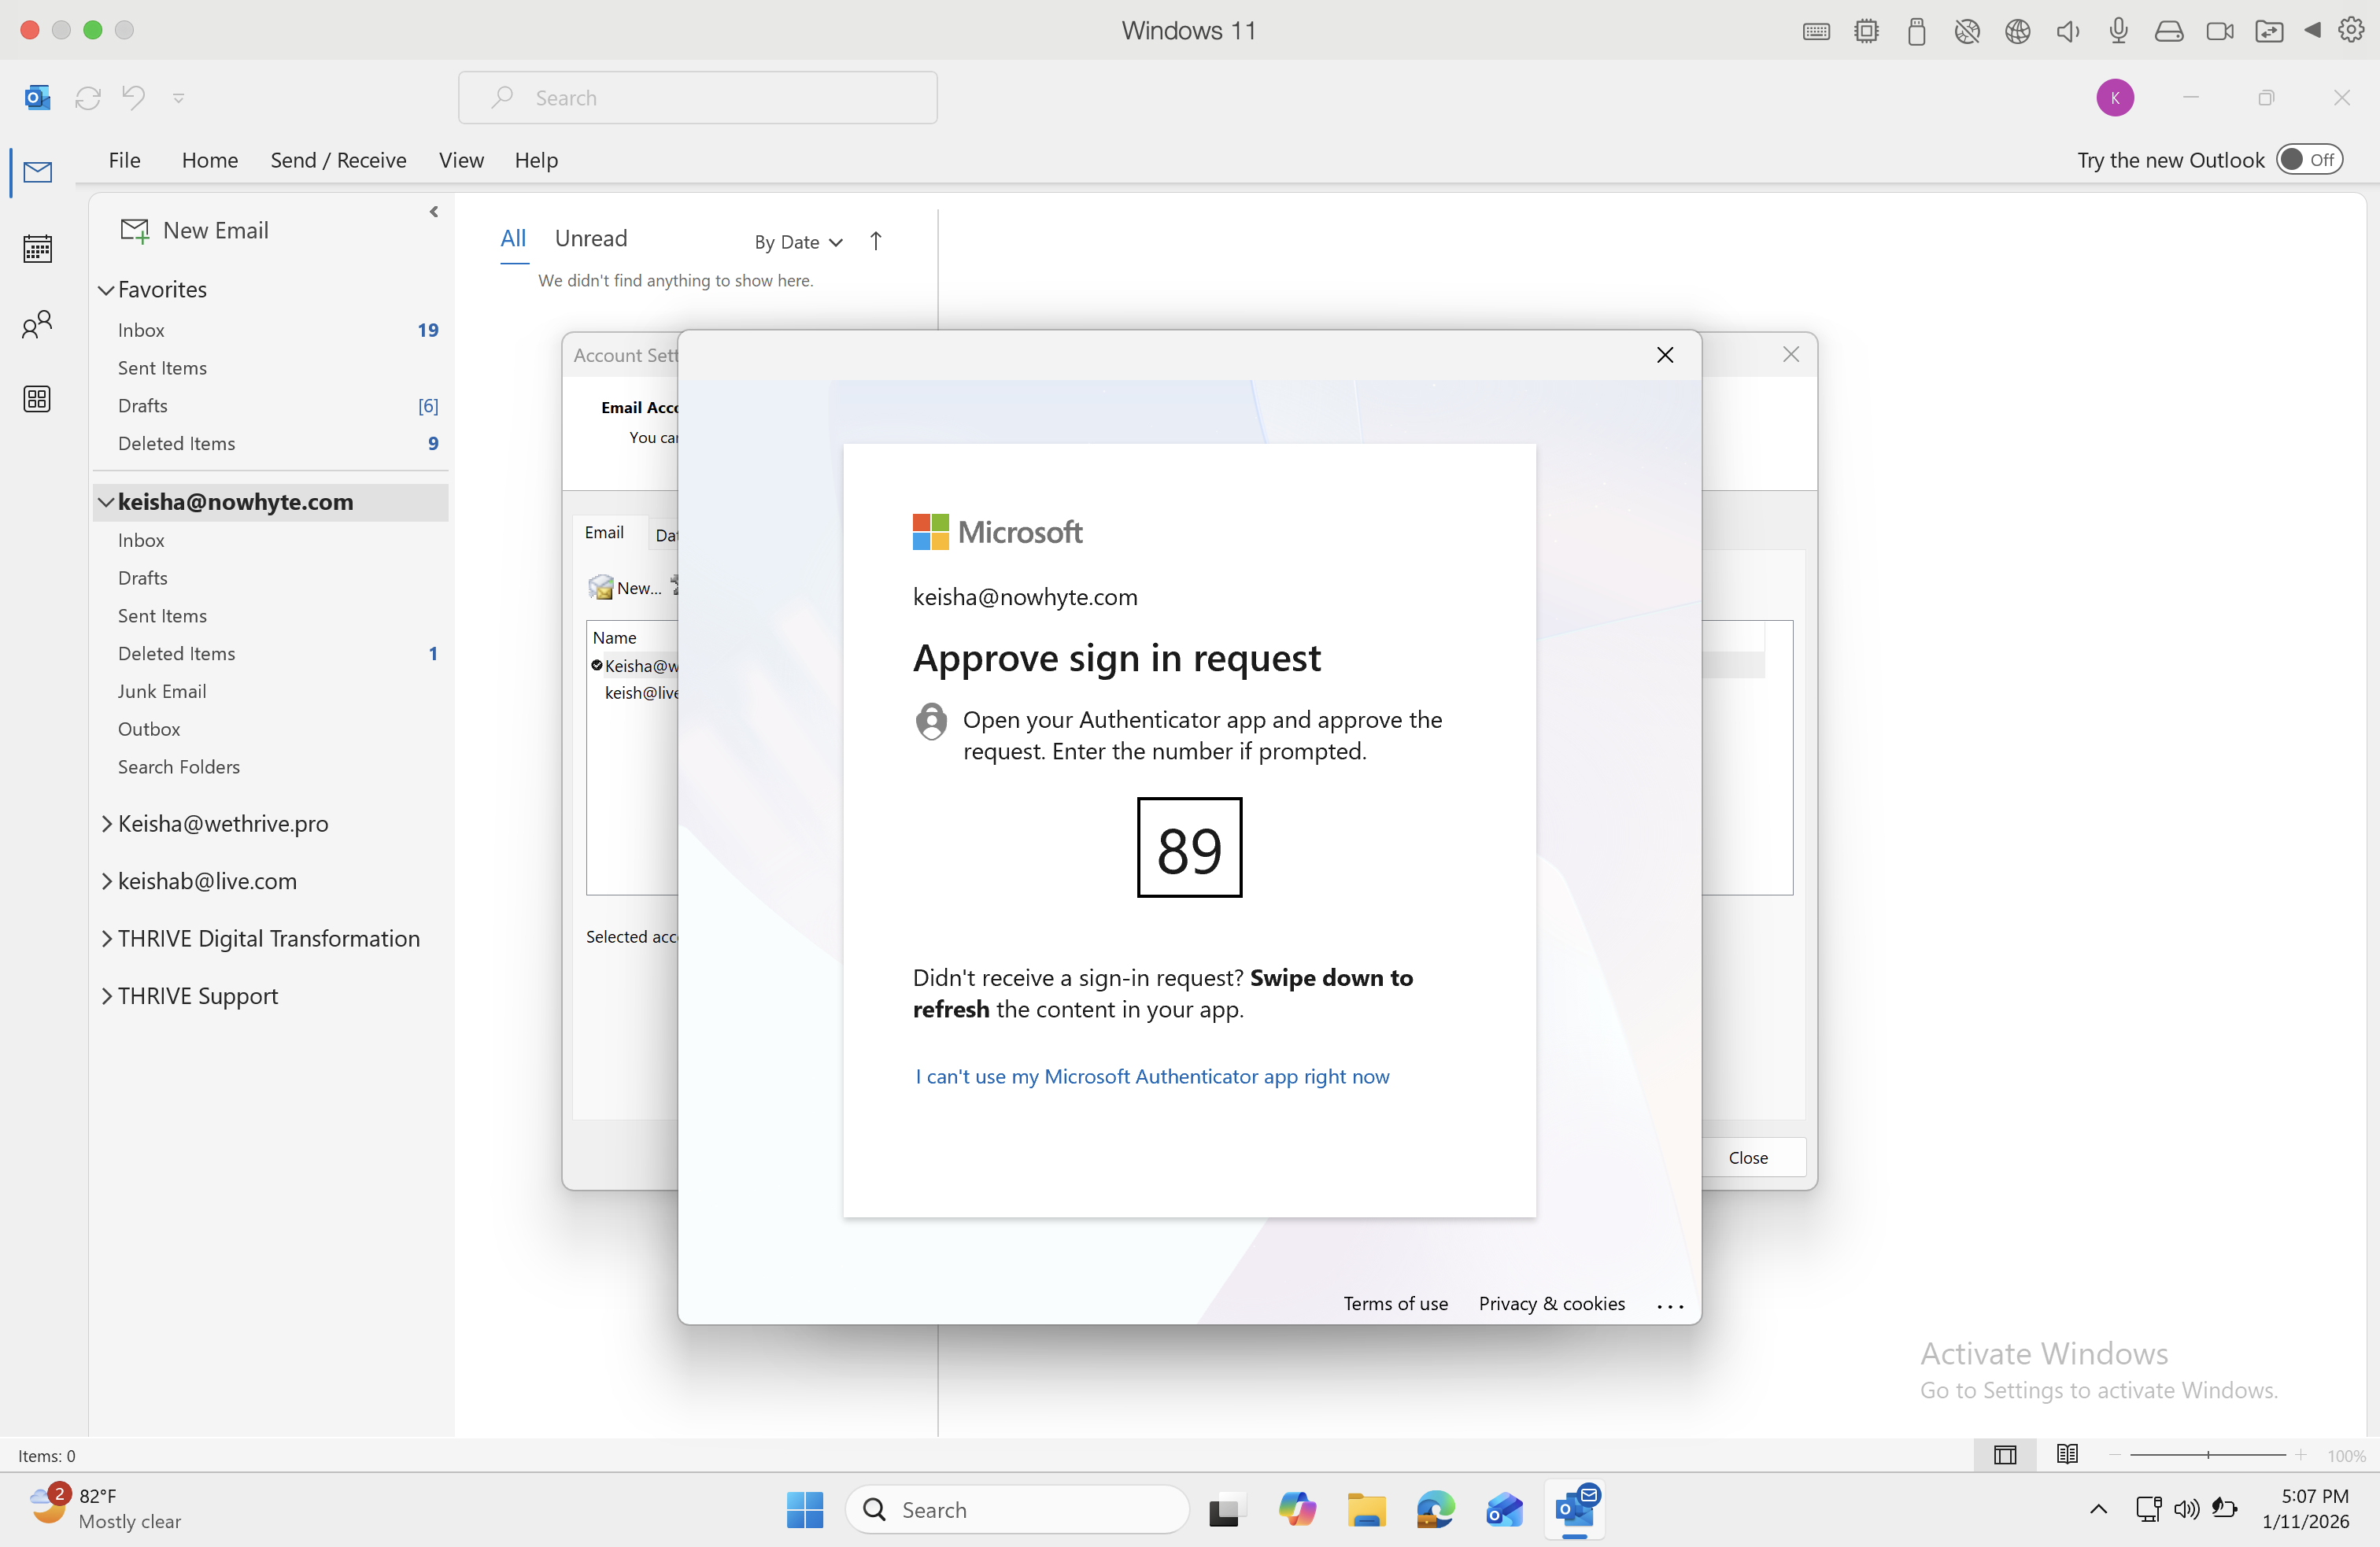
Approve the sign in request on Microsoft Authenticator
26
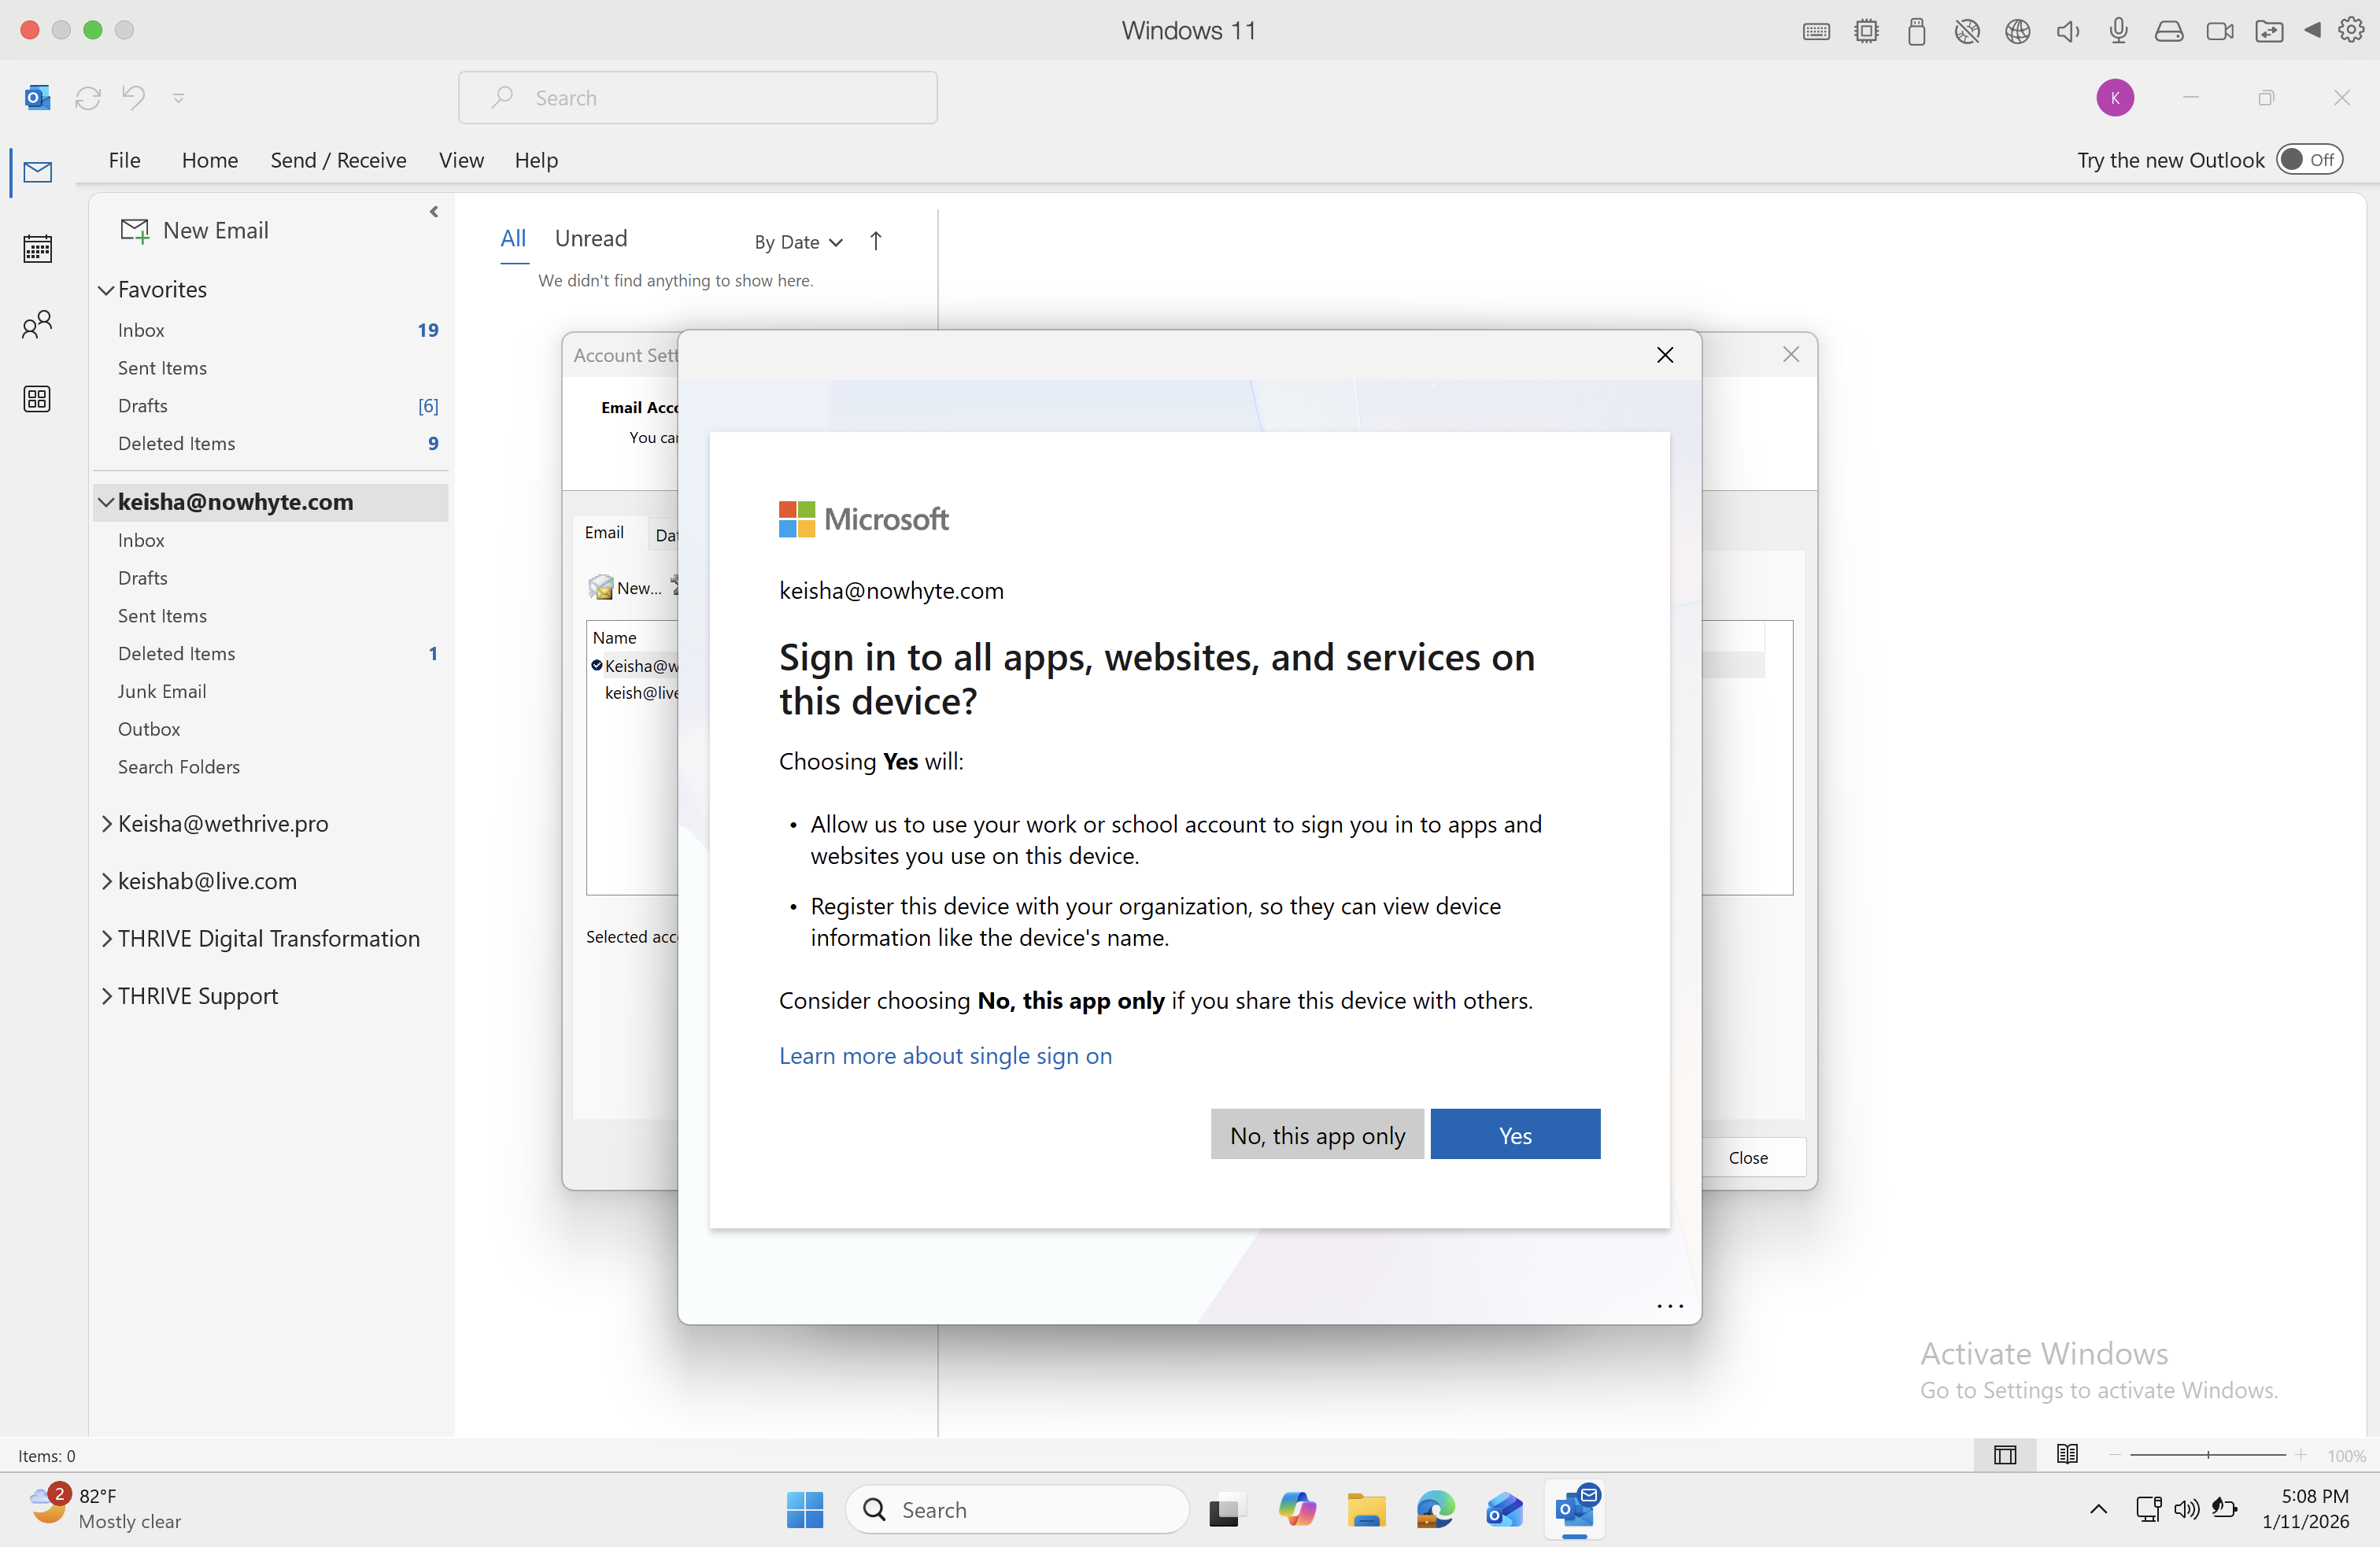
Select Yes to sign into all apps, websites and services on this device
27

28
Click Done
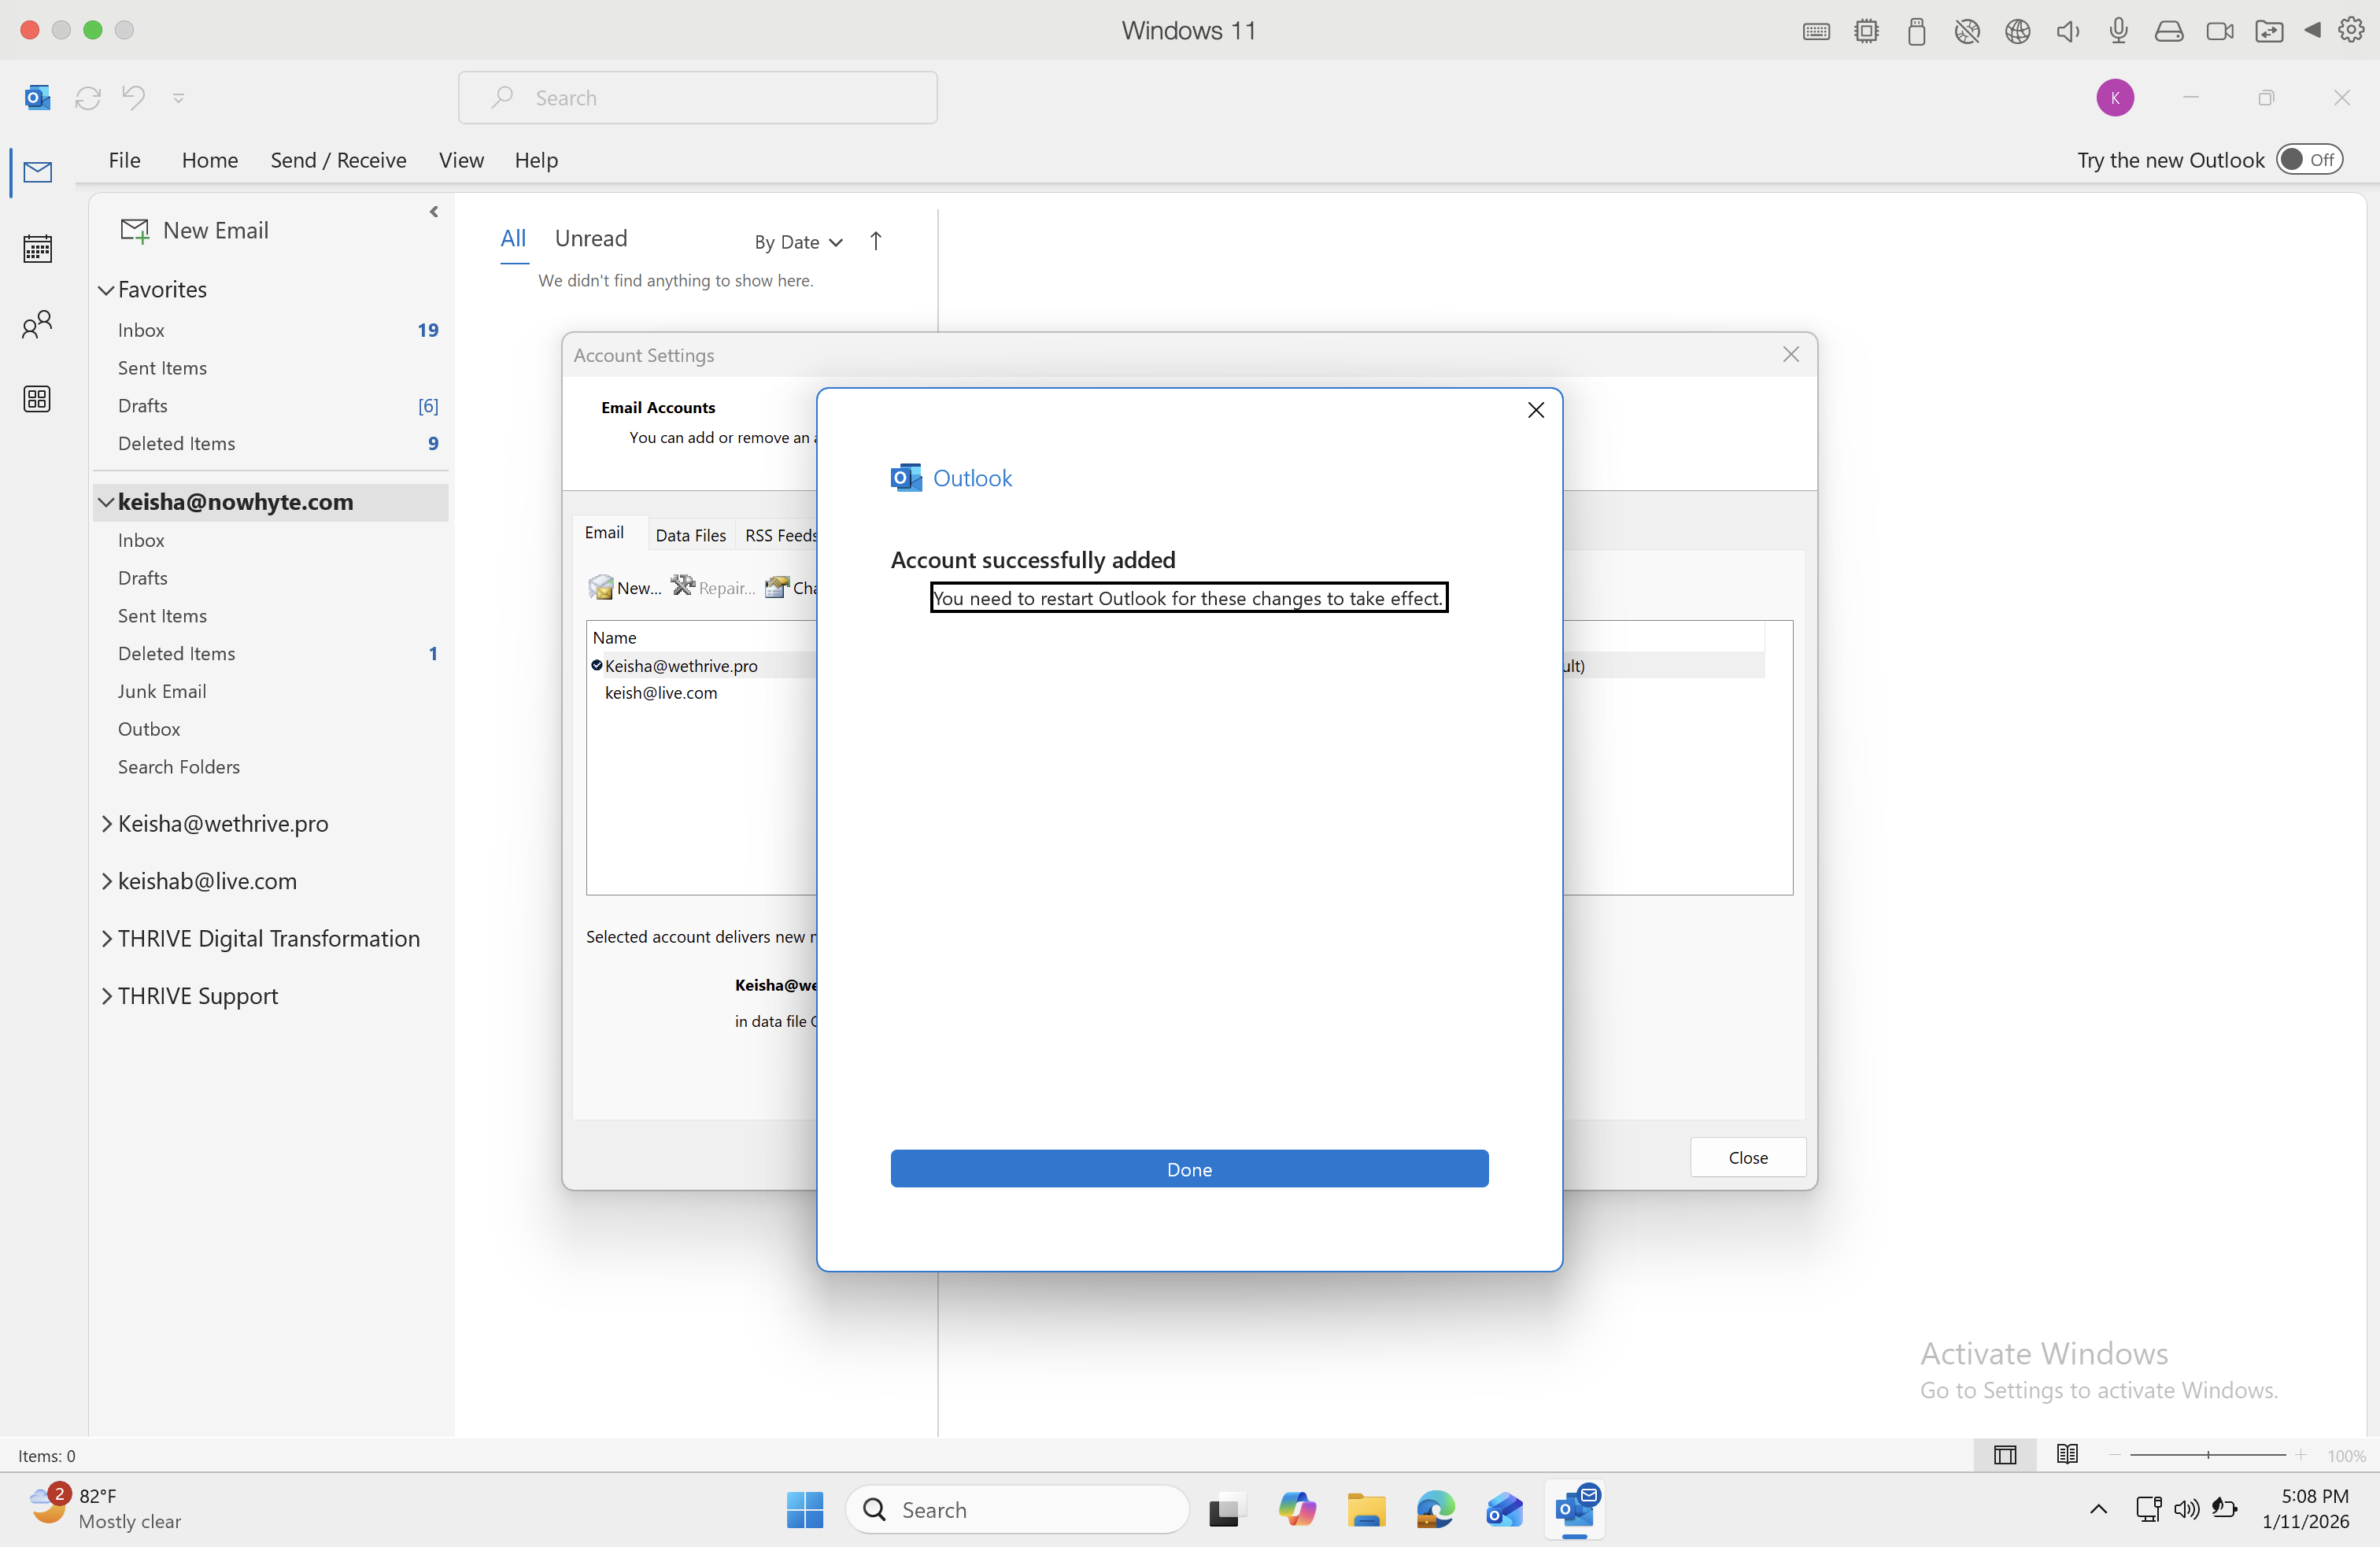
That's it! You now have access to your old & new emails.