How to Block Dates on Your Rental Website Using ICS Google Calendar
Learn step-by-step how to use ICS Google Calendar to block dates on your rental website. This tutorial covers creating a new calendar, setting up recurring events, making your calendar public, and syncing it with your Reservety rental website.
By Reservety
In this guide, we'll learn how to use Google Calendar to block specific dates on your rental website.
This process helps you prevent bookings for certain days, such as recurring Fridays off, by syncing your calendar with your Reservety account.
You'll see how to set up your calendar, create blocking events, and connect it to your rental website so that unavailable dates are automatically reflected.
Let's get started
1
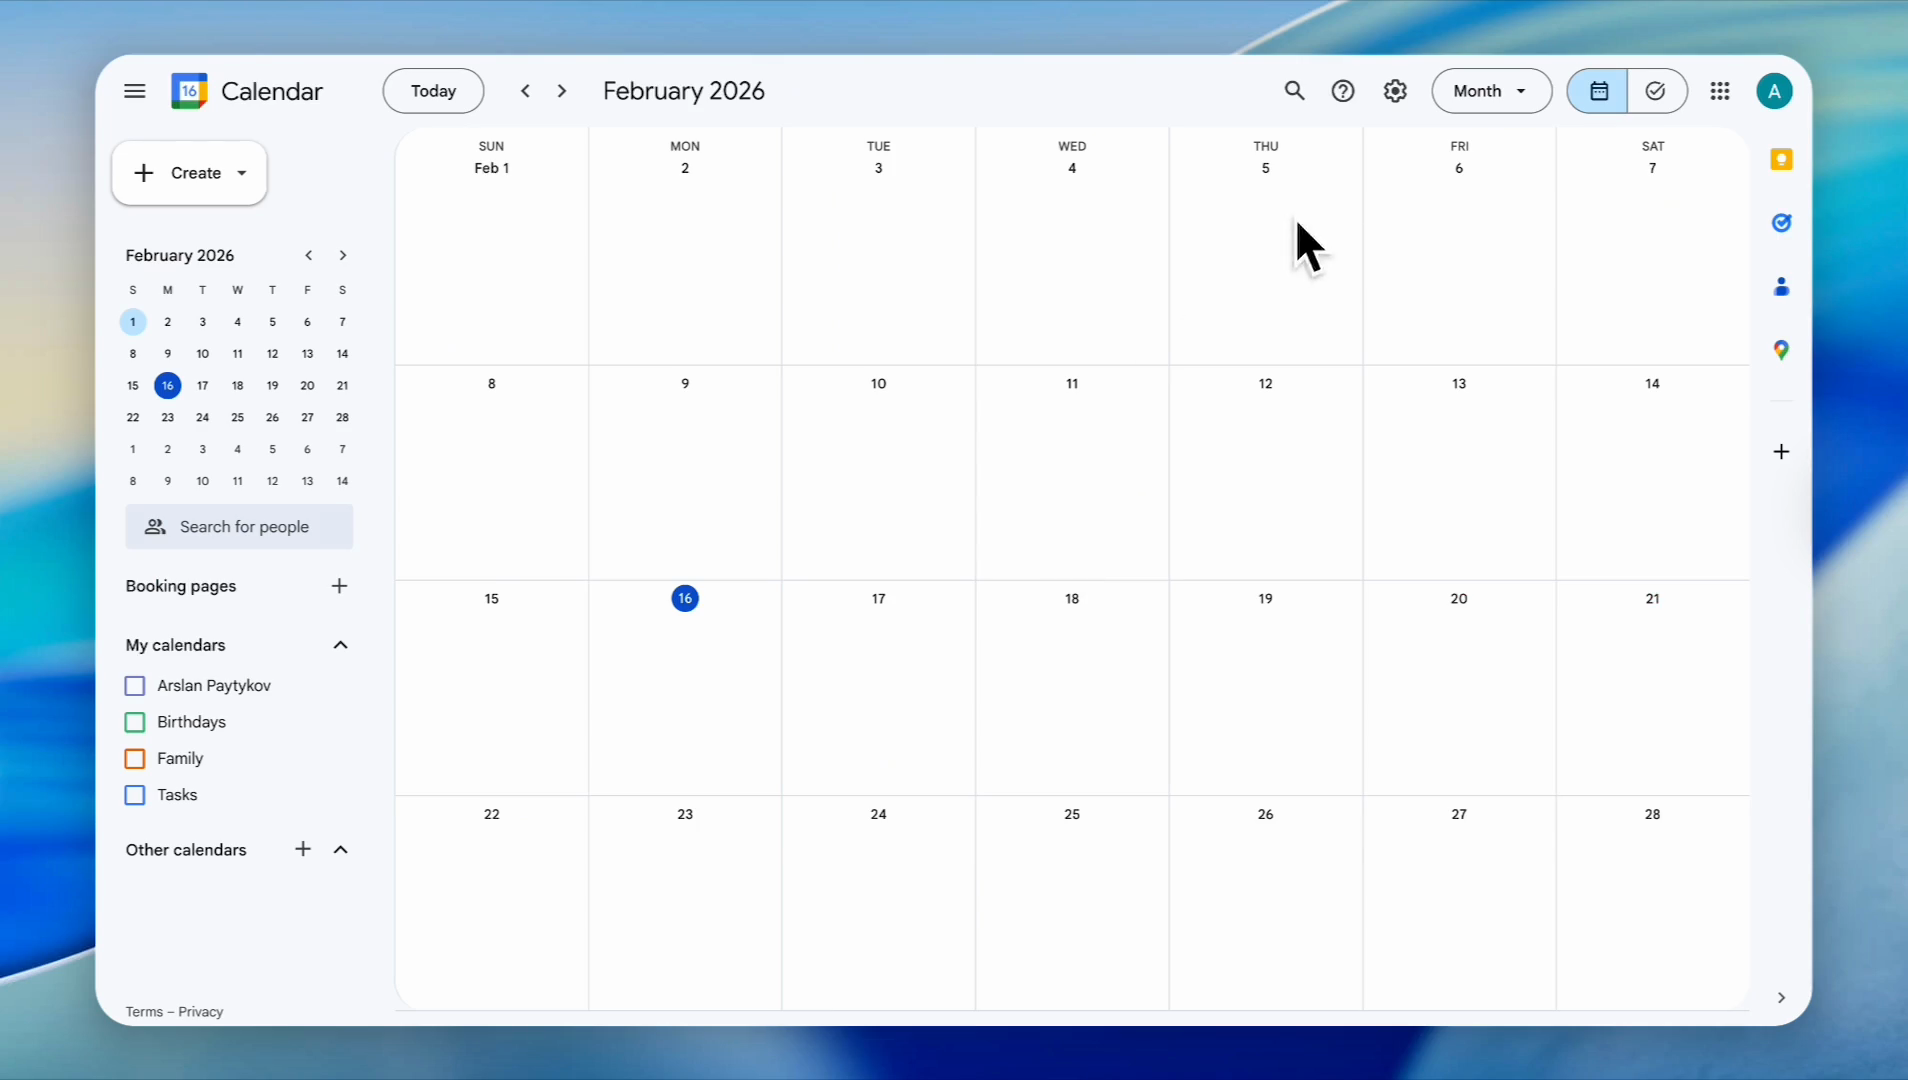
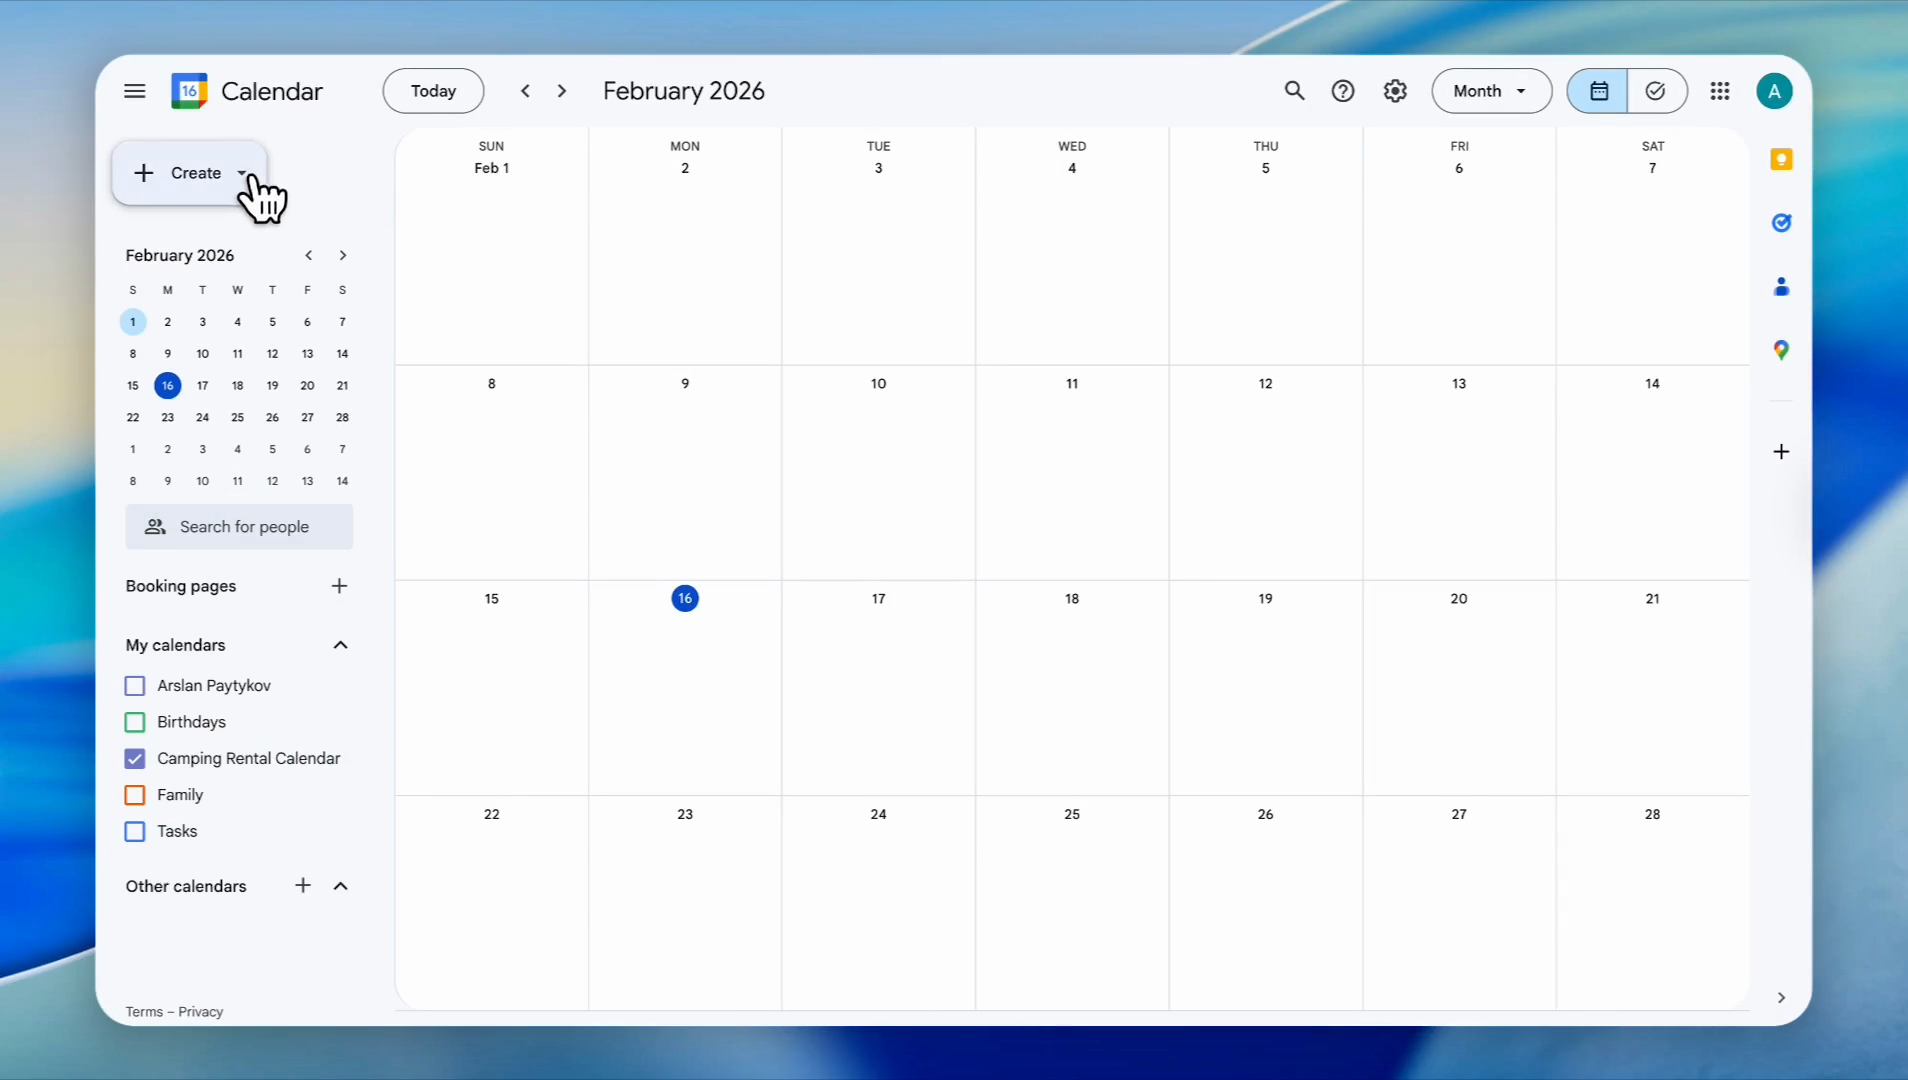
First, go to Google Calendar
2
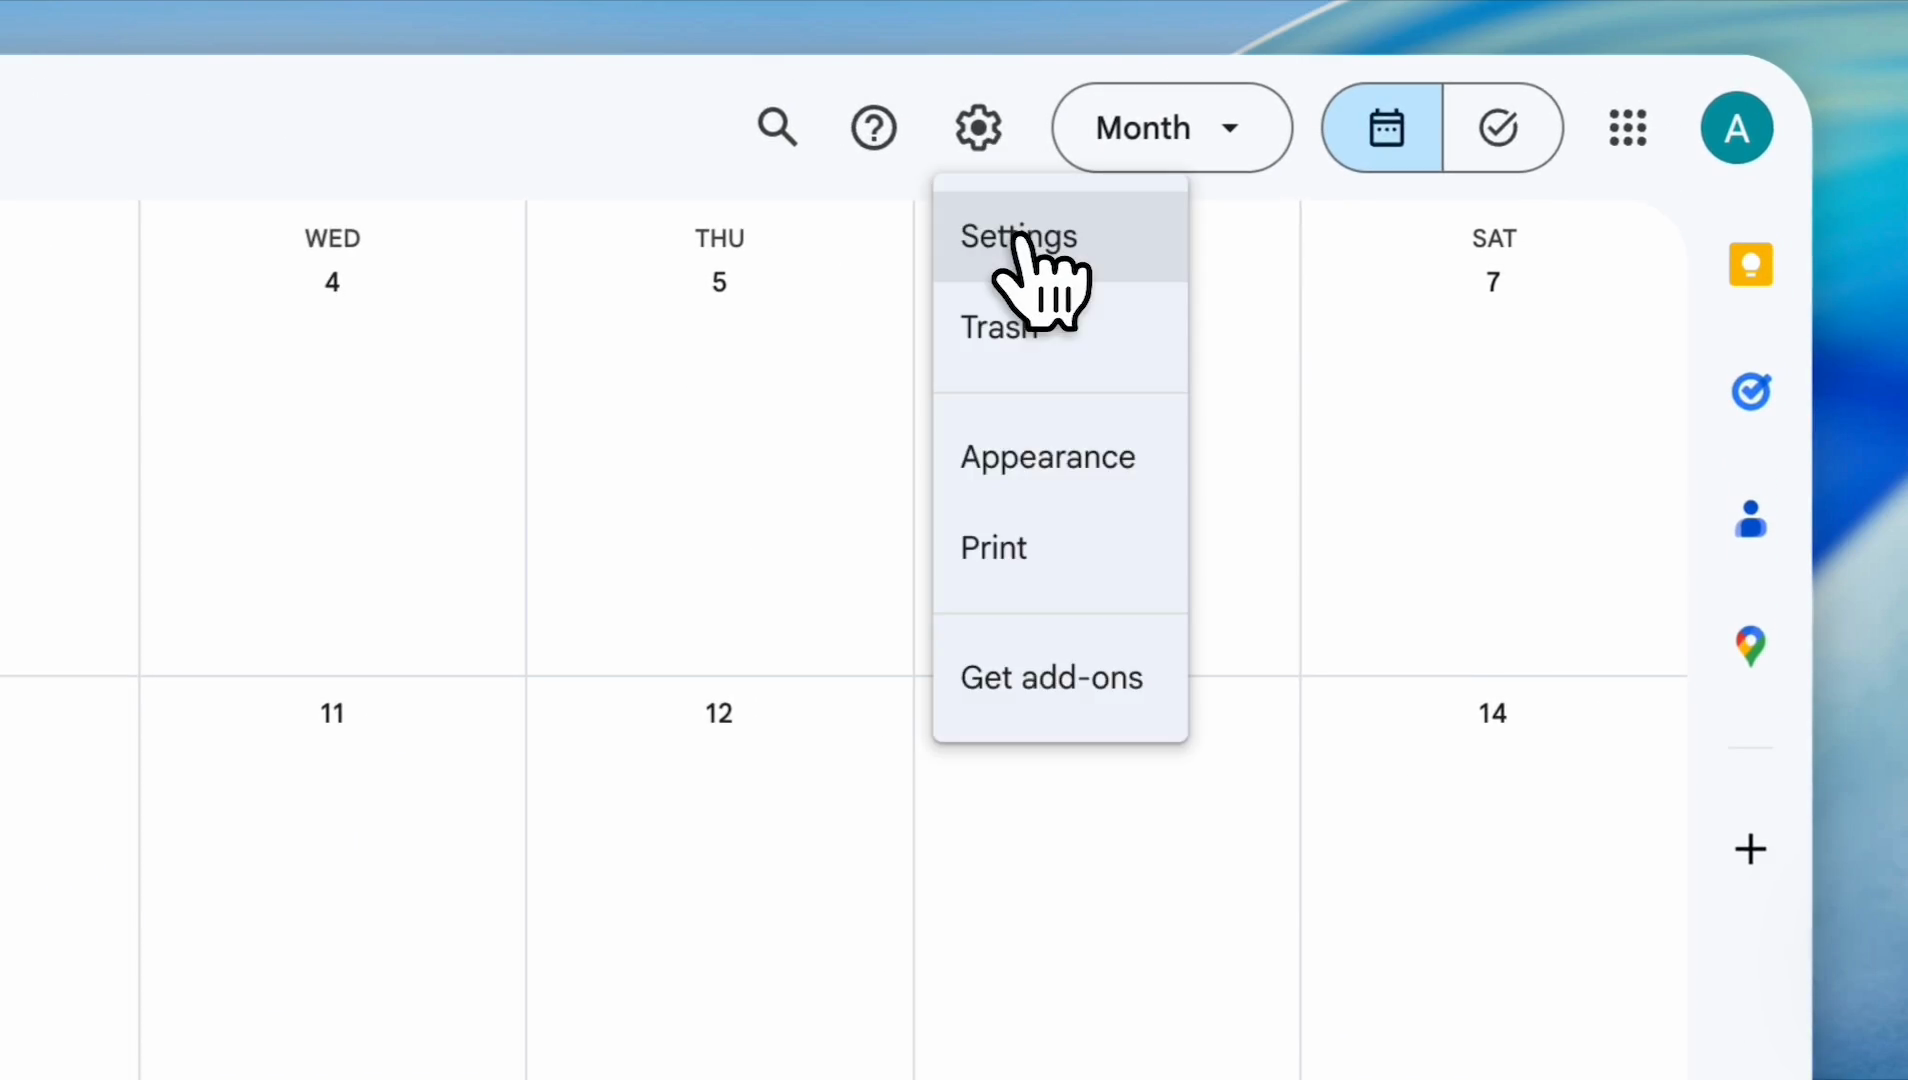
Click the settings icon in the top menu bar.
3
Click 'Settings' from the dropdown menu.
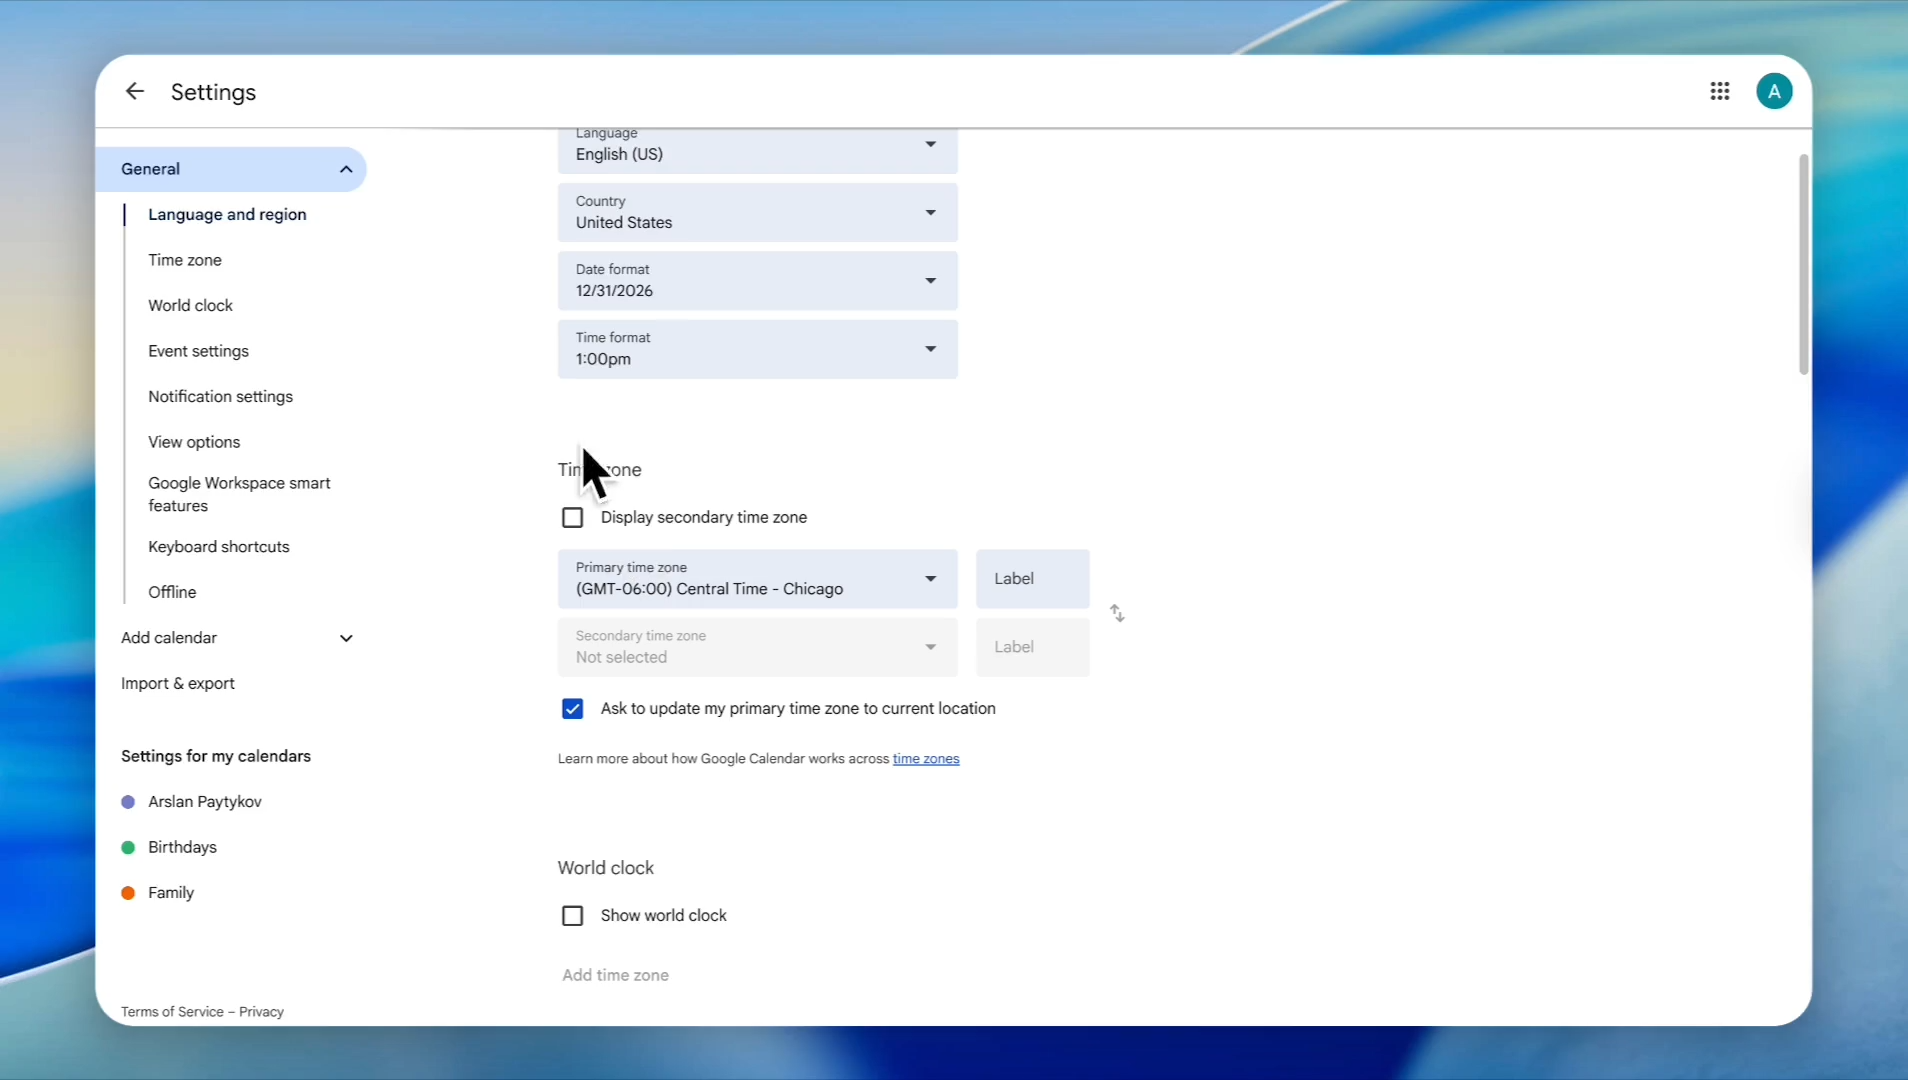
4
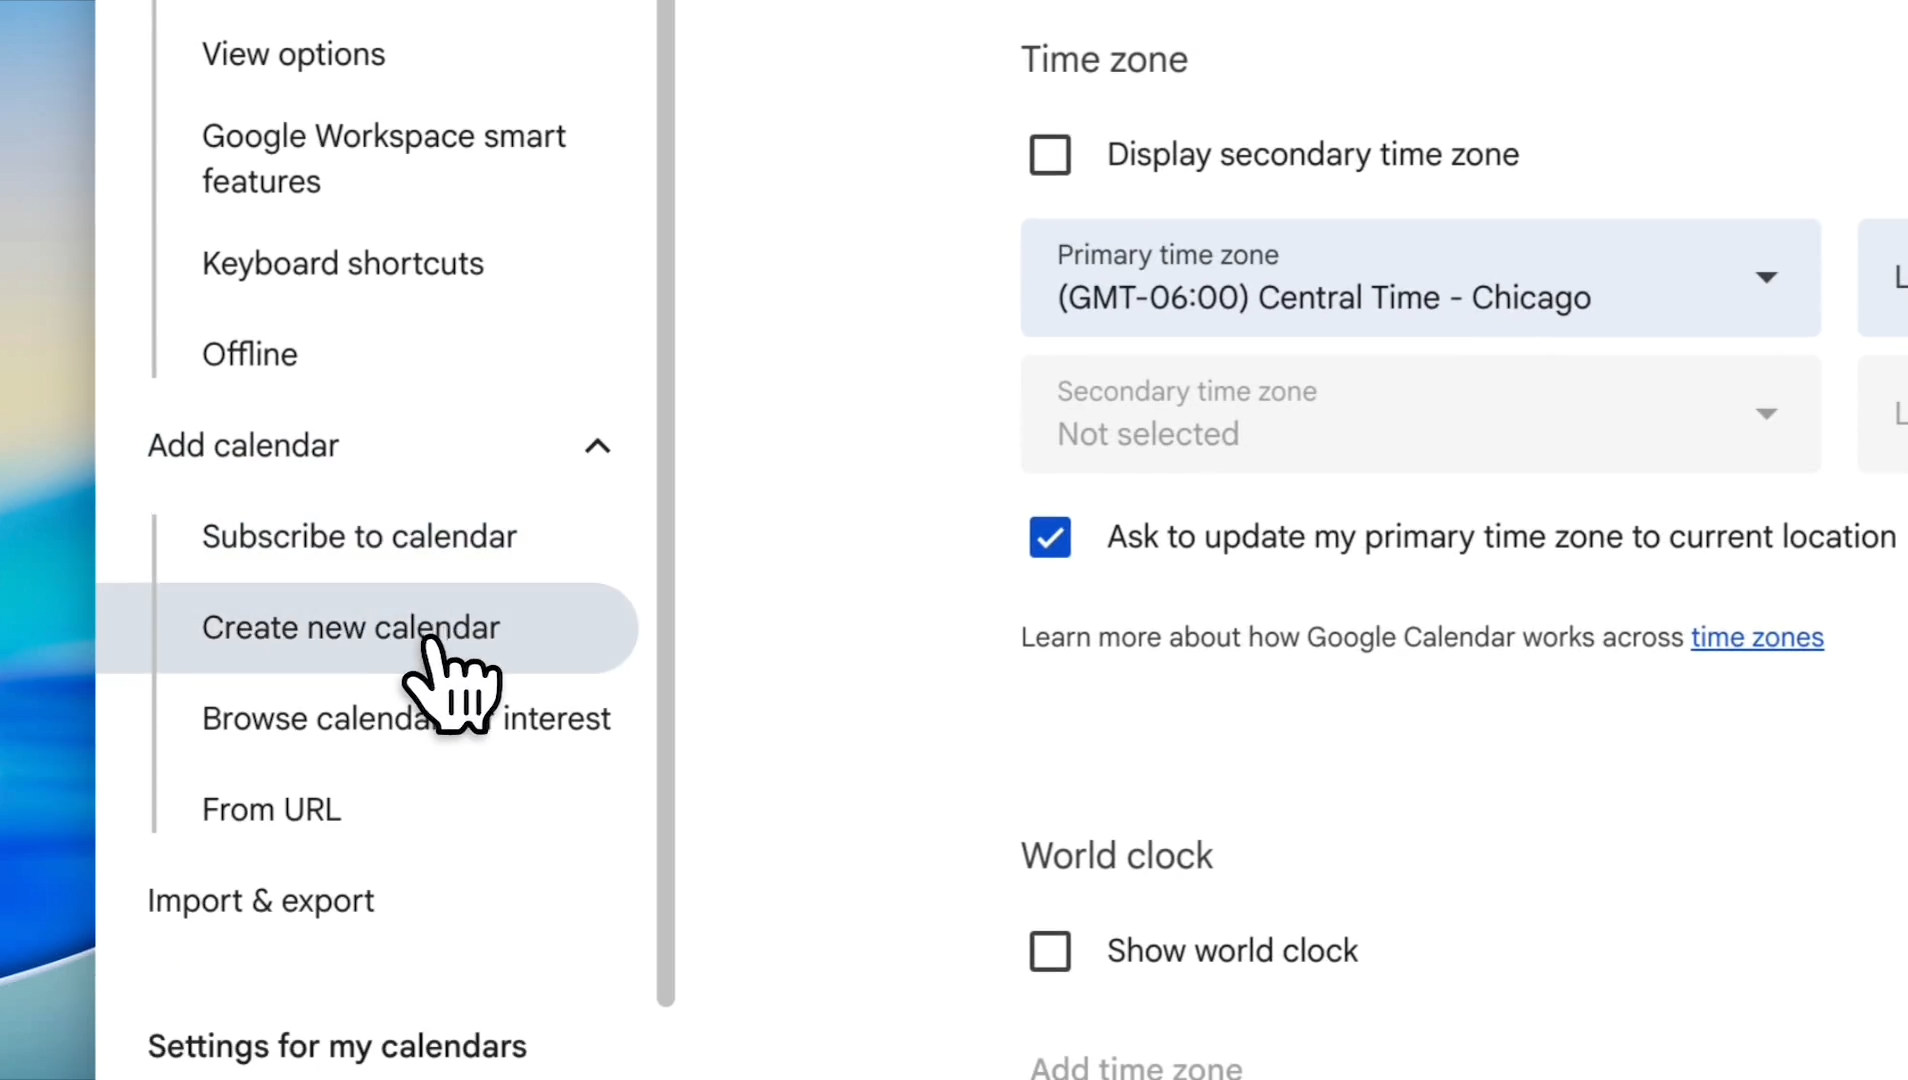
Select your preferred time zone. Click on the 'Primary time zone' dropdown to select your time zone.
In this example, we will use Central Time (Chicago).
5
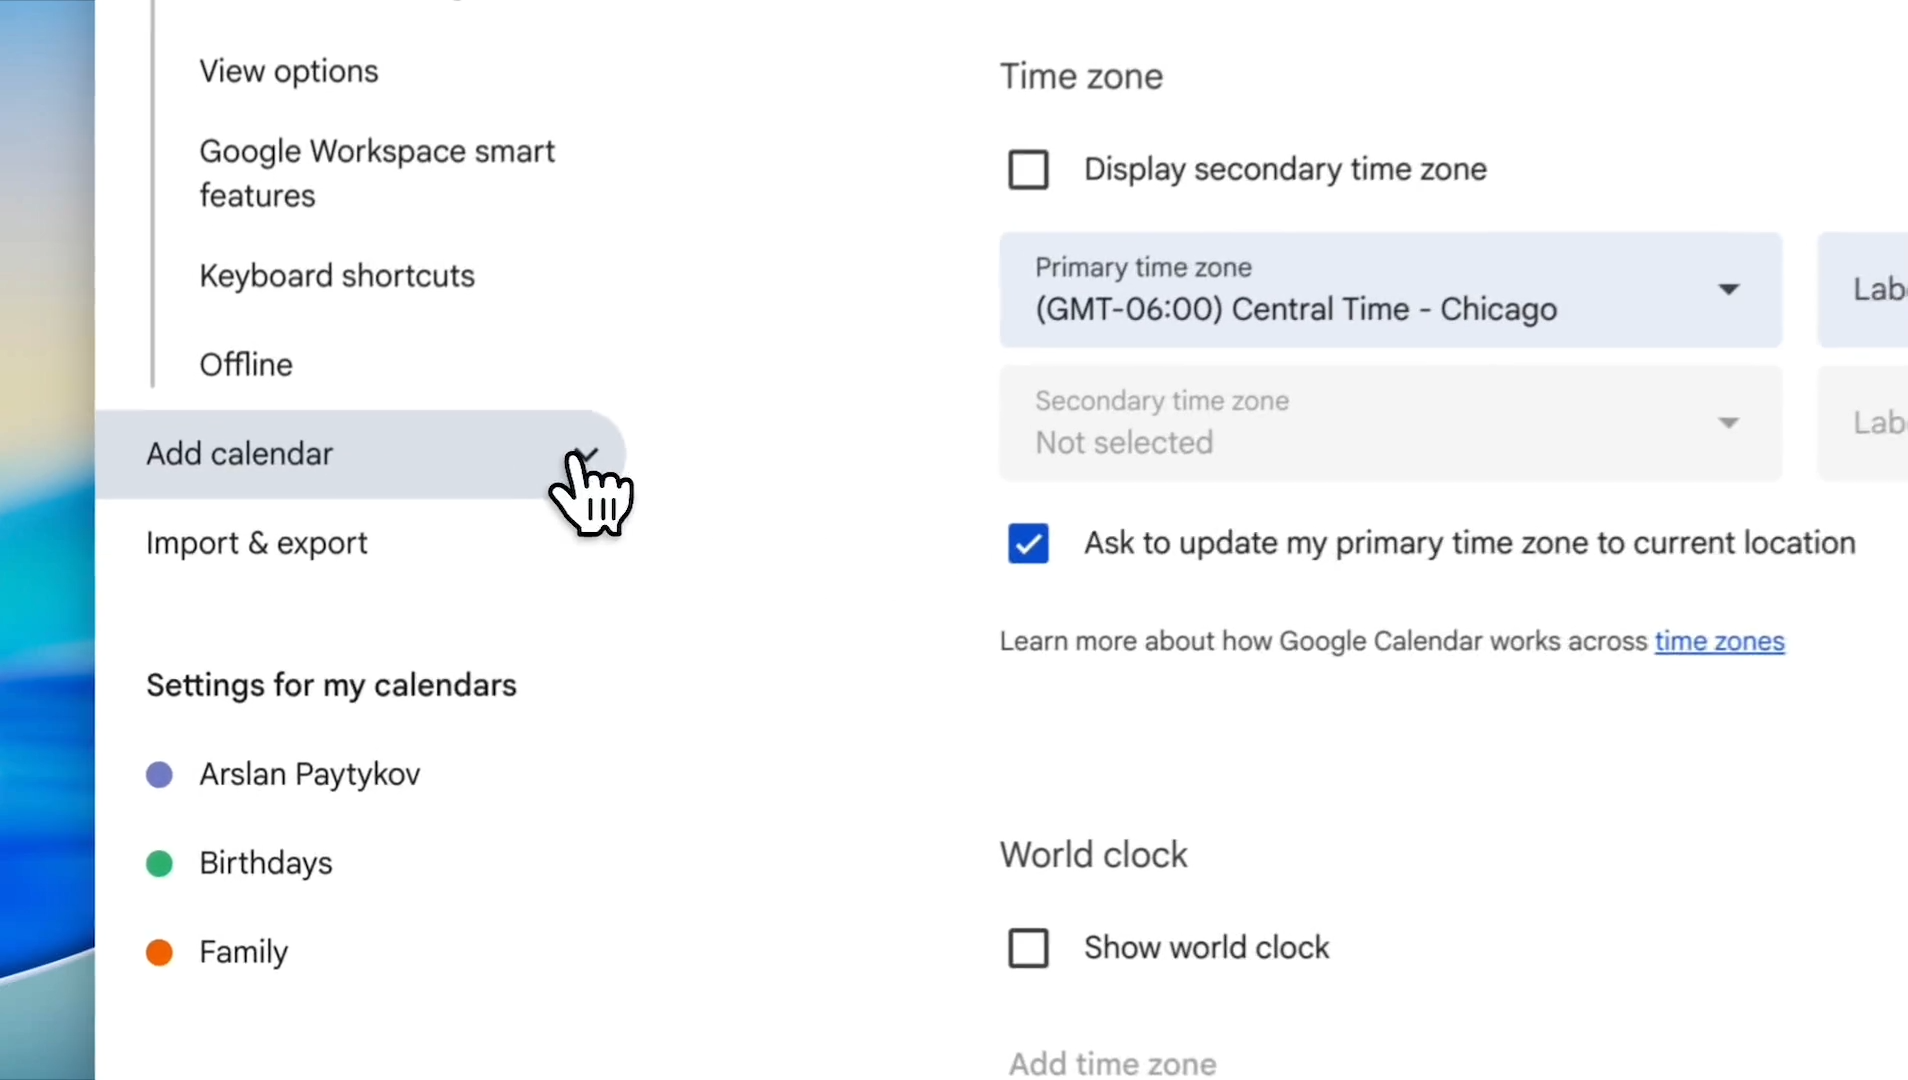
Click 'Add calendar' on the left sidebar.
6
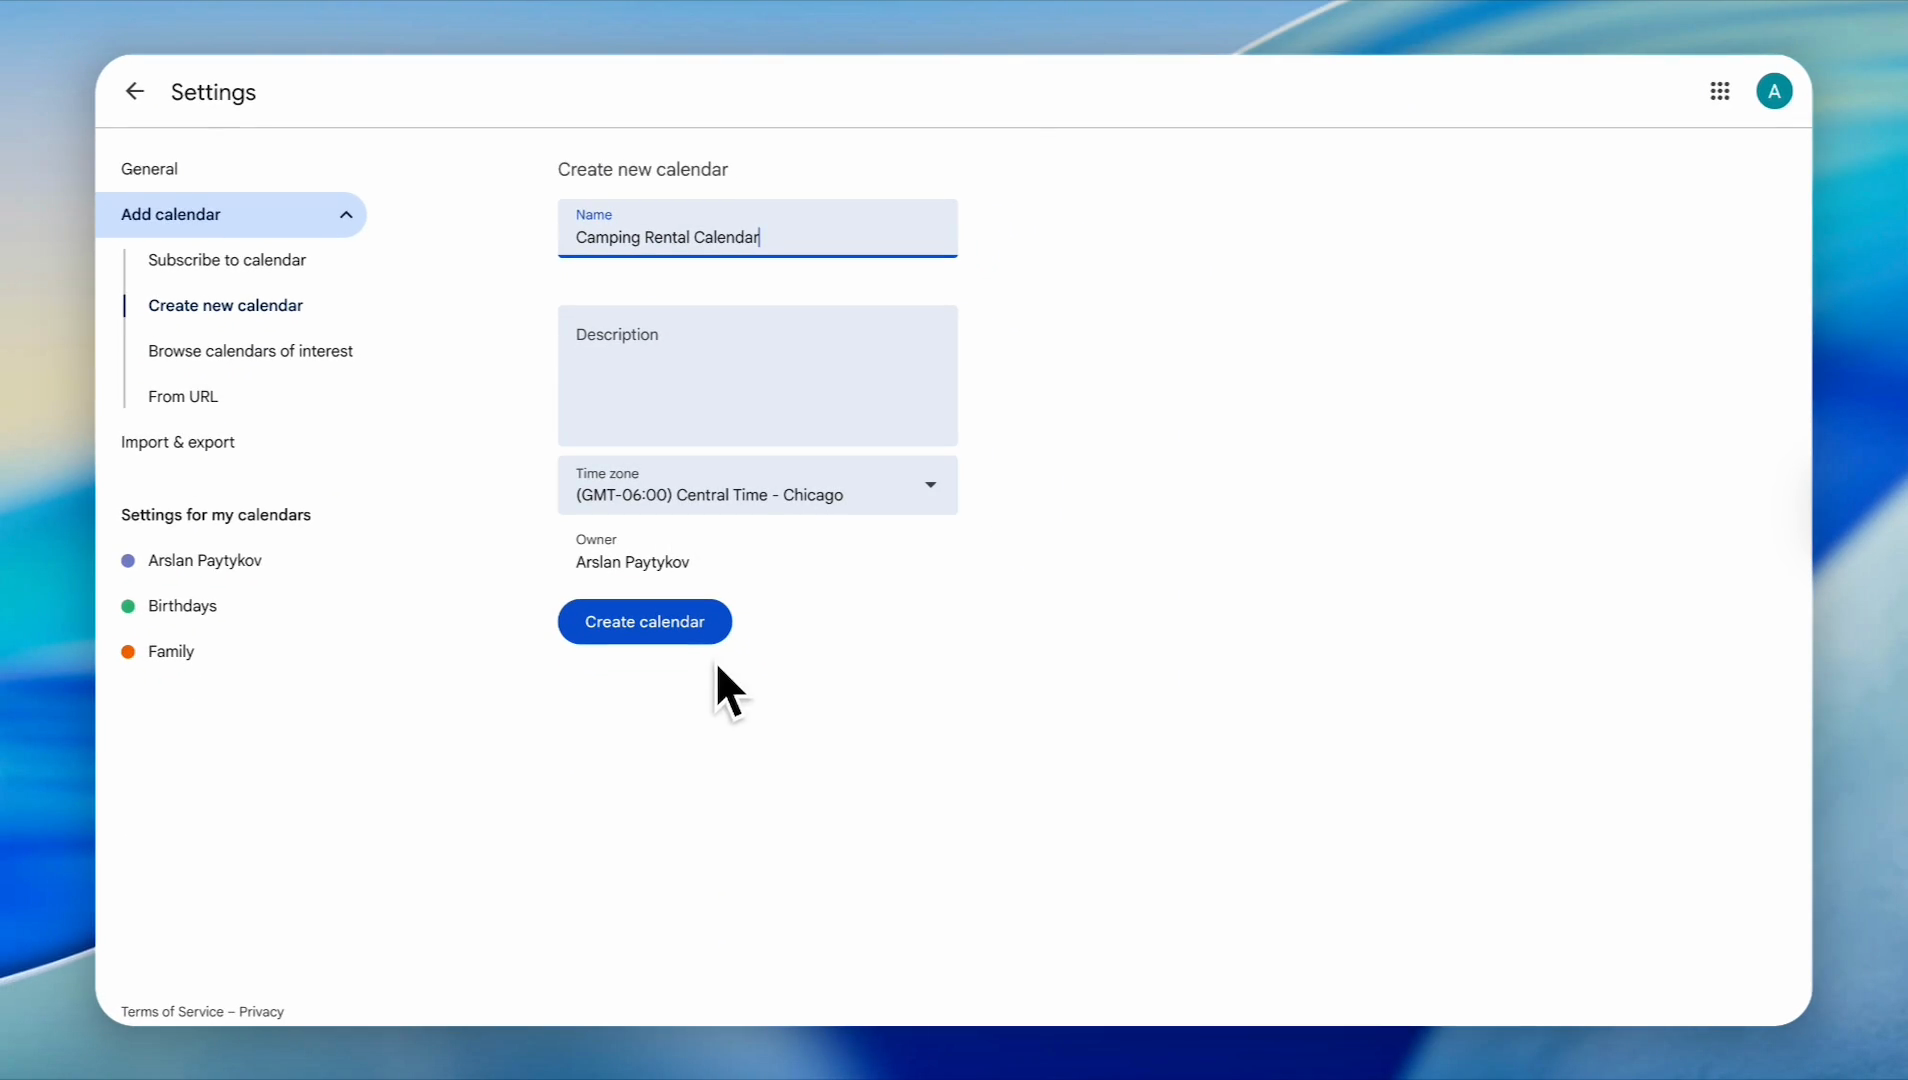
Click 'Create new calendar'.
7
Name your calendar, add a description (optional), and make sure your time zone is correct. Then, click the 'Create calendar' button.
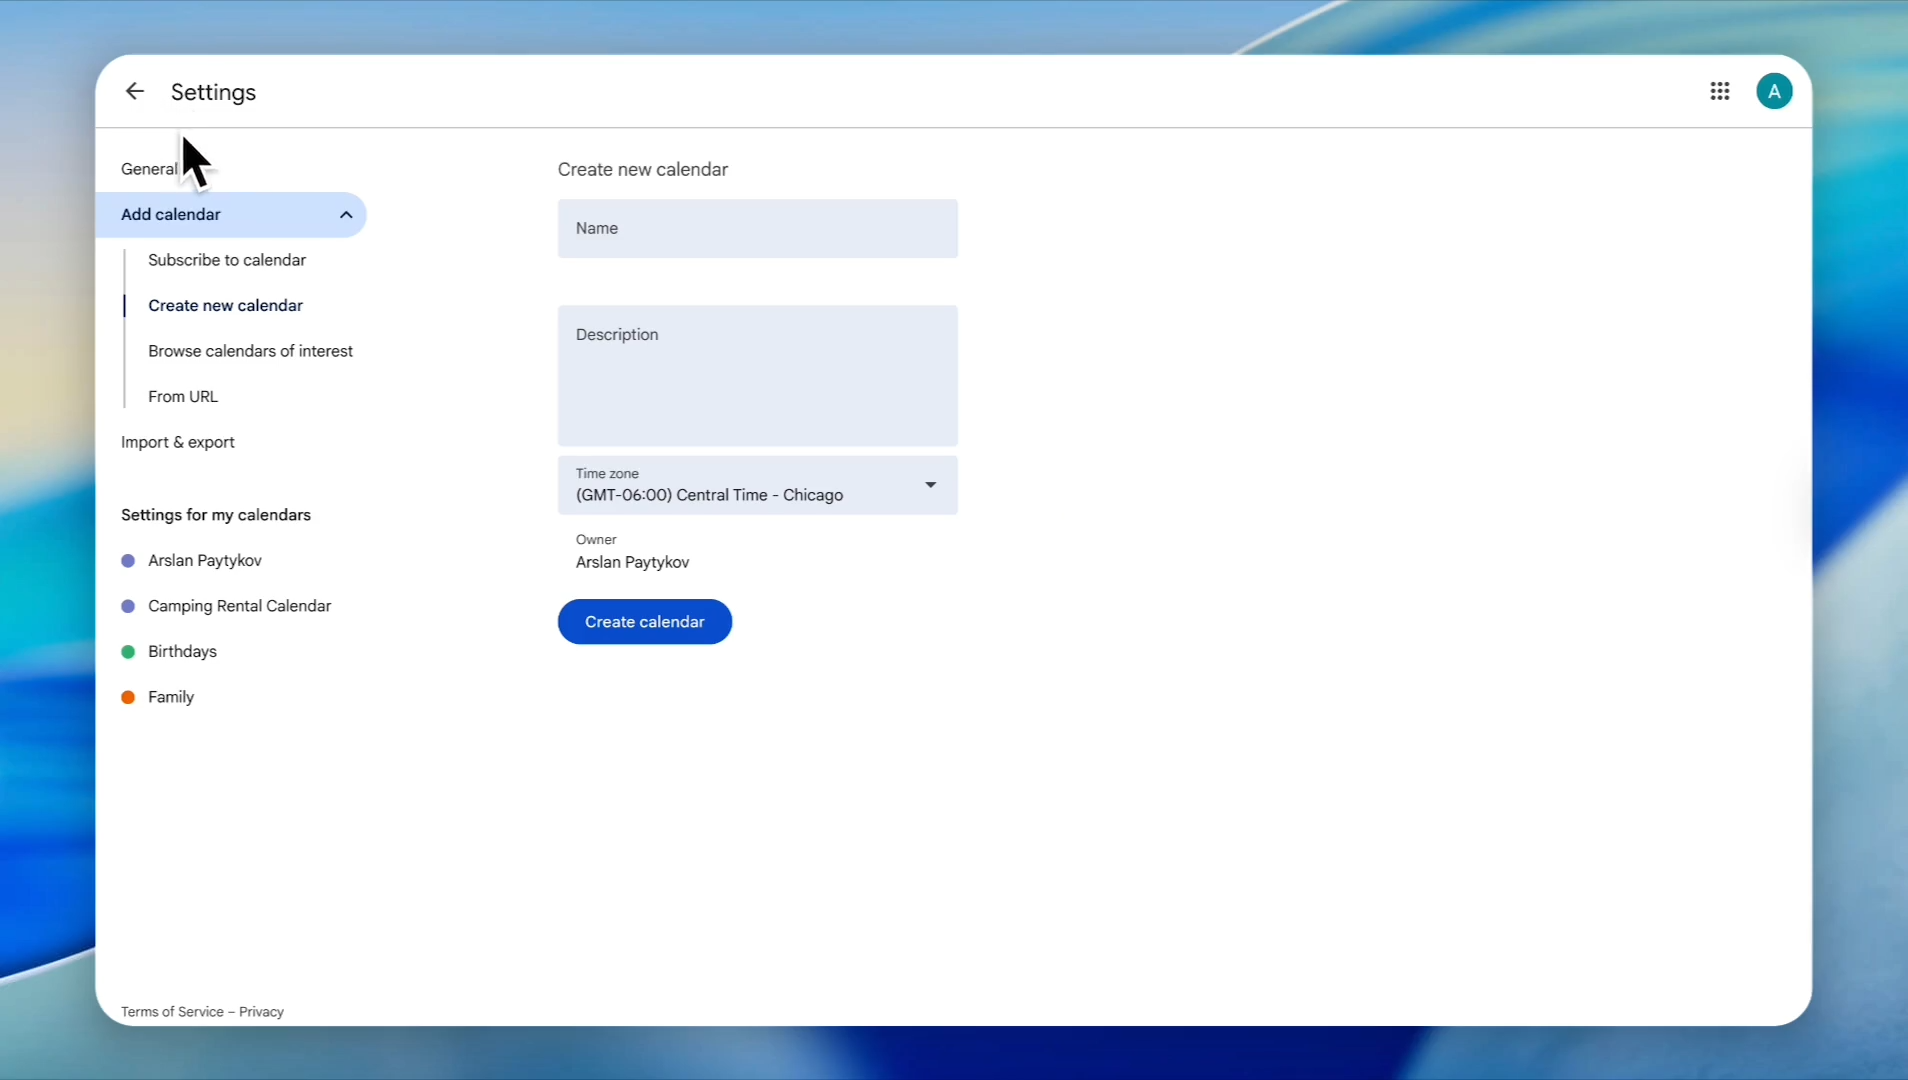
8
Click the back arrow icon in the top-left corner to return to the calendar view.
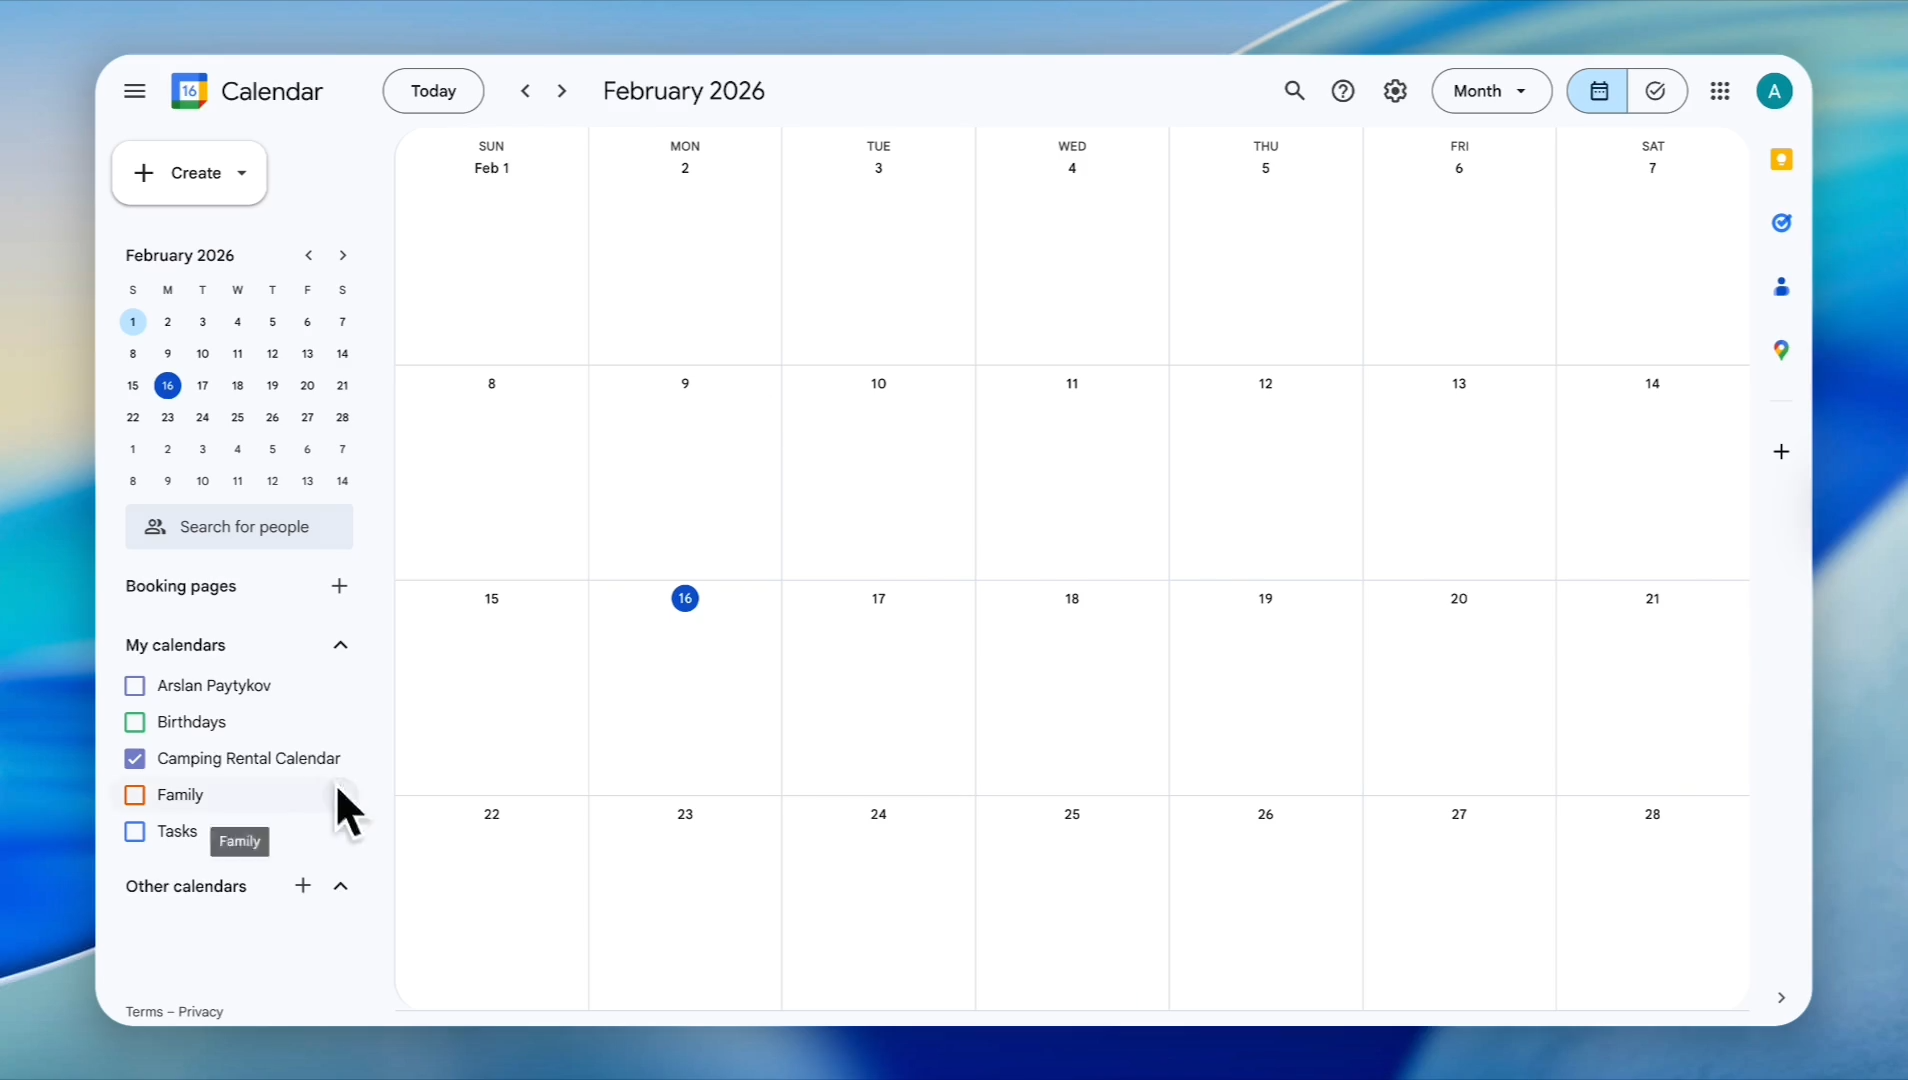
Now, create the blocking dates as events. Make sure your calendar is selected correctly. If you have selected other calendars, uncheck them.
9
On the left sidebar, ensure the checkbox for your preferred calendar is selected.
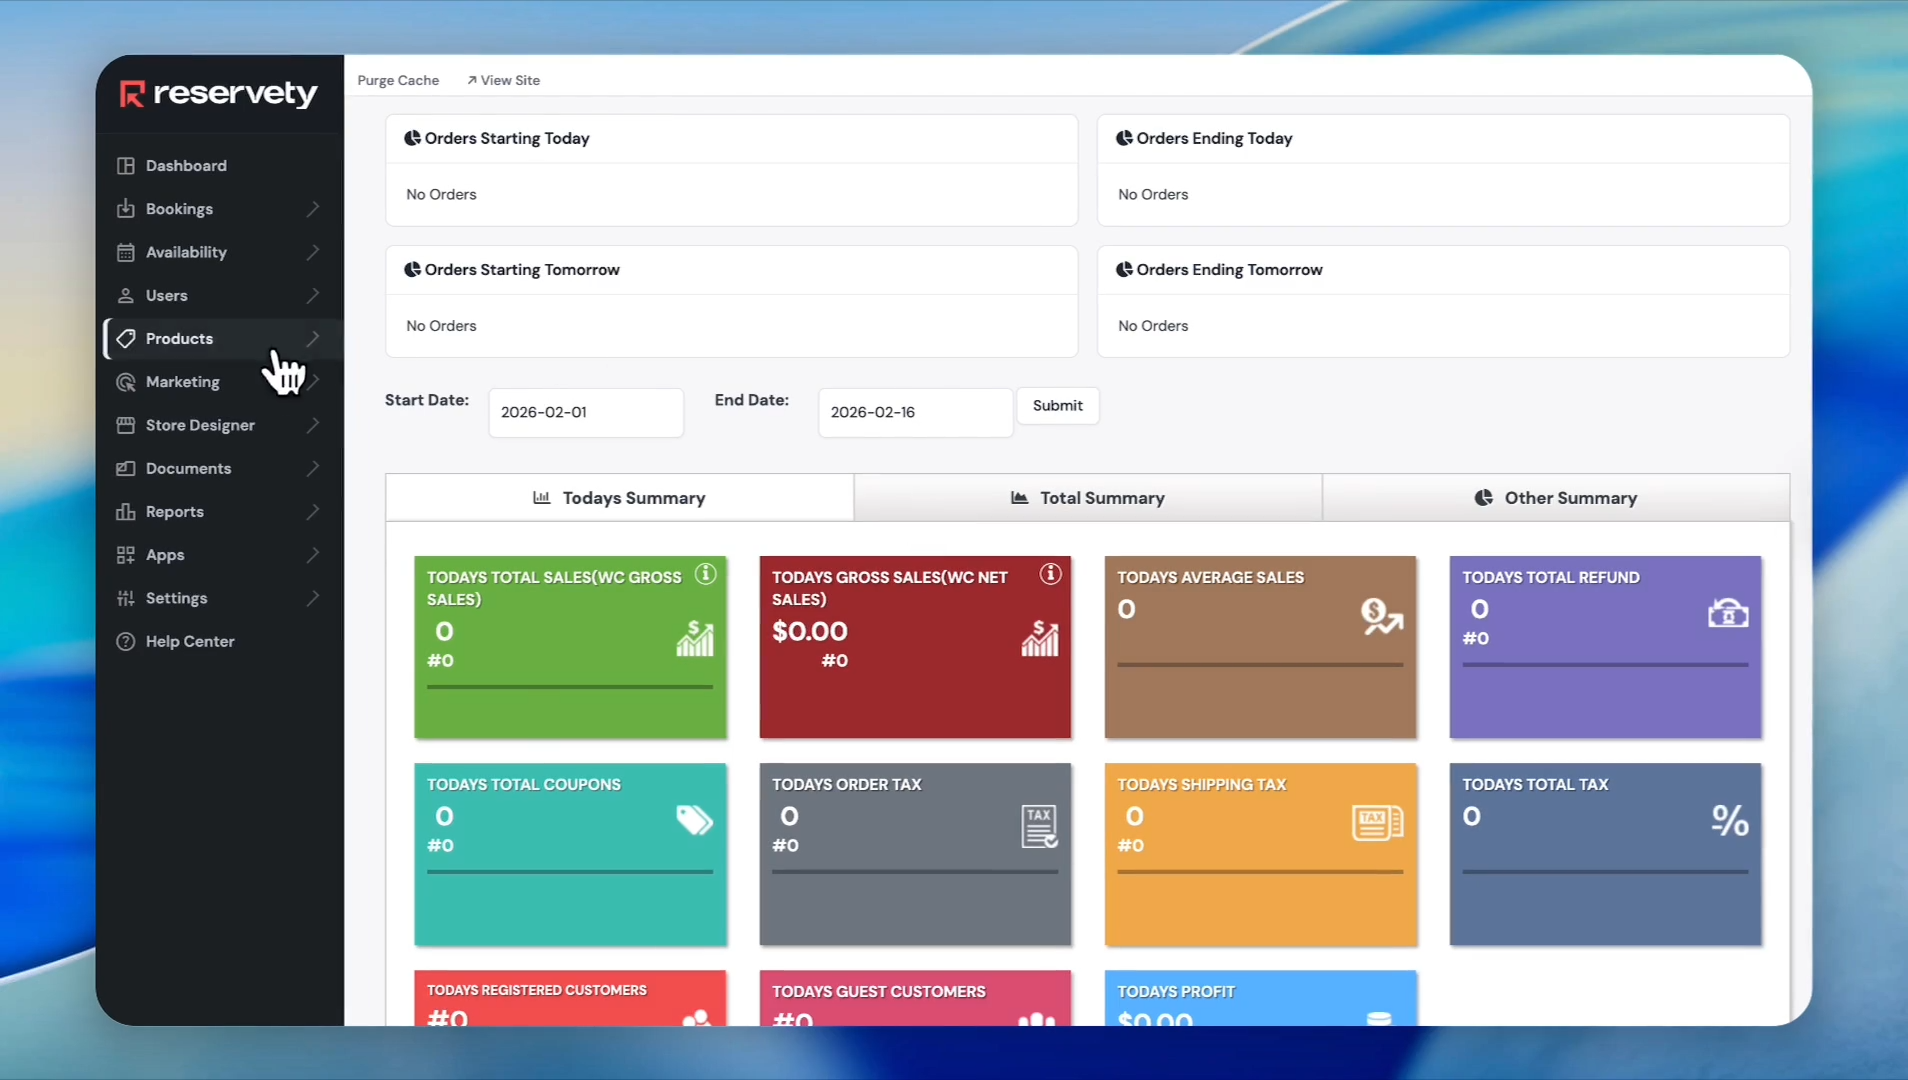
10
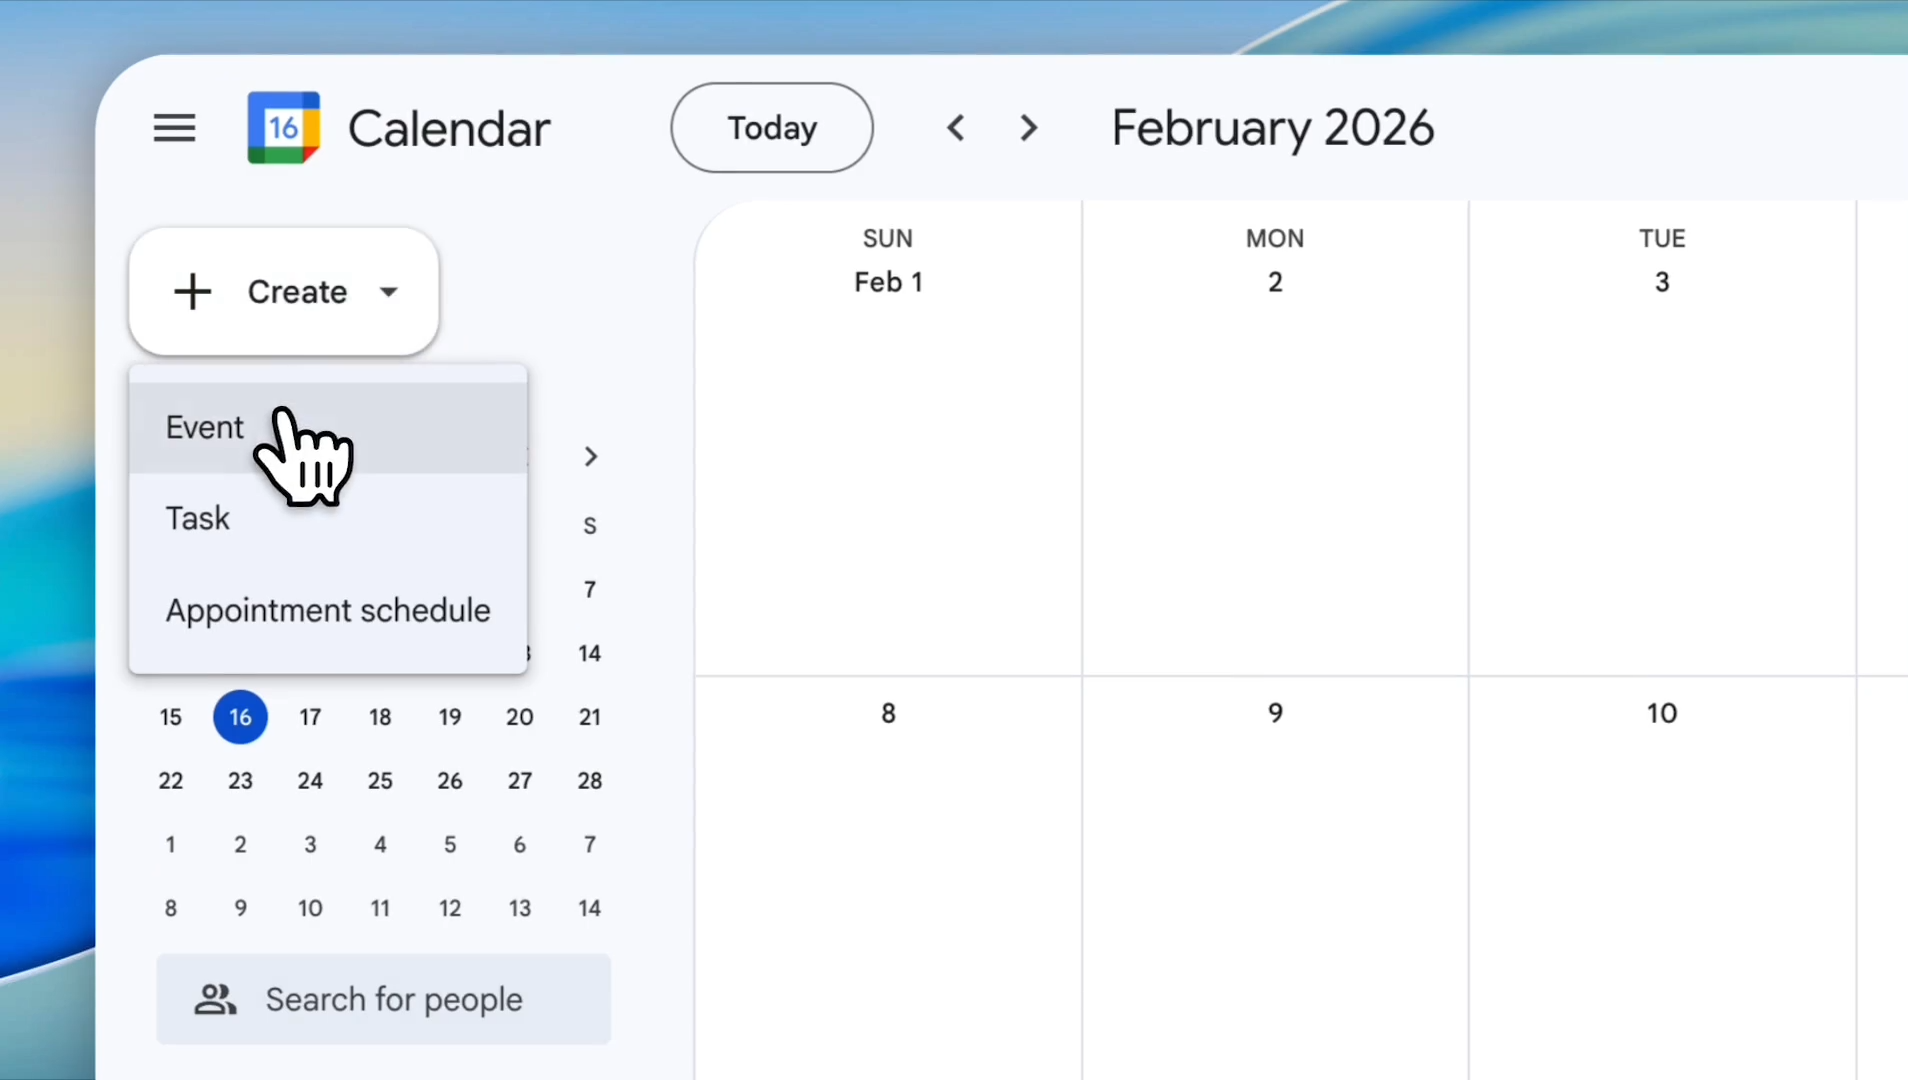
Click the 'Create' button in the top left corner
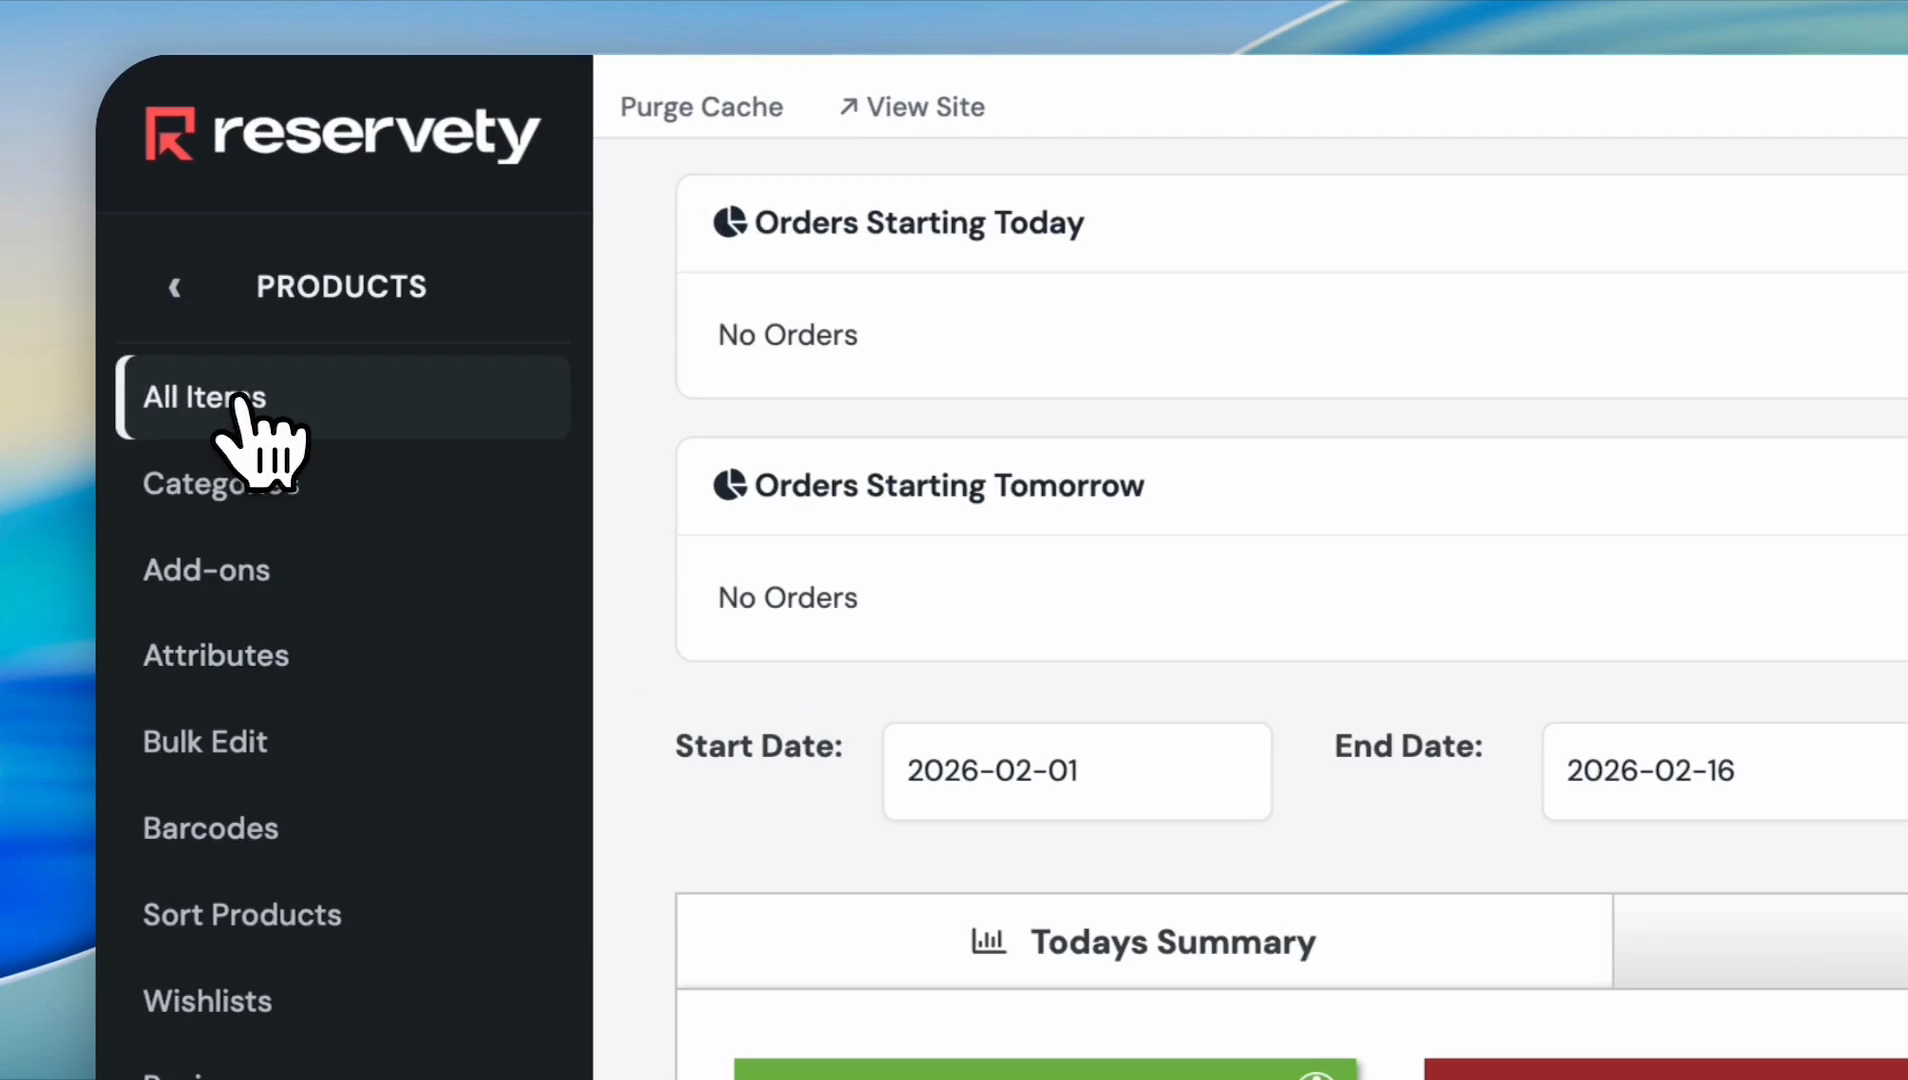
11
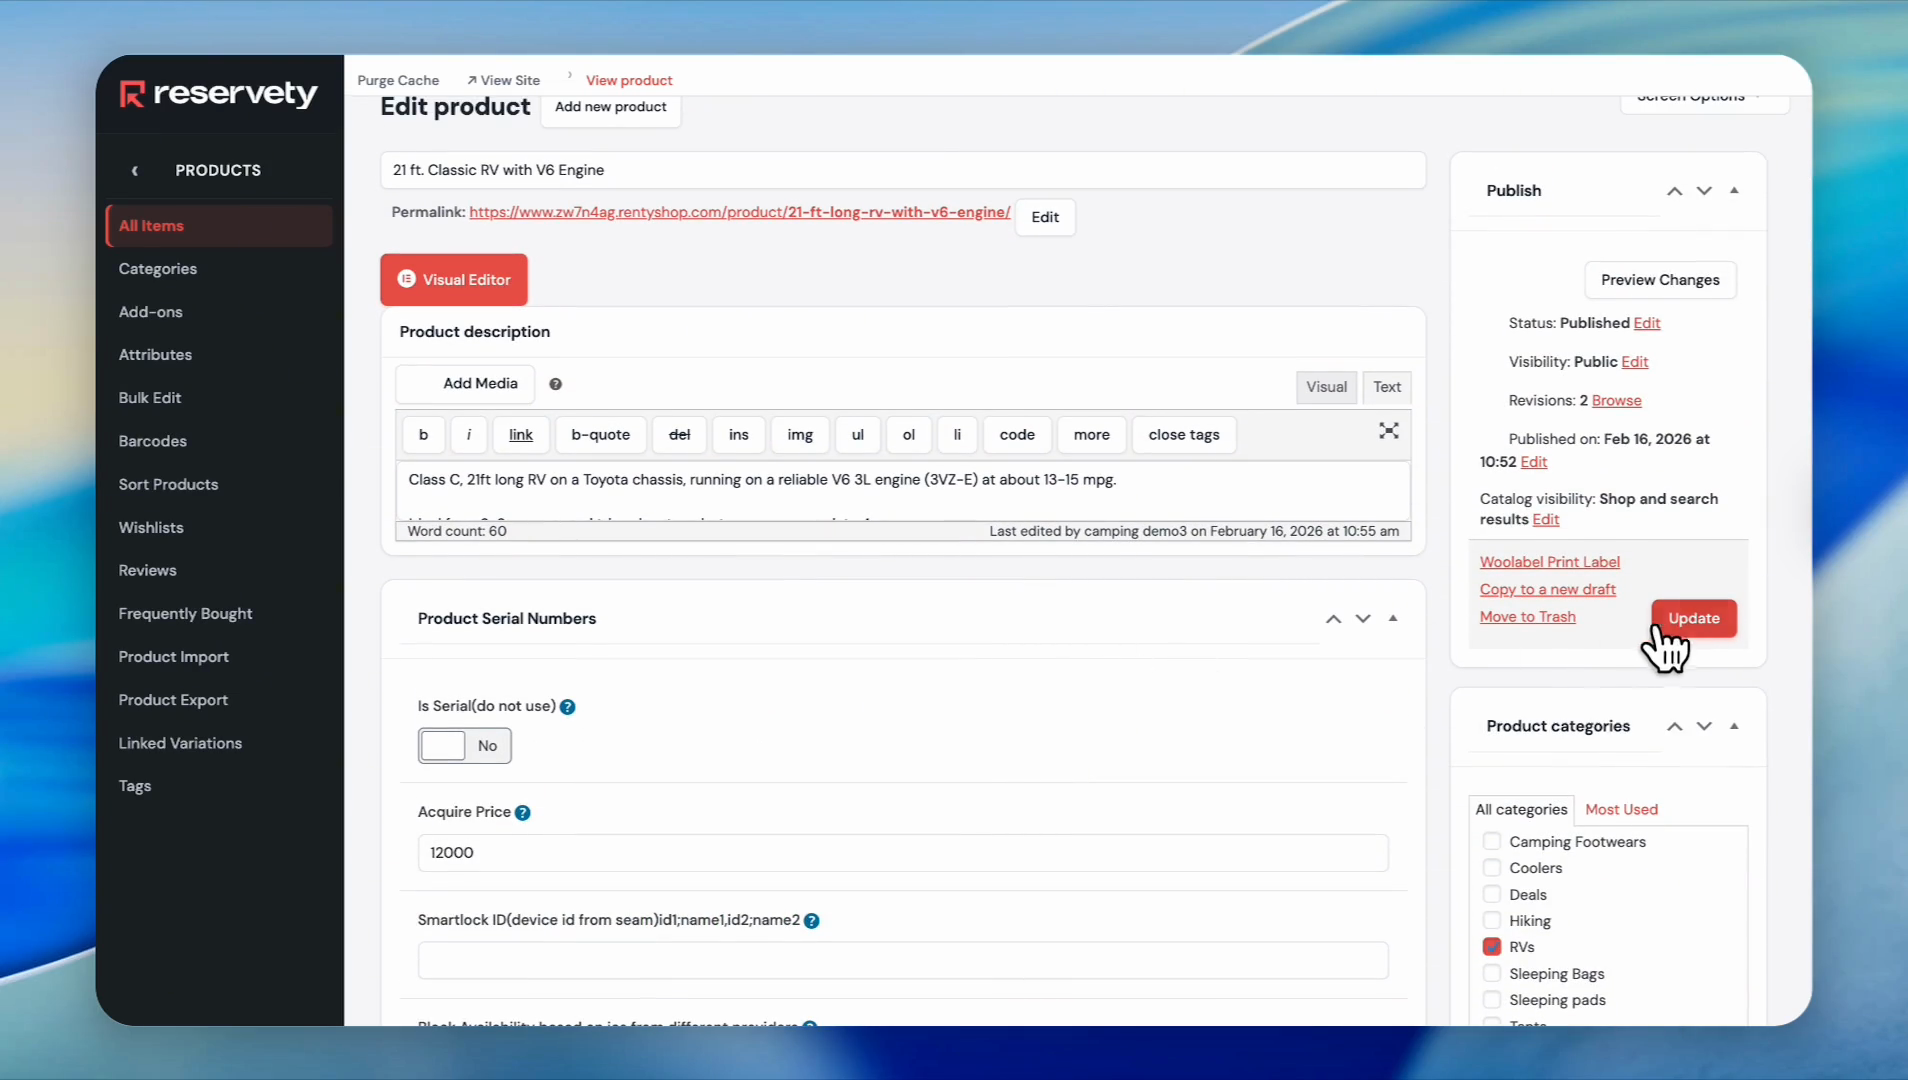
Select 'Event' from the dropdown menu
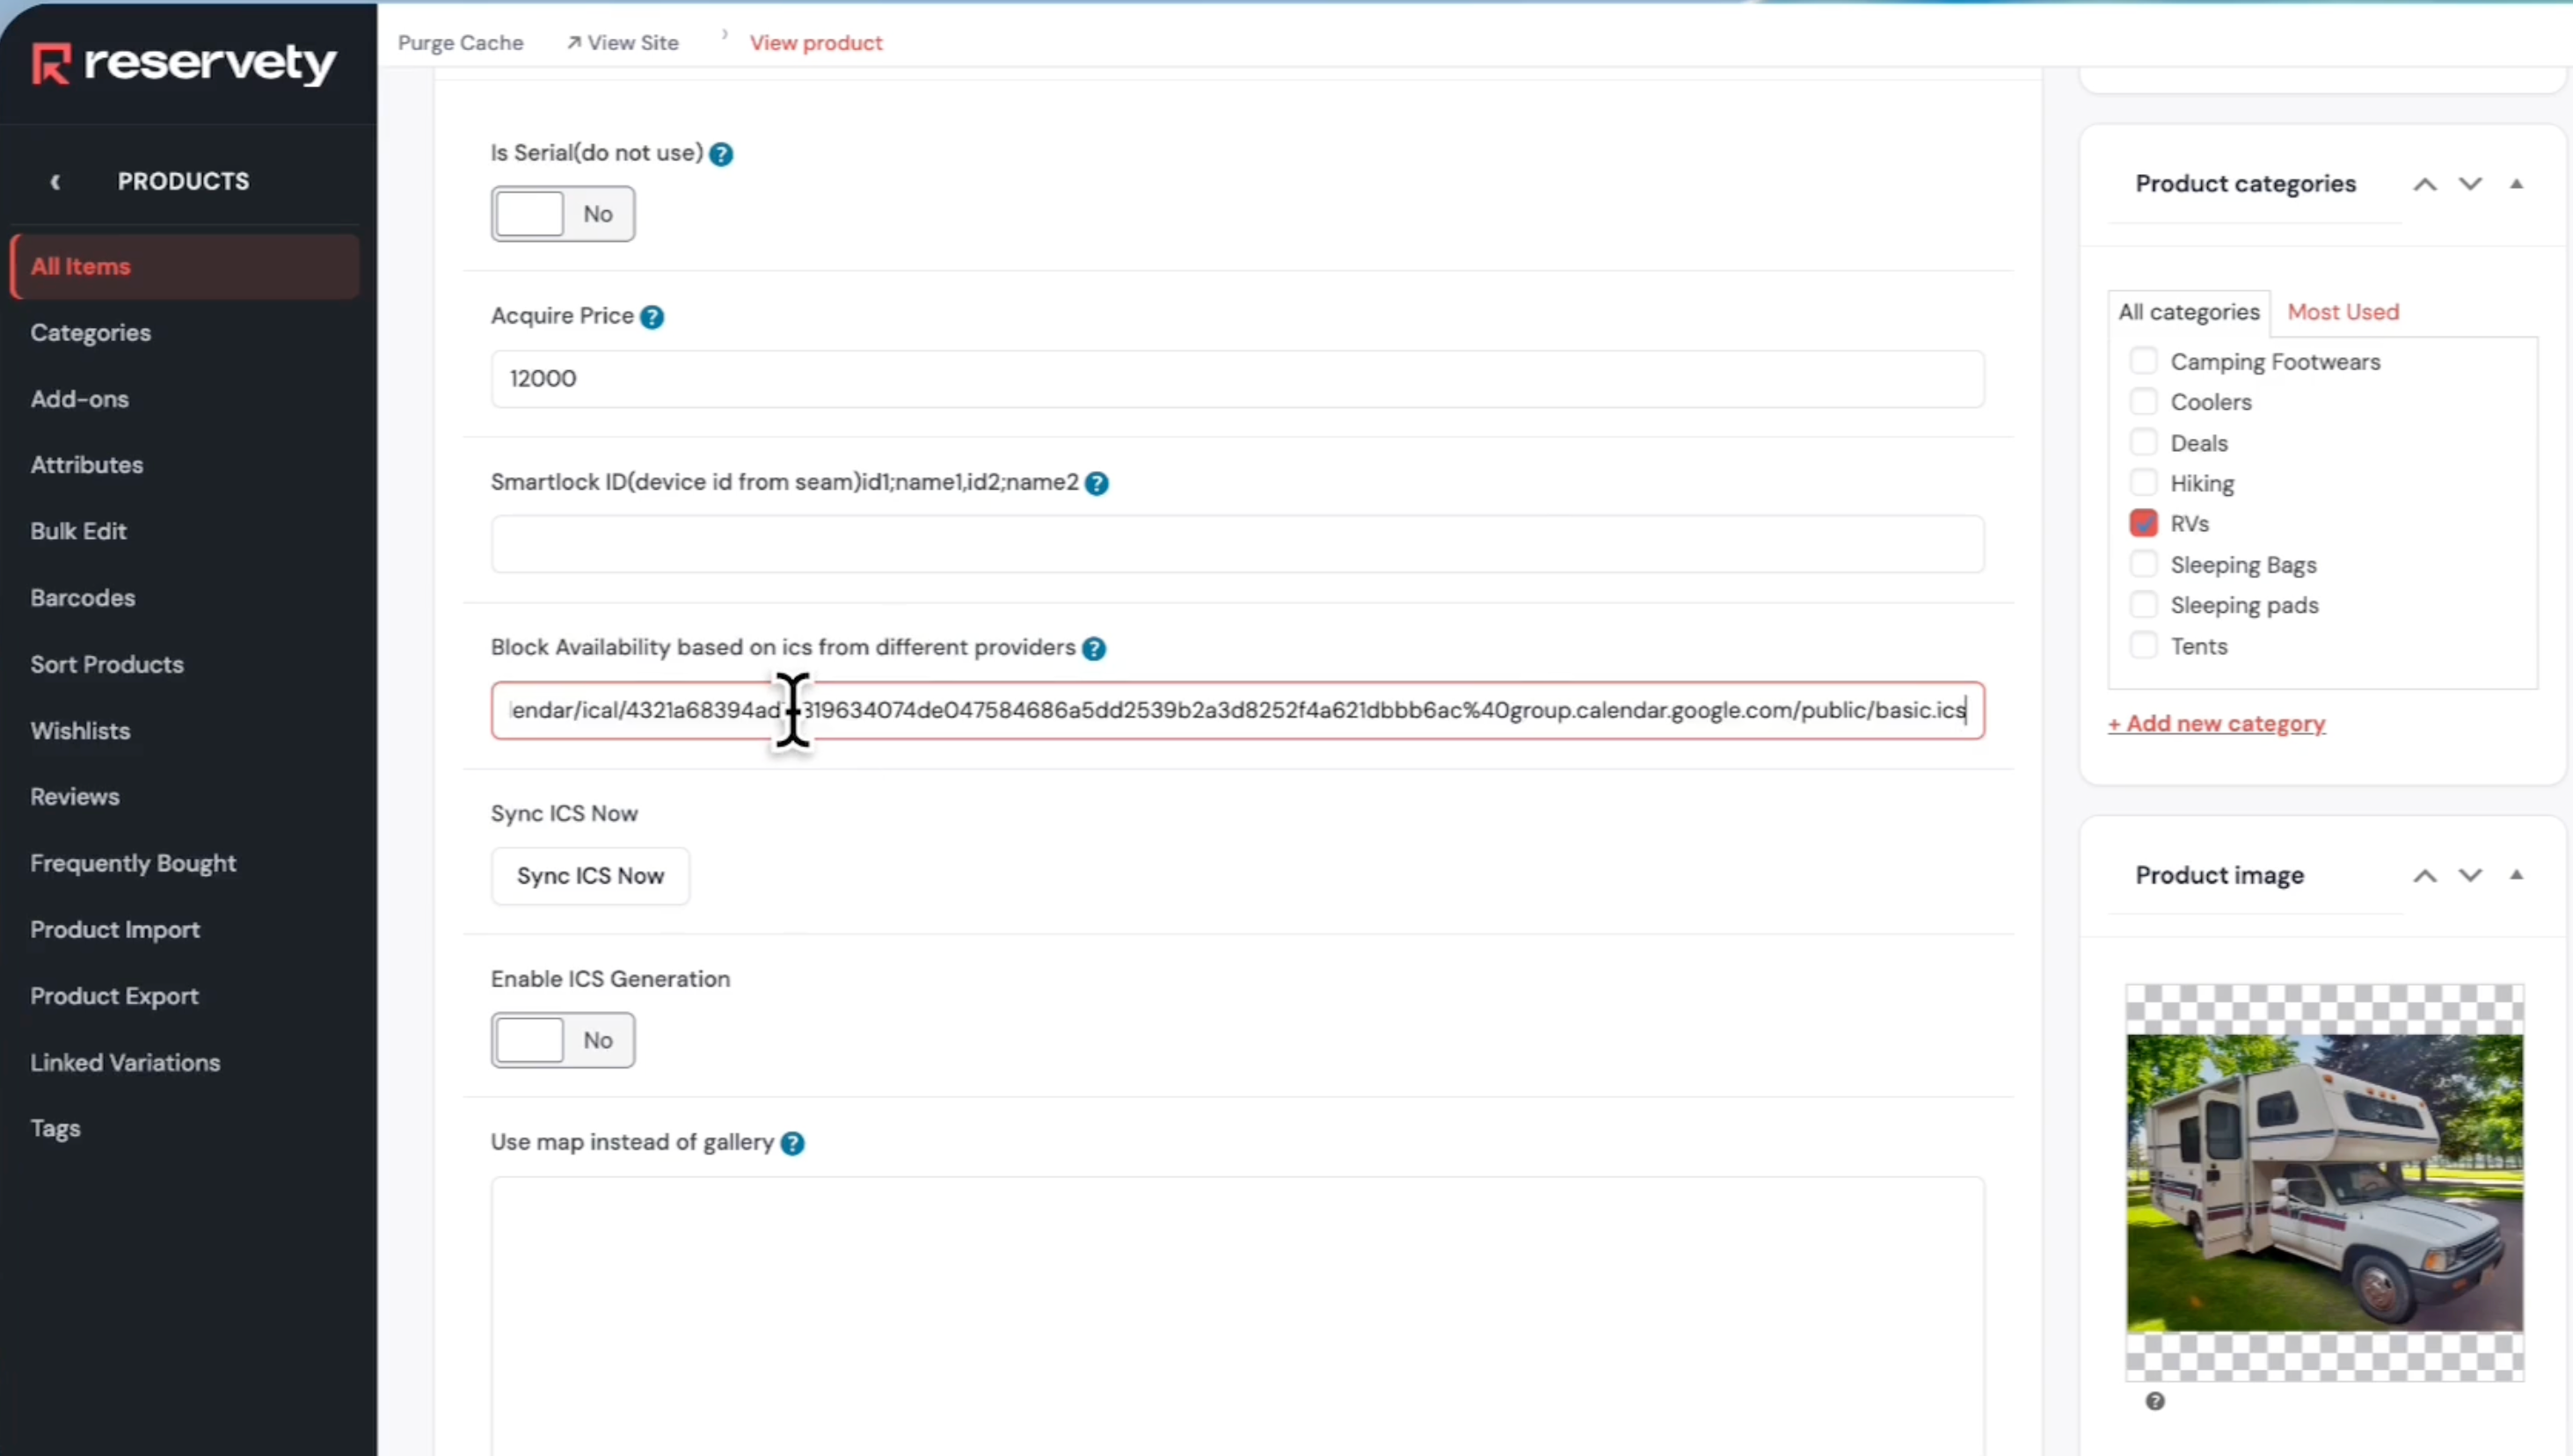
In this example, let's block Fridays from the booking system.
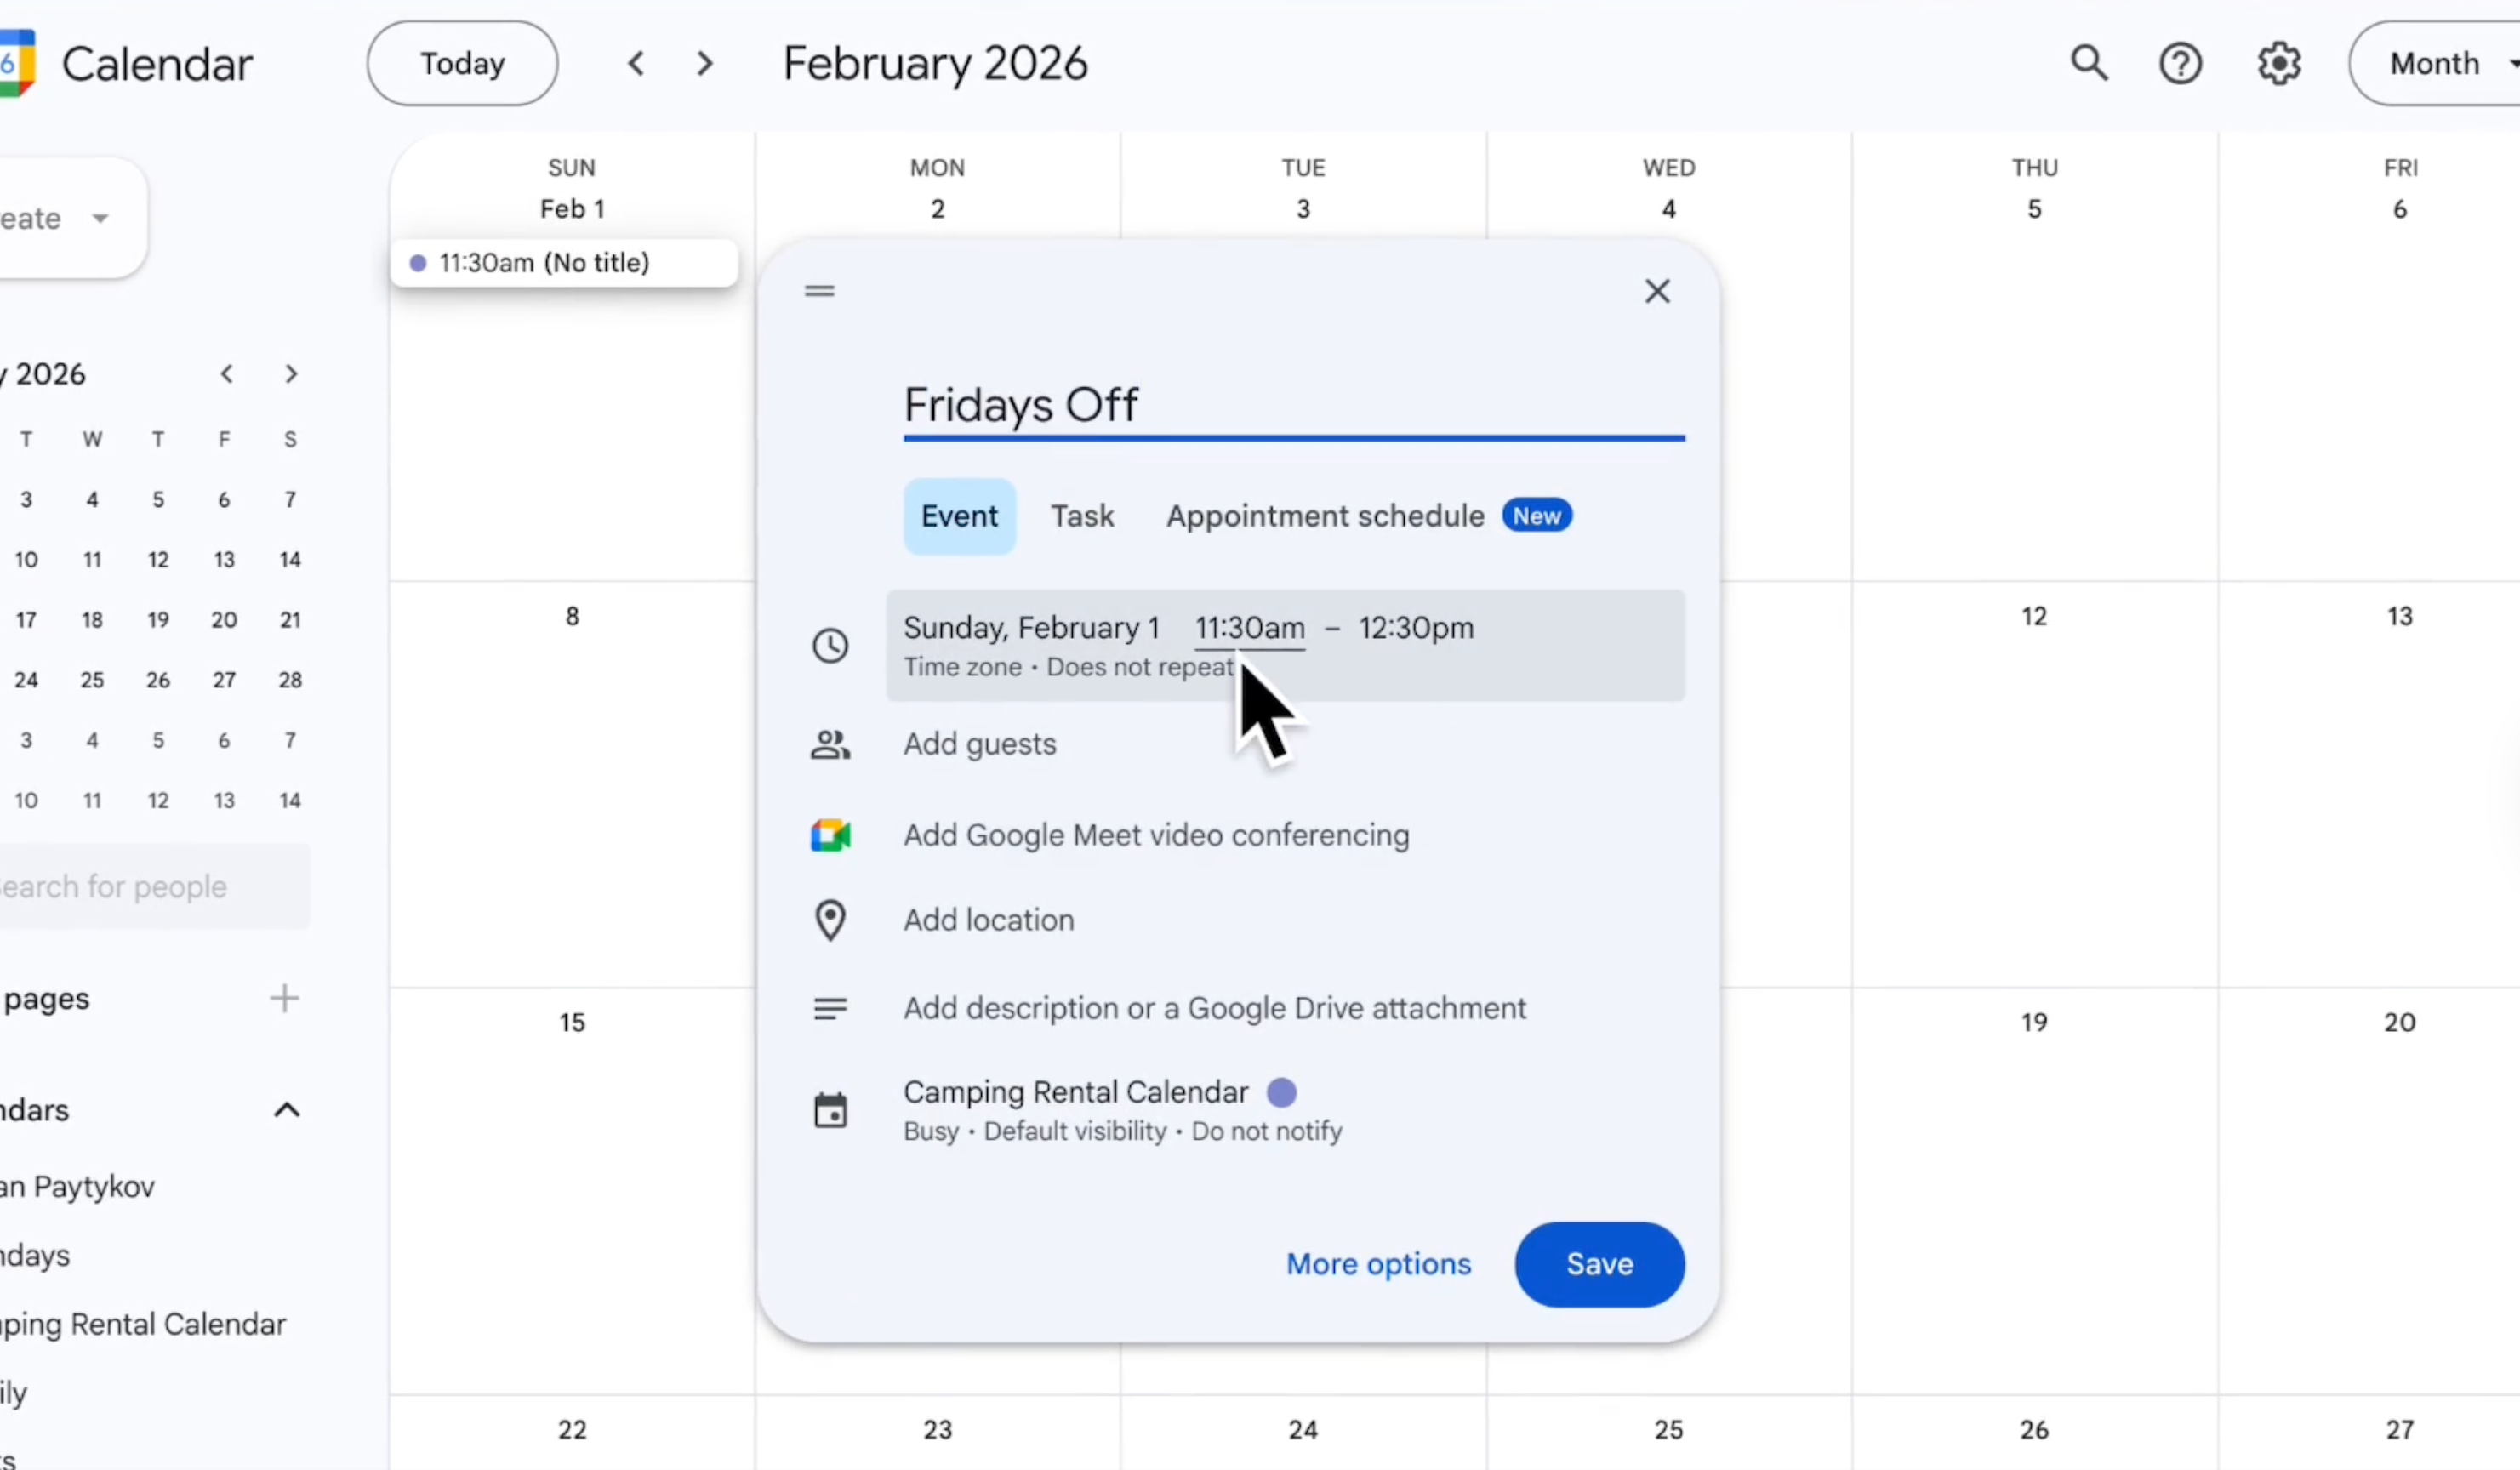
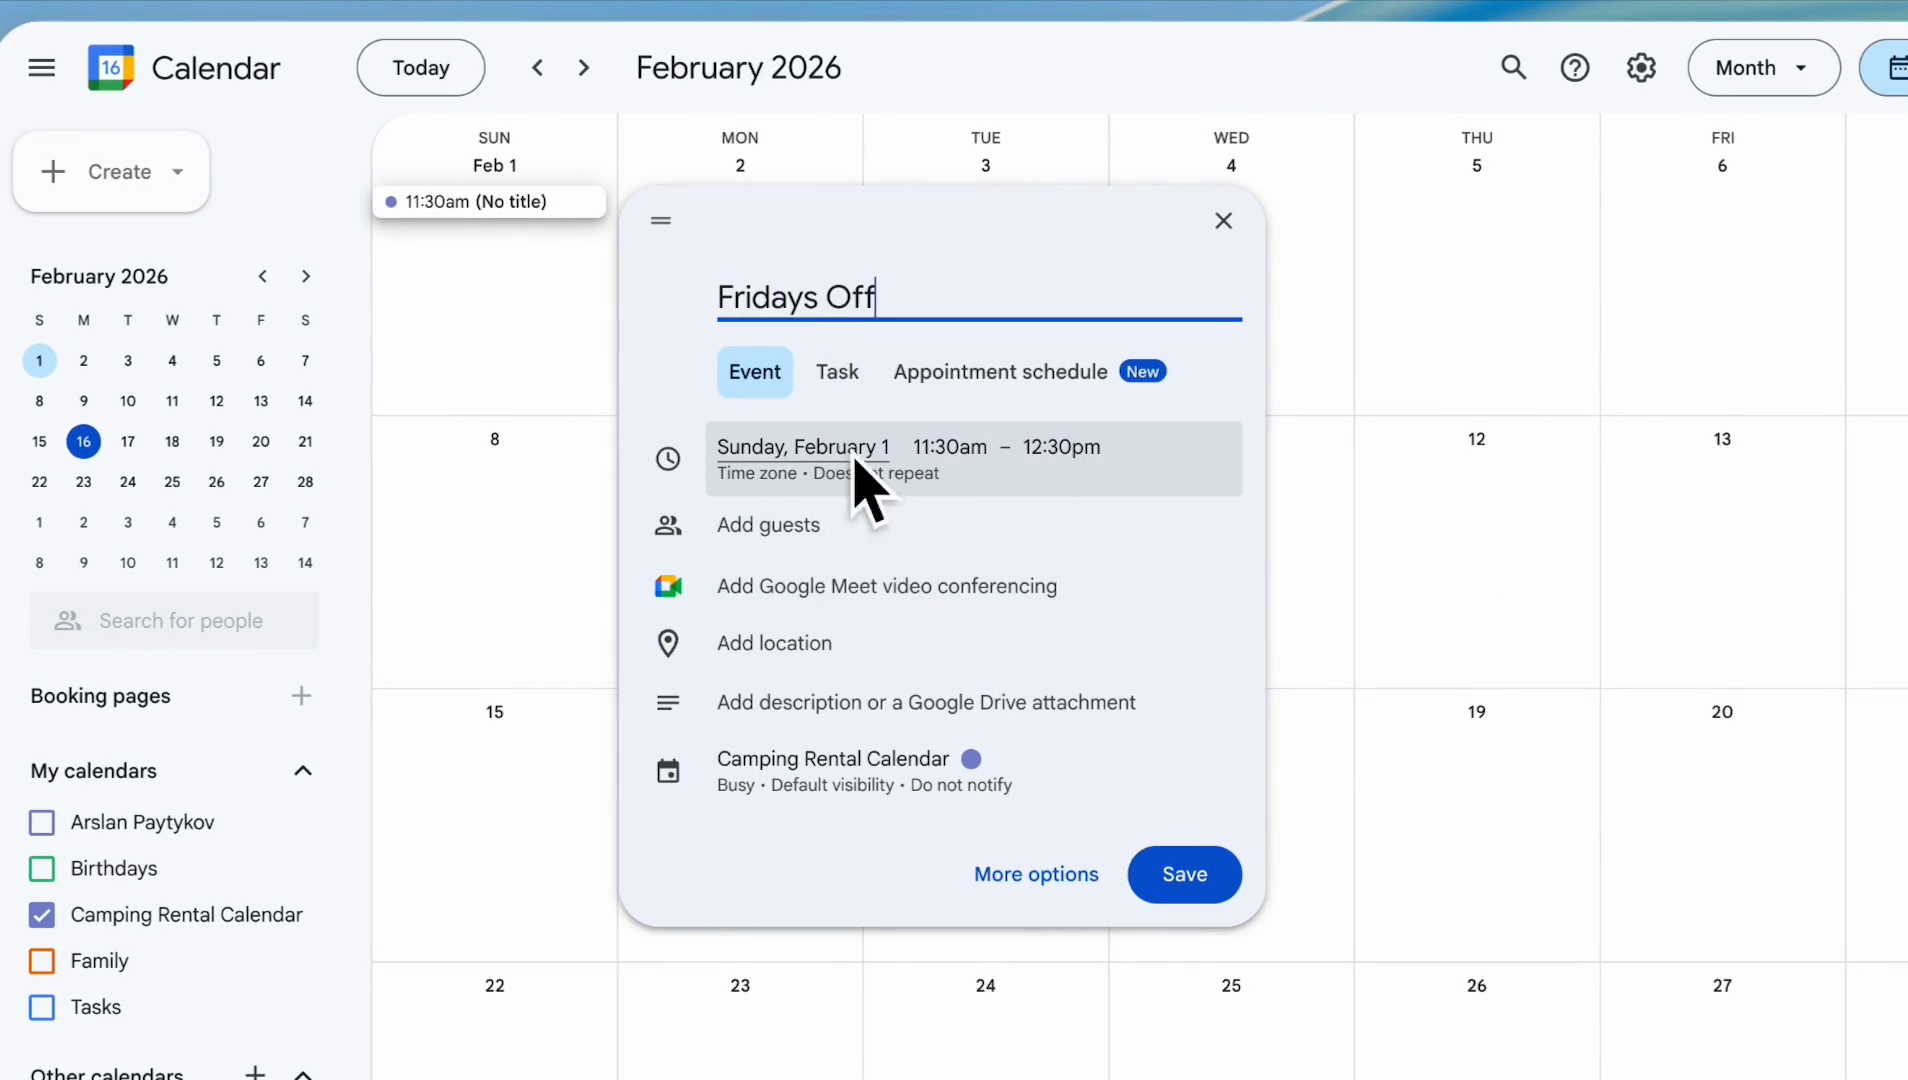
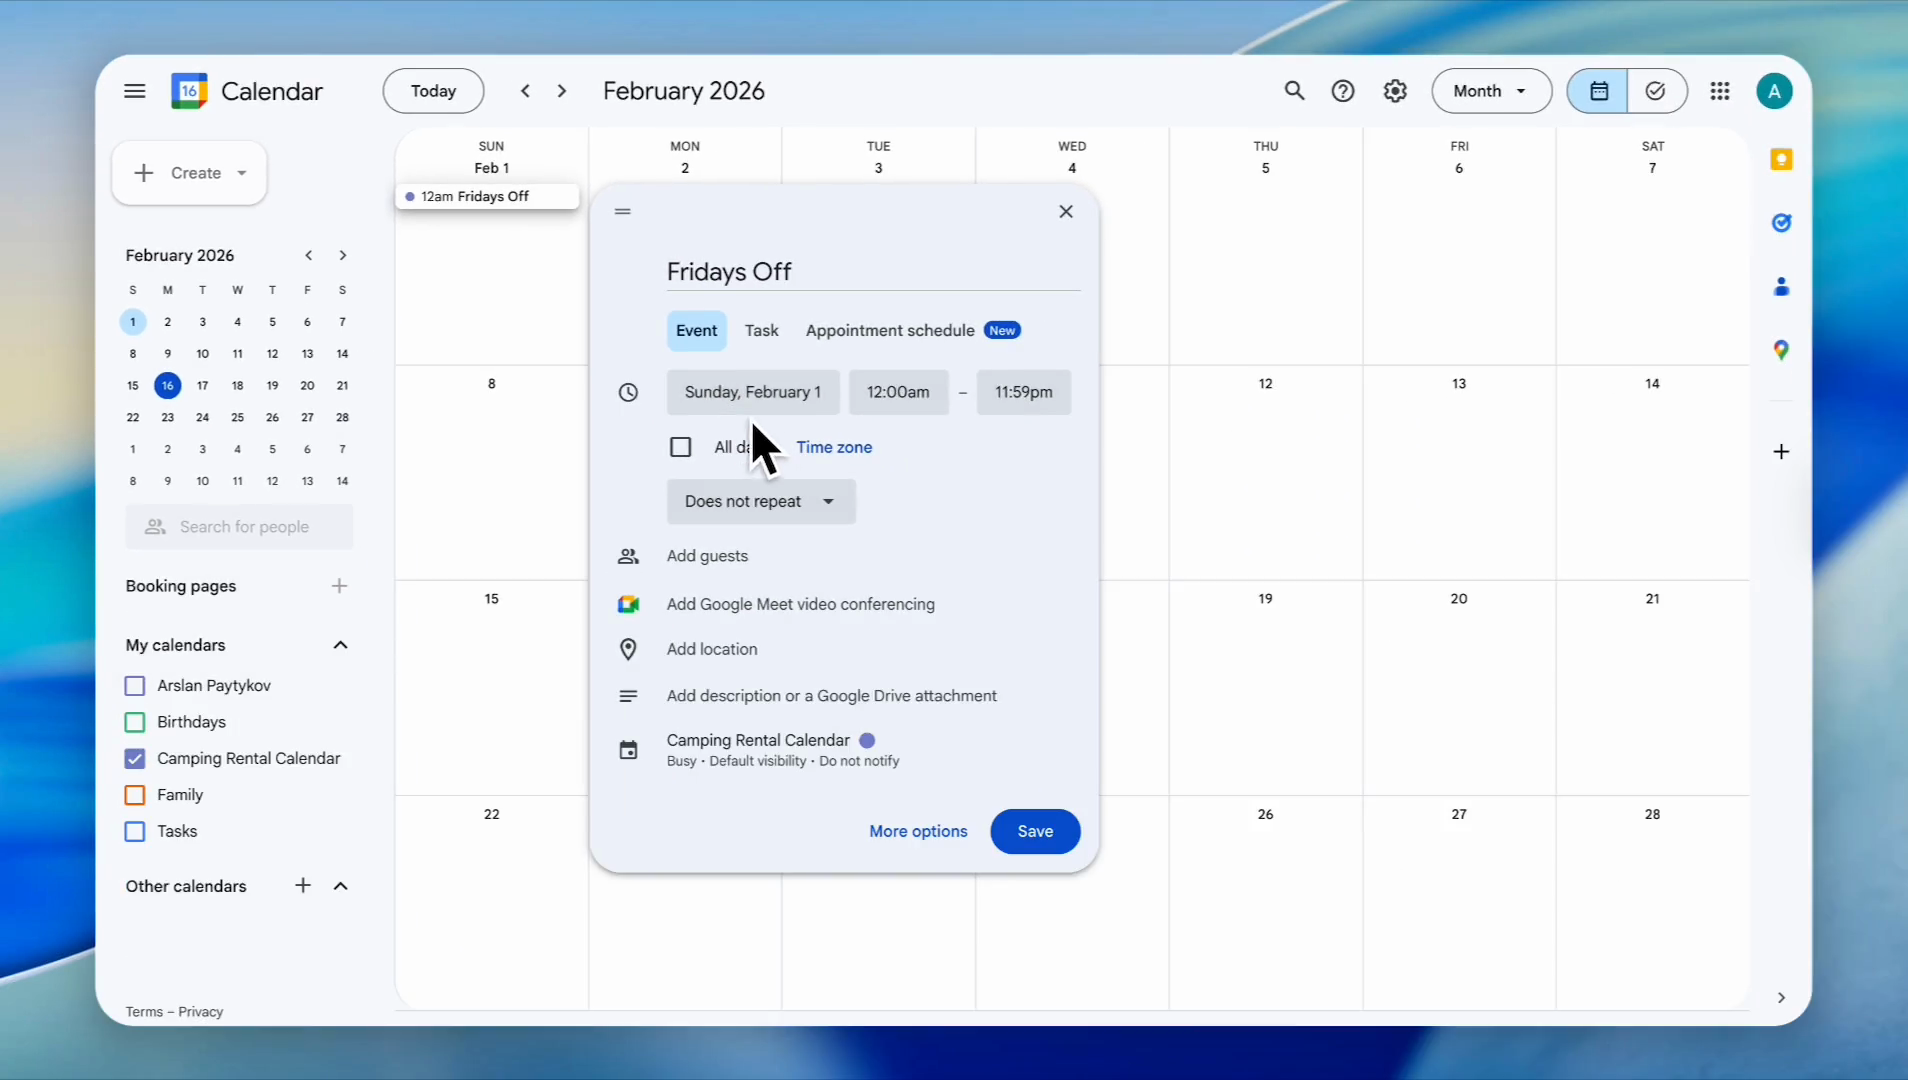
12
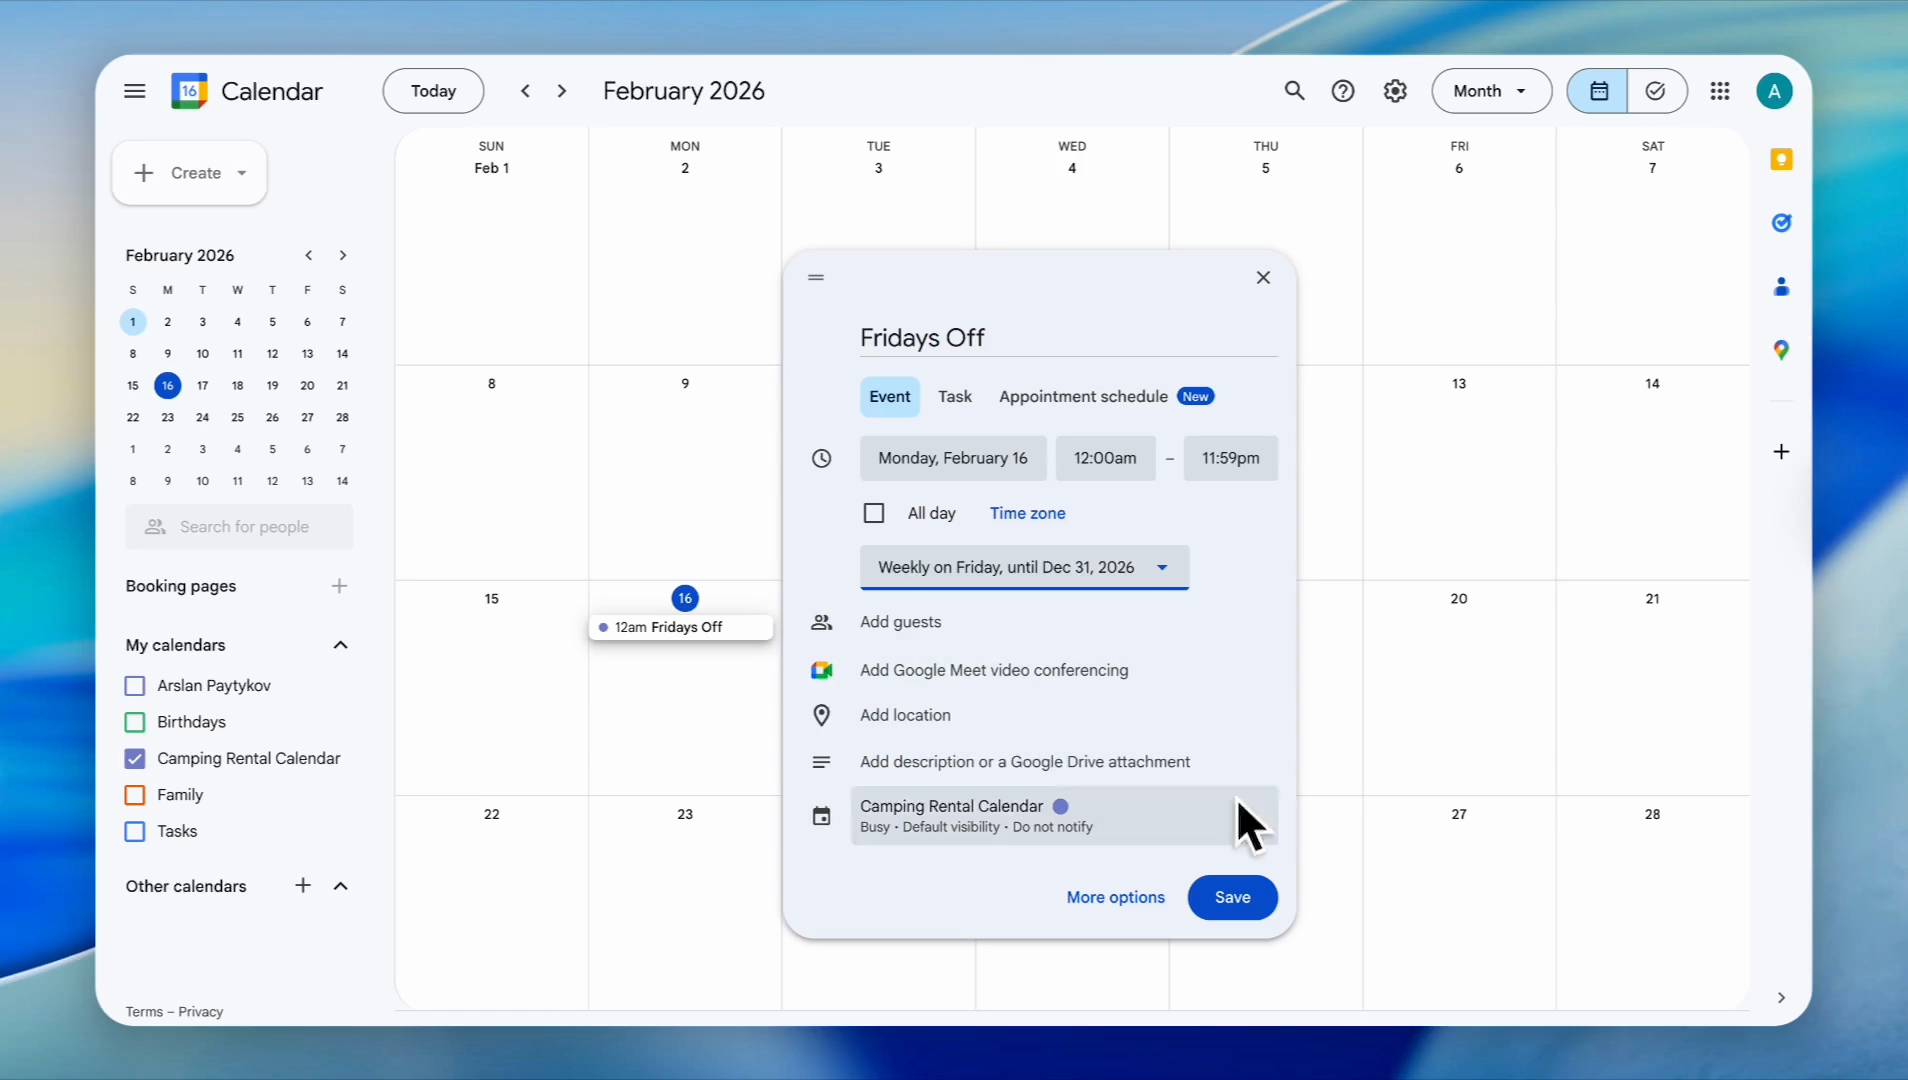
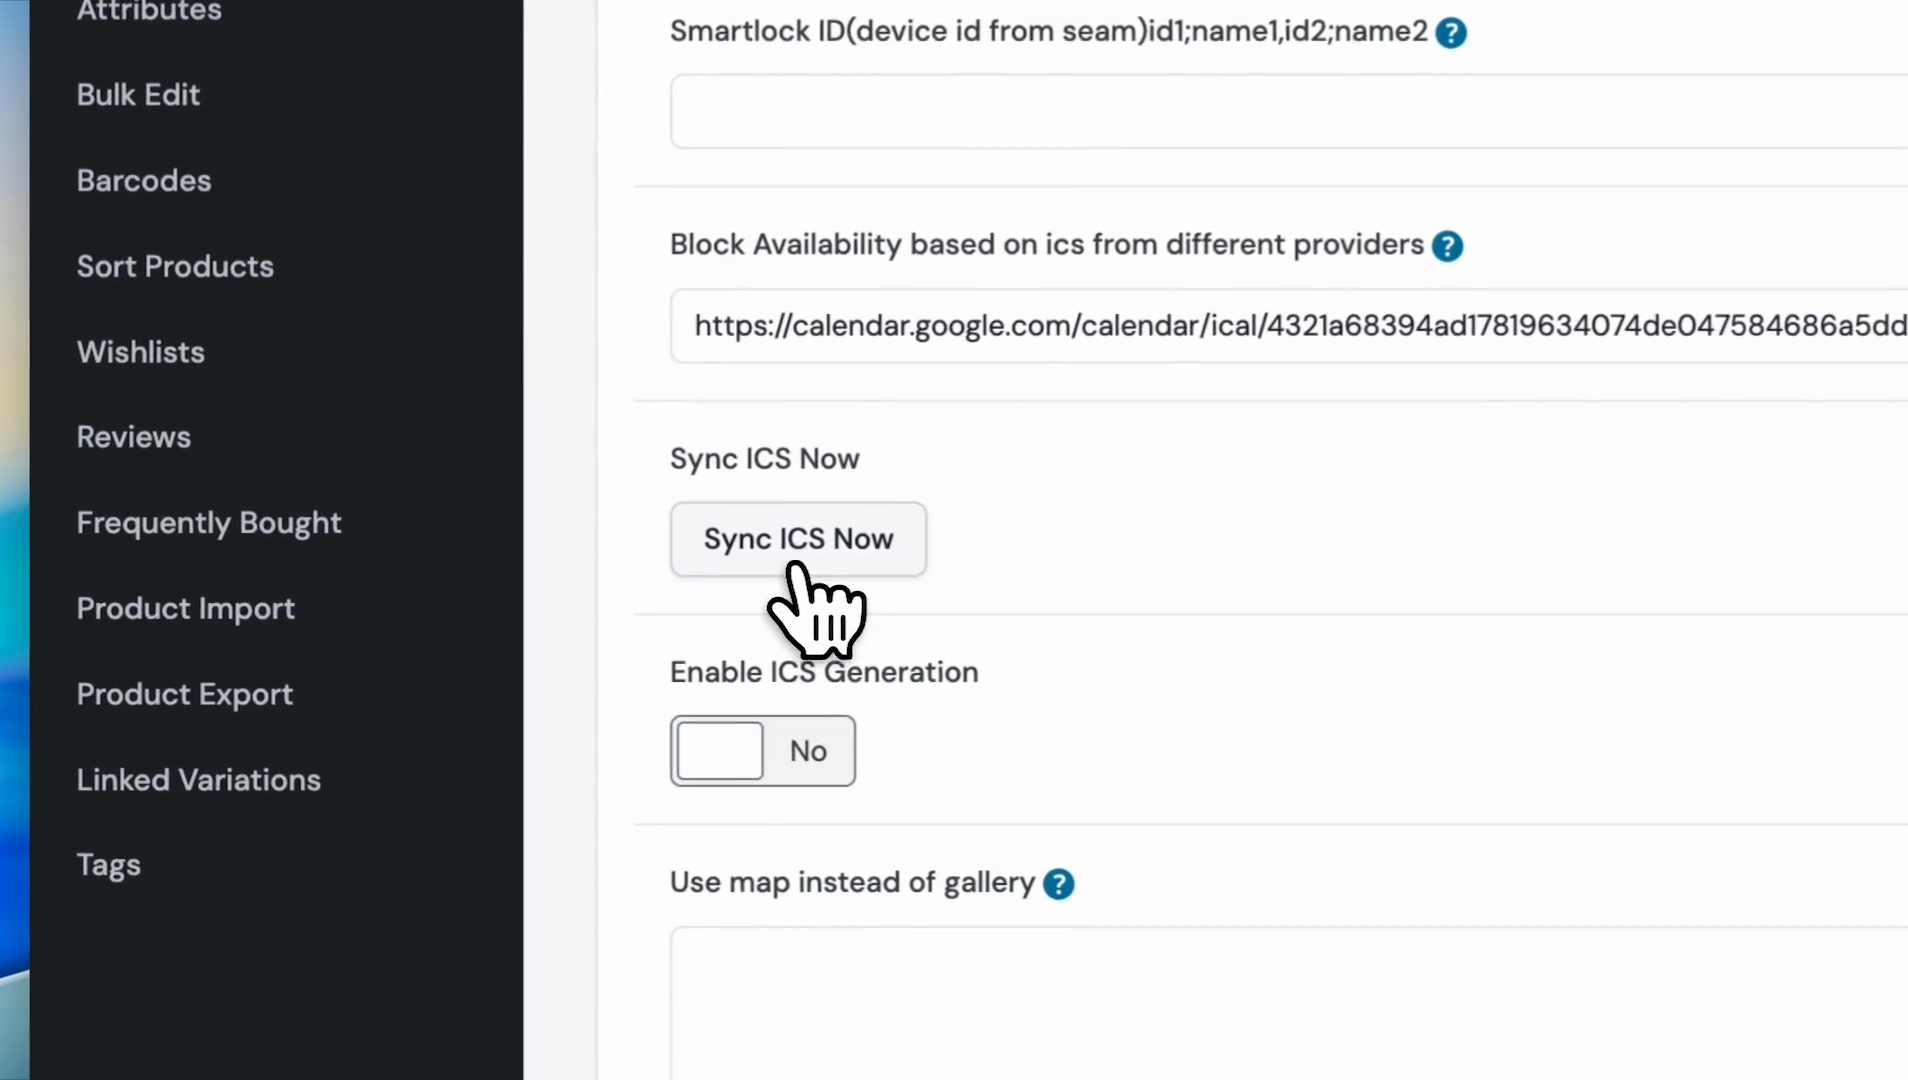
In the 'Add title' field, type the name for the event. In this case, we named it 'Fridays Off.'
13
Click on the date and time range button
Here, you need to select the date from which your blocking dates will be active.We will set the starting point at 16th and implement the blocking dates from 12:00 AM to 11:59 PM.
14
Select the start date for the event from the calendar.
Suppose you want to implement having Fridays off each week.
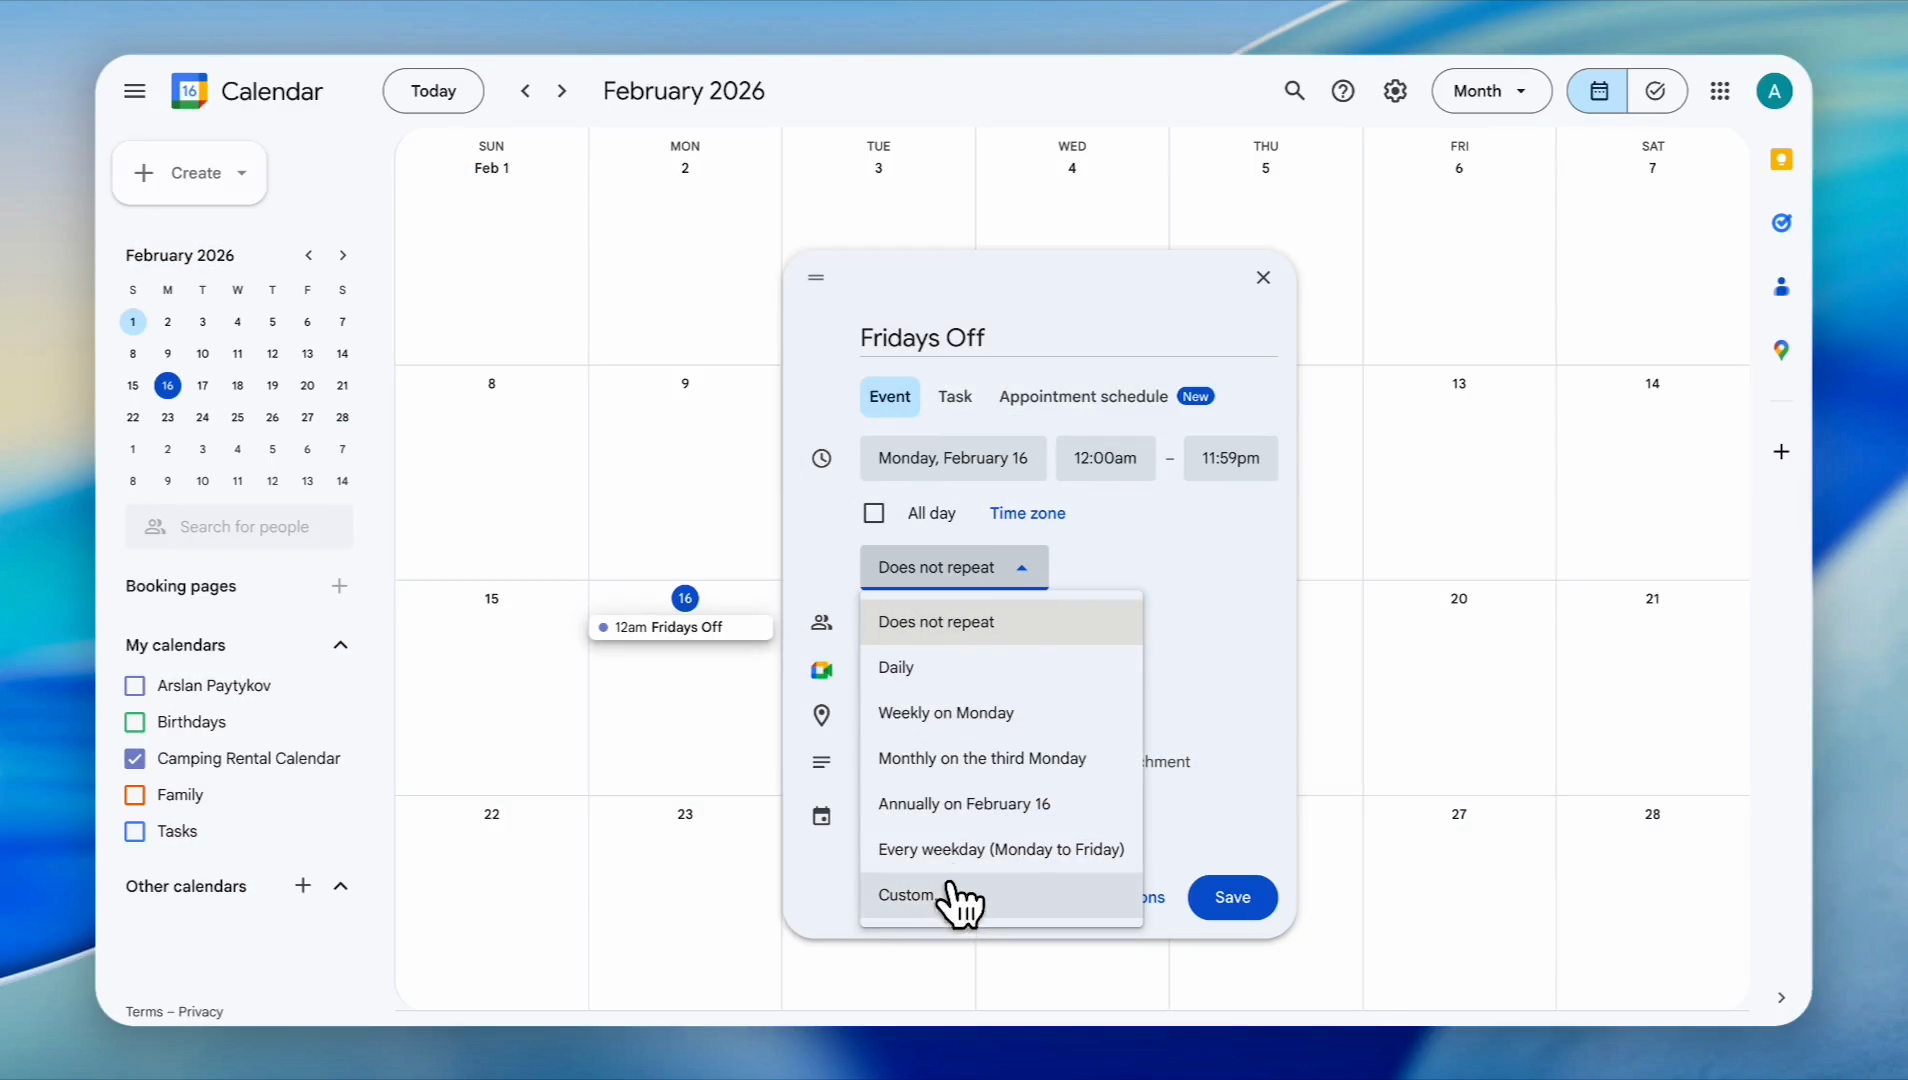
15
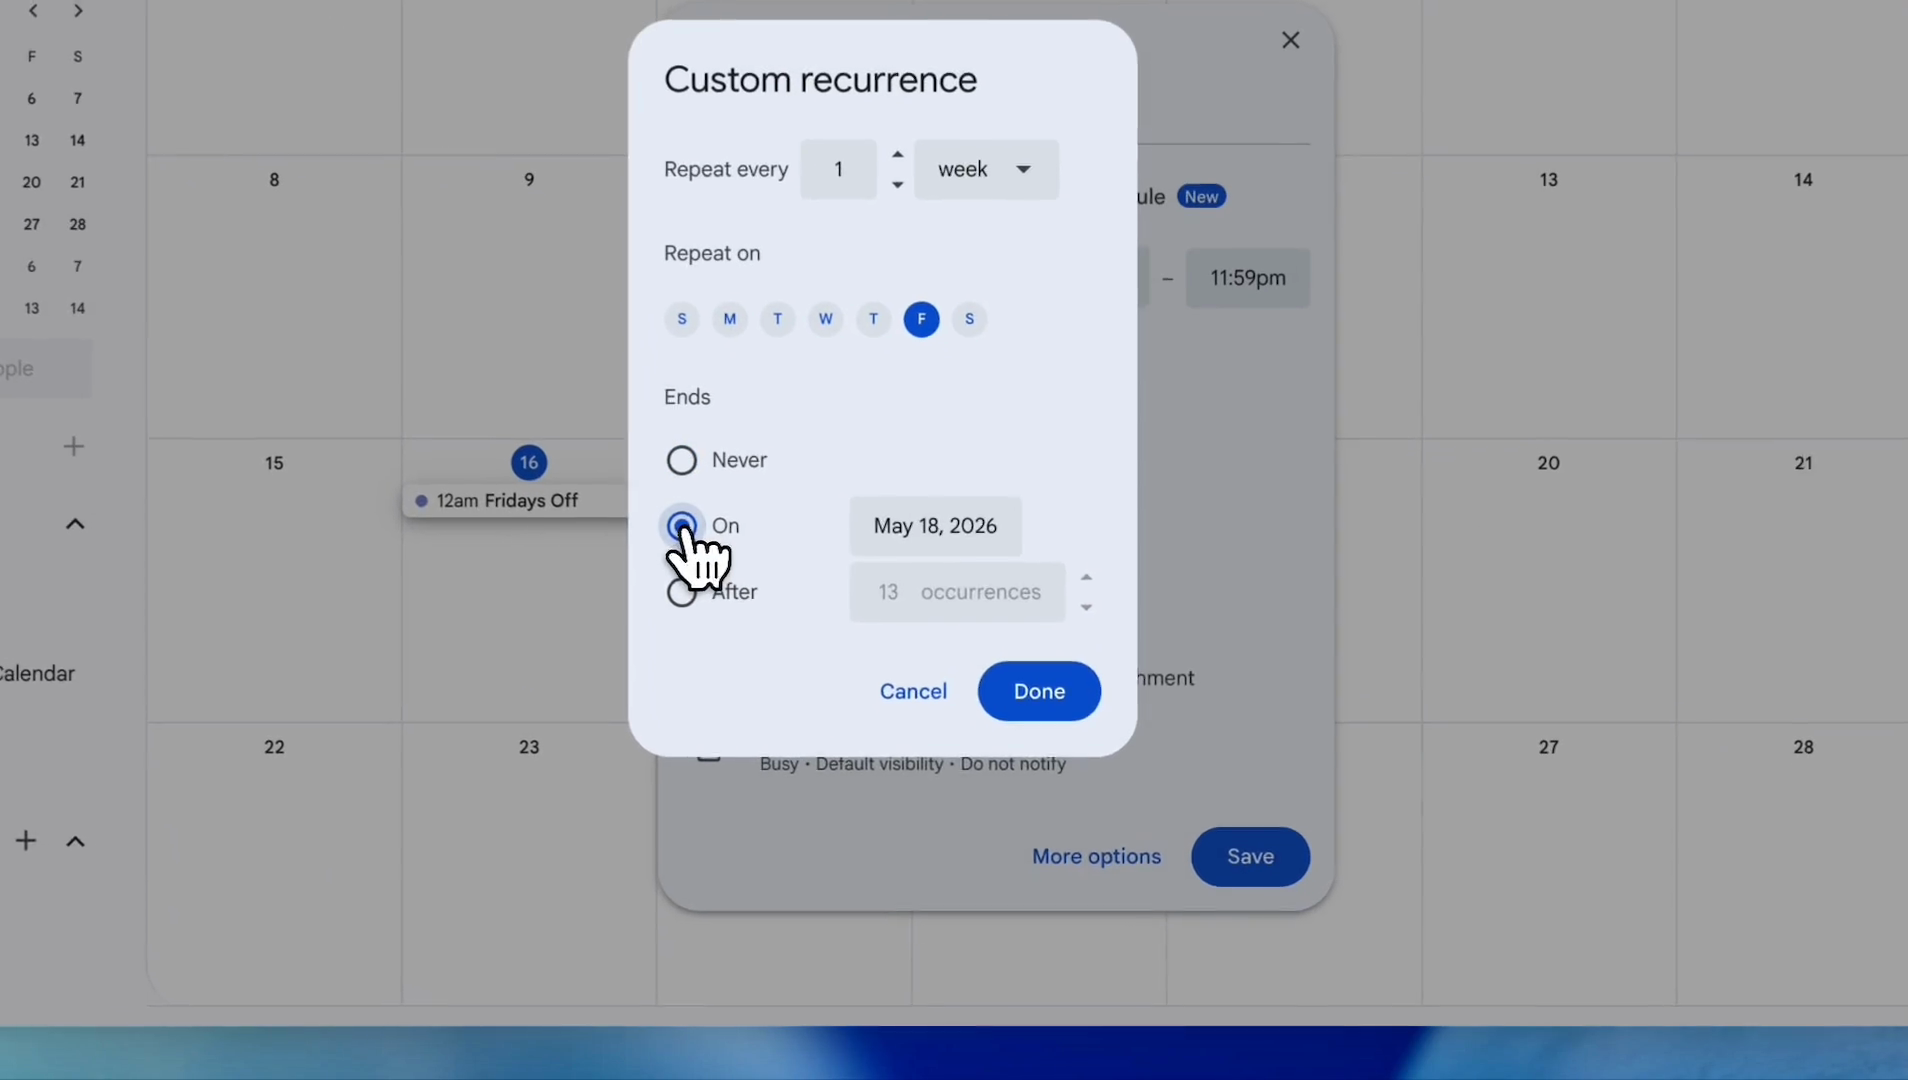
Click the 'Does not repeat' dropdown menu
16
Select 'Custom' from the list
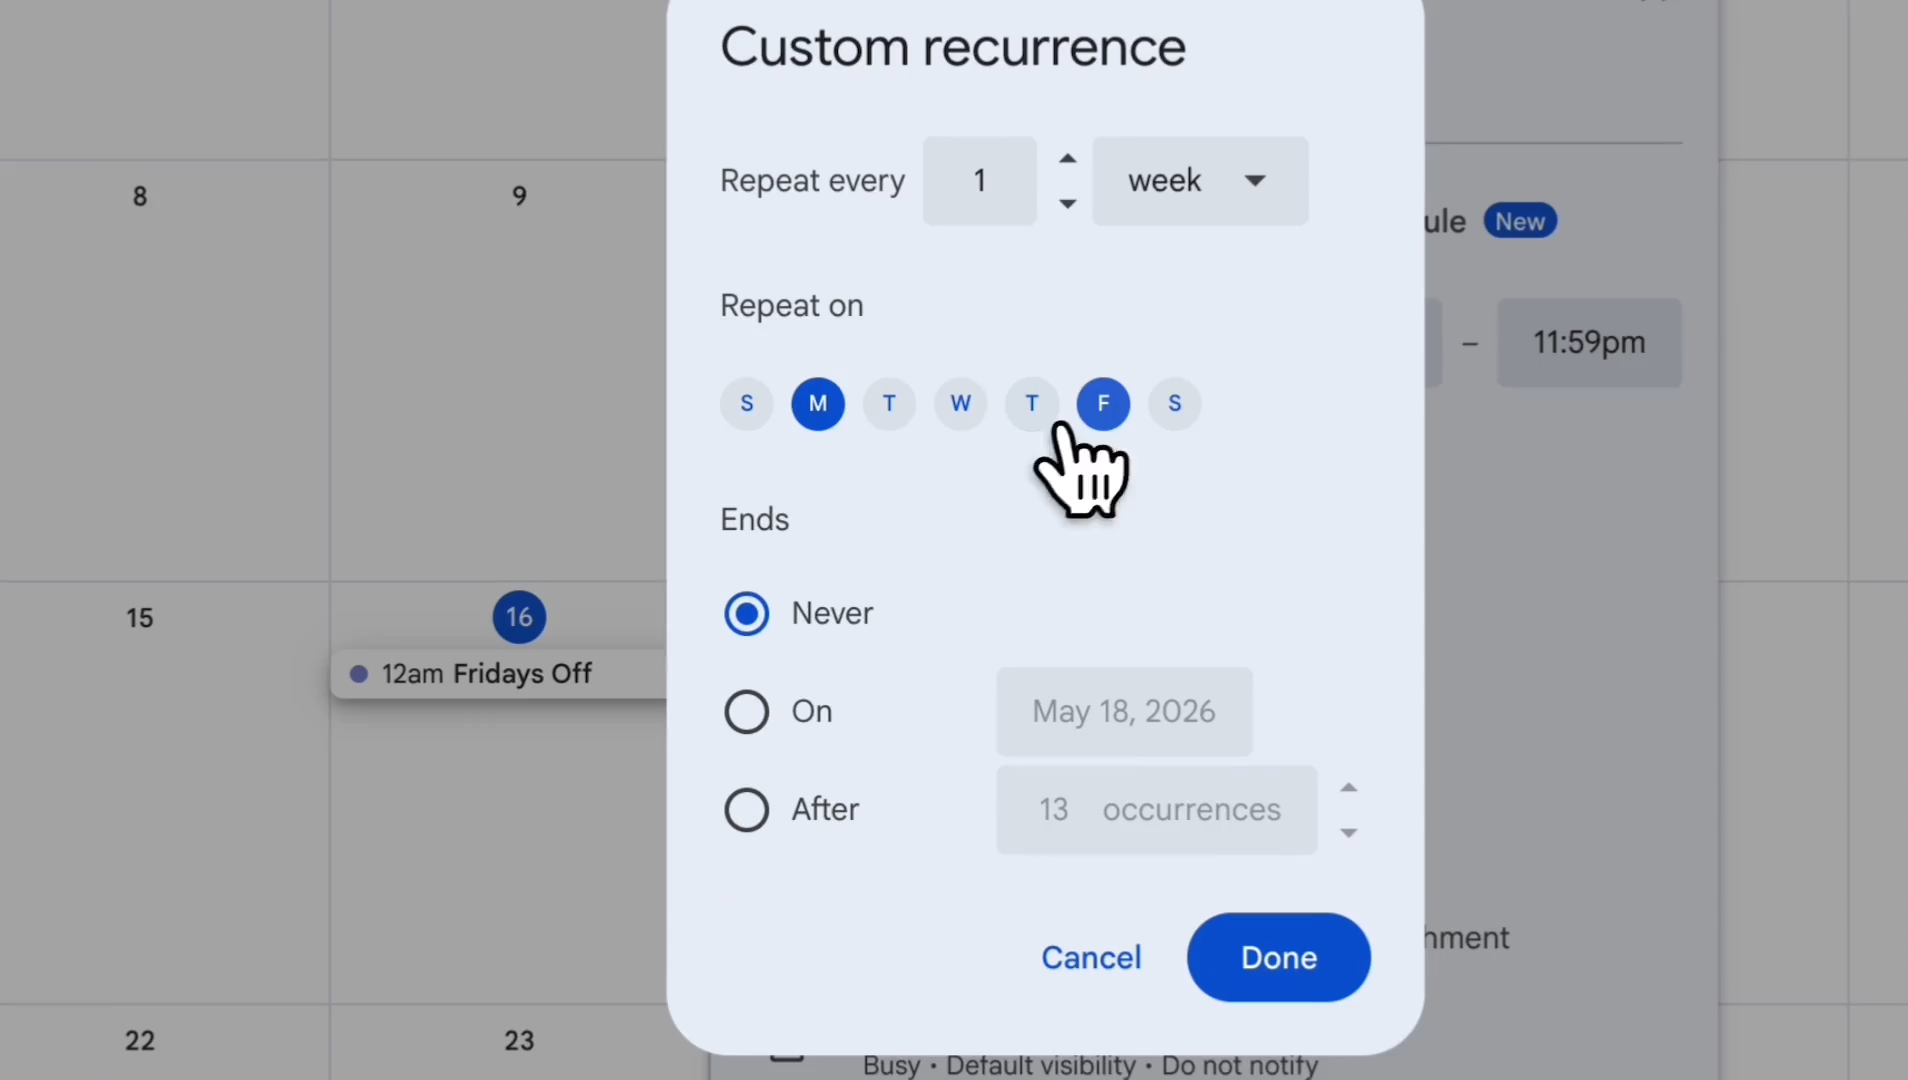
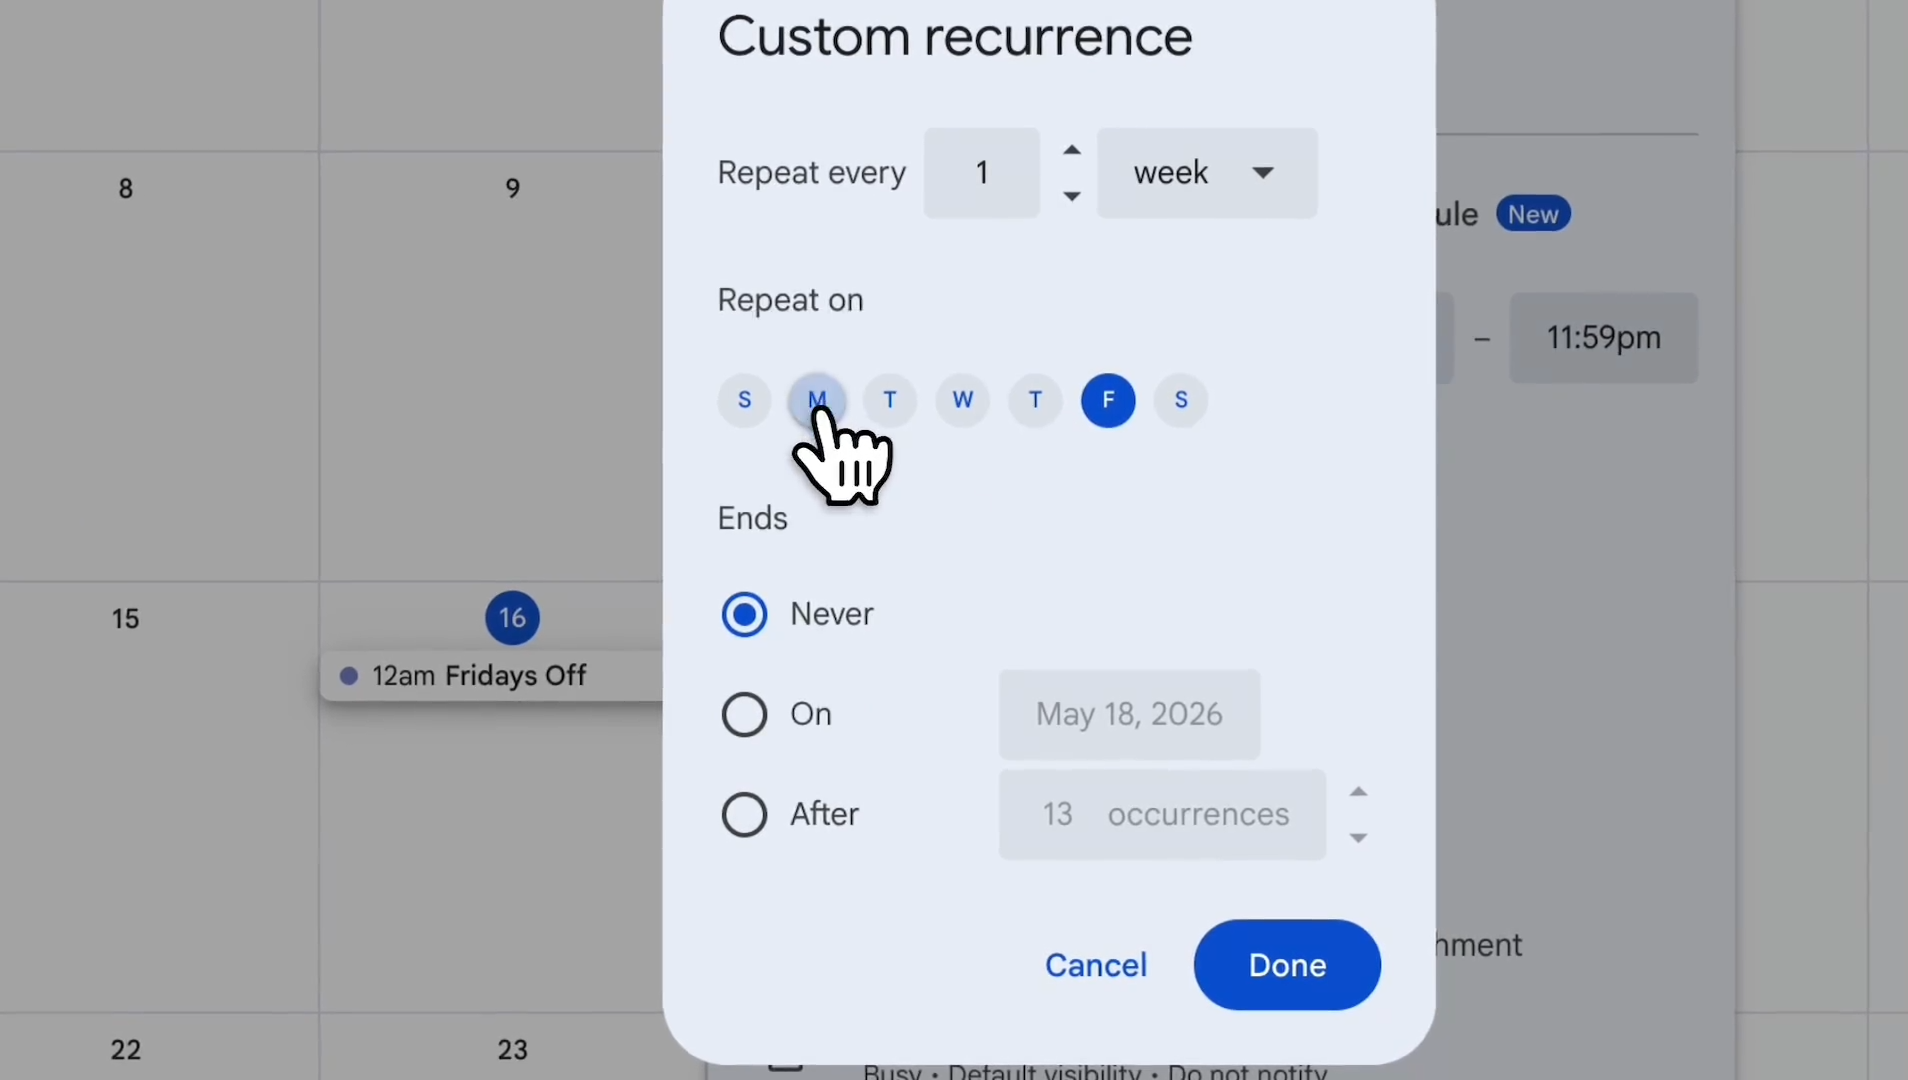
17
Under 'Repeat on', click to select 'F' for Friday
18
Click to uncheck 'M' for Monday
19
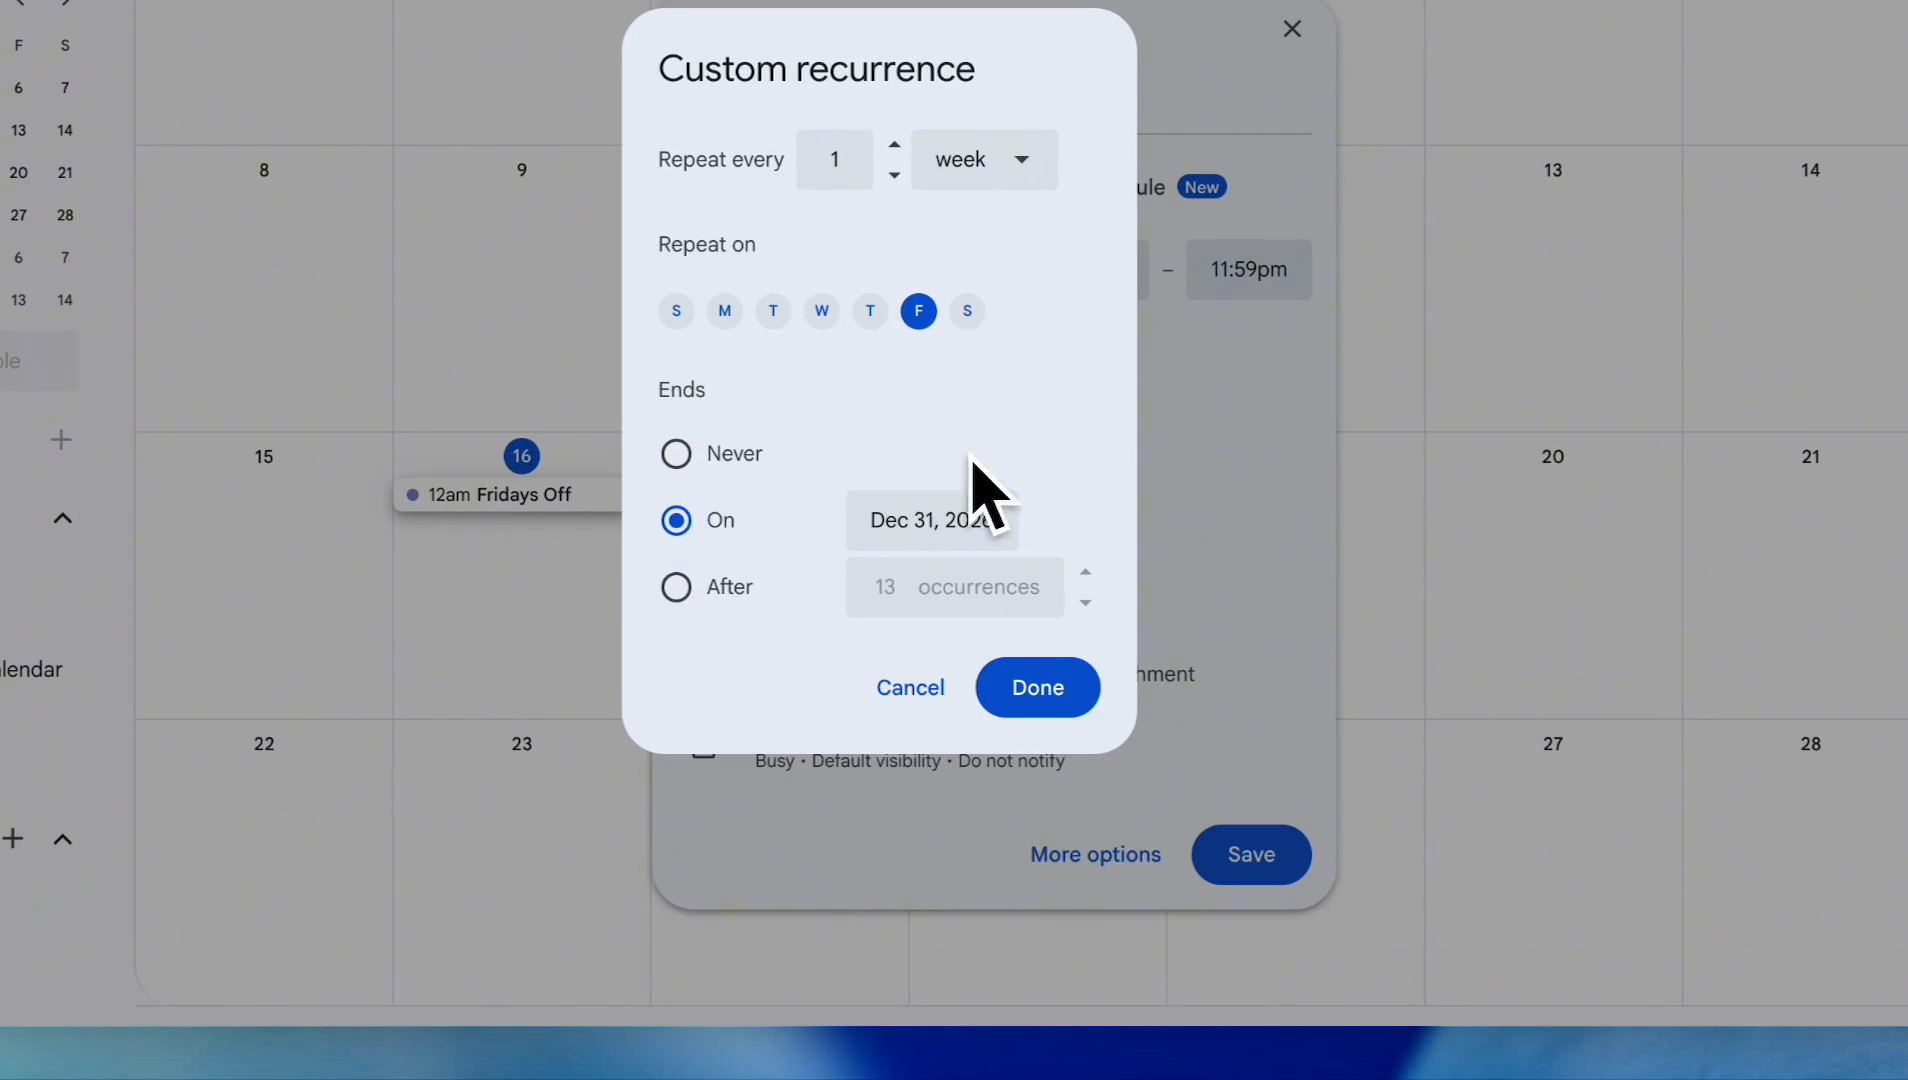
Under 'Ends', select the 'On' radio button to set an end date if you want the blocking date to end at a specific time
20
We want to end the blocking dates on December 31st. Select December 31st, then click Done.
21
Click the 'Save' button.
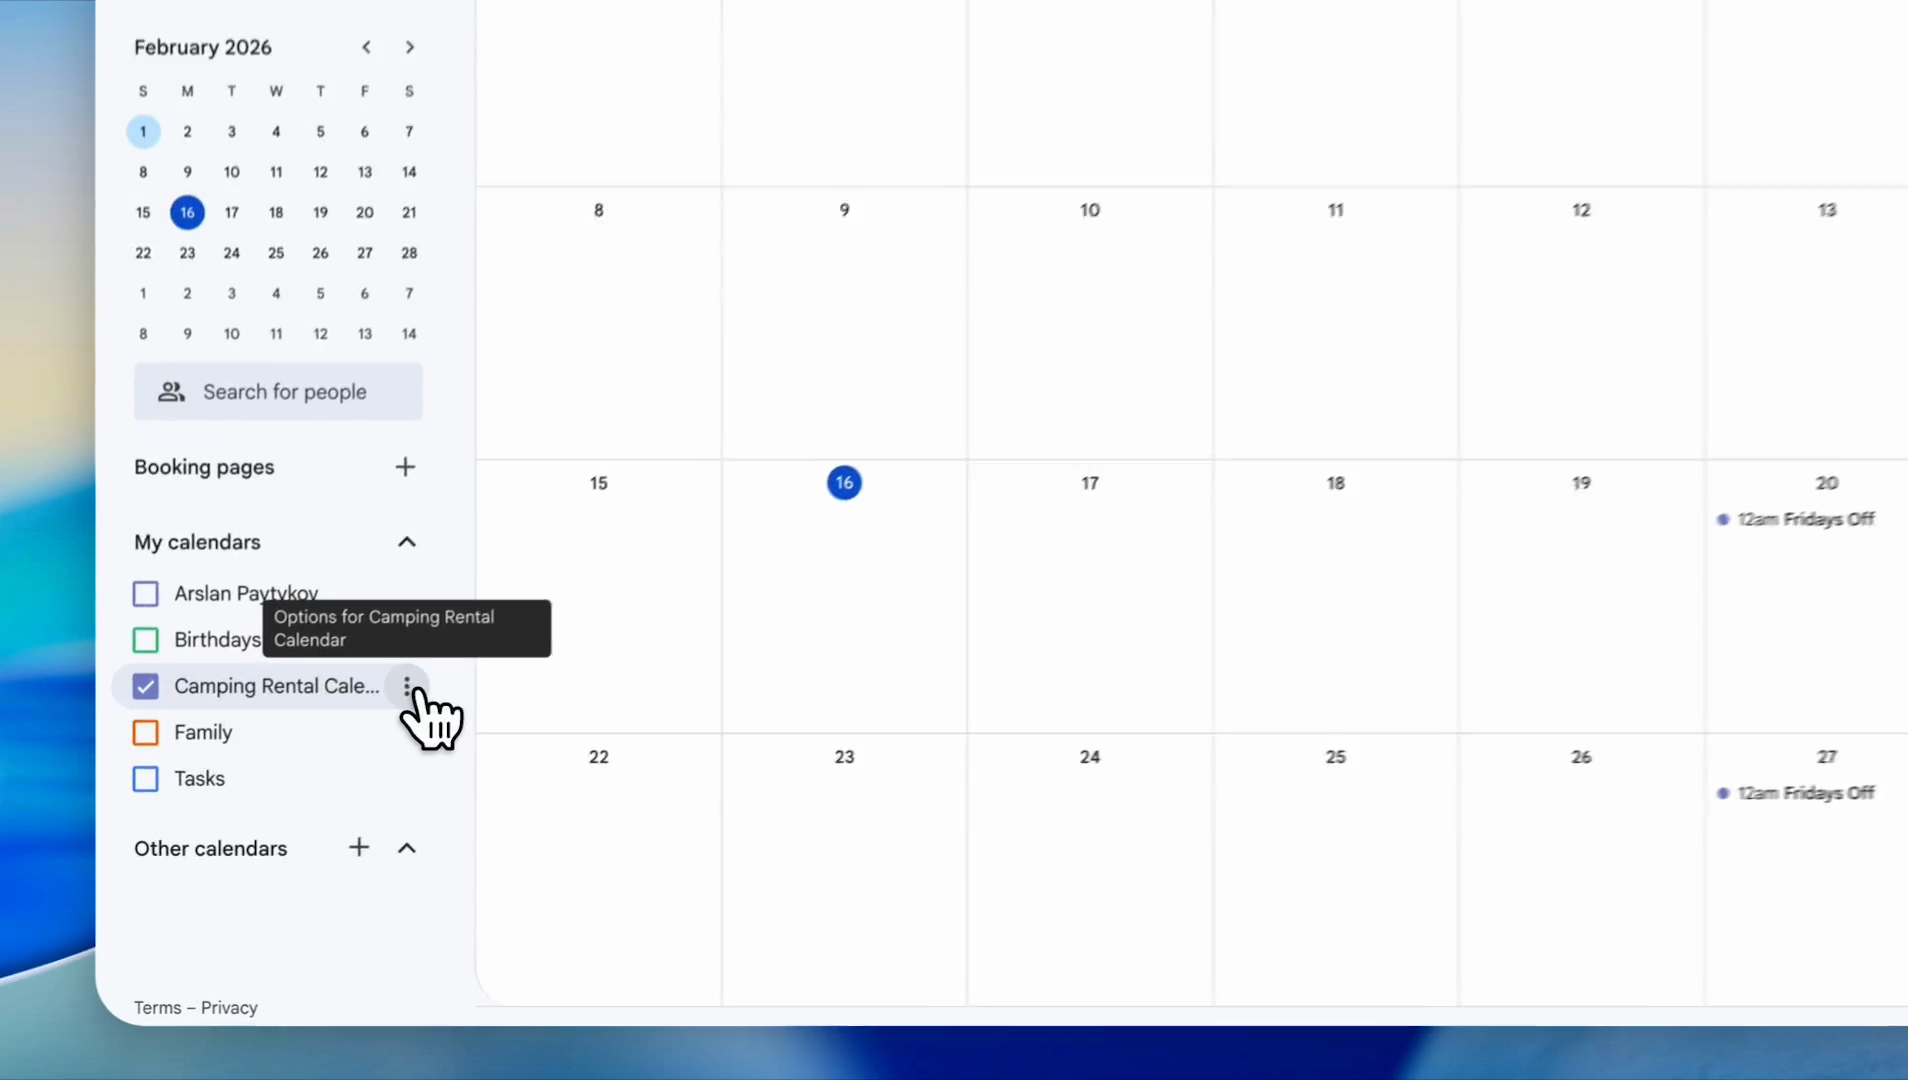
22
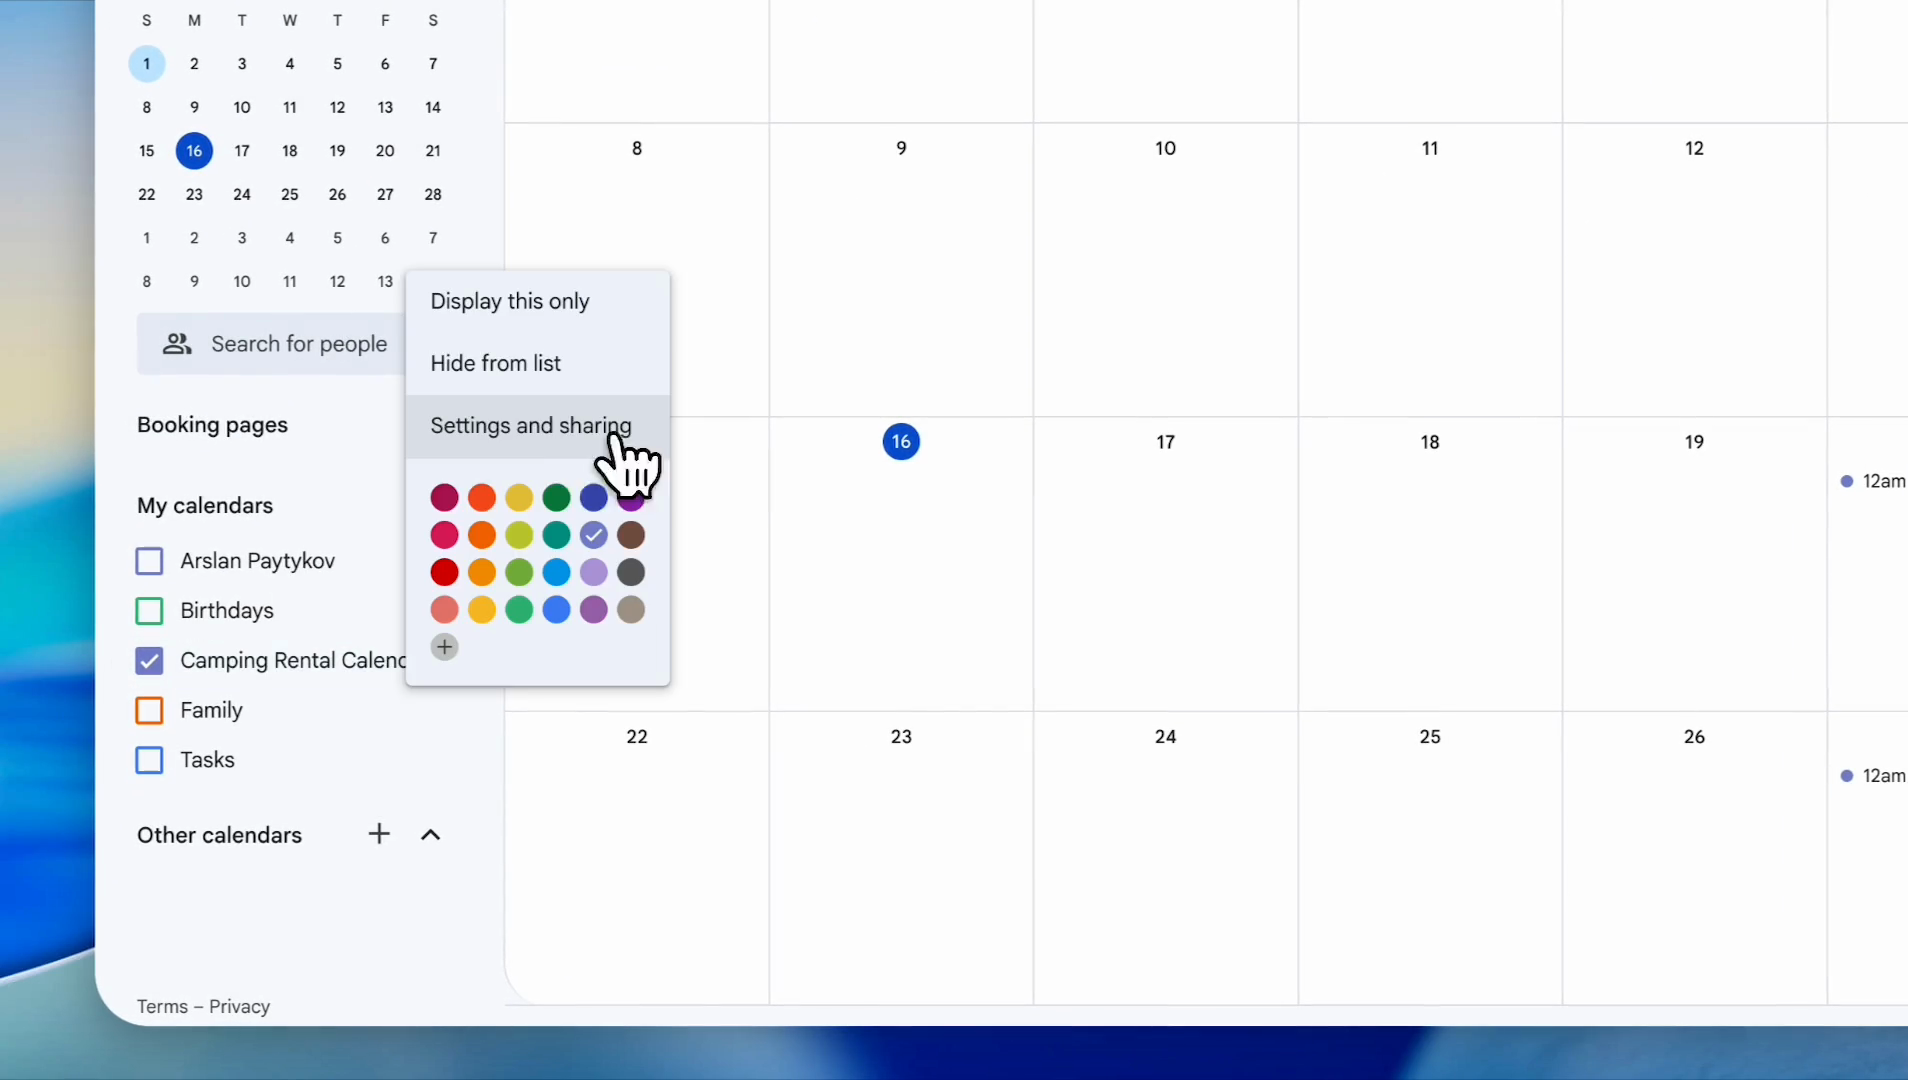
Click the three-dots icon next to the 'Camping Rental Calendar'.
23
Click on 'Settings and sharing' from the dropdown menu.
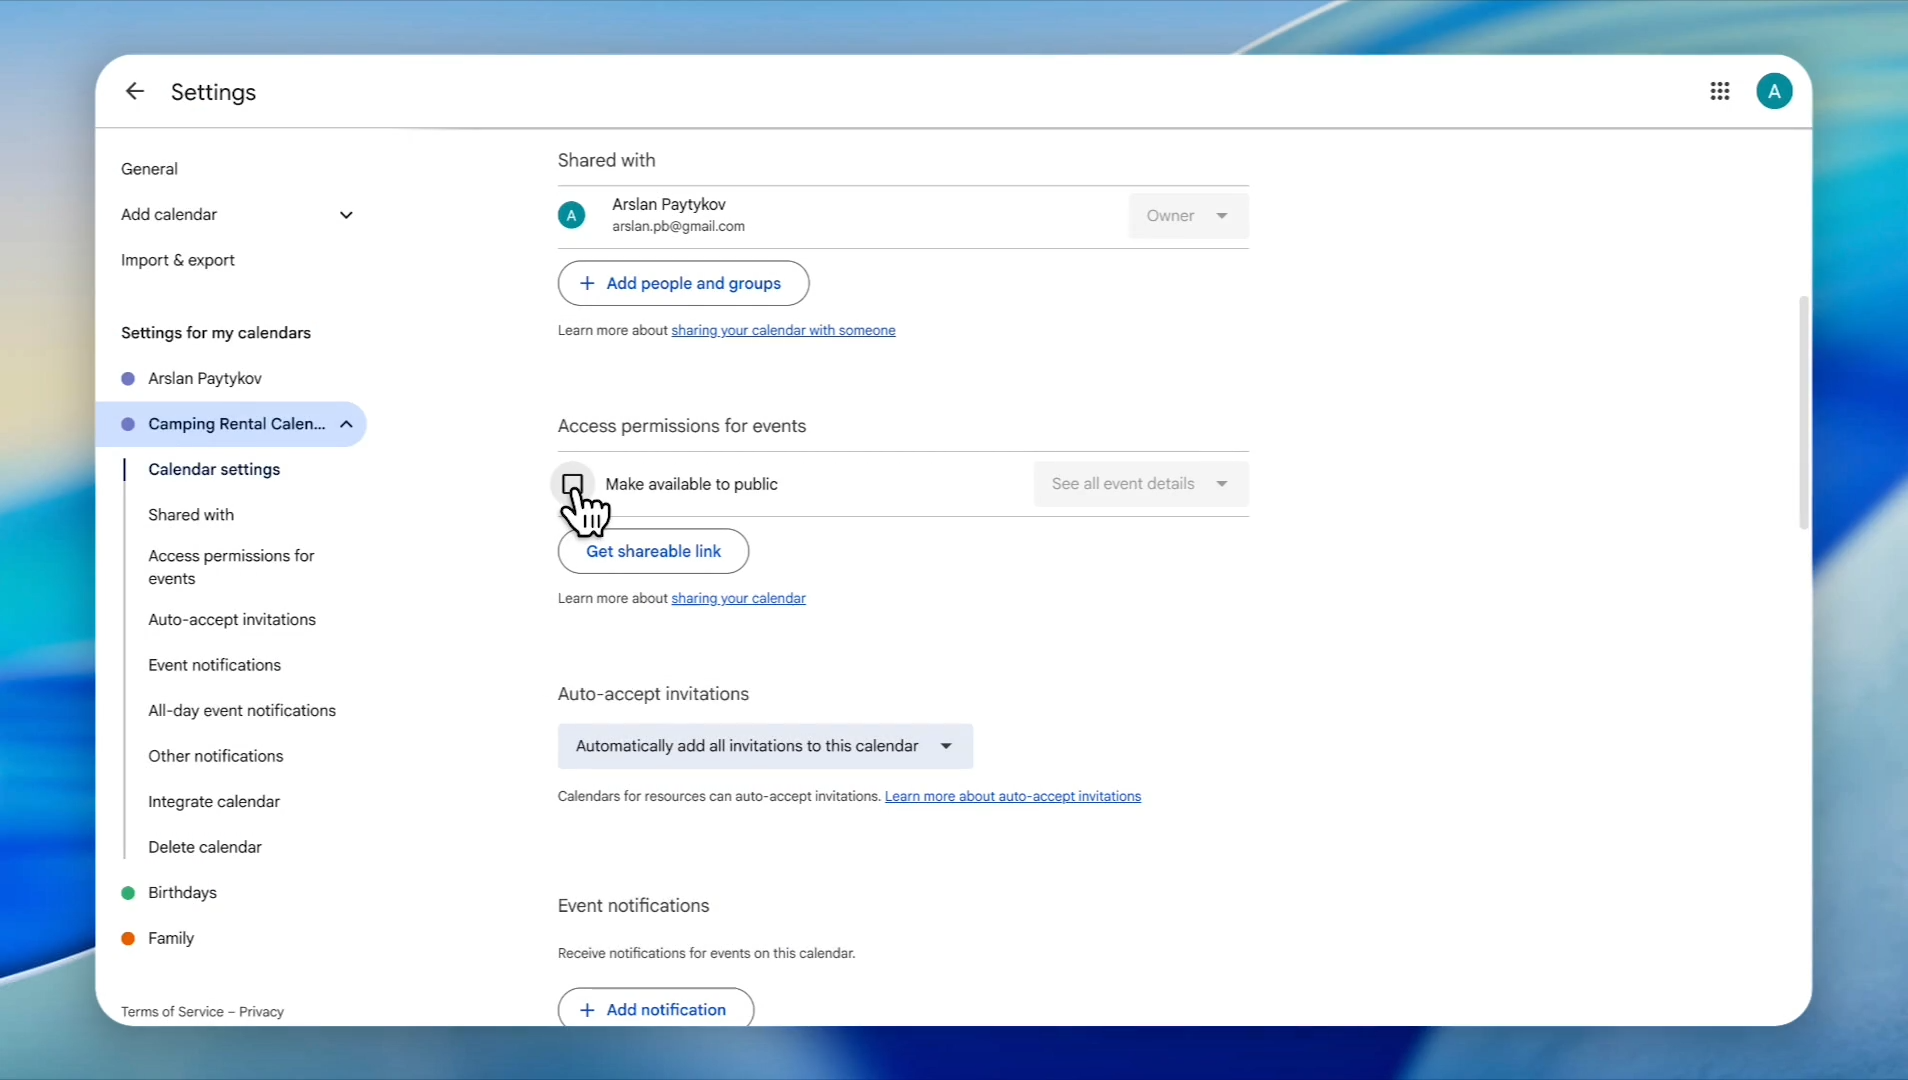
24
Click the checkbox for 'Make available to public'.
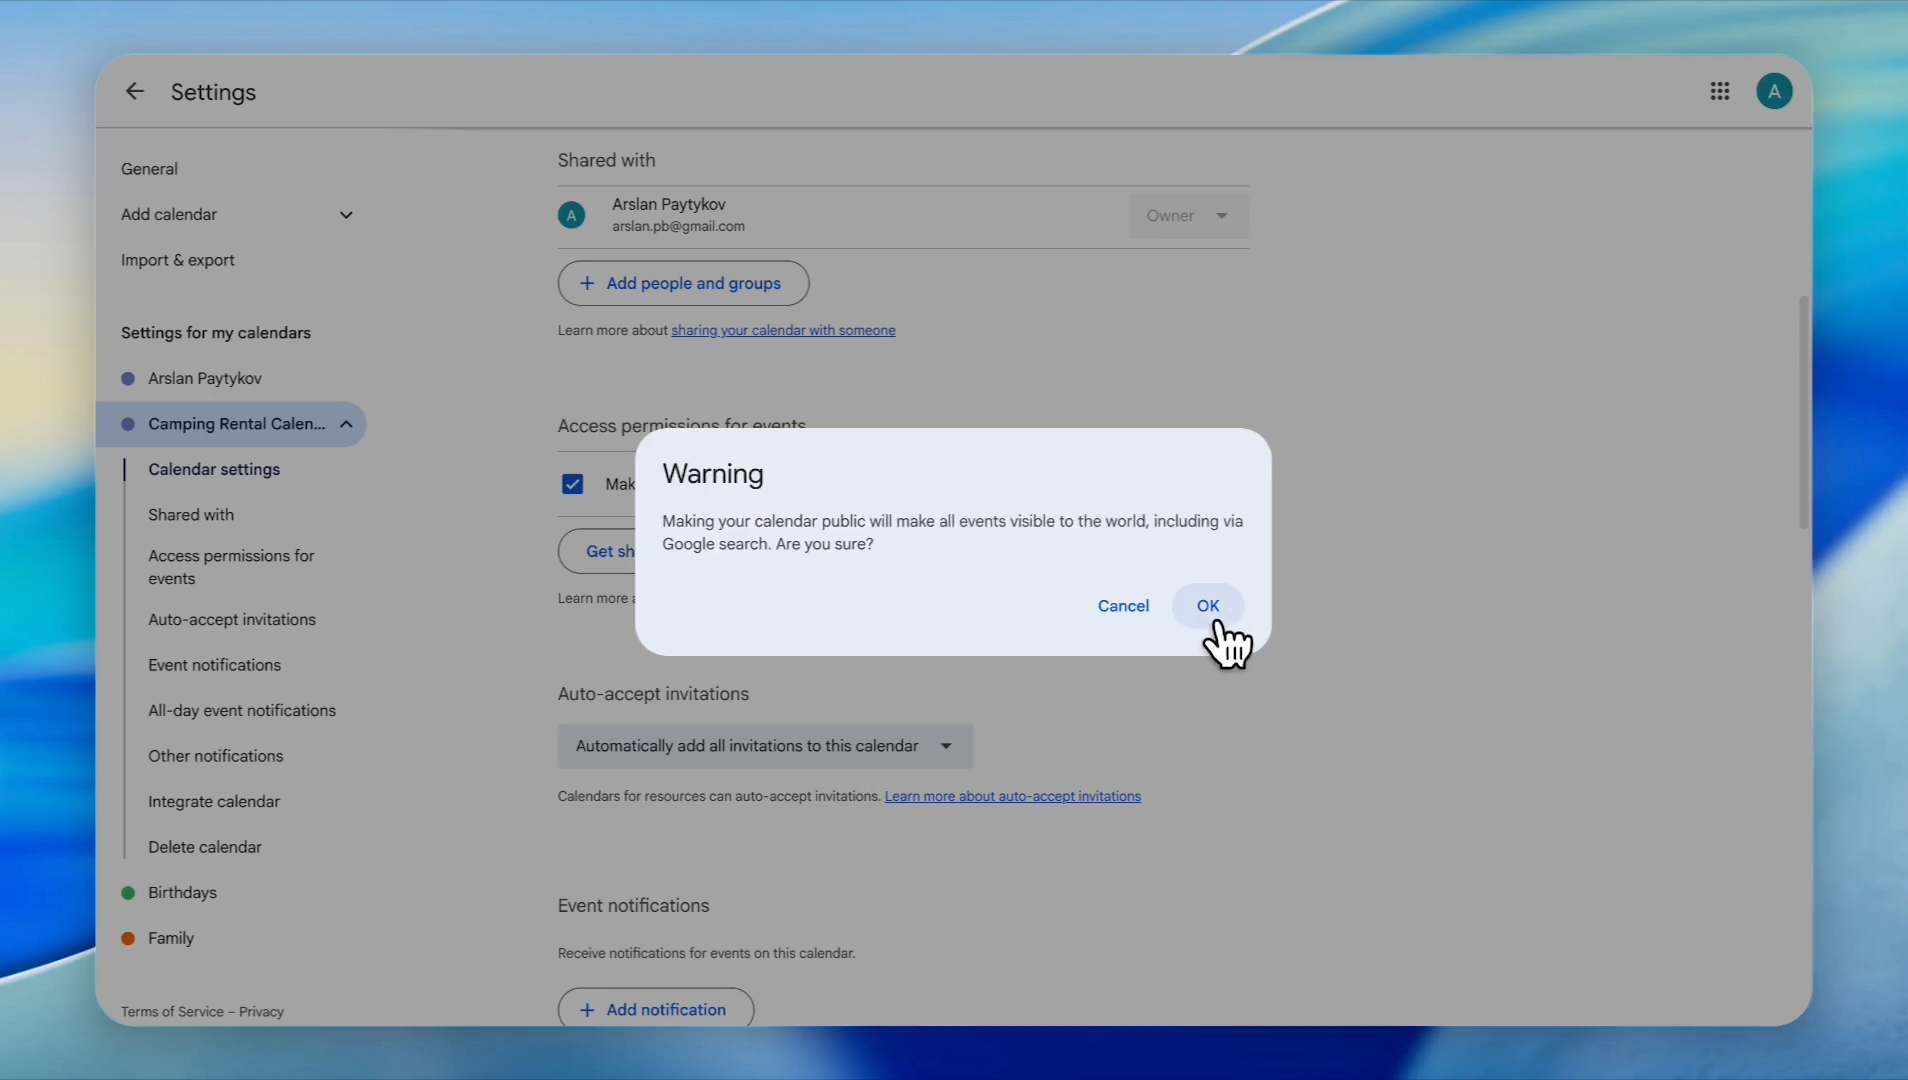
25
Click 'OK' in the warning pop-up.
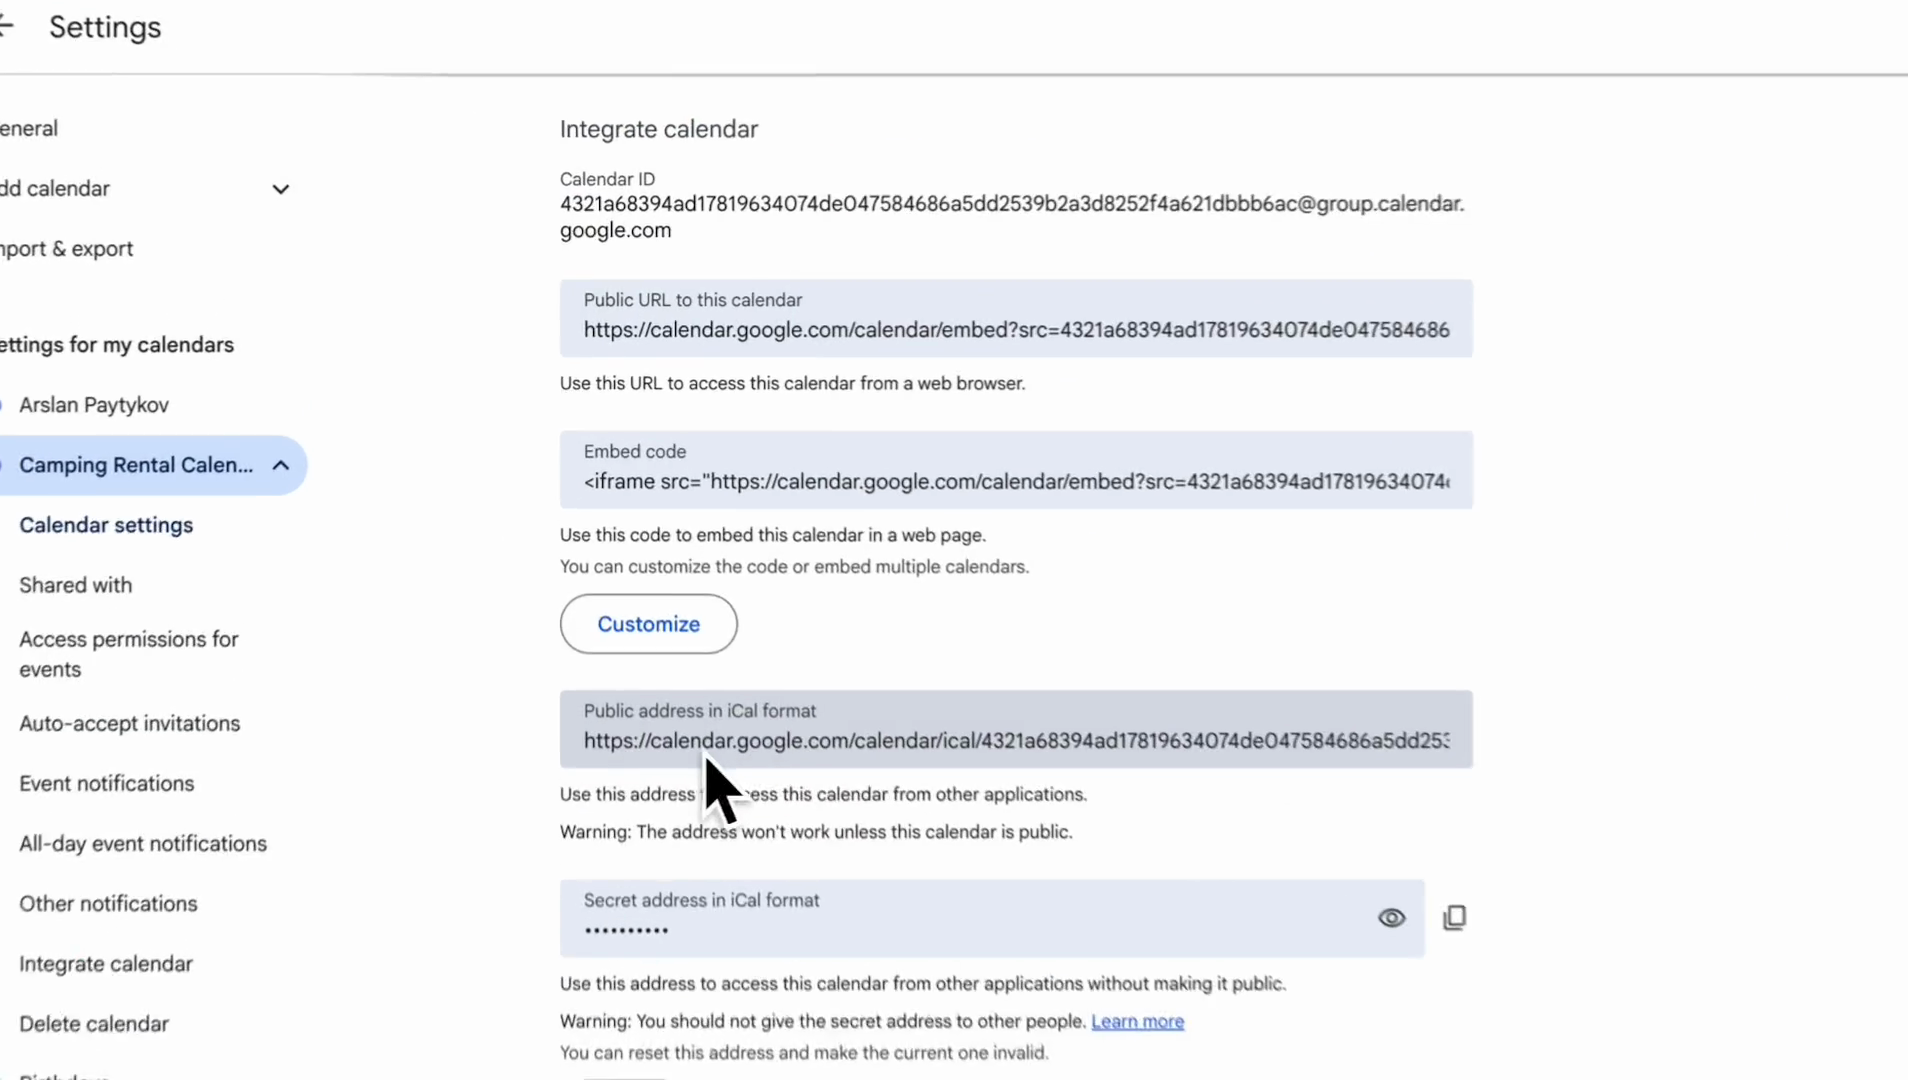
26
Scroll down and copy the 'Public address in iCal format' link.
27
Go to Your Rental Website Dashboard.
28
Click on 'Products' in the left sidebar menu.
29
Click on 'All Items' under the 'Products' menu.
30
Click 'Edit' for the product you want to apply the calendar to.
31
Scroll down and find the section titled "Block Availability based on ics from different providers." Then paste the link you got from a Google Calendar.
32
Click on Sync ICS Now.
33
Click on Update.
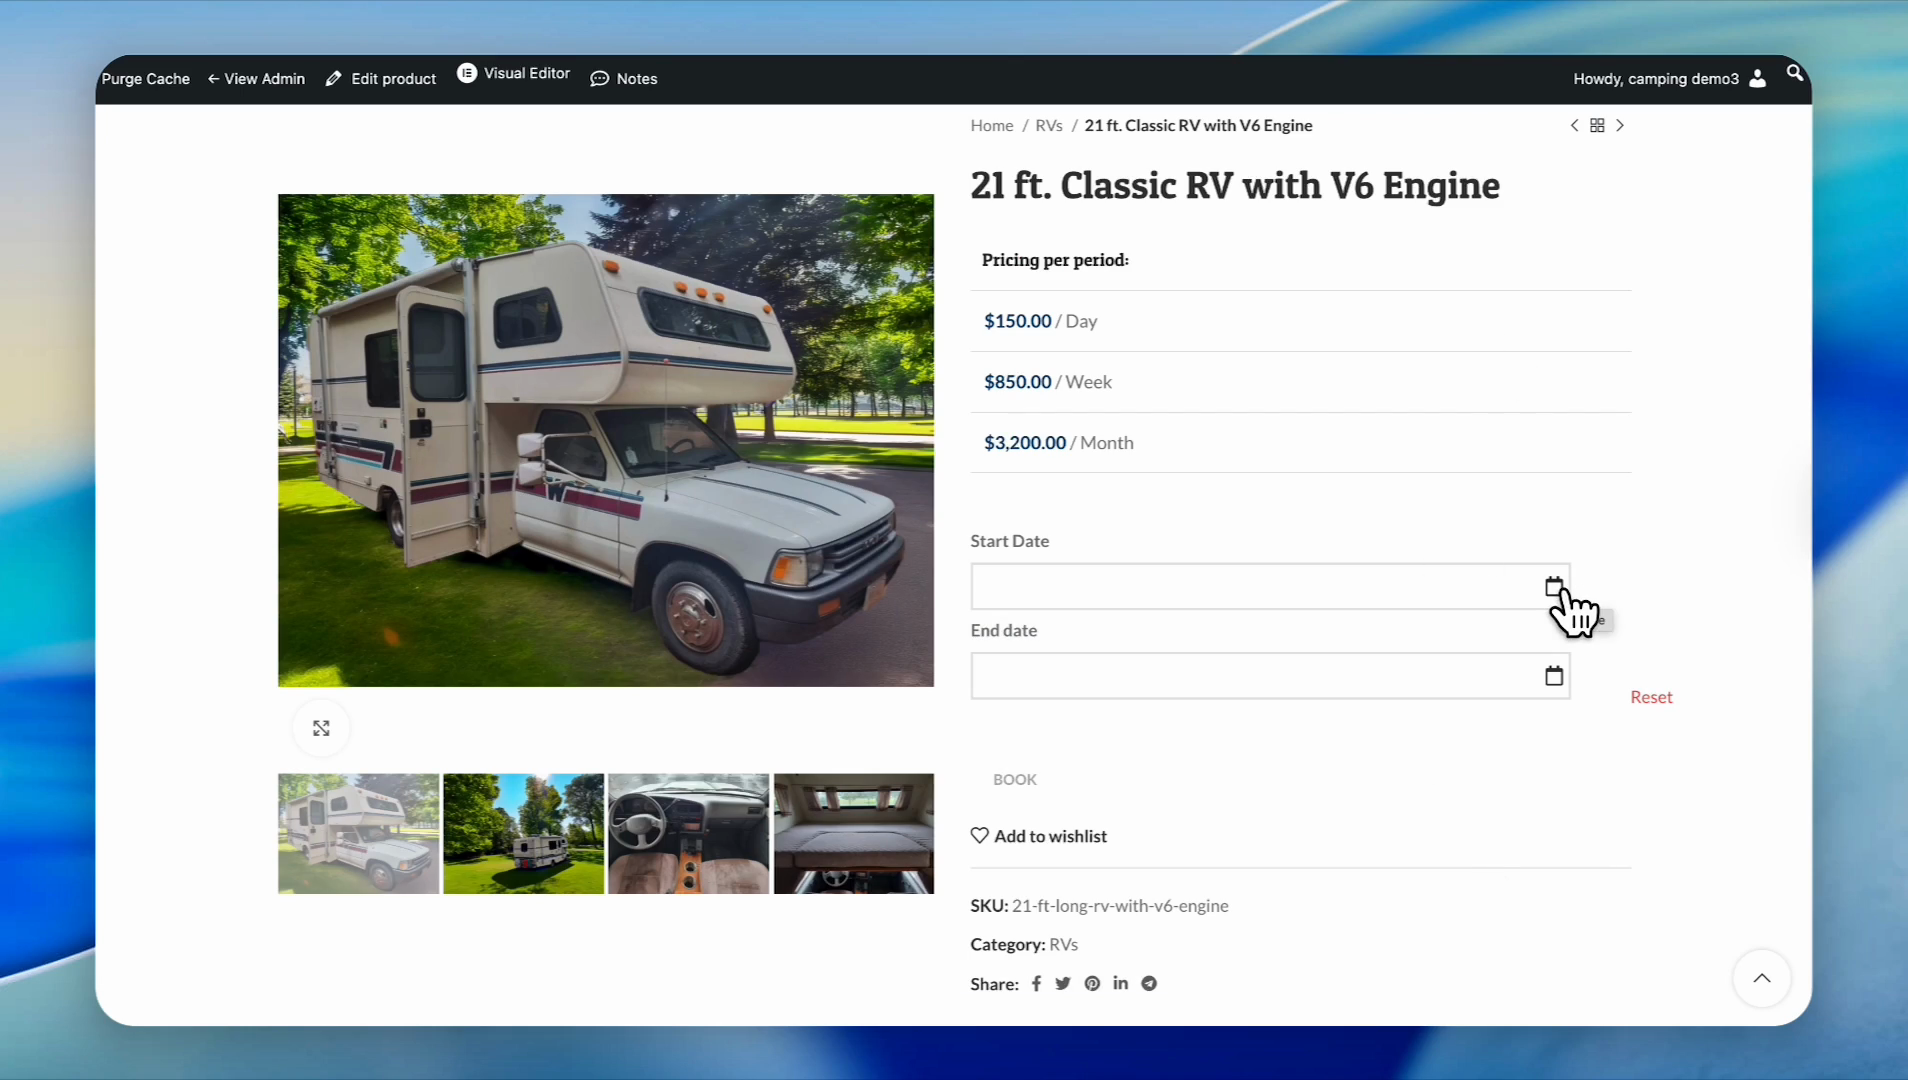
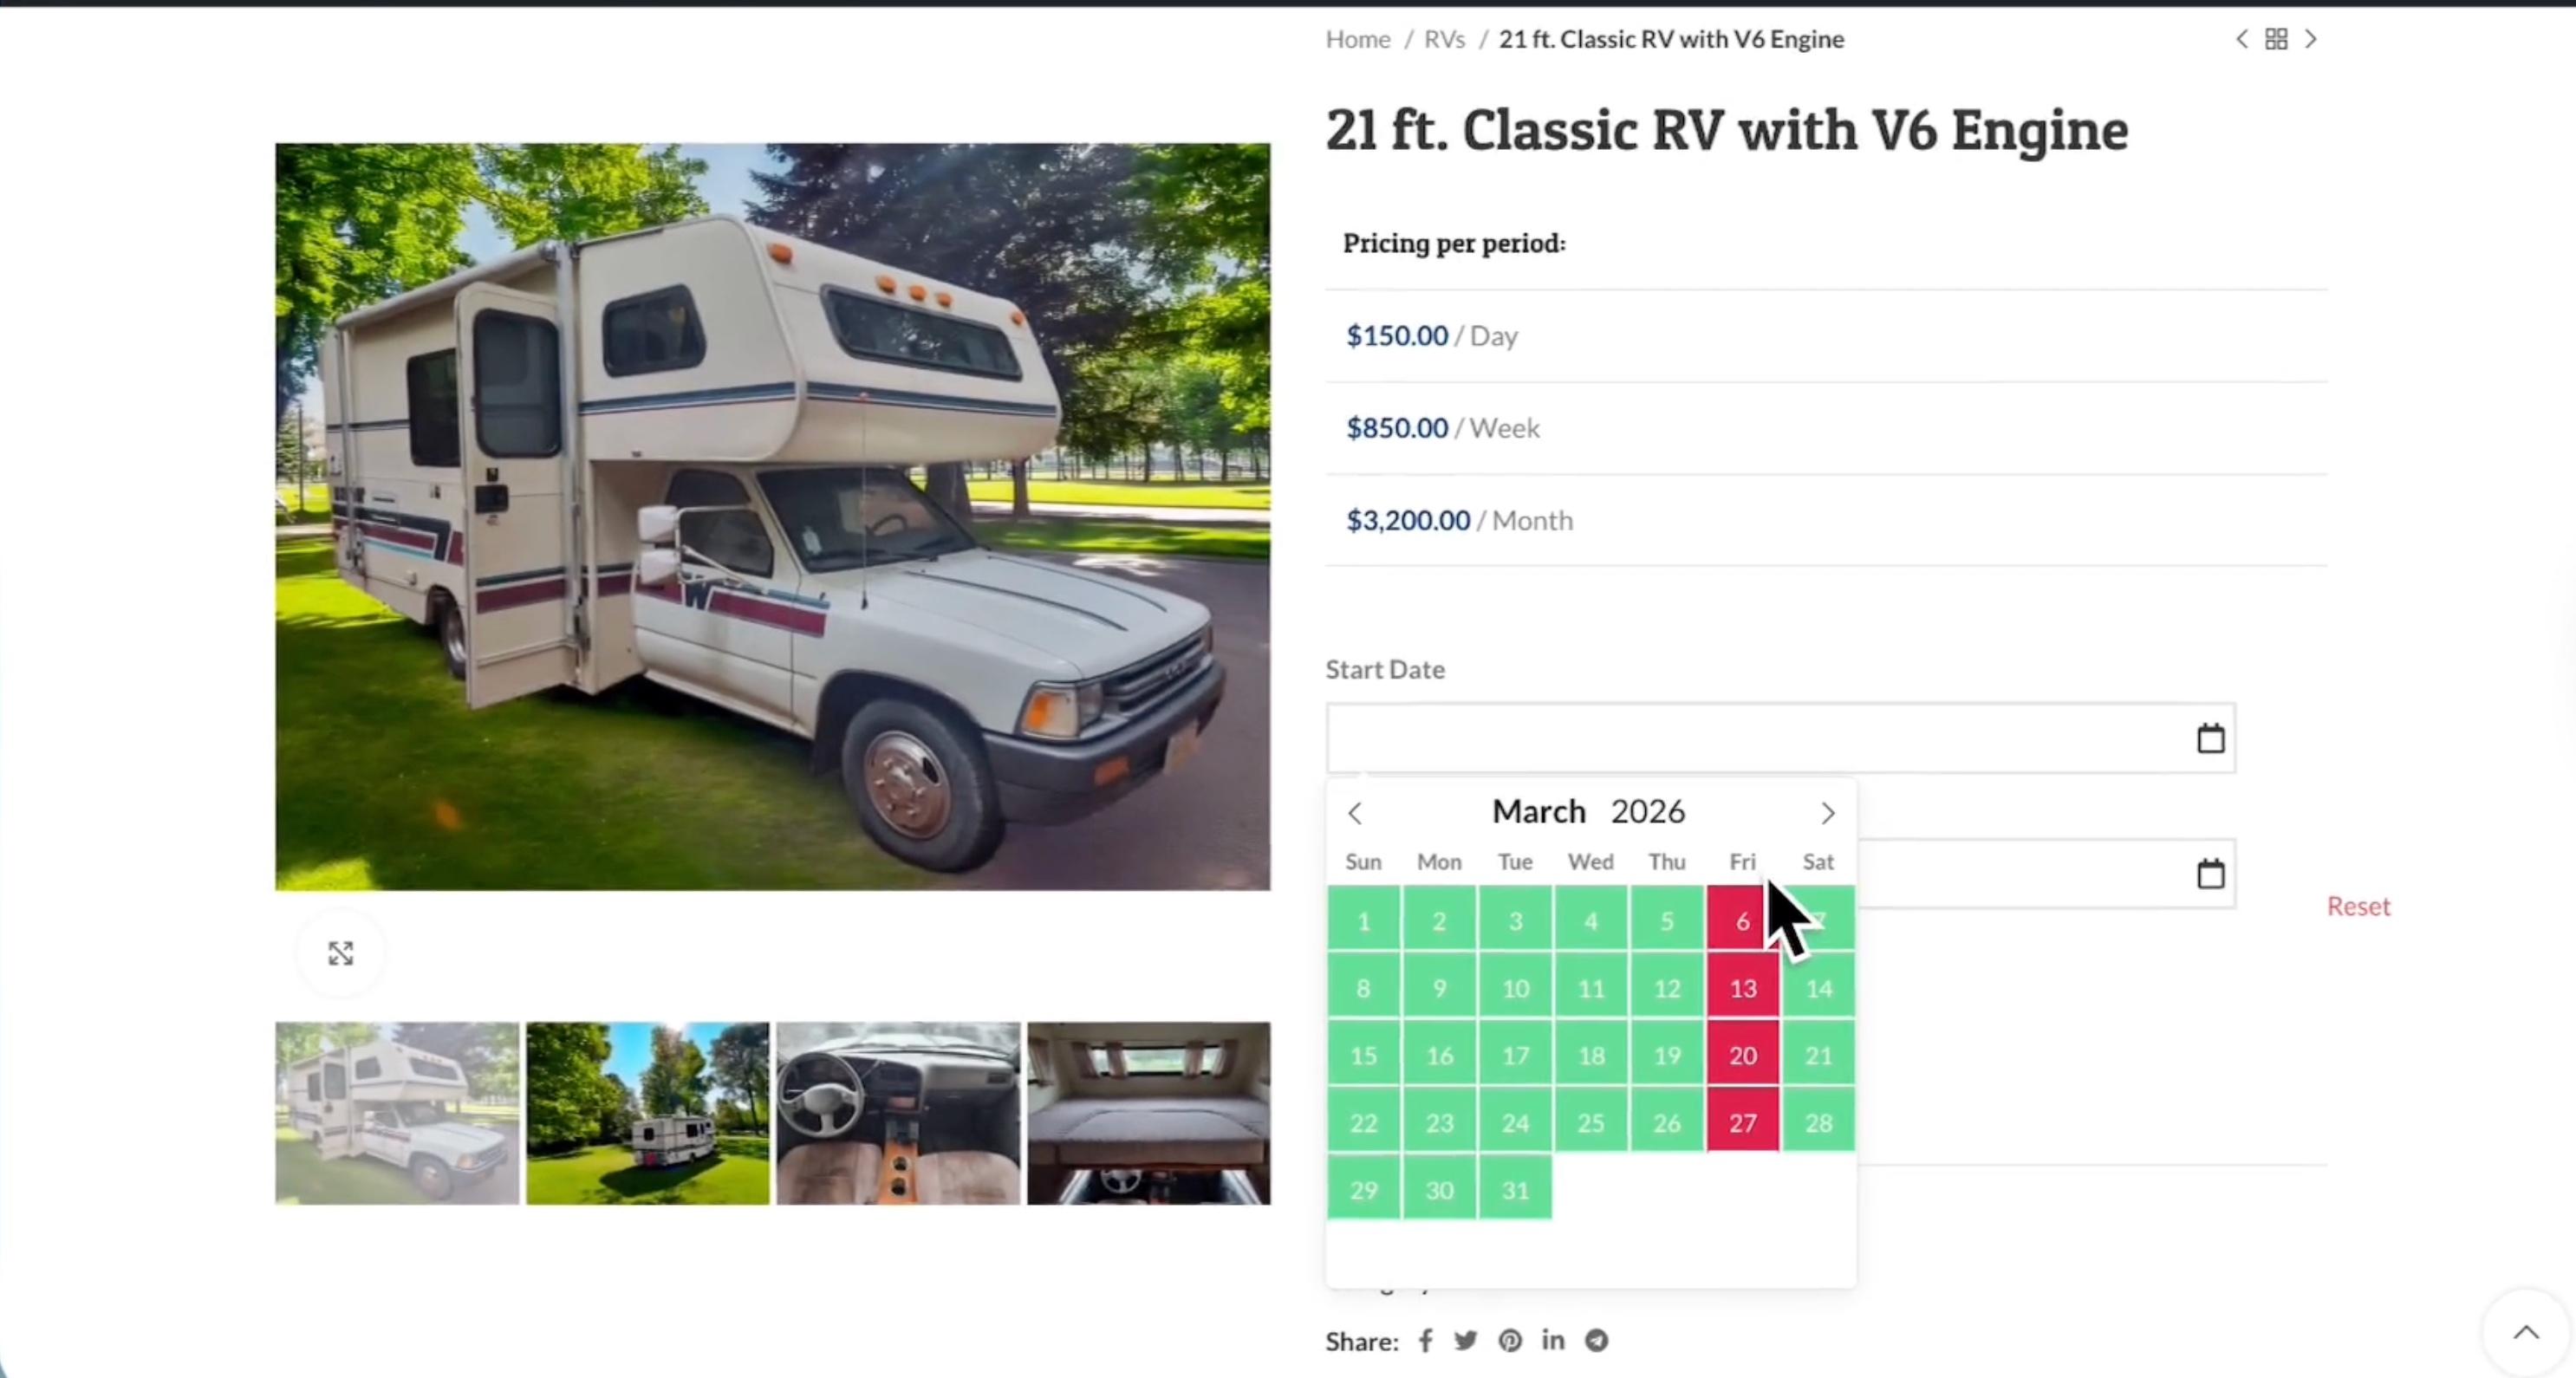
Now, let's test the blocking calendar on our website.As you know, we implemented a calendar block for every Friday. This means your customers won't be able to book this classic RV on Fridays.
34
First, go to your website and find the product you applied the blocking calendar to. Then, click on the calendar button.
35
As you can see, all Fridays are blocked, so customers won't be able to book this item on Fridays.