How to Block Dates and Times in Your Reservety Calendar

Learn how to block specific dates, single time slots, and recurring schedules in your Reservety rental calendar to effectively manage your availability.

By Reservety

Managing your rental availability is crucial. Whether you need to close during certain hours, prevent bookings on specific days, or set a recurring blocked schedule, Reservety makes it simple.

This guide walks through three common scenarios: blocking a specific time on a single date, blocking recurring time slots (like every Sunday), and applying these restrictions to all your products.

Block a Specific Time on a Single Date

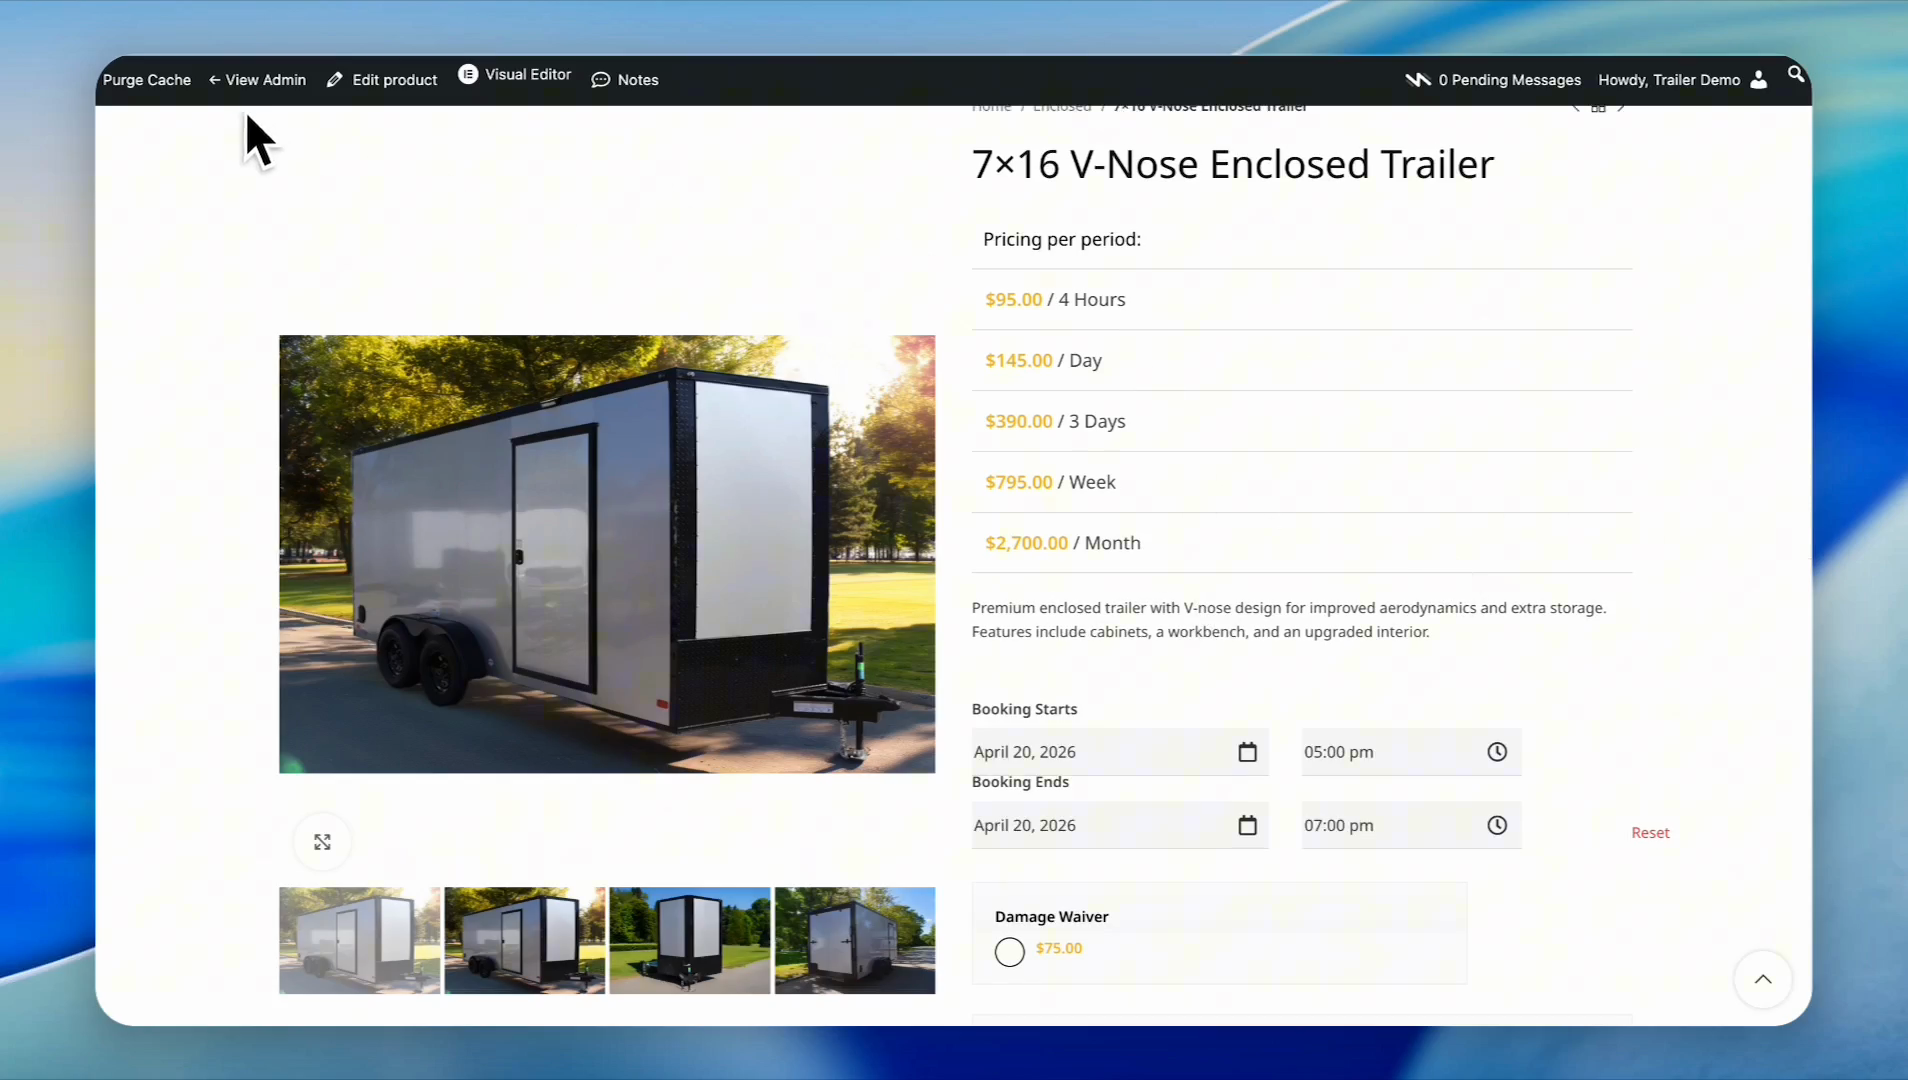
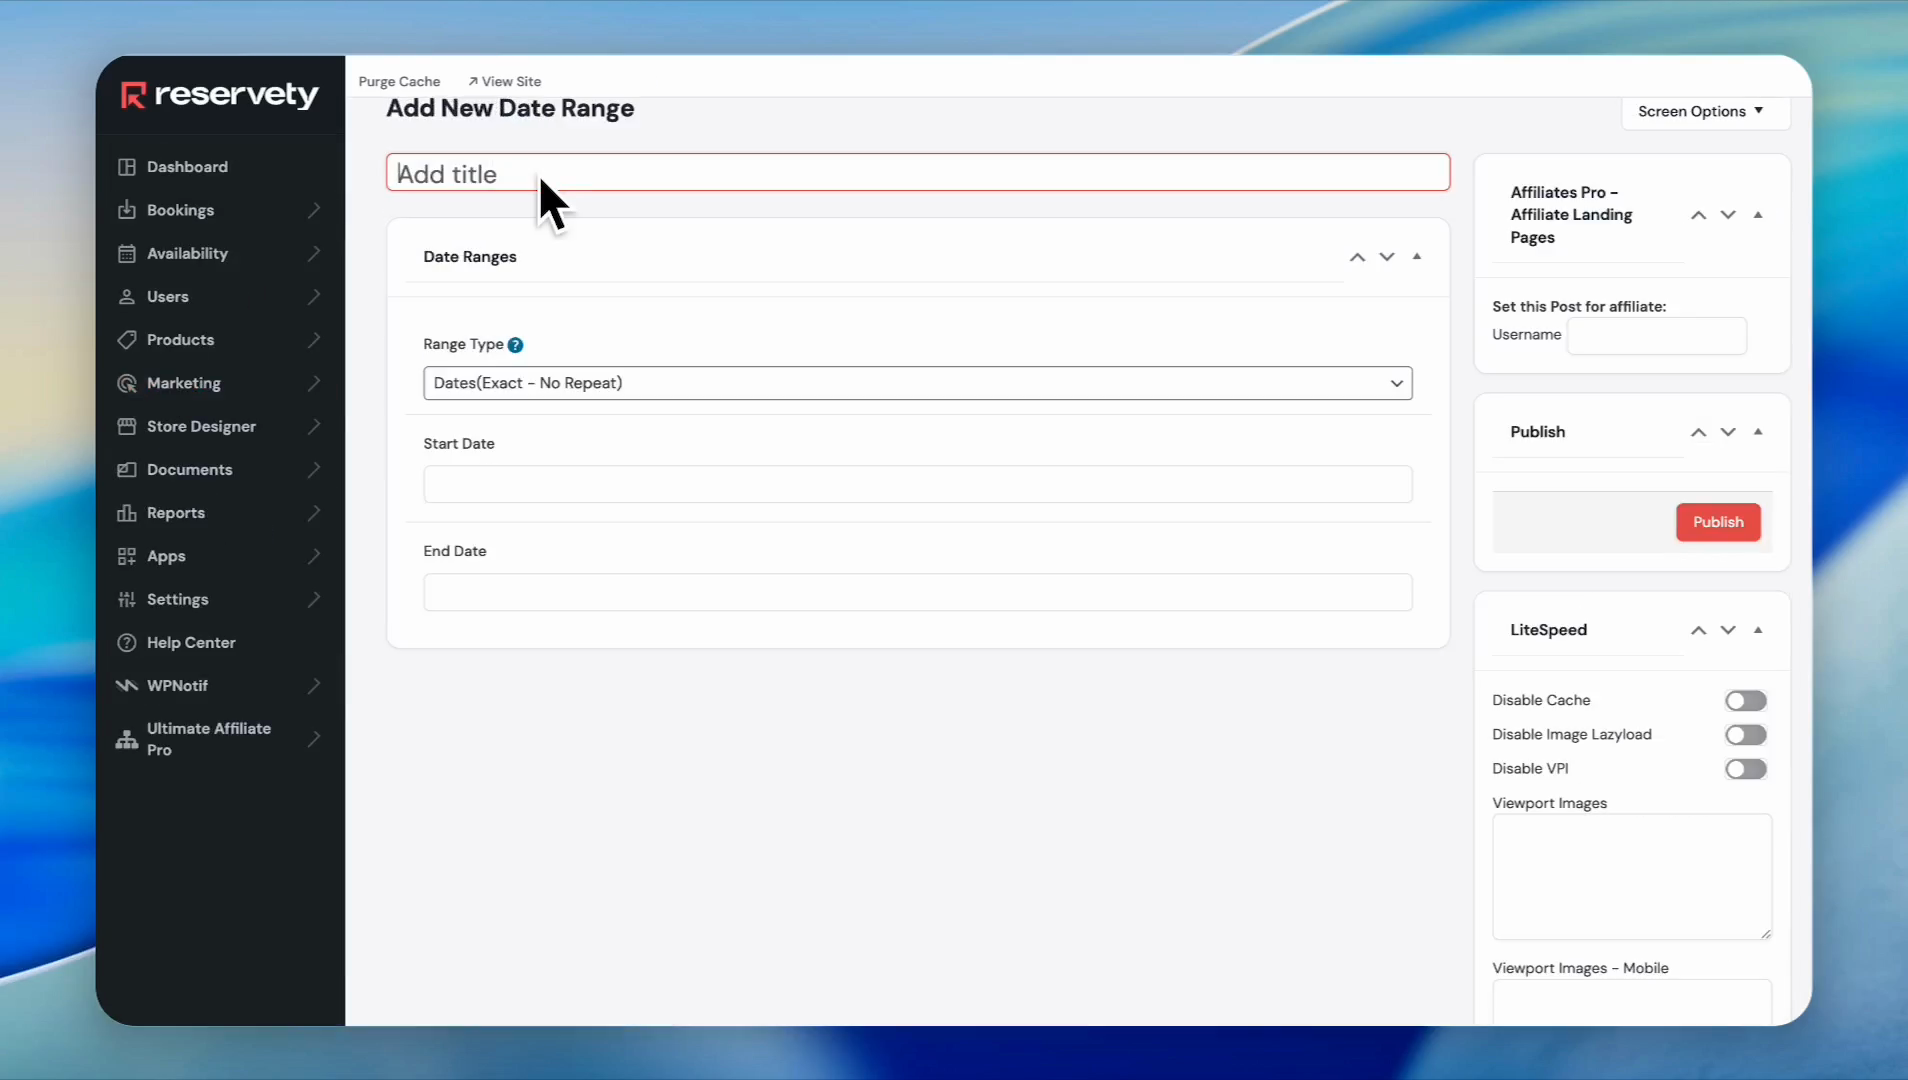
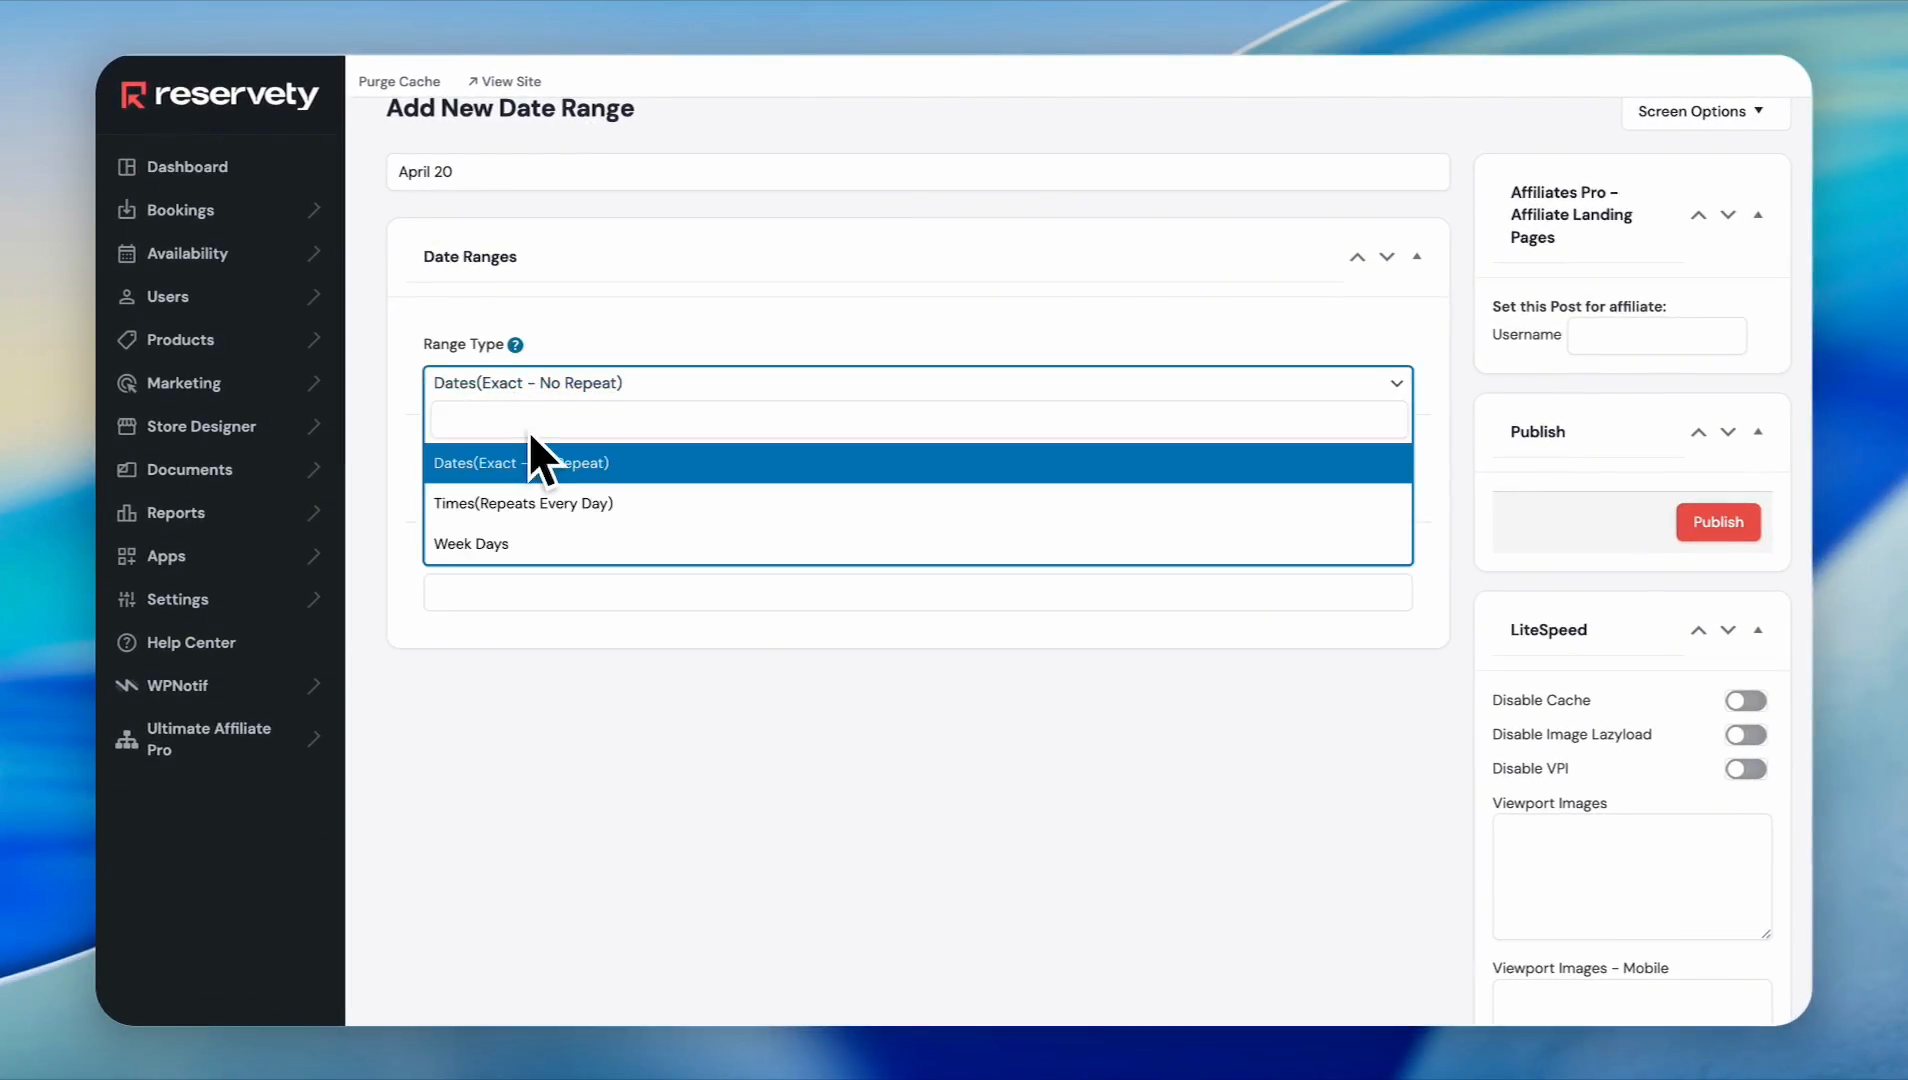
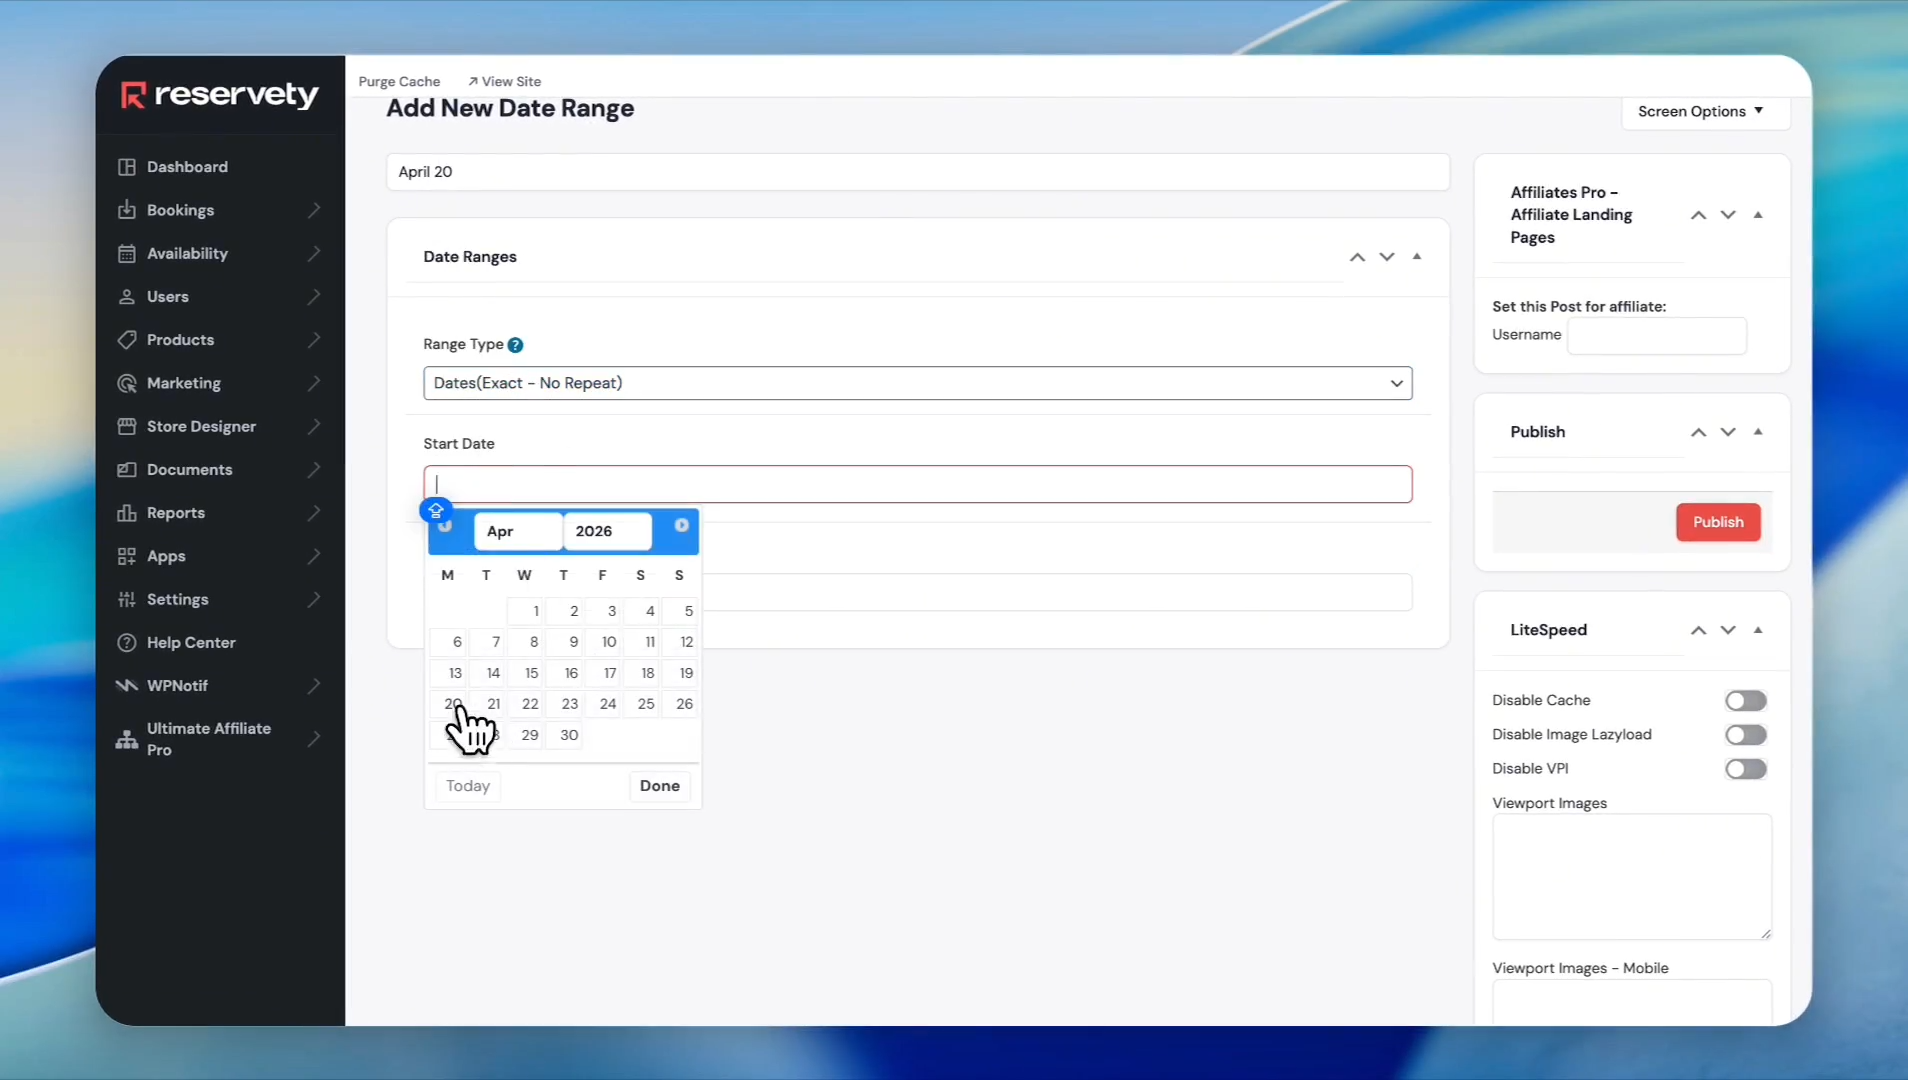
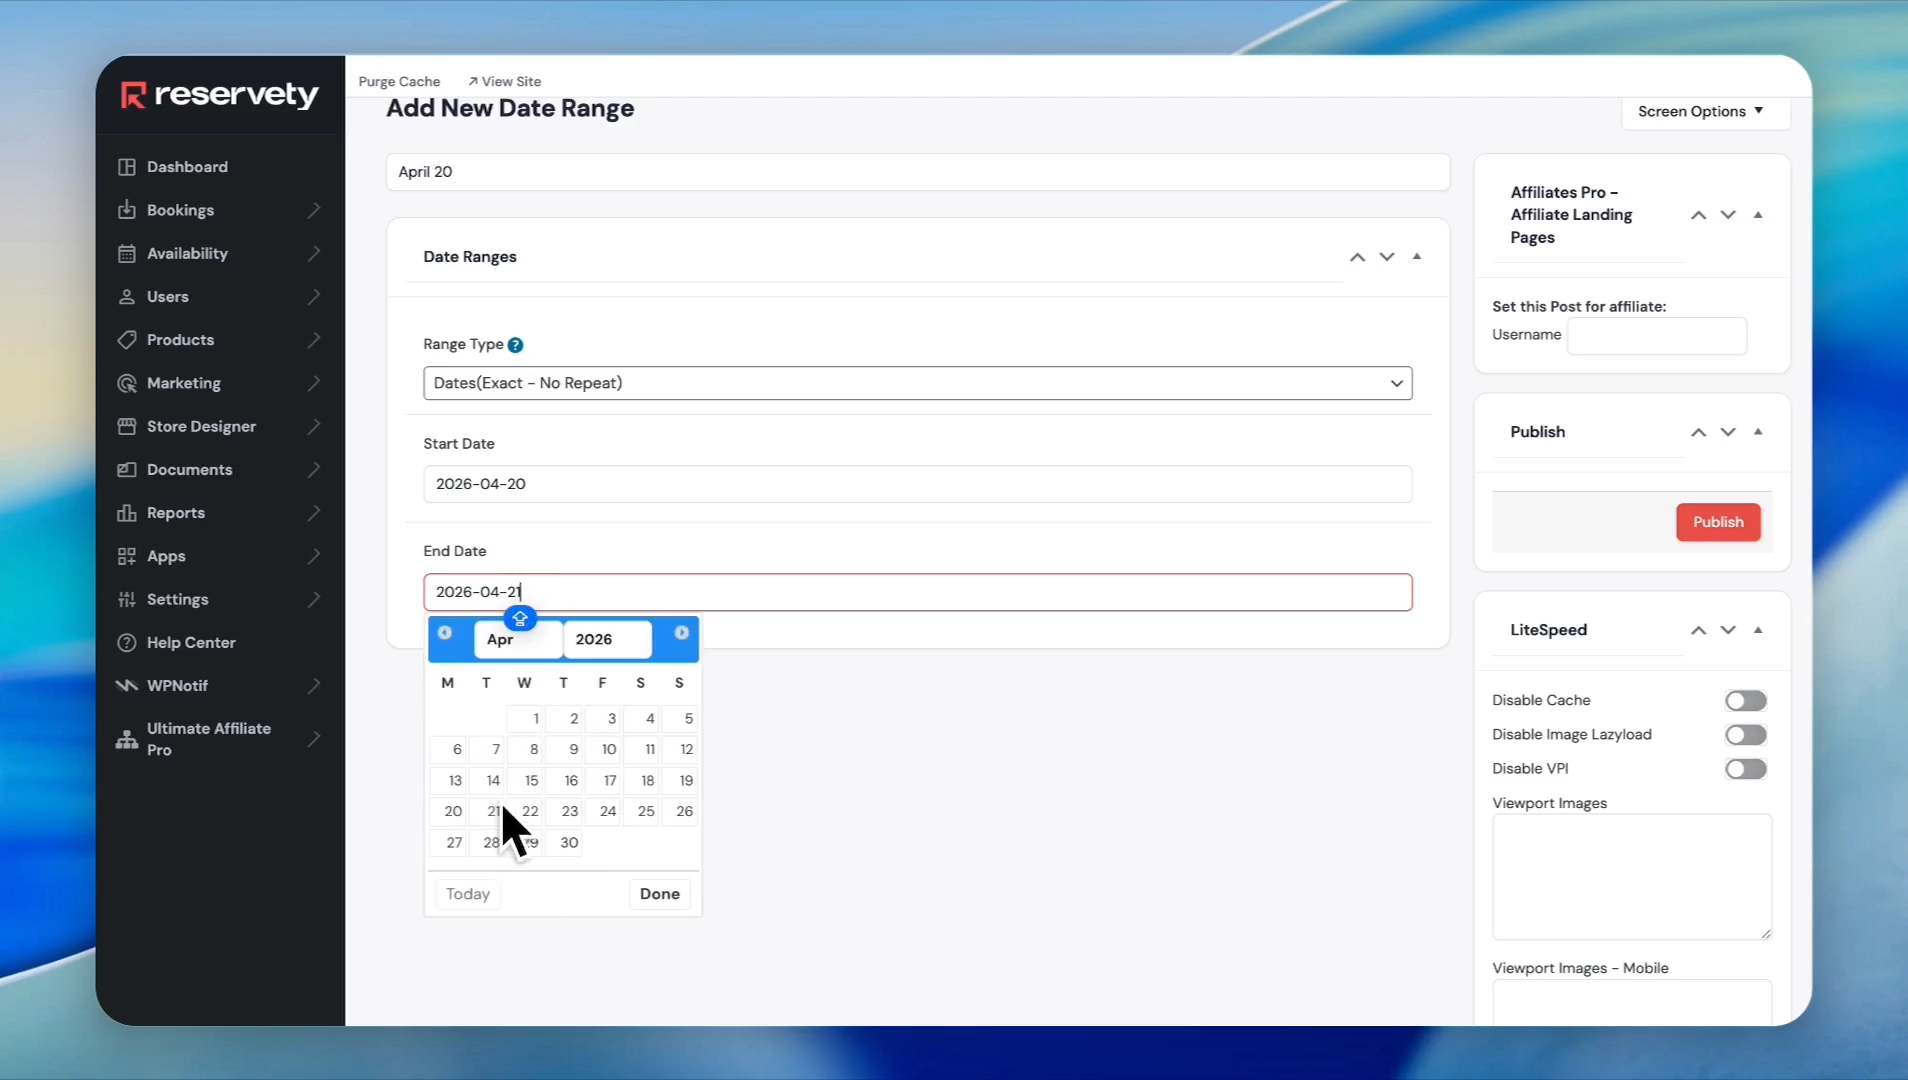
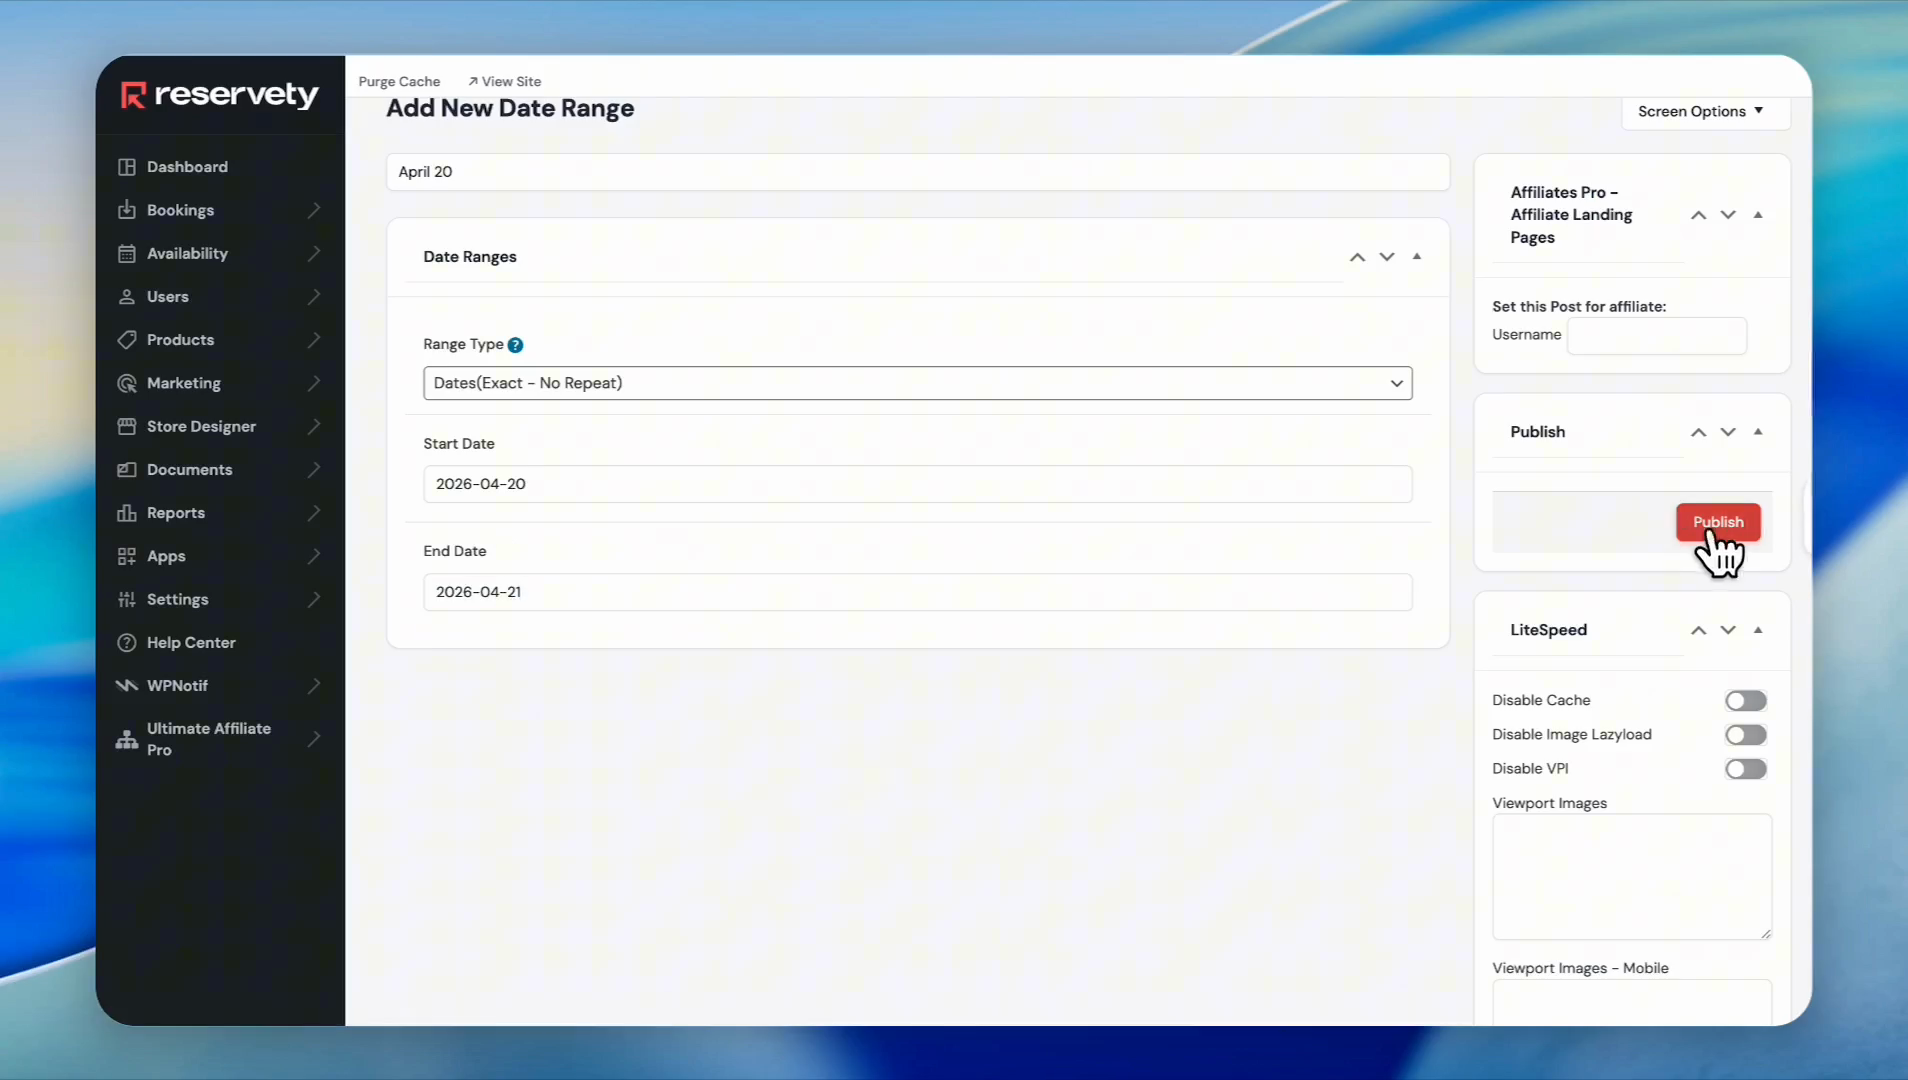
To block a period (for example, between 5:00 PM and 7:00 PM on April 20th), you first need to create a date range and a time range, then apply them together.

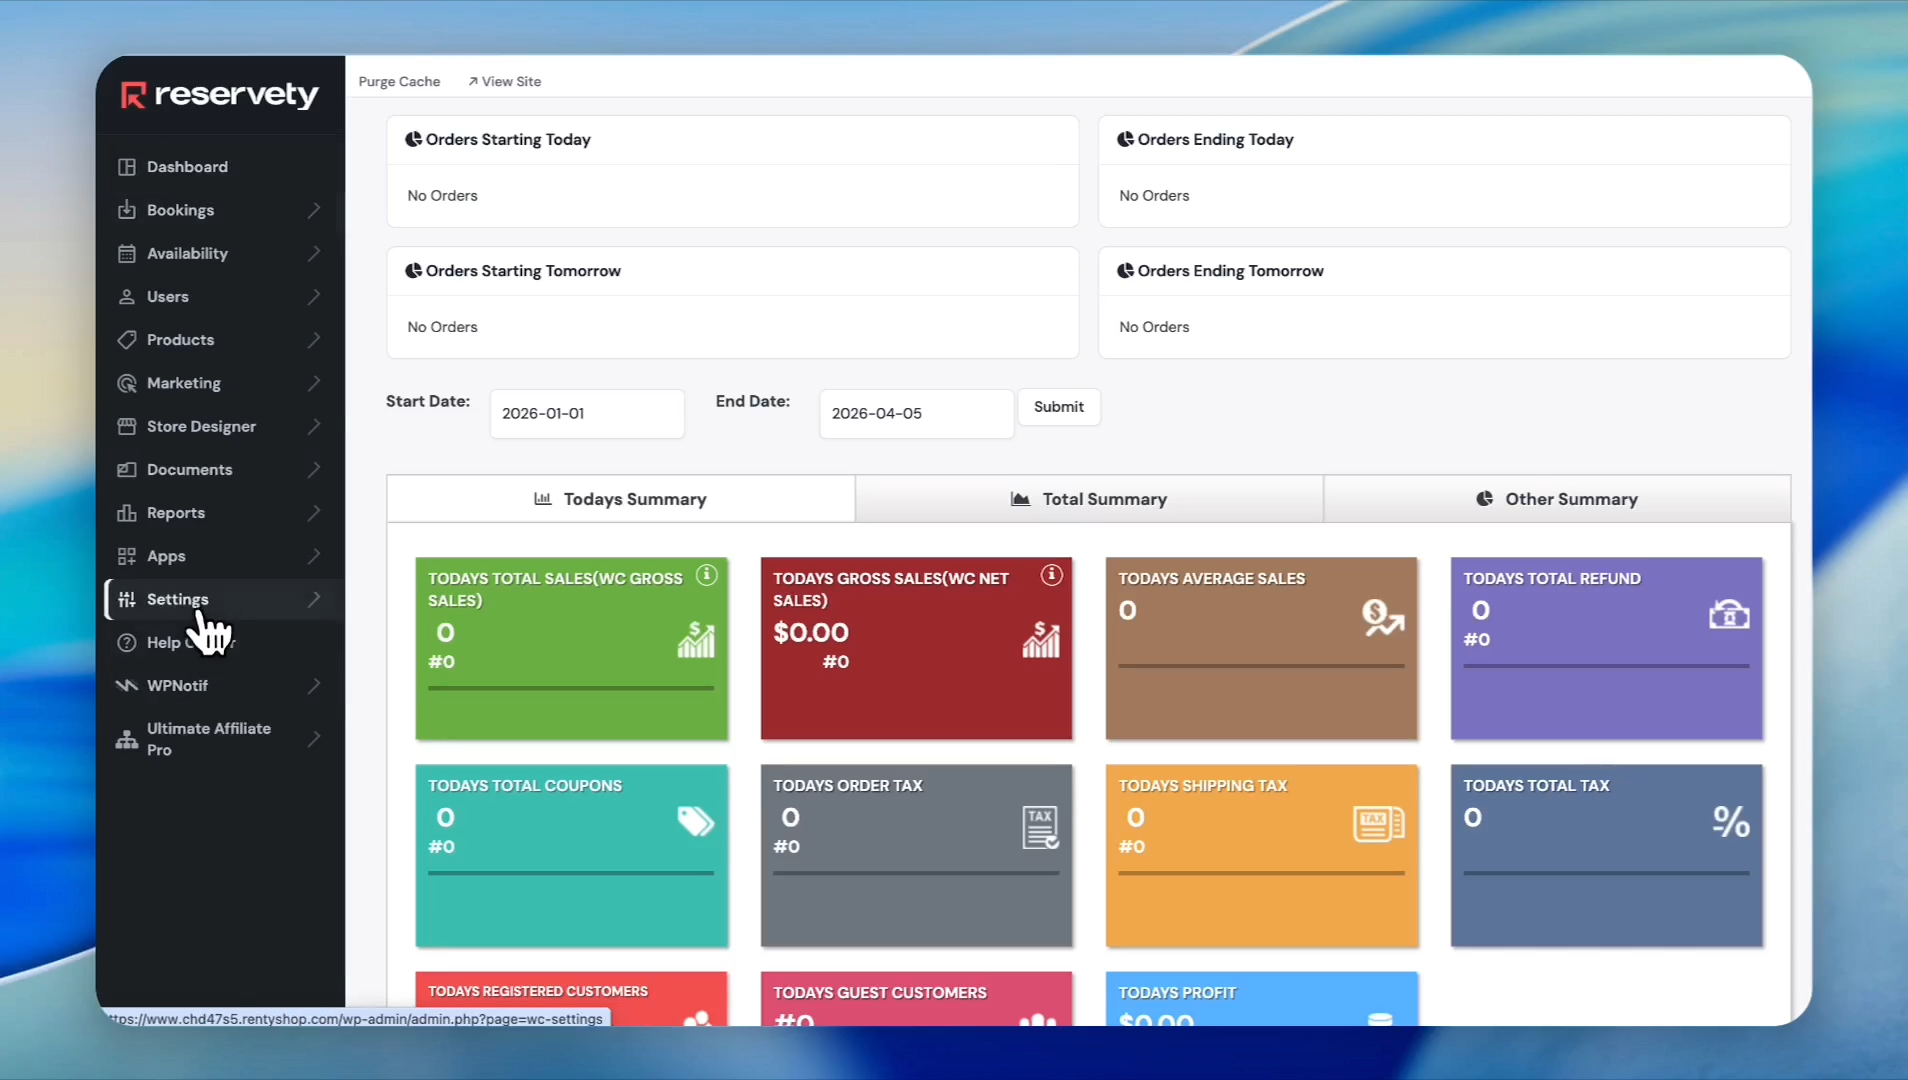
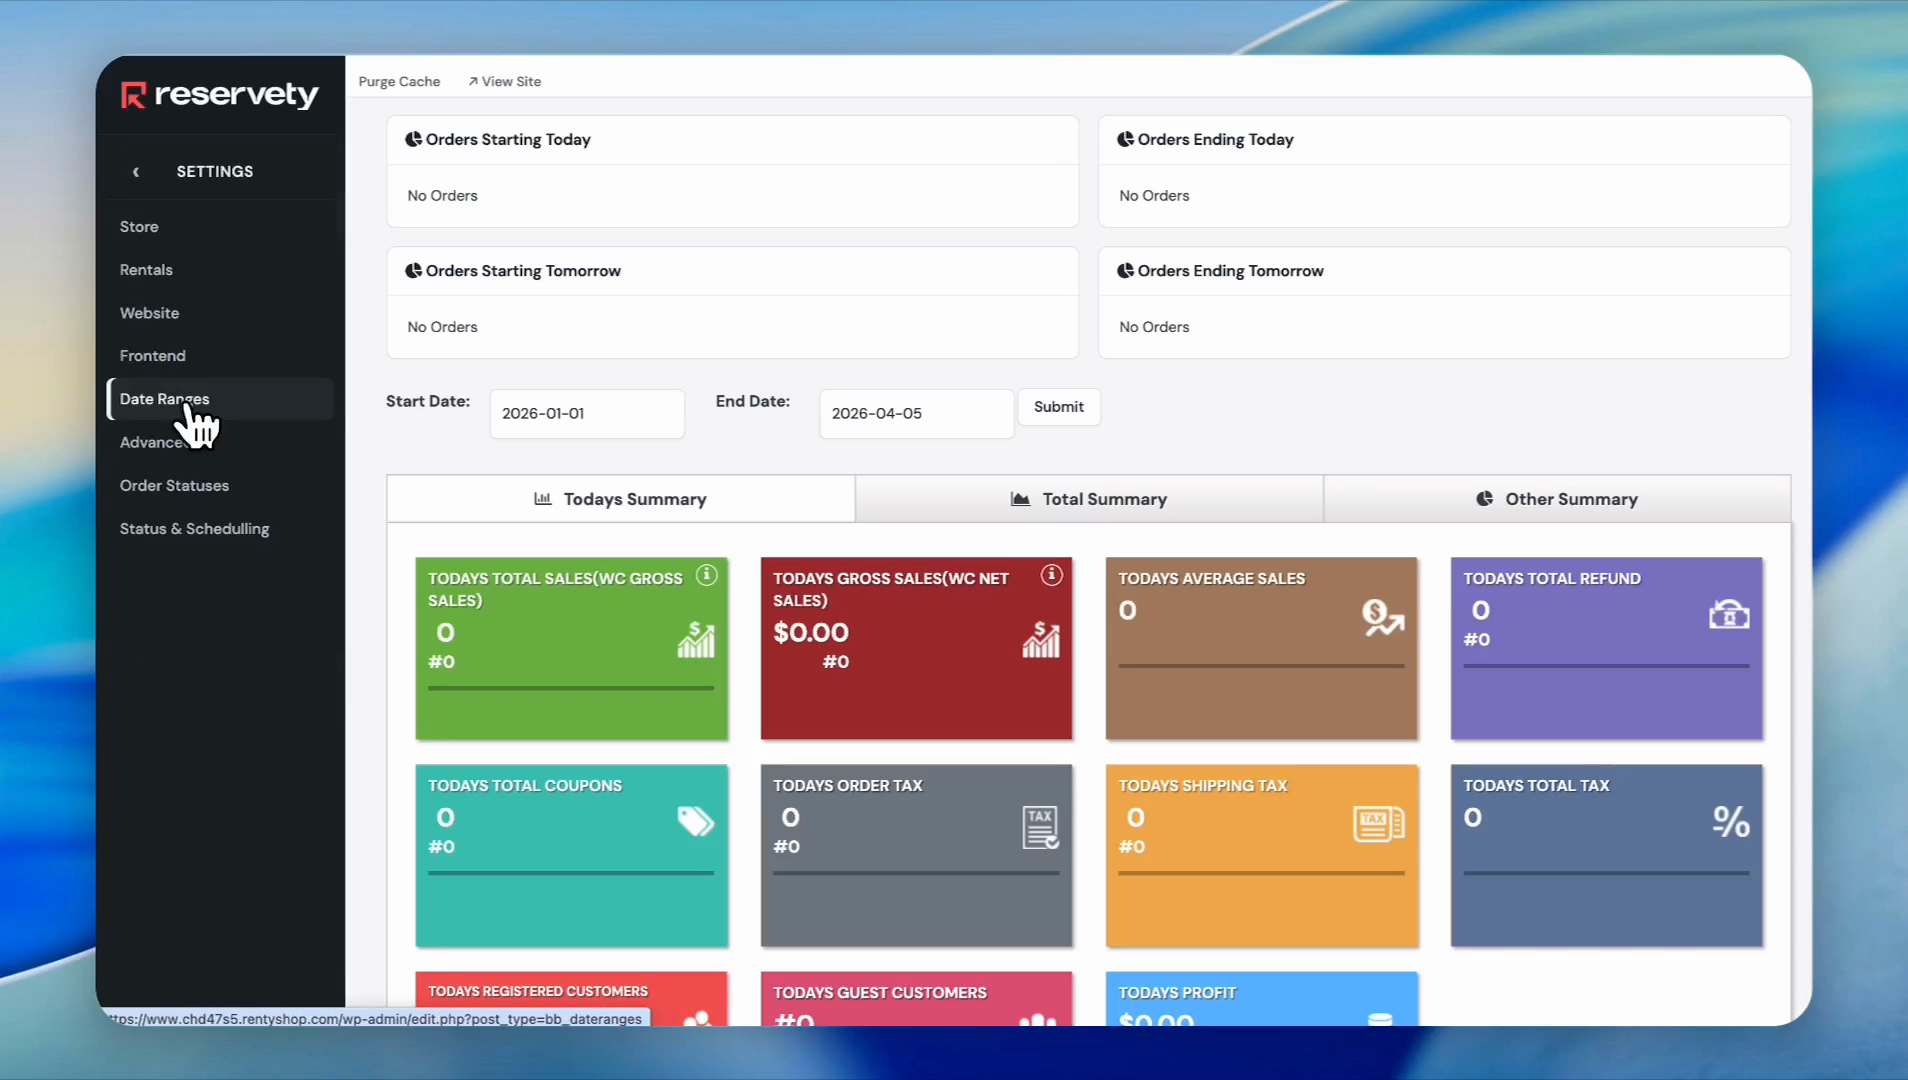
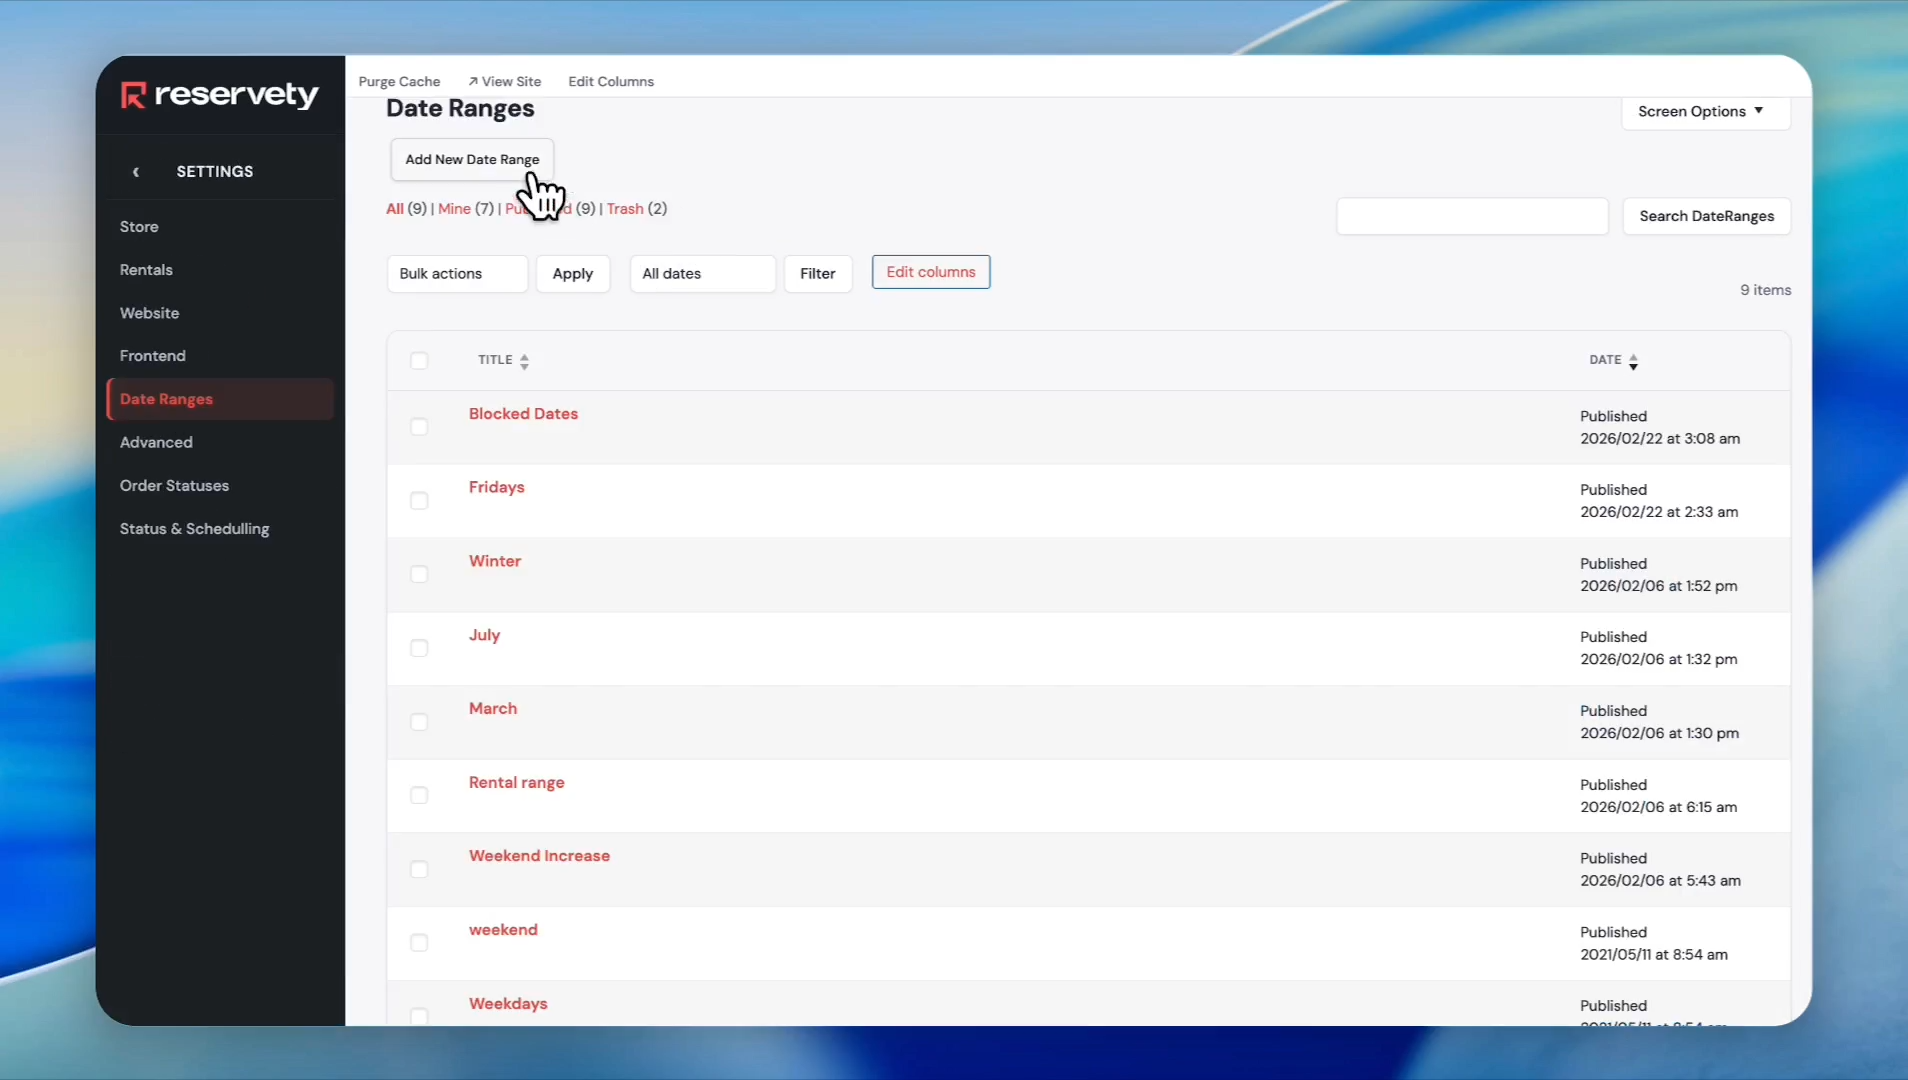
1. Create the Date Range

1
Click View Admin
Step #1: Click View Admin
2
Click Settings
Step #2: Click Settings
3
Click Date Ranges
Step #3: Click Date Ranges
4
Click Add New Date Range
Step #4: Click Add New Date Range
5
Click Add title and name your date range (e.g., "April 20")
Step #5: Click Add title and name your date range (e.g., "April 20")
6
Select Dates(Exact - No Repeat) from the Range Type dropdown
Step #6: Select Dates(Exact - No Repeat) from the Range Type dropdown
7
Select the Start Date (e.g., April 20th)
Step #7: Select the Start Date (e.g., April 20th)
8
Select the End Date
Step #8: Select the End Date
9
Click Publish
Step #9: Click Publish

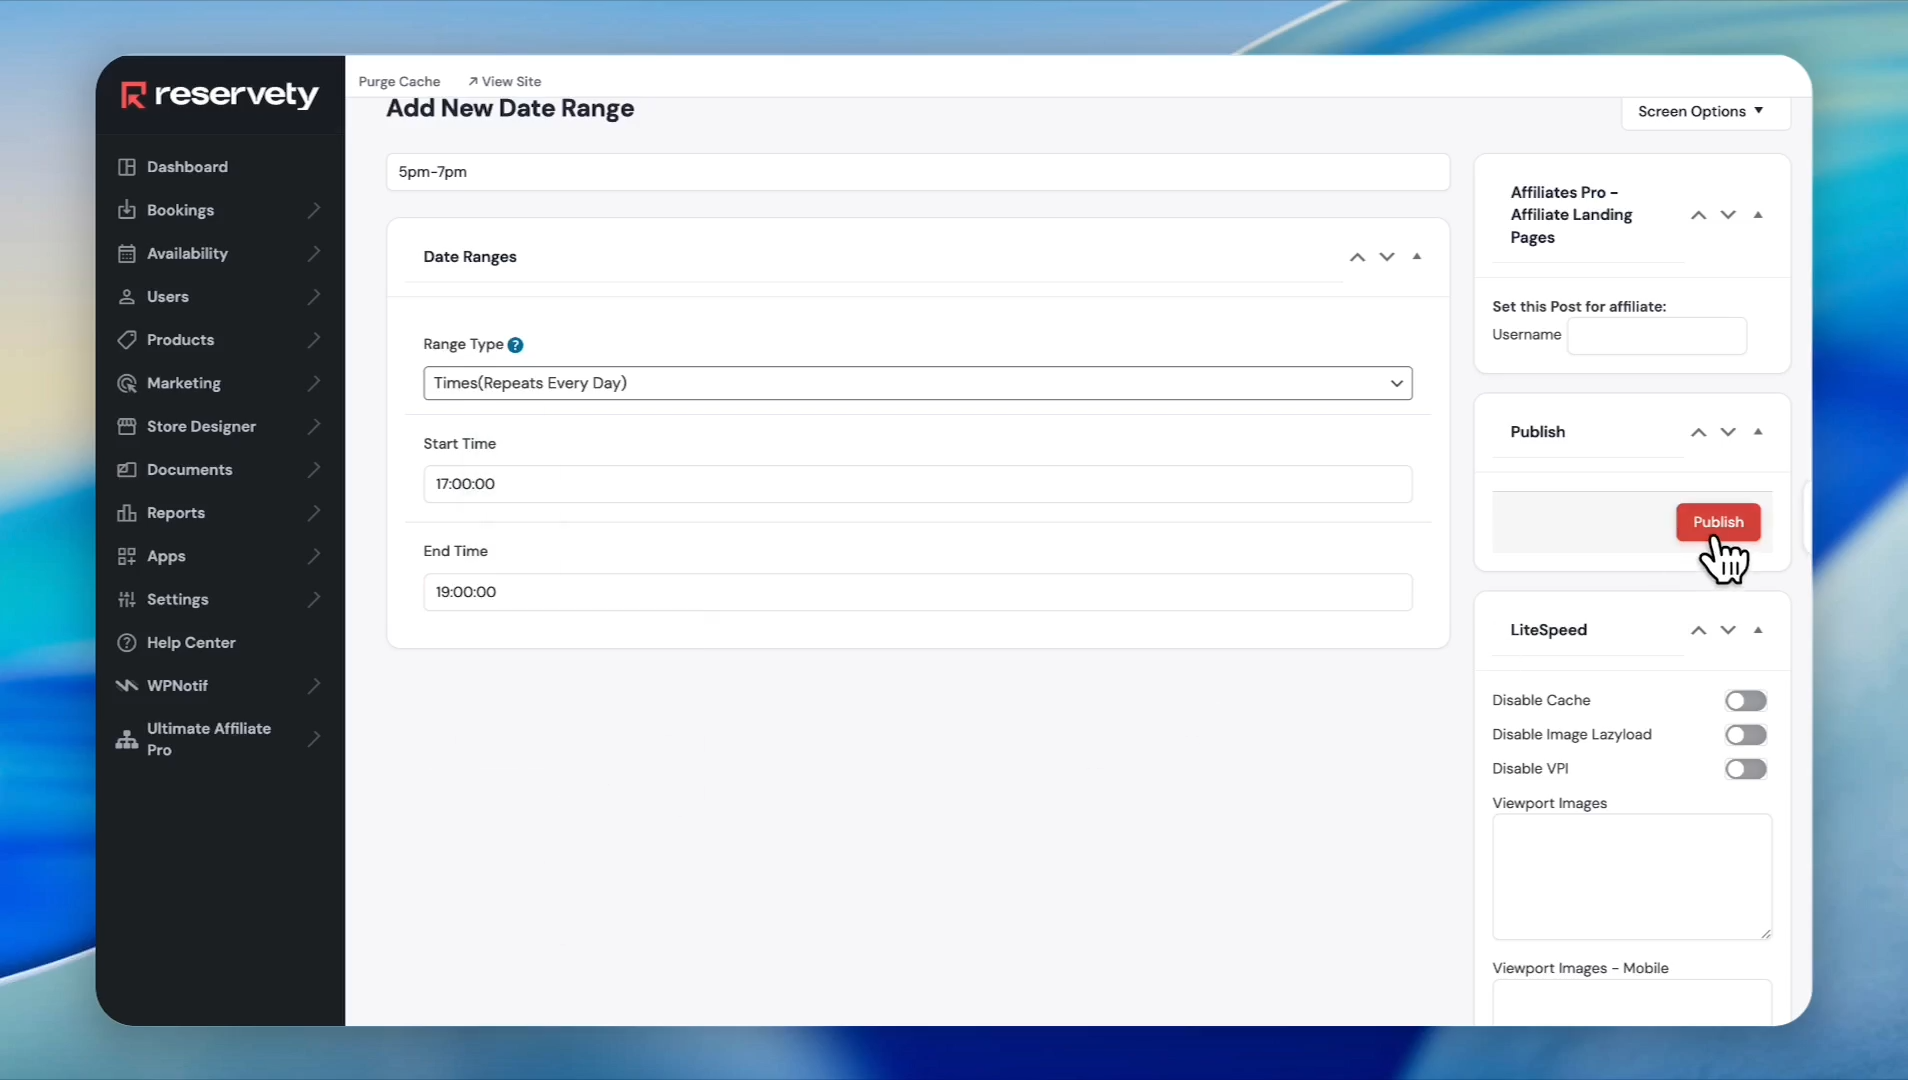
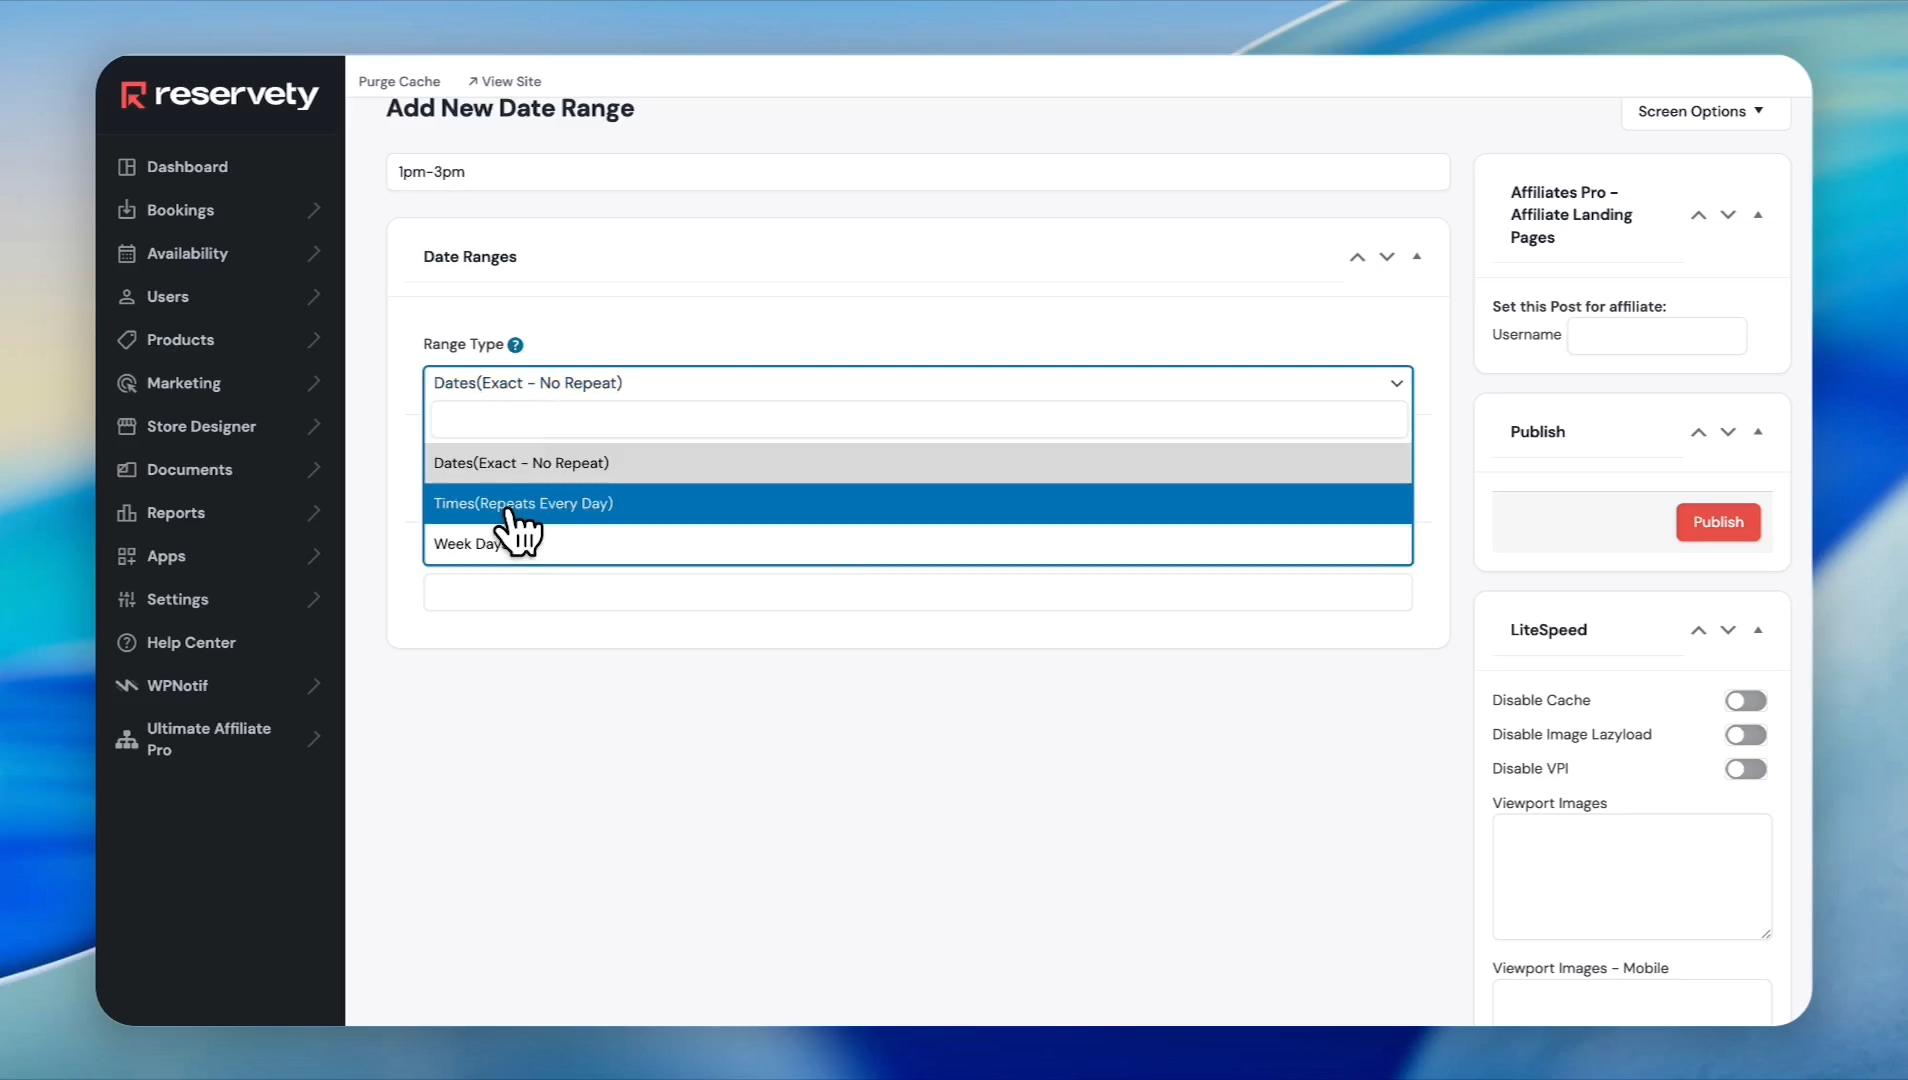
2. Create the Time Range

10
Click Add New Date Range
Step #10: Click Add New Date Range
11
Type a name for the time range (e.g., "5 pm-7 pm"). Select Times(Repeats Every Day) from the Range Type dropdown
Step #11: Type a name for the time range (e.g., "5 pm-7 pm"). Select Times(Repeats Every Day) from the Range Type dropdown
12
Click the Start Time field and select the start hour
Step #12: Click the Start Time field and select the start hour
13
Click the End Time field and select the end hour
Step #13: Click the End Time field and select the end hour
14
Click Publish
Step #14: Click Publish

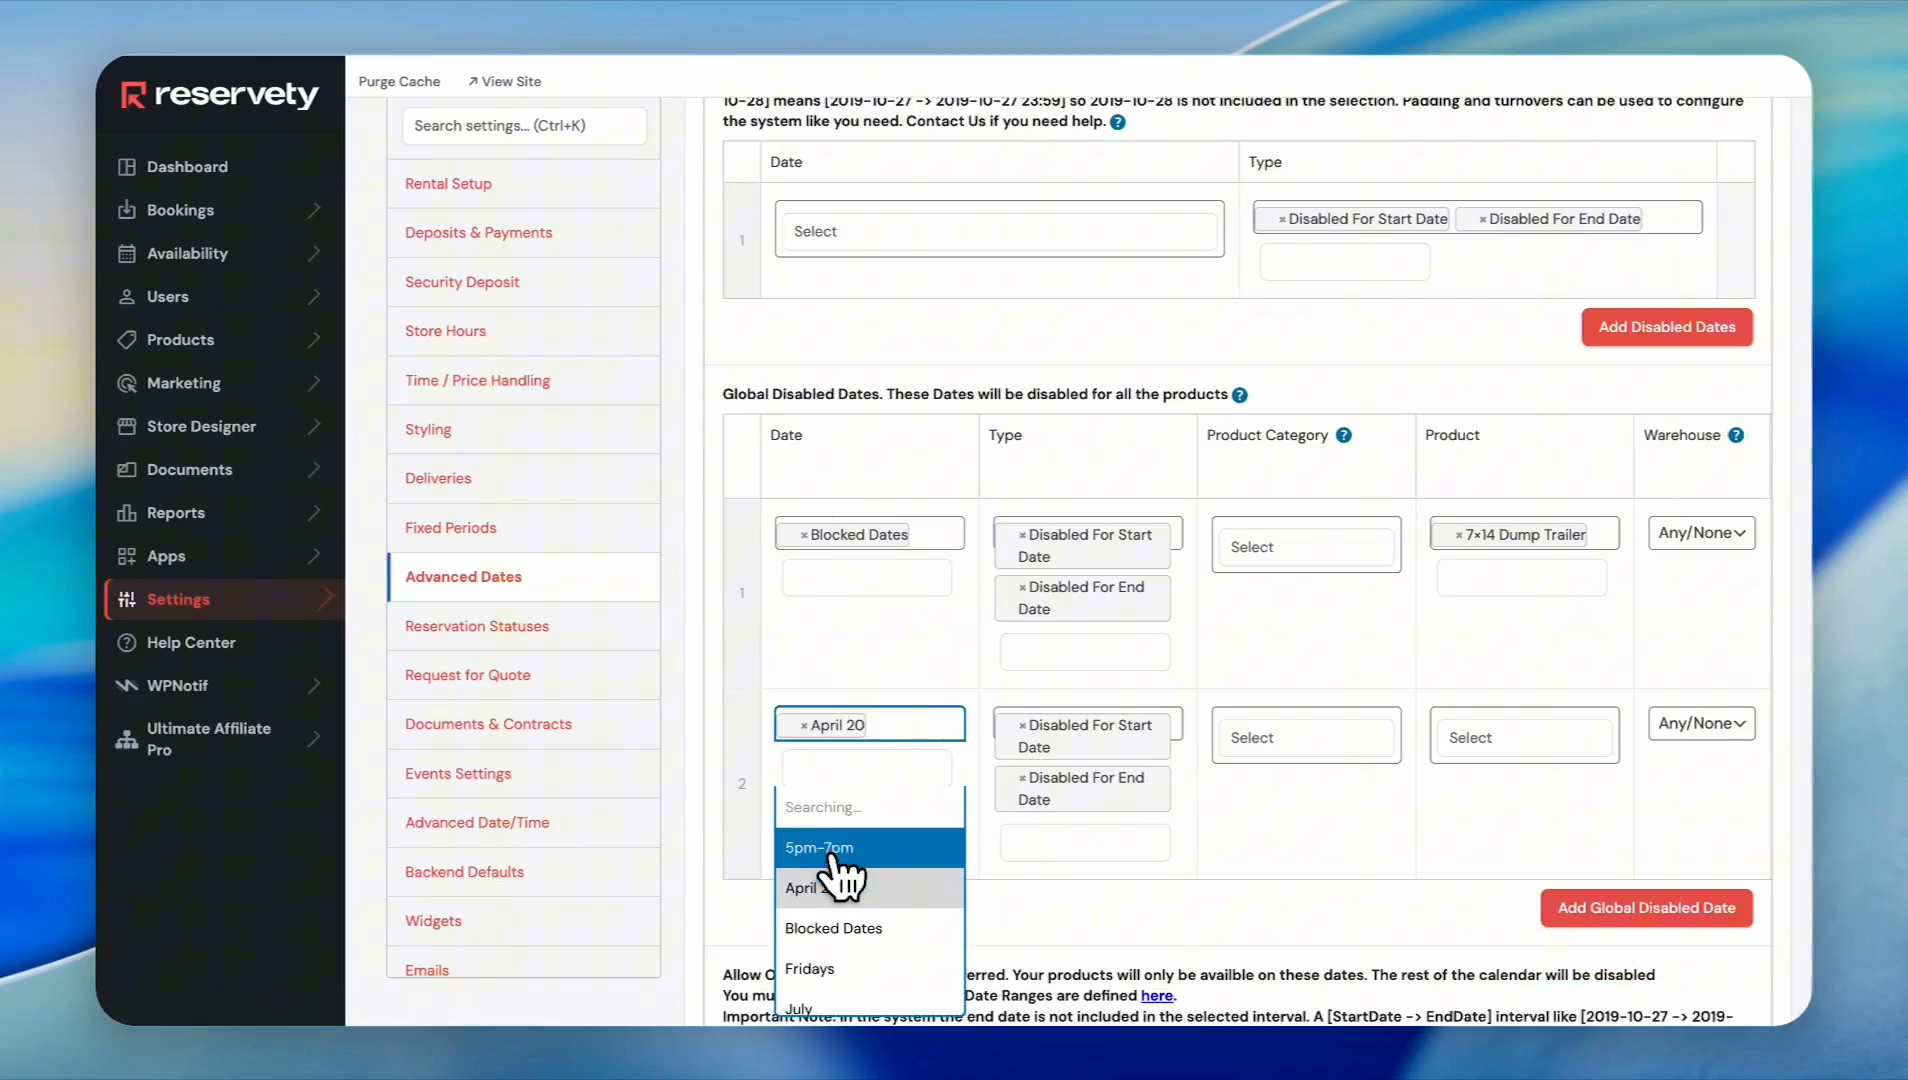
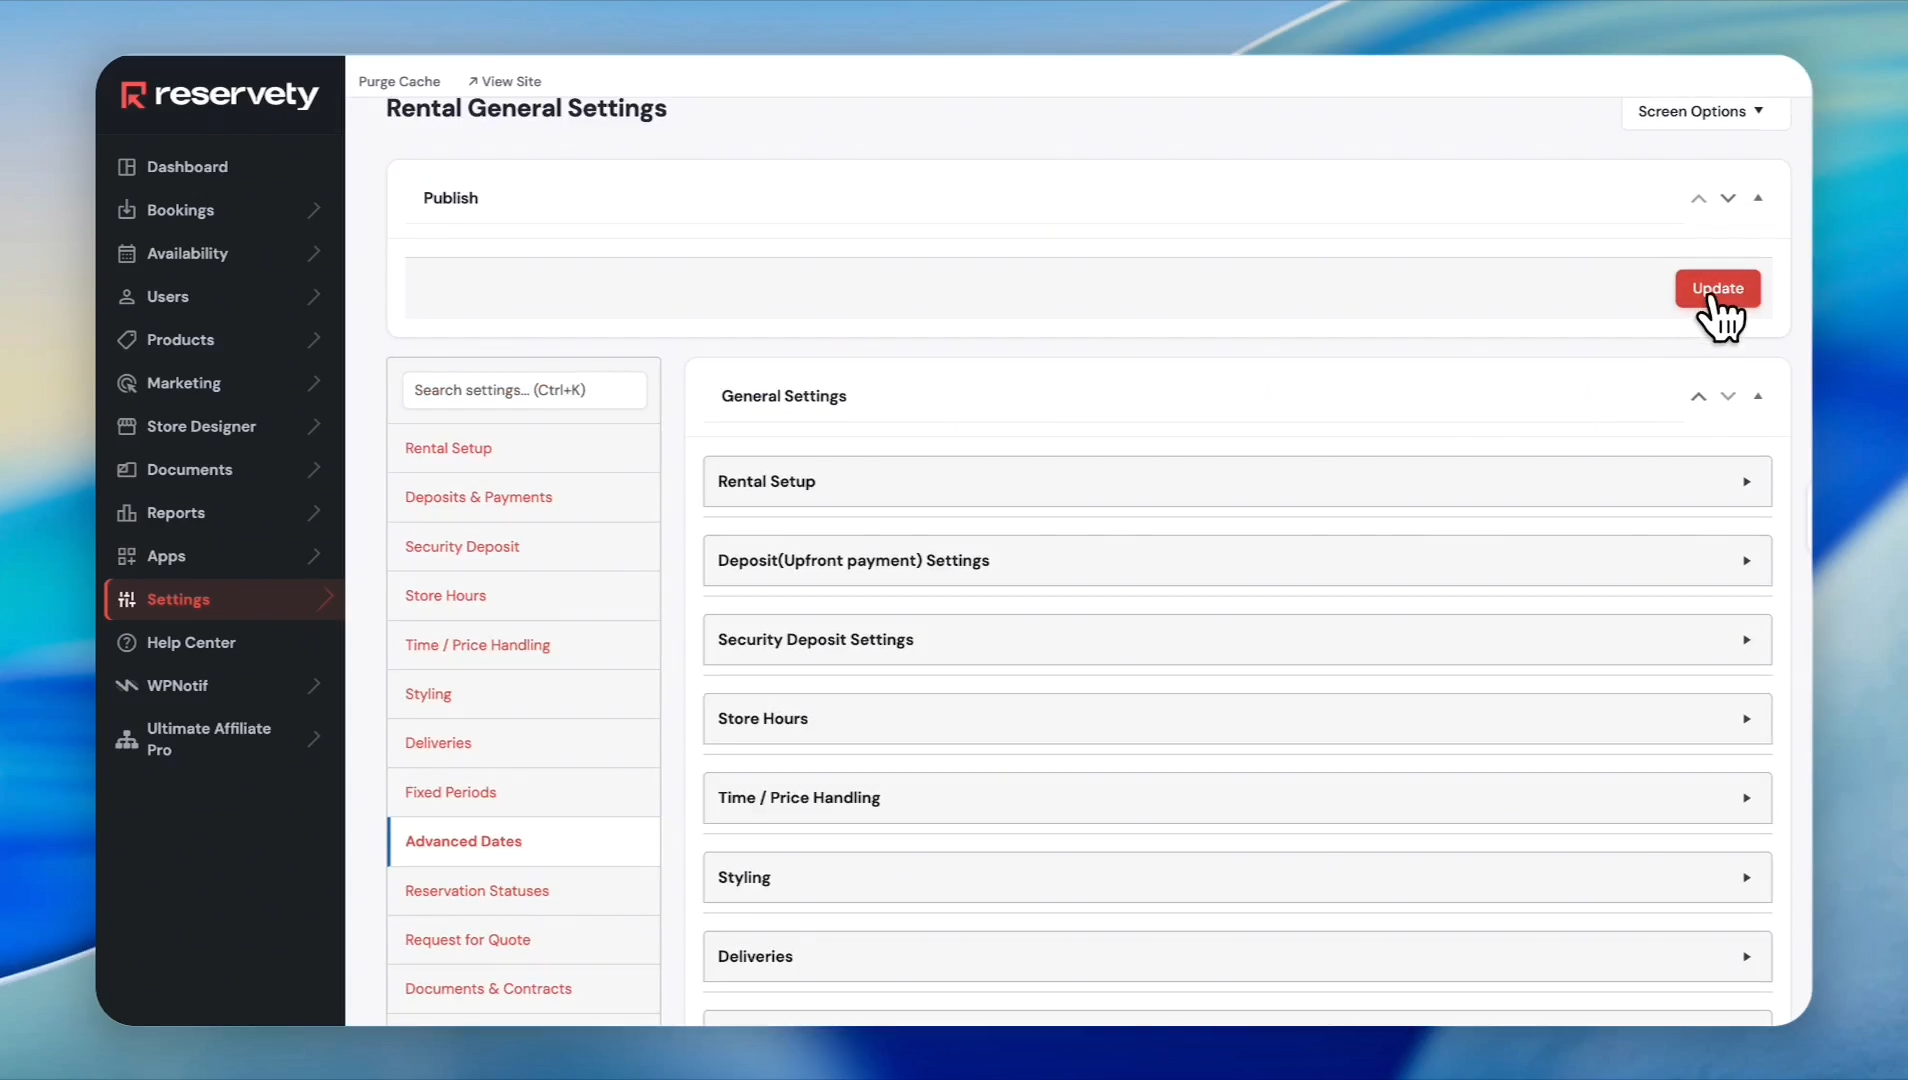
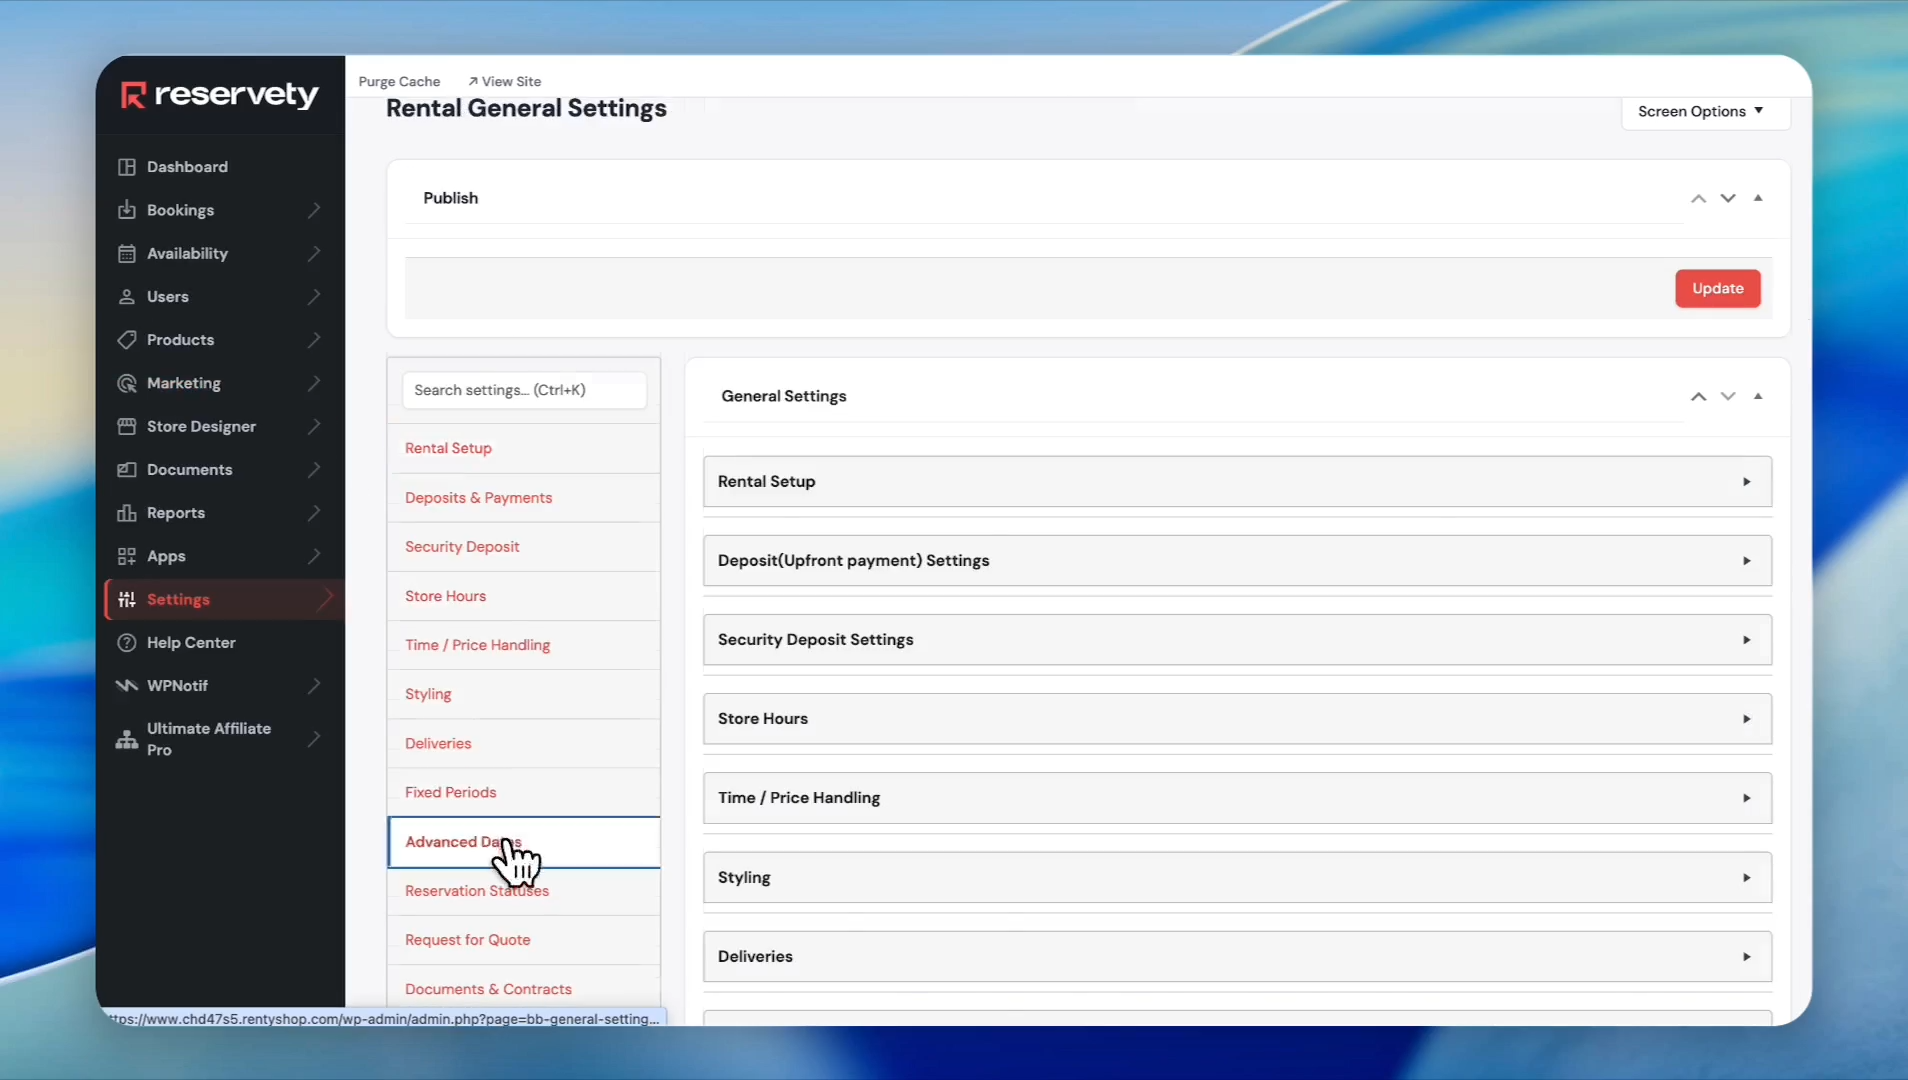
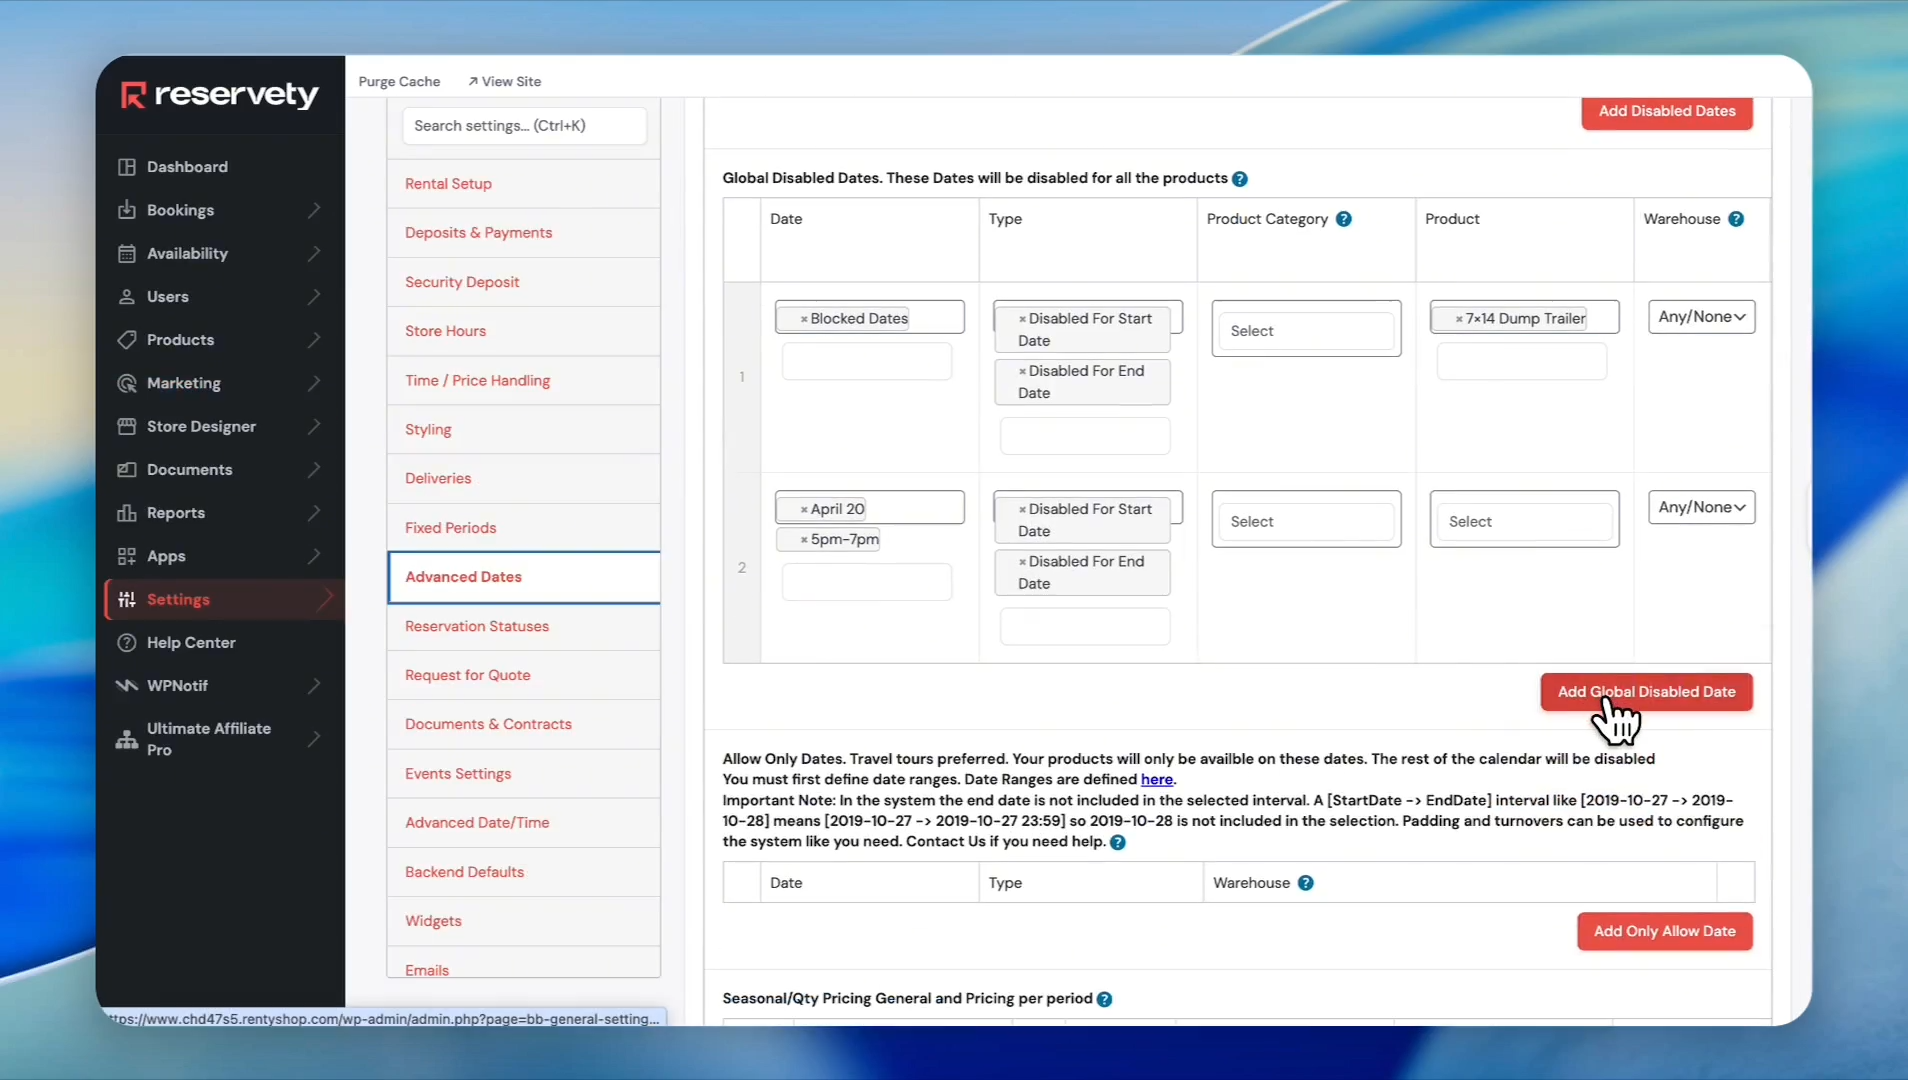
3. Apply the Ranges Globally

Now, plug your newly created date and time ranges into your booking configuration.

15
Click Rentals in the settings sidebar
Step #15: Click Rentals in the settings sidebar
16
Click Advanced Dates
Step #16: Click Advanced Dates
17
Click the Select field under Date and choose your newly created date range. Click the time range select field and choose your time range
Step #17: Click the Select field under Date and choose your newly created date range. Click the time range select field and choose your time range
18
Click Update
Step #18: Click Update

Block Recurring Time Slots (e.g., Every Sunday)

If you are closed during certain hours every week, use recurring range combinations.

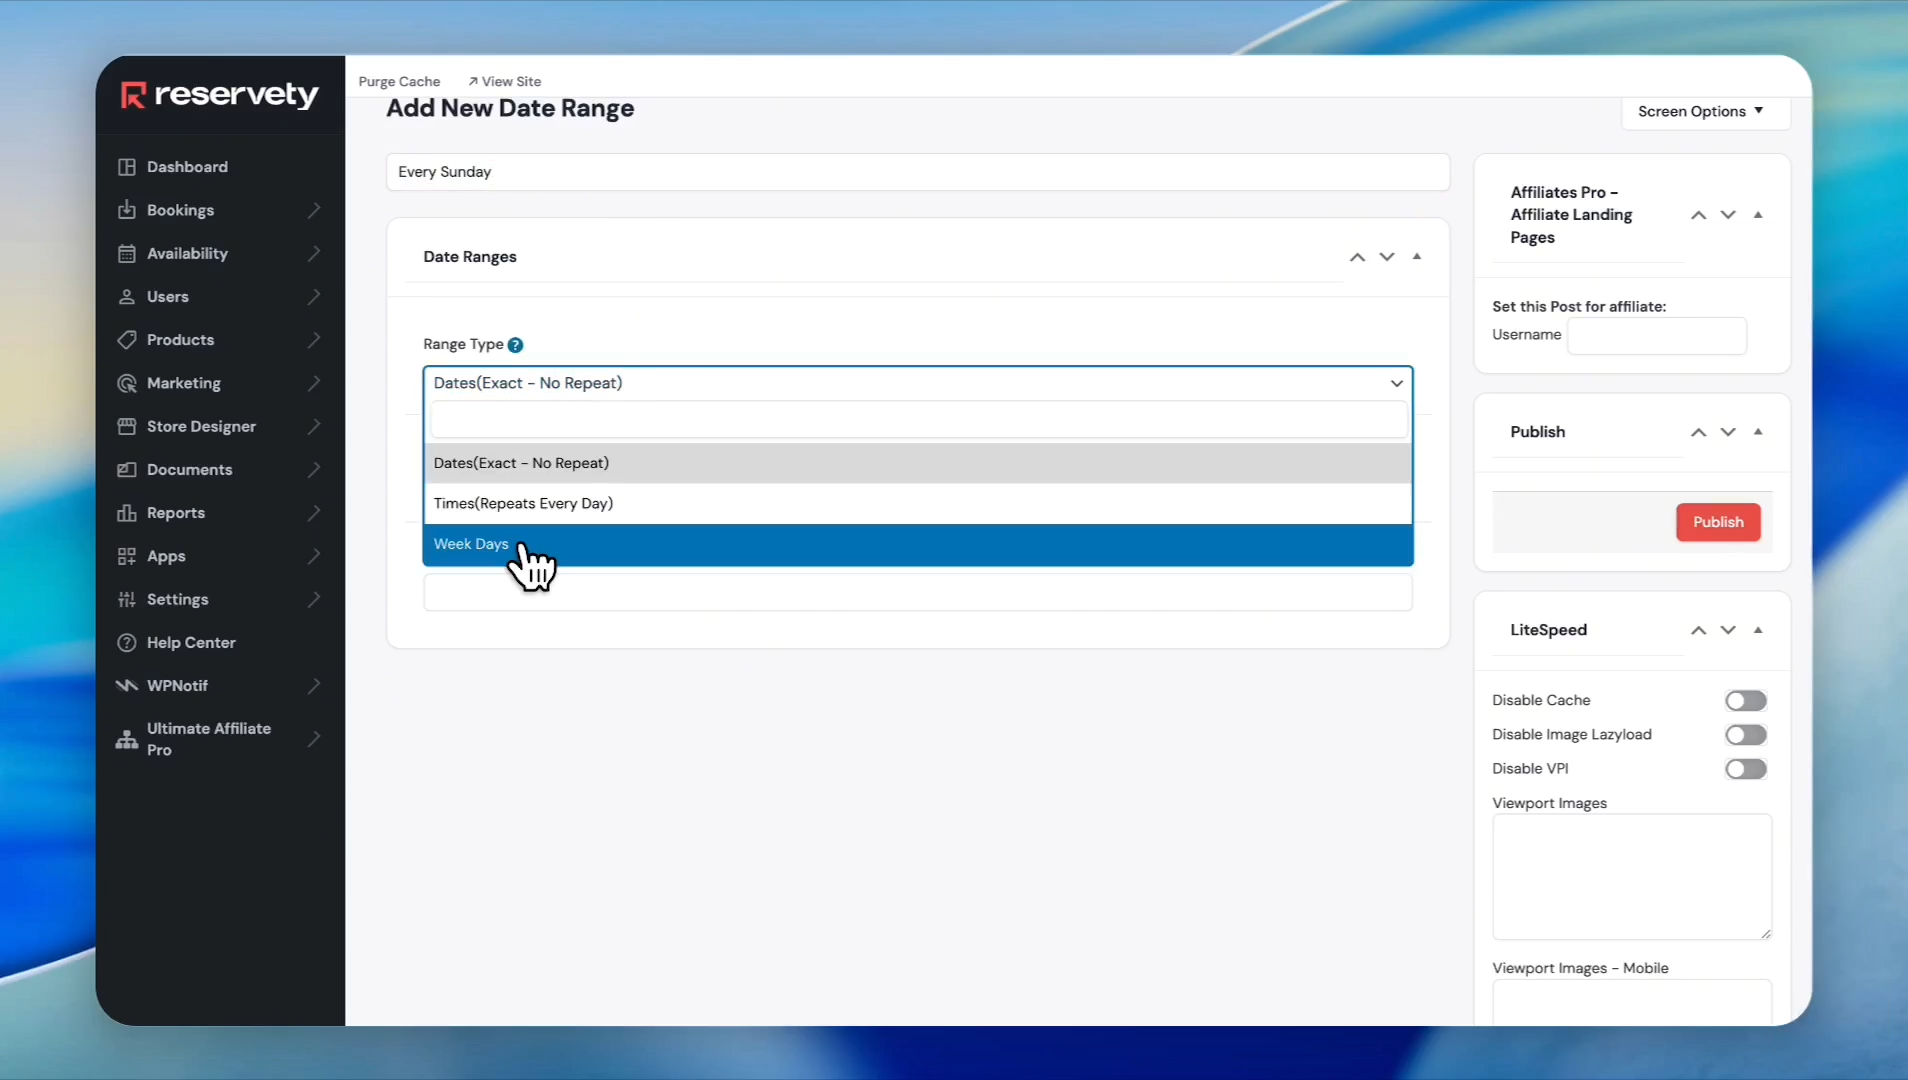
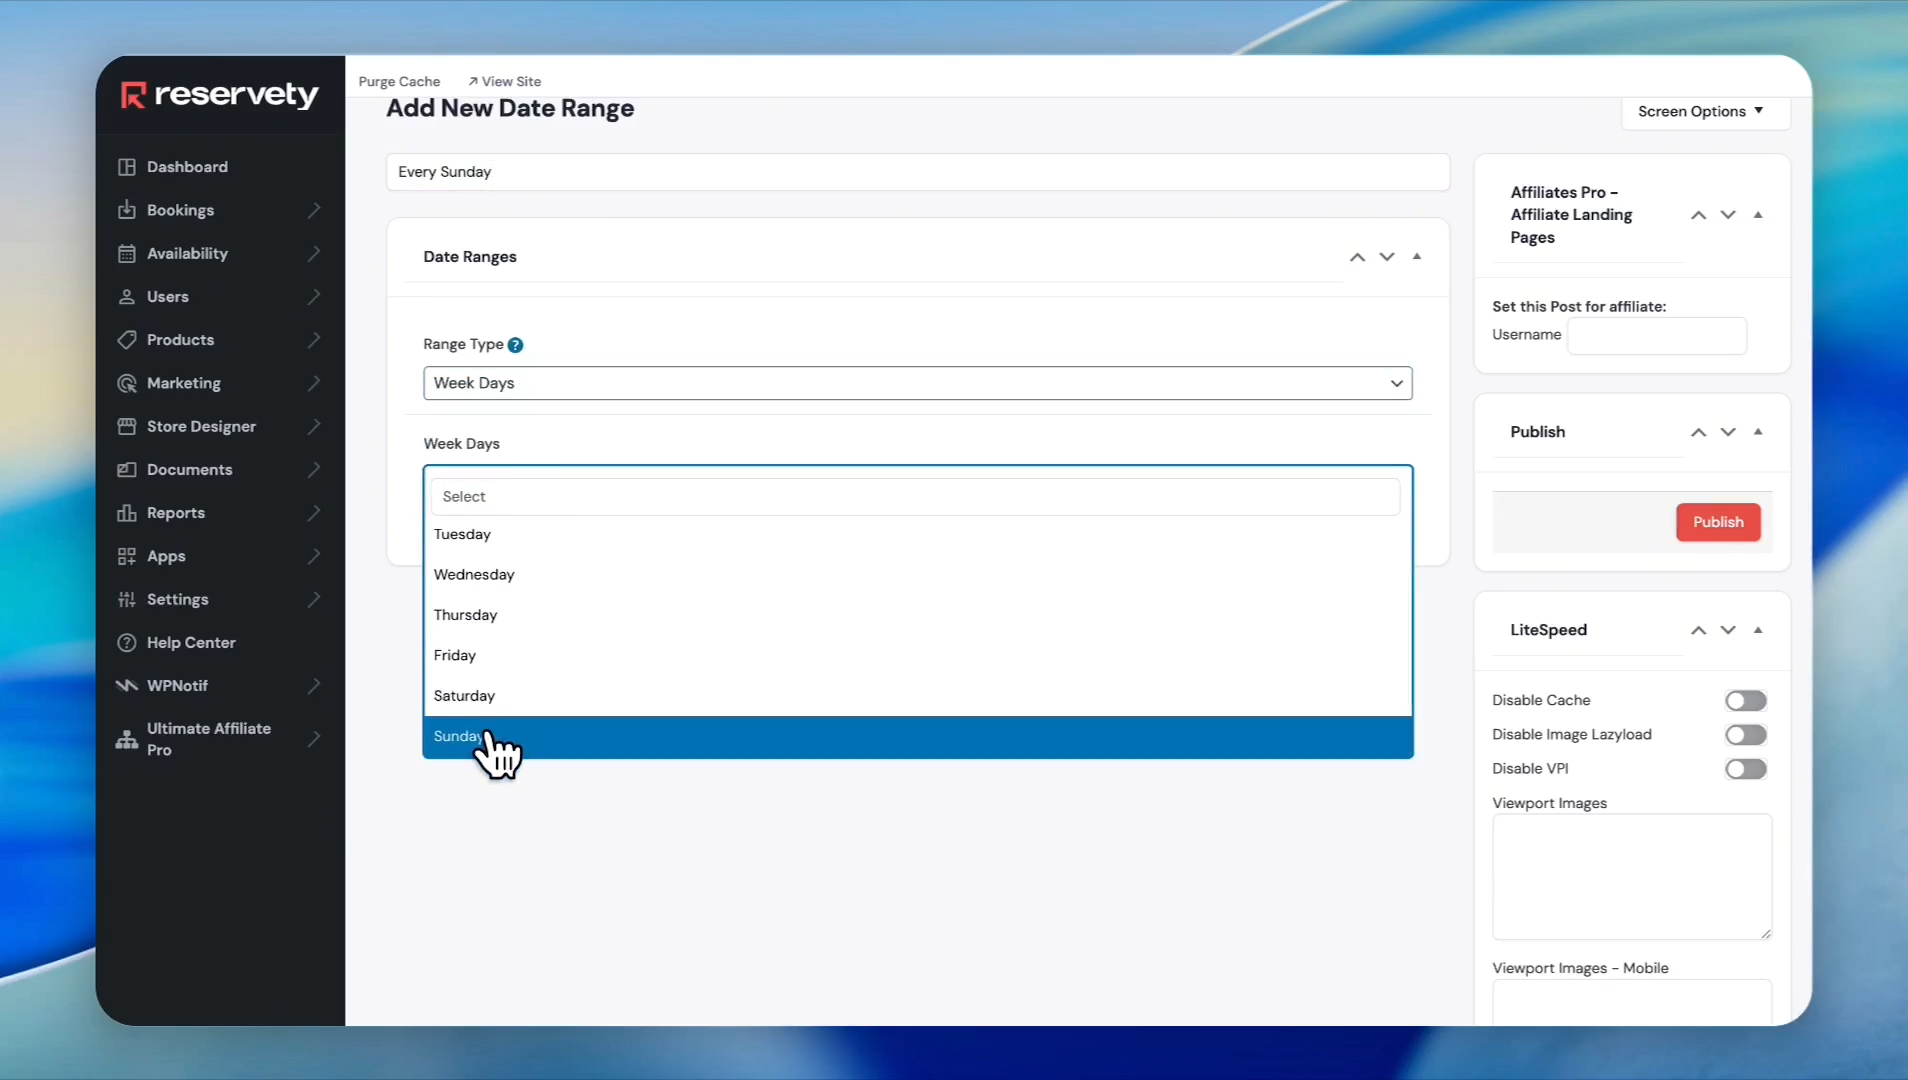
1. Create the Recurring Day Range

19
Click Settings
Step #19: Click Settings
20
Click Date Ranges
Step #20: Click Date Ranges
21
Click Add New Date Range
Step #21: Click Add New Date Range
22
Type a title like "Every Sunday". Select Week Days from the Range Type dropdown
Step #22: Type a title like "Every Sunday". Select Week Days from the Range Type dropdown
23
Select Sunday from the weekdays dropdown
Step #23: Select Sunday from the weekdays dropdown
24
Click Publish
Step #24: Click Publish

2. Create the Recurring Time Range

25
Click Add New Date Range
Step #25: Click Add New Date Range
26
Type a title like "1 pm-3 pm". Select Times(Repeats Every Day) from the Range Type dropdown
Step #26: Type a title like "1 pm-3 pm". Select Times(Repeats Every Day) from the Range Type dropdown
27
Select 13 (for 1:00 PM) for the Start Time
Step #27: Select 13 (for 1:00 PM) for the Start Time
28
Select 15 (for 3:00 PM) for the End Time
Step #28: Select 15 (for 3:00 PM) for the End Time
29
Click Publish
Step #29: Click Publish

3. Apply the Recurring Blocks

30
Click Rentals
Step #30: Click Rentals
31
Click Advanced Dates
Step #31: Click Advanced Dates
32
Click Add Global Disabled Date
Step #32: Click Add Global Disabled Date
33
Search for and select Every Sunday in the date field. Select 1 pm-3 pm from the time range dropdown
Step #33: Search for and select Every Sunday in the date field. Select 1 pm-3 pm from the time range dropdown
34
Click Update
Step #34: Click Update

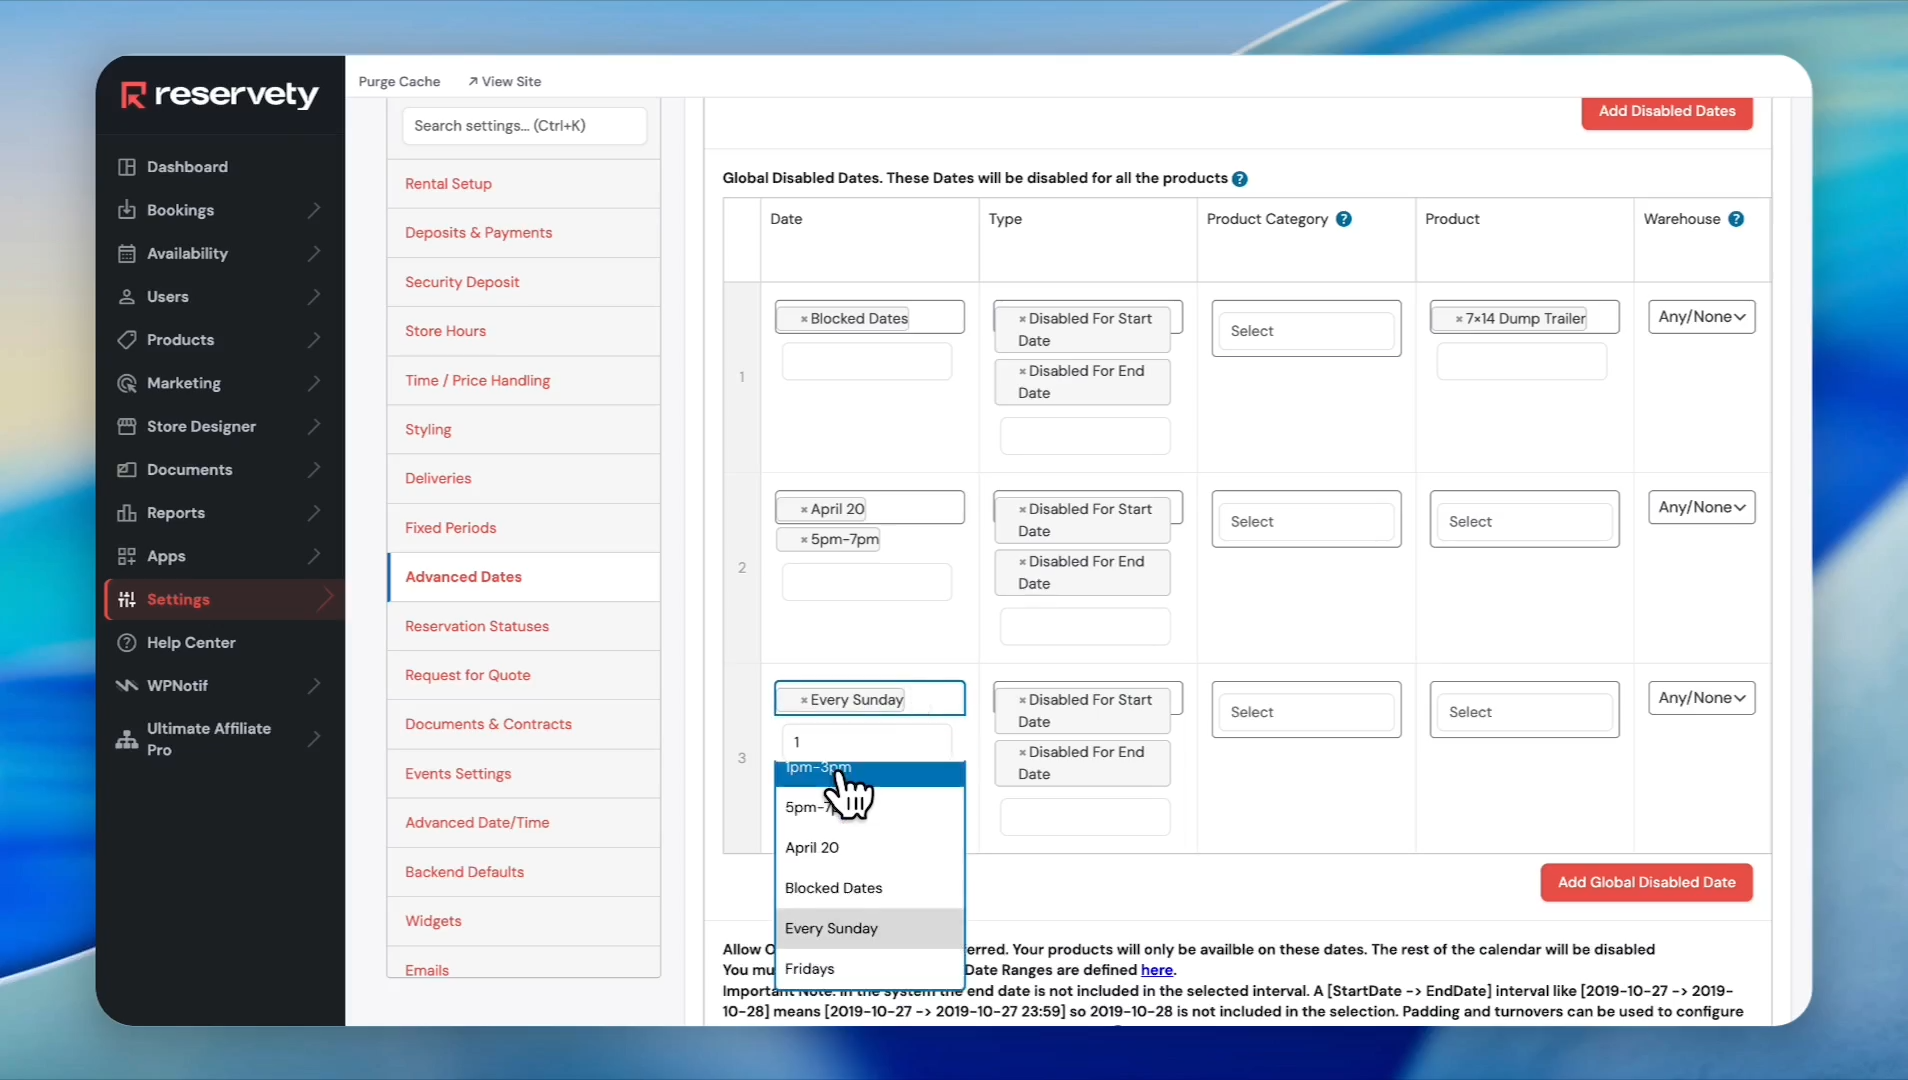
Your rental calendar will now successfully block the specified times across all your products!

How to Block Dates and Times in Your Reservety Calendar